


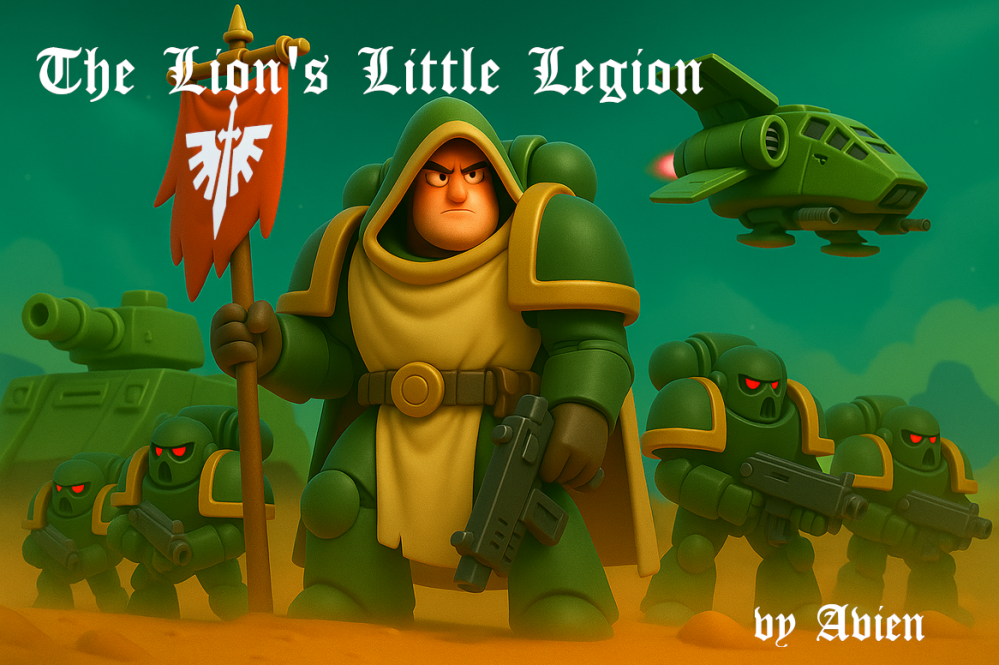
The Lion’s Little Legion


Recommendations: 78
About the Project
This will document my endeavour to raise the Unforgiven from the vats of my 3D printers and create a Chapter of Dark Angels at 8mm.... just not GW's 8mm
Related Genre: Science Fiction
This Project is Active
3rd Company Mustered
The Unmerciful
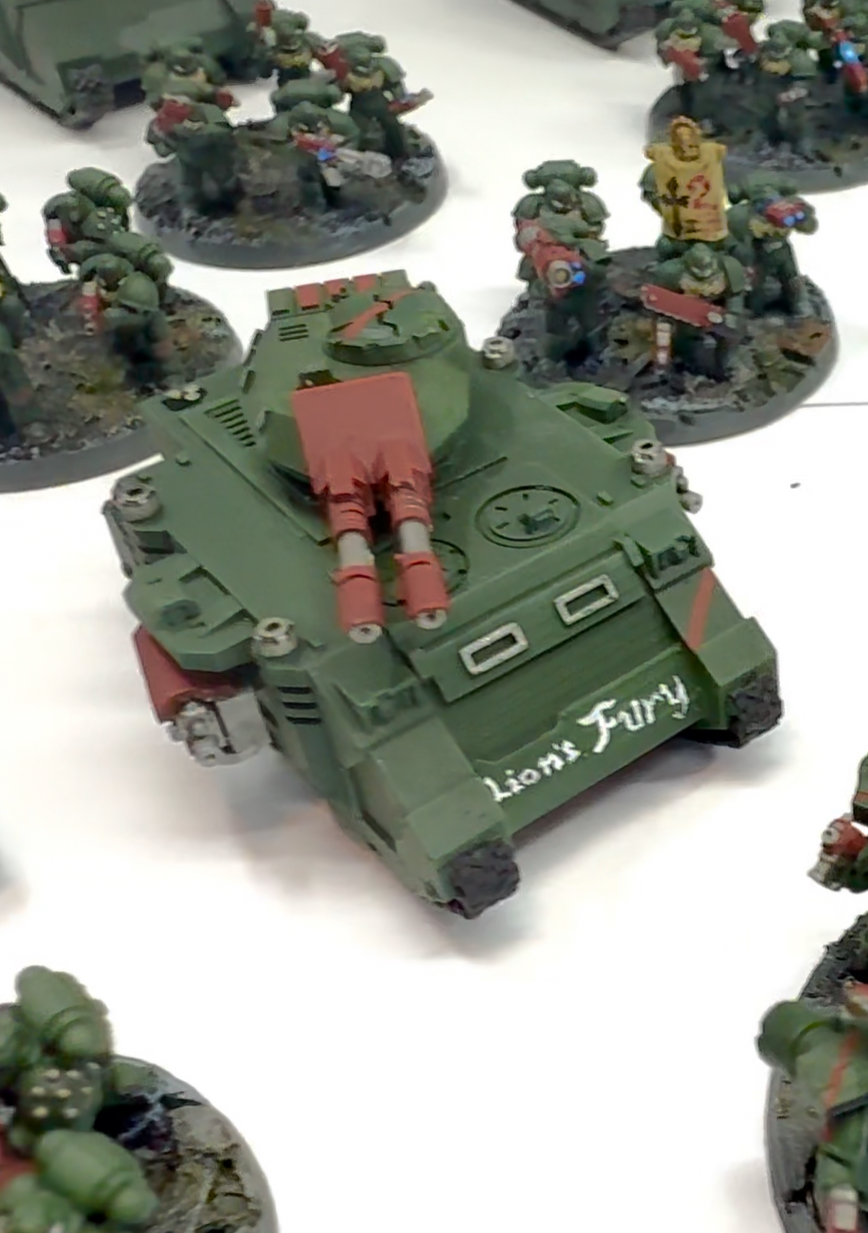
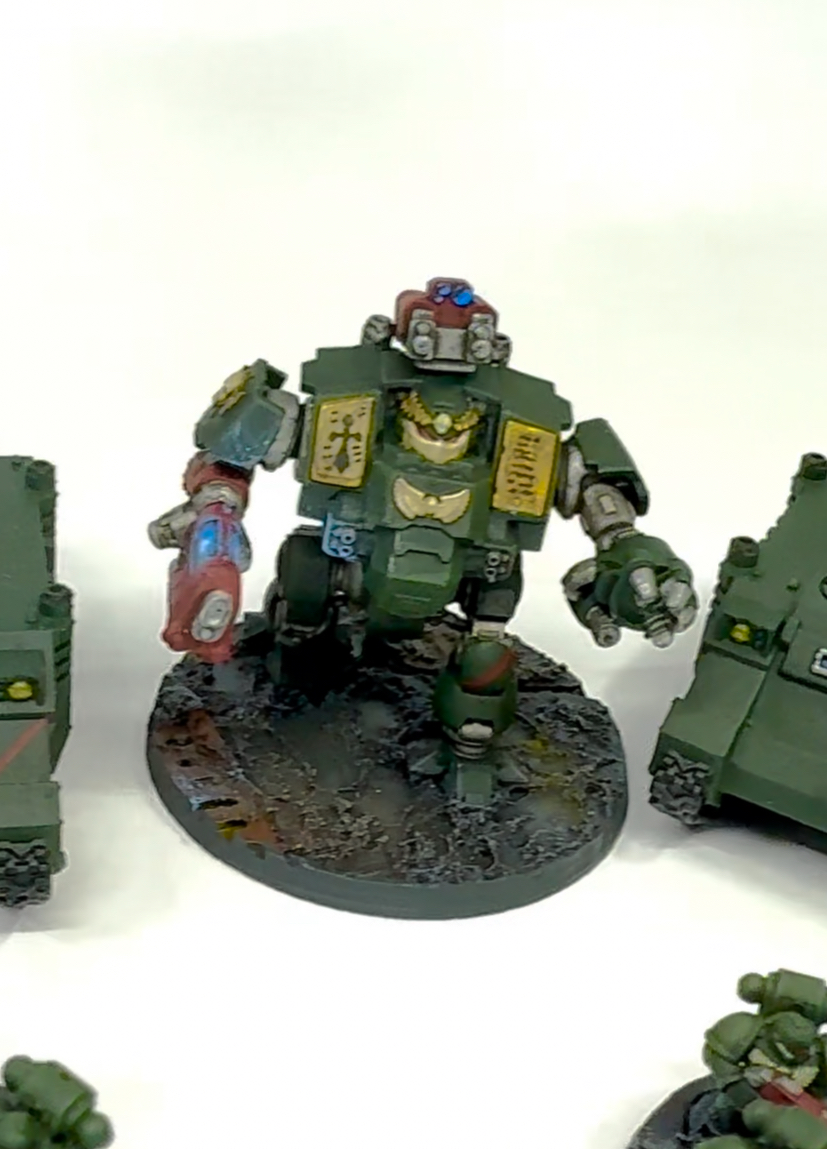
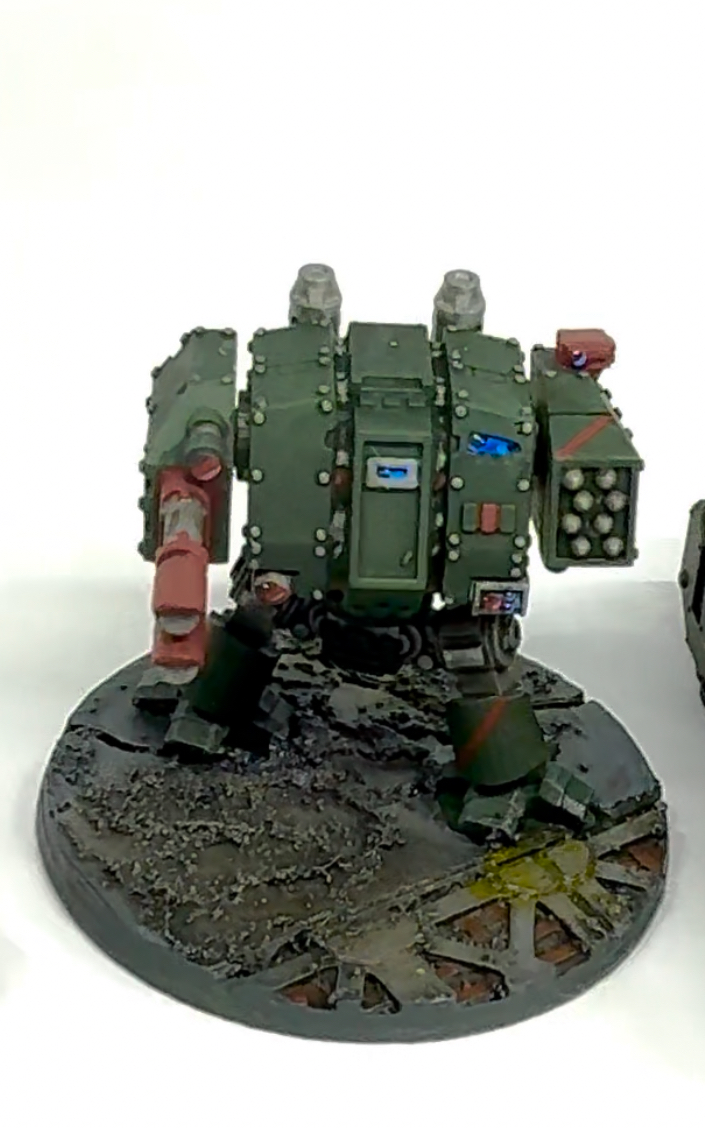
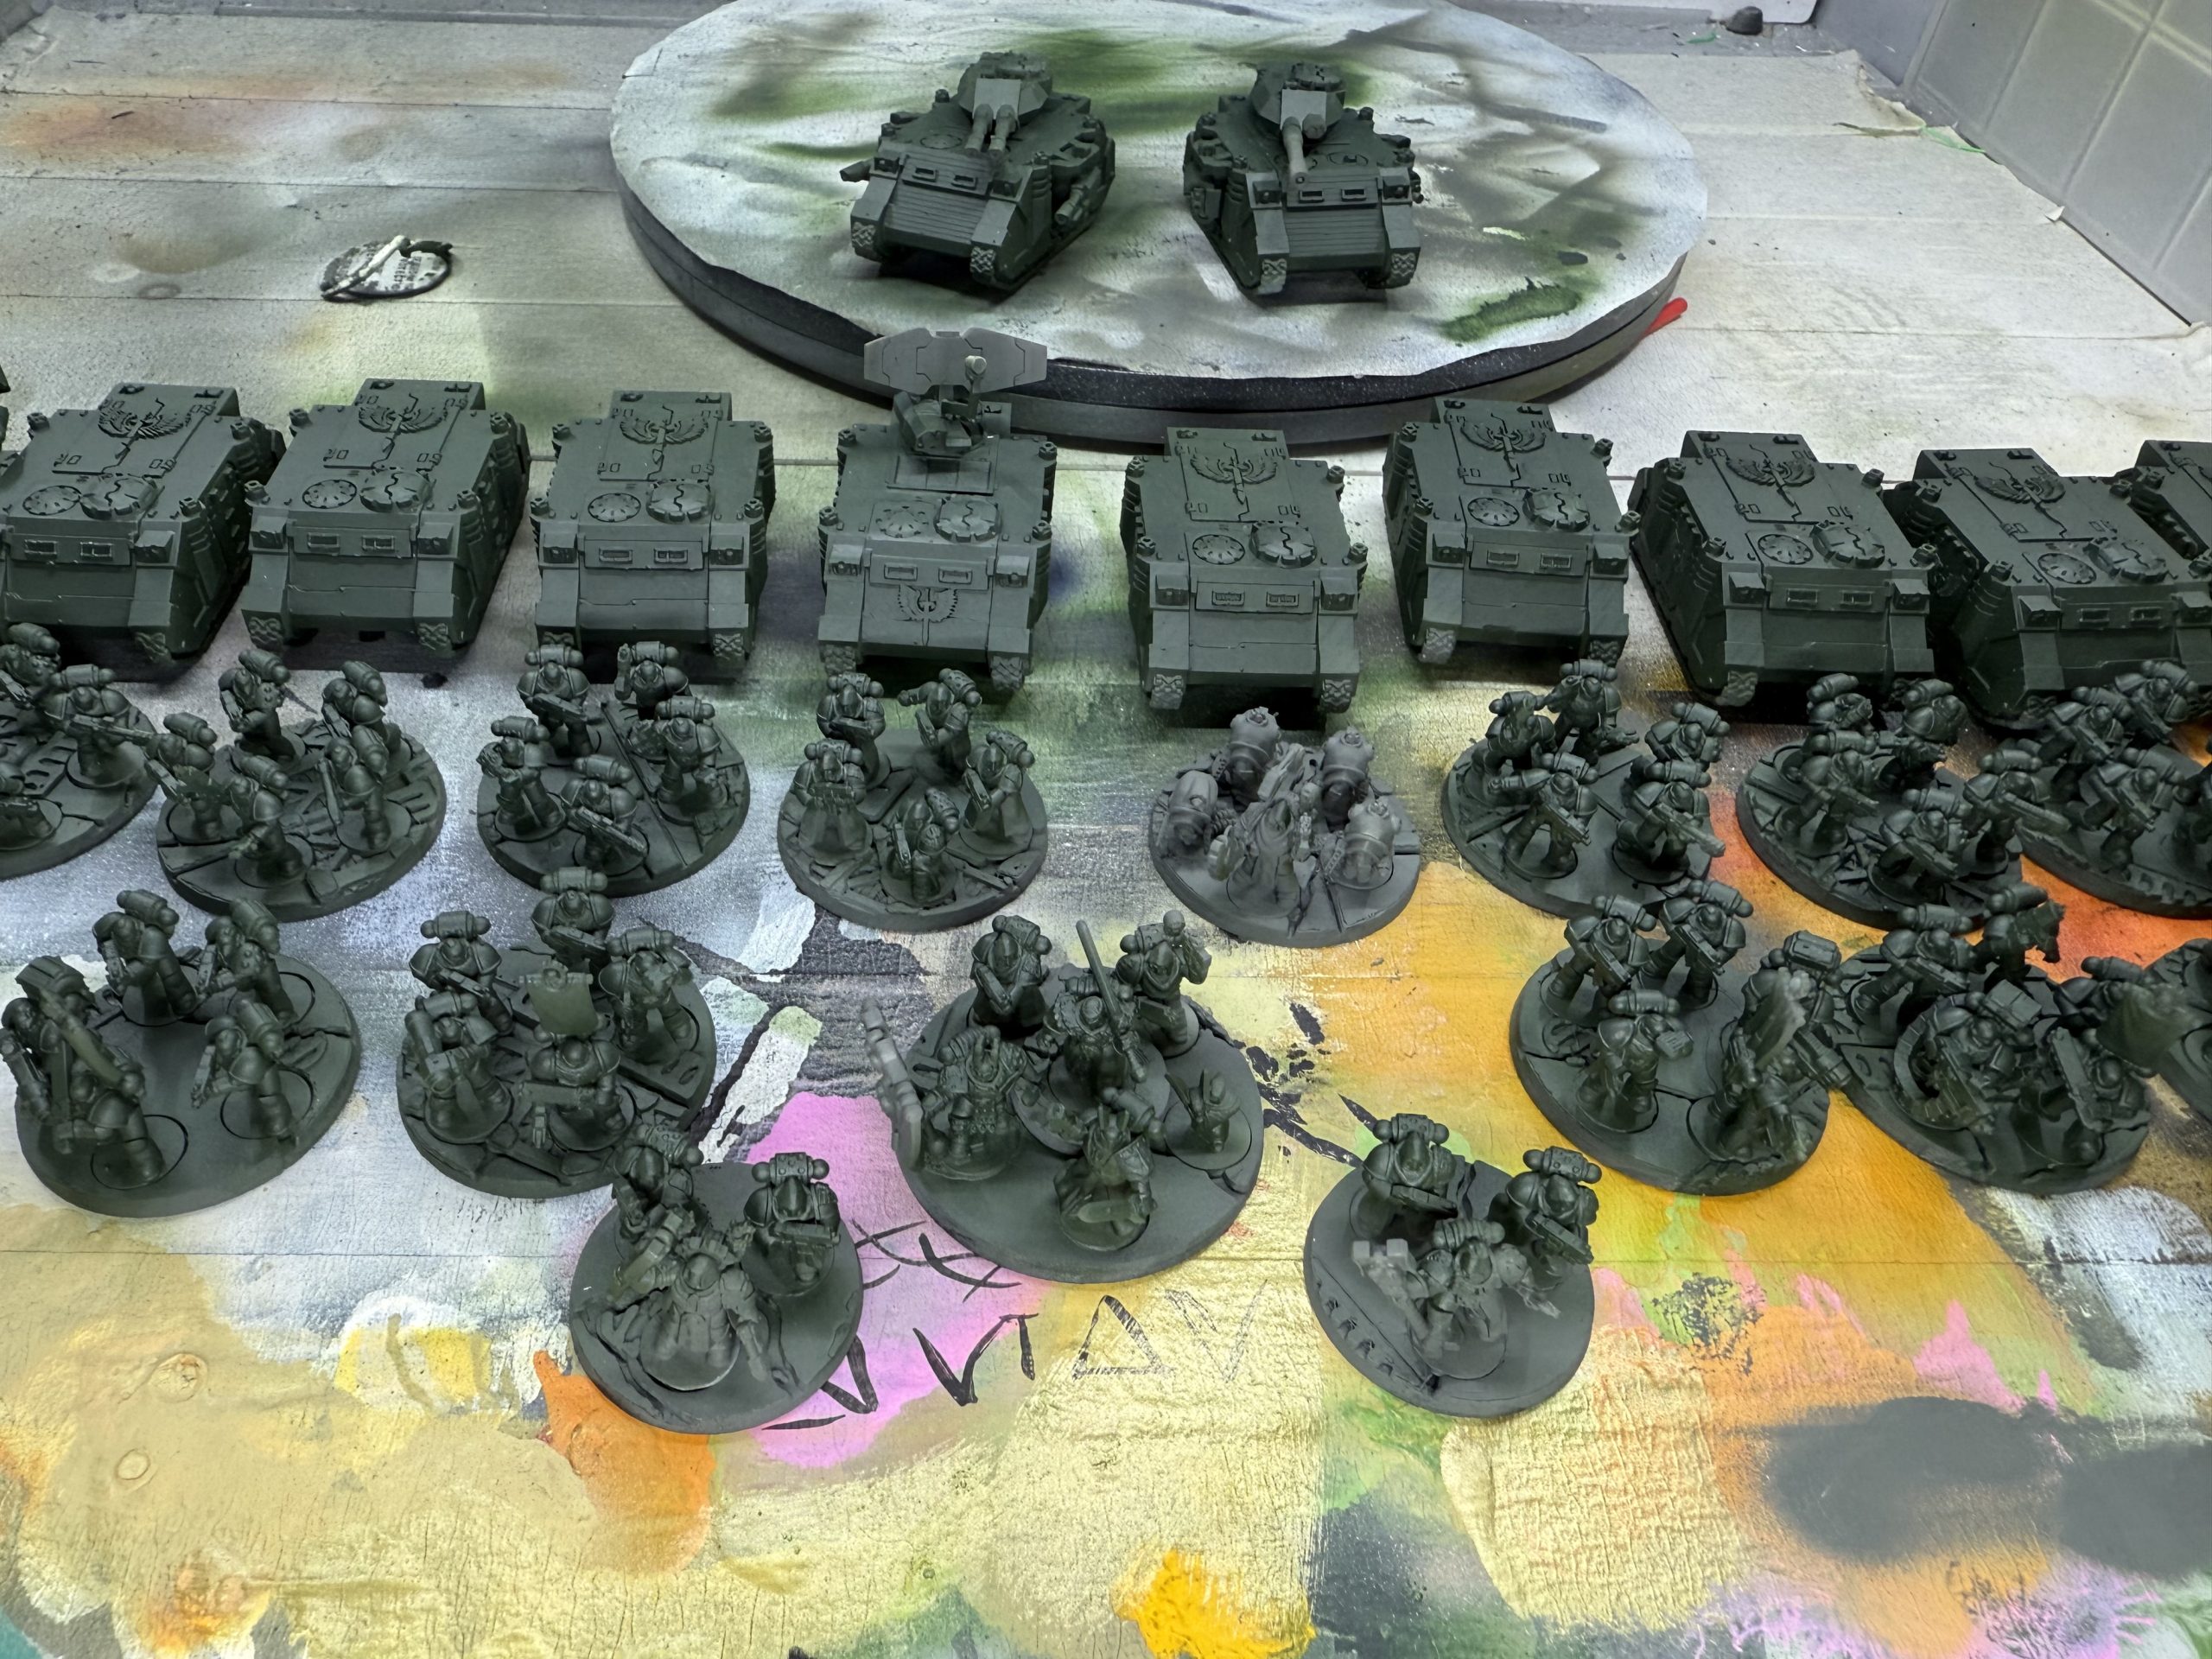
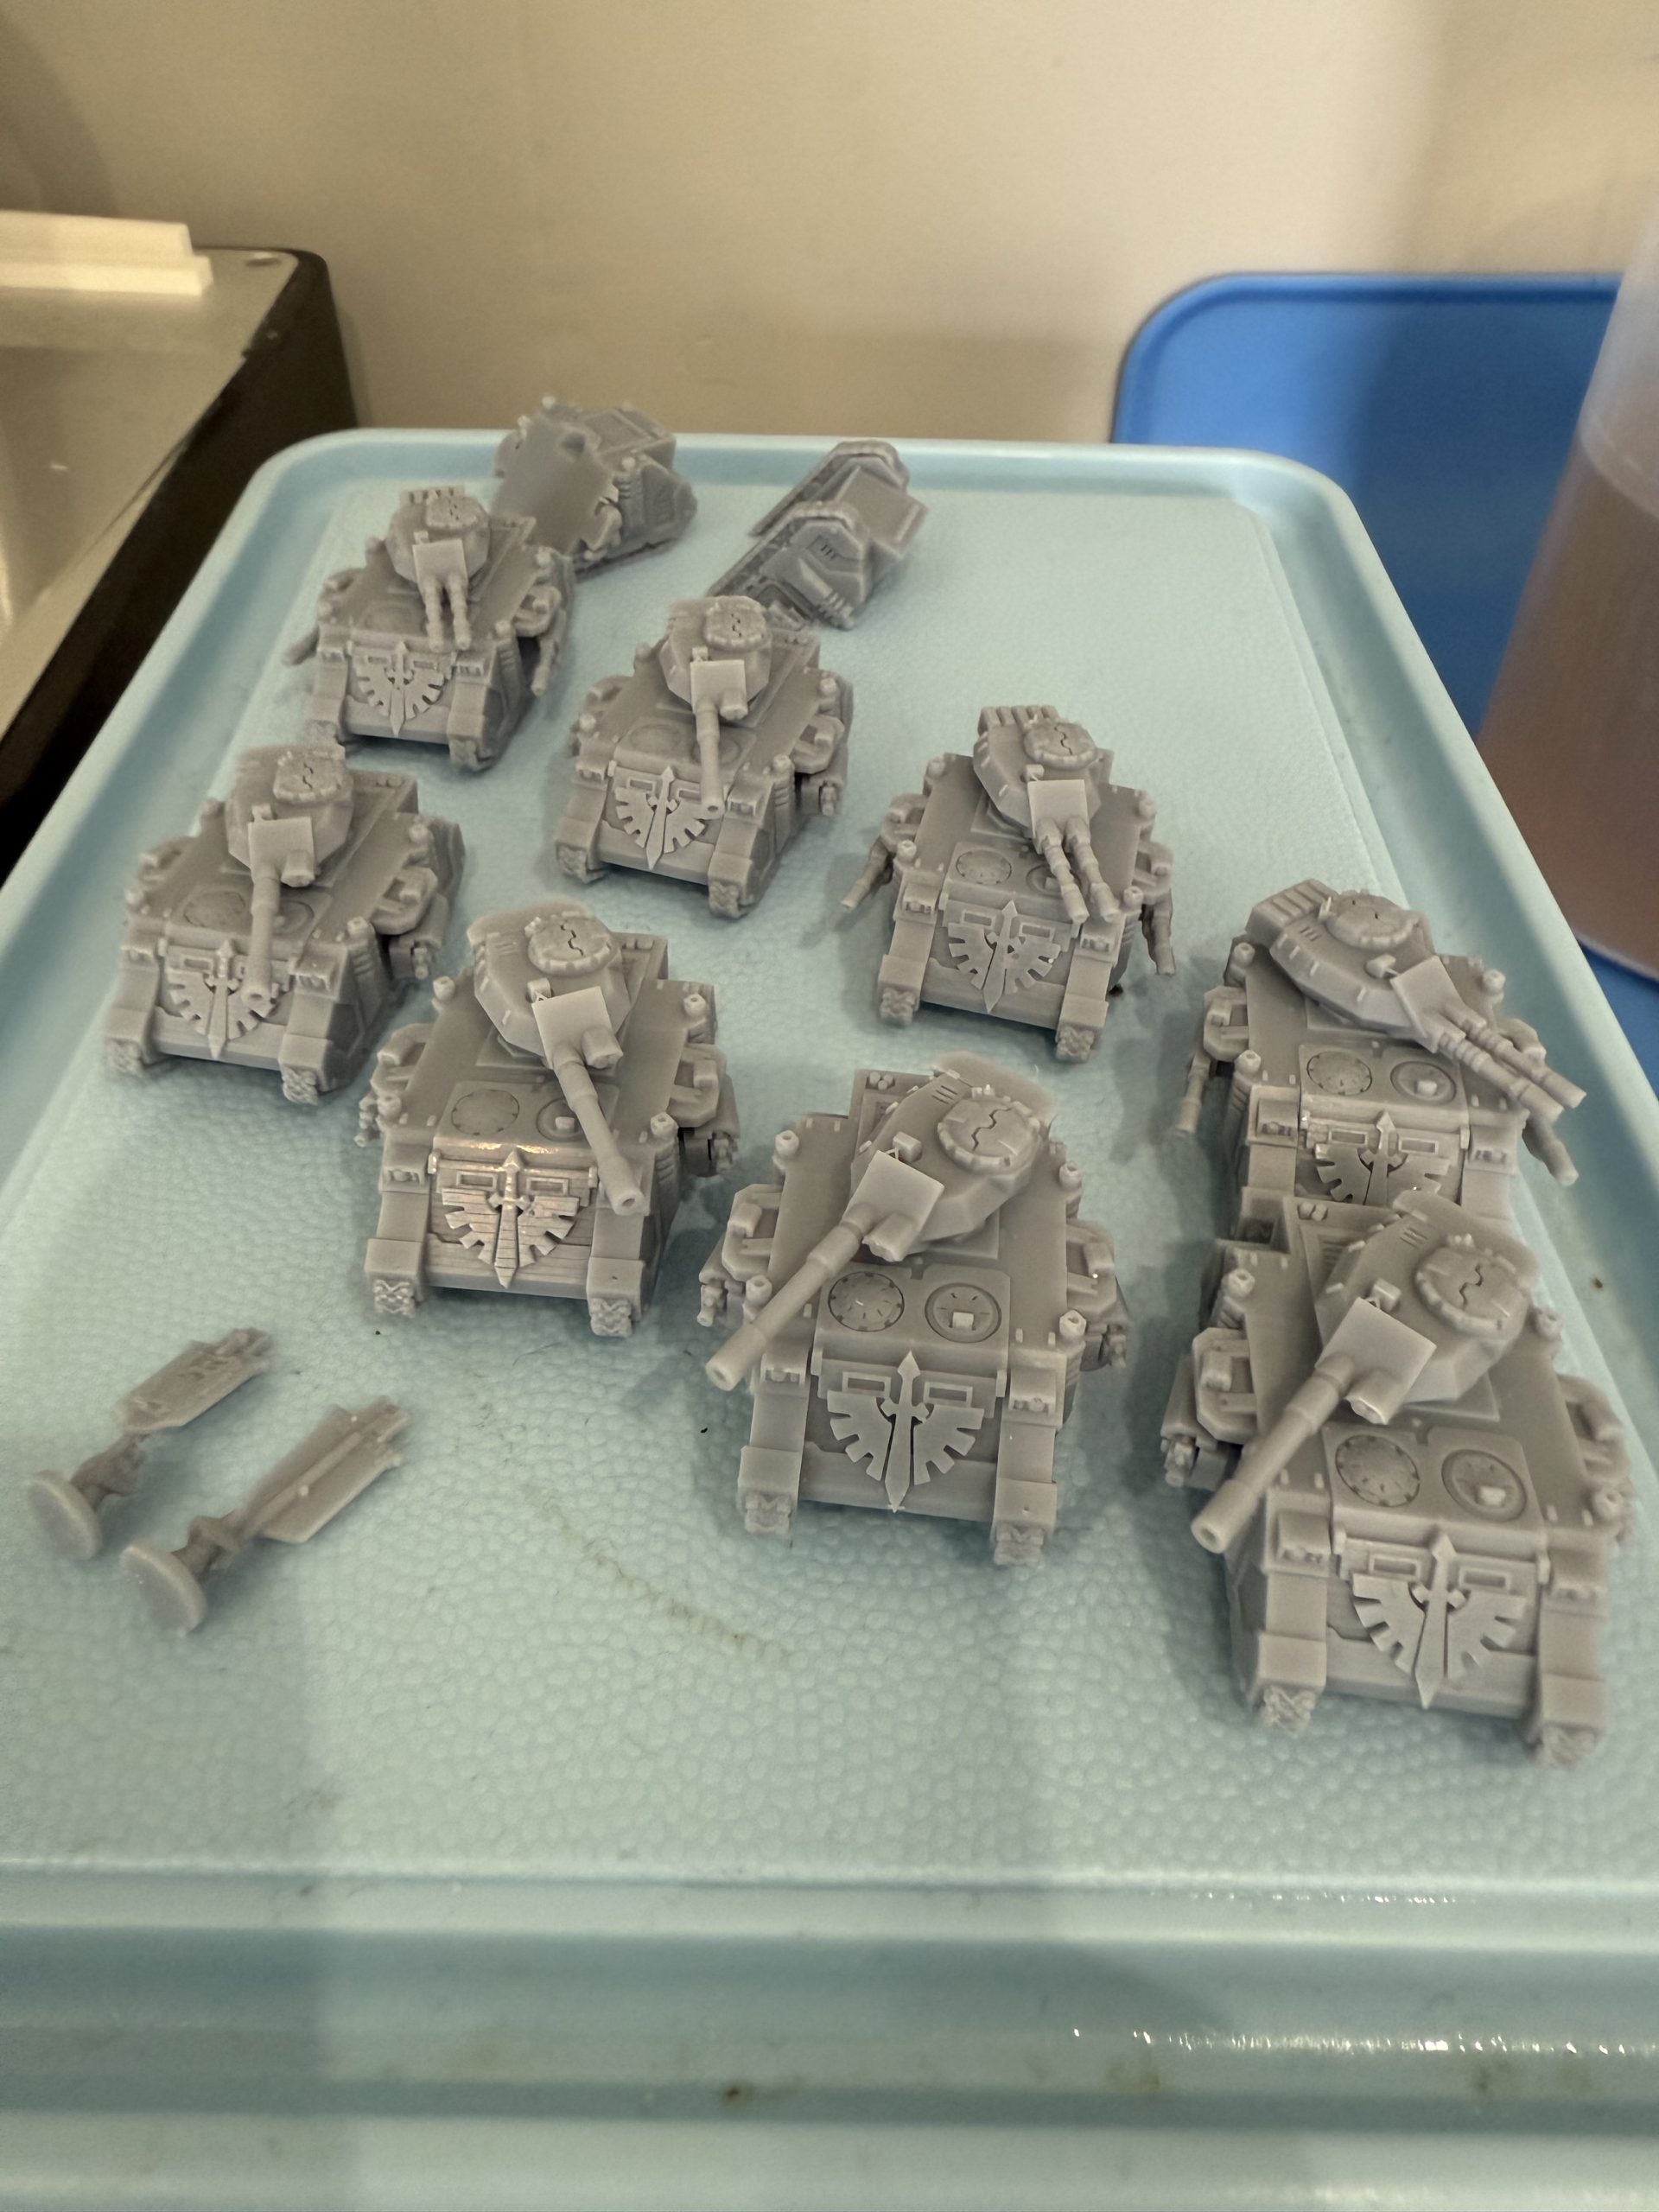
It’s fitting that since this project got a golden button this week(thanks again lads!) that The Dark Angels 3rd Company – The Unmerciful – is finally complete. The final sprint covered the two Assault Squads, two Dreadnoughts, and the pair of Predators — Fury of Caliban and Lion’s Fury.
The vehicle weapons are magnetised — primarily to make storage and transport easier, though it also adds some flexibility for weapon options should that ever be needed. The Venerable Dreadnought Ancient Serapion received freehand markings, while the Hellfire Dreadnought Brother Melchior was left with just the chapter Symbol. Both Heavy tanks had names painted on but even using magnifiers, the gothic lettering didn’t come out quite as the way I had hoped, but at this scale it’s acceptable enough to leave be.

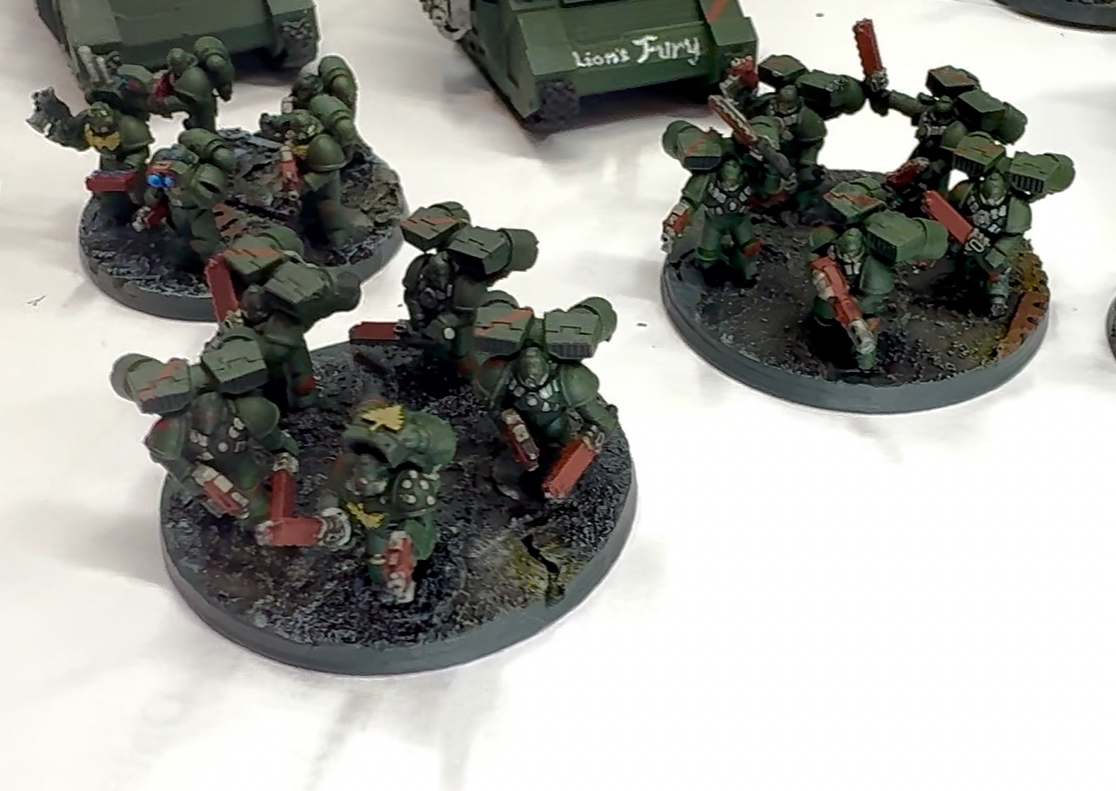
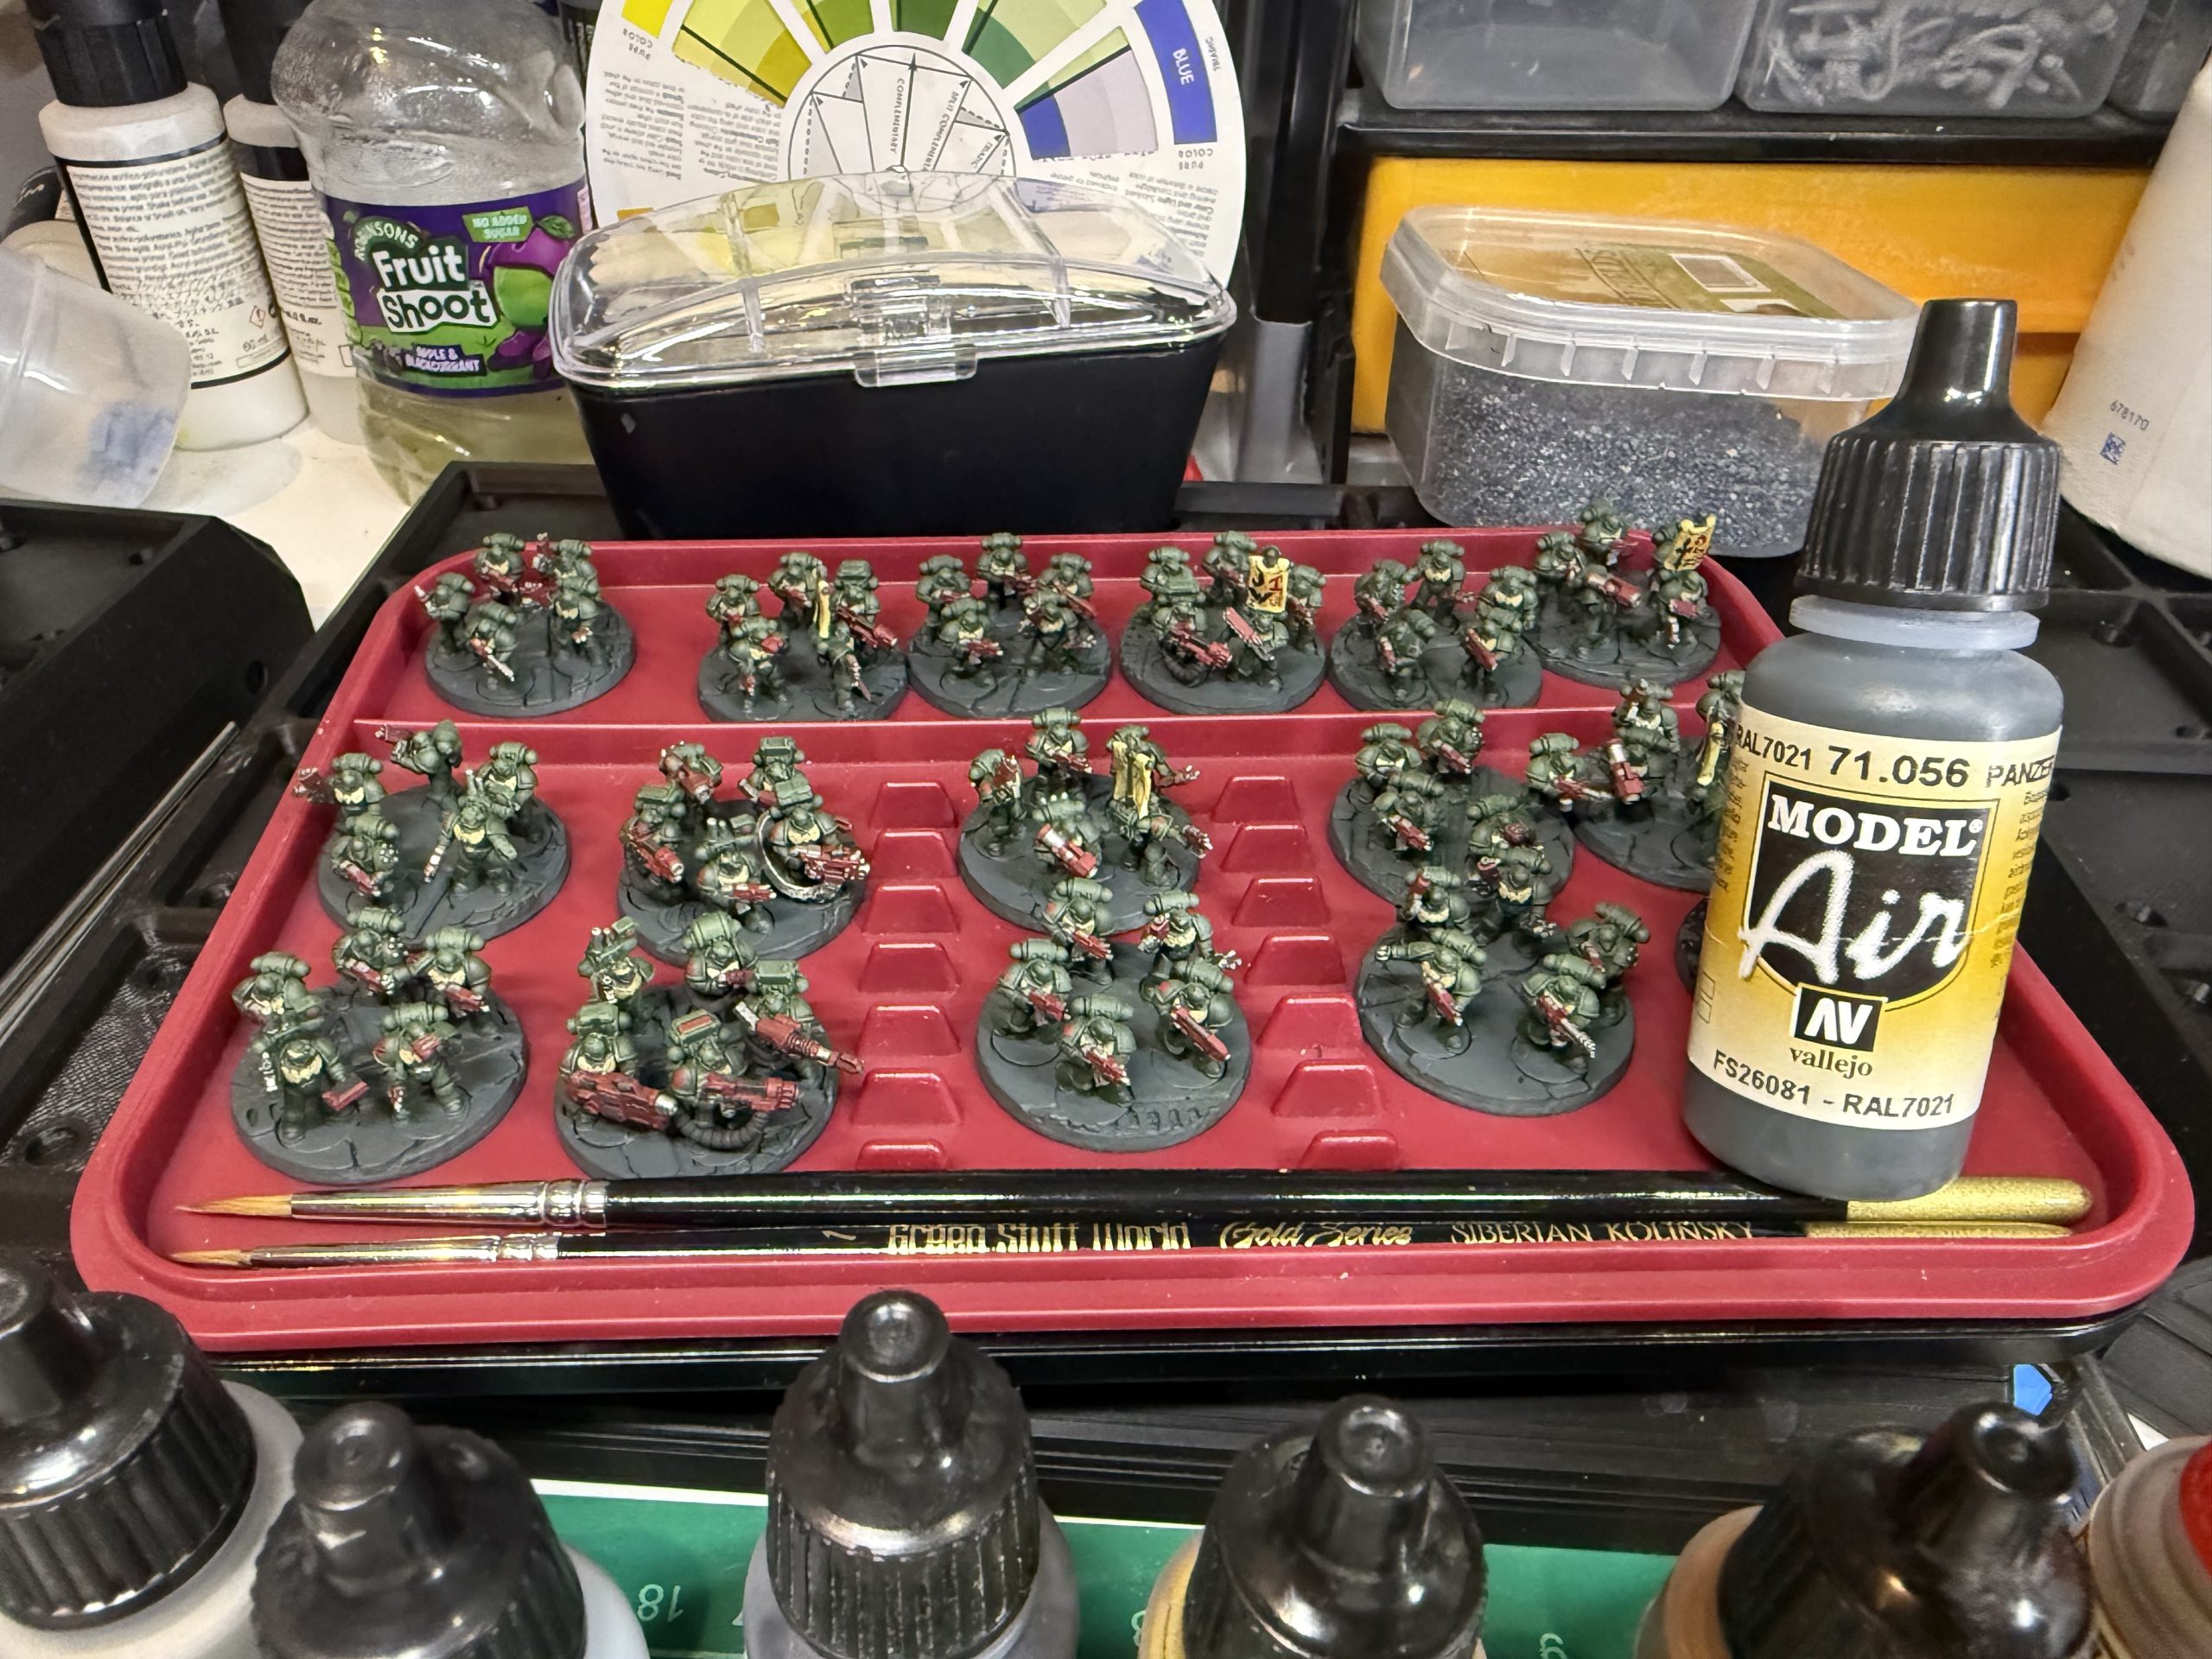
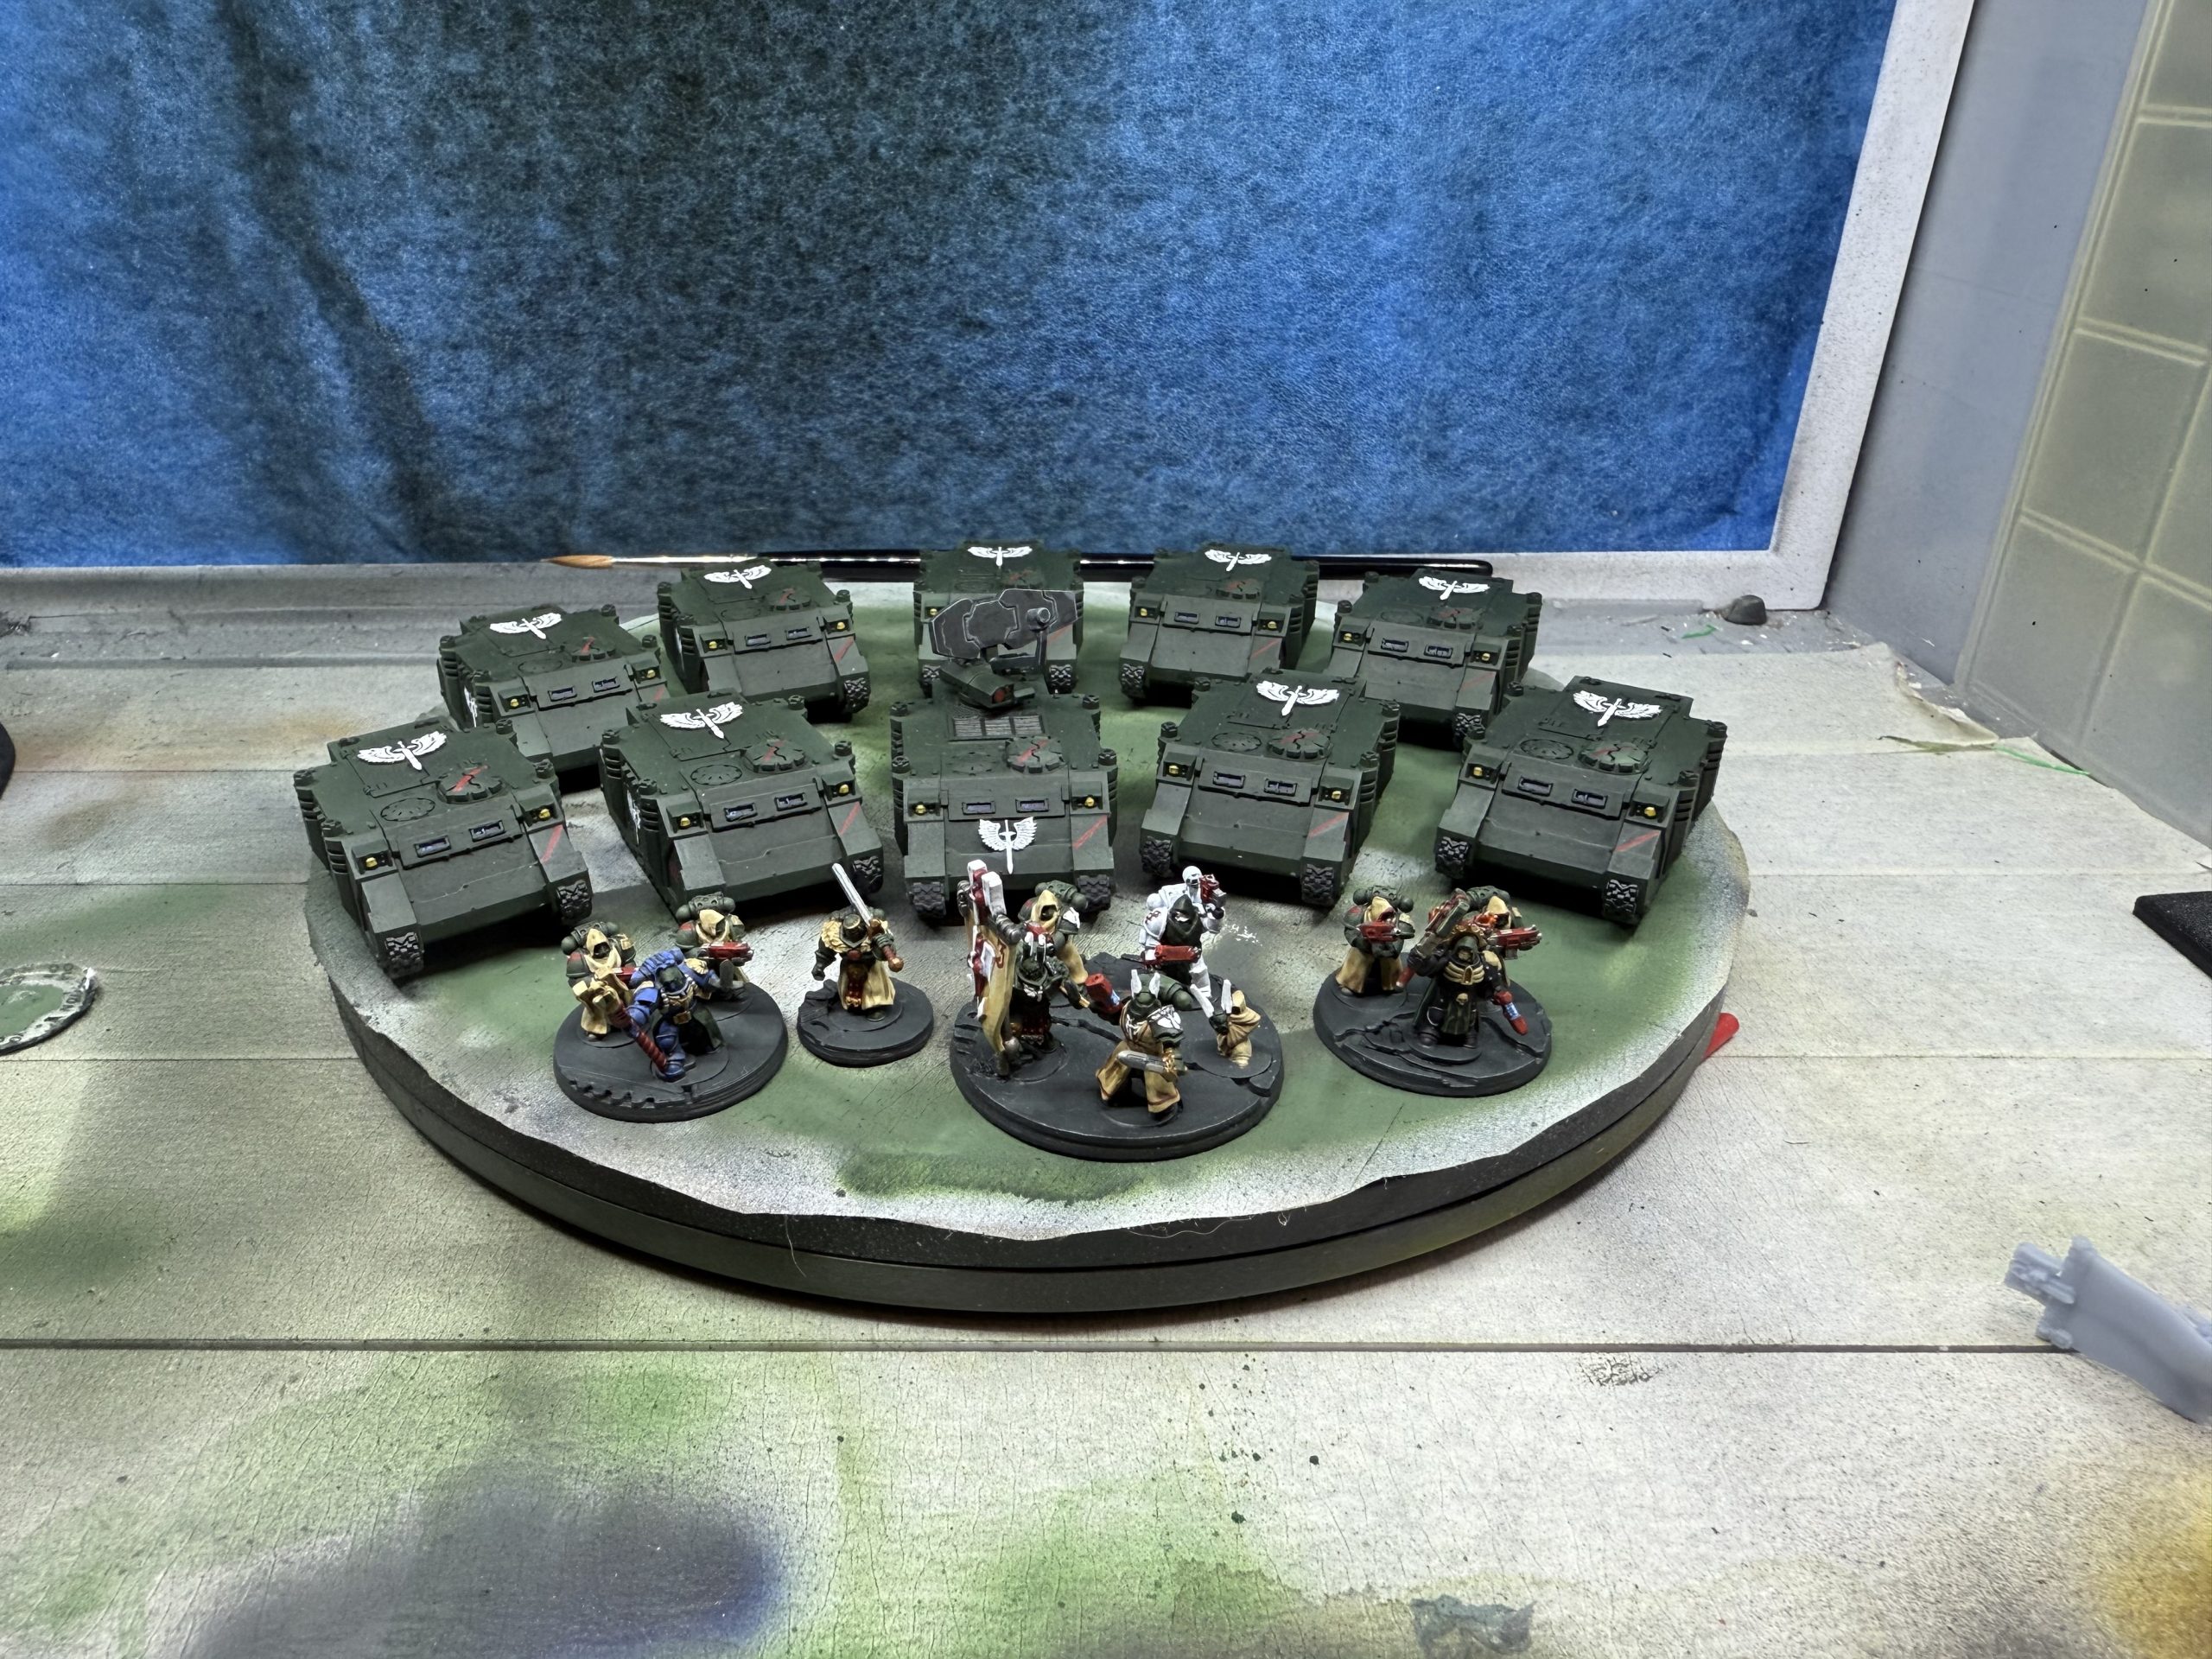
Seeing the full company assembled for the first time — from the Command Squad through the Tactical, Devastator, and Assault elements to the supporting armour — has been immensely satisfying. The sea of green, broken by banners, the spots of red weaponry and the occasional blue of plasm pull together into a cohesive, grim aesthetic befitting the sons of the Lion.
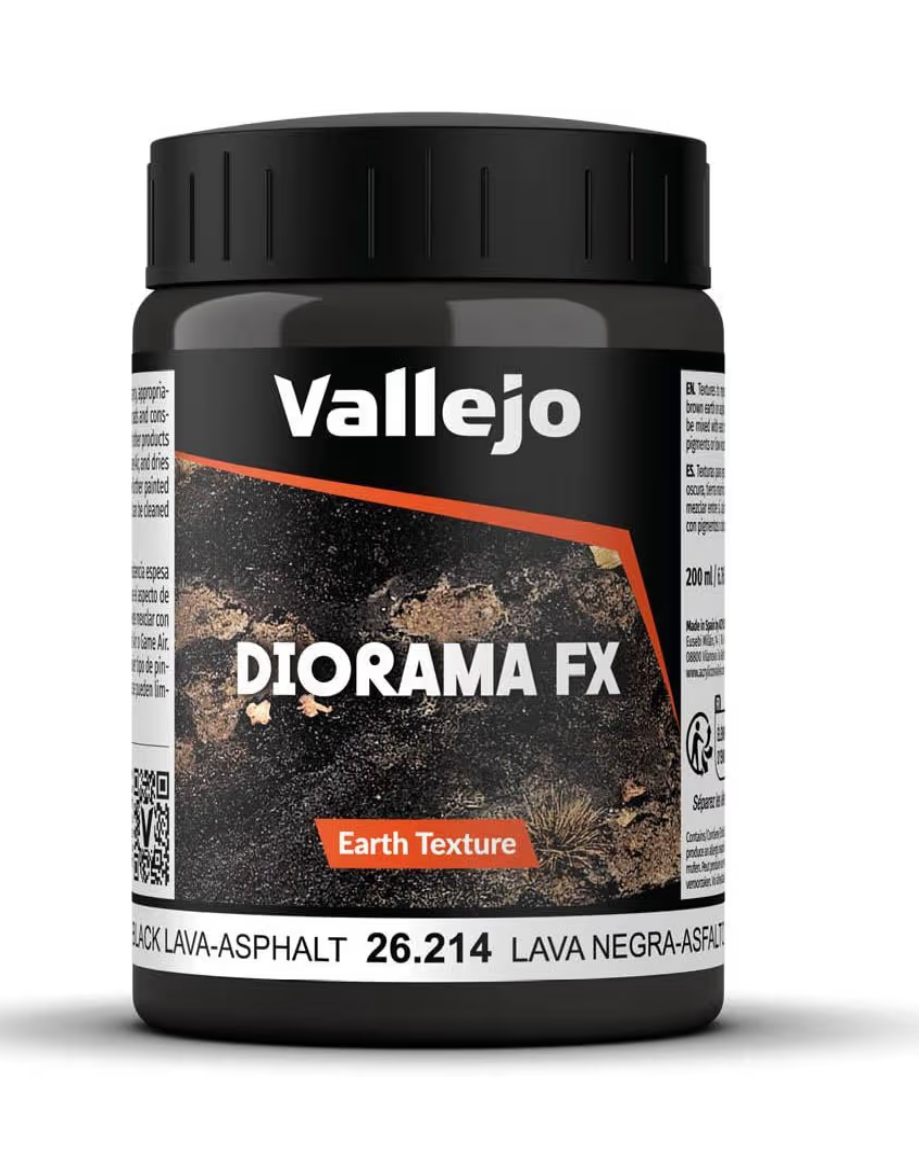
The last touch was going over the entire company with Vallejo cracked asphalt diorama fix, and giving it a drybrush picking out some details on the bases- grates and grills etc, and adding a touch of Vallejo lichen effect in some crevices to put a spot of colour in the grey.
With The Unmerciful now complete, it’s time to prepare for the next stage of the Chapter’s mustering
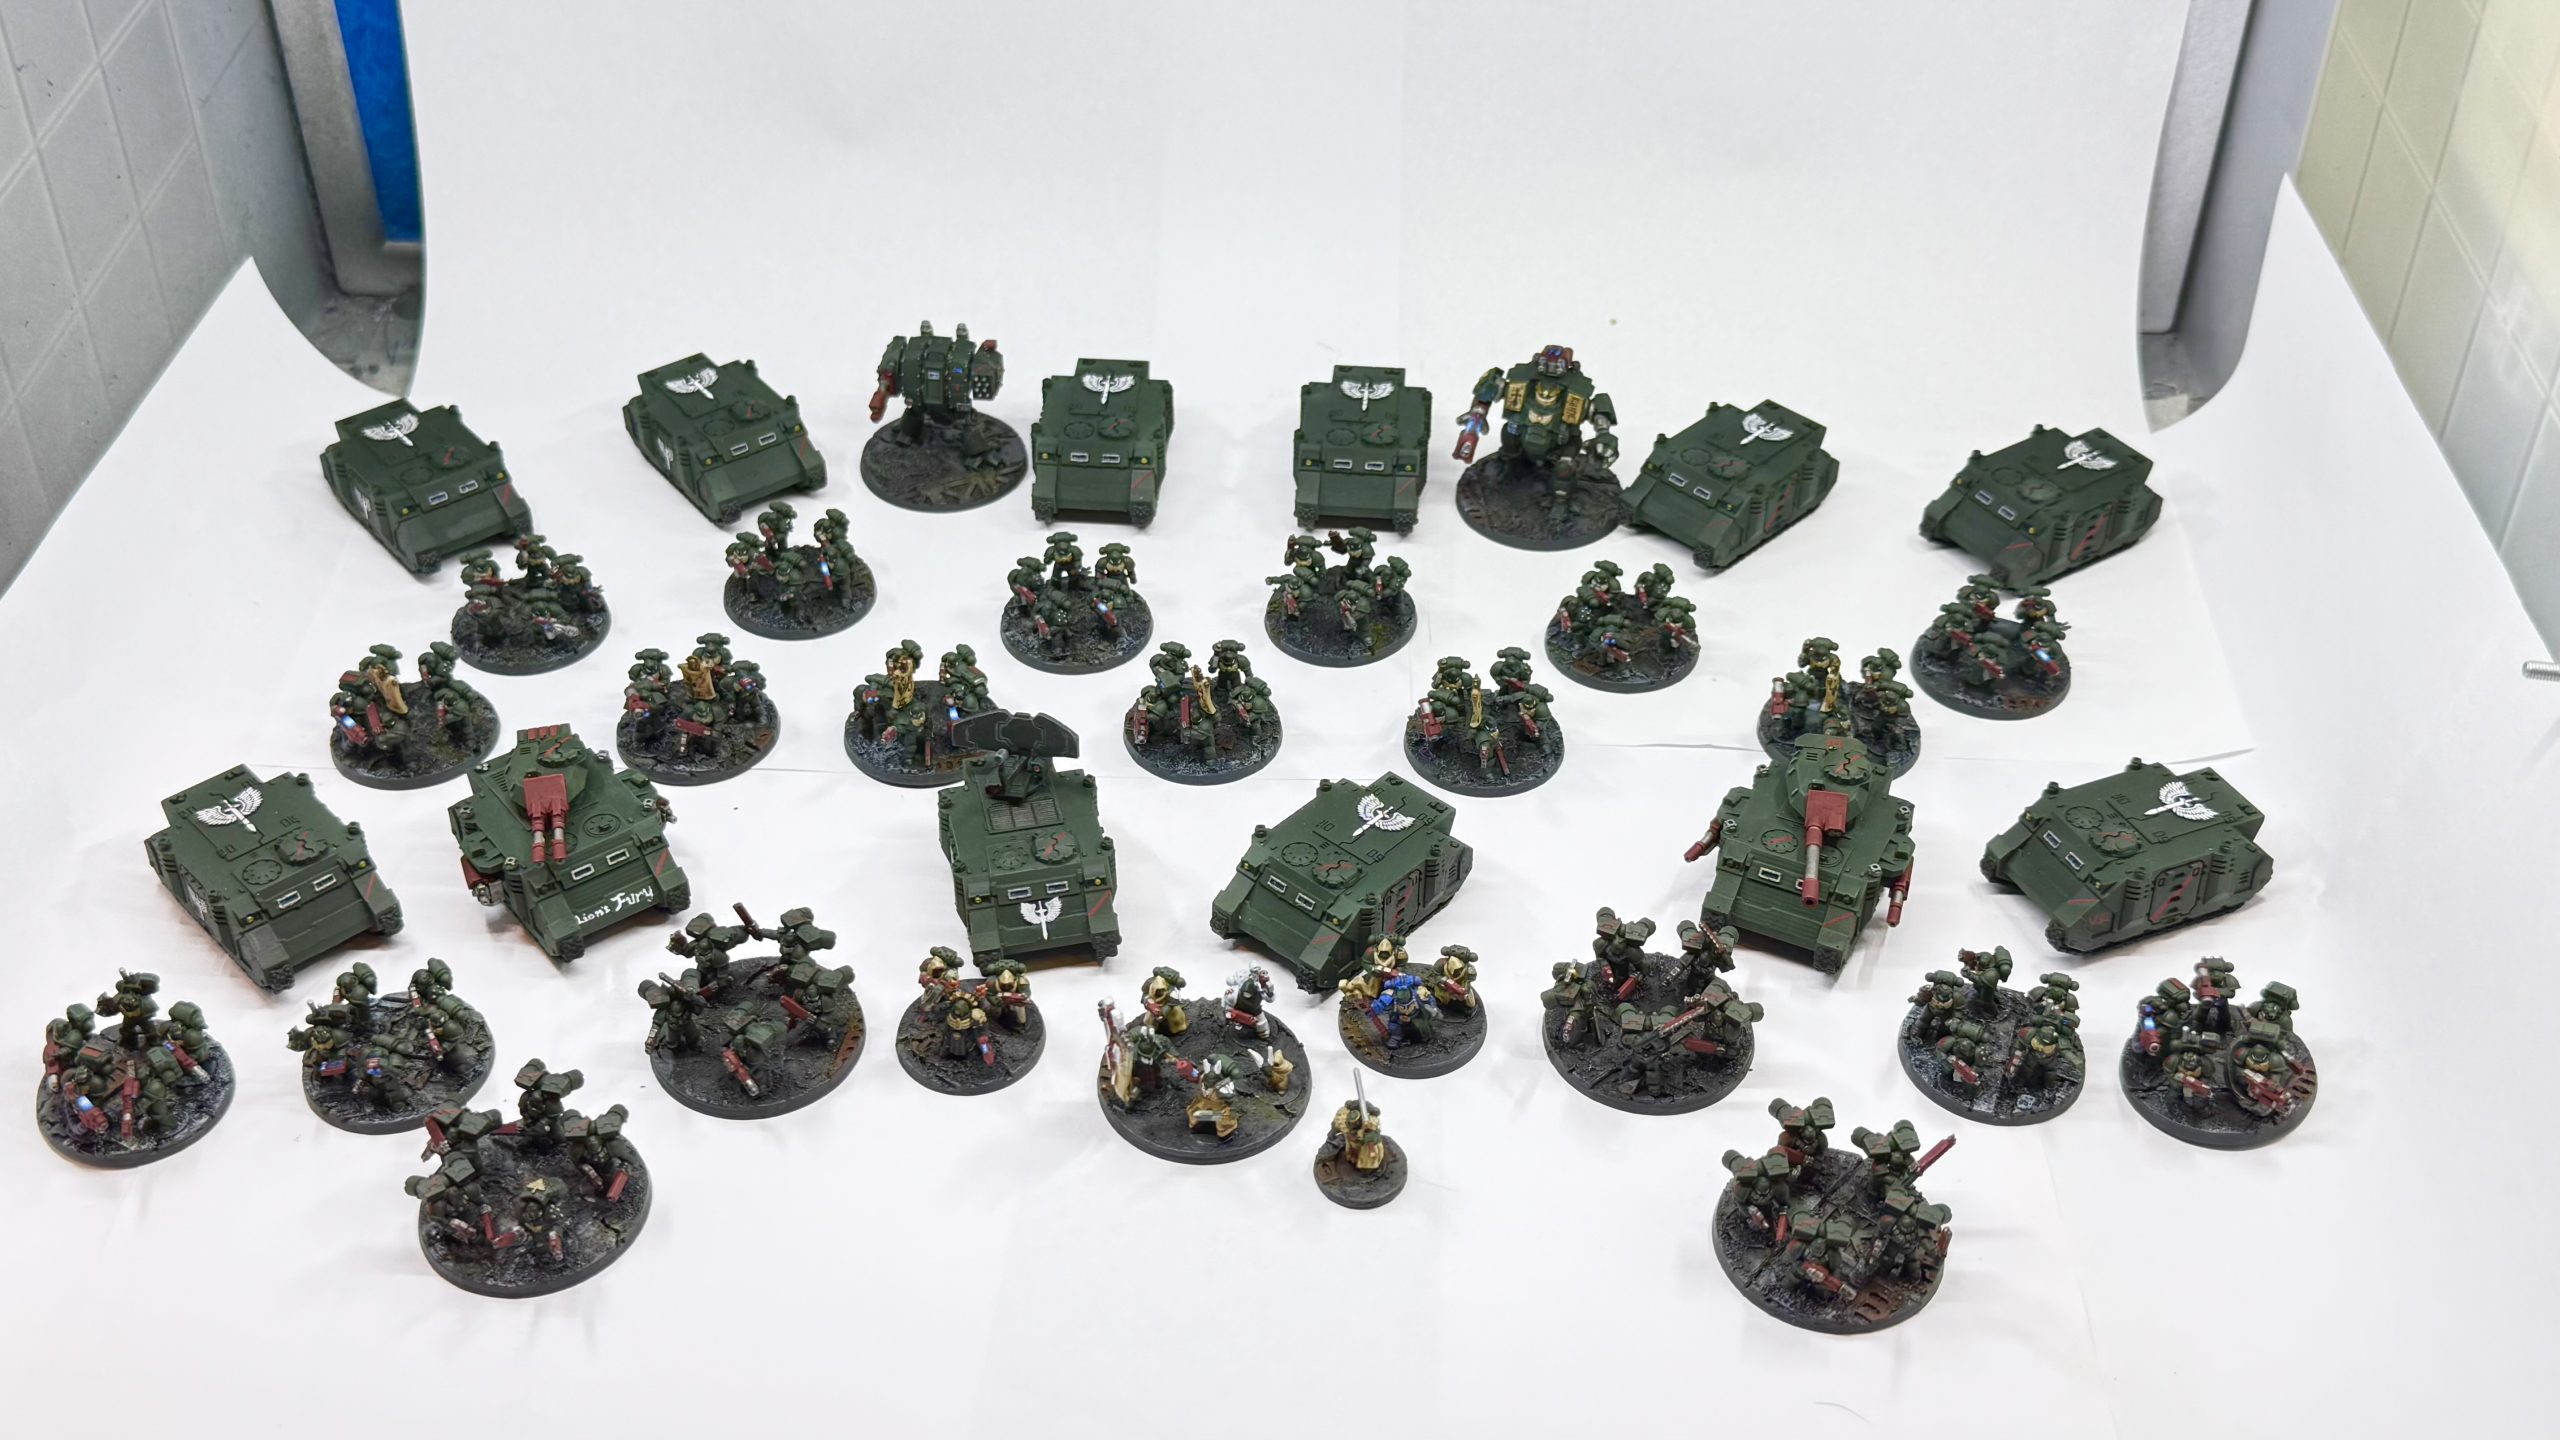 The full company
3rd Company – Part 3
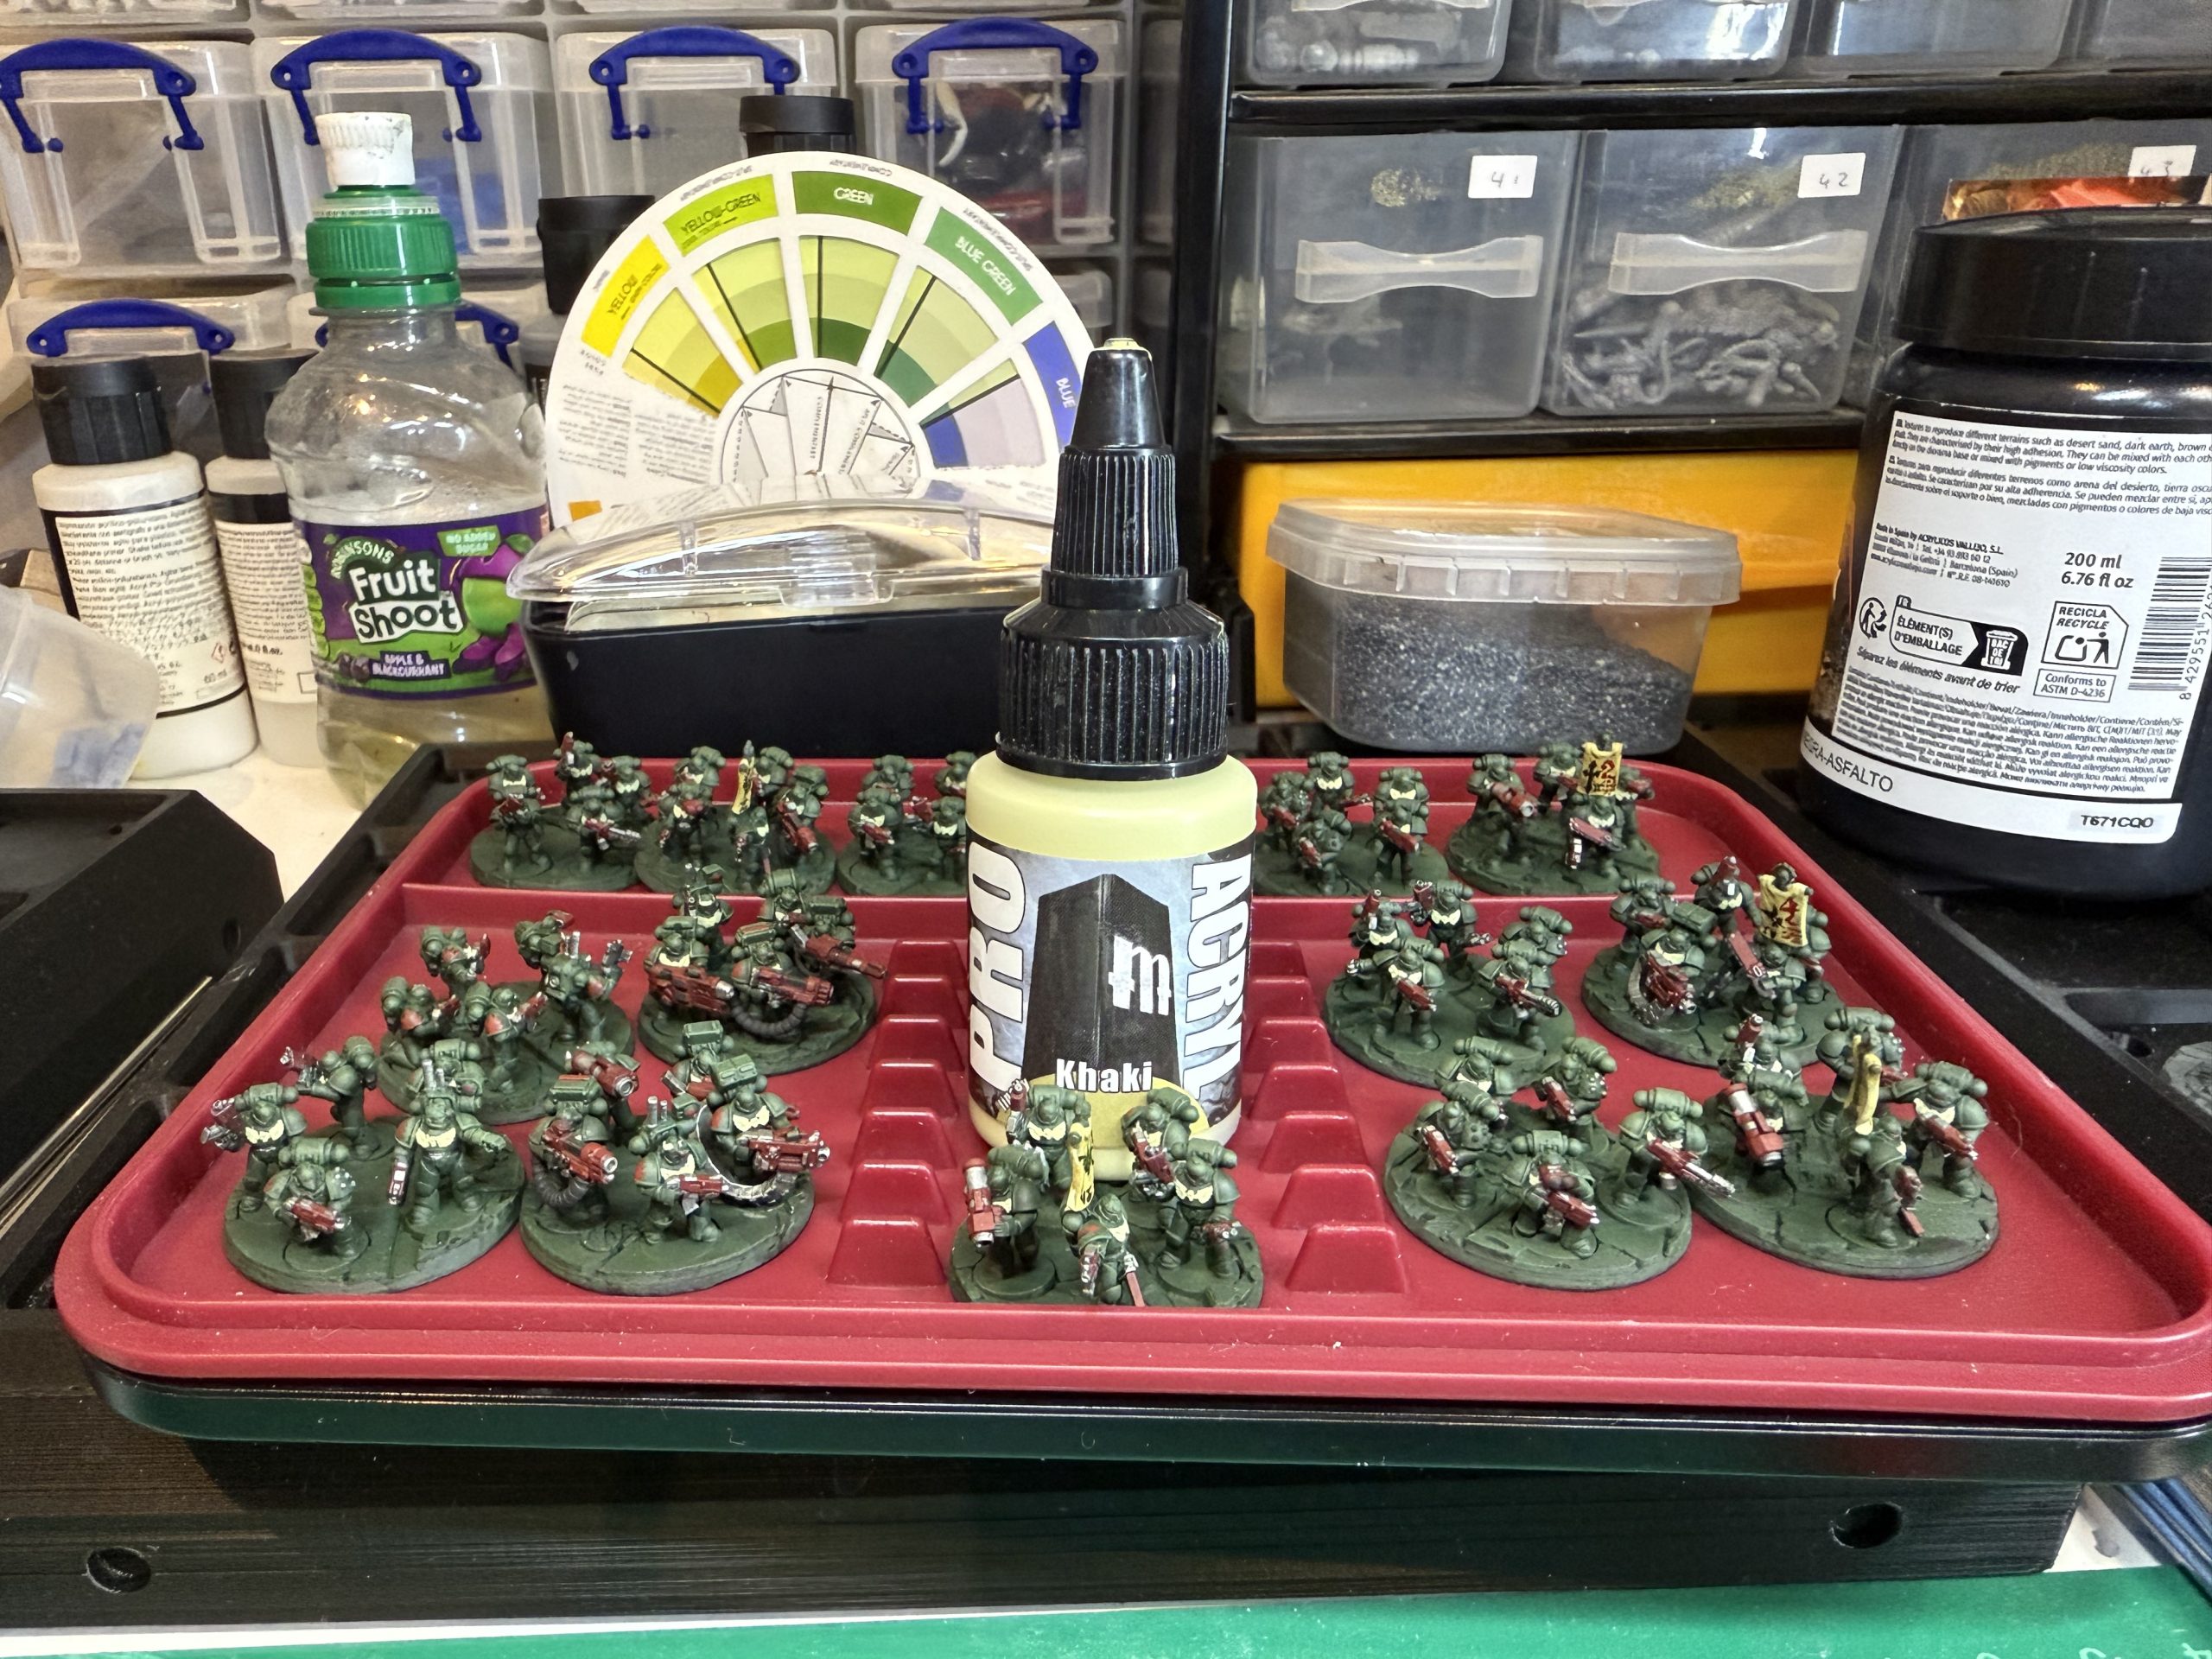
Tactical & Devastator squads
After the command units and Rhinos, the real work began — the Tactical and Devastator squads that make up the backbone of the 3rd Company.
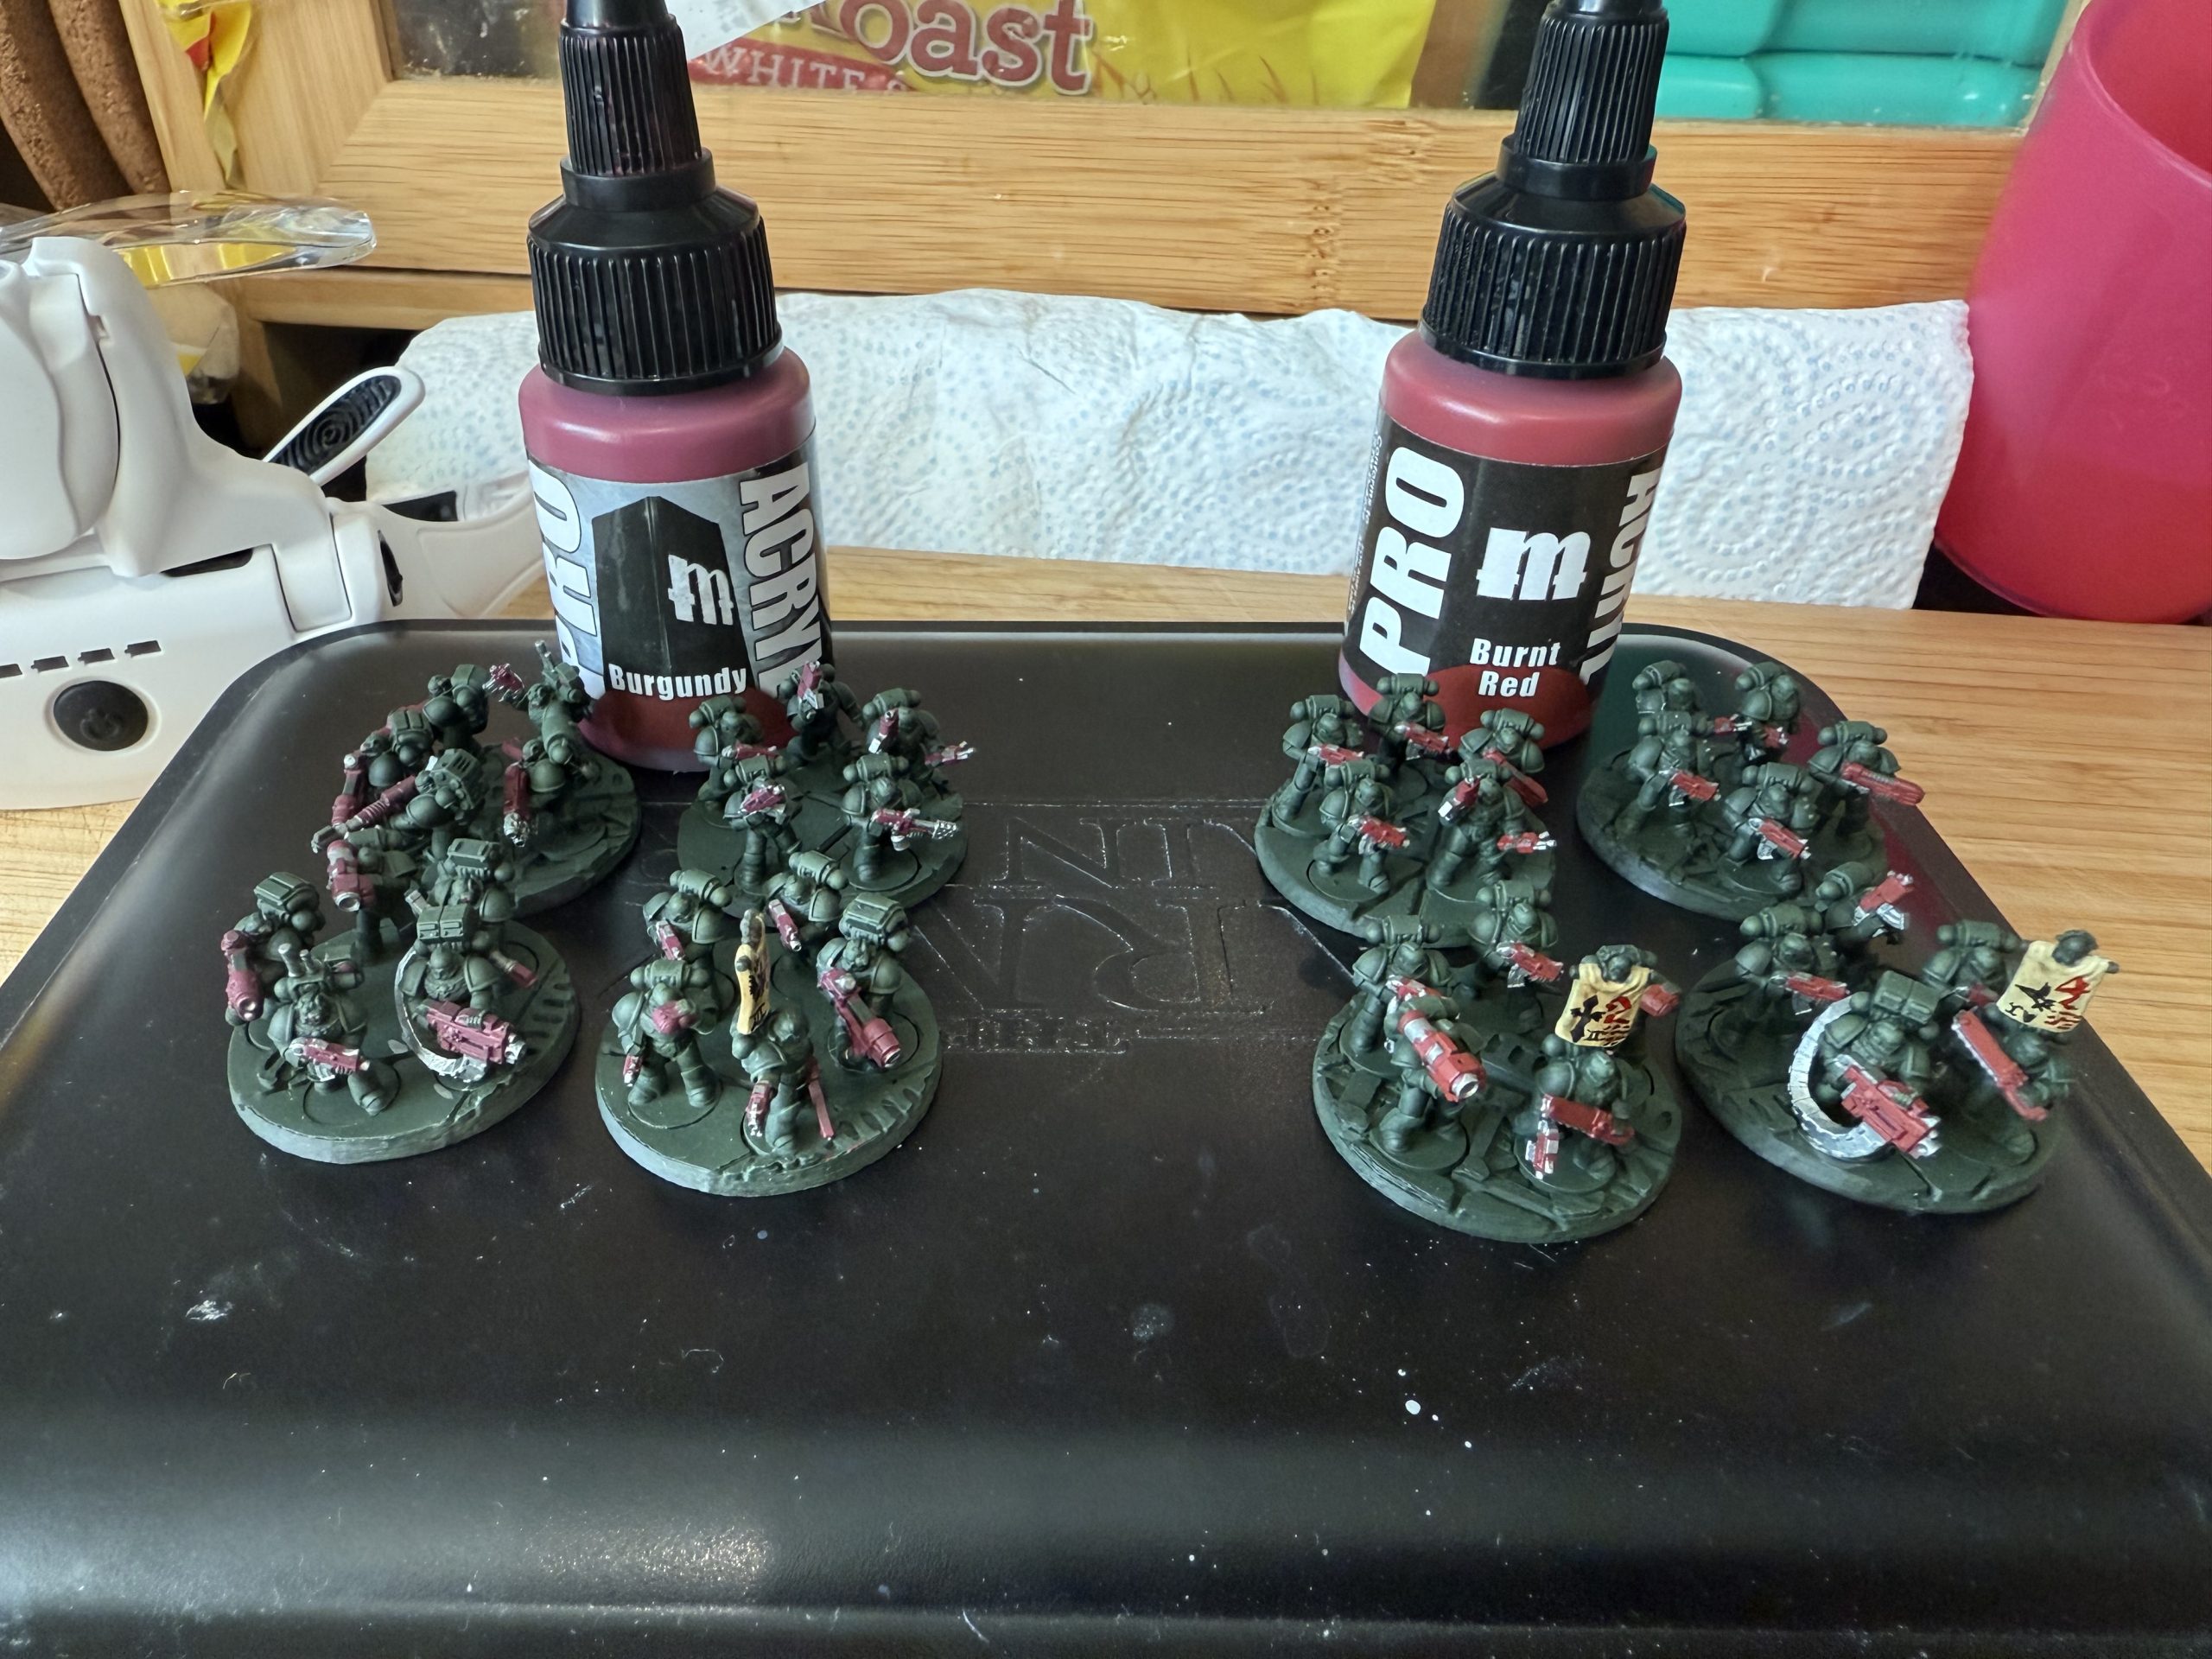 Weapon progress
Painting Approach
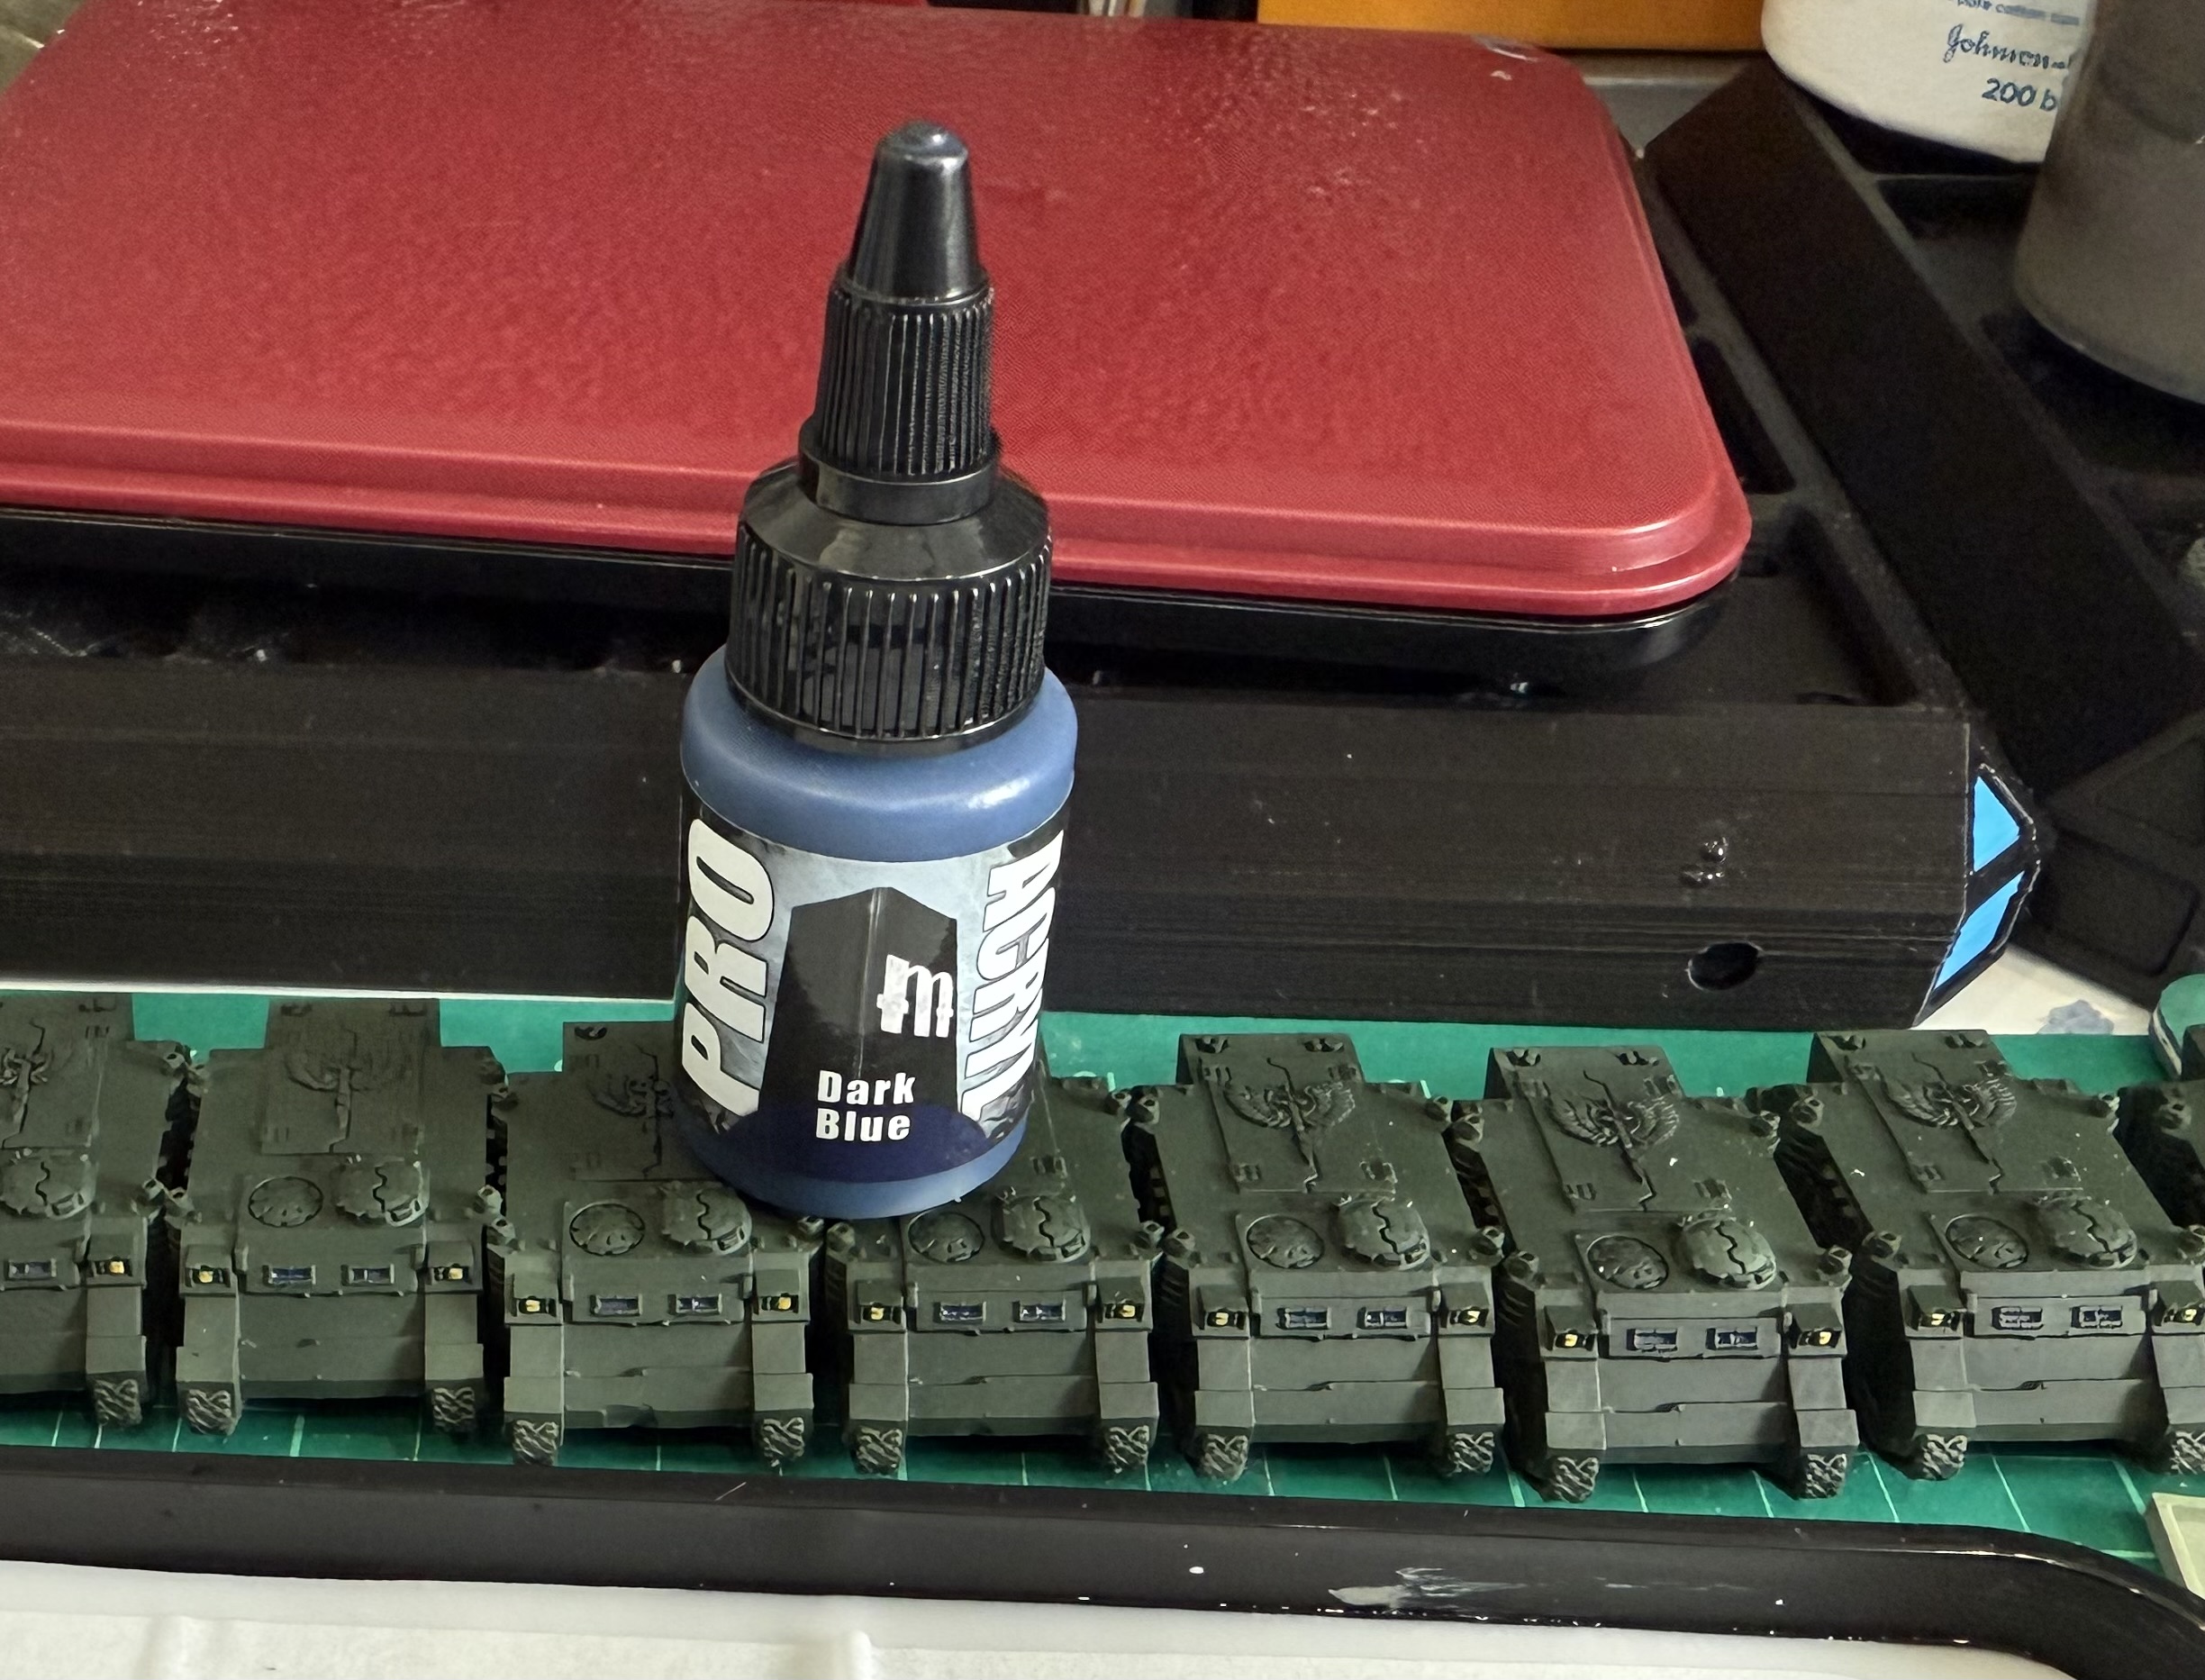
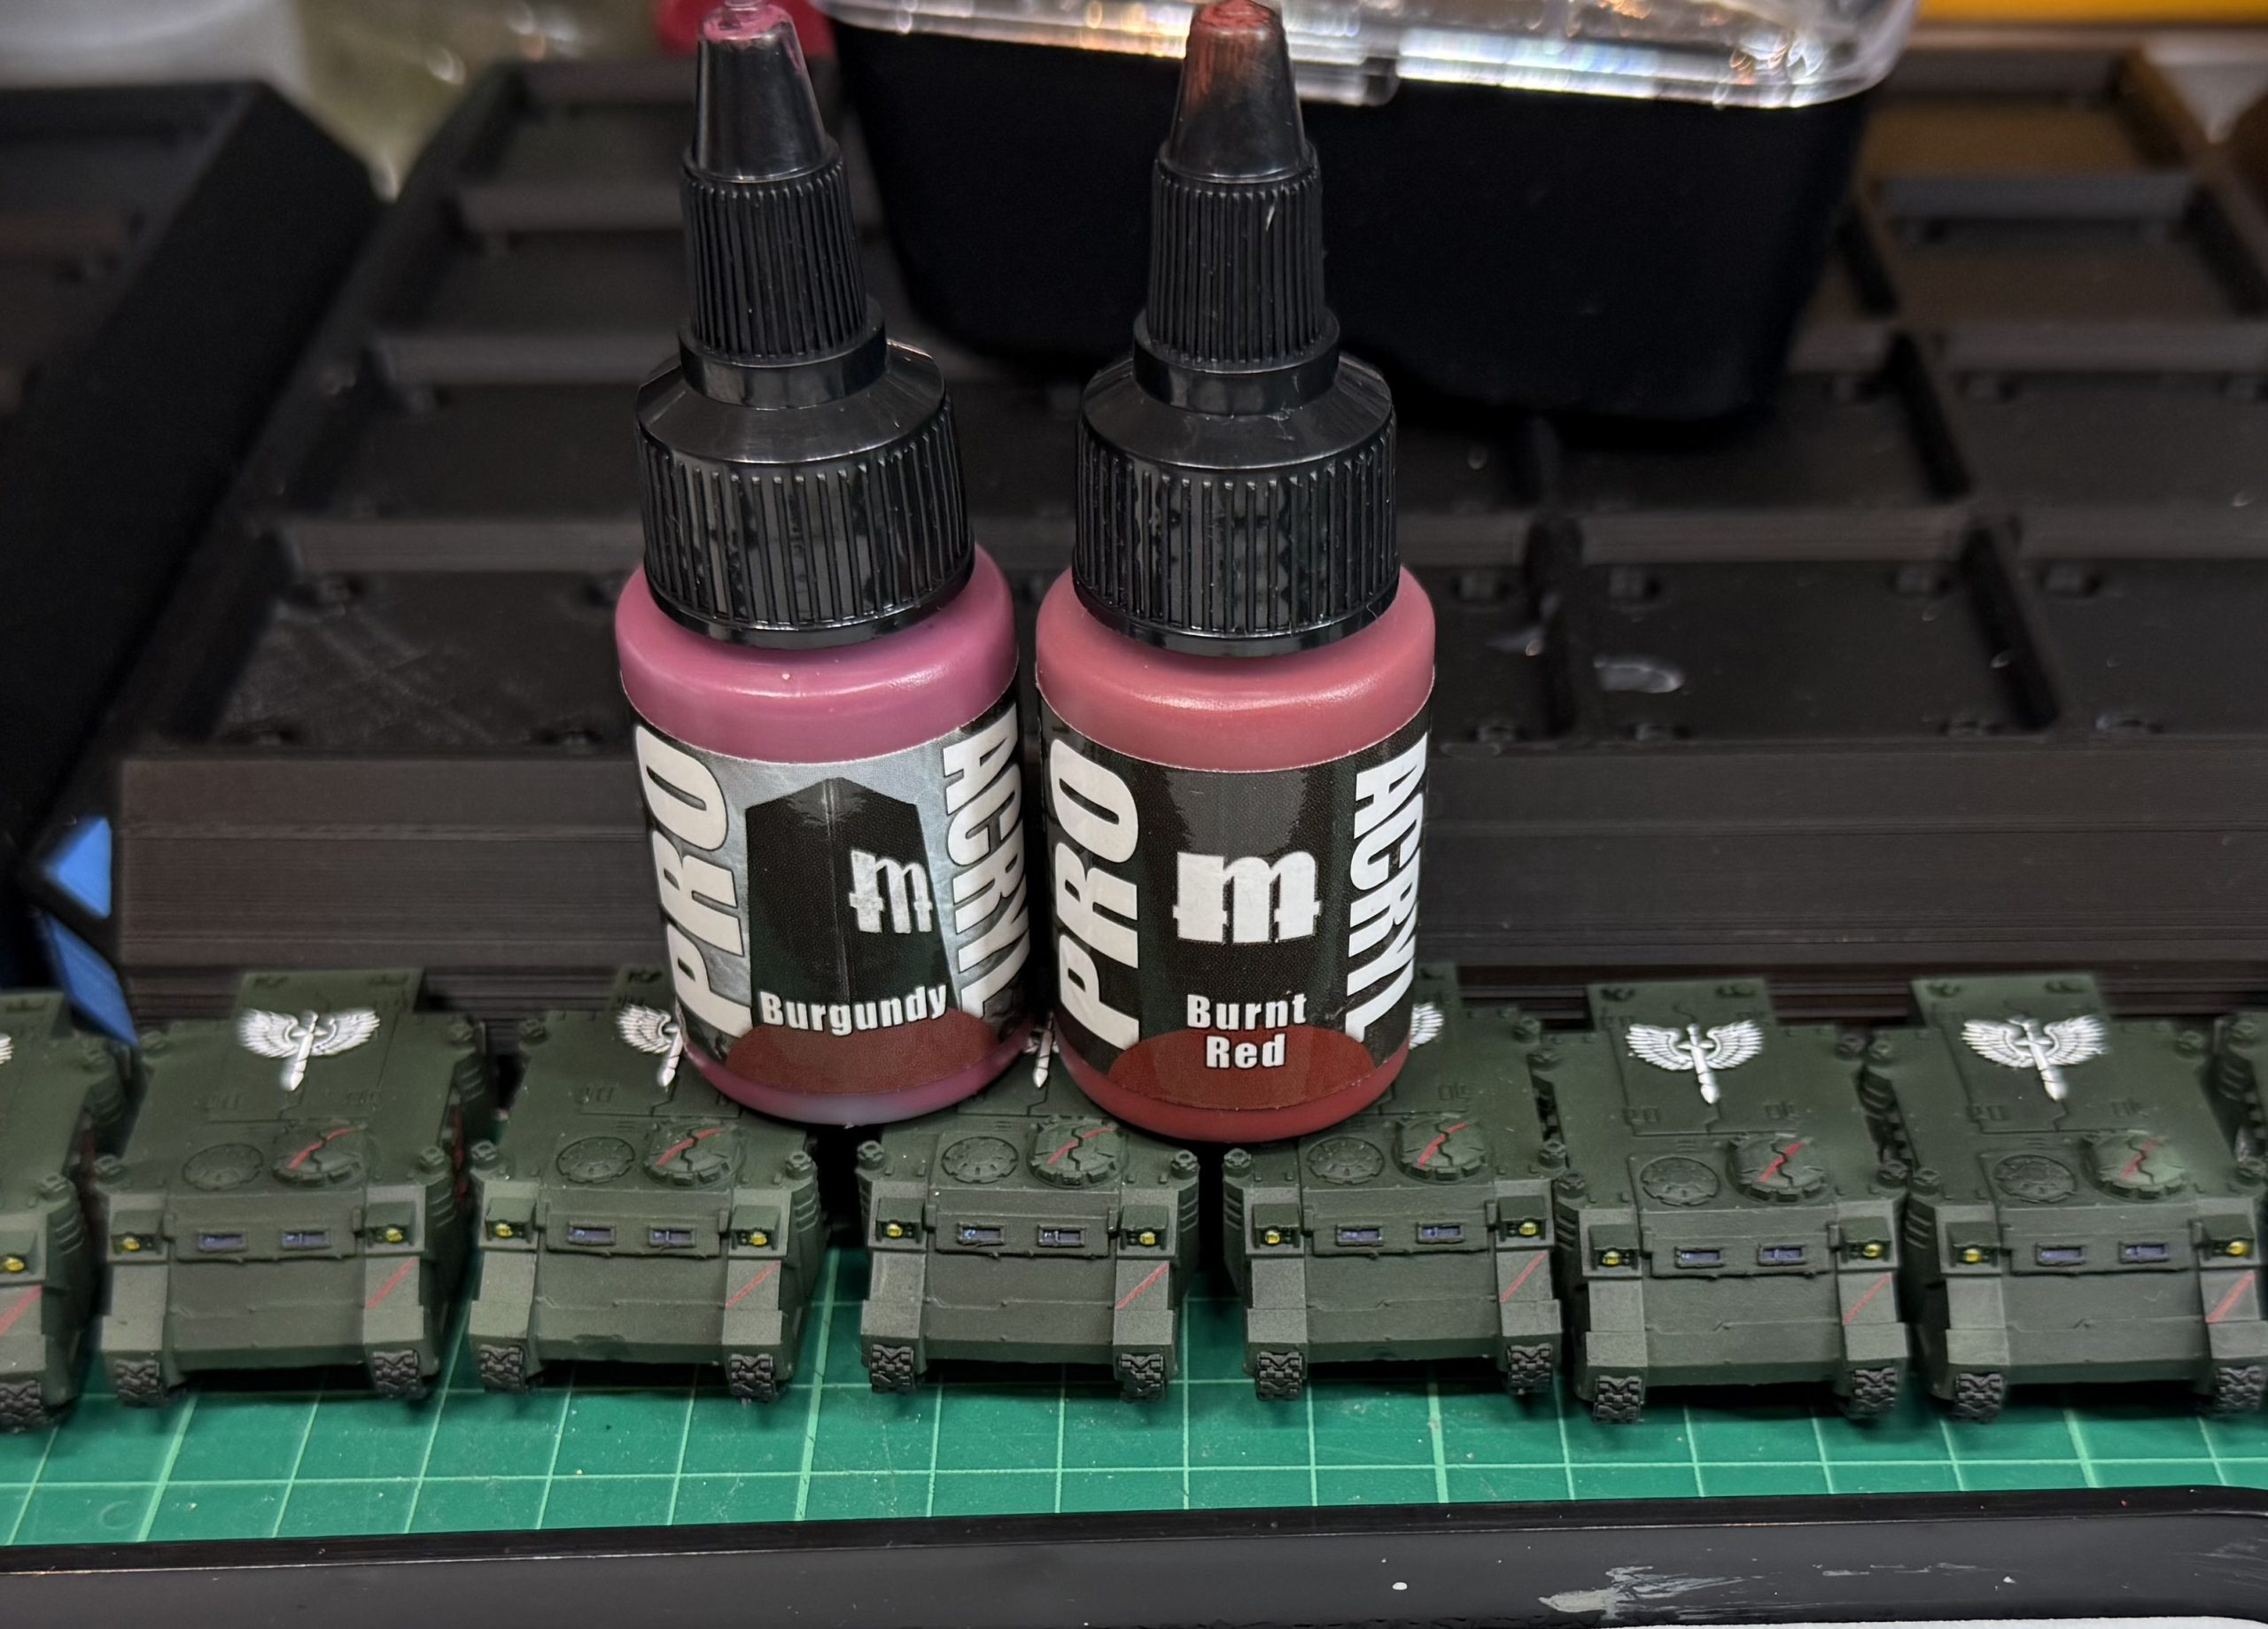
For weapons, I went with Pro Acryl Burgundy as a base, followed by a layer of Pro Acryl Burnt Red, then Scale 75 Trash Metal for the metalwork. A Vallejo Black Wash tied it all together, muting the shine and giving them the battle-worn edge I wanted.
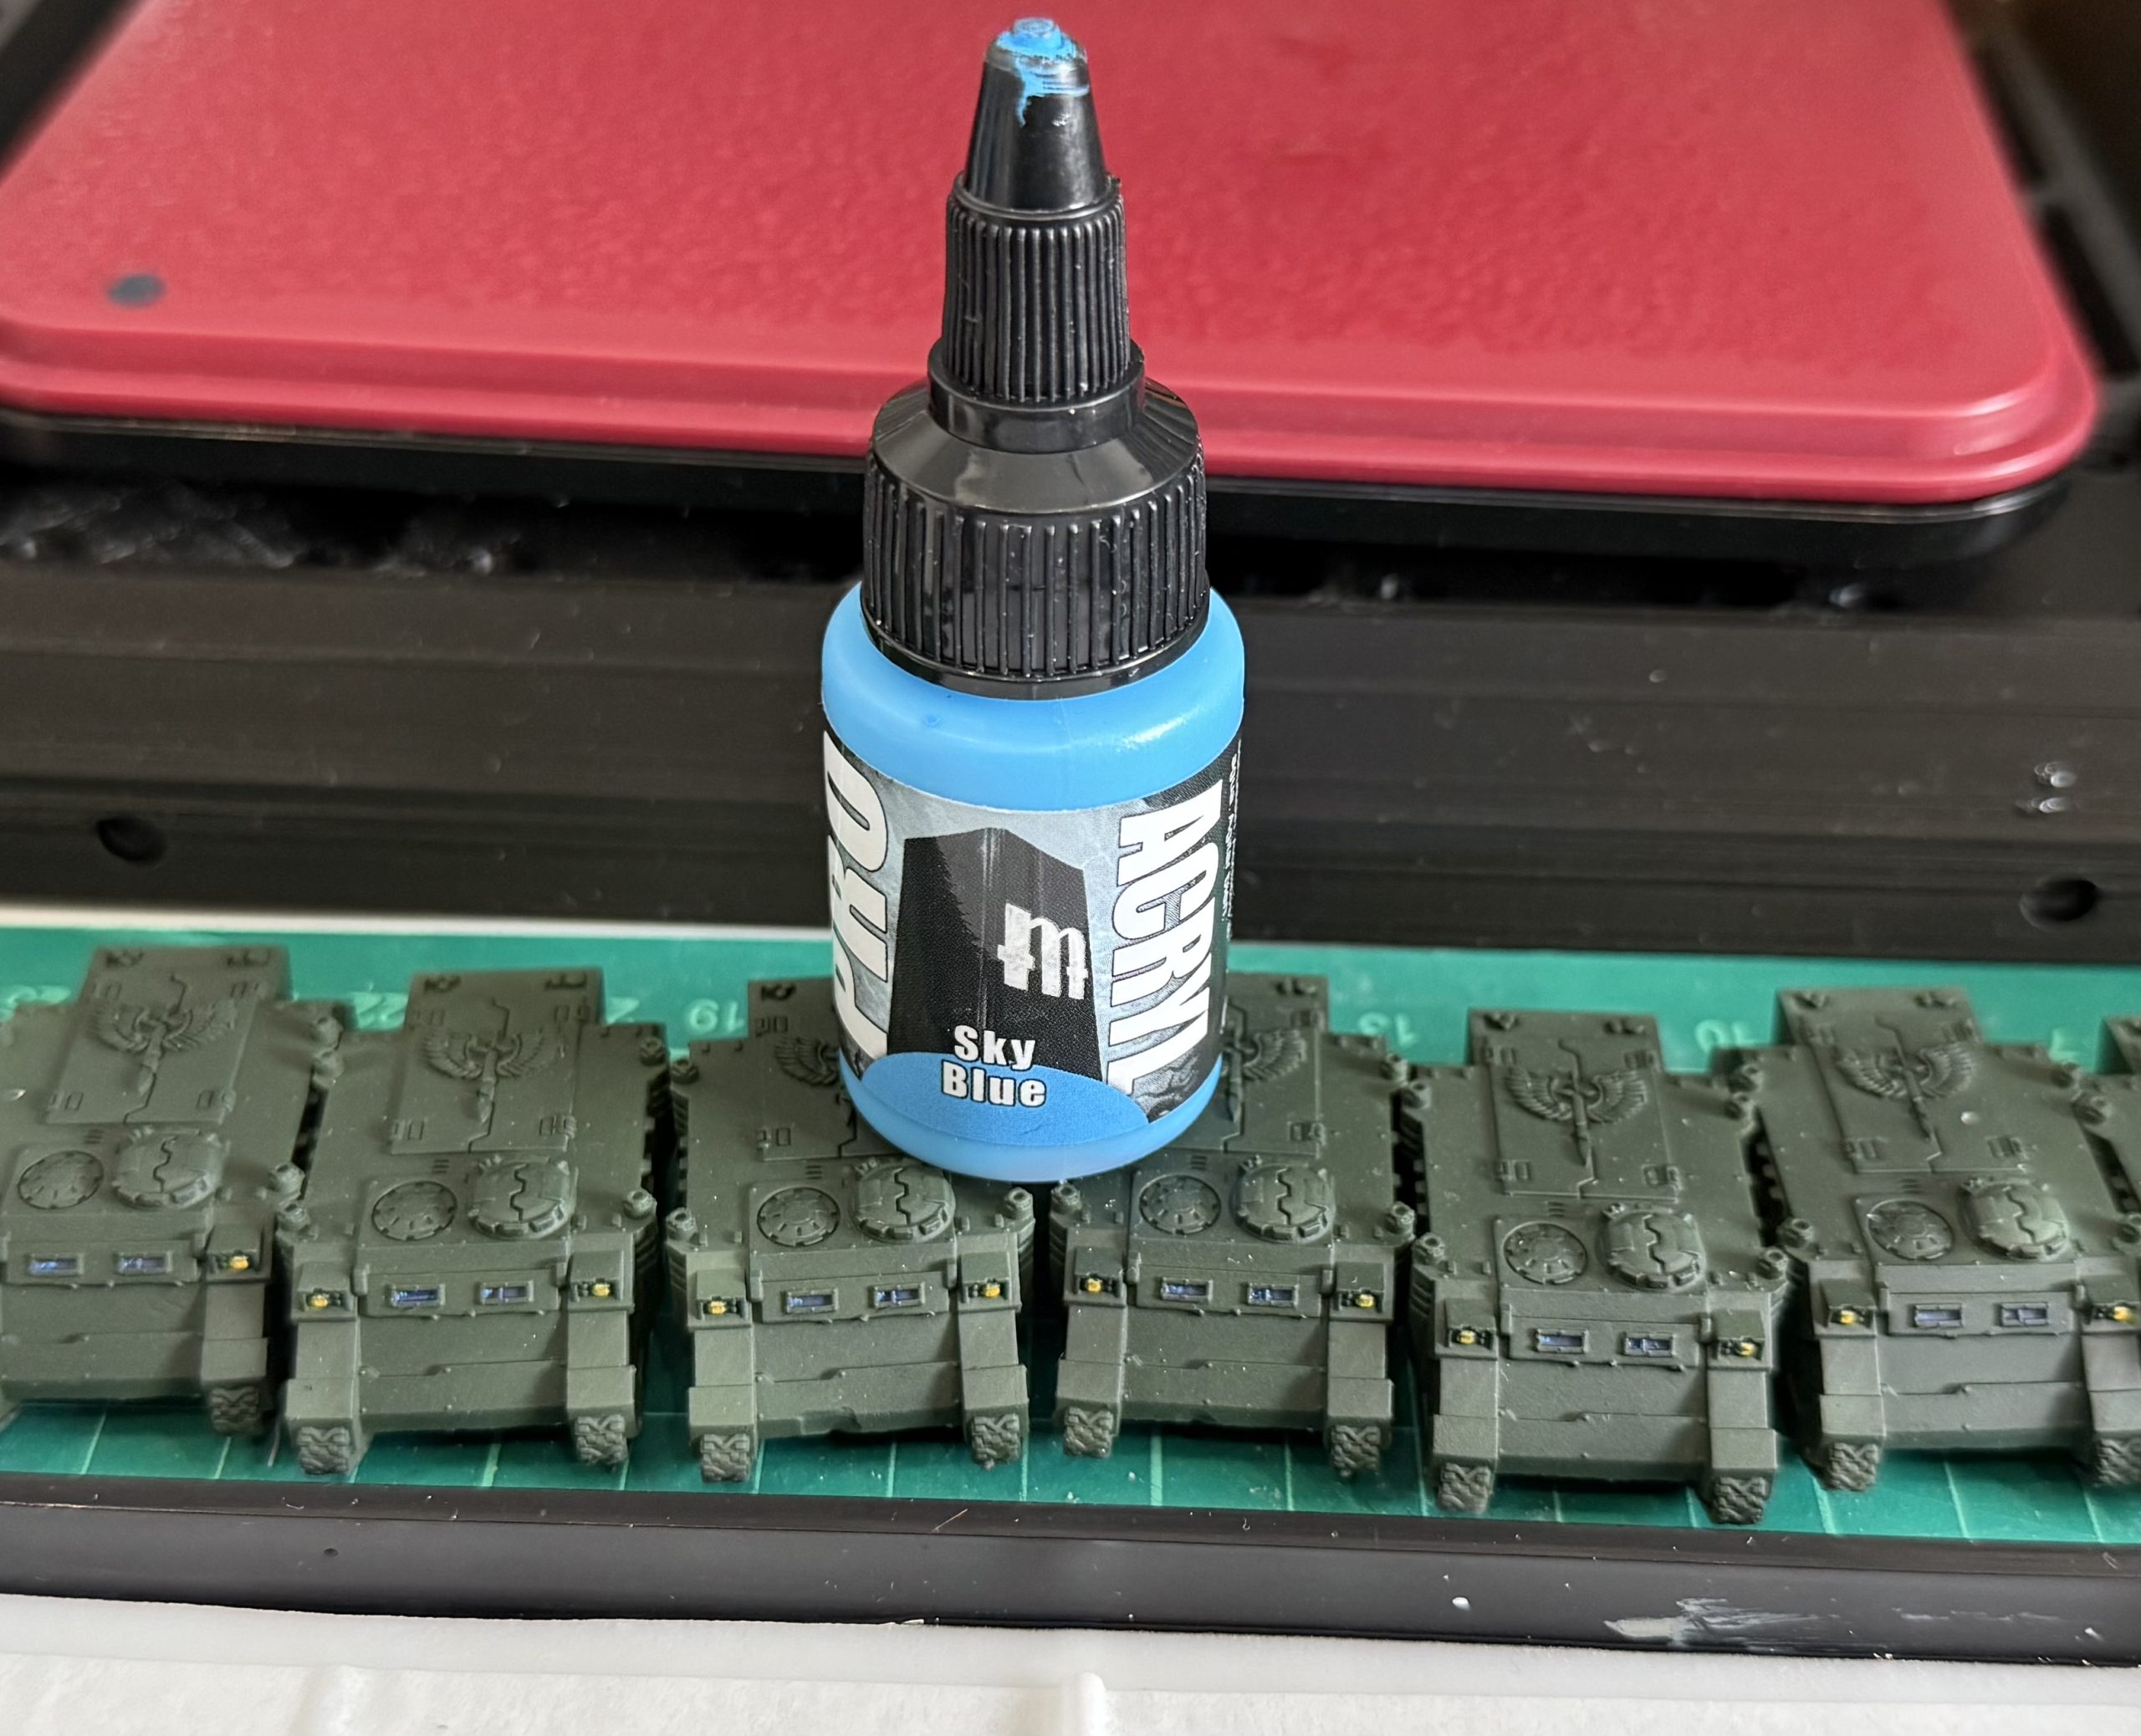
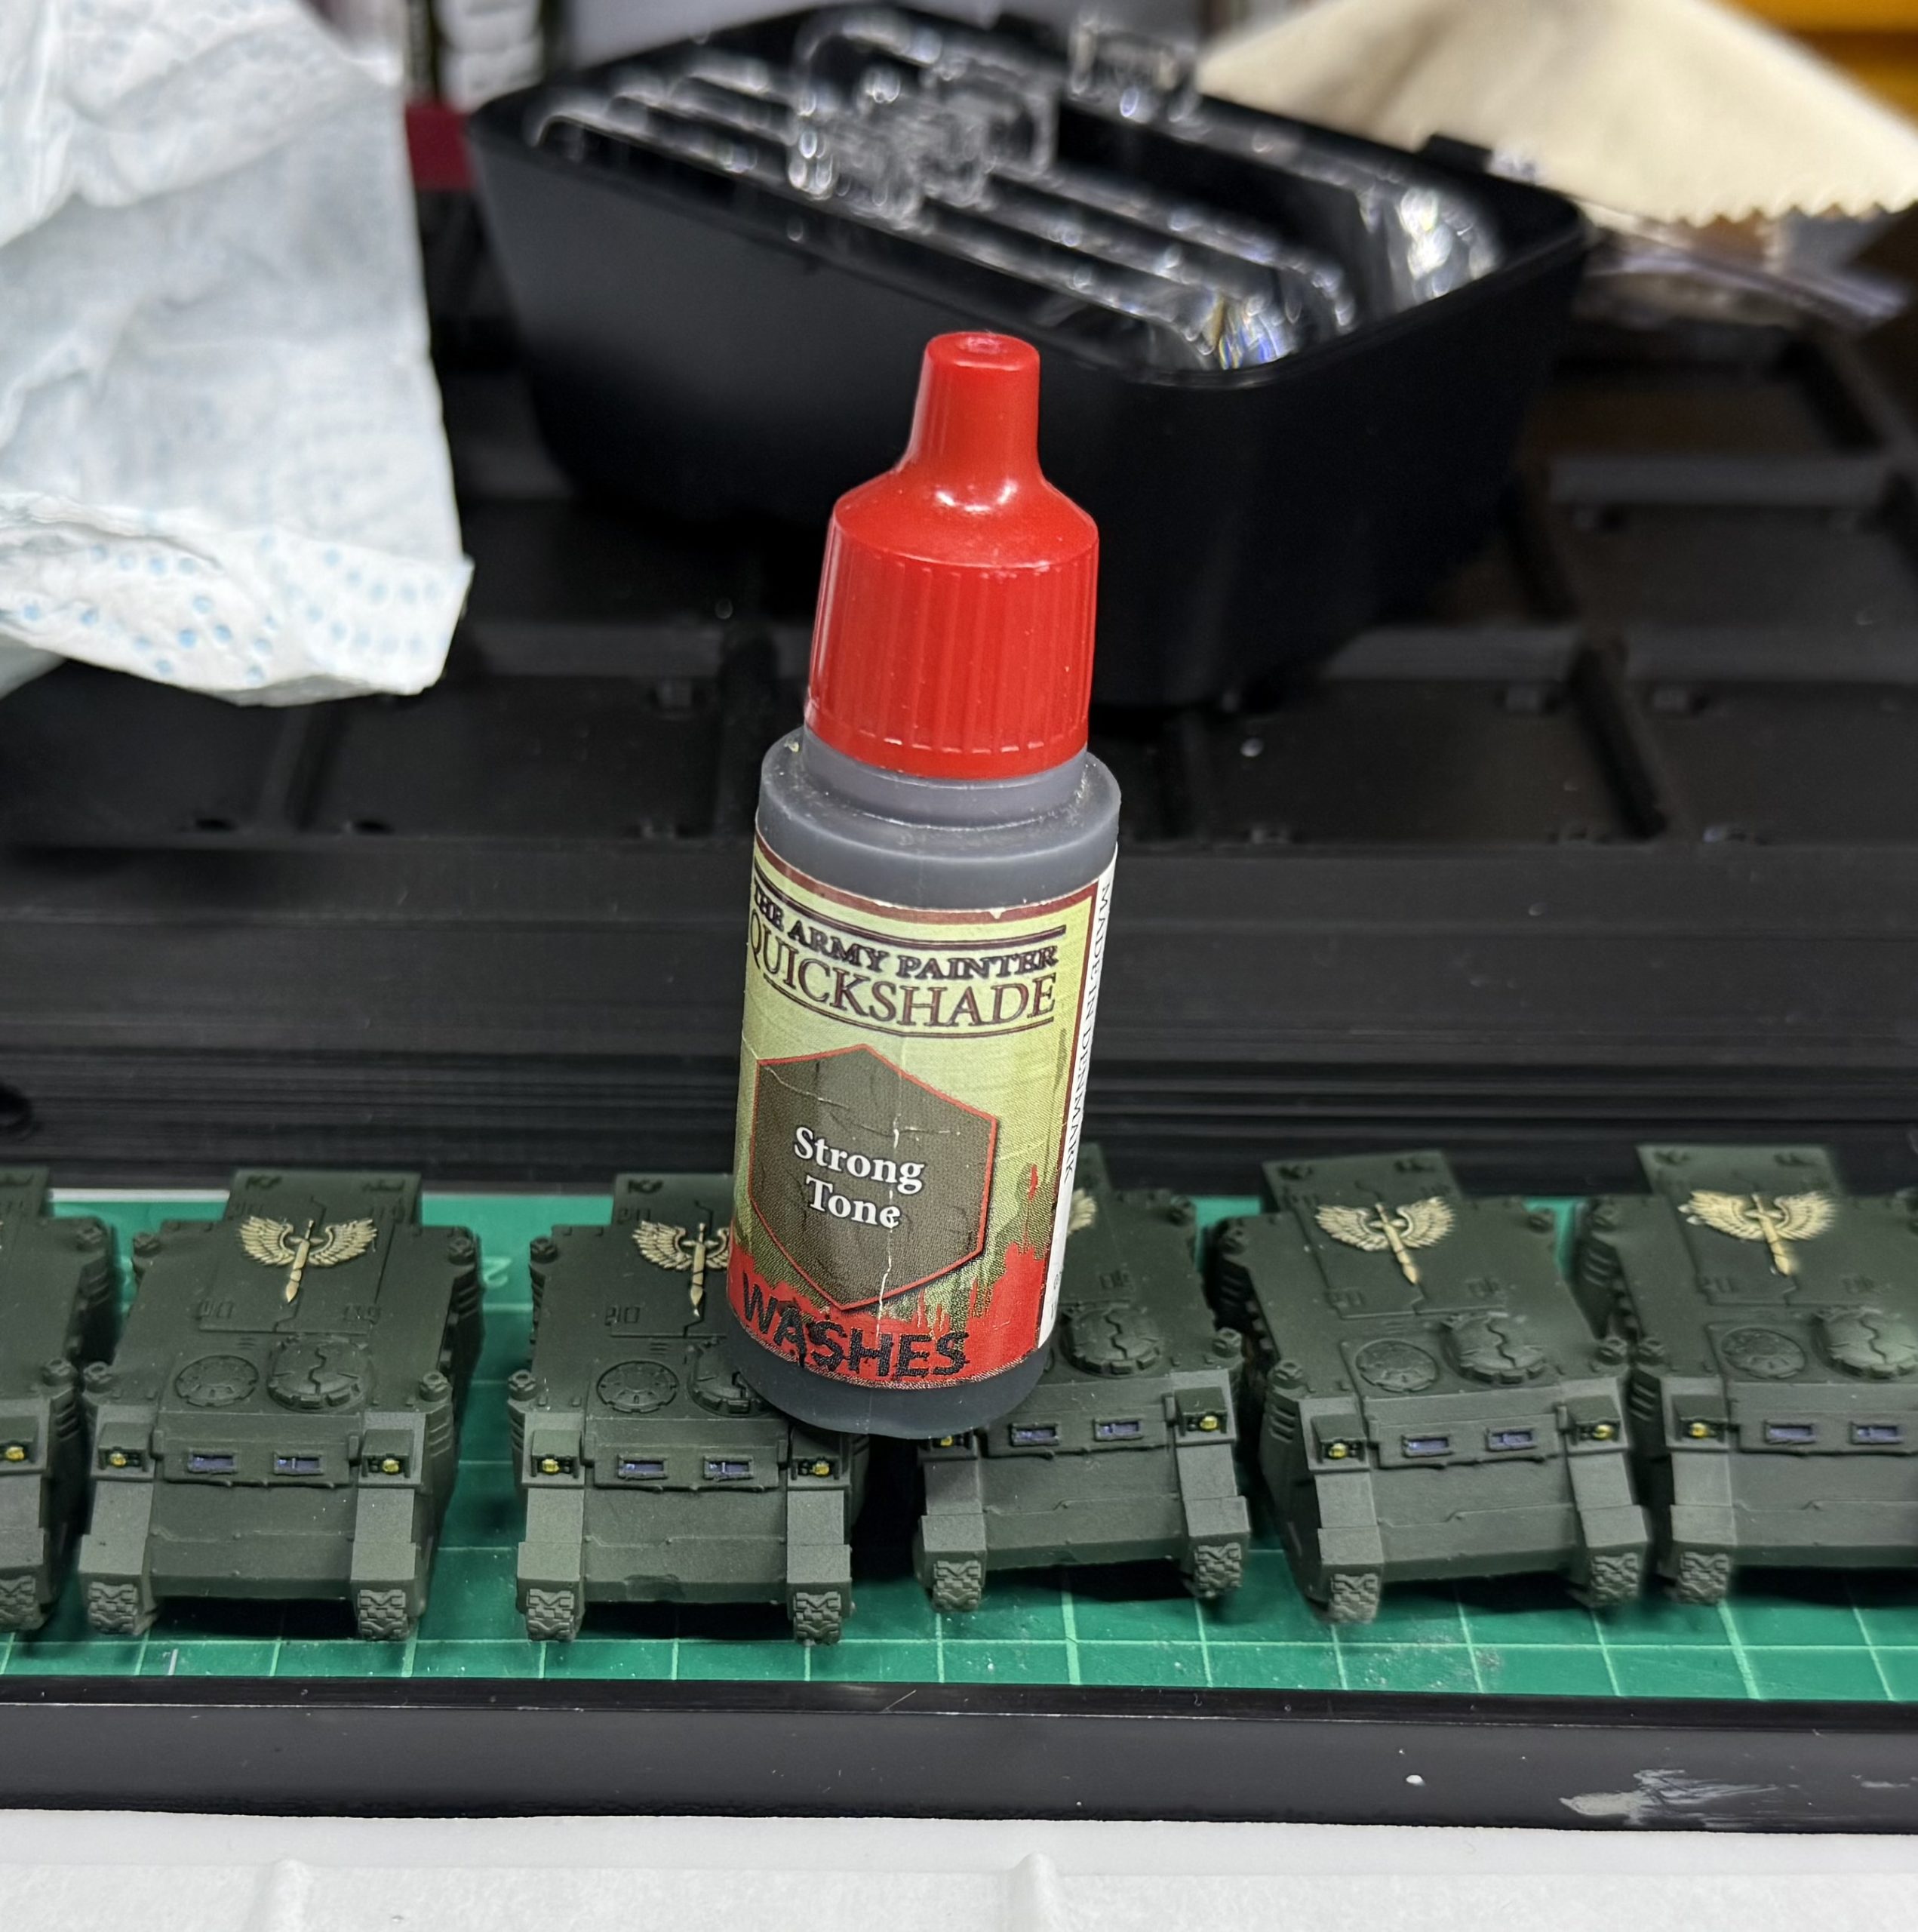
Chest aquilas were done with Pro Acryl Khaki, washed with Army Painter Strong Tone, which helps them stand out against the dark armor without being overly bright.
I debated skipping the eyes at this scale, but I couldn’t resist — they add too much life to leave blank. Each marine also received the 3rd Company kneepad stripe, a nice unifying touch that the 4th Company won’t share (their checkerboard motif seems too much for the scale).
Each squad sergeant got a banner marked with their squad number and some freehand embellishment — some came out better than others, but the variation feels authentic for a company of veterans and battle-brothers.
The Tedium
I knew painting this many marines would be repetitive, but the weapons nearly broke me. Eighty guns, one after another — prime, base, wash, touch-up, repeat. It became a kind of endurance test more than a creative act.
so I guess I have that to look forward to in each other company…
Mishaps and Minor Casualties
My own clumsy hands claimed a few casualties: two squads had upright-held bolters snap off, and one of the Devastator squads suffered multiple weapon breaks. The bolters were unrecoverable, but at this scale you’d barely notice unless you’re inspecting the base up close. The Devastators were easier to fix — a little glue and they were battle-ready again. Thankfully, nothing needed reprinting or replacement.
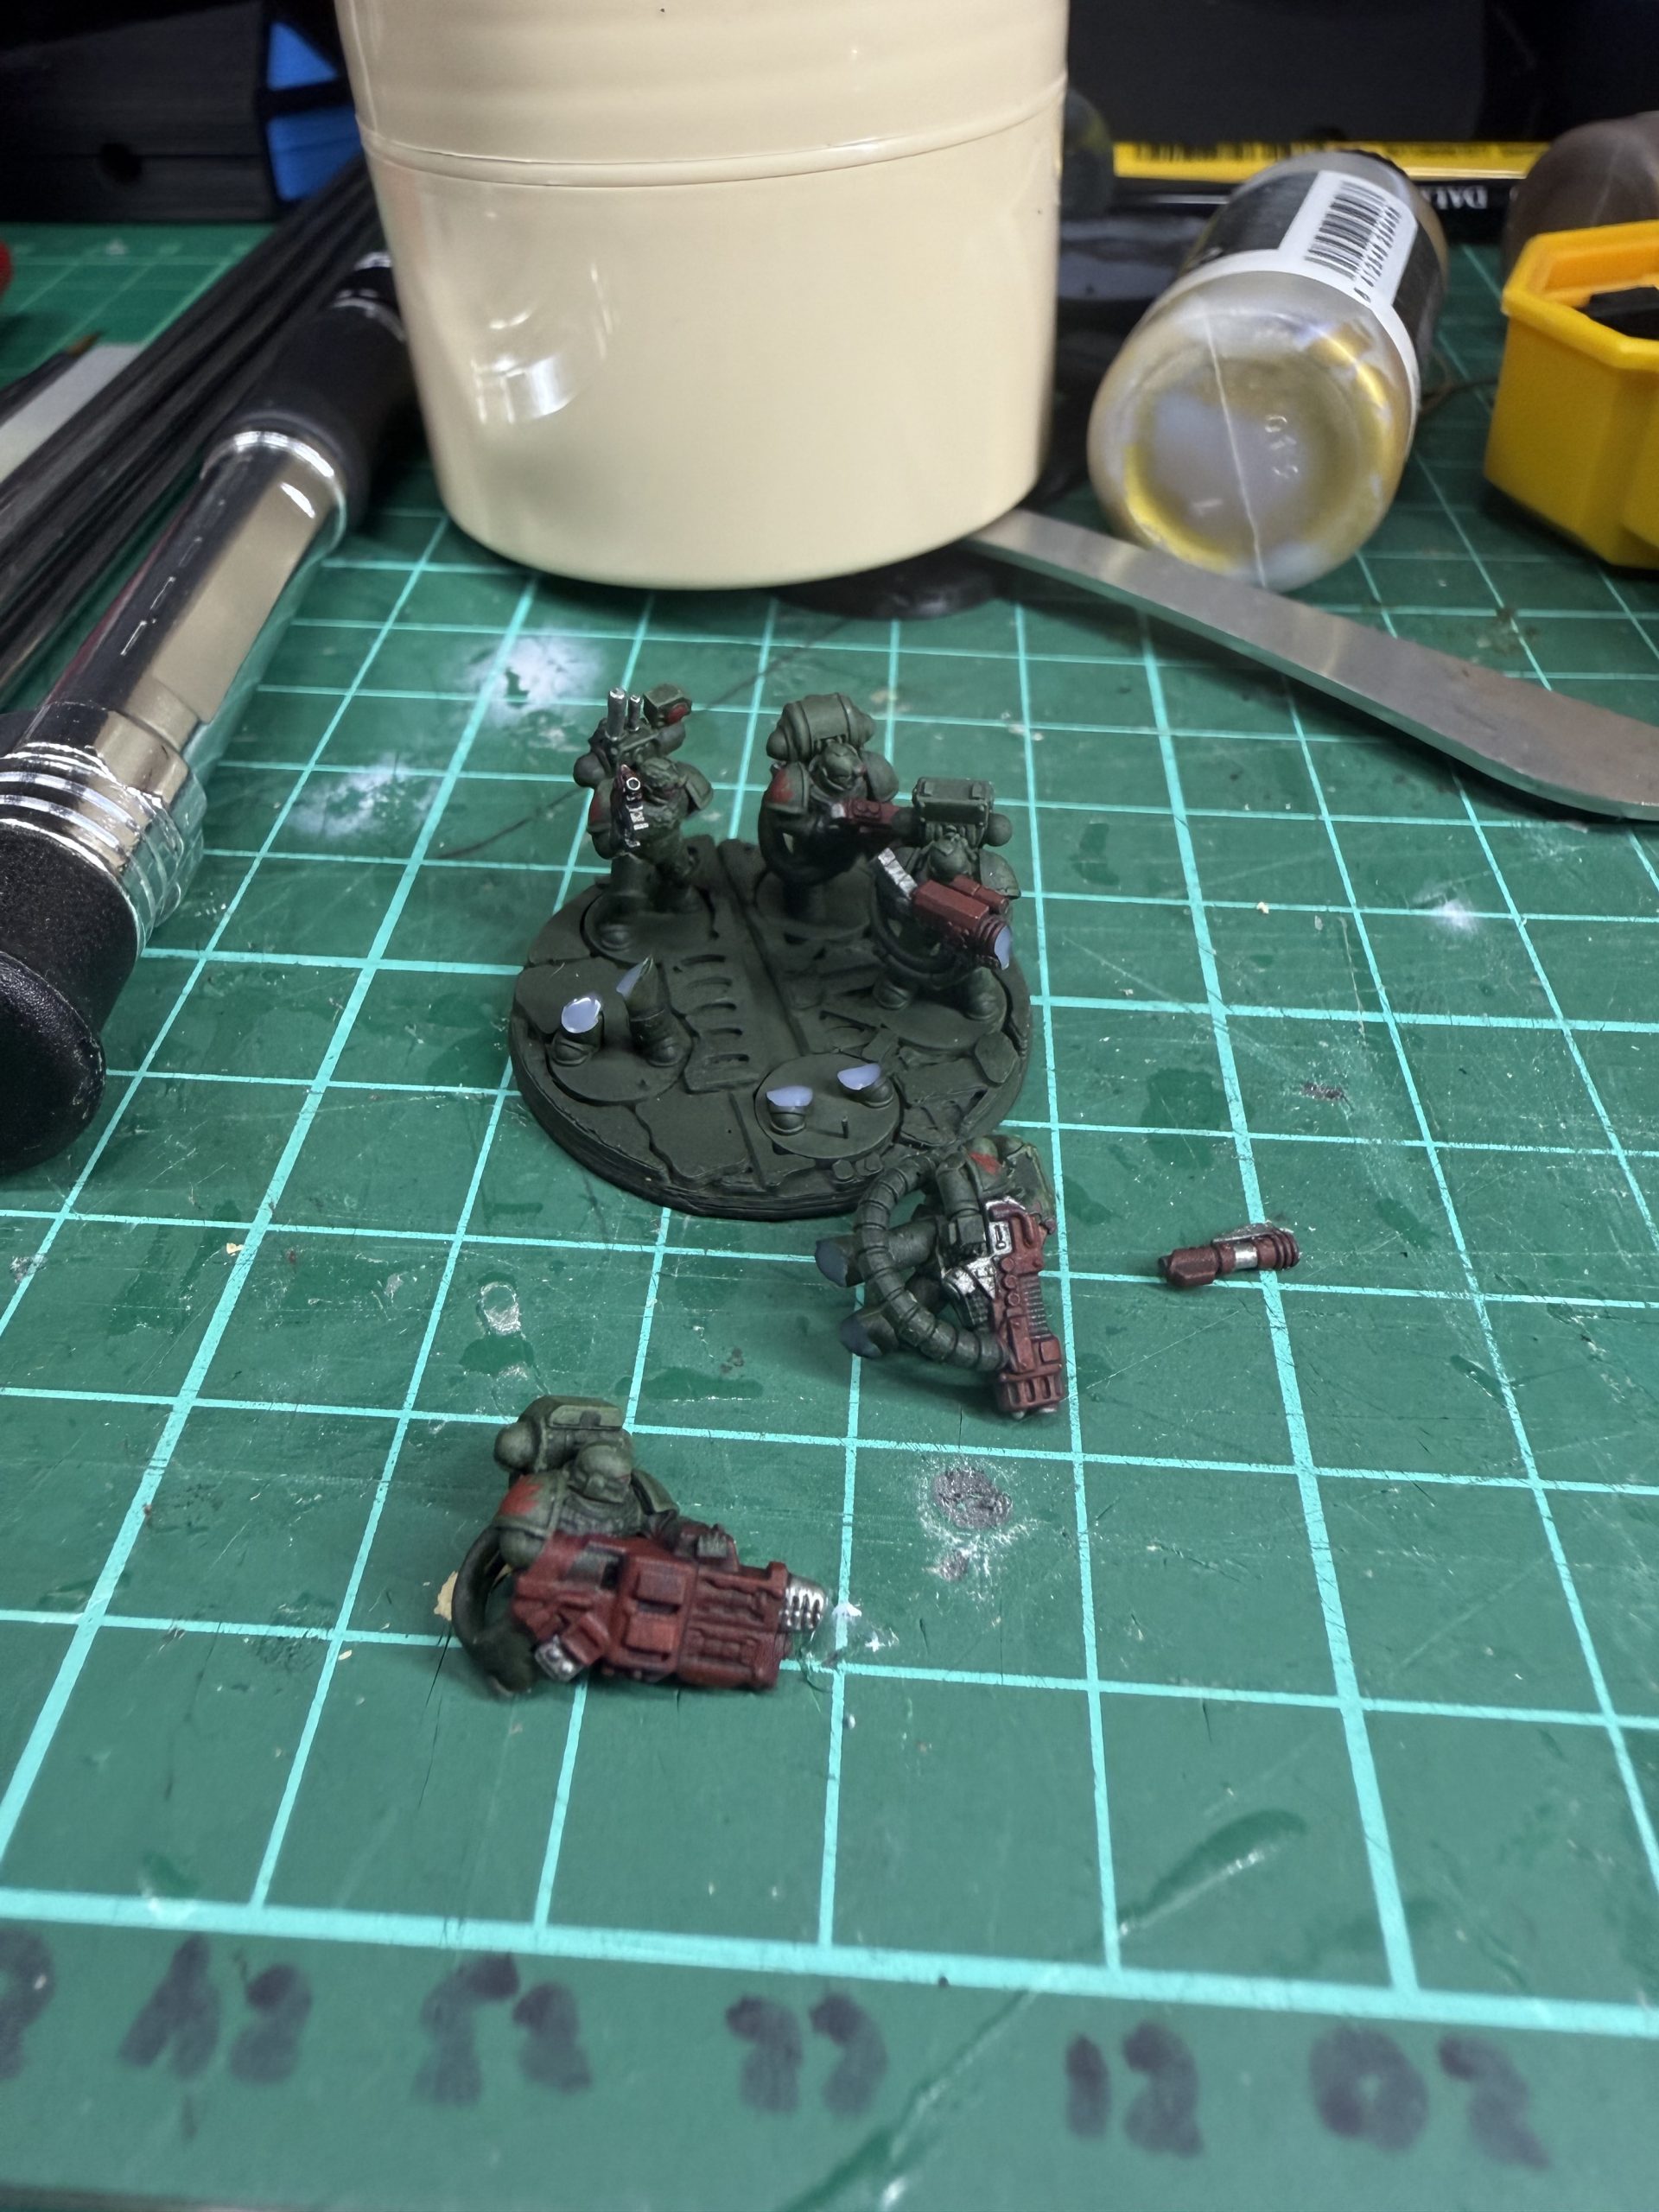 Devastated Devastator
Struggles and Lessons
The hardest part wasn’t the painting itself — it was fighting my instinct to over-detail. I had to remind myself constantly that this project is about speed and cohesion, not individual display pieces. That, and the sheer repetition of it all. Keeping focus across dozens of nearly identical models is its own challenge.
Progress has been slower than hoped; real life has stolen more hobby time than I’d like. Still, with the 3rd Company almost finished — just two Dreadnoughts, two Predator tanks, and two Assault Marine squads left to complete — I’m getting close to the finish line before moving on to the 4th Company.
The Payoff
The cohesion across the force at this stage looks fantastic.
Despite the grind, I’m proud of the progress. My ADHD hasn’t derailed me, which honestly feels like an achievement in itself. Momentum’s still there, and seeing the company arrayed in full has reignited the motivation for the next stages.
It’s time to be realistic about the likely timelines and this is probably going to go on well past my birthday, but a reduced goal of painting two full companies by December seems achievable with the full chapter still being the aim.

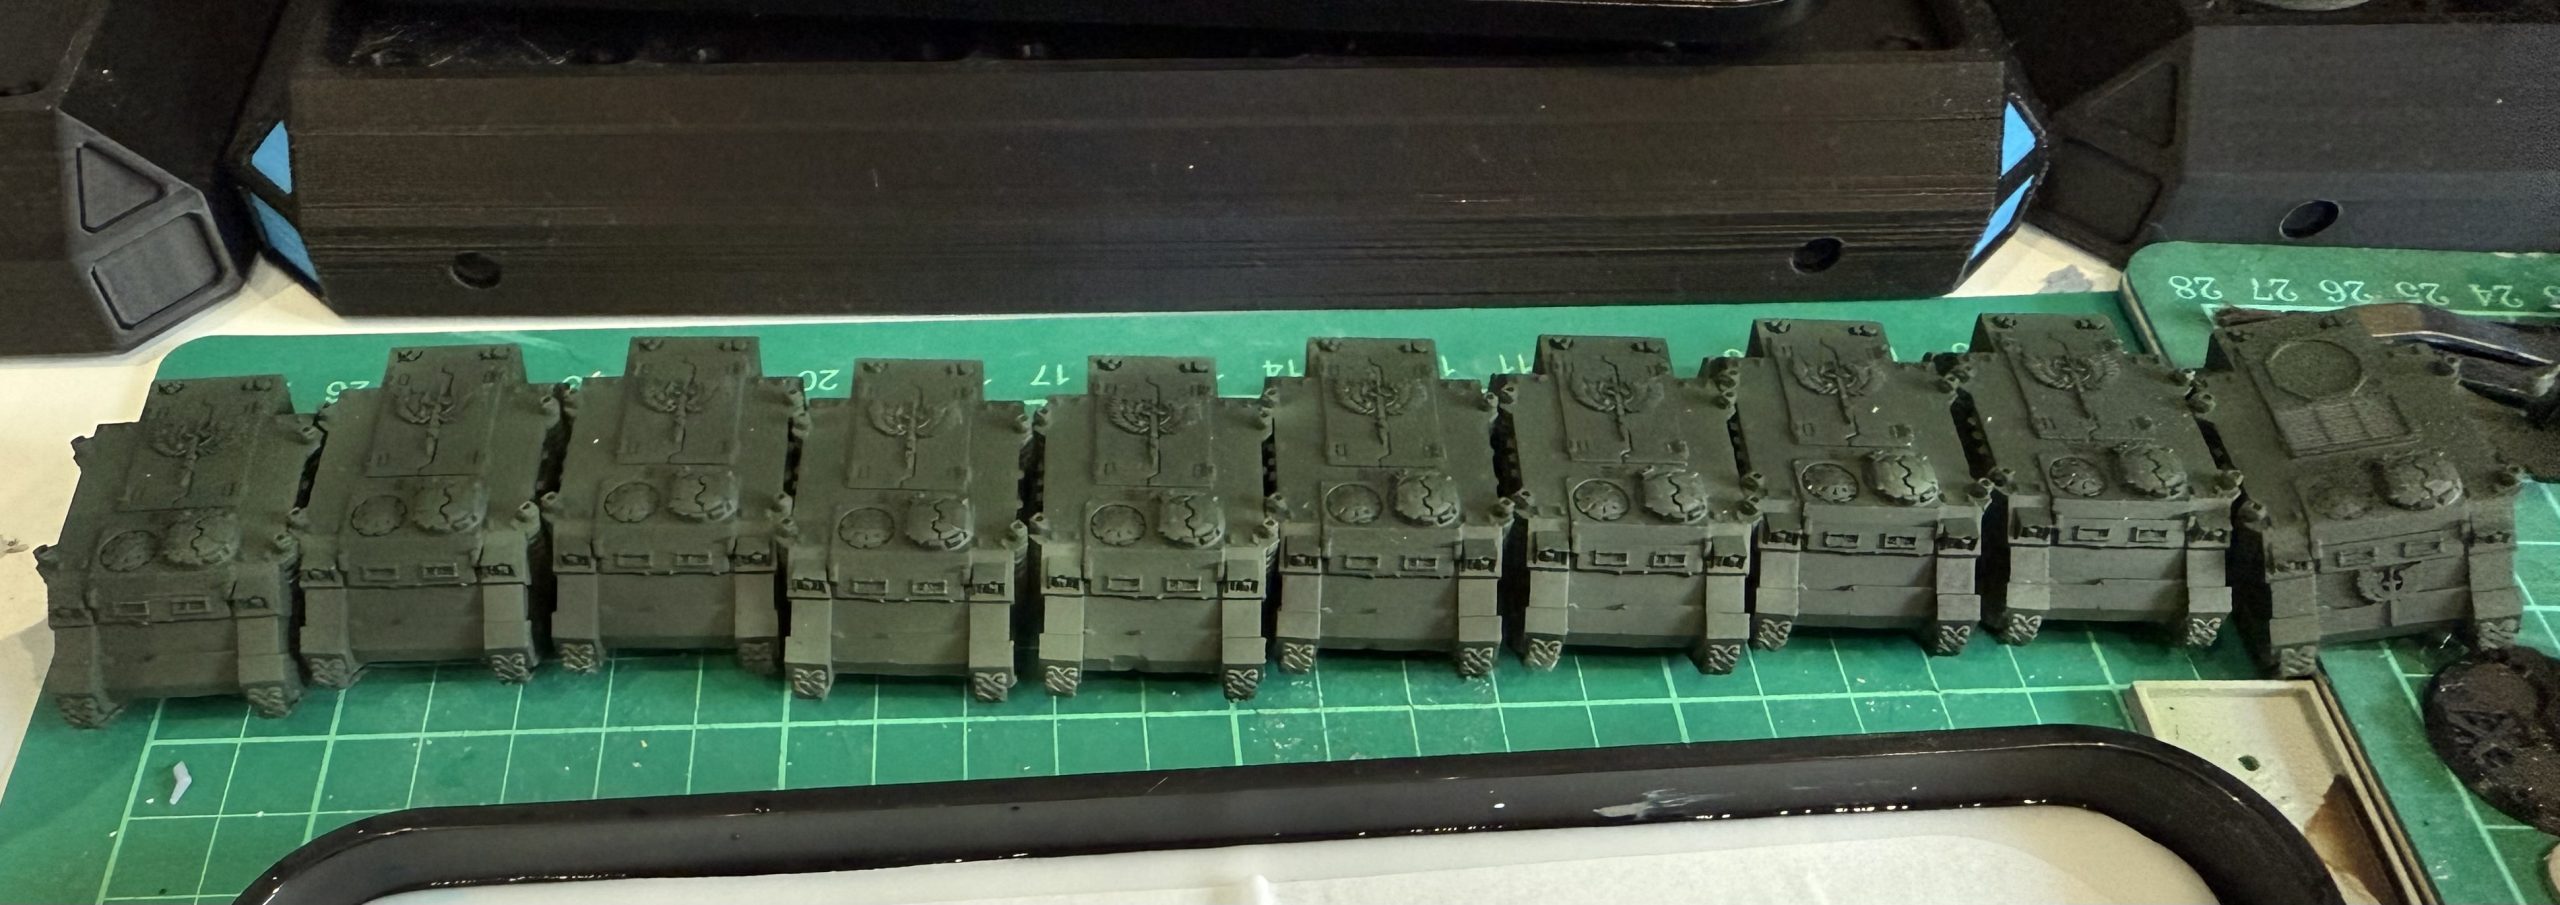
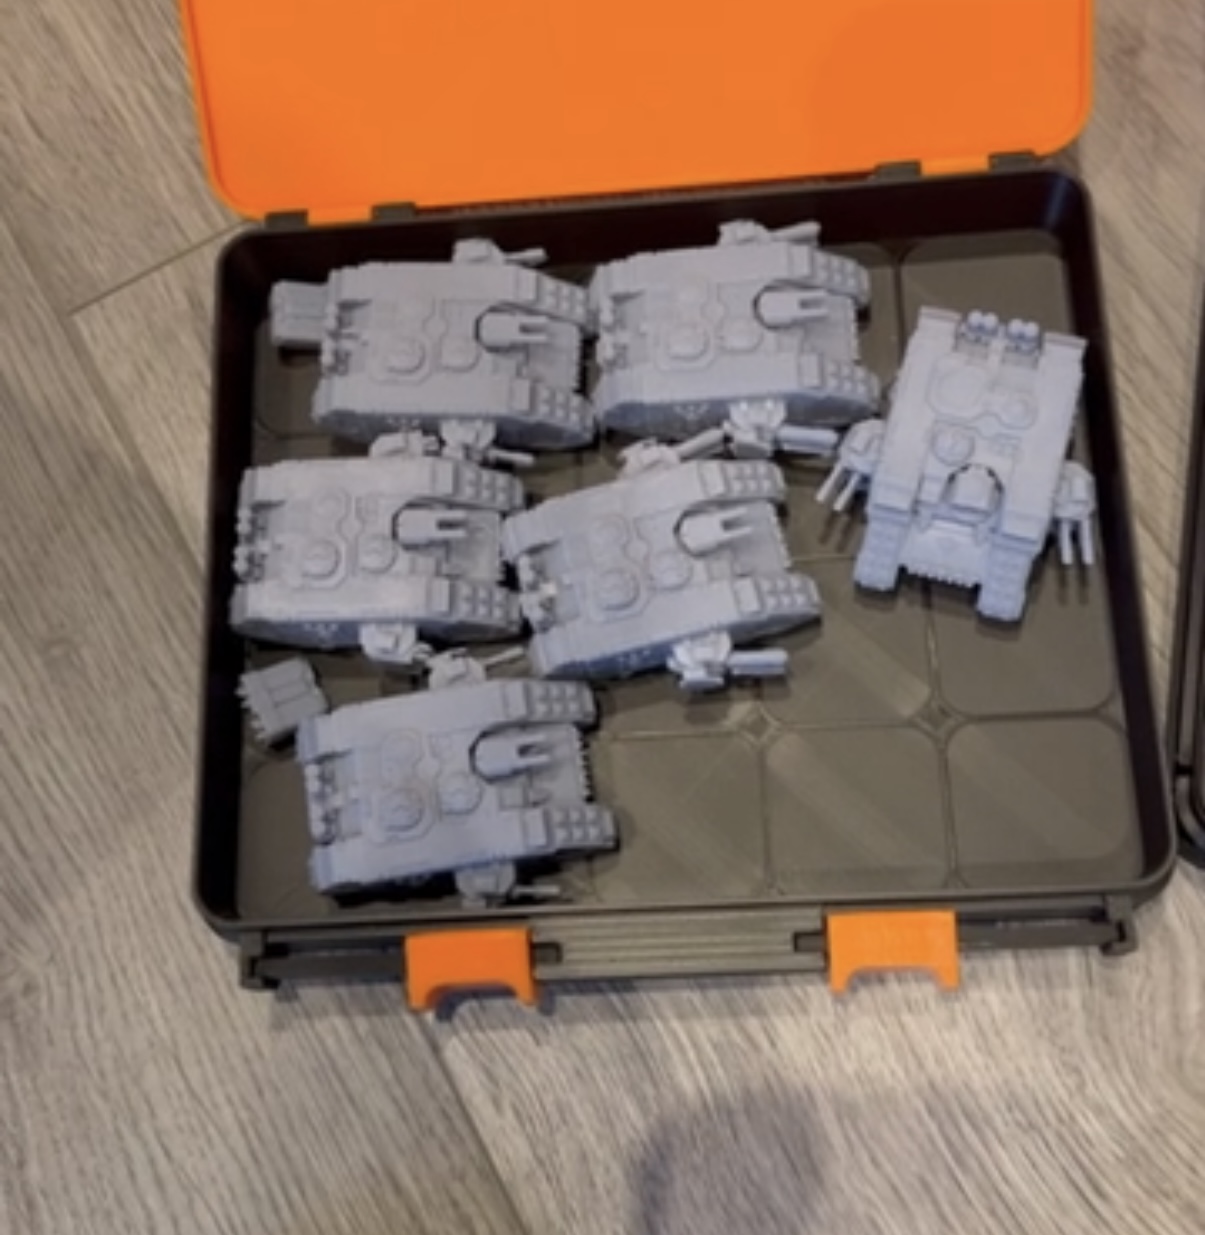
A Rush of Rhinos
Next were the workhorses: the Rhino transports and the company Command APC
When printing these I modified the stock files to add raised chapter badges on the roof hatch, side panels, and back door. In hindsight, three repetitions of the symbol might have been overkill — it took nearly two hours just to paint these and clean up overspill. Still, they give the vehicles a distinctive character that ties them firmly to the Chapter.
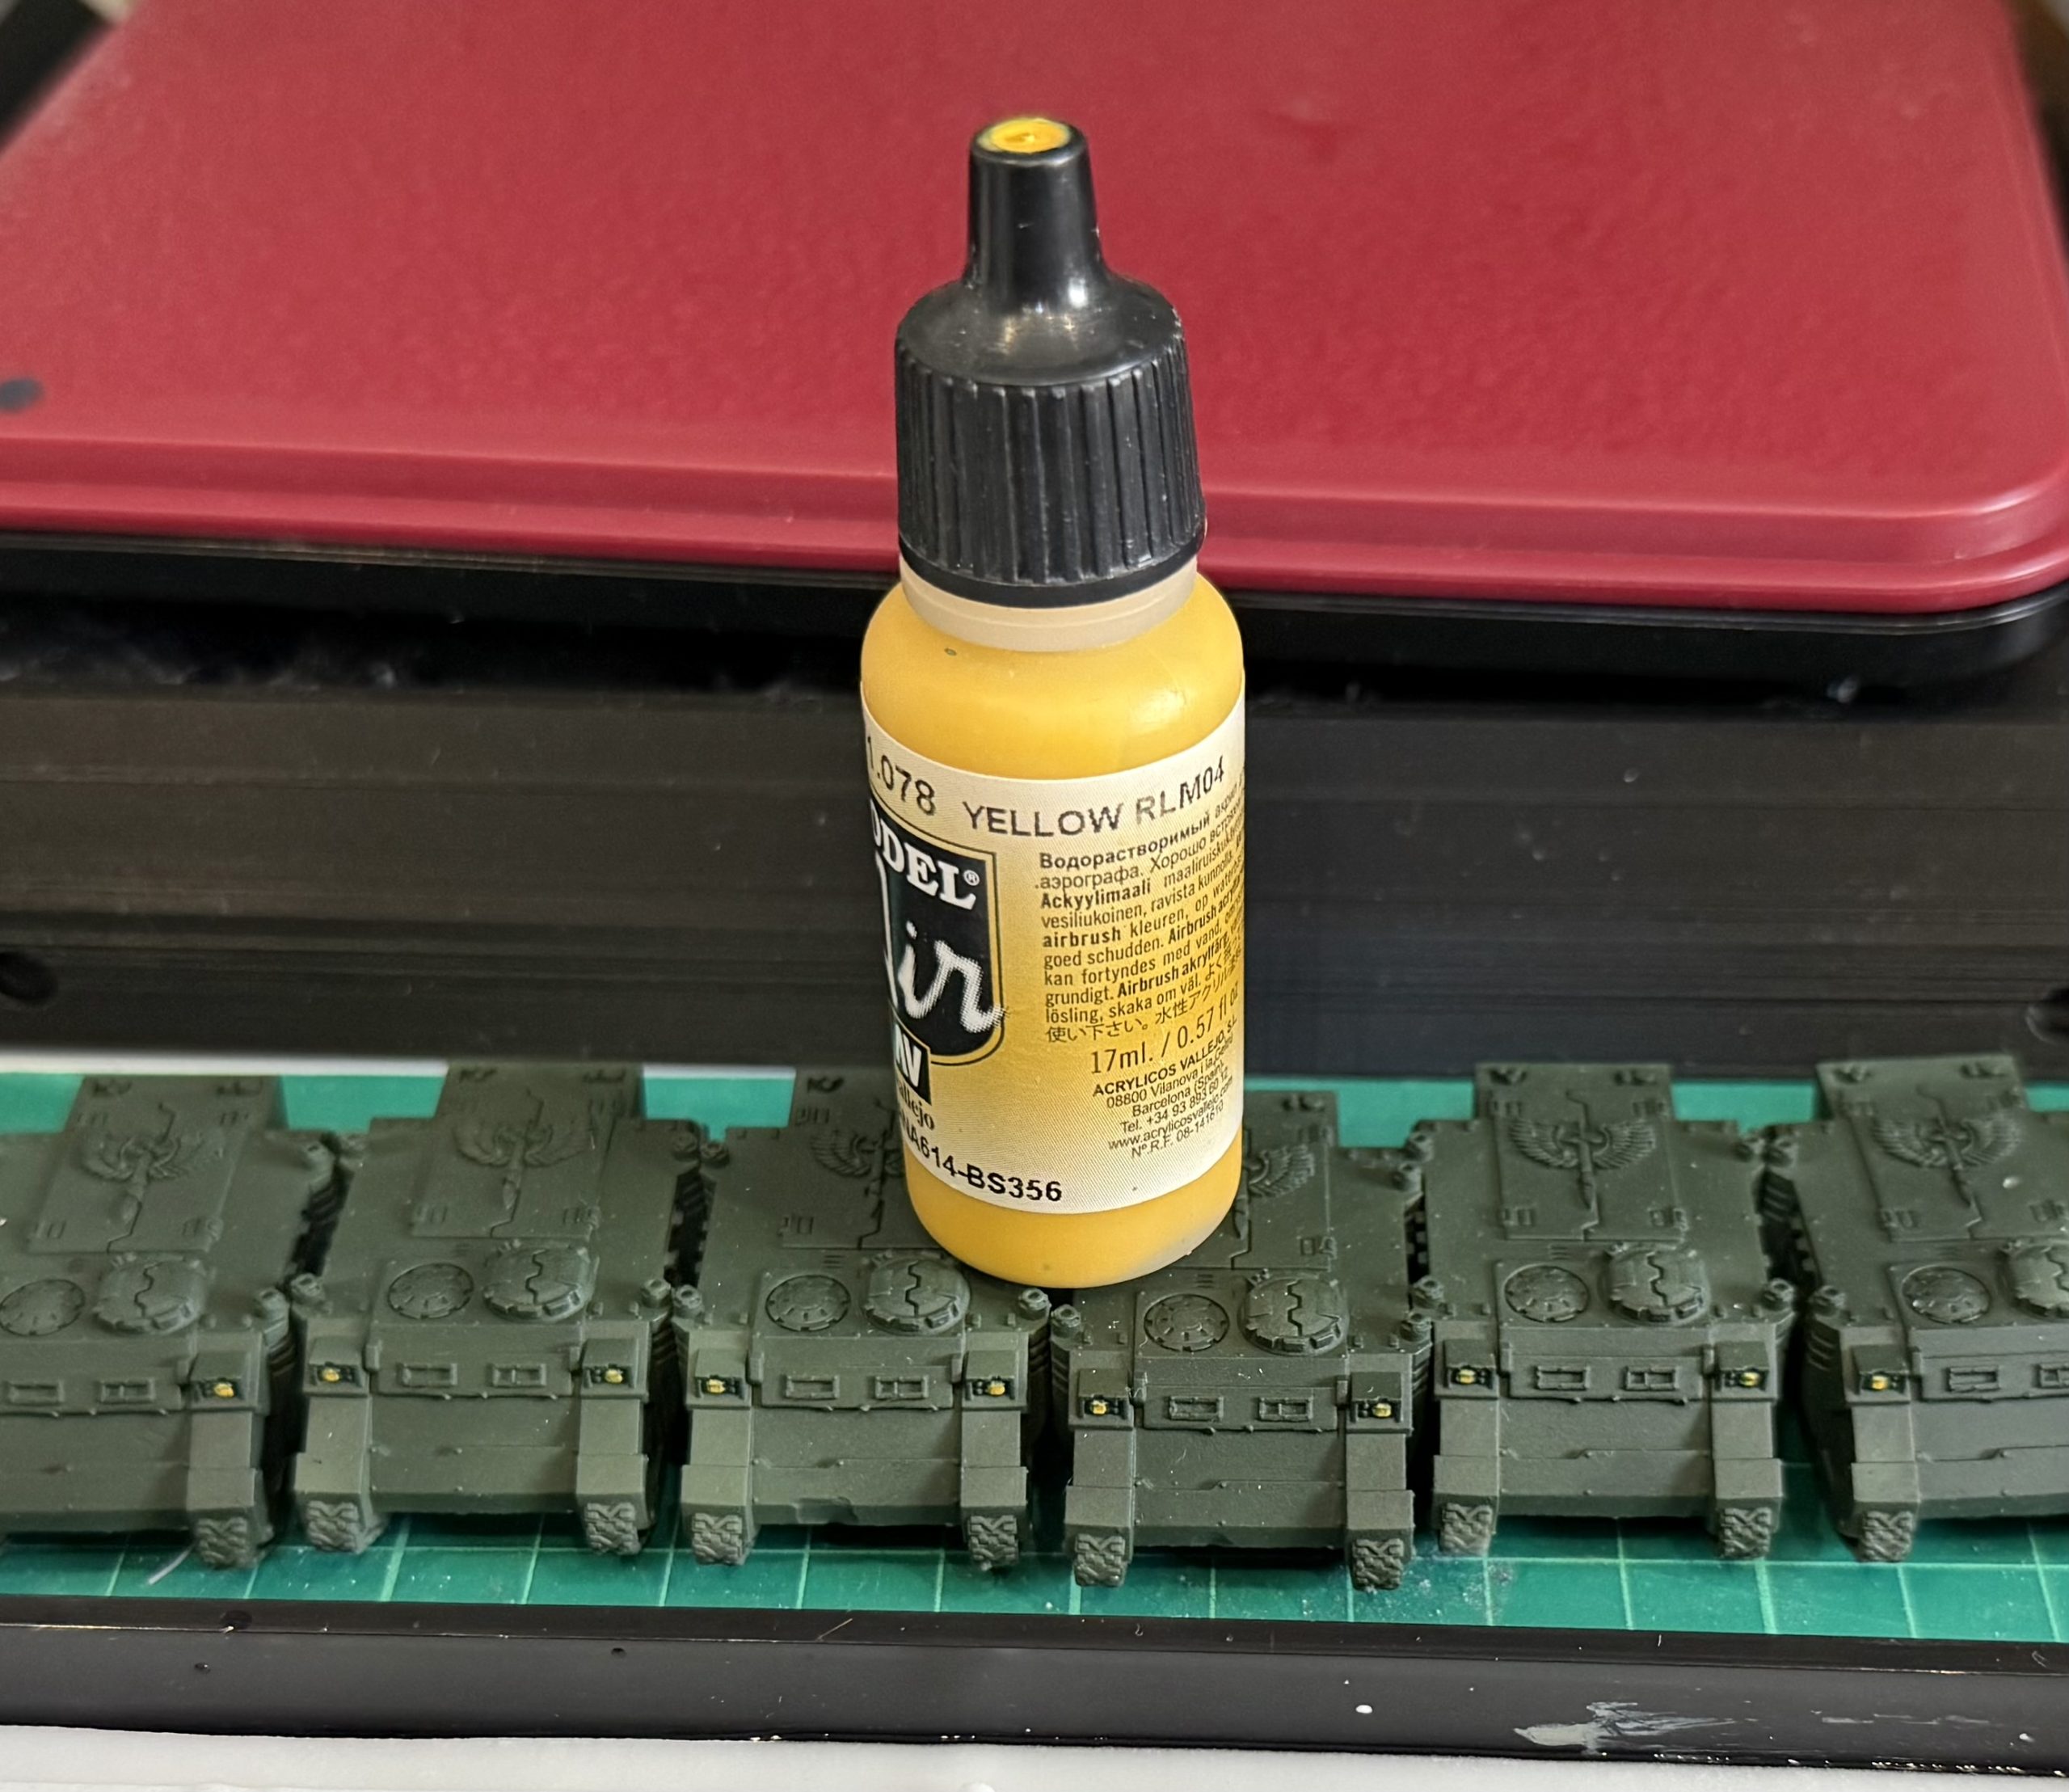
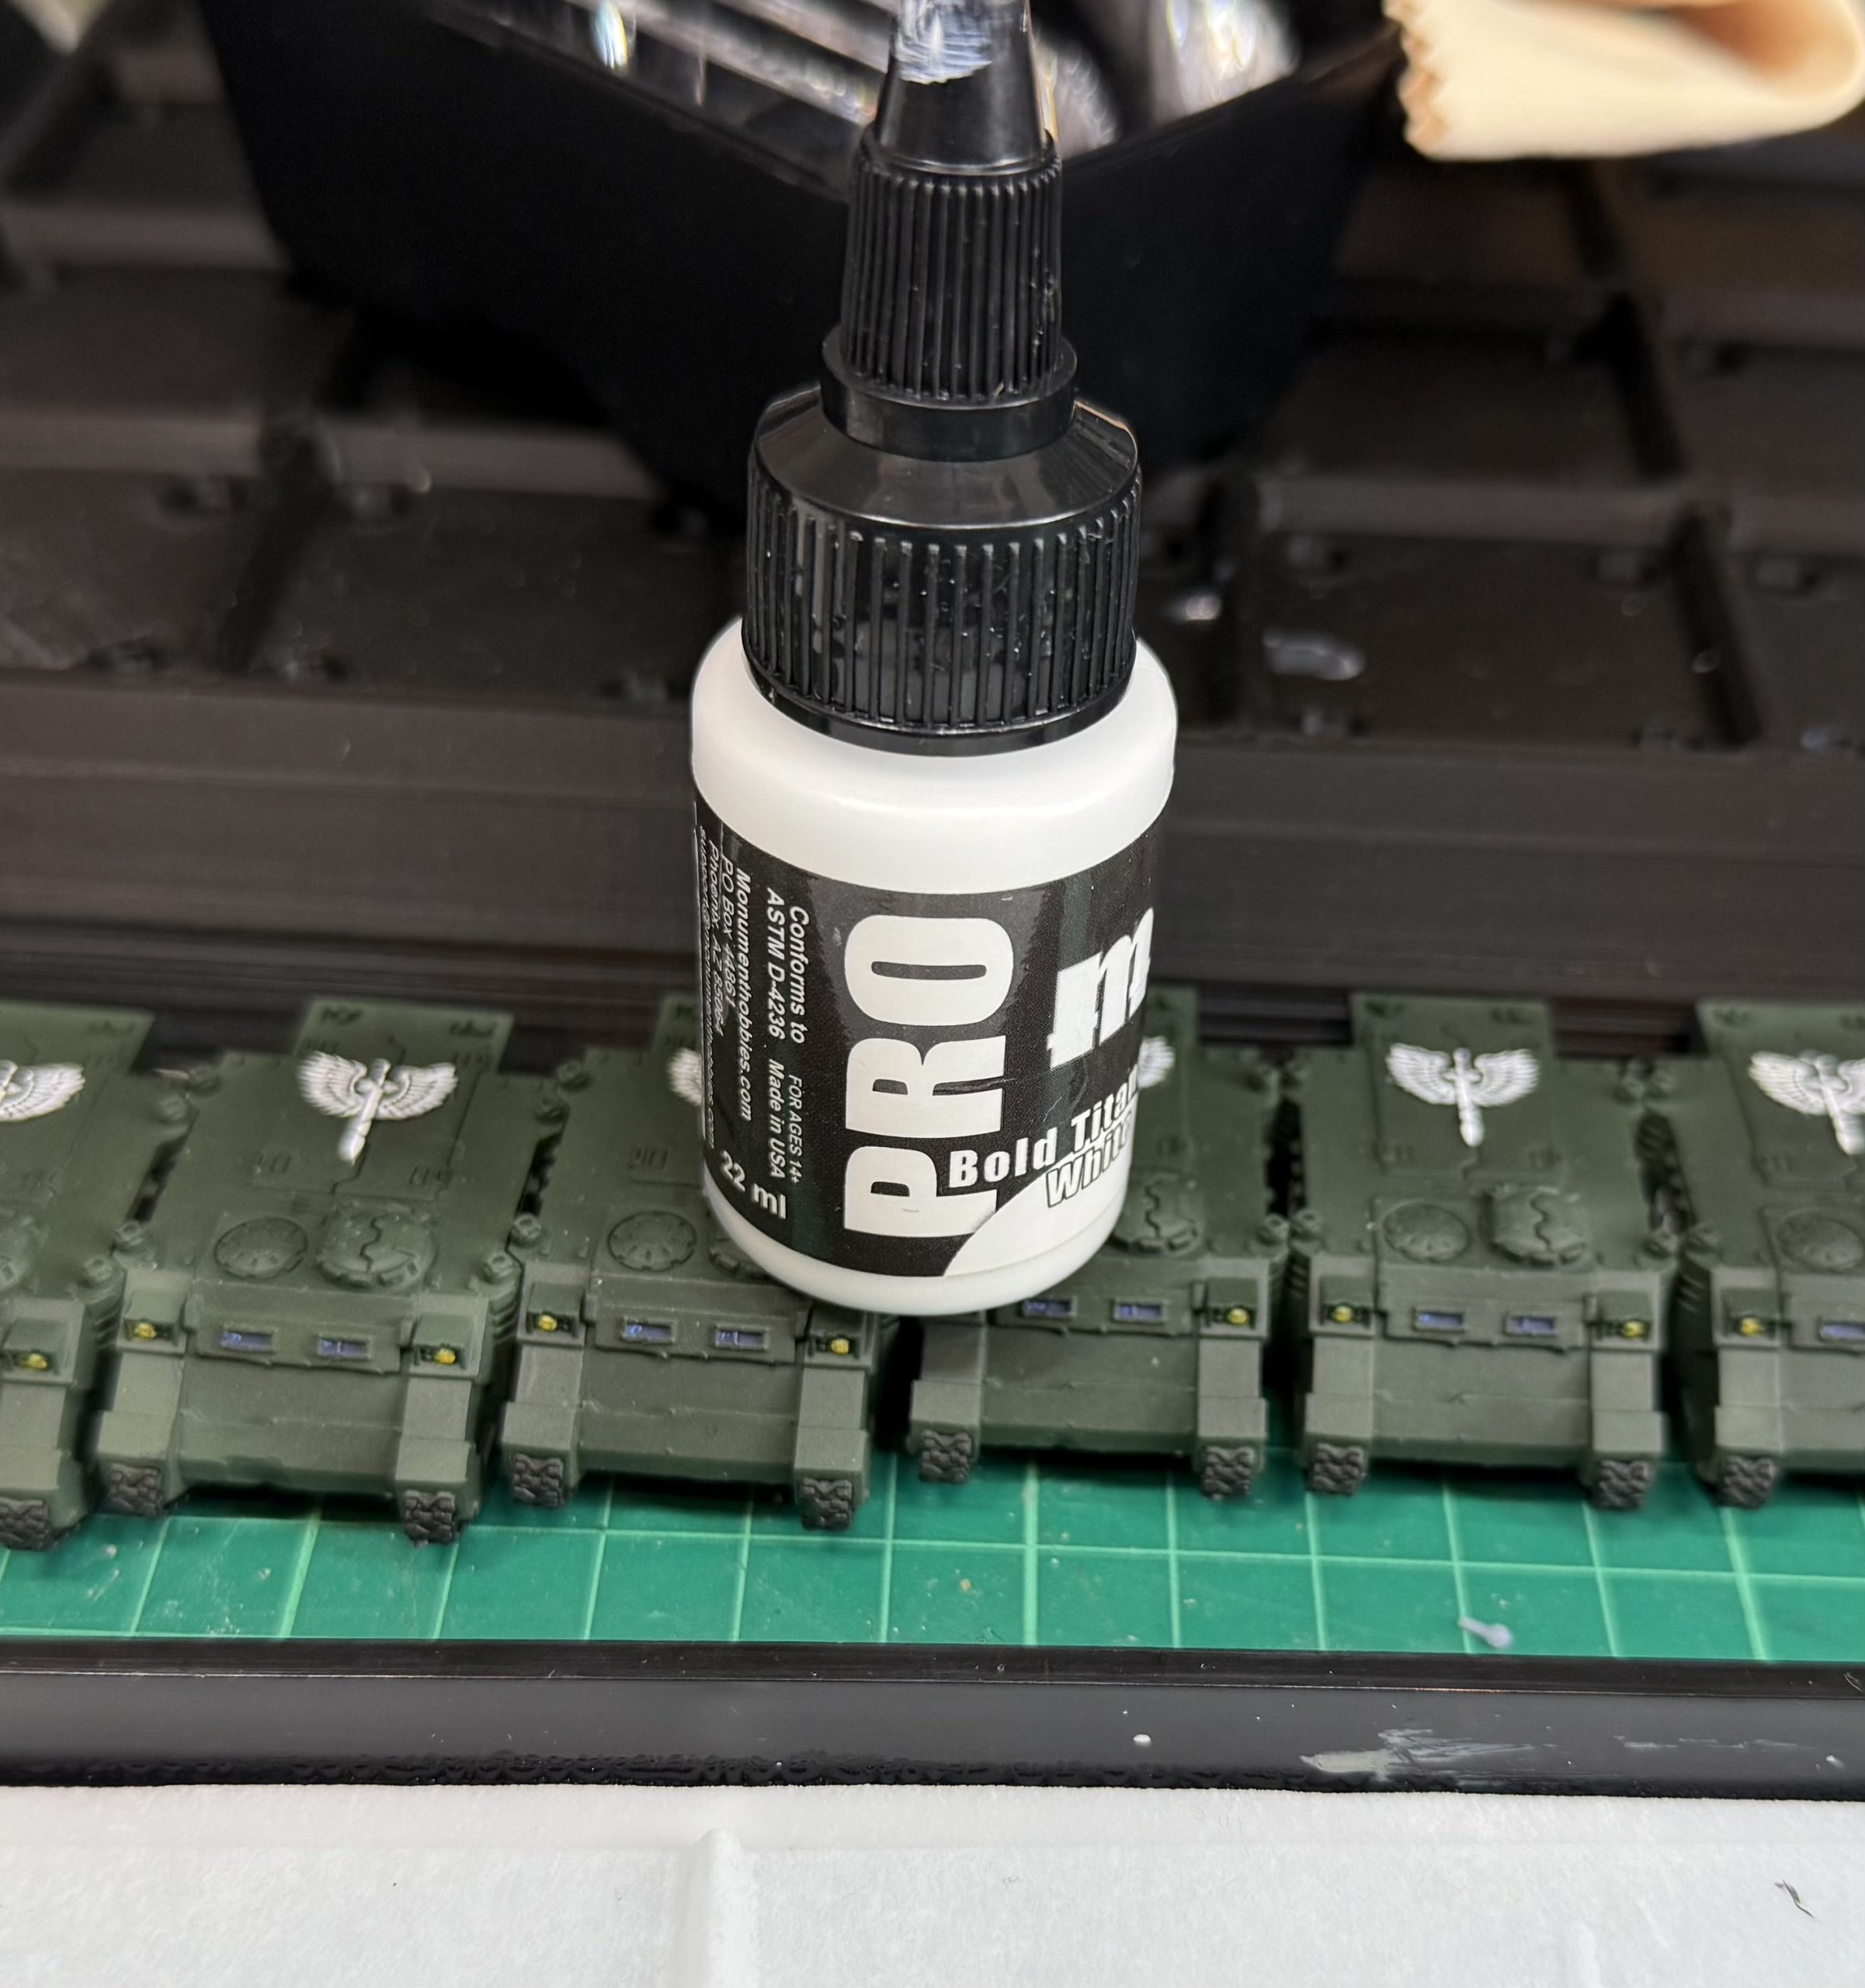
I added company markings to several panels, hand-painted although I considered masking and spraying but decided the extra time wasn’t worth it here. The chapter symbols were based in Pro Acryl Khaki and washed with Strong tone. I considered leaving it at this stage but the winged sword really should be white and so I broke out the Titanium White.

 The 3rd company so far
Next Steps
With the command squad and transports in place, the foundation of the 3rd Company is laid. Next I’ll dive into detailing the Tactical Squads — the backbone of the force.
Mustering the 3rd Company (Part 1)
Defining the Goal
The objective for the 3rd Company is speed and cohesion rather than high detail. At this scale, consistency across the force matters more than perfect edge highlights or intricate freehand. If the army looks unified on the table, I’ll have achieved what I set out to do.
Establishing the Approach
I began with an airbrush primer of Pro Acryl Dark Camo Green, followed by a basecoat of Pro Acryl Black Green.
For the highlight layer, I tested two approaches:
- Drybrush of Camo Green
- Zenith spray highlight of Camo Green
On the smaller models the zenith effect disappeared almost immediately, while the drybrush retained definition and contrast across the panels. The drybrush won out.
Tieing it together with a wash
Next came washes. I trialed Army Painter Strong Tone both by brush and airbrush.
- Brushed on, the wash desaturated the green too much and demanded another drybrush to restore contrast.
- Through the airbrush, the wash tied everything together without drowning the drybrush.
Result: airbrush wash wins.
This does mean a choppy airbrush-drybrush-airbrush approach to the basic colour of the chapter but provided the best compromise of speed and contrast.
With the recipe locked in, I pushed it across the entire company.
Where to start - indulgence
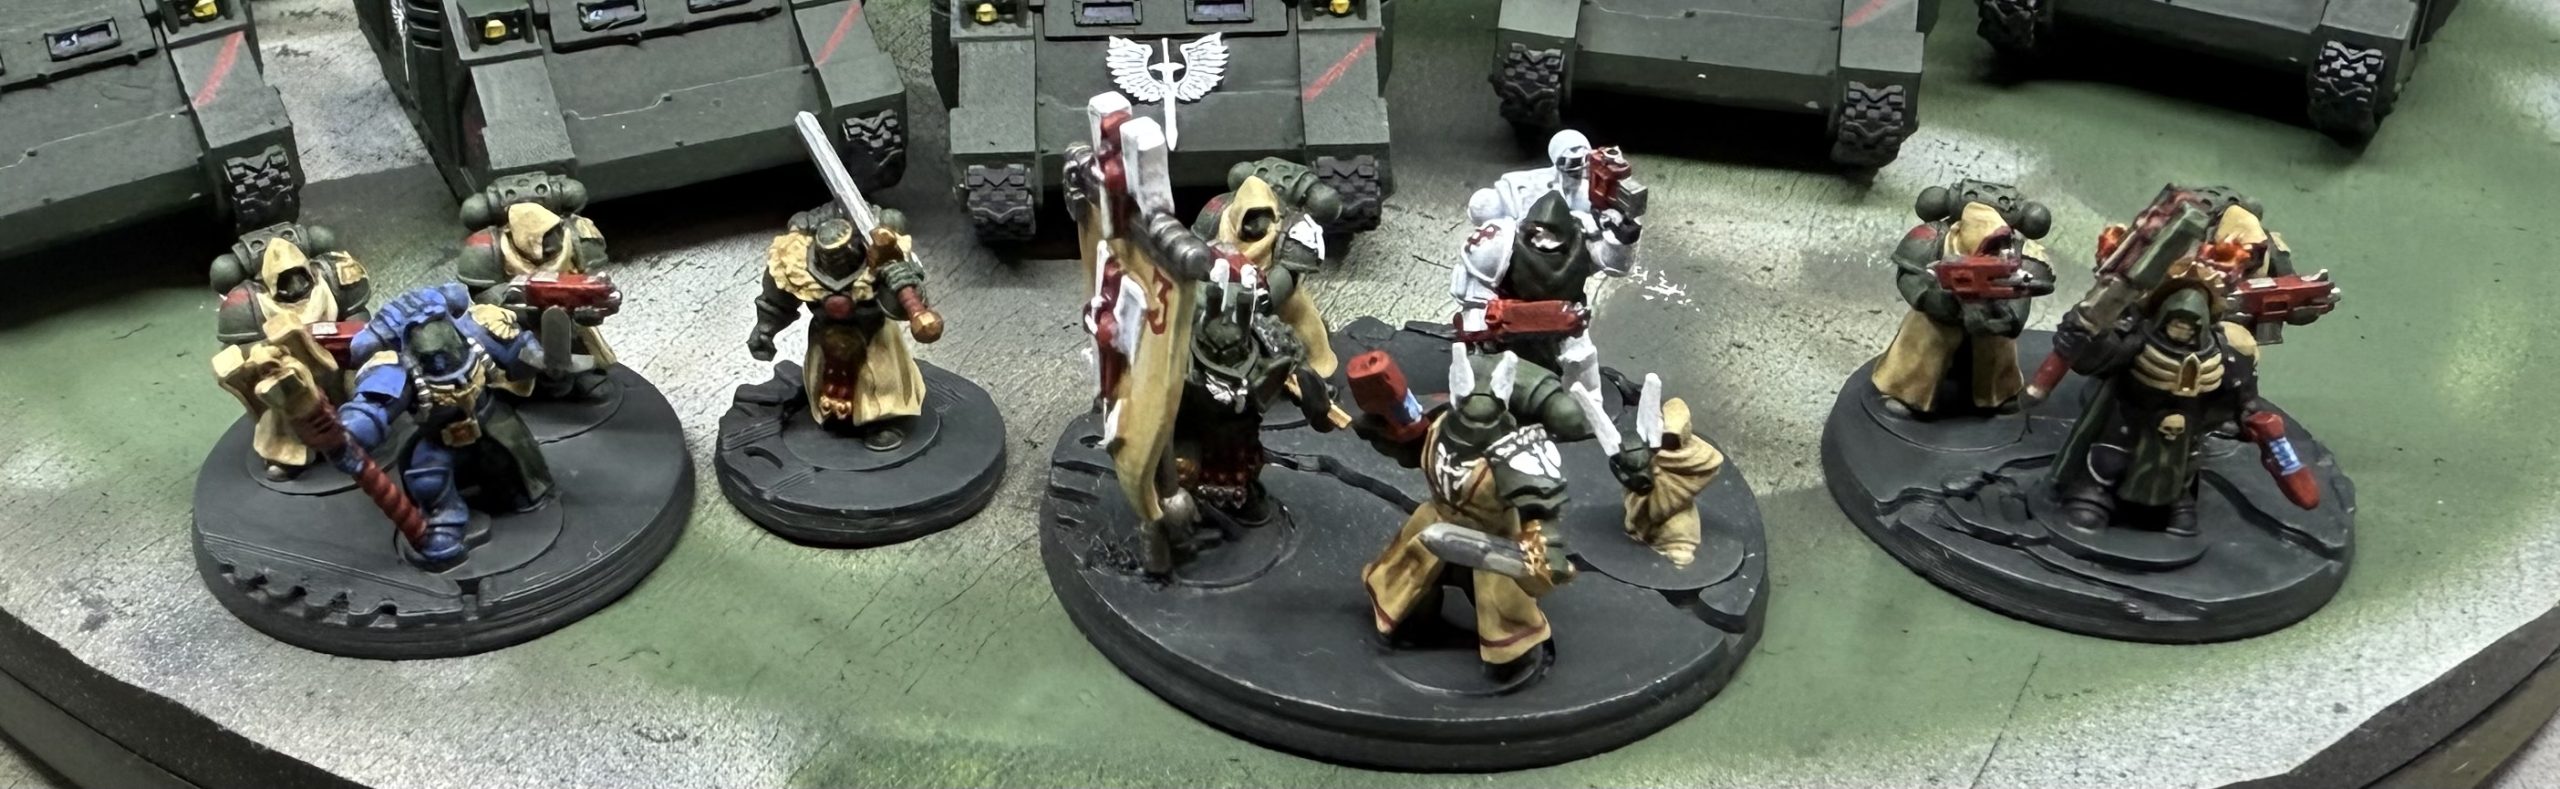
I probably shouldn’t have started here, but the temptation was strong. The first finished models were the command group:
- Grand Master Gabrael, accompanied by a Watcher in the Dark
- Apothecary Elias Morn
- Company Standard Bearer Brother-Nathaniel Veynar
- Veteran Brother Lucien Haleth
- Interrogator-Chaplain Gideon Rael
- Veteran Brother Malachai Dor
- Veteran Brother Severin Kael
- Librarian Seraphiel Kaedmon
- Veteran Brother Corvin Than
- Veteran Brother Zaecariah Varrek
I always intended to put a bit more effort into the command units than most units so this was indulging myself a bit.
The Devil
For the robes, I used Pro Acryl Khaki basecoat, Strong Tone wash, then a drybrush of Pro Acryl Ivory. The contrast is heavier than I’d use at 32mm scale, but at this size the folds needed stronger depth to read clearly.
The company banner was finished with a stark gothic numeral ‘3’ to cement its identity.
Lesson learned: I really shouldn’t have based these before painting. It made reaching into the recesses far harder, and I’m not looking forward to tackling the more tightly-packed Devastator bases later
 3rd Company Command
Marching from the Vats
Printing & Preparation
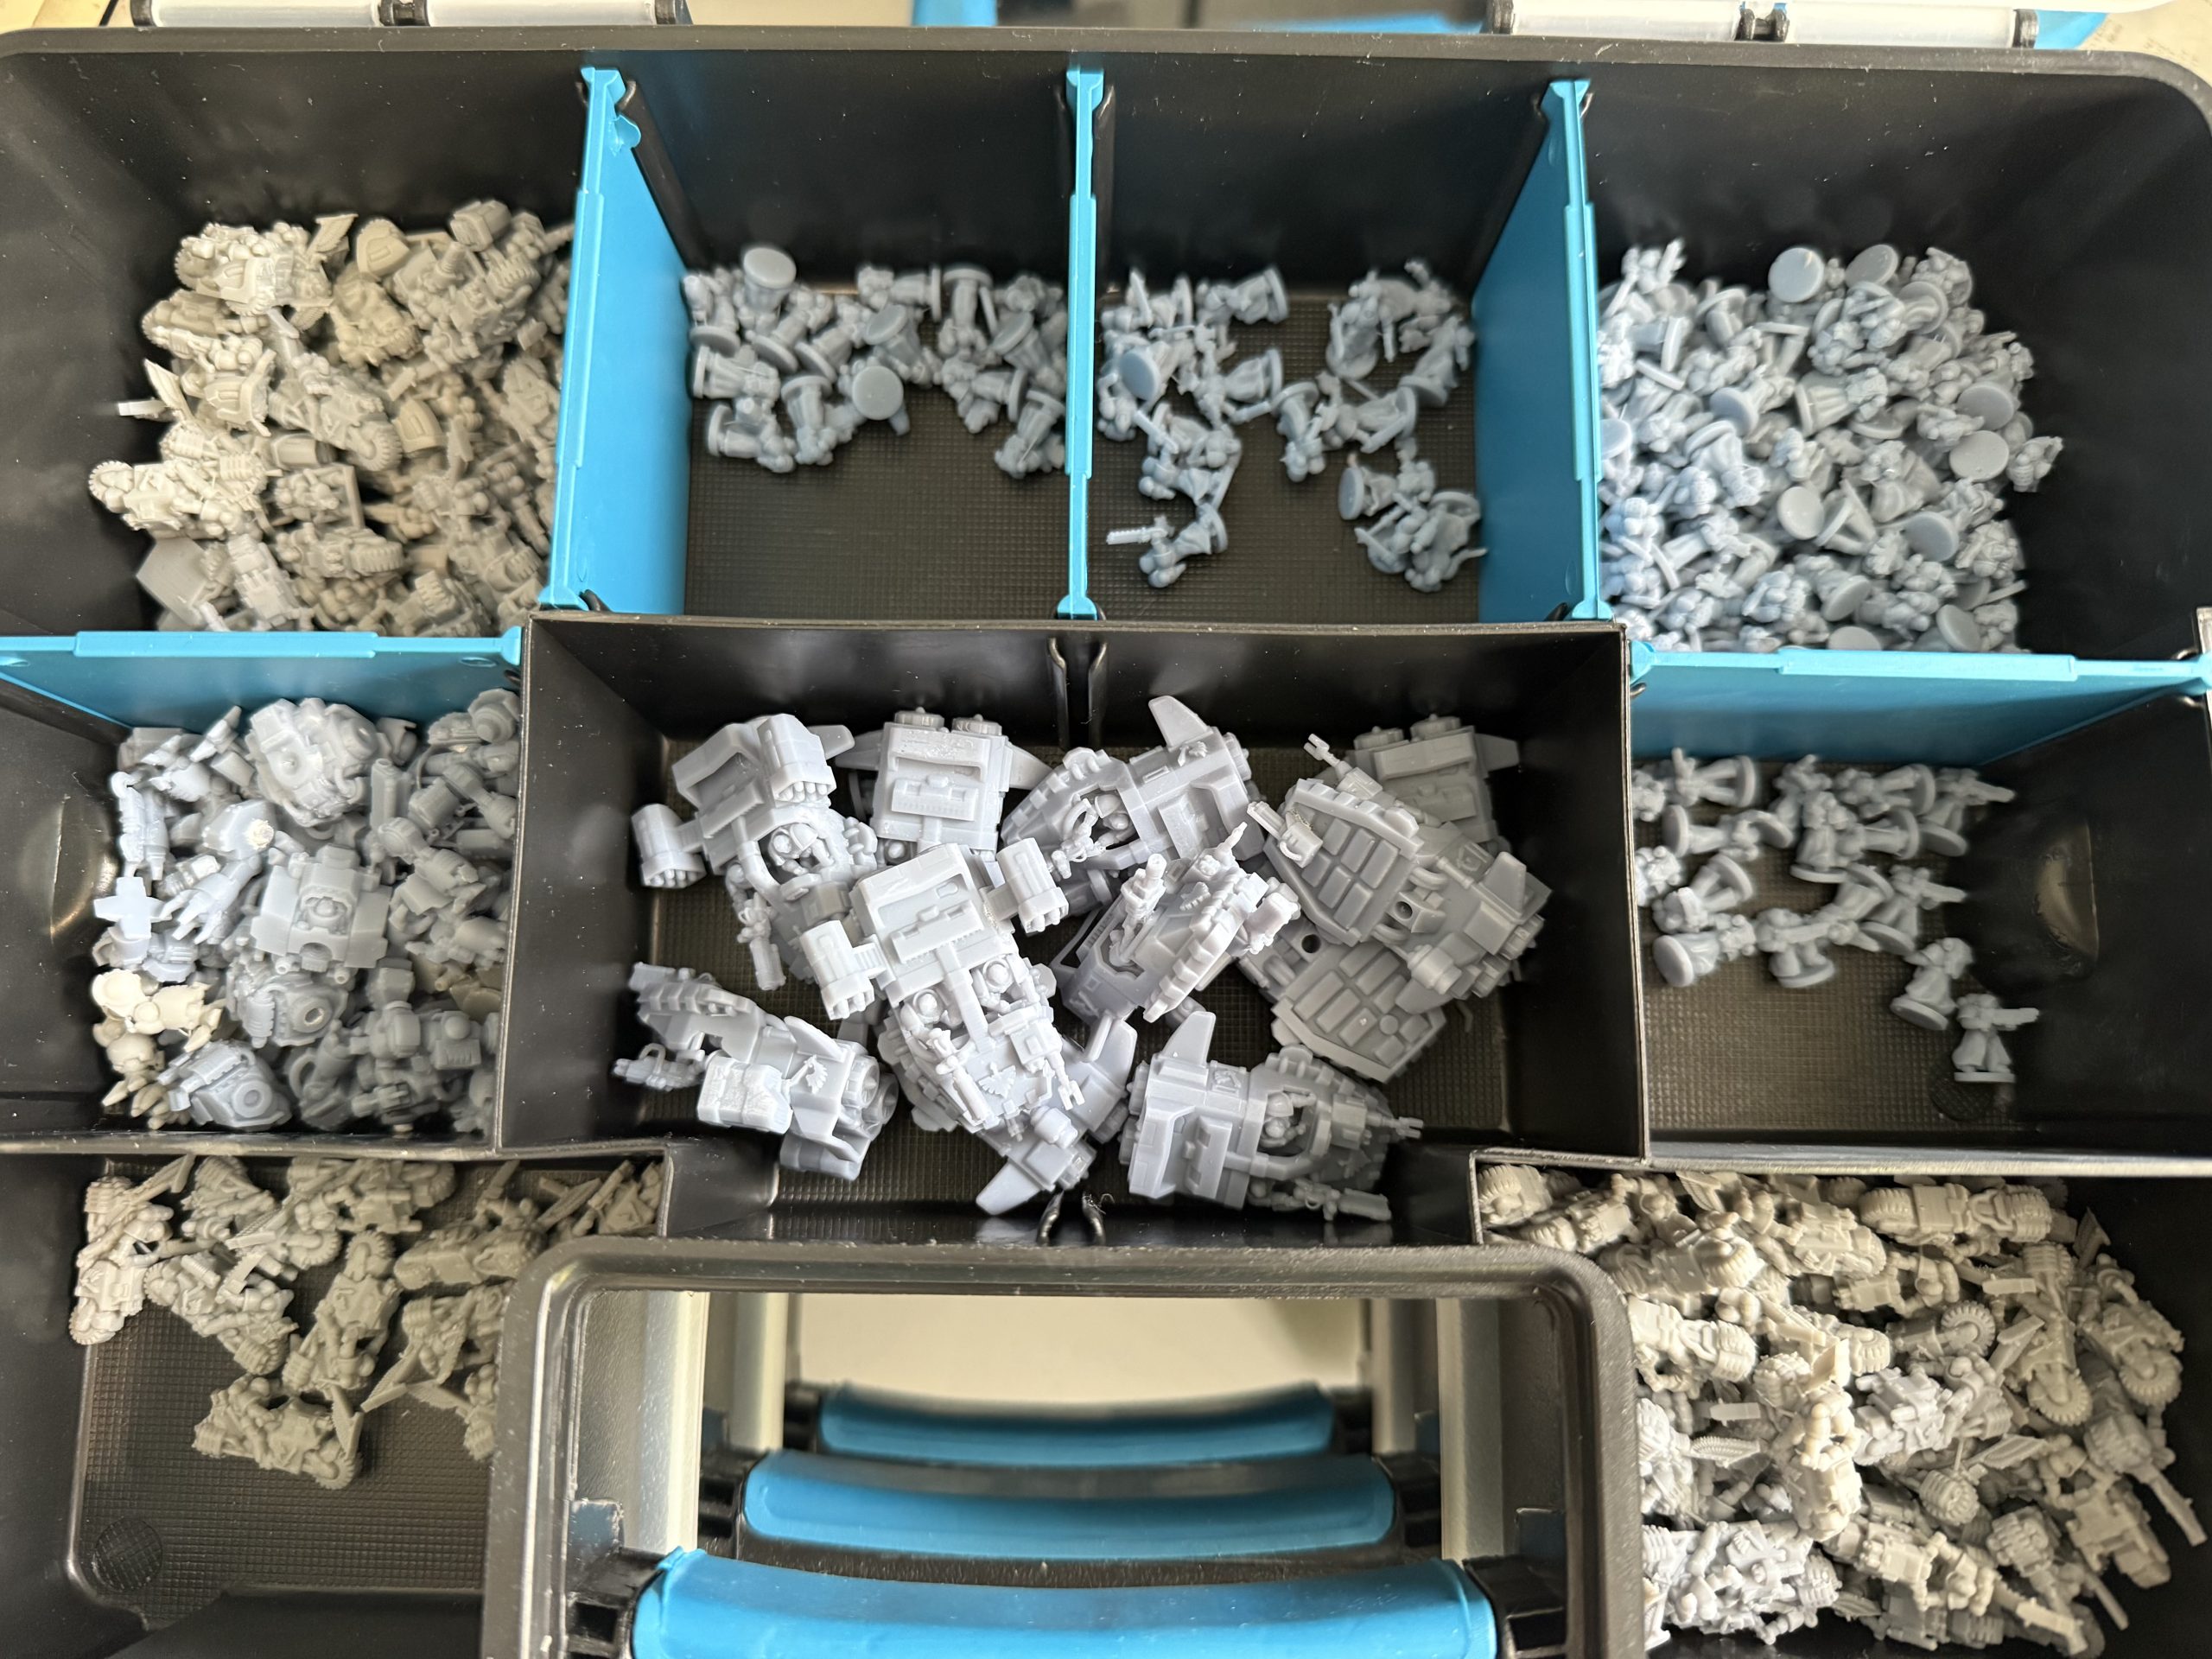
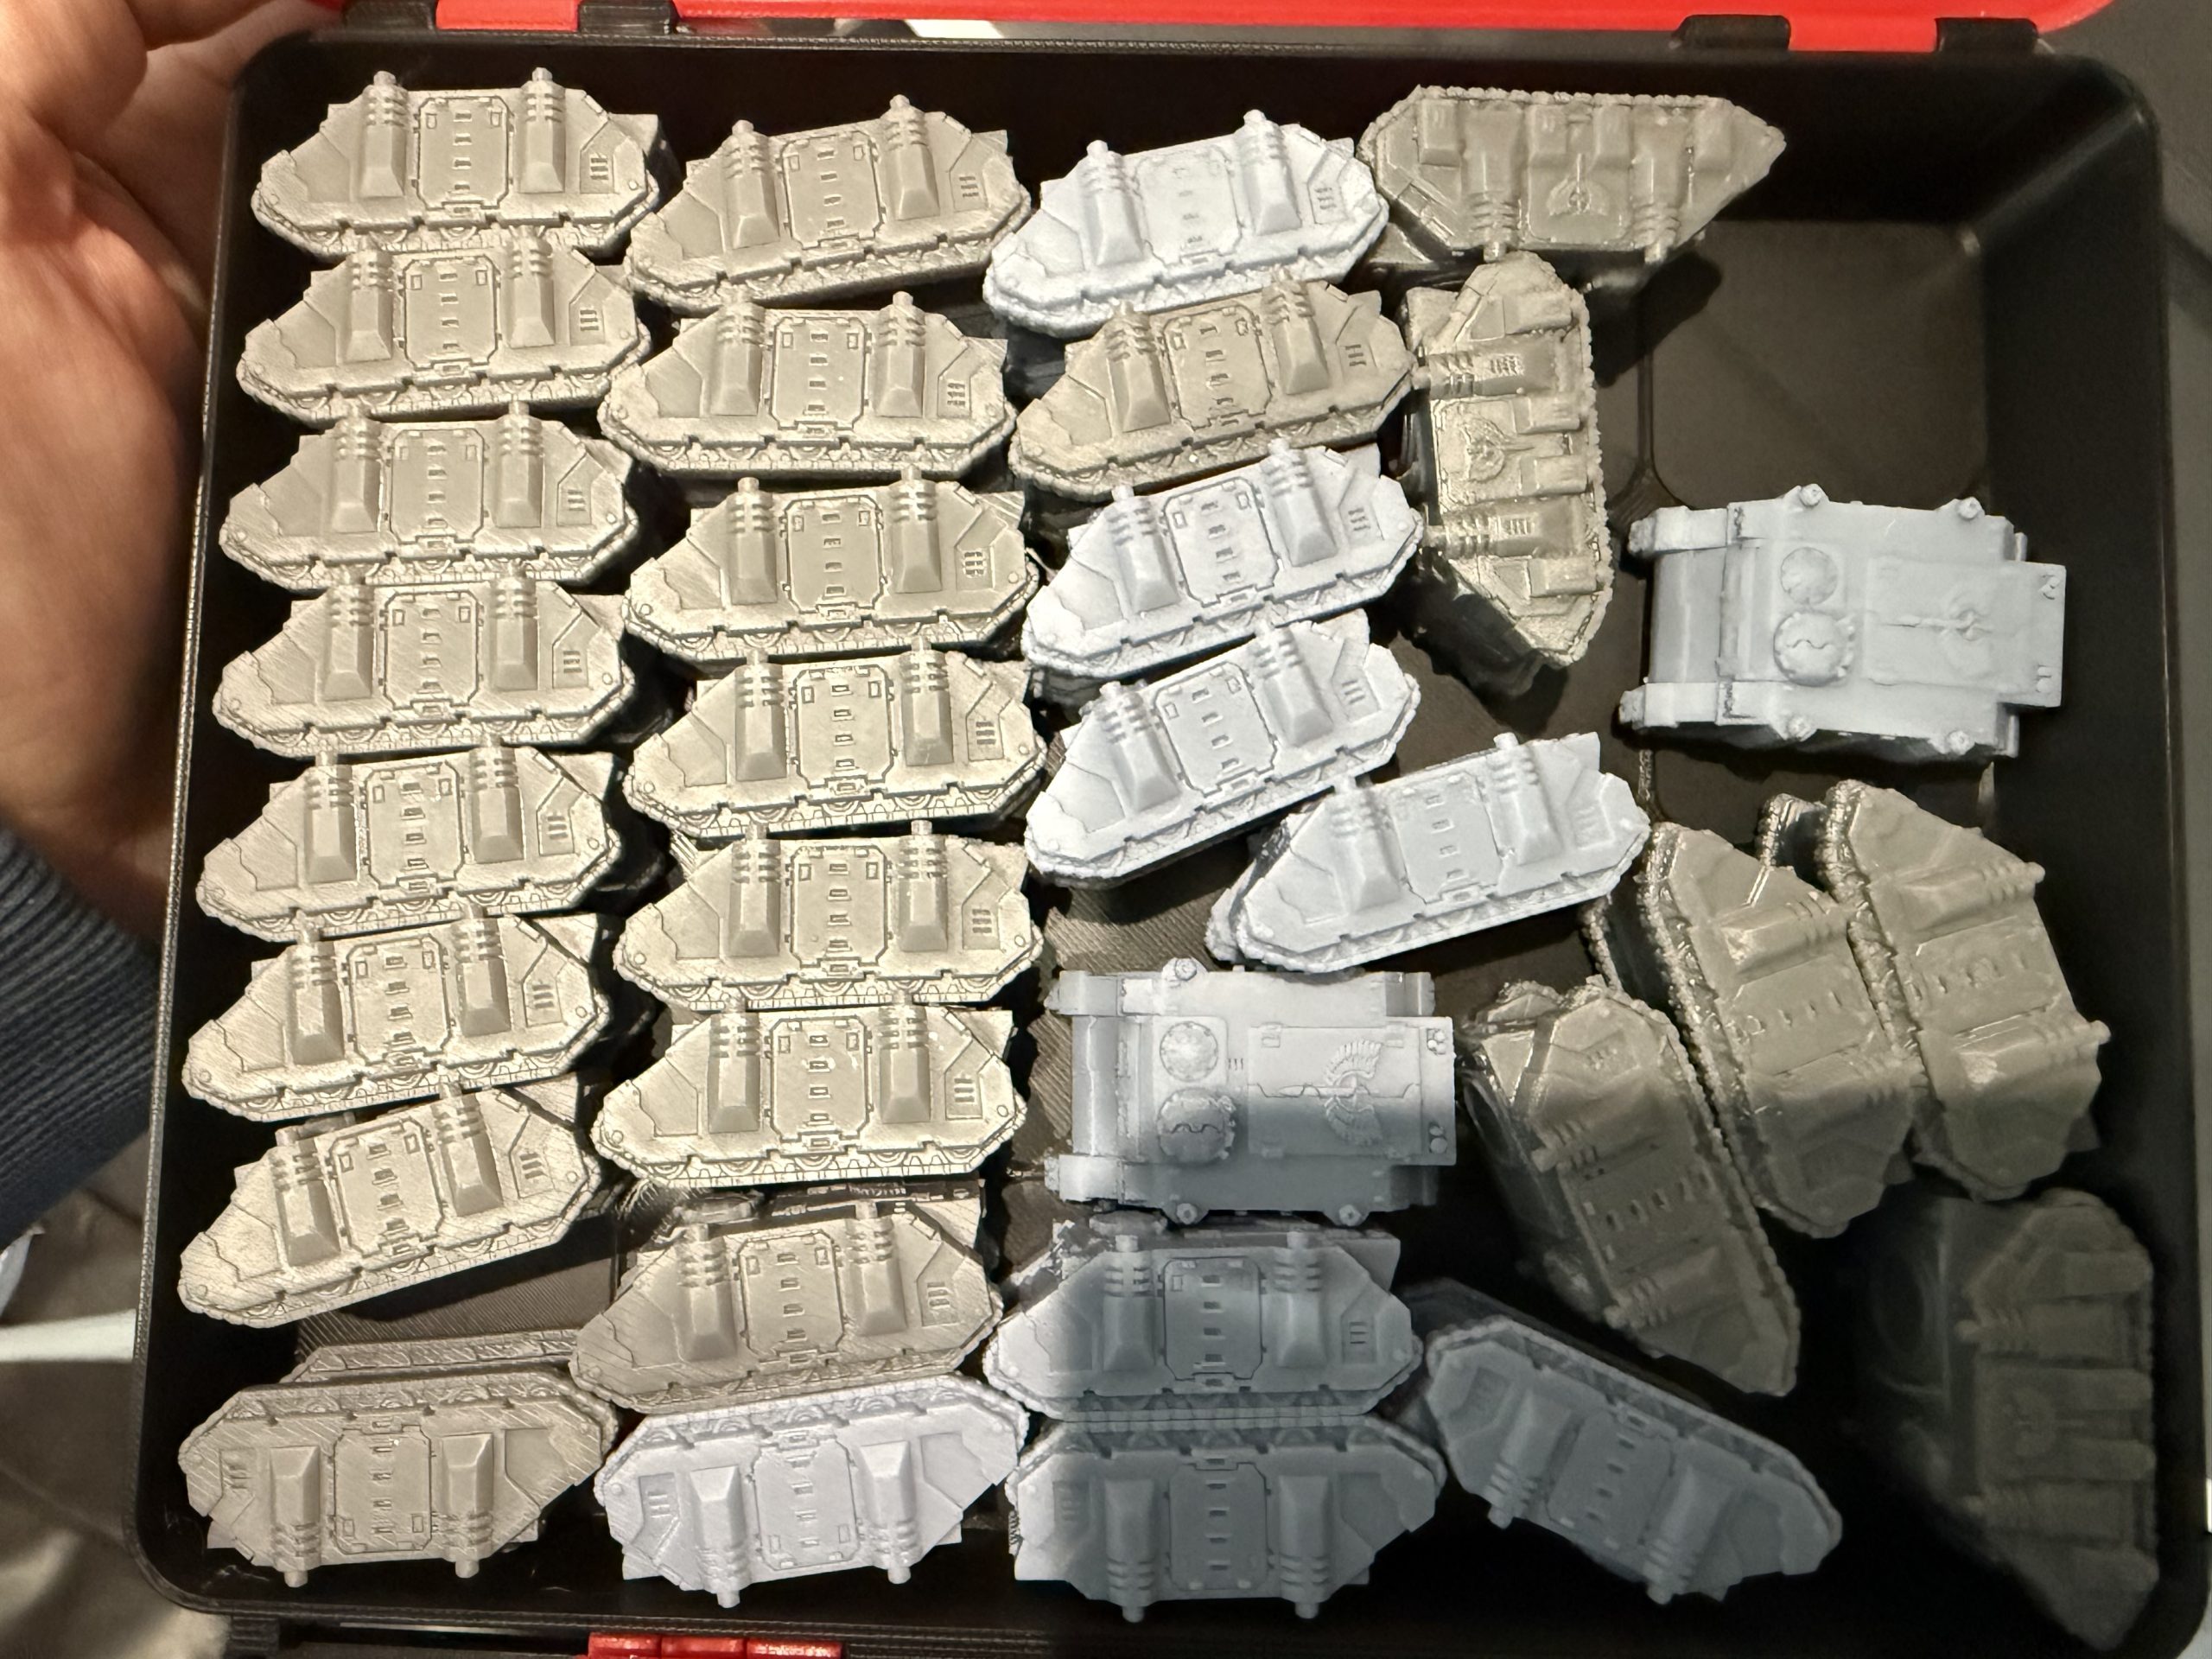
When I last updated this project it was more of an idea than a reality. Since then, I’ve spent hours focused almost entirely on the printing and preparation side of the project — and I can now say with mild horror that around 80-90% of a full Dark Angels Chapter is printed and a good chunk of that is also assembled/ready to paint.
In rough numbers I now have 50 Rhino chassis, 200 Terminators, 600 Tactical Marines, 200 Devastators, and 150 Assault Marines ready to muster.
The Ravenwing are no less impressive, with around 100 bikers, 30 attack bikes and 20 Landspeeders
Add to that 150 Scouts, 30 scout bikers, 10 scout landspeeder storms, 8 Land Raiders, a good scattering of Predators, Whirlwinds, Dreadnaughts and some flyers.
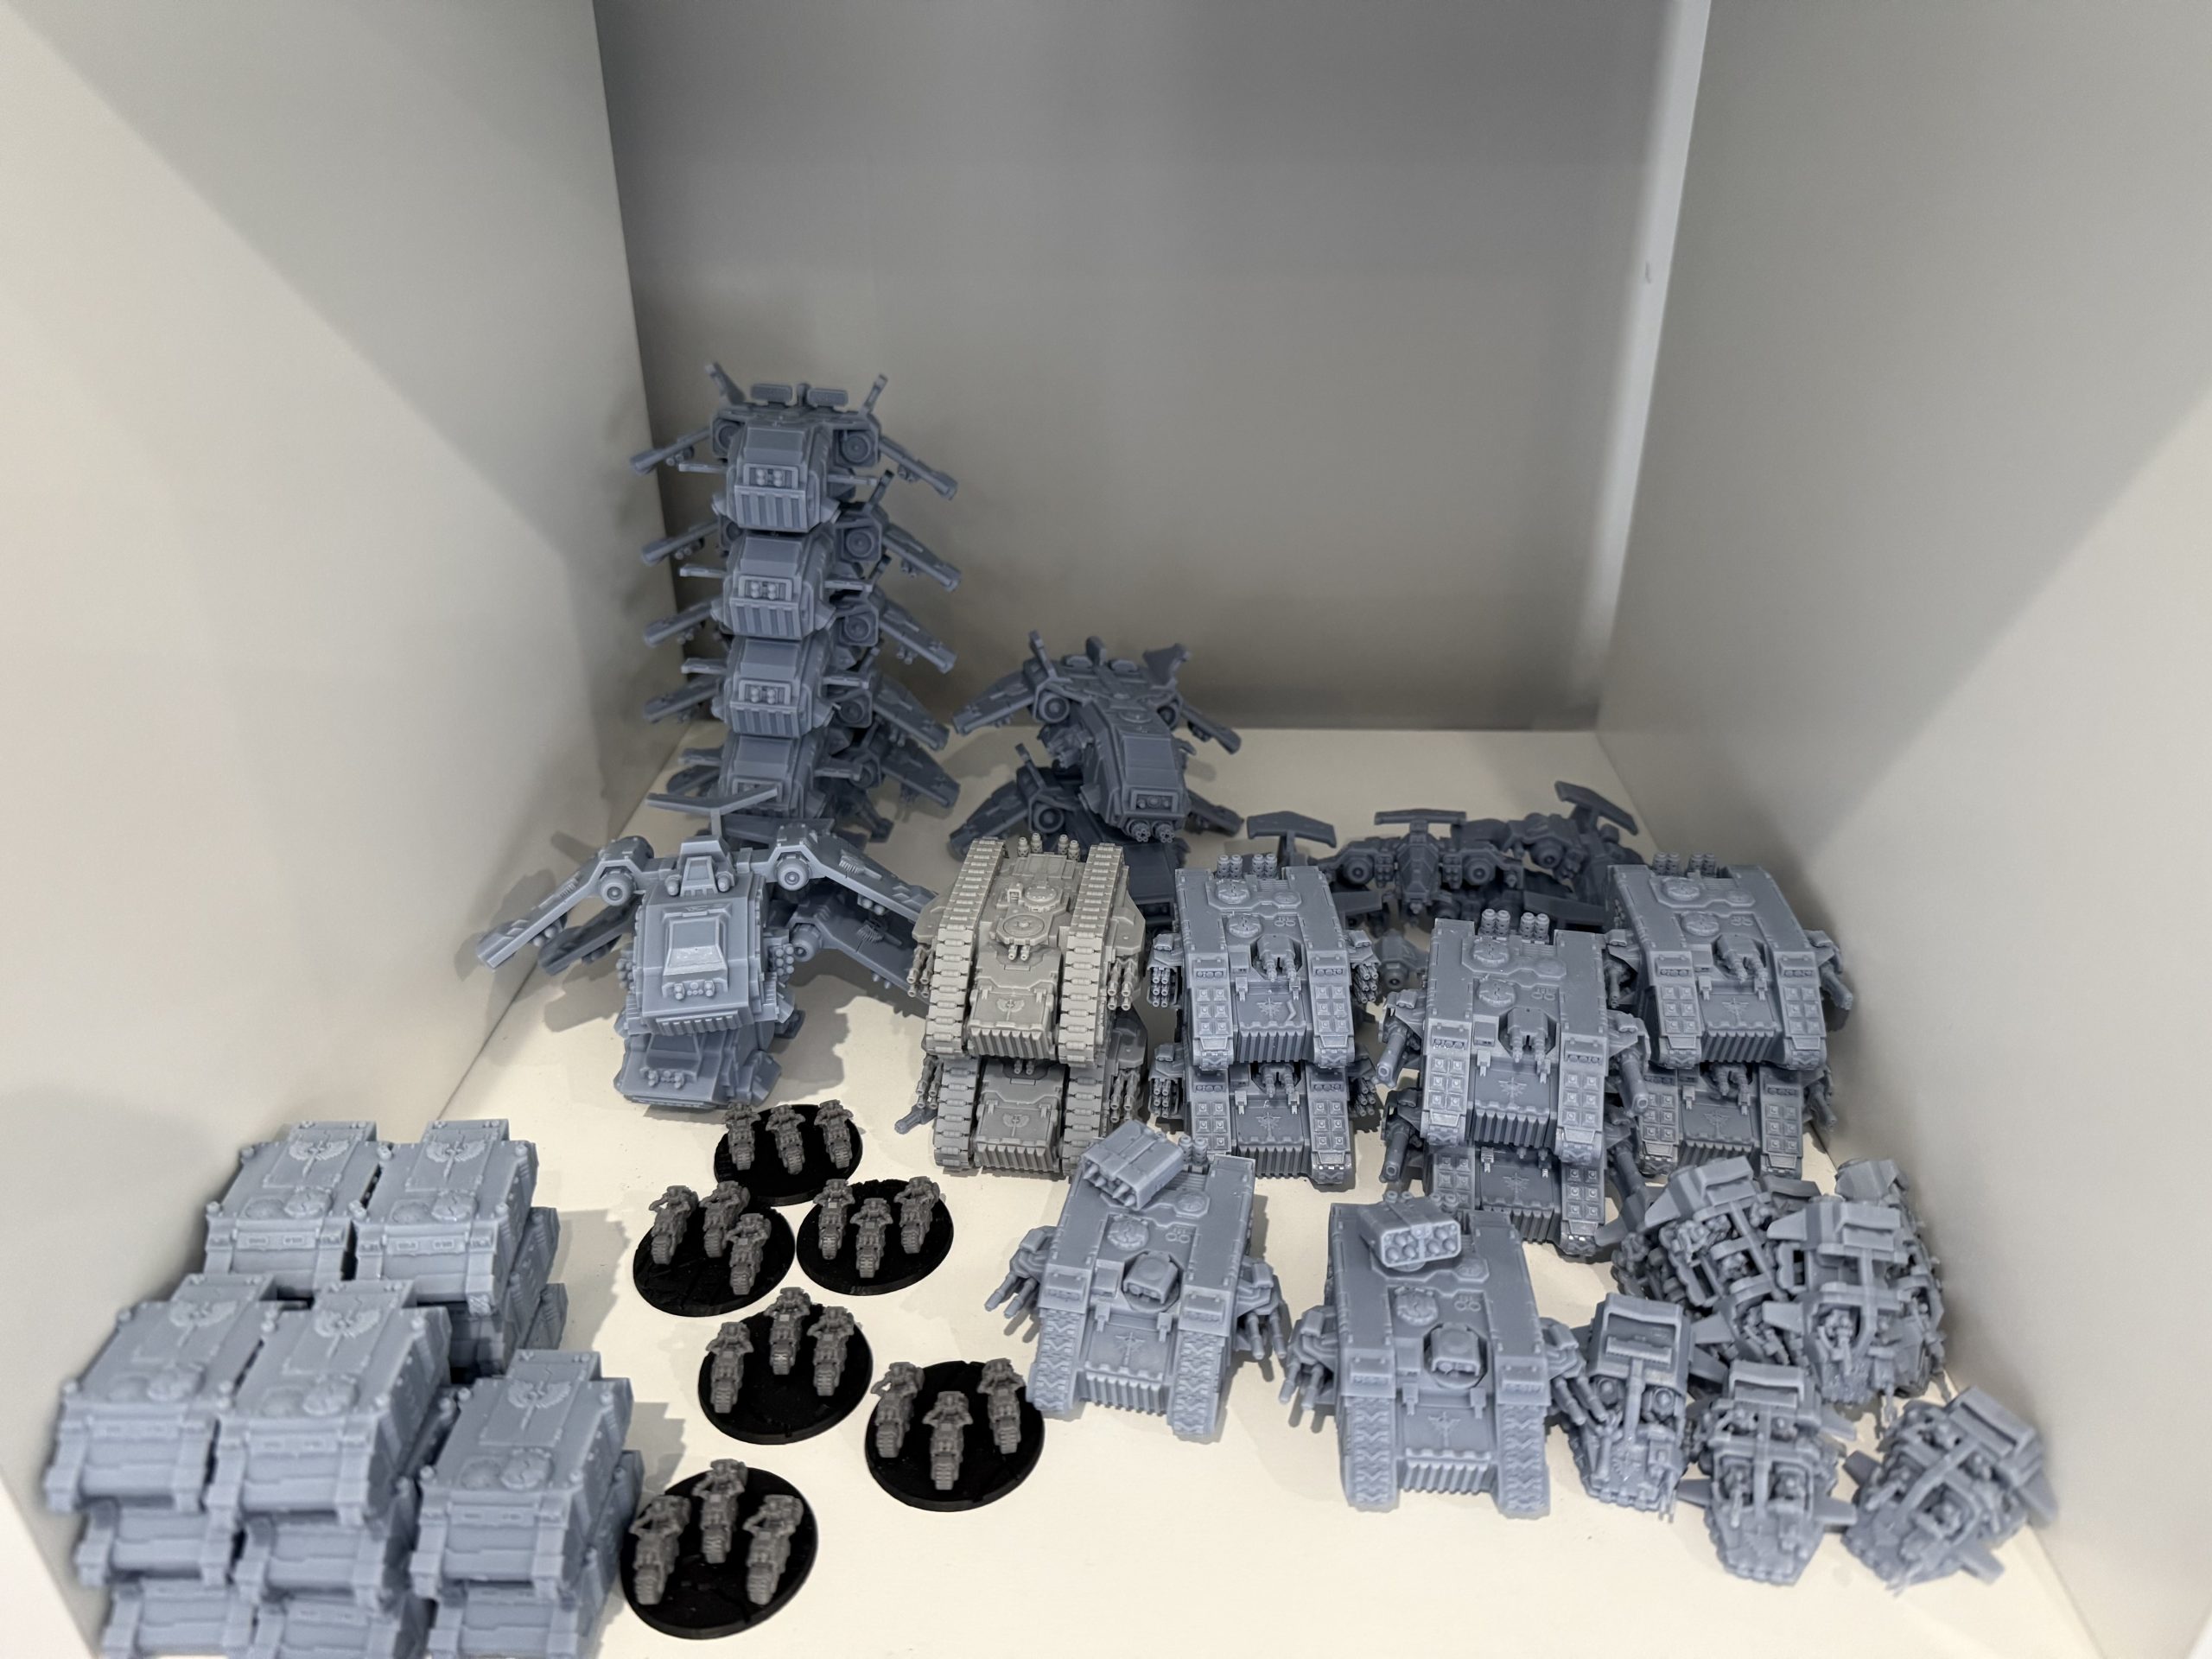 A small smattering of what's on the shelf
Milestones Hit
The 3rd, 4th, and 5th Battle Companies are now fully built as playable, coherent forces.
Basing workflows are streamlined — 100 infantry on bases now takes me just 2 hours to prepare.
Printing has largely slowed, with only flyers and some support vehicles still to go, along with some character/leader models.
The big ticket items to be printed are:
Drop Pods
Thunderhawks
Thunderhawk Landers
Maybe a relic Stormbird
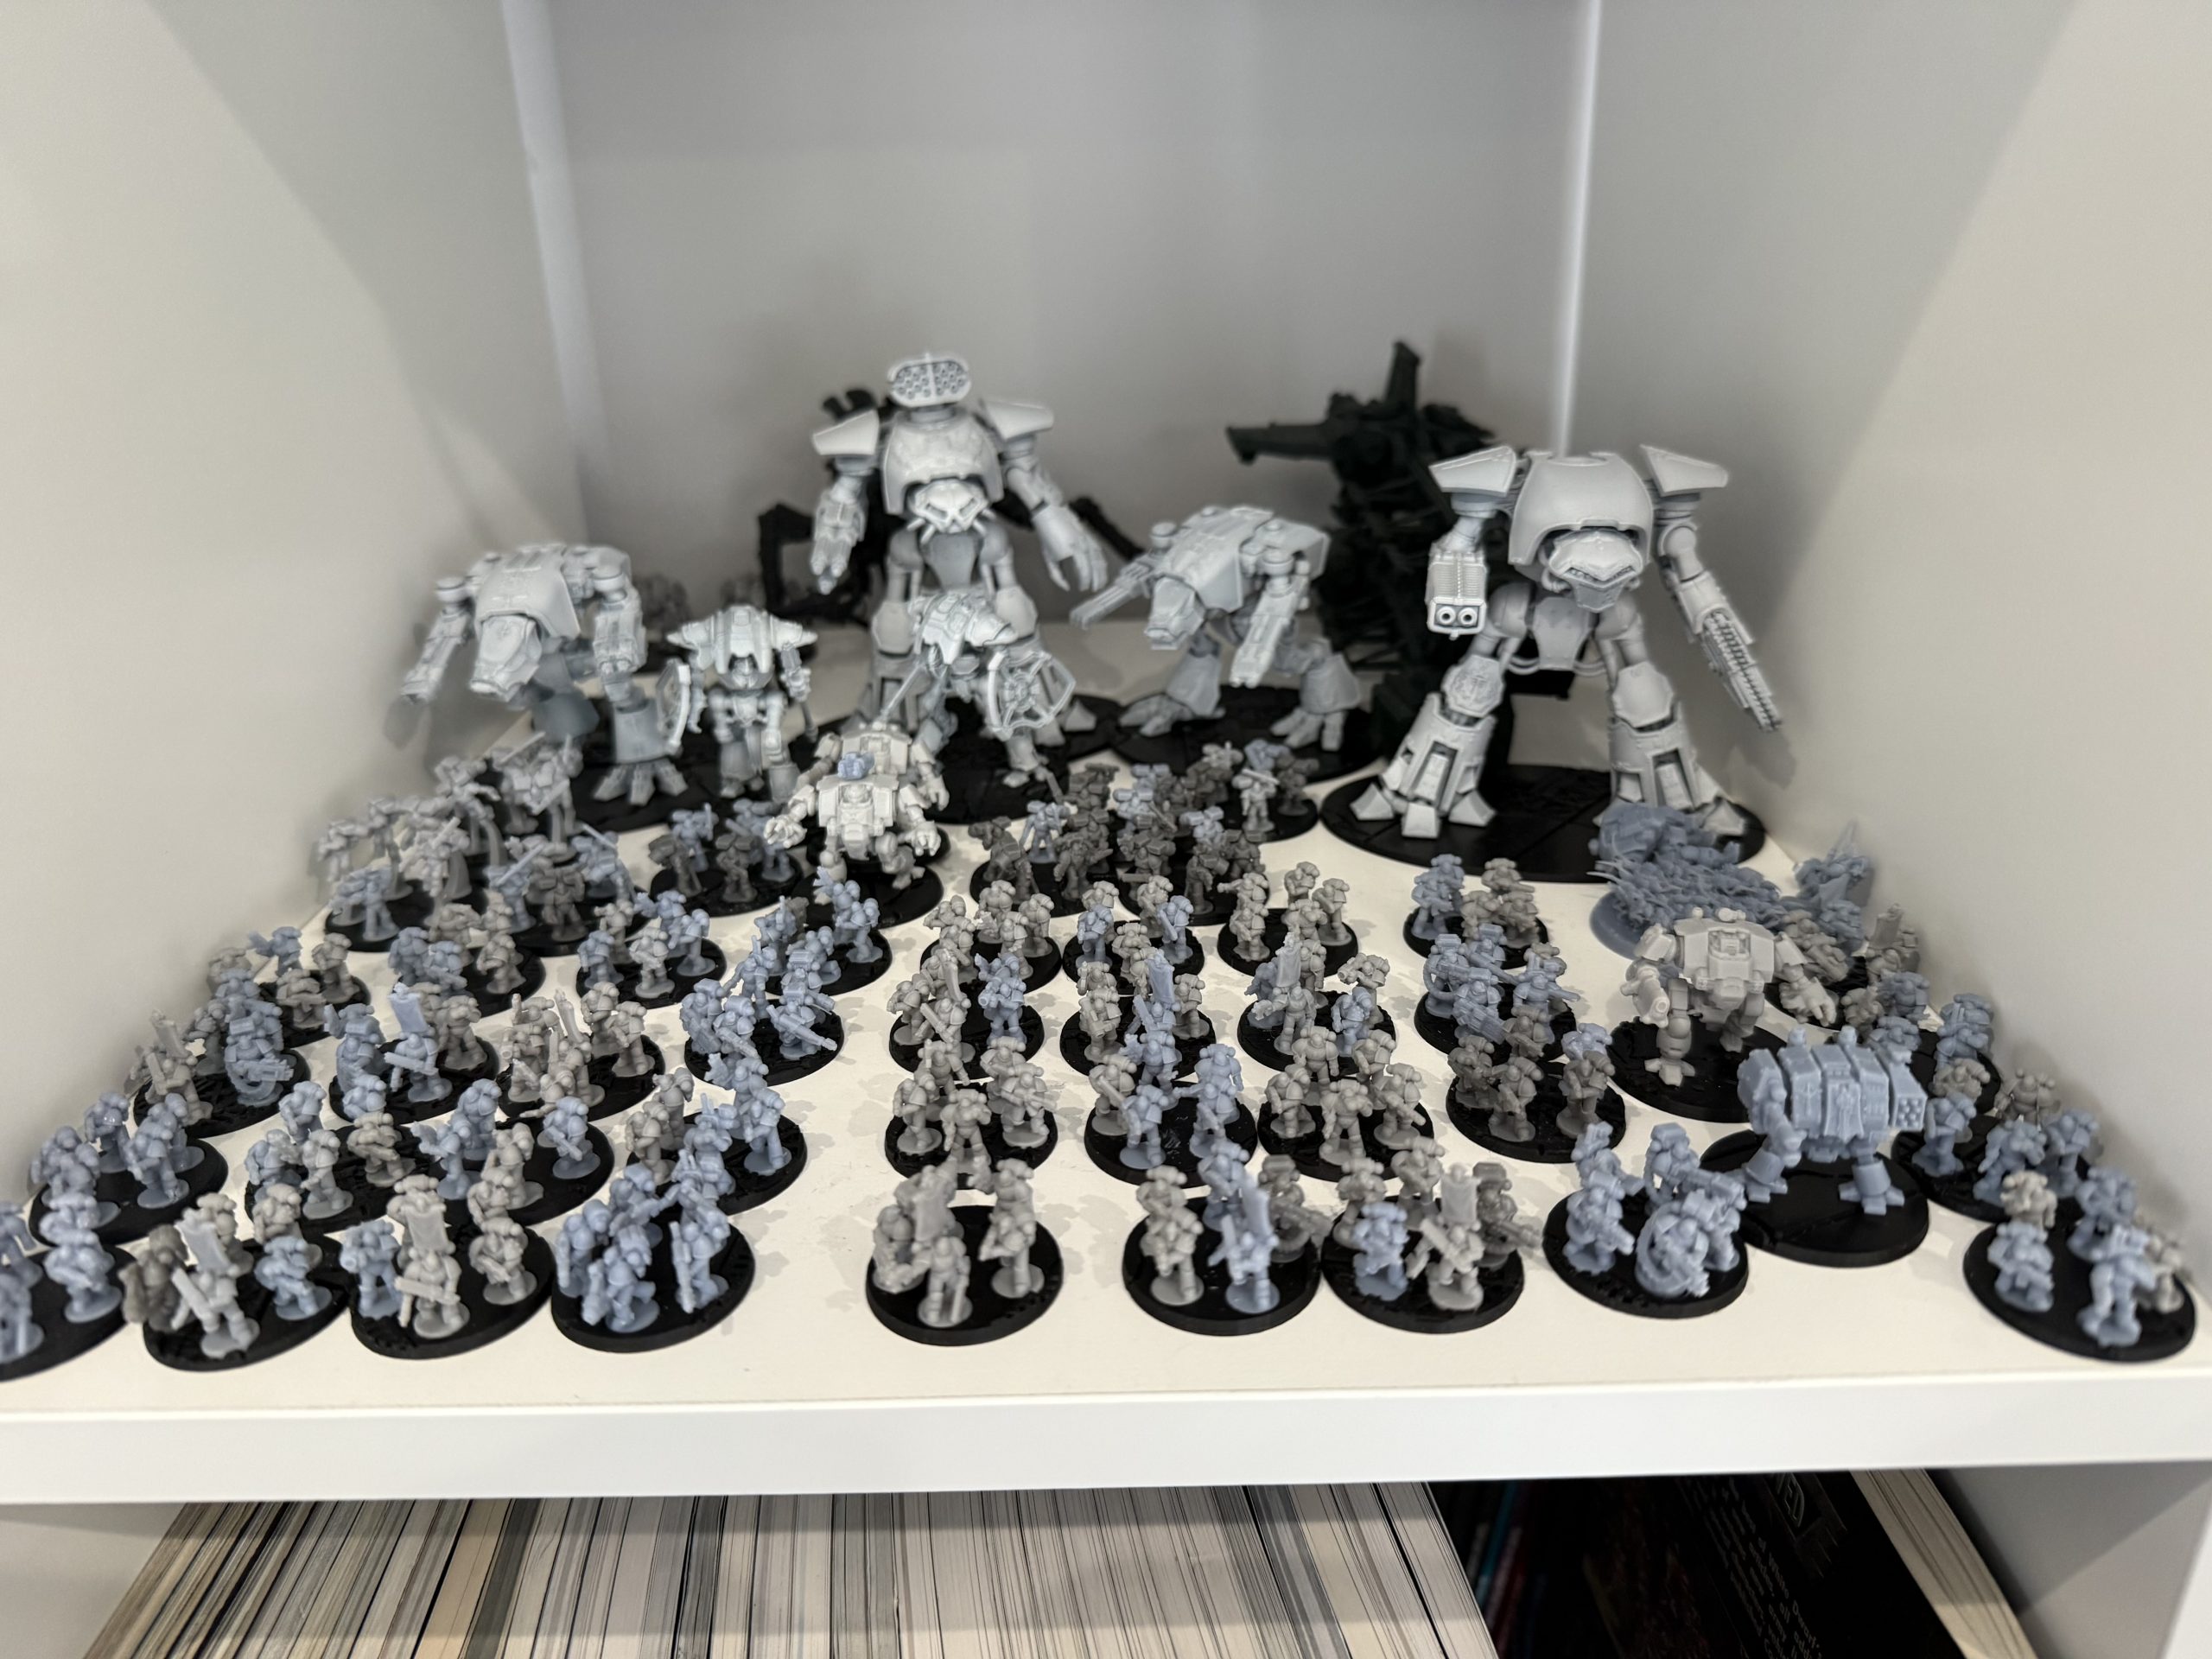 Battle Companies 3 & 4 infantry & Dreadnaughts
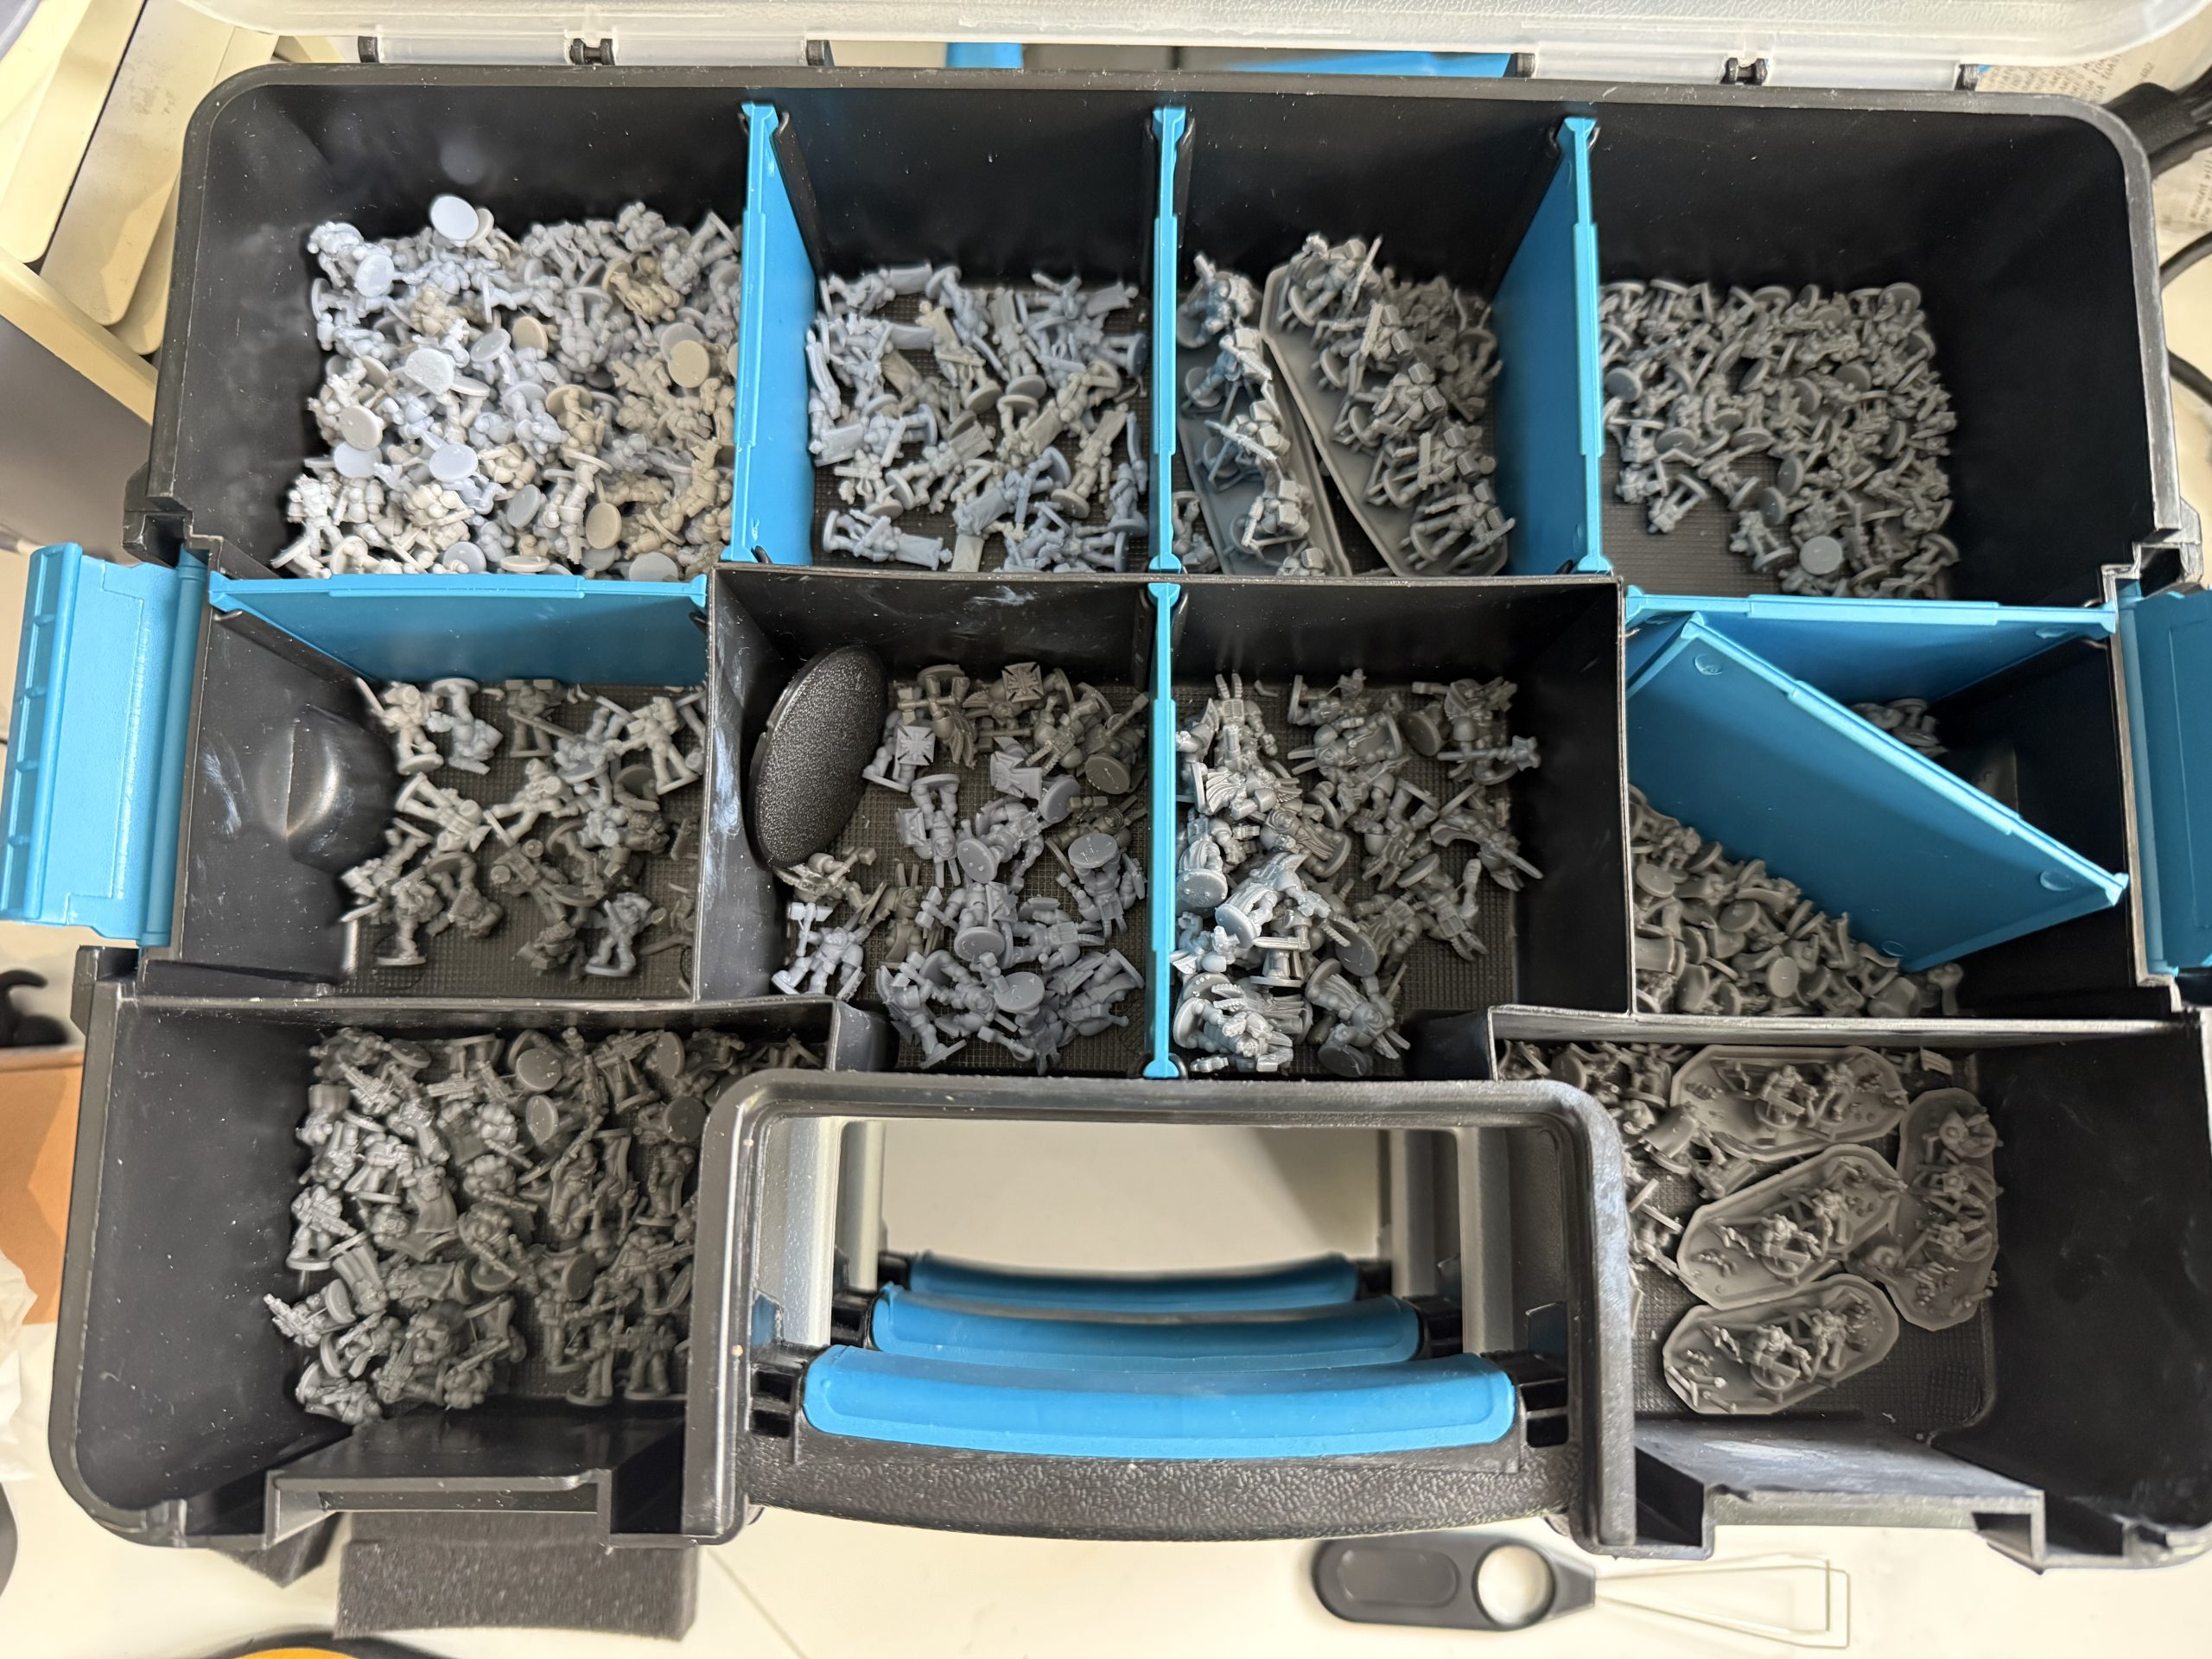
Lessons Learned
Printing at this scale has been equal parts rewarding and… educational. Failures and reprints are inevitable, I’ve found that parts needing most support tend to be anything that hangs slightly down below the model’s centre line when lying on it’s back – printing at the 45 degree angle tends to support anything above the centre line better than below I’ve found.
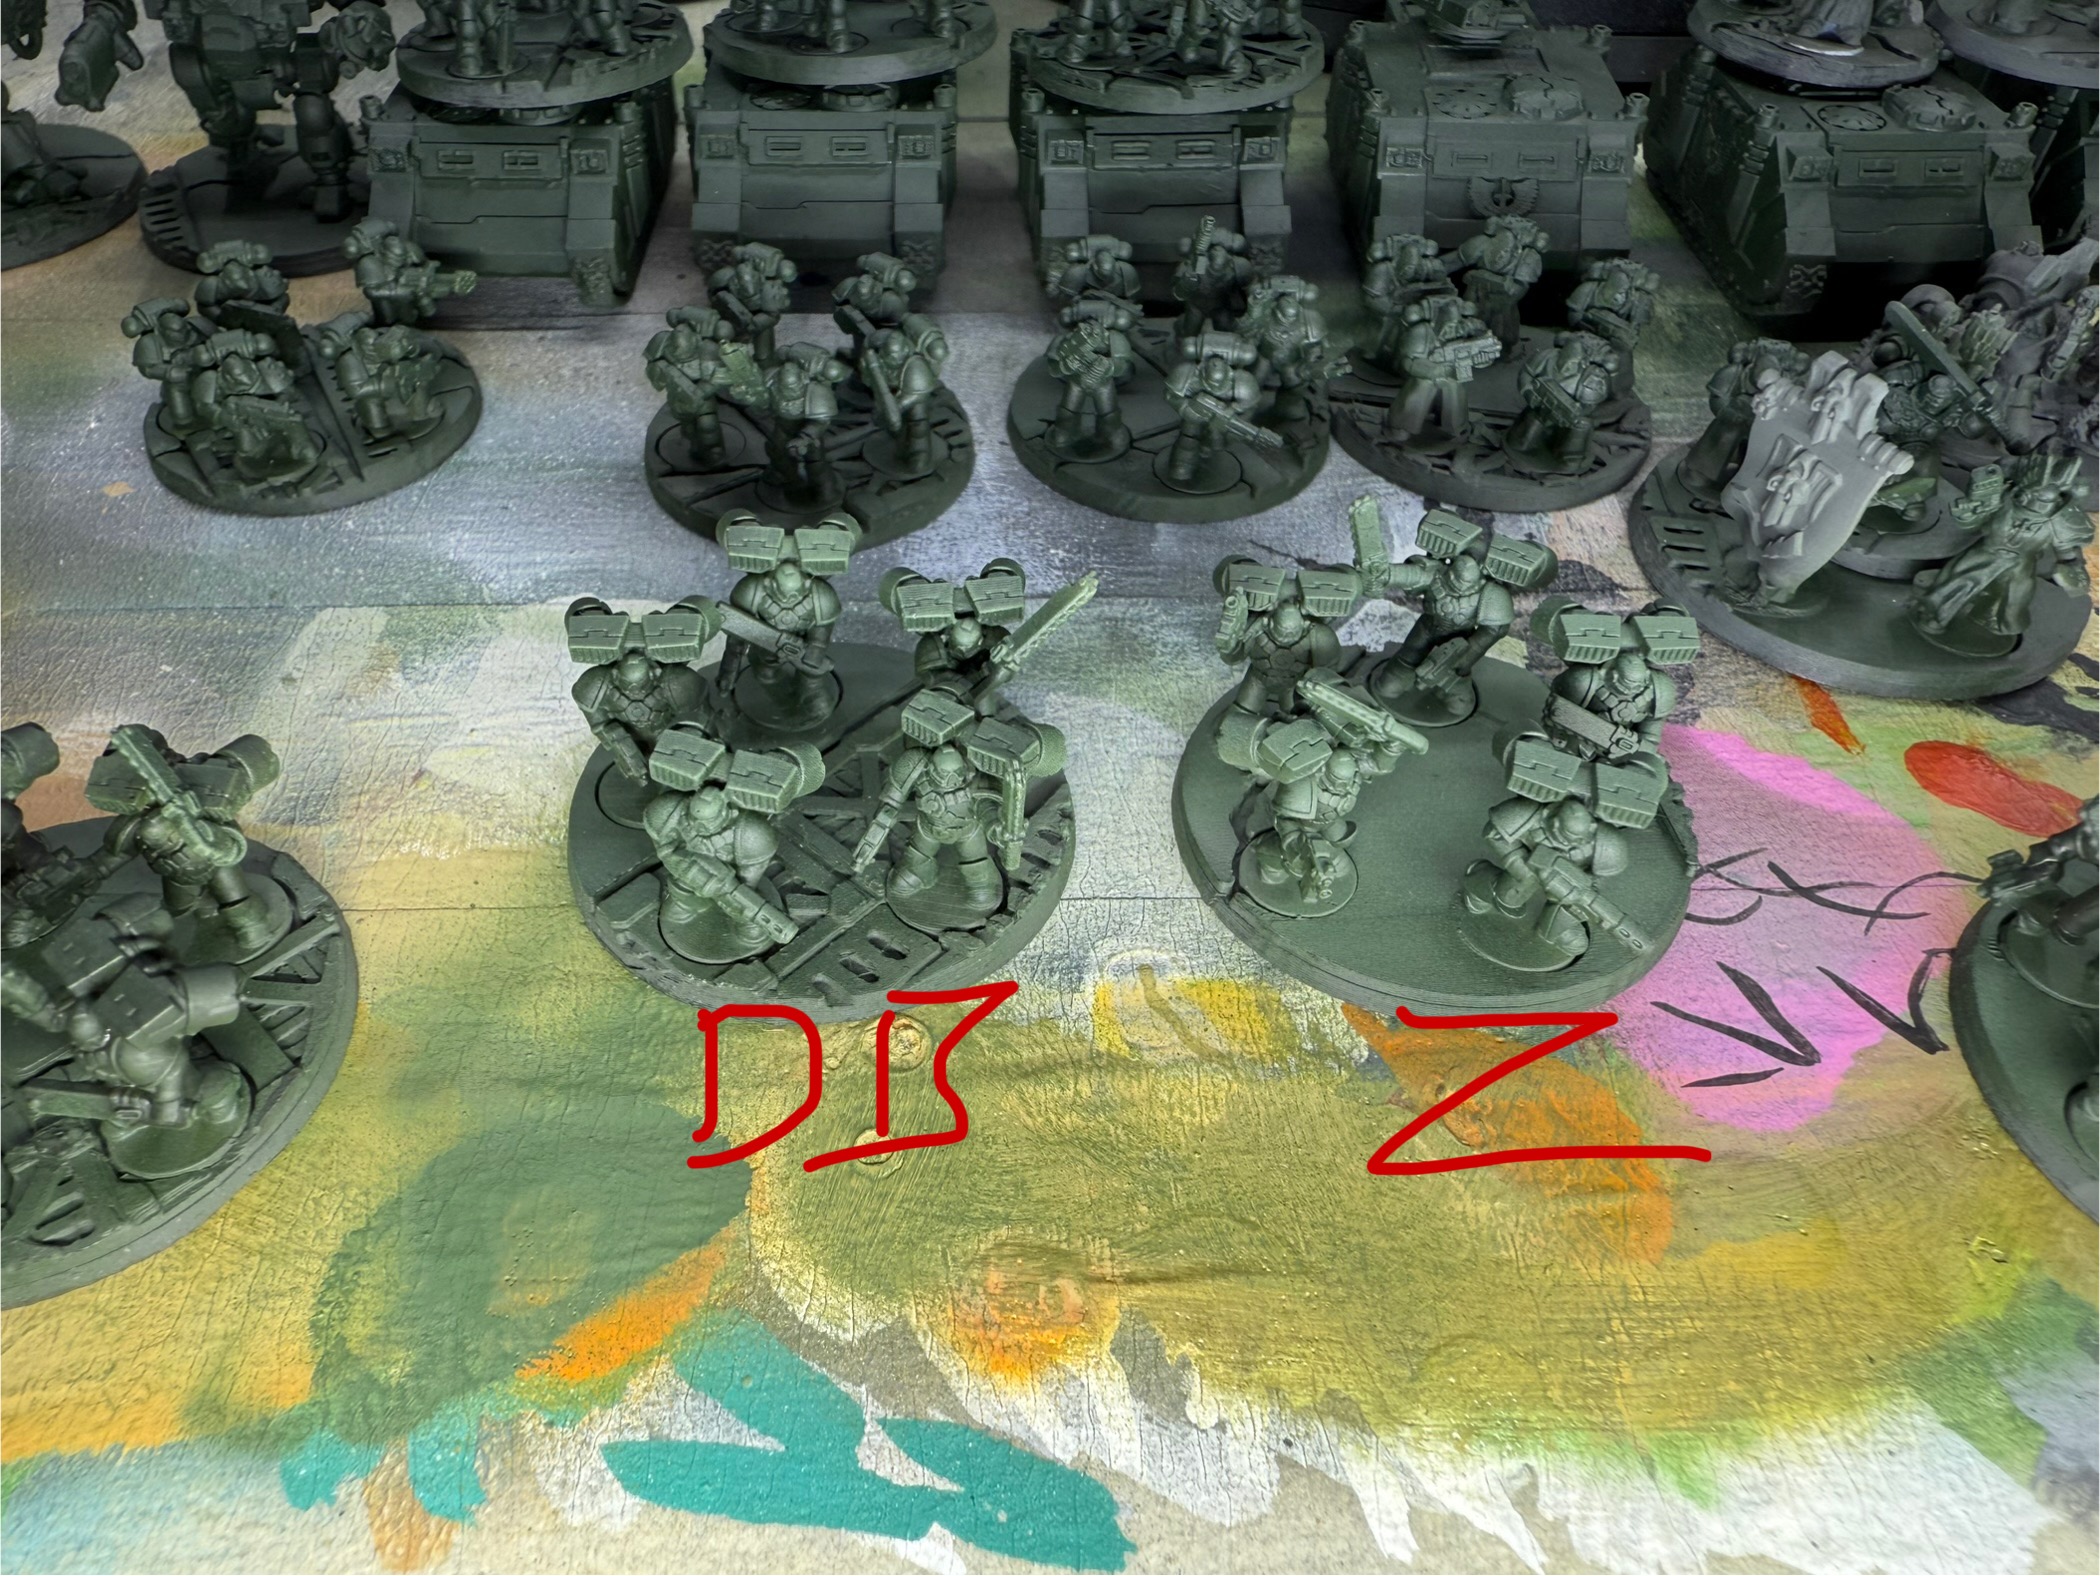
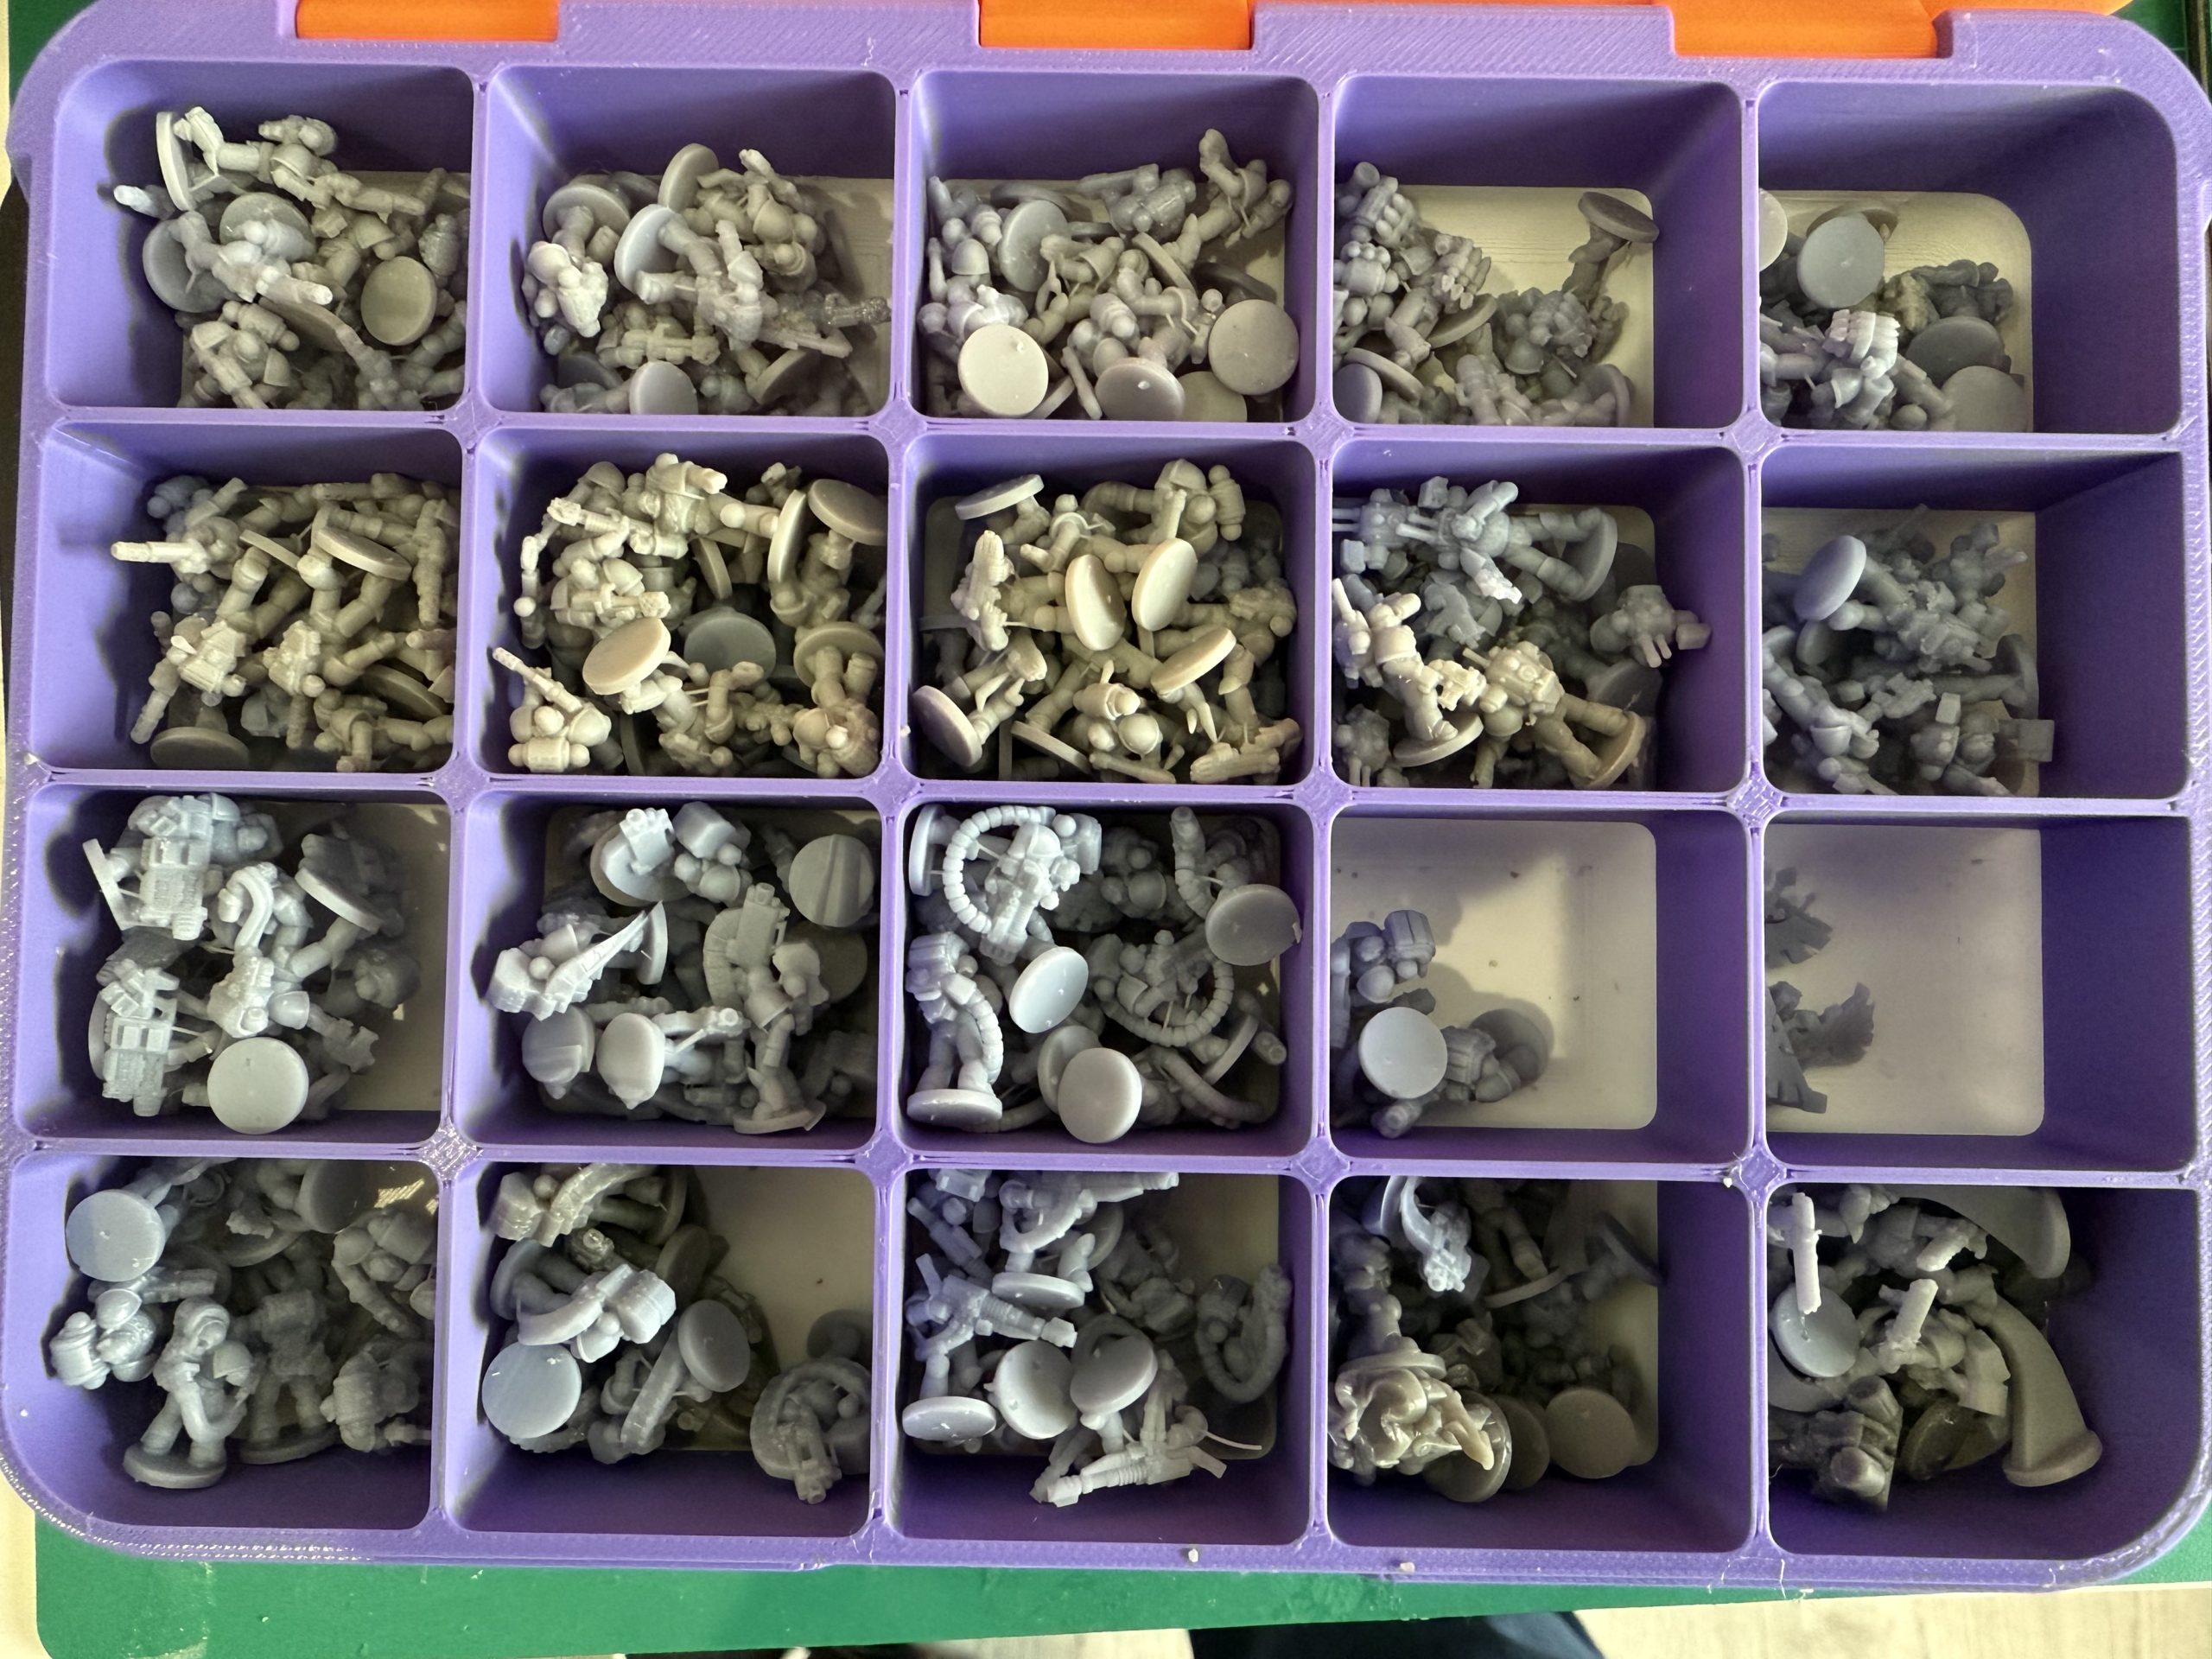
I initially prepared my files in squads, marines, sergeant and specialists…. but found that this actually slowed down things trying to keep them organised when curing, so I switched to batching by type – eg all bolter tactical marines, then special weapons, then heavy weapons alongside devastators, sergeants all printed together etc. This allowed me to sort everything into Aldi’s finest bits boxes and made assembly easier because I just grab from the correct bin to fill out a squad.
I also initially thought given the size of the minis it would be better to cure them on supports and remove them later.
That…. was a mistake. It certainly sped up the curing stage just plopping whole batches of minis down but I have a whole company of assault marines that I’ve had to put in the bin because getting them off the supports was a nightmare of broken limbs and snapped off bases.
After that I started removing everything from the supports pre-curing the same as I would with 32mm minis. This has the dual benefits of being practically effortless and massively reducing scarring and breaks, but inevitably makes the post processing much longer initially. This is worth it in the long run.
This project has moved from “dream” to “unnerving reality.” And that has serious risks for my ADHD. Up to this stage I’ve been in hyperfocus on the printing side, hence the lack of updates. The risk here is that the hyperfocus wears off when I switch to full time paint mode…. and then these just join the pile of potential…. I’m determined that this will not happen so fingers crossed I can keep that procrastination monkey out of this!
I’ve already made a lot of headway on the 3rd company so next entry will focus on that.
The First Born - Test Prints
I’ve located files for most units I will be printing and the vast majority need to be manually supported before printing. I don’t claim to be a support expert by any means so I will be relying on auto-supports and following the advice from the channel OnceInASixSide on youtube in an effort to teach myself how to get this done with a relative minimum of post processing fuss.
I managed to print off a number of Tactical marines, Dark Angel Veterans, and some scouts for testing. I’m quite happy with the details on these test models and the supports came away quite handily so I’m going to go ahead and do full plates.
The downside of resin printing is brittleness so I’m also testing a couple of different resins that I’ve never worked with before at this scale, I’ve only used both of these on terrain up to now. The light grey is Elegoo’s ABS-Like 3.0 while the darker grey is Sunlu’s ABS-like Dark Grey. they seem pretty evenly matched in terms of rigidity vs flexibilty. No brittleness. In fact the sergeant bounced clear across the room after taking it out of the curing machine and the banner and pistol arm are surprisingly undamaged.
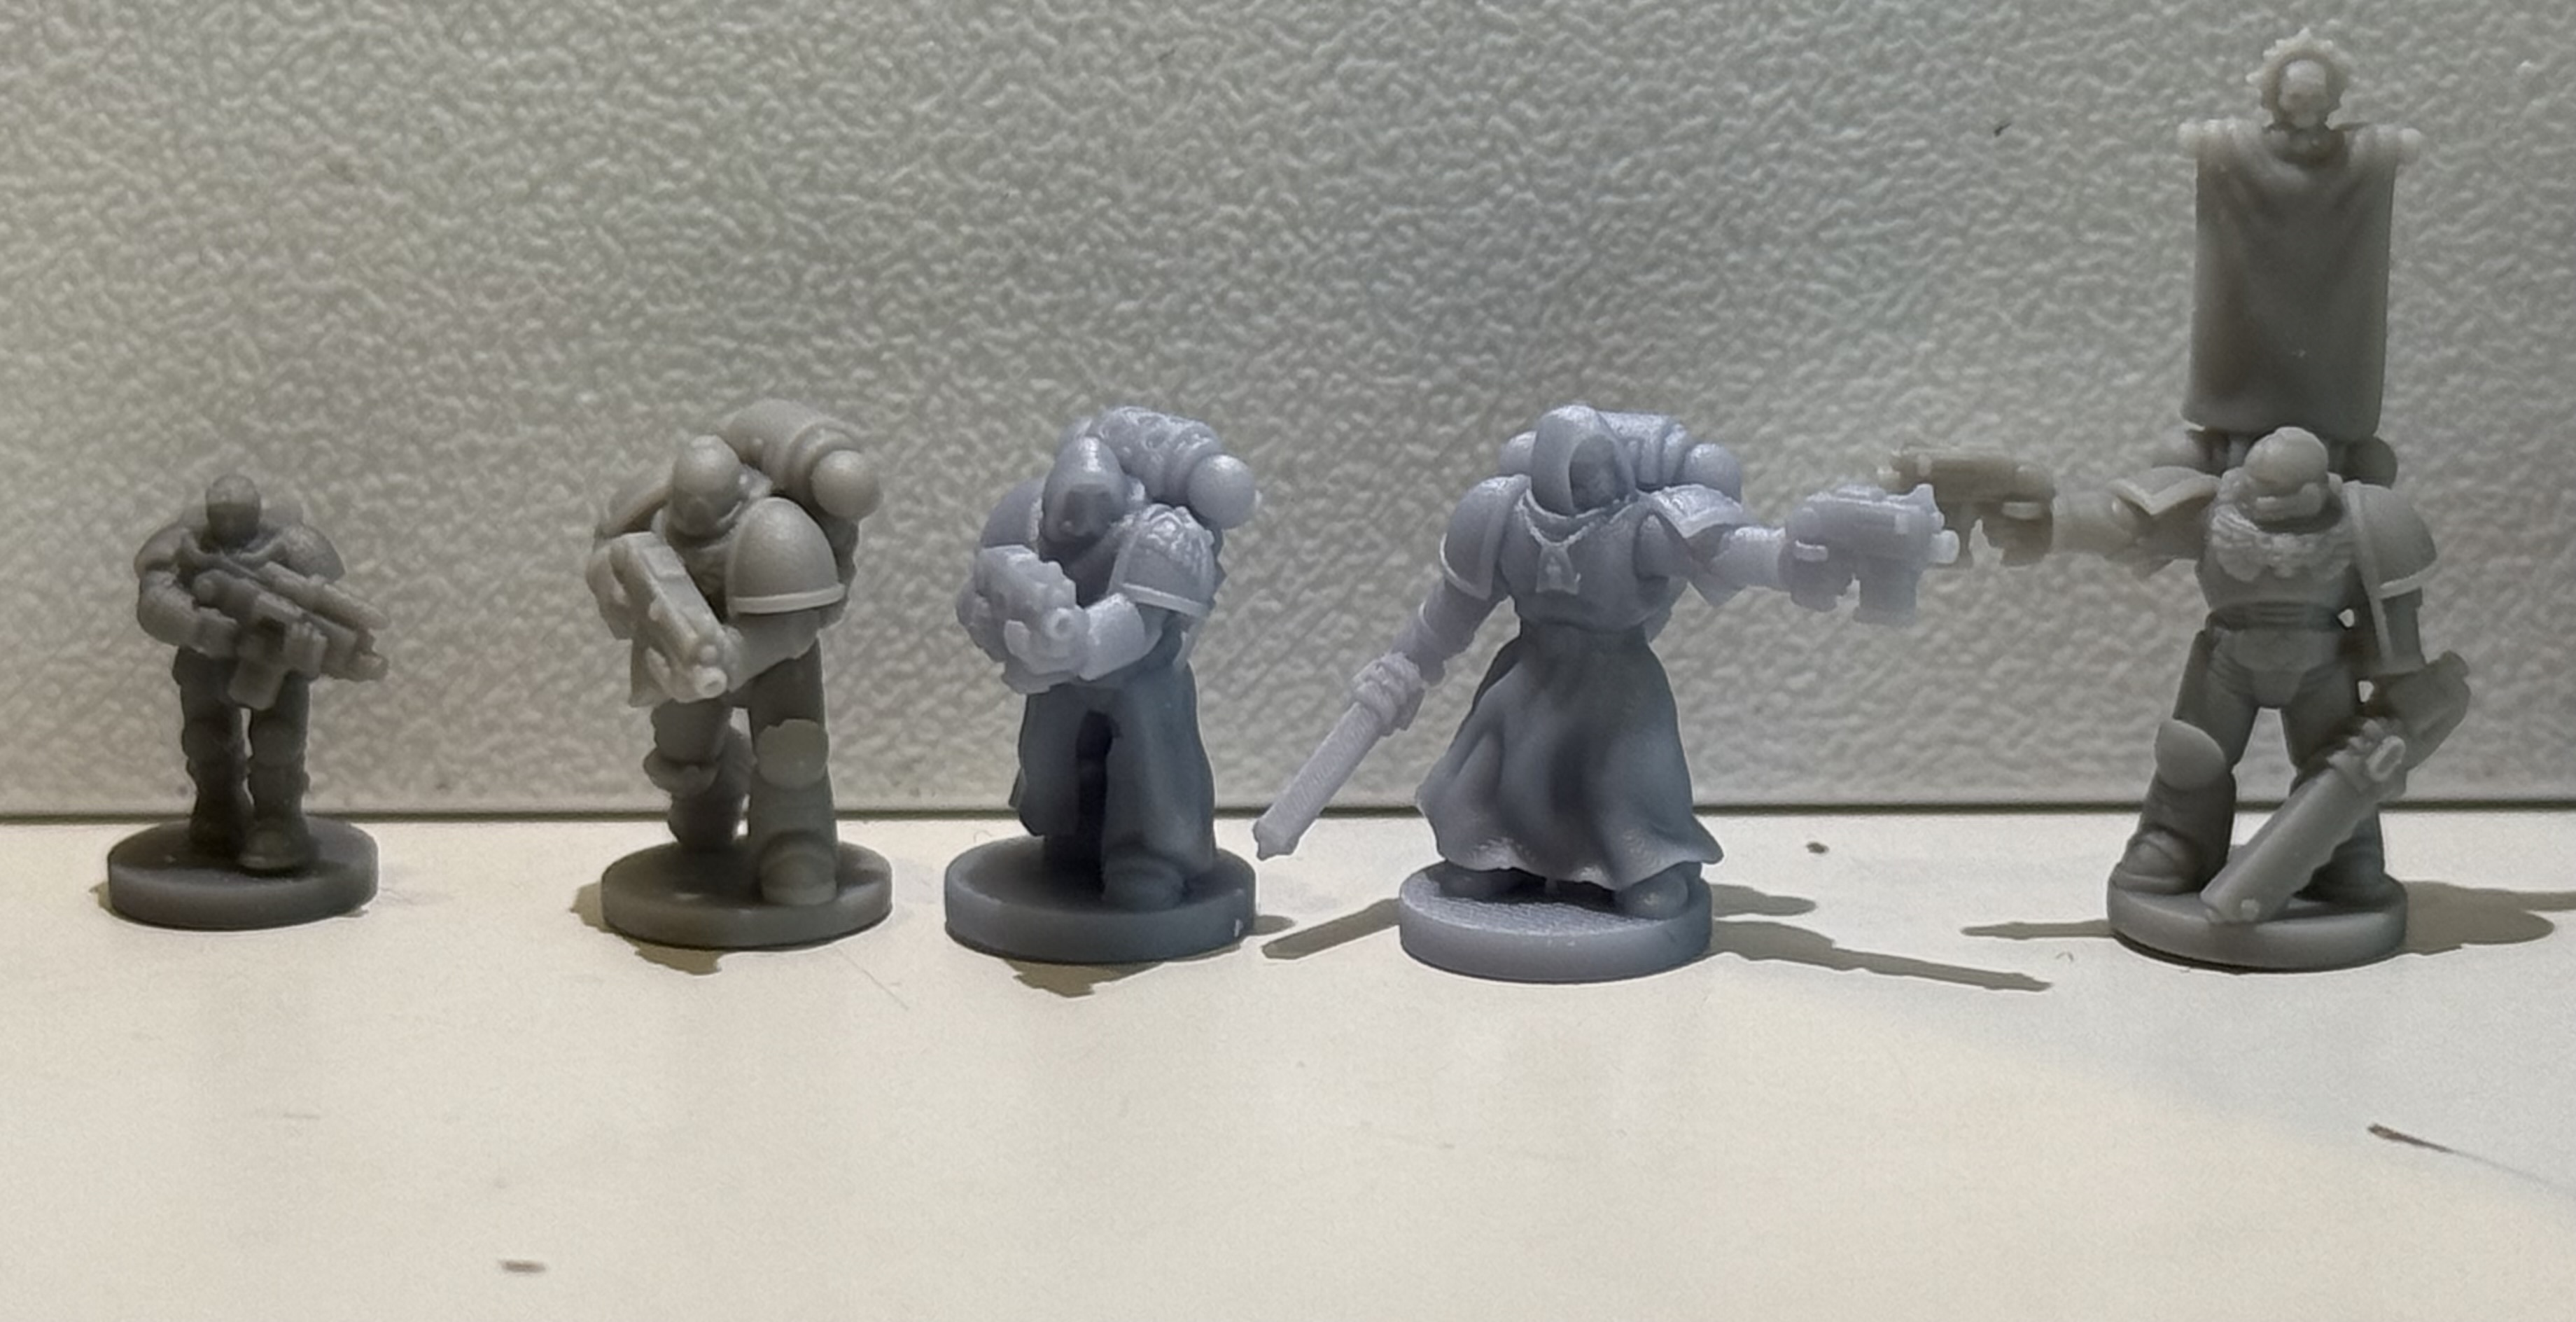 First prints - size comparison against each other Scout to veteran to tactical marine
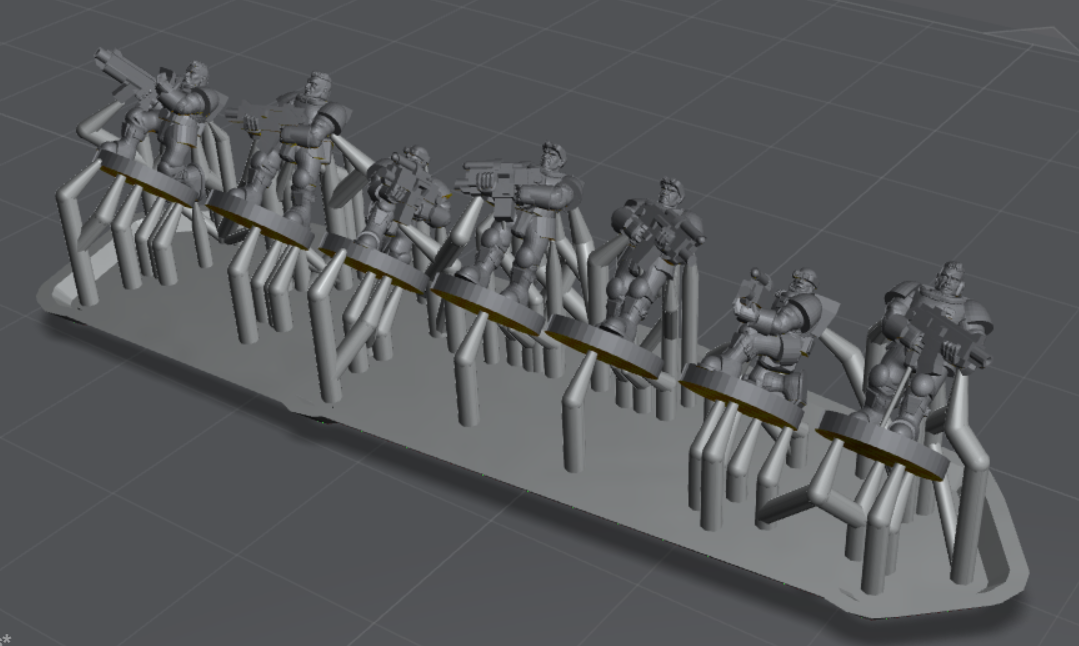 supported scouts
Why, What and When......
What is driving this
In December 2025 I will turn 40 years old. I’ve never been one to worry about milestone birthdays, I’m a simple man, steak and cake is pretty much all I need for a special occassion.
However this year I have found myself reminiscing a bit more than I would have expected and I wonder is this what a mid-life crisis looks like for a thoroughly dull individual like myself?
I’m specifically thinking back over my hobby for the last 30 years and about all the projects I wanted to do but never quite got around to. I asked myself which of those I would most like to have done or at least made a good attempt at over the next 6 months.
Now it’s been probably 12 or 13 years since I was last interested in playing Warhammer 40k although that is where I cut my teeth in my youth. Like many it was the constant price hikes and poor rules but ultimately it was the shuttering of the specialist games that made me cut the chord with GW.
But at the start of it all, wee 10 year old me bought my first miniatures, a squad of tactical marines and I painted them as Dark Angels. These remain my chapter of choice to this day and when I was young and ridiculous I said I would one day like to have a full chapter of Dark Angels… so that is what I will be doing… just not with 40k miniatures. That would be insane, I have neither the time nor money for that sort of endeavour.
What I do have are two resin 3d printers, a love of 10mm wargames and a small degree of skill in 3d modelling, just enough to be able to modify the work of other talented sculptors to suit my needs.
The Lion's Little Legion
The idea struck when I came across a set of Mark 7 armour 8mm marines on a certain website. I’ll omit the creators name in light of the nature of the files. I’ve seen a few different creators tackle small marines but they usually focus on Heresy era armour. With that inspiration I started looking around for terminators, scouts and bikes, tanks and found many options to choose from. The only issue was the scale.
Having printed off a few models including these marines and some Eldar and Tyranids from other creators I decided I do not like 8mm, or at least what GW claims as 8mm. It doesn’t have enough detail to be satisfying to look at, particularly for Guard or Eldar as these end up being 6 or 7mm if you were to scale them correctly to the space marines and I plan to do other forces.
It was time to up the scale and given that modern space marines post the whole primaris debacle are something like 9 feet tall, that gives us marines of around 11.9mm at a rate of 1.33mm per ft of height assuming 8mm to mean 6ft tall standard humans. This allows me to print Eldar, Tyranids and others at a decent size but still be in what I consider proportionate scale.
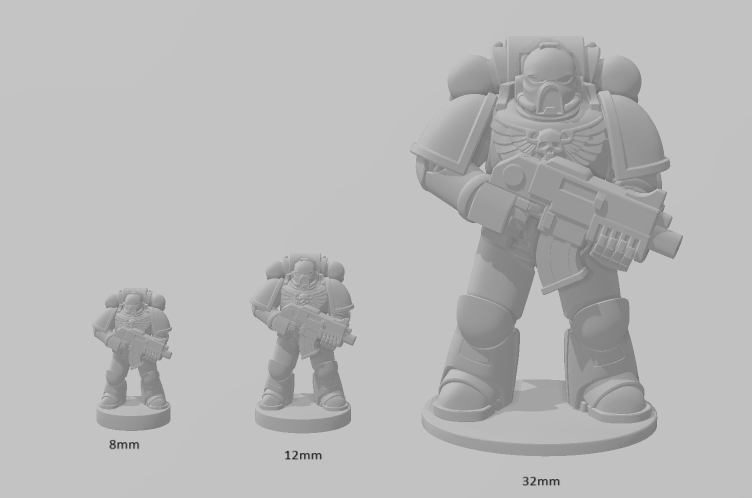 DIfferences in miniature heights
 A selection of the mark 7s I found
To Primaris or Not
One question I considered is whether I will be embracing the Primaris marines and I have a mixed view on this. As much as I detest the Primaris background. I much prefer the newer “true scale” look of the marines, and to my eye the STLs I’ve found seem to have the marines scaled more in line with the primaris proportions. Many of the primaris vehicles look terrible and a space marine tank that floats is downright tech heresy of the highest order and I’ll be having none of that nonsense. That said, if I find a primaris vehicle I like, I’ll include it. I already have some primaris helmets that I will be using for some digital kit bashing.
So I will be doing whatever I feel like doing basically.
Am I overthinking the scale bit? Probably. Am I creating work for myself? Definitely!
Time to get going!


