


![1918 Spring Offensive Wargame | Full Rules Overview with John & Gerry (WW1 Tabletop Game) [7 Days Early Access]](https://images.beastsofwar.com/2026/03/unboxing-warfulcrum-games-1918-spring-offensive-review-coverimage1-225-127.jpeg)


Warhammer 40k, Imperial Grey Kinght


Recommendations: 22
About the Project
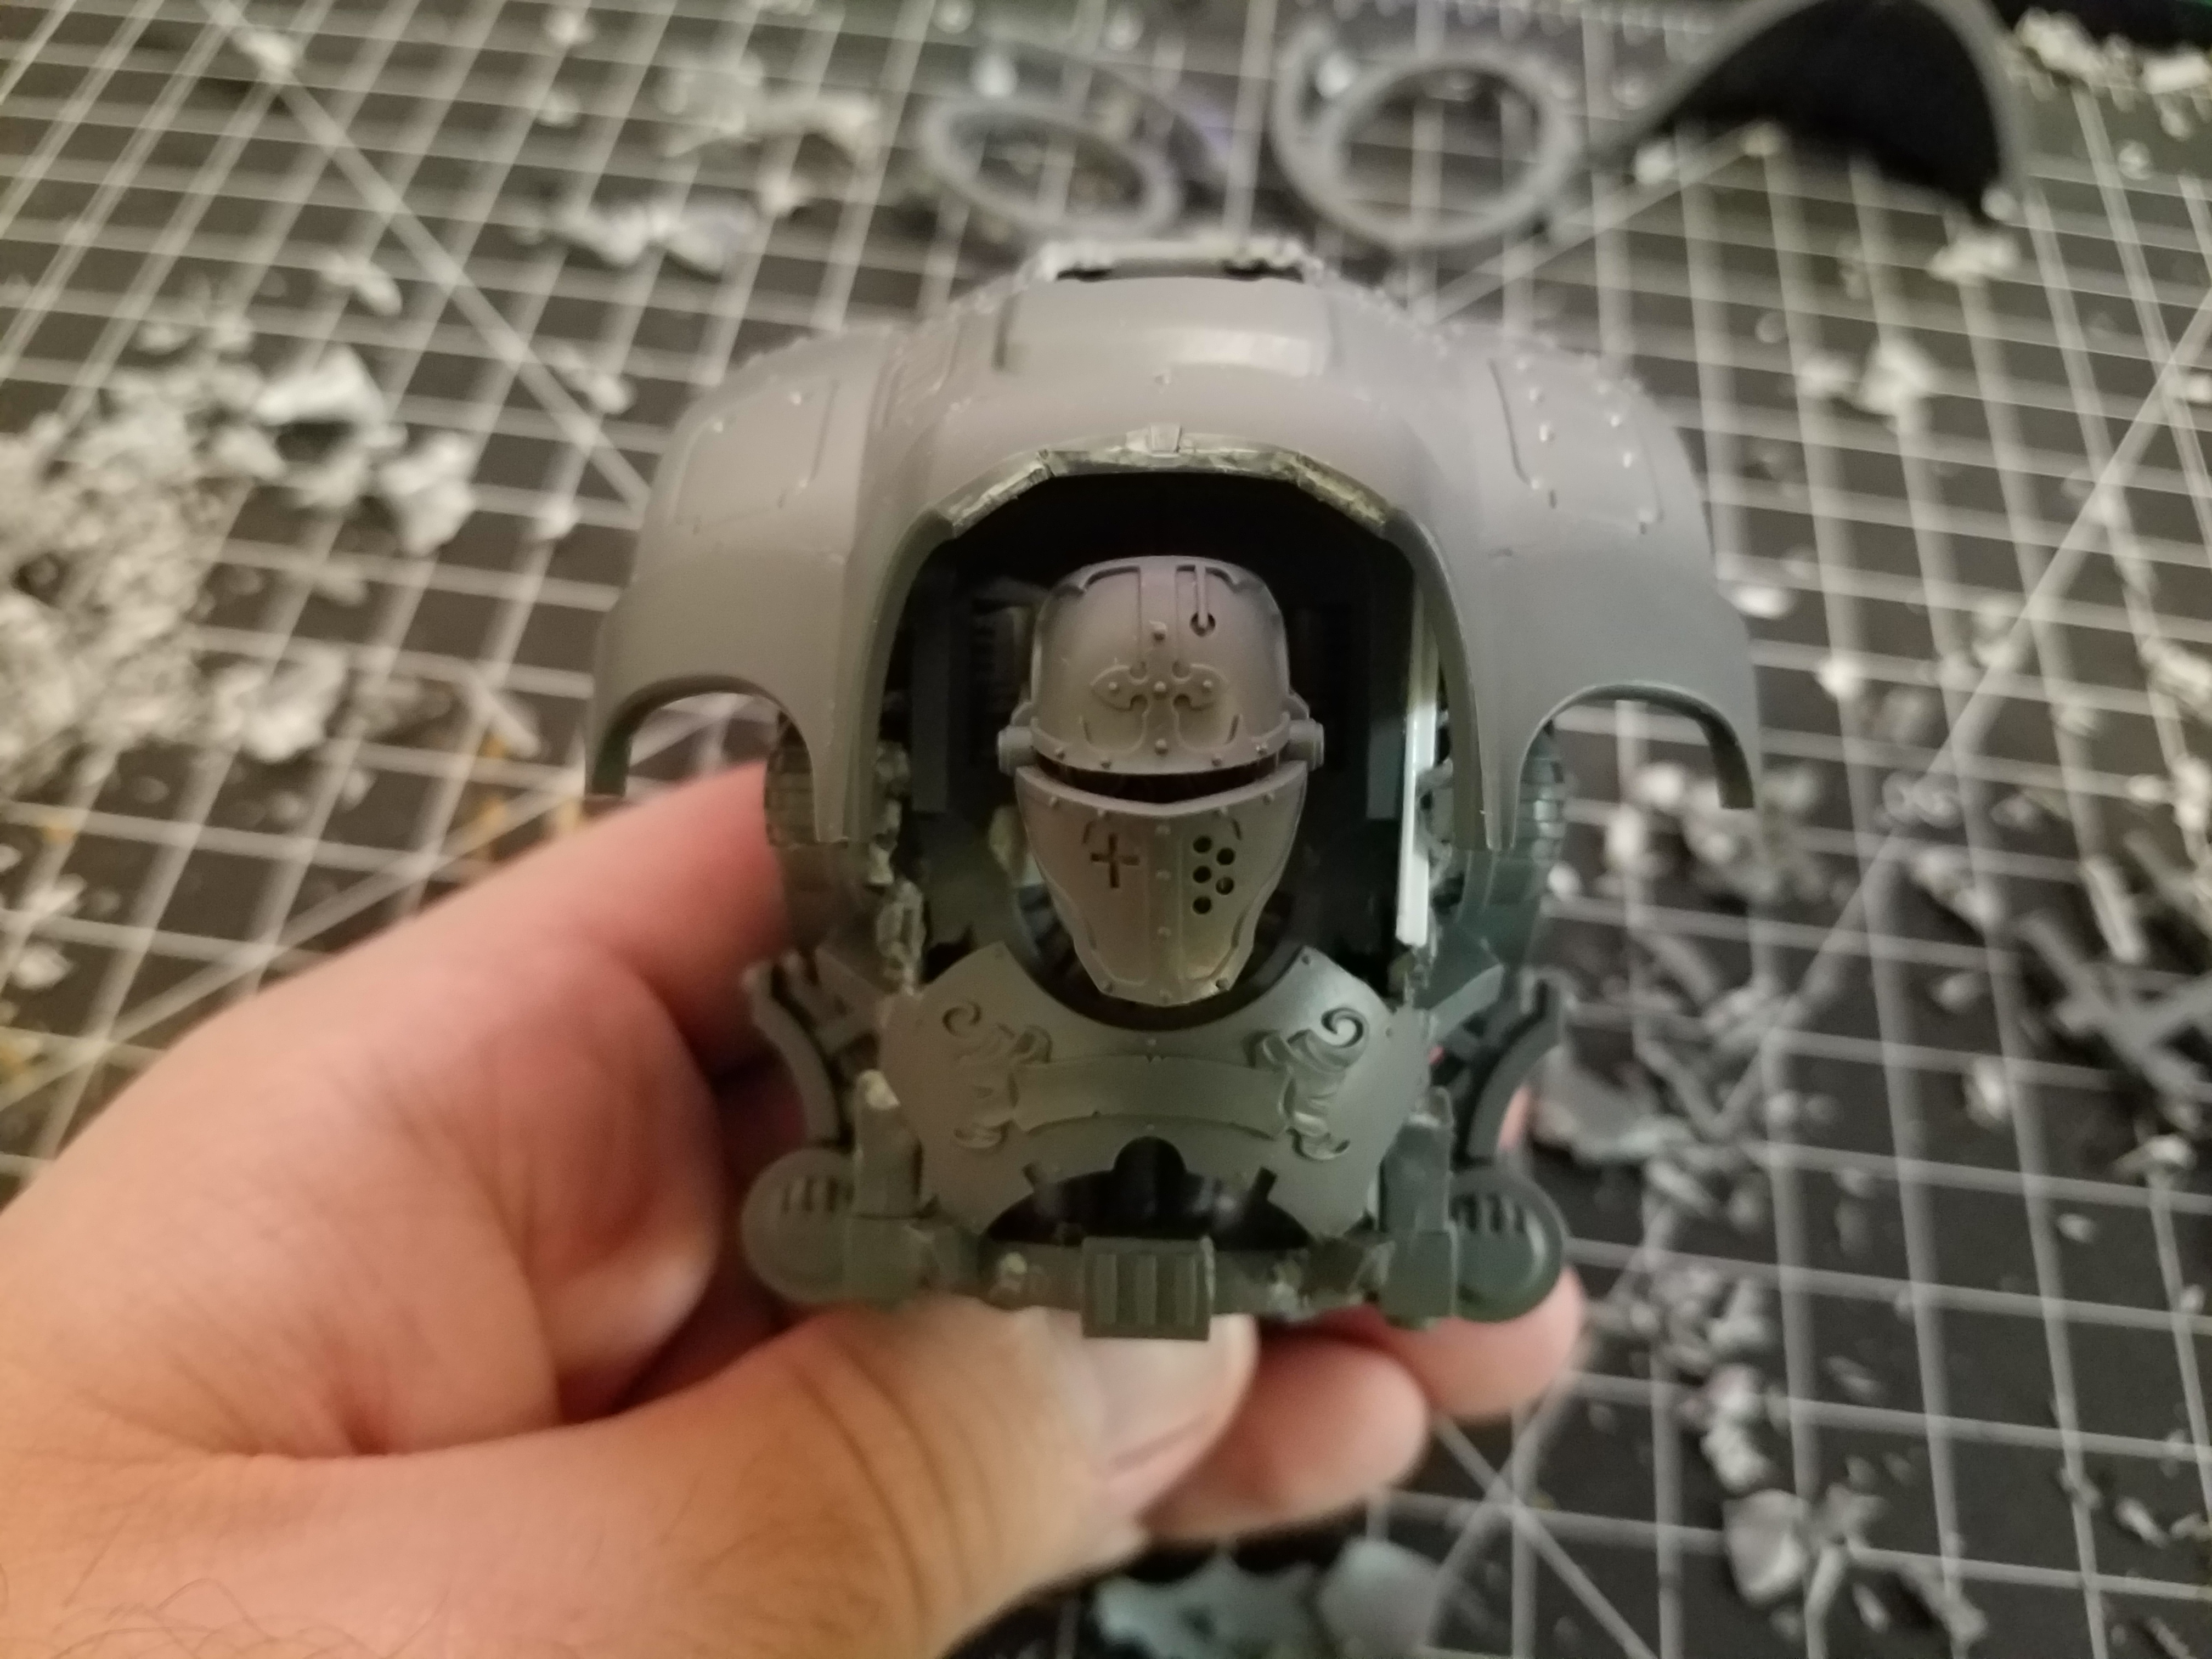
Join me as I construct my very first imperial knight! It will be converted so that its head does not stick out as far. Because of this the back will be slightly shortened as well yet raised. Both the arms will be extended to have forearm and hands. One or both arms will have integrated weapons like the gray Knights but they will still be interchangeable. Speaking of weapons some may be combined While others will be magnetized to be swapped in or out. Because it's a gray knight I'm going to make a giant helbert for it to use in it's right arm.
Related Game: Warhammer 40,000
Related Genre: Science Fiction
This Project is Active
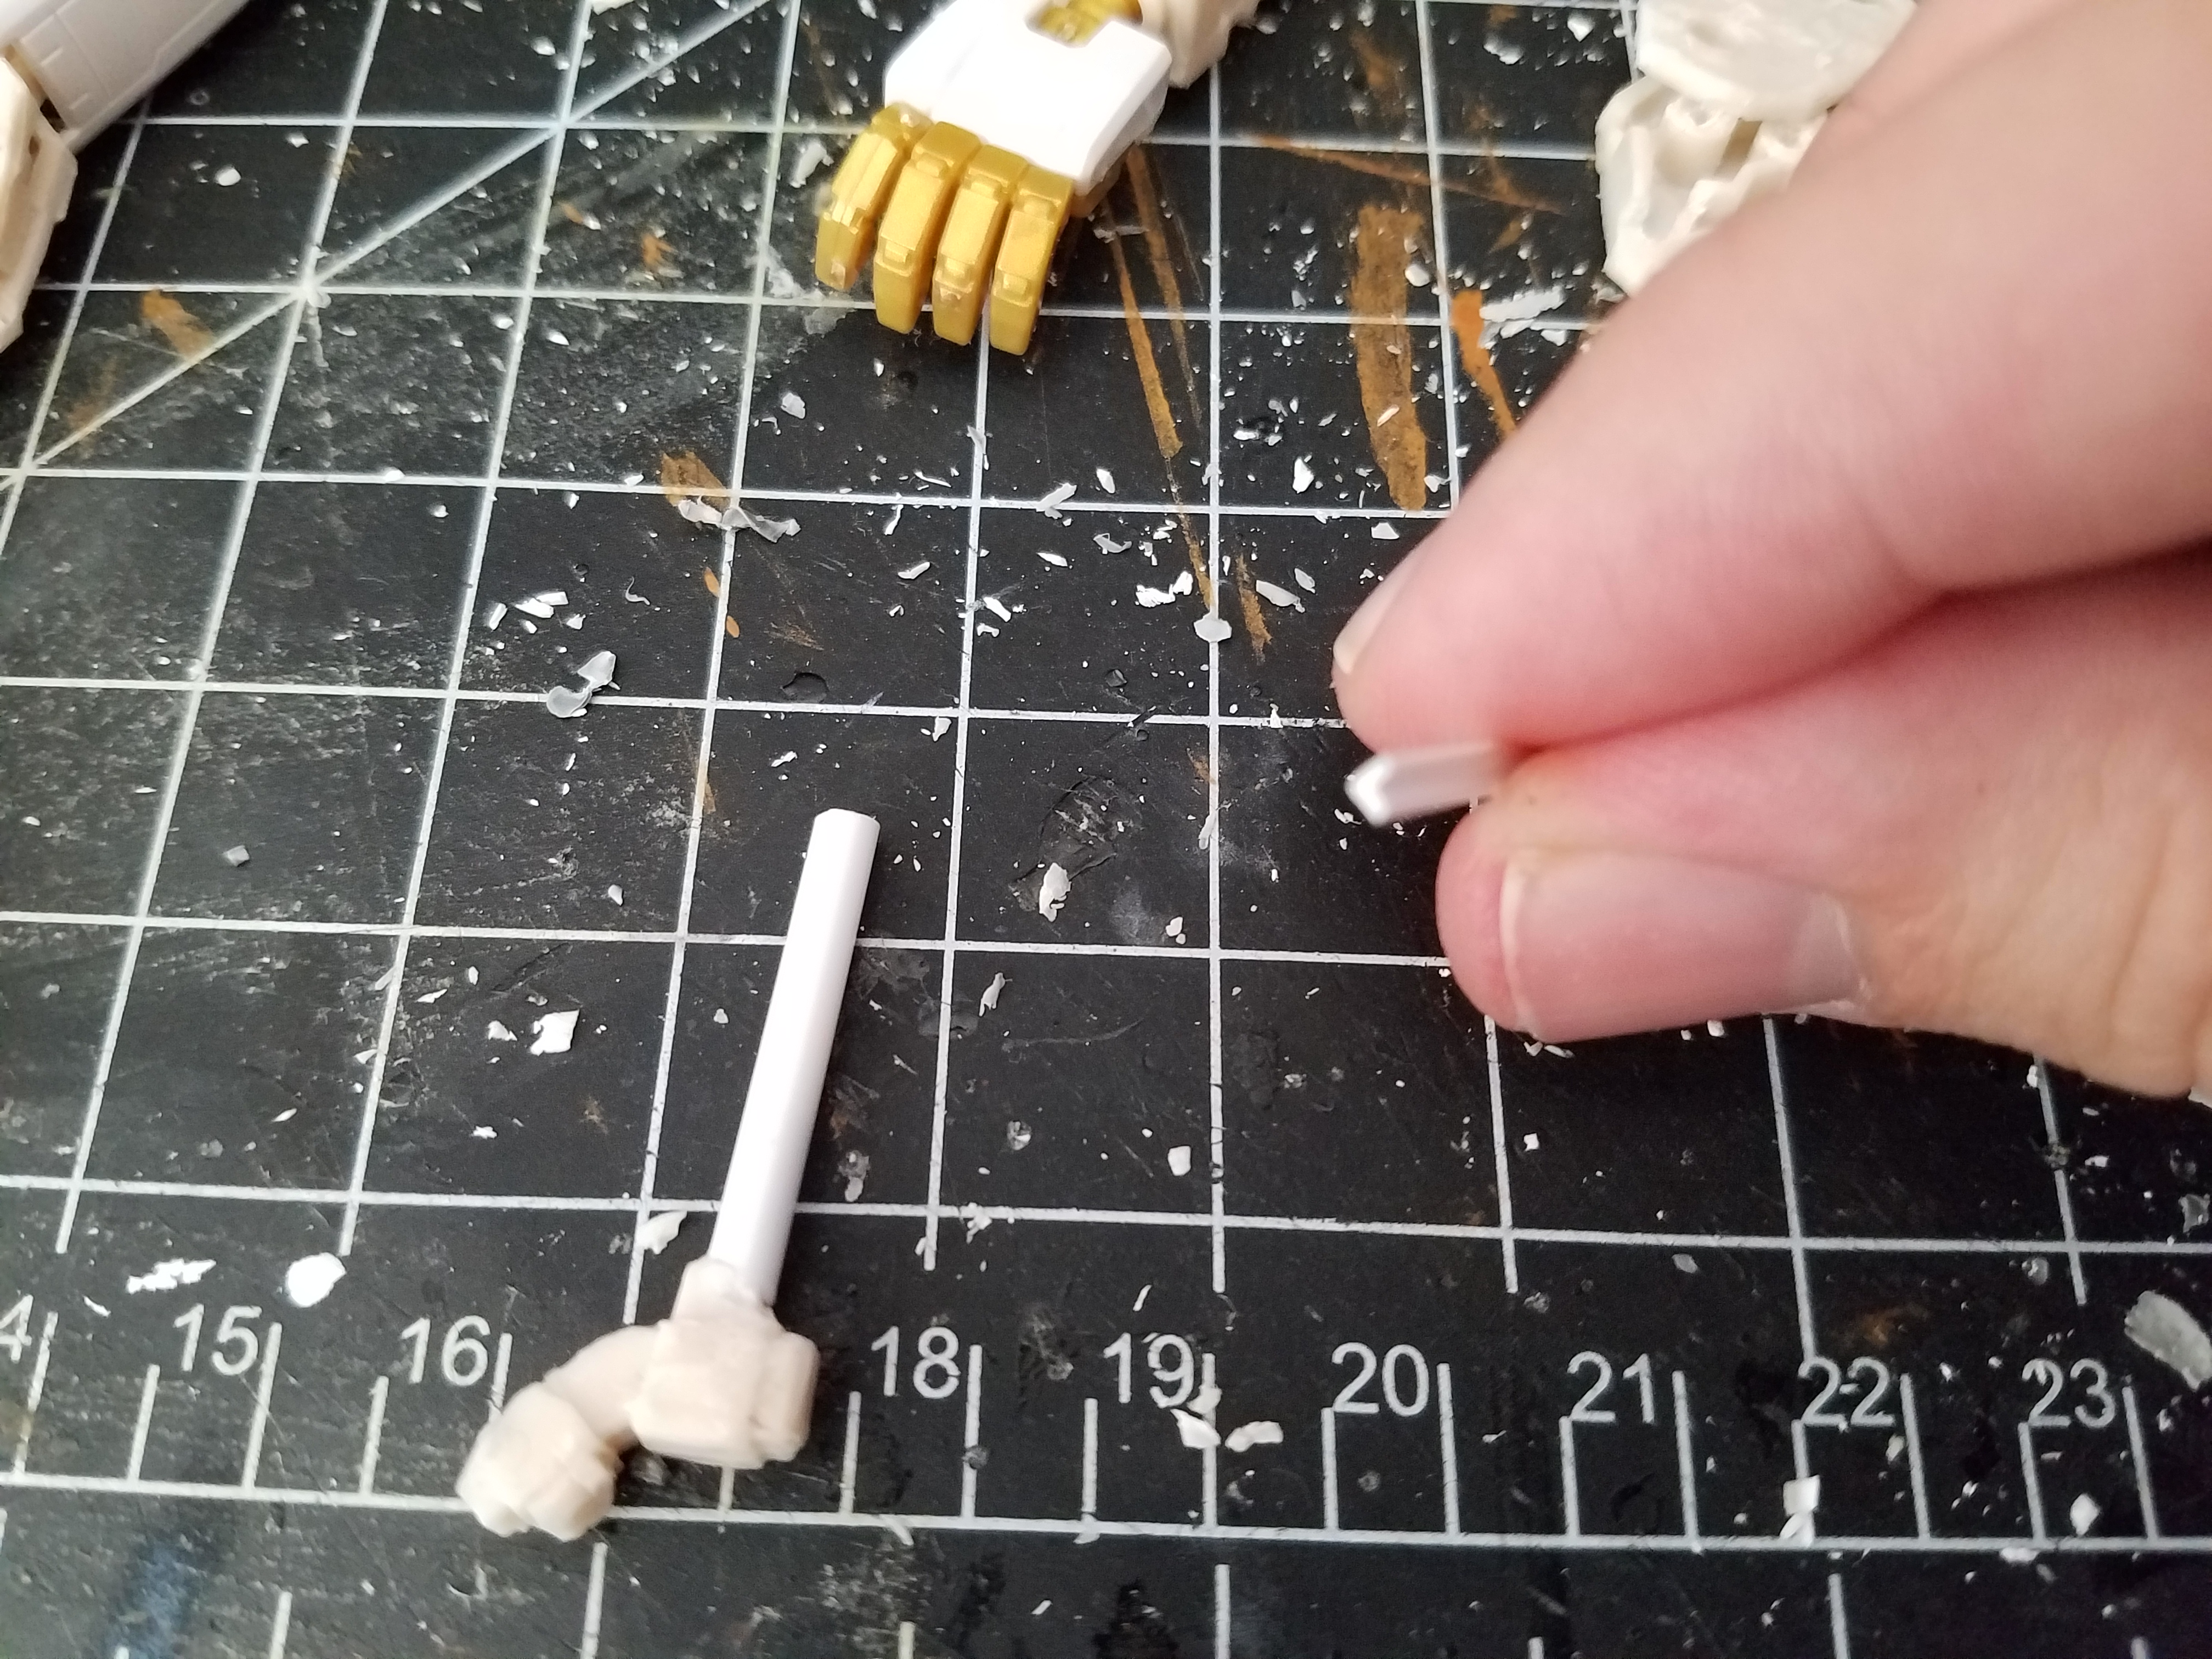
Part 9.5, beginning work on legs
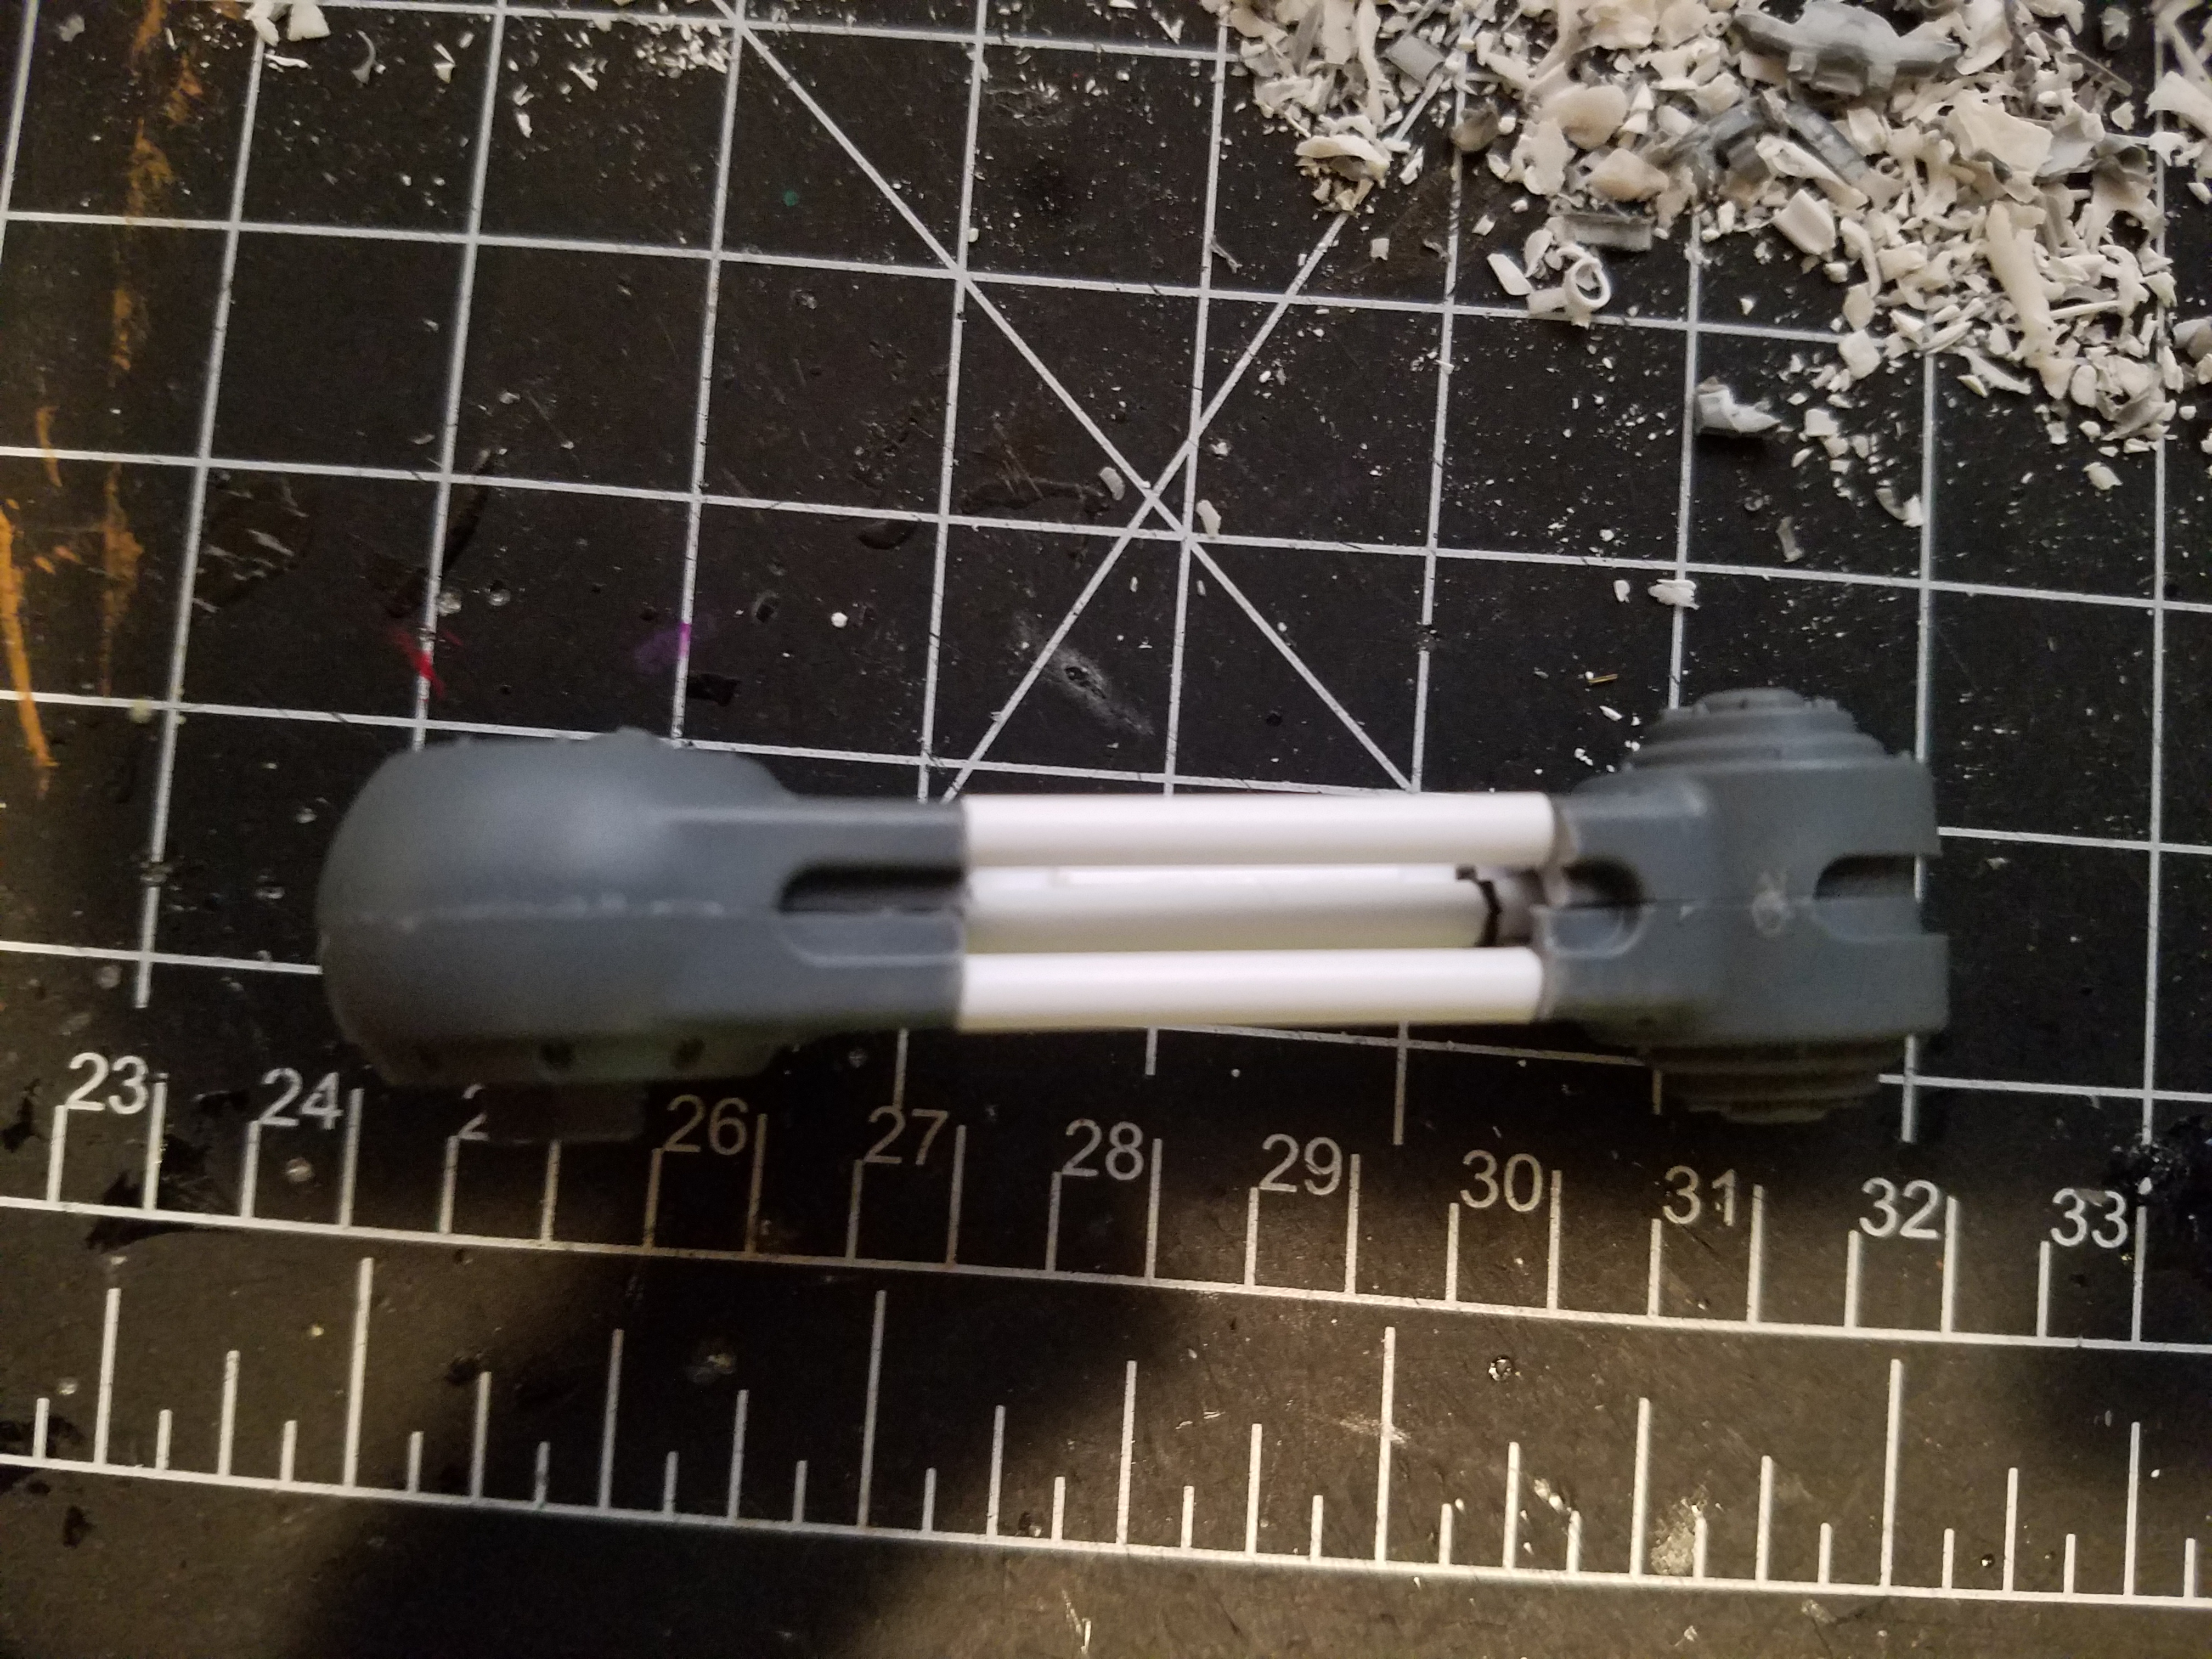
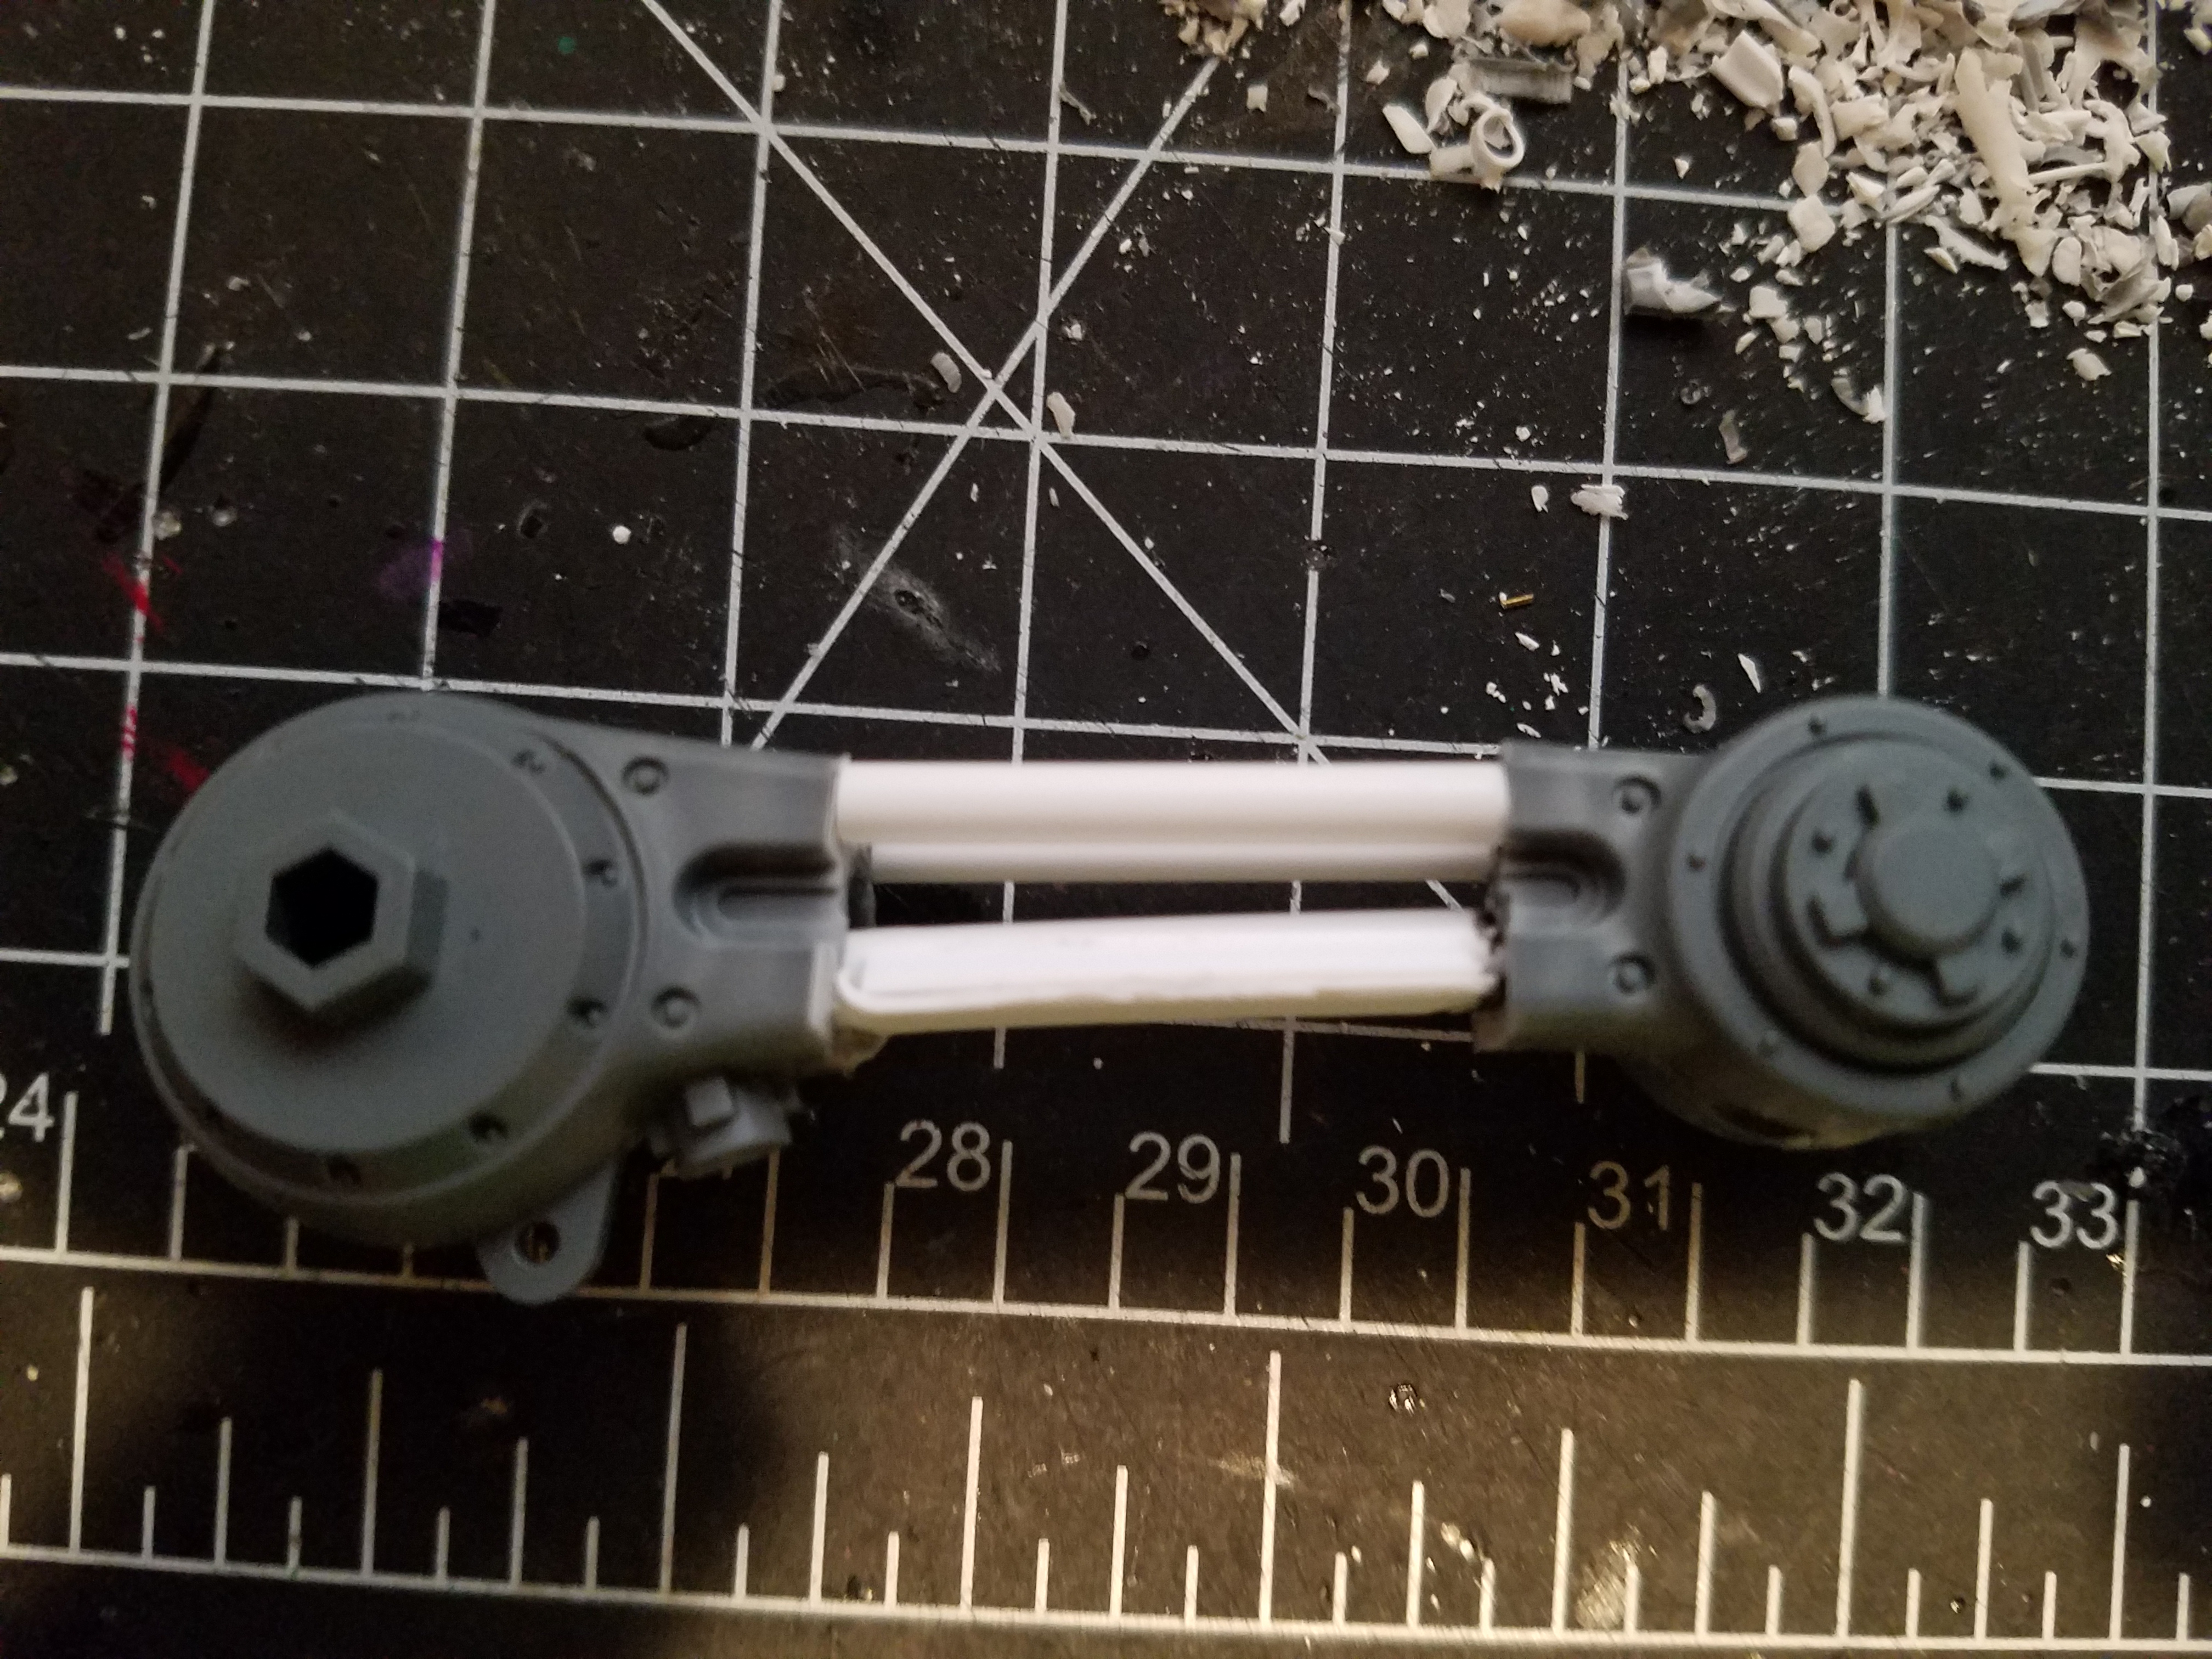
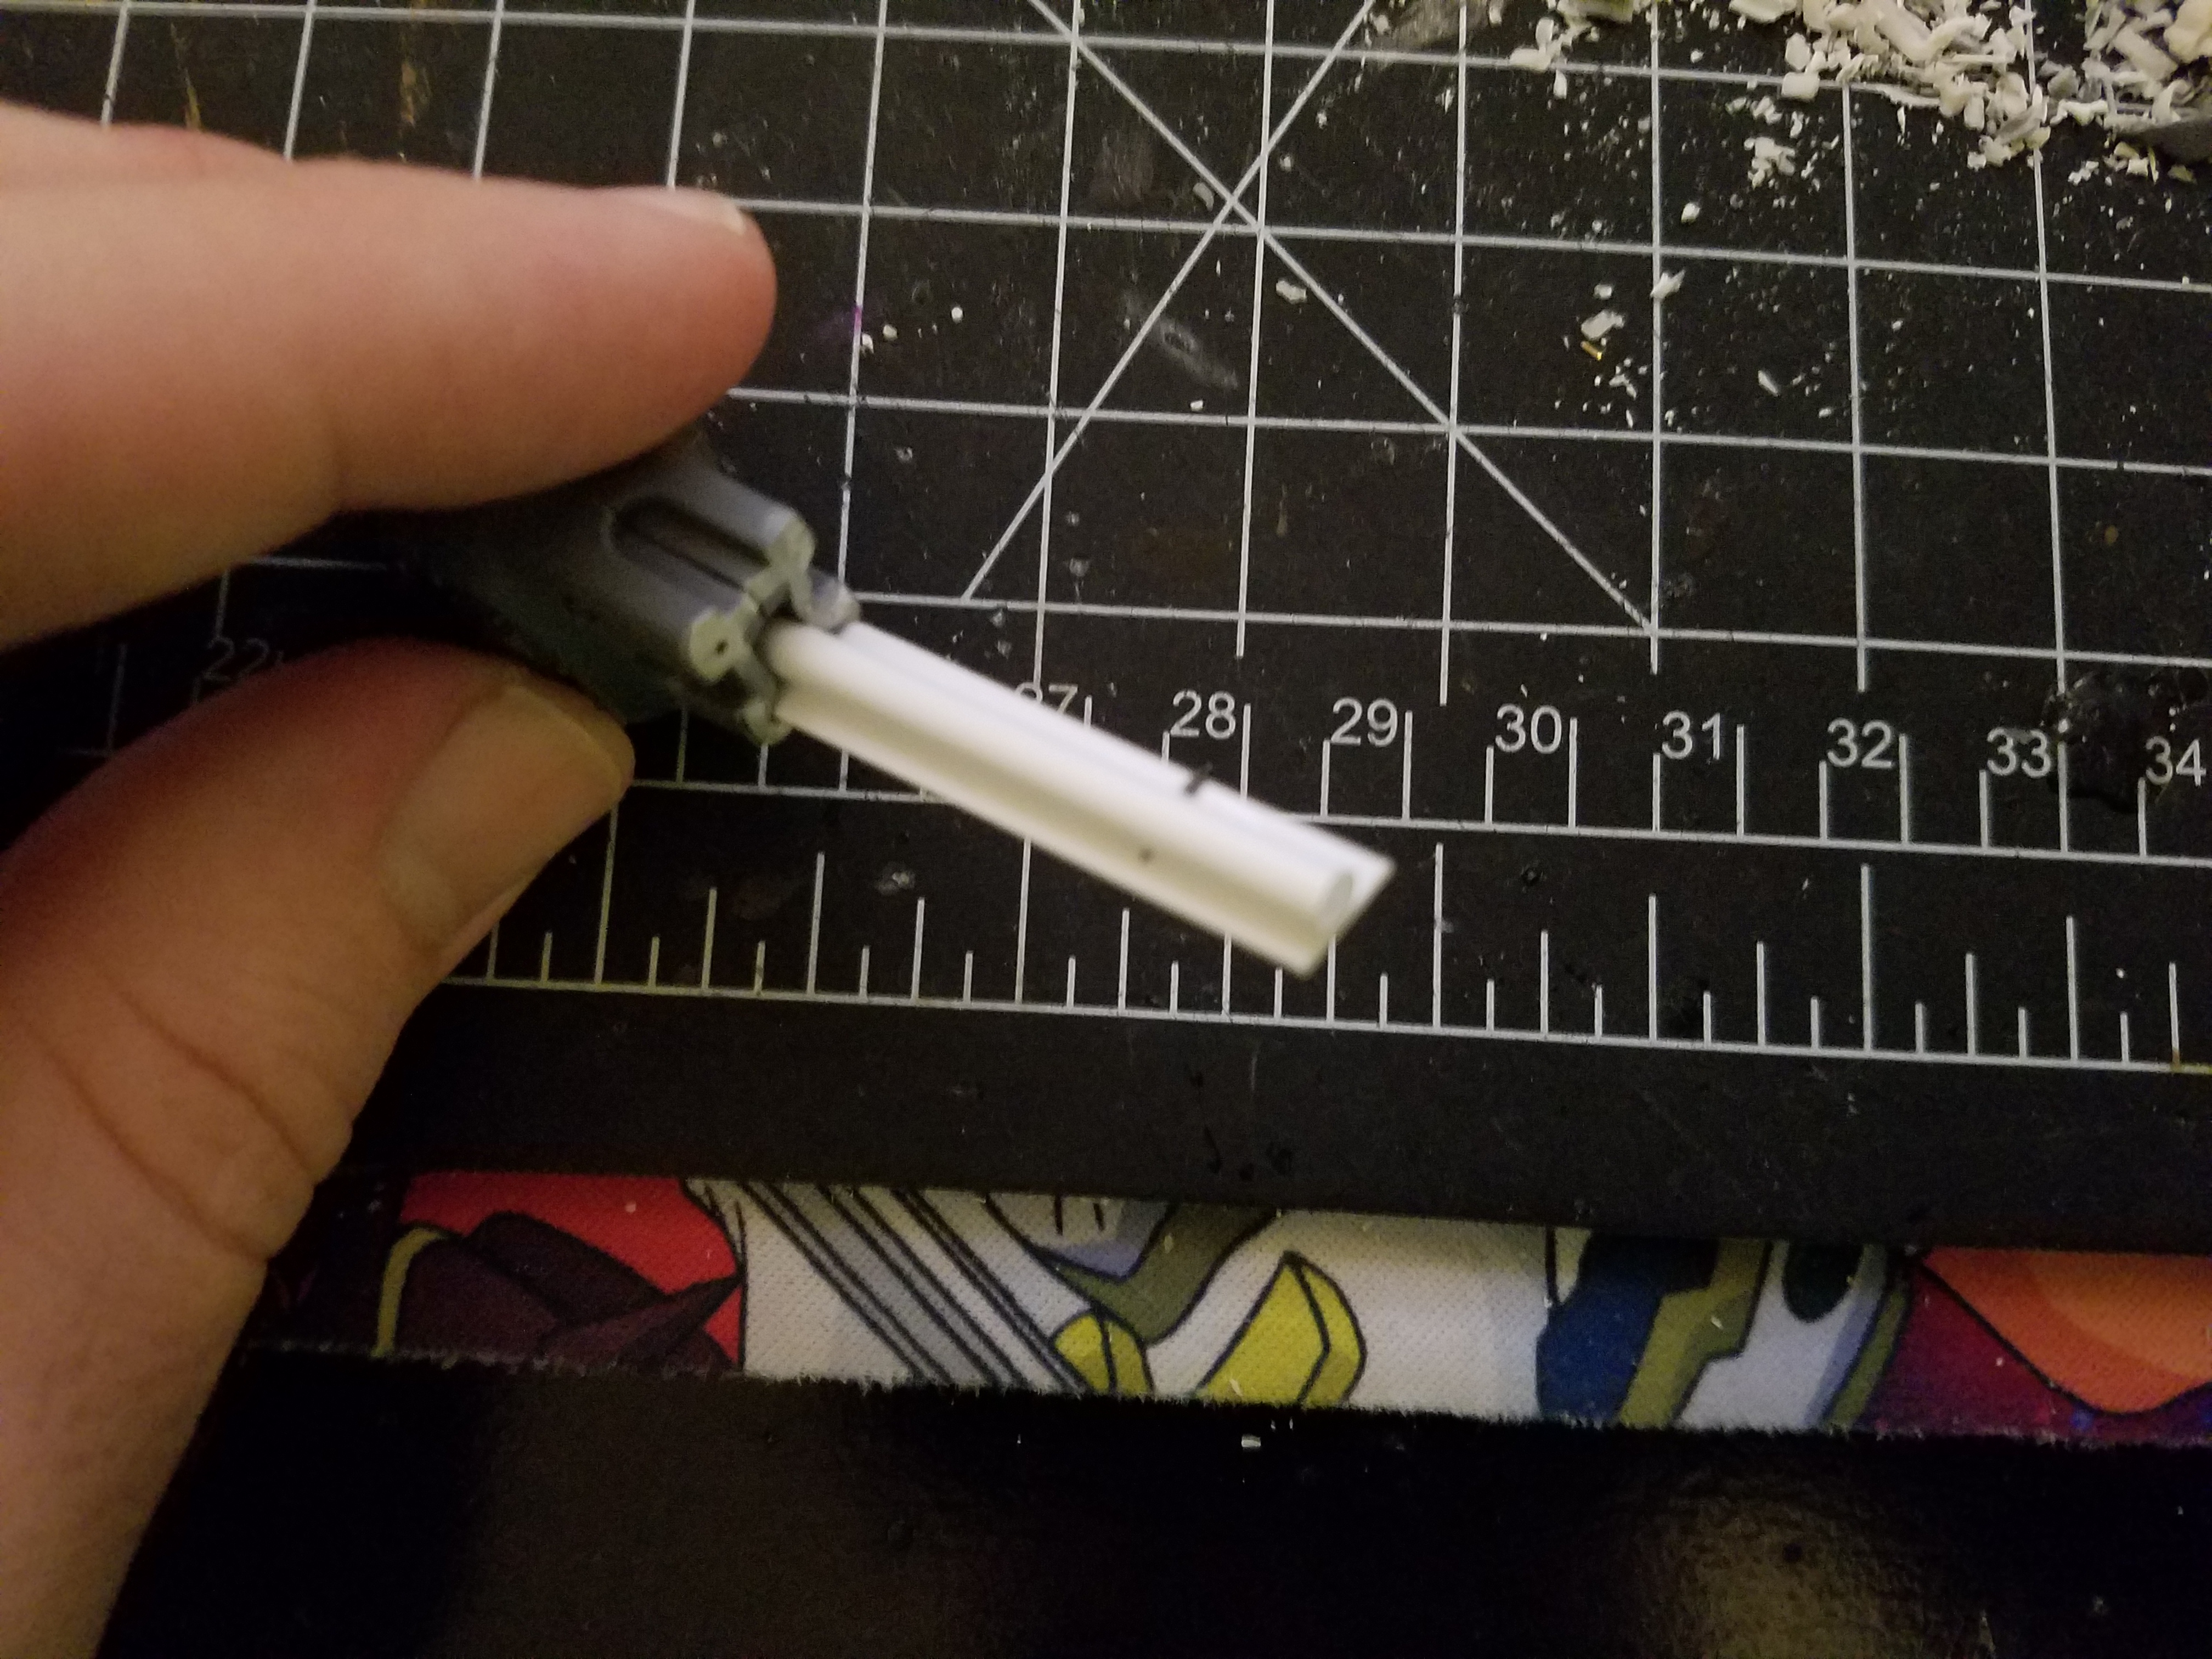
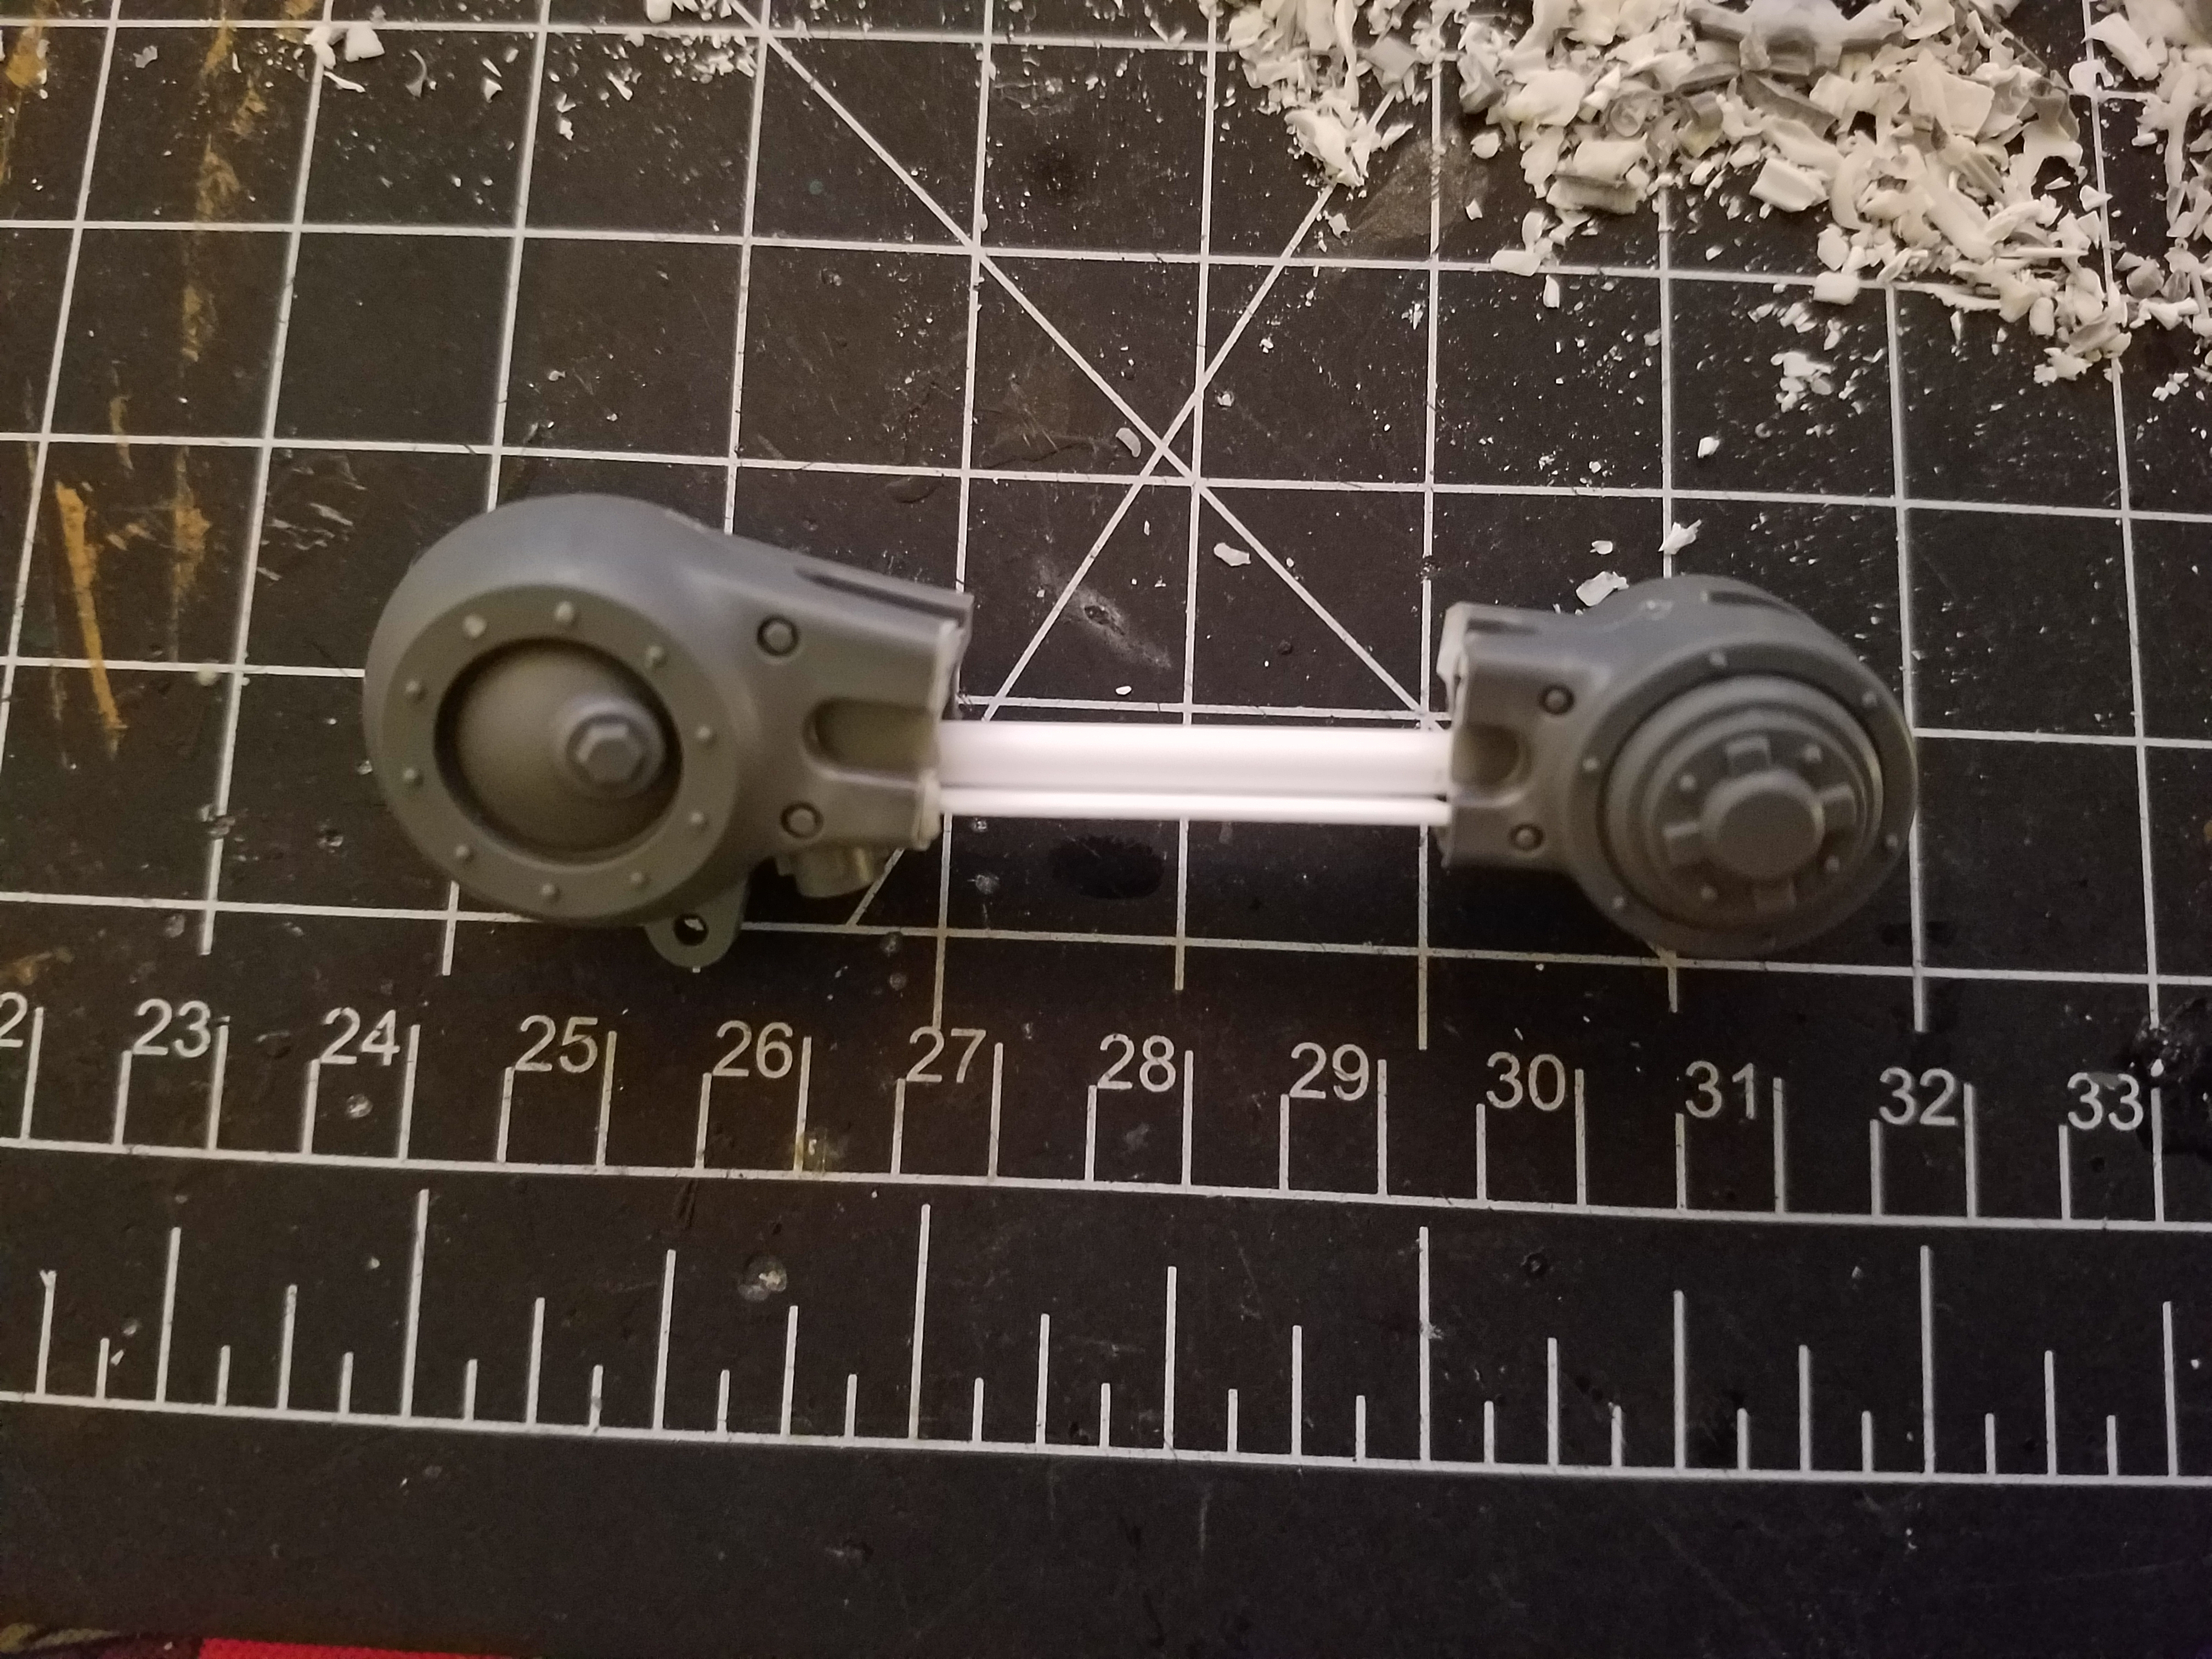
After both leg were dry I cutout four pieces of styrene tube that were just over an inch in length. Each tube will be put in the sides of the legs for structural support and so that I can use the curvature of the tube to continue the curved edge of the leg. The photos will show what I’m saying.
Top down and inside view
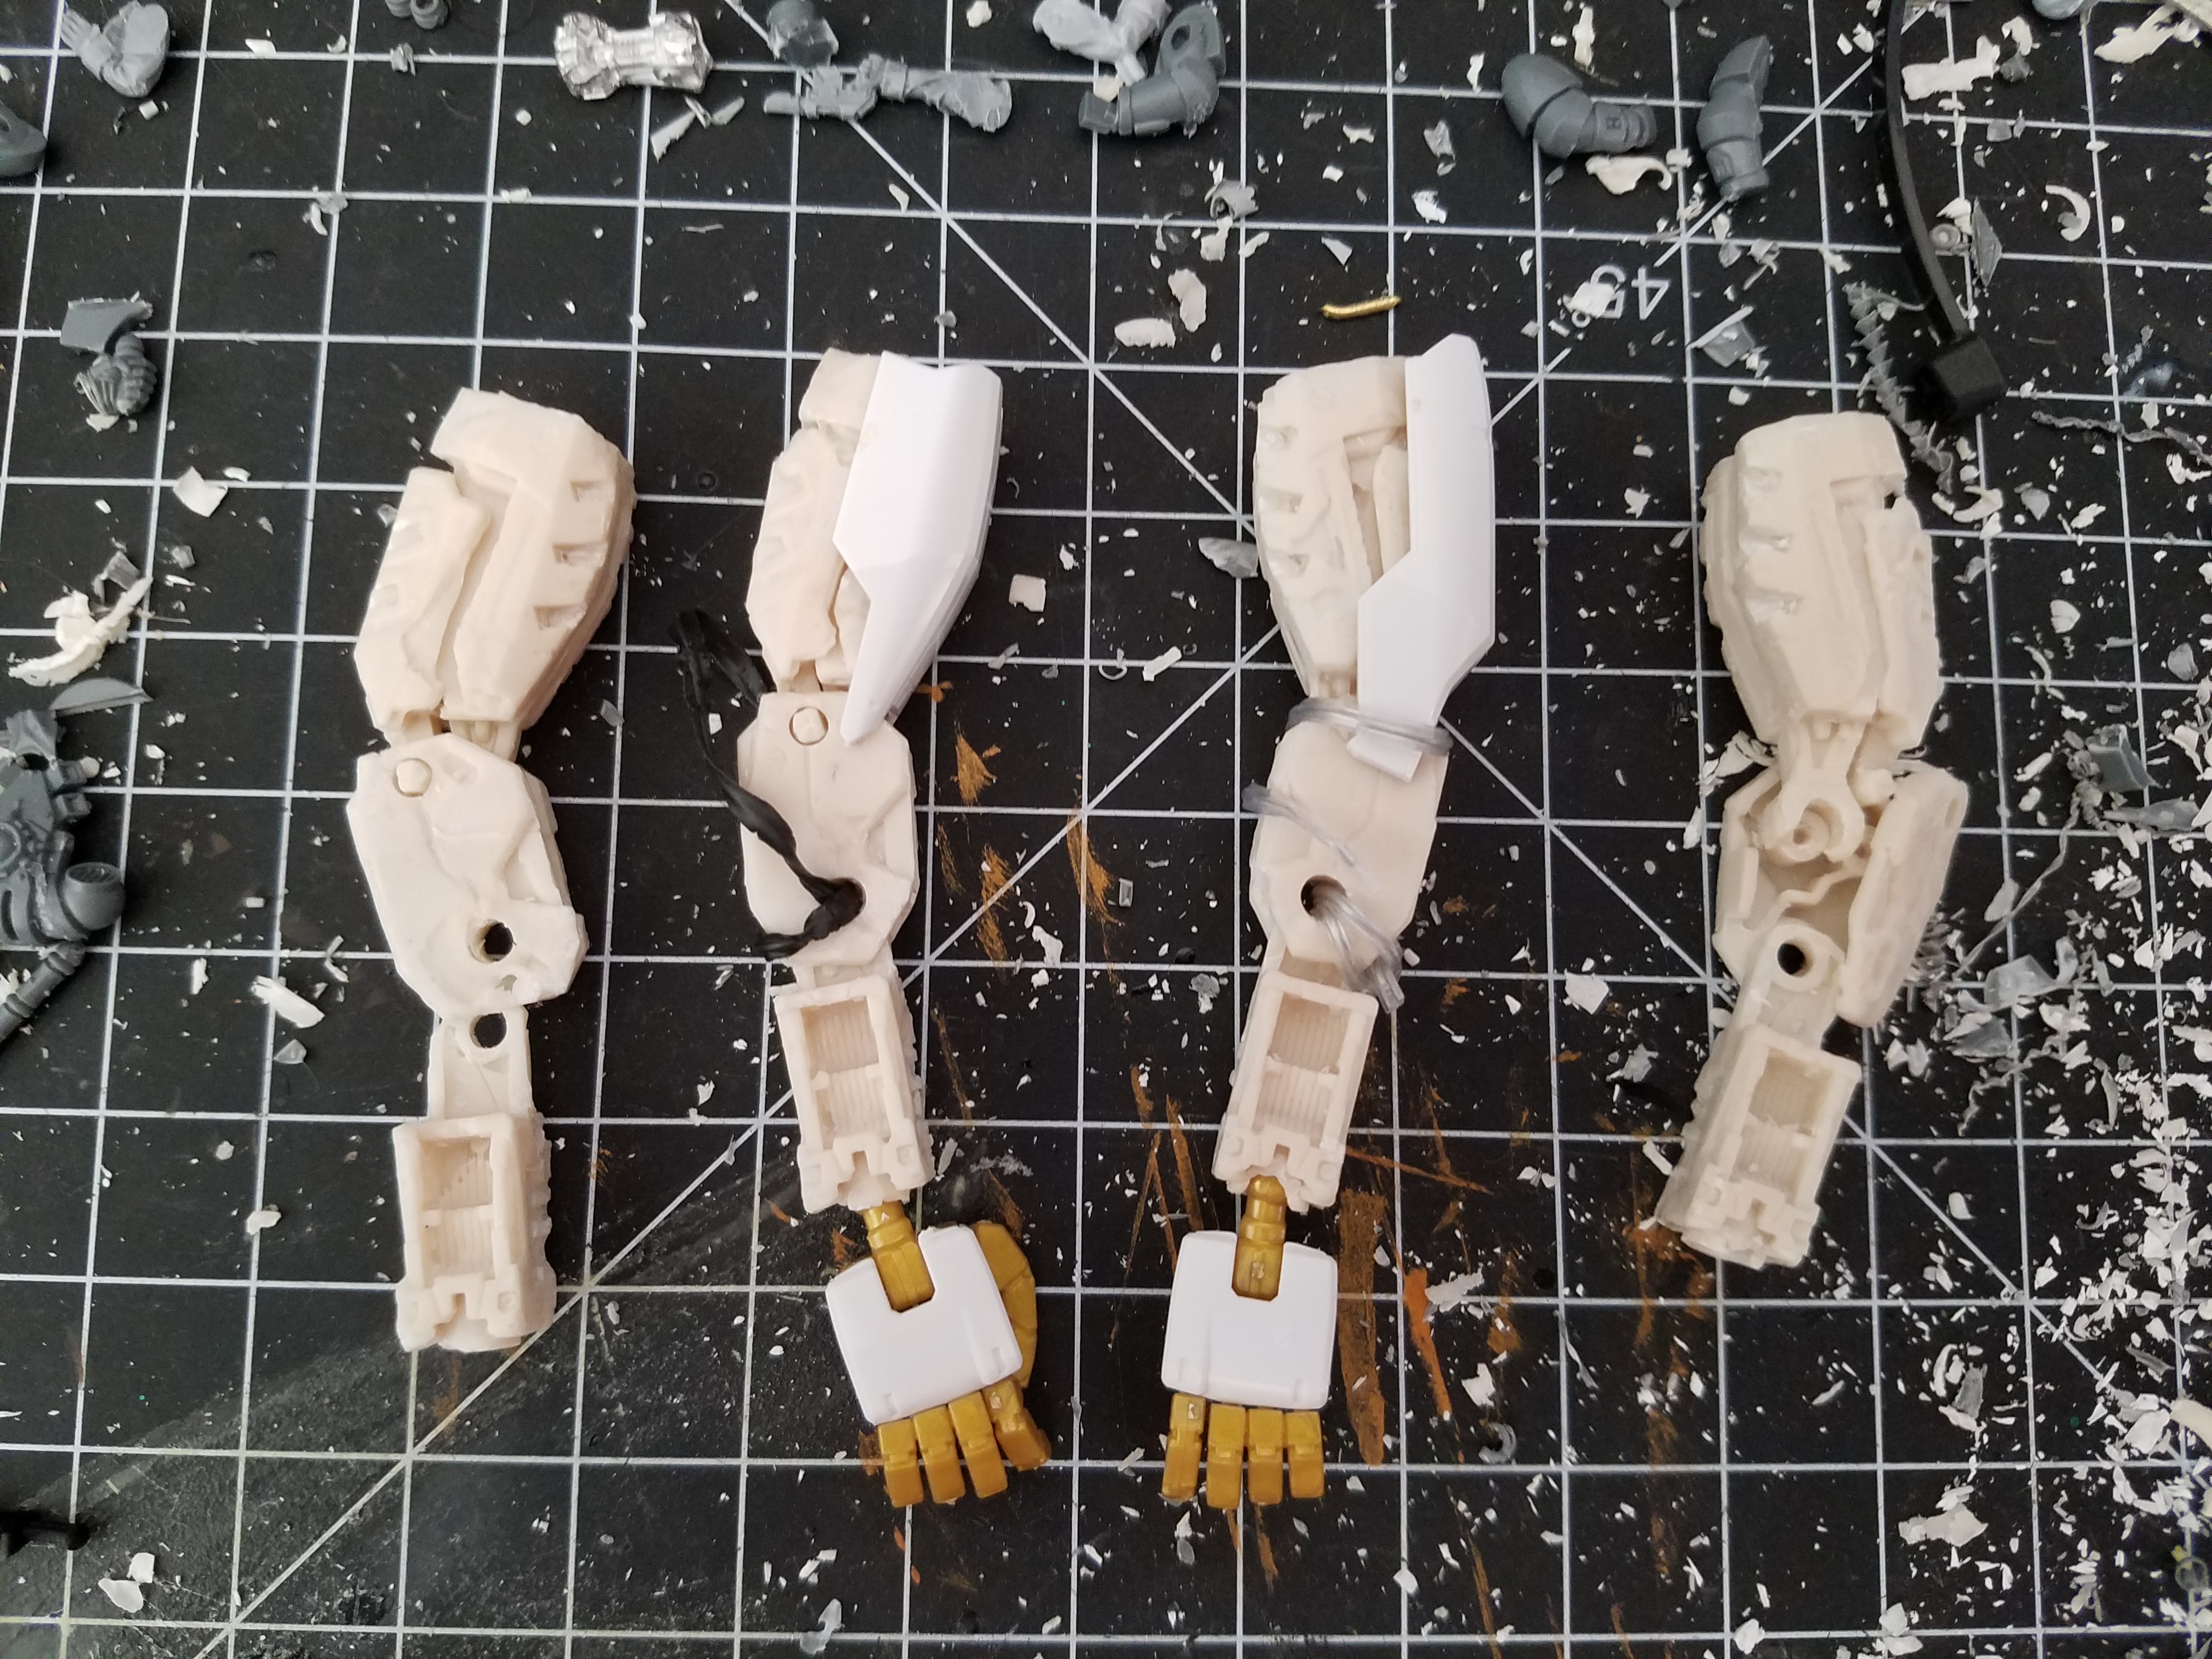
Part 9, beginning work on legs
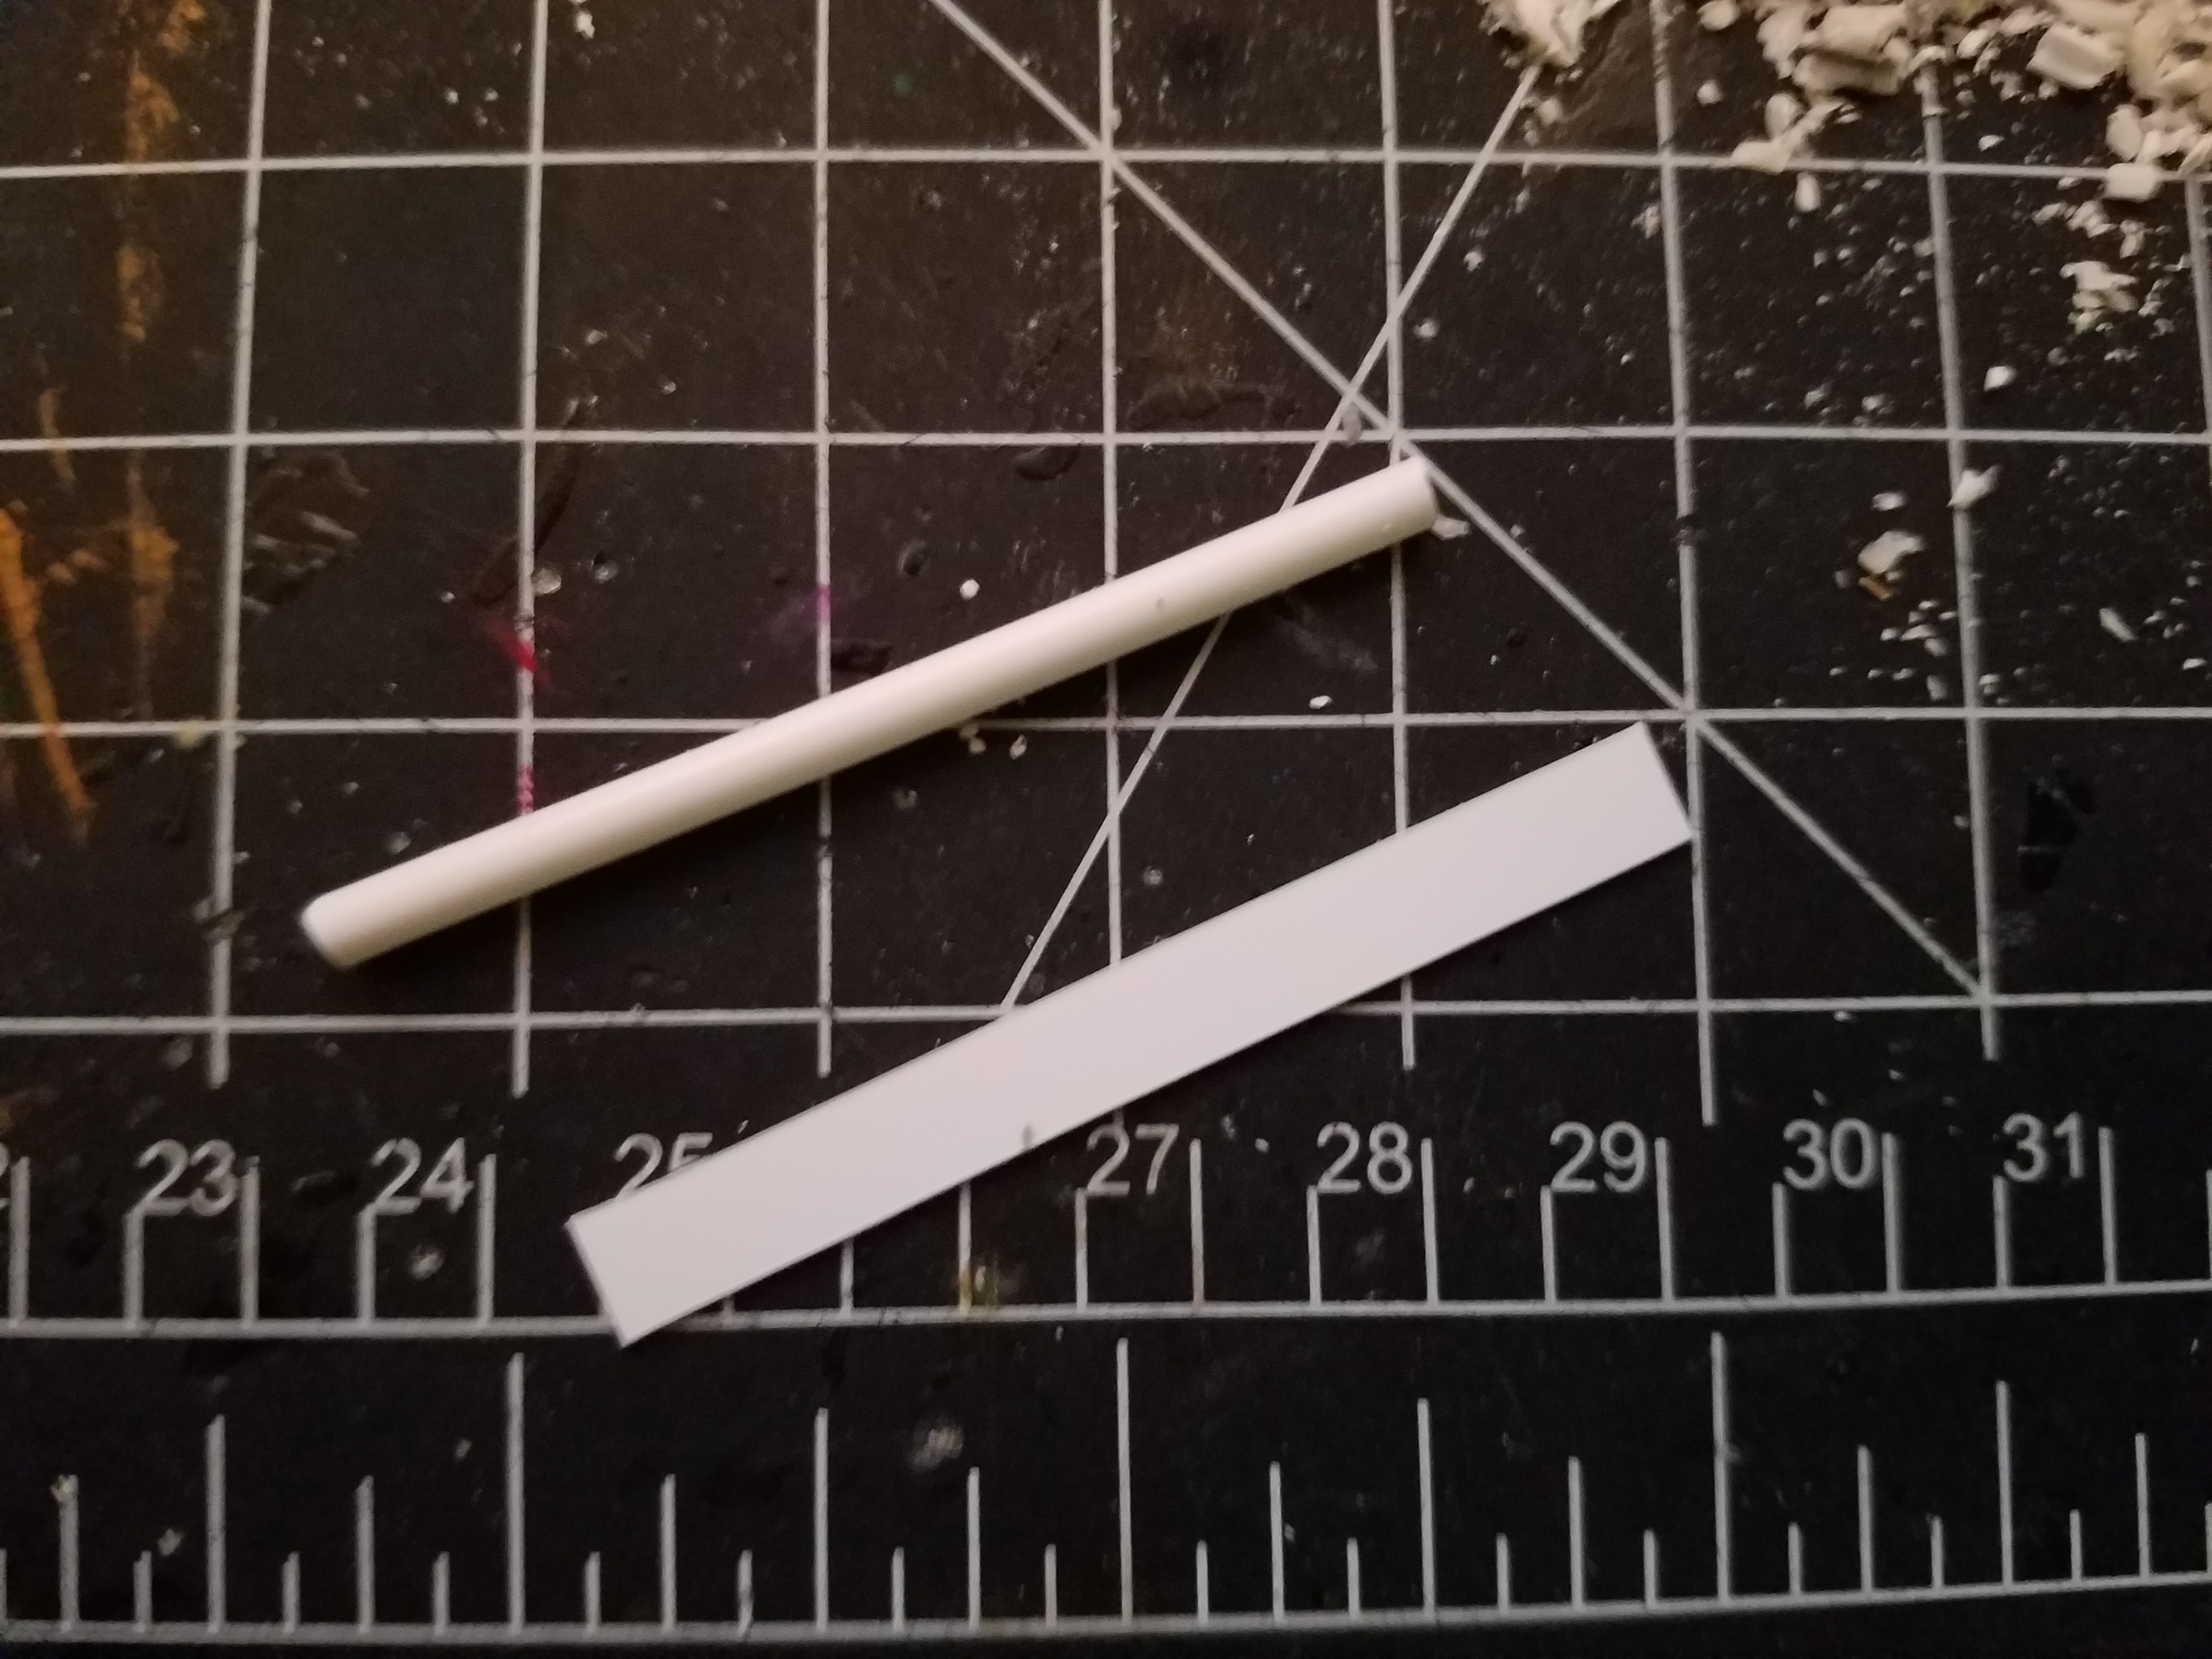
The legs hear are a bit of a problem for me. I need to basically double the length if not nearly triple the length of the legs. So what I did was I chop the legs up into three different pieces. In between the hip and the knee I cut it roughly in half. Then I cut the knee the bottom part of the leg off. And I put the shin part to the side. And begin measuring the length that I needed the the hip and elbow to be. I’m going with roughly an inch.
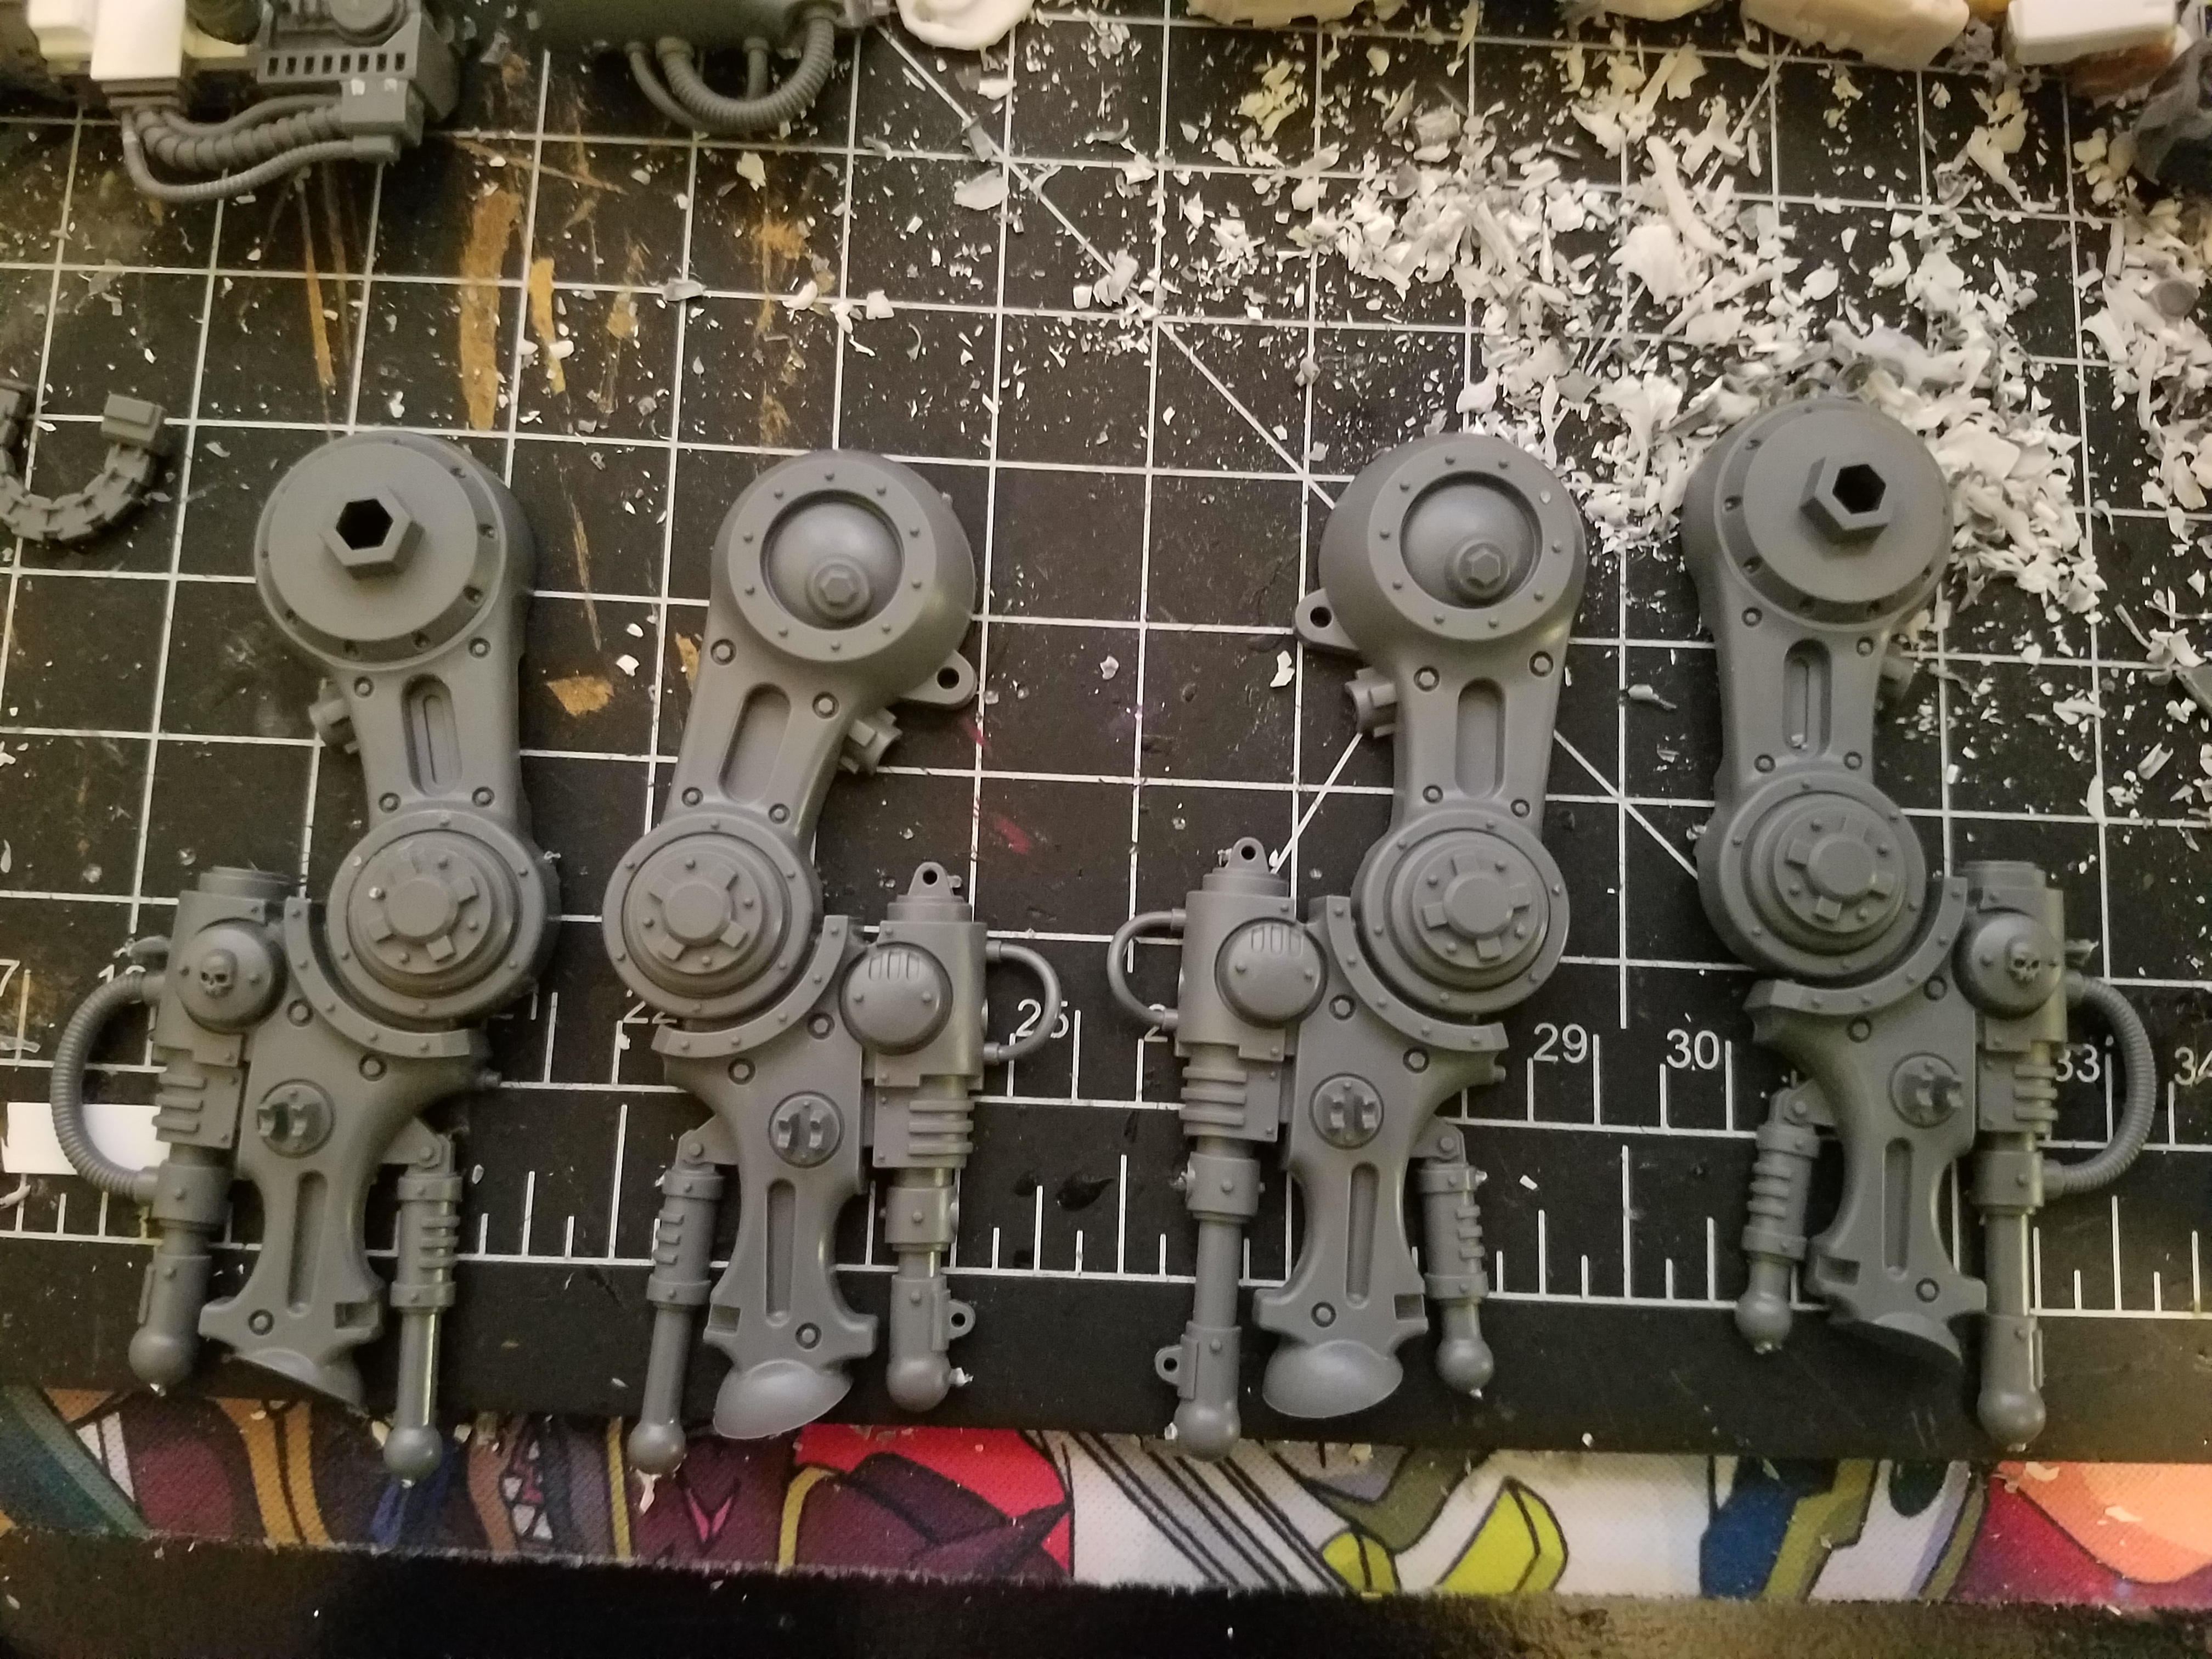
So I cut a piece of styrene to be 2″ by about half a centimeter. And then I cut a piece of tube styrene to be 2″. Then with the flat piece of styrene I glued it onto the back side of the hip. For it will be flush with it. I repeated the process on the other leg and then came back to this one and glued the tube on to the styrene for support. I’m marked where an inch would be from the cut of the hip to where would end up on the styrene. And then tried my best to glue the knee on that line.
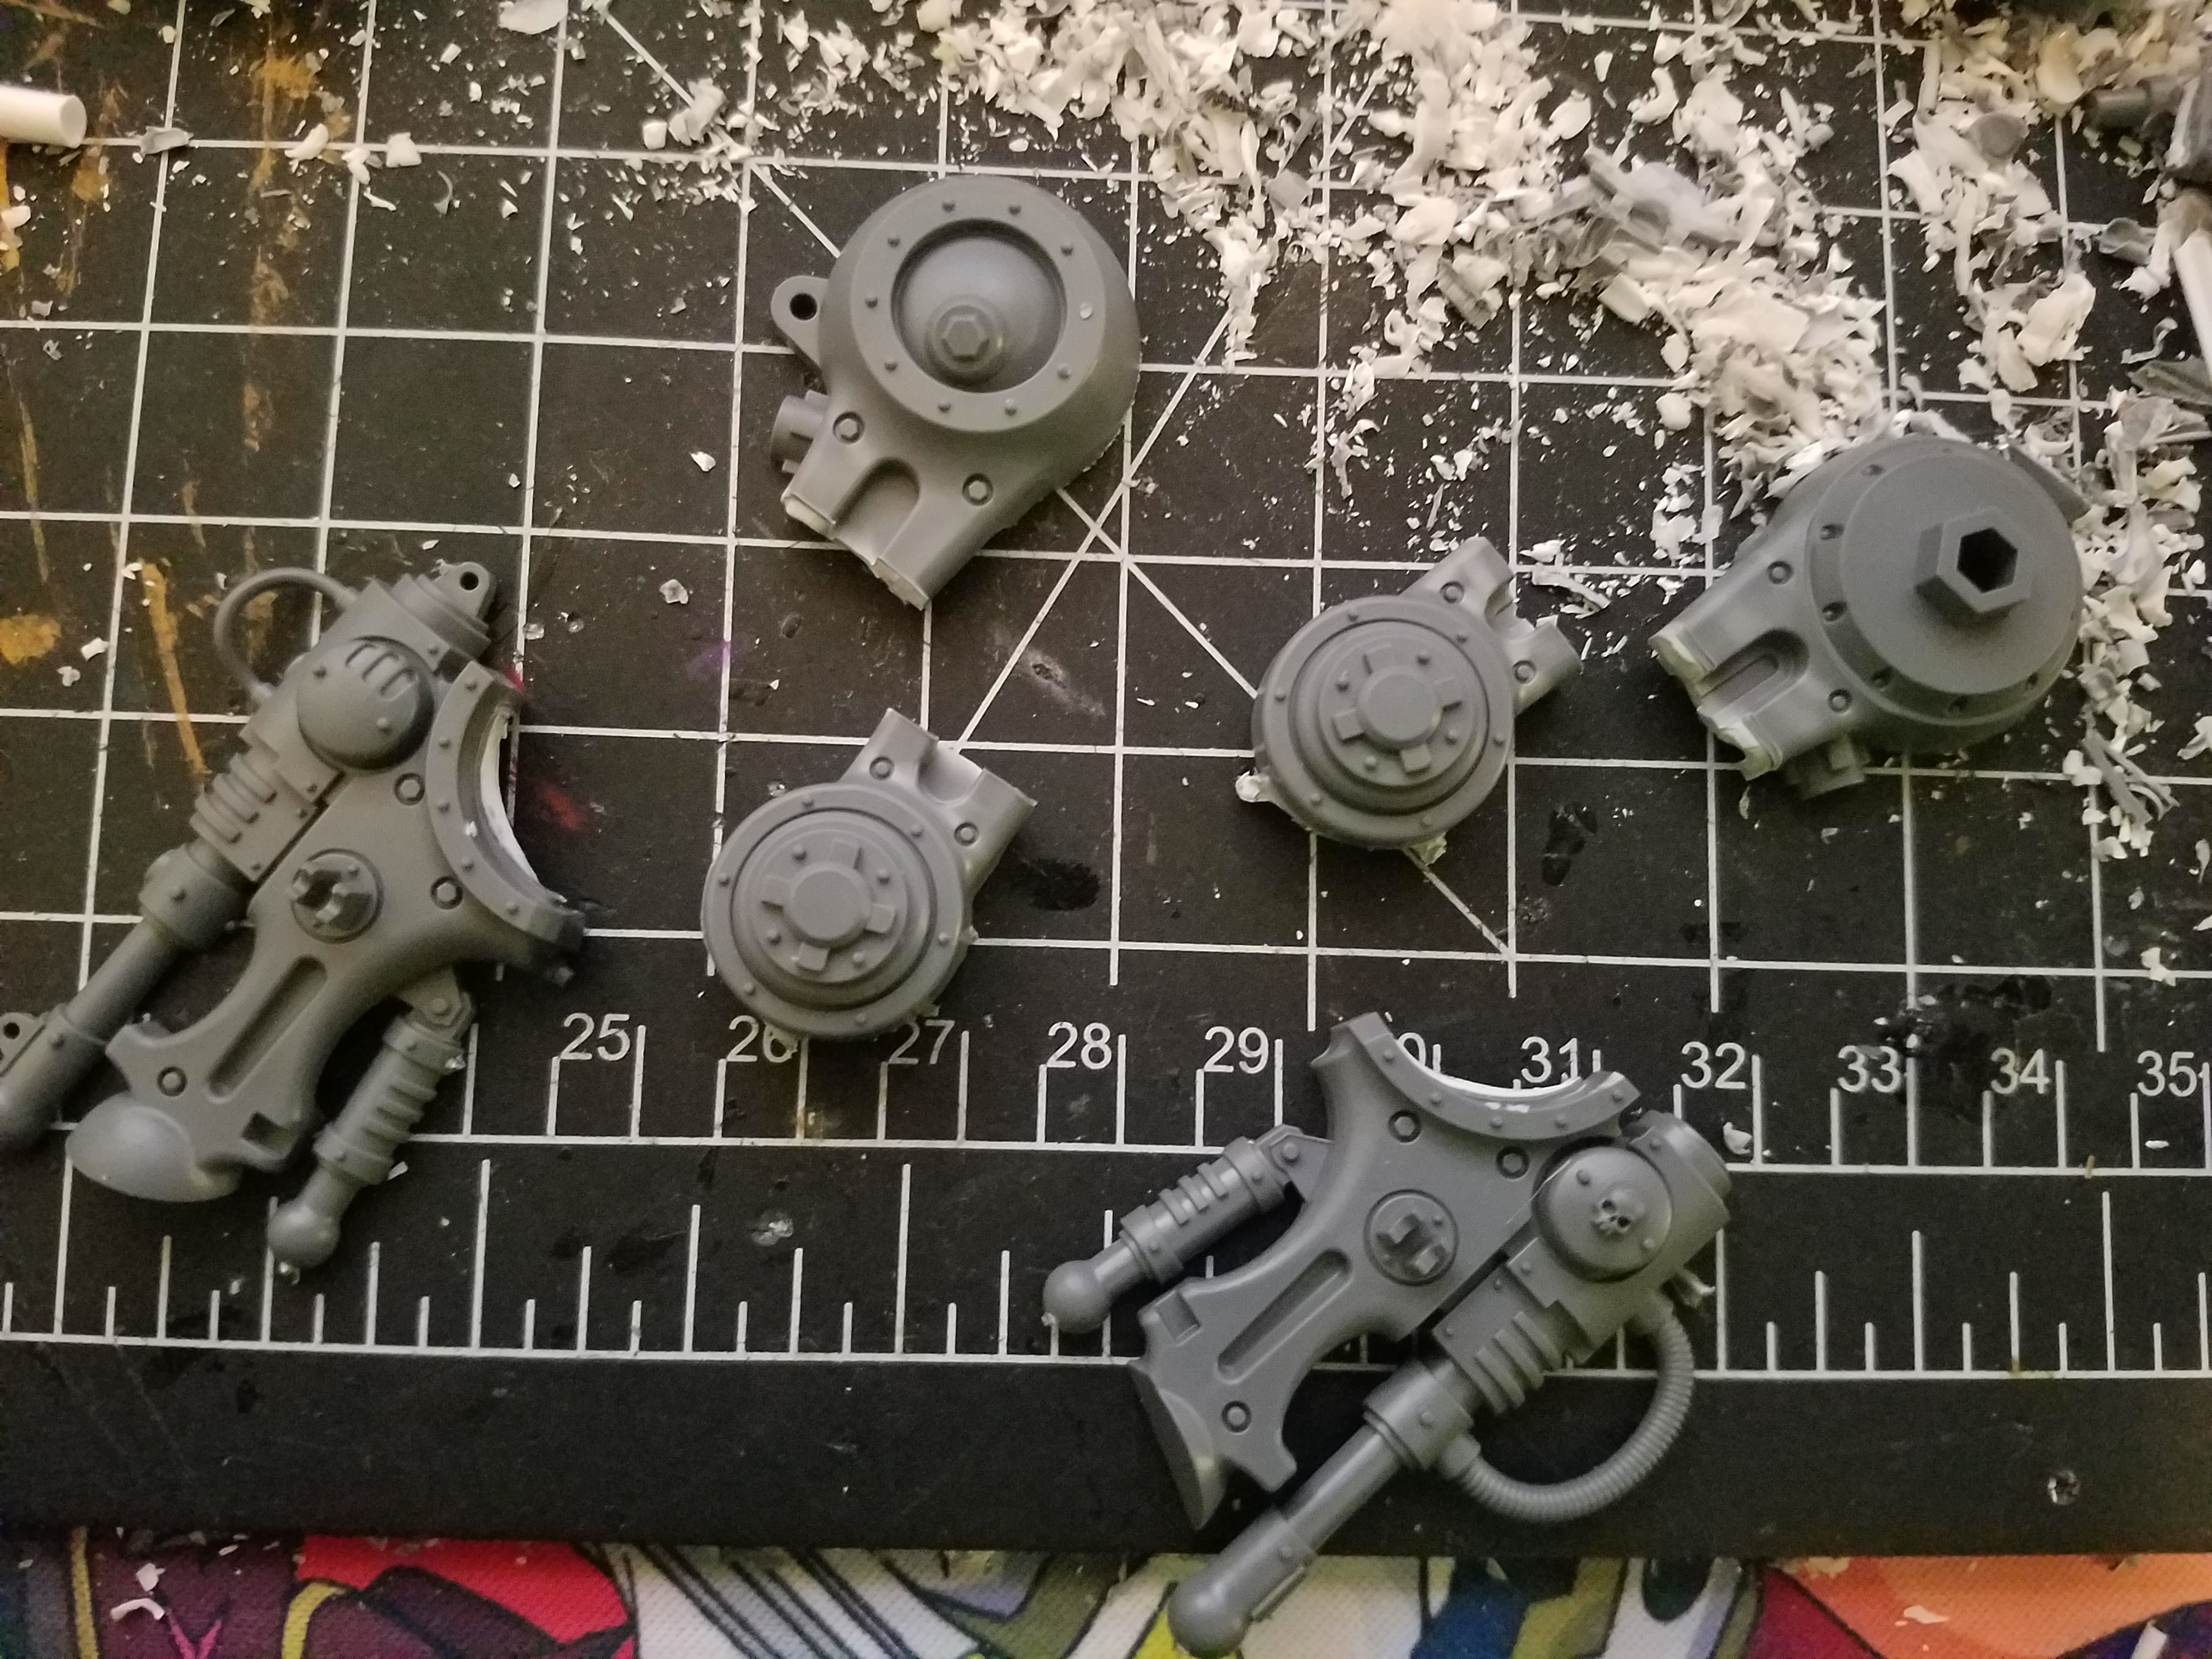
Part 8, construction of the gun
The guns for the Knight will be made to look like that of the grey Knights psycannon and psysilencer. Where one will sit on top of the other. It will be fixed to the right arm. There may or may not be wires coming out of the arm going into the gun. The other arm will be holding on to the top of the gun. Both arms will be magnetized so that they can be exchanged for the other weapons.
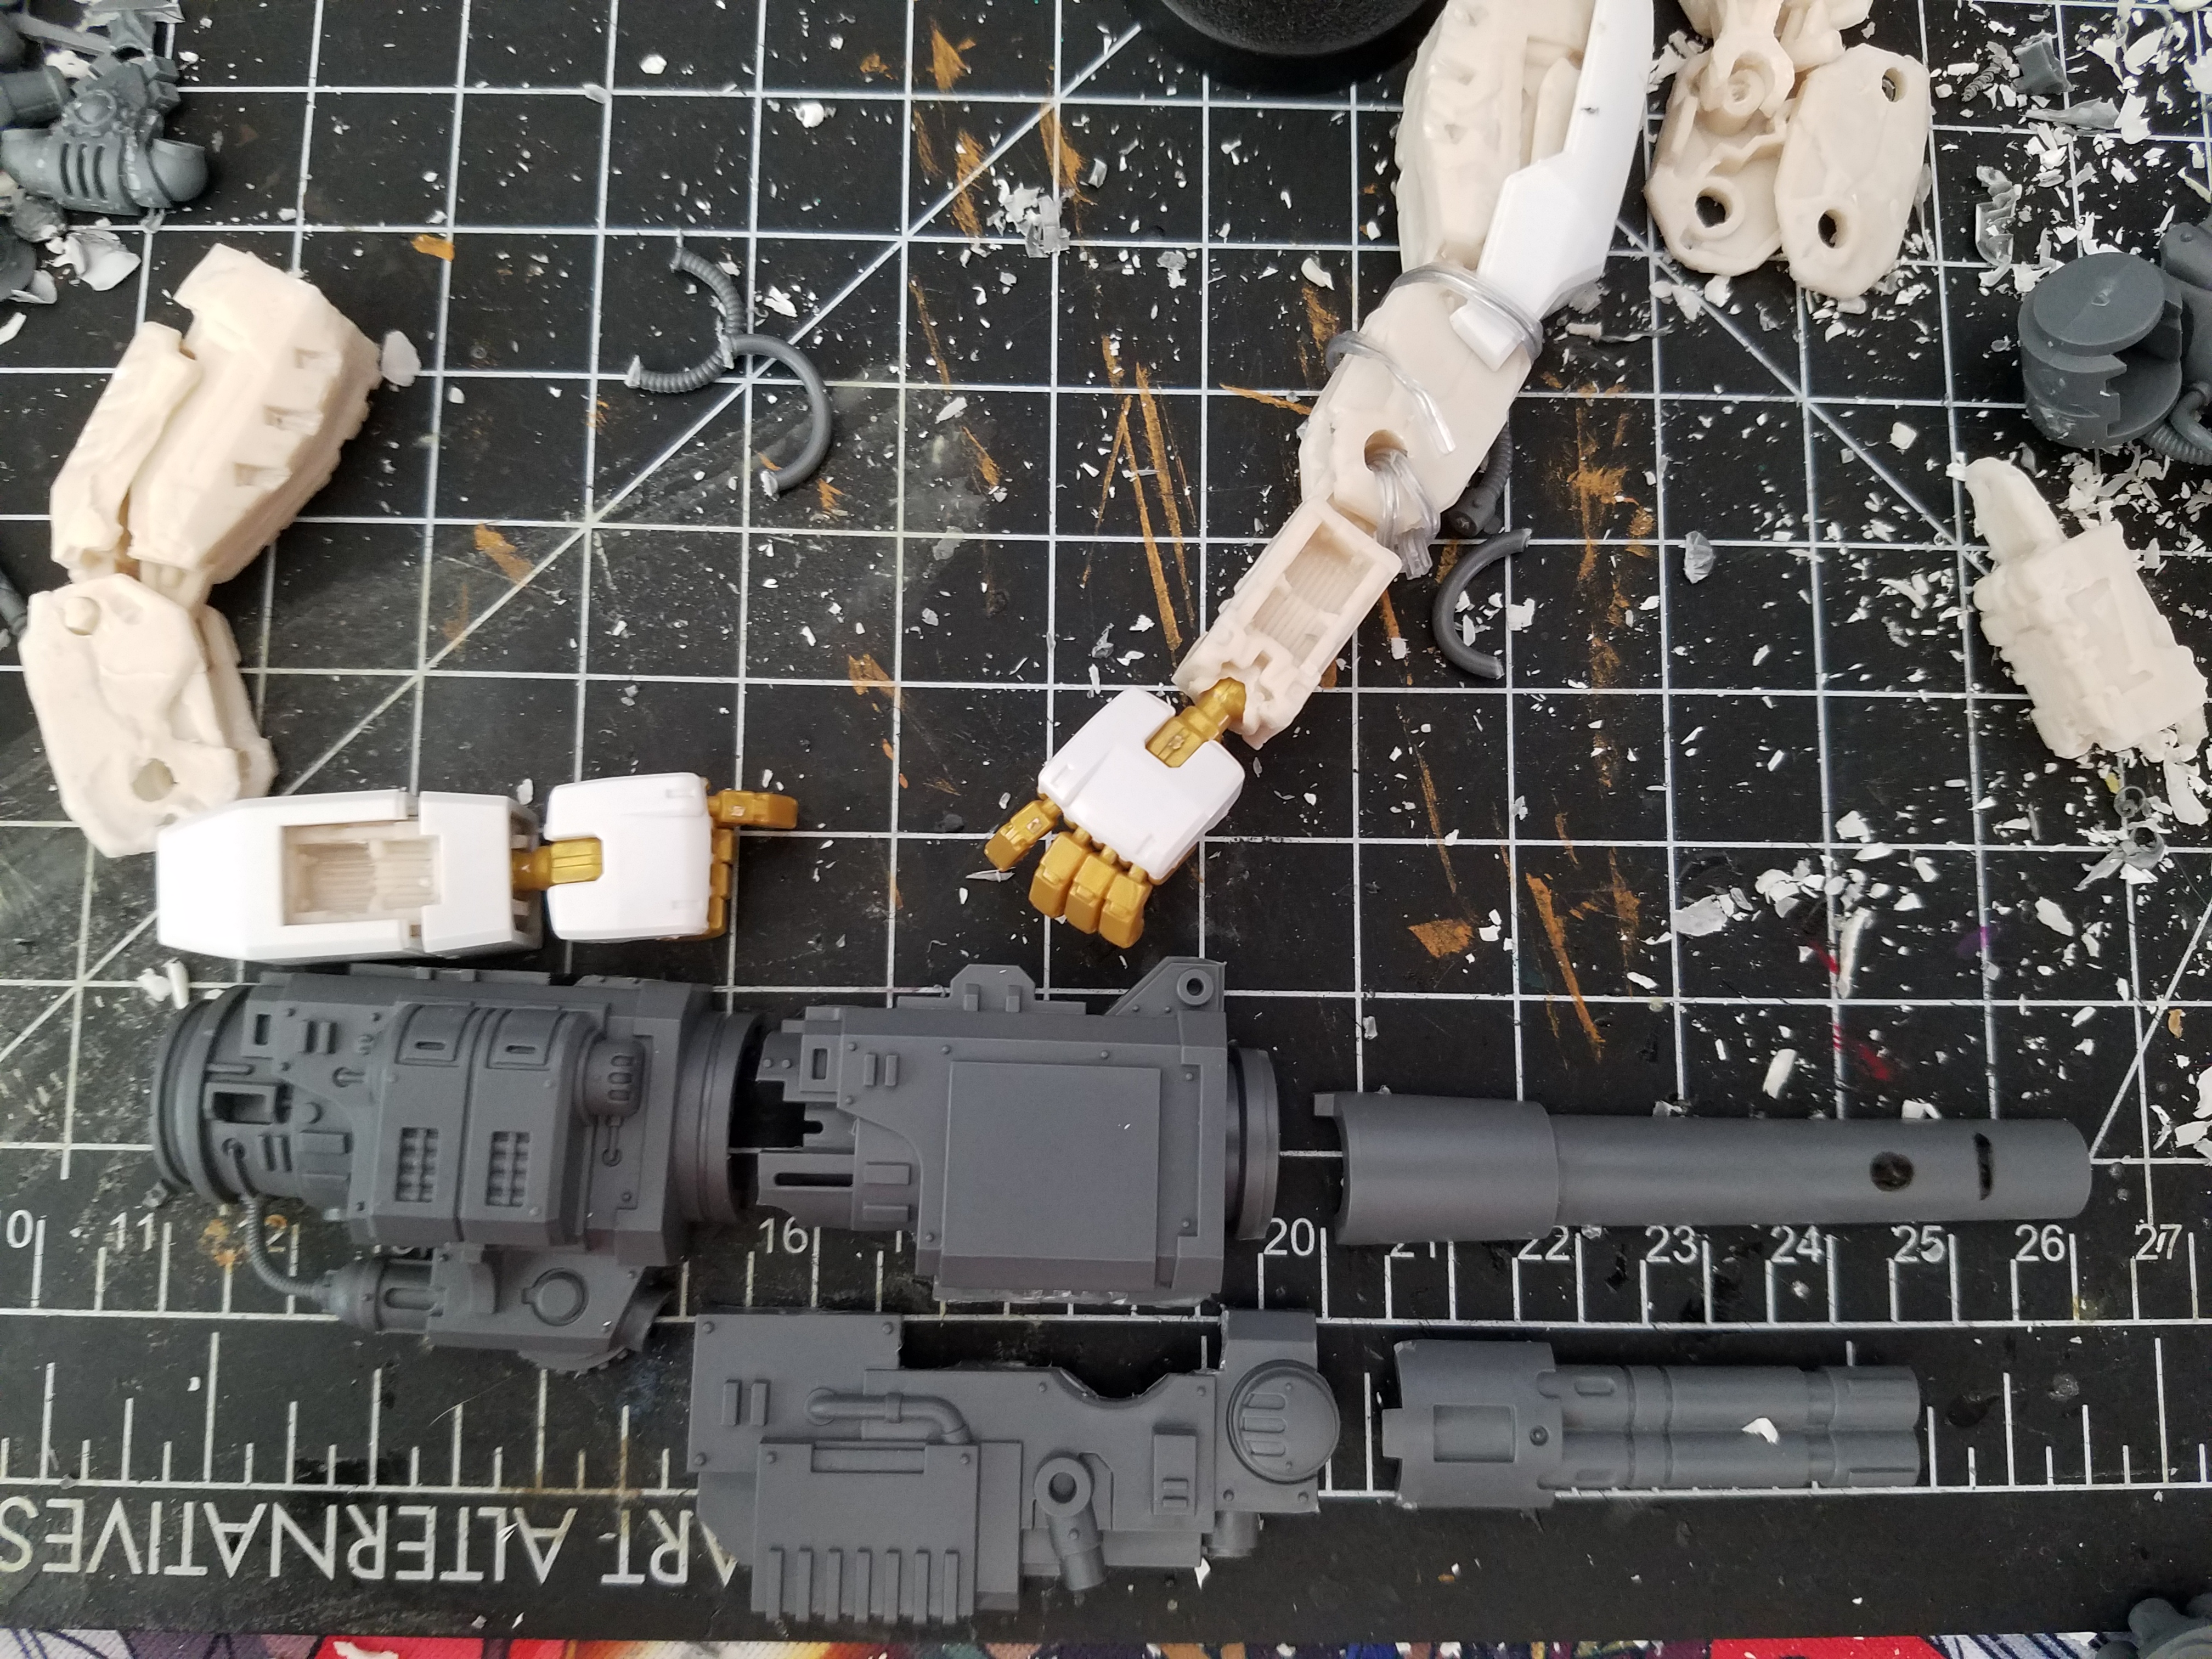
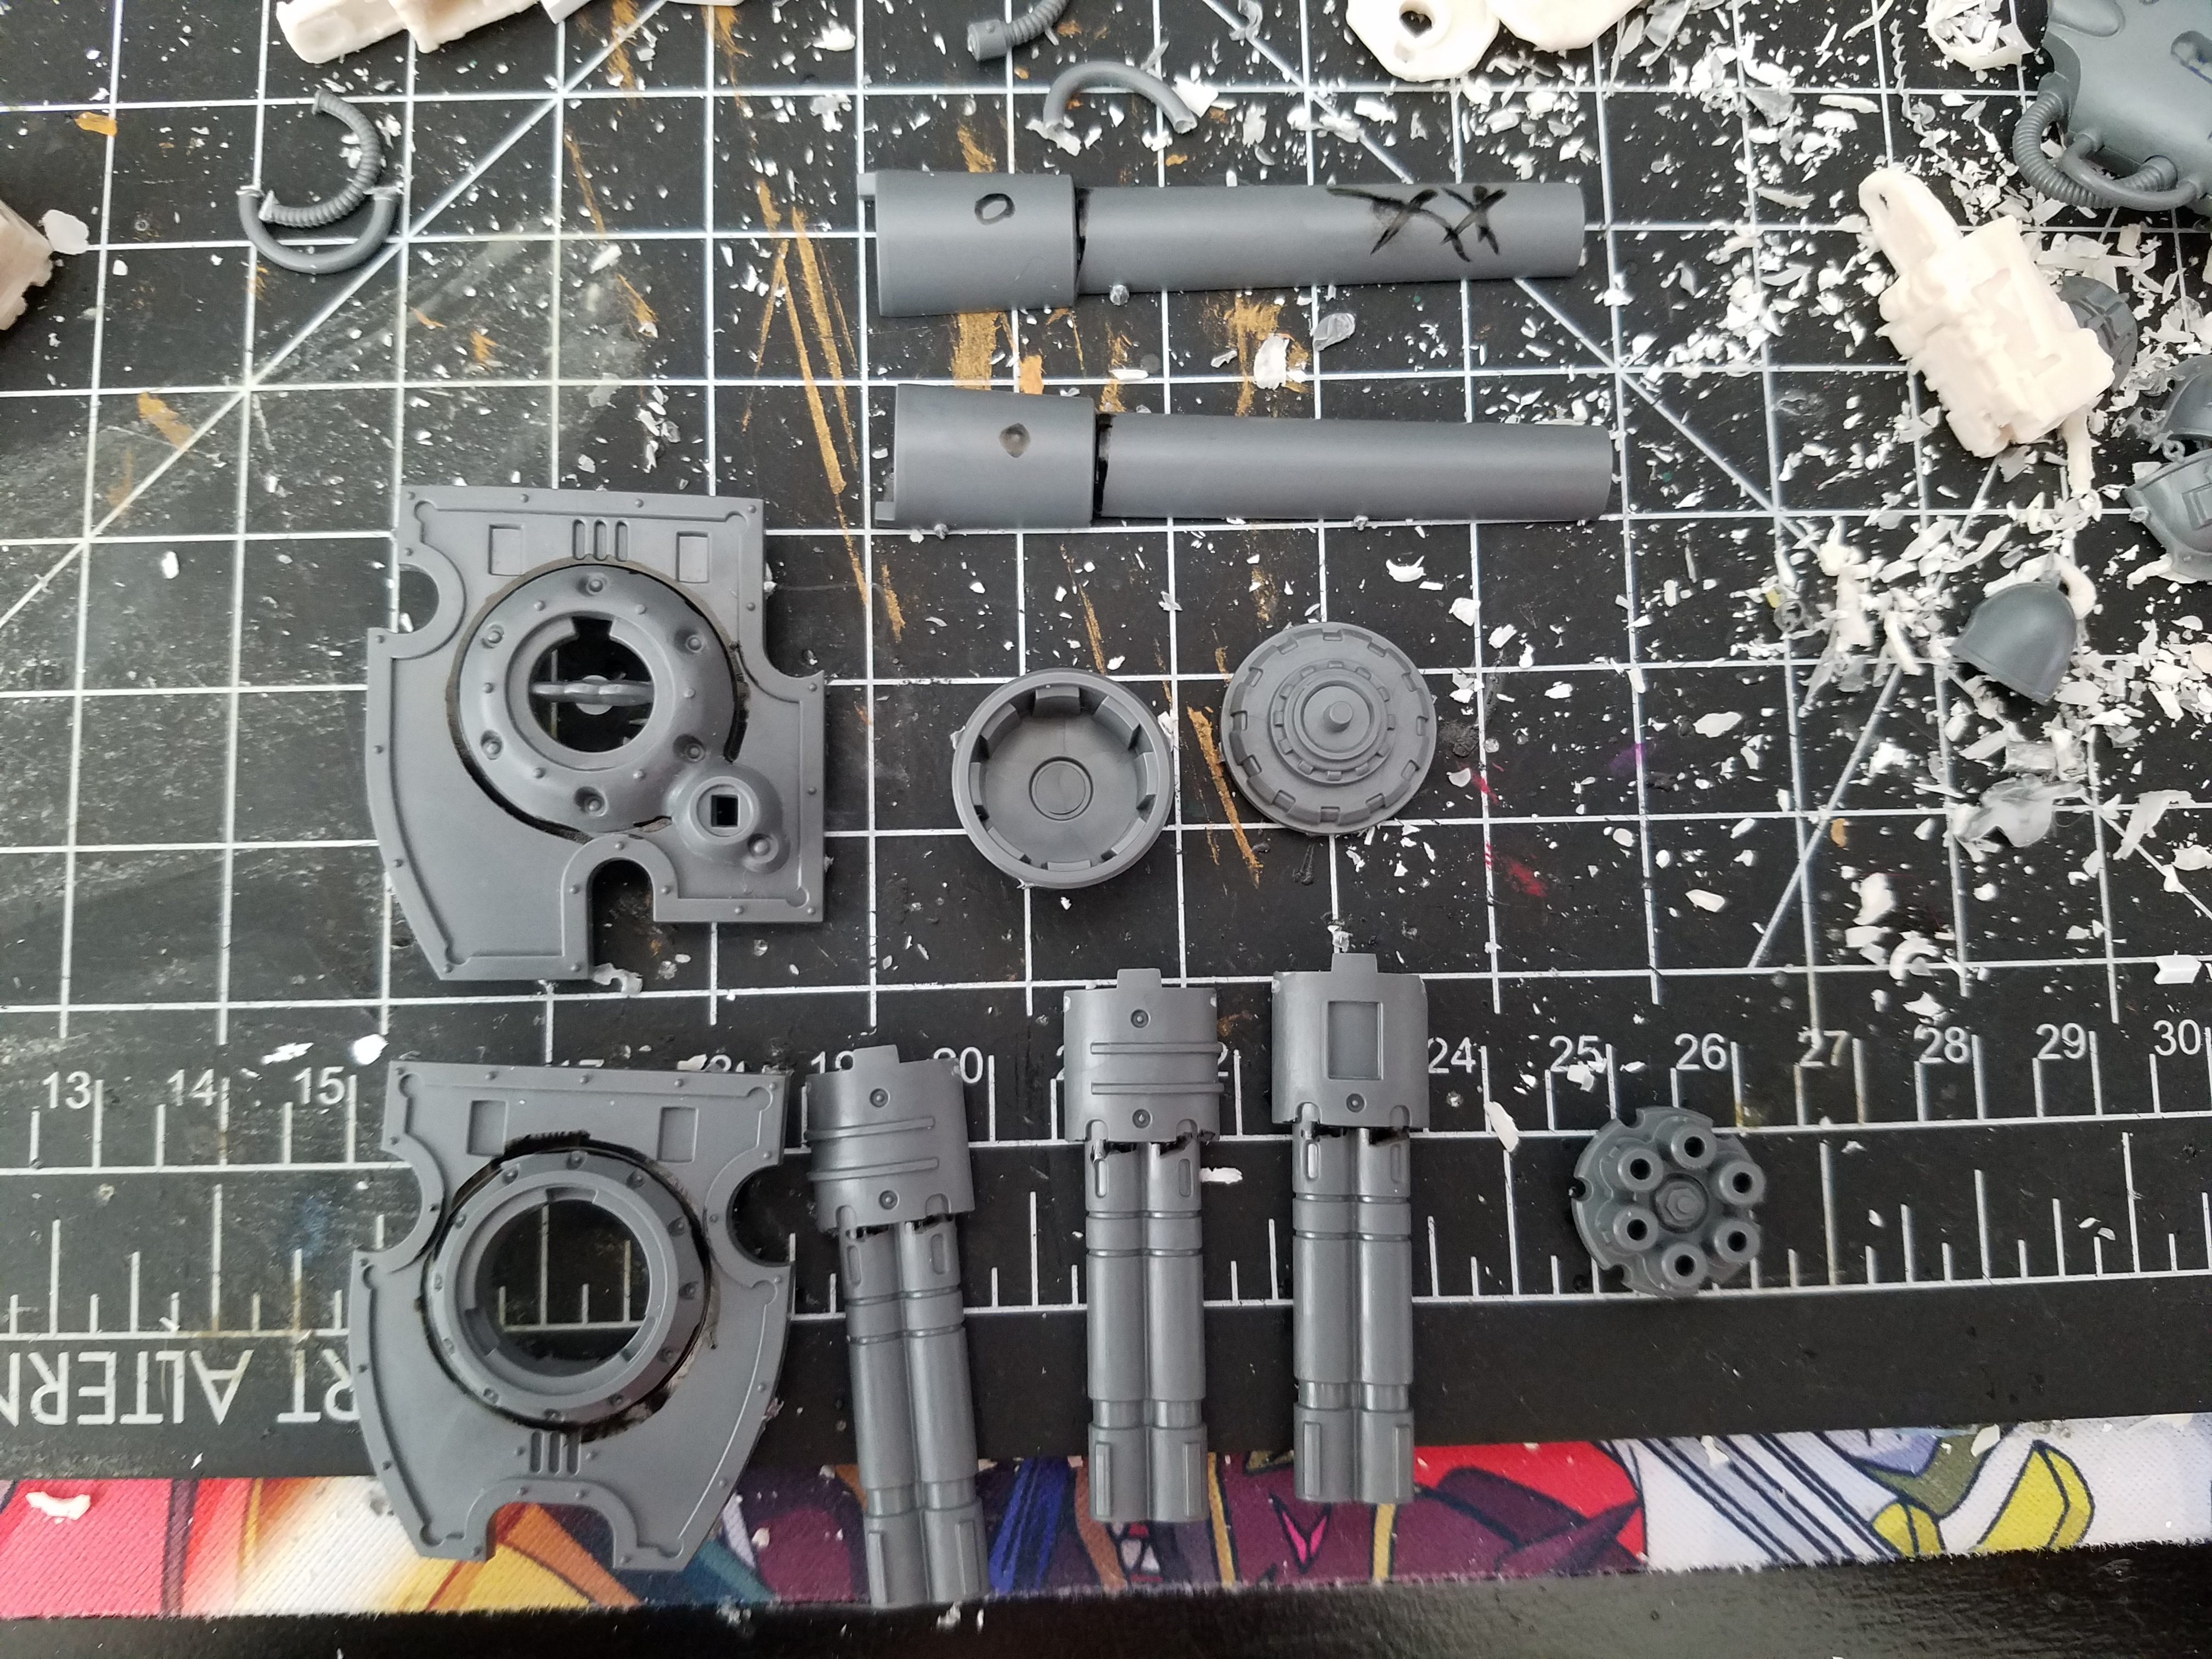
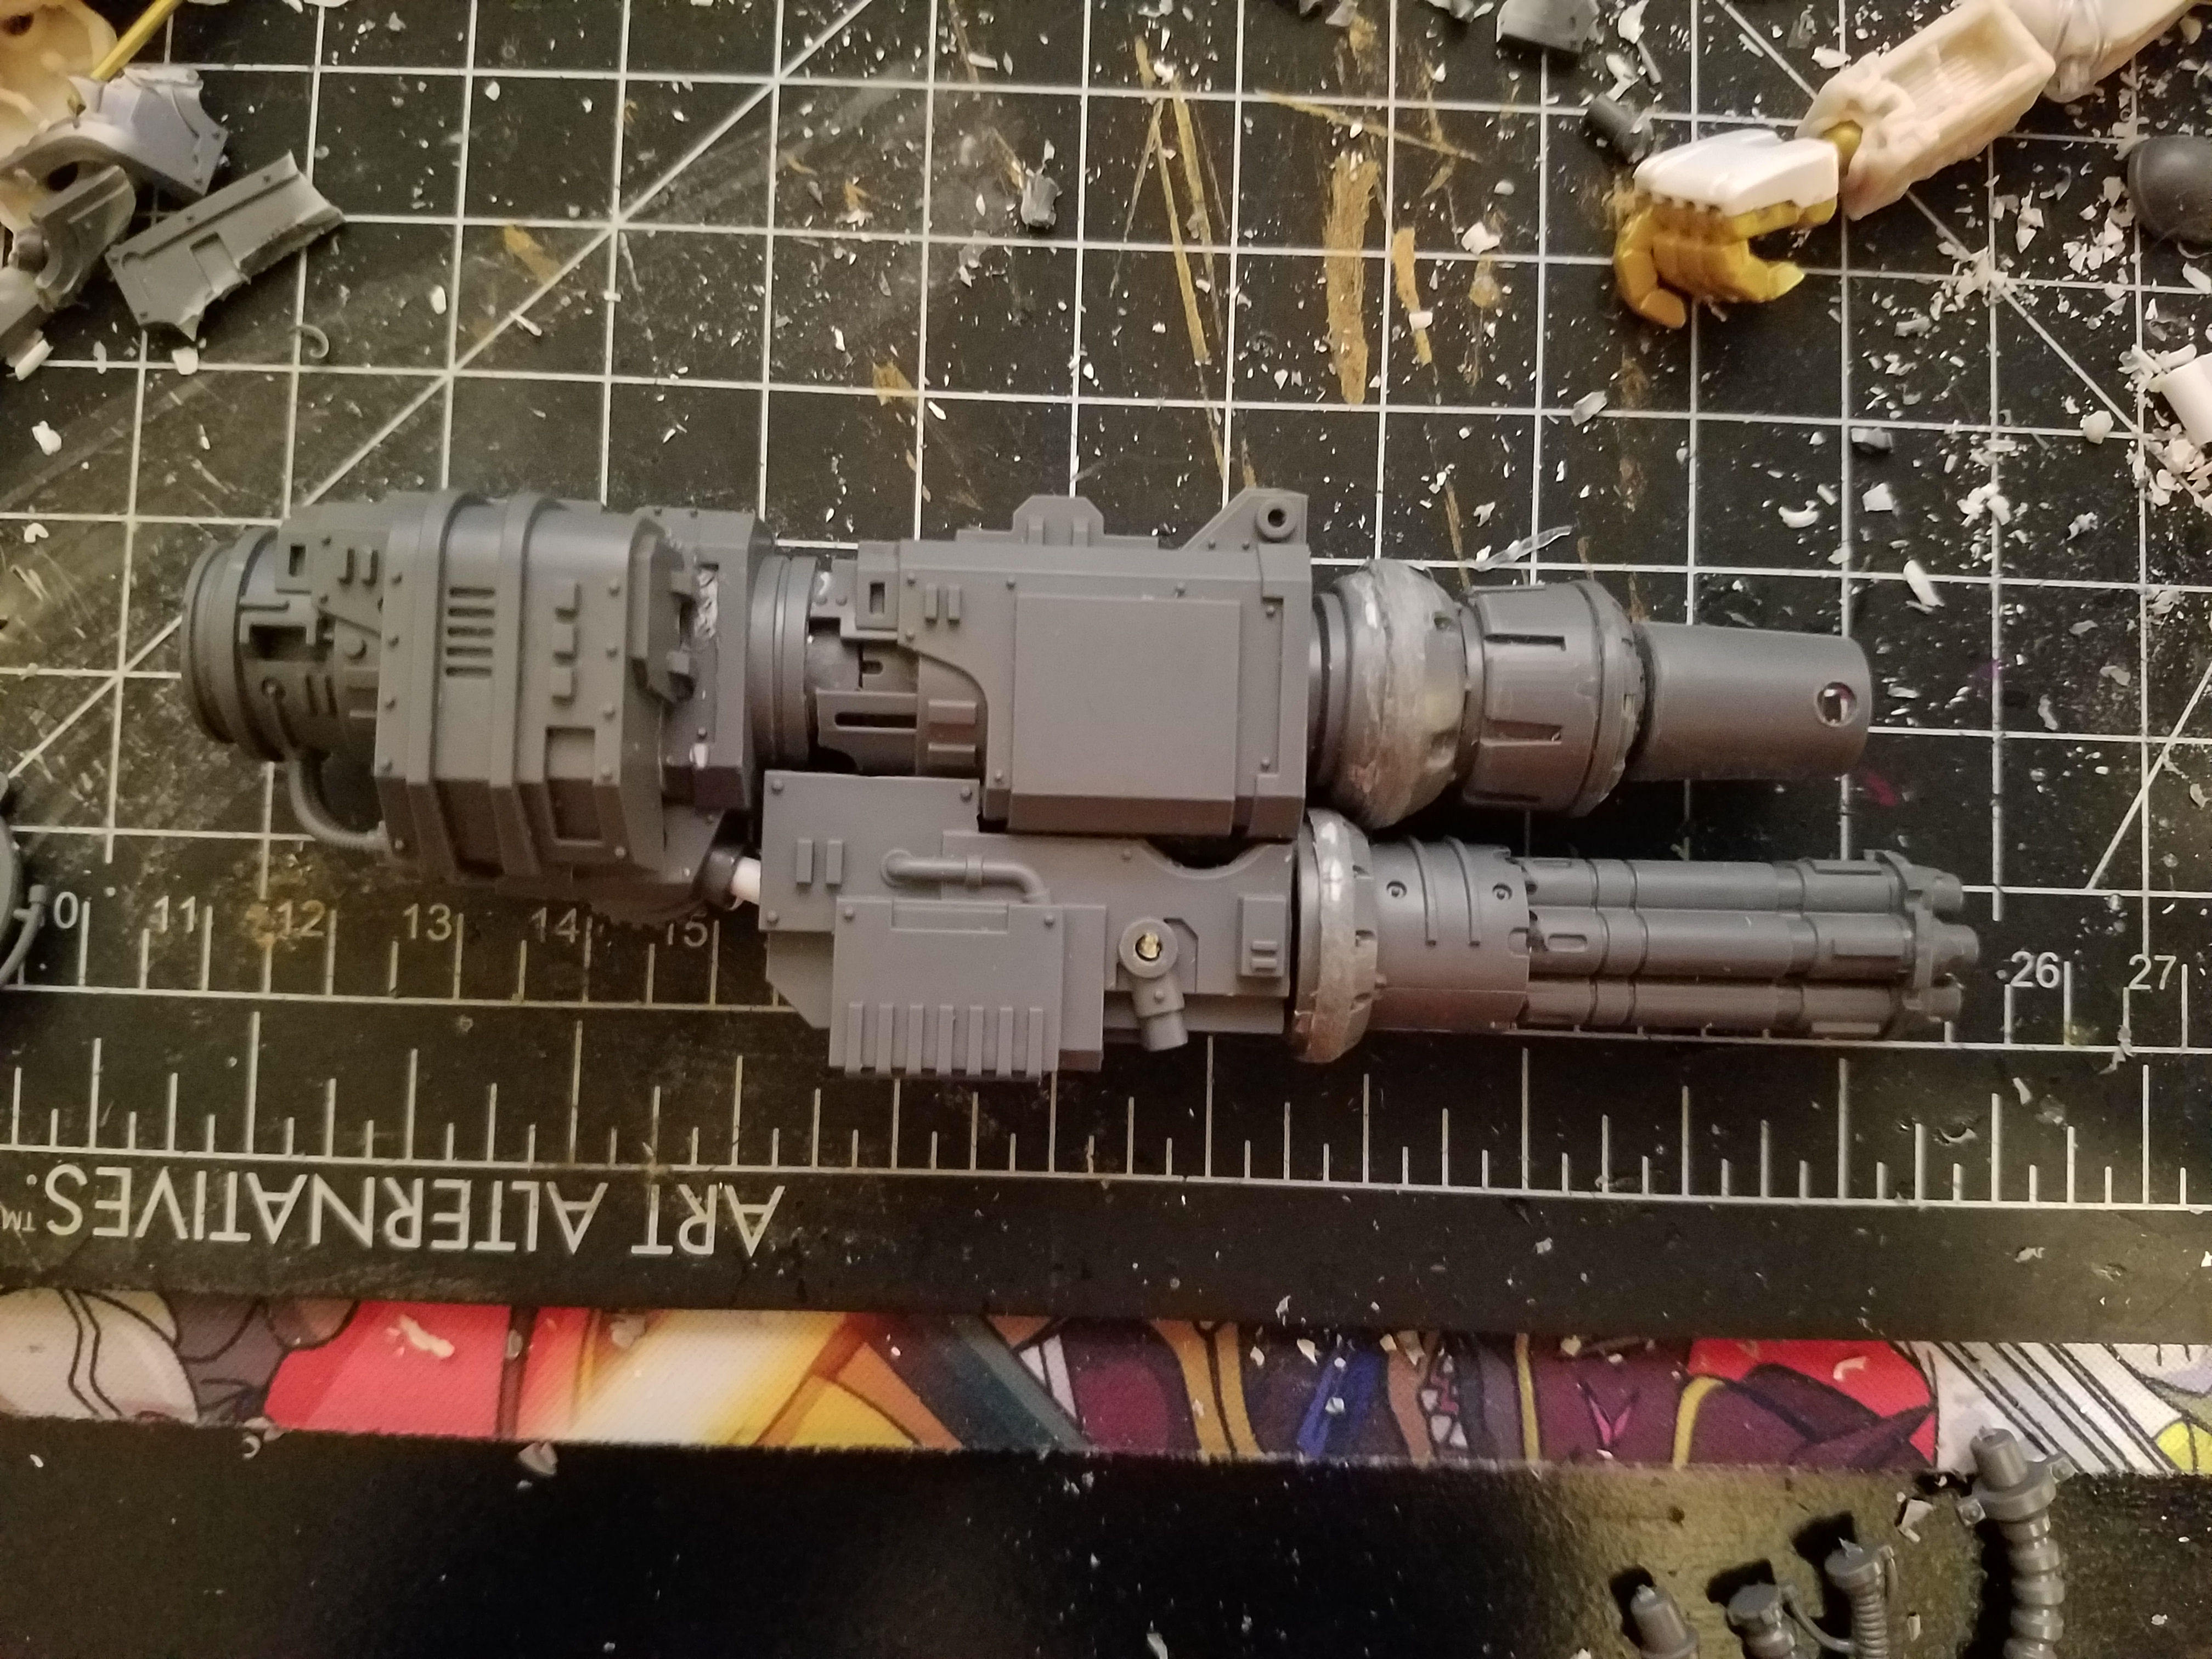
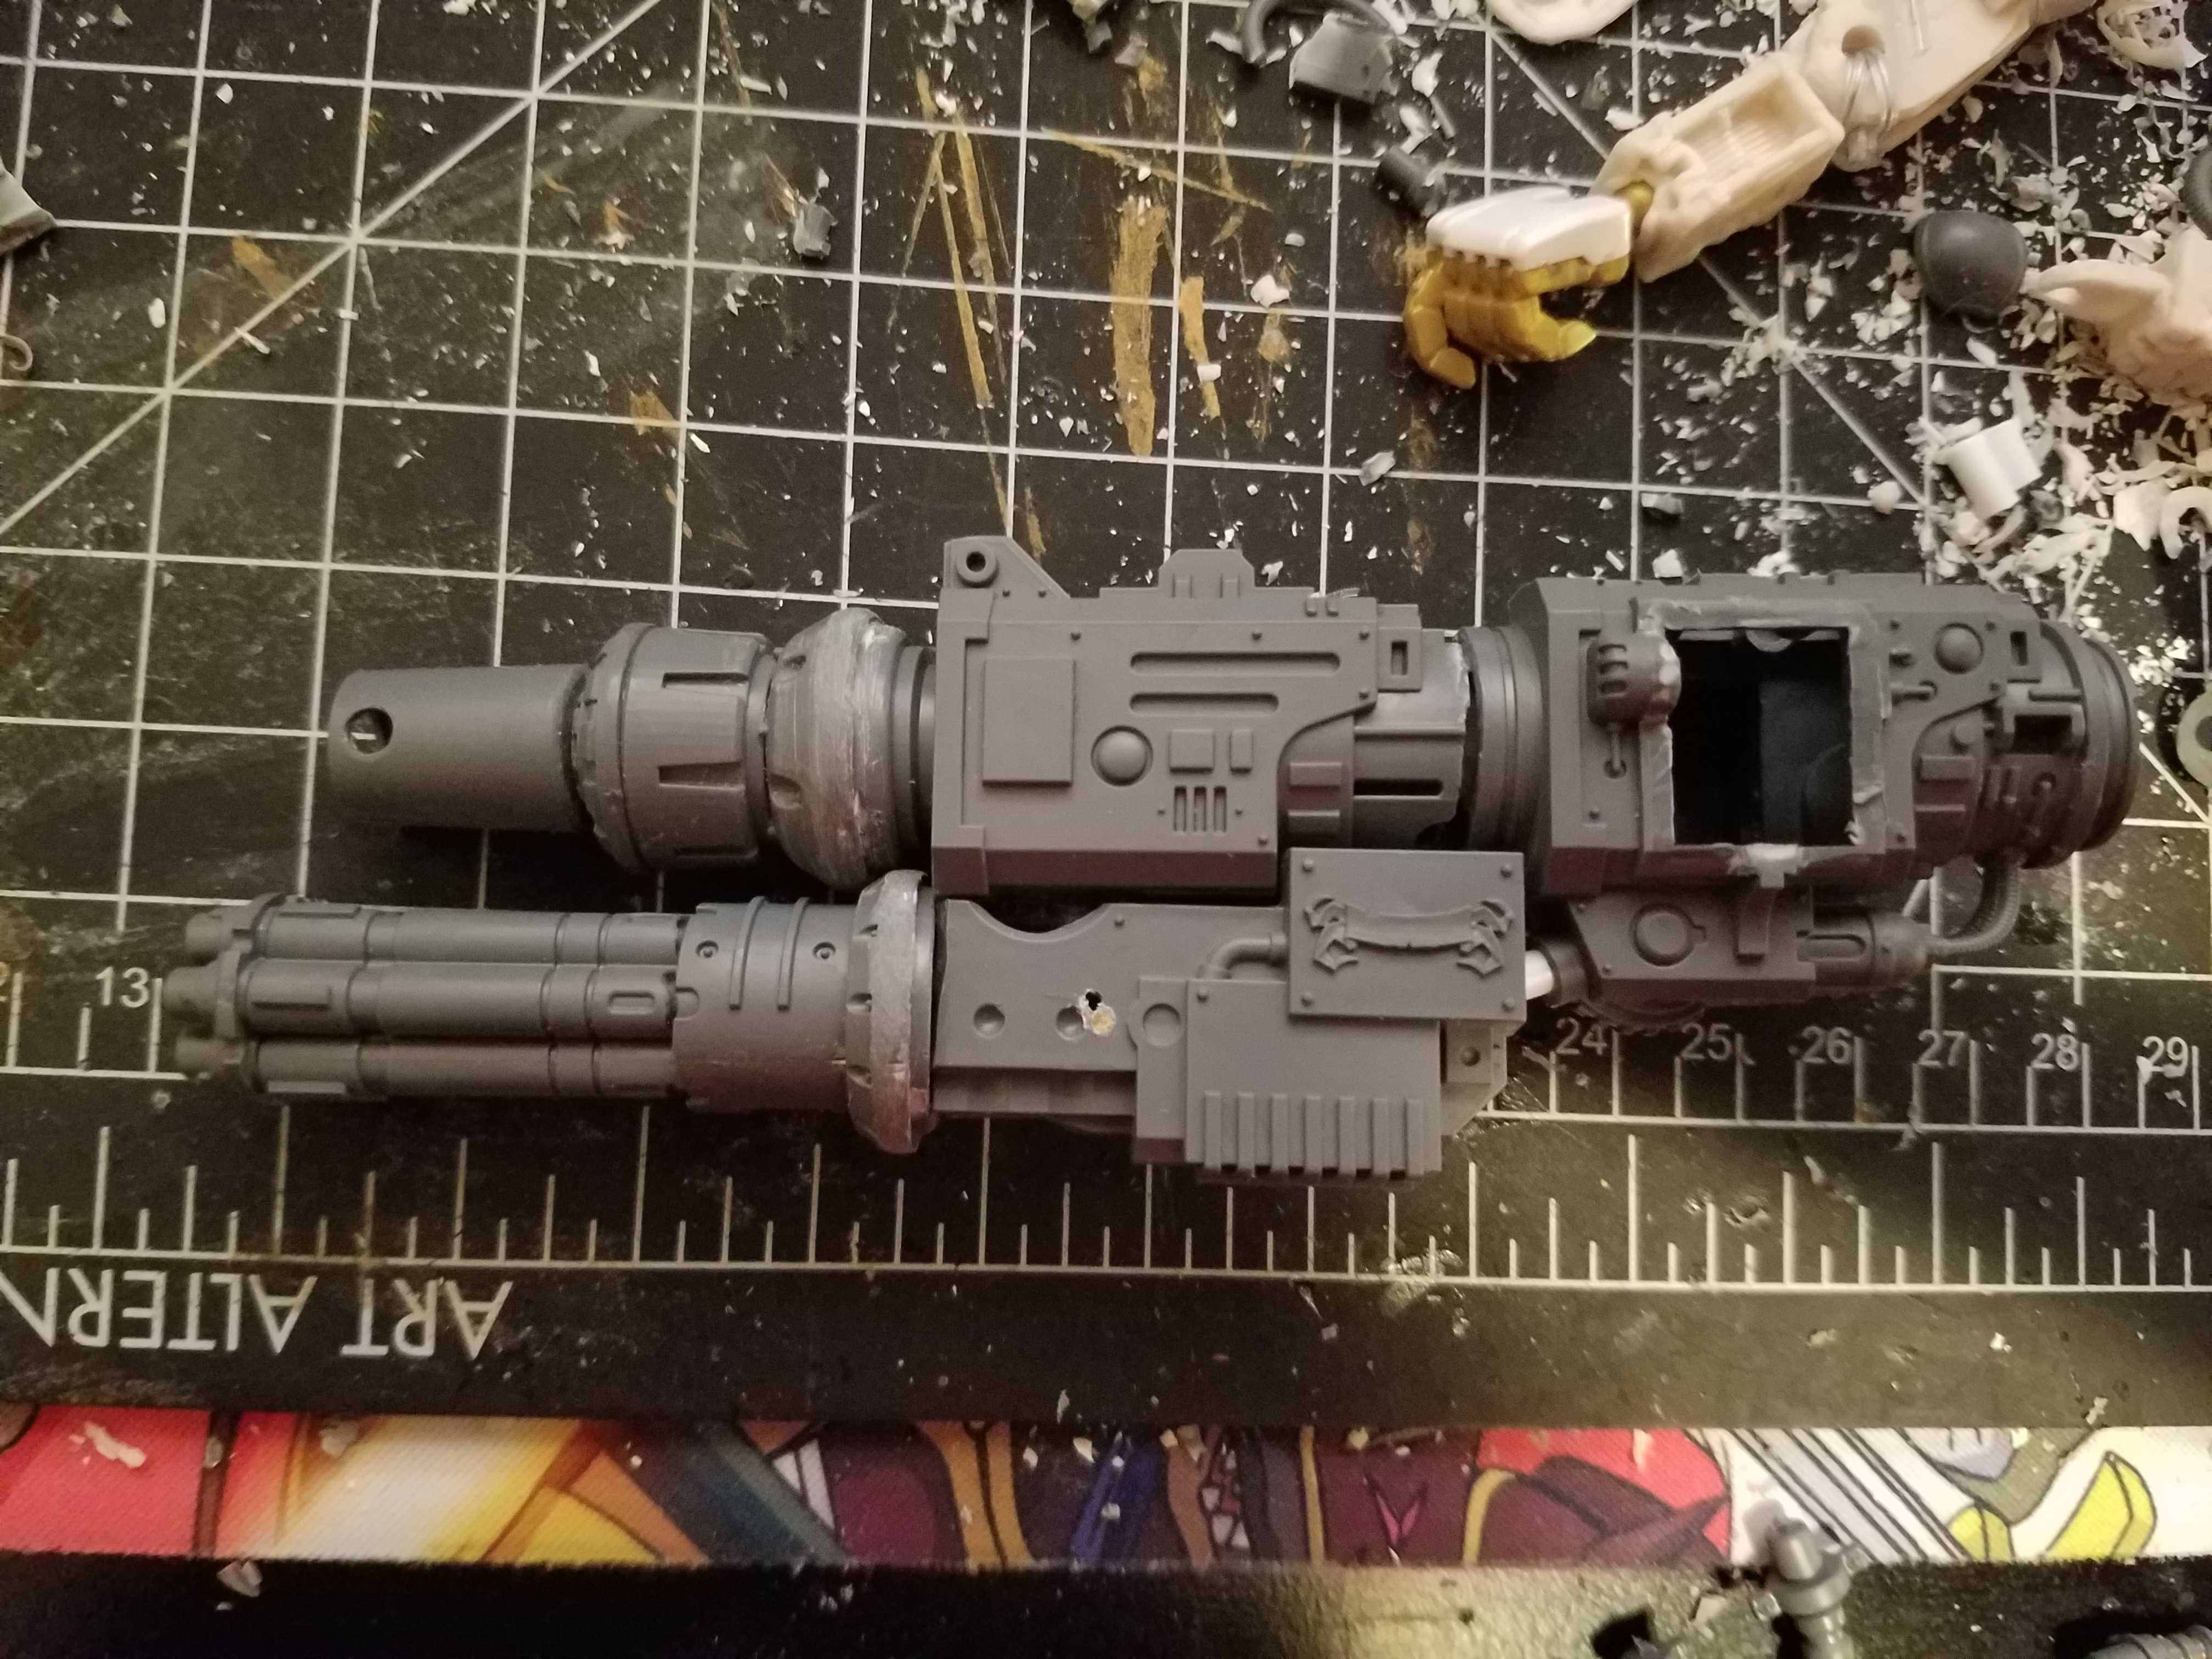
Front and back of what the gun looks like assembled. The alteration that were made hear was I cut the ammo feed area off on both sides and replaced it with the one for the cannon. Not shown in the photo is about a half a centimeter gap in-between the bottom of the gun.
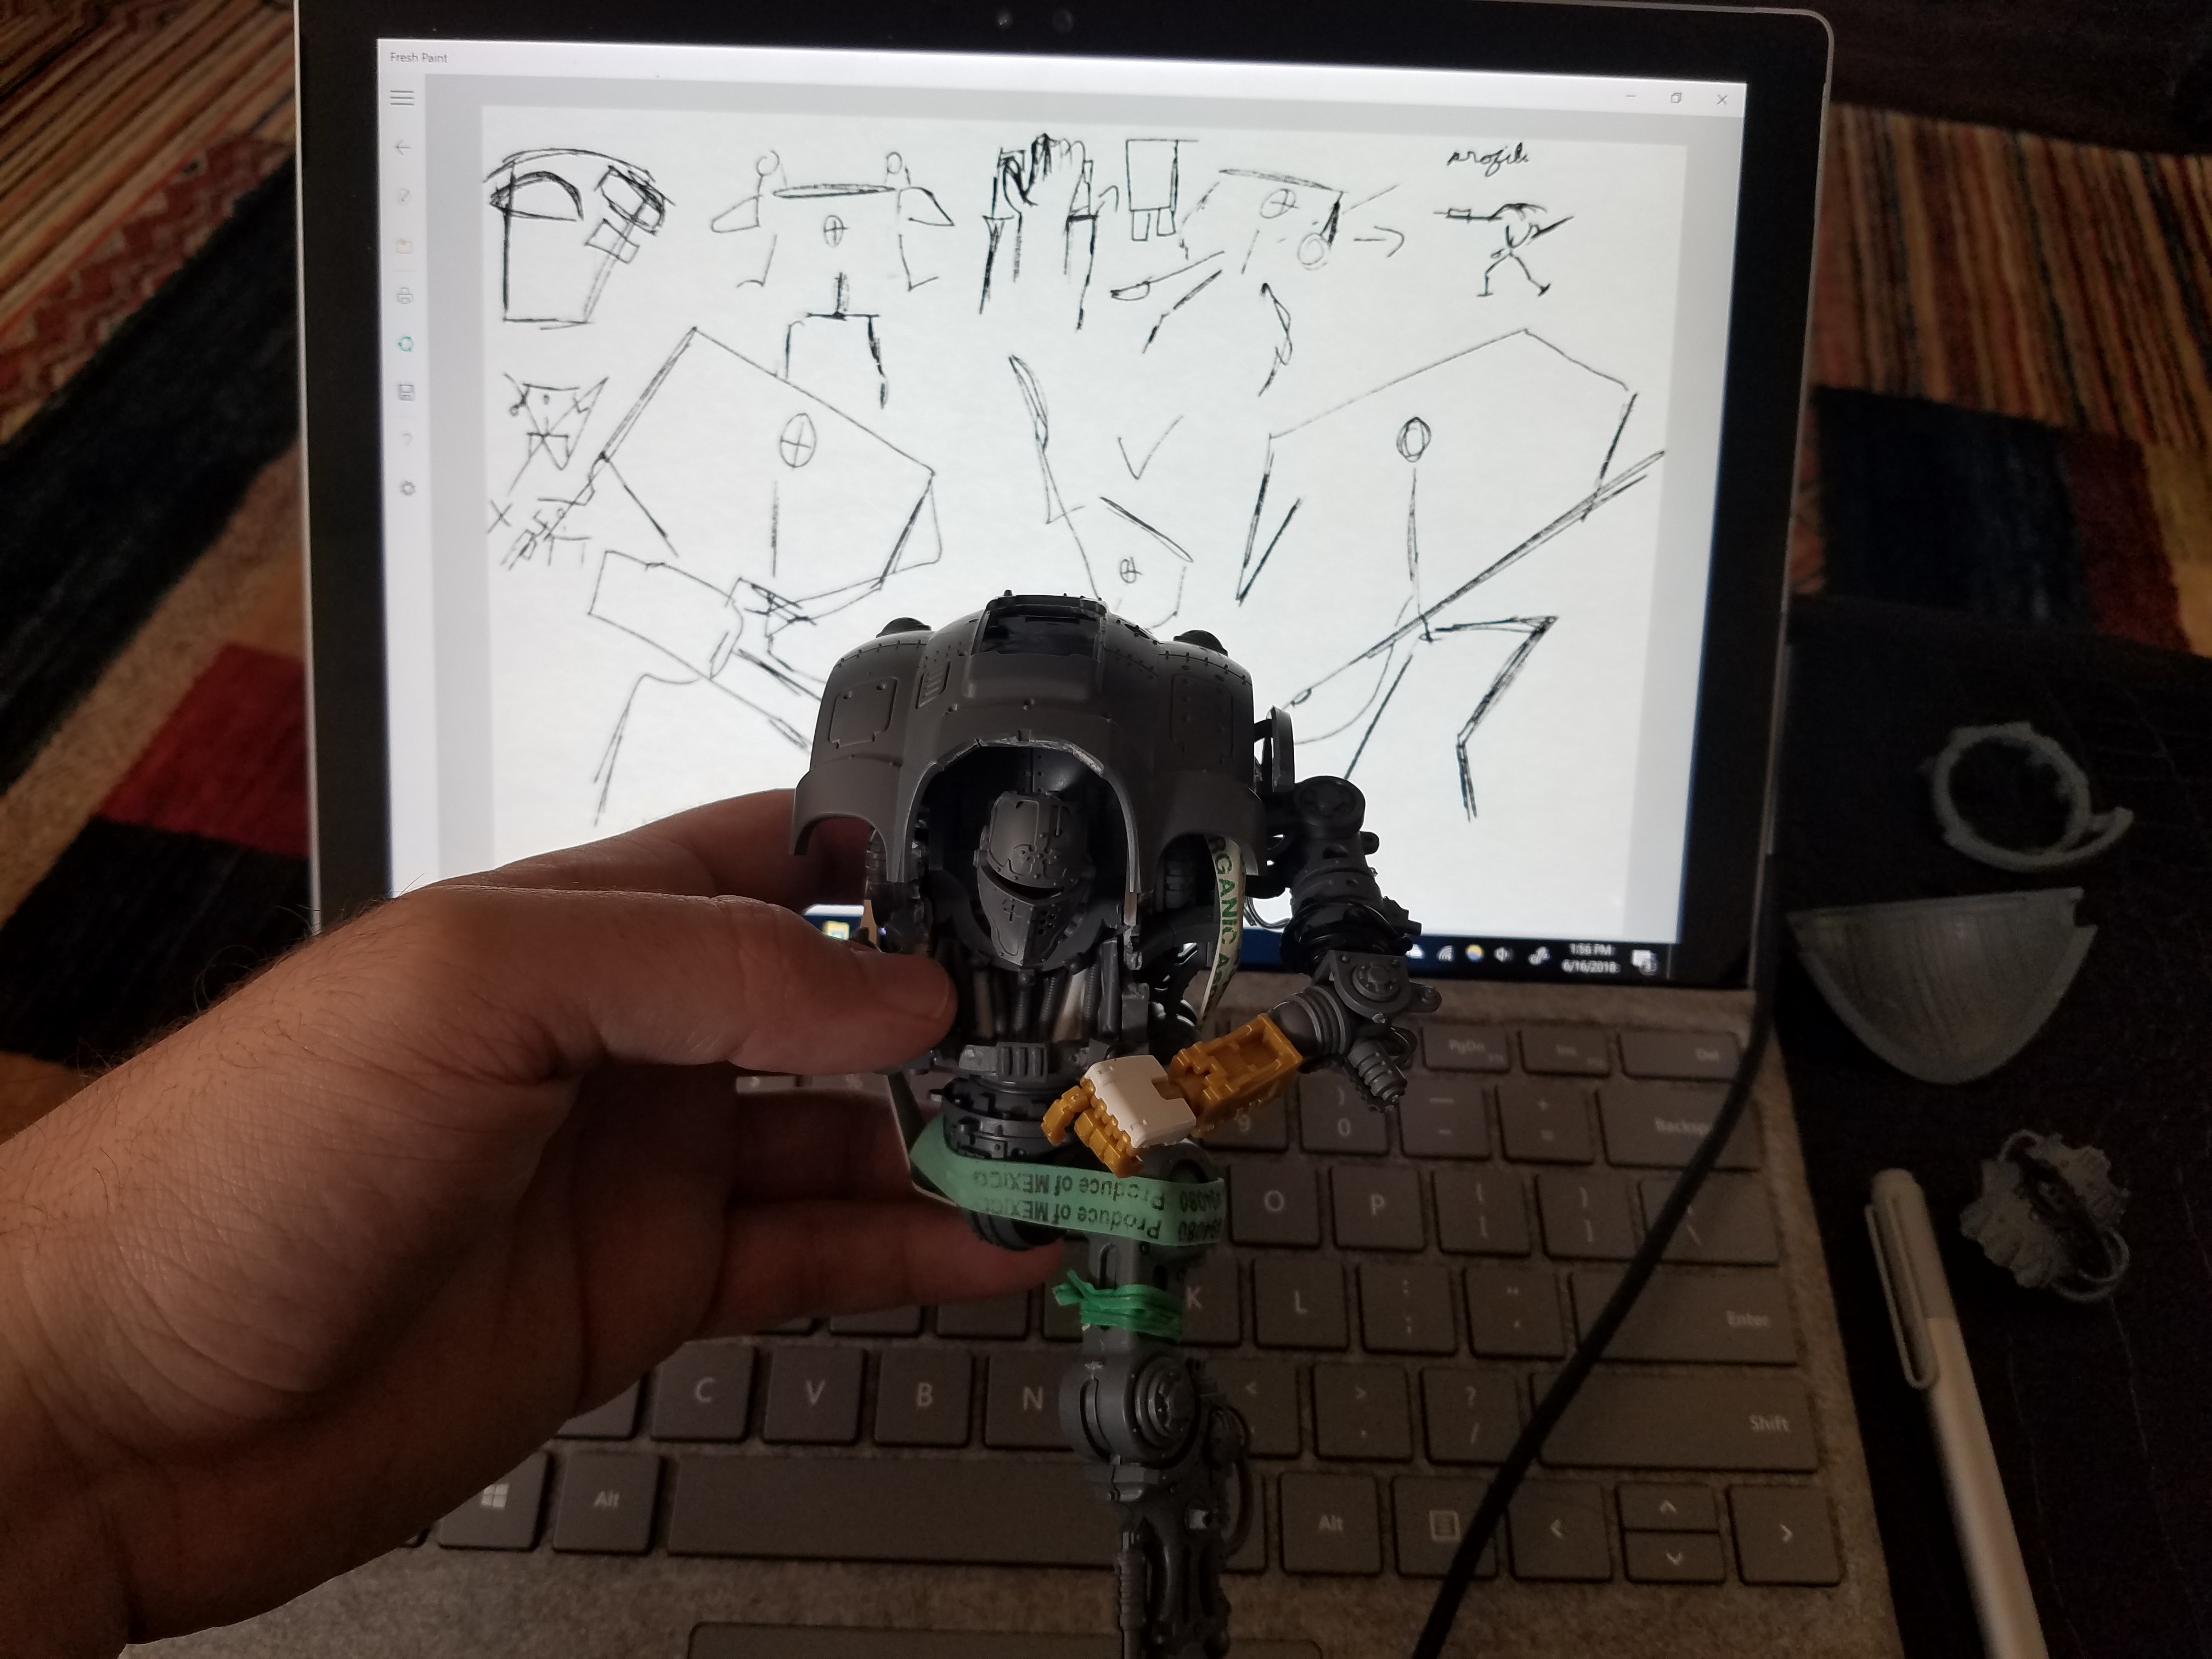
part 7, making a Square
First and foremost sorry for the delay in the posts was sick for two weeks and I had to wait on mold making materials. But now I have all the arms fully made we can continue. The arms are not together are still loose. Got to finish up the chest area and the shoulders on the back. Then it’s time to magnetize the arms to the chest. I have also finally decided on what I’m actually making! My Grey Knight Titan will be a Cerastus Knight-Lancer.
So lets get into it. I cloned a piece of the back of the Titan so that I can use it on the front. Stuck a bit of tube to it and now I’m going to glue on endcaps to make it look squared.
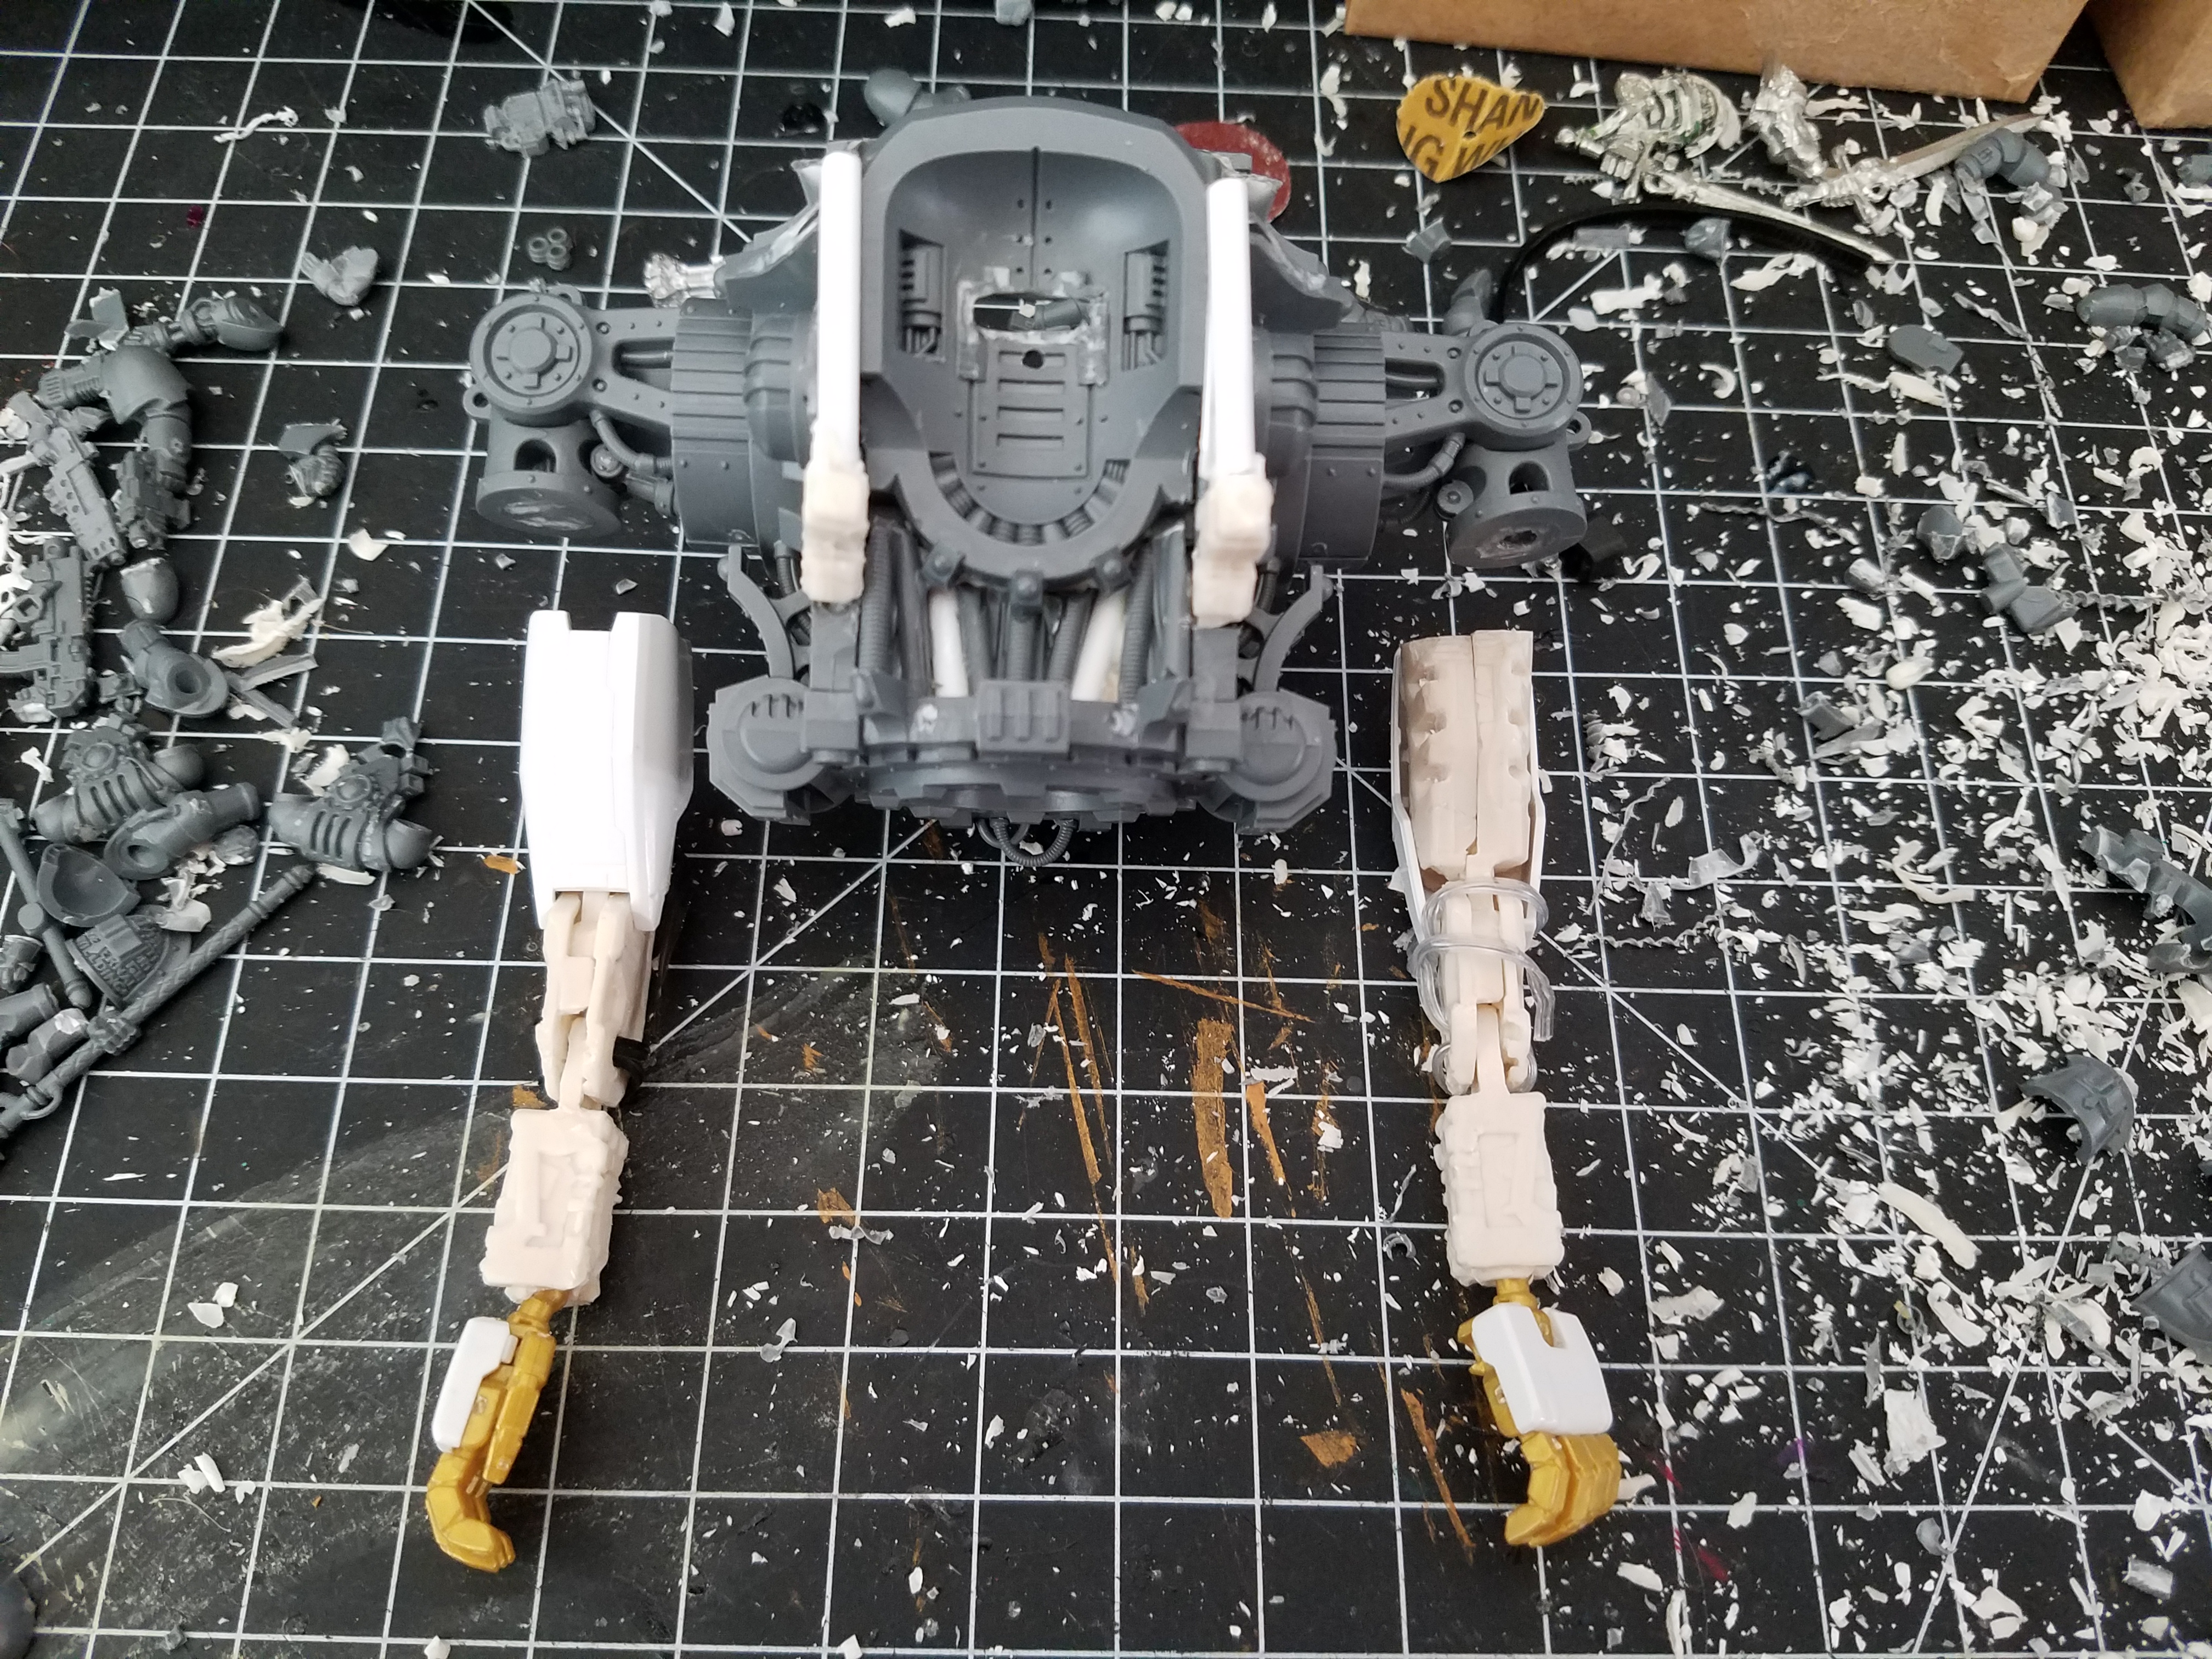
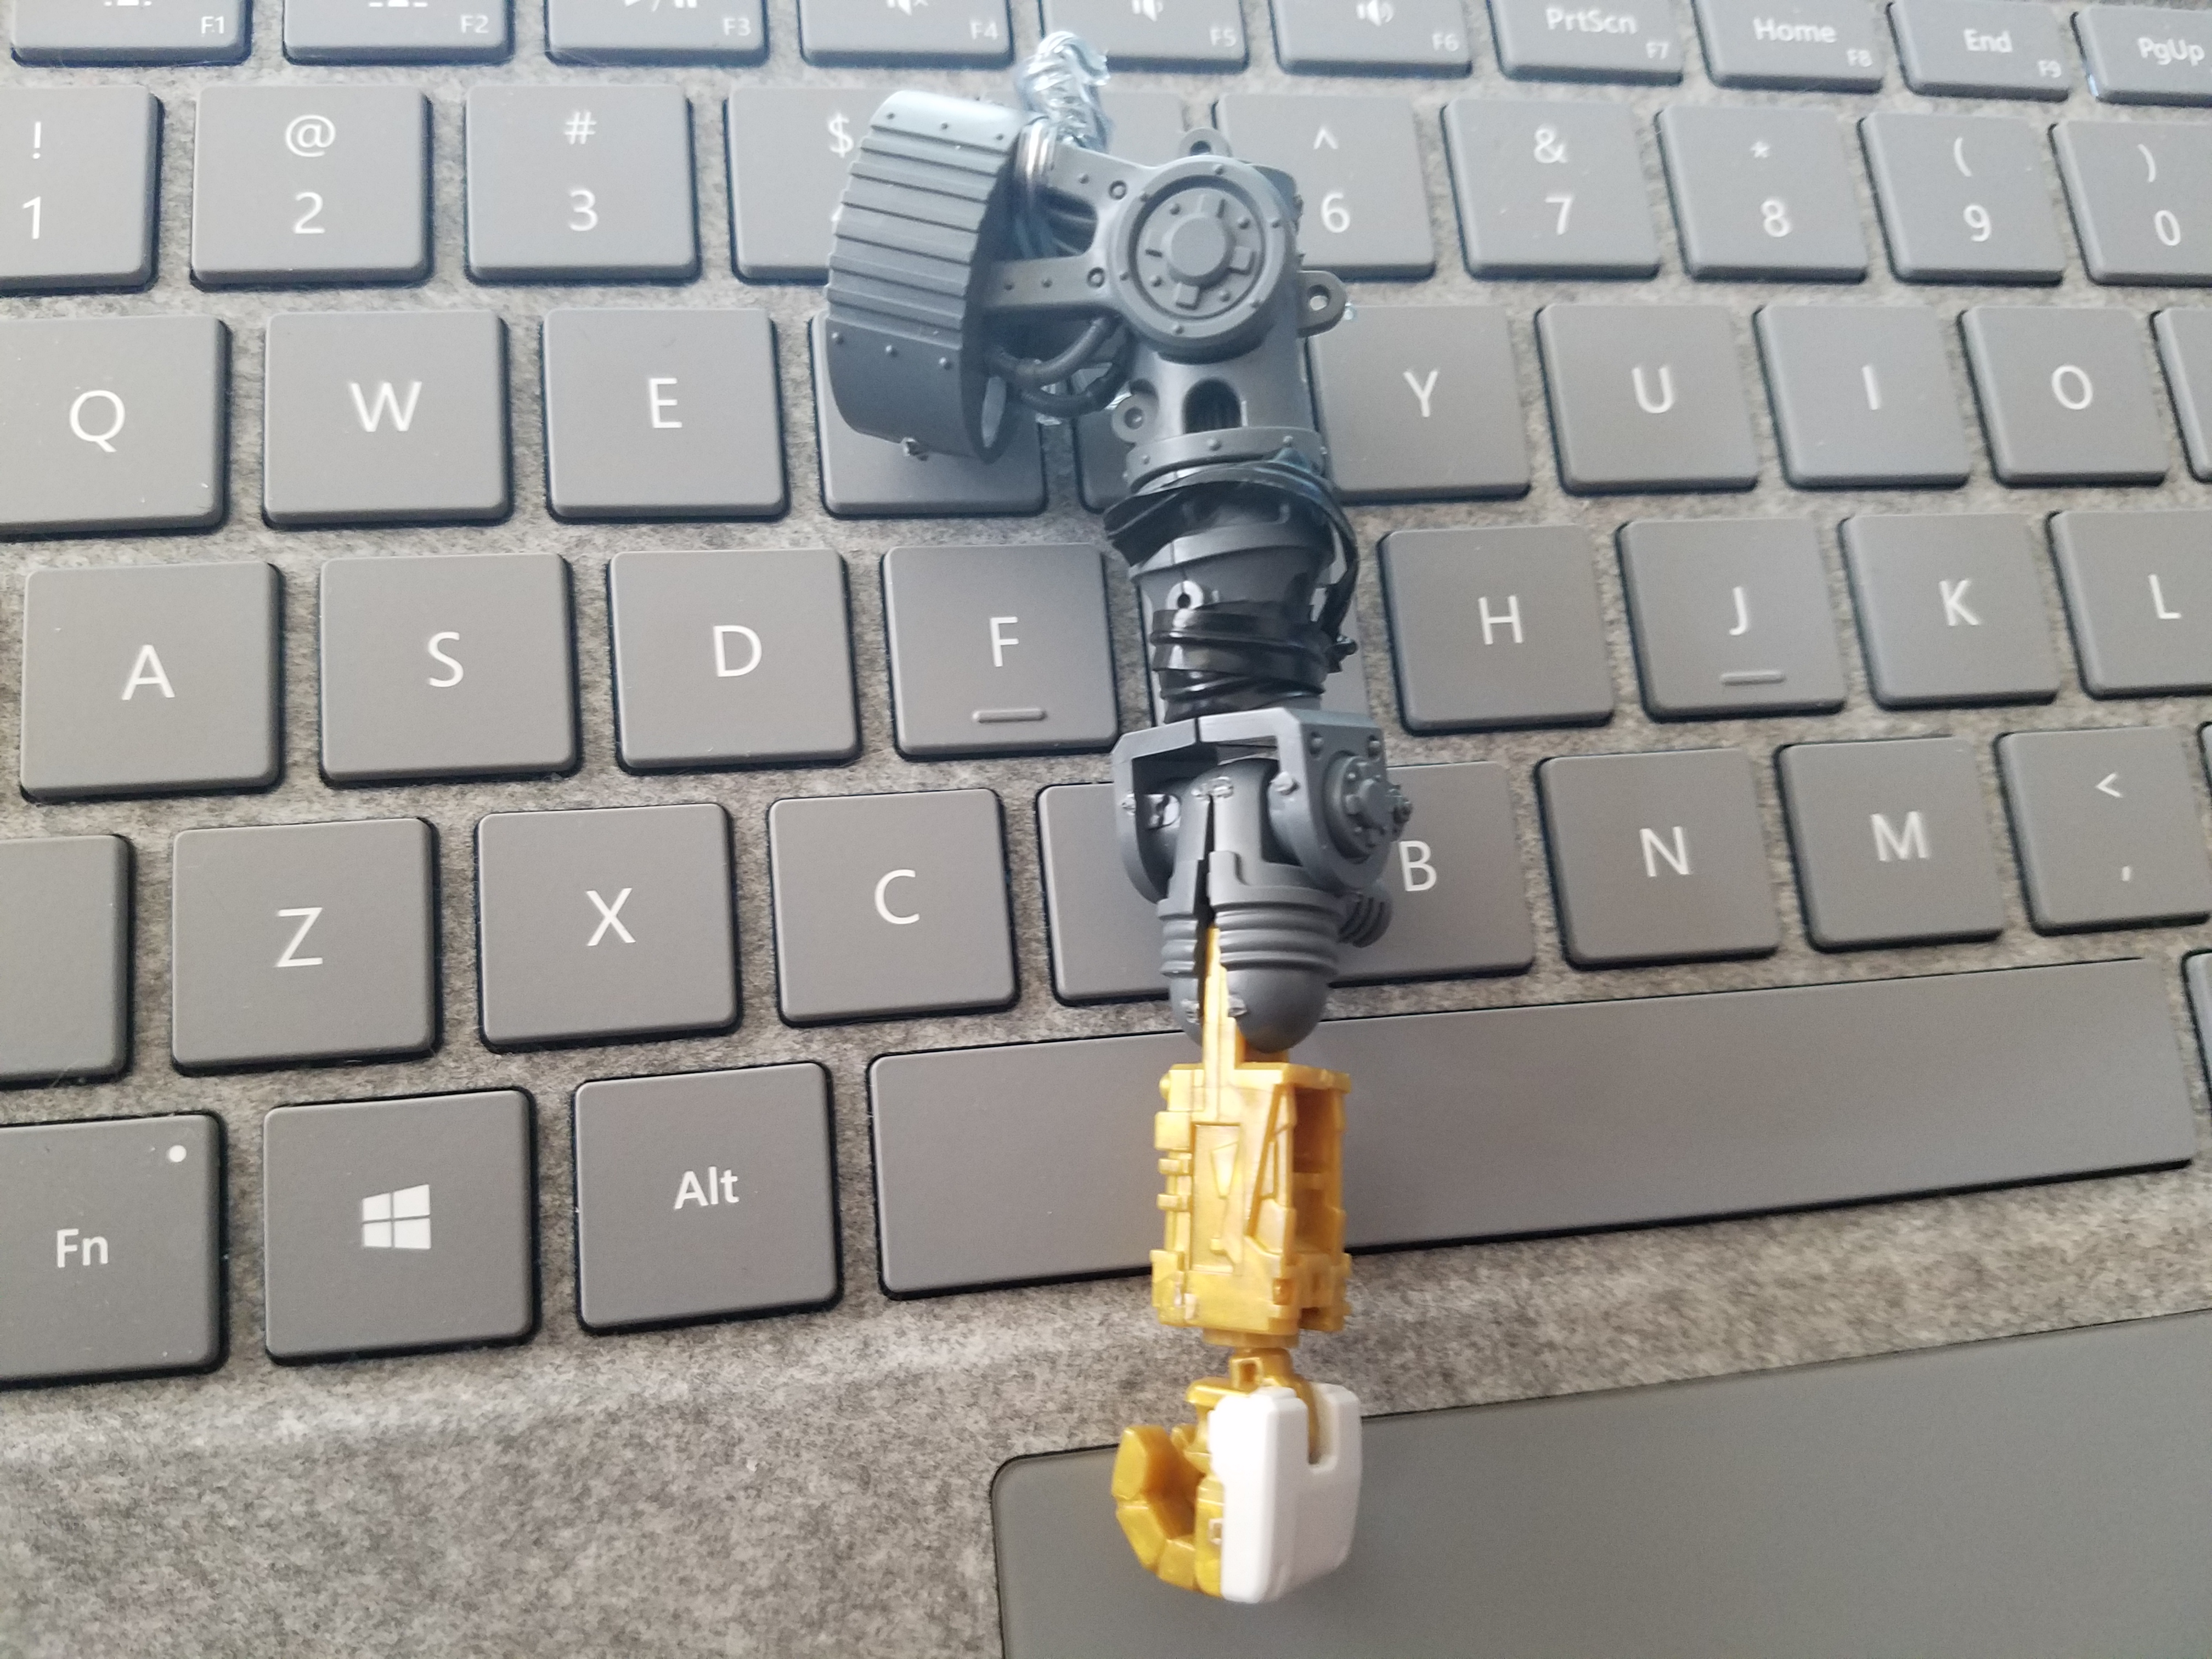
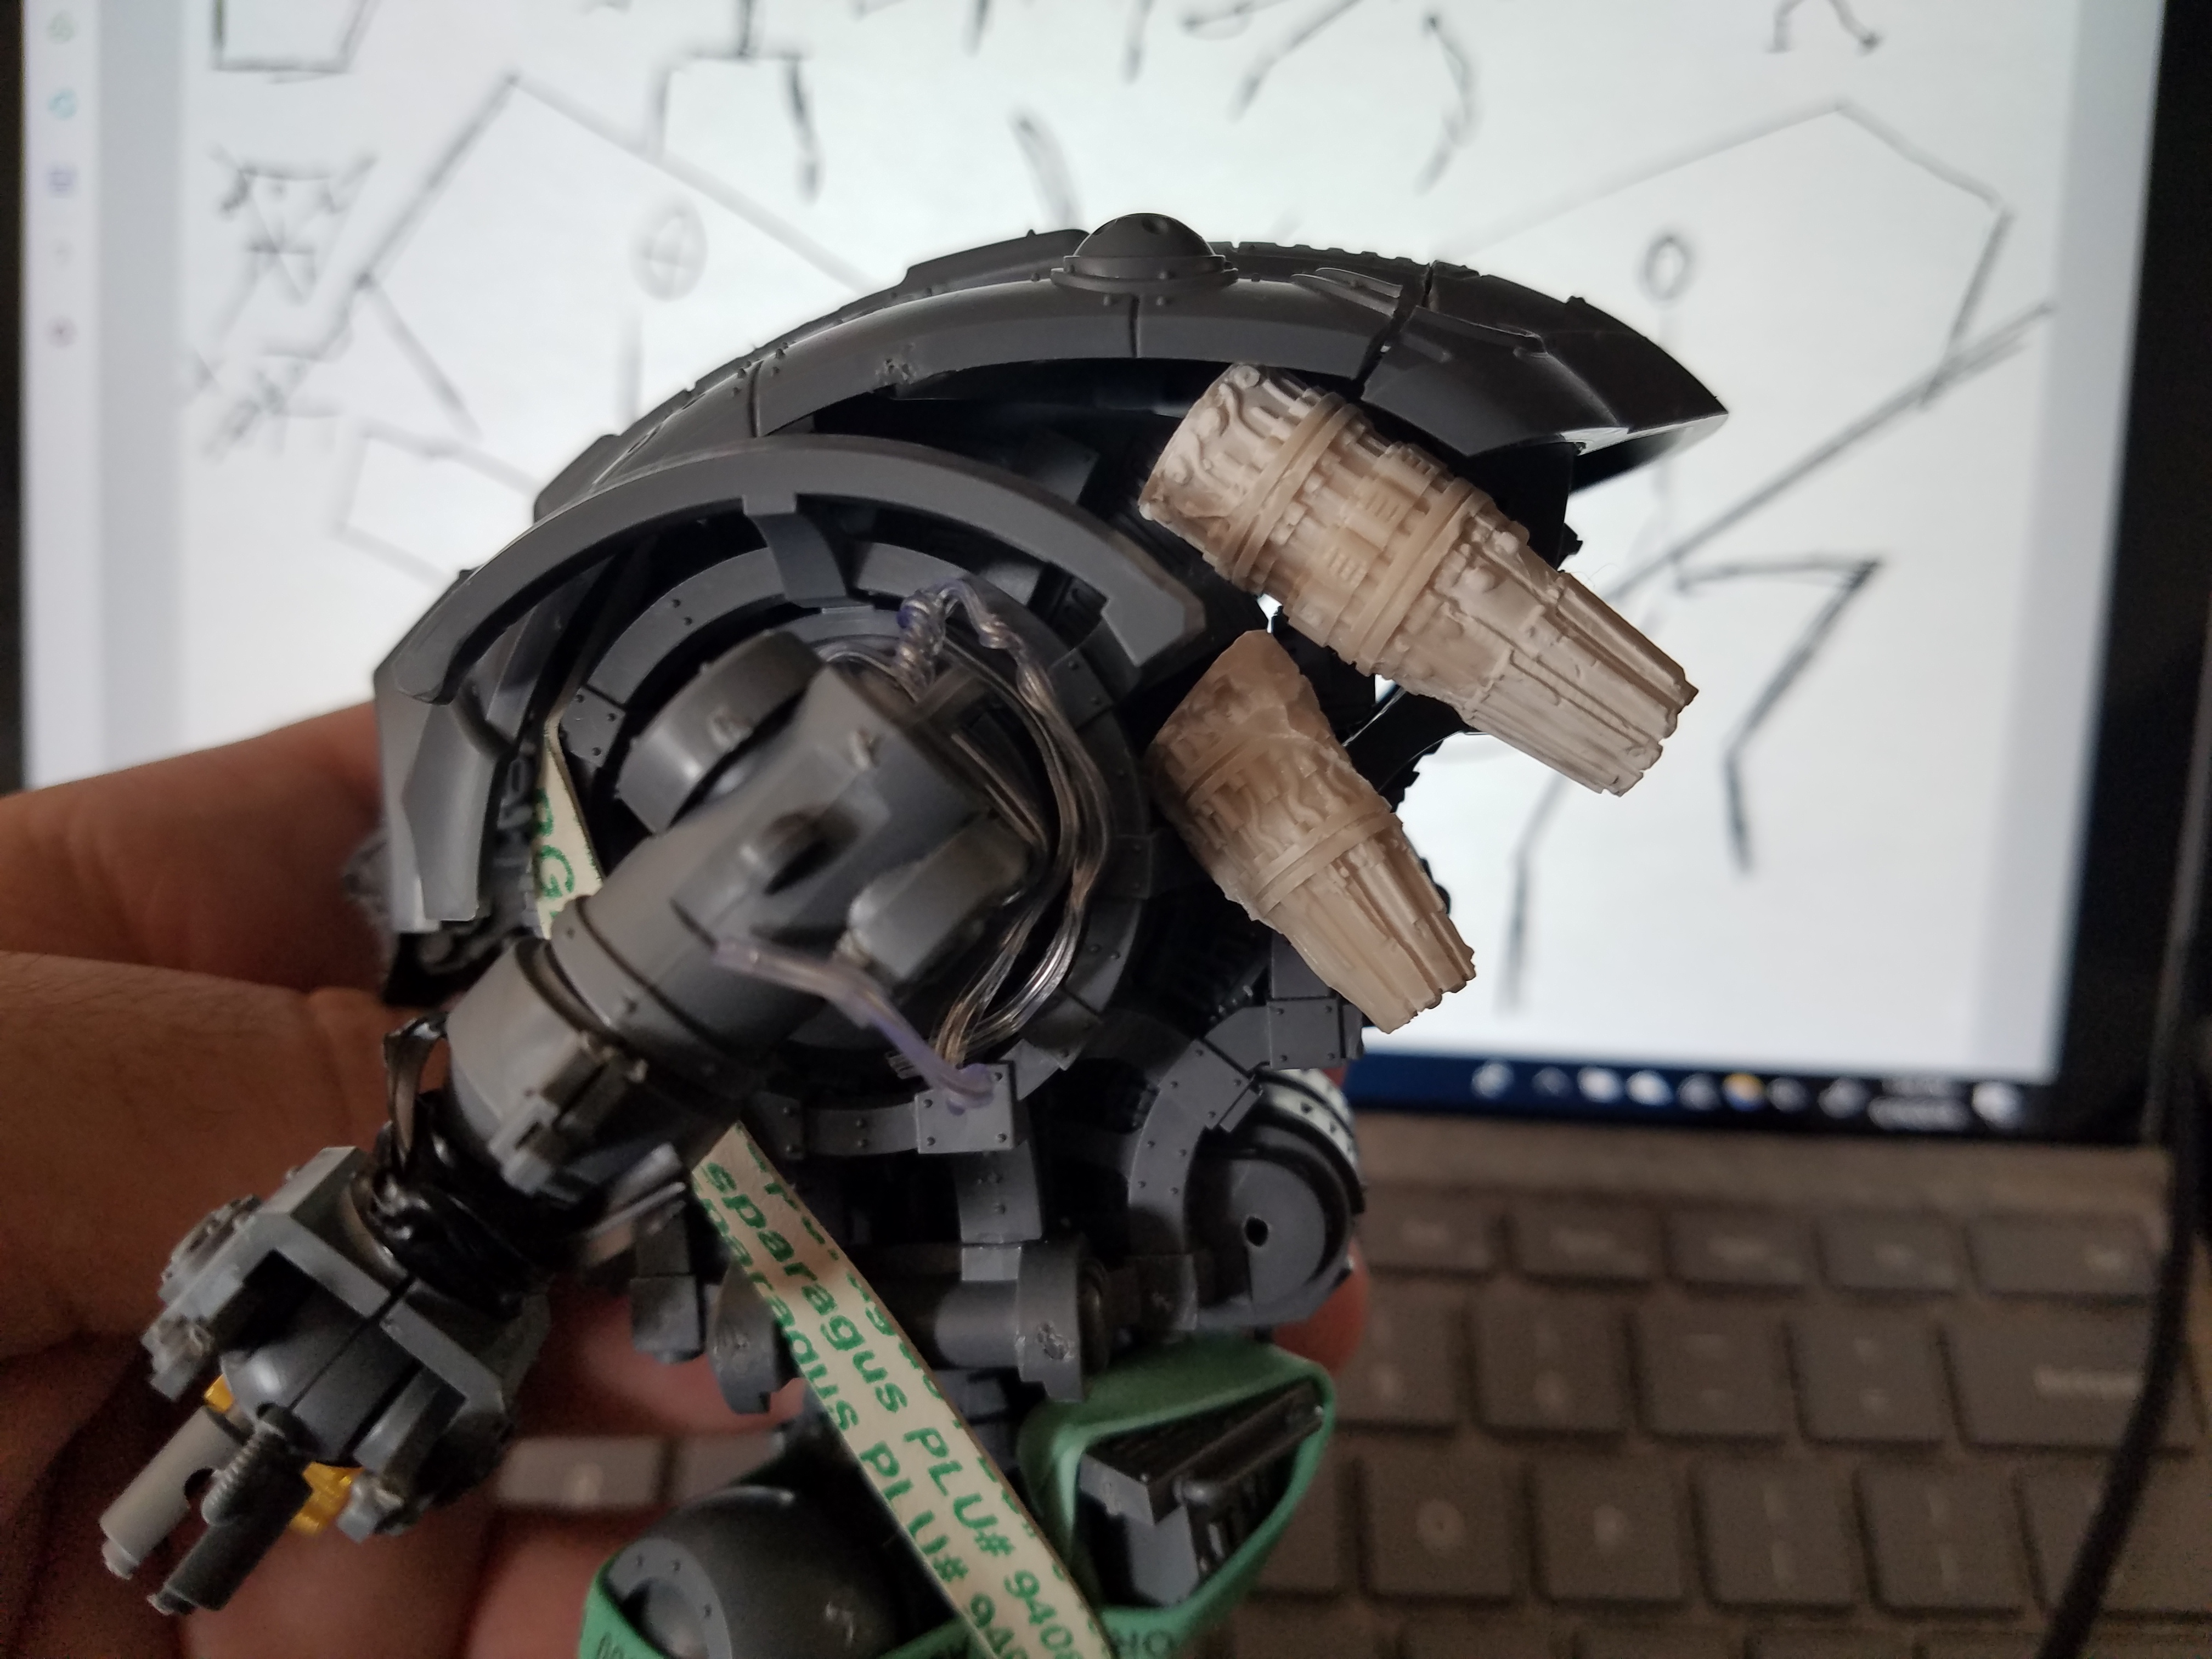
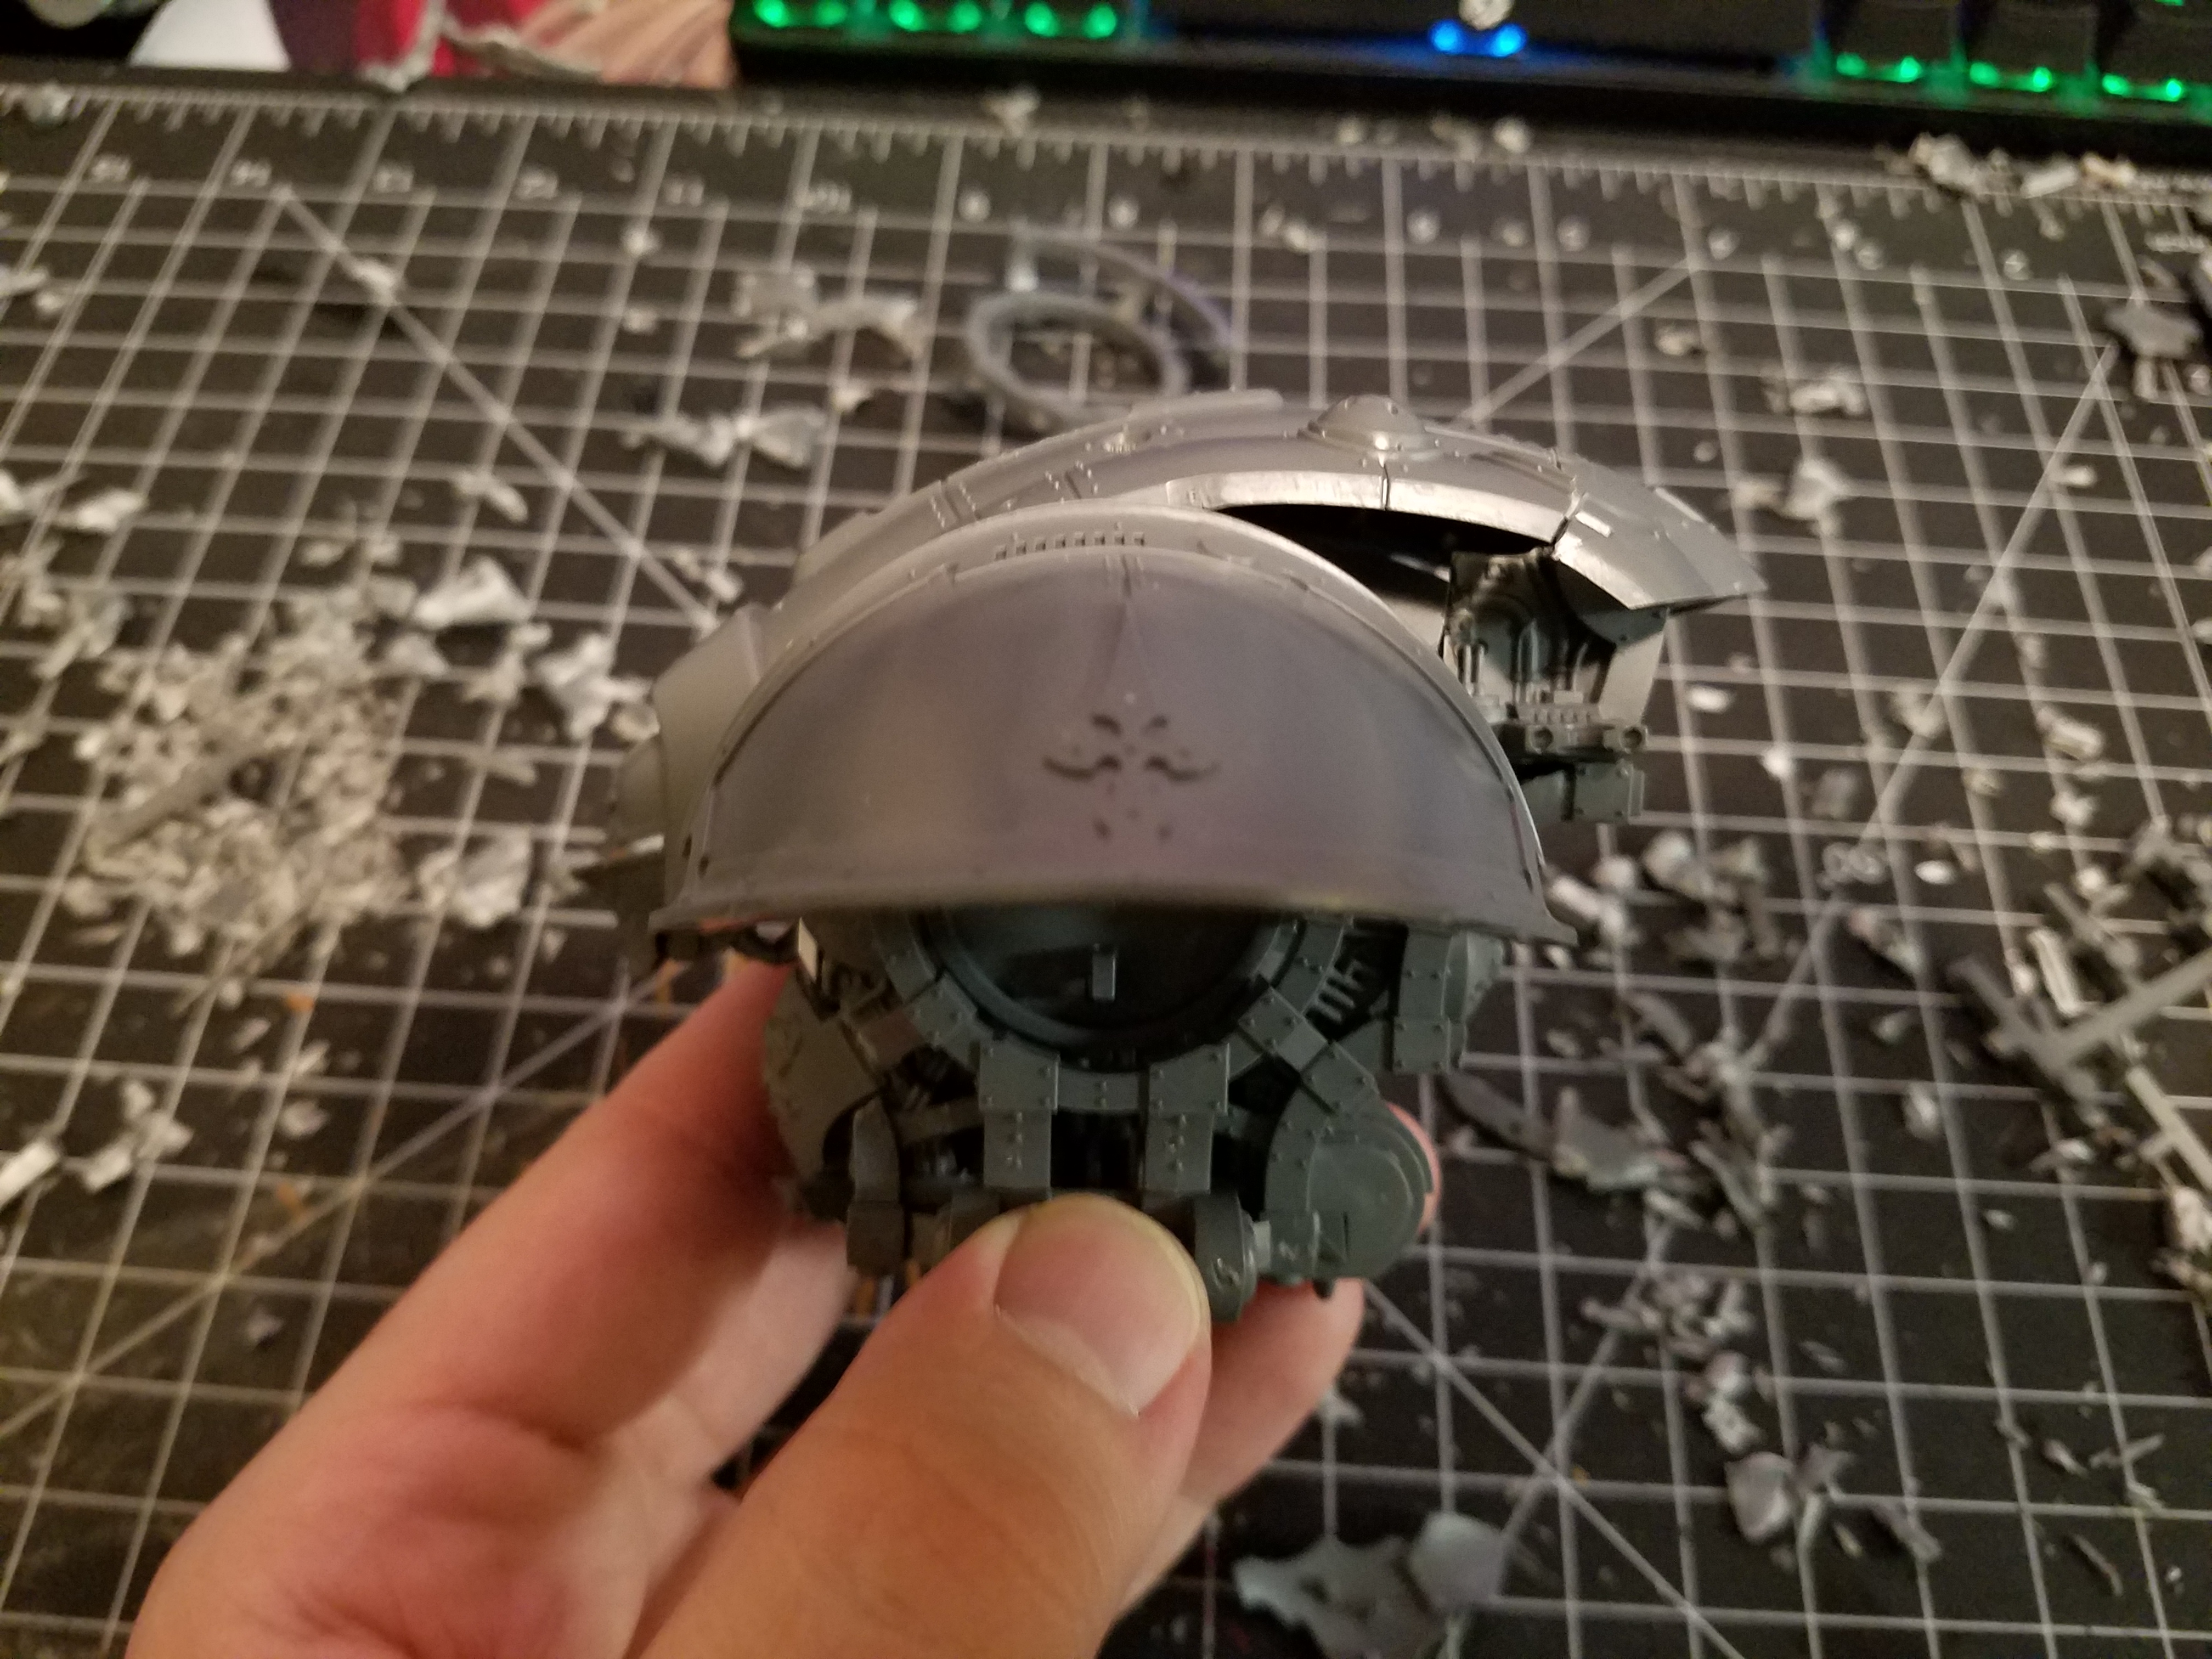
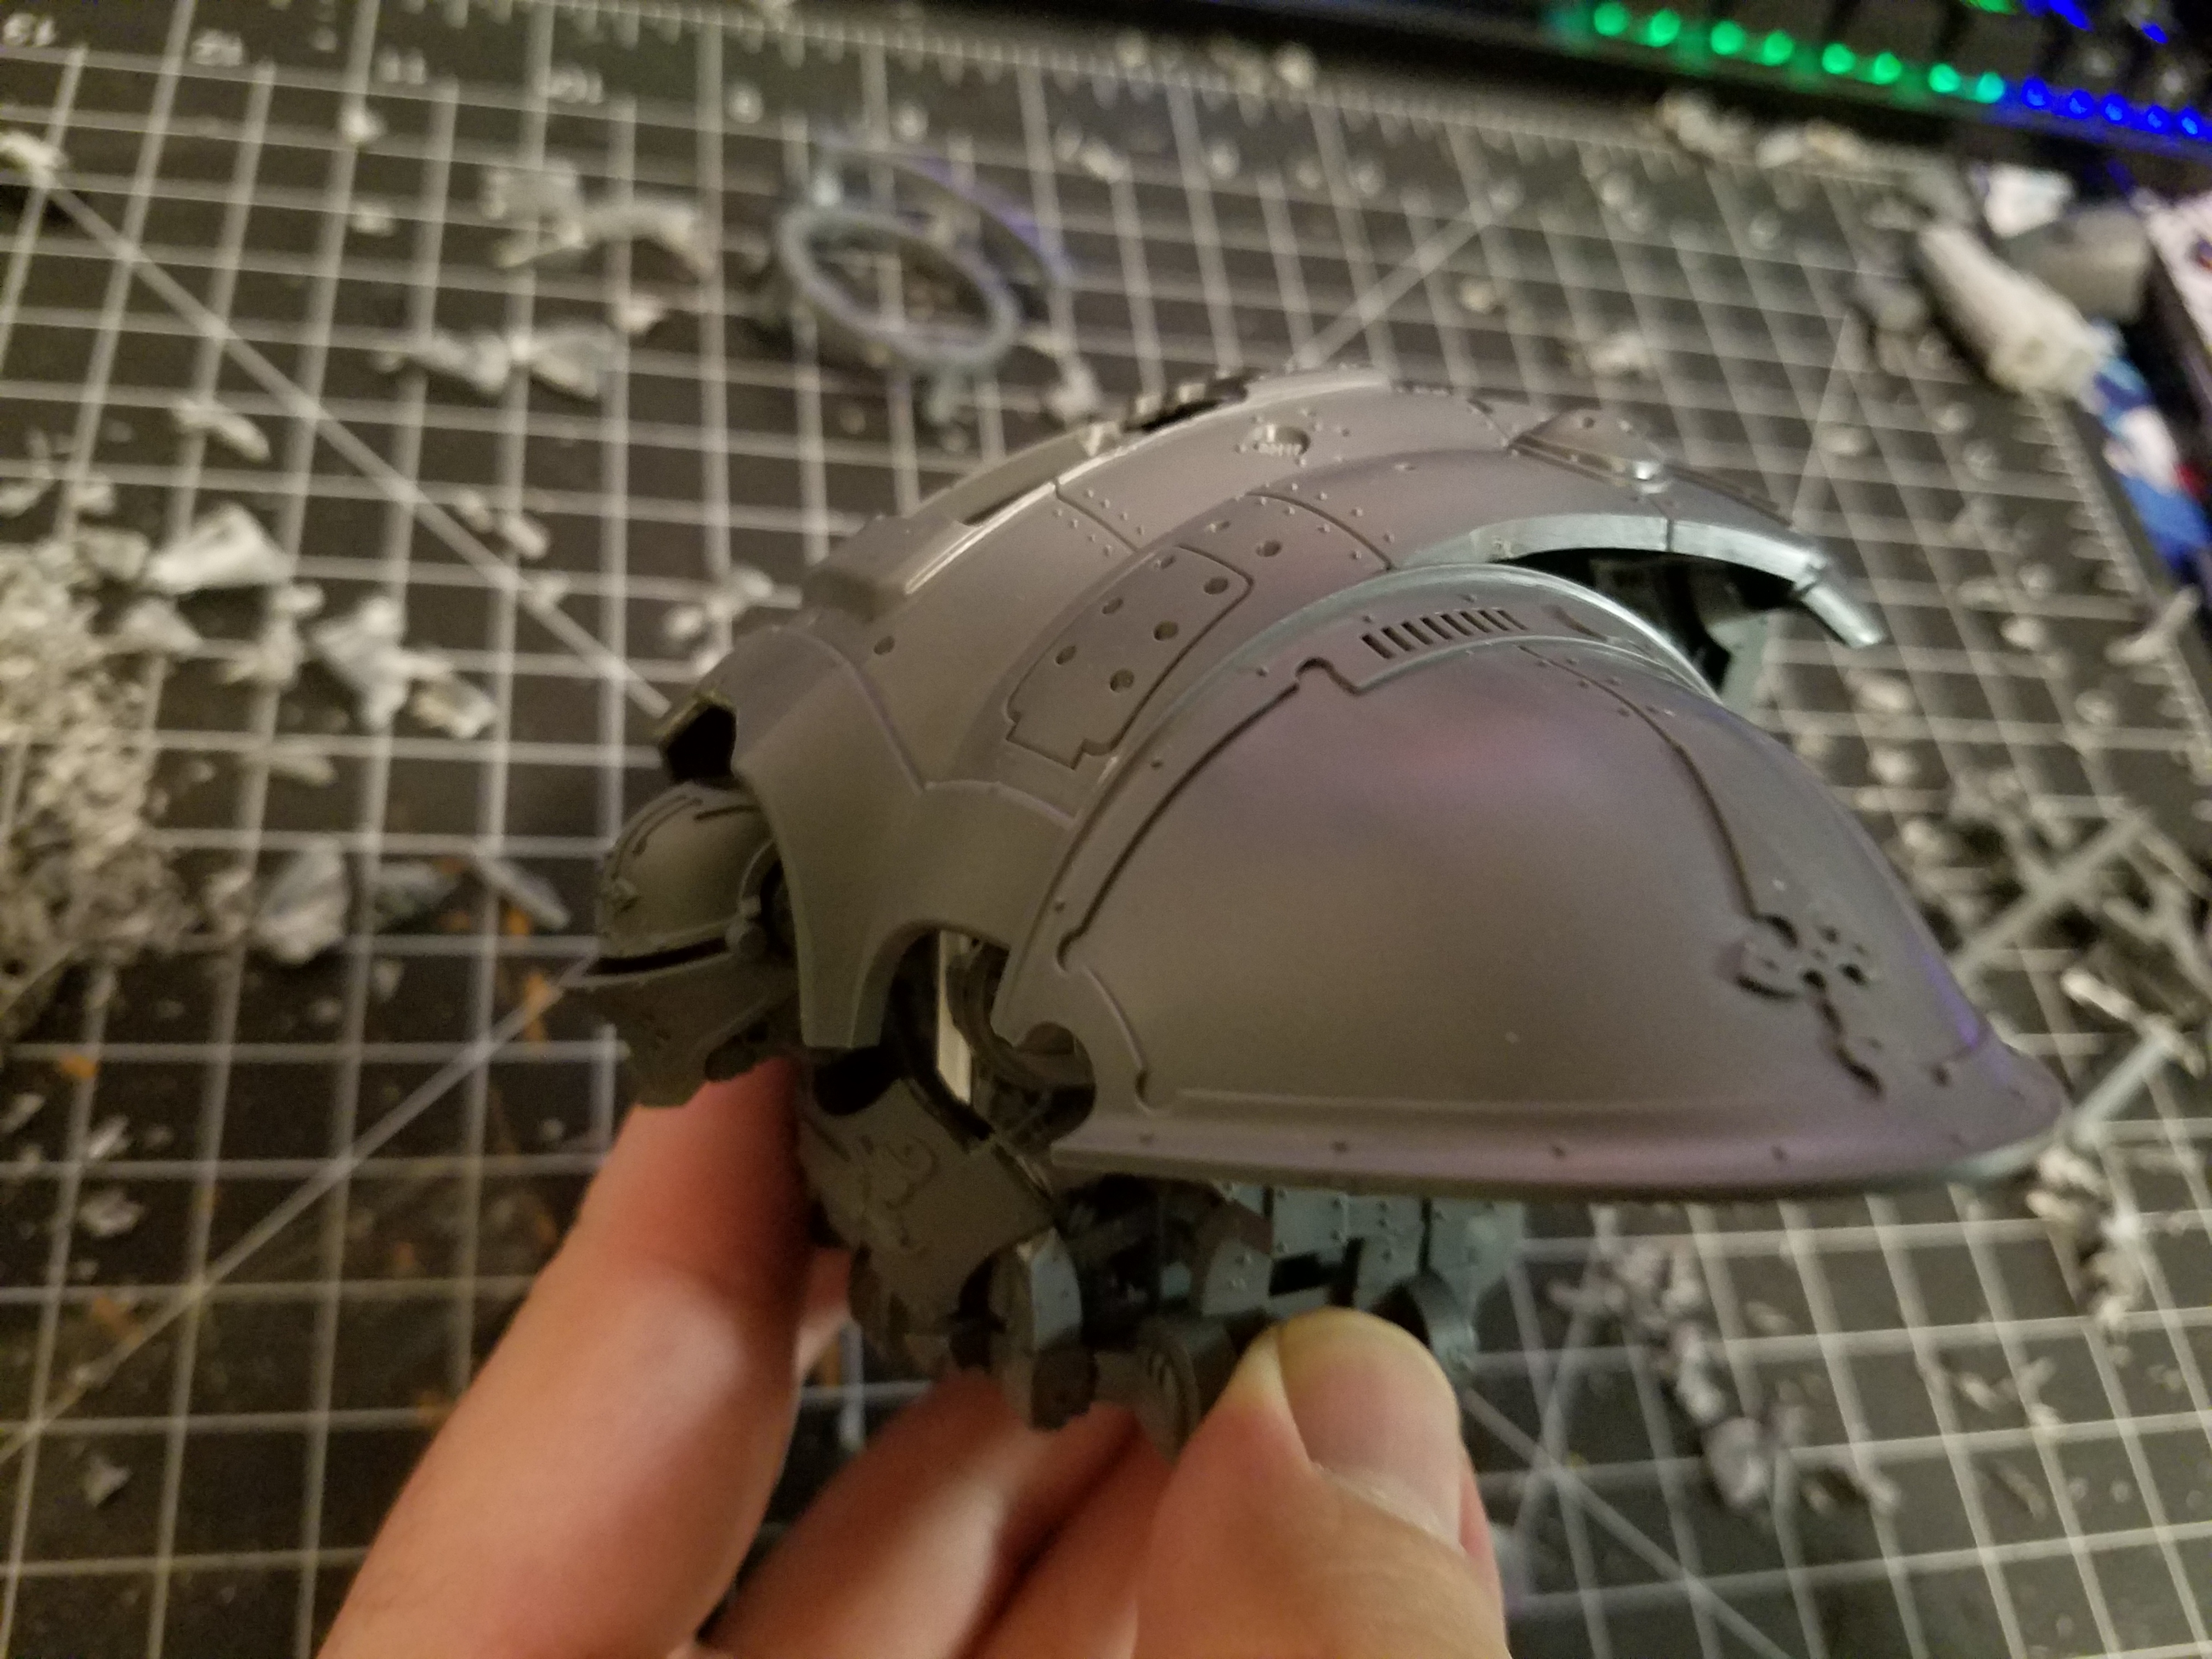
Part 6, Arms and Engines
I have not done a lot of work to the knight in the past day. Most of my time has been trying to figure out how to do the arms. So what I did was, I took the arms off of an old Gundam I head, some twist ties and rubber bands. With that I fixed it all together so I can see what it looked like without gluing it. I figure the length of the arm needs to be the same length as that of the shoulder to the elbow. But because of this I need to extend the legs. So that the hand rests at mid thigh.

As for the back of the model, I made a mold of the 2up drop fleet commander Battleship engines. I’ll be putting those on the back to match the rest of the army. Though because of this I have been waiting for them to dry. And hear is a reference of what the interceptor’s look like.
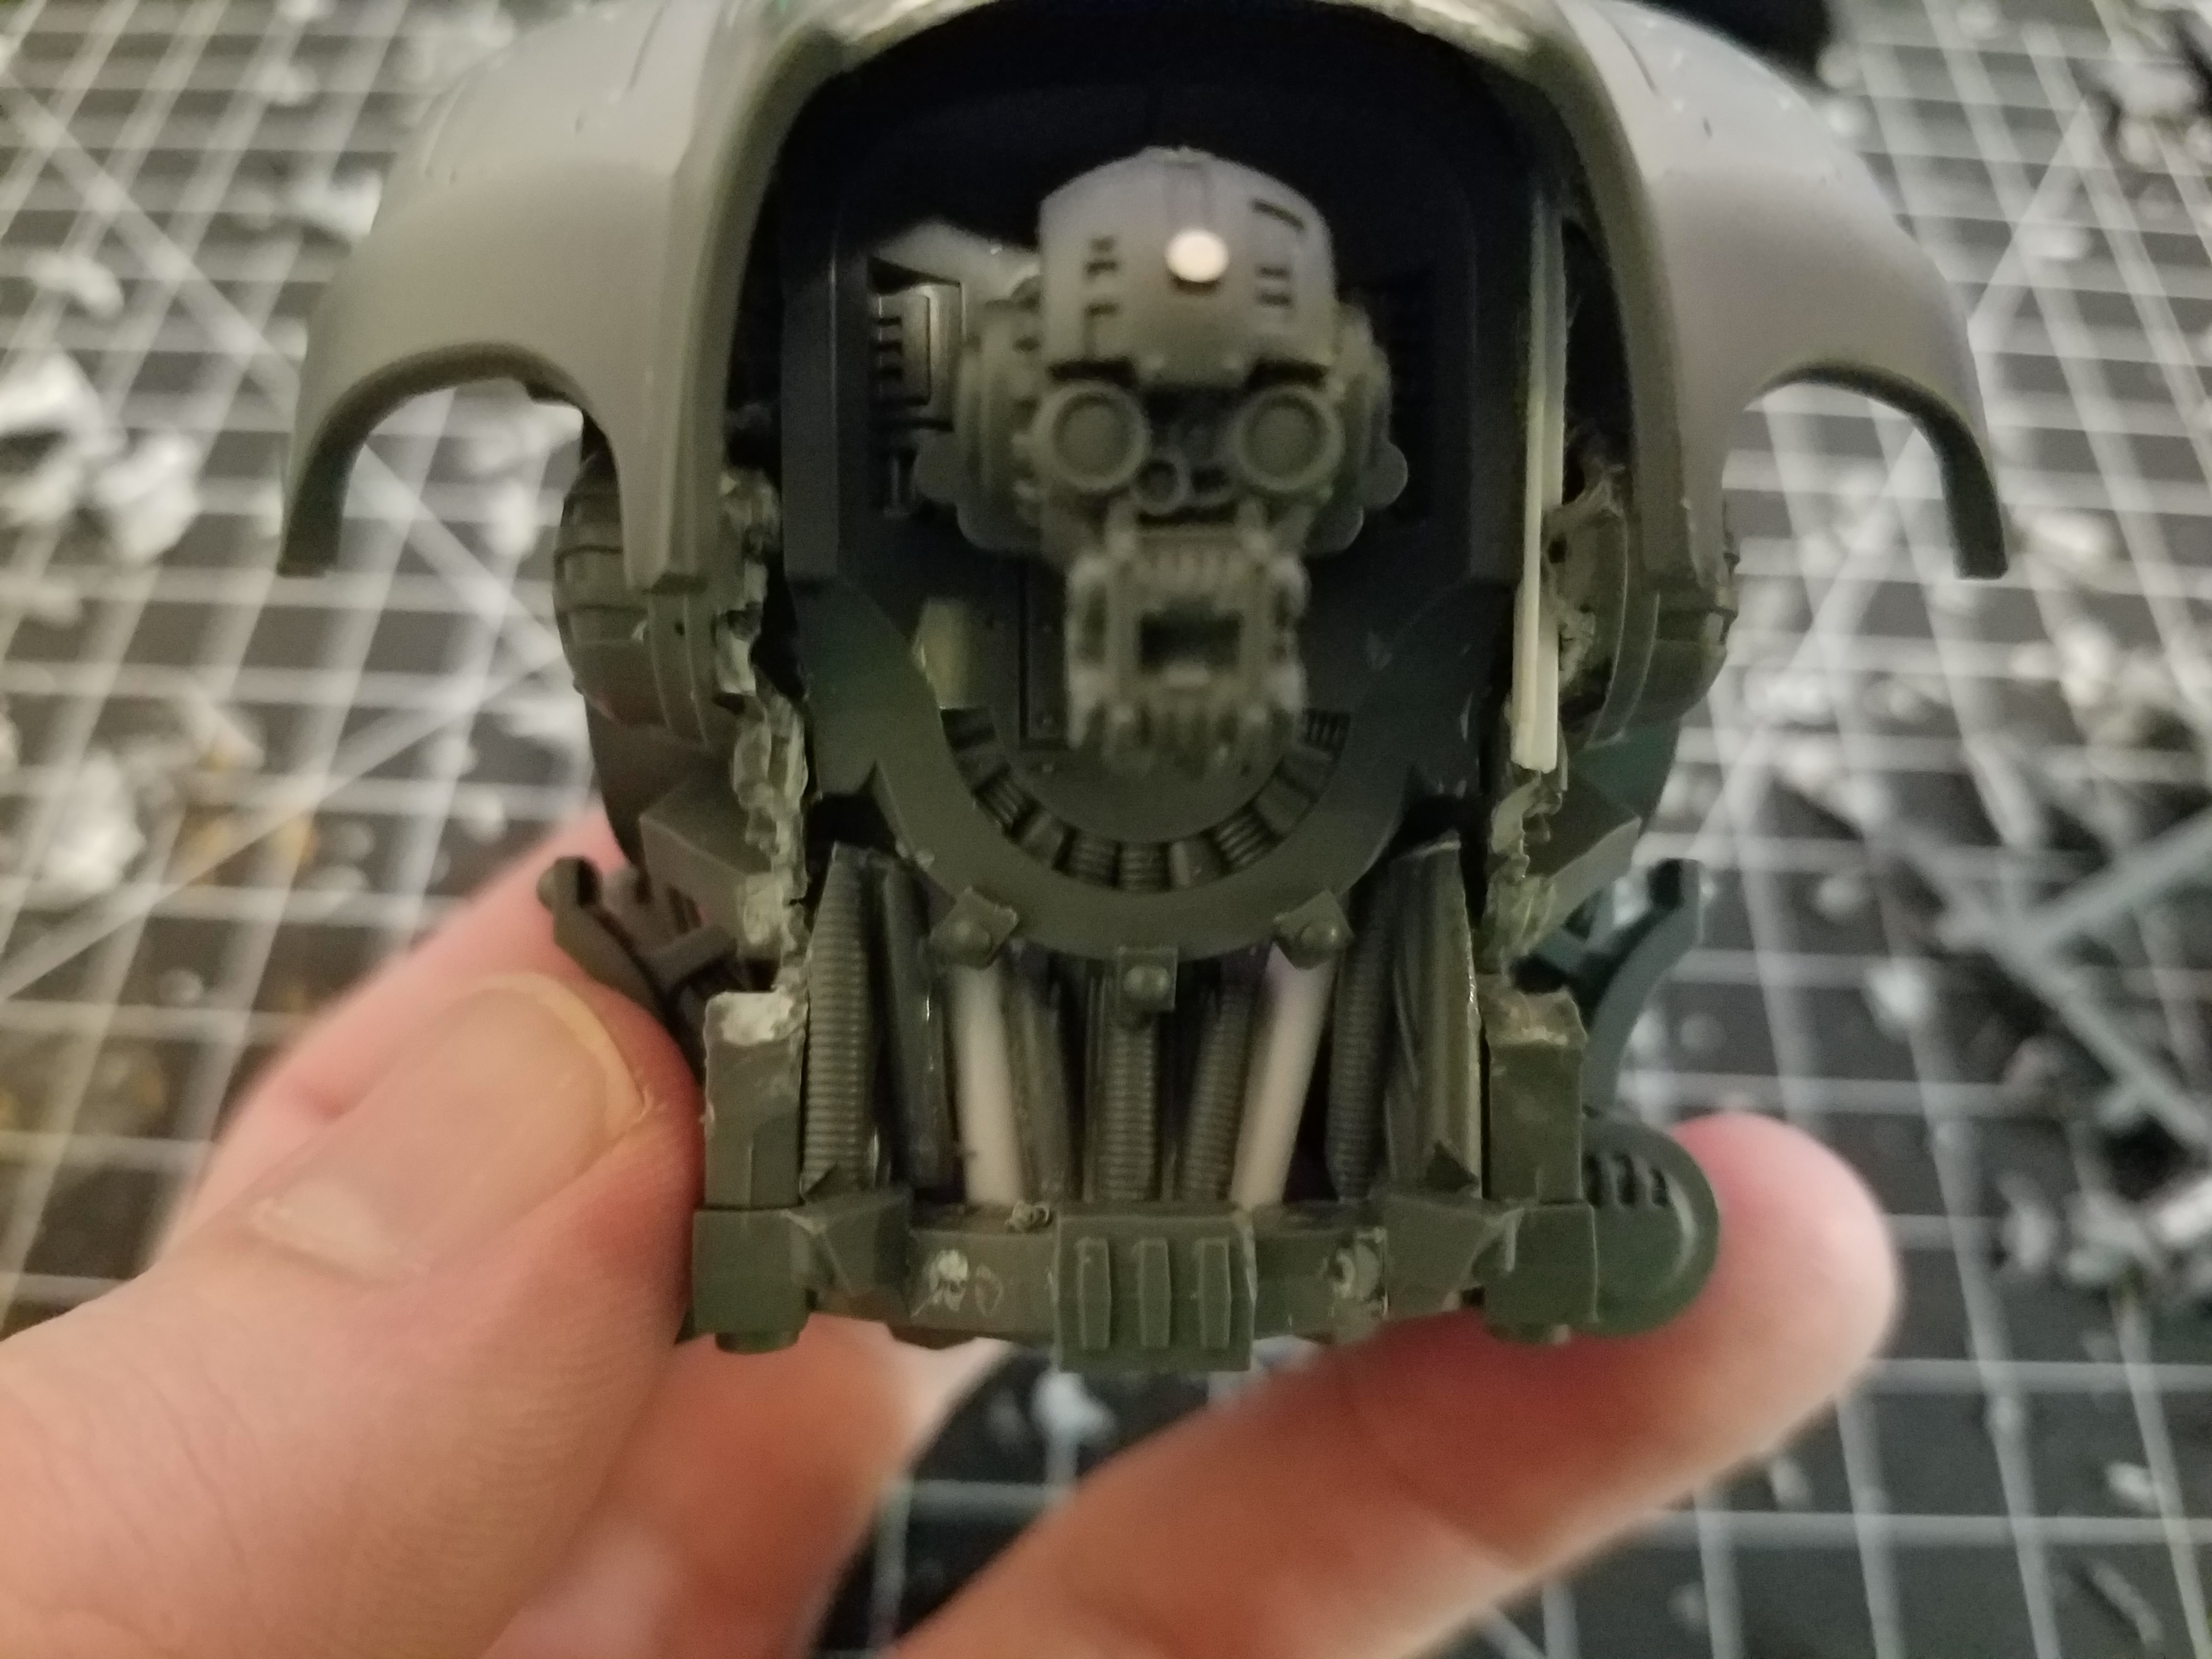
Part 5, underbelly wires
Construction on the underbelly. Yes this will be hidden but it still must be done.


![StarCraft Tabletop Miniatures Game Pre-Orders Live Now [Updated]](https://images.beastsofwar.com/2026/03/starcraft-tmg-news-cover-600-338.jpg)


![Mounted US Cavalry On Kickstarter For Dead Man’s Hand! [Updated]](https://images.beastsofwar.com/2026/03/us-cavalry-main-600-338.jpg)


