![NO Weekender Or Cult Of Games XLBS This Weekend [Updated]](https://images.beastsofwar.com/2026/03/No_Weekender_and_XLBS_this_Weekend-225-127.jpg)


Laughingboy’s Hobby Lodge


Recommendations: 423
About the Project
I have been into the hobby since around 2015 and very quickly started to build quite a large collection of things, I was storing all of this stuff in cupboards, the garage and under the bed. I eventually got some storage space in my children's playroom, as they get old the room was being used less and less. But whilst storage was becoming less of a problem me and my kids still didn't have a decent enough space to play and whilst there was always the dining room table it was of course constrained by a time limit. So we decided to embark on building a hobby lodge in the garden to meet the needs of the growing hobby. And this is what we did.. with a little help from the guys at https://www.johnsonsgardenbuildings.co.uk
Related Genre: Game Aid
This Project is Active
Now for the table!
This took me quite a long time to decide on, I had originally though to just go out and get a look woodworker to build me a 6×4 ft table, I had also been adviced to look at 2 4x4ft tables. I had looked at folding tables, hobby tables, wallpaper pasting tables but none of them quite did it for me.
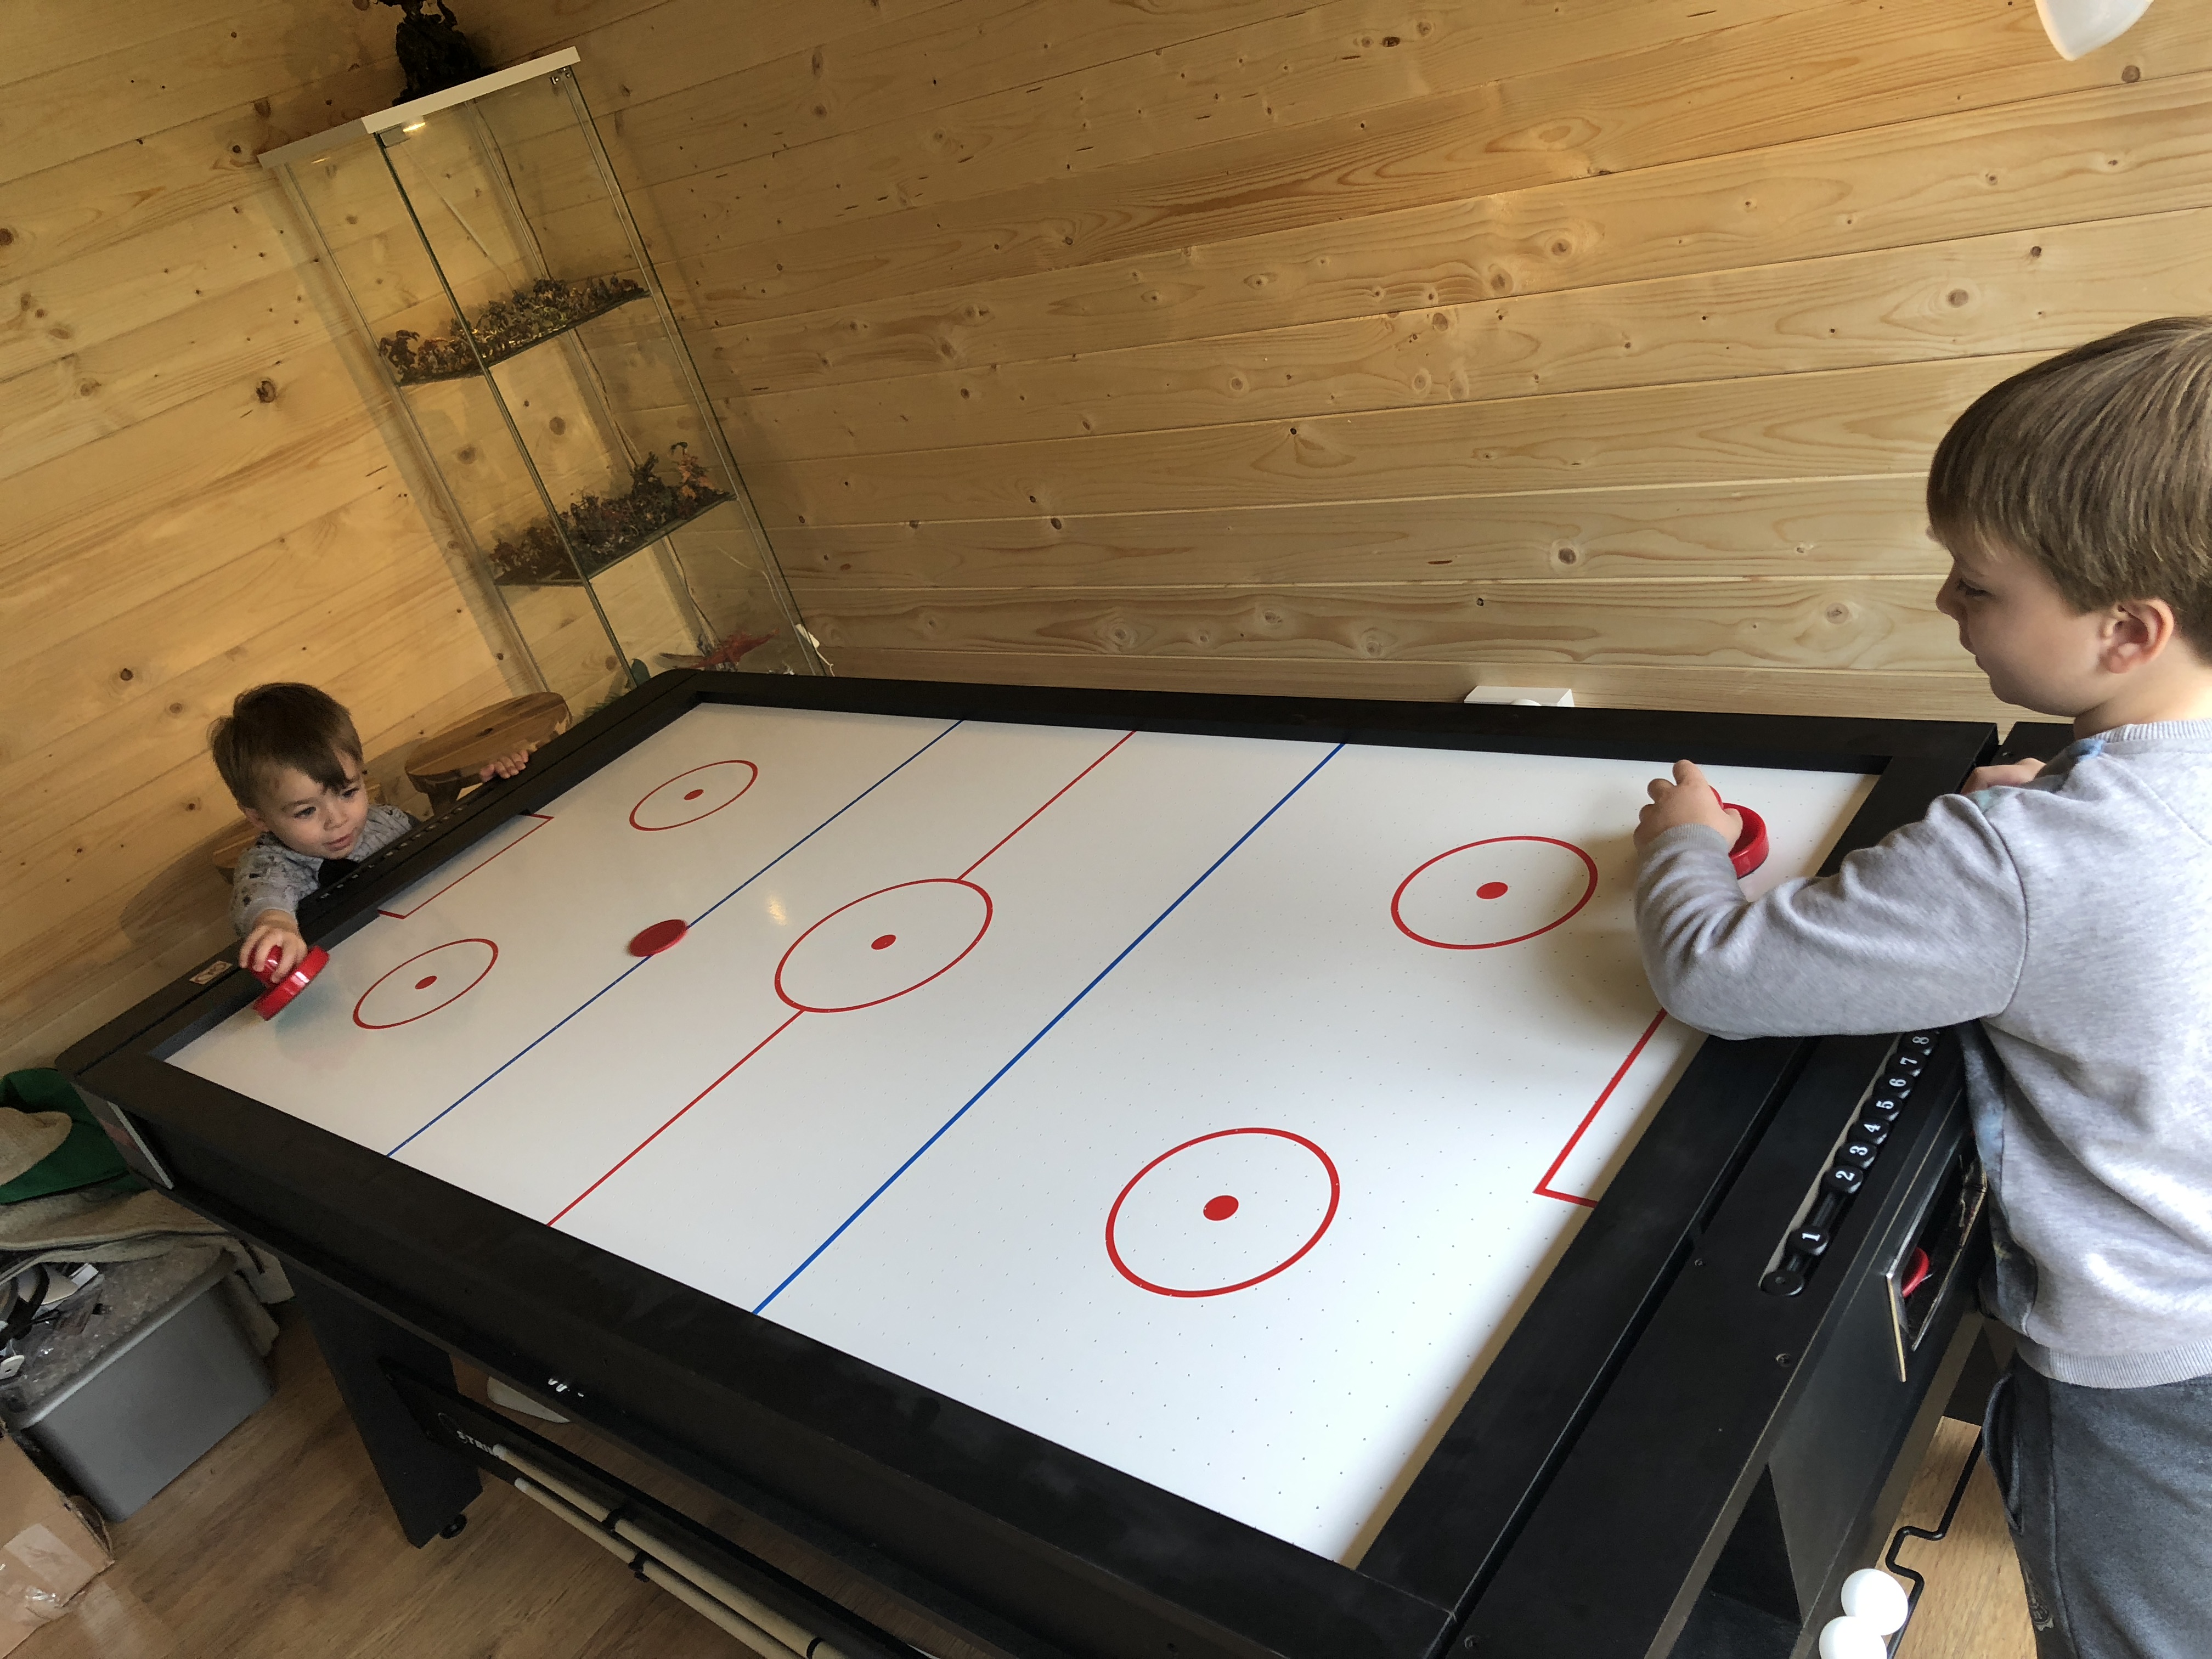
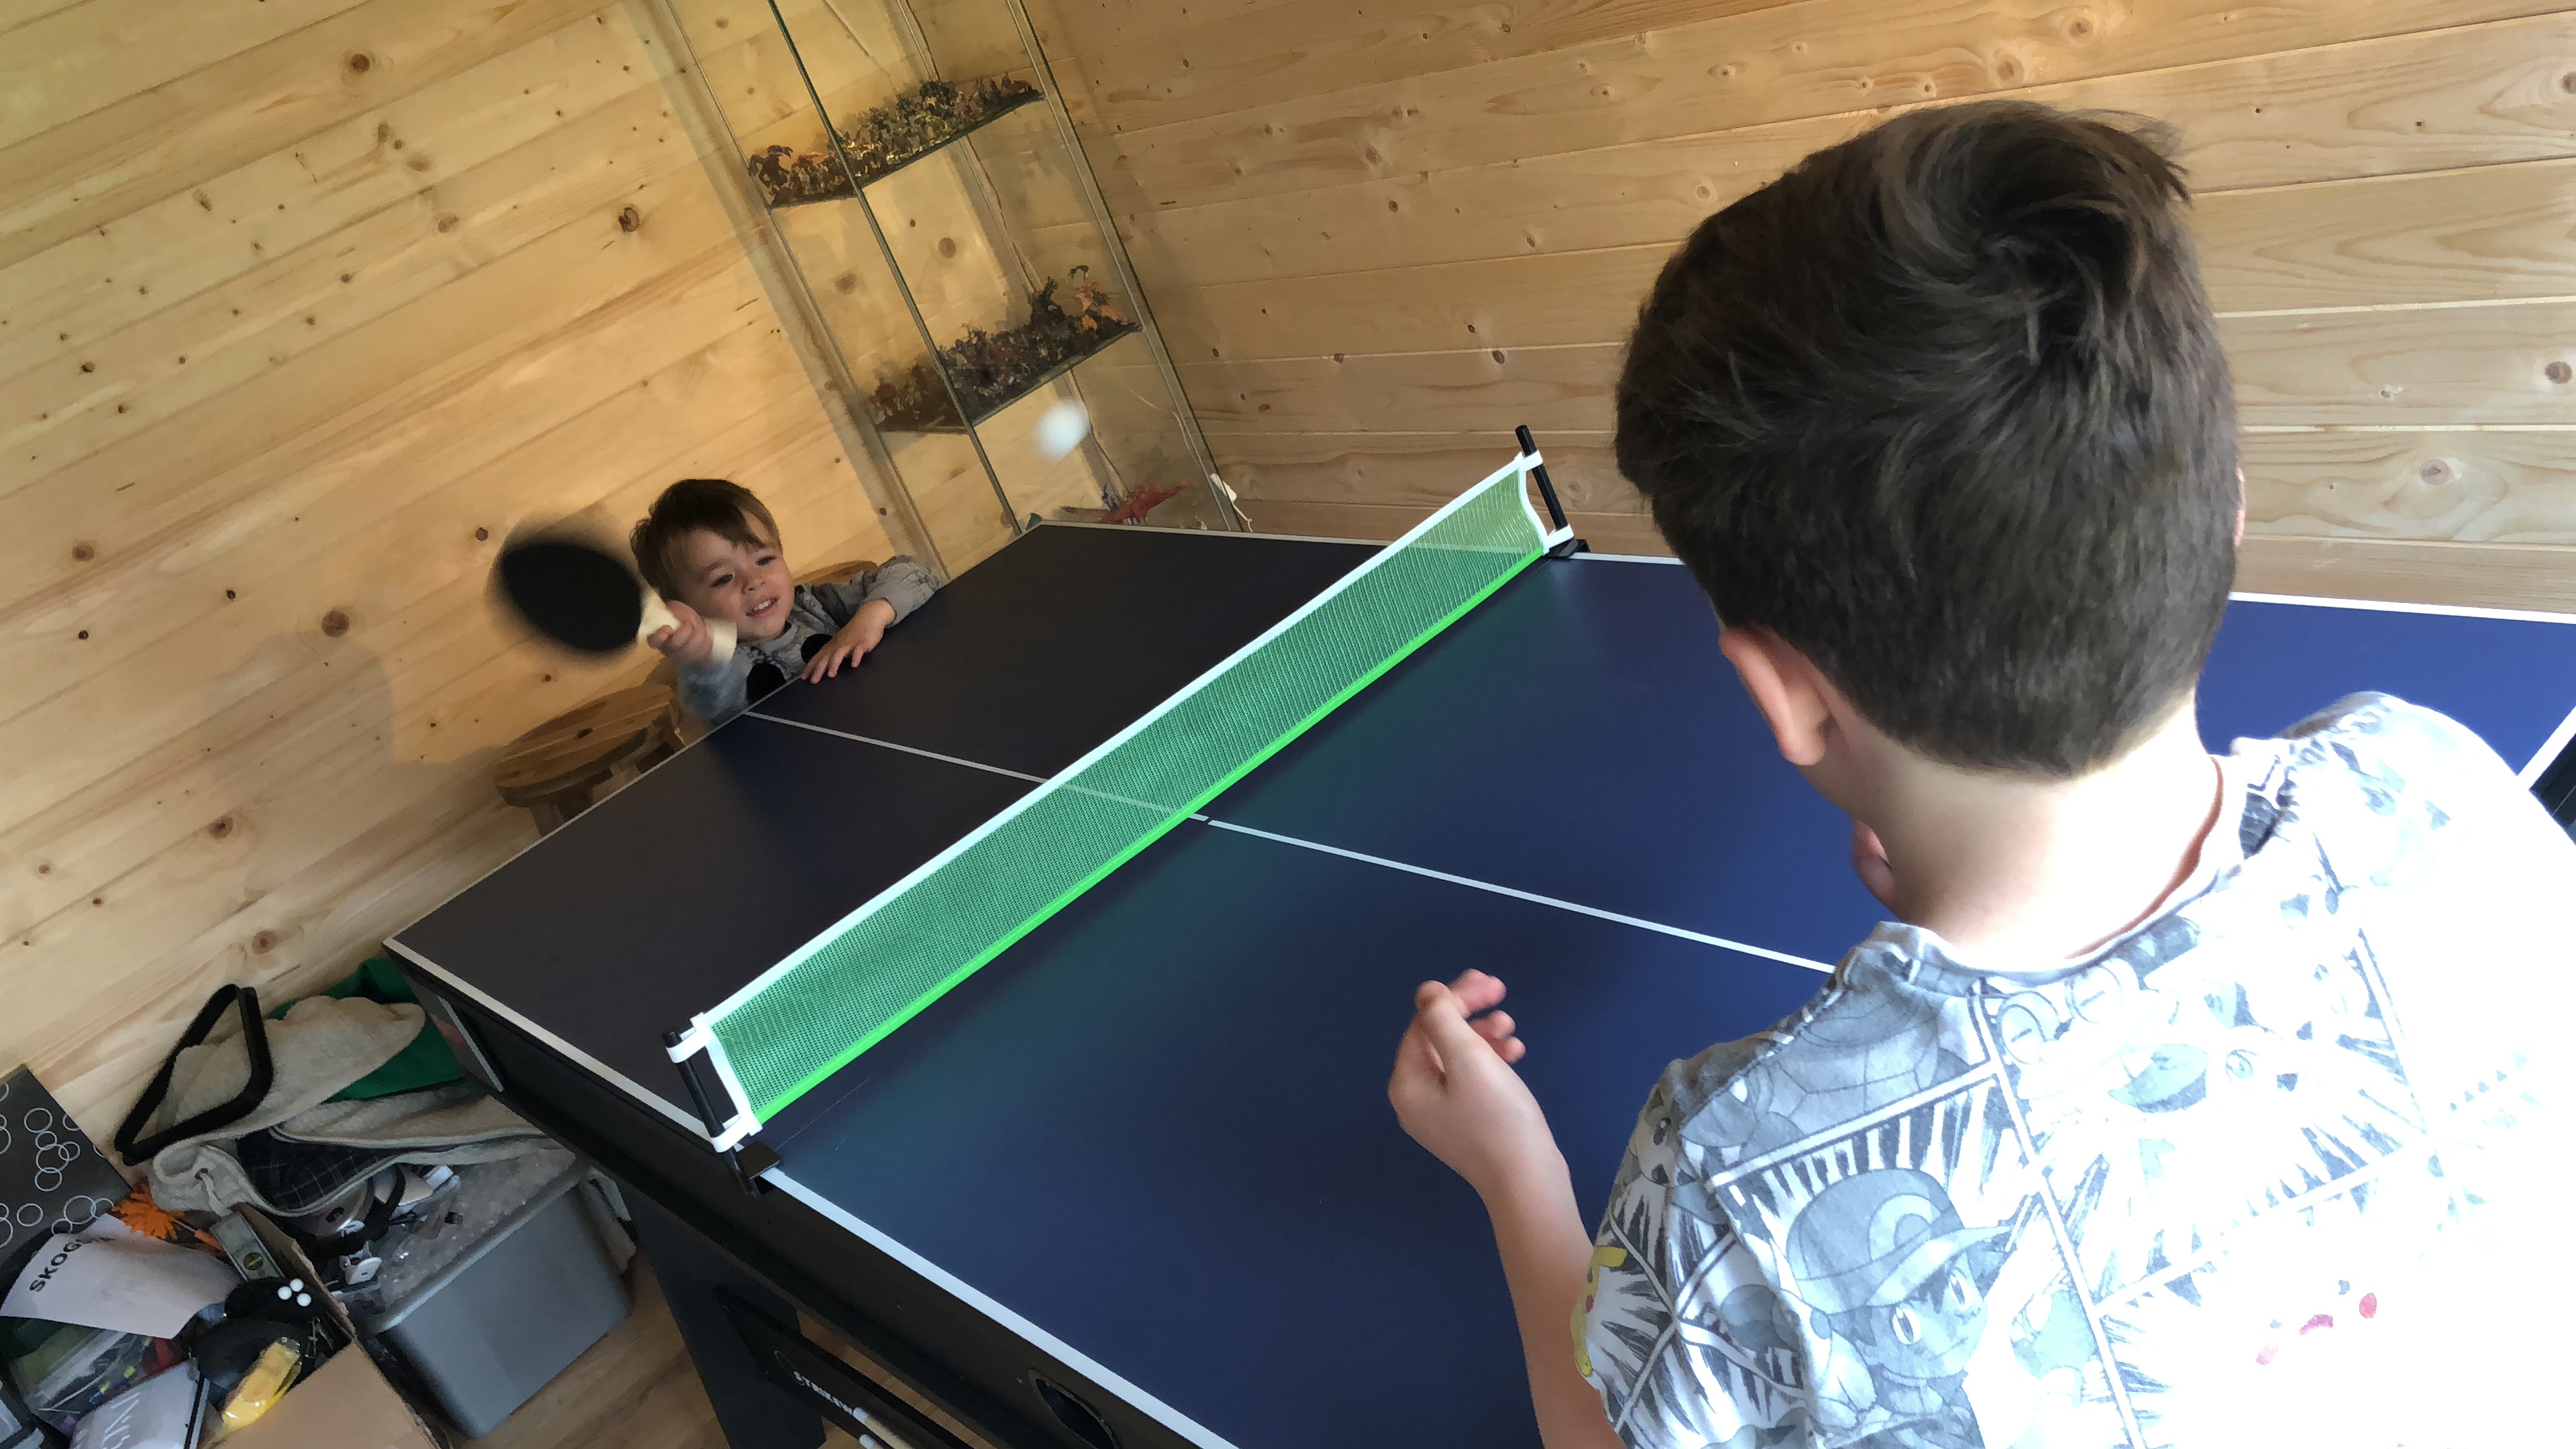
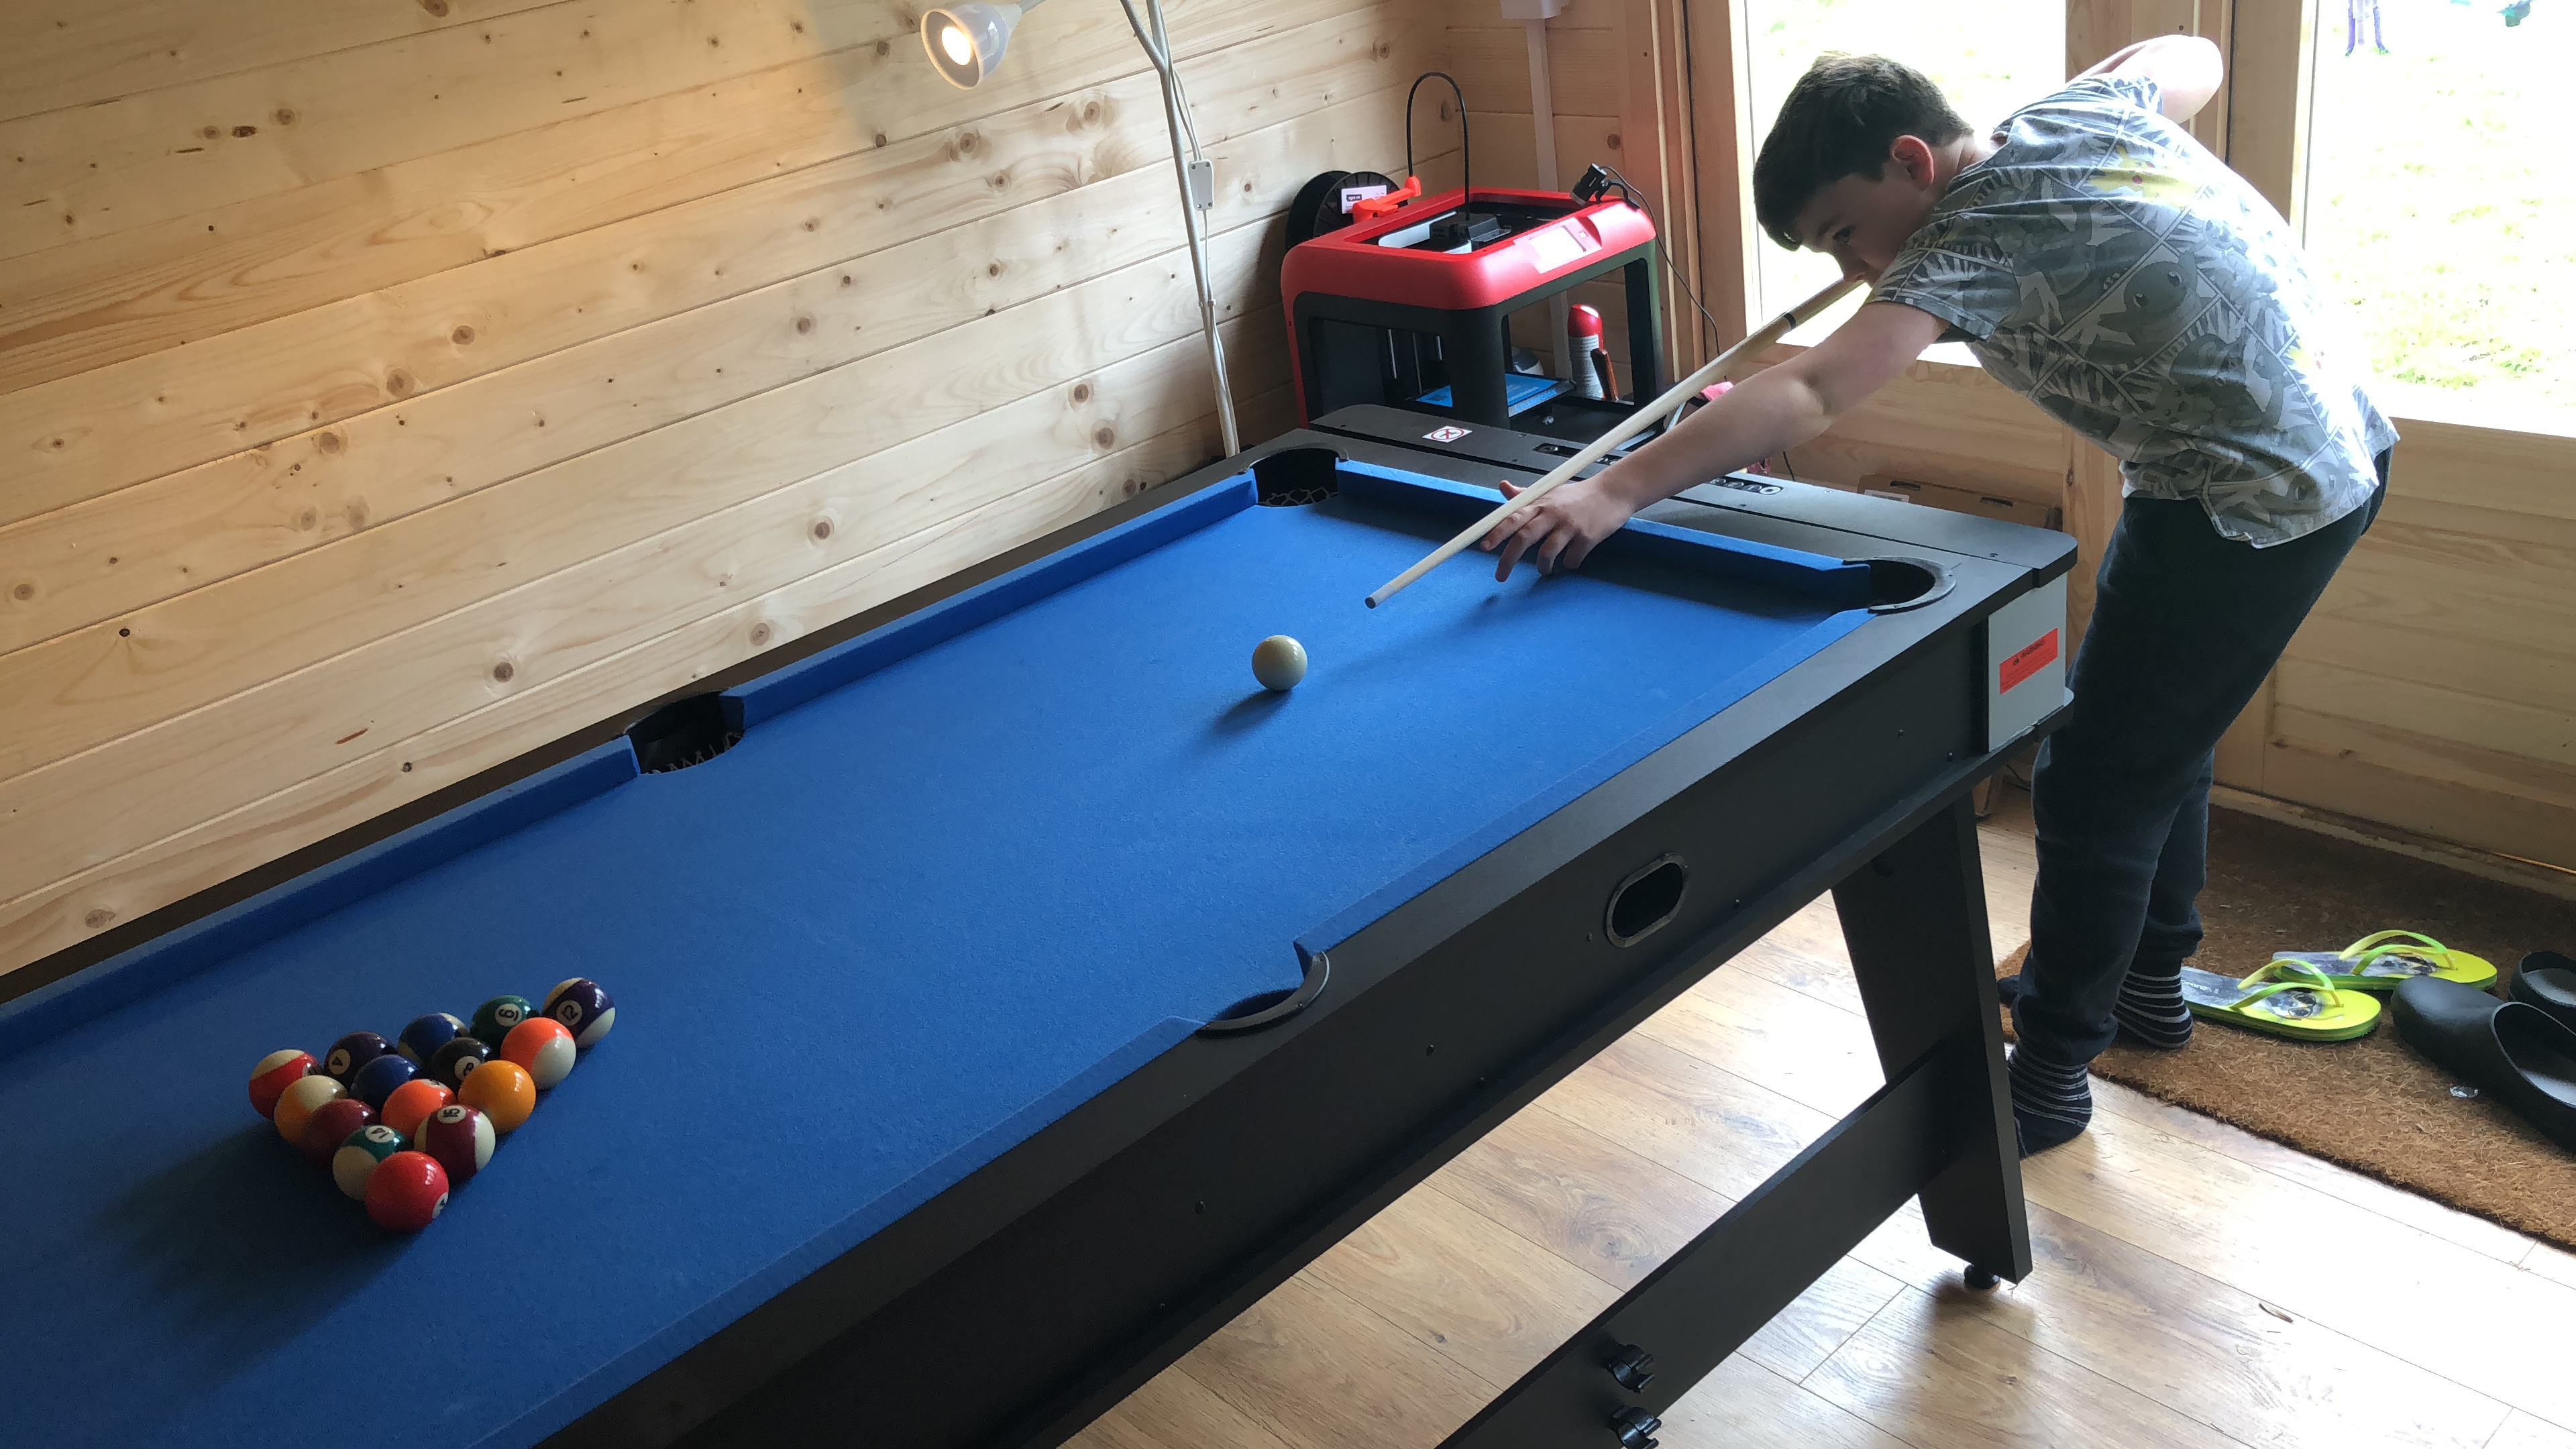
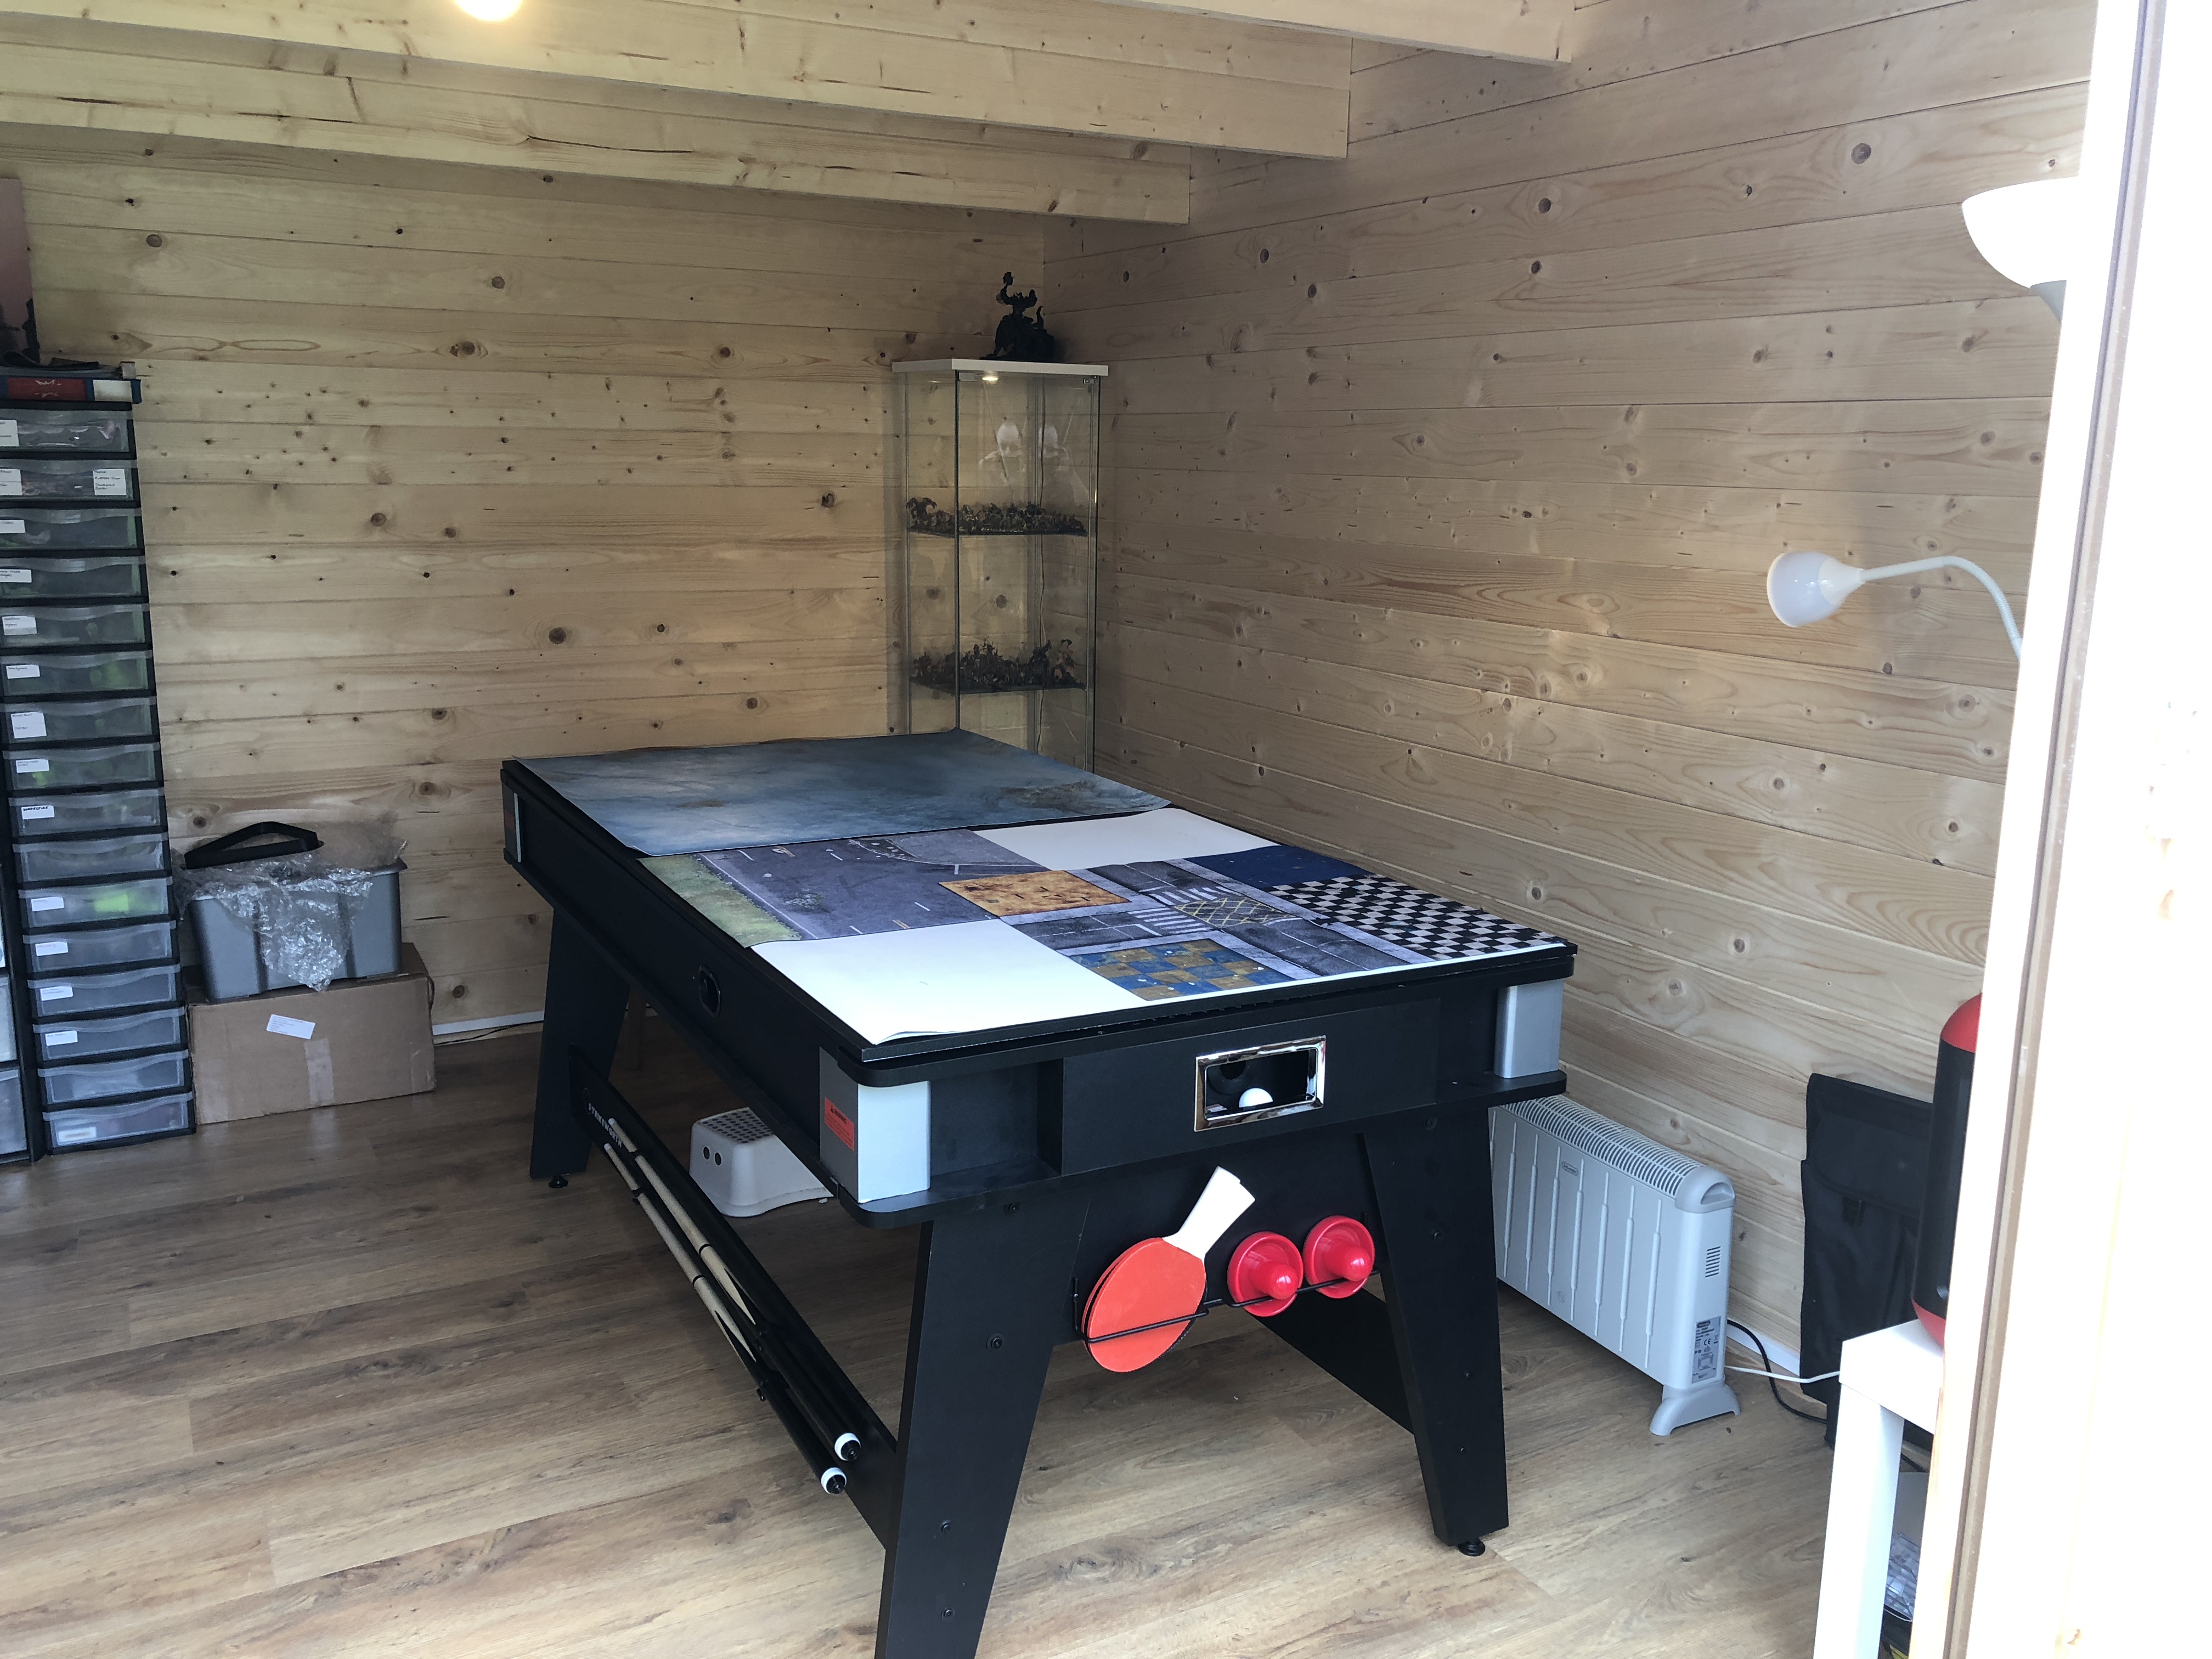
Then we (I say we but Wife was the genius here and pushed me in this direction) saw a multi-table. This already came at 6x3ft so would simply need a topper to get the 6x4ft I wanted and it could easily be removed to get access to the other functions of the table… oh the Air Hockey is awesome.
So this is what I did, I bought the table (man was it heavy and stressful to build alone) and it was perfect. I then got B&Q to cut me the exact size of 18mm MDF and put kitchen plastic edging around it.
Perfect!
Splash of colour
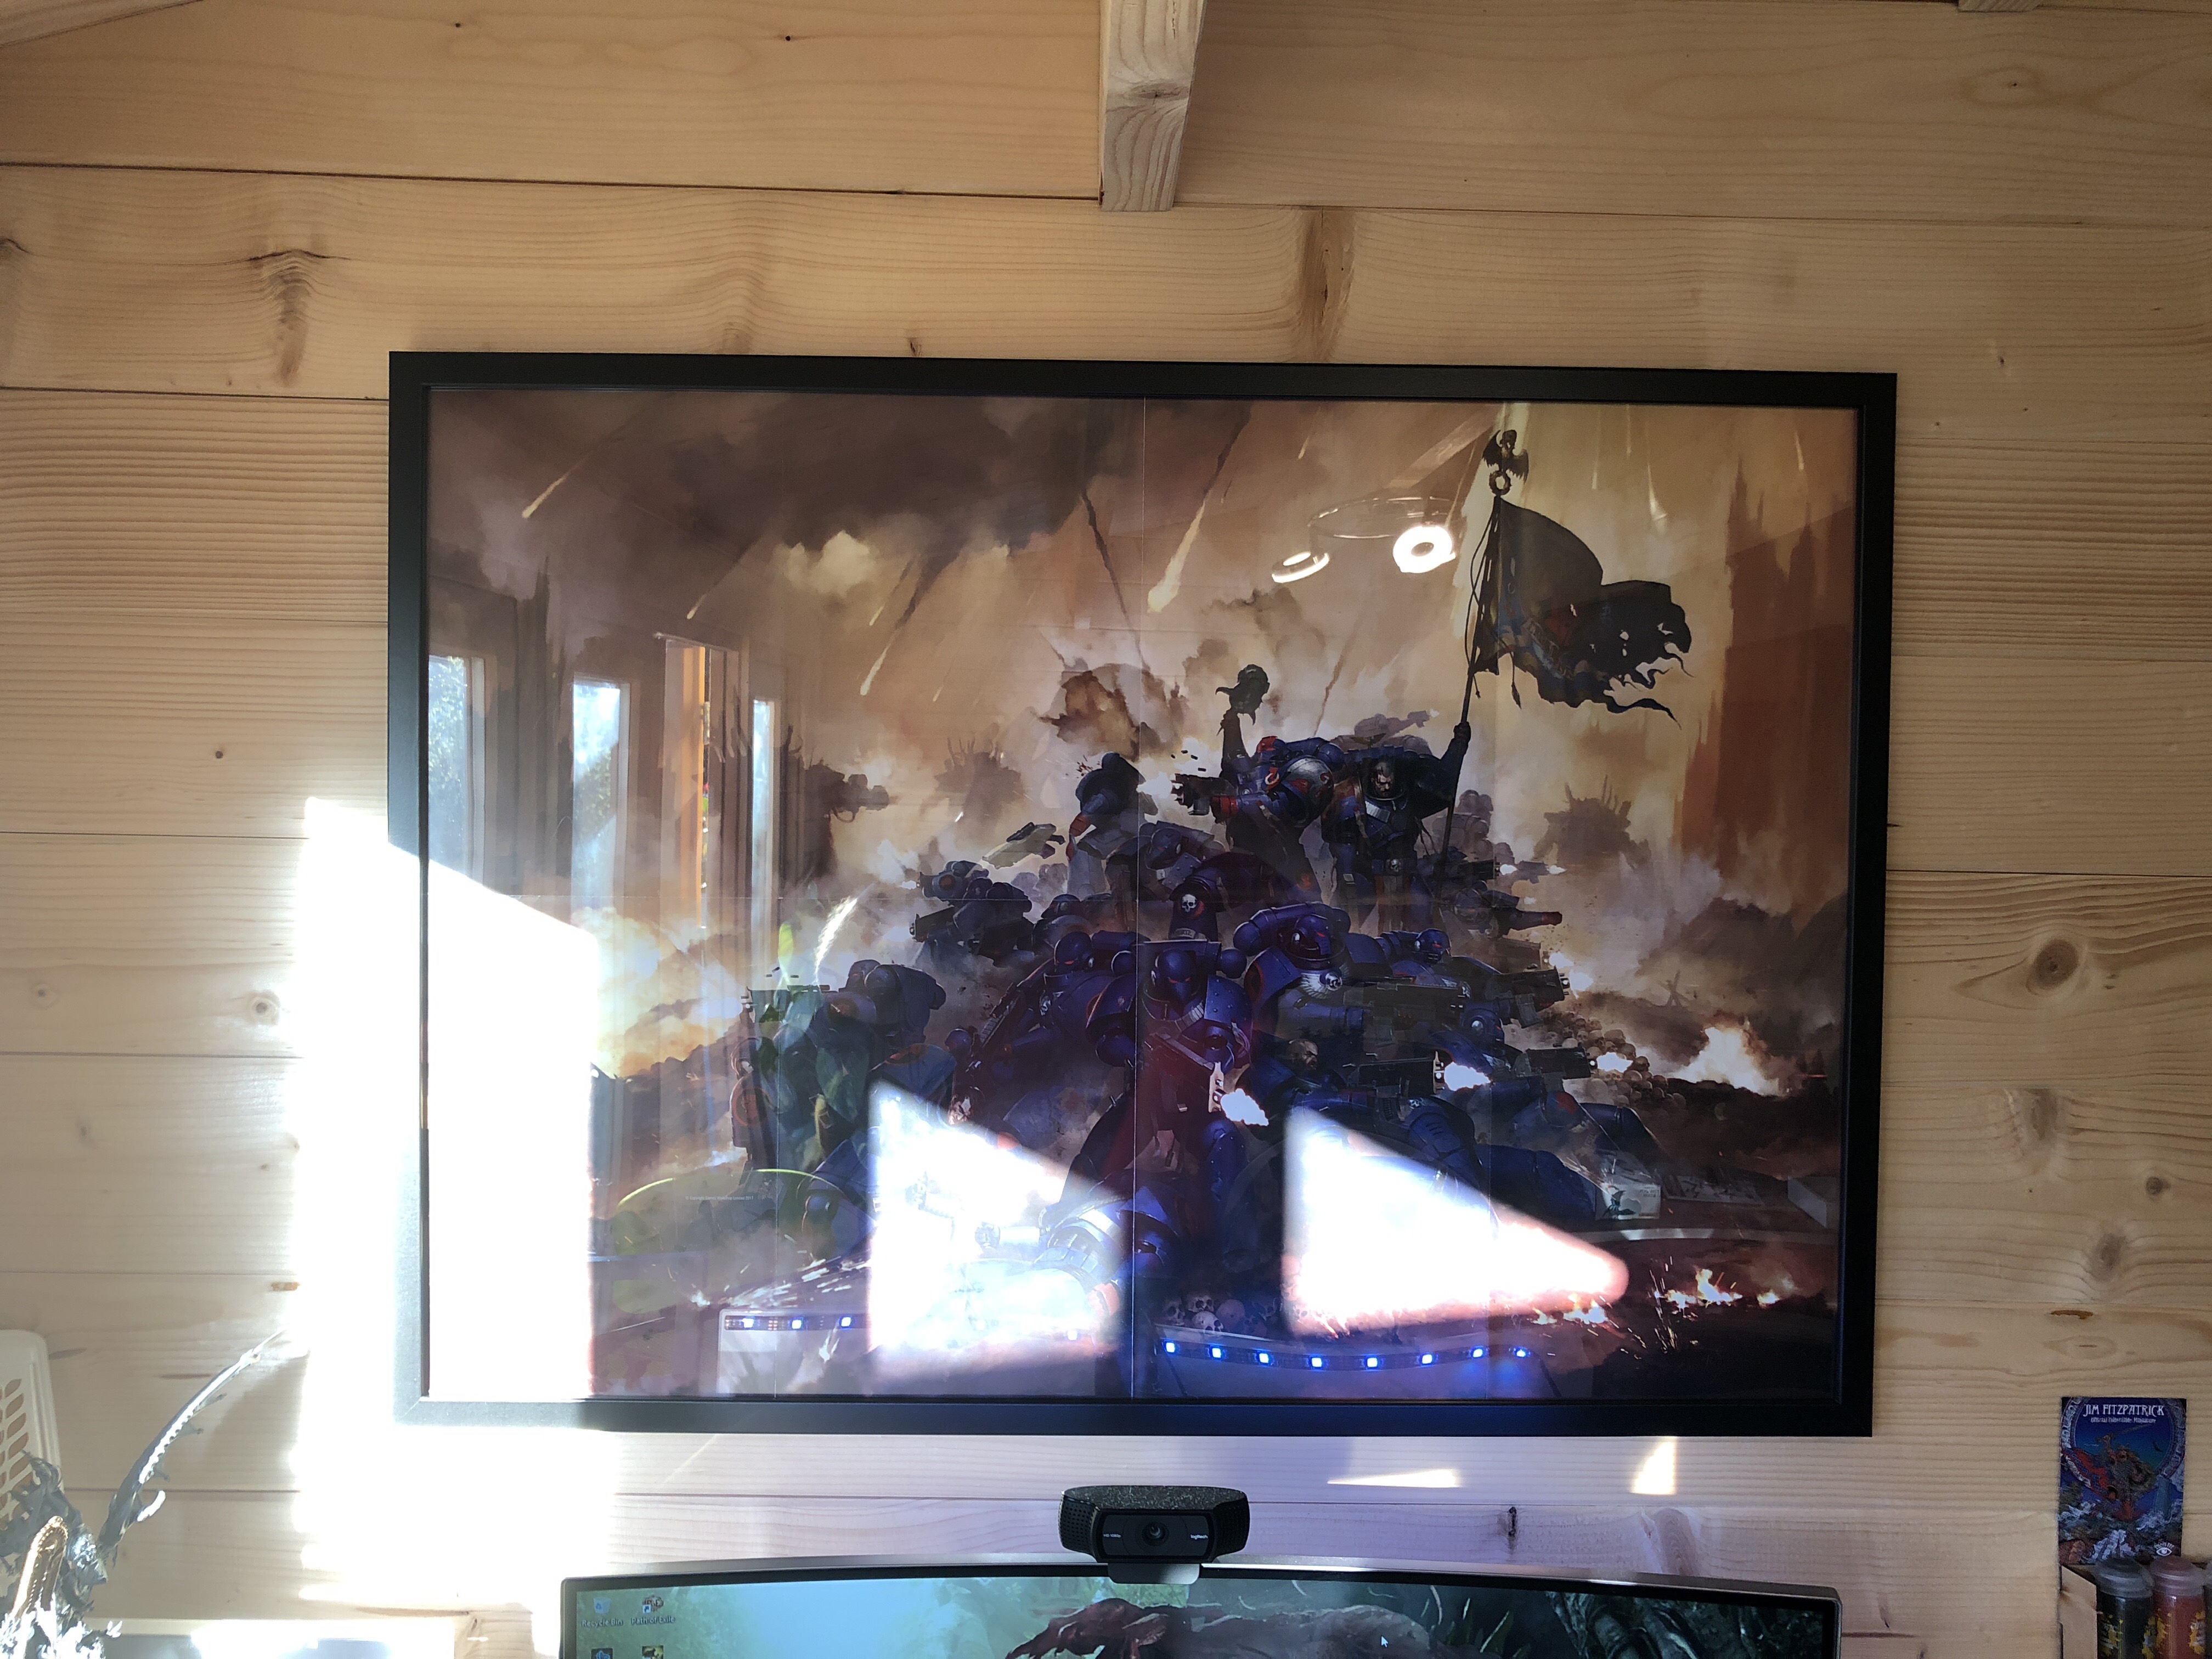
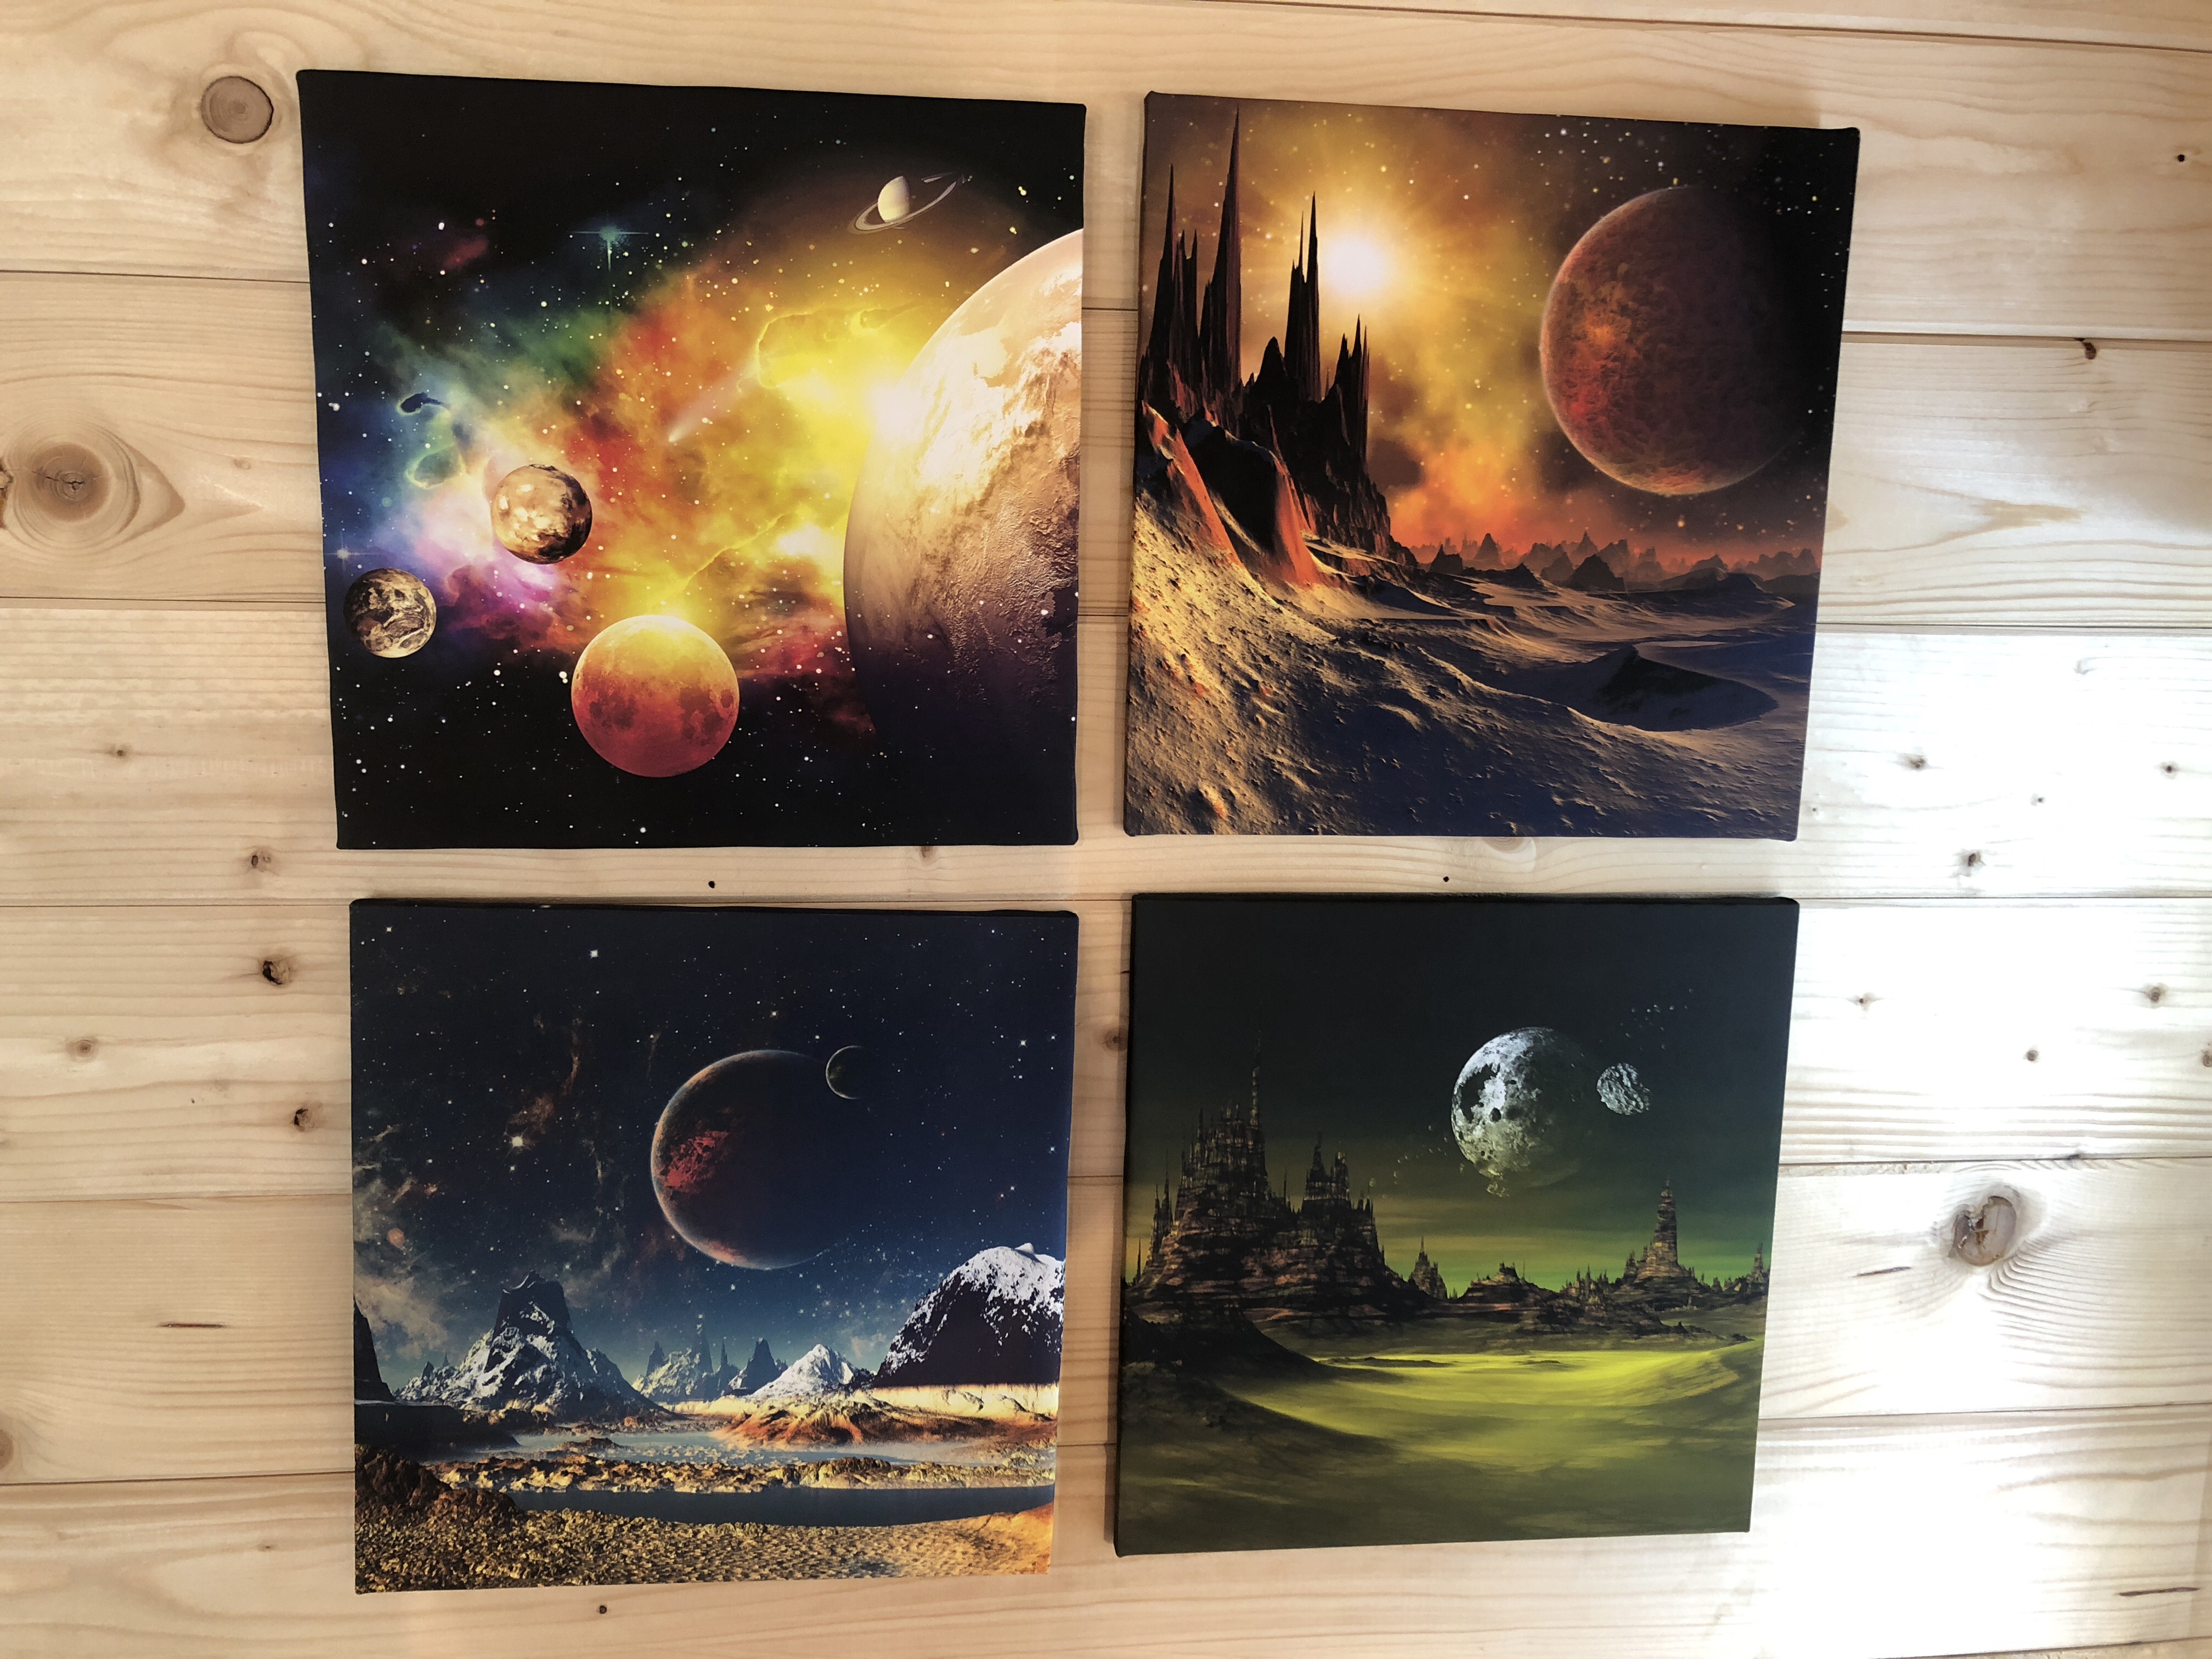
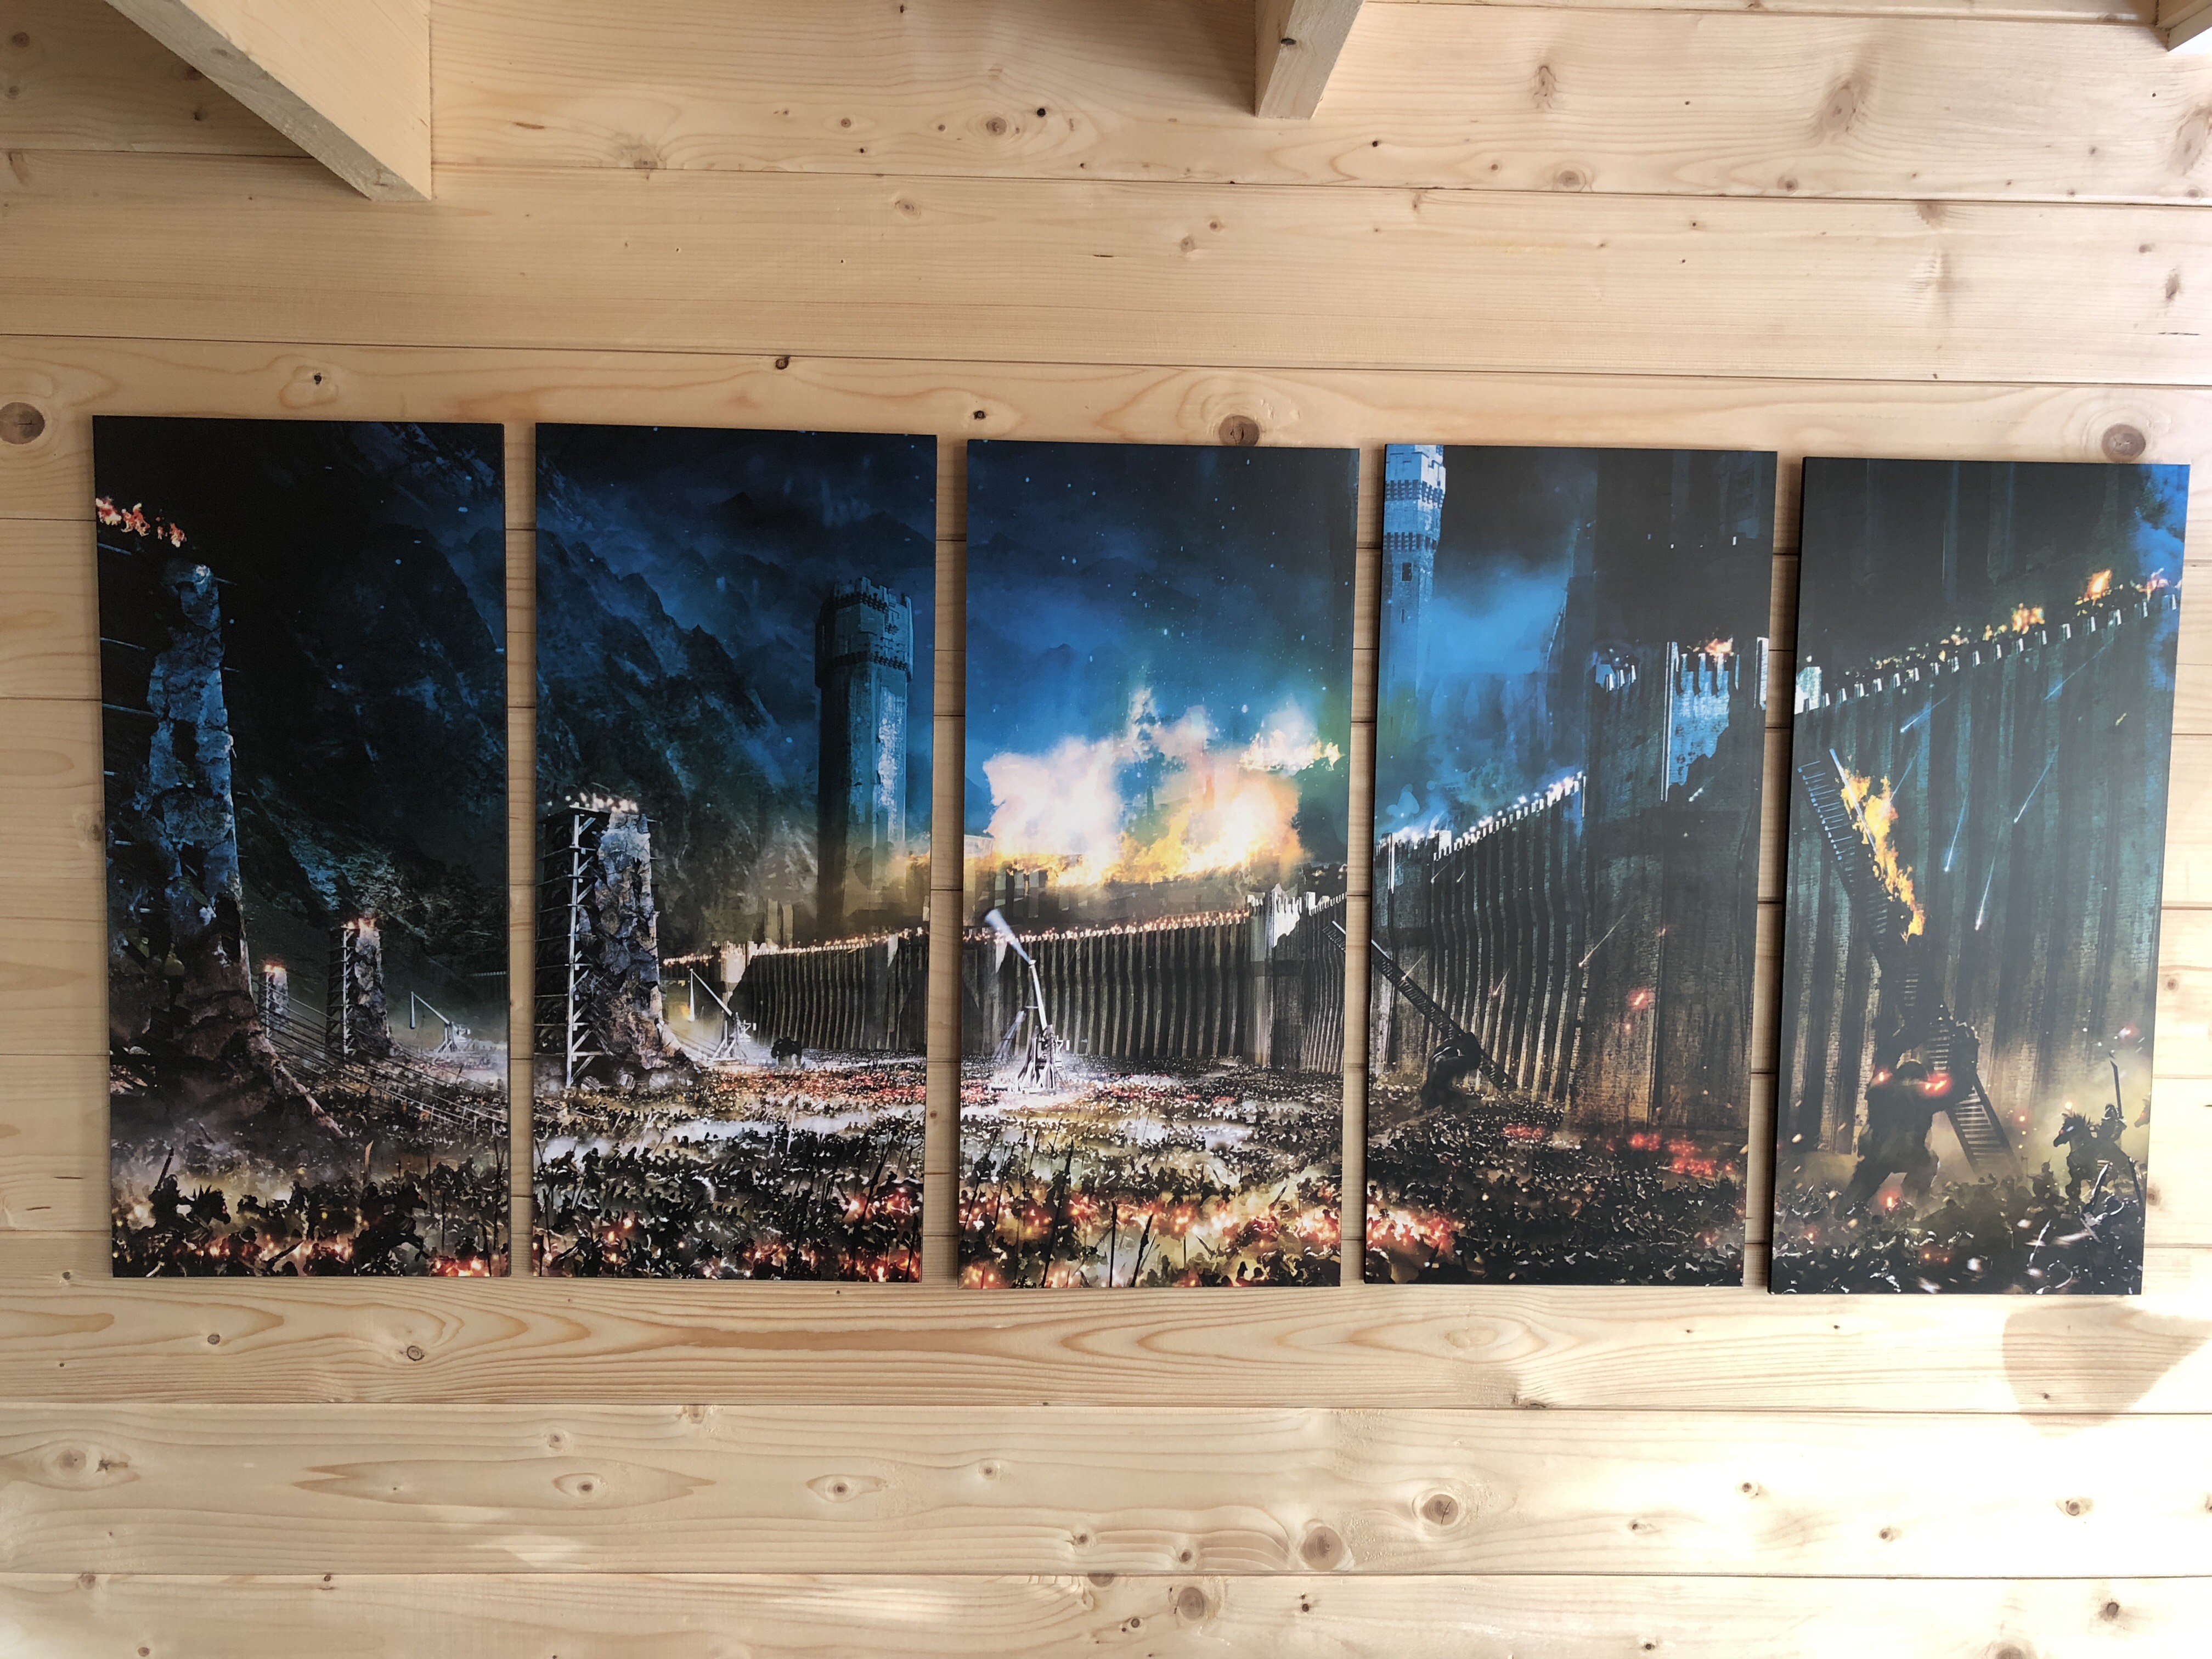
The walls at this were very bare so I went out and bought some artwork, I tried to get a bit of a mix of themes from fantasy and space.
And one very dear to me from the Wolsung 2017 Bootcamp just one of the best times I have had in the hobby.

Now things pick up pace
Ok so now things move quickly and I look at more storage and actually move lots of the gear down.
I found so good wide spaced bookshelves on Amazon for board game and rulebook storage (they also required no building so bonus!)

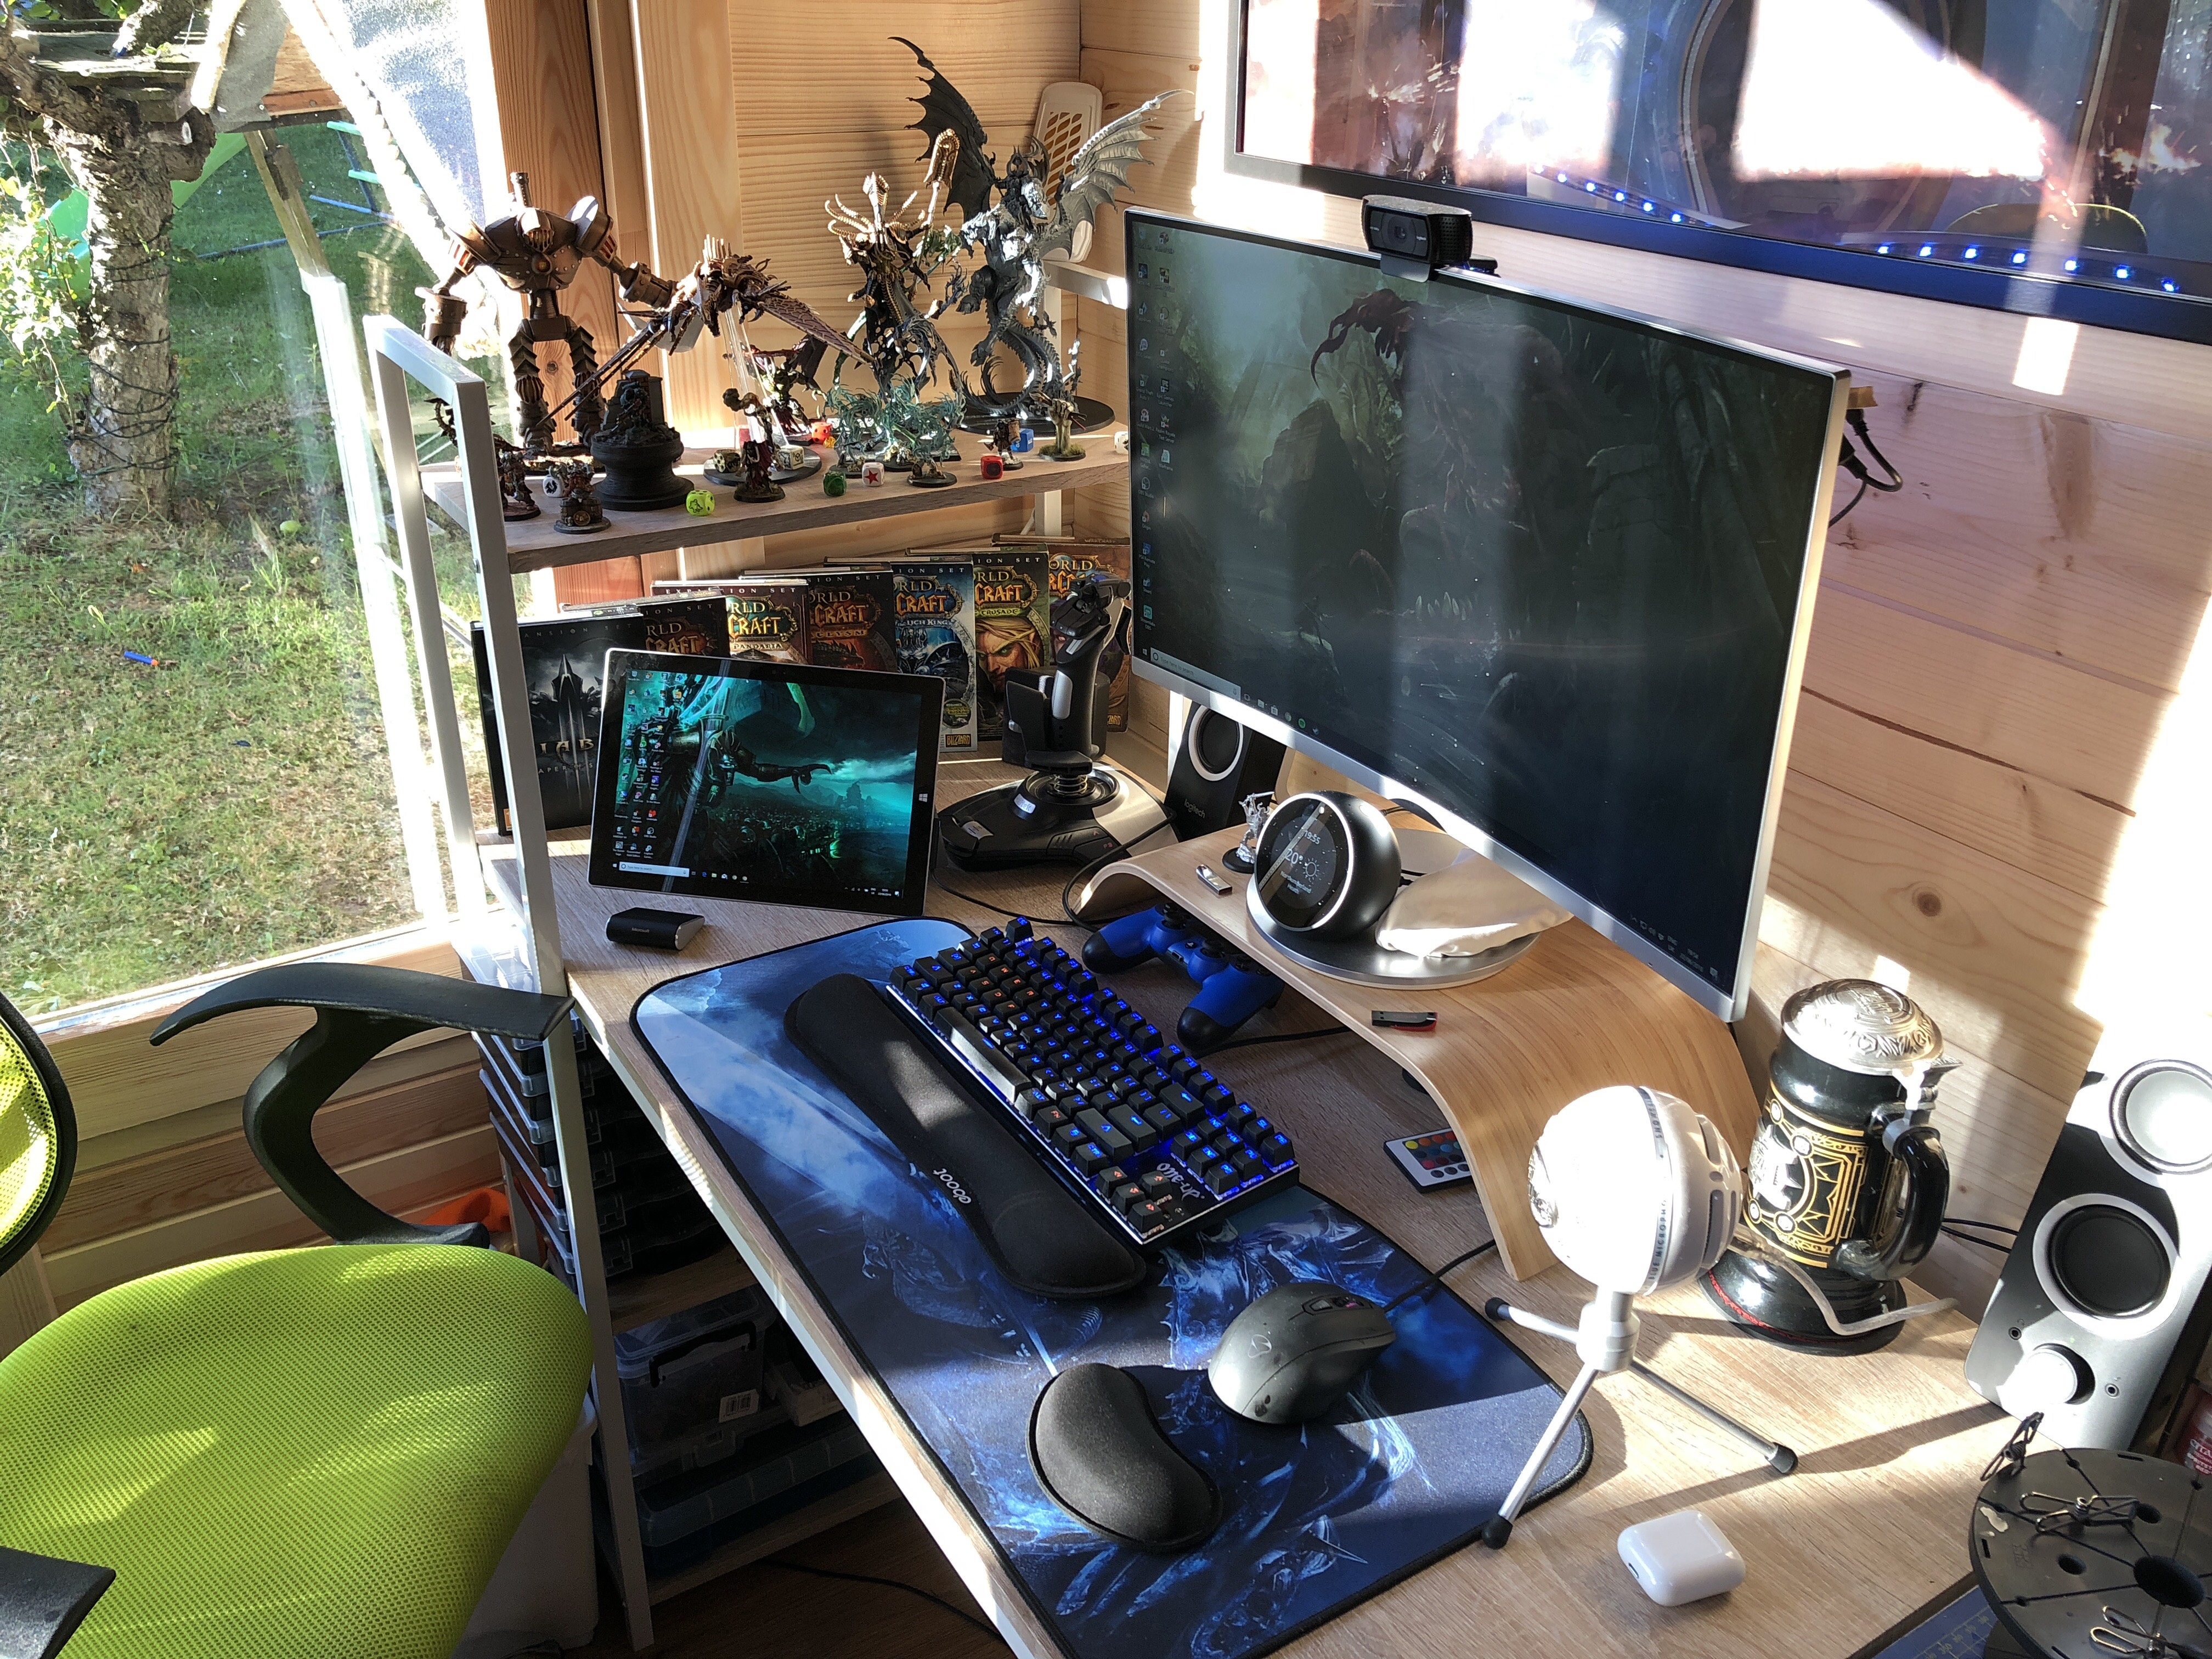
I then set up my PC workstation and paint station, I bought some bits and pieces here to make it look and feel better.

Get connected
Strictly I have missed out a step here, the first thing I did once I got the shed powered was focused on how I was going to get connected to the internet.
I had initially thought to run cat5e the length of the garden I being honest I had used Powerline devices in the past and just thought I would give it ago.
I have both a Virgin 350meg and BT 40meg (everyone needs failover these days) coming into the house so it was important to try and get as high speed as possible.
Given the distance and that I was going over the mains cabling I went for some high rated Powerline devices
TP-Link TL-PA9020 2000Mbps I believe they are about £80 a pair. I replaced all of the Powerline devices in my house with these given a network is only as fast as its slowest point.
It is not perfect but it is fairly reliable between 60-100 Mbps which is plenty for most things. Not quite the 380Mbps I get in the house. Of course, I ran the actual cable down then I could improve that dramatically and maybe in time I will.
I coupled it with a very cheap Wireless AP so that could have the option of hardware the PCs etc and wireless for other devices.
Anyway now we are connected!

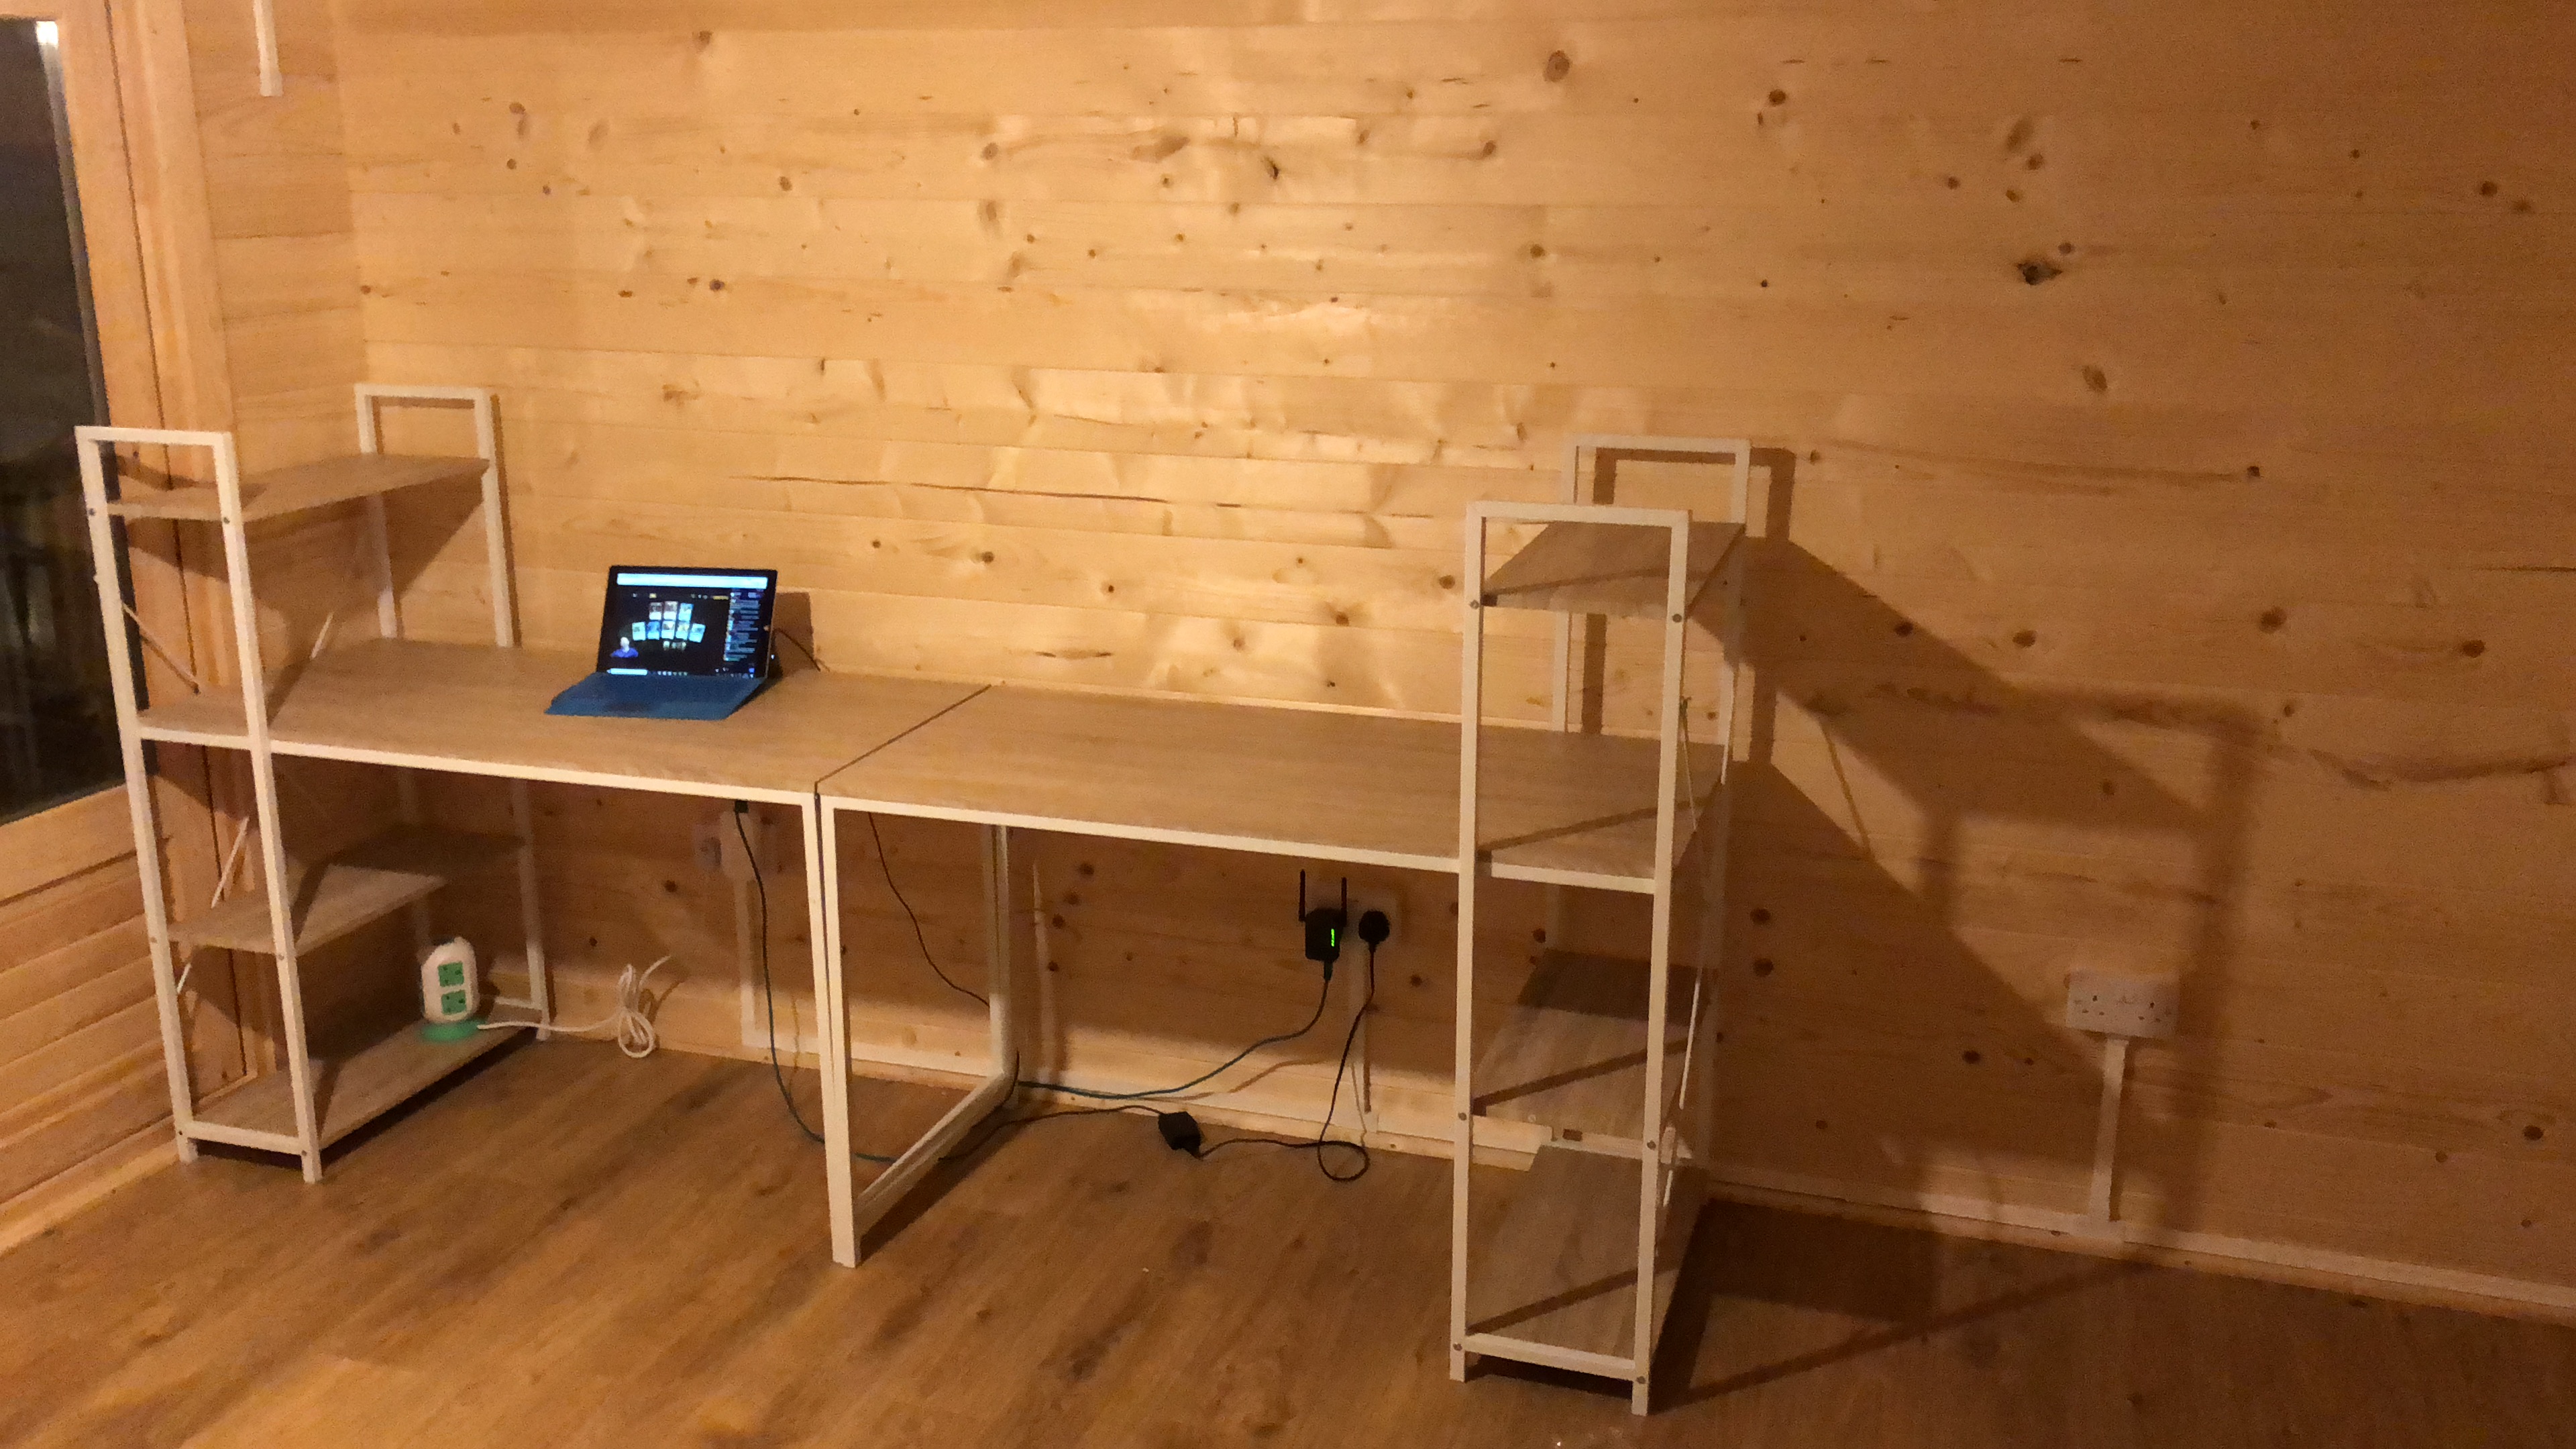
First things first some work space
I knew storage and workspace was key so I did some hunting around for desk space. Ikea was my first thought but they just did not have the kind of thing I was looking for and what they did have was quite expensive.
So, in the end, I bought these two bench desk with a shelving unit attached, I simply built one to match the end of the other. I think these were less than £100 each on Amazon.
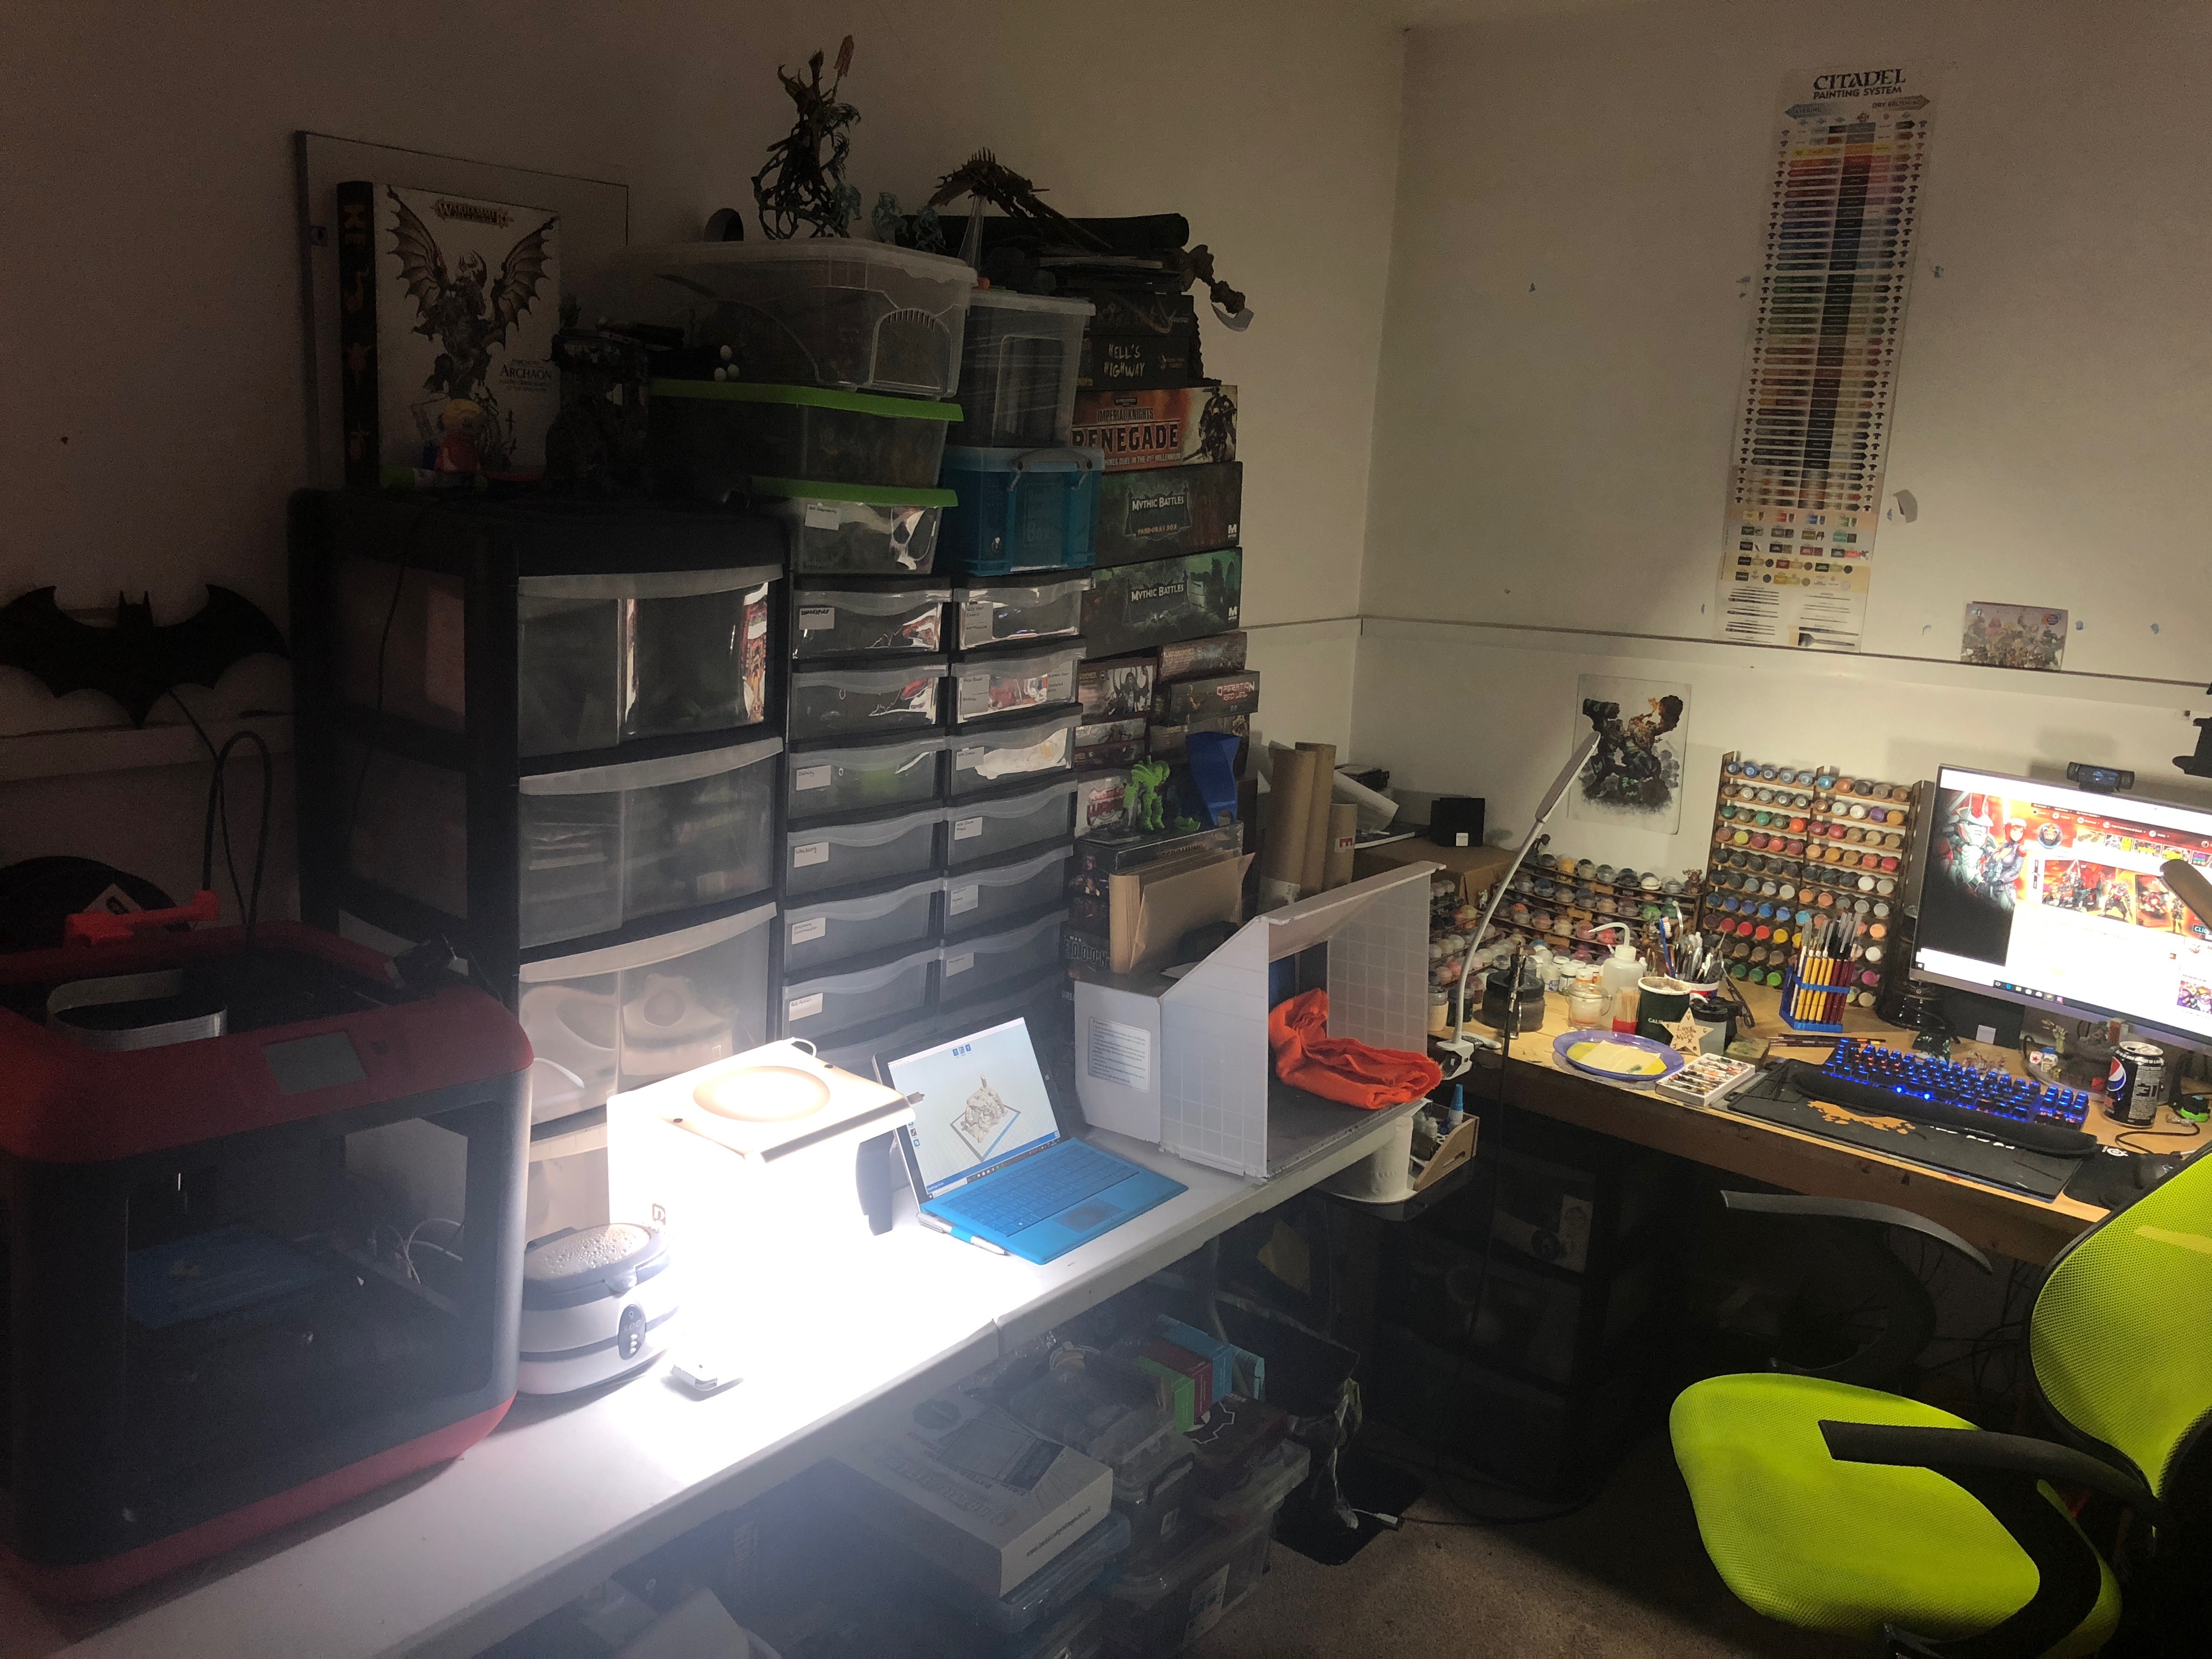
Time to move
Ok now it was time to move and say goodbye to the old space that up to now had served me very well…
The next few post I will show you what I did with the new place and some of the choices I had to make.
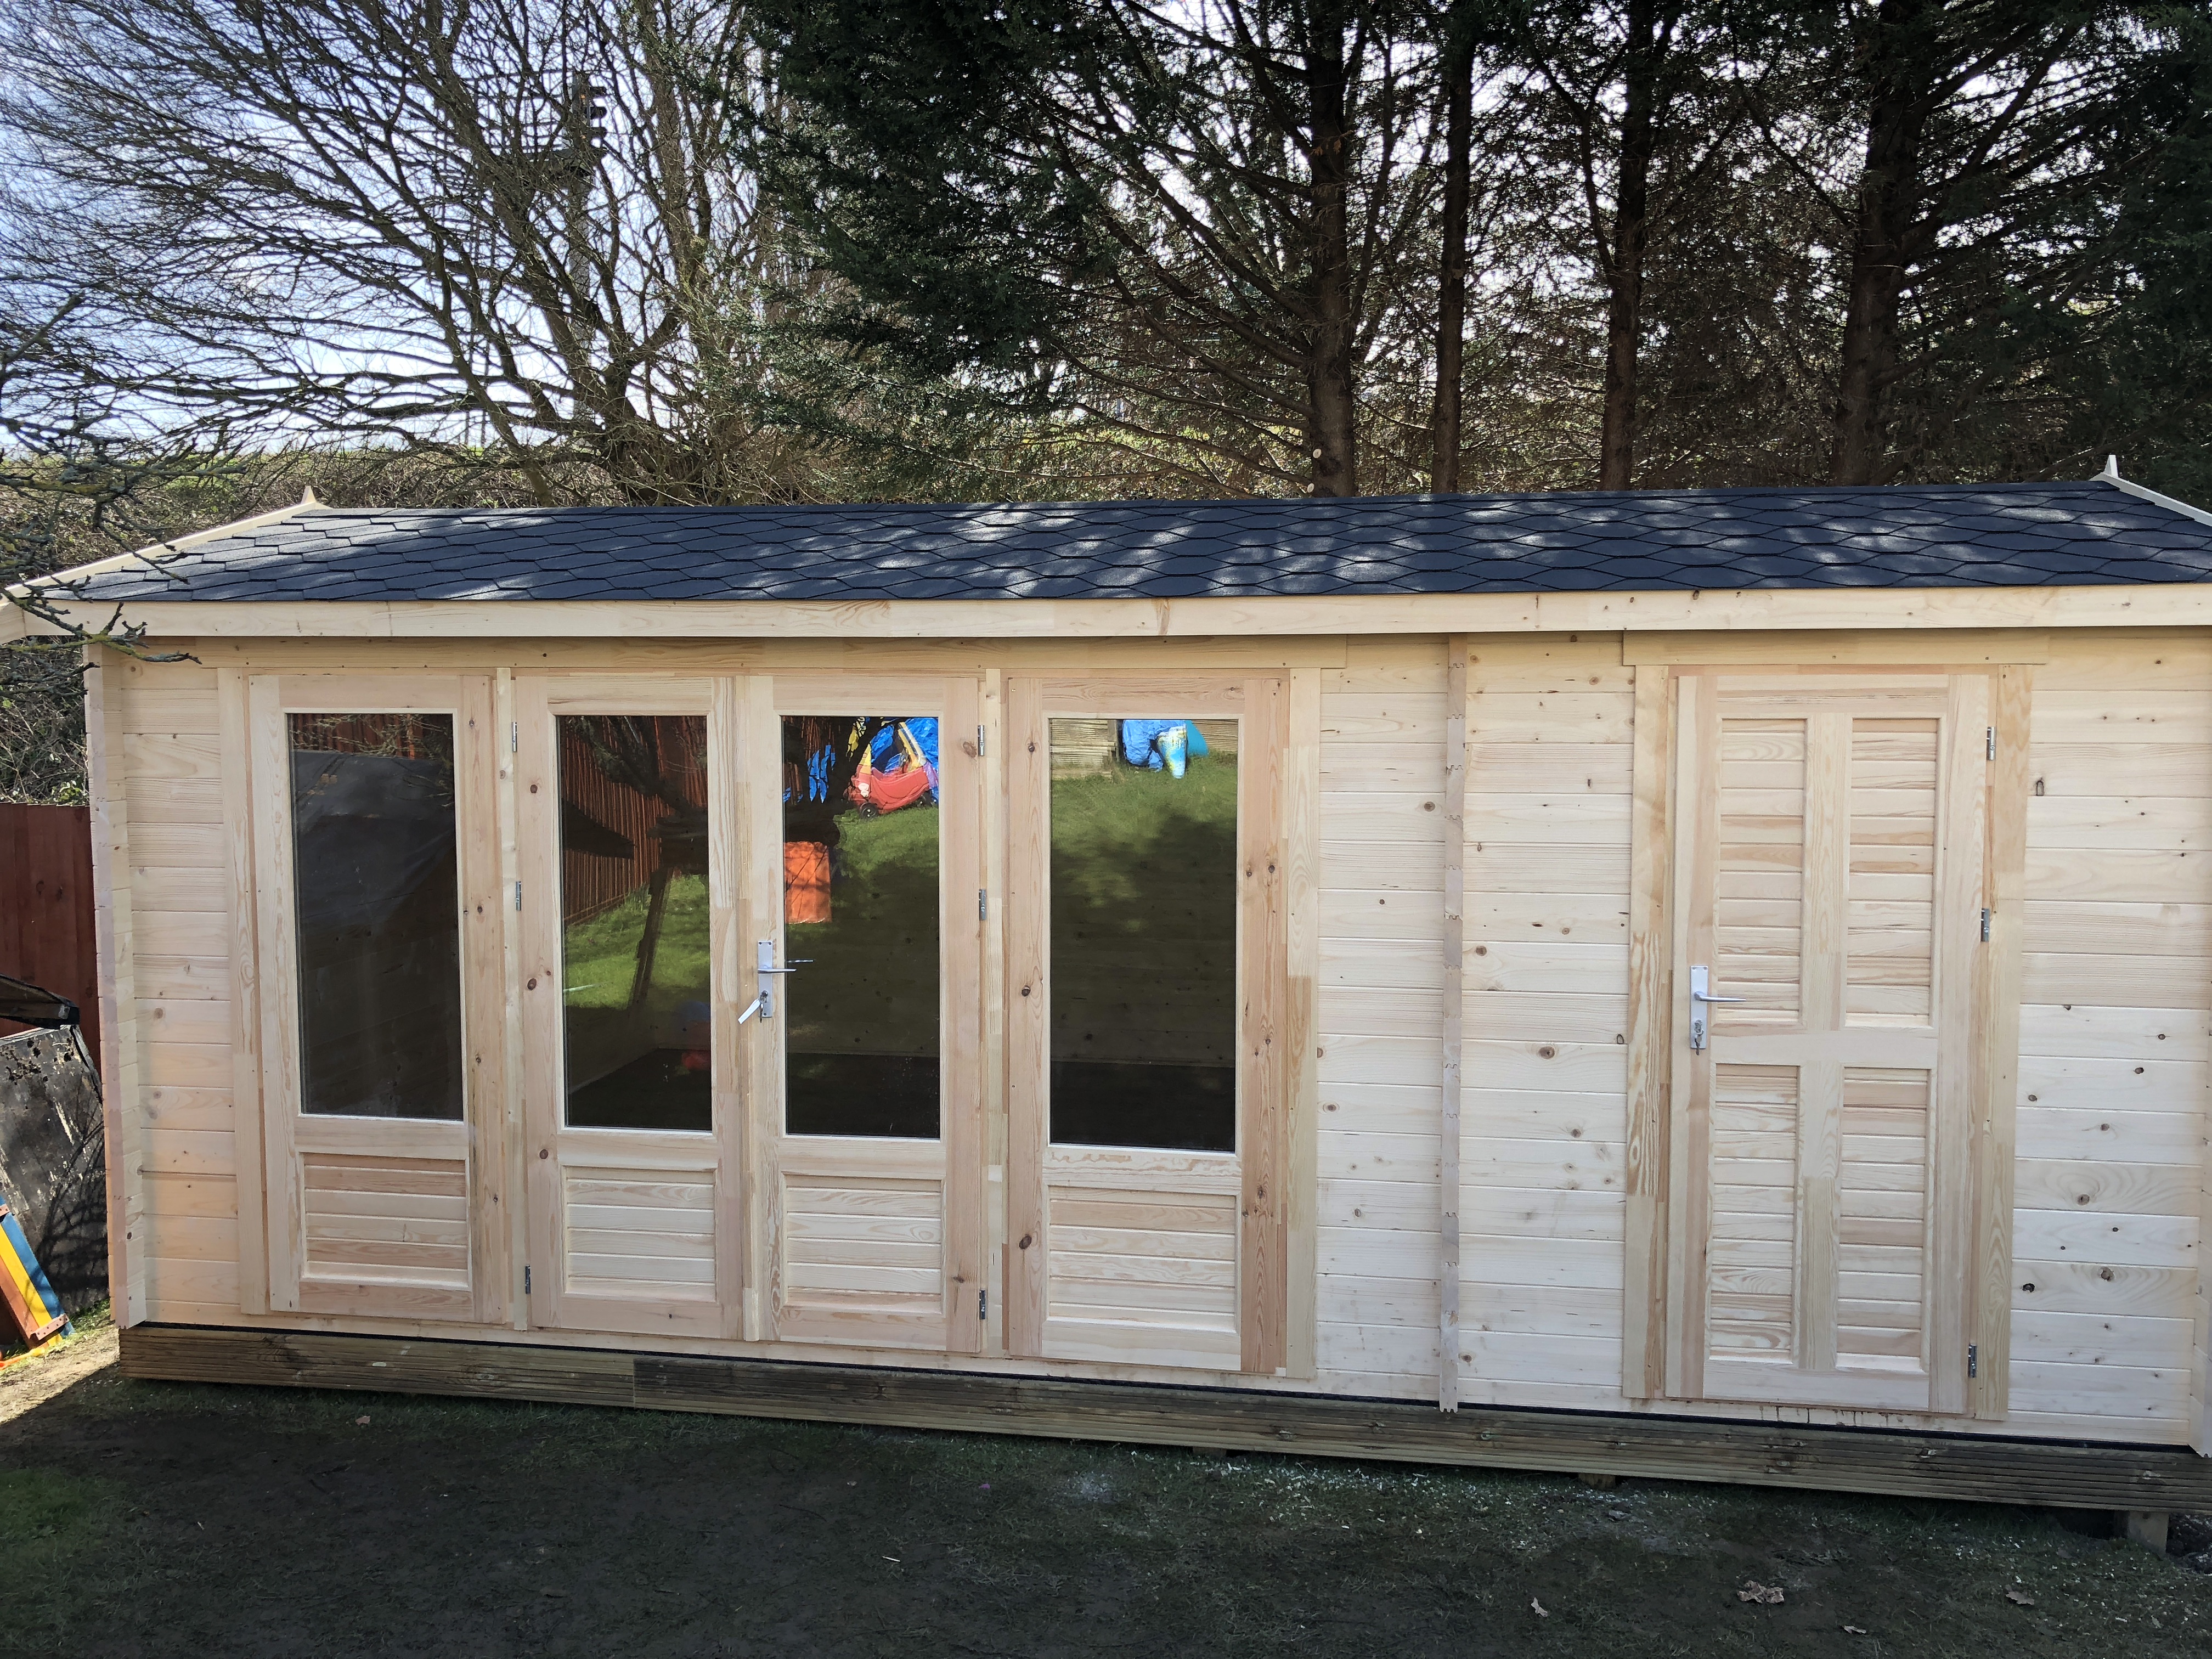
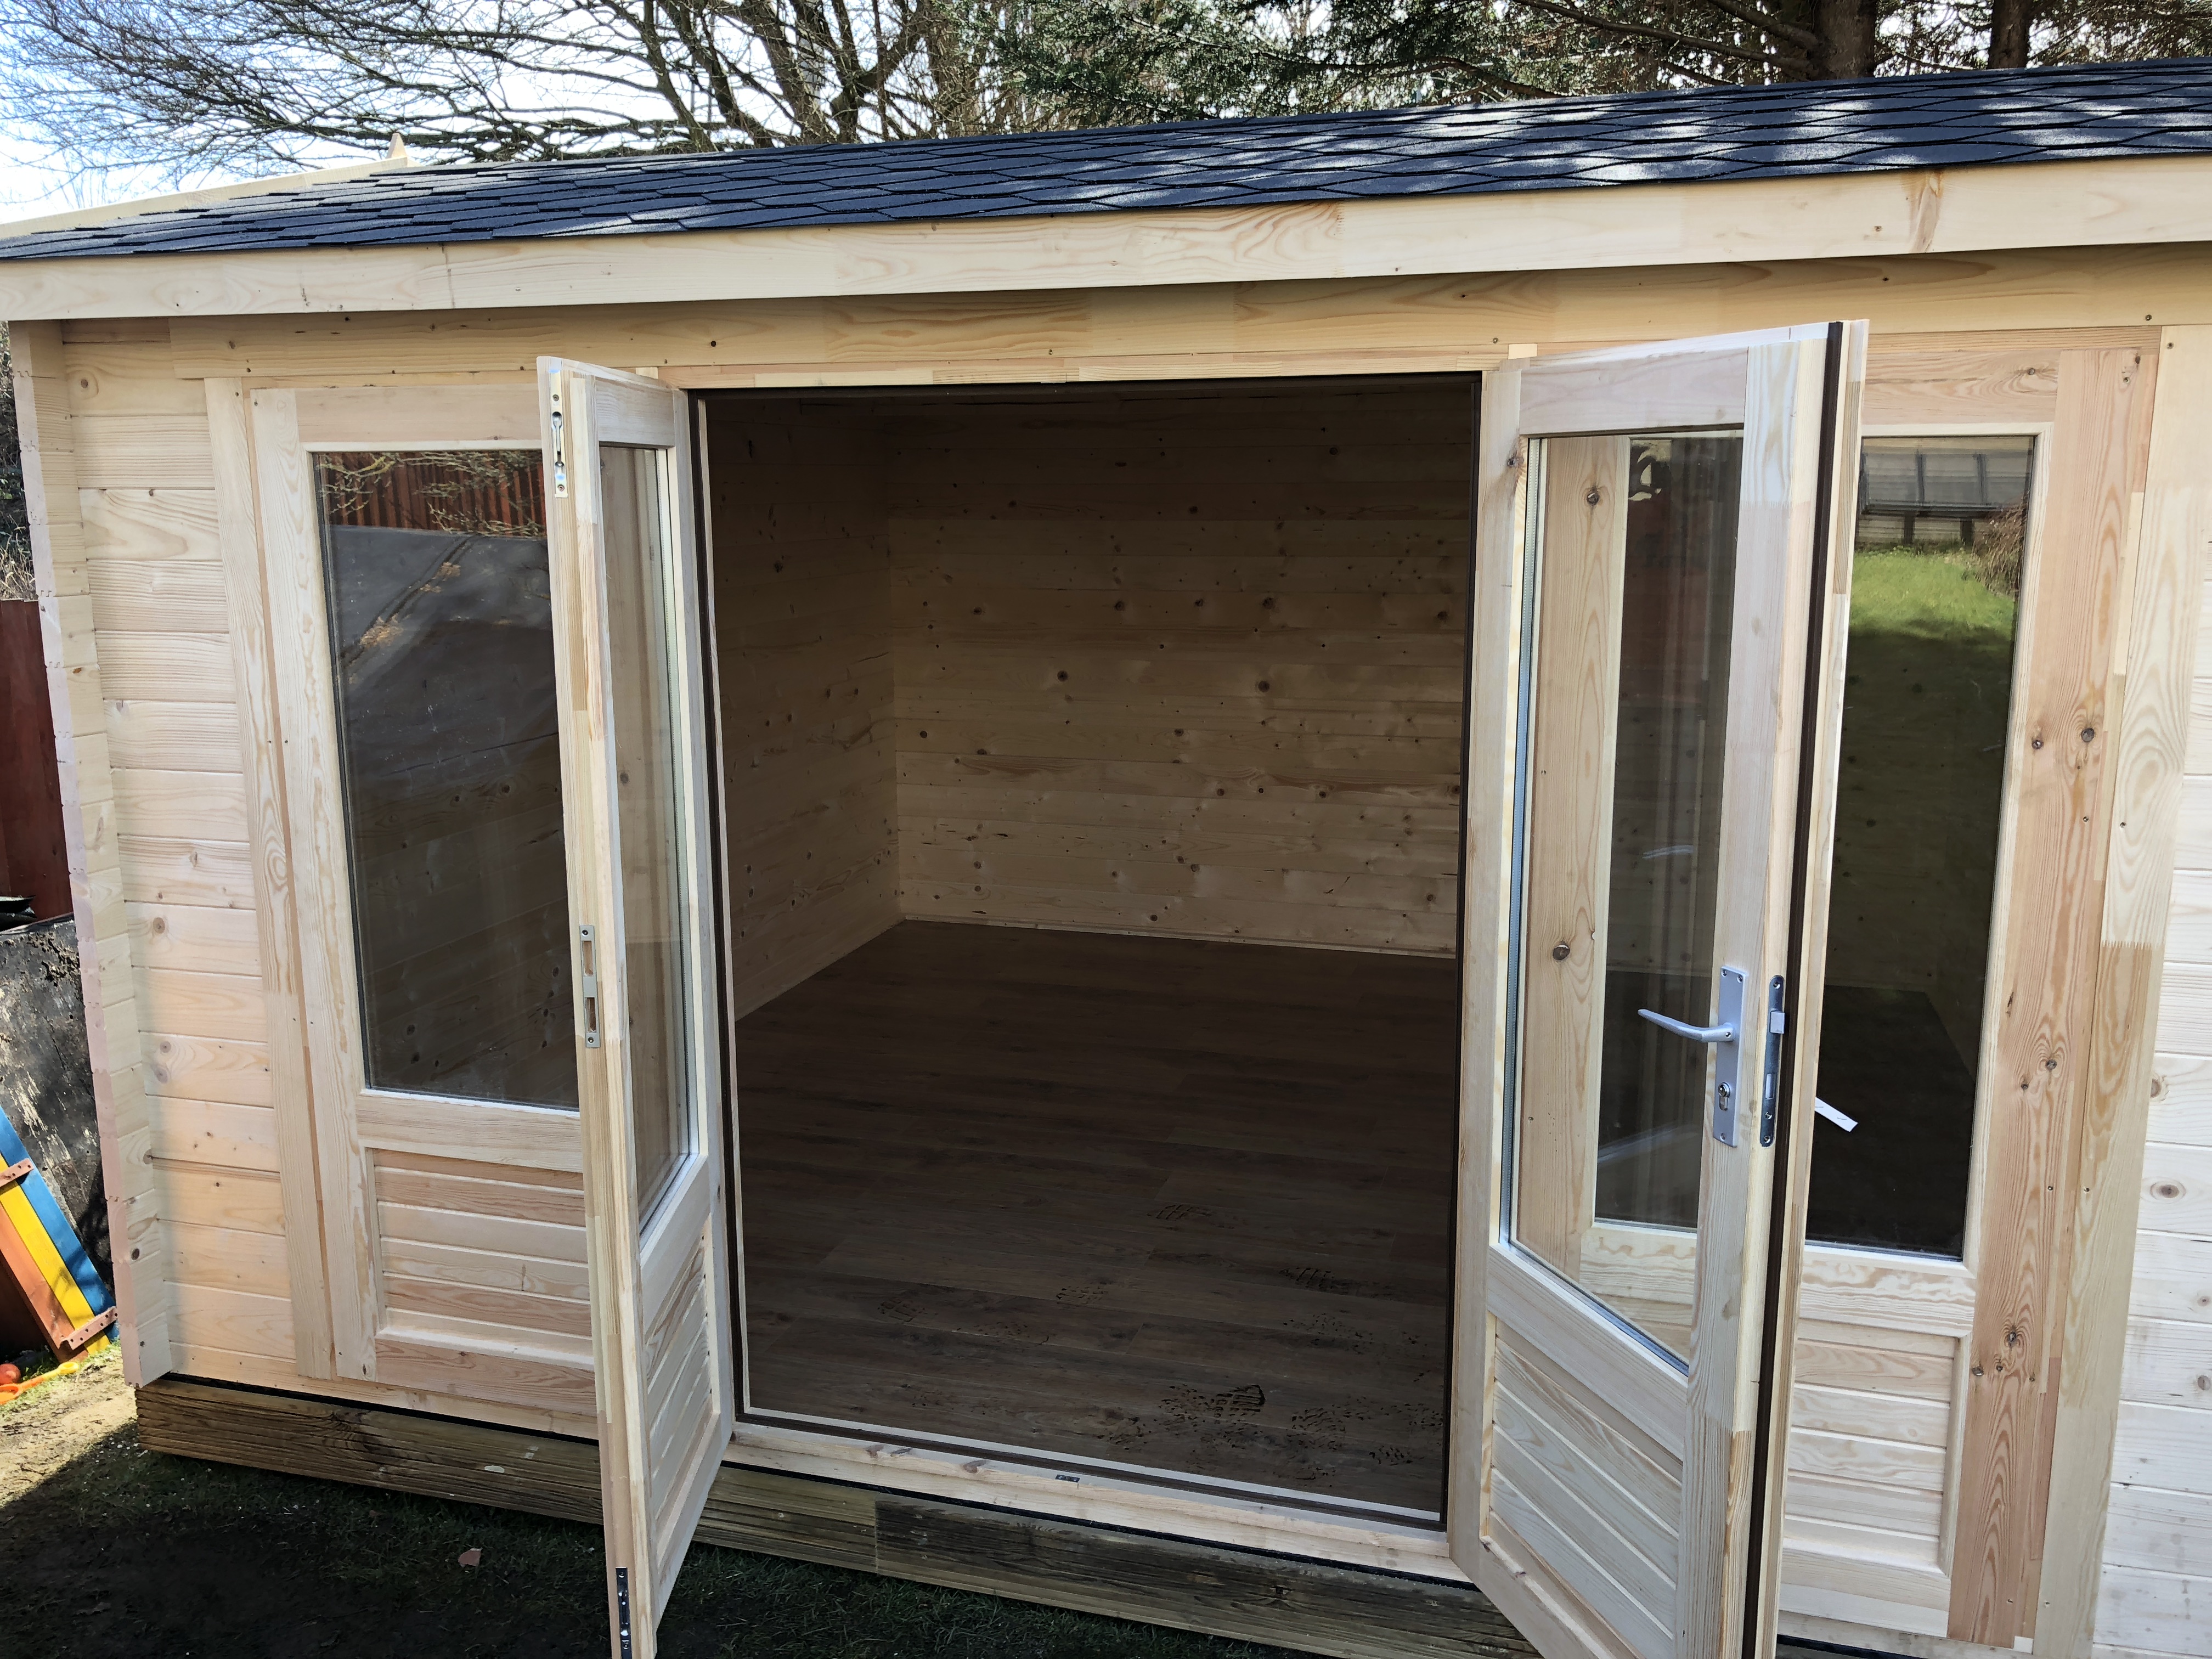
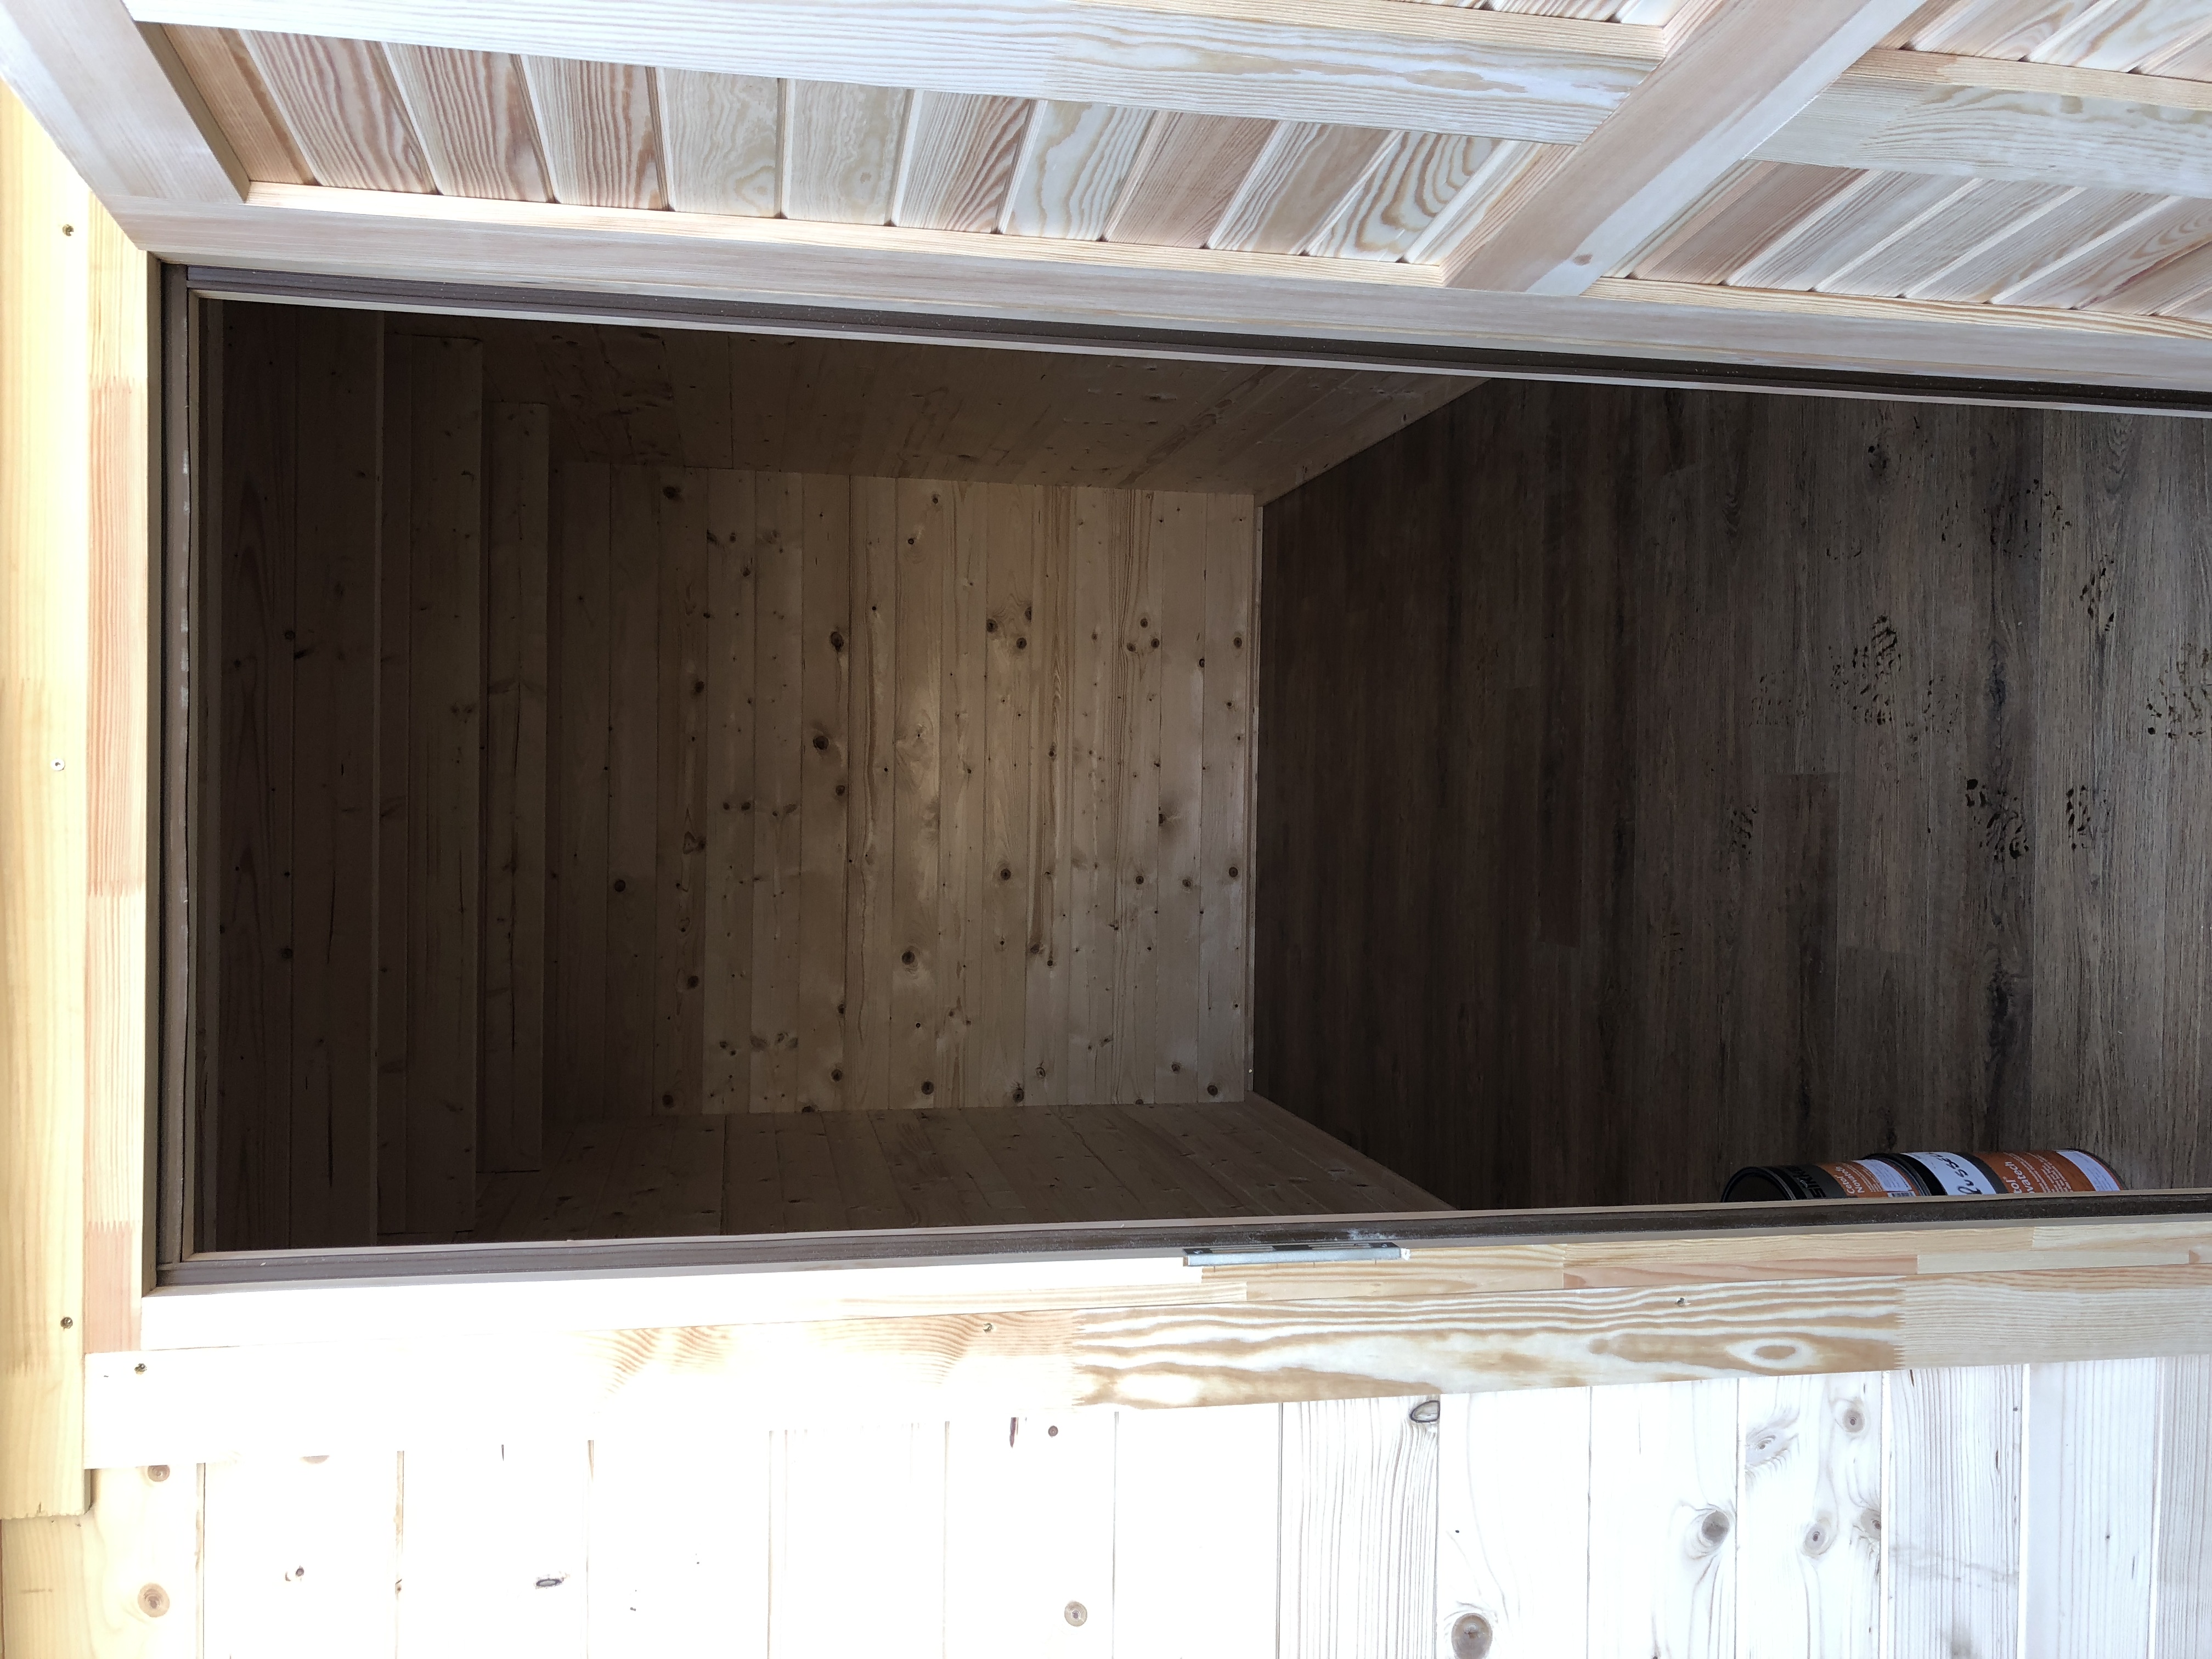
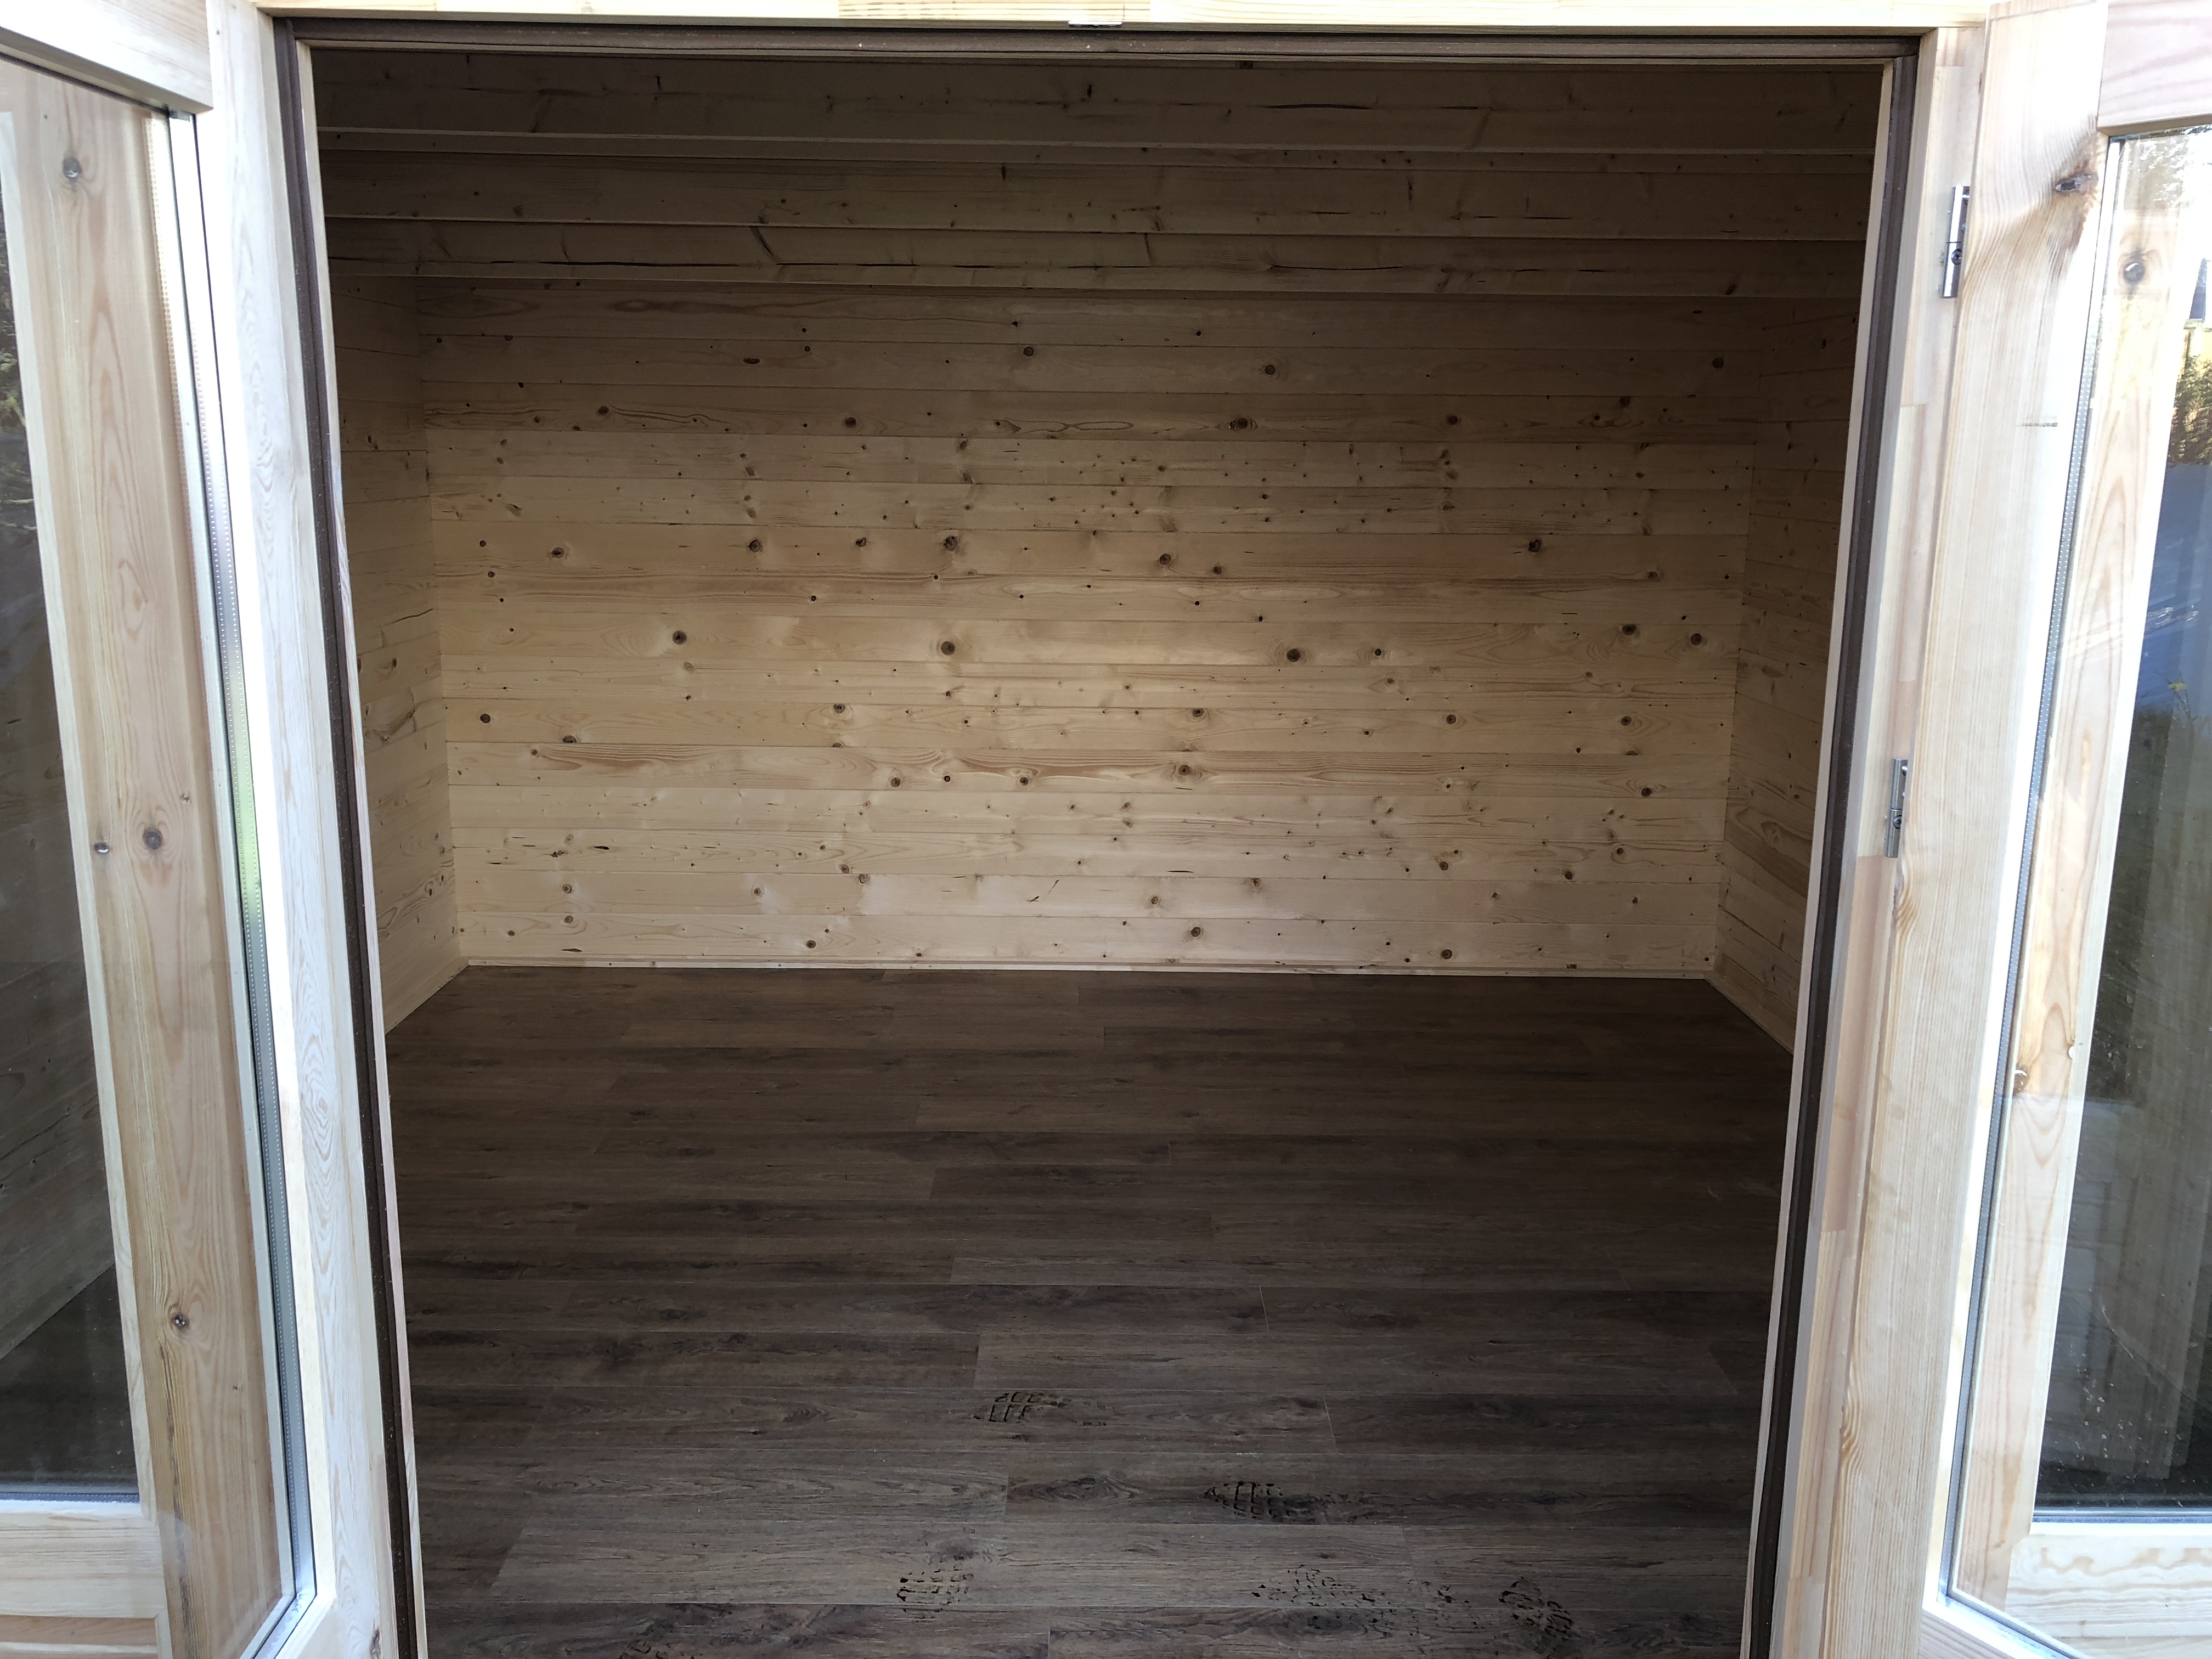
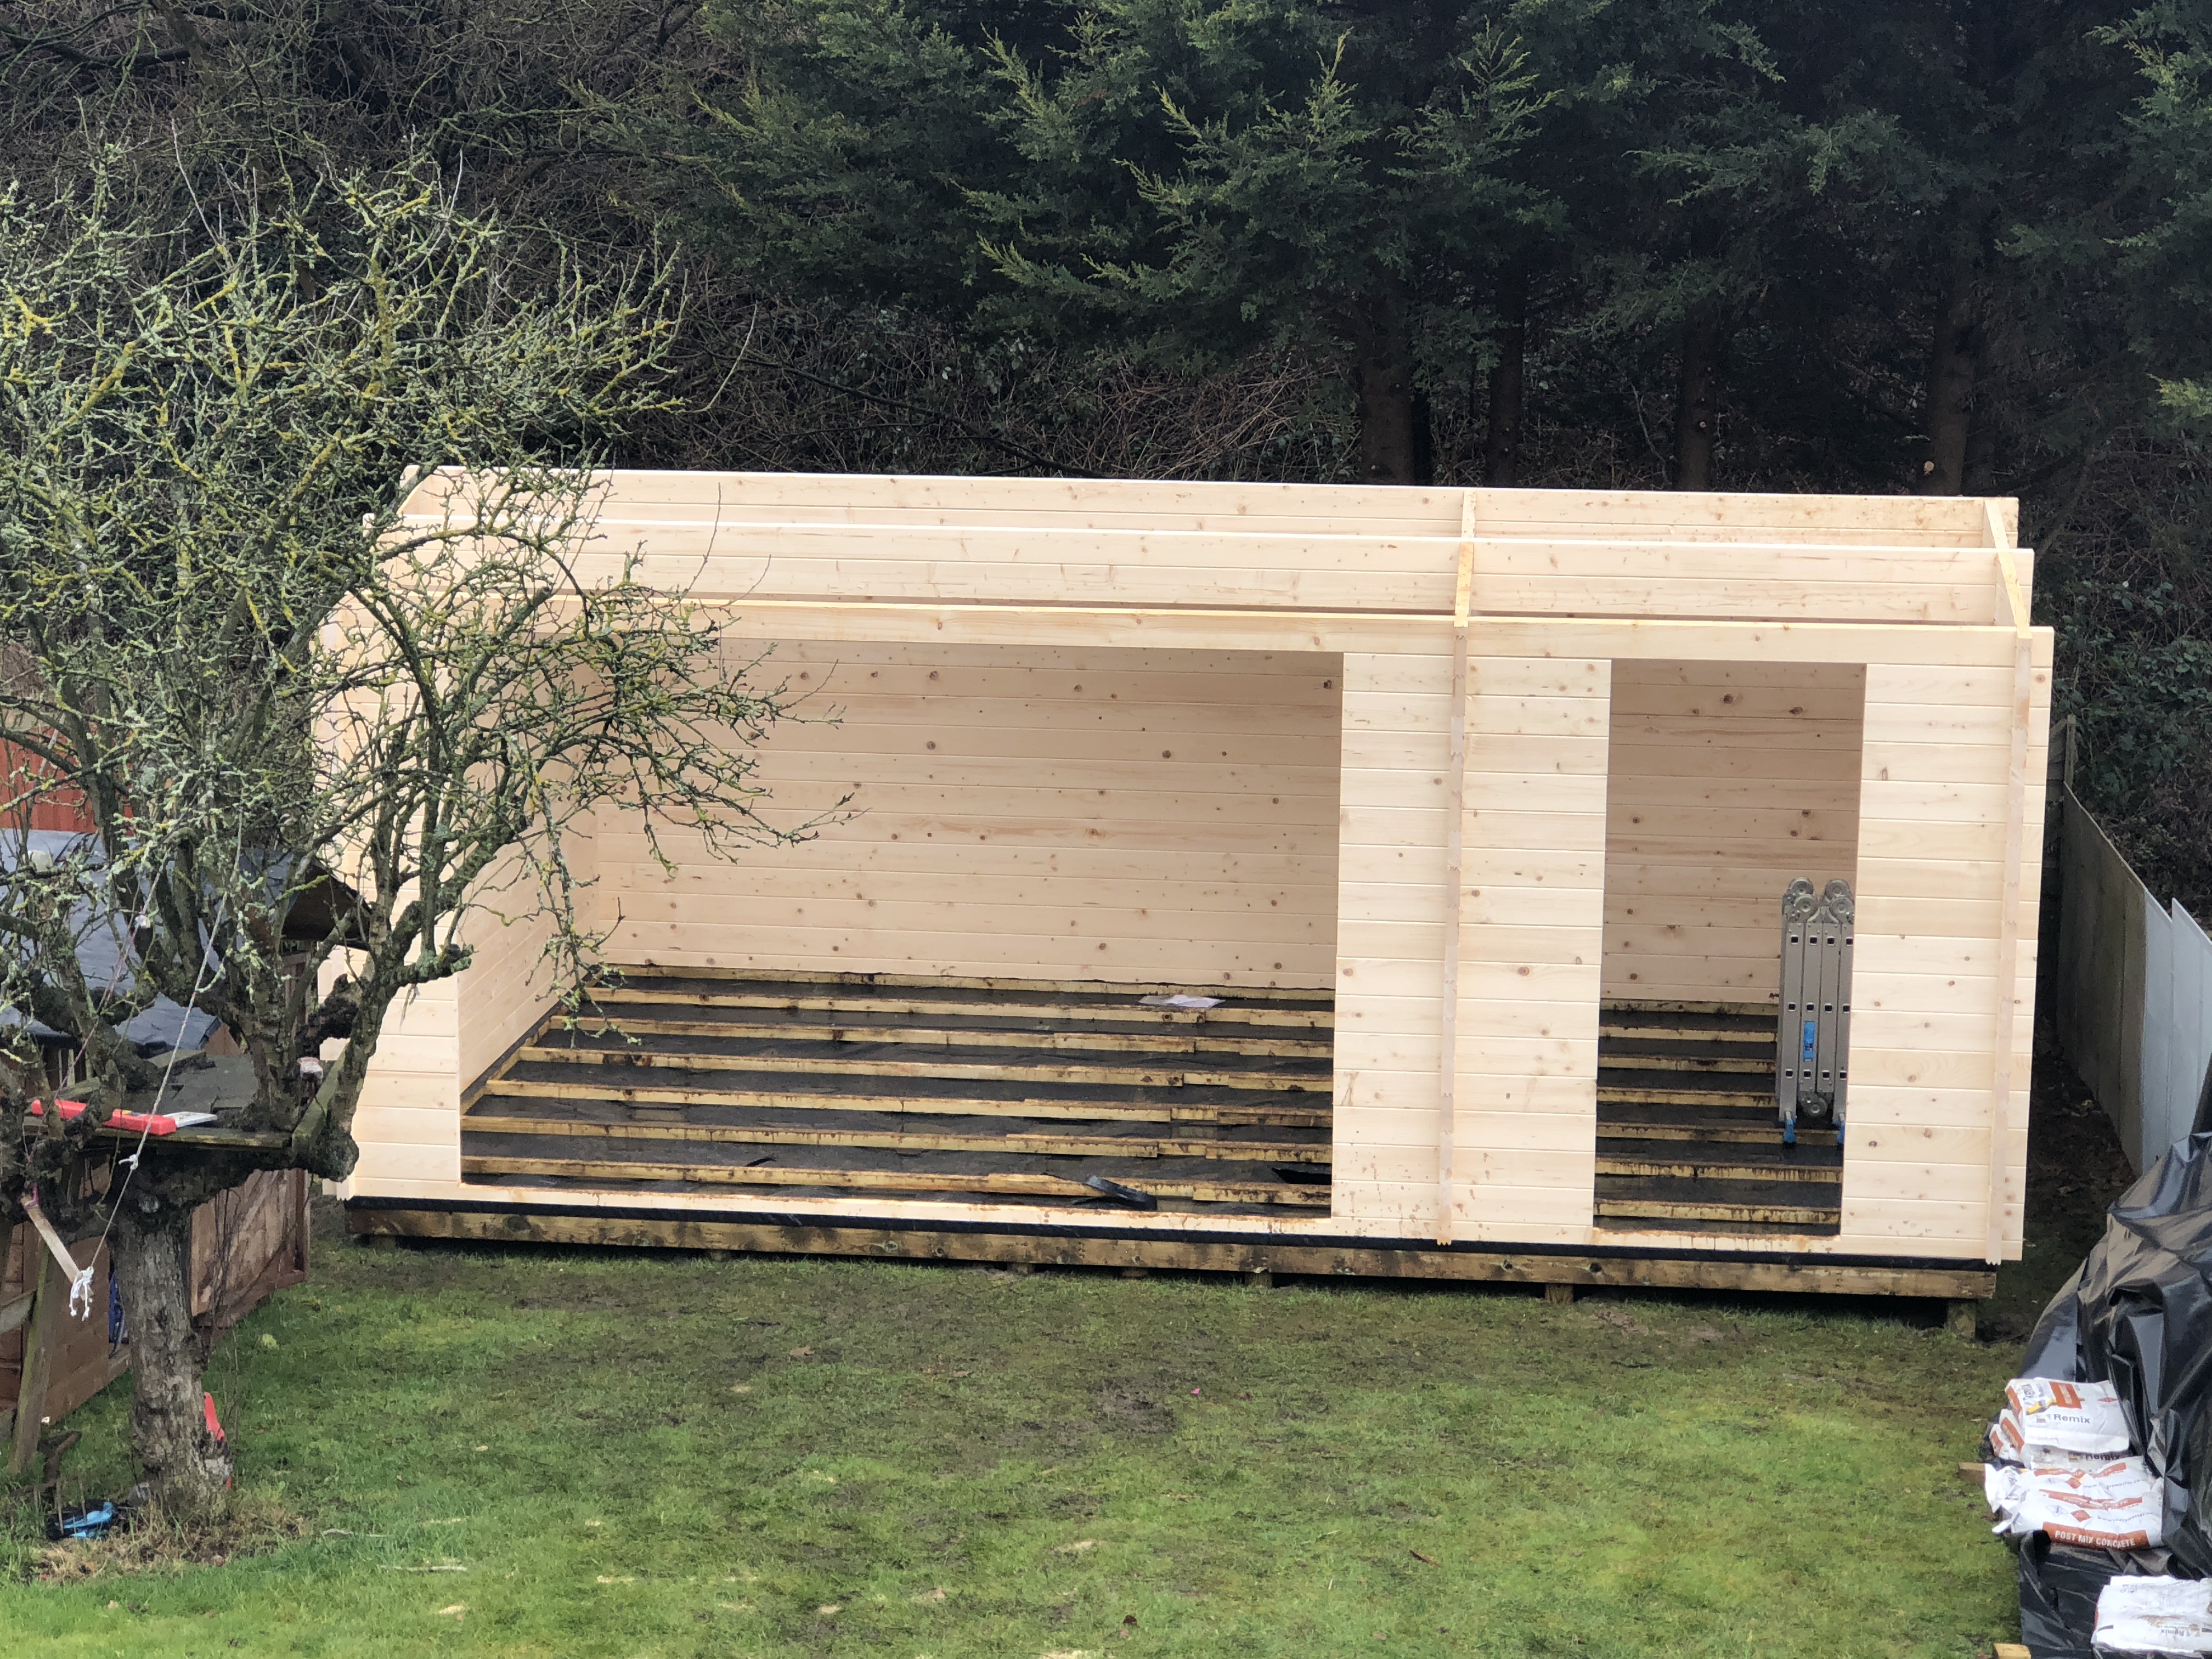
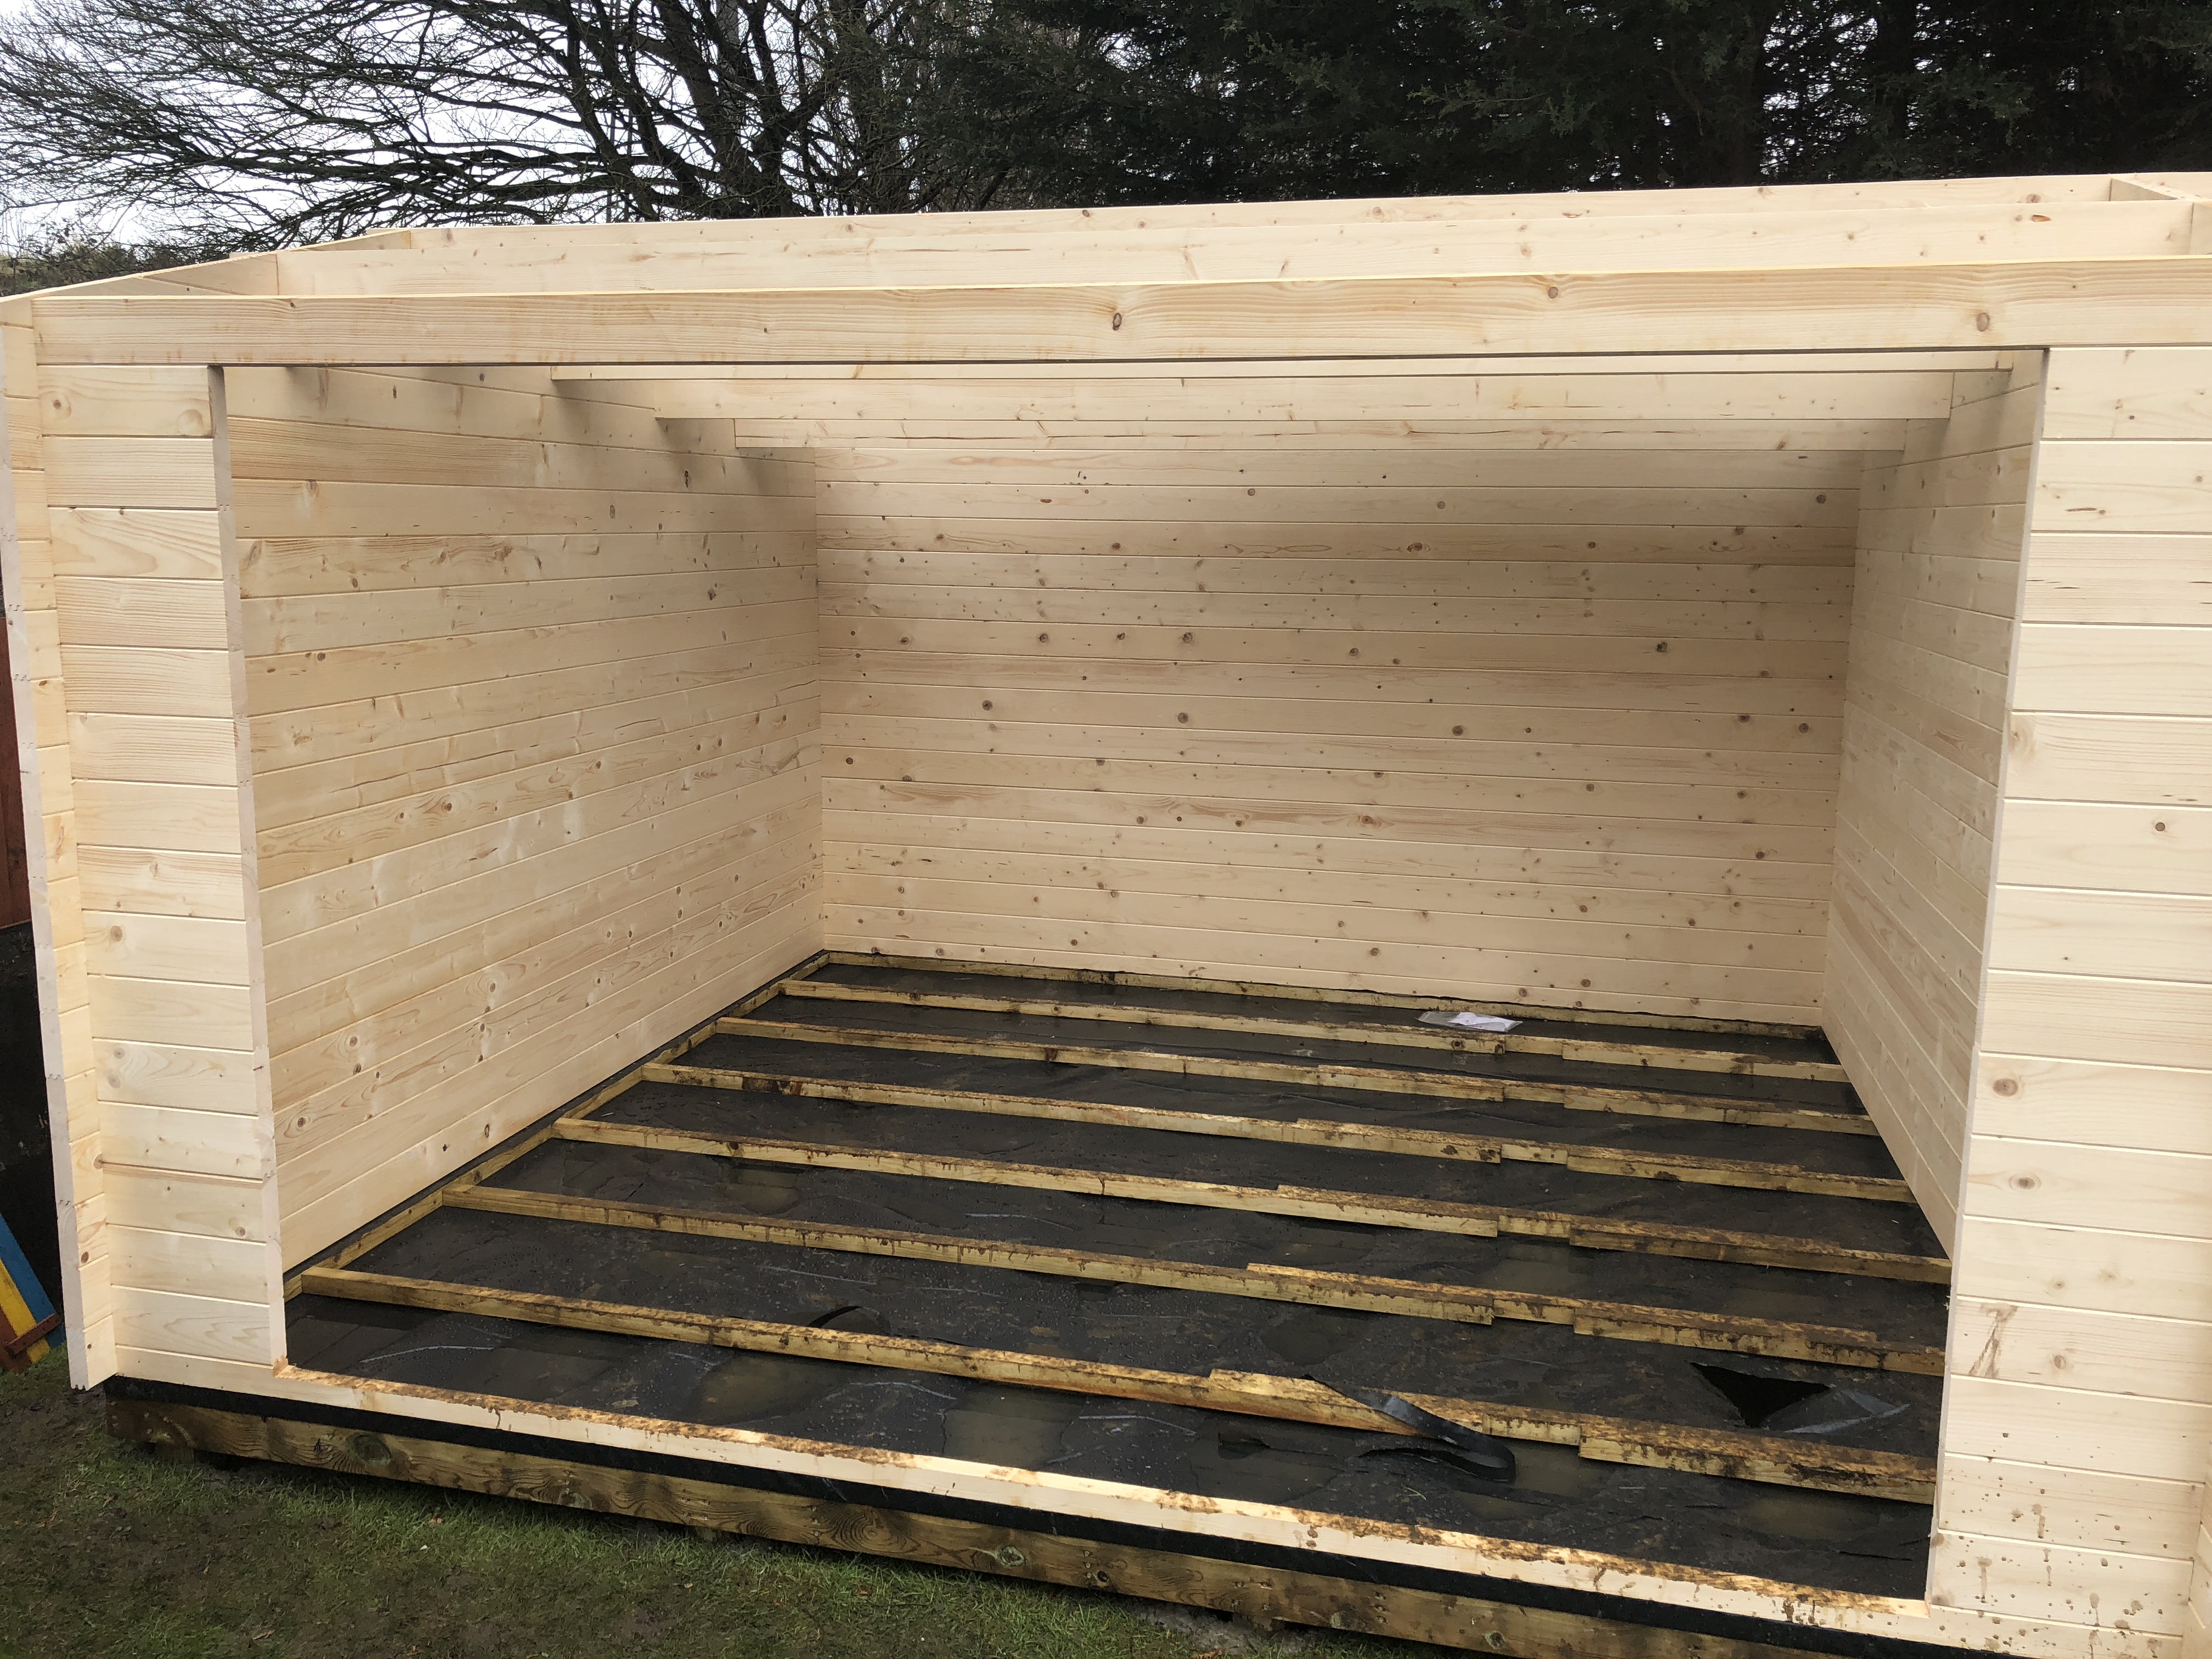
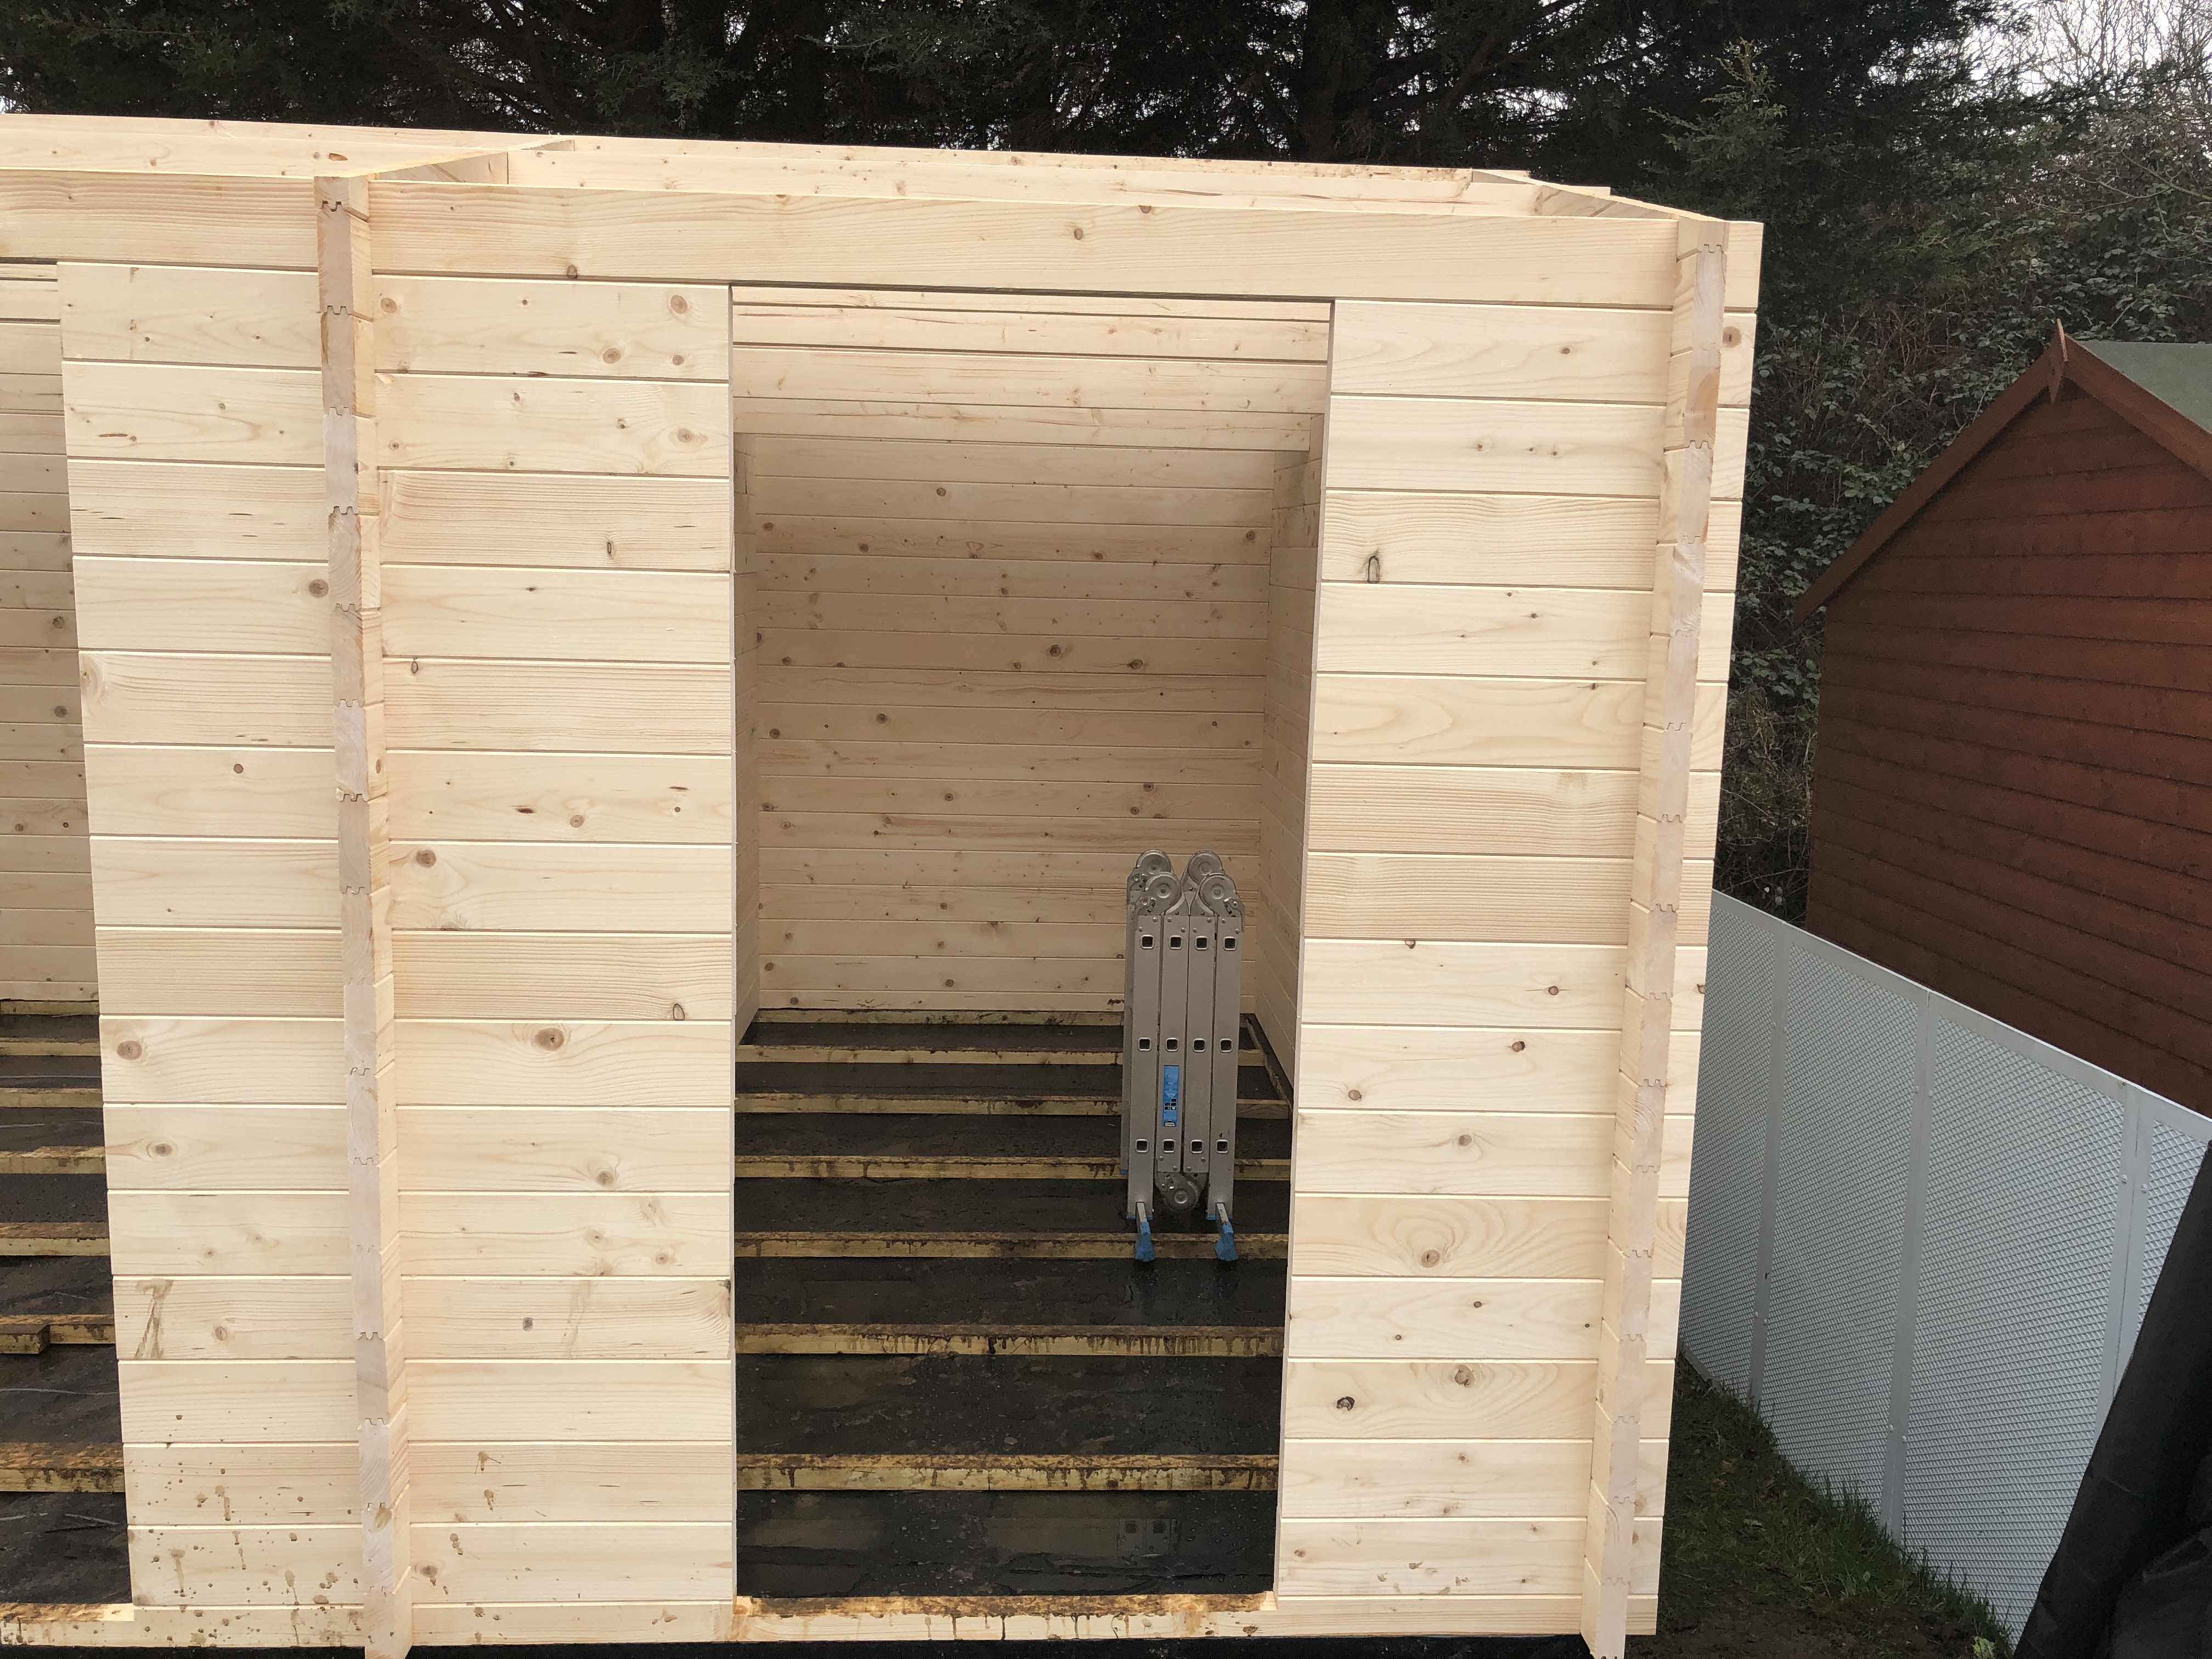
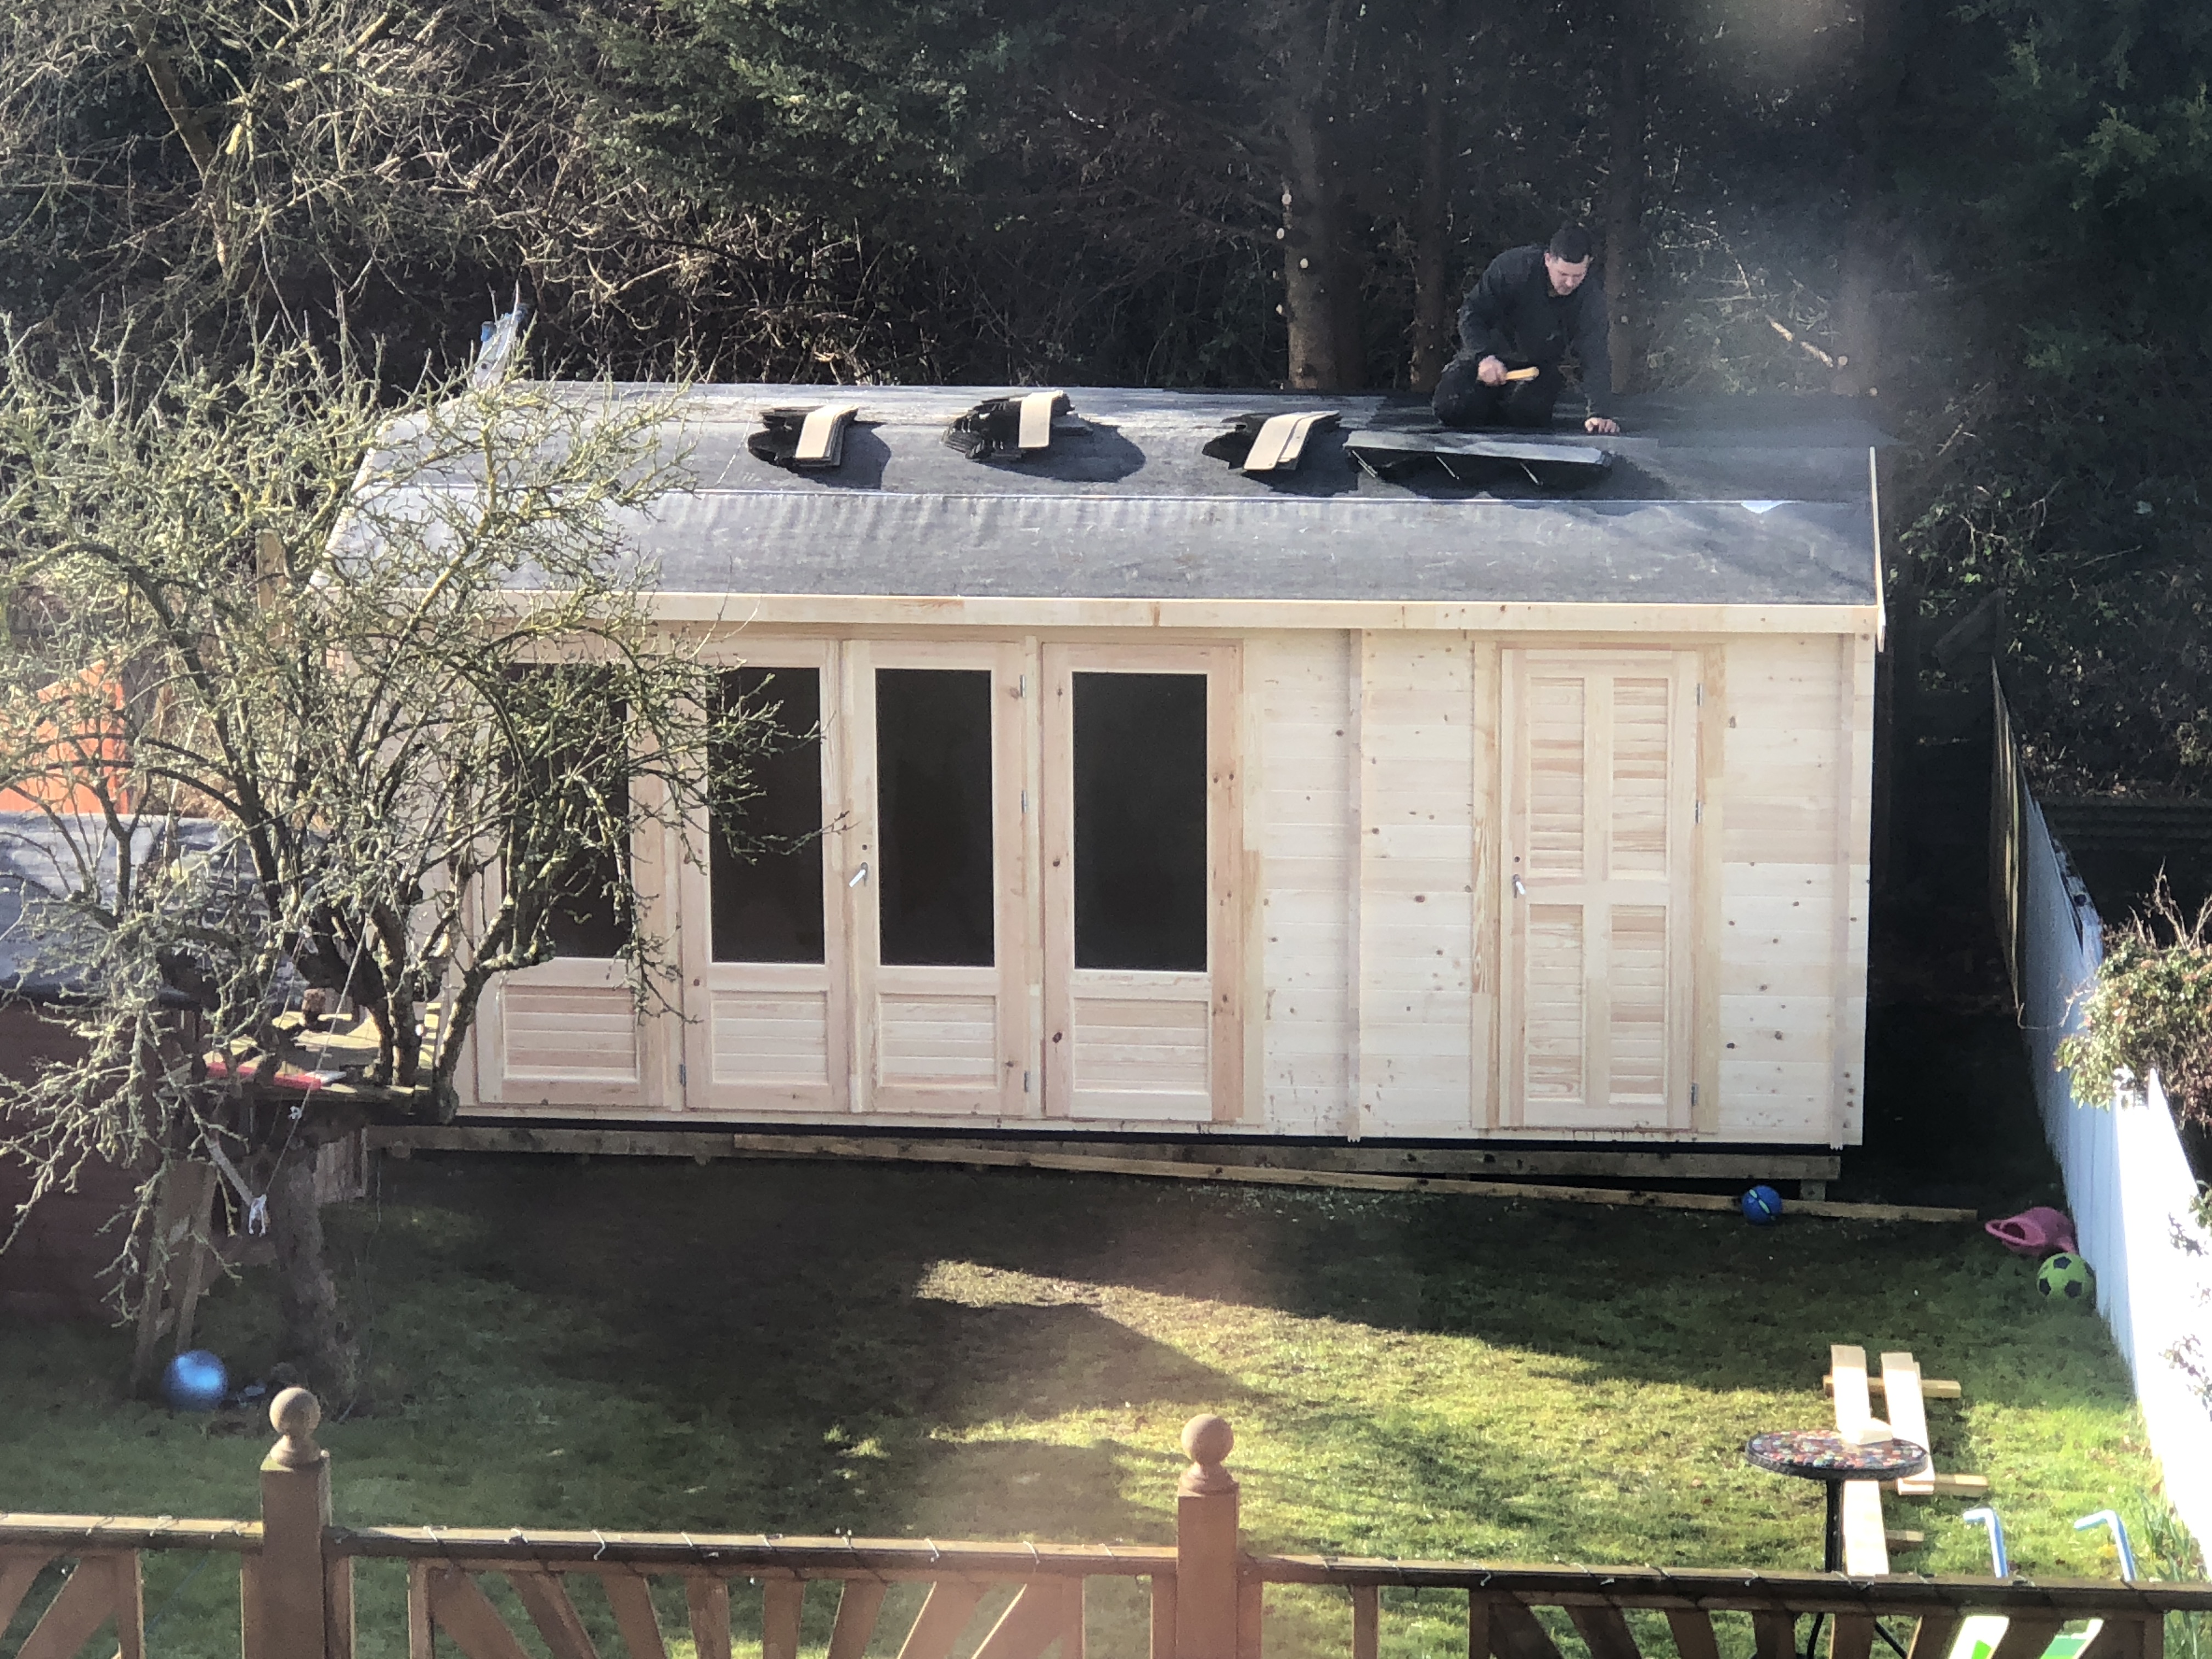
The build begins
The day comes and the build begins, the company believed they could get this all up in just 2-3 days which I found quite hard to believe but actually the team was amazing.
Clearly, they had done this time and time again, they hack a crack routine and was impressive to see. I only wish now that I had set up some kind of time lapse.