


![NO Weekender Or Cult Of Games XLBS This Weekend [Updated]](https://images.beastsofwar.com/2026/03/No_Weekender_and_XLBS_this_Weekend-225-127.jpg)


75th Anniversary of Battle of Monte Cassino and Northern Italy (Terrain Build)


Recommendations: 440
About the Project
Firstly, I’m aware that the 75th Anniversary for the first Battle of Monte Cassino is 12th January 2019 however, this project is about preparing for some of the games that I’m thinking about running. I’m a slow painter, so I need plenty of time to prepare! In this project, I will look at building the terrain that I will need for the battles. I have another project looking at the forces that I need to build and paint to better re-create those involved.
Related Game: Flames of War: The World War II Miniatures Game
Related Genre: Historical
This Project is Active
Italian Houses - Building the test house
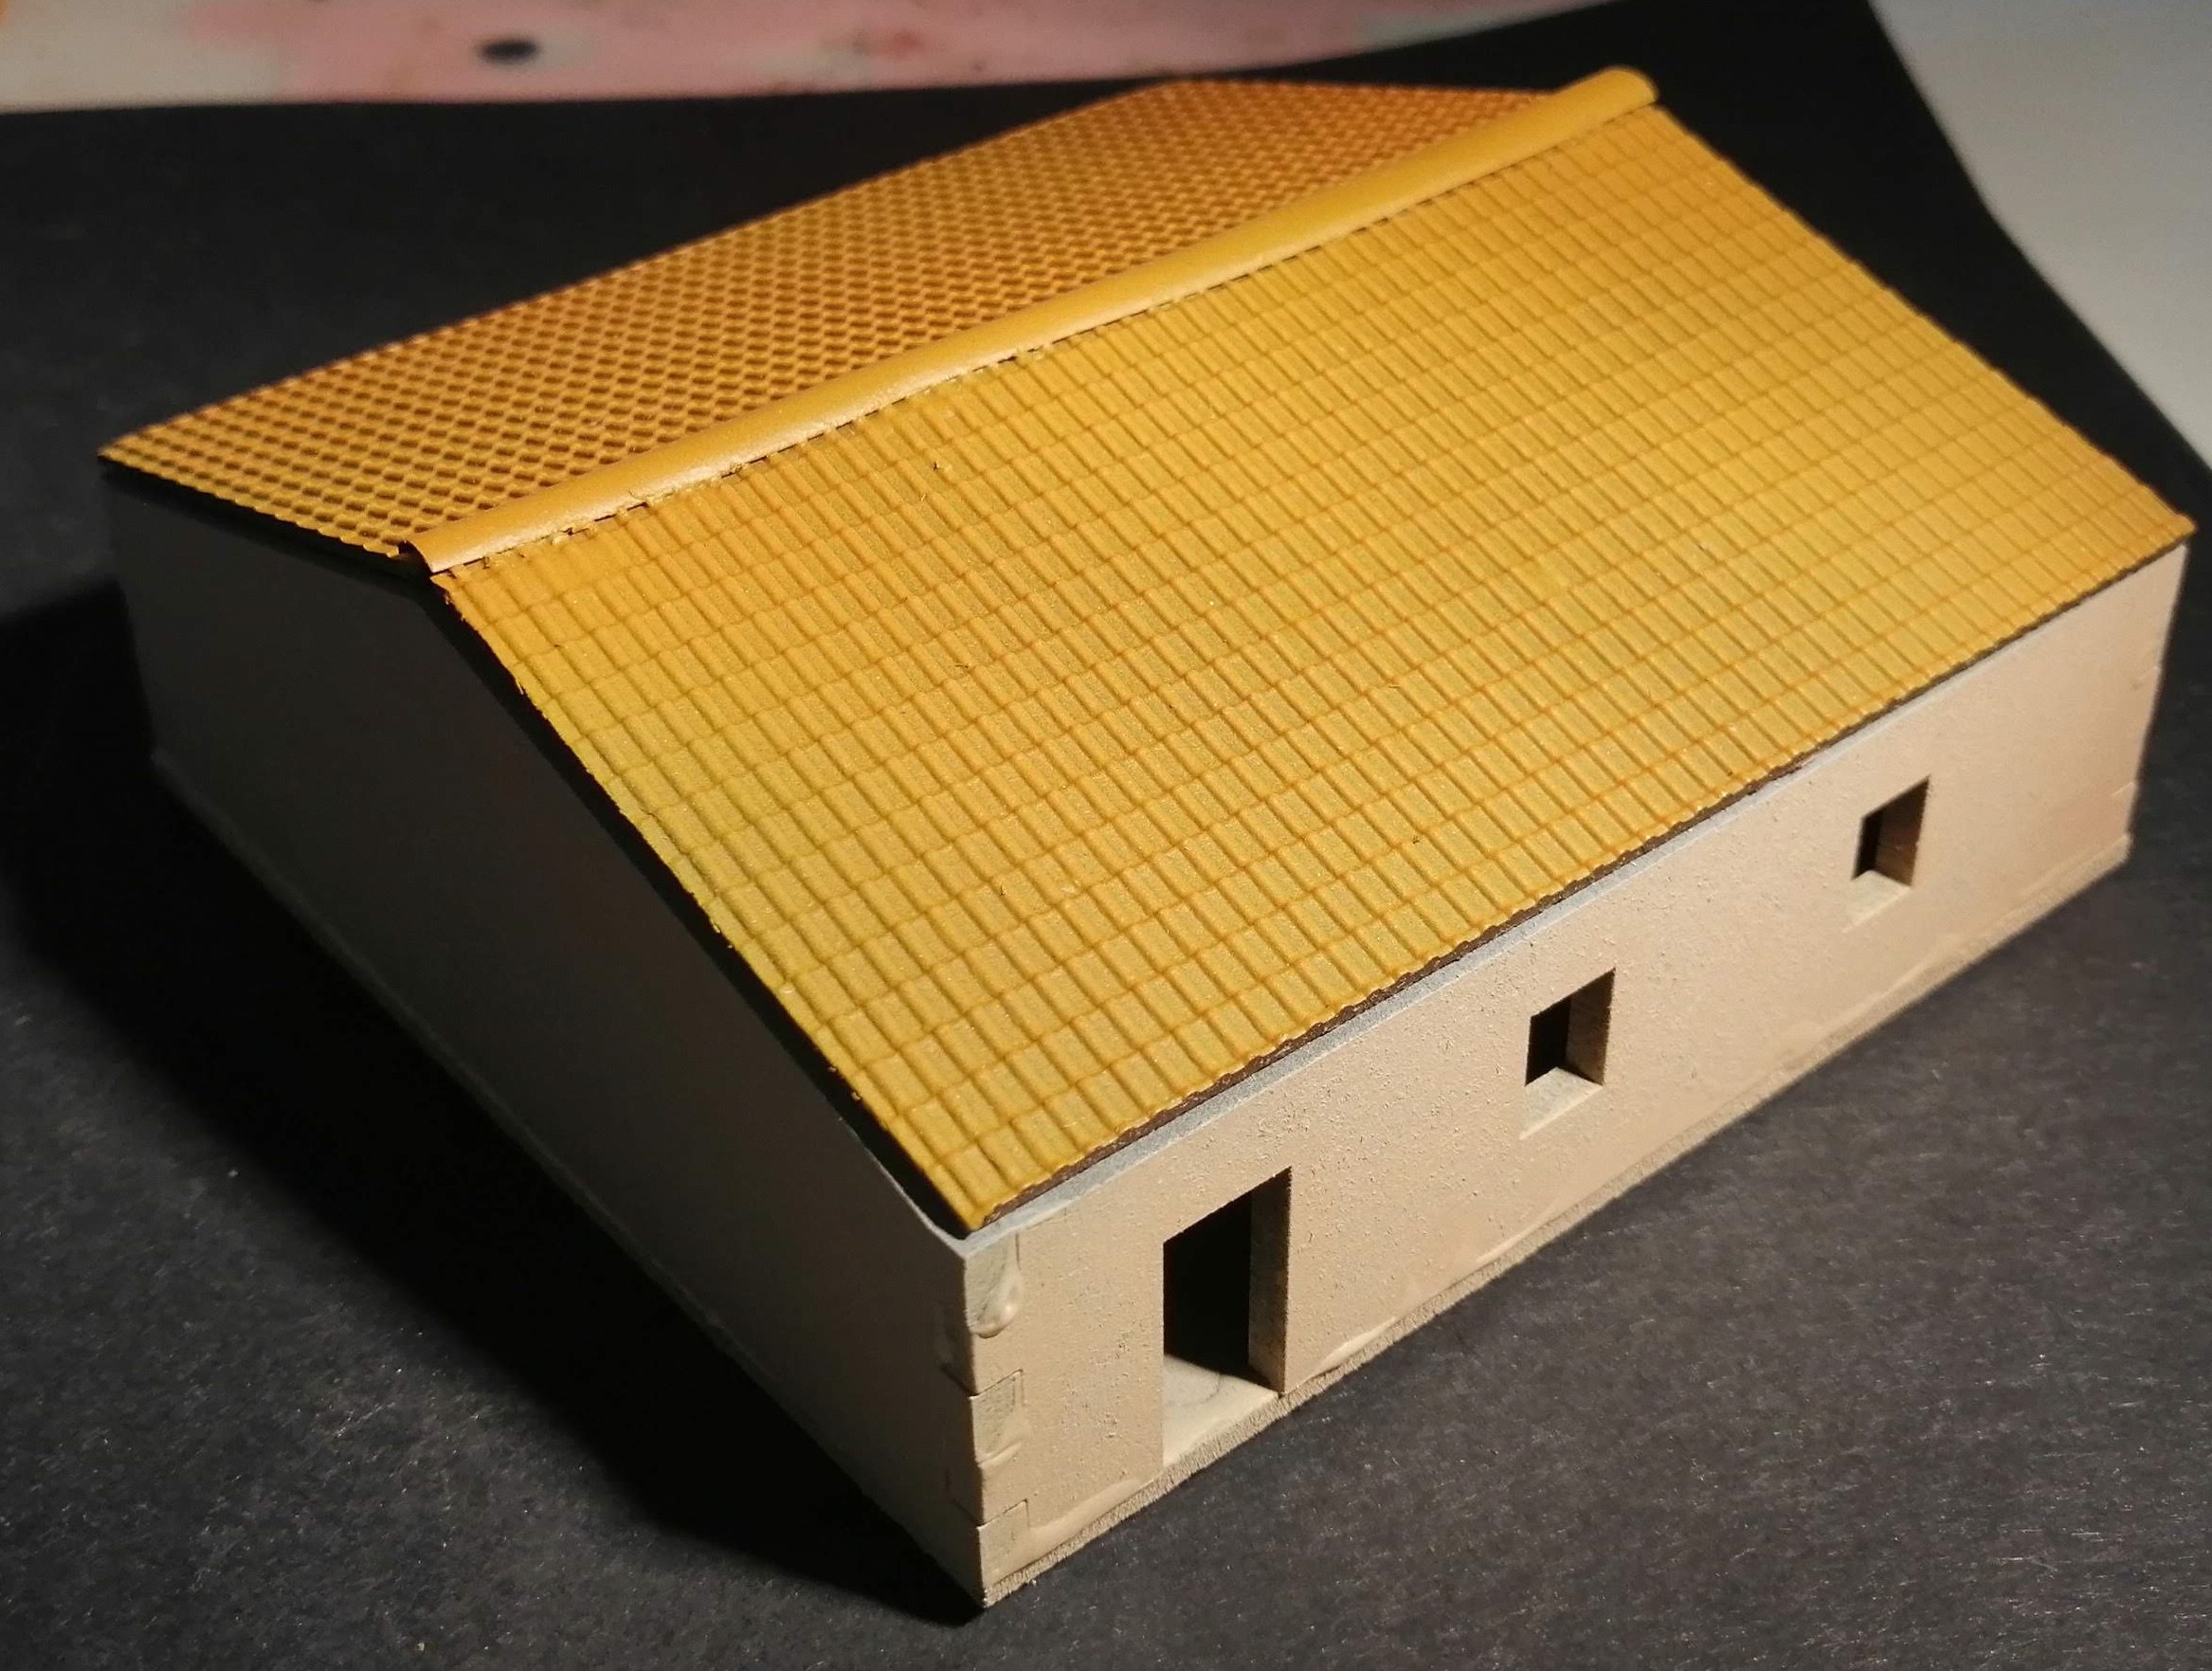
So I’ve been away on business this week and returned to find a little package for me from Razorlab. My vector line diagram in the last update has been converted into something tangible.
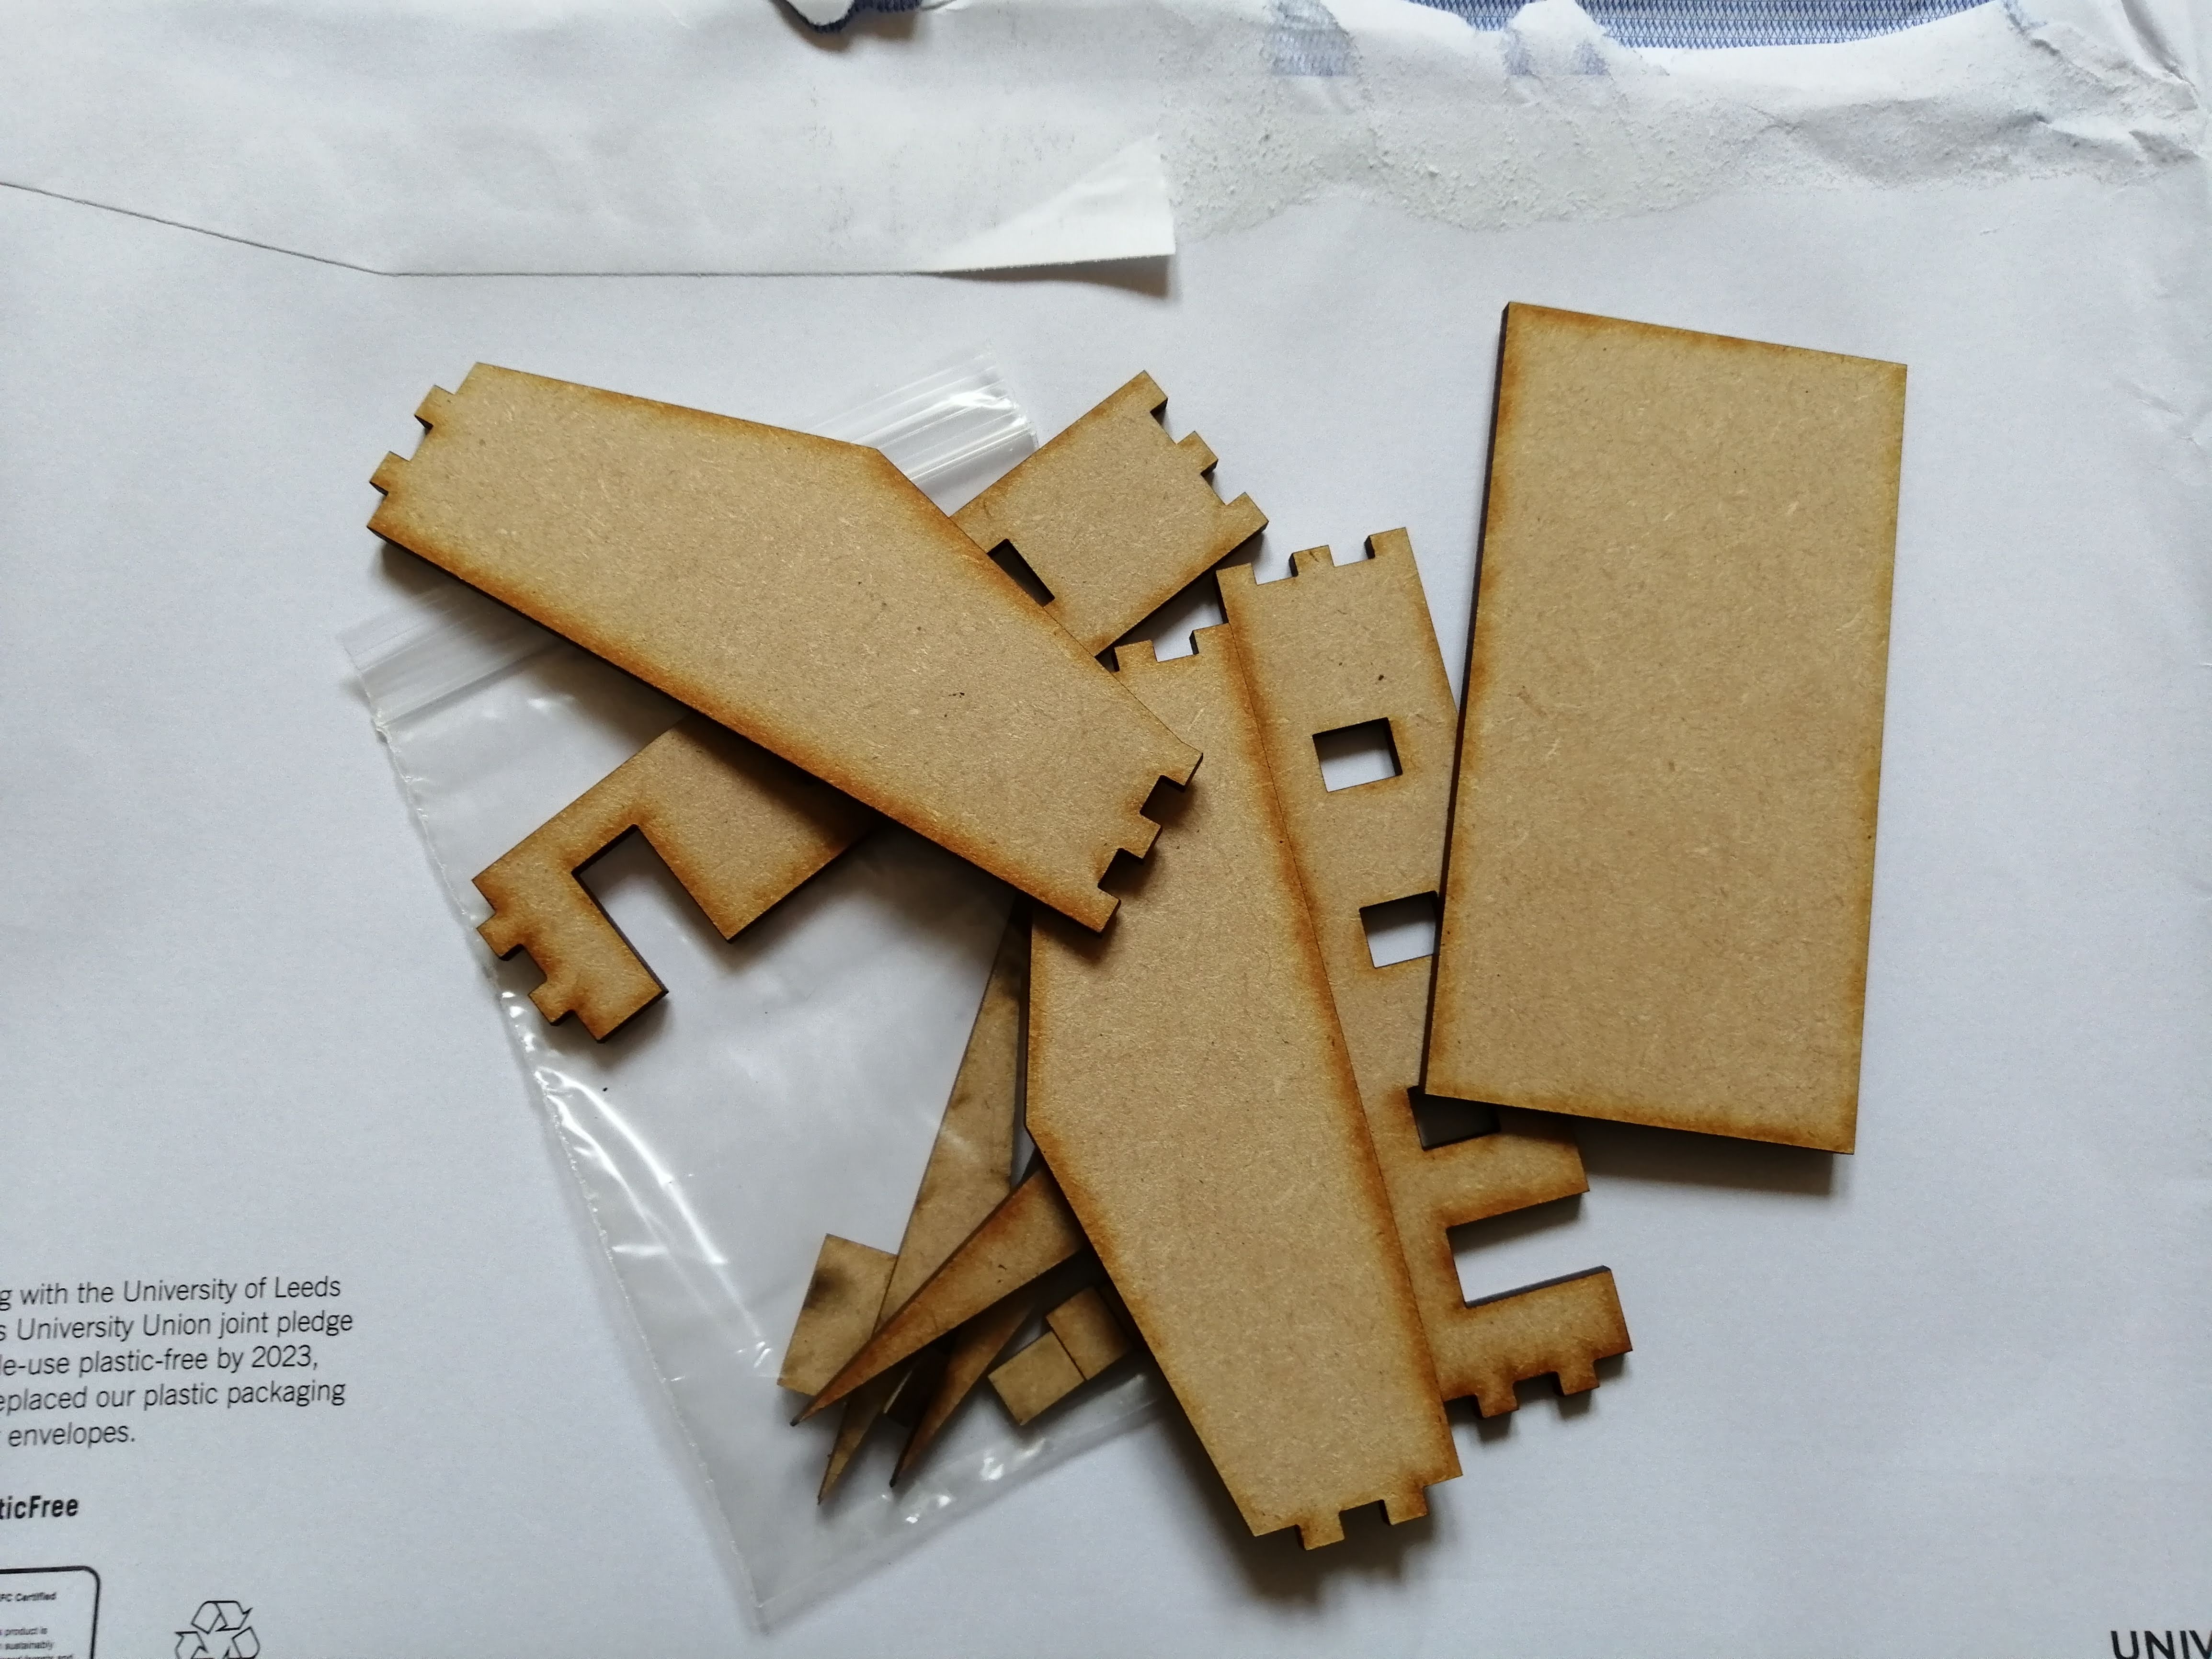 All the bits from Razorlab
As I ordered the smallest mdf base material, there wasn’t enough space for two roof panels (just the one) or a base, so I had to cut these myself. However, once done, the pieces went together very smoothly and easily – no sanding or additional work beyond a bit of PVA. So I’m very pleased with how that worked out.
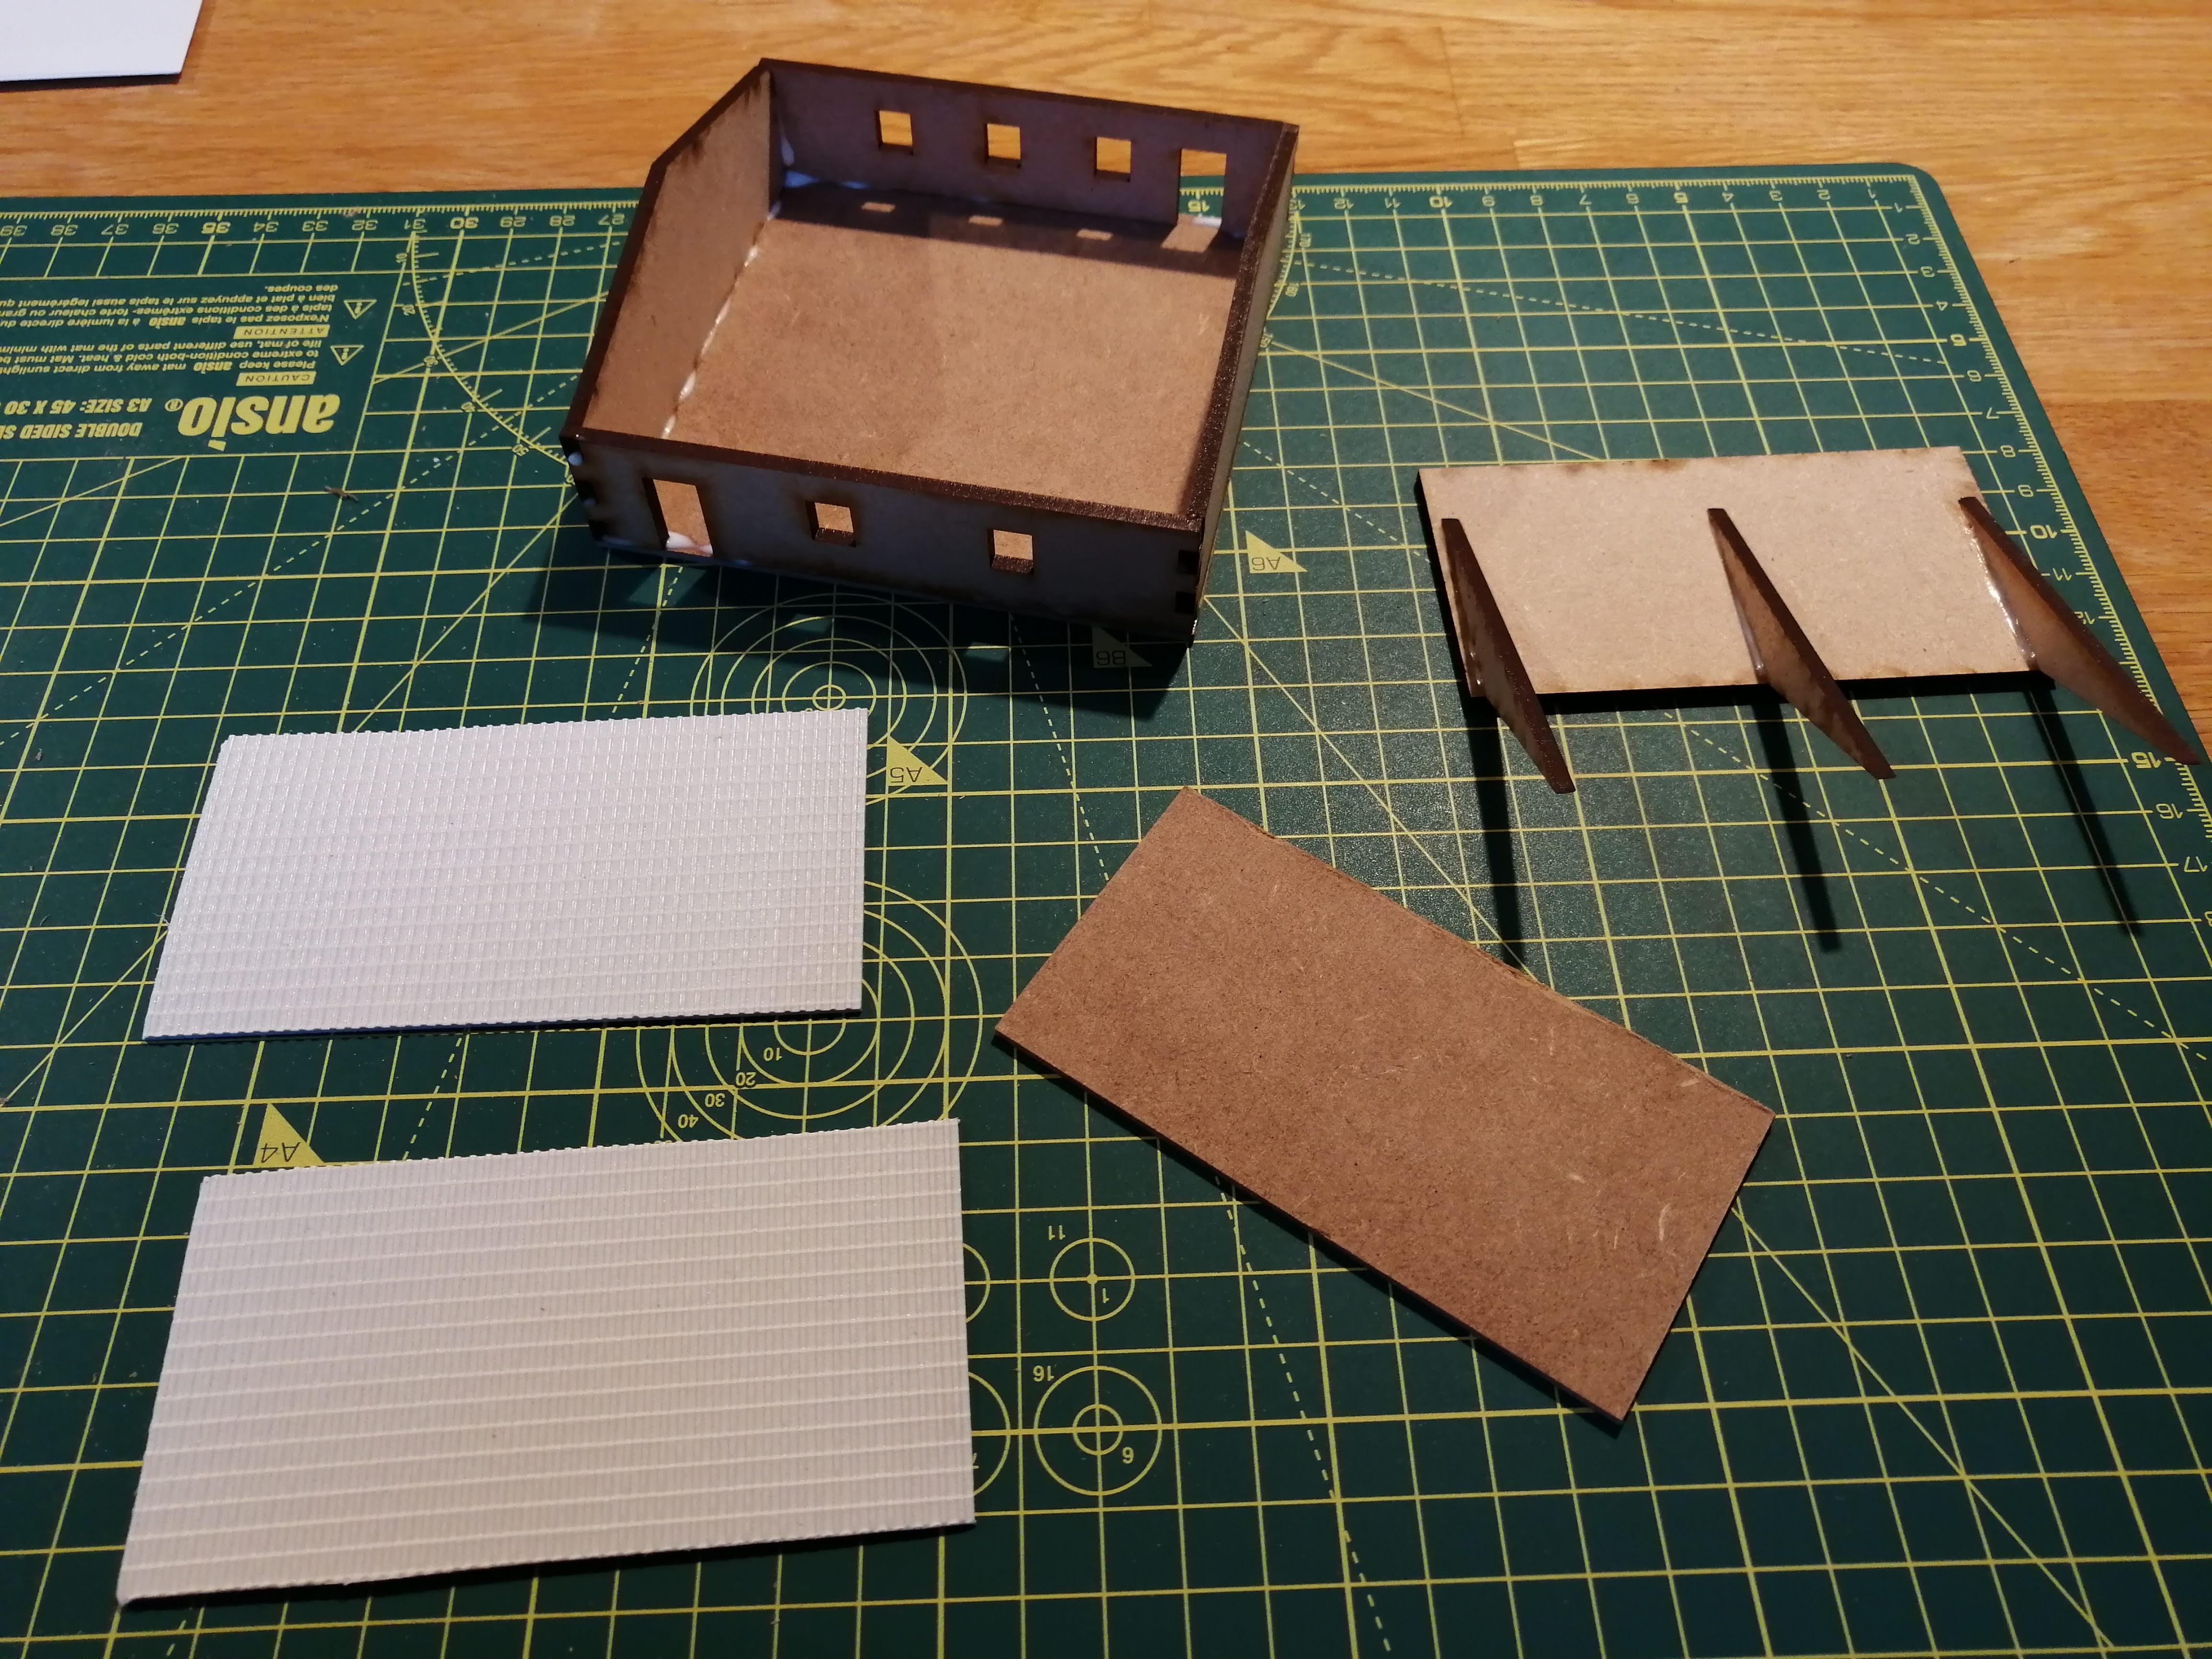

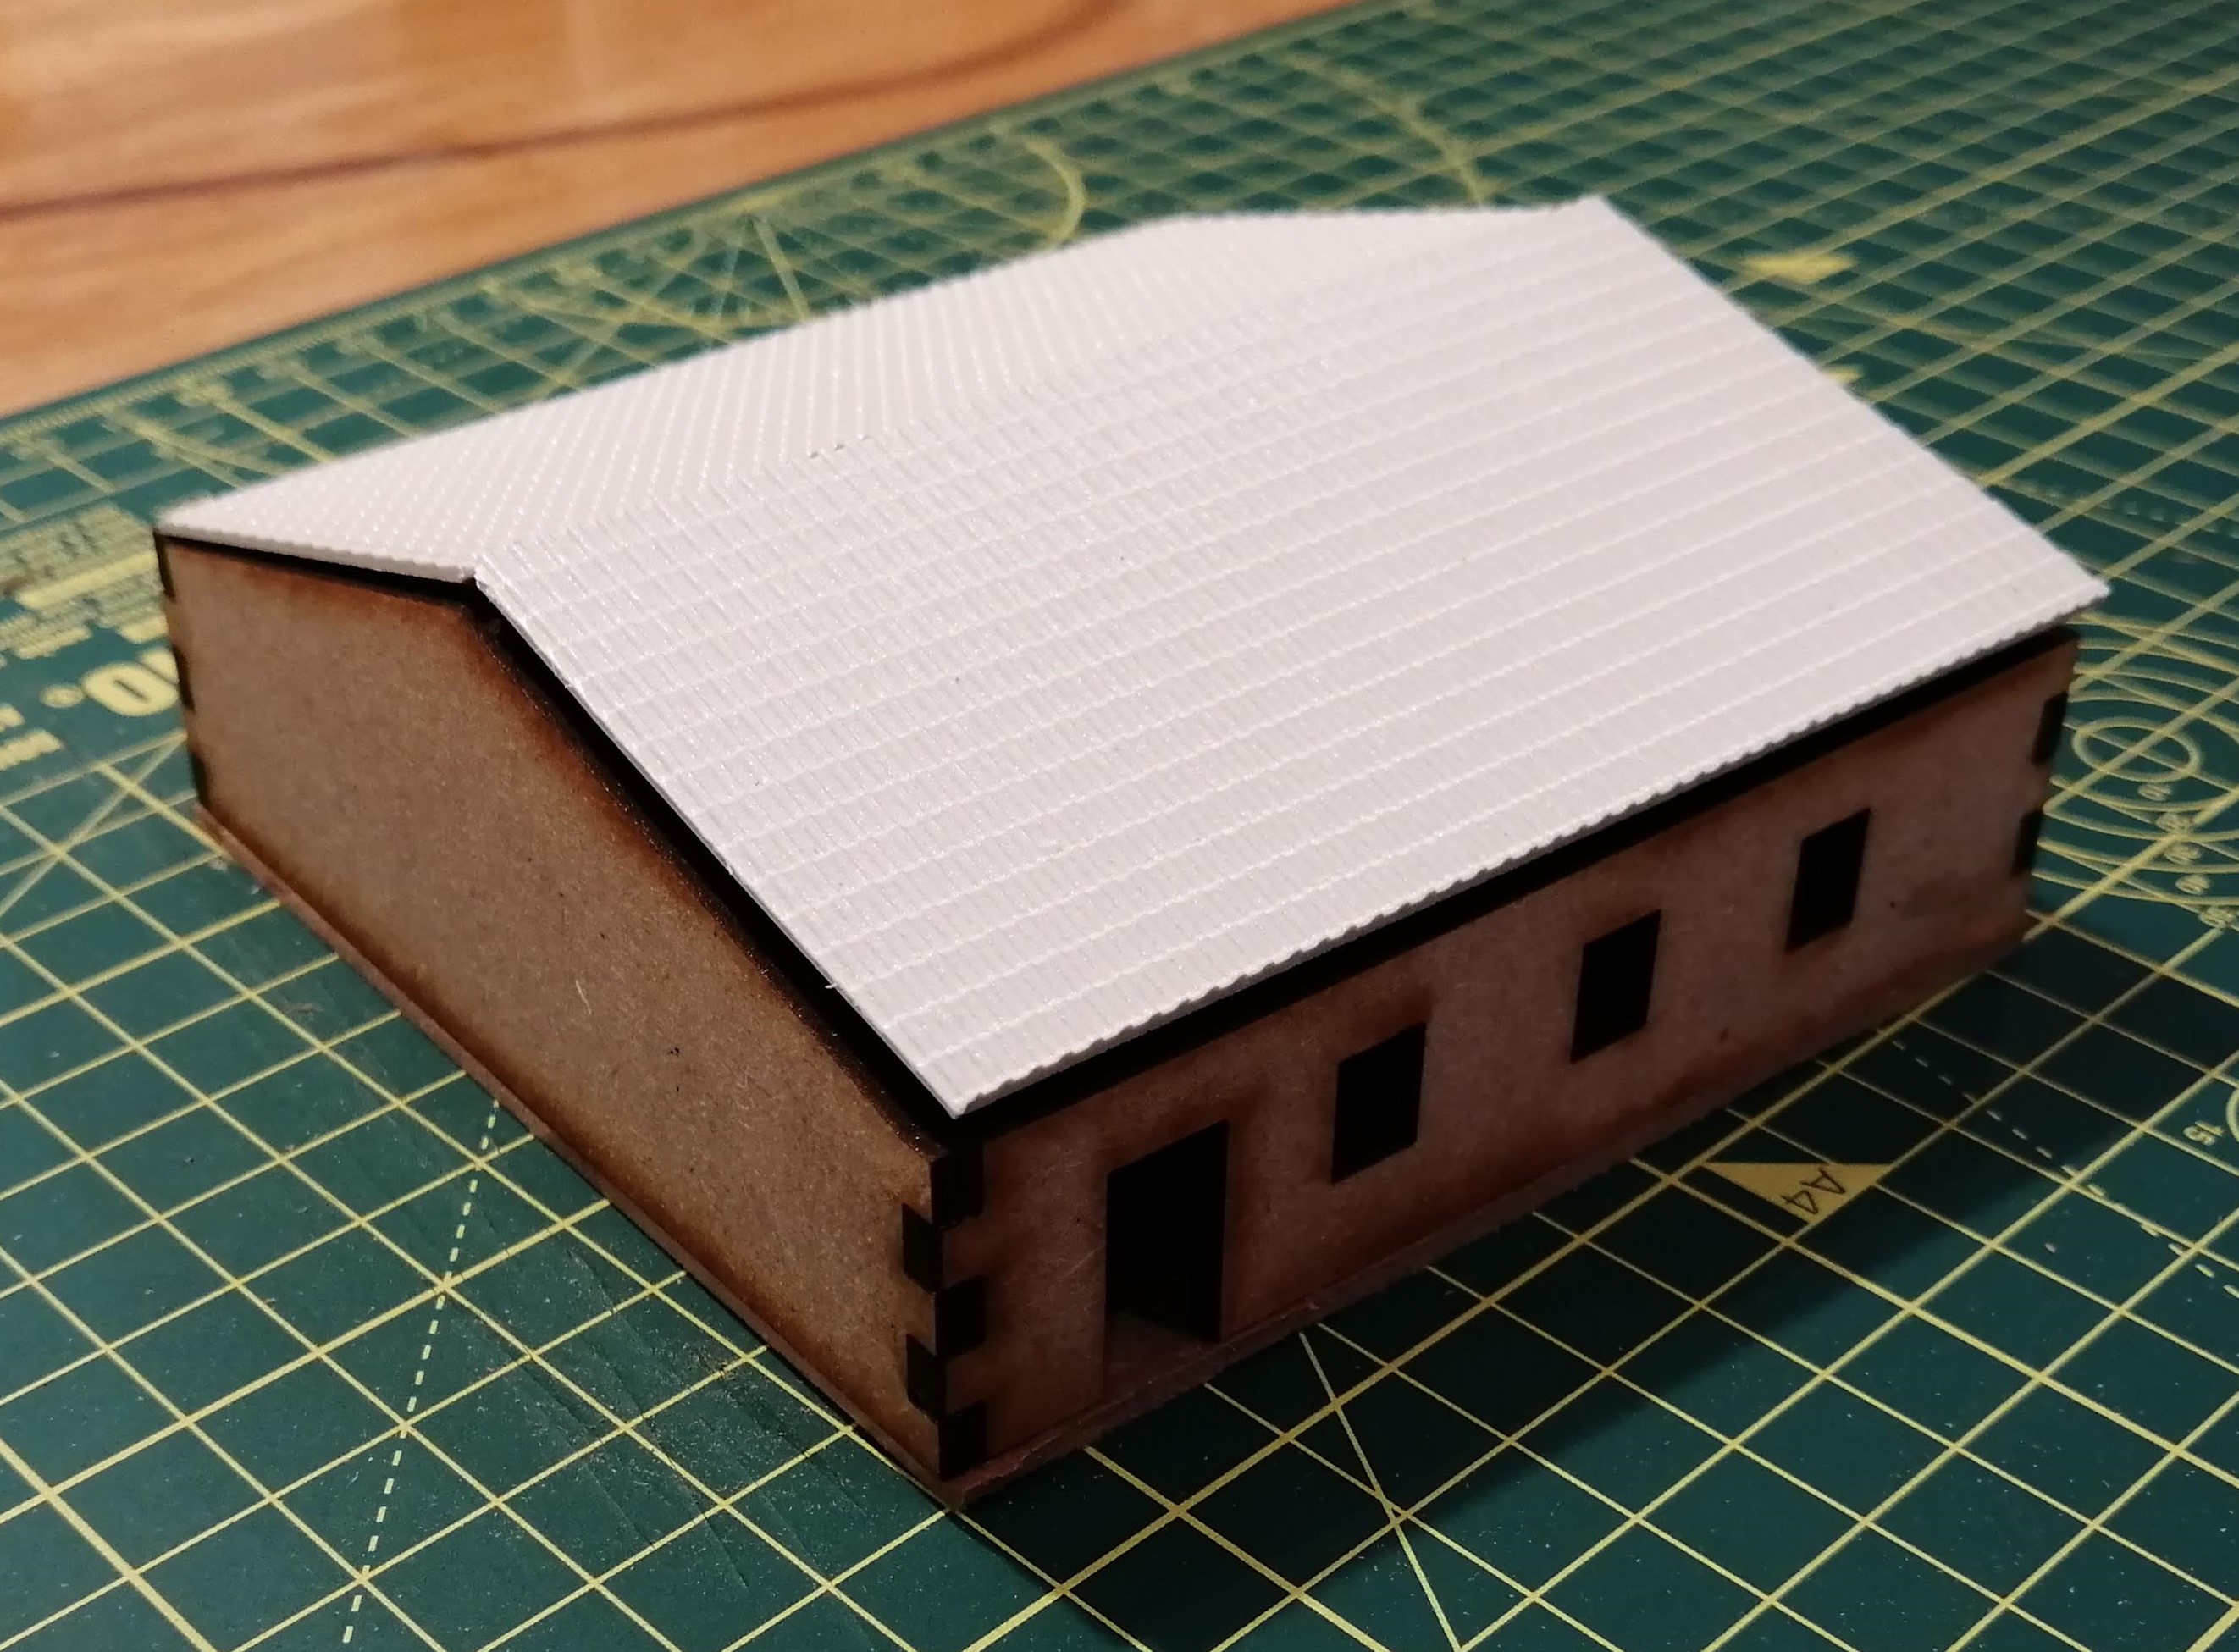
I’ve cut and glued the plastic roof panels onto the mdf roof base. One thing that I didn’t think about was the 3mm thickness of the roof and my trigonometry. The thickness means the roof doesn’t sit quite flush with the building and will need a little shaved off. Not a disaster but something to take into account in future designs.
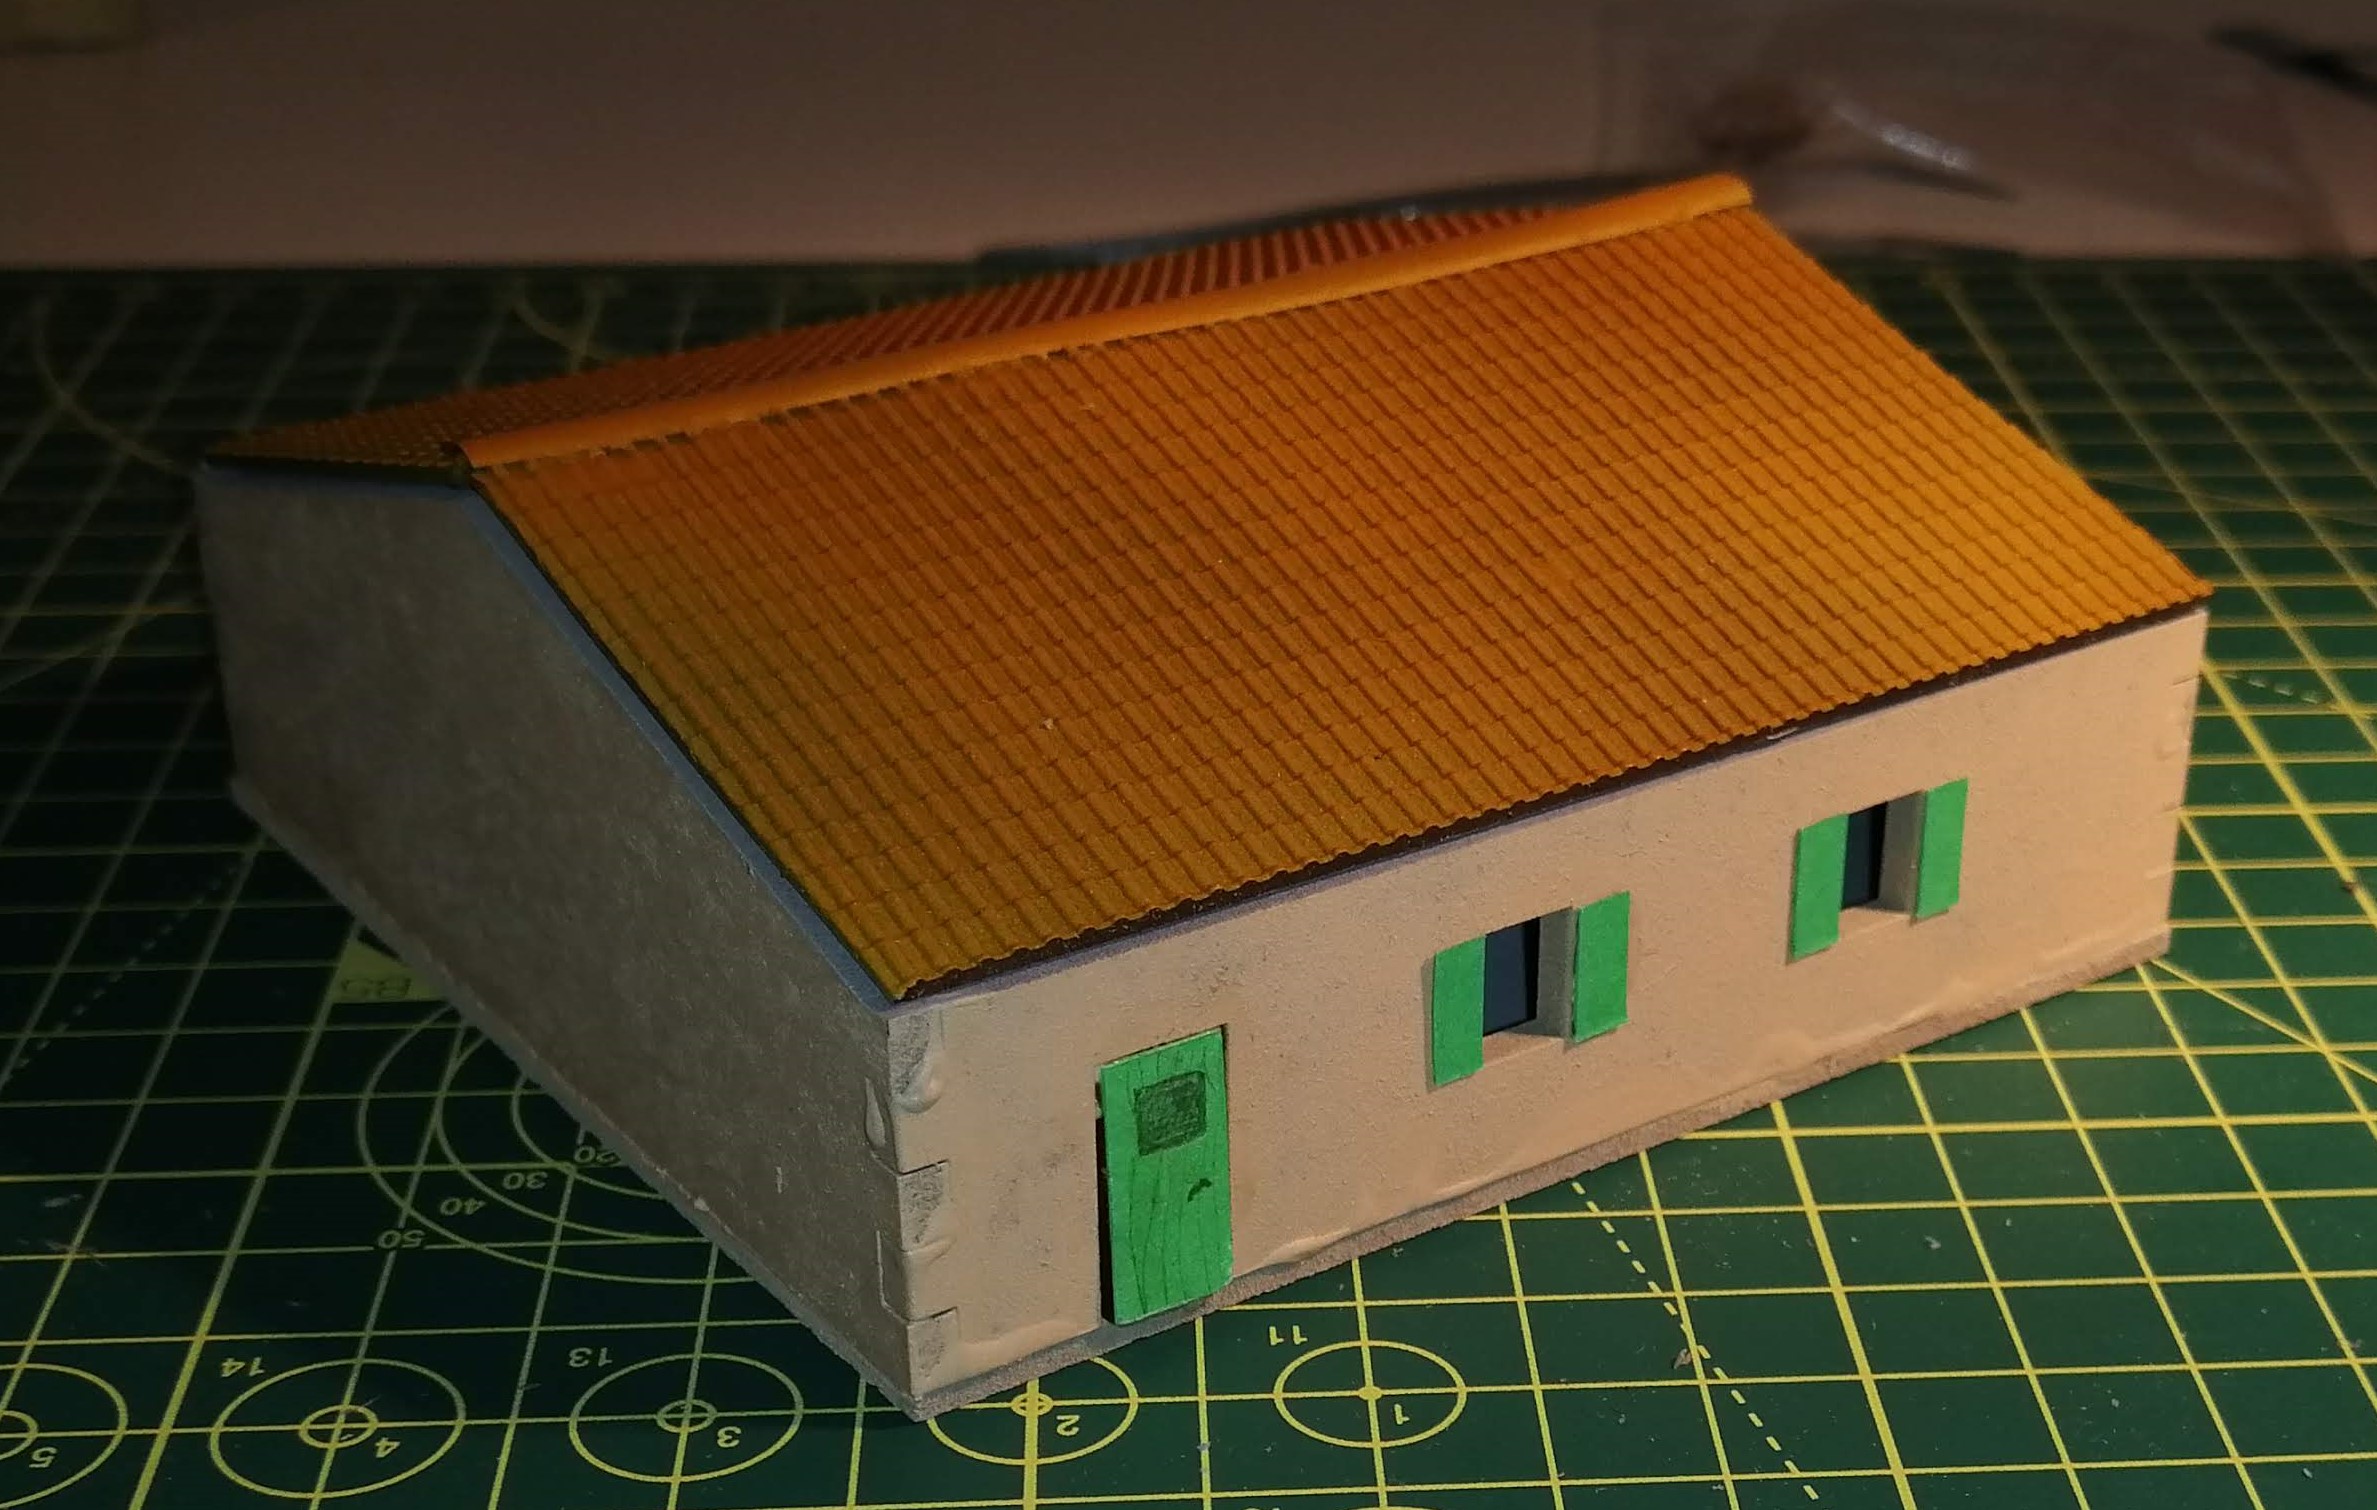
For the paint, I’m going to try a hull red base for the roof and then layer on some fiery orange followed by elf flesh. For the walls, I think I’ll try elf flesh mixed with some off white to brighten it up. All paints from Vallejo and I’ll apply through the air brush. Before hand, I’ve given everything a grey primer.
I’ve also painted up my hand cut test house as well to try out some techniques and to also see how the pva/filla mix works out.
As an experiment, I’ve also lightly sprayed on some green around the bottom of the buildings to give the impression of moss/mold.


Now for the doors and windows. For the shutters, I’ve just cut out green card and glued these in place. For the doors, the cut outs from the frames were included and I just cut out card to glue over the top and then glued the door back into place. In hind sight, I could have just not cut anything out and glued a card door on the top but at least I have the option of having the door open now!
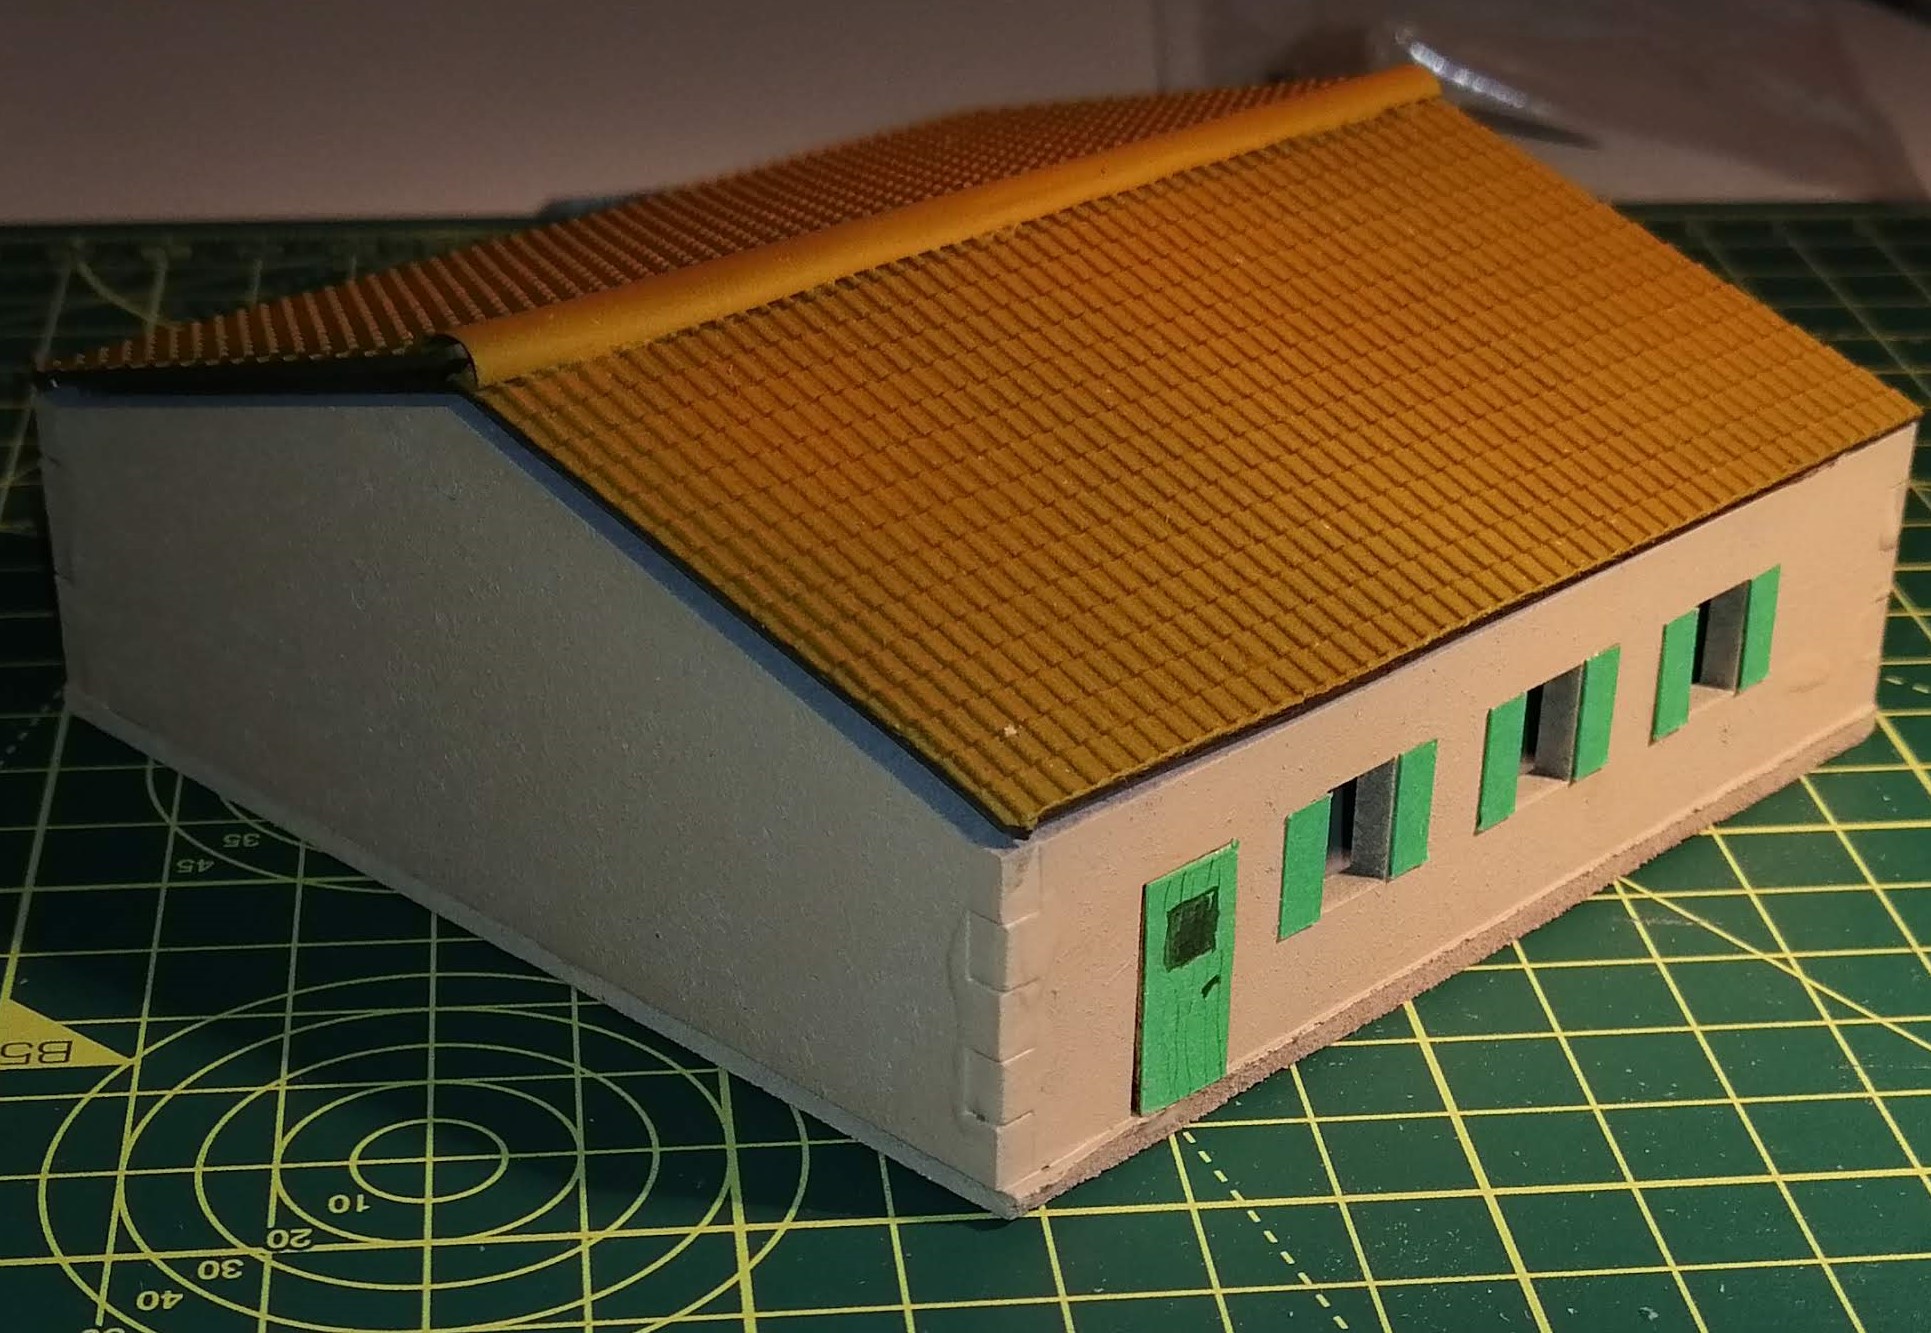

So overall, given the limited amount of effort involved, I’m quite pleased with the results from Razorlab. I like the pva/filla coating I gave to the hand cut building, so I’ll take this approach with my next builds.
I now need to make some more to build a small hamlet. One small problem is the lack of uniformity in the buildings in a Tuscan town, so no designing just one building and replicating a lot of times. I’m going to need a lot of different designs to get the look right. I’ll also need a small church with tower as well as a separate bell tower as well.
Time to crack open the vector line software again and start designing.
Italian Houses - Vector Line Drawings
So as a test, I’ve designed an single storey ‘farm house’ to test whether I’ve got my principles right and that it will all go together correctly. This should create a 10cm by 10cm building and I’ve opted for the smallest mdf board to keep the costs down. As a consequence, I can’t cut a base and I can only create one roof panel (the rectangle on the right) but I’m confident enough that I can cut some mdf with a knife to manage this without making things too wonky.
Once again, getting the lengths and angles for the roof panel and roof trusses required some trigonometry so hopefully I’ve got my sums right.
I’ve used a free tool called Inkscape to draw the plans. This involved a lot of positioning the ‘points’ accurately on the x and y scale to ensure that the measurements are spot on.
Hopefully I should get the results back in a week or so to find out how well this has worked.
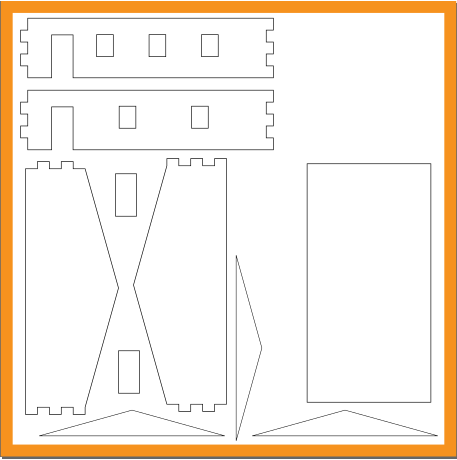 Vector line diagram that the laser cutter will use
Italian Houses
When I think about Italy, I see Tuscan hill villages (and Chianti, cheese, good food but that’s another story). Now while the whole of Italy isn’t covered with Tuscan hill villages (just Tuscany has Tuscan hill villages 🙂 ) I think building one will certainly set off the battles that were fought later in 1944 and 1945, once Cassino had been taken. Something like the picture below sums up what I’m aiming for, although probably more of a small hamlet rather than a town.
 A typical Tuscan hill village yesterday
Bizarrely, I can’t find any good 1:100 scale model Italian buildings. There’s some OK Spanish peninsula options that look similar, but nothing that really works. So I’m going to have to make my own.
I considered card models but it just doesn’t have the durability so I’ve opted for mdf. I’ve also found some sheets of the below on ebay which is 1:100 scale and looks exactly like the very distinctive roof tiles used in Italy.
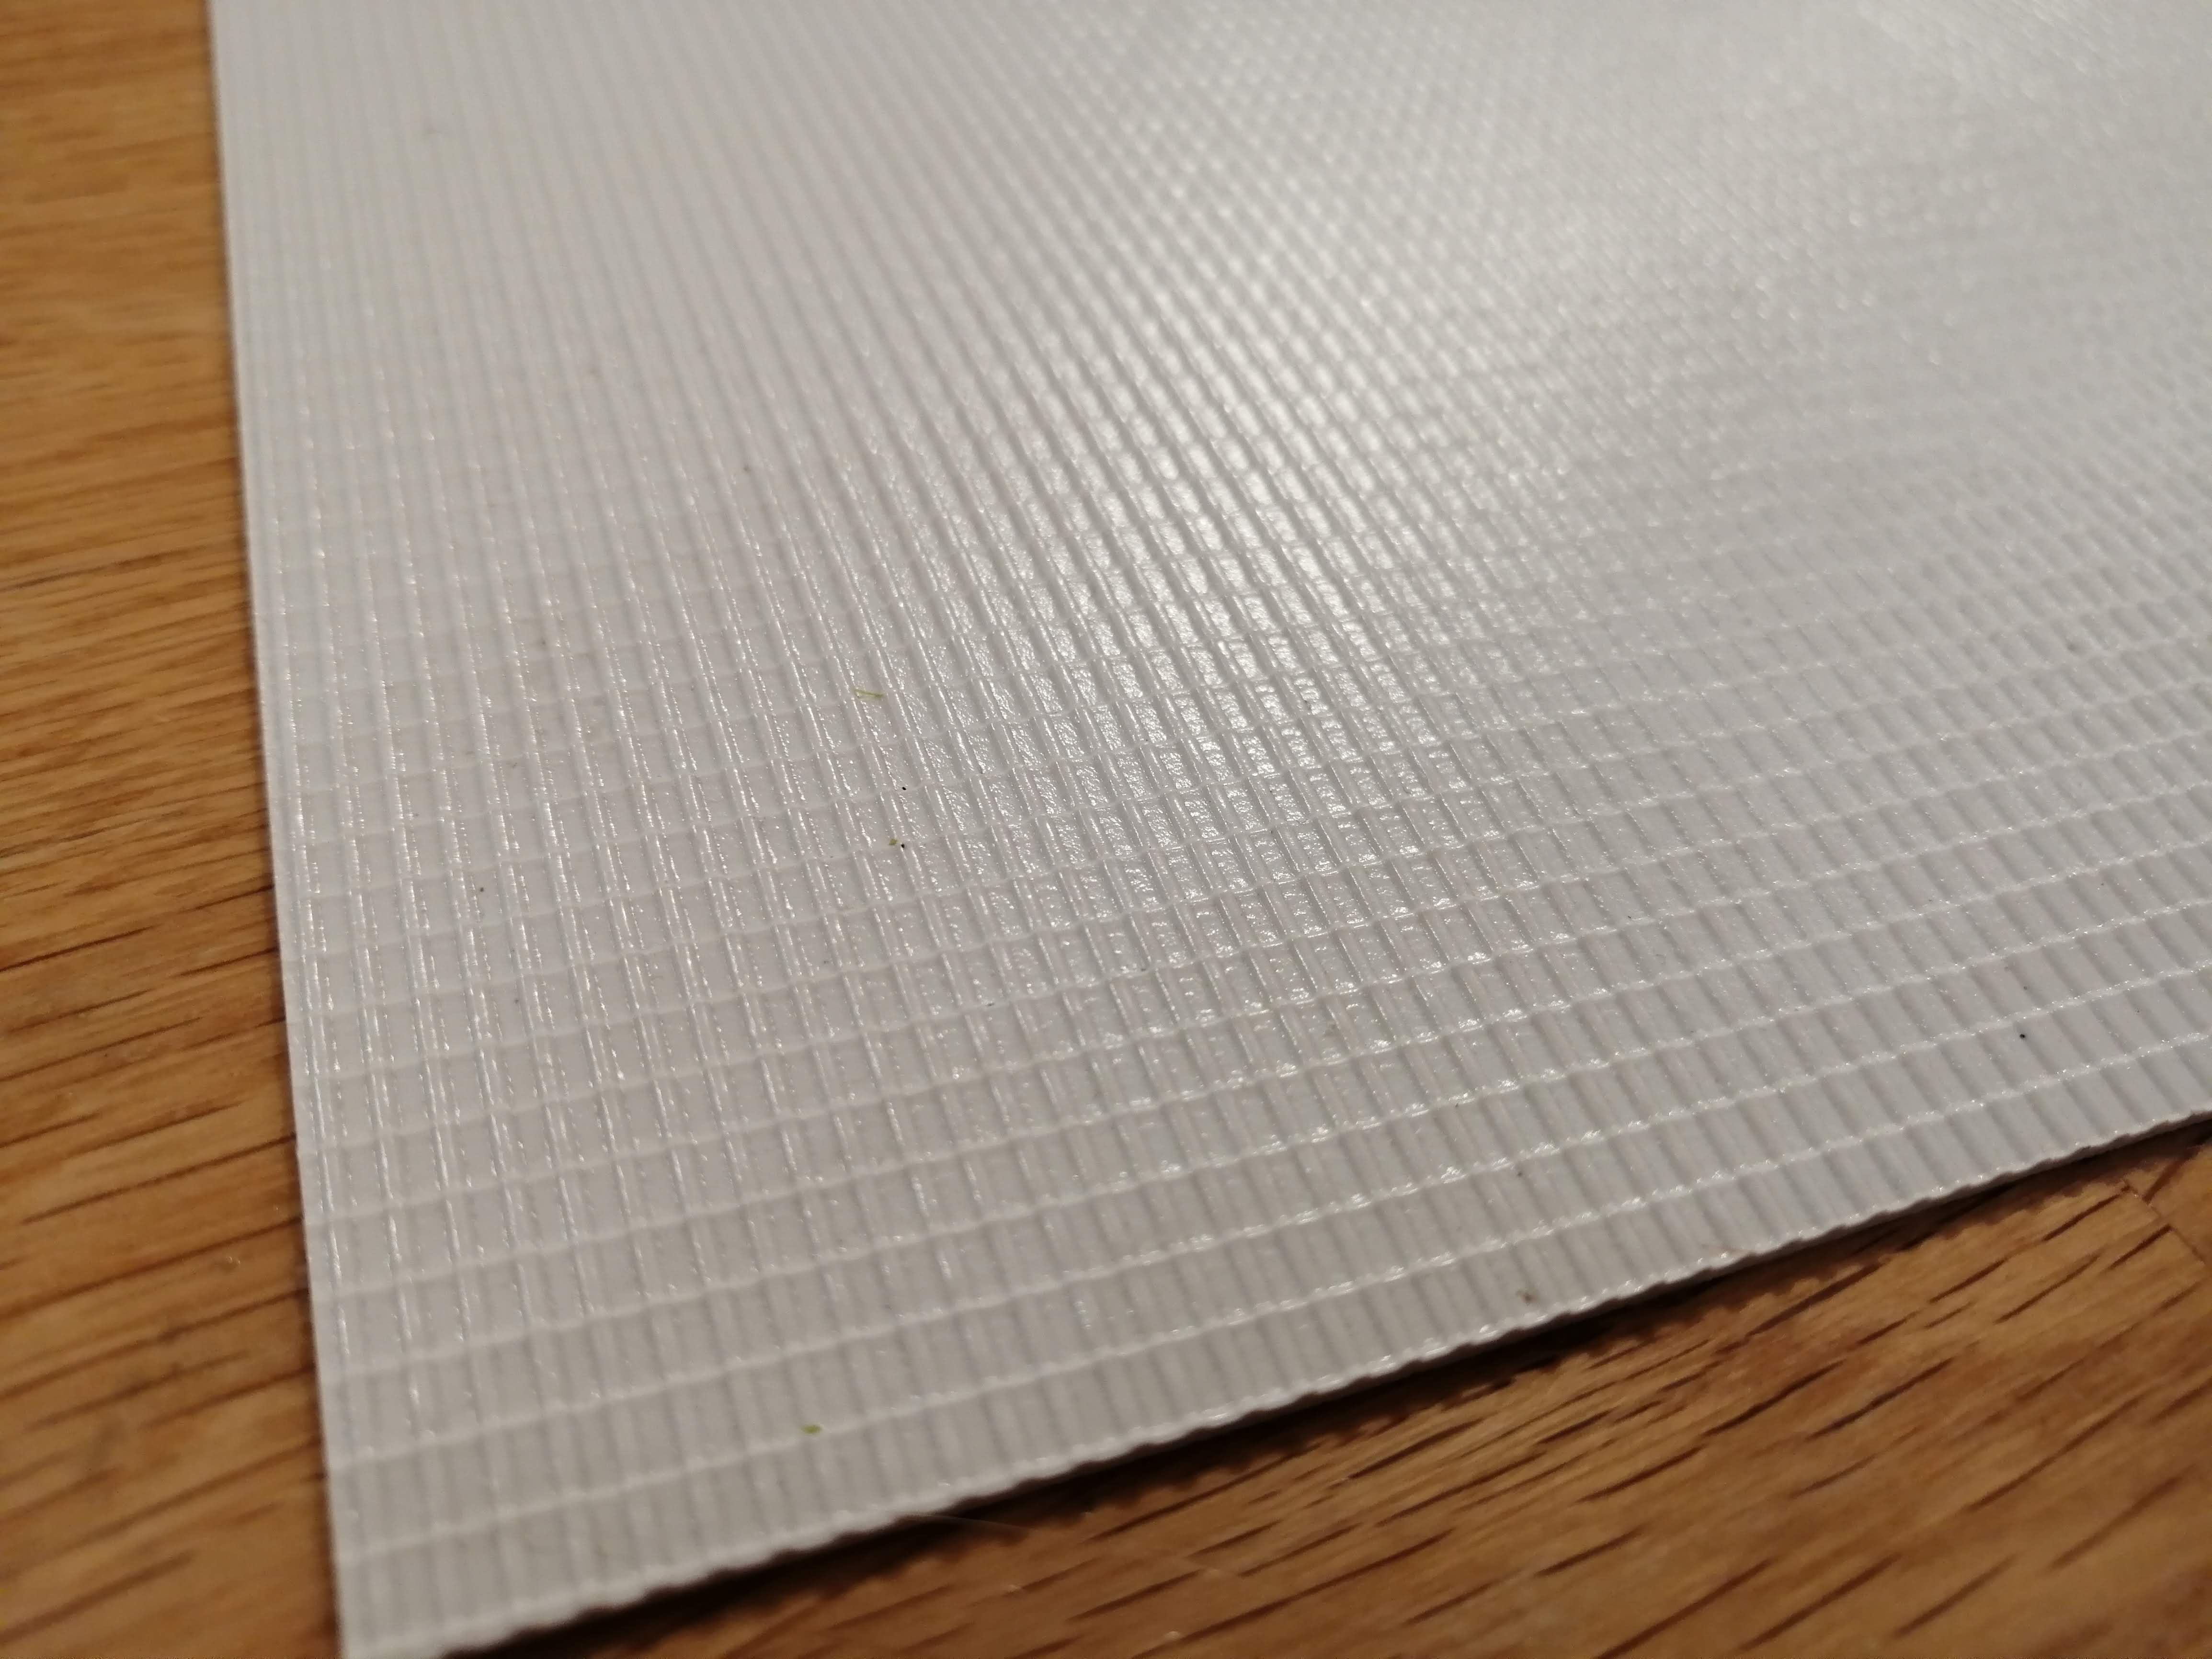 Sheets of roof tiles
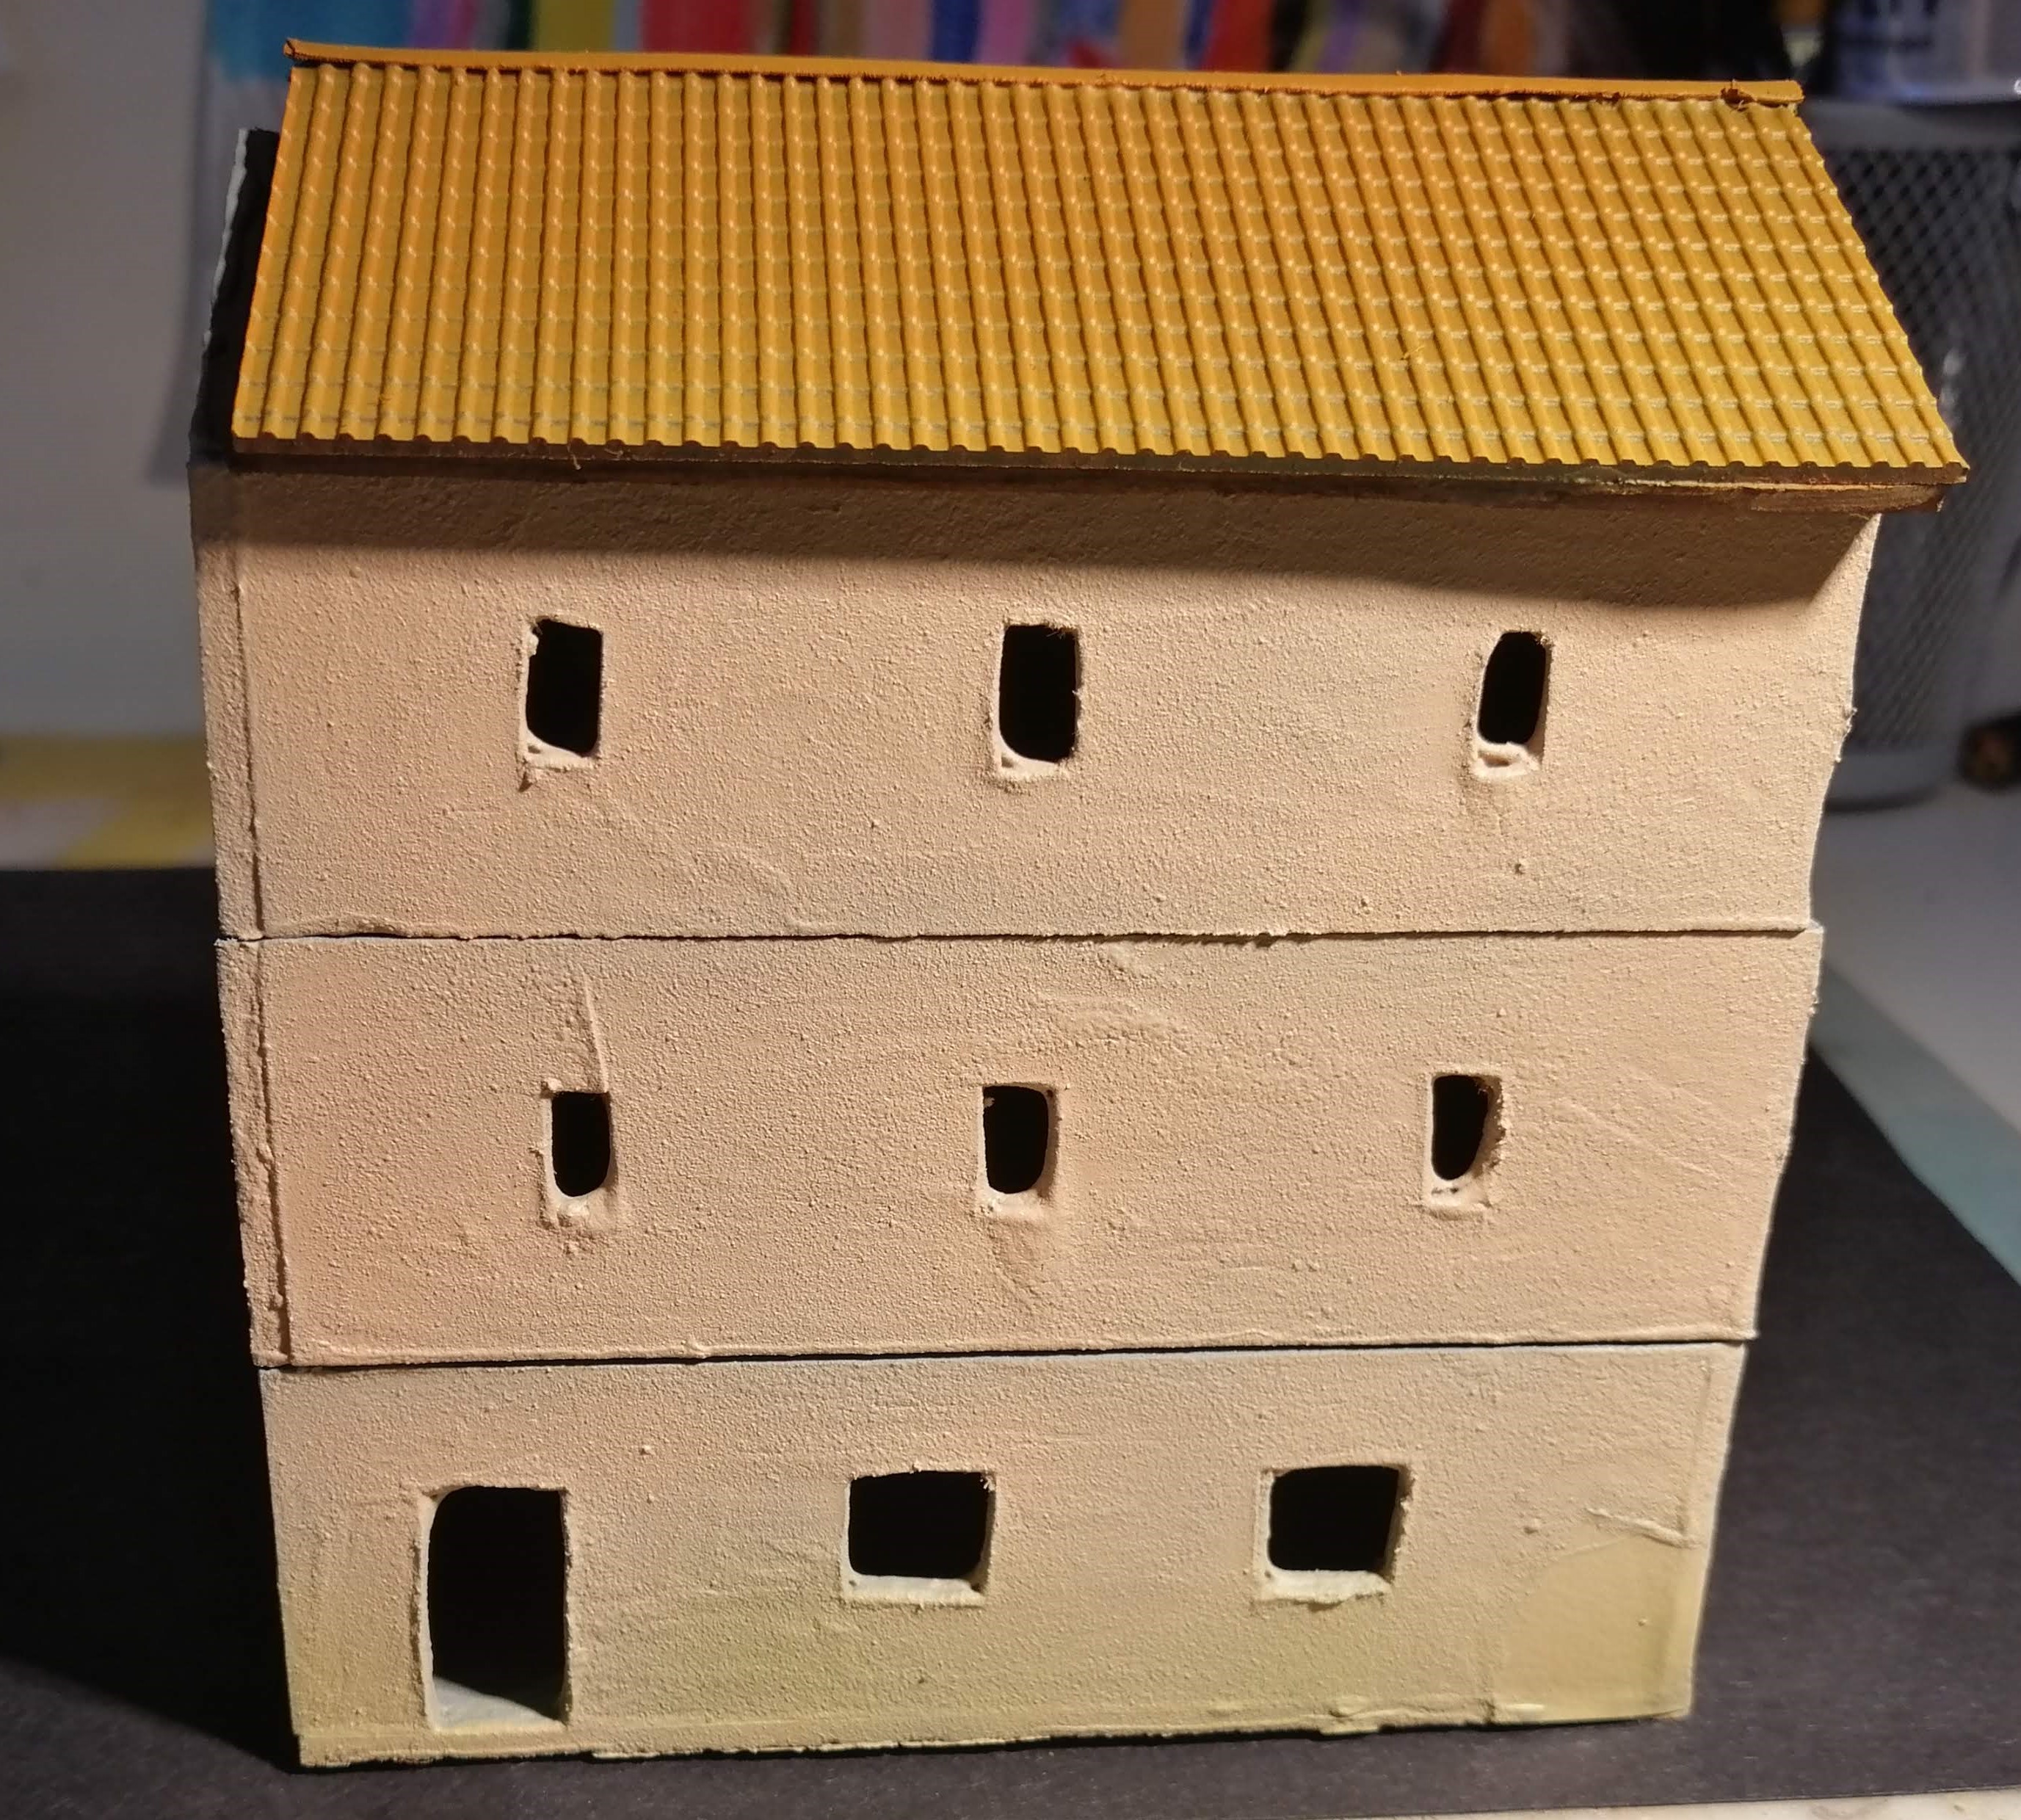
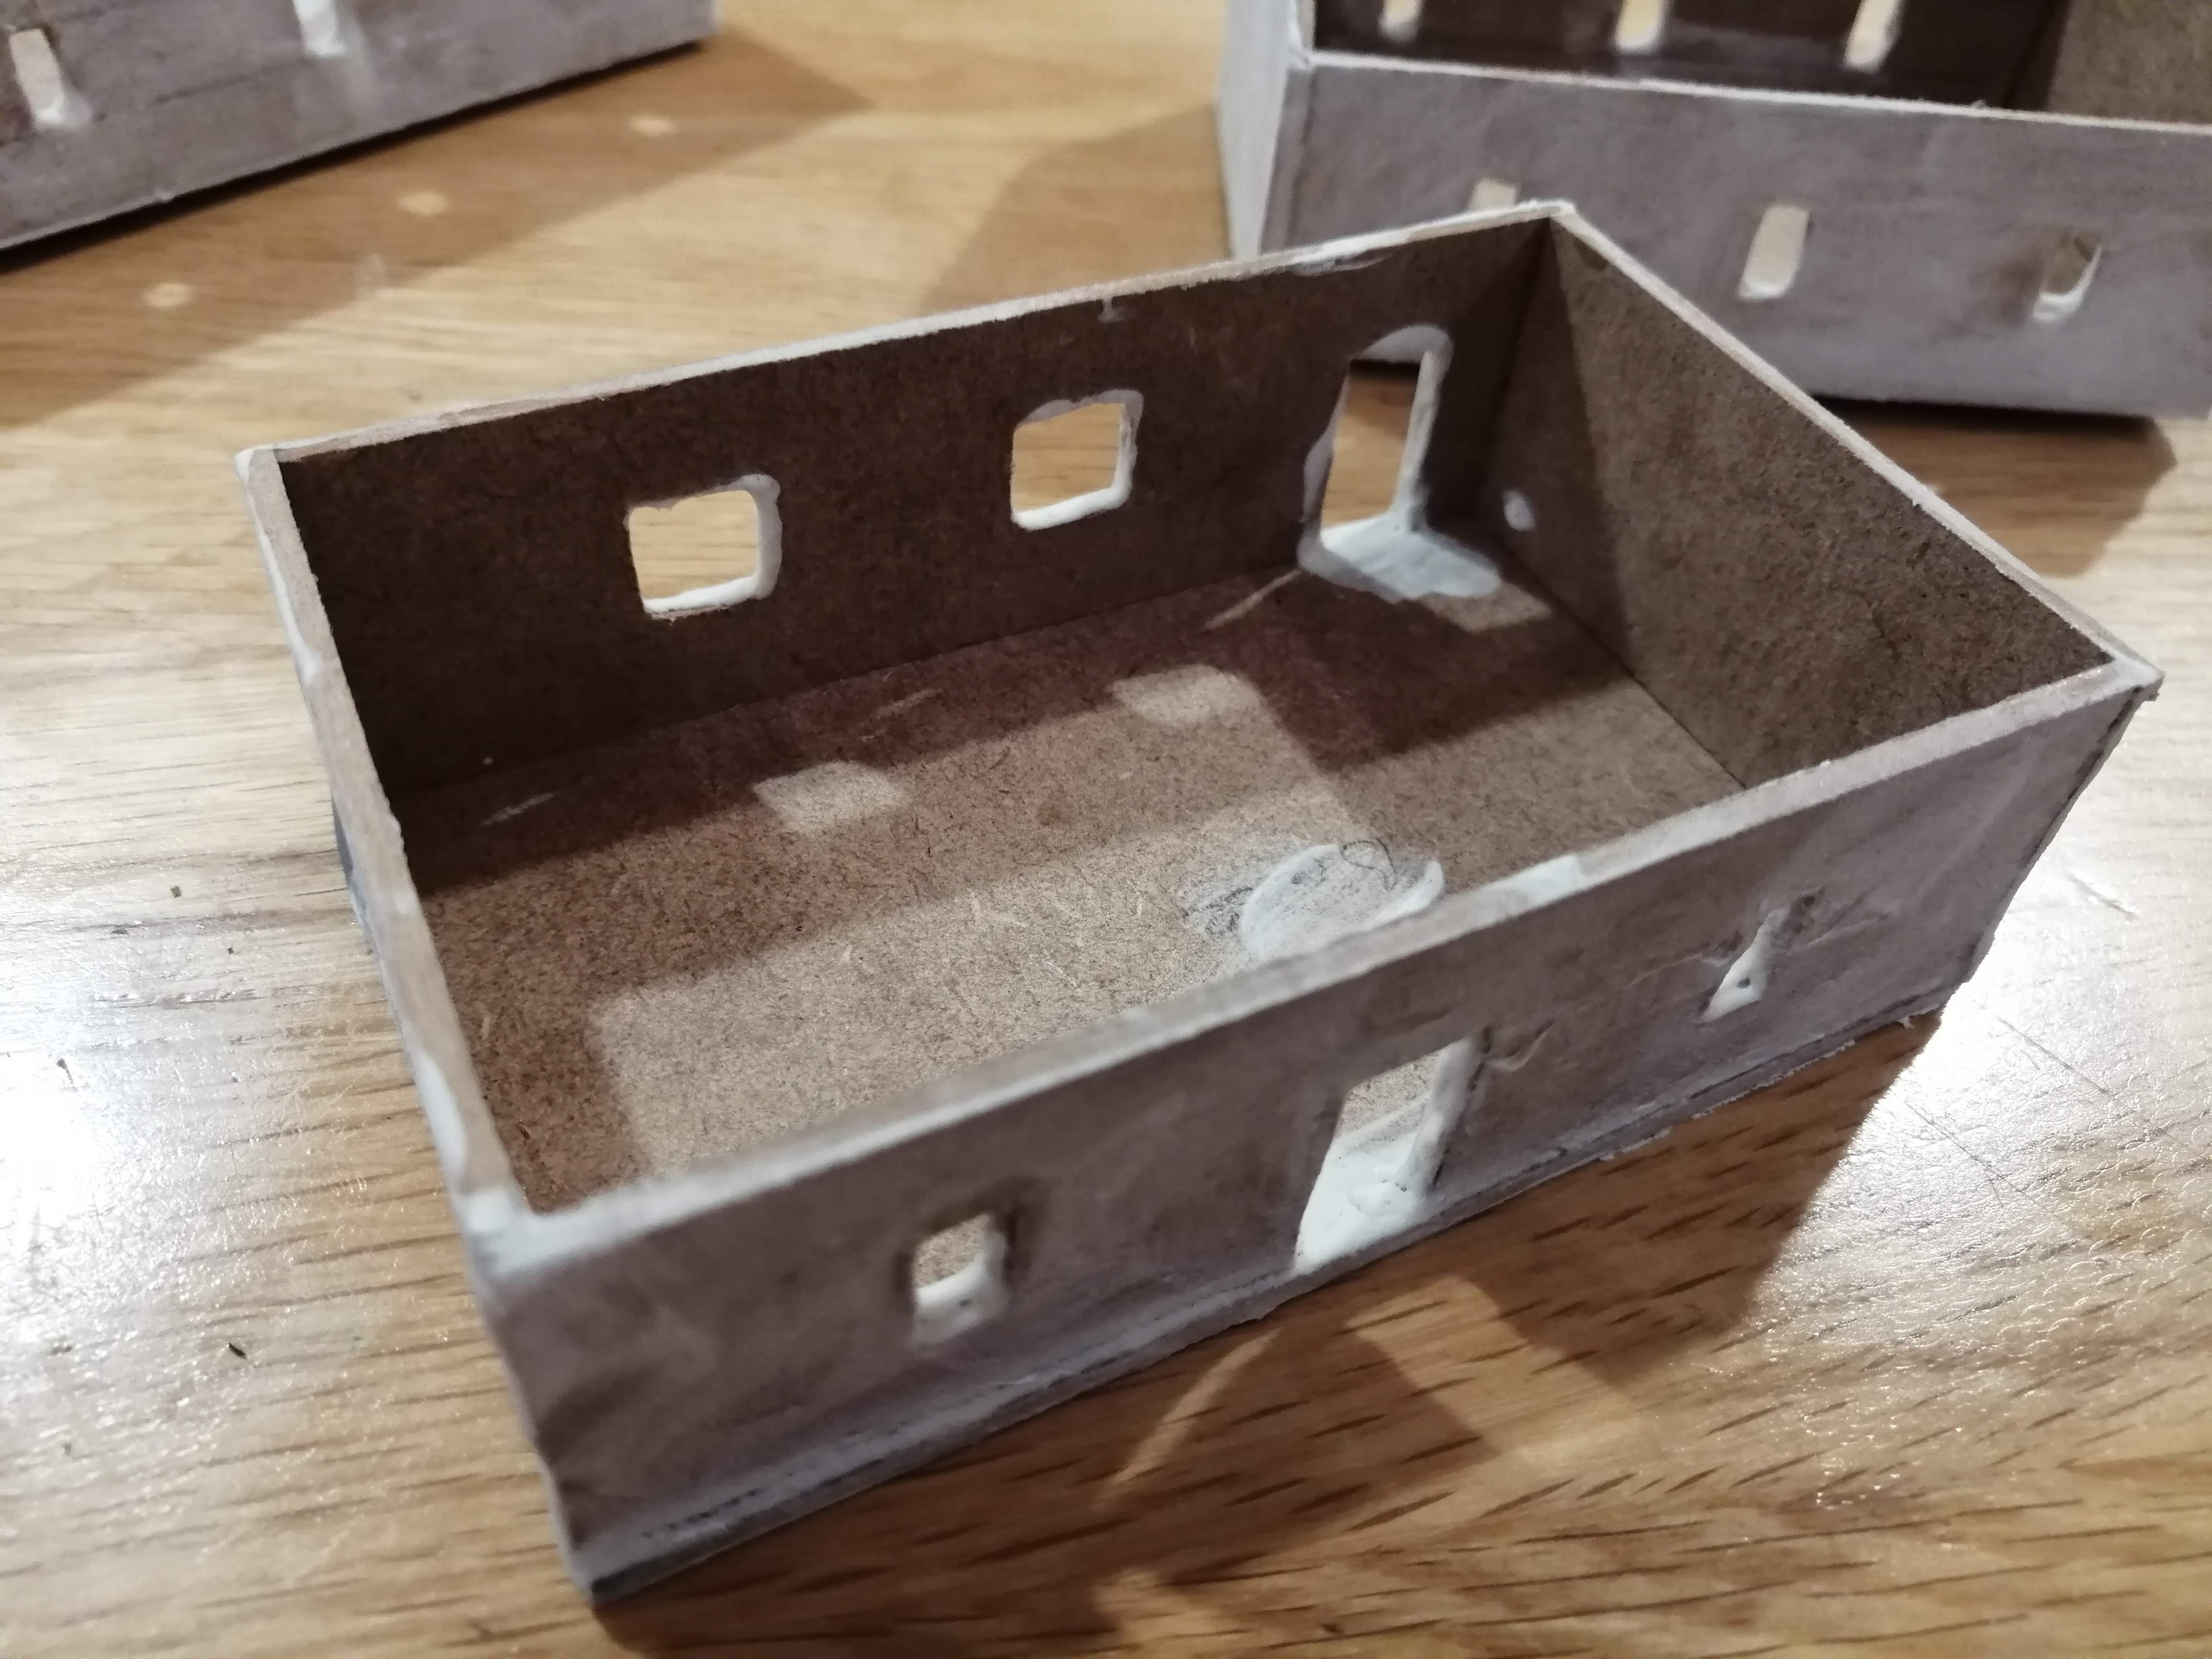
Armed with just a trusty metal ruler, a pencil and a sharp knife, I drew out the panels on some 3mm mdf and cut them out. This took a little time but in the end, I had a three story building which I was able to glue together with PVA.
As an experiment, to get the texture of the render used in Italy, I mixed up pva with polyfilla. This will hopefully have the advantage of sealing the mdf together while also creating the render. You can see the three floors below.

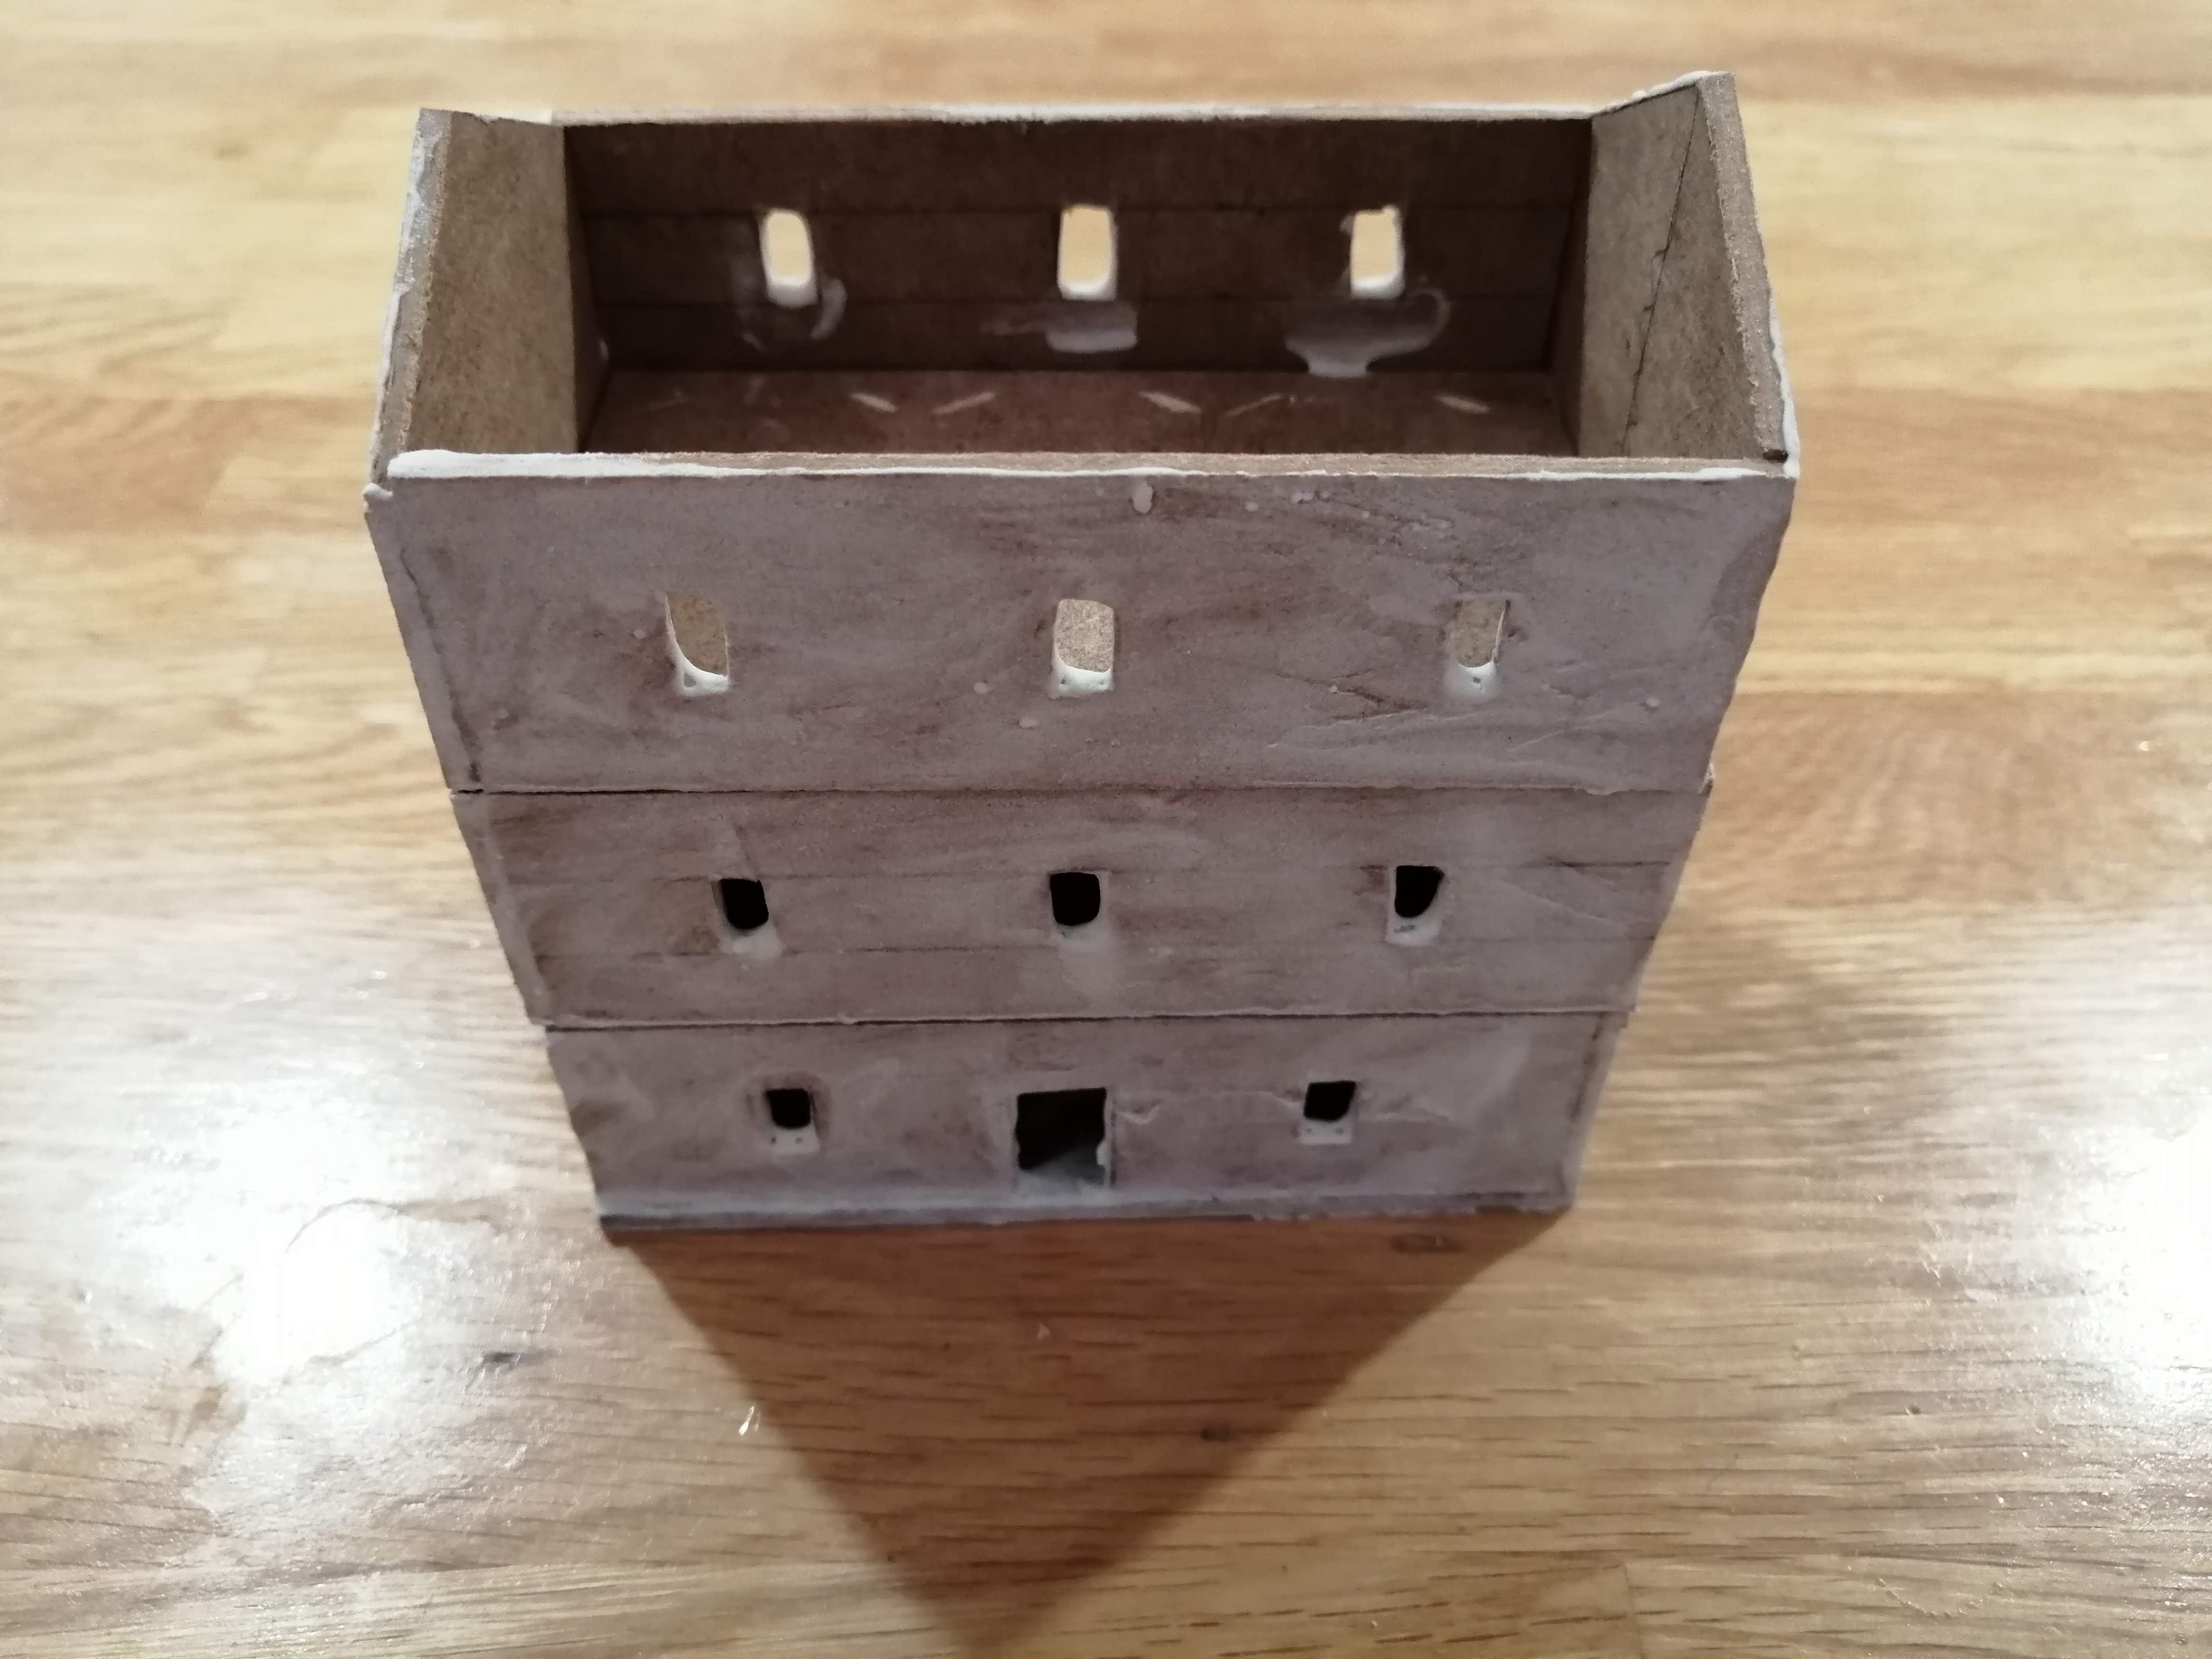
Now the roof was tricky. I had to get a calculator out and go back to my trigonometry to work out the angles and lengths for the roof. I even had to use the mnemonic Silly Old Hitler Couldn’t Advance His Troops Over Asia (a little apt, given the project).
I got the mathematics right but cutting 3mm mdf with enough precision just wouldn’t work.
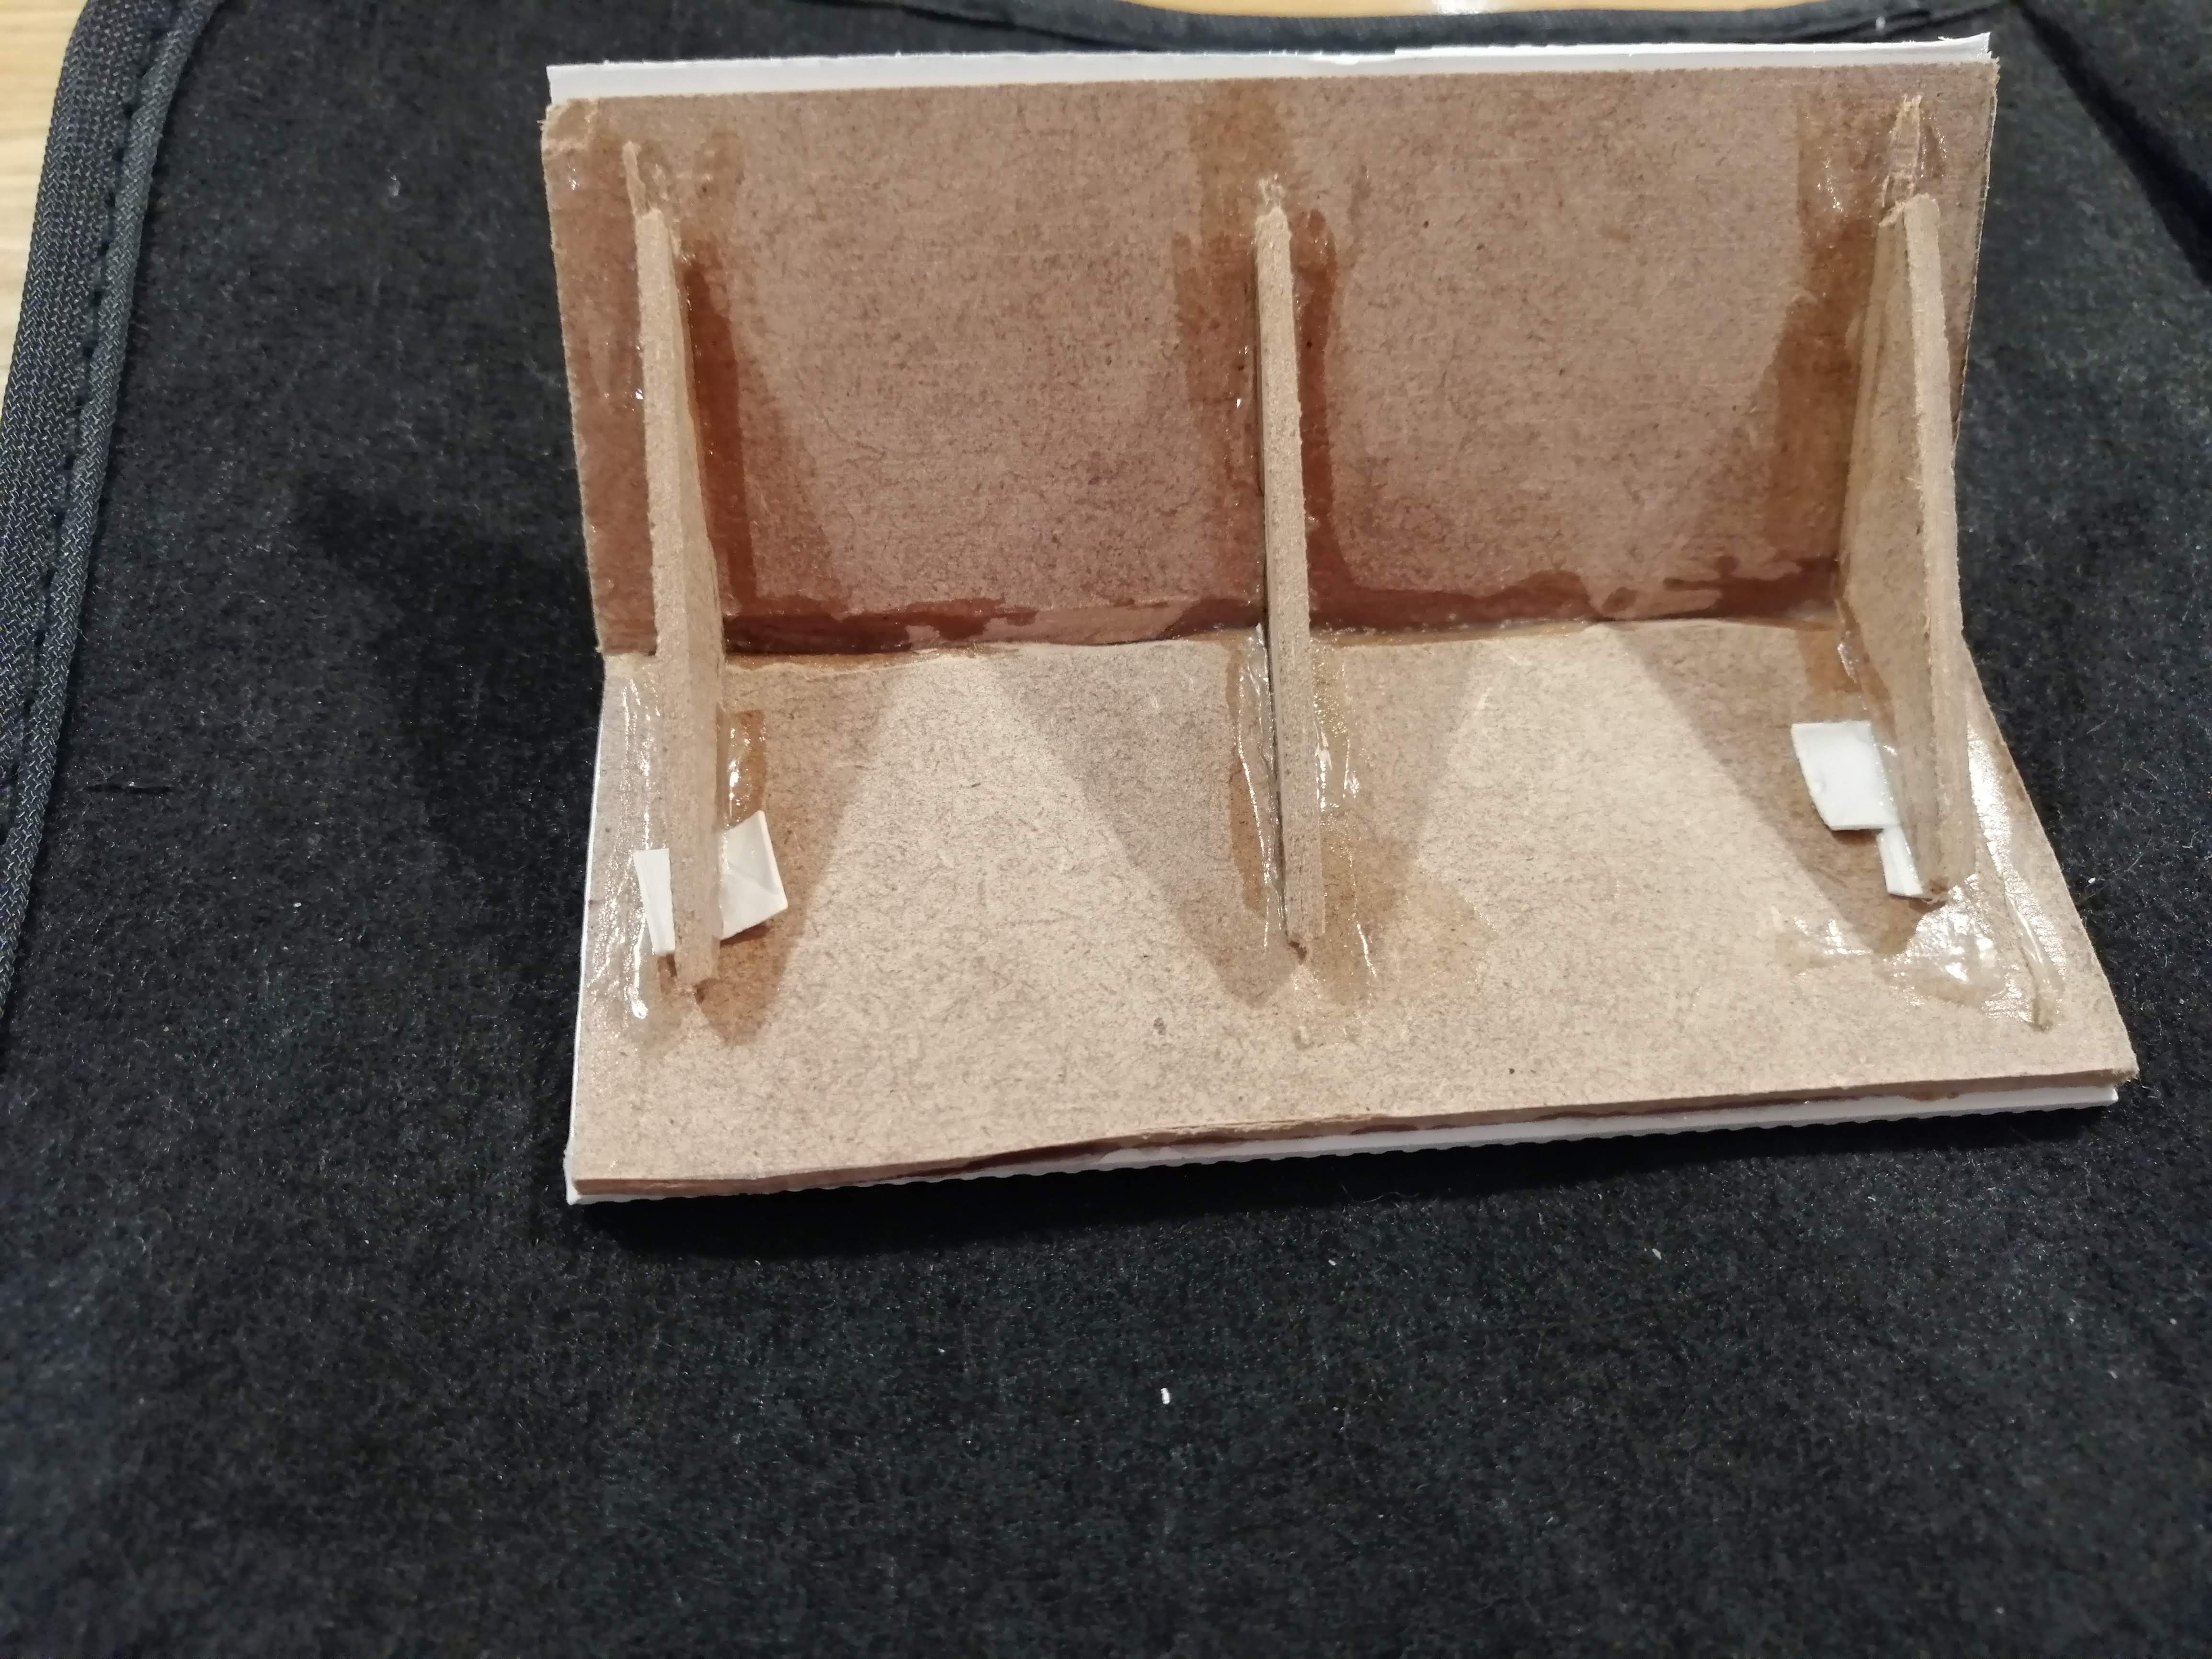 Roof with supports
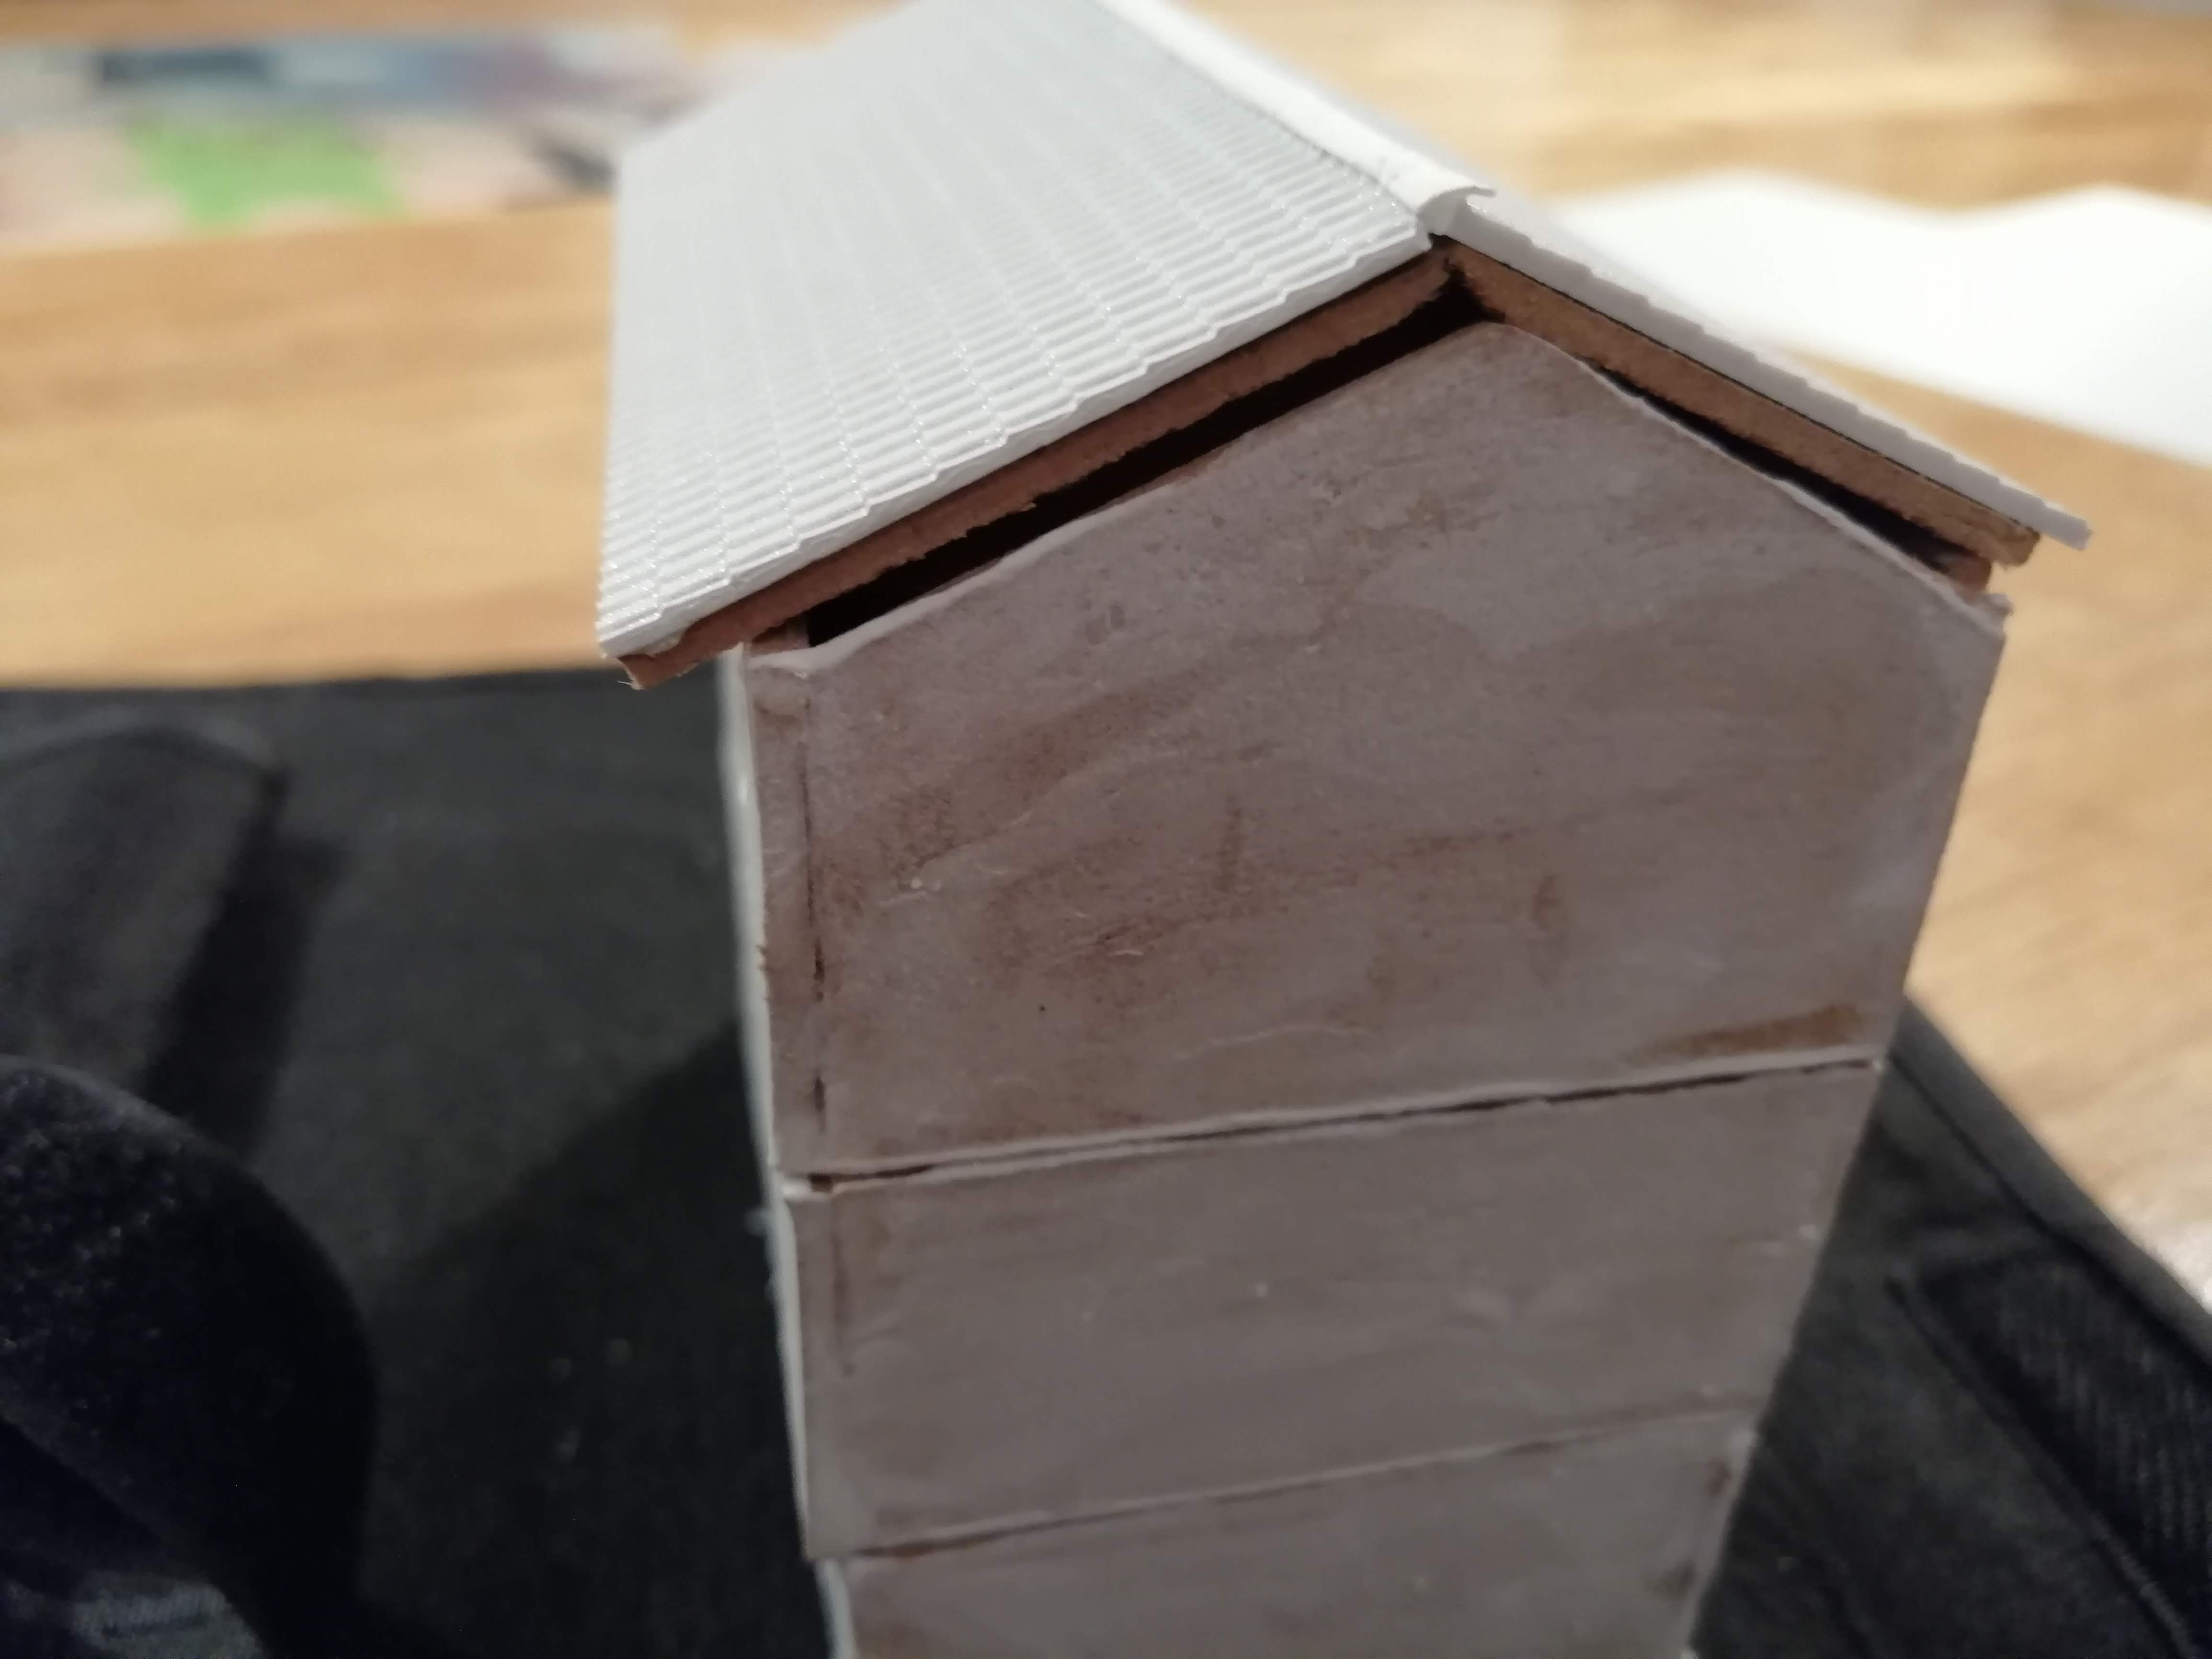 Wonky roof
While the plastic sheet tiles look good and I think the render has worked, the whole wonky look and the fact that the roof doesn’t fit is irritating. I’m also never going to have the time to design and cut out enough buildings to populate a village. So I need to find another way.
I then found this site:
http://www.razorlab.co.uk/
And I think that this could be my answer. They take vector line diagrams and use these to laser cut your chosen material – and 3mm mdf is just one such material. So I’m going to design the building and see whether I can get this right before launching head first into it.
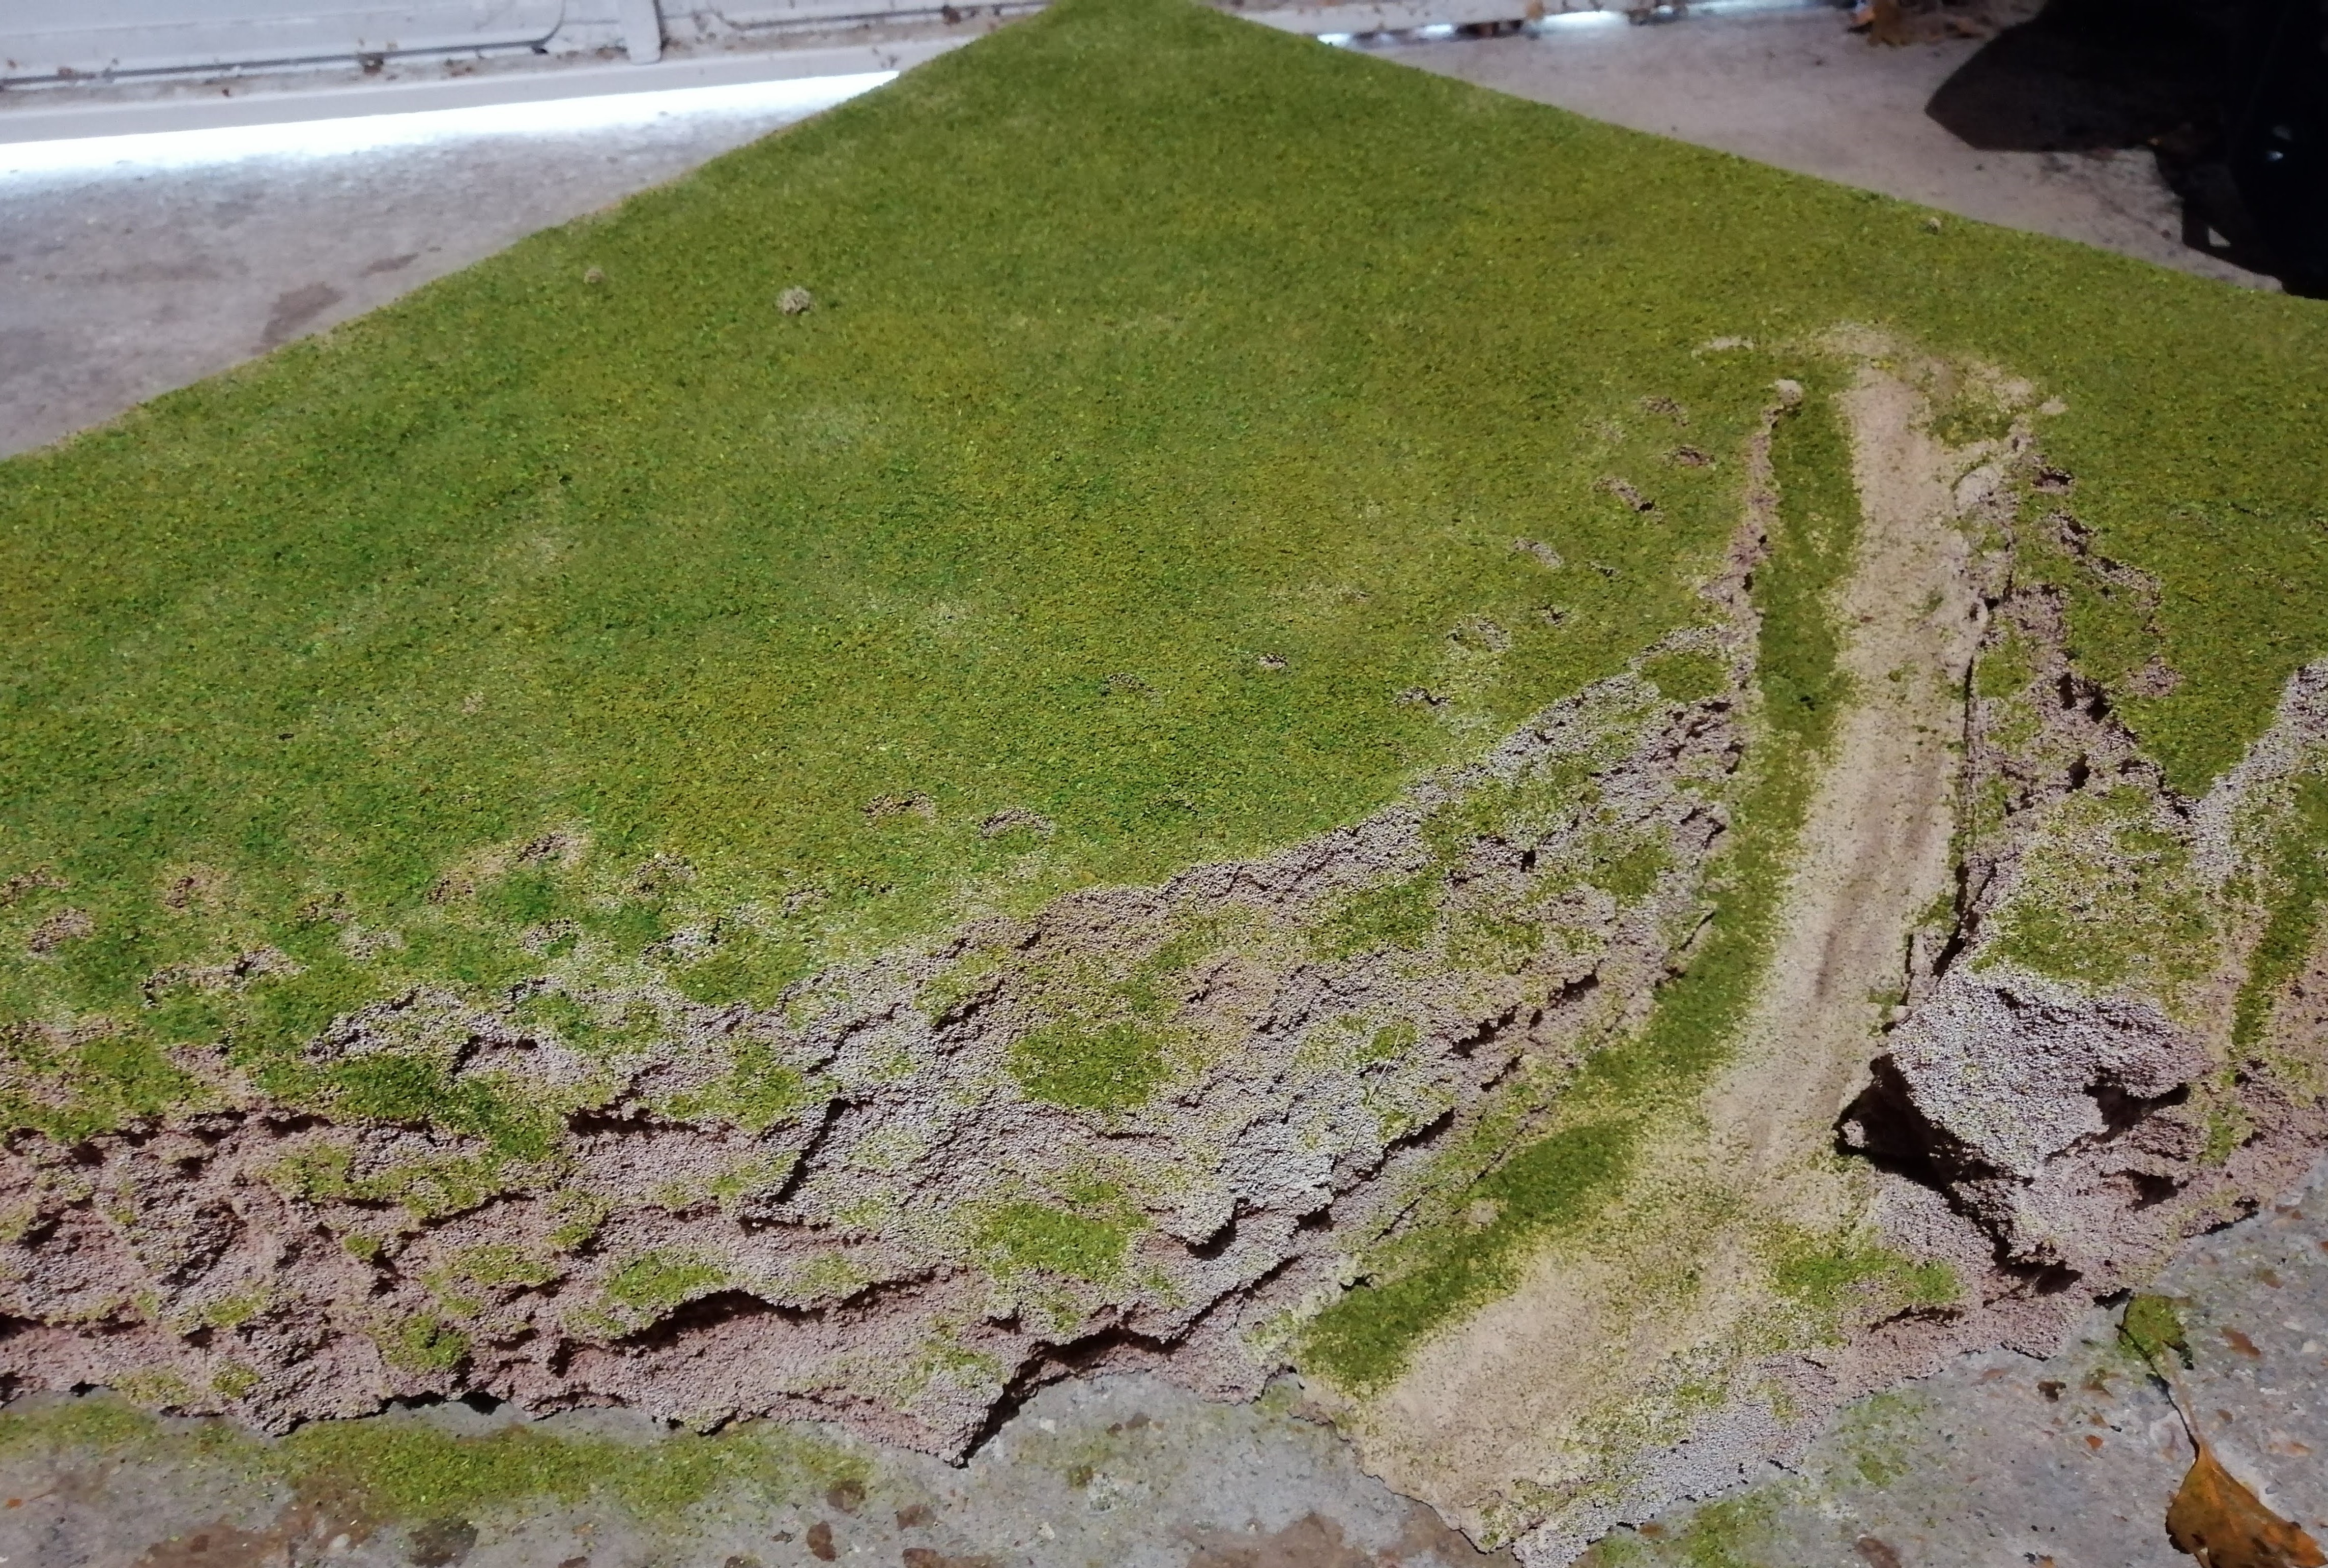
Monte Cassino - Completed
The pva glued clump foliage is now all dry and for the sake of speed, I think that this terrain is now complete. It’s certainly ‘table ready’.
 Entire hill from the front
 looking up the road
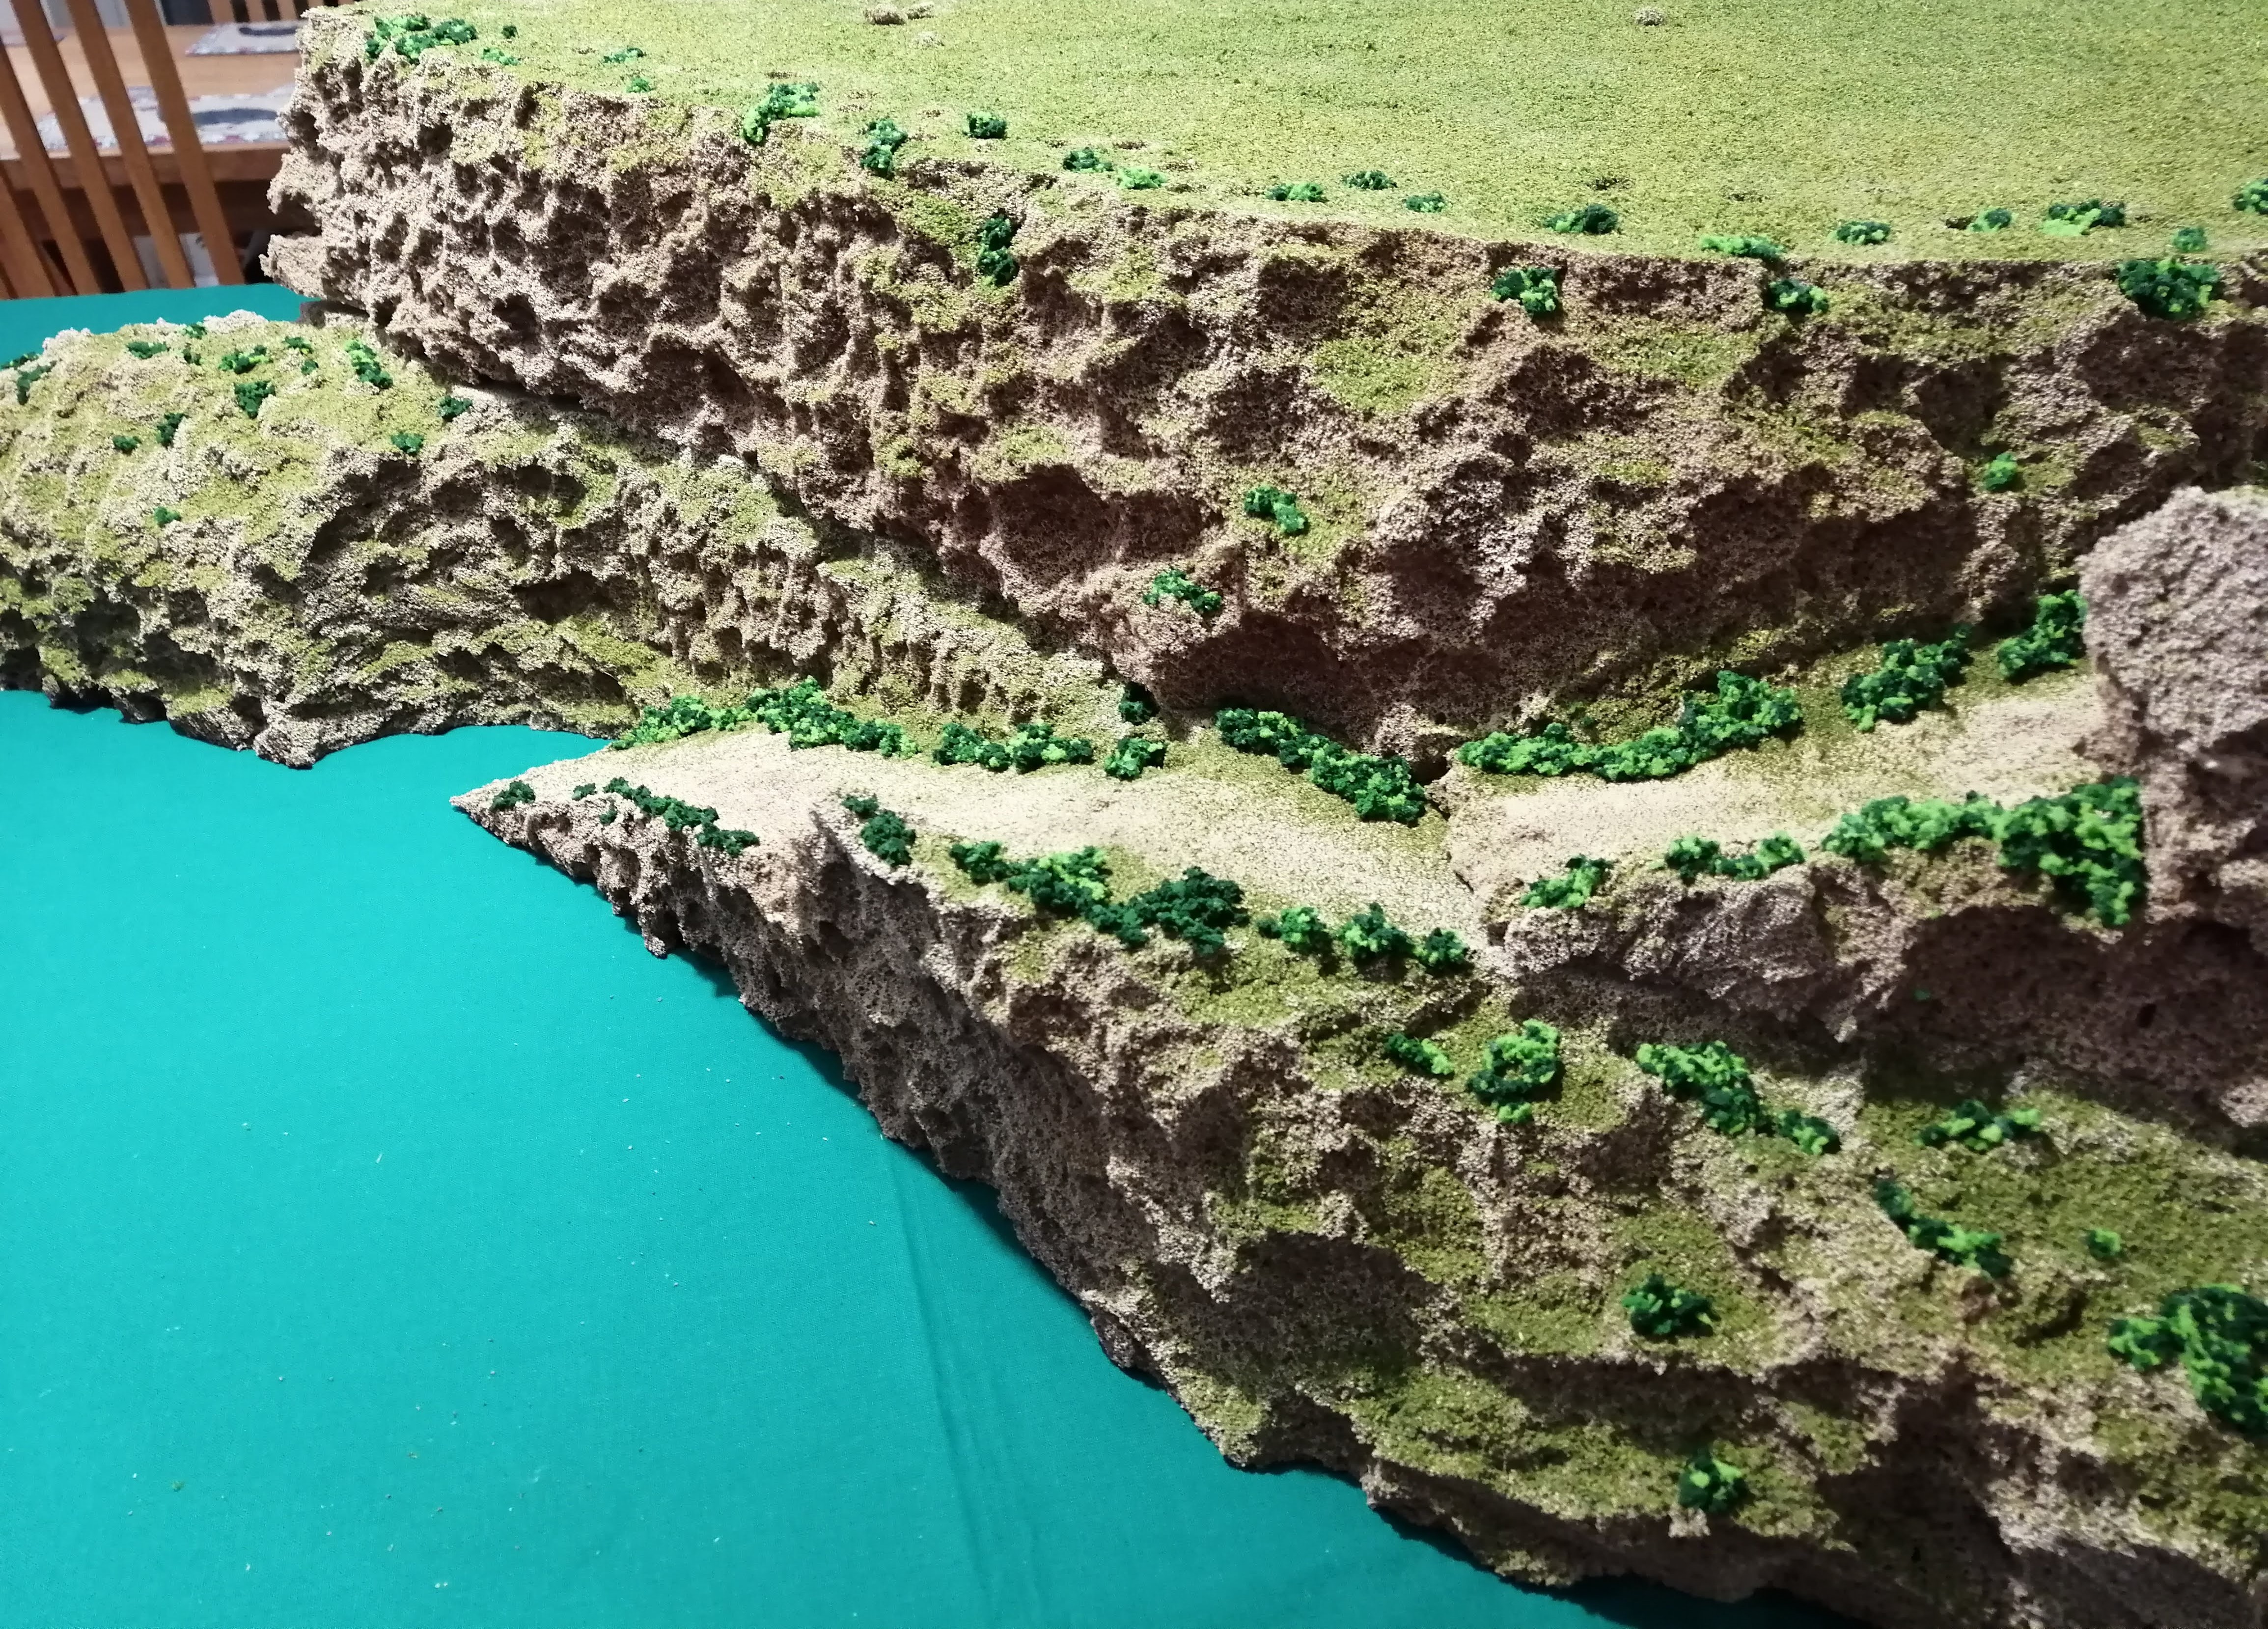
 A shot from the bottom of the hill (you can see where the two bits of foam meet on the left side but don't tell anyone!)
Monte Cassino - Flocking
With the sand/paint/PVA mixture dry, it needs some depth. I mixed up a thin, dark brown wash and applied this over the road. Once dry, I added a second wash but this time in two thin lines to create the impression of tyre tracks.
 The road with wash applied
Time to start flocking. In the interests of speed and simplicity, I mixed up three different flocks and applied PVA liberally over the tops of the hills, along the sides of the road and the upper cliff faces. Monte Cassino had a fair coverage of flora and the flocking should represent this.
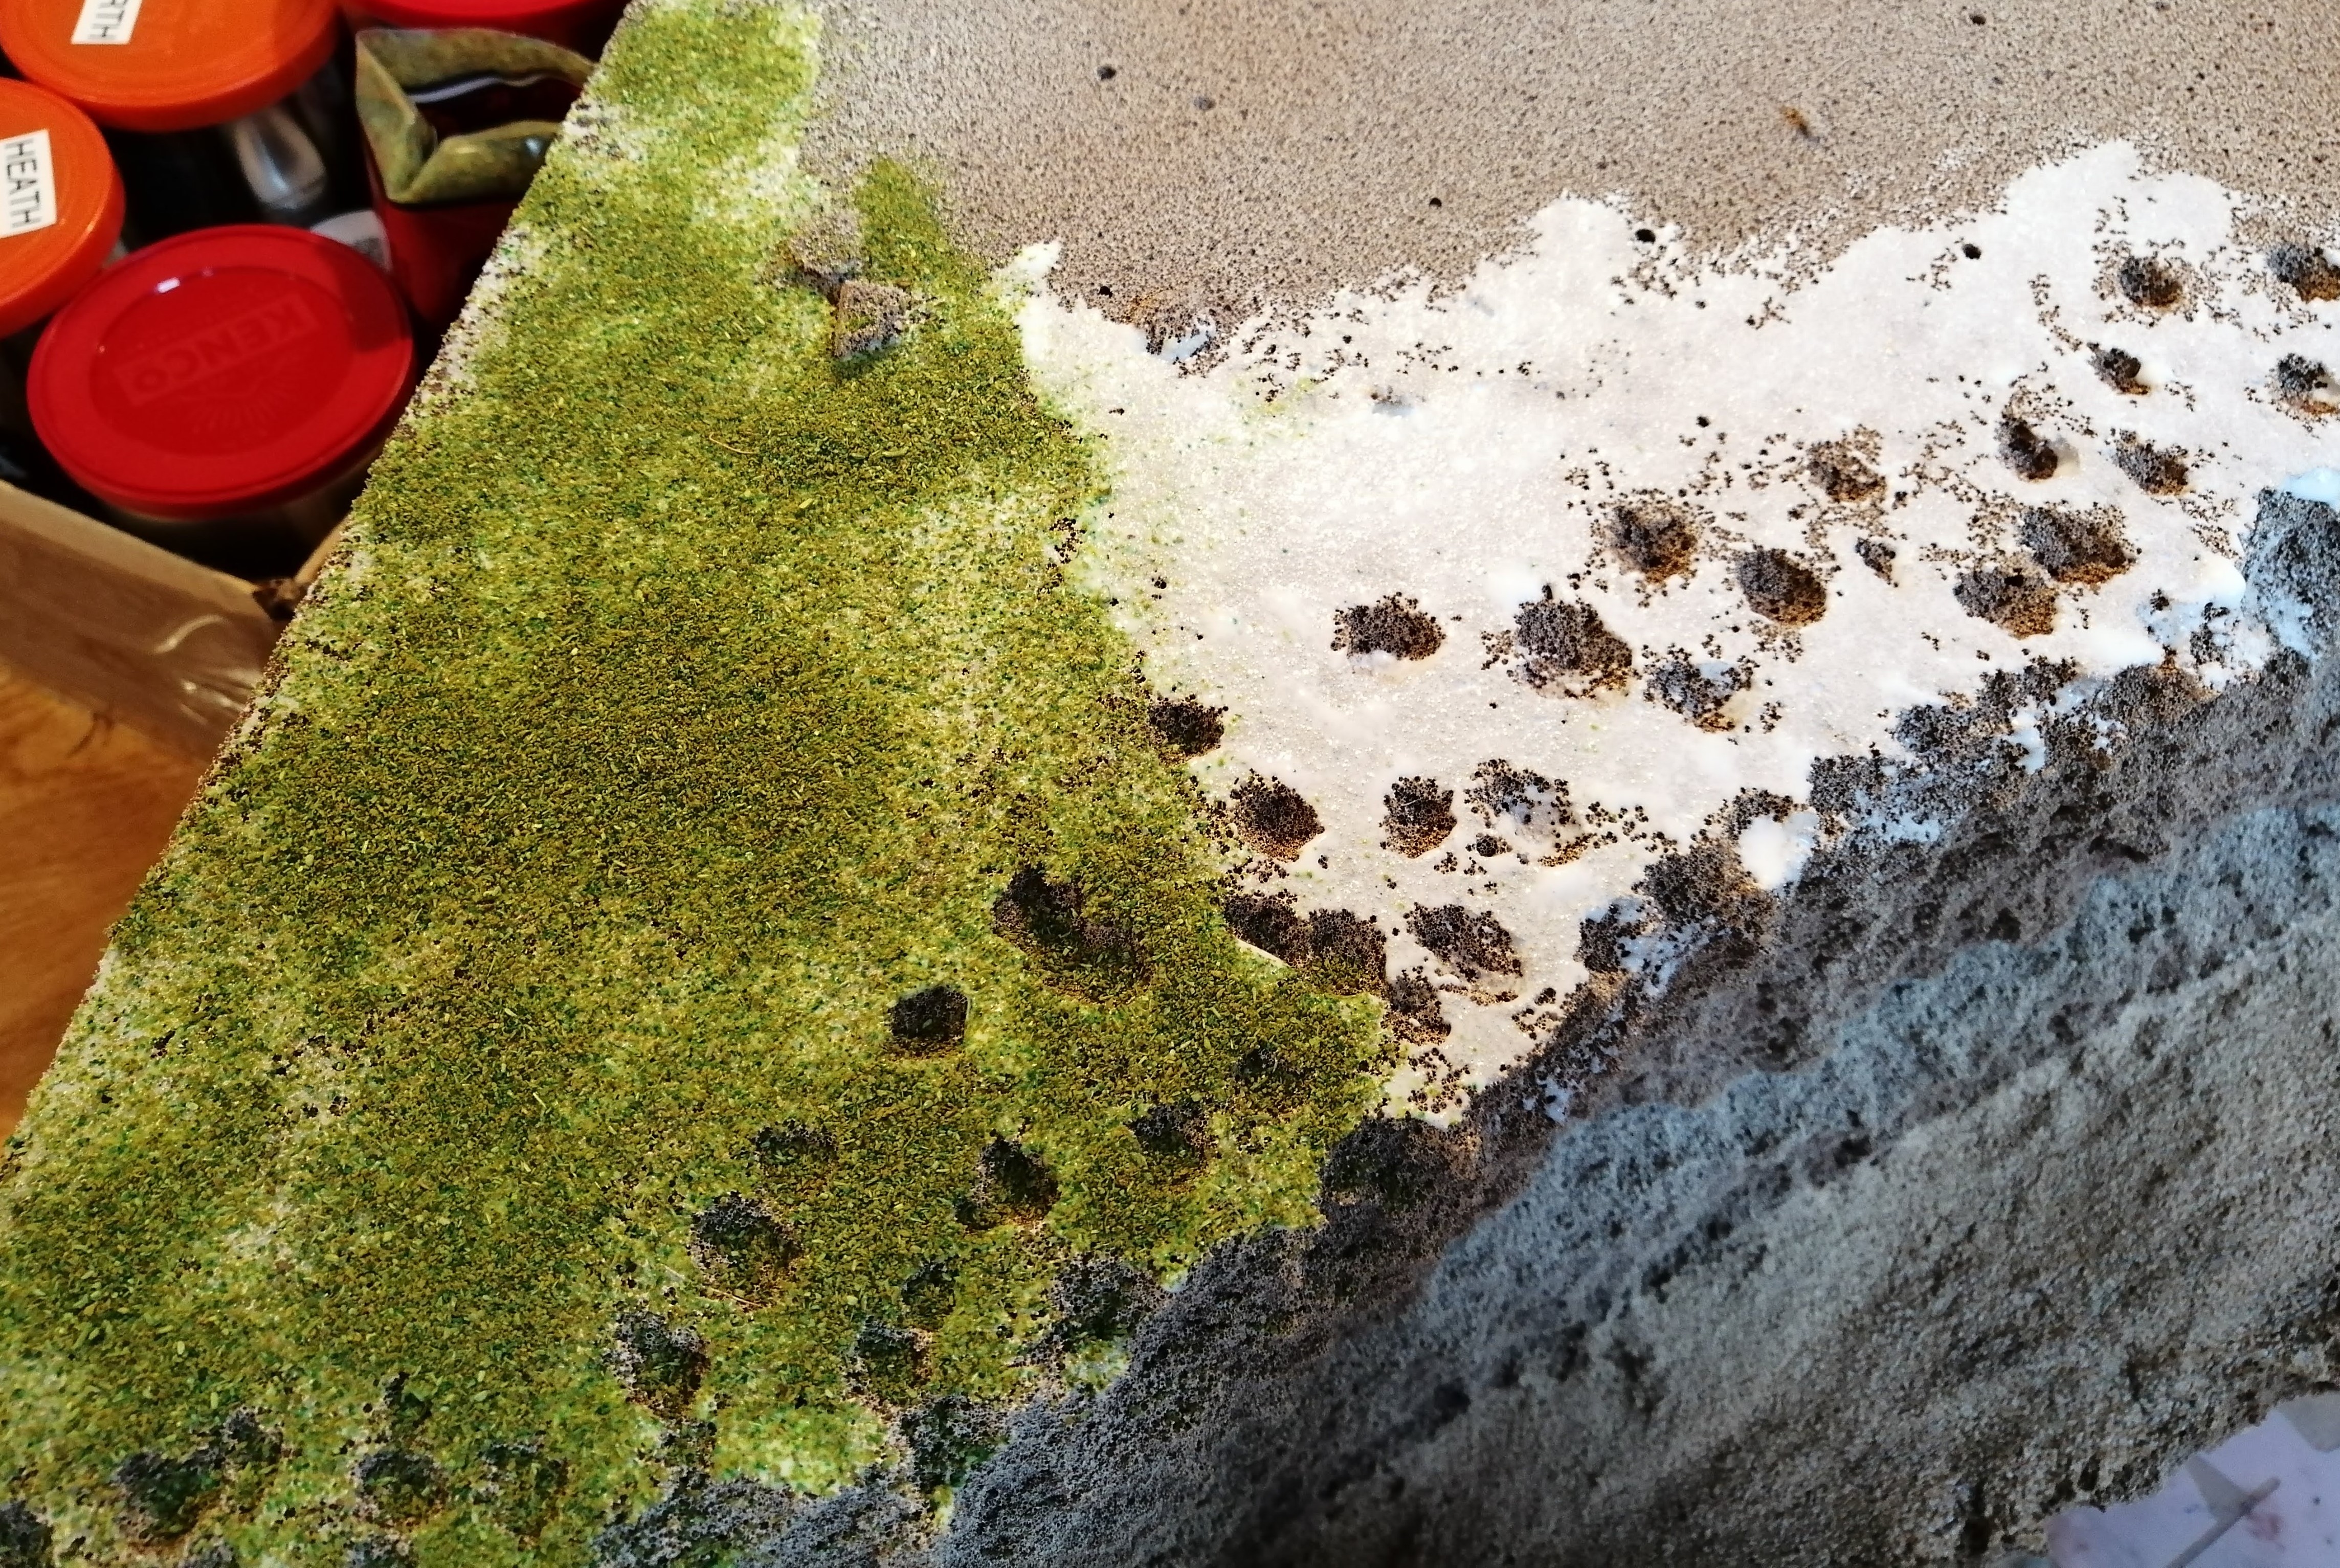 Applying the flocking
Once dry, I sprayed a very watered down PVA mixture. I had to do this several times to ensure a good coverage. This helps the flock stick and stop it dropping off all over your gaming table and models.
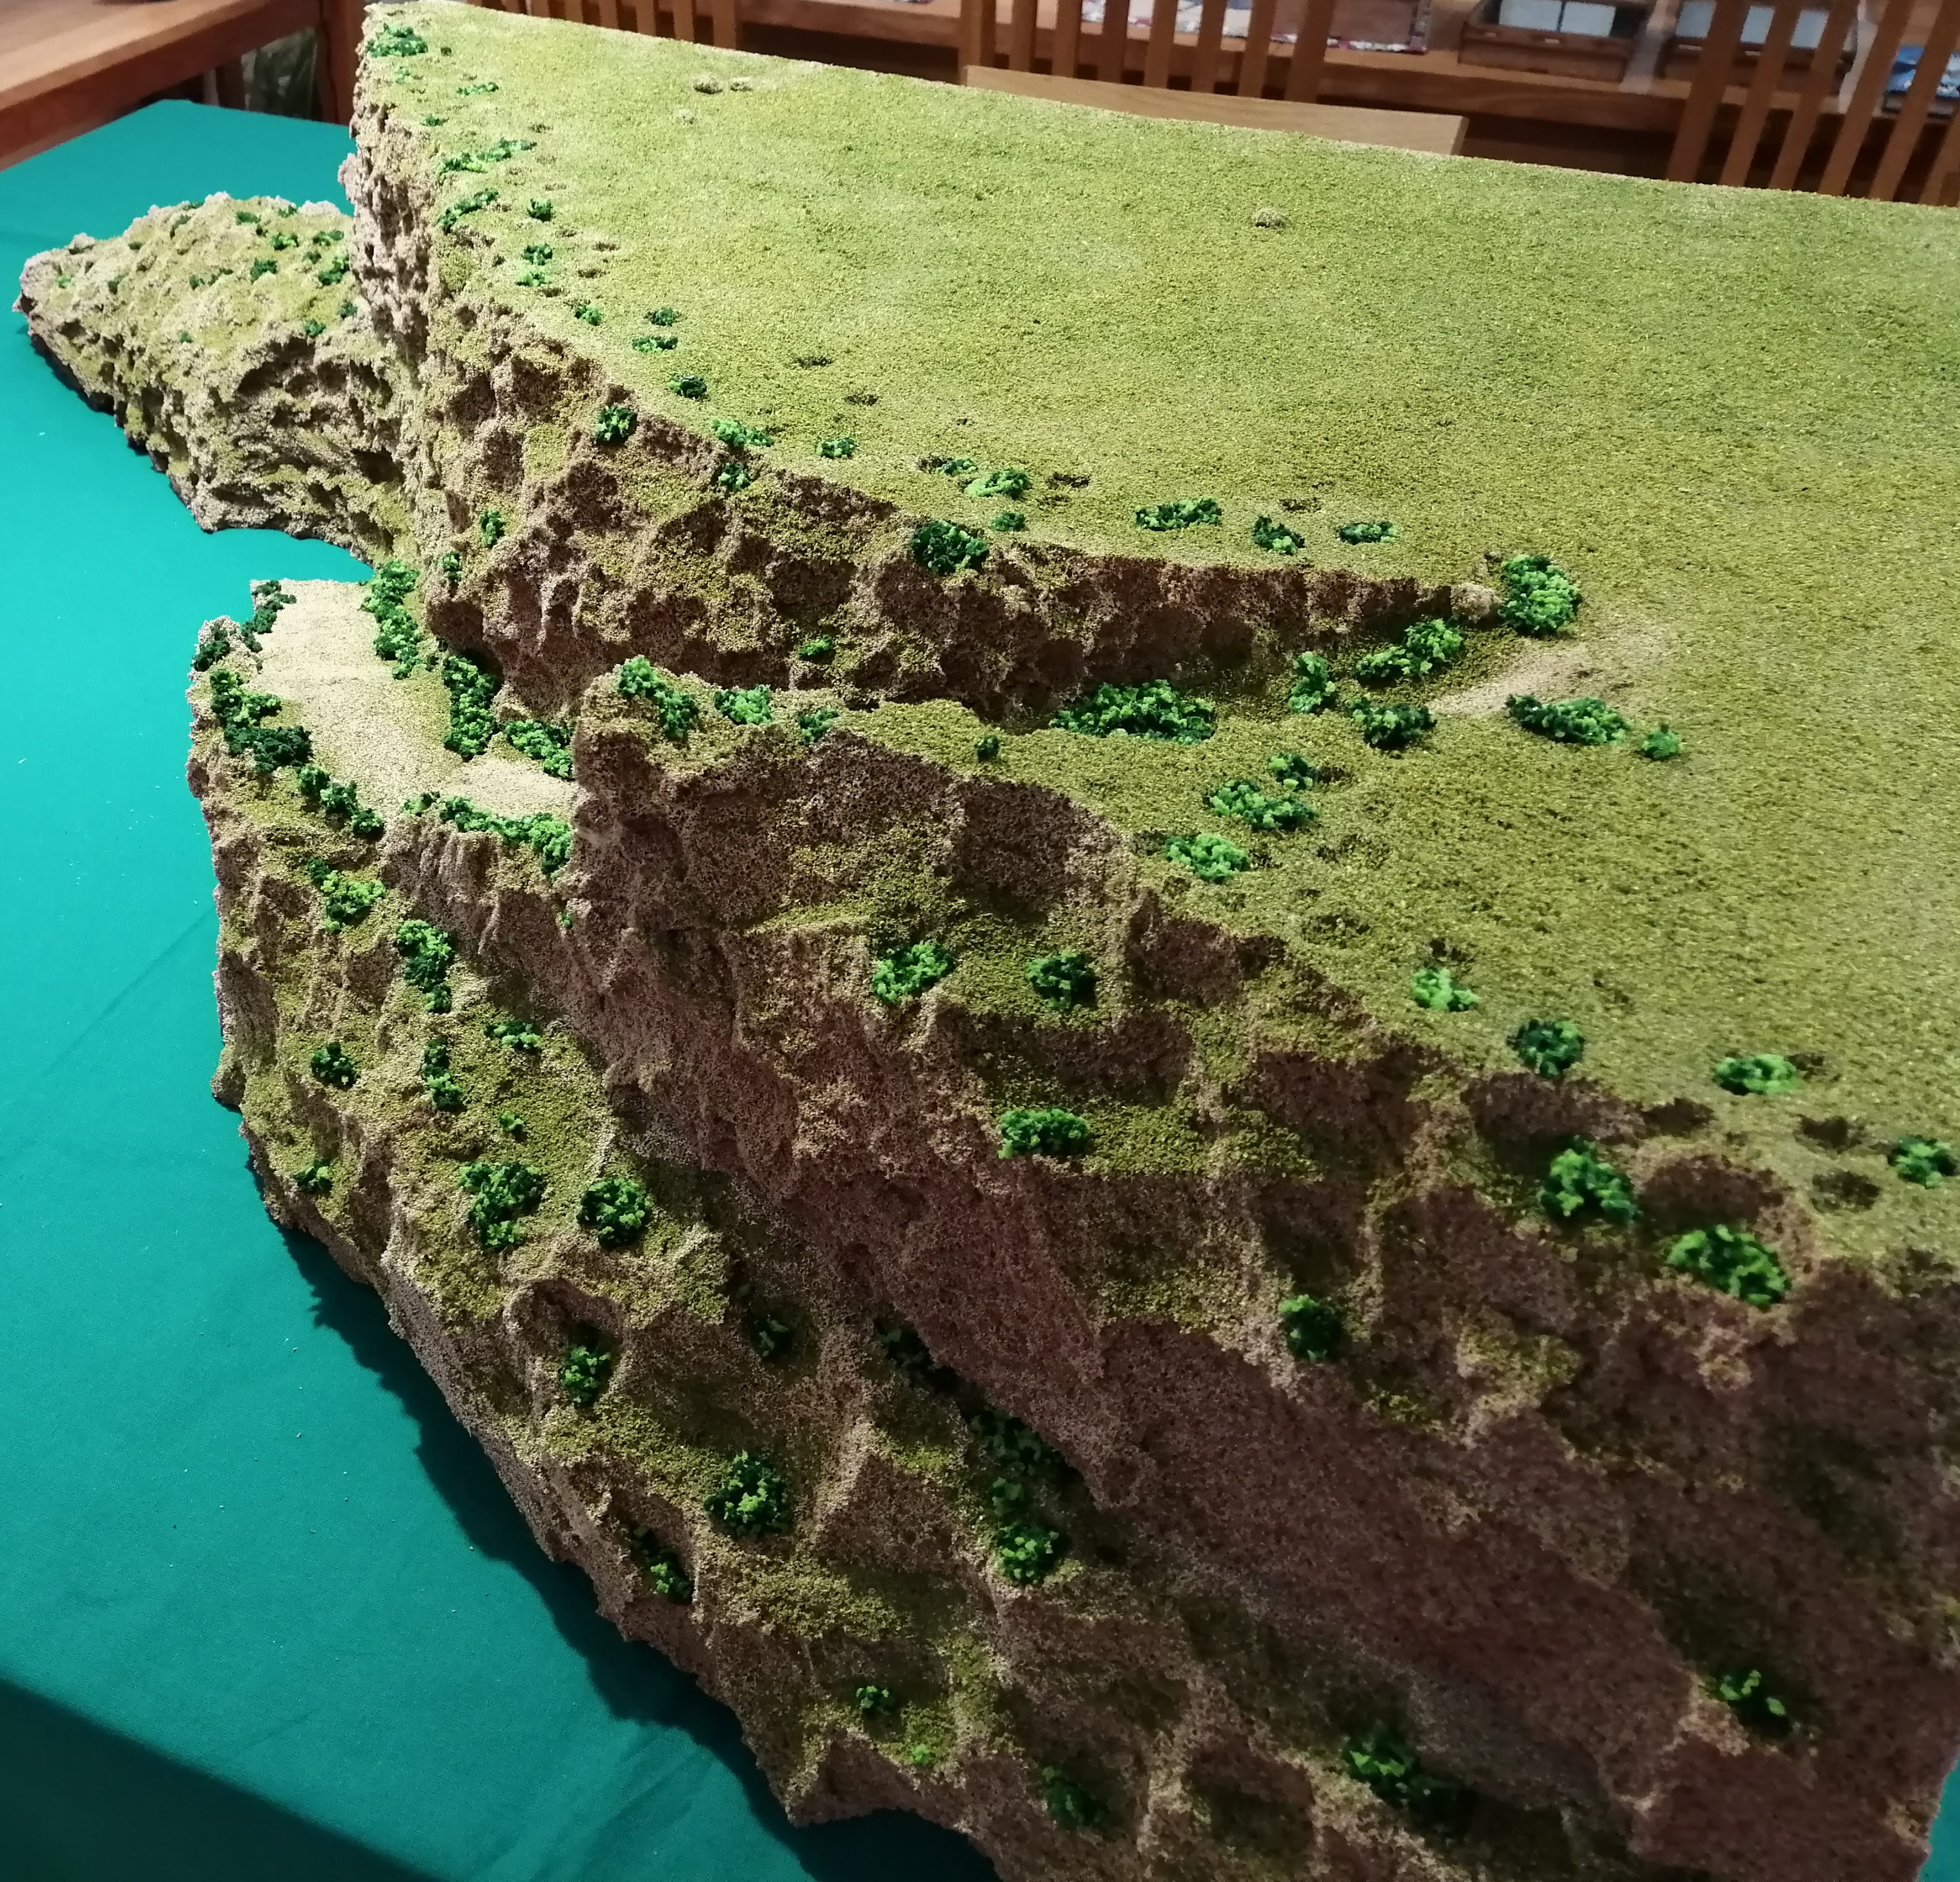
 The top of Monte Cassino on my garage floor, all flocked
 The upper sides of the cliff face
To add bushes and more flora, I mixed up a 50:50 water/PVA mix and dumped different coloured clump foliage in. Once soaked through, I applied this across the terrain. I also applied this along the join area to try to conceal the fact that the finished terrain is two pieces of foam.
The down side of this soaking is that it takes some time to dry but at least dries hard.
 Applying the foliage where required
 Applying along the steep sides
Monte Cassino - Roads and highlights
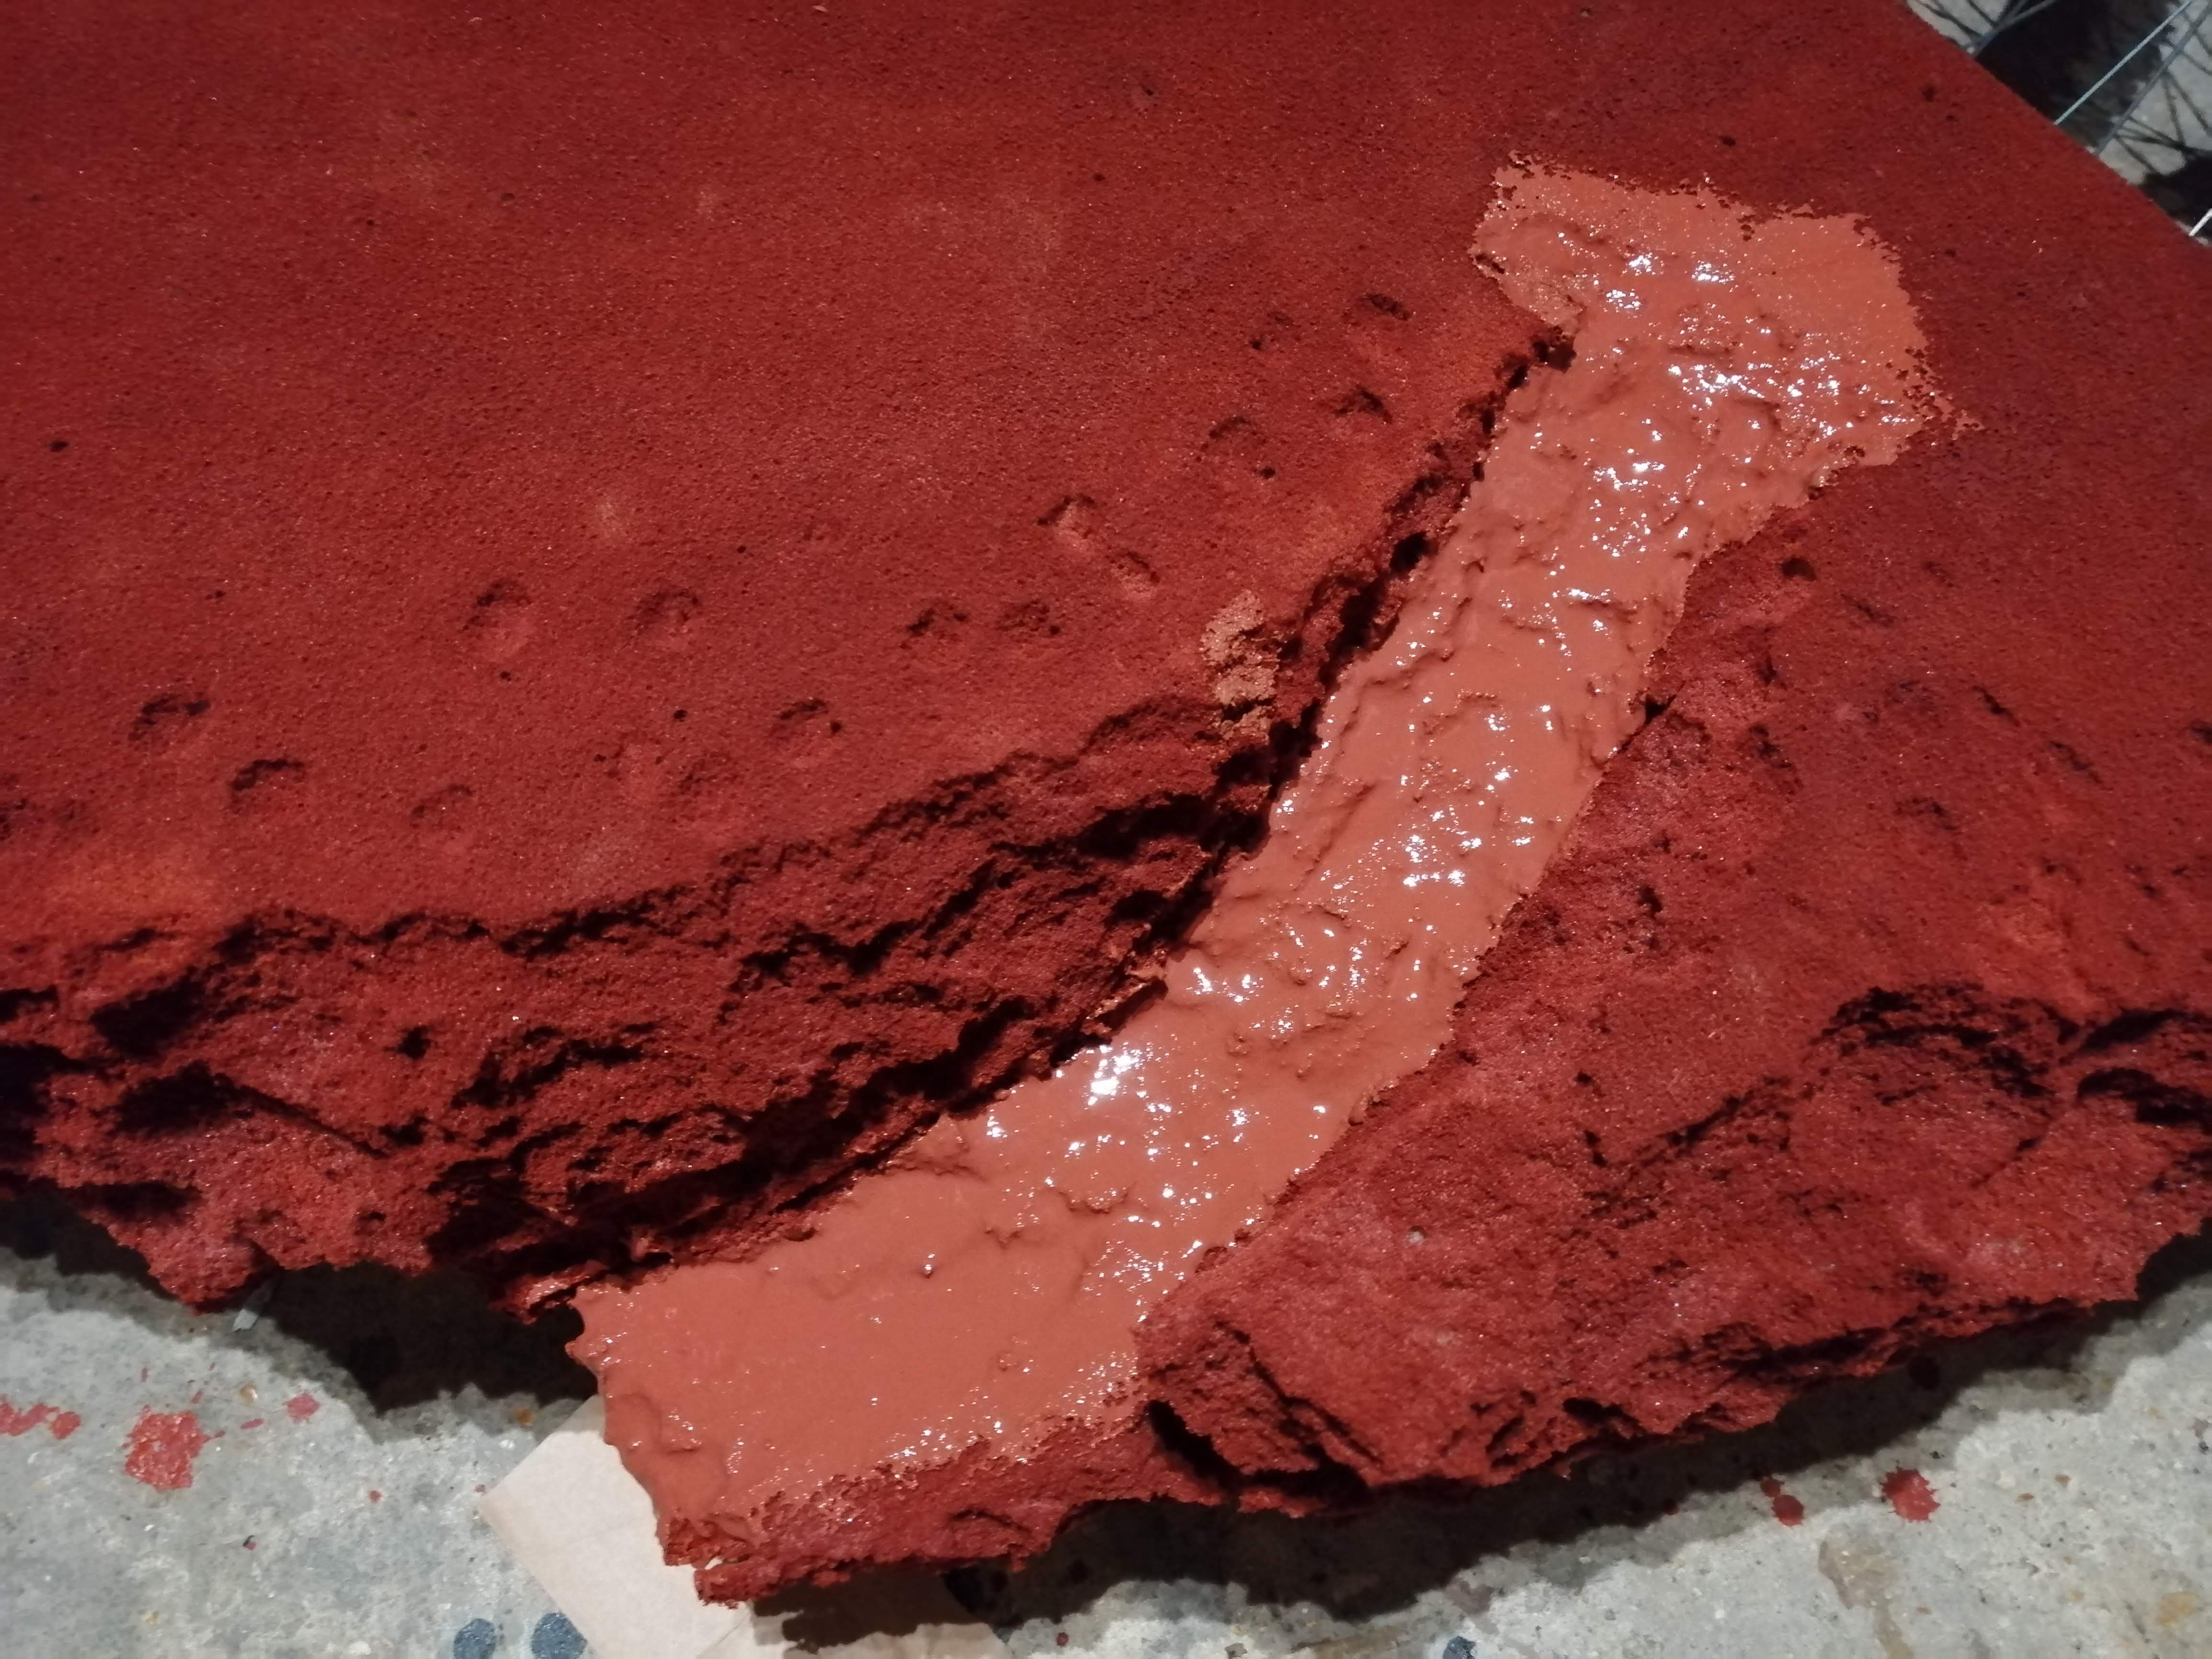
I managed to get a small amount of hobby done over the Christmas holidays. I wanted to get the dirt road in place up the side of Monte Cassino and felt the best way to do this was was to mix up some sand with PVA glue. The sand should be the right scale to be ‘pebble’ size and look a little more like a dirt road. I needed to colour it as well and so mixed in plenty of the brown paint used for colouring the rest of the foam.
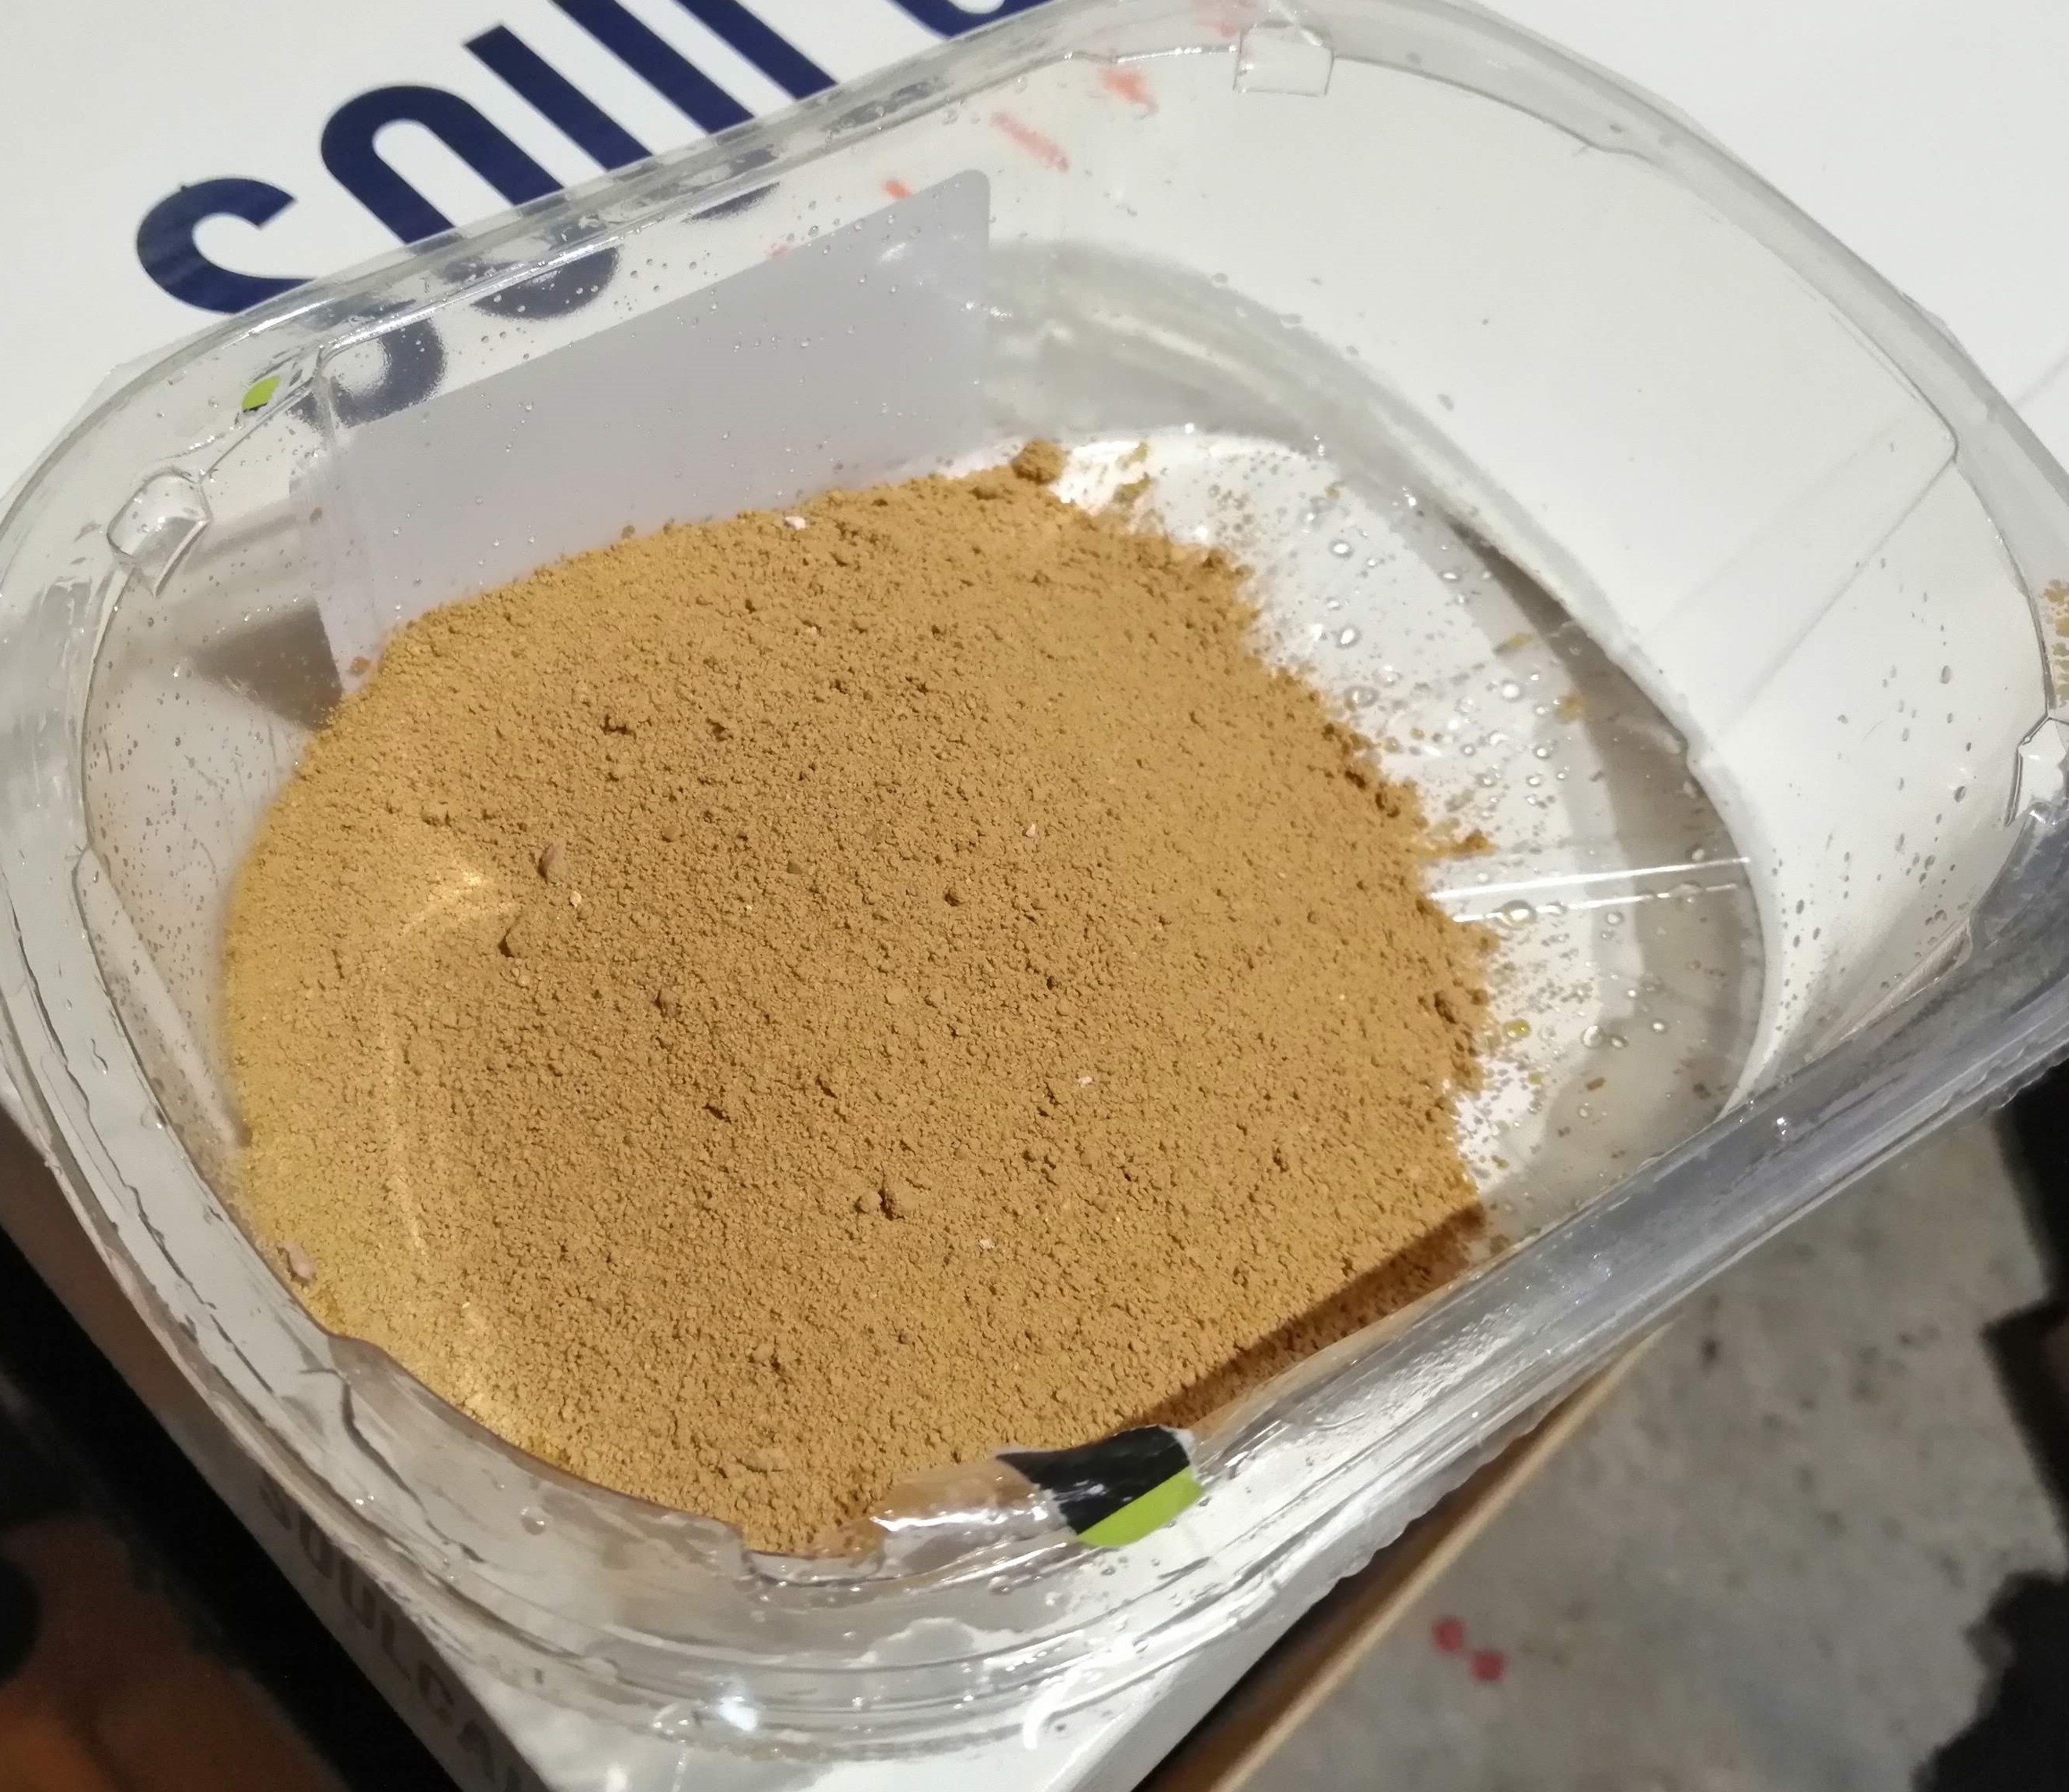
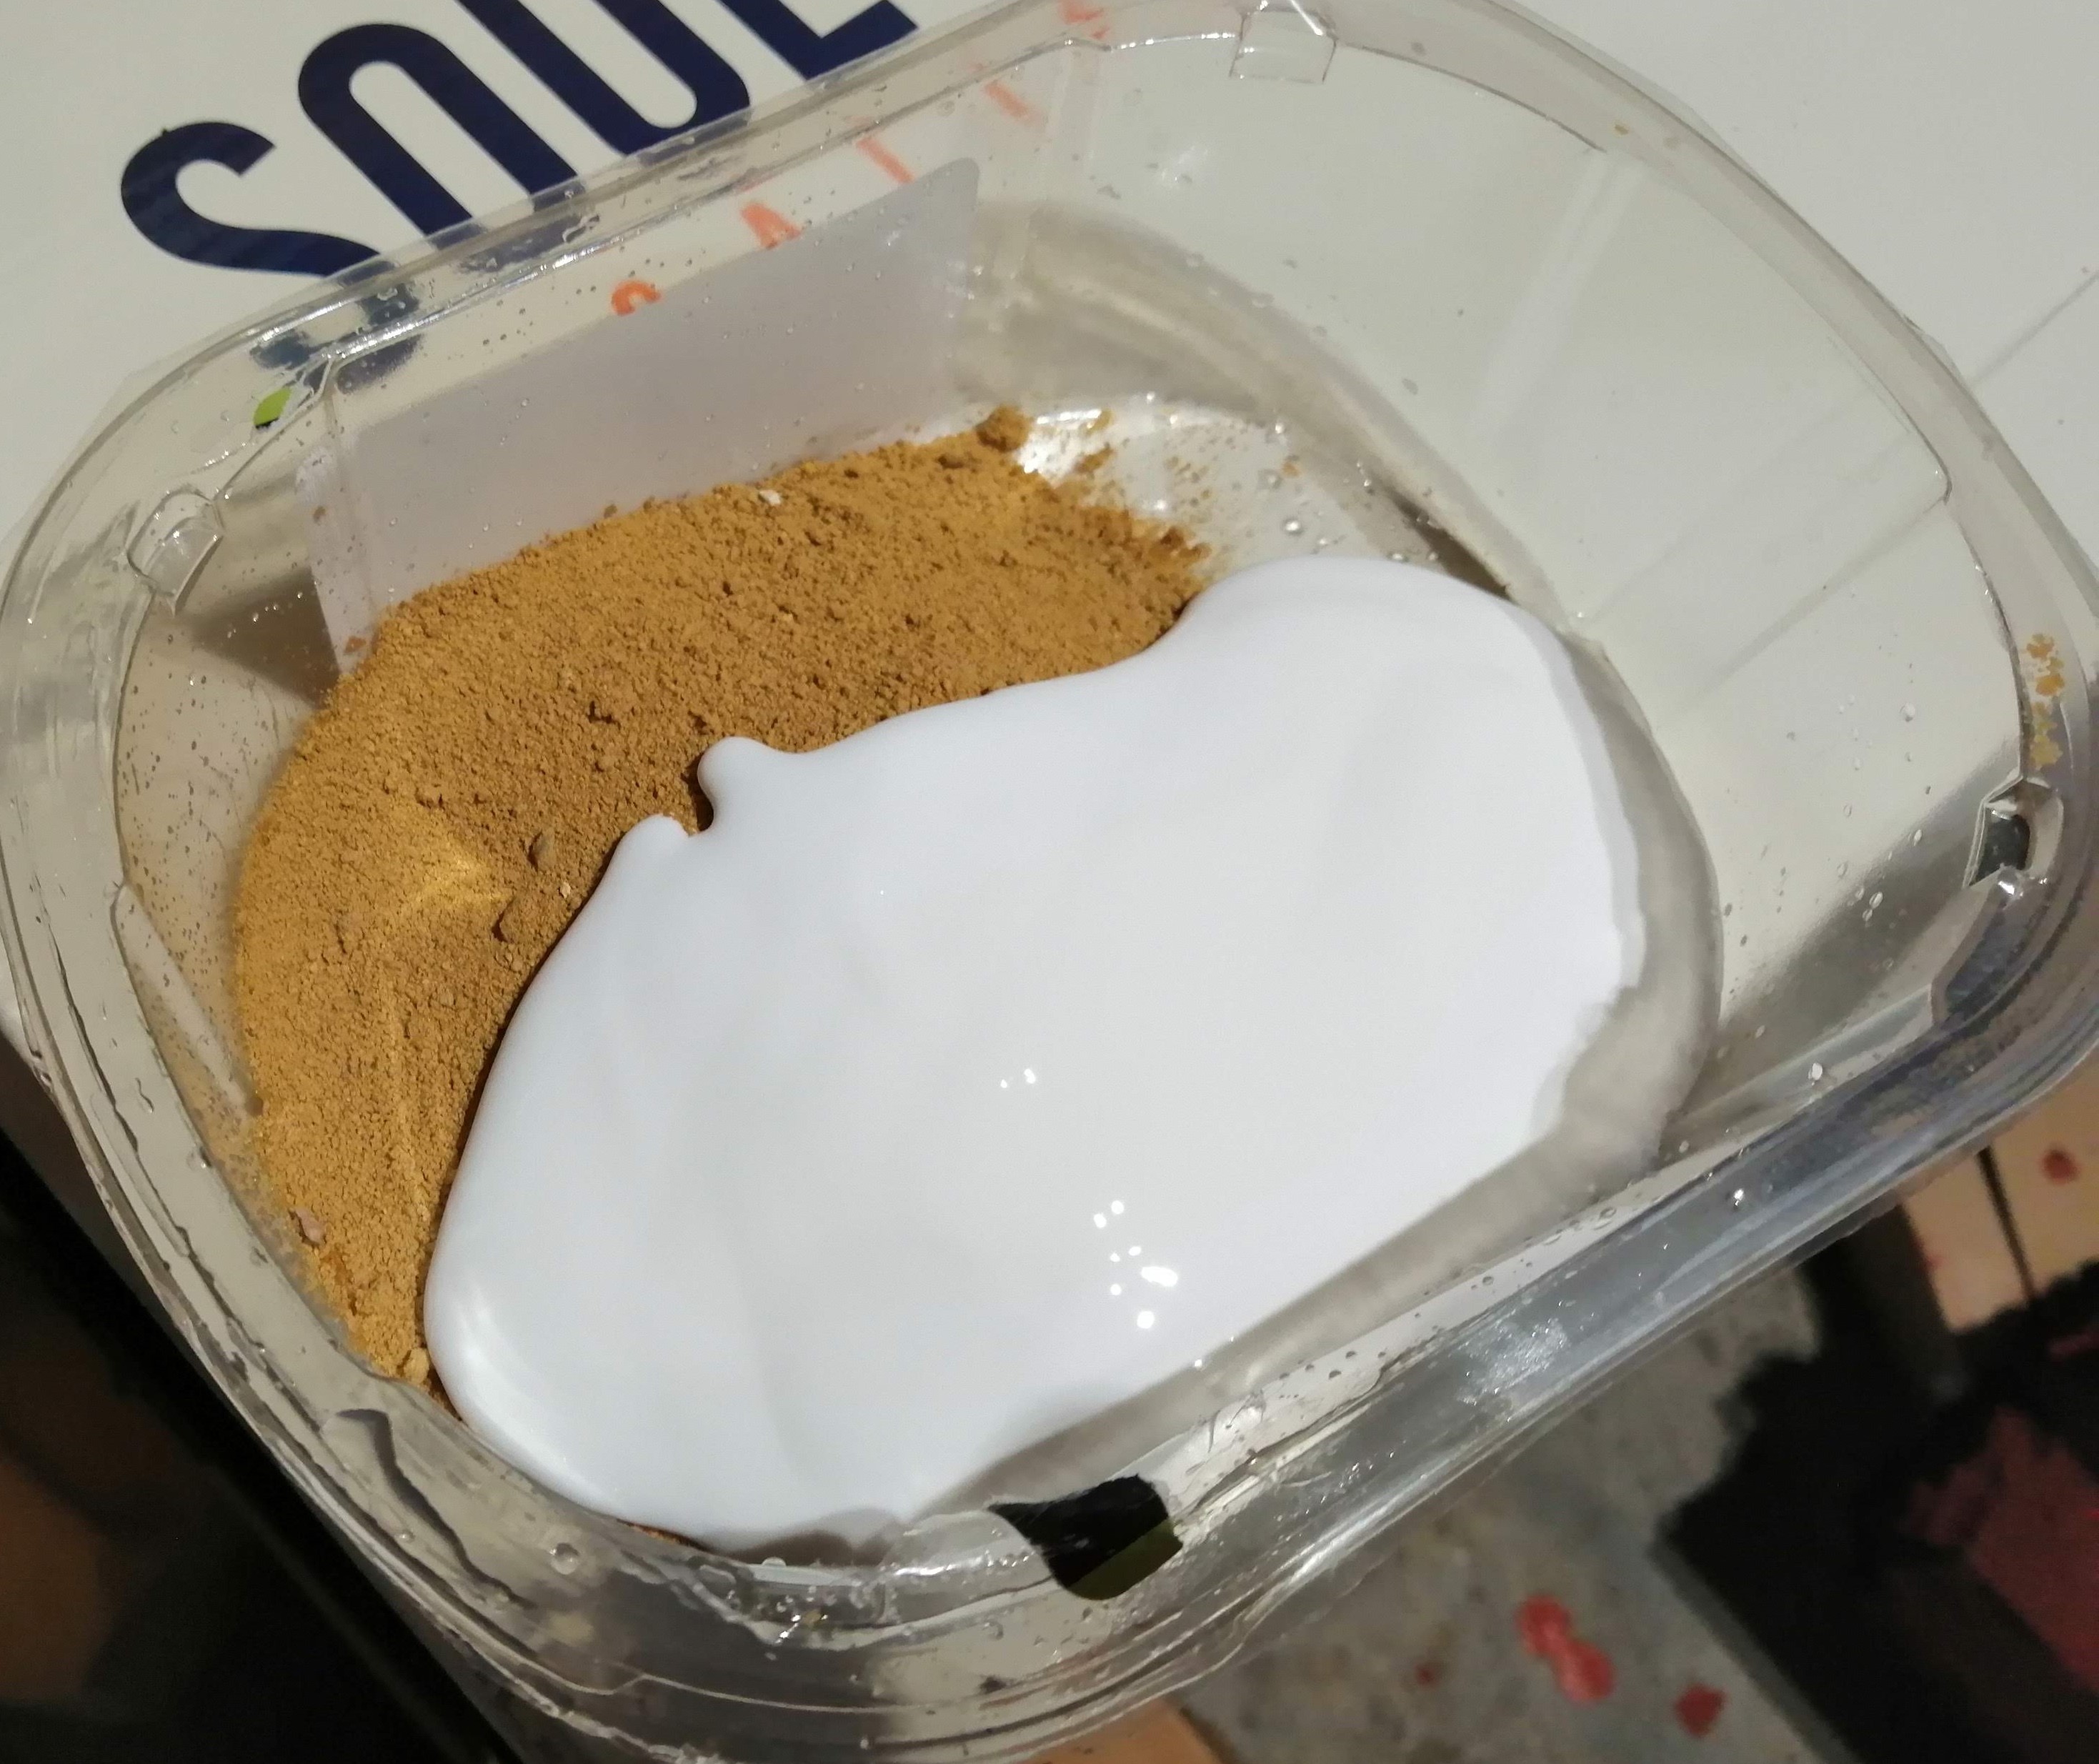
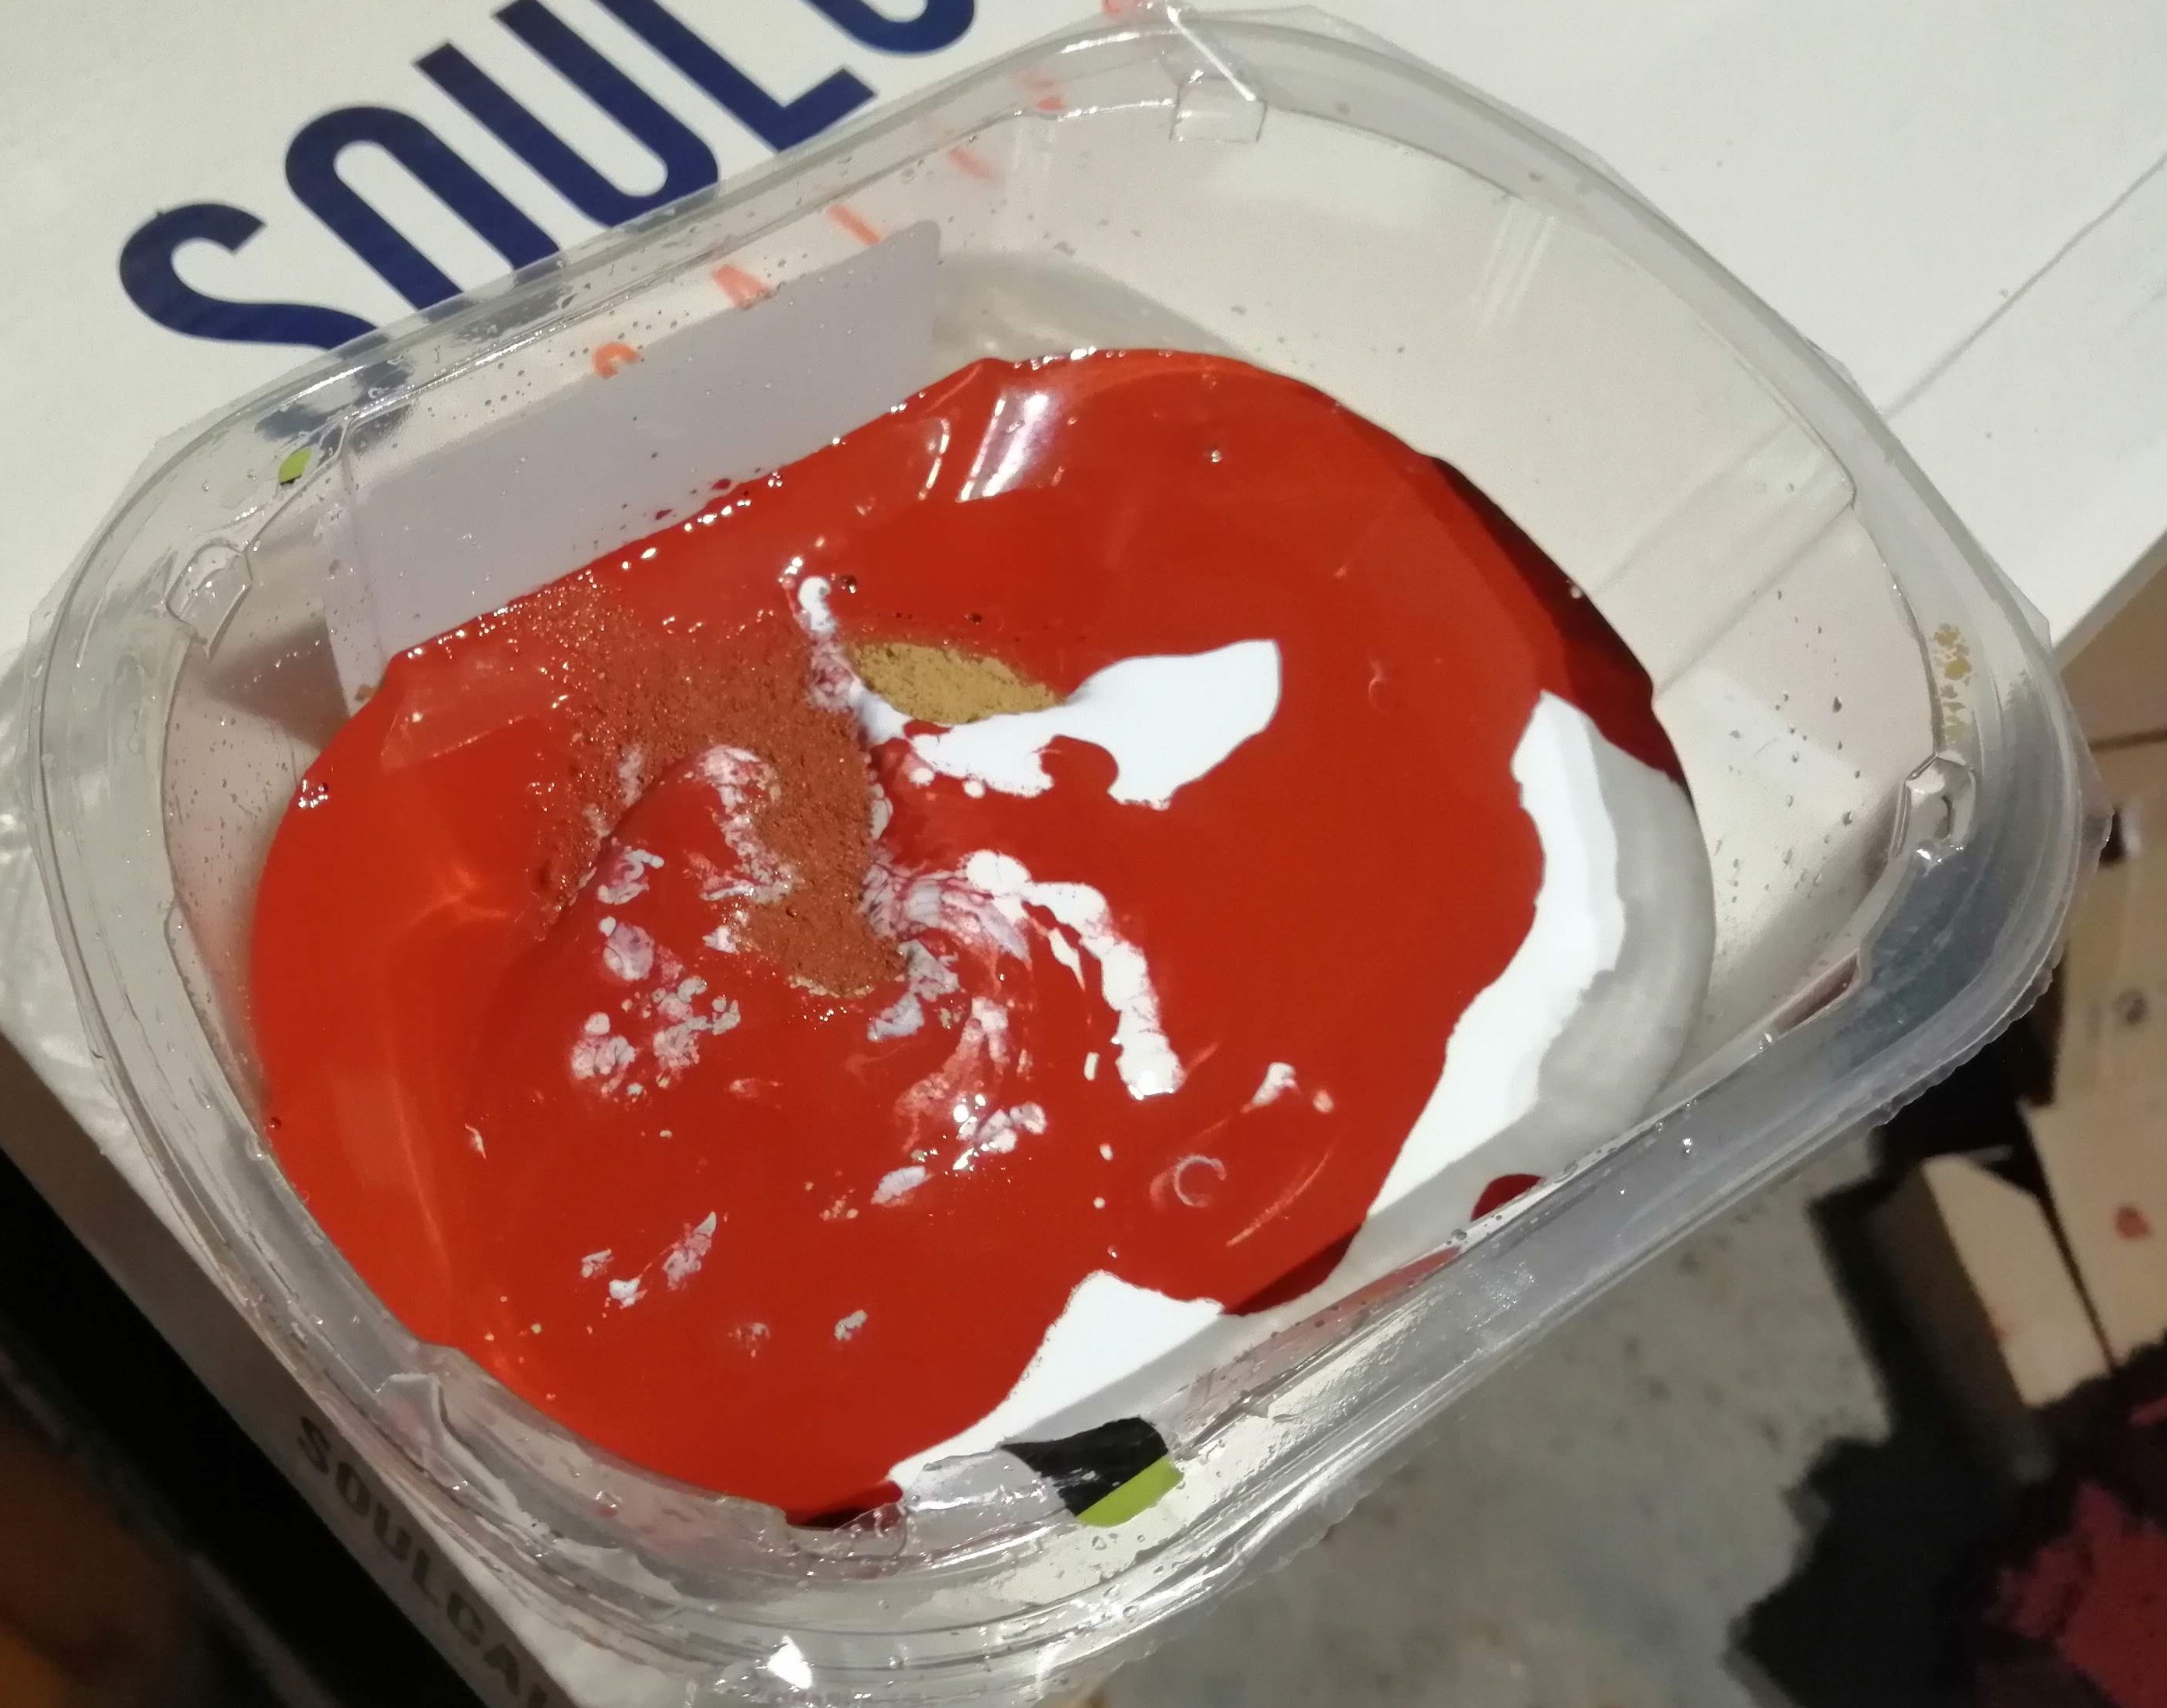
This mixture was then applied in a couple of layers to the area designed to be a road. This took several days to dry properly.
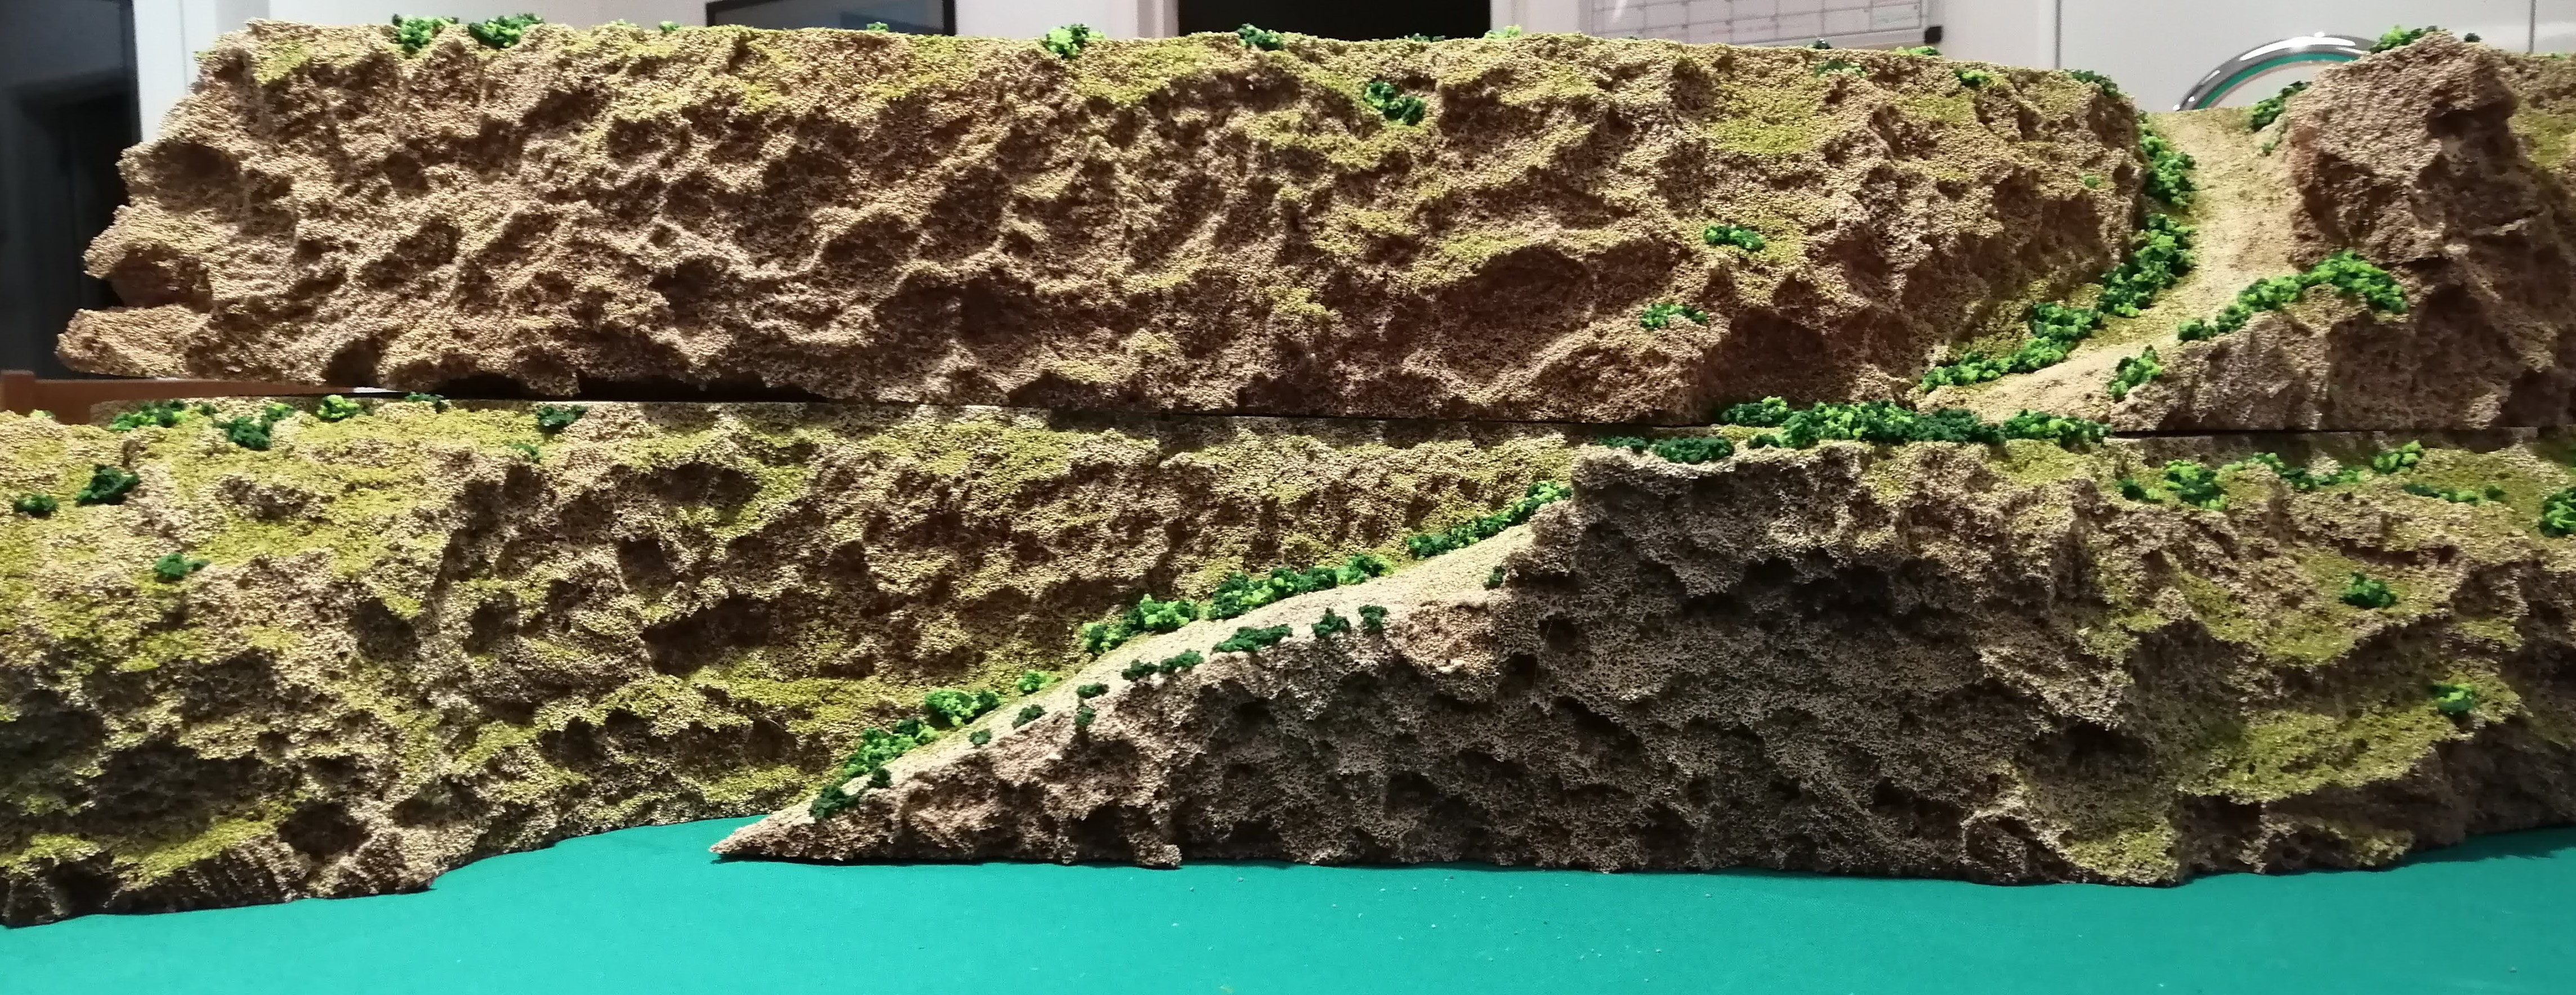
To provide the highlight, I found some cheap spray acrylics online and ordered these in. The rocks around Cassino are very light in colour so a light brown and bone white looked the best bet for getting the highlight right.
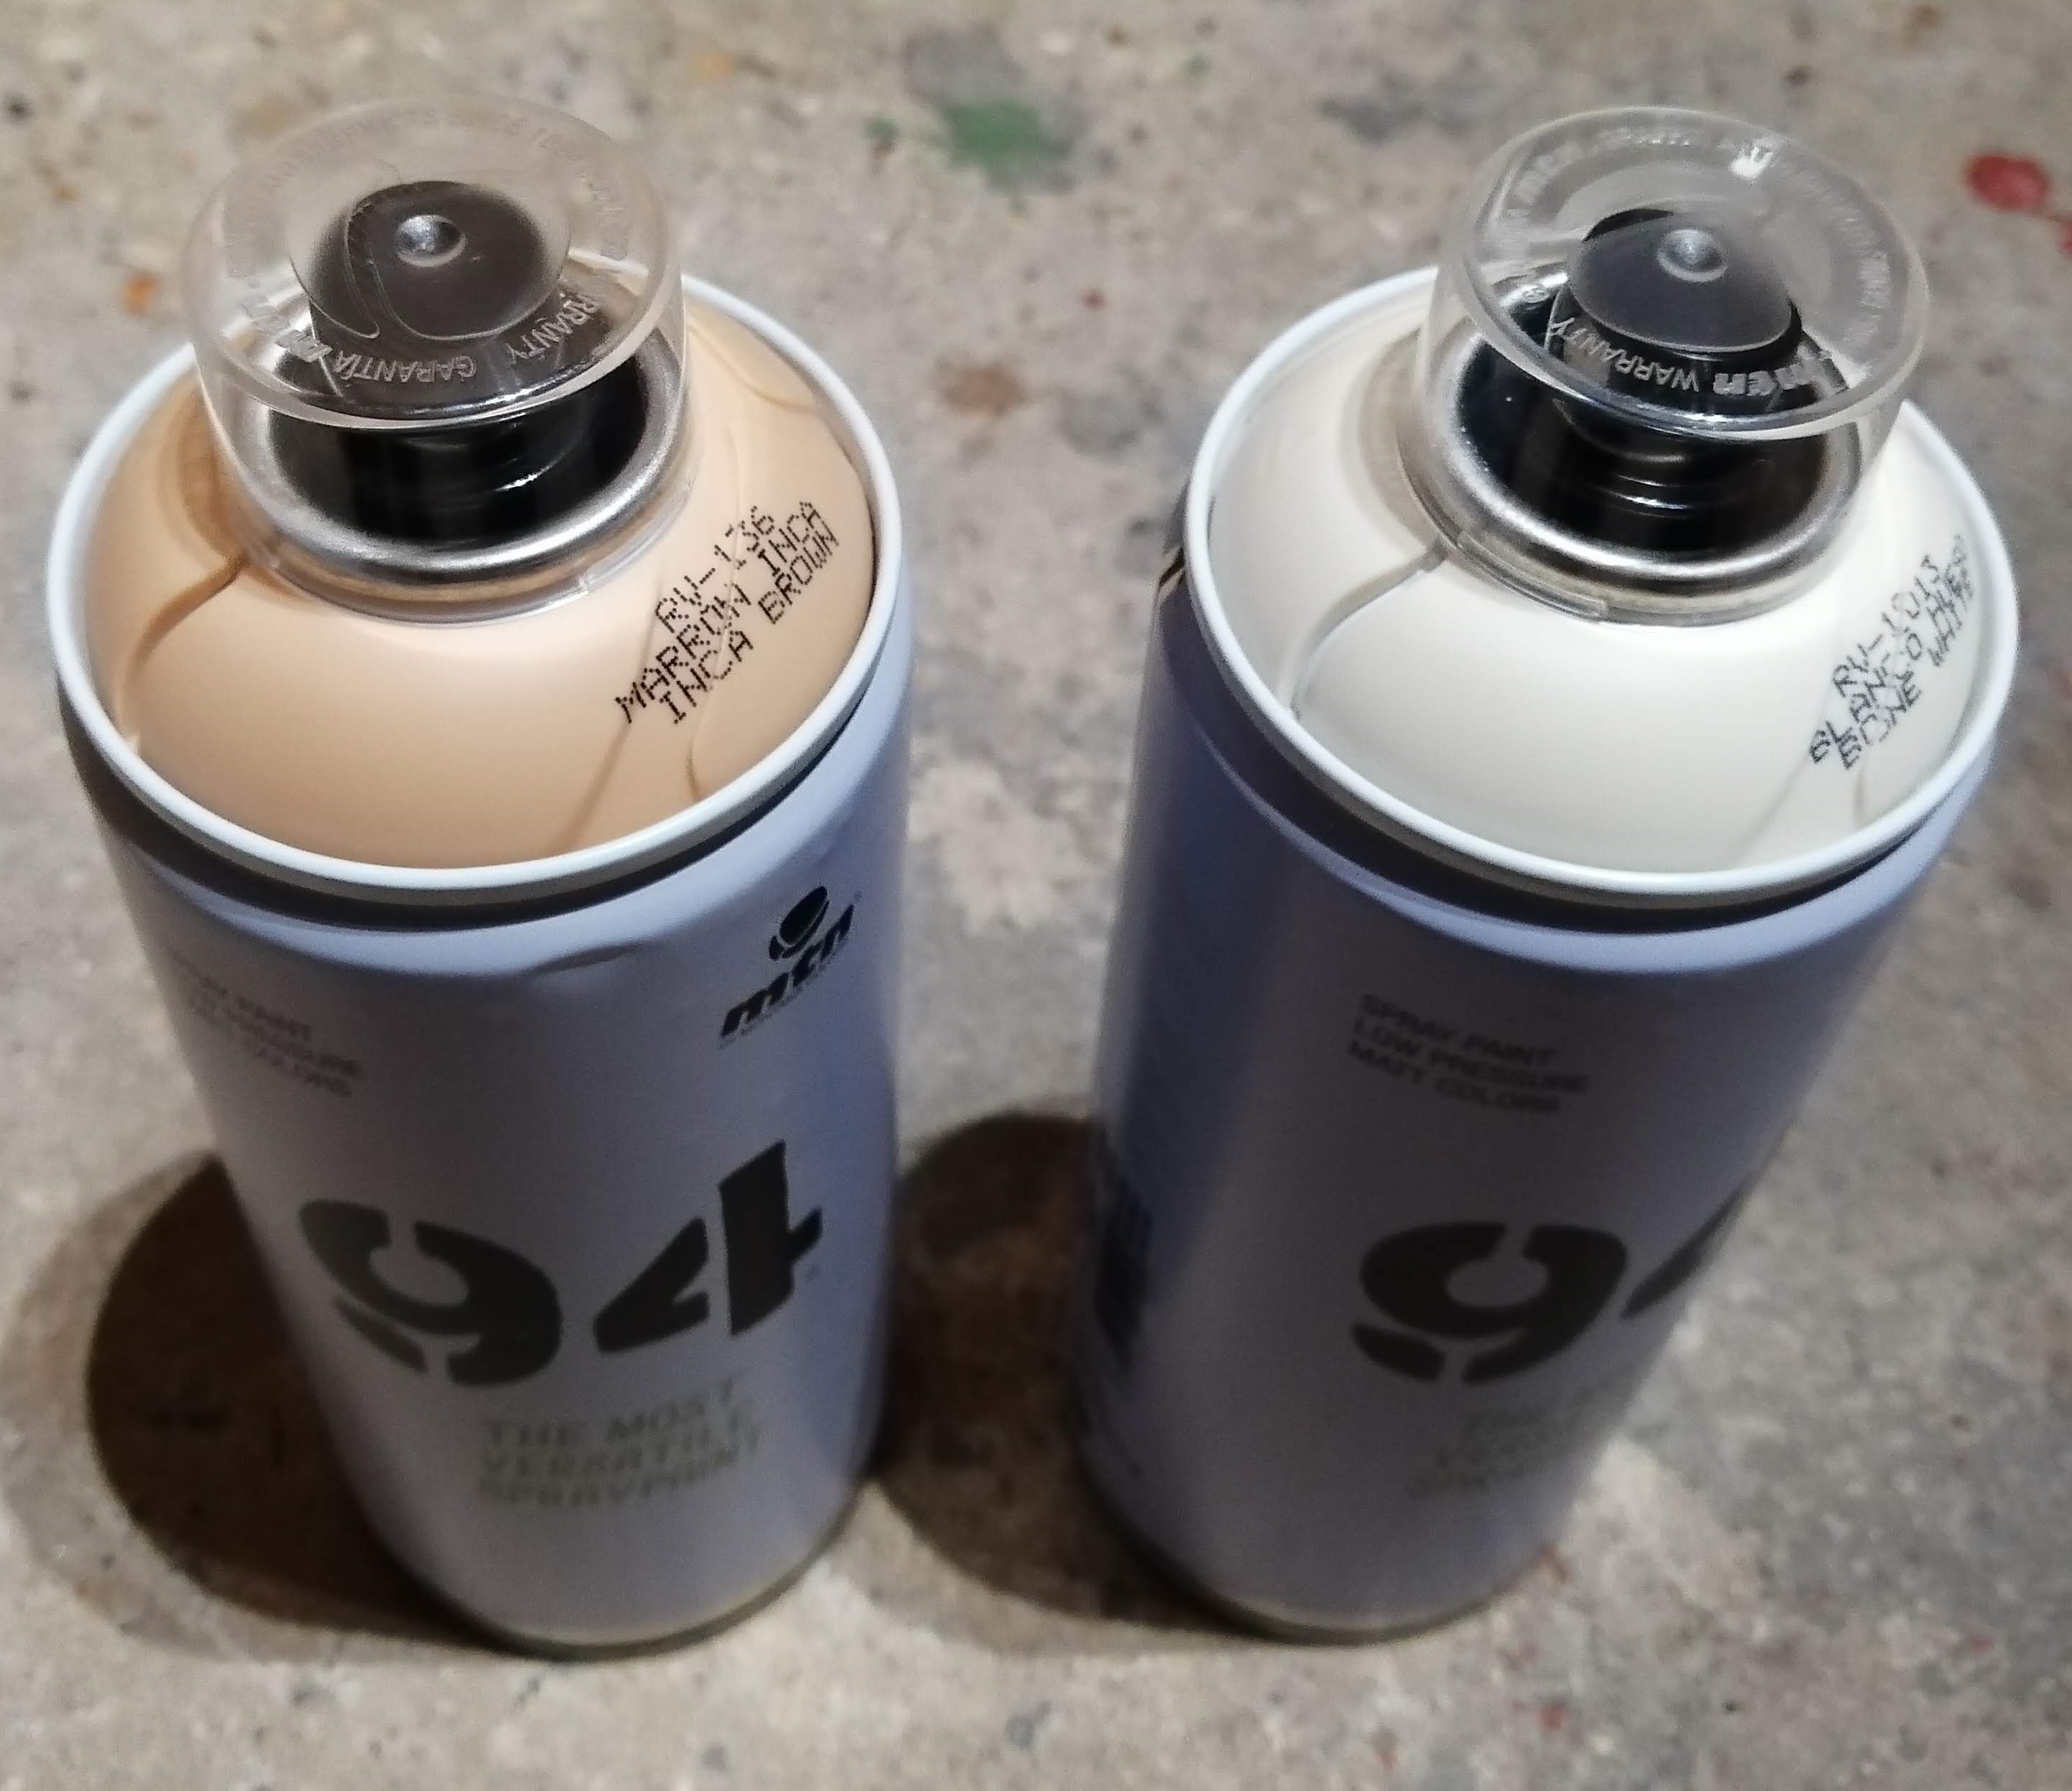
The mid brown colour was applied fairly close to the foam and at a low angle from the horizontal. Once dry, I applied the bone white sparingly from a higher angle to catch the top edges. I followed this up with hitting odd patches across with mixes of the two colours to try and vary the tone.
Next job will be to start flocking the hill and applying some wash to the road.
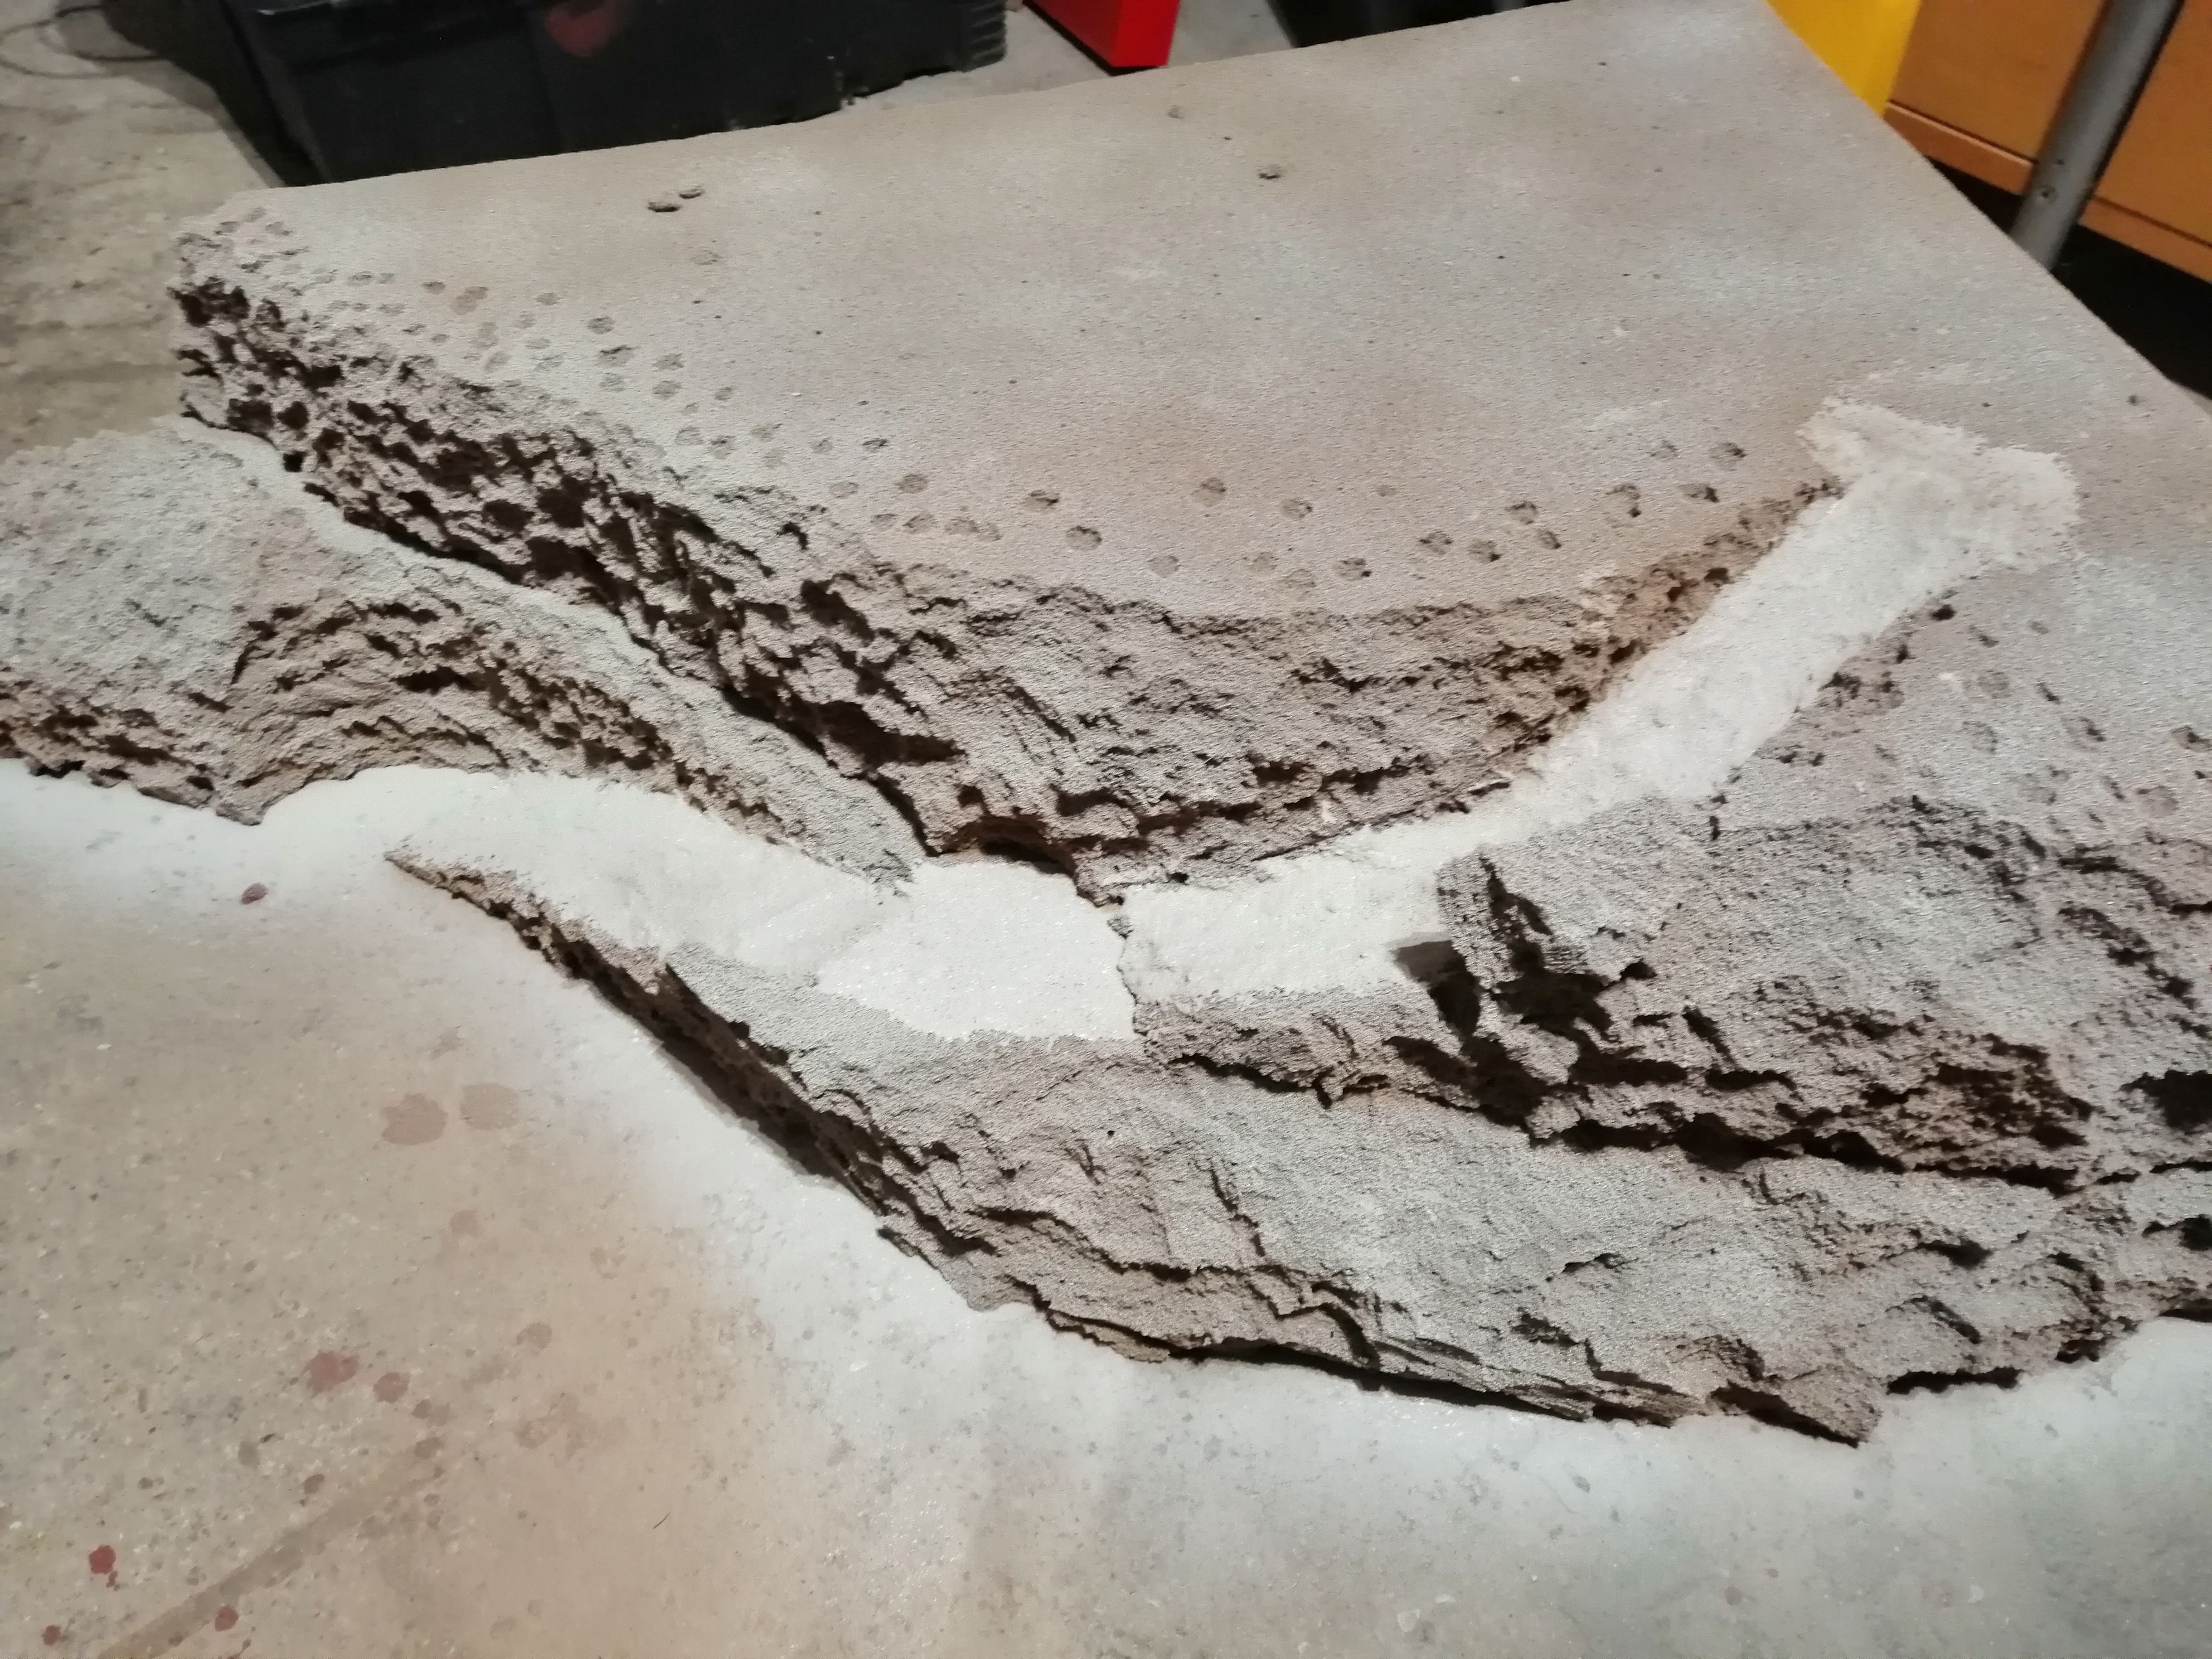
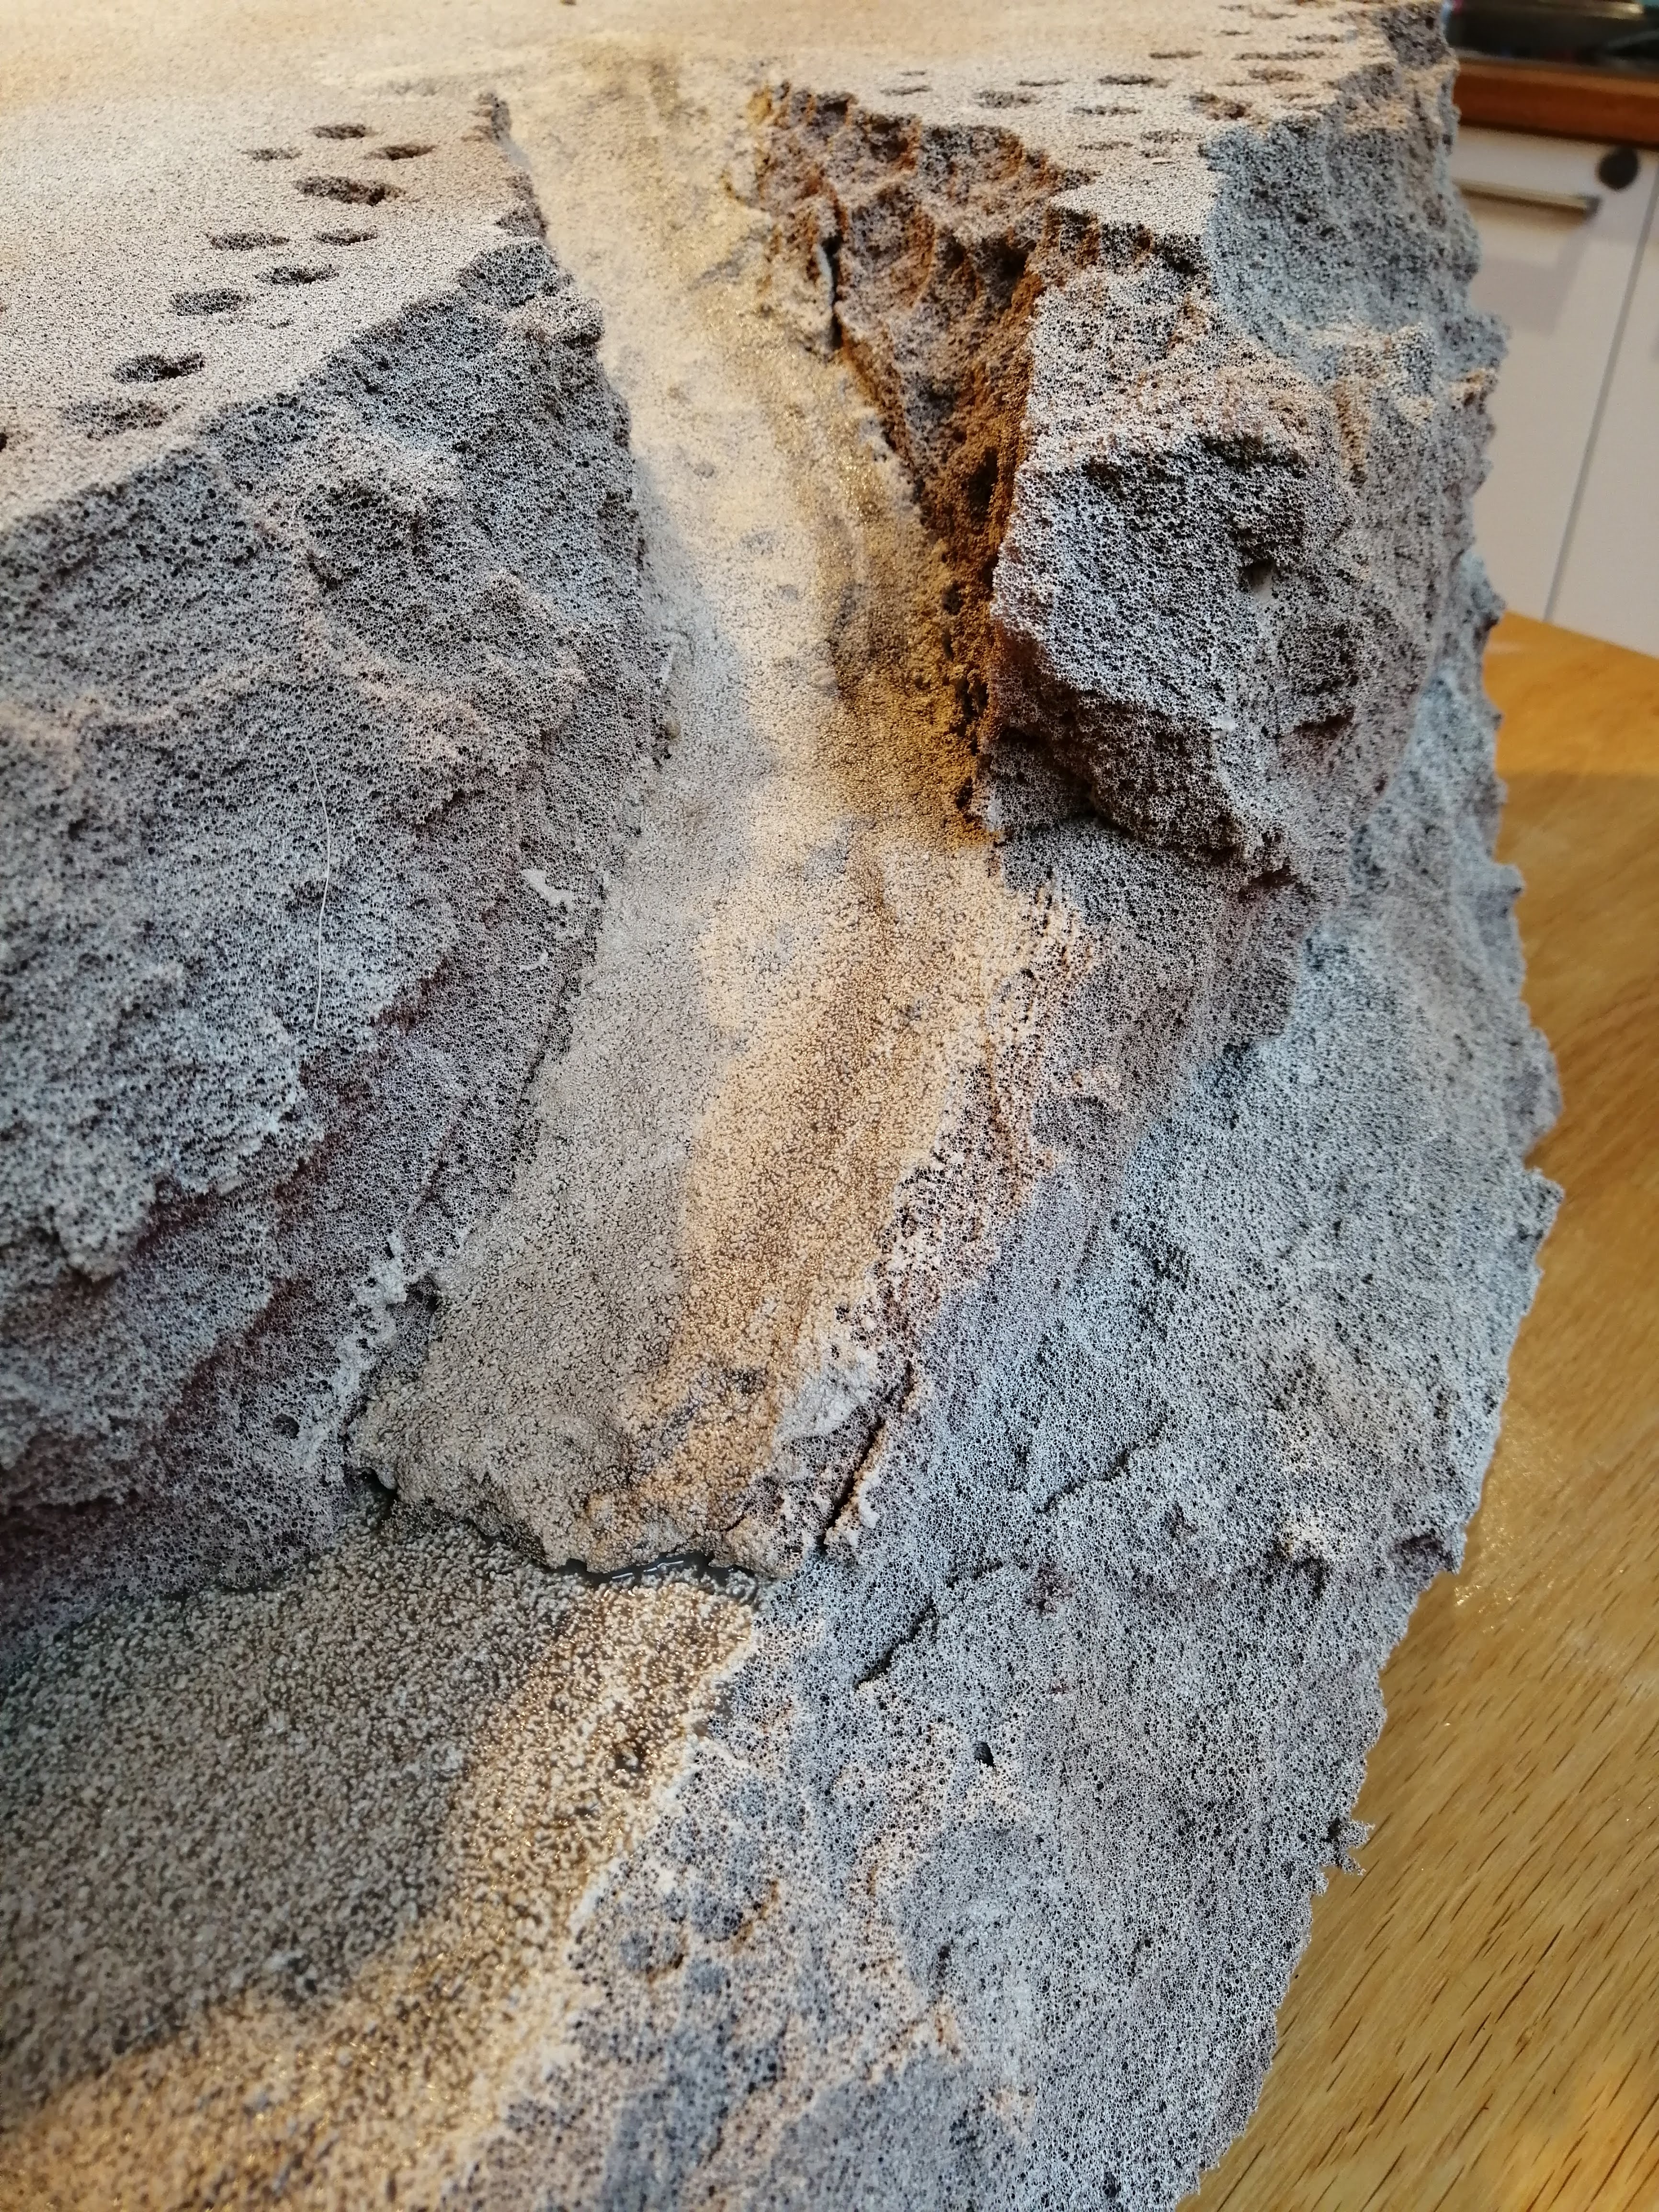
Monte Cassino - Plucking Hell
Managed to get some time to work on the terrain for this project. Having shaped the foam in the last update, it was time to pluck it to create a cliff face. I want something imposing and shear as while the scale will be wrong, it needs to look like it dominates the battle field.
The plucking took ages and my fingers were sore after doing it. I’m happy with the general shape but I think it might need some more work.


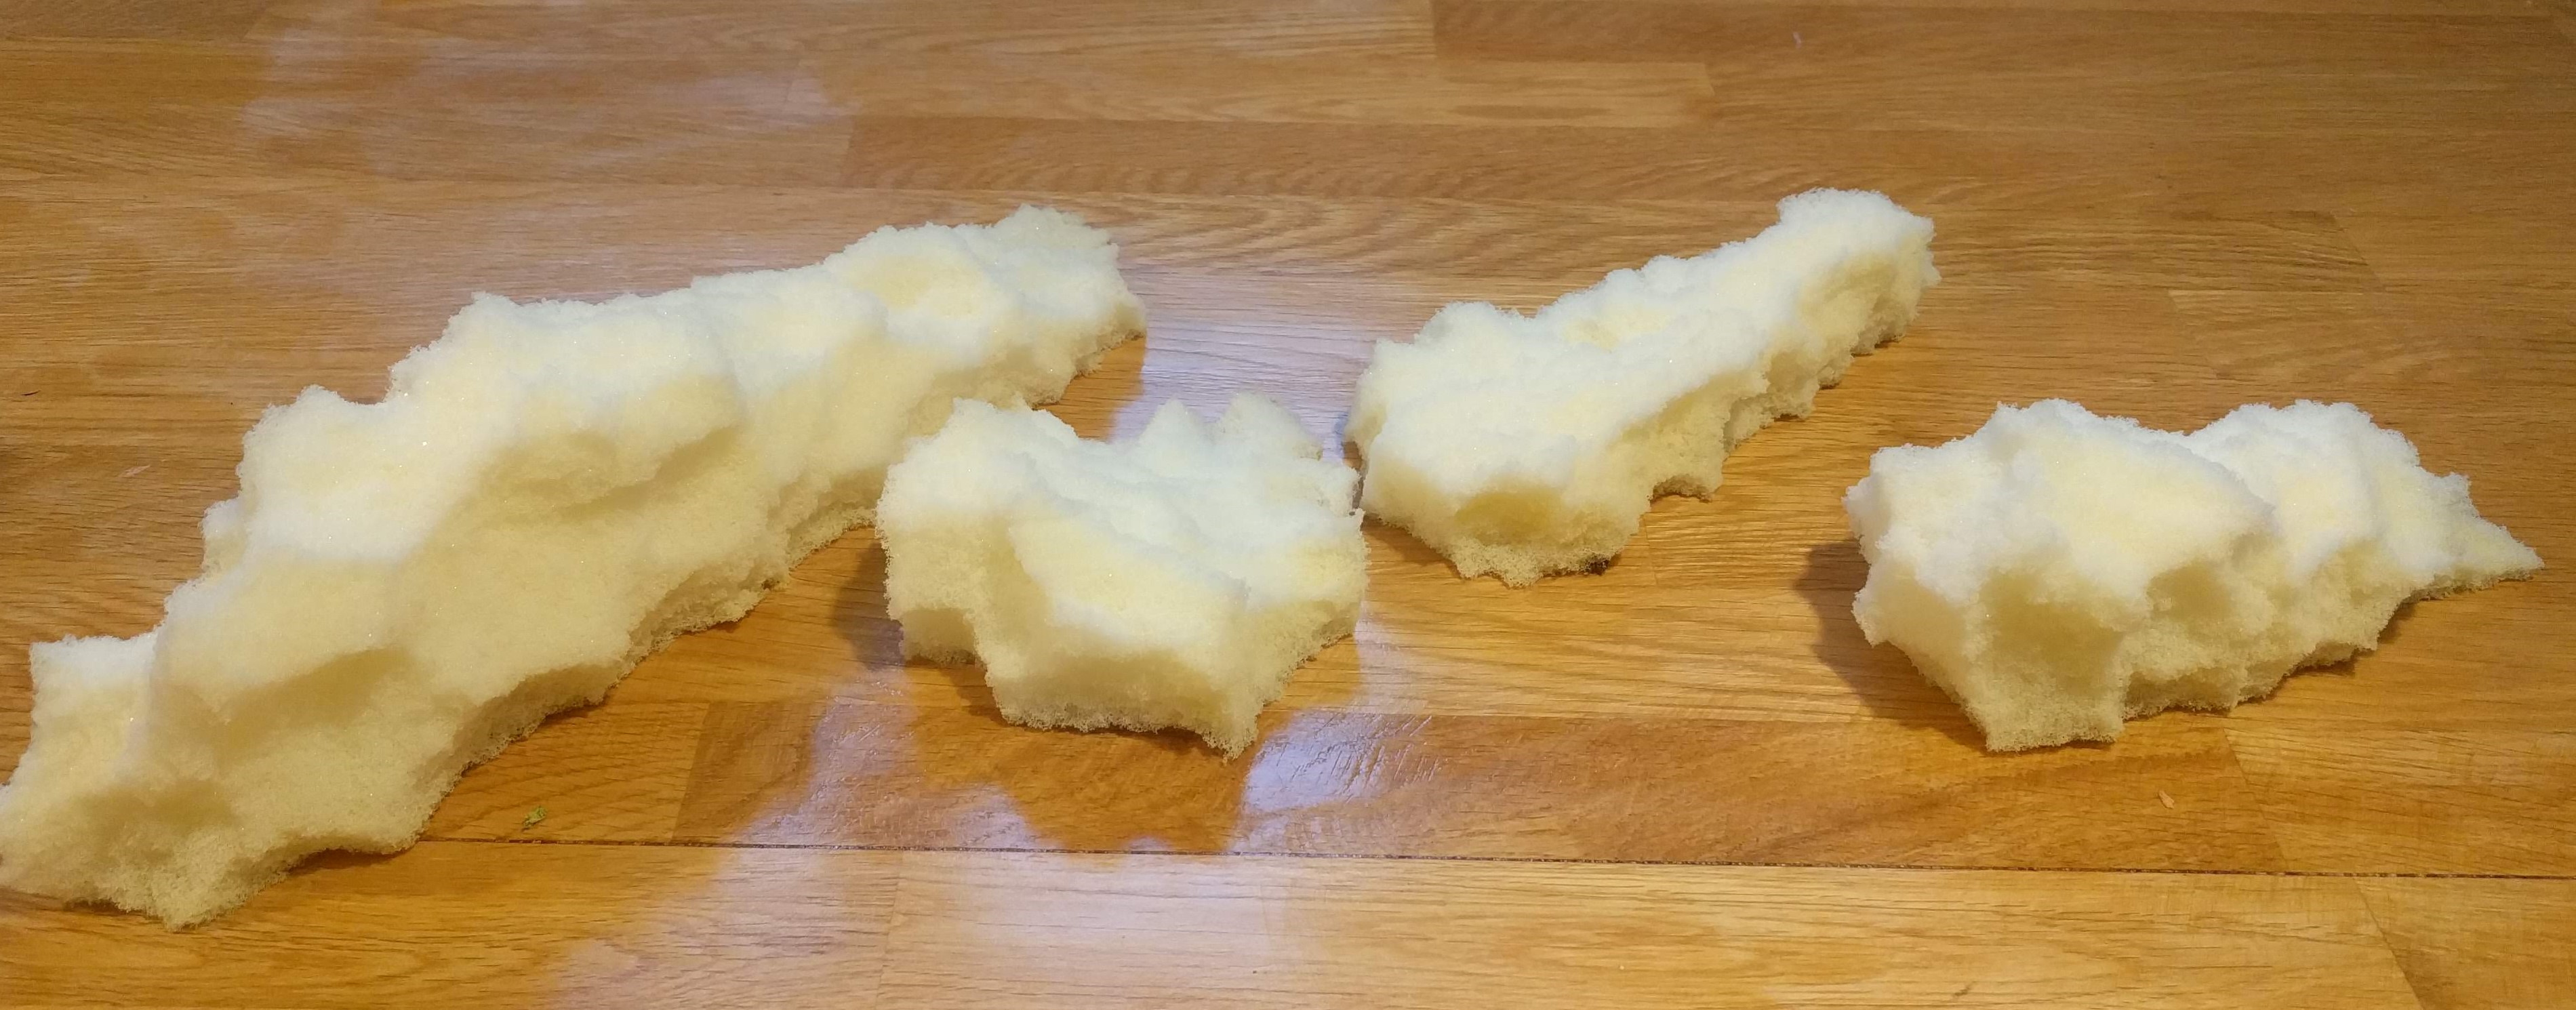 I even had foam left over to create some additional rocks for other terrain pieces :-)
I then needed to colour the foam. The rock around Cassino is quite light, almost a bone colour however I need a dark shade initially to soak into the foam so that none of the foam shows through. I’ve again ordered some cheap dark brown acrylic paint from Amazon and watered it down a little. This was then liberally applied to the foam and ‘pushed’ into it by a very old paint brush.
It took a few coats to cover the foam up and some time to dry but it now looks a lot less like some foam from a sofa!
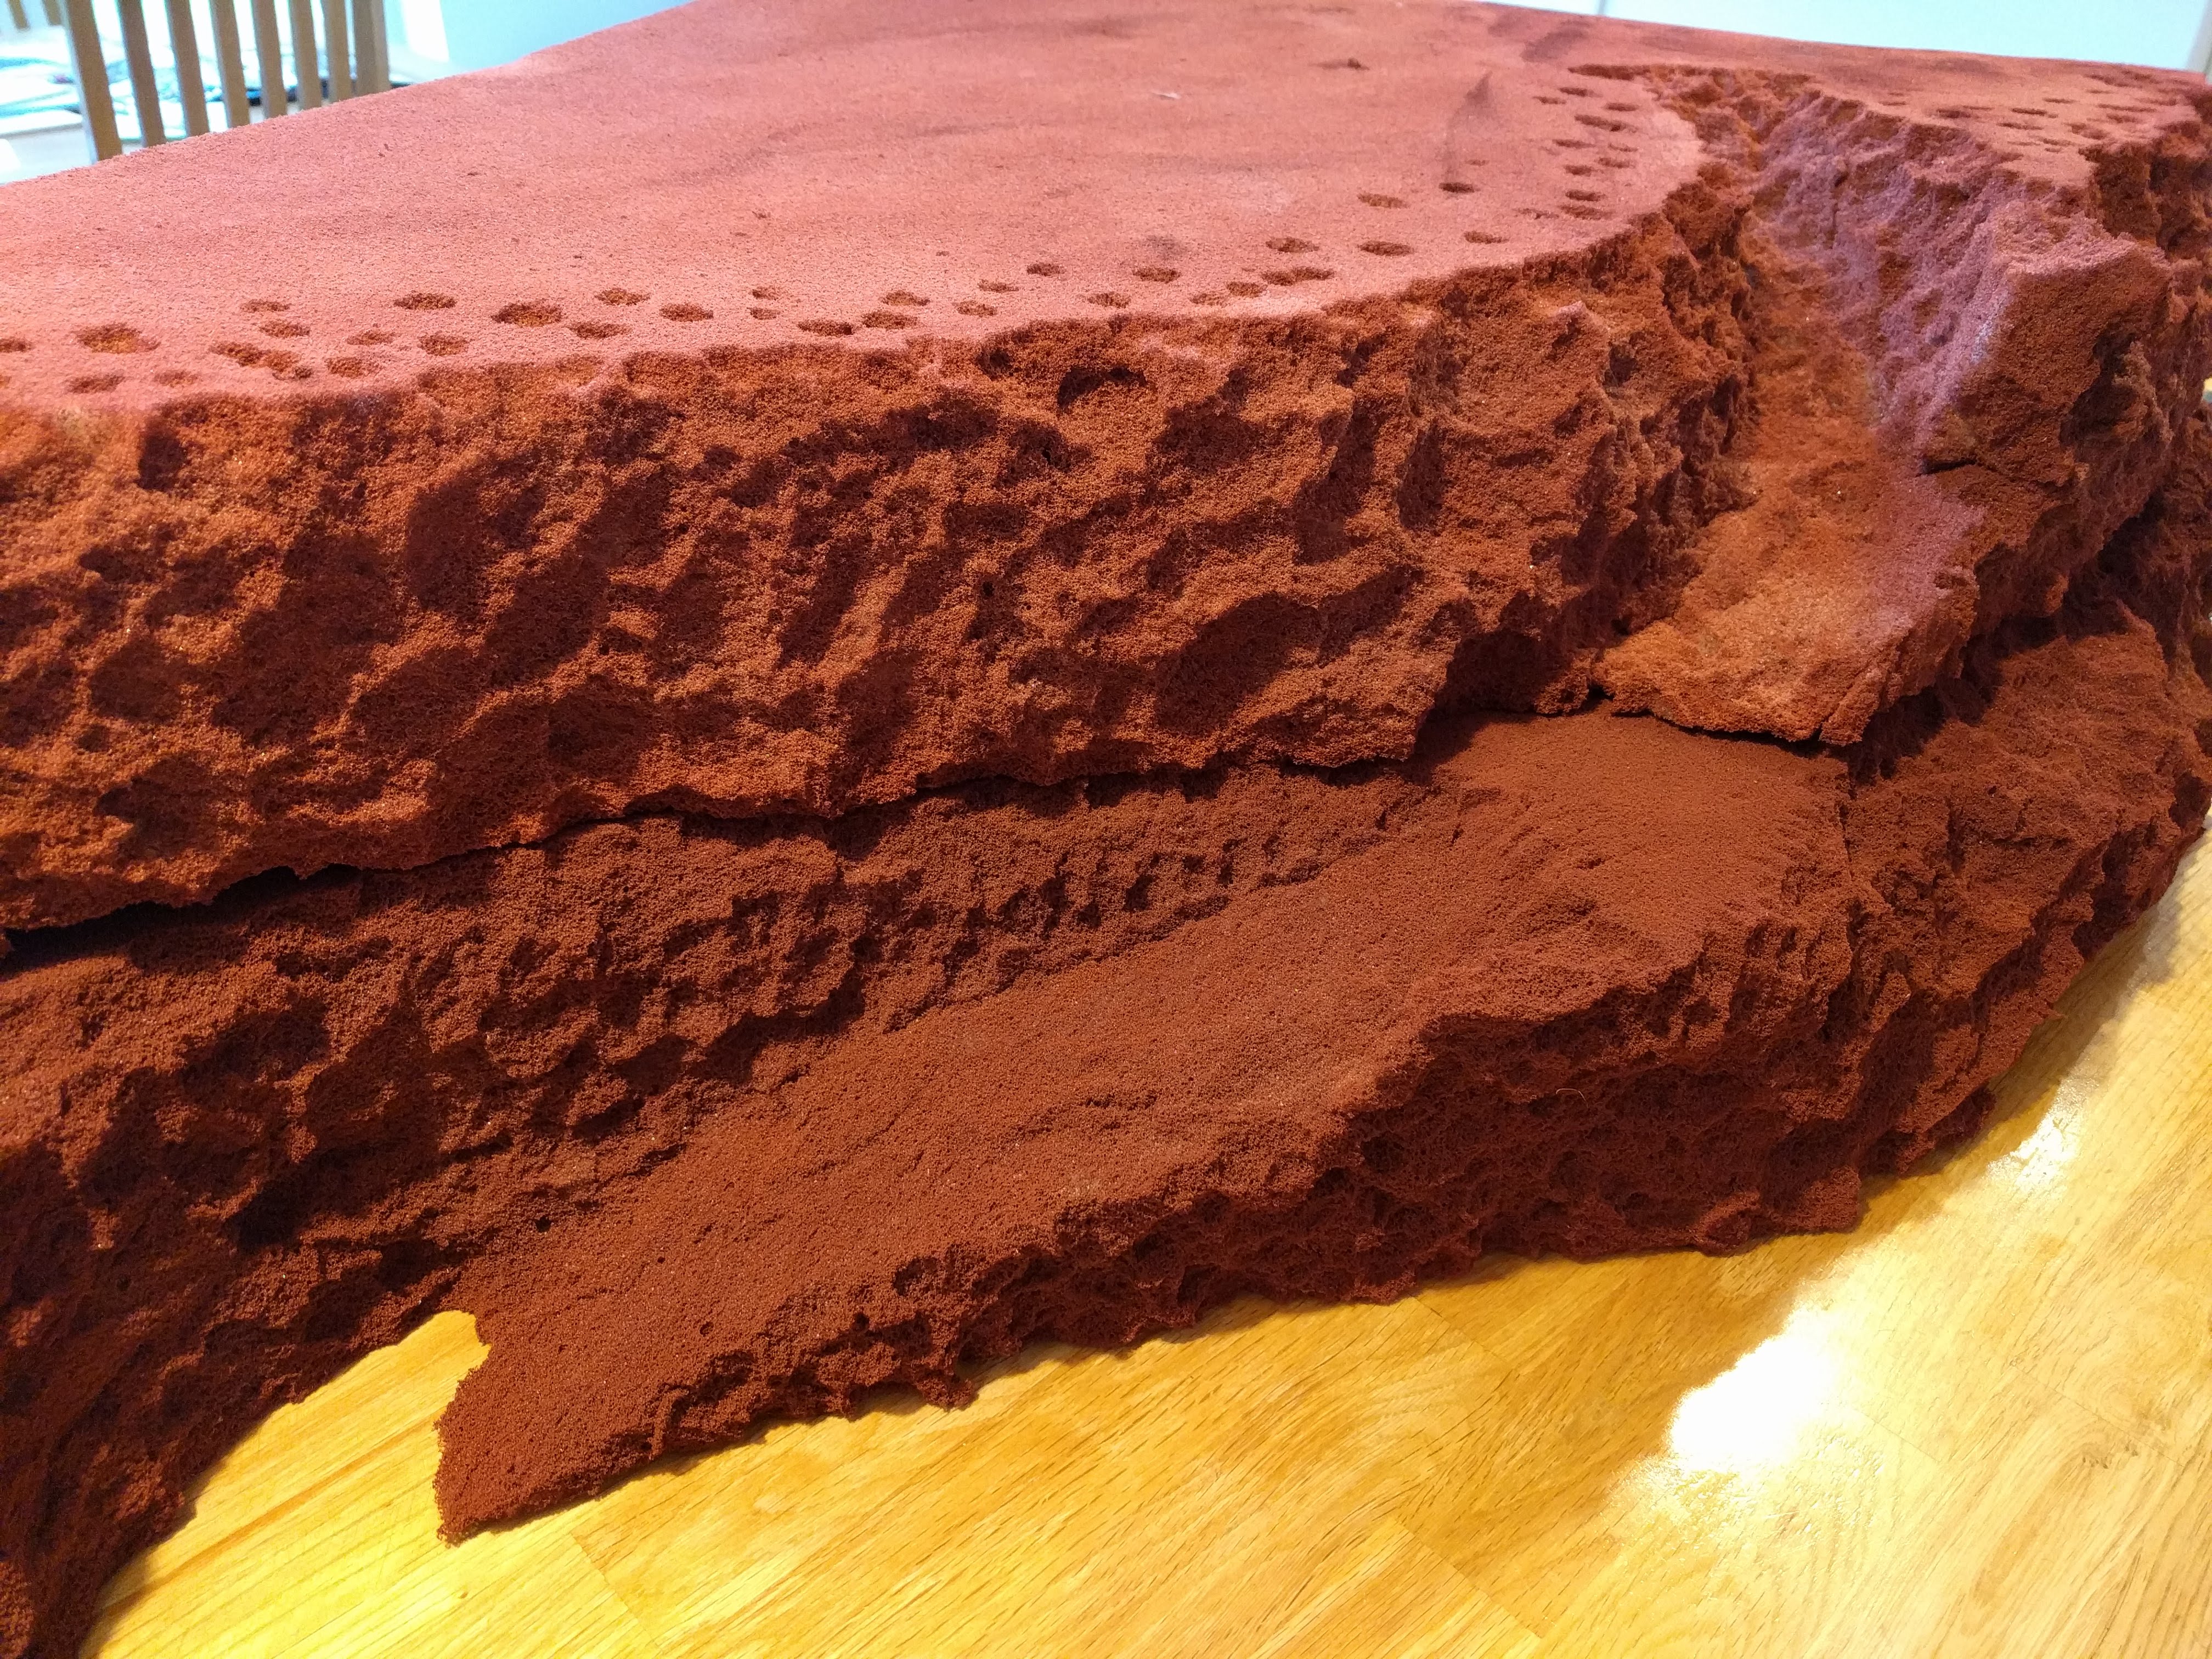 The 'undercoated' Monte Cassino
Monte Cassino - Starting the Hill
The town of Cassino is dominated by the large hill and monastery overlooking it. At 520m high, scale wise I’m not going to be able to recreate this on the tabletop however having some form of representation seems appropriate.
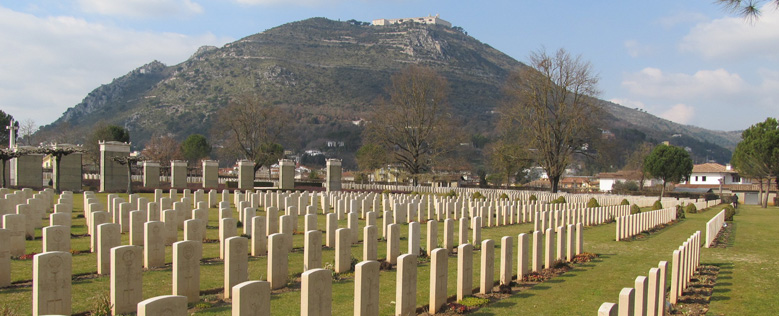 Monte Cassino with the rebuilt monastery
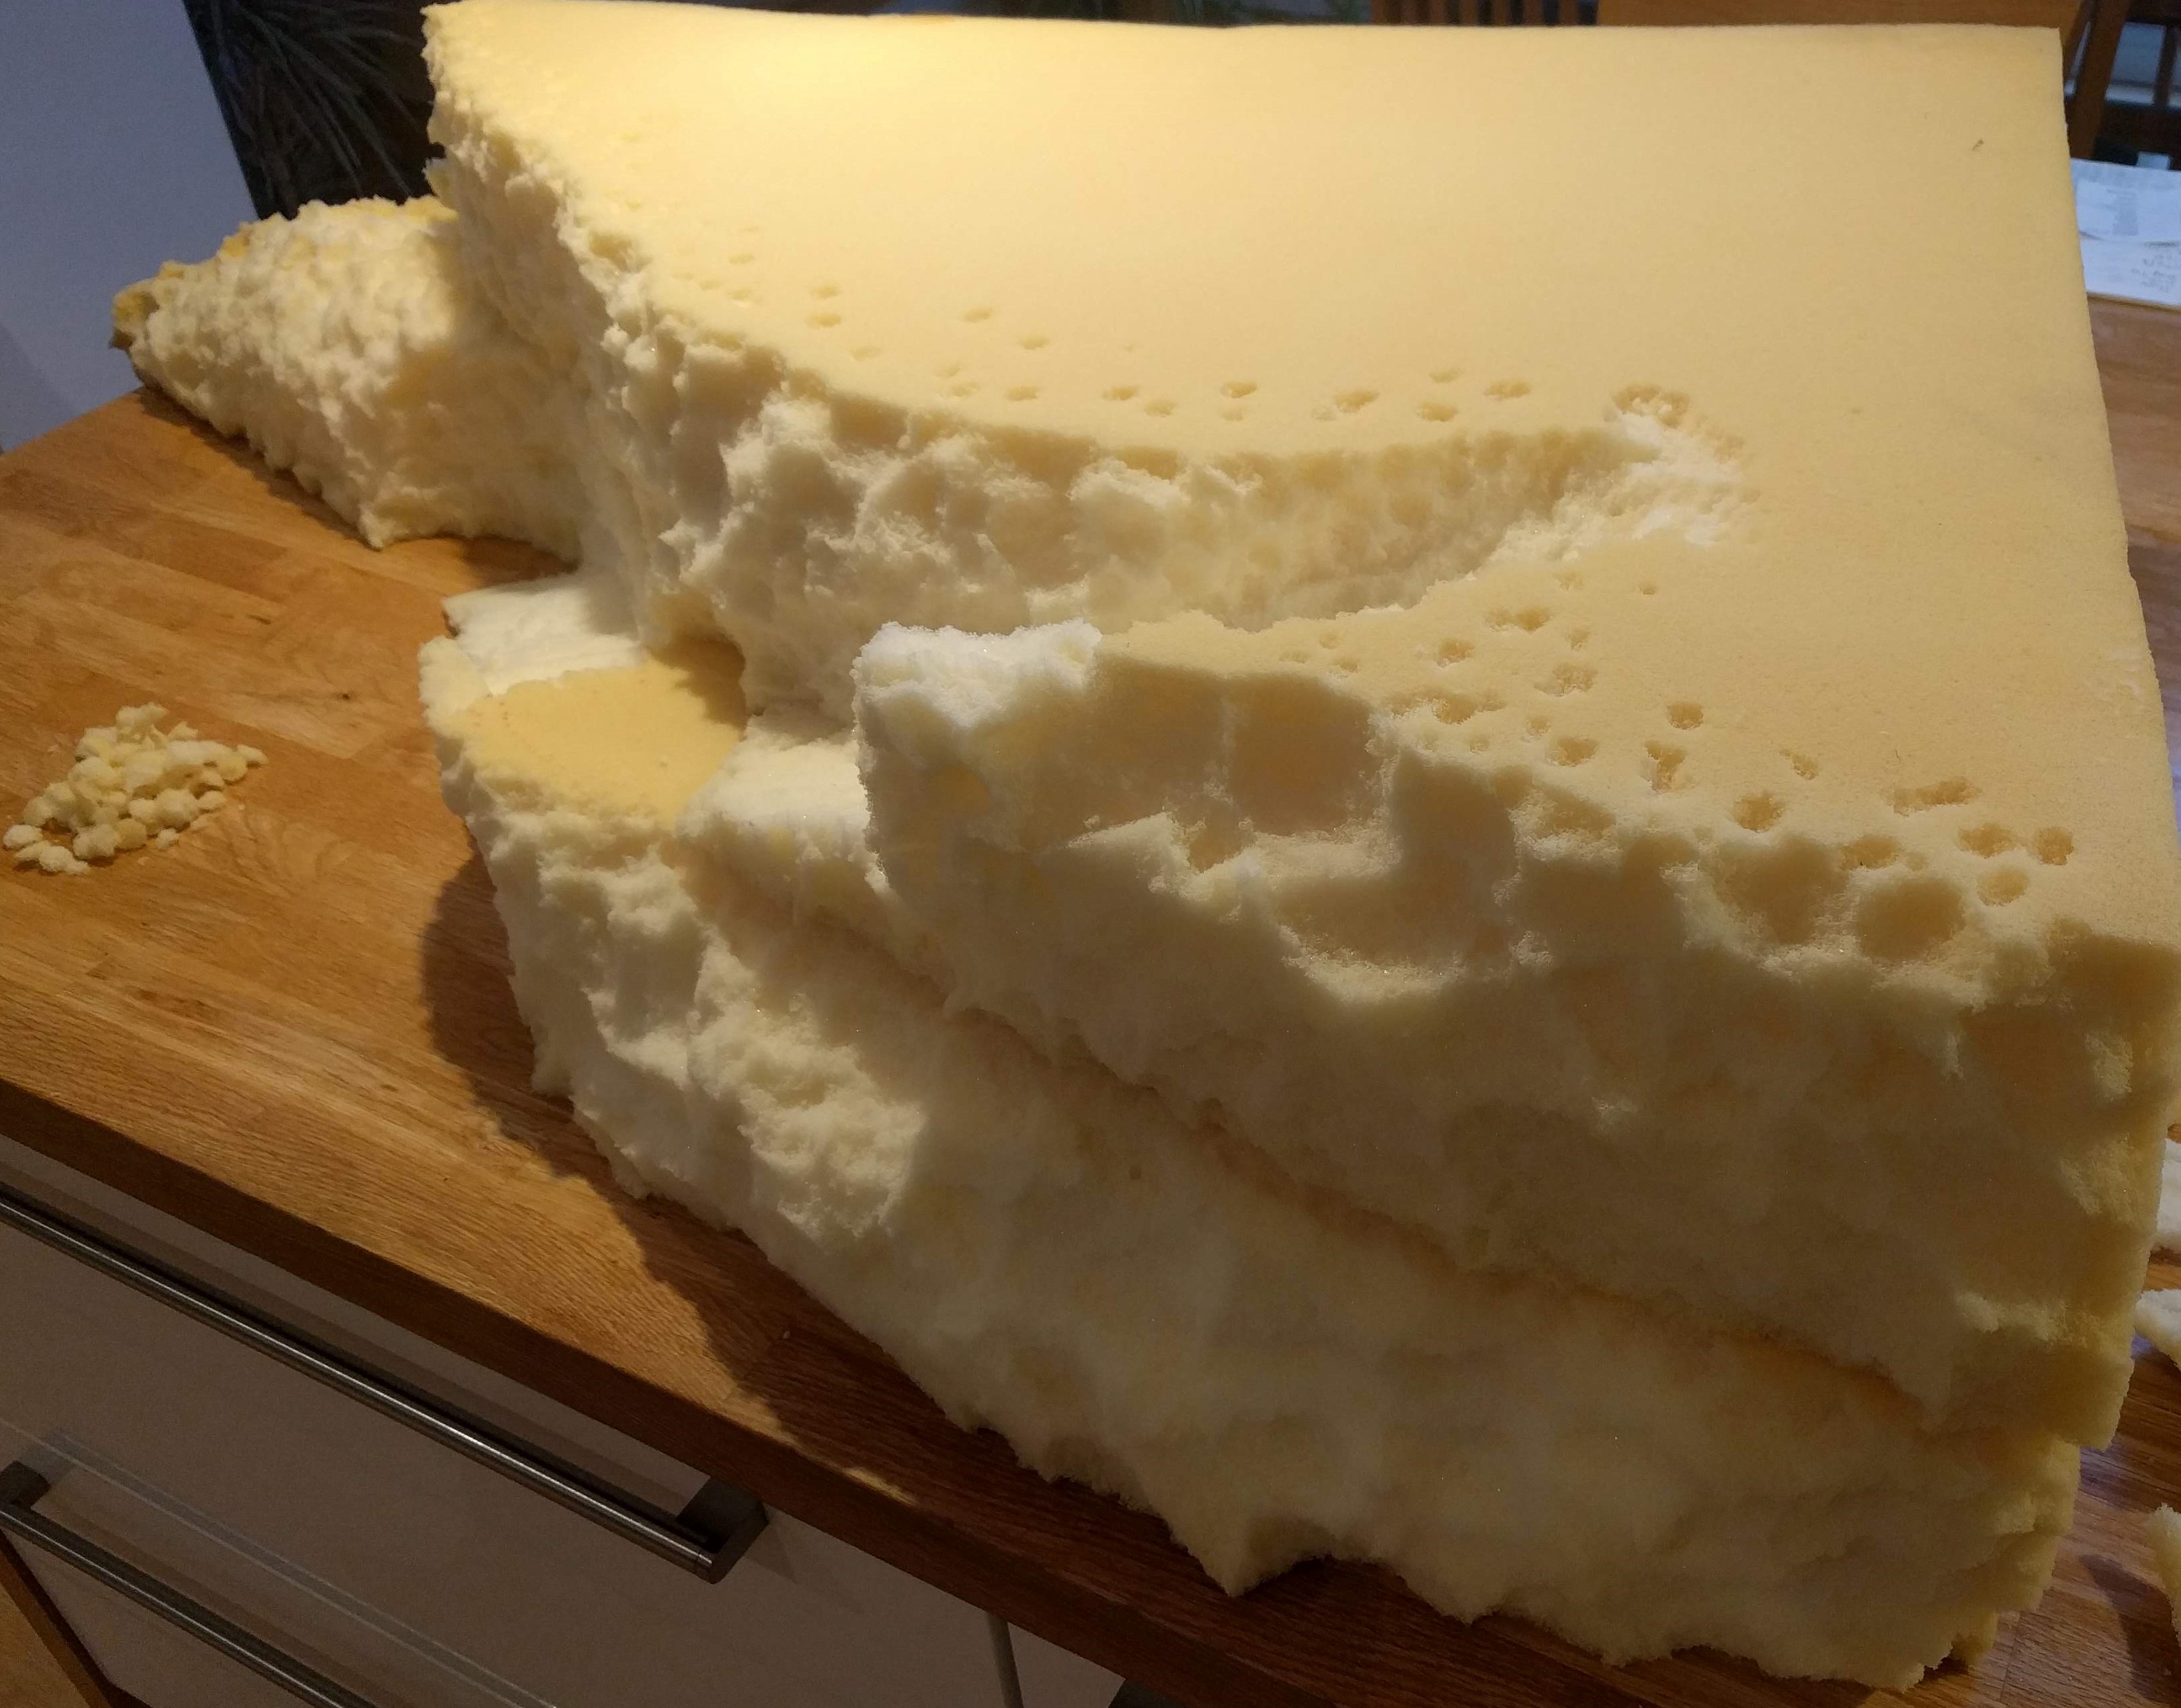
I’m going to take the same approach to hill building as described here on BoW using foam. Fortunately, I salvaged some foam from an old sofa that was heading to the rubbish tip, so the cost of this will be nothing!
I plan to cut the foam in two and use it as a corner piece to the table. I’ve marked on the cut for the base piece and will then shape the top bit accordingly.
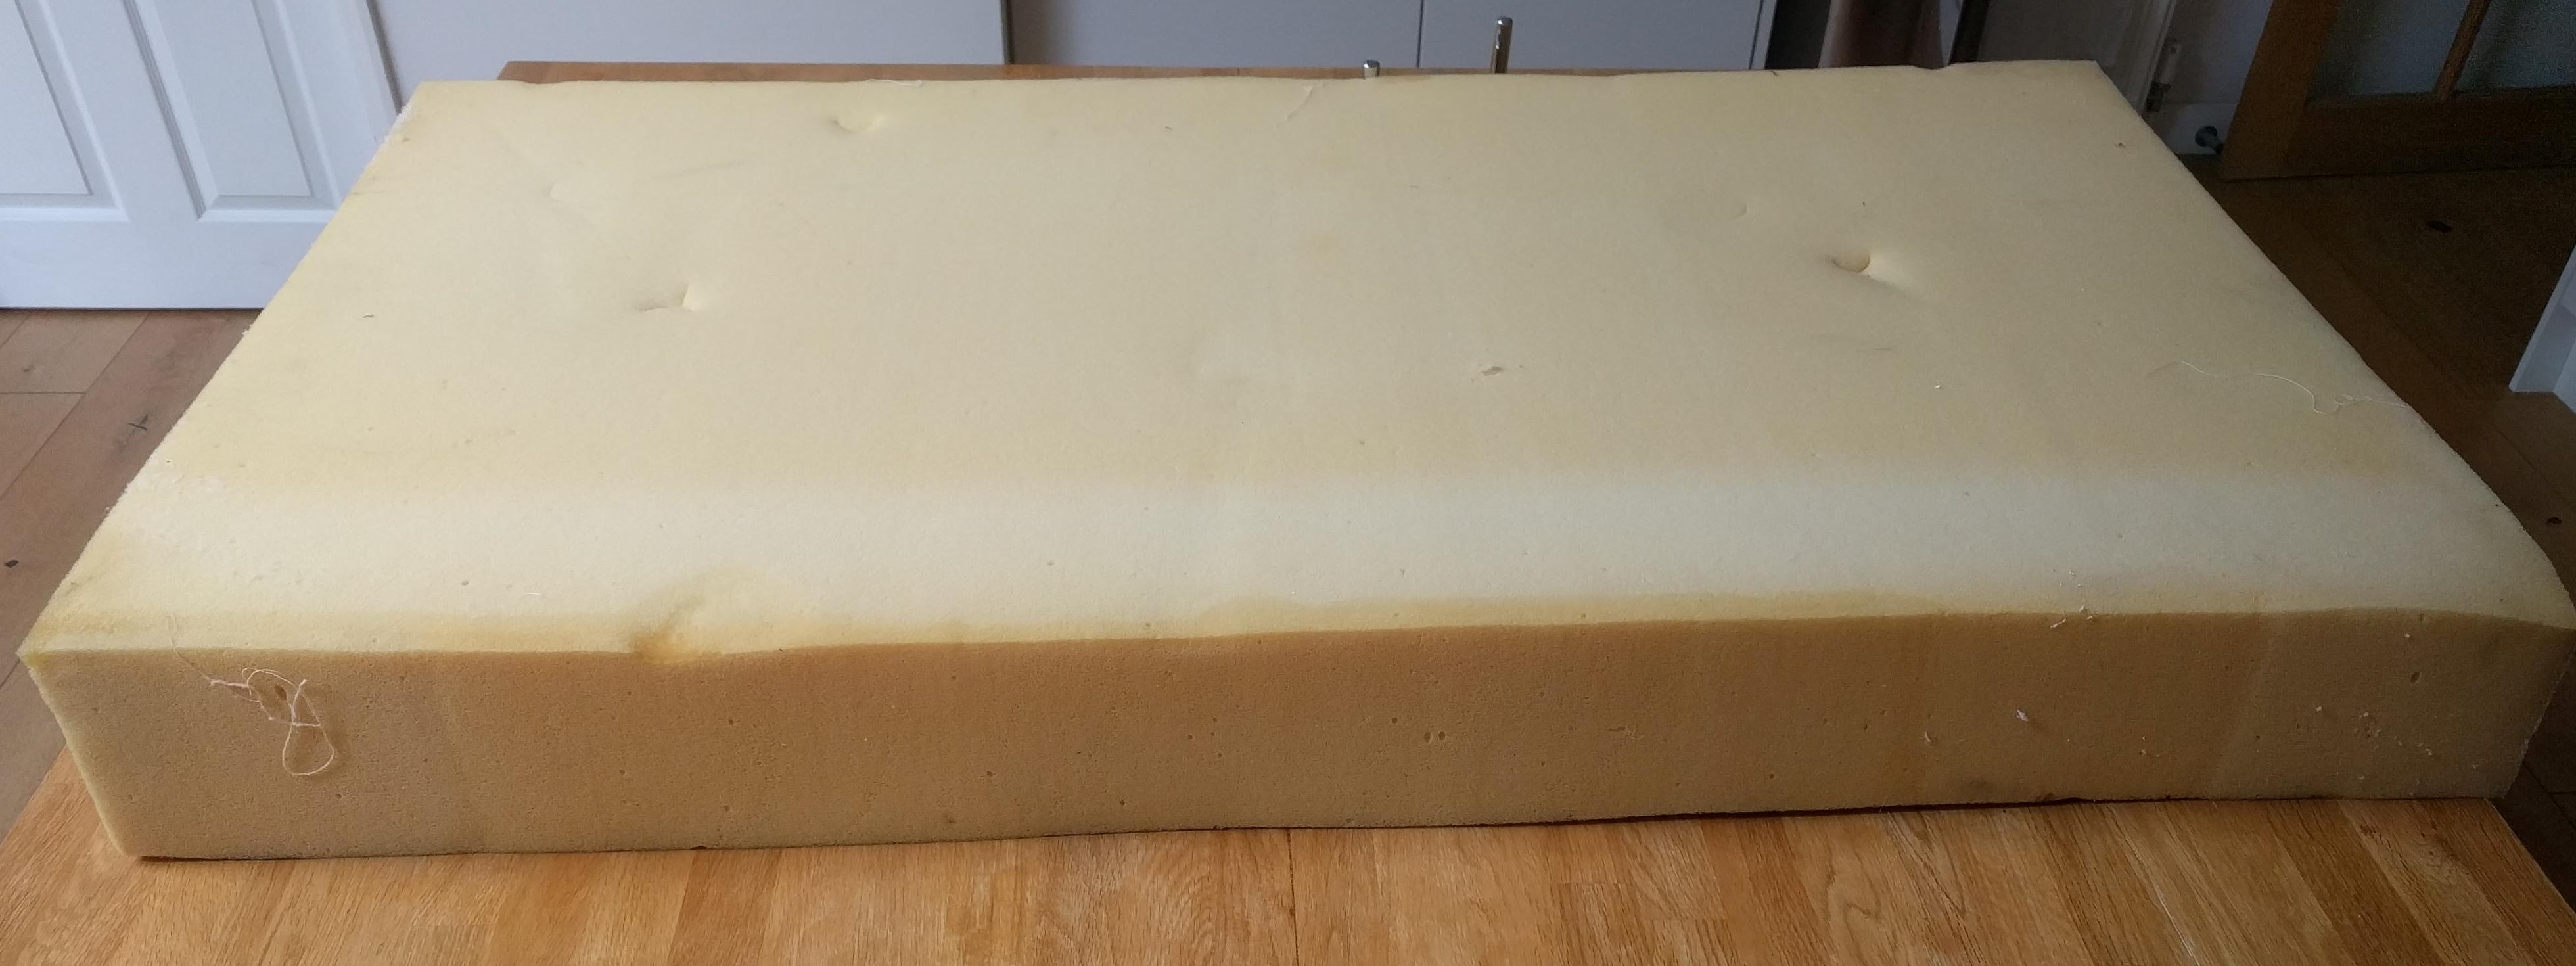 The large piece of old foam, ready for conversion
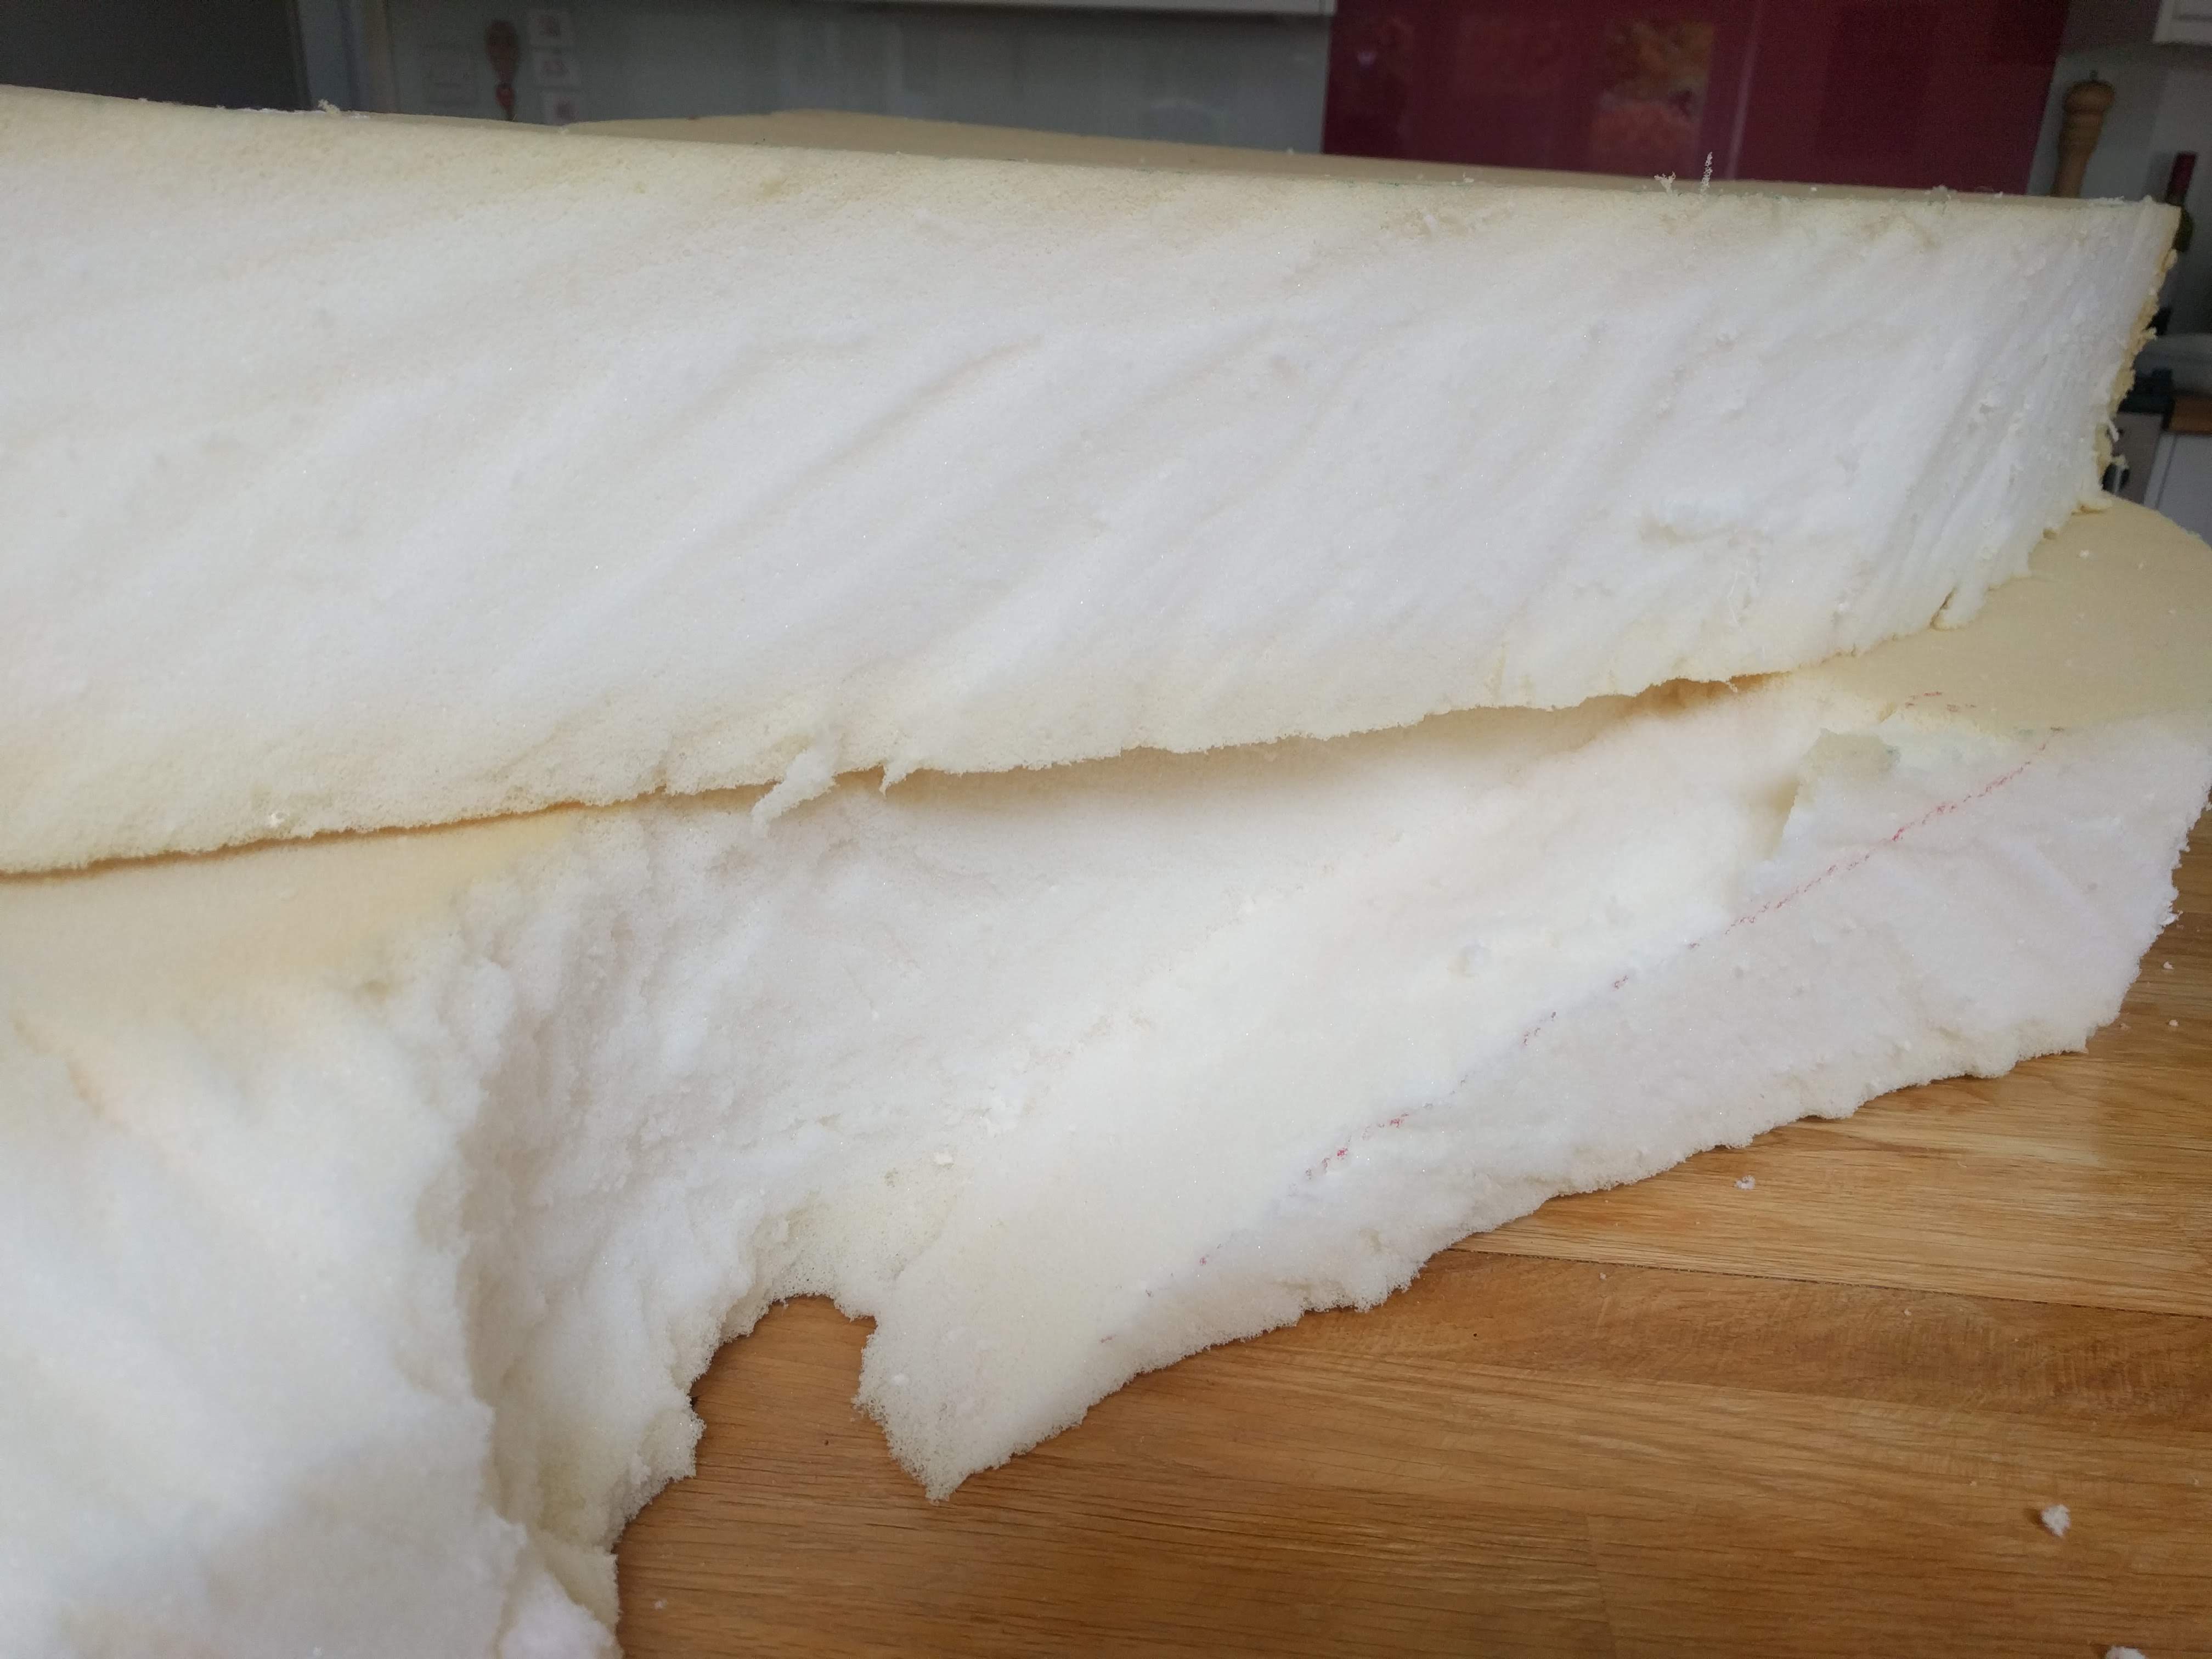
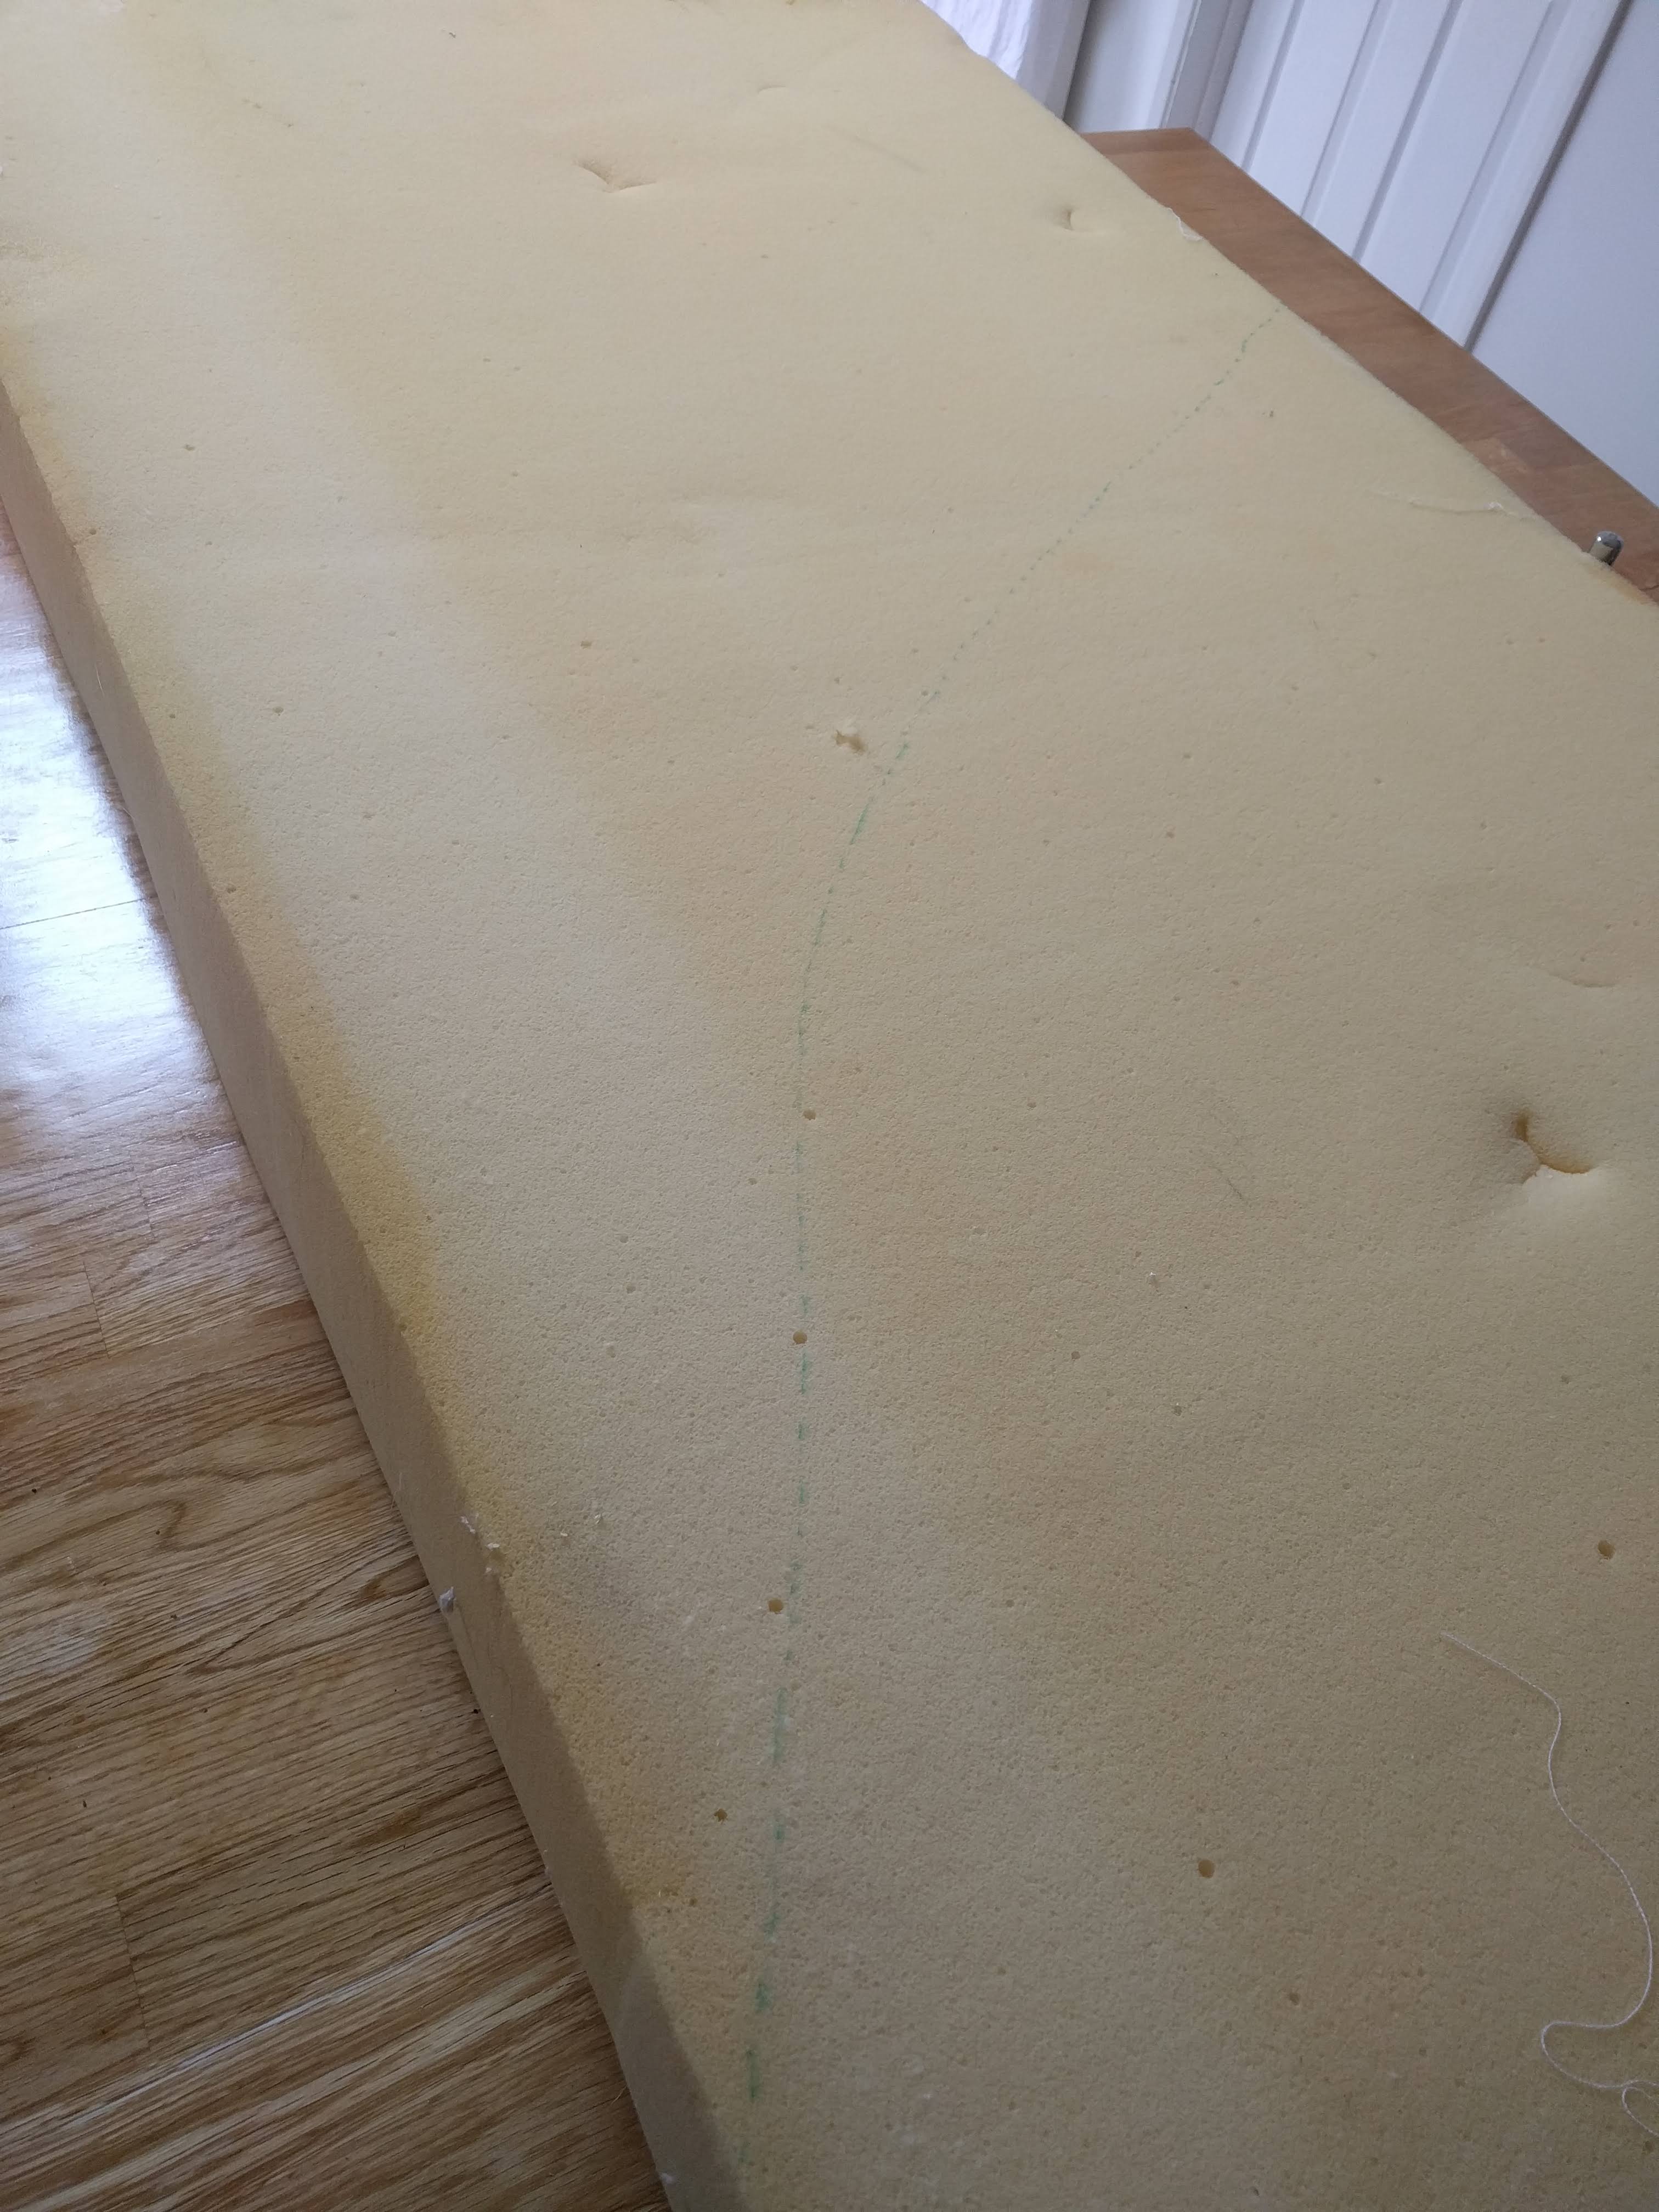 Marking the outline of the base piece
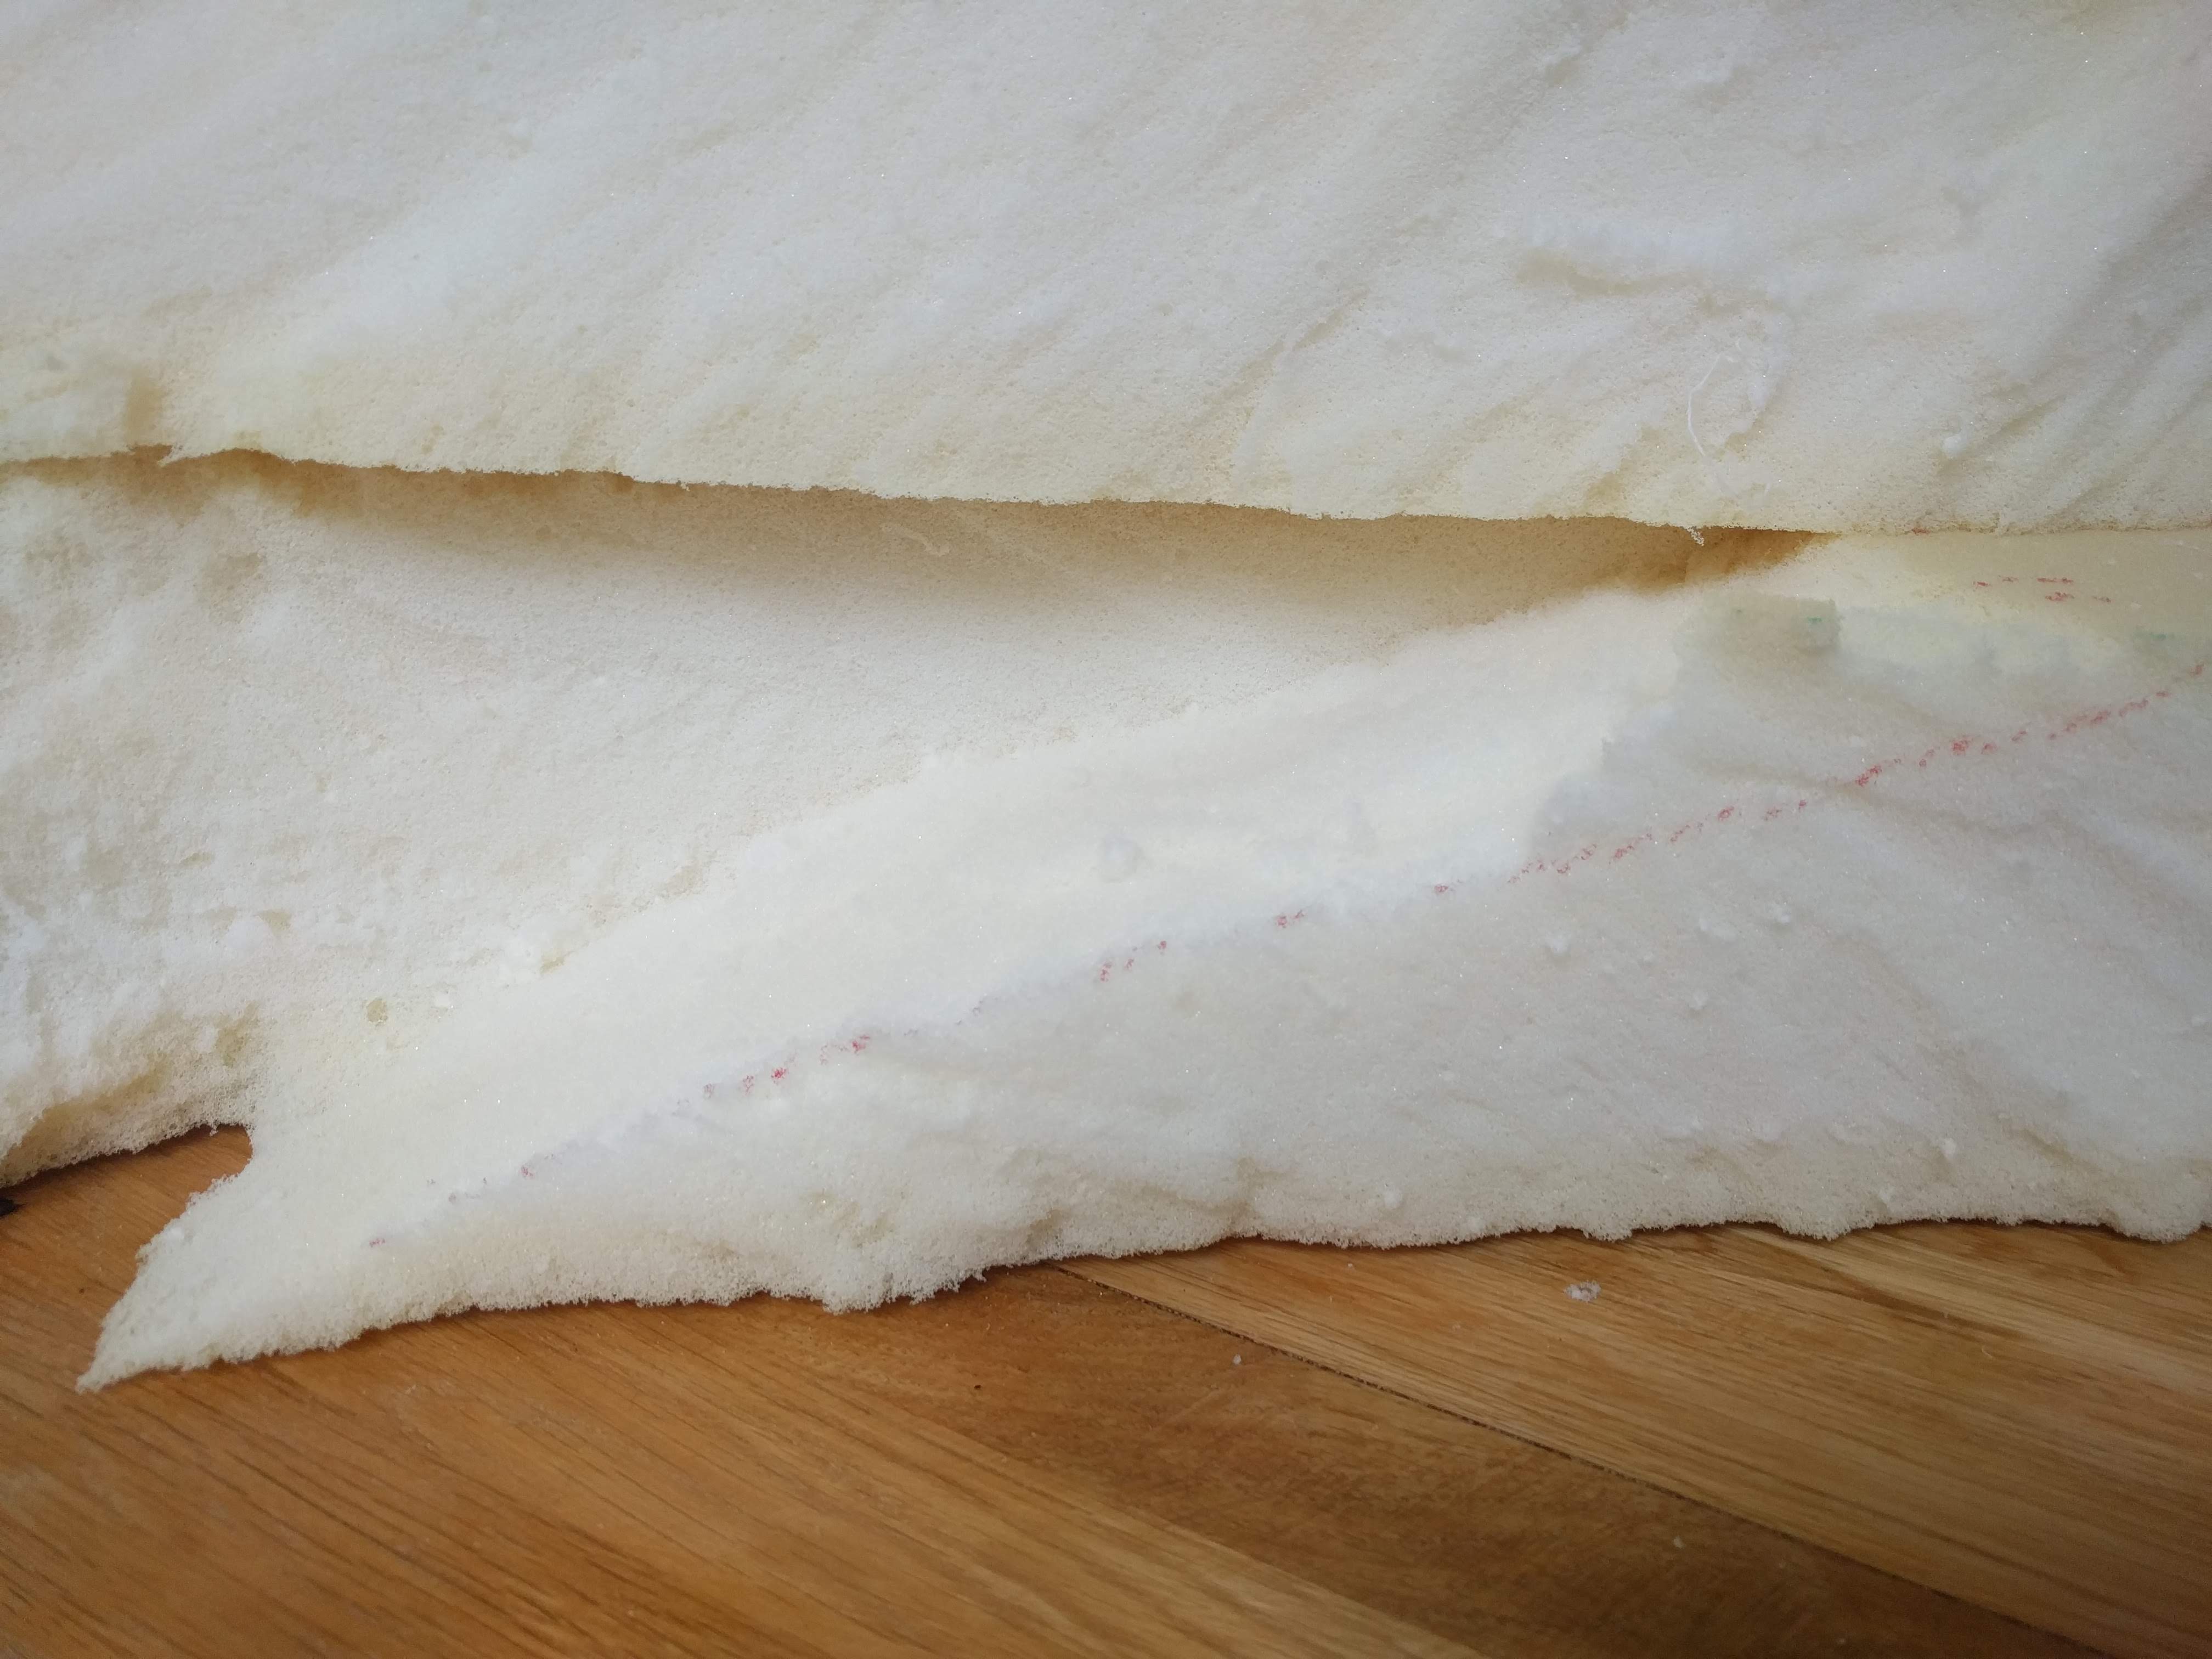
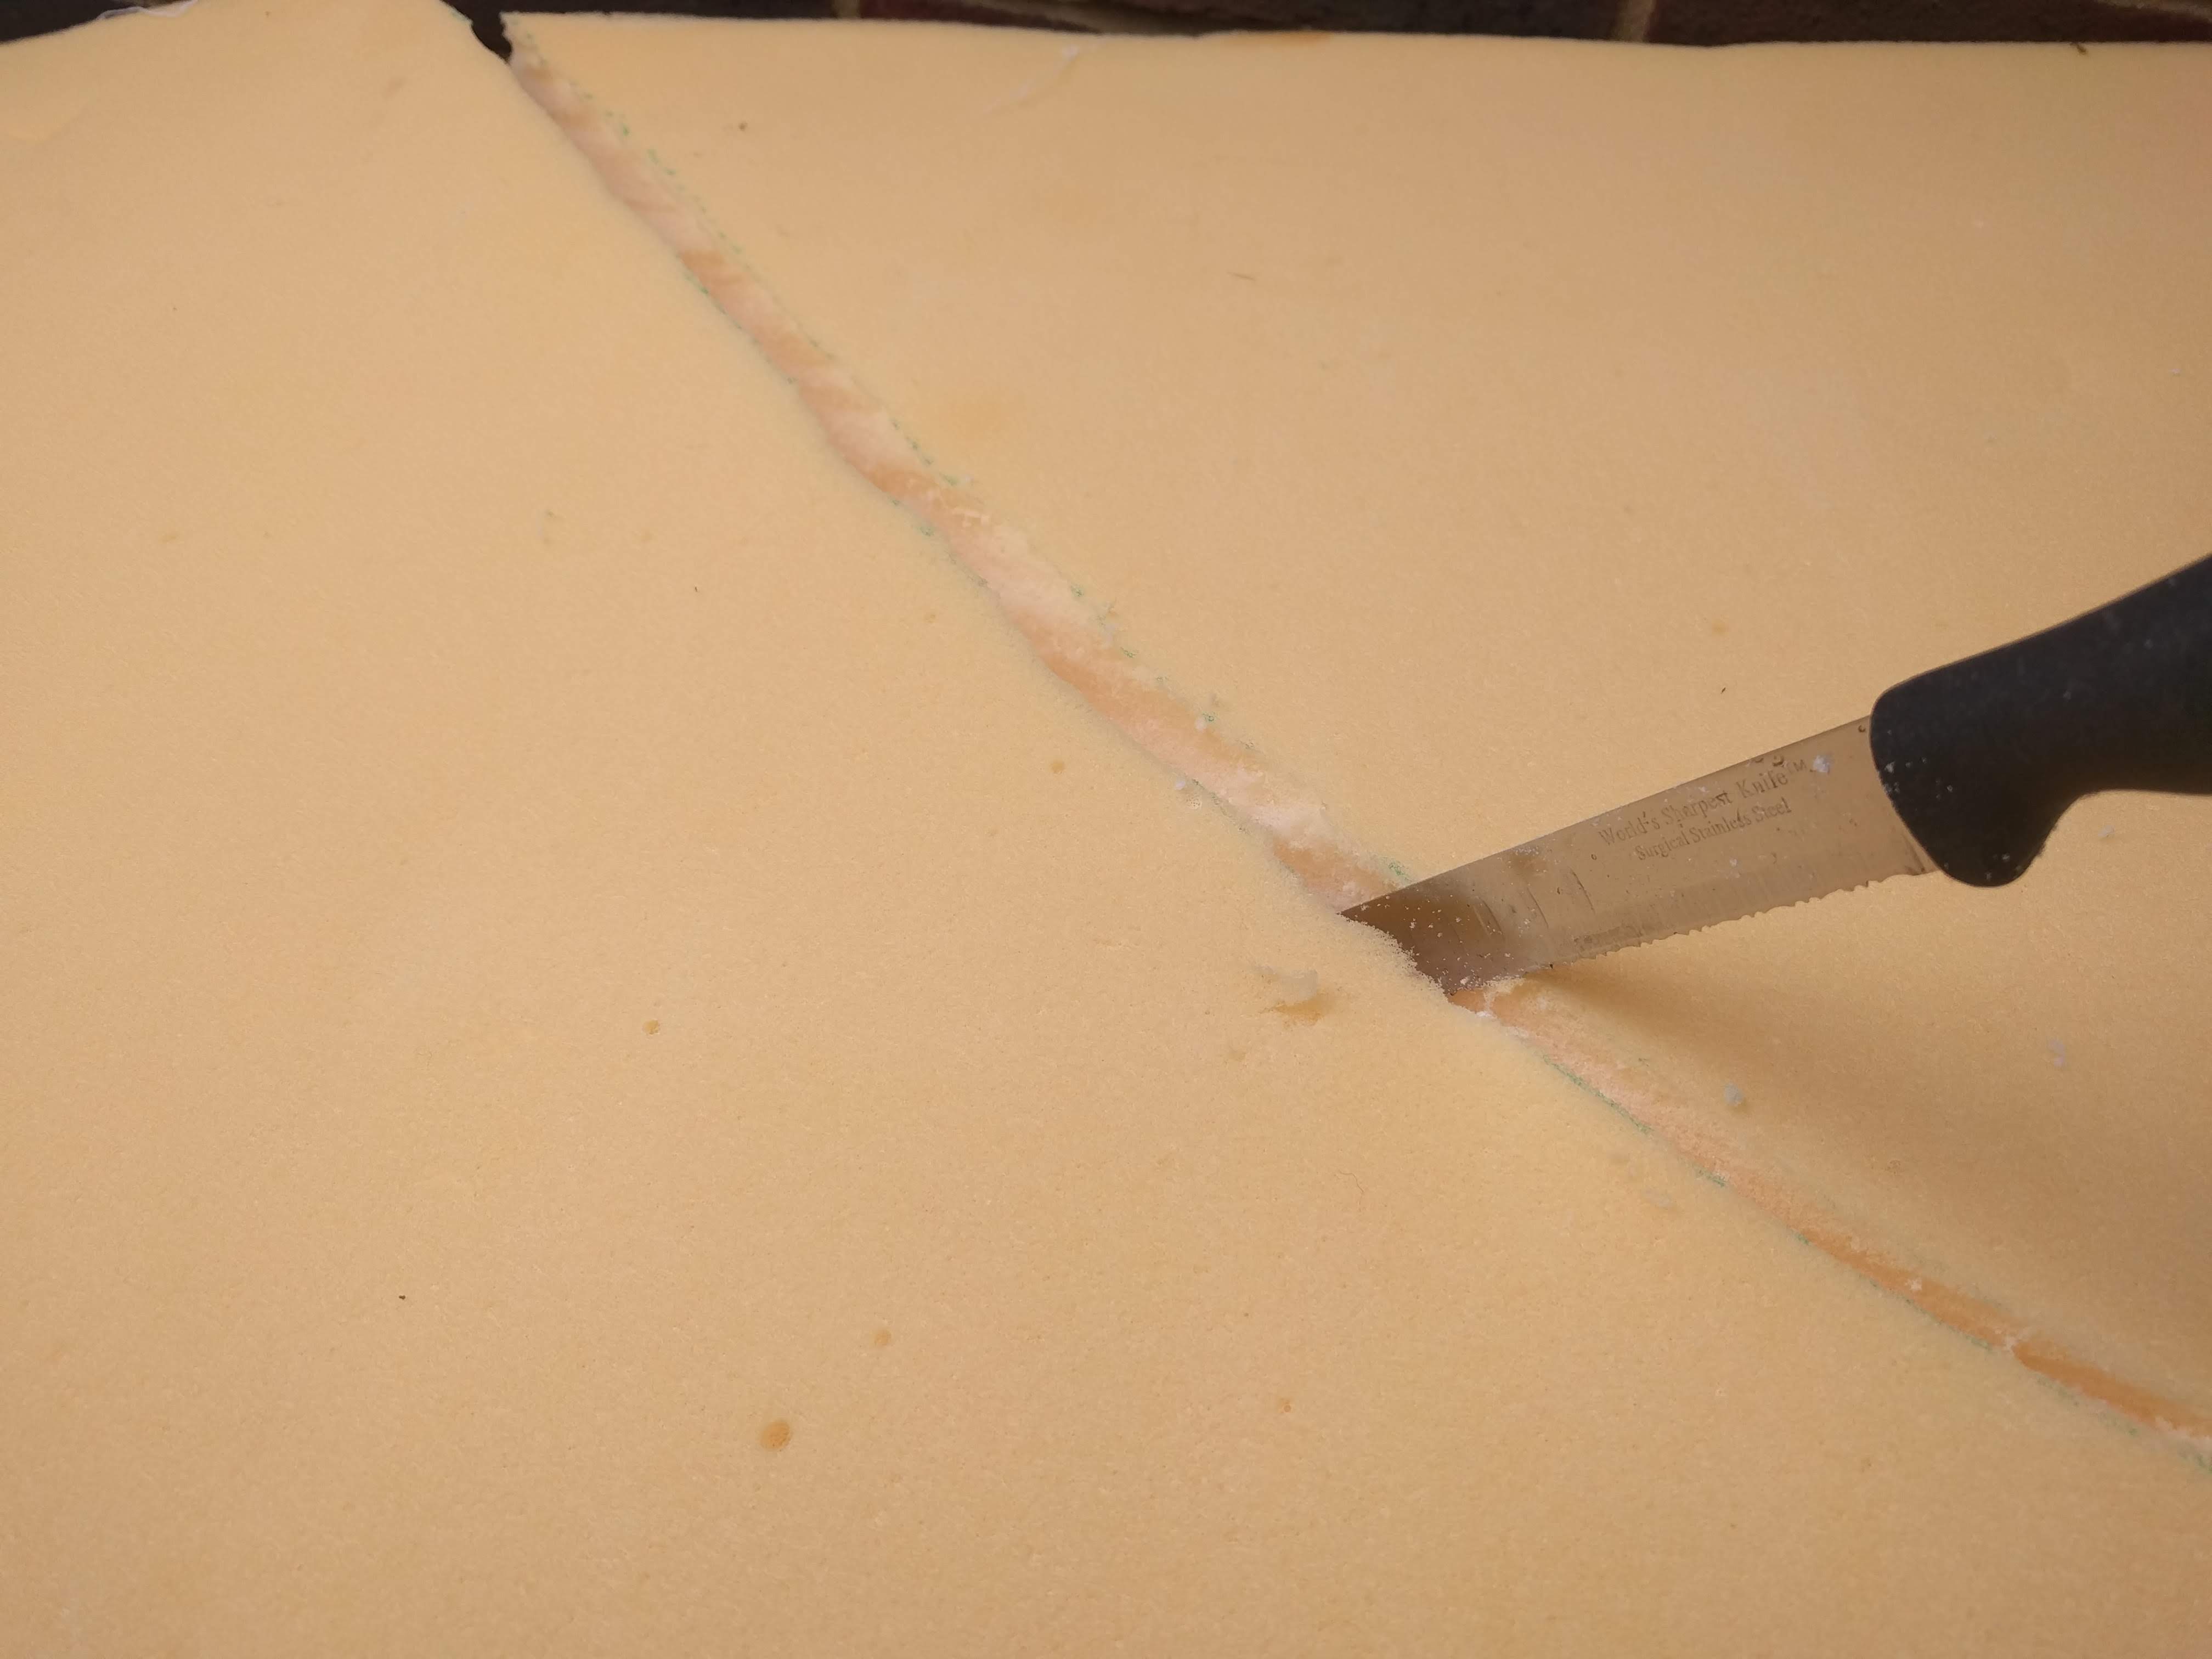 I found a serrated kitchen knife easiest for cutting
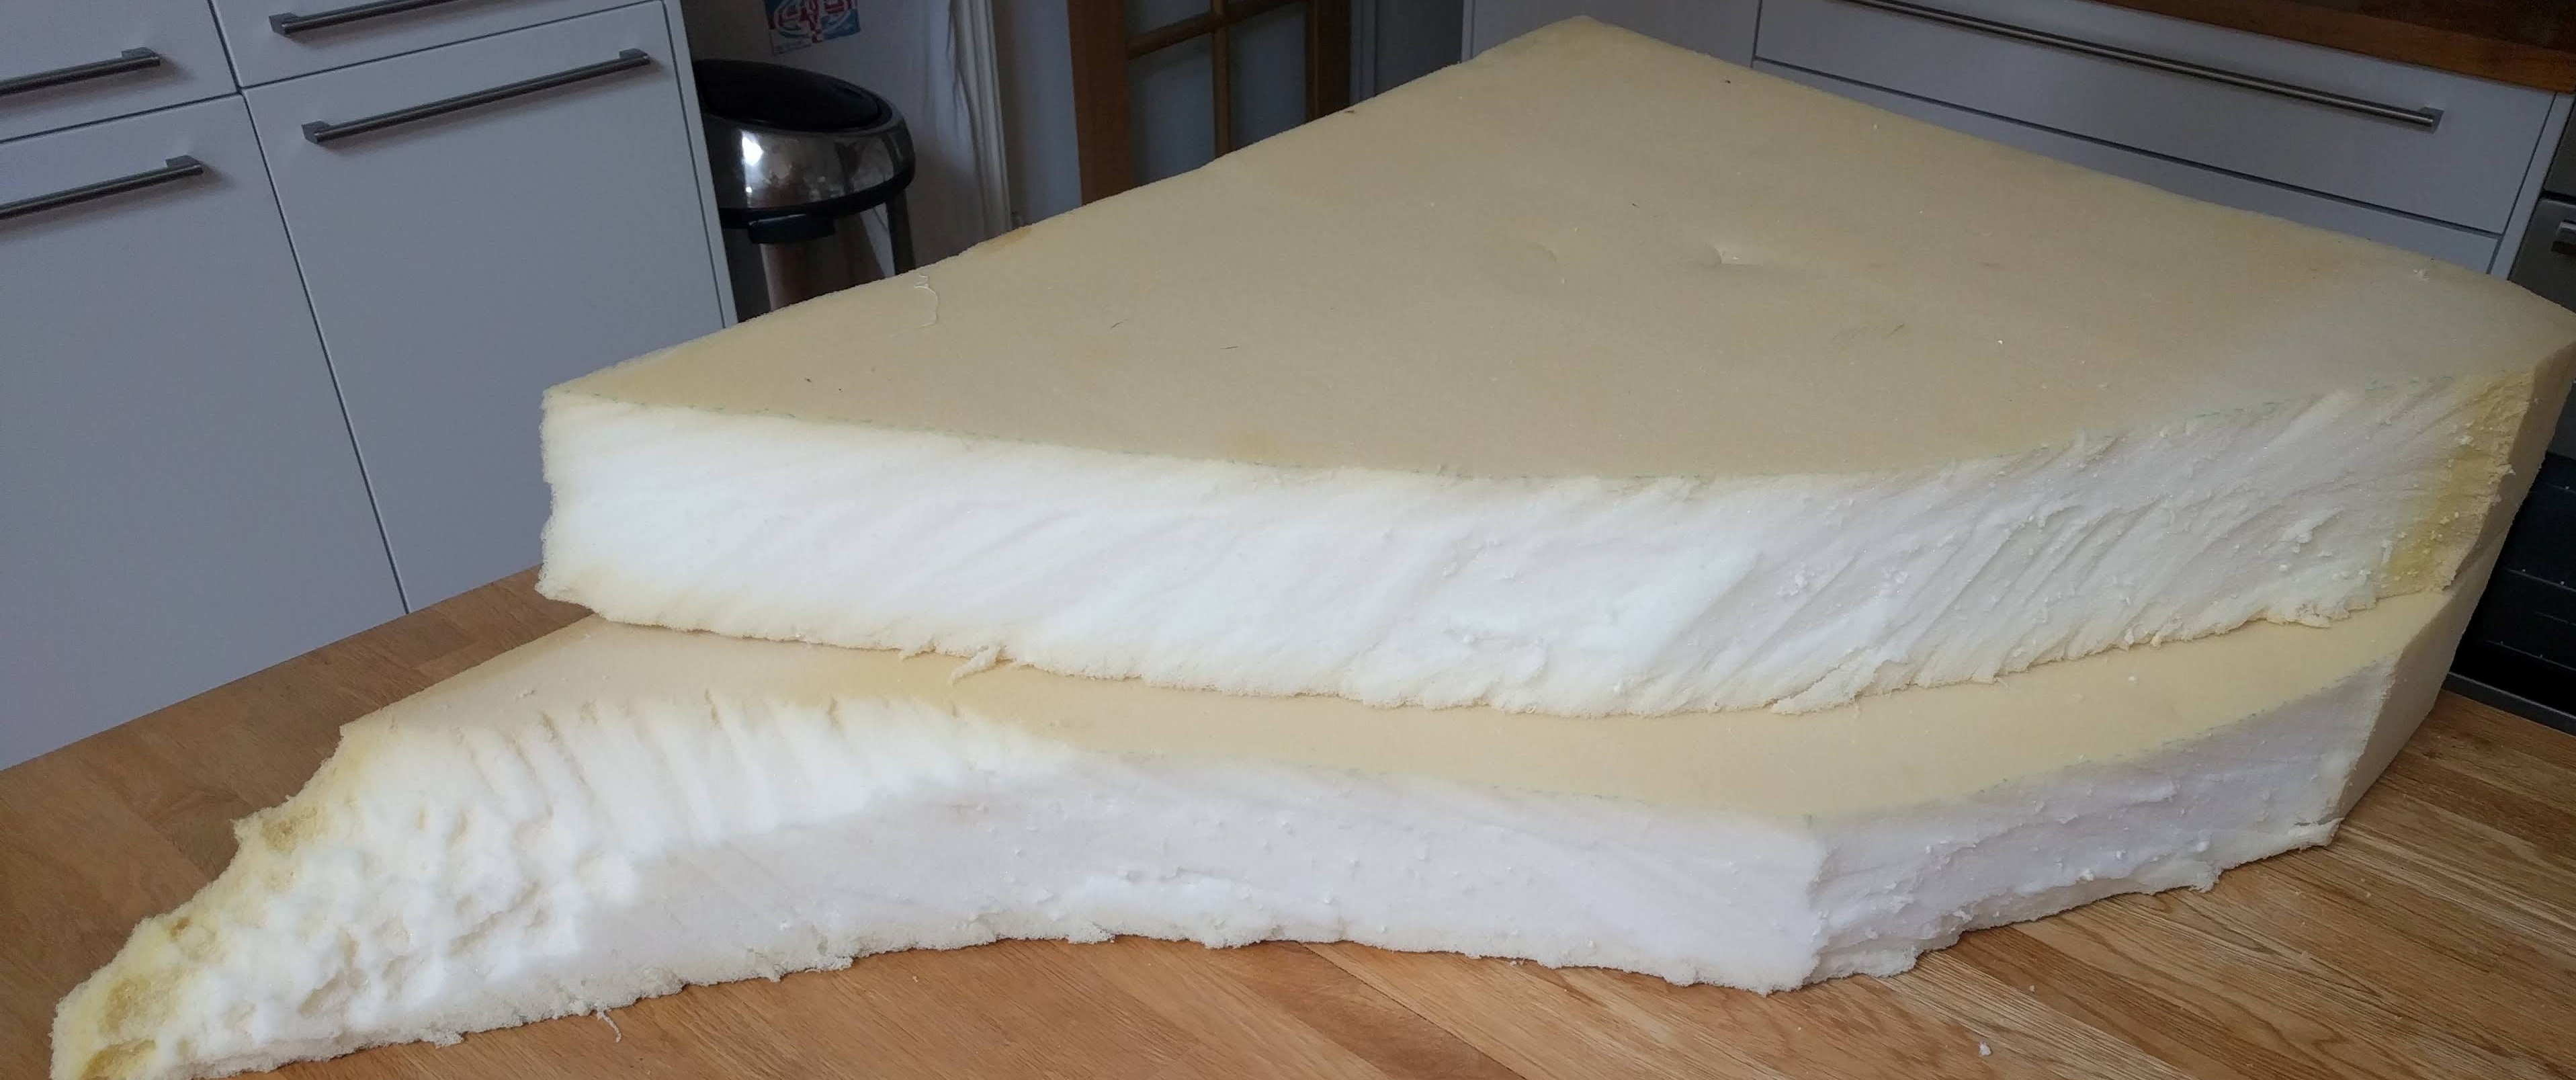 After shaping the top piece a little, I'm left with the above
I need to provide access to the top of the hill, so will build in a road up the side. This will need to be carefully cut into the foam.
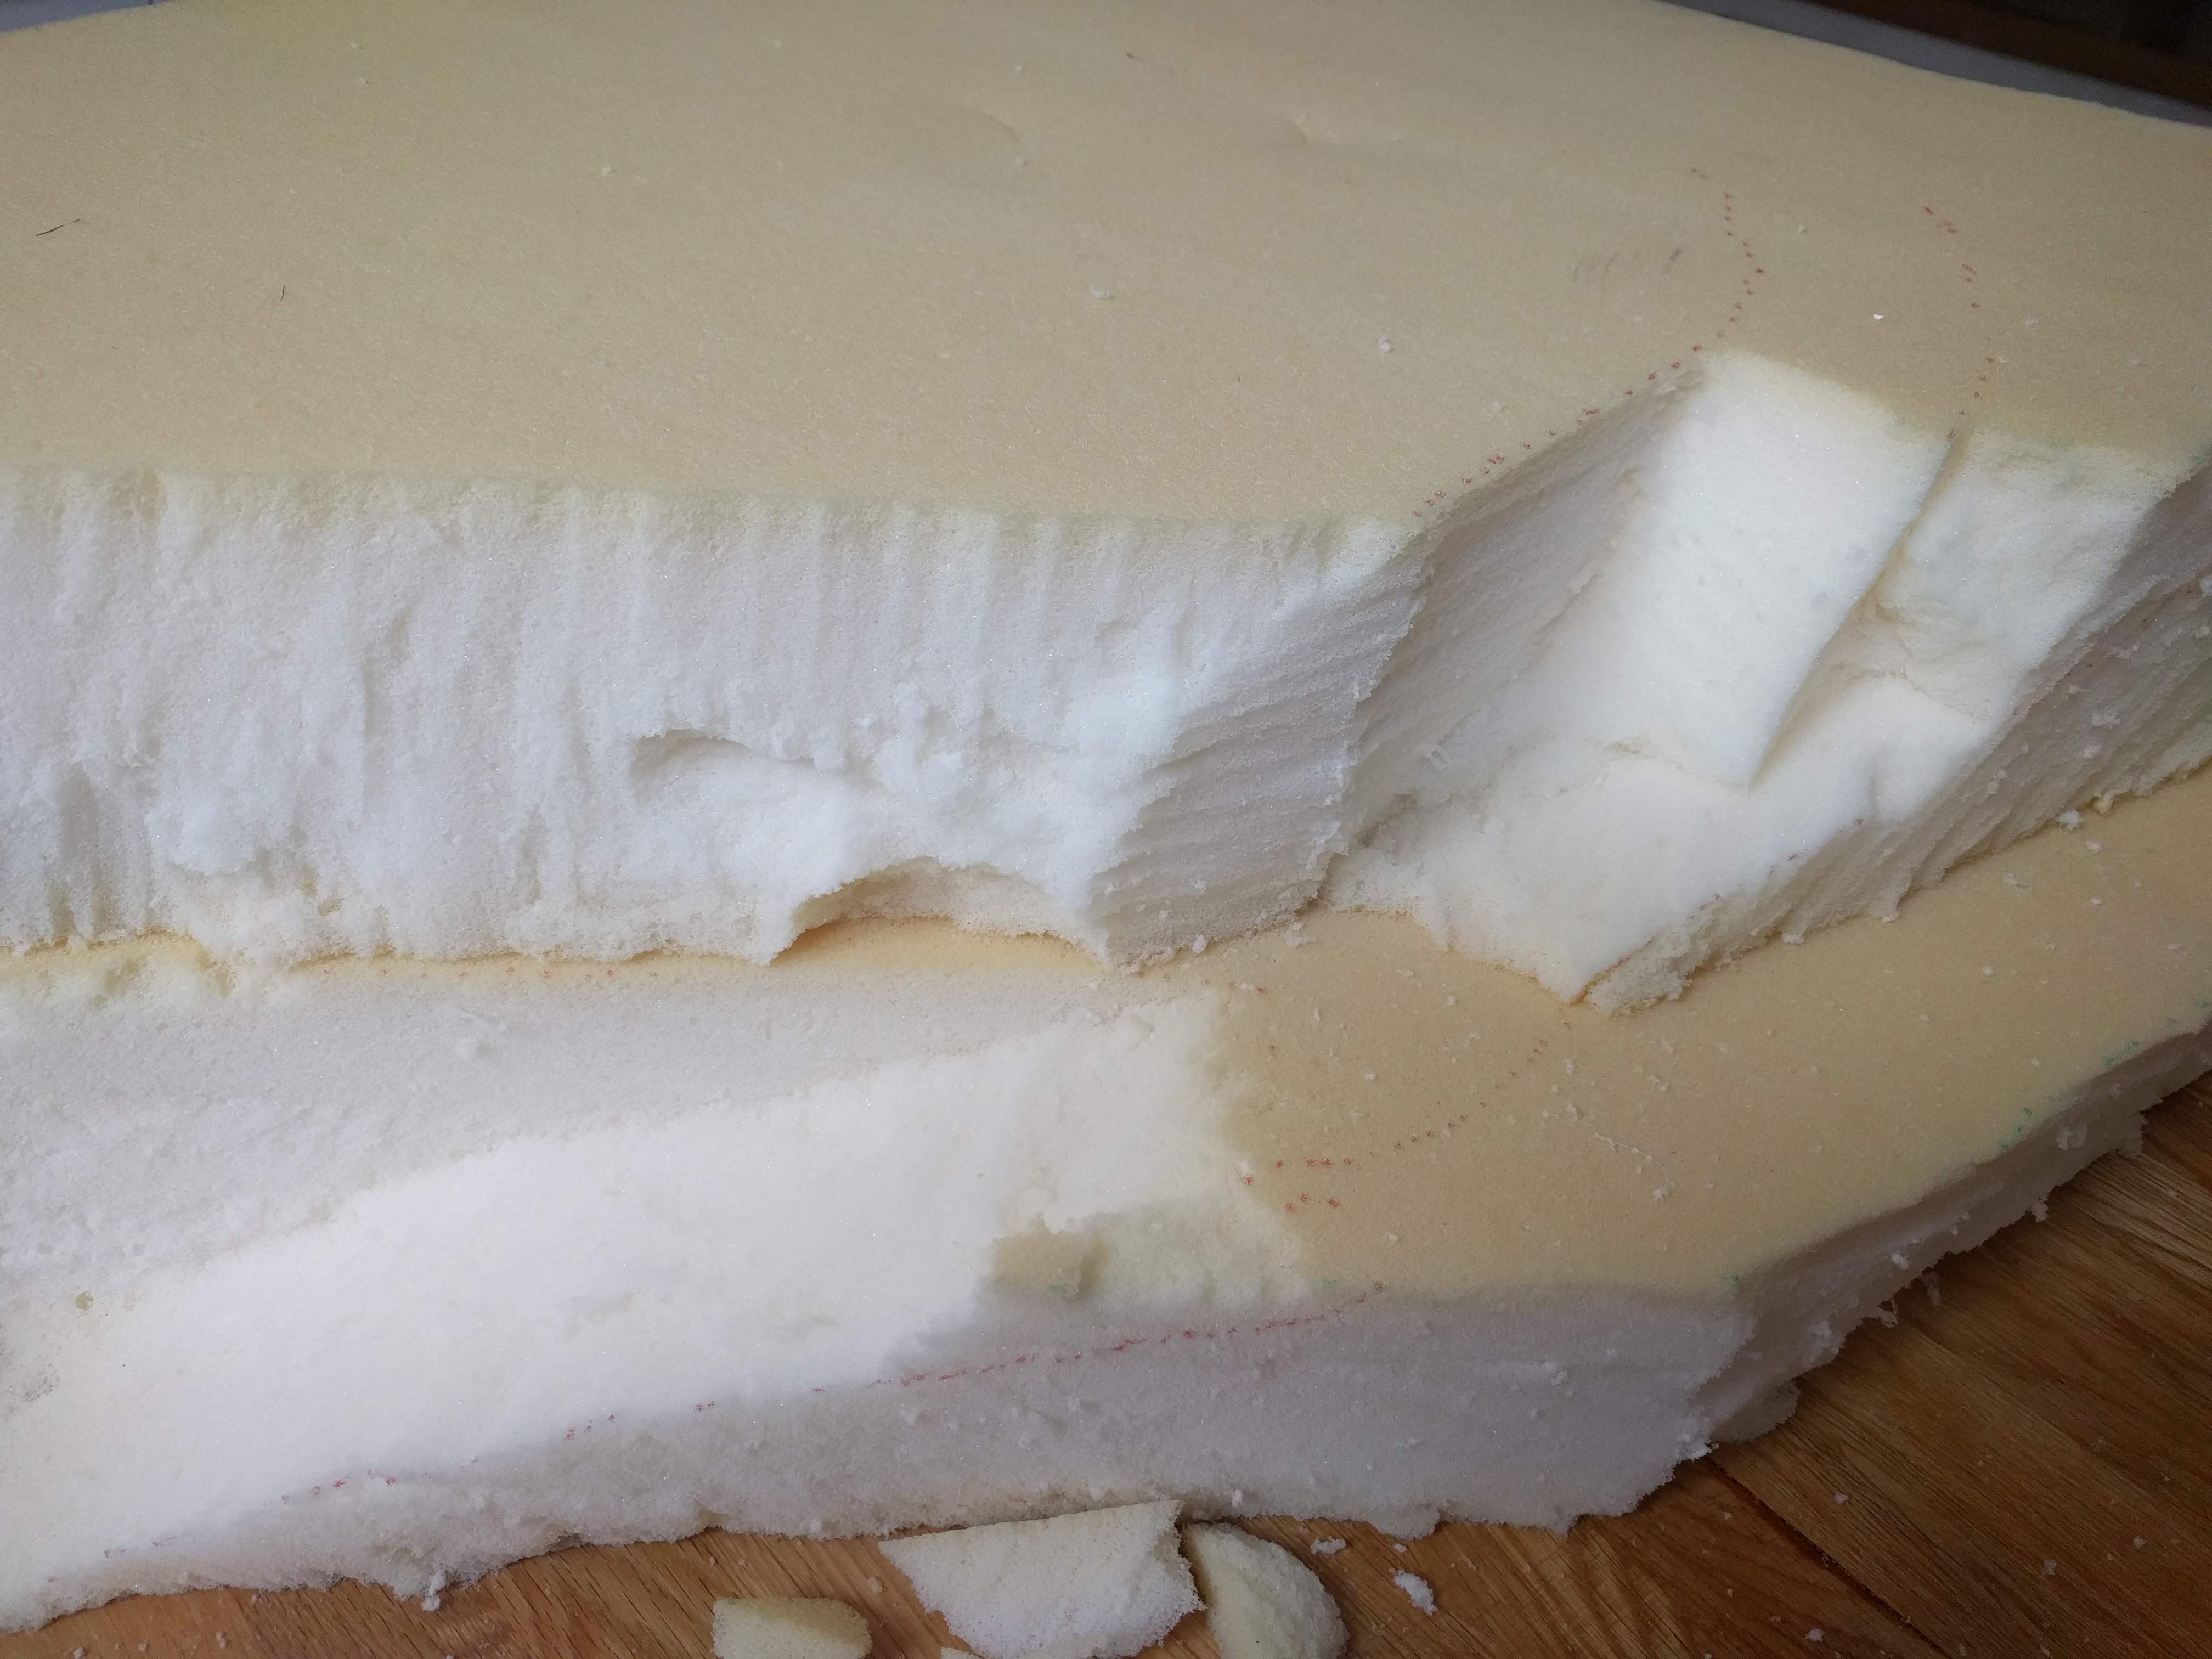
Next step will be to pluck out the hill side and remove the cutting marks.


