


![1918 Spring Offensive Wargame | Full Rules Overview with John & Gerry (WW1 Tabletop Game) [7 Days Early Access]](https://images.beastsofwar.com/2026/03/unboxing-warfulcrum-games-1918-spring-offensive-review-coverimage1-225-127.jpeg)


John’s VLOG: Nighthaunt Age of Sigmar Project


Recommendations: 128
About the Project
This project is running in tandem with our Backstage Project VLOG.
Related Game: Warhammer Age of Sigmar
Related Company: Games Workshop
Related Genre: Fantasy
This Project is Completed
Painting a Spell!
If you want to view the video for painting this spell you can find the video here as part of the backstage VLOG.

The first stage was priming the miniature. For this, I chose Army Painter Demonic Yellow. Since the overall scheme is quite bright and firey I figured it was a good place to begin!
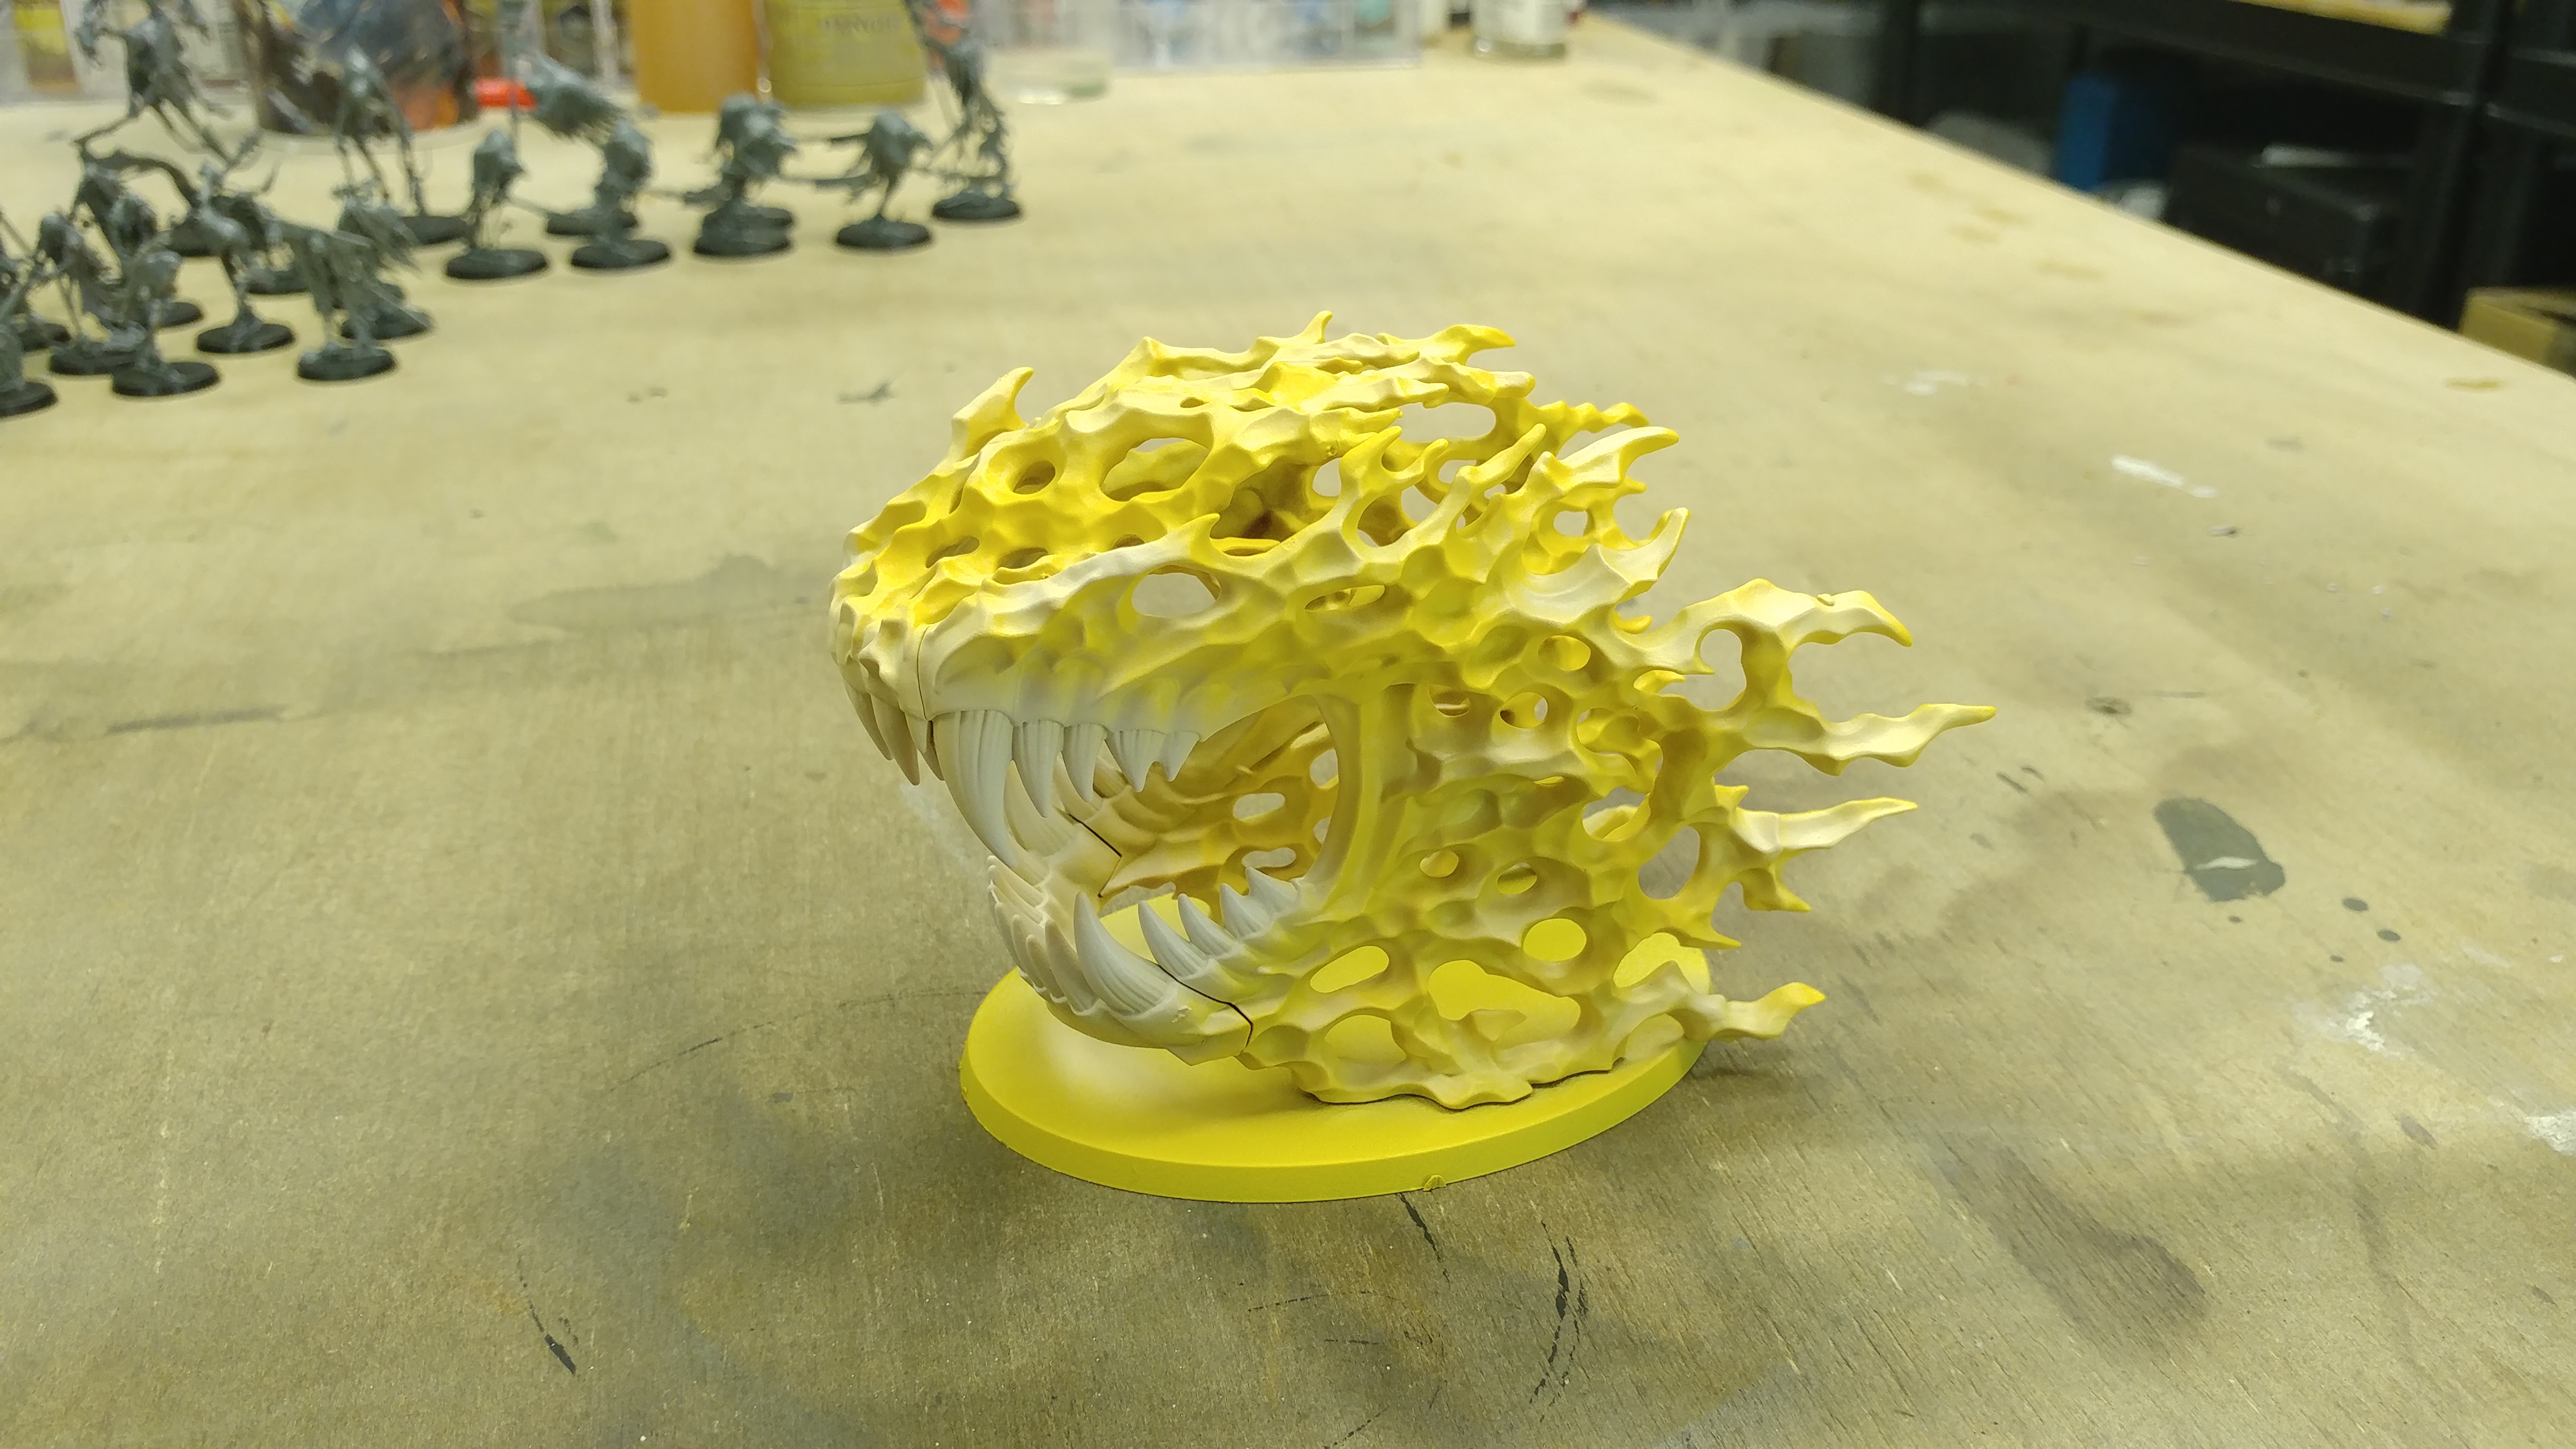
Using some thinned down Matt White paint through my Airbrush I highlighted some areas of interest over the miniature. I paid particular attention to the mouth and any upper surfaces.
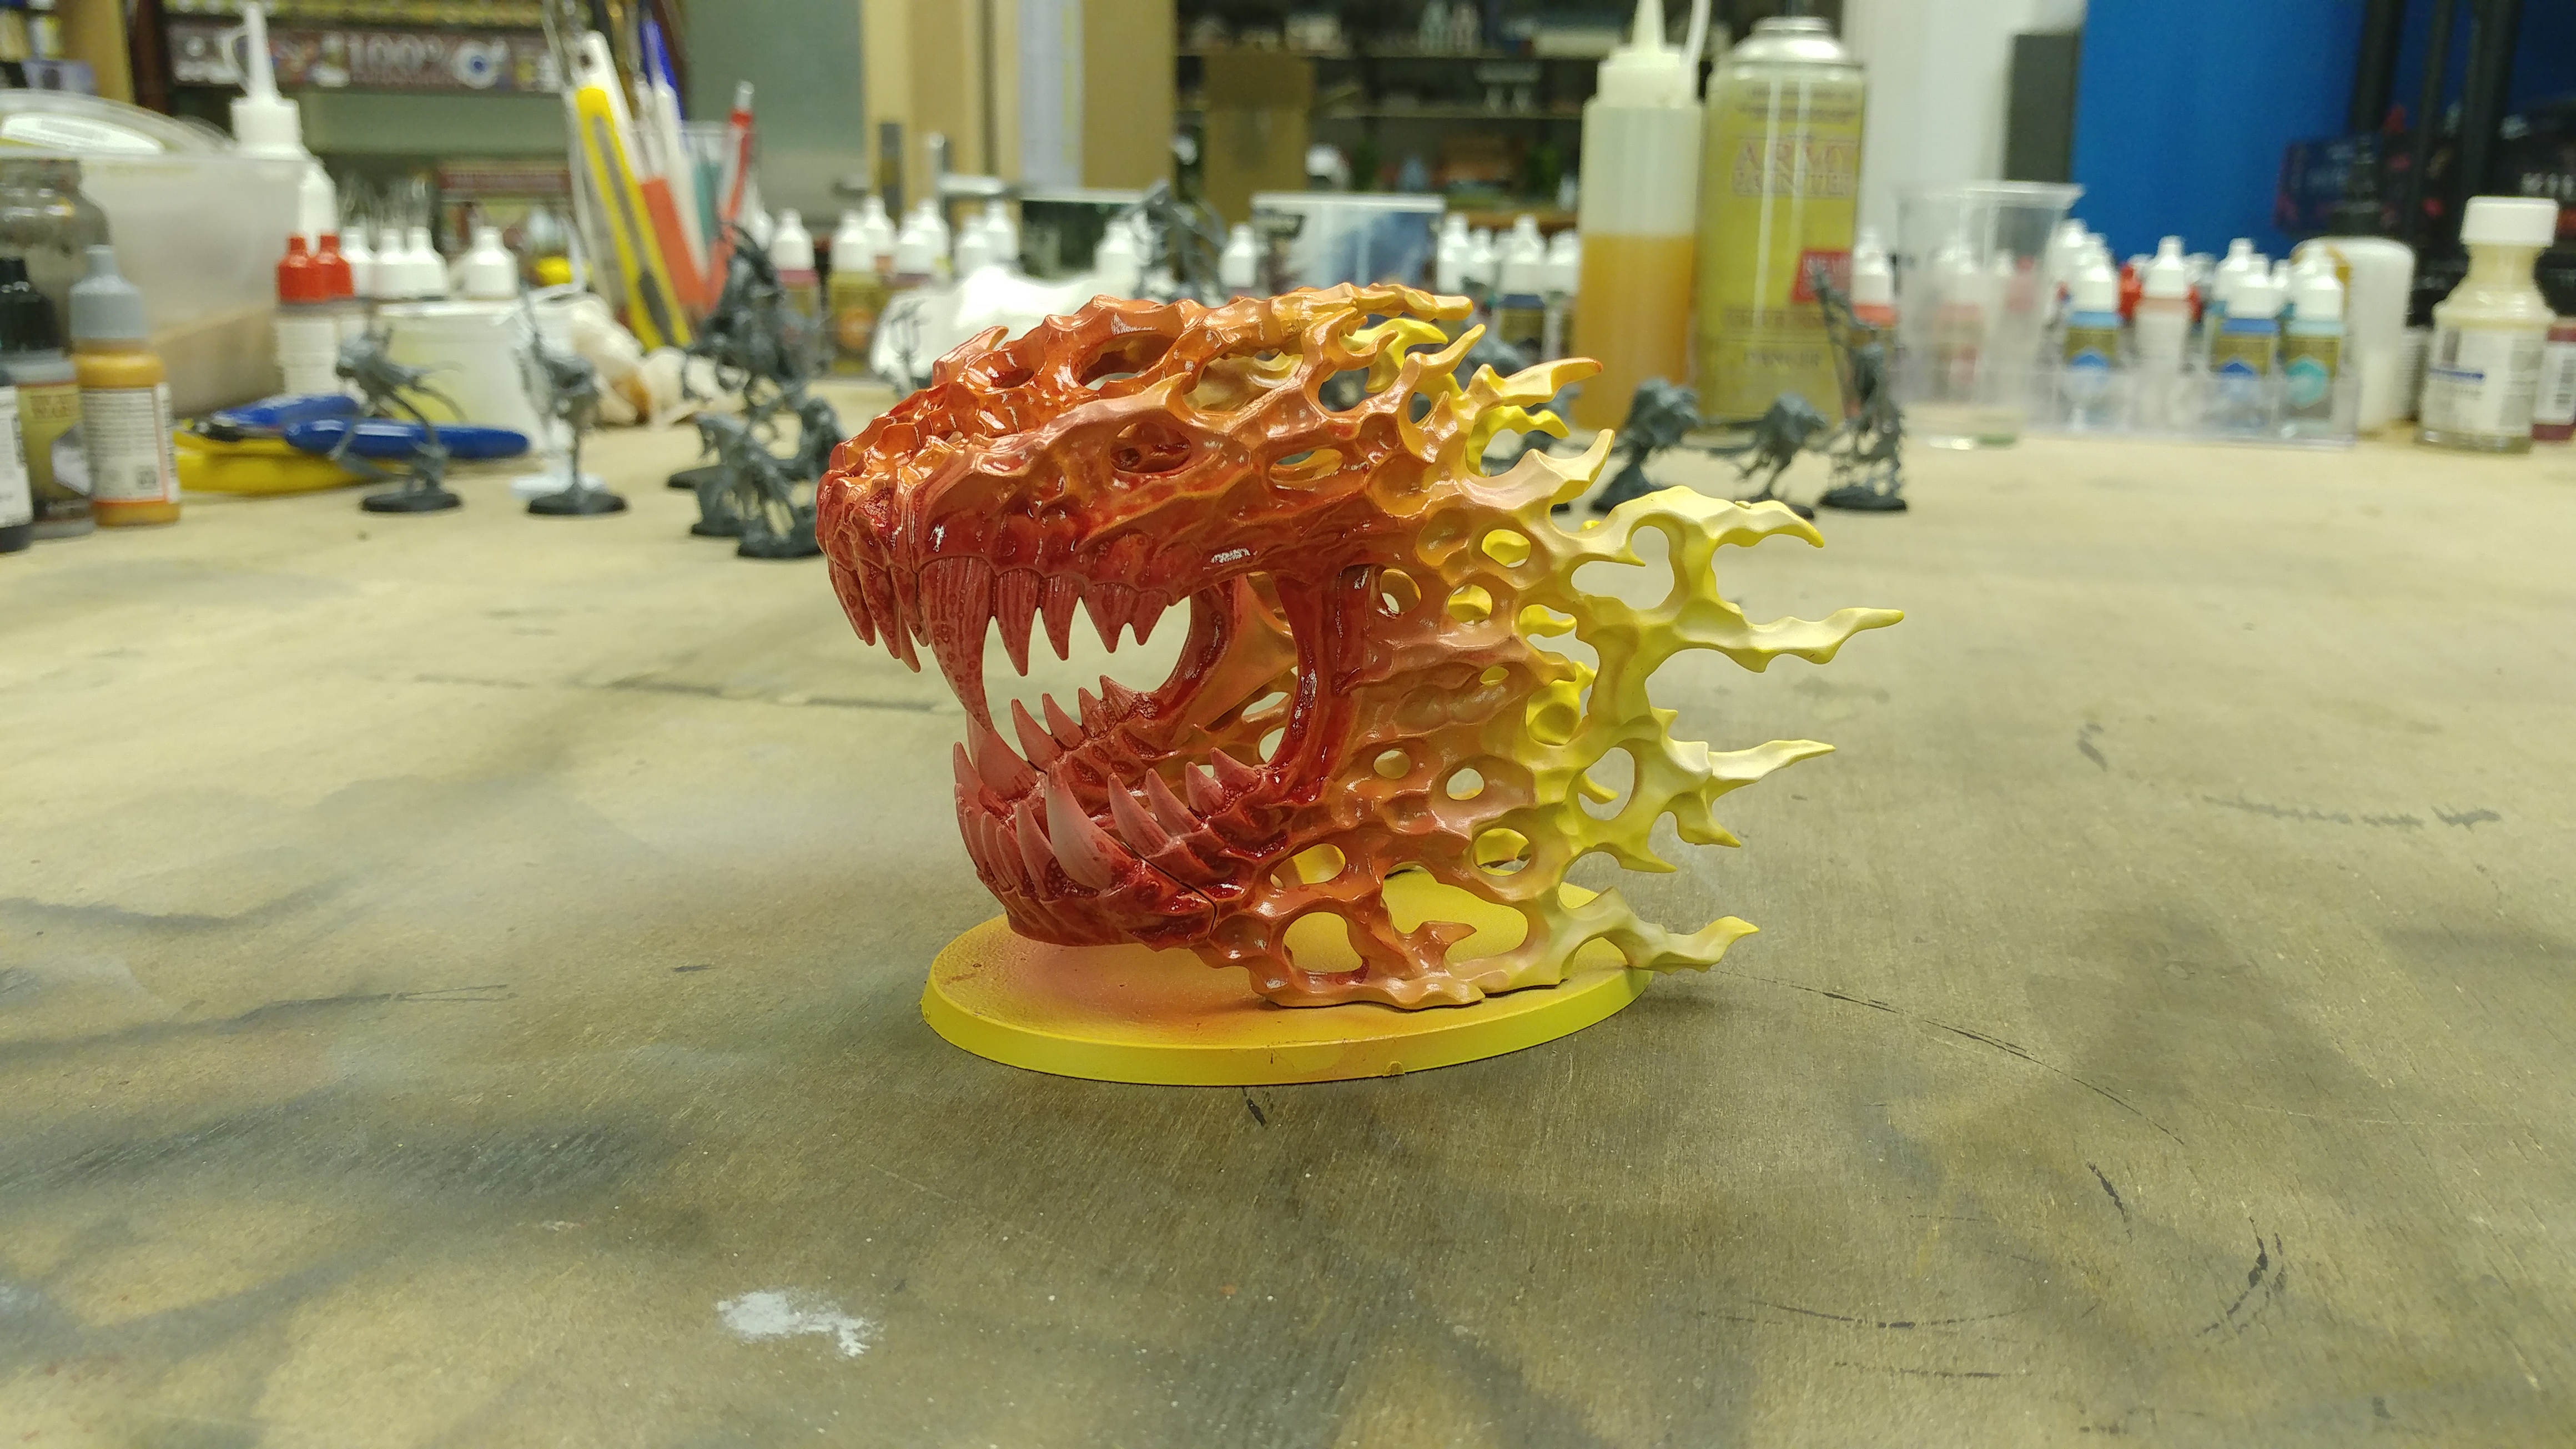
I love the finish I got here. This was achieved by using “Ghost Tint” which is a transparent resin you can use through an airbrush. It gives a beautiful candied finish. In this case, it has worked with the yellow primer and white highlight to give a vibrant firey look.
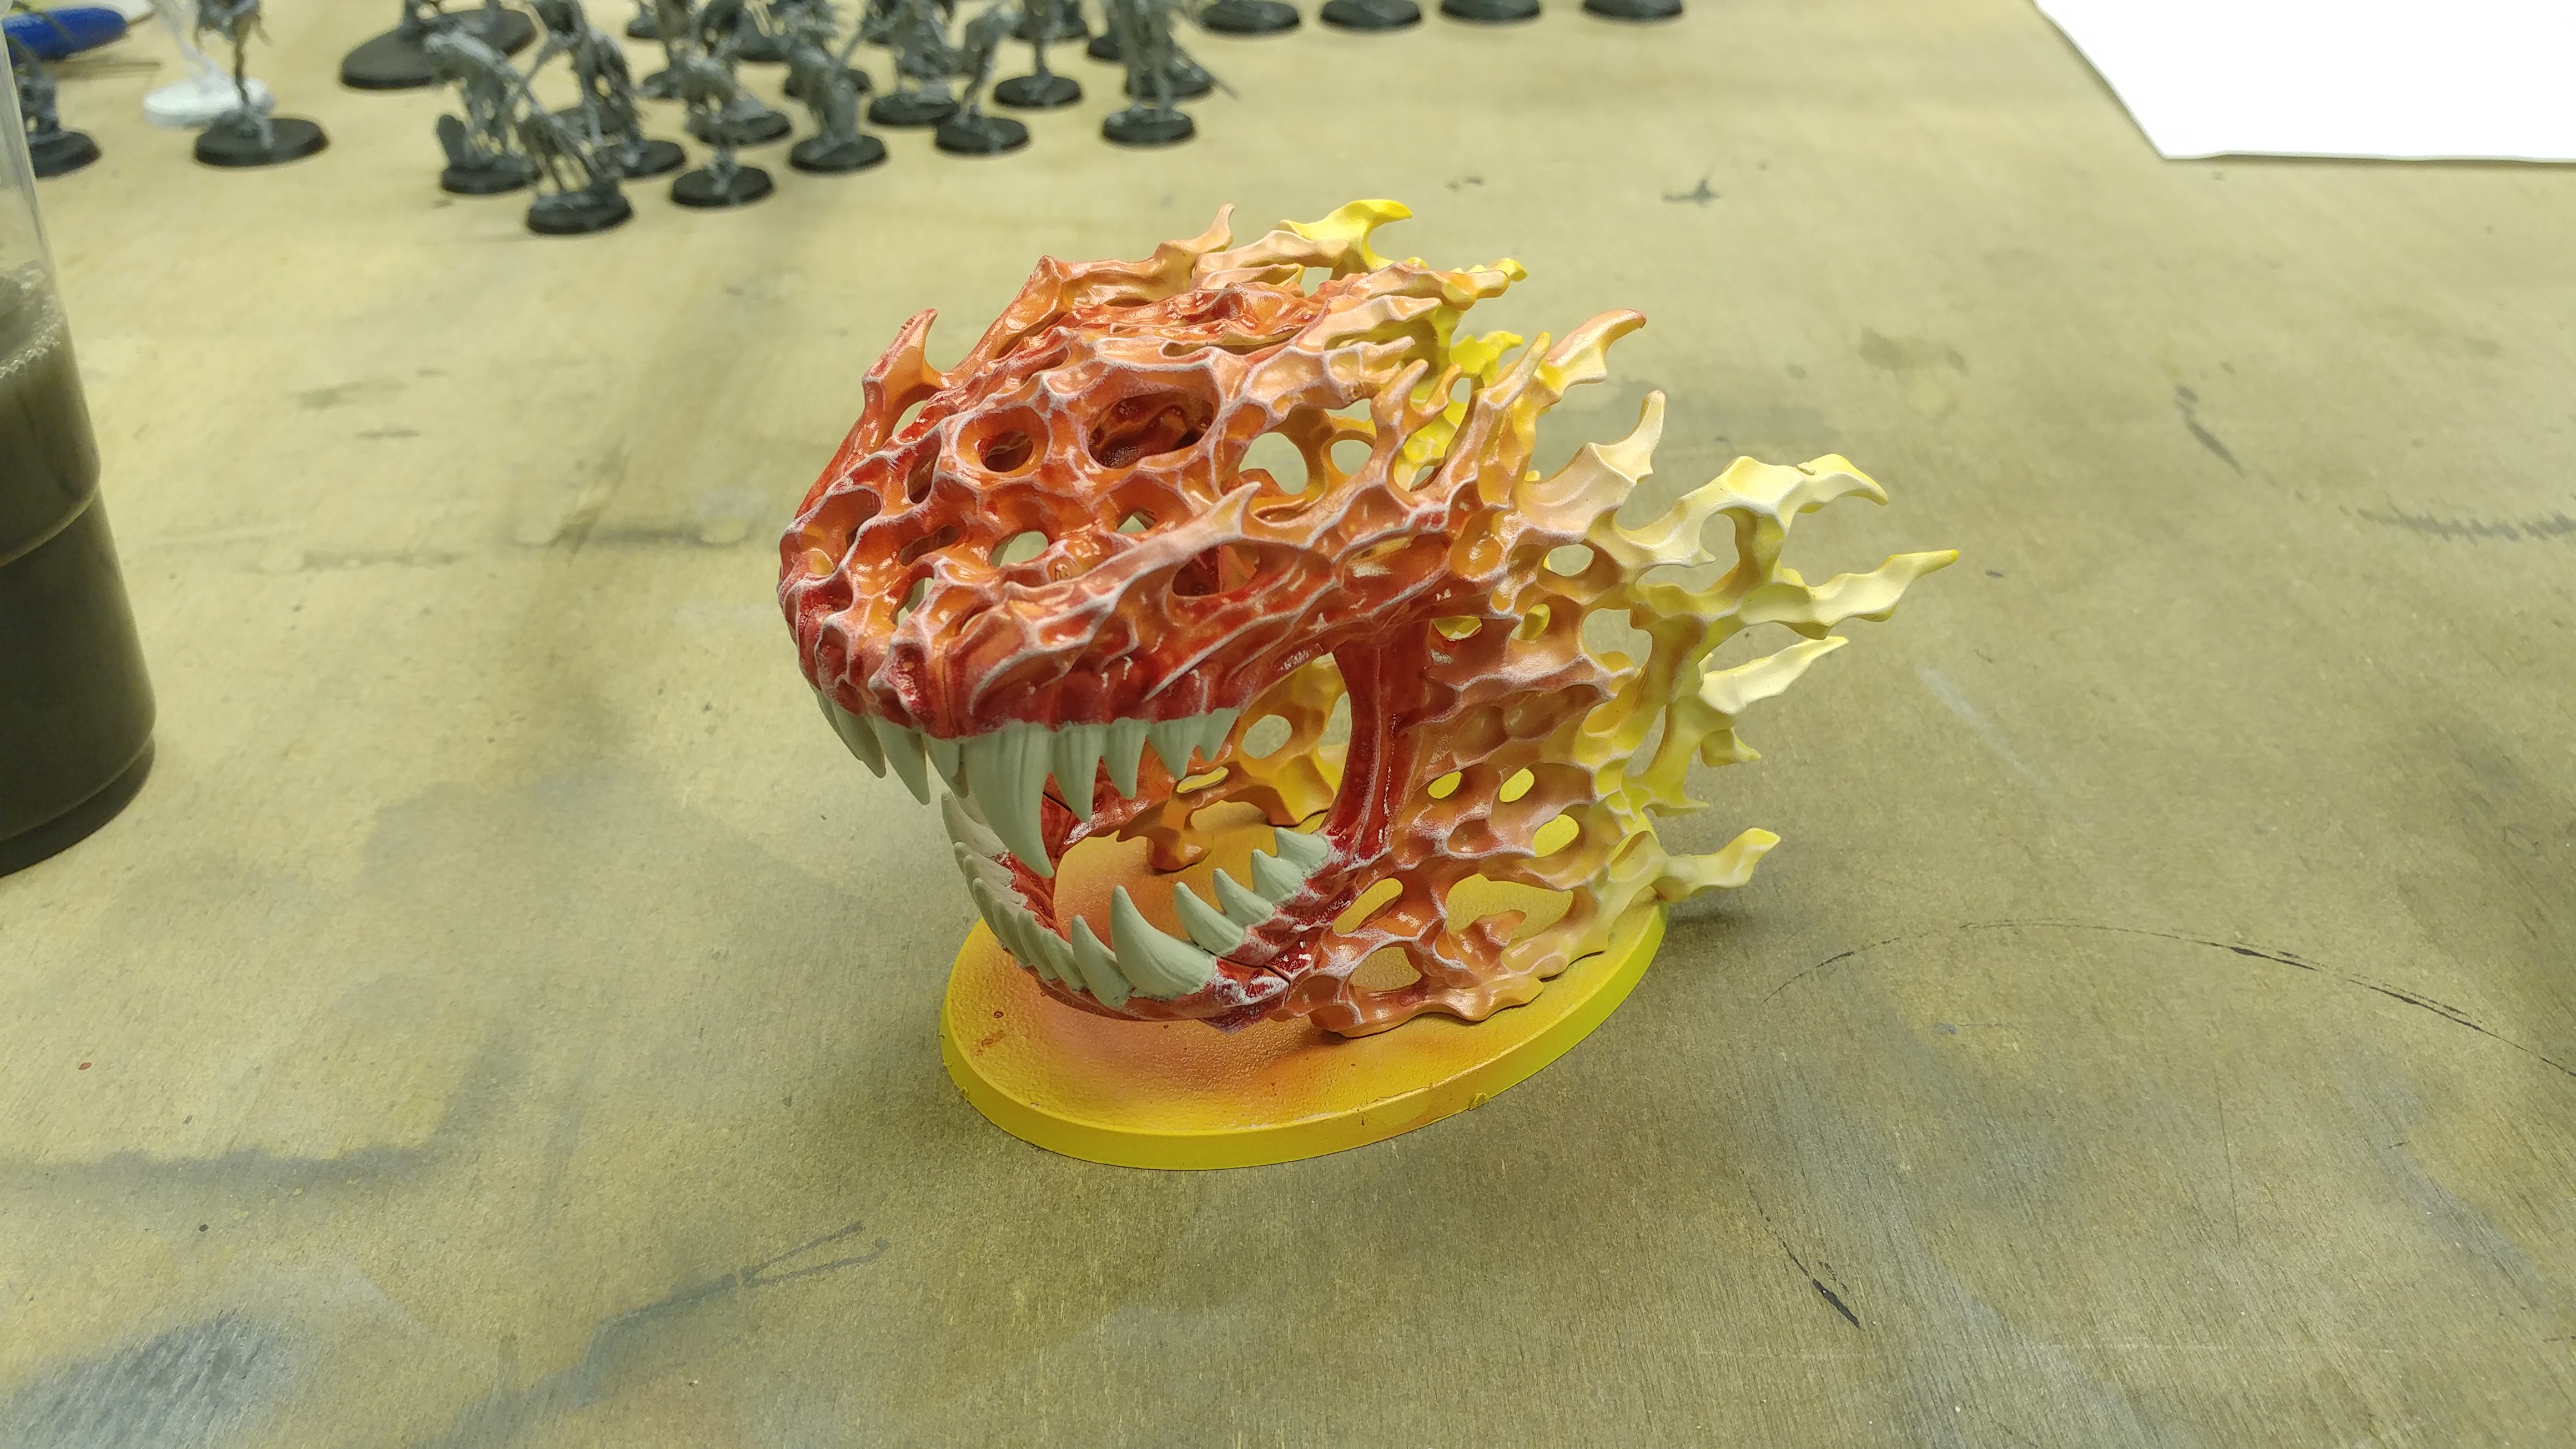
The next step was adding a white drybrush over the yellow and red and painting the teeth in Army Painter Drake Tooth.

The final steps are simply adding some Army Painter Strong Tone to the teeth and then adding some basing material.
Getting stuck into the Nighthaunt.

The first step is priming, as always. In this case, I used Army Painter Matt Black spray primer.
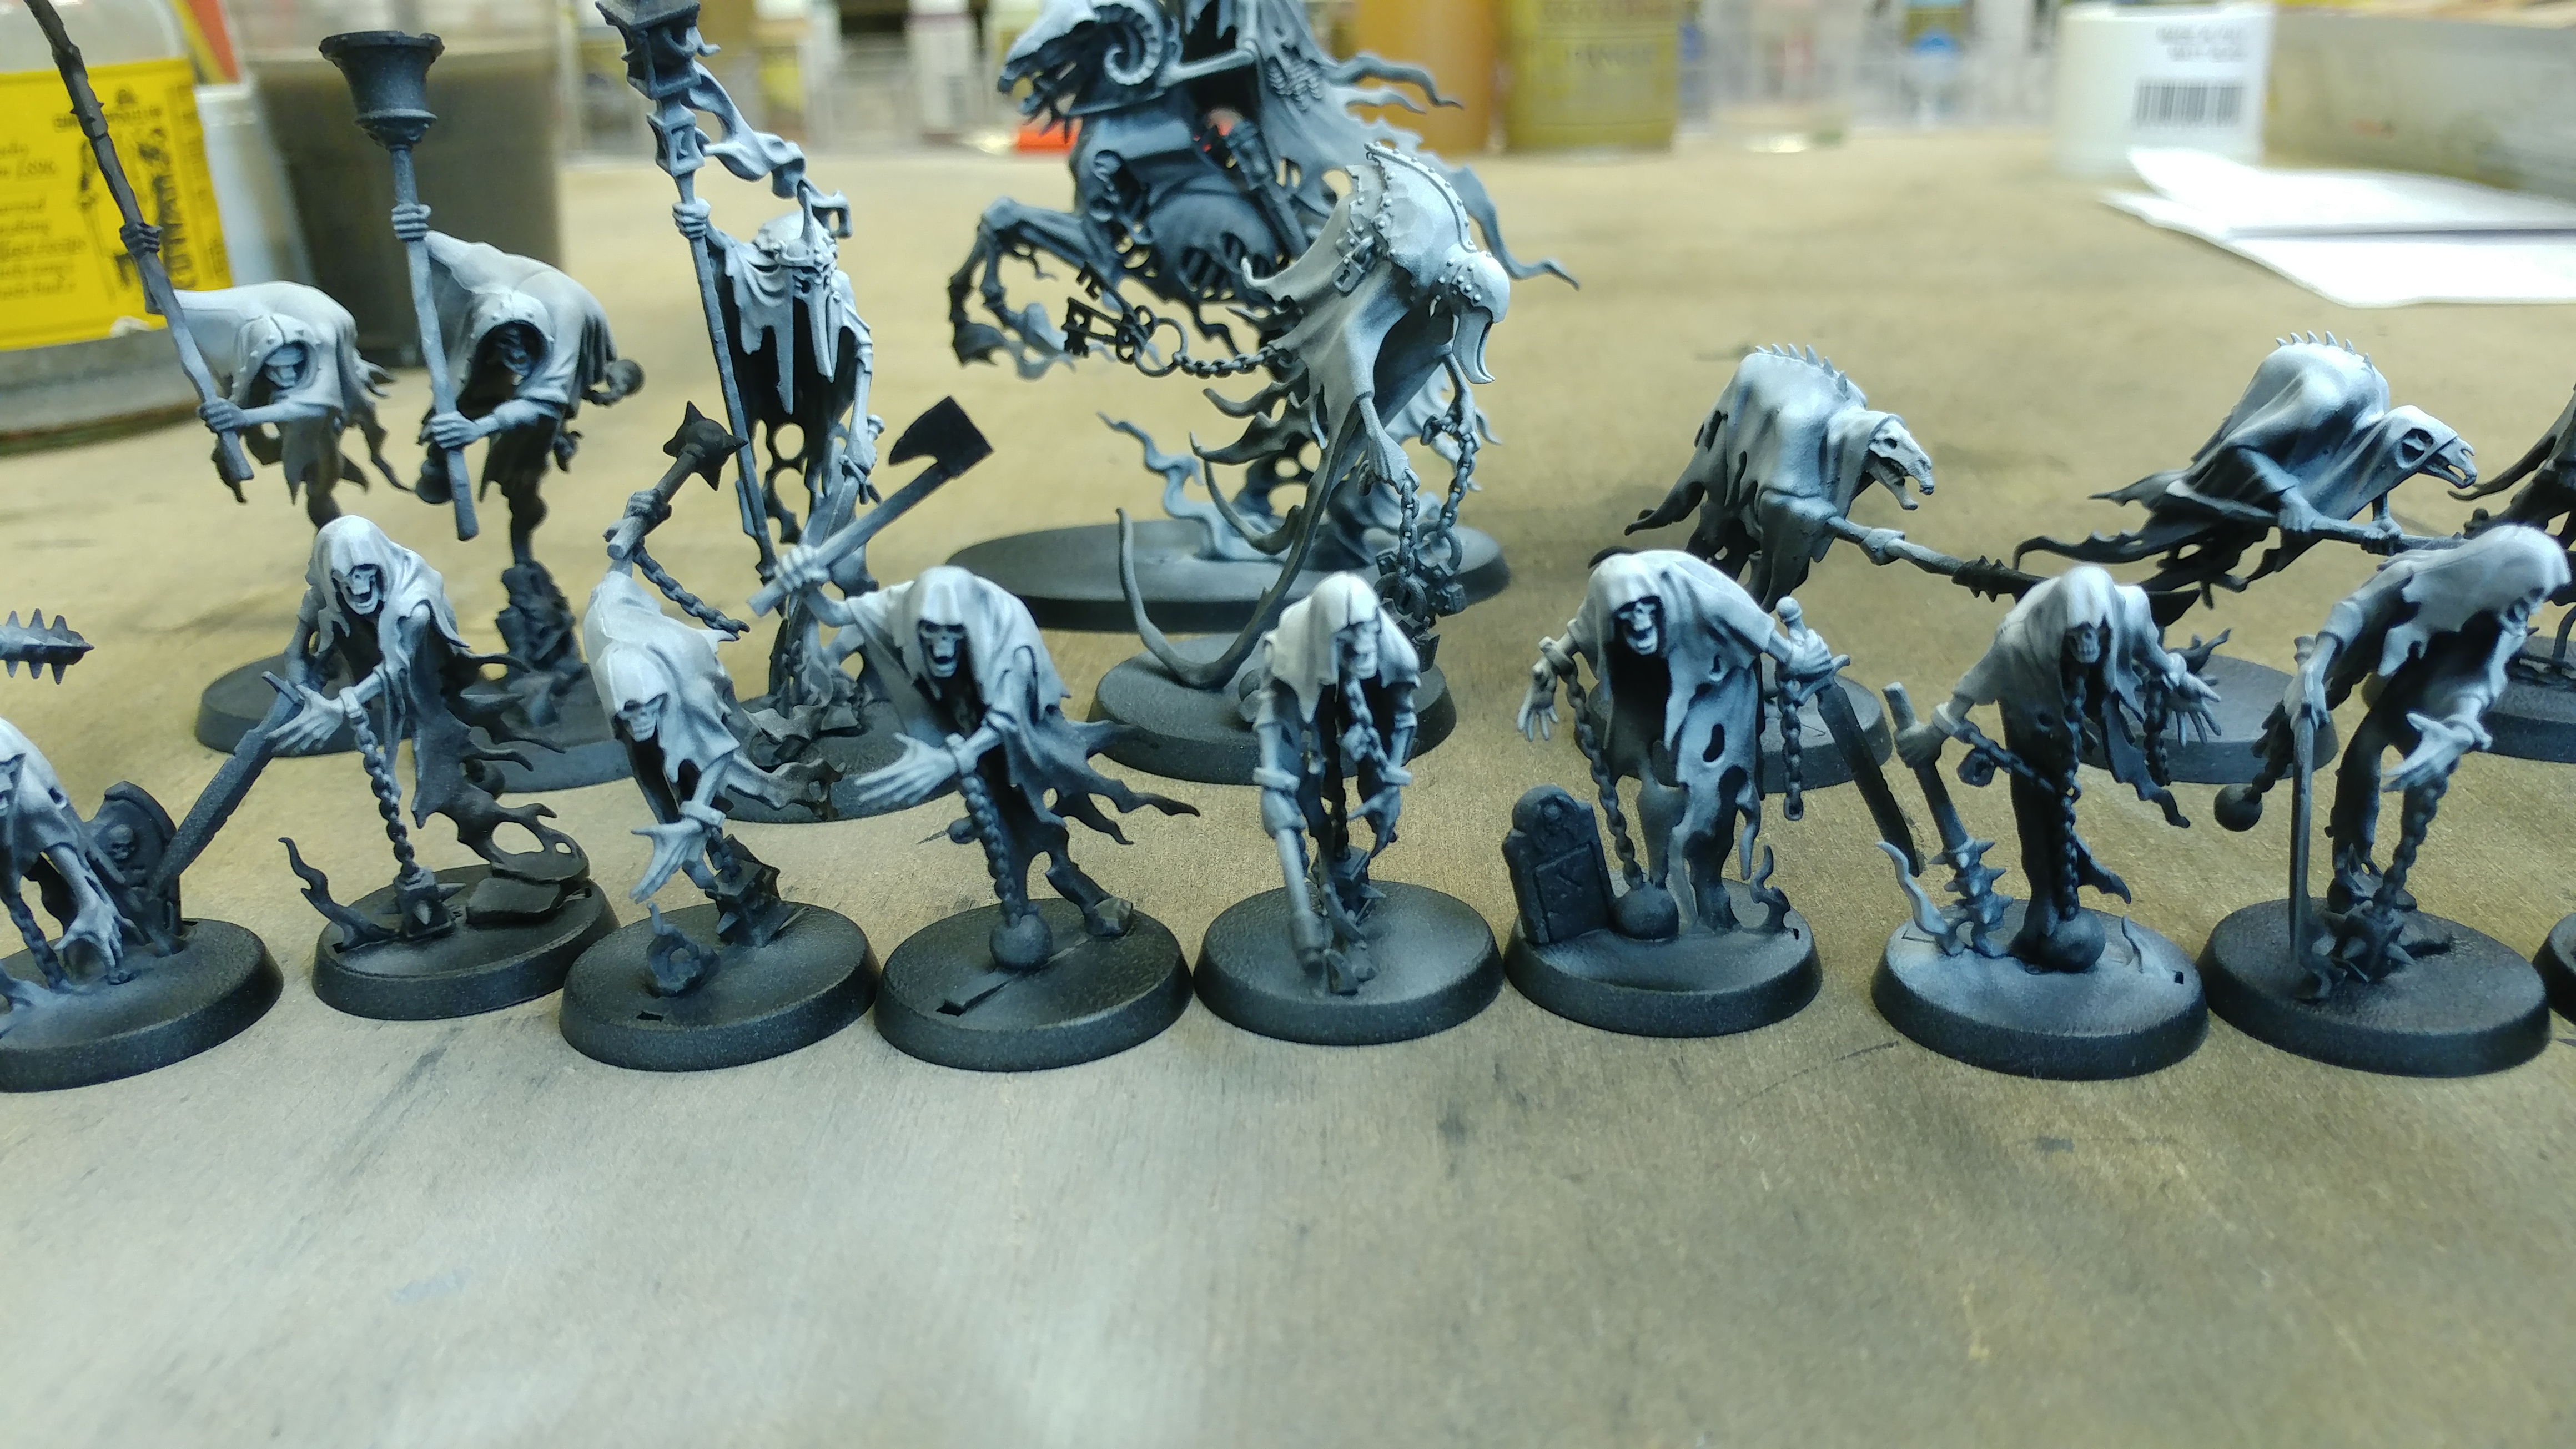
Using my airbrush, I gave the miniatures a zenith highlight with Matt White. This already makes them look nice and spooky but also makes them ready for a later wash stage.
The next stage was to use Vallejo Cavalry Brown to basecoat any metal details. The idea for this is to give these ethereal figures a physical aspect. So metal and weapons would look “real” while the rest of the figure would keep a more spooky aspect.
Giving the Ghosties a wash.
Once I finished adding all the wooden and metal details, using Vallejo “Tinny Tin” and Army Painter Monster Brown for the wood on the weapons. So now it’s time to apply some washes to the minis.
The first coat of wash was Army Painter Soft Tone applied through my airbrush. This was applied over the entire model and left to dry.
A second wash was then applied using the airbrush. But this time it was Army Painter Strong Tone and it was applied mainly to the lower areas and weapons of the miniatures, trying my best to avoid the heads and faces.
I am liking how dark and strange they look with the washes. The challenge now is to bring in contrast and interest to each miniature.
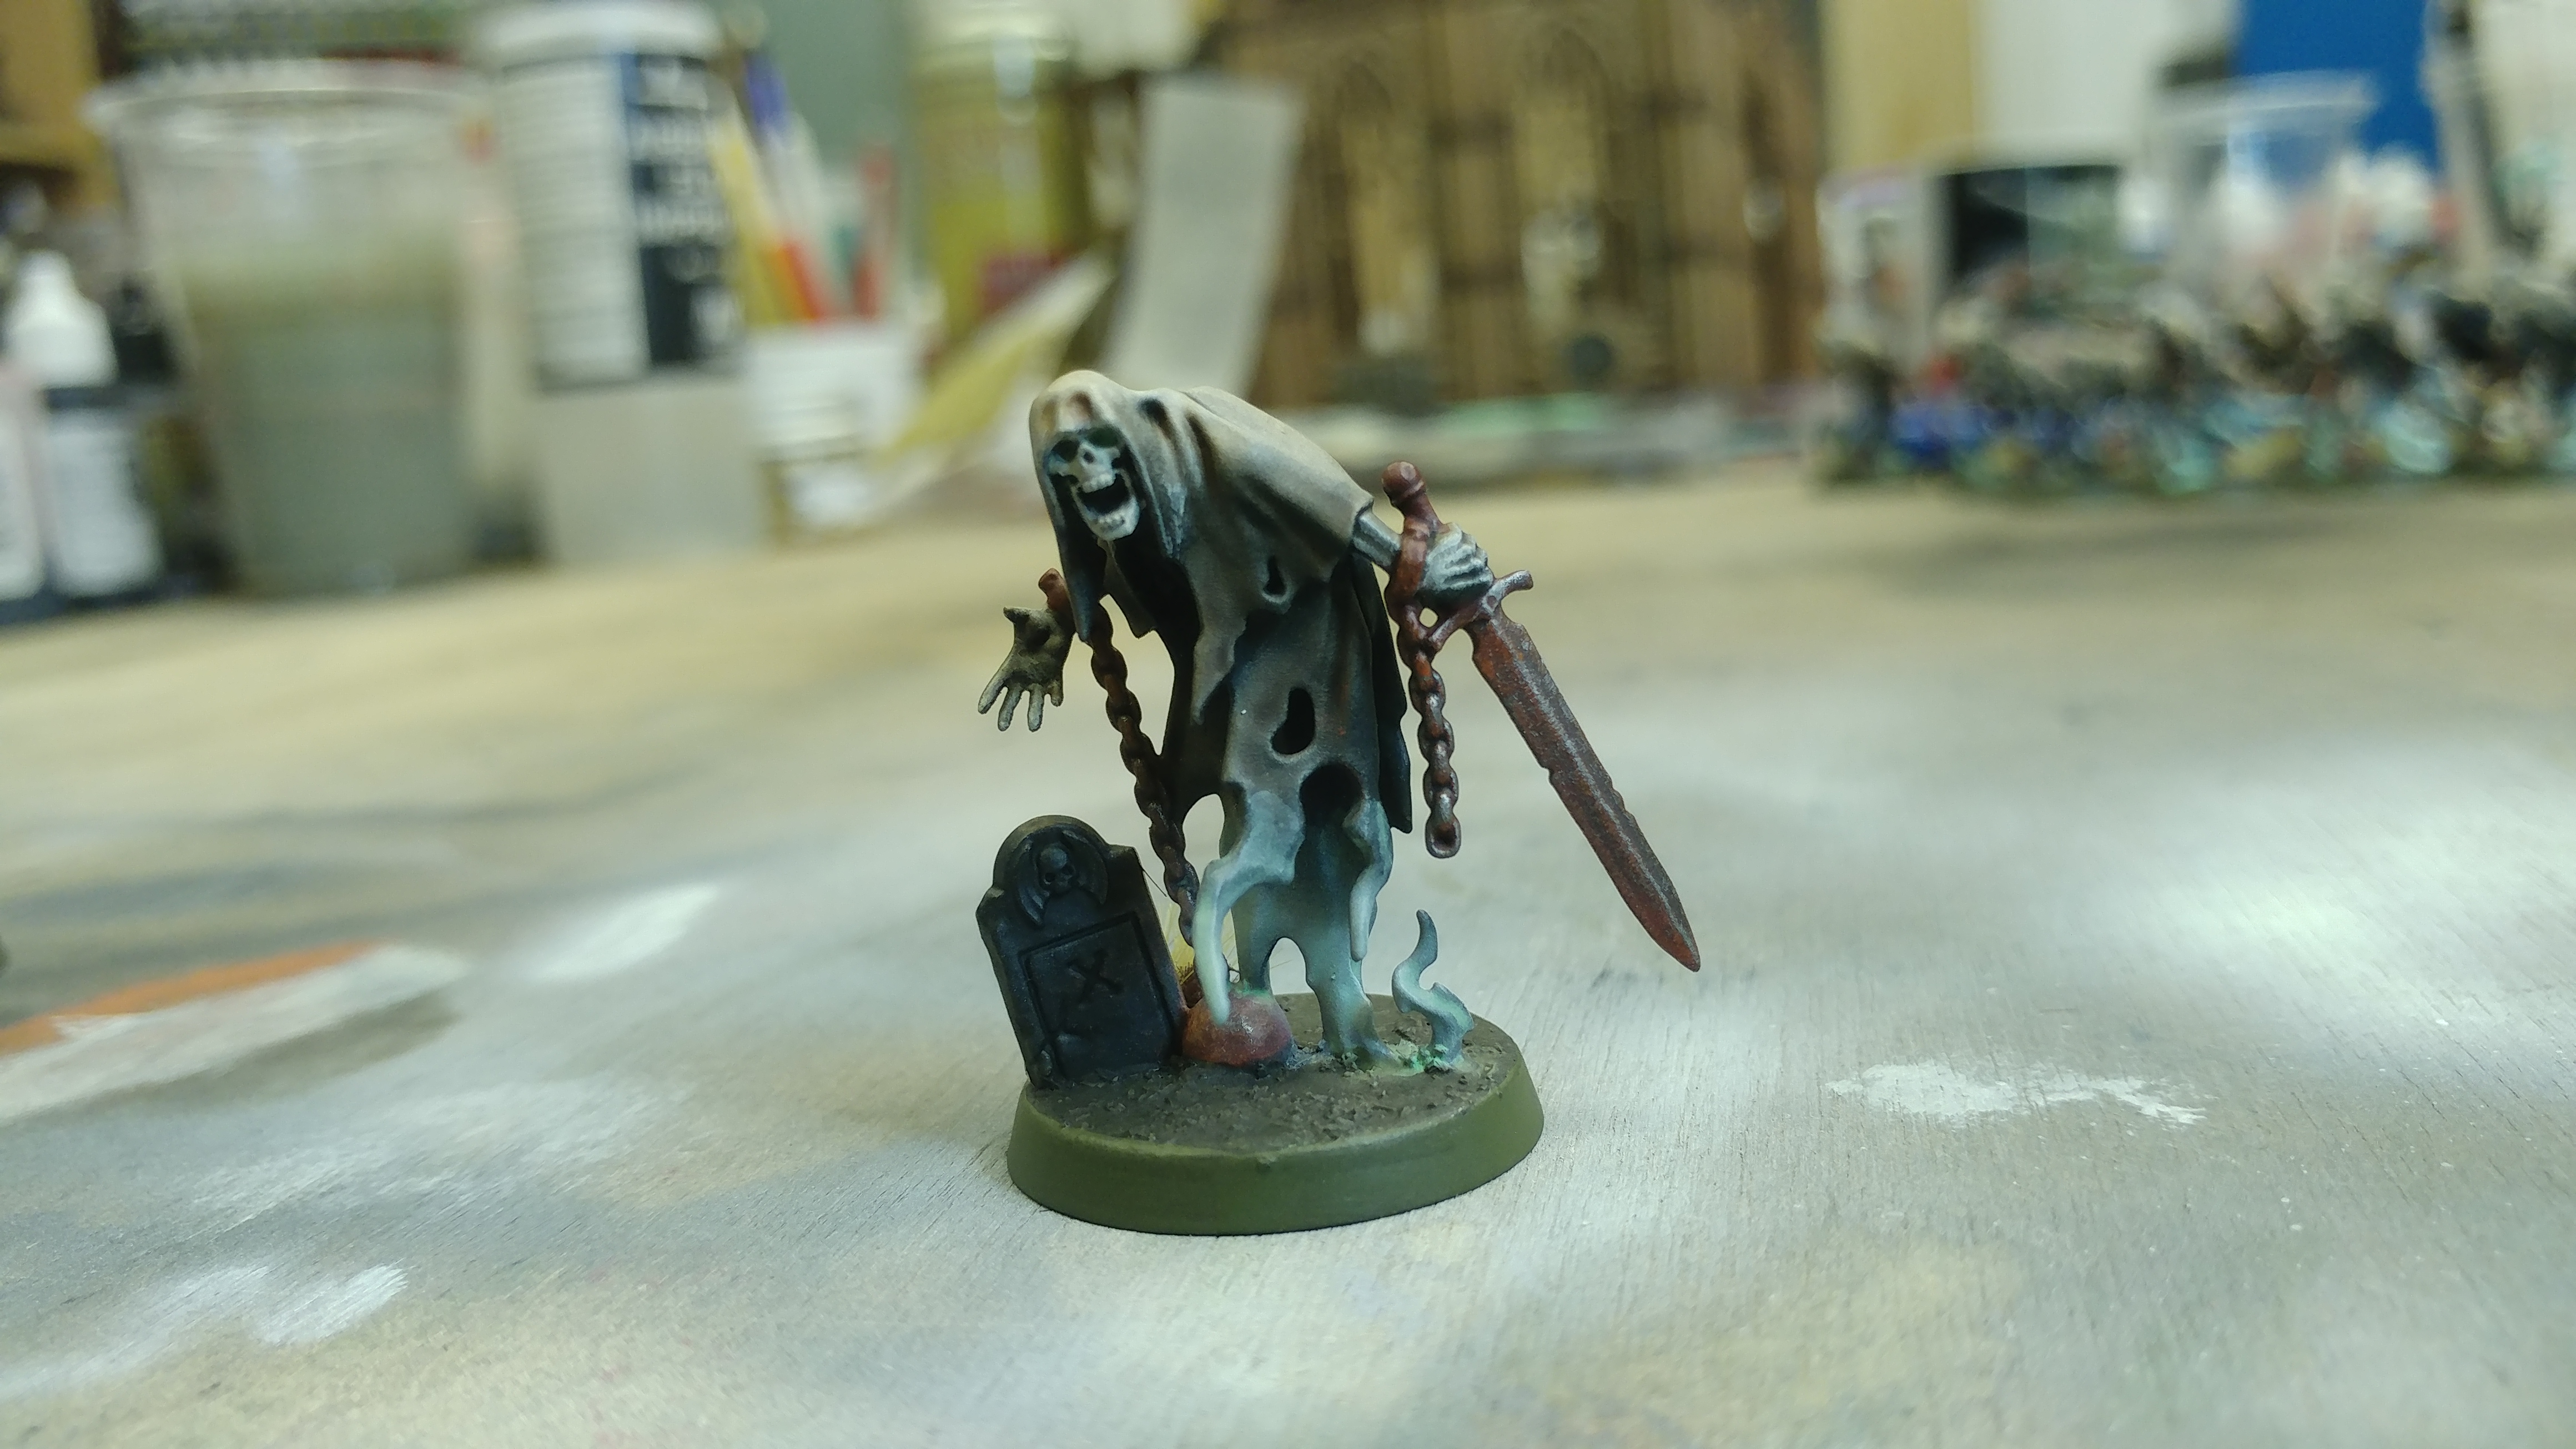
The Rust, The Patina, The Base.
The project is drawing to a close and I am getting happier with the results as I see it all come together.
If you did not see yesterdays VLOG, here is what I did.
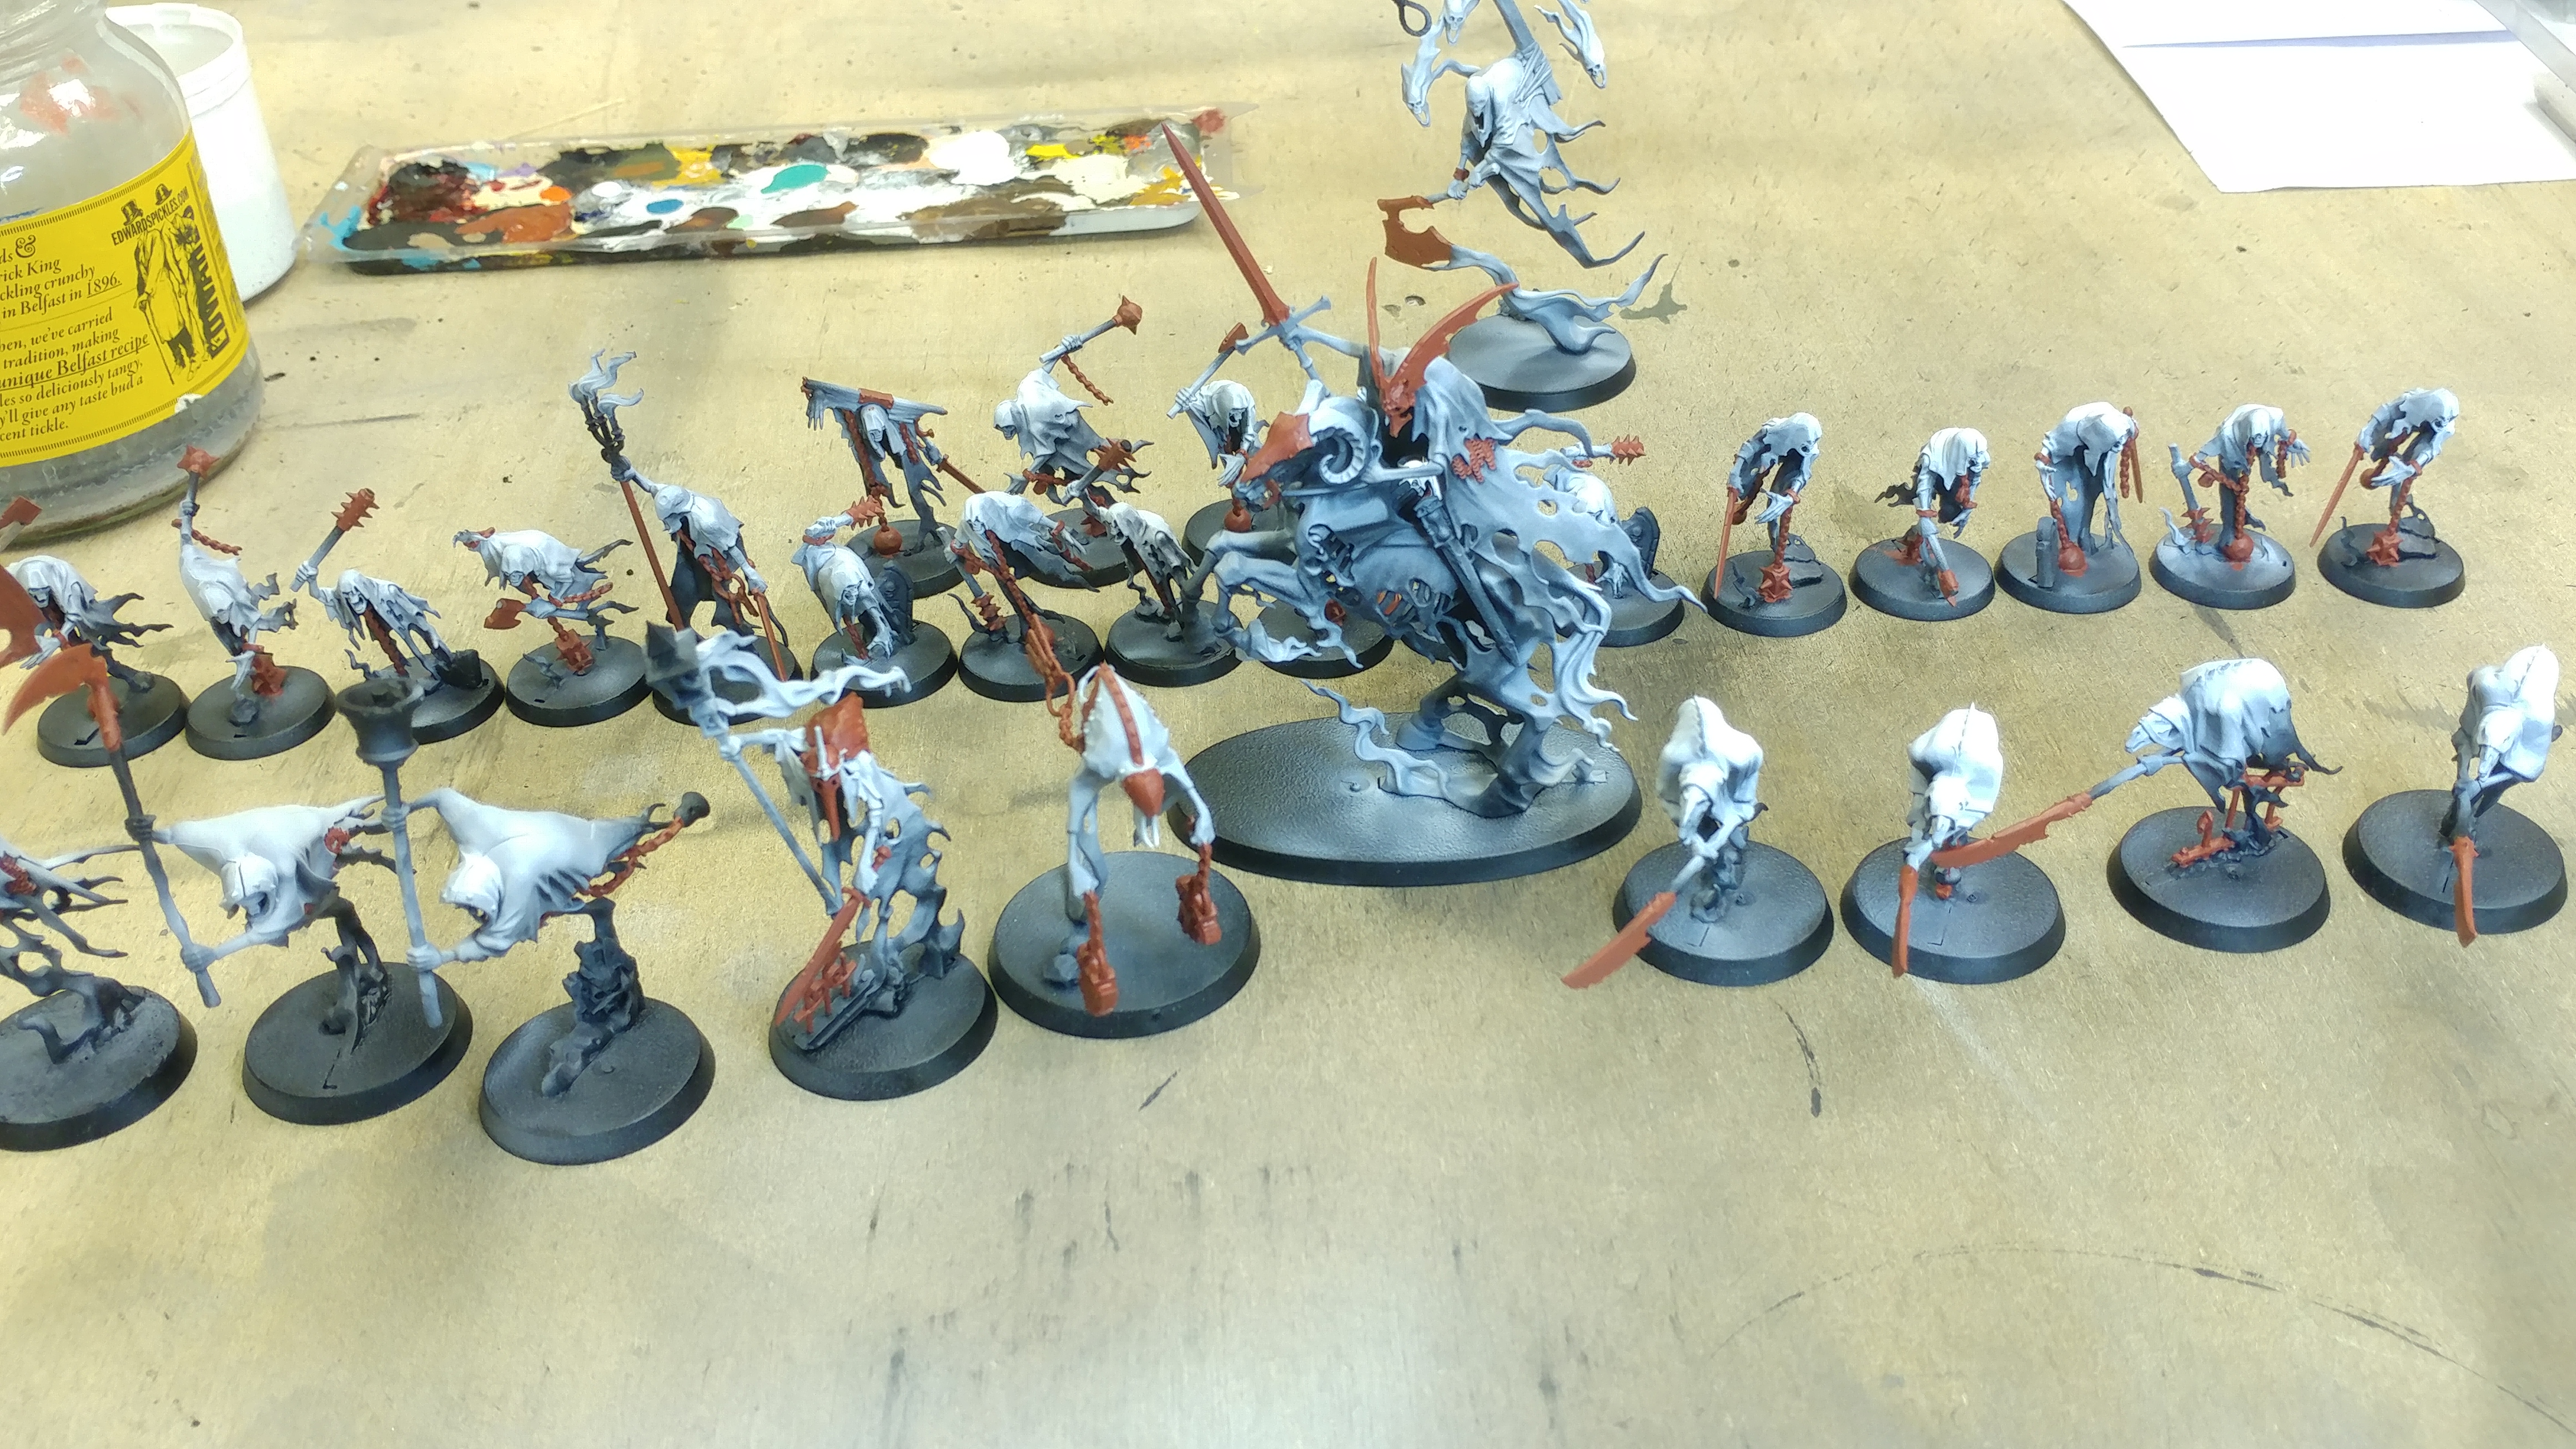
Adding a drybrush of Army Painter Lava Orange to the basecoat of Cavalry Brown and been washed down has really made the metal items into a strong feature of the miniatures.
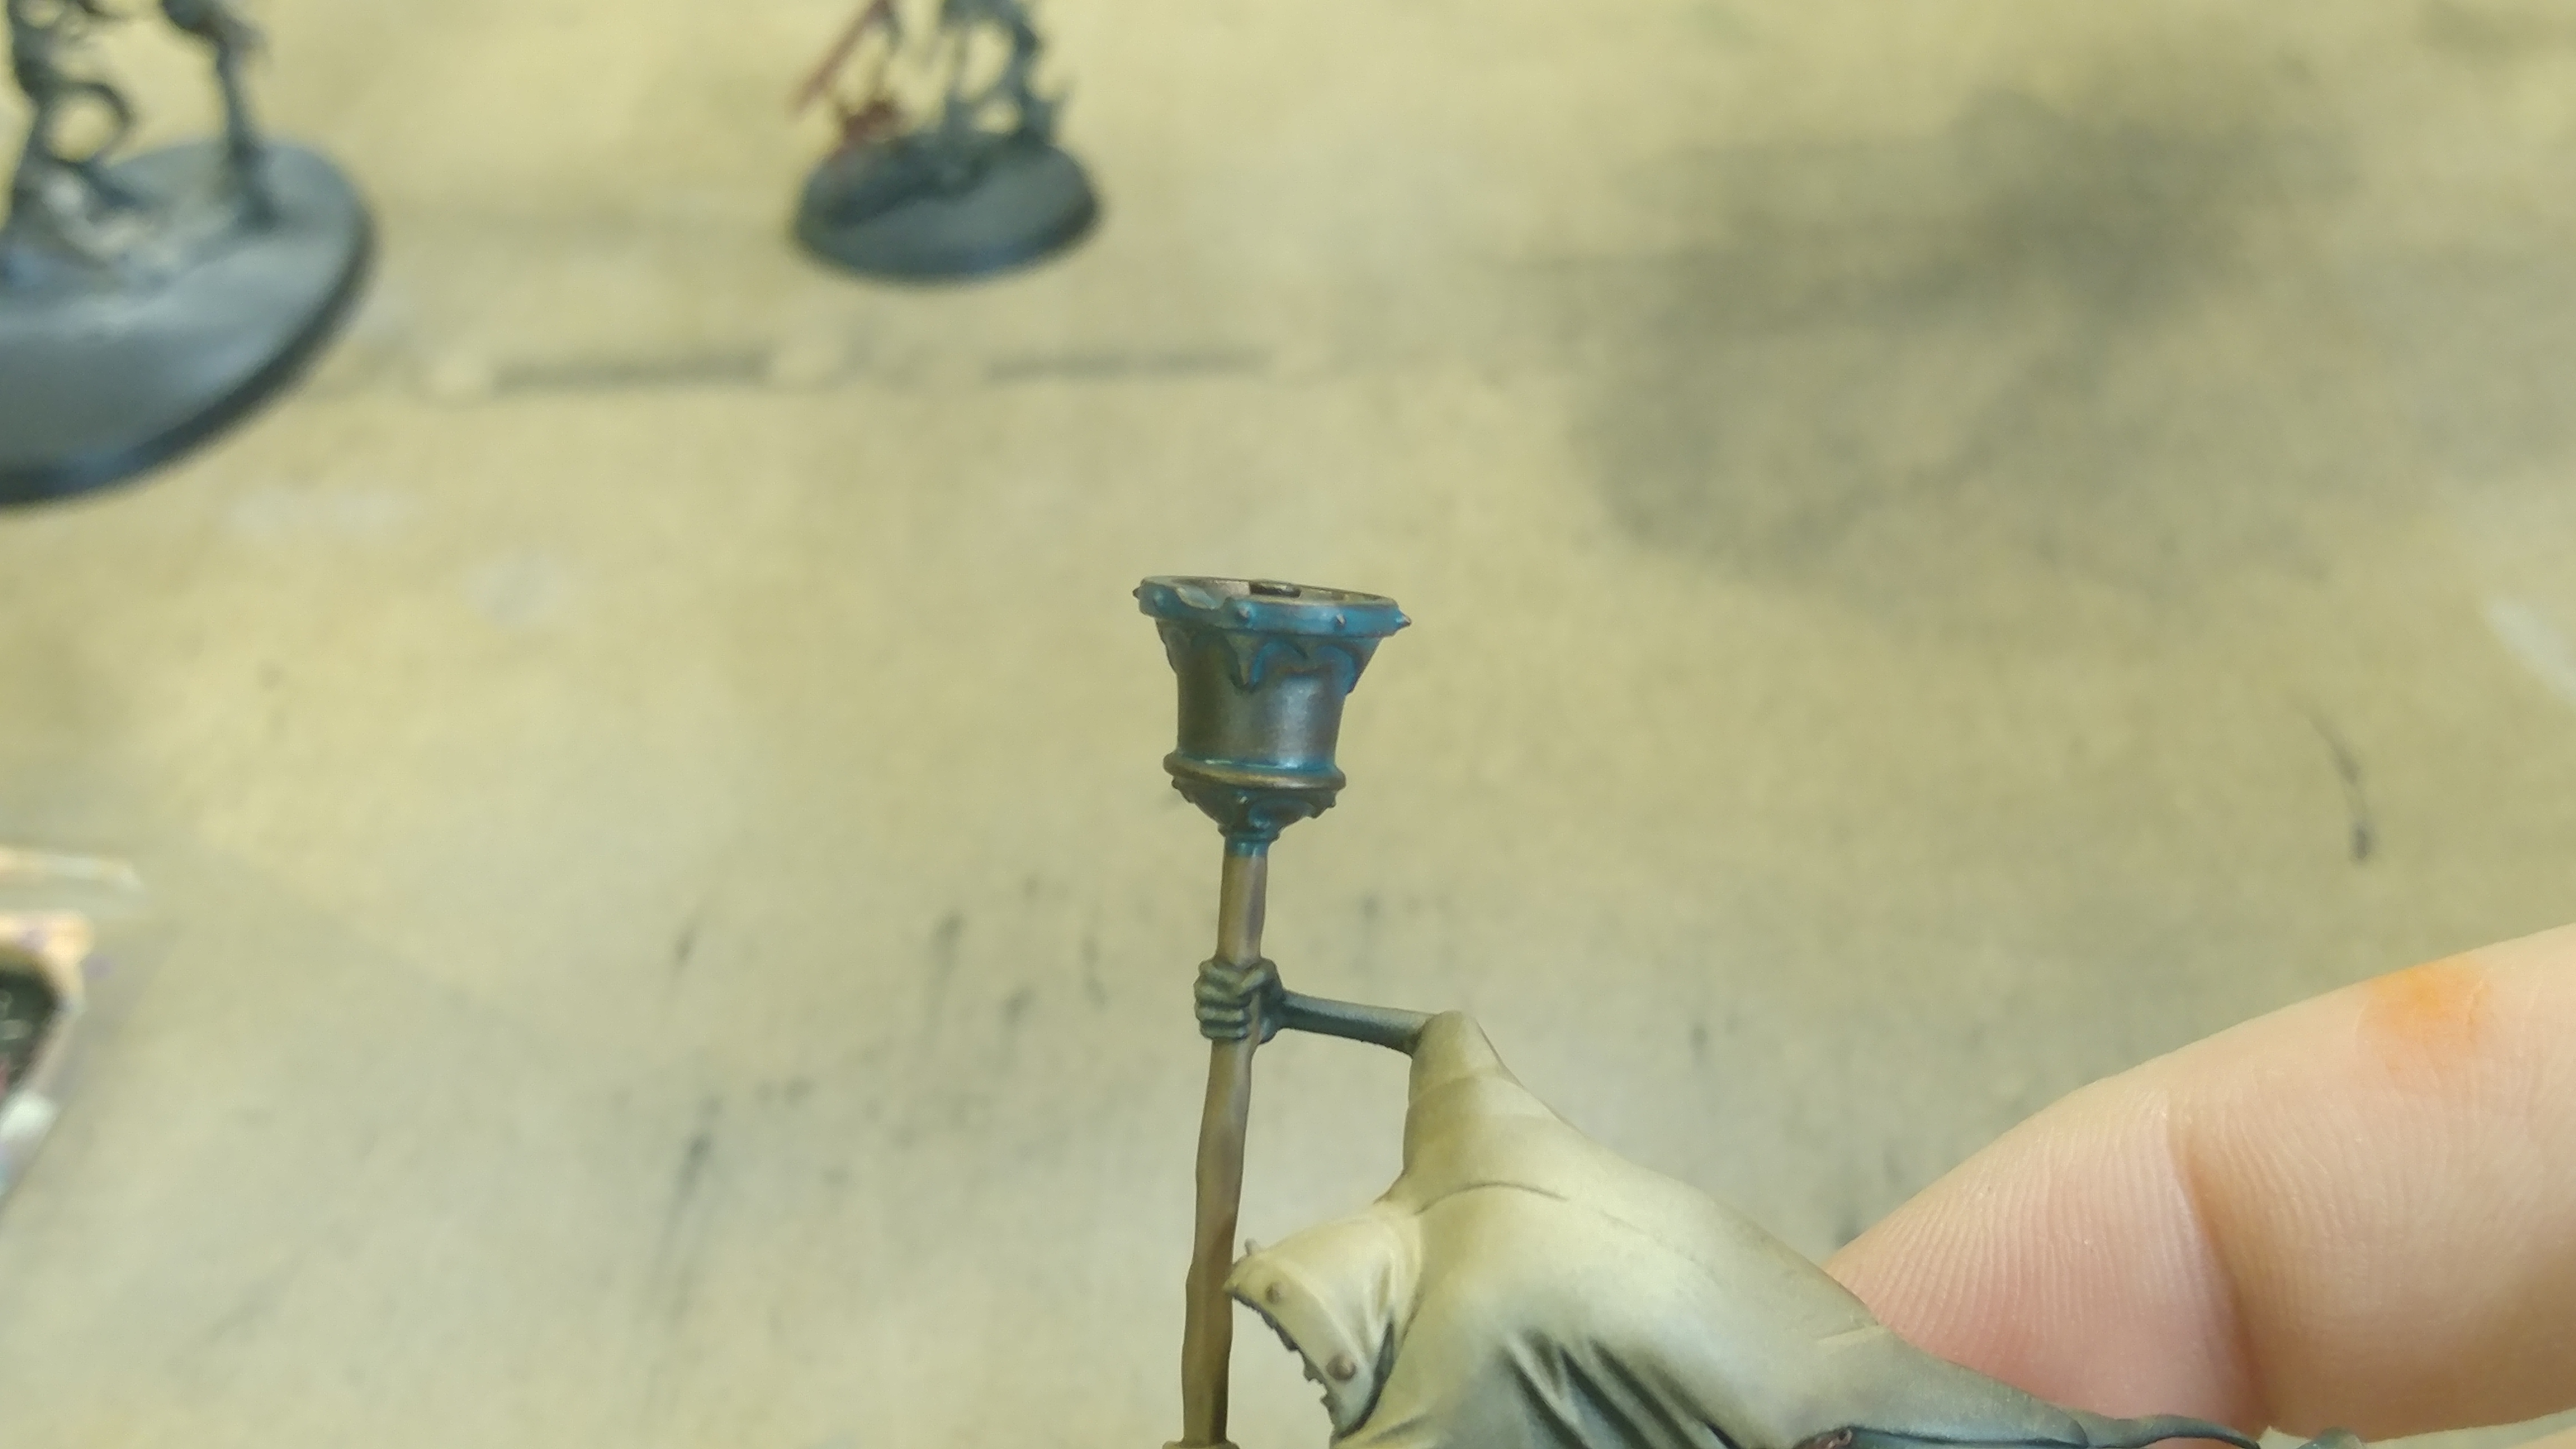
Consider the patina on the bronze details the first pass. I think it really needs another layer of a brighter colour. Anyway, the colour applied is Army Painter Hydra Turquoise which has been thinned to about 1/4 with Flow Improver.

I still persisted and applied it to as many little details as I could. Just to add some visual interest here and there. I particularly like it on the sword scabbard.
The final item for this update is the bases. I created a basing material with some pigment powders (a dusty colour darkened with black) some sand, some flocking material and PVA glue. The mix turned into this sort of dead, sludgy green. I love it! It’s easy to apply and gives much-needed texture to the base which will be perfect for any dry brushing or other effects I may want to add.
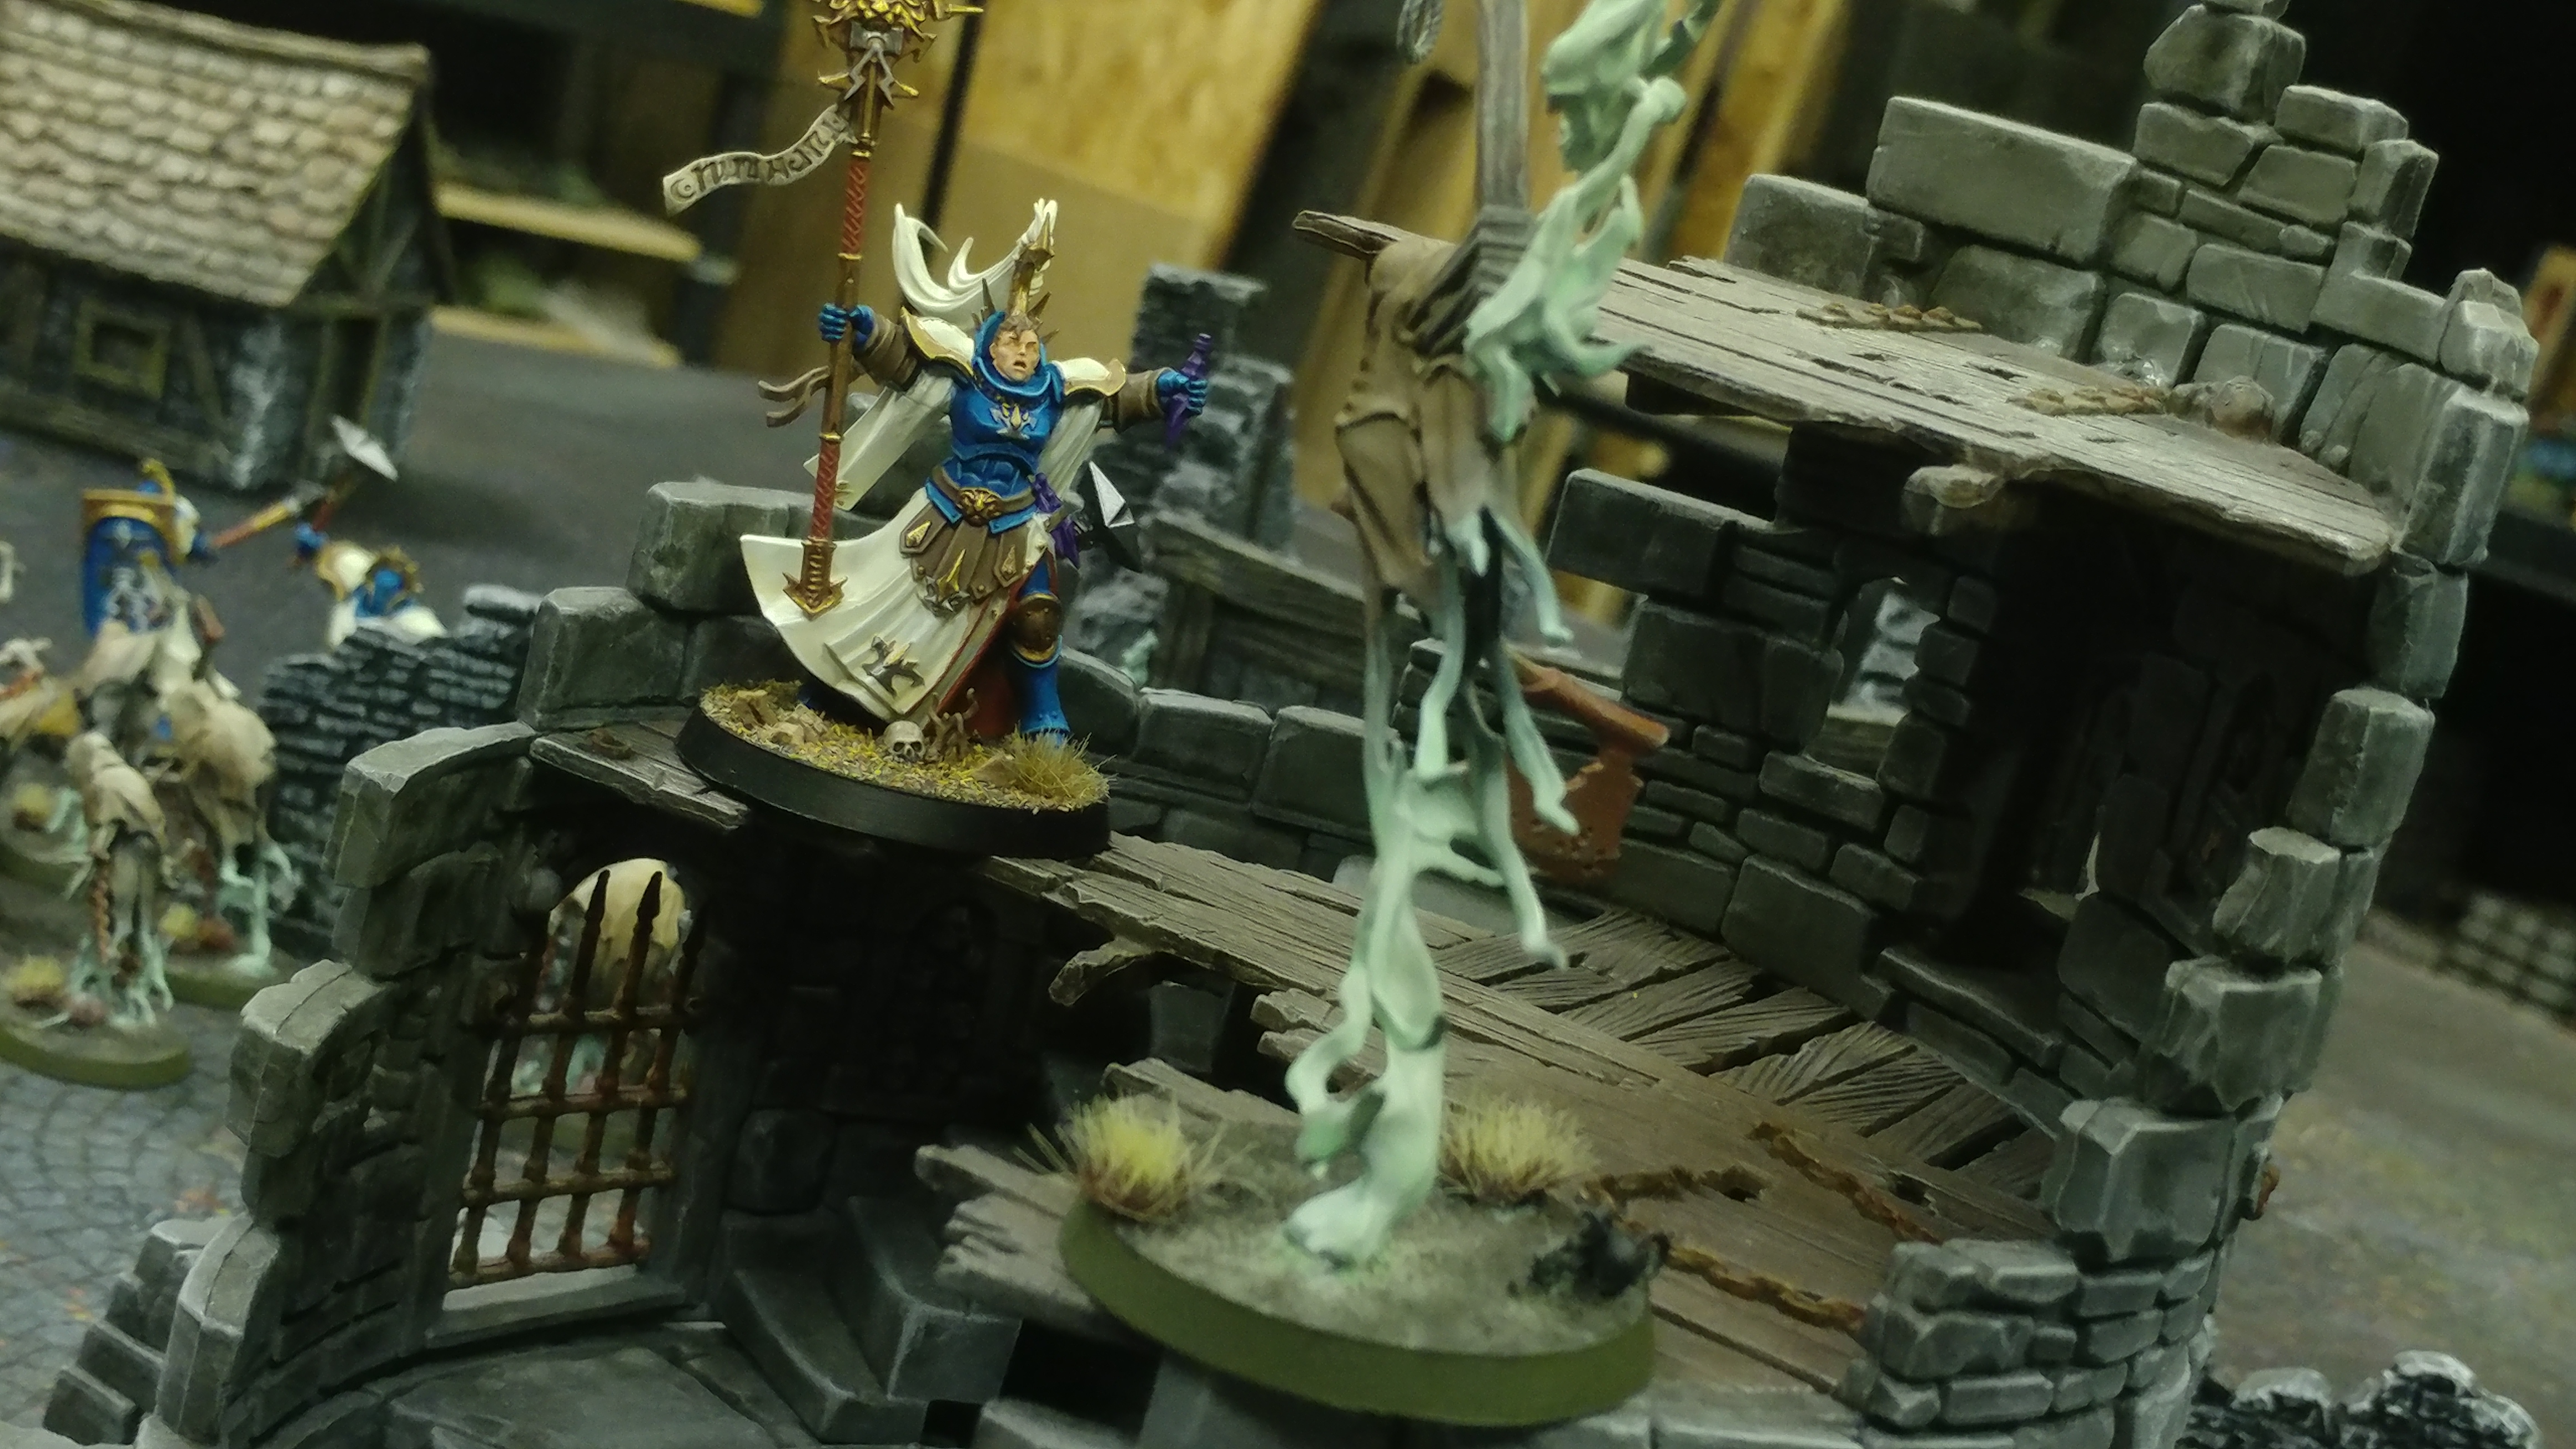
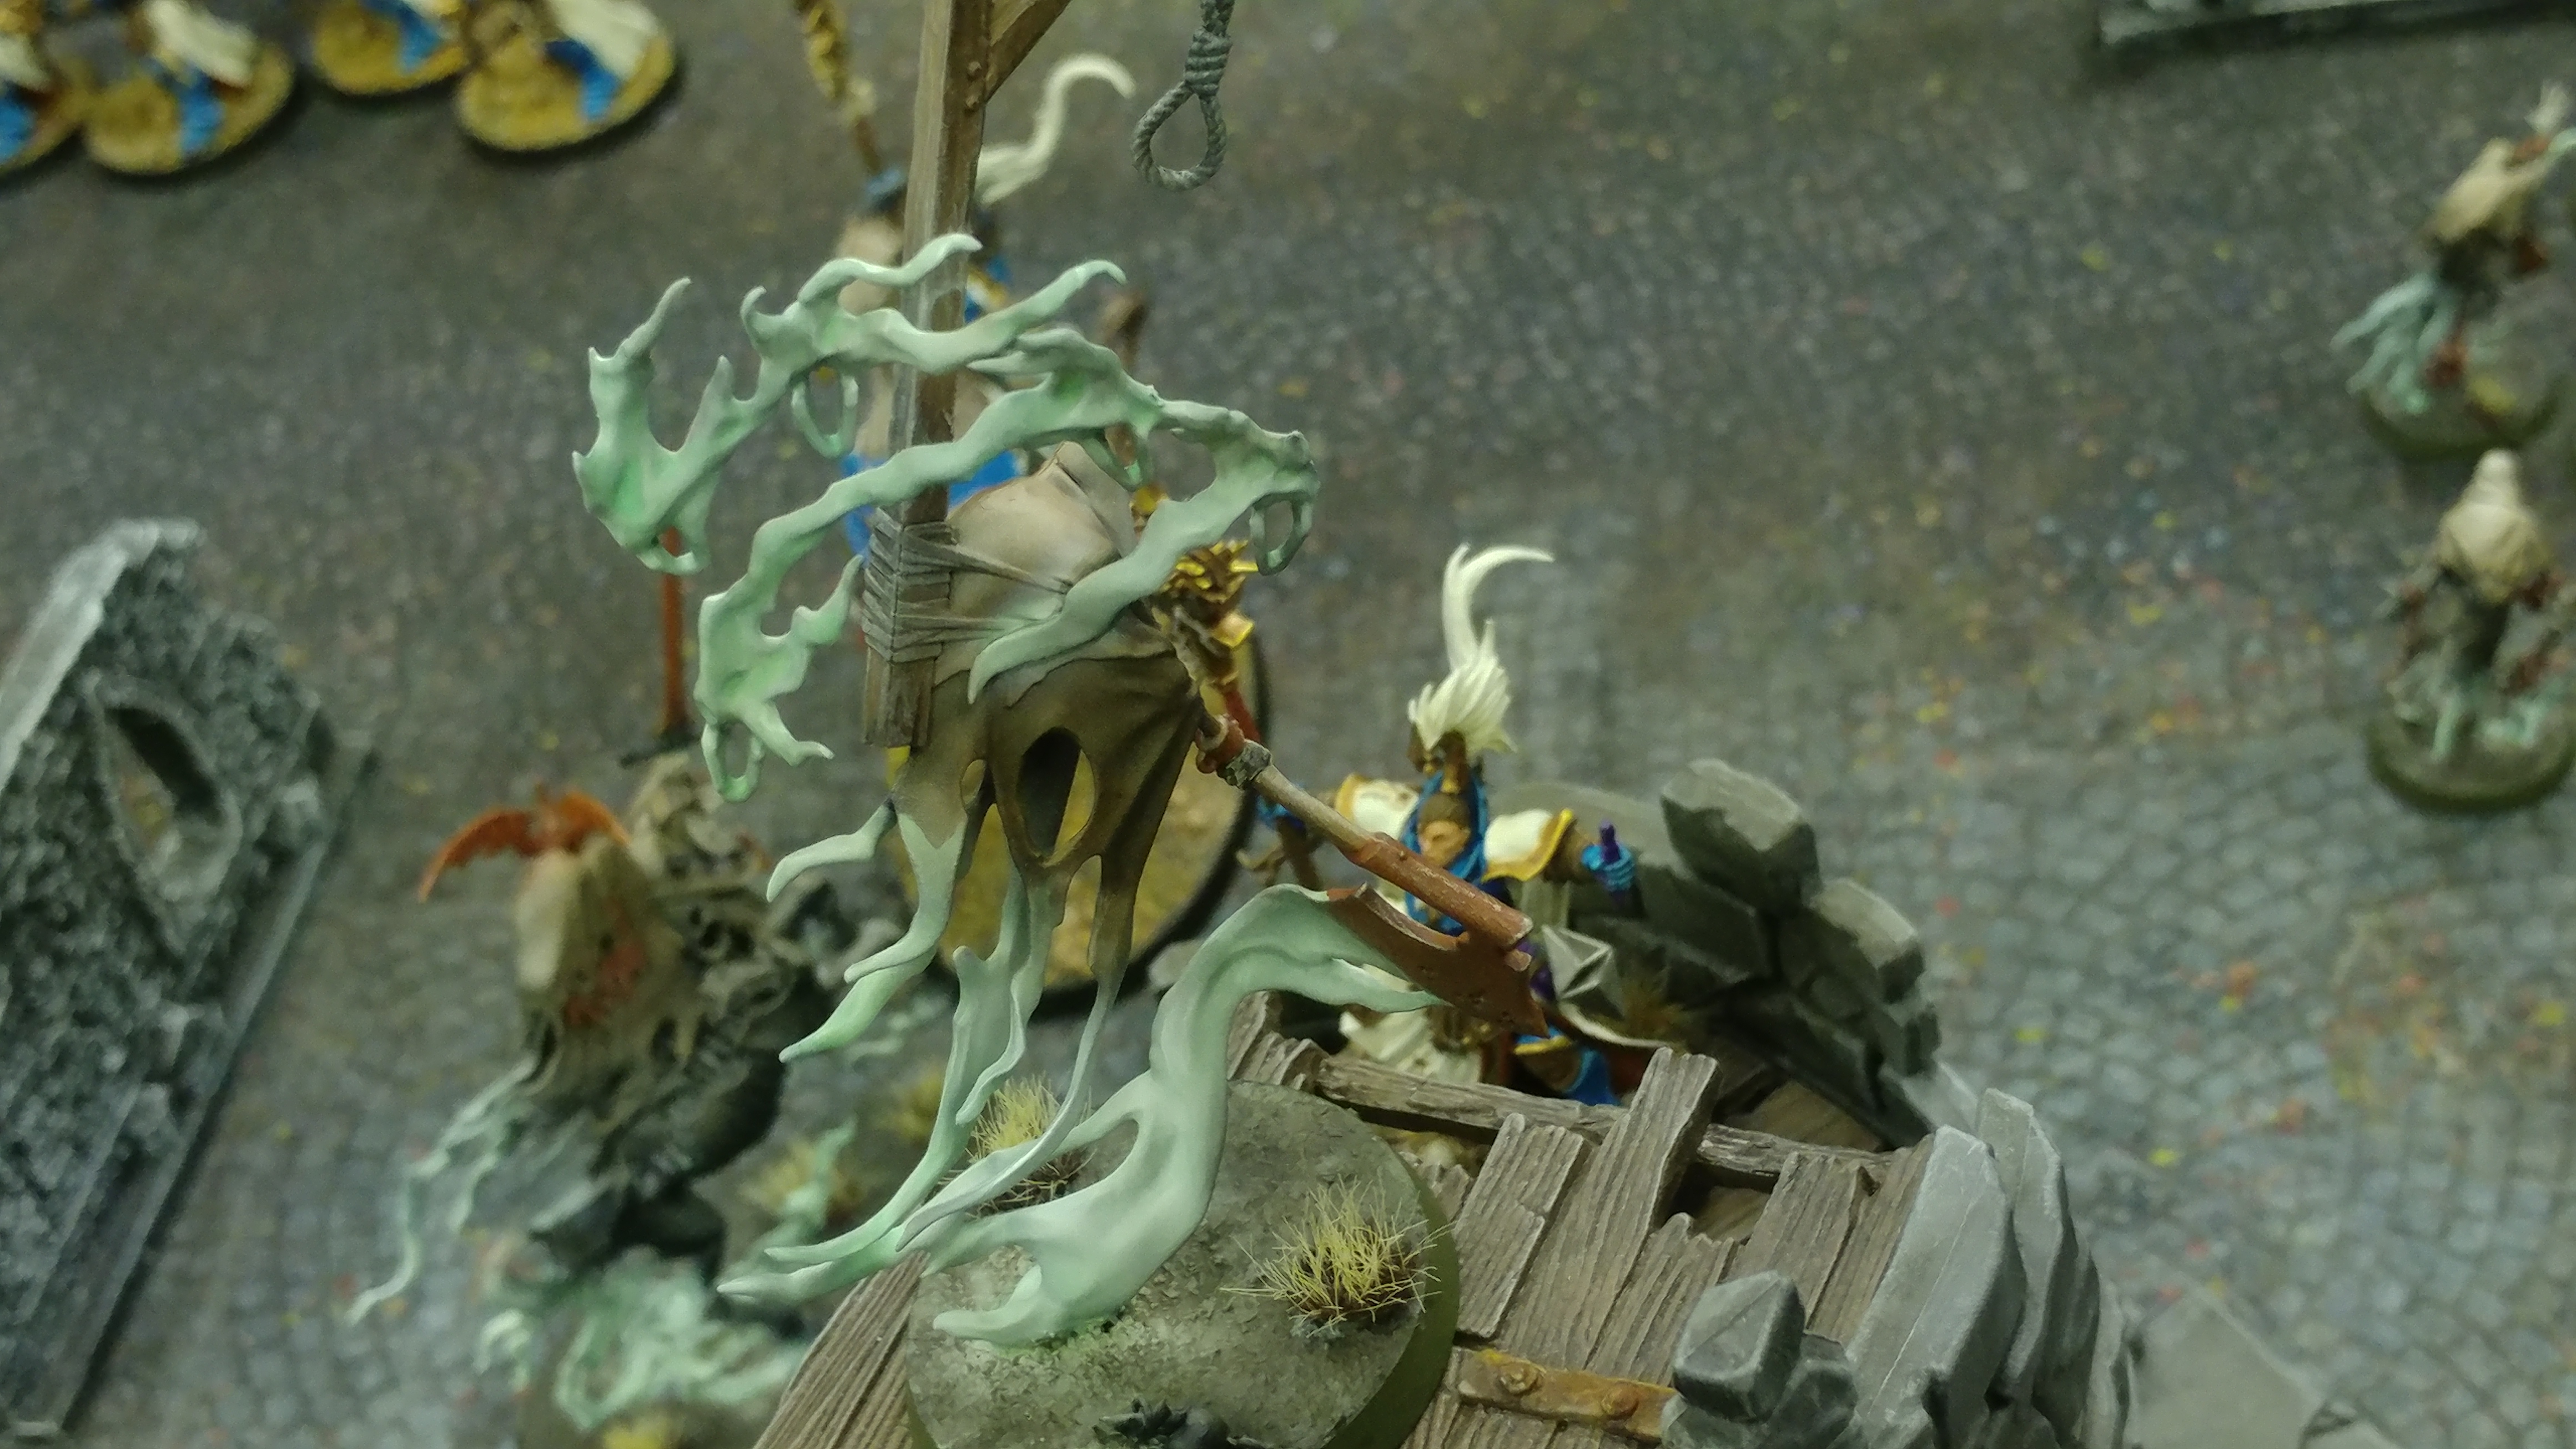
The Glow of Ages.
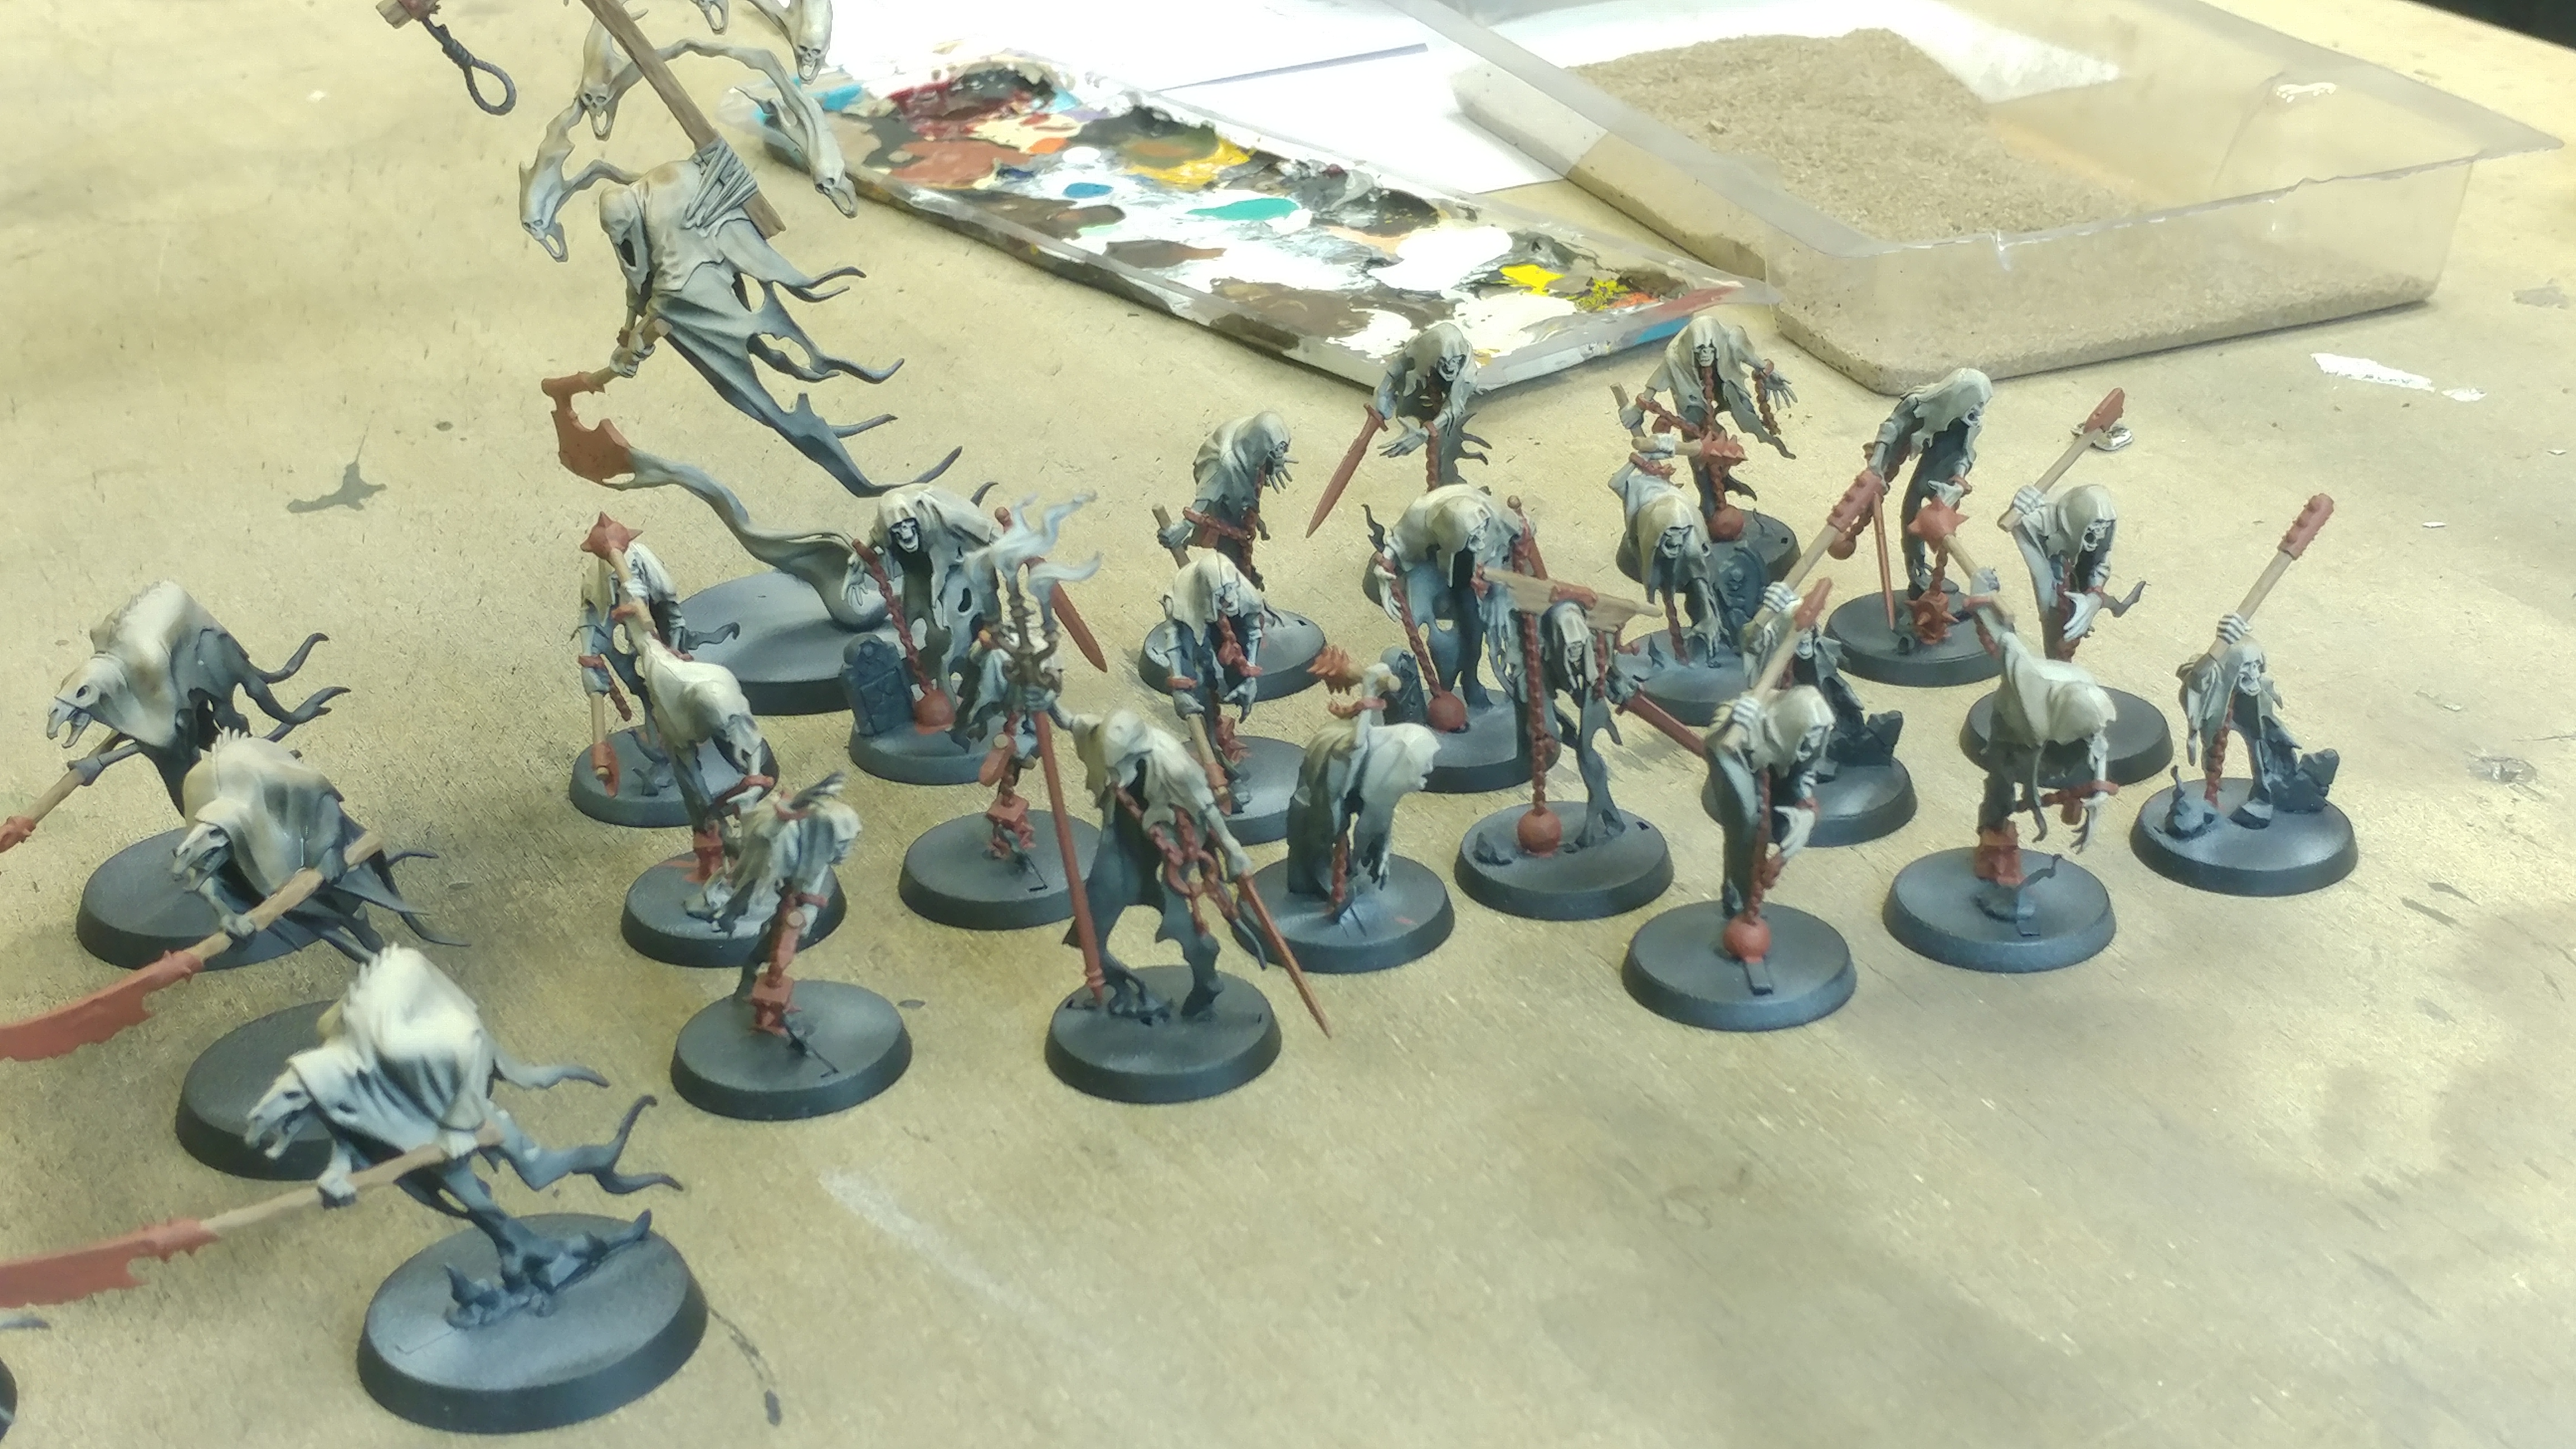
Getting a good glow can make or break a ghostly looking model. You can be subtle or intense. Or… you can be like me and throw stuff at it until it works. I did try a few different colours and basecoat ideas. But I finally settled on airbrushing a basecoat of white, to begin with, picking areas where the models seemed to coalesce from the ground.

After airbrushing out the areas I wanted. I picked some Army Painter Kraken Skin and thinned it down with airbrush flow improver. You can mix this quite heavily and still get a nice result.
I am really happy with how the spooky glow looks. Now, to tidy up all the overspray I simply gave the bases a coat of Army Painter Strong Tone to calm down the look of the overspray.
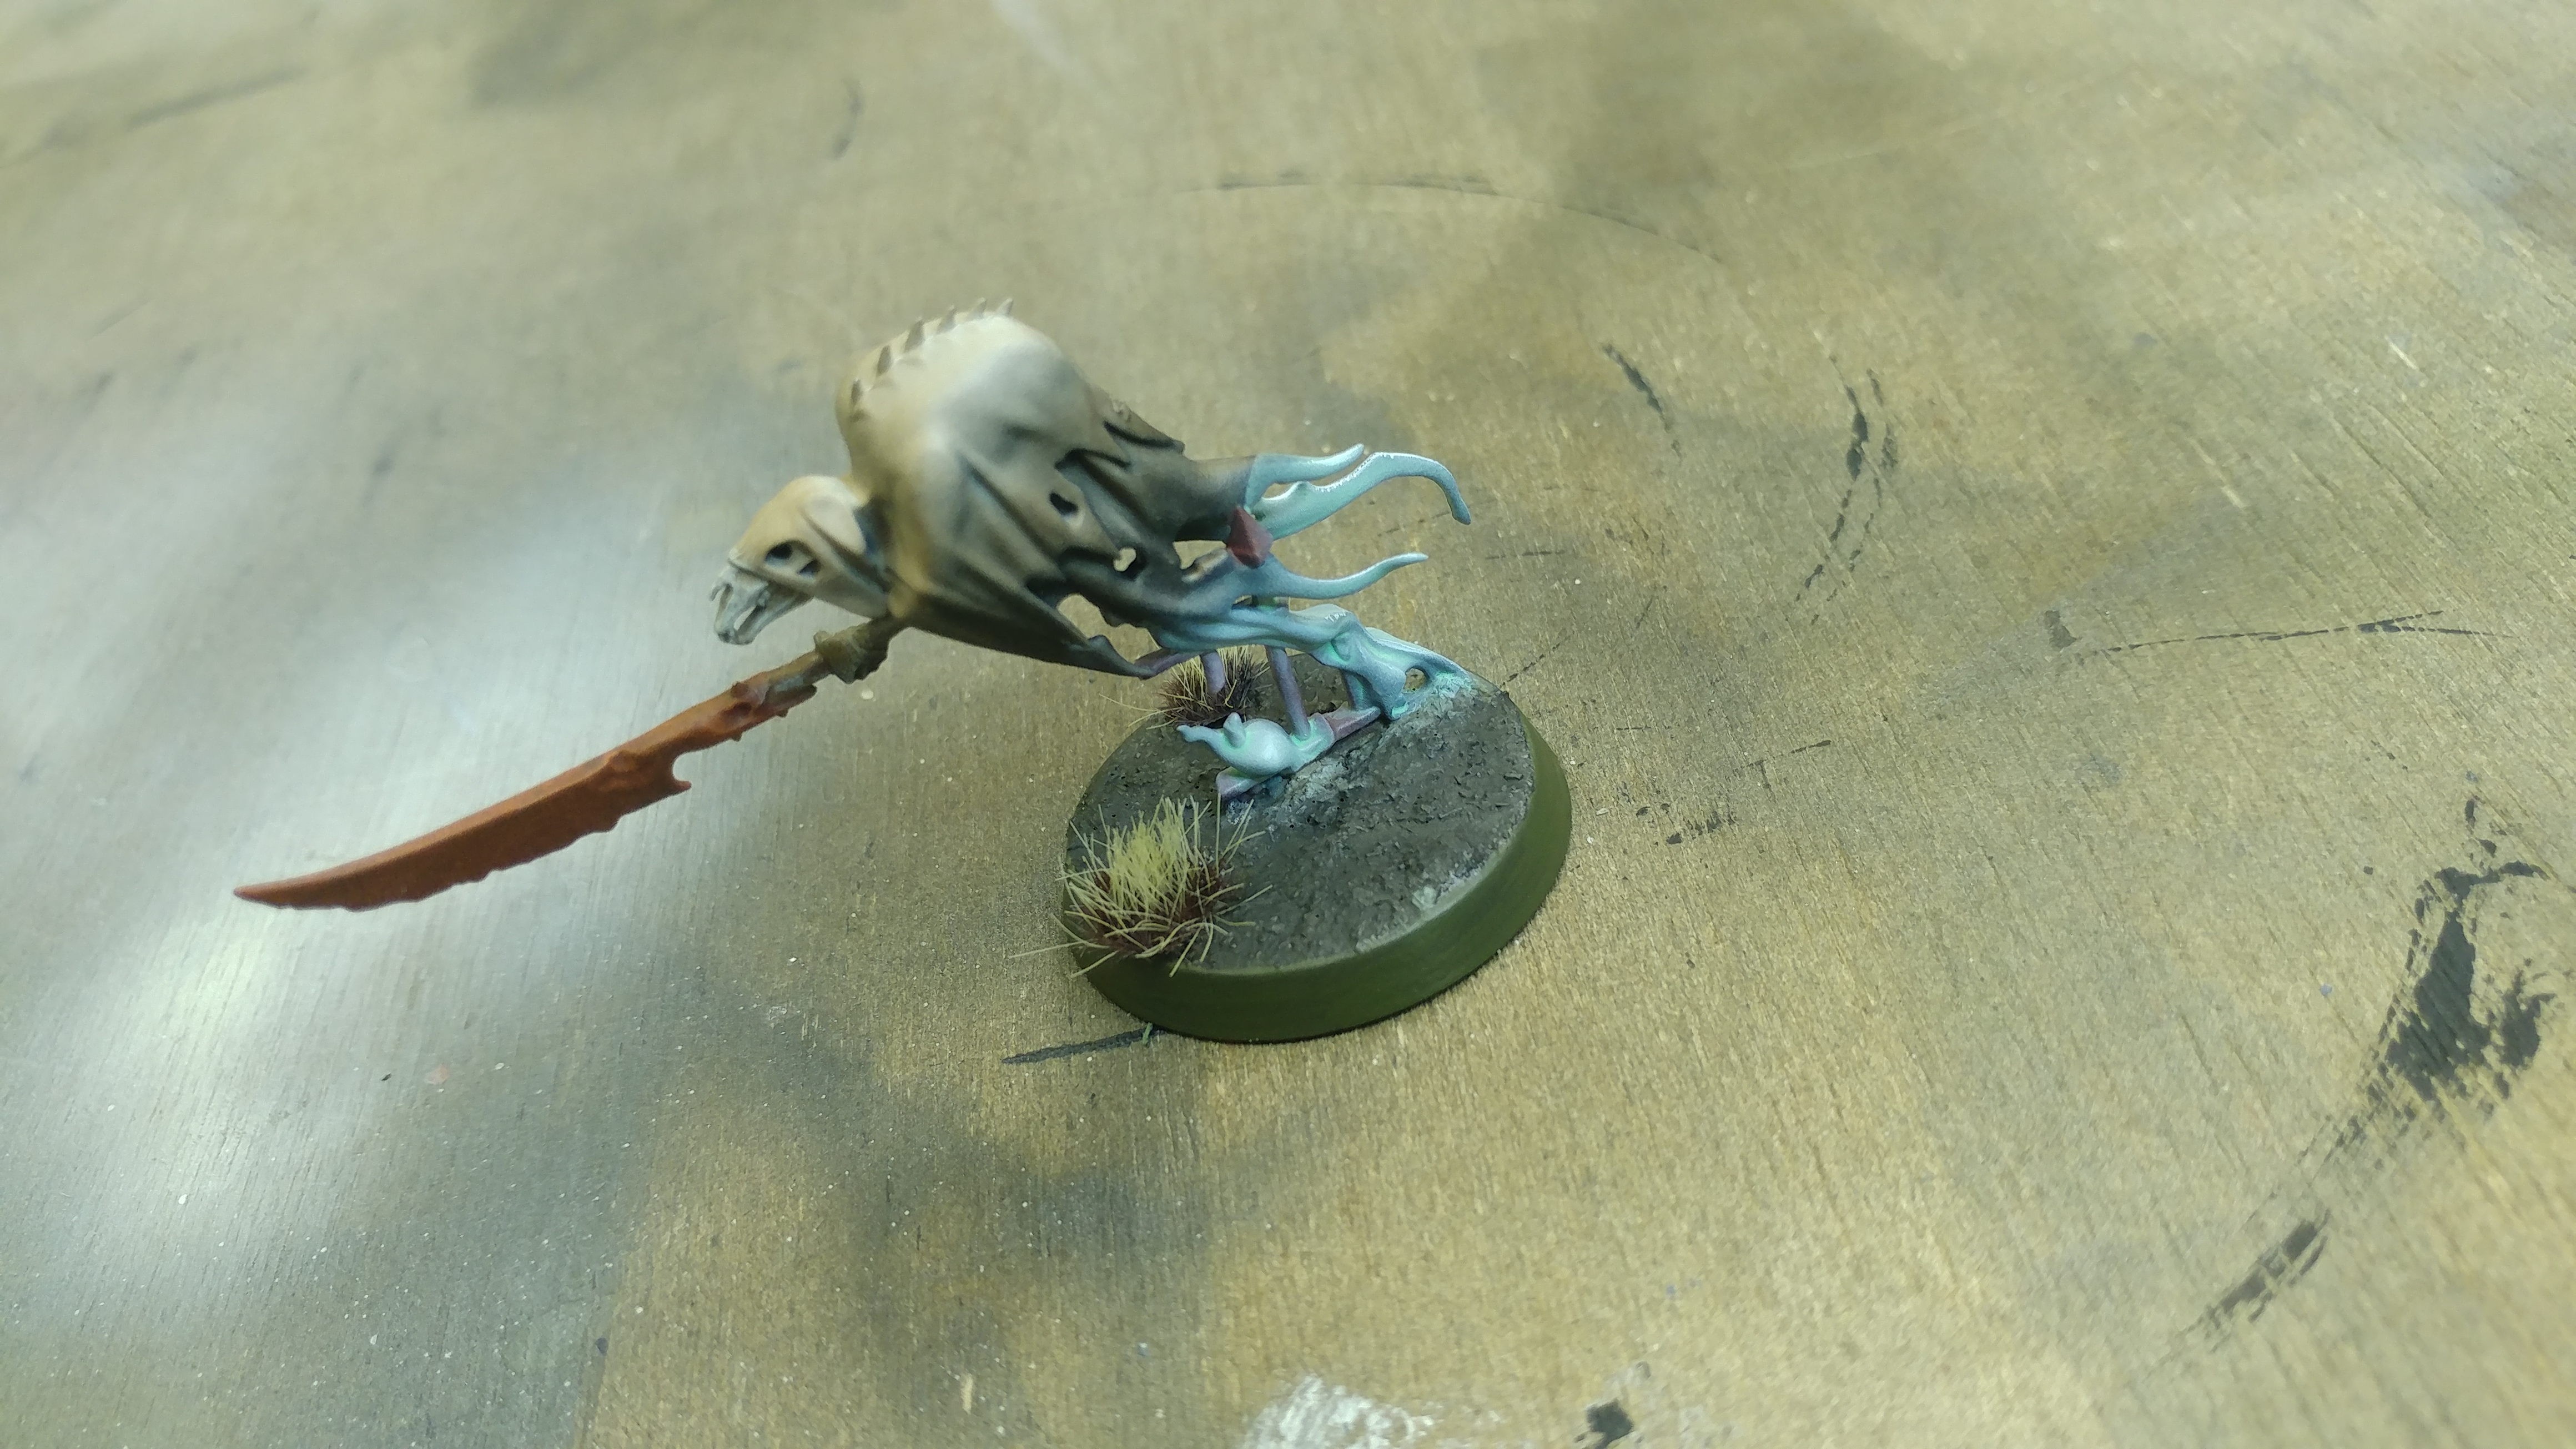
I liked how the wash still left some bits of overspray visible lending to the idea of the mini’s forming up from the ground.
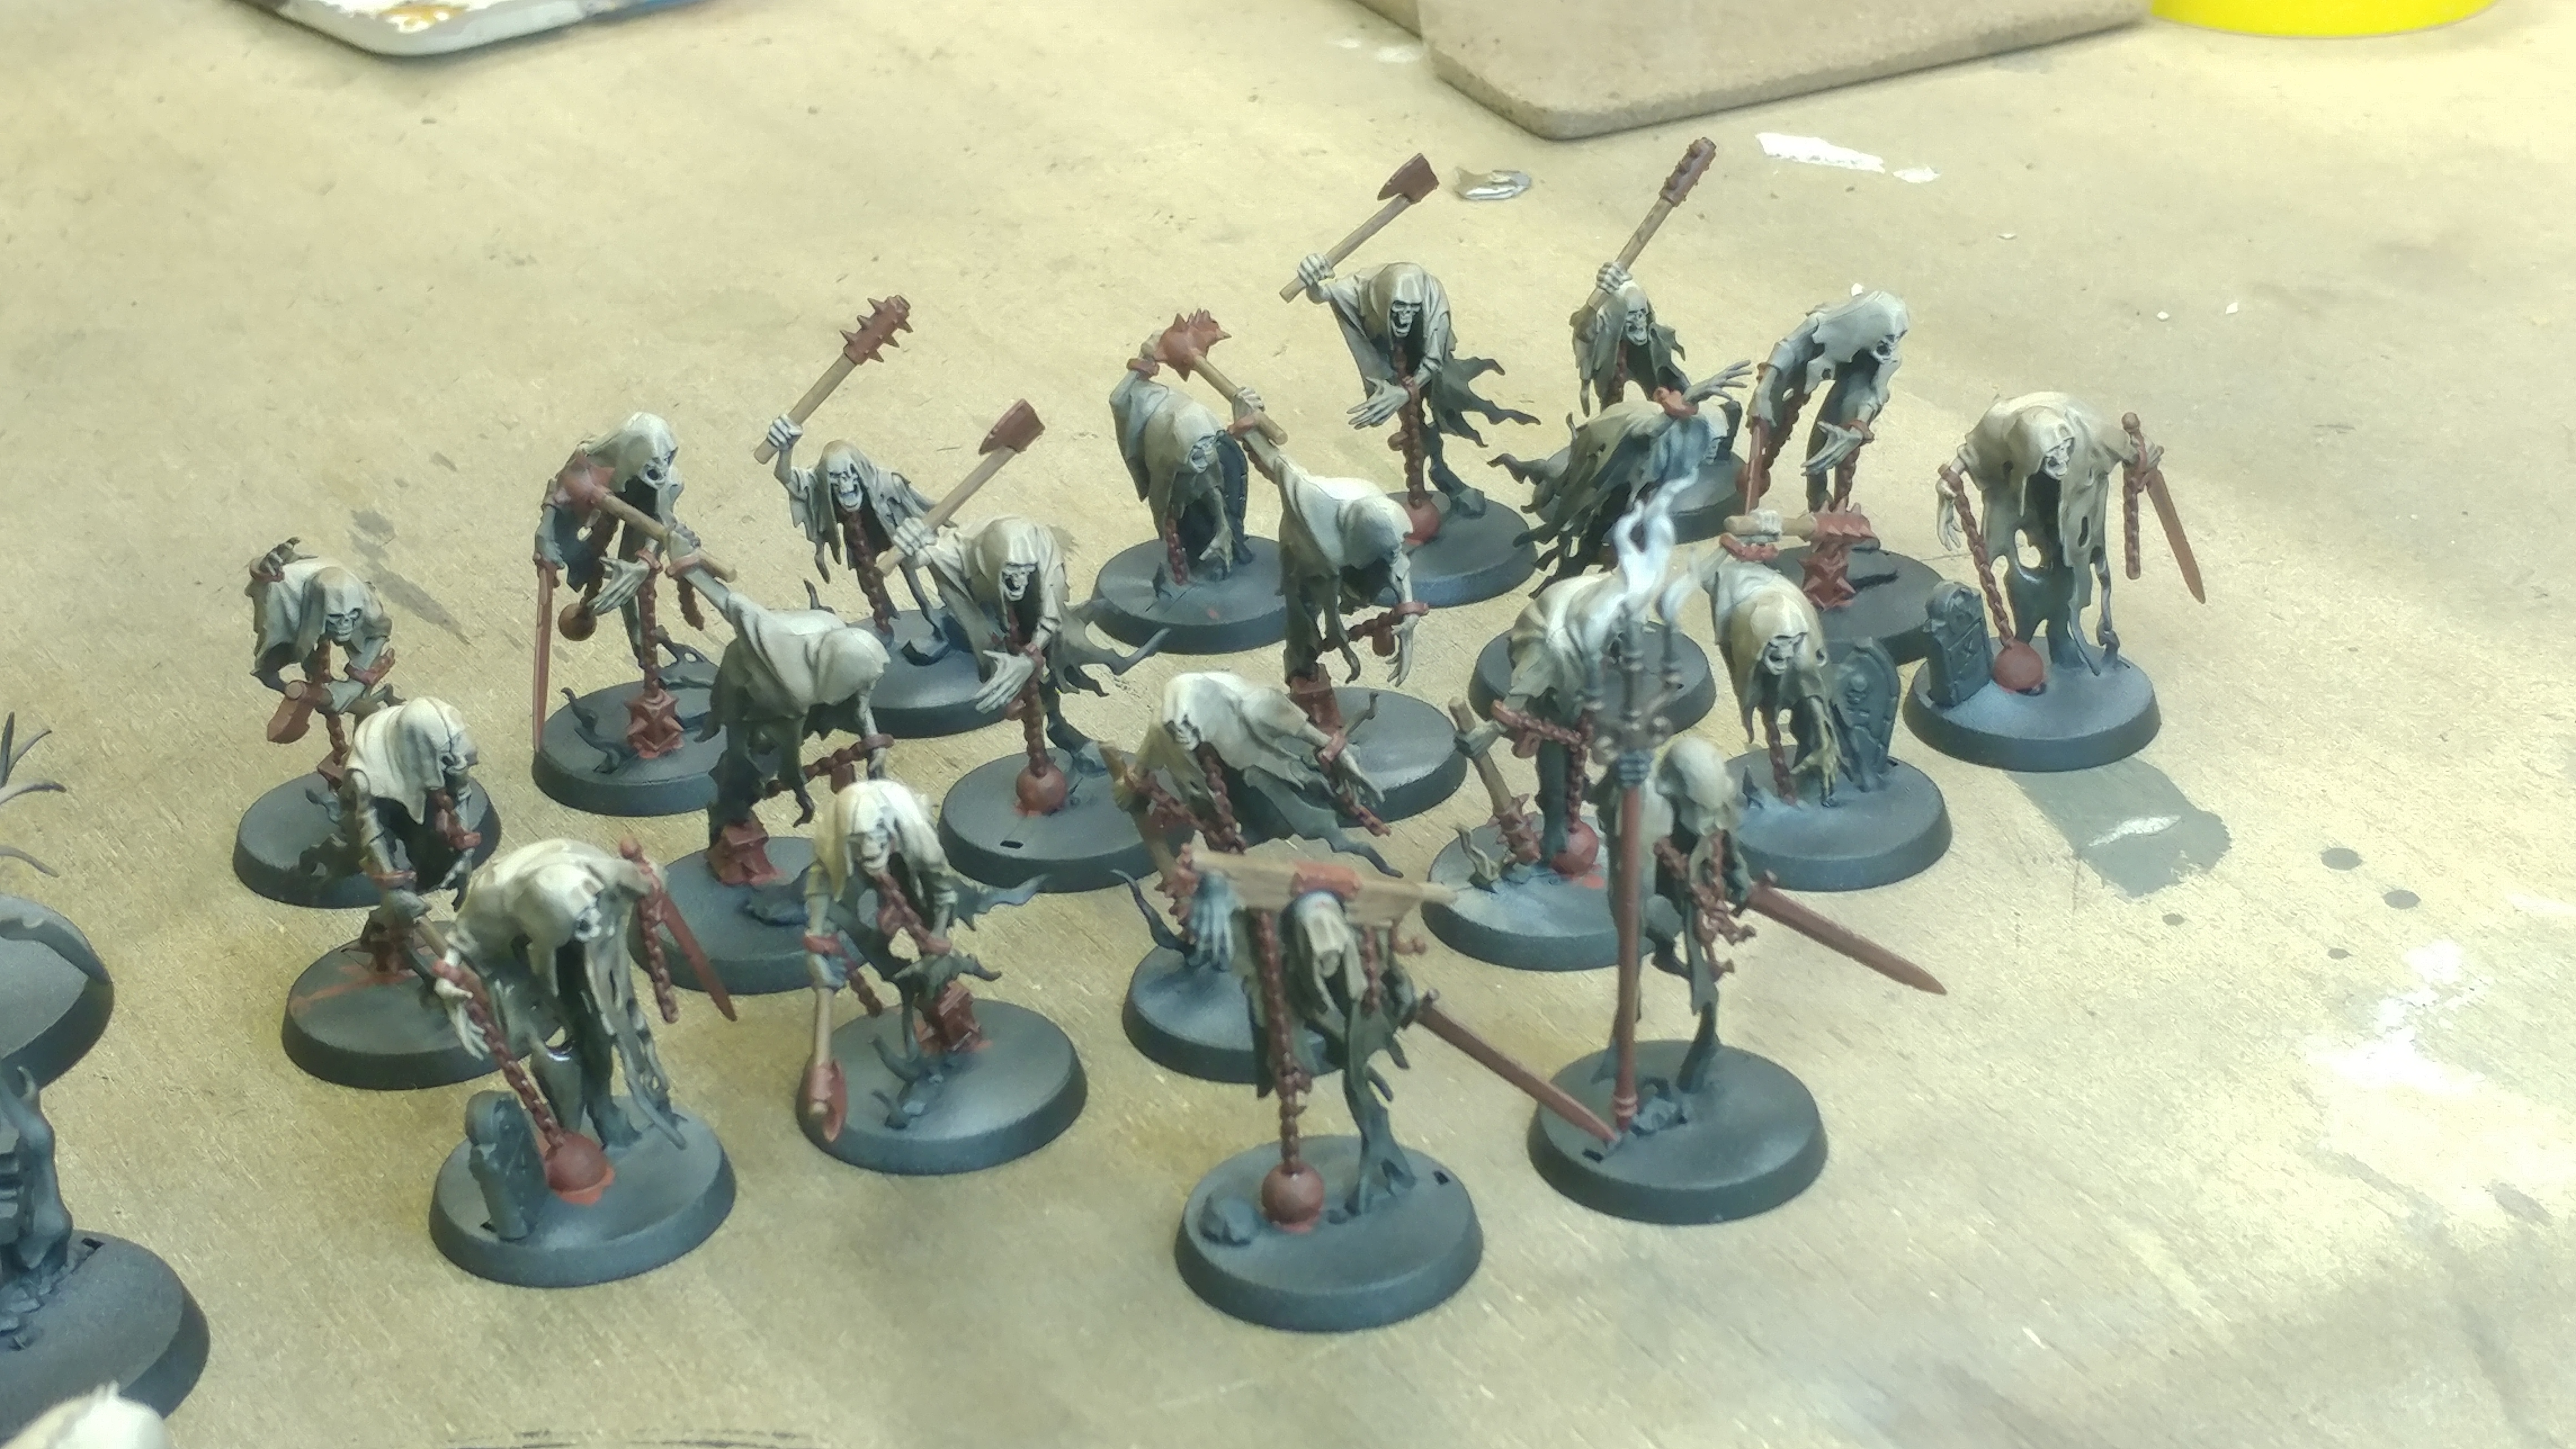
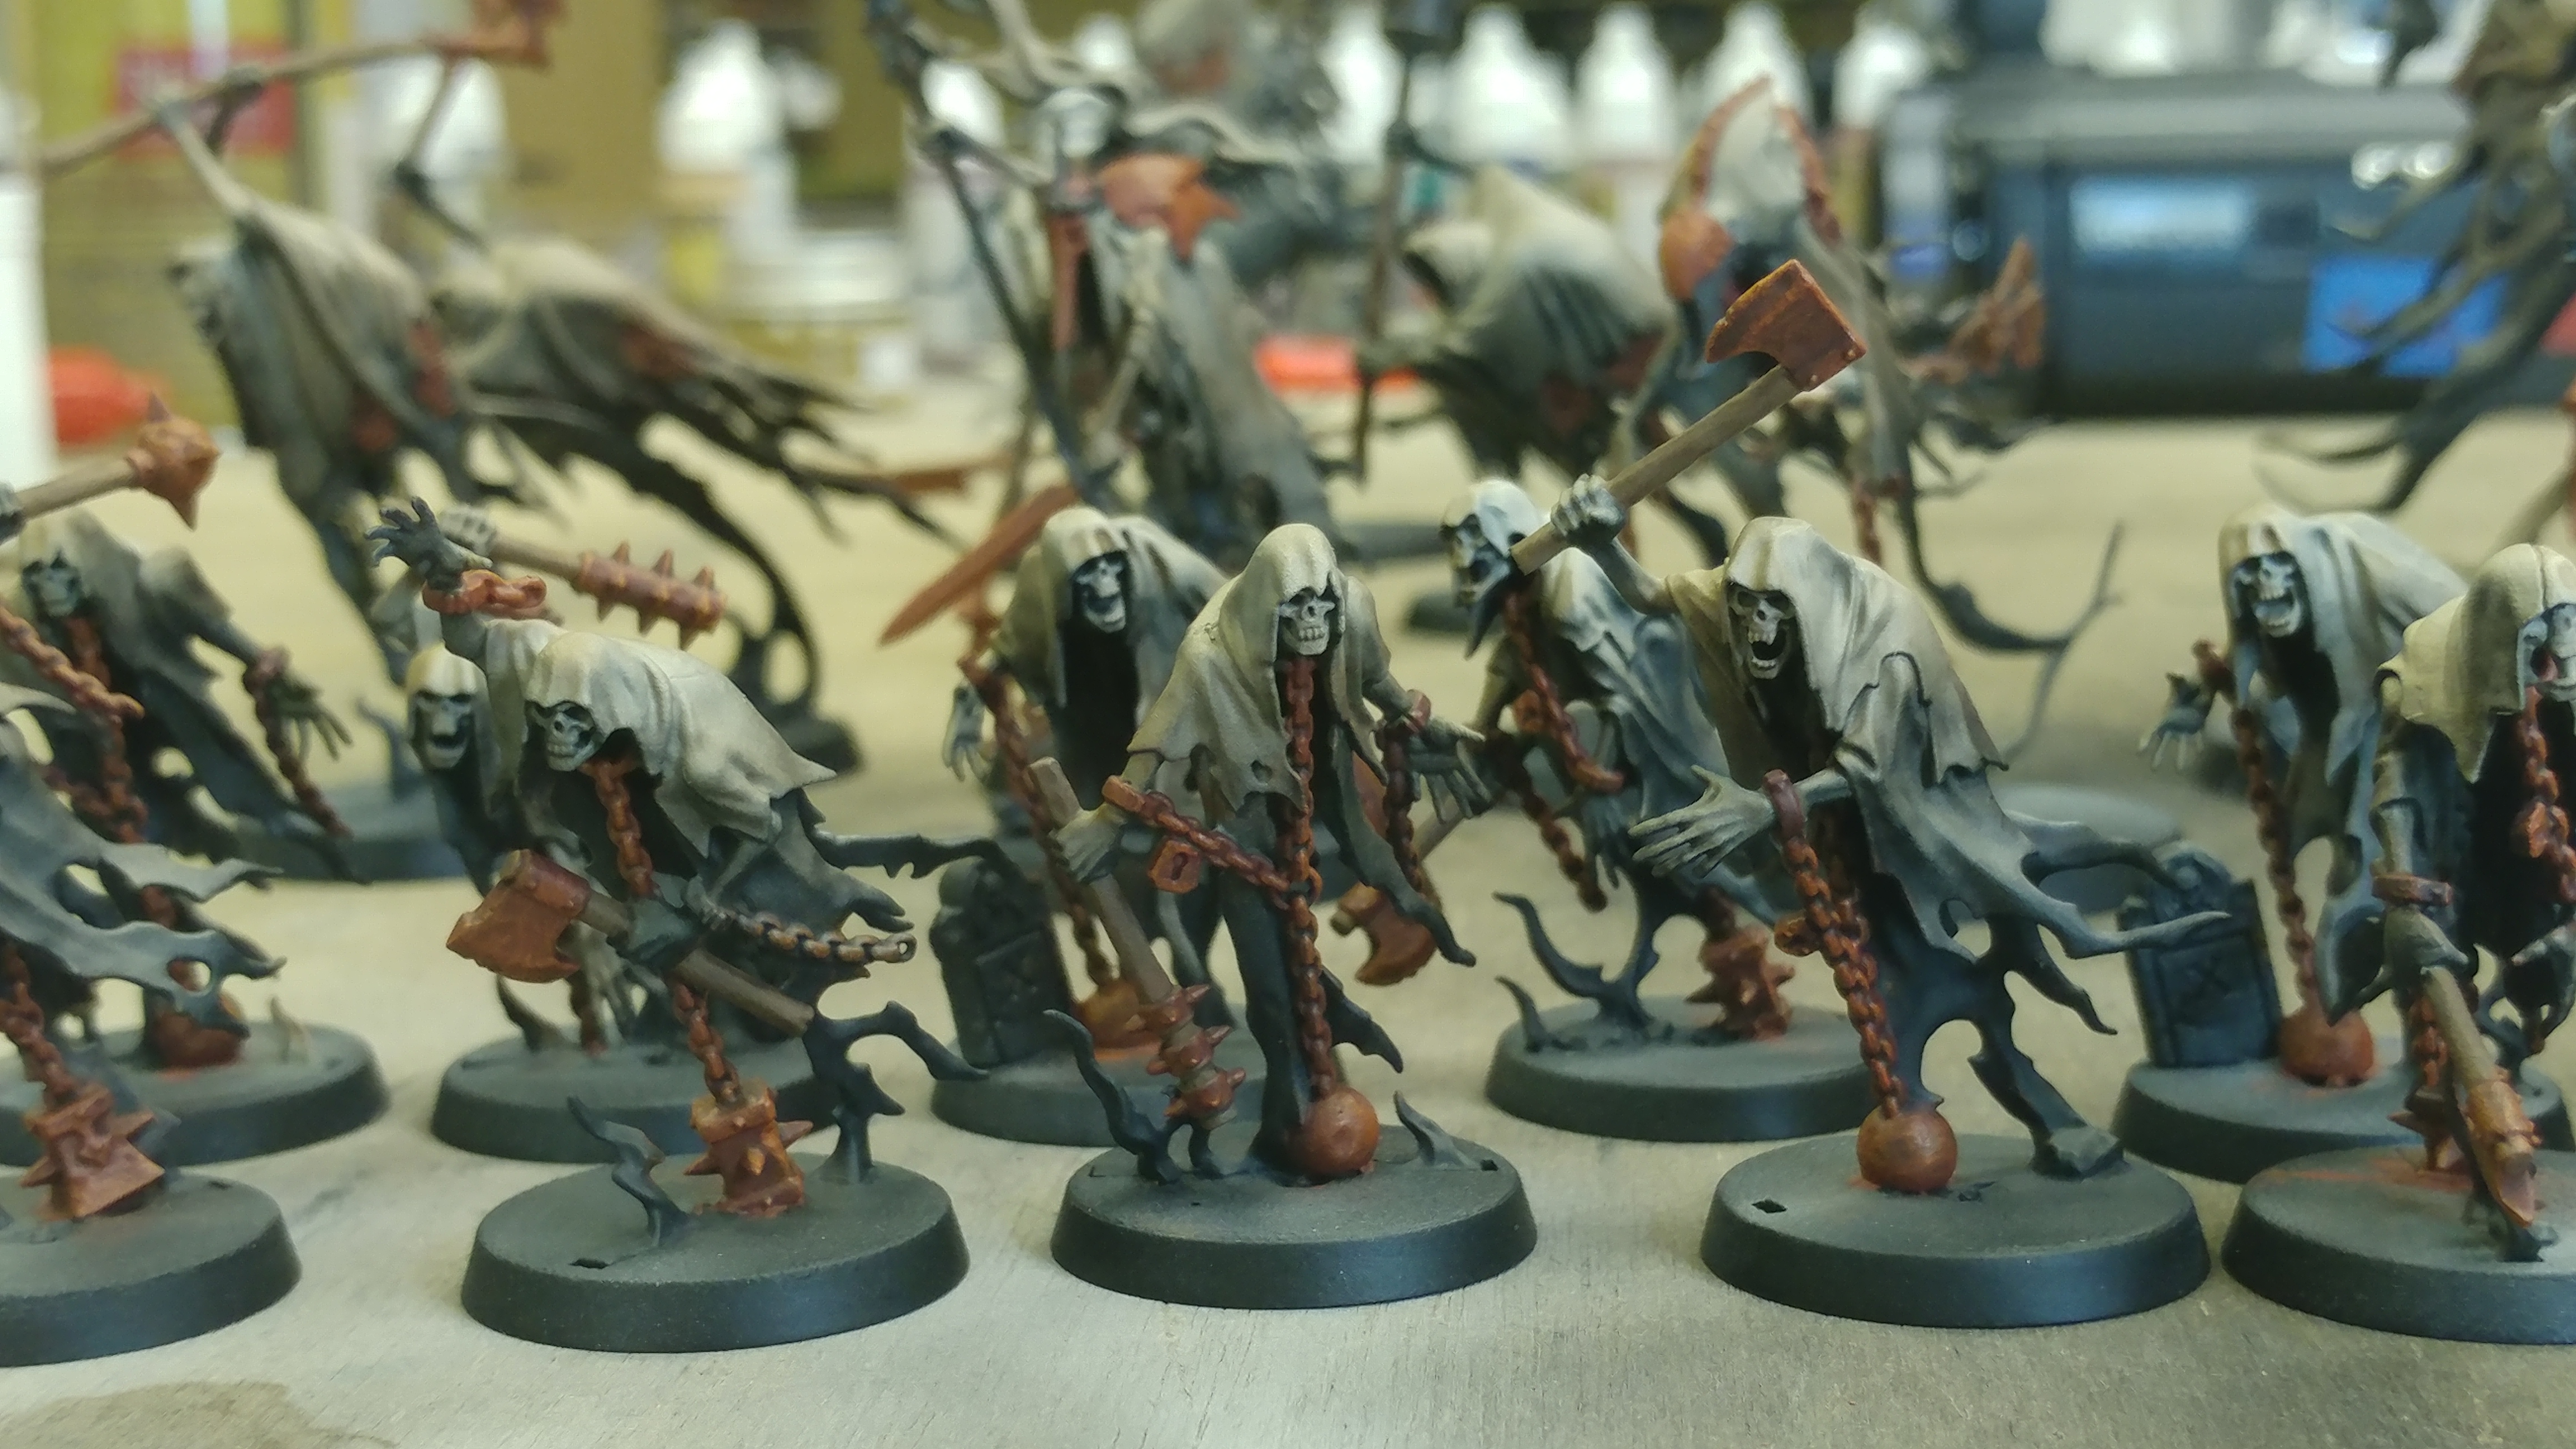
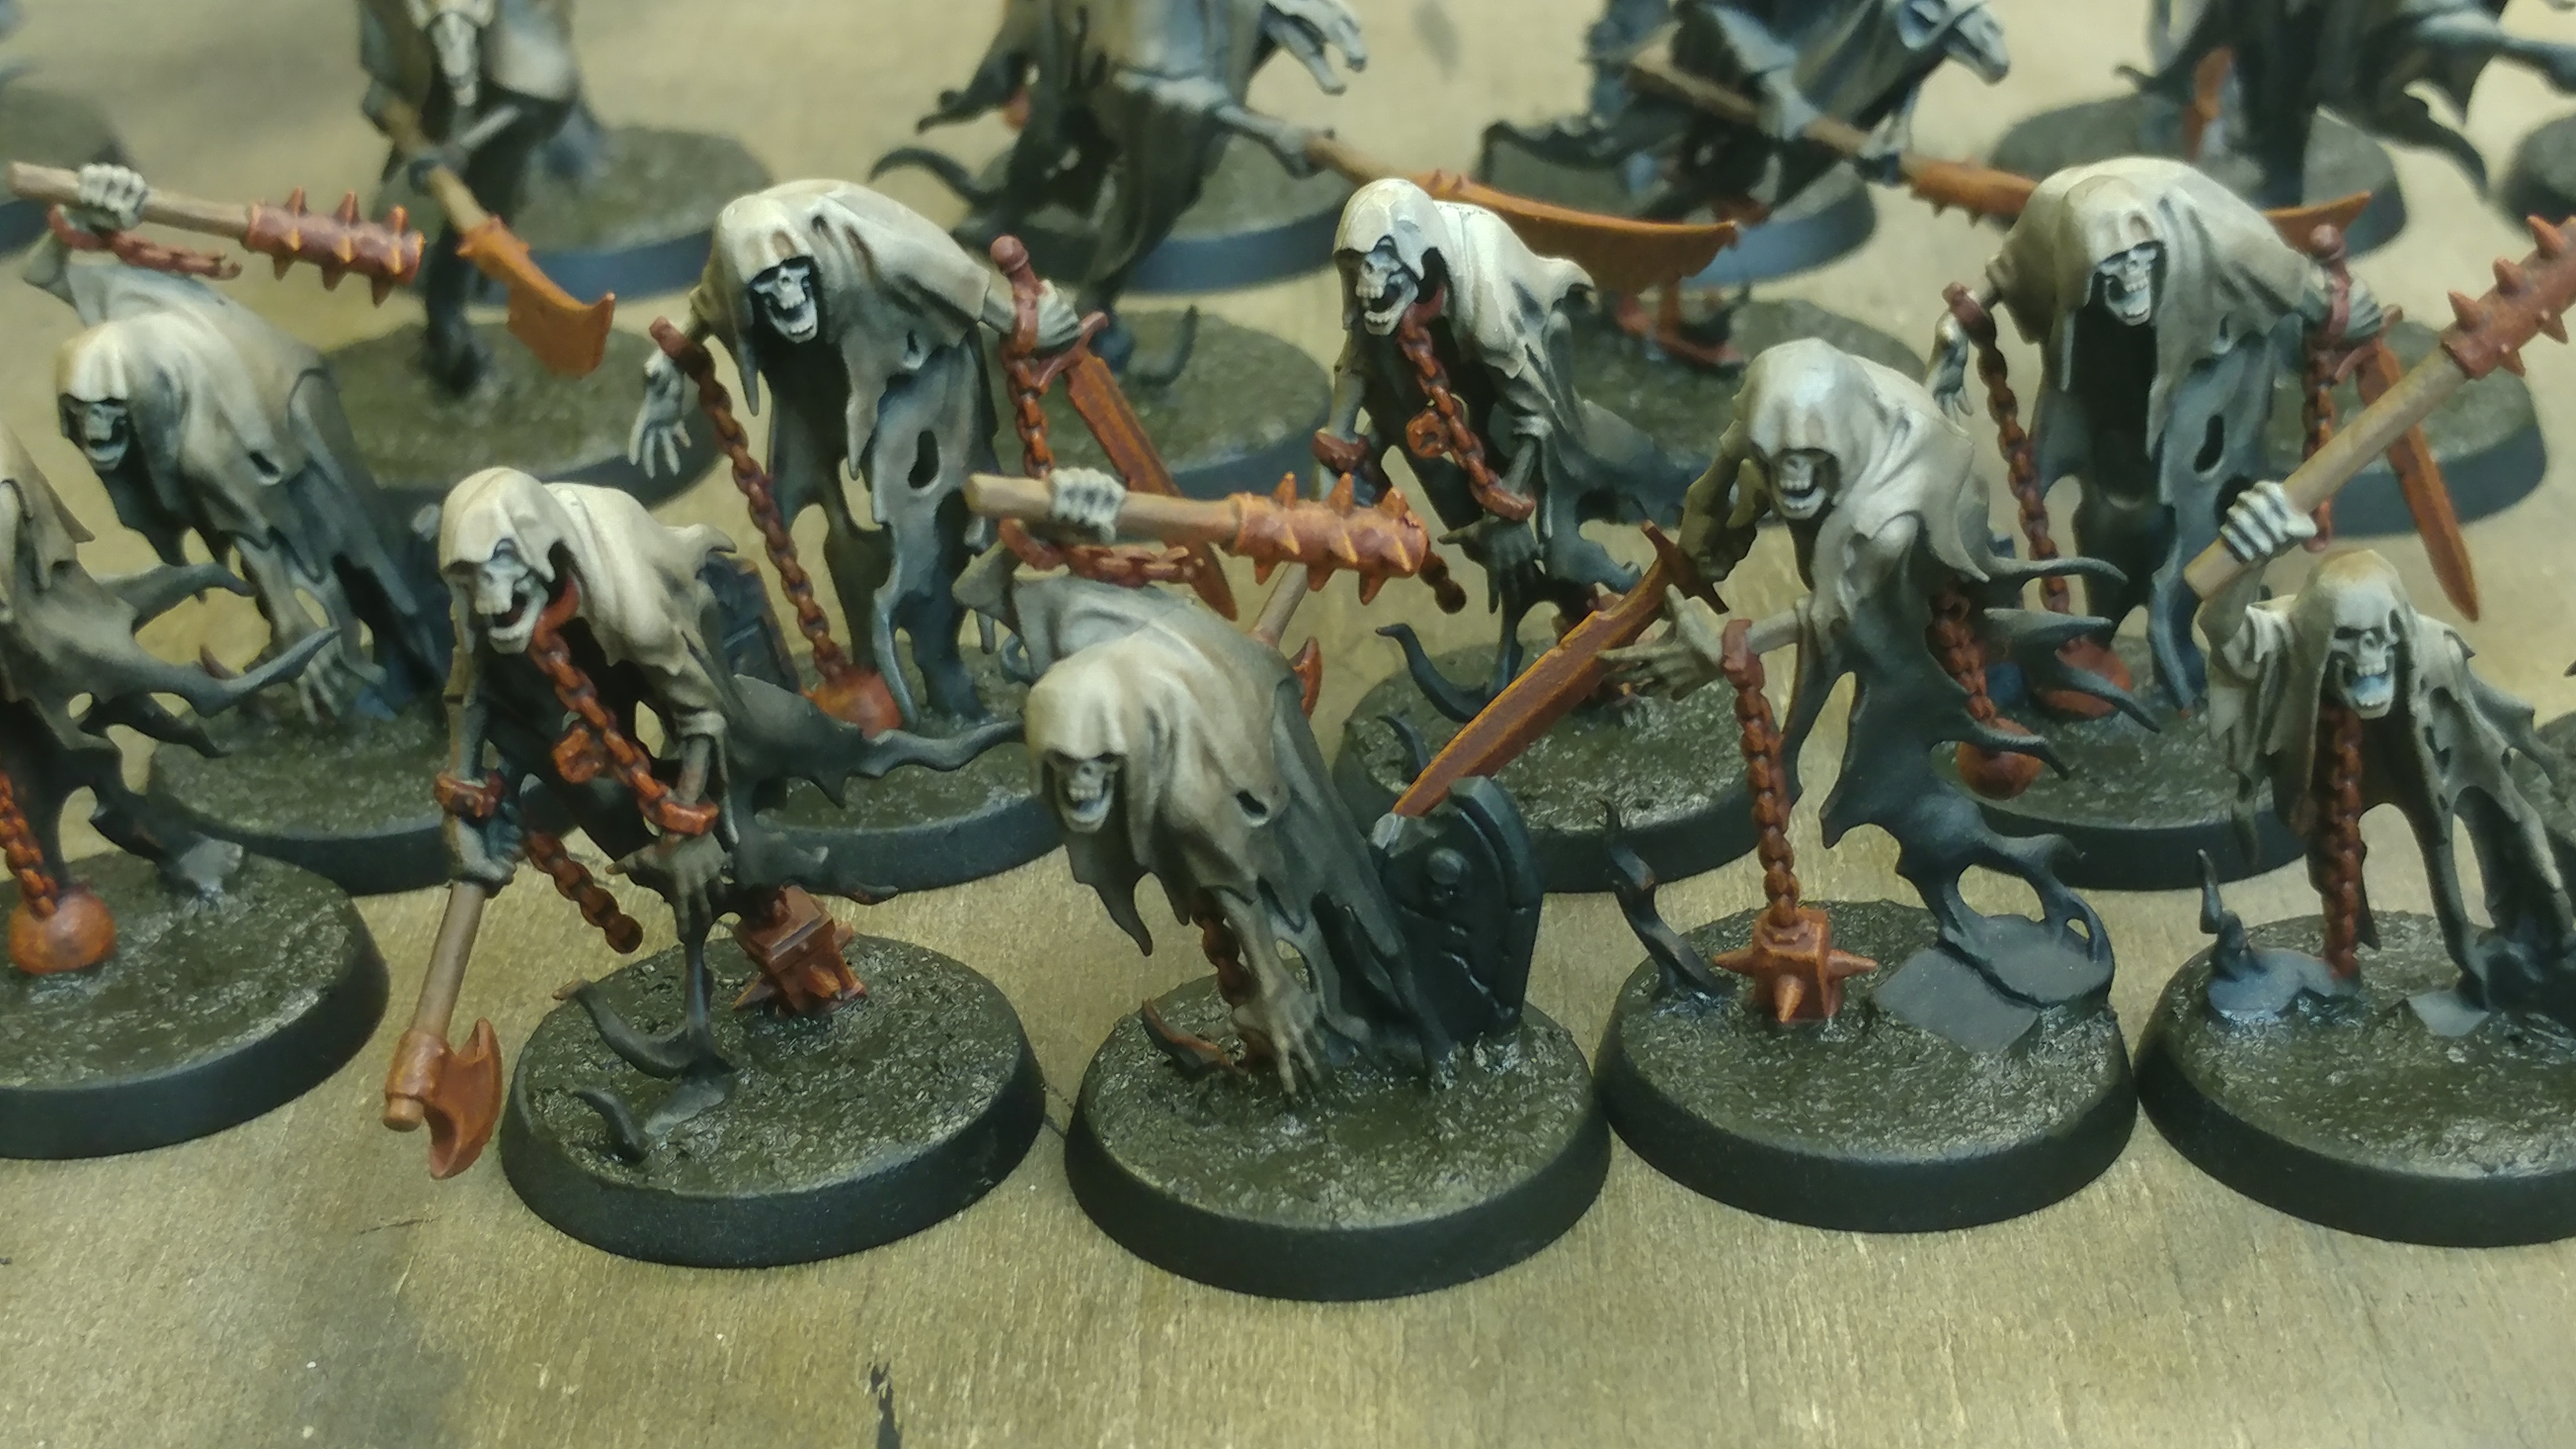
After somewhere near two days of badgering from Warren I had a go at getting more contrast into the models. I started with a rough overbrush of Army Painter Gun Metal to the chains and weapon blades, while faces, skulls and bones got a drybrush of Vallejo Game Air: Bonewhite.
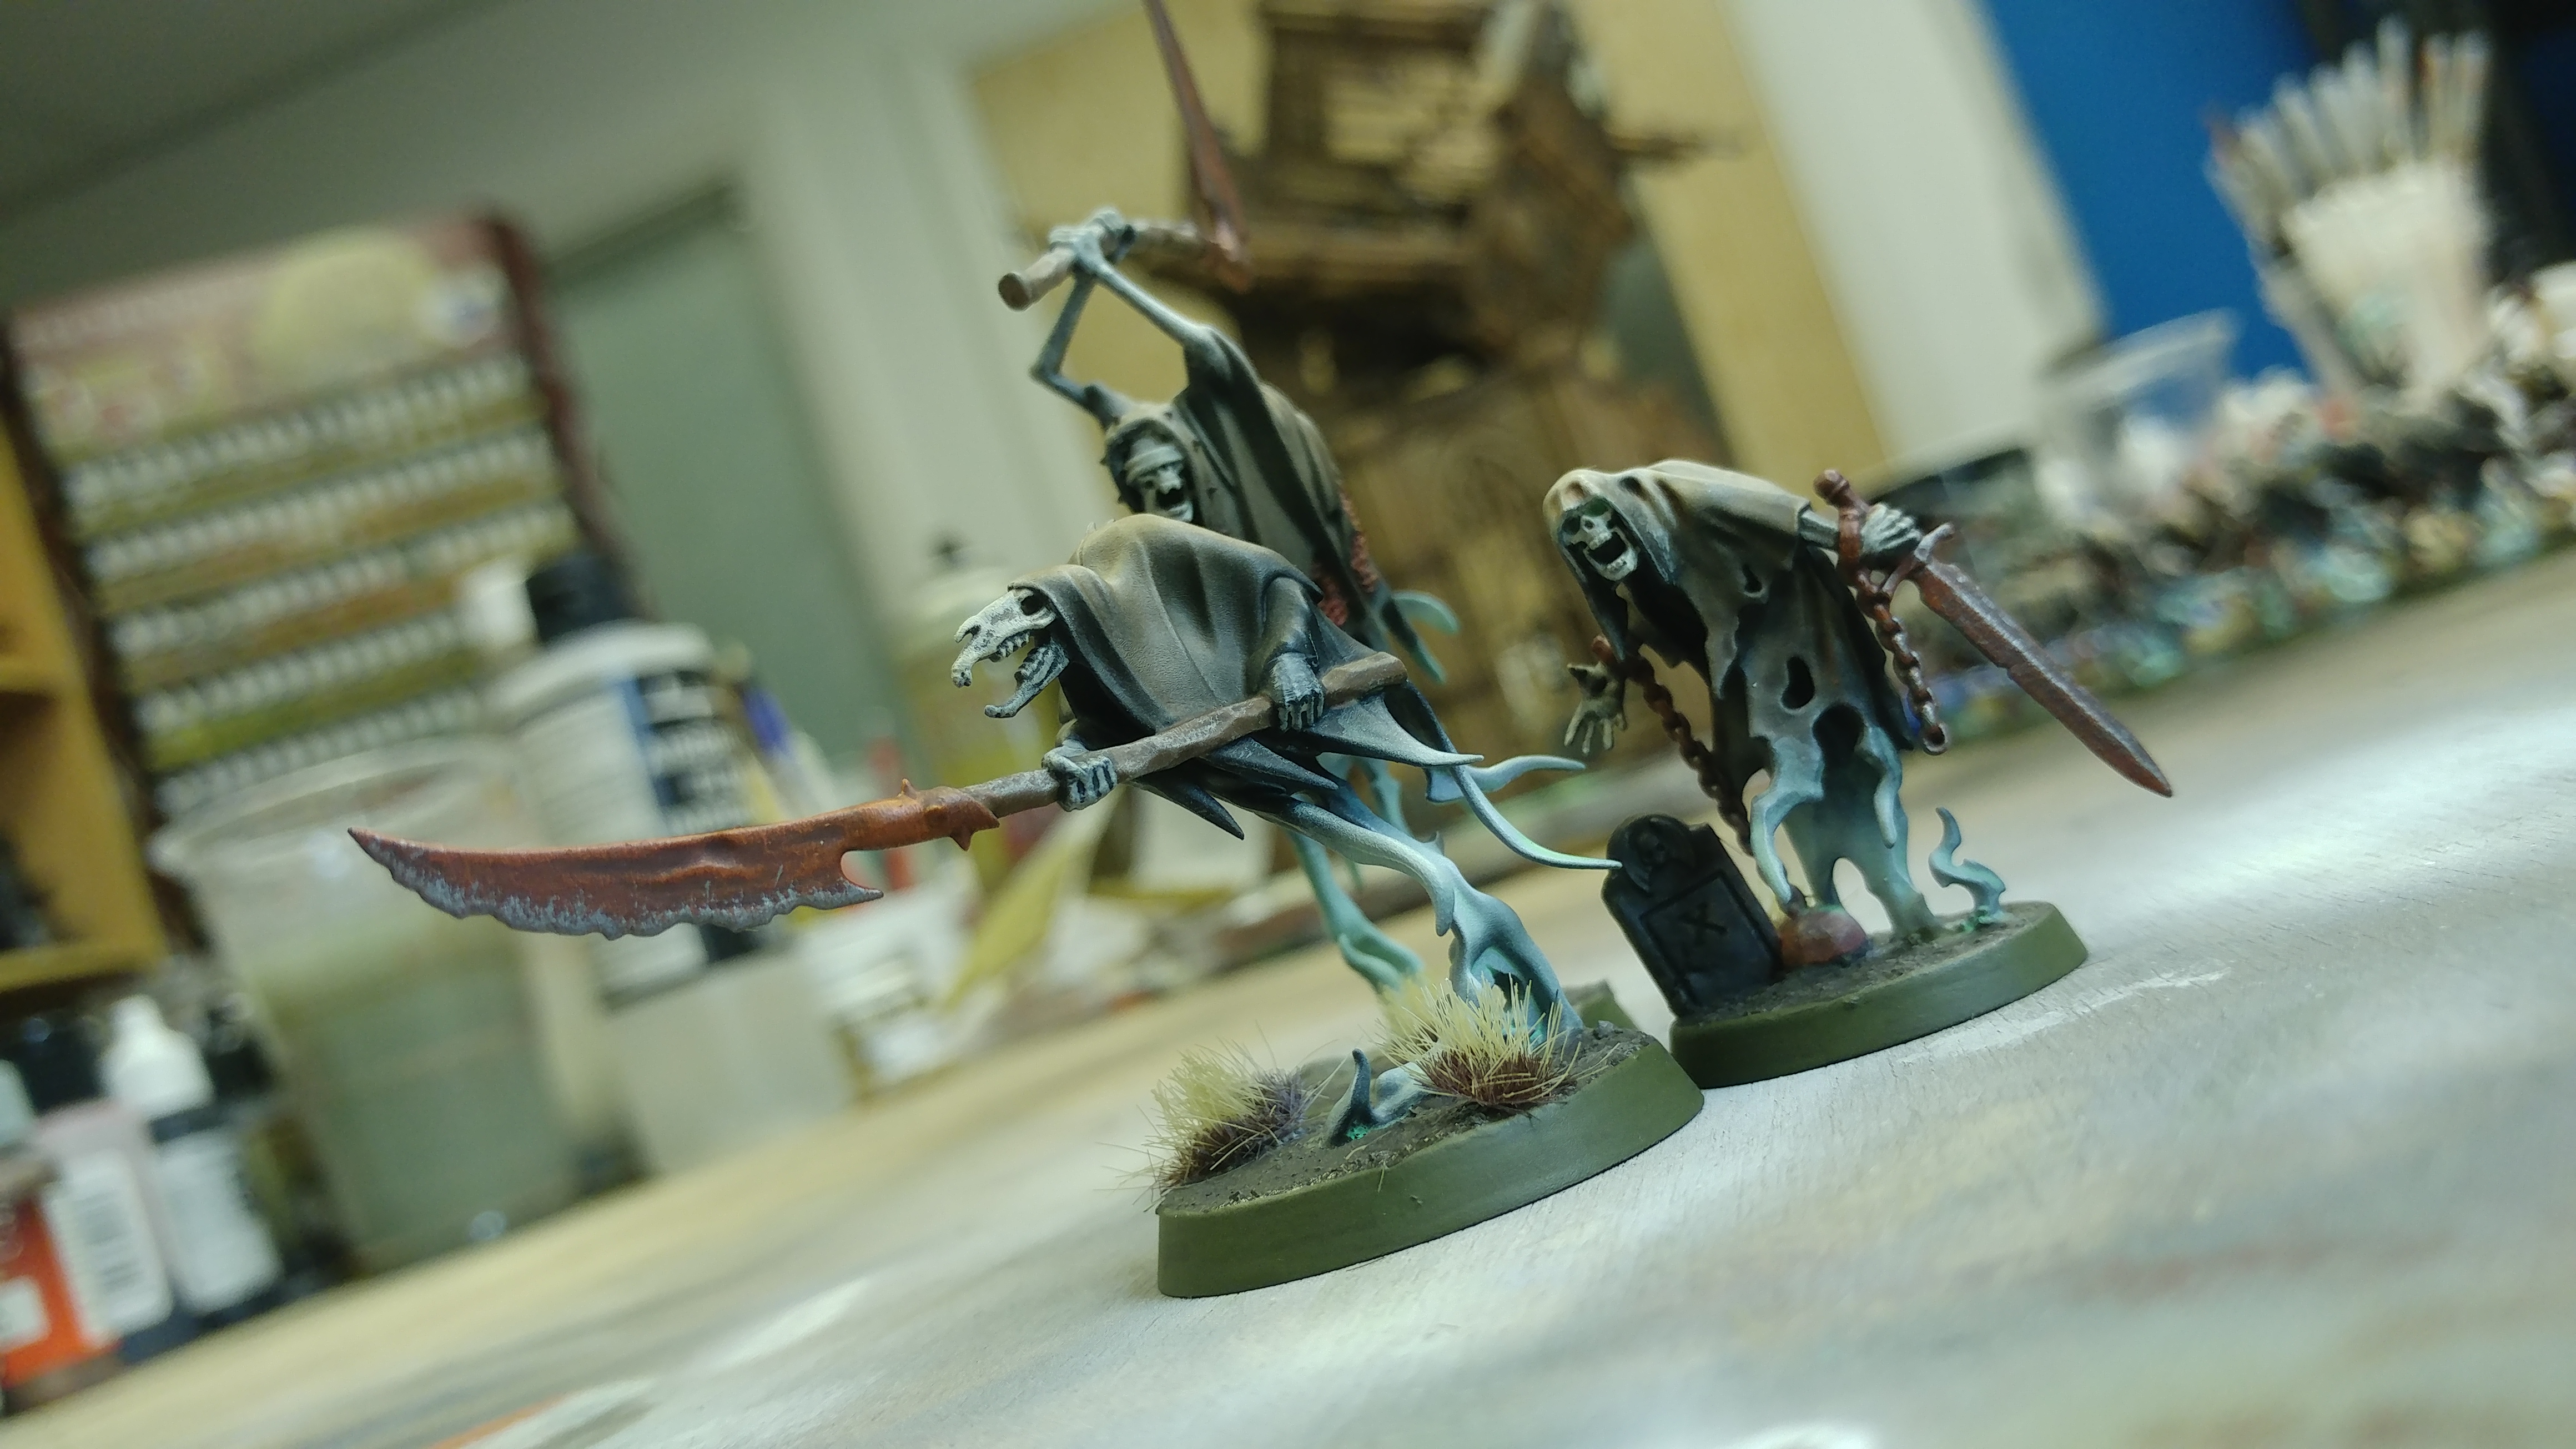
I think the results do add something of a more gritty element. Especially to the weapons. So, here is hoping the rest of the army looks good together on a table 😉
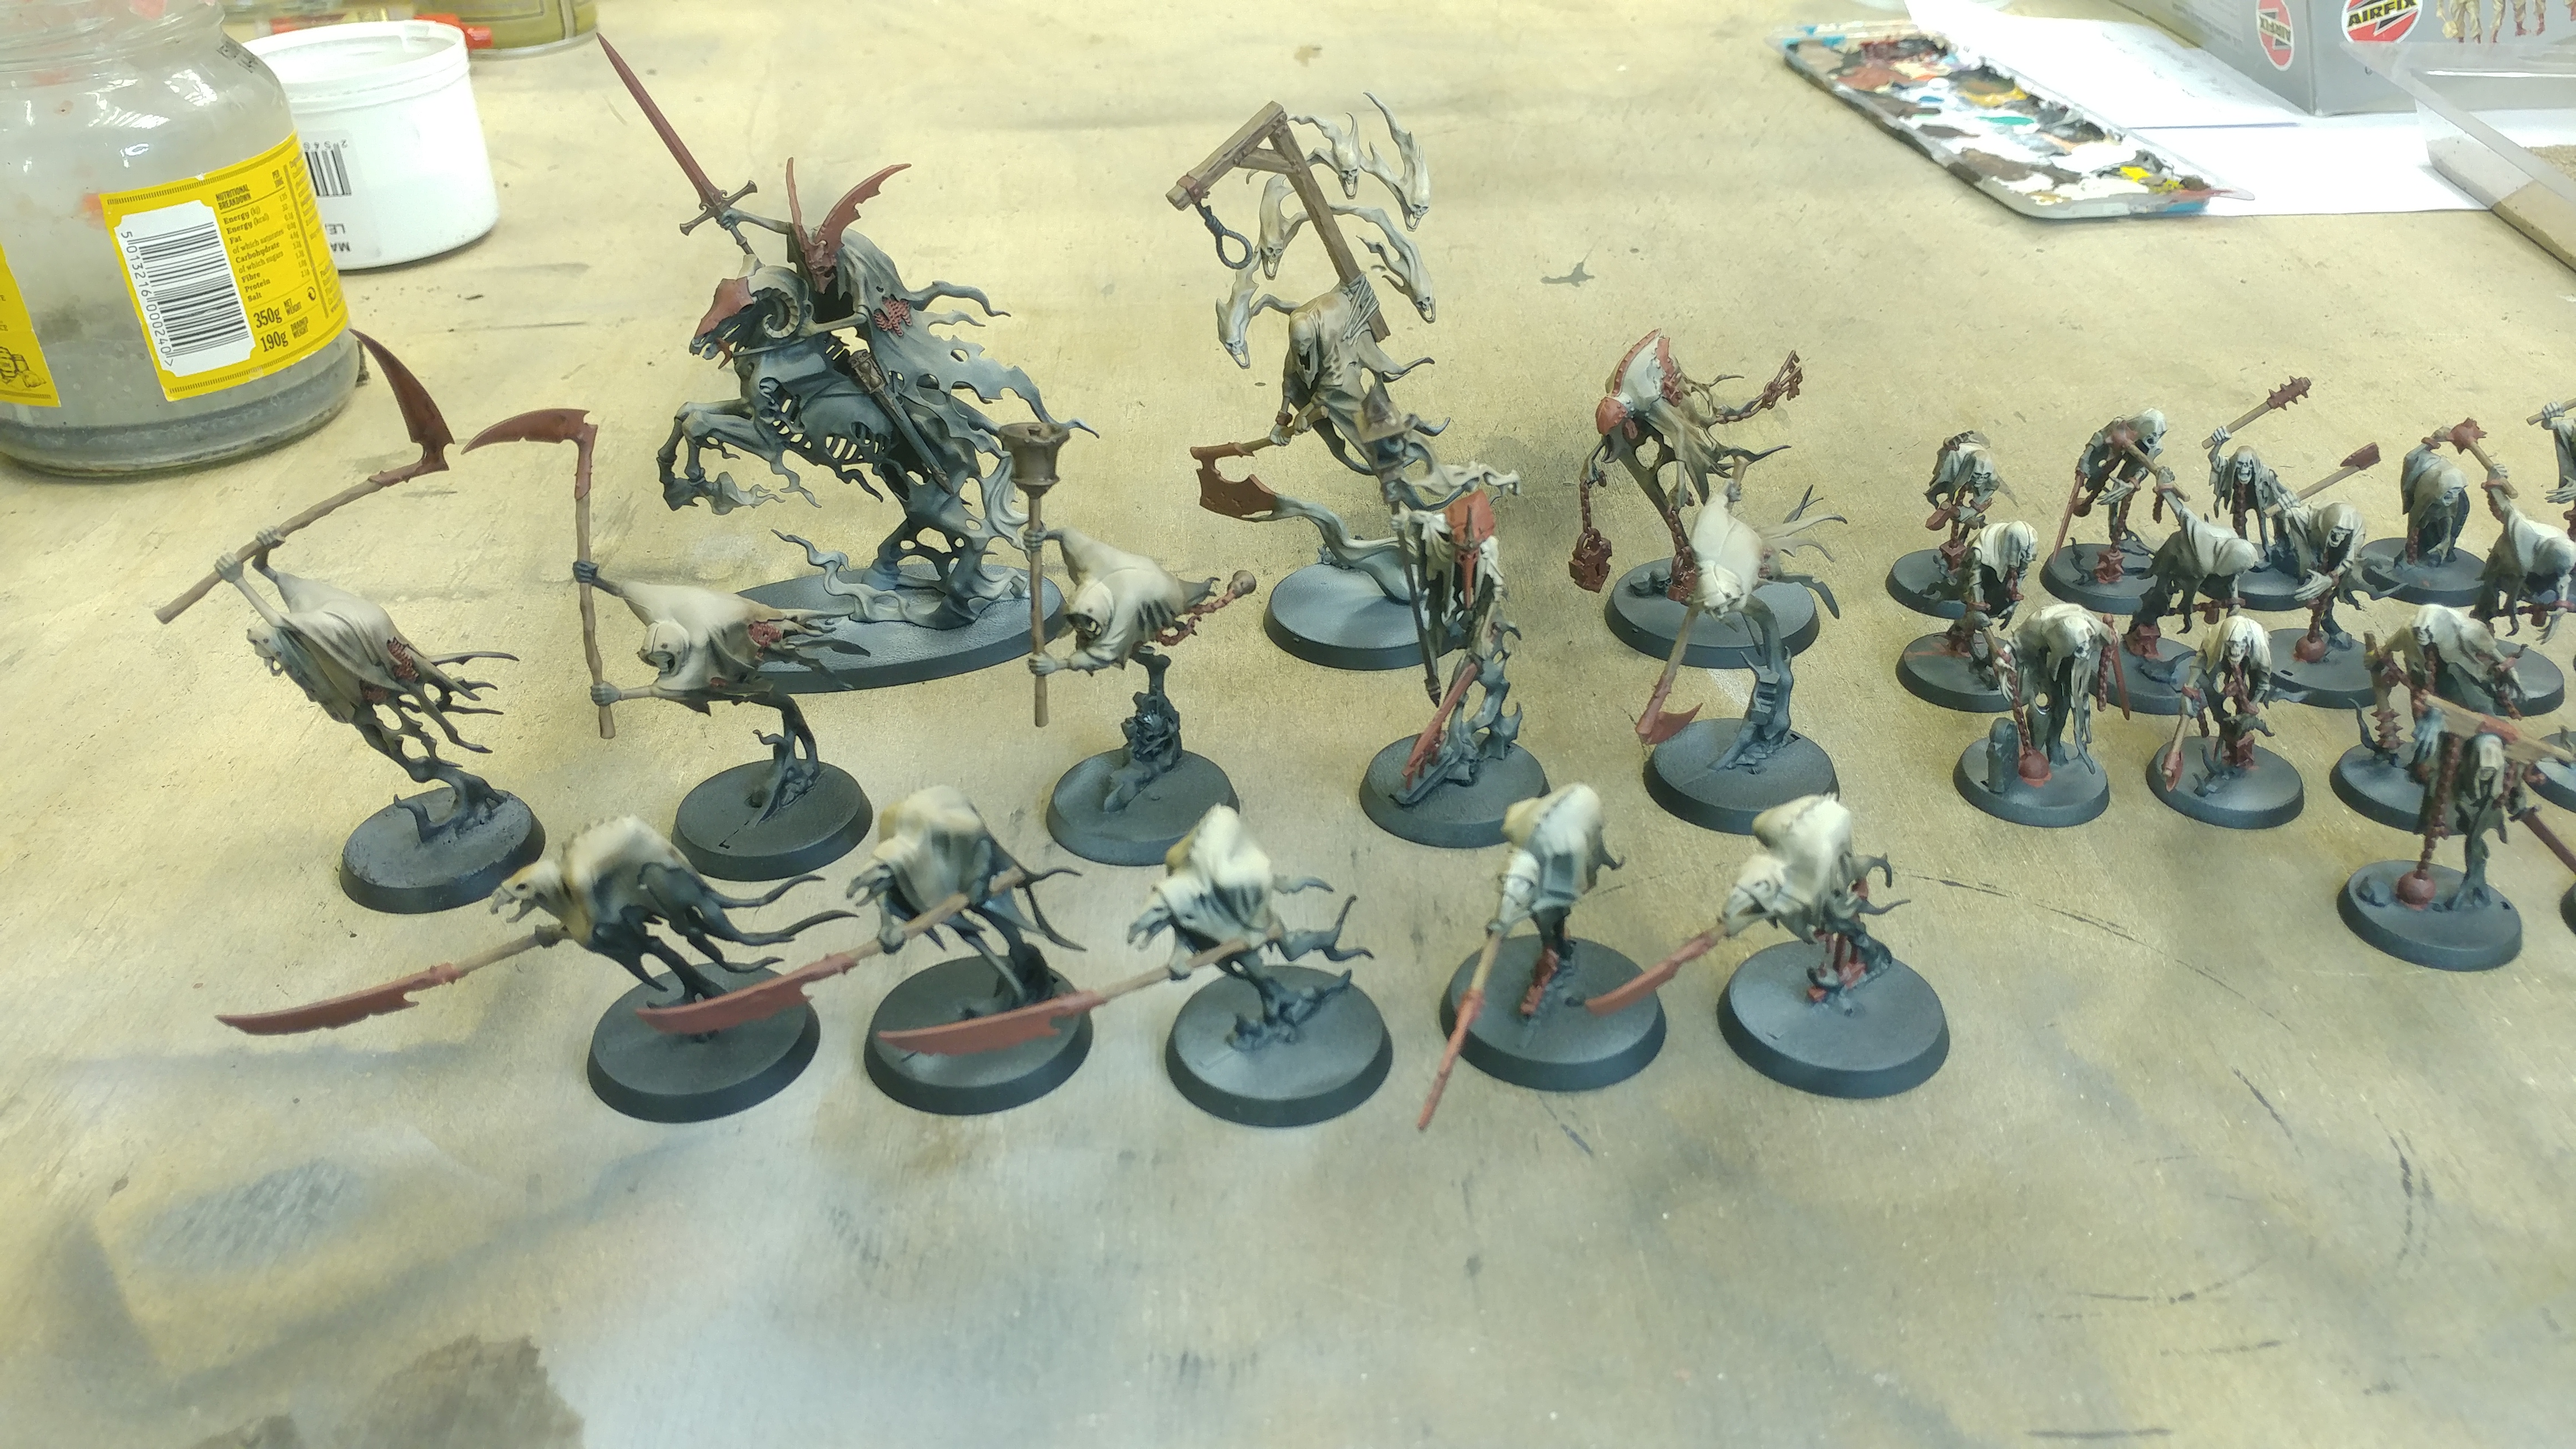
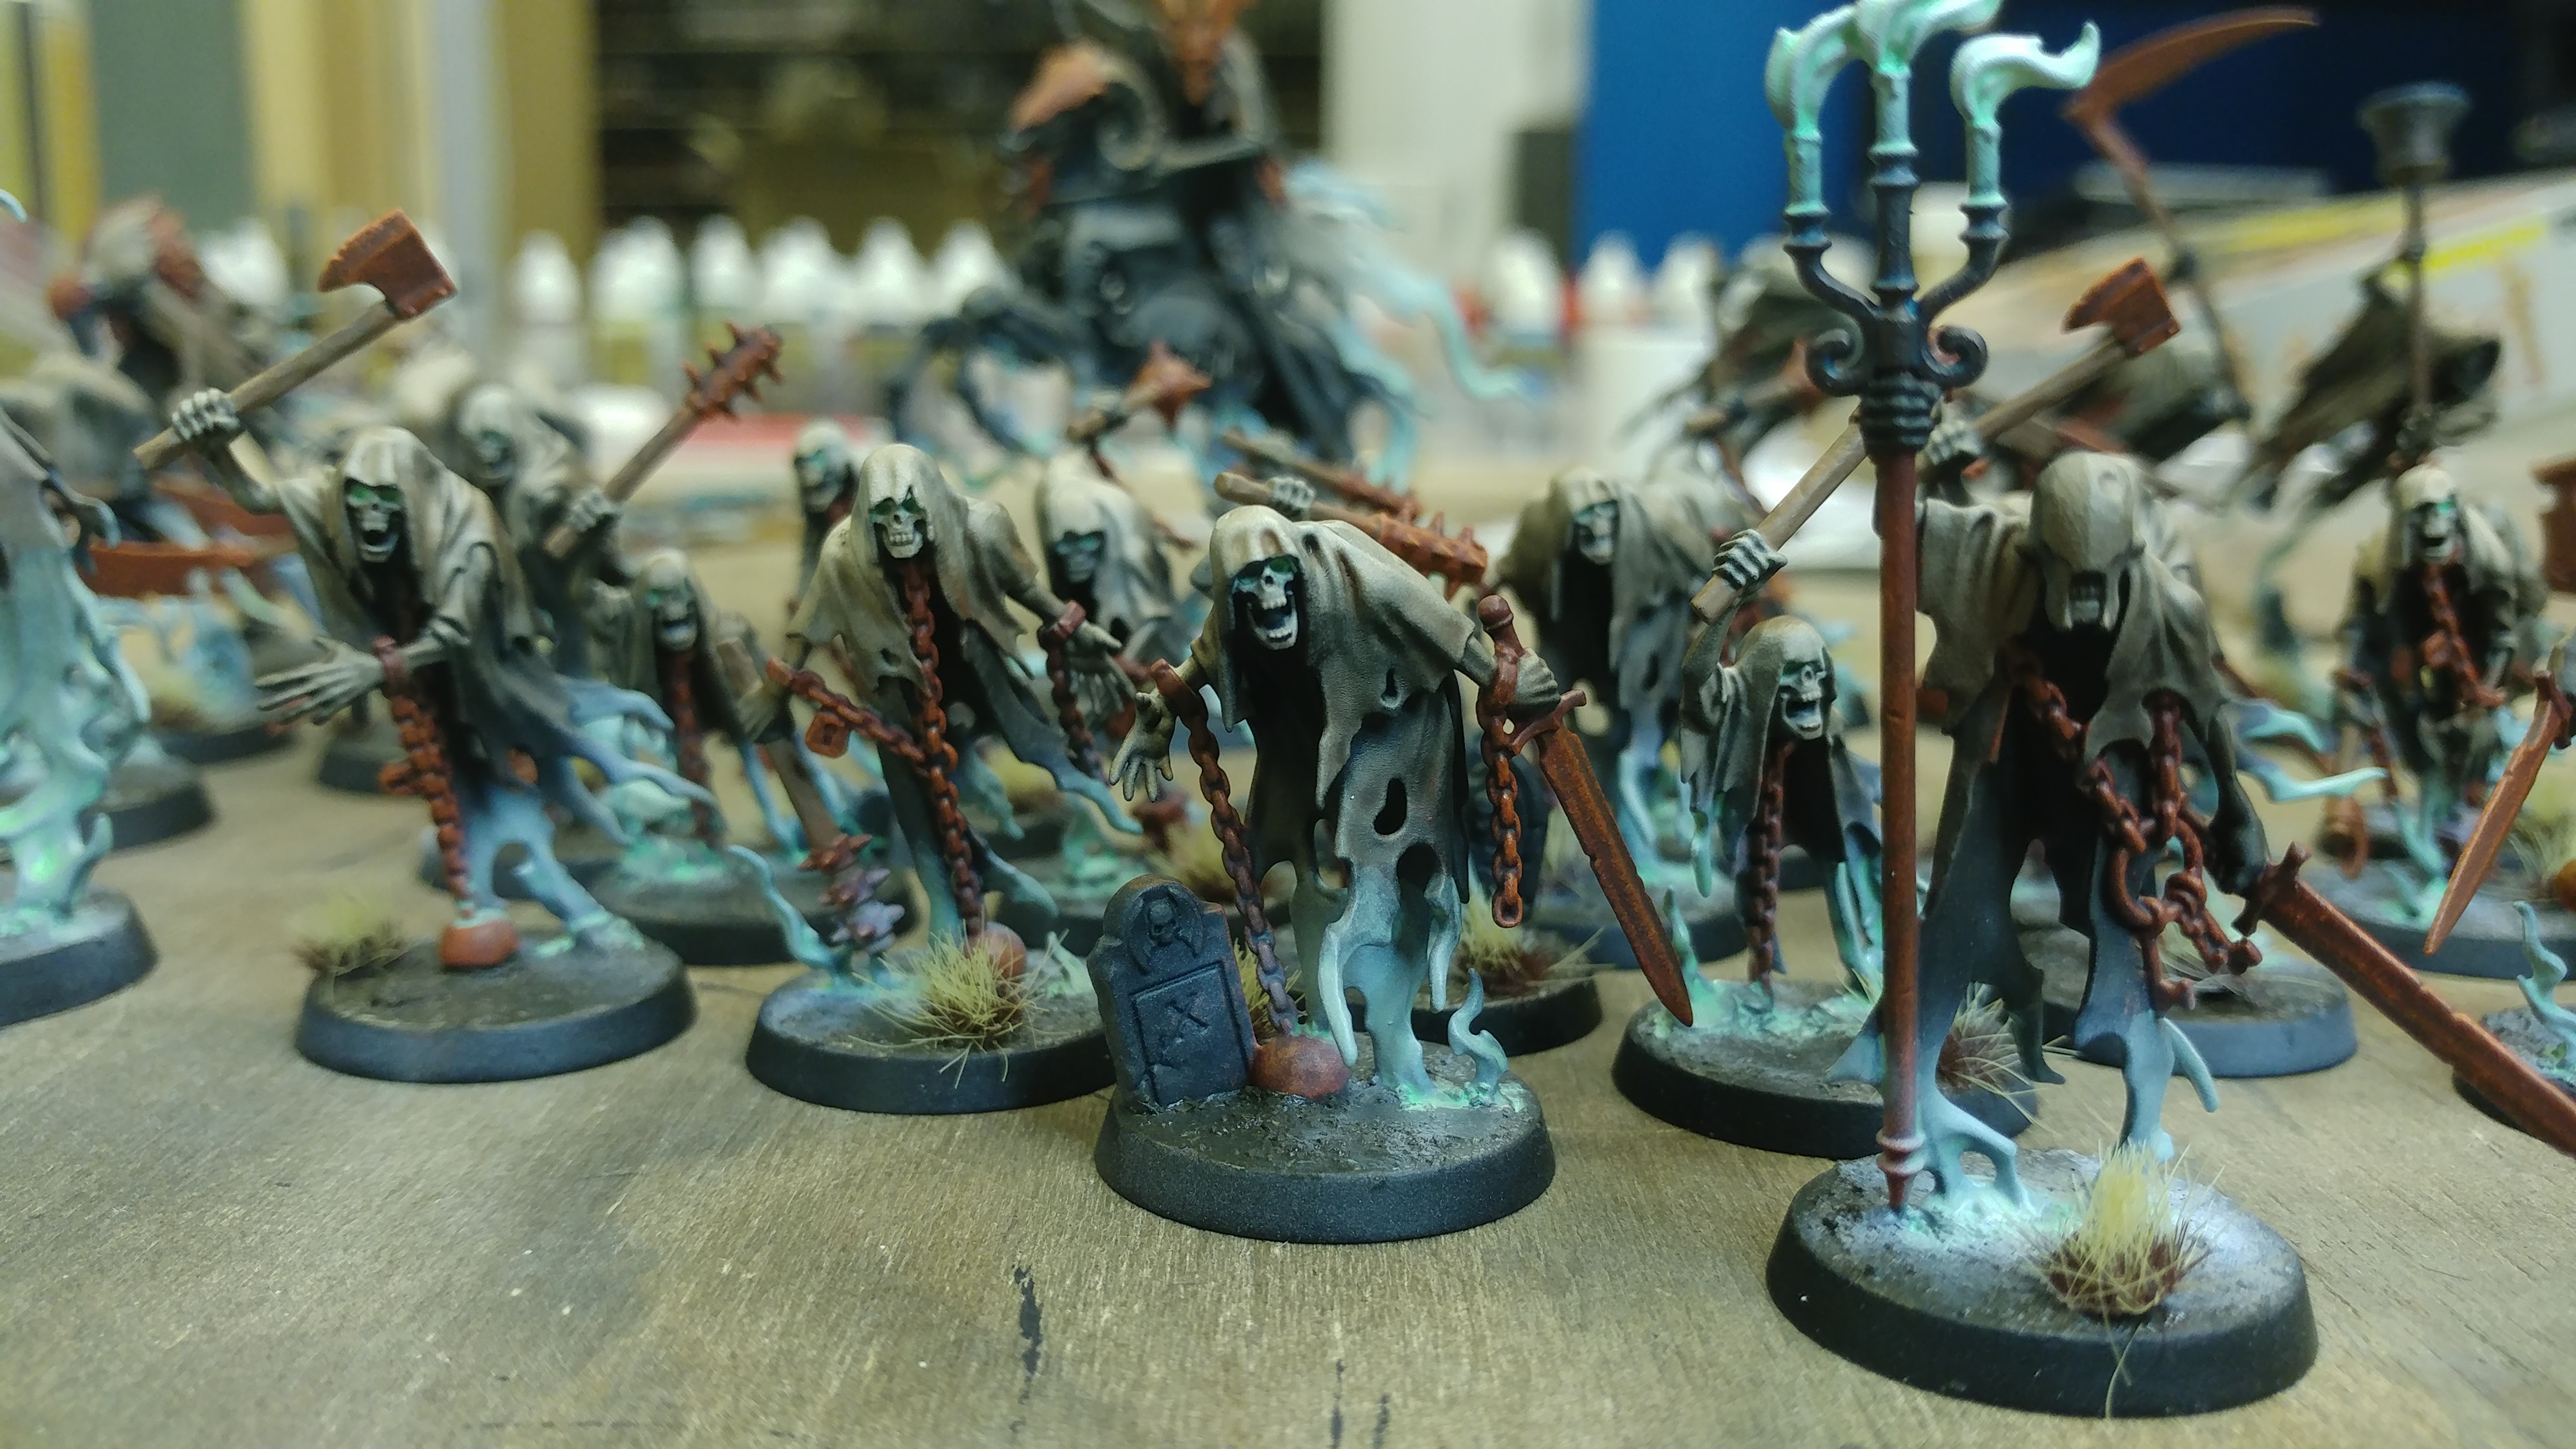
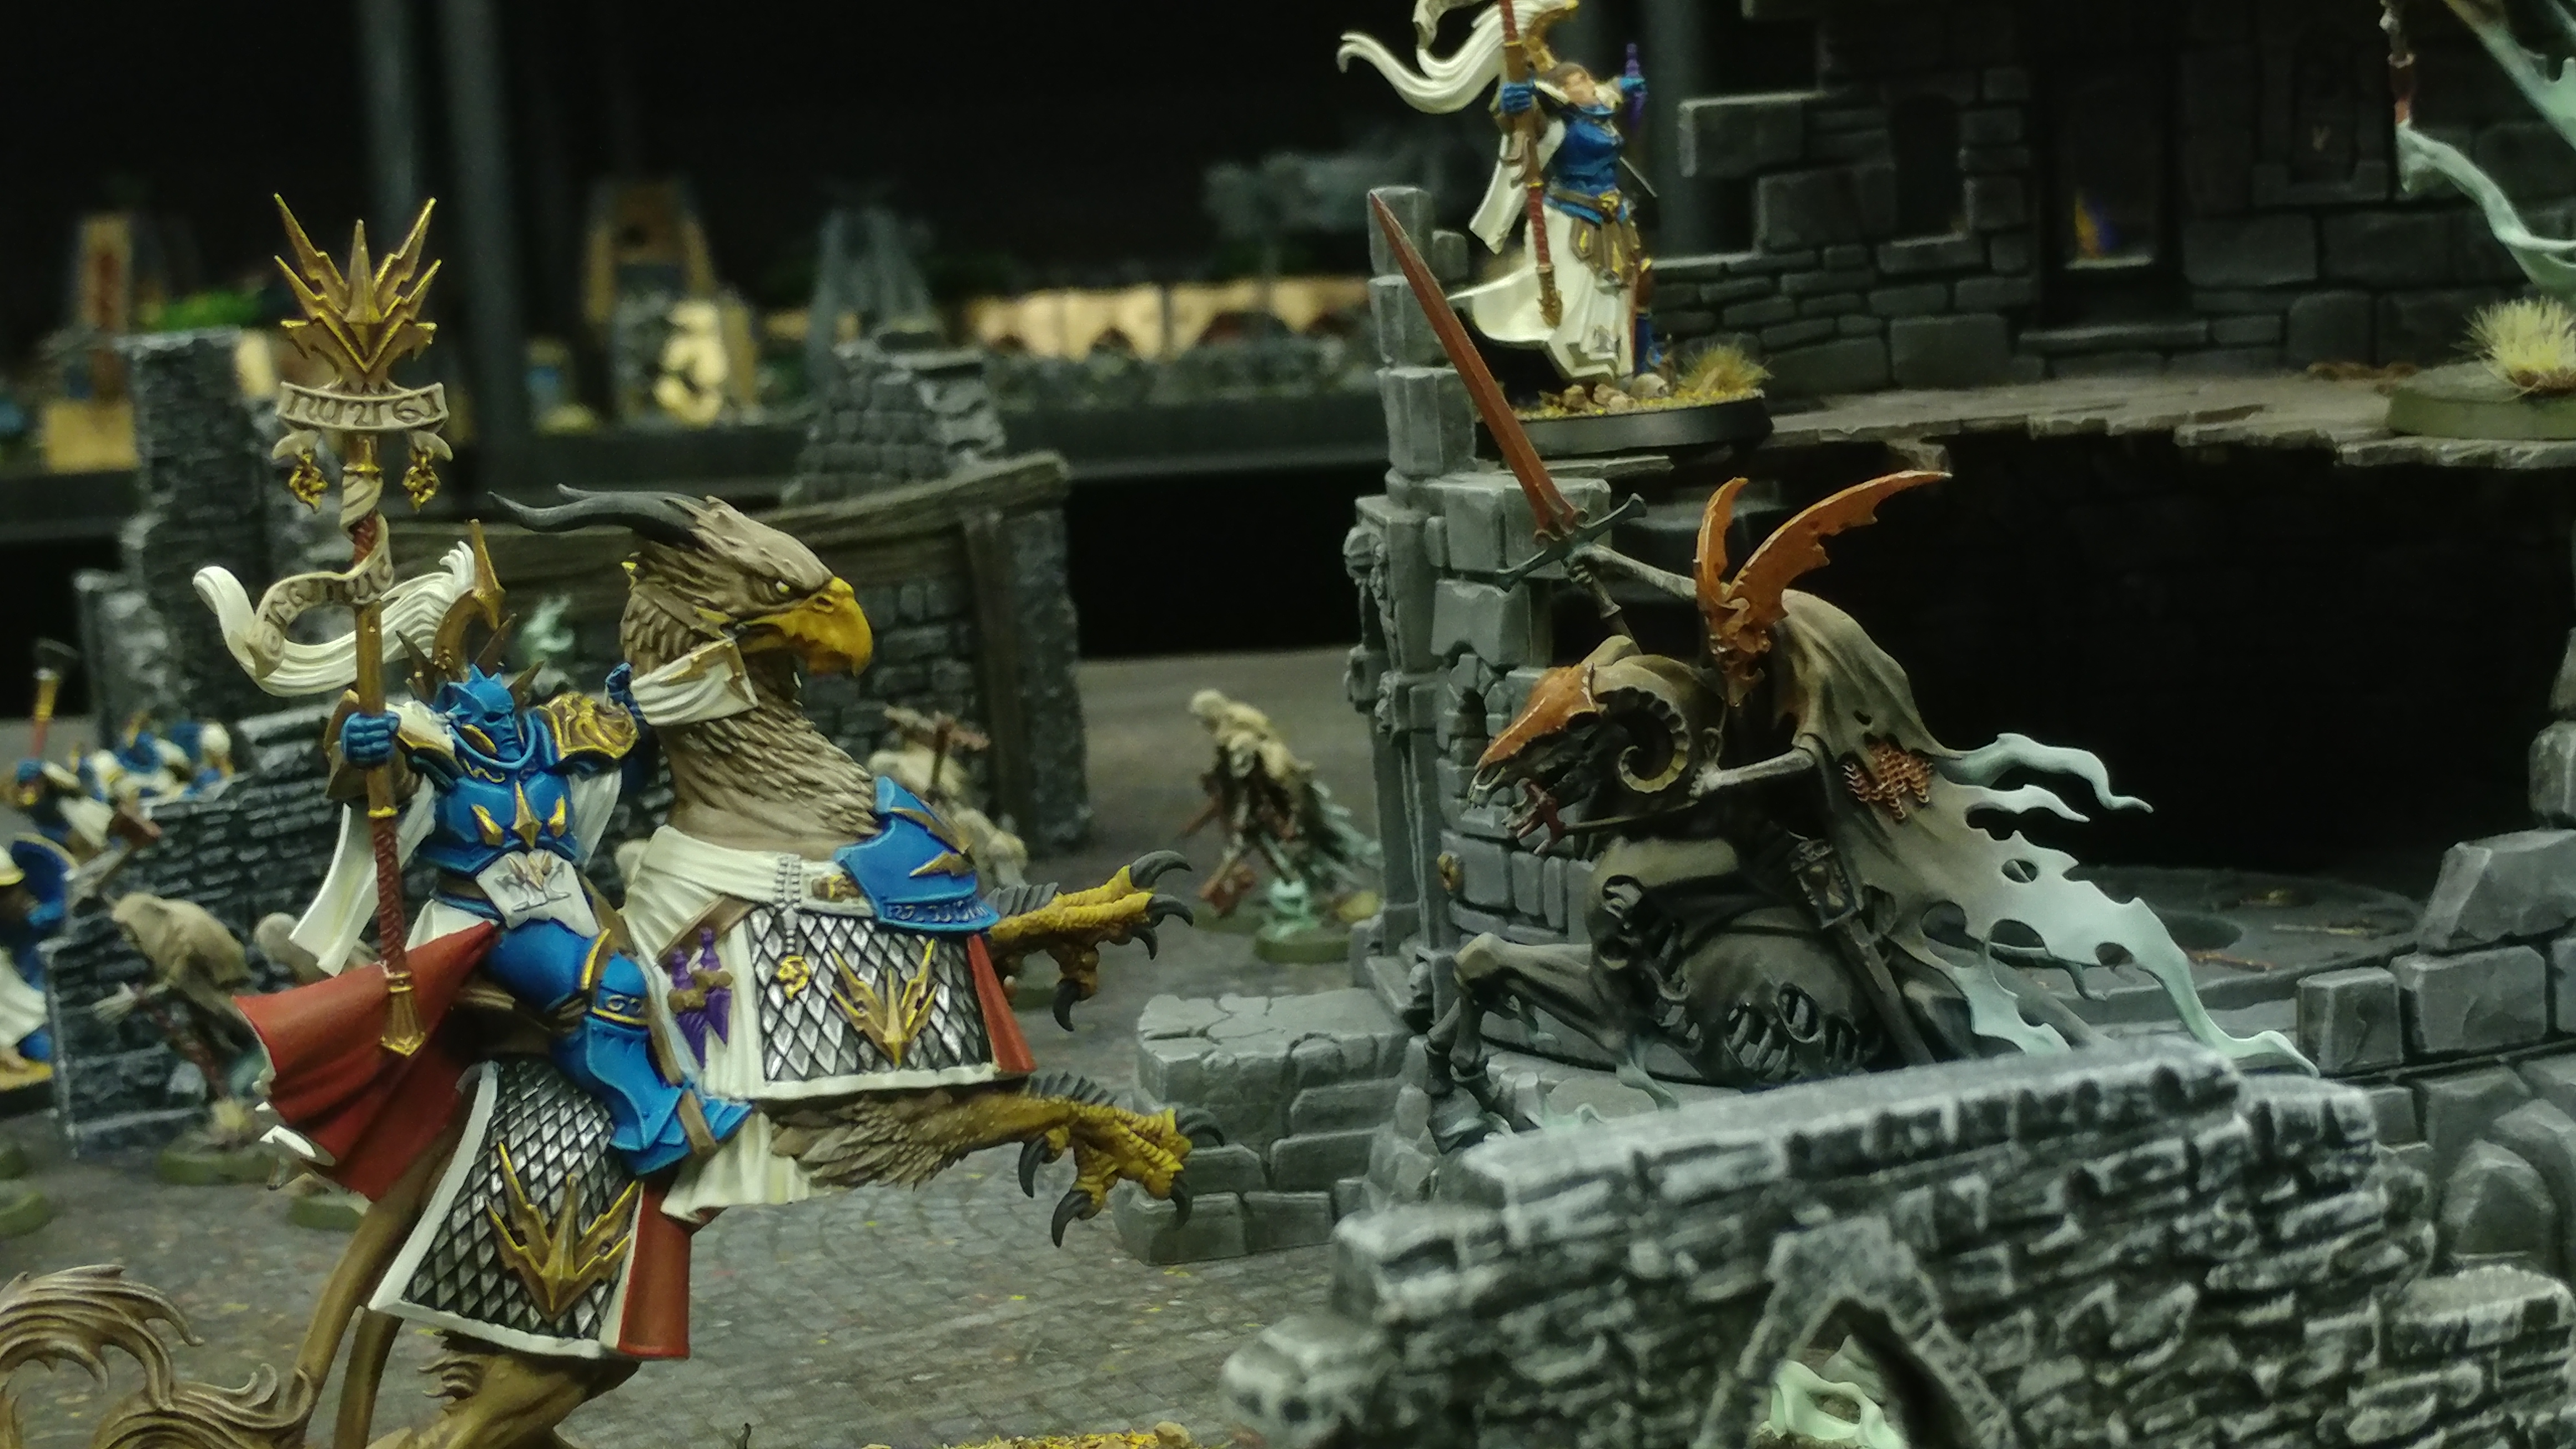
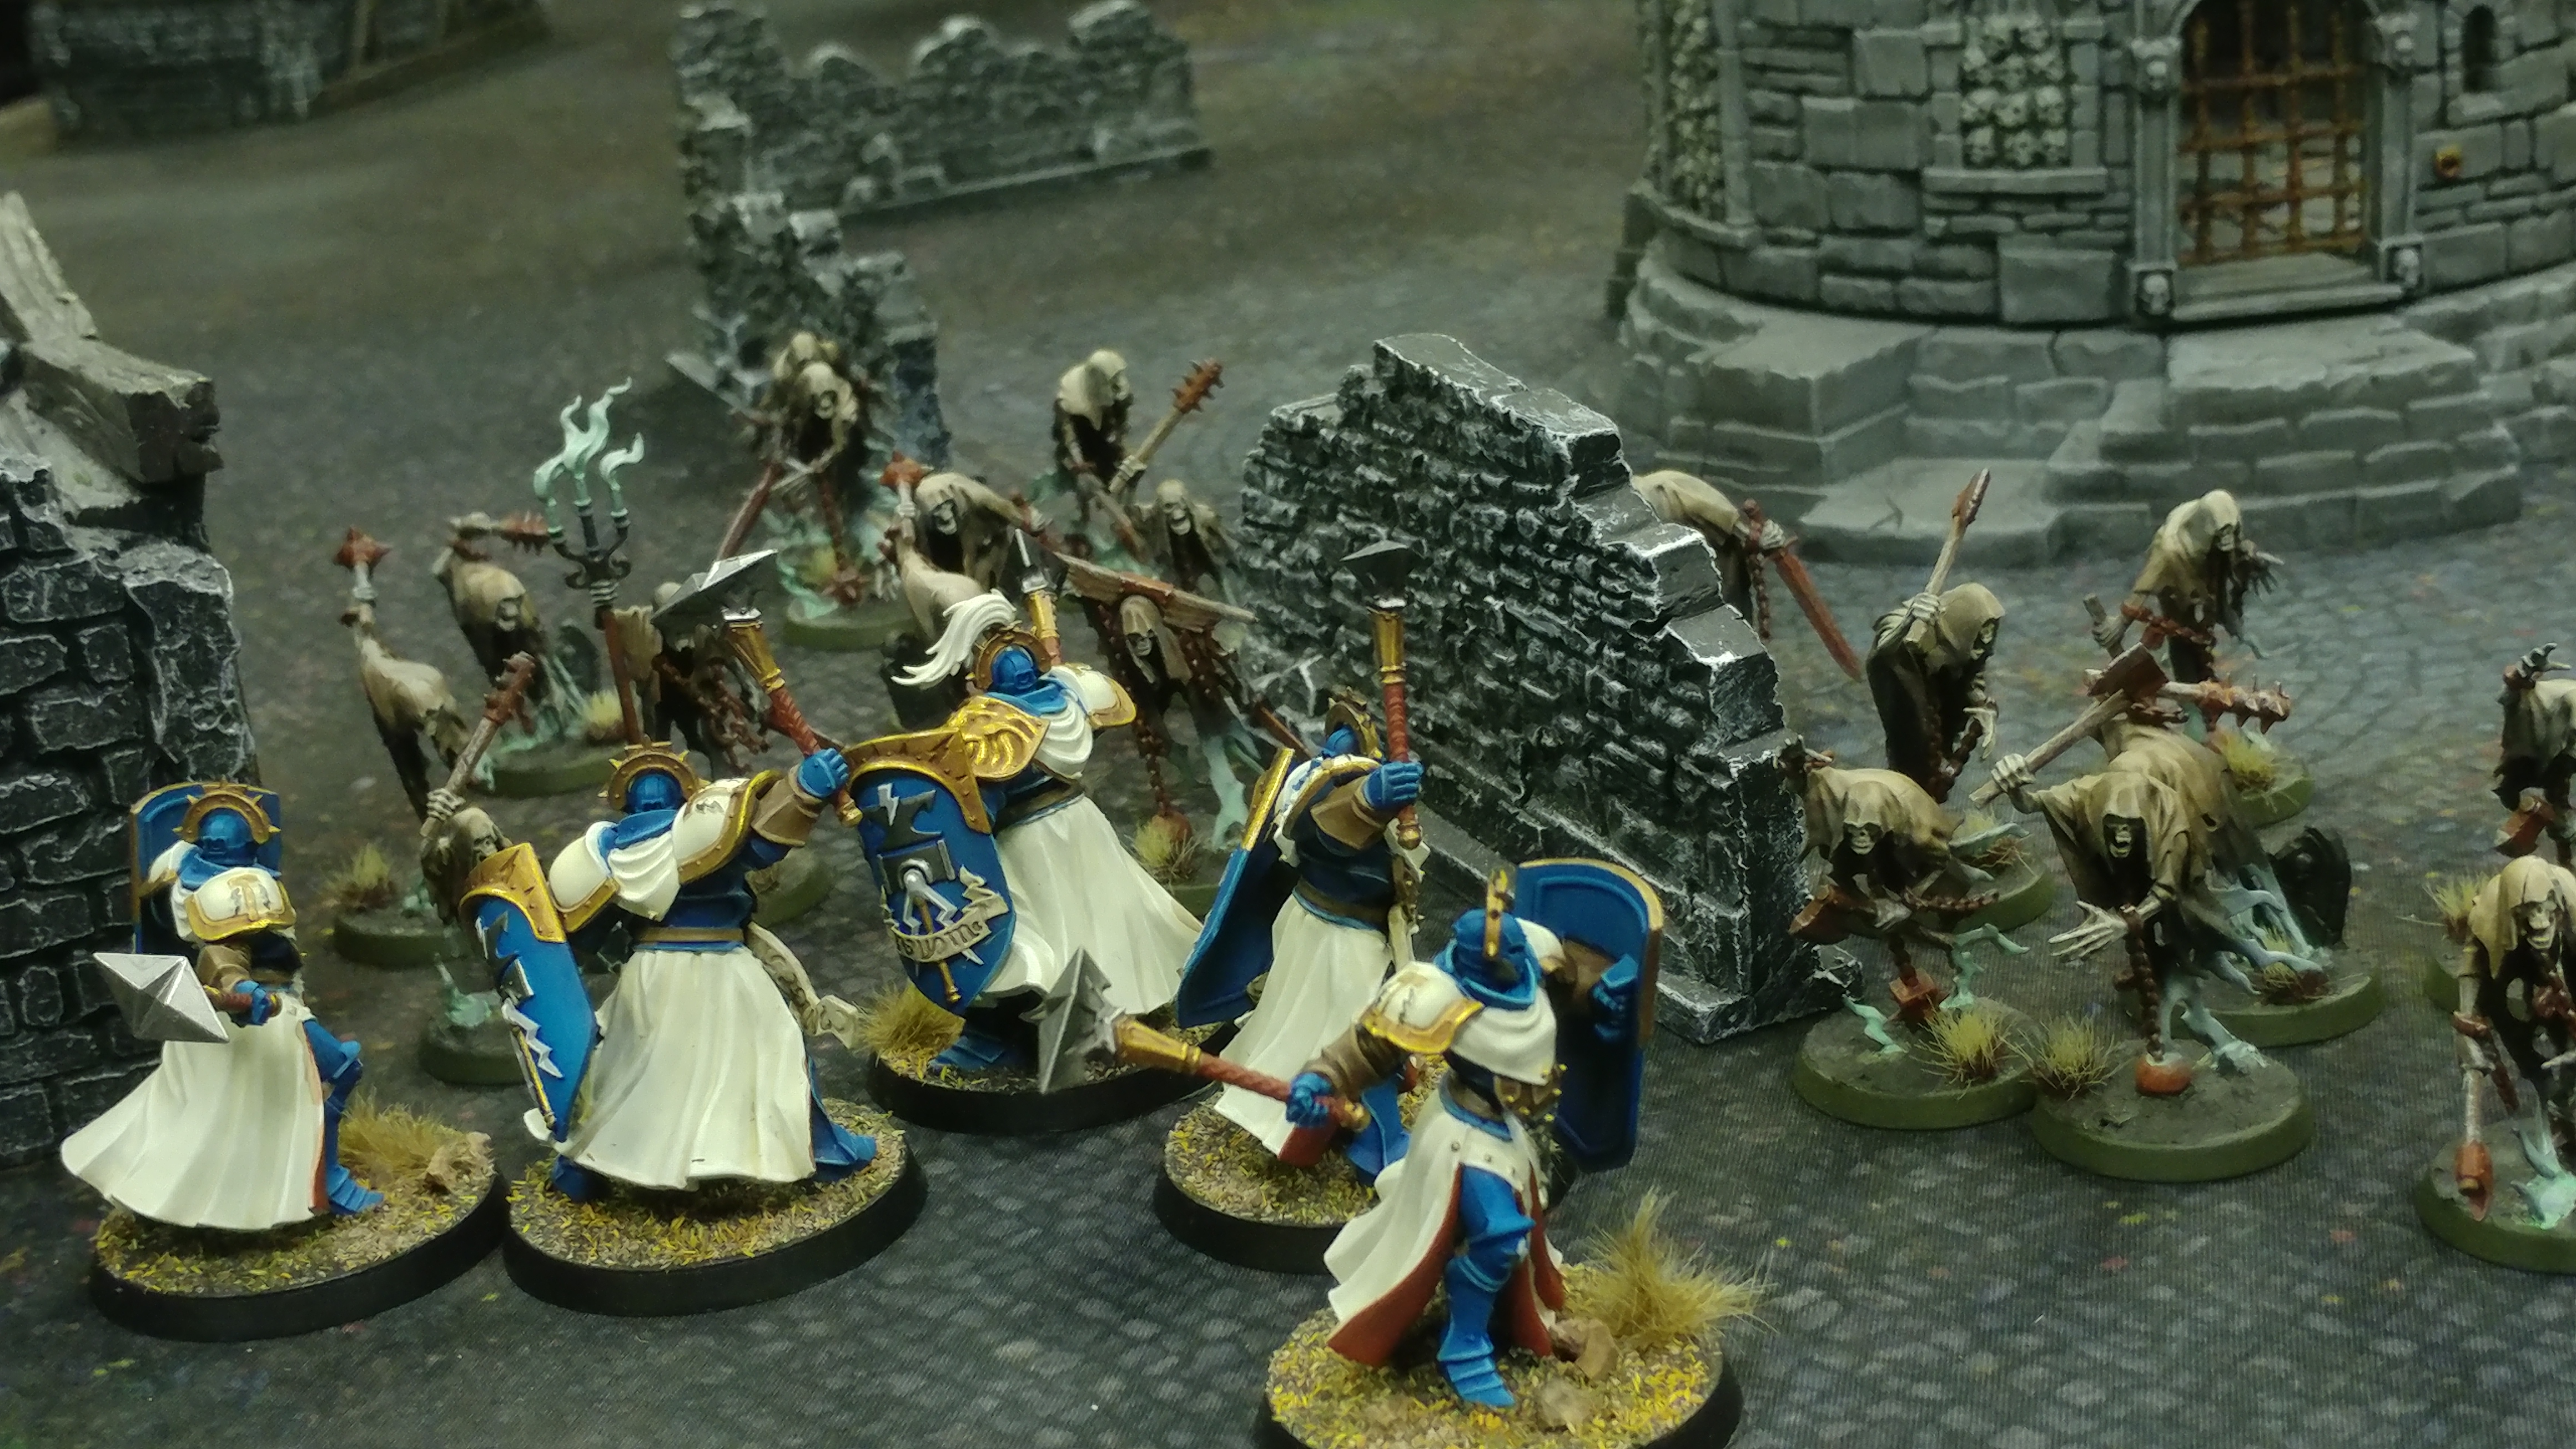
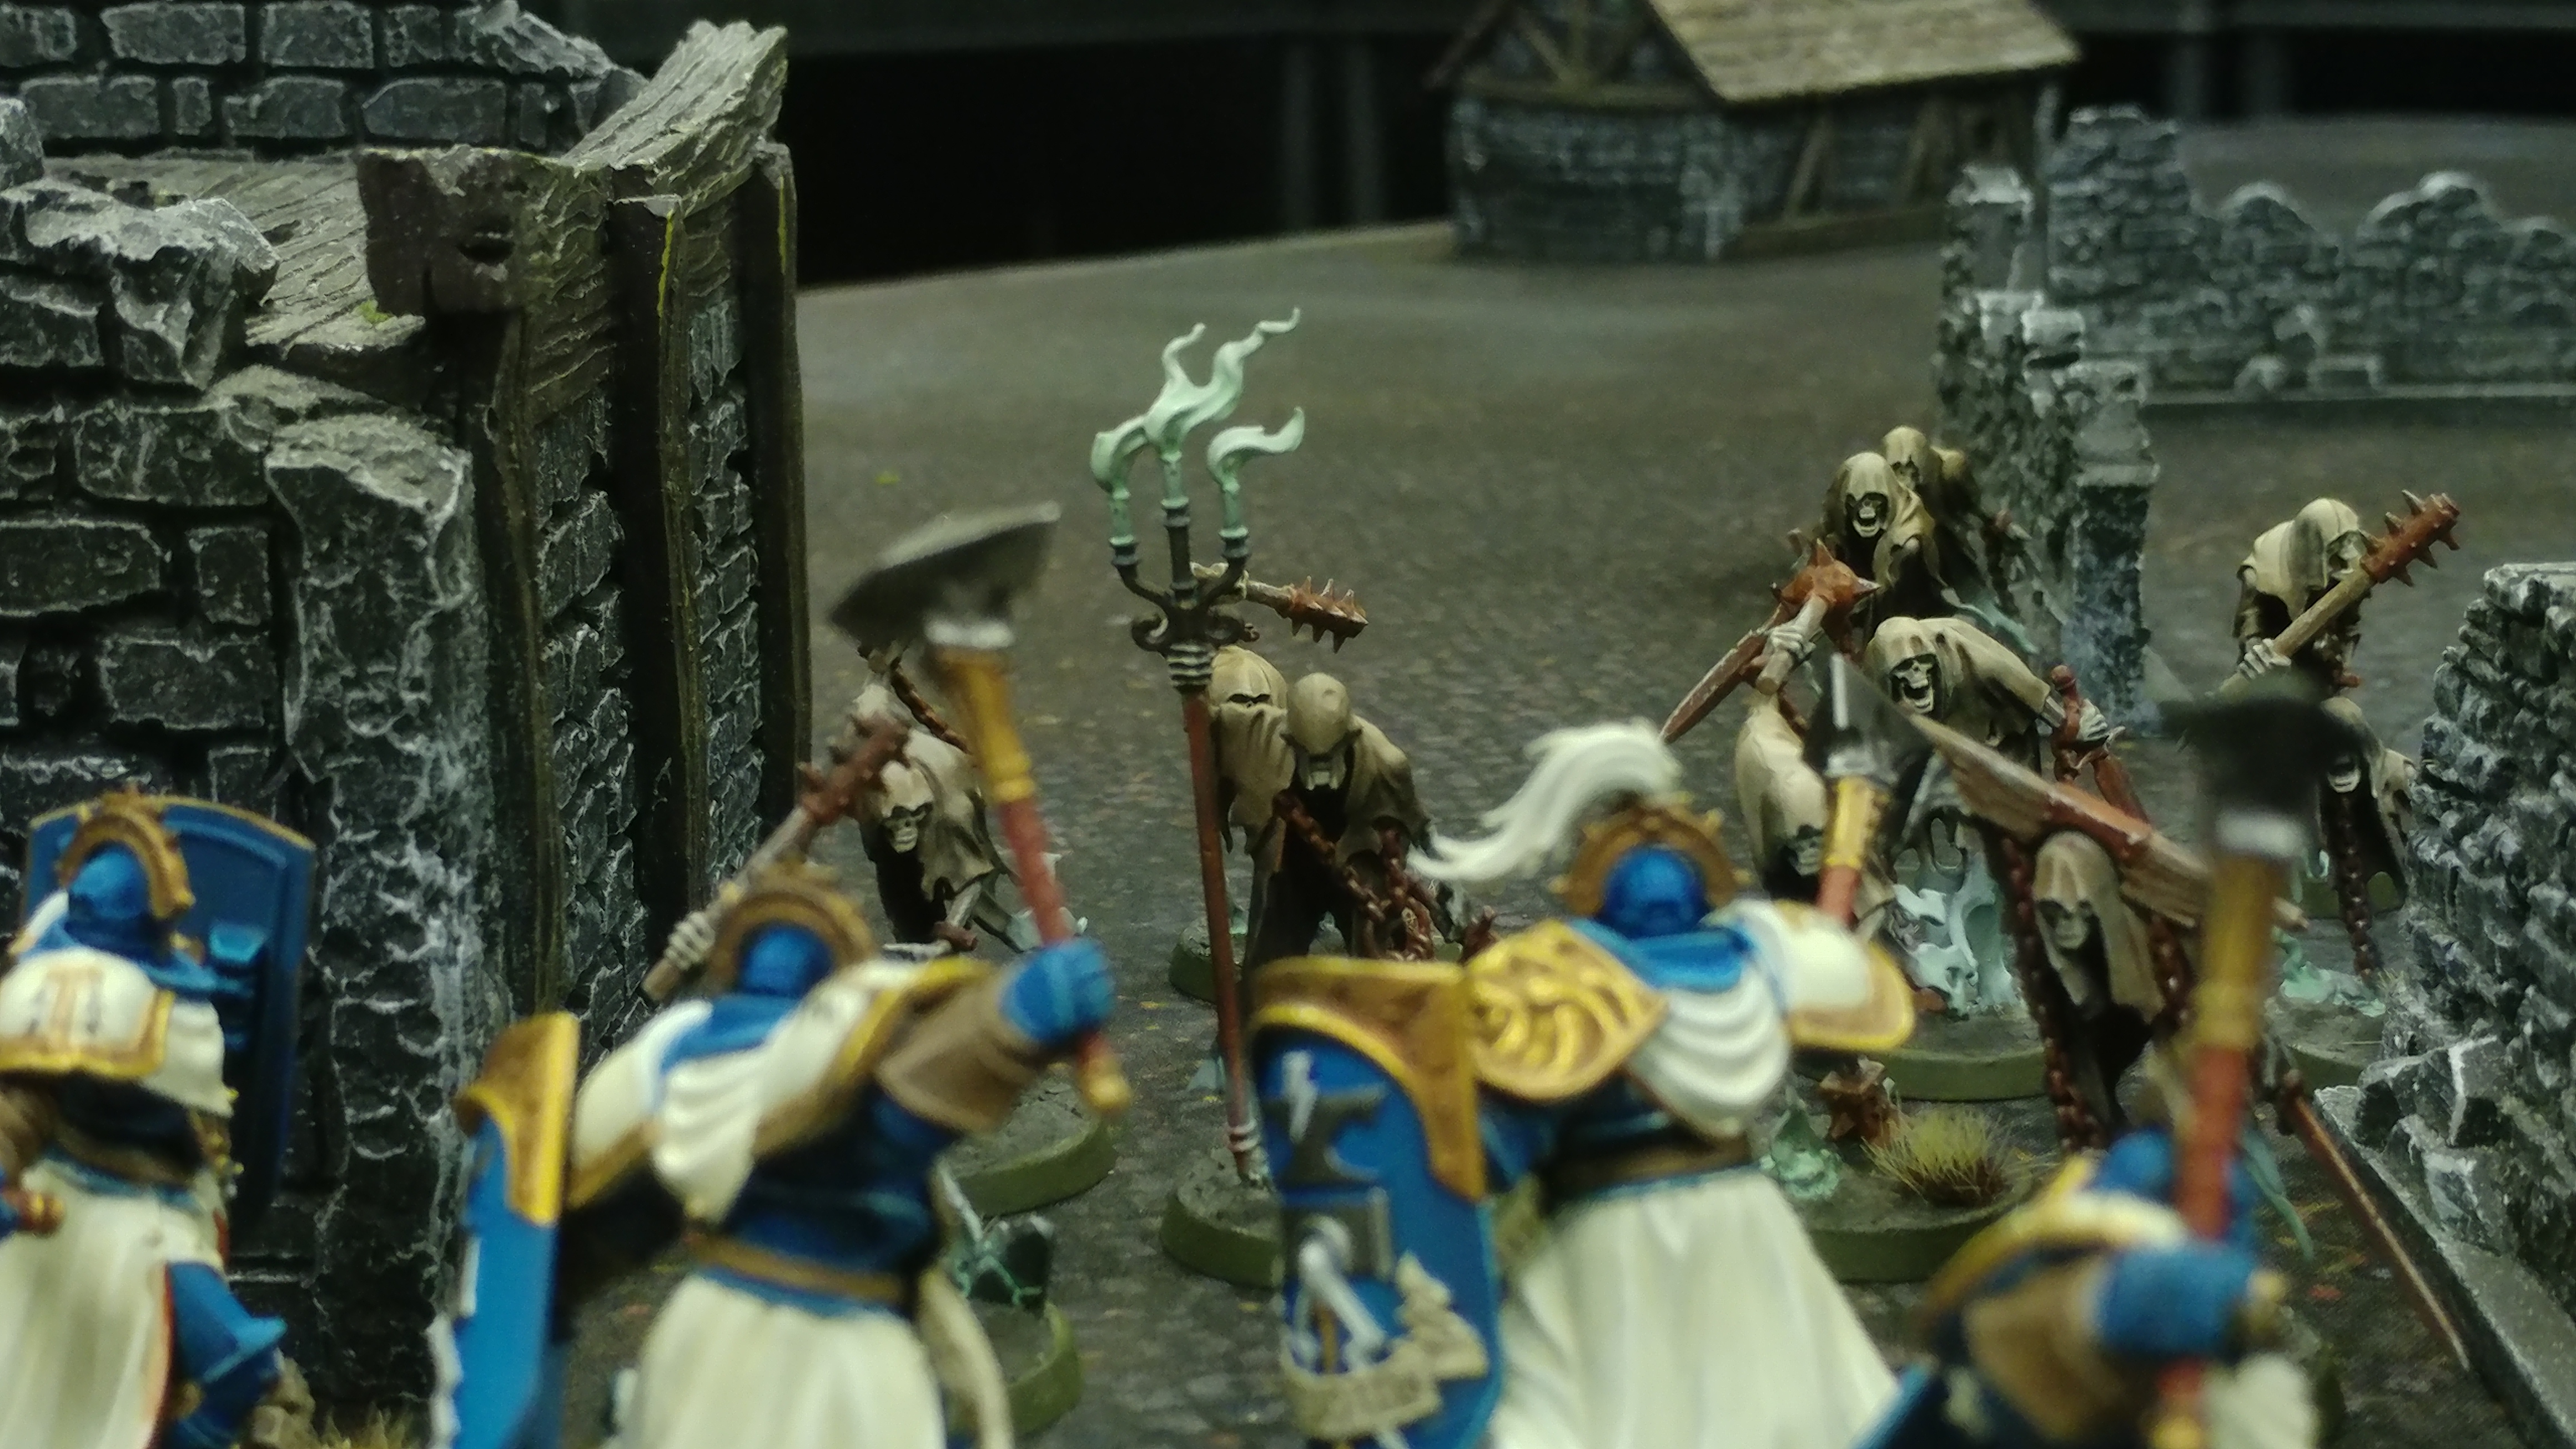
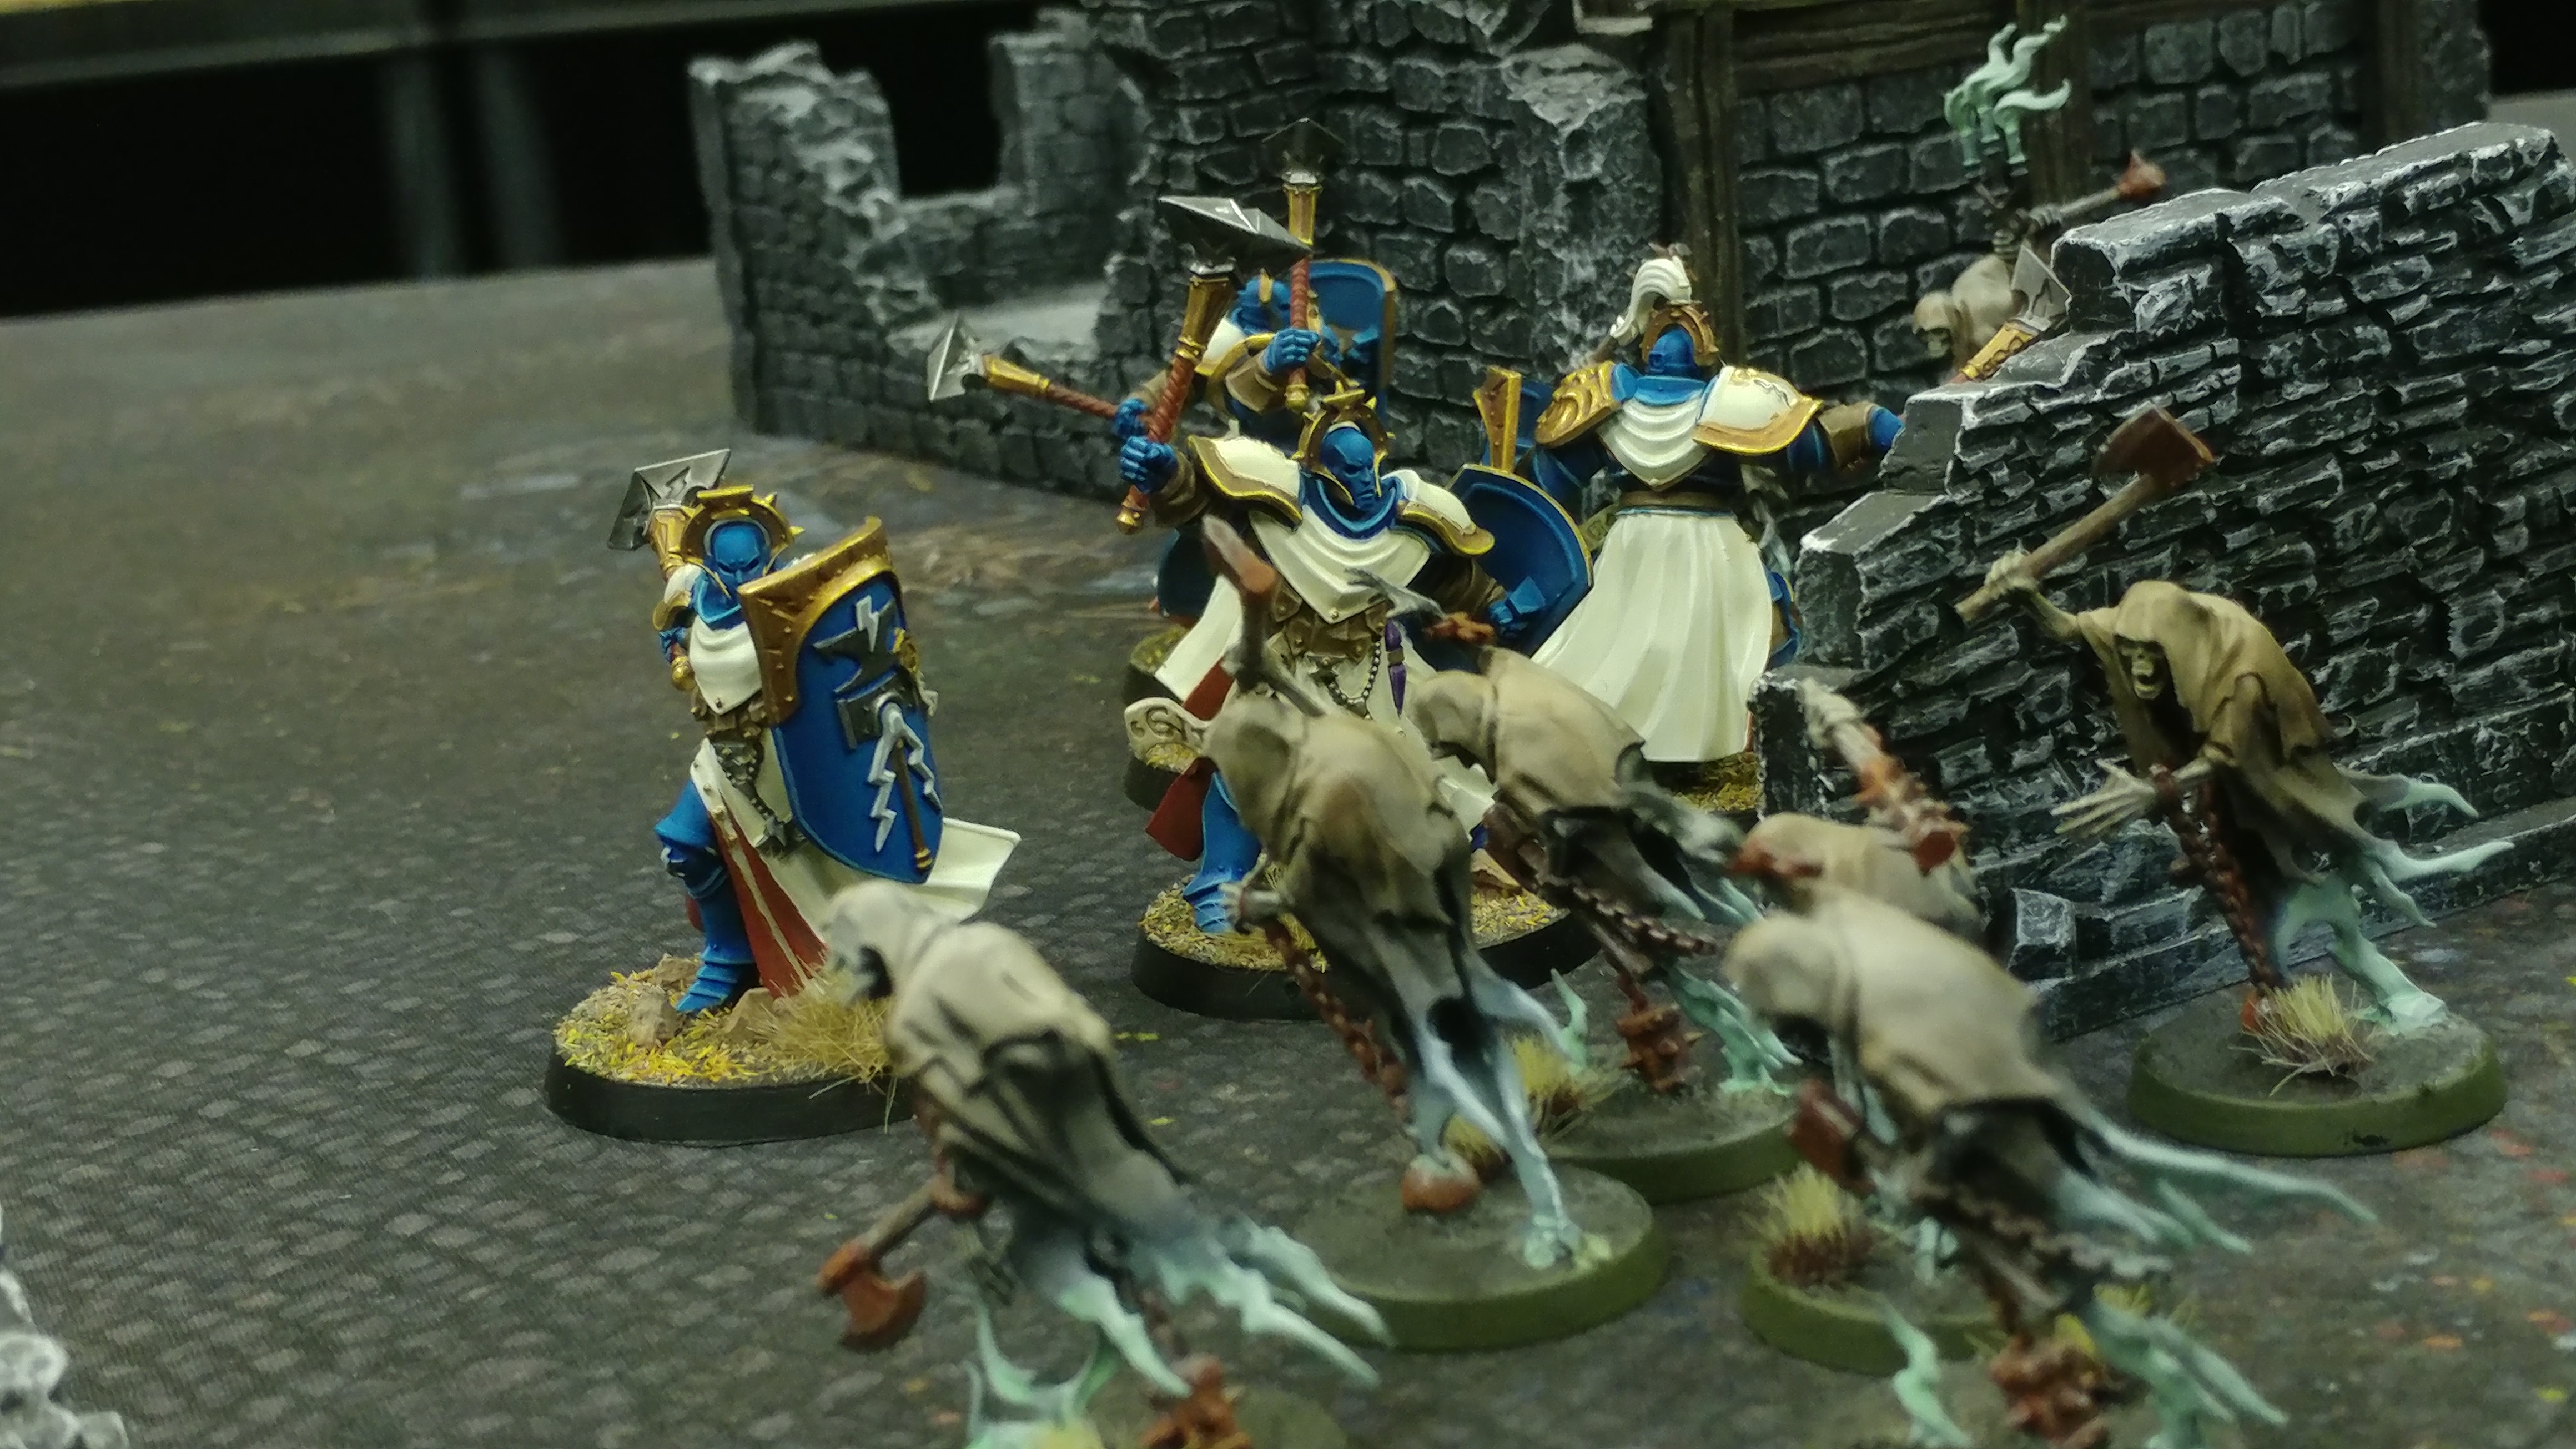
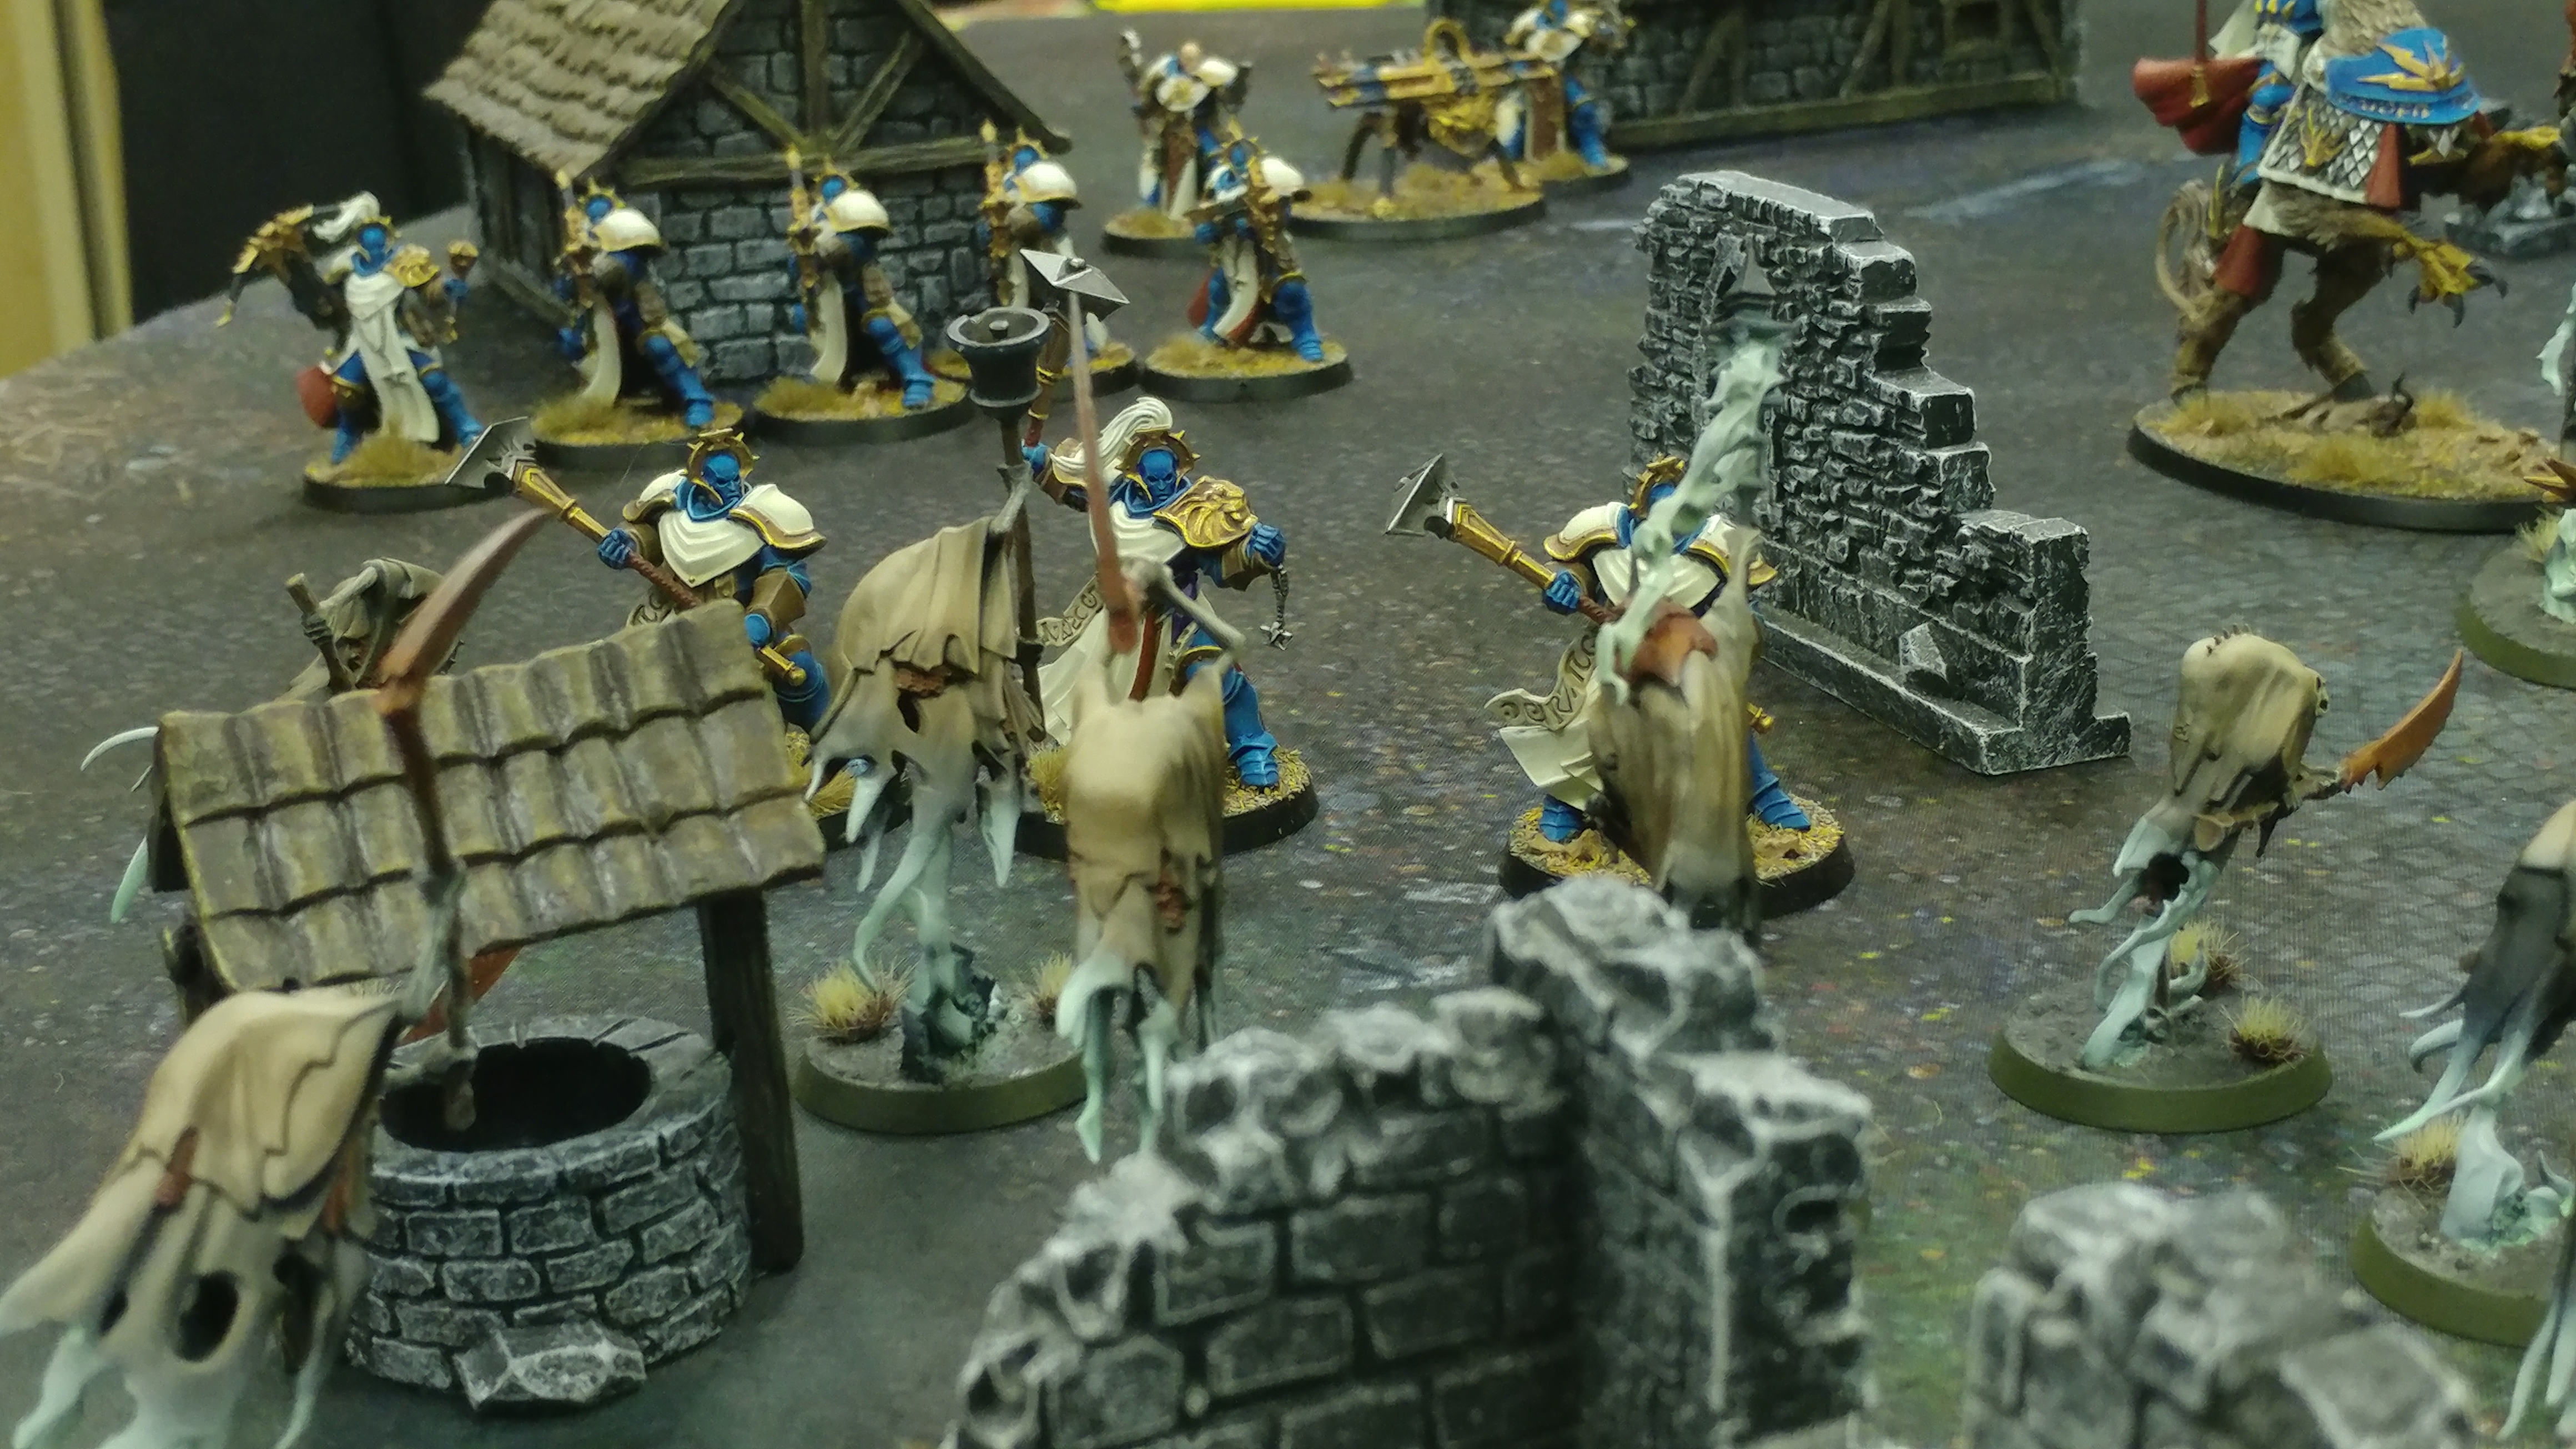
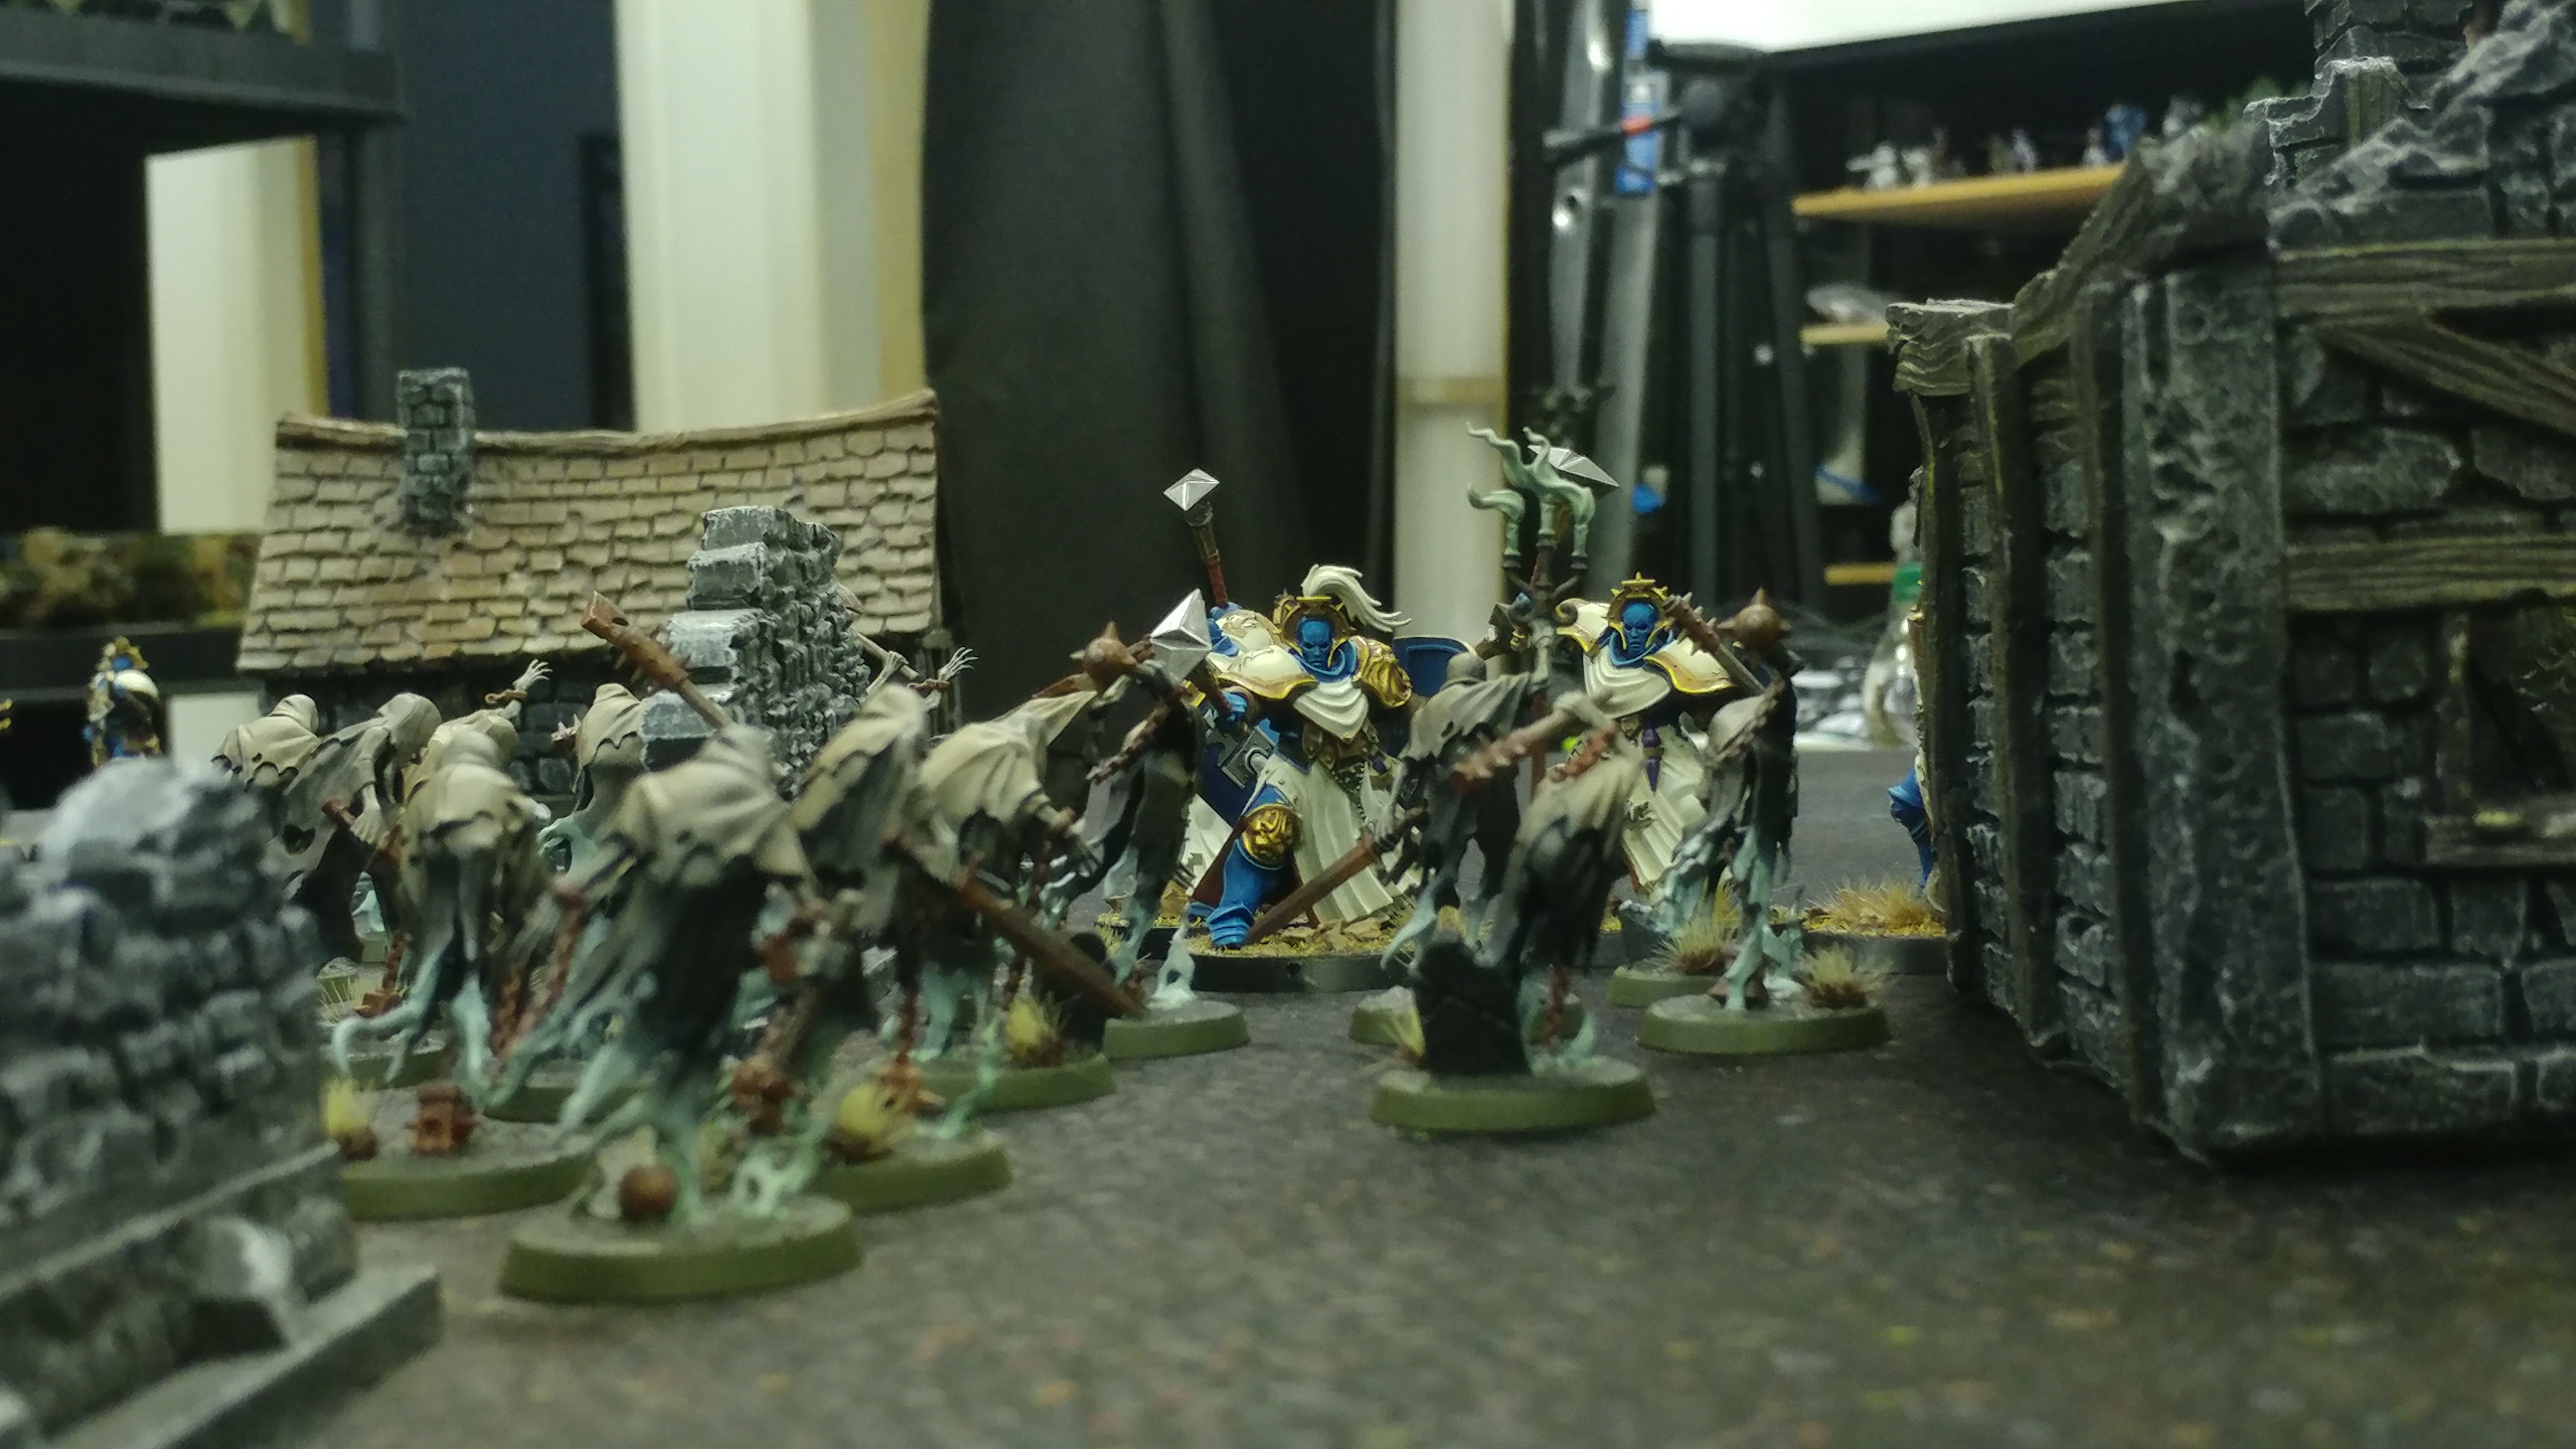
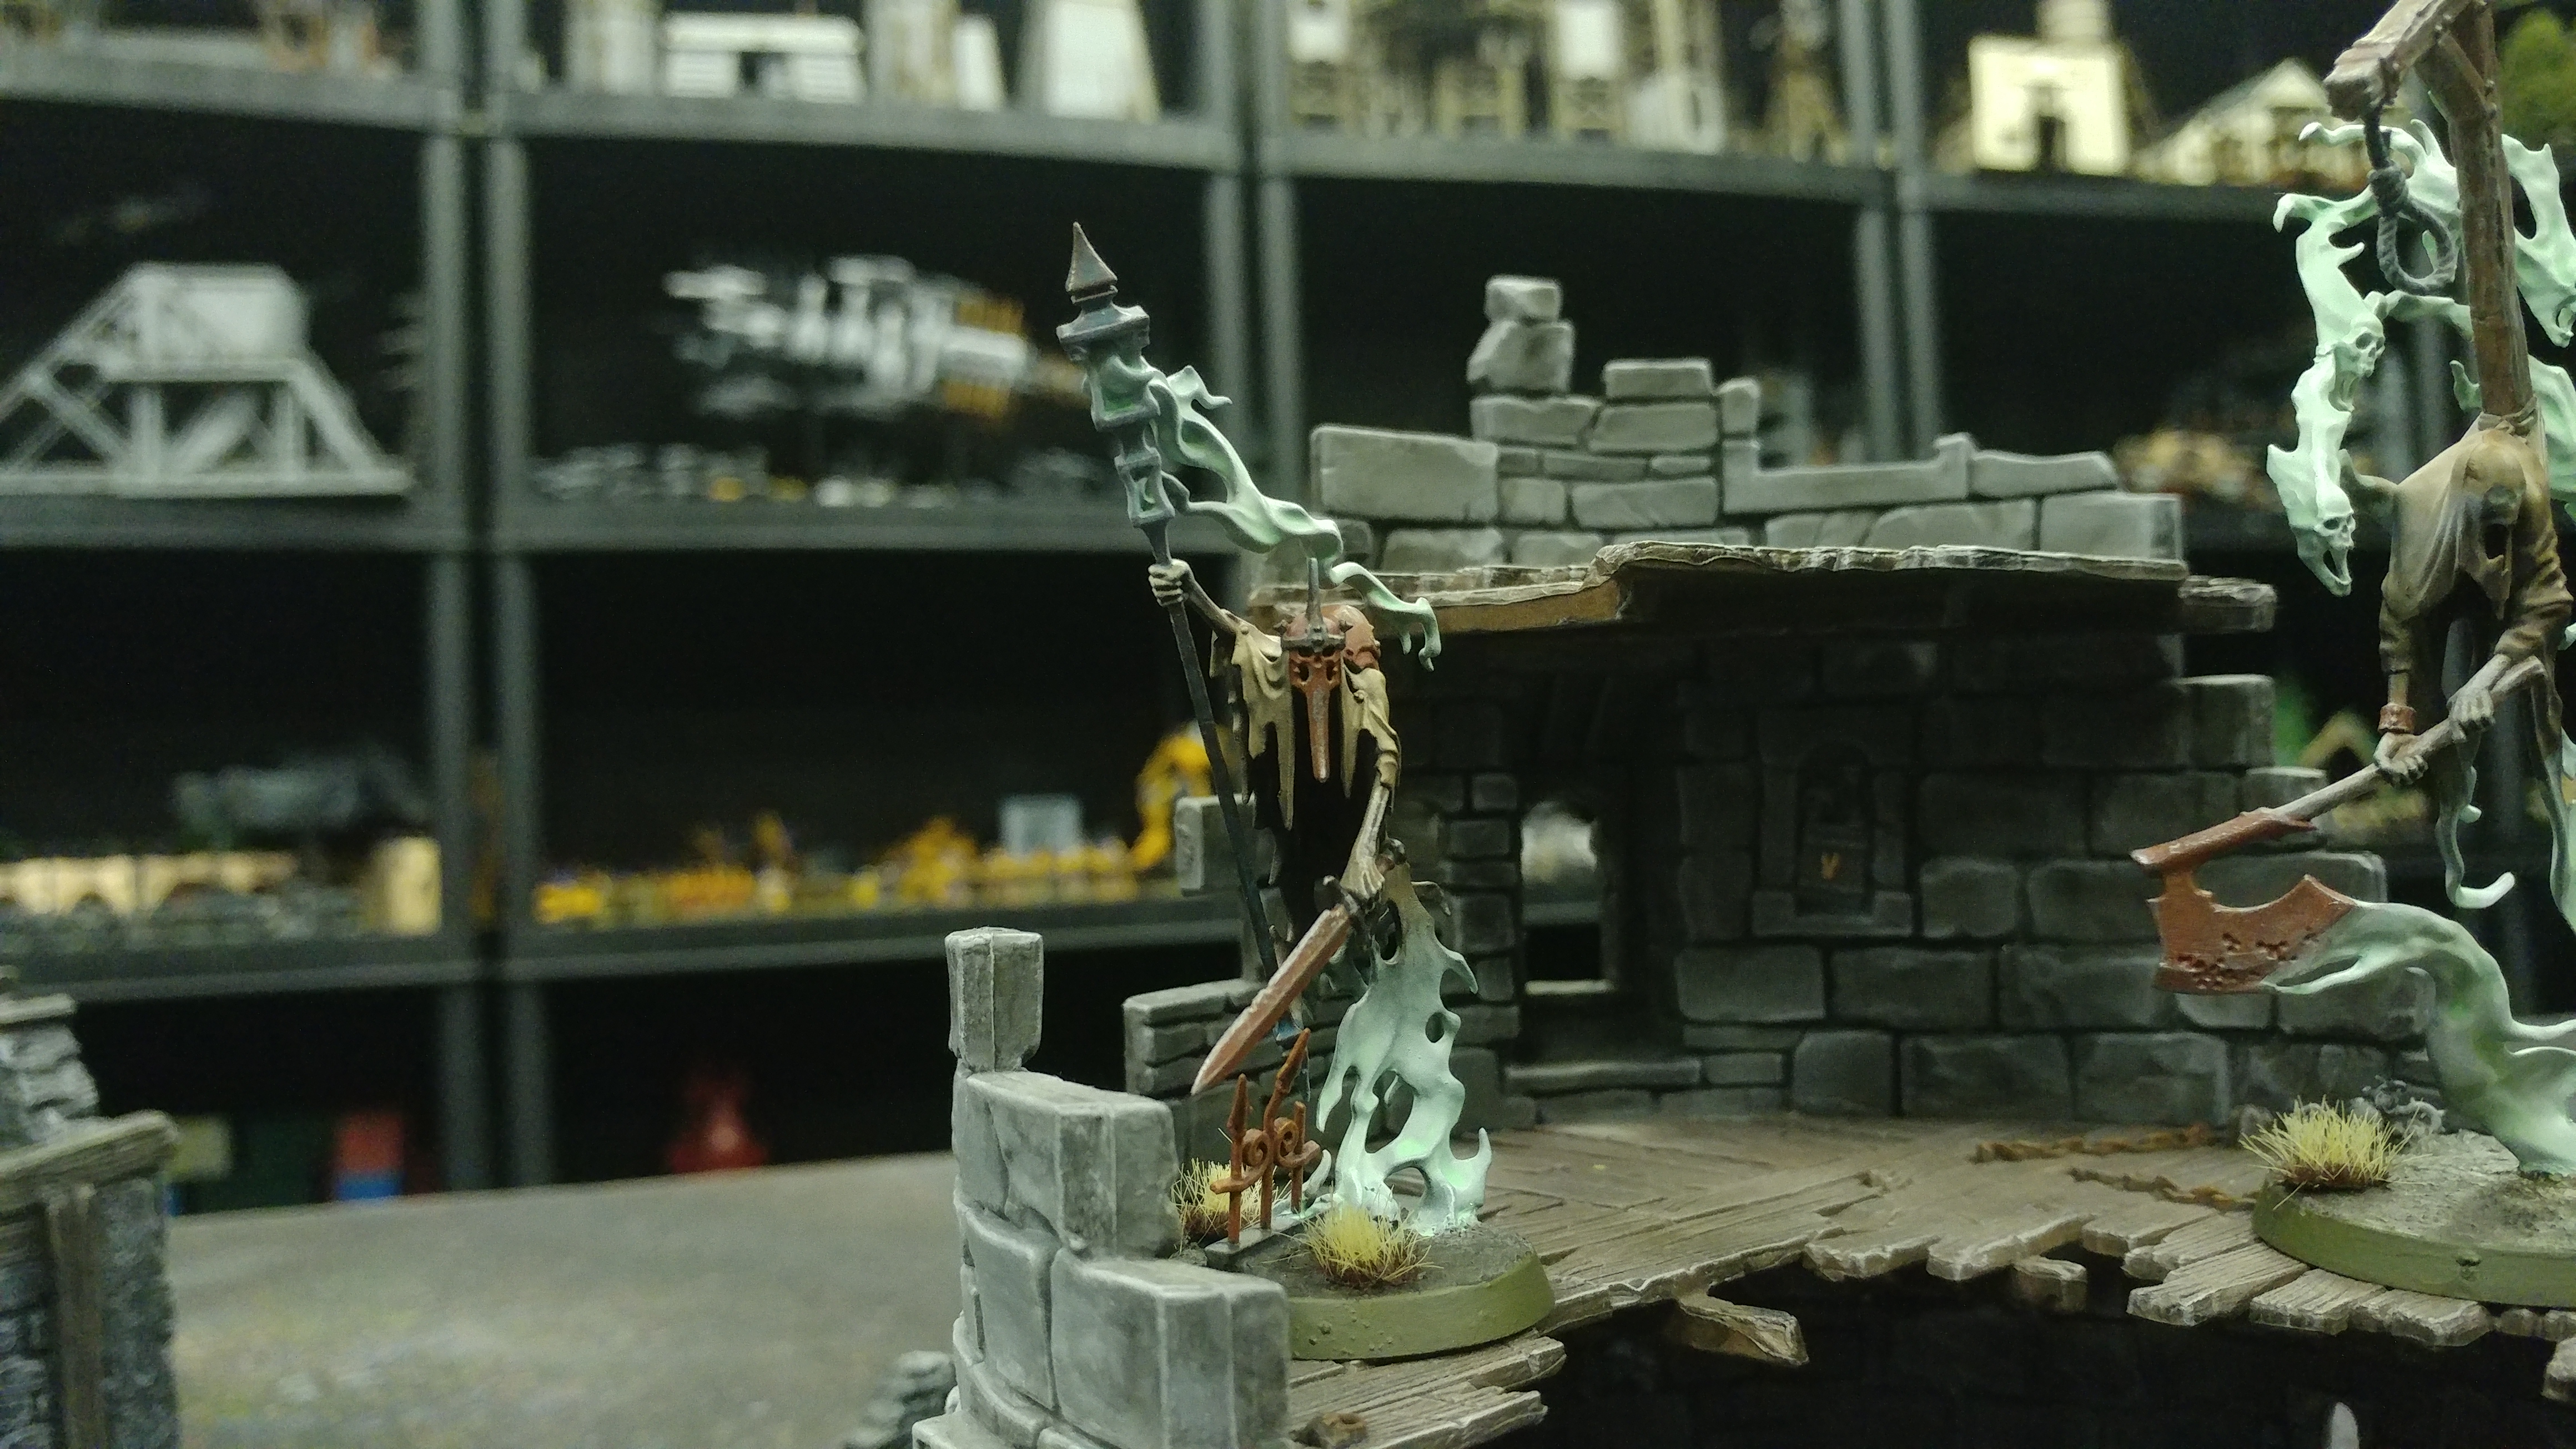
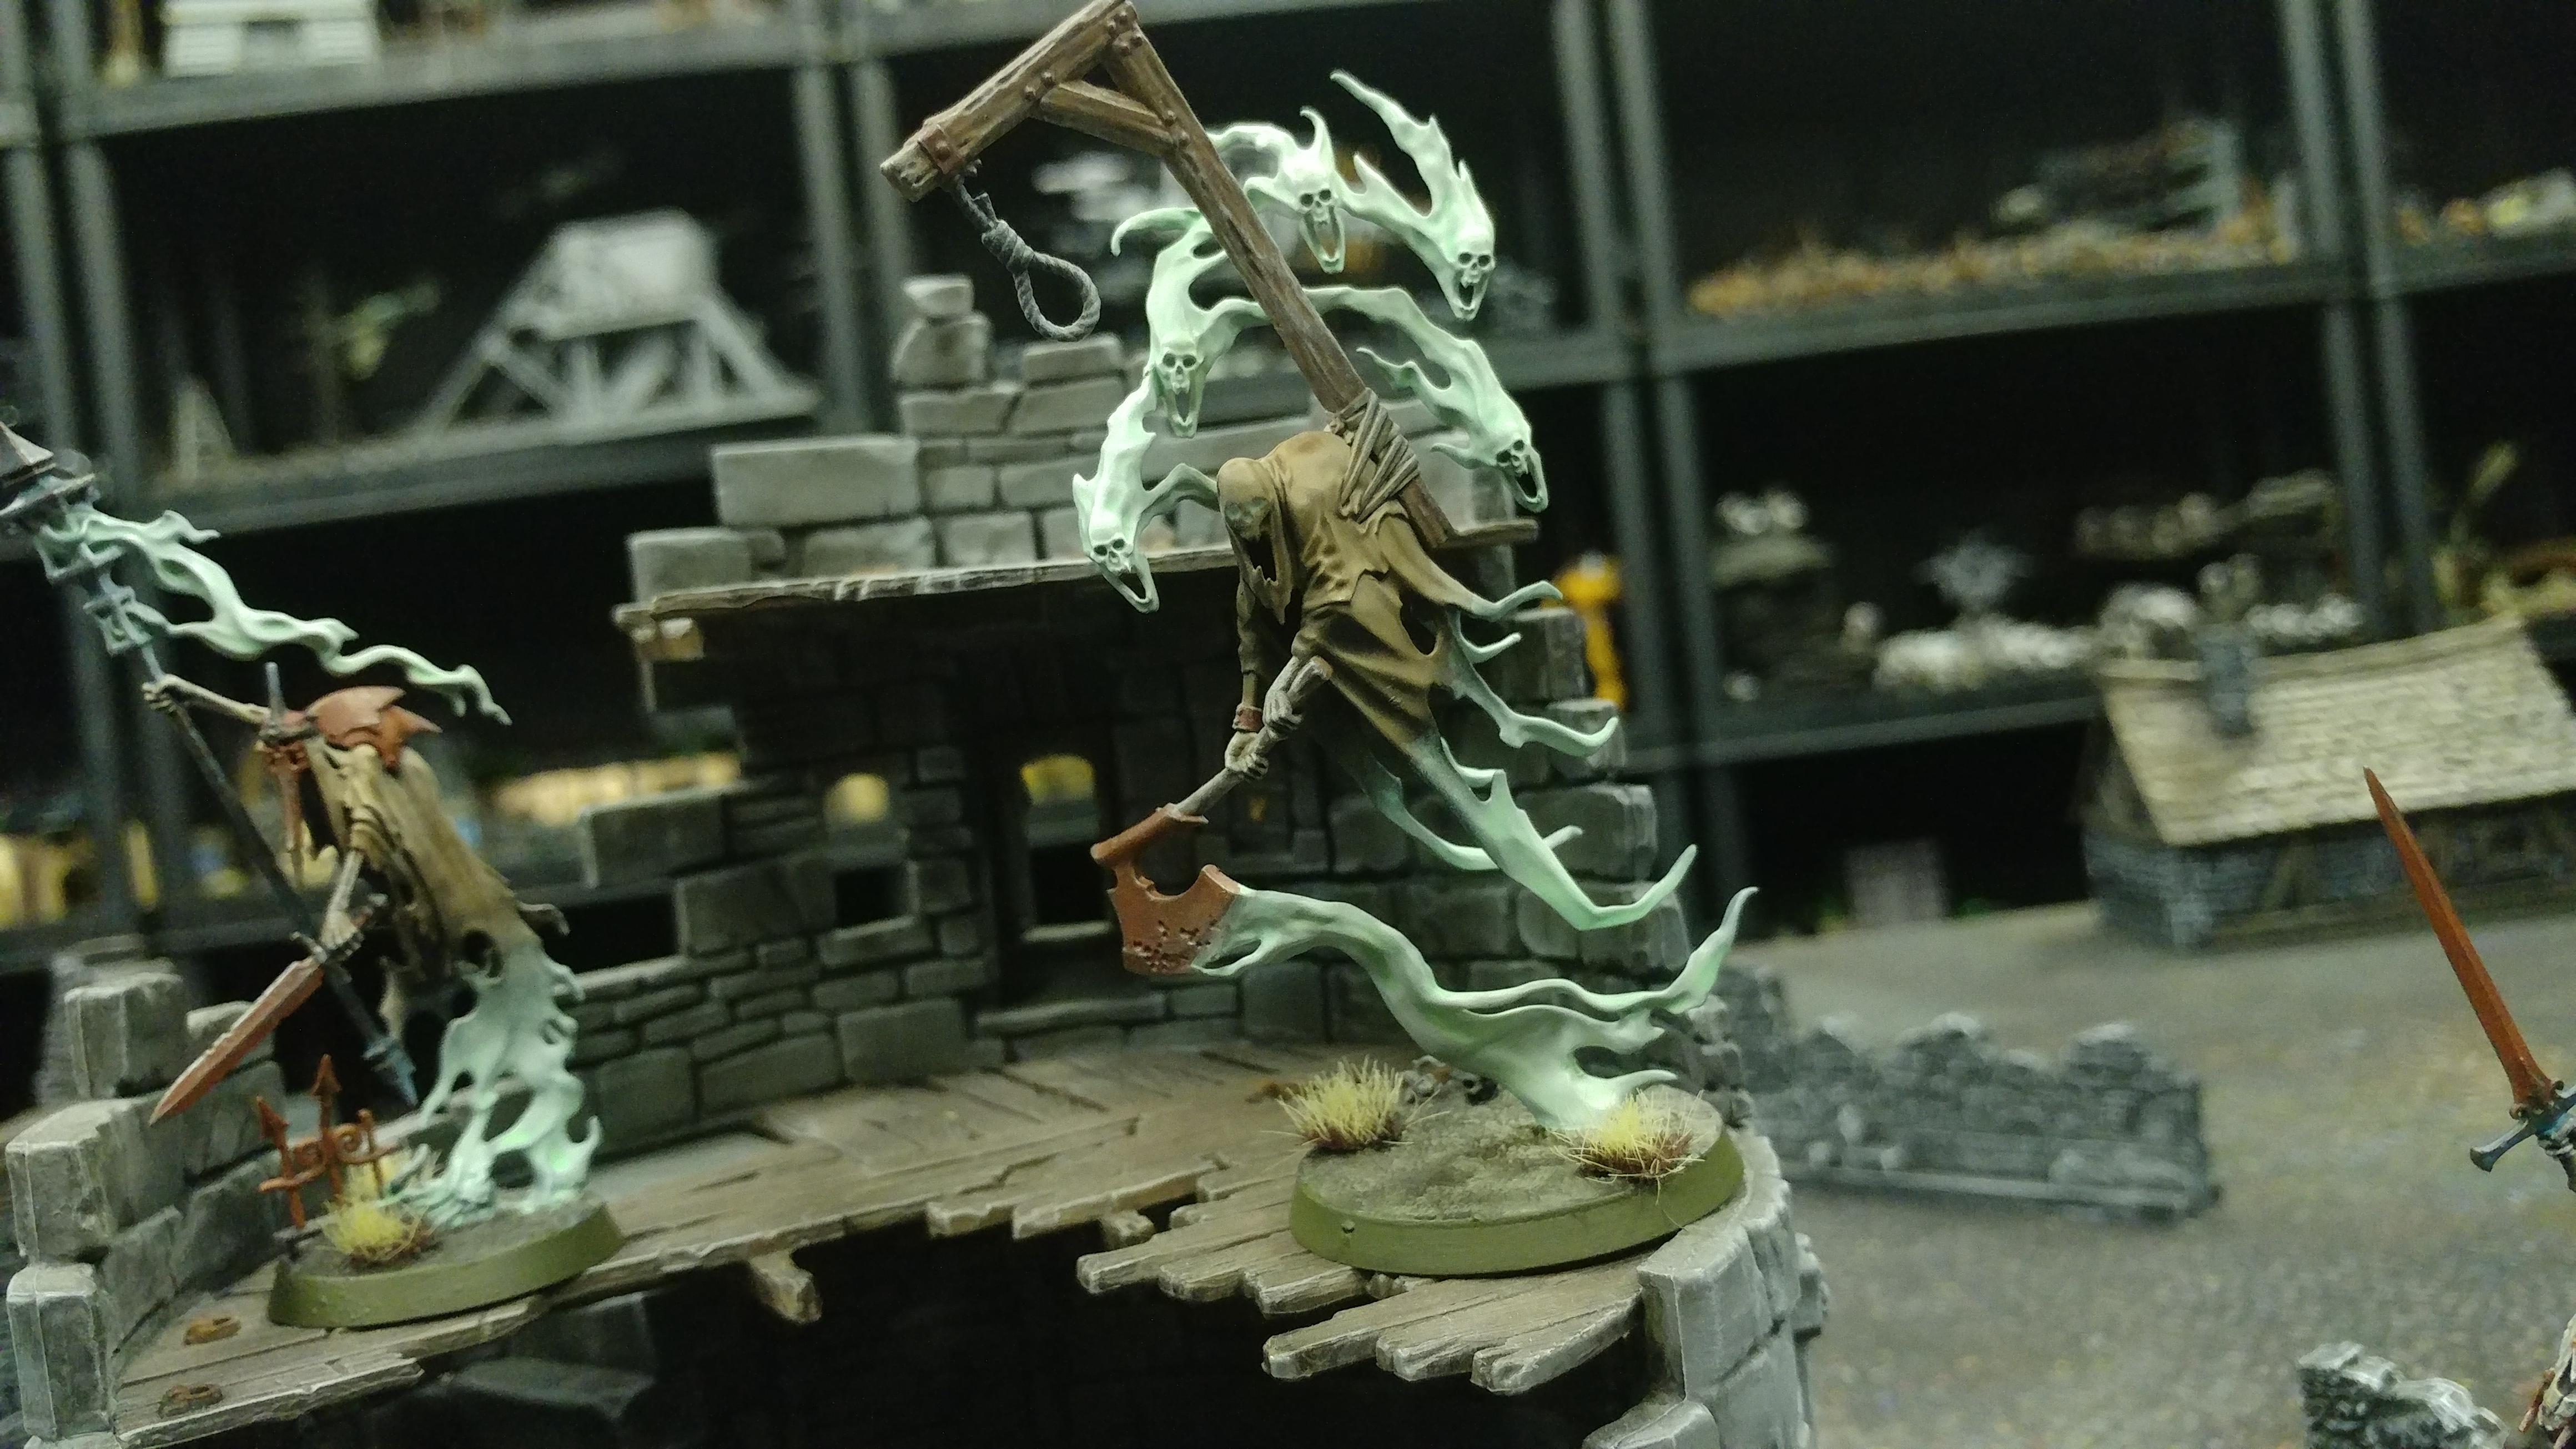
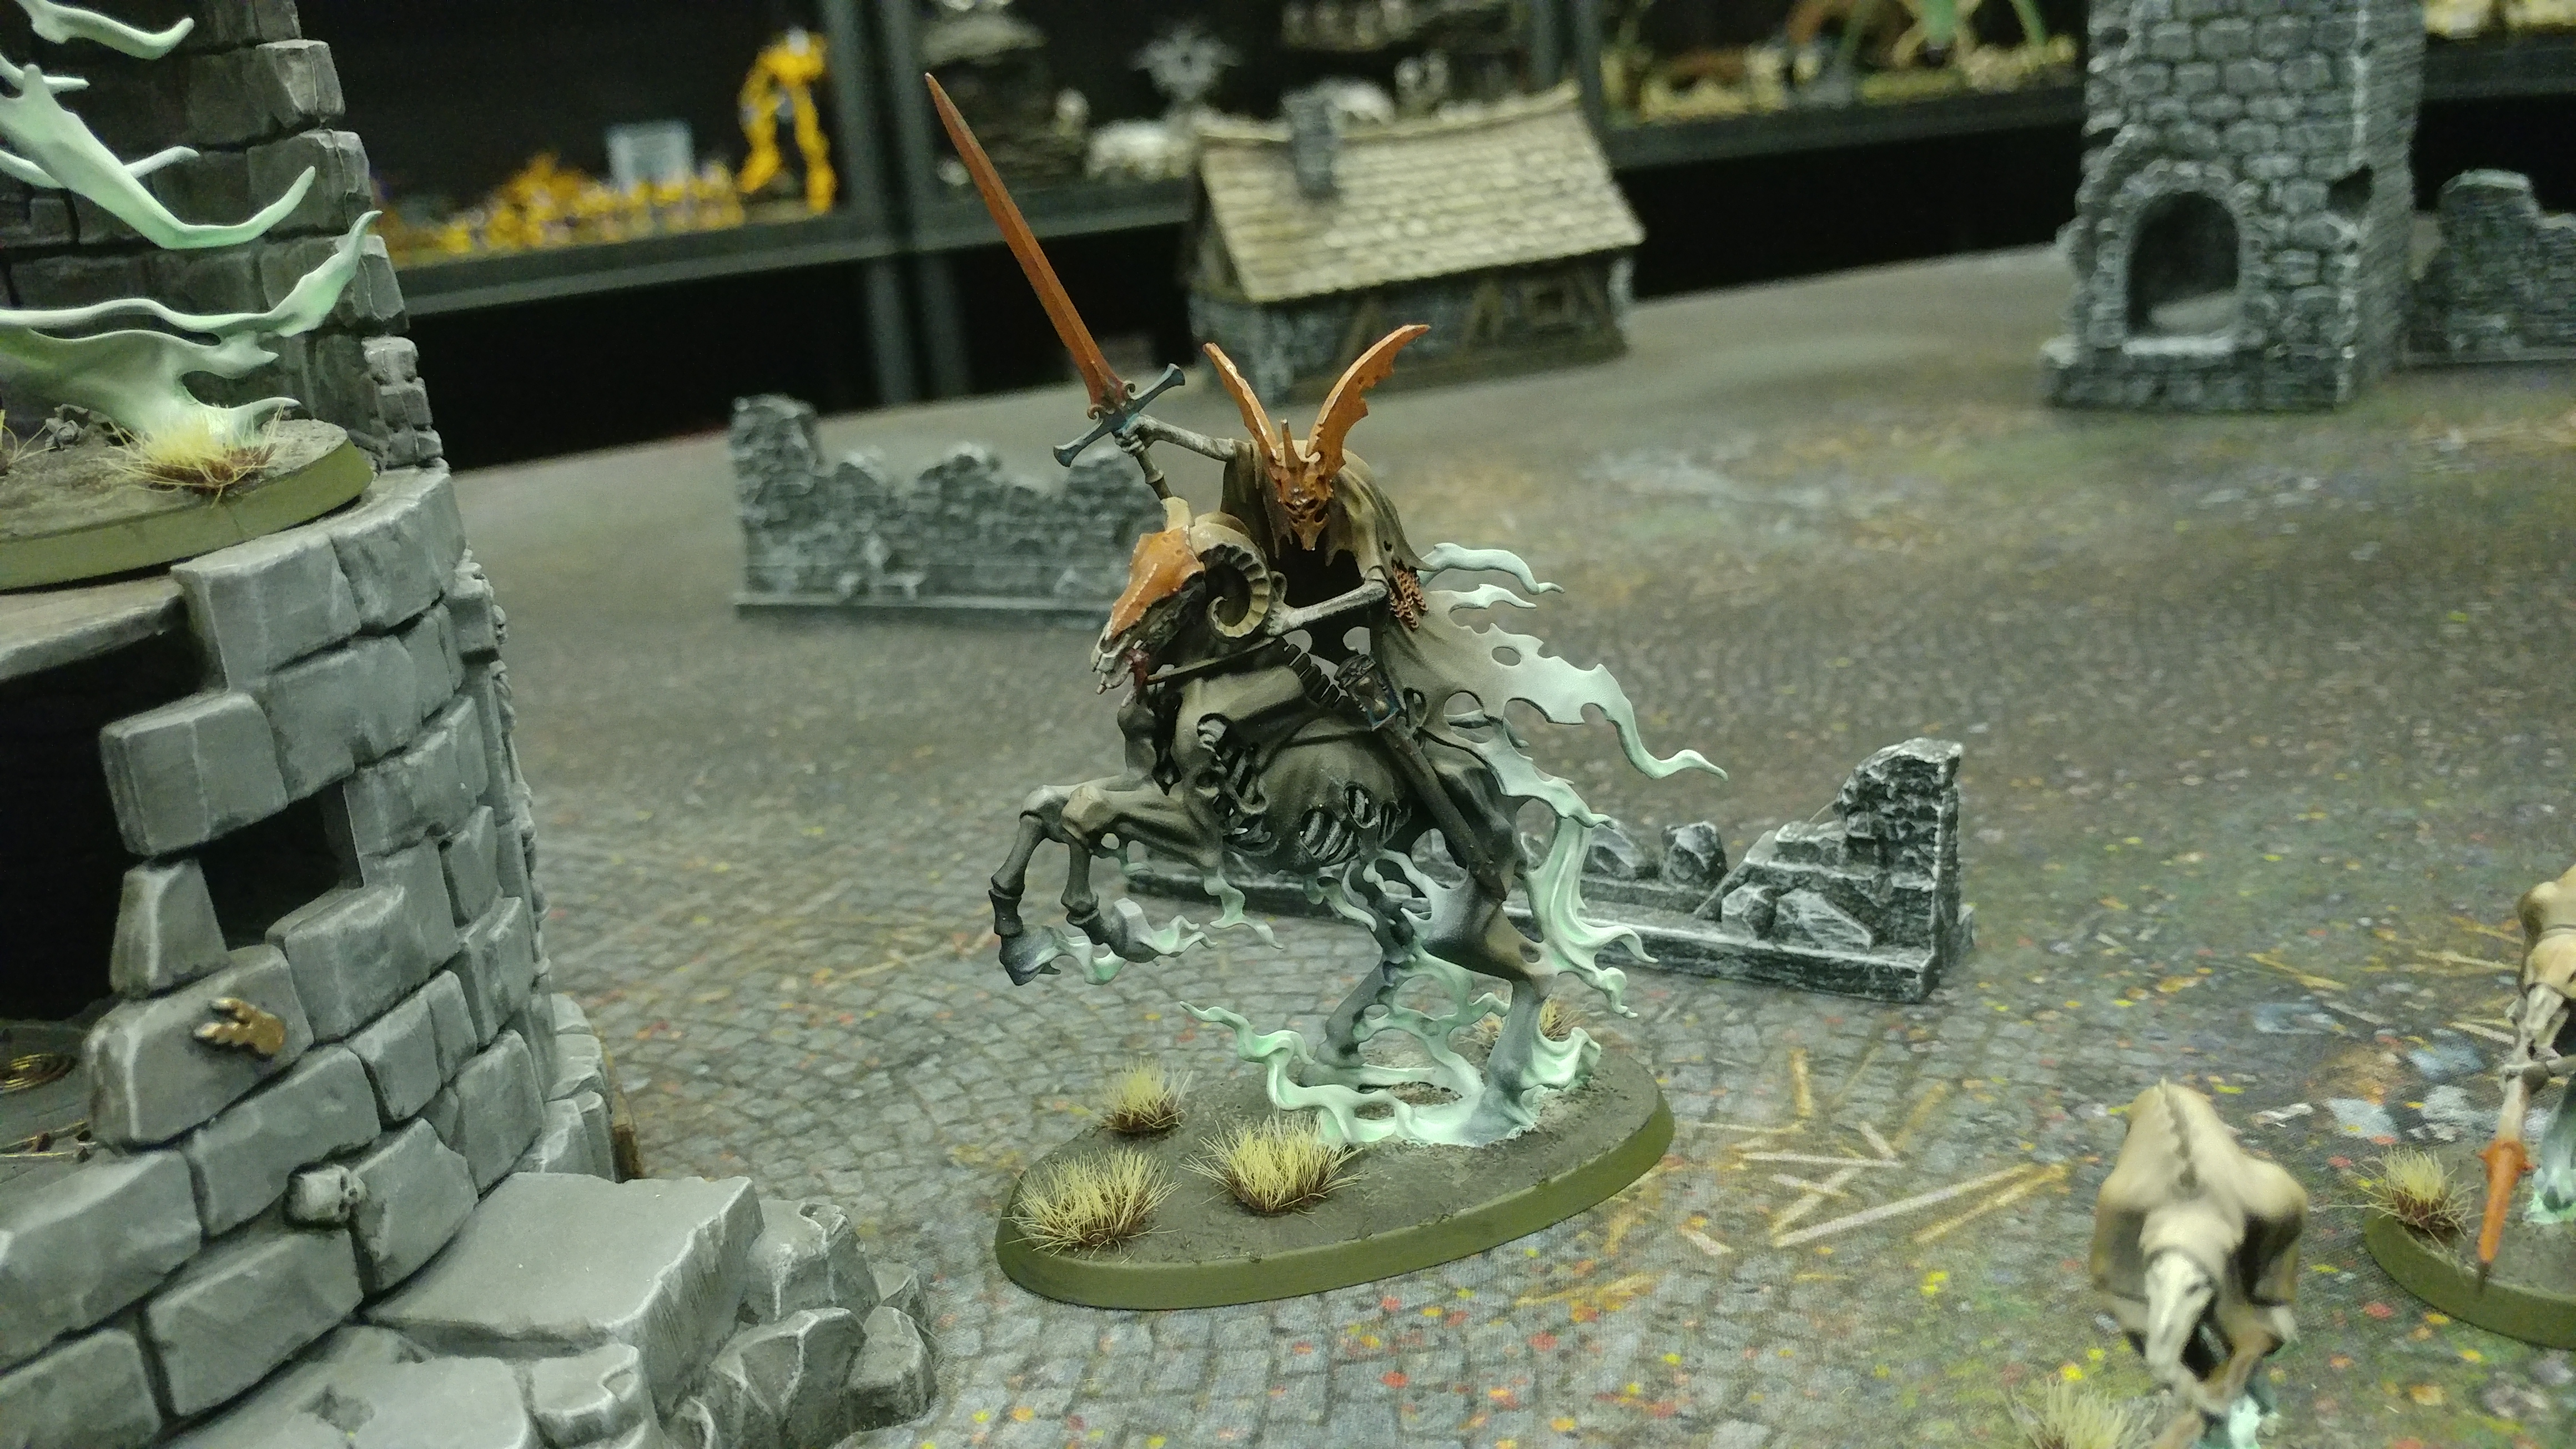
The Nighthaunt RISE!
It is done! Everyone has risen and taken up arms against the Stormcast Eternal. Thank you, everybody, for pitching in your comments and ideas on the project VLOG as it progressed. In the meantime, enjoy the pictures and I look forward to seeing you all getting stuck into the next project with me!
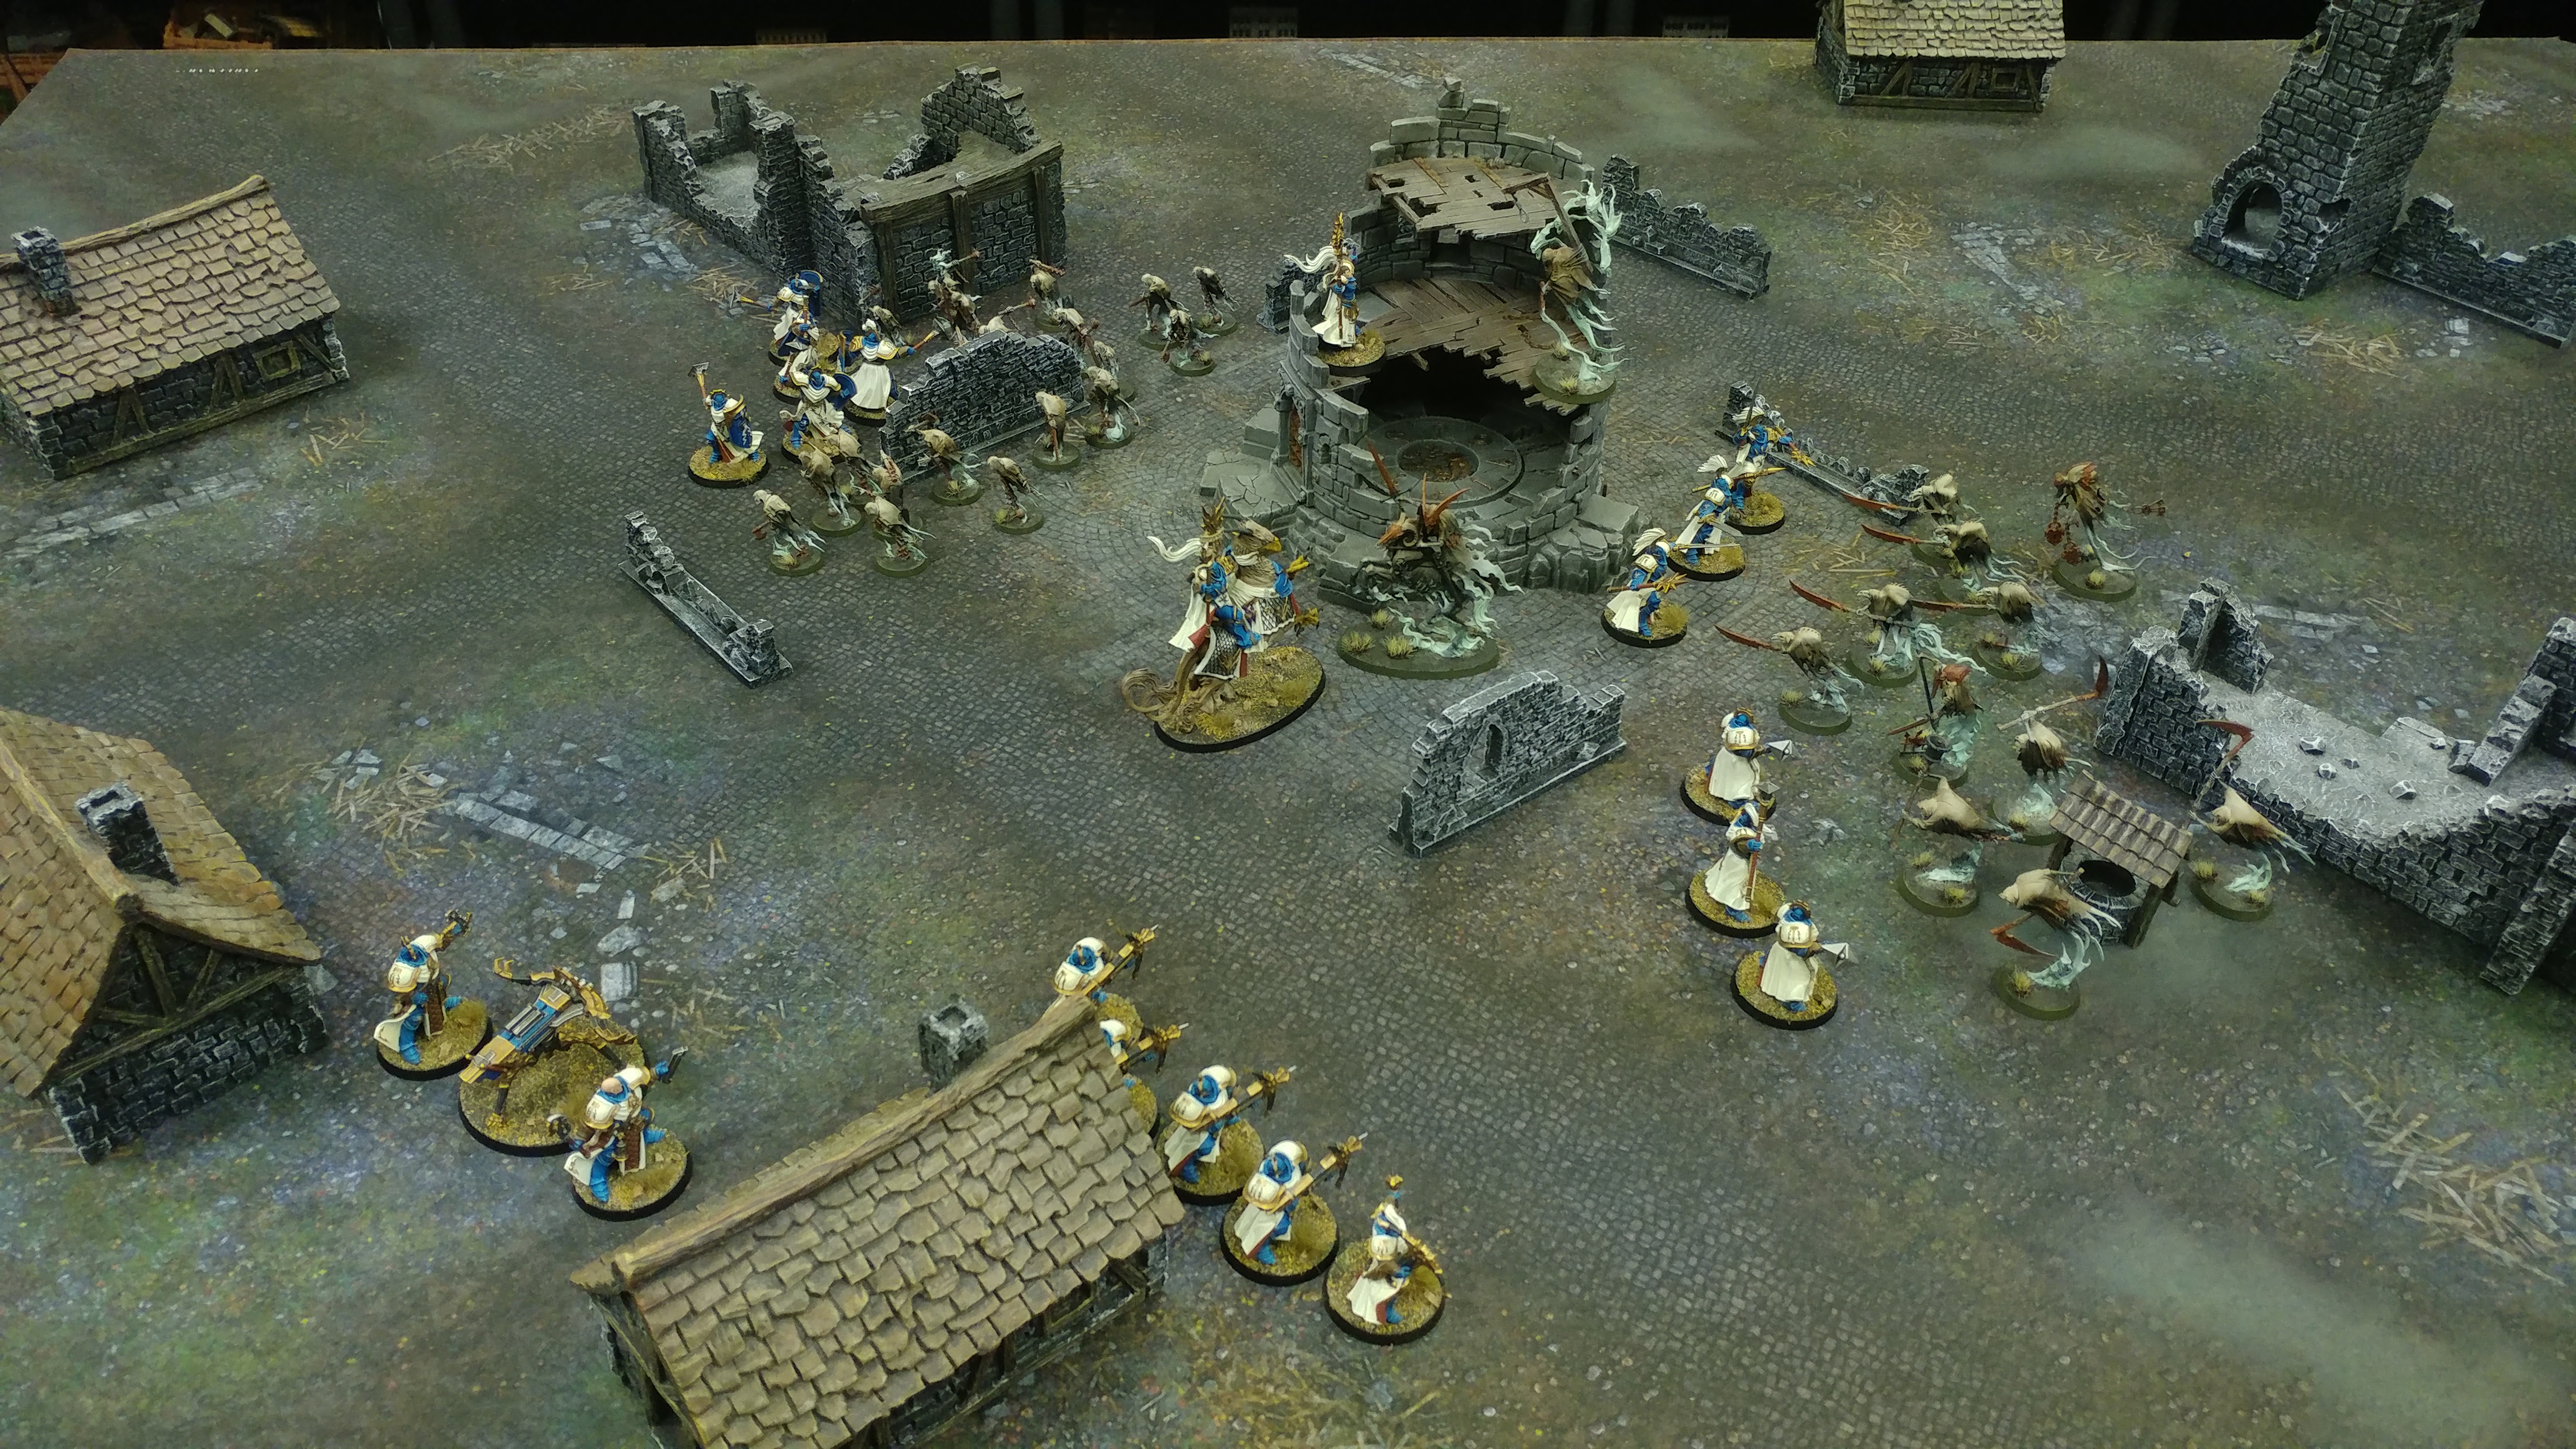
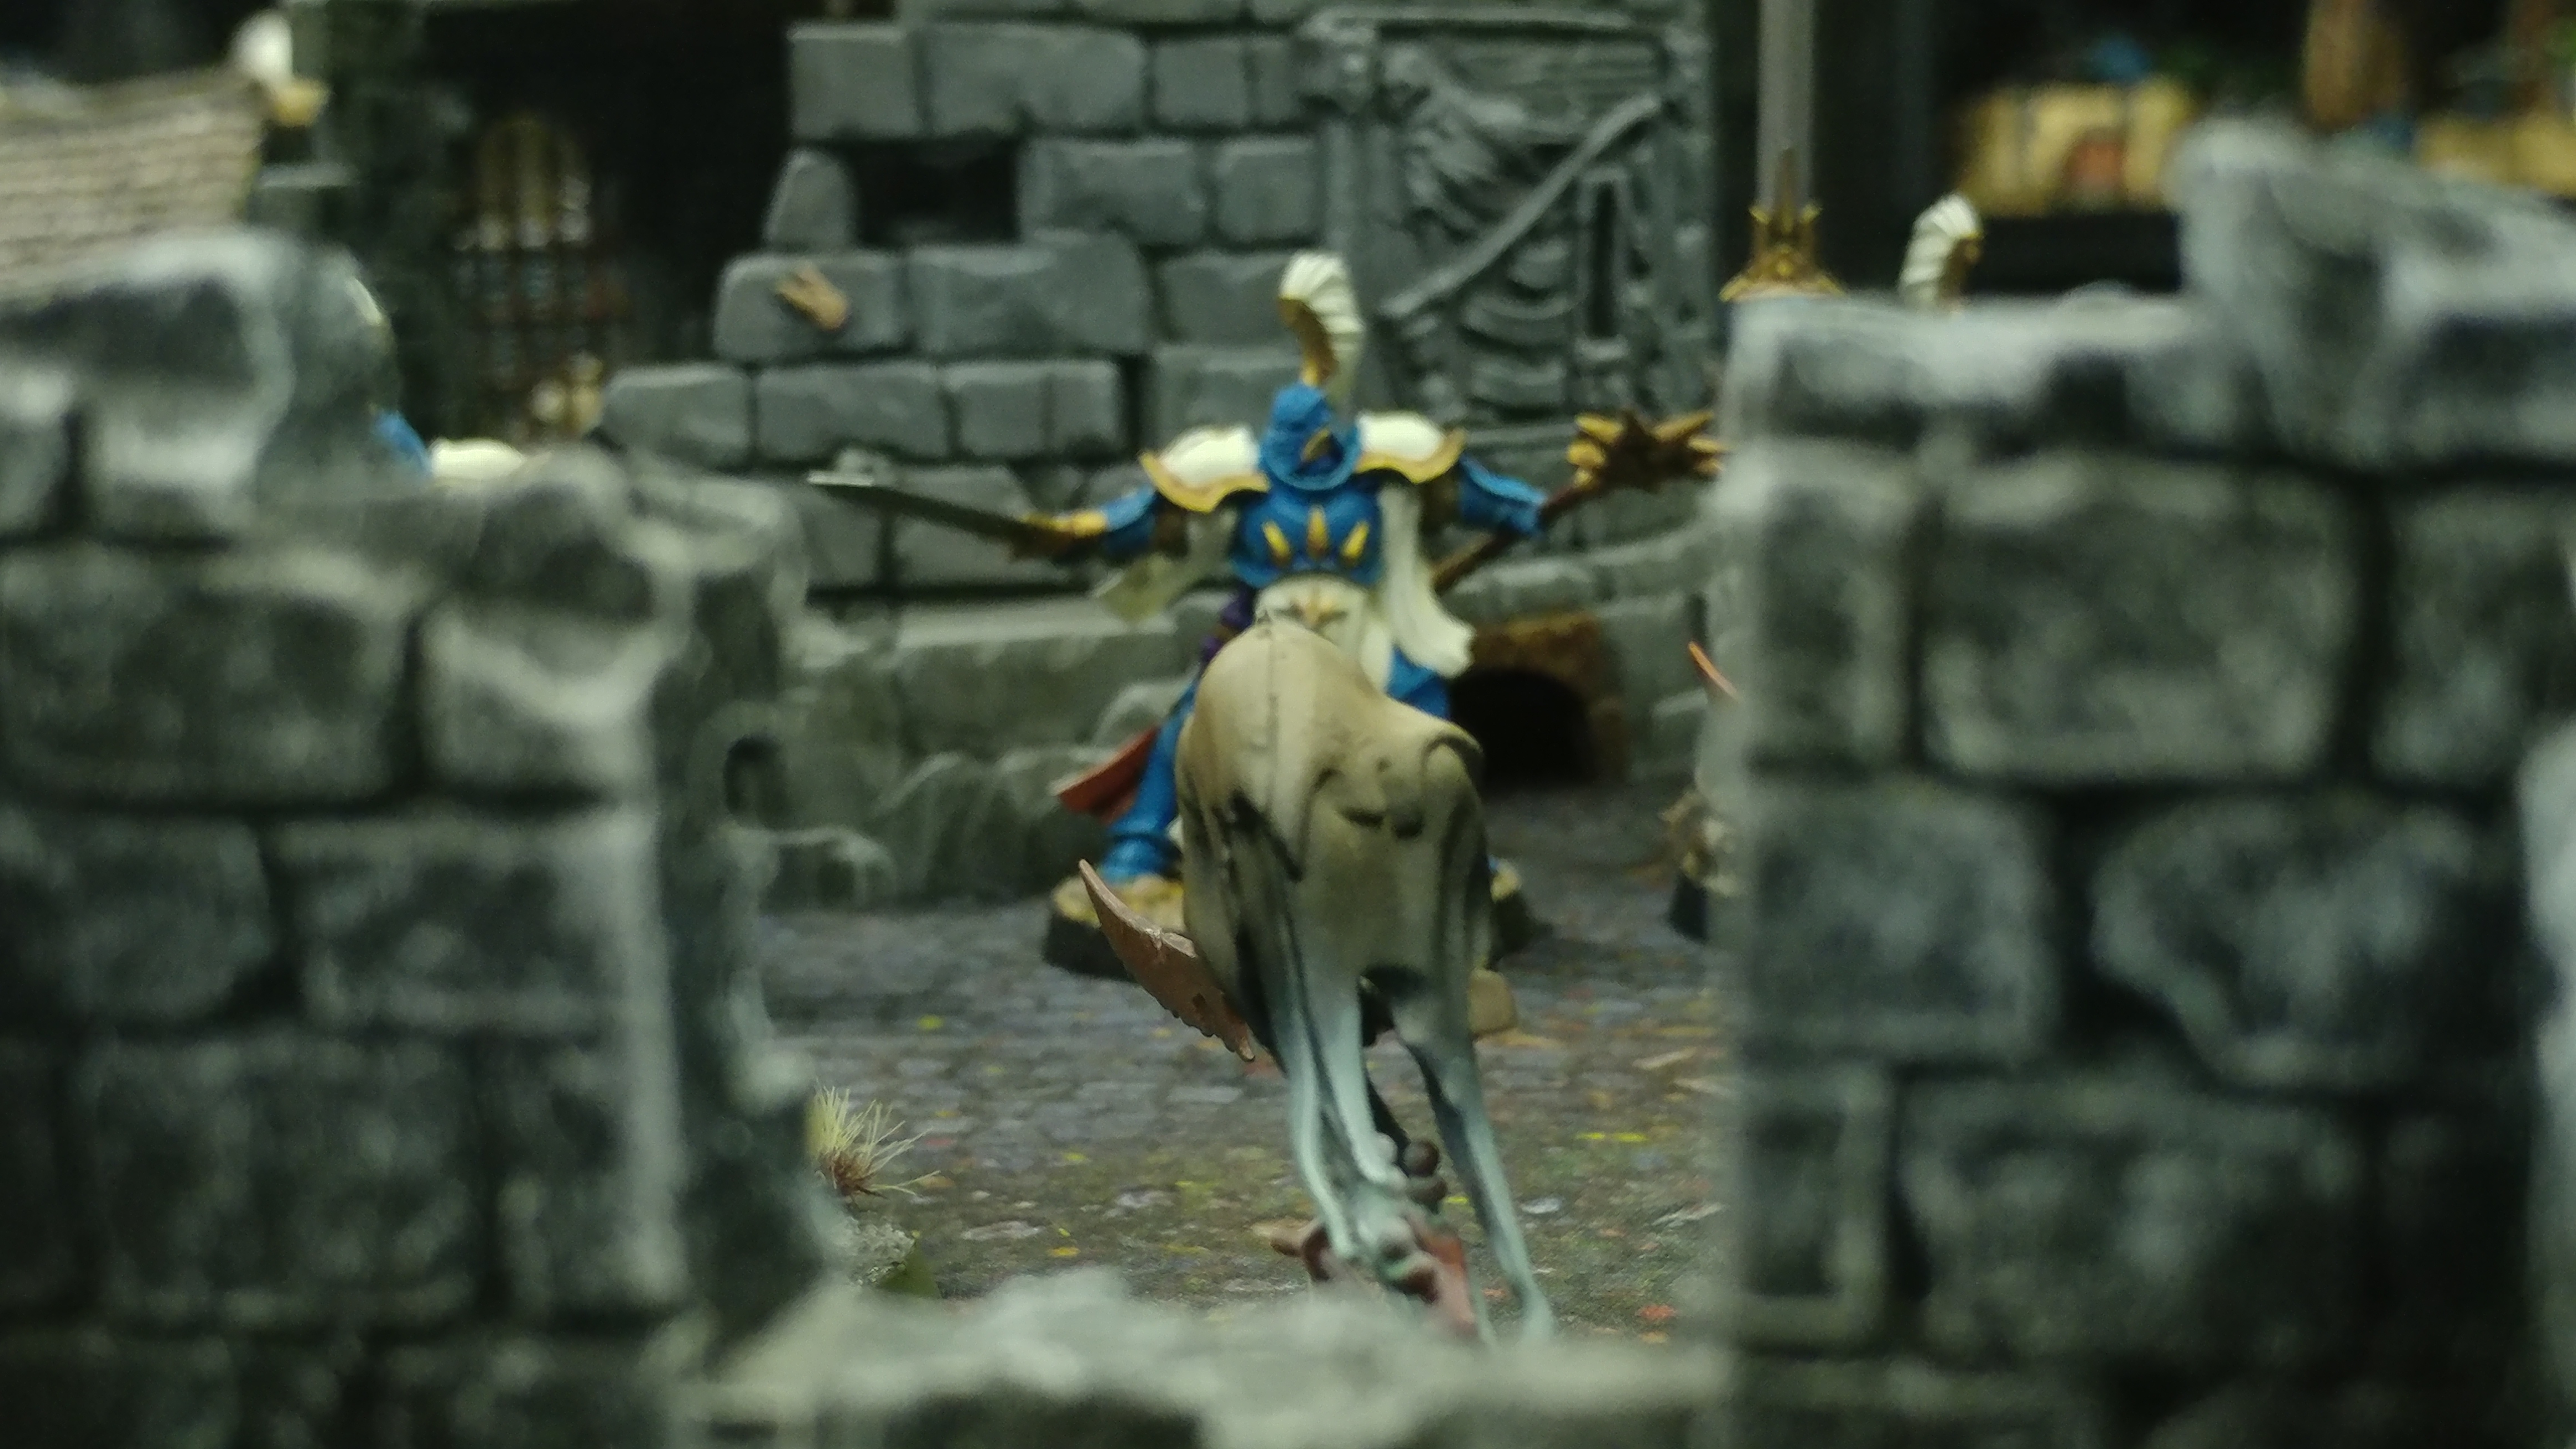

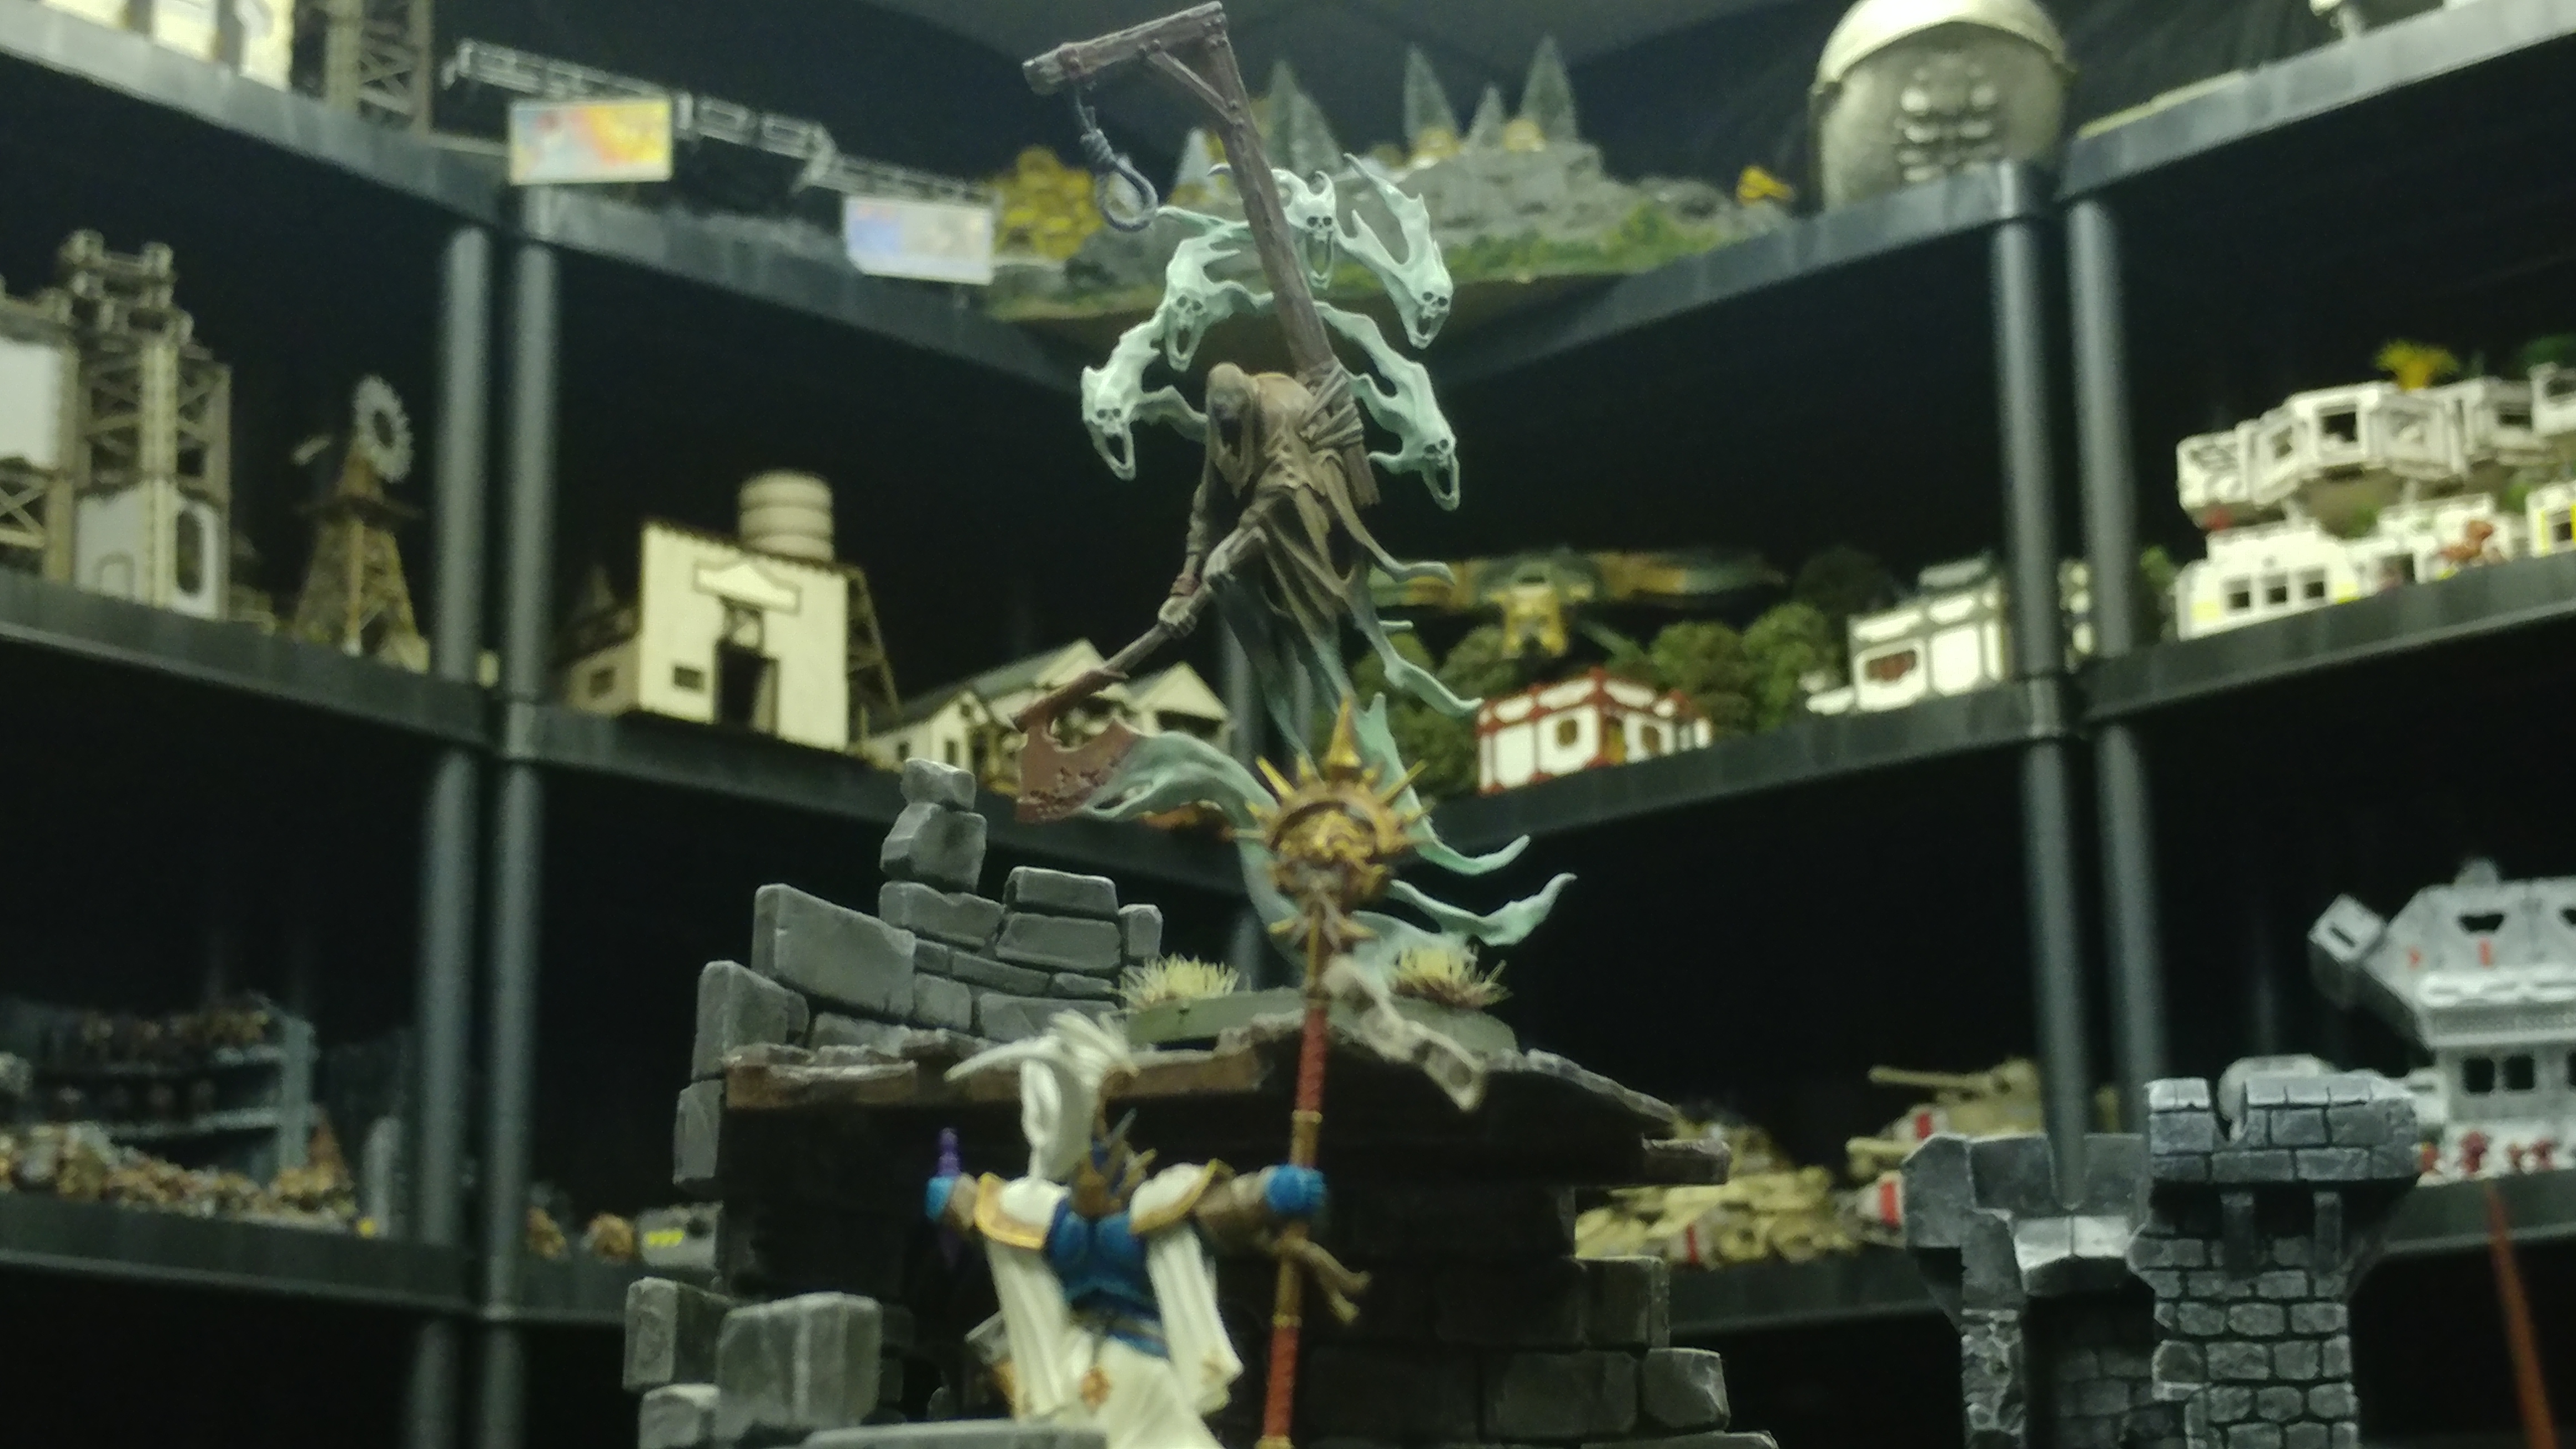
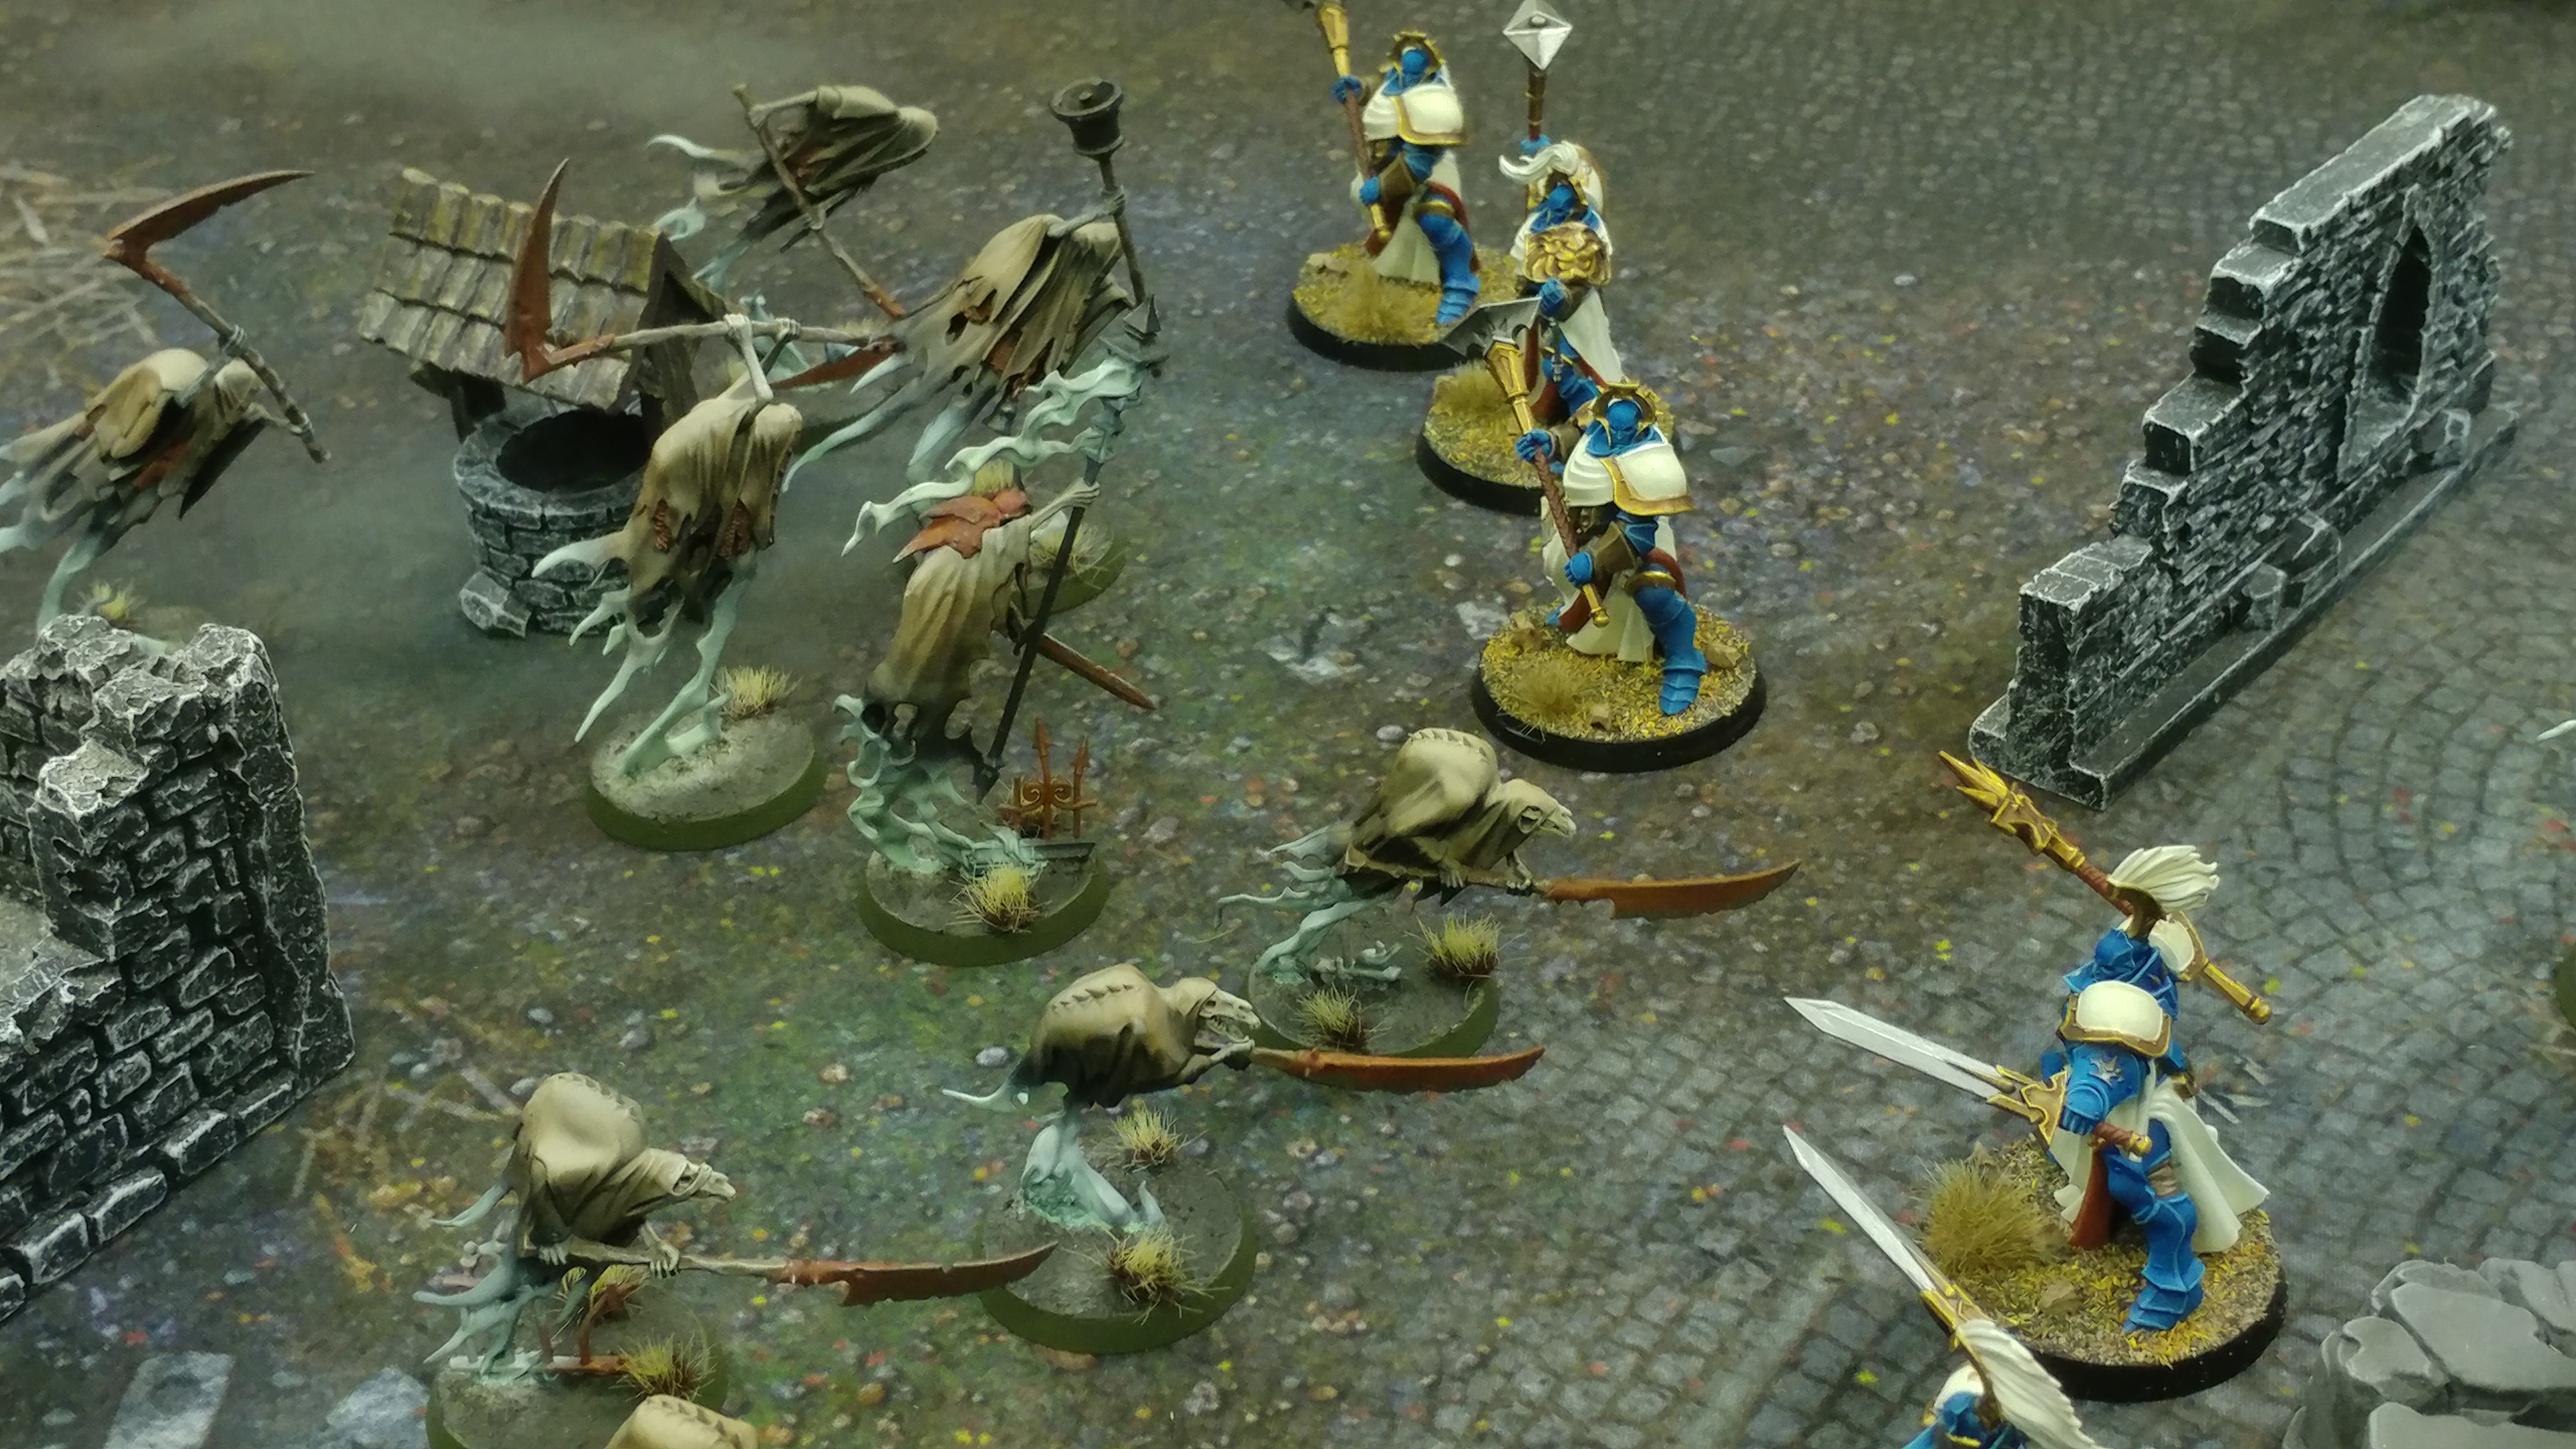
And to finish off, a few more images of the Nighthaunts on their own.


![StarCraft Tabletop Miniatures Game Pre-Orders Live Now [Updated]](https://images.beastsofwar.com/2026/03/starcraft-tmg-news-cover-600-338.jpg)


![Mounted US Cavalry On Kickstarter For Dead Man’s Hand! [Updated]](https://images.beastsofwar.com/2026/03/us-cavalry-main-600-338.jpg)


