


![NO Weekender Or Cult Of Games XLBS This Weekend [Updated]](https://images.beastsofwar.com/2026/03/No_Weekender_and_XLBS_this_Weekend-225-127.jpg)


Detailing Star Wars Legion Terrain


Recommendations: 99
About the Project
Detailing and weathering of Battle Kiwi Star Wars: Legion terrain.
Related Game: Star Wars: Legion
Related Genre: Science Fiction
This Project is Active
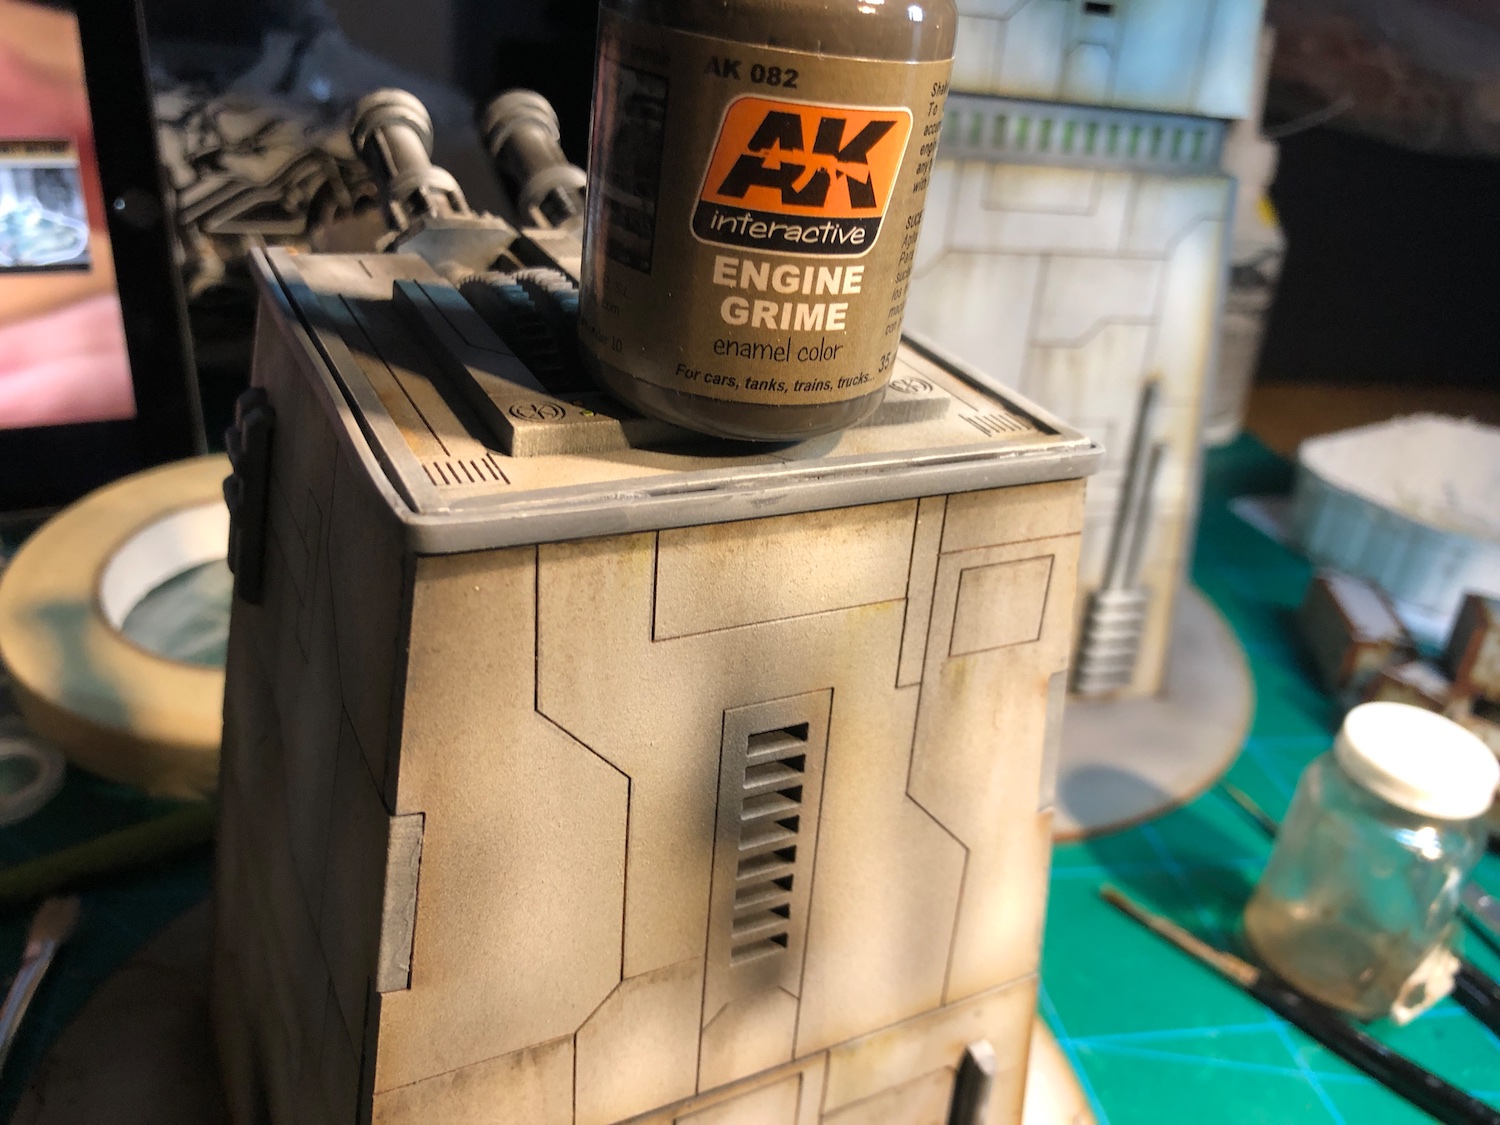
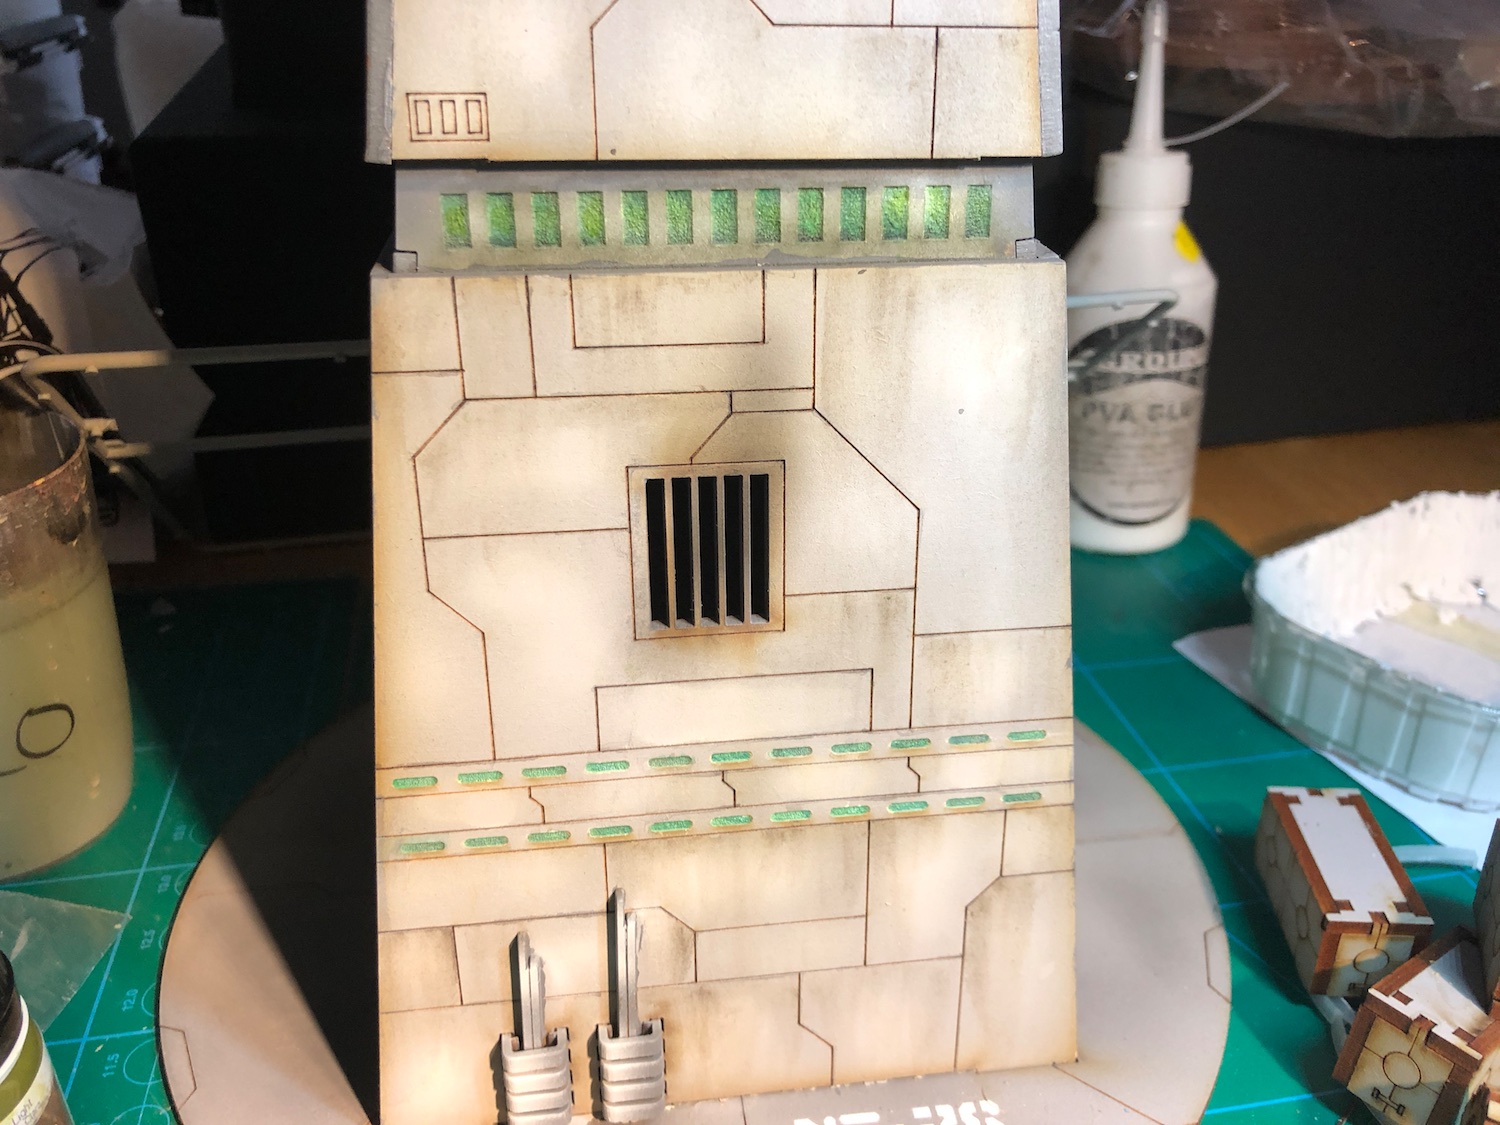
Weathering
Weathering started with some streaking. I used AK interactive “Engine Grime” enamel, stippling small amount of it on top edge of a panel and then dragged down with a brush moistened in white spirit. Super easy technique, and if you mess it up, just get more white spirit on your brush, wipe it off and do it again.
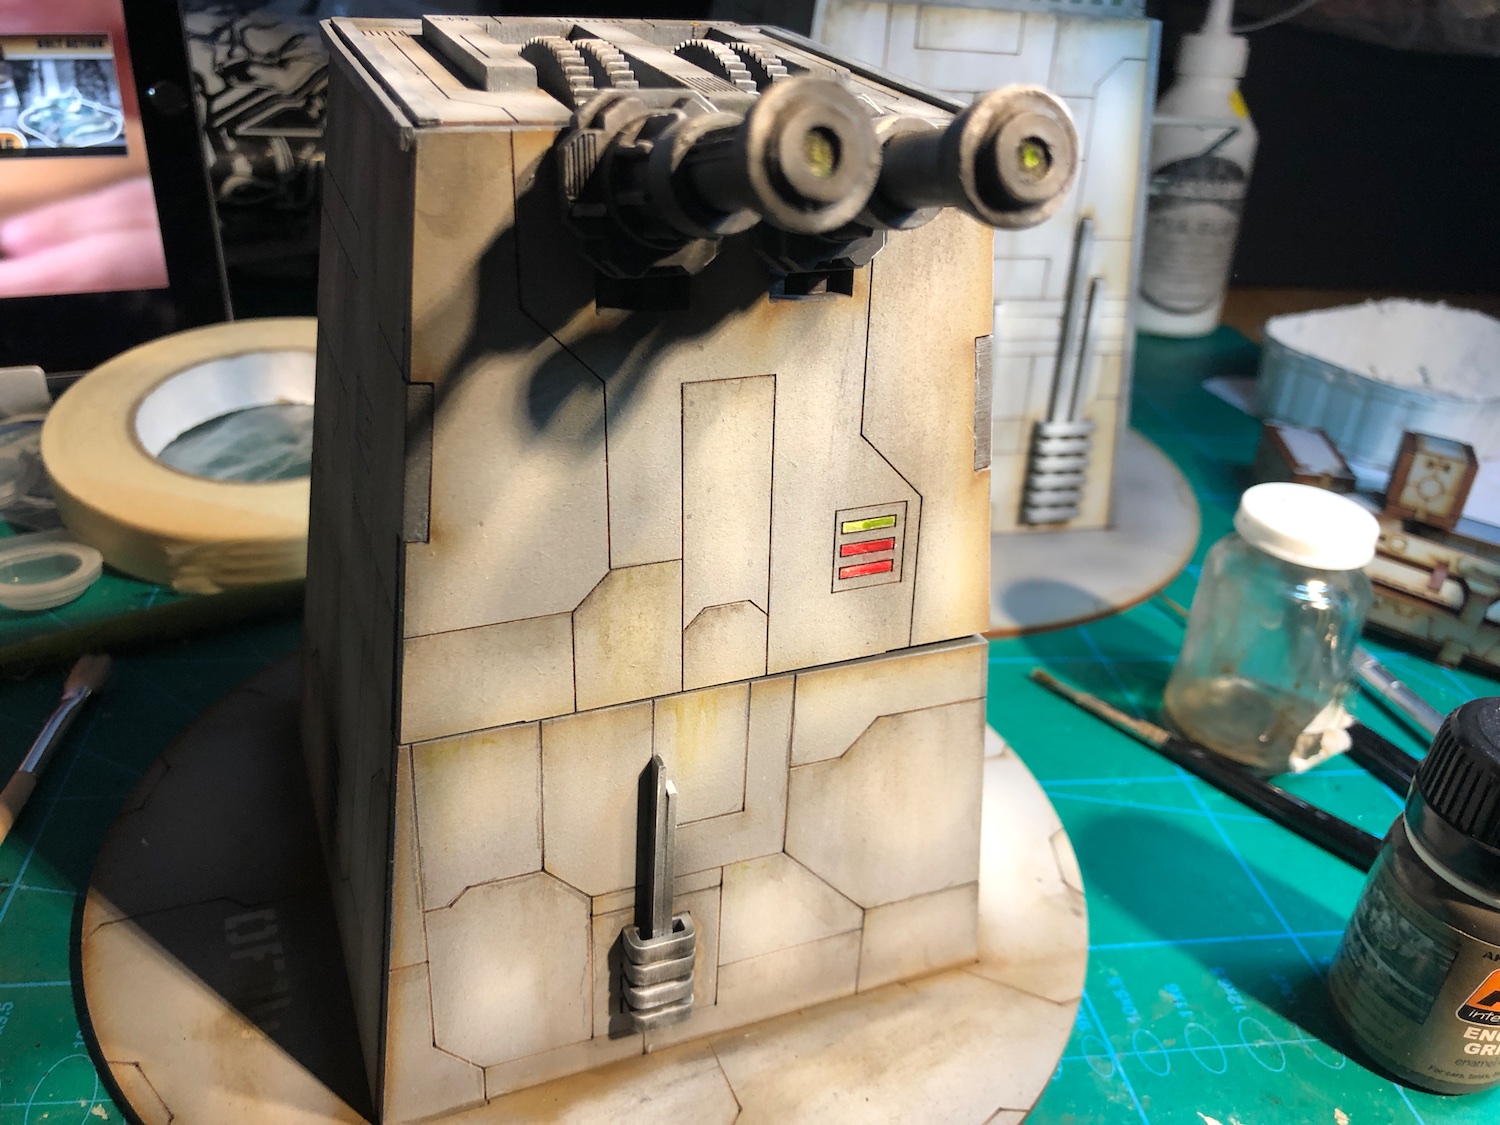
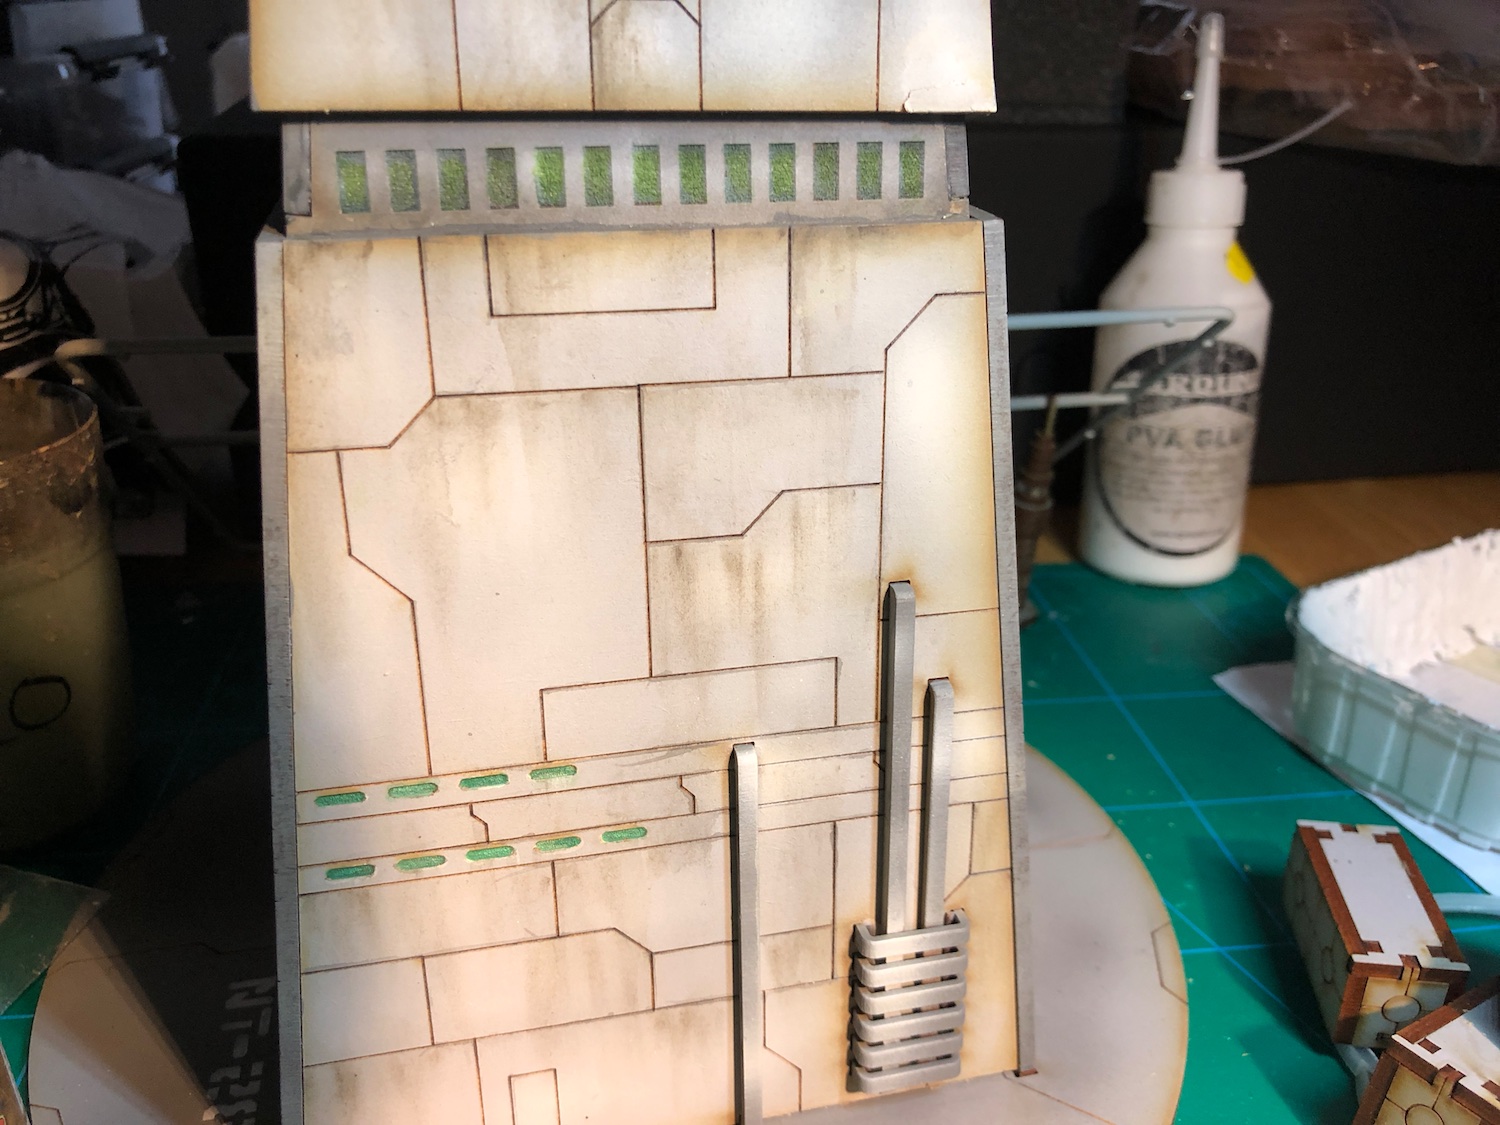
After the Engine Grime, I added few streaks with a green enamel wash, keeping it very light.
Gallery below with some pics.

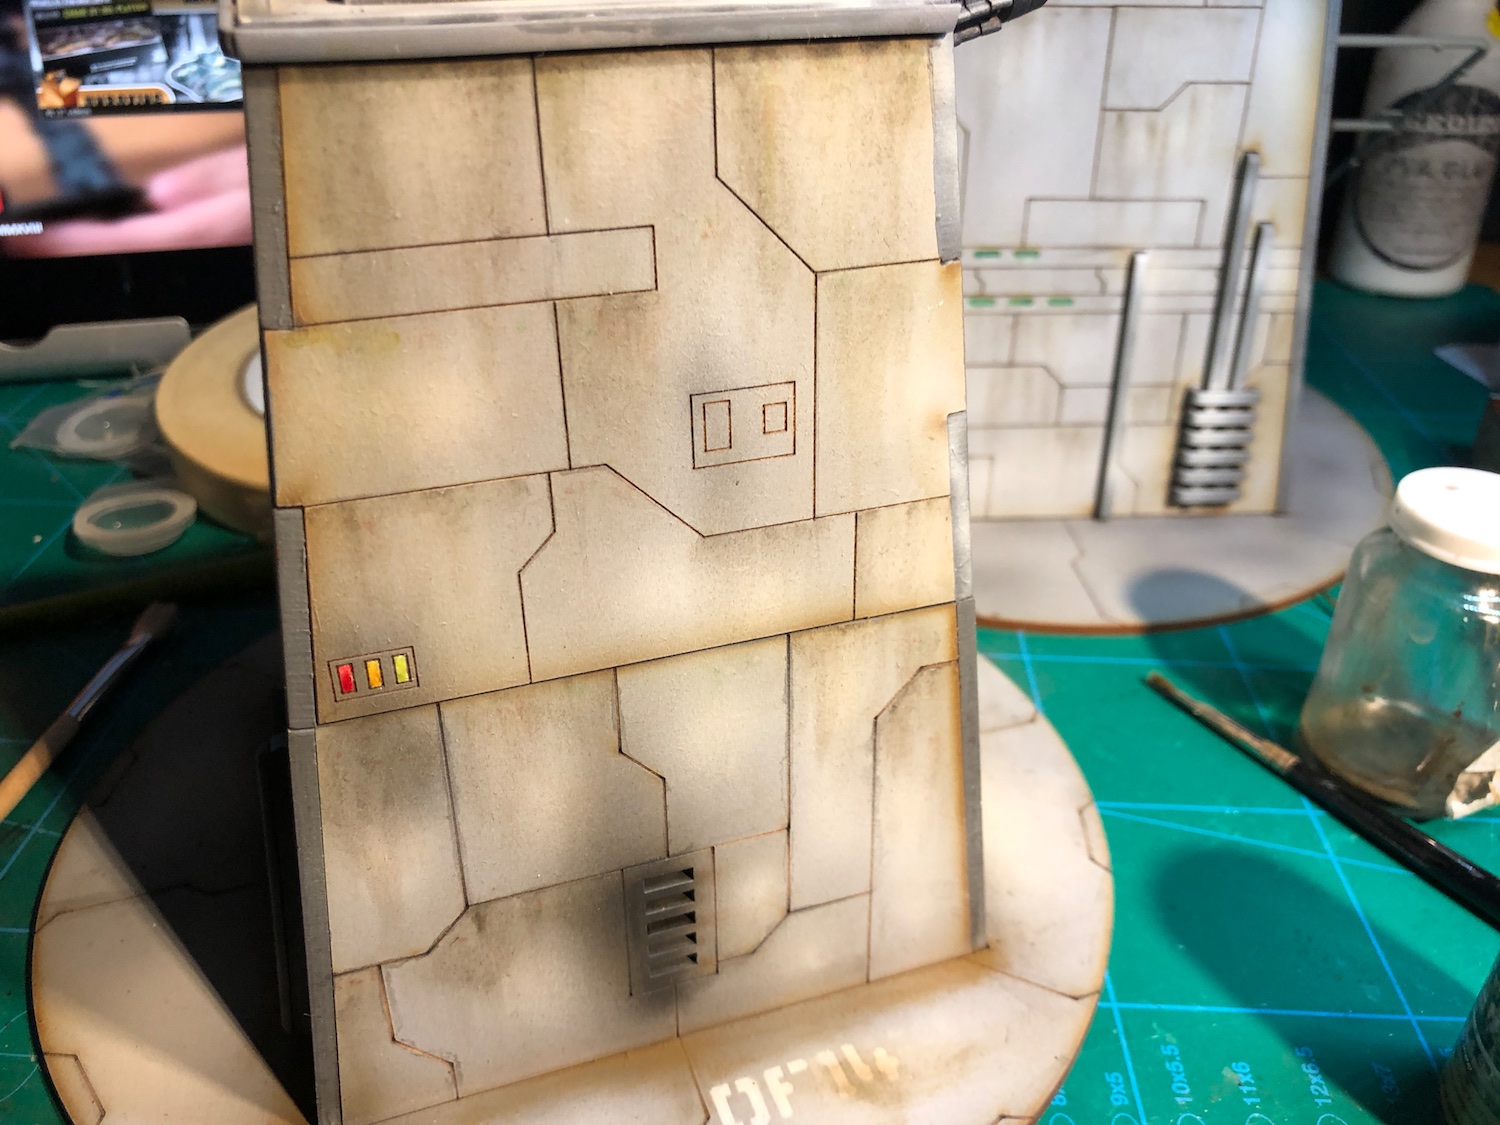

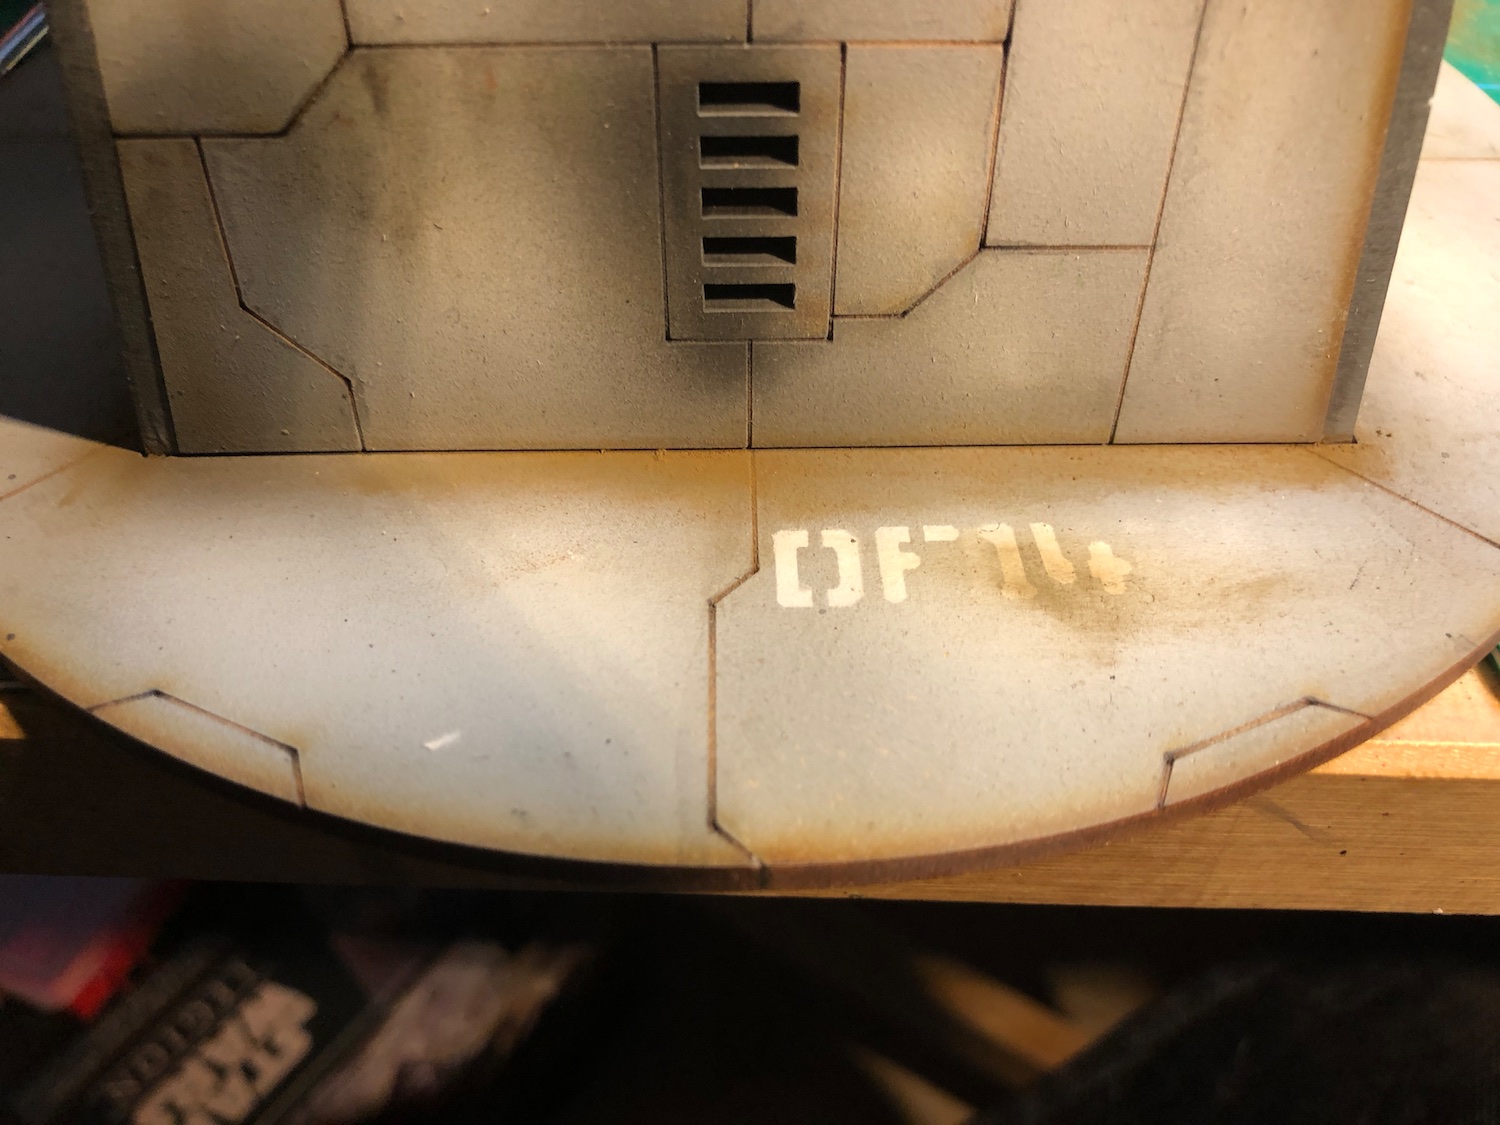
For the bases, I used a pigment powder, brushing it to the edges. As the MDF surface isn’t completely flat it takes pigments really well. That also means you have to be careful with the amount you add, as it can be bit tricky to remove. Good thing is that, outside varnish on top, it doesn’t need anything else to fix it in place.
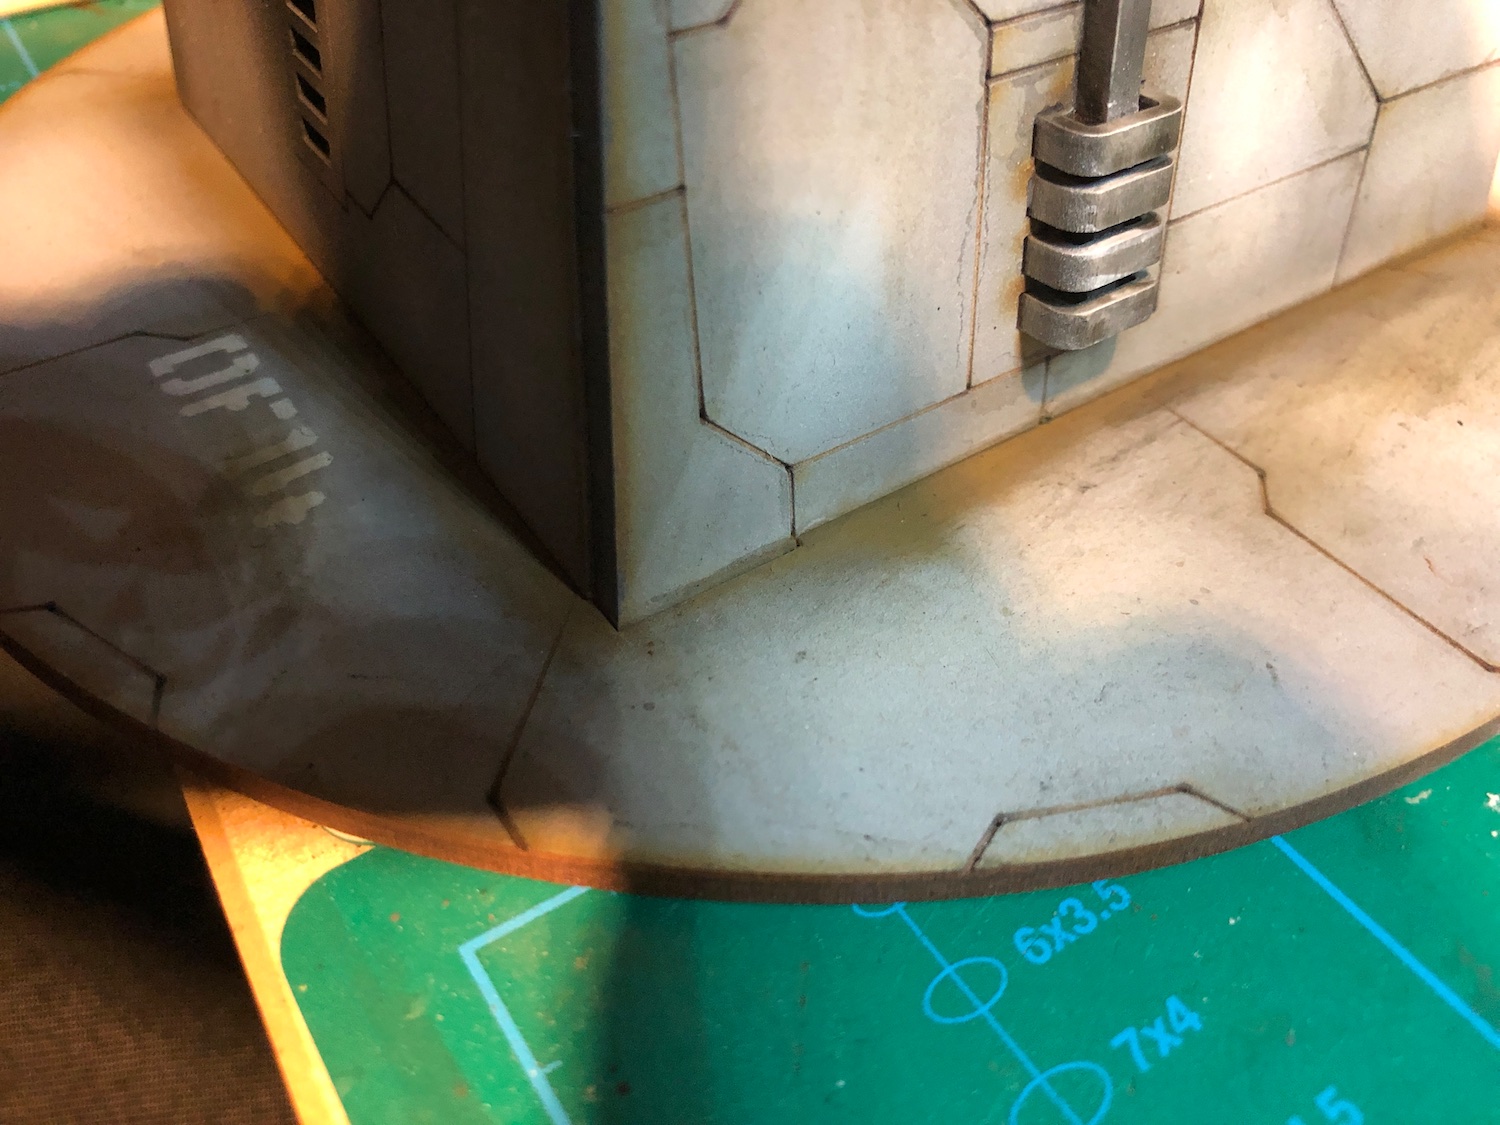

I wanted to add some rust to the grilles, the metal parts etc. I tried to avoid overdoing it as I don’t want to make these look abandoned, but I was probably a bit too careful. I might repeat this step to make the rust more visible.


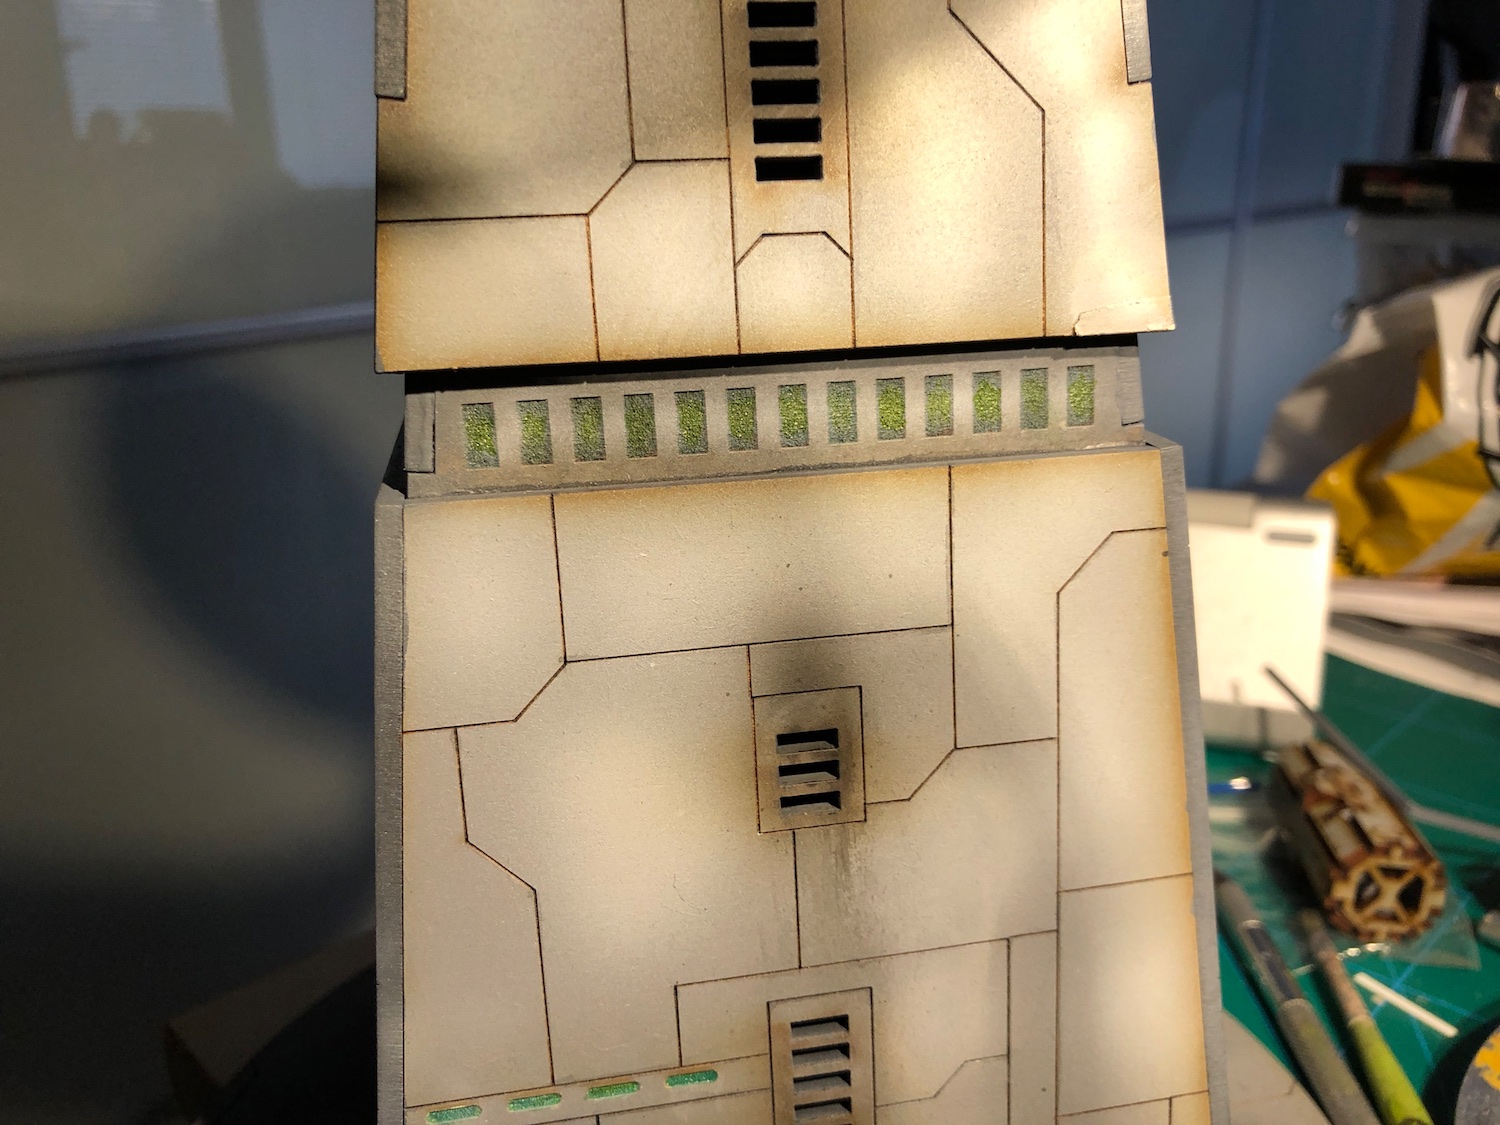
Painting the Shield Generator
Phew! Main bulk of of painting is now done for both pieces. The pin washing took forever to do, also the the parts I’ve painted green were lot of trial and error.
All Star Wars things should have a letter and number combination for a name, so I used my Anarchy models stencils to paint one of the base. Now I need to do similar one for the turret as well.
I’m quite happy how these are now. I’ll varnish them next and then do some weathering to finish them off.
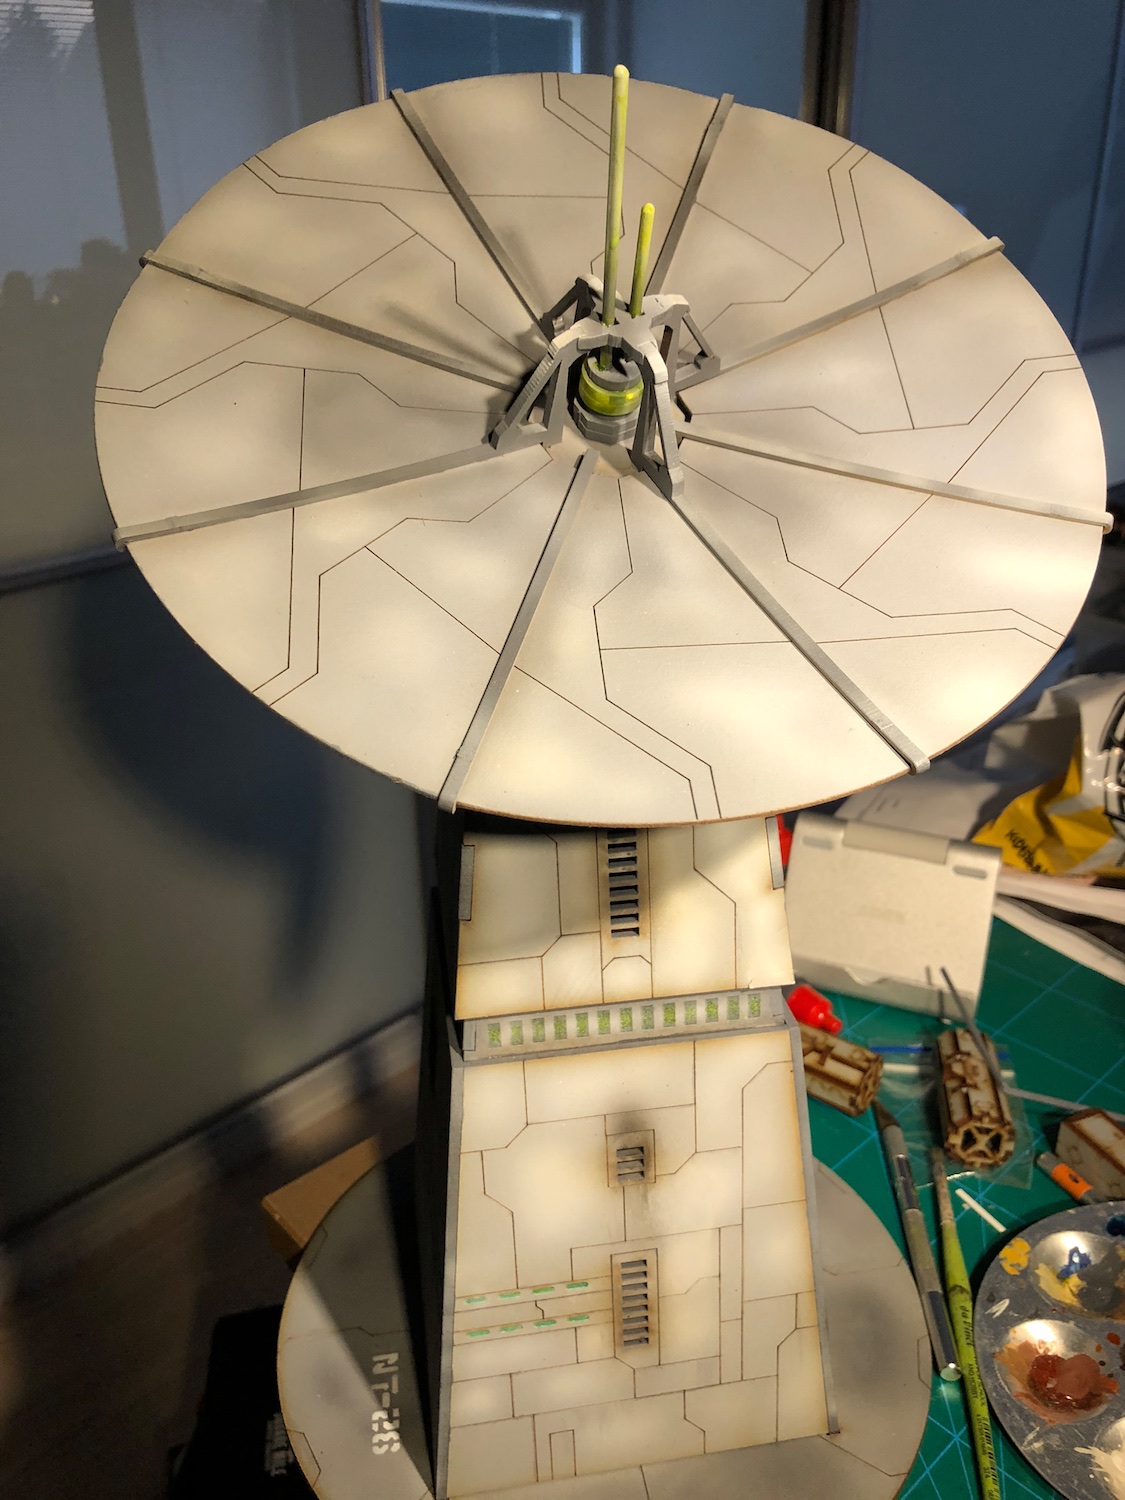

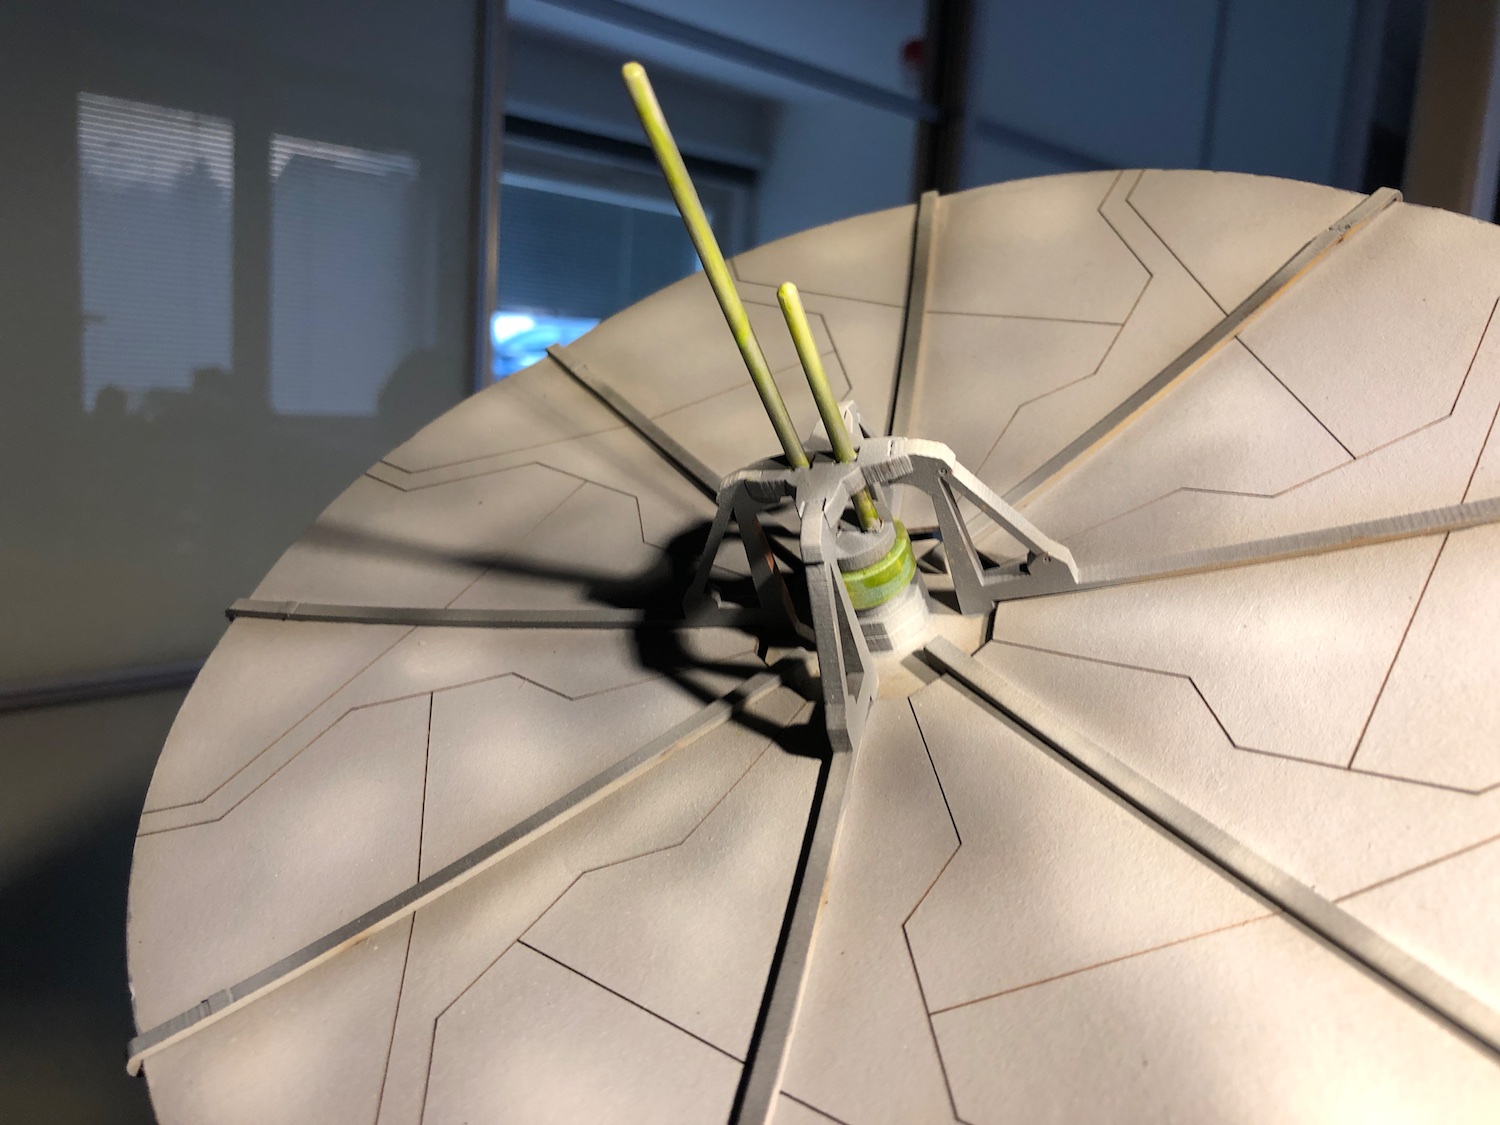
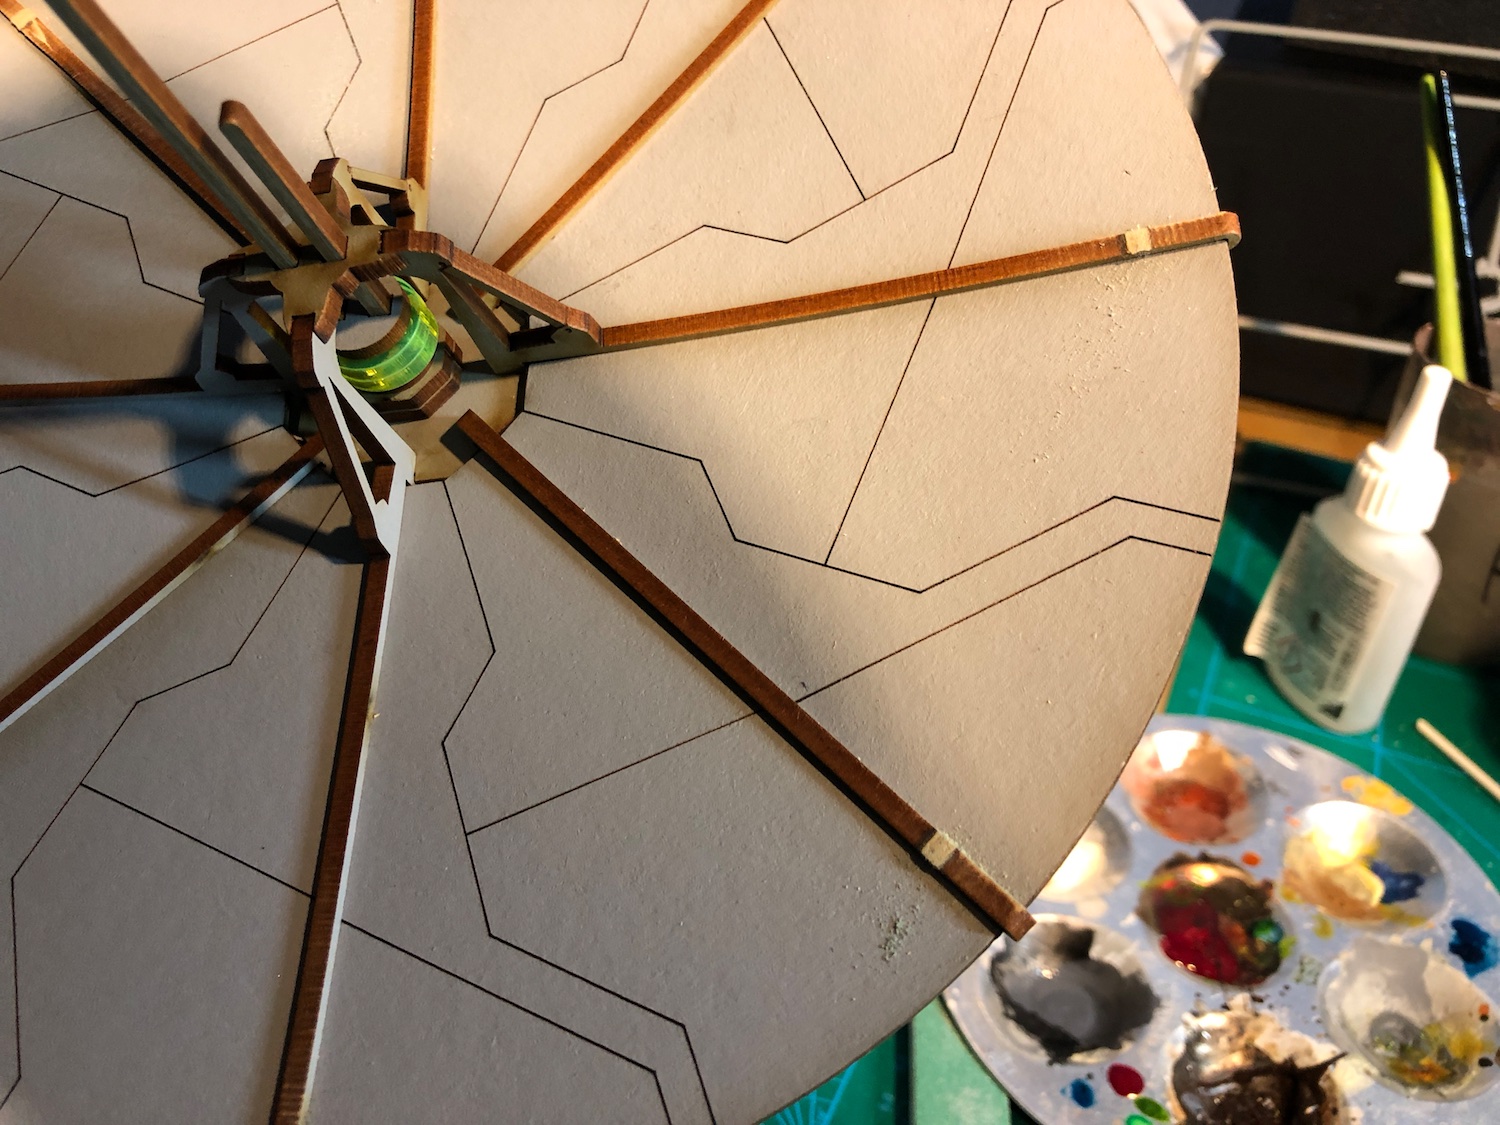
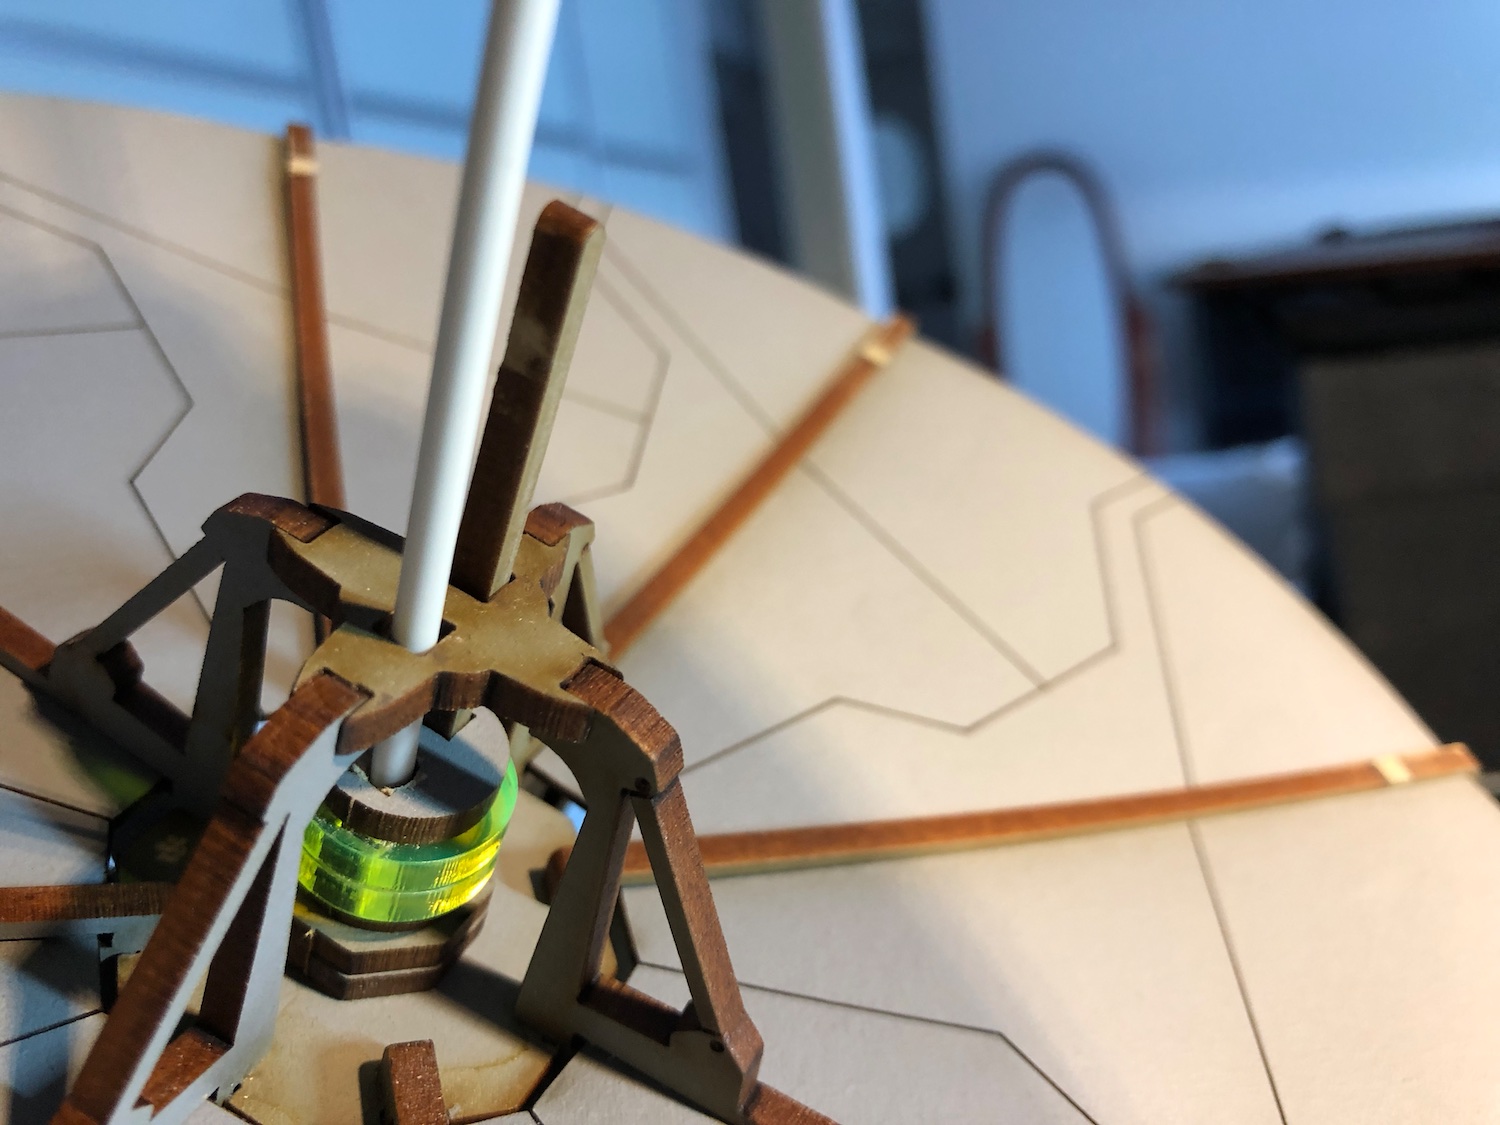
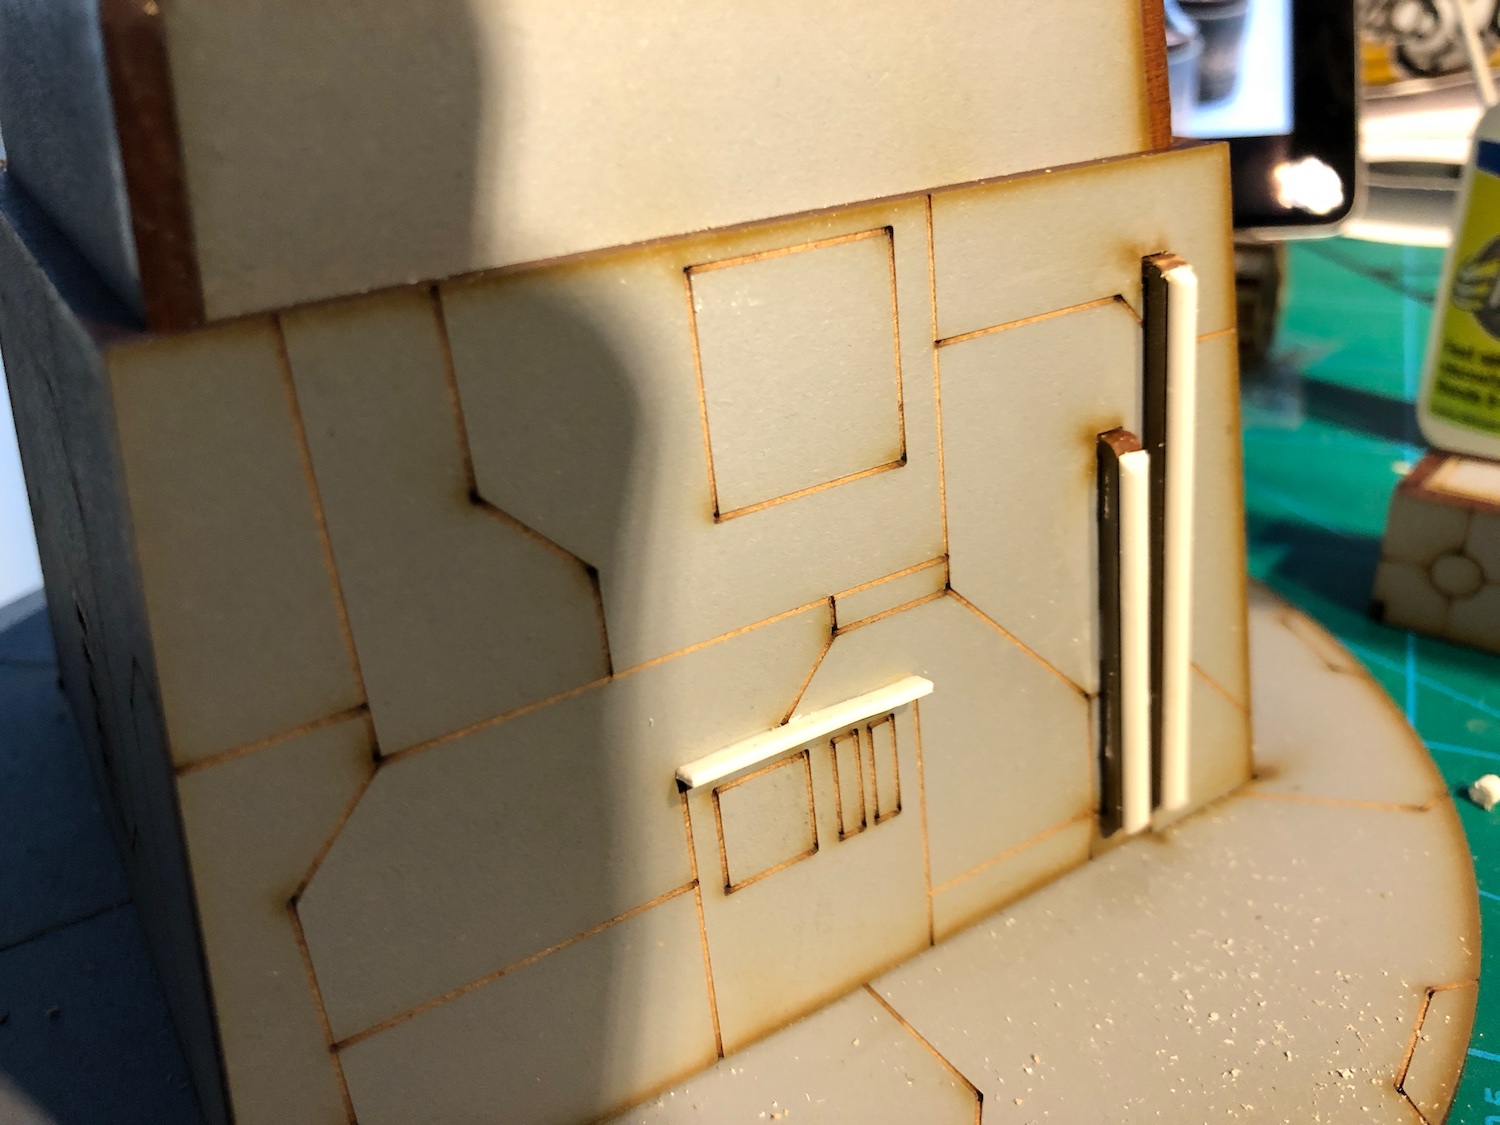
Shield Generator
Onwards with the shield generator.
First, I did similar plasticard lining as for the turret to the top and also covered the dish support’s tabs. This turned out quite nice.
For the small “satellite dishes”, I decided they needed to go. I removed them and filed their attachment points flat.
The rectangular MDF strips on the centre of the big dish didn’t look that great and felt like would easily snap in storage. I replaced them with round plastic strips. I made them quite a bit longer than the originals, to make them stand out more.
Next step is the most boring one: painting the edges and the added bits and black lining the panel lines.

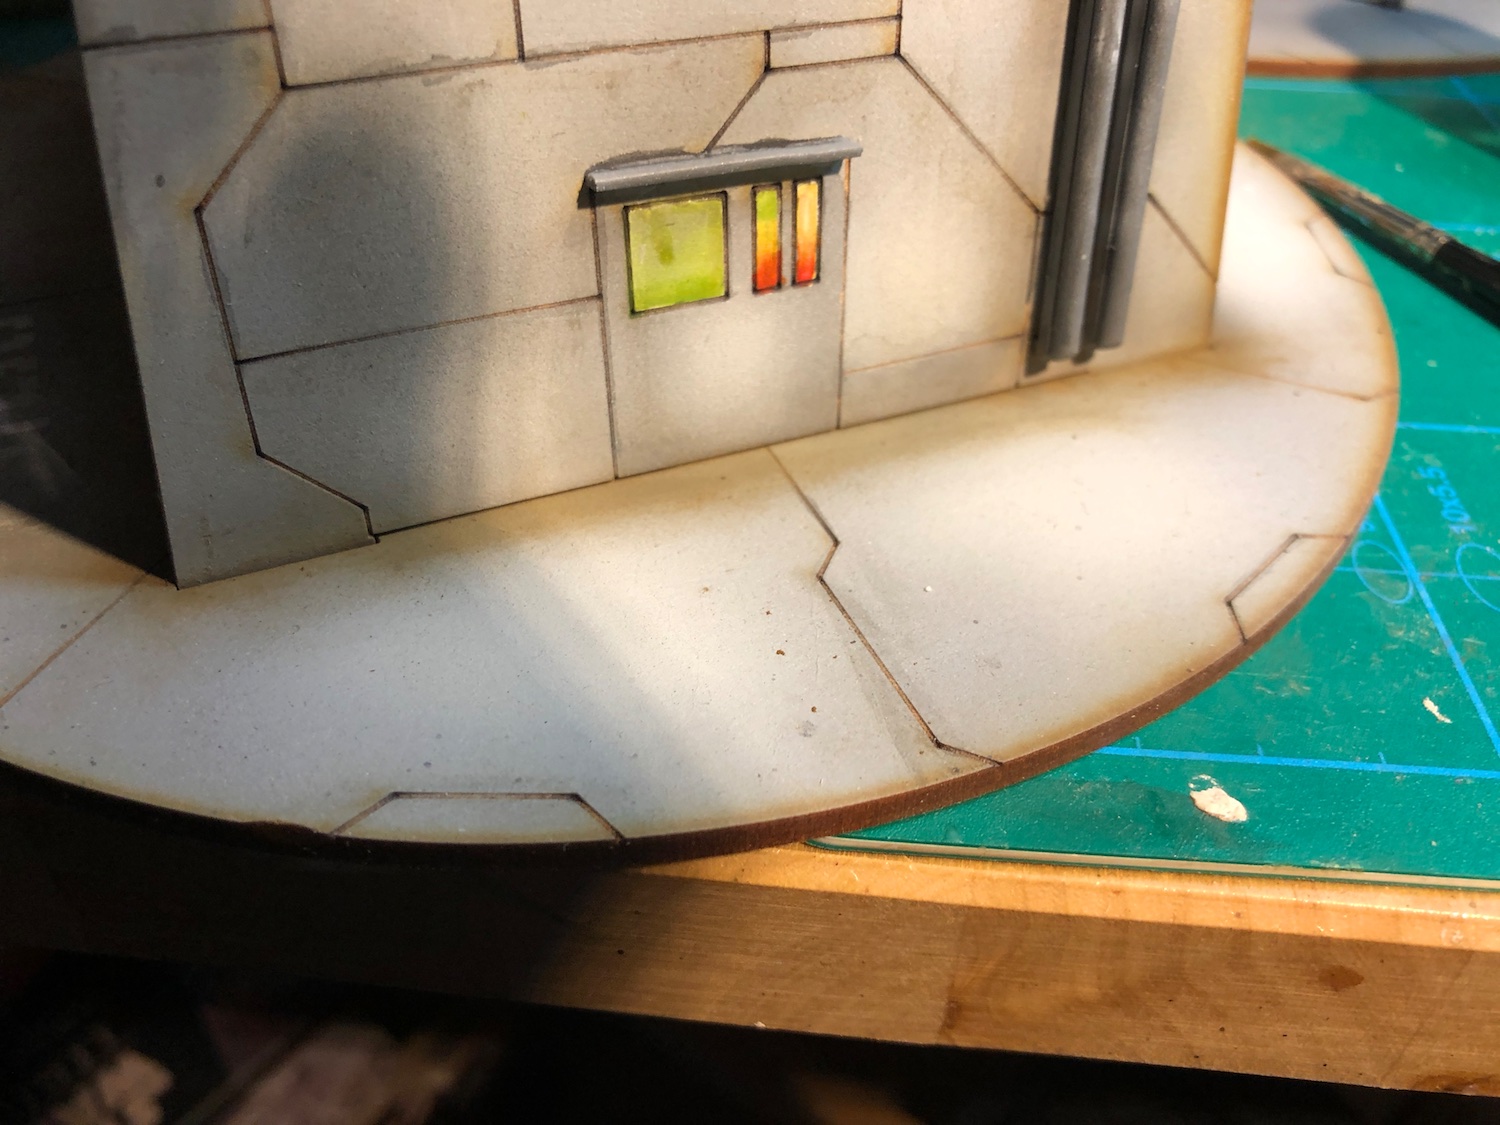
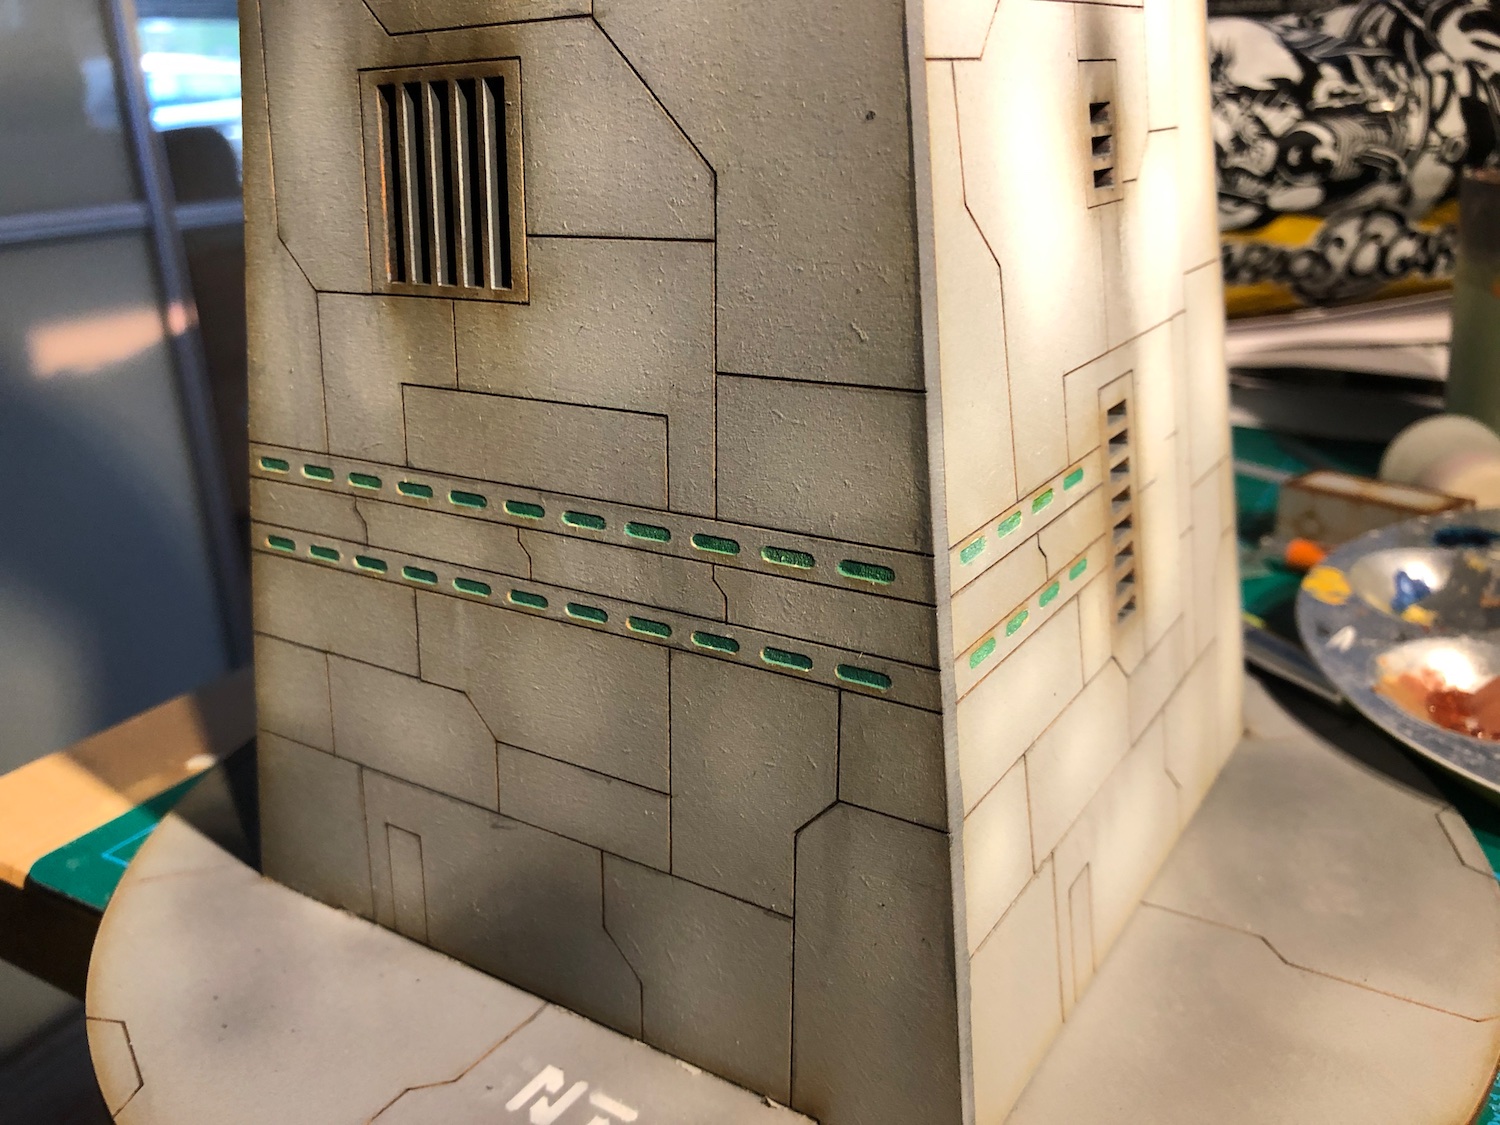
Detailing brushwork
I did some further edge highlighting and emphasized the shading. In addition, I painted few colourful details here and there.
Before I jump into the weathering, I’ll get the shield generator to the same stage, varnish the models and work on the weathering on both at the same time for consistent results.
 Stormtroopers for scale
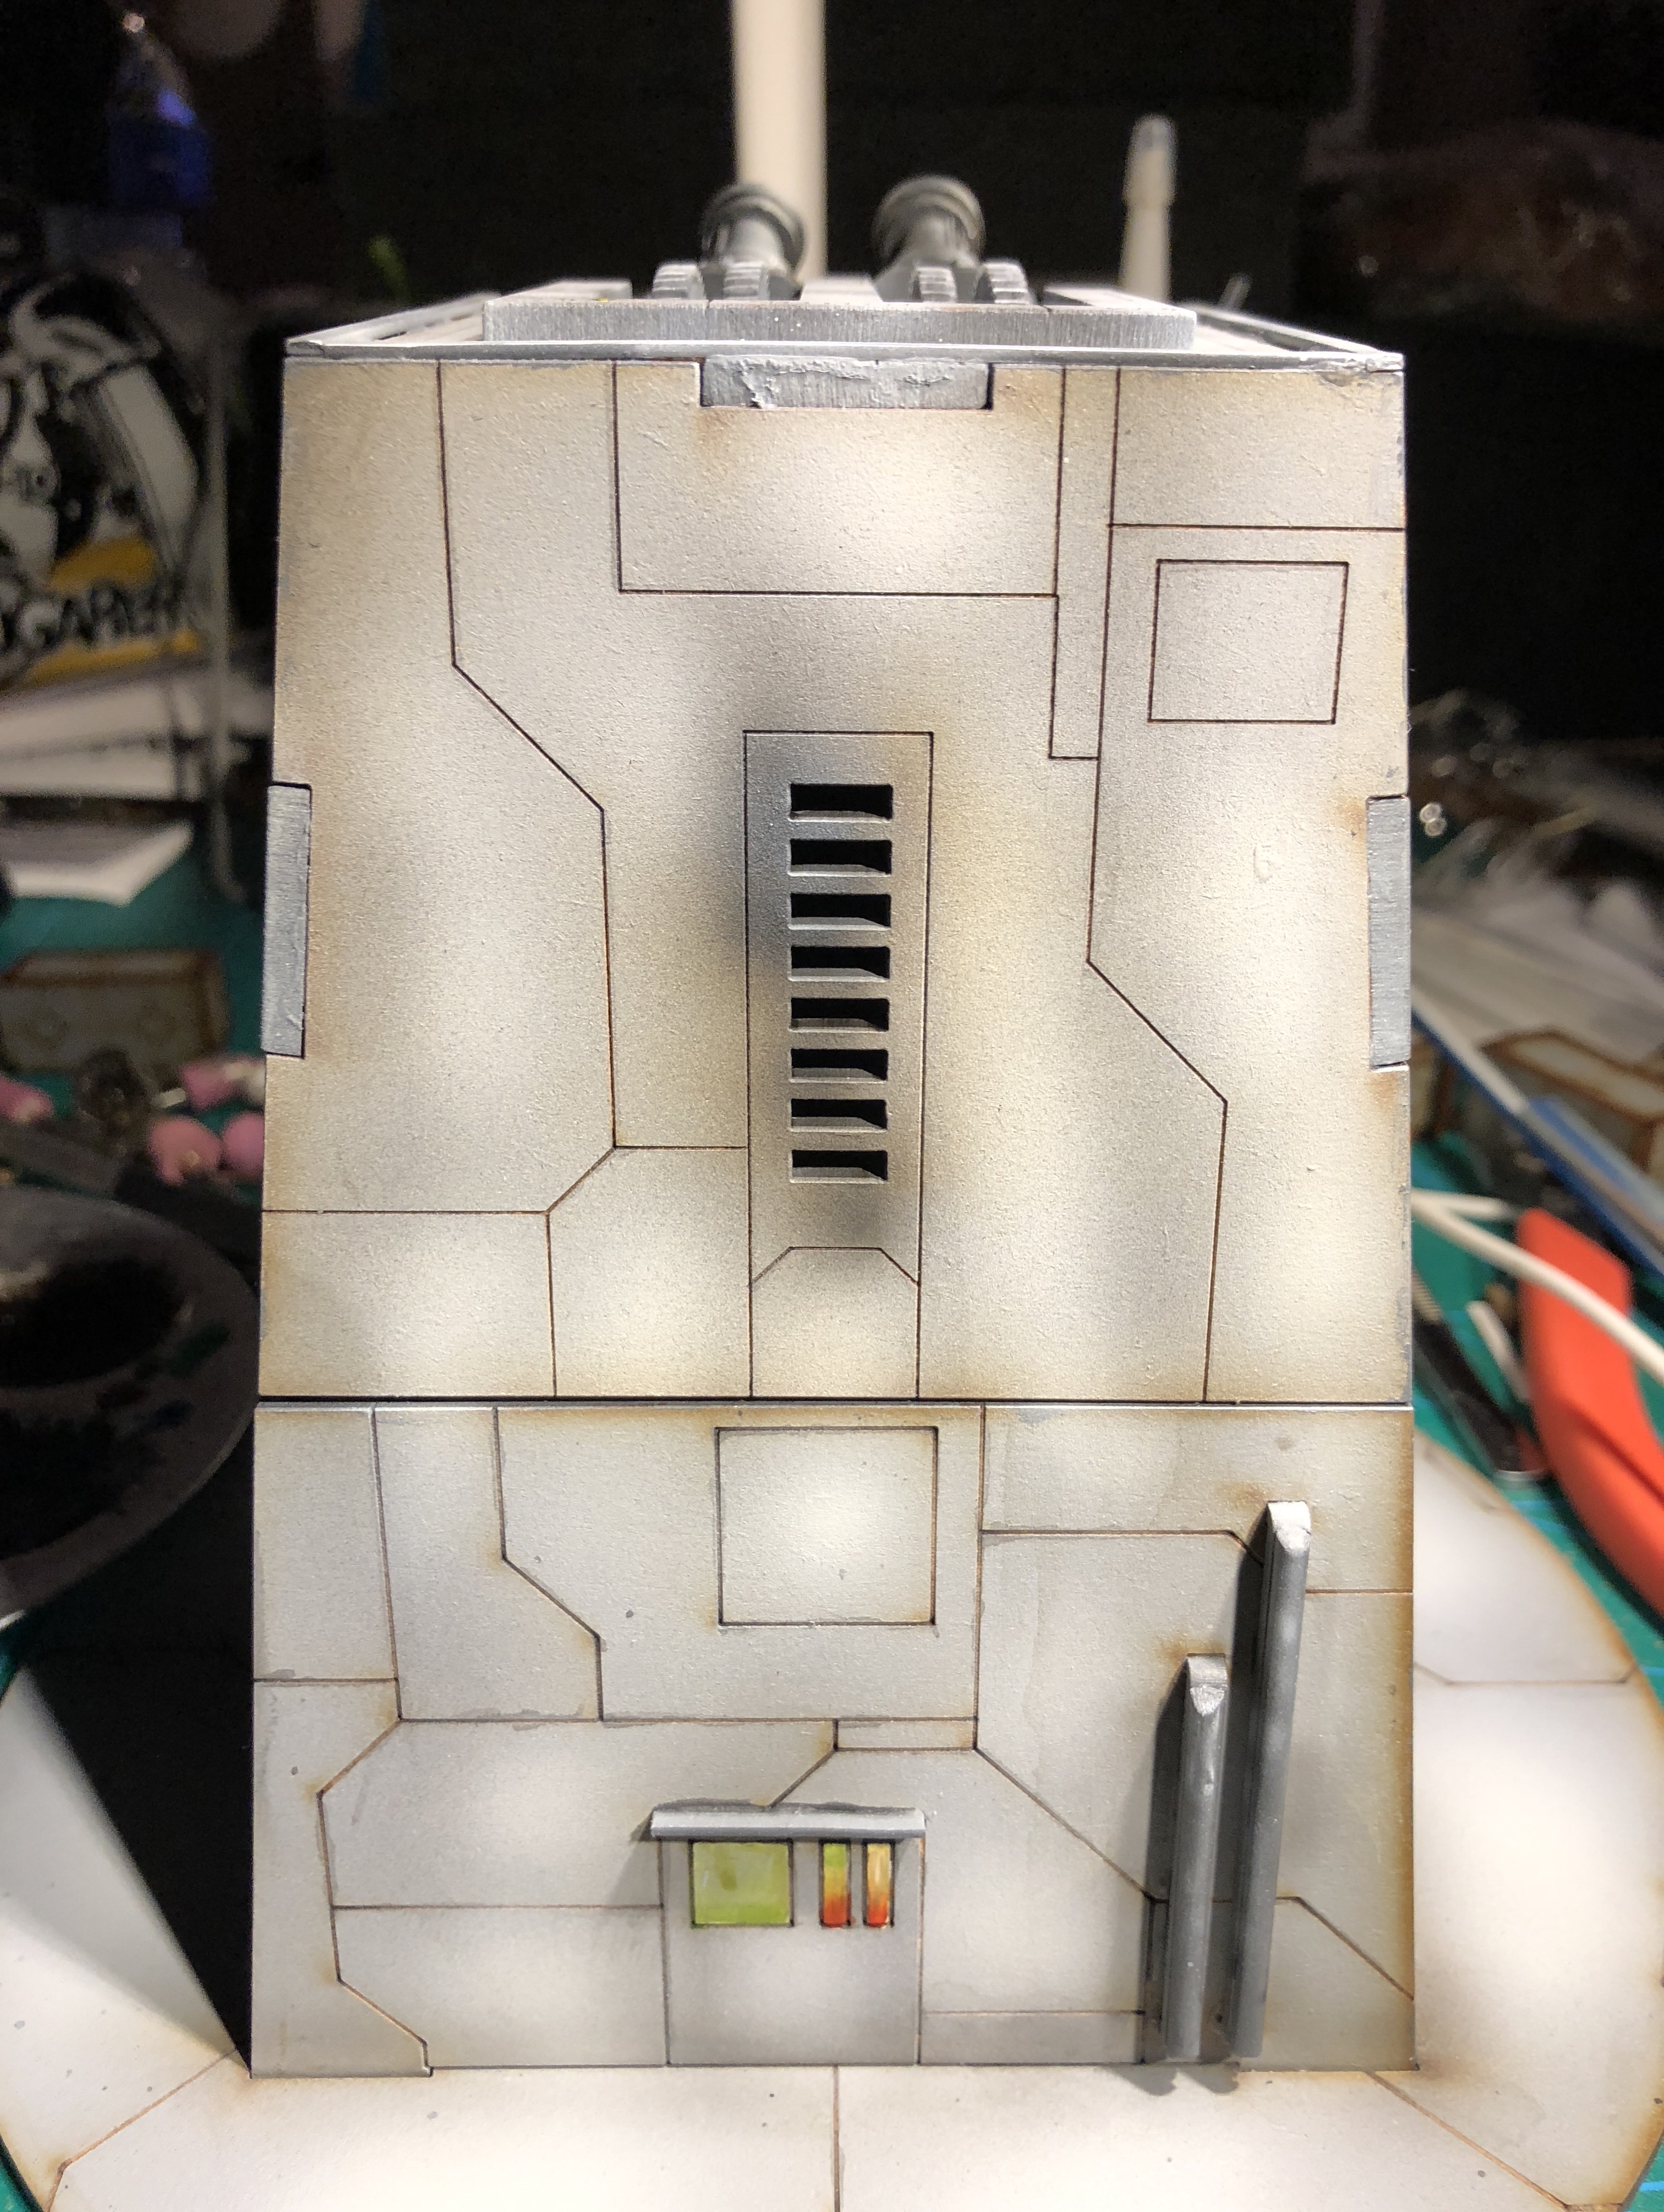
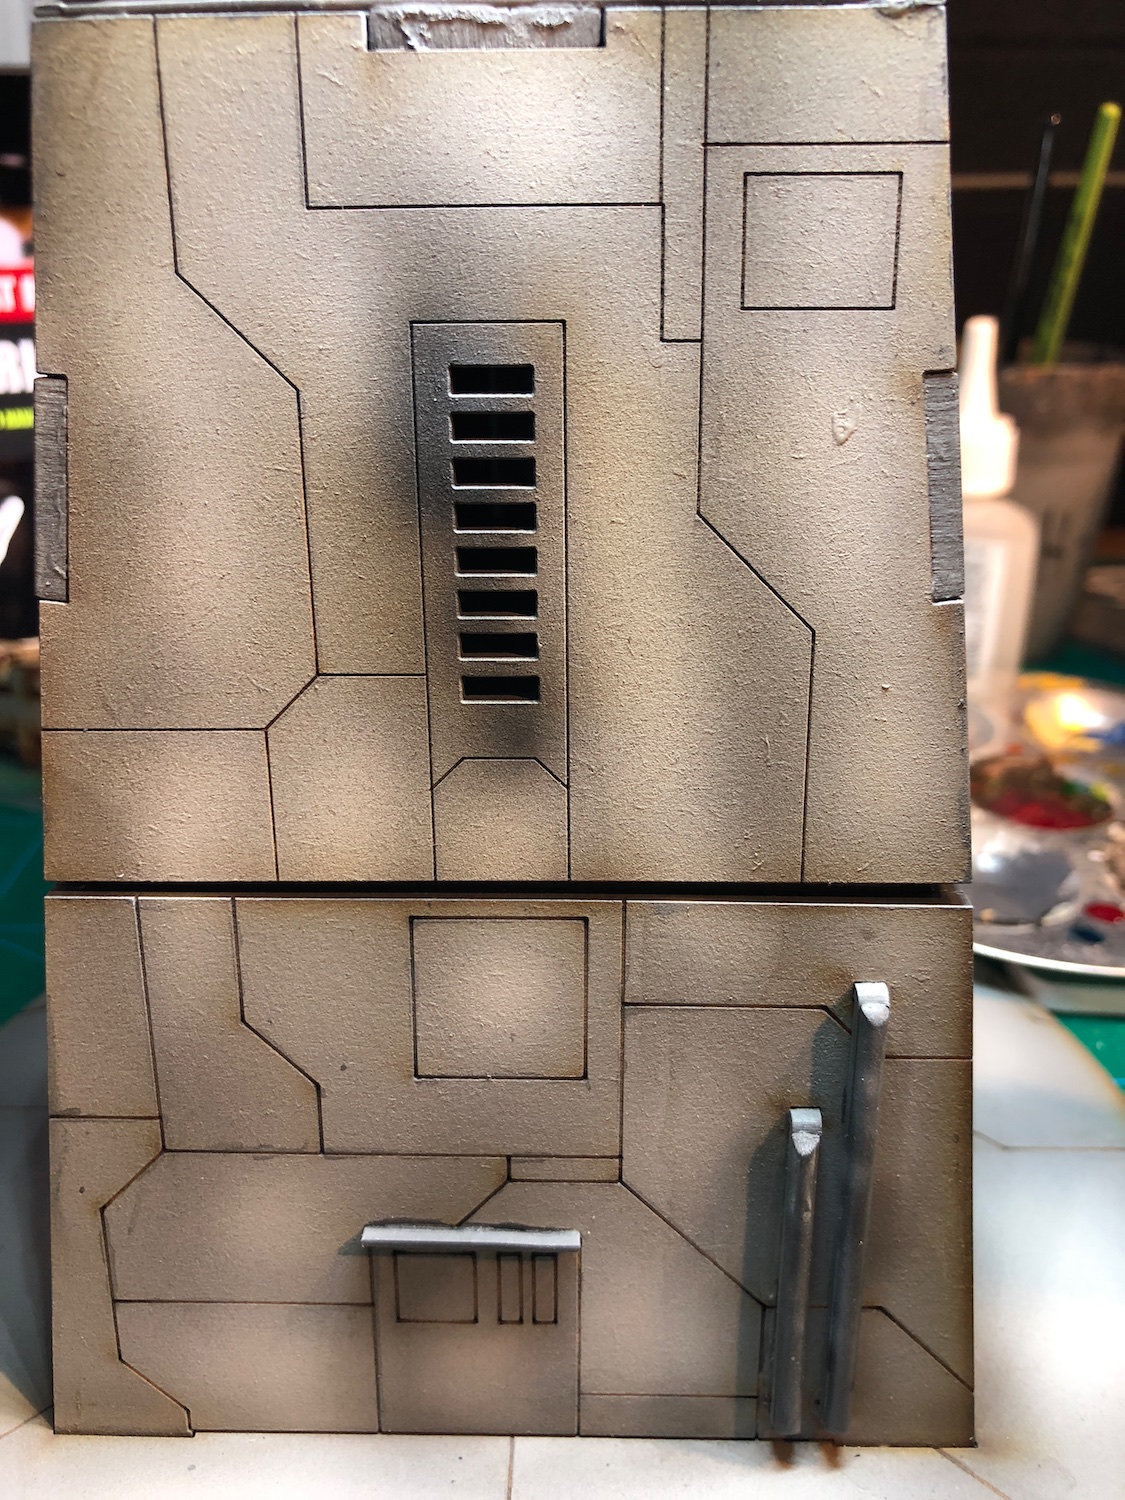
Airbrushing
Next step: airbrushing. Again, I picked a nice starwarsey grey: Army Painter Spaceship Exterior.
First, I highlighted the guns, the cogs, and the other parts painted darker grey and finally added highlights for the panels.
Then I went over some of the inside corners and the grilles with Army Painter Dark Tone. The deepest shading was done with black paint.
As a final airbrushing step, I added some extreme highlight with pure white.
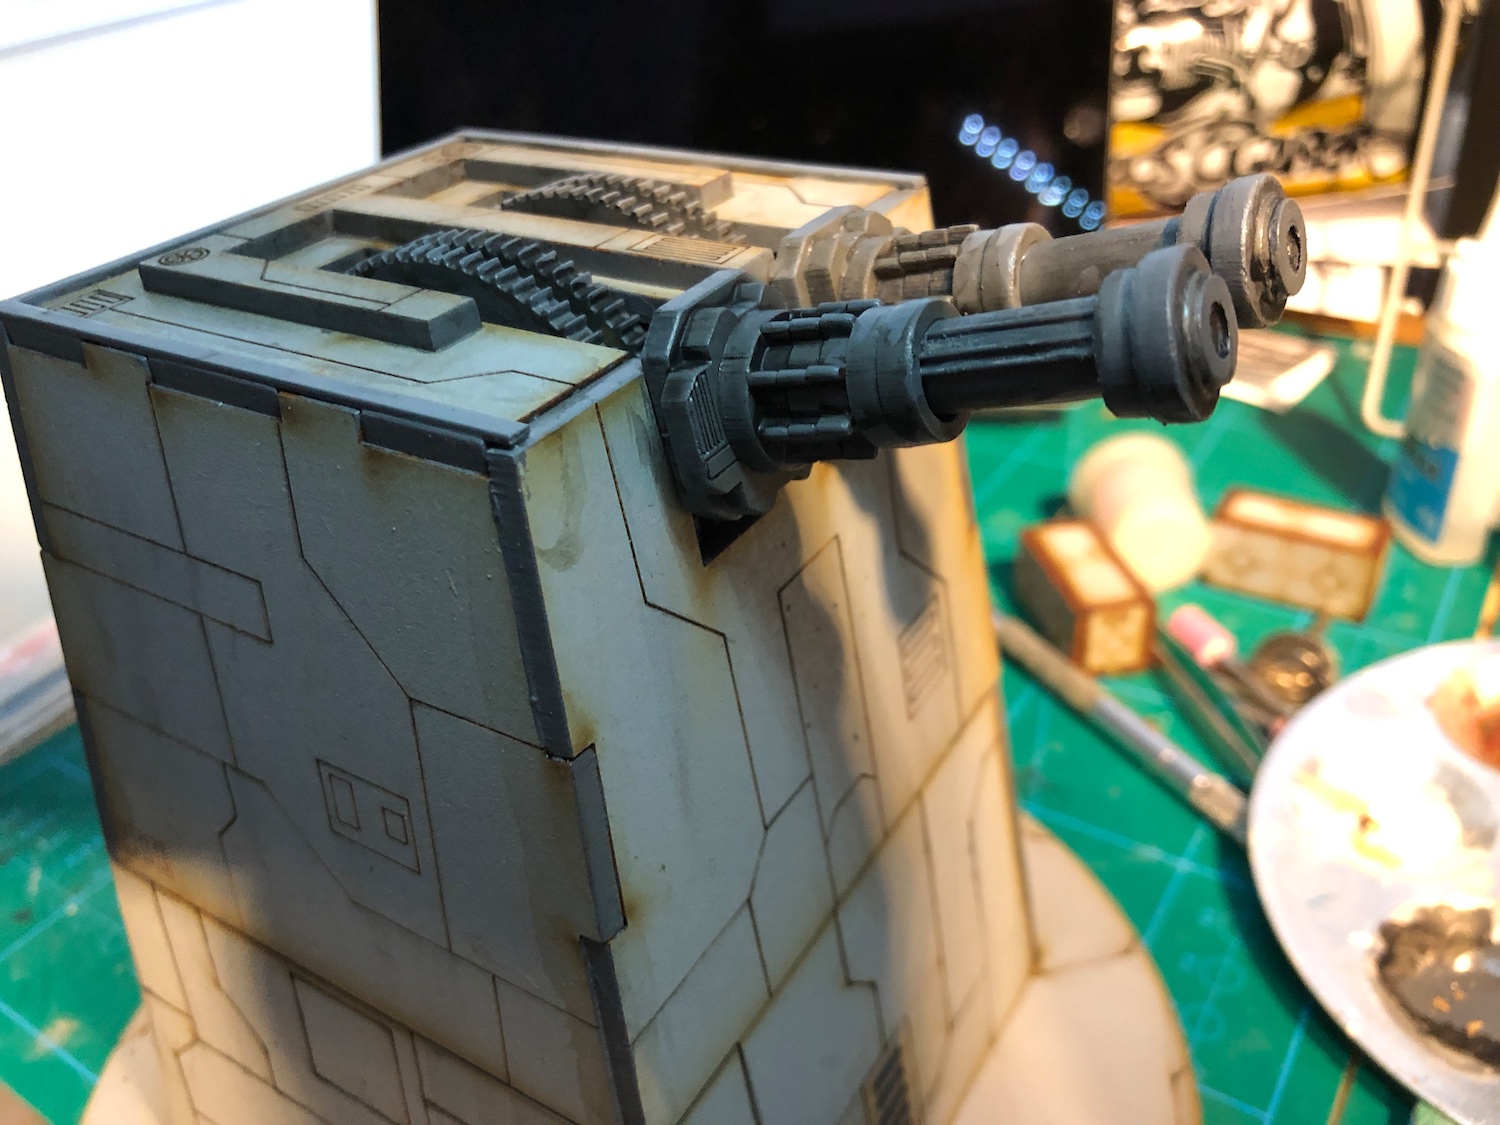
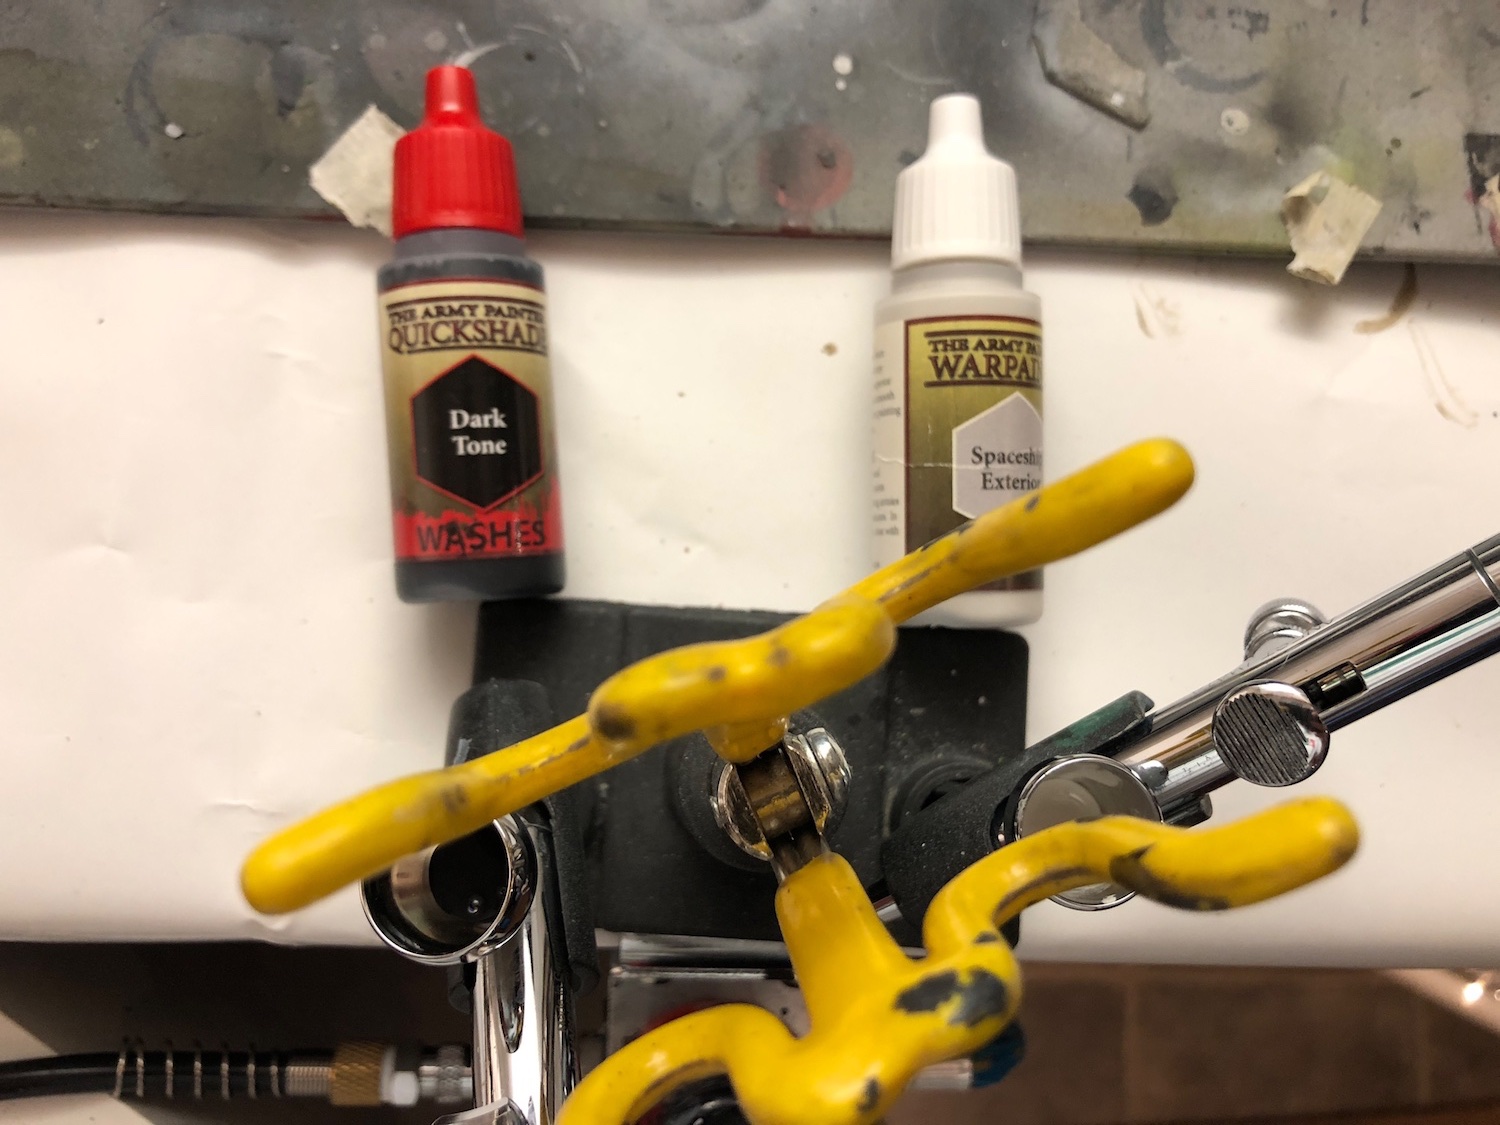 Colours used
 Adding some tonal variation to the panels. Apologies for disgusting spray booth...
Below is a gallery of where the turret is after highlighting. I’m quite satisfied on the guns and how the sidewalls look.
Next I’ll do some edge highlighting and black lining.


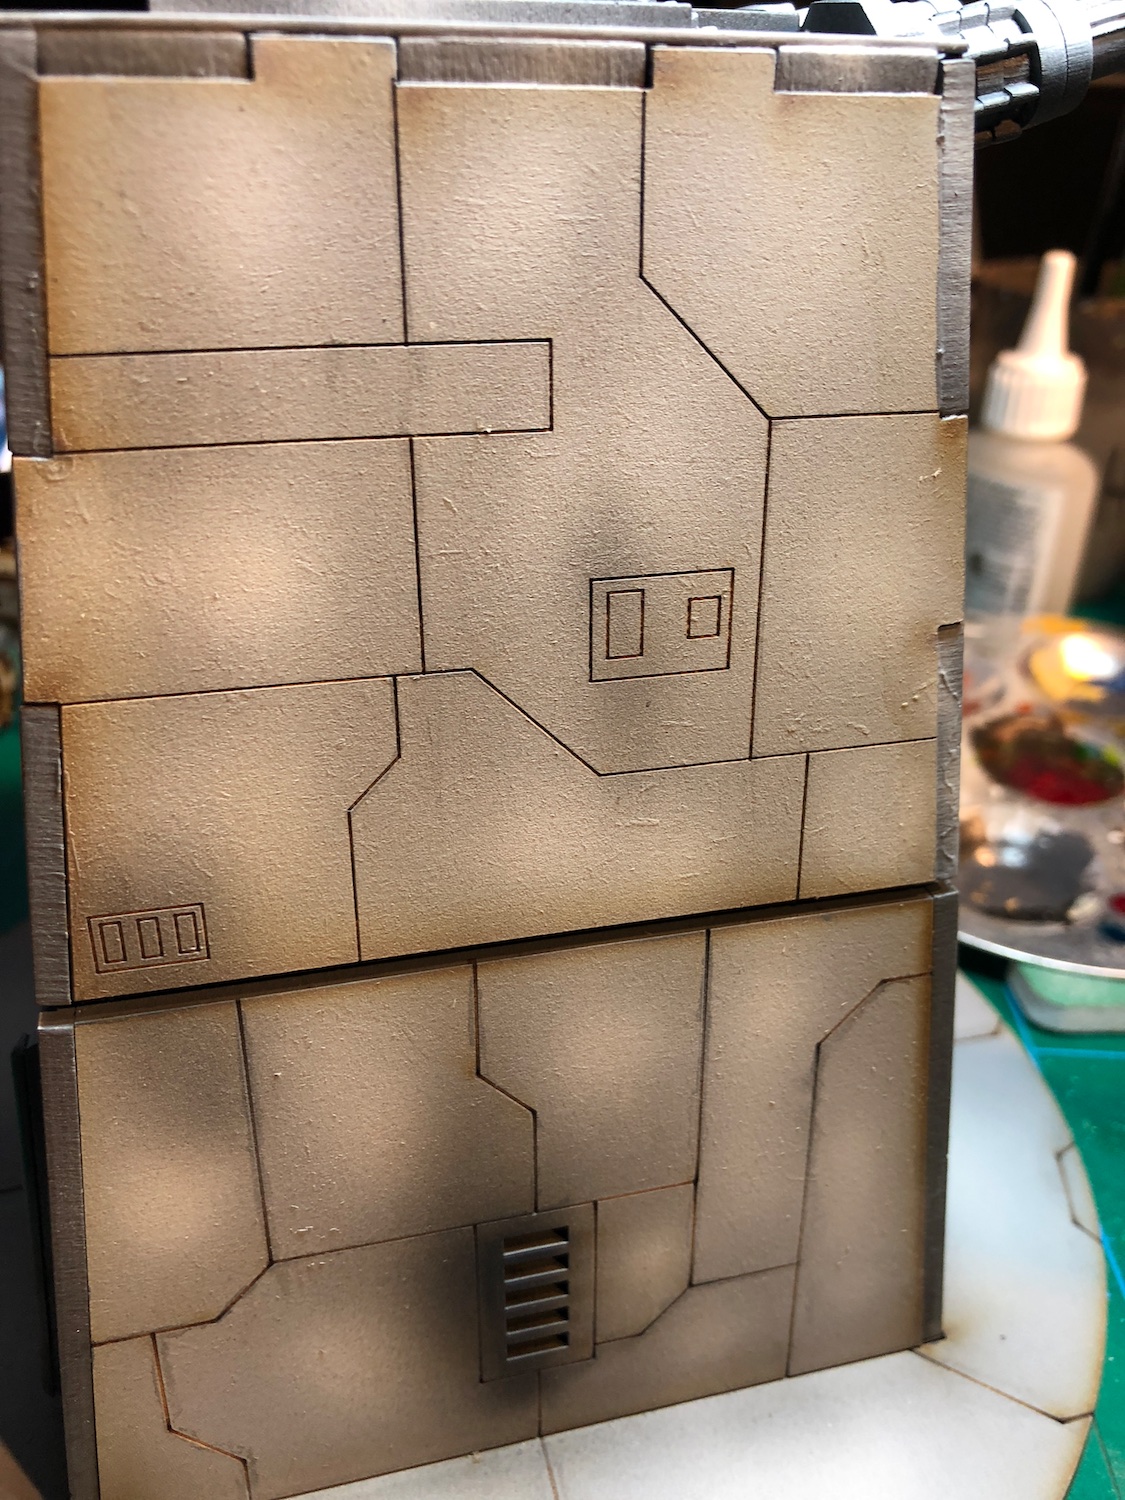

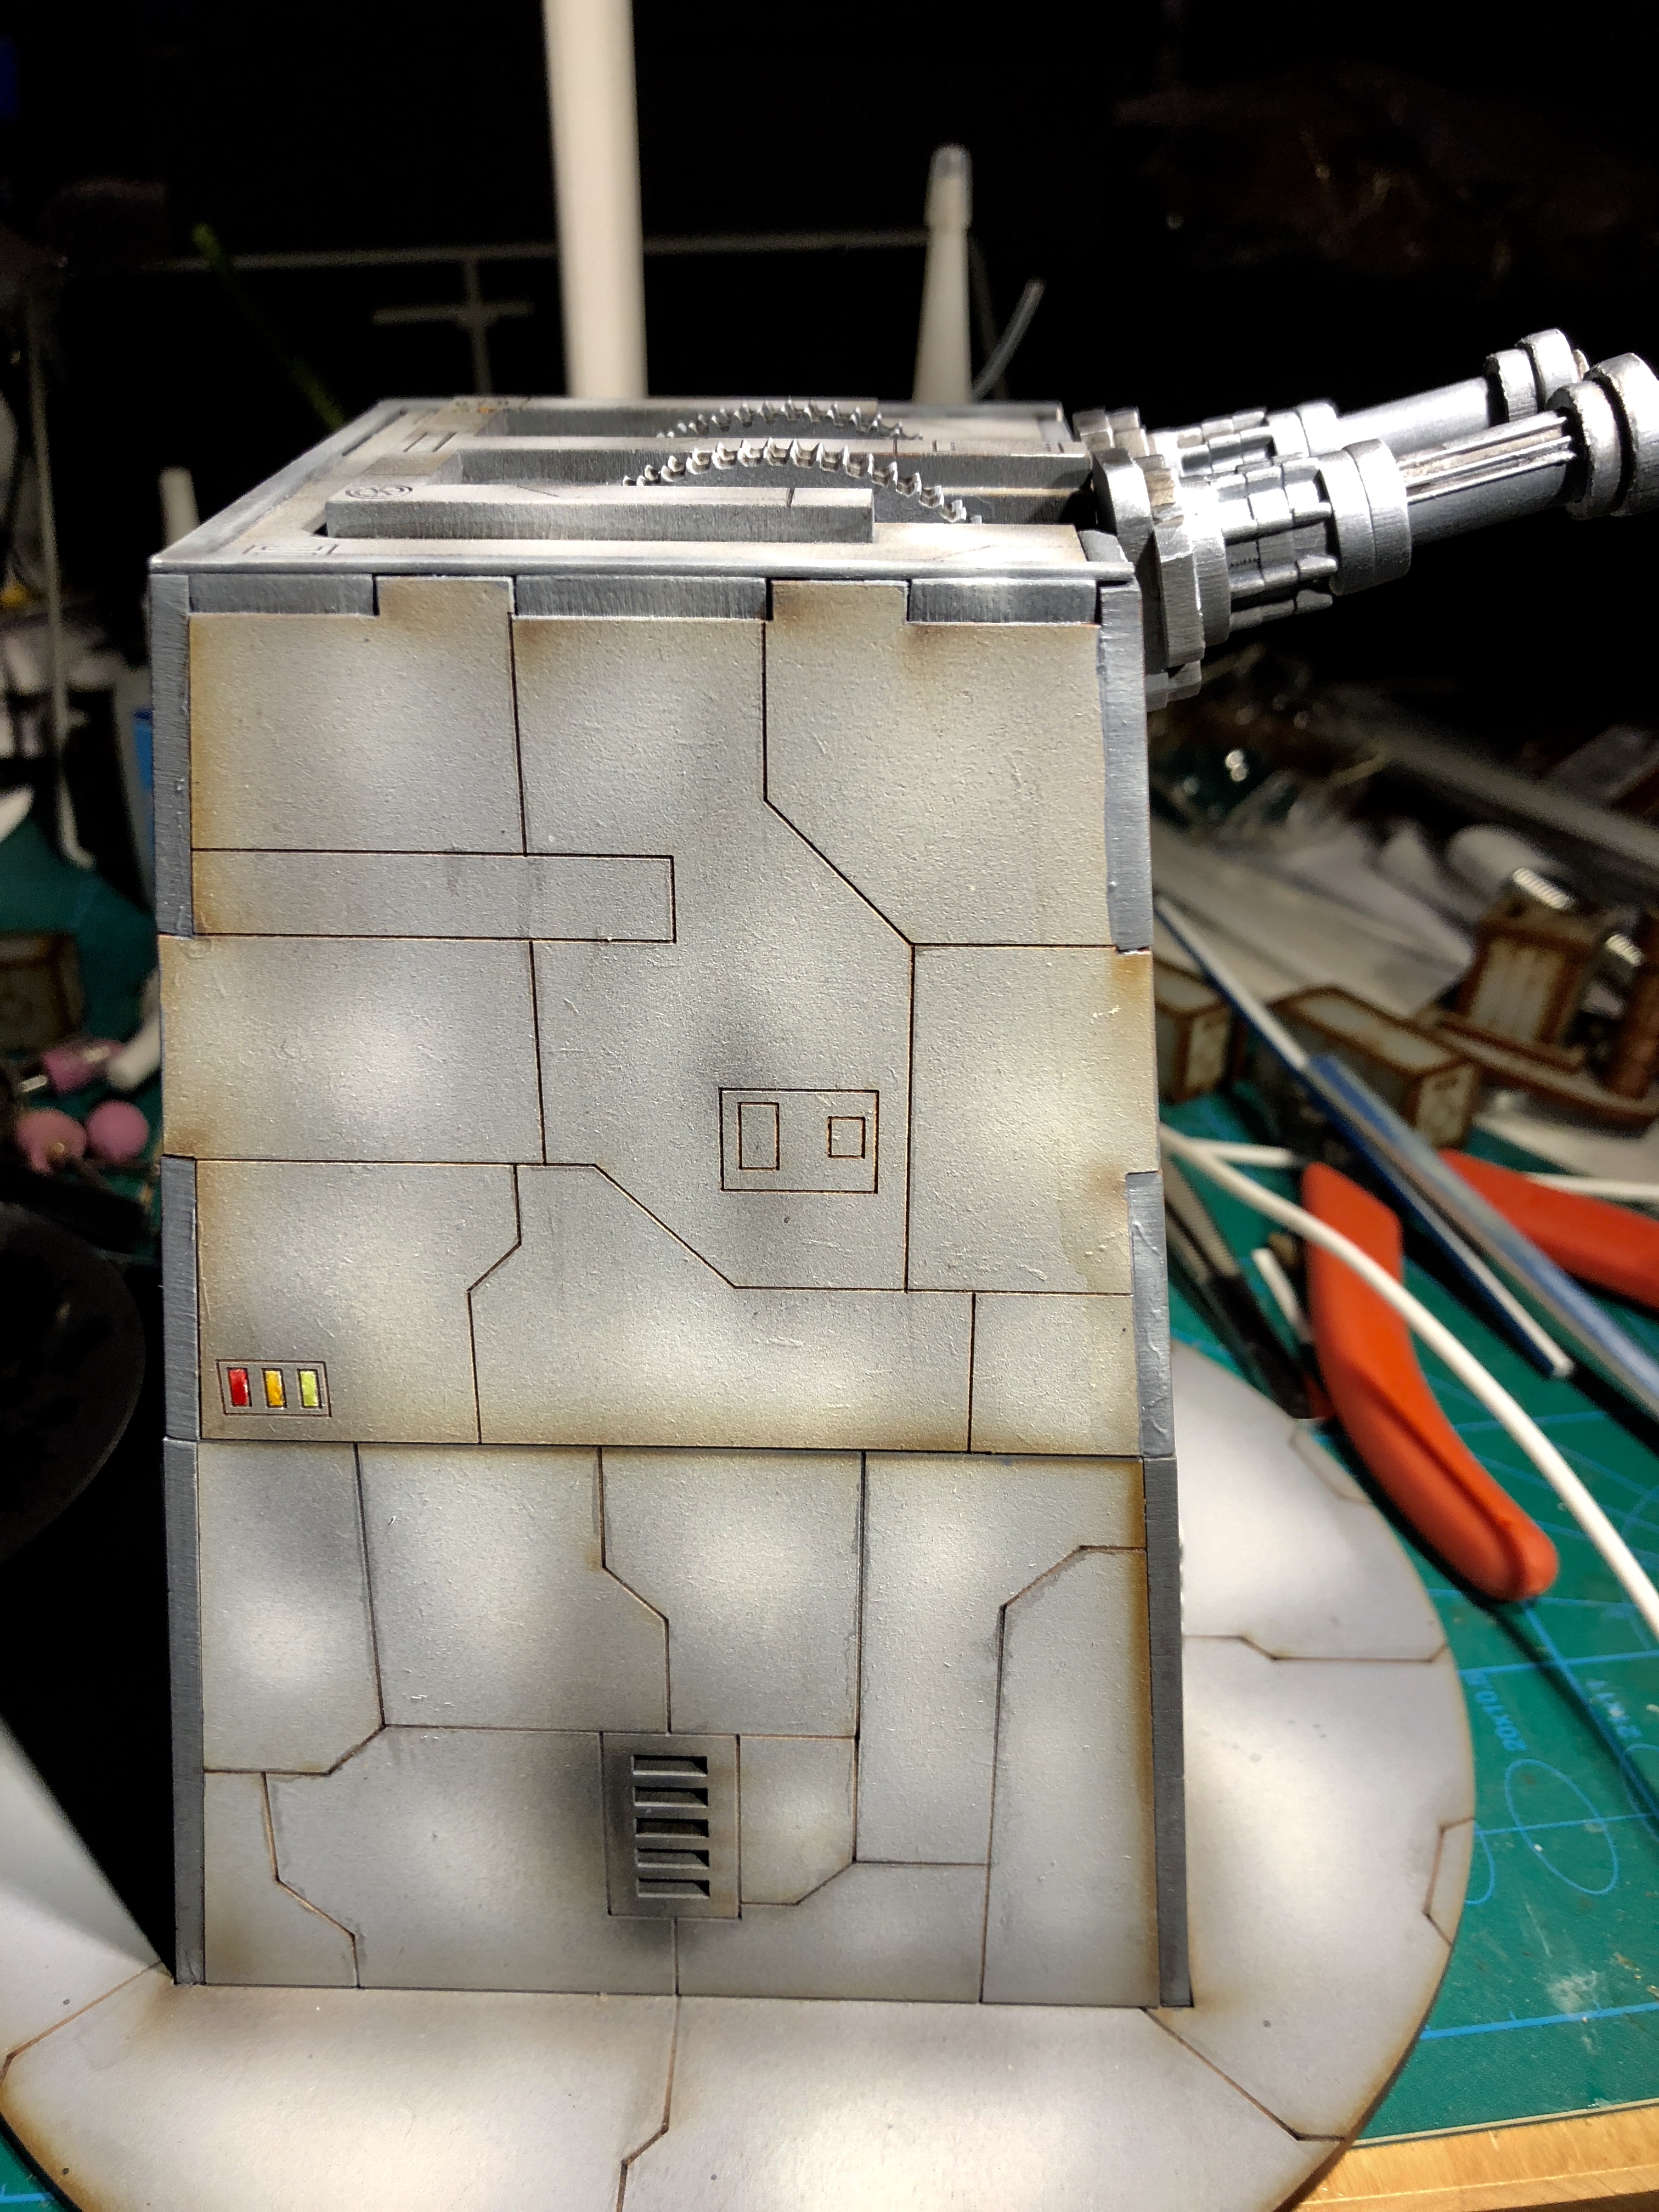
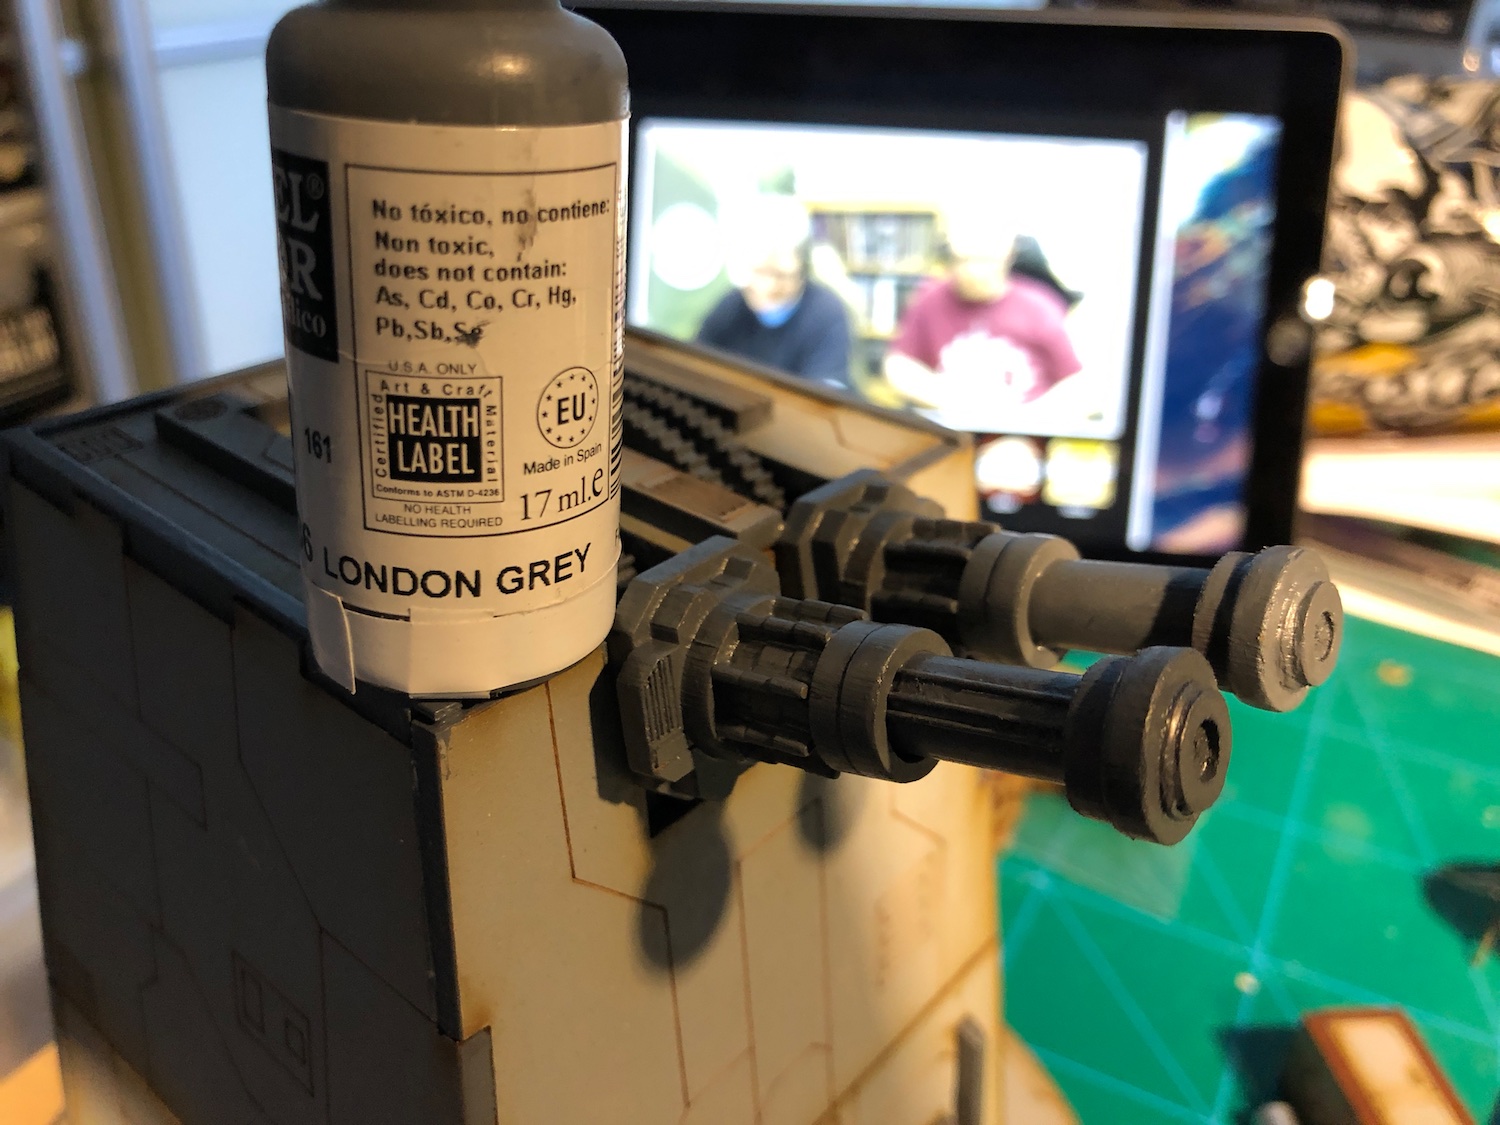
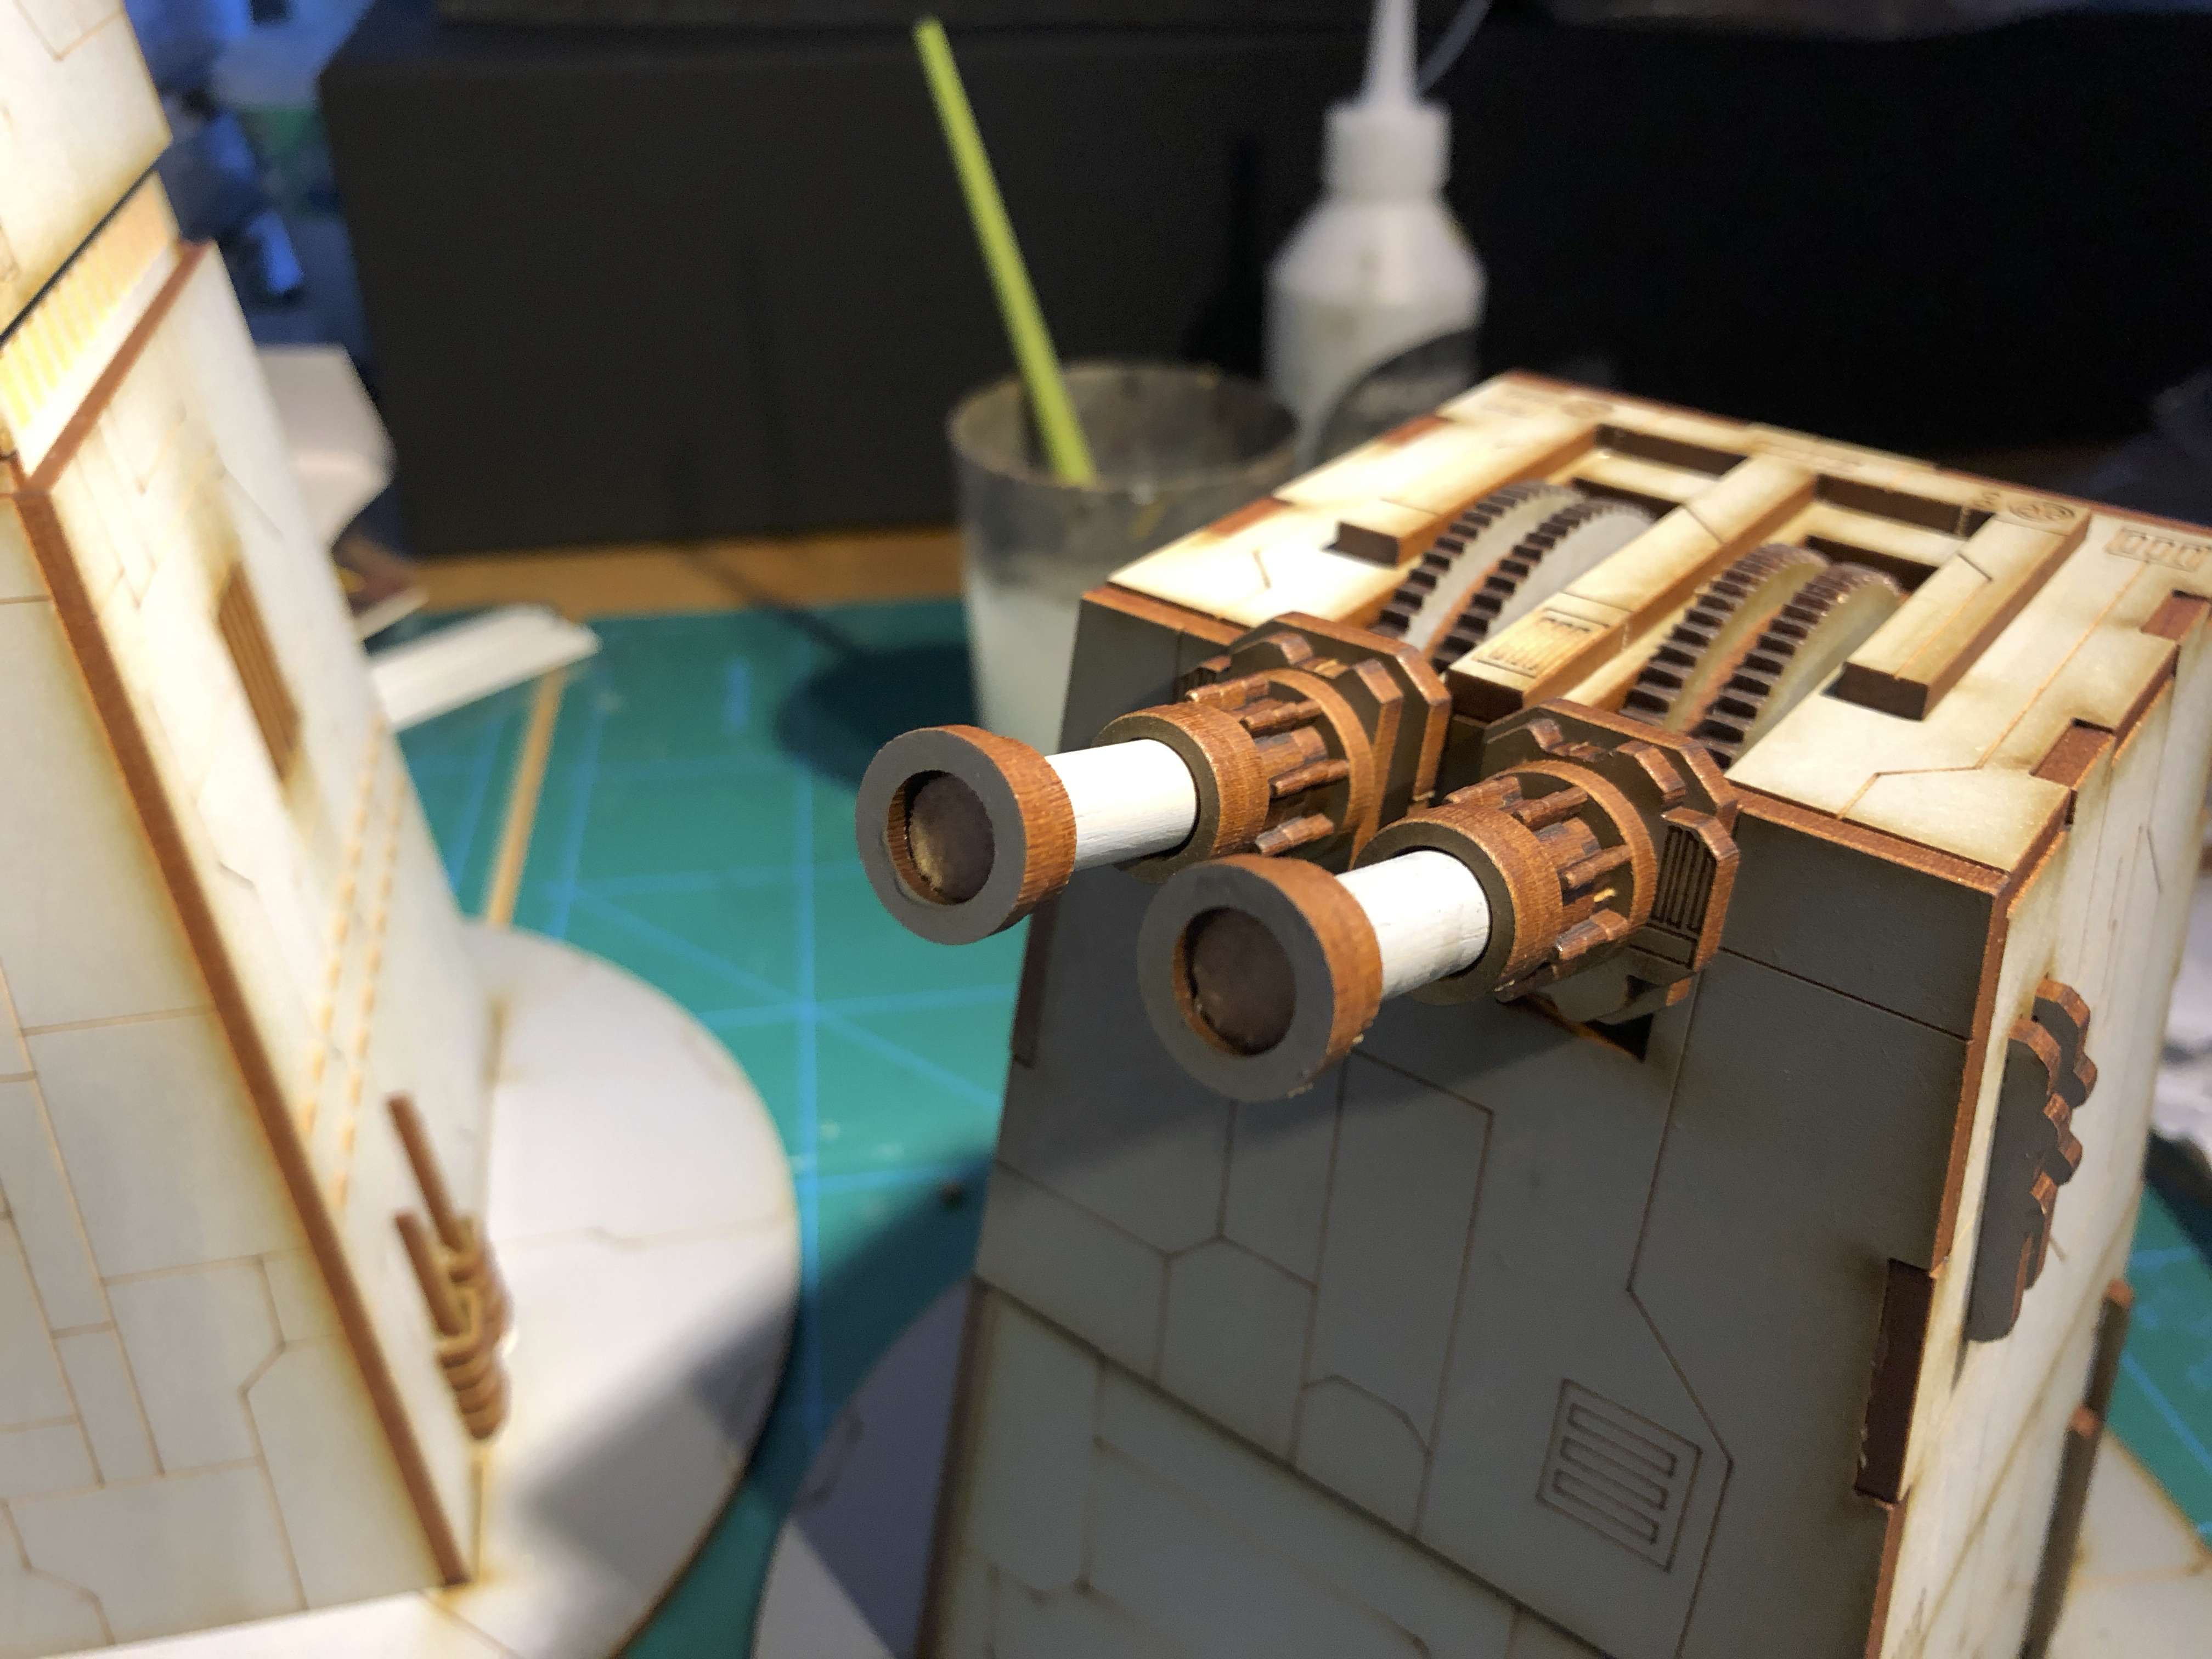
Painting the Laser turret
Looking at some reference material (Death Star, for example), the guns in Star Wars are often darker grey than the rest of the turrets. I went with Vallejo London Grey, which is a nice starwarsey grey.
I painted the guns, all the added plasticard bits and the edges of exposed MDF, including the cogs on the tip. It takes couple of coats to get good coverage.
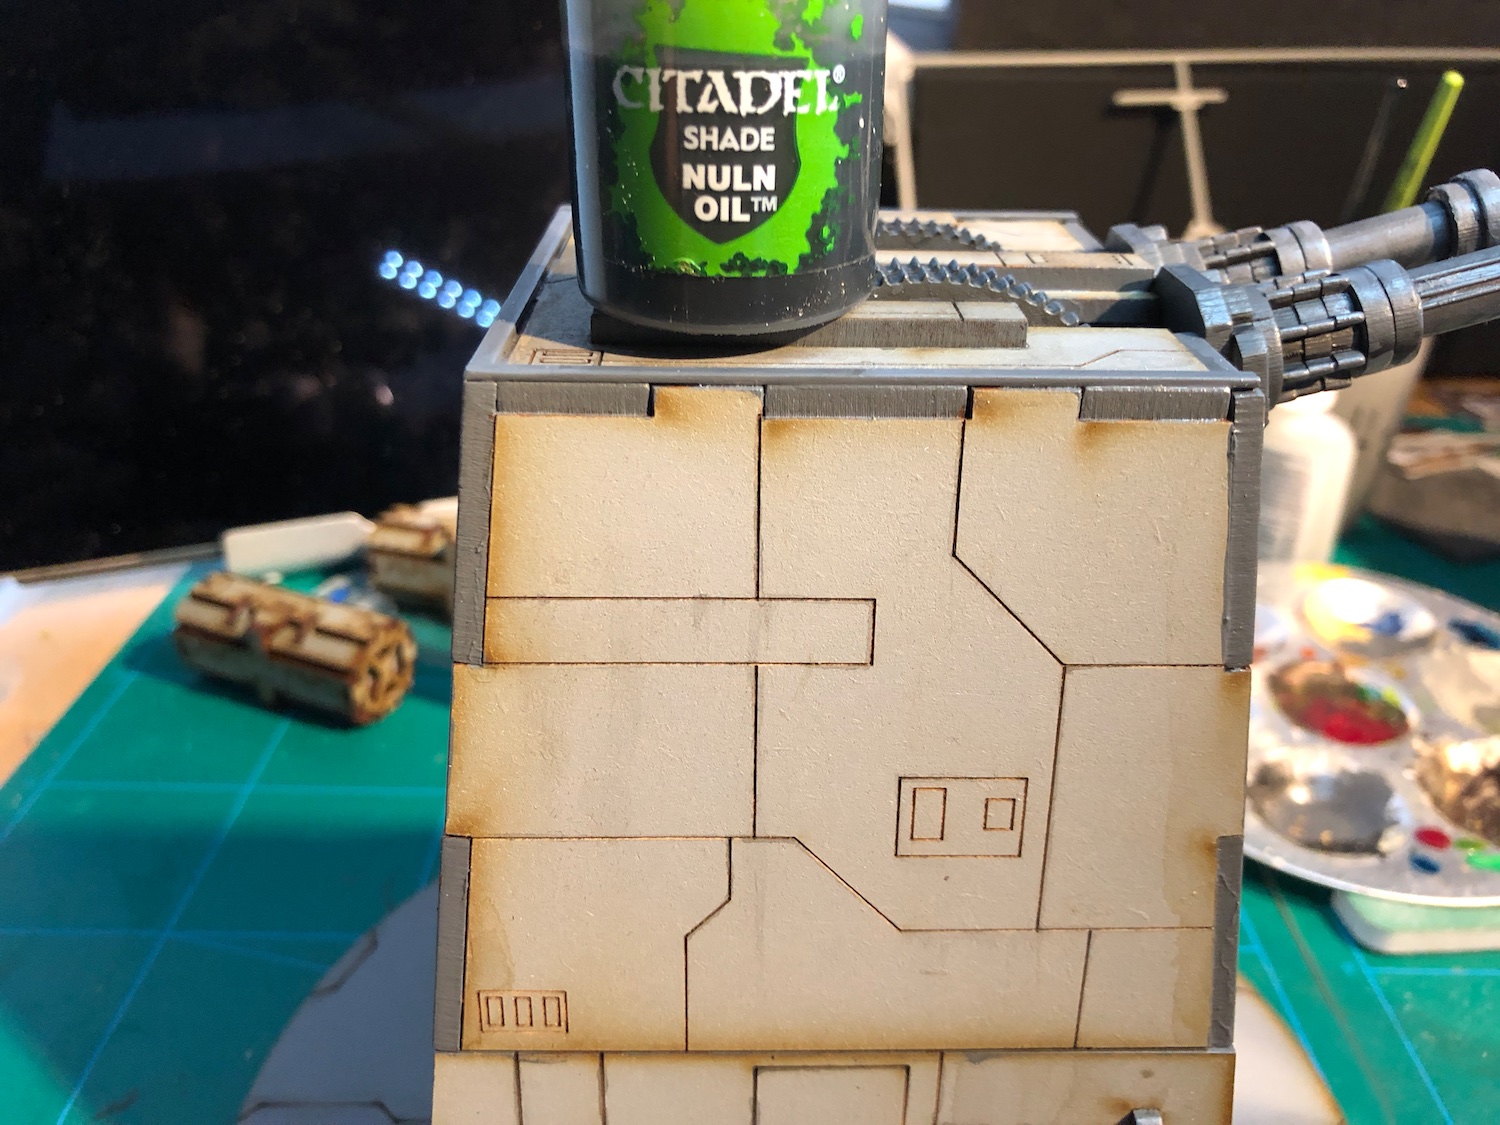
Next I gave the guns a quick and liberal wash with Nuln oil.
The wood colour in the panel lines started to bother me, so I went a head and “pin washed” them with Nuln Oil. Now, this wasn’t as easy as with plastic kits, as the wash doesn’t really flow in the exposed MDF. I’ve seen some people do this with a syringe, but unfortunately I don’t have one available so had to resort to paint brush and swearing.
Next, I’ll take this bad boy for airbrushing.
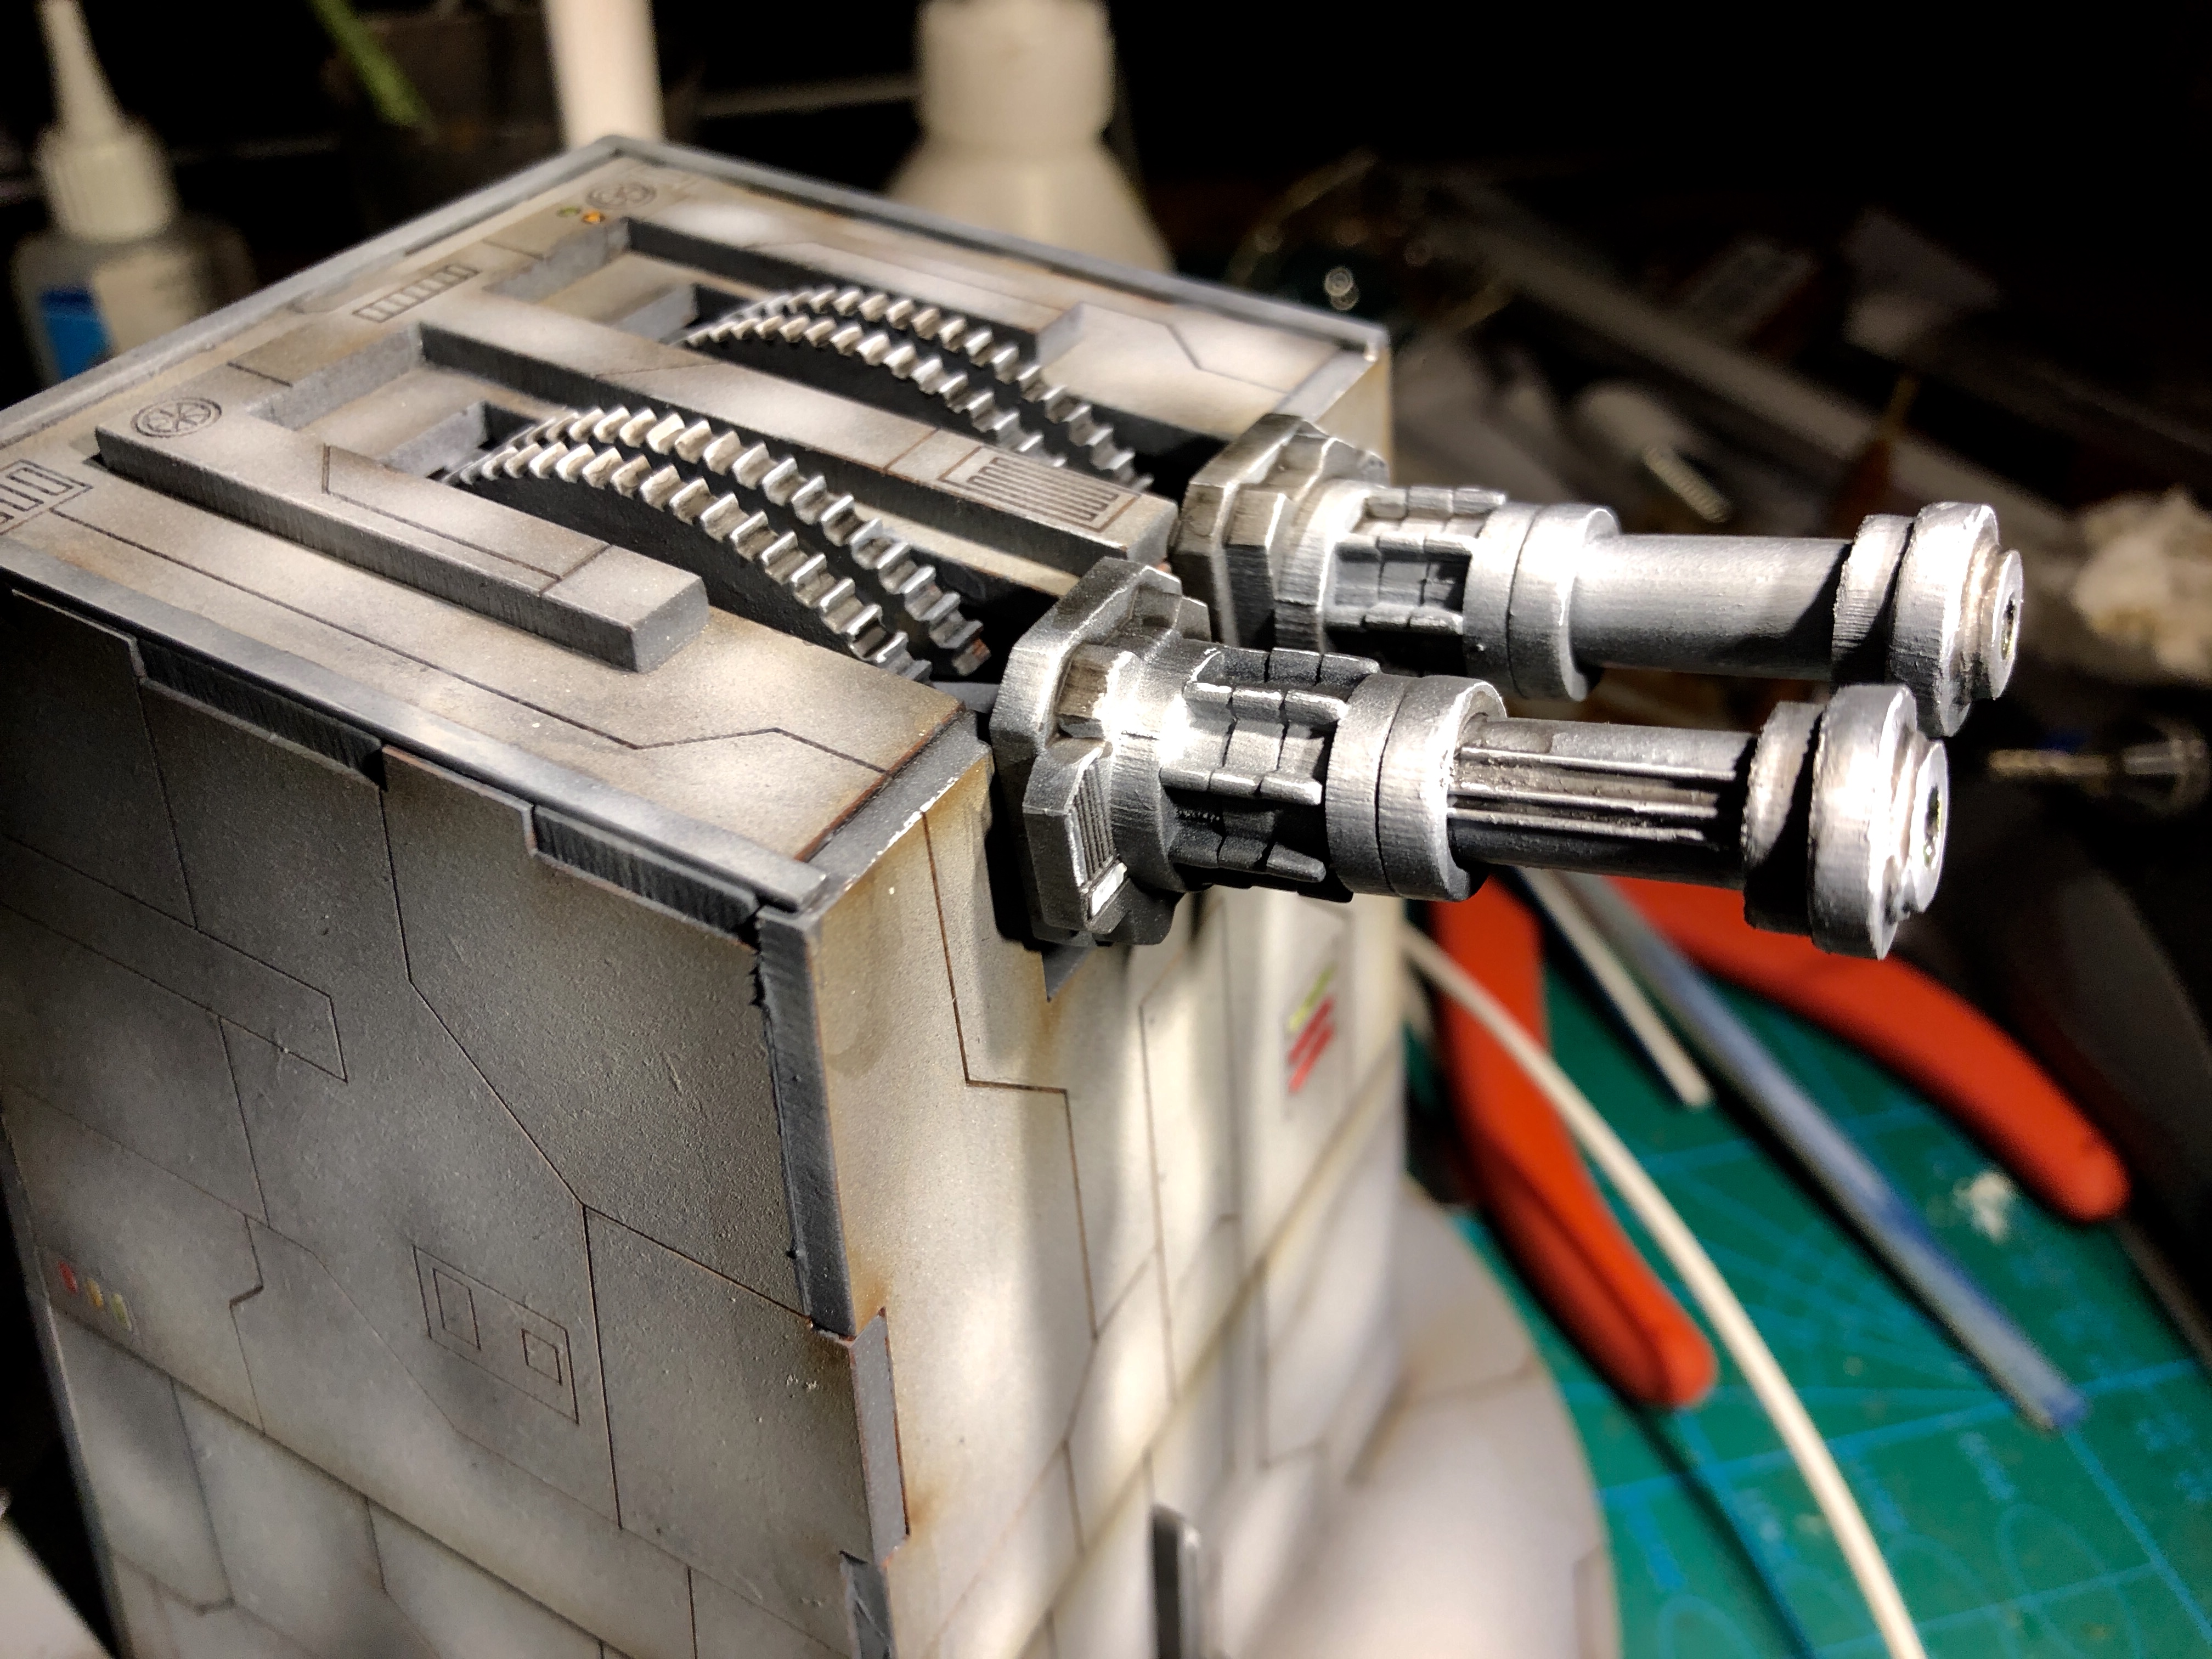
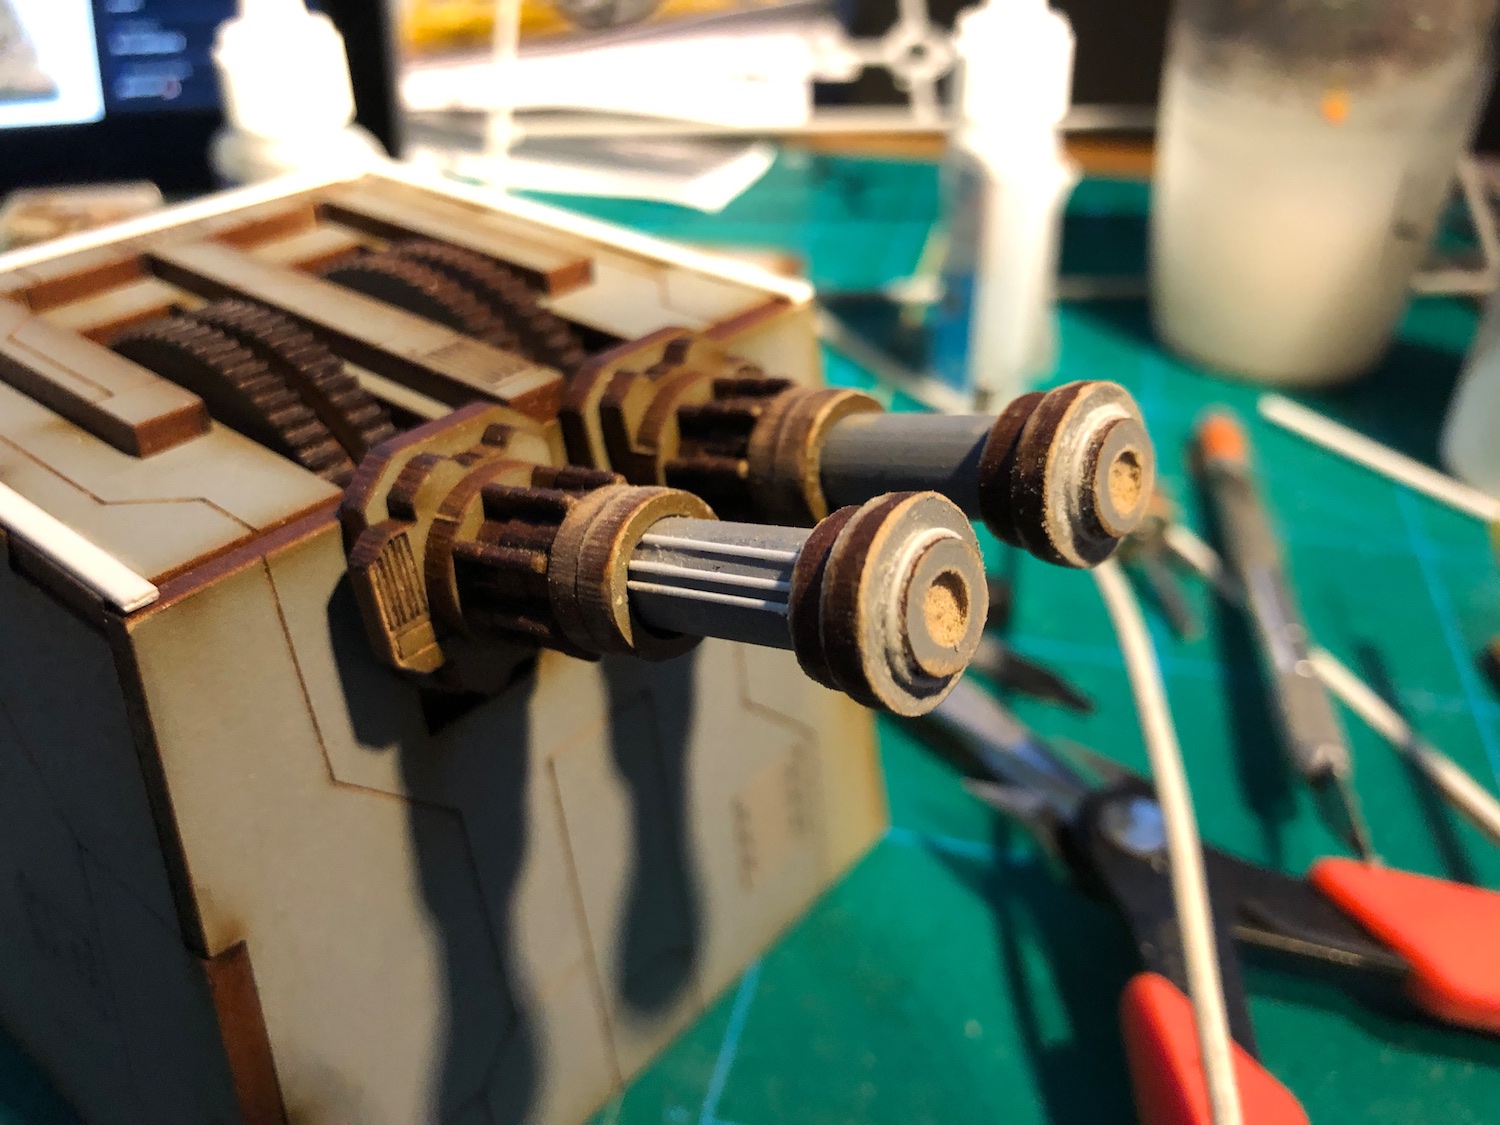
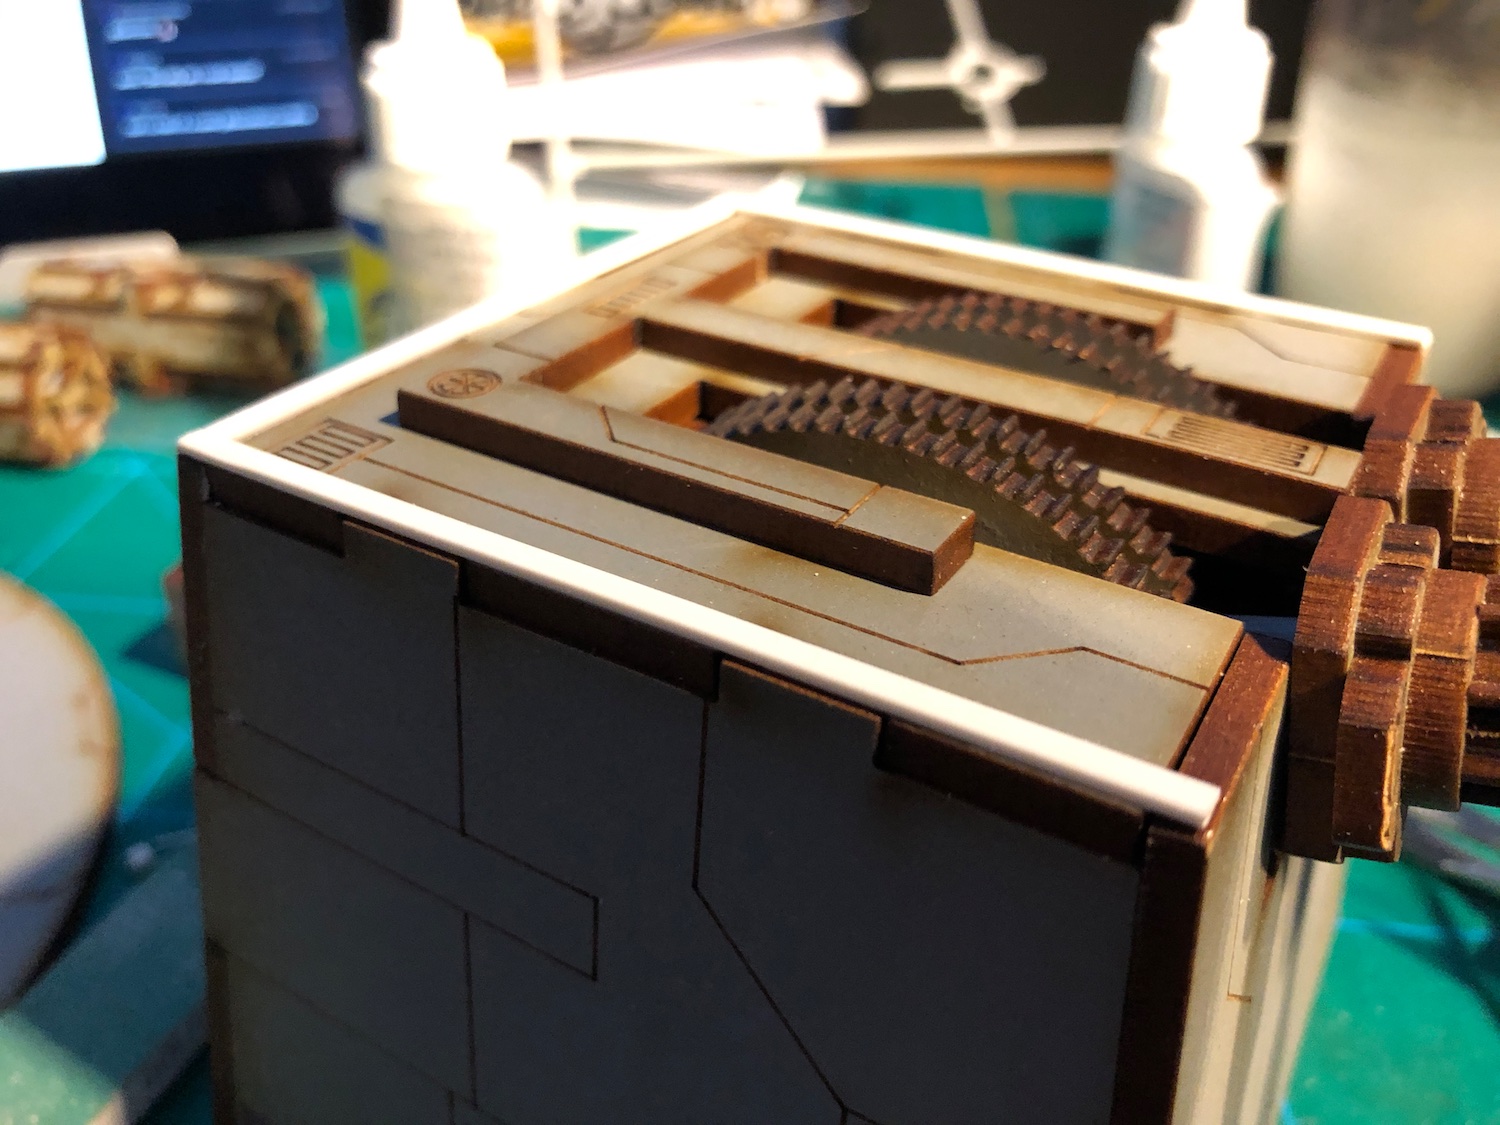
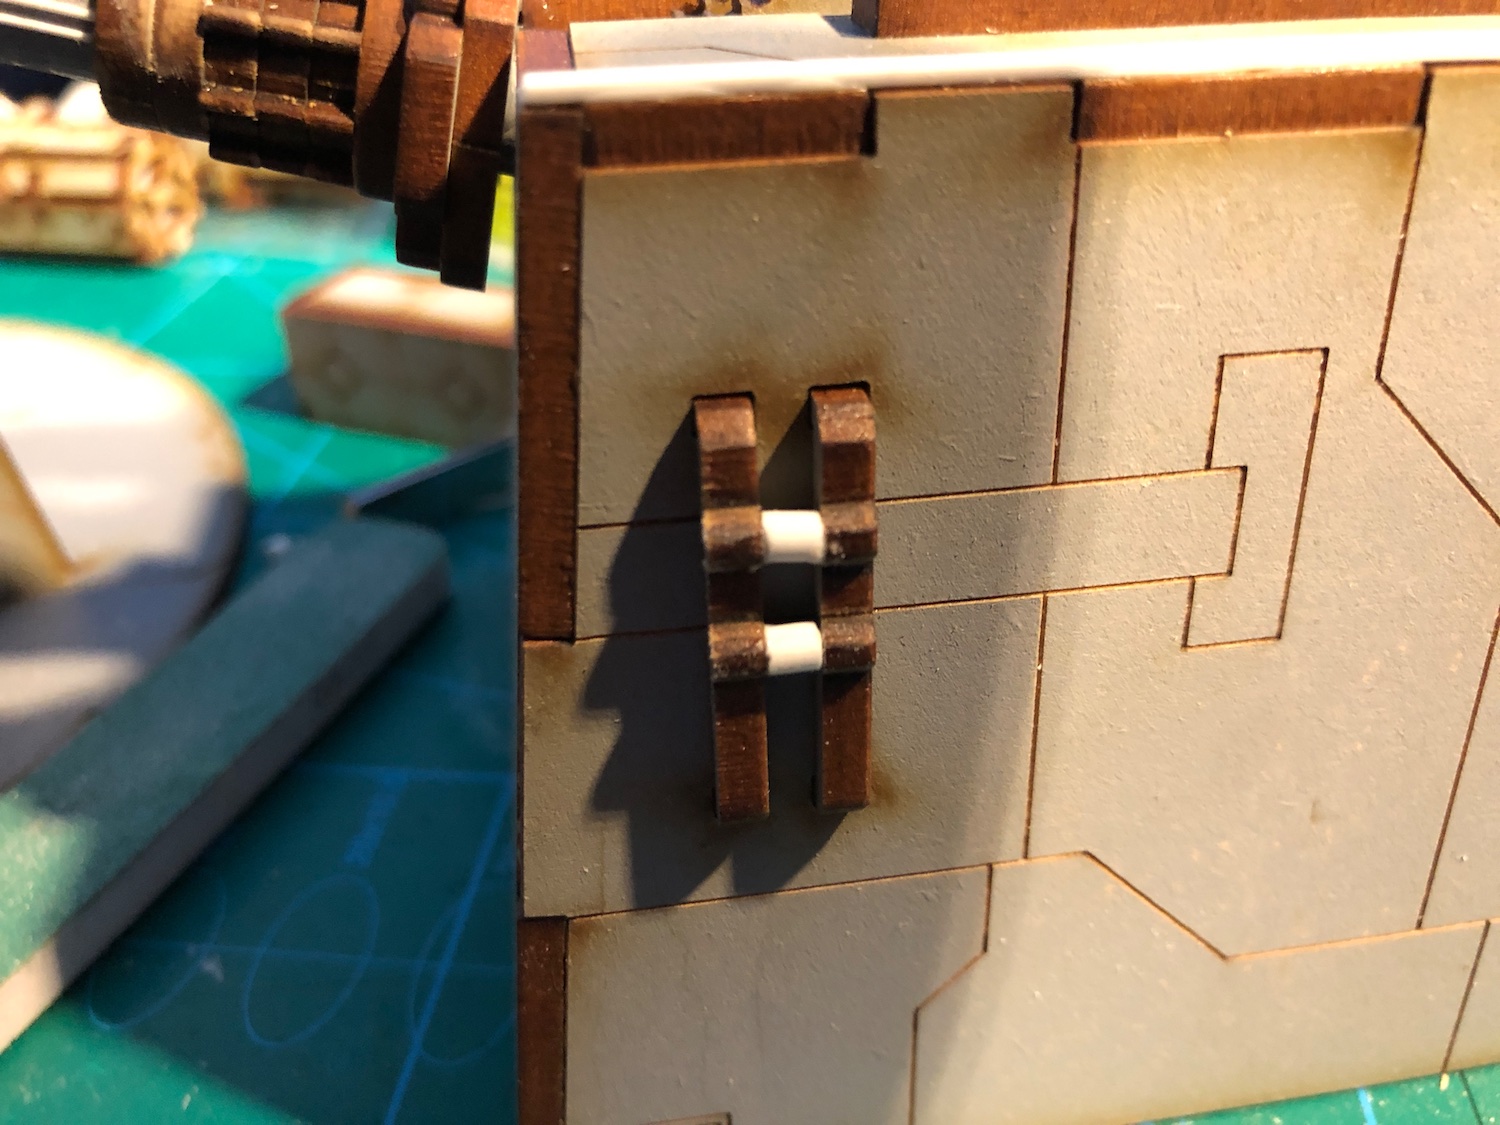
Laser turret plasticard work
I started off with the laser turret and the guns. To make the gun barrels more interesting, I made extra pieces from leftover MDF bits and added some detail with 1mm round plastic rod.
To cover up the tabs and add some three dimensionality, I lined the top of the turret with 2.5mm plasticard strips. For the details on the side, I used 3mm semi-circle plastic rod, which I realised is really handy to have around for detailing MDF kits as often the MDF board is 3mm thick.
Next I’ll paint over the plastic bits and the MDF edges to see how it all ties together.
The laser turret
The guns on the turret will definitely need some attention. I’ve been playing around with some round plastic strips and fabricating something cooler for the tips of the barrels.


![StarCraft Tabletop Miniatures Game Pre-Orders Live Now [Updated]](https://images.beastsofwar.com/2026/03/starcraft-tmg-news-cover-600-338.jpg)


