


![NO Weekender Or Cult Of Games XLBS This Weekend [Updated]](https://images.beastsofwar.com/2026/03/No_Weekender_and_XLBS_this_Weekend-225-127.jpg)


Yogie Paints Large Minis and Busts


Recommendations: 80
About the Project
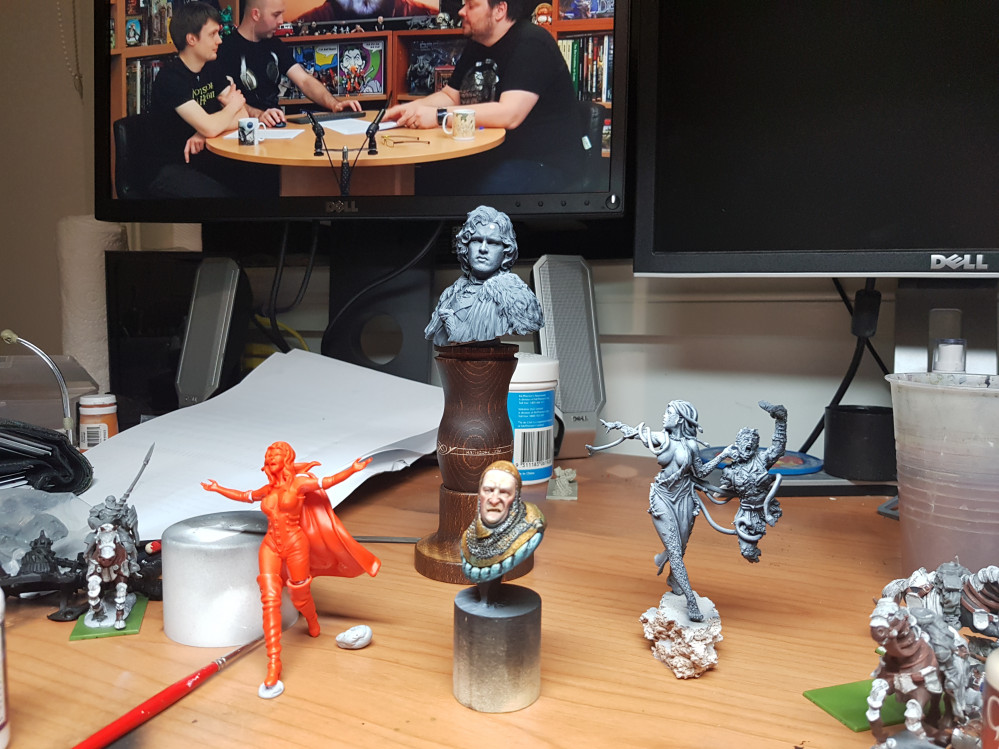
I've decided to try and take my painting to thr next level by painting display type pieces. I recently went to a bust painting workshop and lets say I was hooked. Let my journey begin.
Related Genre: Fantasy
This Project is Active
Completing the face
After putting in the shadows, it was a bit too purple for my liking and so I needed to add in a bit more colour to make it a bit more lifelike.
I then grabbed my Reaper Master series Rosy Shadow paint thinned it about 6 or so to 1 for a glaze, wiped off tje majority of the paint and glazed all over the mini and transitions giving it that more flesh colour. I also went back and forth with my shadow glaze to make sure I got the colours and transitions as smooth as I could.
For the lips which I’m not sure I did very well, I mixed the rosy shadow with my basecoat of cold flesh and laid it on both lips.
I then got some reaper brick red to put small lines ala cuts on the lower lip again going back and forward until I was happy with the colour.
Finally for the beard I used reaper walnut brown, reaper blackened brown and again tried to lighten it again with my cold flesh basecoat which I’m not entirely sure I managed.
Next came the eyes utilising a 6 step process that I learnt in the class.
1. Use a dark red to fill the entire eye ball. I used Valleji’s hull red.
2. Fill eye with Ivory leaving the red outline. I used Vallejo Ivory.
3. Fill in the iris using a dark colour, I used Reaper walnut brown.
4. Use a lighter colour to highlight the eye on the bottom left of the eye. I used Reaper Dark Flesh.
5. Fill in the pupil using black so it sits above the highlight.
6. Place a white dot in the corner of the pupil.
This is easier said than done but here is what I ended up with.
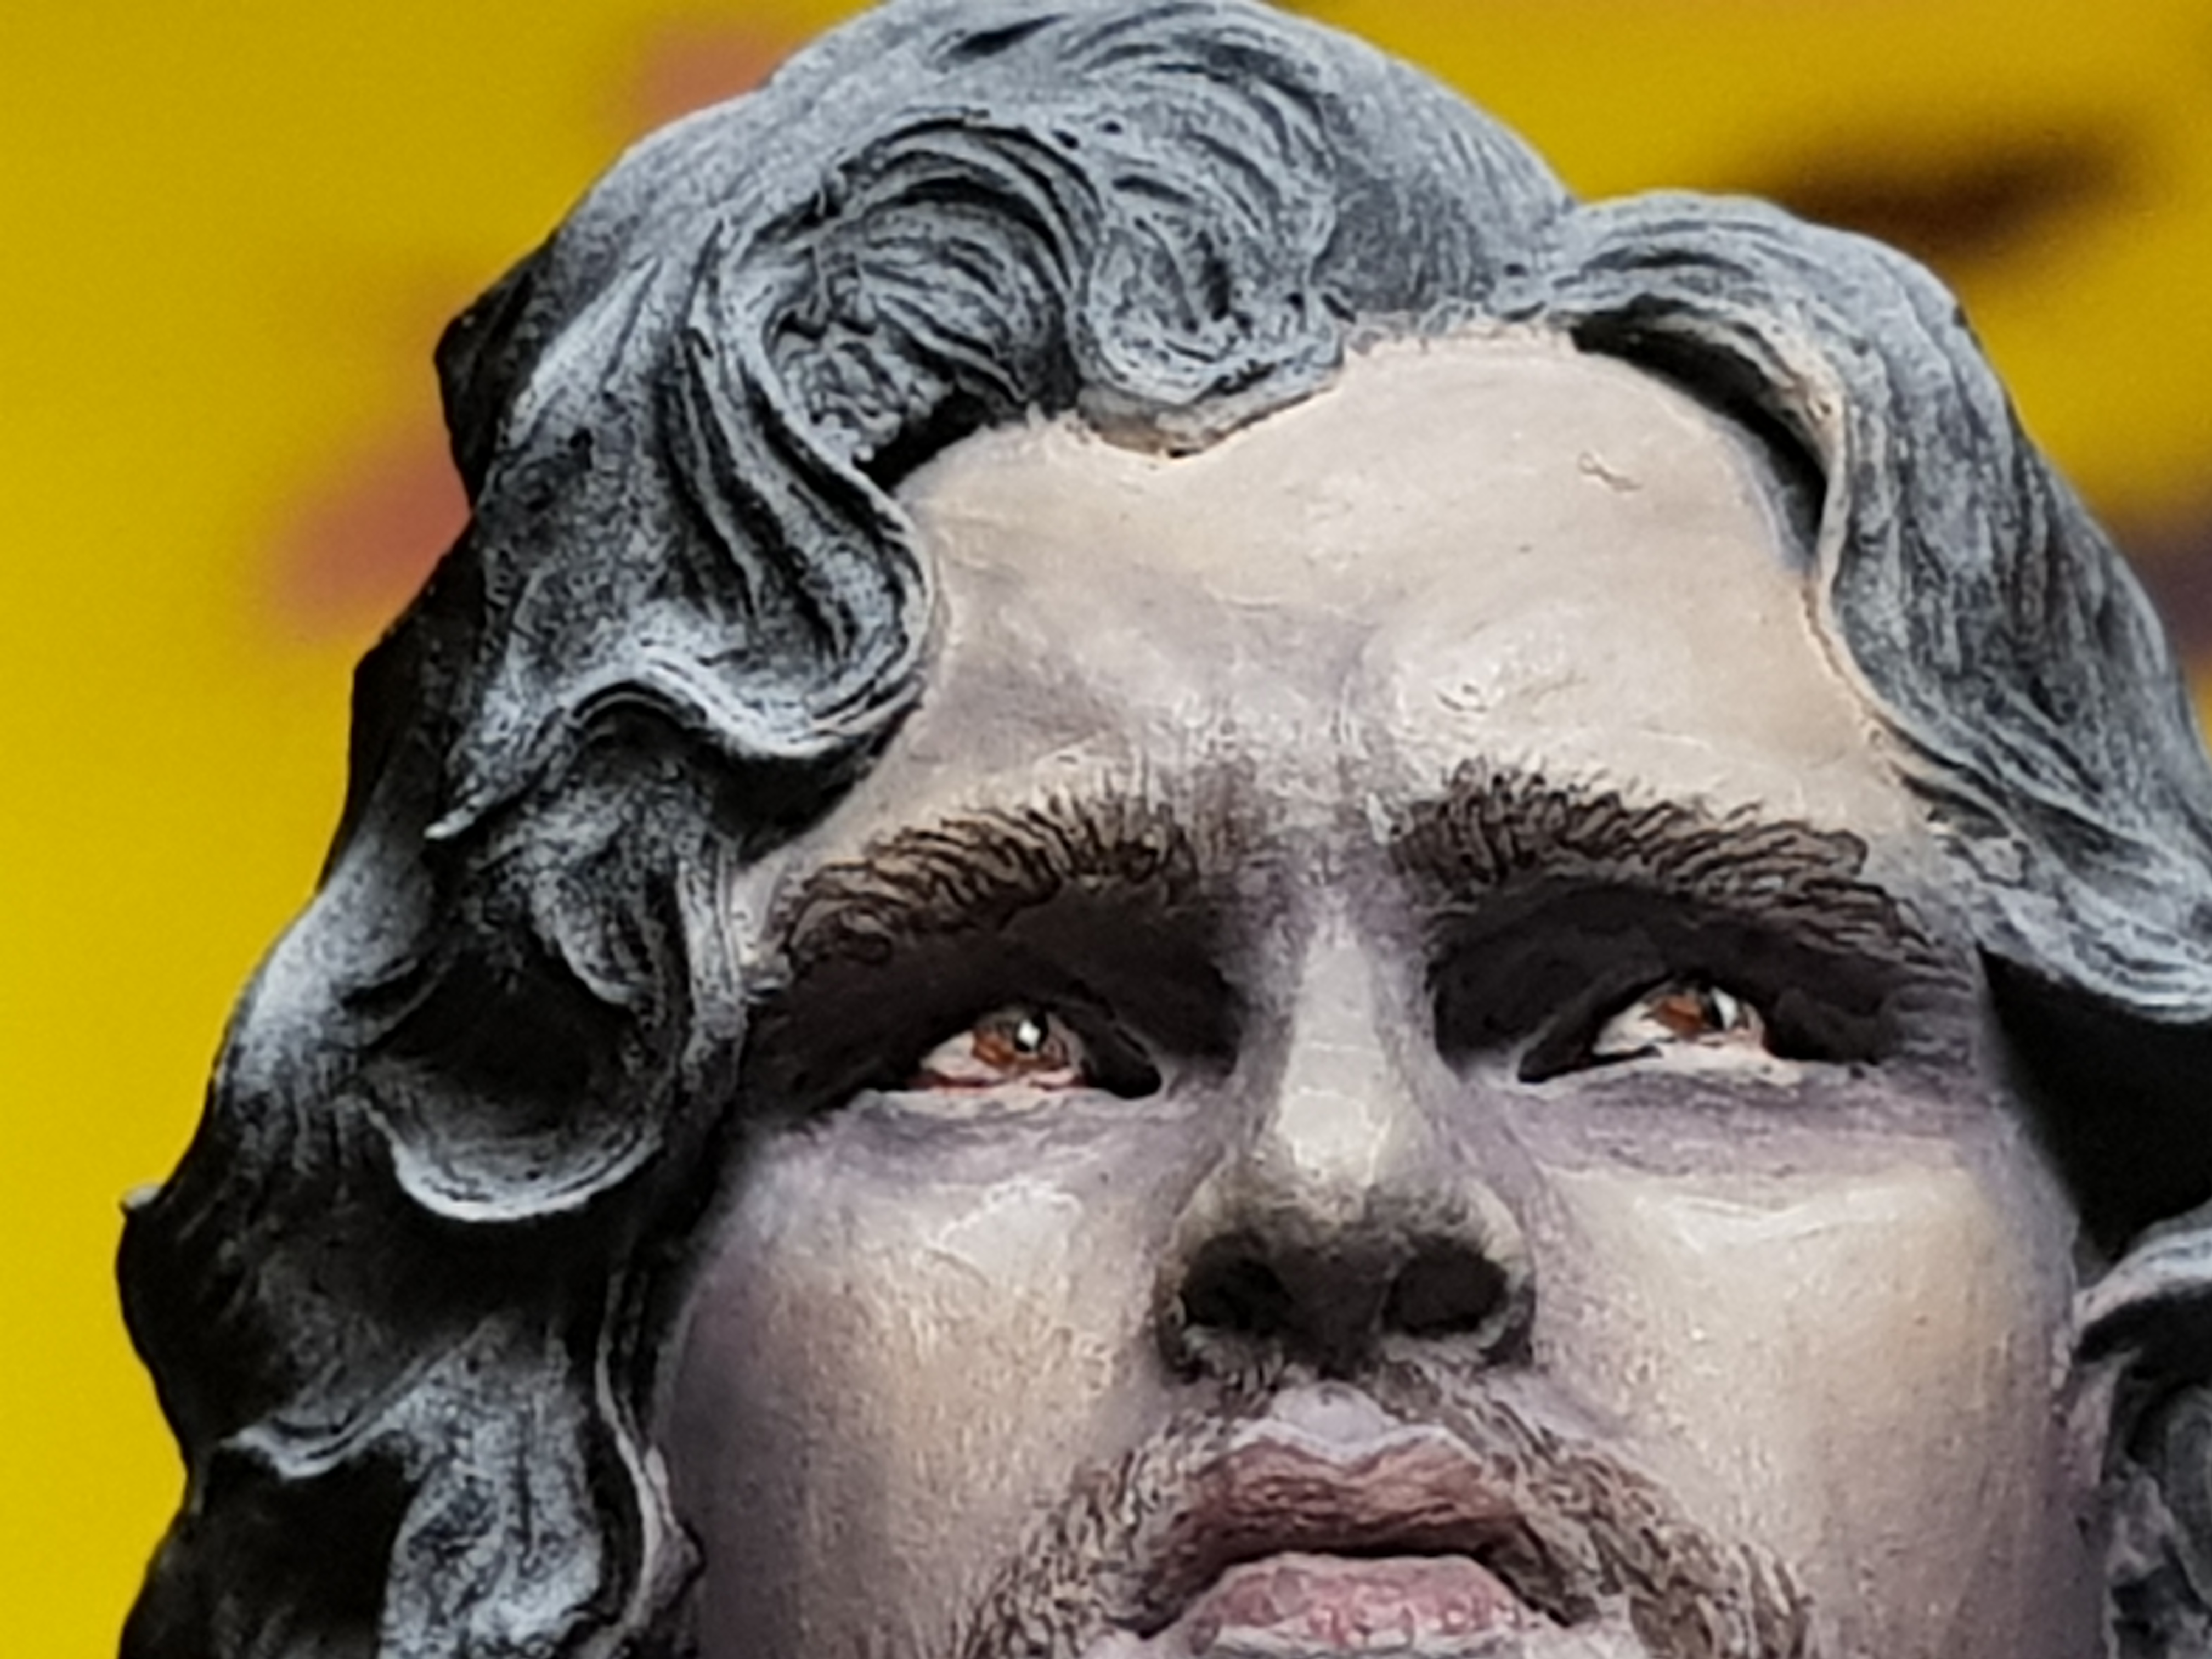
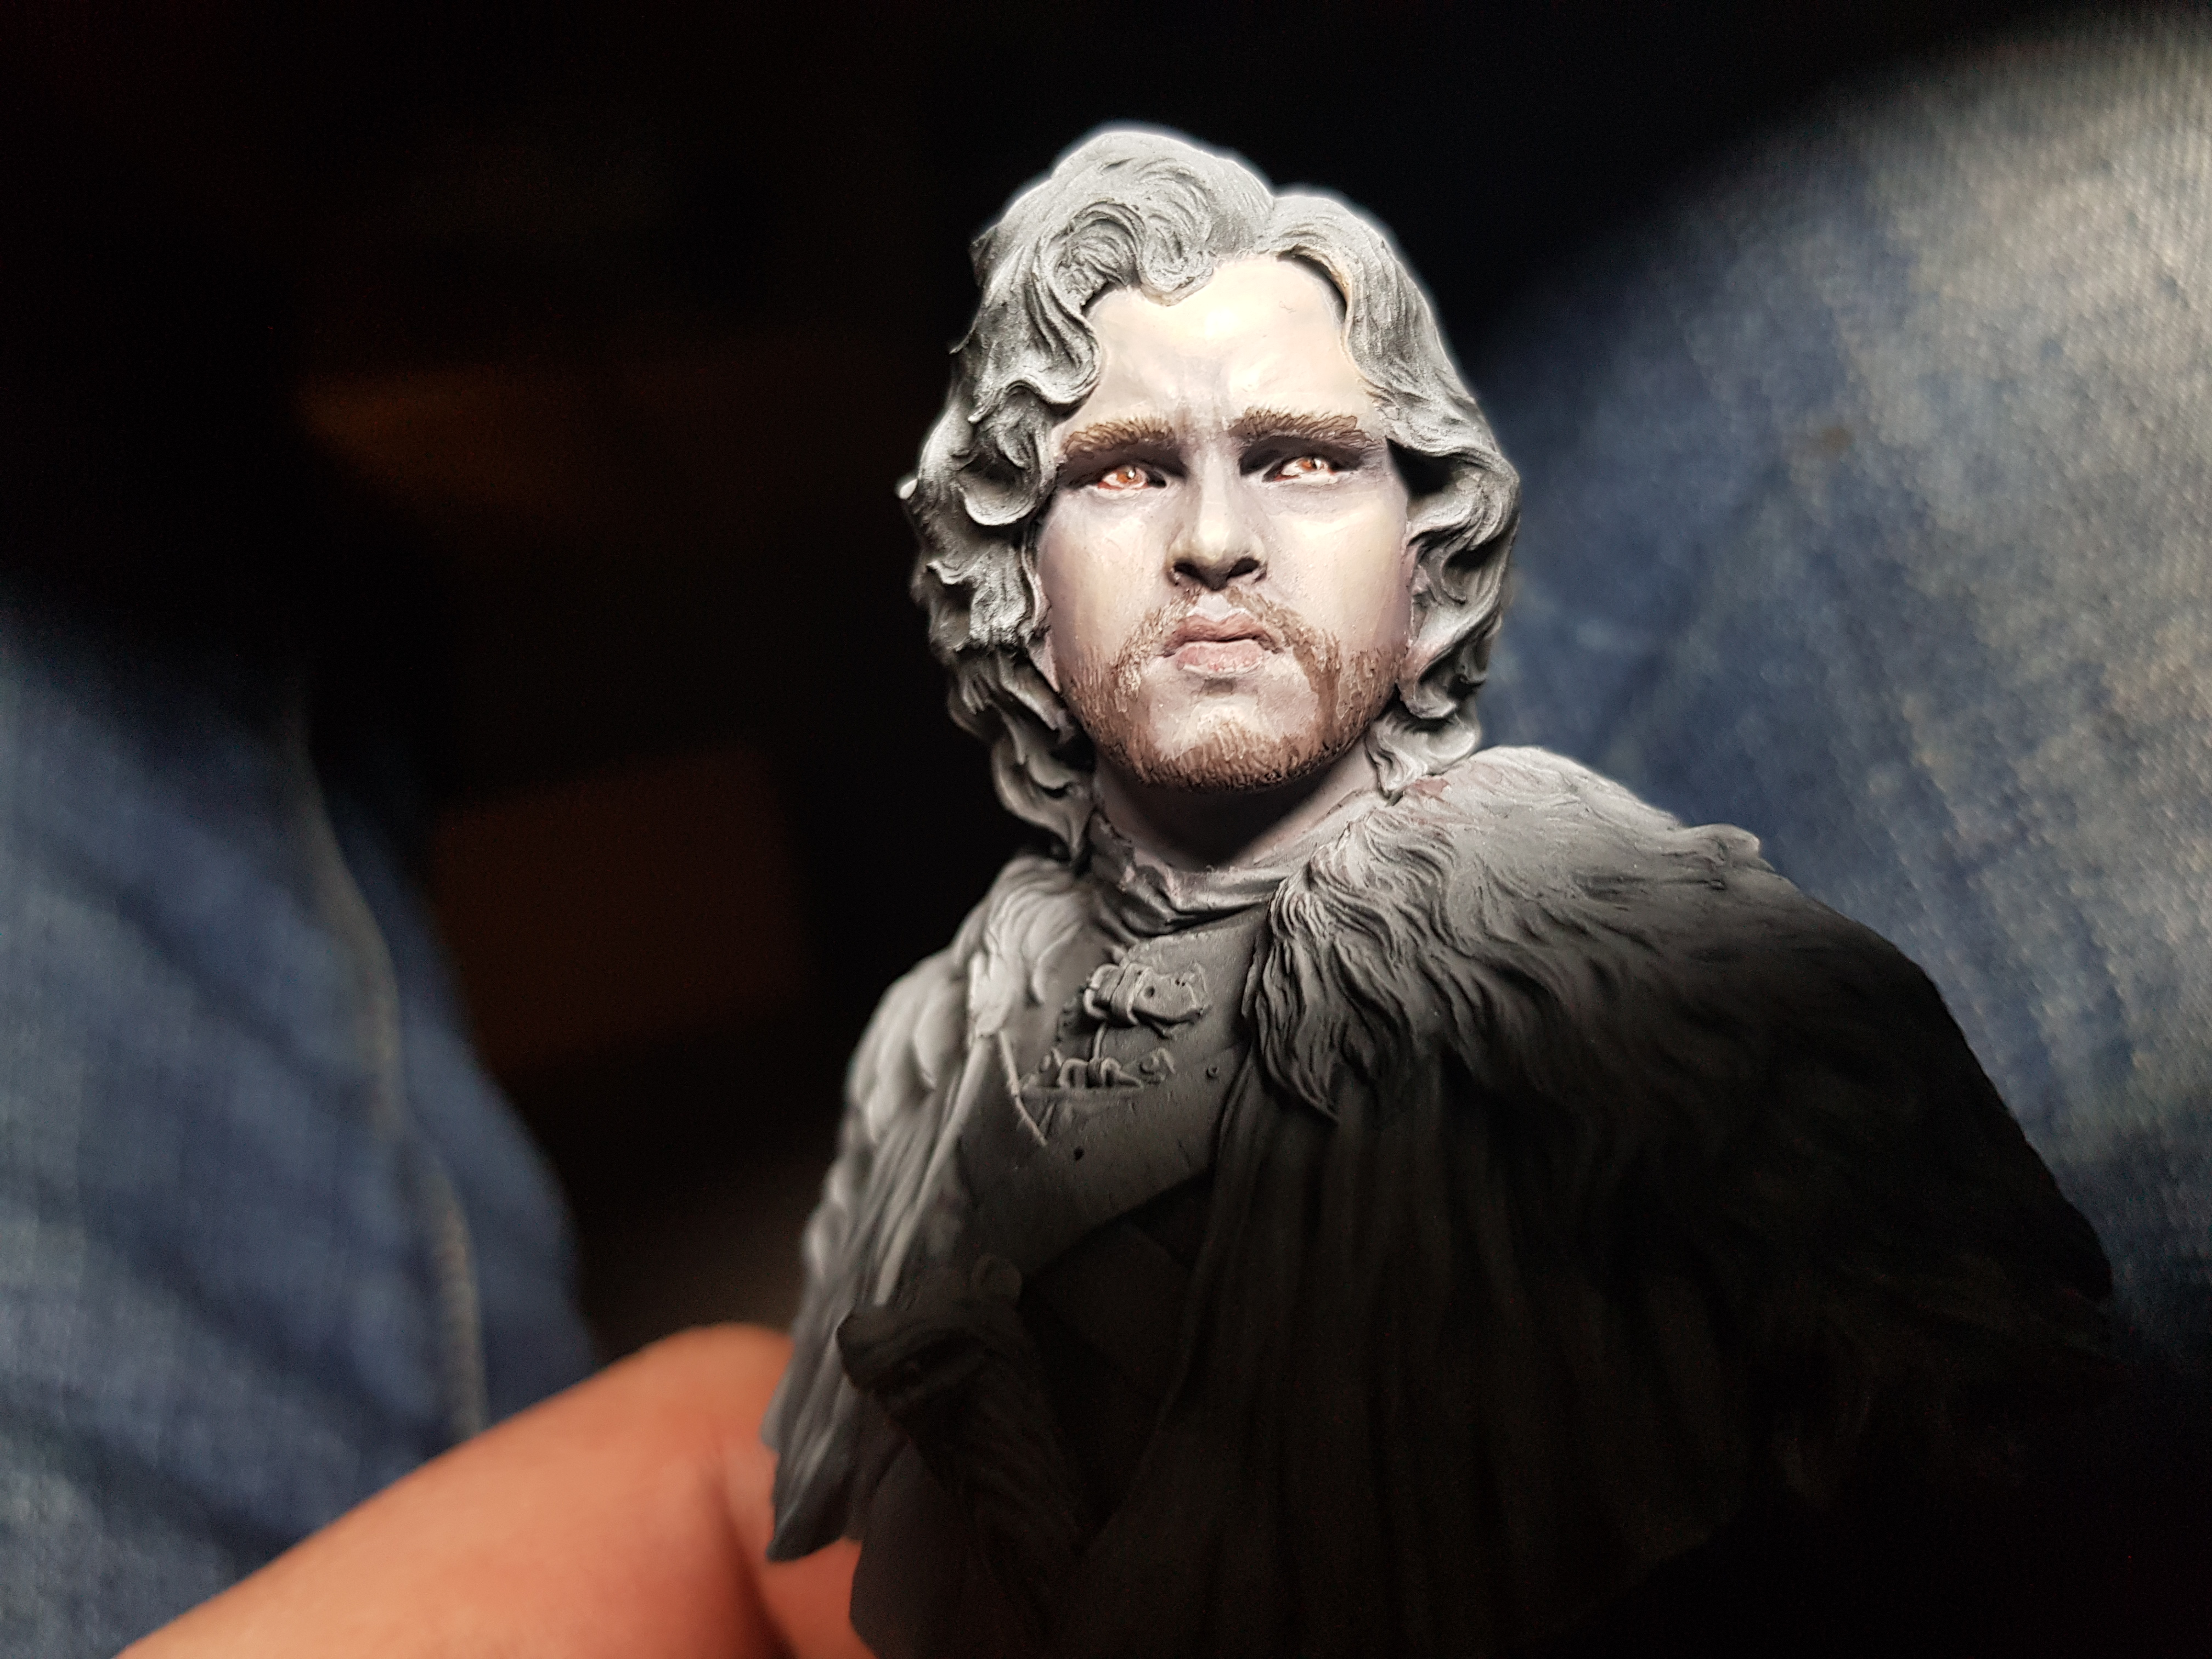
Here is the final result of the face. I’m happy with it at the moment but things always change in the morning.
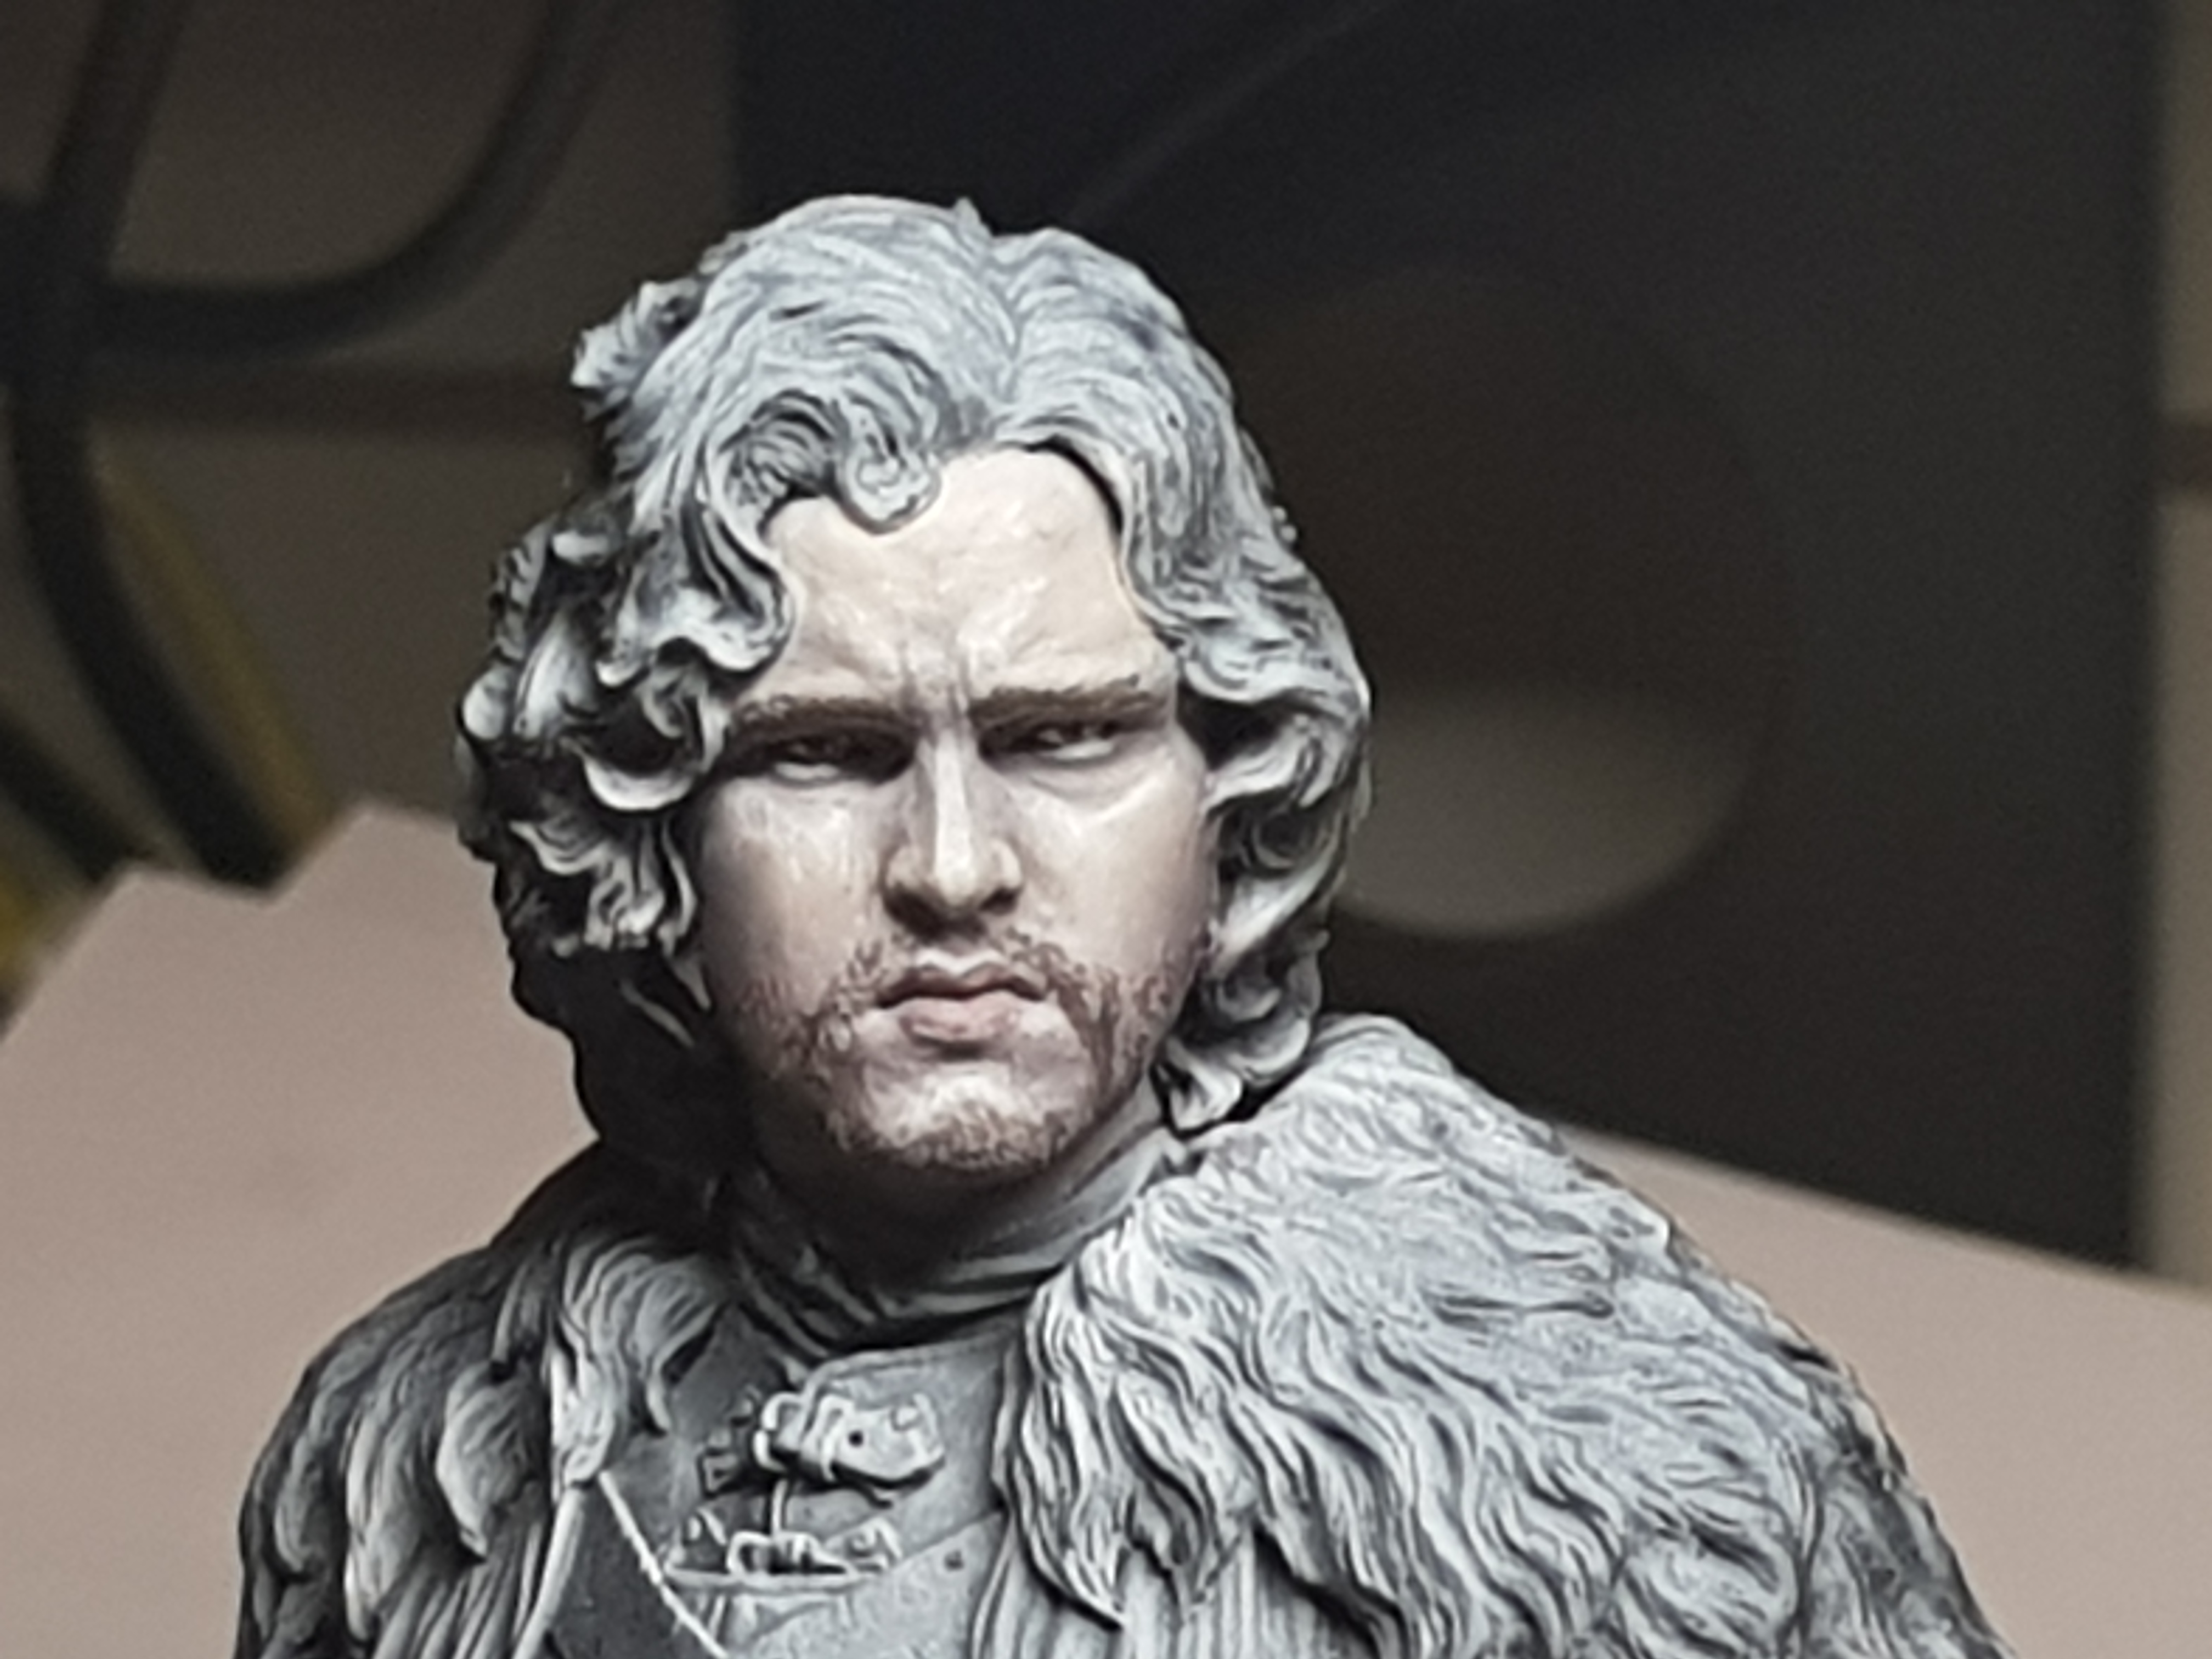 Finished Face
My journey begins - Nights Watch
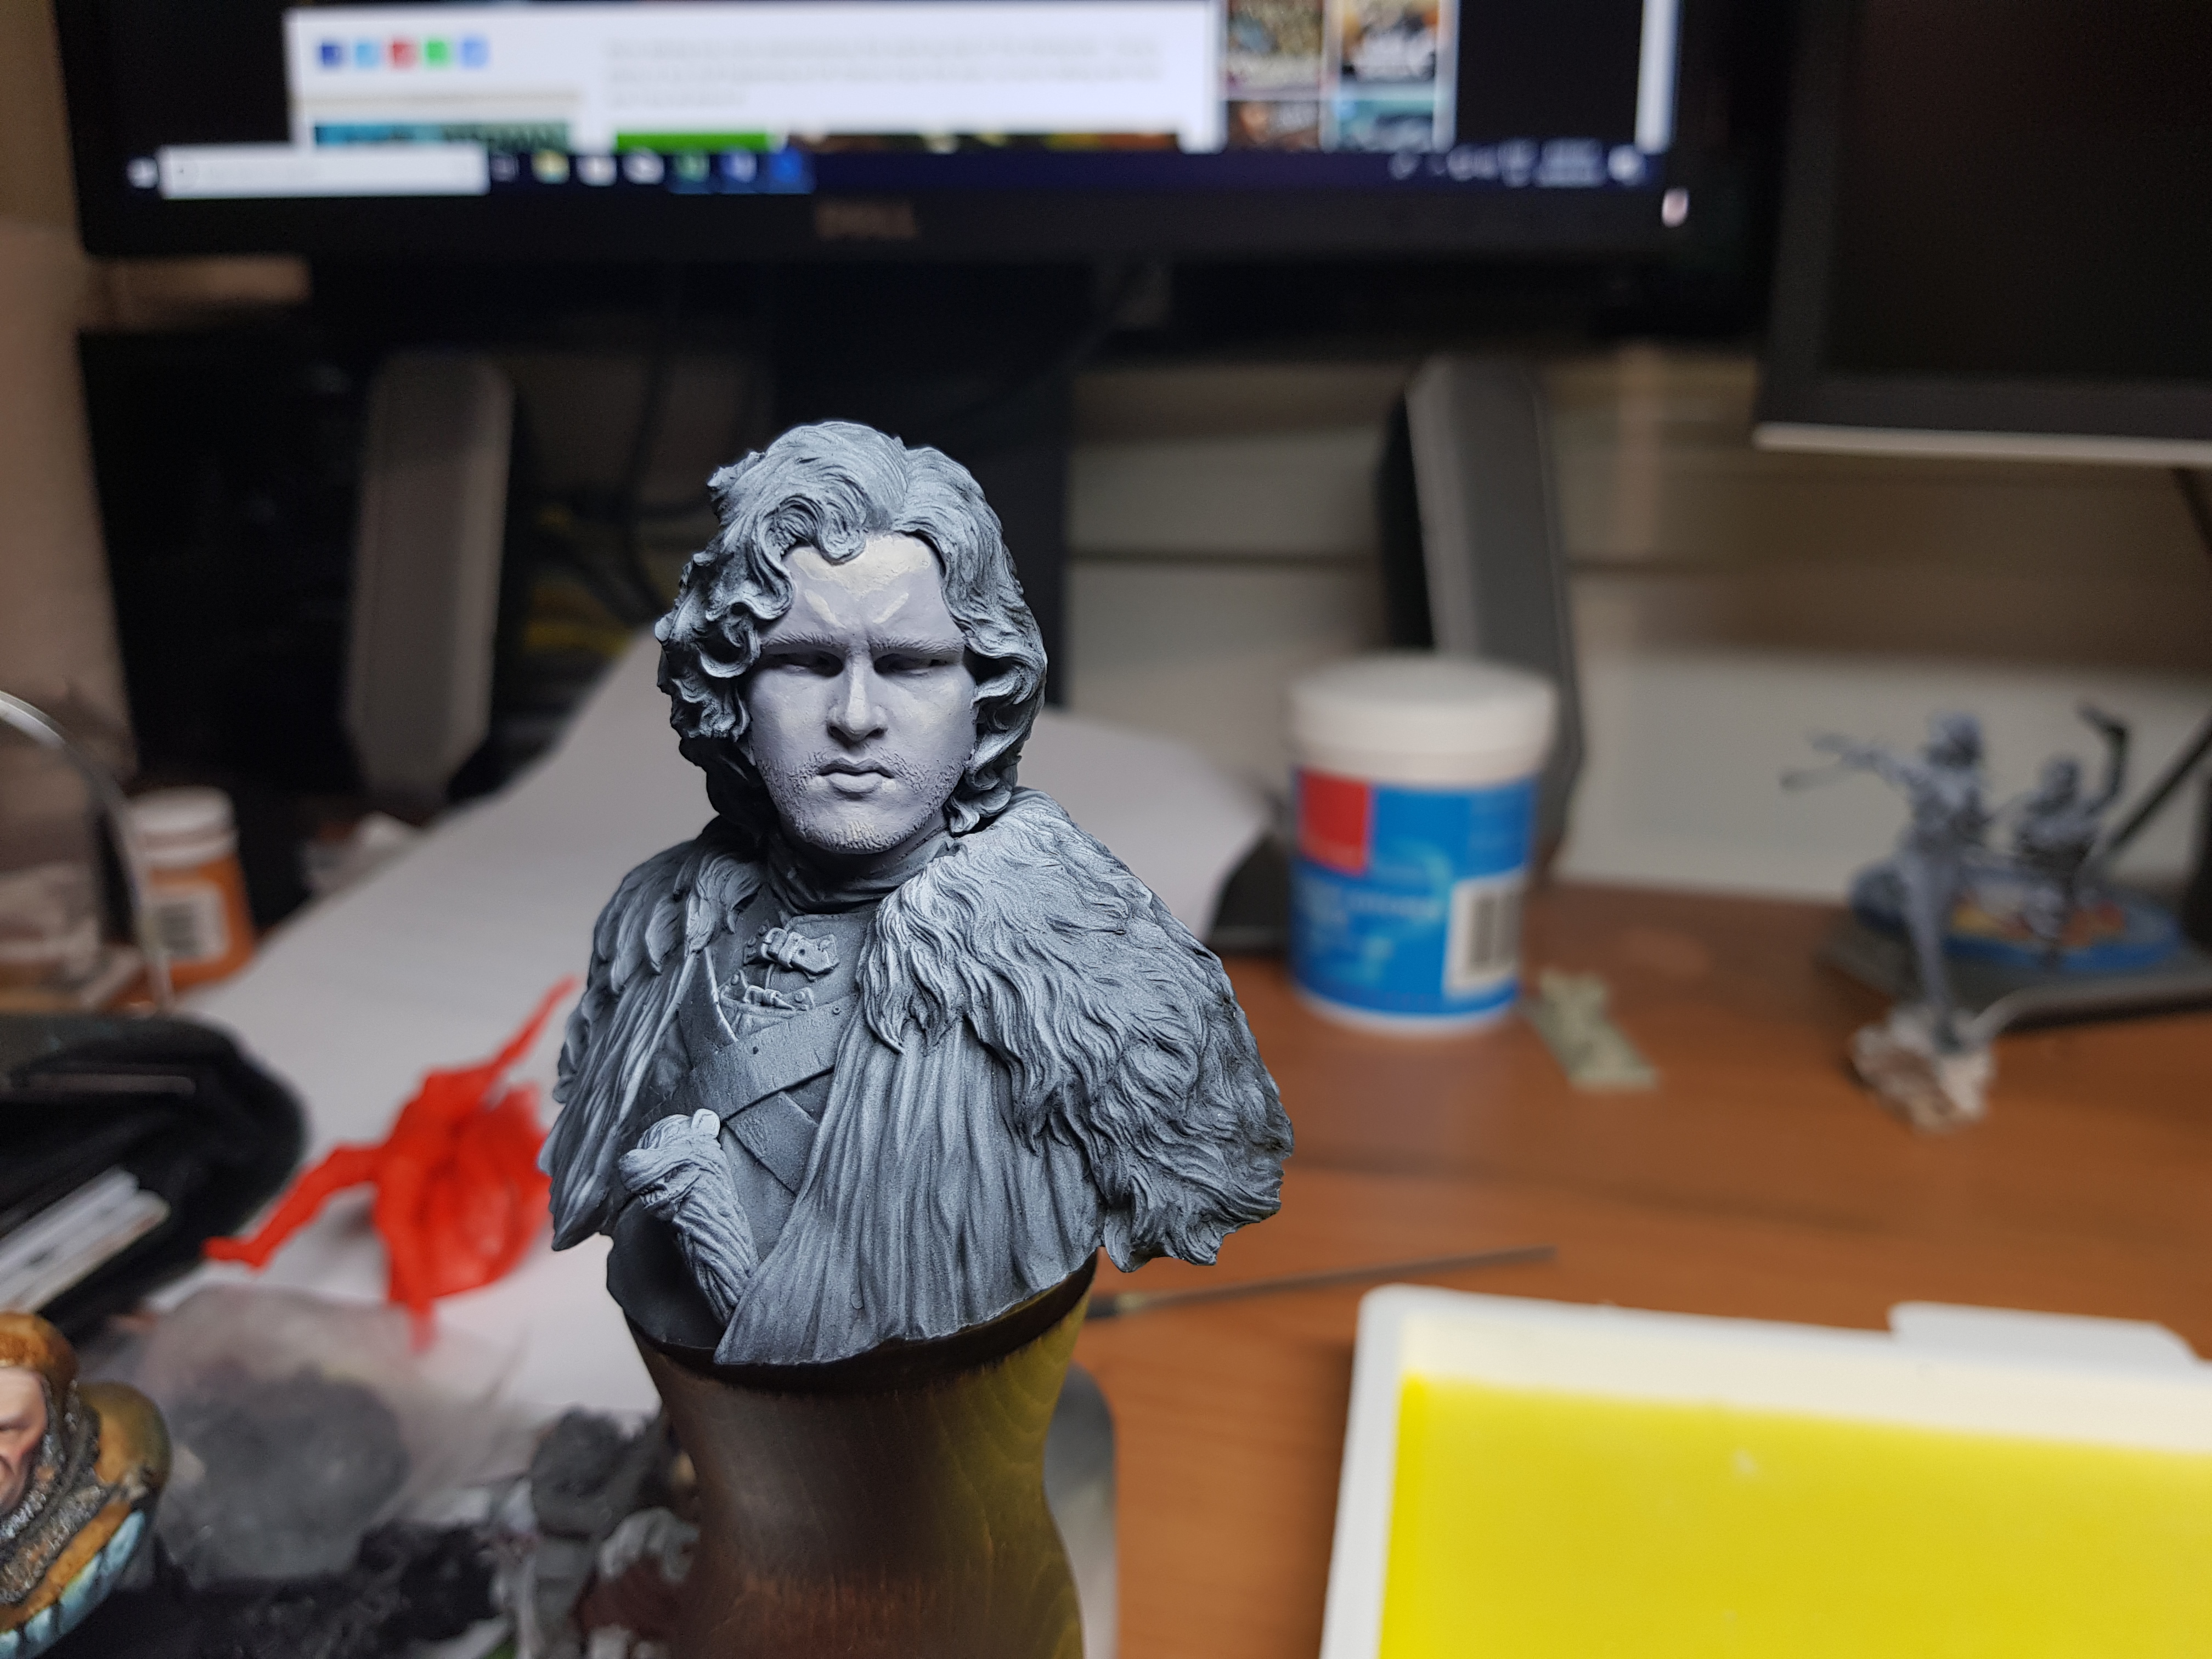
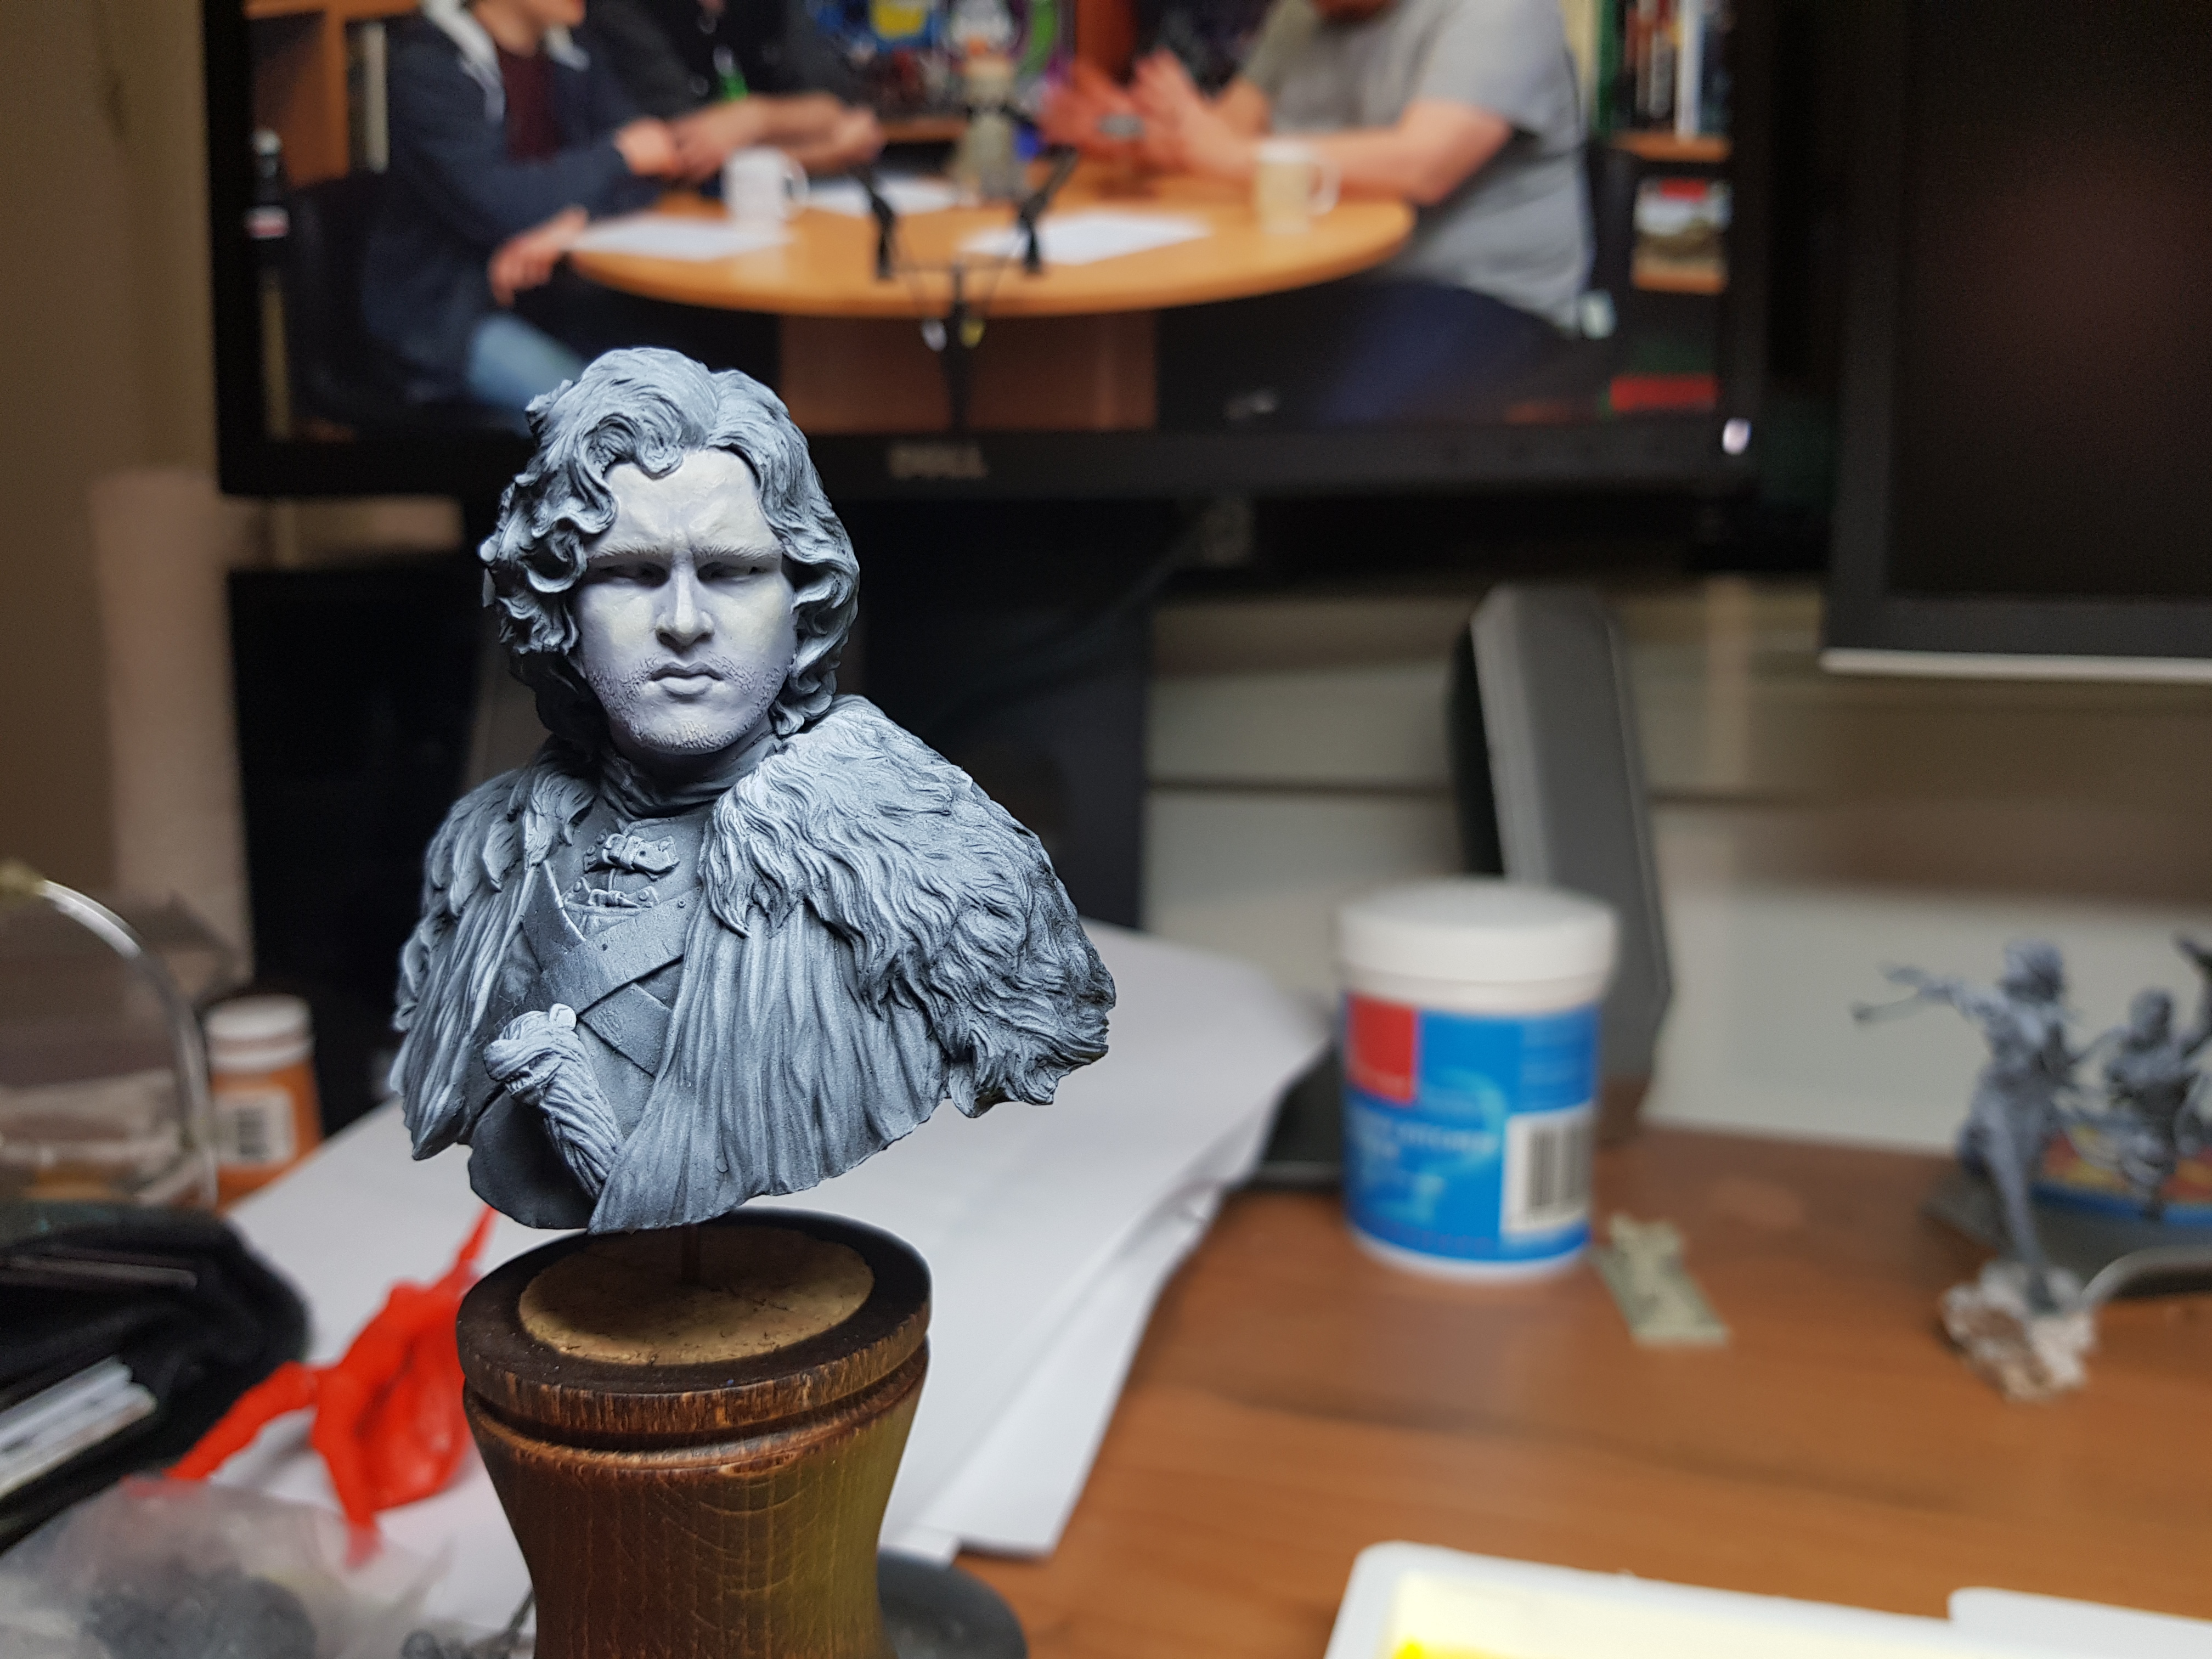
I thought I would start with a bust and the bust of choice was Nuts Planet Night’s Watch.
I picked it because all the other busts or minis I had had lots of different surfaces and intricate details. This one seemed the simplest with a face, hair some leather and fur. How hard can it be? I’m about to find out.
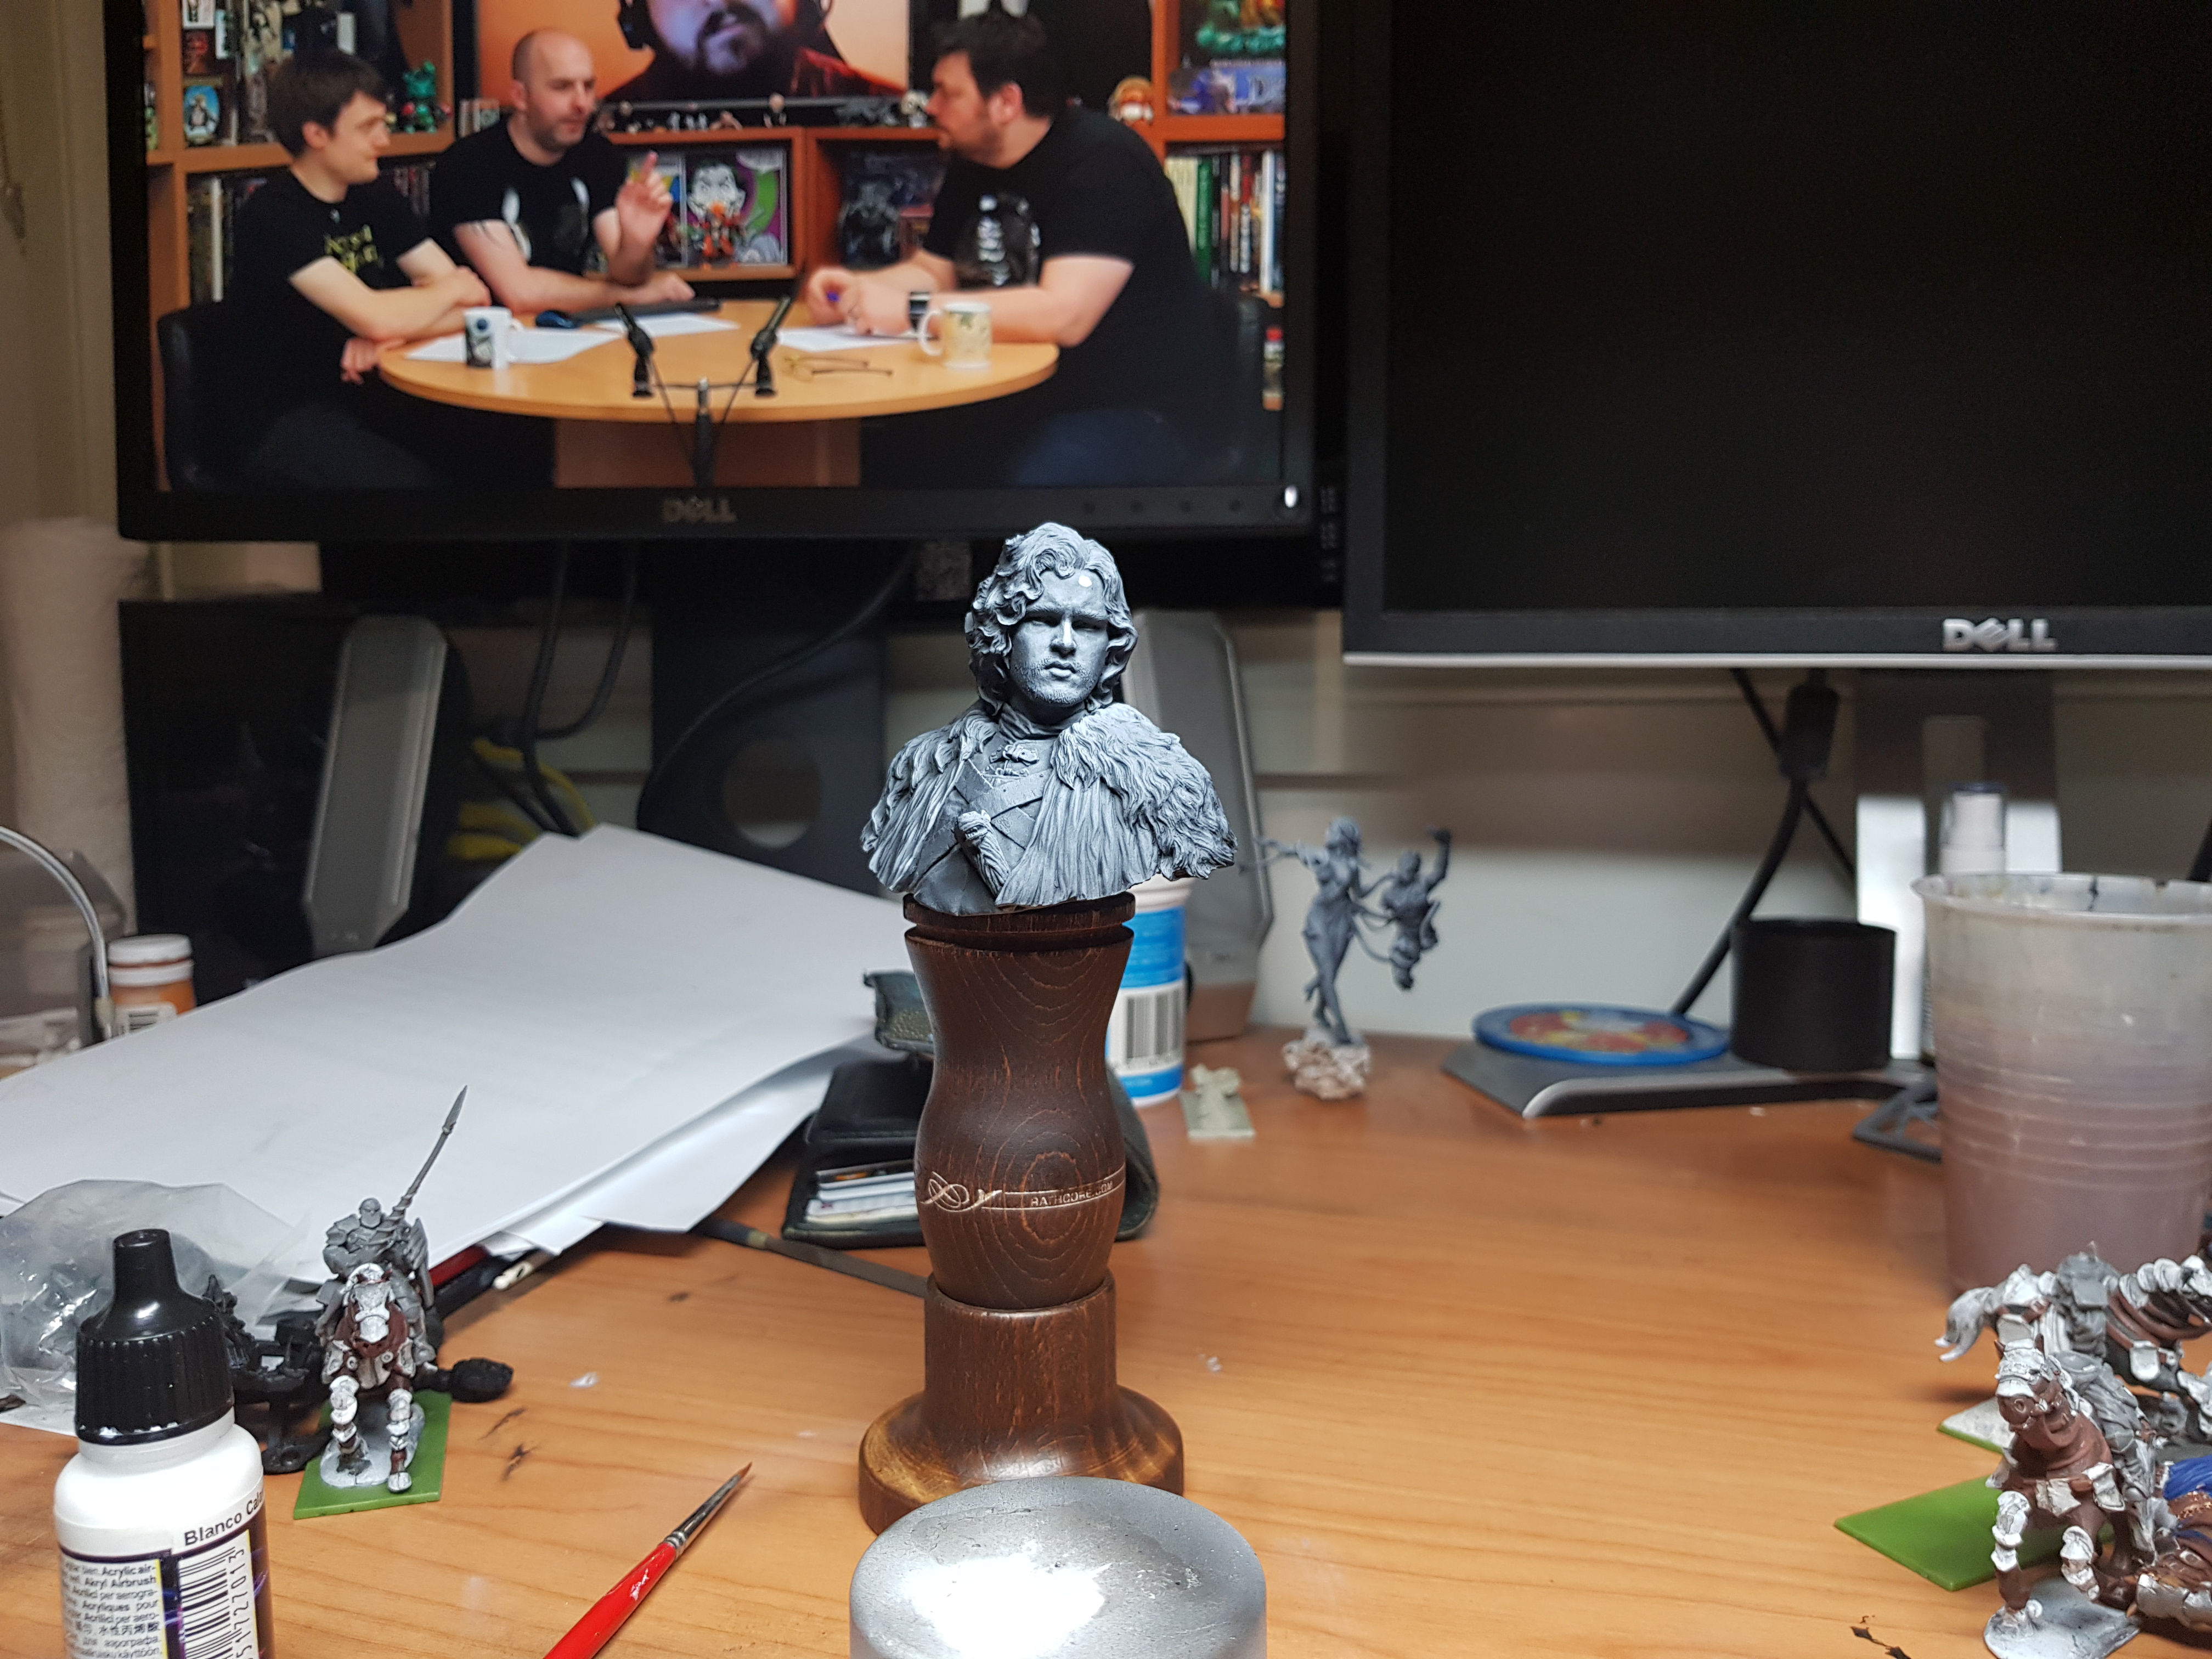 Night's Watch
I was trying to find a good example of this bust but non really jumped out to me. Until I saw this.

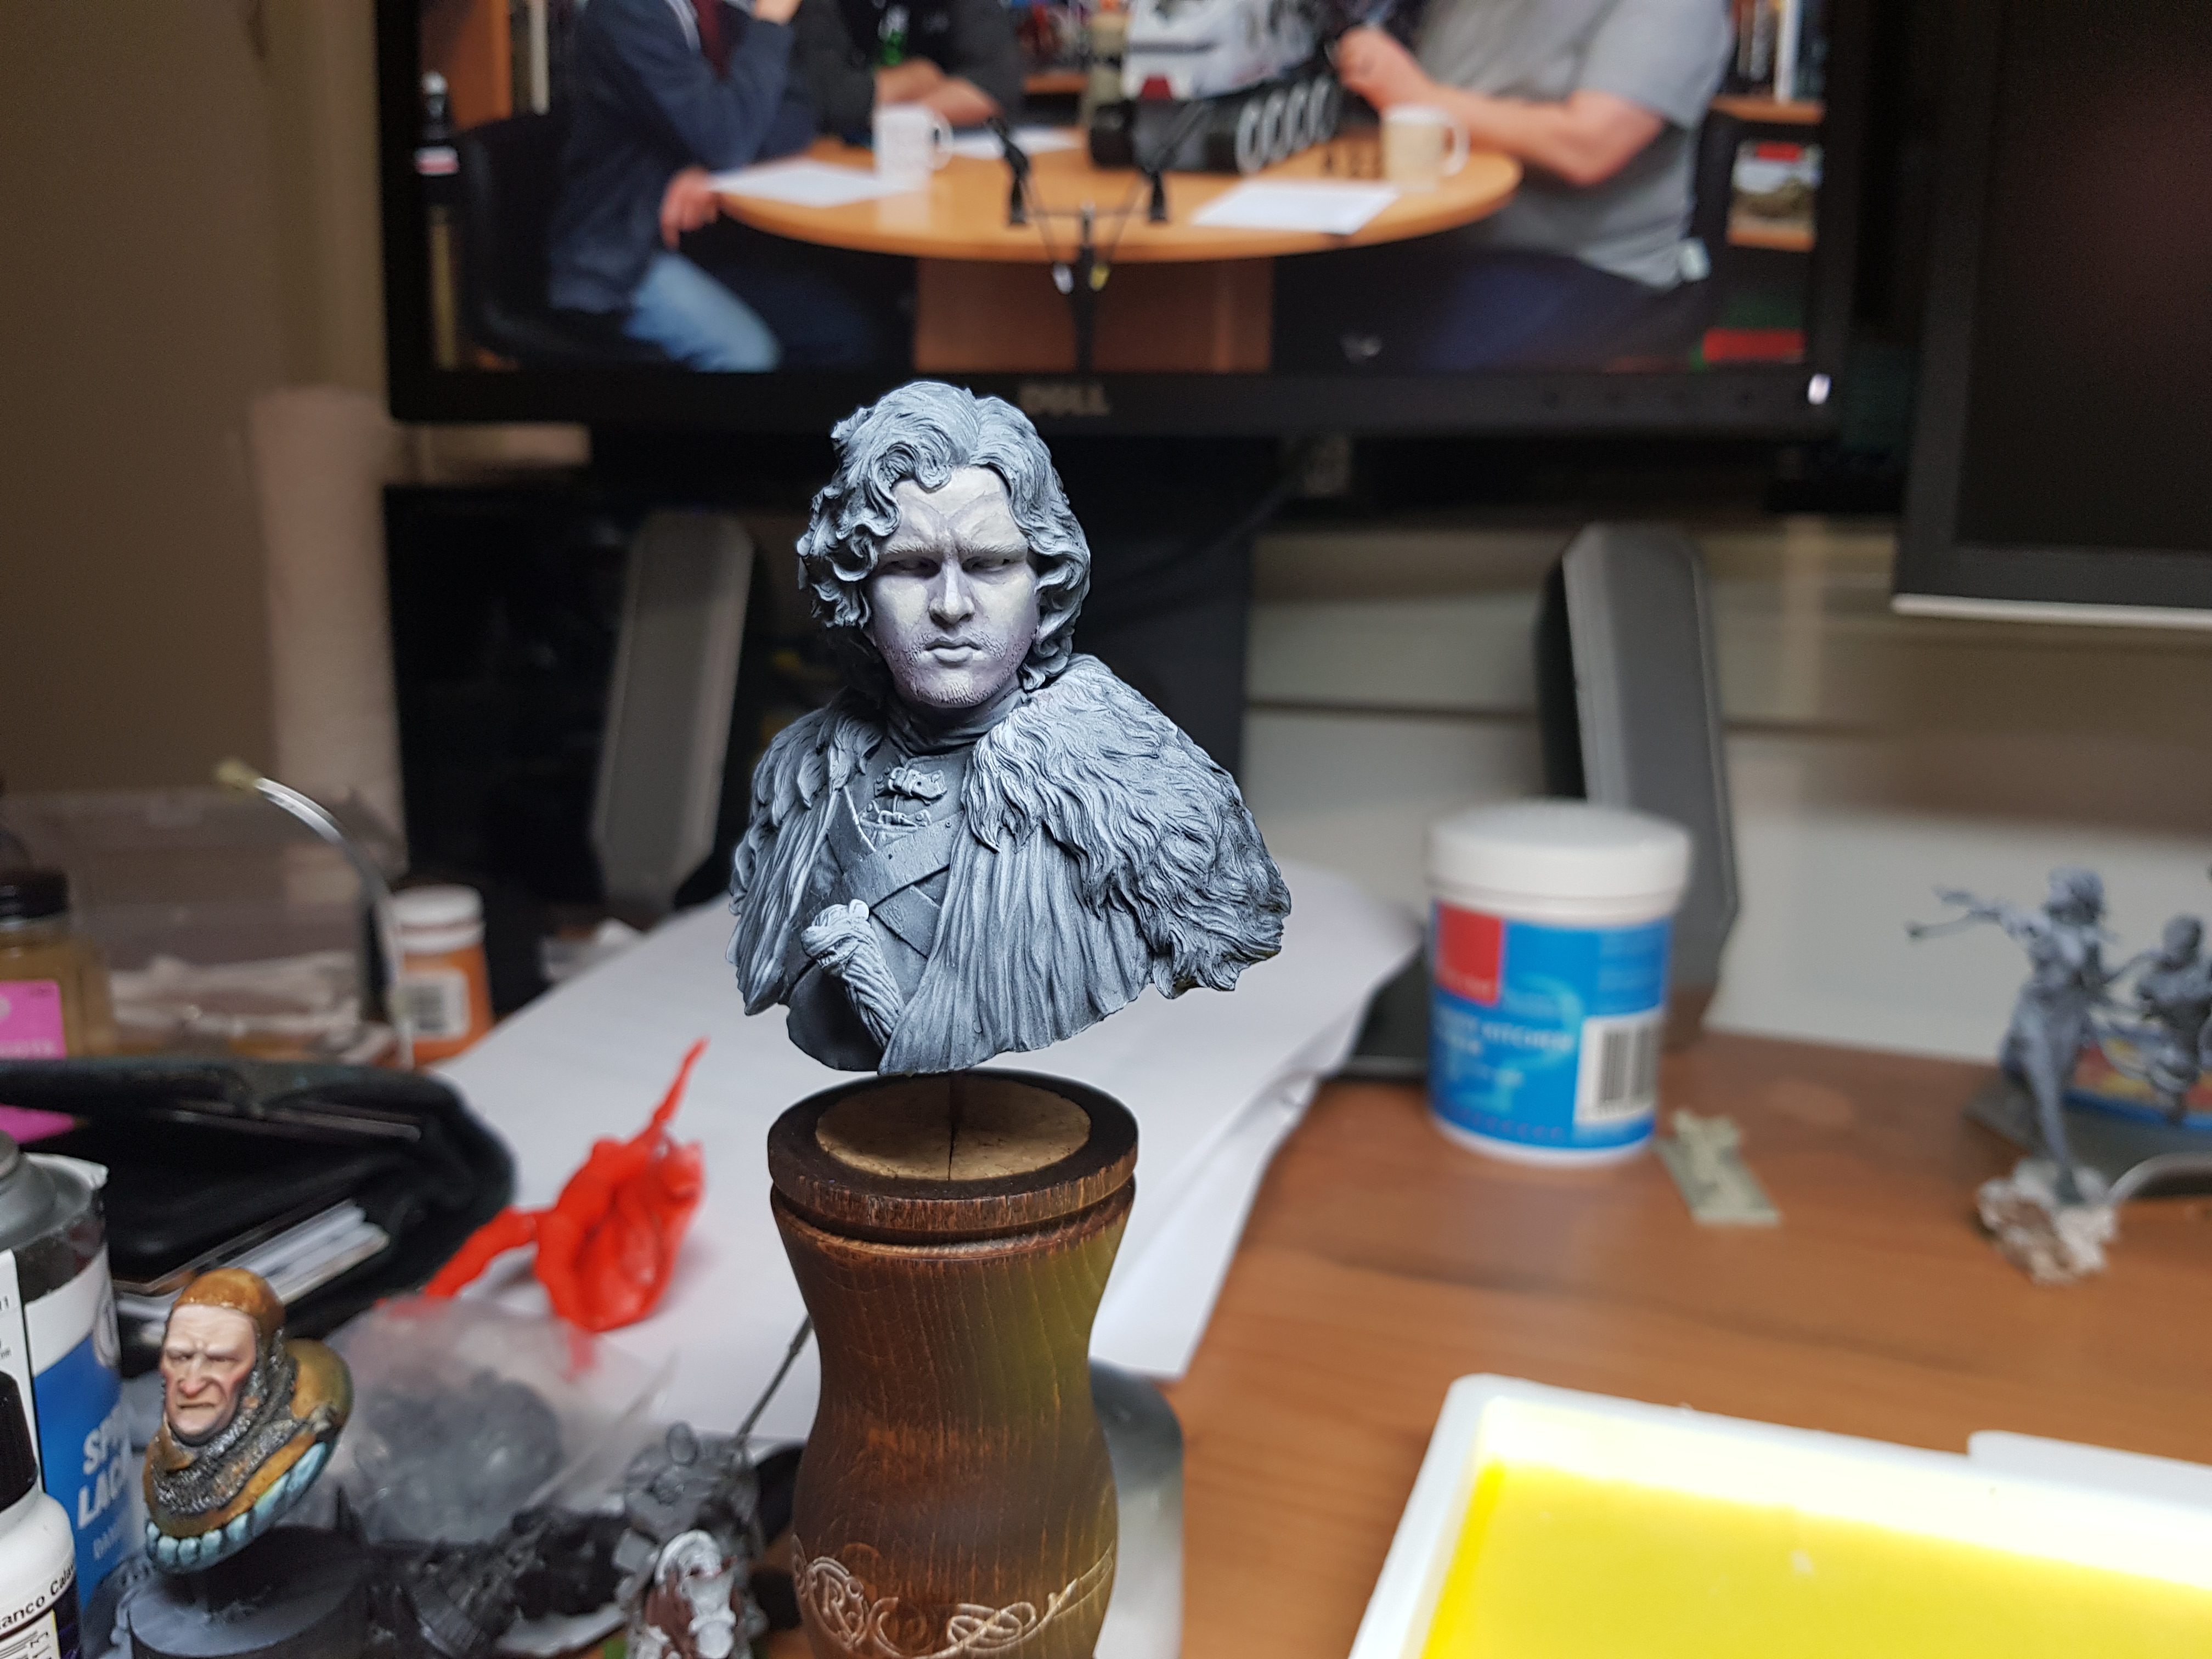
I really liked the cold feel of this bust but I thought to my self I’m going to push it even further, I’m going to go with a colder bluer skin tone. Now it’s the first time I’ve ever done this so it will be interesting. I’m going to follow the nocturna vallejo malefic skin guide. So here we go, wish me luck.
Step 1. Lay down a base coat of 74.014 Cold flesh.
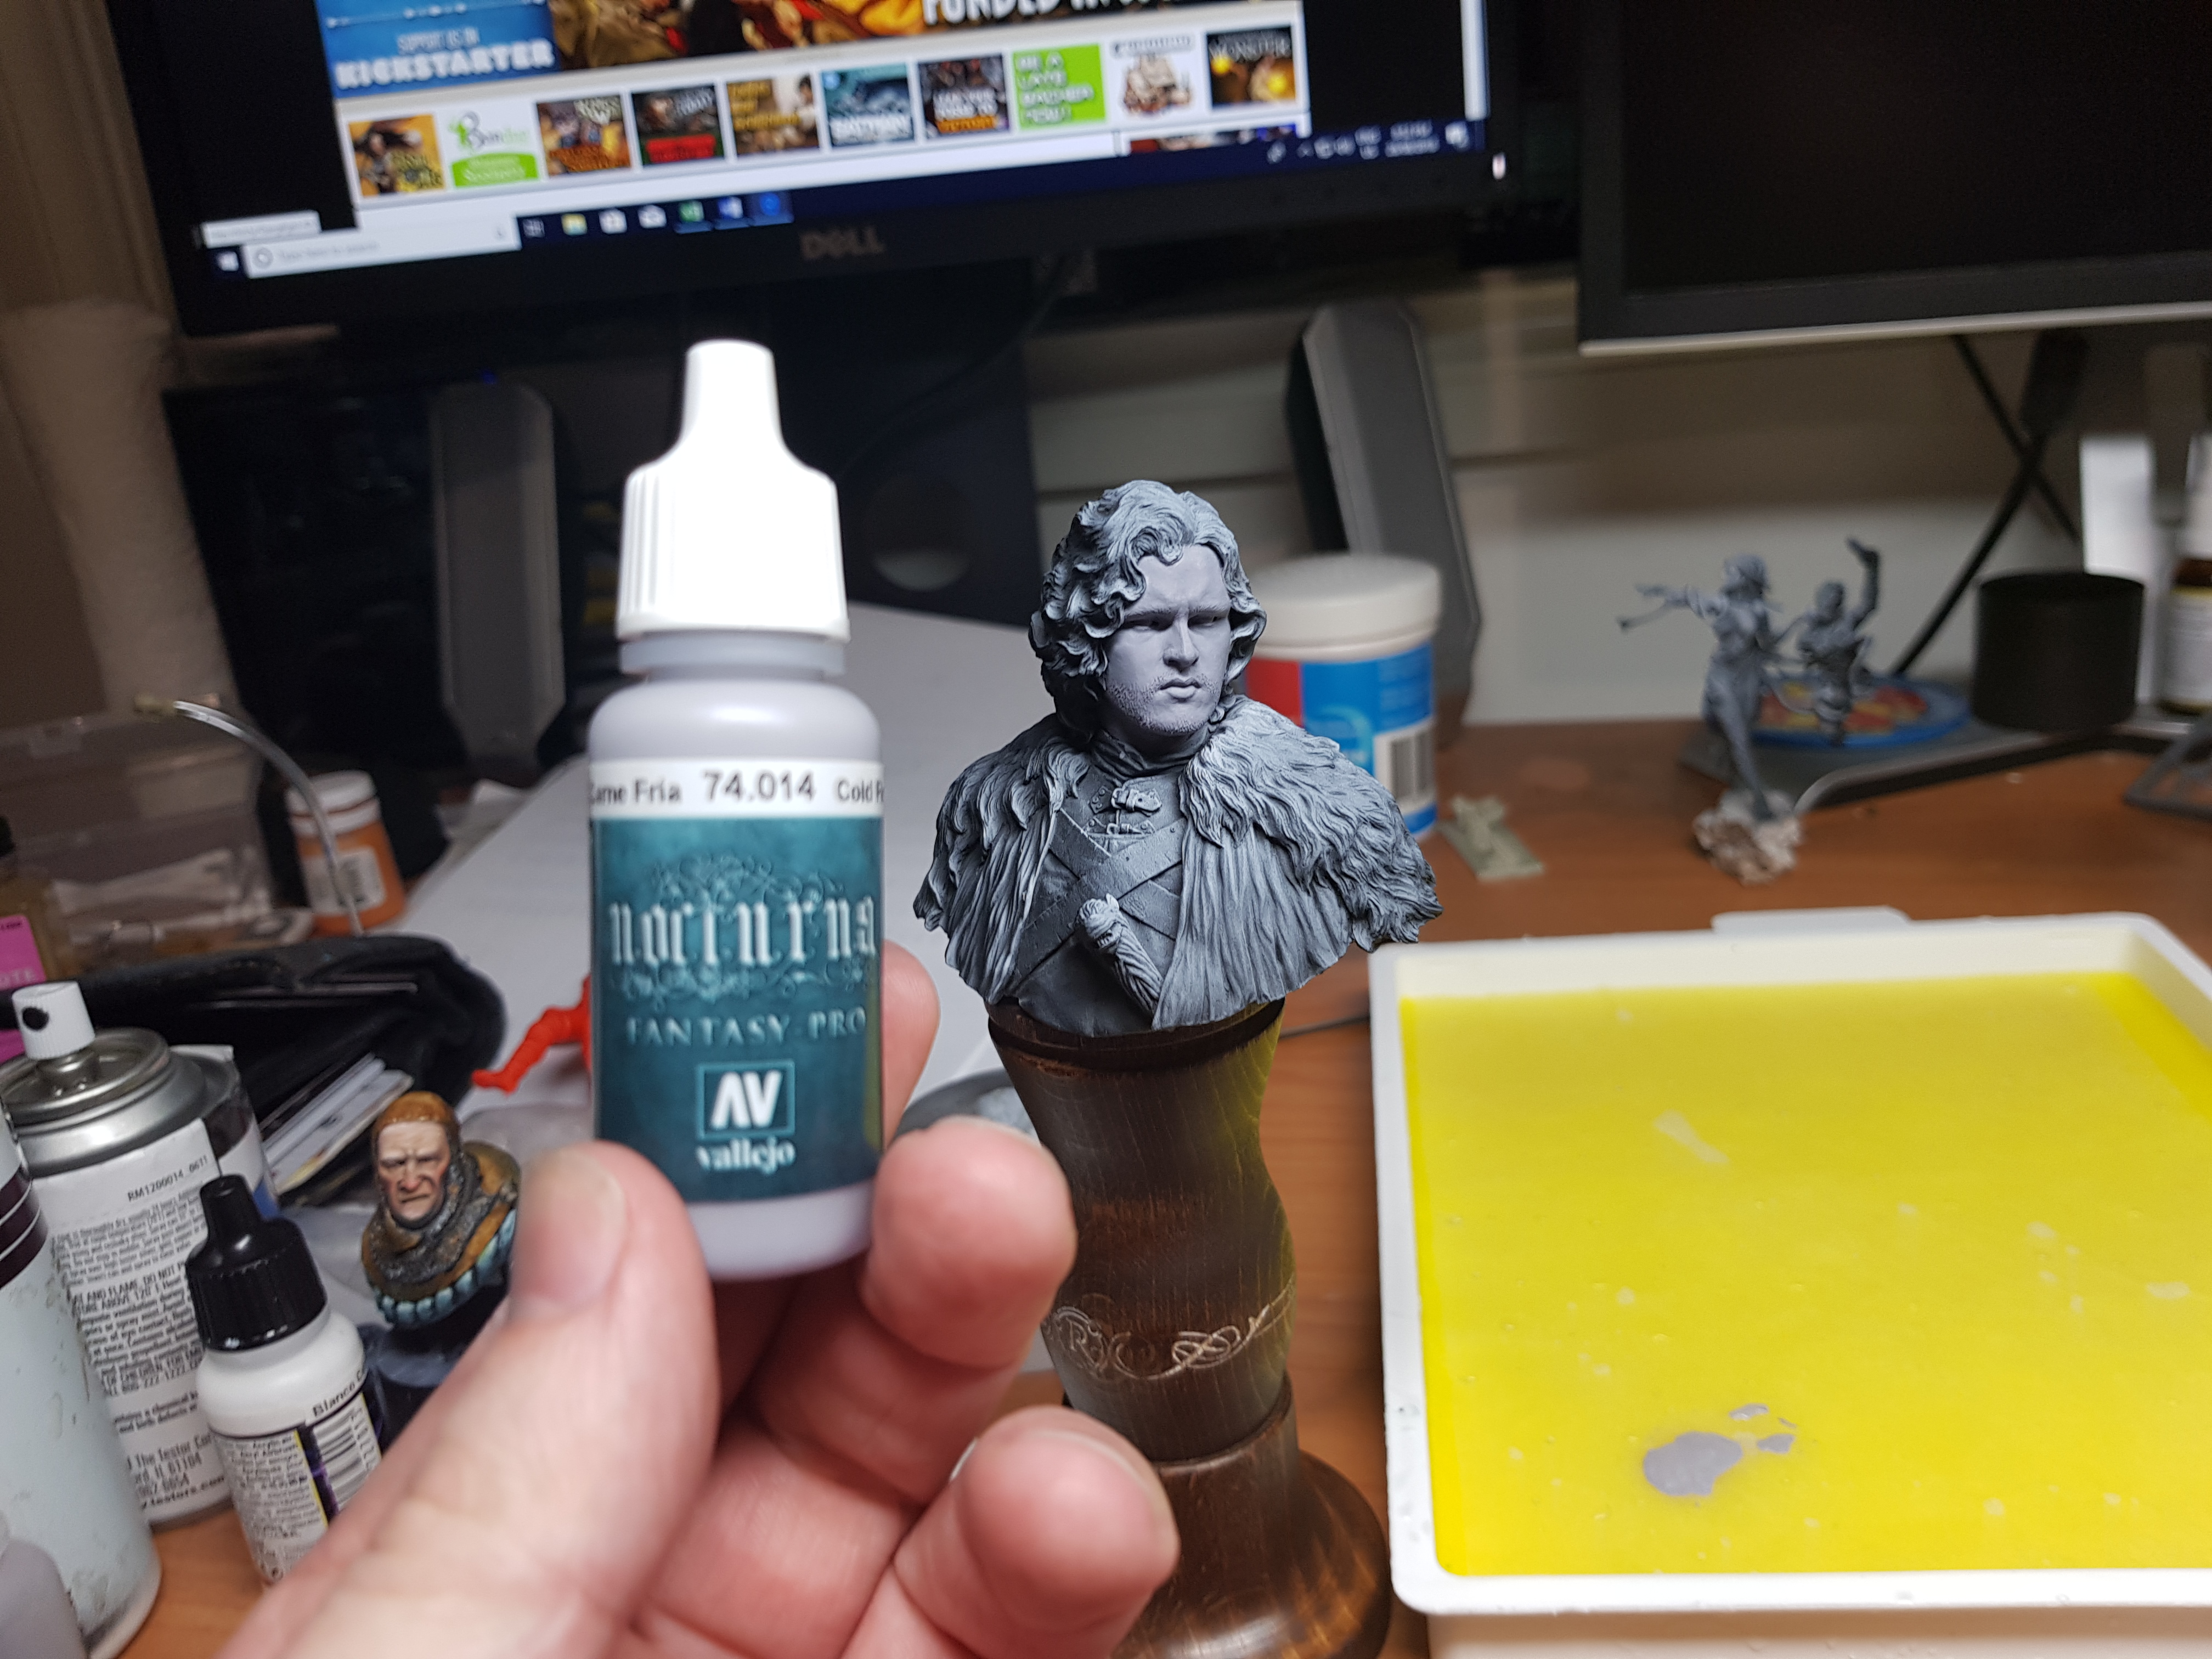
Step 2. Highlight with 50/50 cold flesh and Pale Flesh. As per my bust class, I’m just going to sketch in the highlights and worry about smoothing out the transitions later. To do this I am going to place the highlight and then with a large damp brush (size 3) feather out the edges to smoothen out the transition. Now this won’t be perfect, I’ll tidy them up further later on.
The highlights are going to be concentrated on the forehead, the nose, the chin and the high parts of the cheeks.
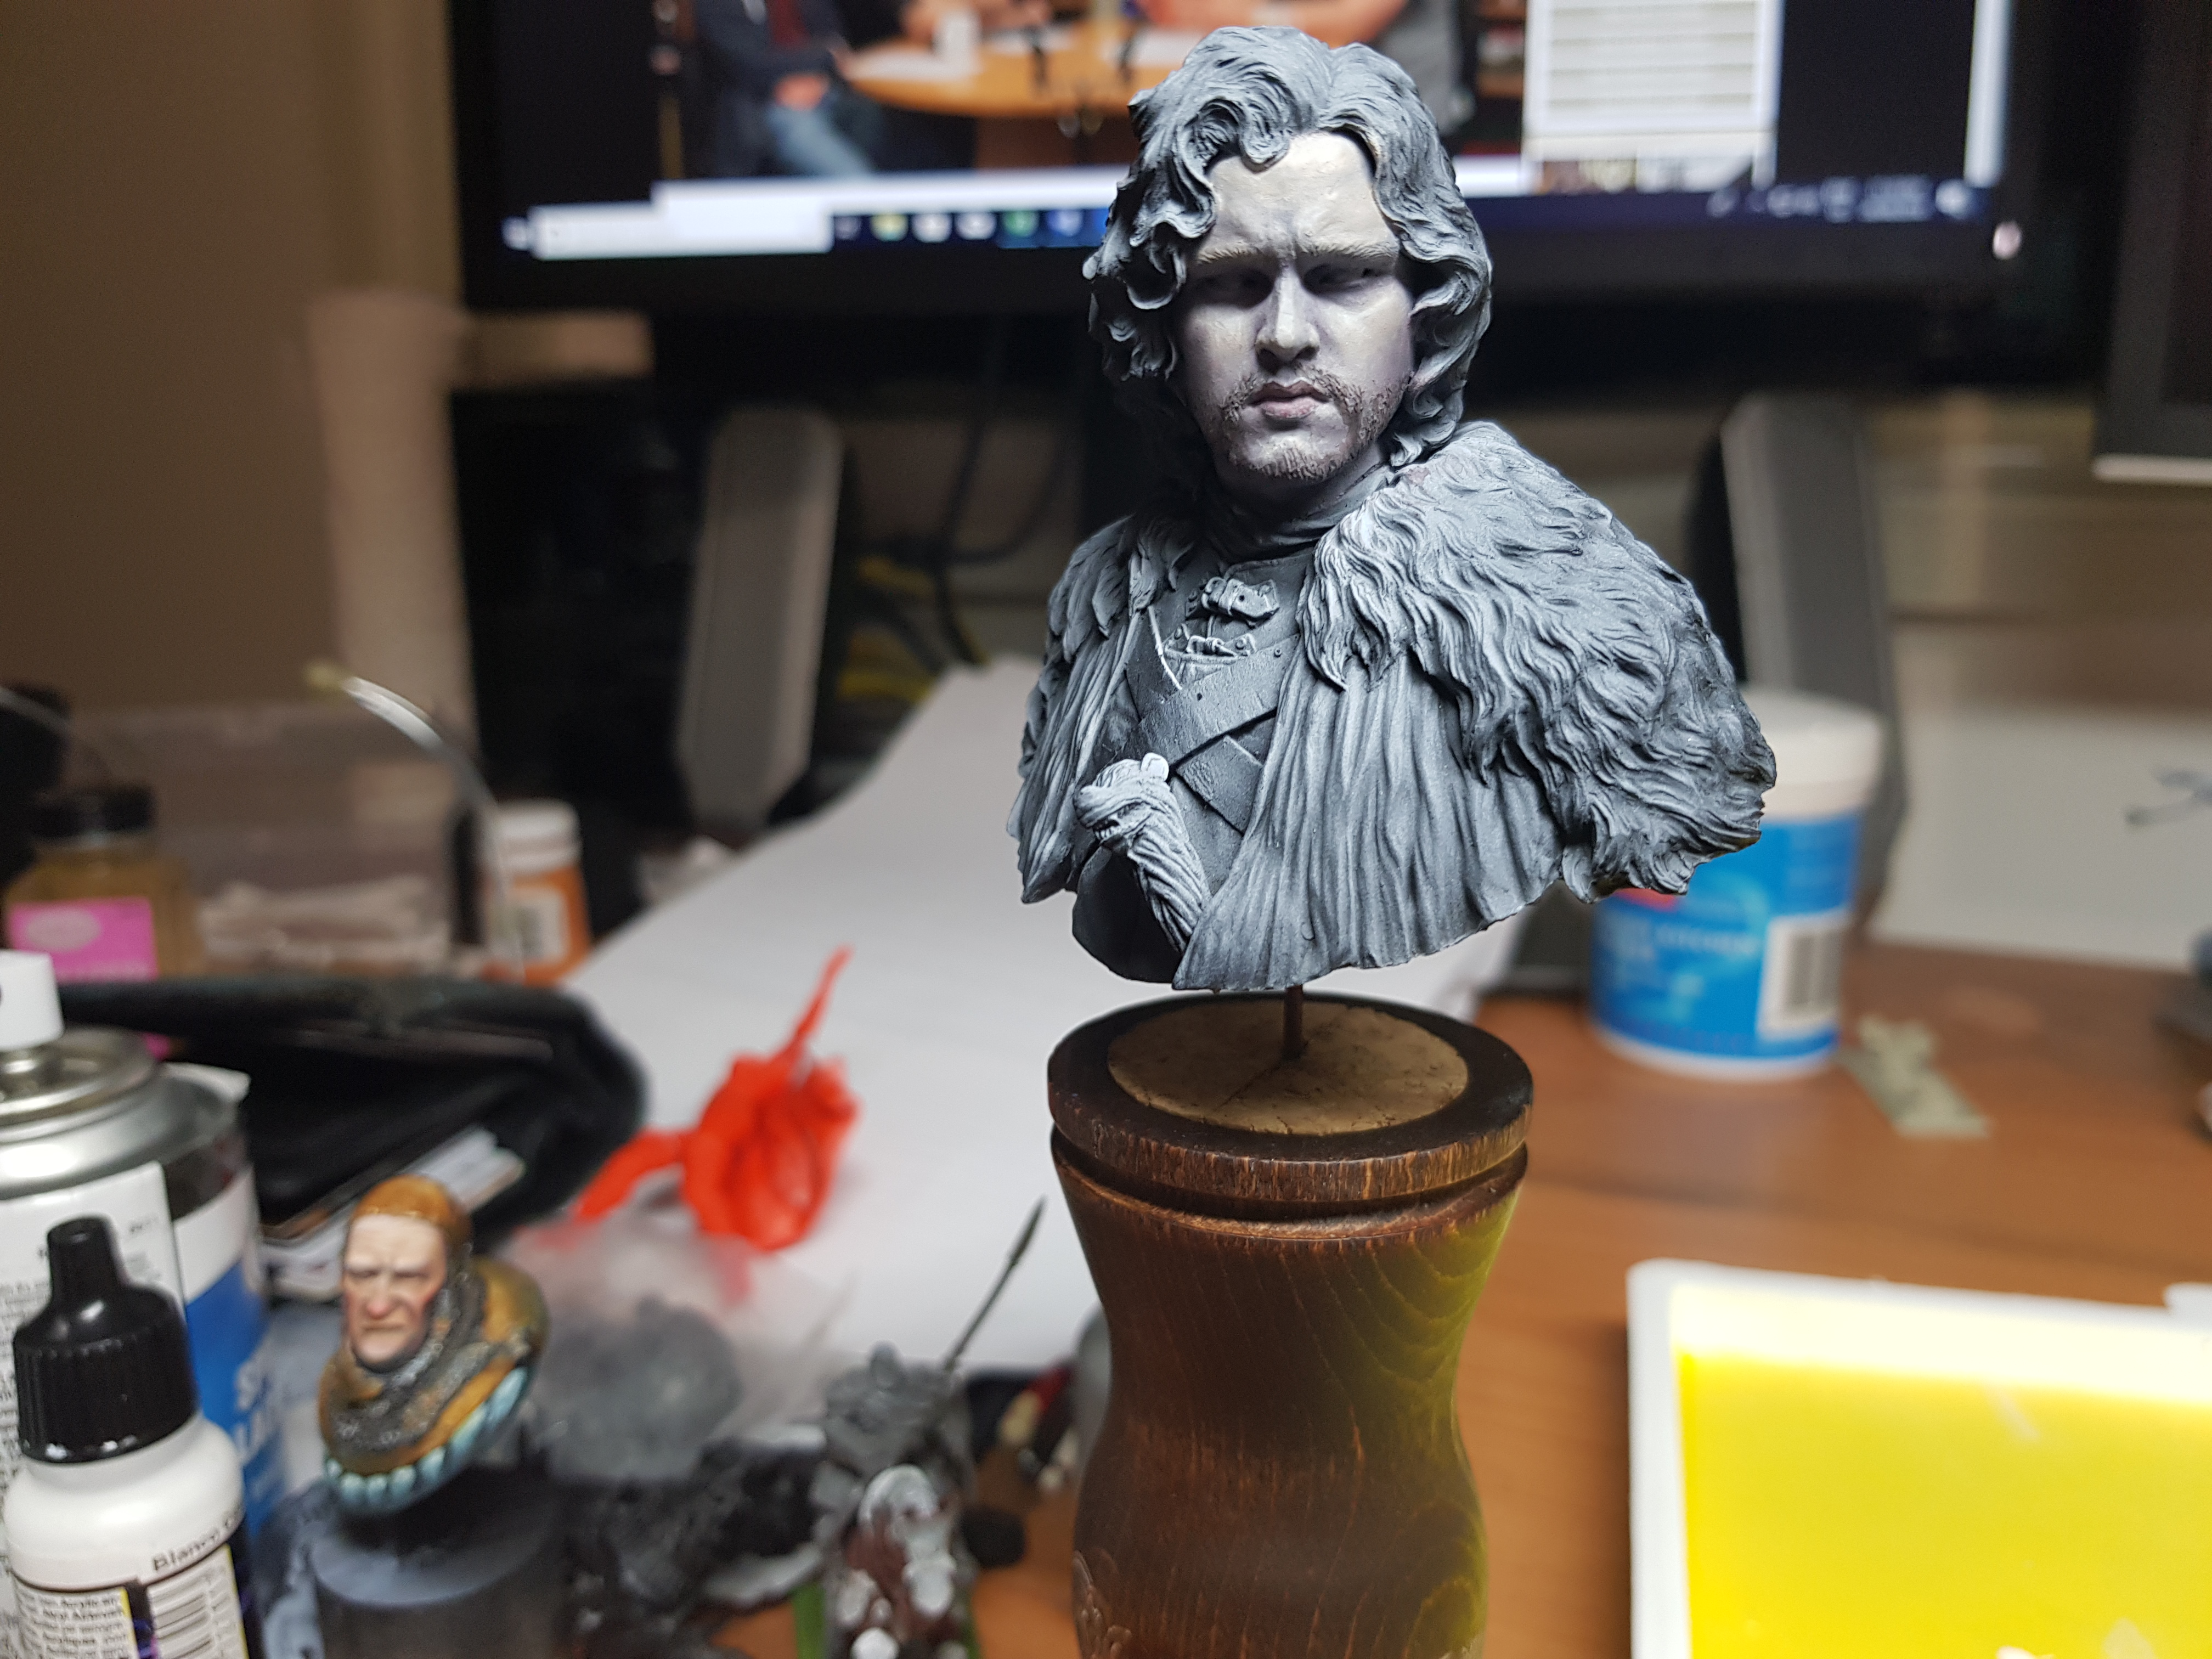
Now I just kept working at it until I liked it.
I also started adding in a pure pale flesh highlight.
 Happier
Step 3 – Shade with Frozen Flesh.
Here we are concentrating on the lower cheeks, under the nose and lips, in the creases etc.


