


HMS Gaming Table


Recommendations: 133
About the Project
Following the success of building my painting desk, I have been at the woodworking again, this time building a permanent gaming table. To give some background to this project, it actually represents an upgrade of sorts to an existing setup built last year. Originally I had the idea of building modular table toppers that could be added/removed from a tabletop to create larger or smaller areas as required and, being modular, they were also portable. They were intended to sit atop any table of any width and provide a gaming area 4' wide. In theory the idea was sound but in practice they didn’t really work out as hoped due to the environment in which they were being used. The floor in the attic isn’t very even and because the base on which they were placed was made of several folding tables, each table sat at a slightly different height and angle making alignment of the modules very difficult. The table was also slightly too high to sit at comfortably when you factor in the combined height of the table plus the table toppers. We also found that people were leaning on the table which was causing the modules to bend. Additionally at no point since their creation have the modules left the attic or even been moved to create a smaller table. So we made the decision to make the setup more permanent. This Project charts the build of that table. I will try to show the stages and the materials used, decisions and design choices and where possible, give reasons why.
Related Genre: General
Related Contest: Spring Clean Hobby Challenge (Old)
This Project is Completed
9 - But most of all, pleeeeeease, let there be ...
…light
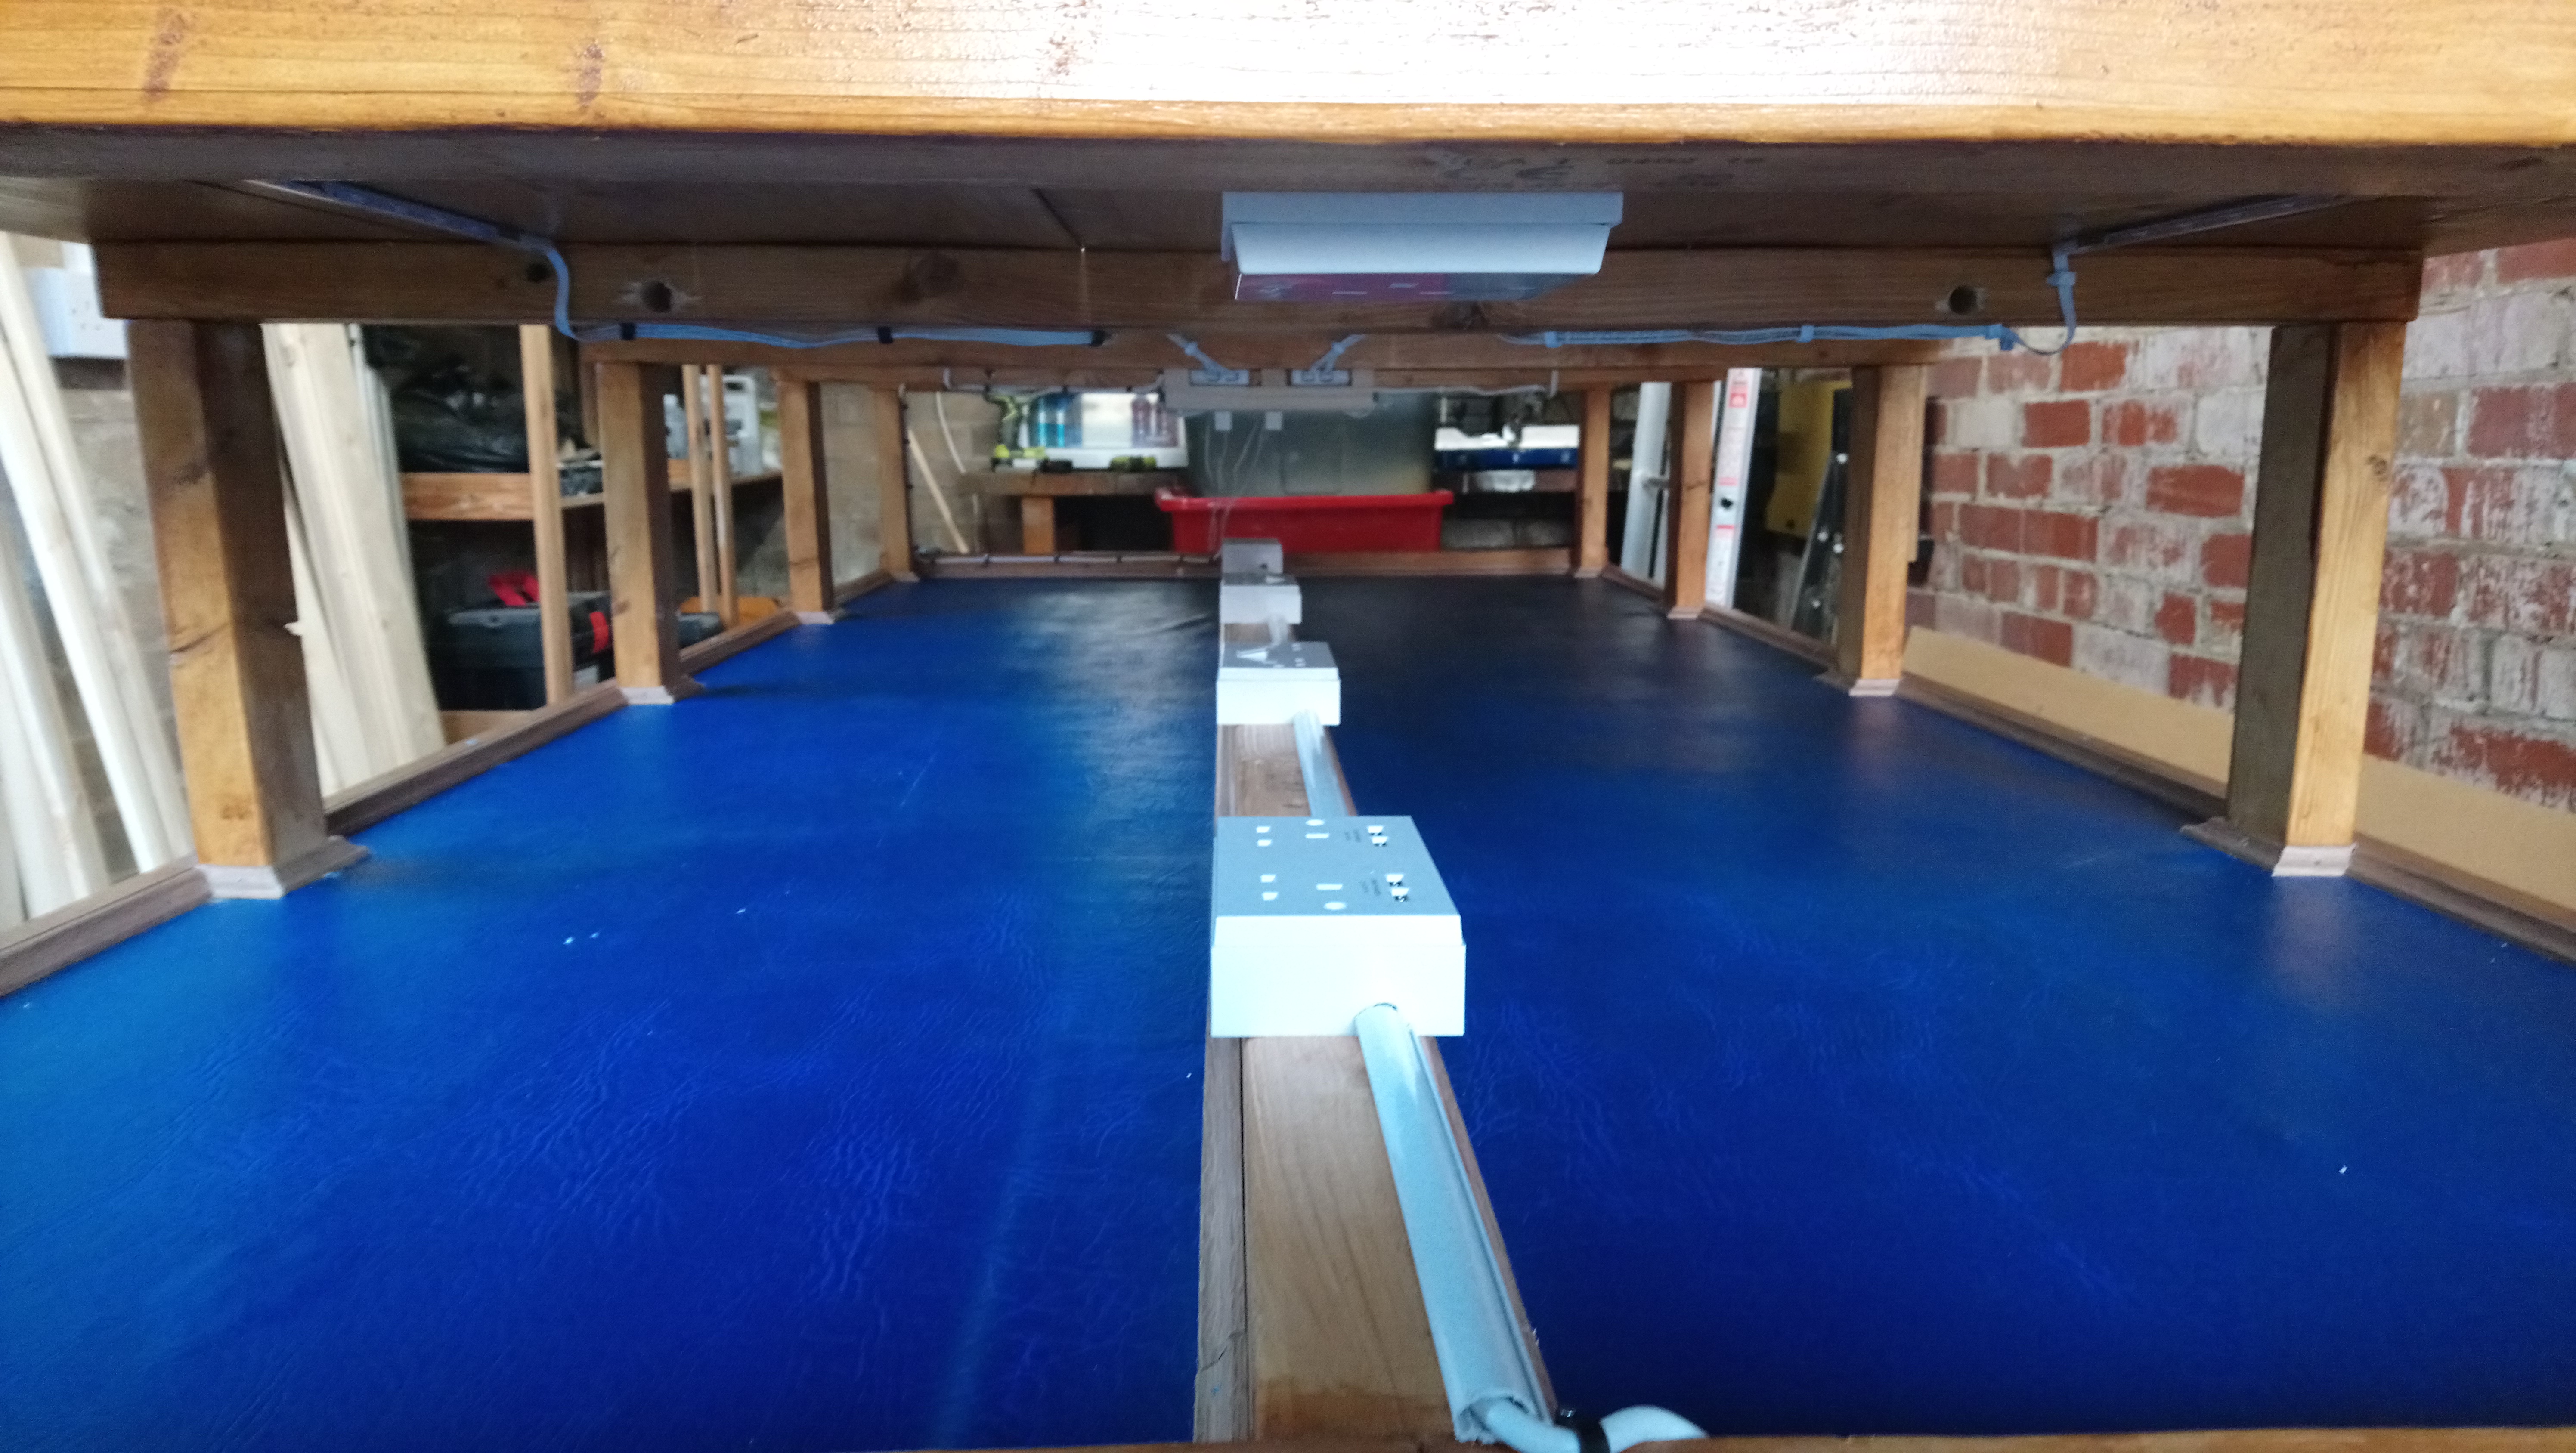
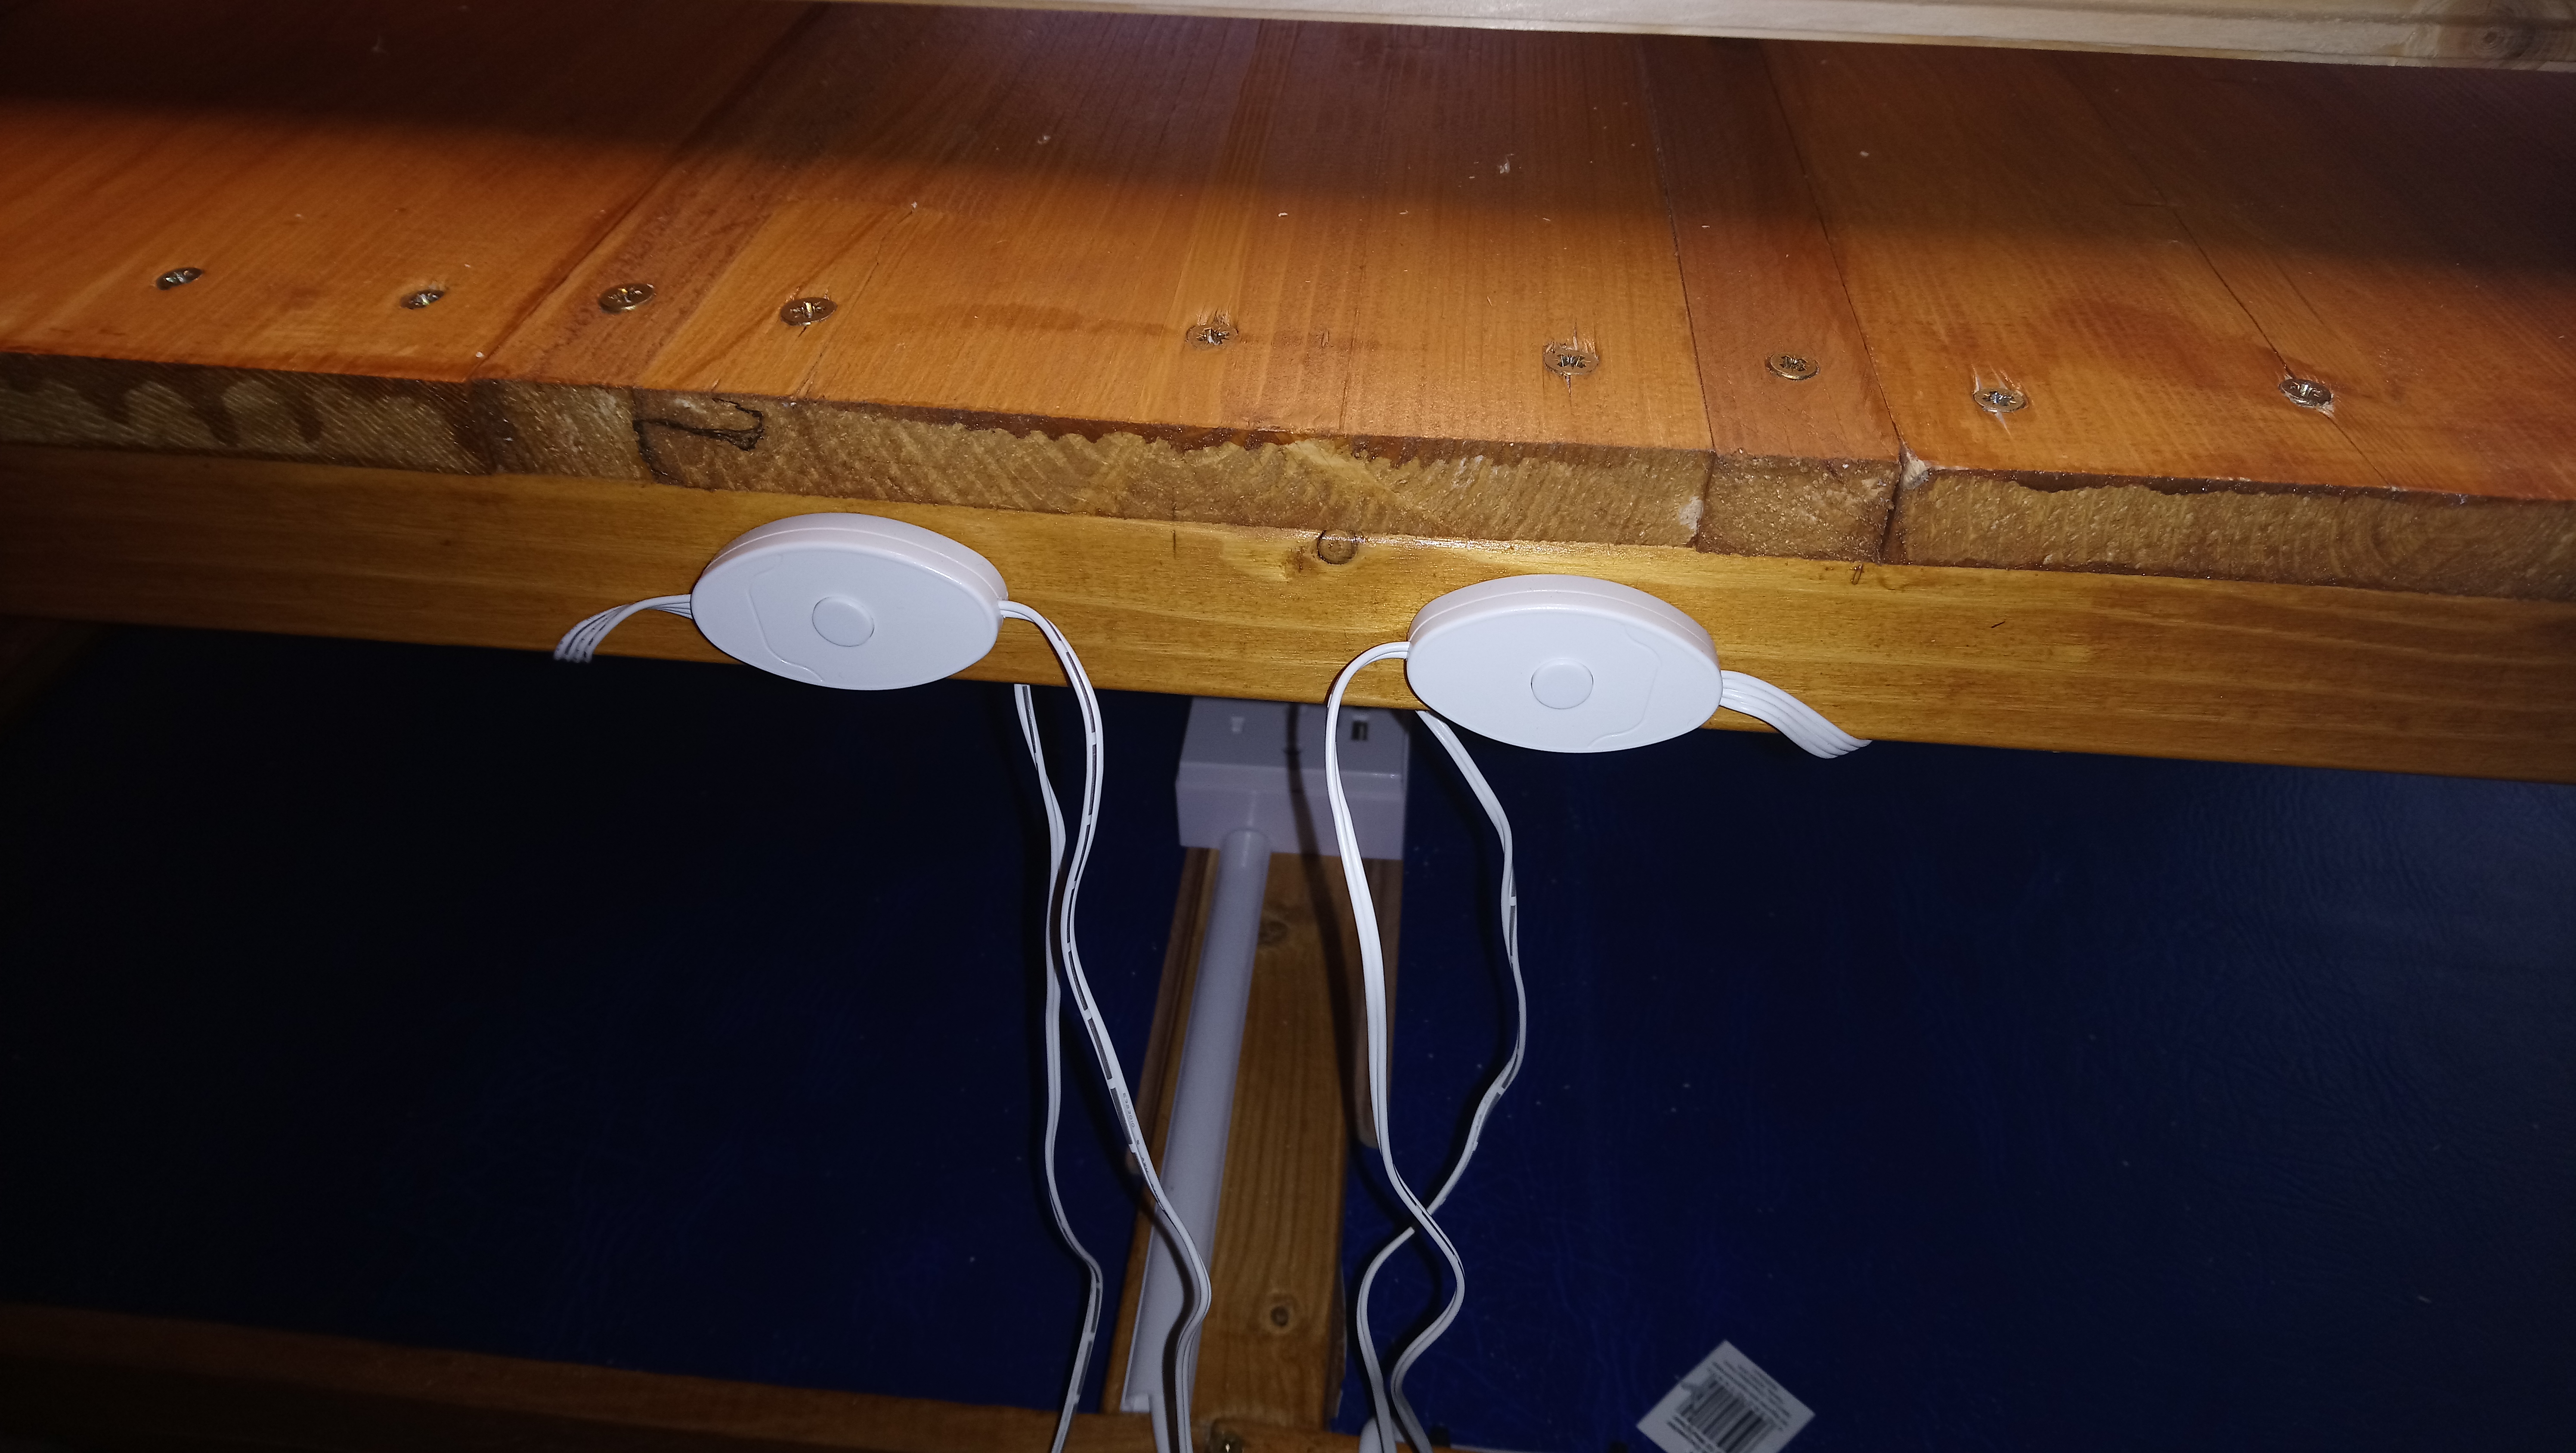
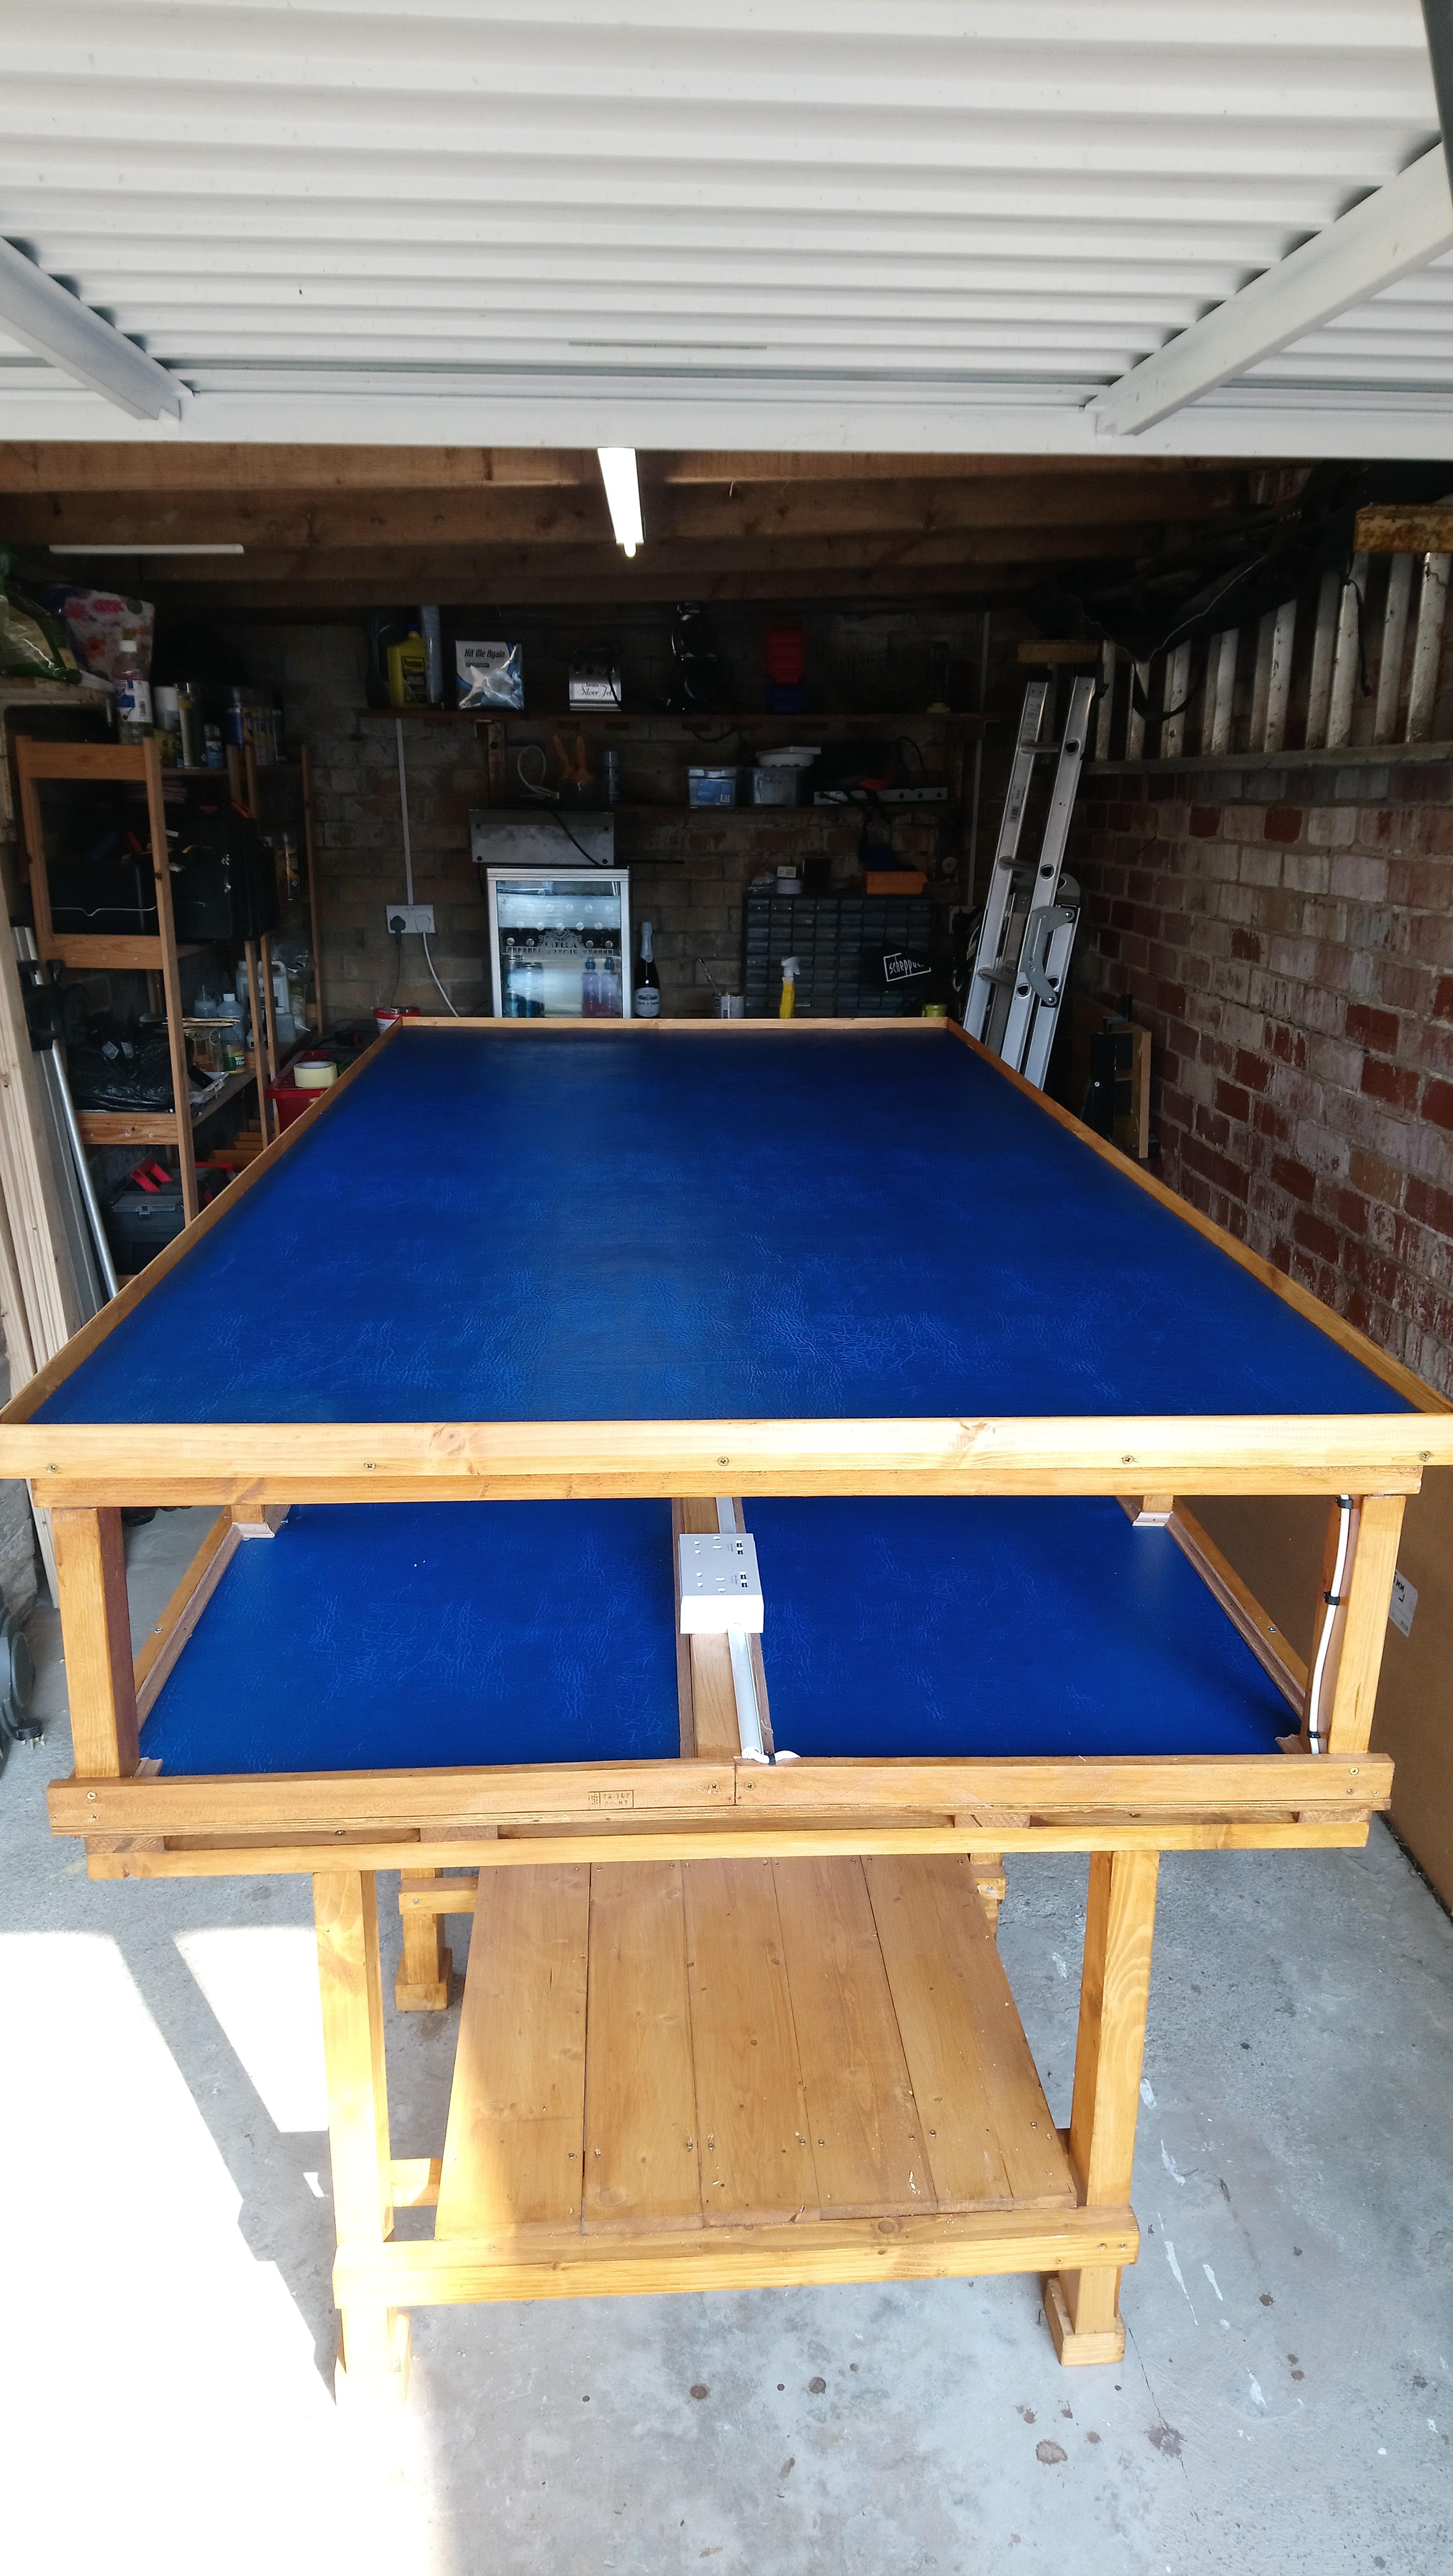
This bit was relatively straightforward, it mostly just involved fastening cable clips to the underside of the upper surface and mounting the brackets for the LED strips. Not particularly exciting, it was a bit of a chore trying to hammer the tiny clips into the wood, it certainly didn’t do my finger and thumb any good.
The lights themselves are just the multi coloured LED strips from Ikea, I can’t remeber the name, probably some daft sound psuedo-swedish word like LÆD or something. Anyway, I bought two sets and mounted the switches side by side at one end. The power supplies are nicely hidden out of the way and cannot easily be disconnected without venturing inside the table, so as long as the table is plugged into the mains, the lights will work.
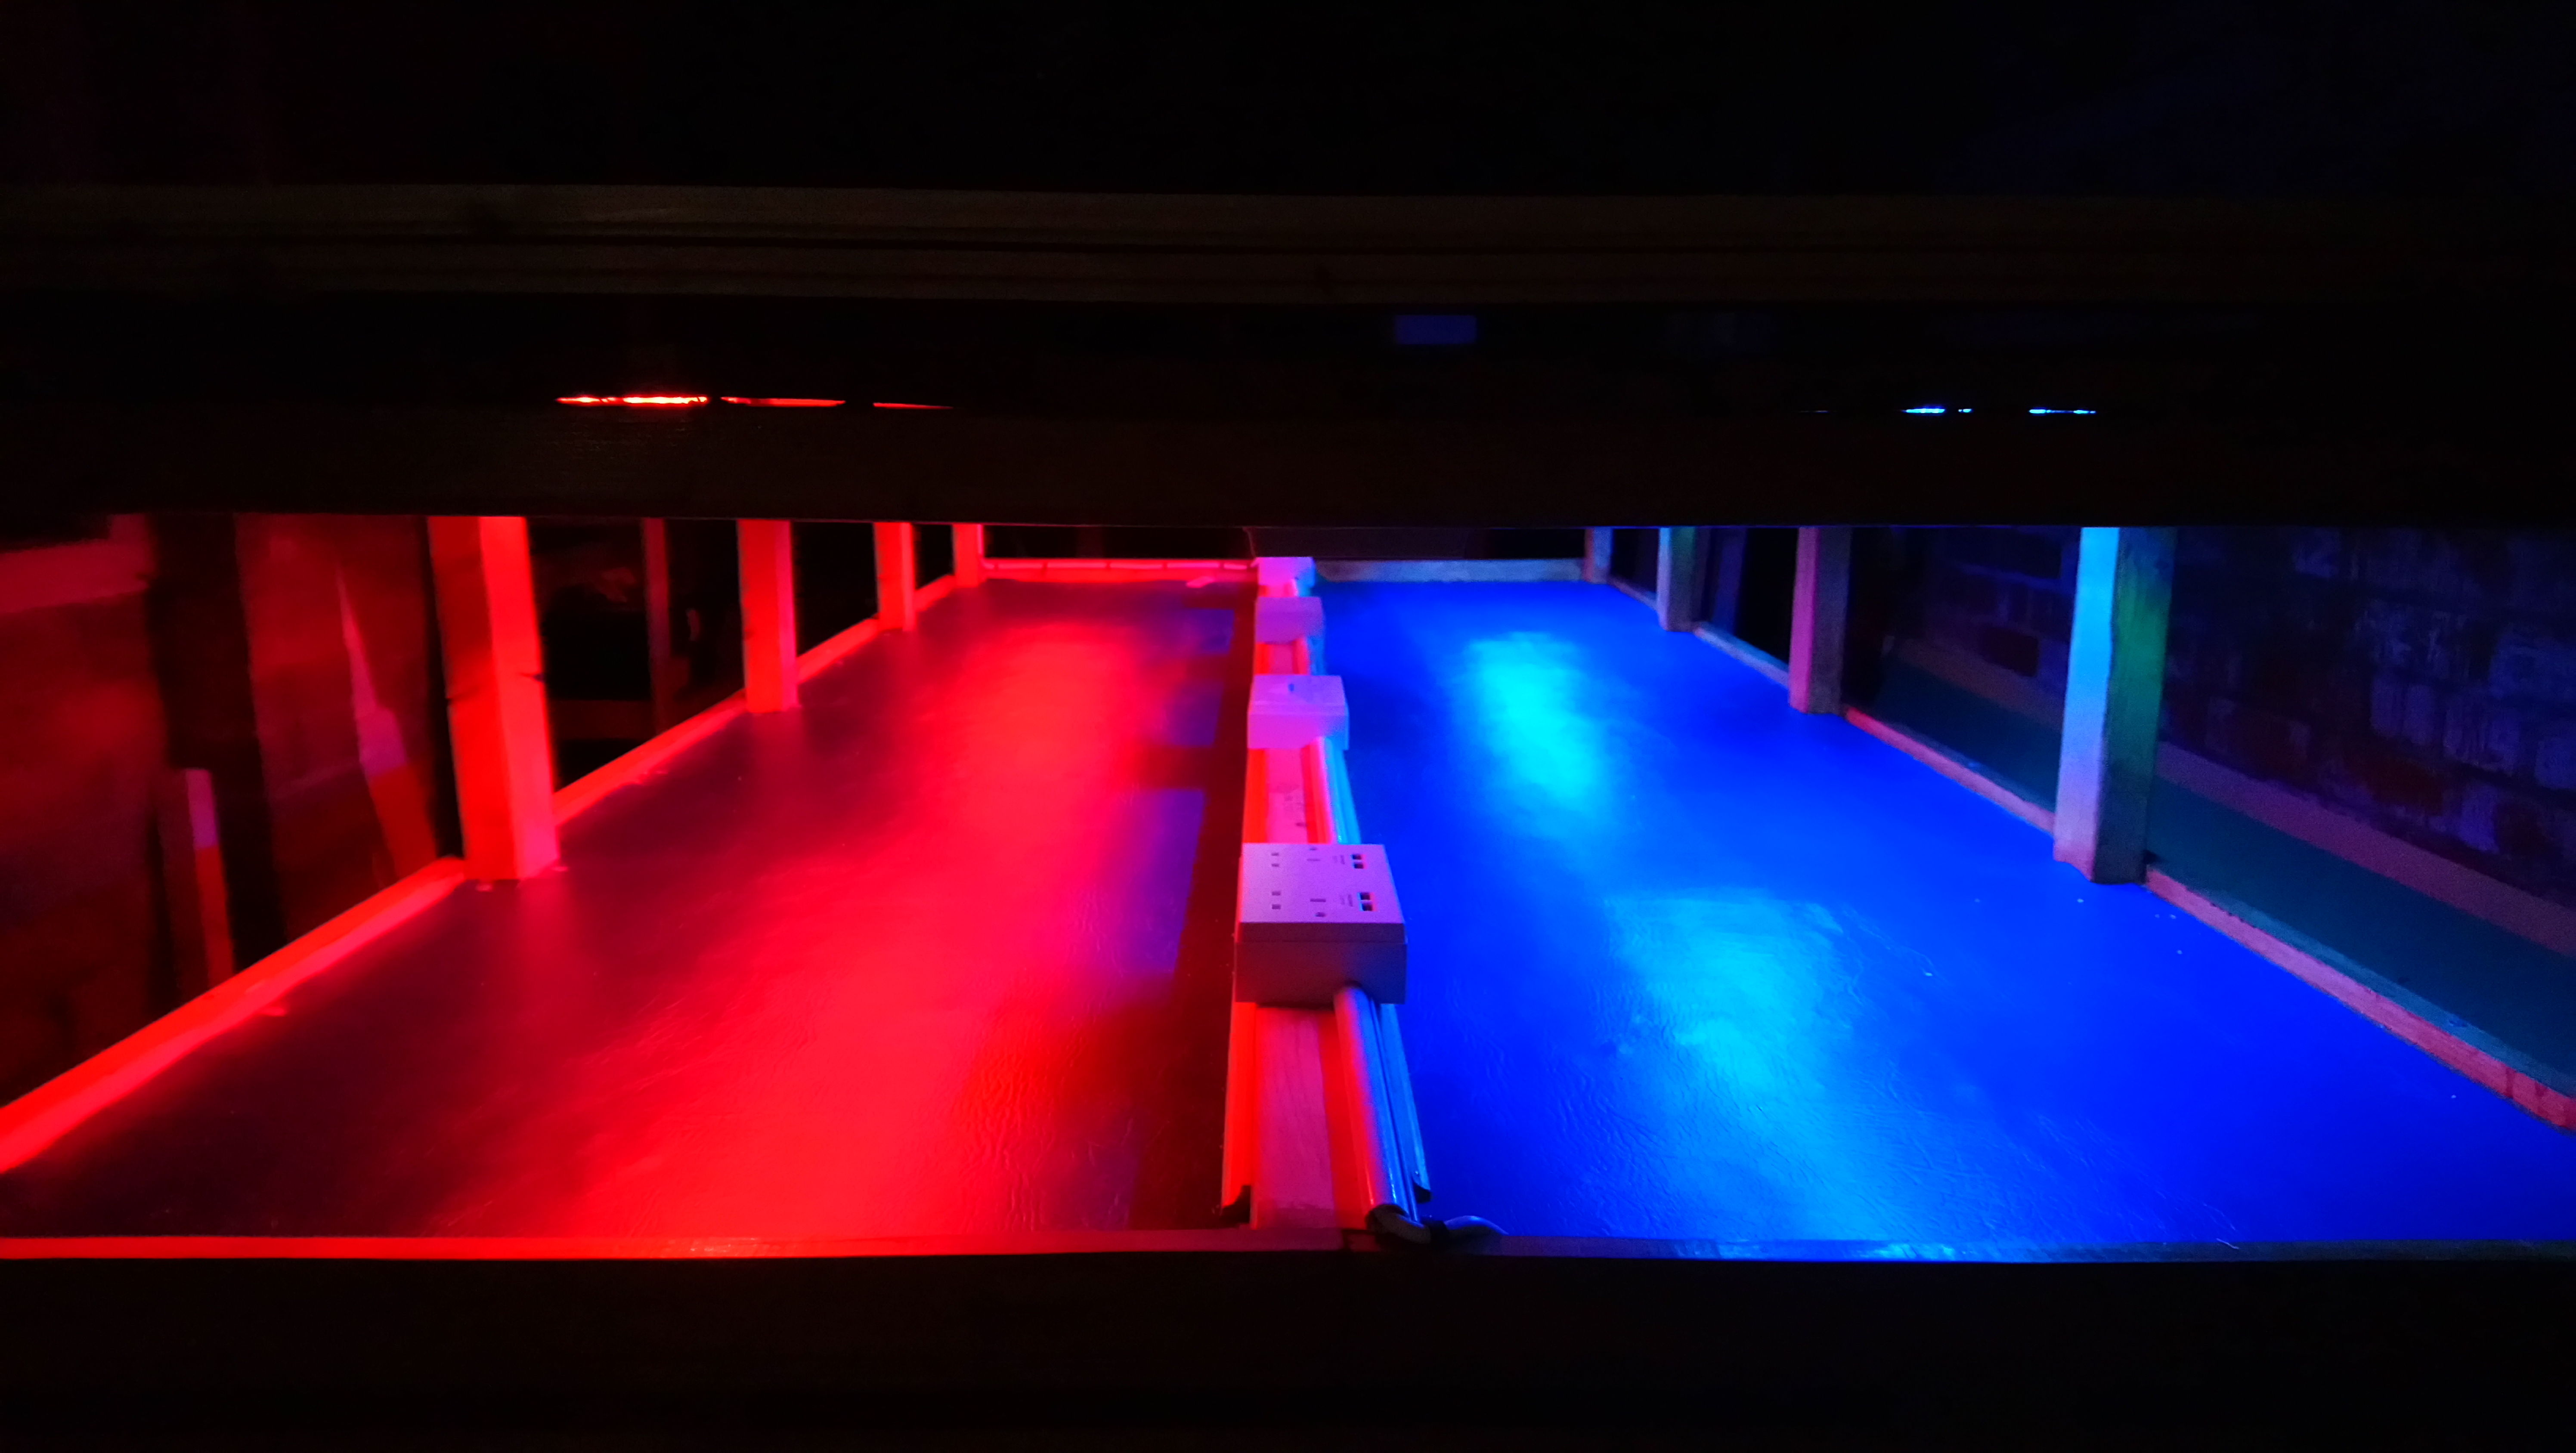
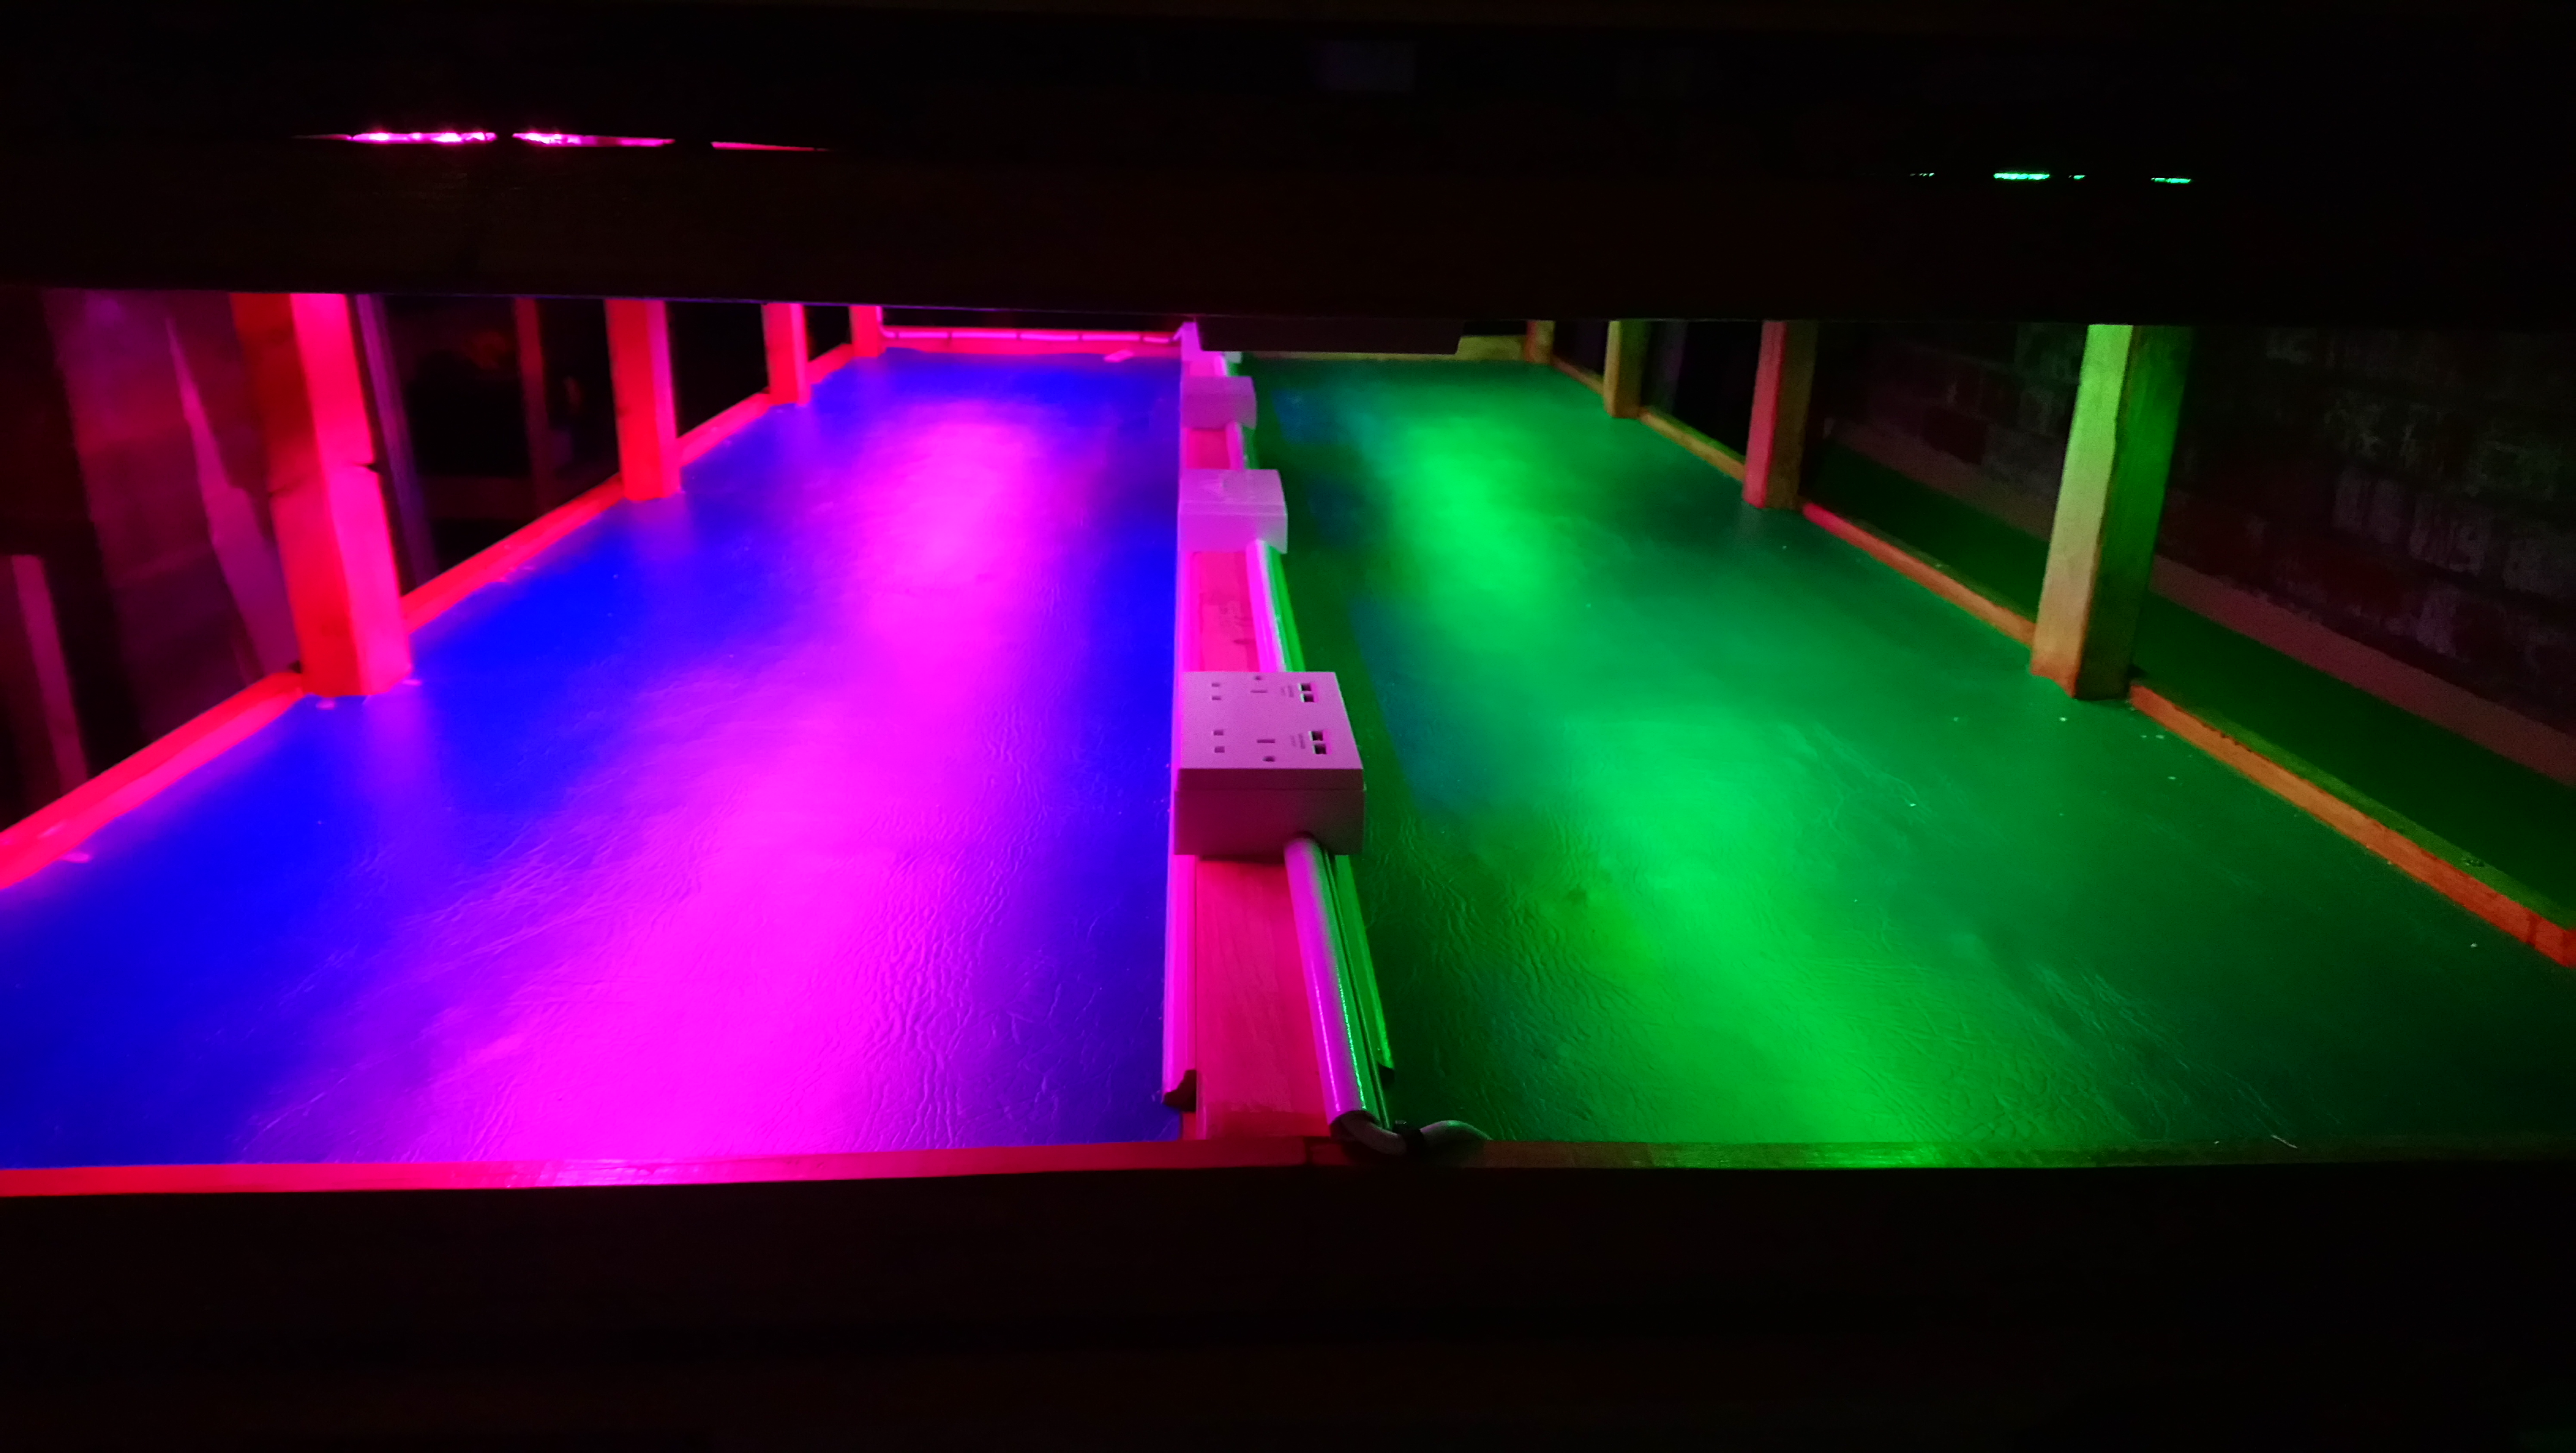
However, unlike the beading, there was absolutely no question at all whether this step was worth it. Check this out (imagine the tune from Phantom Mennace is playing in your head, yes, this one)
10 - Move Closer
So close now. You can almost hear the dice rolling.
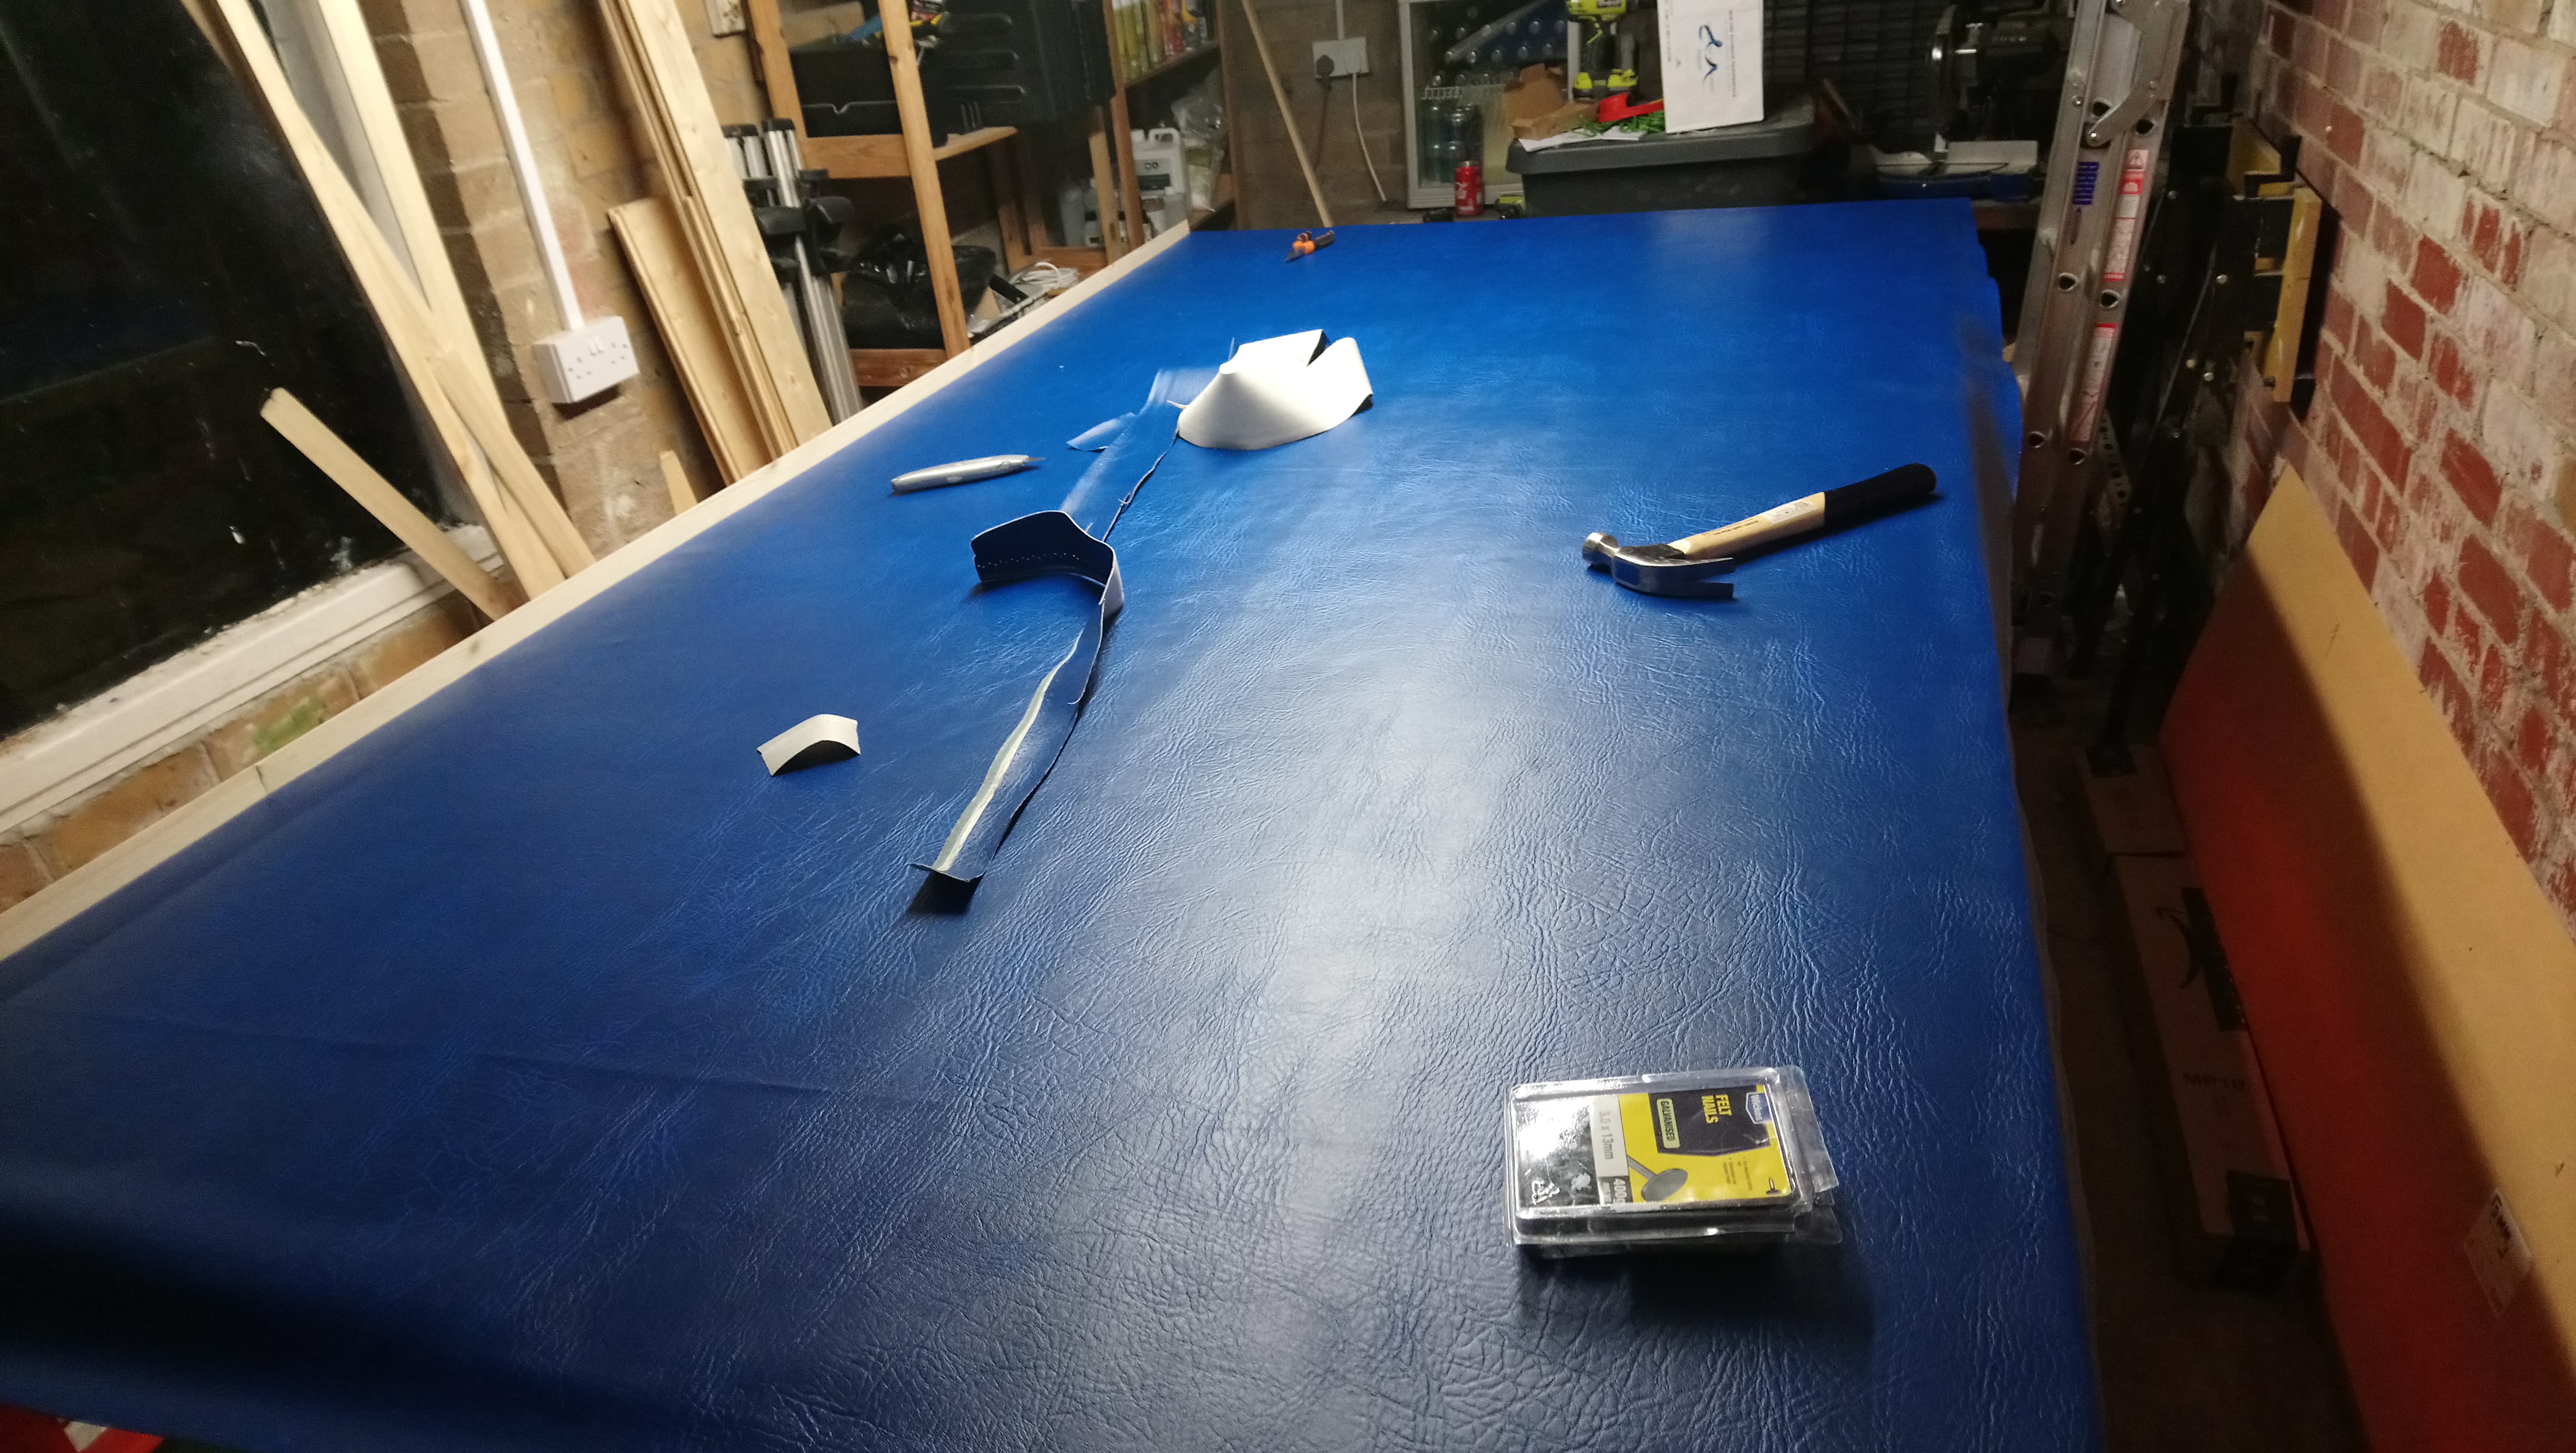
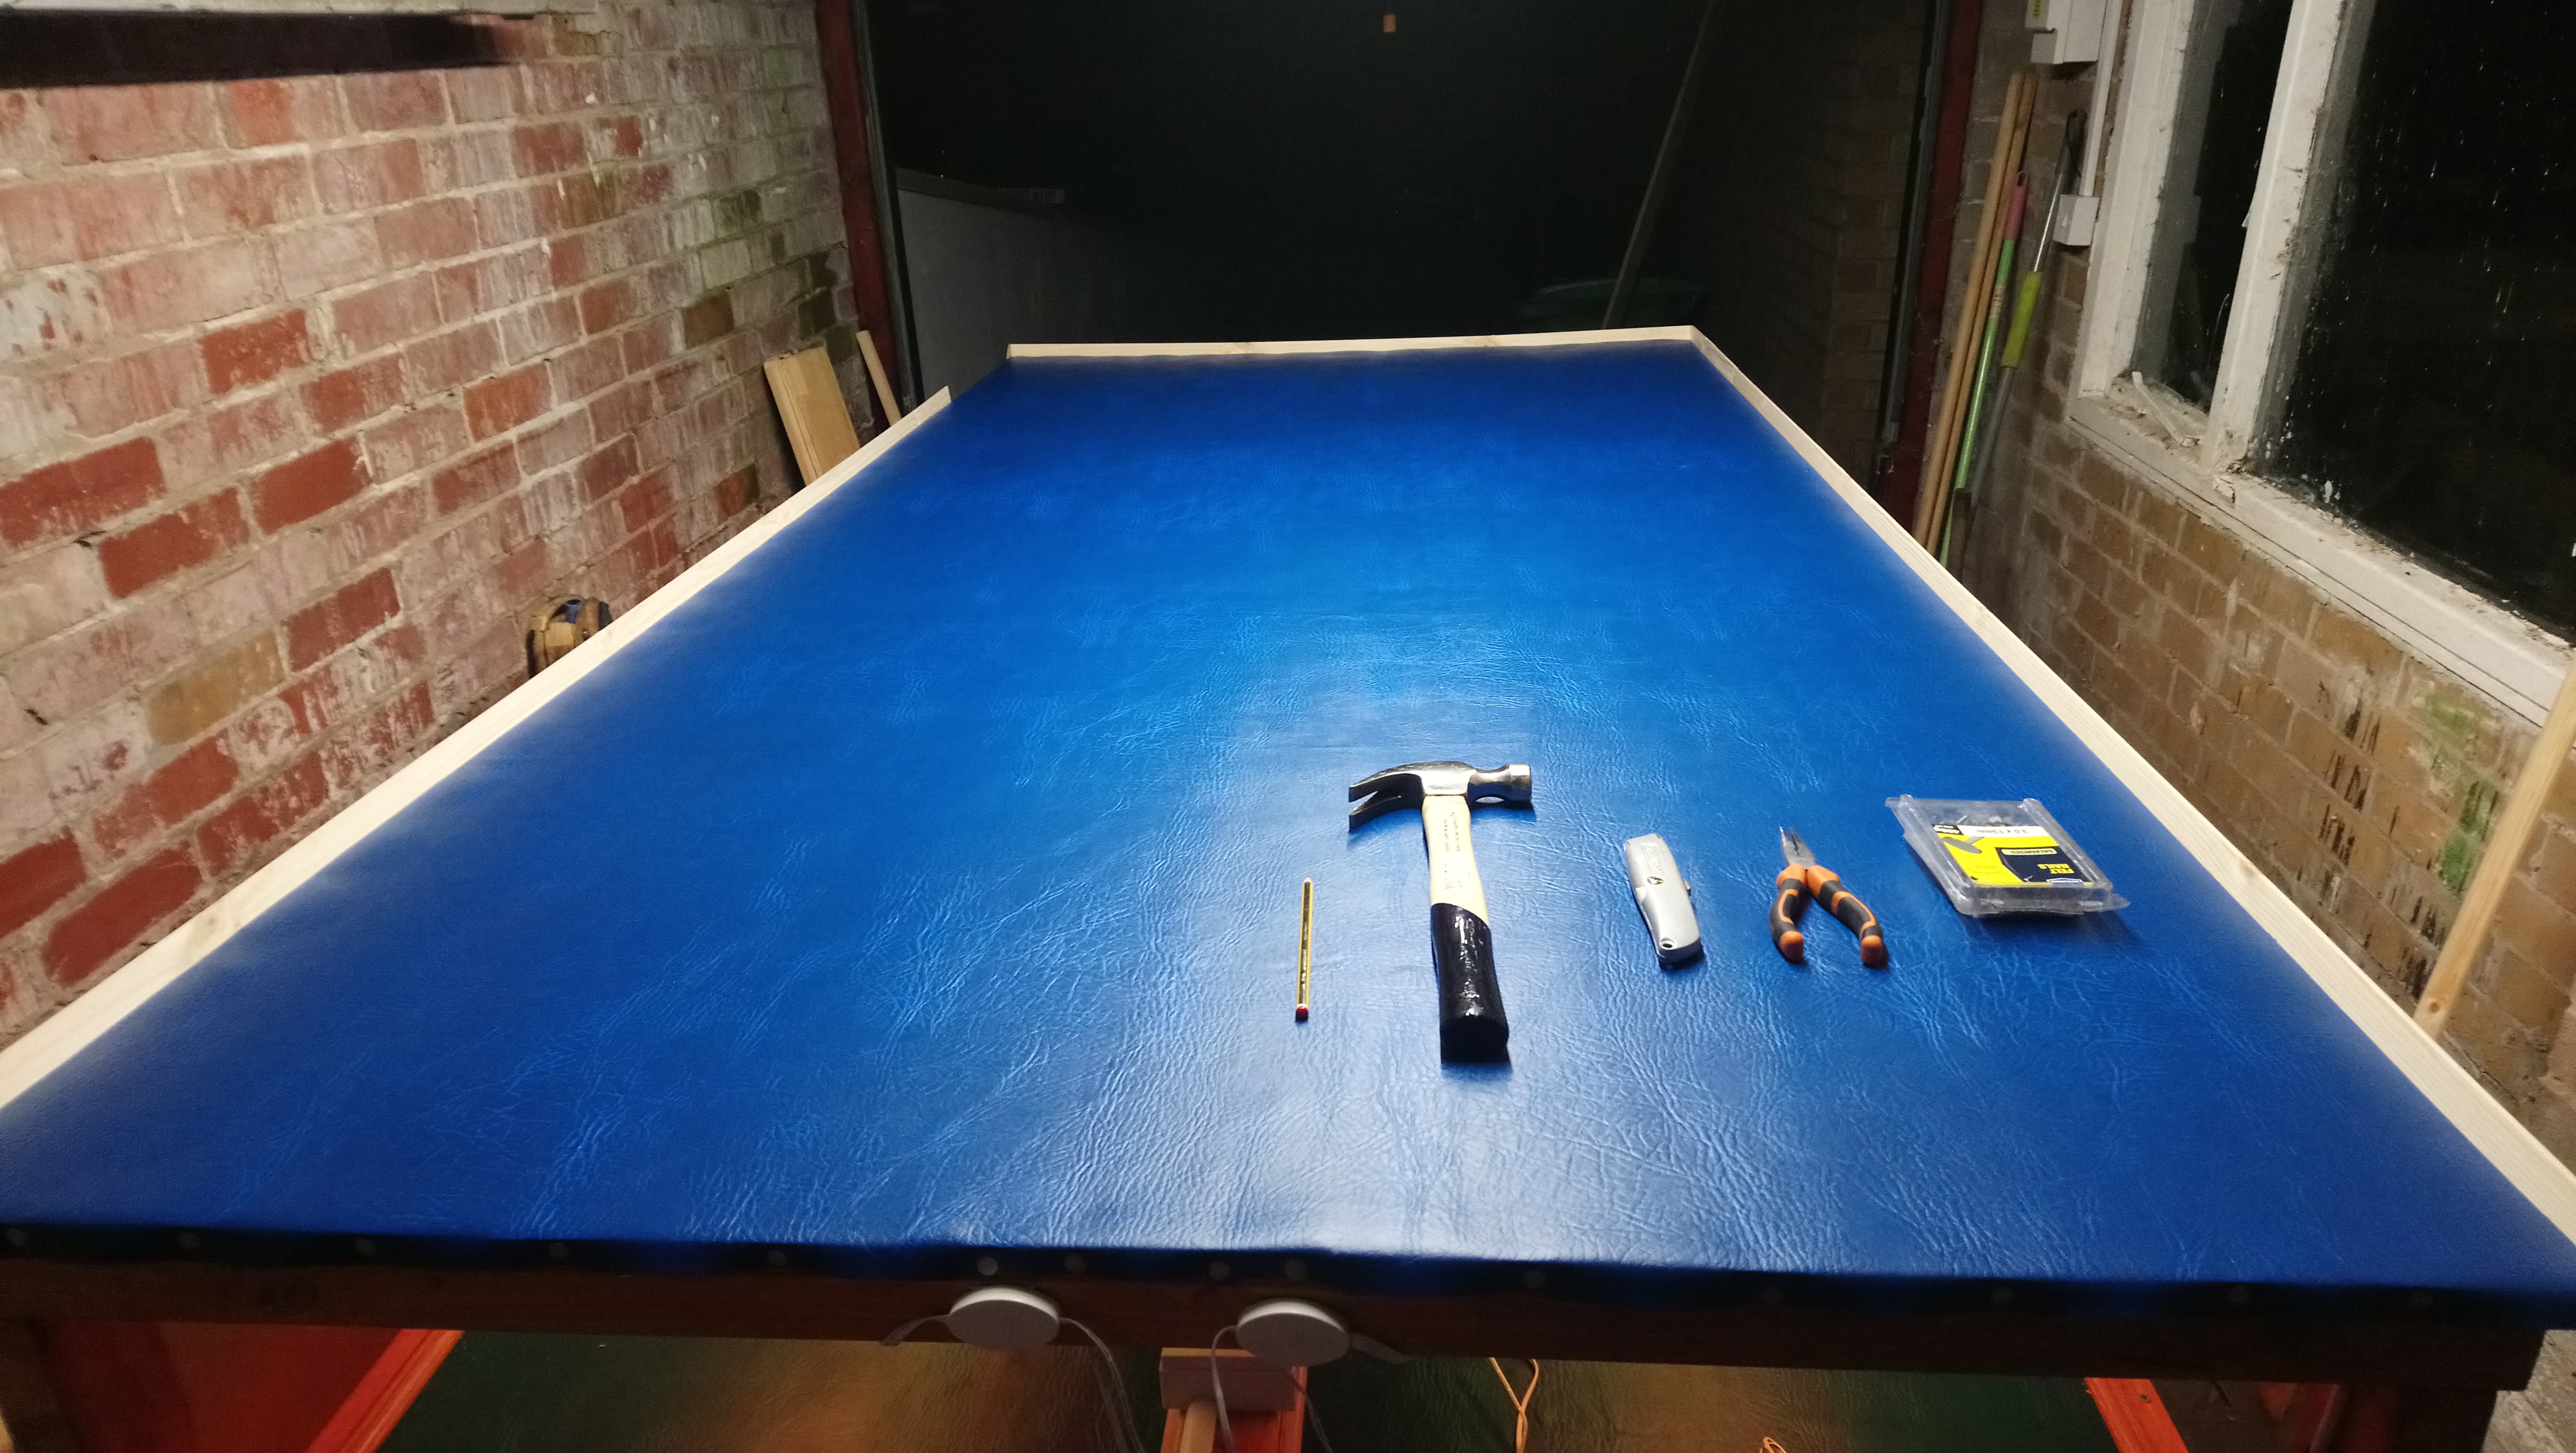
Now all the power supplies, cabling and lights were in place the lower surface was pretty much complete which meant that I could finally focus on the more important upper surface – you know the one that we will actually play games on!
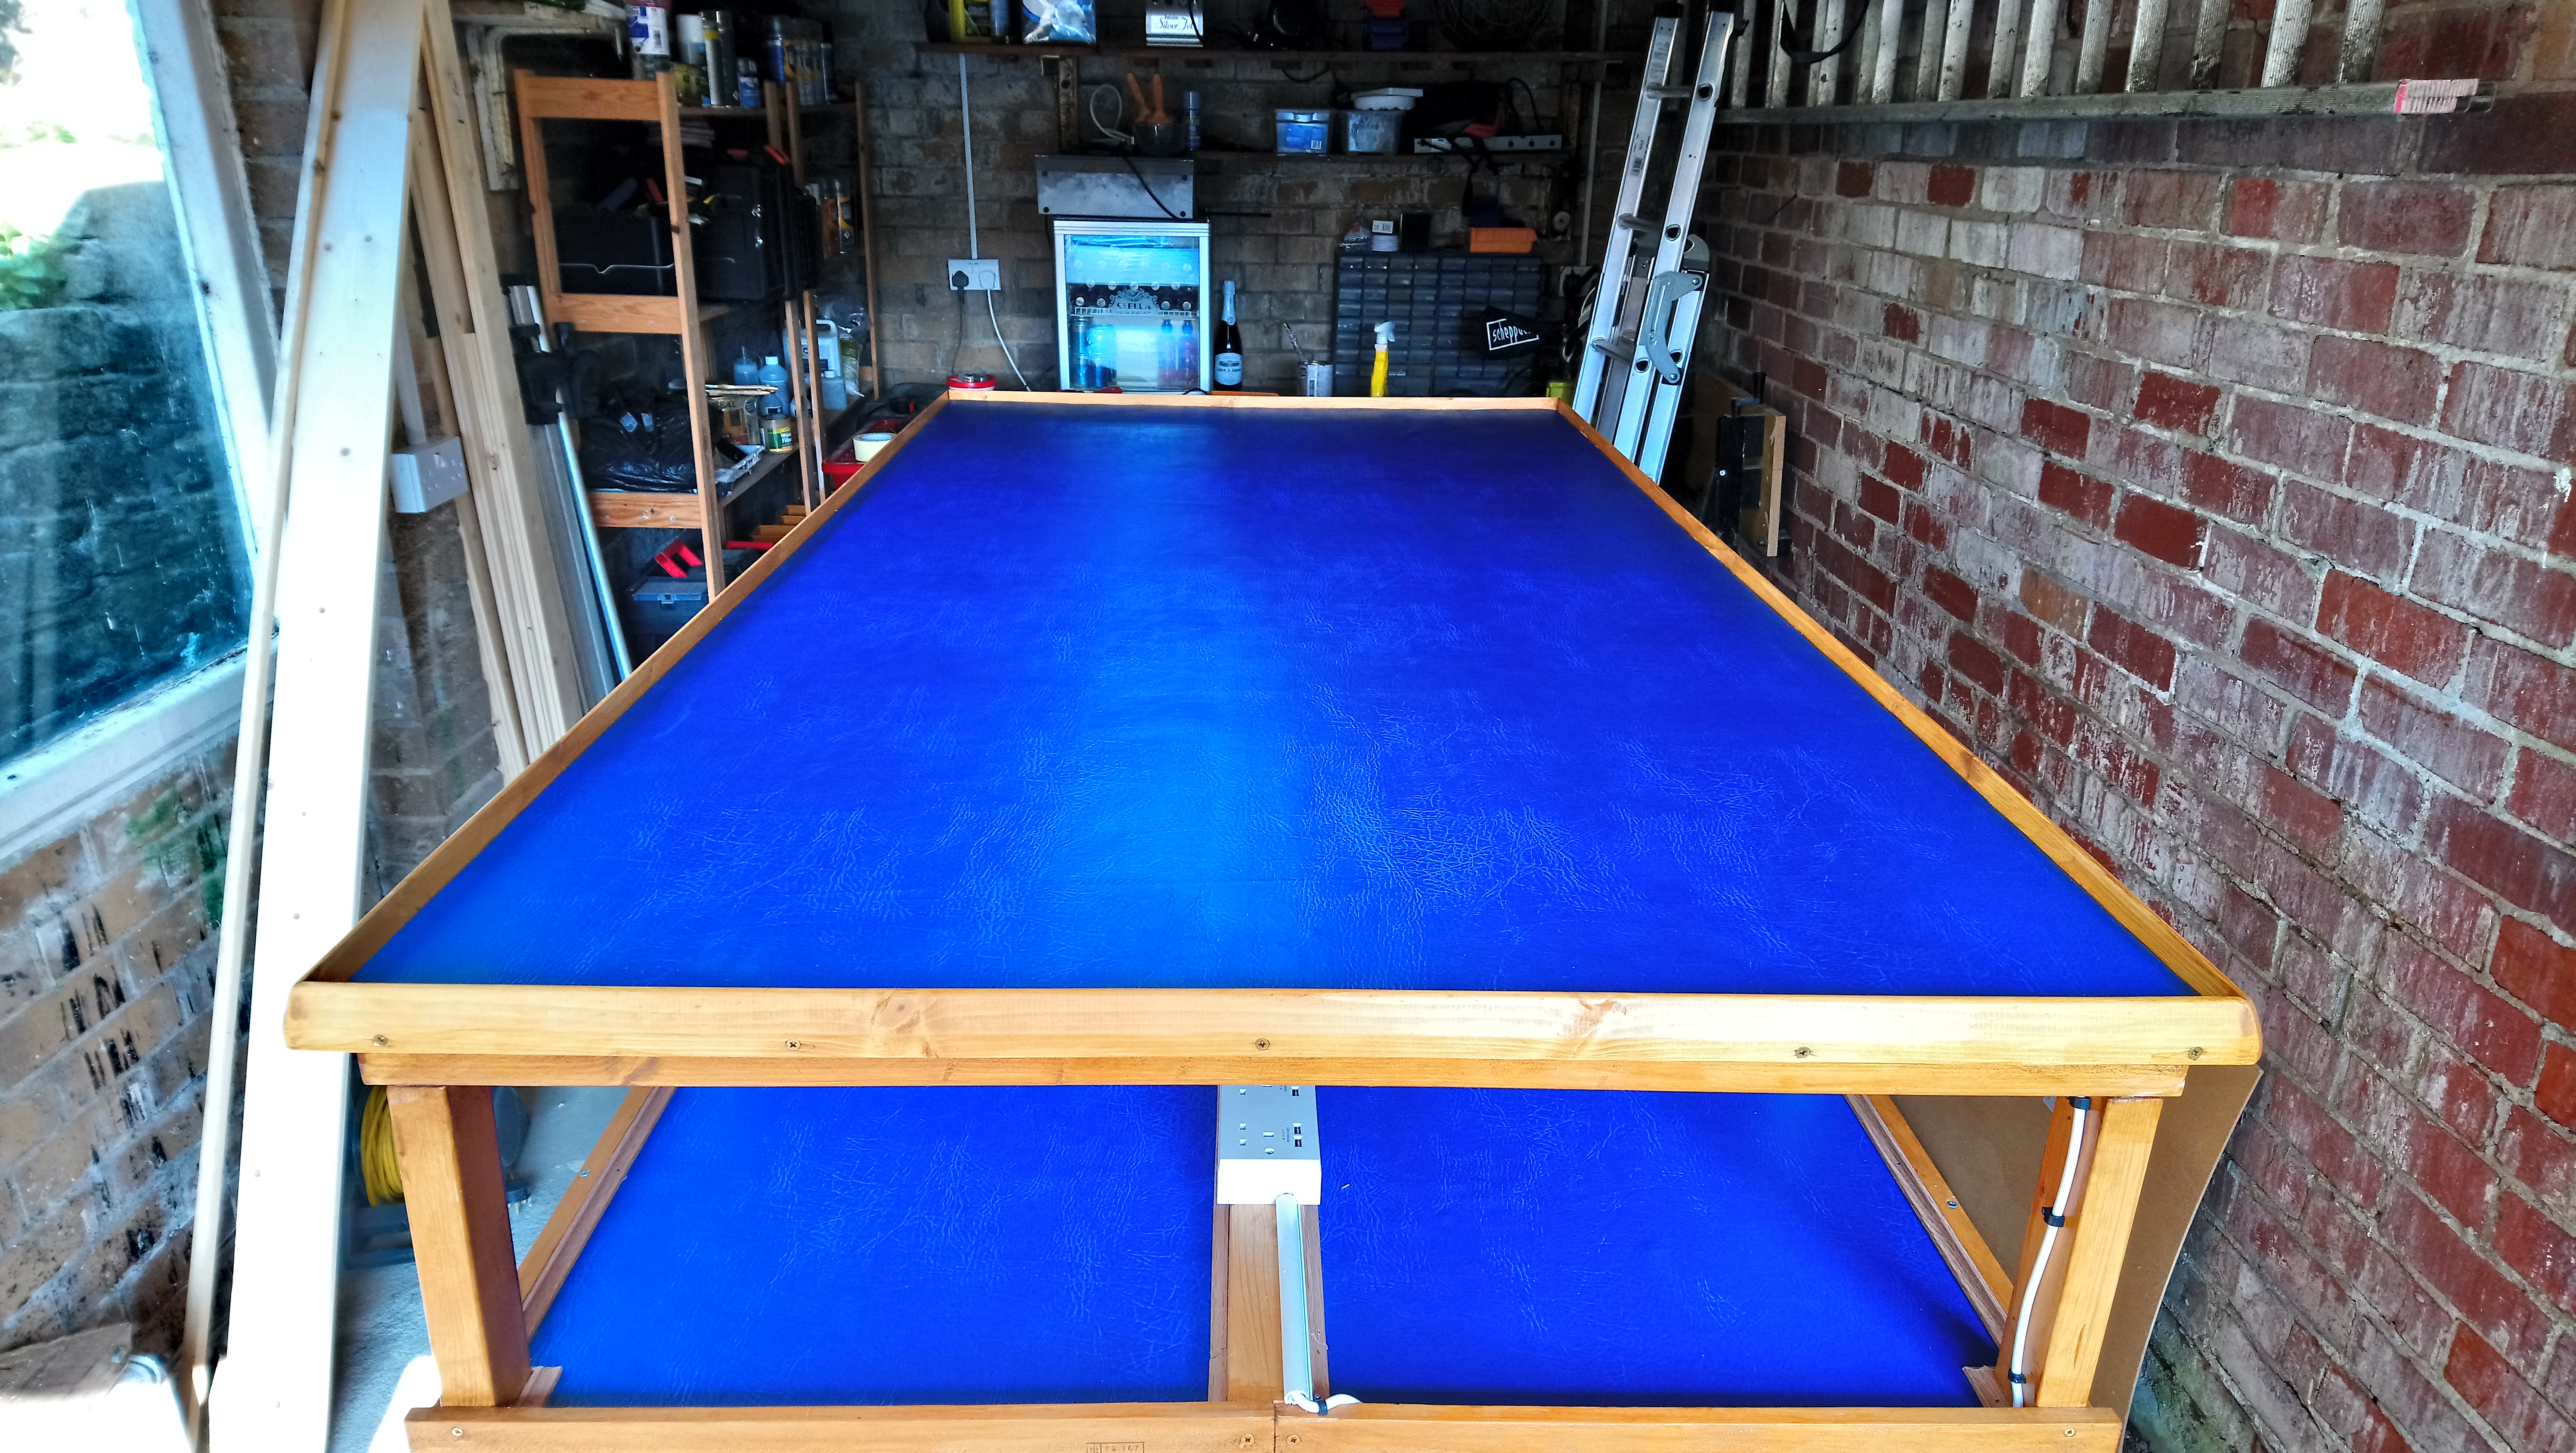
Laying the cover on this was a lot easier, much closer to laying roof felt (I even used felt tacs to fasten the covering to the edges). The roll of material turned out to be almost the perfect length and width for the table with only a small amount of off cutting required. I put a coat of PVS glue down onto the wood surface before laying the material over the top. I then used the felt tacs to fasten the material to the wood along two adjacent edges, trimming the excess from the other two edges before tacking those on too. I also screwed a length of wood along one of the long edges – there was always going to be a lip around the gaming surface to stop things getting knocked off the table. Adding the first piece before trimming the excess material off just further secured the covering making it a lot easier to trim down. I then built the rest of the lip which again just added more security to the covering.
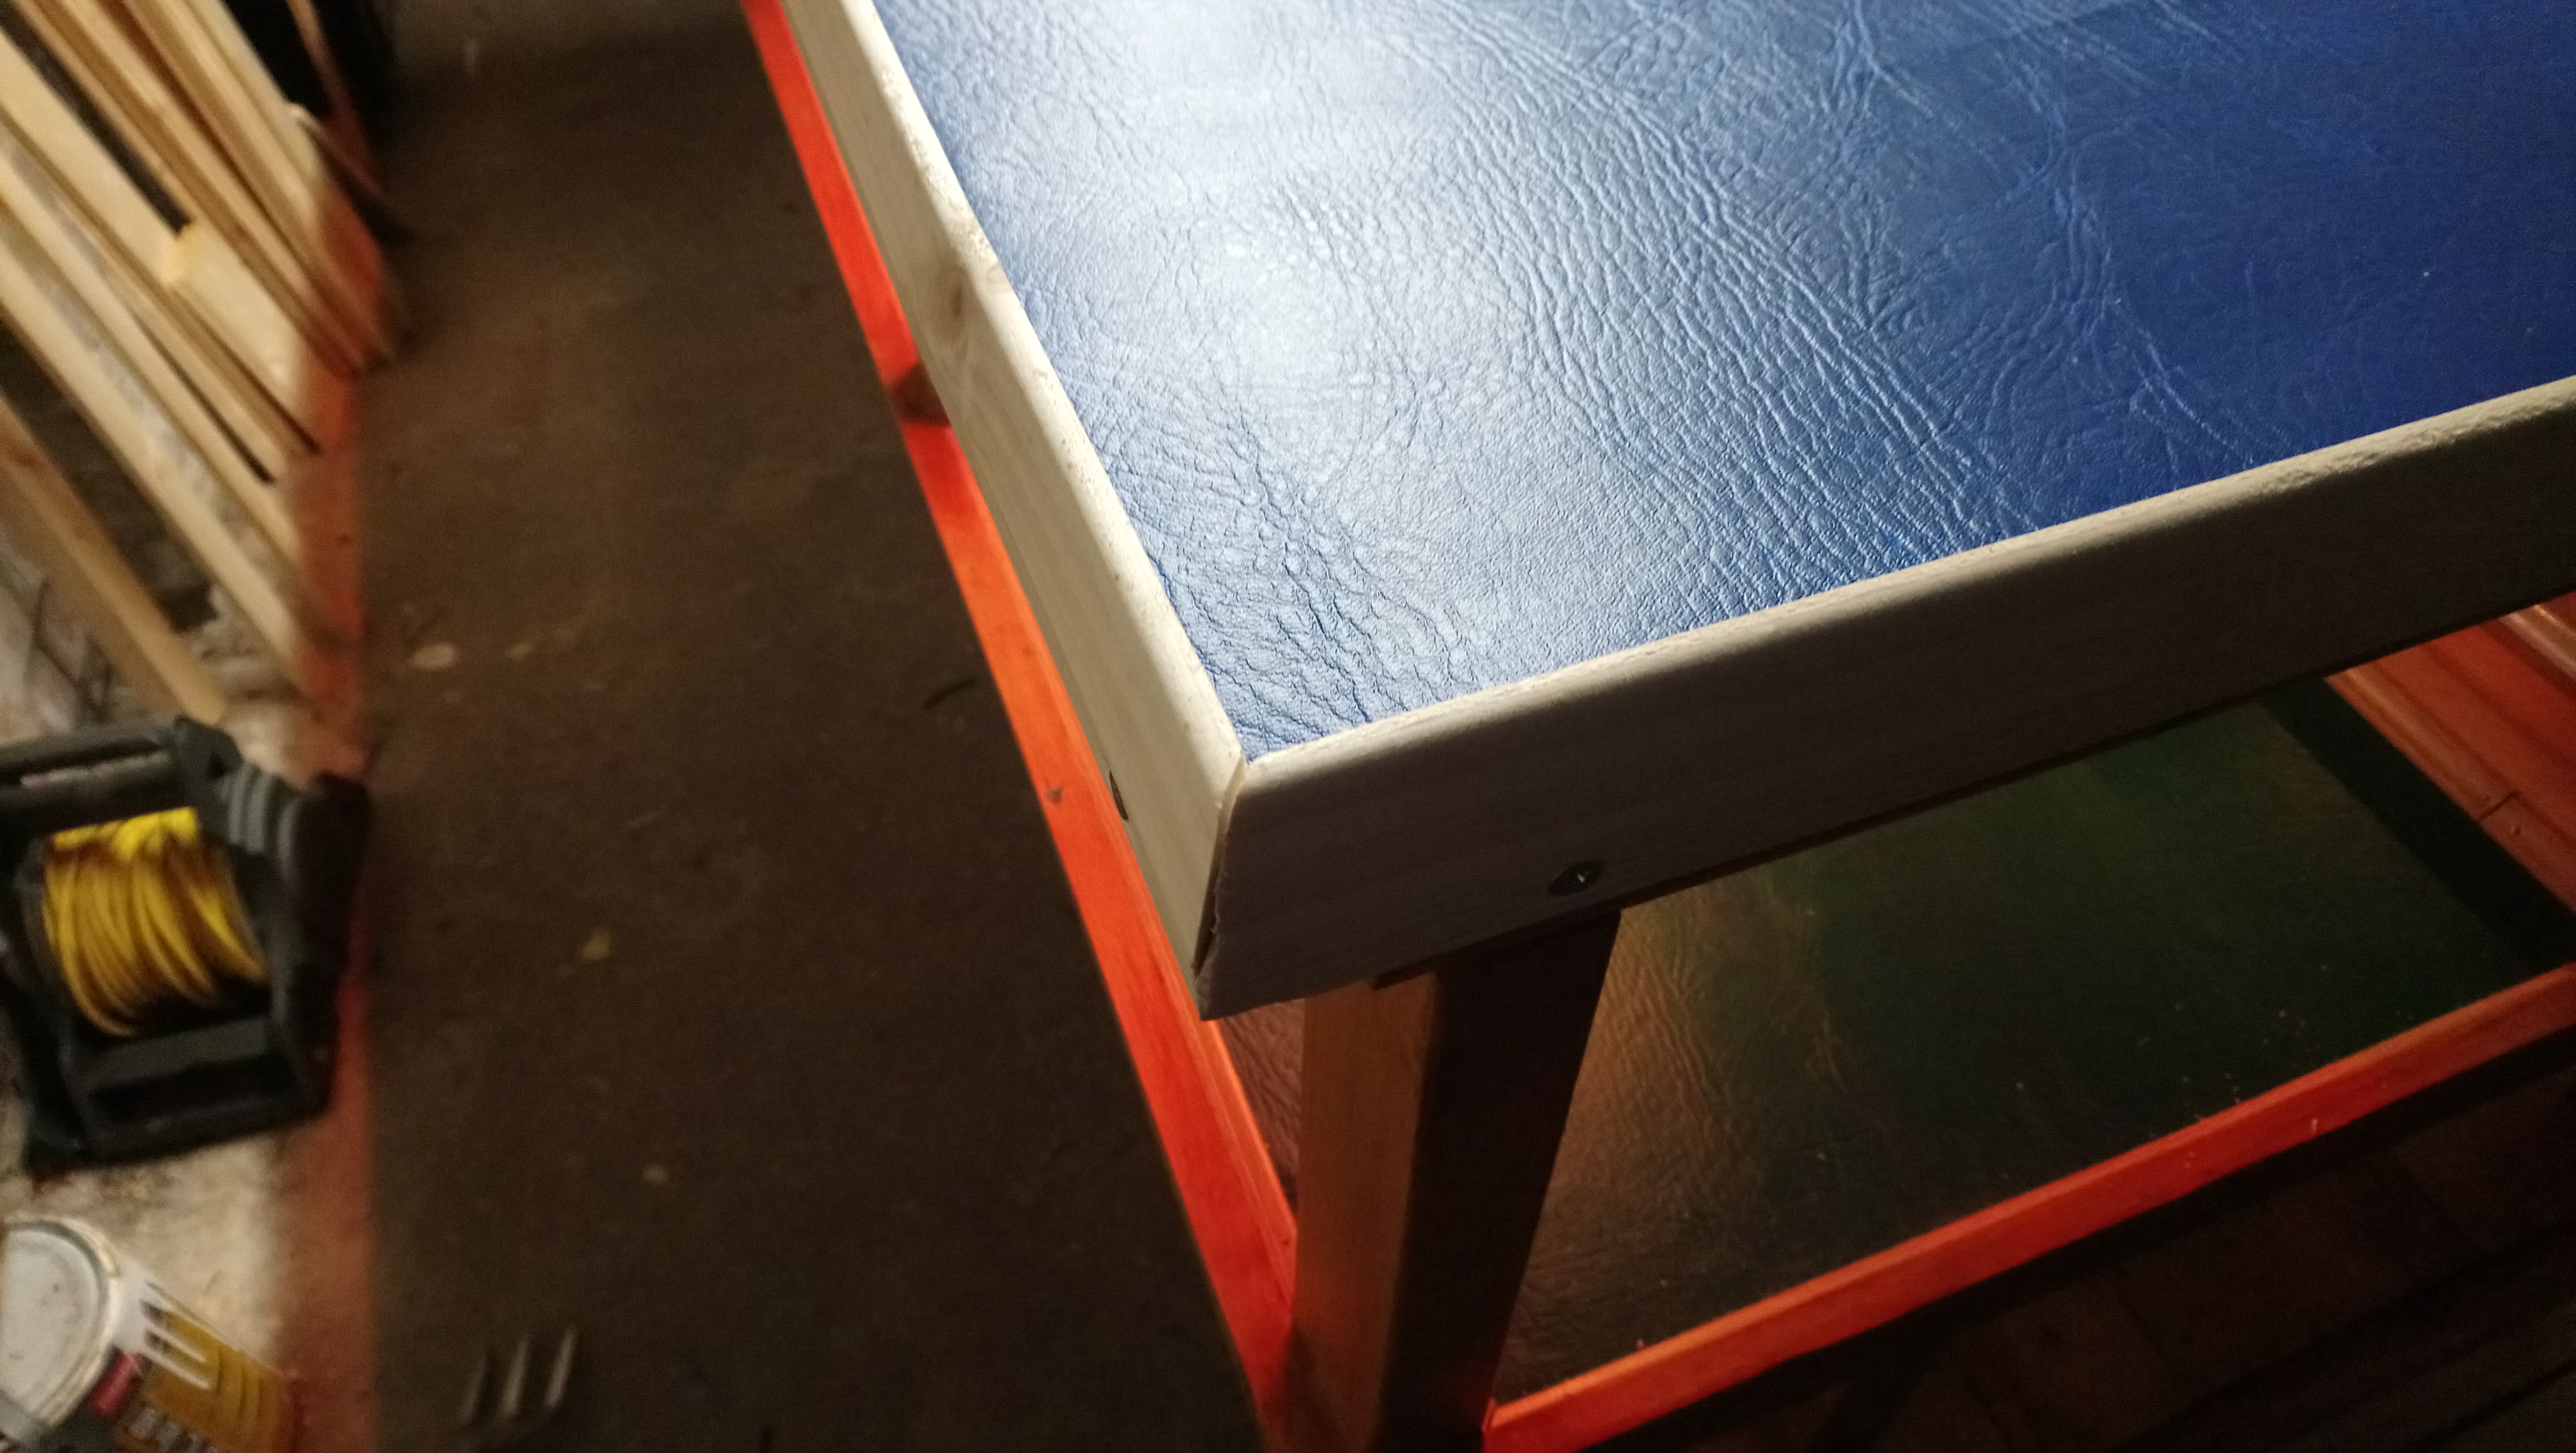
At this point I would like to also take a moment to showcase my shoddy, amatuery joinery skills. I had measured everything so perfectly and tested it to make sure it fit. What I had forgotten to take into consideration is the additional 6mm that the leather covering would create… Luckily I had a bit of wood filler but I was pretty annoyed about this

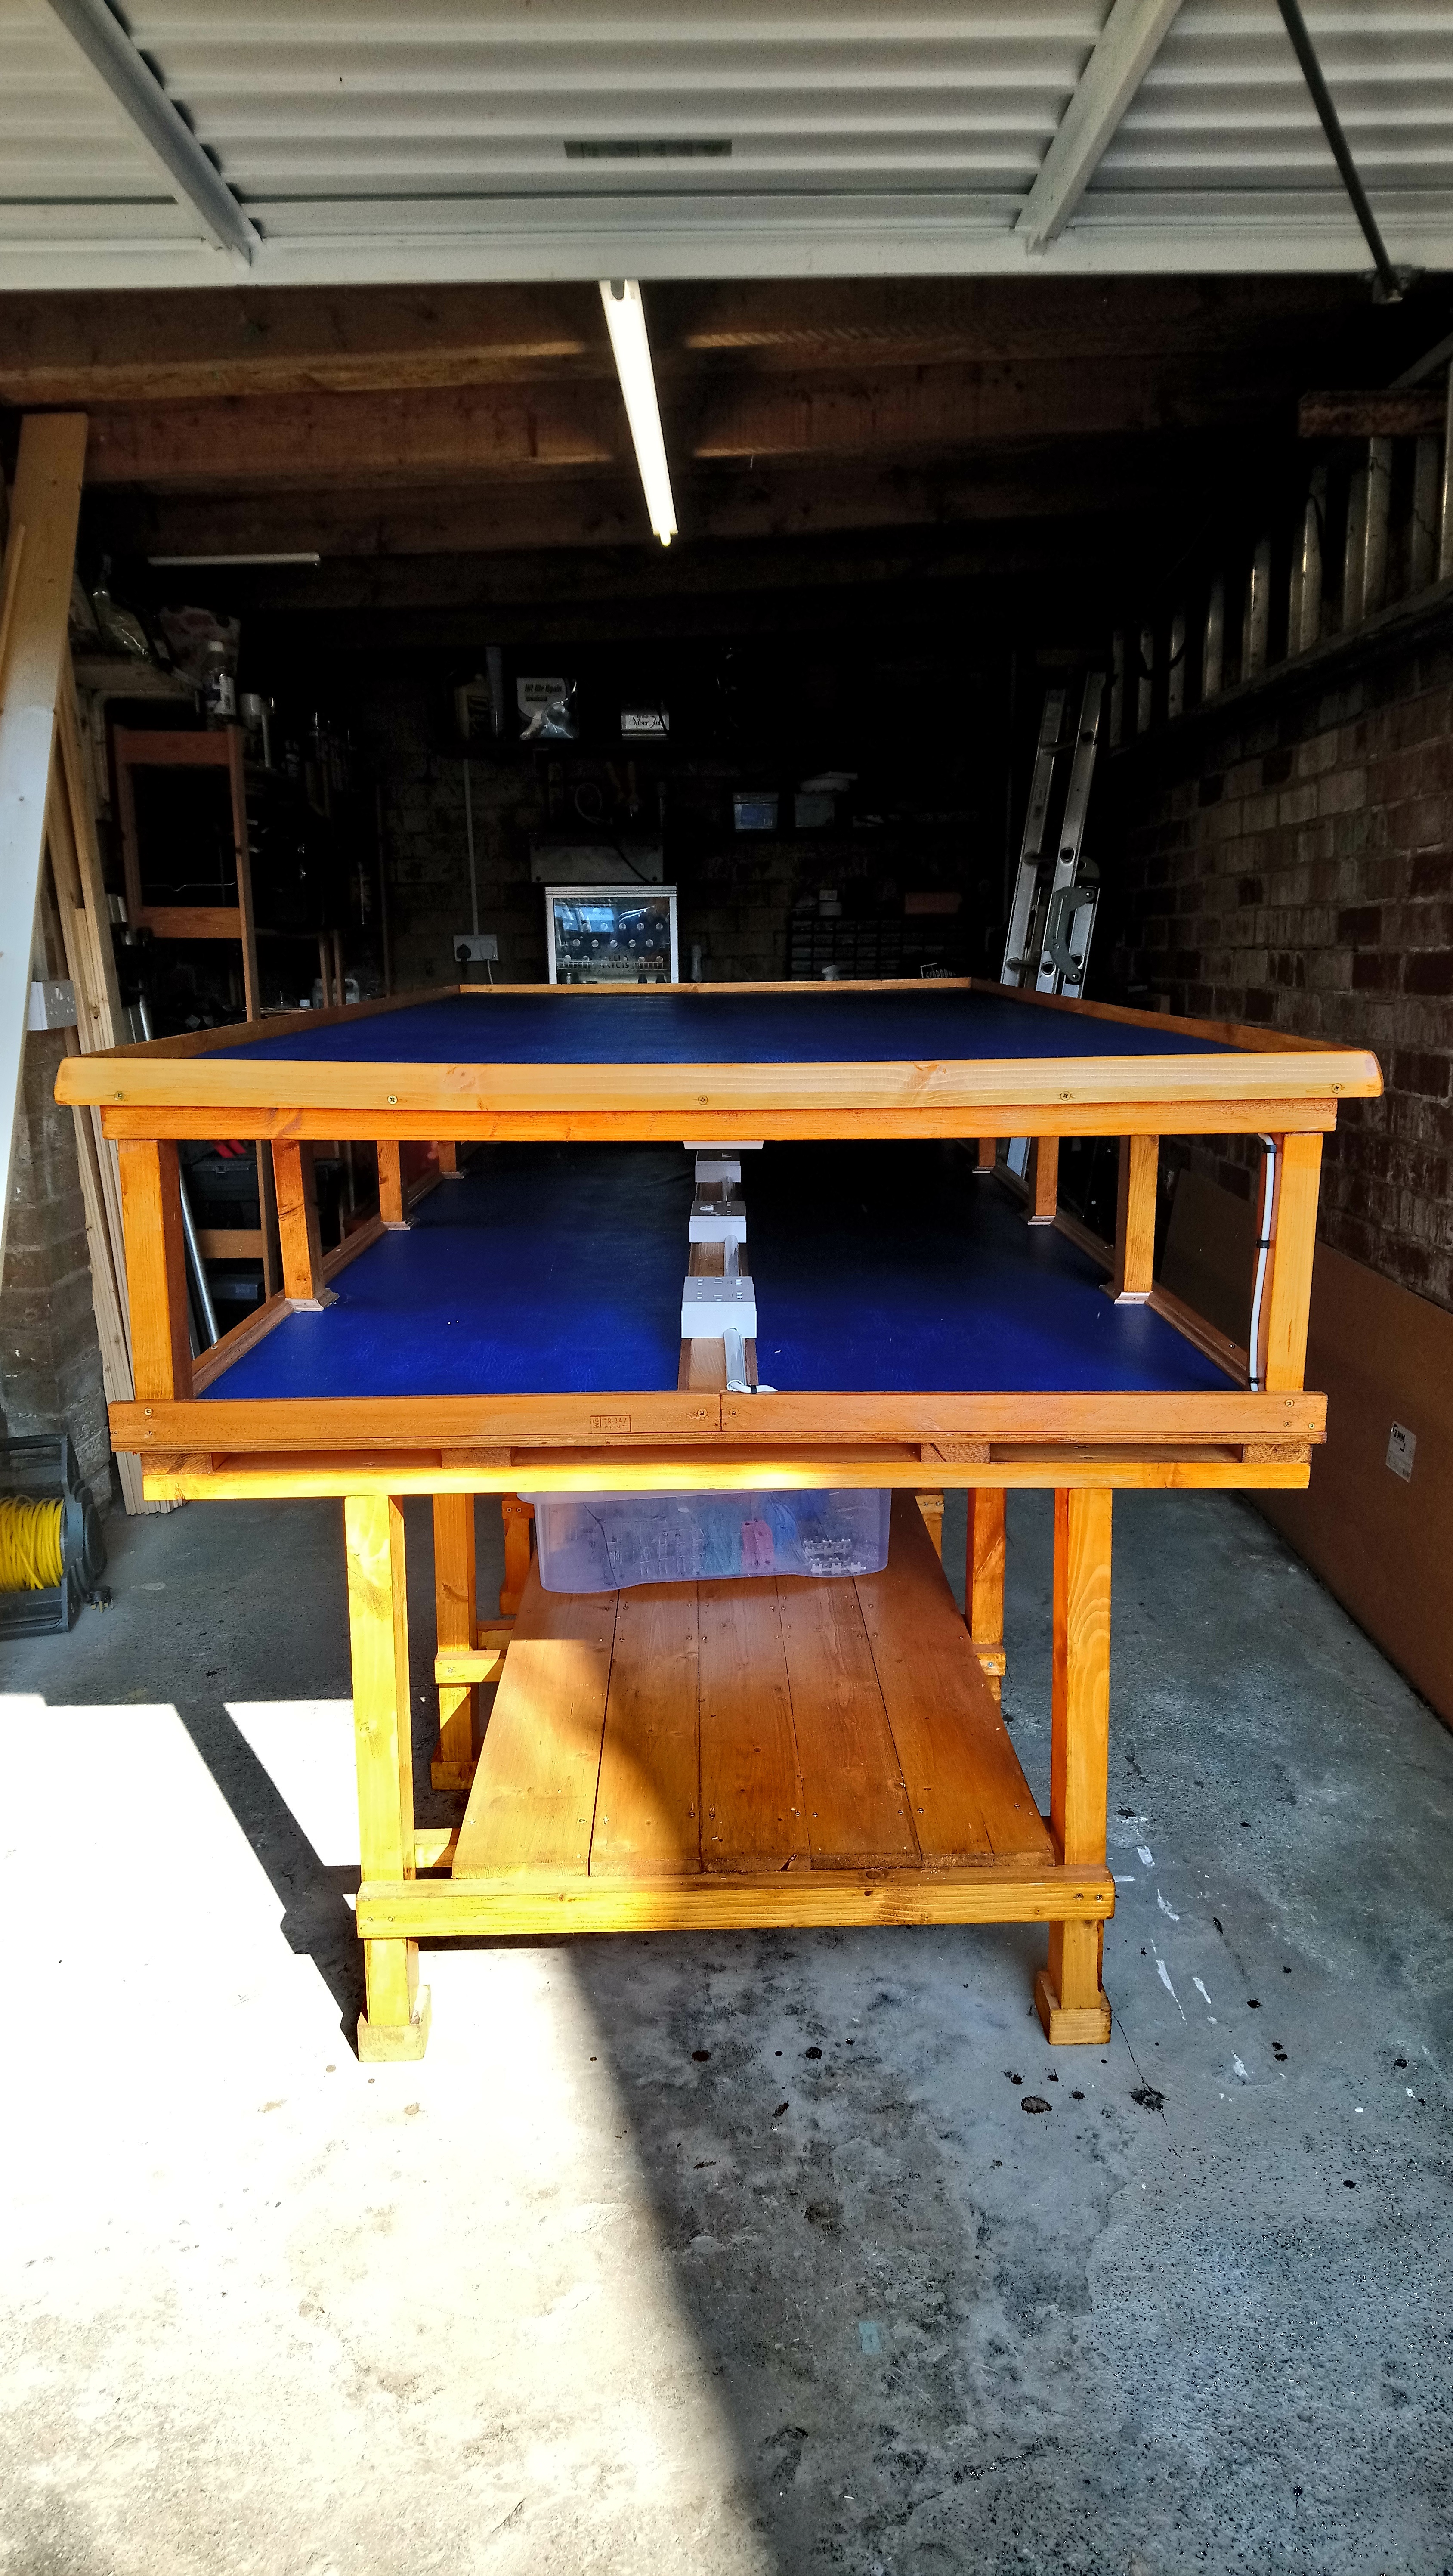
11 - This Is It!
It’s done. Or at least it’s operational, there is currently no sound system, although there is a dedicated power socket for one, I just need to decide what I want to install on it. However, highly important decisions like that are for another day. For now I am just going to bask in the glory of my work.
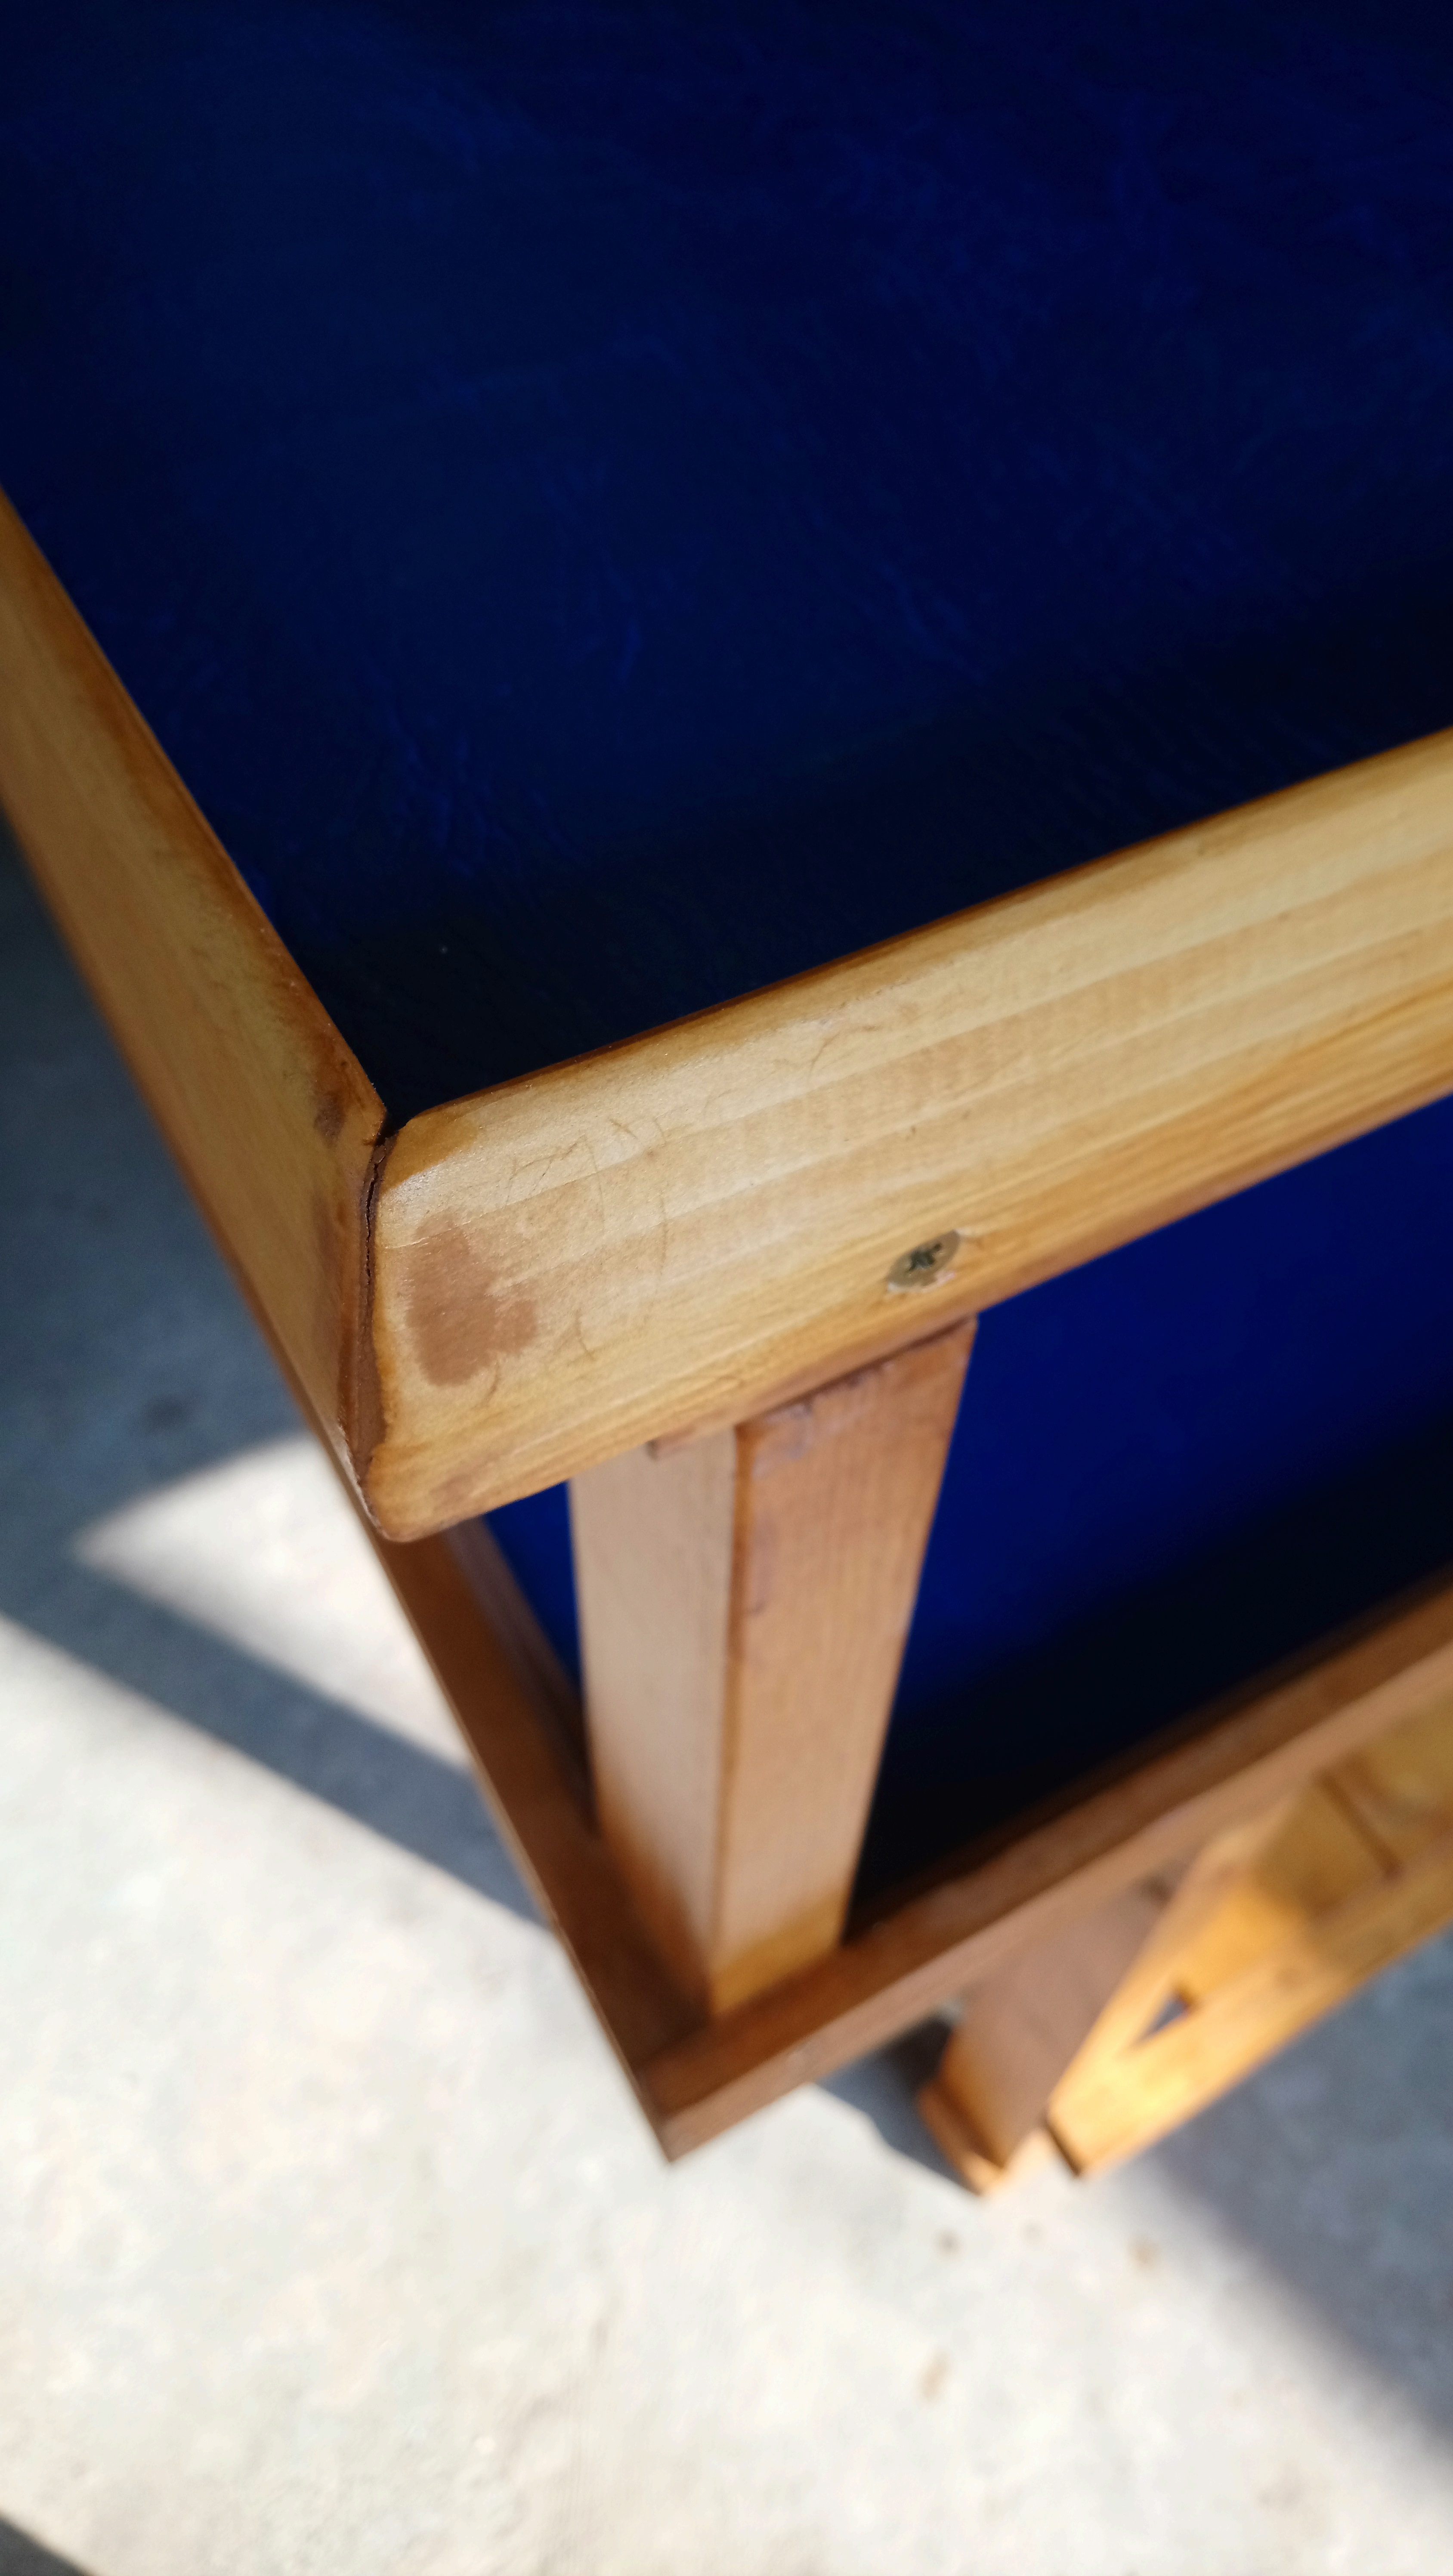
As you can see from the images above, the dodgy joinery isn’t quite so bad once the wood was stained. Sadly I will never not be able to see it but hopefully it won’t be so obvious to anyone using the table.
I also did a little walk around video of the table. Where it would seem that everything is “lovely”.
12 - SNAG A NORMY!
When we moved into the new place in 2019, we lucked out with the neighbours. Dave, the guy next door is really friendly, couldn’t wait to meet the new neighbours , you know, all that good stuff. Then he saw the wargames stuff being moved in. Huge boxes of miniatures and pieces of scenery and I am pretty sure was hooked right there and then – he’d already bought his son a Stranger Things D&D set based solely on seeing the show but had never played it. My brother is a huge D&D nutter so he was all like “yeah, I will definitely run a game for you!”
Obviously it took us a while to get settled in, get things unpacked and the the event happened and we all had to hide away from the world. During that time we built the table in the garage over a period of several months which he saw, sometimes watched (from a safe distance of course) and we would chat, talk about all the games. He told us he was a massive Star Wars fan and he showed us his box of (quite possibly priceless) Star Wars memorabilia -books, toys, all sorts most of it still in shrink wrap and boxes.
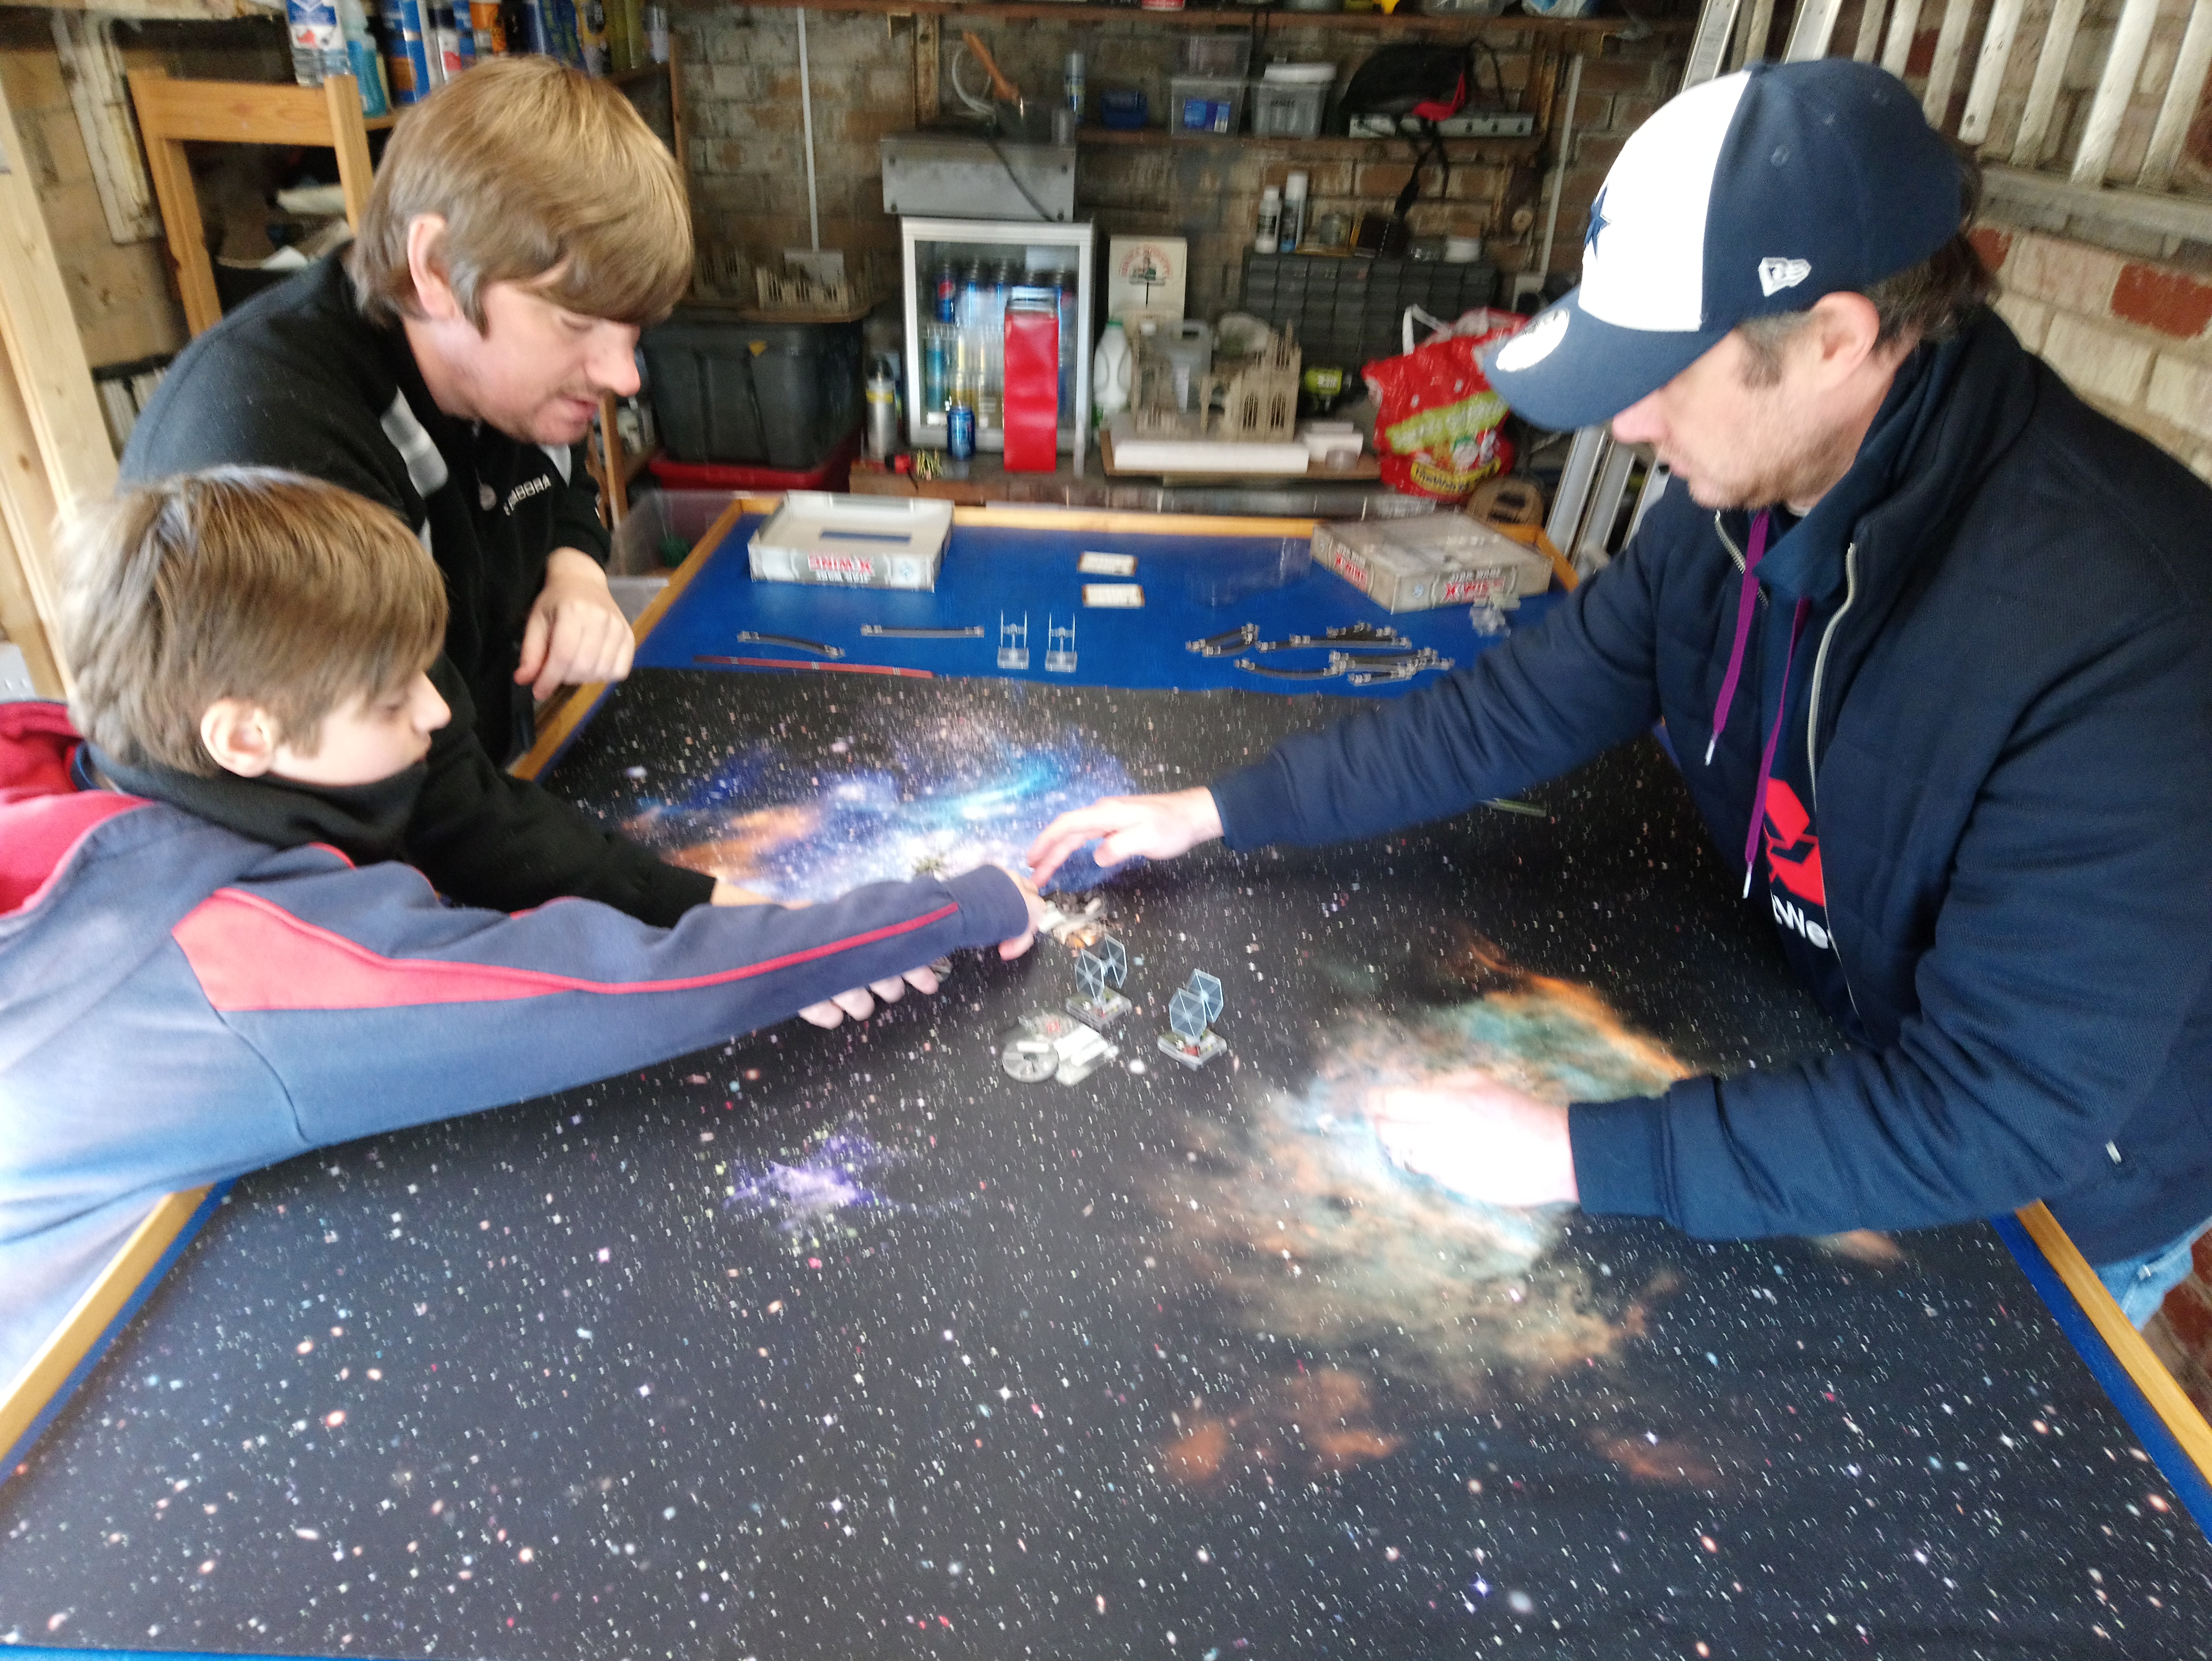
For Christmas, we extended an invitation that, once all the silliness was over and done with that both he and his son could come over and we would run a game of something for them. Obviously the lockdown seems to be never ending however, as soon as they said you could meet people outside and in gardens, he sent us a WhatsApp messages that just said “does your garage count as outside if the door is open” – we agreed that it did and within a couple of days the table had its inaugral game. Due to their love of Star Wars, we opted for Xwing – it’s easy, it’s fast, it’s fun and it’s something they both already know and understand.
I can only apologise for the bad hair styles, this was a week before the barbers opened again. However this is Ian (my brother) helping Noah to defeat Darth Dave
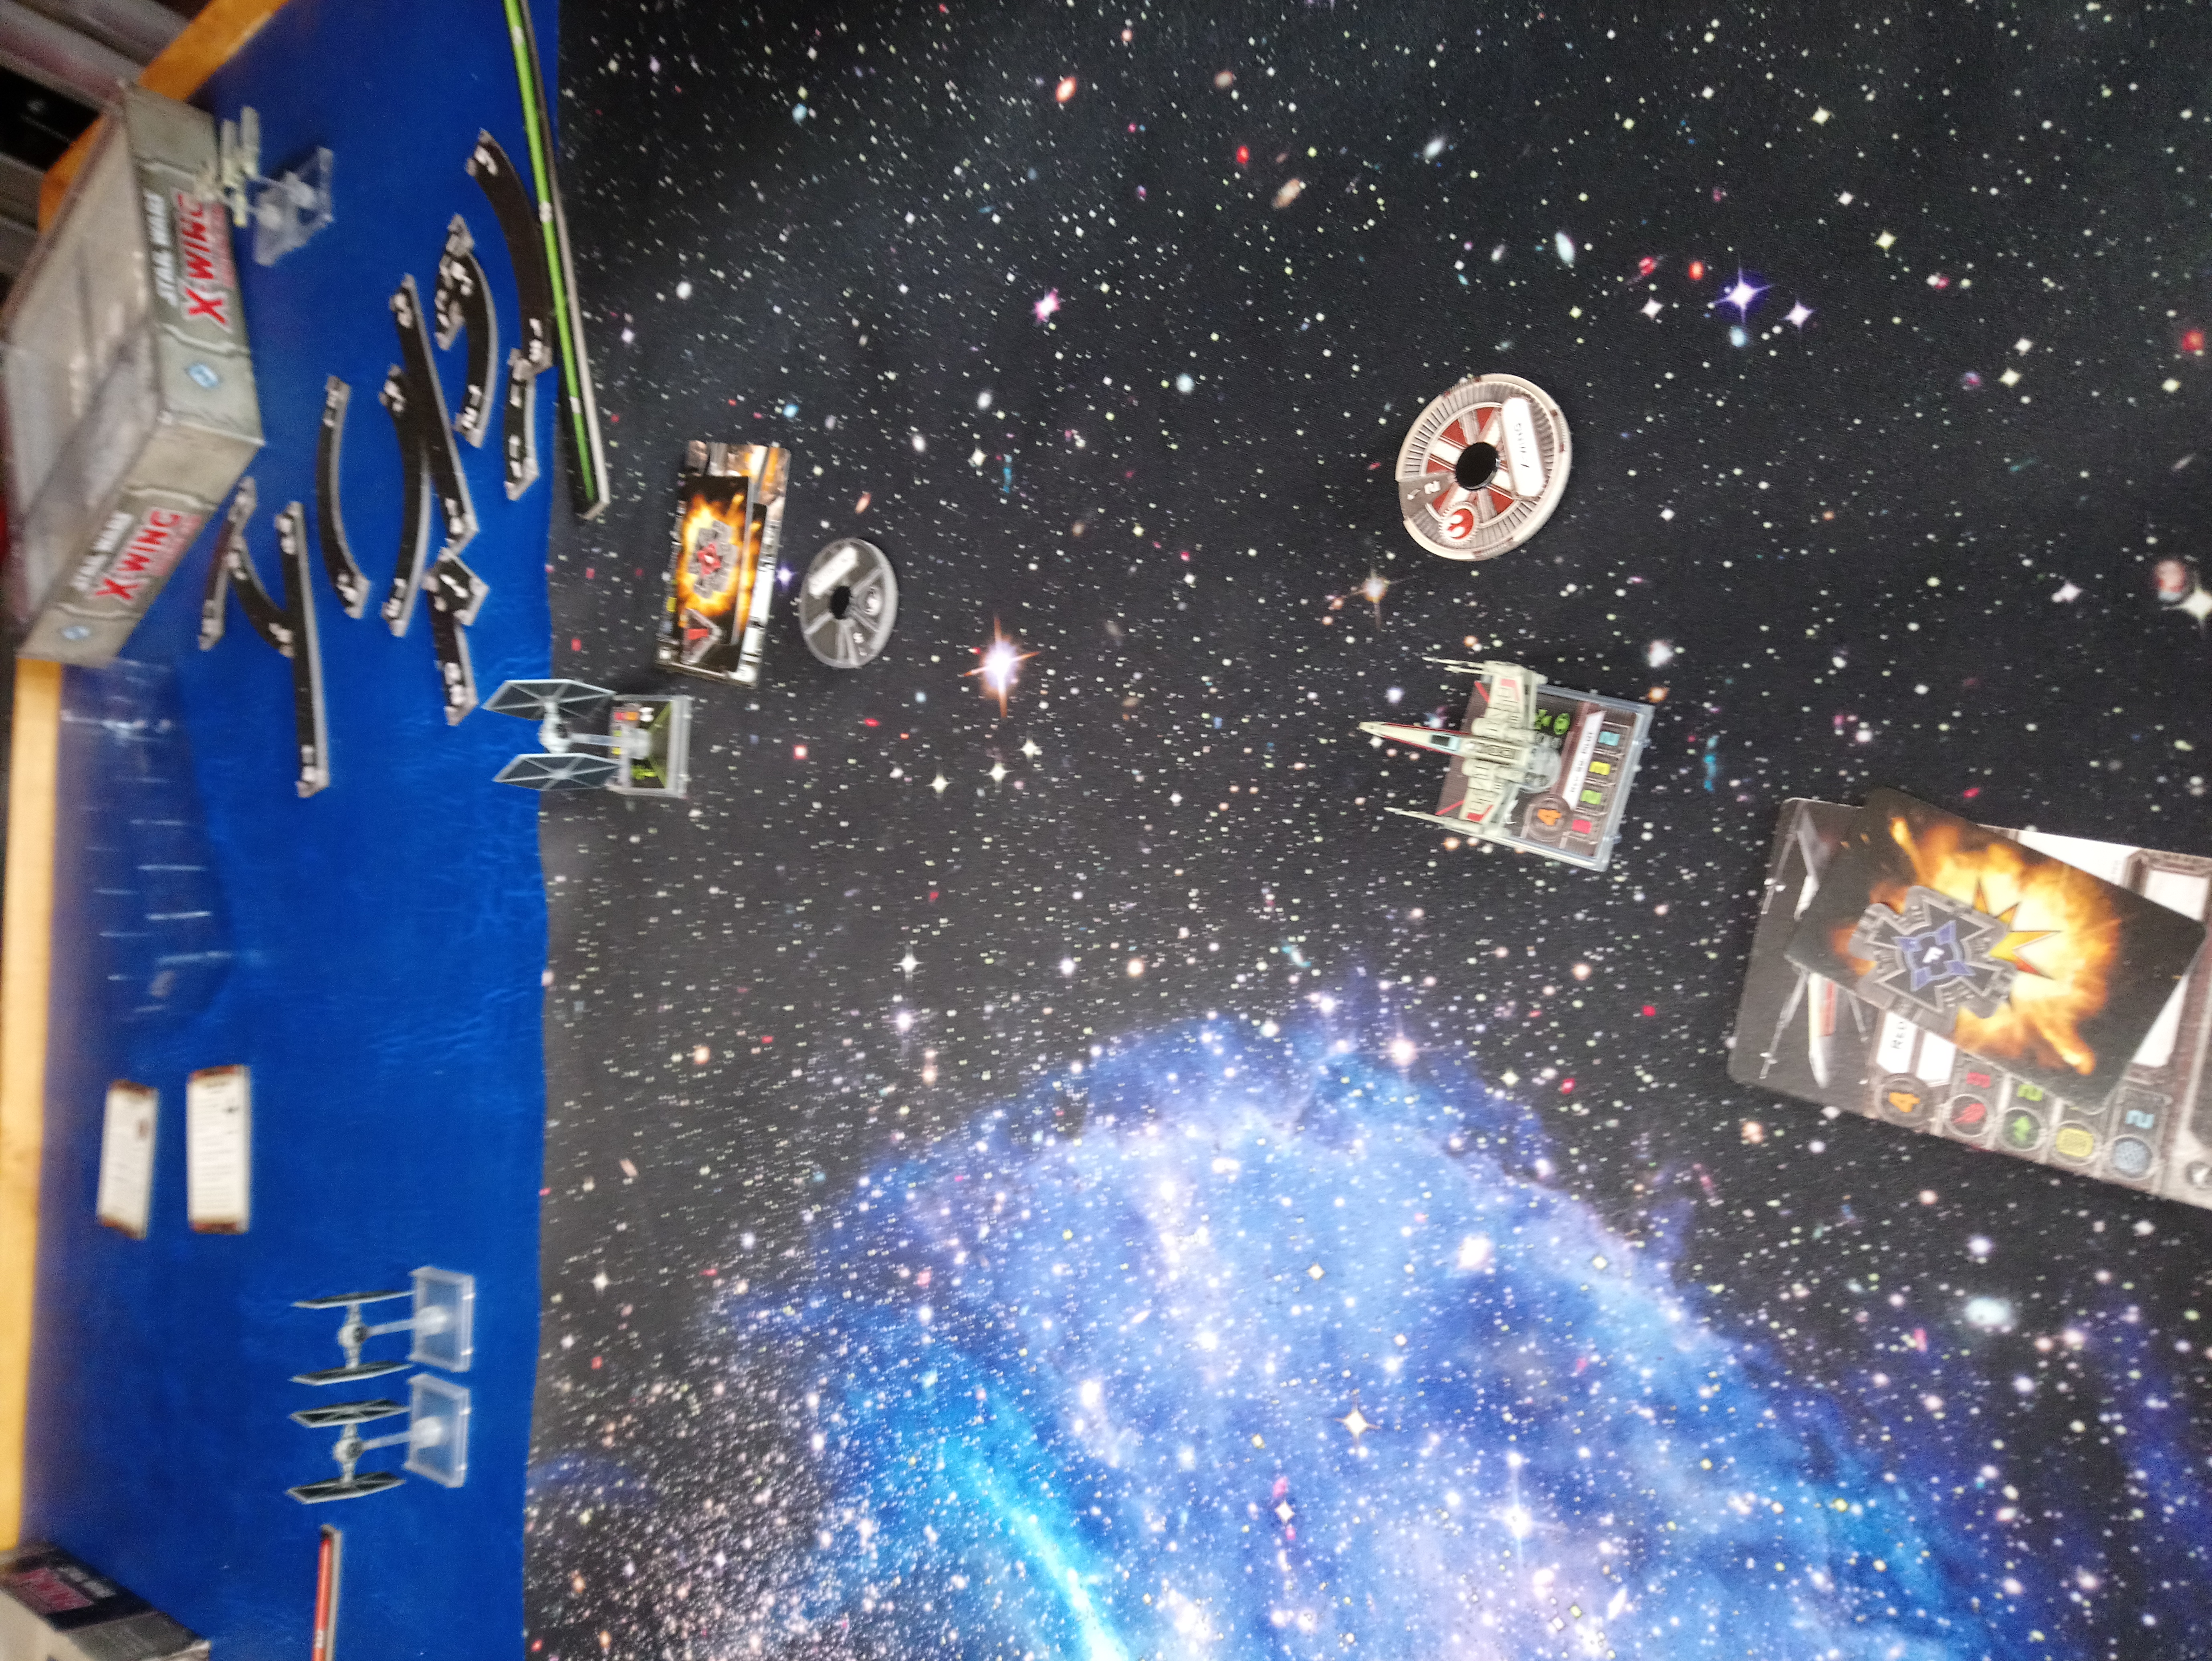
This has also lead to the table being named The Second Deathstar:
- It’s the second version of the table.
- It’s bigger and badder than the first.
- It’s got a hole through the middle that leads to its power supply.
- It was fully armed and operational before it was technically finished.
- It had Xwings and TIE Fighters buzzing around shooting each other
Following that game, as they were leaving Dave dropped a bit of insight on us with this line.
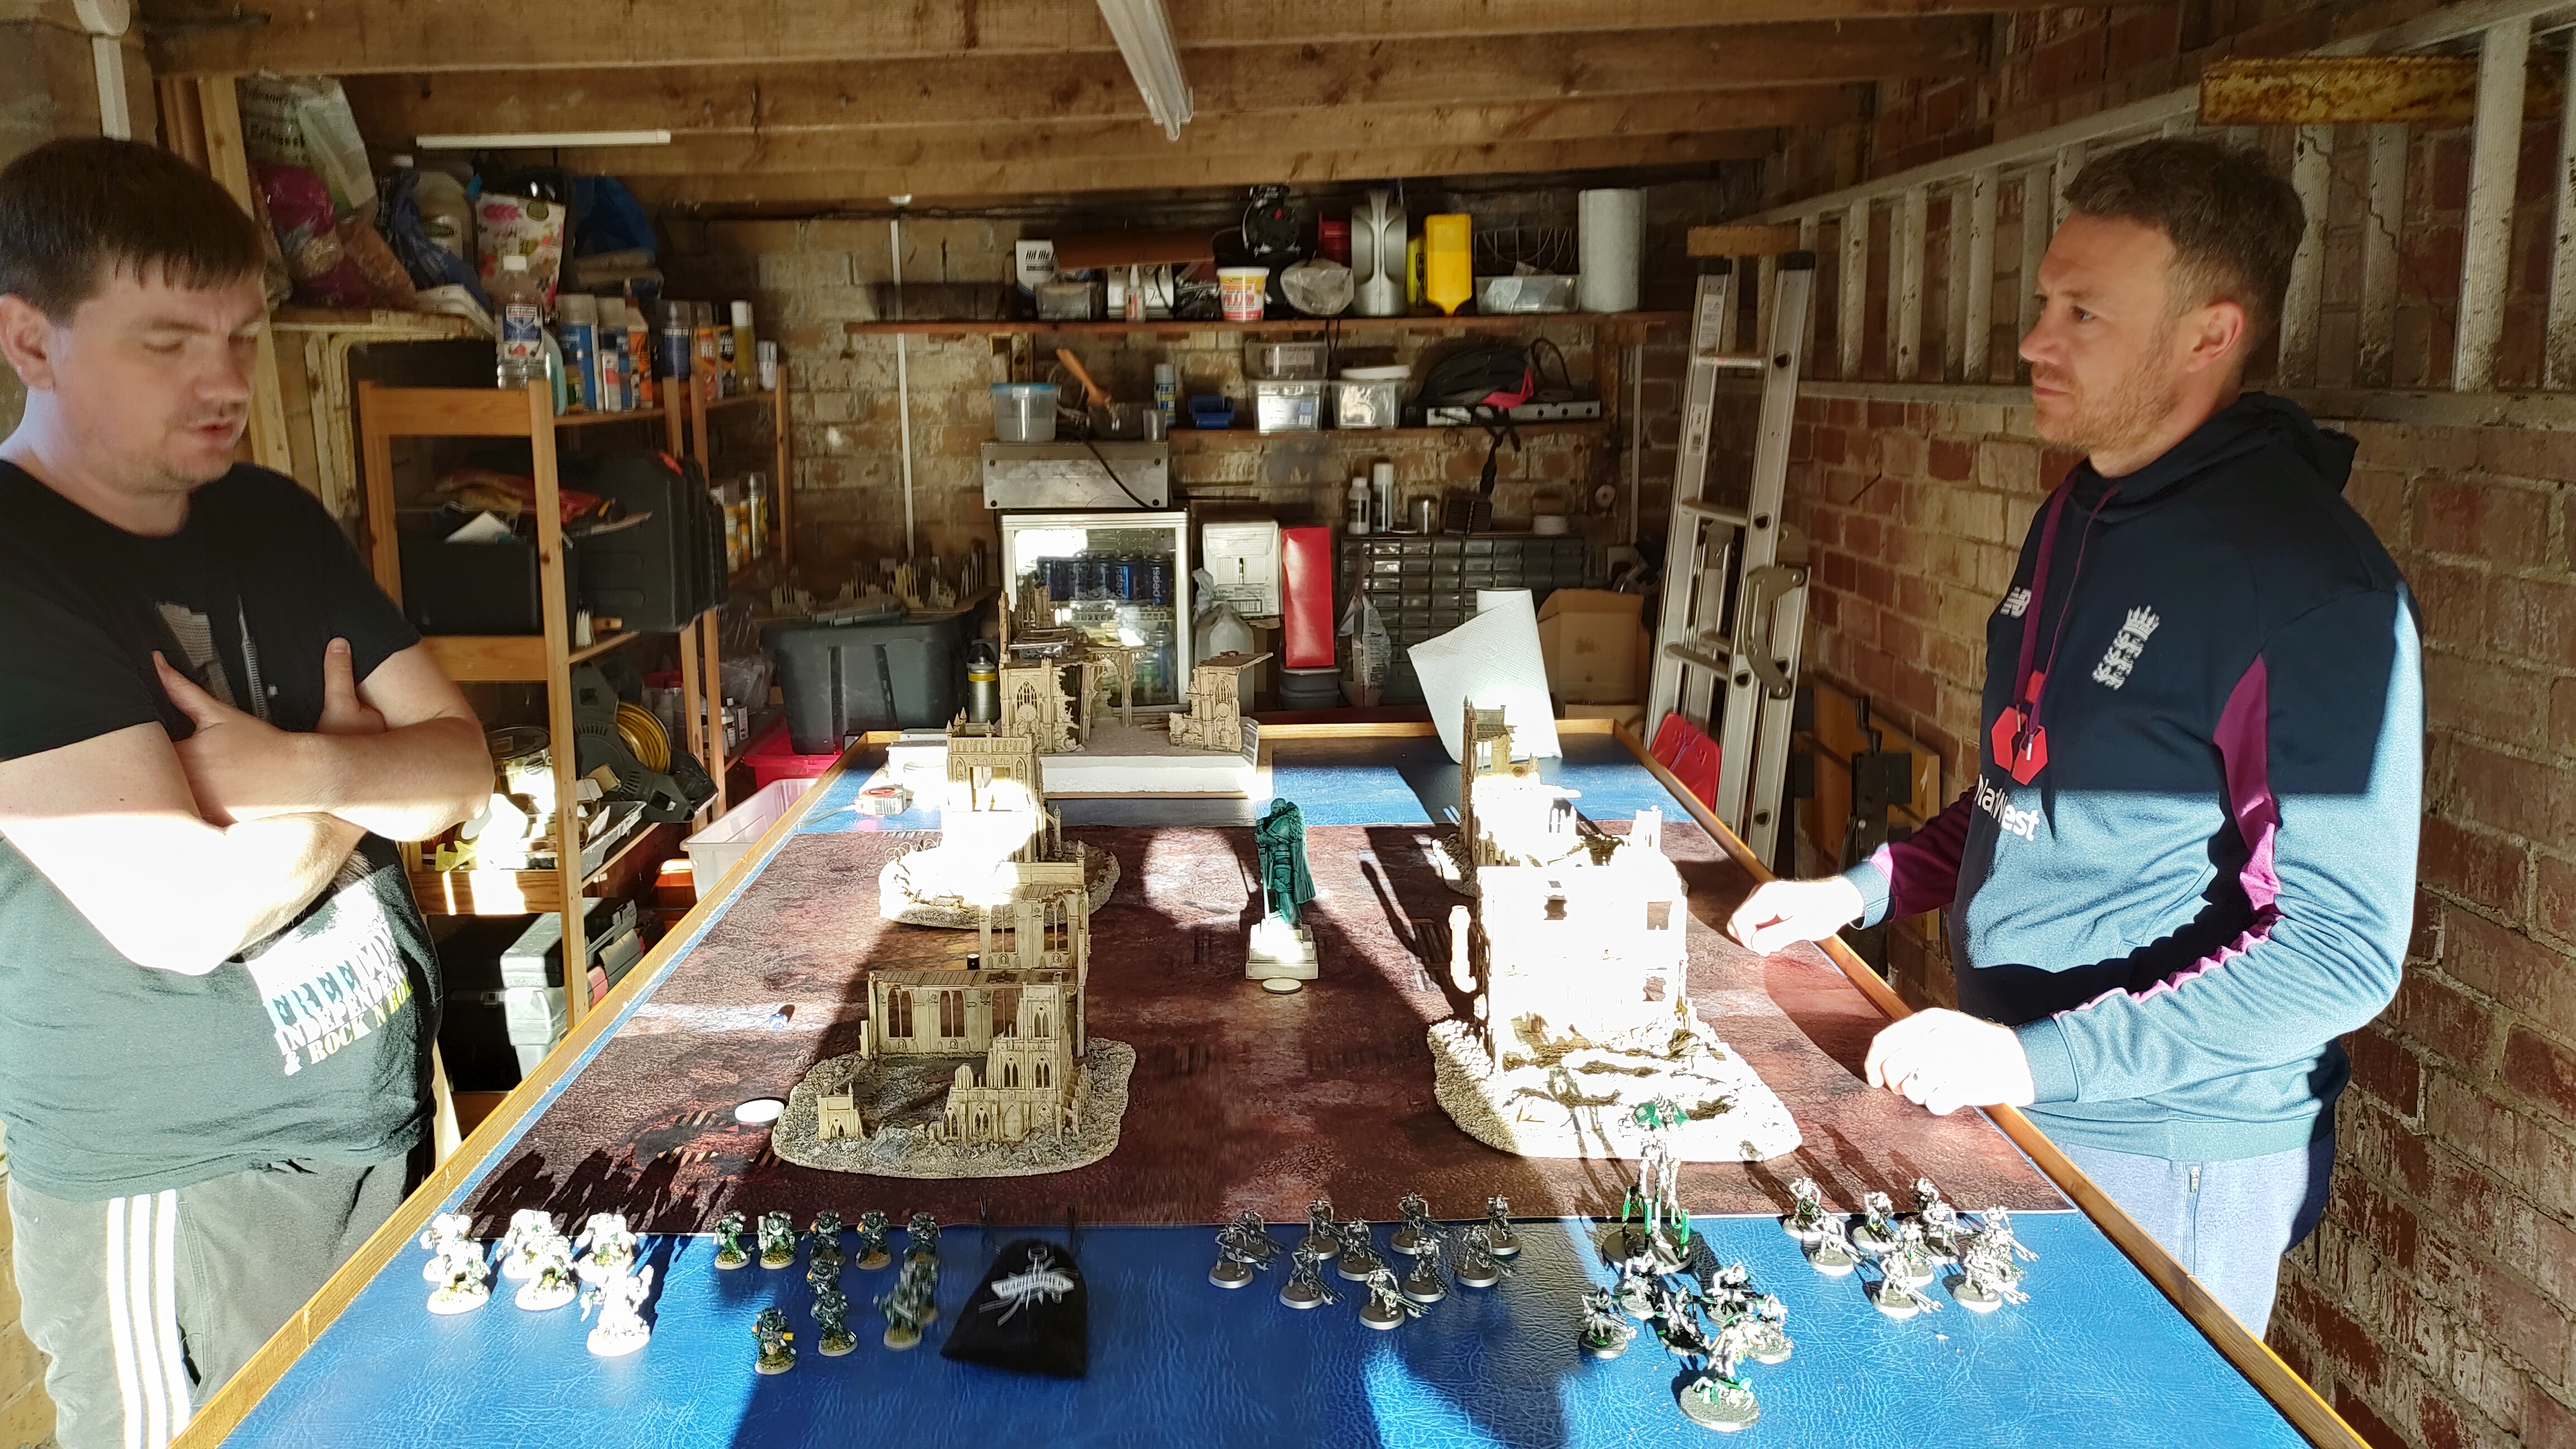
“Do you know what I would really like to try? A massive game of 40k”
He knows about it, has seen a tank somewhere (we think it was an Ultramarines Land Raider from the description) and he’s desperate to give it a try. tonight he got his wish. Partly at least. My brother ran a 500 point introduction for him and it turns out he absolutely loved it.
So in summary, the table is if not finished, operational and we have used it to SNAG A NORMY! Was it all worth it? Abso-feckin-lutely
There may be a couple of extra updates on this when I come to add the sound system but there won’t be much more now. It’s time to call it done, leave it alone and really just enjoy it
 Normy, snagged


