


Bandua Infinity Train – Large terrain piece


Recommendations: 113
About the Project
About 2 years ago while on a trip back to Canada I picked up the Bandua Mag-lev Train. After 2 years of sitting on my shelf, barely even opened, a close friend of mine here has made a bet with me to see if I can finish the whole train to a reasonable tabletop level by October 31st. The prize? supposedly a box of knights for Adeptus Titanicus. Long time viewer of BoW but first time I have decided to put my own work on the site. I will do my best to give updates on building and painting this beast. As well I will give my rationale for my way of doing things. Currently living in Korea and I work a lot so it will take quite a bit of effort to get this done on time. Let the terrain building begin!
Related Game: Infinity
Related Company: Bandua Wargames
Related Genre: Science Fiction
This Project is Completed
The beginning
So as the description says I have had this terrain piece for infinity on my shelf for two years! I bought it the last time I was in Canada, as the shipping cost for an item like that to South Korea almost doubles the price!
Let’s see if I can manage to get this completed by October 31st and win this wager with a buddy of mine.
I will do my best to explain my steps in making this MDF Train and my logic behind my methods as this is not a very simple kit.
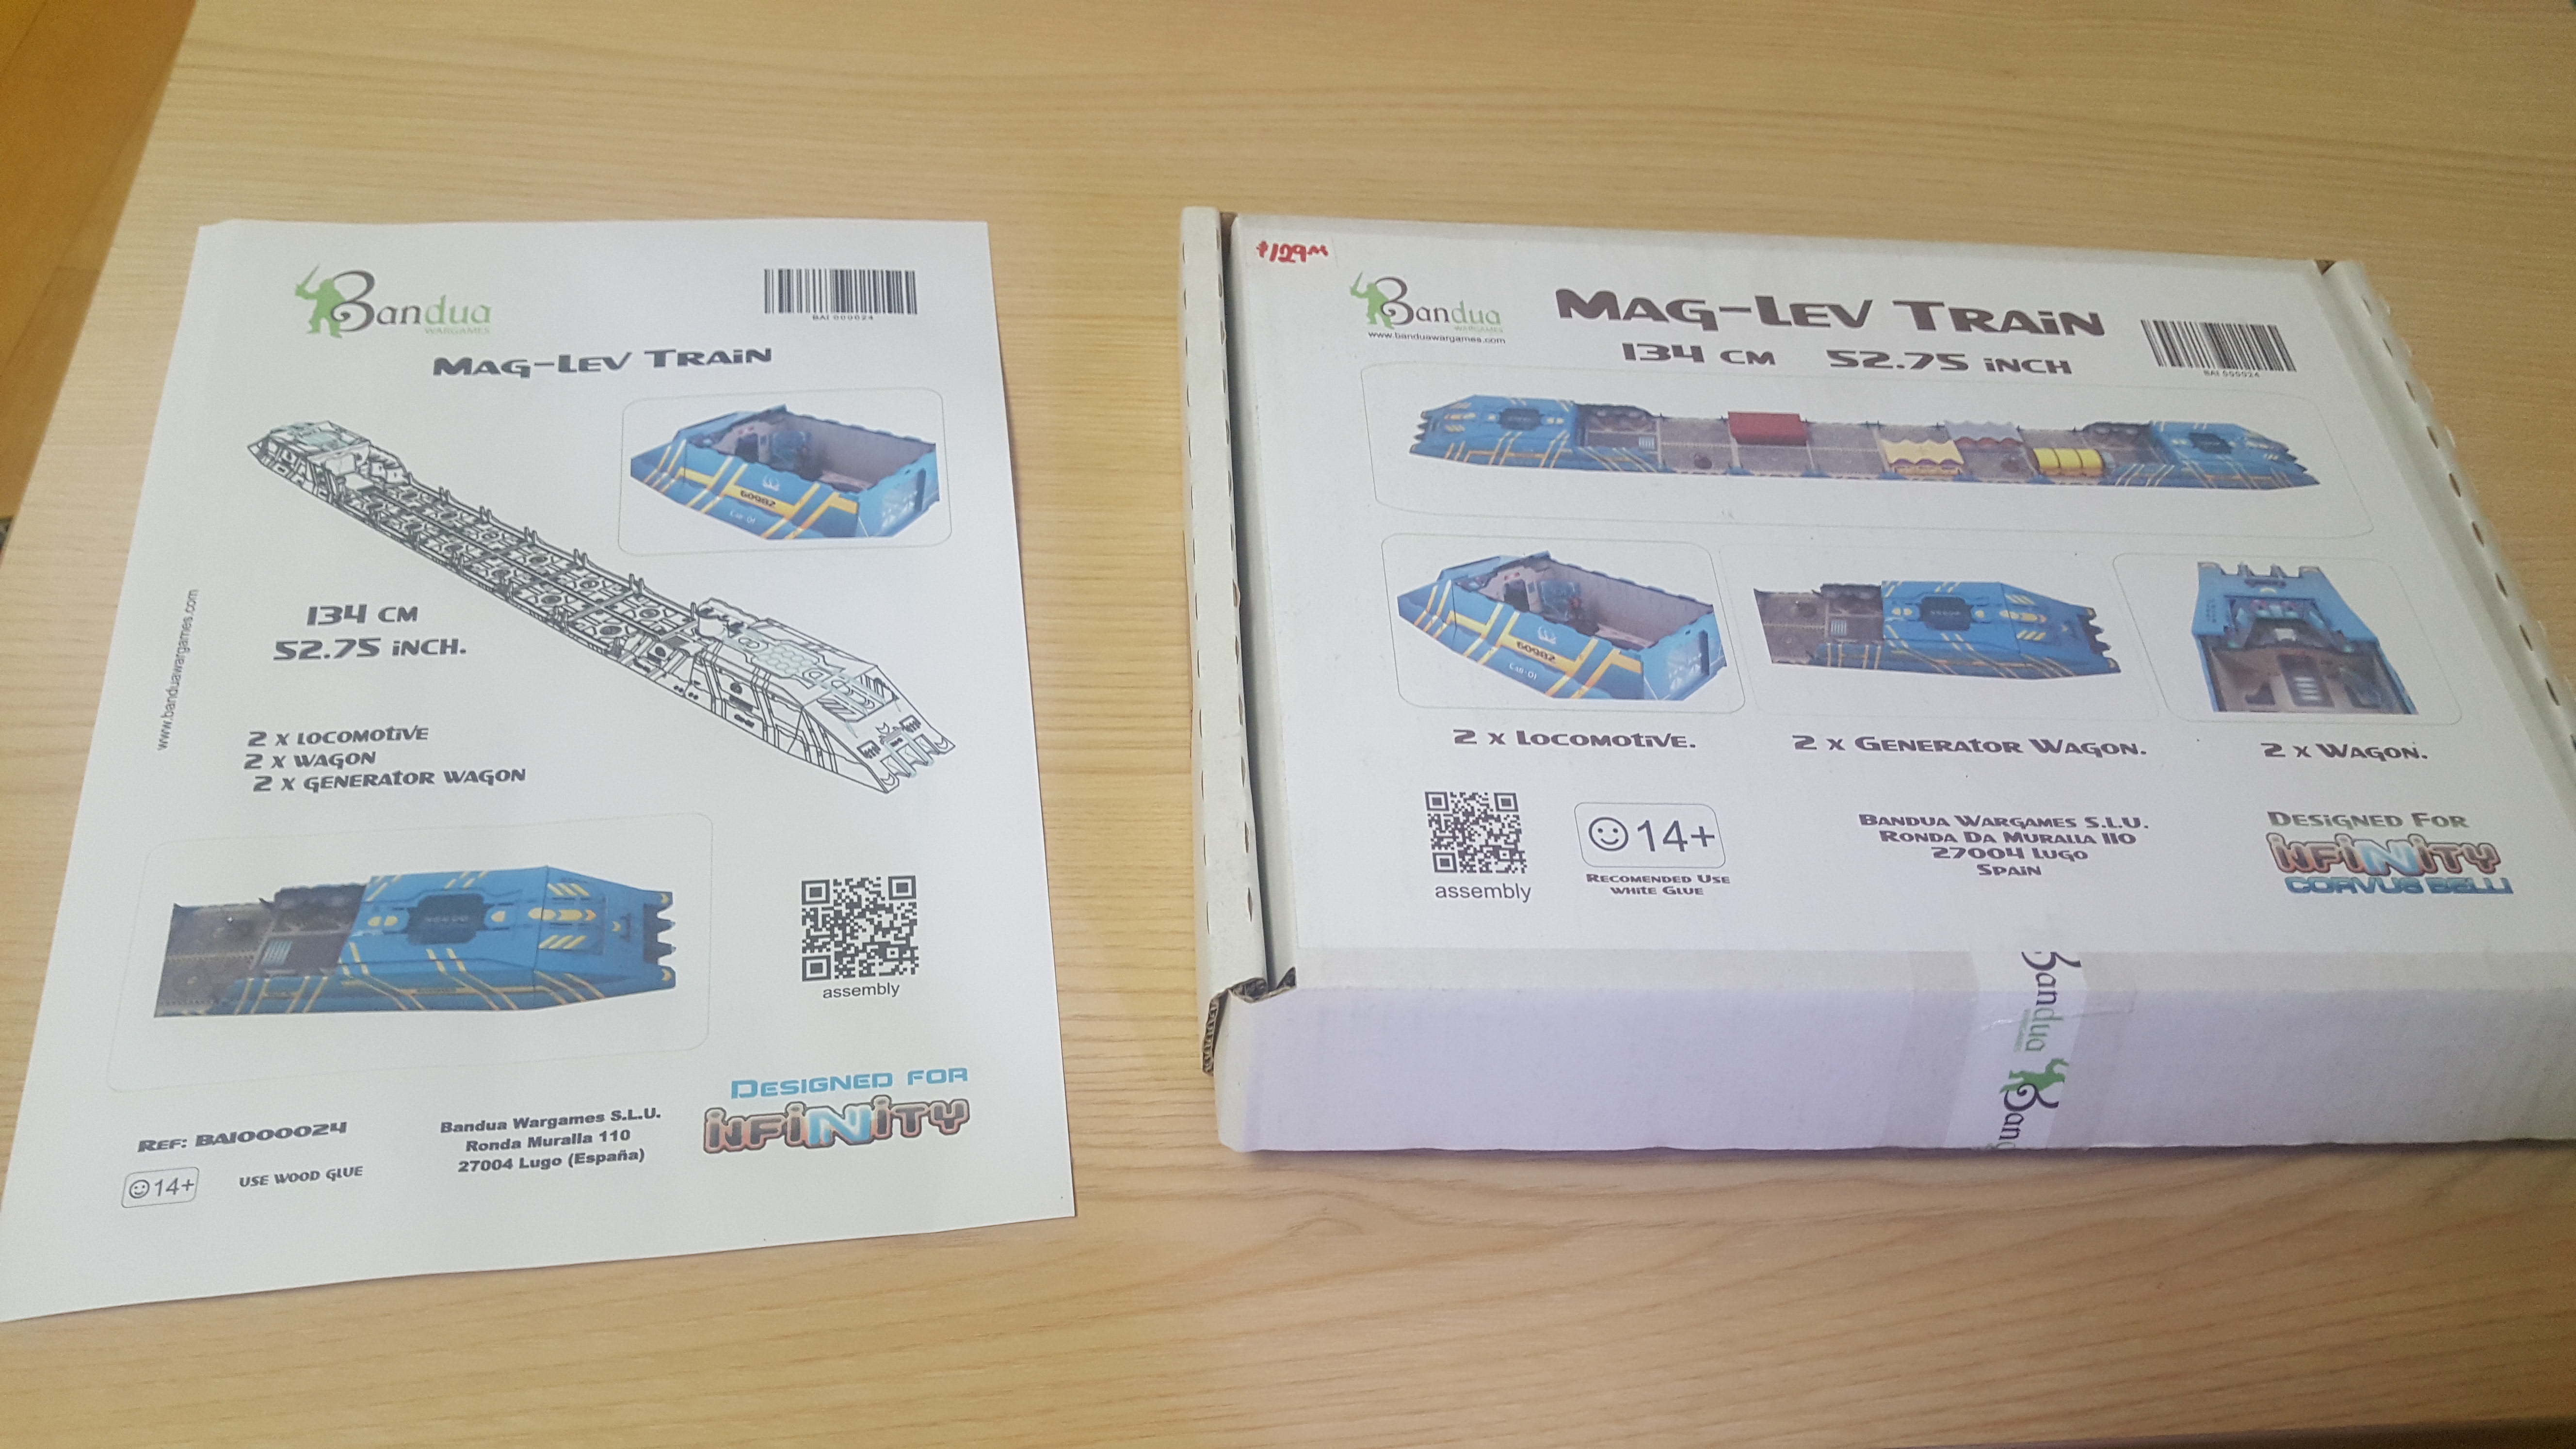
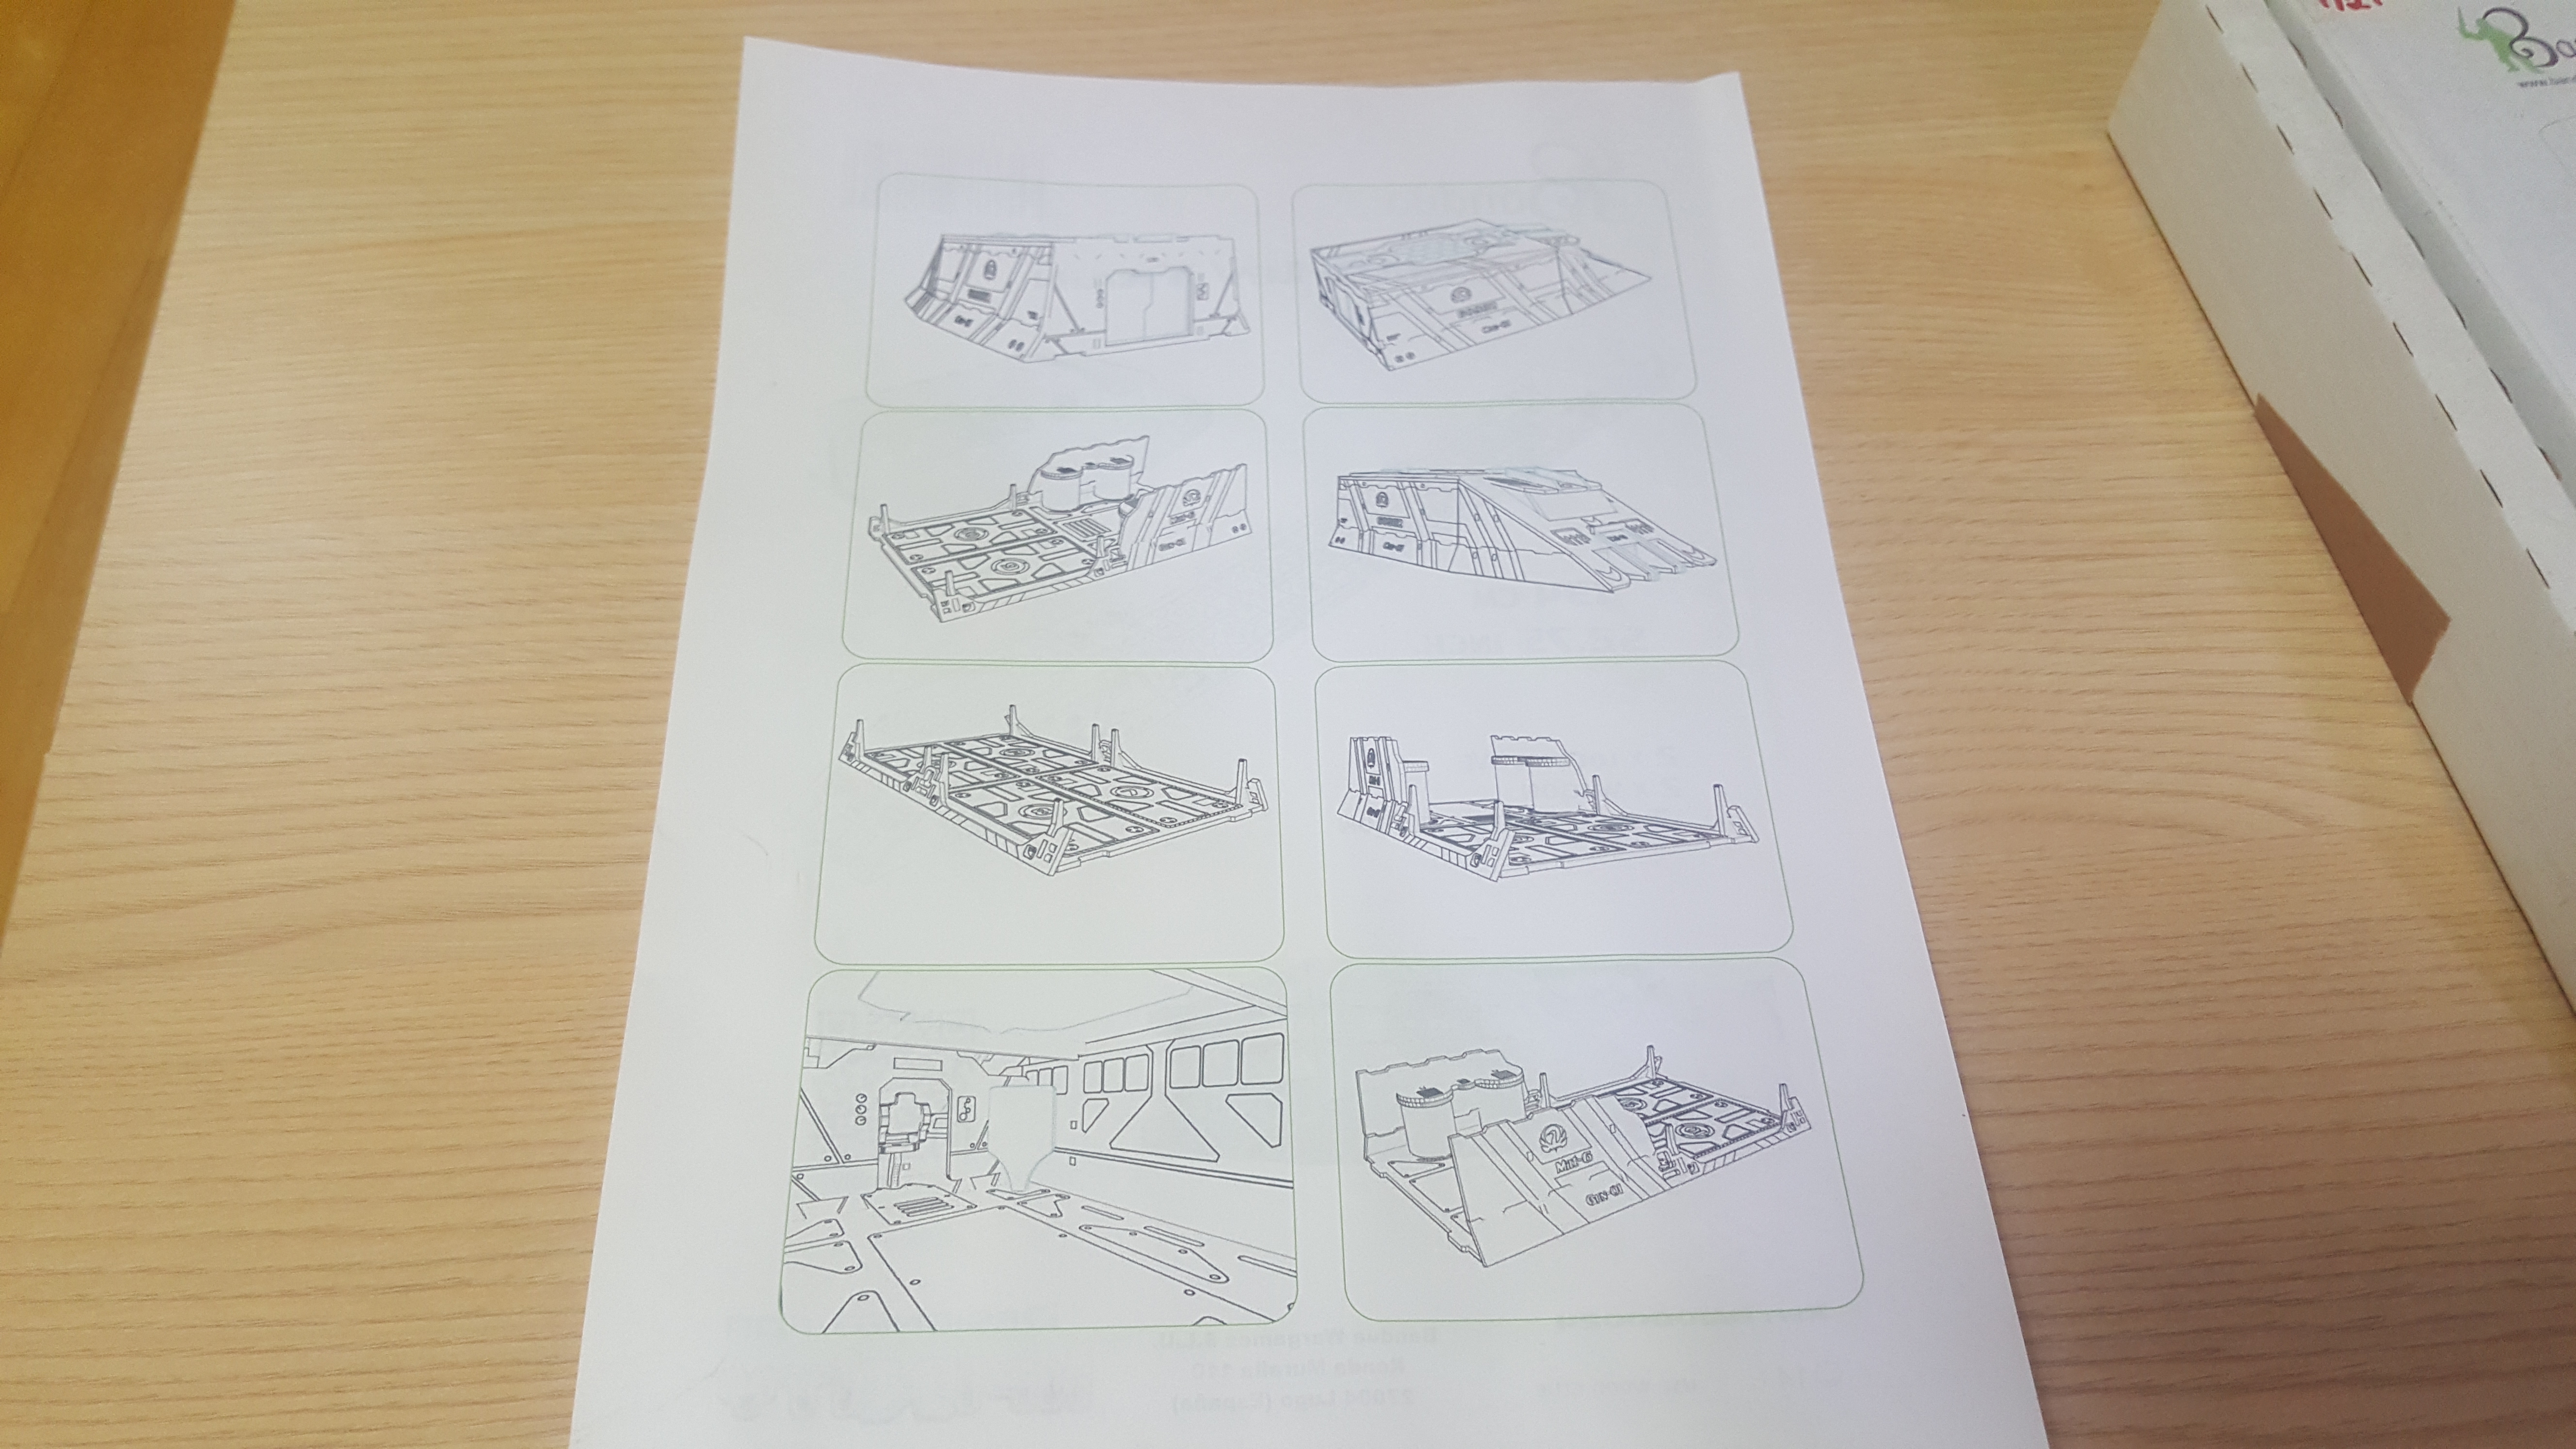

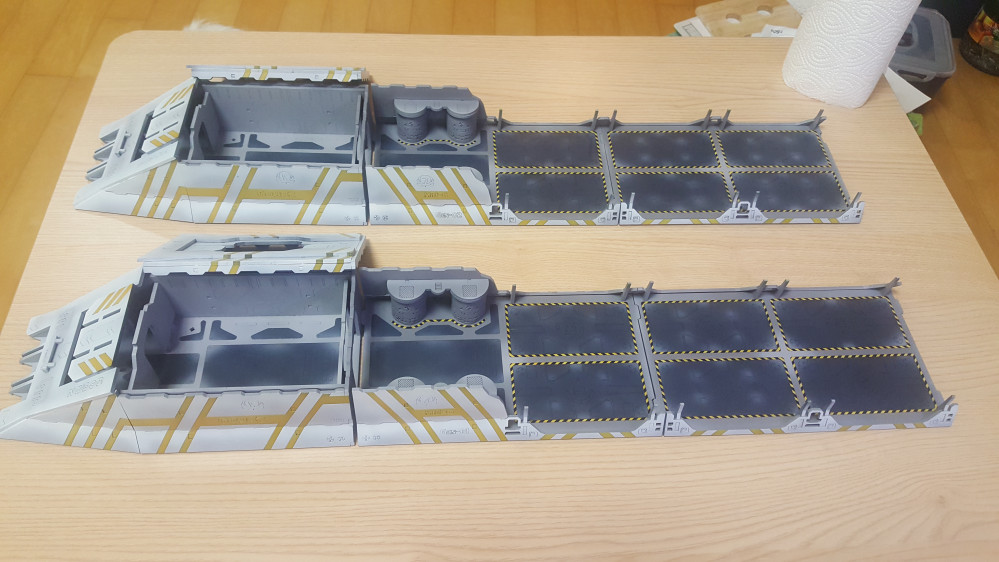
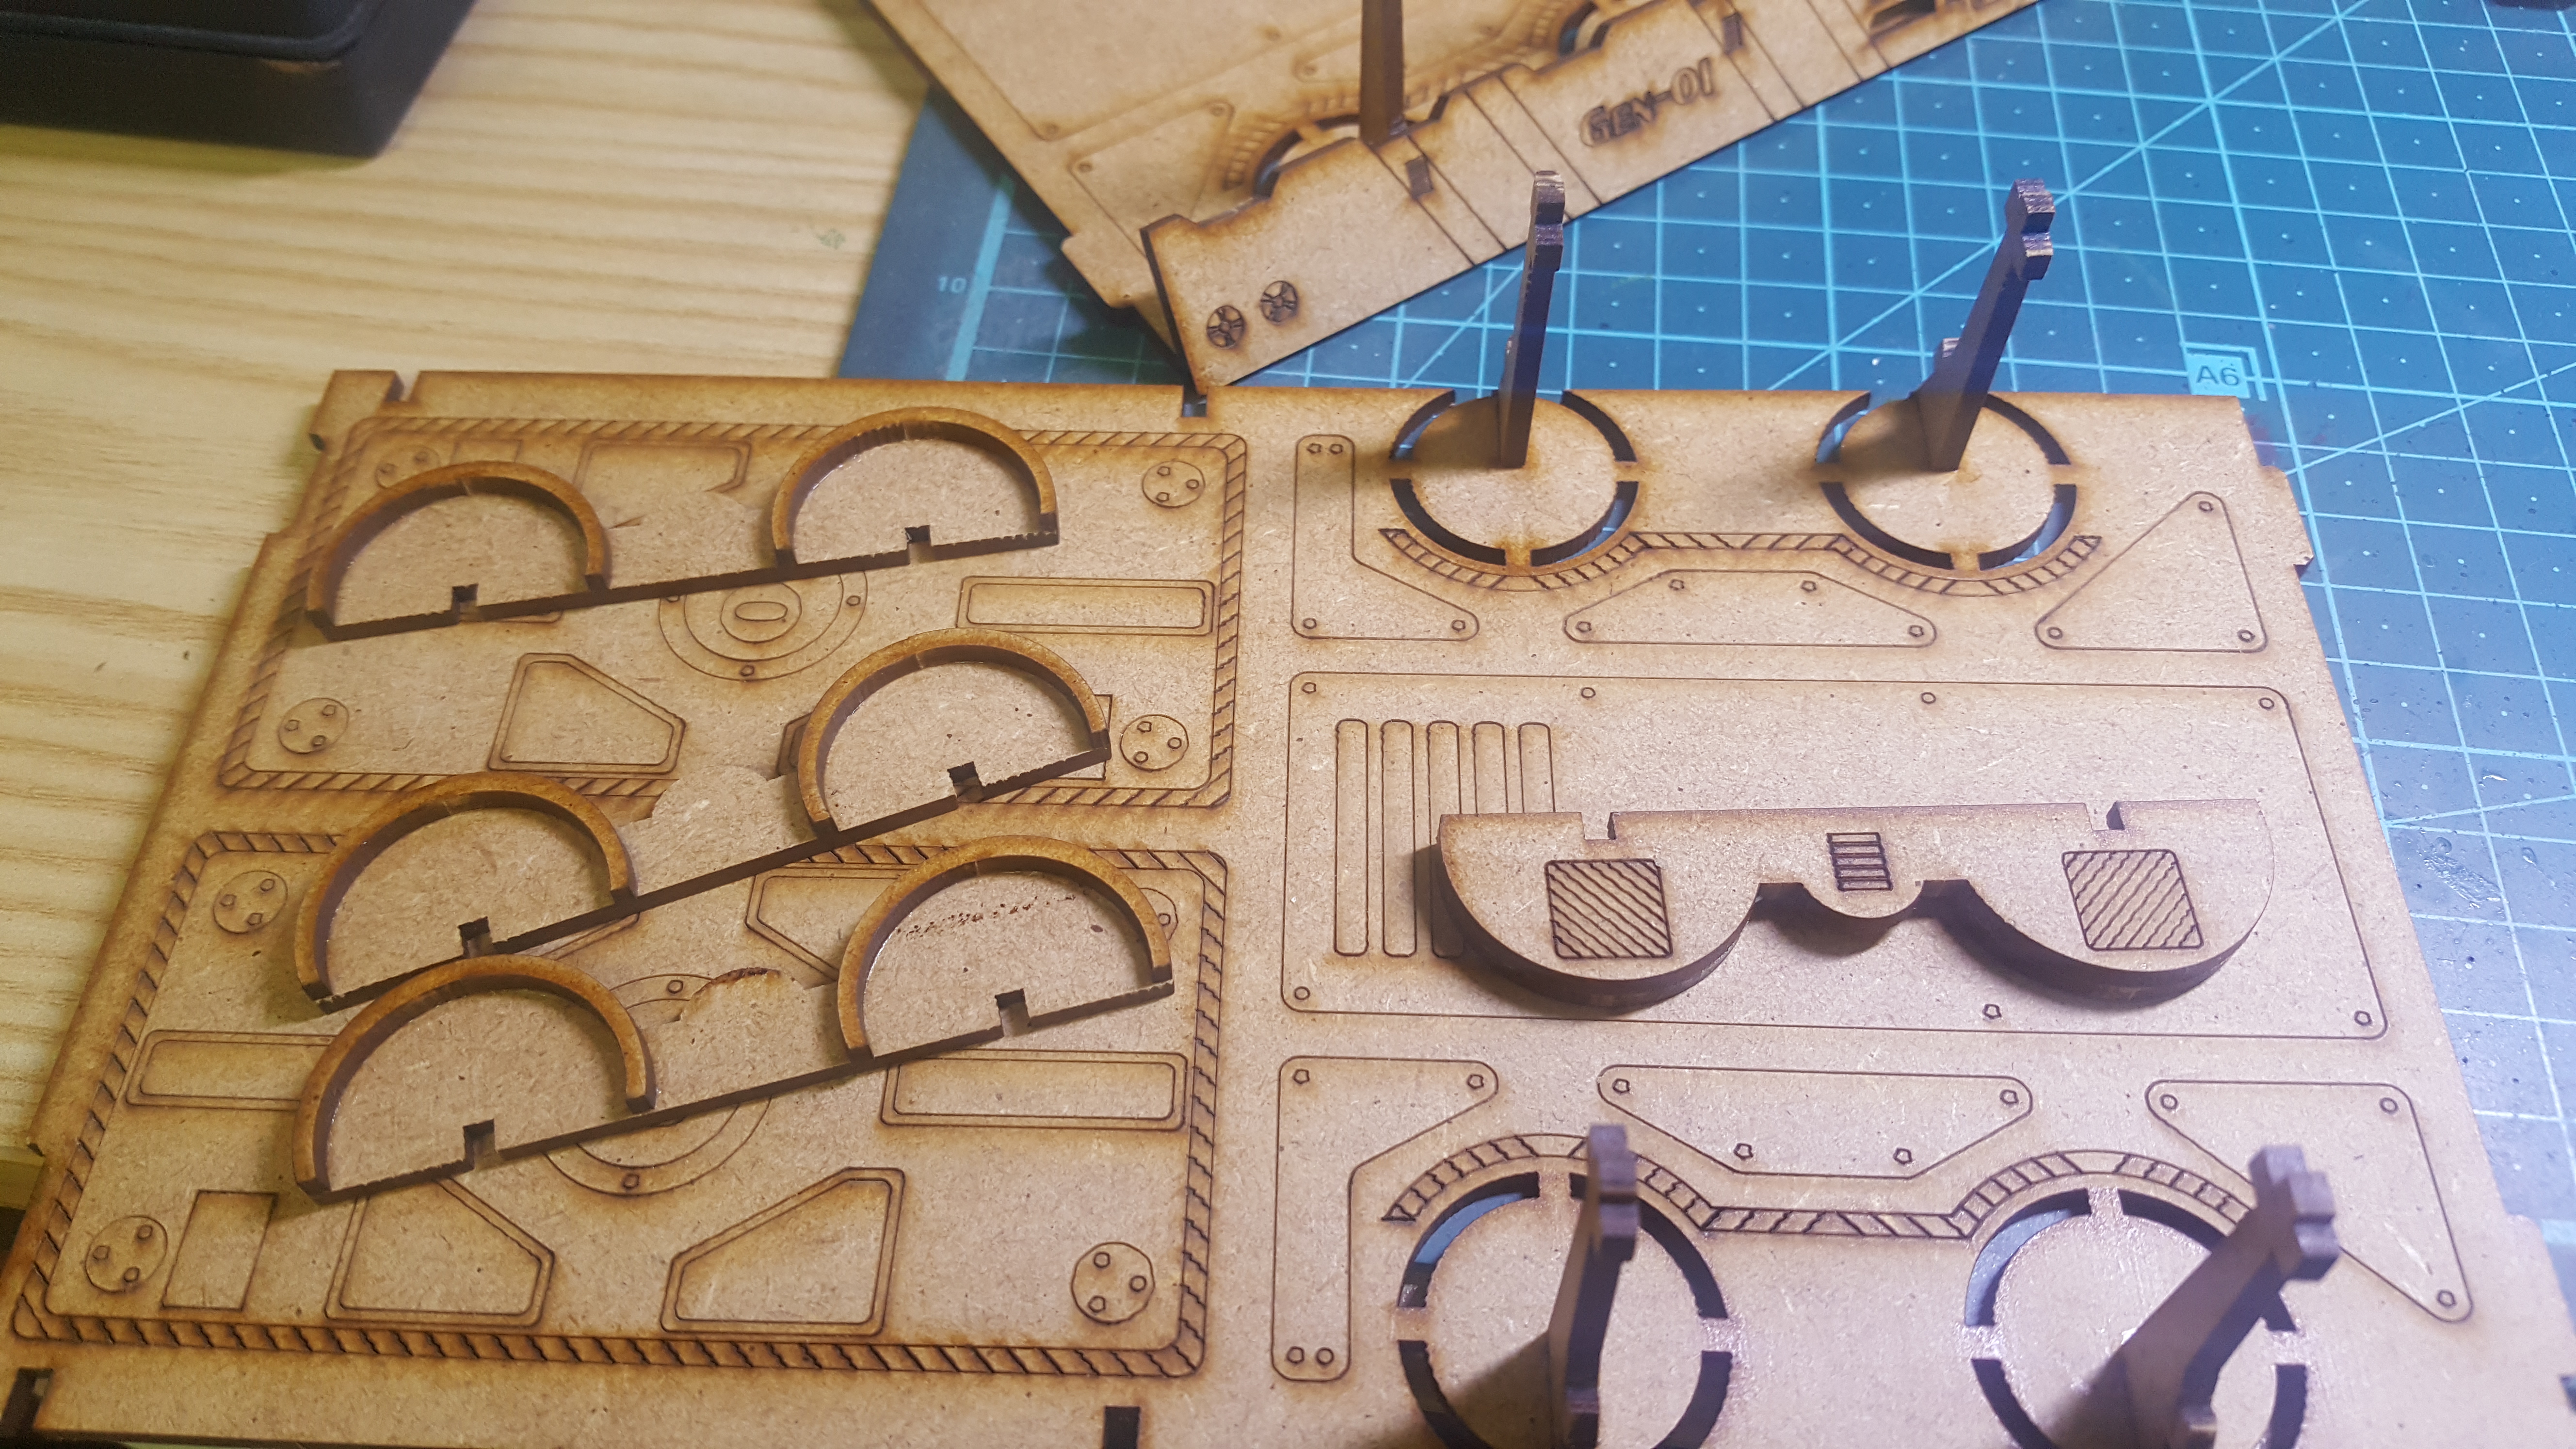
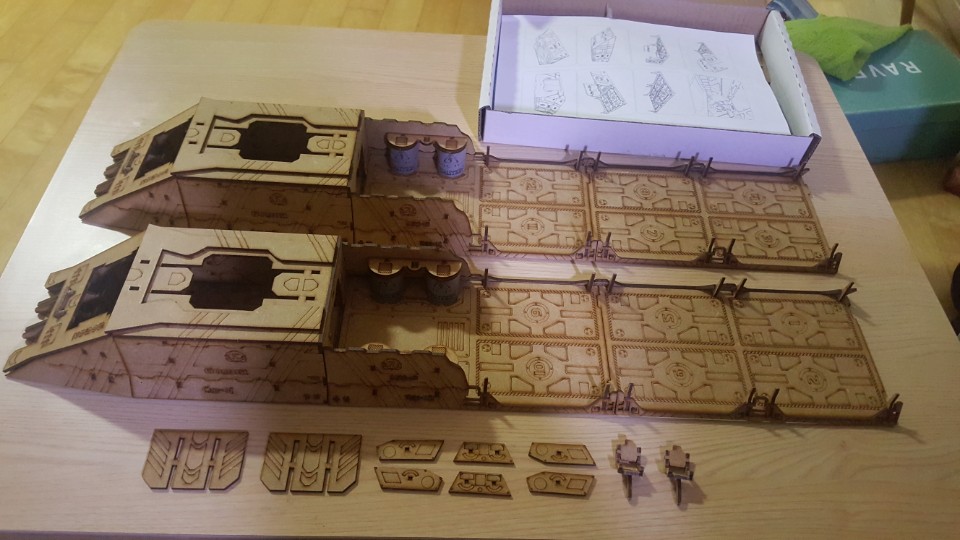
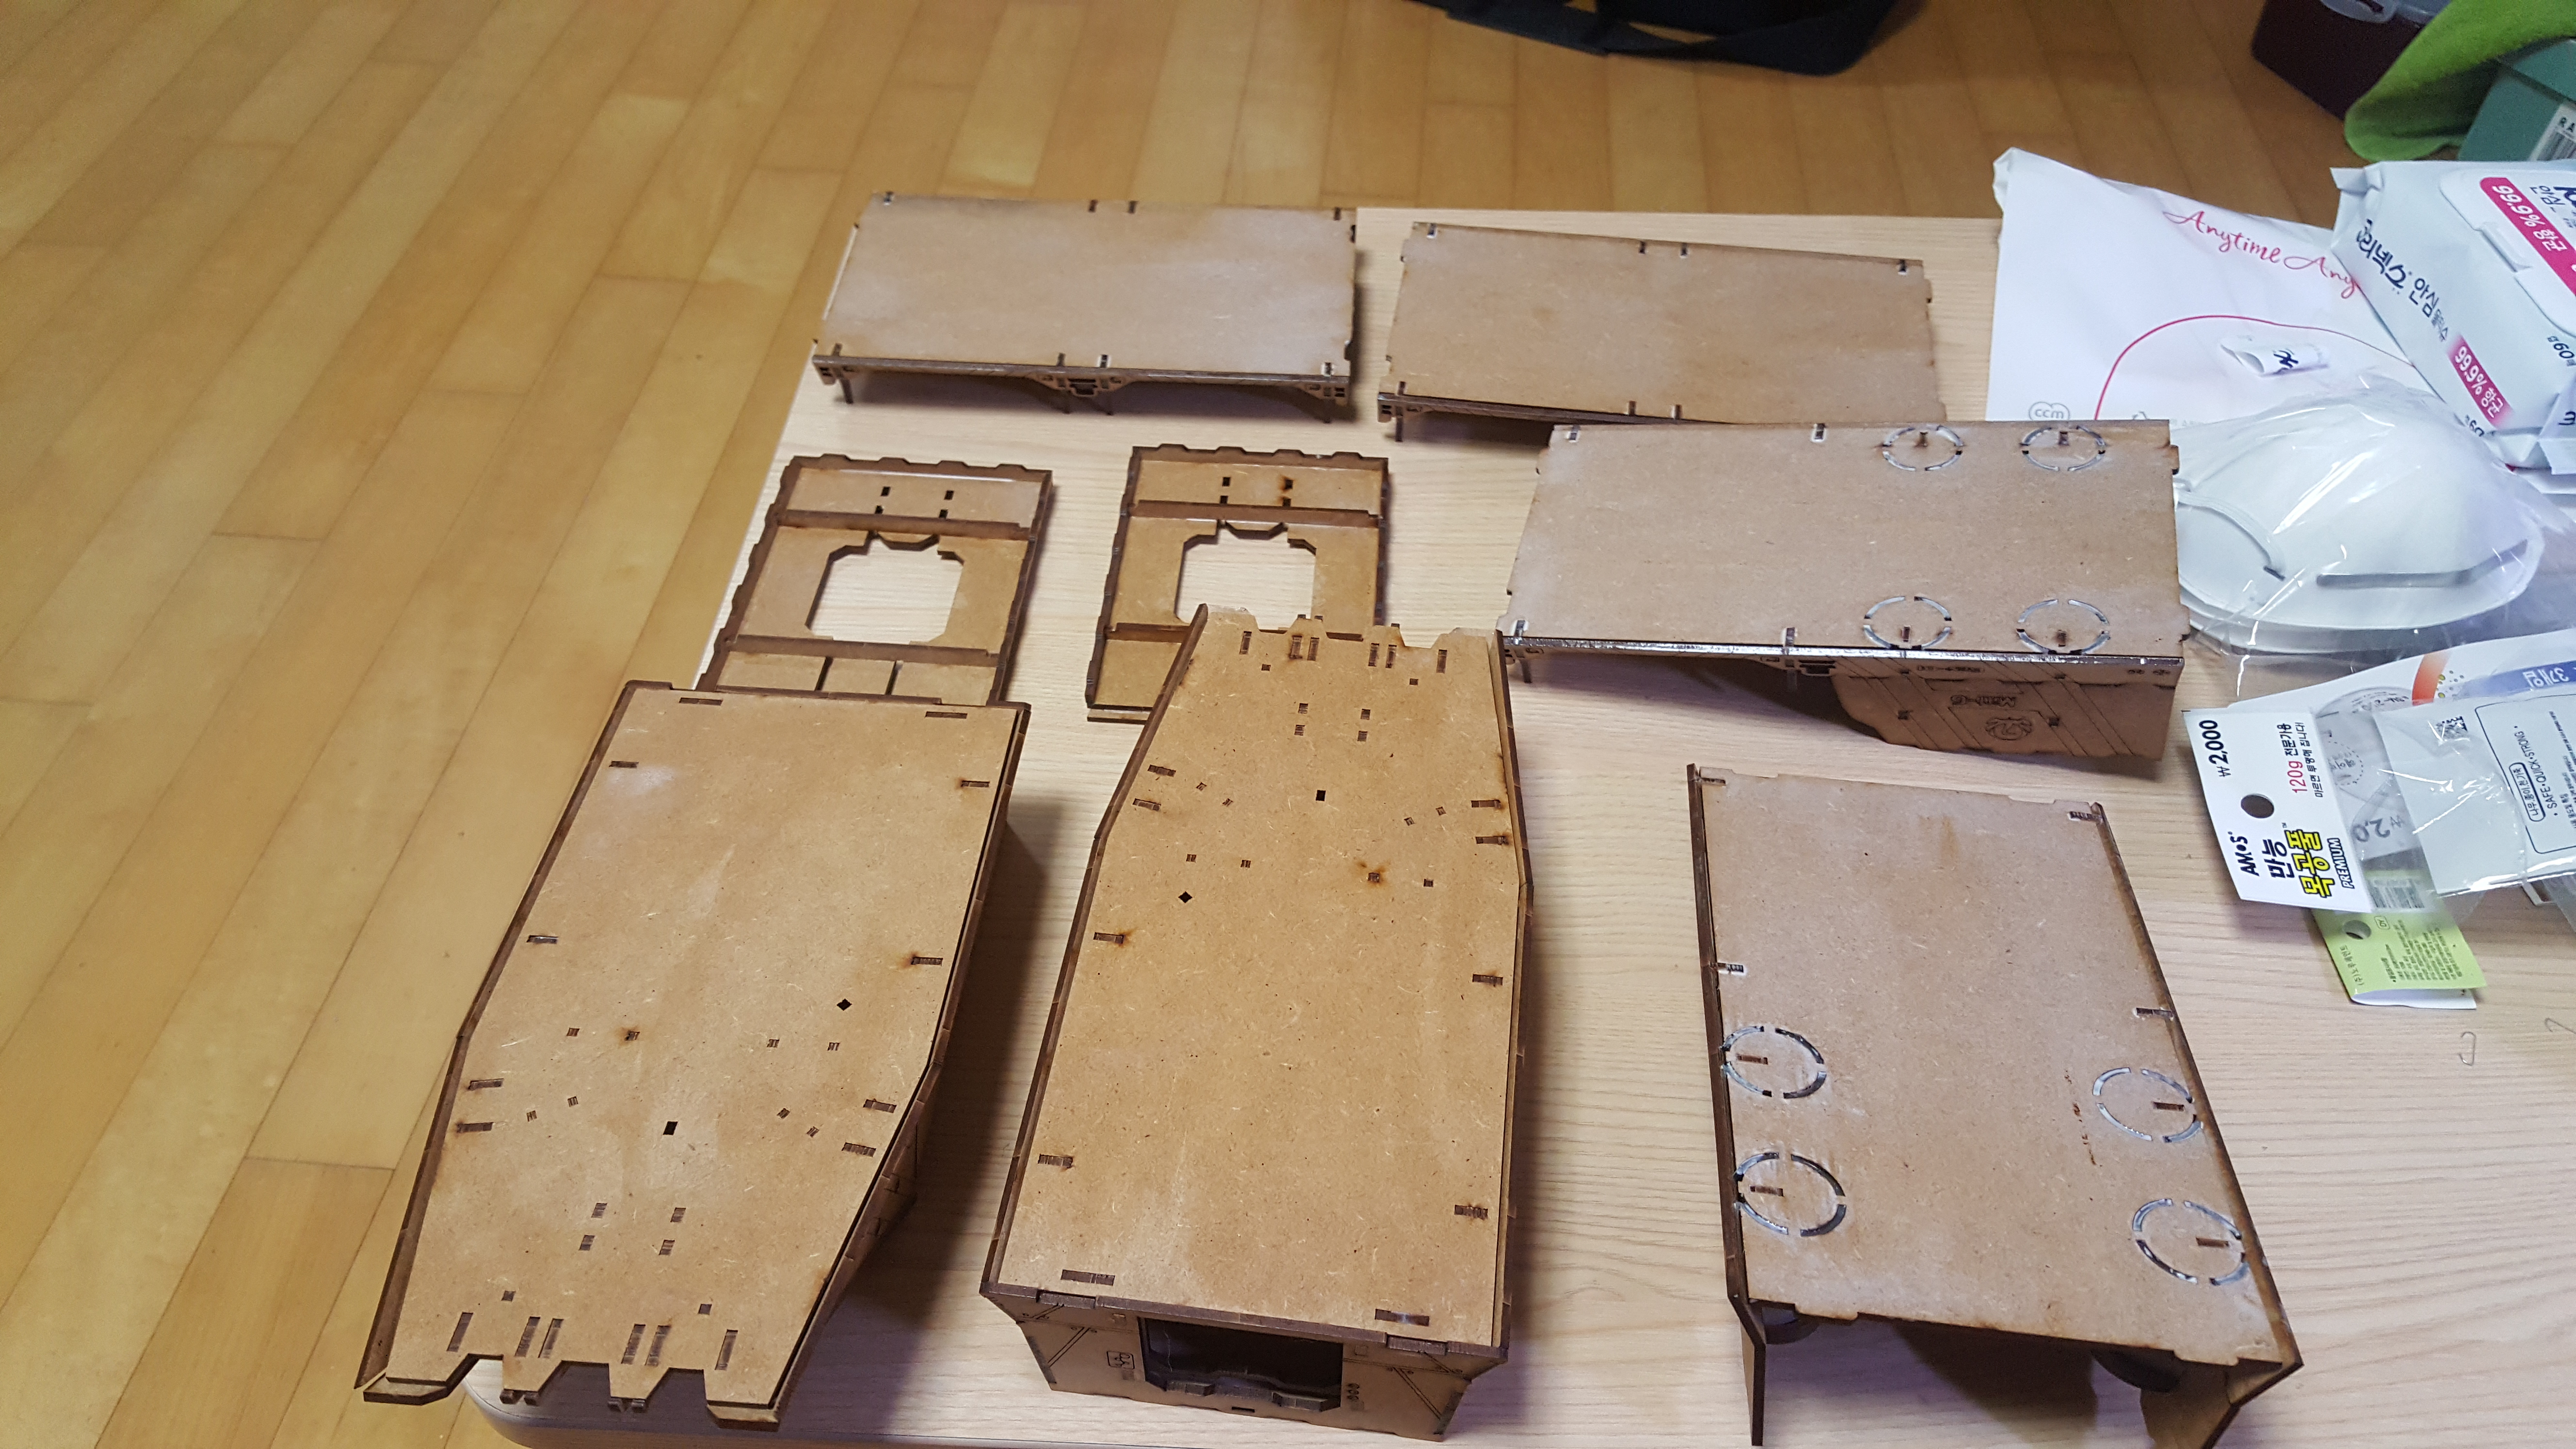
Above you can see the box, the instructions (which are more like rendered pictures from different angles so that you can figure out how to build the kit)
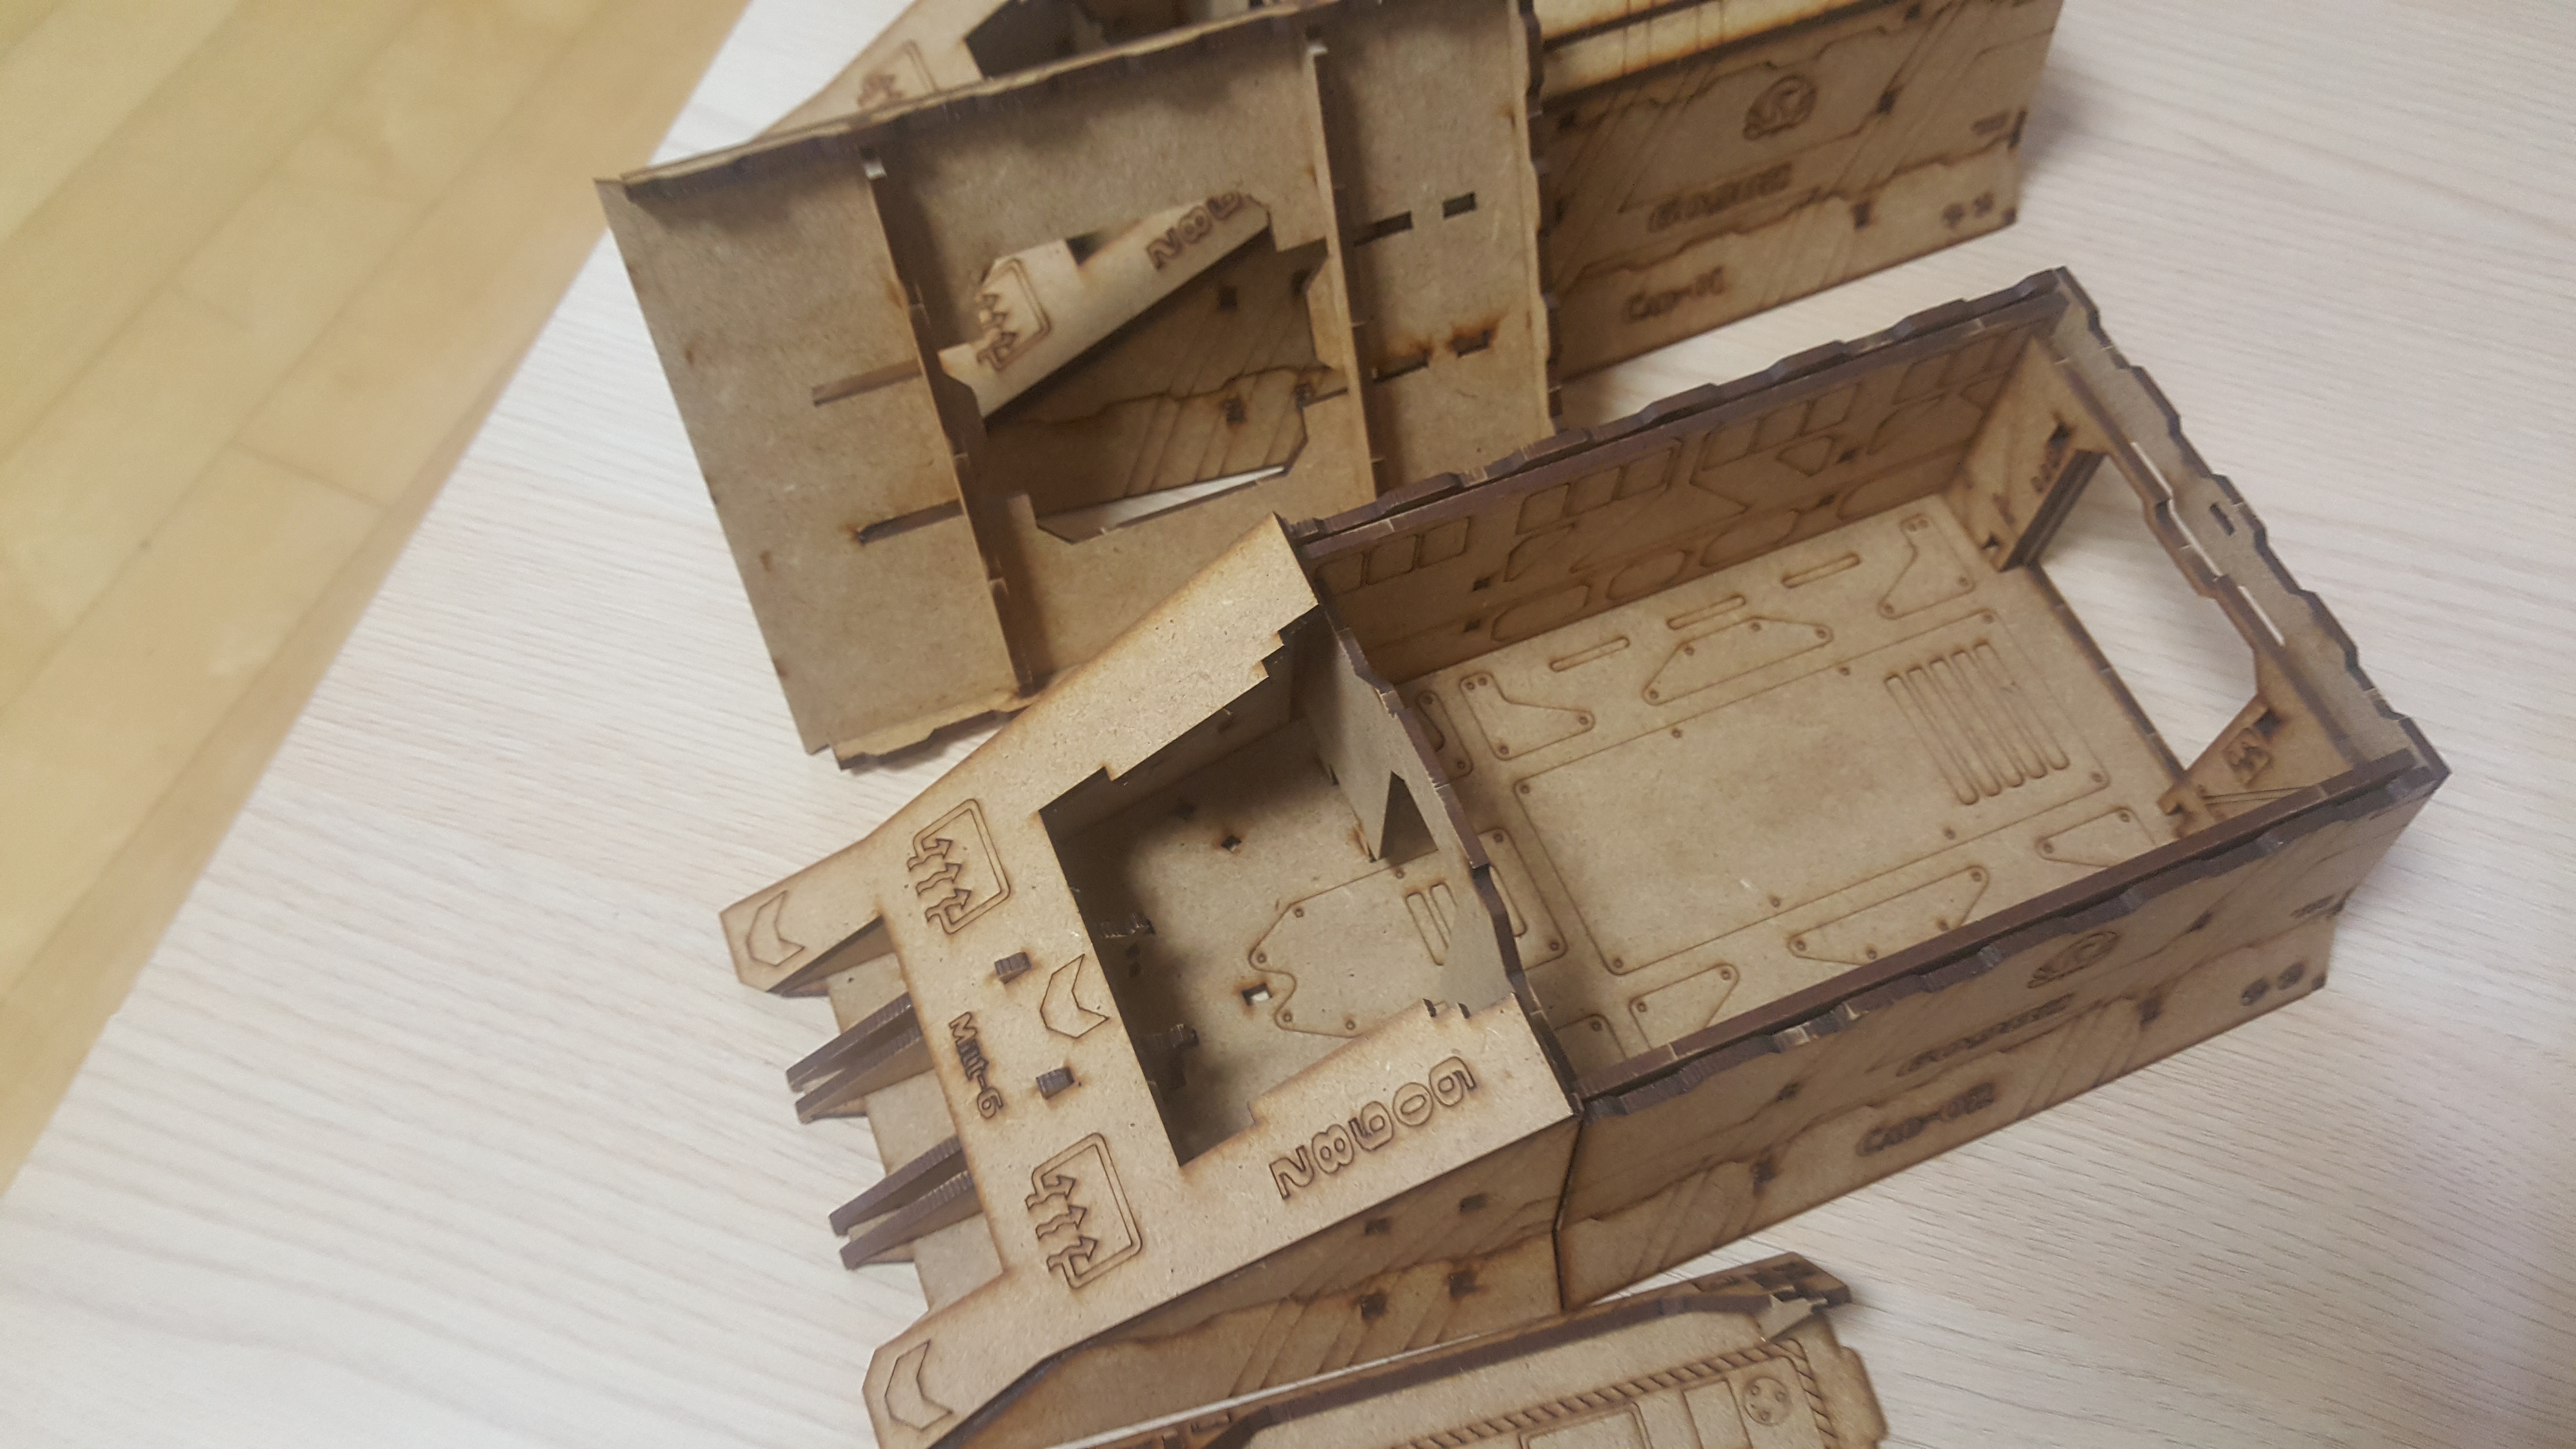
Also, you can see what I have built so far!
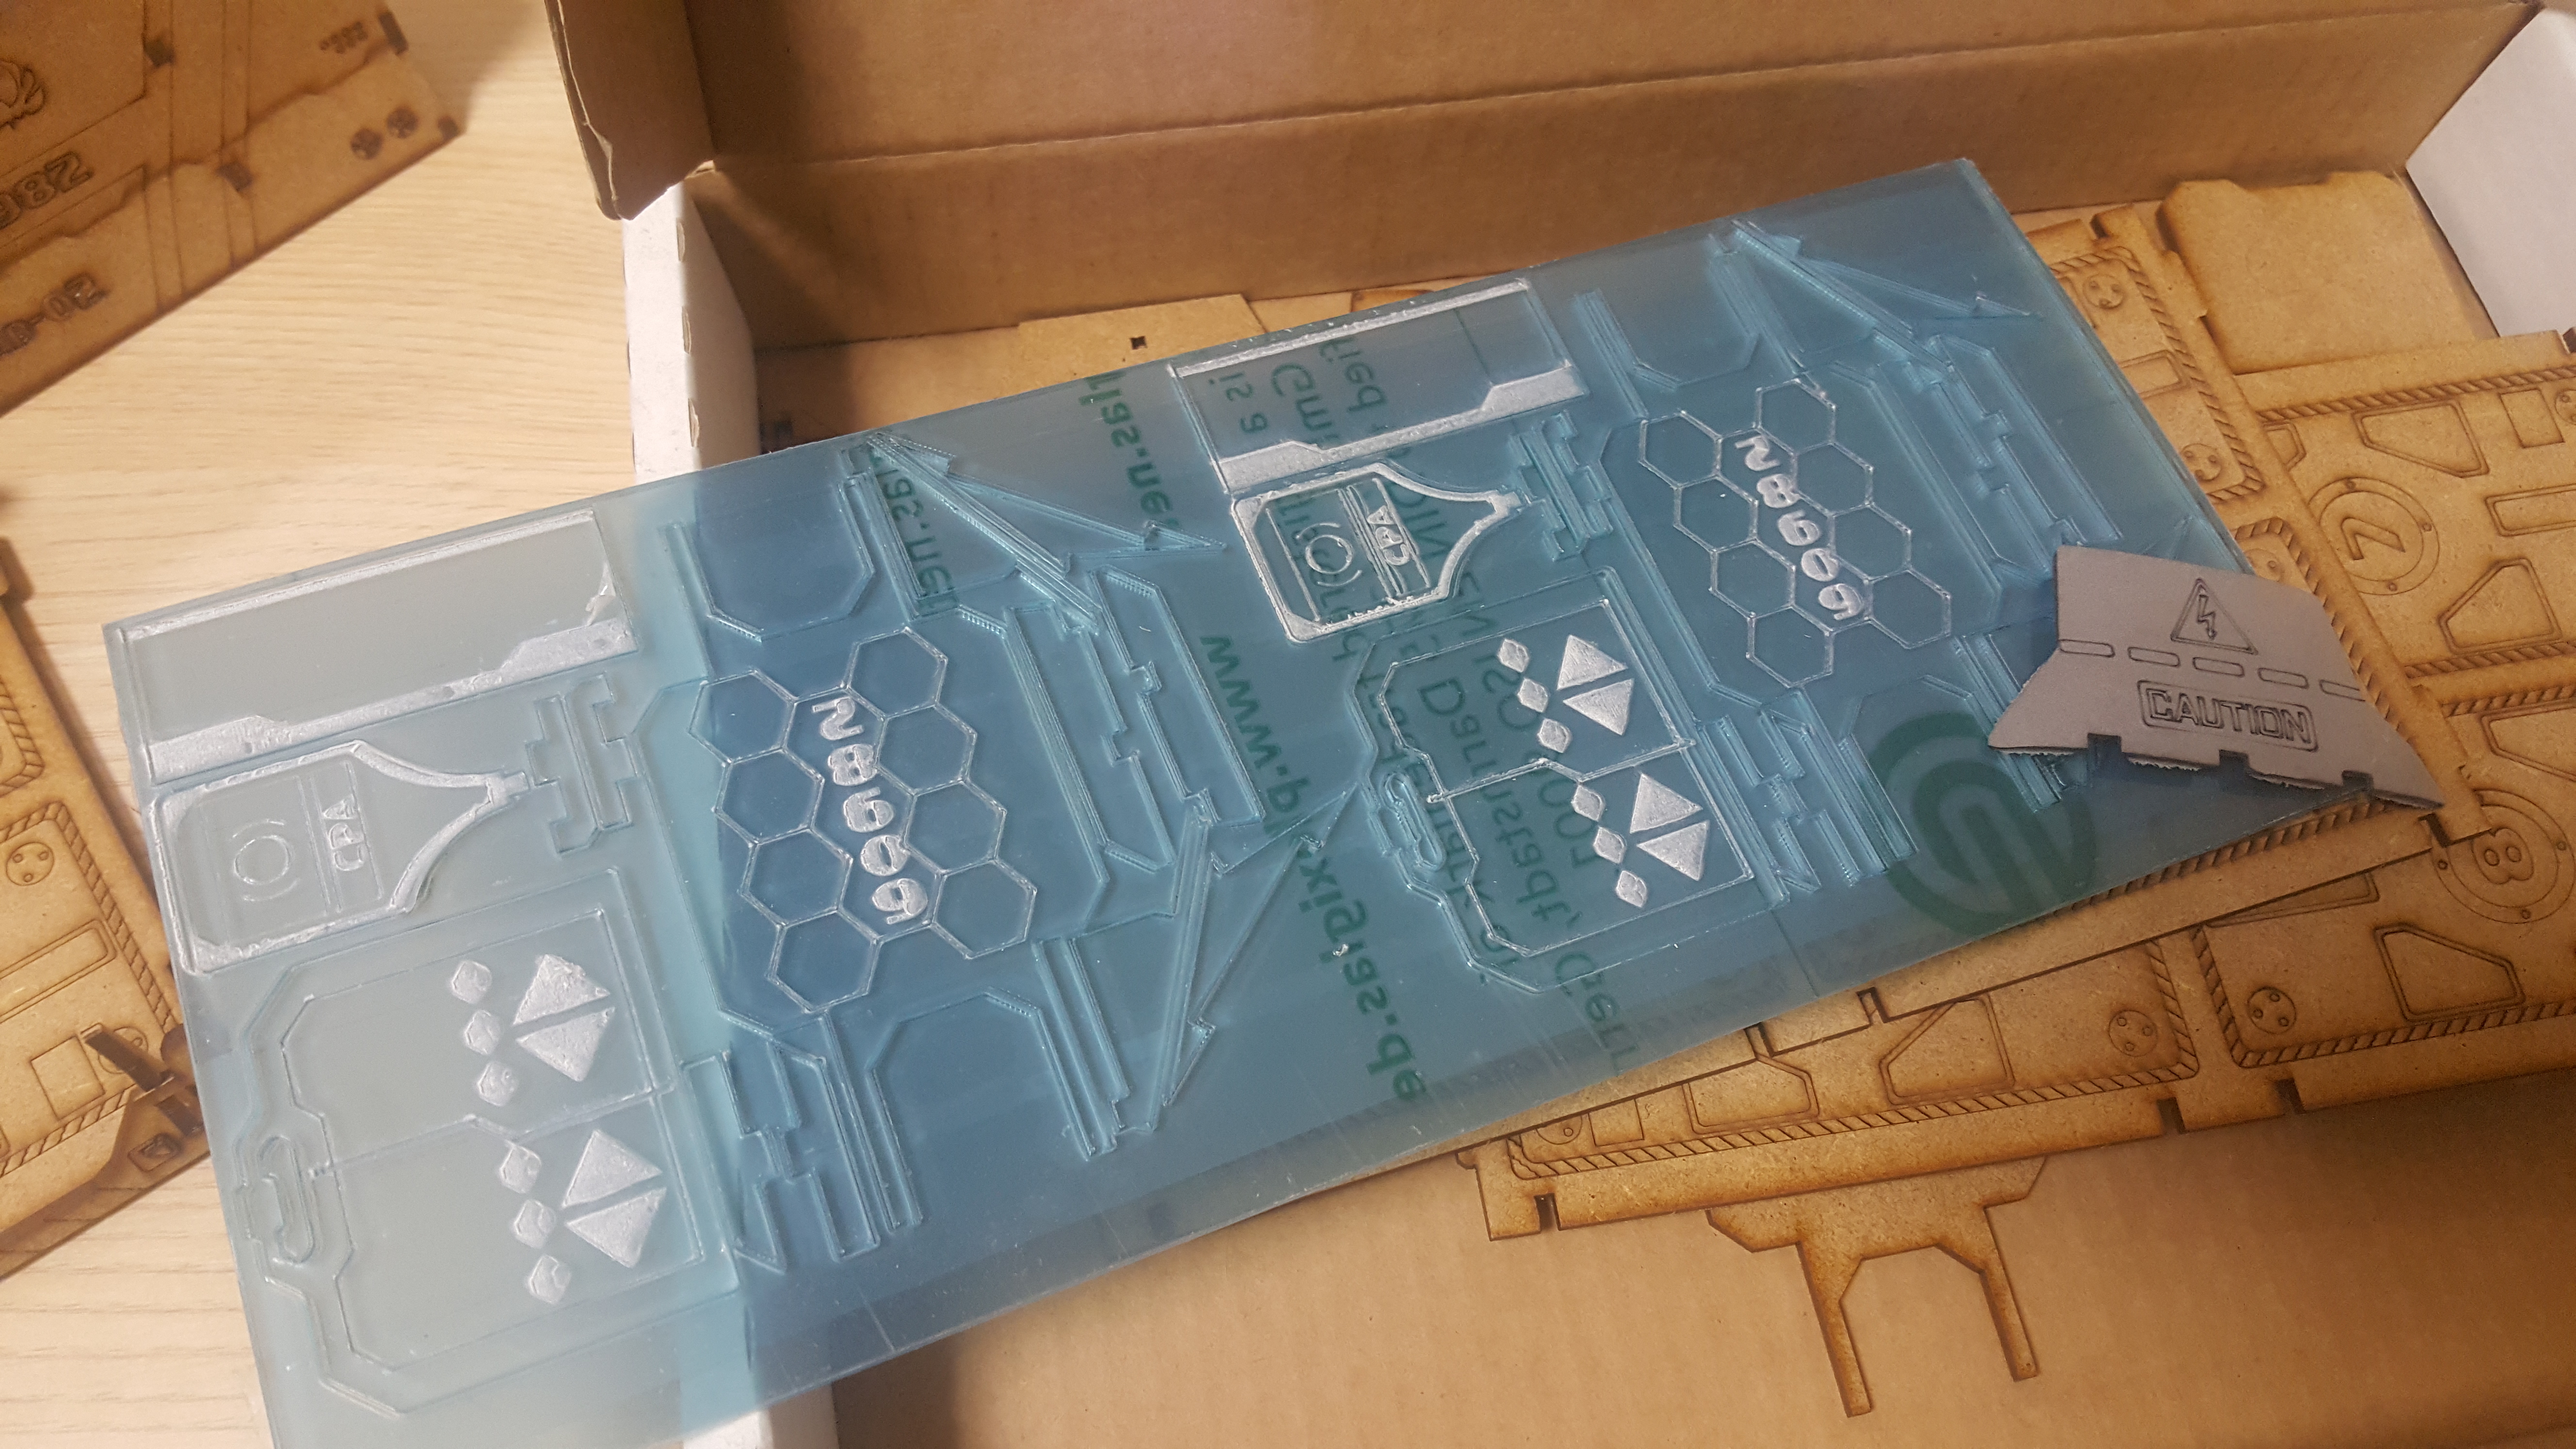 This kit contains MDF, Acrylic for doors windows, and a computer panel. Also it has Foam pieces used to make the trains generators. These will be a pain as foam does not paint well.
Basic Construction
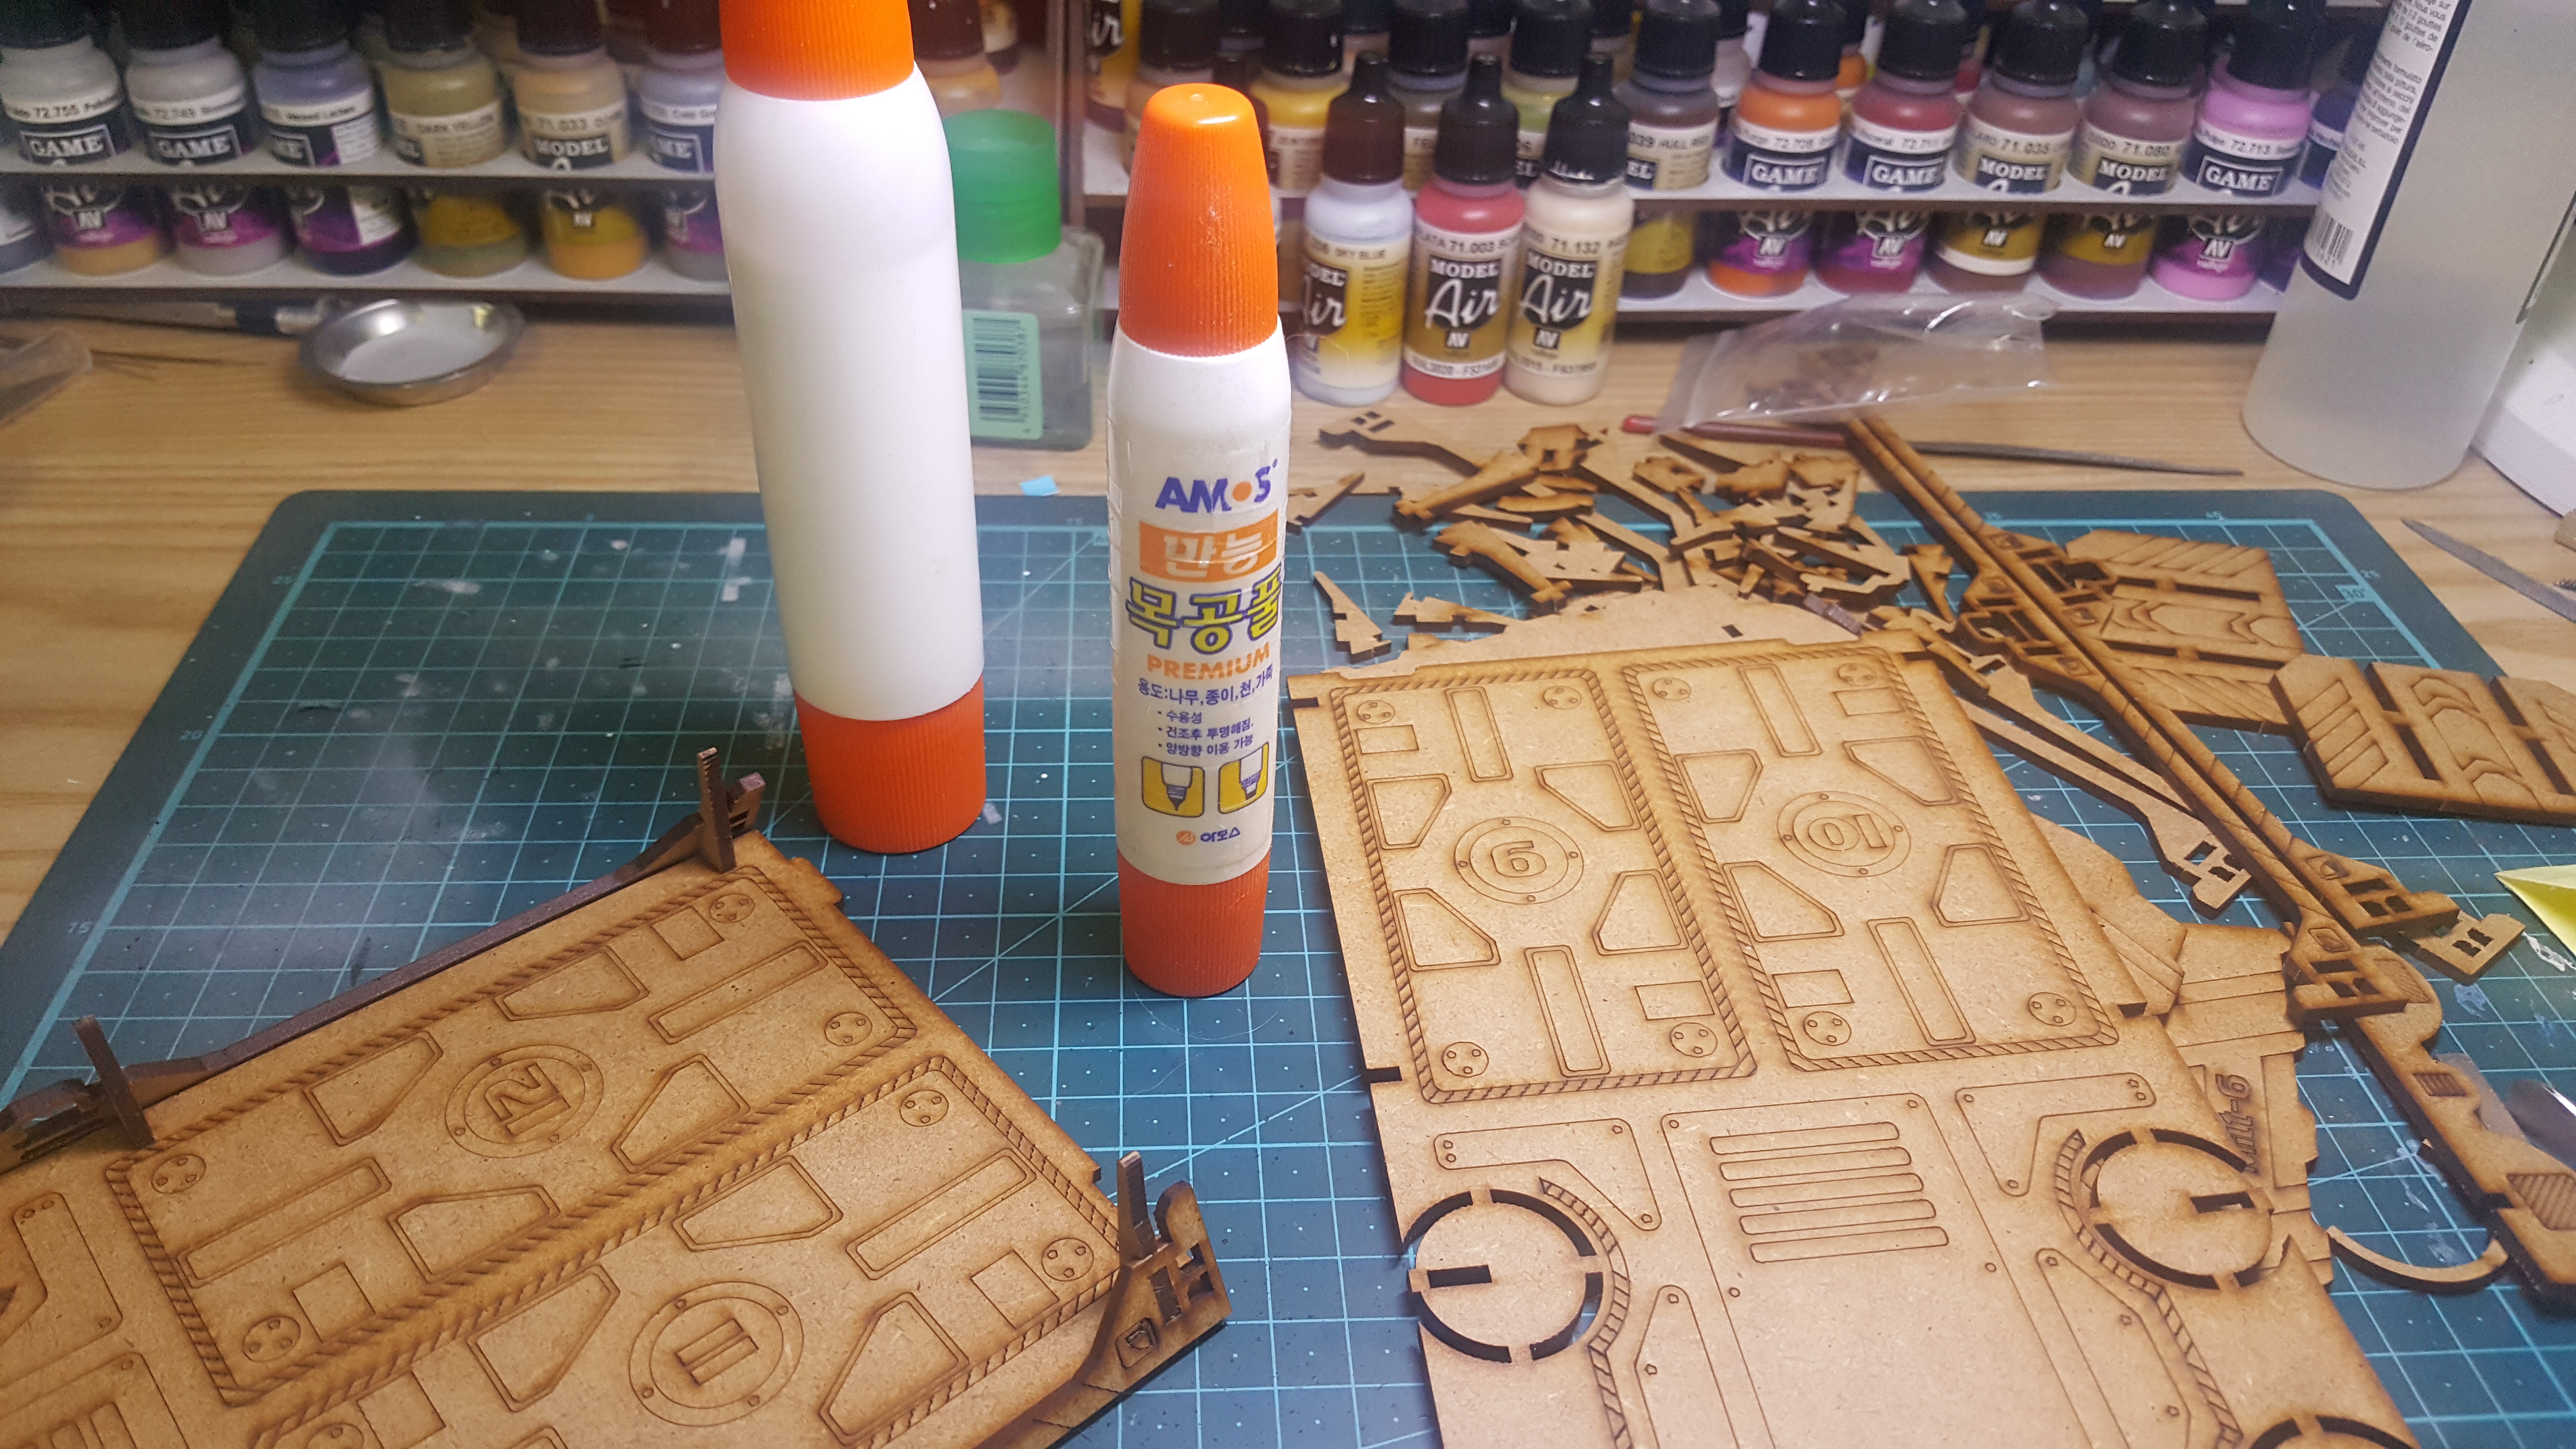

So shown above you can see the type of glue I am using. Basic white glue which can be purchased at any Daiso, or stationary / dollar store in South Korea.
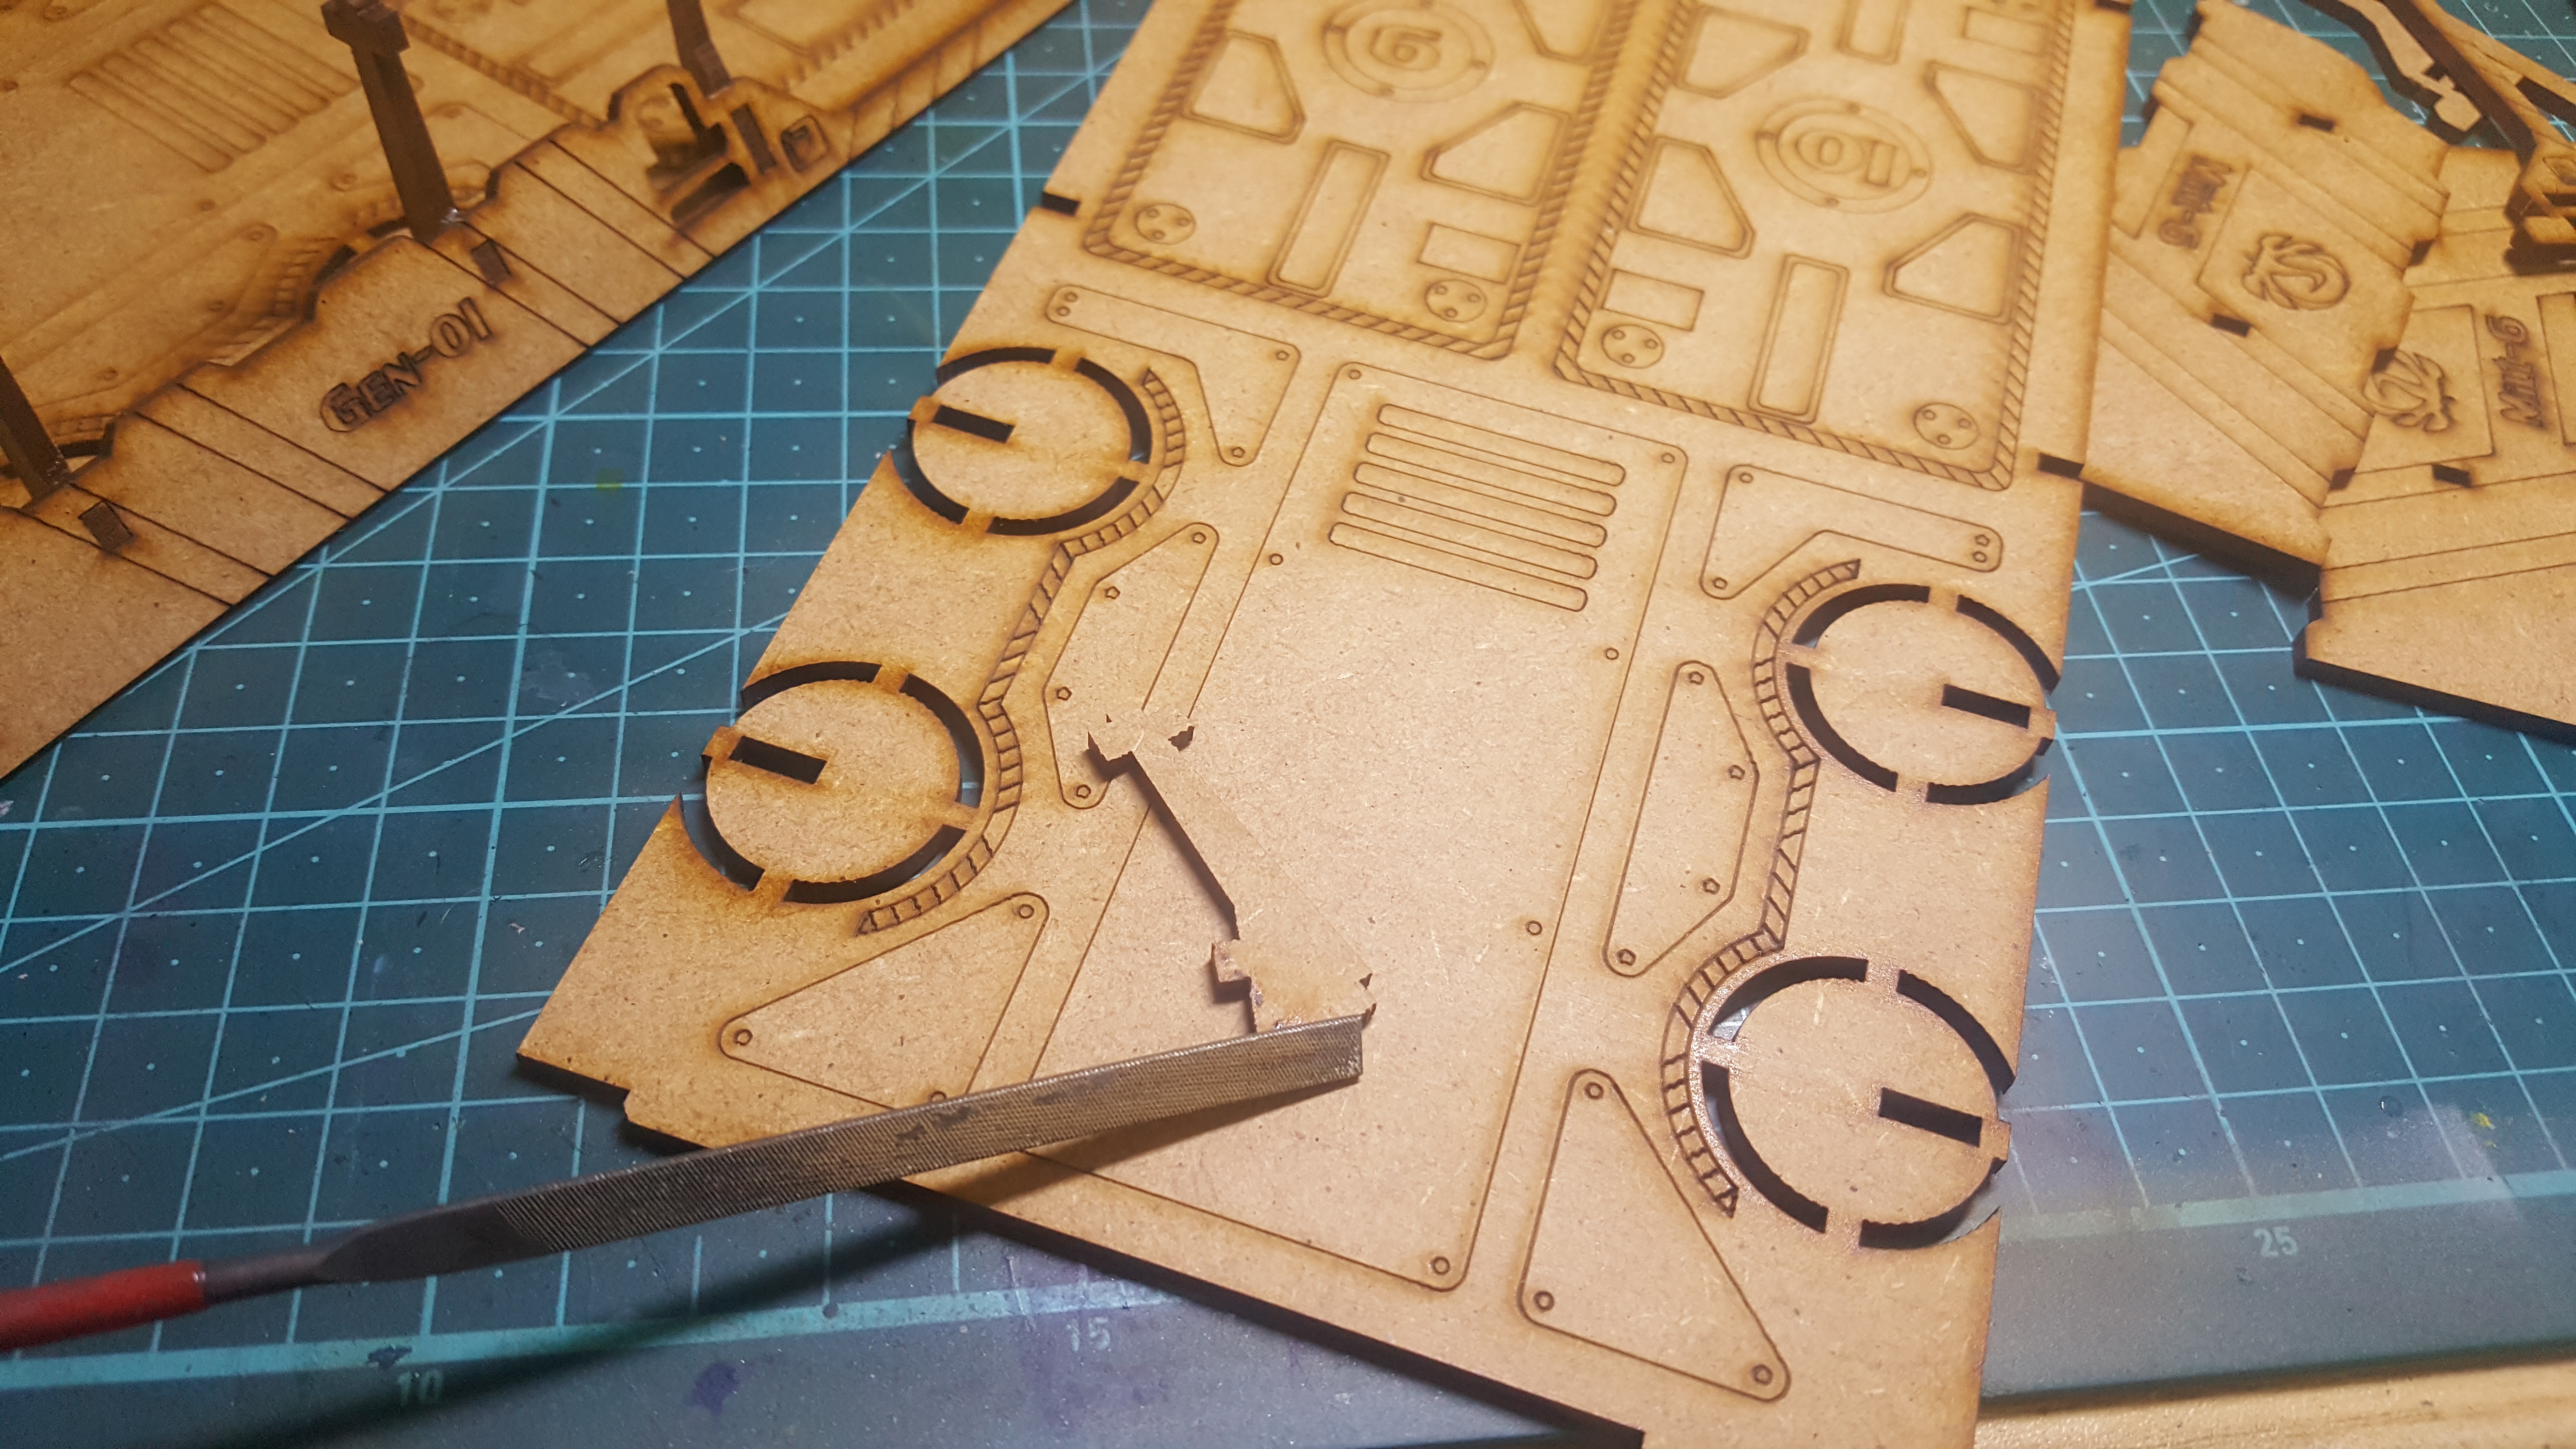
I file the tabs of the MDF pieces as well as the holes they go into since Bandua kids seem to be a bit too tight of a fit. A metal file seems to do the trick, helps to have a round one nearby.
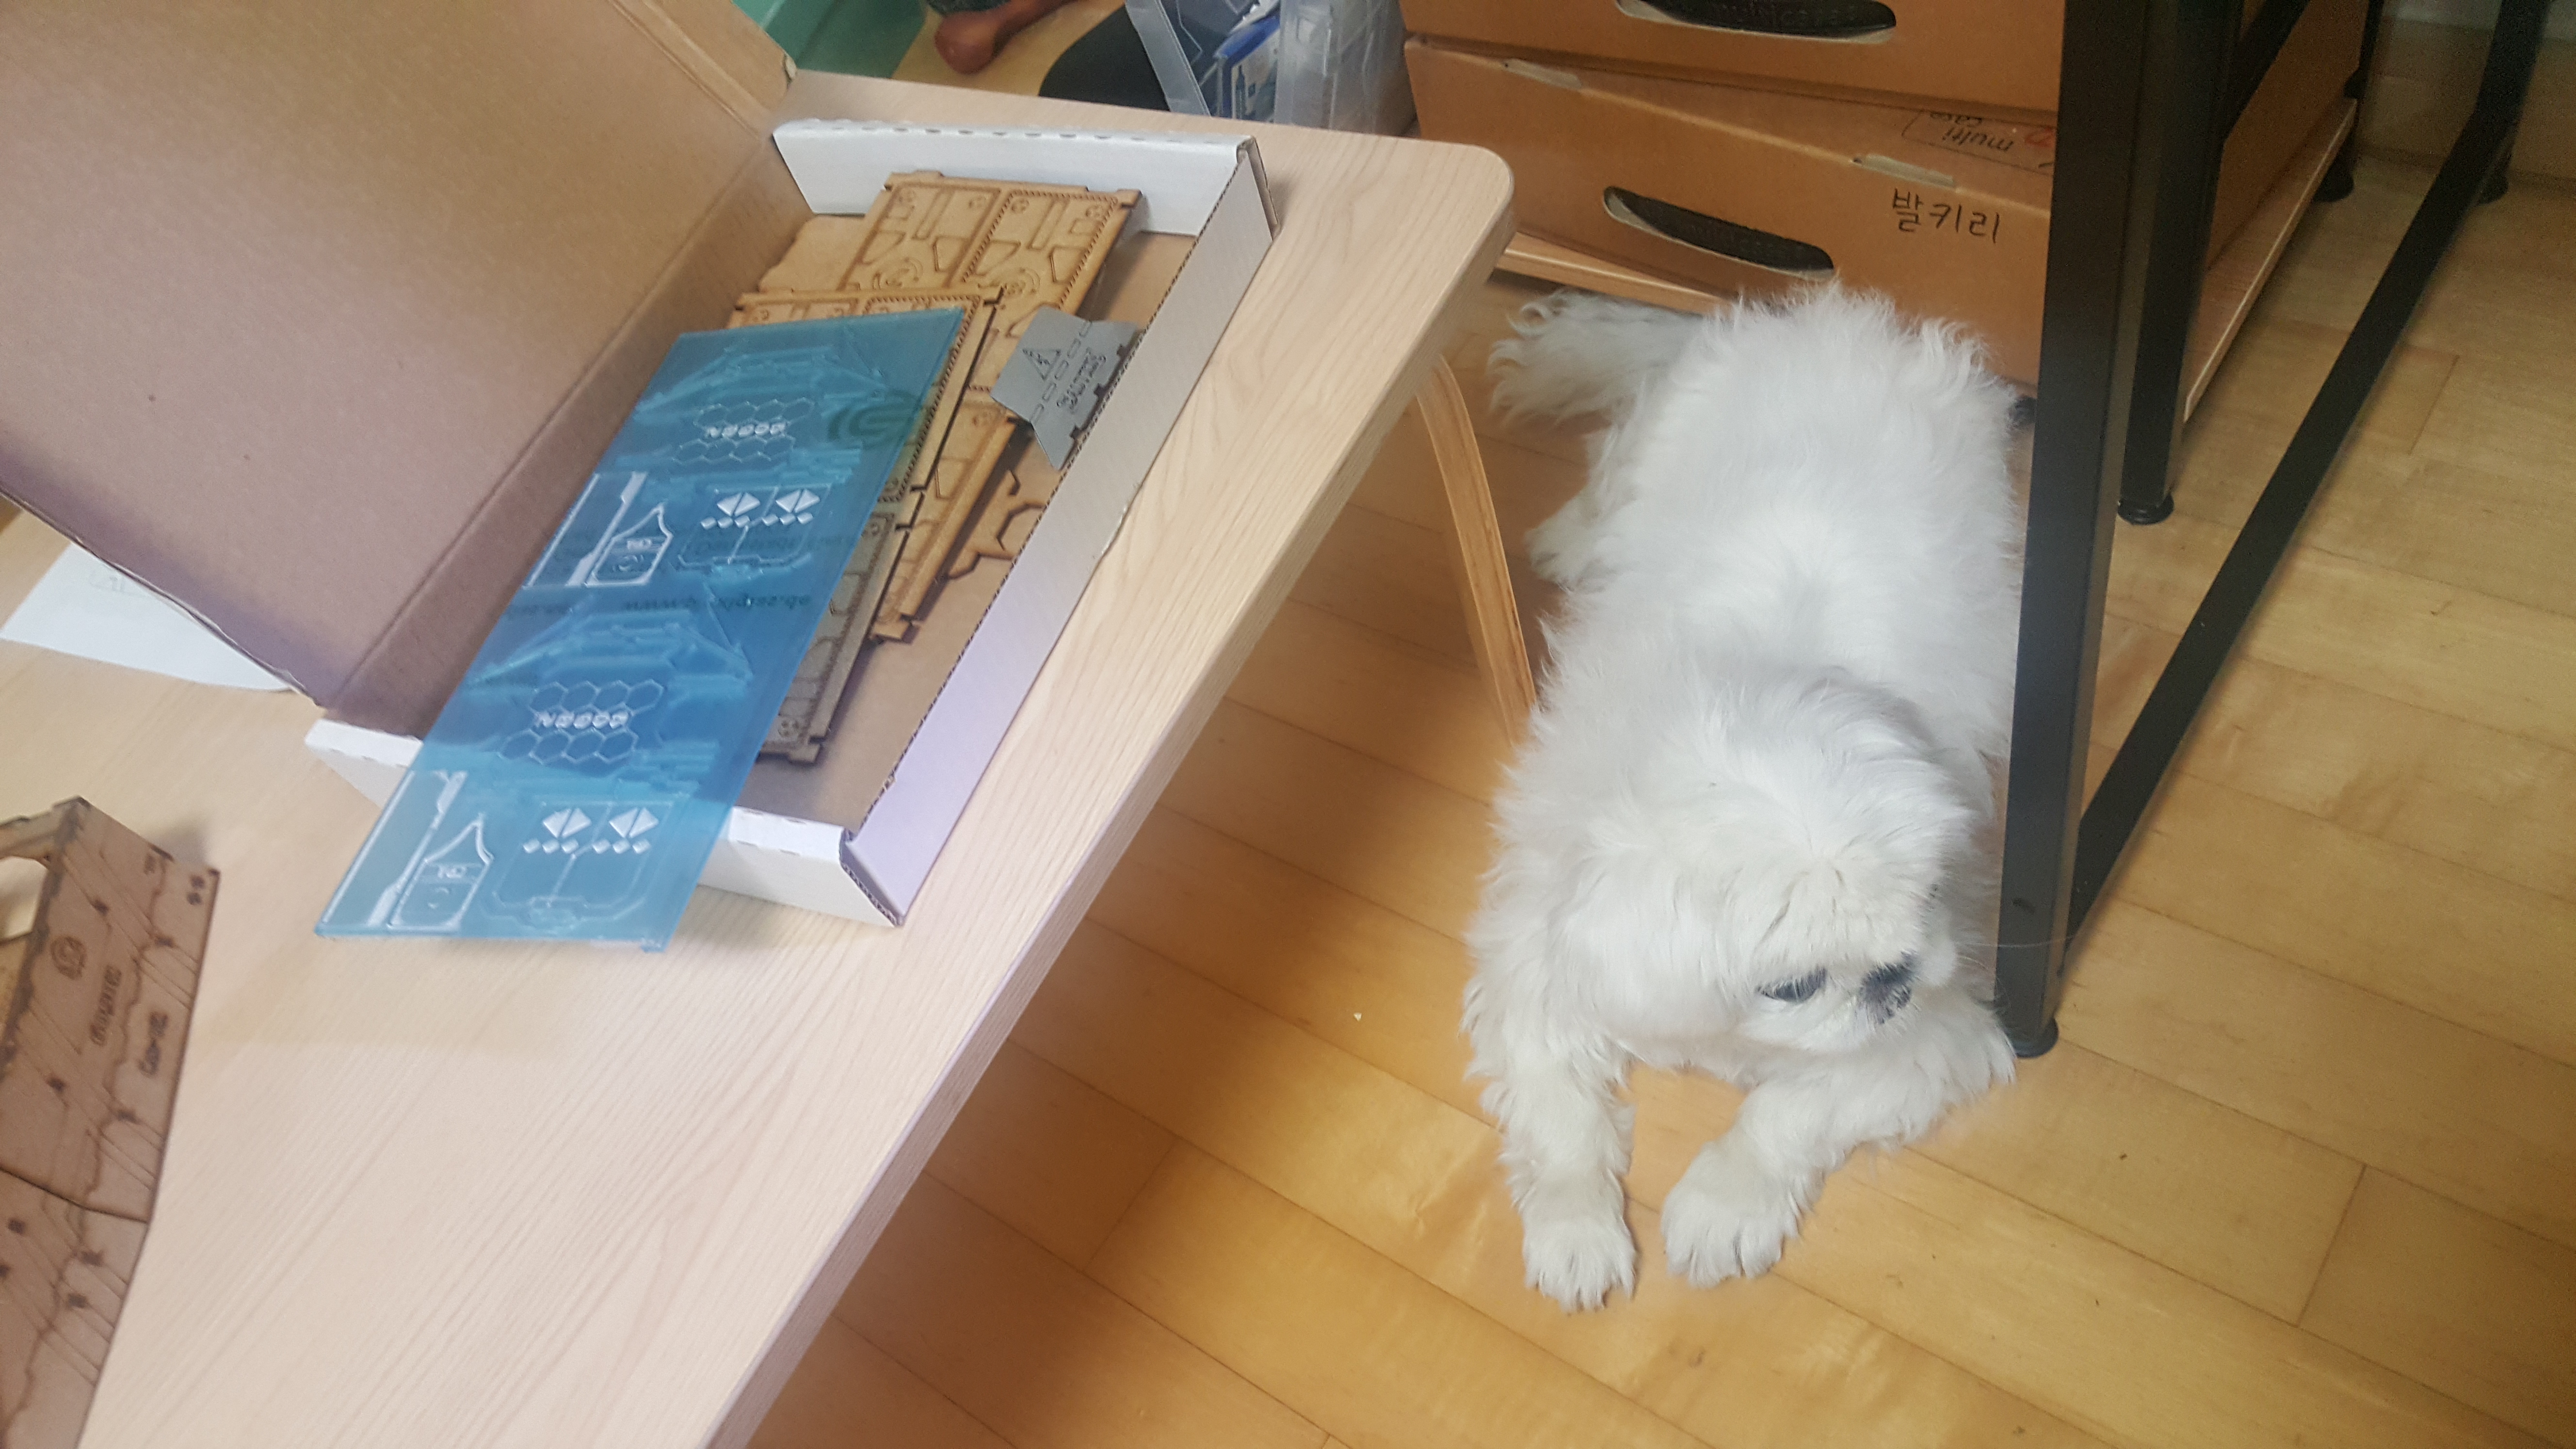
Finally, my dog is keeping an eye on me to make sure I don’t do anything stupid. Like say, buy more models when I have stuff sitting on my shelf for multiple years…. Old girl will keep an eye on me.
Foam Bits Post 1!
So this is the part of the build I was looking forward to the least. The train has 8 foam pieces that are used to make round sections of the Train’s generators.
I noticed immediately when building the first of these two generator sections (one on both sides of the train) that I made a mistake. I partially built the wall, and realized it gets in the way of installing the foam. Therefore I did not build the wall on the opposite section.

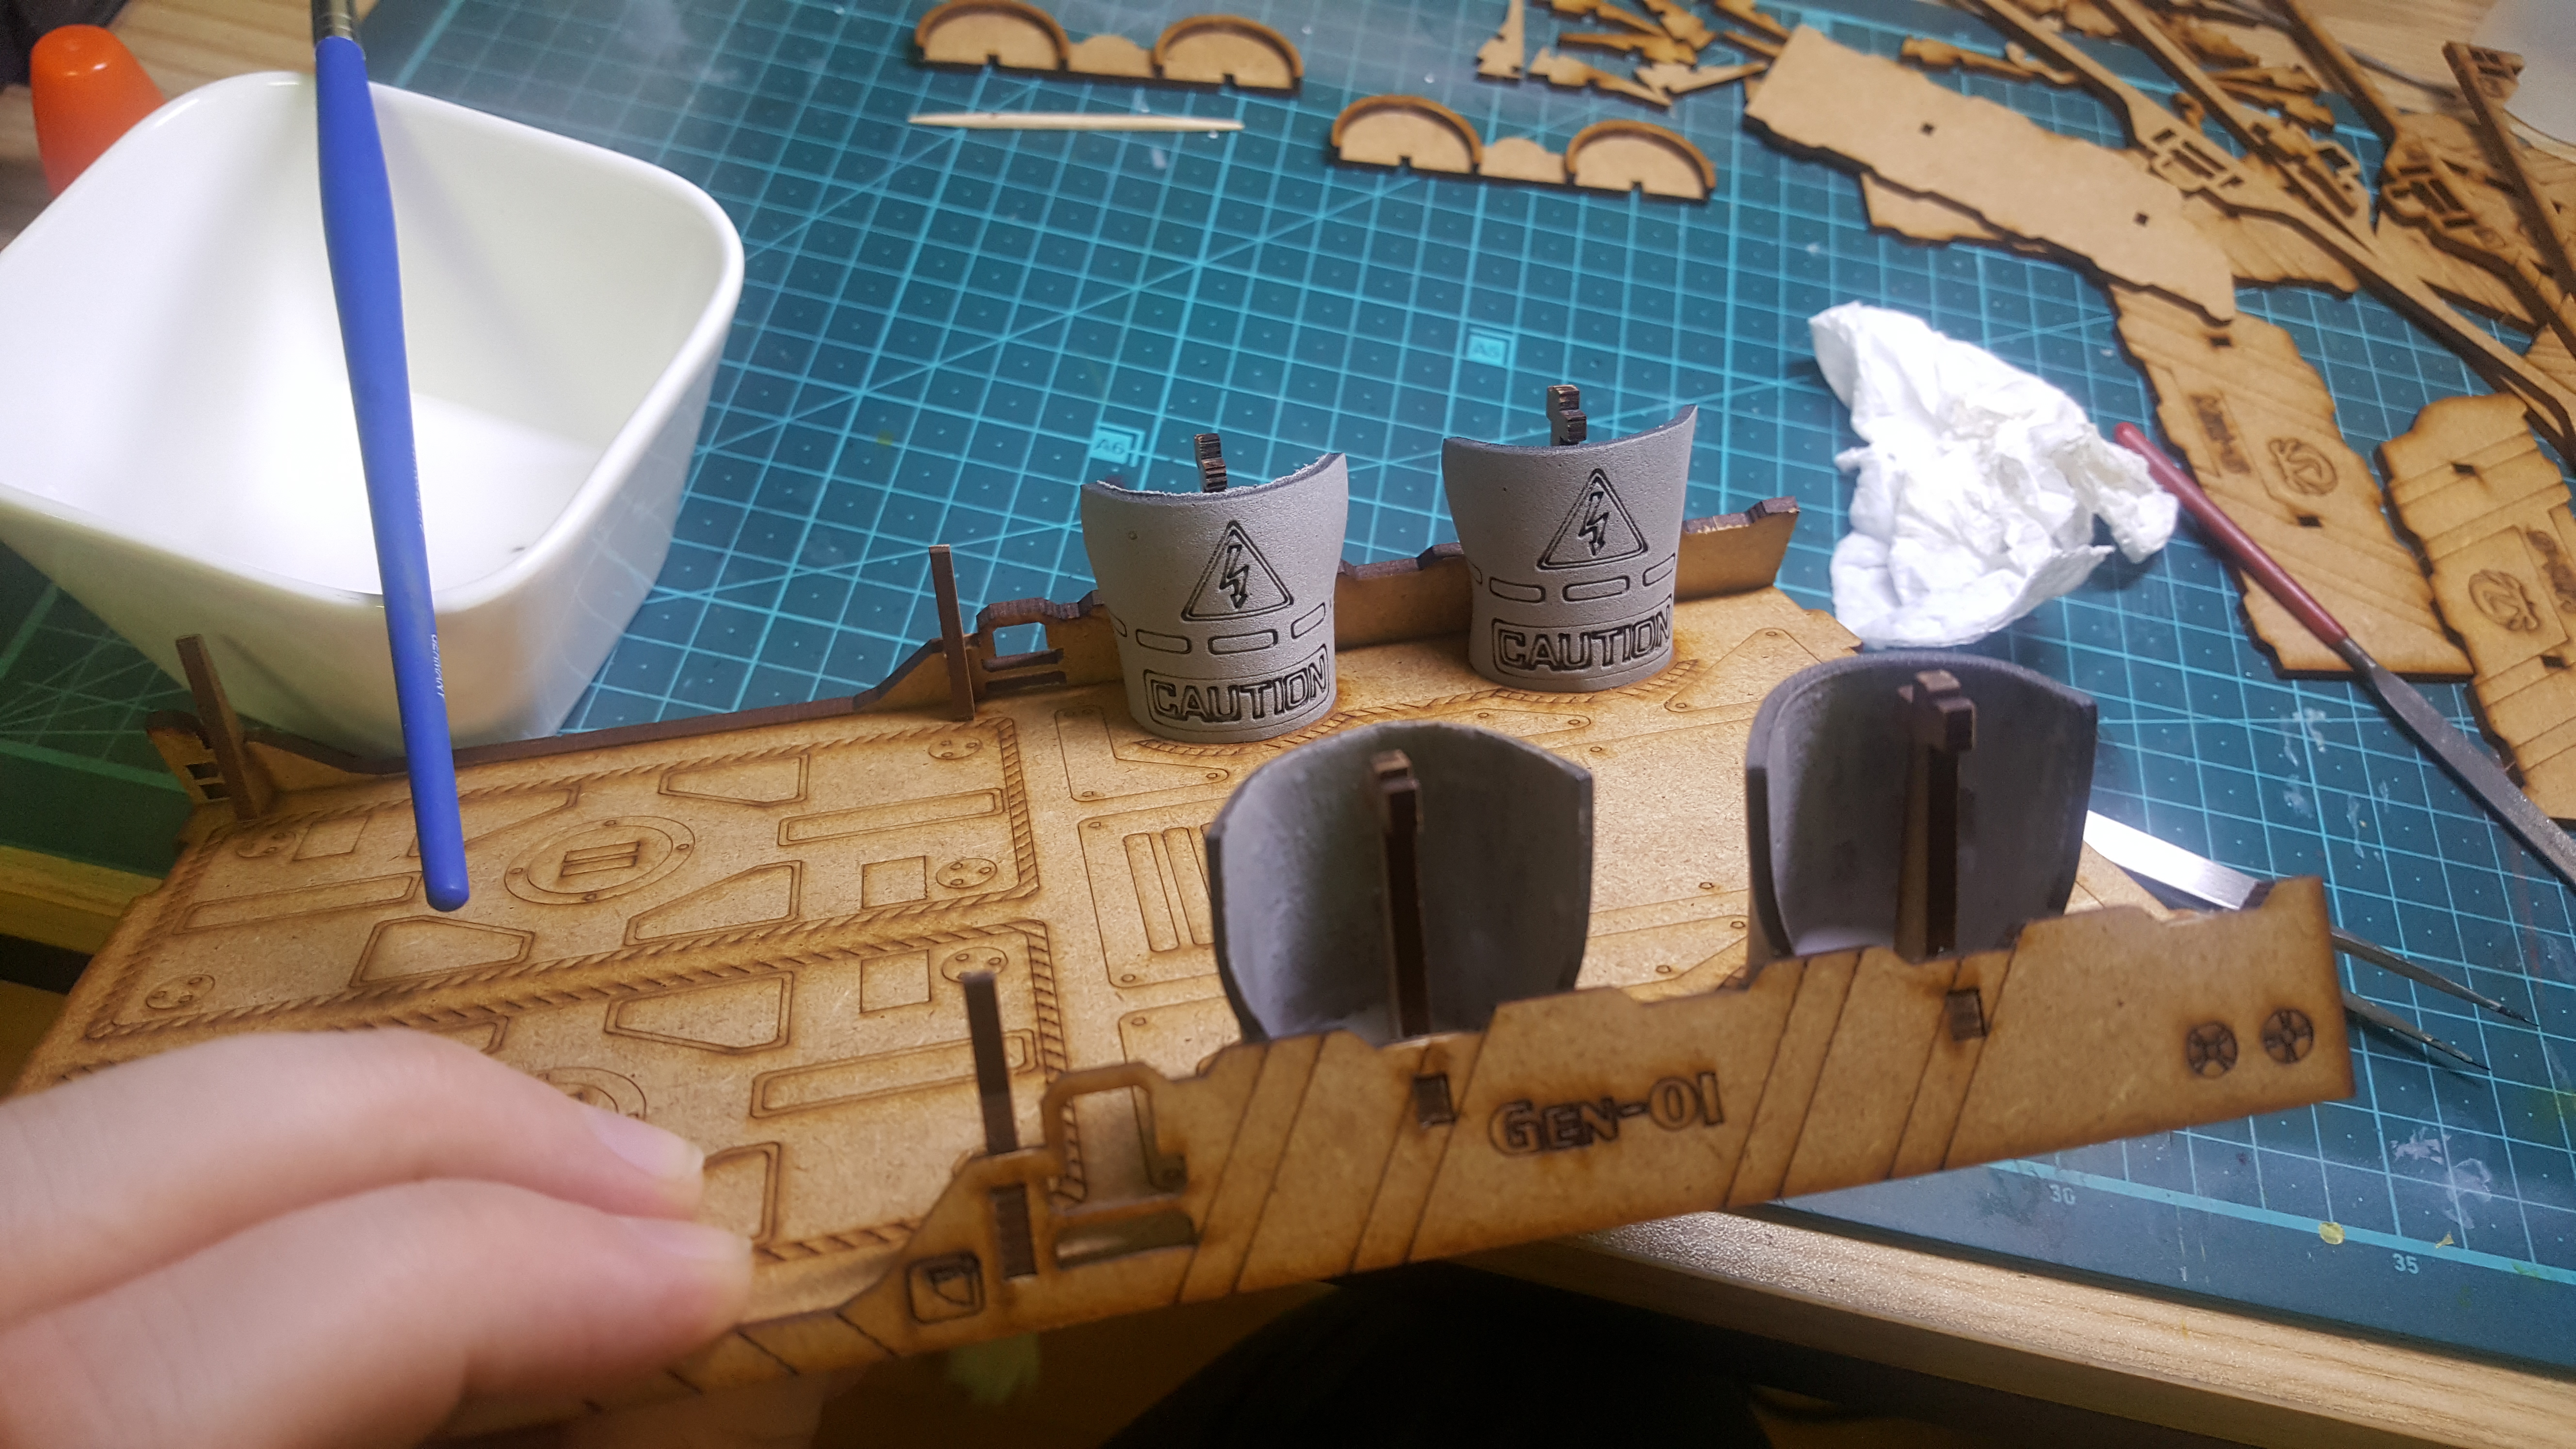
Above you can see the top MDF sections of the generators are built. I also gave them time to dry as the foam puts outward pressure on the circular bit. These caps essentially keep the top end of the foam in a round shape.
The next picture is dry fitting one of the pieces to see how it goes together. Fits rather well without the wall installed.
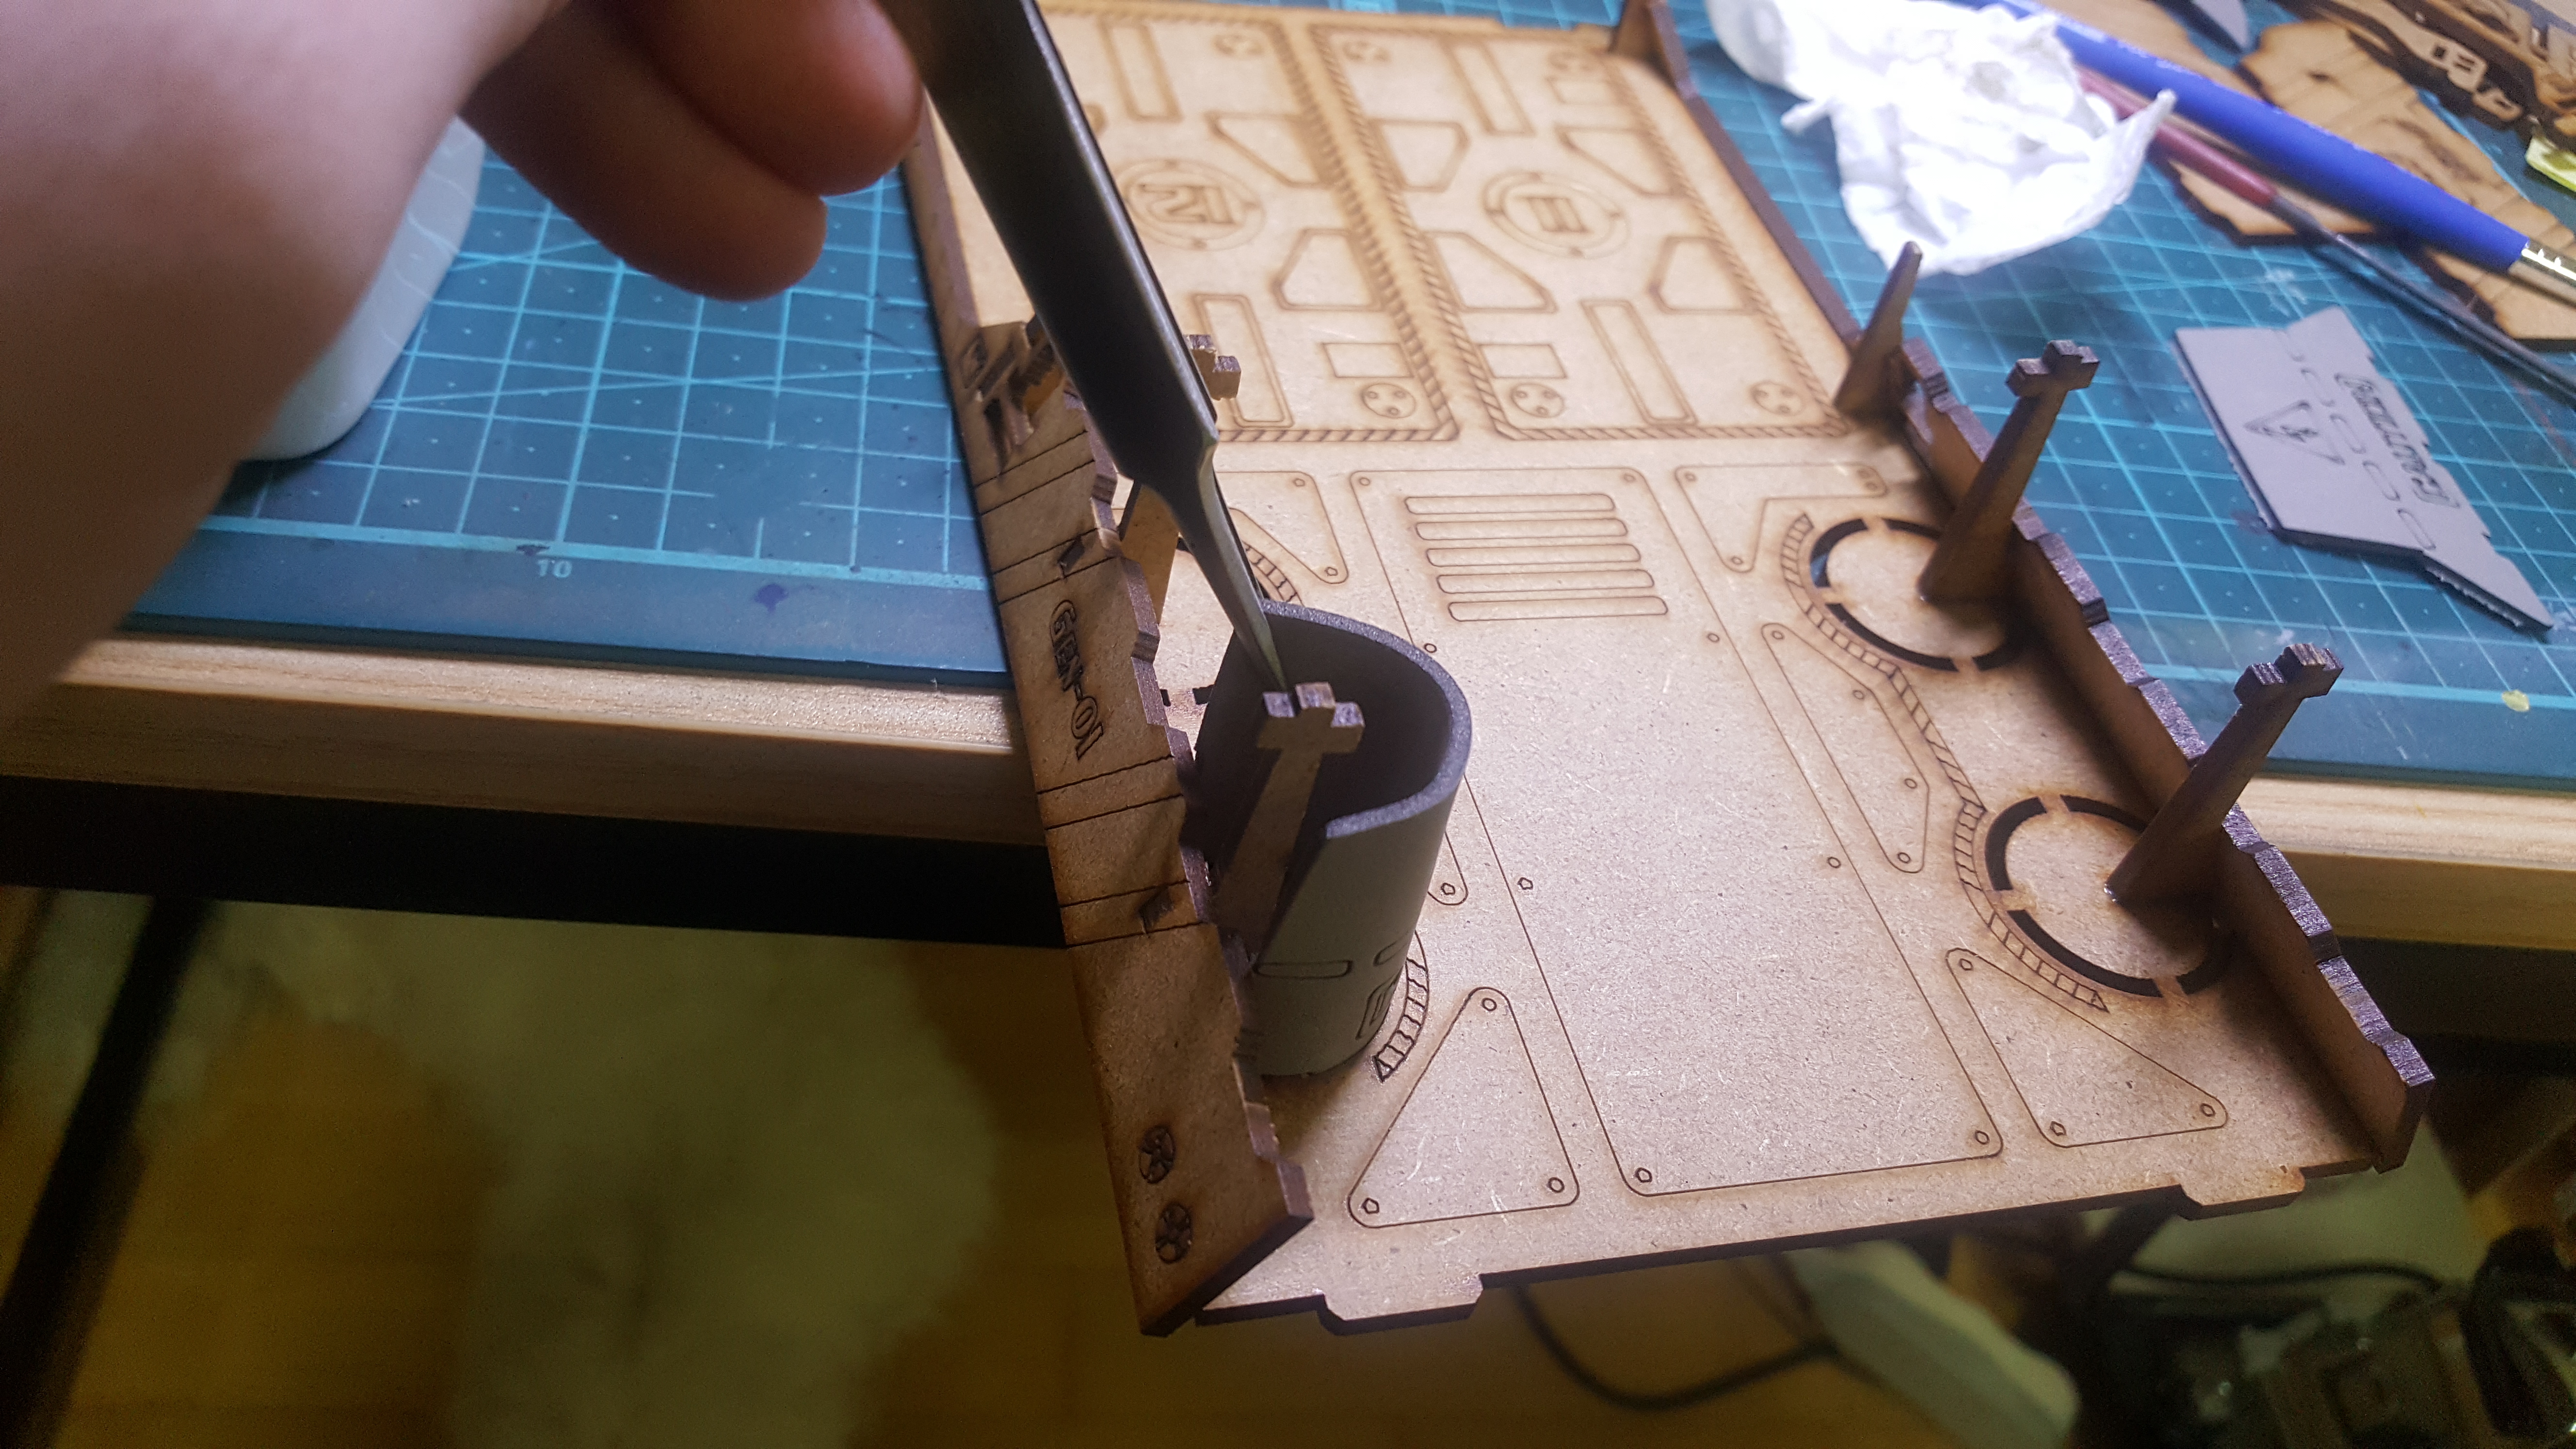 As you can see here, the wall is angled and thus blocks the bottom slots for the foam a bit. This makes assembly a lot harder. After a bit of tweezer work and no small amount of dexterity I did manage to get them all in. (Was not fun)
Foam Bits Post 2
So apparently the internet won’t let me do posts with more than a few pictures, gotta post these entries in smaller bits. Sorry!
After getting the foam bits in, I made up a mix of 50/50 White glue and water. I then applied it very liberally to the back side of the foam, and a bit less so to the front. I did this for two reasons:
First, I was worried about the train being handled and someone accidentally grabbing the foam and it popping out.
Second, the foam is obviously porous and I figured adding this glue to it will fill in some of that and make it easier to paint. Just a theory though, so I will see if it actually works later.

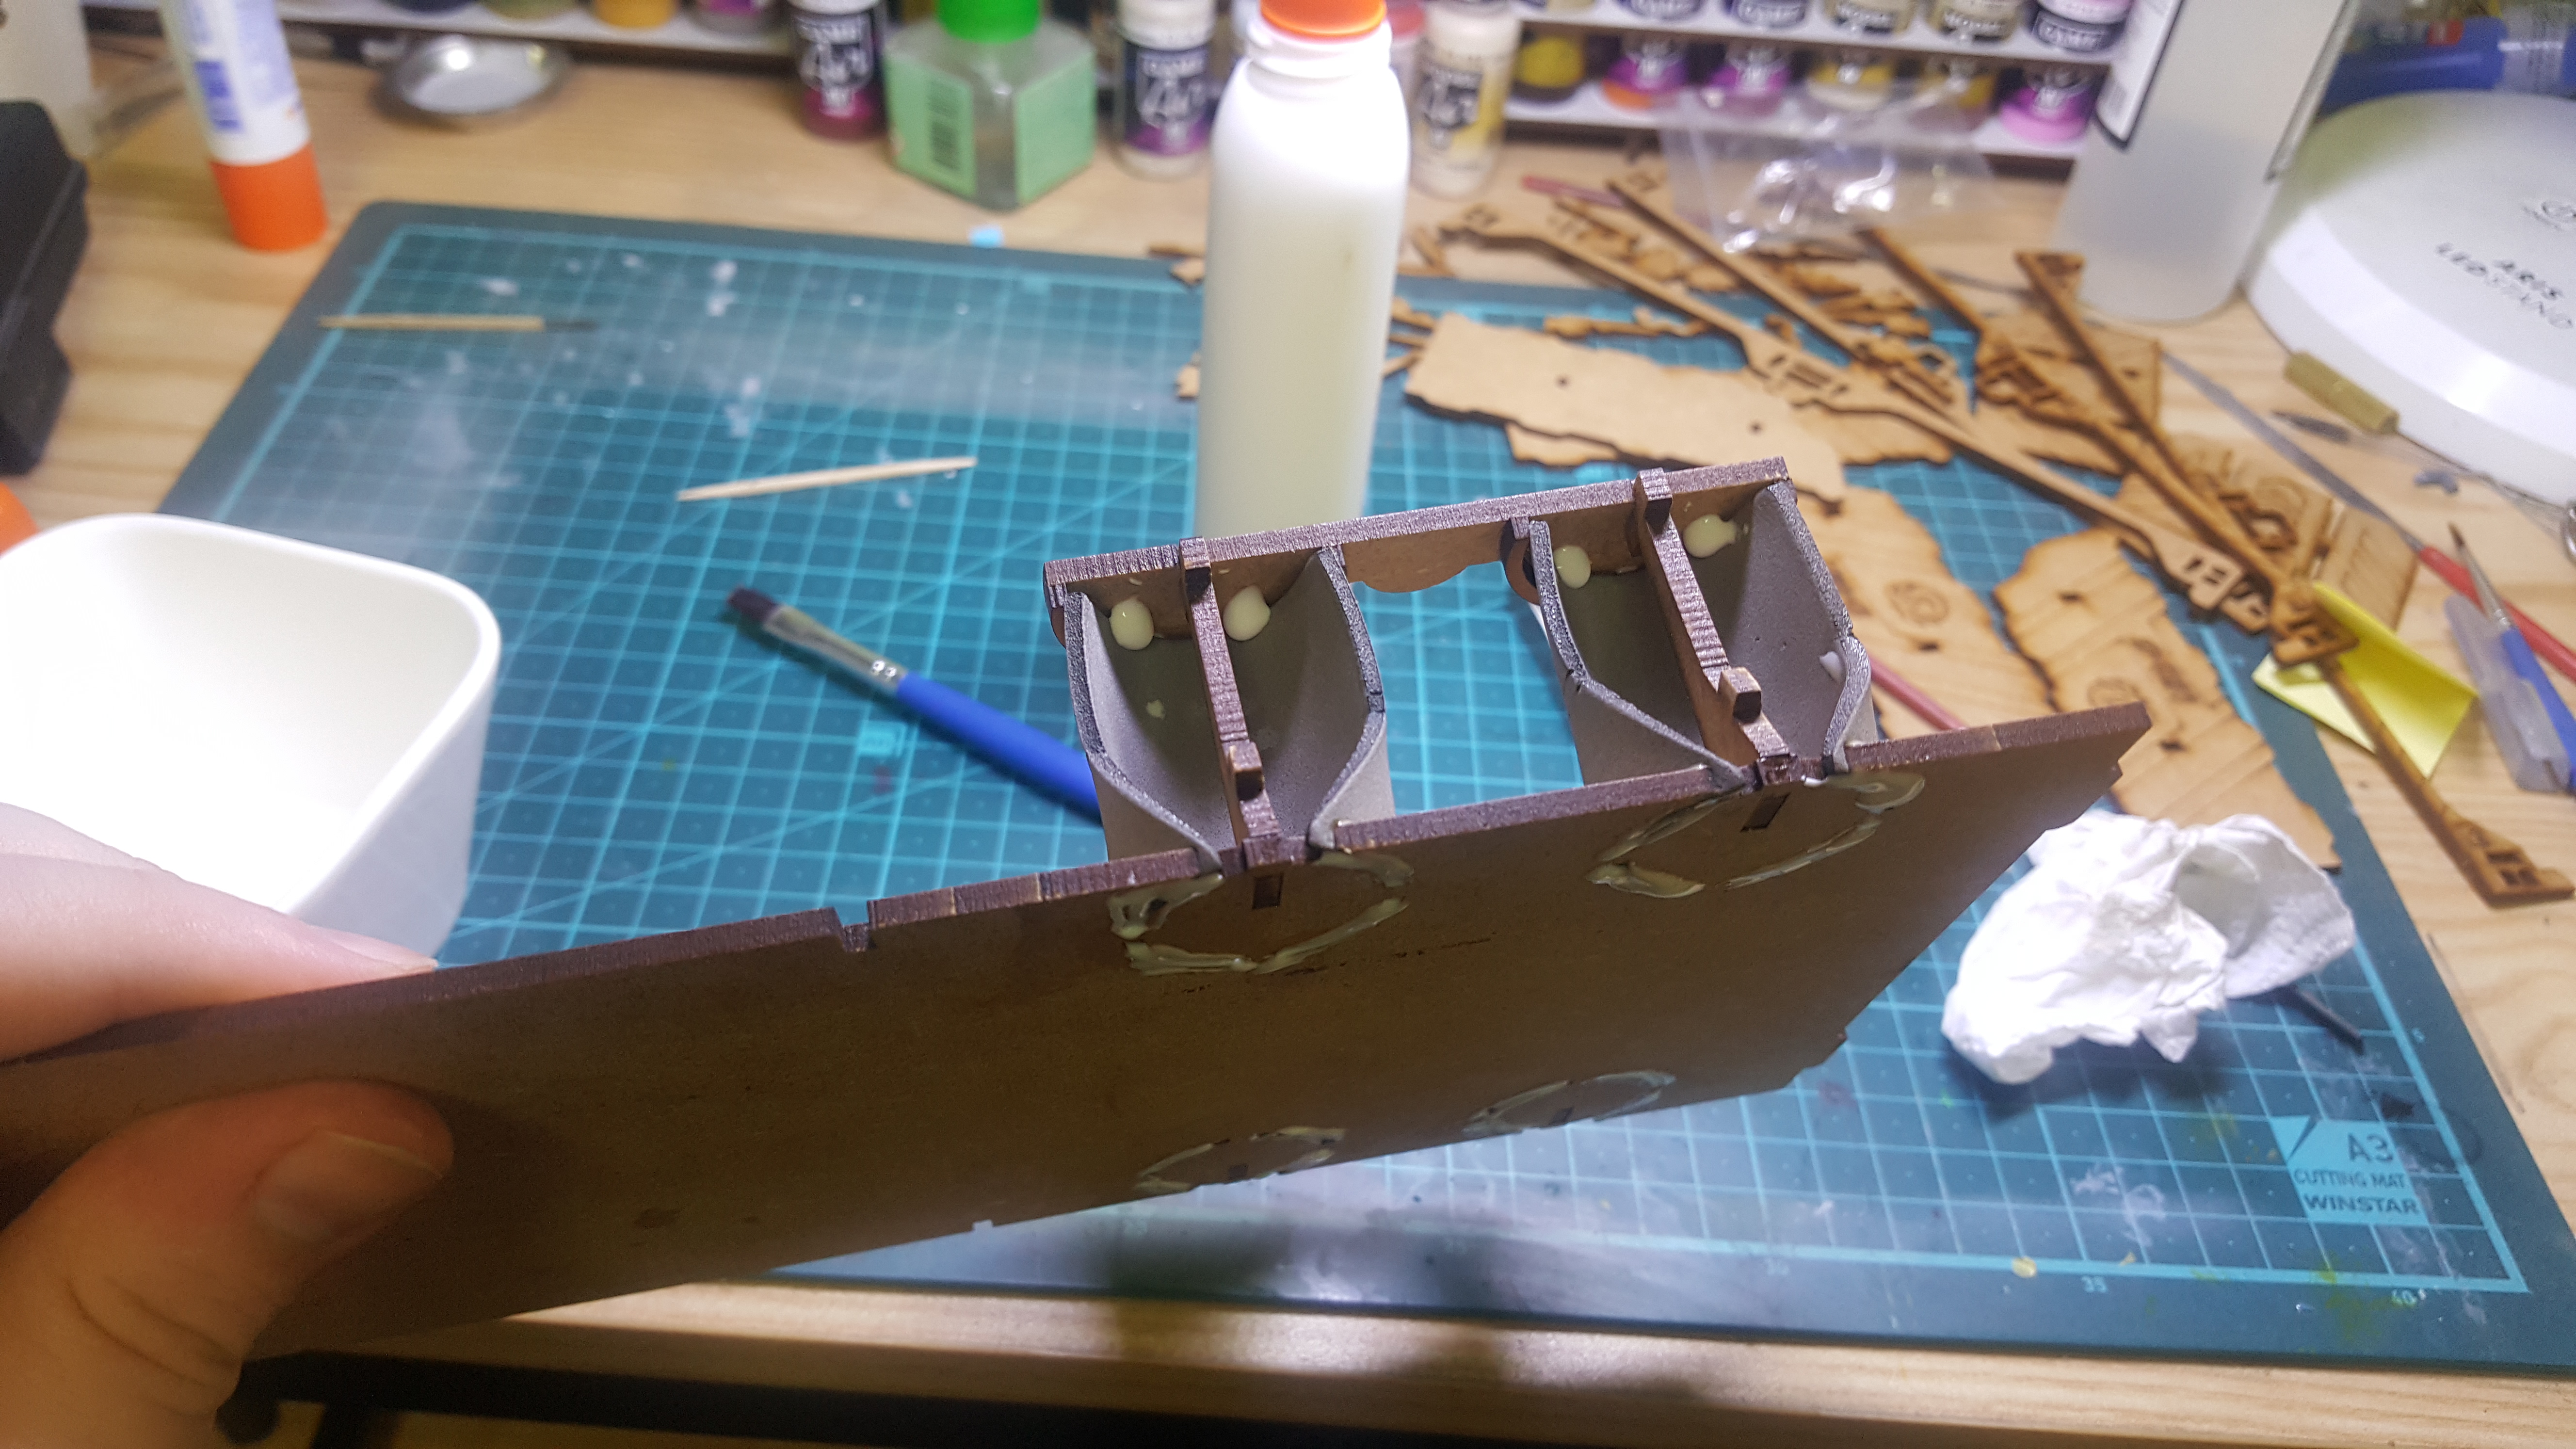 Finally, I added a lot more white glue to the top seam where the foam meets the MDF. I also did this to the bottom. I am hoping this really secures them in place. I did spread it out with a brush and cleaned up the bottom after application.
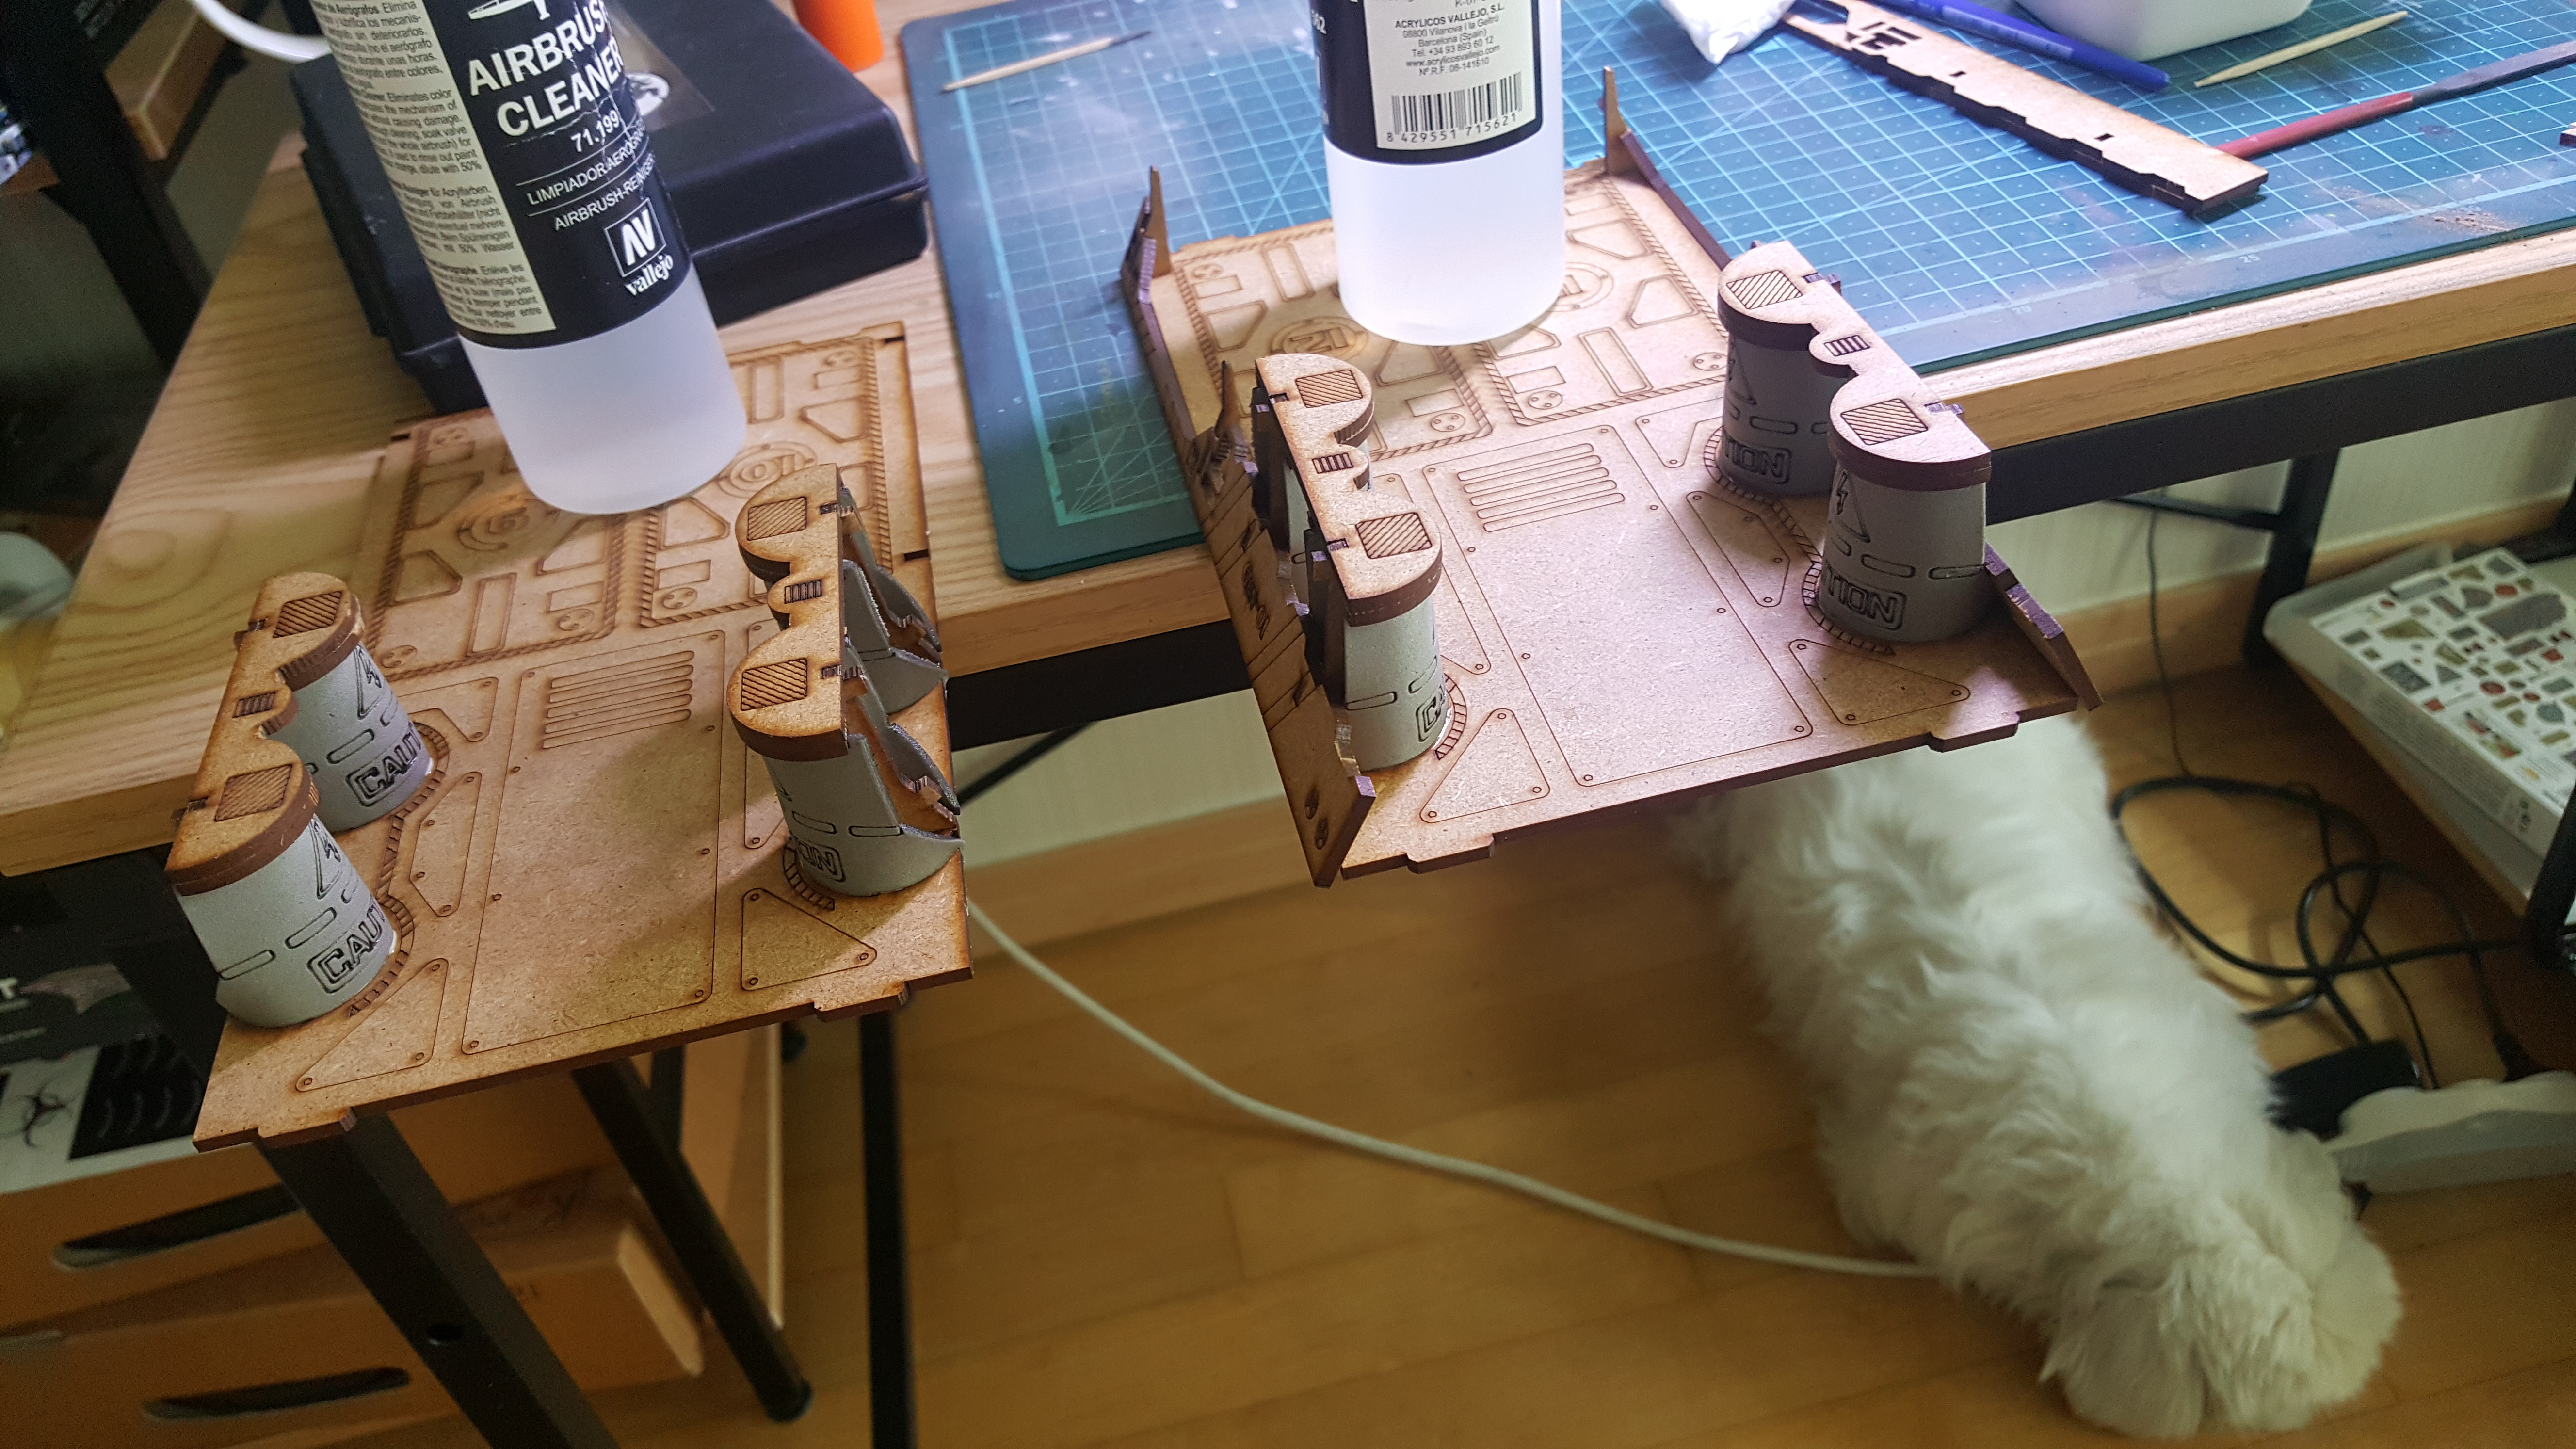 Here you can see the foam and toppers all in with an extra coat of water and glue. Have them hanging over the edge to avoid gluing to the table! Dog is clearly tired of me explaining how cool building terrain is.
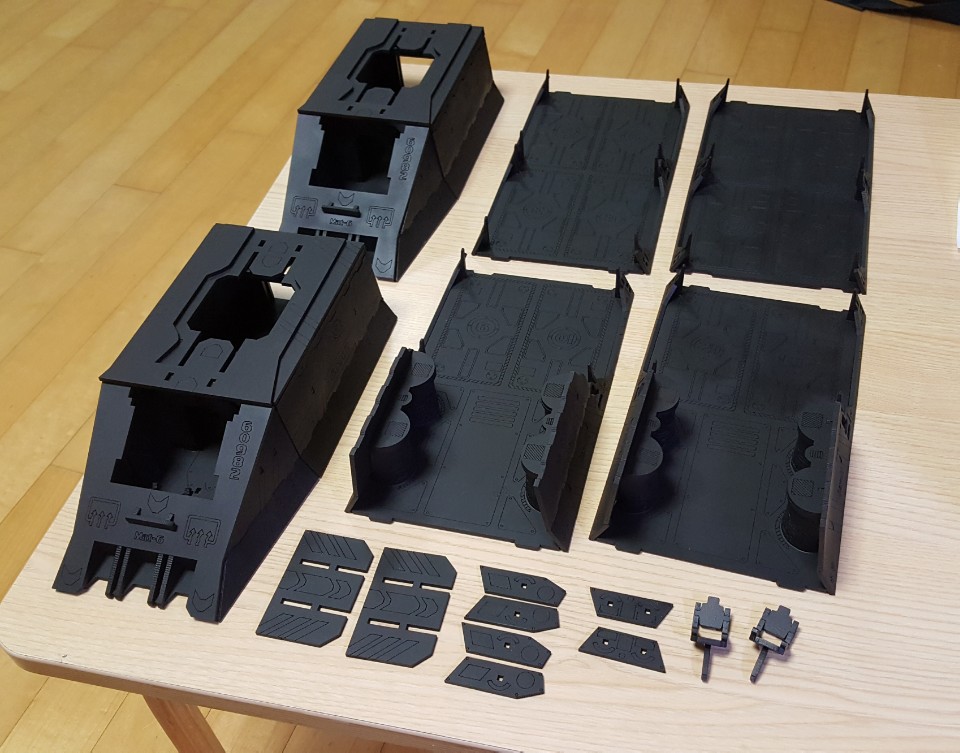
Build is complete
 Not a big update, but the train is all built. Will likely get started priming it later today. Obviously some parts are left off for ease of painting. Acrylic pieces also left off as they will be the last thing I do on this project.
More Pre-Primer Work
So not moving as fast as I said, but there were two more things to do before I get primer on this model.
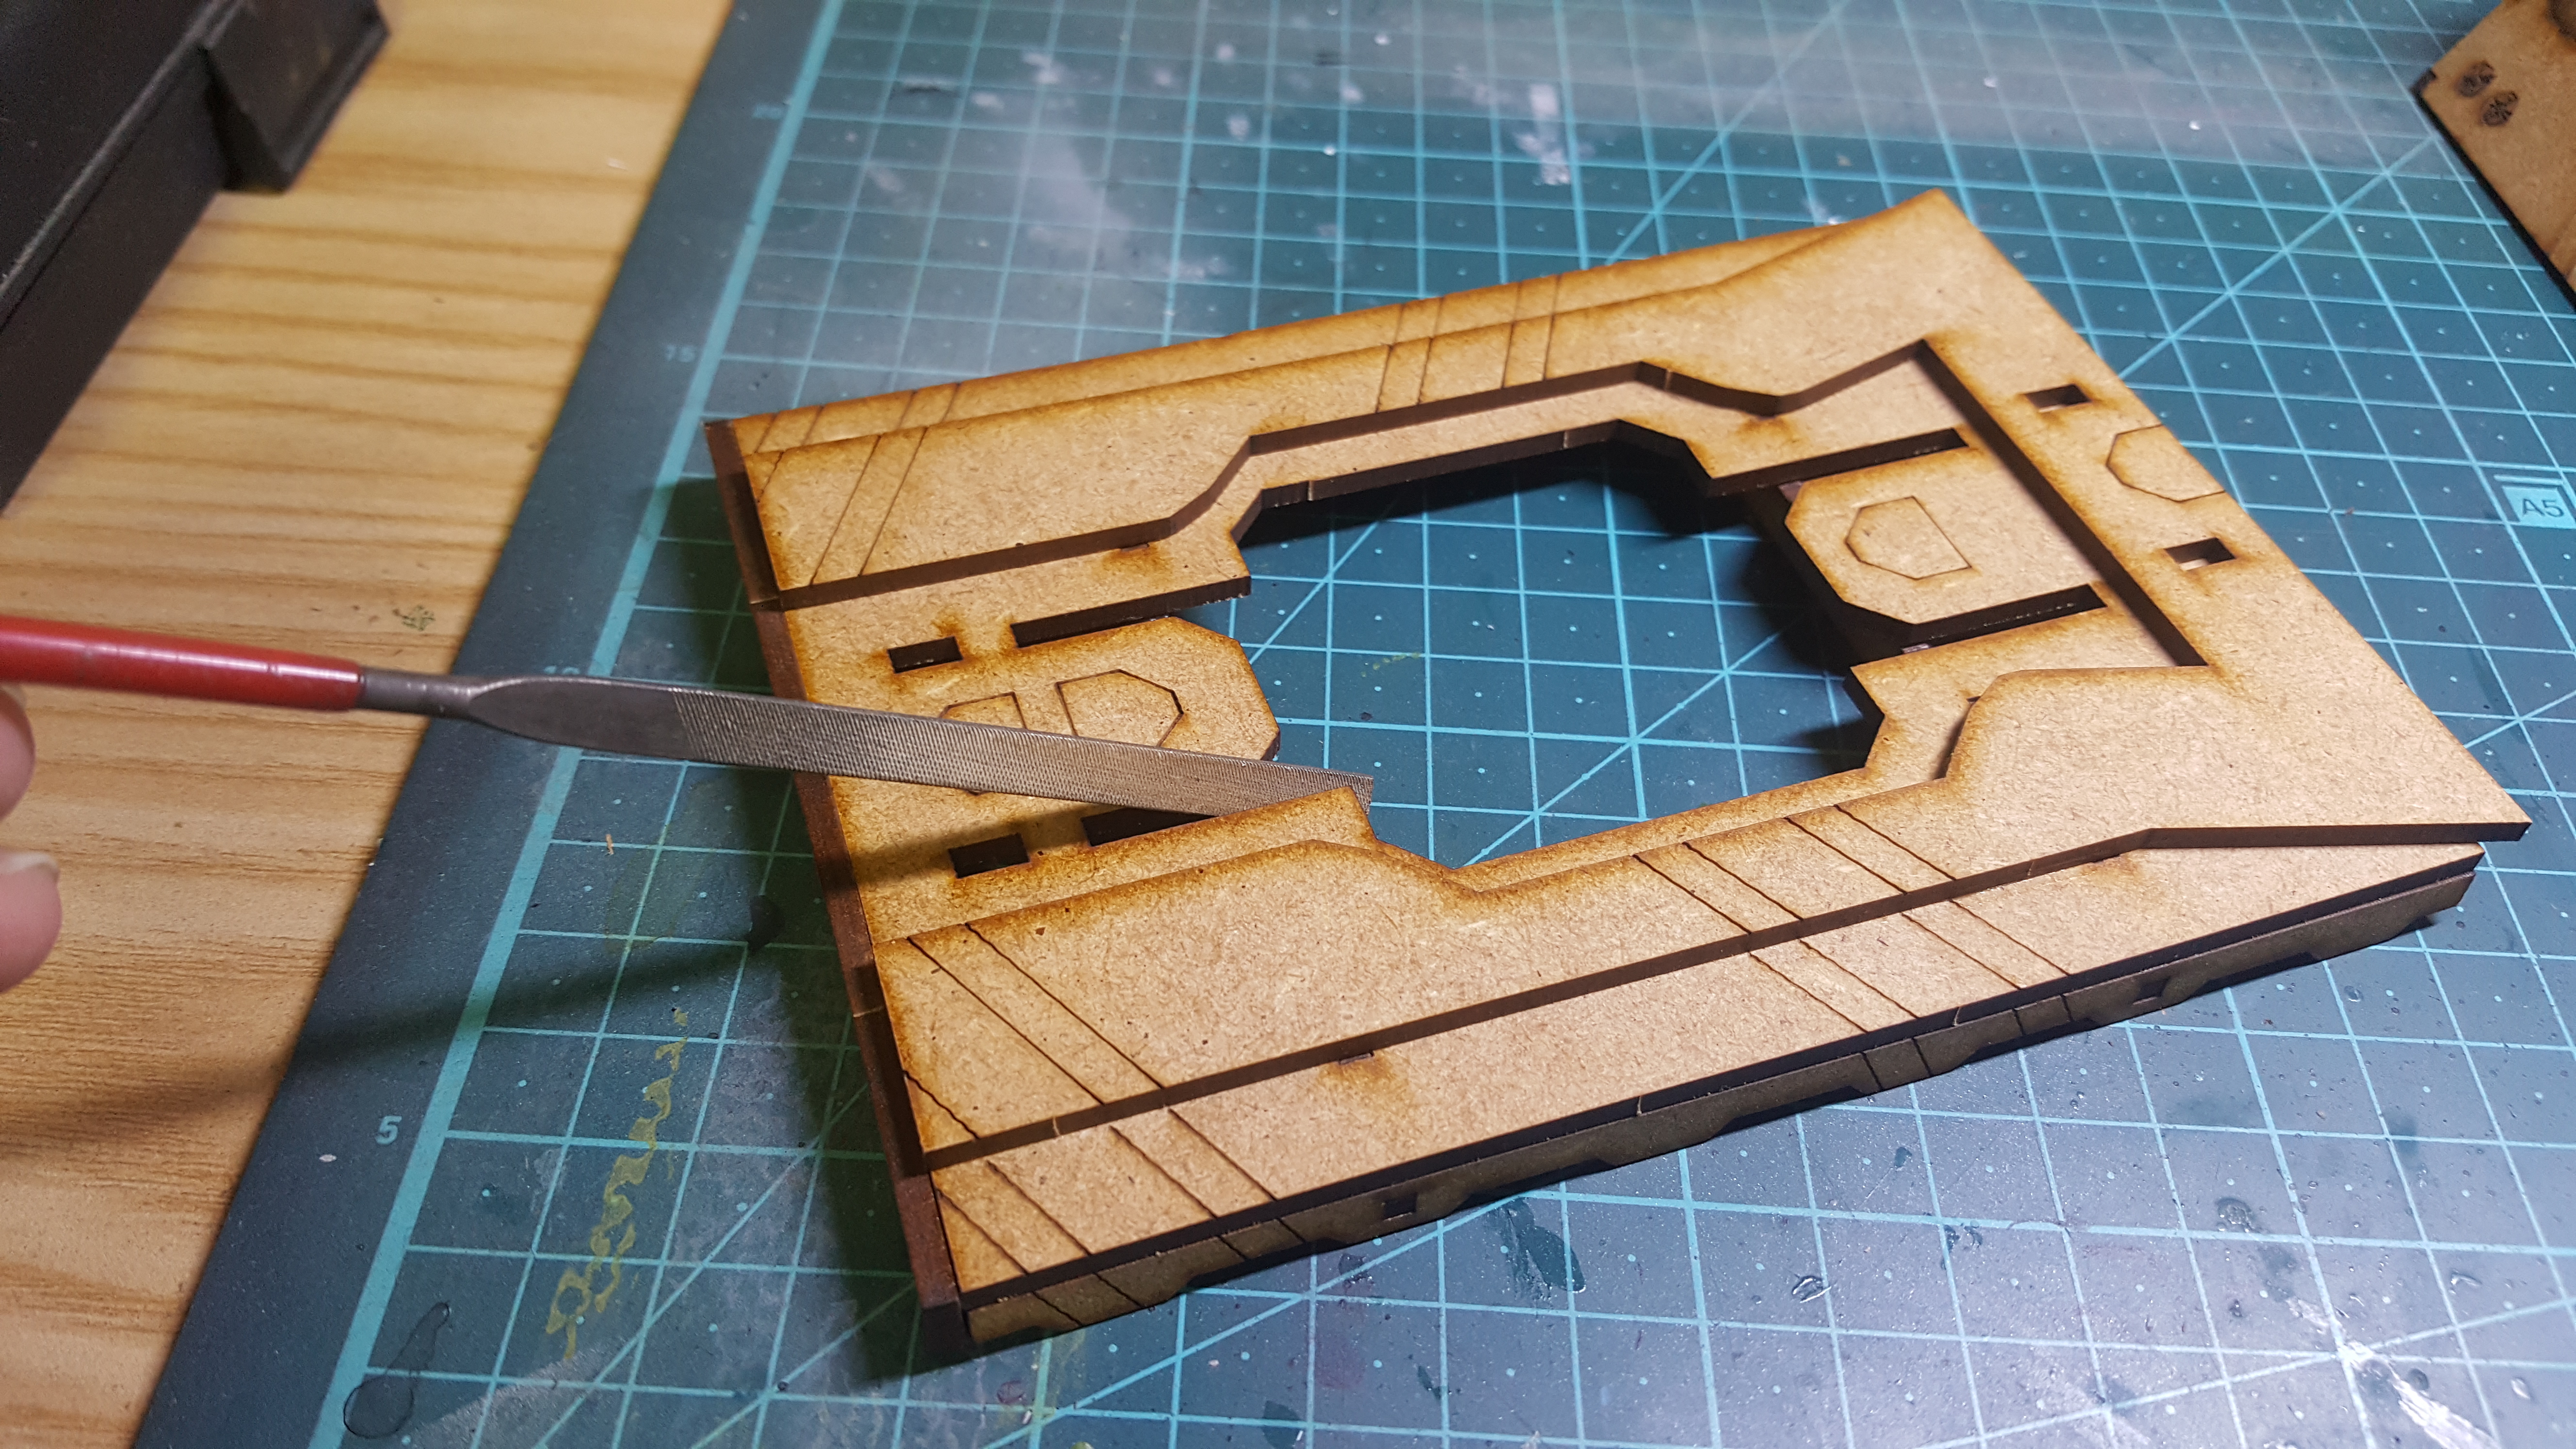 I realized that this large cutout area for the acrylic window was very tight, and if I add paint then the piece wont fit. So I filed all the edges to give it a bit more room.
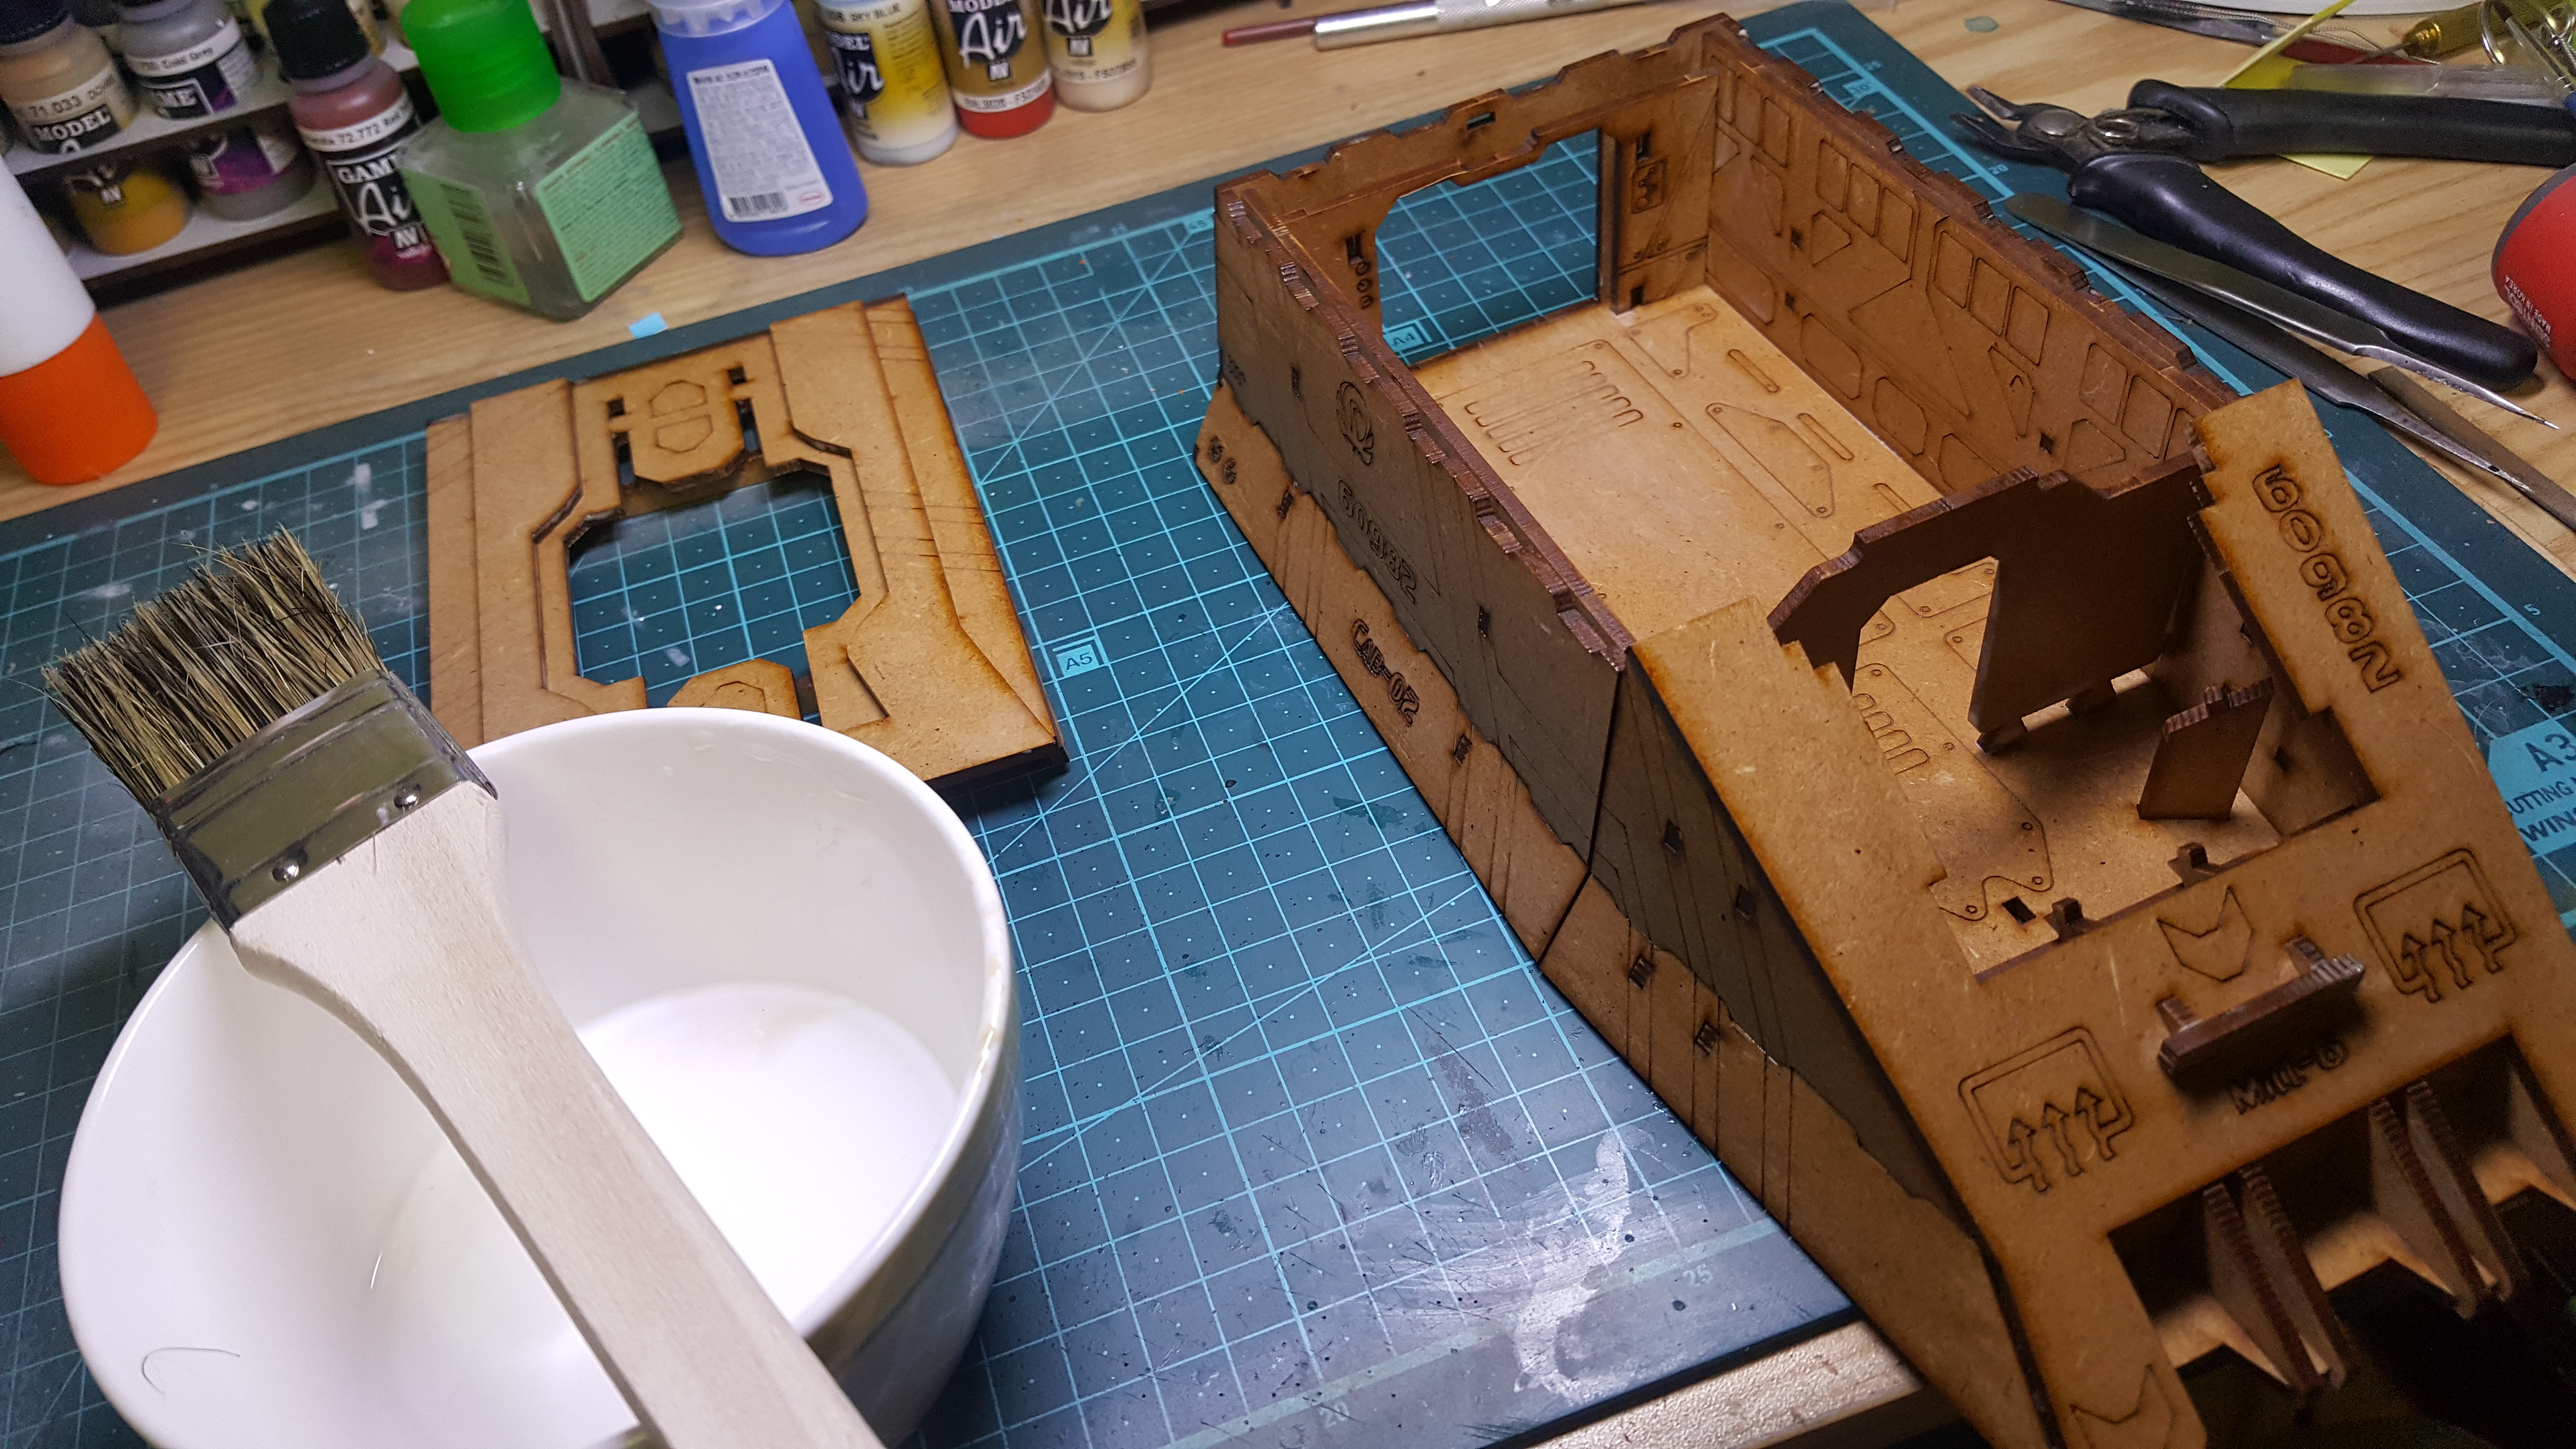
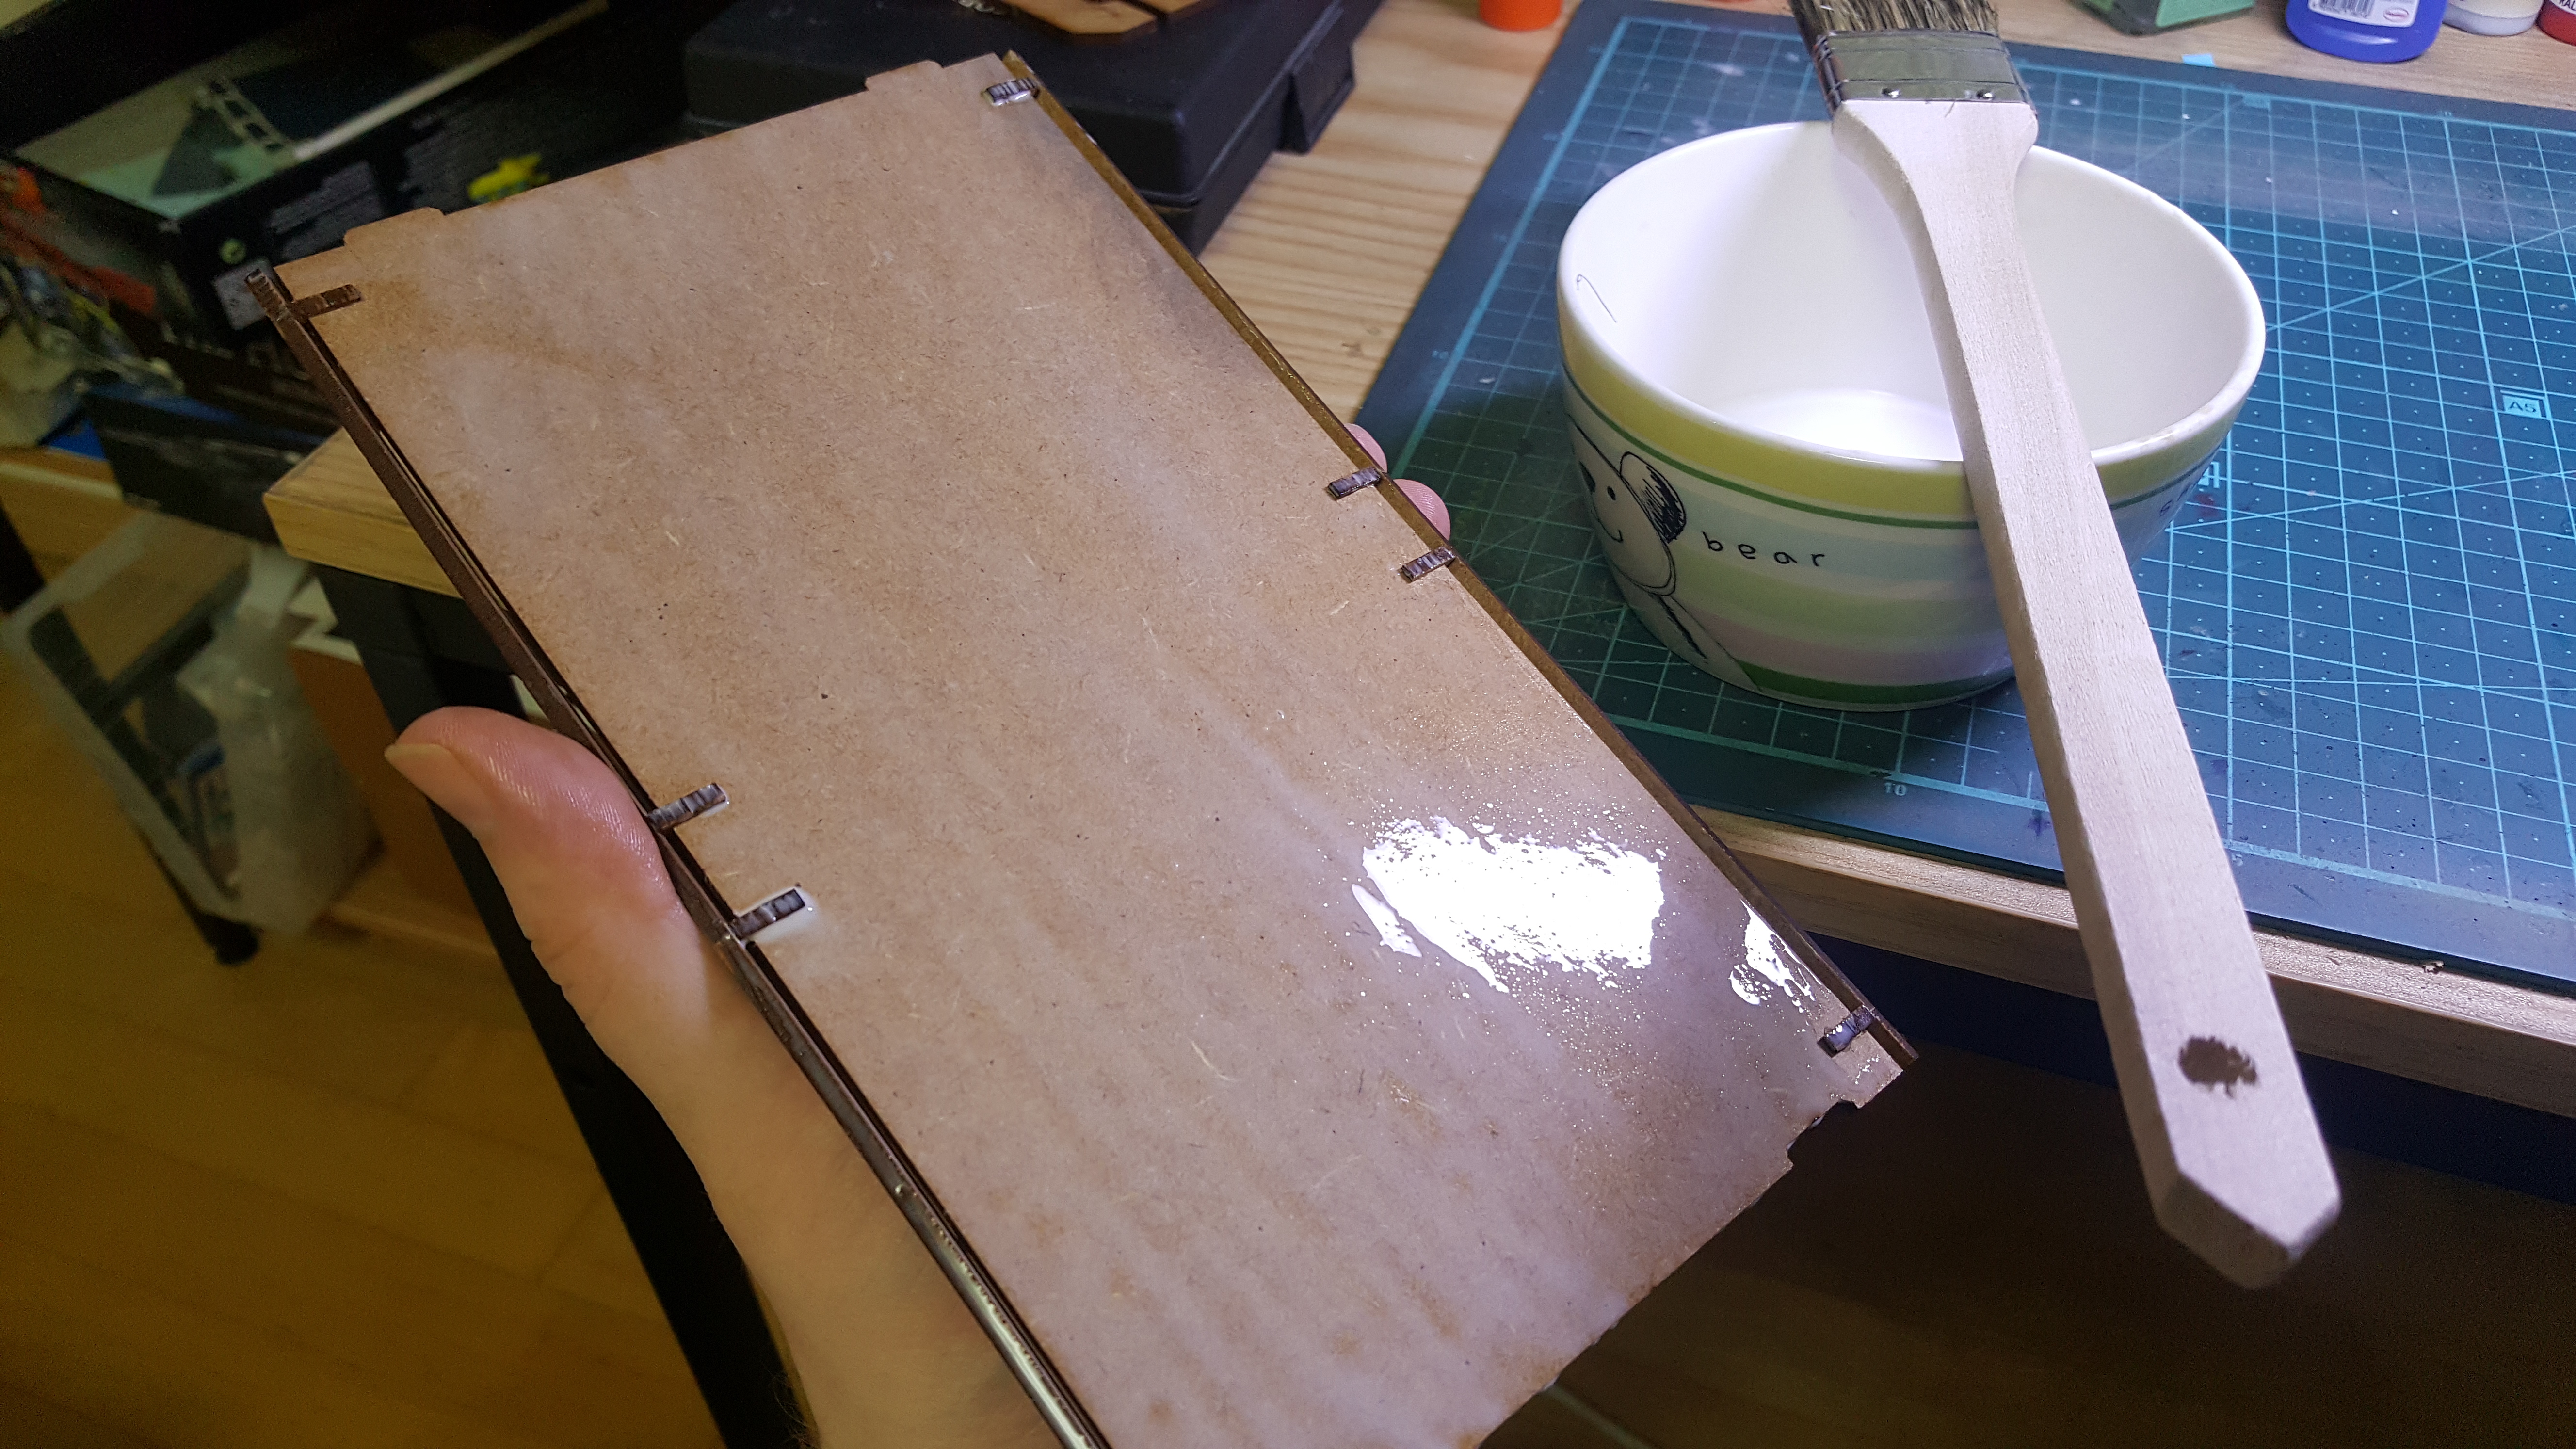
Finally, I used a mixture of 50/50 white glue and water and did a light coat over the entire train. I then let the train dry and did a second coat on just the bottom of the train.
Our gaming group is in South Korea, as I have mentioned, and we deal with dry winters and humid summers. This has caused a lot of warping in cardboard tiles, but more importantly with MDF terrain that has large flat surfaces. I am hoping a coating of this white glue and water will seal in the train and help to prevent this dry season wet season warping that we have on other pieces.
In theory this could be done with a varnish, but this method is easy, so giving it a try.
NEXT COMES PRIMER
All Primed Up!
 Not much to add to this, other than the experiment of covering the model with PVA glue and water mixed was a huge success. The primer went on much easier than other MDF projects I have done, and it didn't just soak up everything.
Painting and Hazard Stripes!
Been awhile since an update, but I am still making progress!
Got through a ton of painstaking work today as you will see.
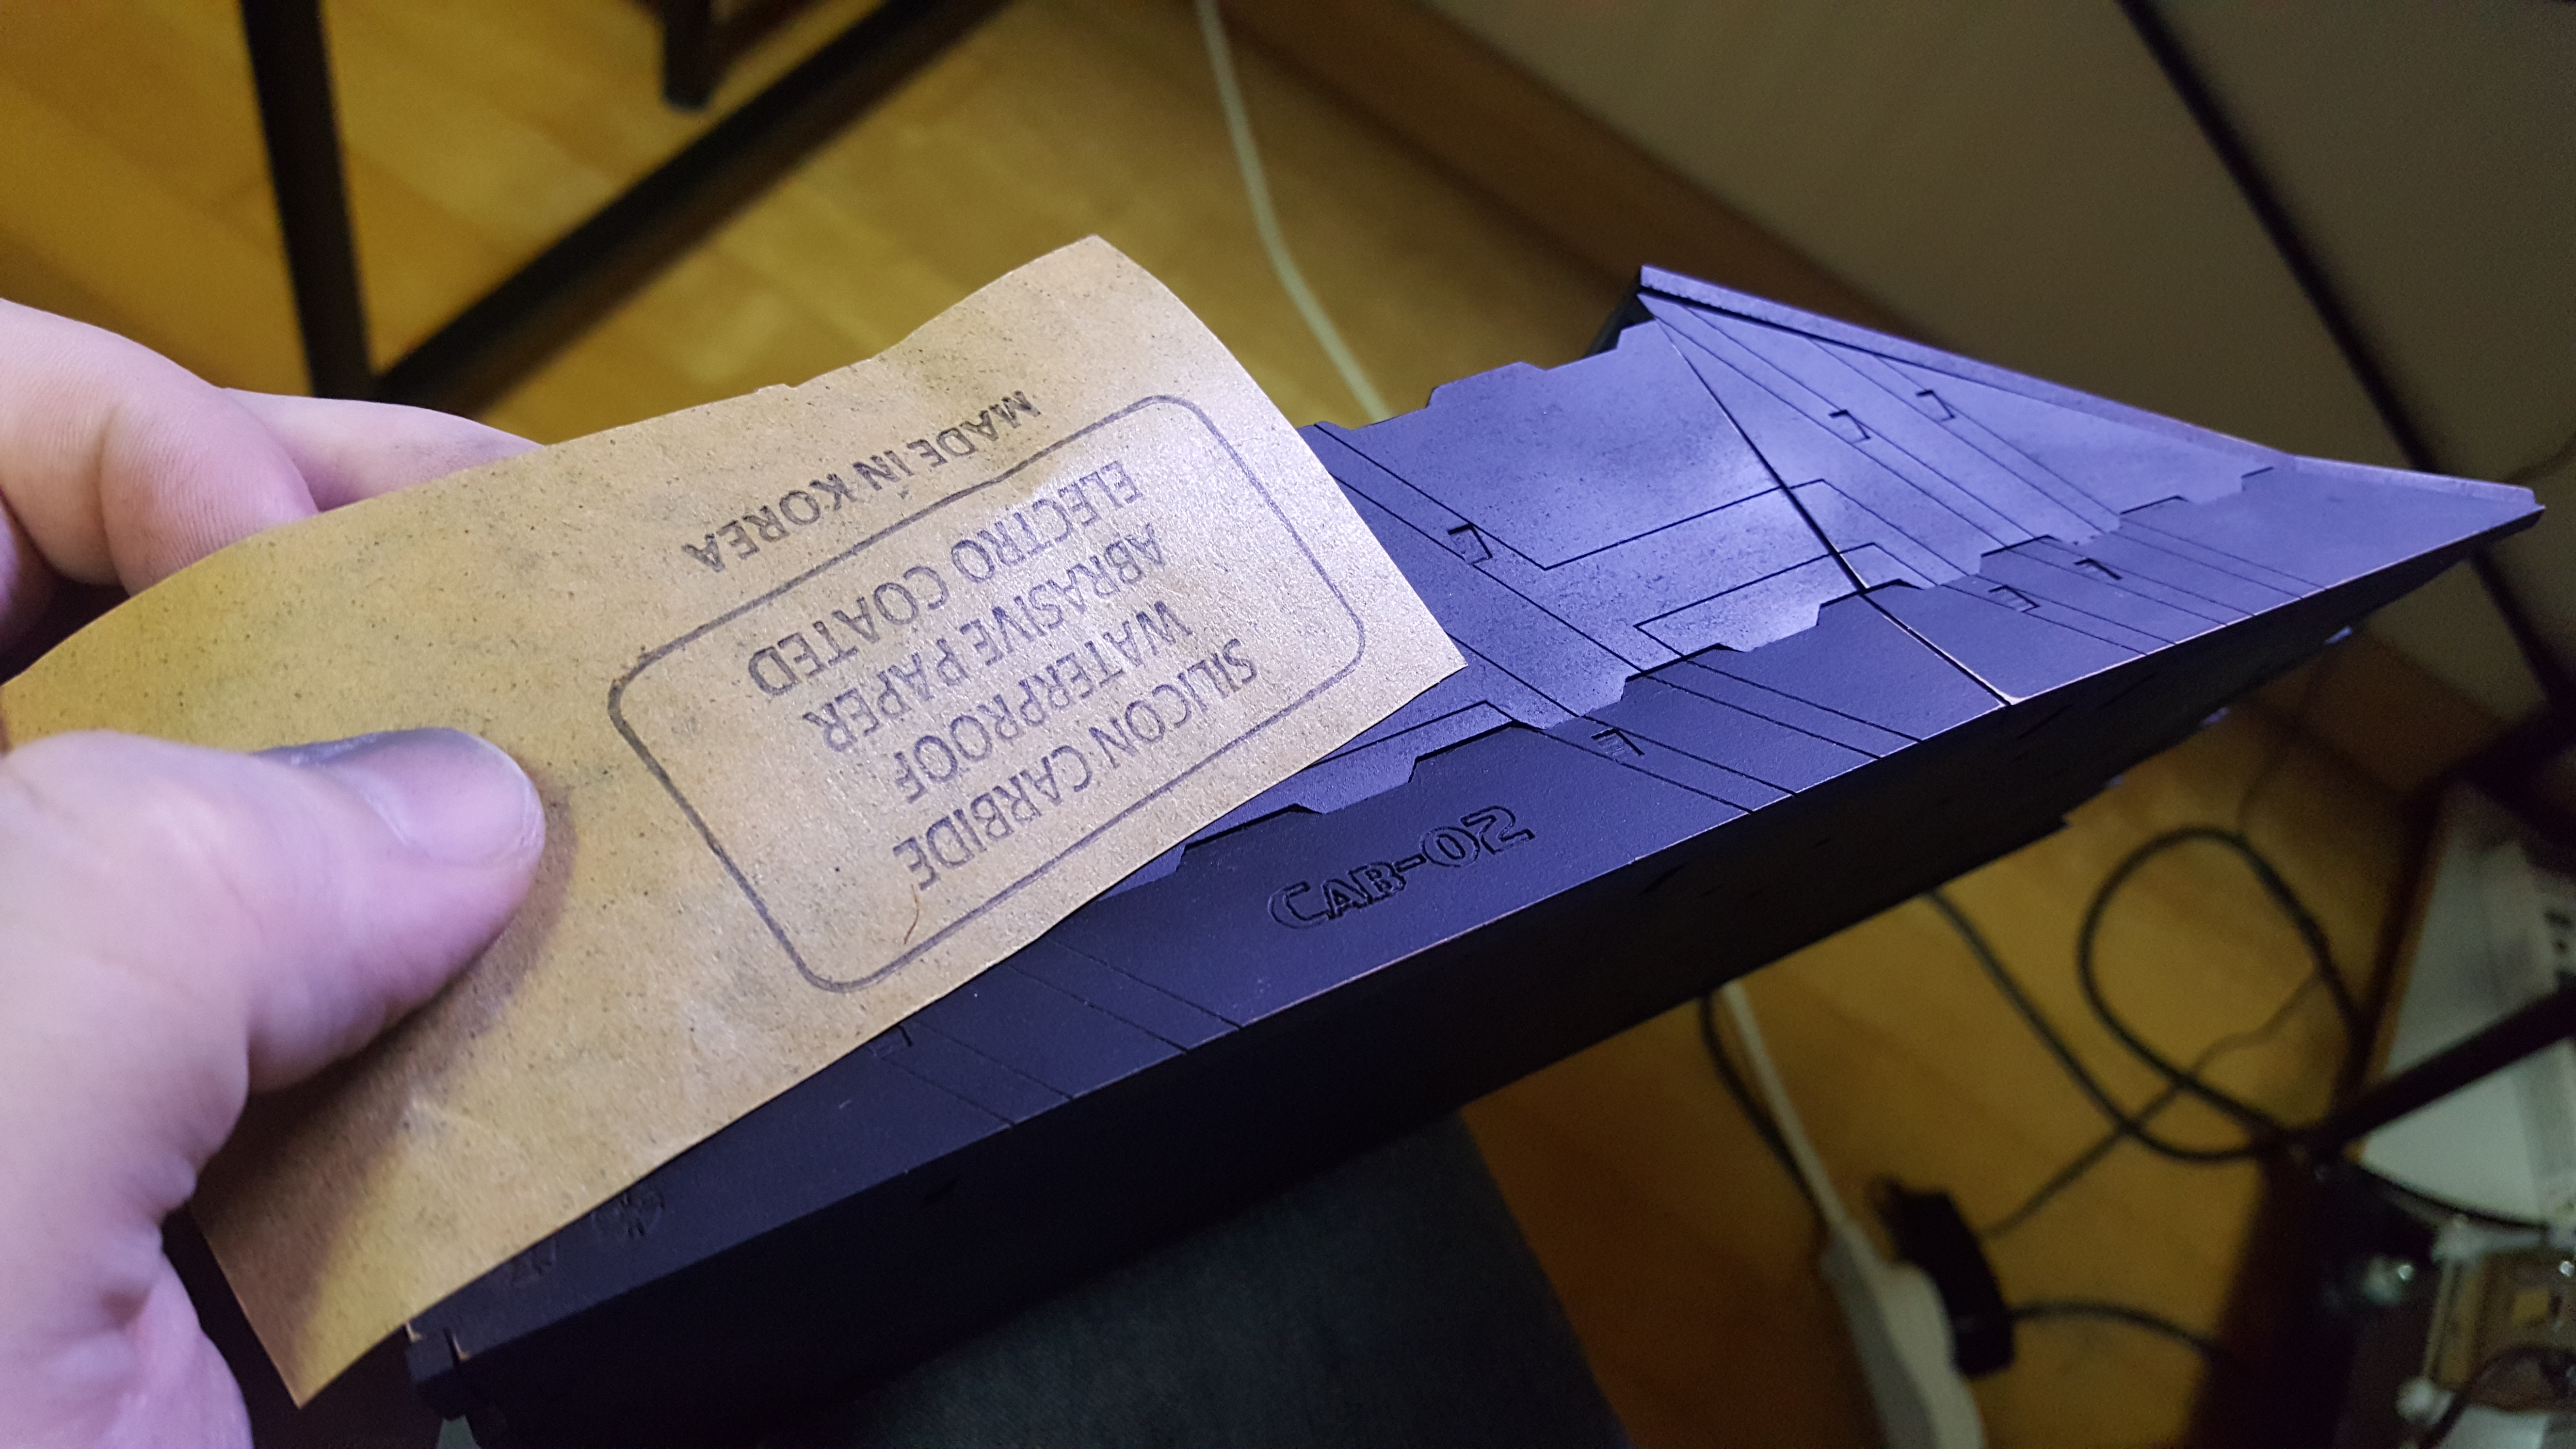 So, after priming the train I realized that the texture of the MDF really bothered me. For a building, it's easy to just say "Oh it's concrete" but trains are smooth! I went back with 1000 grit sand paper and sanded the entire train. This gave me a much smoother surface, but required touchups on the priming.
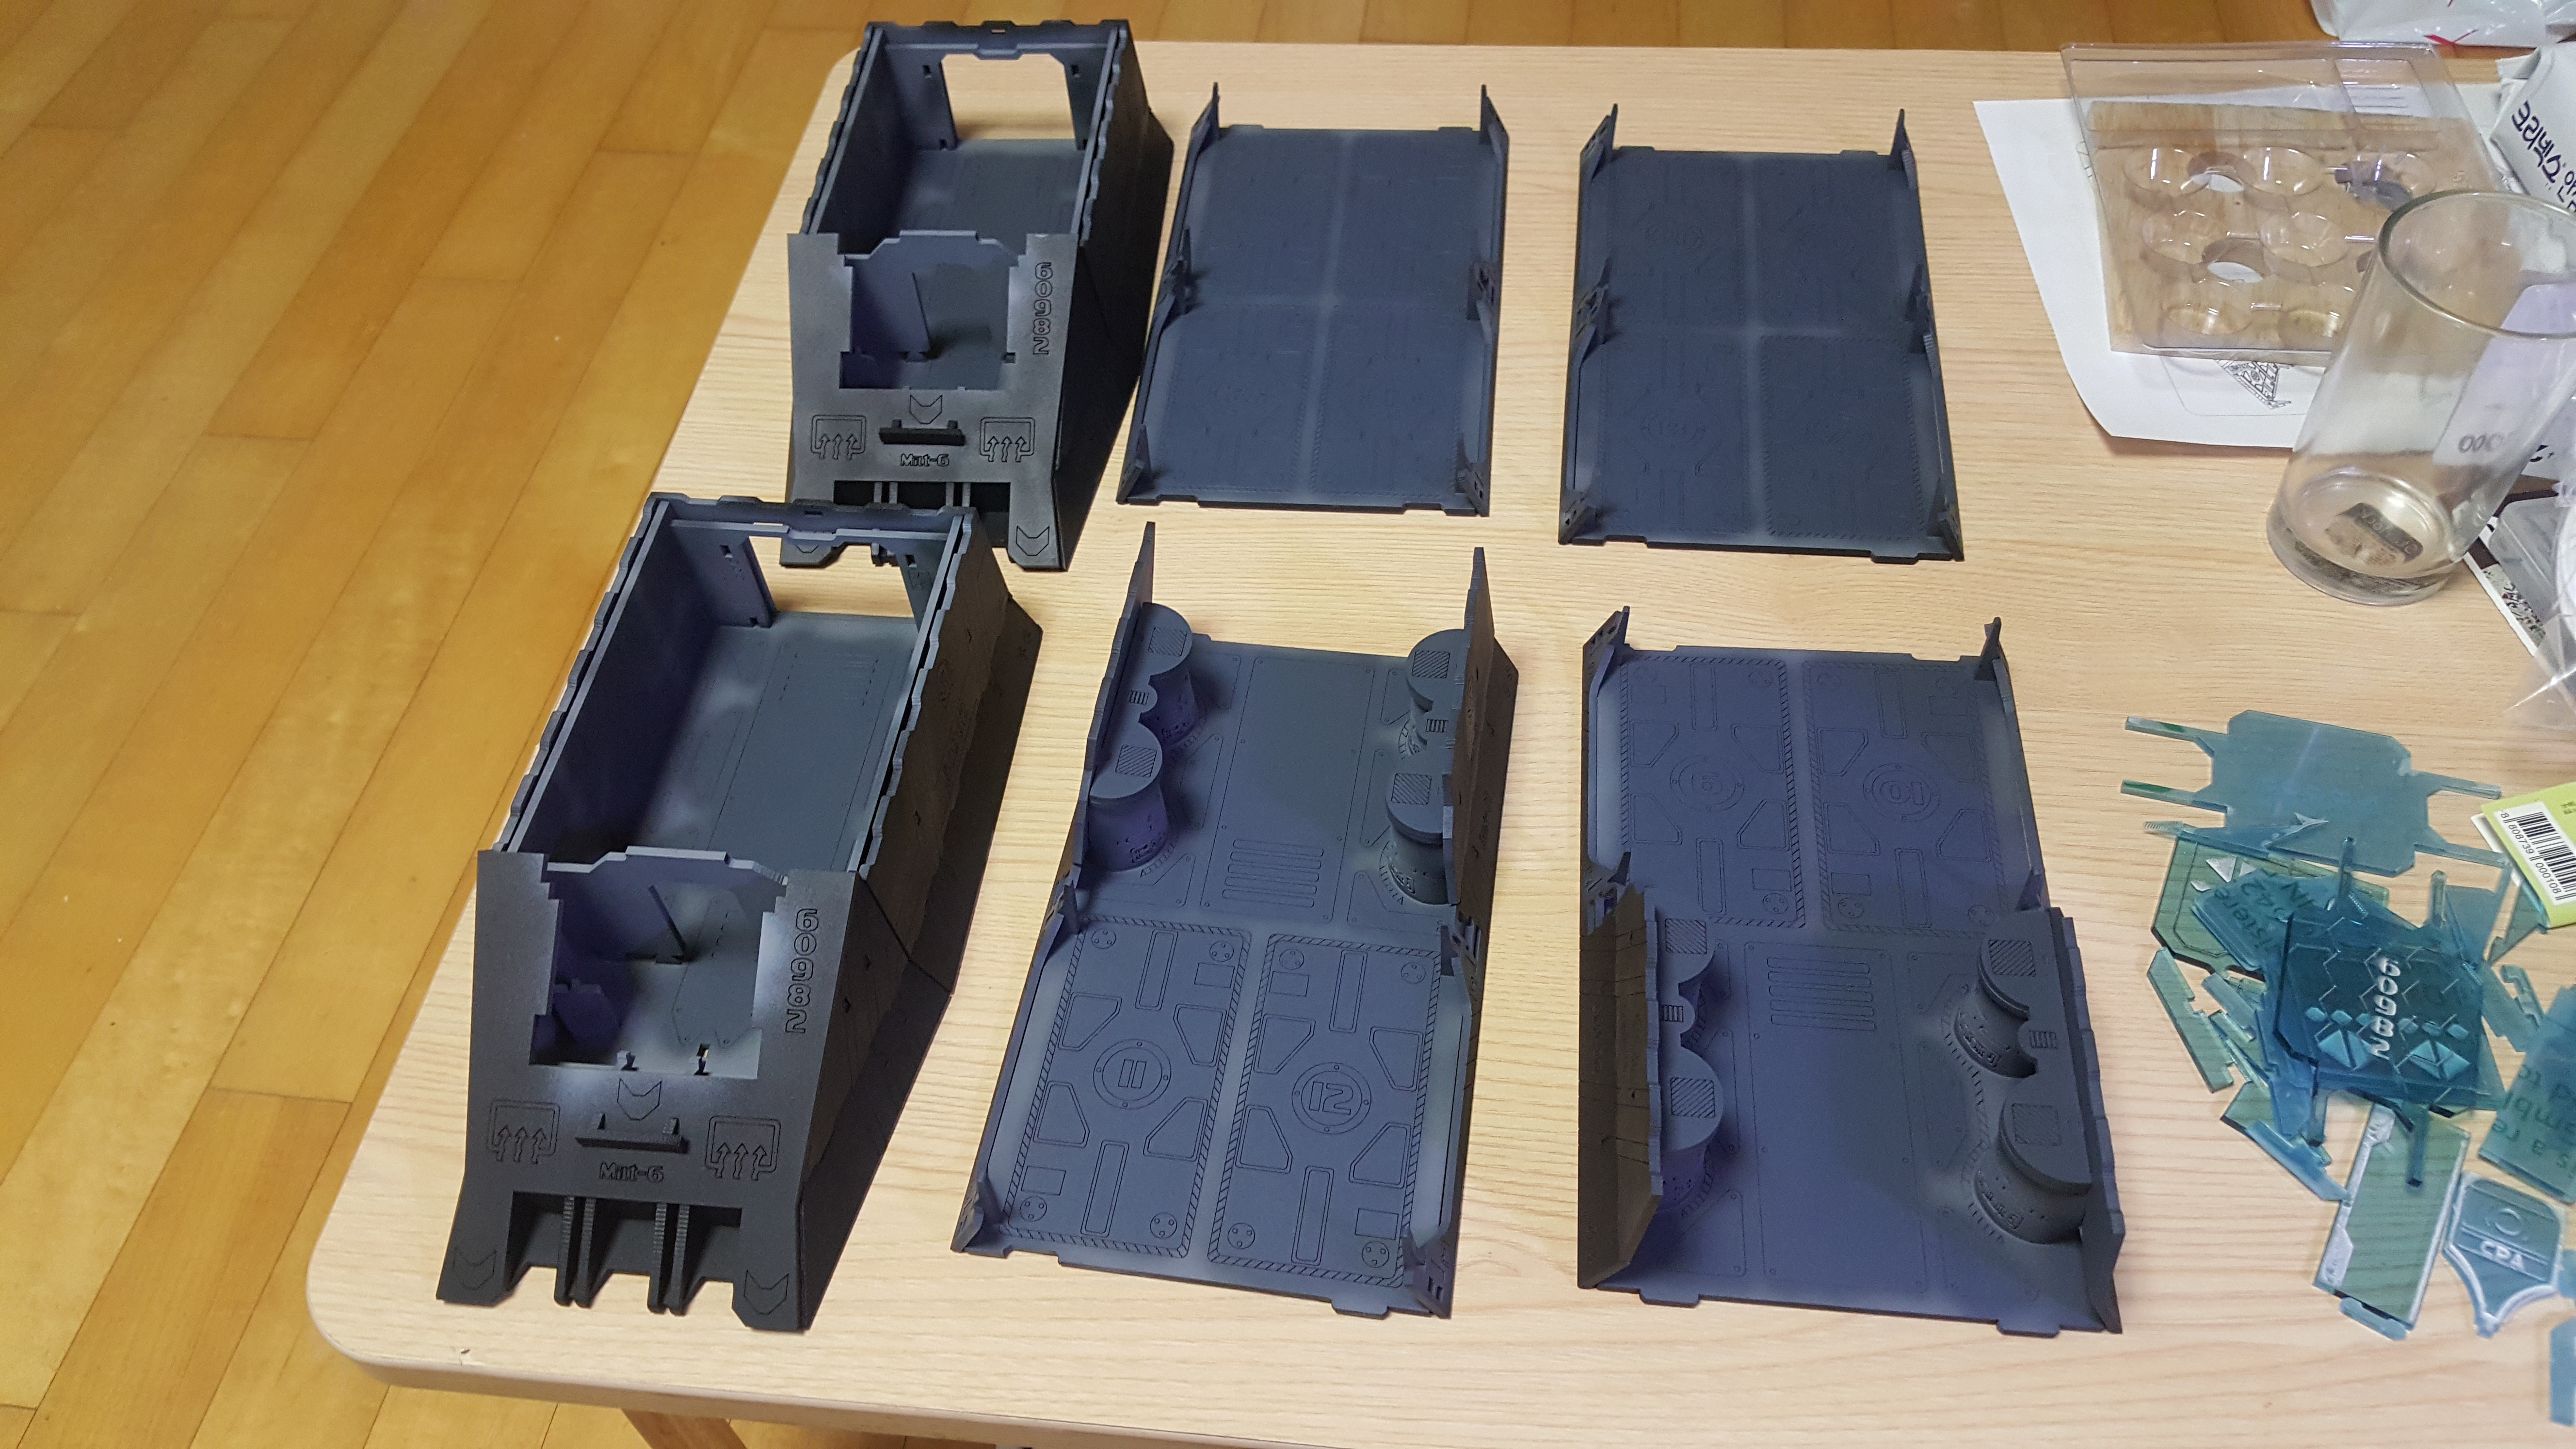 For the cargo platforms I painted them a mix of dark grey and dark blue. I also used a bit of airbrushing white to add a quick highlight. I am not entirely happy with the colour, but I can go back later and fix it up.
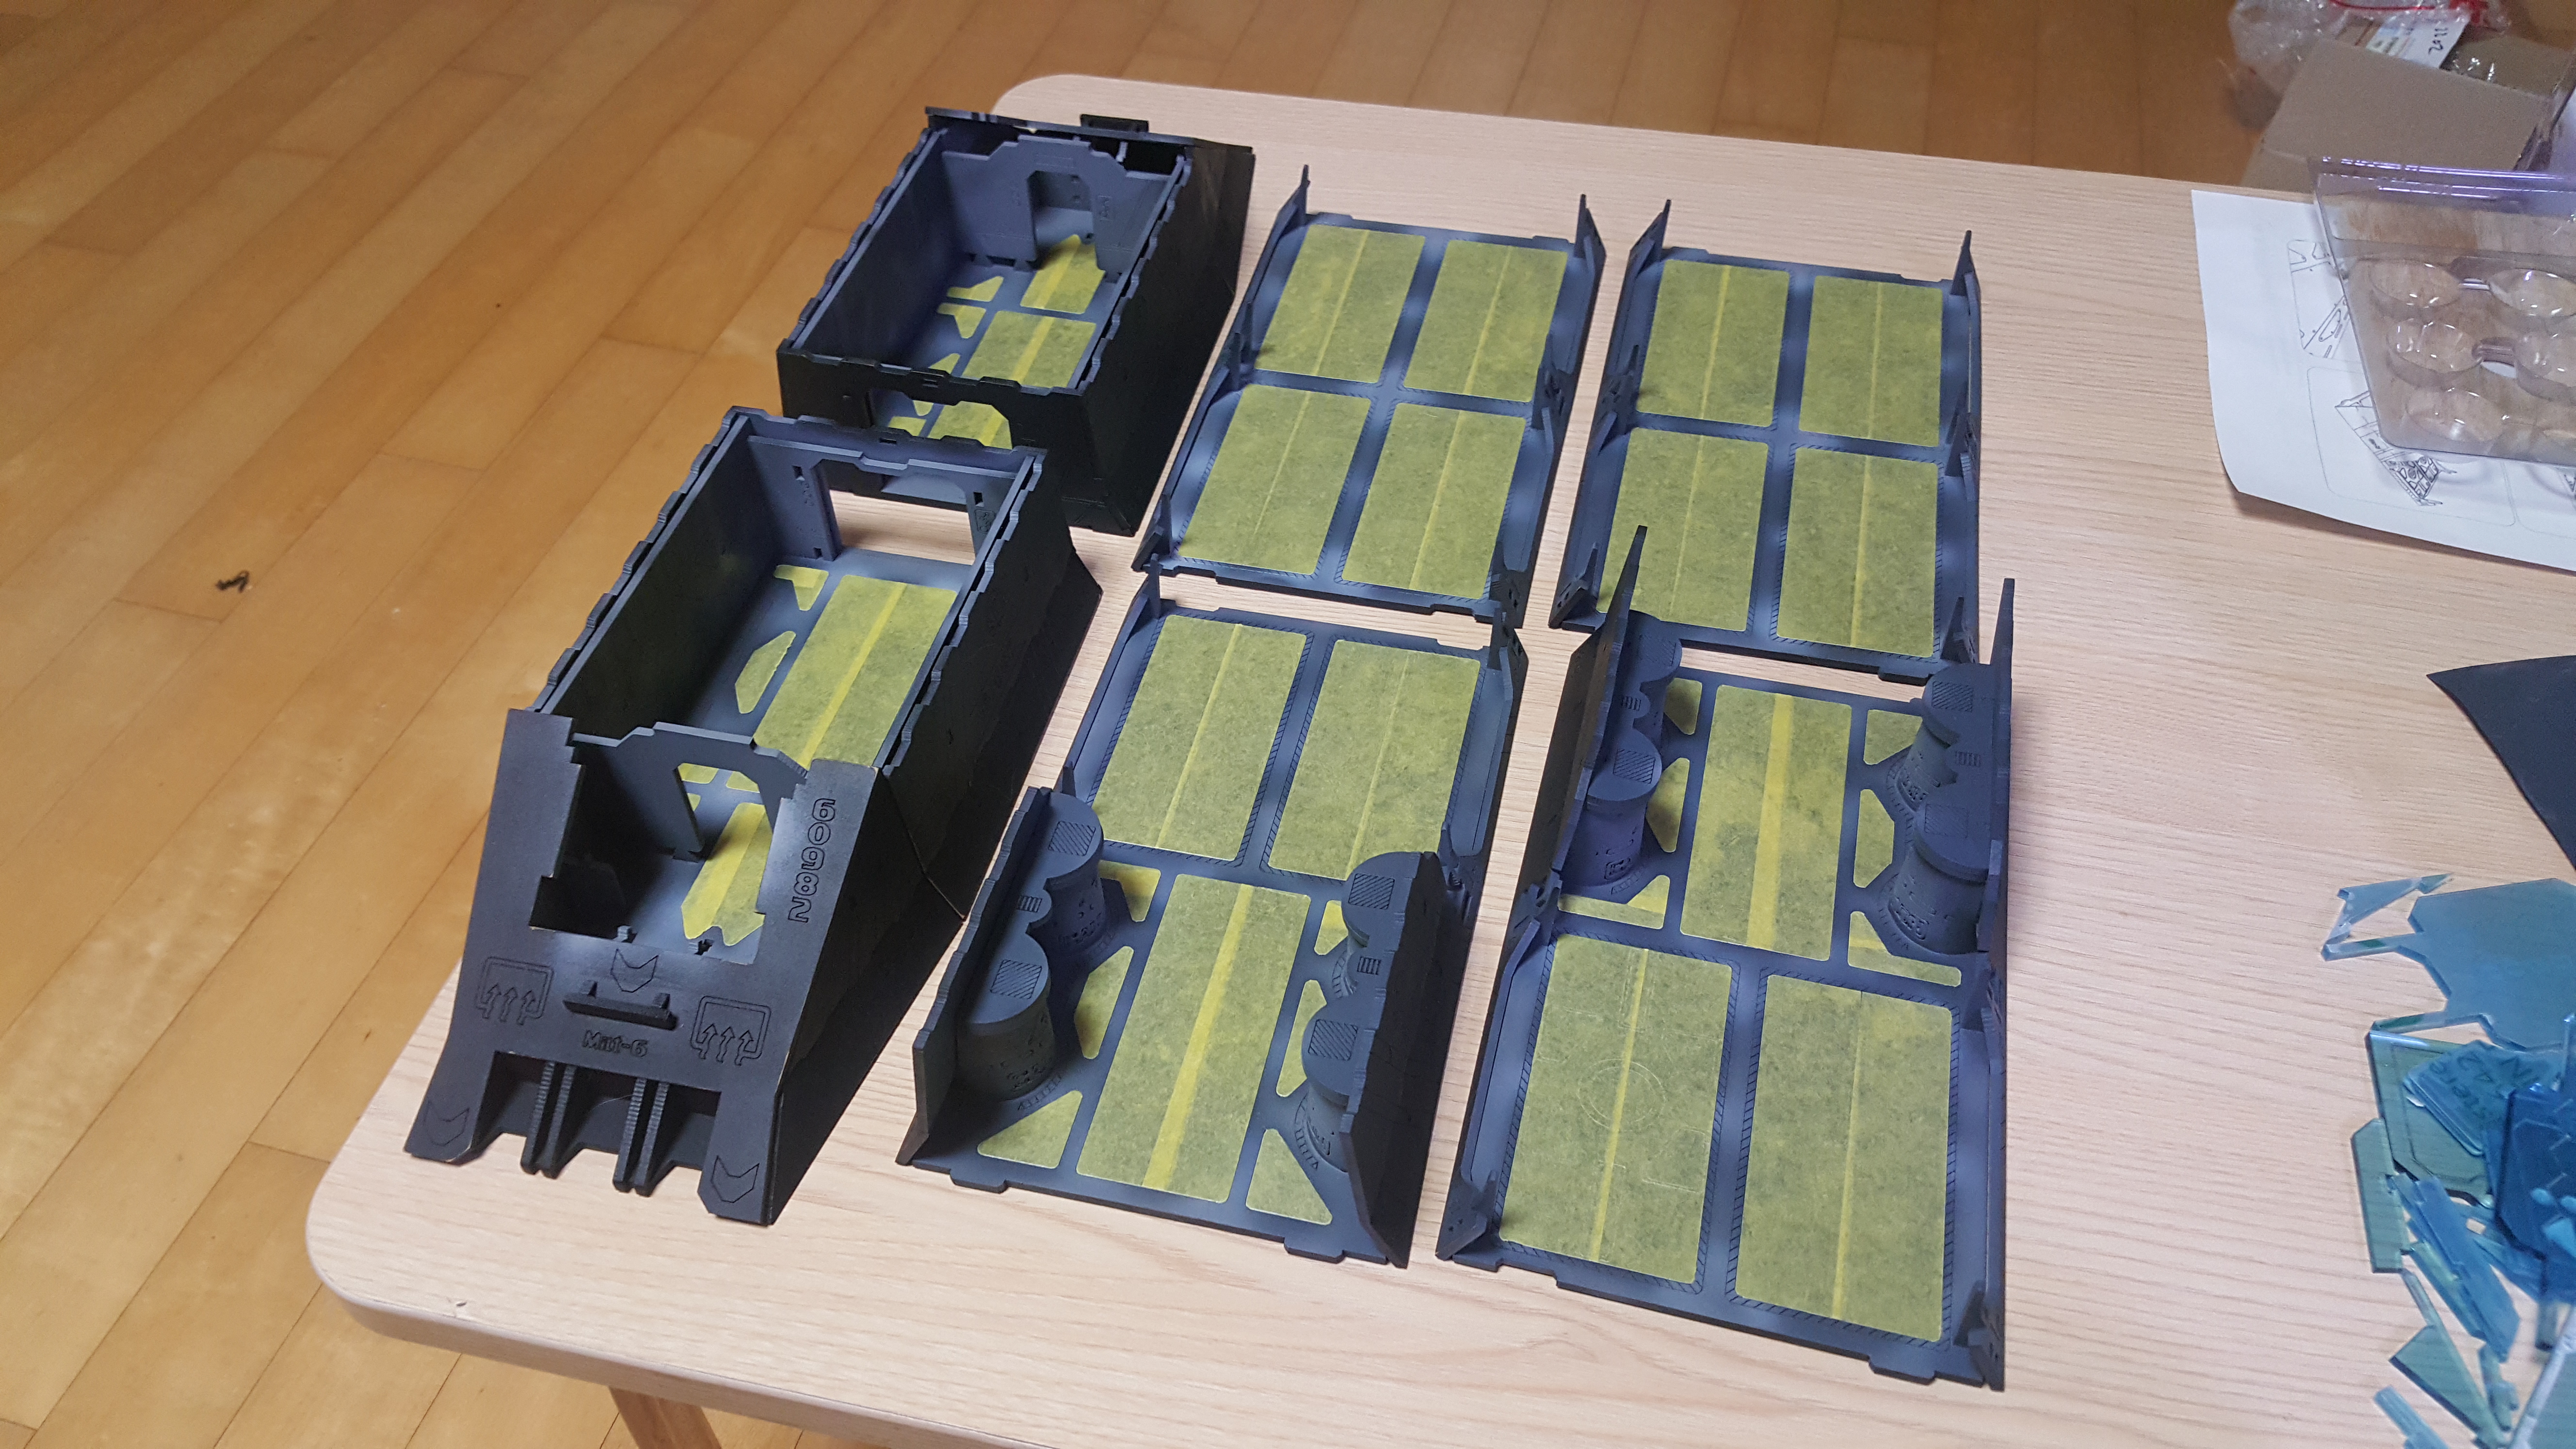 I then masked the painted areas to help make further painting easier, and reduce the amount of repainting I have to do. I basically planed to work out from the details, then later to the main hull colours.
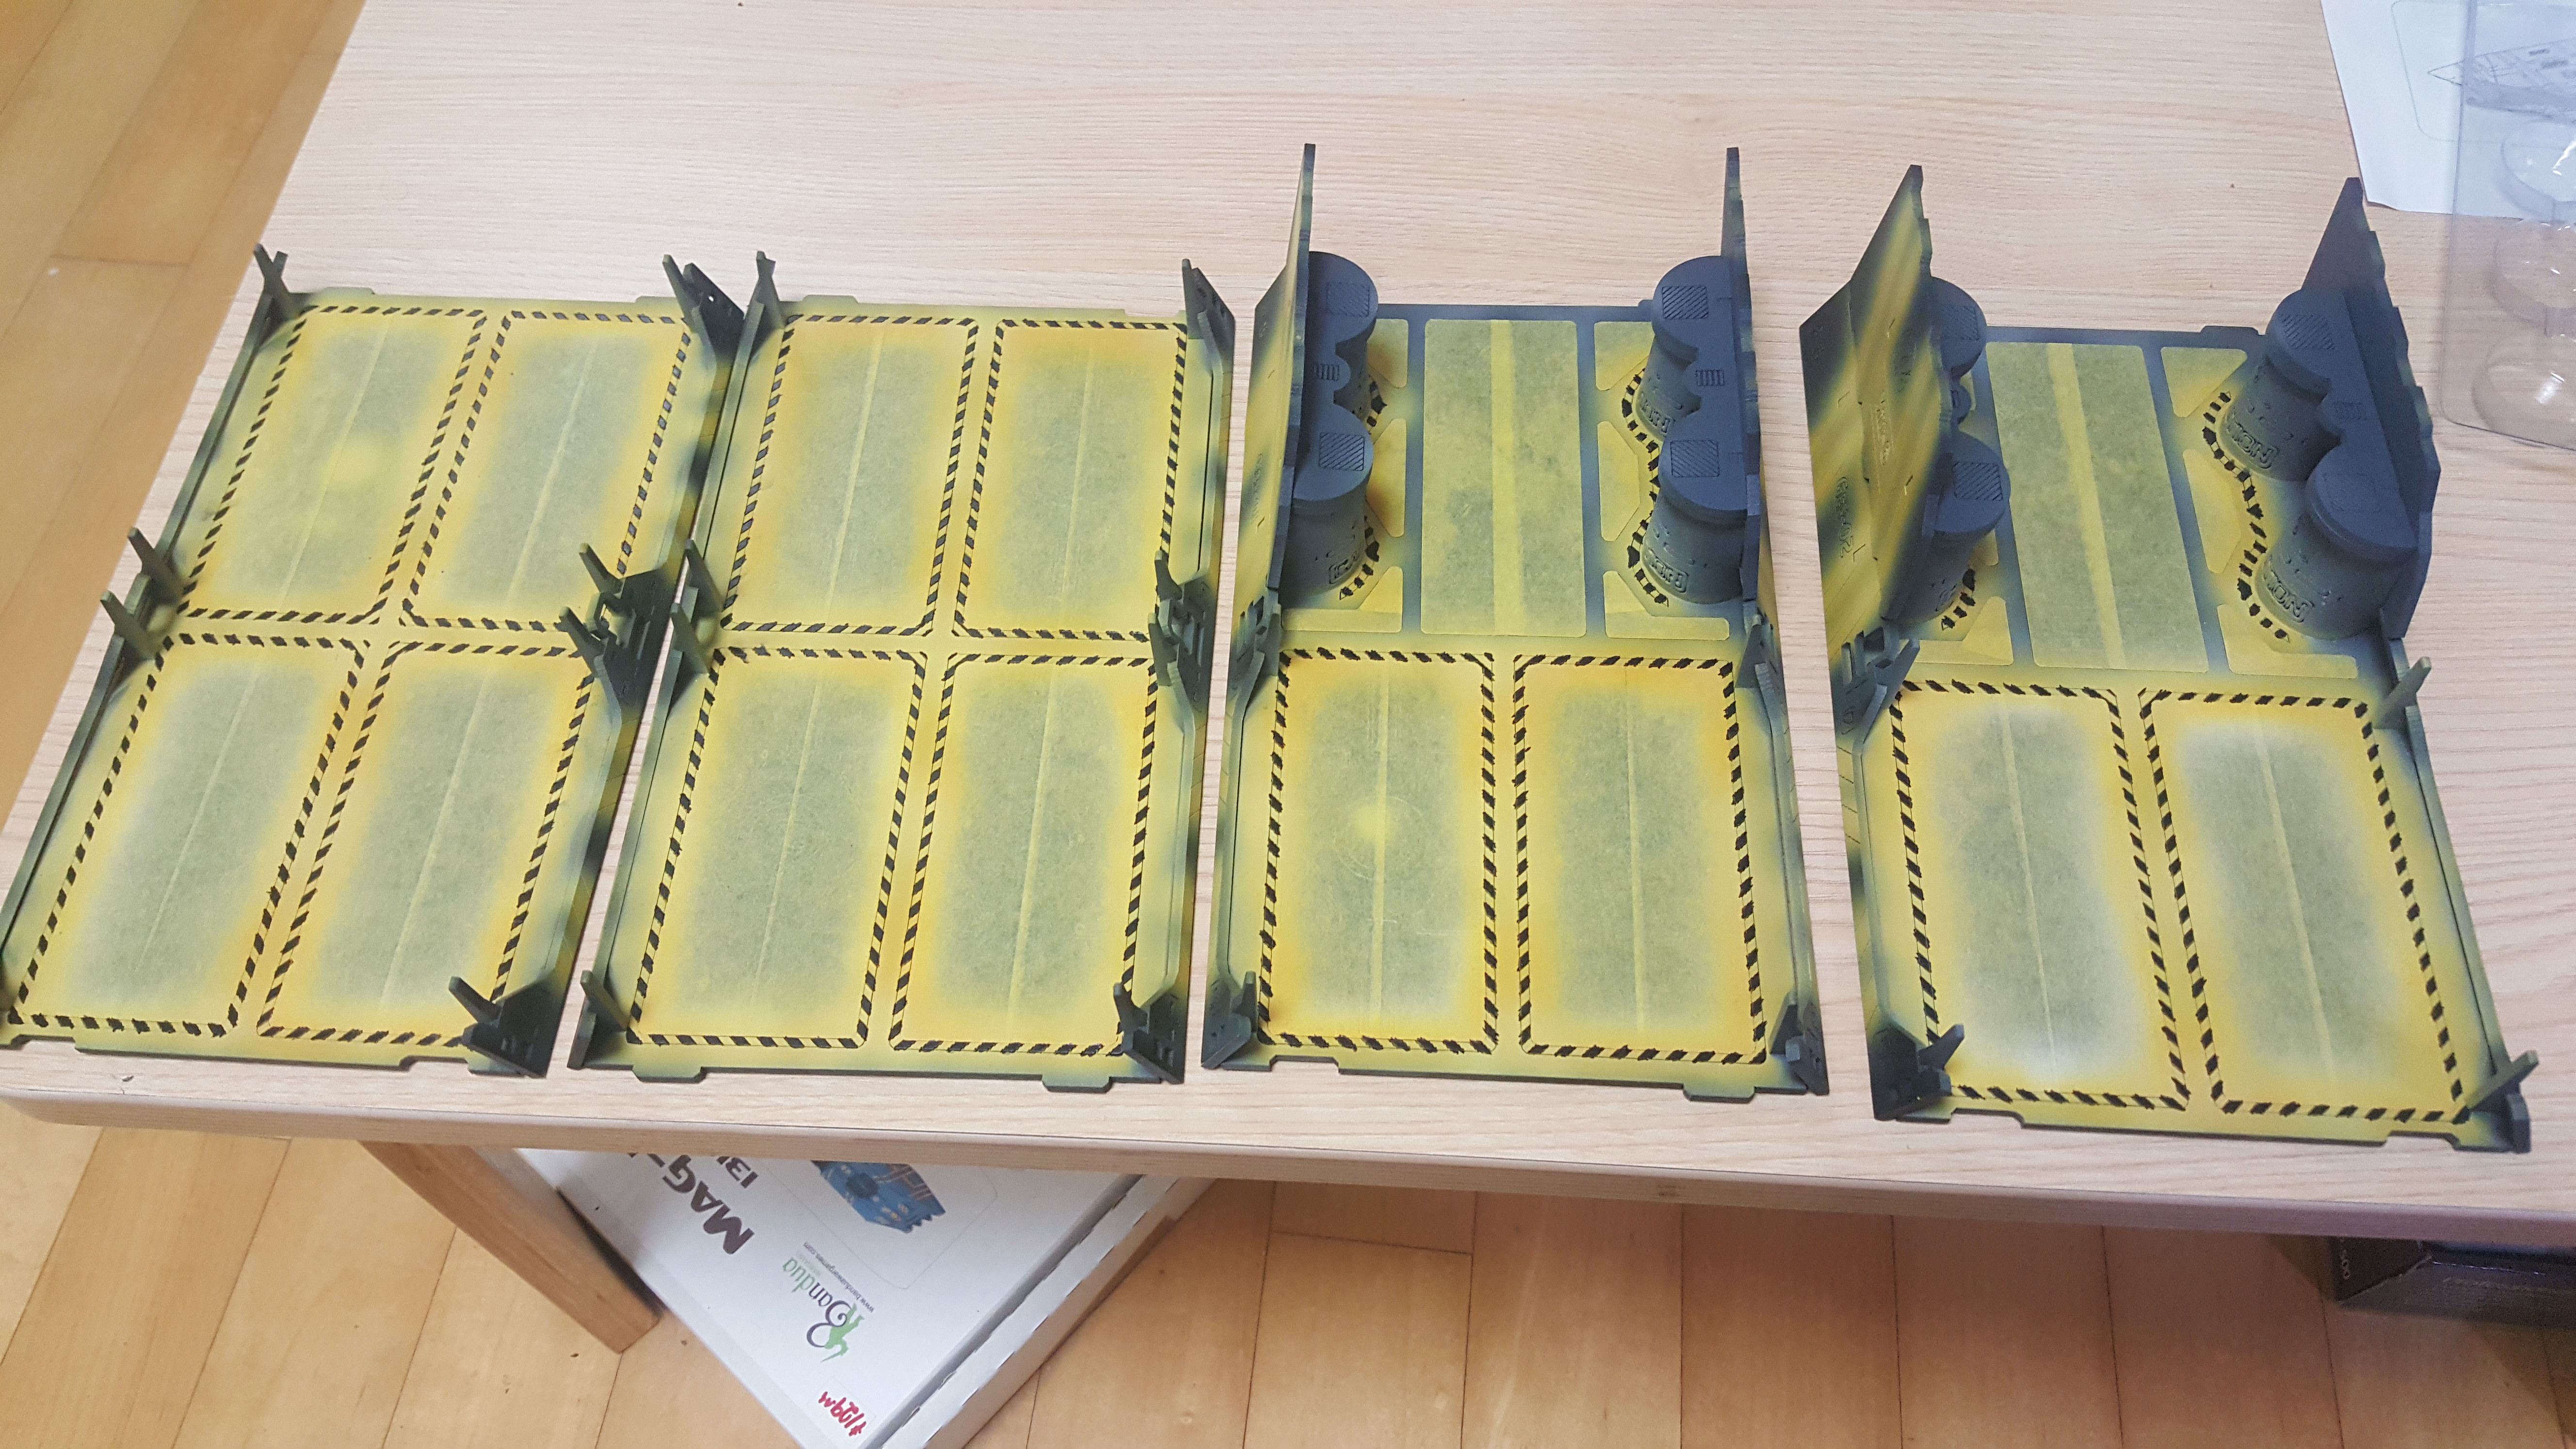 Finally, I painted all of the hazard stripes in the cargo area. This took me quite awhile. I chose to airbrush the yellow, because there was NO WAY I was going to hand paint that much yellow. I then went back and hand painted the black in the hazard stripes, as black will easily go over yellow. I had to be fairly careful with this. It may look messy but further masking and painting will clean up the look.
Final thoughts:
I am very happy with how well adding a 50/50 mix of PVA and water to the model helped with the issue of MDF soaking up paint. This is far easier to paint because of that, and is just like painting on other materials now.
That being said, in the future I would do this order:
- Cover all the pieces in 50/50 Water and PVA mix.
- After drying, sand all the pieces nice and smooth!
- Assemble the MDF model.
- Apply another Water and PVA layer.
- Prime the model.
Doing things in this order would likely result in a much better surface finish, and ease of painting. Any future MDF projects will be done like that.


![Play WW2 Commando Operations With Butcher & Bolt [Updated]](https://images.beastsofwar.com/2026/03/relaunch-600-338.jpg)


