


![NO Weekender Or Cult Of Games XLBS This Weekend [Updated]](https://images.beastsofwar.com/2026/03/No_Weekender_and_XLBS_this_Weekend-225-127.jpg)


Delicious Desert table


Recommendations: 23
About the Project
Hello! This project is about creating a desert table from scratch without spending a fortune. Enjoy!
Related Genre: General
This Project is Completed
Step 1. Collect underpants, or why I am doing a desert table.
Greetings!
So a breif rundown of what this project is and why I am doing it.
So I decided I wanted to do a table that would be fairly quick and easy and could accomodate a range of games and genres (darklands, spectre ops, 7tv, infinity etc.) It also had to be cheap and made from materials I could just run down to bunnings and grab (Bunnings: Aussie hardware store where allegedly lowest prices are guaranteed).
I will be going into detail about each step, what I am doing/using and why so hopefully, if you like the end result you can go about making your own. 🙂
Step 2. Ingredients
Hello again!
Lets get straight to the biscuits. Before you can make the table you’ll need a few things:
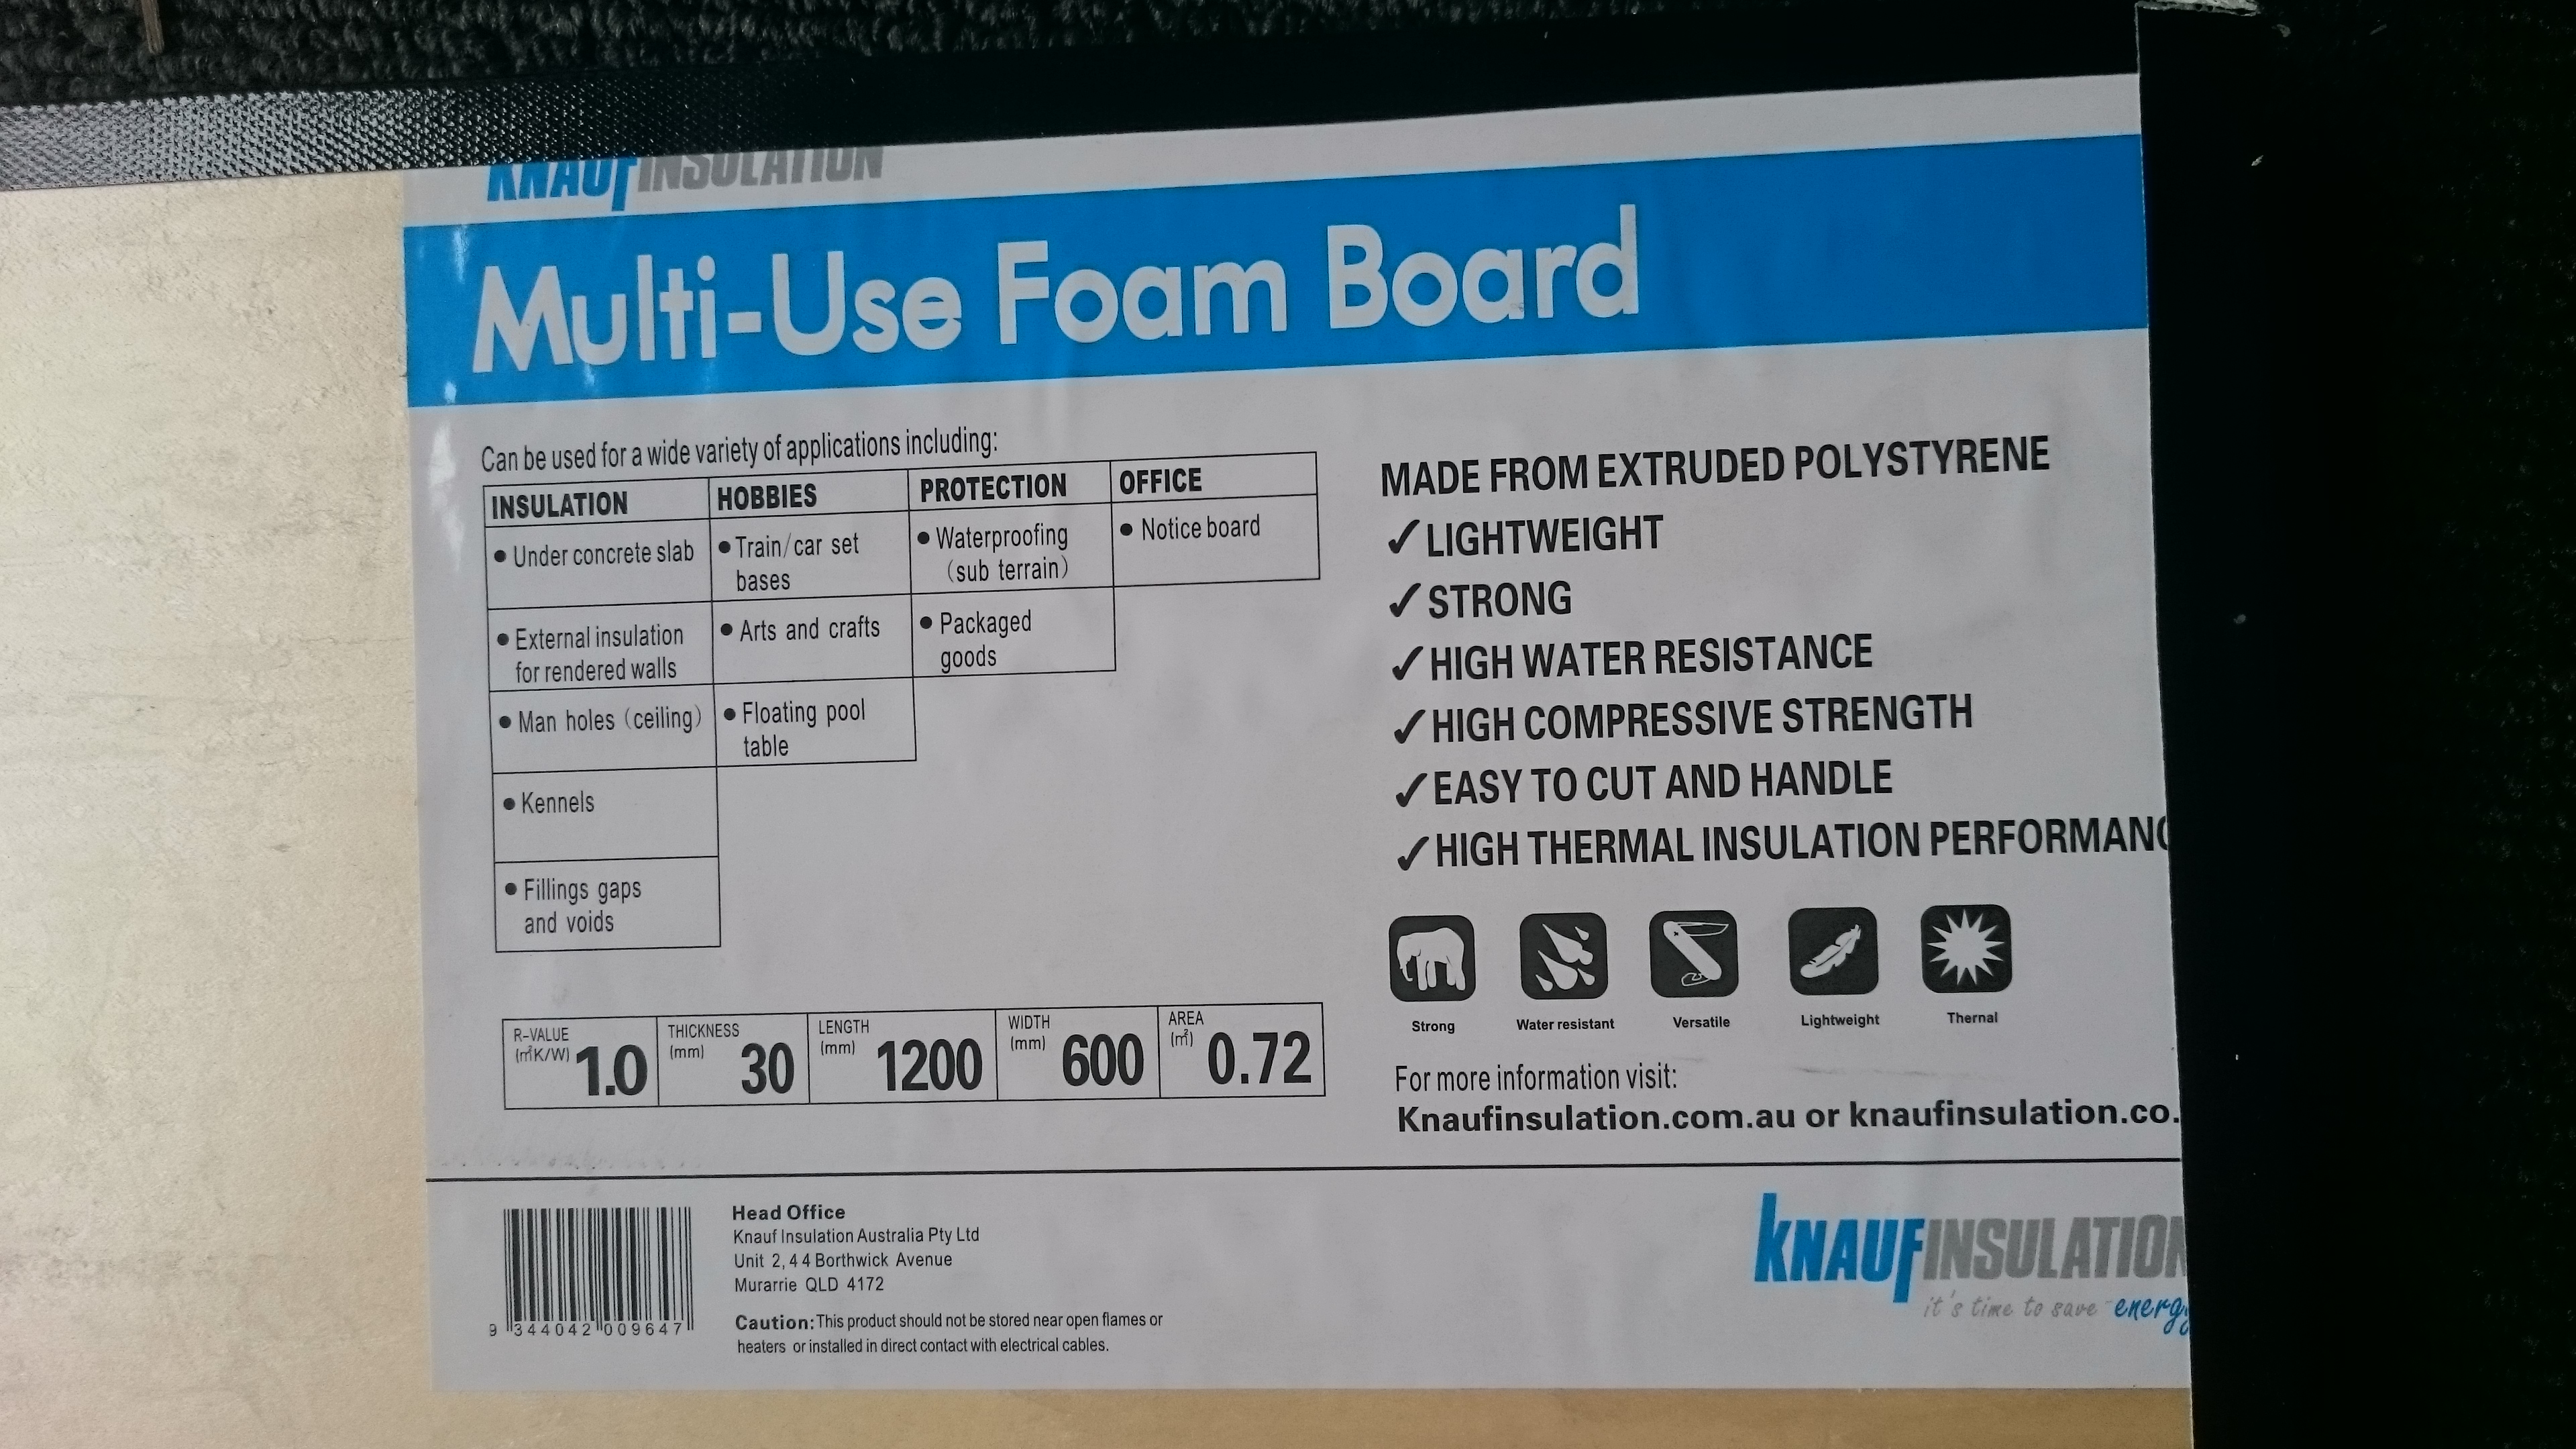
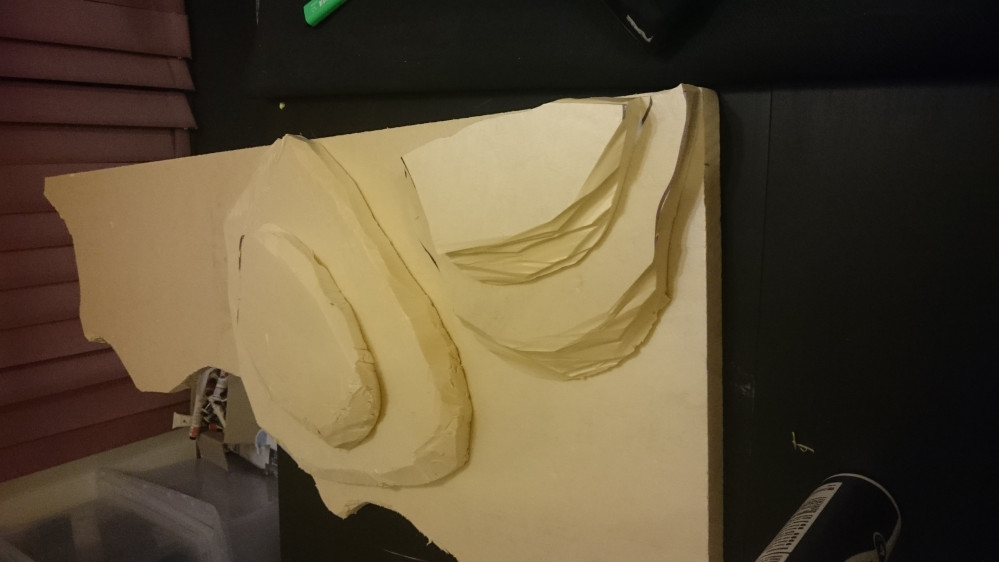
For the base I am using insulation foam.
I chose this as it is lighter than MDF and as it won’t need to be modular (unlike a city table for example) I don’t need to cut them.
The pieces I got are 1200mm X 600mm. Perfect size.
I bought four sheets (at about $12 each), three for the table itself allowing me to make a 4×4 or 6×4 surface. The fourth sheet will be used for making some Hills.
Other essentials are:
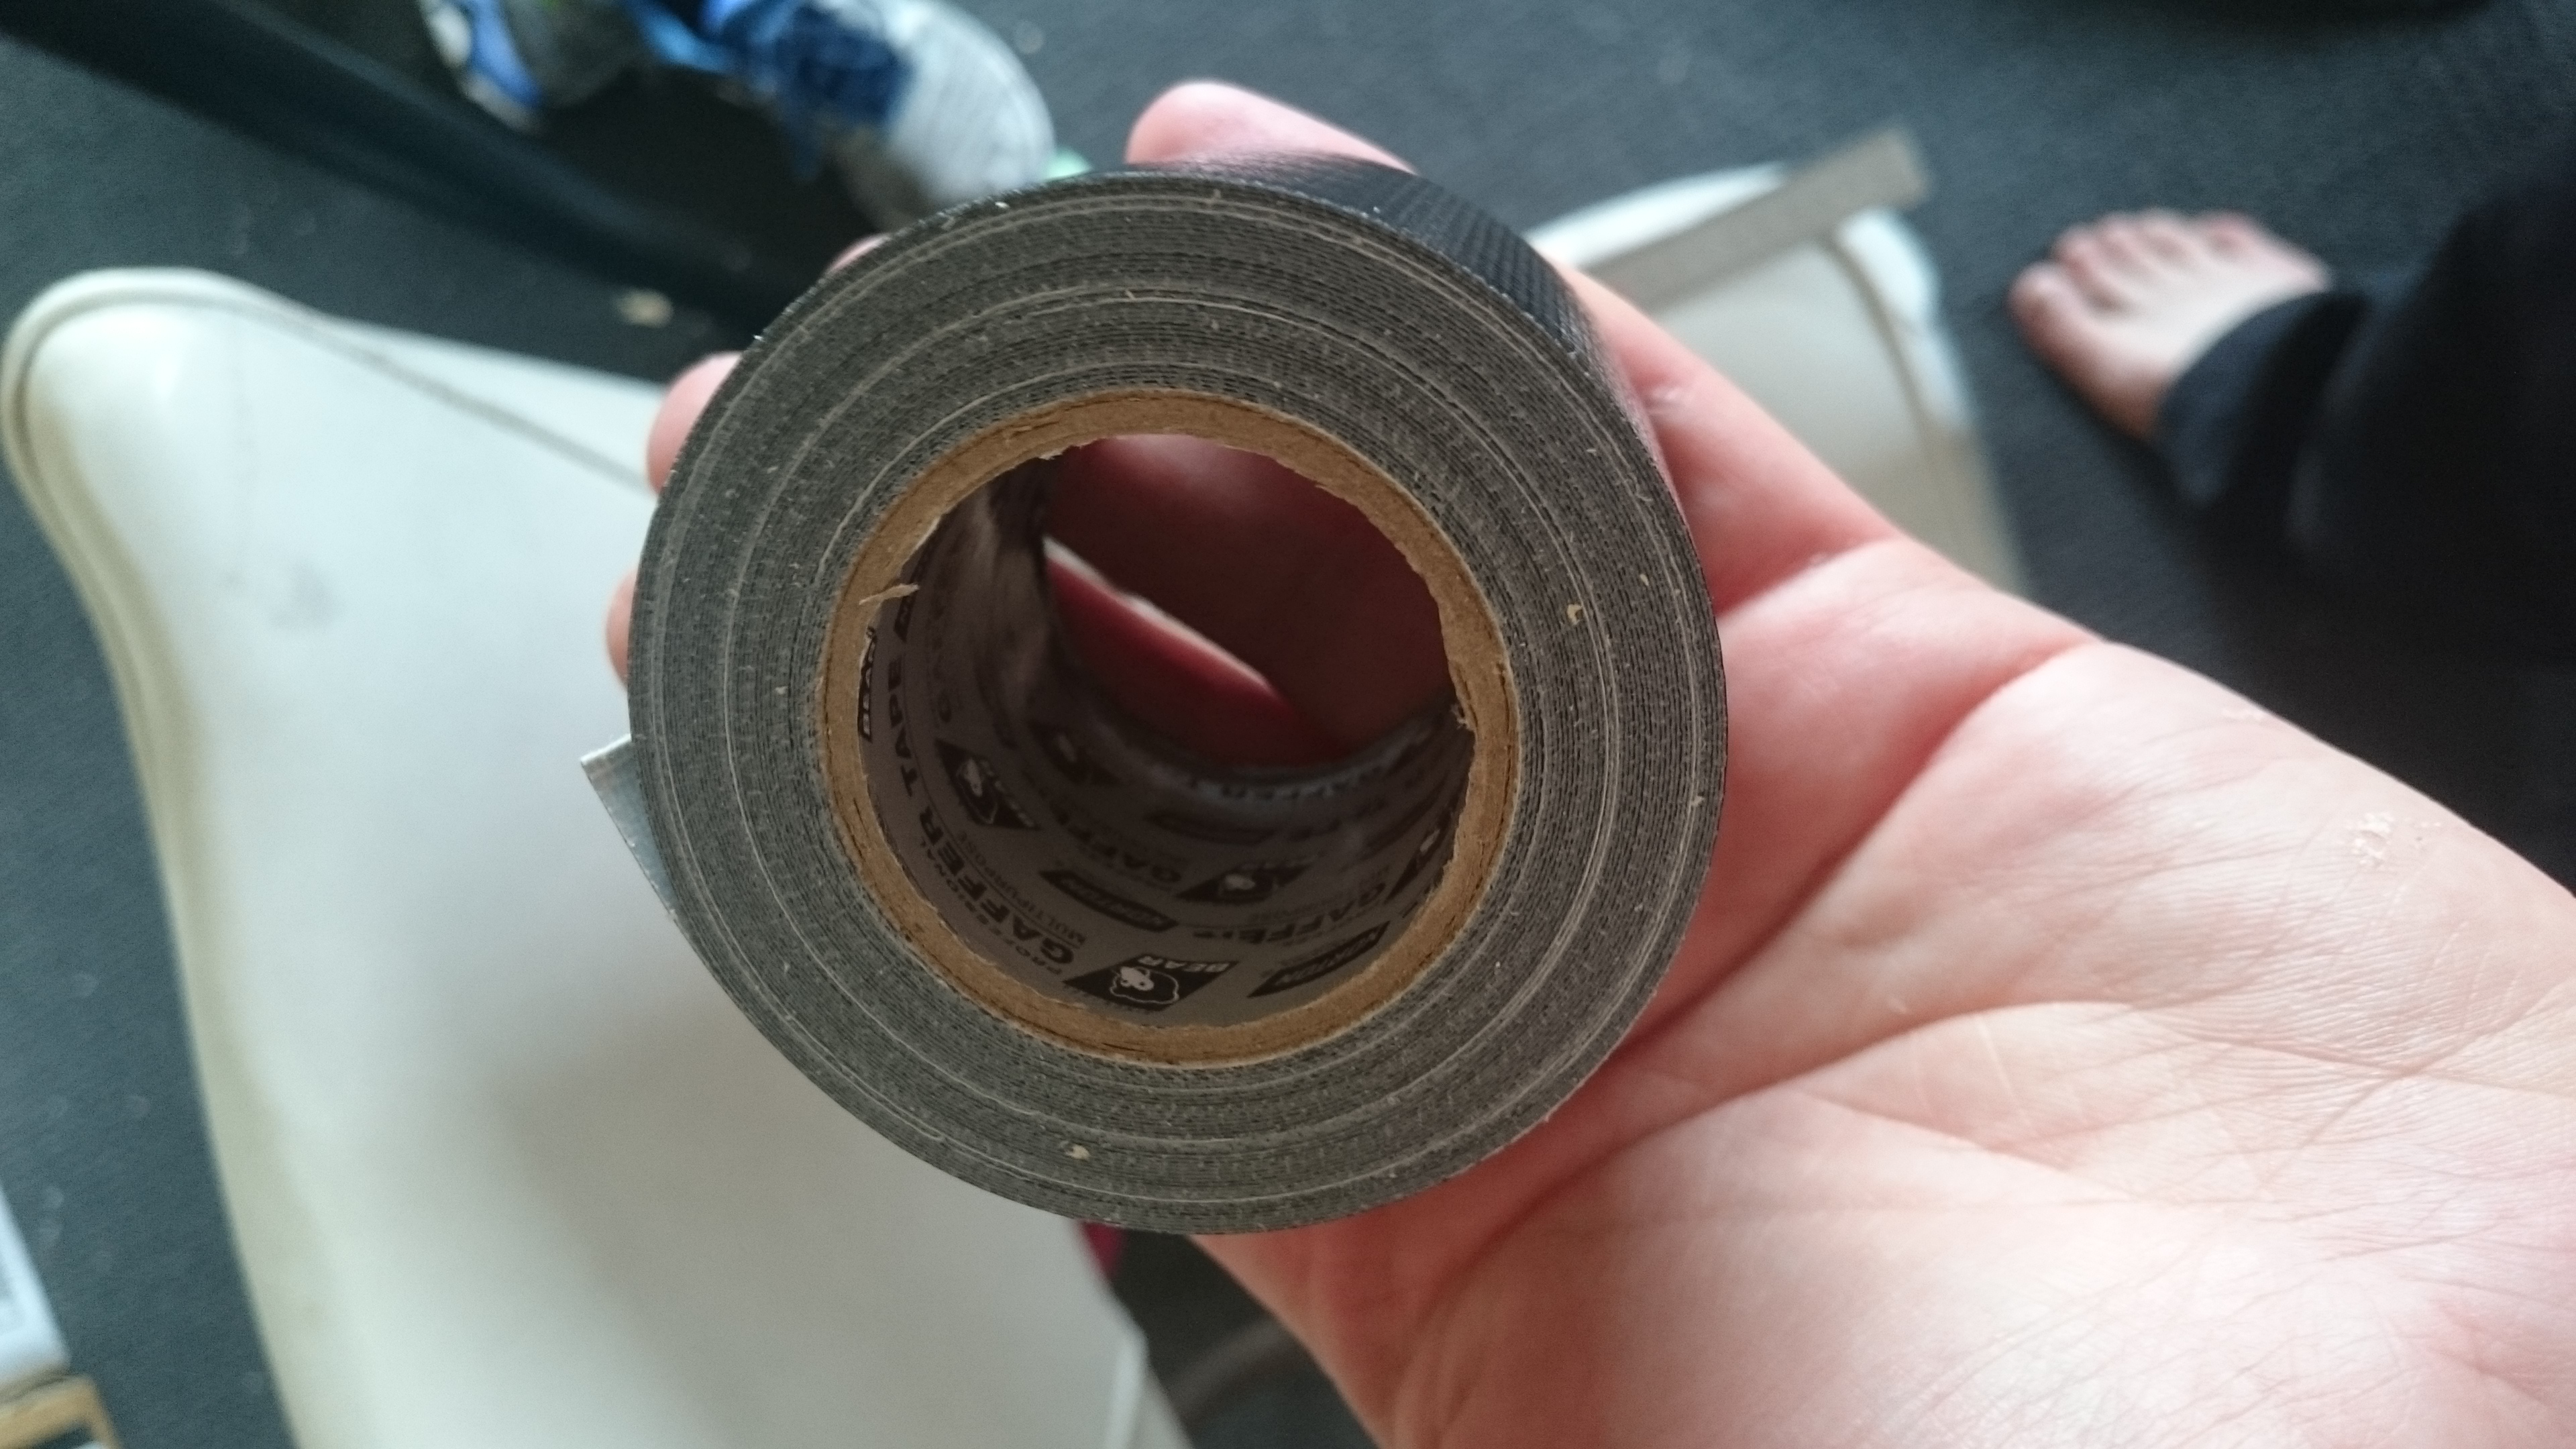
- Gaffer tape
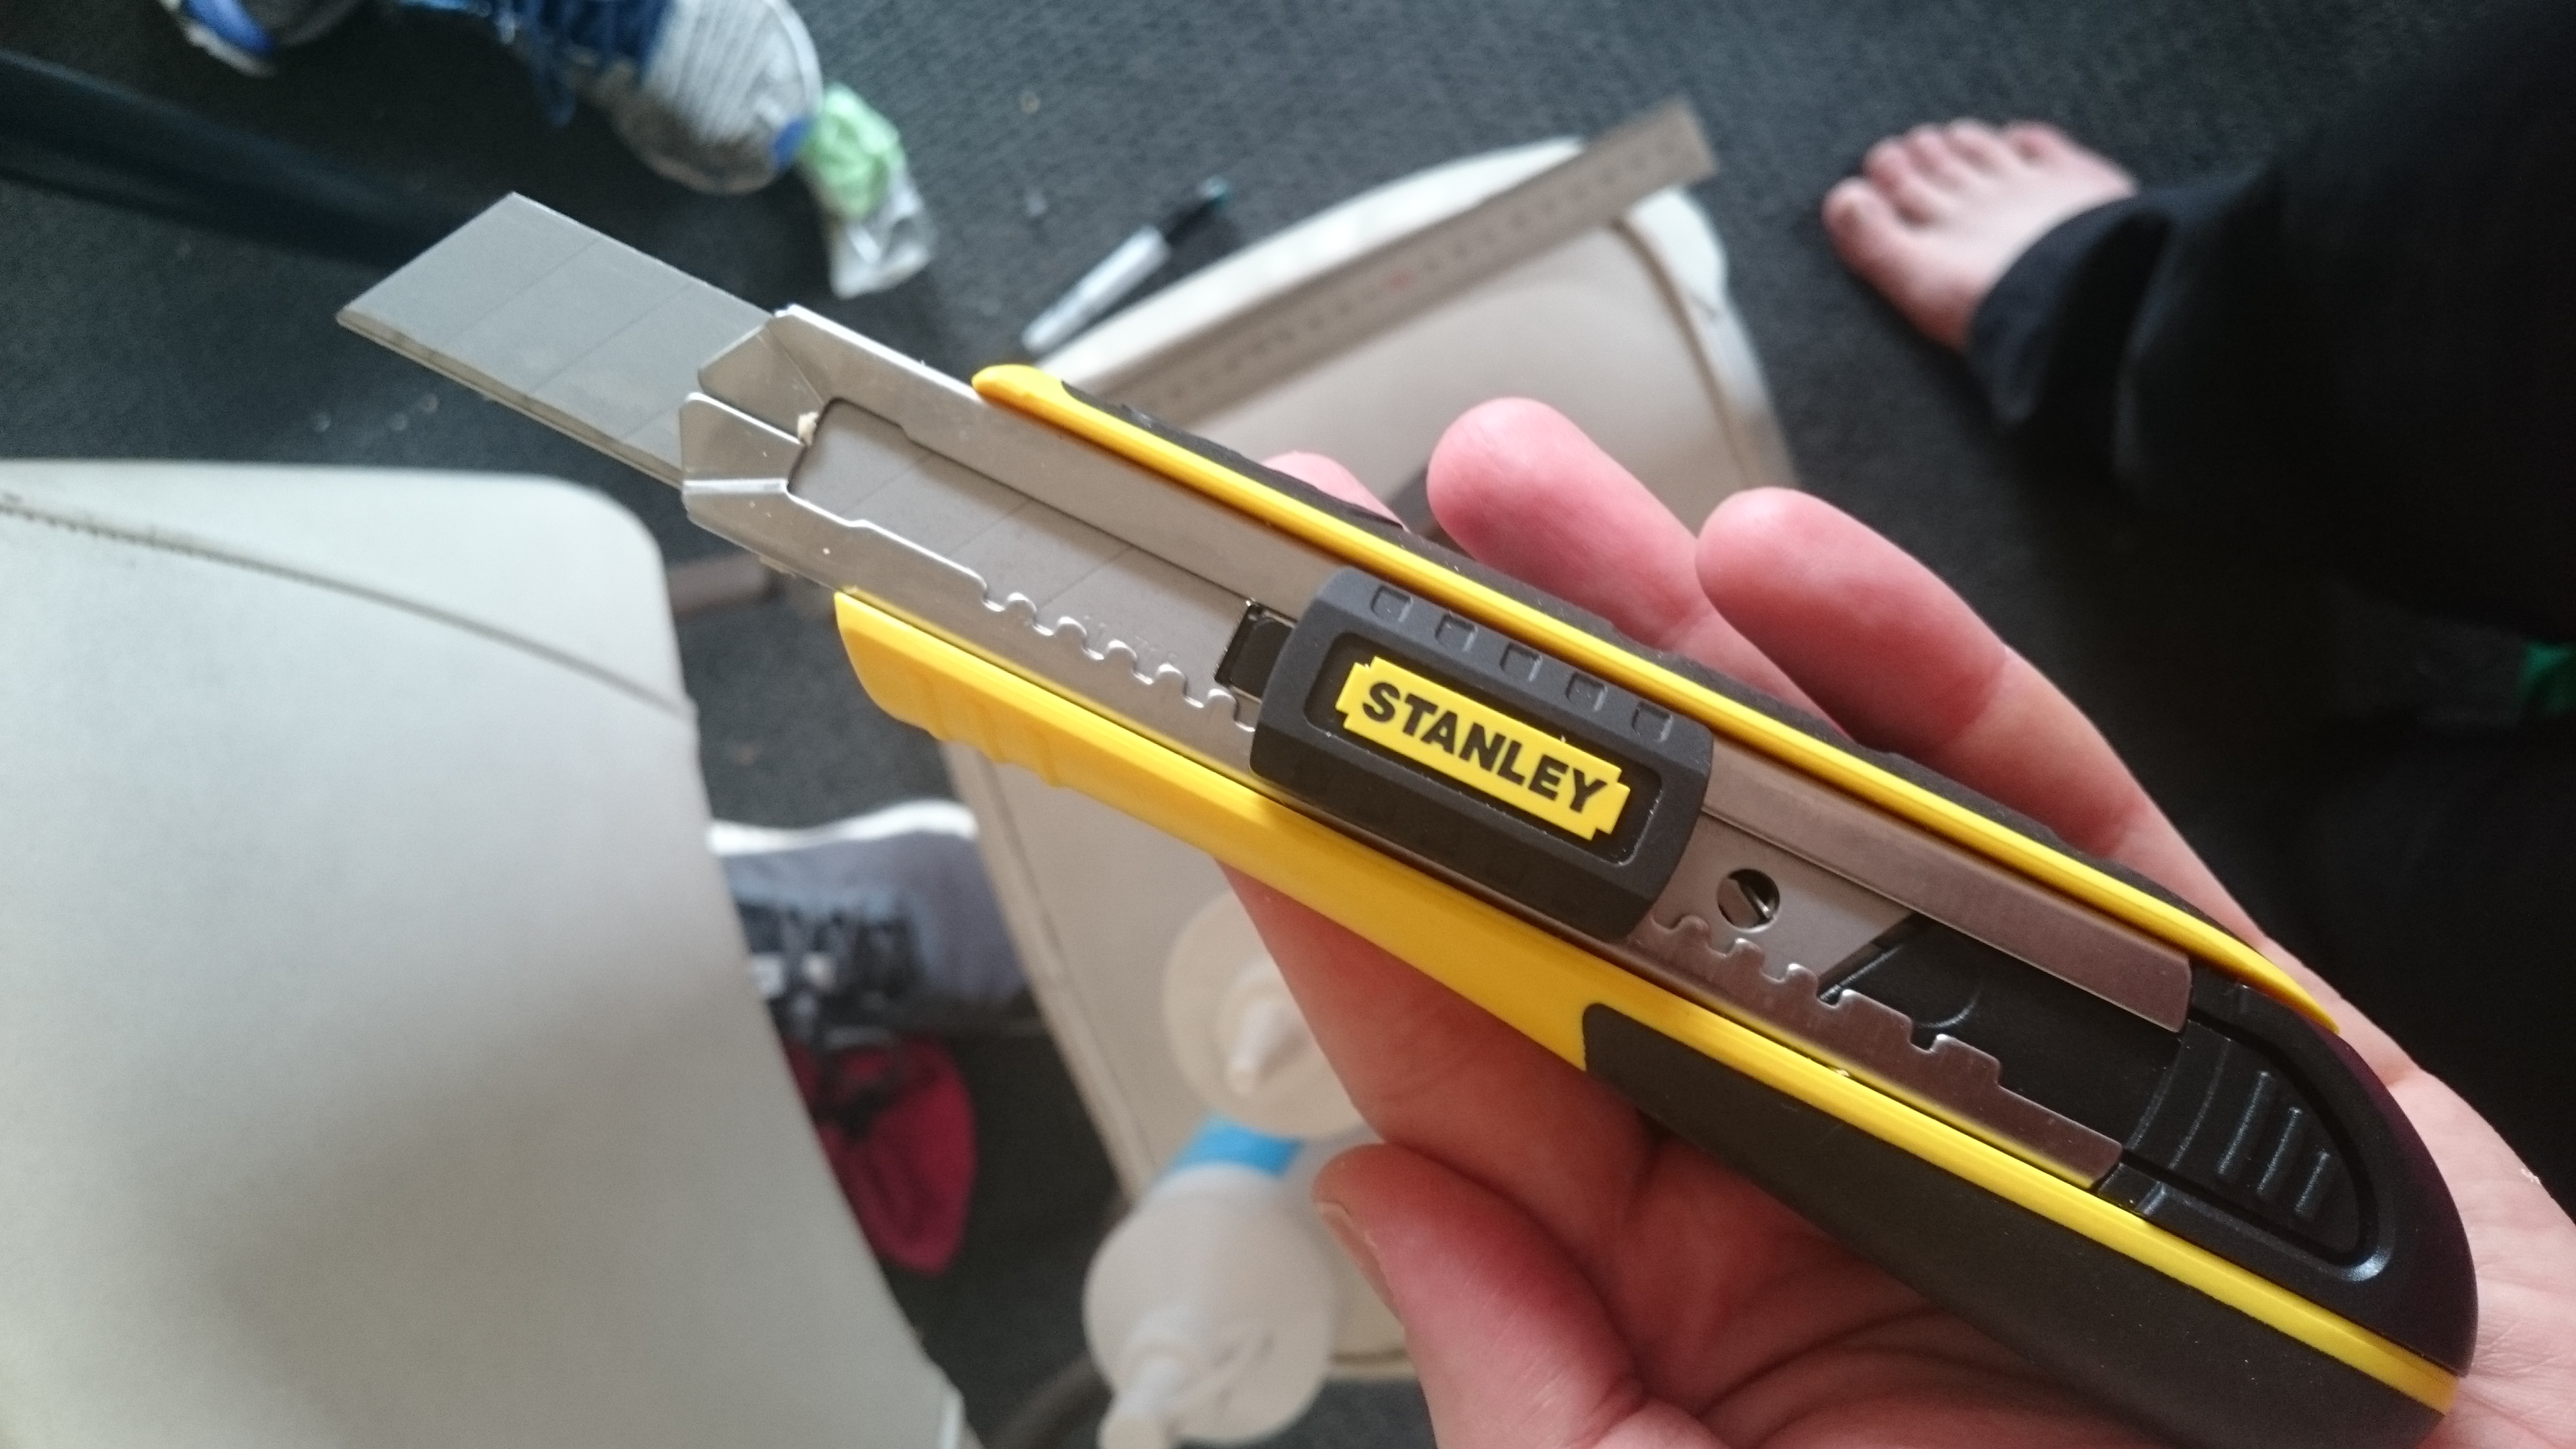
- Stanley knife
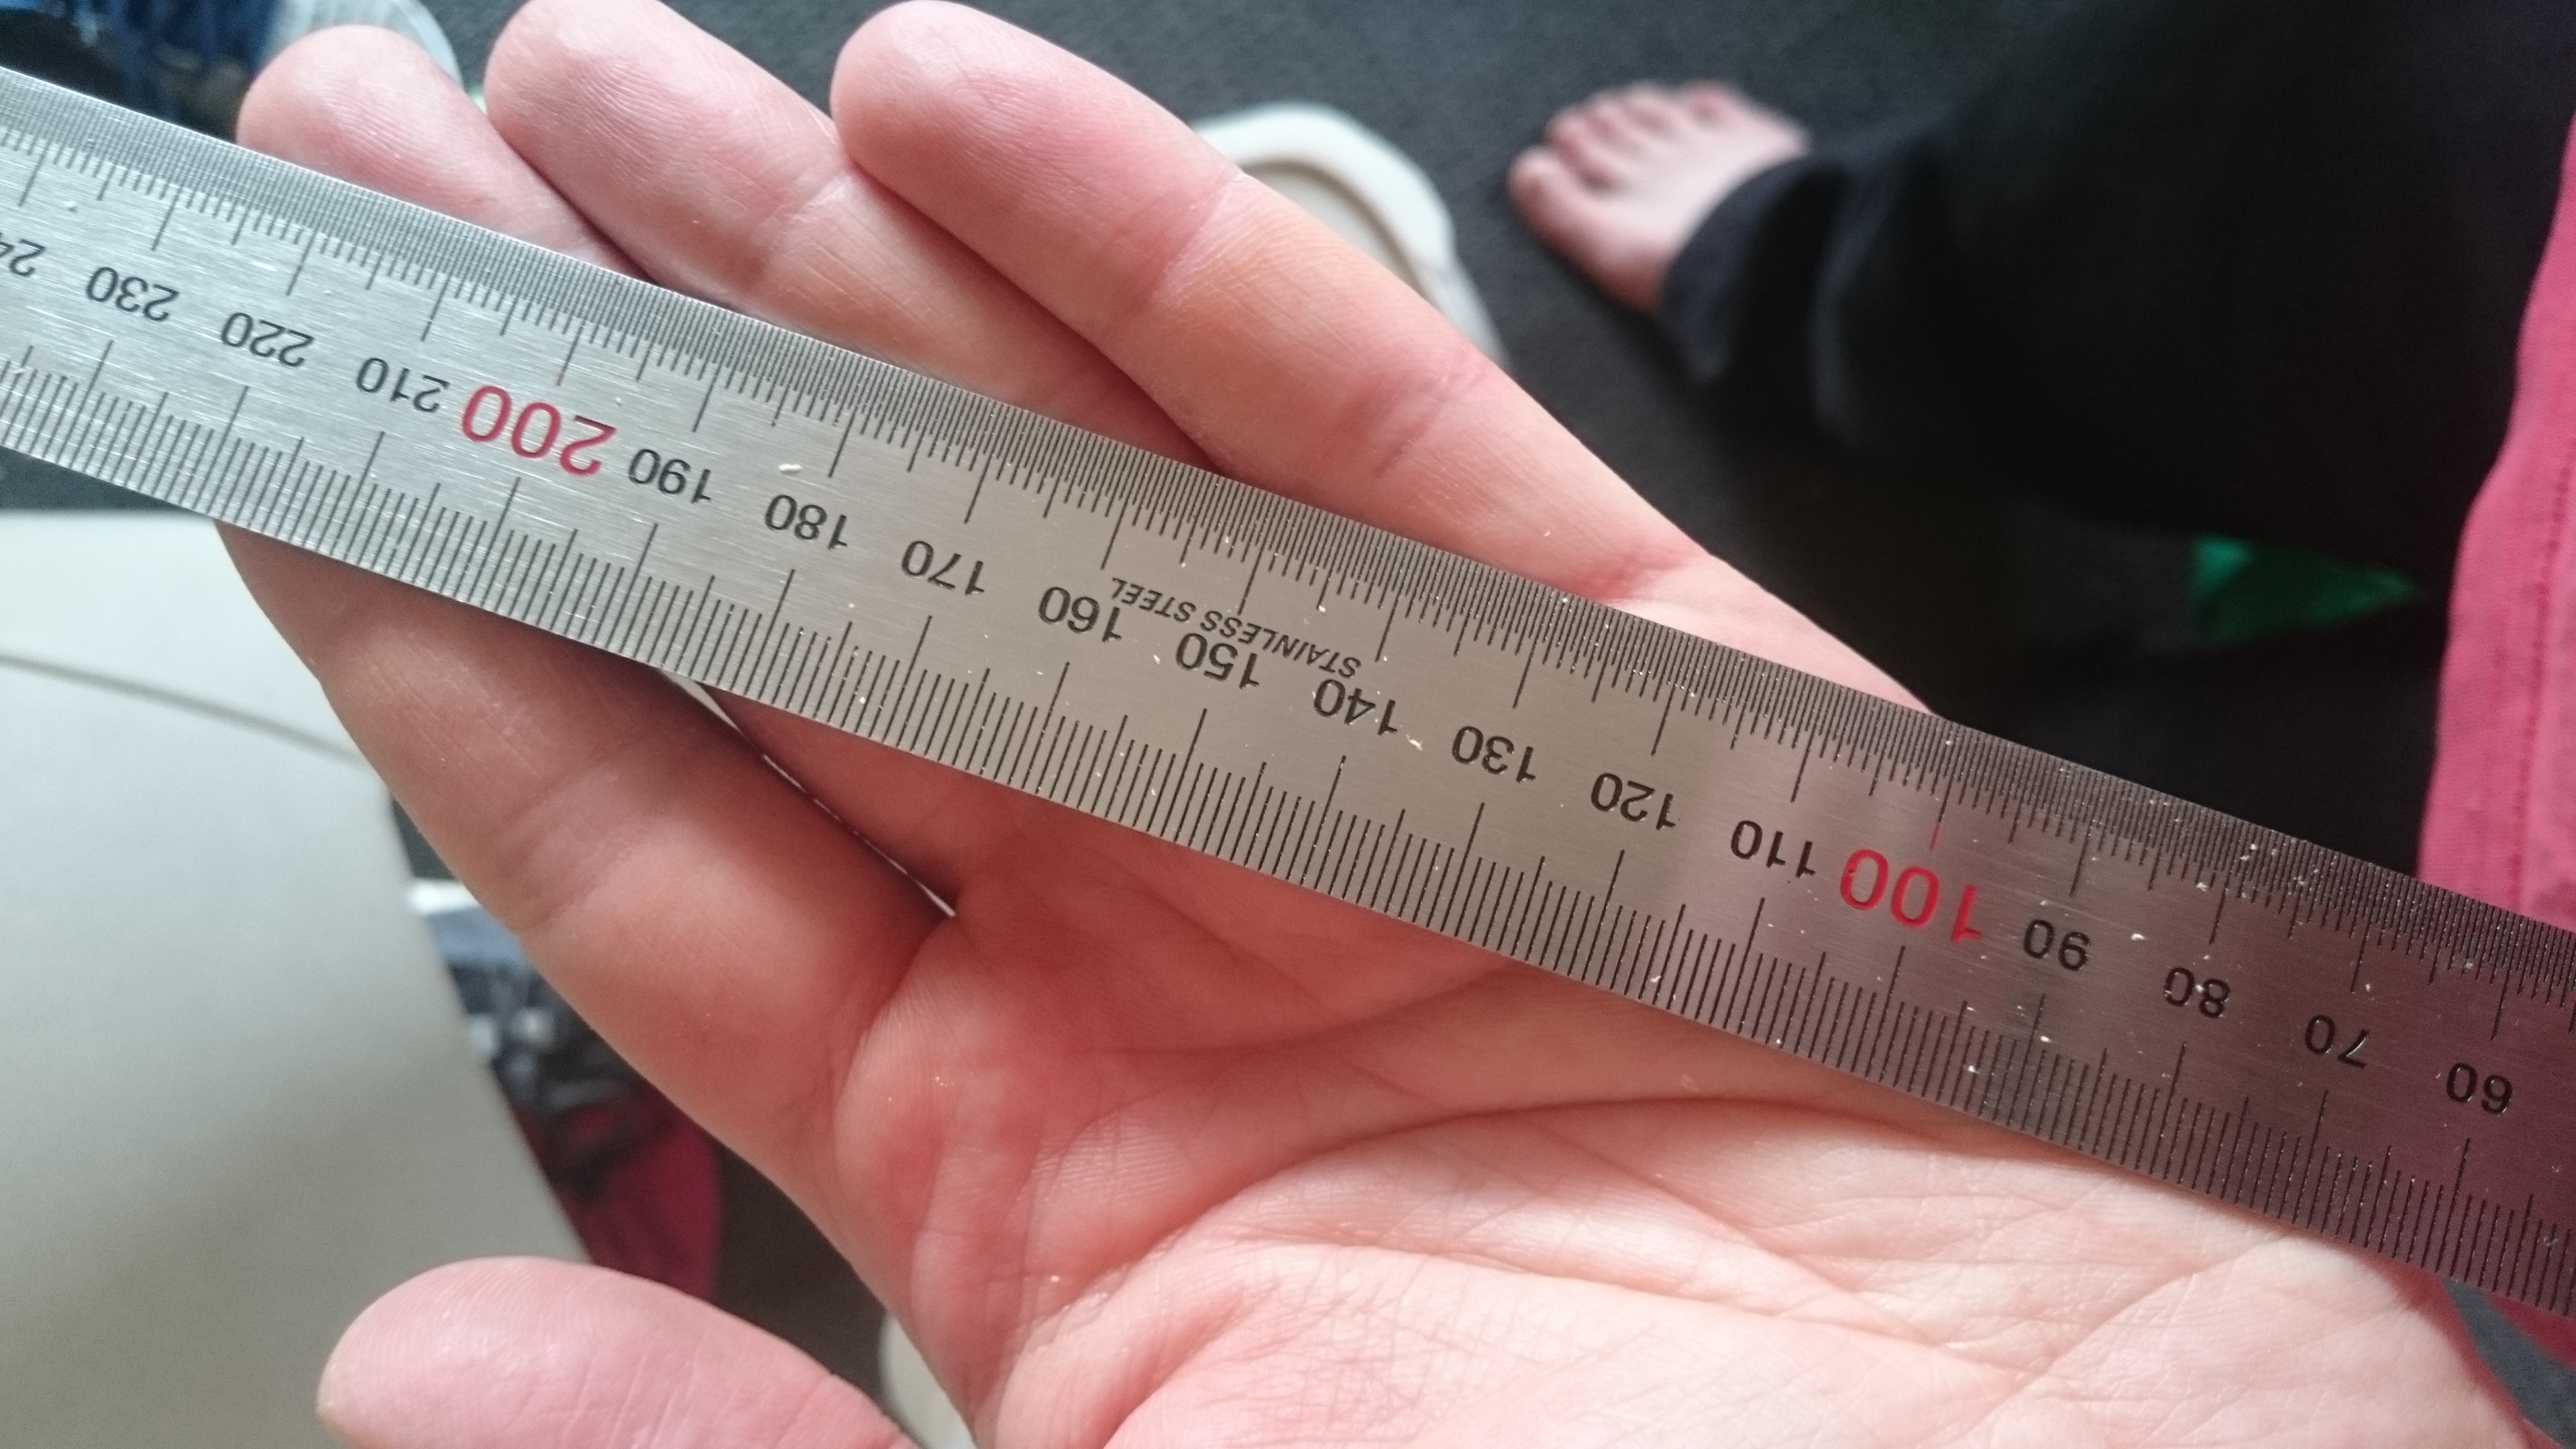
- Metal ruler
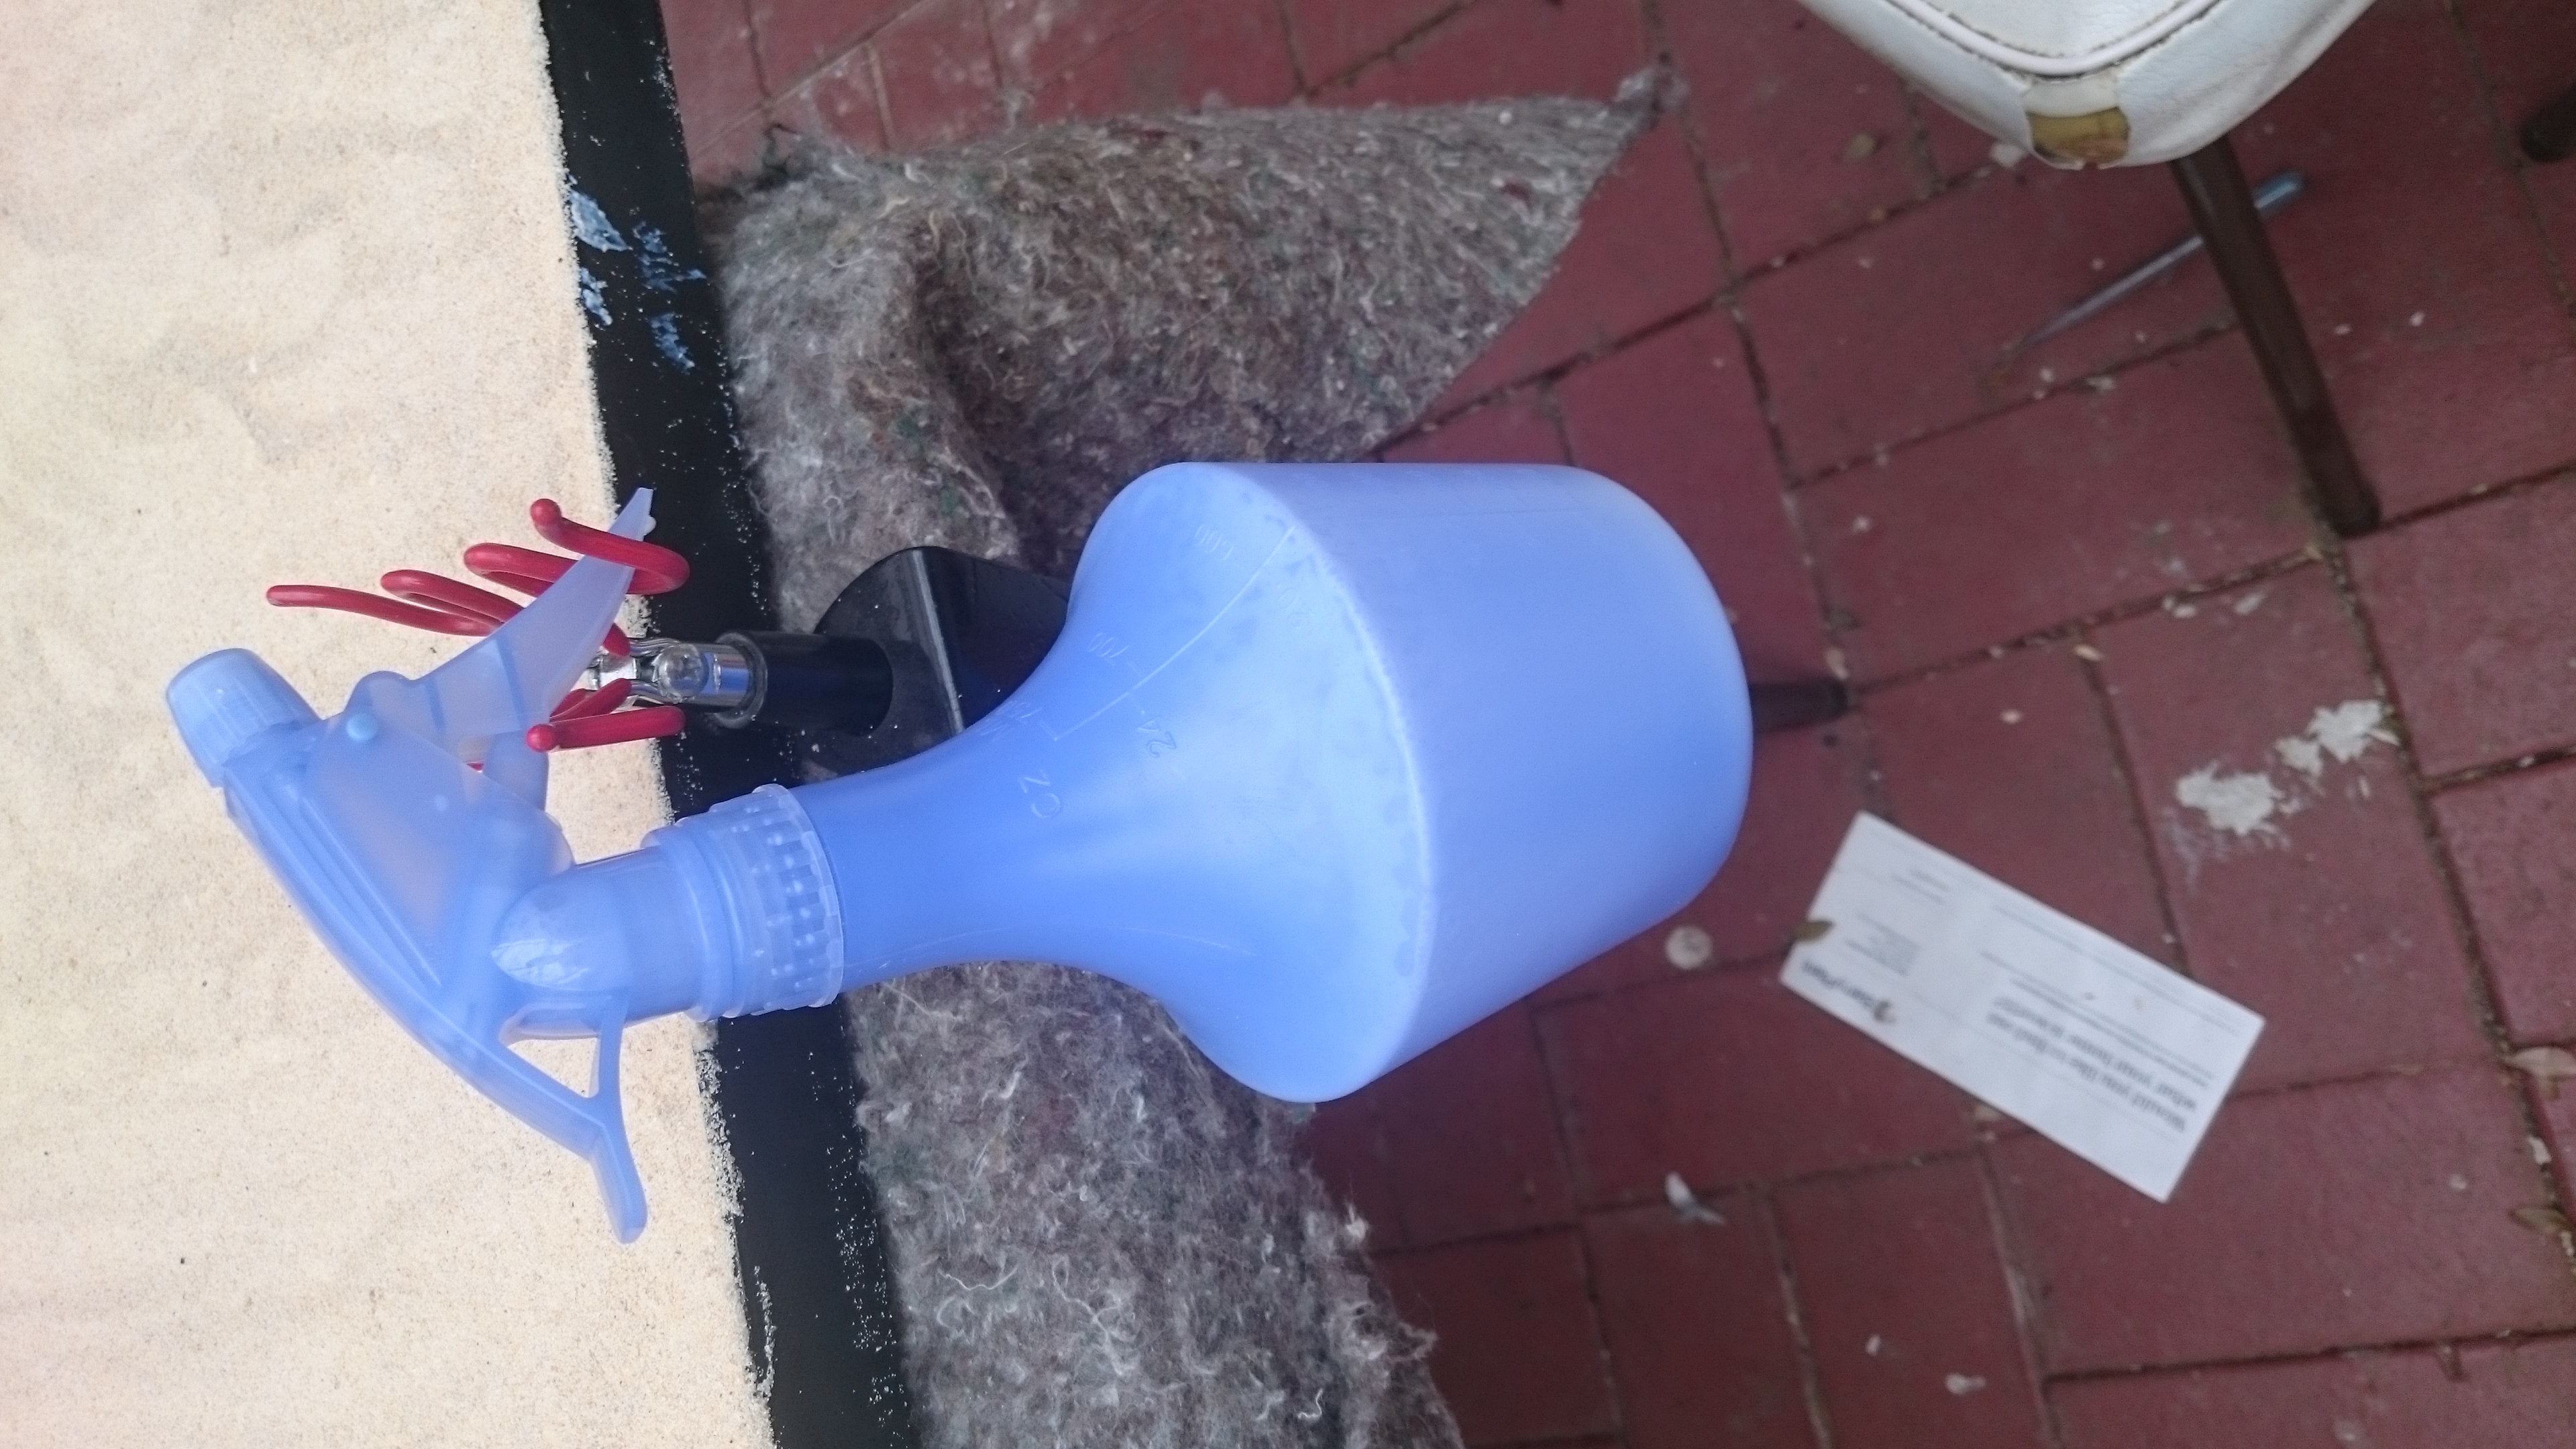
- Spray bottle
- Big container of pva glue
- Sand (kids playground sand is dirt cheap……)
- Paper towel
- A cheap brush
- Spack filler
- A nice coffee
These are all cheap and easy to find. Next time we begin creating!
Step 3. Just deserts
Hello again again.
Now we have all required tools and materials we can start creating.
Firstly I take the three sheets I’ll be using for the playing surface and tape the edges with Gaffer tape.
I did this to help protect the table from damage. Be sure to use a tape with strong adhesion.
Now remember when taping you want it to be as flat as possible, so for long edges tape them in small increments with smaller pieces of tape to have better control.
If you have any flaps of tape or whatnot at the end of it just use Stanley to trim them off. Be careful not to trim your fingers, you’ll need them for this next step.
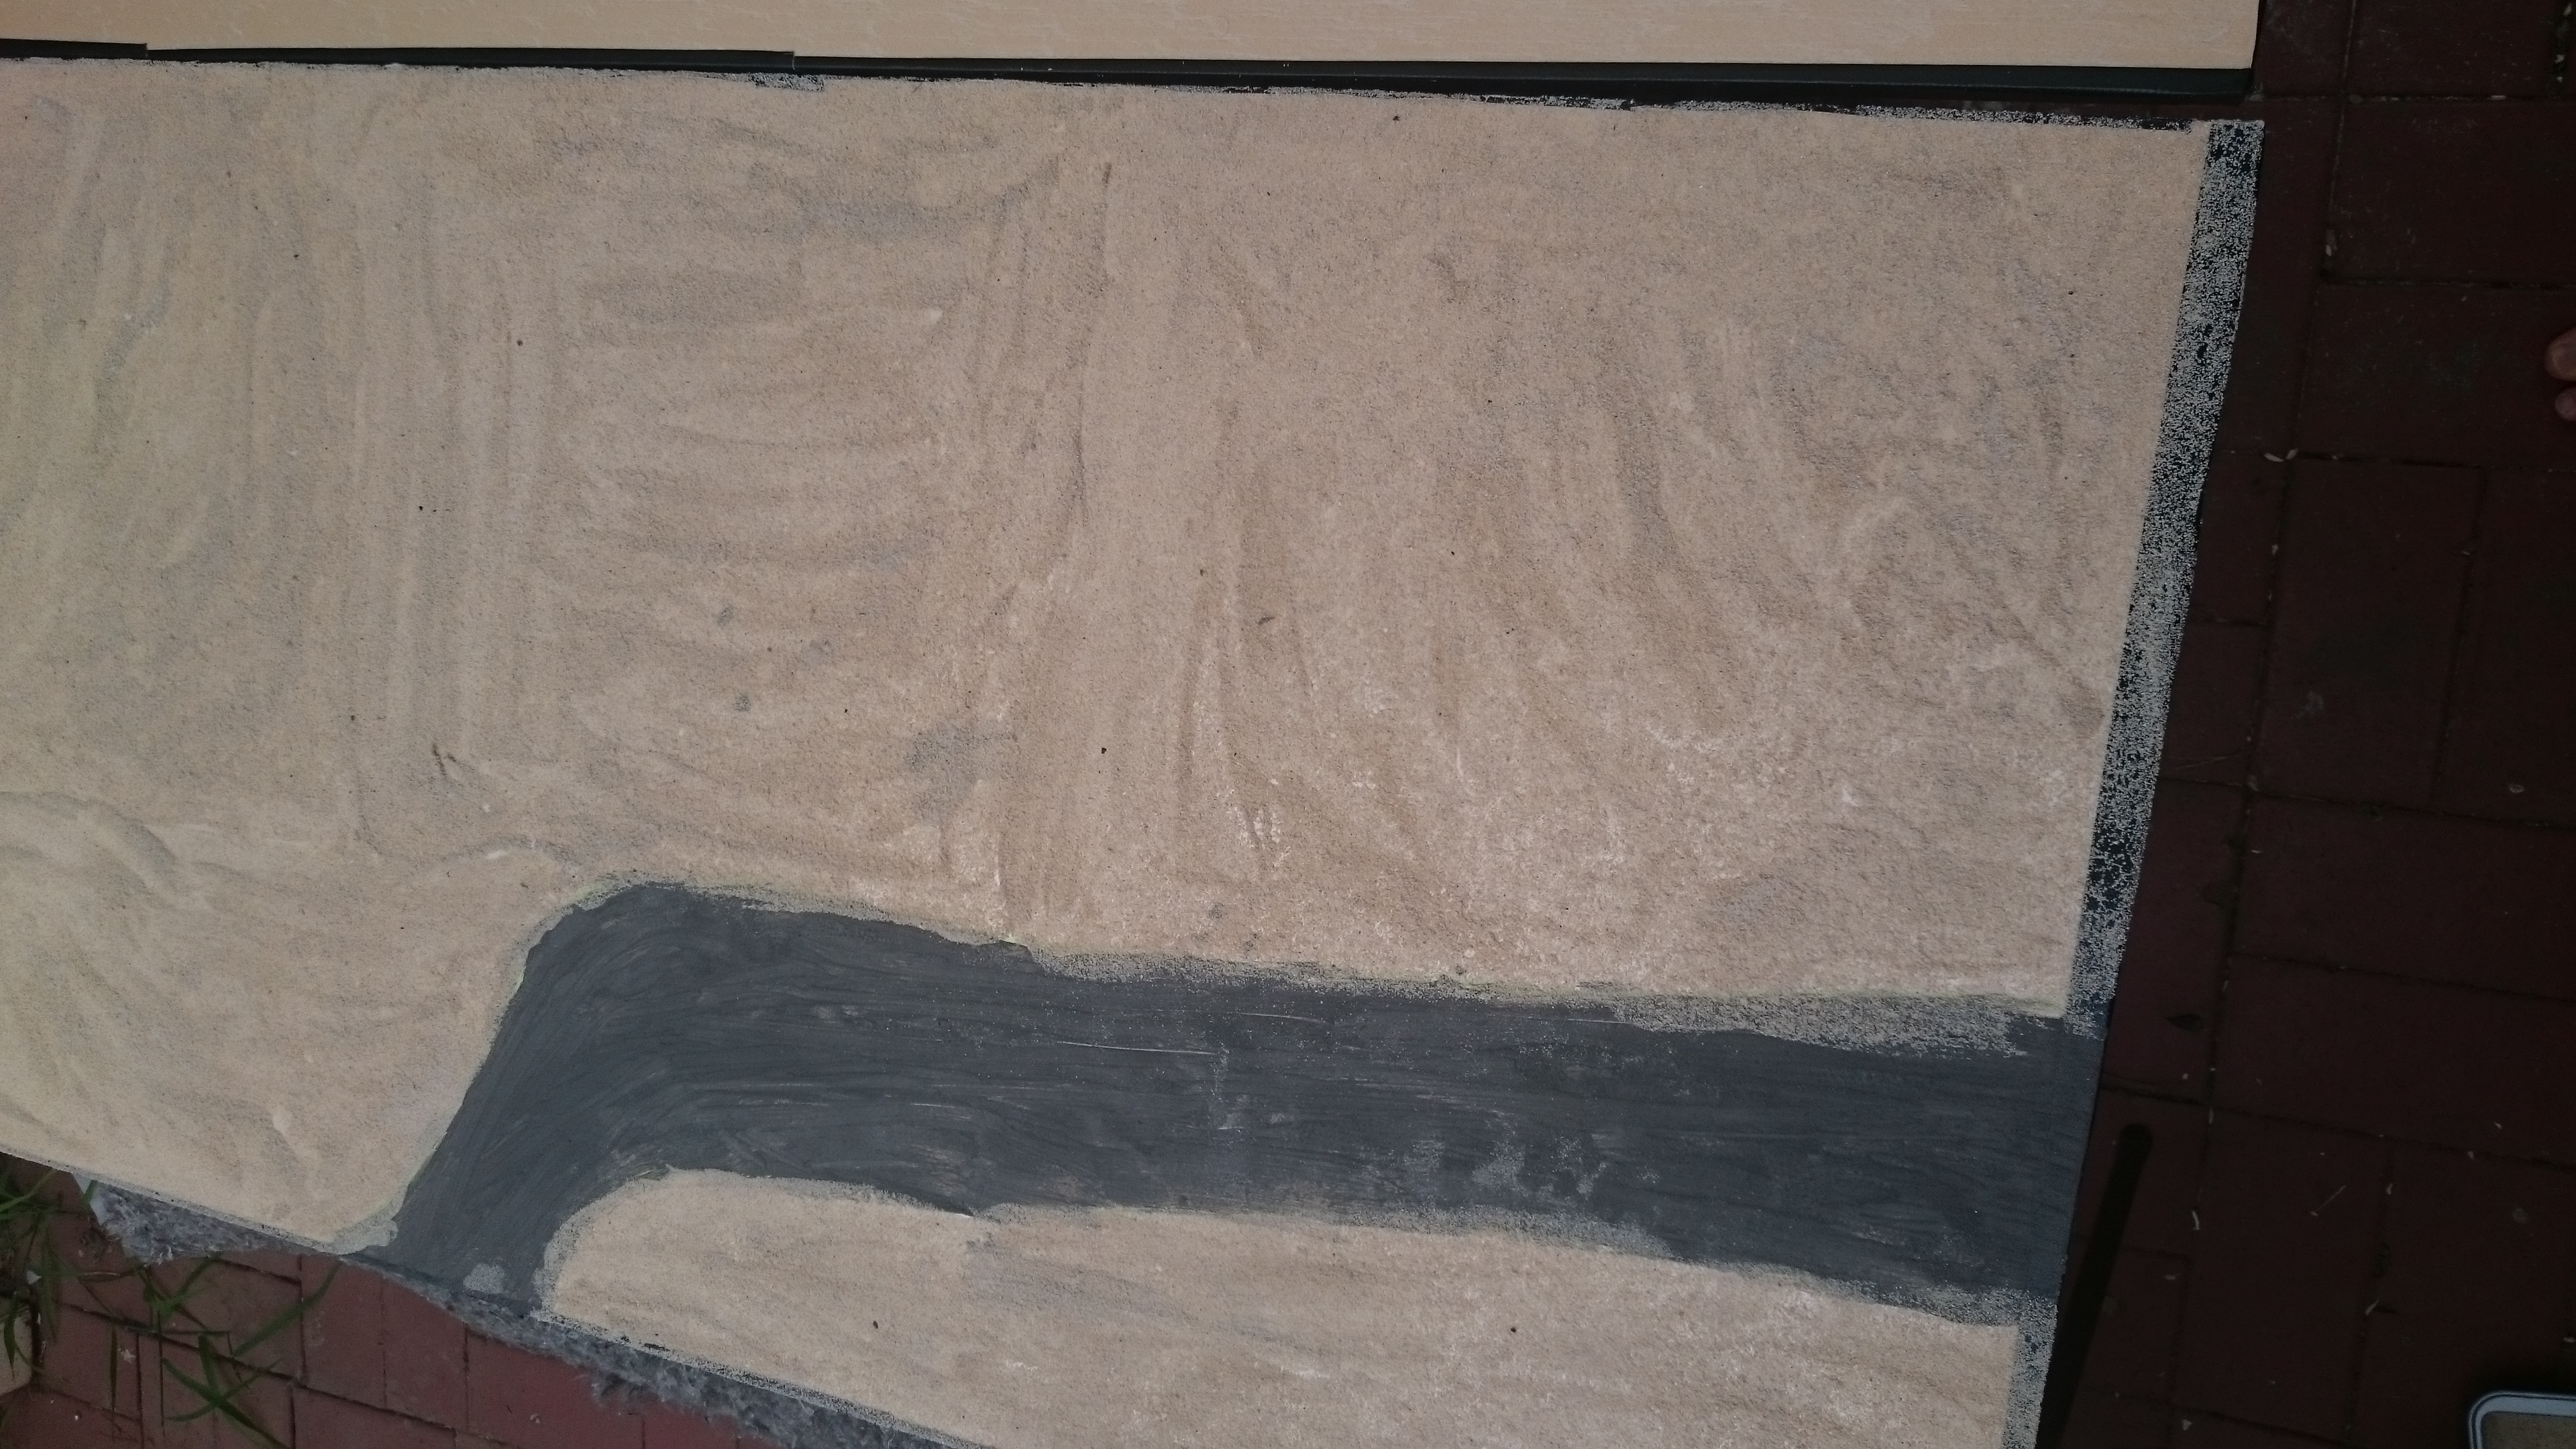
Now on the boards i marked out a rough road/path ensuring they meet up evenly when the two boards are next to each other. To assist I found some old textured house paint and painted the road. This was just to aid when texturing the board. The road will end up being a sand/dirt road, to accomodate different settings and so will not be this dark grey.
Next, I take the fourth sheet and Mark out some shapes for Hills.
For multi level Hills I make smaller shapes to fit on top. (make sure to leave enough space for minis to fit when creating multi level Hills. )
Then simply cut them out. I started with a hot wire cutter, but it crapped itself half way through, so once again Stanley is the tool for the job.
Once they are cut out I glue the tops onto the base of the hill using PVA.

Once the glue has set we can add some texture the the edges of the hills. Especially those that were cut using the wire cutter as they have a very smooth texture at this point.
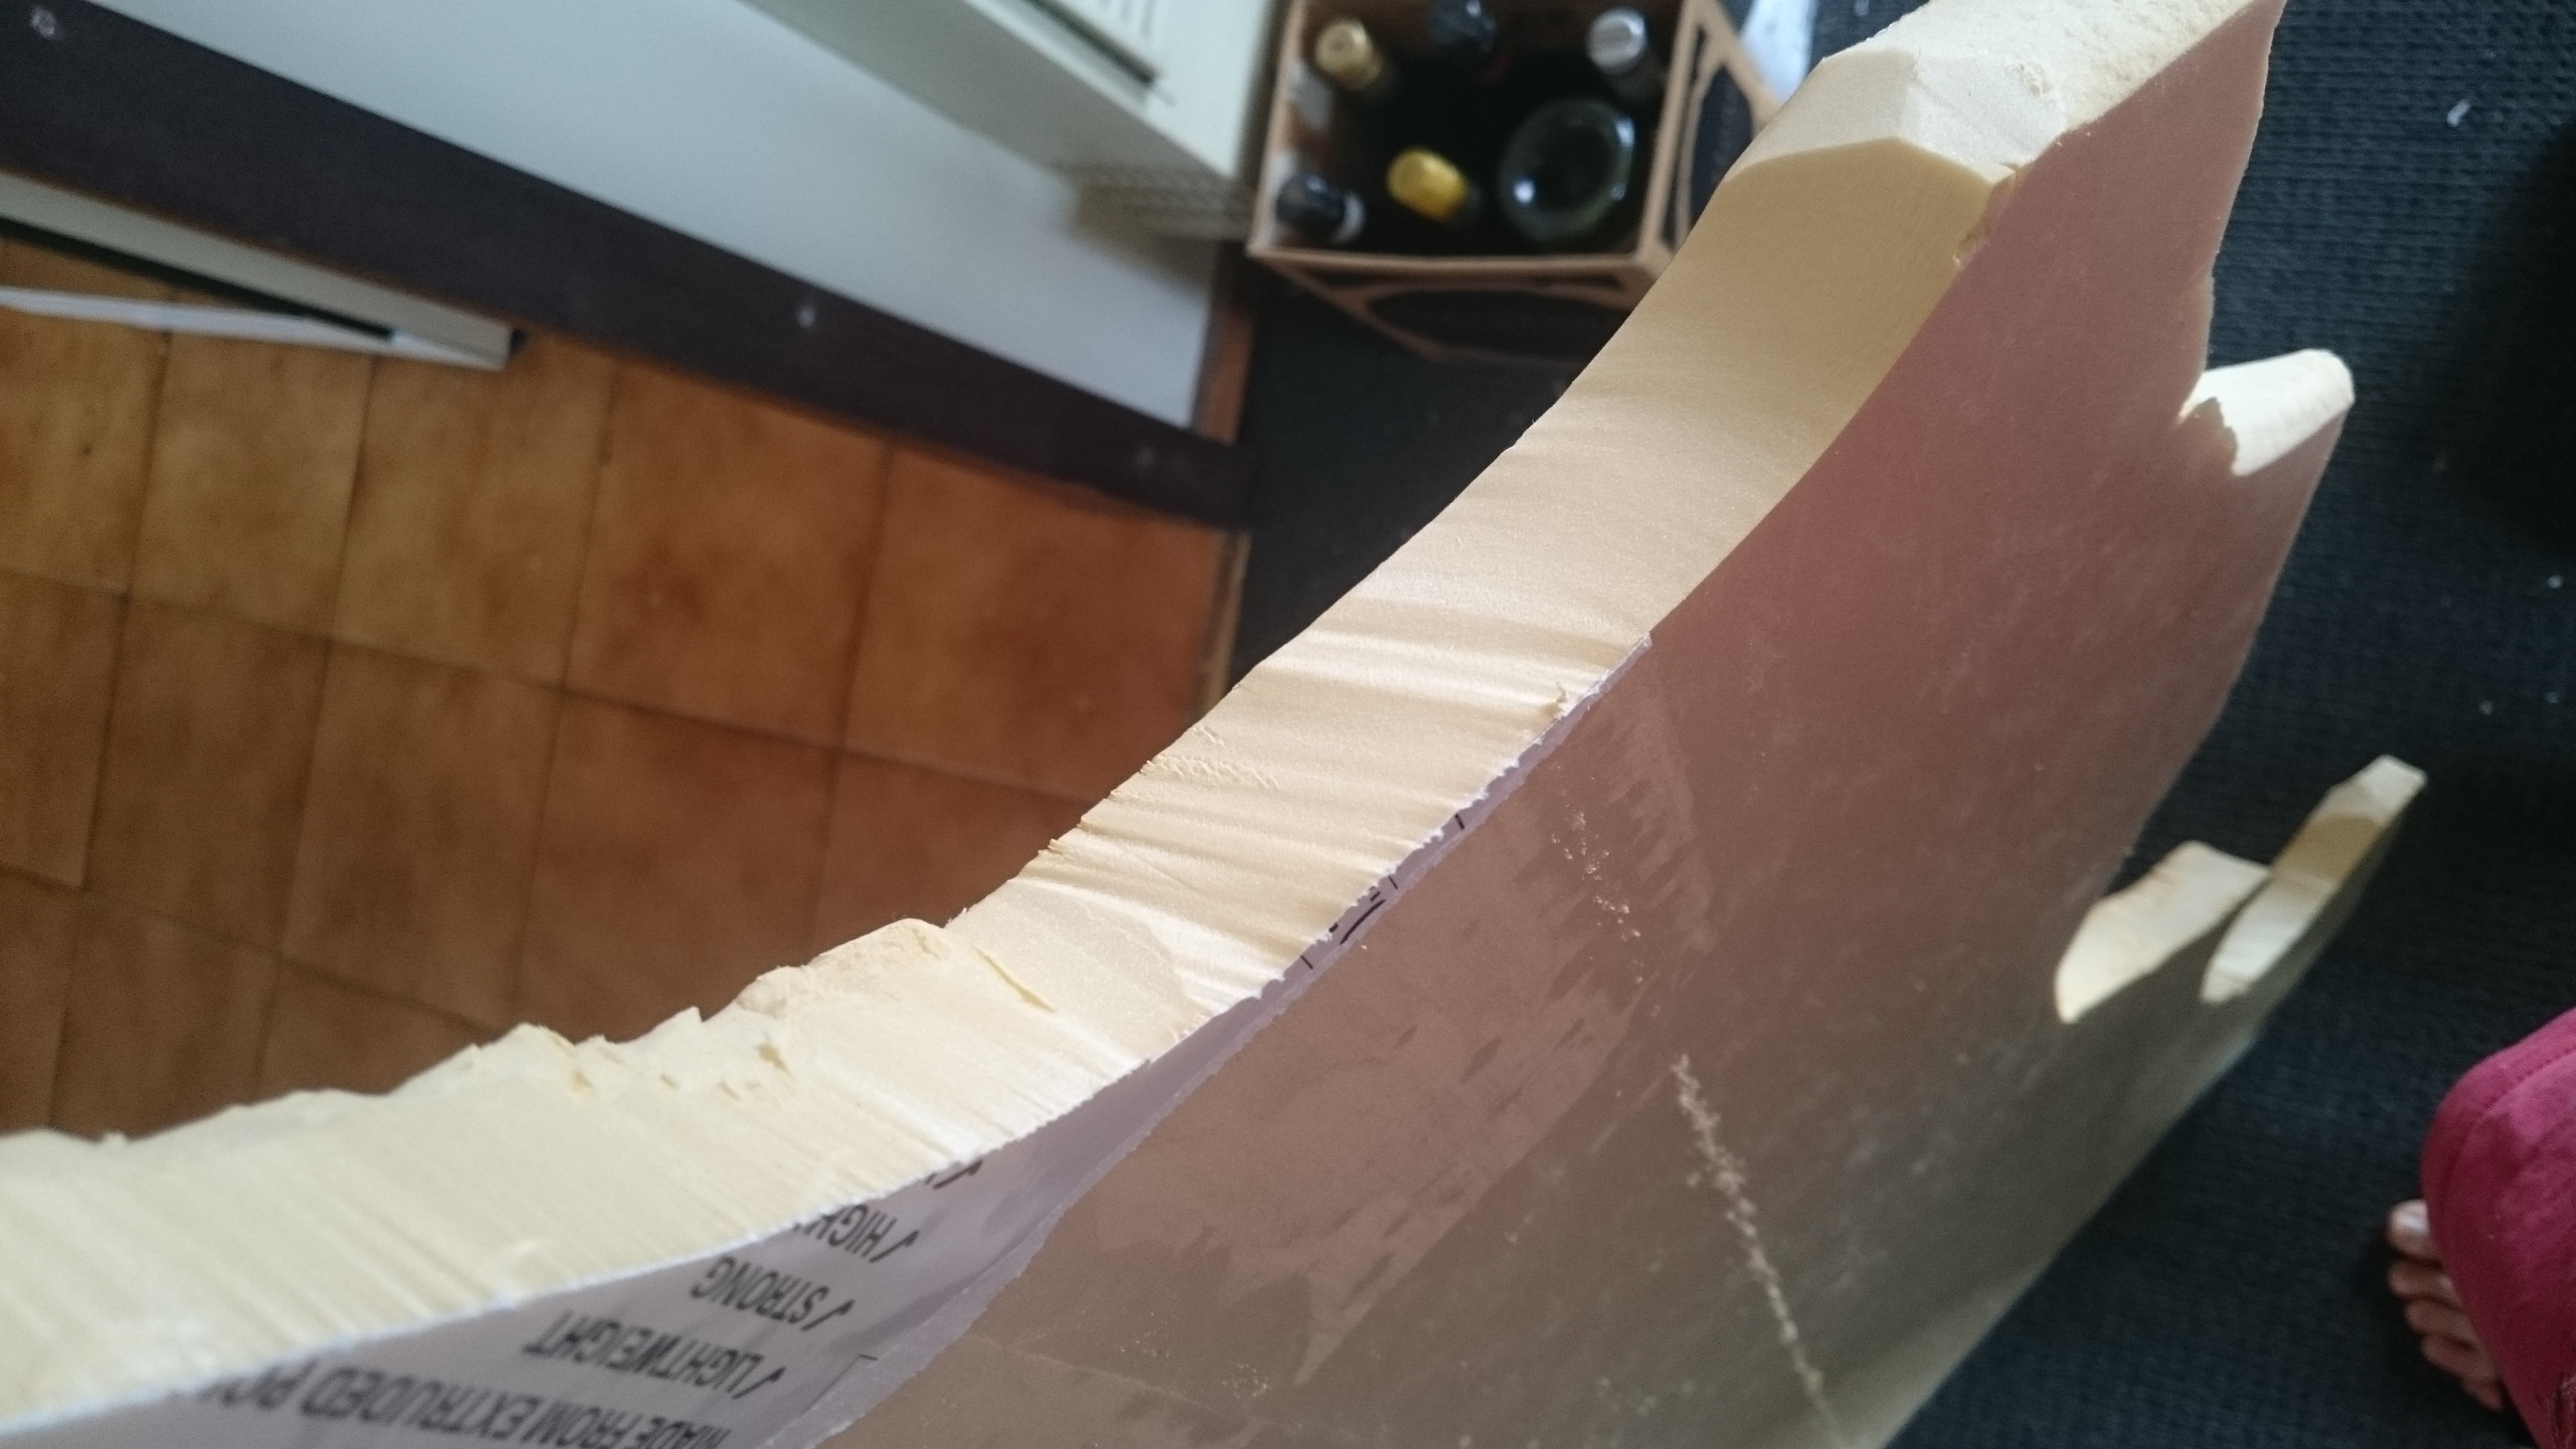
Texturing involves using the metal ruler and running it over the outside edges.
Grab the ruler like a sword, and run it along the edges. If you want deeper texture/gouges apply more pressure.
Think of the motion as shaving a hairy coconut.
Don’t use Stanley for this, as its very easy to chop your cheesle holders.

Keep shaving with the ruler until you are happy with the look.
Then to hide the gaps between top and bottom crack out the Spack filler (stuff you use to fill holes in walls that you made with your elbows….. ?
You can even use it in thin layers on the hill surfaces to create some pre-texture texture.
Now have that coffee and we’ll be back for the messy bit!
Like sands through the hour glass.
Welcome again!
This entry we will take a look at putting the first layer of texture down.
I recommend working on about 1/4 of a sheet/board at a time. Spread out some pva glue, don’t make it too thick or wavy or it will create a very odd look.

Then grab a handful of sand, opening your fingers like a sieve shake your hand to release the sand sprinkle style onto the glue.


Repeat for the rest of the boards.
Allow it to dry overnight. Once dry pick up the board and tap off the excess.
Now, a note on sand. If you got sand from a hardware store like I did, it will still have a lot of moisture straight from the bag.
Using the wet sand will create greater texture, but also a much more uneven surface so be mindful as it can make placing terrain difficult. So i suggest shaking off the excess right away before it dries so see if you need to smooth out some areas (just use your hands, if you use a flat or rolling tool it will not look very natural).
Dry sand though, will be very even and flat, so great for sections you want to put buildings on etc. Waiting for sand to dry can take a while so using an oven is good, or leave it spread out in the sun for a while.
 Wet sand
At this stage also do the same gluing and sand sprinkling on any Hills etc.
Next entry will deal with the second layer and sealing. Be sure to have a lot of dry sand ready!
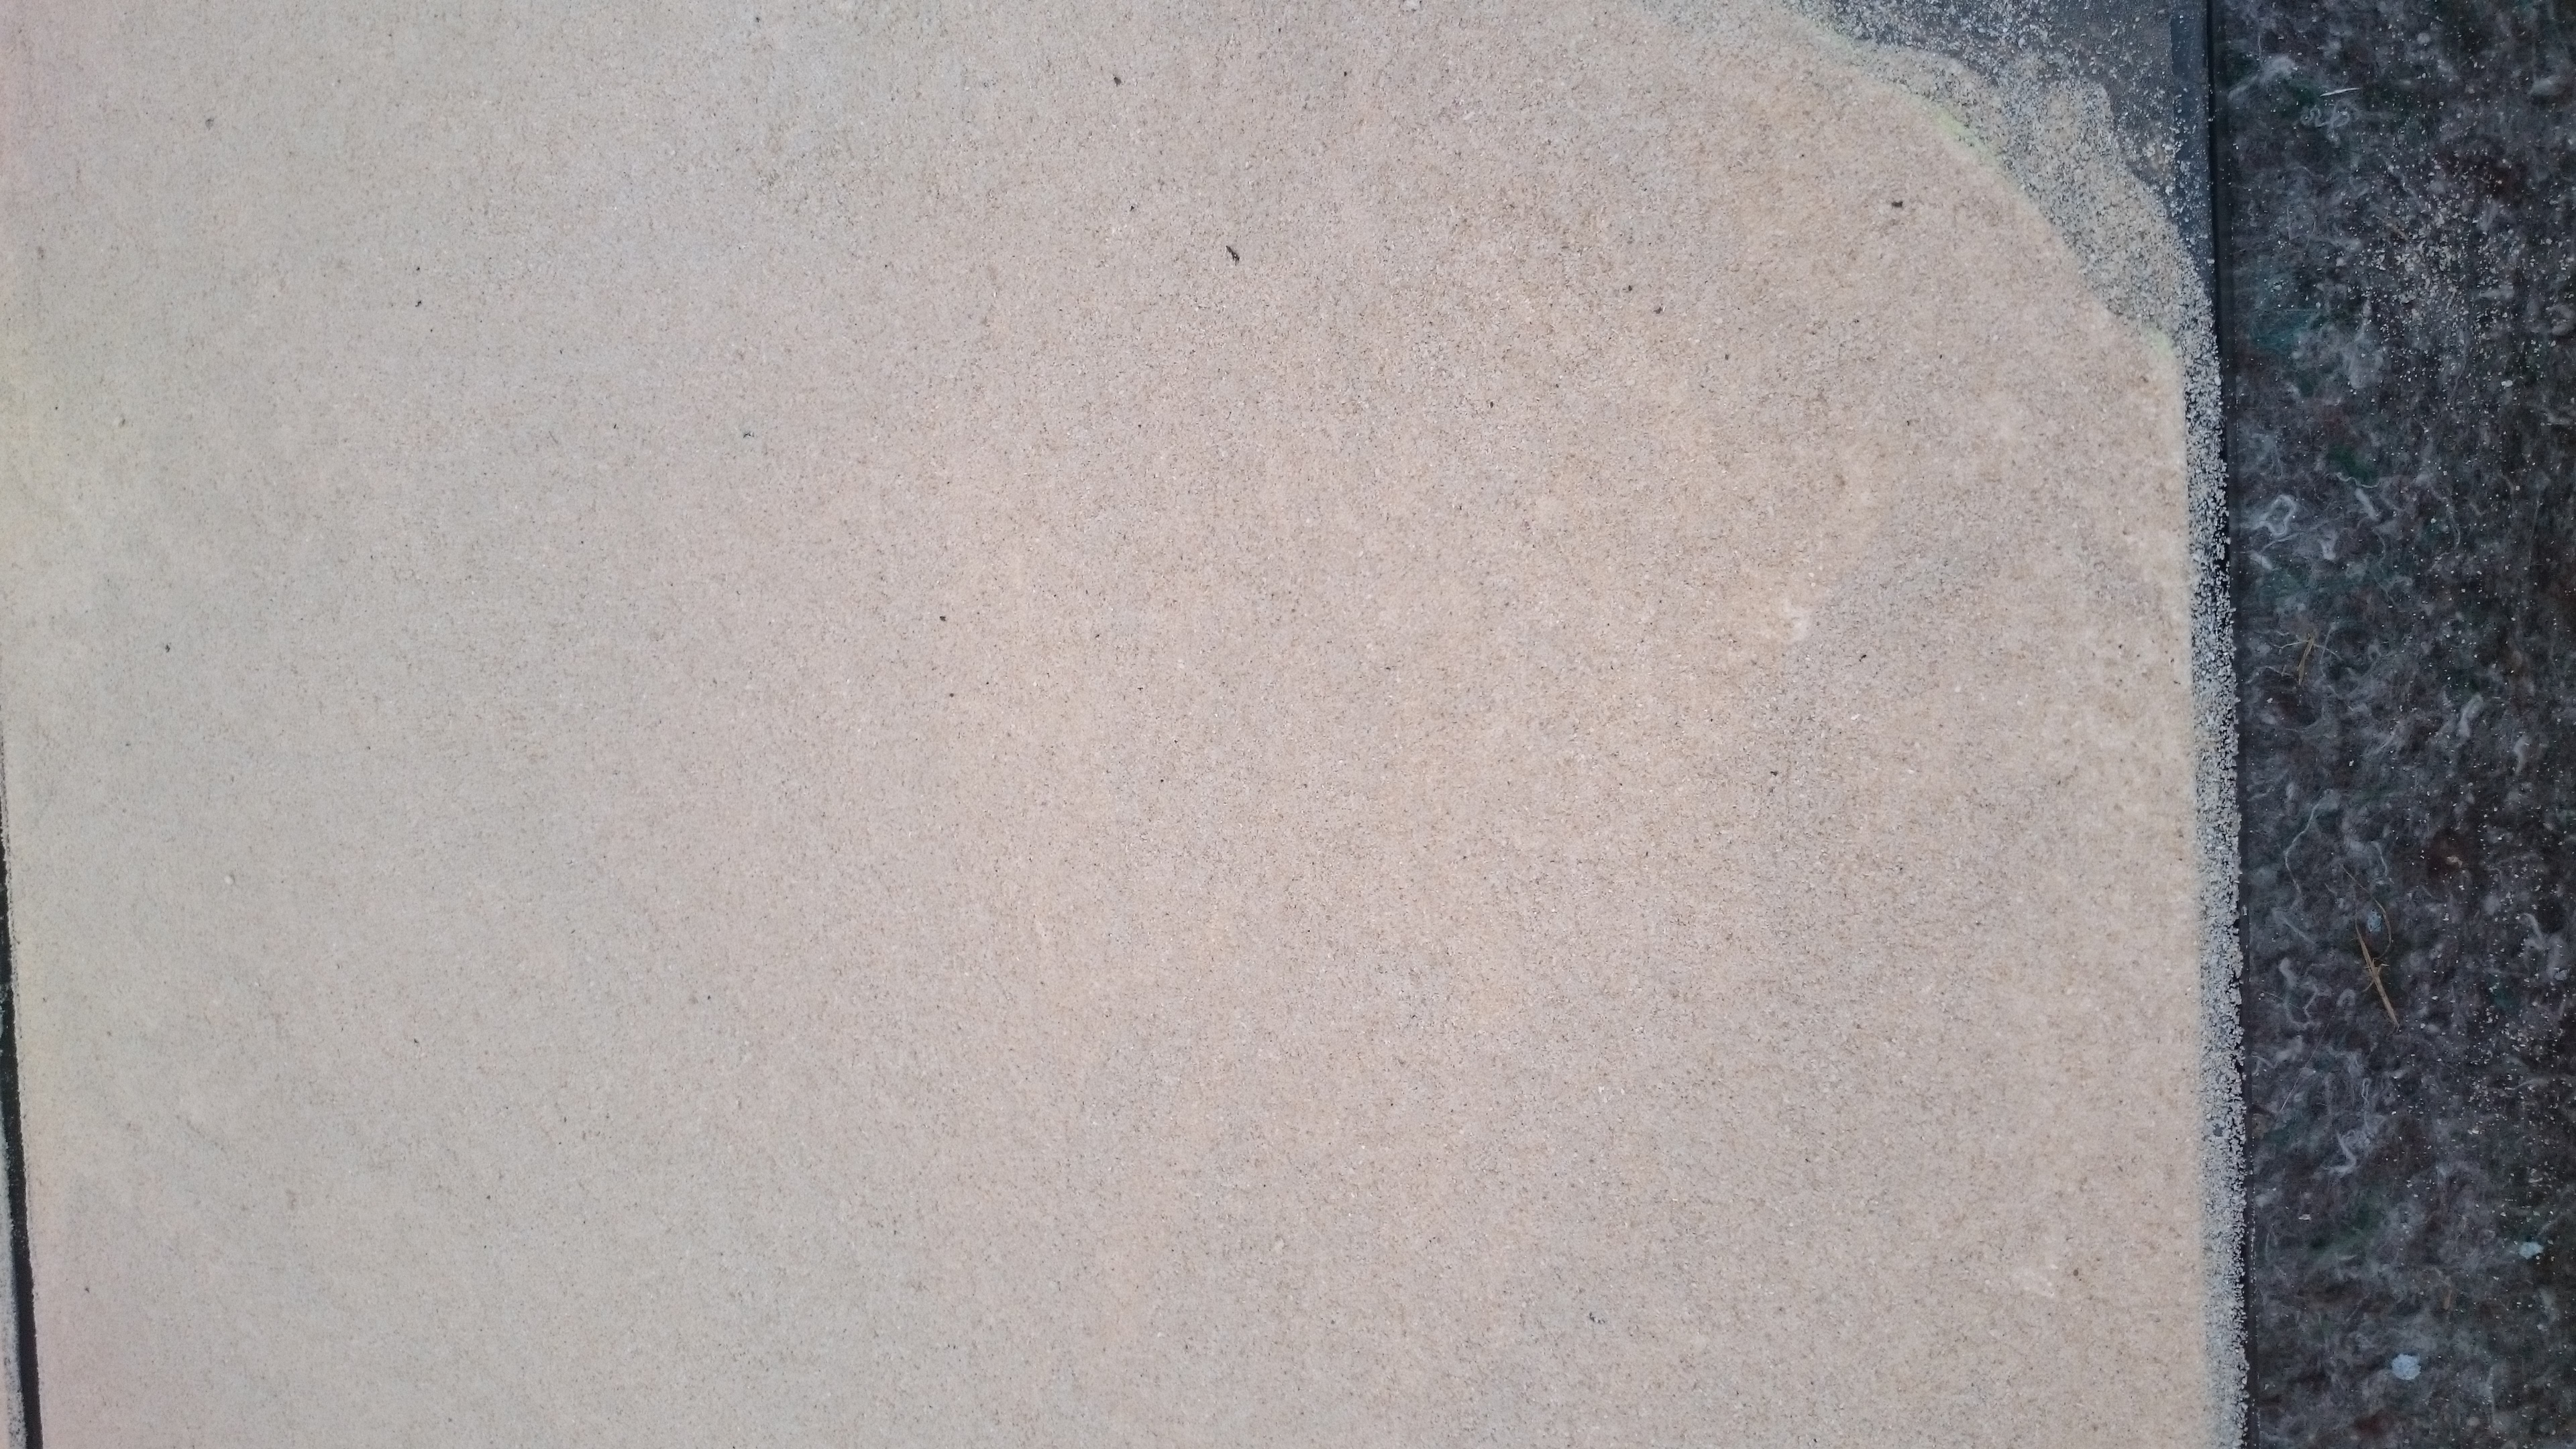
 Dry sand
Layers like an onion
Hello friends, its been a little bit since the last update as work slowed on the board due to very blustery weather on my weekends, which aint great when dealing with sand. The goggles, the do nothing!
So now we need to do a second sand layer on the boards.
For this layer you want to use dry sand, as this is less about creating heavy texture but more for filling in the gaps and slightly evening out some spots.
For this, get a spray bottle and mix 50/50 pva and water.

Make sure you mix it well.
Then spray it all over the board, don’t be afraid to be very generous here. You may need to spray heavily in some areas, and be sure to cover the entire areas that you are adding this second later to.
Don’t stress if you get some on the roads etc. It will just add some texture to it.
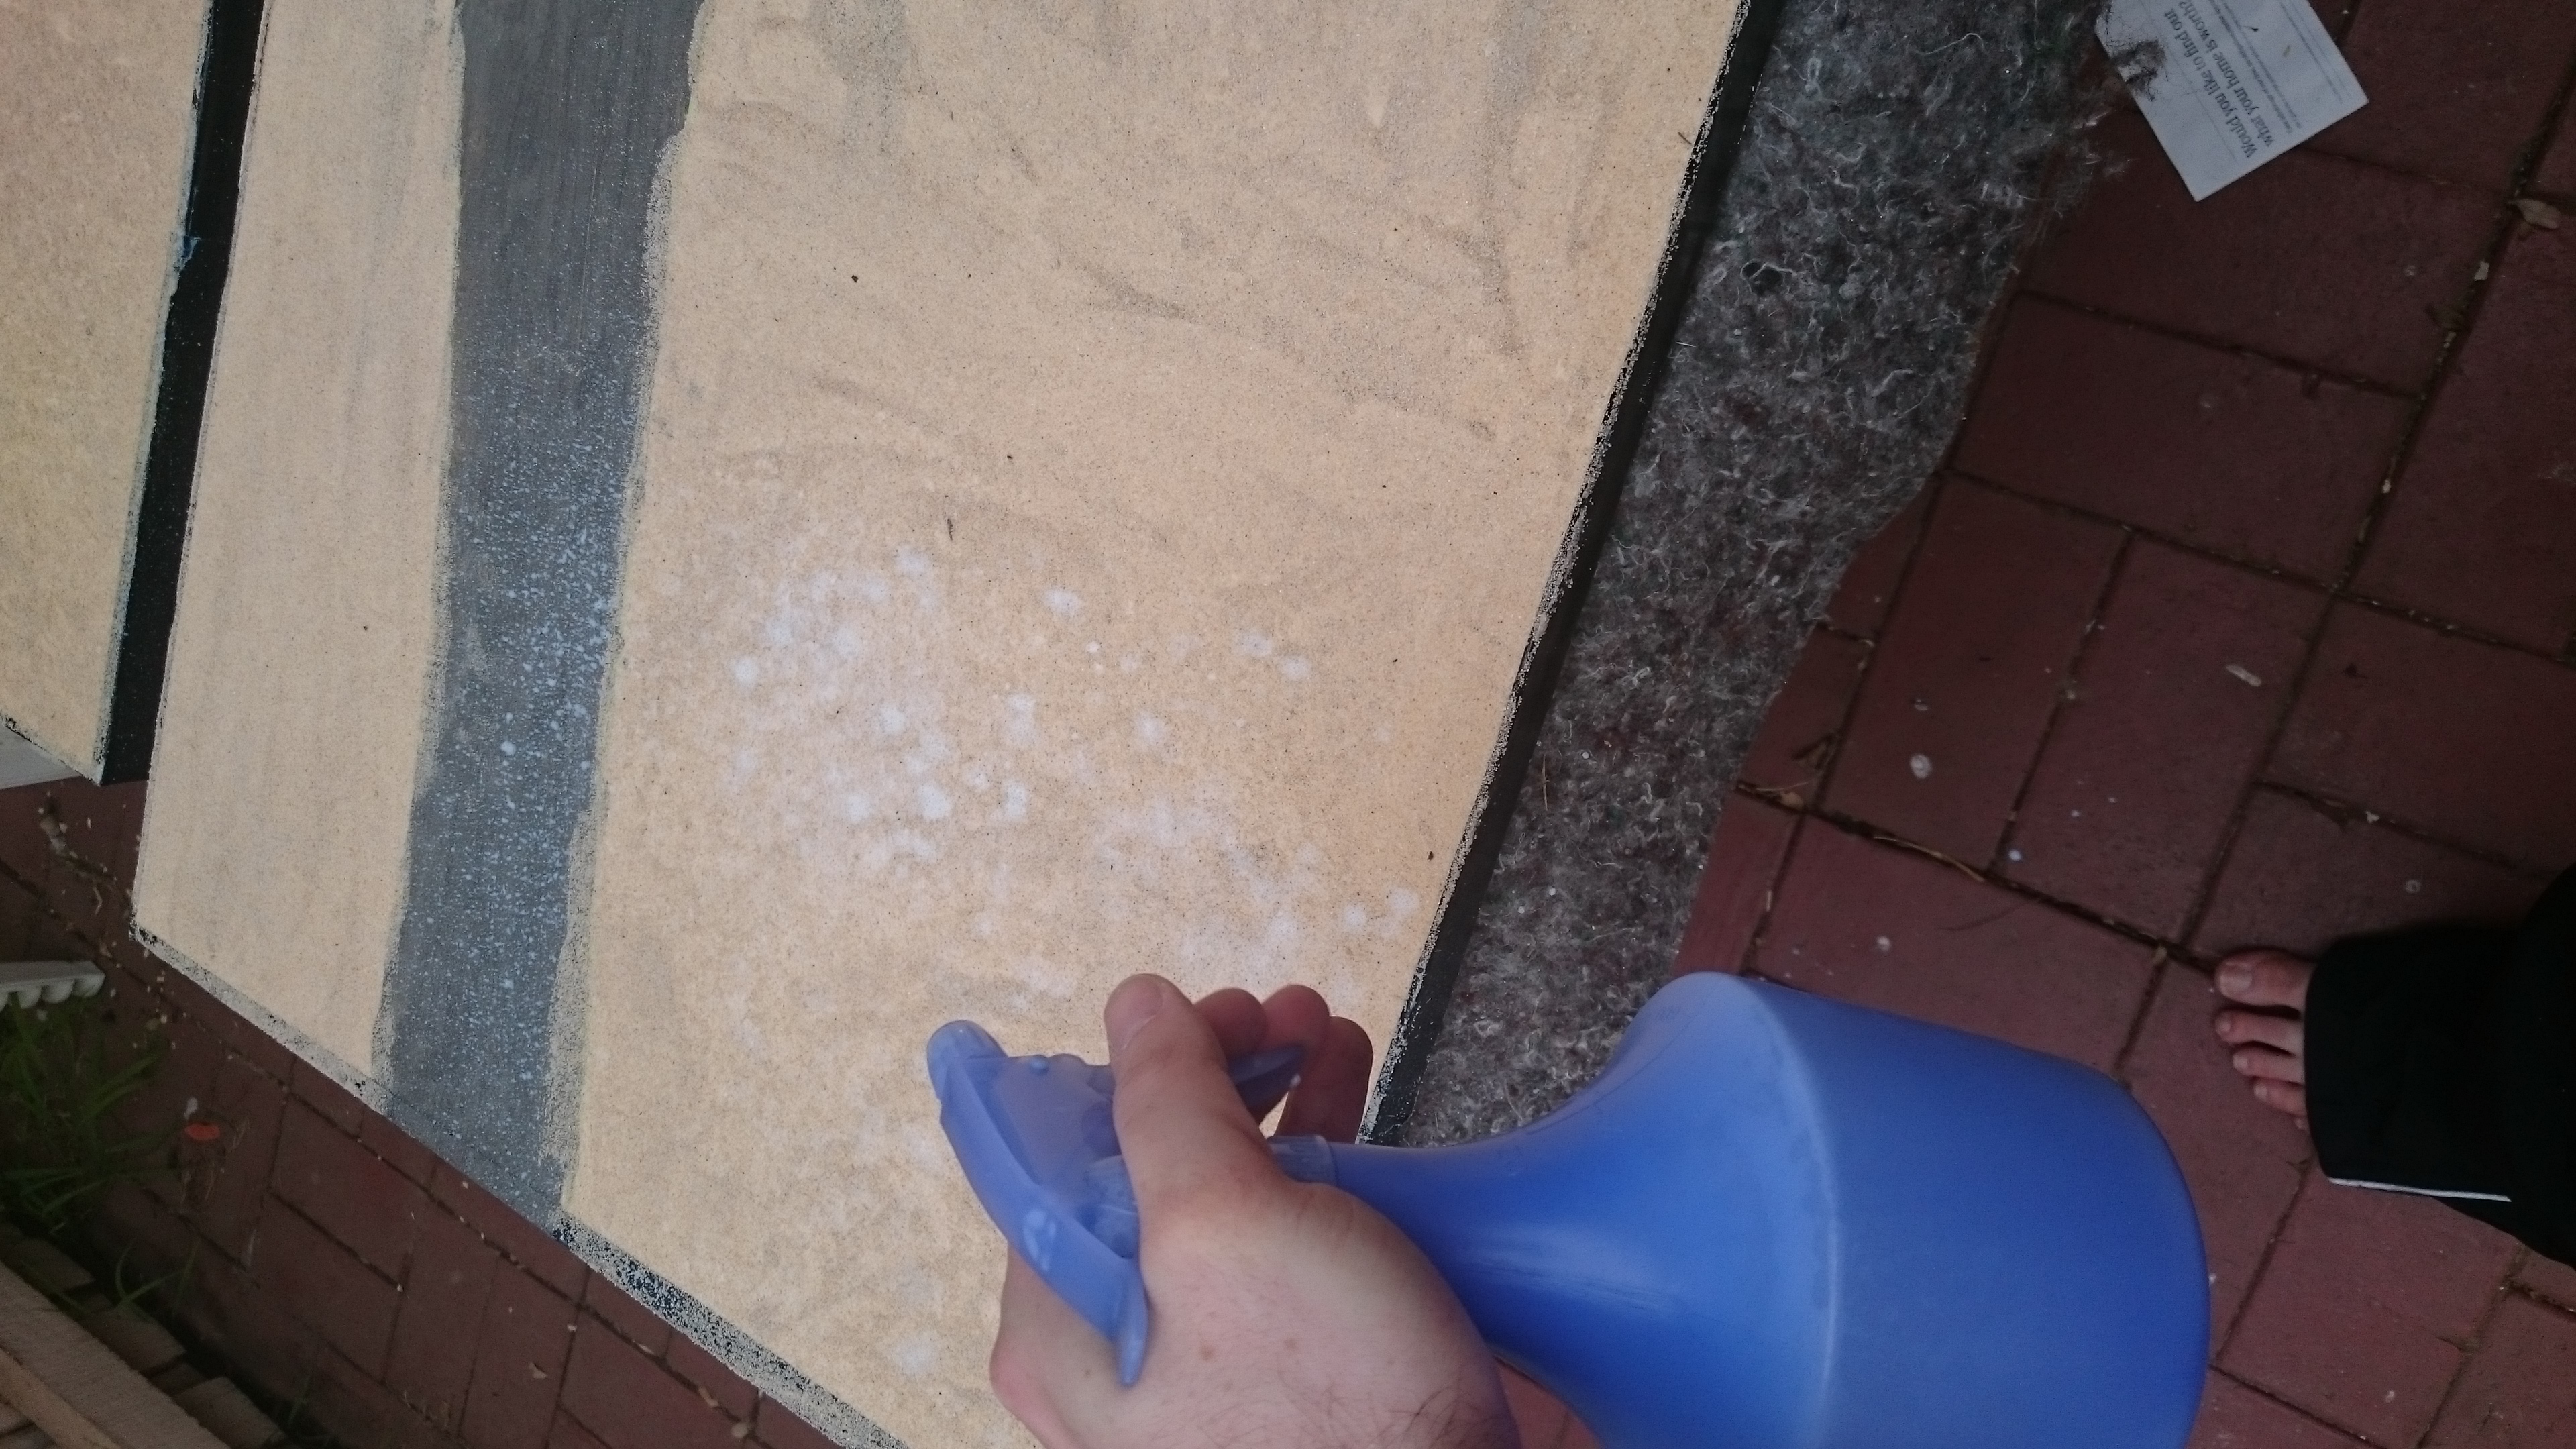
Once you have sprayed. Apply the dry sand all over the wet areas. Leave it overnight and when dry the next day just gently shake off the excess.
Repeat process for all boards and hills etc.
Next up, teh paintings.
Welcome to the bordersands!
Hello again. This is the final entry as at the end your boards will be complete!
For the painting you will need a base paint and a highlight paint. Now, there are other ways to do this depending on what sort of colours and effects you are going for. My goal in this was to get a fairly light coloured board more towards yellow and white.
You can add a darker base colour, and put a mid tone over it to create more contrast, so feel free to experiment.
The colour I used for my base was this:

Now, you can stipple this colour on with a brush which is fine but very time consuming. So I bought a paint gun at bunnings for under 50 bucks.

Follow the instructions on how to dilute paint for the gun.
Using the gun took me literally 30 seconds to get a nice flat coat. Super quick.
Spray all the boards and hills. This paint should dry fairly quickly.
I then stippled this colour onto the roads:

Once the paint dries all we need to do is drybrush a highlight. For the road first I will drybrush the base coat colour I did for the whole board and then the highlight colour.
I wanted the highlight colour to be very bright so I drybrushed with this :

Go as light or heavy as you like on the drybrush highlight, until you are happy with the results.
Repeat for Hills and you will be done!
Now it turns out I forgot to take pics of the finished board, so there will be another post coming! But here are some buildings I prepped for it.
These are from Knights of Dice tabula rasa range of desert buildings.


The other final post!
Hey all, I’m doing a John Farnham here and doing another final post (on account of forgetting pics).
So here it all is, set up for a game of spectre ops!


Couple of extra pointers. It is worthwhile painting the Gaffer tape before adding sand just to ensure it covers up the black. As you can see some of it is still quite visible, but overall im not too bothered.
I also forgot to mention that once the second layer of sand is dry, seal it with a good spray of the 50/50 pva and water mix.
And lastly, varnish your minis, sand is rough and will kill the paint on your minis if you lay them down or they happen to have a spill.
I use army painter antishine spray. Three light coats and I can’t even scratch paint off with my nail. Danger there is spray varnish can ruin a paint job depending on weather.
Another thing I do is brush on a thin coat of gloss varnish, Vallejo or army painter are the ones I just happen to have. Once dry, brush on two or three light coats of anti shine matt varnish. It will remove the gloss and the paint is not coming off.
Happy gaming! Hit me with questions if you have any.


![StarCraft Tabletop Miniatures Game Pre-Orders Live Now [Updated]](https://images.beastsofwar.com/2026/03/starcraft-tmg-news-cover-600-338.jpg)


