
![Perfect Call Of Duty-Style Miniatures? Wargames Atlantic’s Operators Review [7 Days Early Access]](https://images.beastsofwar.com/2026/02/unboxing-wargames-atlantic-operators-coverimage-225-127.jpg)


Ride to ruin (February’s Snag a Normie Challenge)


Recommendations: 88
About the Project
One of my 2019 goals is to convert my RPG friends onto miniatures games. Warren's call to arms on the XLBS for recruiting a friend in February pushed it forward by several months. 84 miniatures by the end of February... feck me
Related Game: Middle-Earth Strategy Battle Game
Related Company: Games Workshop
Related Genre: Fantasy
This Project is Completed
T-minus 6 days - Riders and Walkers (?) of Rohan
Progress has been stalled a bit this week as I spent the first half of the week fighting back the lurgey and the second half of it mourning my pre-lurgey existence as I succumbed to darkness…
Still, you can paint with snot streaming down your face and minus the internal organs you coughed up days ago! I had fooled myself into thinking that painting the horse-lords would be a nice treat after the orcs but, though there were 12 fewer models, I used a couple more colours so it still turned into a conveyor belt.
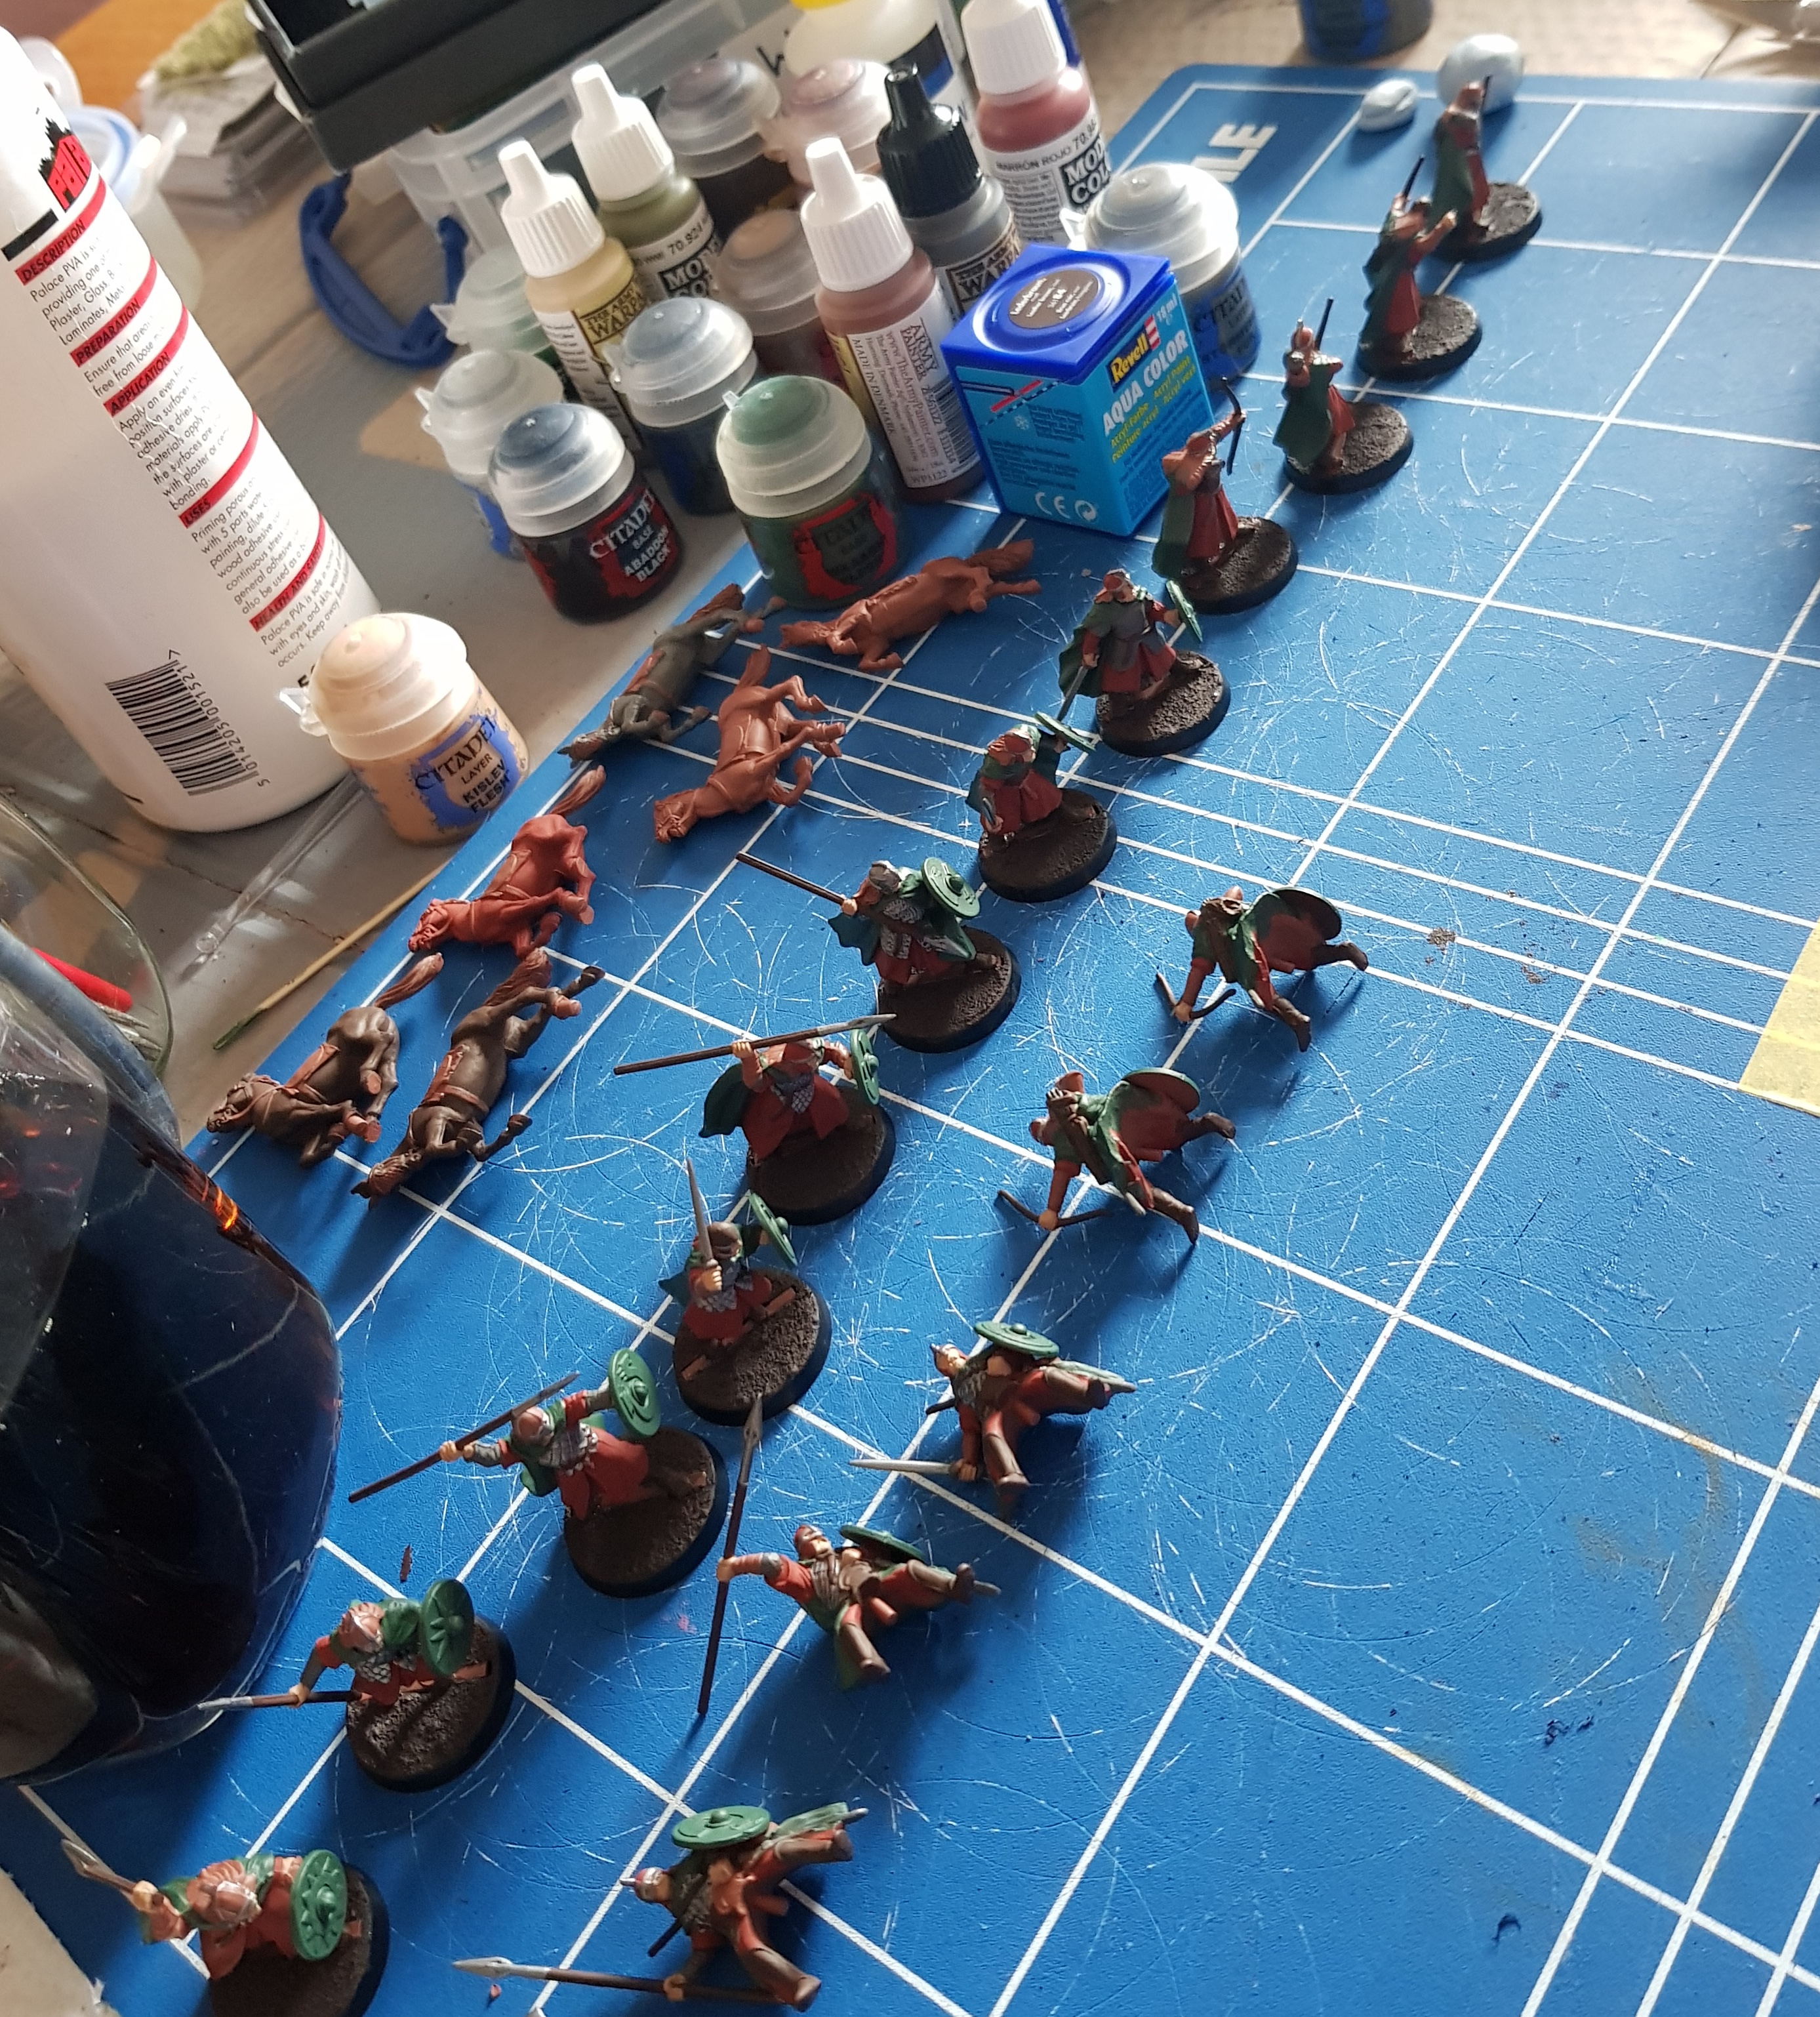
Honestly, it was a pretty straight forward, no mess production line. The only mistake was priming in Army Painter Fur Brown which wasn’t really brown enough but I hadn’t managed to get any Leather Brown in time so I just had to make do. Other than that, base colours were simple:
Leatherwork, weapon shafts, etc Revell Leather Brown with a wash of GW Agrax Earthshade.
Cloth Vallejo Cavalry Brown with a wash of GW Agrax Earthshade.
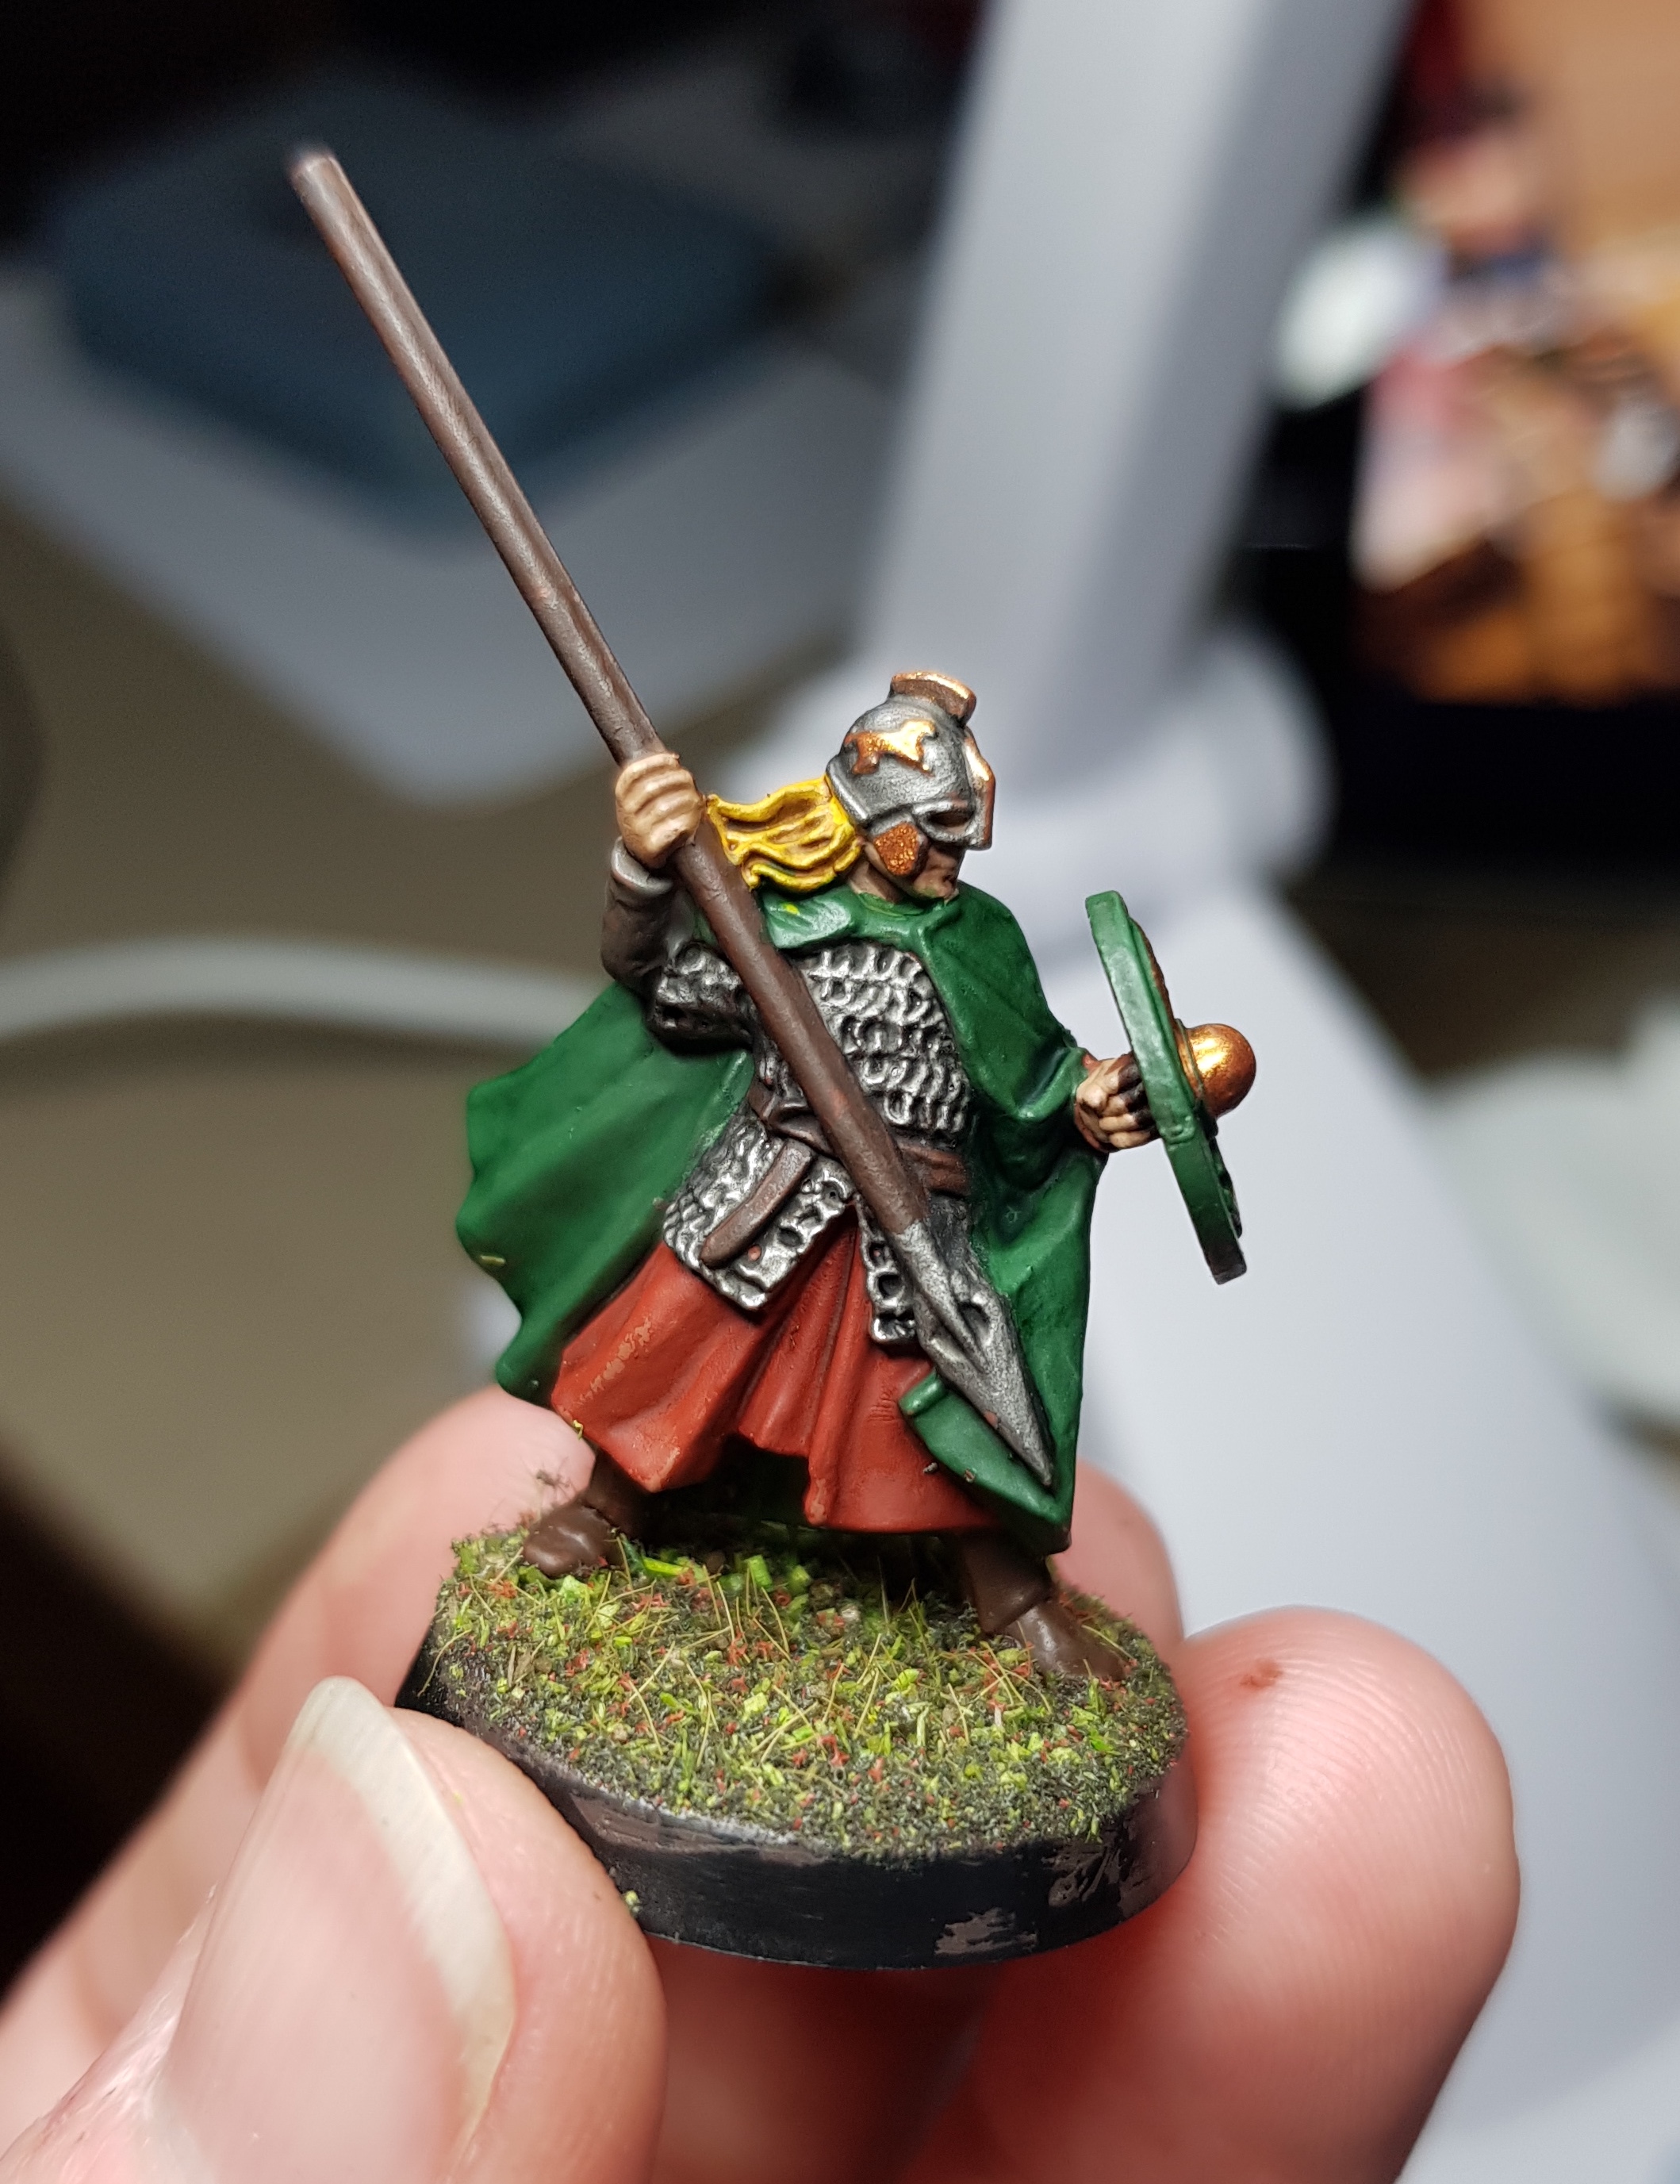
Cloak and shields GW Waaagh Flesh with a wash of Biel-tan Green.
Mail, weapons, helmet details Army Painter Gun Metal with a wash of GW Nuln Oil.
Shield details were done in P3 Marrow White or GW Gehenna’s Gold (this was also used for tiny bits of detailing on some of the helmets).
A couple of models needed a few extra colours to break up fabric so I used GW Eshin grey and Steel Legion Drab which both got washed with Agrax Earthshade.
All the hair was done with GW Uriel Yellow mixed with differing amounts of Army Painter Fur Brown to give a mix of shades of blonde though most came out looking much the same ?. Everyone got a wash of Agrax here too as well as over the skin tone which was GW Kislev Flesh.
Horses used most of the same colours so that they tied into their riders and so I didn’t need to think too much about horse genetics.
Hair/fur colours were Leather brown, Steel Legion Drab, and Stormvermin Grey (I’ll need to go check on this one cos I know that’s not the exact name). Manes were a mix of the matching colour (as horses tend to have in nature) and something a little darker. Saddles and reins etc were painted in Cavalry Brown, Leather Brown or Steel Legion Drab.
Riders got glued to horses and the washes were done at this point so most of the horses got a coat of Agrax though I was using Nuln Oil until I realised that I need the little I have left for the Witch King on his Fell Beast.
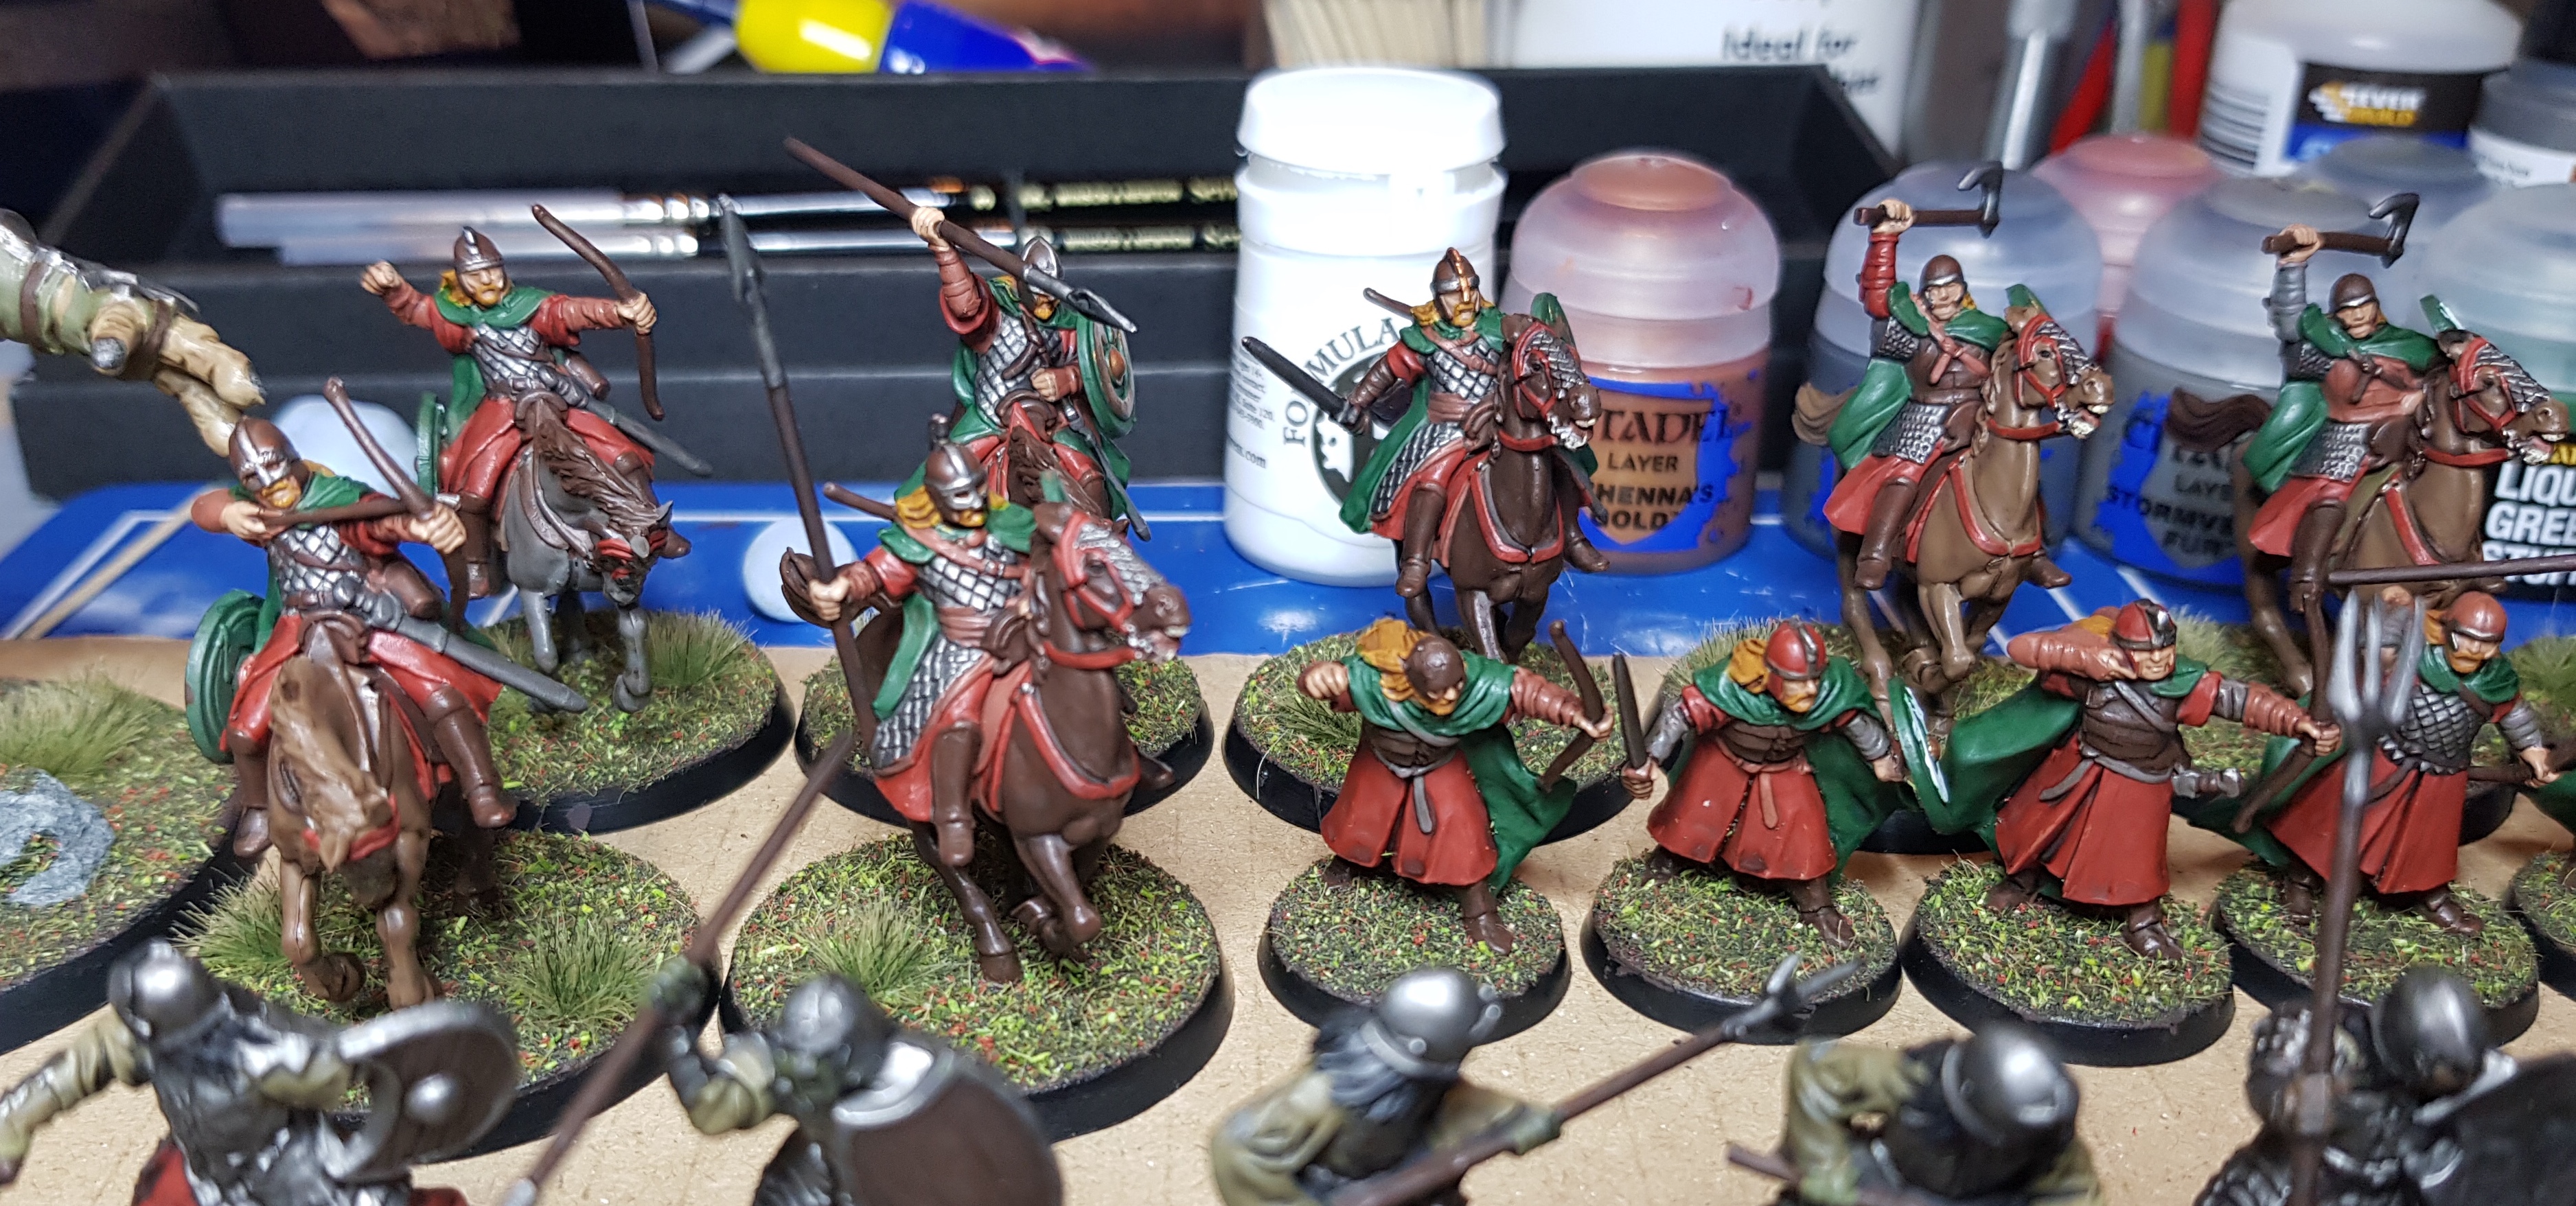
All in all, I’m happy with them all. They were nicer models than the orcs though some of the definition between hair and the fletching of the arrows was awful… I can only assume that when you have long hair and are riding a horse, it causes a huge amount of movement and your flowing locks tangle with your arrows and become like a King Rat on your back.
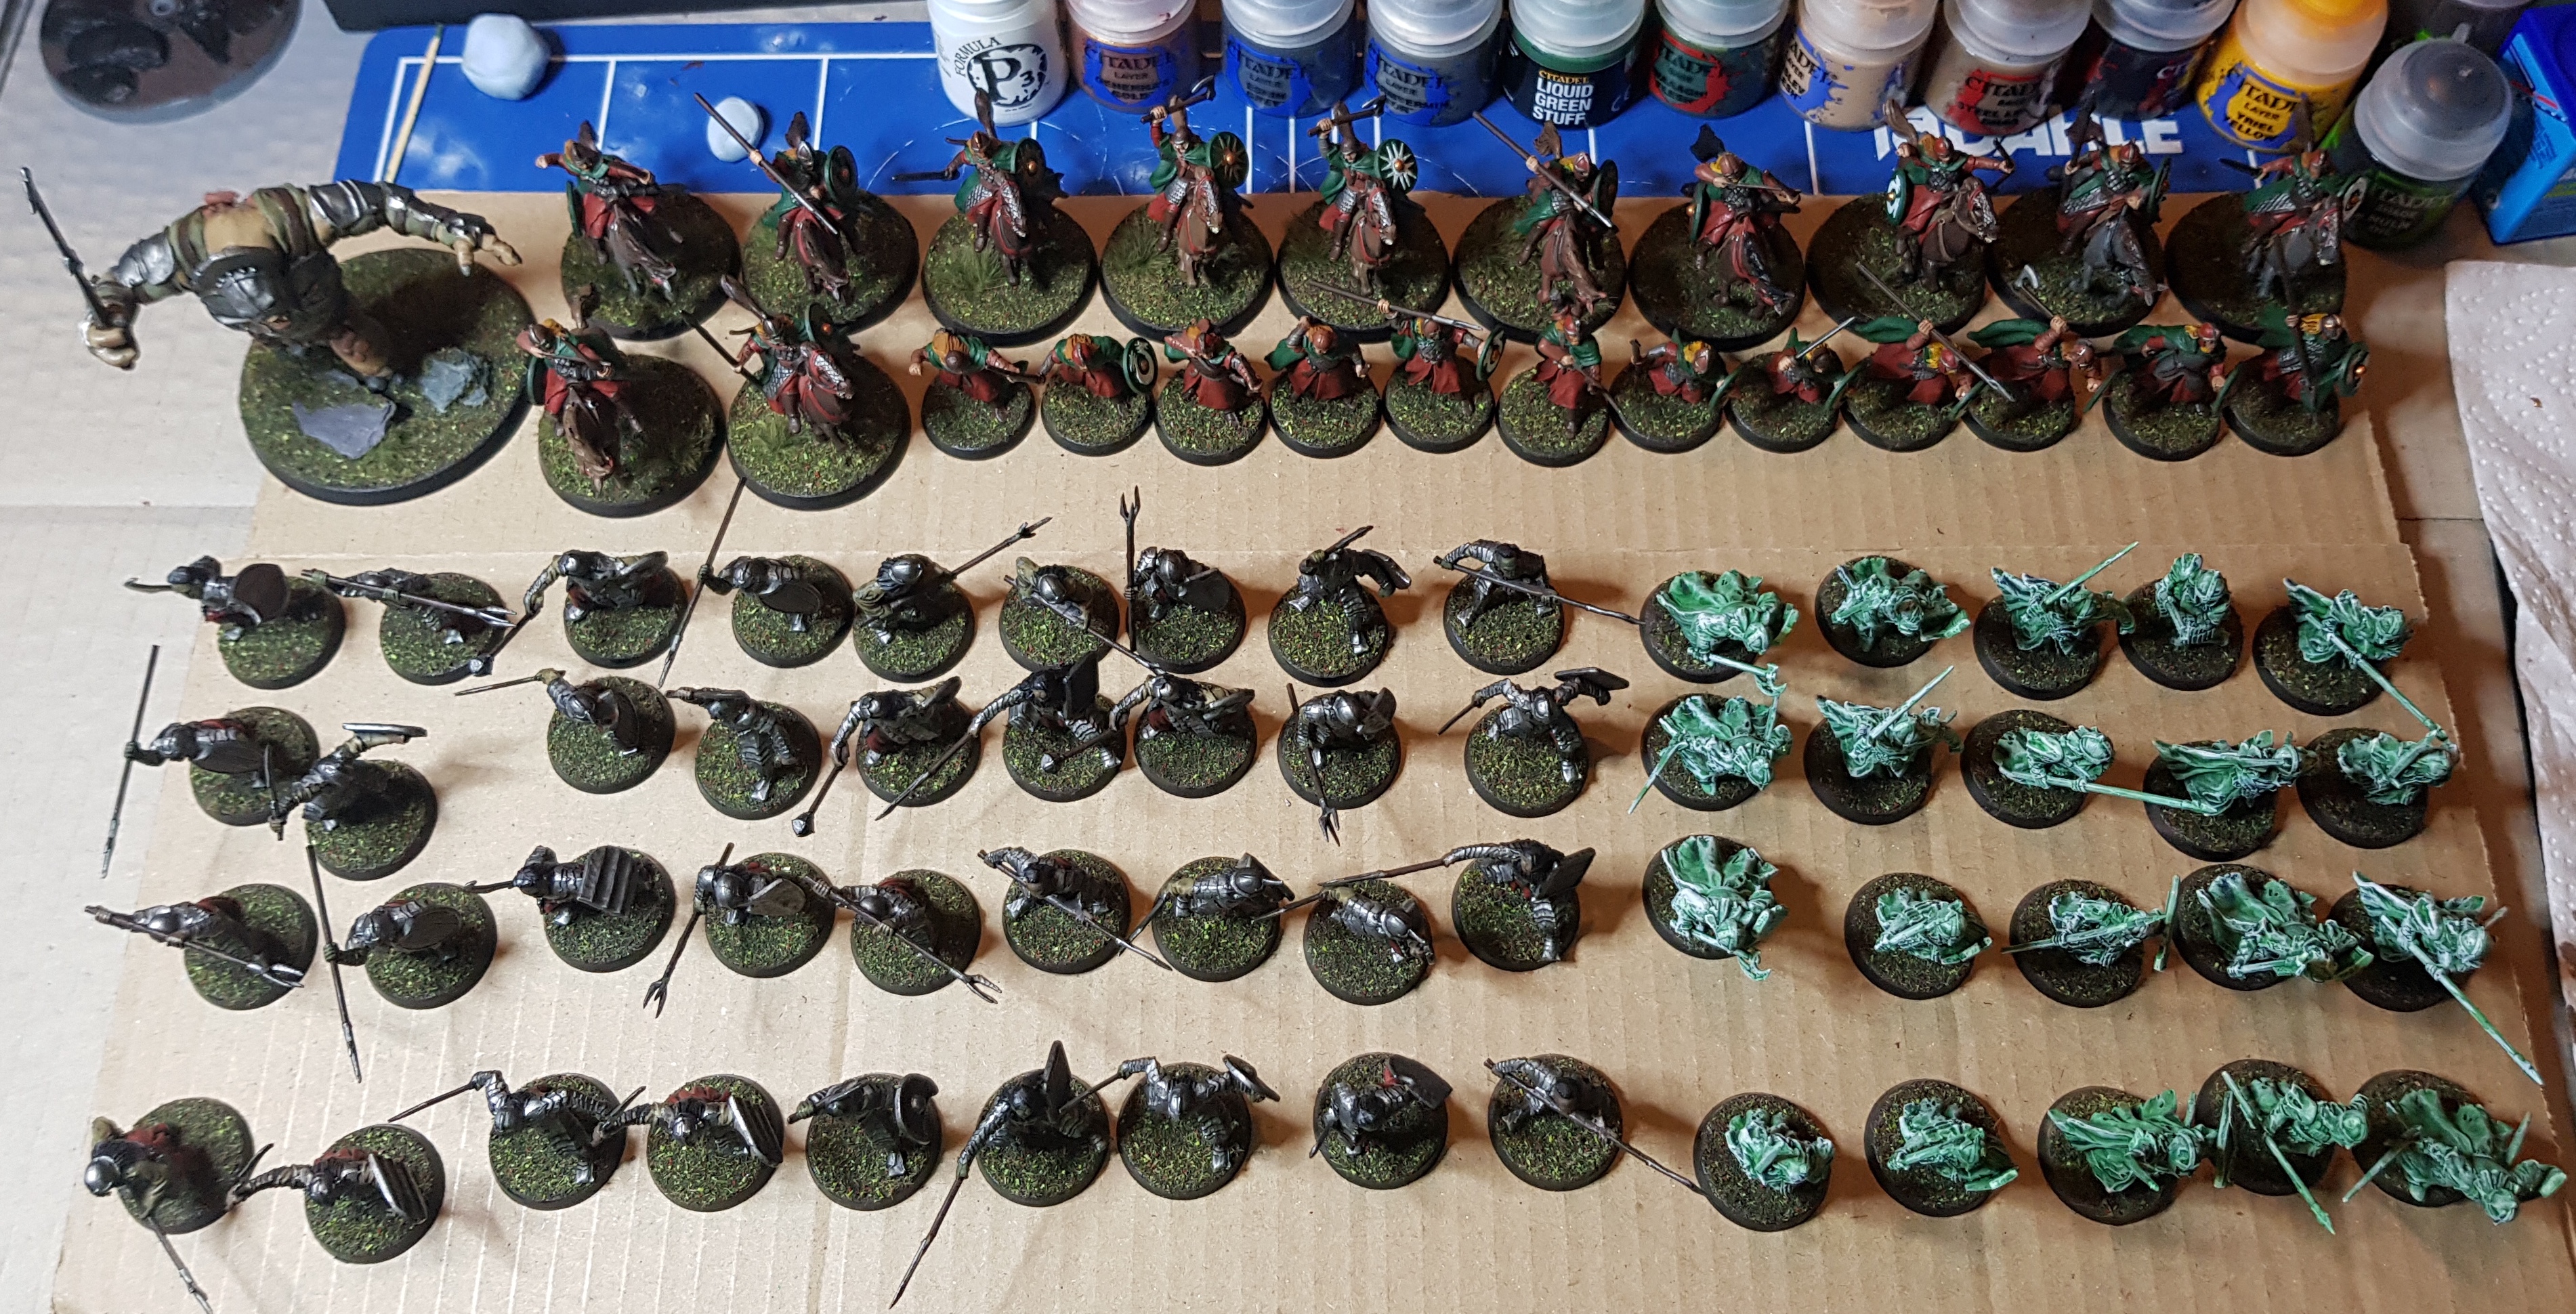
I’ve pretty much given up on tracking my time through this project but I did remember to start and stop a timer during the final six riders and their horses (they took about 7 hours start to finish).
Models painted: 81
Models remaining: 3
T-minus 5 days - Quick terrain
[I didn’t have time this week to do hobby and post here so I’m going to dump all the posts up in one day but title them as though I was an organised human being]
Most of my terrain is sci-fi so I knew that for the games day I was going to need to get a gaming surface and some scatter sorted. The scenario booklet that comes in the box set does take great pains to note that the Pelennor is a barren land so scatter isn’t a big priority. I decided to try out Mel the Terrain Tutor’s CD scatter method to quickly get some pieces done using stuff that could just be found around the flat.
Finding old DVDs wasn’t difficult but it turns out that I am far too efficient at throwing out polystyrene! I eventually found some in the box for my printer – enough for this project and probably for making some rocks etc in the future.
I’m not going to go into much detail here as I really didn’t do much different from Mel’s instruction so I’d say just go and support a great creator by watching his videos… maybe even ding his dong while you are there.

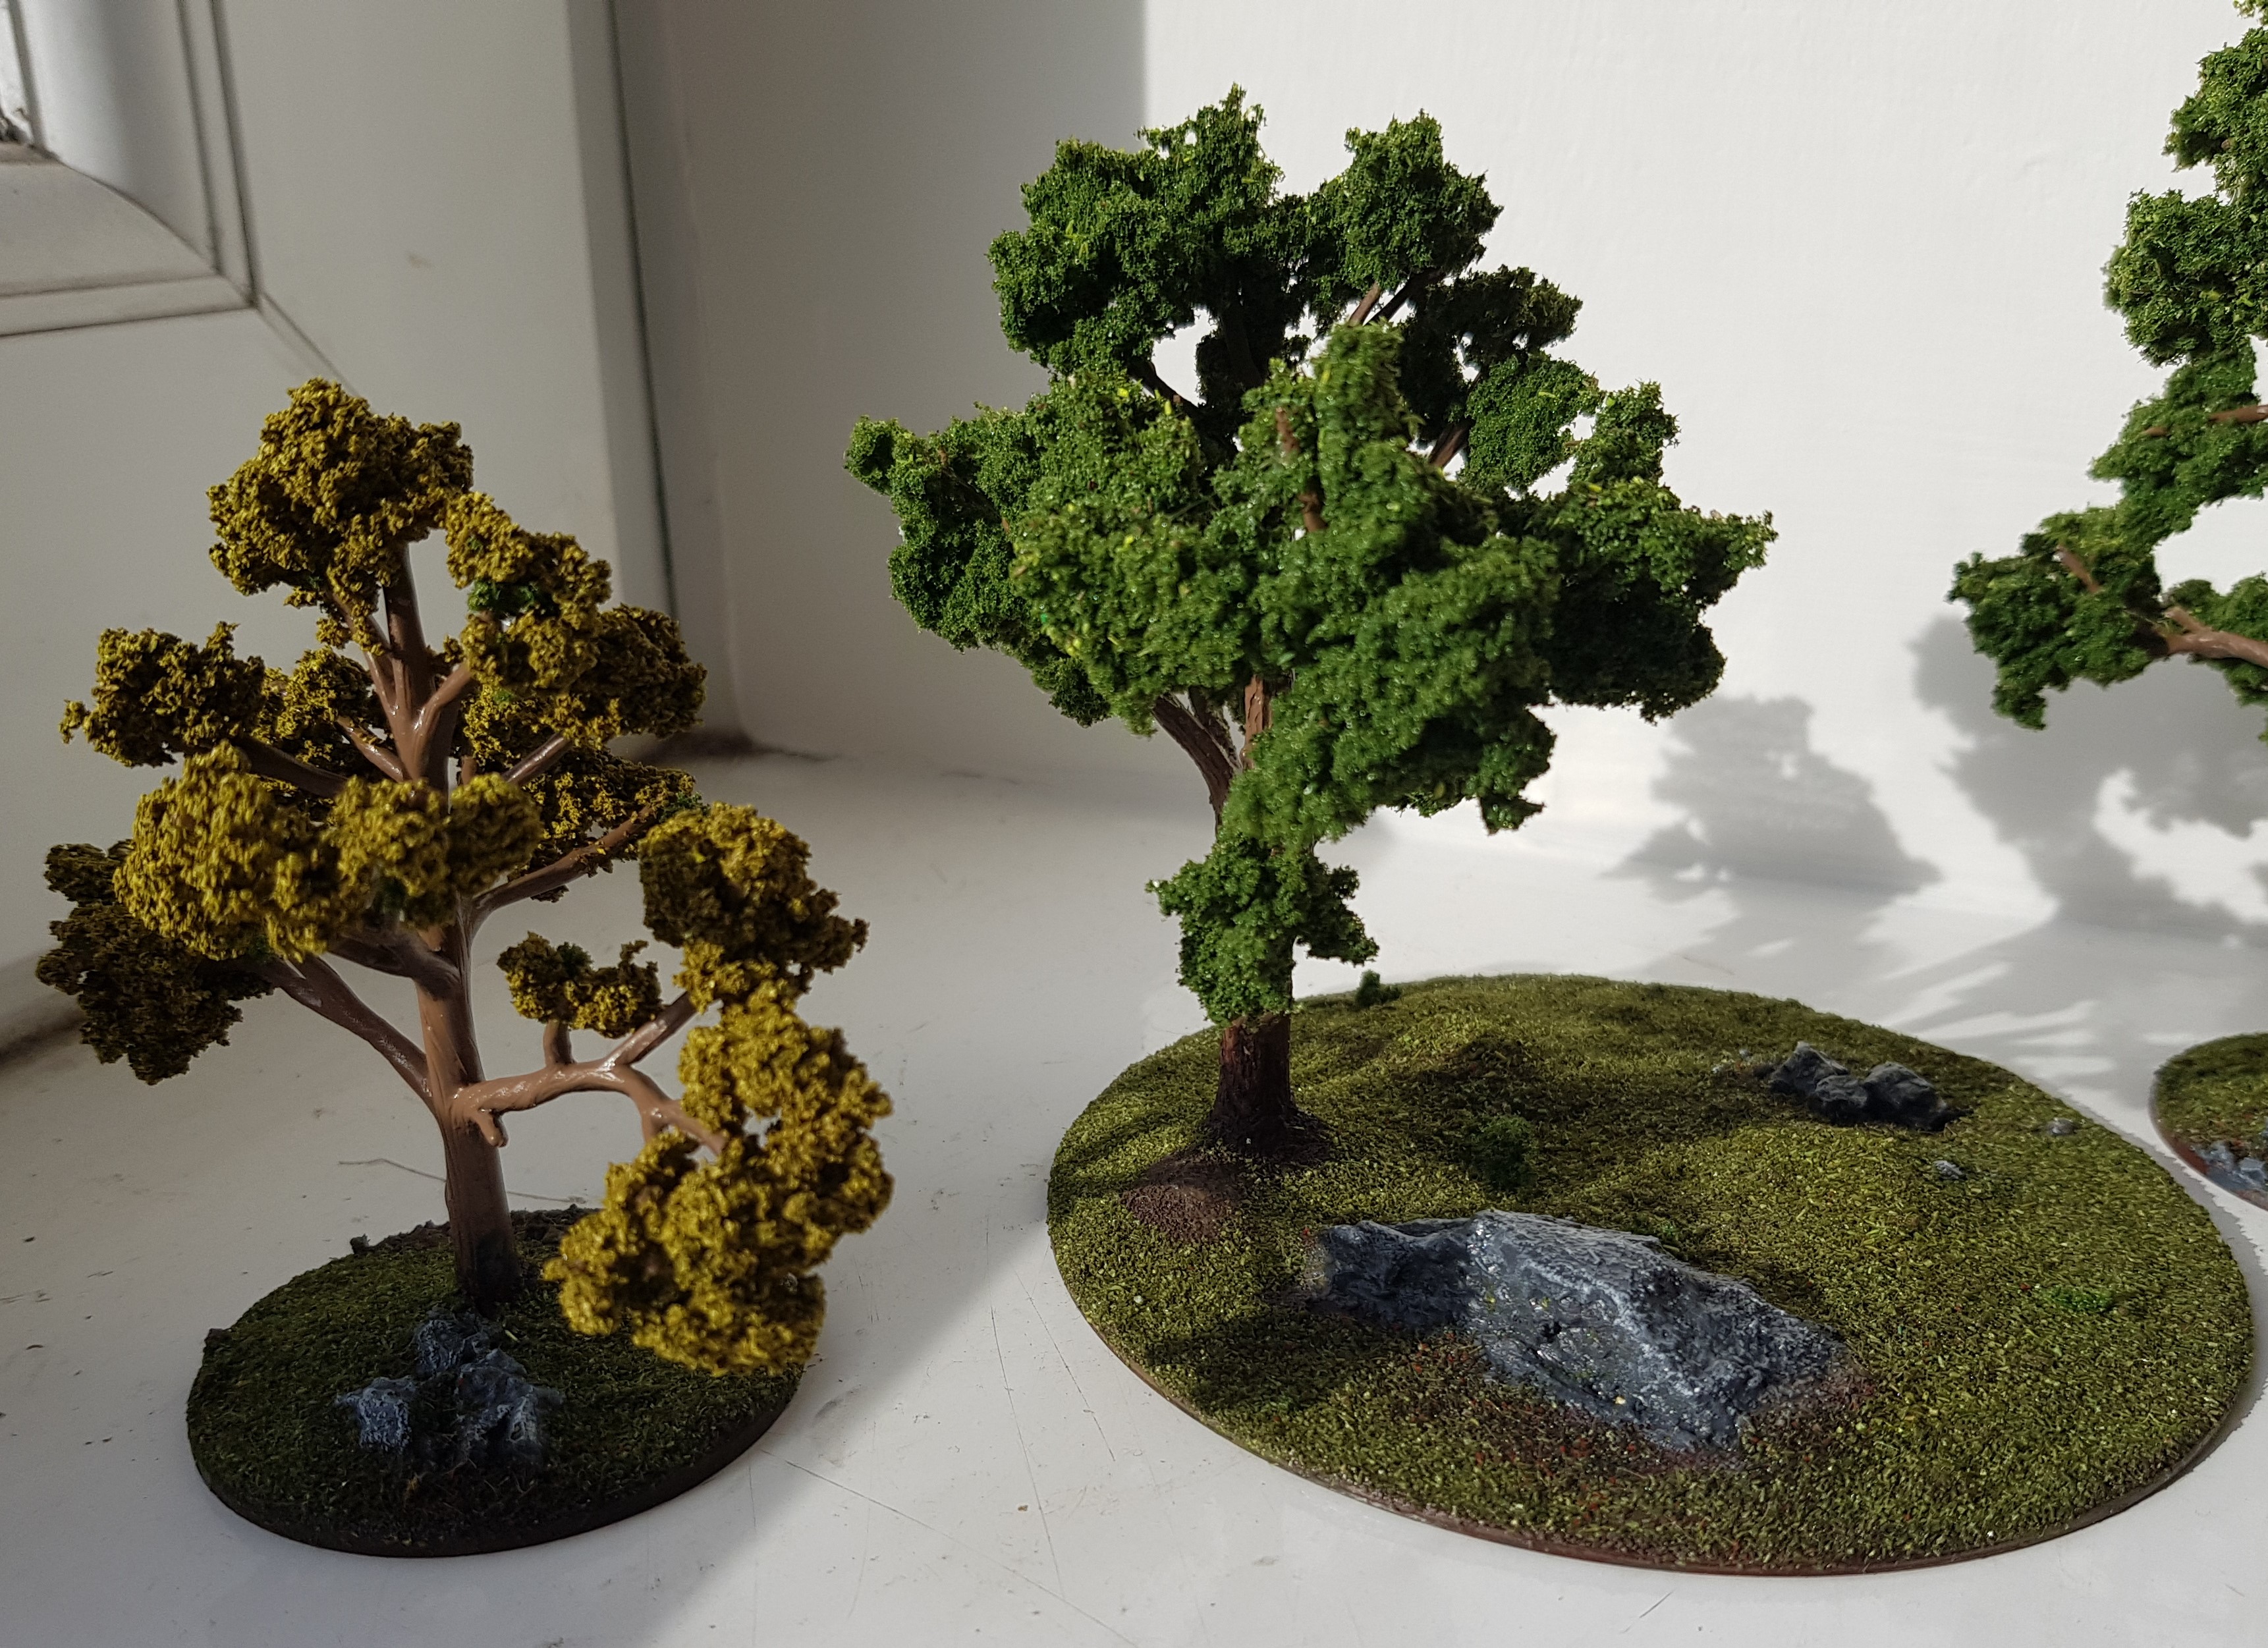
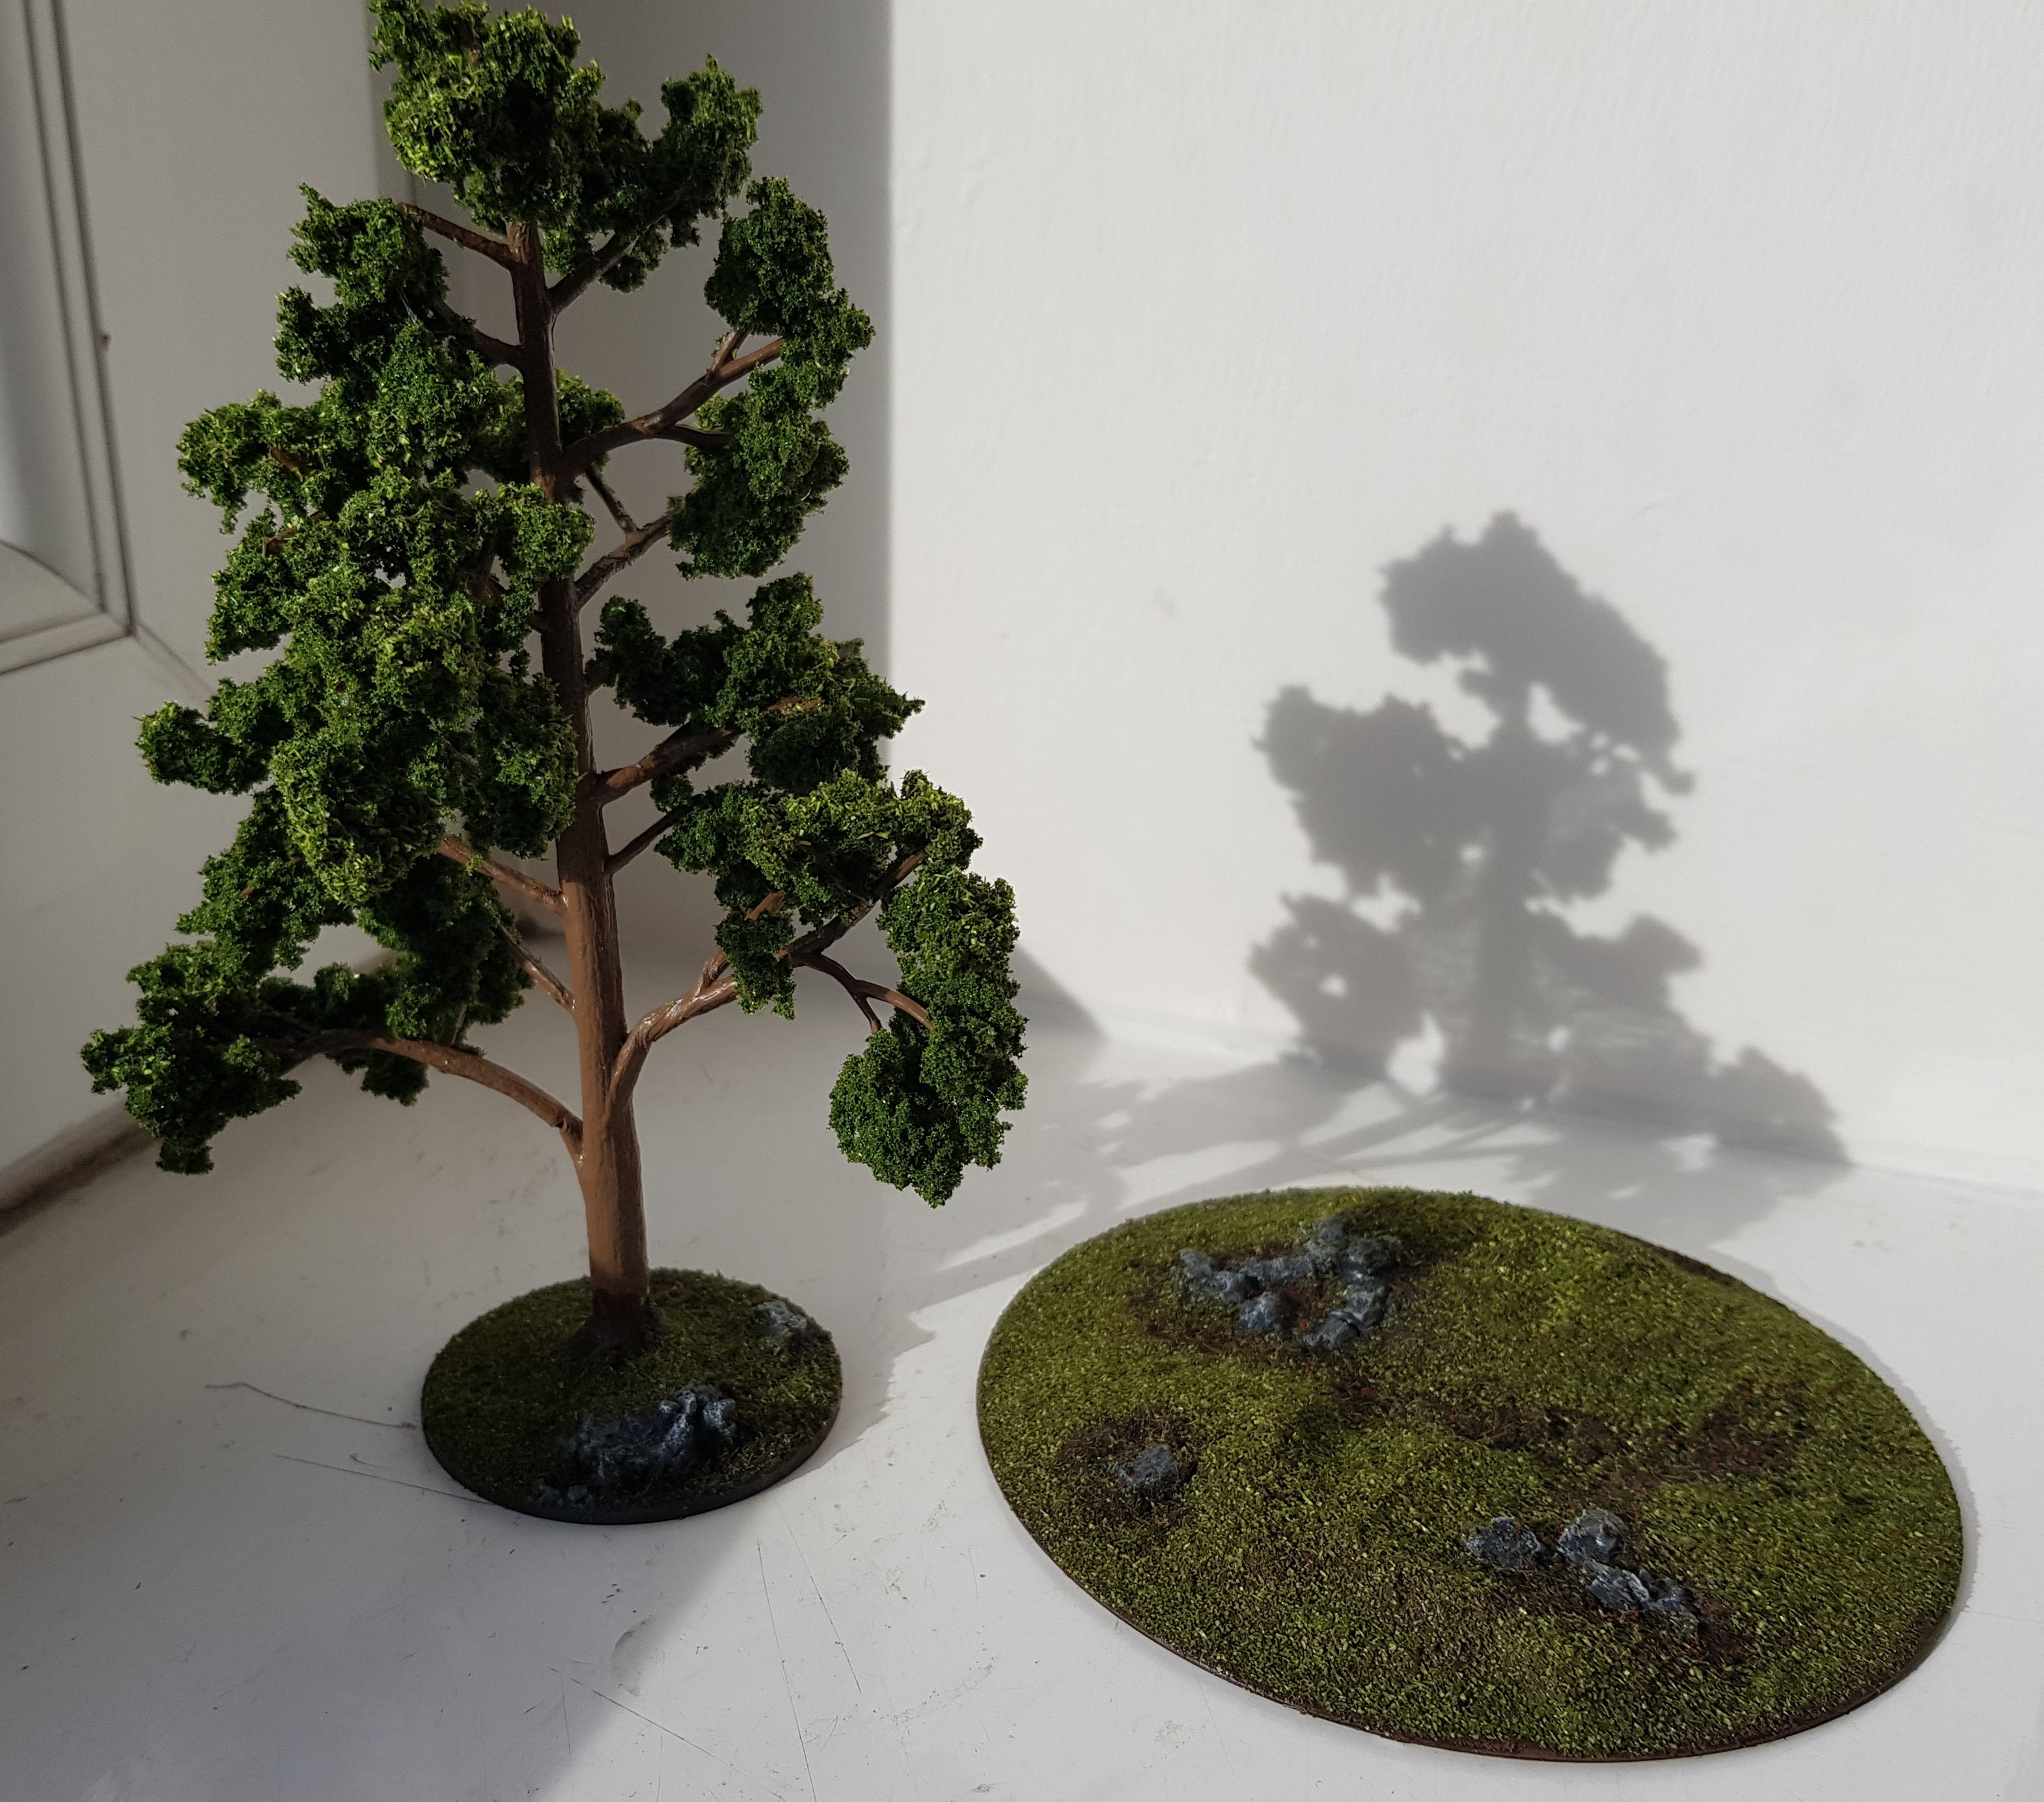
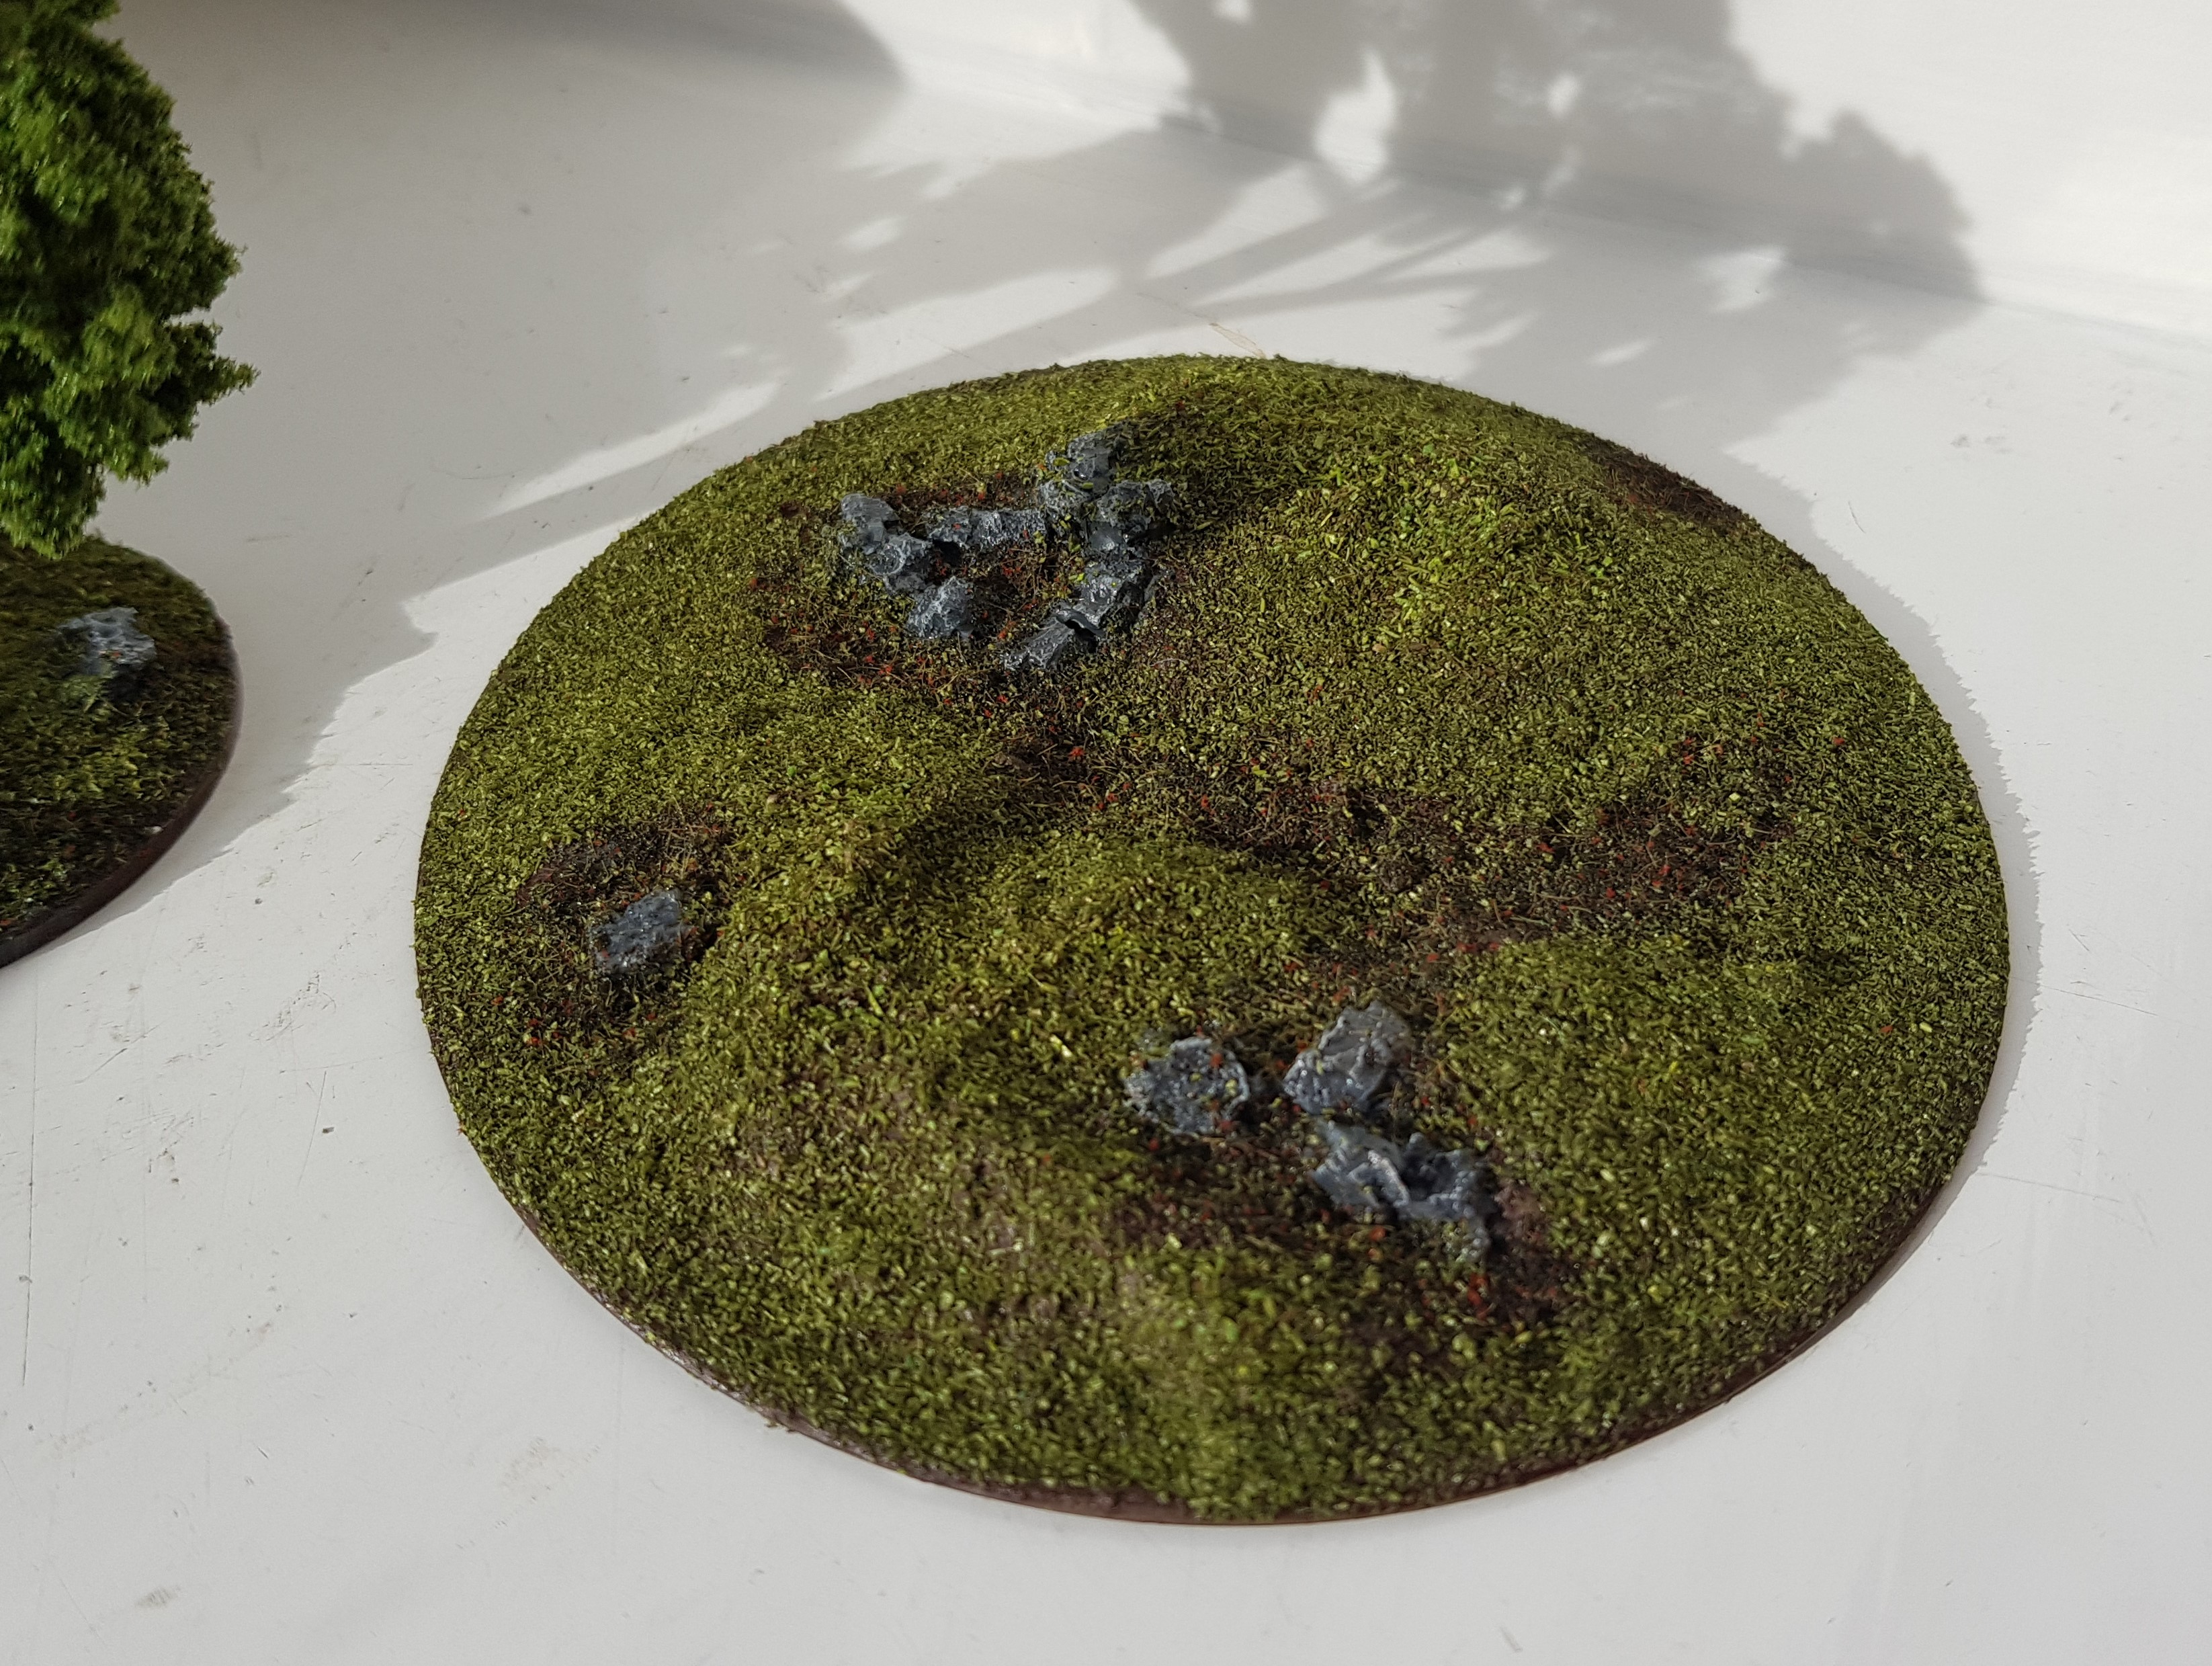
A few weeks ago (in the middle of the Rangers of Shadow Deep project), I stumbled upon a Woodland Scenics kit for £4. £4?!?! For 6 armatures and more than enough clump flock for all of them. The instructions were simple – twist ’em, tacky glue ’em, flock ’em. I chucked prime ’em in there and at the end I gave them a good spray of cheap hairspray and used a lighter fine flock to highlight but that’s it. They look good. At some point I’ll go and work on the trunks with washes and highlights but I didn’t have time.
One of the trees is done with a different clump that I’ve had in the flat for donkey’s – I loved the colour but sadly it is really crumbly so it’s not up to much. It and one of the other trees I based on 55mm bases but treated them the same in terms of filler/spackle, texture, paint, flock, seal.
Now our two elements can be joined and BAM! Scatter done.
T-minus 2 days - (not so) Glorious Grass
So I didn’t want to buy a grass mat just yet because I’m not sure which one I like the look of and I hate to be rushed spending money 🙂 Many months ago a friend was clearing out his Room of Doom and gave me one of the GW grass mats. It hadn’t even been out of it’s packaging.
Ideally, I’d glue it down onto a 6×4 board but I don’t have space to store that and I don’t have an easy way of getting anything like it in time for Saturday anyway. I also wanted something that could be used at either 6×4 or 4×4. Cue a make shift gaming surface…
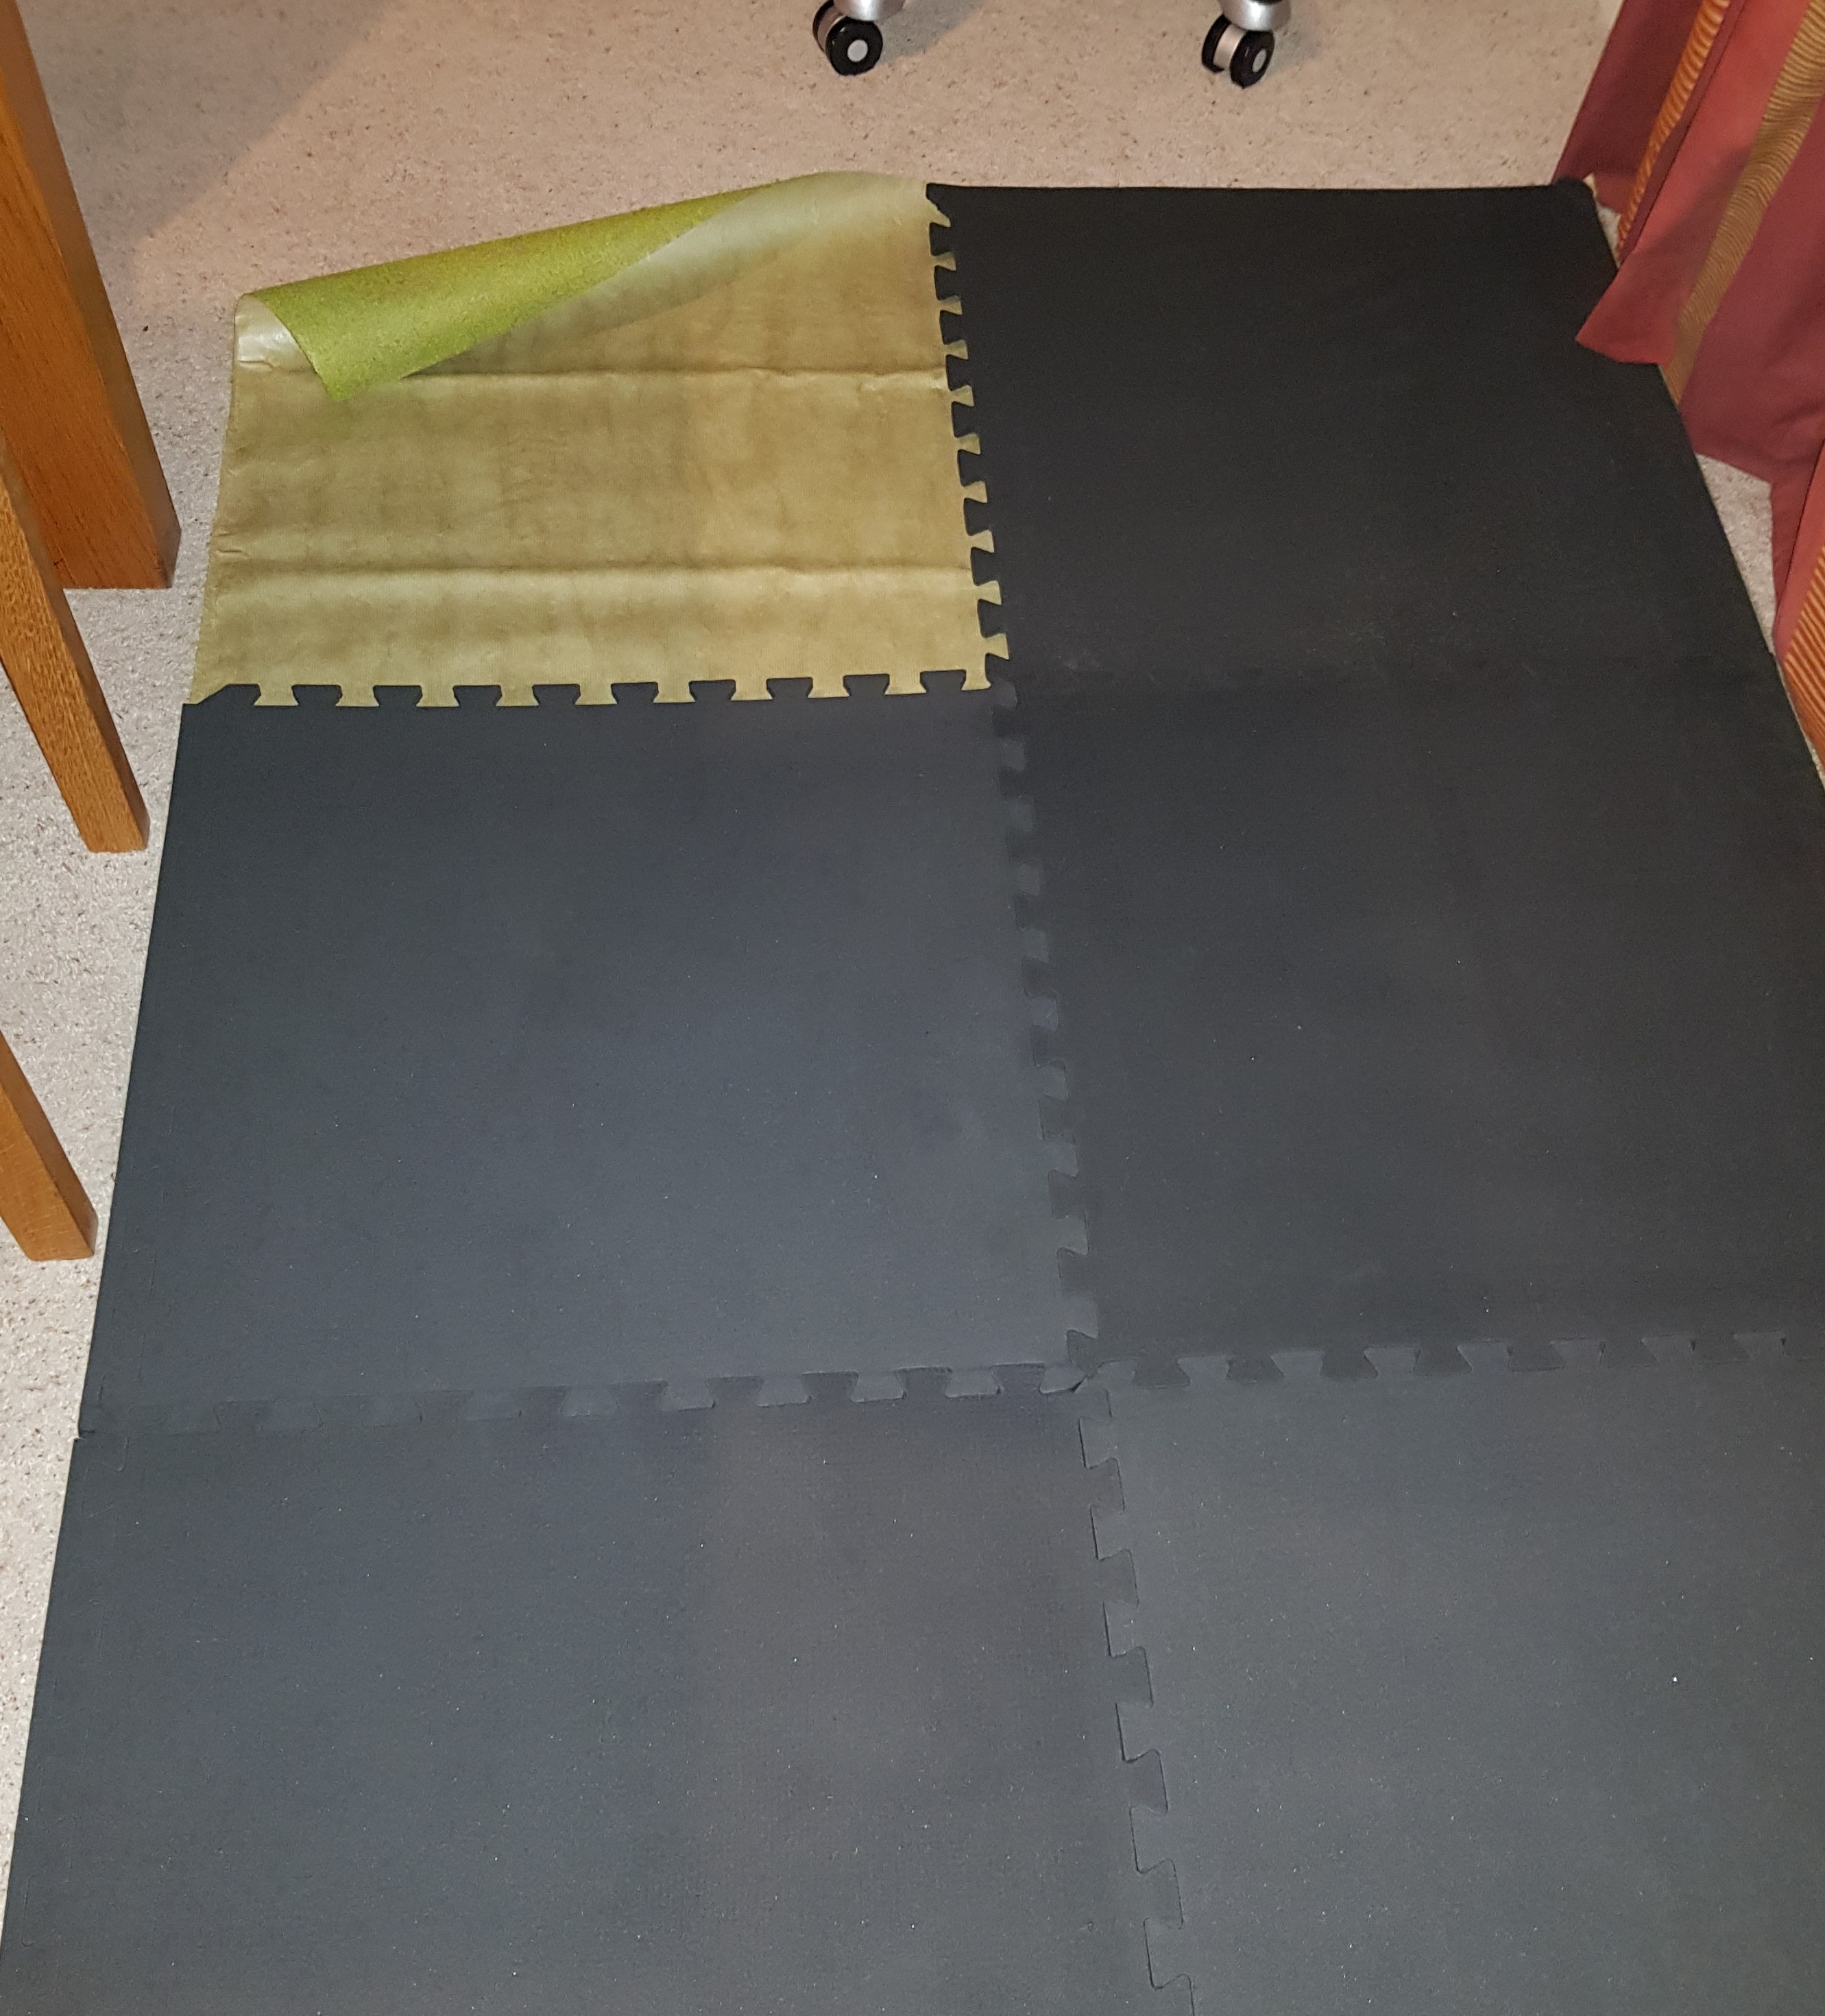
Let’s bring in the star of the show – cheap 2ftx2ft foam tiles. This gave the chance to change the size of the table at will. In hindsight, getting 1×1 tiles would have been a better plan though much more time consuming.

Step one – permanently attach the edging with the hot glue gun.
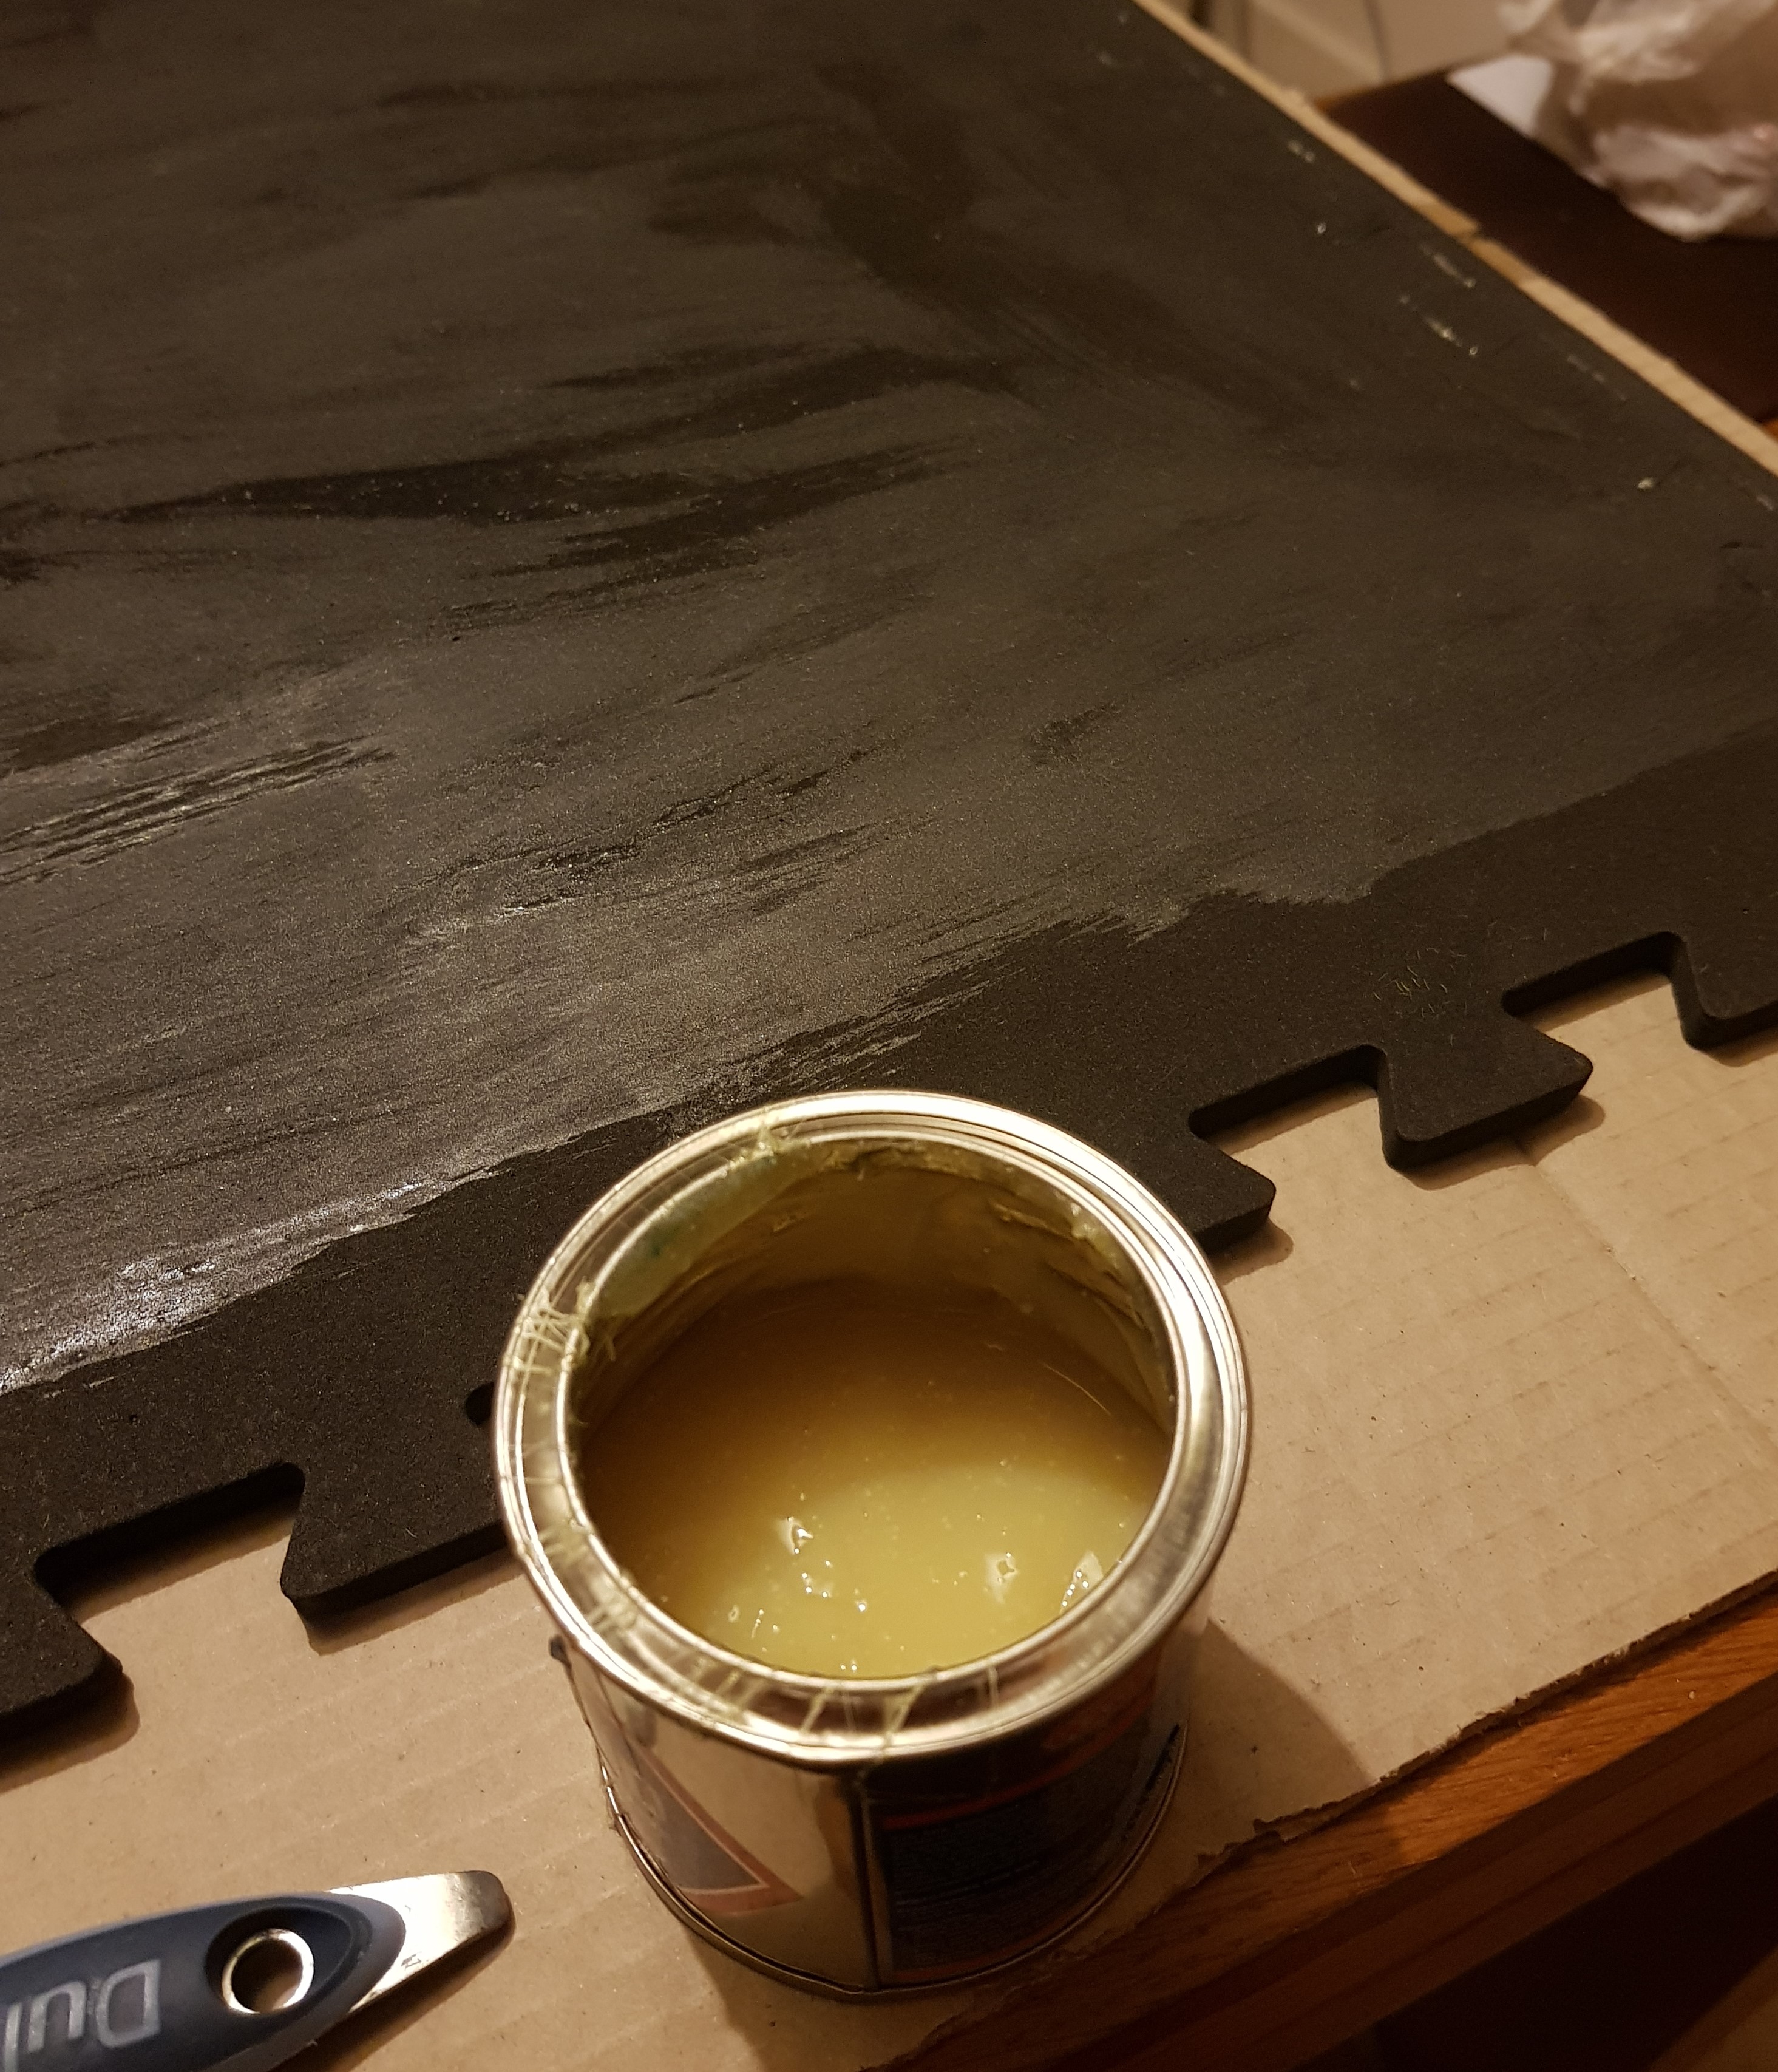
Step two – contact adhesive is spread over the outer edges and the middle of the tile, leaving a couple of inches around the interlocking edges.
Step three – go around with a sharp knife and cut round the interlocking edges
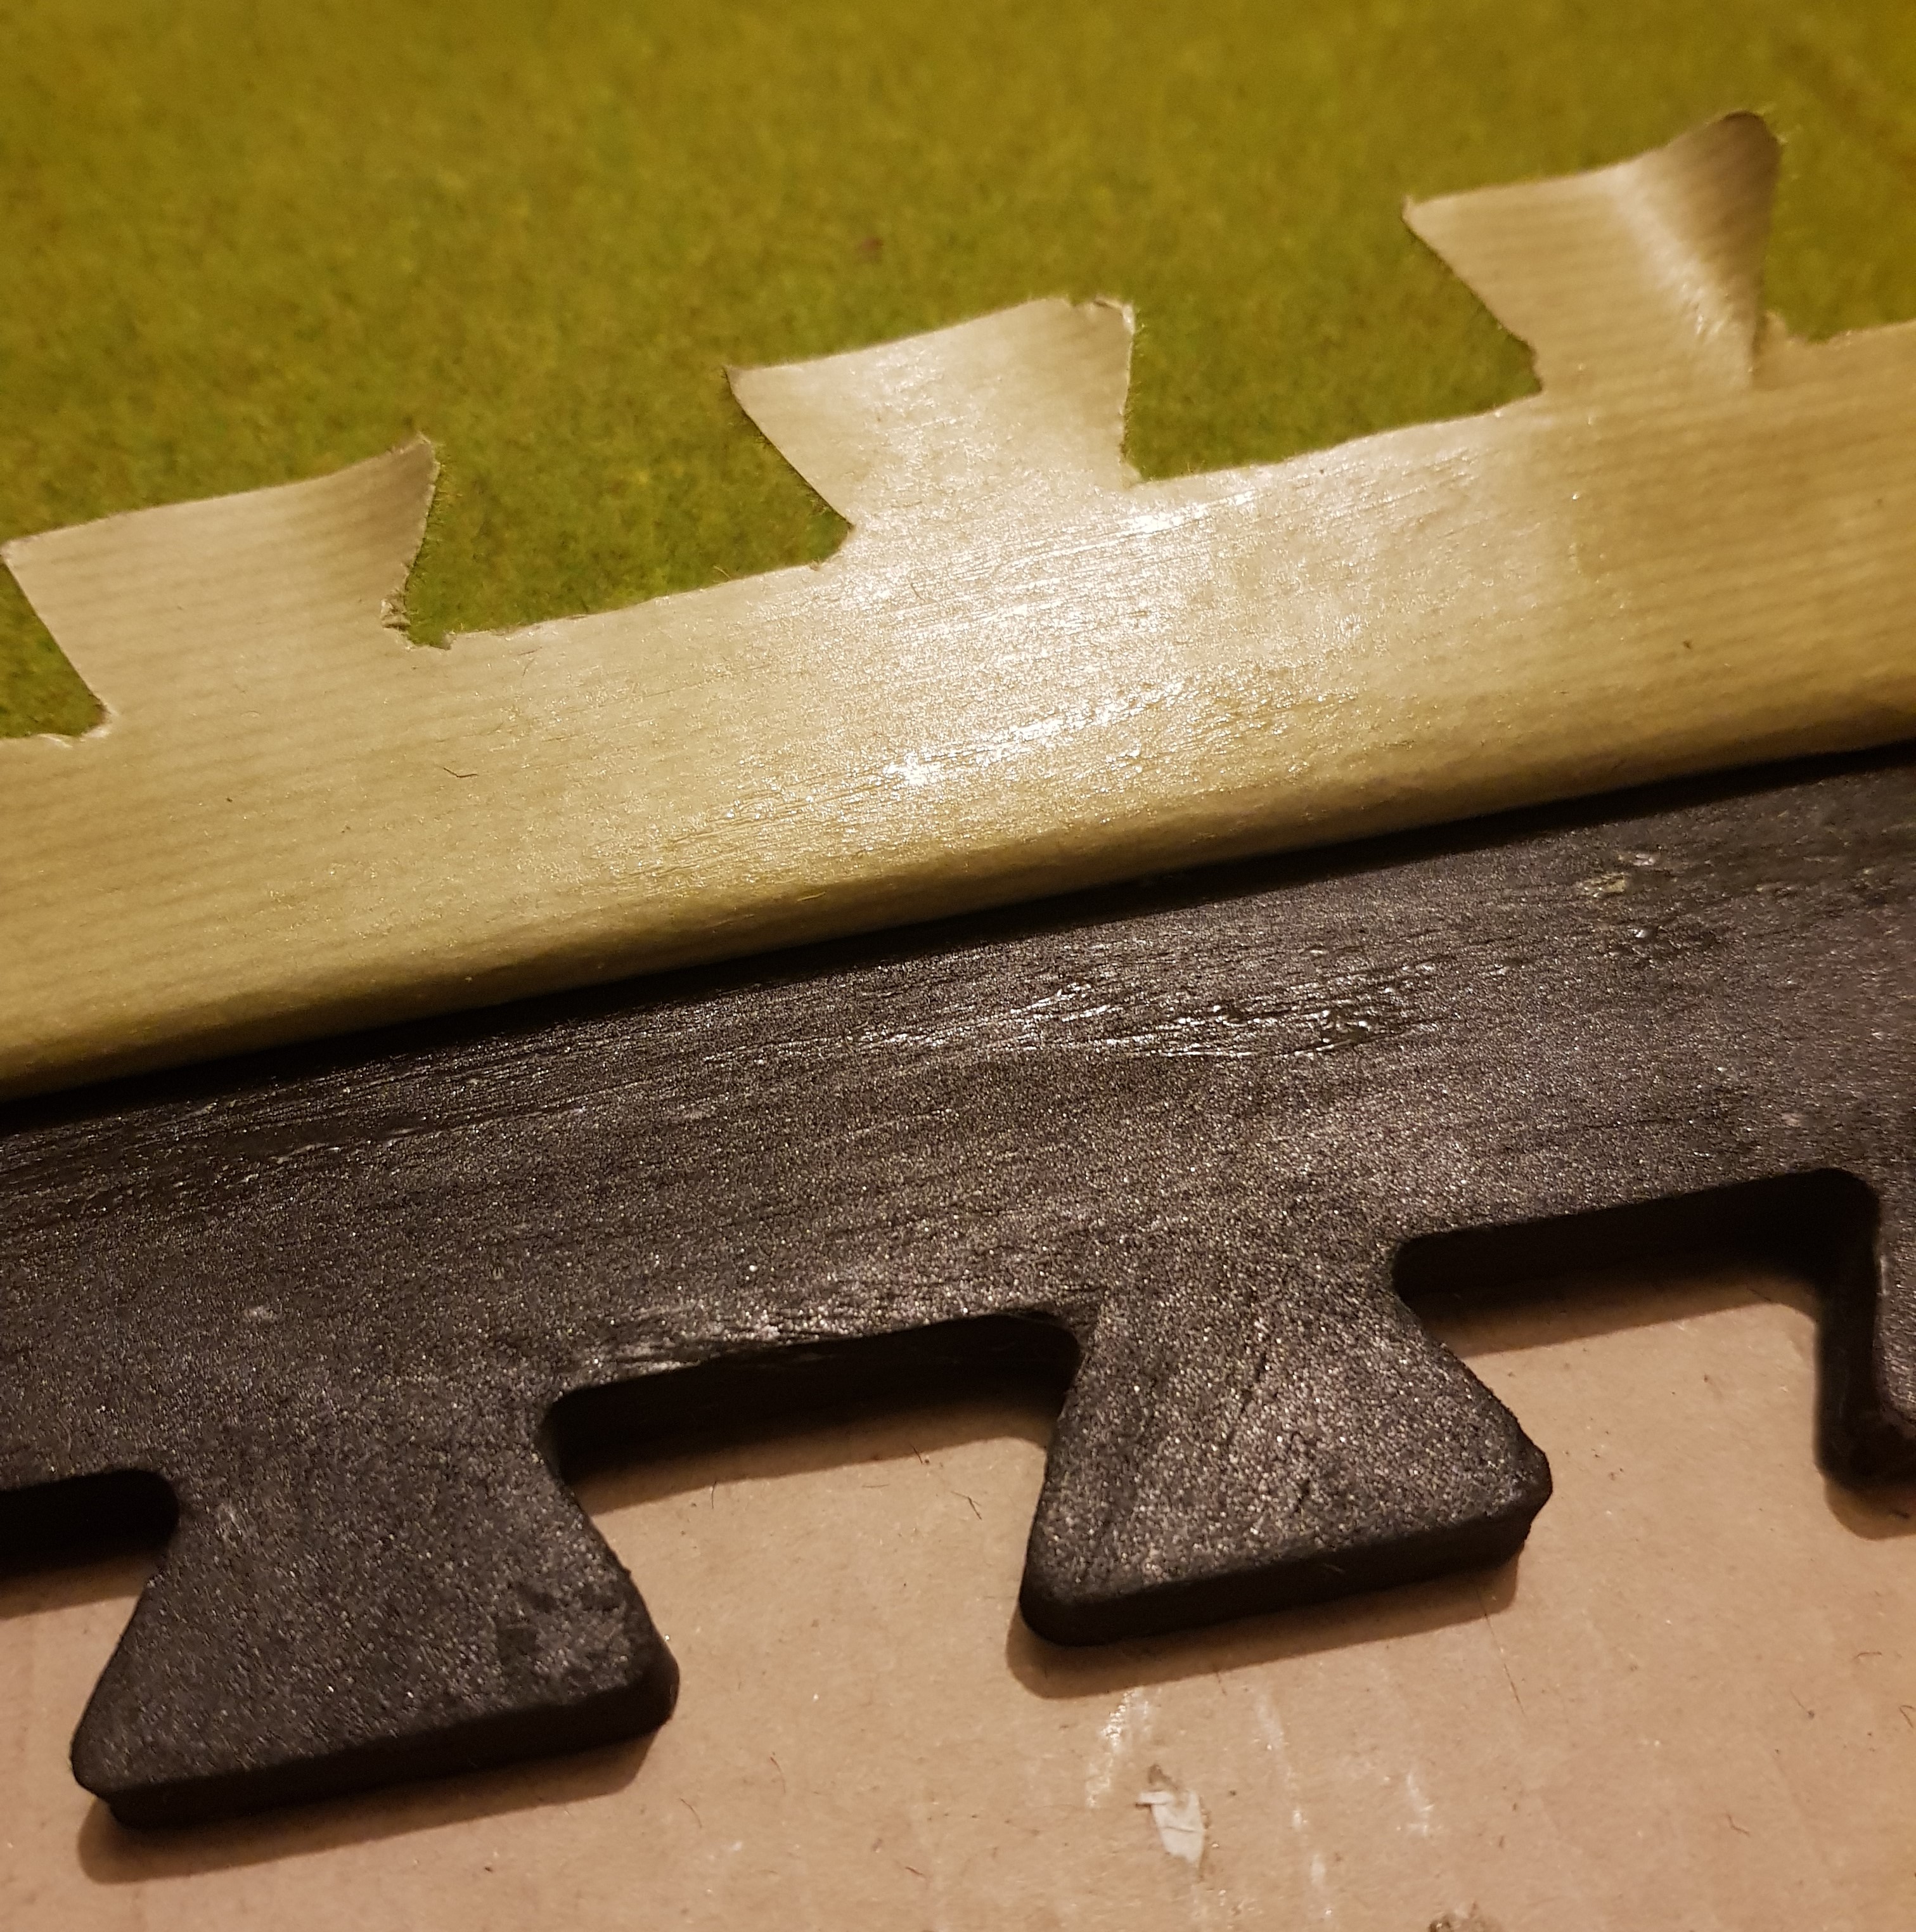
Step four – get the contact adhesive back and fill in the sections you didn’t do before
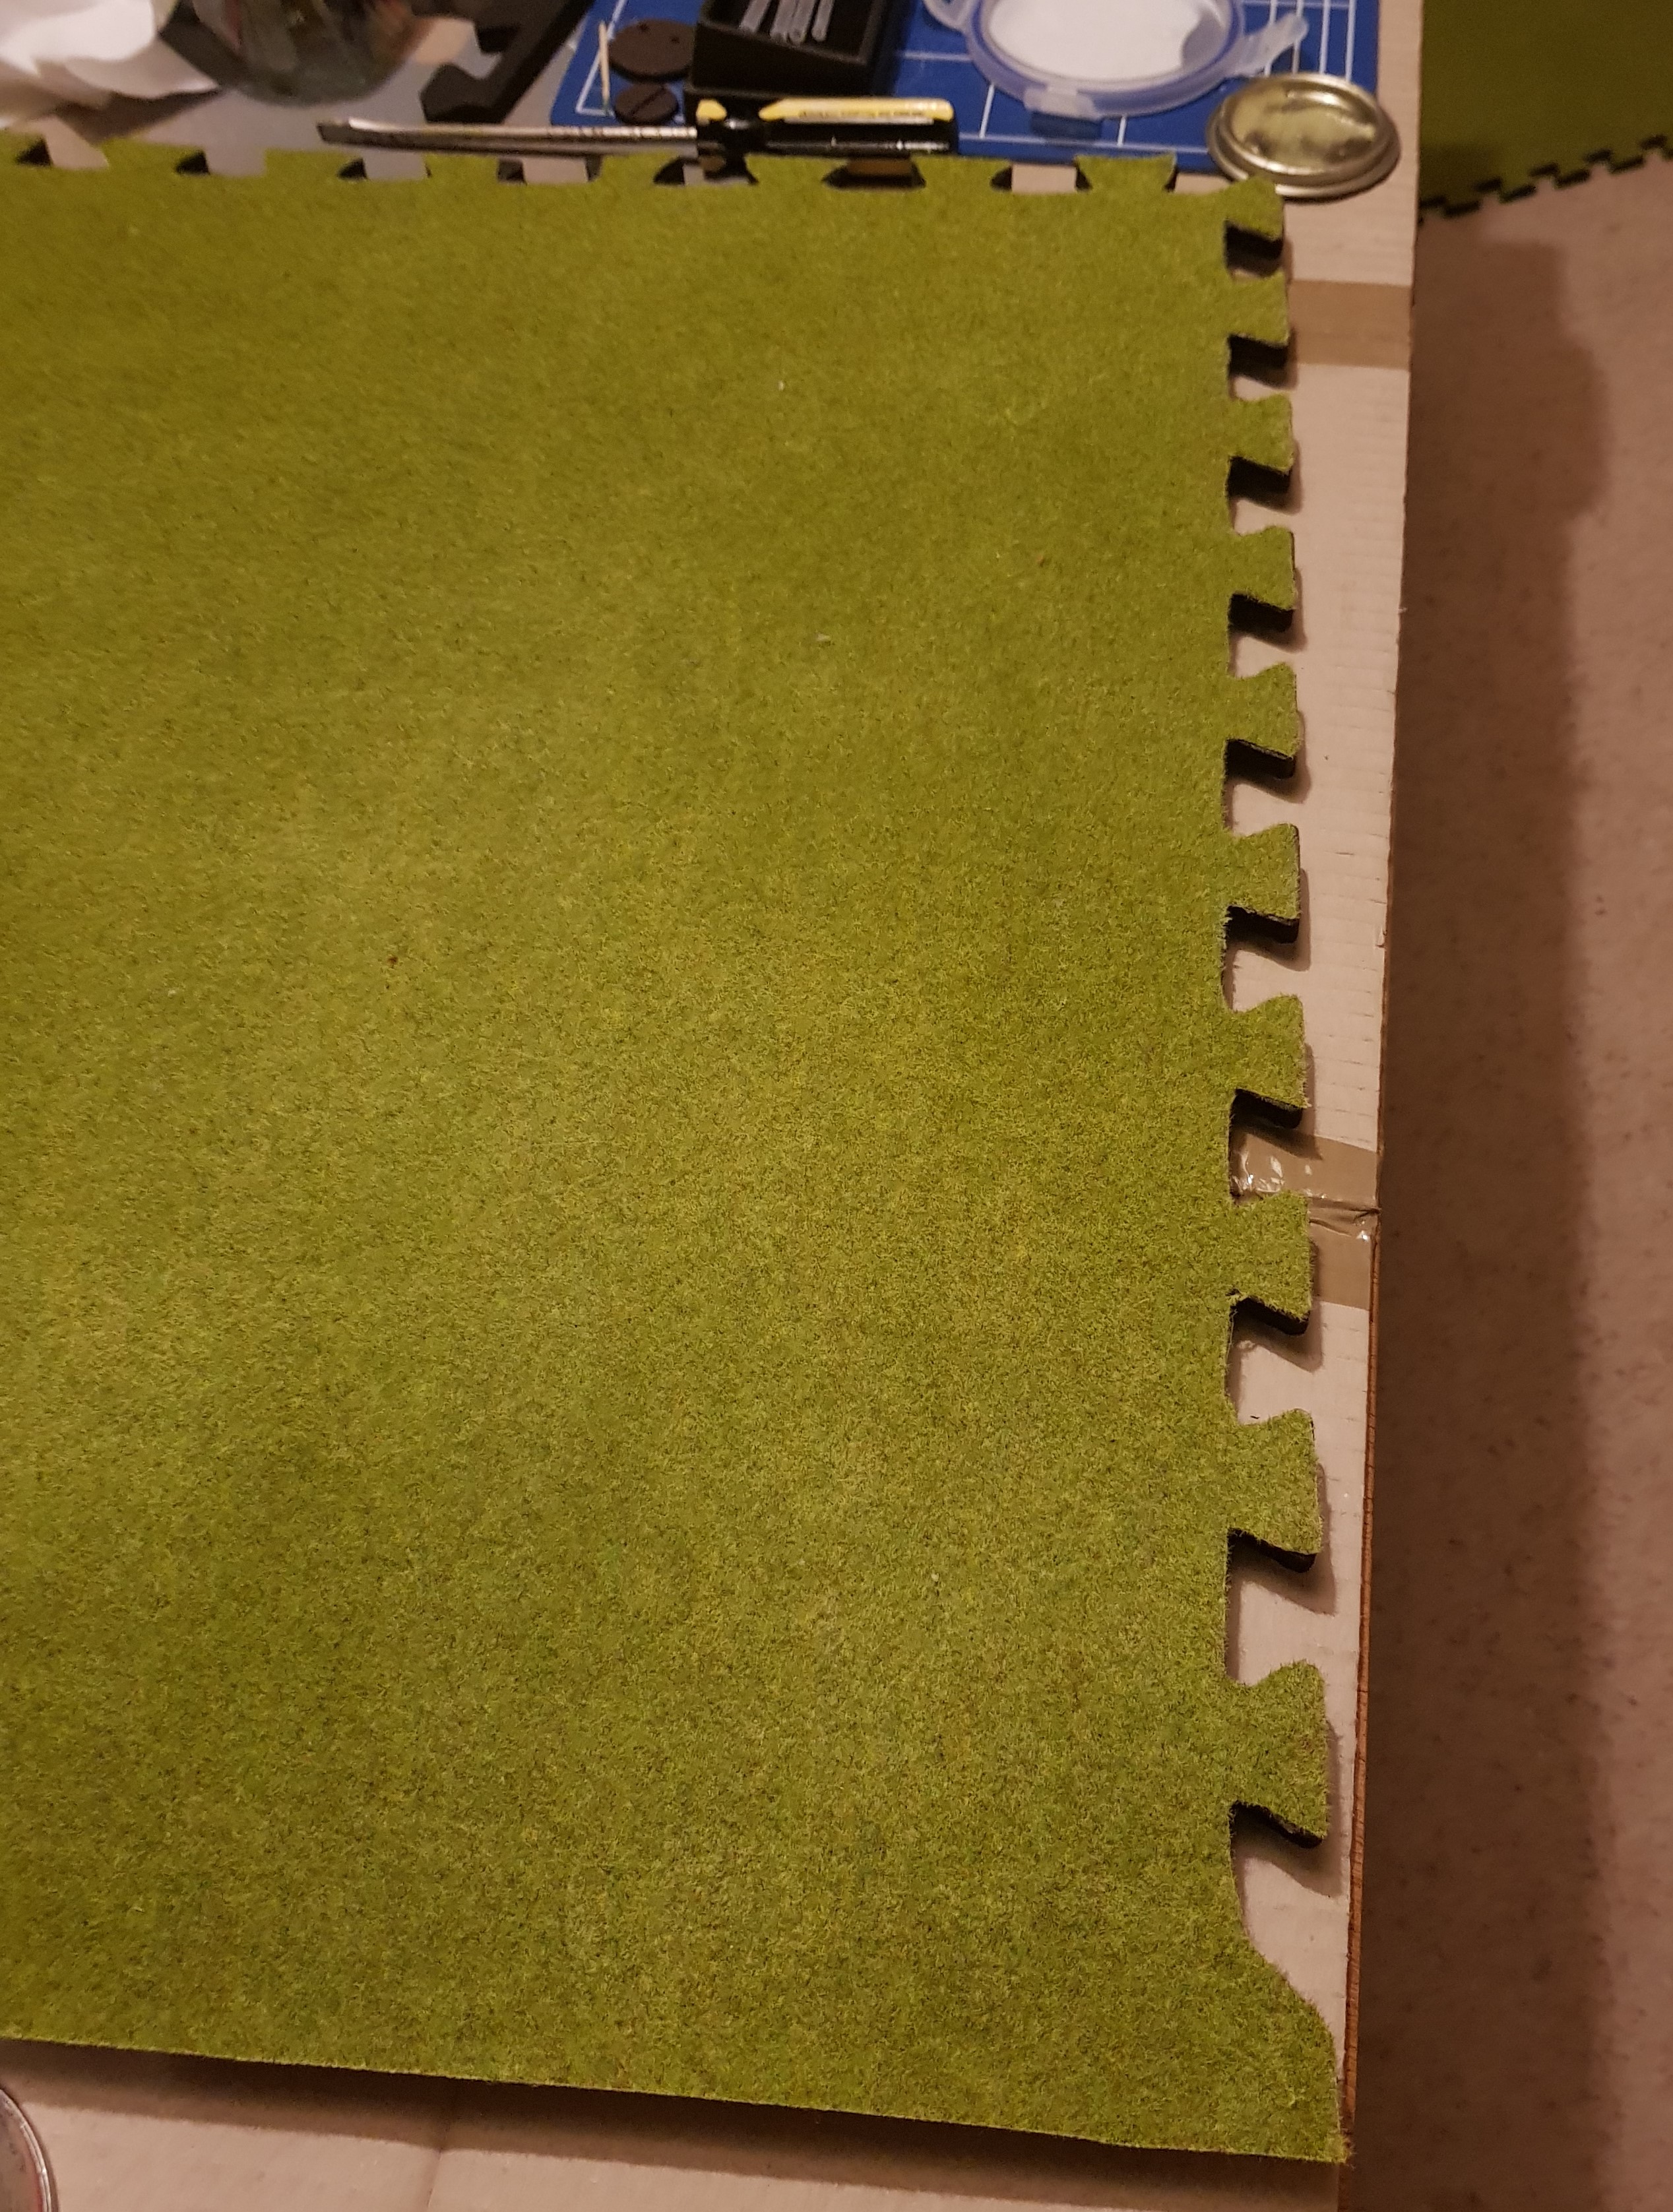
This is where I got to on this project. I will be going back to cover with some different tones of flock and to get a coat of watered down PVA to seal it. The foam tiles themselves, being cheap, are a bit thin and once on the table the sides that overhang did flop a bit. I think in the future I’ll get some hardboard to mount them onto or maybe just get one for putting over the table surface to lie these on.
Game Day - We come to it at last...
… the great battle of our time.
After 26 days of hard graft, game evening has arrived. How many normies will we snag?
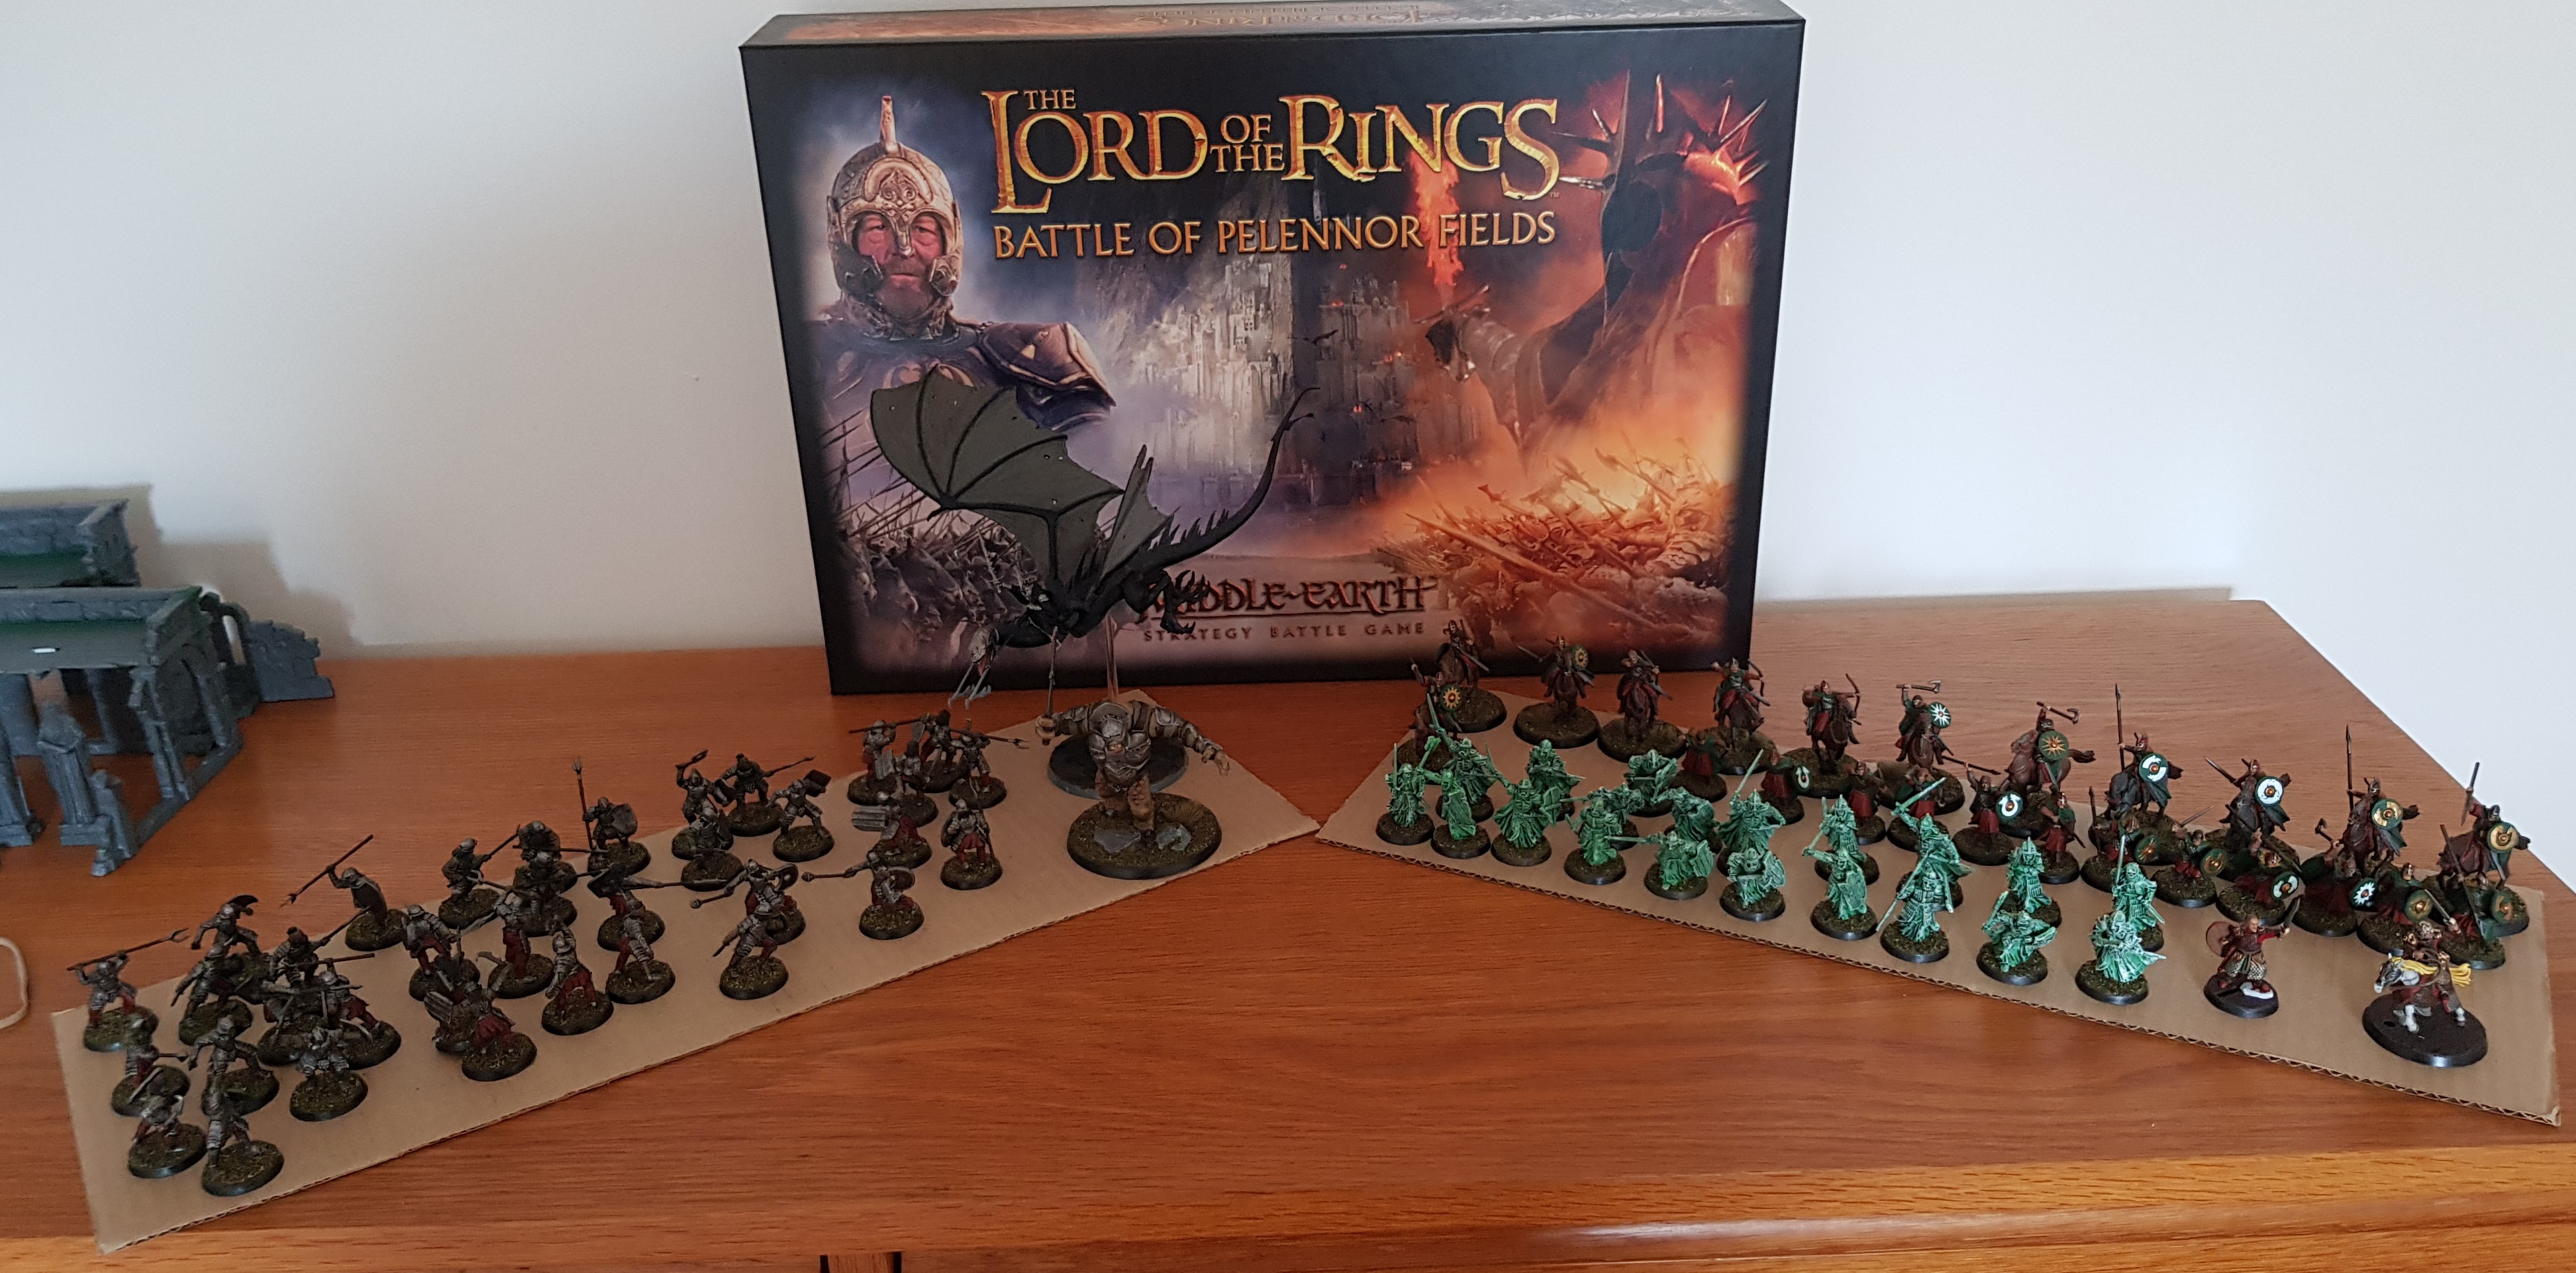 84 models painted
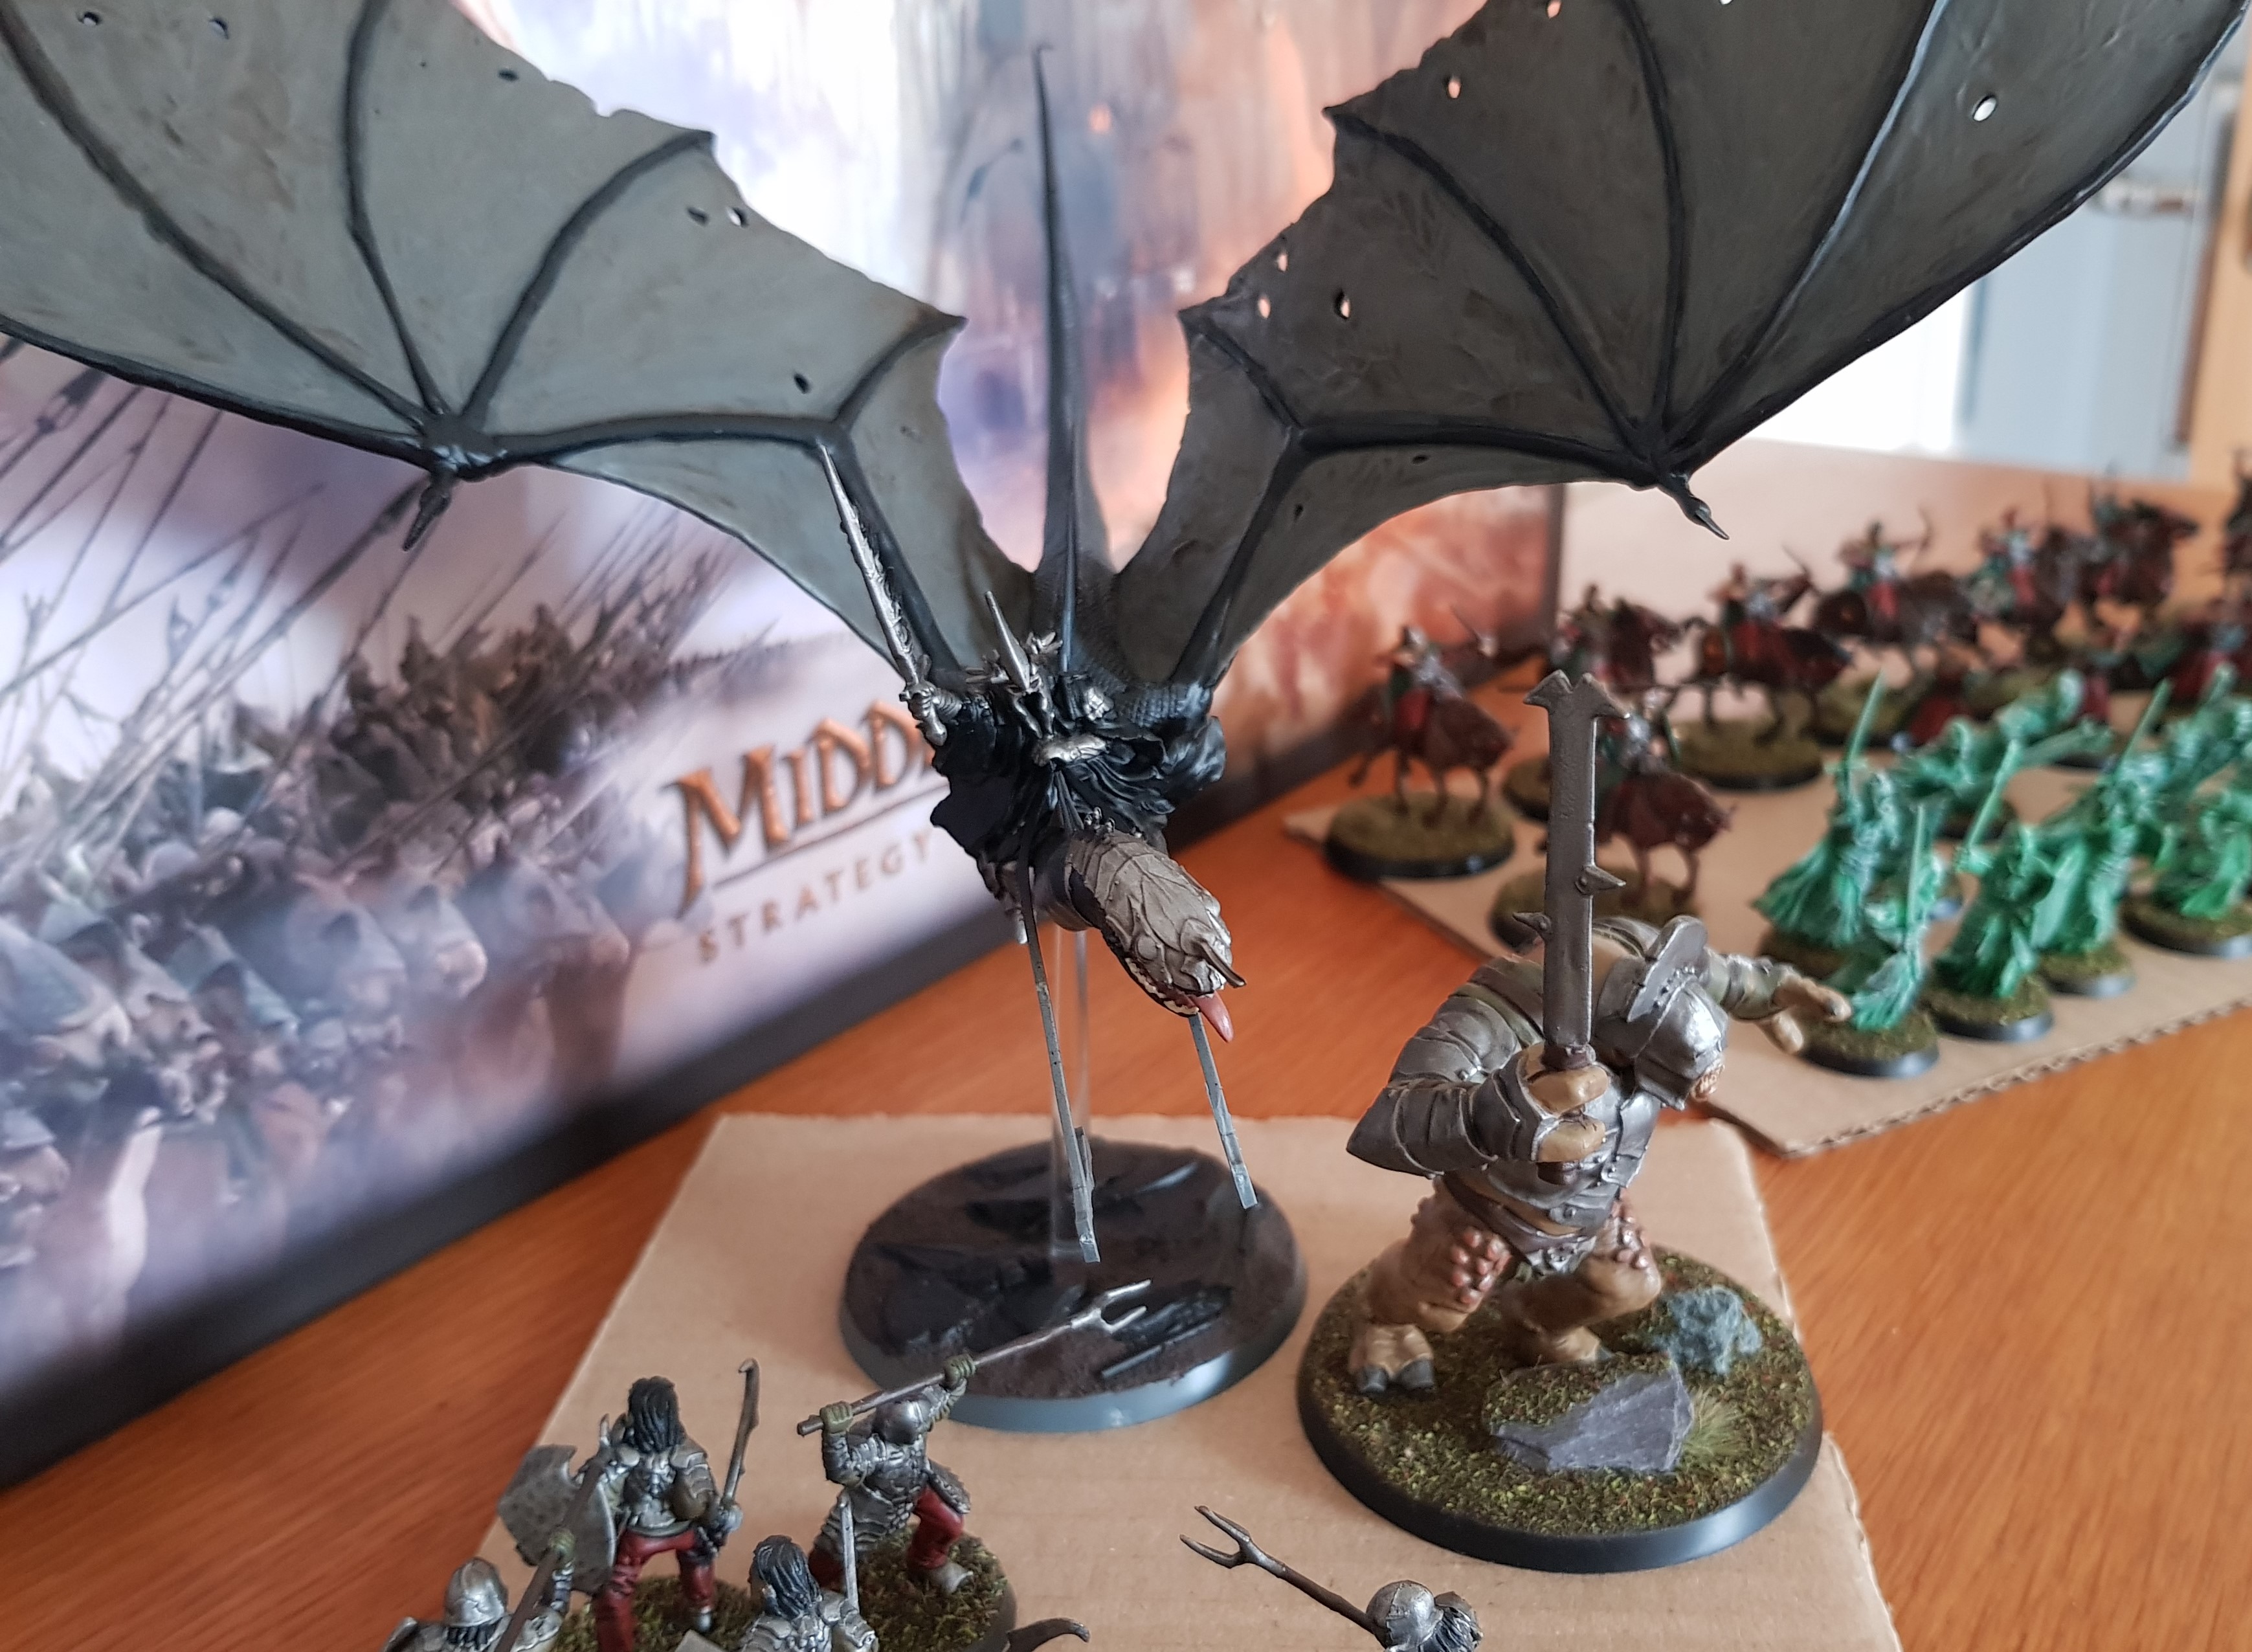
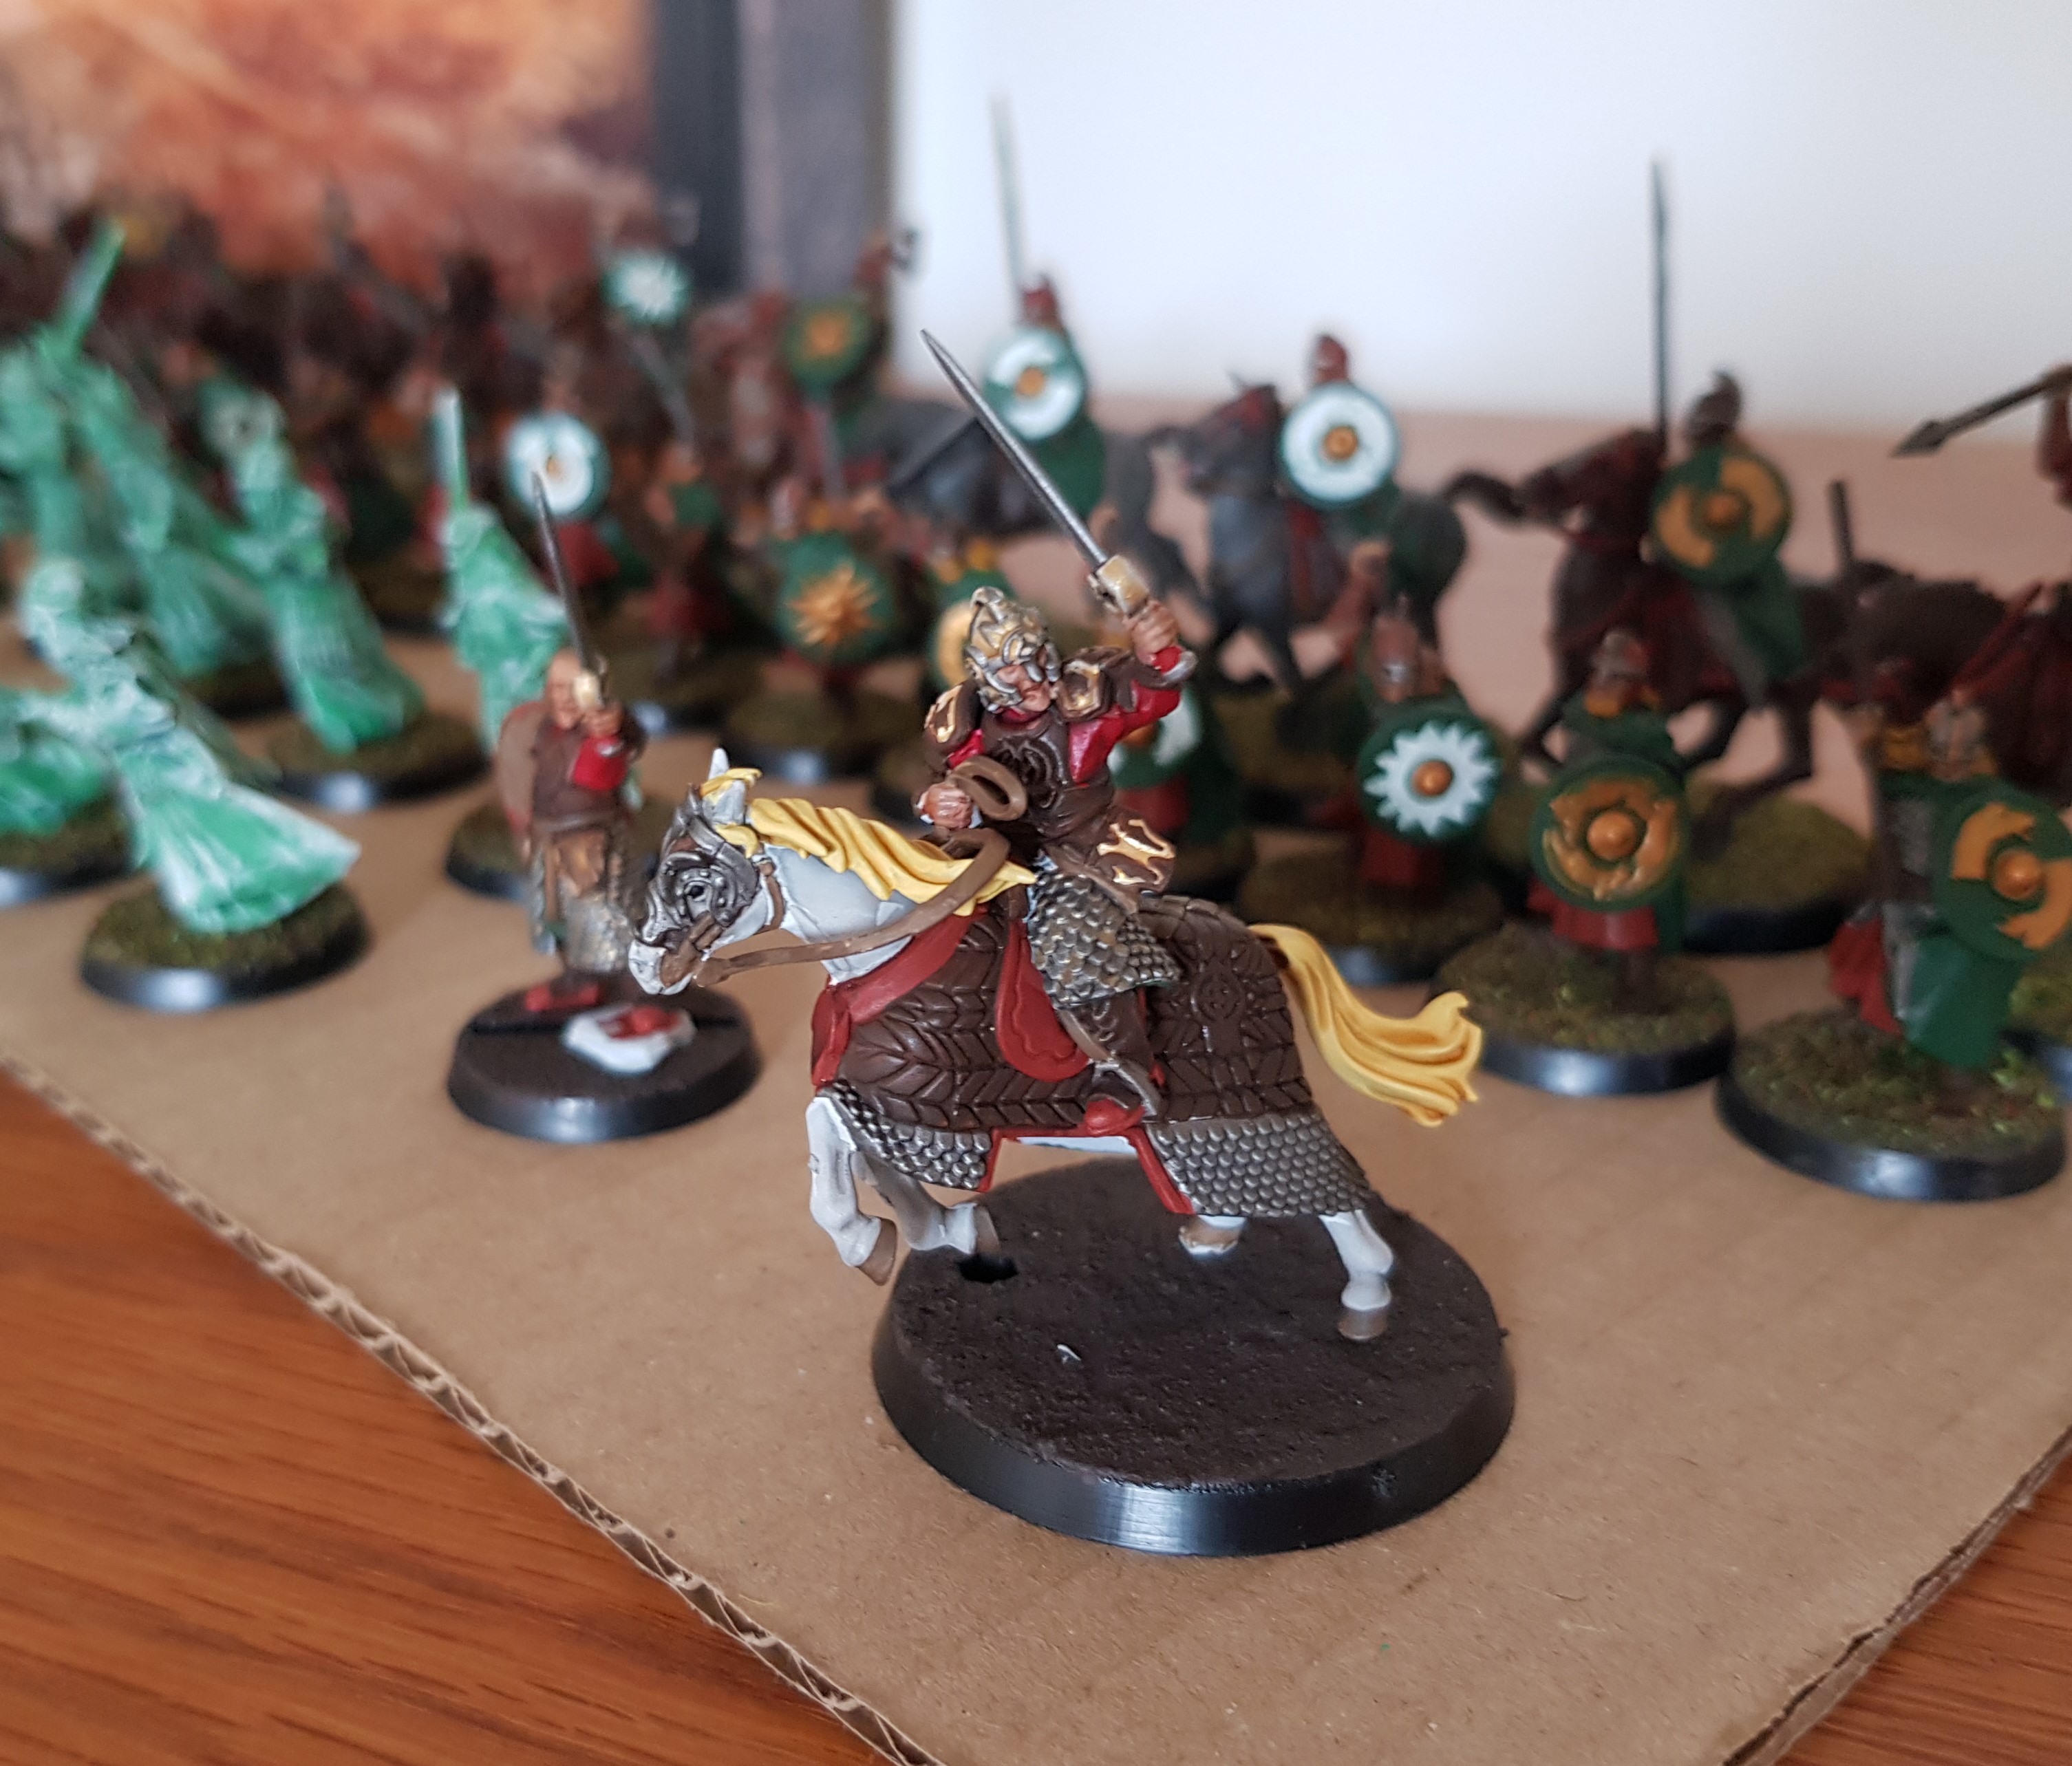 why yes... yes that mane is too primrose
84 miniatures painted and ready to go. The Witch-King and Theoden models need a bit of finishing but are largely done. They don’t really need their own posts as I painted along with this and this youtube tutorials from the War Gamer. I swapped out a couple of colours and did it with less skill but I’m pretty happy and more importantly the Normies were delighted with them.
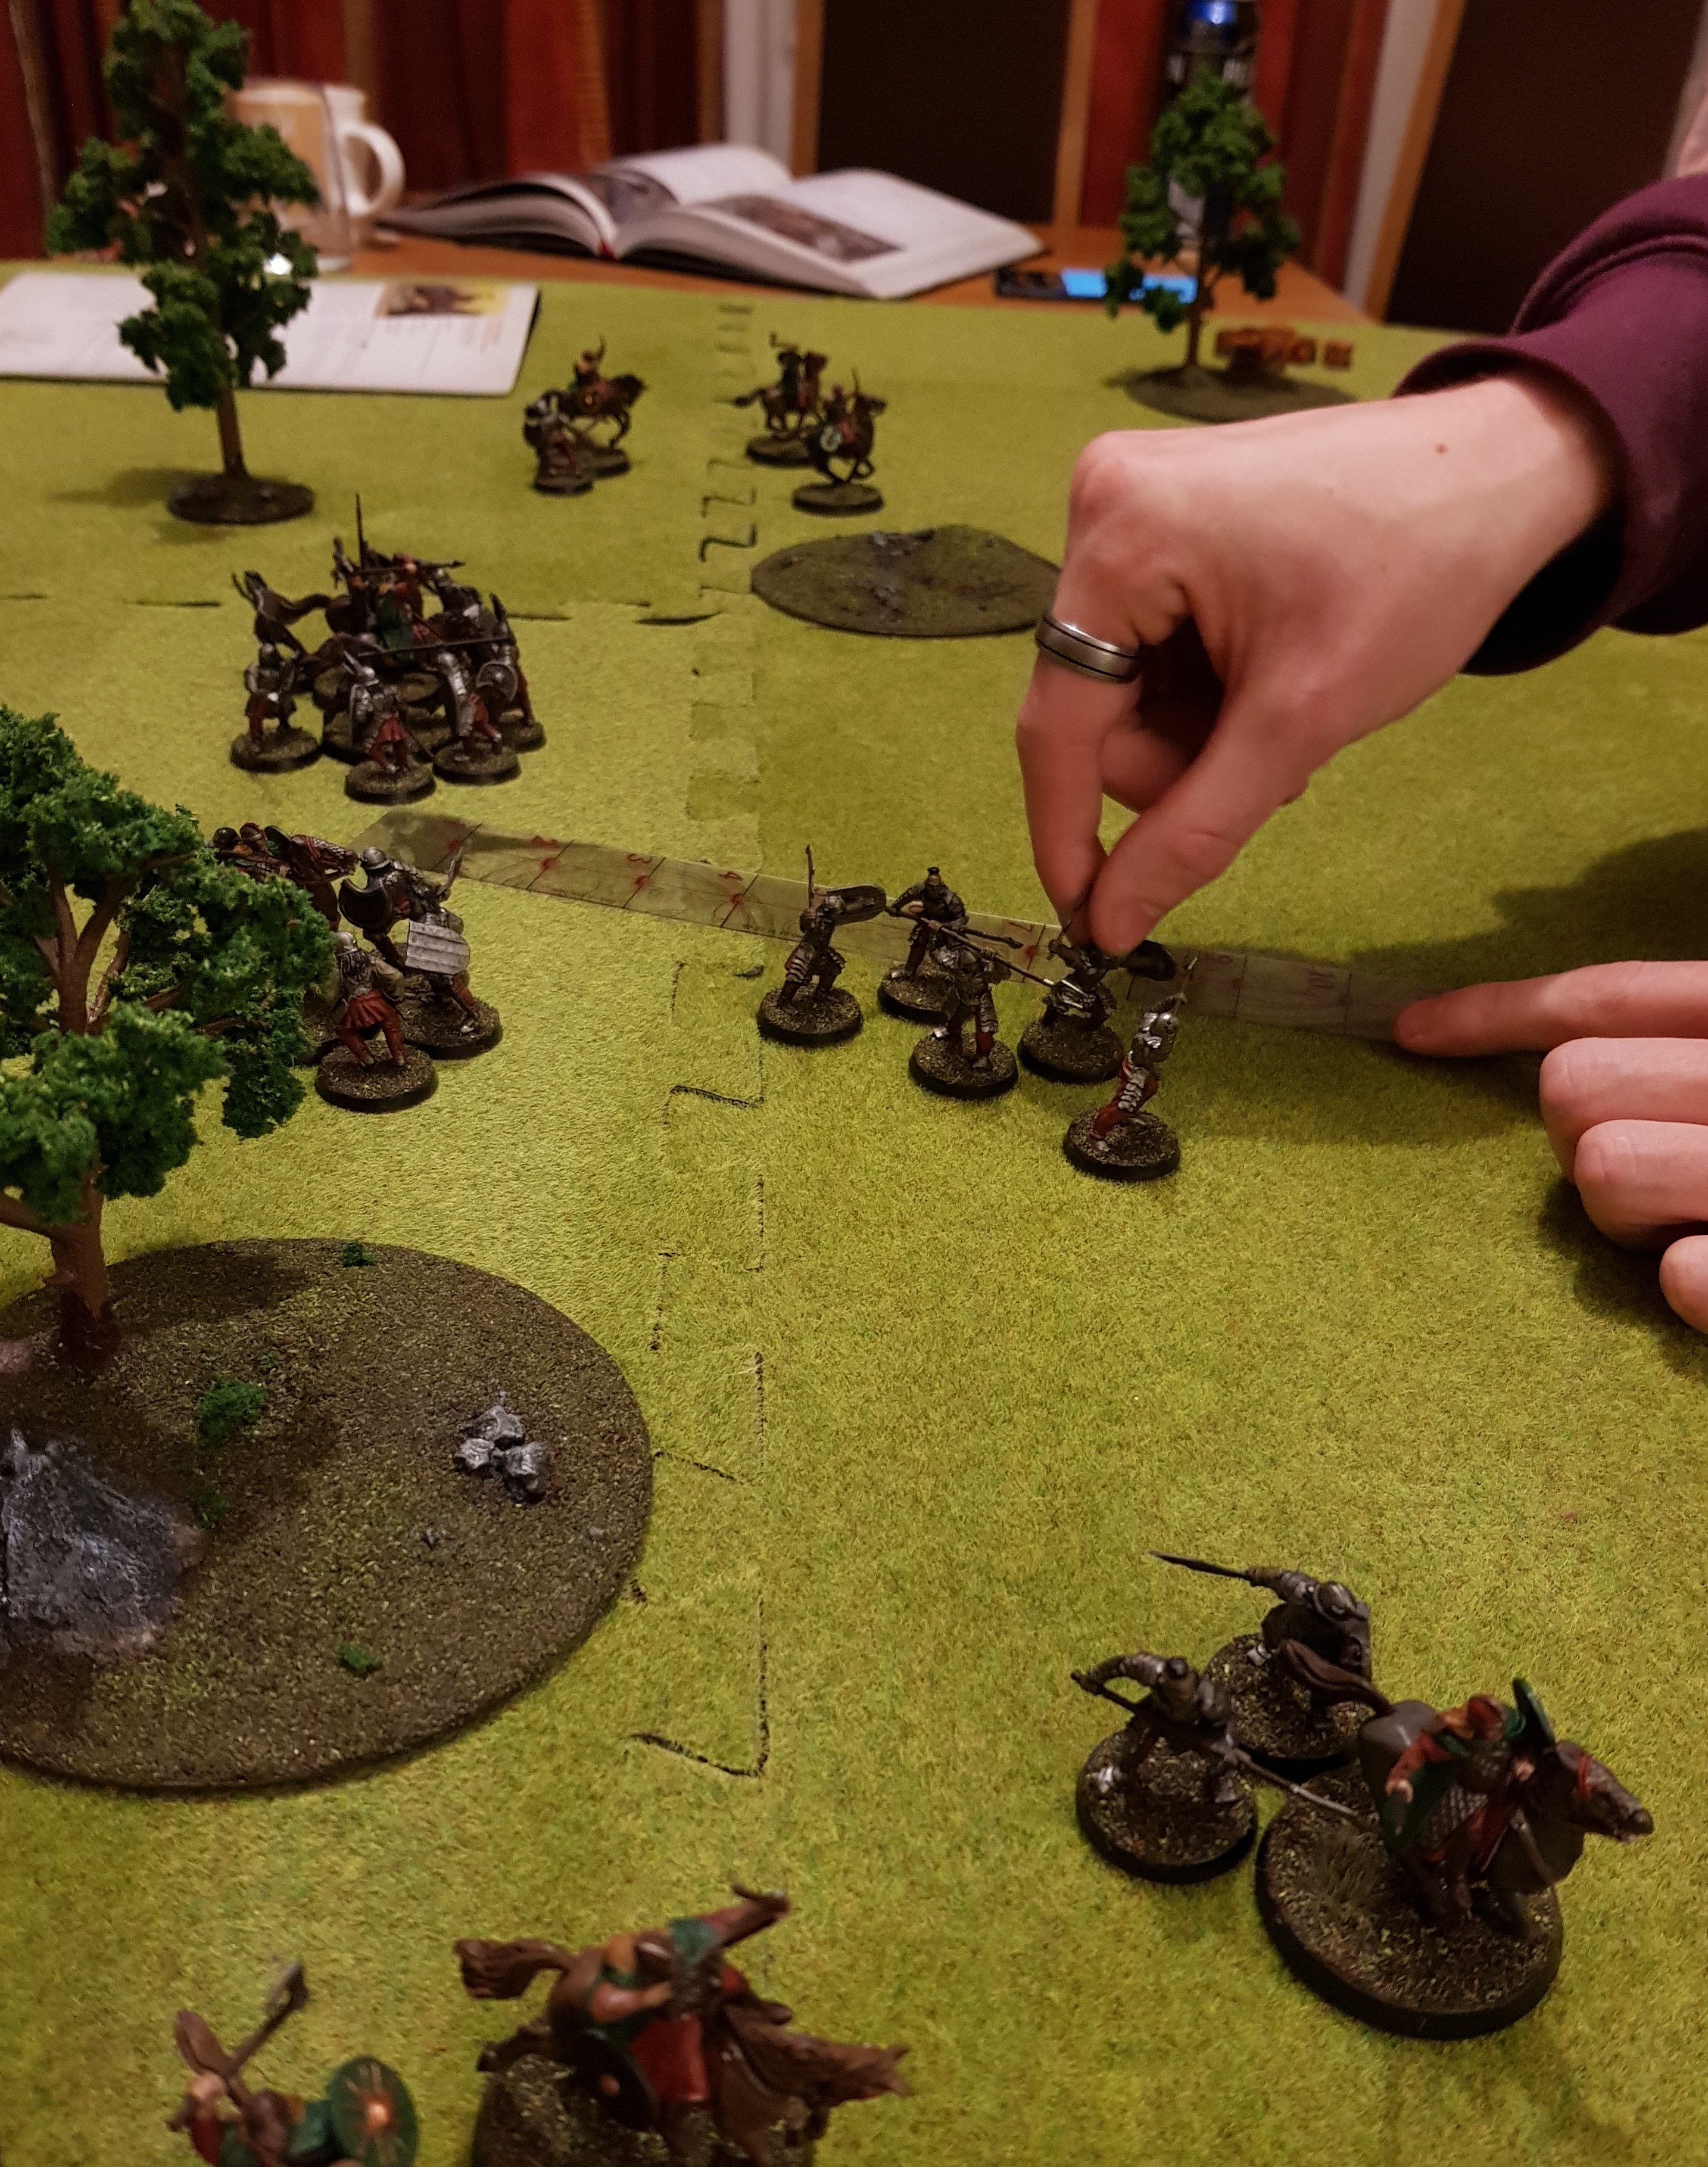
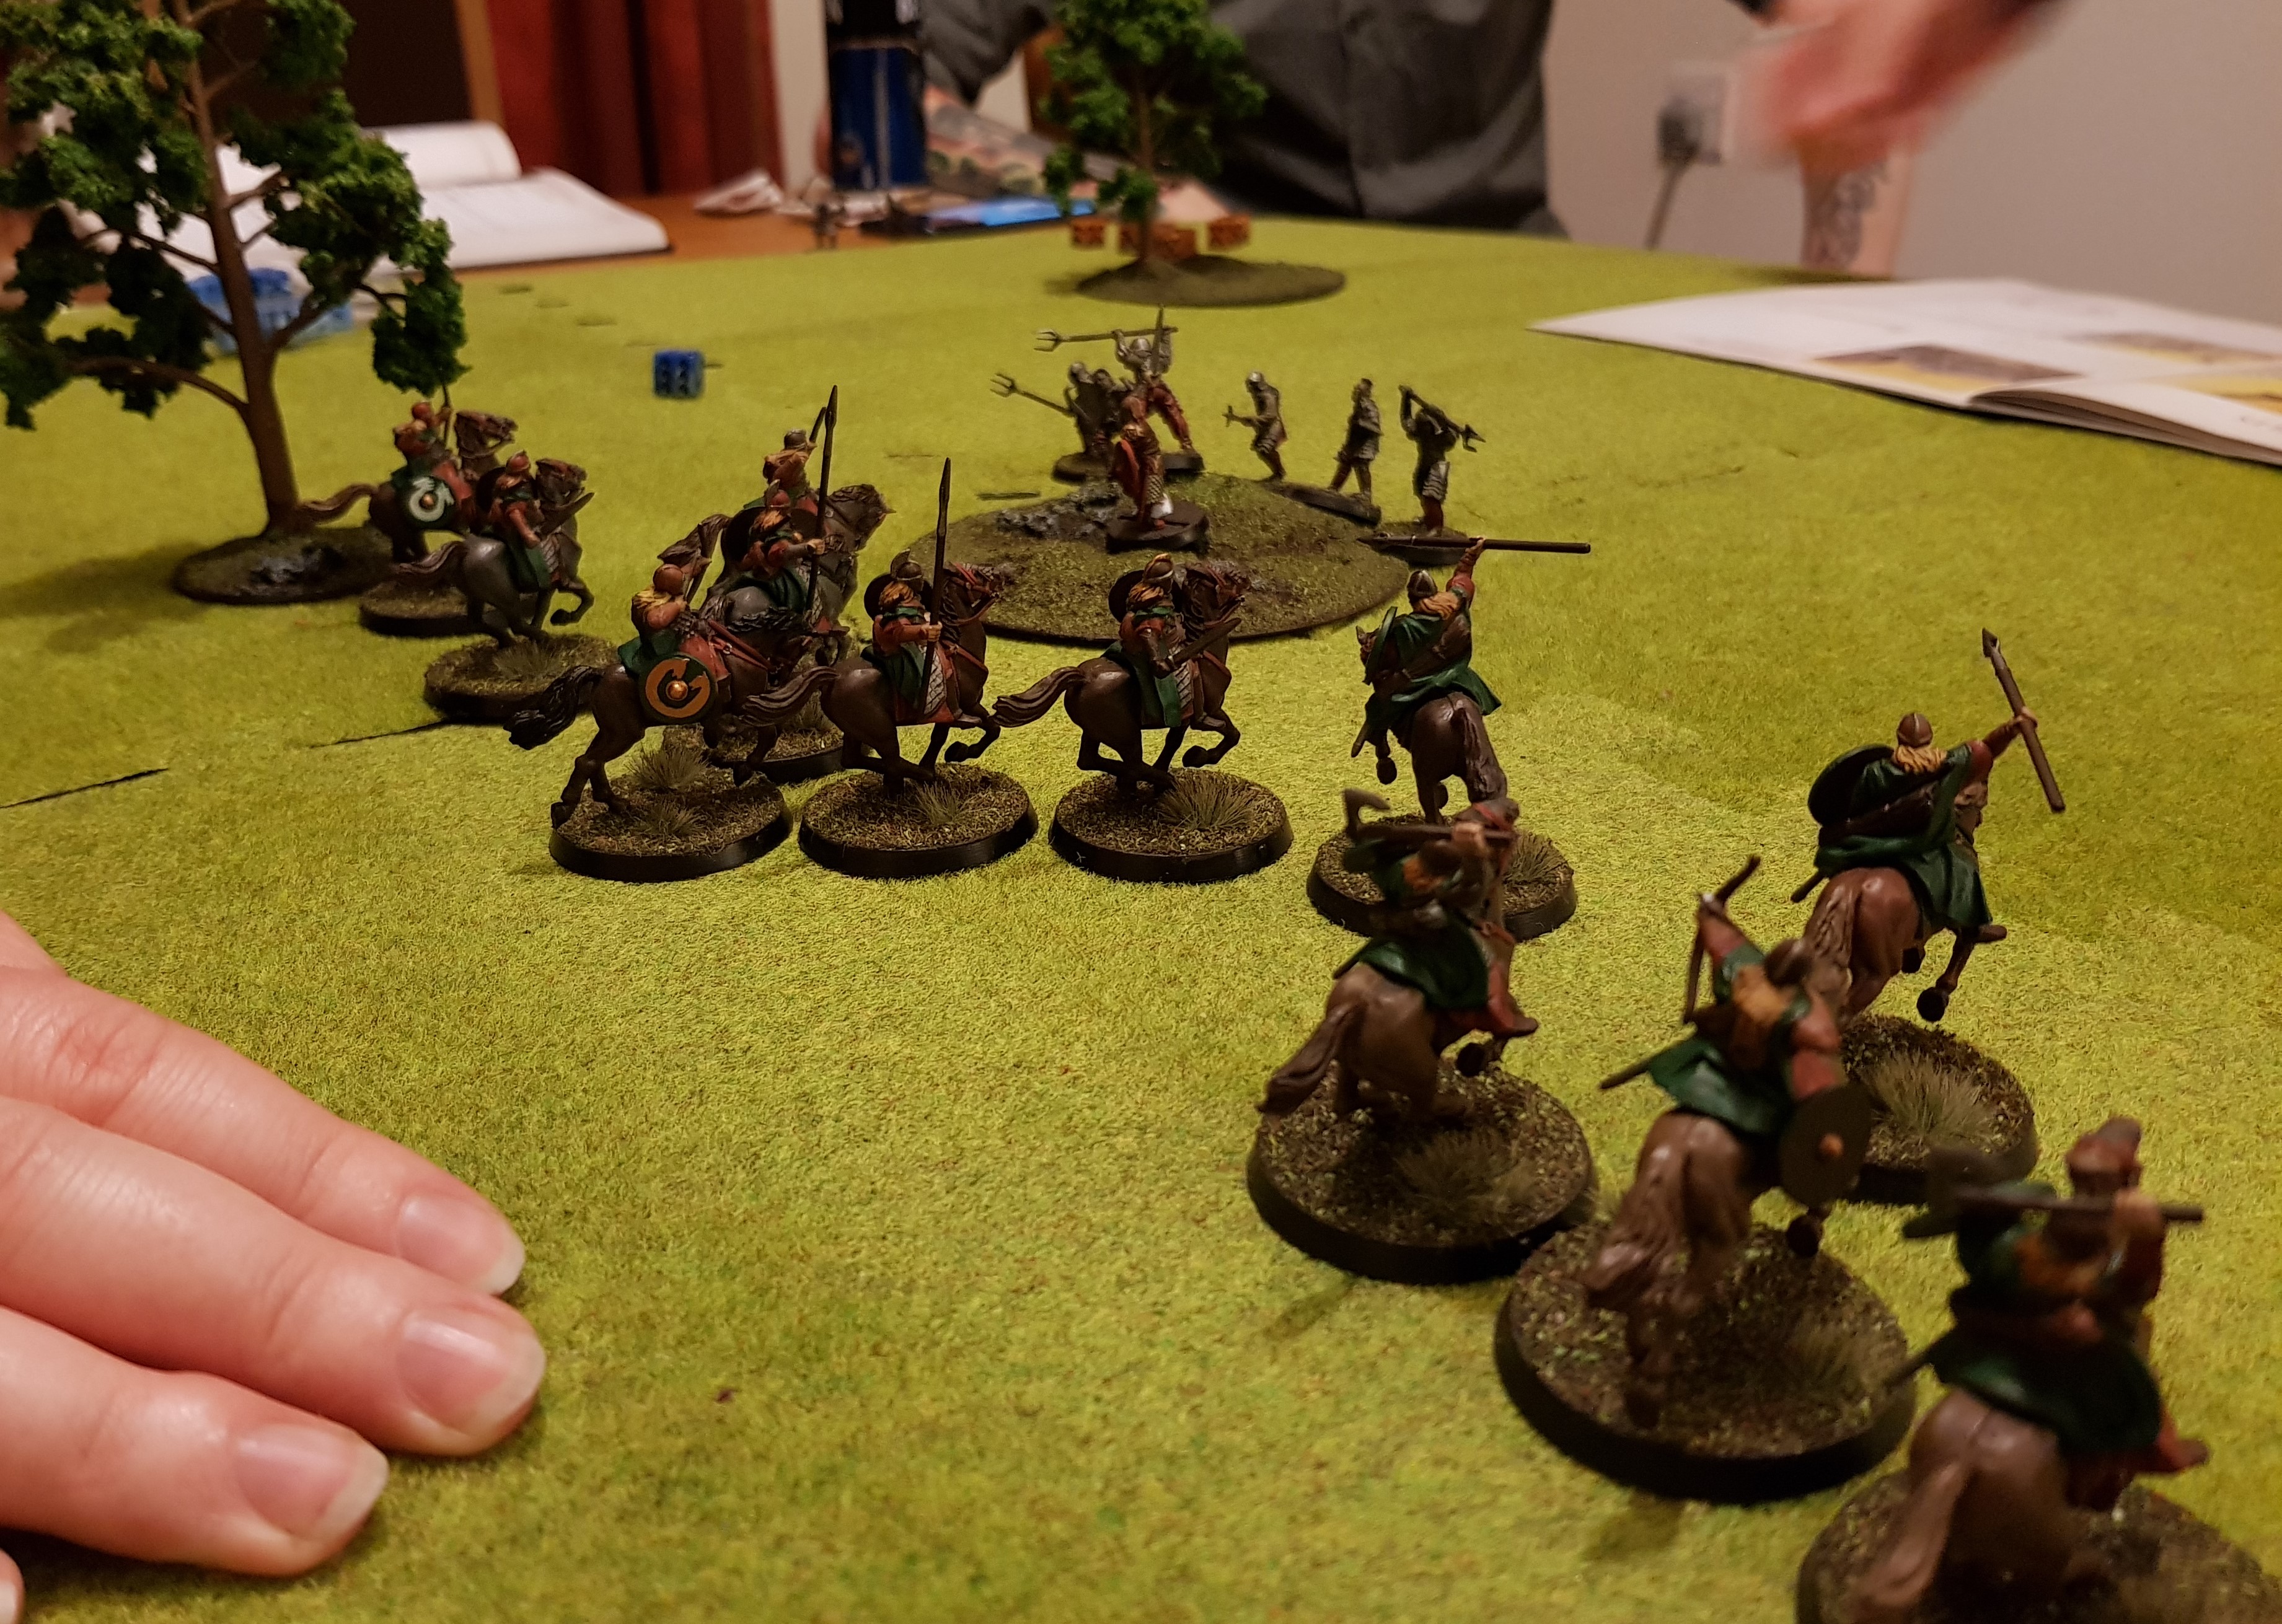

Everyone had a great time. Plenty of good food, good laughter and dice rolling.
The scenarios are good, teaching the concepts of objectives nicely. As the Wargamer in the room, I was a bit disappointed to see that you need to have read the whole rulebook to get started. I’ve used the Infinity starter boxes before and much prefer the way they introduce concepts without needing to crack open the main rules whilst teaching. No one else seemed to care but that’s because I acted as a talking rulebook as they played 2v2.
By the end of the night they were playing without needing help and were already working on the tactical side of the movement and cherry picking fights. We only got through two of the four scenarios but they are very keen to come back for the next two as soon as we can get it organised. Each side got a scenario win and they all spent a good amount of time flicking through looking the books, arguing about which heroes were pointed higher than others and drooling at all of the glorious gratuitous model shots.
Conclusion
I had a fantastic time doing this project. I moaned about the number of models and joked about hating myself with a friend throughout the 26 days but looking at them now, it blows my mind to to see what was possible in the timeframe. Seeing them react to the models and how excited they got playing the game felt fucking amazing.
I don’t know when or if I’ll do something like this again any time soon but despite all my grumbling, before the project was finished I had picked up a large Gondor force for cheap on eBay to start painting up for the Gondor at War campaign book.
Will the Normies pick up models and start hobbying? I don’t know. One of them absolutely will and I think at least two others might do after another evening or two. My intention is to offer a painting teaching night at some point soon to get a group hobby night started.
Two days from the end and I got my biggest shock of all though. I was chatting to a good friend as I was unboxing the Gondor force and she said “if you fancy a hand getting through them, I’d be really keen to give painting a try”. I just about fell off my seat. This is a true Normie, one with zero interest in anything nerdy. She probably won’t ever become a gamer but in two weeks time, she’s coming over and I’m going to crack out some Burrows and Badgers minis to teach the basics of painting.
Overall then, the hobby aspect has been hugely rewarding to me, the daily habit of painting has been wonderful and the RPGers are super keen to get into gaming with minis. Thanks to Warren and the OTT guys for starting this campaign.
Minis painted – 84 ✔️
Normies snagged – 4 (+1 bonus Normie trying out painting) ✔️
Snag a Normie campaign – completed ✔️


![Zenit Miniatures’ Samurai Warlords Now Live On Kickstarter [Updated]](https://images.beastsofwar.com/2026/02/samurai-warlords-launch-main-600-338.jpg)


