


Brush With Death 2019 Entry


Recommendations: 265
About the Project
I view competitions as a way of pushing myself. When Mantic Games announced their 2019 Brush With Death painting competition, I decided to try building a diorama. Here goes!
Related Company: Mantic Games
Related Genre: Fantasy
This Project is Completed
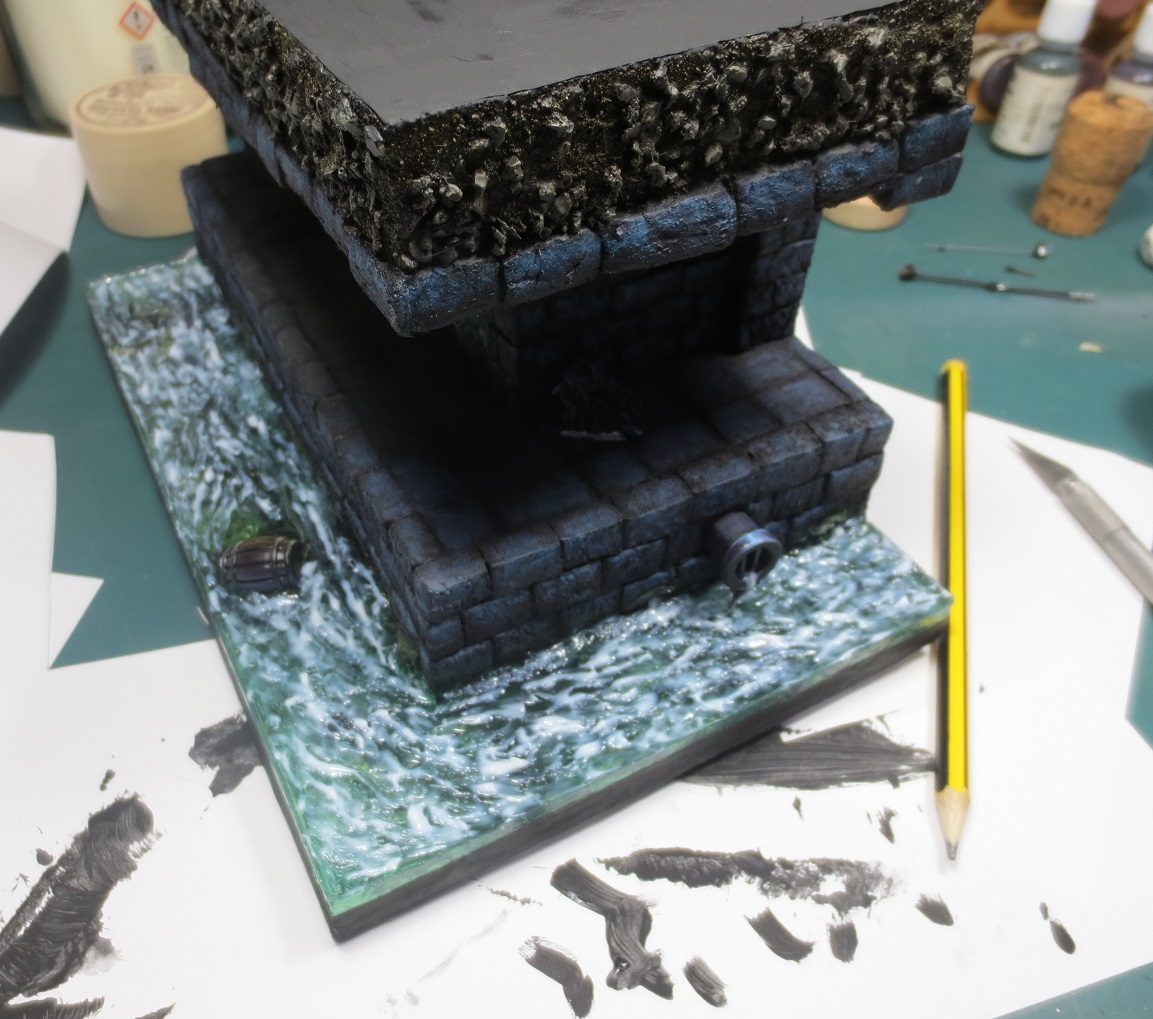
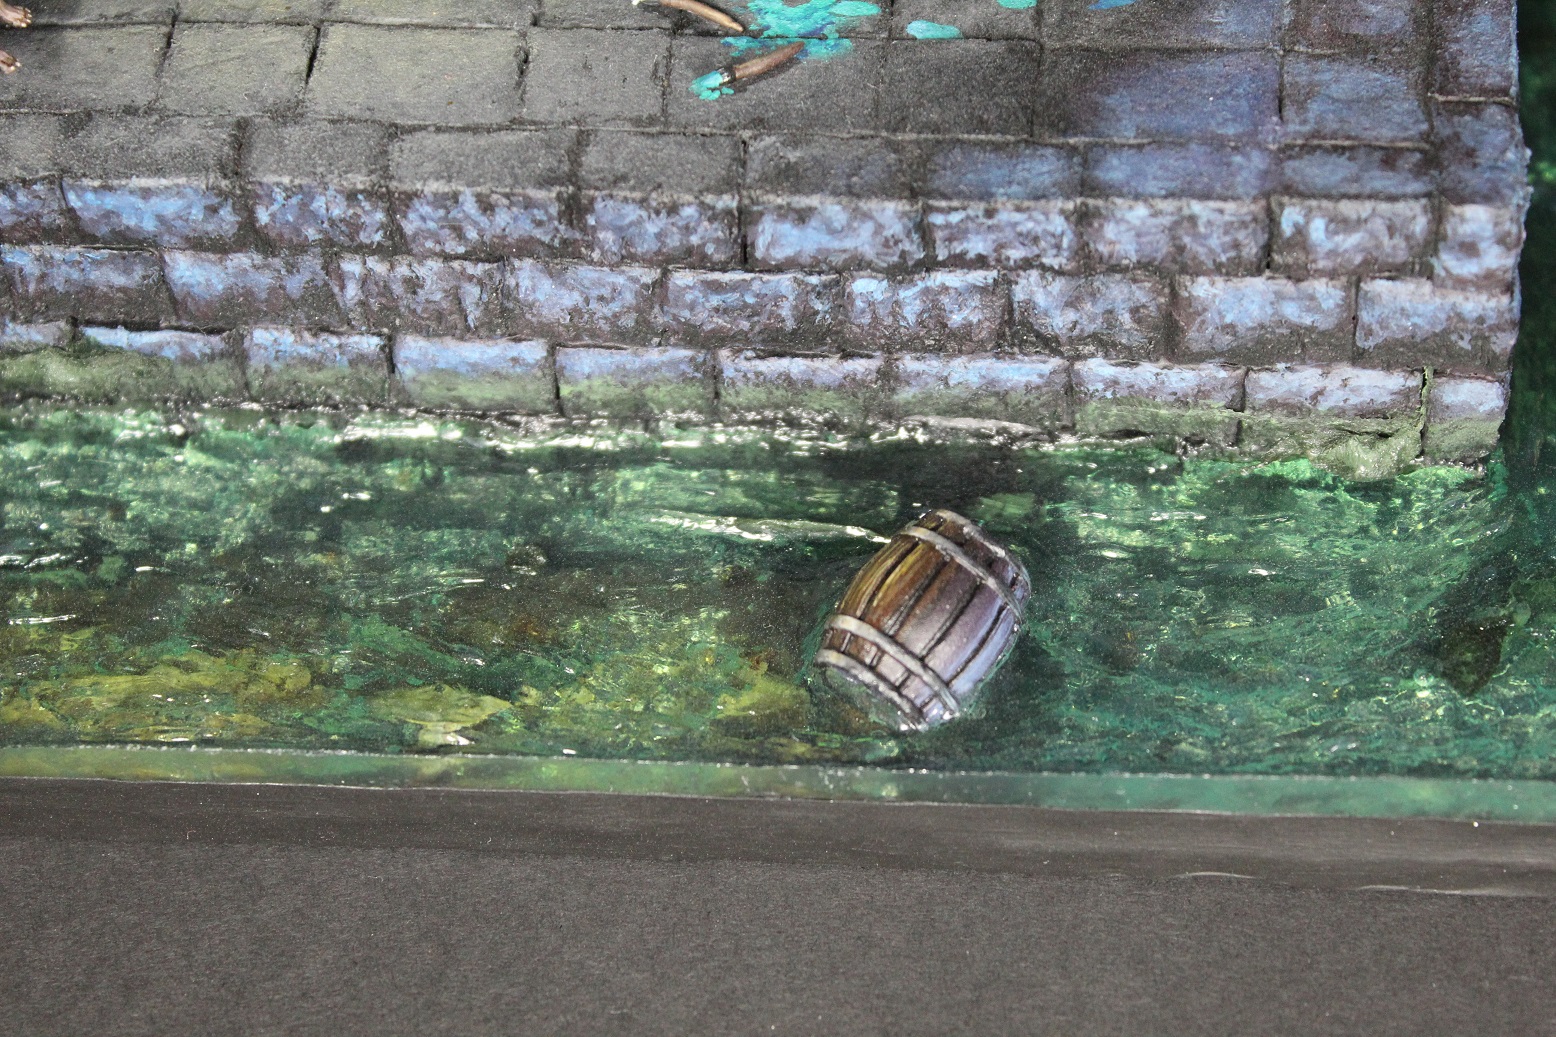
Finishing Touches - Edges and Water Effects
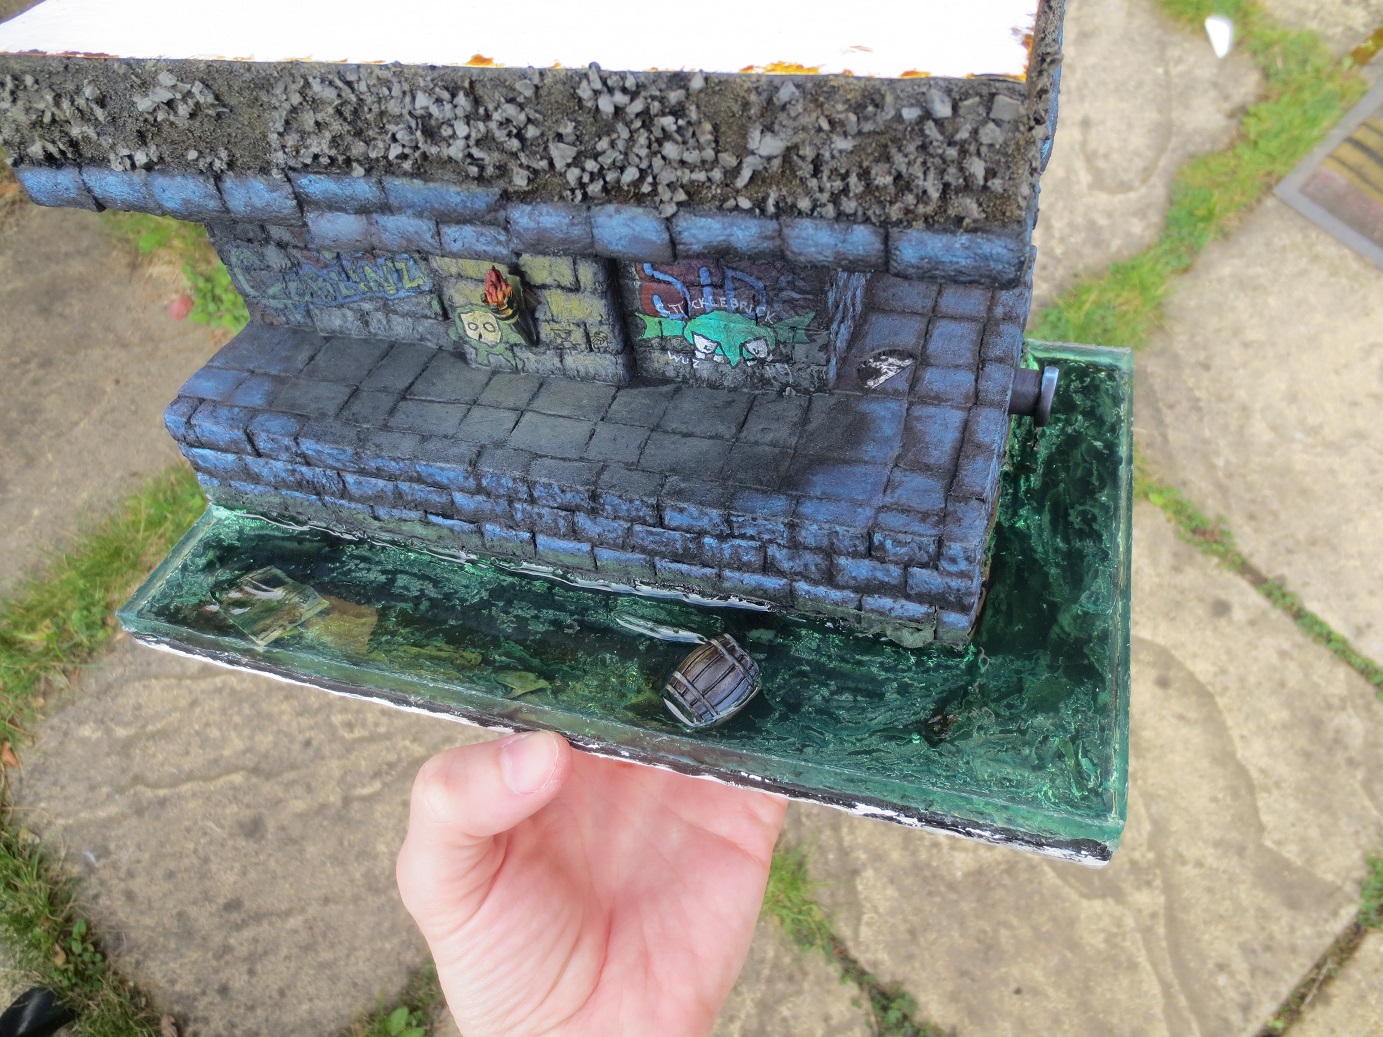
Due to several missteps made during the resin pouring process, the diorama had a large-ish gap between the bottom of the resin layer and the top of the foamcore base. I thought I might try to gapfill it using Tamiya Putty but – at the last minute – realised this would leave me with an unpaintable white surface beneath the resin. I instead when to plan B and glued strips of paper across the base.
While this was always the plan with the ends, back and bottom, I never wanted to bring this onto the front of the diorama. However, time was running out and I could think of no other way to fix the issues caused by my inexperience with resin water effects.
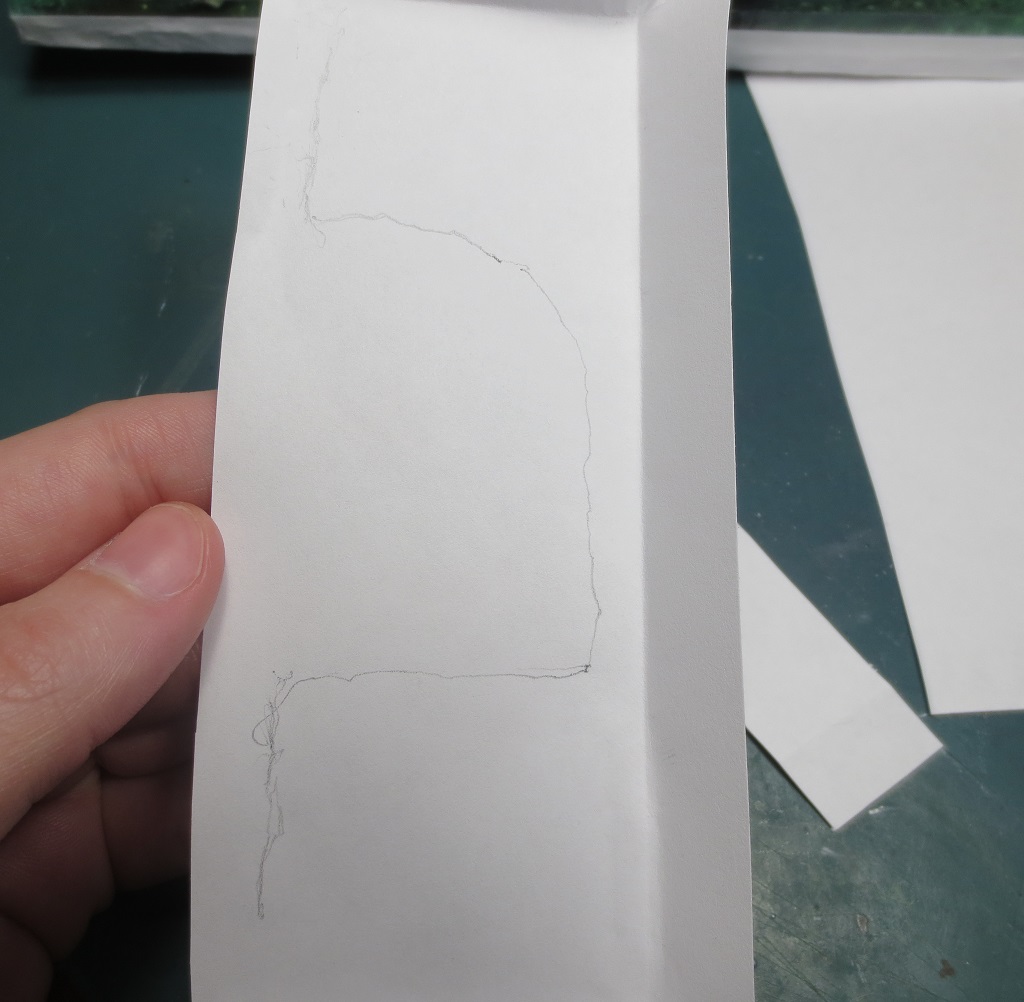
Unfortunately I don’t have many specific photos of the strip cutting/gluing process, but they are visible in the next photos.
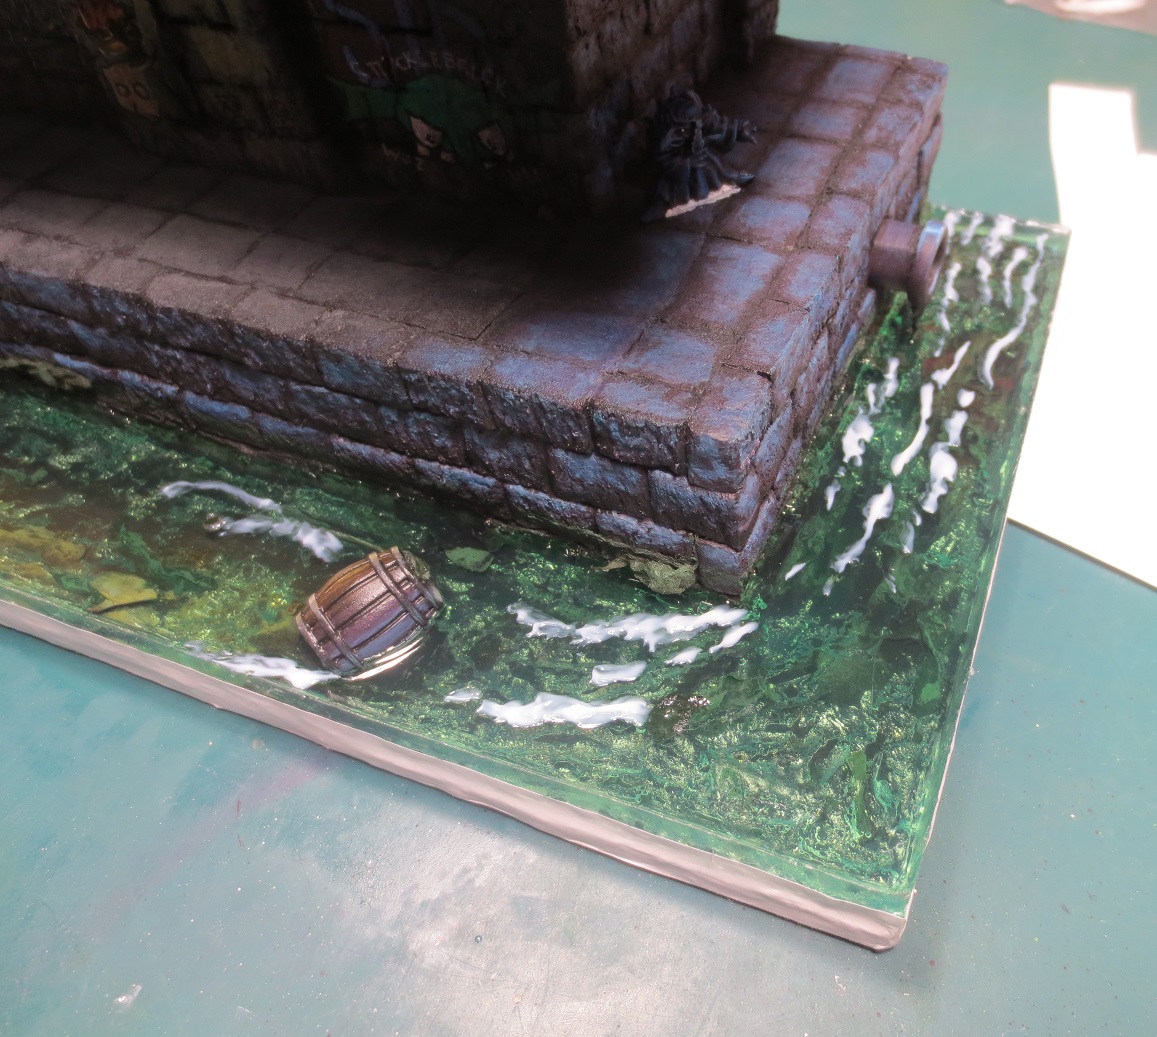
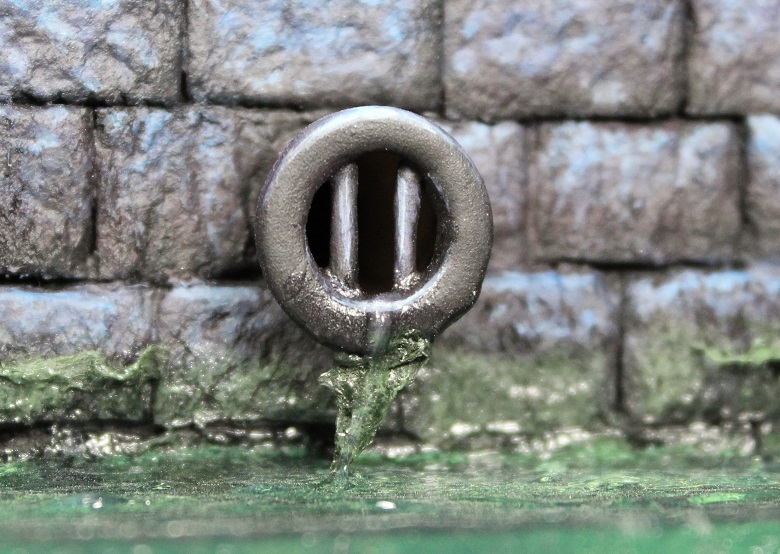
After ‘fixing’ the edges, I moved onto the surface of the sewer flow. Earlier in the month I had researched various water effect products and settled on Vallejo Acrylic Water Texture. My first attempts were tentative, to say the least, as I was very worried about messing up the resin at this late stage.
It was only when the above layers of Vallejo Water Texture dried that I realised my first attempts hadn’t broken the flatness of the resin pour enough – it didn’t read as rippling water.
I grew bolder.
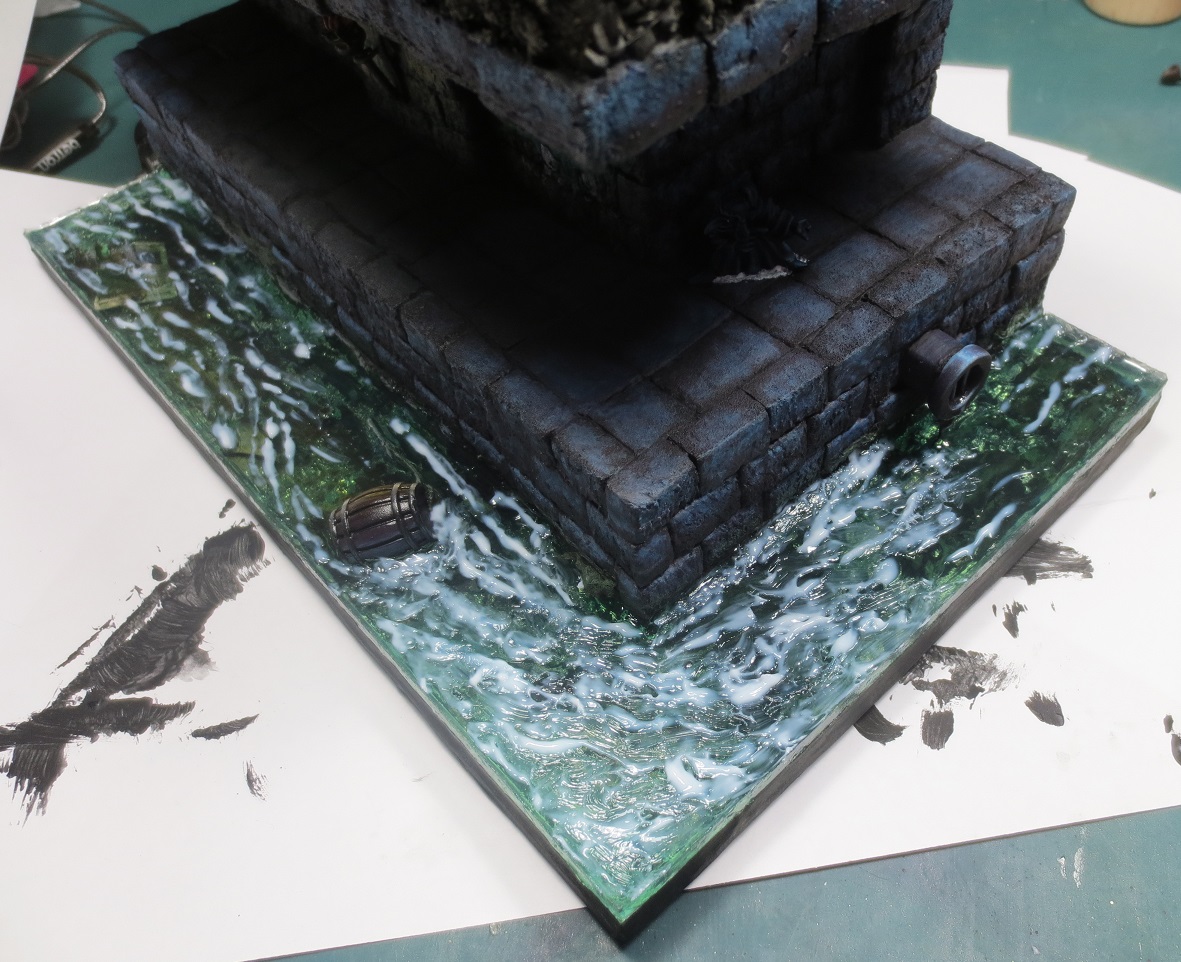
And bolder still.
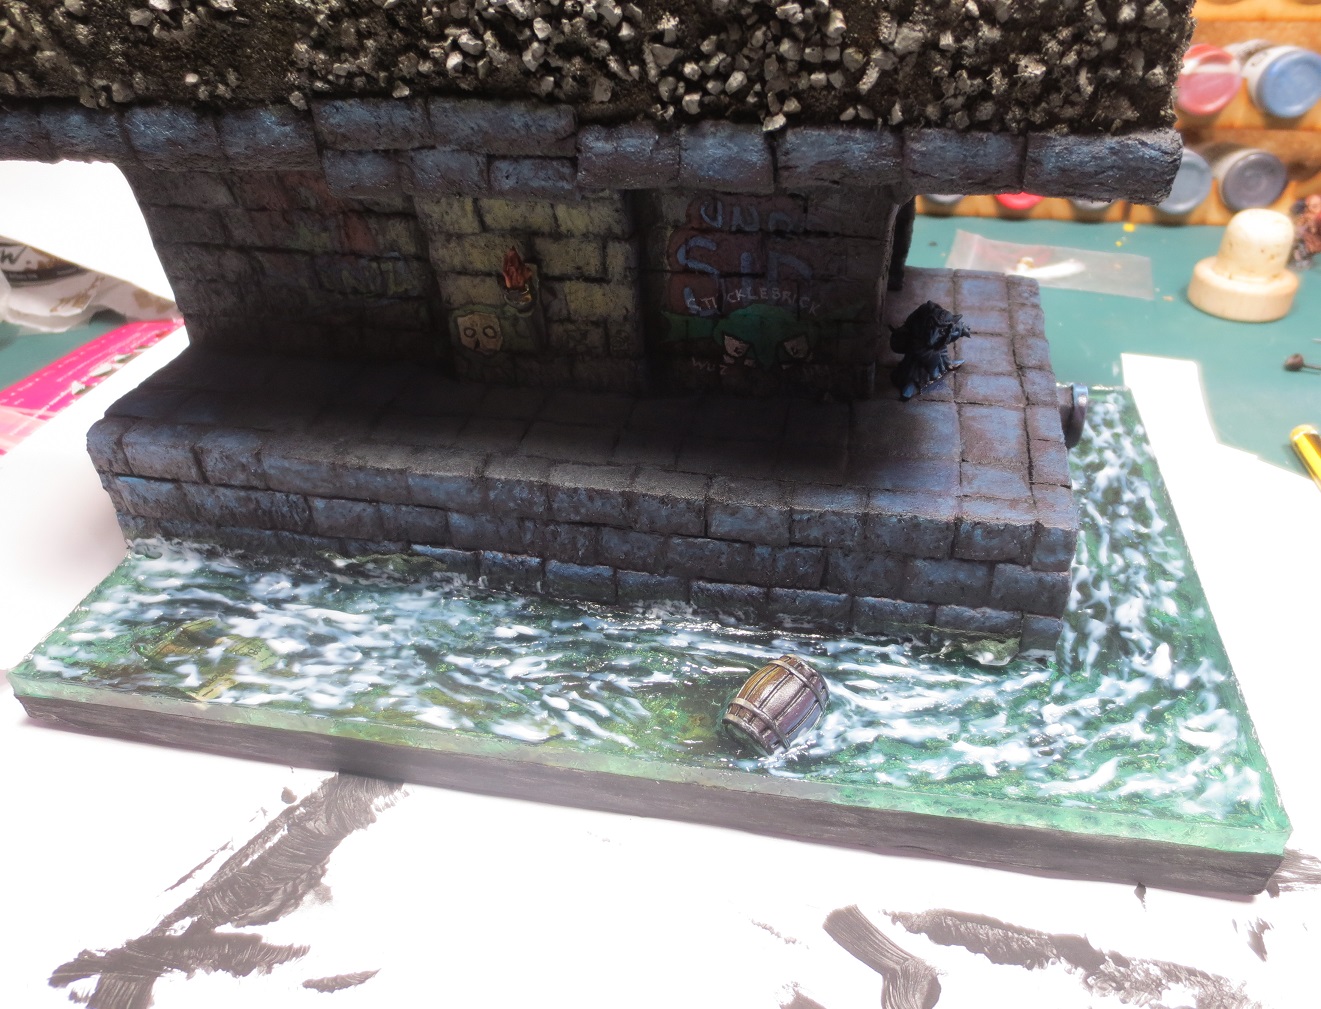
This final photo is another layer of the texture effects on top of the first, fully dried layers.
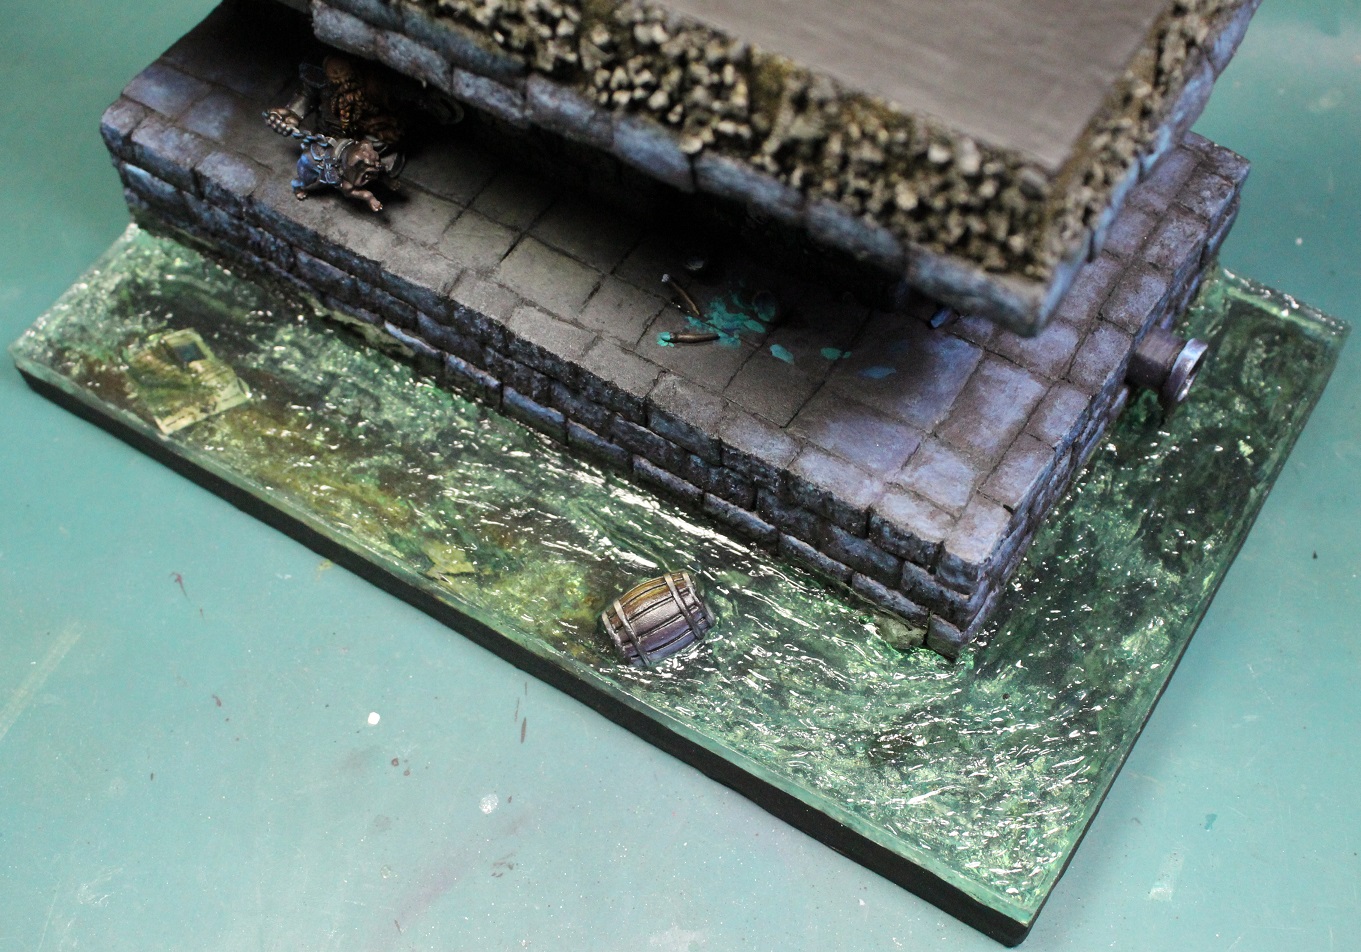
After it was fully dried, I moved onto the final steps which included gluing on the dwarf, repainting the Tamiya White Putty I used to gapfill between the base of the goblin and the foam walkway, gluing on the paintbrushes and paintbowls I sculpted from Greenstuff, and adding spilled paint/footprints to the walkway.
Final Photos! Diorama Complete! *excited, exhausted screams of triumph*
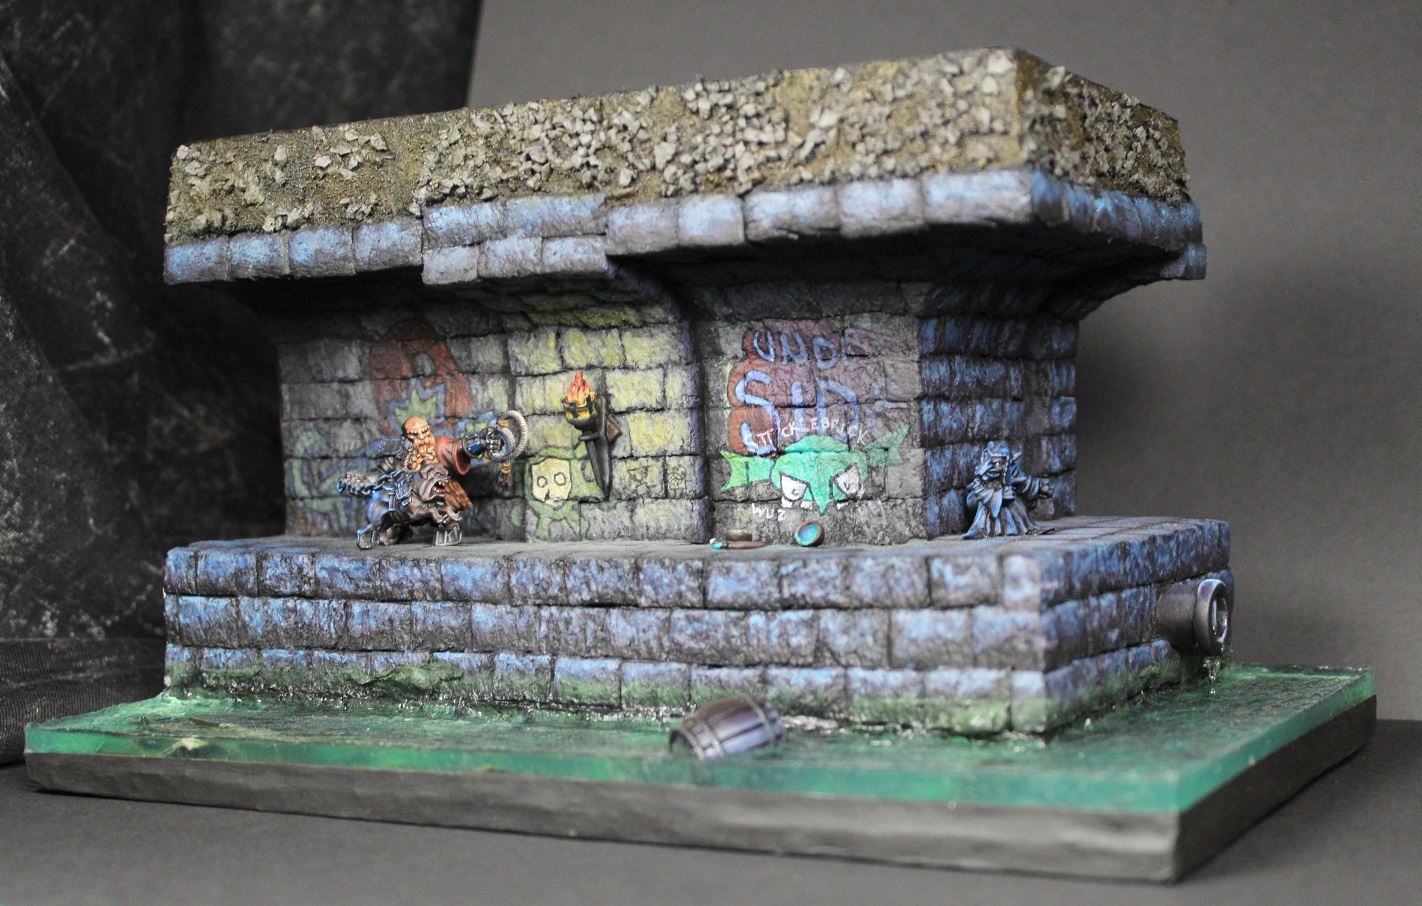
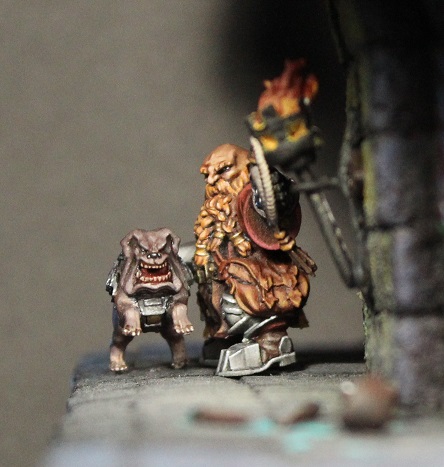

It’s done! This project took me over three months to complete – the first entry of this project blog was 30 January! Definitely my longest project to date! Mistakes were made, successes were had, and new things were tried! I’m really happy with the results and proud of myself for not giving up!
It will be a while before I do another diorama project – they definitely take stamina! In the meantime, though, I’d like to thank Mantic Games for hosting the competition that pushed me into giving it a go, OnTableTop for bringing it to my attention, and my SO for not getting angry about all the foam bits scattered around the living room.
Also, thank you for reading! Hopefully the entries were entertaining and maybe contained some things that will save you time on YOUR projects!


