


![NO Weekender Or Cult Of Games XLBS This Weekend [Updated]](https://images.beastsofwar.com/2026/03/No_Weekender_and_XLBS_this_Weekend-225-127.jpg)


Hold Until Relieved. Hold Until Relieved.


Recommendations: 784
About the Project
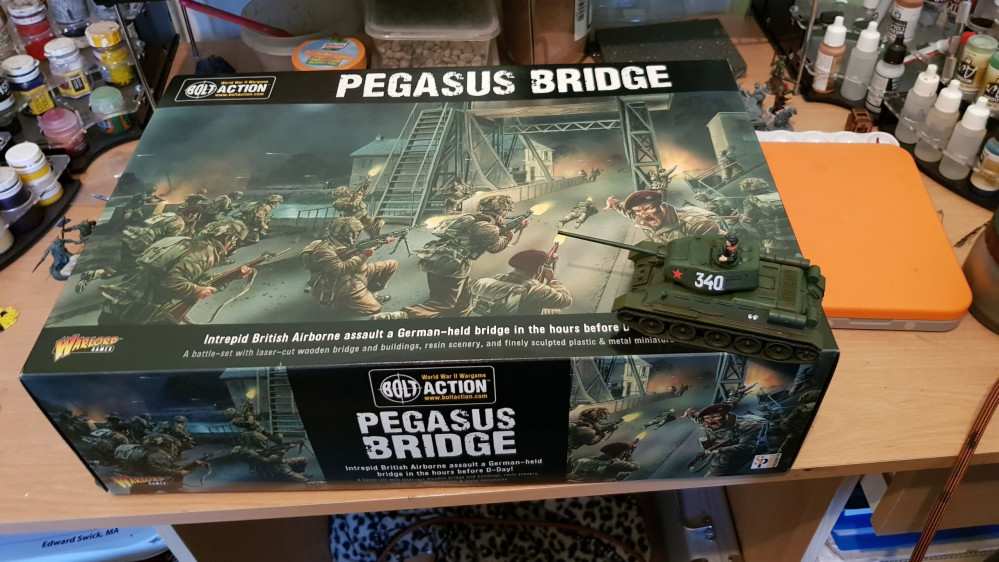
So - I hit a *ahem* significant birthday recently and some of my friends were going to buy me gift vouchers for Warlord but instead just gave me some cash but with a very specific instruction that it had to be spent on Panzers - and definitely not on sensible things like food or the mortgage!! Though to be honest I already have a decent collection of tanks and since they're not *that* expensive I don't mind spending my own money to get more ... So .. in the spirit if not the letter of the promise, I bought myself something that I've desired for a long time but could not justify spending my own money on cause it's just a bit insane! The Longest Day is probably my favourite WW2 movie, and one of my favourite scenes is the assault on Pegasus Bridge. So I bought myself ... fricking Pegasus Bridge v2. from Warlord. This box is insane. Knowing how slow I build and paint, I'm going to give myself a year to complete this whole project. Have until my next birthday to get everything built and painted. So let's get this underway ....
Related Game: Bolt Action
Related Company: Warlord Games
Related Genre: Historical
This Project is Active

Now you see me now you don't
Time to get some camo down – my first time attempting camo – should be fun!

Think that turned out pretty well – I used German Camo Red Brown to start – this is a Model Air paint from Vallejo – just because it looked like the most appropriate colour I had. This turned out to be a pretty good choice – the airbrush paint was the perfect consistency for putting down the fine lines without any thinning and covered fine in one coat. So for the green I also used an airbrush paint – Camouflage Dark Green
Go to It
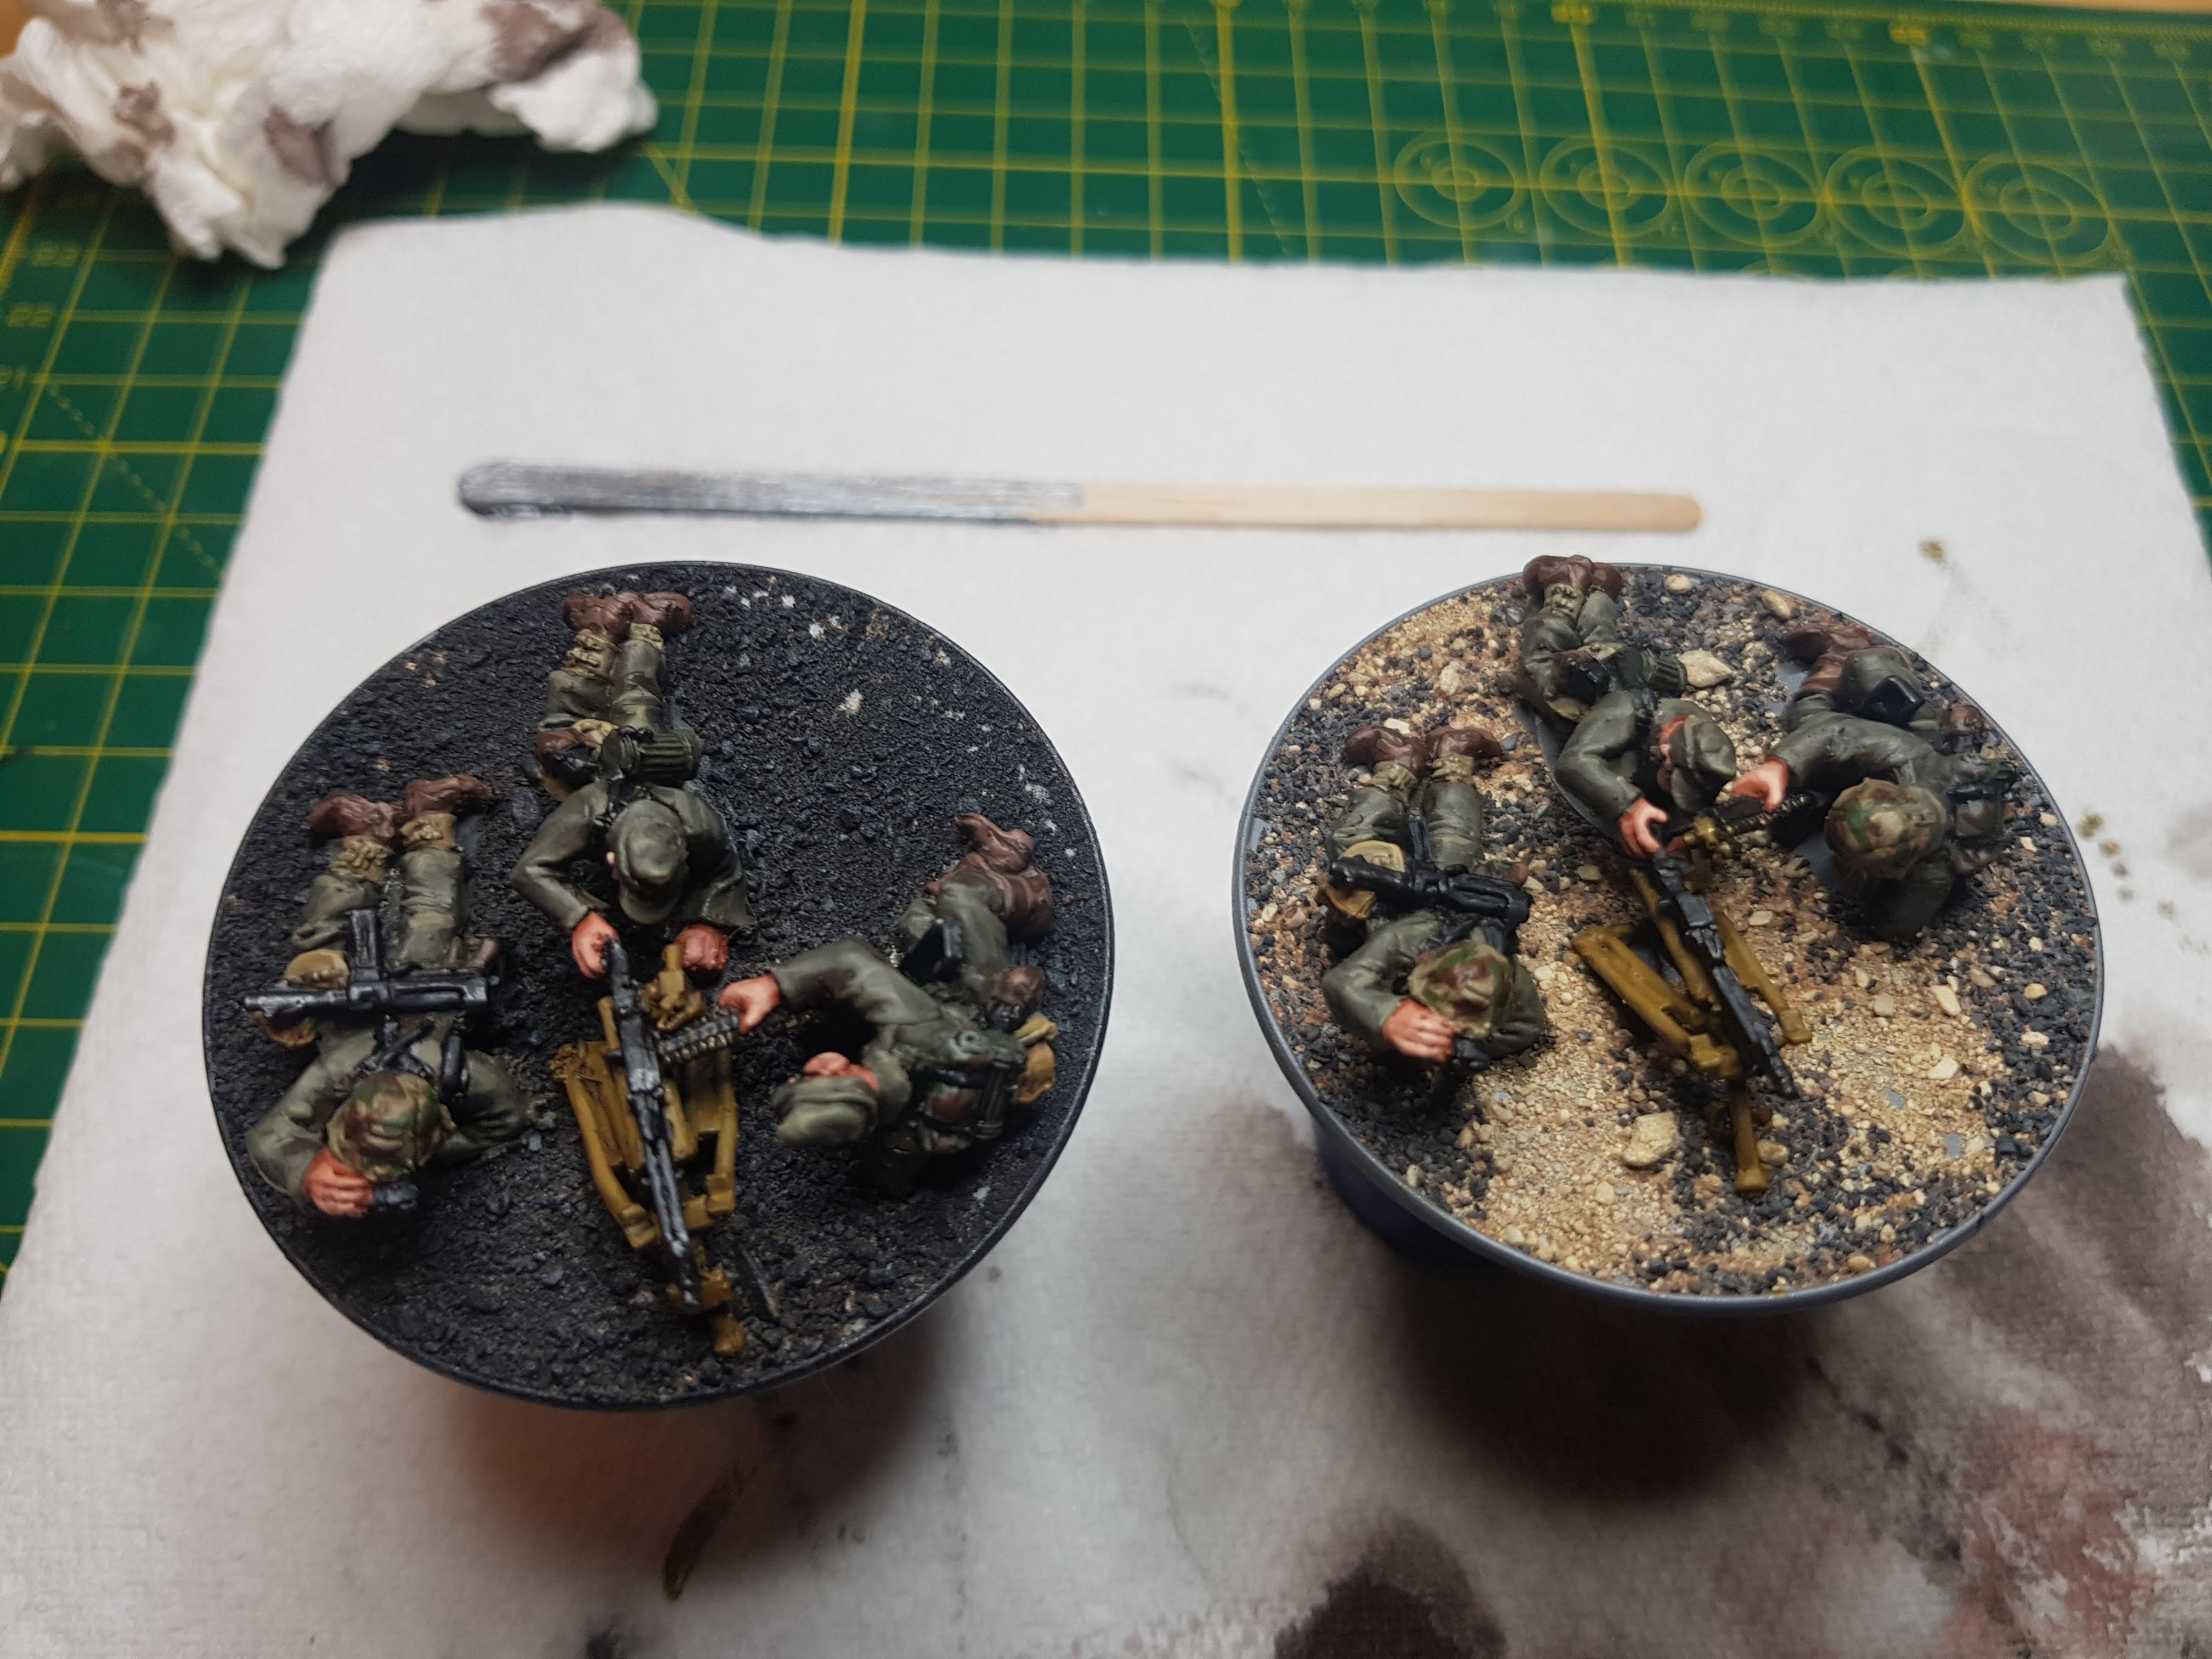
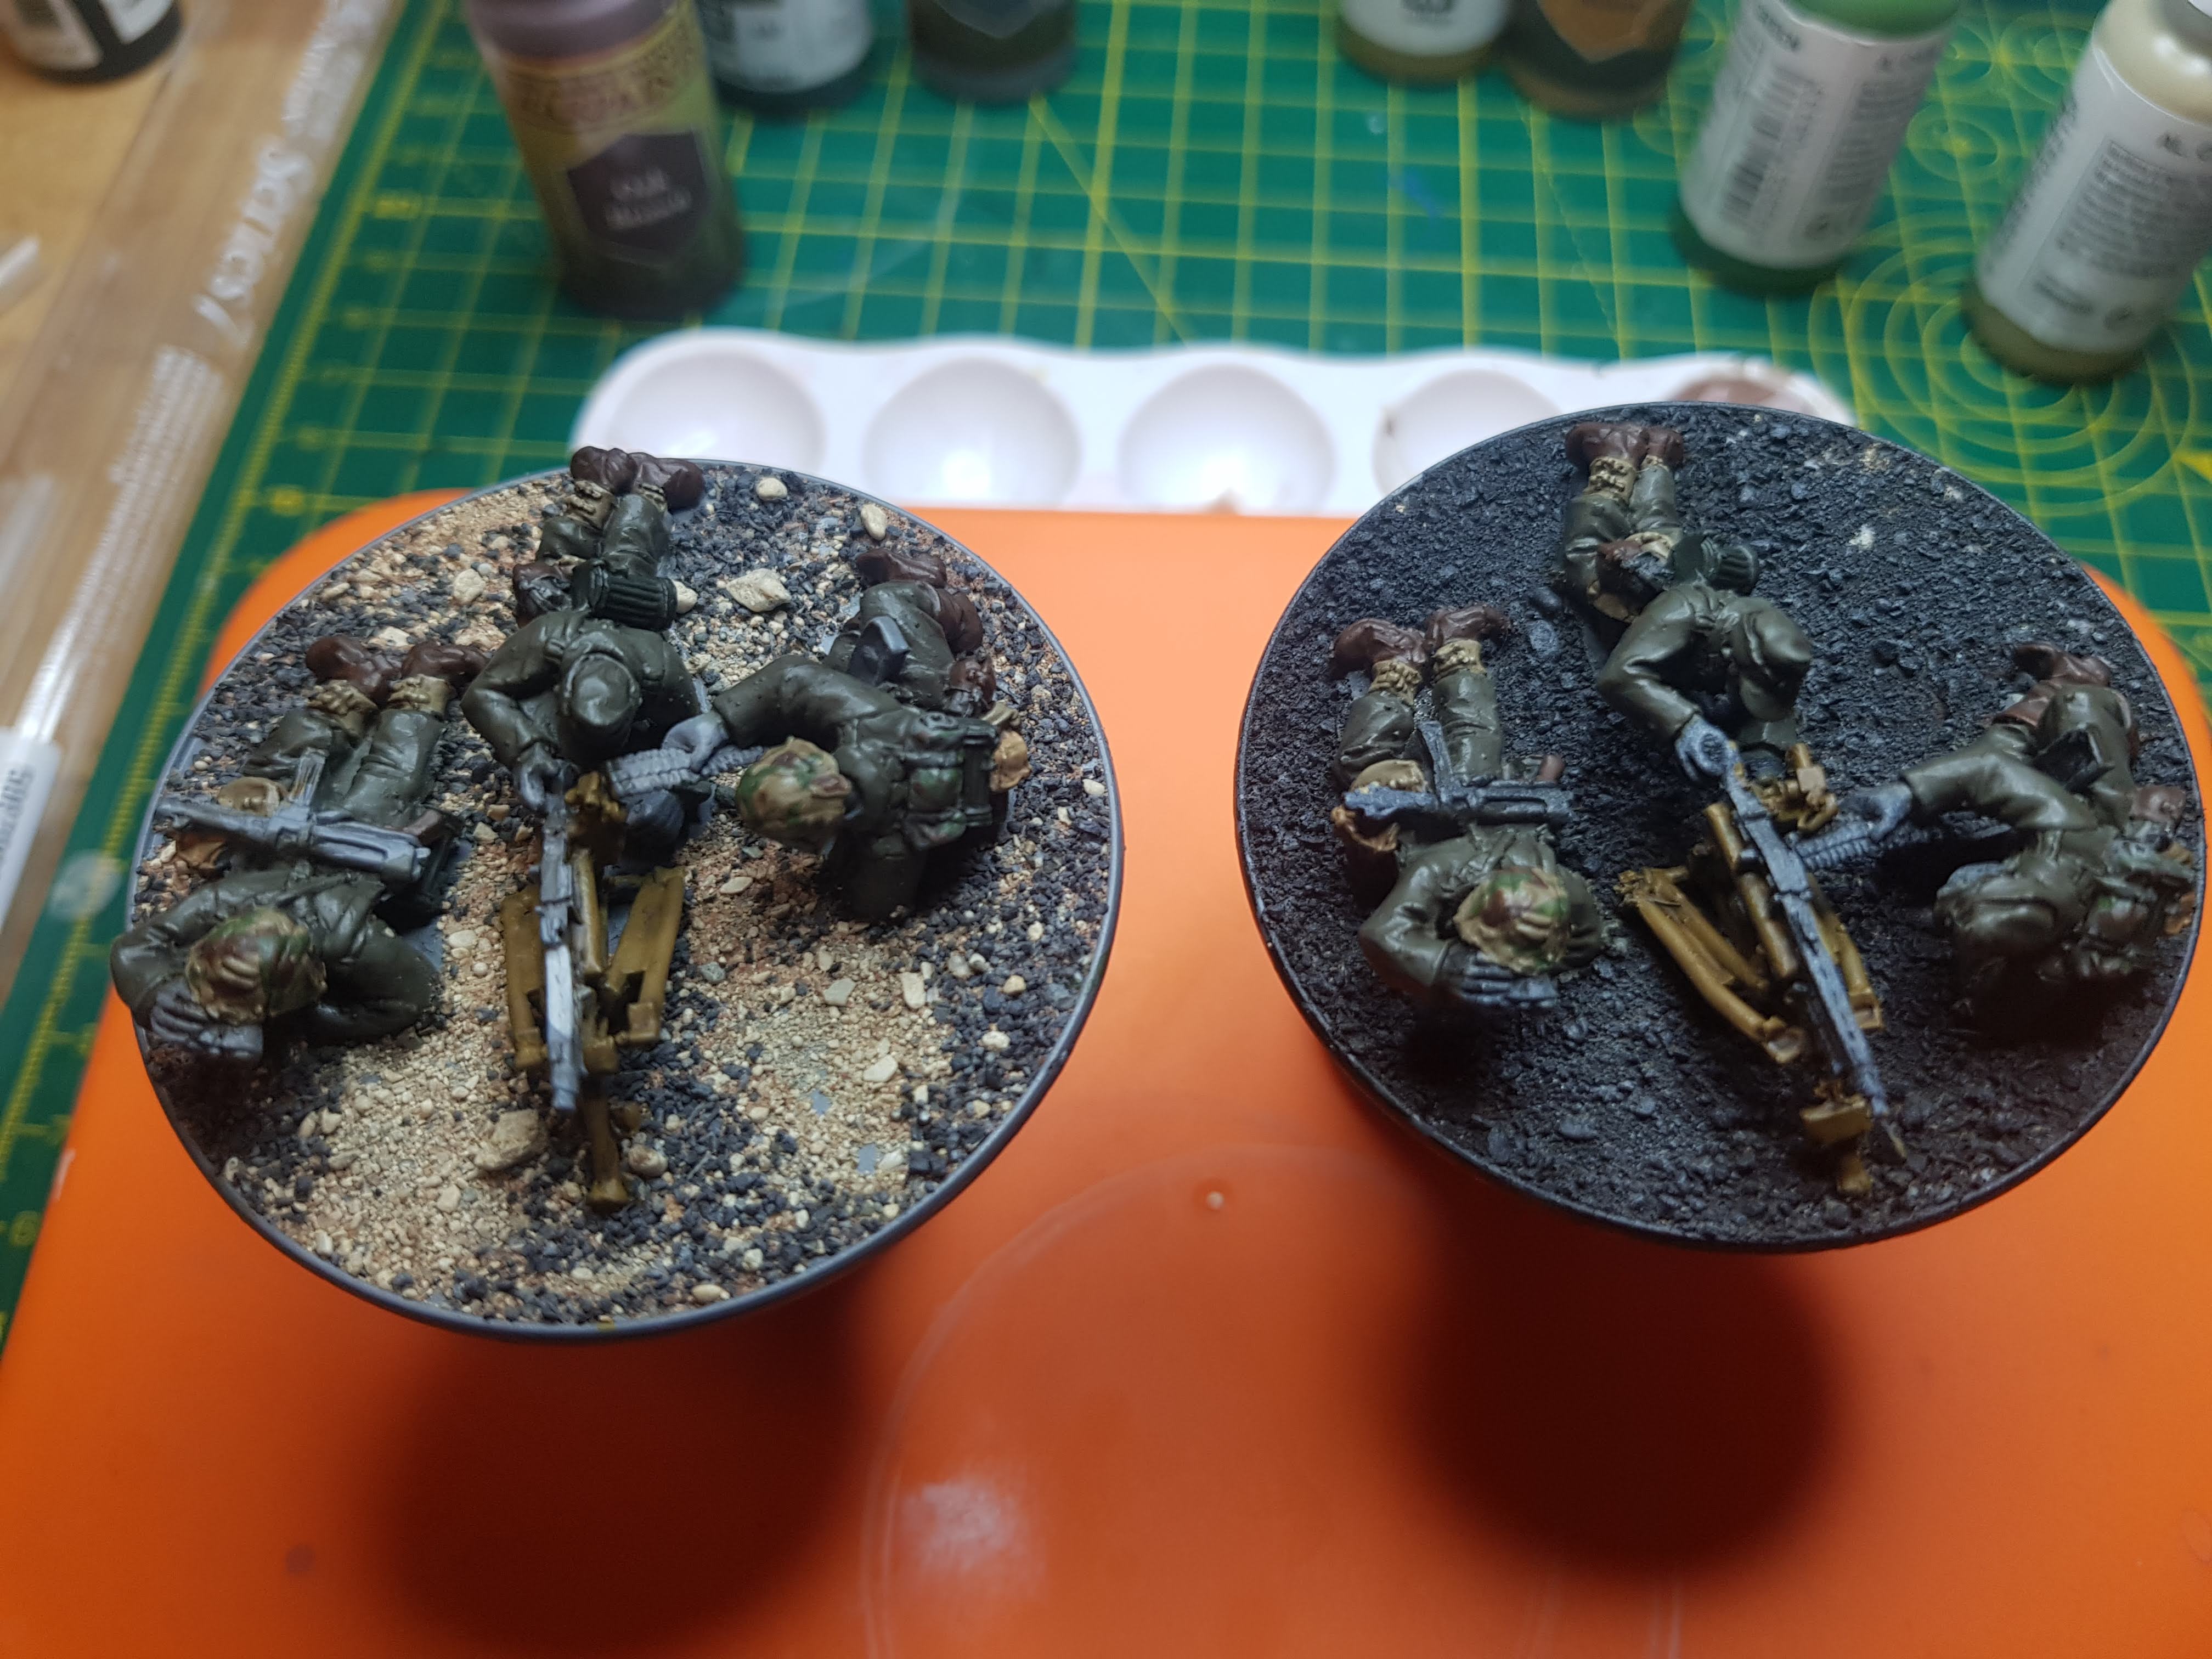
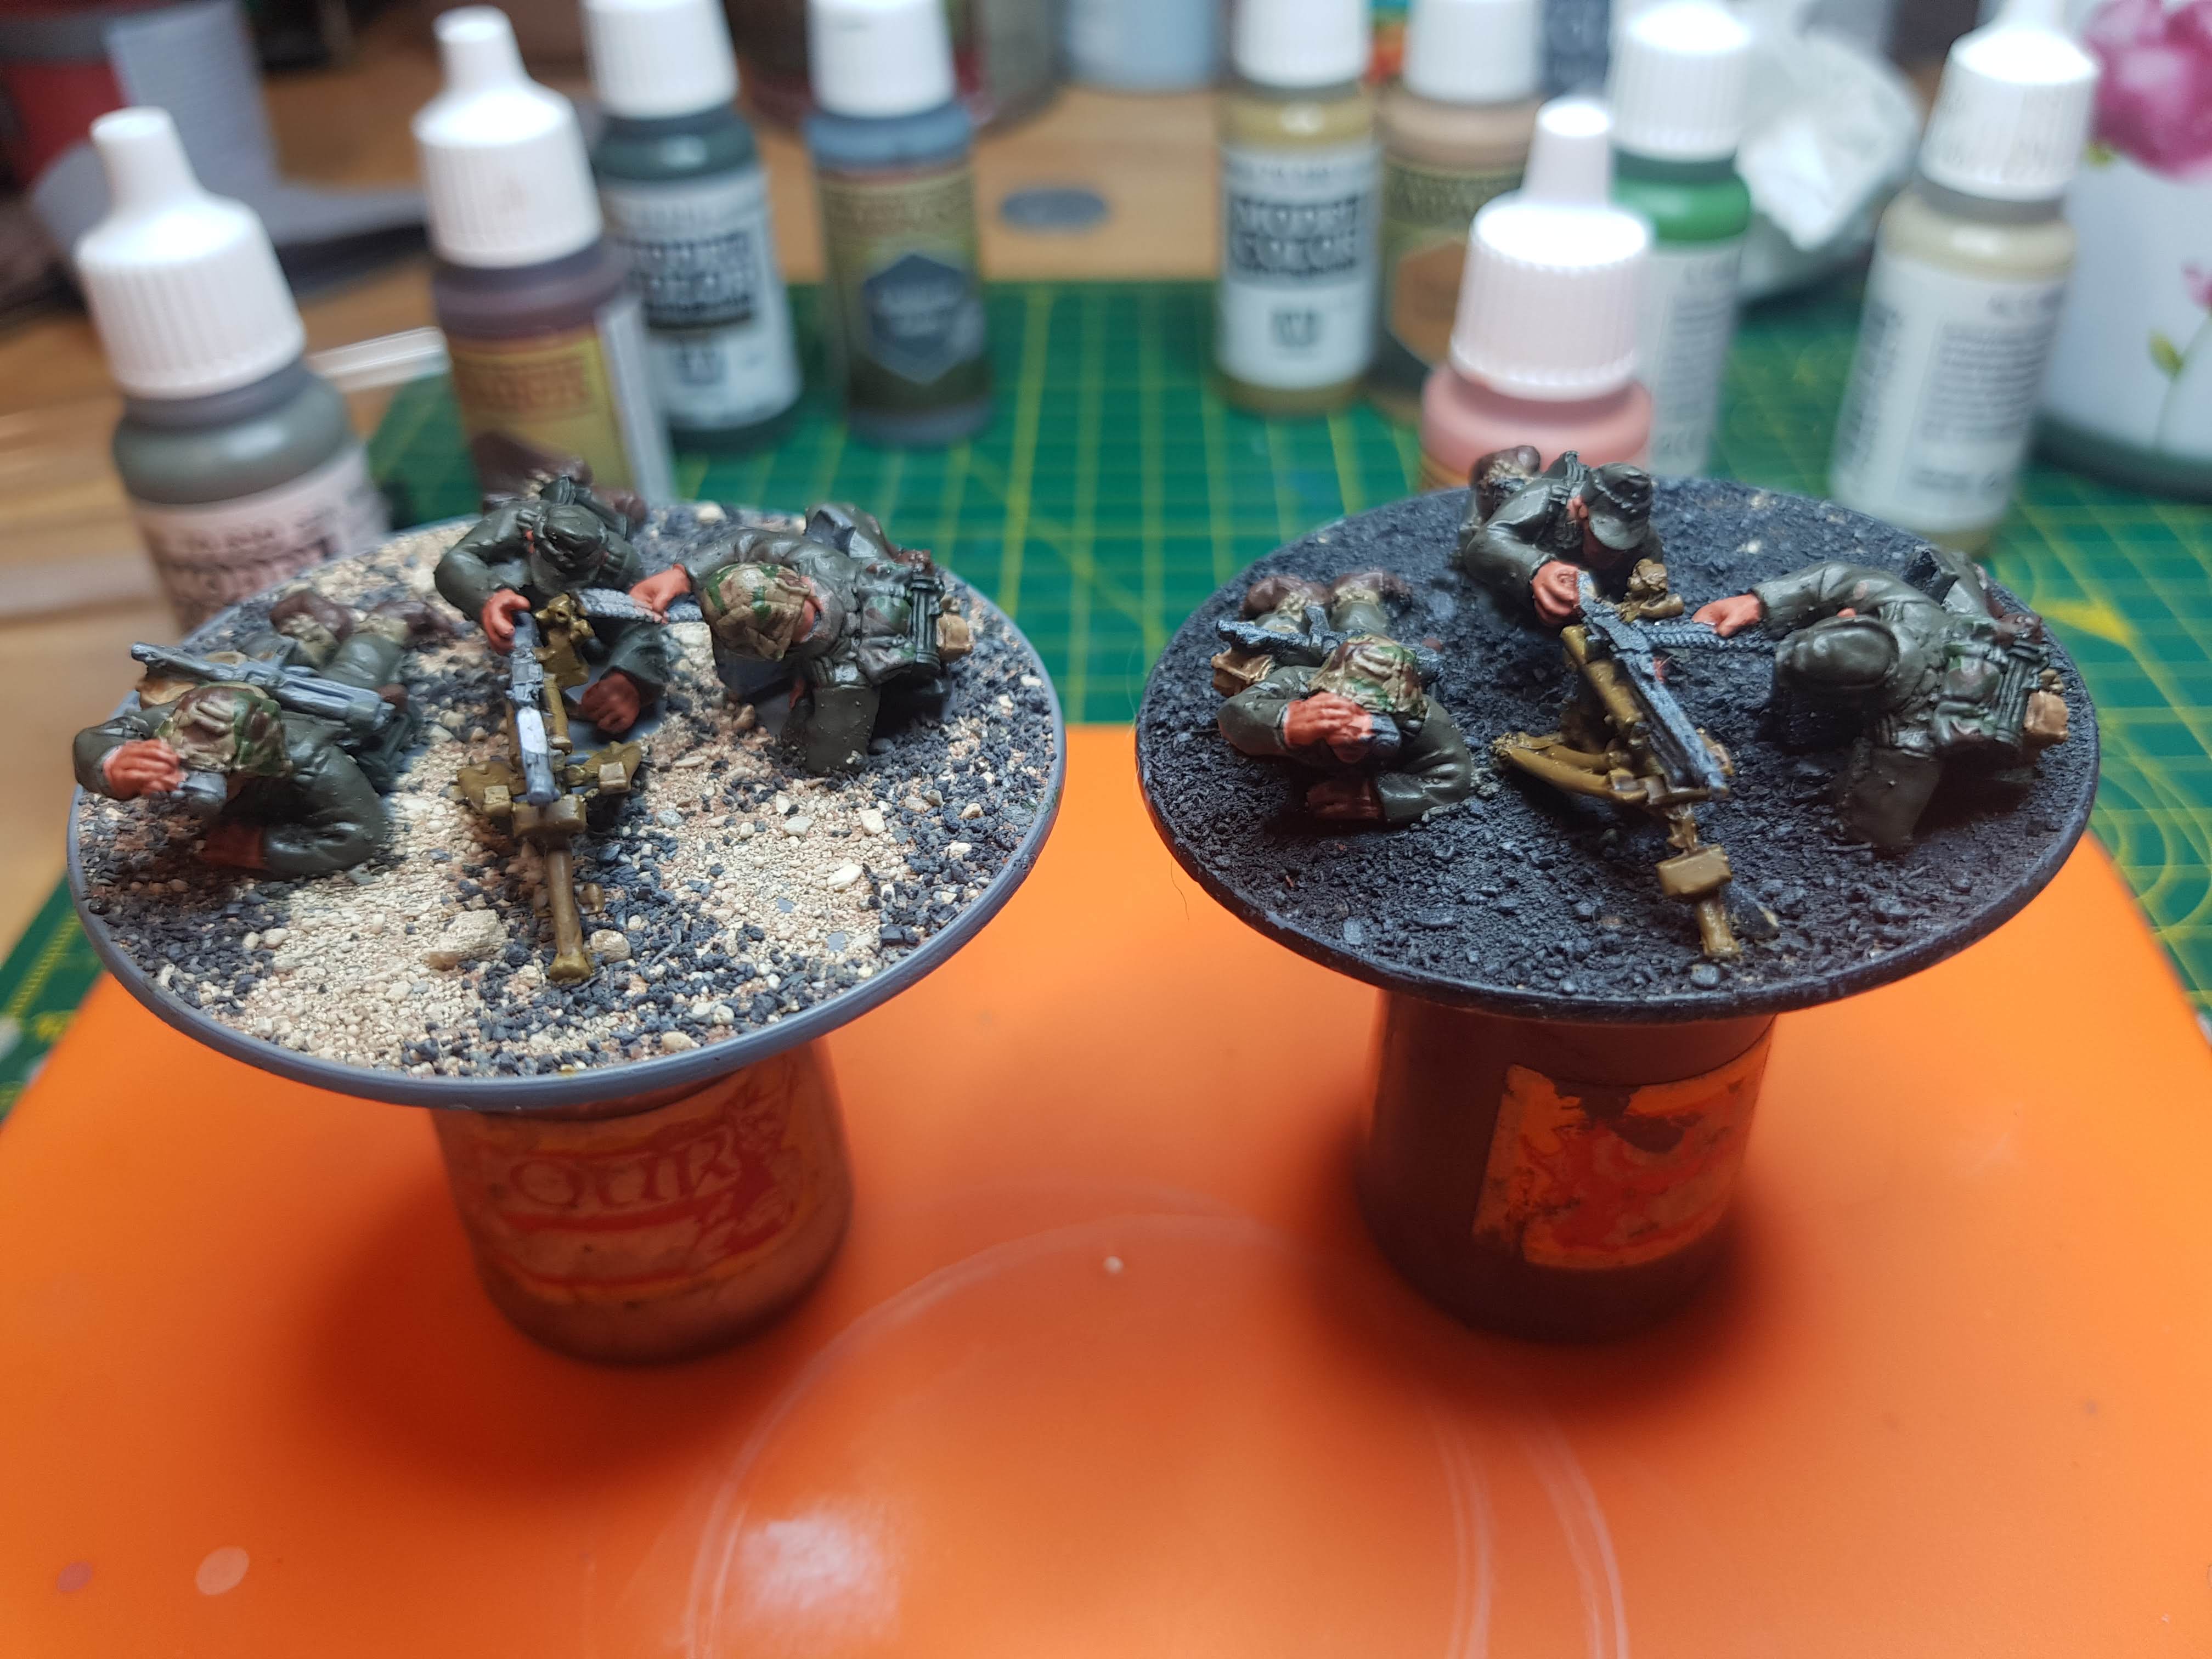
That’s the MG42 teams complete in terms of painting but I decided to hold off on the basing just for now. These will be the first complete units for my larger German army so the base will set the tone for the rest of the units. I want to try out a couple of new ideas and some different basing materials.
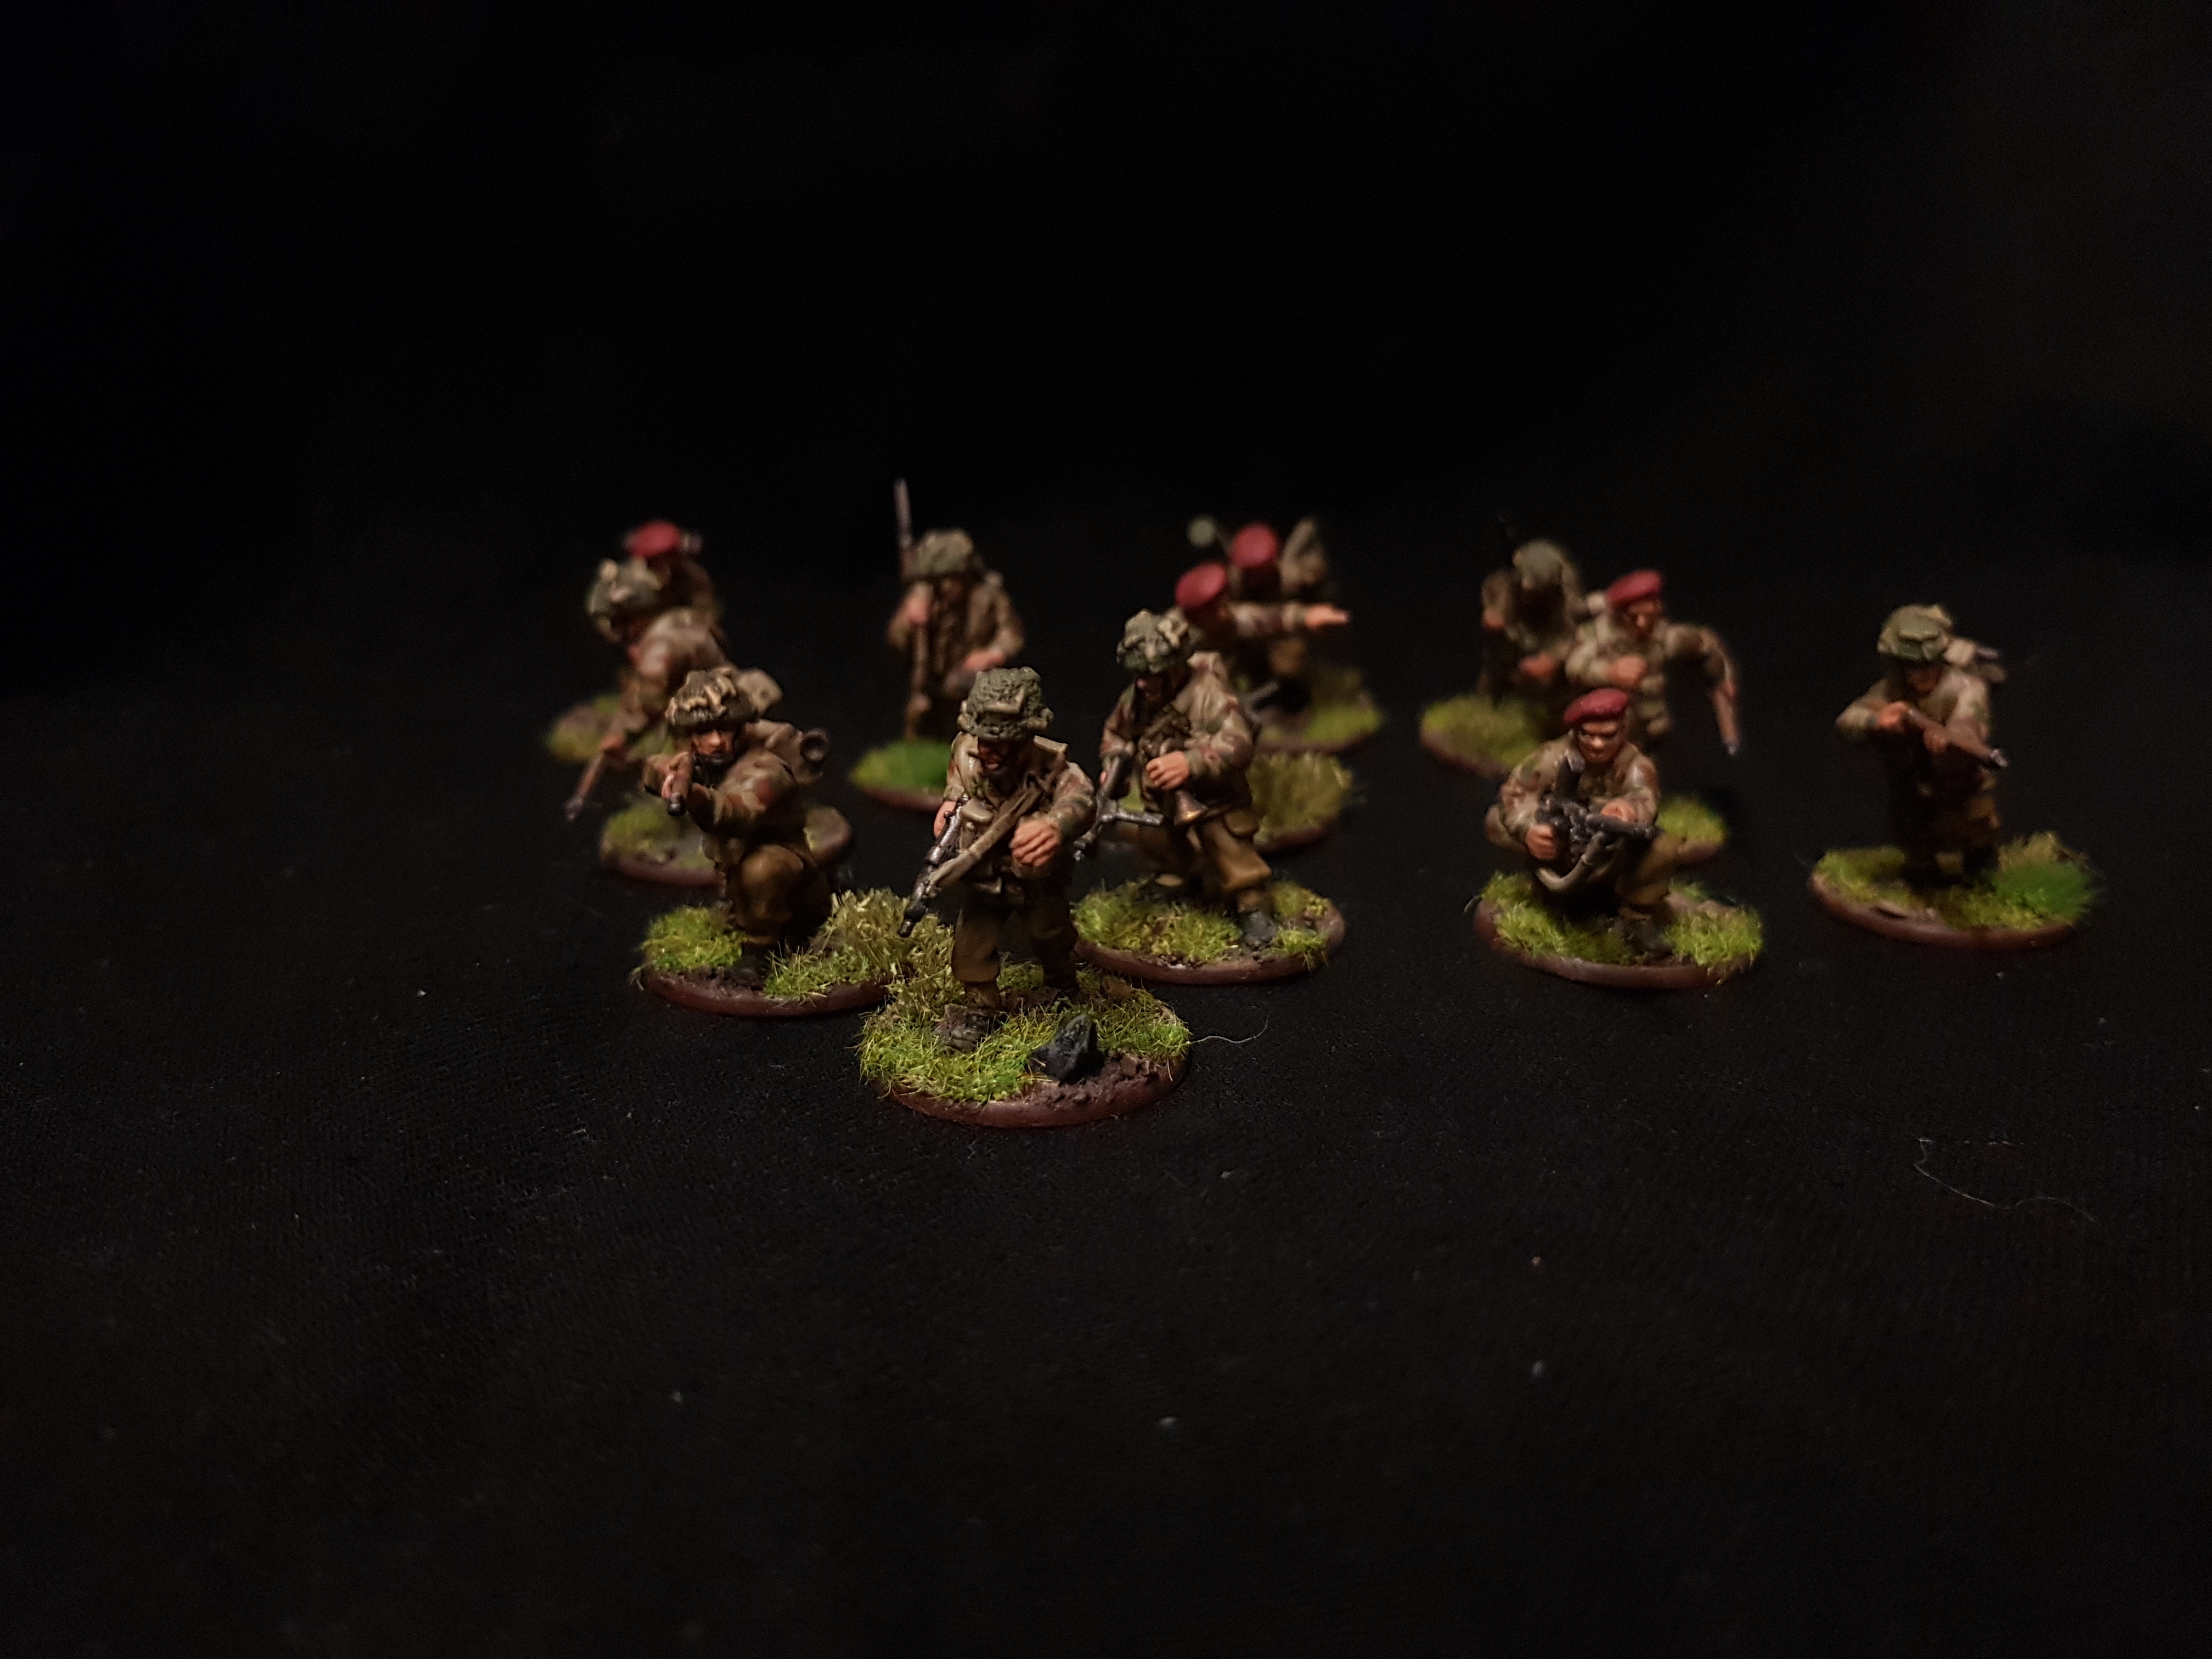
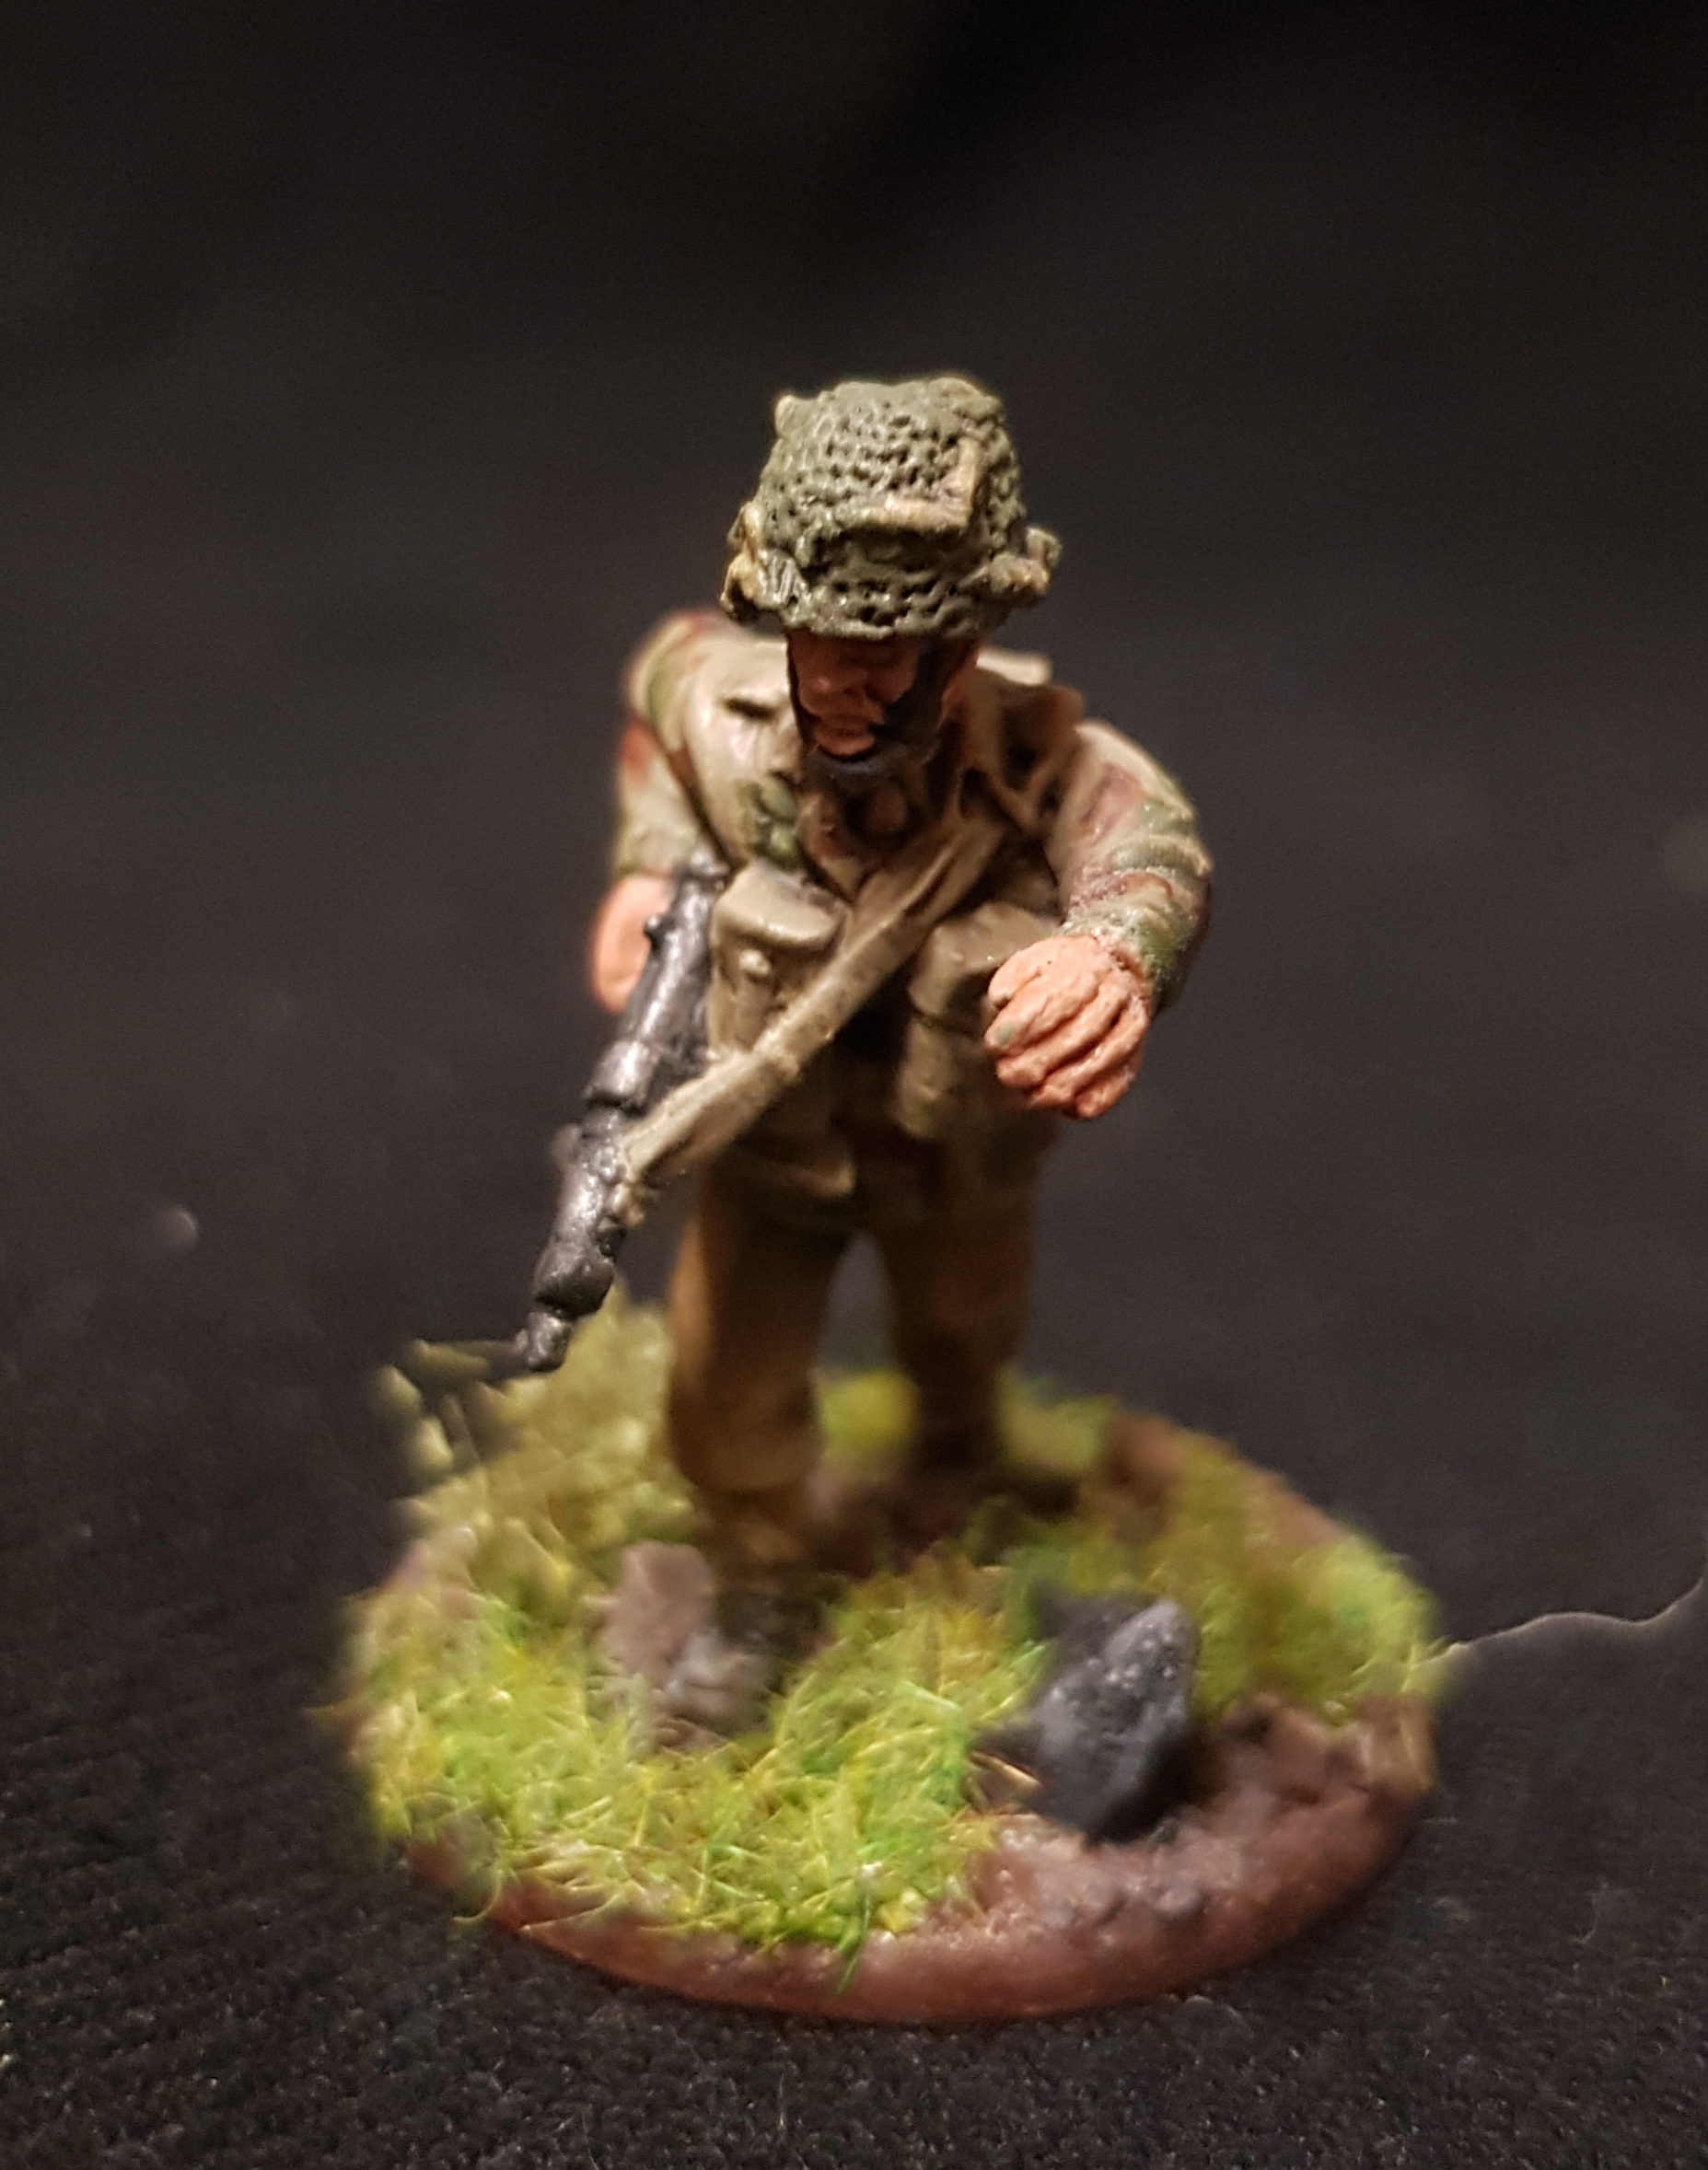
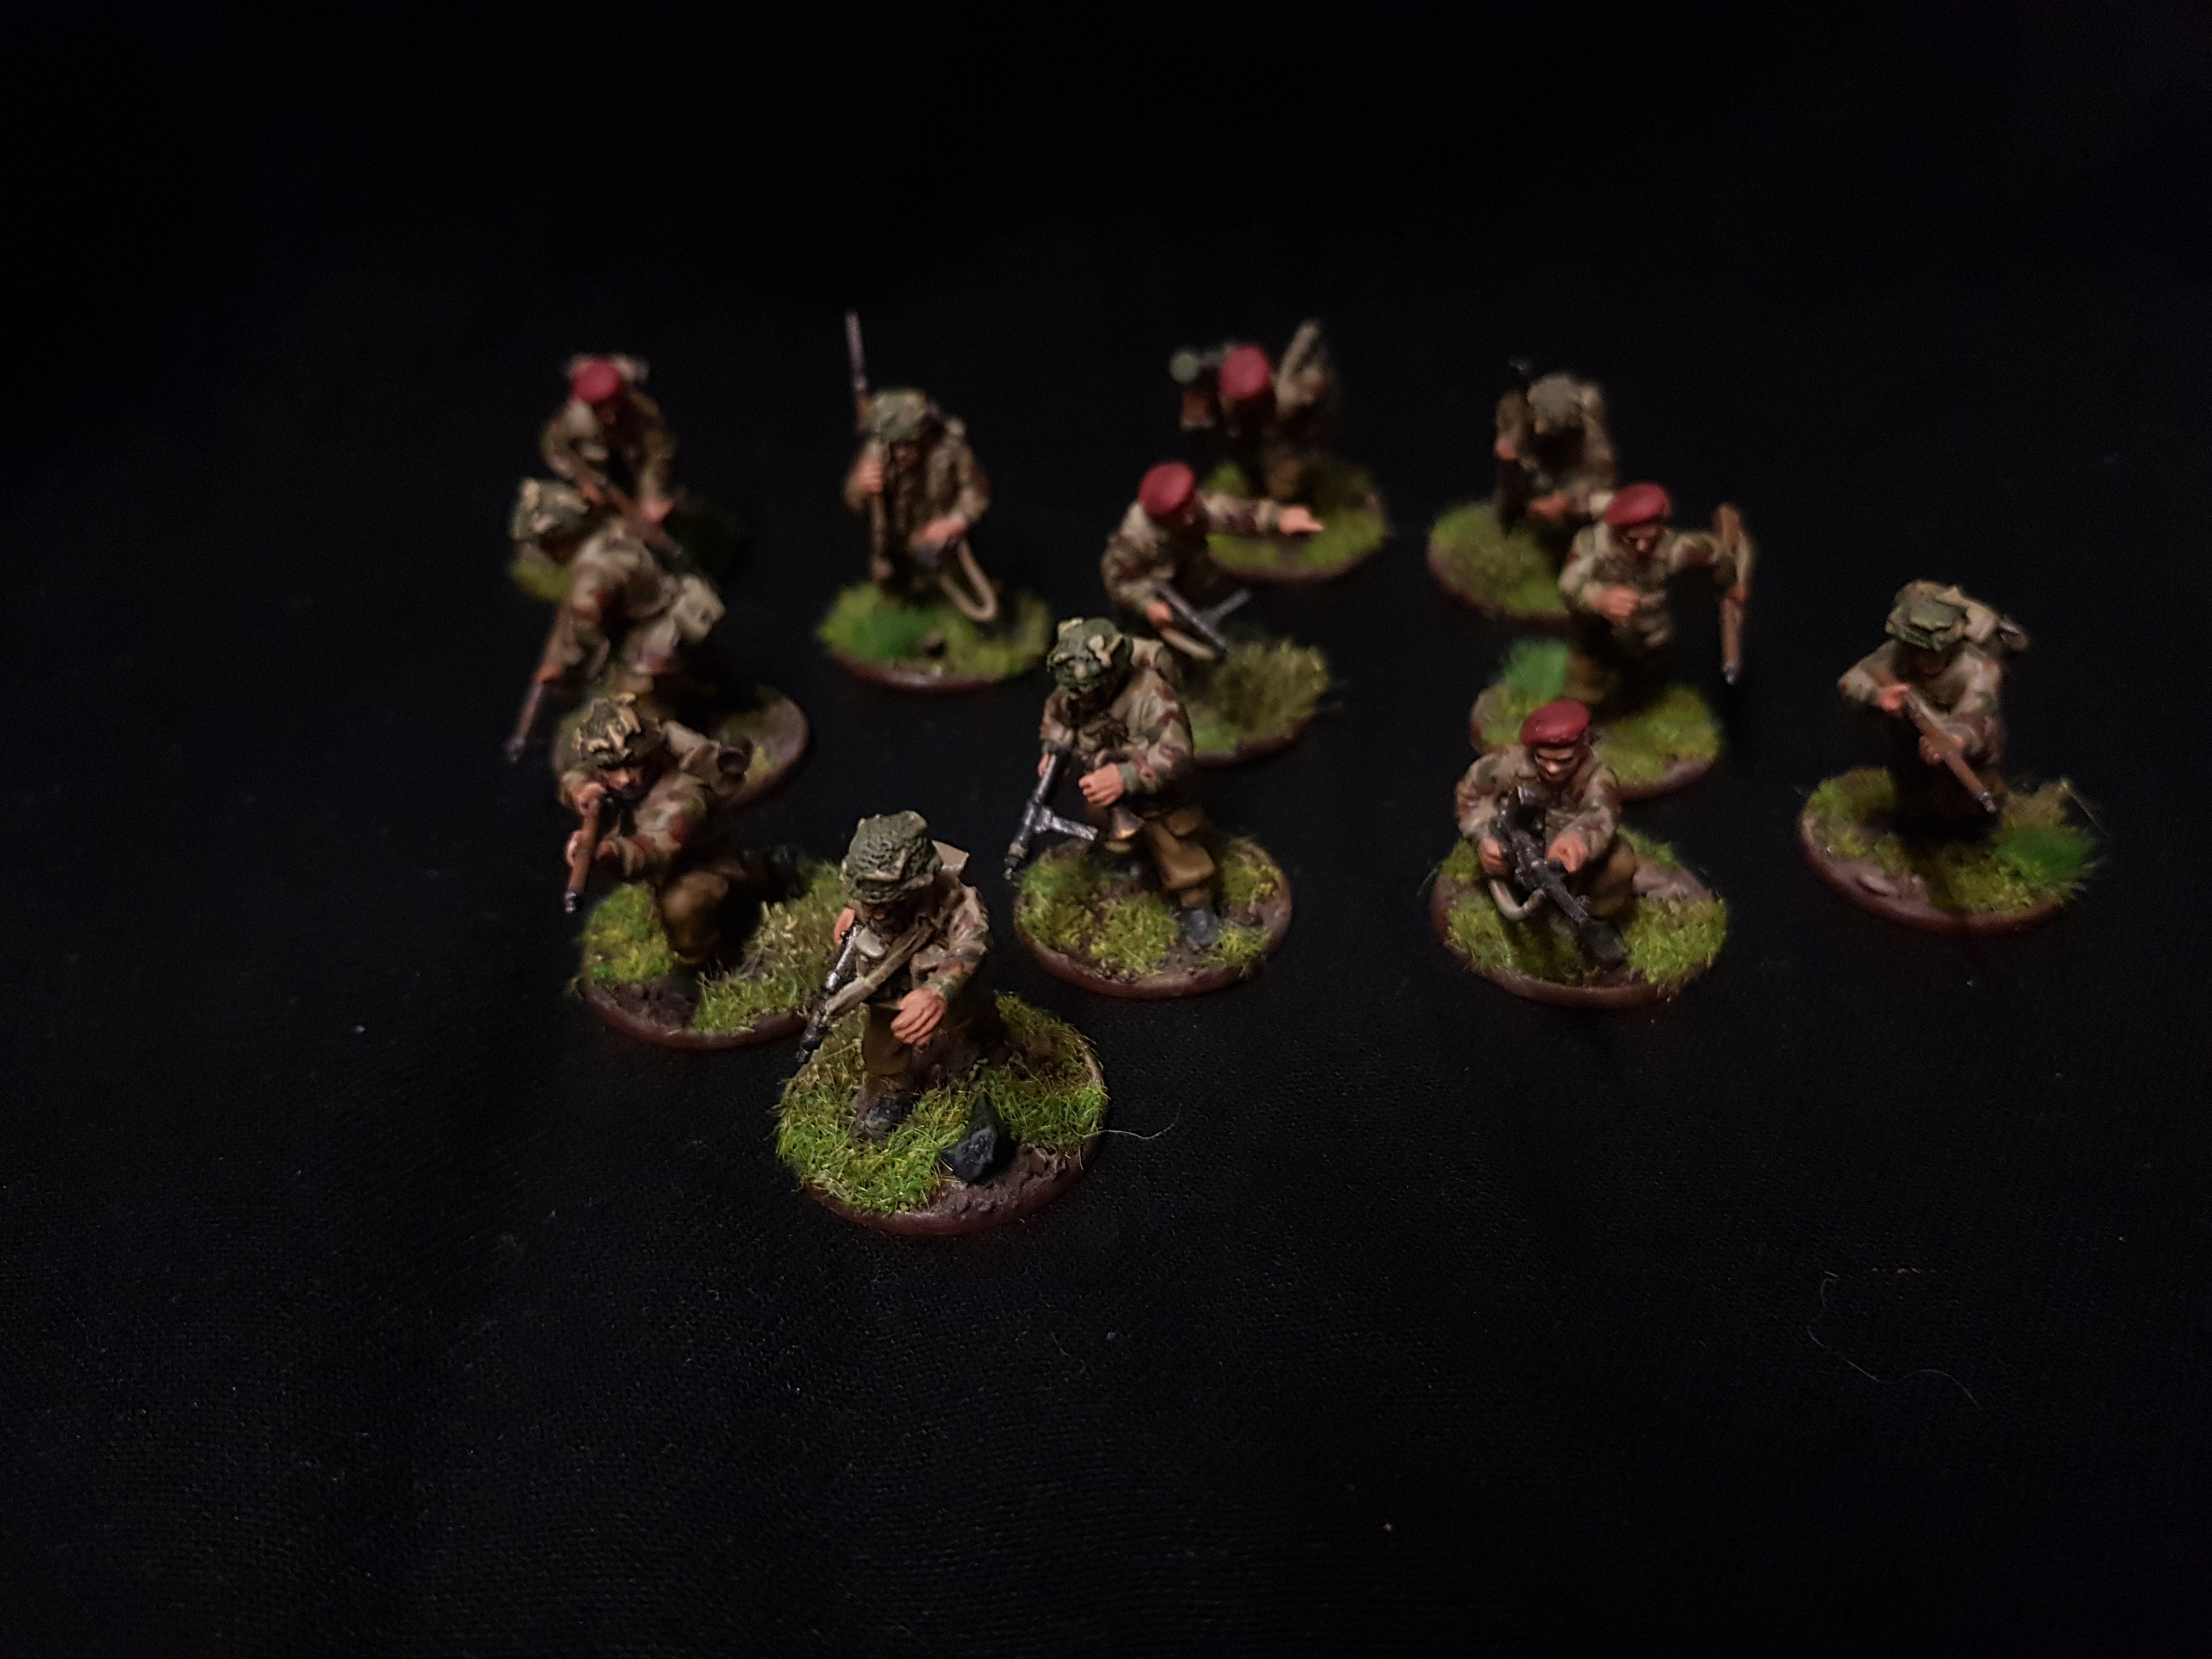
So while I wait for some things to arrive, I went ahead and got started on the Brits. Since I last worked on this project, one of them seems to have disappeared into the plastic ether so I’m down to 12 – we’ll just say he was injured in the glider landing! Ah well I might (read: almost definitely) pick up some more Airborne in the near future to bulk up the number. On with the base coat


Colours used (Vallejo unless noted):
- Denison smock(base), webbing, pouches: German Camo Biege
- Helmet: Russian Green
- Beret: Dark Red
- Trousers: English Uniform
- Wood: AP Beige Brown
- Skin: AP Tanned Flesh
- Boots/Metal: err.. Black! 🙂
- Blankets: German Camo Dark Brown
- PIAT: US Dark Green
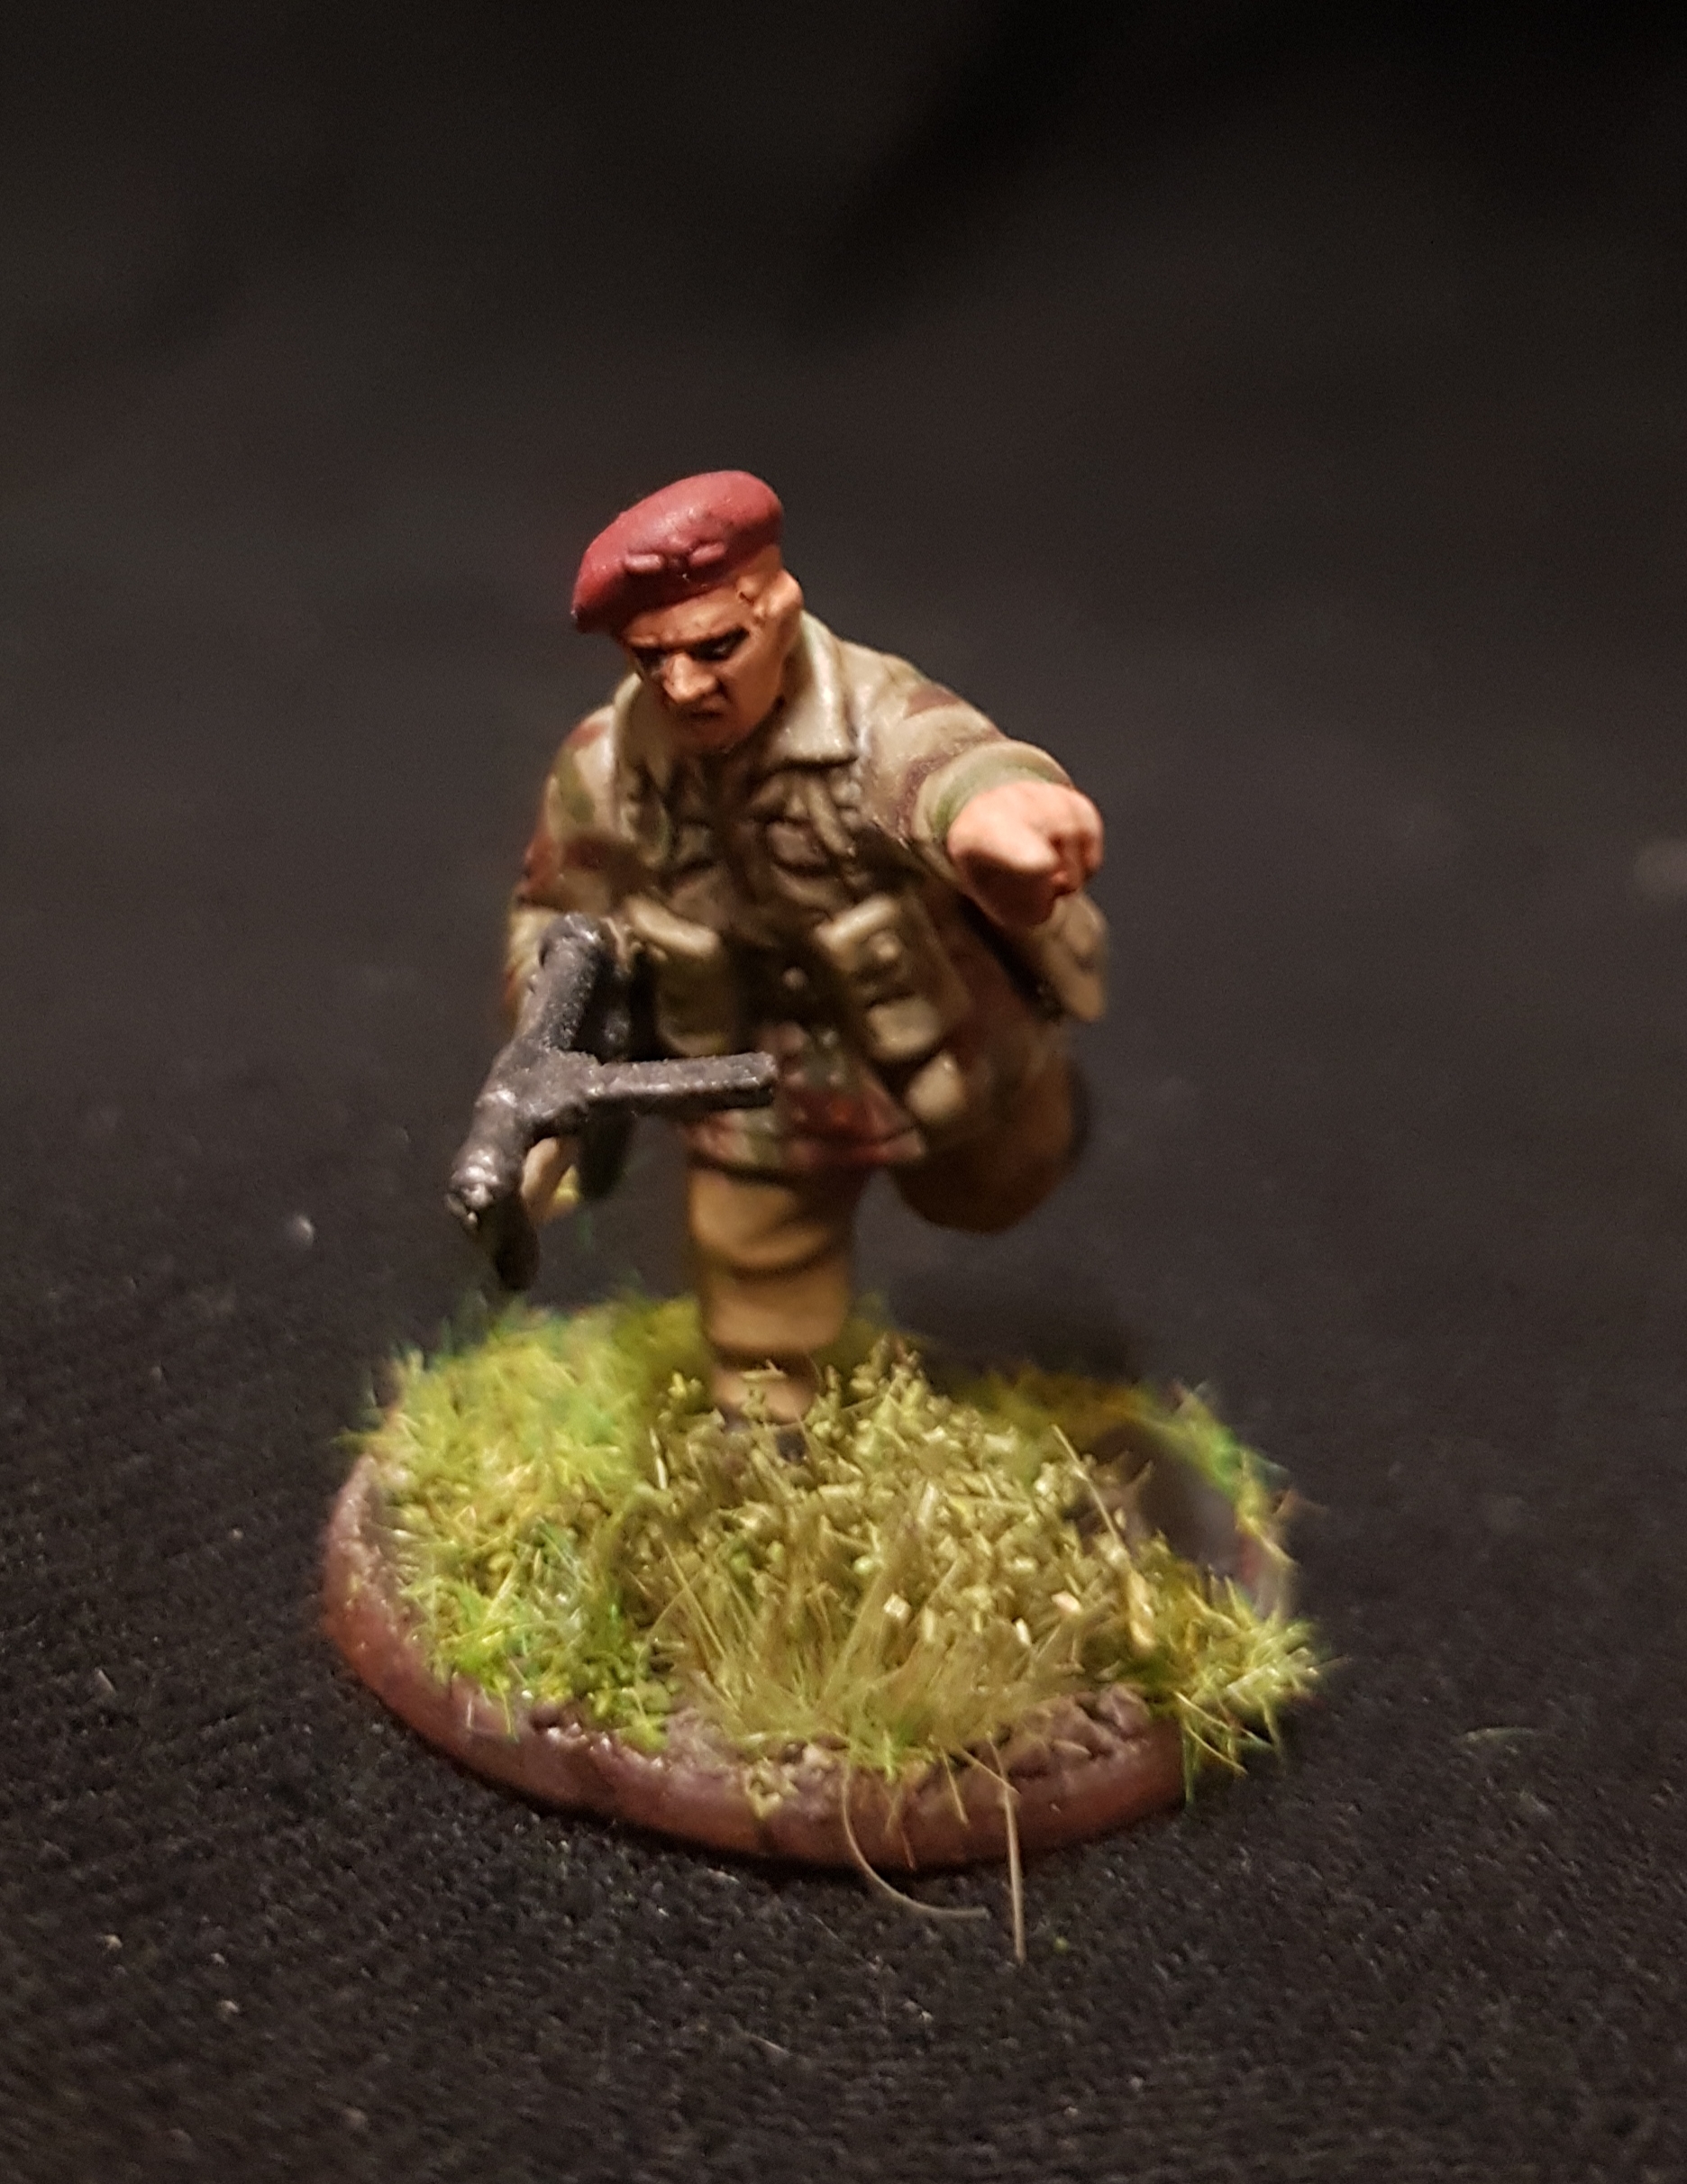
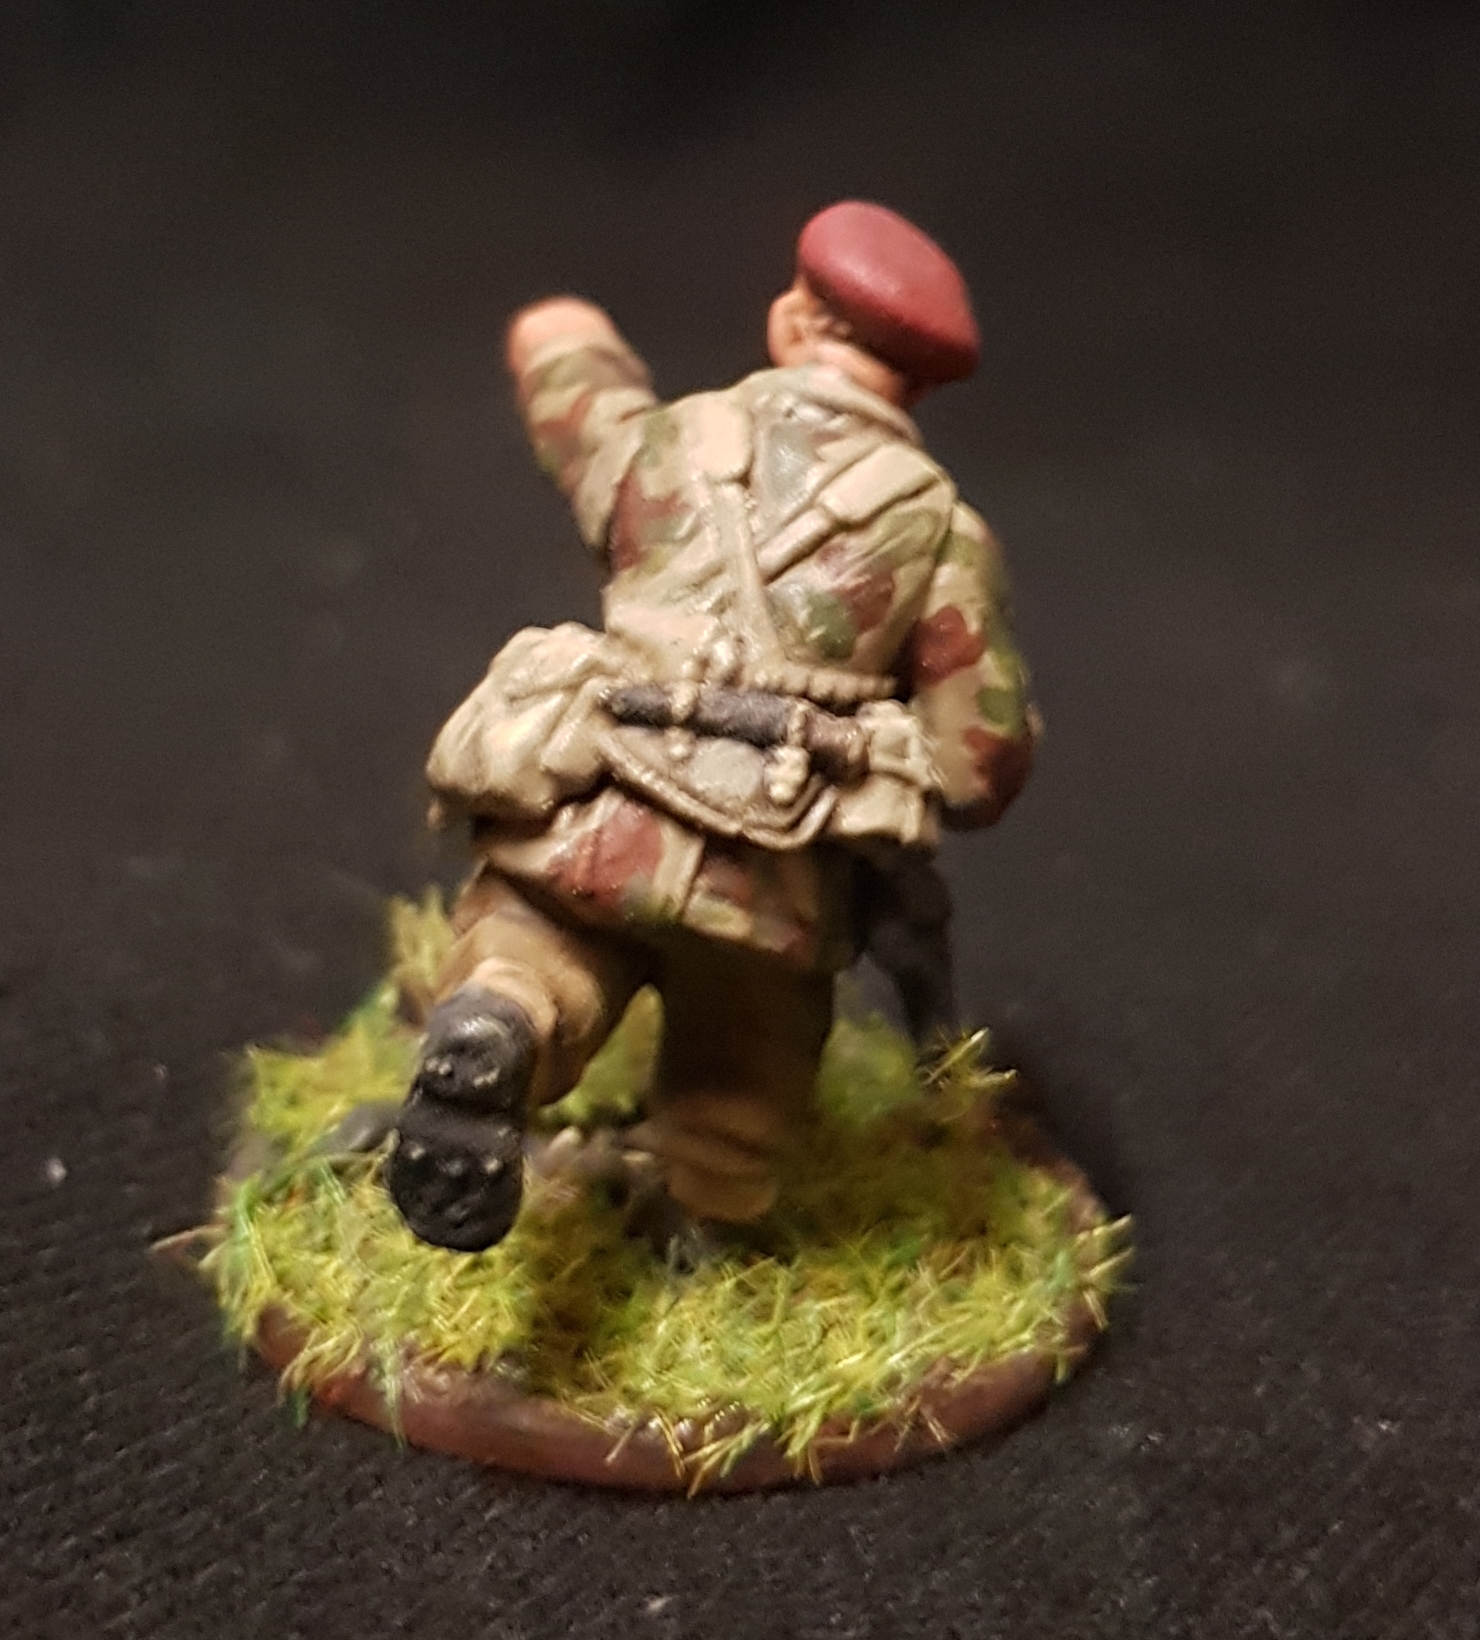
Just give me the Highlights
Highlighting time. Everything got a first highlight of the base colour. Then a 2nd – most of the colours I mixed with VCM Iraqi Sand to get the highlight – but then flesh was mixed with Basic Skin Tone. I gave the uniform a 2nd lighter highlight just cause they are the biggest part of the model and so most noticeable. The skin also got a 2nd highlight of Skin Tone cause I thought it was a bit too dark.
Then all the black/metal/webbing areas got painted int. Metal bits got a highlight of Gunmetal Grey – Bronze on the ammo – and Dark Grey for all the black areas. Then a wash of Dark Tone.
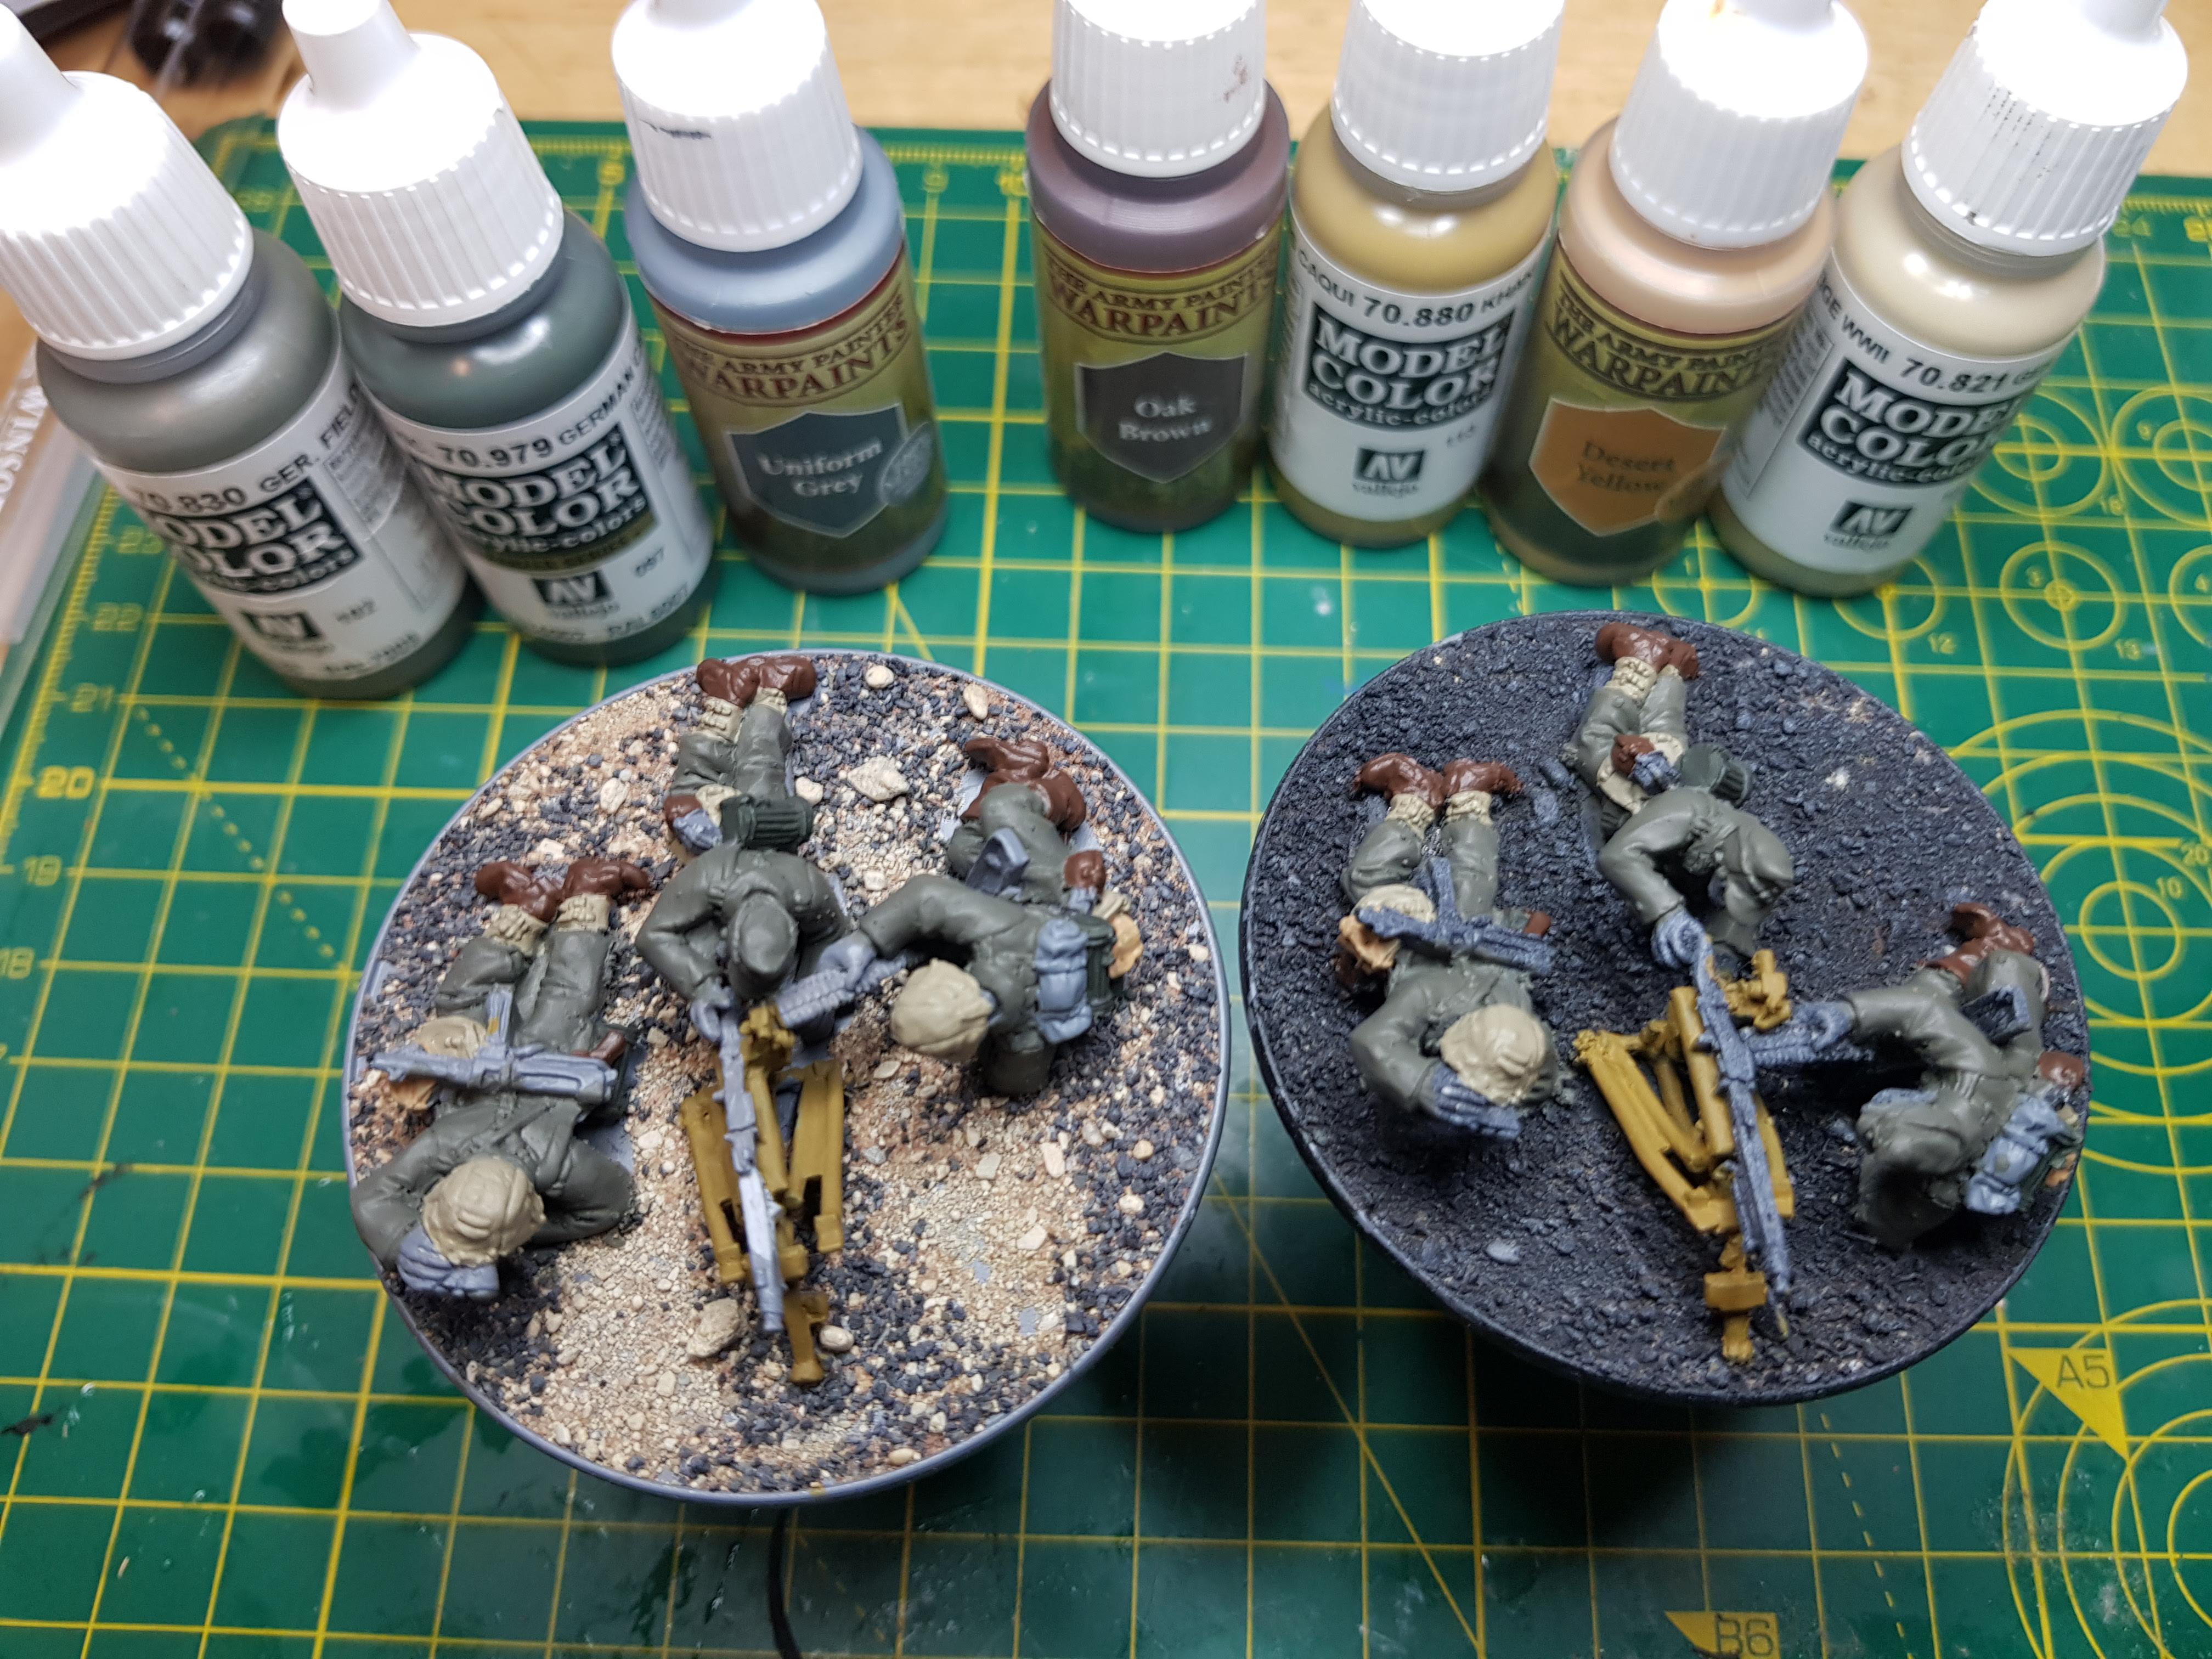
Getting some colour down (well grey mostly)
Time to get painting! I started off with the uniform which in retrospect was a big mistake. I’d watched a youtubes of someone painting a German Grenadier and they’d left the flesh to near the end and think that was in my mind but it was a bit silly. Especially on these models where most of the flesh is hidden. Should have stuck to the old paint from the inside out mantra.
Anyway, mistakes were made but the first base coat went down in the following colours (Vallejo unless noted)
- Uniform & Field cap: German Fieldgrey
- Bread Bag/Anklets/Helmet: German Cam. Beige
- Boots/Water Bottle: AP Oak Brown
- Gas Mask Canister: German Cam. Dark Green
- Gun Mount: Khaki Grey
- Canteen: AP Desert Yellow
- Blanket: AP Uniform Gery
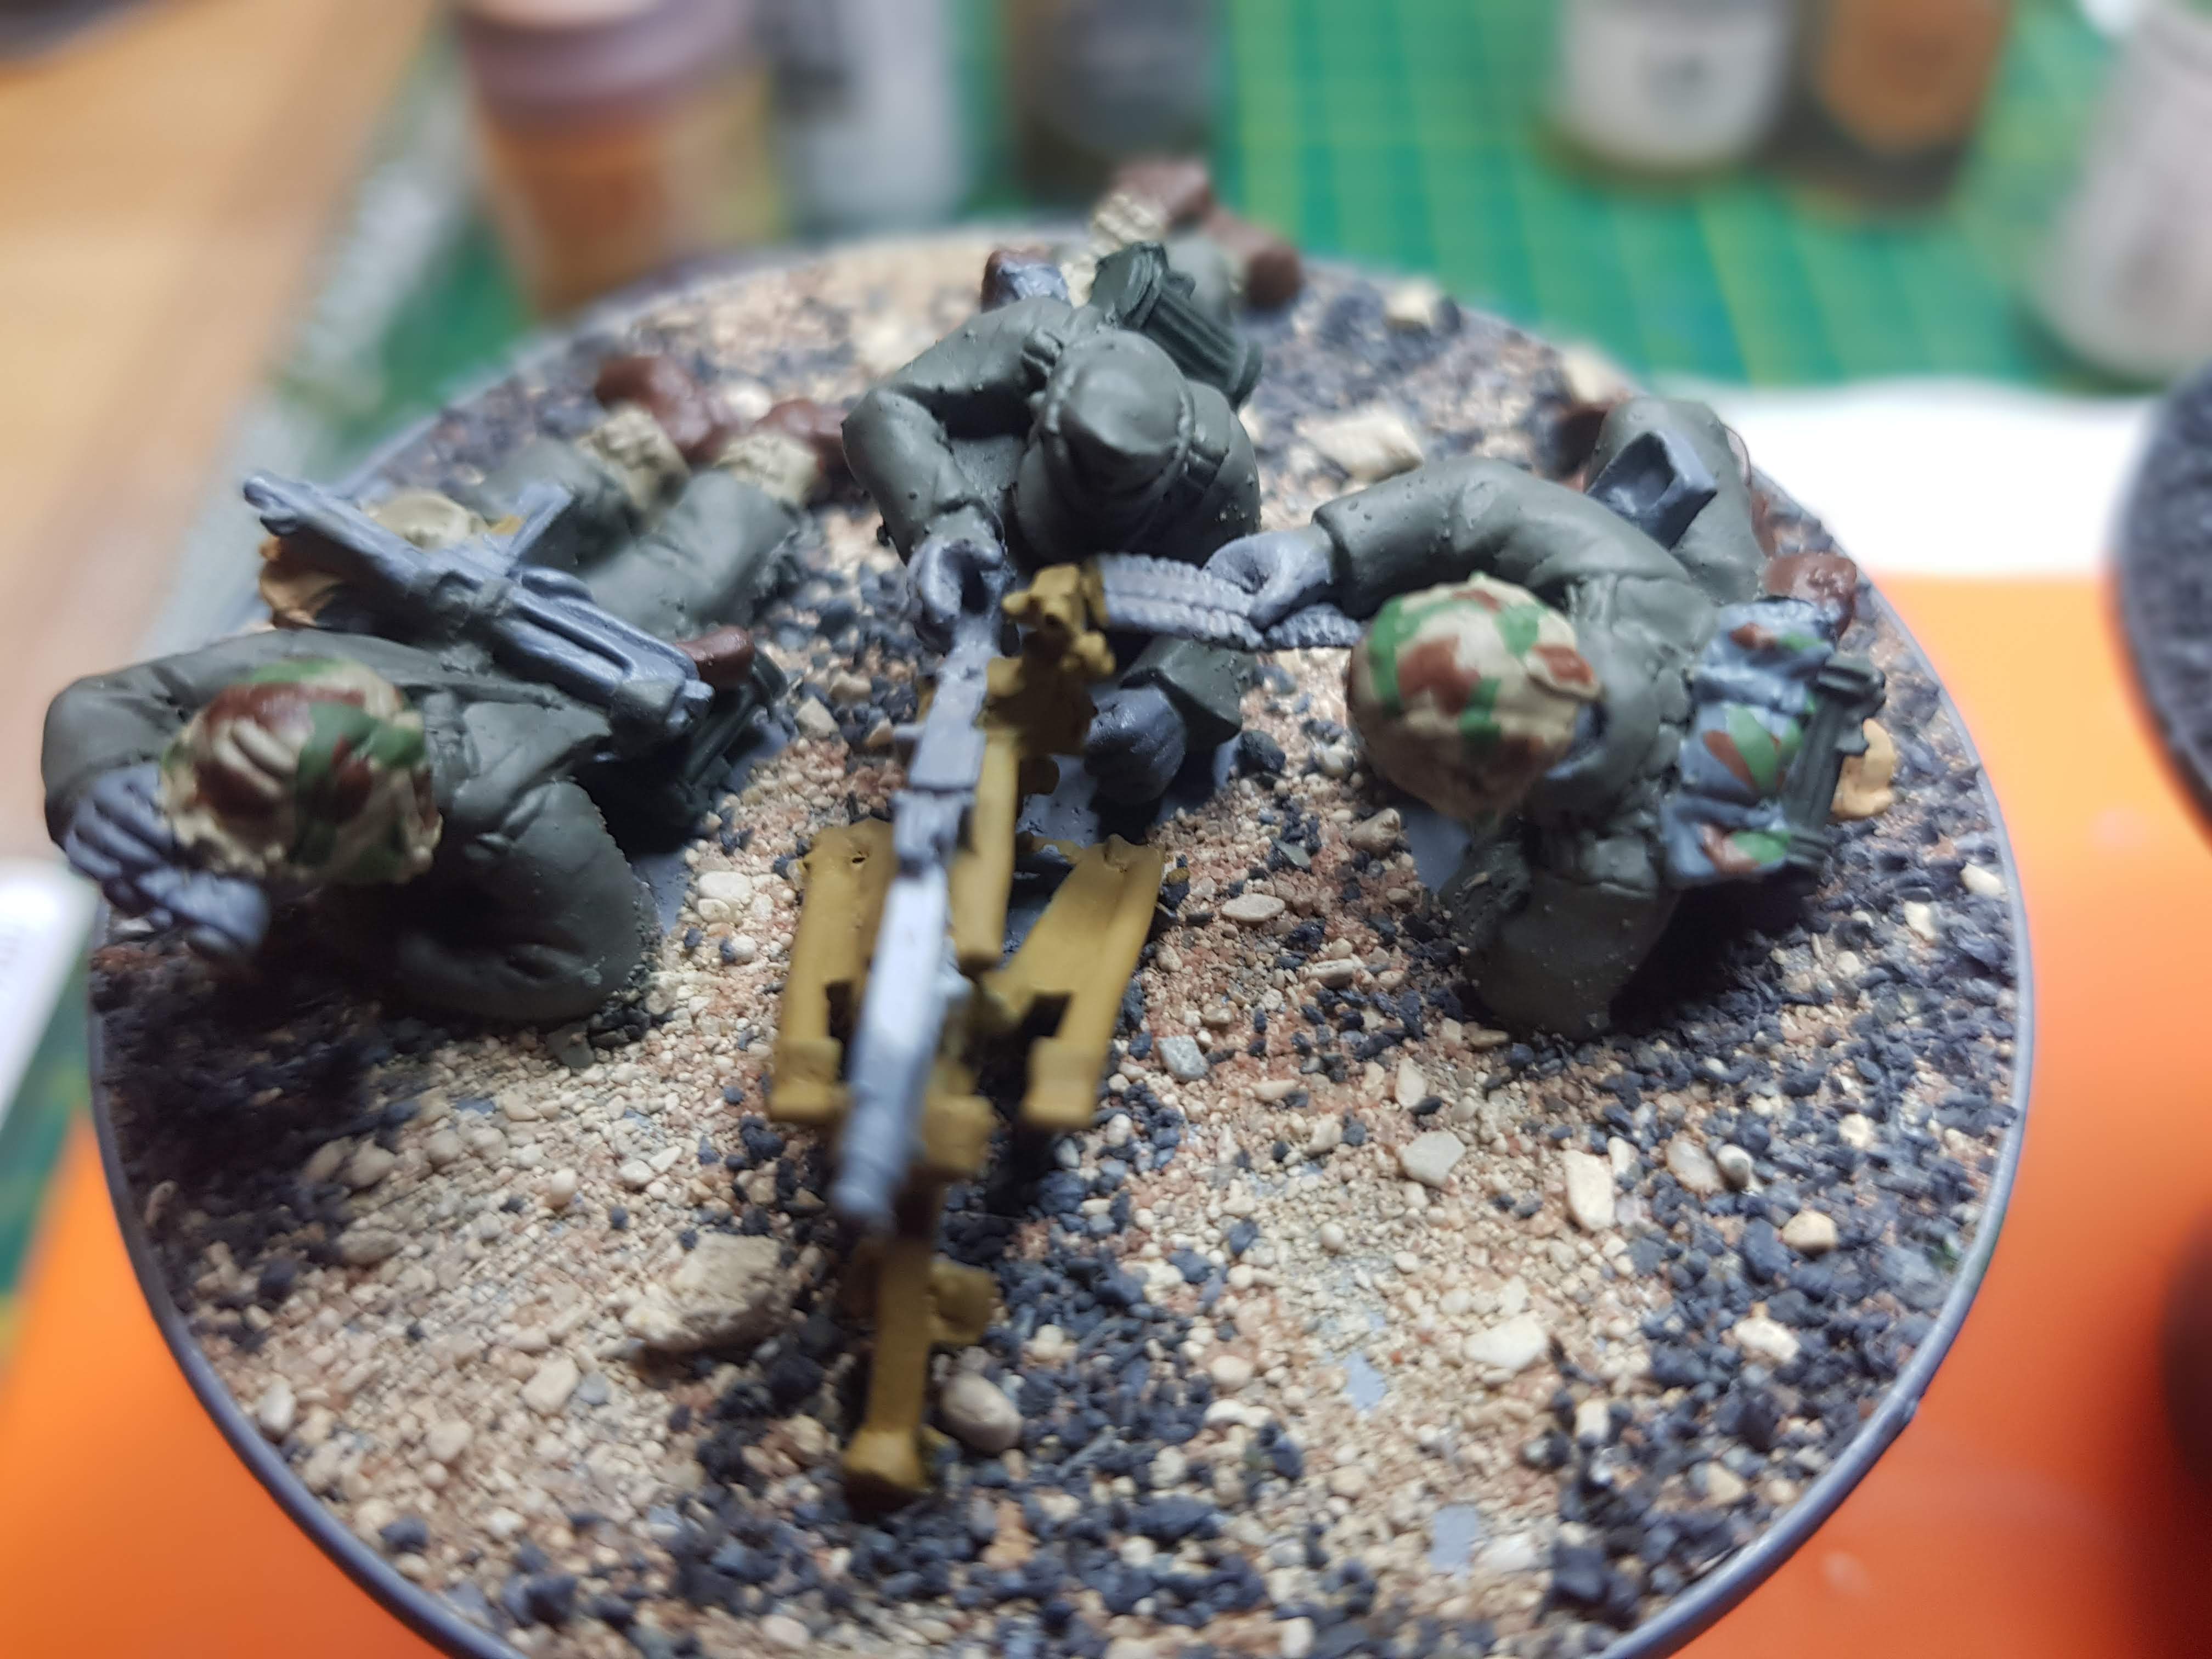
Next up time to apply some camo to the helmets and blanket (not sure if this is historically accurate). Not going for anything in particular, just a random 3-pattern scheme. So on with a few blurbs and lines of AP Oak Brown then a 50/50 mix of German Cam. Dark Green and German Cam. Bright Green.
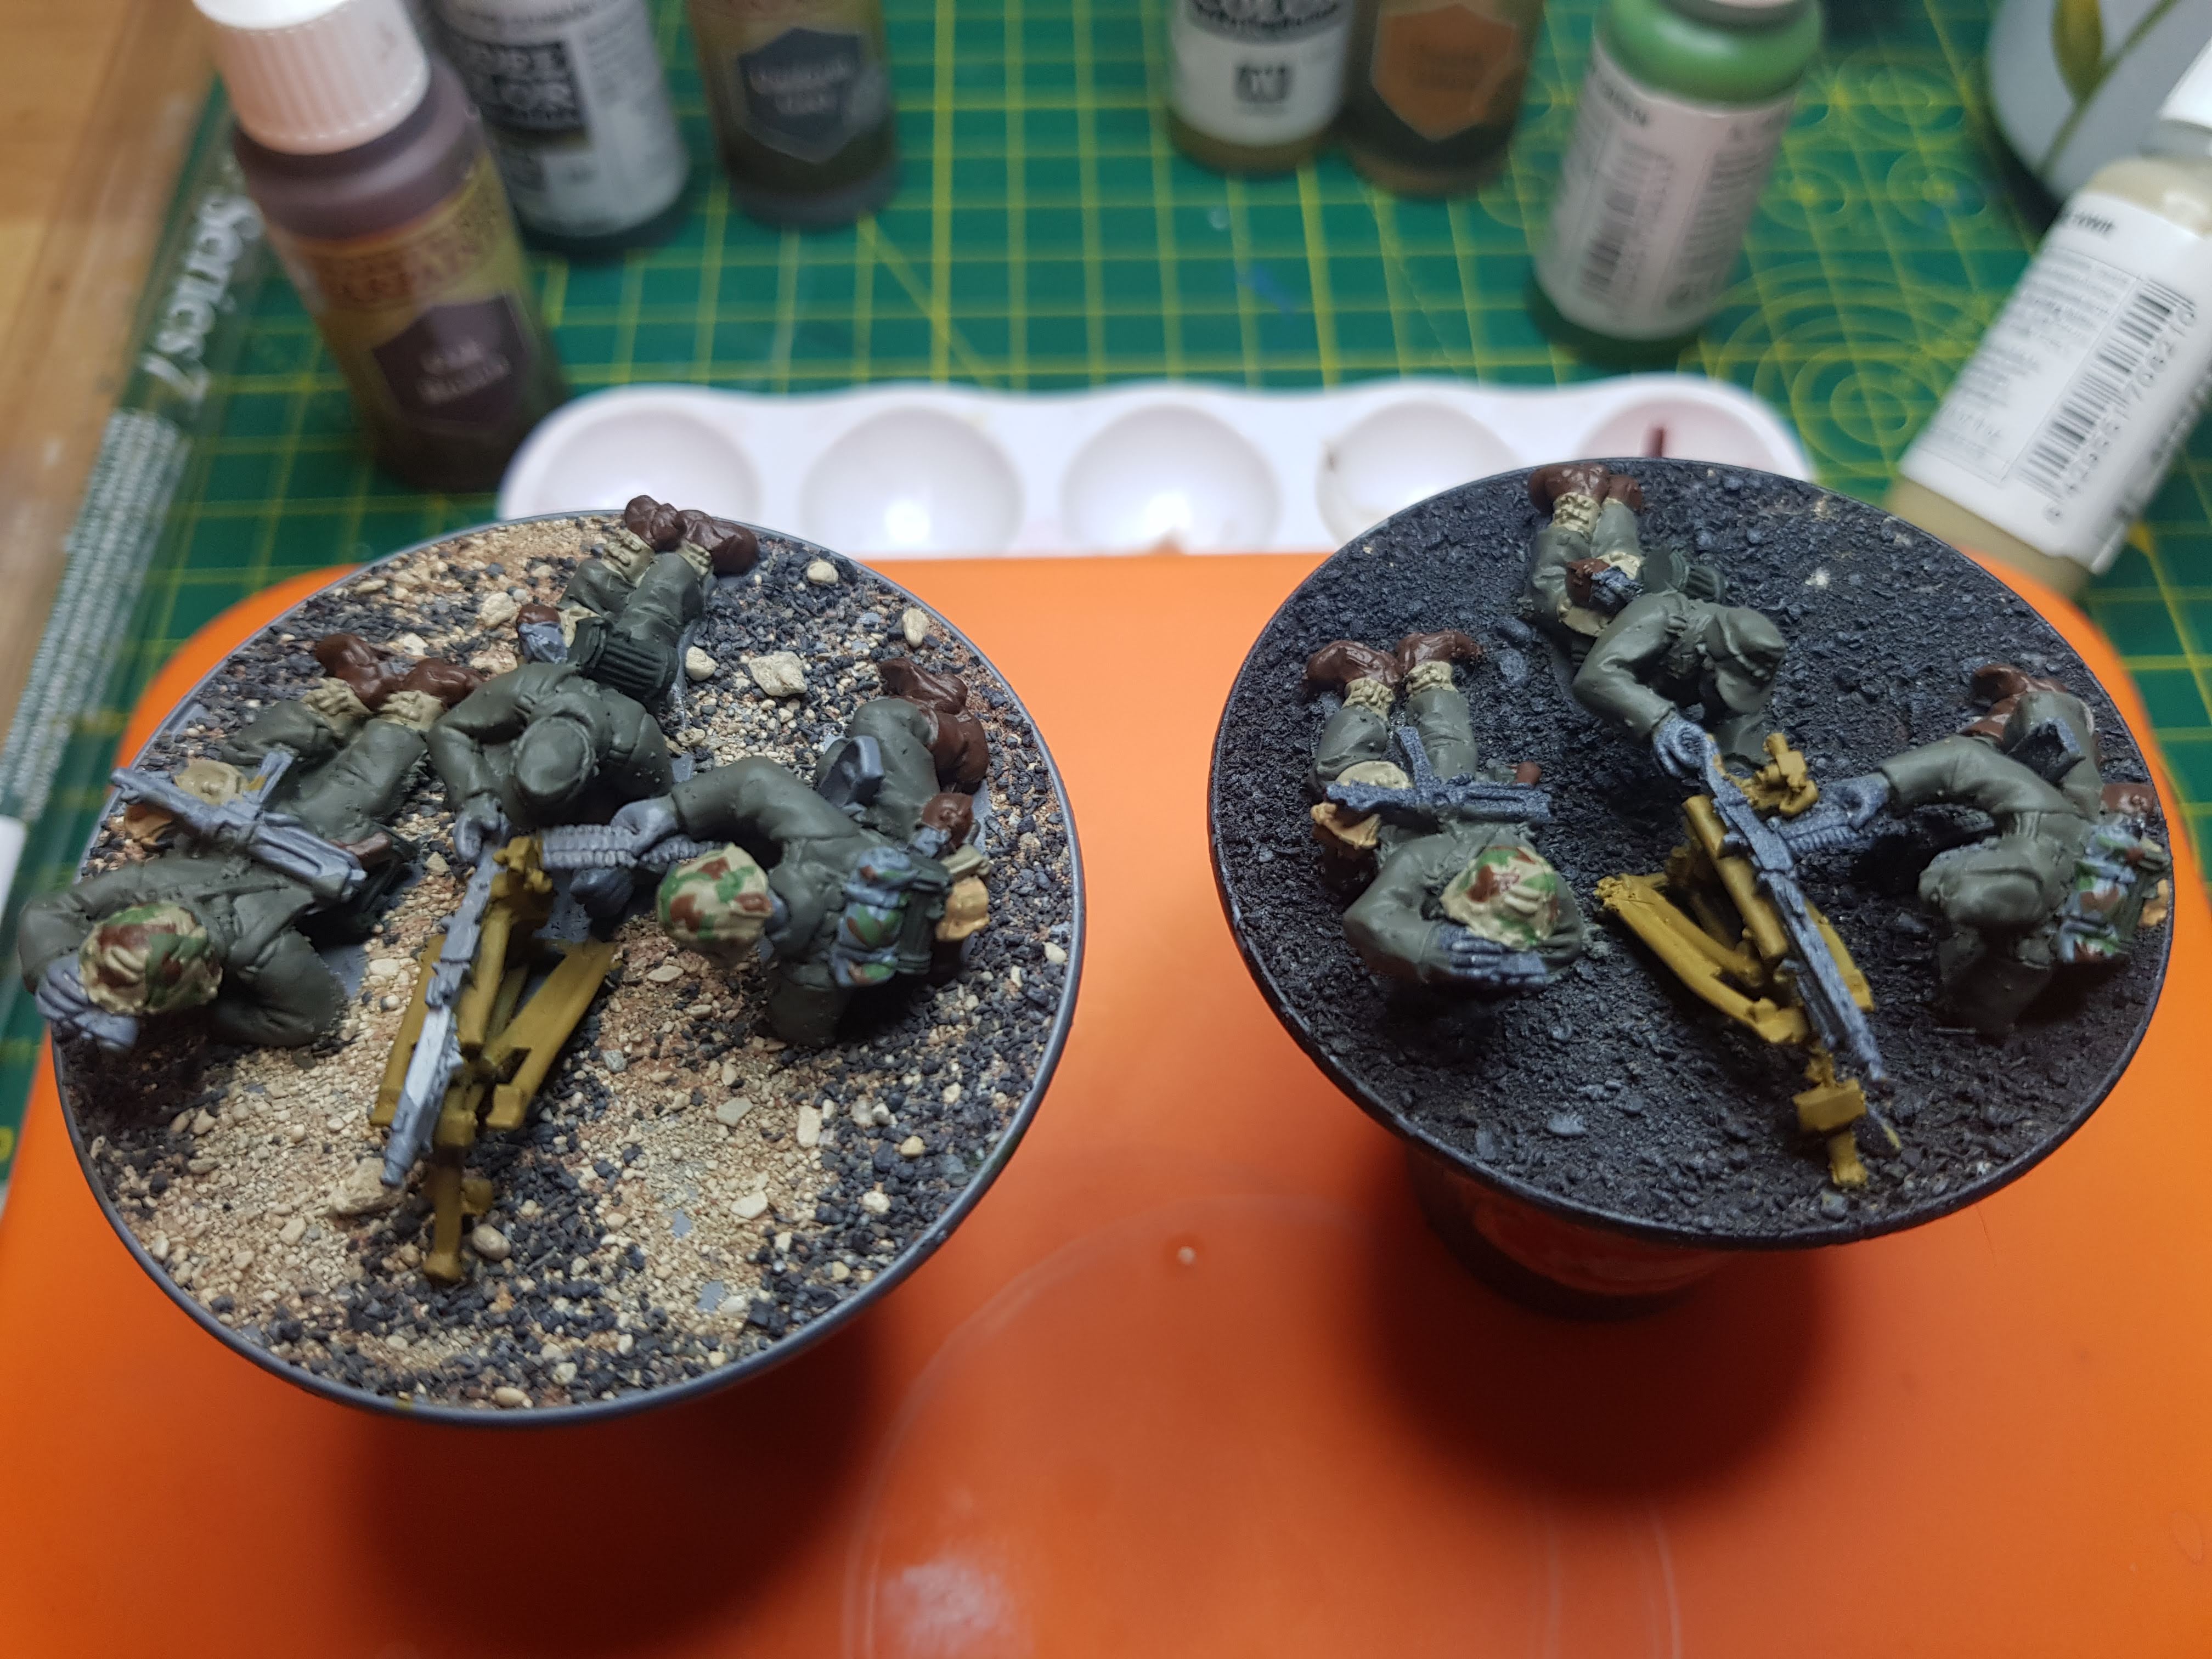
Next up – good old Strong Tone.
Finally onto the skin – as I said this was a bit of a pain in the hoop, but with a very fine brush and some contortions, I managed to get a base of AP Tanned Flesh down without requiring too many touch ups on other parts of the mini. This then got an AP Flesh Tone wash.
 Don't leave the flesh to last!
Machine Gun the Funk
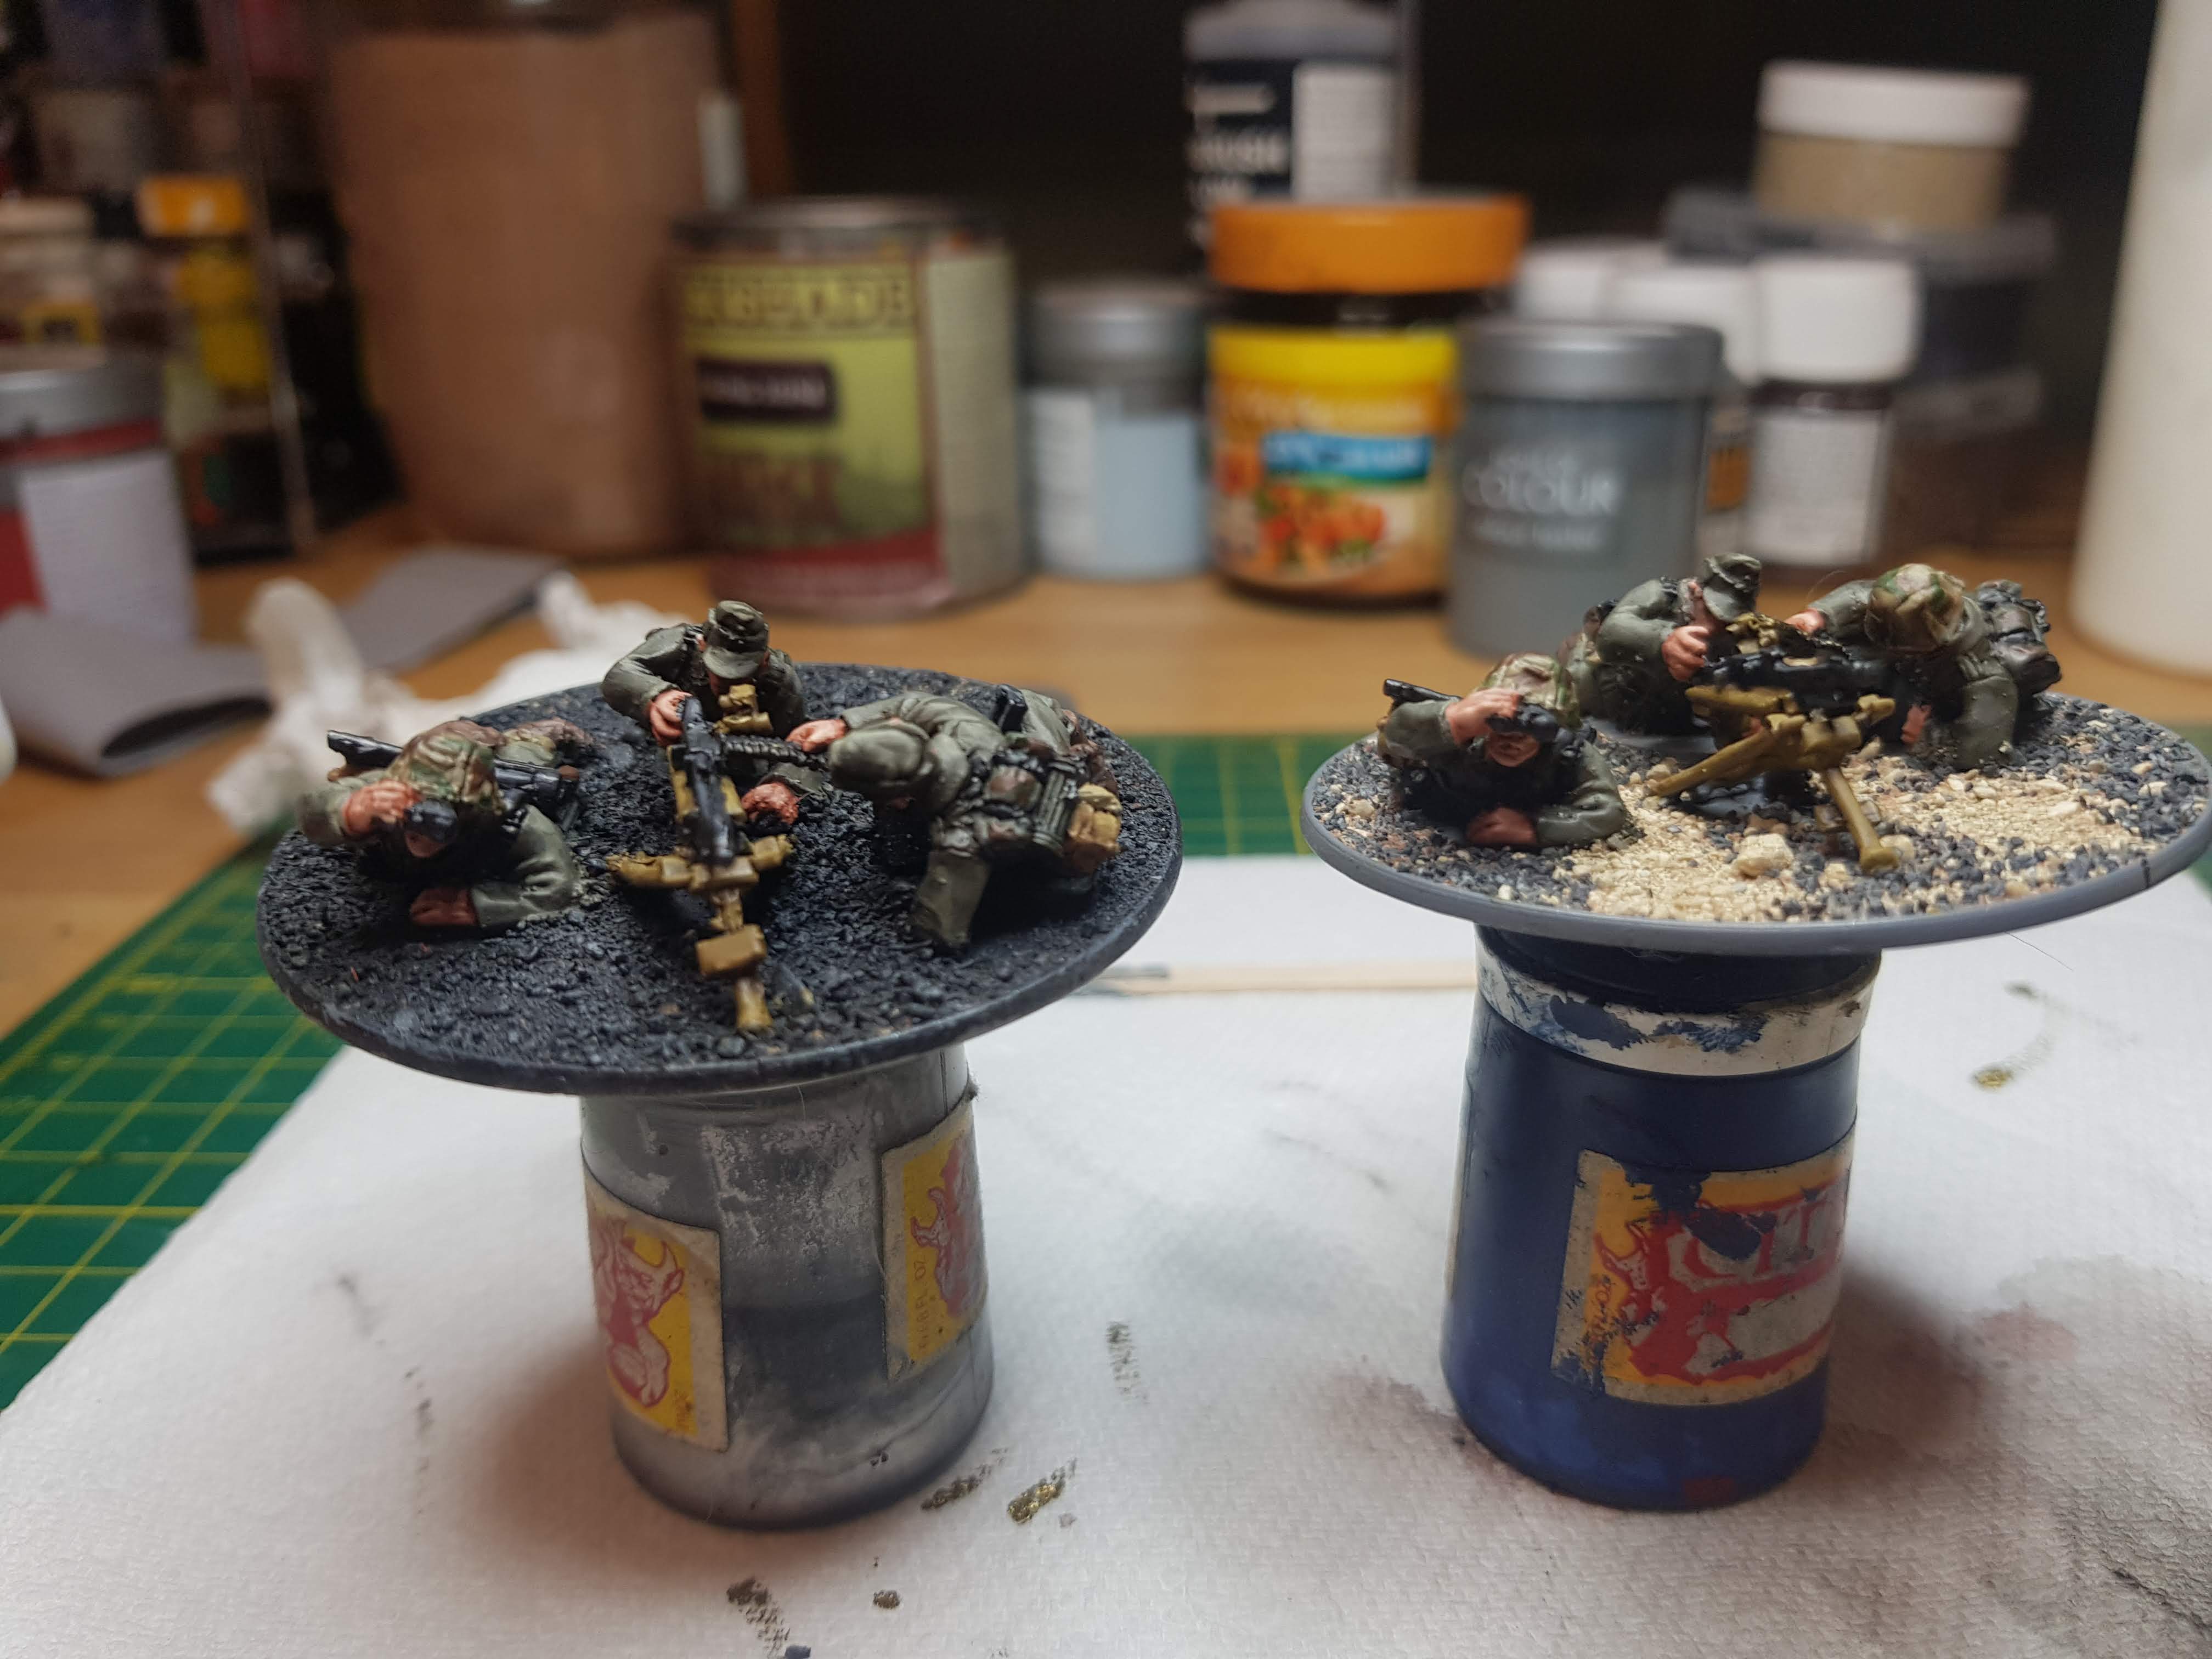
After a loooong period of hobby funk, I decided it was time to get back on the horse and do some work on the project. I fancied some painting so grabbed the MG42 team that came in the box. I also found another one I had lying in a drawer so decided to paint them up together. Cause what’s better than a MG42? TWO MG42s!
One of them had already been built and primed in AP Uniform Grey. However I must have been tired or drunk (or quite possibly both!) when I built it cause the ammo belt seems to be being fed into the gun sight and the front of the tripod was glued on back-to-front! Ah well – noone will notice that will they!!
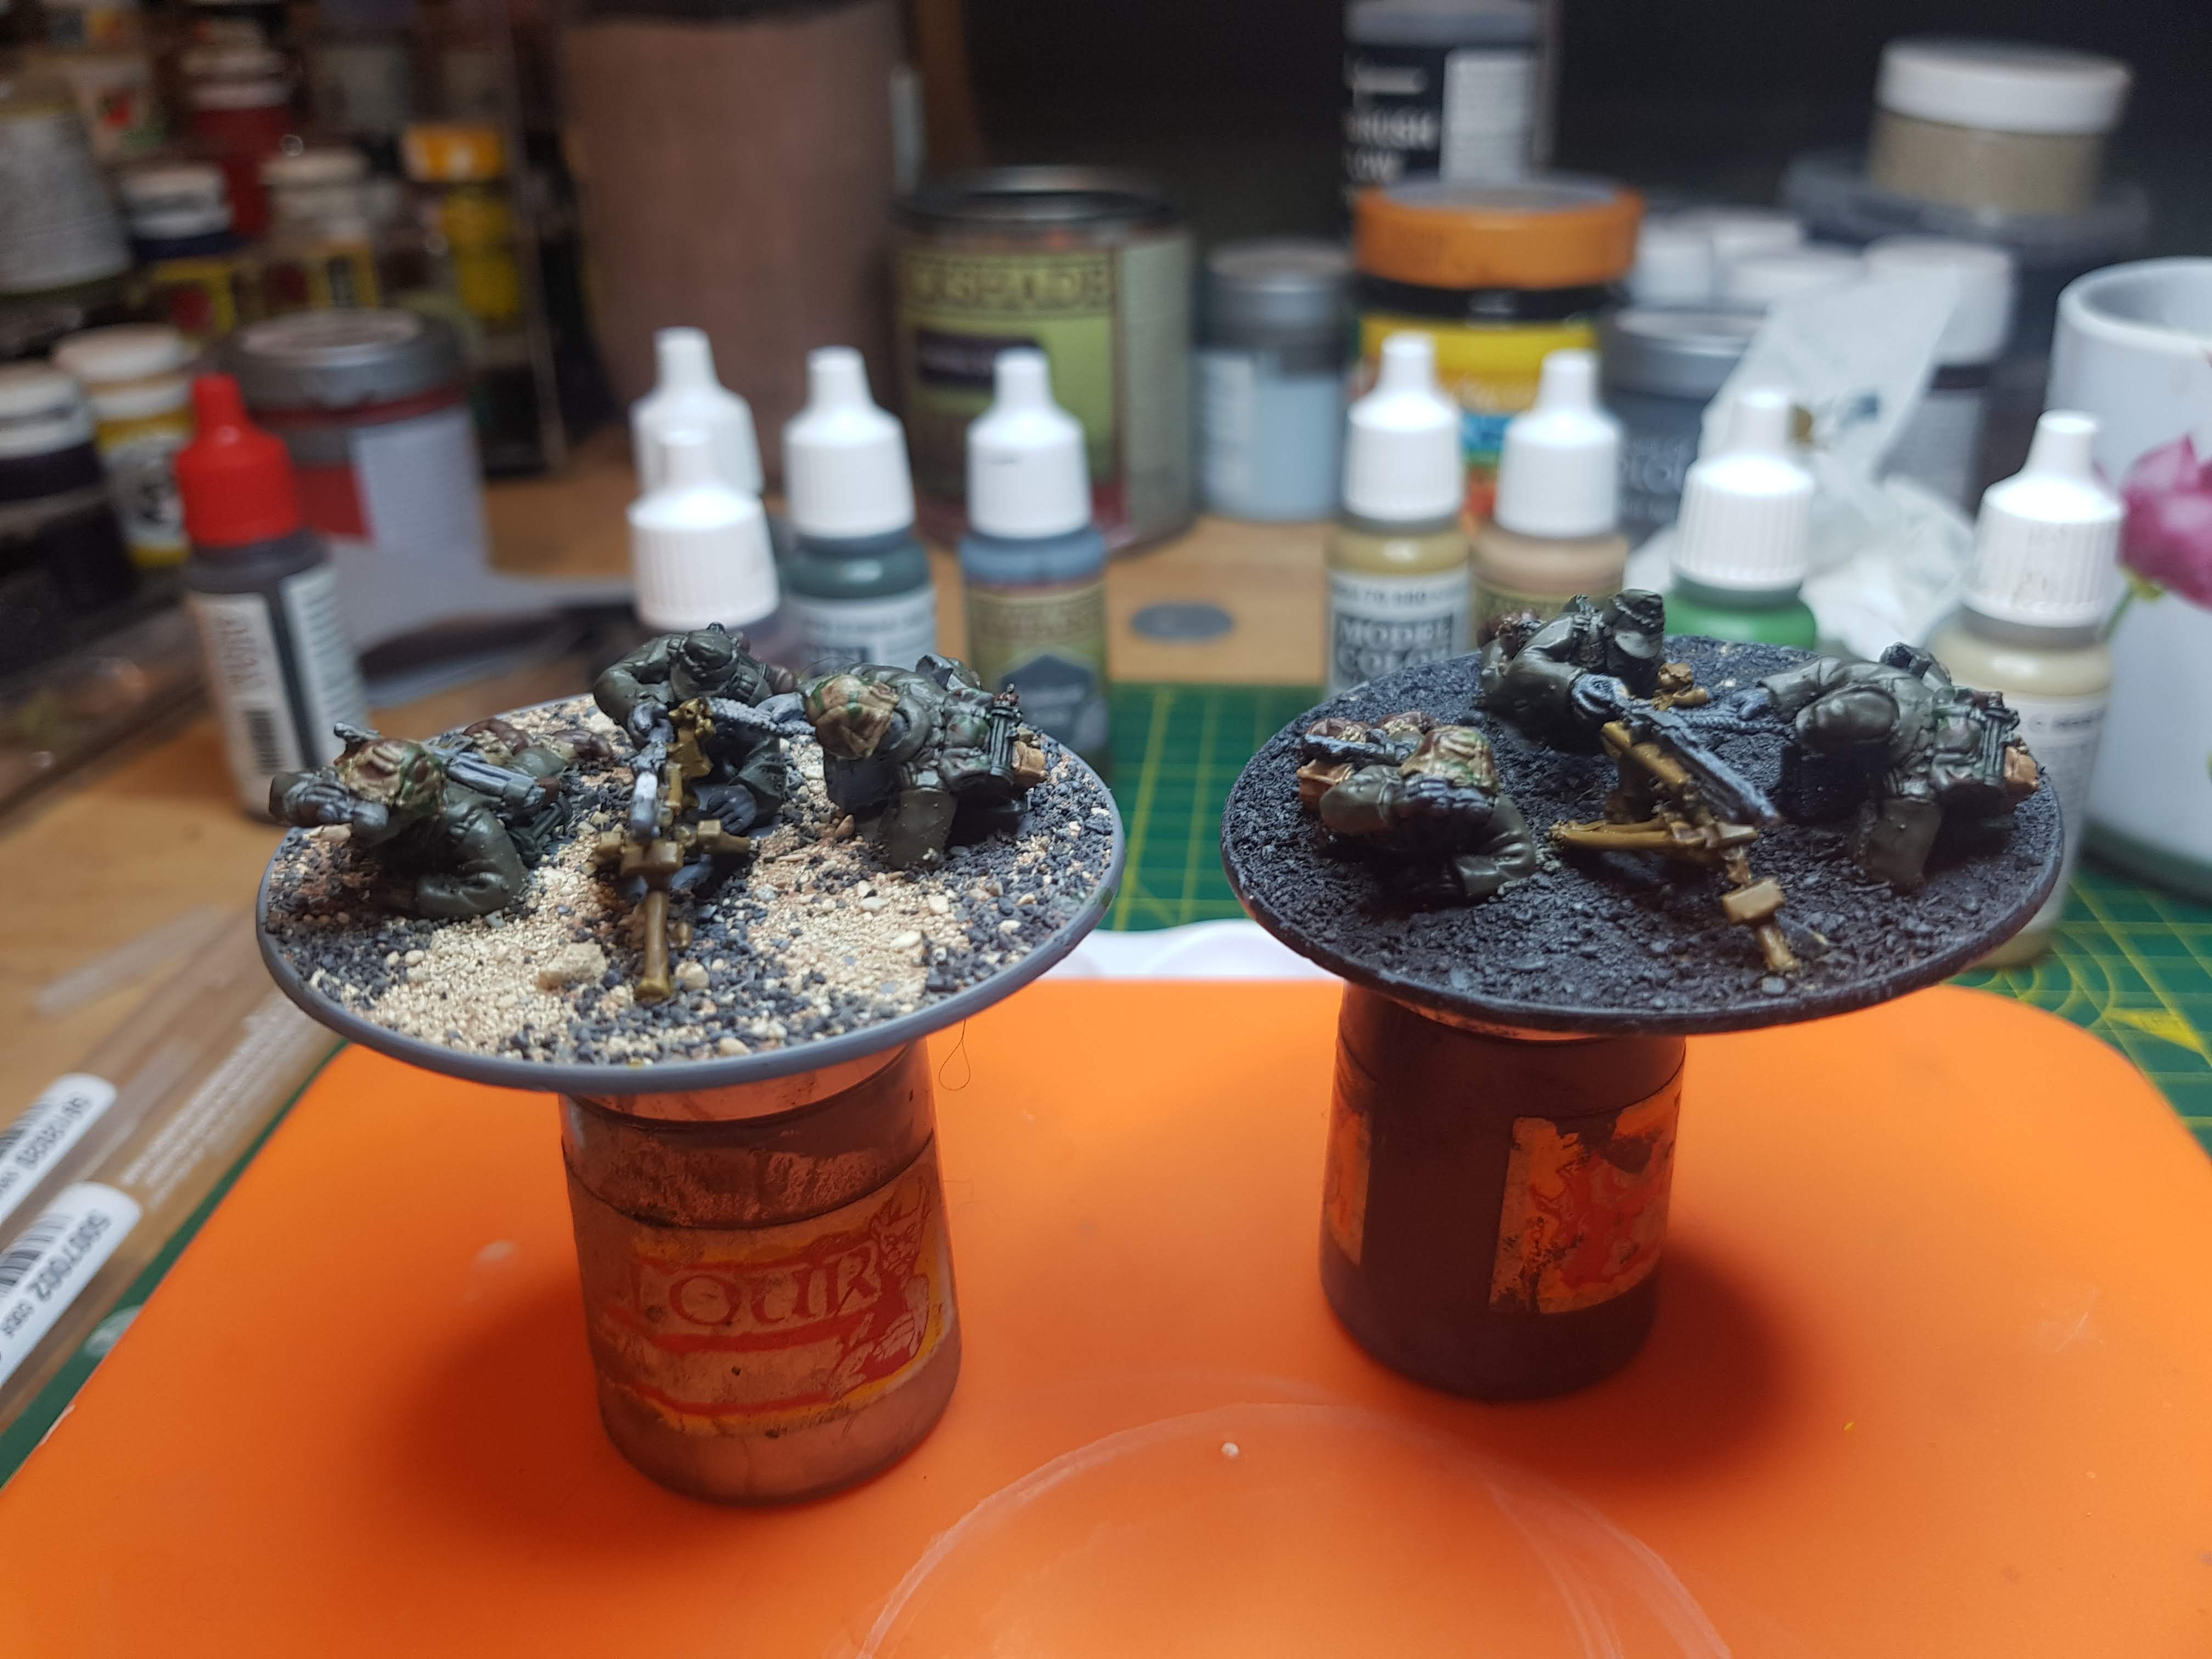
With the 2nd team I decided to try a bit of pre-shading to see what difference it might make, so I airbrushed it in Vallejo black primer then gave it a bit of a zenith with Light Grey and then a White Grey.
I also decided to add grit to the base right from the start which is something I never do – I usually don’t touch the base till right at the end. Just thought I’d try it this way to see if I prefer this method.
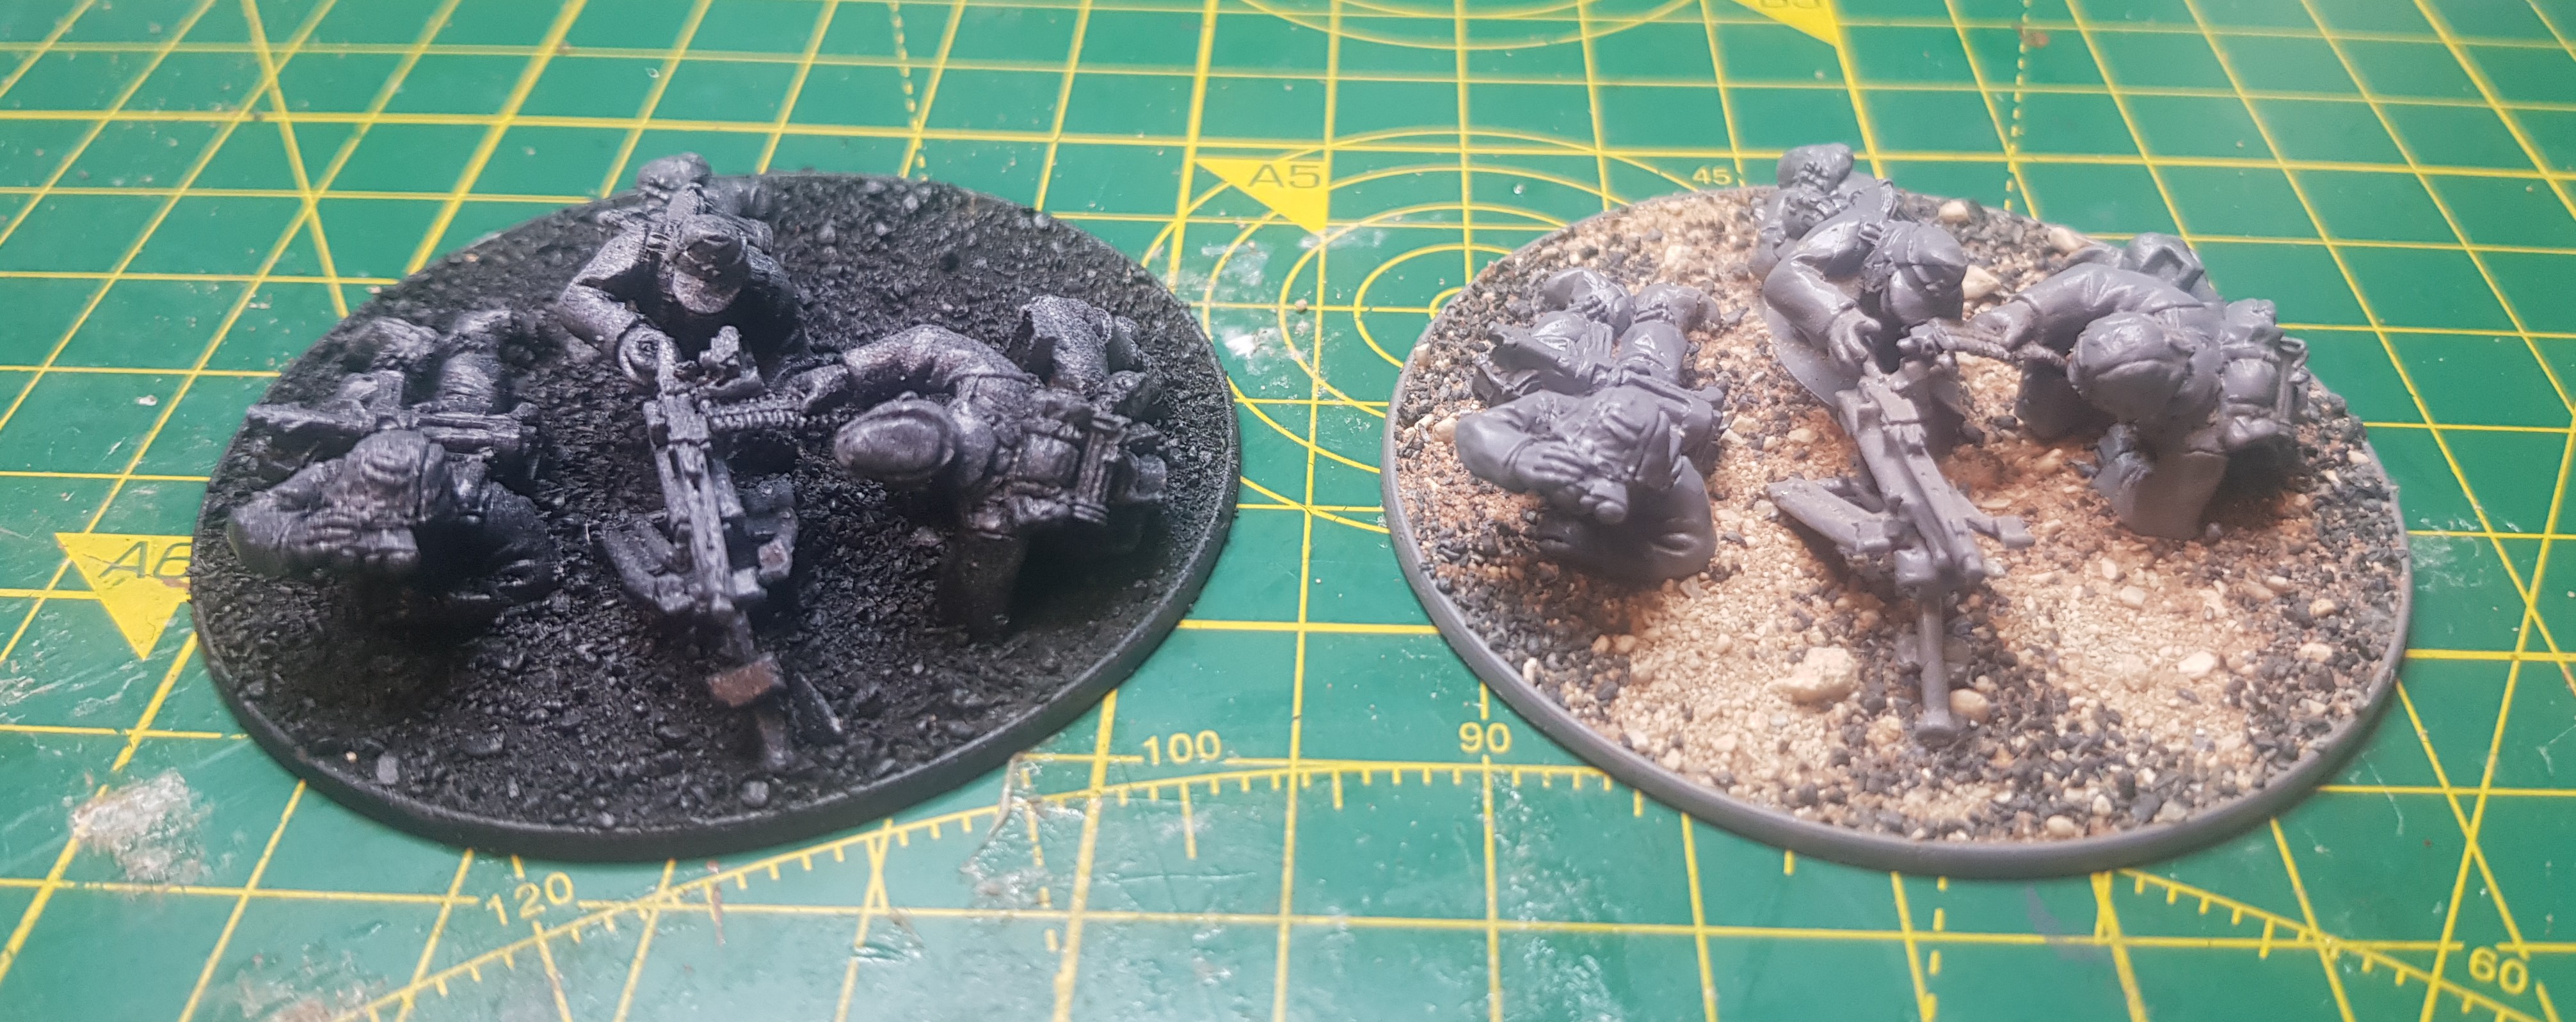 Primed and Gritted.
Remember the Poles!
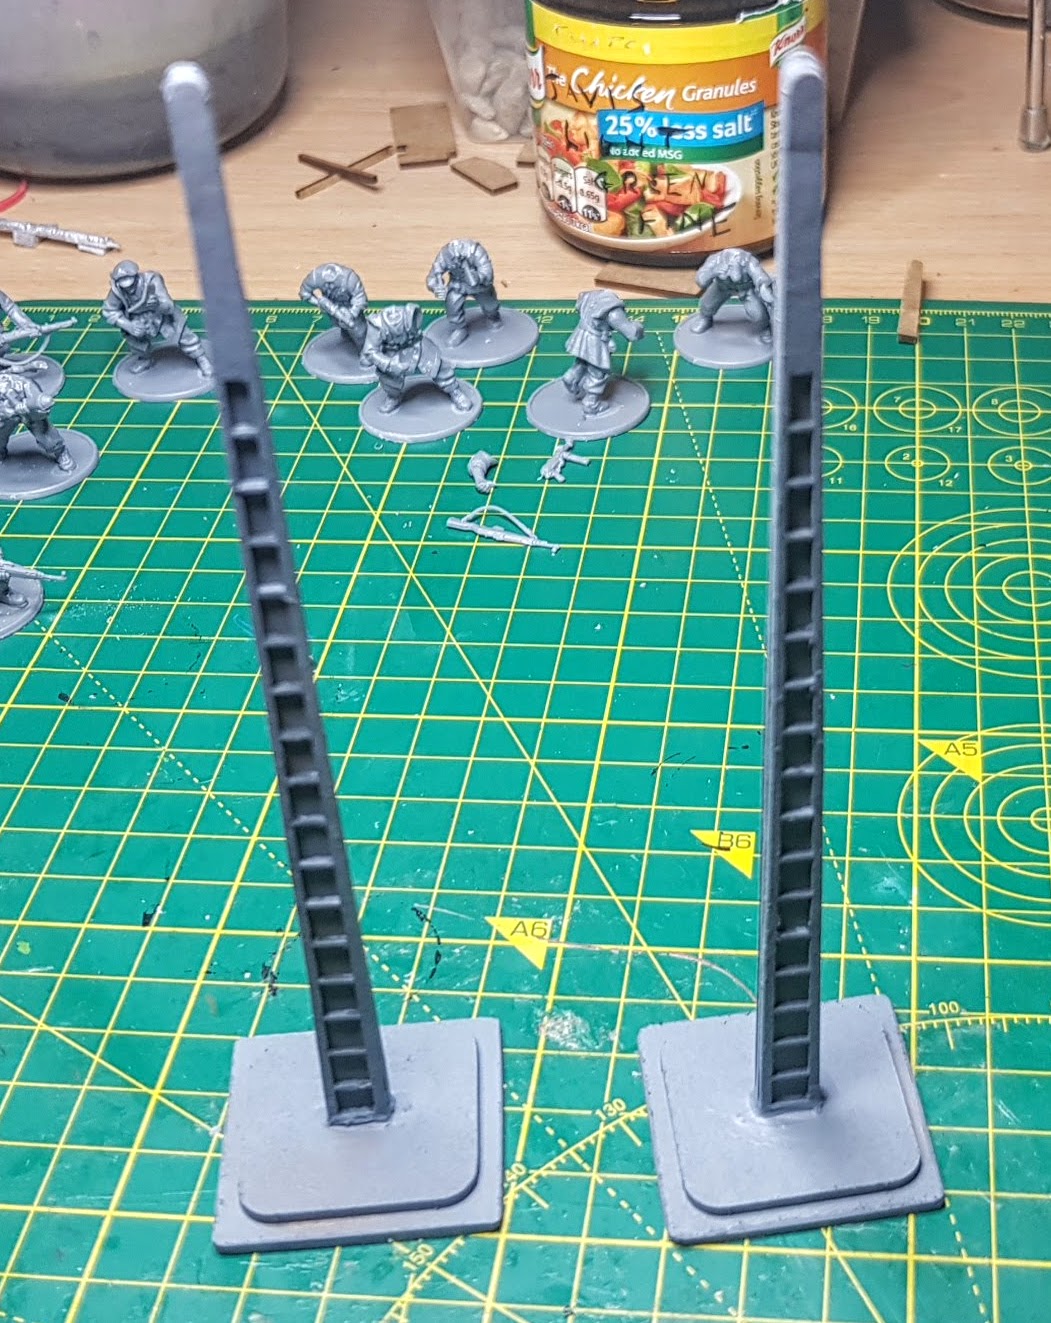
So as I said in a previous post, I wasn’t totally happy with how the telegraph poles turned out. With just one loose point of contact it didn’t seem very secure, also after the PVA dried, the base was just very slightly warped. Finally, I just didn’t really like how they looked.
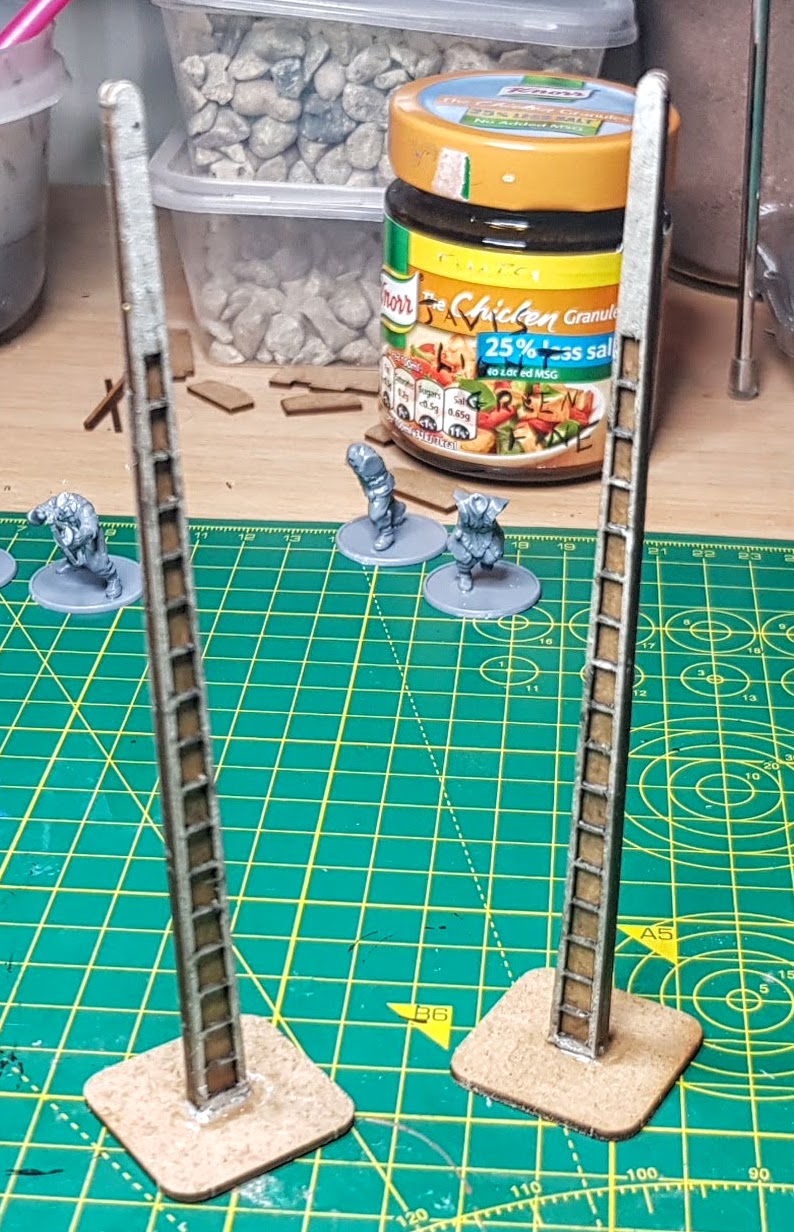
Now I might have just been watching too main Terrain Tutor videos of late, but I had it in my head it could be just a little better. I thought if it had a second base just slightly larger than the original, it would remove the warping and stability issues and also just look better.
So I took a couple of the spare MDF sprues and, using the straight corners where possible I cut out two squares just slightly larger than the base. I just used a Stanley knife for this, then slightly beveled the edges and rounded the corners just a little. I didn’t want exact straight corners but also didn’t want them to be as rounded as the original base.

Finally I glued these to the original base, clamped them down with clothes pegs and when it was dry gave it a spray of AP Uniform Grey. It’s definitely solved the warping and stability issues and I think it just looks better! Let me know what you think about this!!
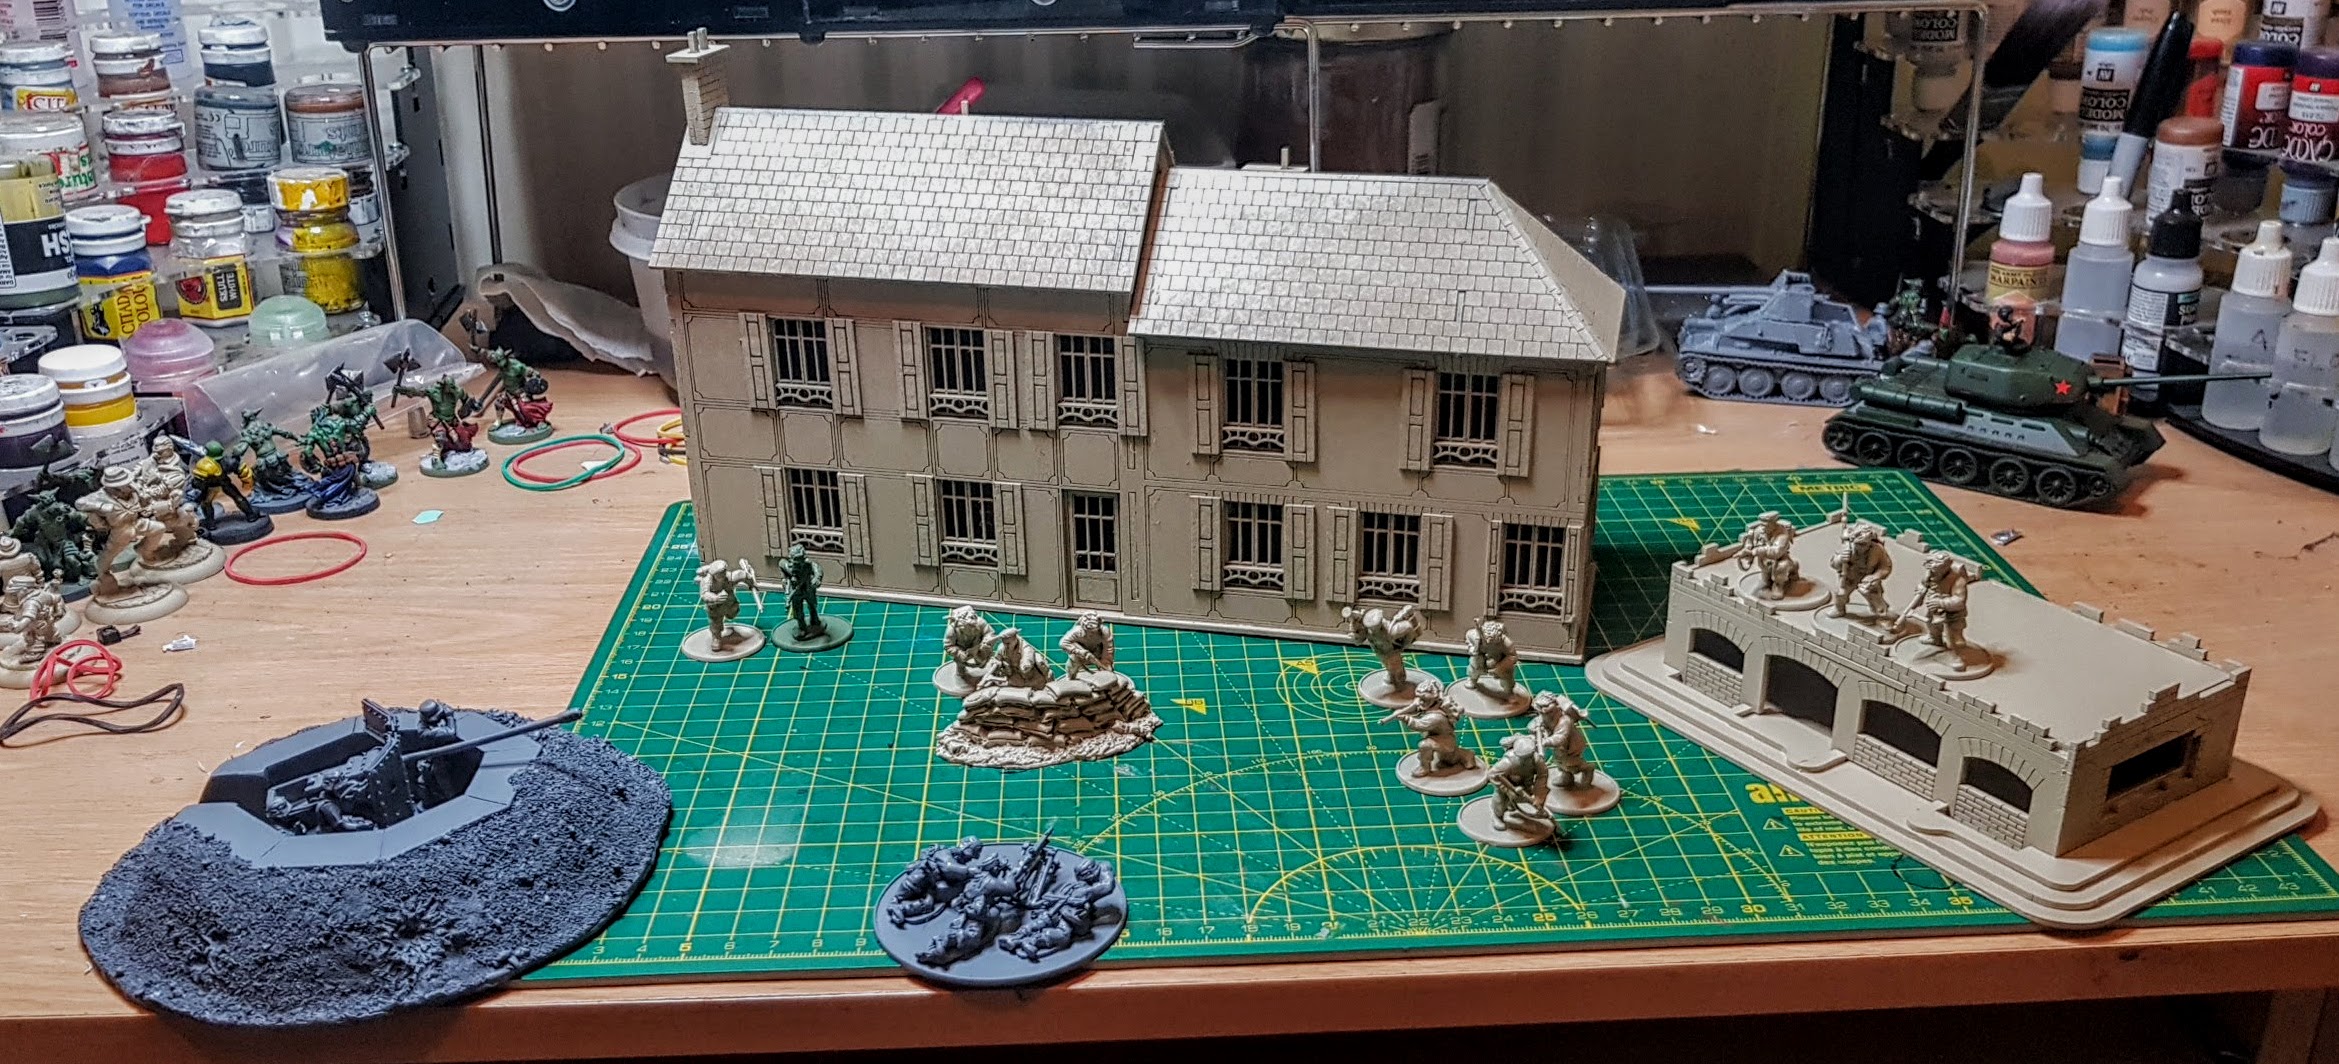
Total Progress so far
Just took a quick pic to show how much I’ve got built and primed so far. Just the Germans and the actual bridge left to build and then it’s on to painting!
 So far so good. So far so good!


