


Pafetik Bazerkas Budget Terrain


Recommendations: 41
About the Project
I'll come straight out and say it, I'm more of a board gamer than a table top wargamer. I do occasionaly pull out my Dust 1947 stuff and do a little skimishing with my boys but I always feel let down by an absence of terrain pieces and having to 'make do'.
Related Genre: General
This Project is Active
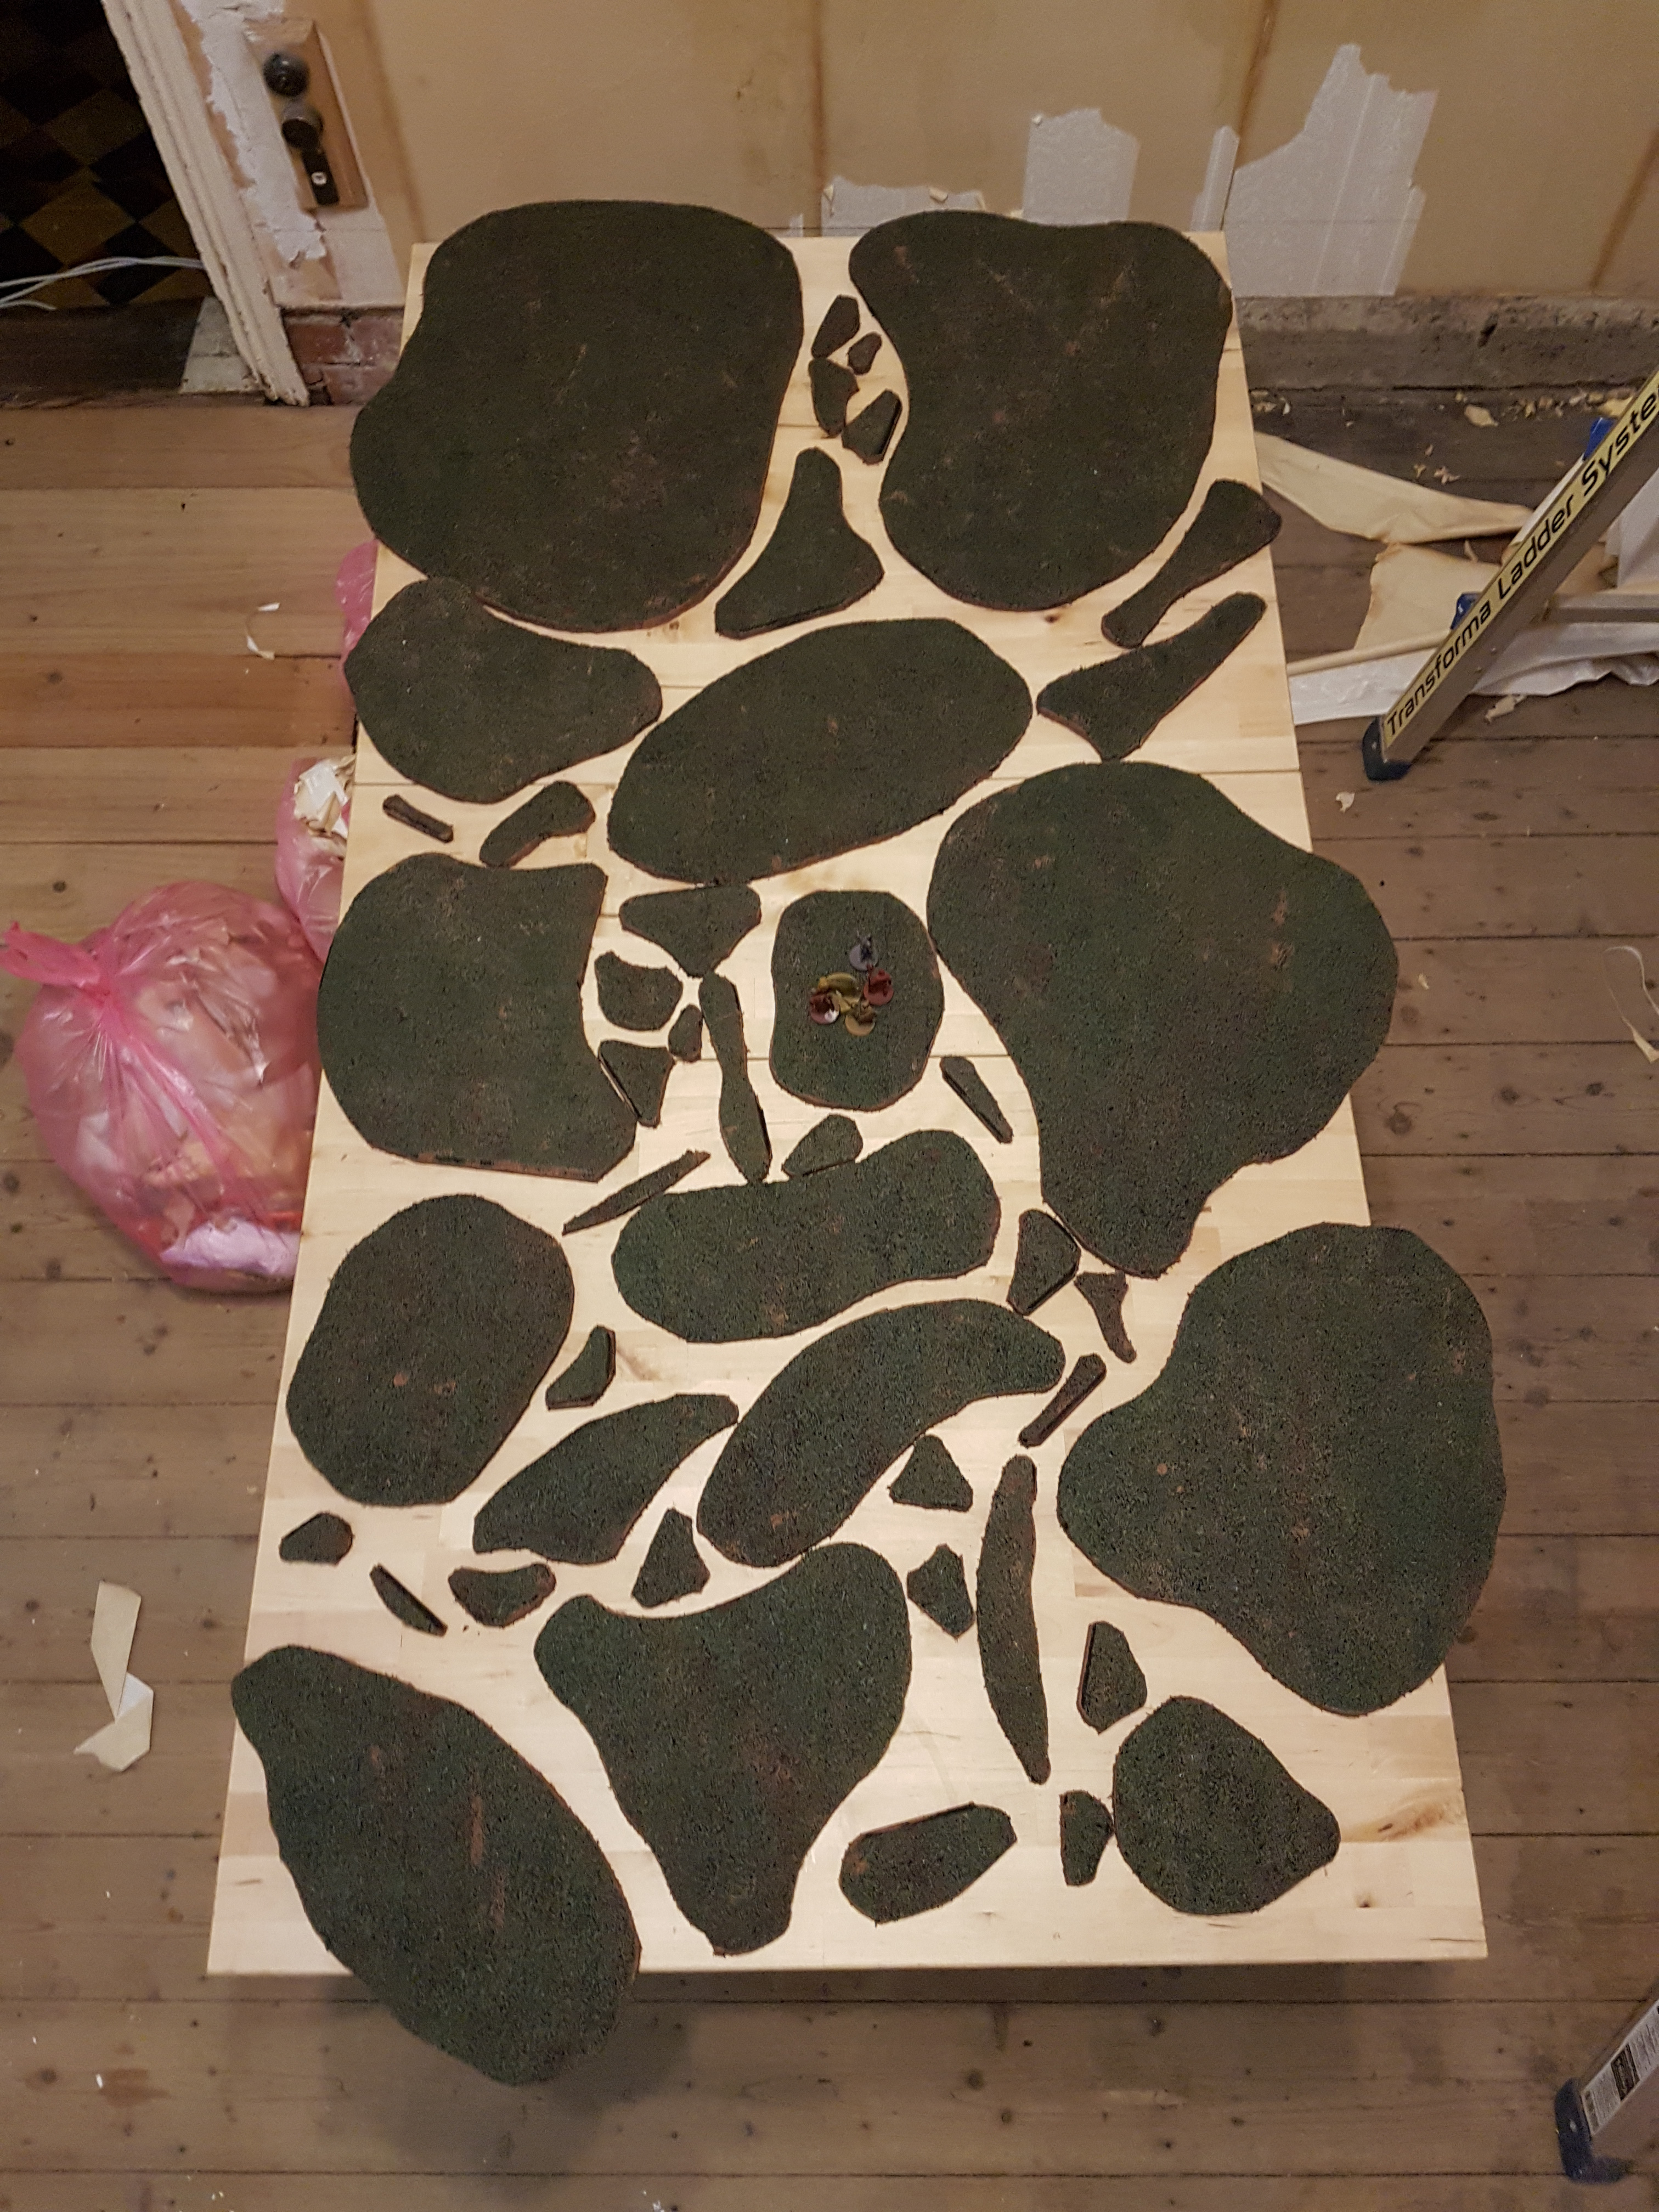
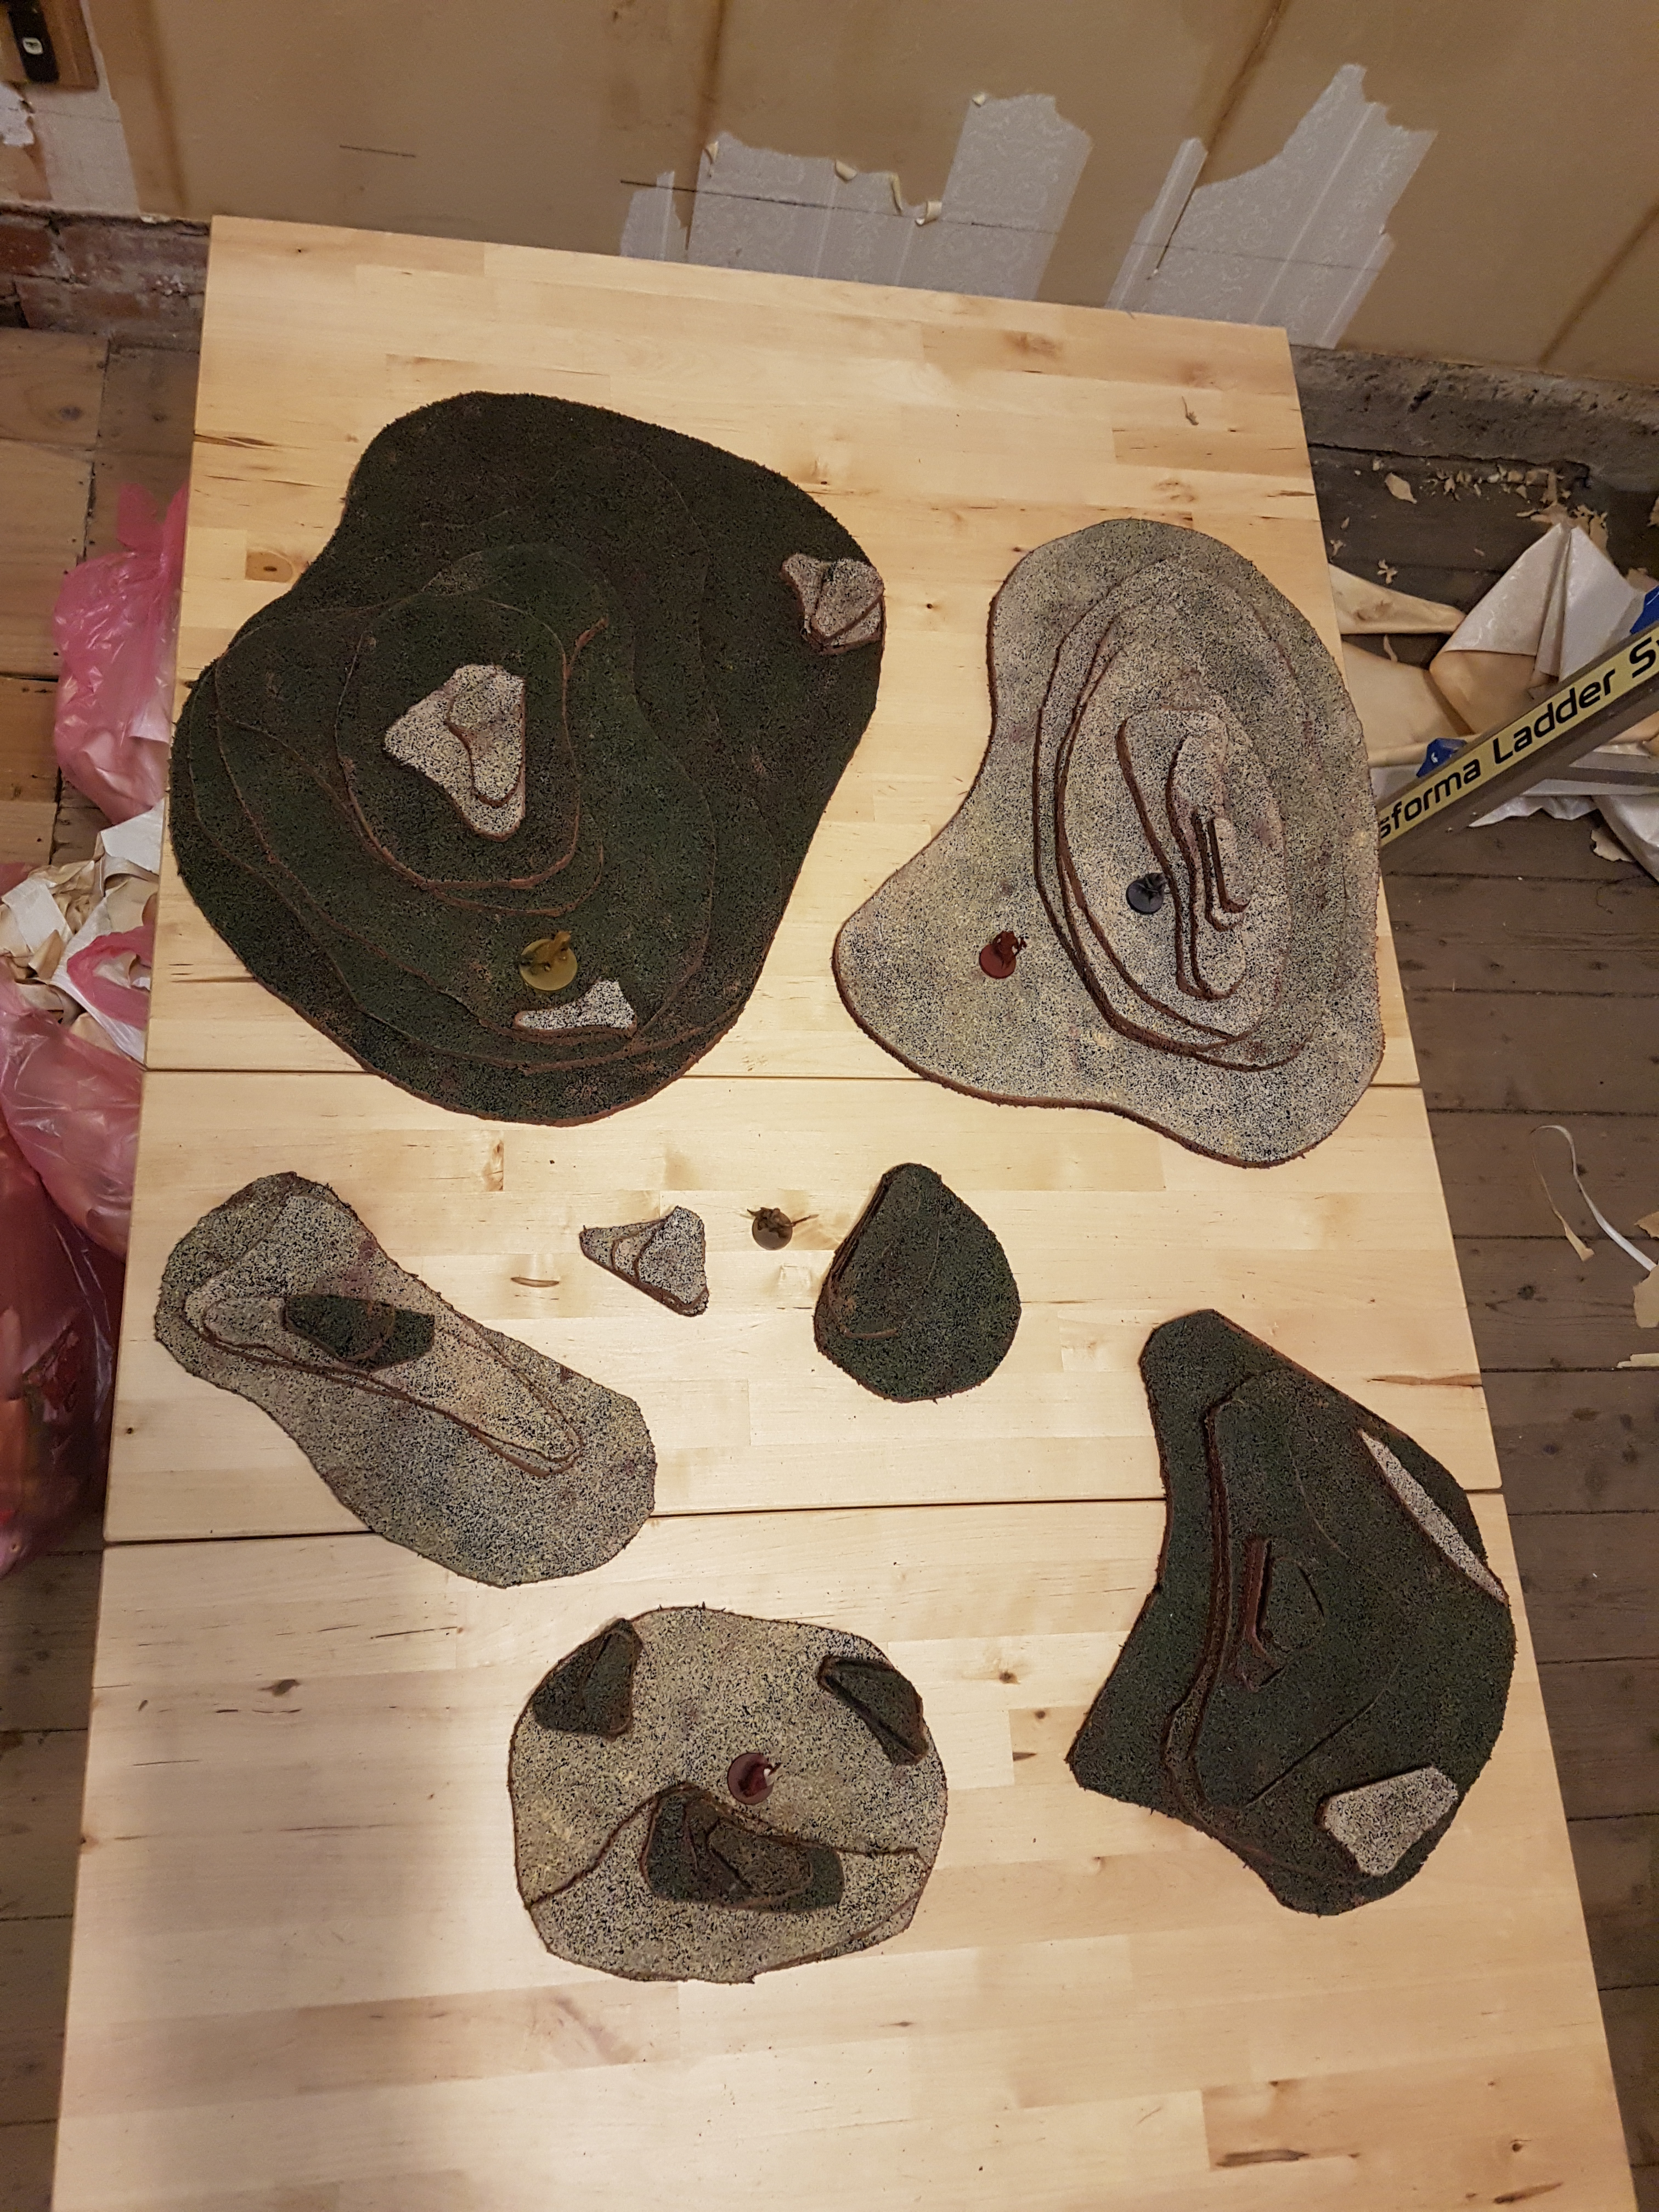
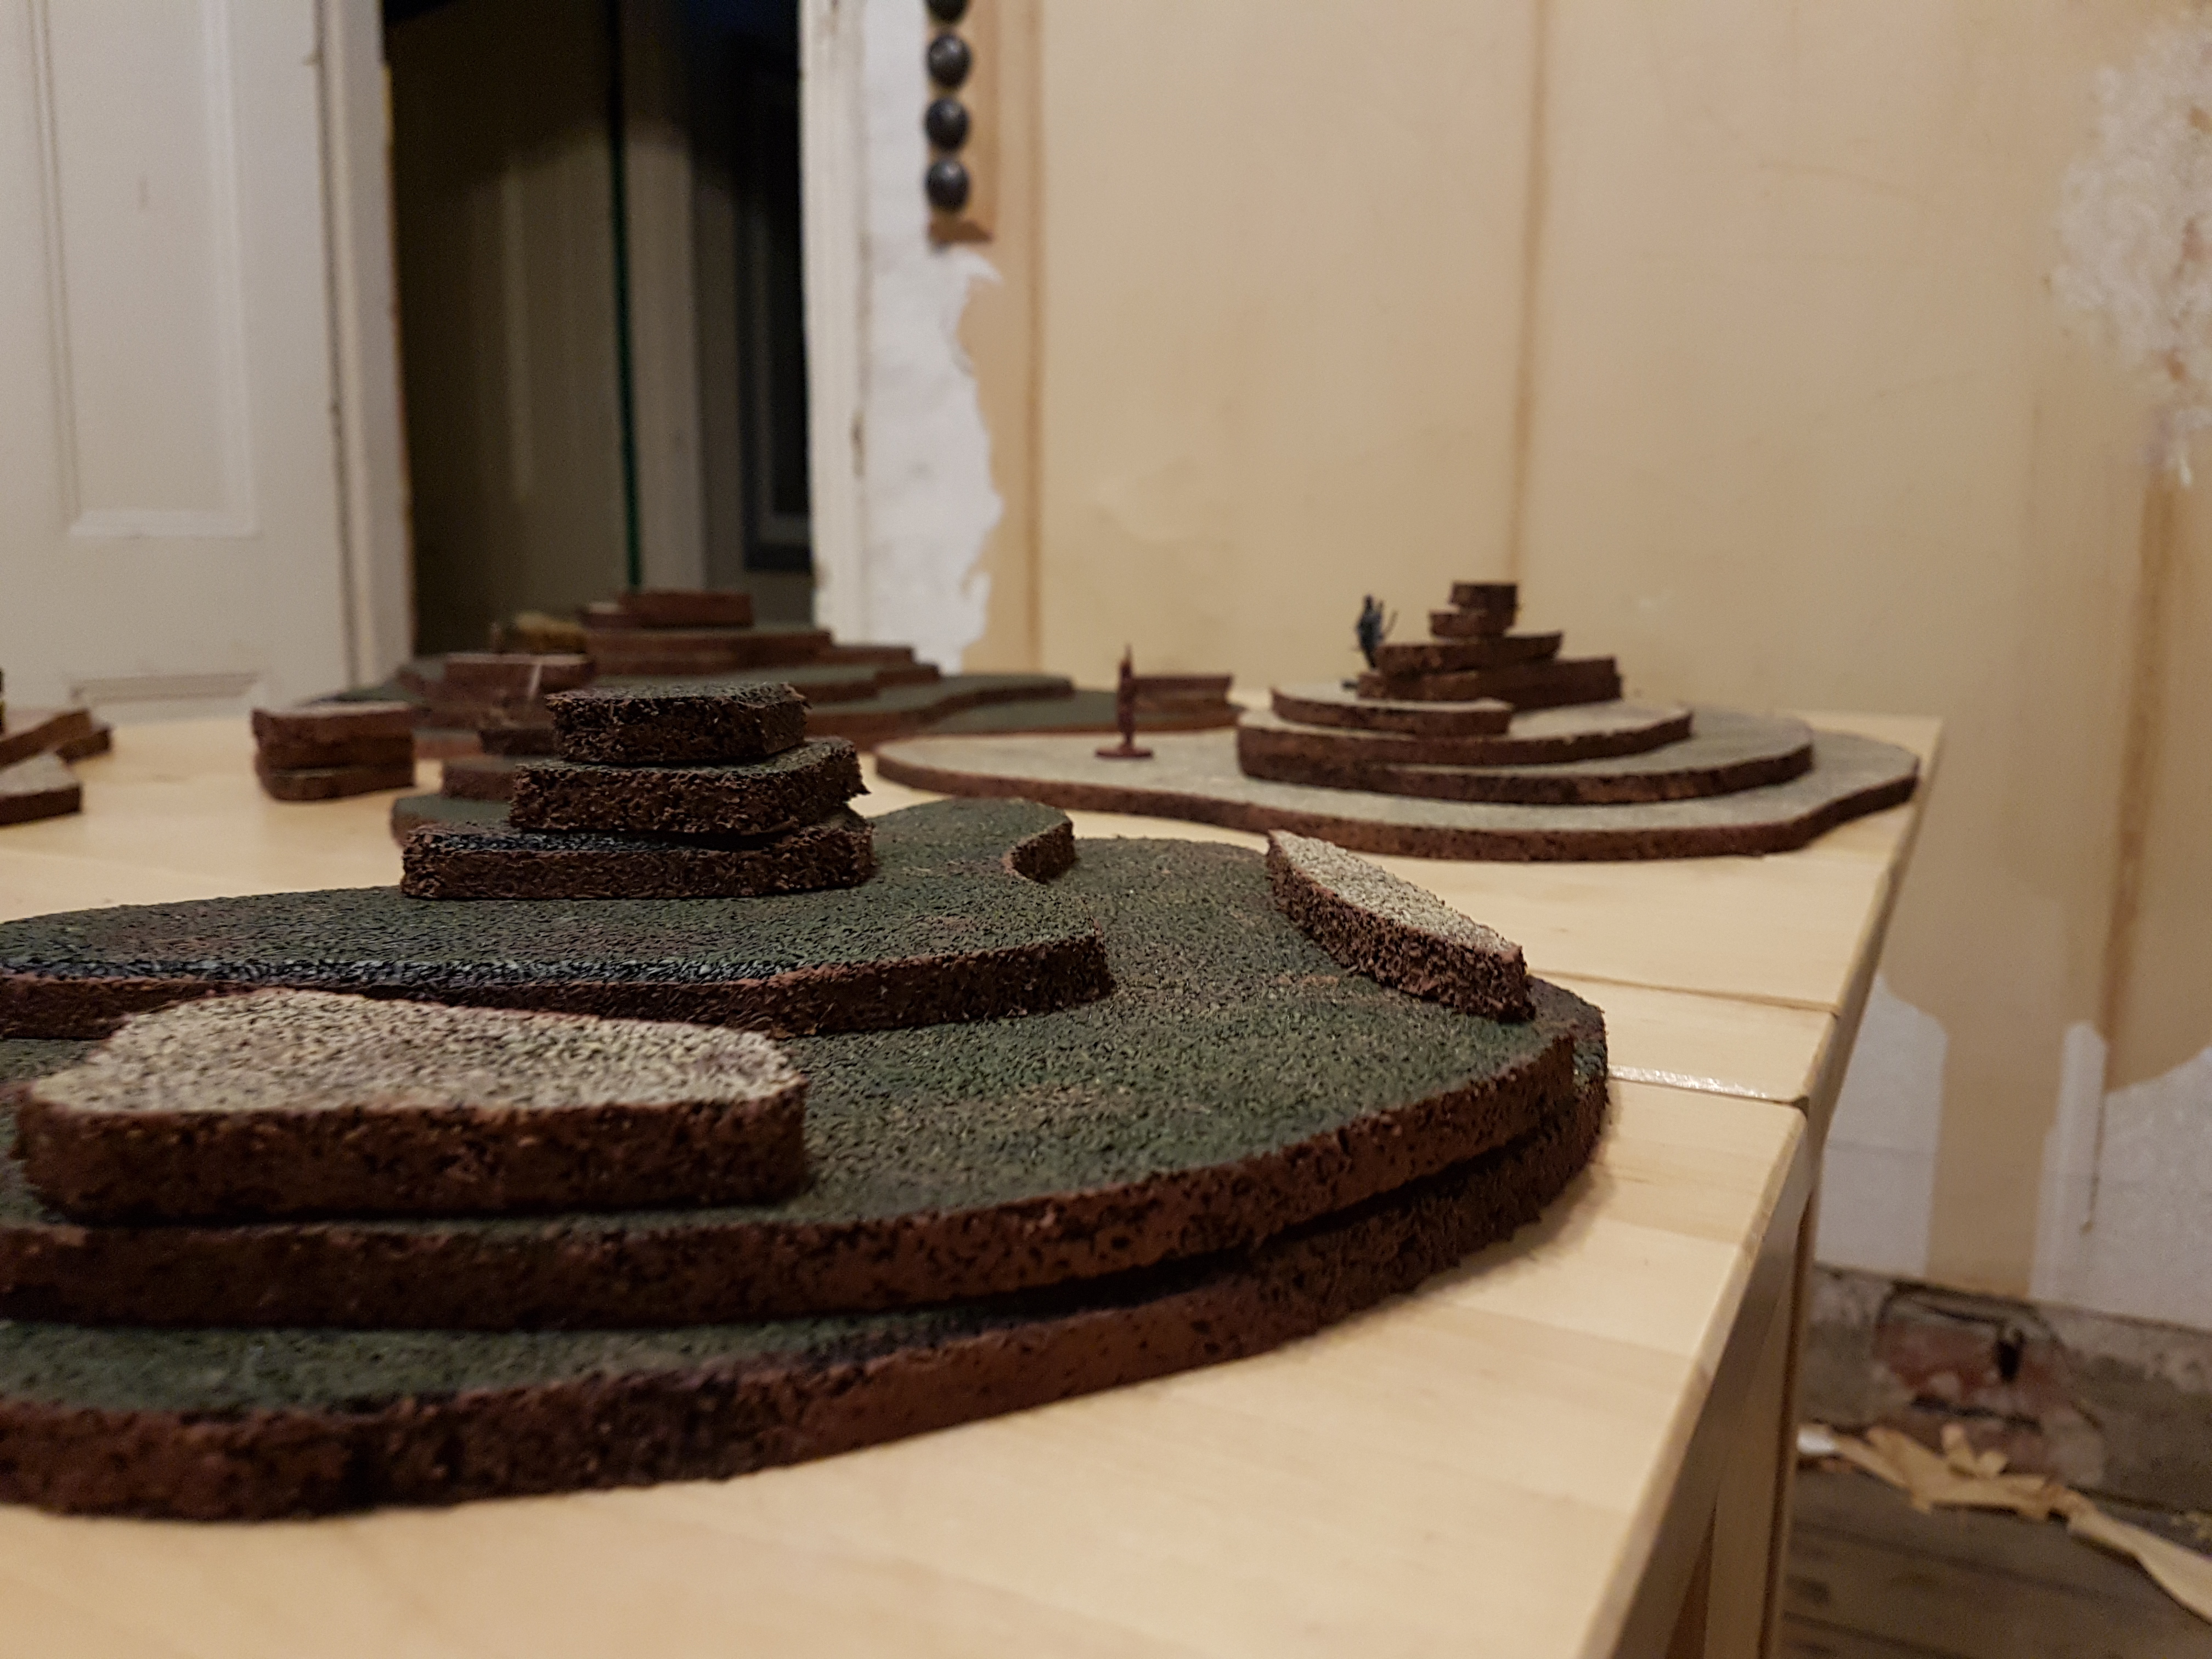
Paper roll towers
 So this little experiment hasn't quite reached its end......................
Gym Matt
So spending $30au at the local Bunnings on a square meter of 10mm gym matt broke rule 1 of my brief but the borrowed band saw was still setup and there was still more poster paint to get rid of.
*Band saws are good.
* Used a roller to throw down the base colour, then lightly rolled in a few shades, the texture of the matt does the rest. One side green, the other sand.
*Its a bit abstract wich may or may not suit all setups, for example, it would look a bit off next to my extruded foam rocks.
*Does smell like rubber. My son calls them stinky mountains but I don’t pay much mind.
*Very, very fexible system
*Should be good for a small handfull of scales (32mm Conan figures in pic)
*Given the result with minimal effort $30au spend probably not so bad.
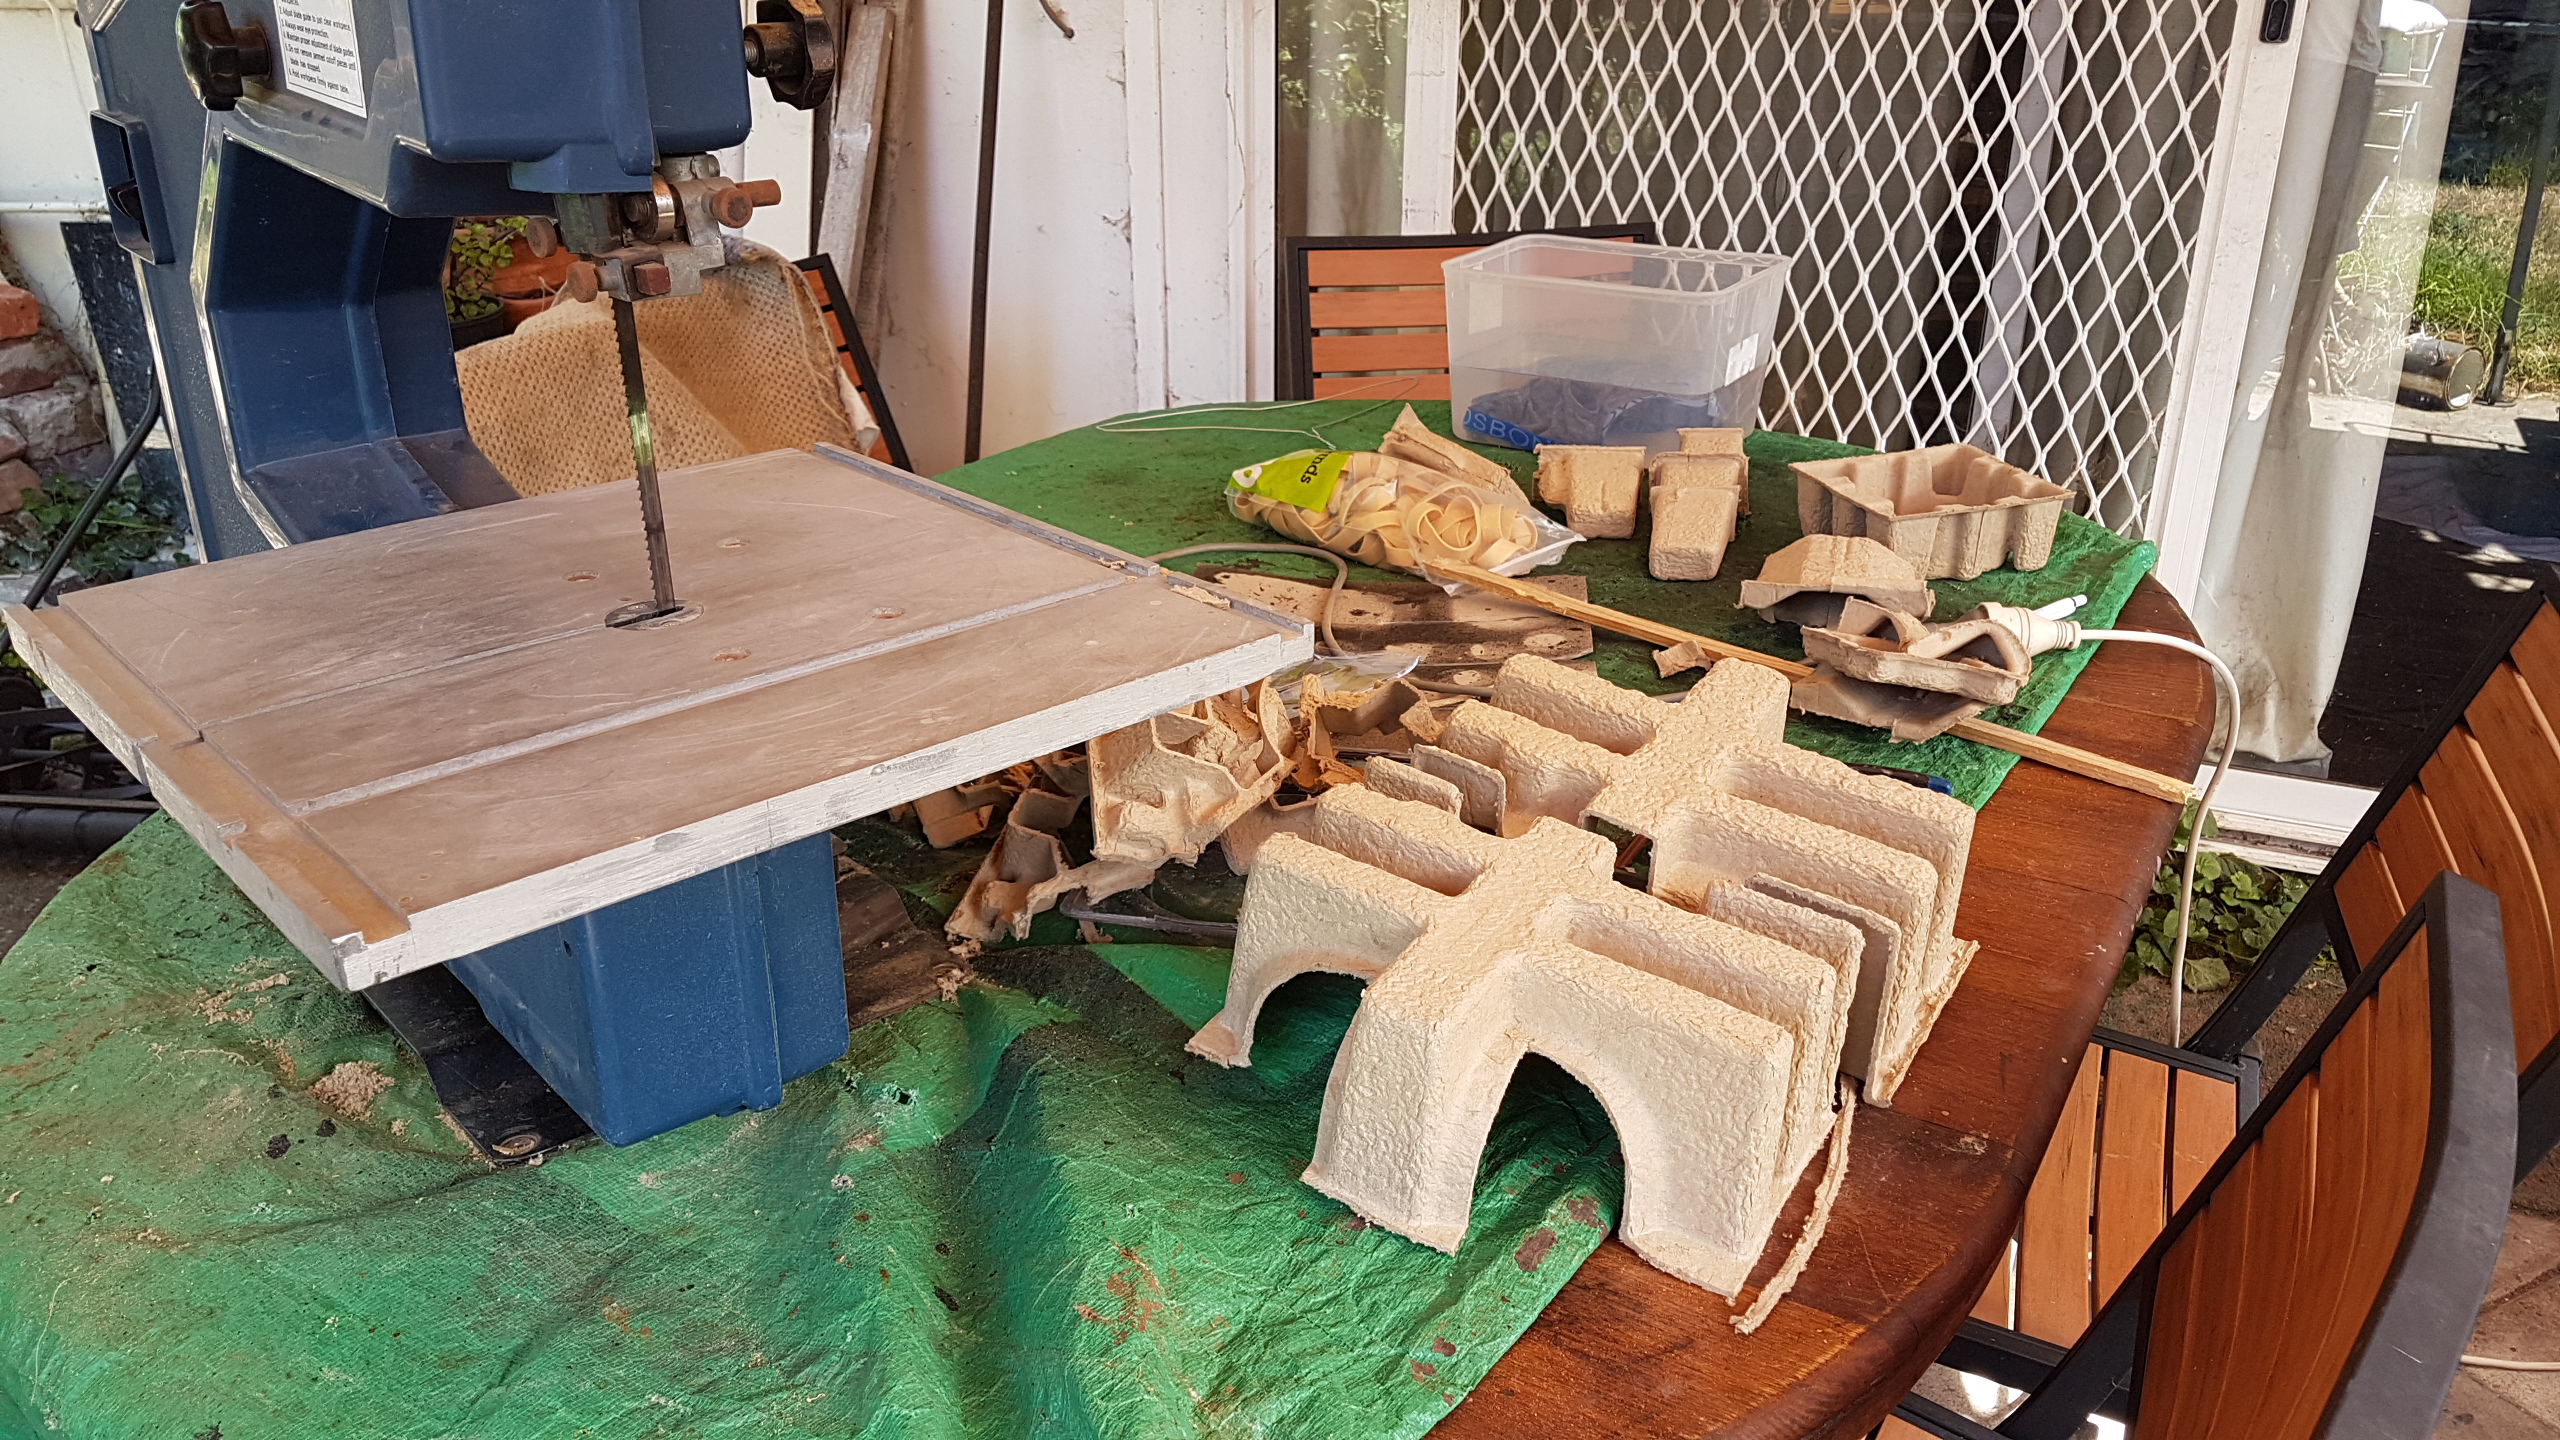
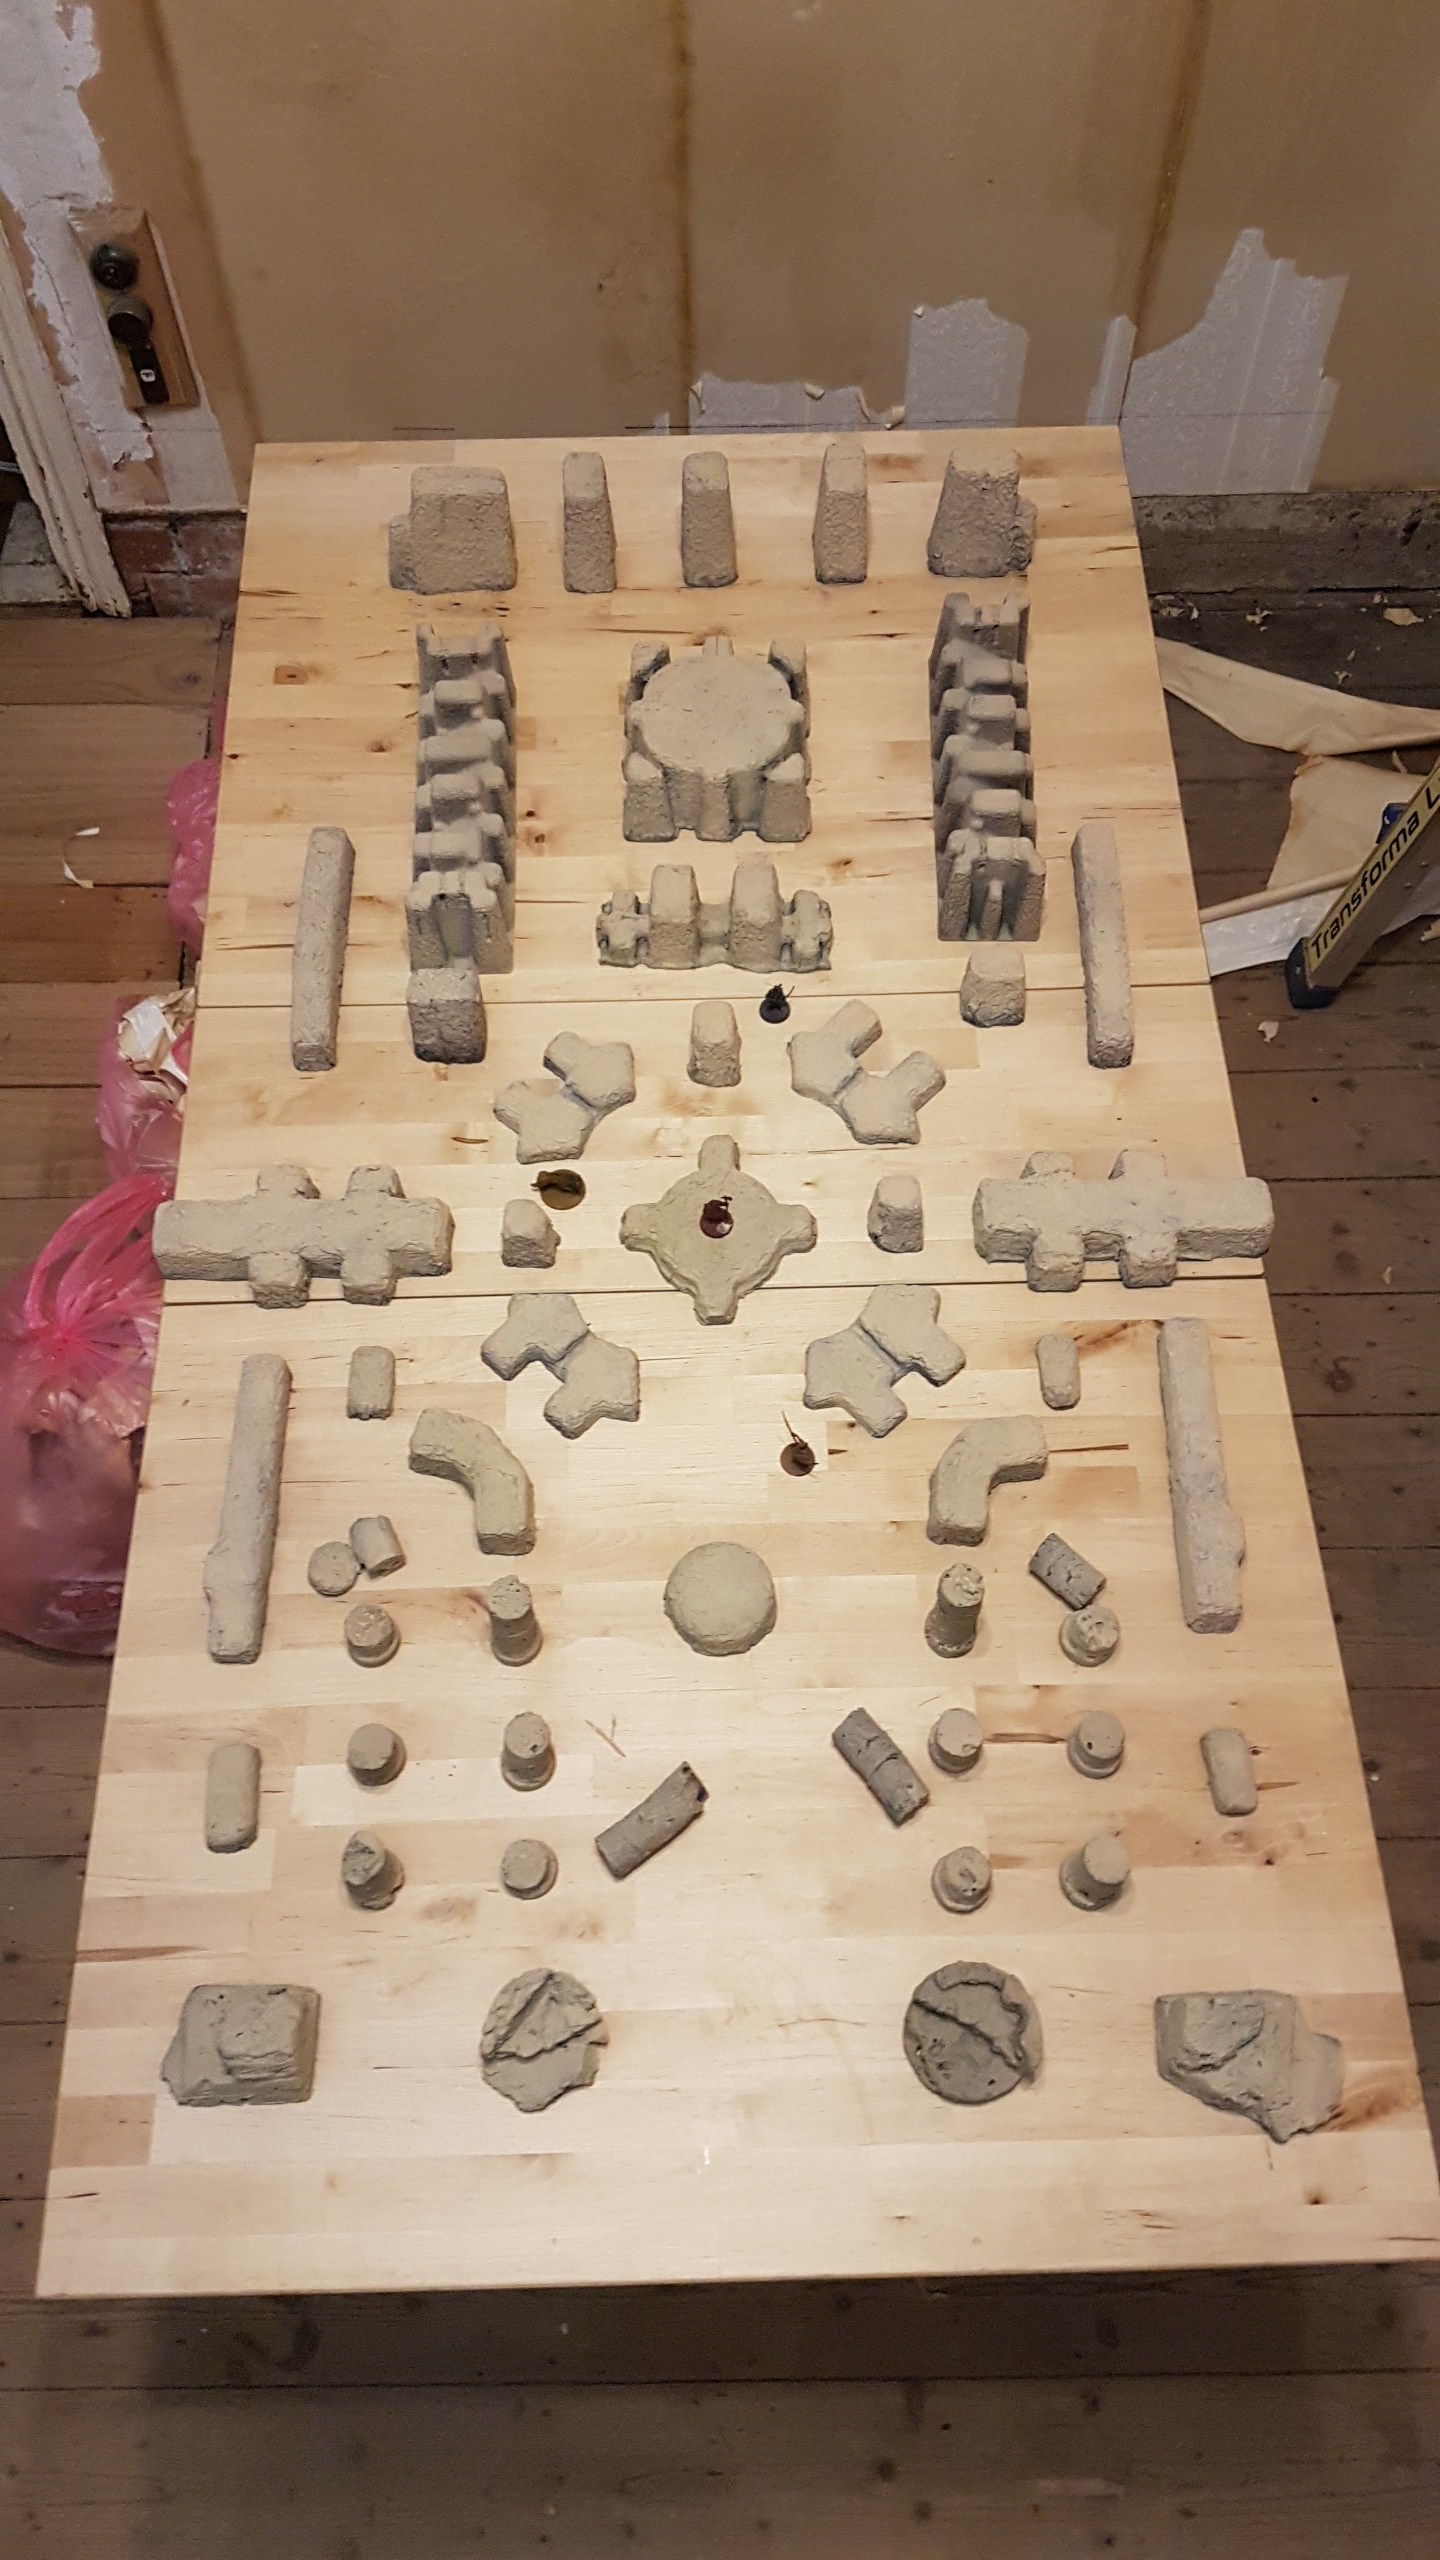
Cardboard packing material.
So with x-mas comes presents and with presents come packing material. This ‘heavy egg carton’ stuff came out of a large food processeor box, ….who cares when its free.
*Once again, super cheap. and decluttered more of that posterpaint collection.
*Band saw was really handy for quickly and accuratley making large cuts.
*Hot glue gun to stick bits together
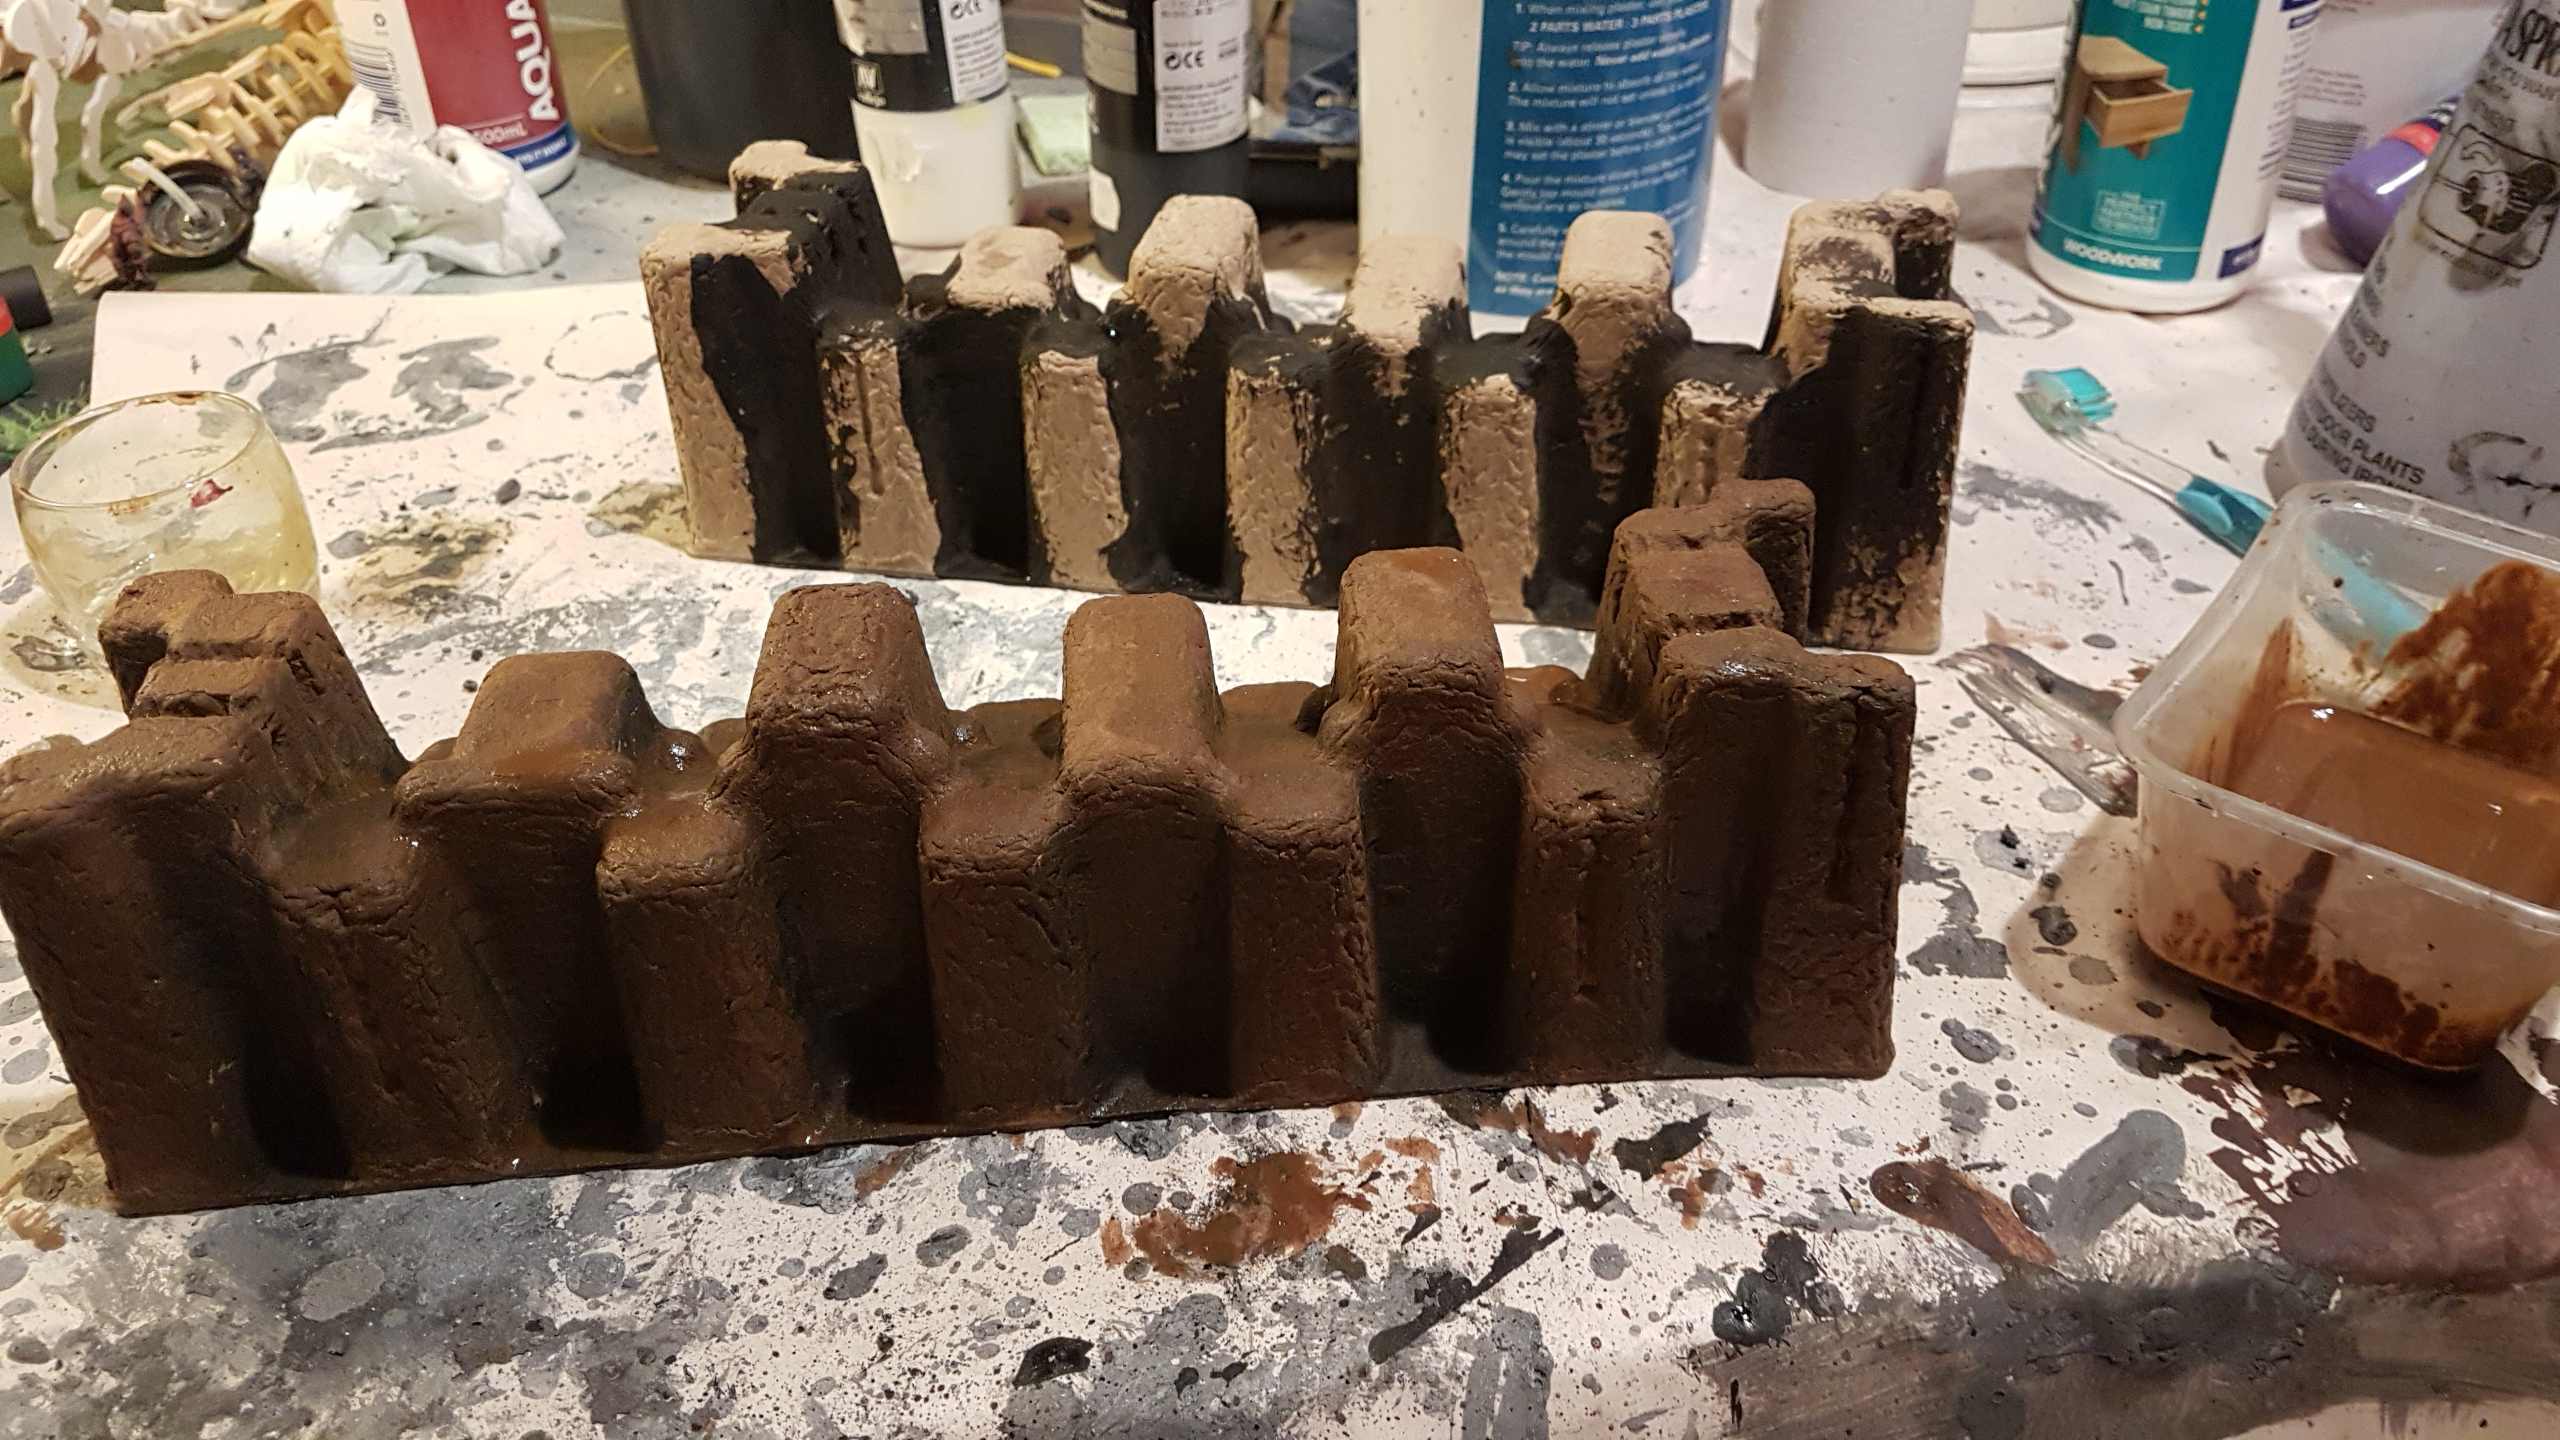
*Mash of debris paper dust out of the band saw, water and PVA to fill any gaps created.
*Painting was a simple dark wash followed by brown followed with a tan sprayed over
* Pieces are a bit light, I’ve taken to squishing a pit of plasticine into the inards to give weight.
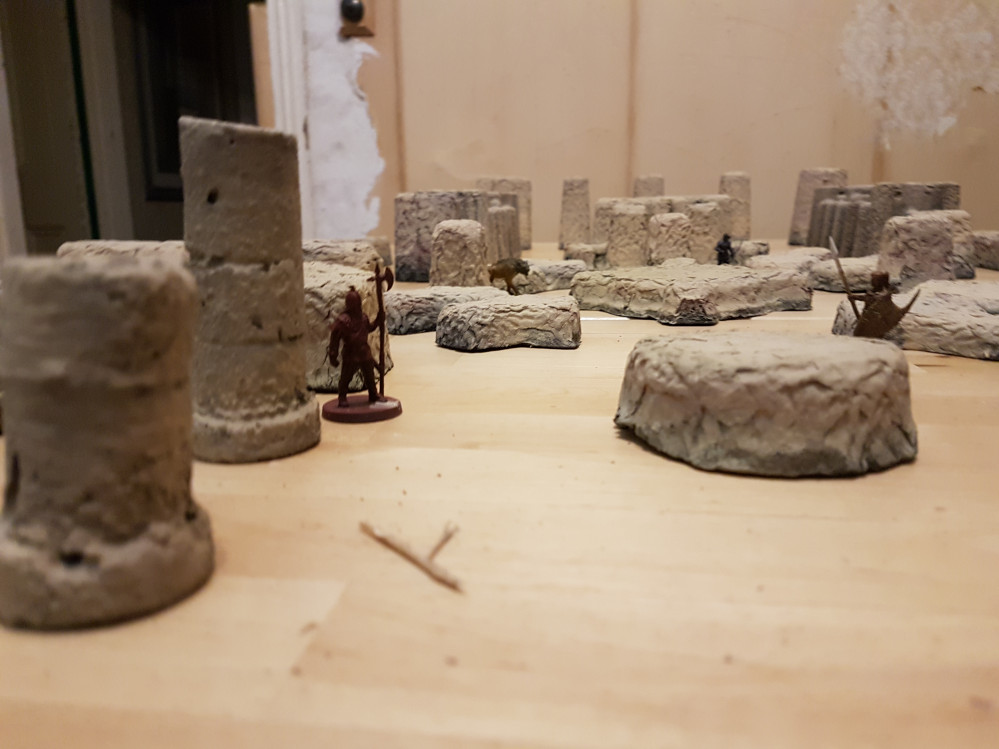
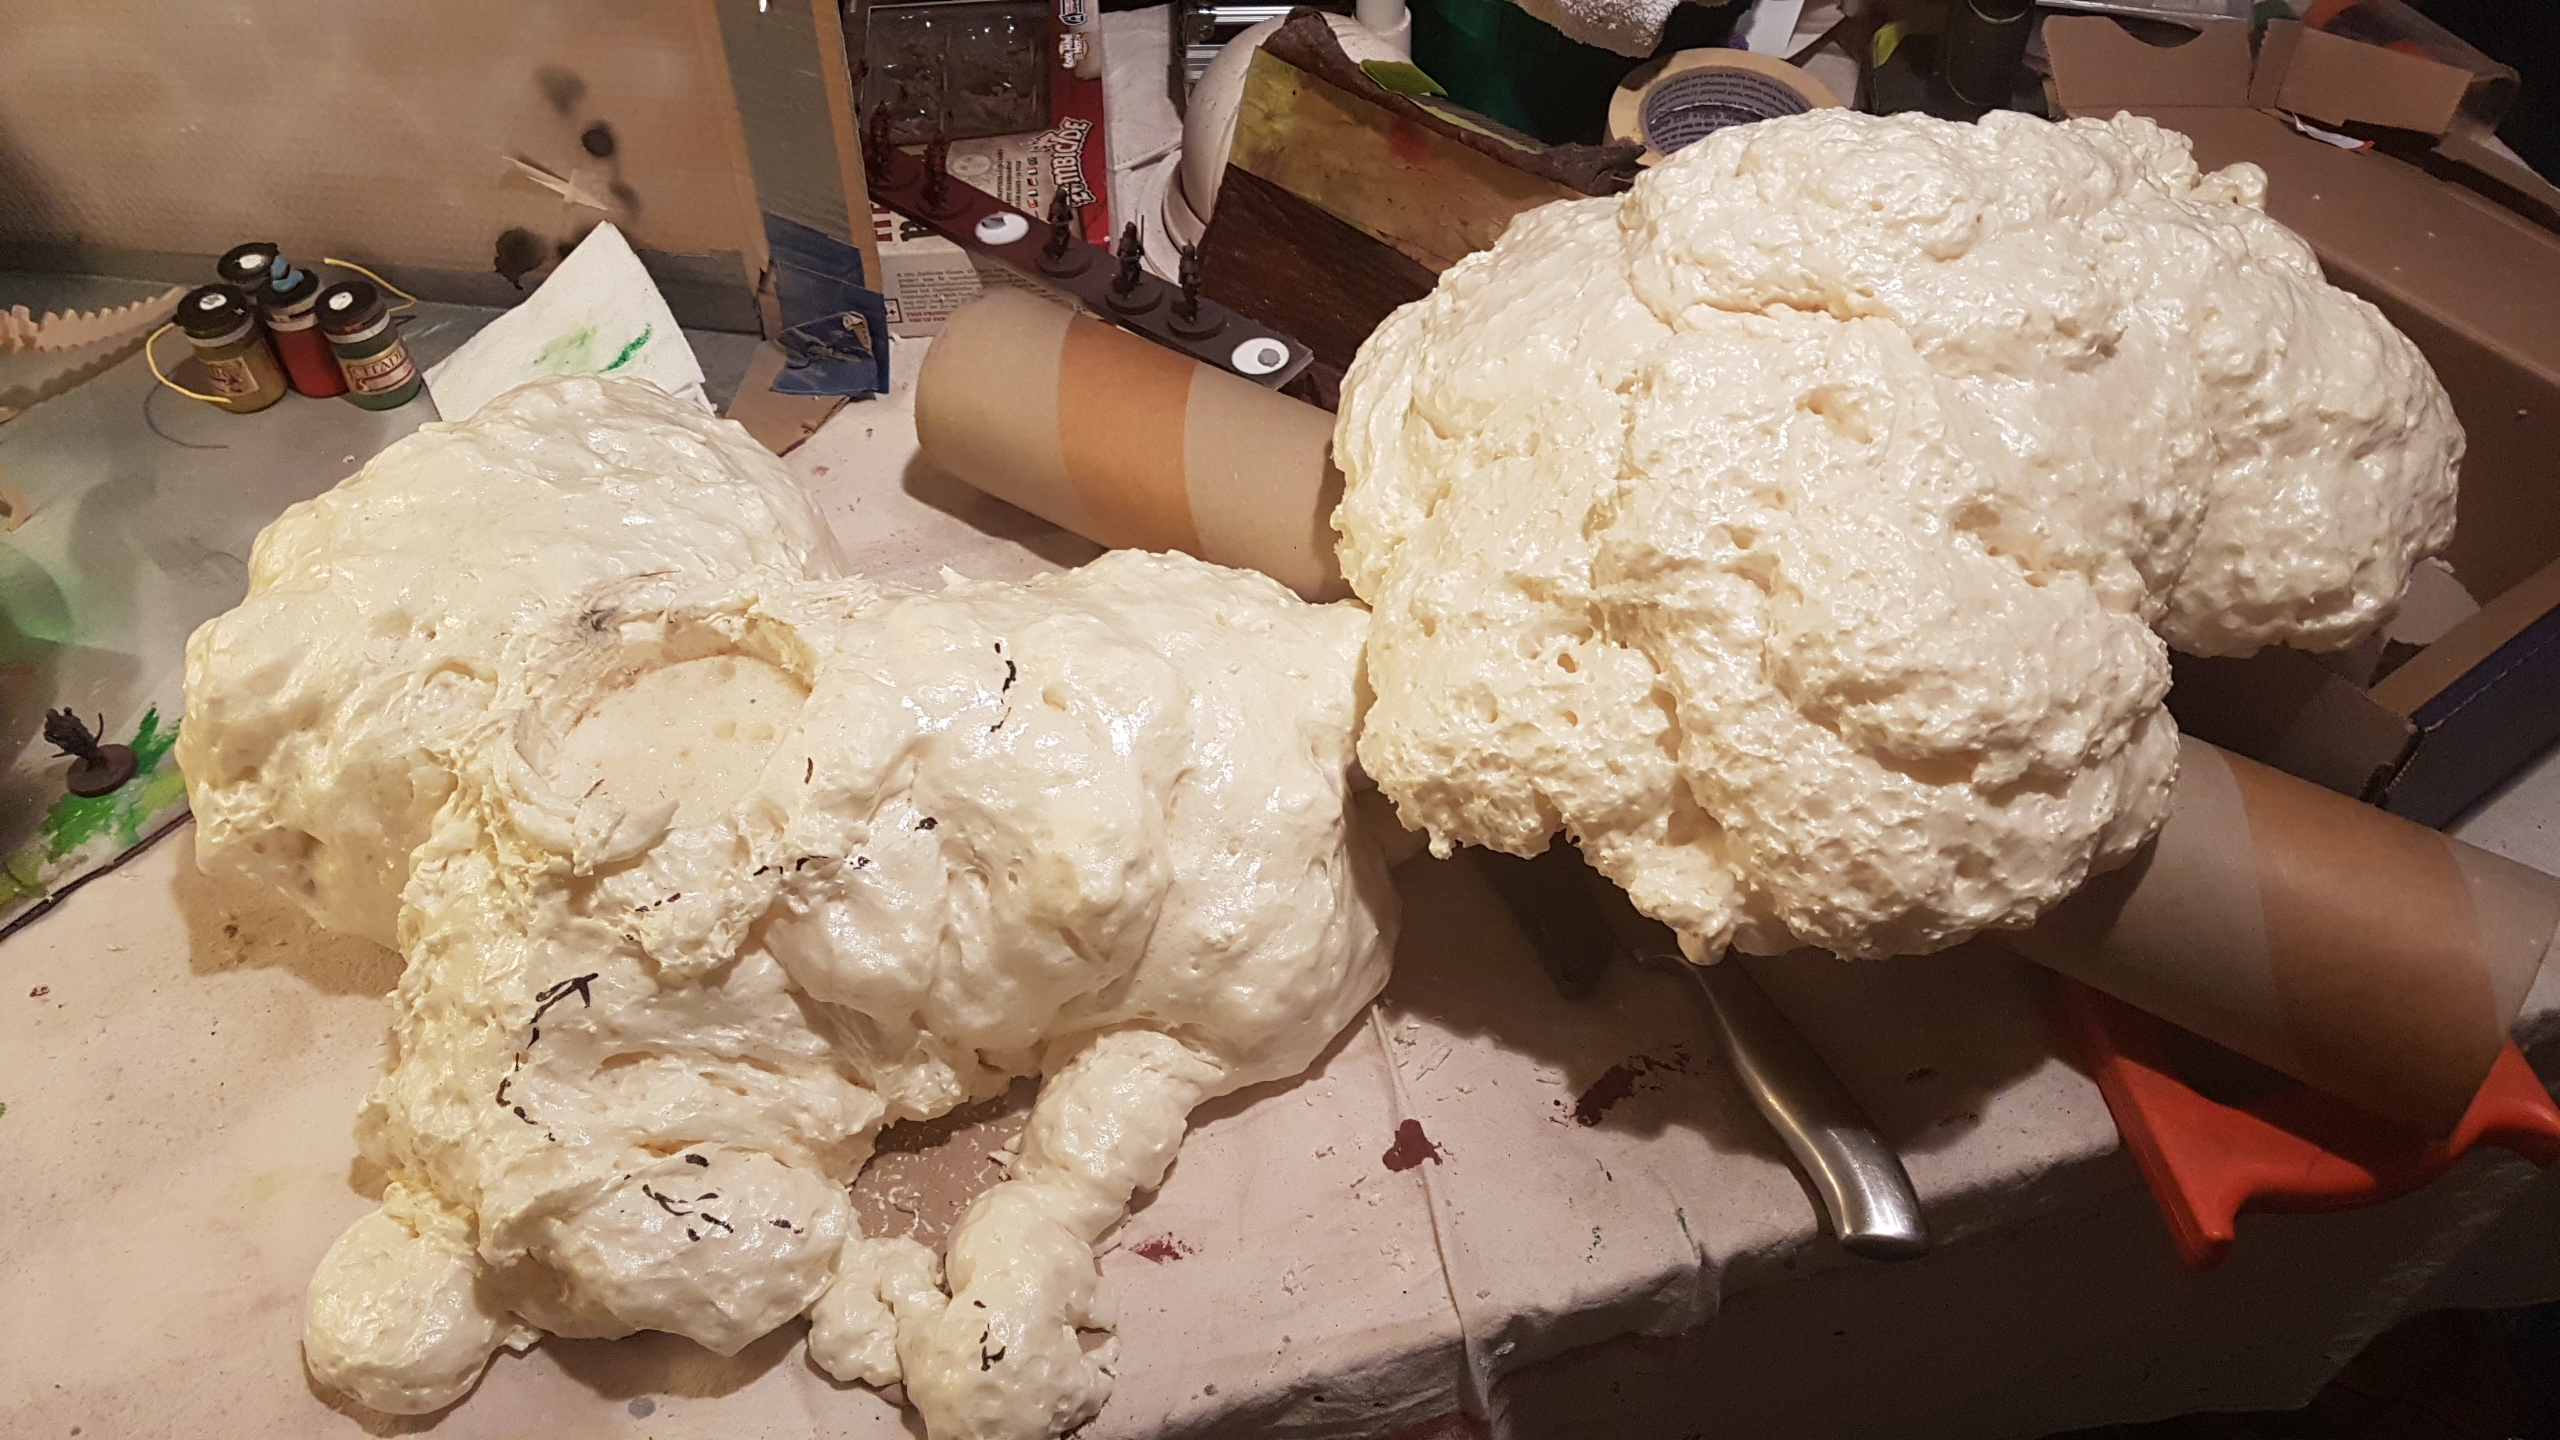
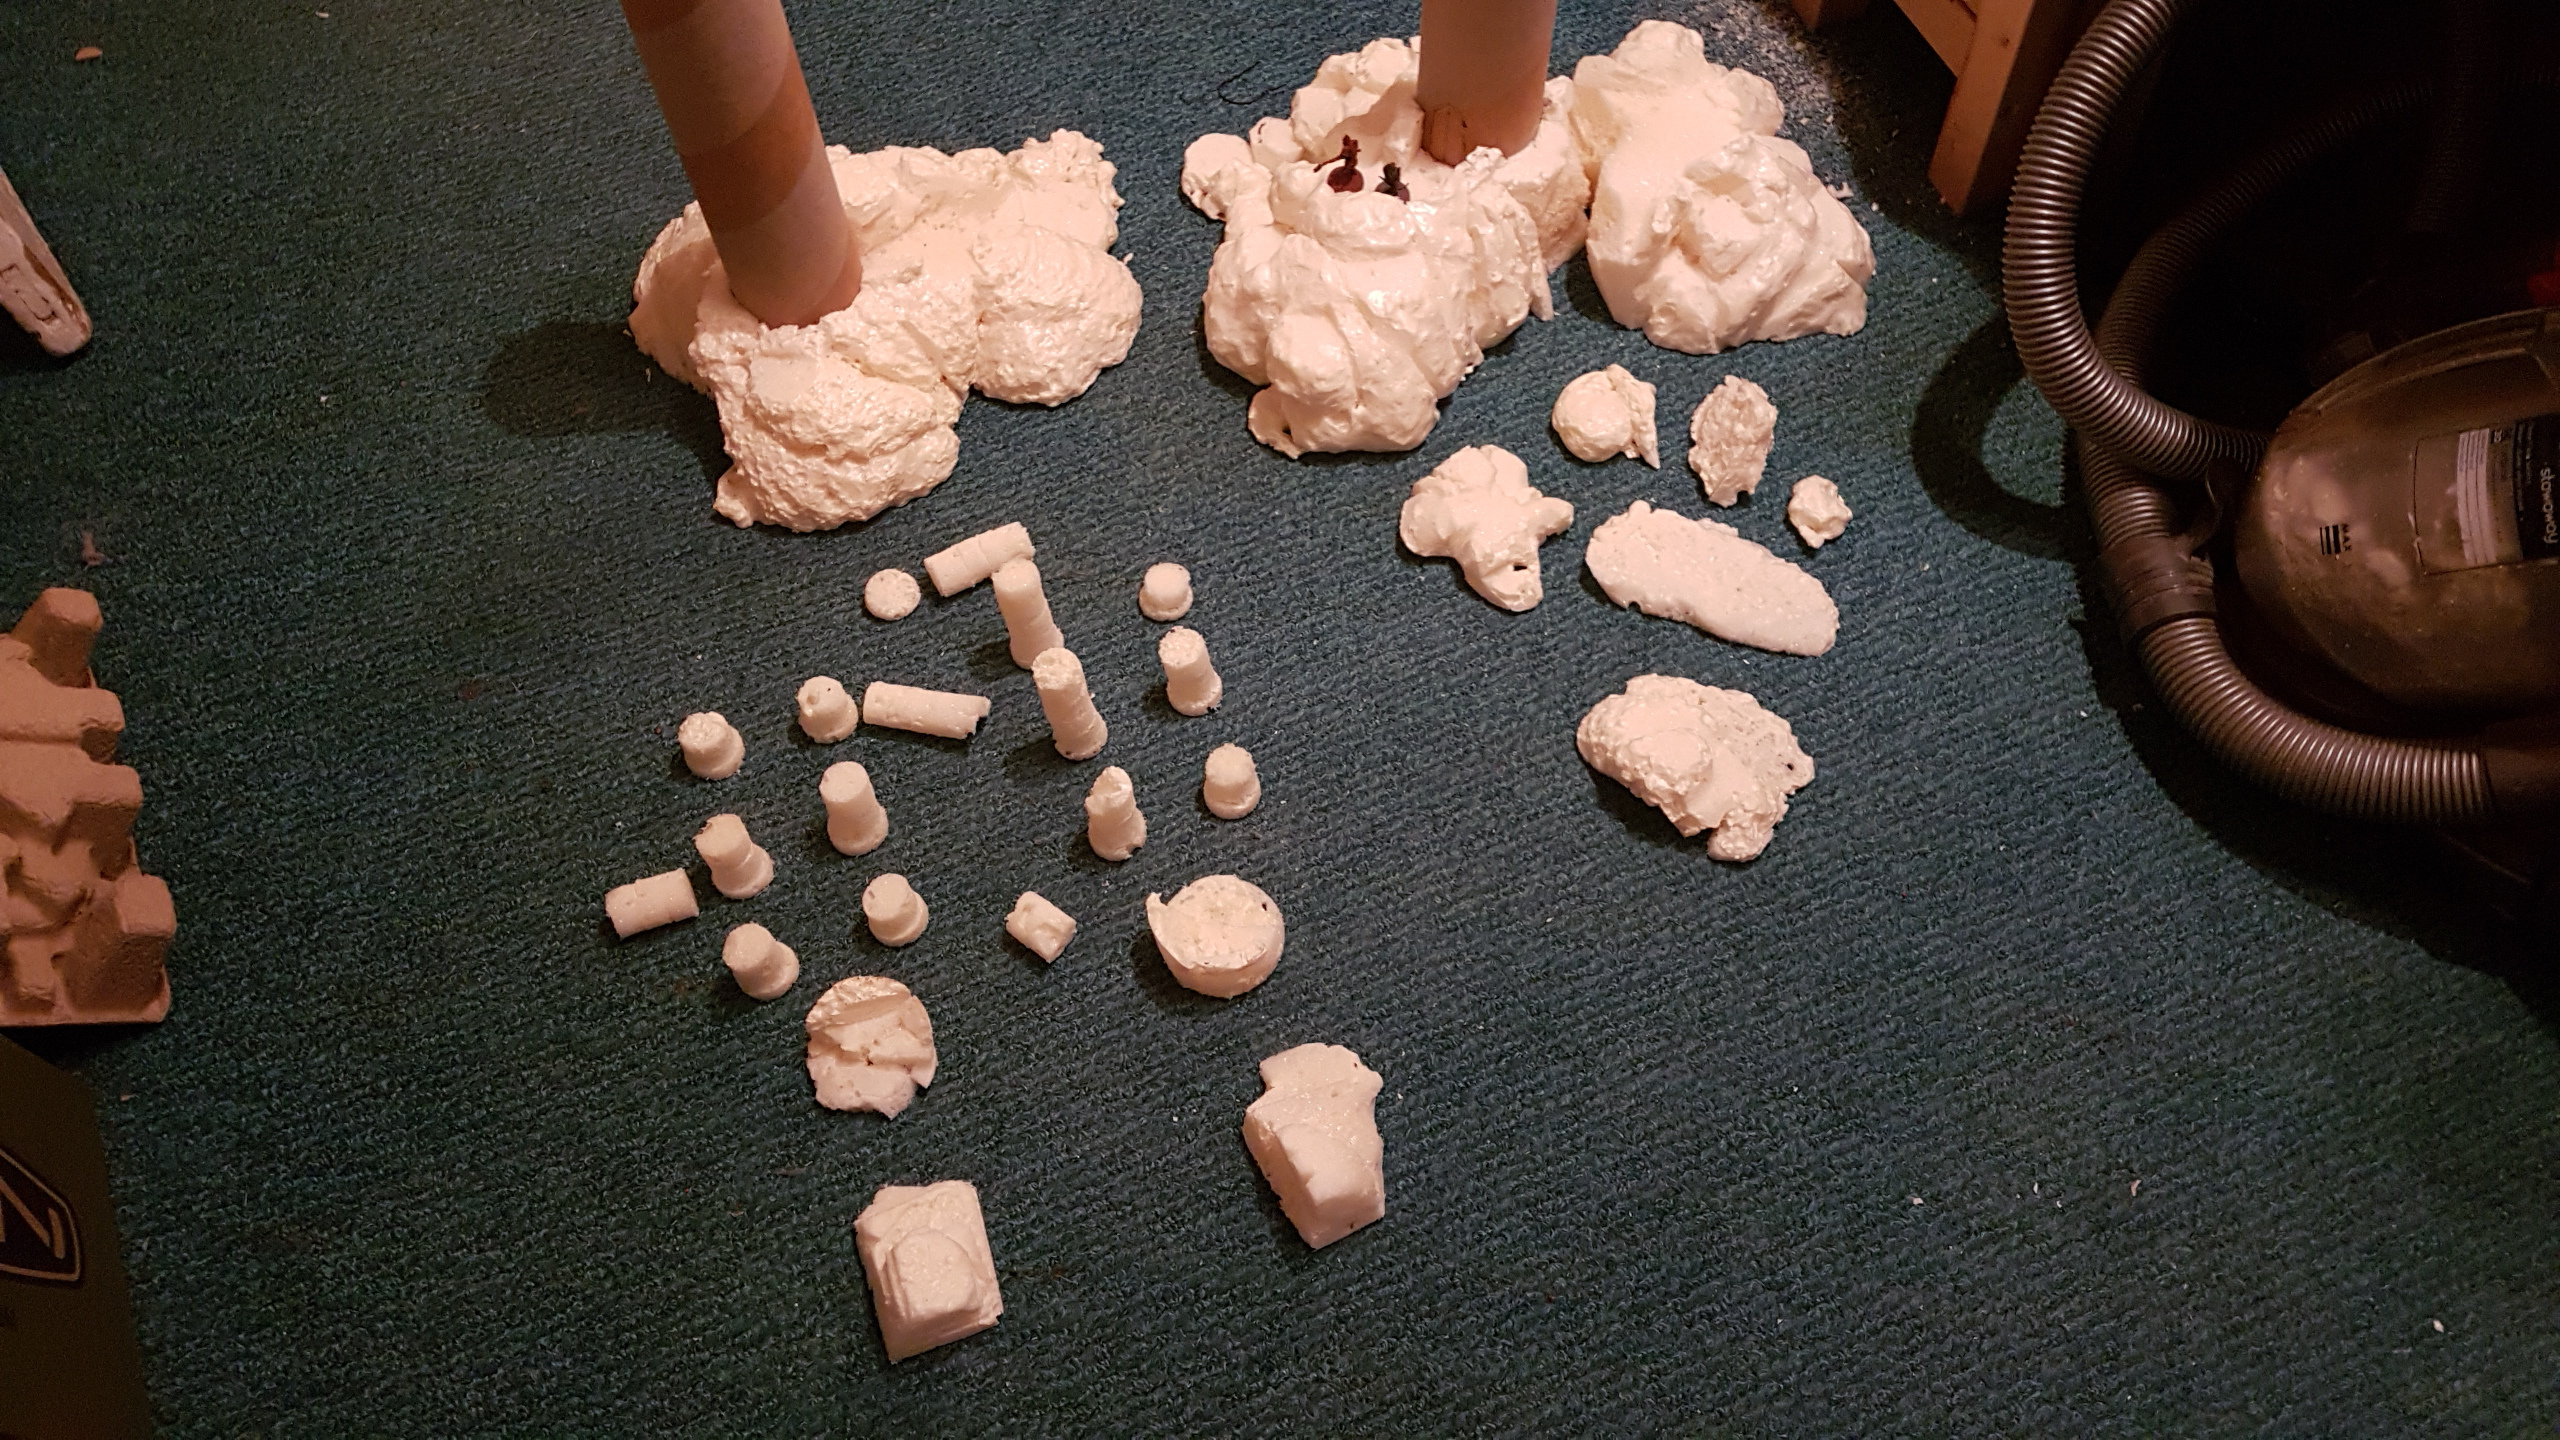
Expanding Foam.
So I know this ones pretty well known but when its already laying about due to house renos it’s a great way to use it up before it goes off and your forced to throw away half a can of unused foam. I had actually deposited a couple of blobs a few months ago in anticipation of an opportunity such as this.
* Super cheap making rocks from what would have been rubbish. Raided the kids collection of unused poster paints to help decluter a bit and found a bag of plaster powder under it all looking for something to do.
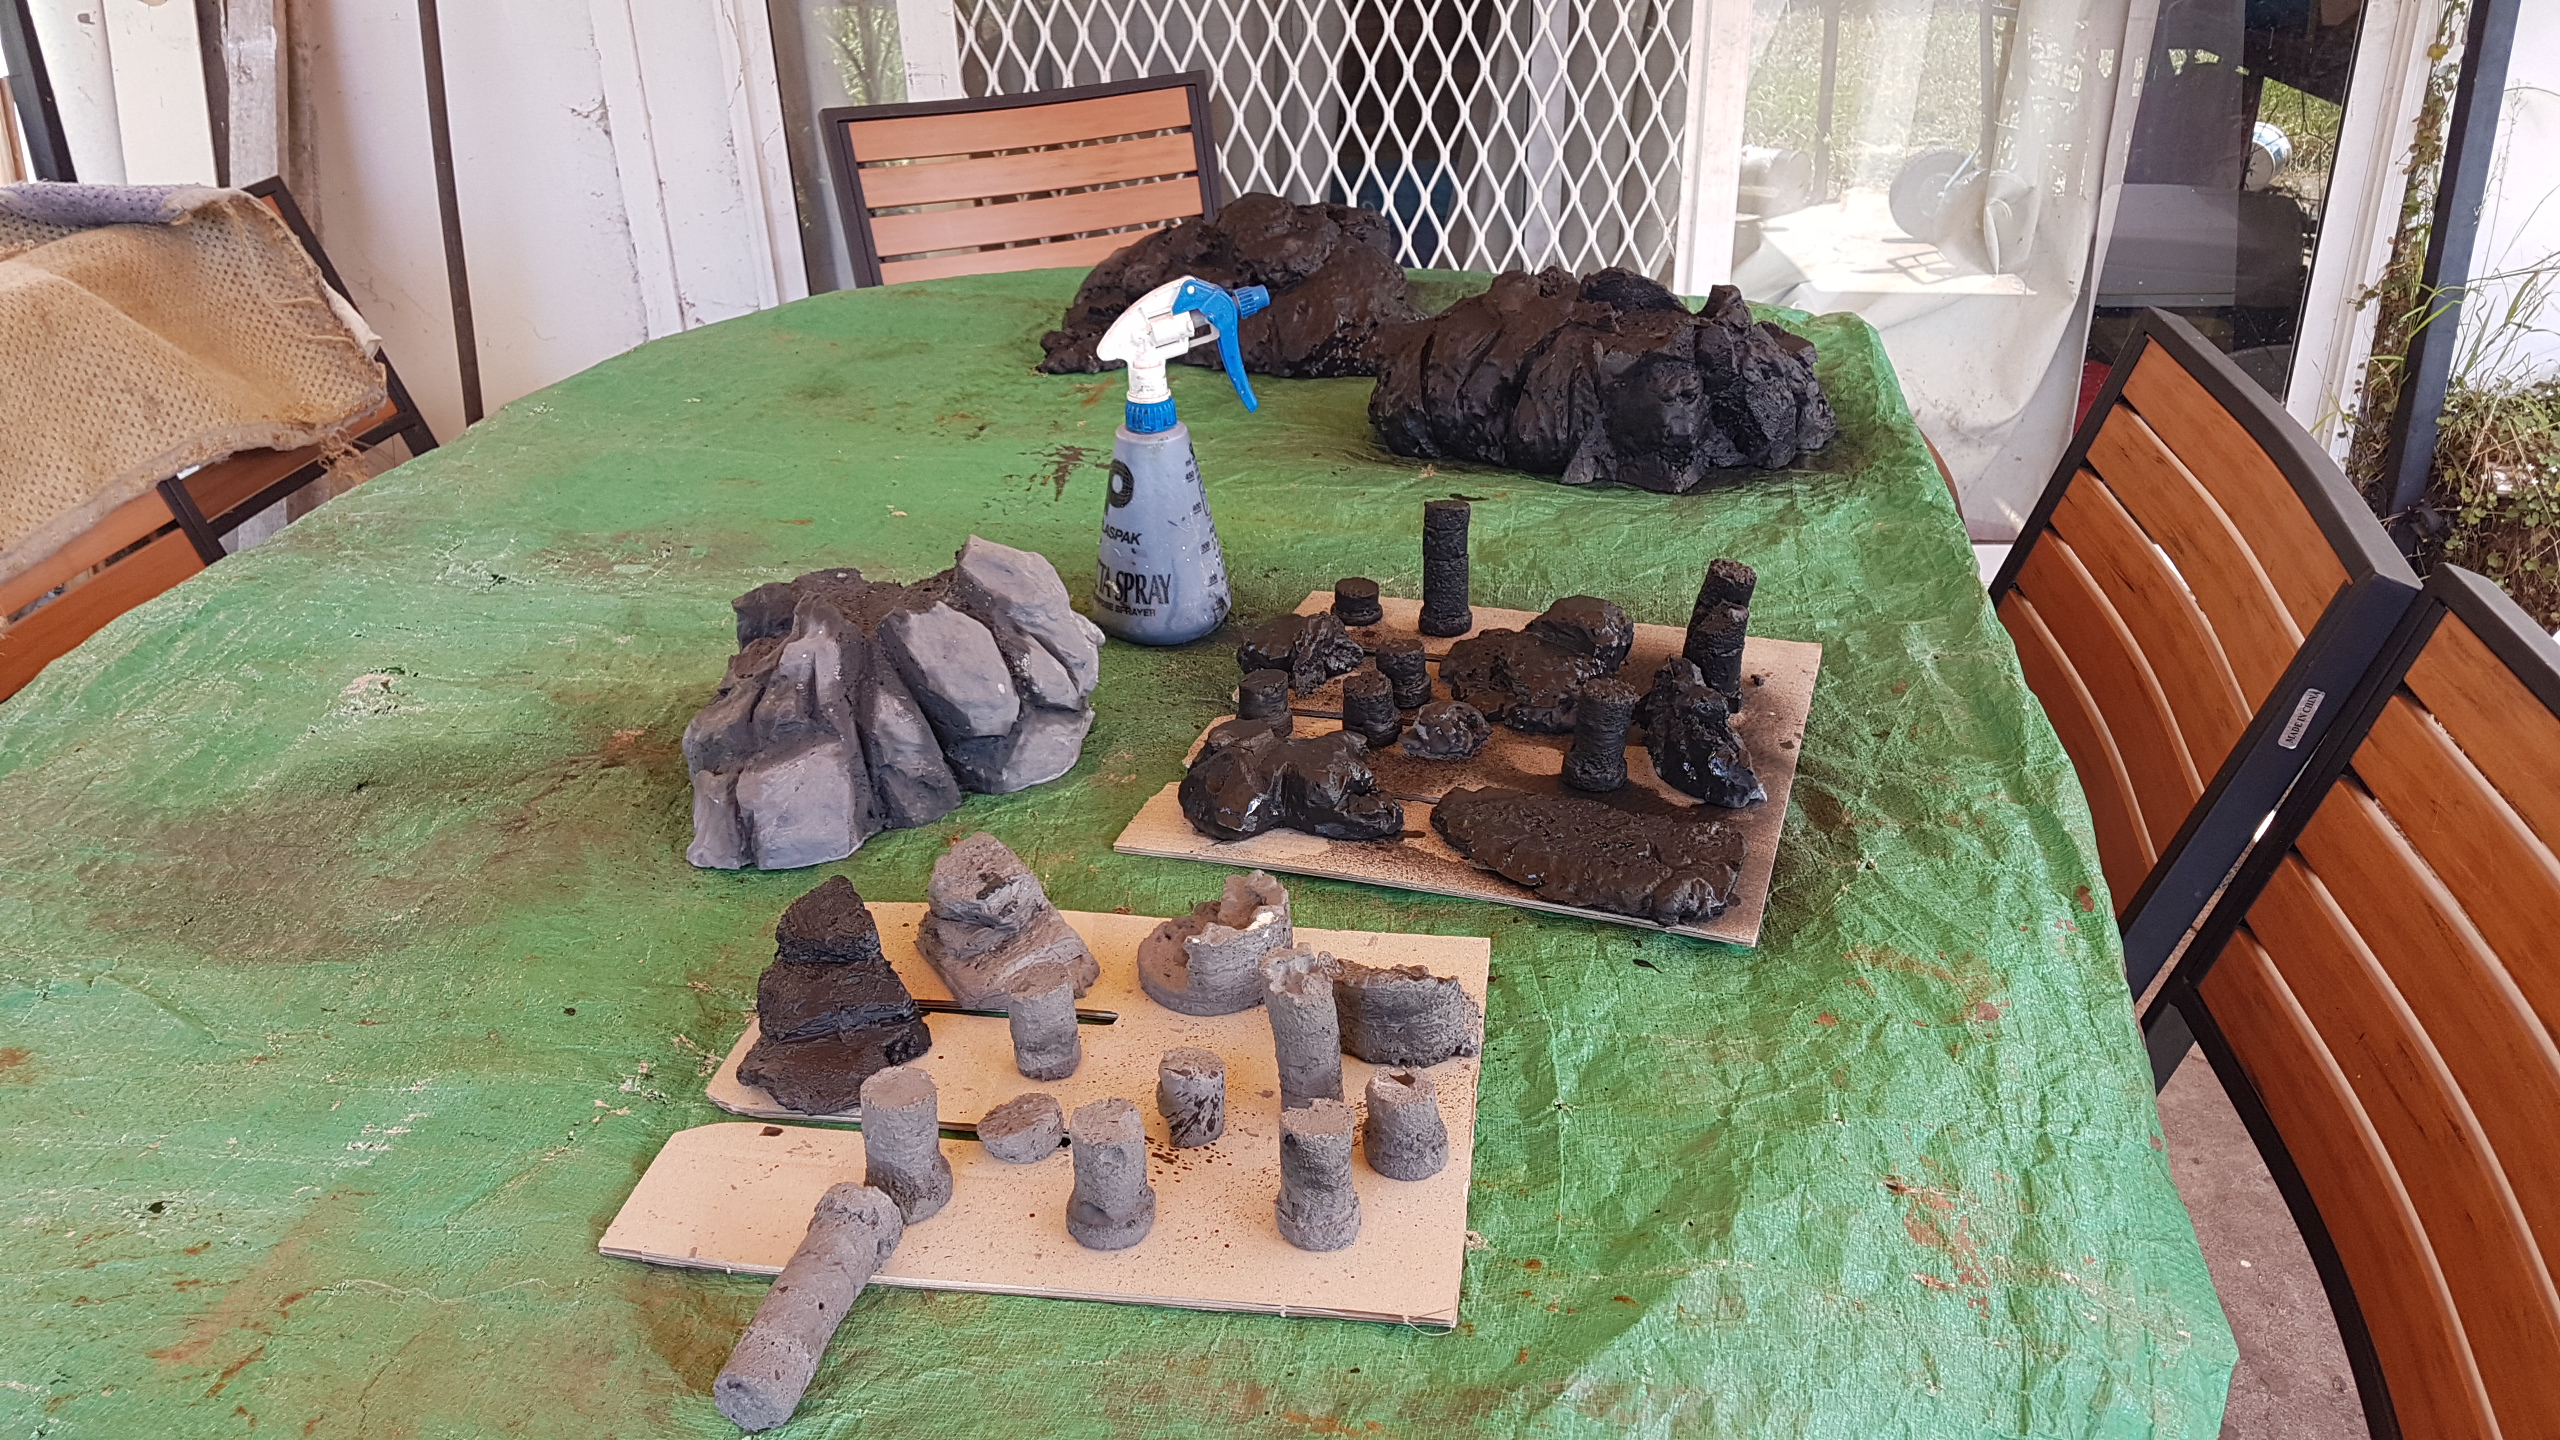
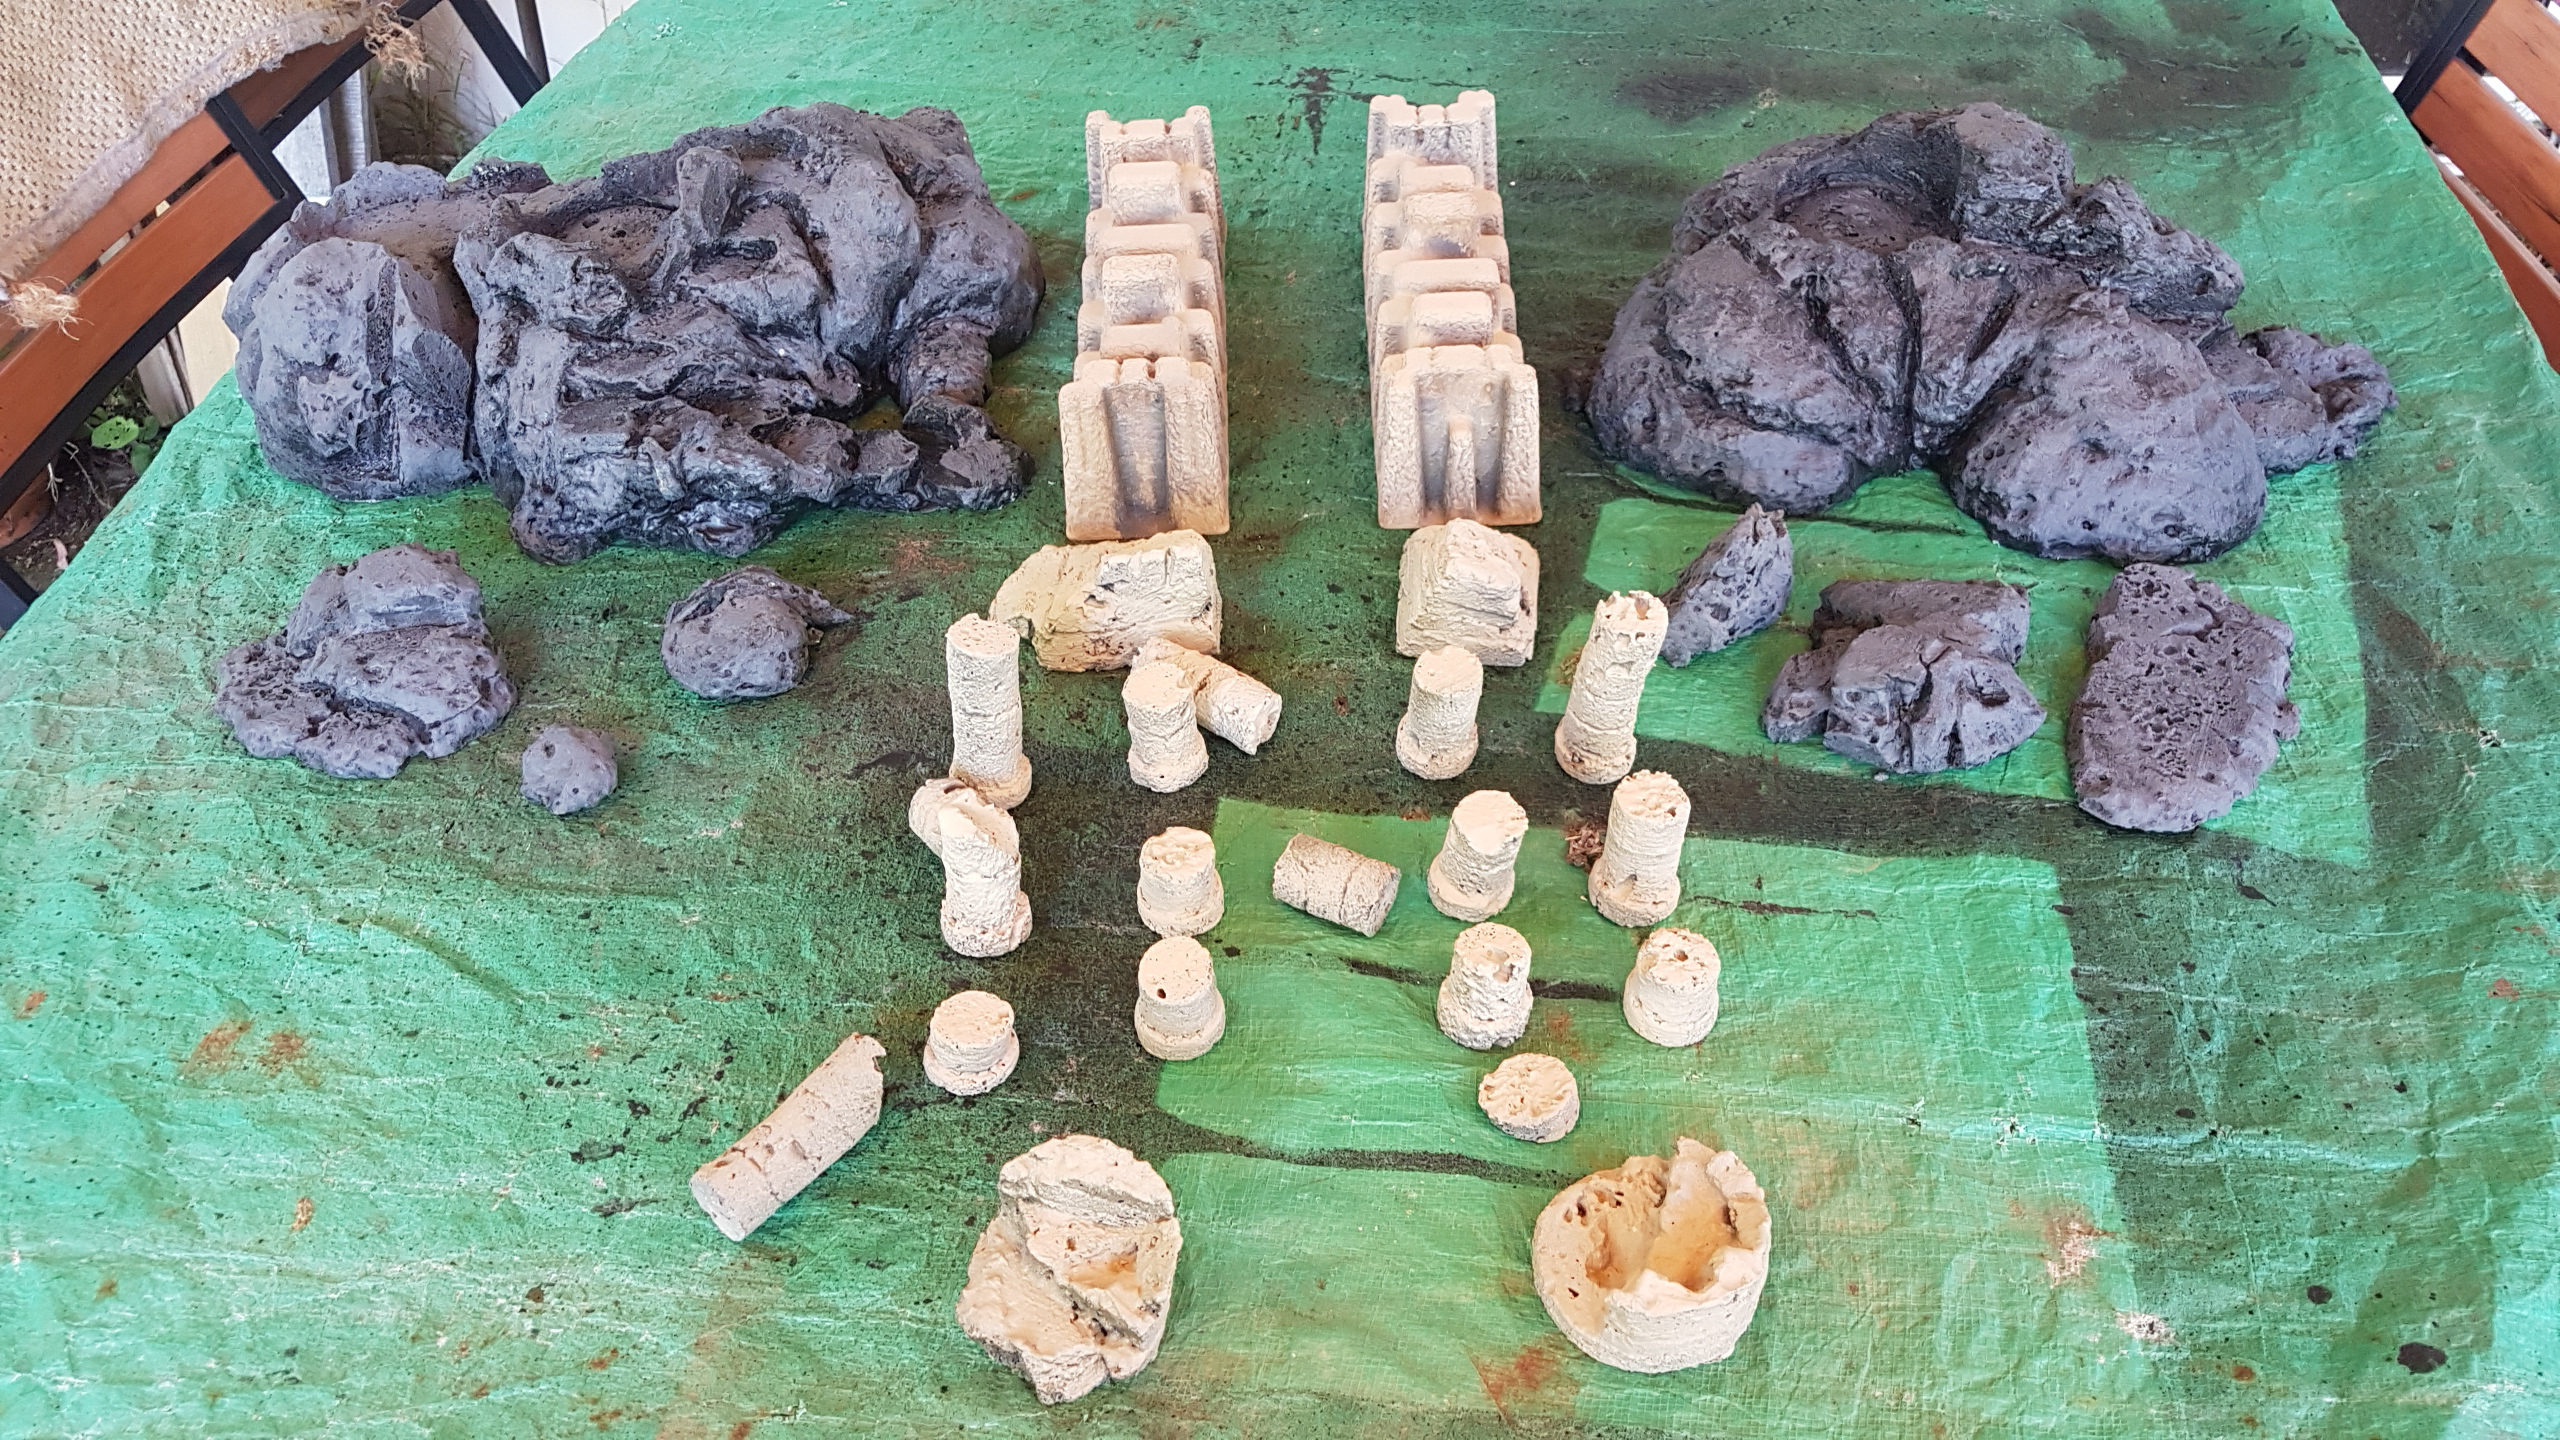
* I found a long sharp meat carving knife to be the best for sculpting, but its generaly very easy to work. Used a hole saw to create tube sections for the columns.
* hot glue gun best for sticking bits back together
* After carving I rendered it with a mix of plaster, PVA, and paint. It looks ok but its a bit fragile. If I was to do it again I’d go heavy with the PVA. I’ll probably address this issue in the future along with adding a bit more colour.
*Result is kind of realistic with little work.

I dont have any terrain
I’ll come straight out and say it, I’m more of a board gamer than a table top wargamer. I do occasionaly pull out my Dust 1947 stuff and do a little skimishing with my boys but I always feel let down by an absence of terrain pieces and having to ‘make do’.
So with the craziness of the festive season, kids underfoot on holidays and one of the hottest summers on record (its been absolutely futile trying to paint minis the last 8 weeks in this heat) I switched my attention to smashing out some terrain.
My terrain brief went as follows:
1. It has to be cheap.
2. It has to be quick.
3. Modular & flexible is always good.
4. Anything goes as long as it meets points 1 &2.
This project page will be to document what I achieved in those first few days but also provide a place for all my cheap and dirty terrain ideas henceforth and see if I can find that happy medium of creating interesting terrain that doesnt require a warehouse to store it and still looks acceptable during play.


