


![NO Weekender Or Cult Of Games XLBS This Weekend [Updated]](https://images.beastsofwar.com/2026/03/No_Weekender_and_XLBS_this_Weekend-225-127.jpg)


Scions of Nehebkau – a Necromunda blog


Recommendations: 127
About the Project
A blog of my Delaque gang for my local club’s upcoming Necromunda campaign.
Related Game: Necromunda
Related Company: Games Workshop
Related Genre: Science Fiction
This Project is Active

A little more paint
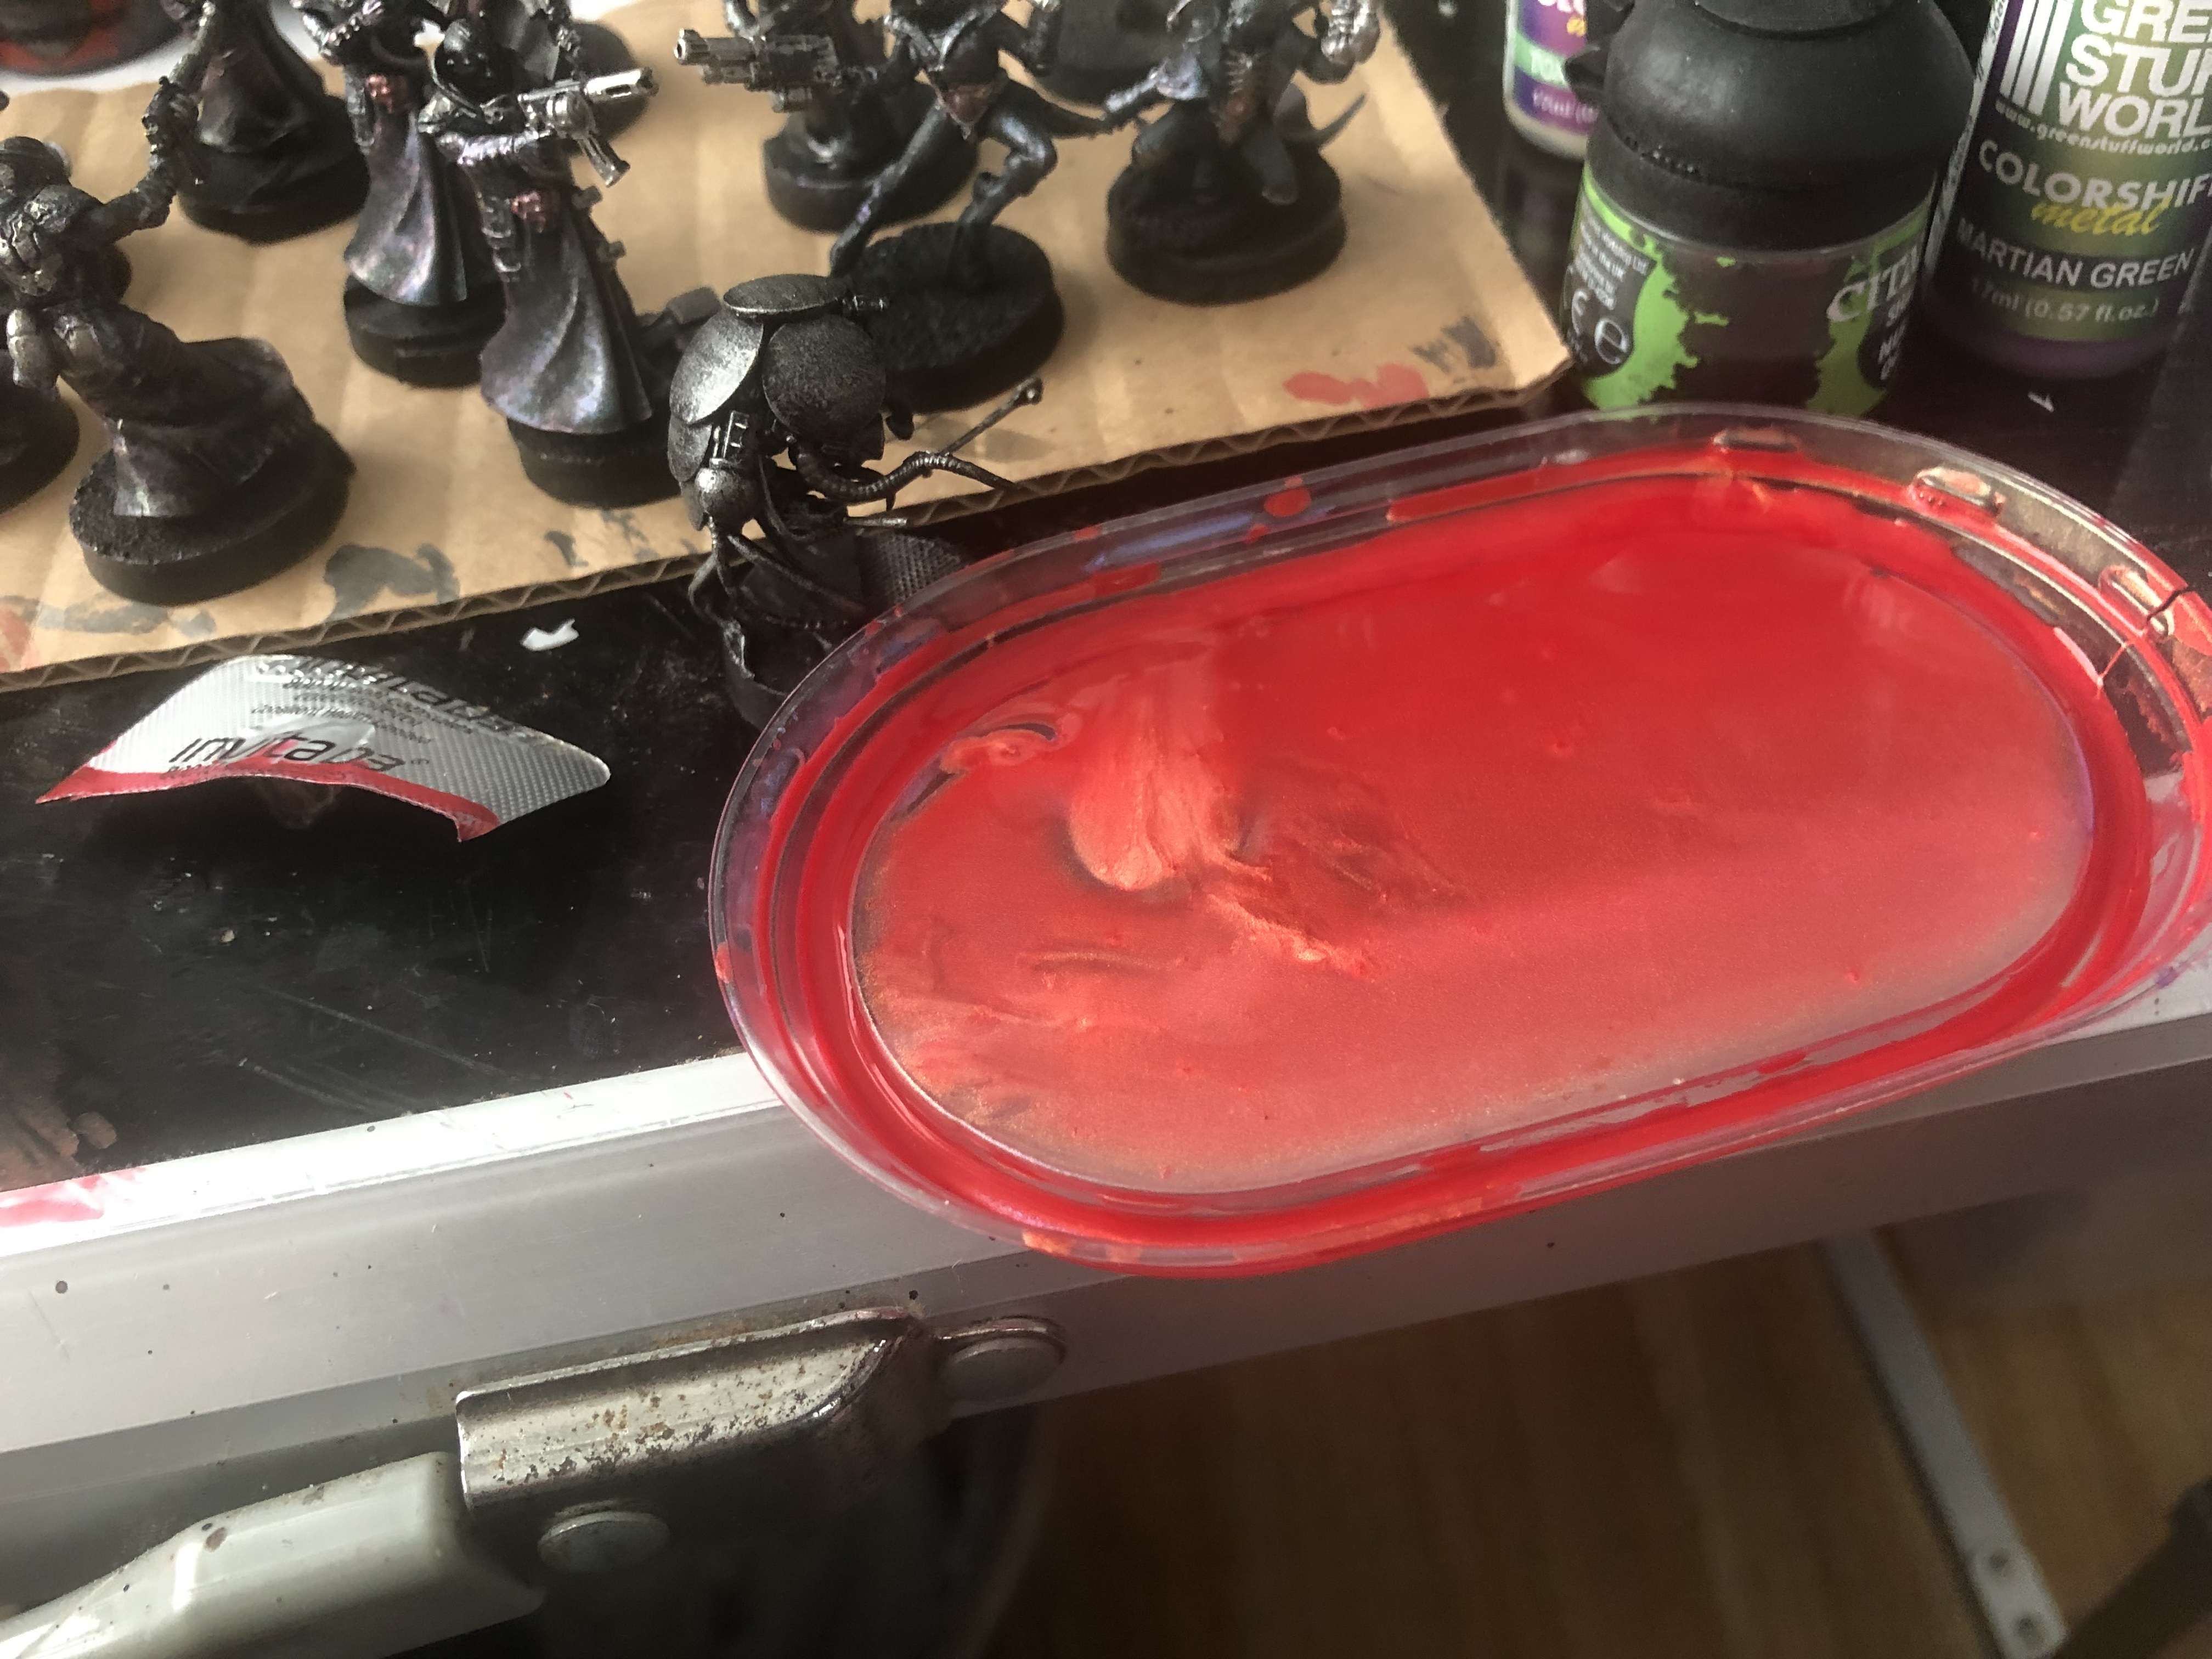
Got some more paint down, using the colourshifts on the belt buckles. Originally went with Cobalt Blue but that was too close to the coats in colour so tried Red Goblin. Not that happy with the results, and think it’s because of two reasons. First I painted it over the Cobalt Blue coat when the colourshifts are supposed to work best over plain black. Second…I’ll get to that in a minute
 Buckle pic.
Right onto the second reason. When I was putting some of the paint onto my pallet, the dropper bottle exploded open. I tried to salvage as much as I could and get it back in the bottle, but I’m sure I lost at least a quarter of it. Wasn’t a big fan of droppers before, but this has reenforced my dislike.
 Flooded pallet
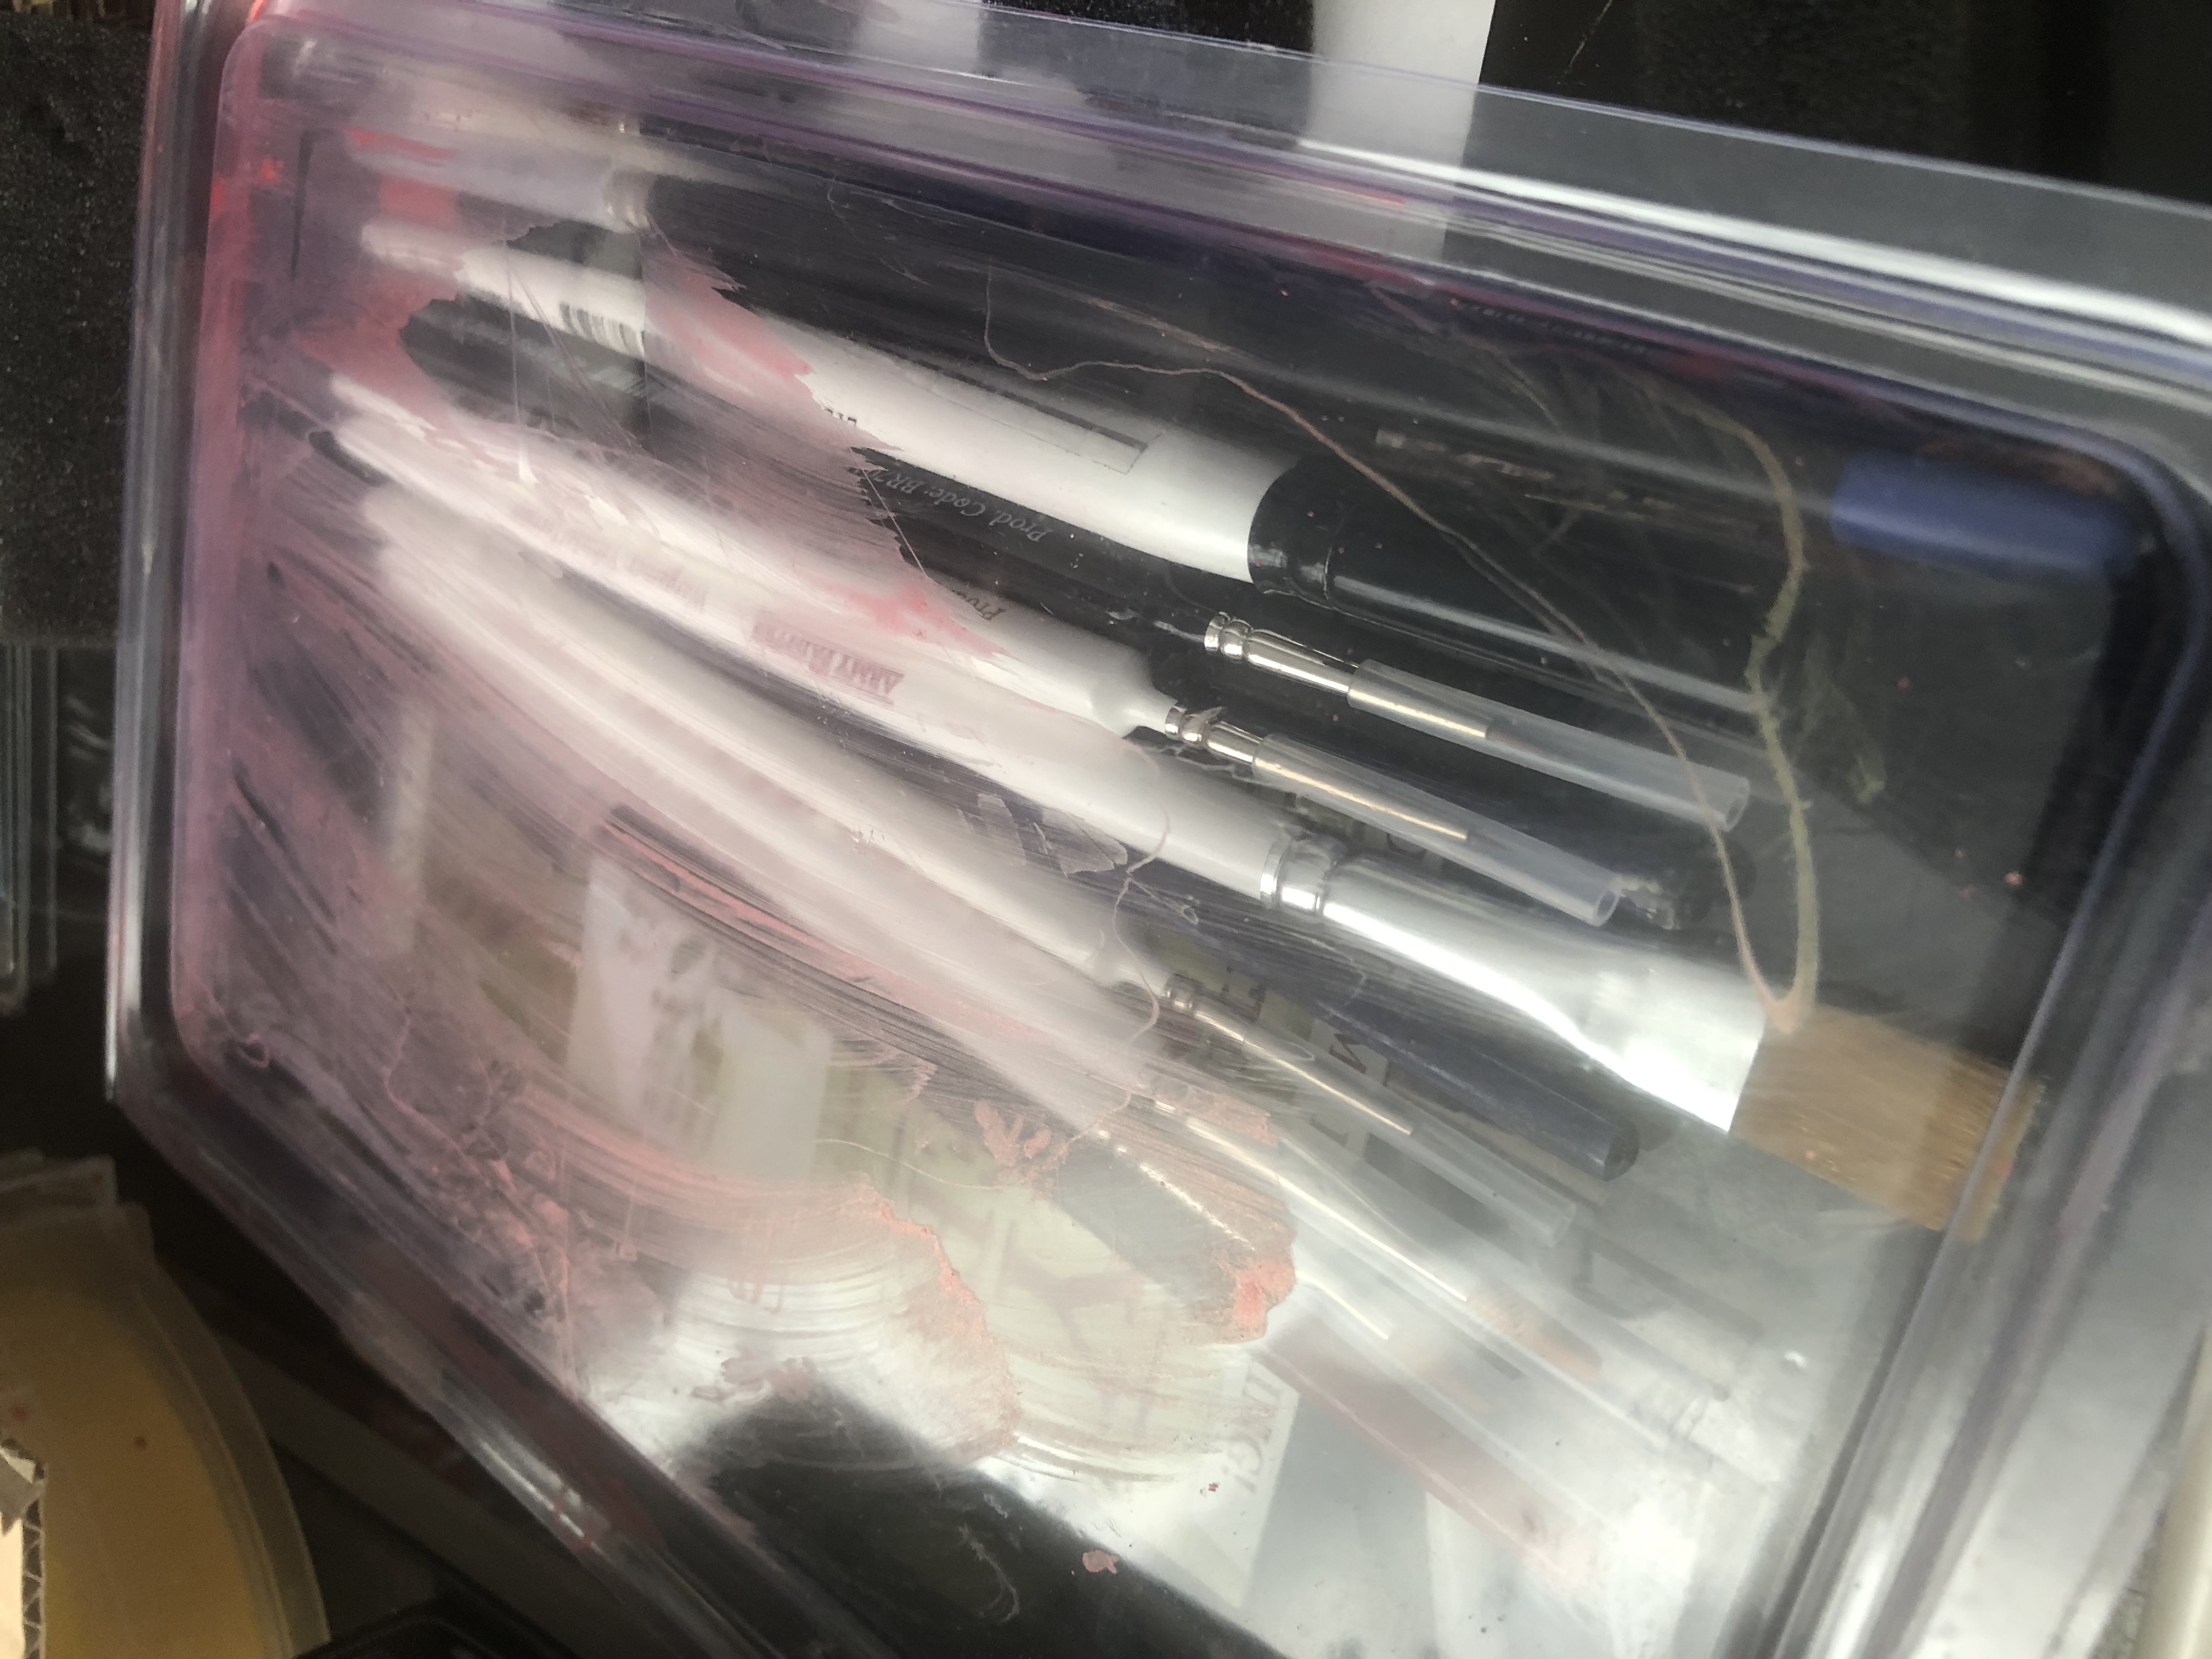 State of brush box after clean up (pallet was on top of it when bottle exploded and there was some spillage when I tipped the pallet of paint back into the bottle)
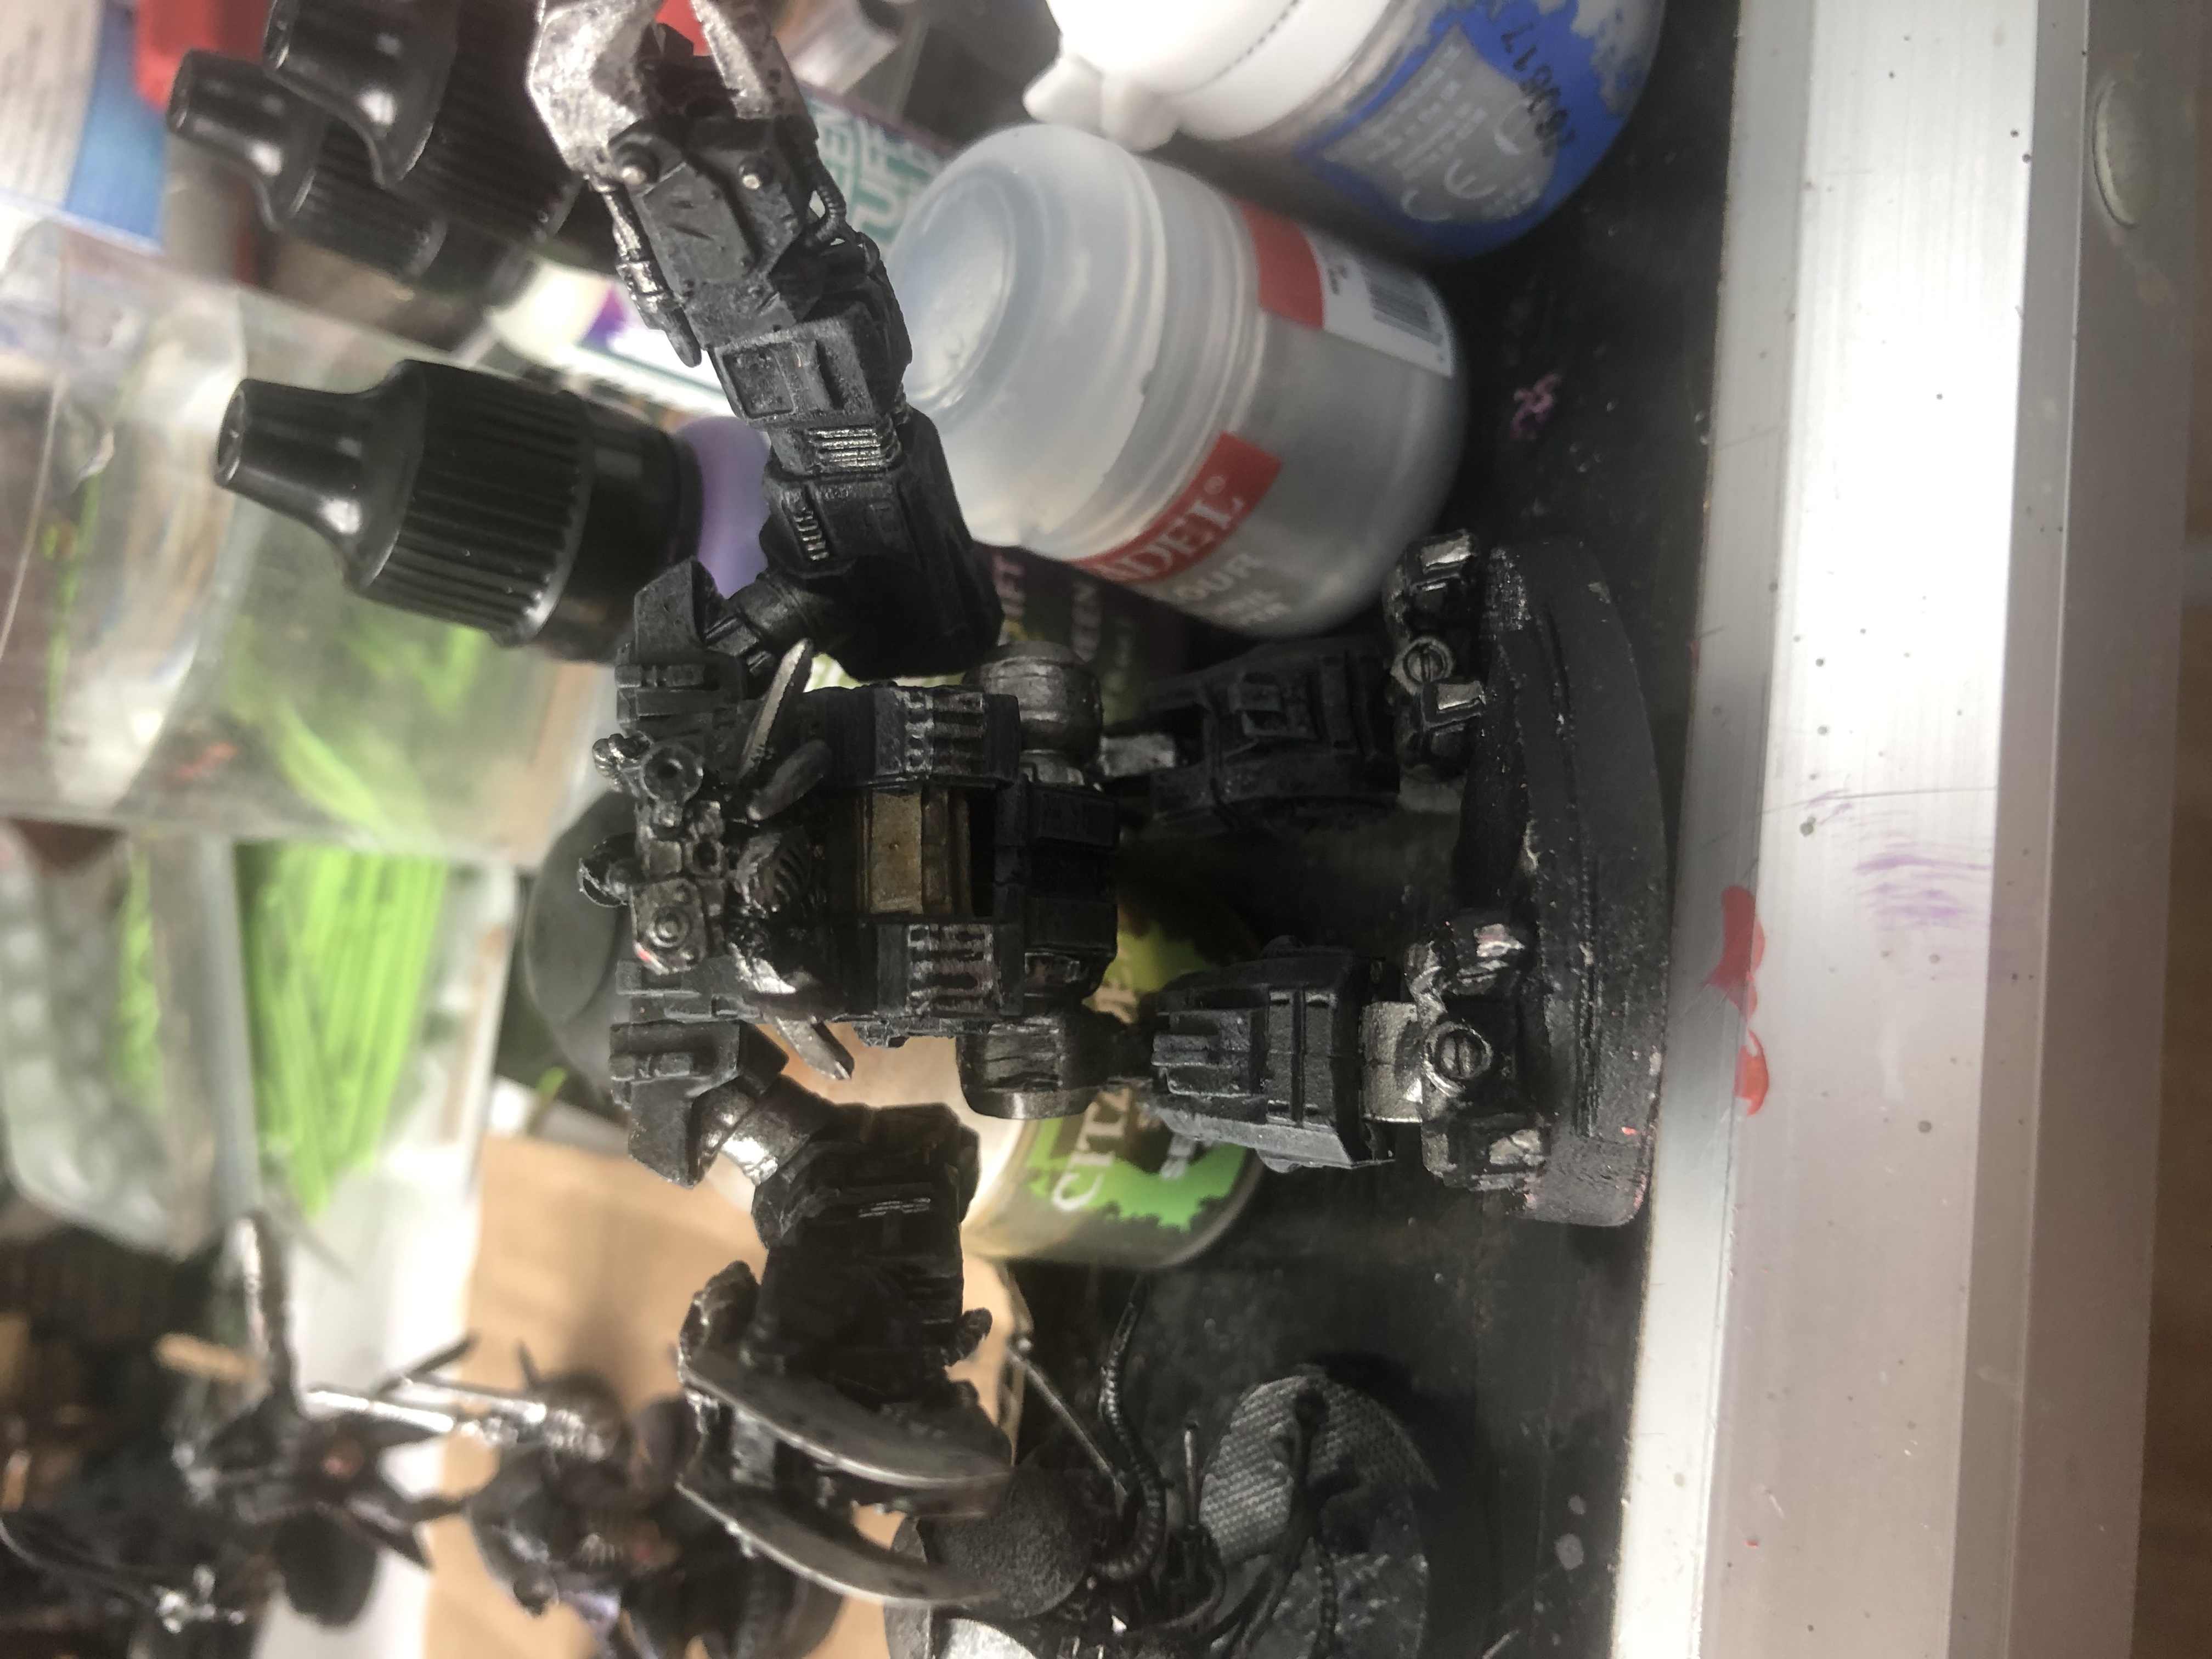 Also done some work on the Ambot. Drybrushed it with Skavenblight Dinge then gave the ‘biceps’, ‘thighs’, toes, claws, ‘face’ and the central strip of the torso a coat of leadbelcher then gave the torso strip a wash of Seraphim Sepia.
Getting some paint down
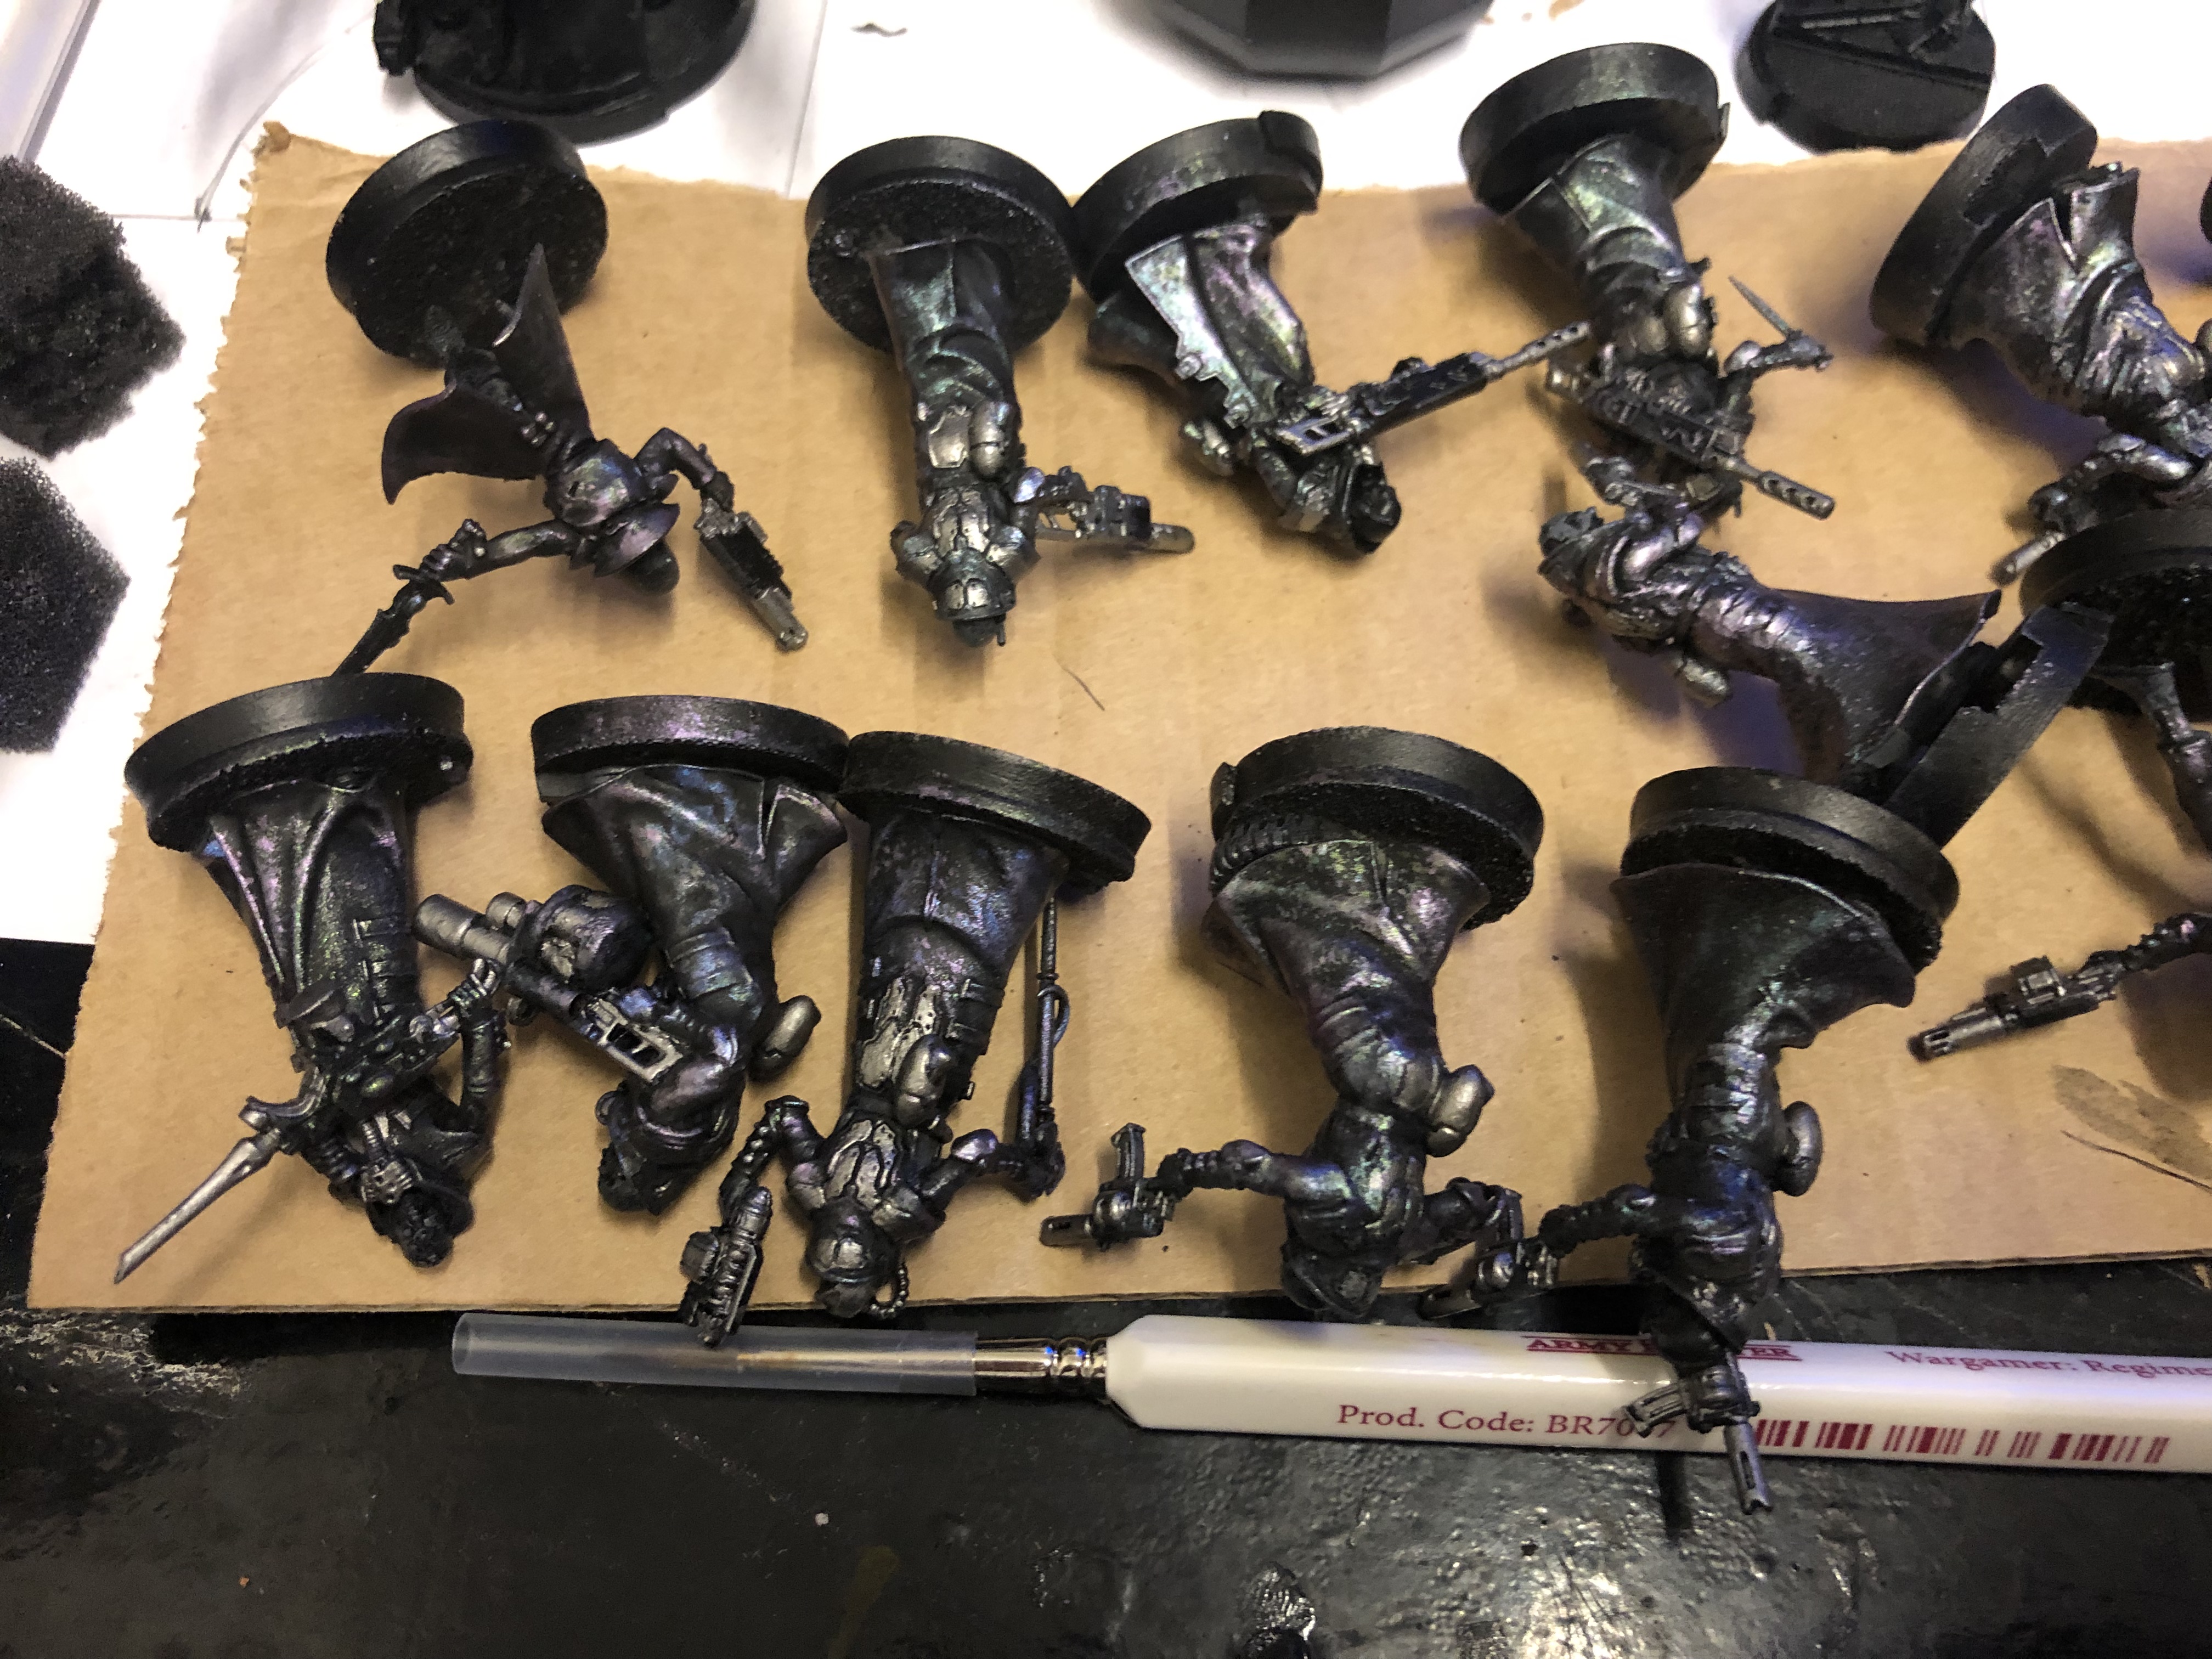
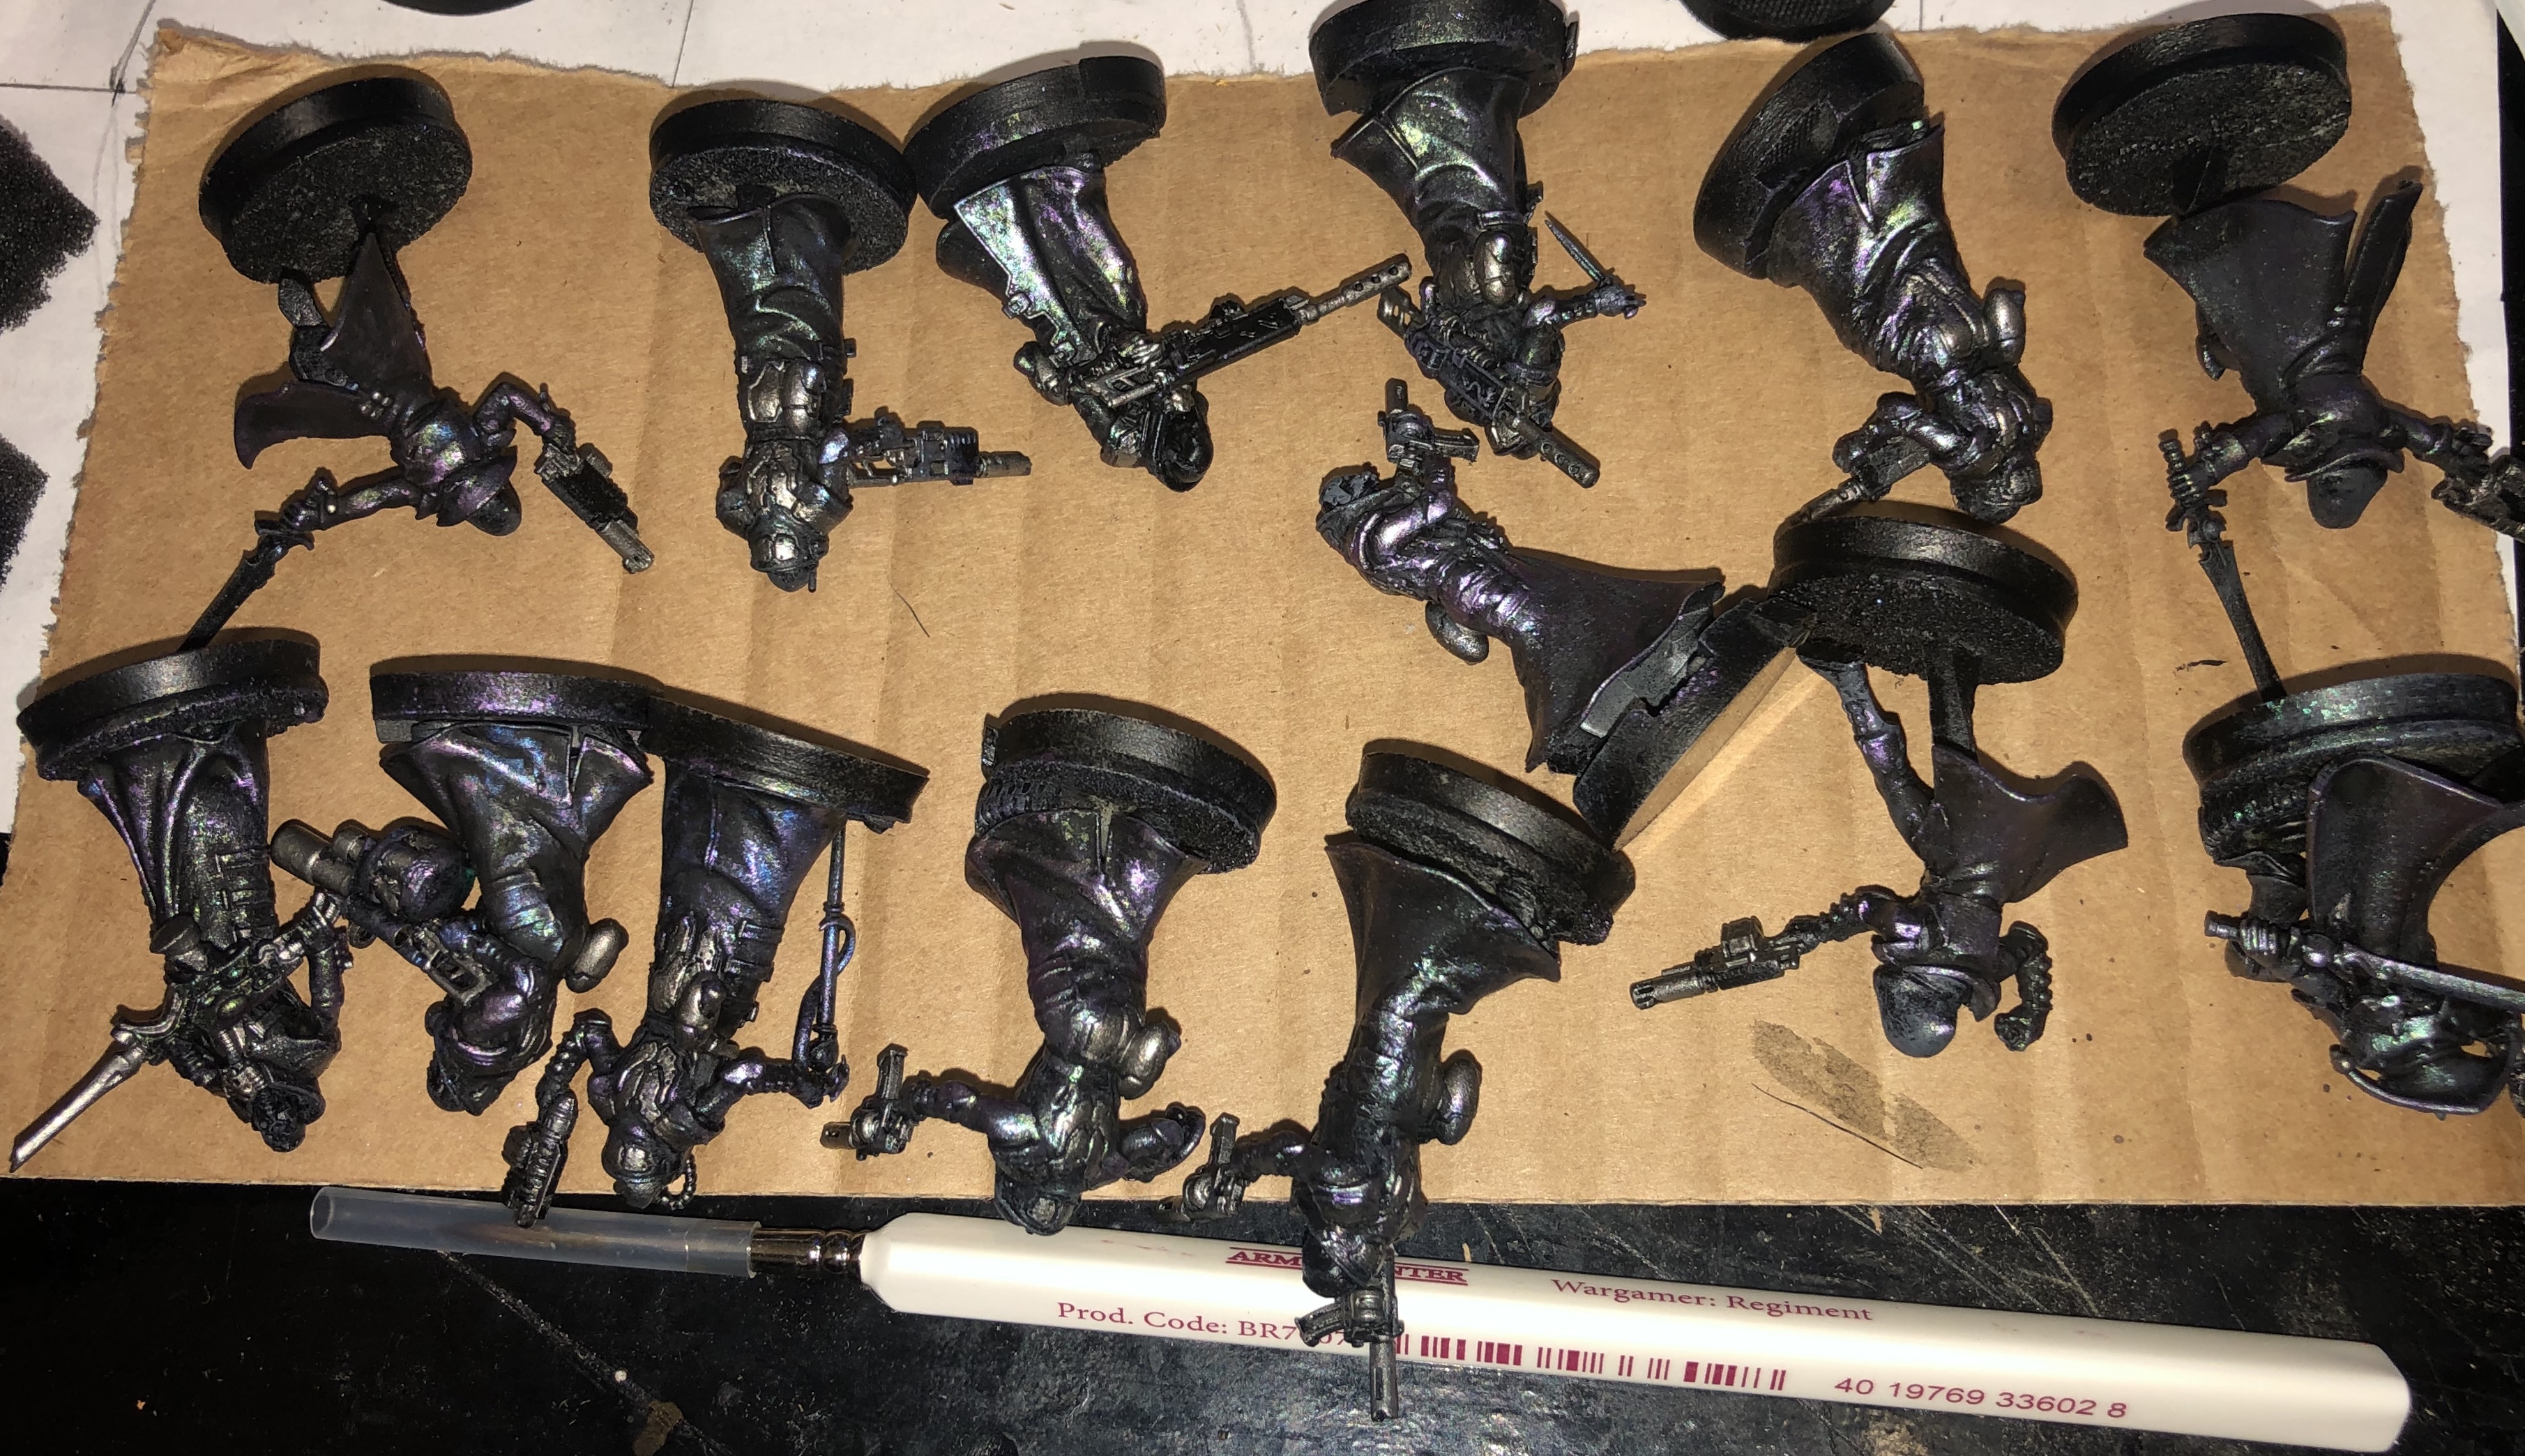
Undercoated with Army Painter black spray; think my can had turned as it’s gone on a bit thick on one or two spots, but nothing major.
Drybrushed with Skavenblight Dinge using a soft goat hair brush I found at The Range; got it because it looked similar to the special drybrush brushes that have been shown in a recent article here on OTT. Don’t think it gives quite the same result as those but does a good job for something that cost less than three quid. Then washed them with Nuln Oil to darken them down a bit
Next I used a bit of foam to sponge on some of GreenStuffWorld’s colourshift paints; hopefully the above pics show off the shift in action.
After that I painted the armour plates and rebreather masks/flasks with Leadbelcher and the hoses and metal parts on the guns with Boltgun Metal.
Next step will be to wash the metal parts with Nuln Oil. Undecided yet on whether to give the coats a wash to to darken them. After that I’ll move onto the coat linings and the bodies of the guns which will be purple and the skin which will be pallid with a blue tint. Will probably use the colourshift paints on the lenses of their ocular implants and possibly on the melee weapon’s too.
WiP Pit Slave
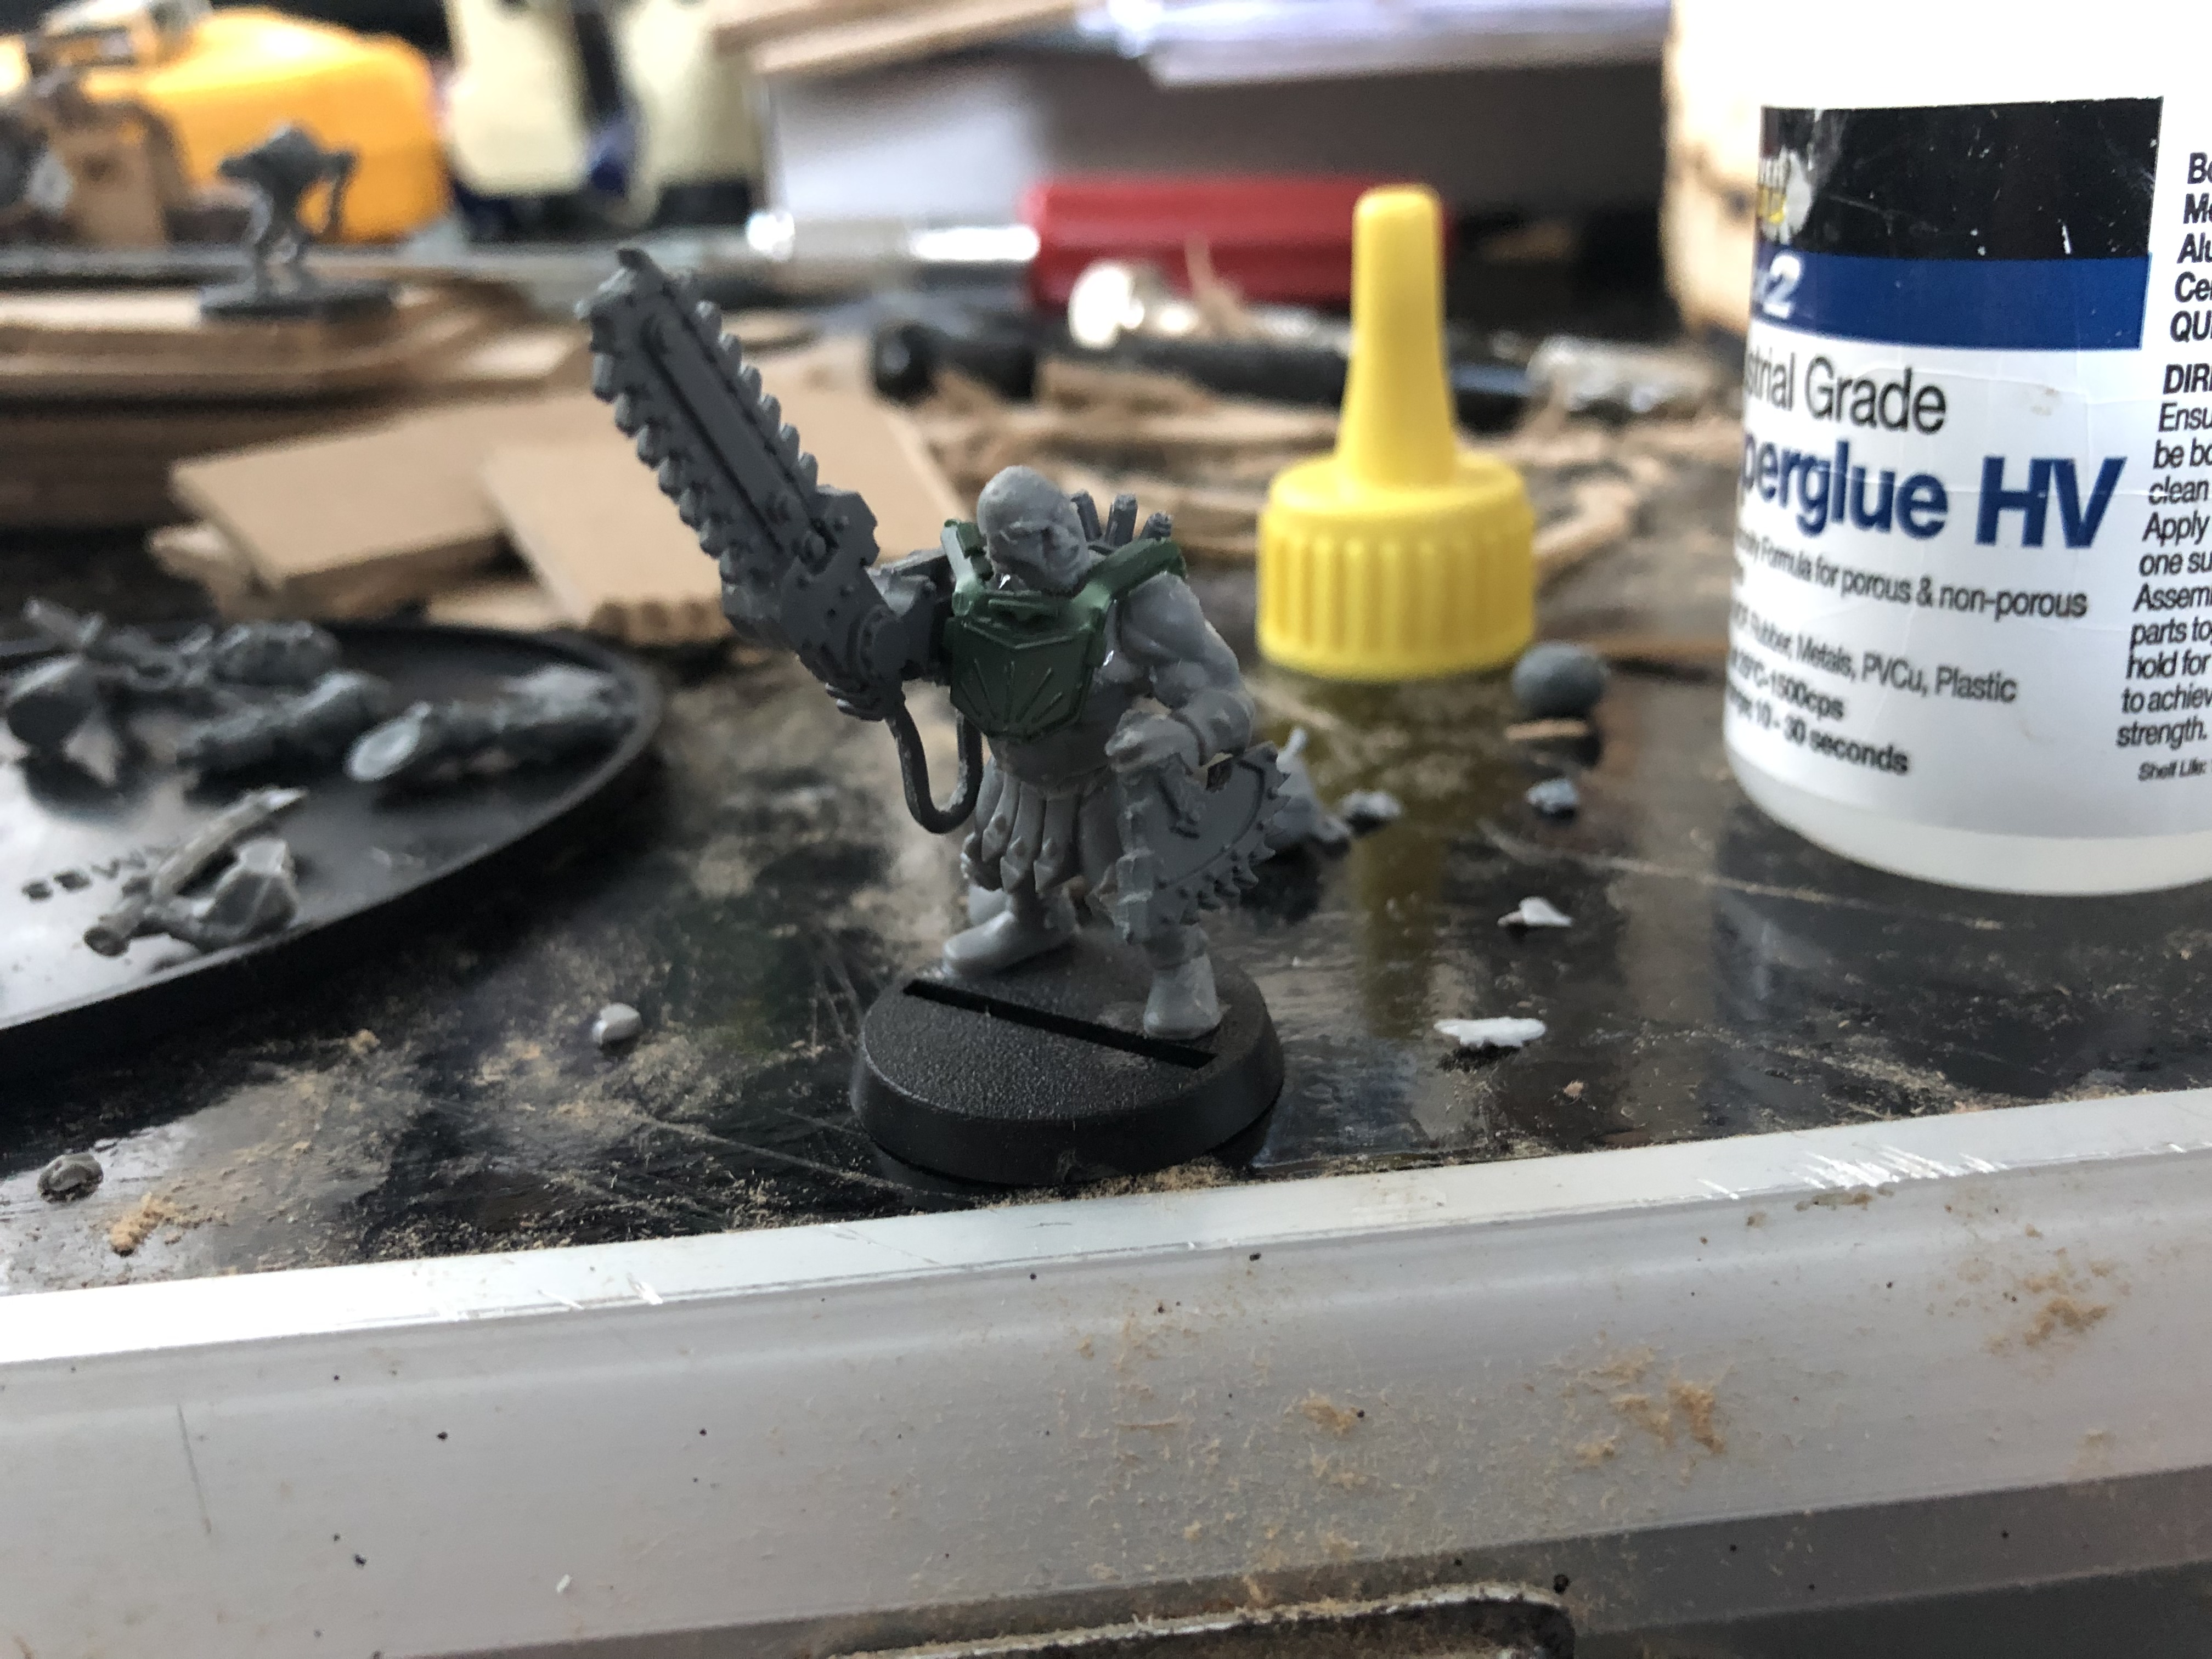 Not a member of the gang, but will possibly use it as an NPC for scenarios; might also be able to double up as Hive Scum.
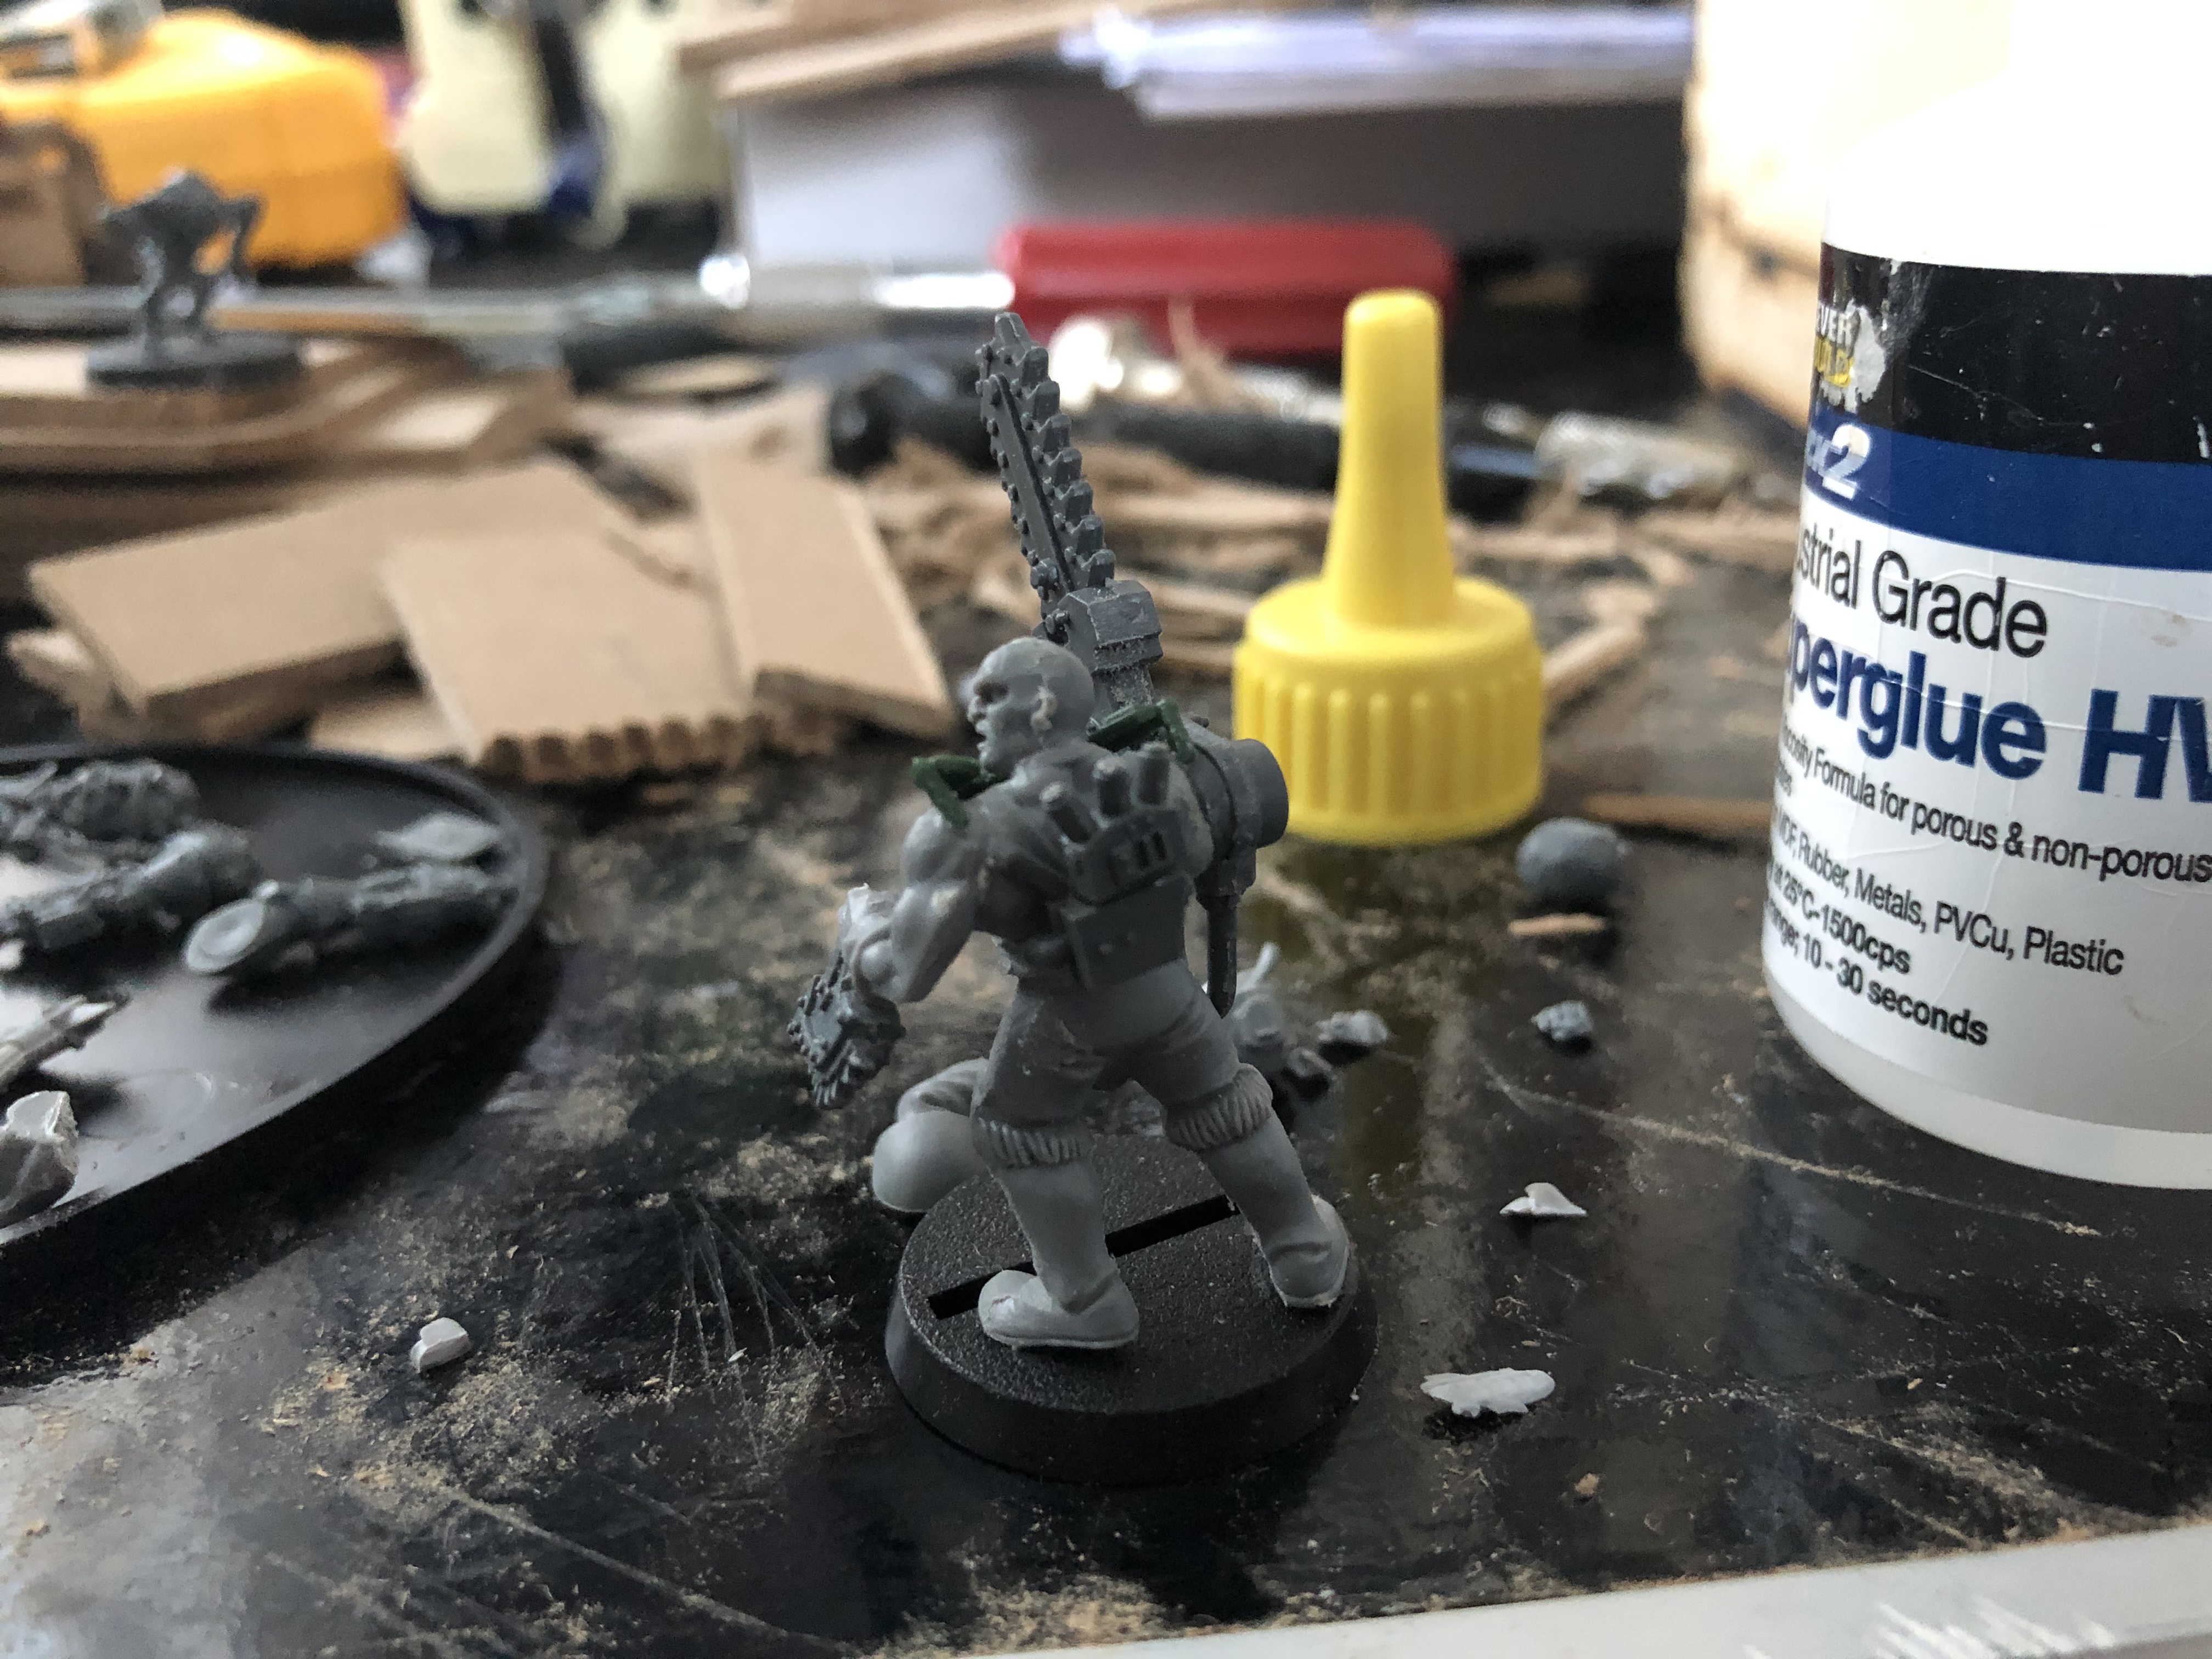 Rear shot
Apartment A interior
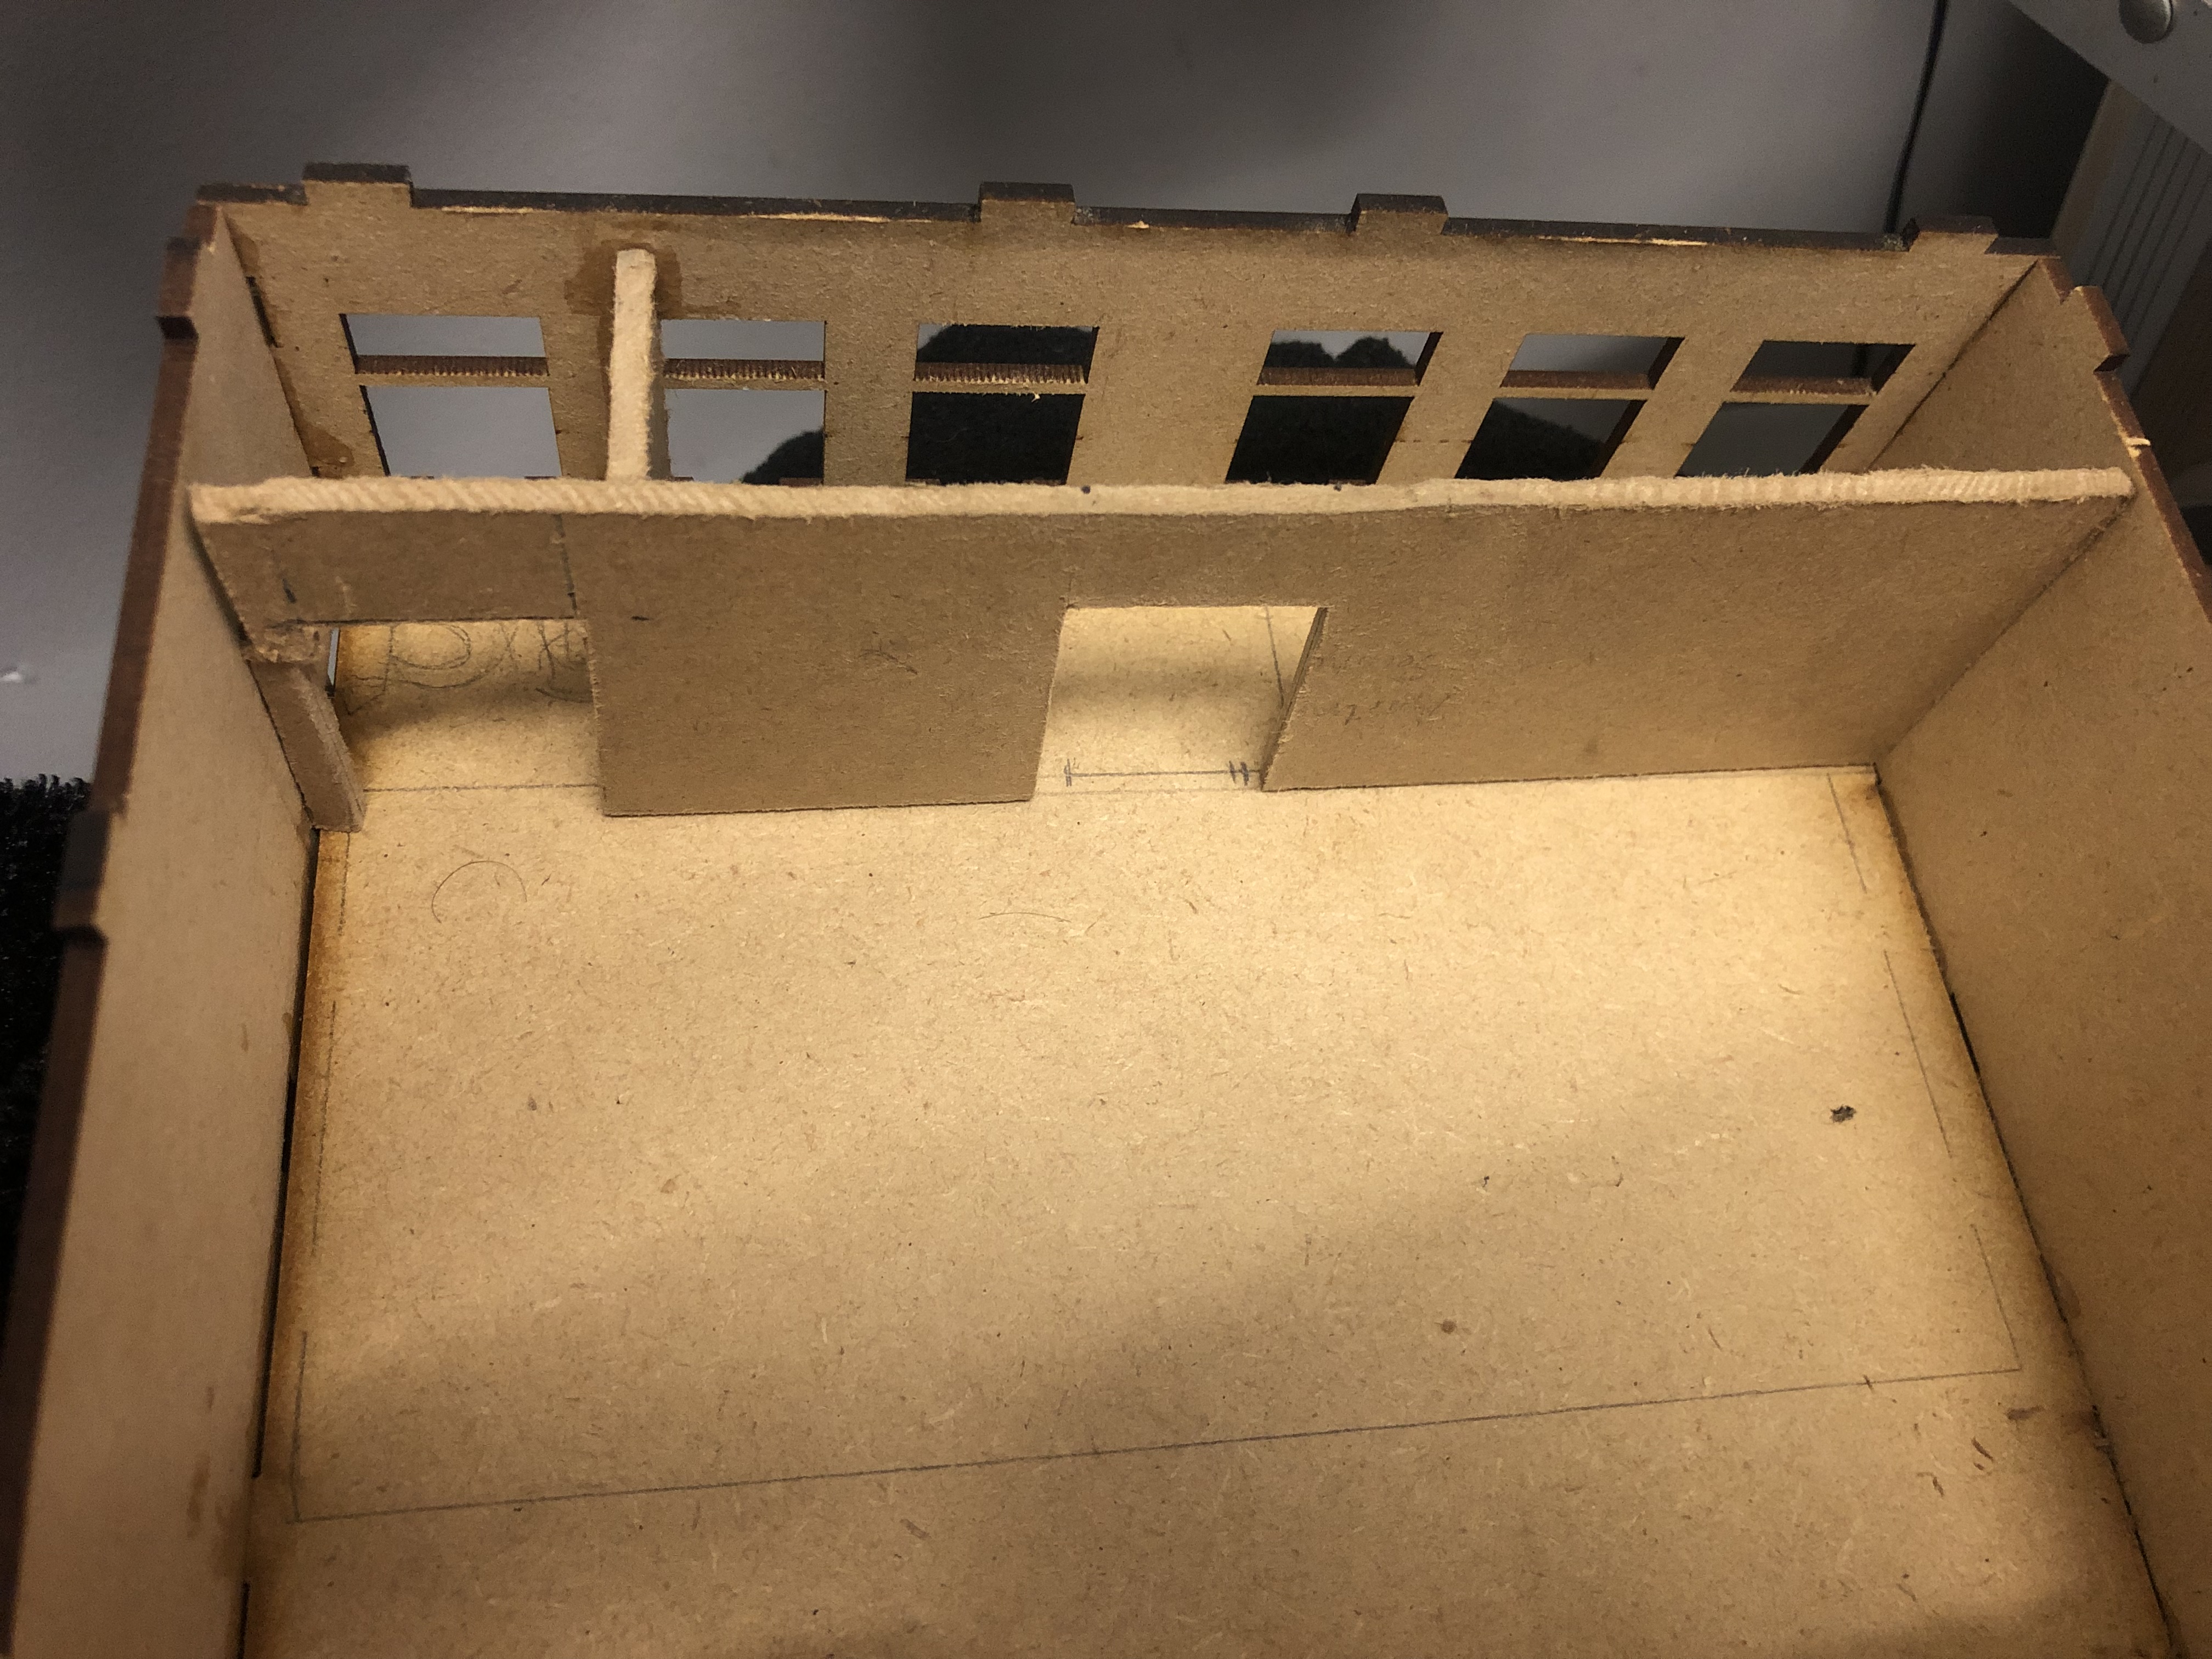 Second floor interior WiP. Will be a pdf barracks (need to make/buy bunks)
 First floor WiP. Need to add doors to the rooms and furnish them.
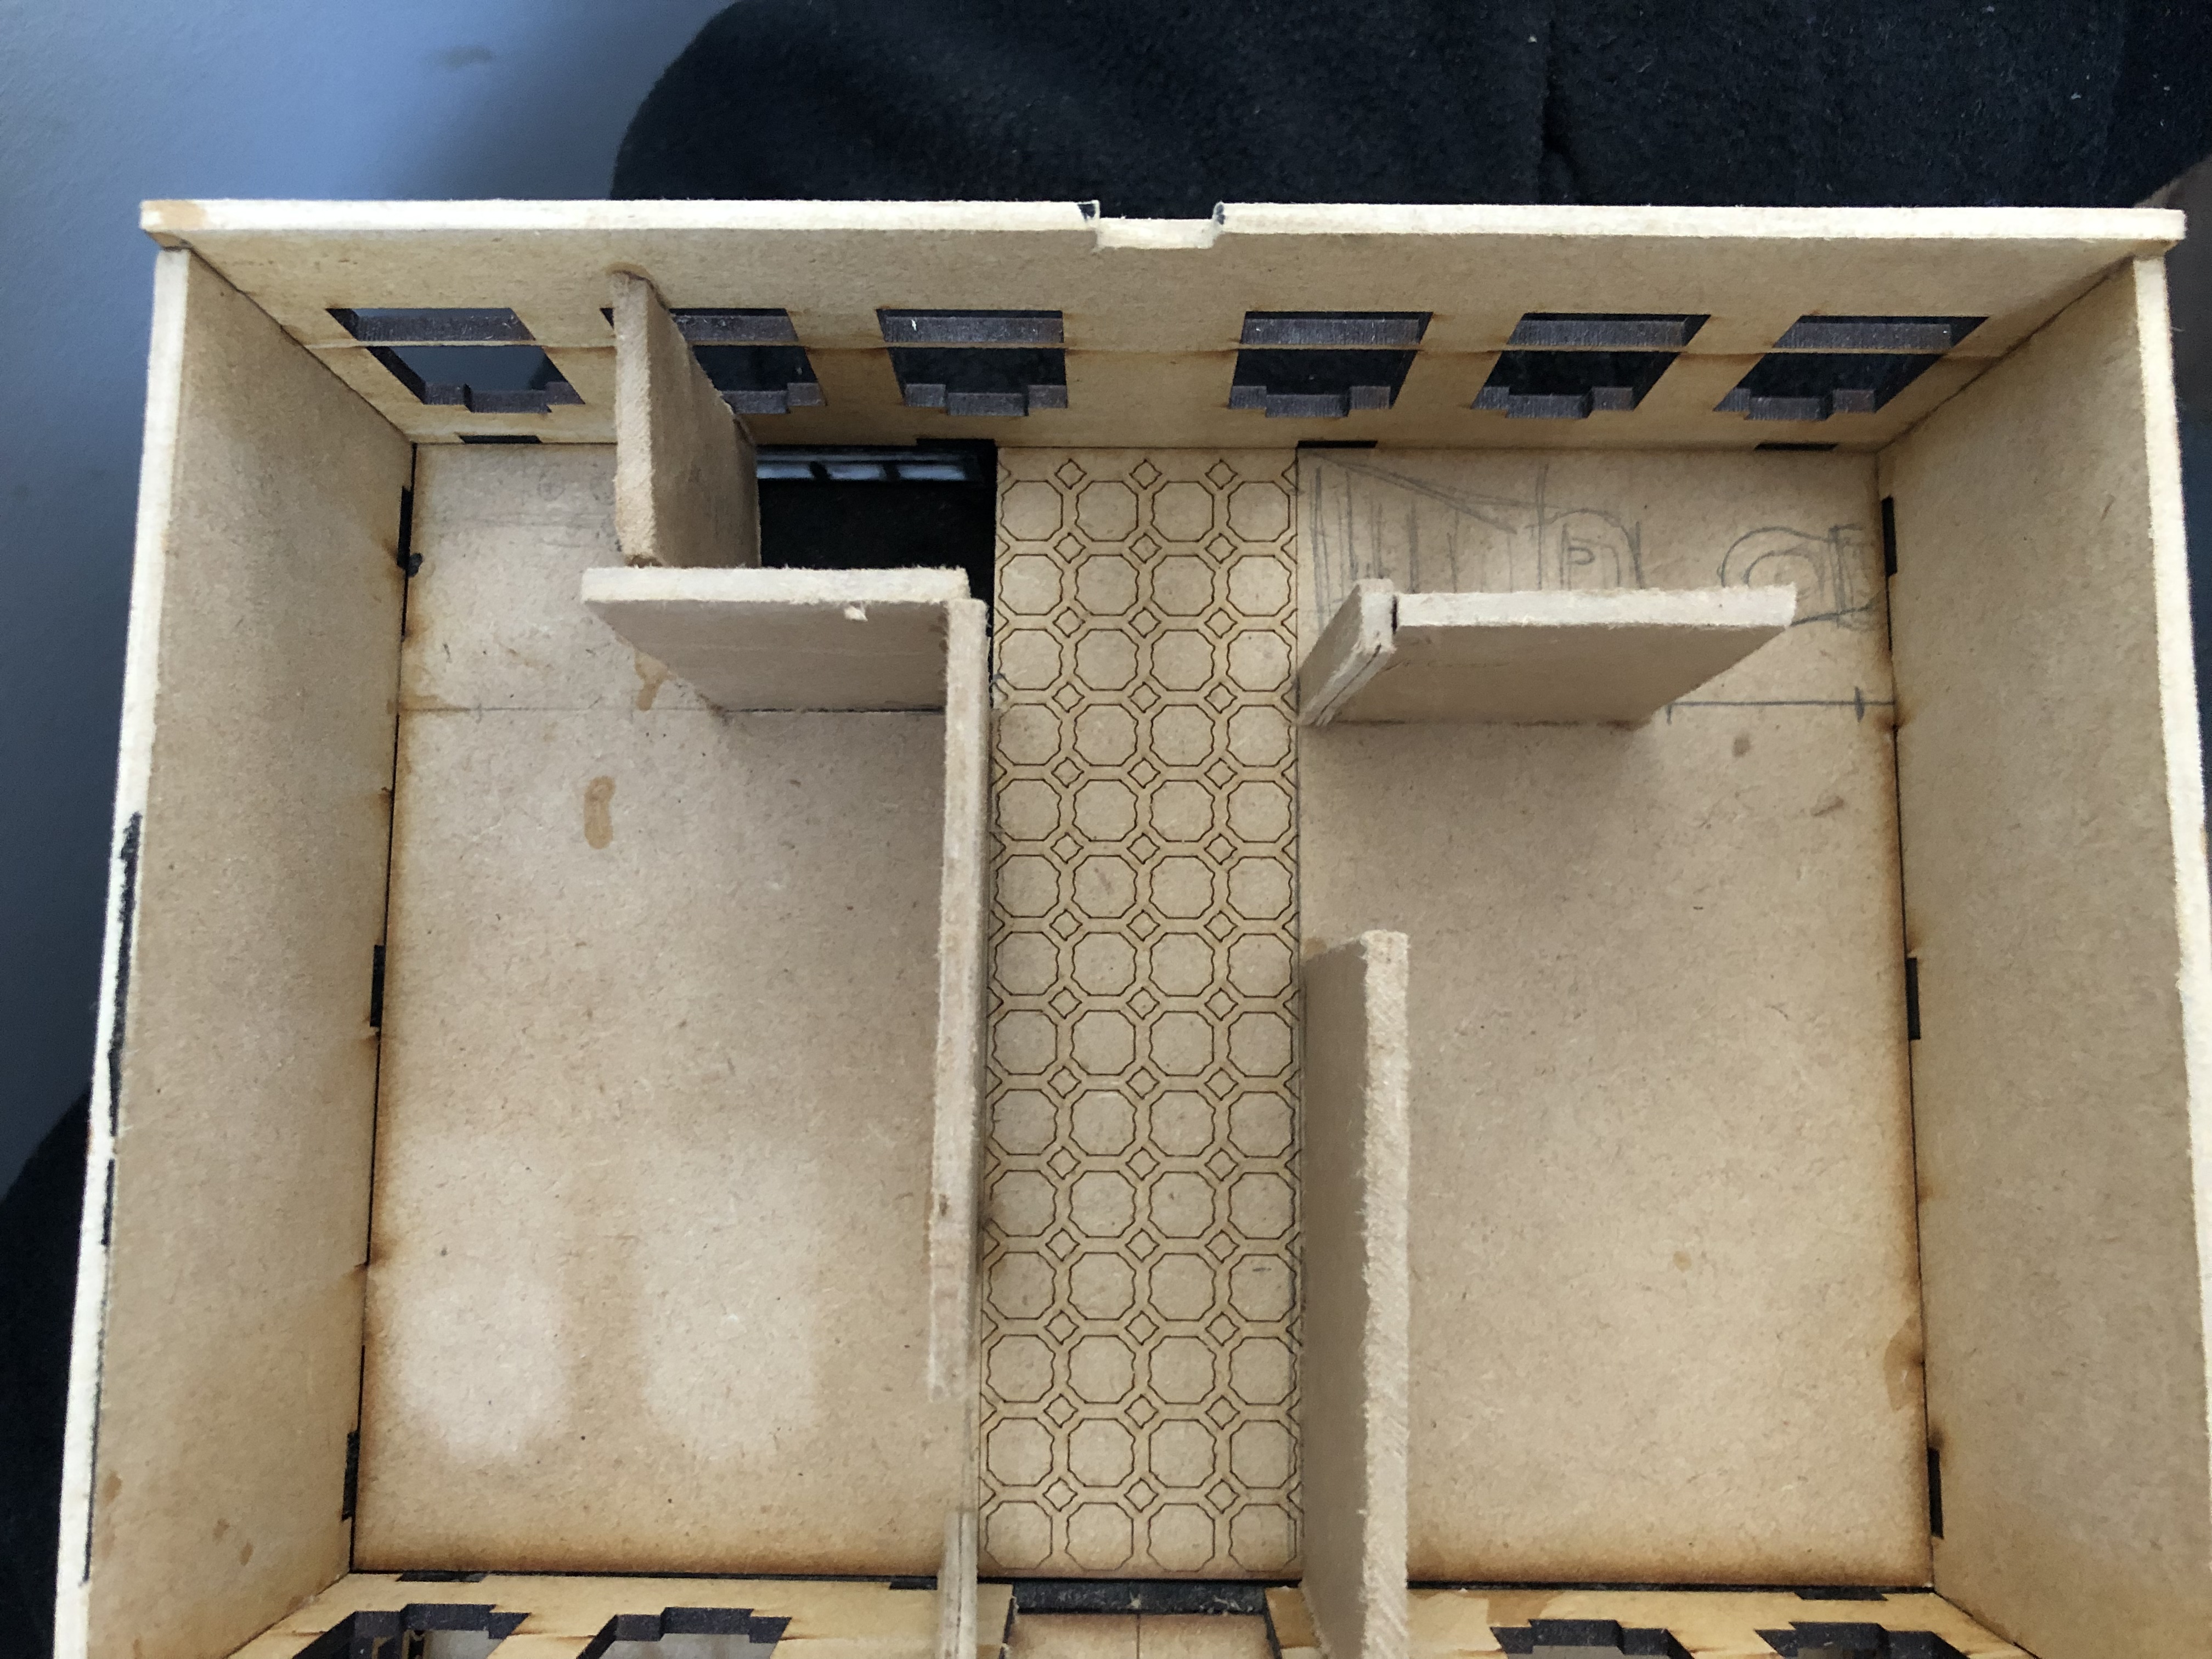 Ground floor WiP. Since taking this photo I’ve added stairs leading to the next floor.
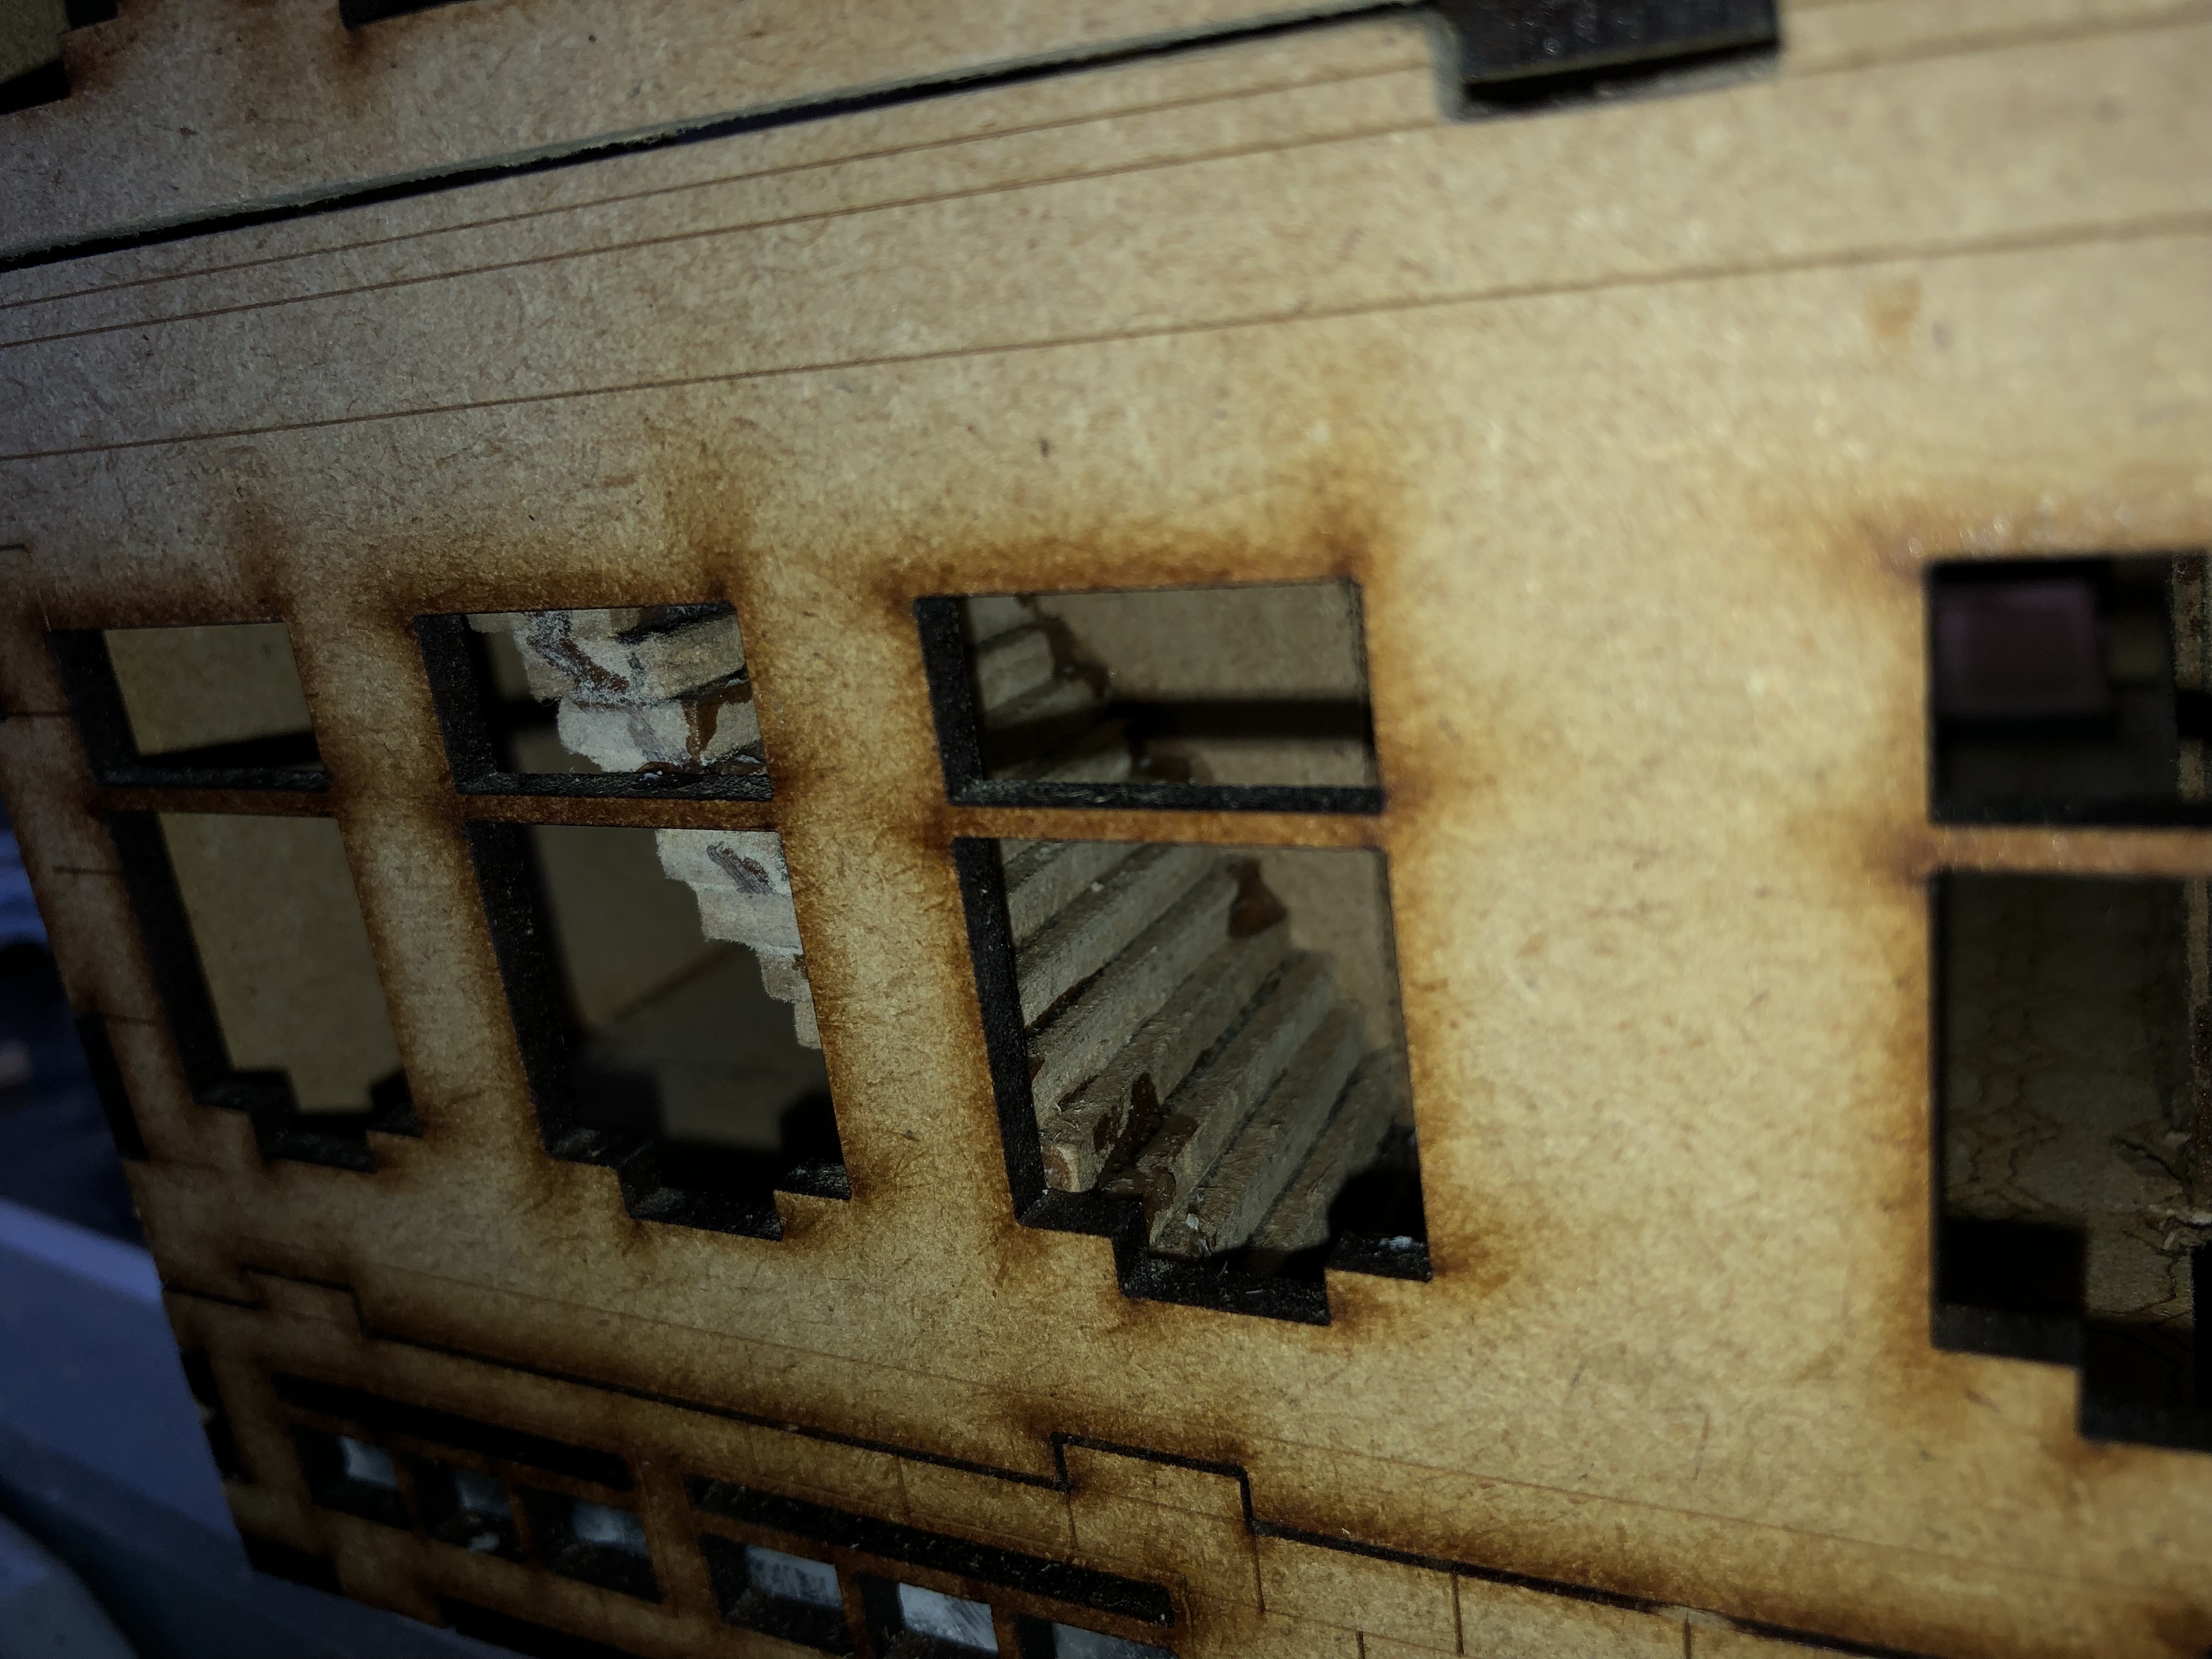 Stairs WiP.
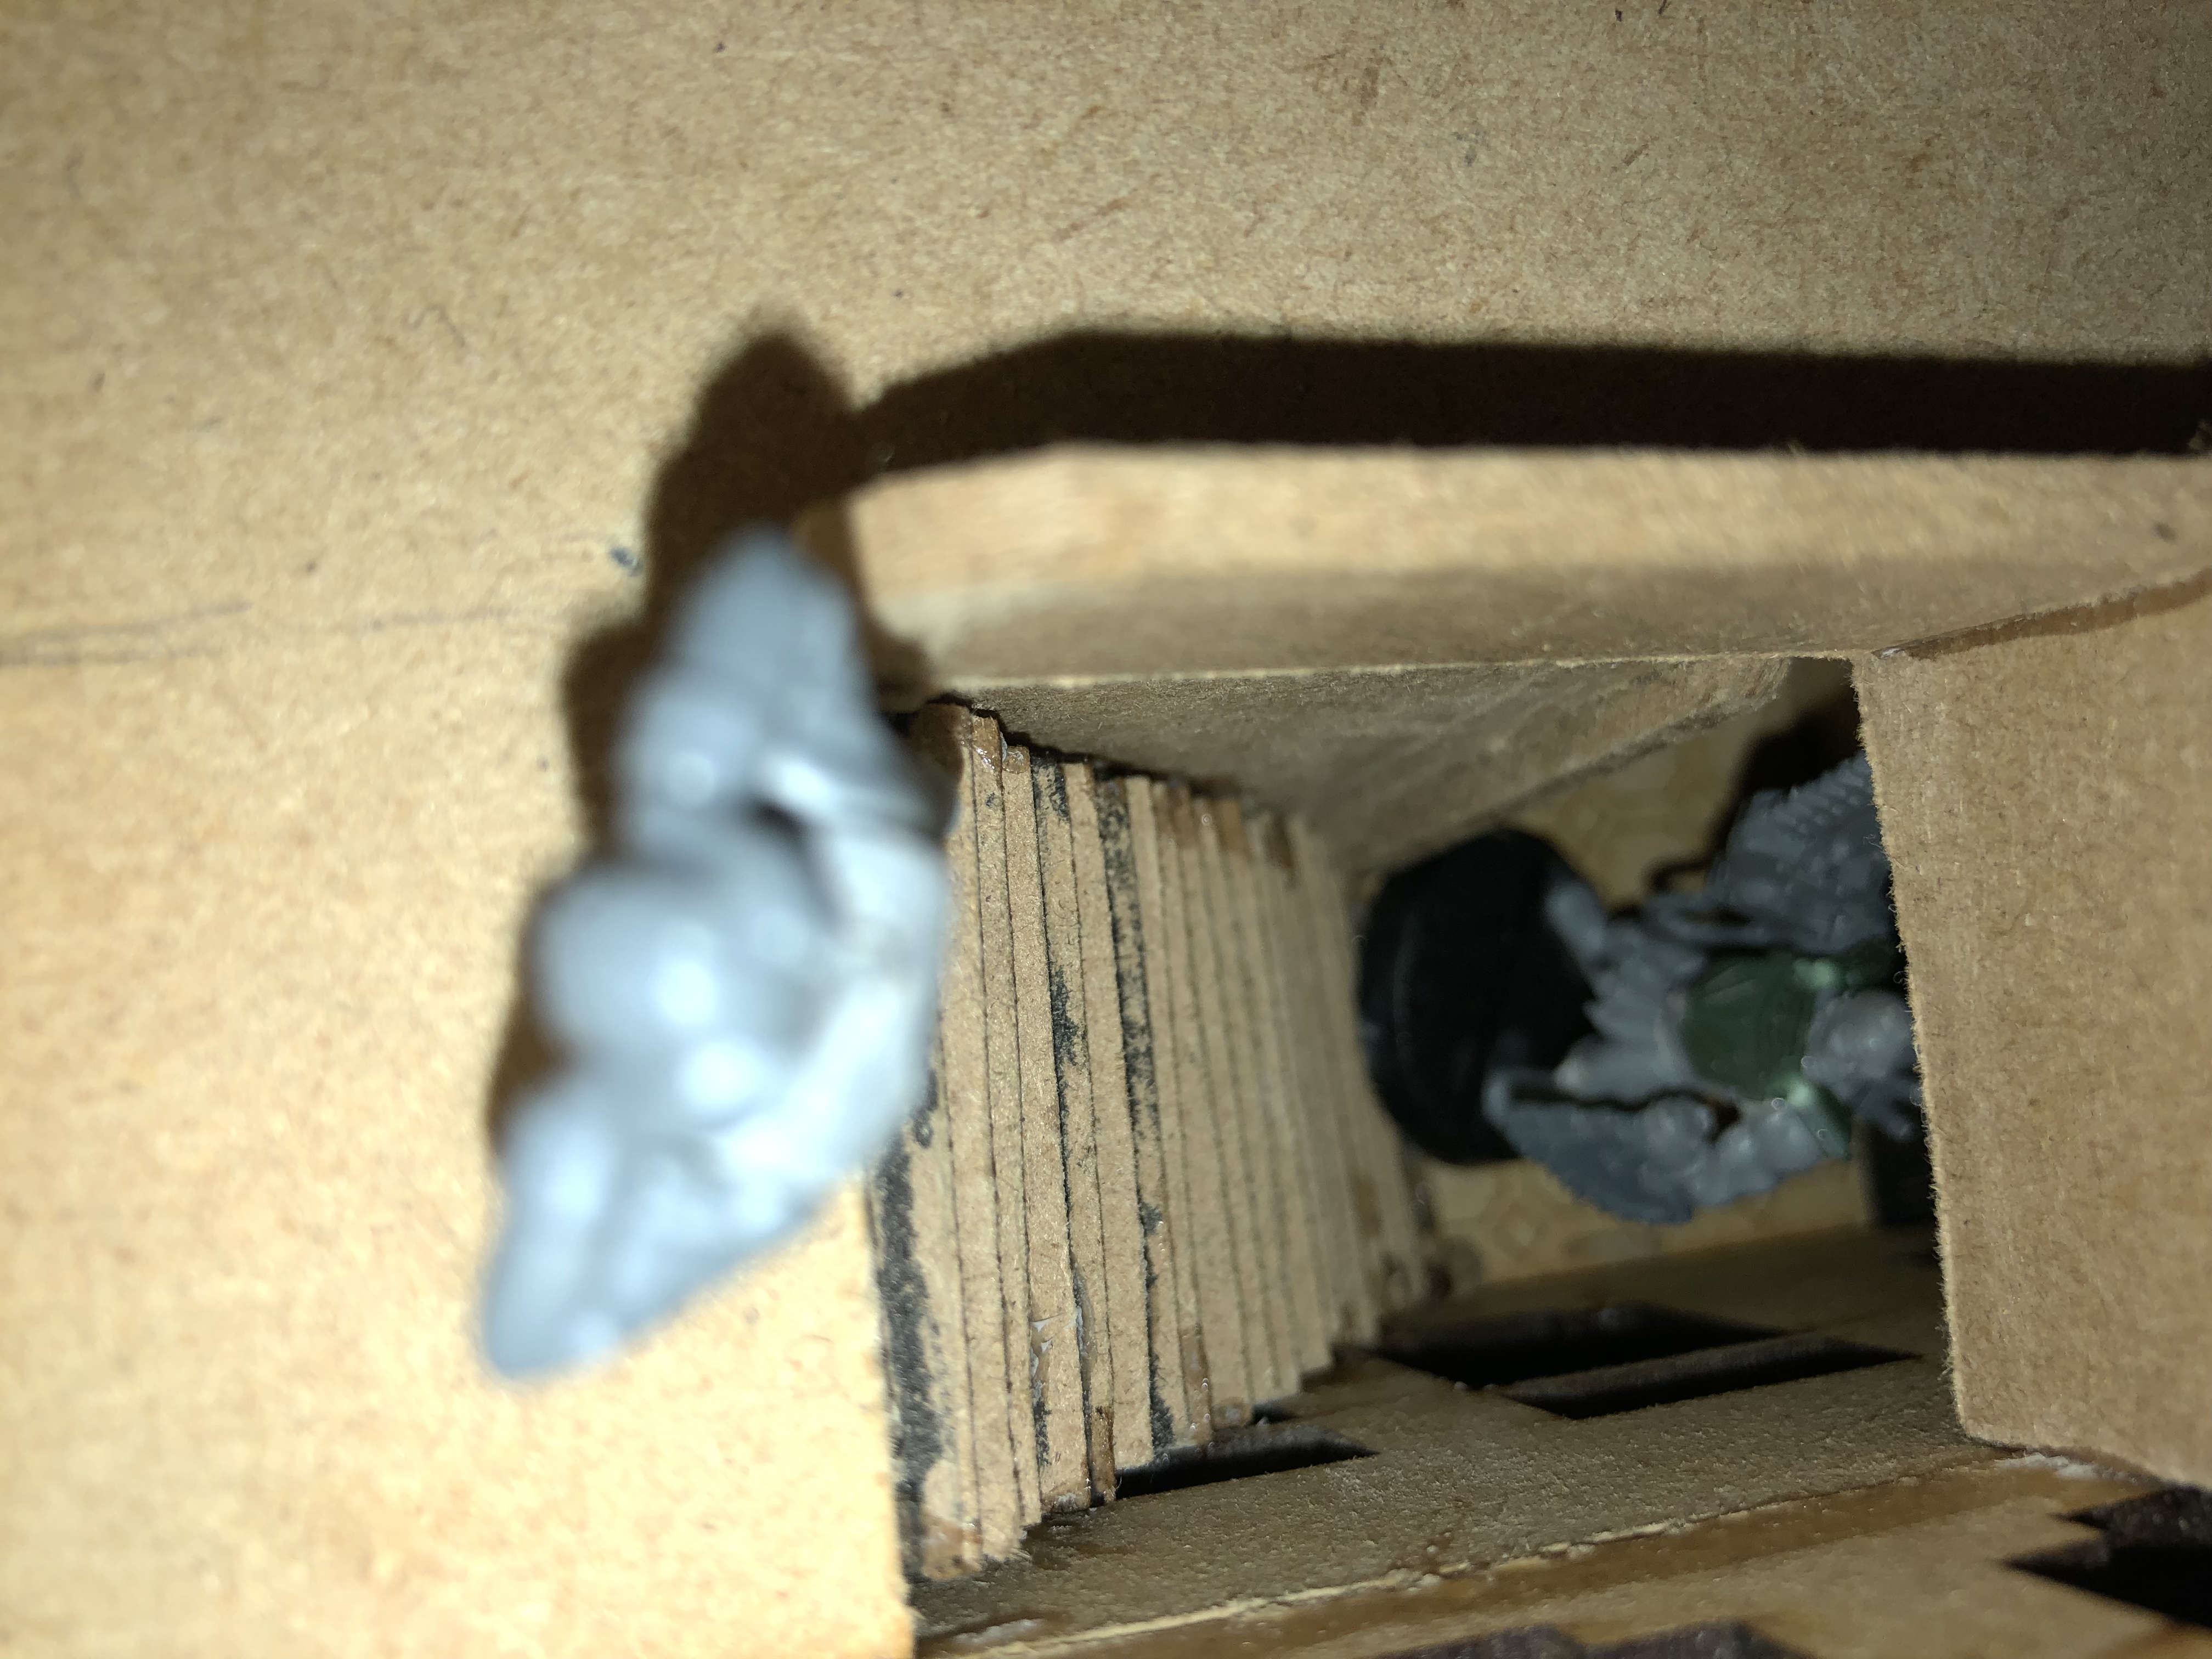 Stairs WiP.
Interiors
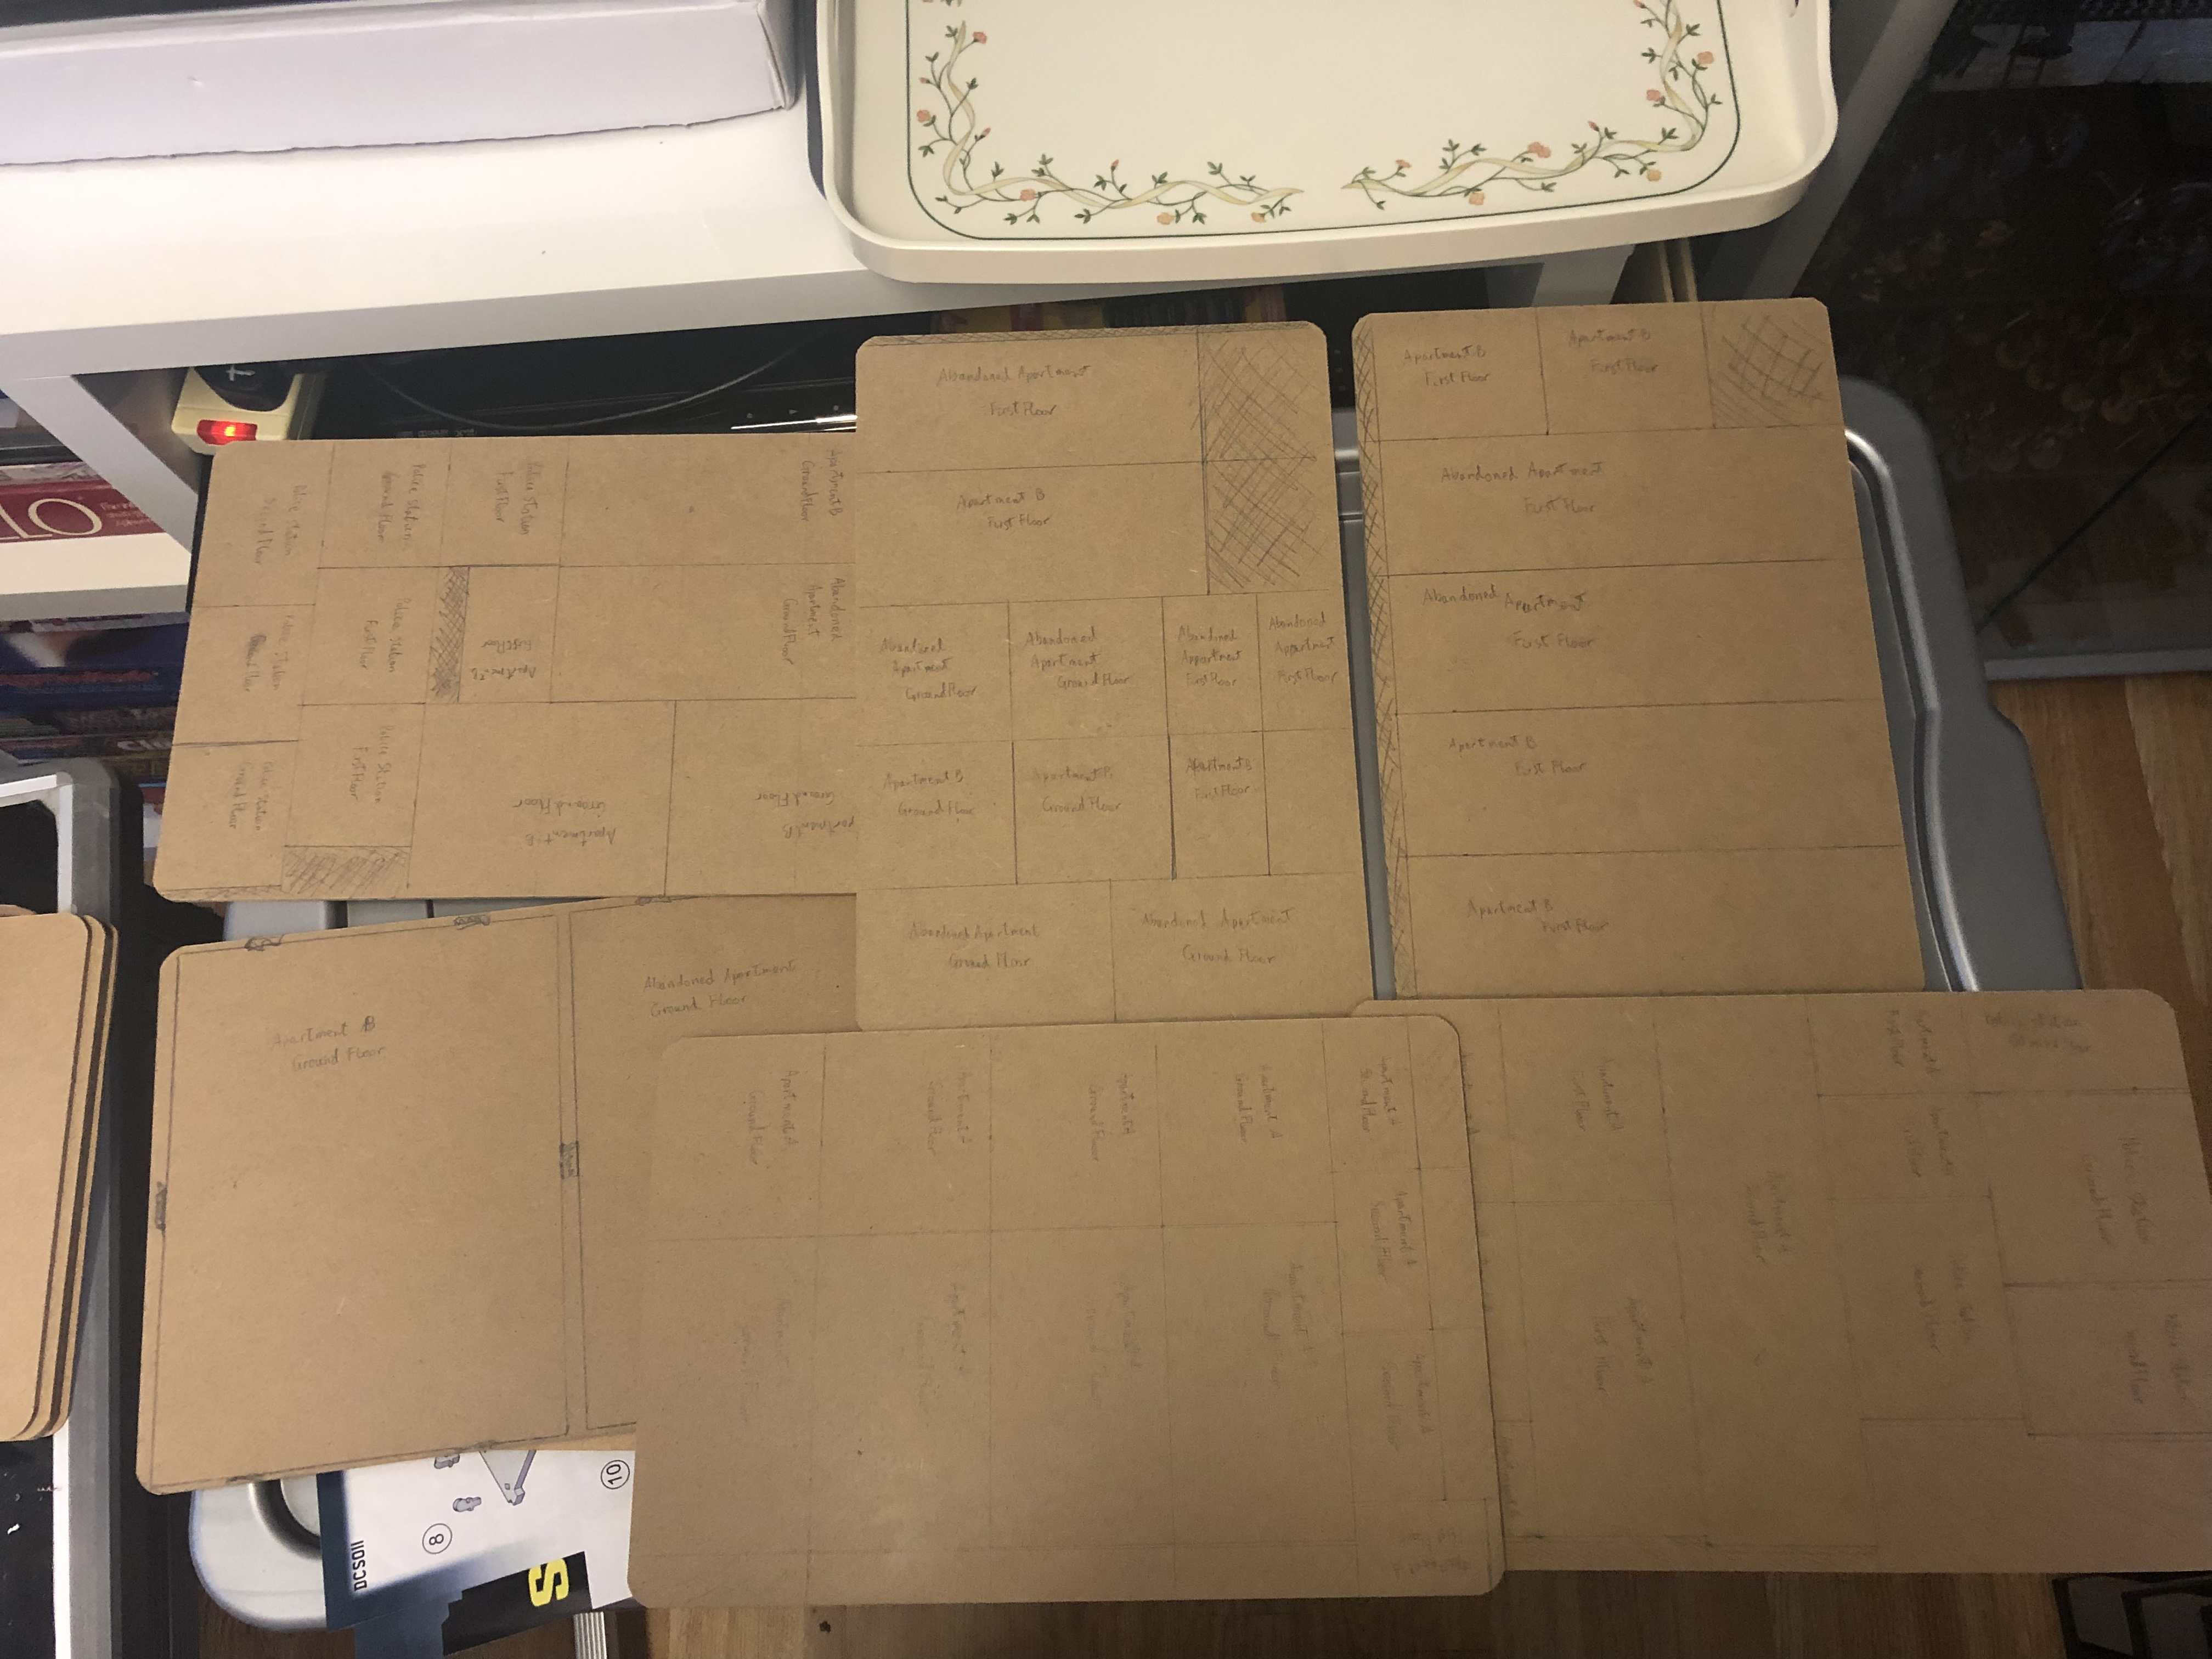

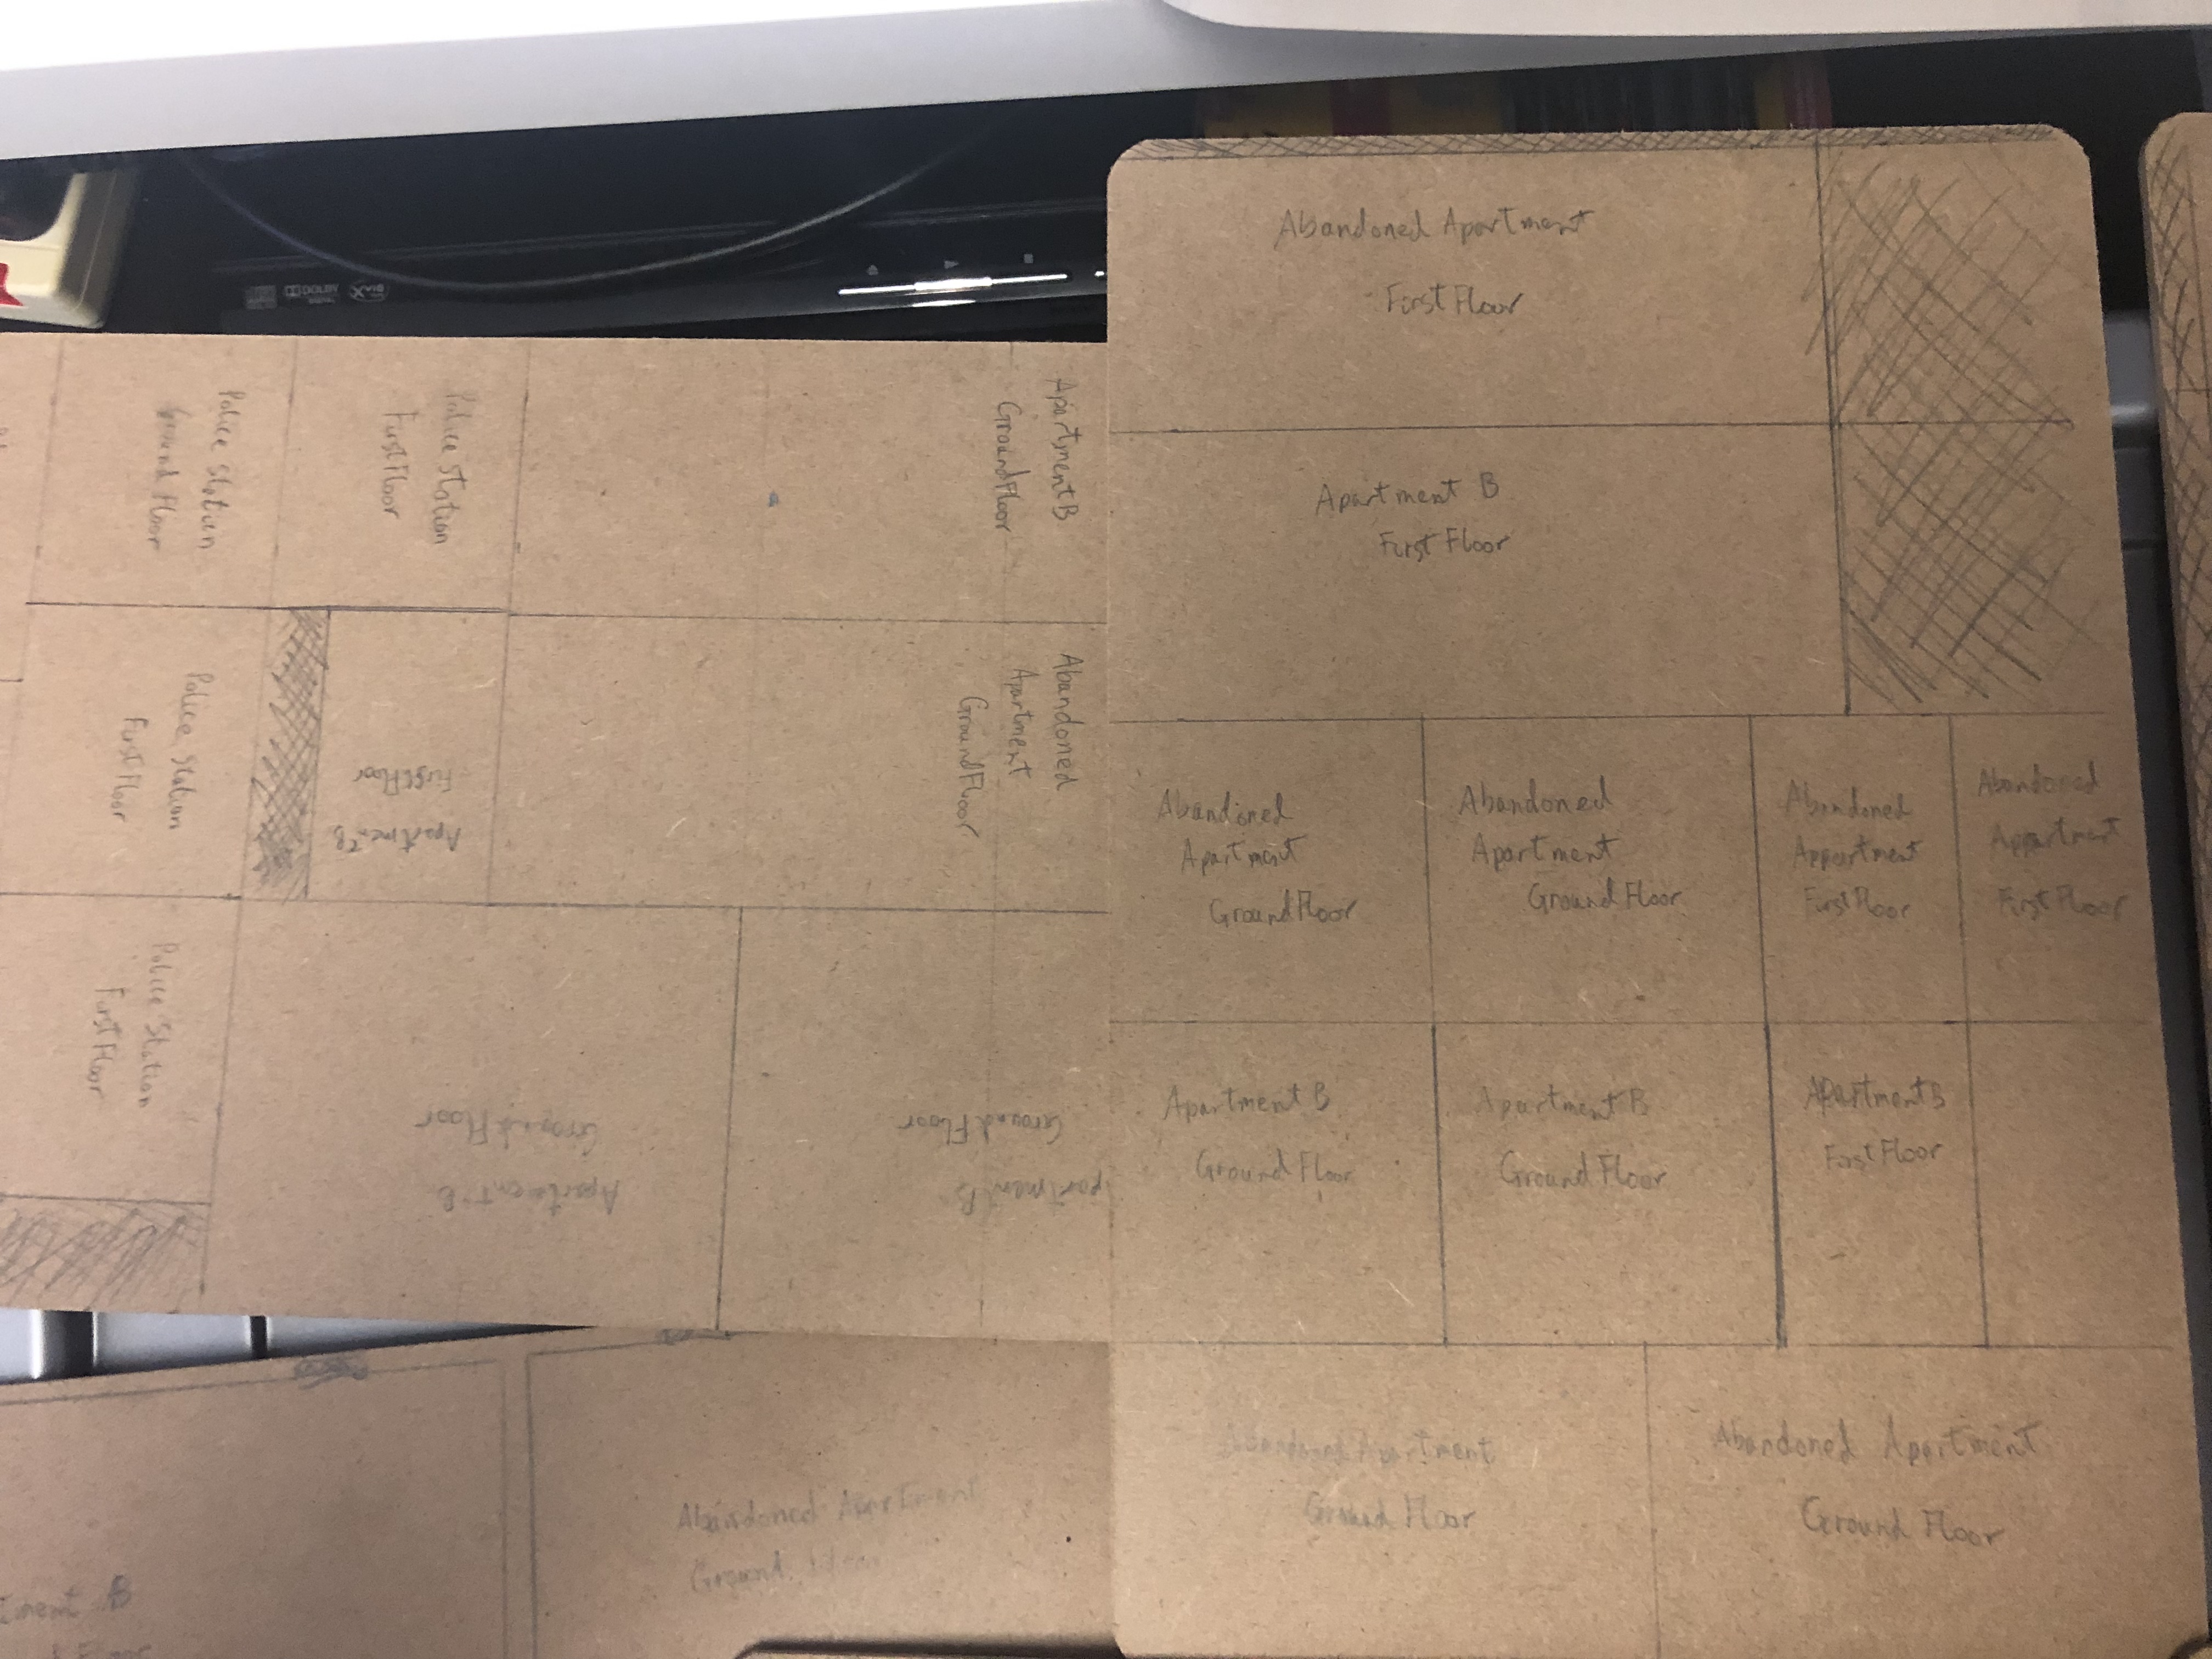

Spent this afternoon drawing out interior walls and floors for the buildings; shaded areas are ‘scrap’. Was actually short of bits to do everything but I decided it wasn’t worth starting another sheet, especially as one of the buildings is supposed to be abandoned/ruined so I figure I can get away using the aforementioned ‘scrap’ bits as where they’ll leave gaps will just further reenforce the look of delapidation. 😉


