![NO Weekender Or Cult Of Games XLBS This Weekend [Updated]](https://images.beastsofwar.com/2026/03/No_Weekender_and_XLBS_this_Weekend-225-127.jpg)


Building a pub interior by Jo from Oathsworn


Recommendations: 513
About the Project
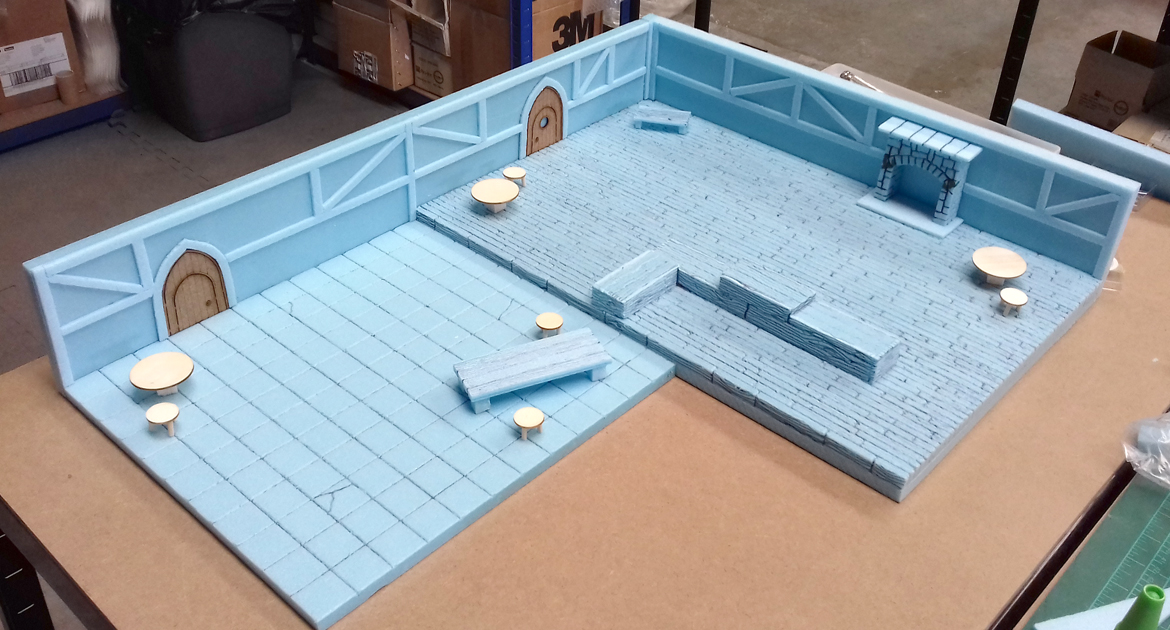
Hi, I'm Jo from Oathsworn and I'm having a go at building a playable pub interior for a Burrows & Badgers scenario
Related Game: Burrows & Badgers
Related Company: Oathsworn Miniatures
Related Genre: Fantasy
This Project is Active
Part 13
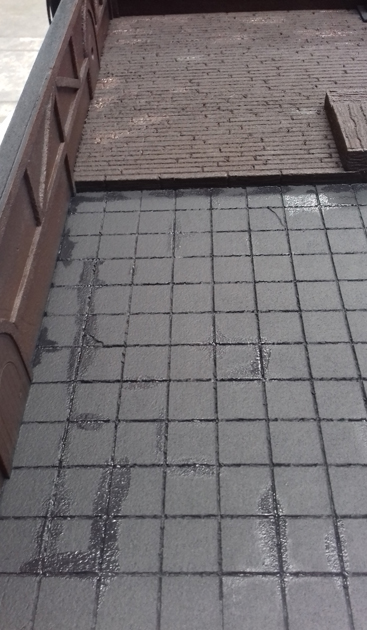
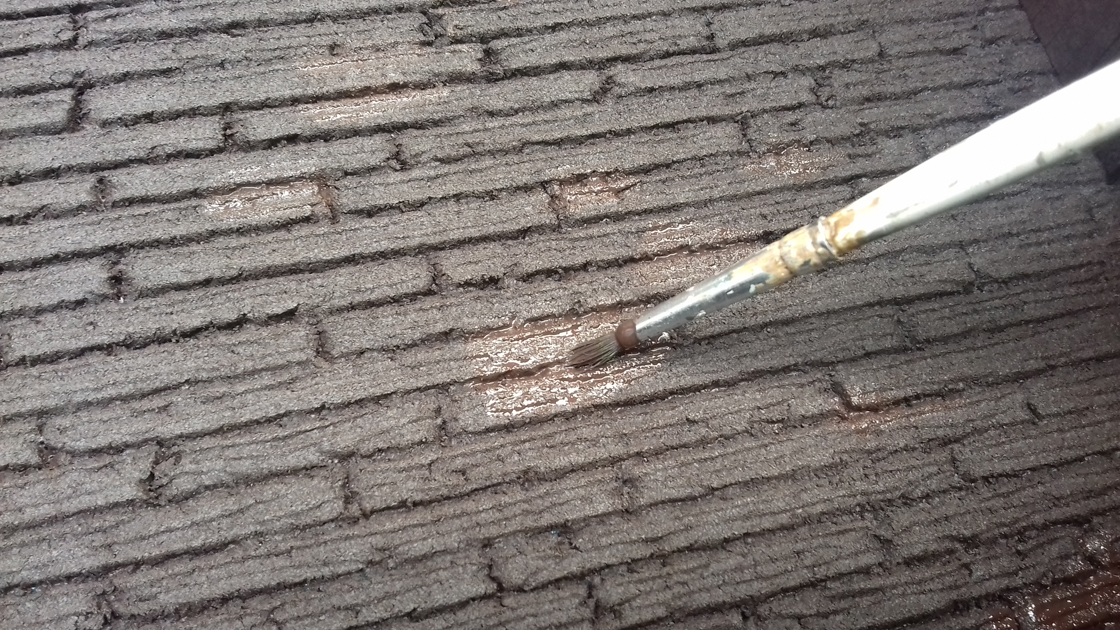
The tiled floor was then left to dry.
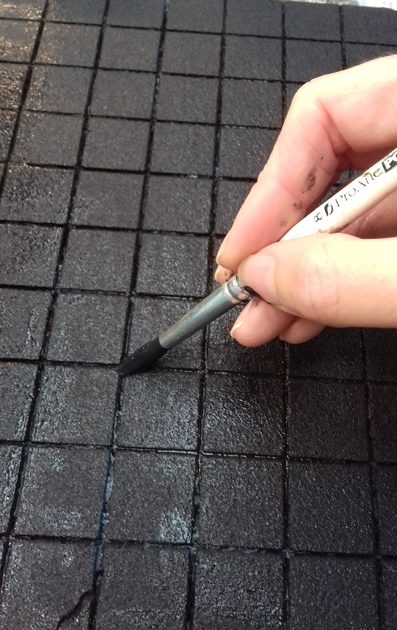
I then brushed a thinned mix of black & brown paint into all the gaps between tiles including the cracked areas.
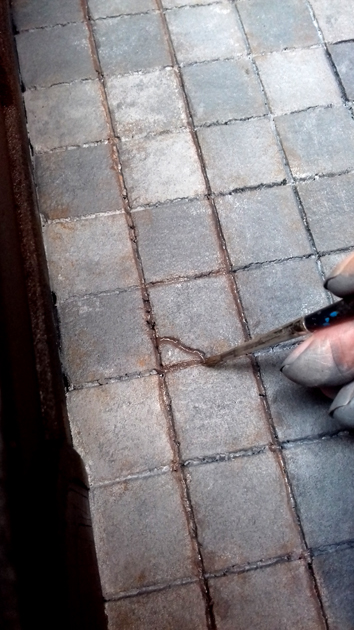
It was again left to dry.

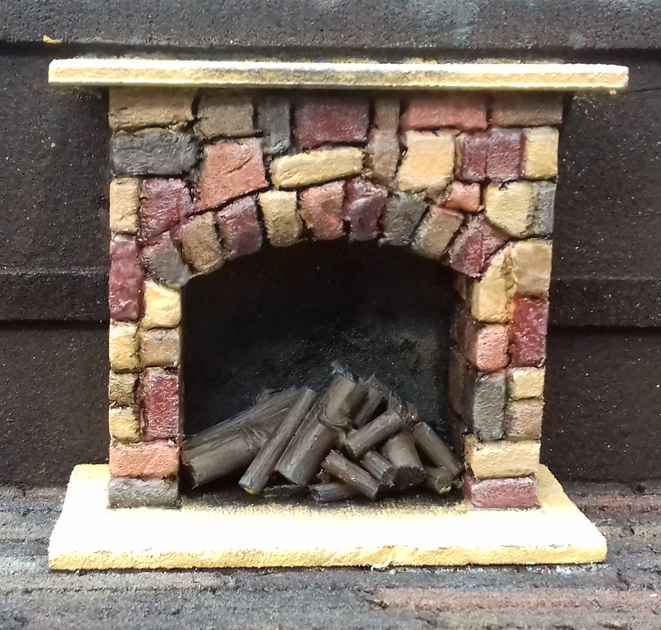
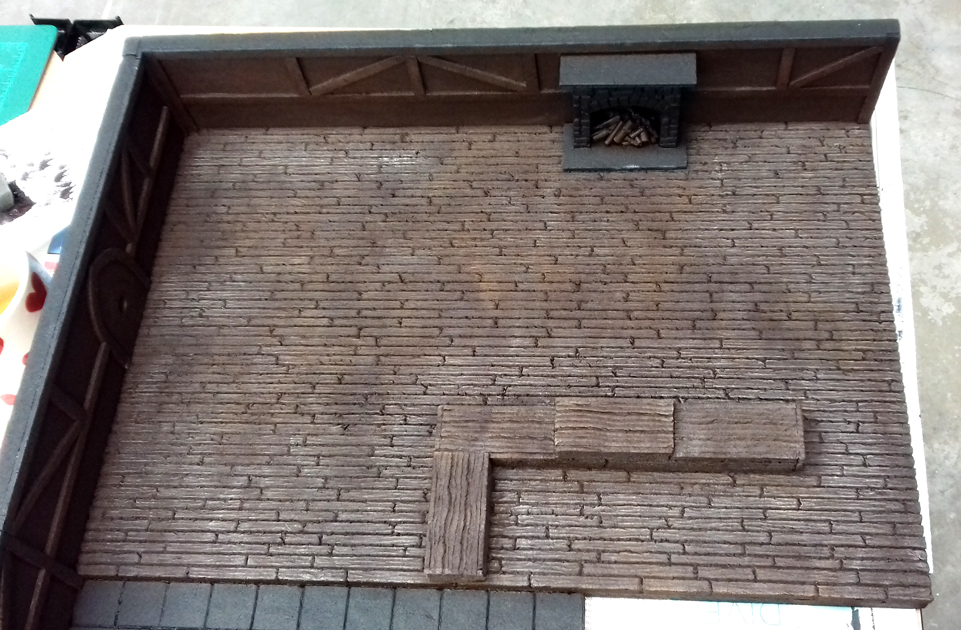
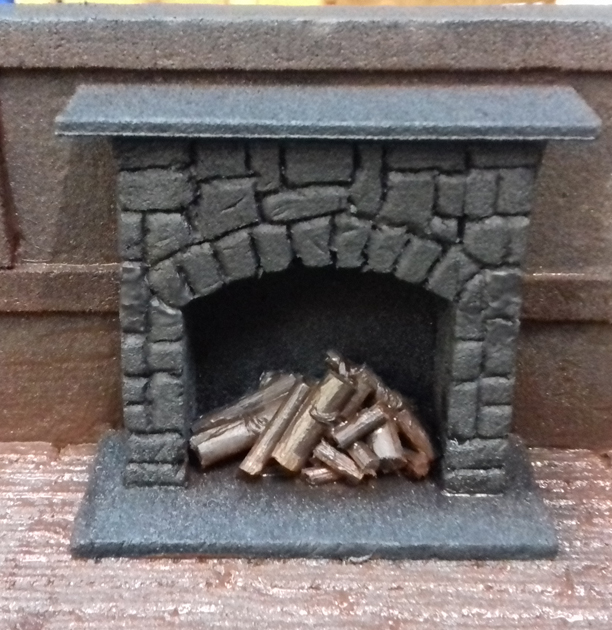
I then turned my attention to the fireplace giving The stonework a coat all over with ‘Ivory’.
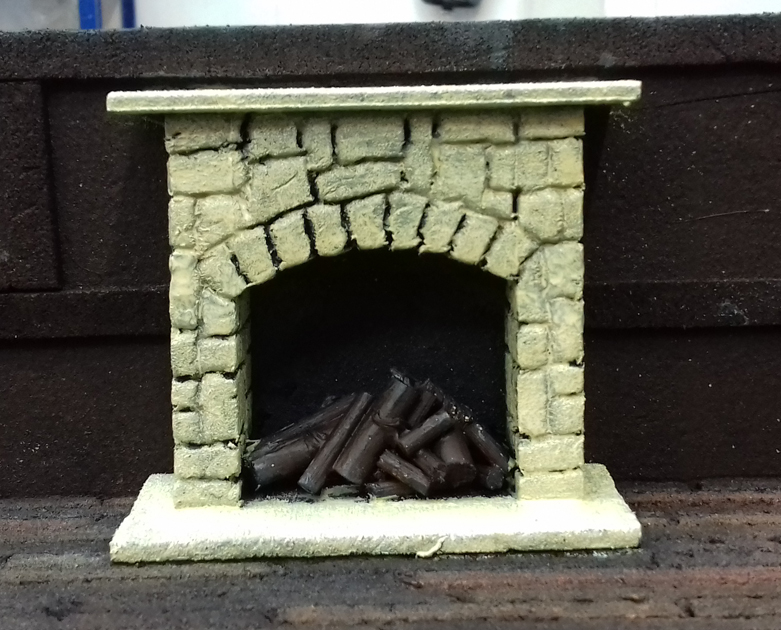
I thought the stones would look good with a patchwork of colours. So alongside black & white paints I picked out a variety of colours that I thought would go together.

I started with one colour and after painting a few random stones I then moved onto another colour until I felt it looked right. In the end the colours I used were ‘Red Leather’, ‘Leather Brown’, ‘Burnt Cad. Red’, ‘Ochre Brown’ and ‘Yellow Ochre’. The stones were then given a dry-brush with white to tone them down a bit and then I painted between the stones with a black wash. The hearth & mantle were painted & dry-brushed with ‘Ochre Brown’, ‘Yellow Ochre’ & ‘Ivory’ to hopefully look like sandstone (it’s turned out a bit bright in the photo though). I also dry-brushed some black on the front stones and mantle to give the impression of soot.
Part 12
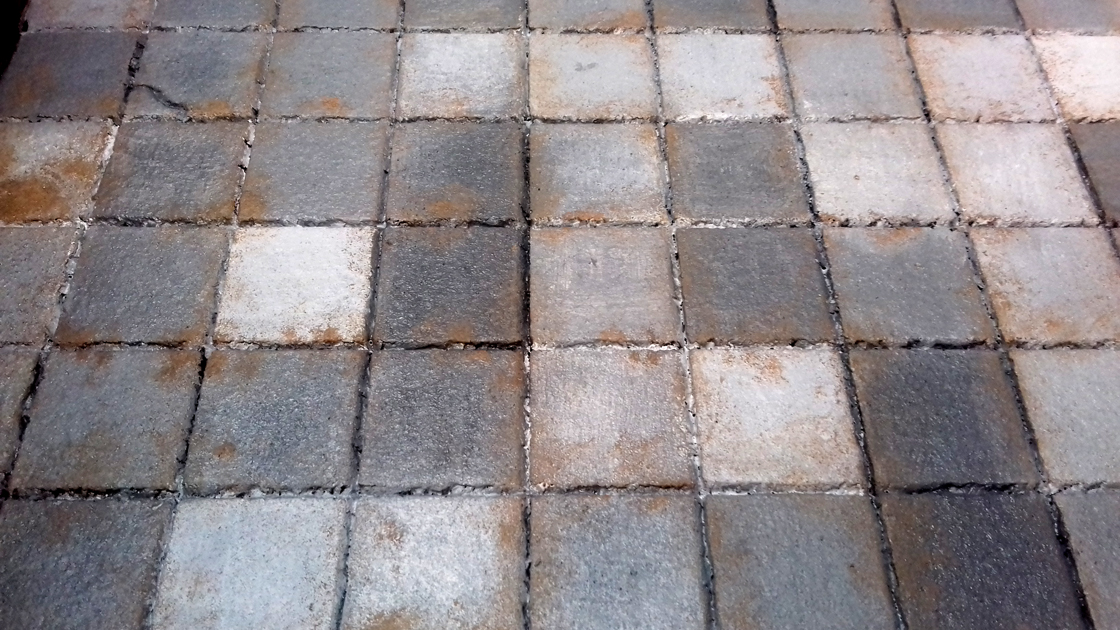
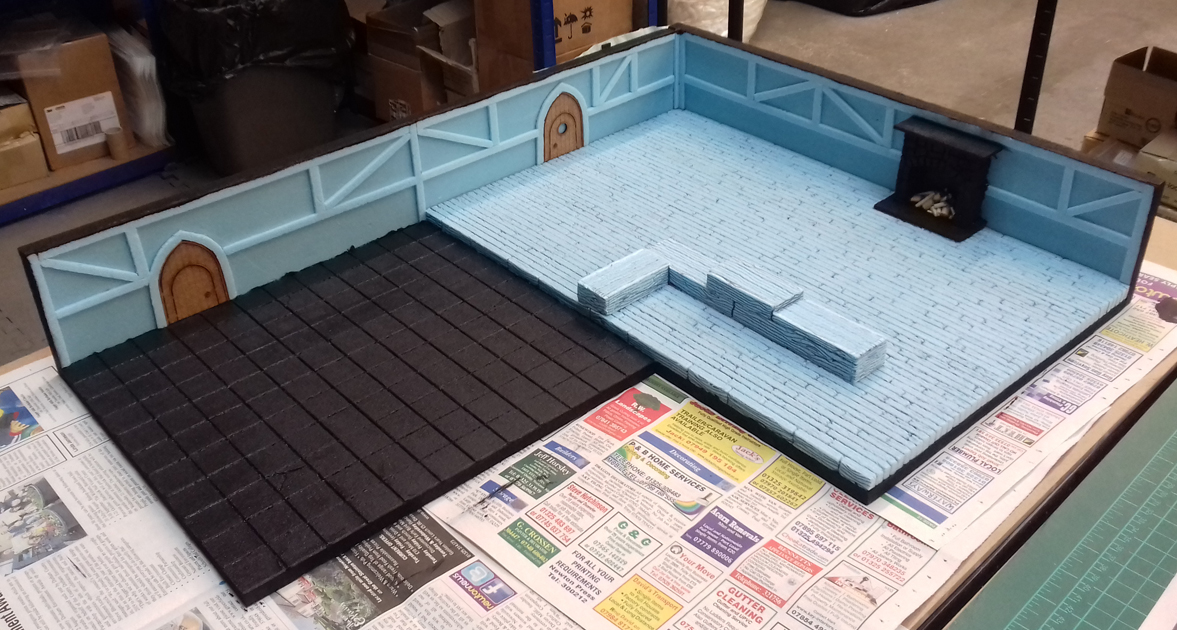
Next I moved onto the tiled floor area. The design I was working from showed the floor as being coloured in various shades of grey so I picked white and black acrylic paints for this part.

I then mixed together different quantities of black & white to create shades of grey.
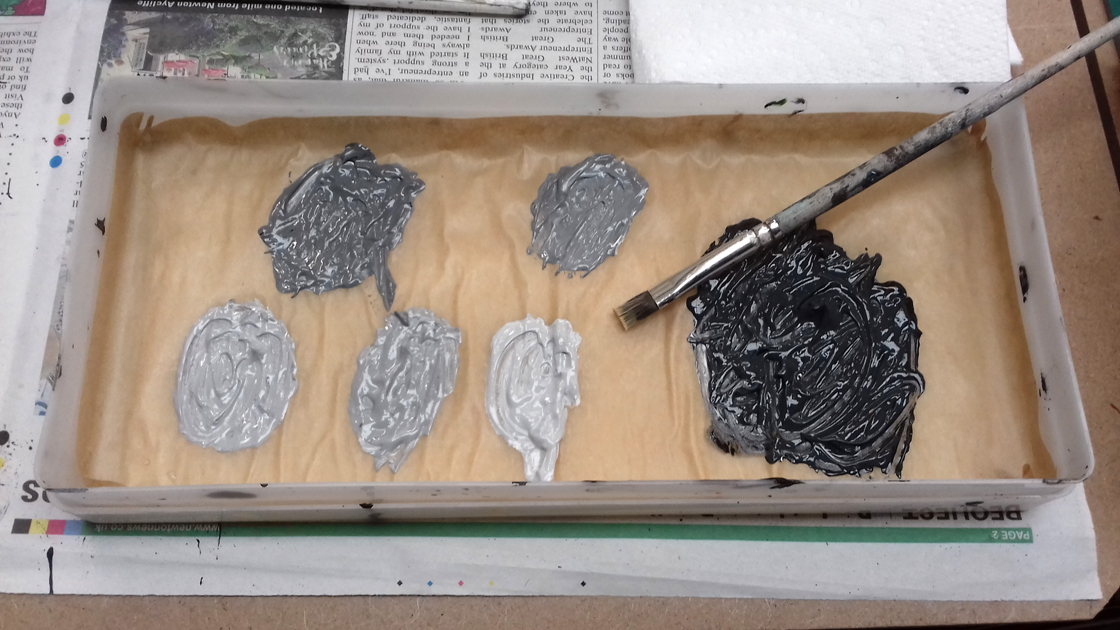
I started randomly painting the squares.
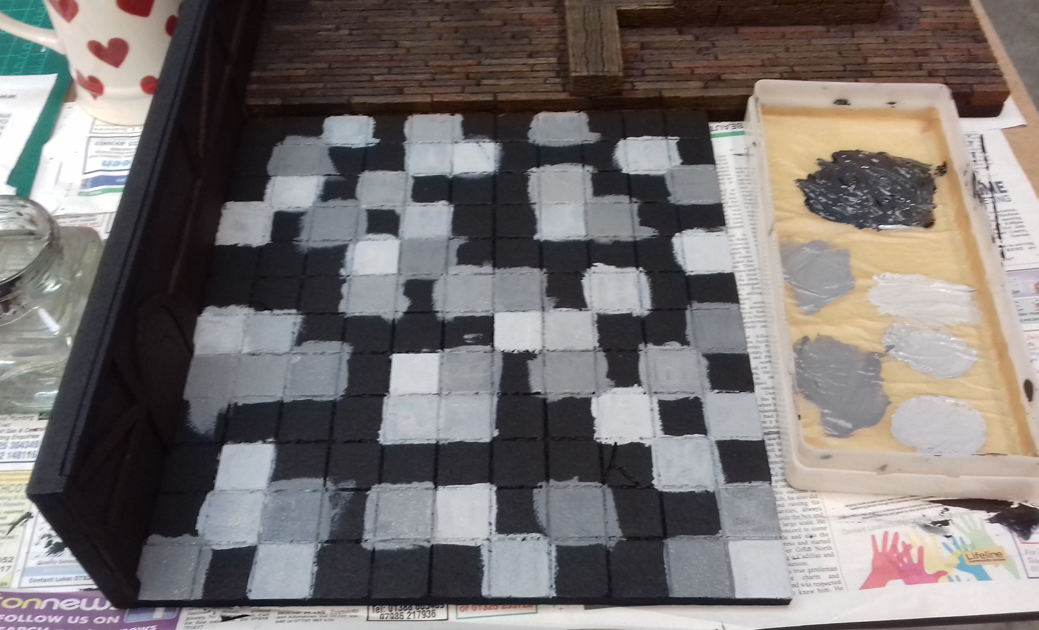
When they’d all had a coat of paint I left them to dry.

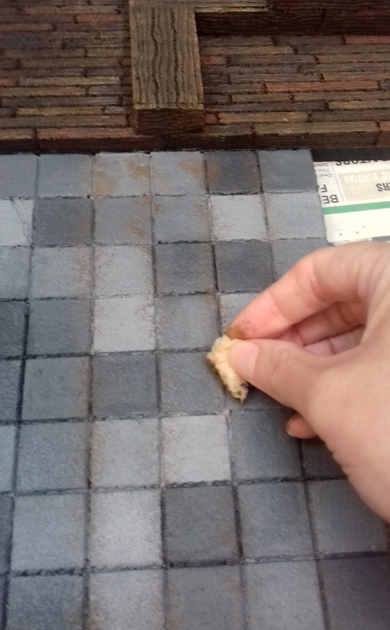
Again using ‘Vallejos Model Color’ range I squired out a couple of blobs of ‘Chocolate Brown’ & ‘Flat earth’ onto my wet palette.
Using a small piece of sponge I then dabbed a mixture of the two paints over the tiles, mainly focusing on the tile edges.
Part 11
Everything touched-up and left to dry.
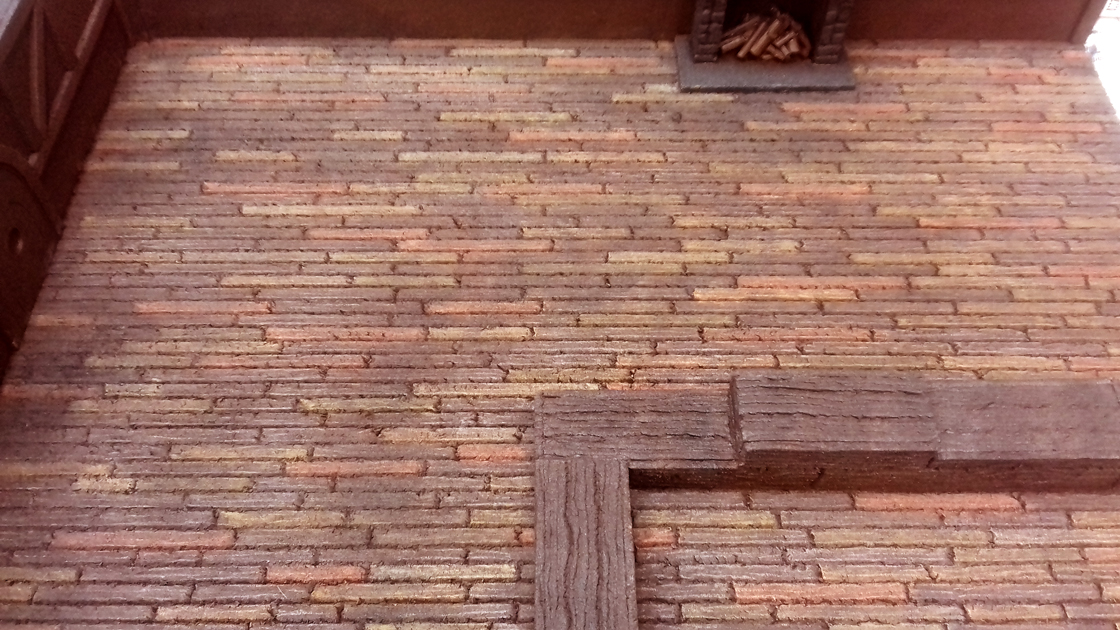
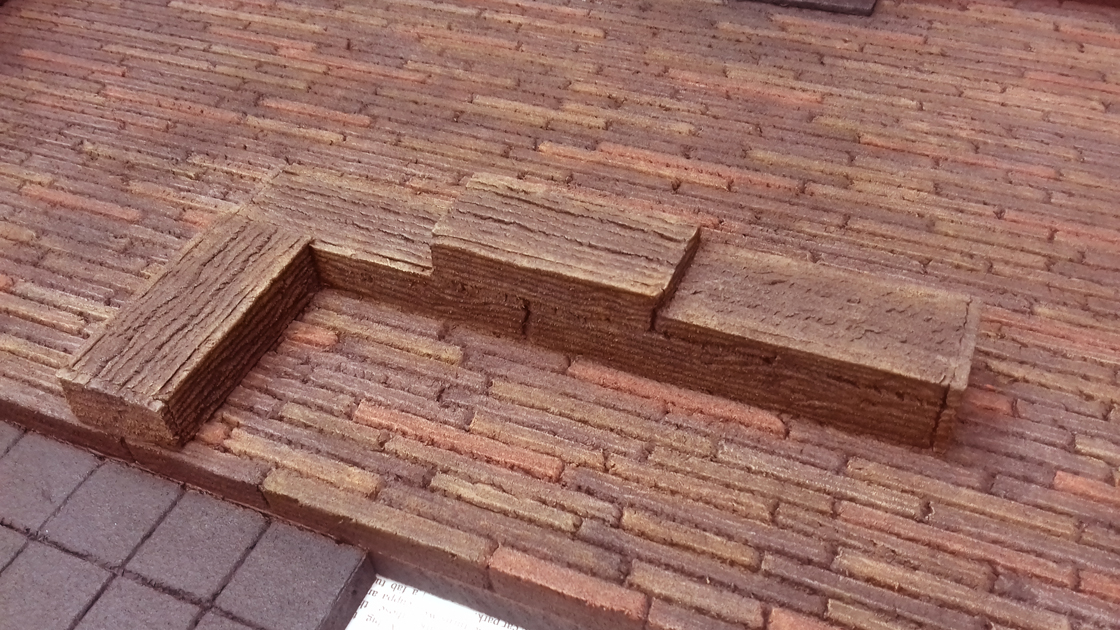
I then turned my attention to the wooden floor. Using a mixture of Raw Sienna & white I dry-brushed the areas that I felt would be walked on the most.
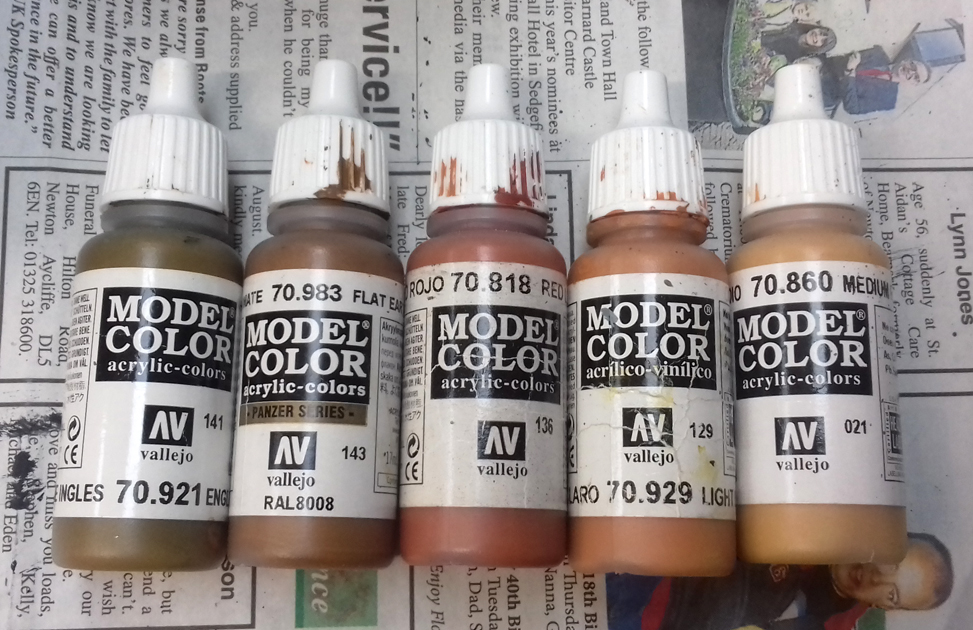
I felt the wooden floor planks looked a bit same-ie, that they could do with some variety in colour. So I gathered five paints from ‘Vallejos Model Color’ range that I felt would compliment each other. I chose ‘British Uniform’, ‘Flat Earth’, ‘Red Leather’, ‘Light Brown’ and ‘Medium Fleshtone’.
Using the paints one at a time I picked random planks and dry-brushed them.
I then dry-brushed the bar all over with ‘Flat Earth’ and then went over the edges with ‘Medium Fleshtone’.
Part 10
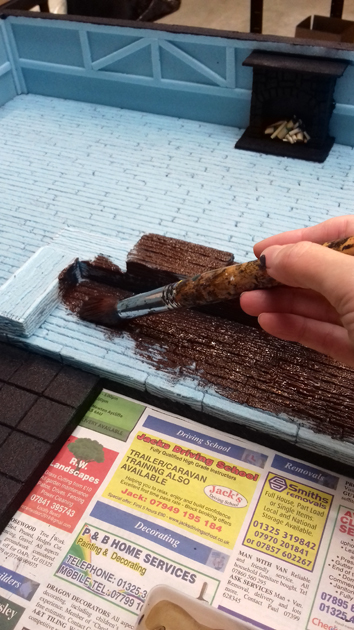
I then carried on with the same Burnt Umber & Black mix across the wooden floor and up the walls.
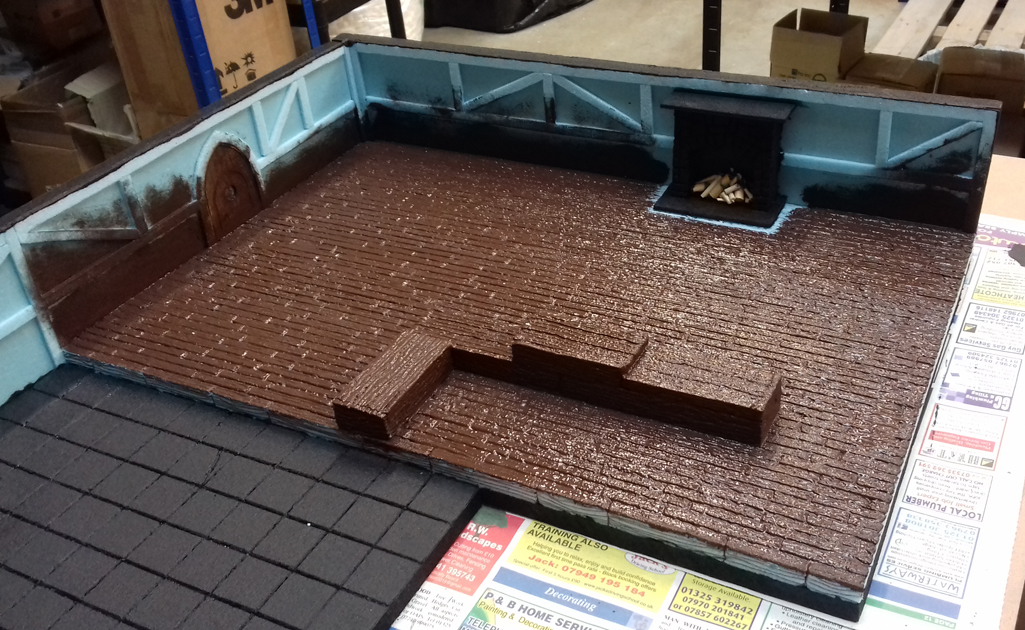
…I also added a splash to the logs in the fireplace.
Base coat all done and left to dry.

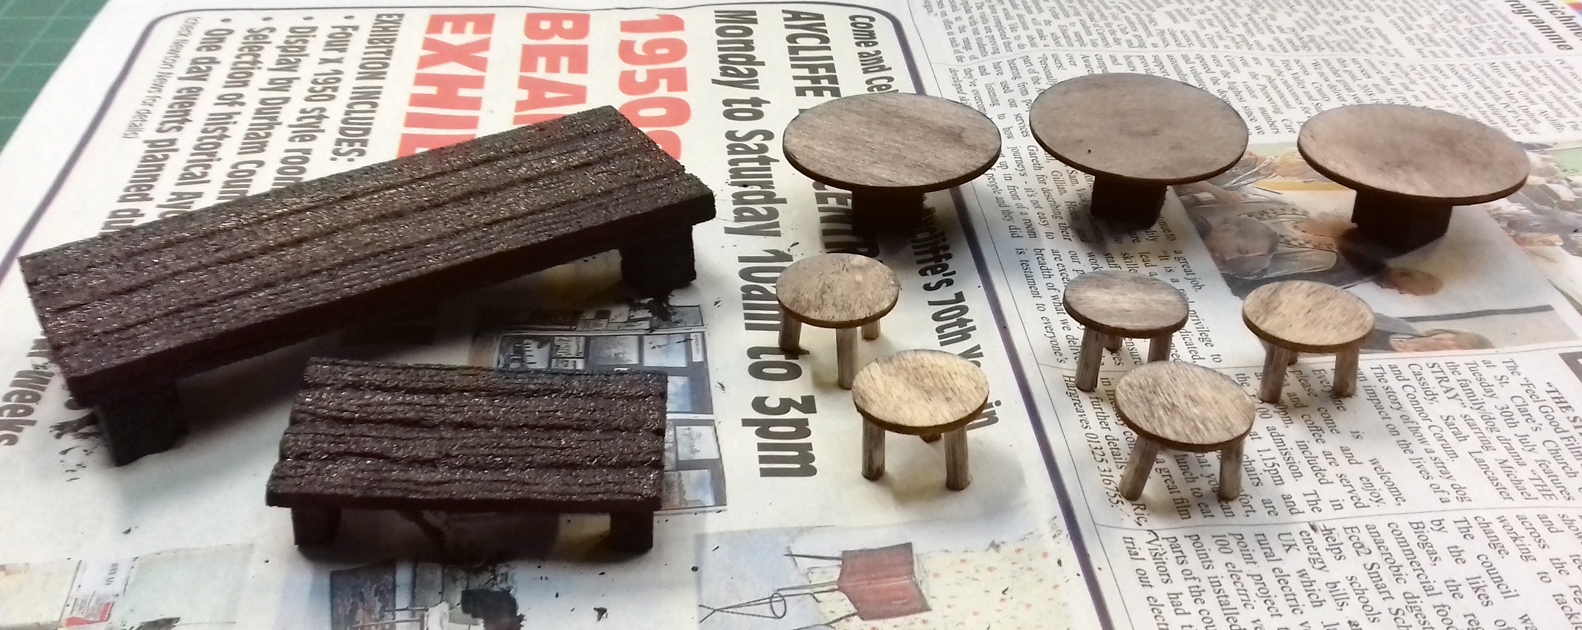
Next I gathered the furniture together.

I painted them all with Burnt Umber & Black. I wiped off the paint on the wooden table tops & stools to give them a weathered look. I’m not sure if I like it or not yet. I’ll put them in situ when everything else is painted and see how I feel. I may paint them totally different colours by the end.
Once everything had completely dried I checked it all over from every angle to look for any bits of blue foam peeking through, I then touch it up with the relevant paint. The bright colour of the blue foam is handy for showing up unpainted sections, especially if you are going to use a spray varnish when you’ve finished painting (you want the foam completely covered so it doesn’t melt when you varnish it and ruin all your hard work).
Part 9 - A splash of paint
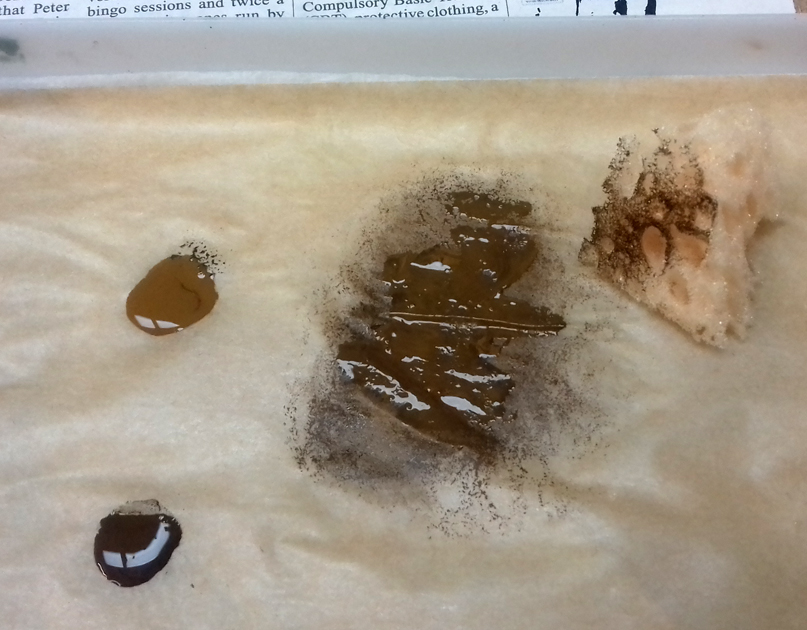
First off I protected my painting area with newspaper. I then made myself a stay-wet palette from a plastic box, wet kitchen roll and some baking parchment and gathered a selection of cheap acrylic paints for the base-coat.
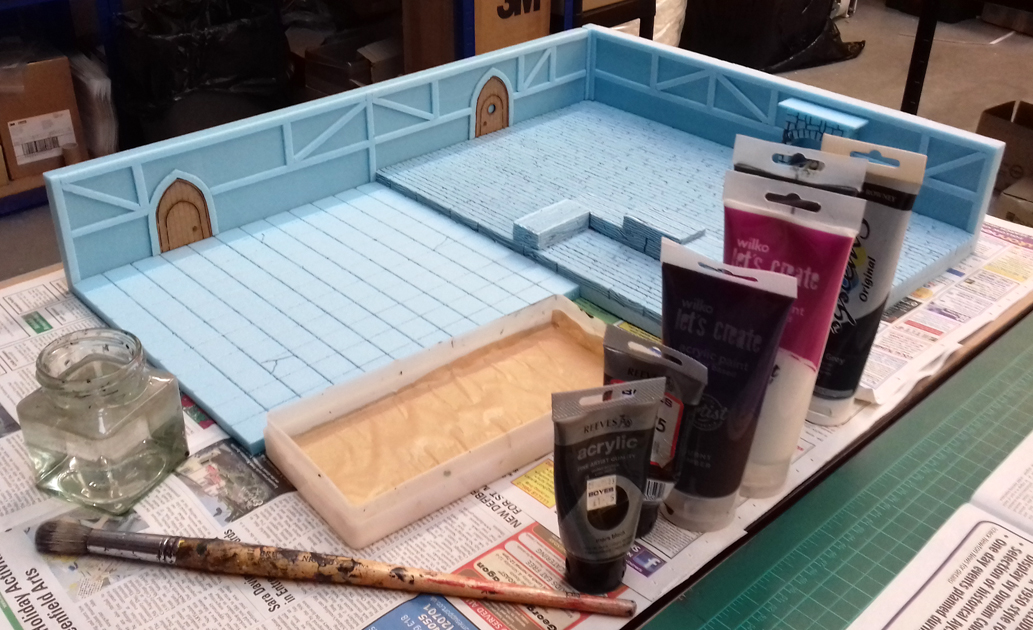
Originally I’d planned to use black for the exterior walls and the base coat of the tiled area, but I felt ‘Payne’s Grey’ was a better colour. It’s similar to black but not as stark, it felt a more natural choice. So I gave the outside a couple of coats of paint.
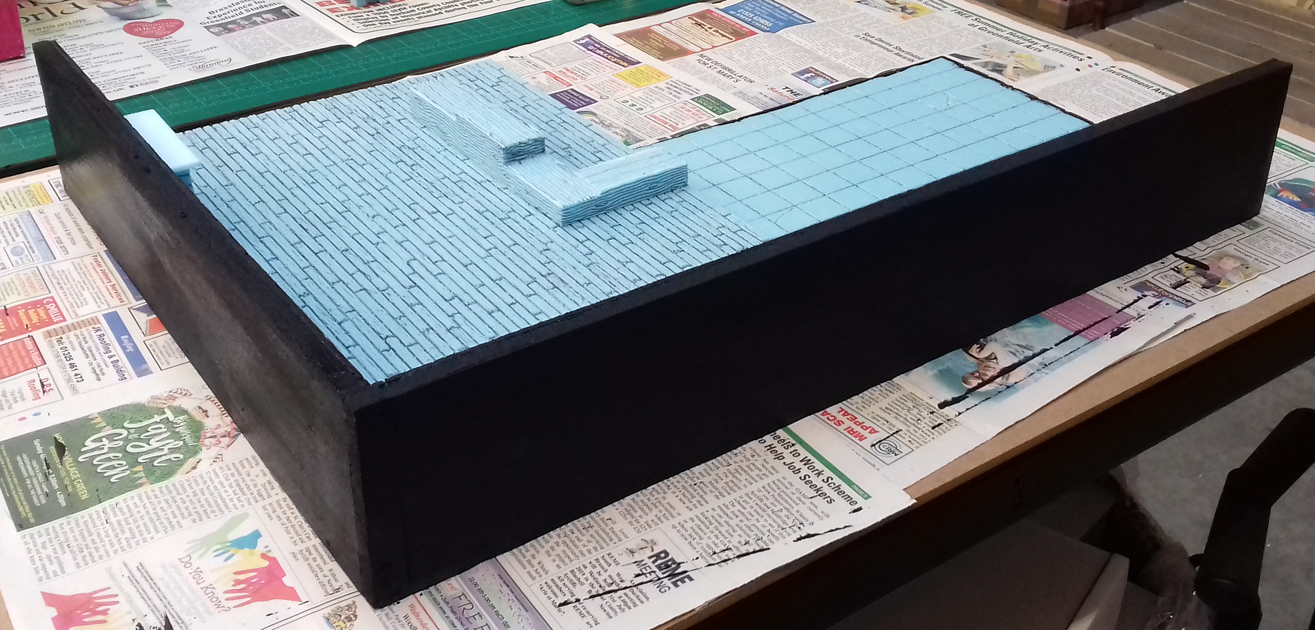
Next I painted the tiled area with ‘Payne’s Grey’, making sure to get into all the nooks & crannies.
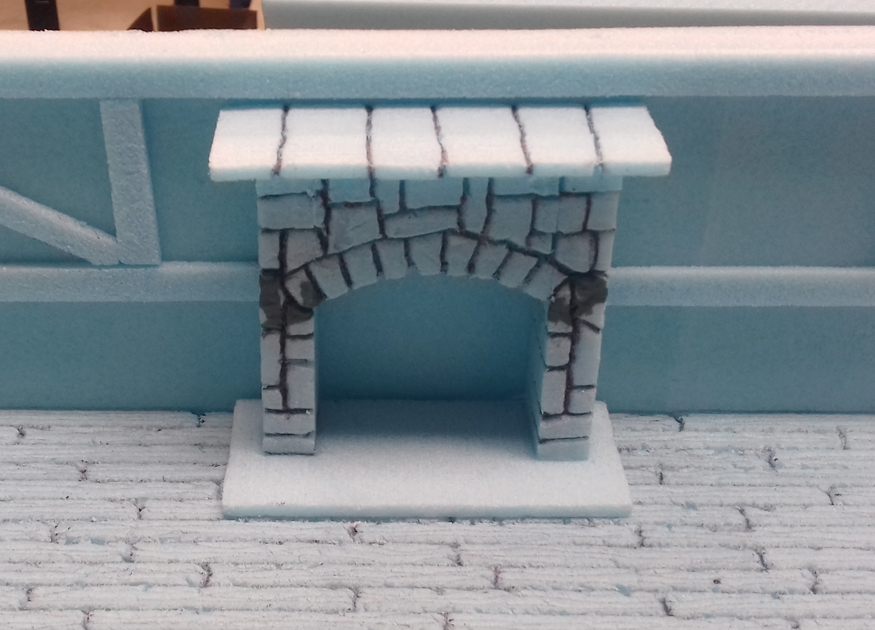
Before I started painting the pub I’d carefully sliced off the mantle piece bit of the fireplace (I didn’t like the tile effect I’d marked on there), and glued on a plain piece of 3mm blue foam…much better. I did take a photo but for some reason it didn’t save, arghh! Once dried I then used the Payne’s Grey again and painted the fireplace structure.

Payne’s Grey all done.
Next I started painting the bar area with Burnt Umber mixed with a touch of black.
Part 8
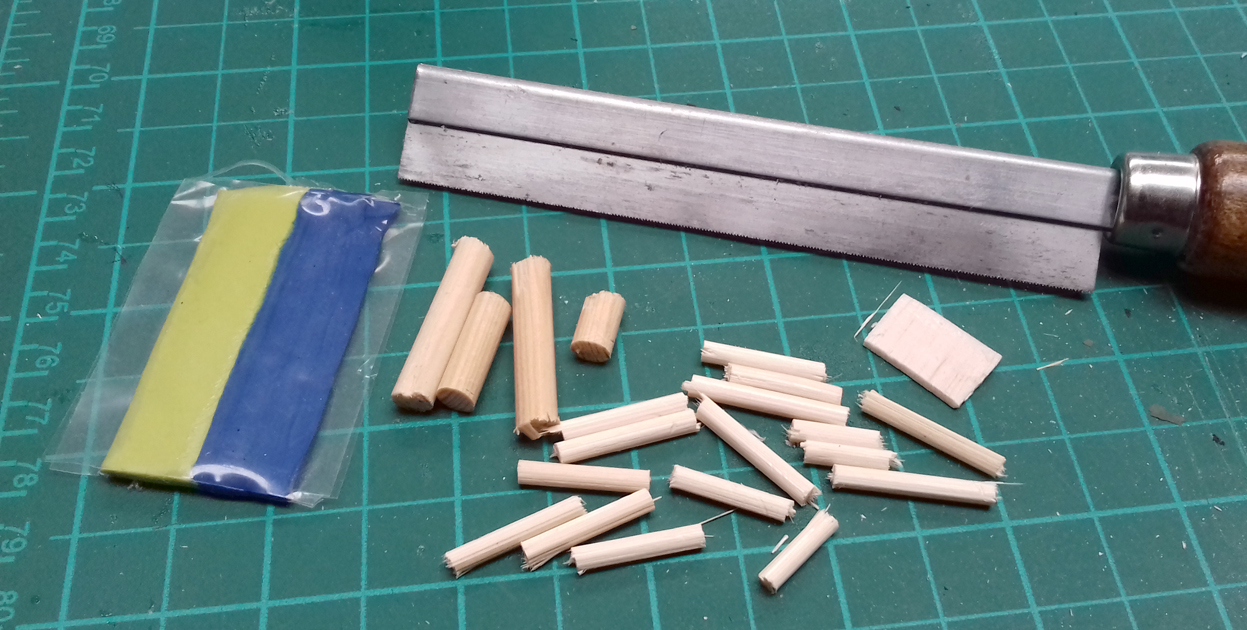
The finishing touches…I felt the fireplace looked a bit bare so I cut up some balsa-wood, dowel & a wooden skewer for the firewood, I also grabbed some green stuff ready to add a few flames.
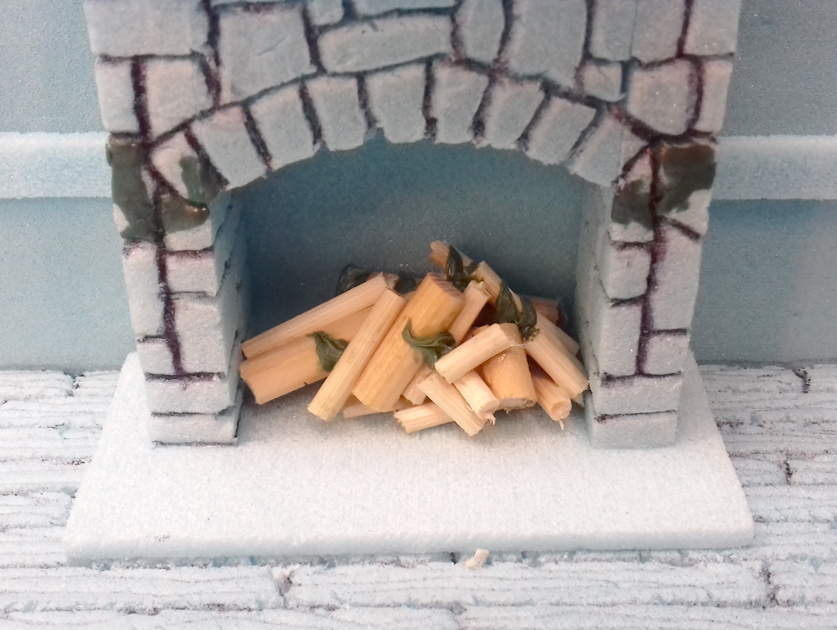
I then glued the wooden pieces together and left them to dry.

Next I added a few flames with the green stuff and glued it all into position in the fireplace.
Now everything’s ready for a splash of paint!

Part 7
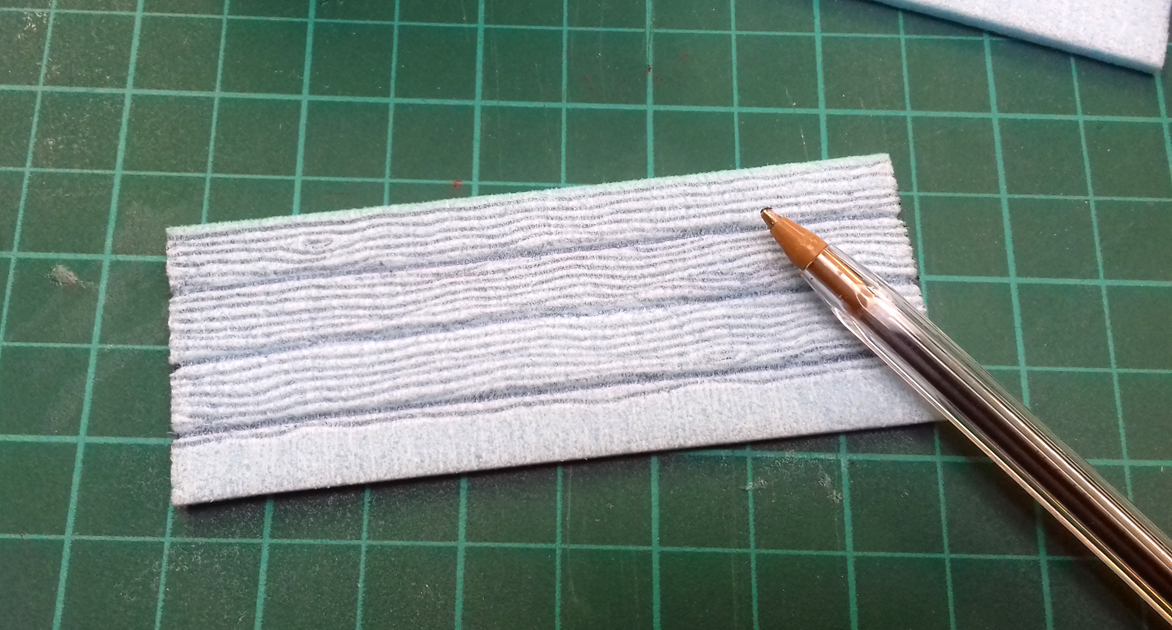
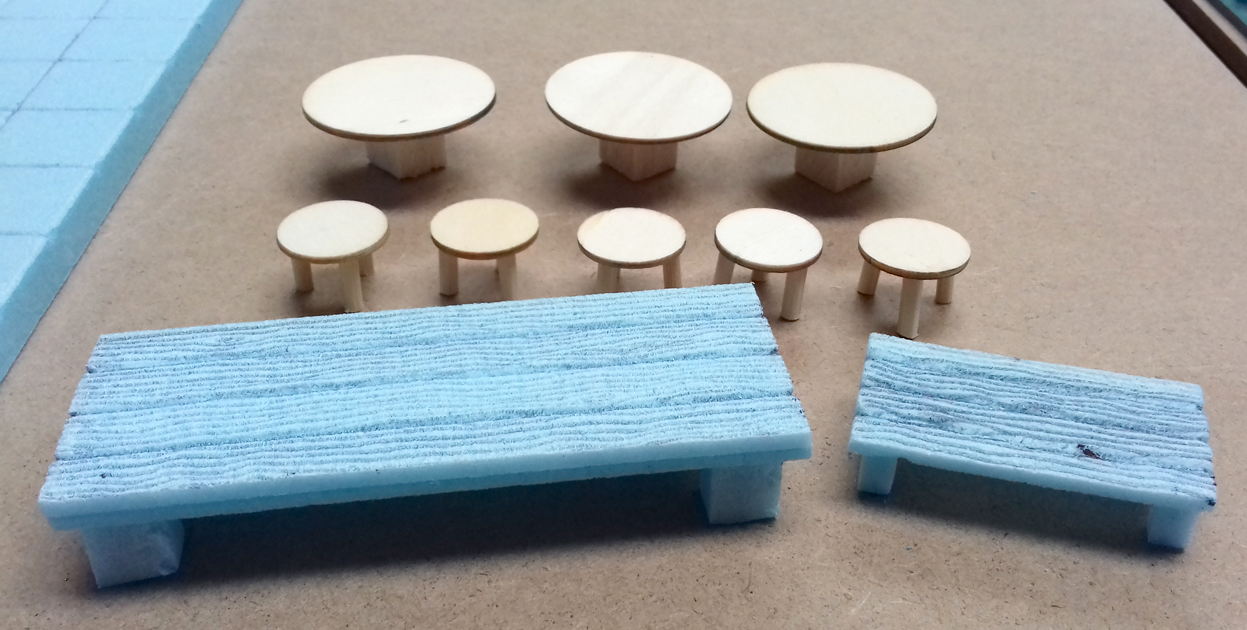
Continuing with the pub furniture… I drew the wood-grain details onto the top of the foam rectangle tables.
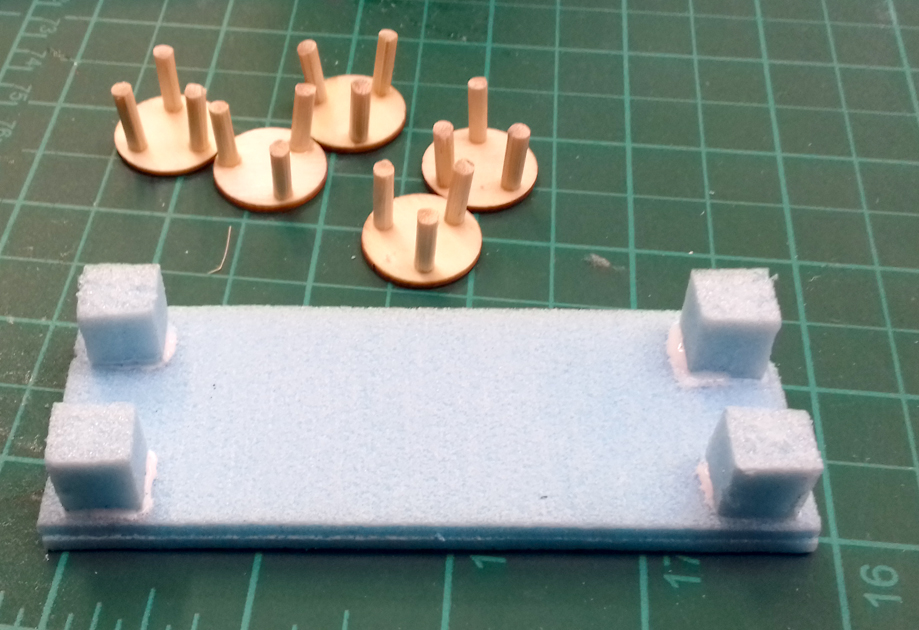
Then I added an extra 3mm foam layer to the large table (to give it some extra bulk) and with PVA stuck on some chunky legs cut from the 10mm foam.
I then rummaged in my balsa-wood bits box and found some off-cuts that I thought would do nicely as crates to rest the 40mm wooden disc table-tops on. I glued them in place and then left everything to dry overnight.

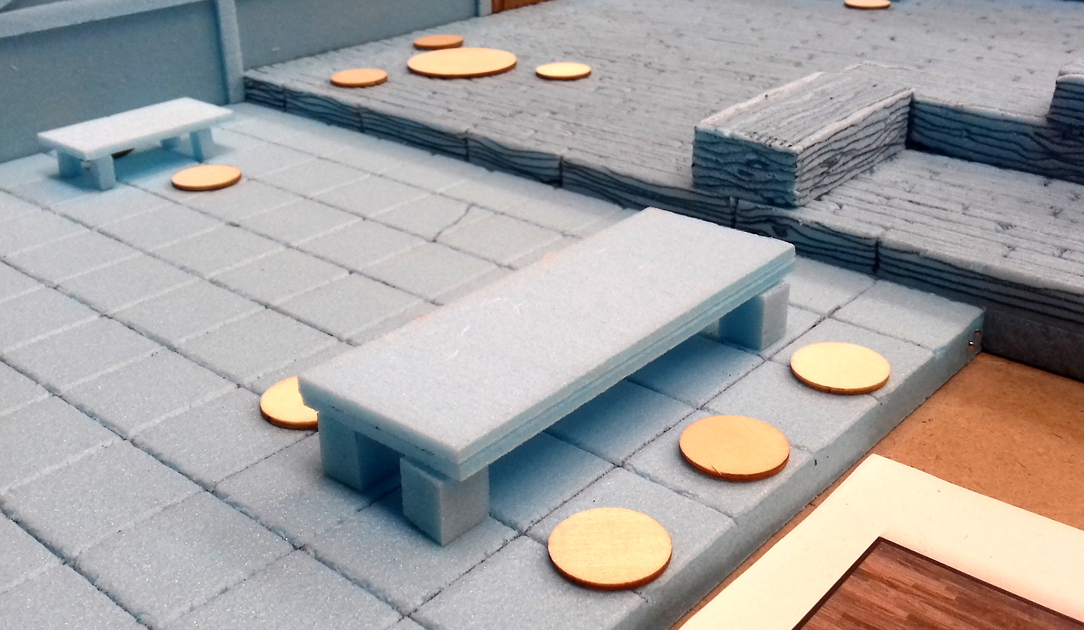
All the furniture dry and ready to be painted.
Everything in position.
Part 6
Next I marked in the brickwork on the fireplace. I wasn’t happy with some of the bricks I’d drawn so I filled them back in with green stuff, hopefully it won’t be noticable once it’s painted.
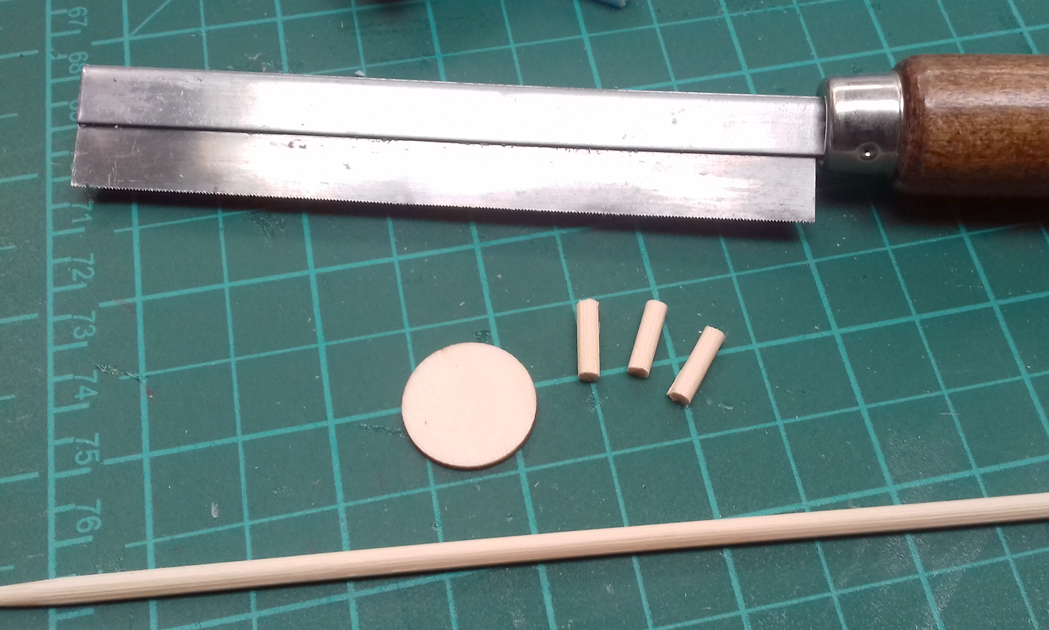
The pub needs some movable furniture, so after looking at the design I was working from I cut some pieces of foam that could be made into rectangle tables. I also dug out a pack of wooden discs that I’d bought last time I was in The Works that I thought could be used as round table tops and stools.
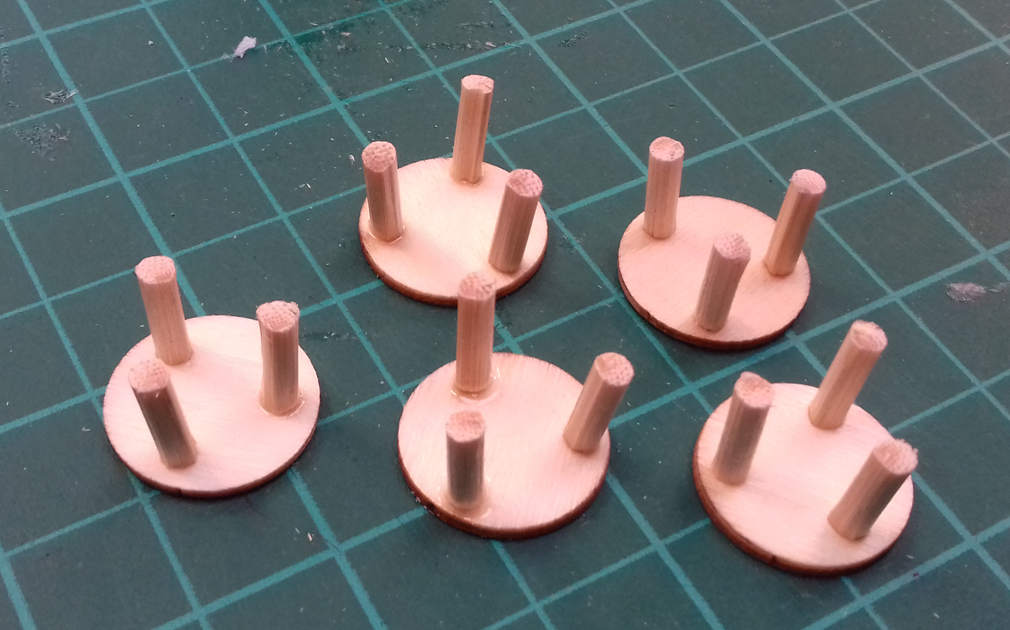
To make a stool I used a 20mm wooden disc and three 12mm legs cut from a wooden skewer.
I then stuck them in place using super-glue gel.
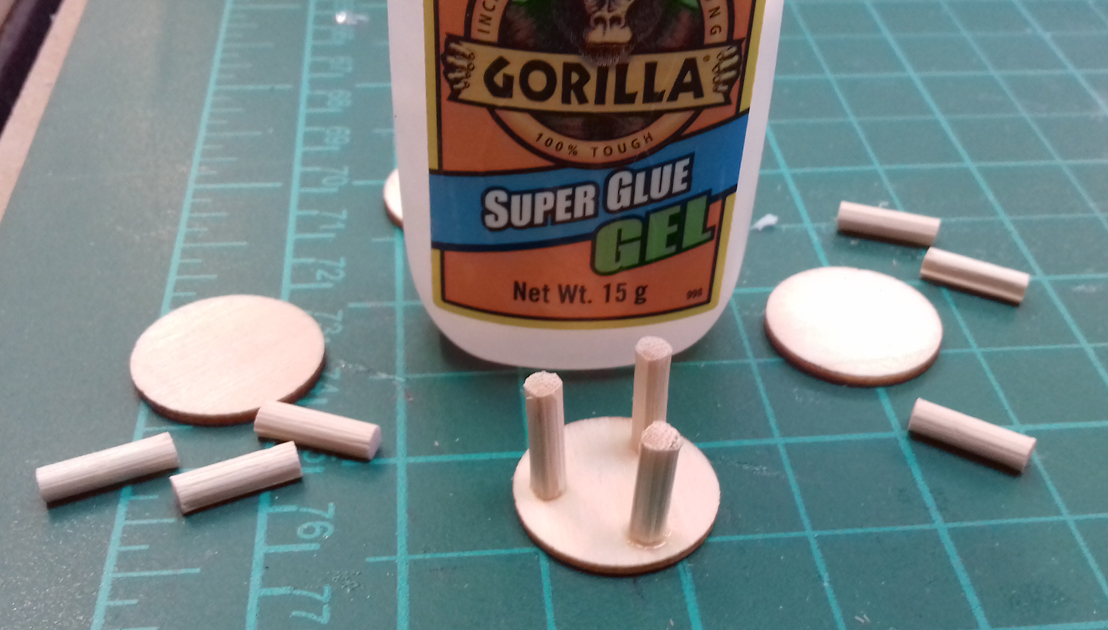
After checking the scenario I realised that I only needed to make five stools, so I made another four and left them to dry.