![Perfect Call Of Duty-Style Miniatures? Wargames Atlantic’s Operators Review [7 Days Early Access]](https://images.beastsofwar.com/2026/02/unboxing-wargames-atlantic-operators-coverimage-225-127.jpg)


Mage’s Mantis Warriors – Updated 15/02/20 HQ Librarian Completed


Recommendations: 157
About the Project
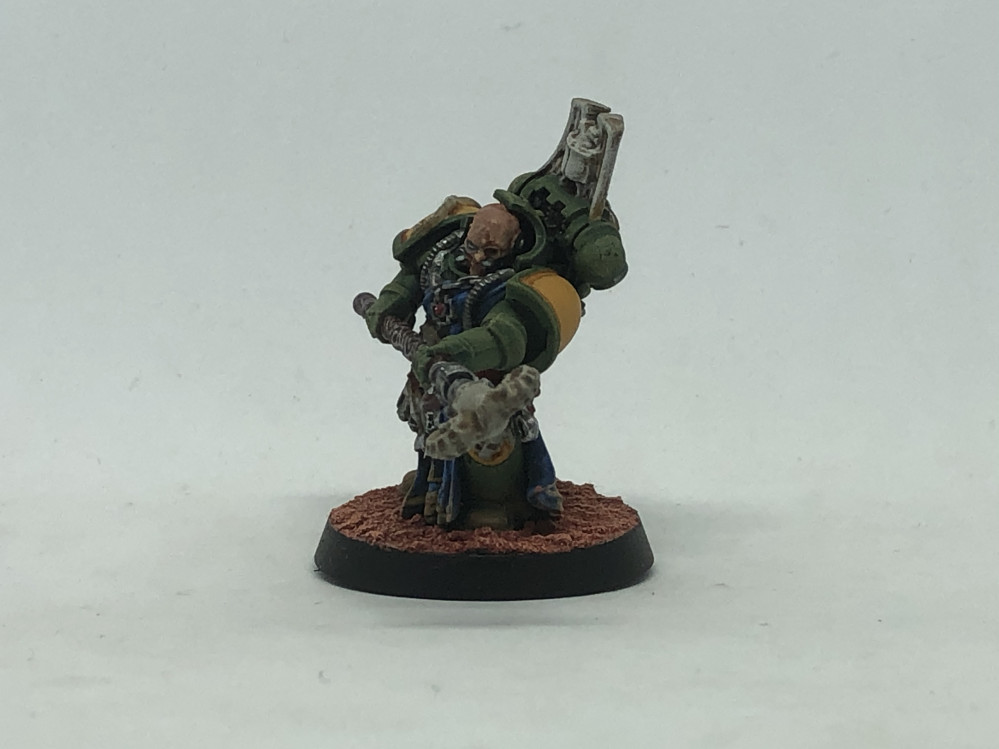
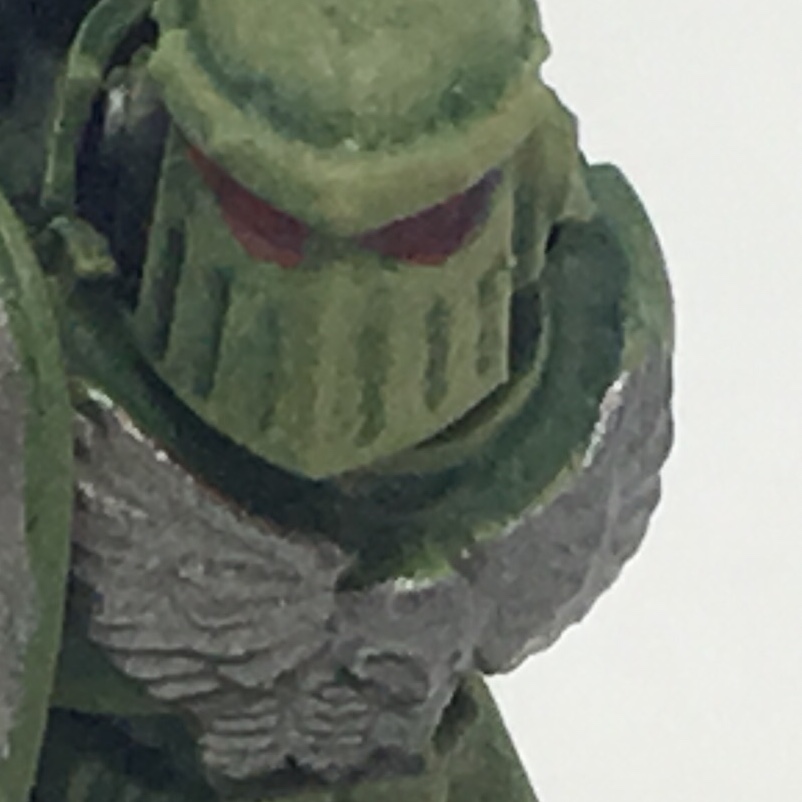
This is another Space Marine project log of mine! How original! These are Mantis Warriors, secessionists from the Badab War who allied with the Astral Claws but inevitably lost but were found to be redeemable and sent on a penitient crusade.
Related Game: Warhammer 40,000
Related Company: Games Workshop
Related Genre: Science Fiction
This Project is Active
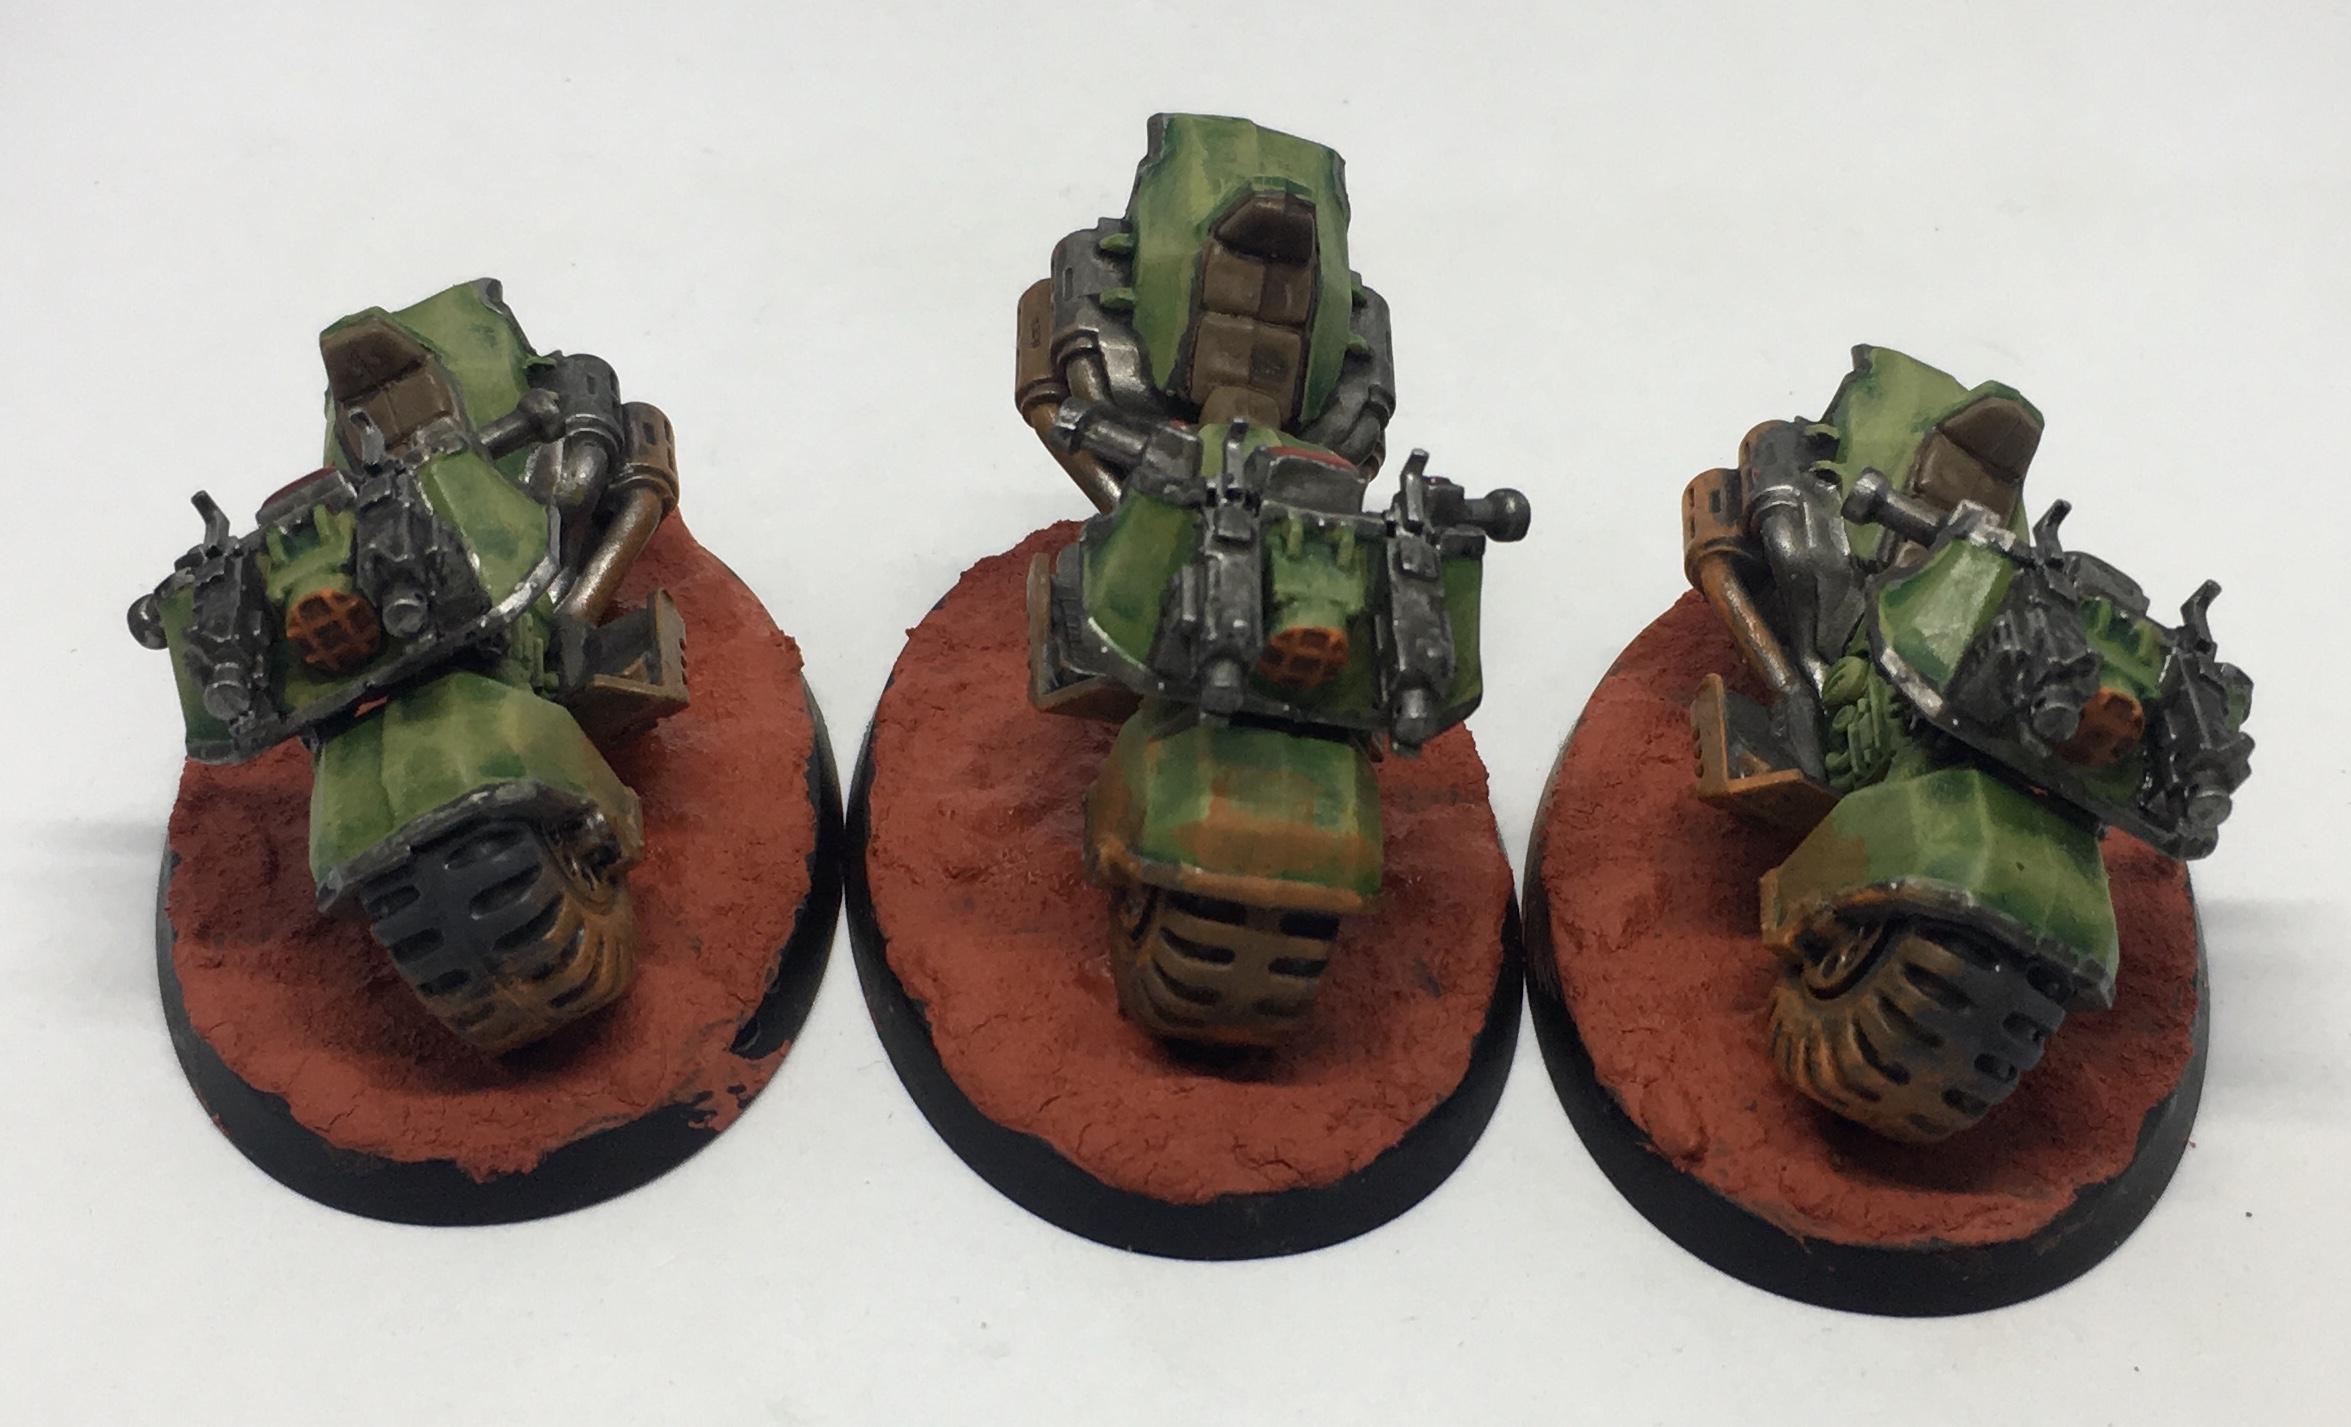
Entry 8: Bike buttons and screen
This is a bit more detailed than other parts of the the plog but small details like this can make a model and make up for shortcuts taken.
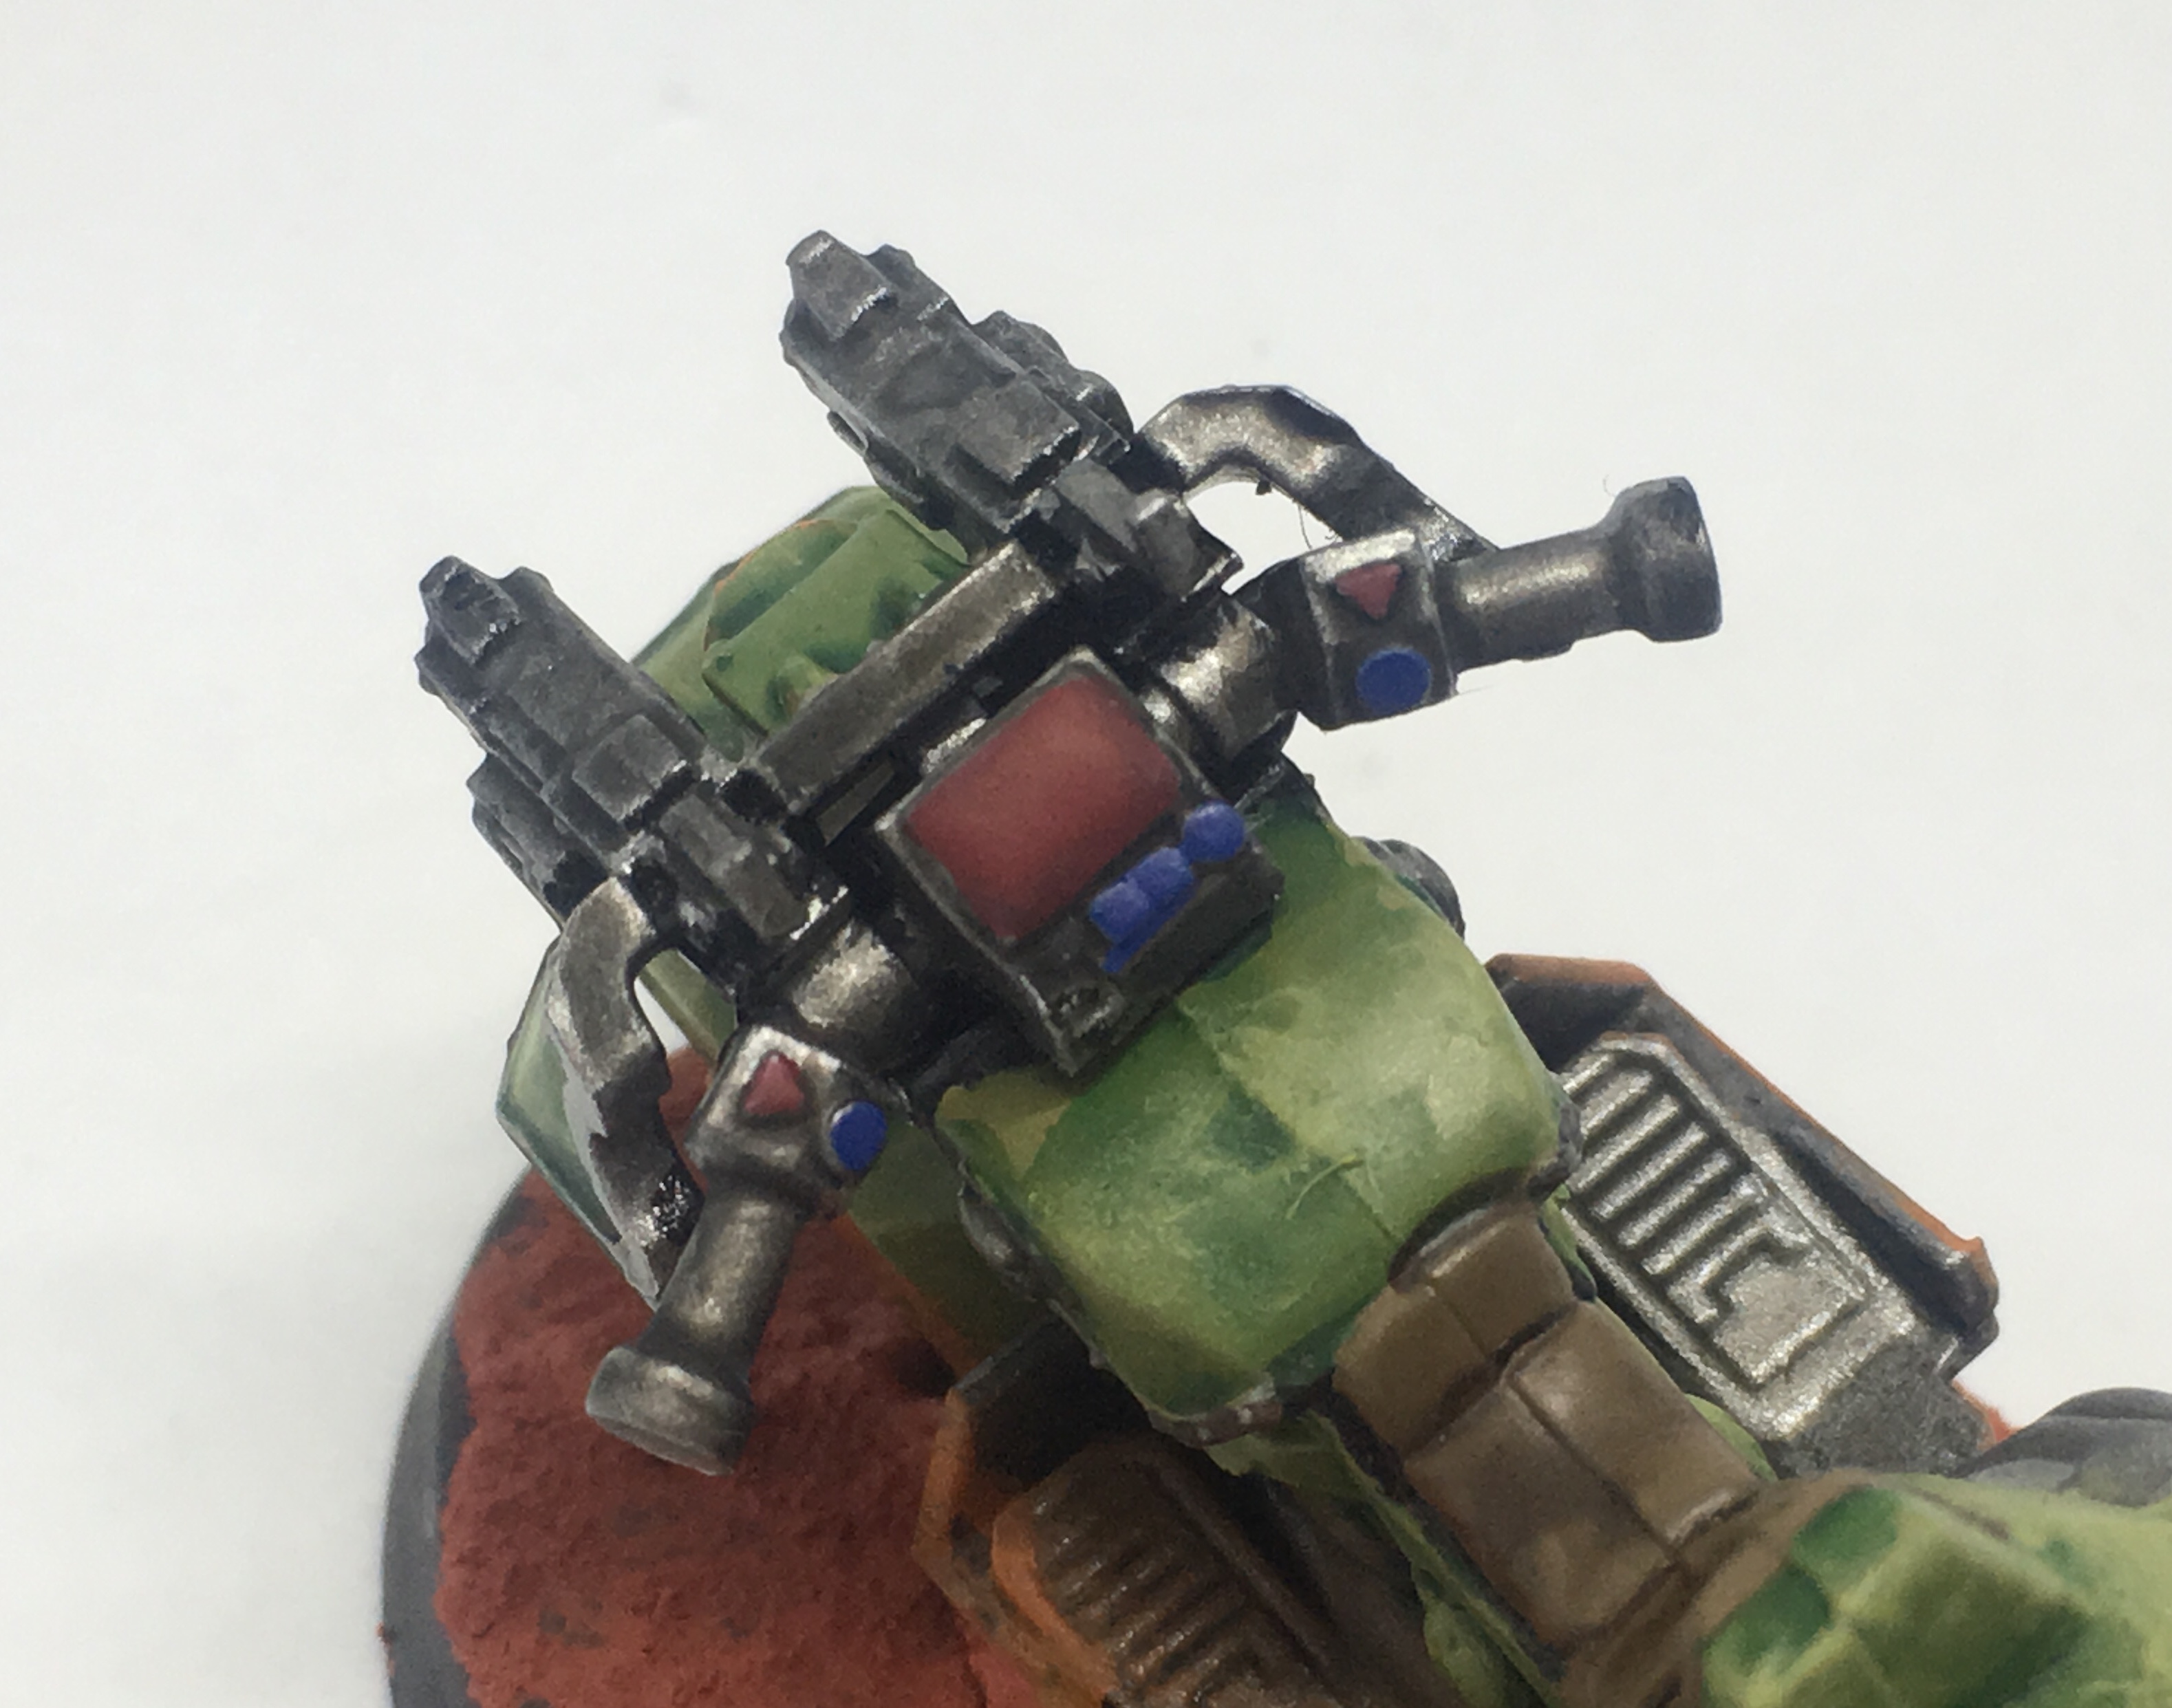 Red: Khorne Red, Blue: Mordian Blue or Macragge Blue
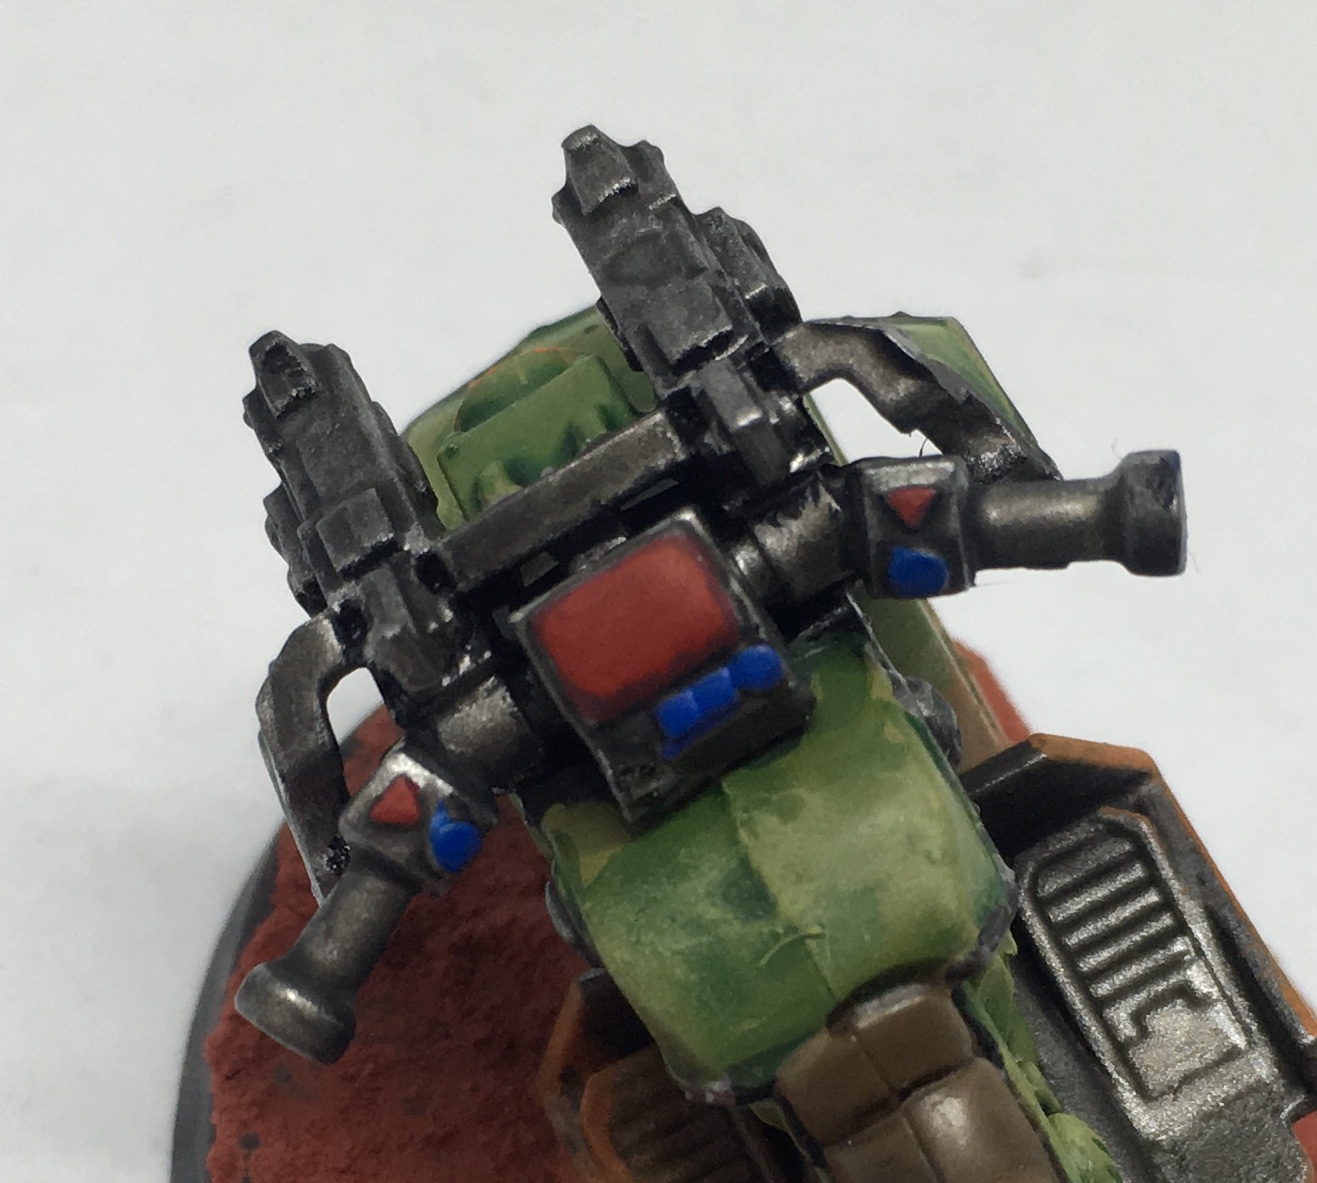 Red: Mephiston Red, Blue: Caledor Sky
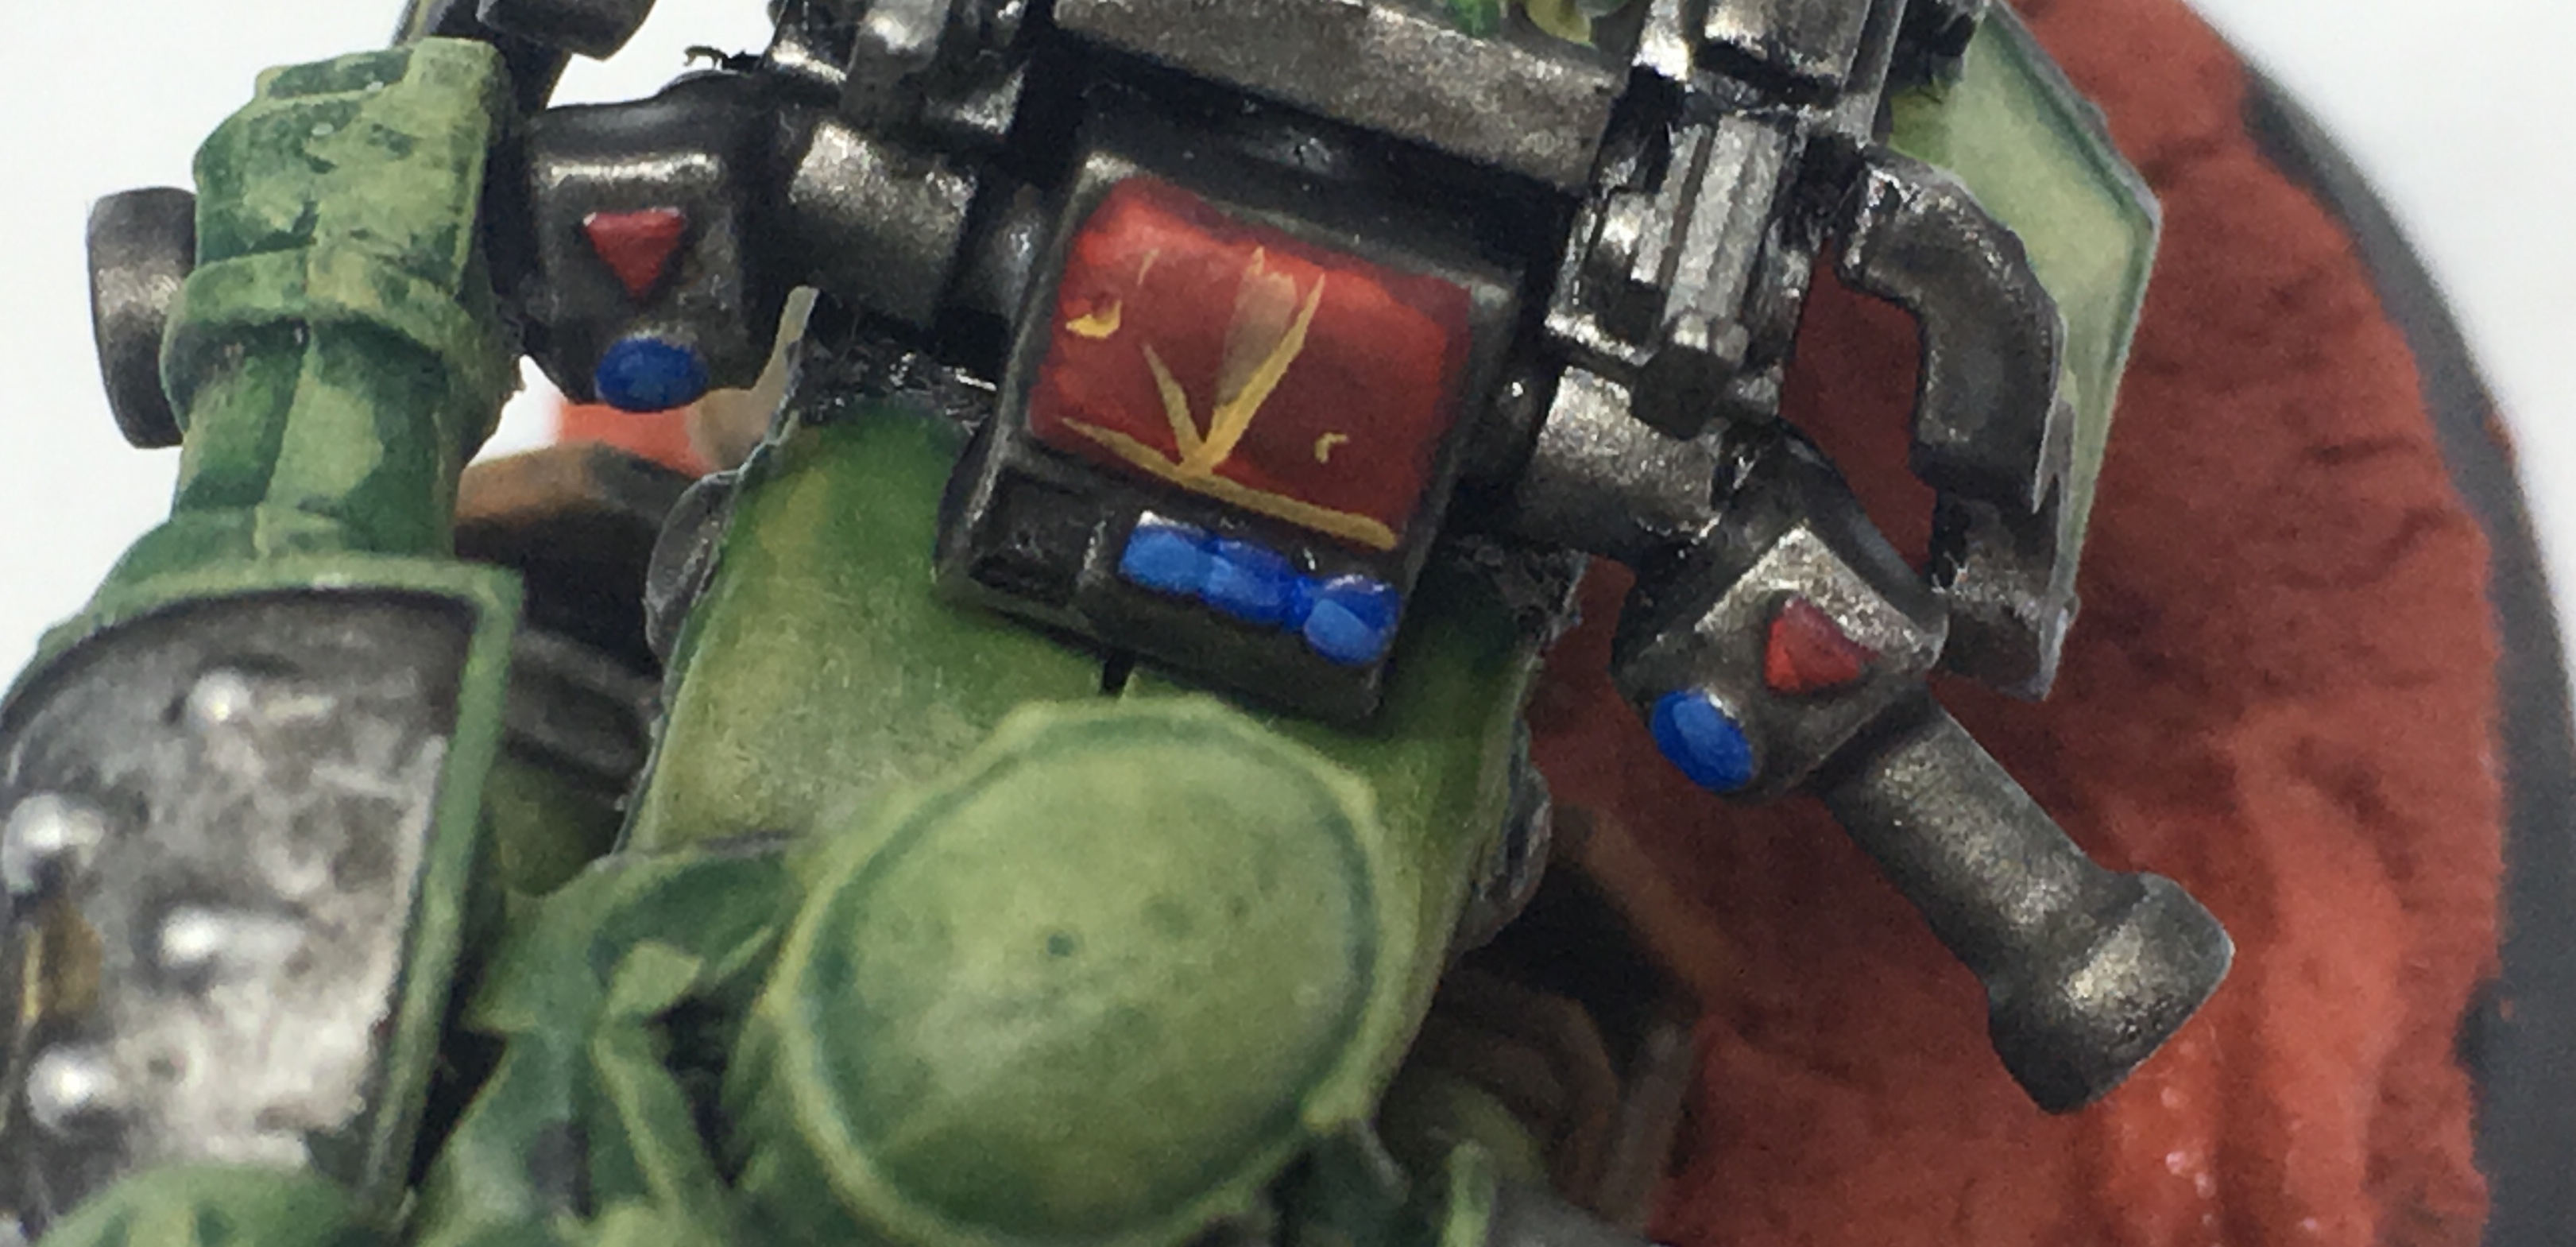 Red: Army Painter Strong Tone, Blue: Alaitoc Blue, Yellow: Averland Sunset
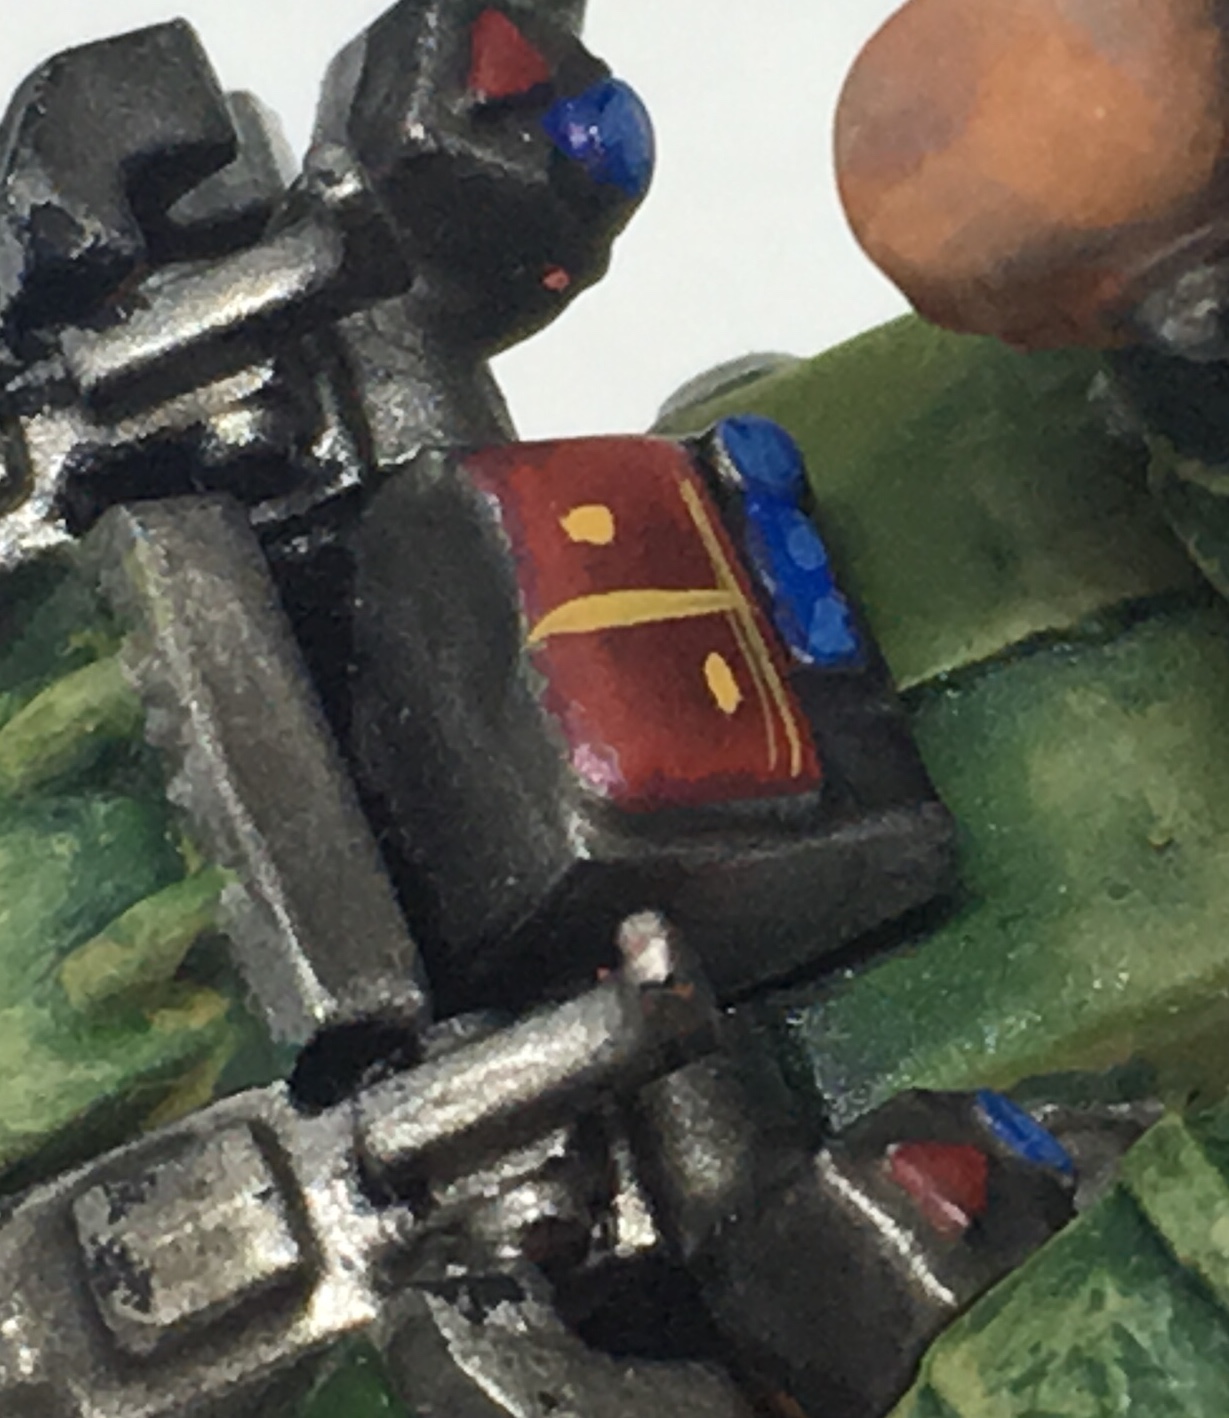 My free hand isn’t great. Practice makes perfect I guess
 Entry 7: Metal on the Power Armour
 Do two thin coats of Leadbelcher
 Do a thin coat of Army Painter Platemail
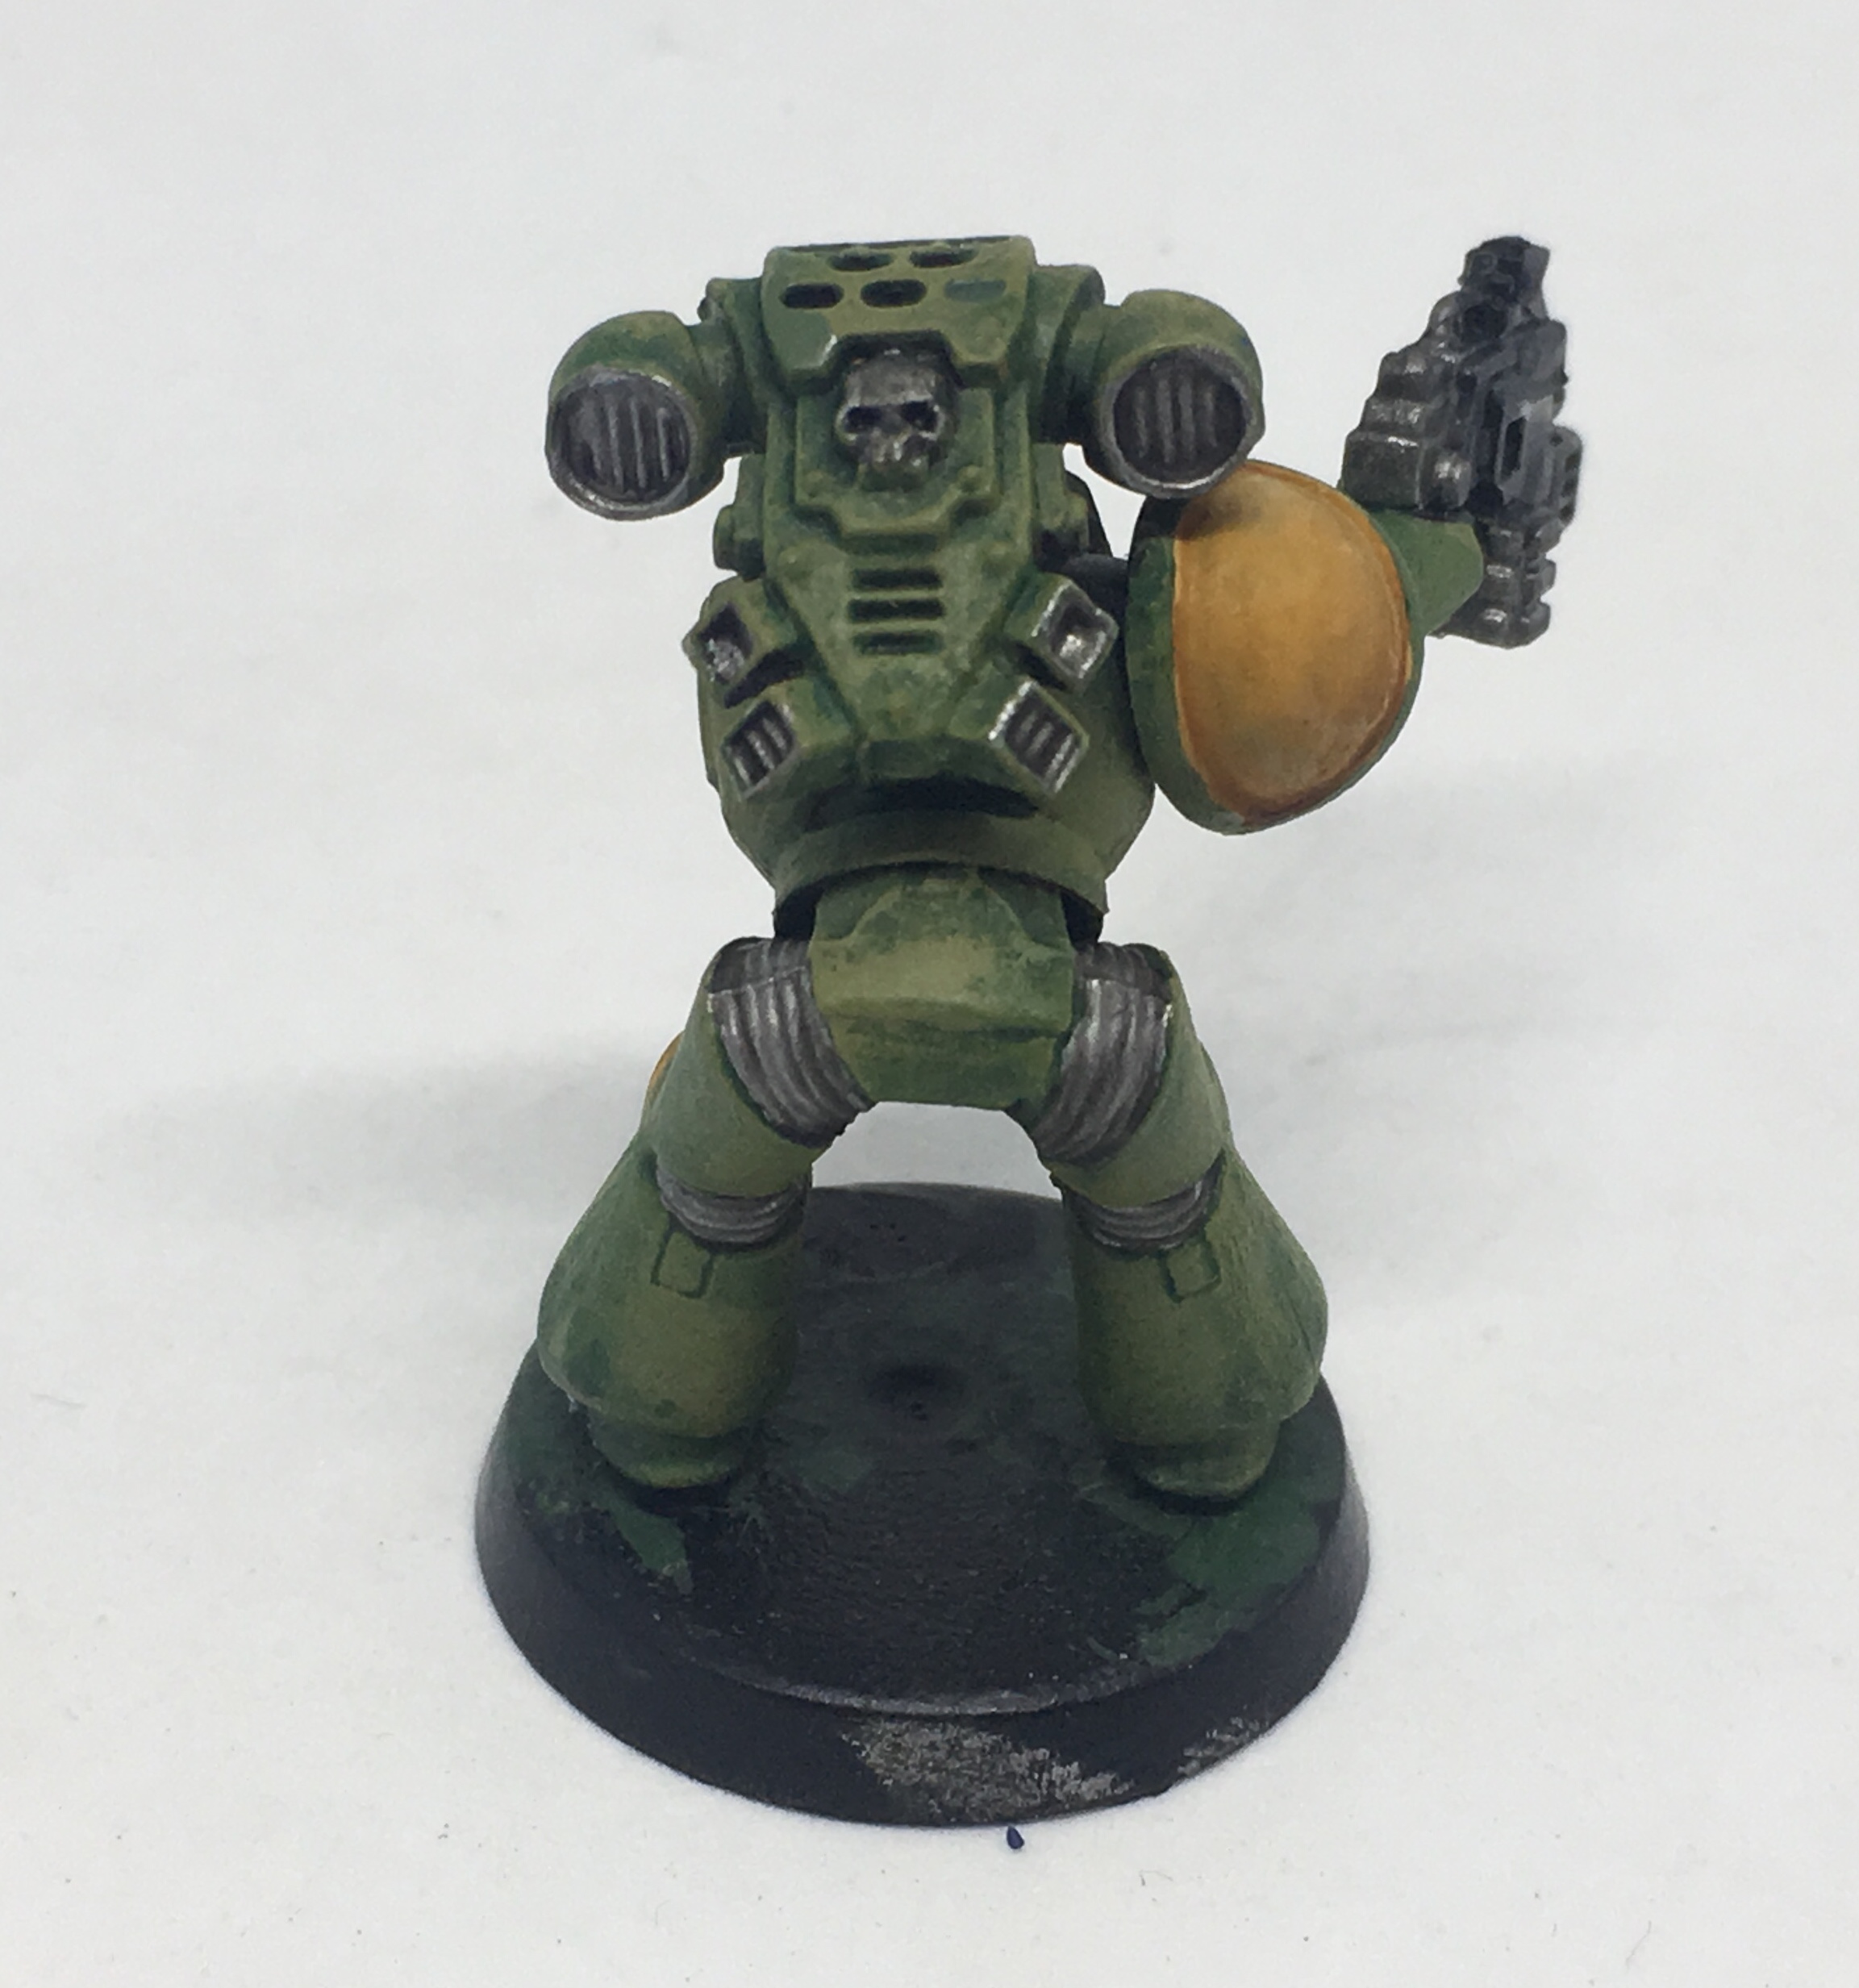 Wash the model with Nuln Oil
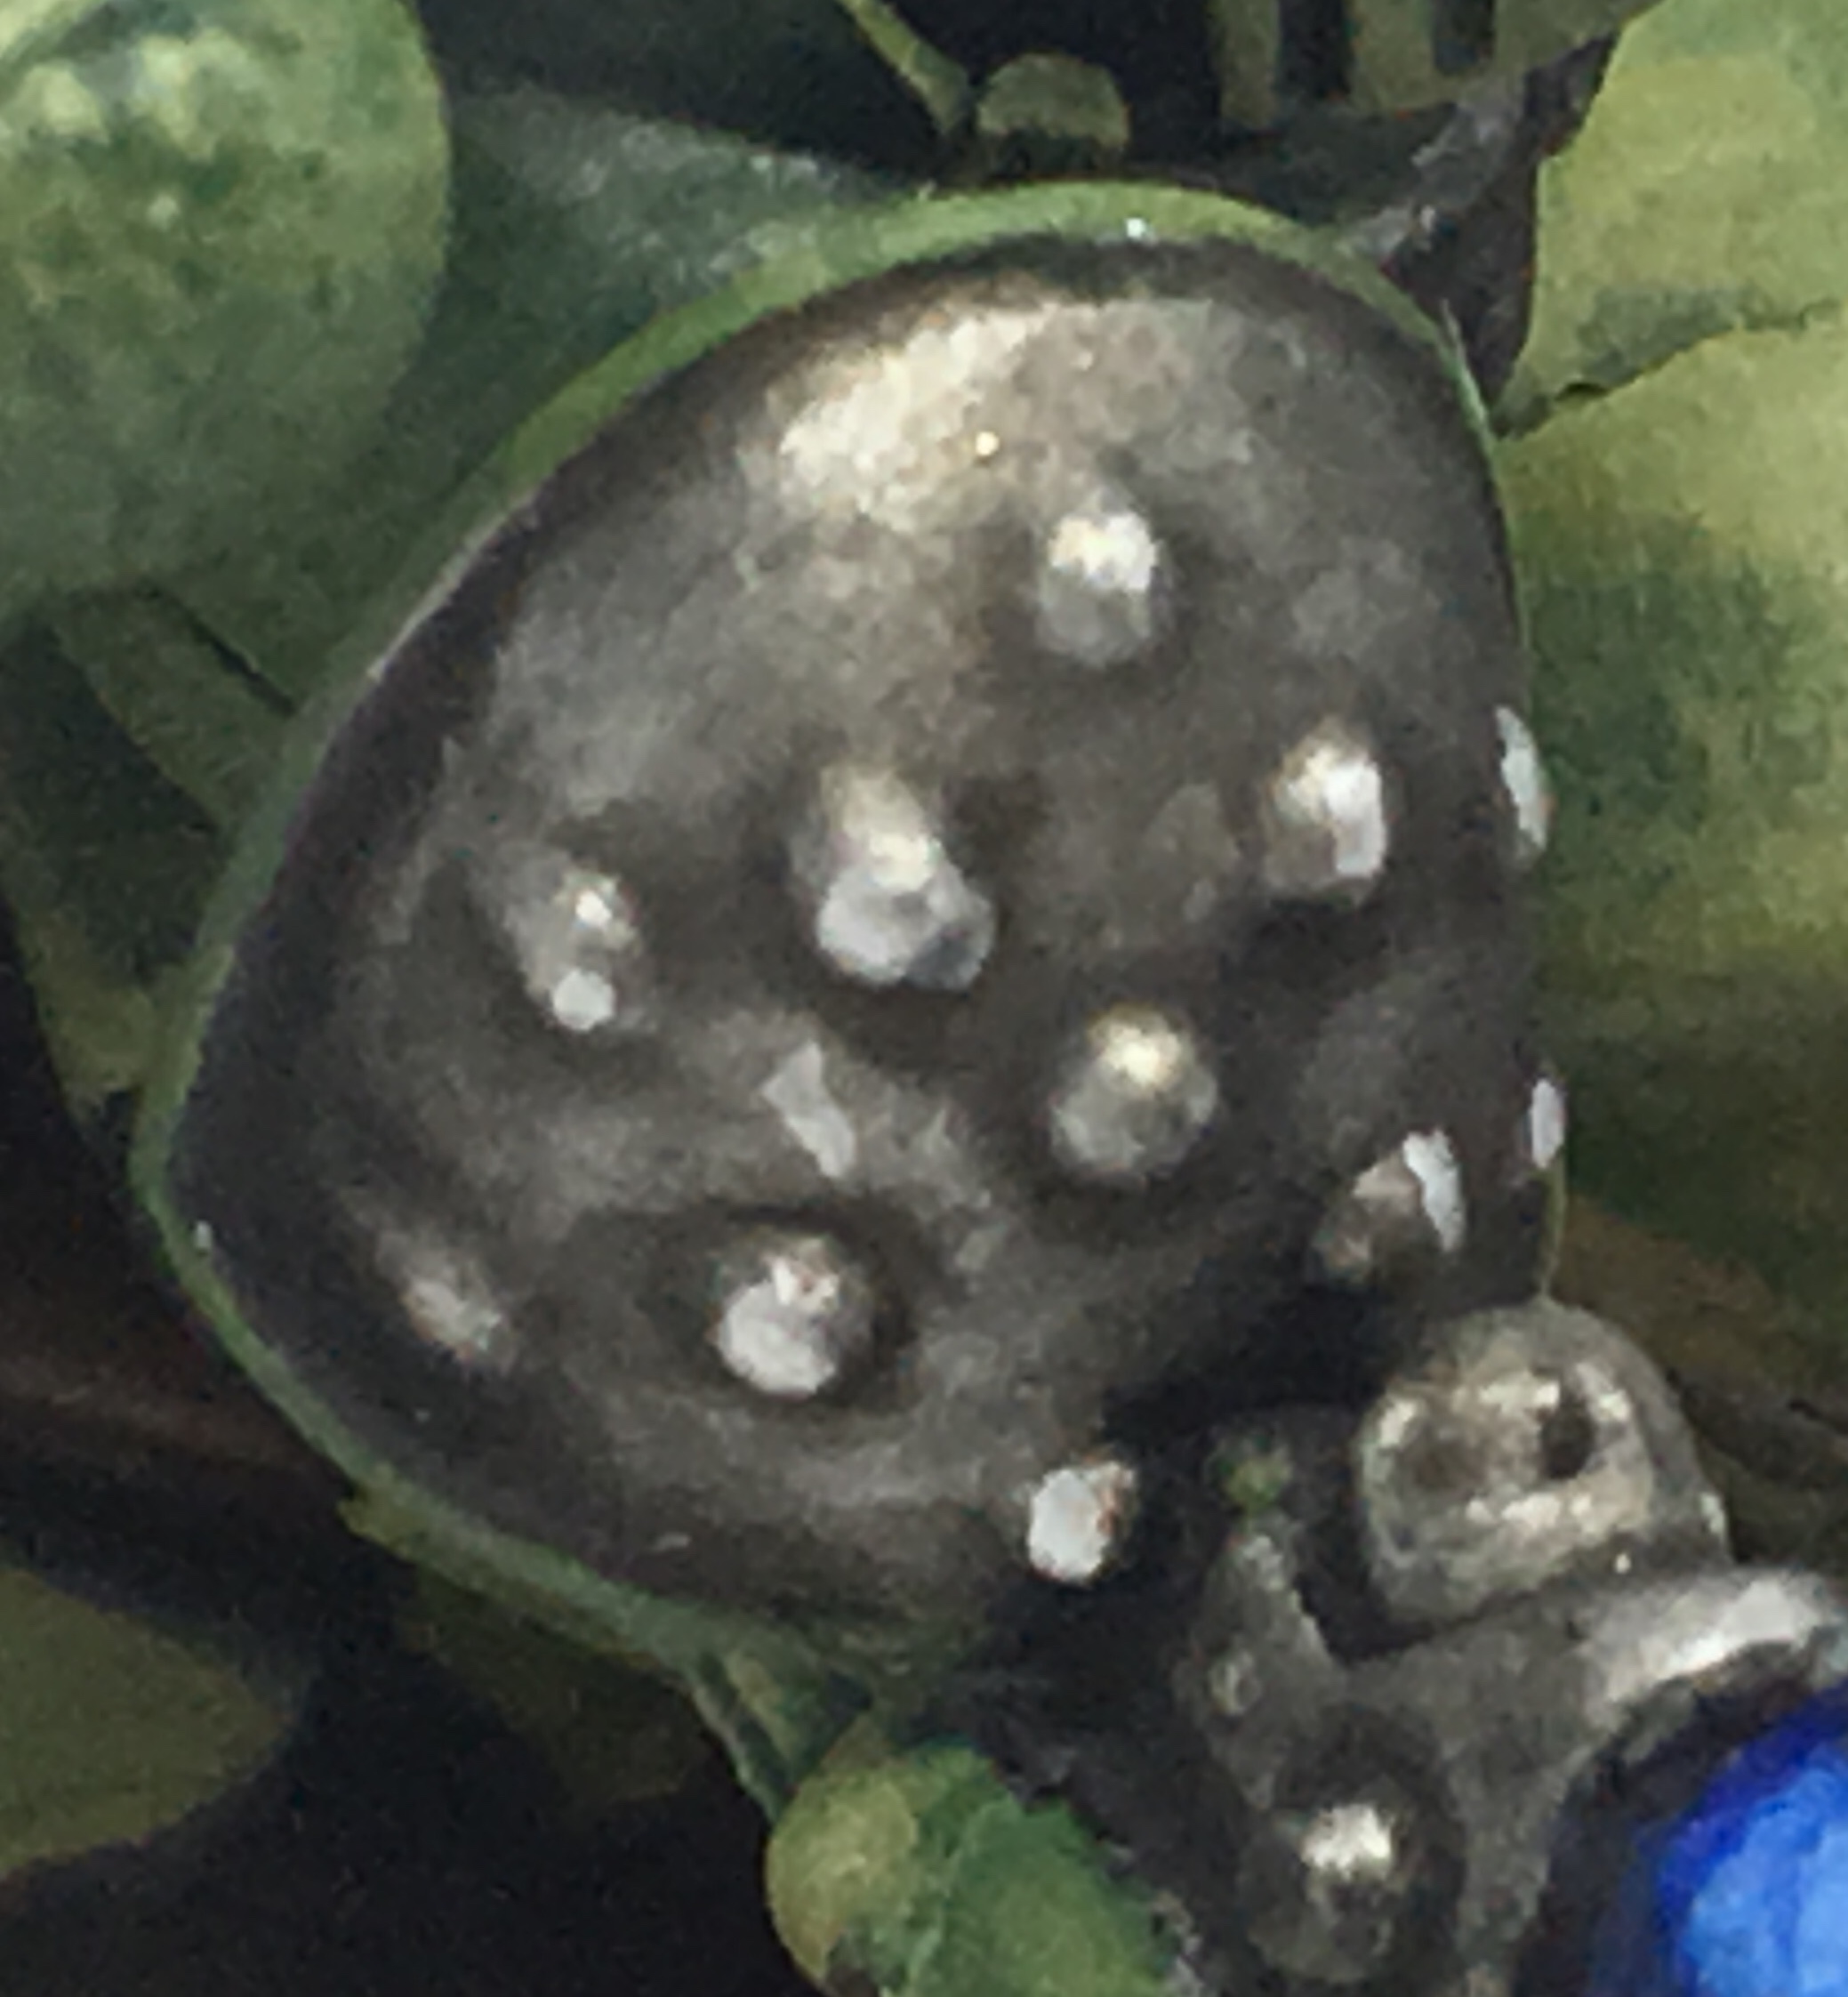
That is all there is too it. If you have retro style studs on any of the armour, paint the raised 50% portion of the stud with Shining Silver or Stormhost Silver:
 And that is all there is to it!
Entry 6: Metal on the body of the Bikes and Landspeeder Tutorial
Another short and sweet tutorial. Behold! Note that the metal on the bike is different to the metal on the armour. I wanted the bike to look more worn by the desert landscape, as well as being a big dirty smoke belching vehicle.
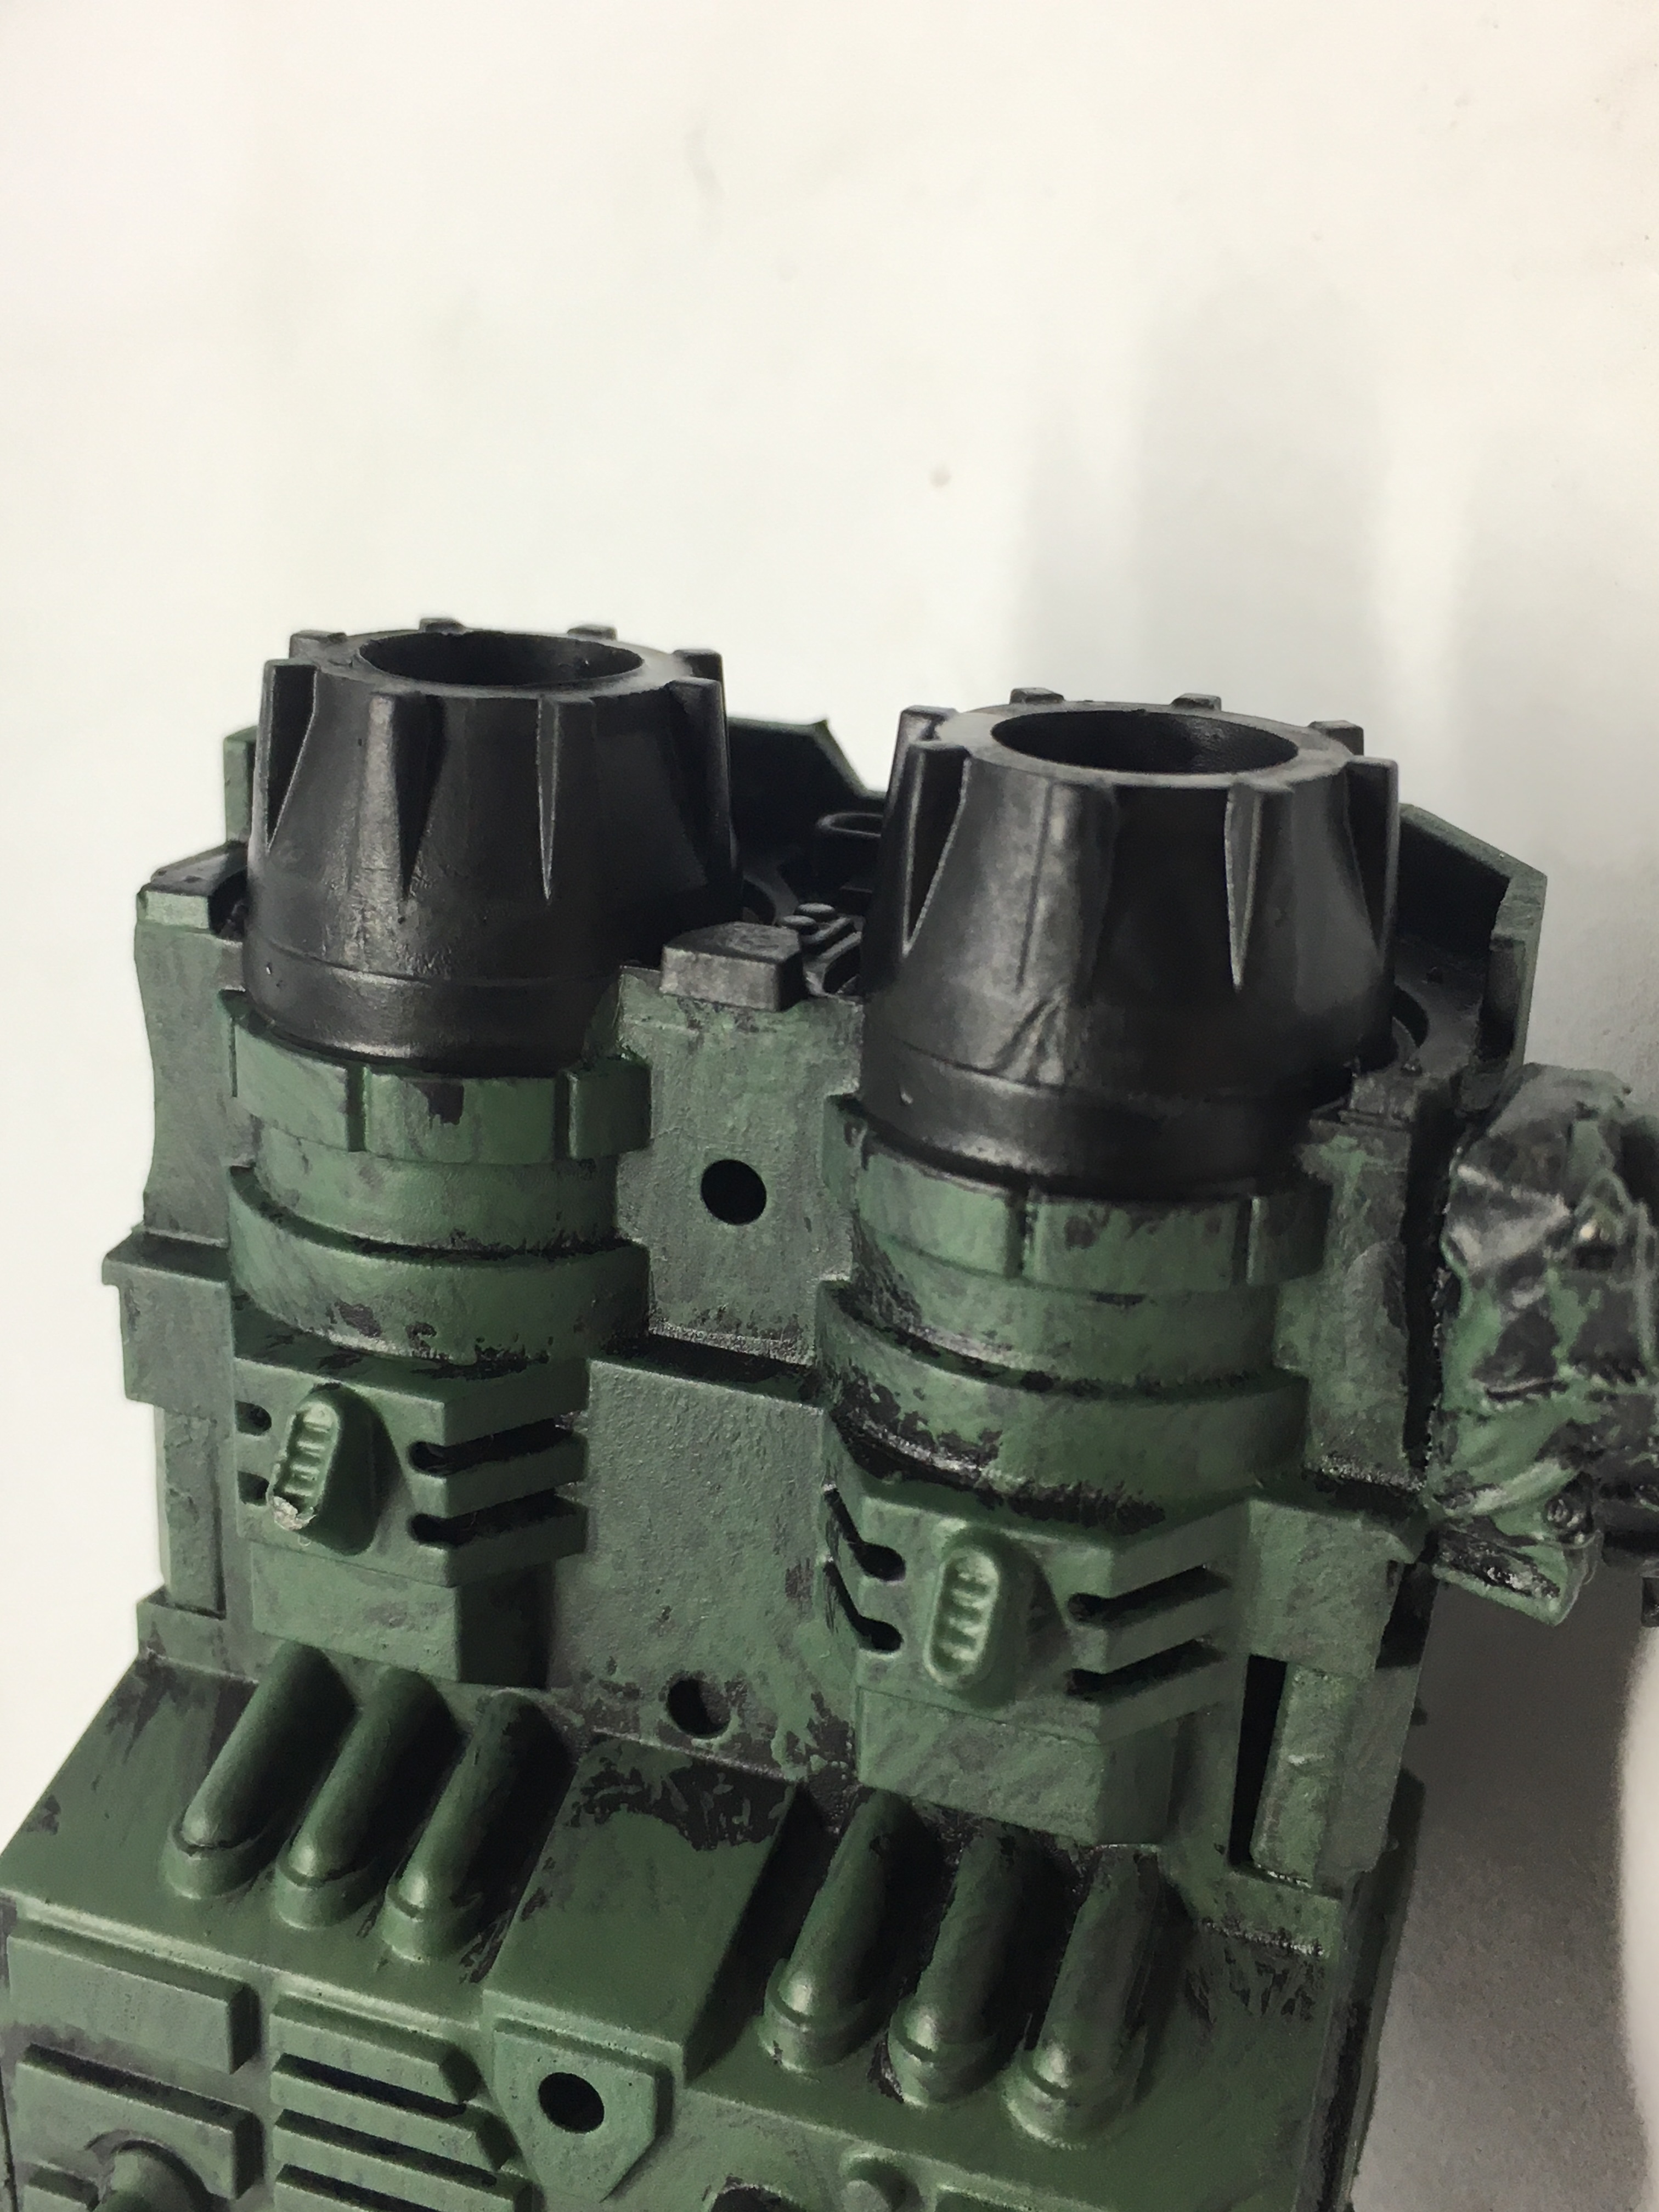 Make sure you touch up the surface with Abbadon Black
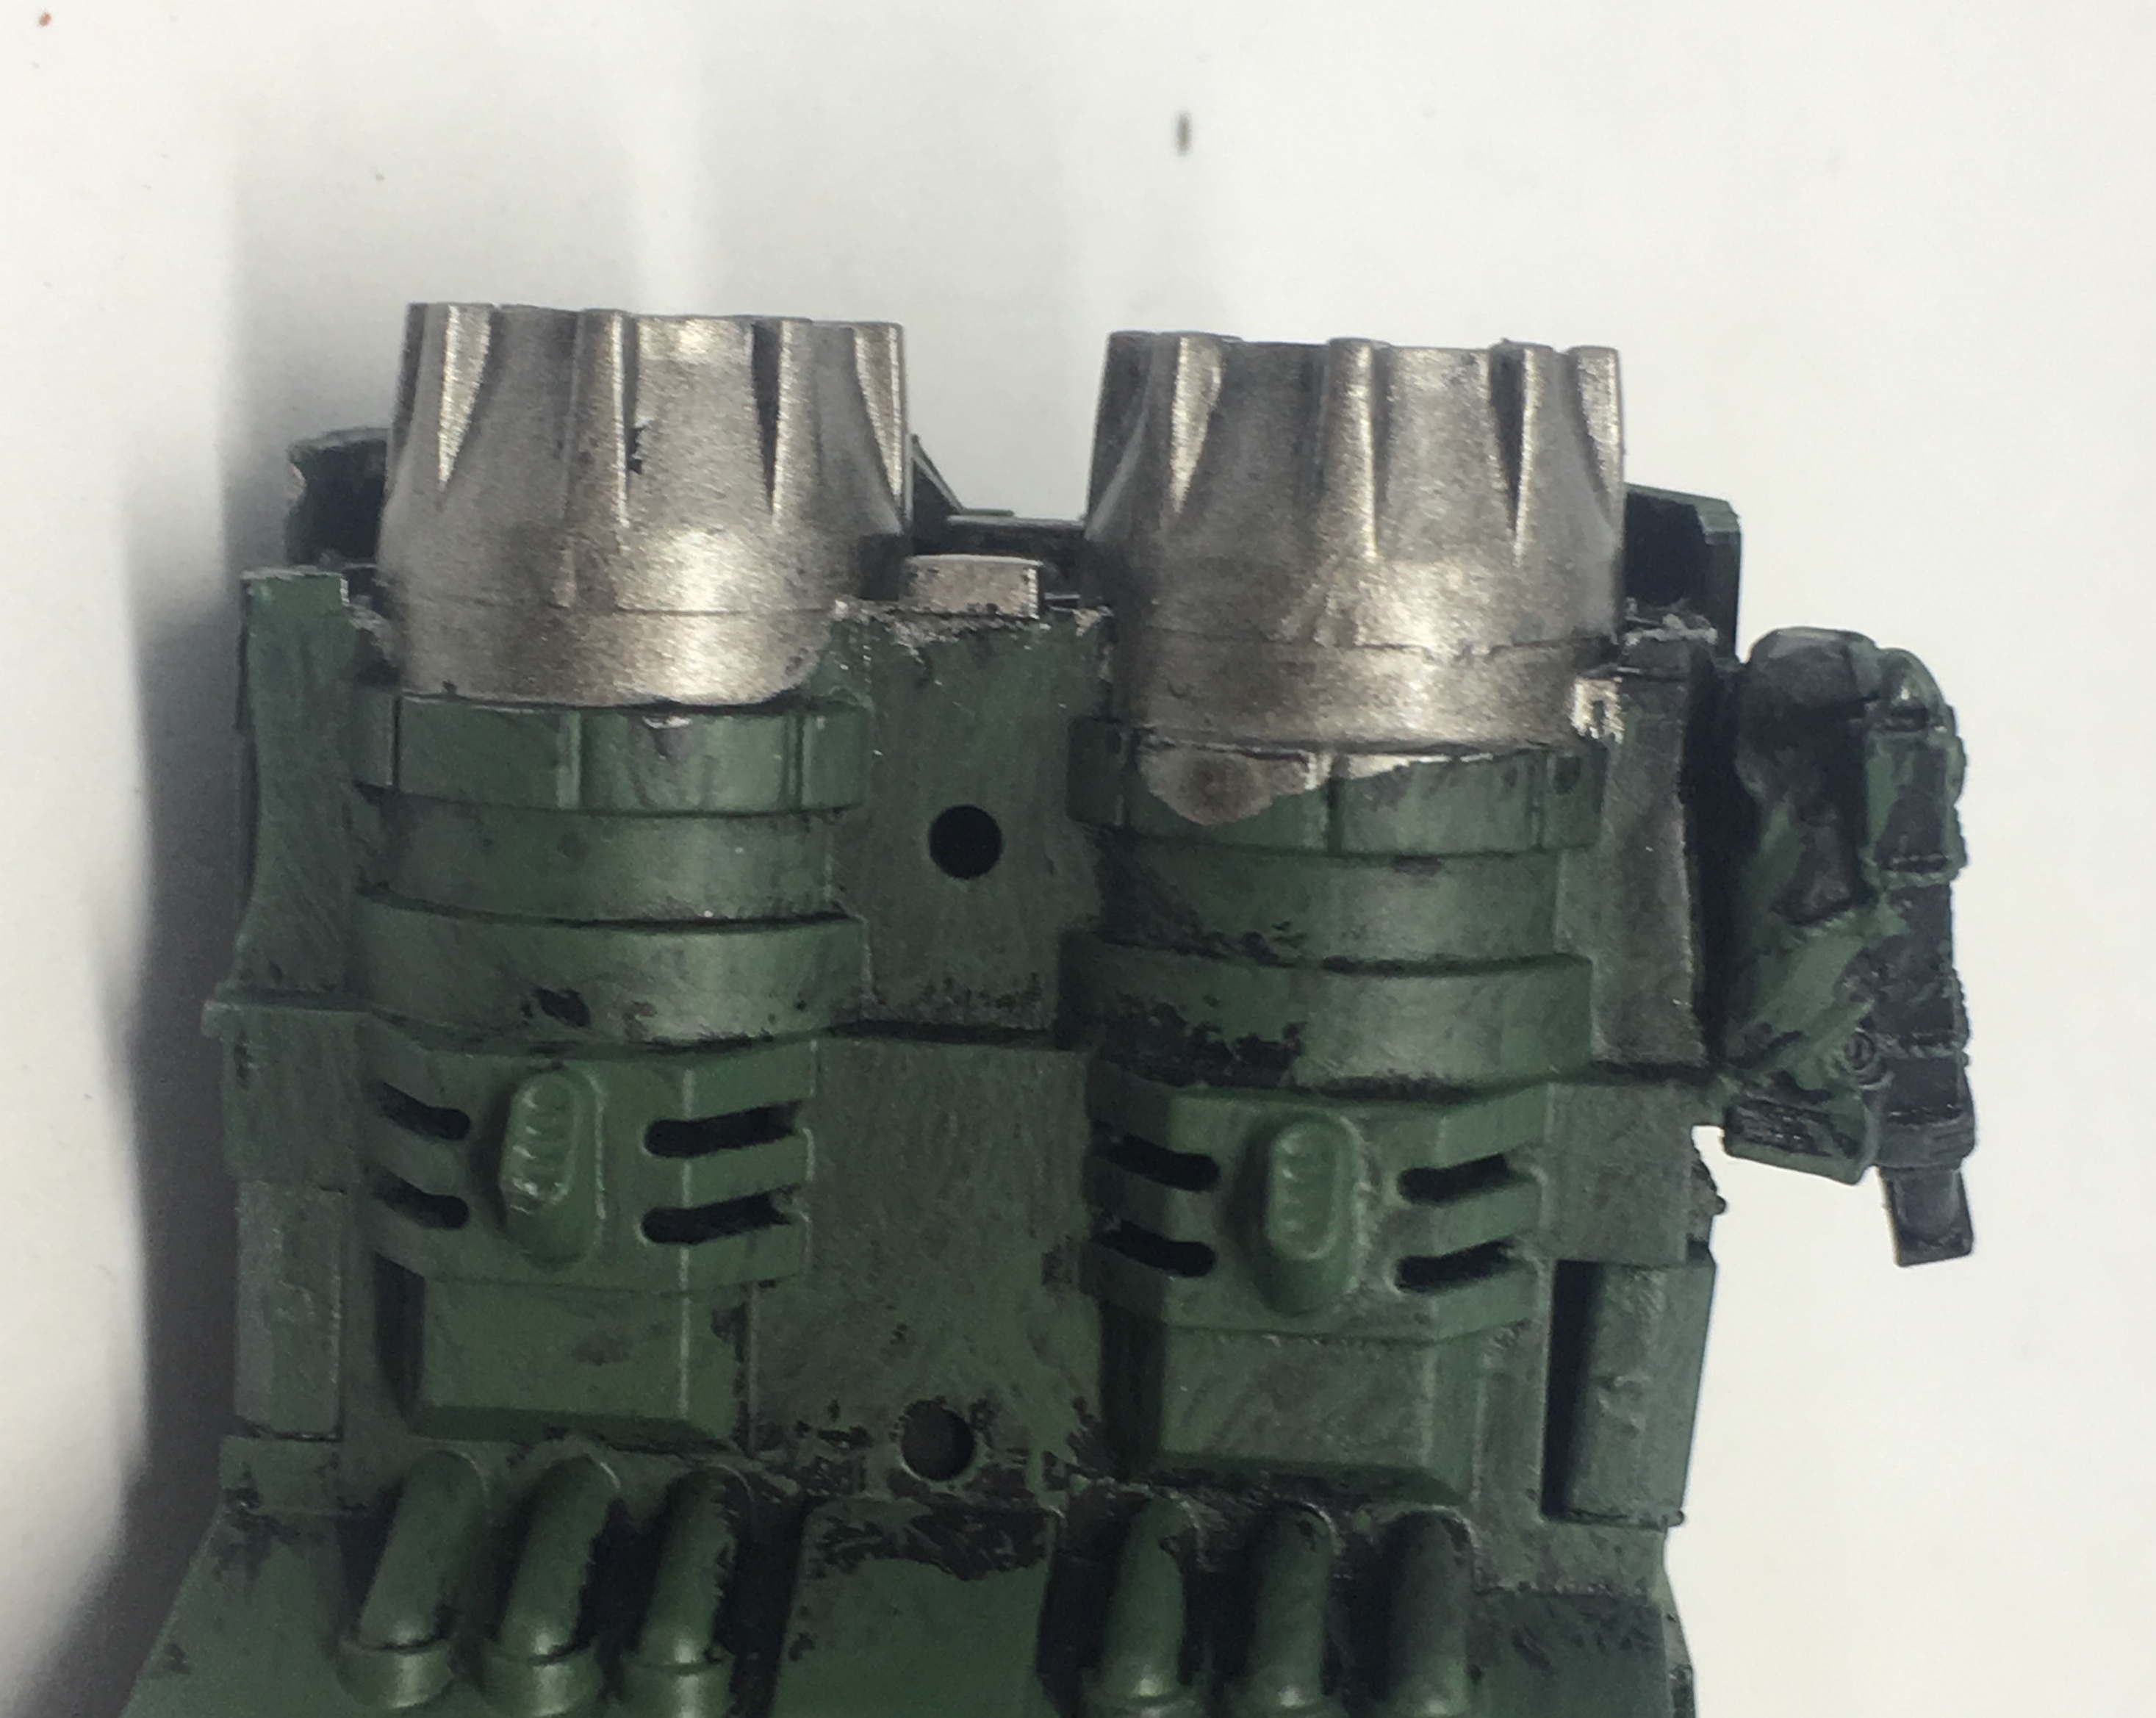 Paint two thin coats of Leadbelcher onto the model
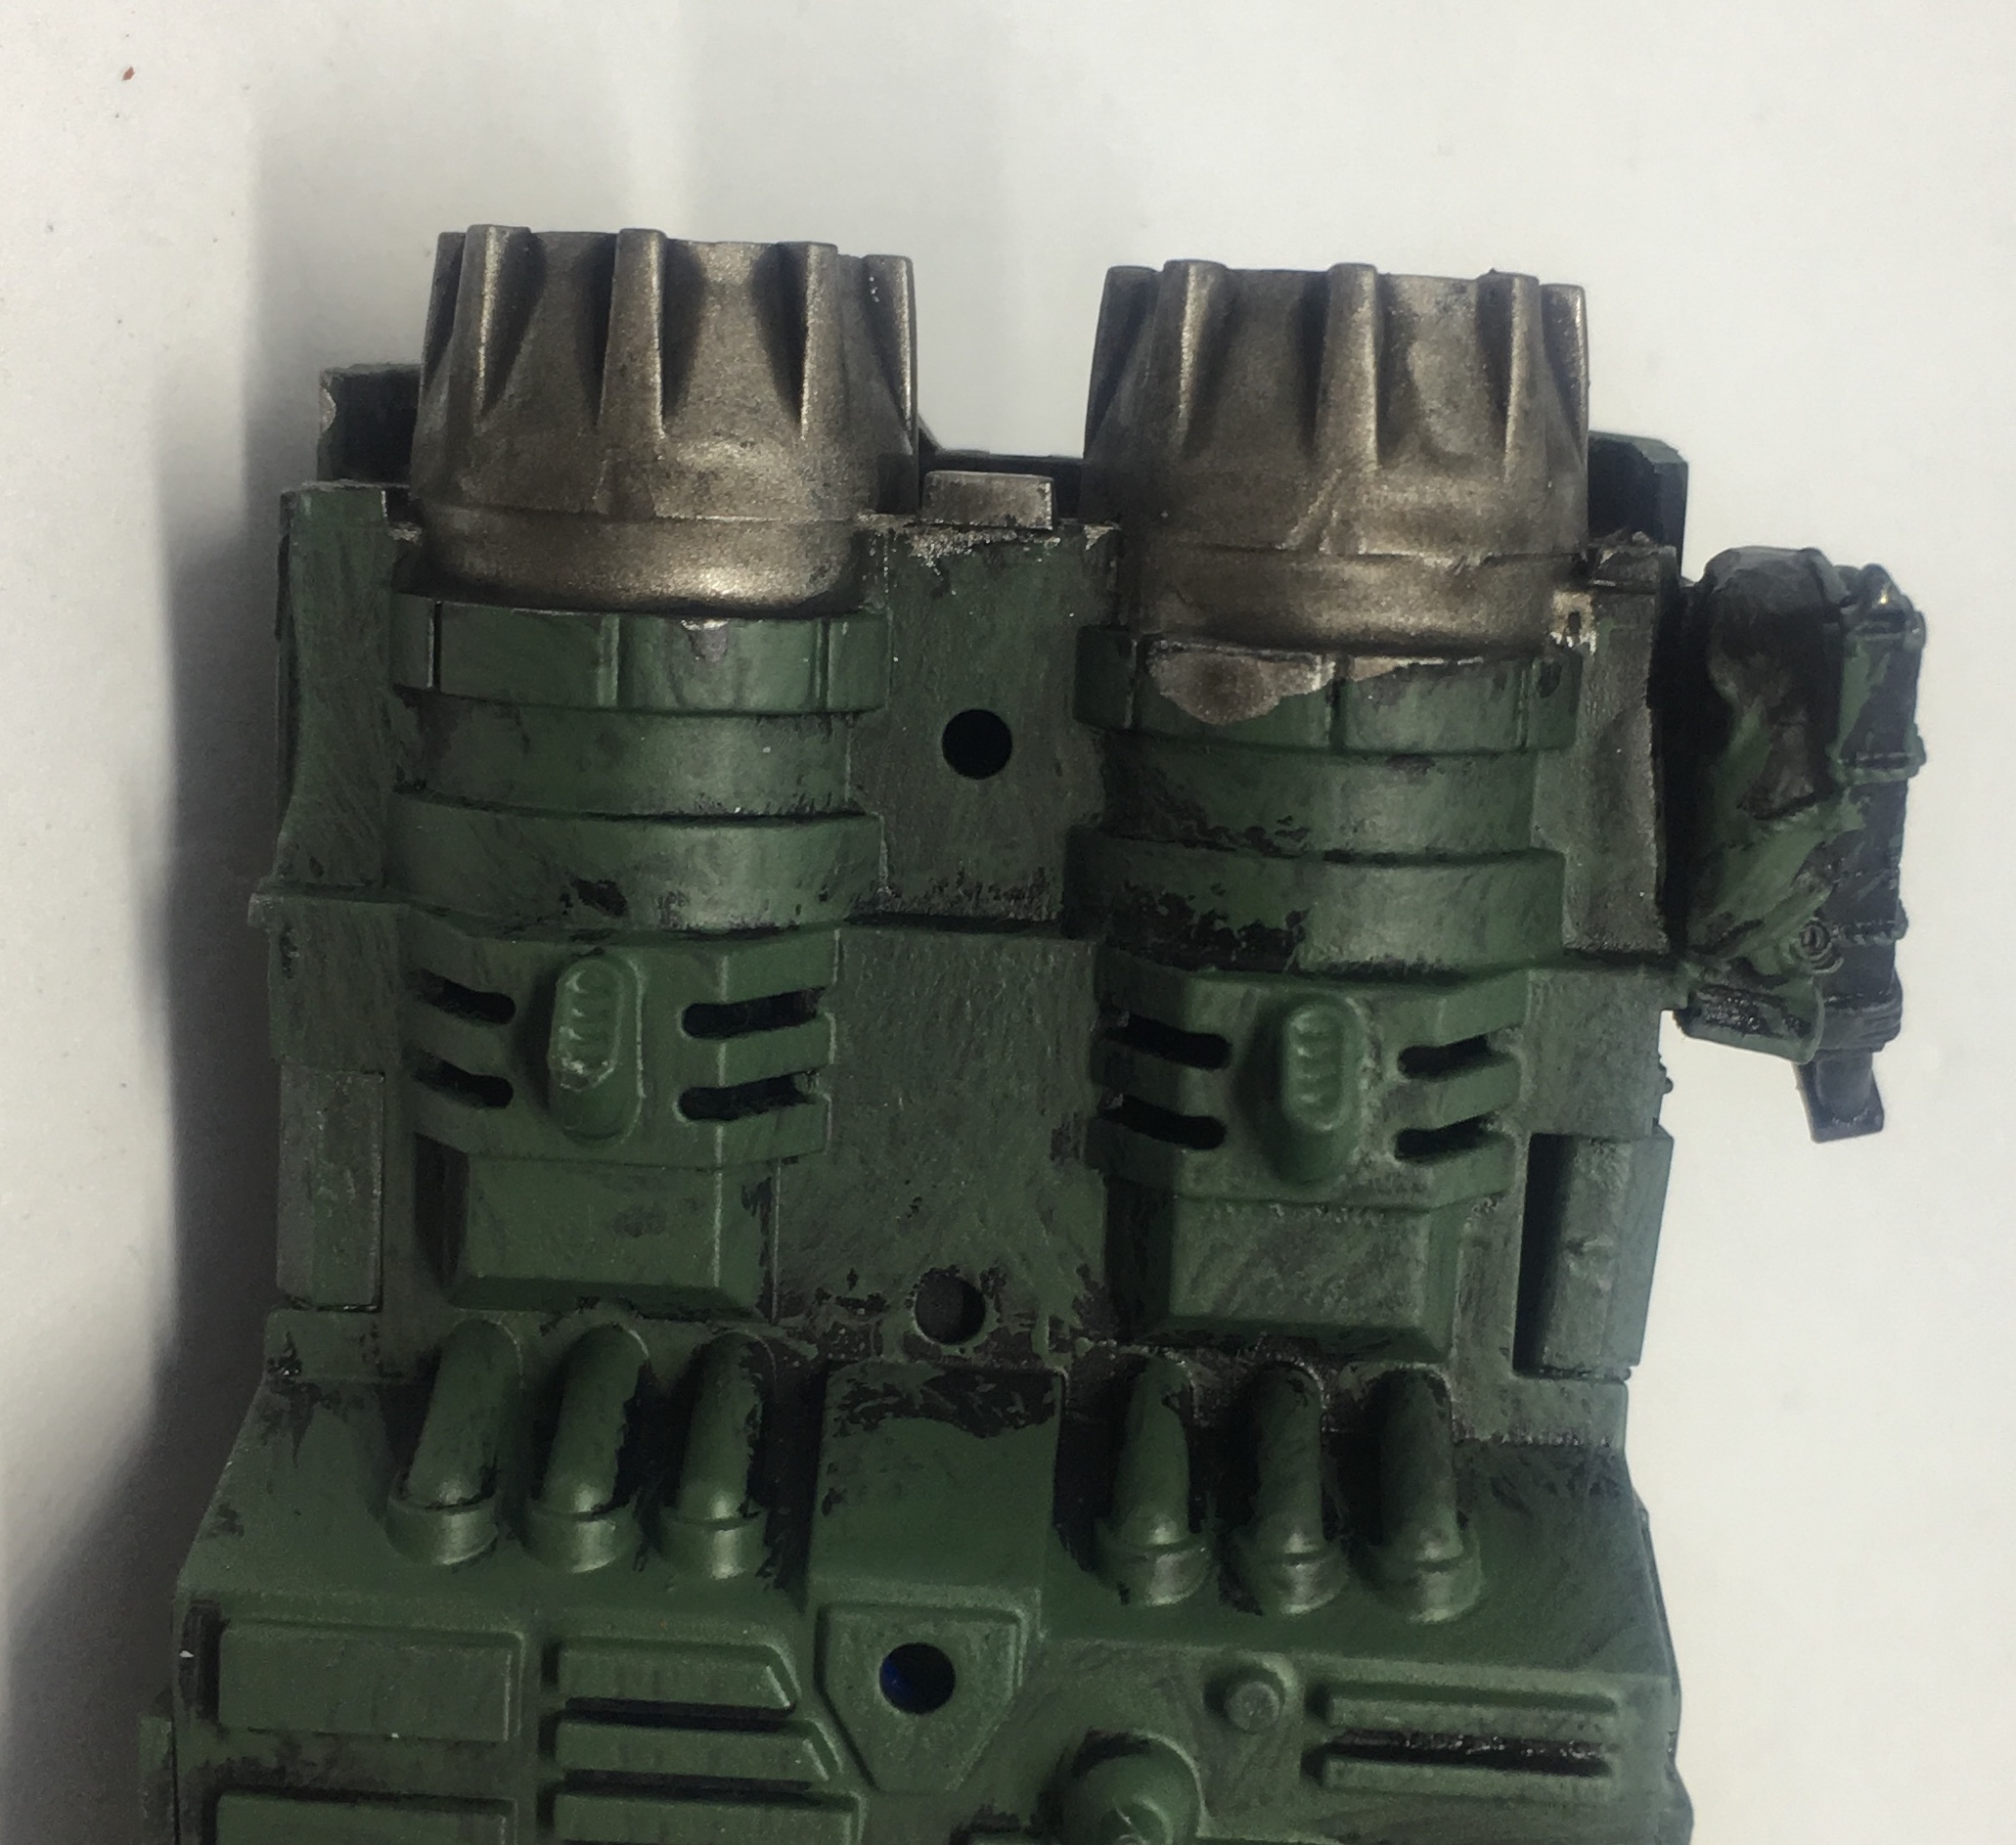 Use a coat of Nuln oil straight out of the path. Put it on straight from the pot and a little thick, but not too thick. If it clumps or looks excessive spread it around the model or remove the excess with a fresh brush.
 Entry 5: The Subassemblies
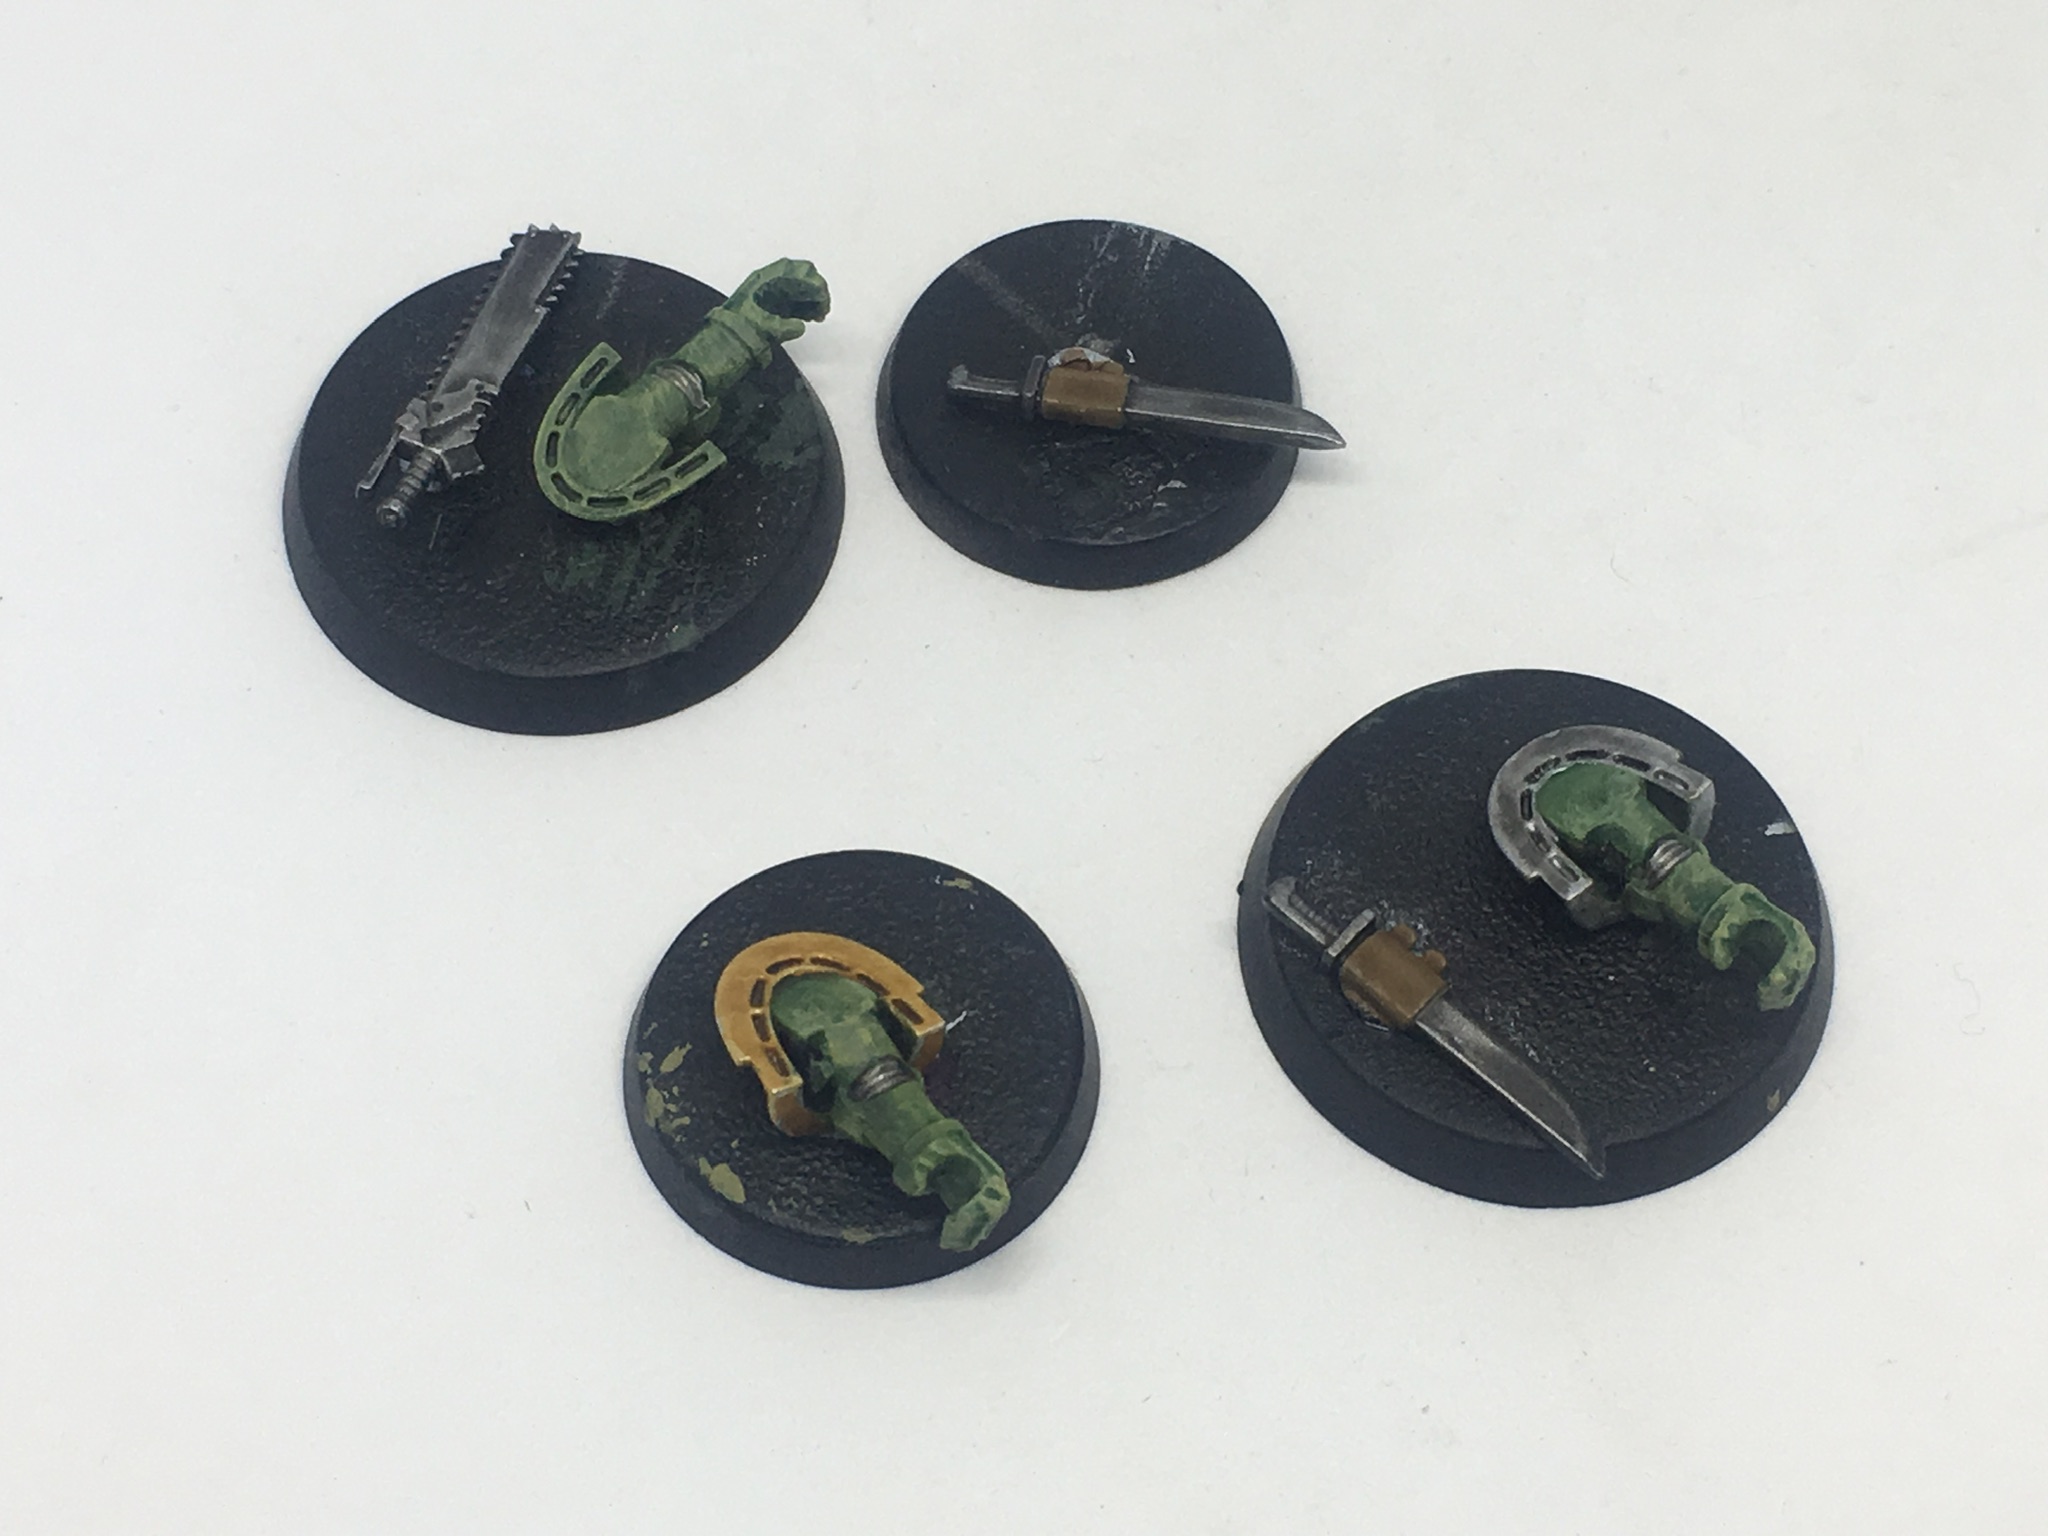
I cannot stress how much easier and quicker the sub assemblies made this project.
 The Bikes
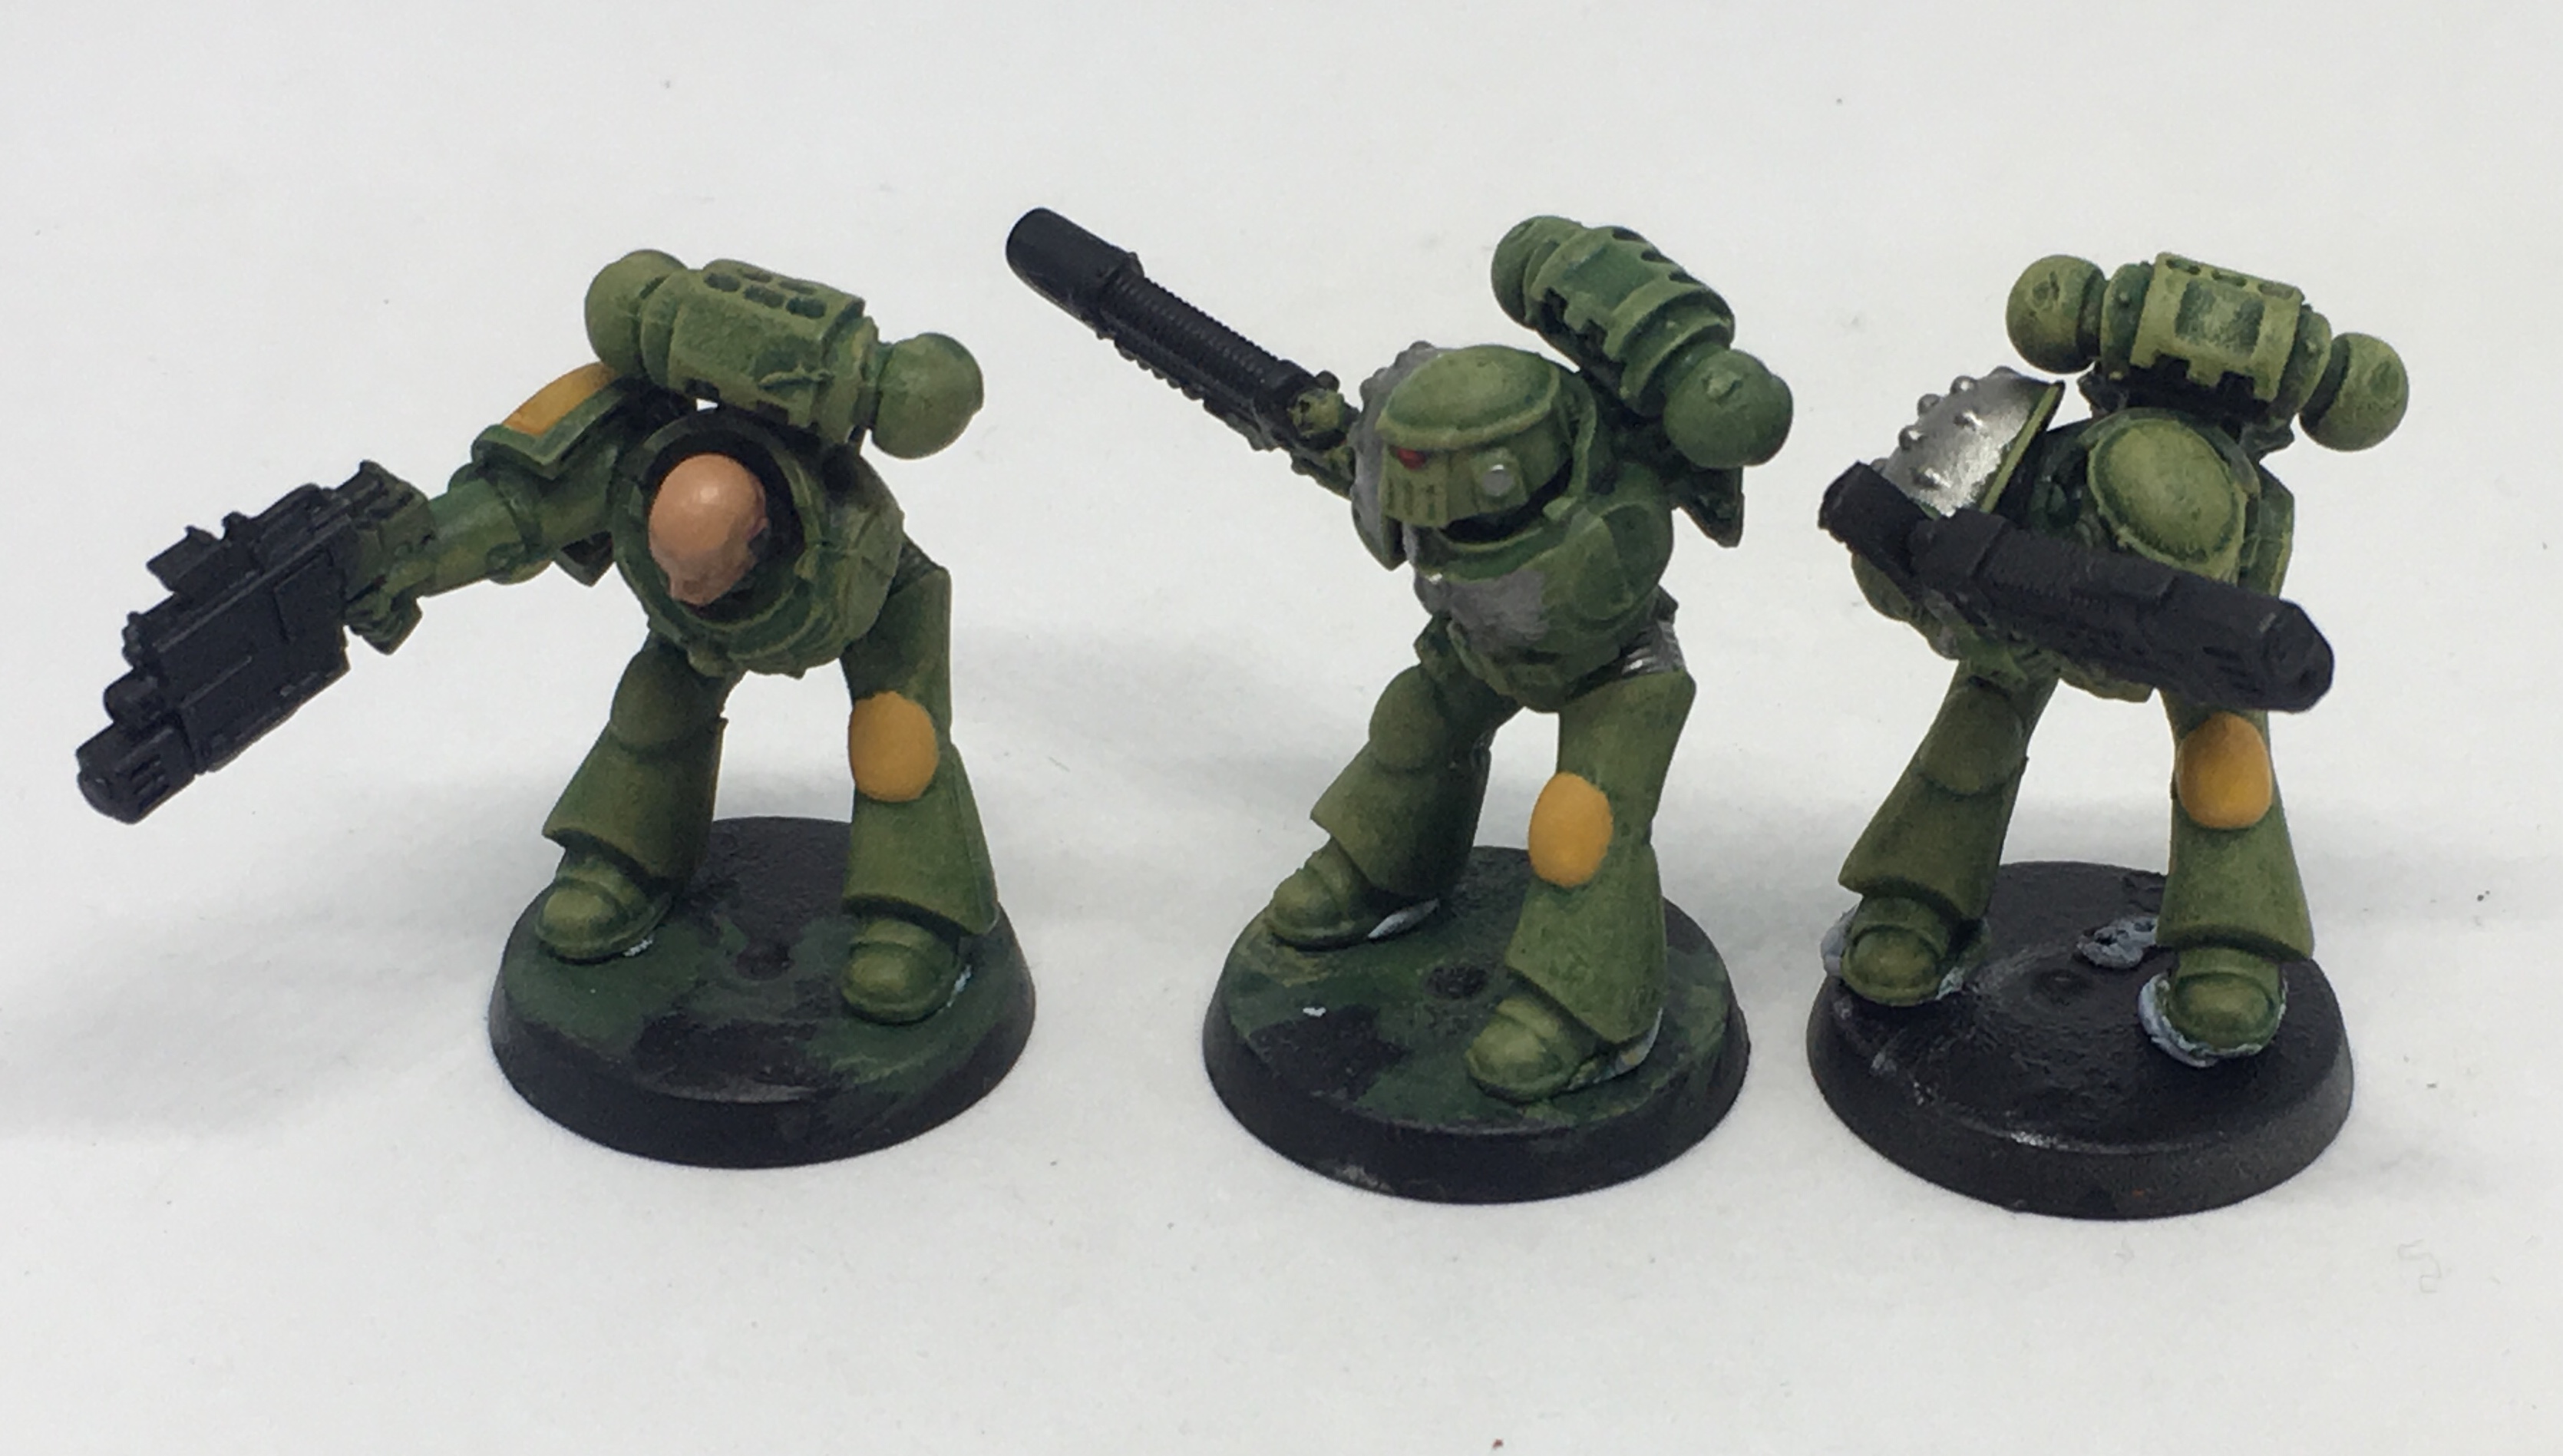 The Riders
For the combat knives glue them down on the side that will be attached to the bike at the end. You save time by not painting said side.
Also, glue the shoulder pads on the outside of the pauldron facing down. It will be the easiest to paint on the outside after being assembled. It has only the trim of the shoulder pad adjacent to it so it makes it the easiest, most logical choice.
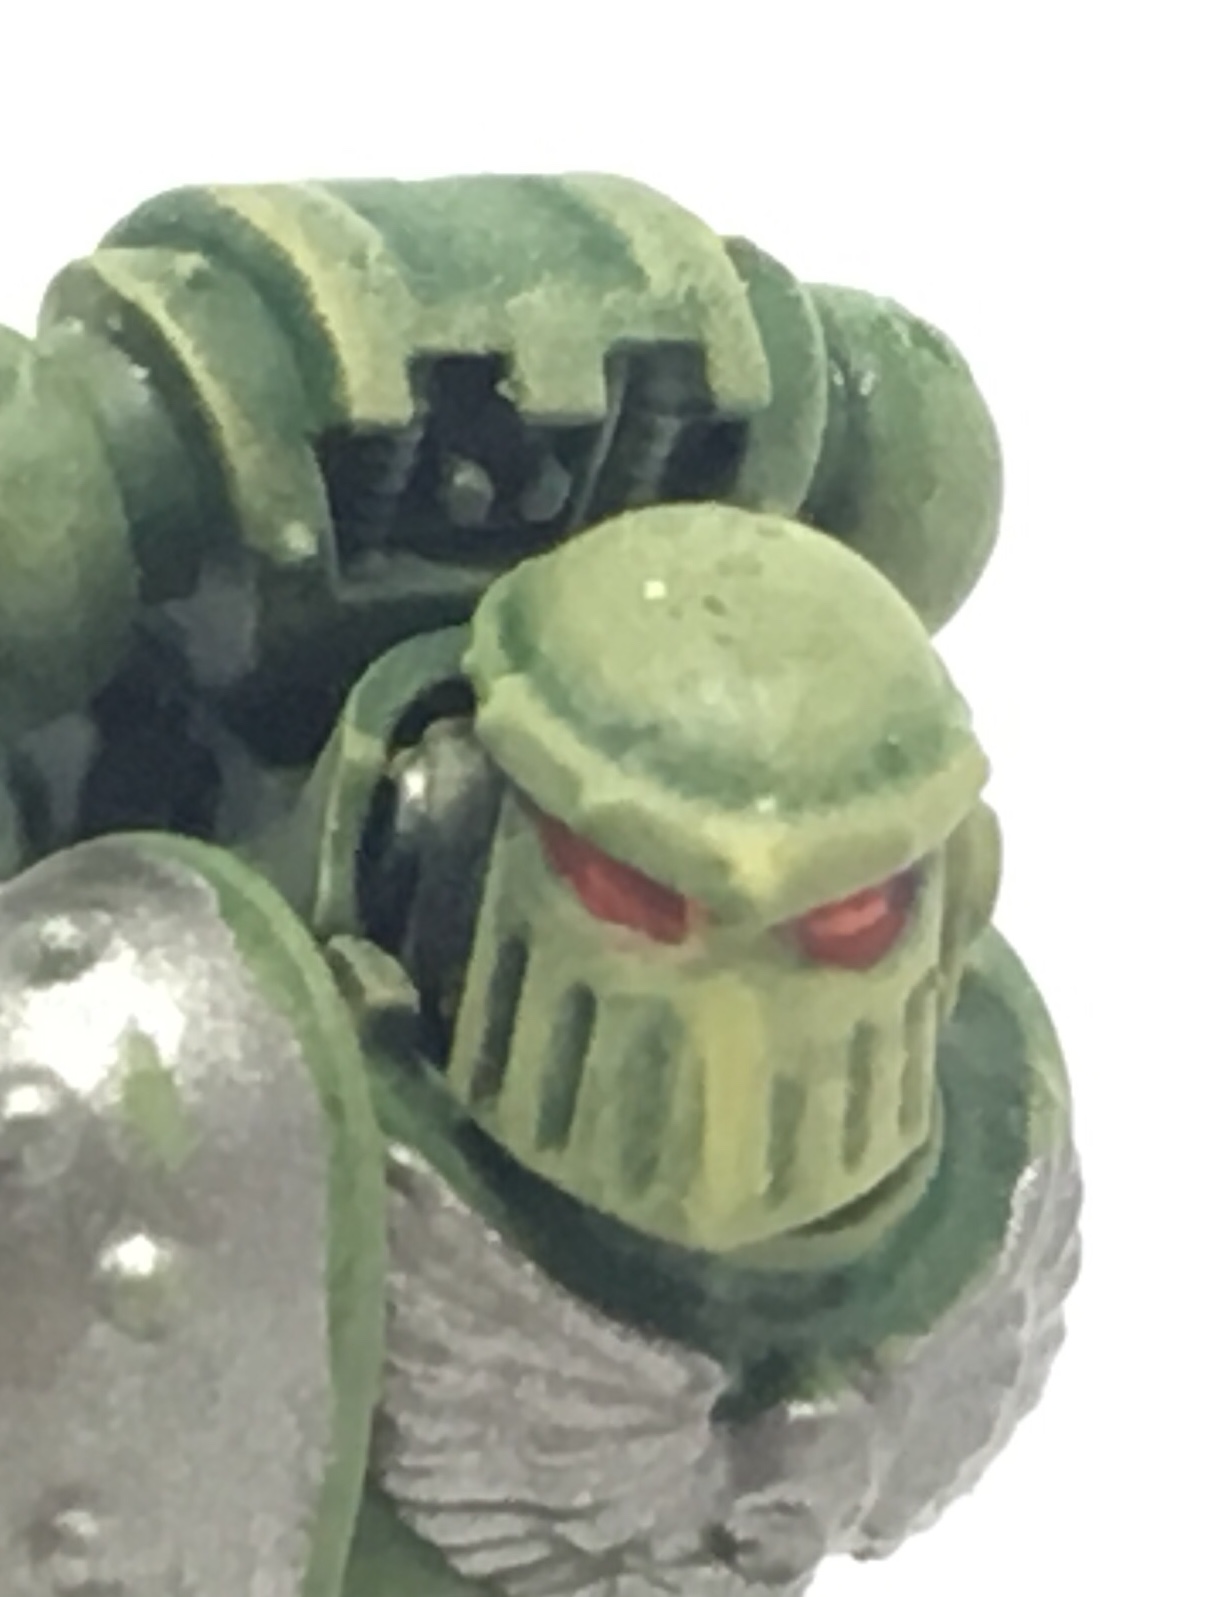
Entry 4: Eye Lenses
Below is something quick and lazy, once again, but it gets effective results in no time.
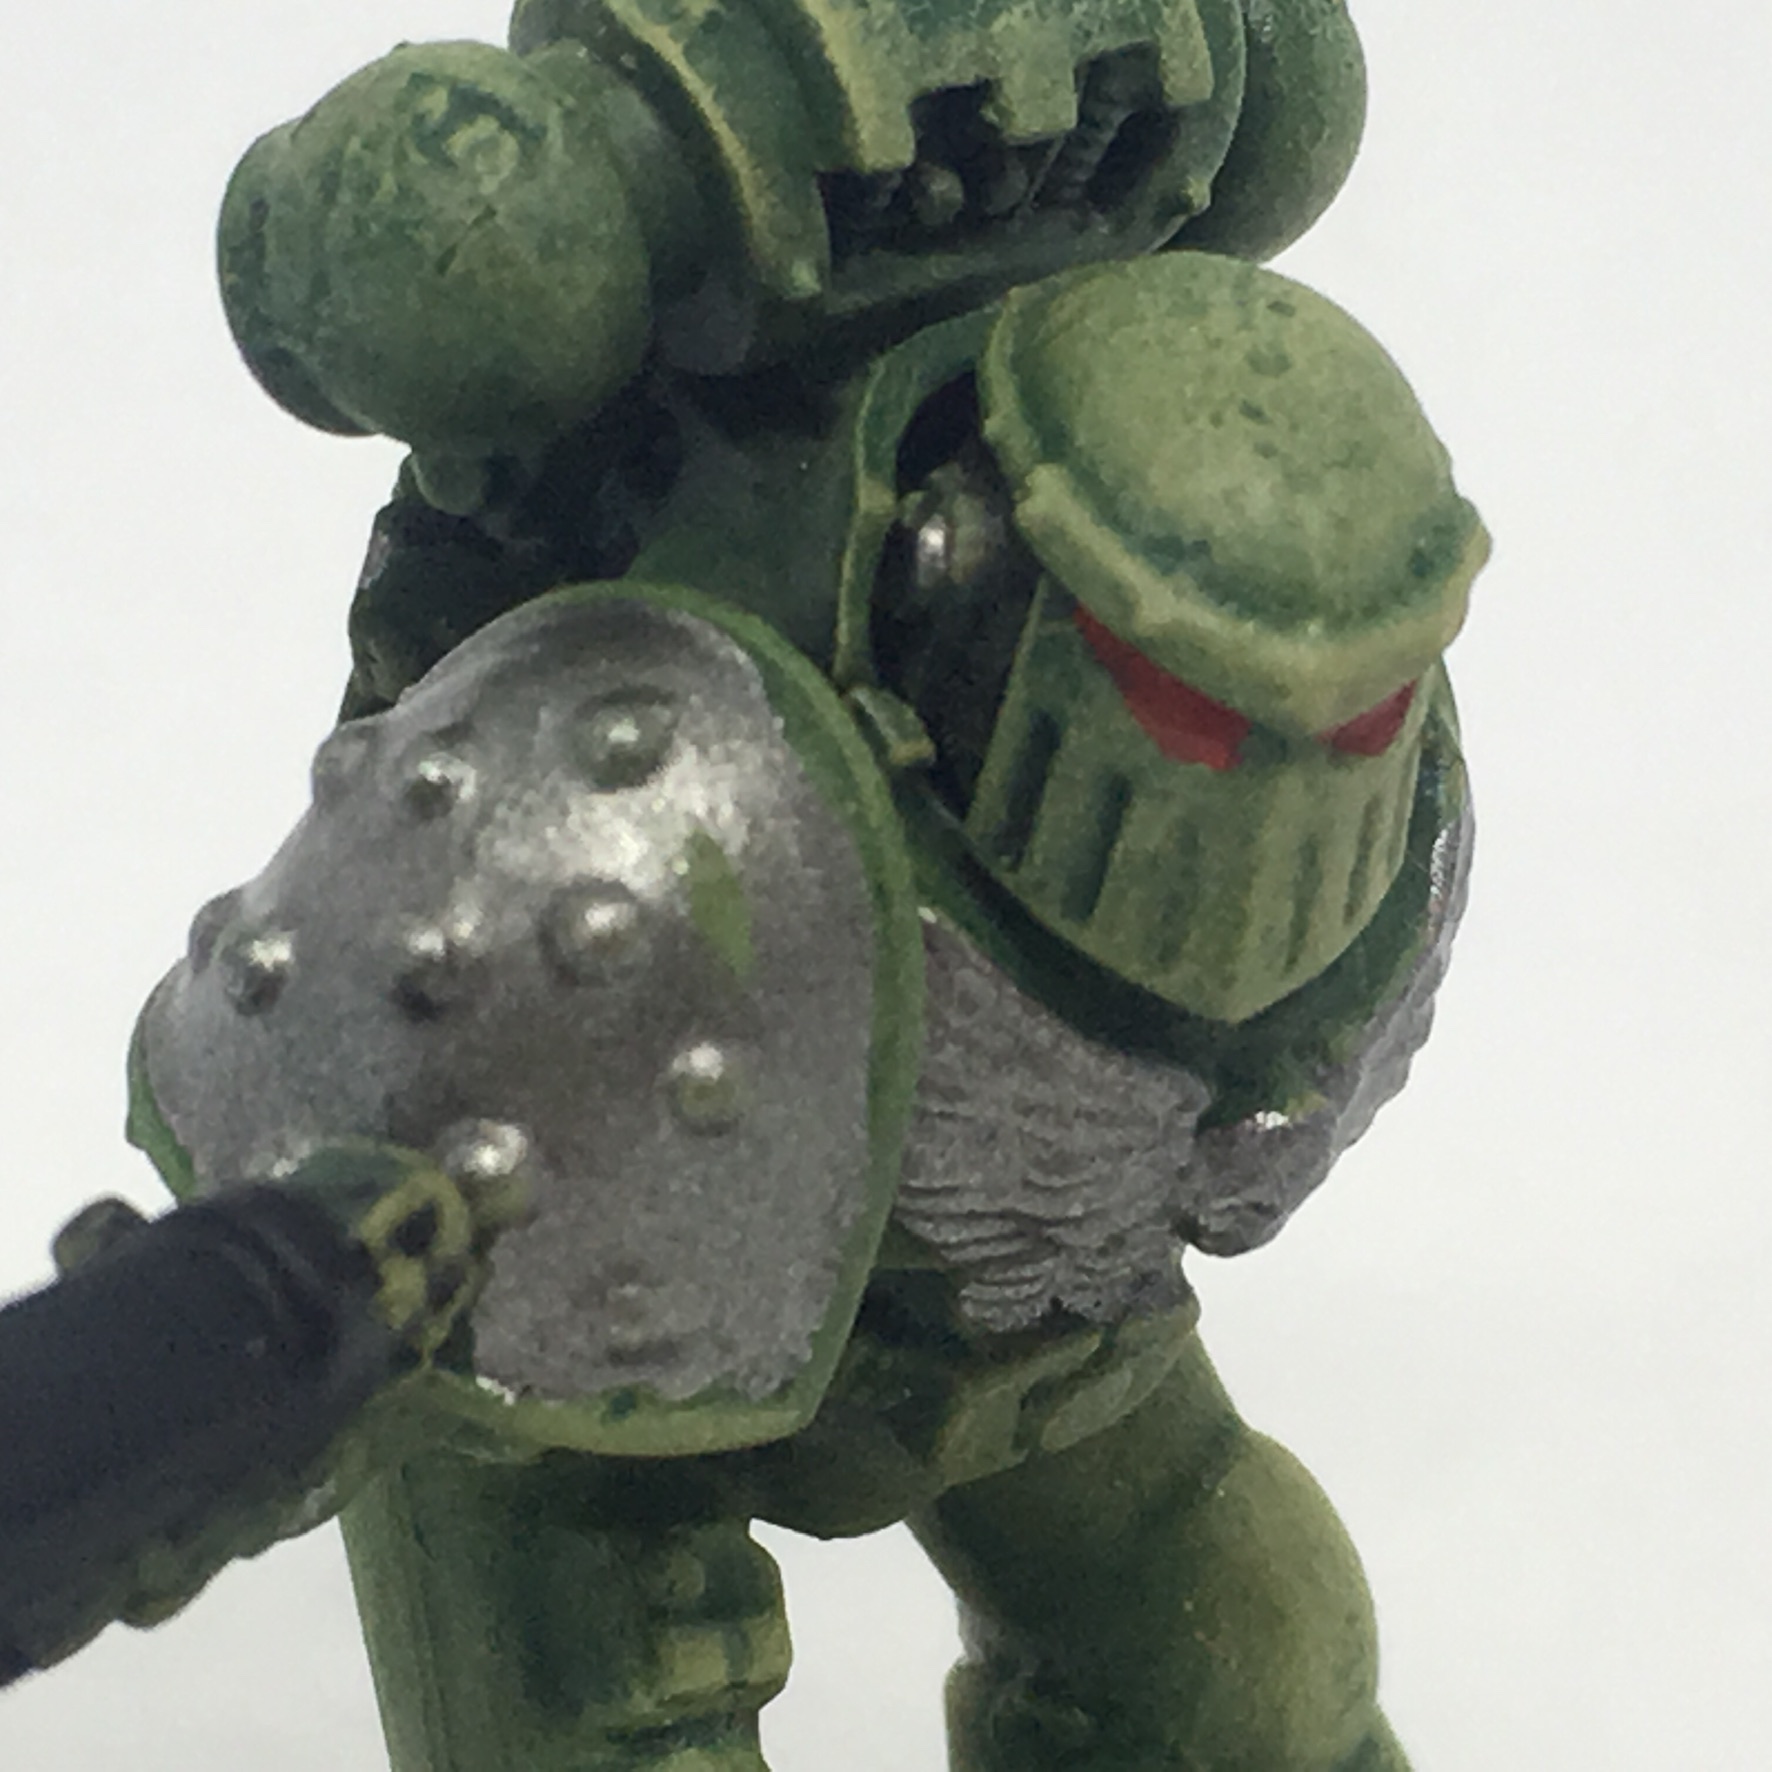
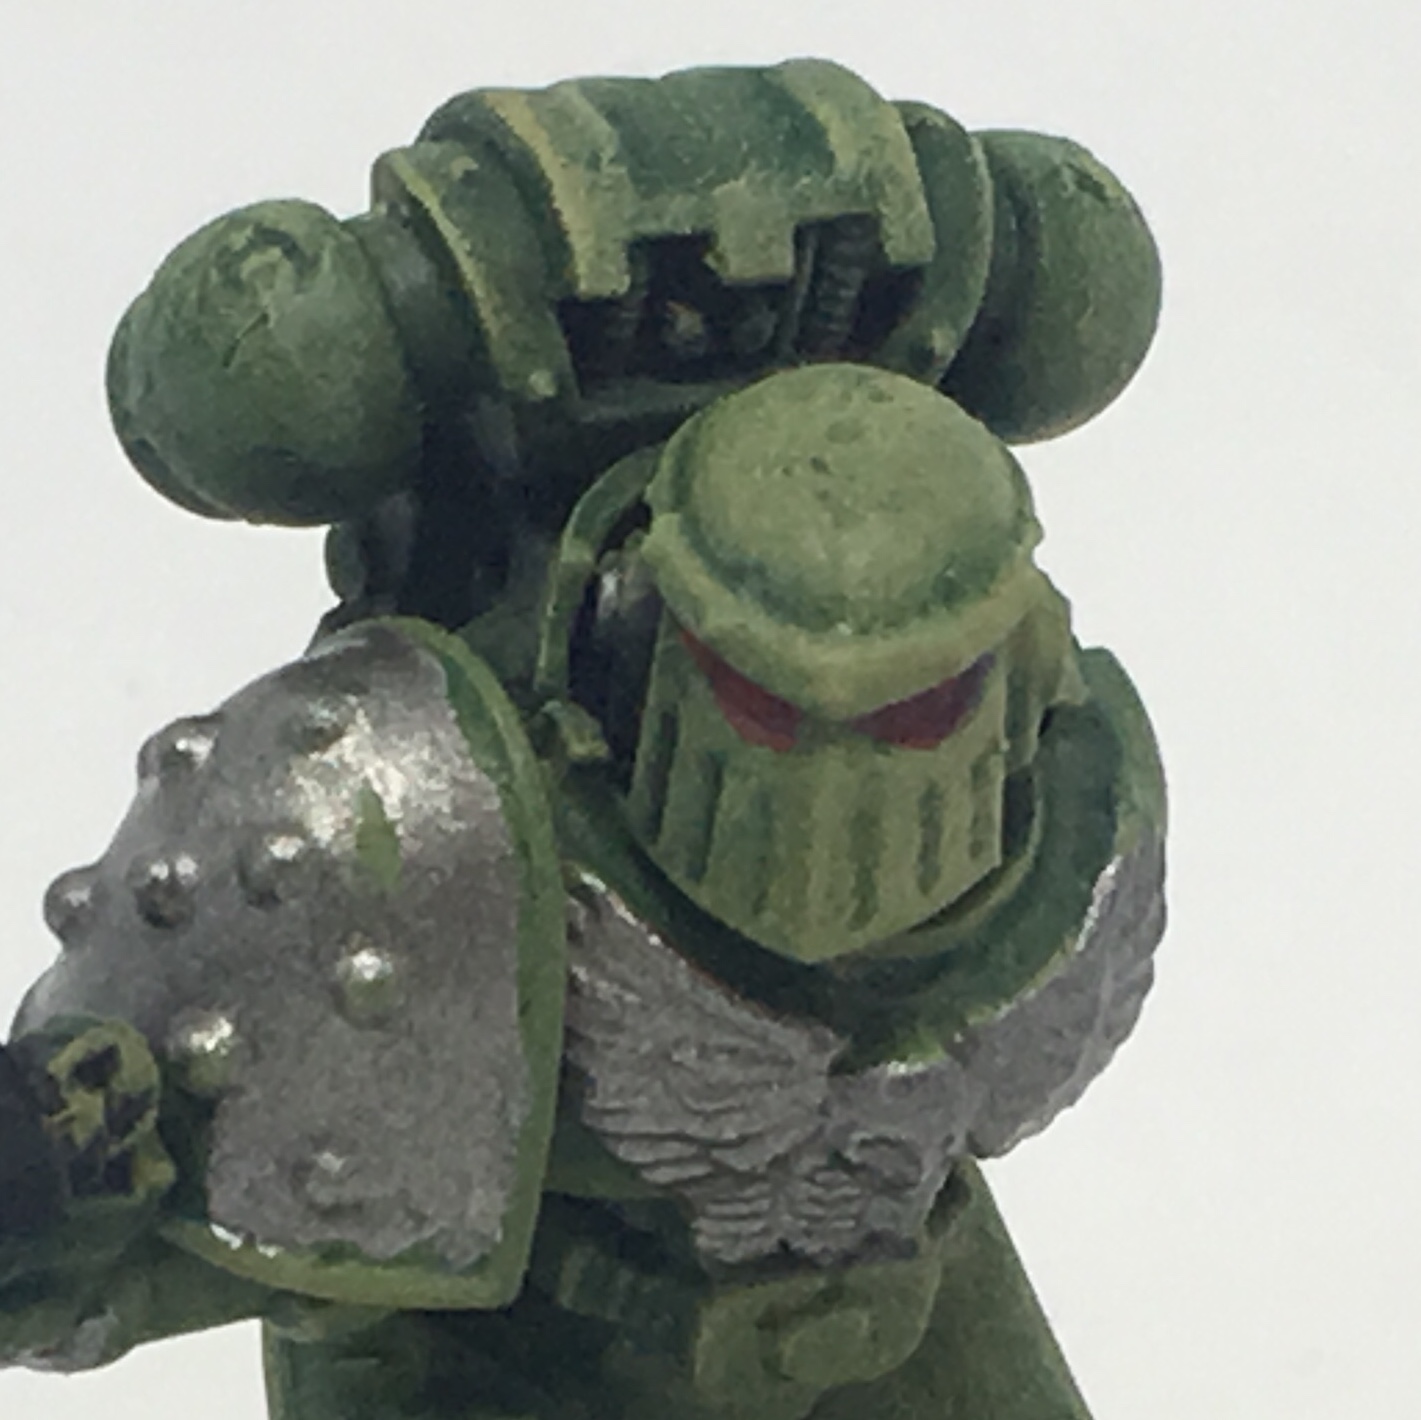
If you wanted to make the model pop you could highlight it after the Purple Tone by using Mephiston Red and Wildrider Red. I did not take a picture of each stage.
Entry 3: Bike Light
Another short and sweet tutorial. A quick note:
I use older paints and still have them stocked up. If you do not have Macharius Orange use the current paint, Troll Slayer Orange.
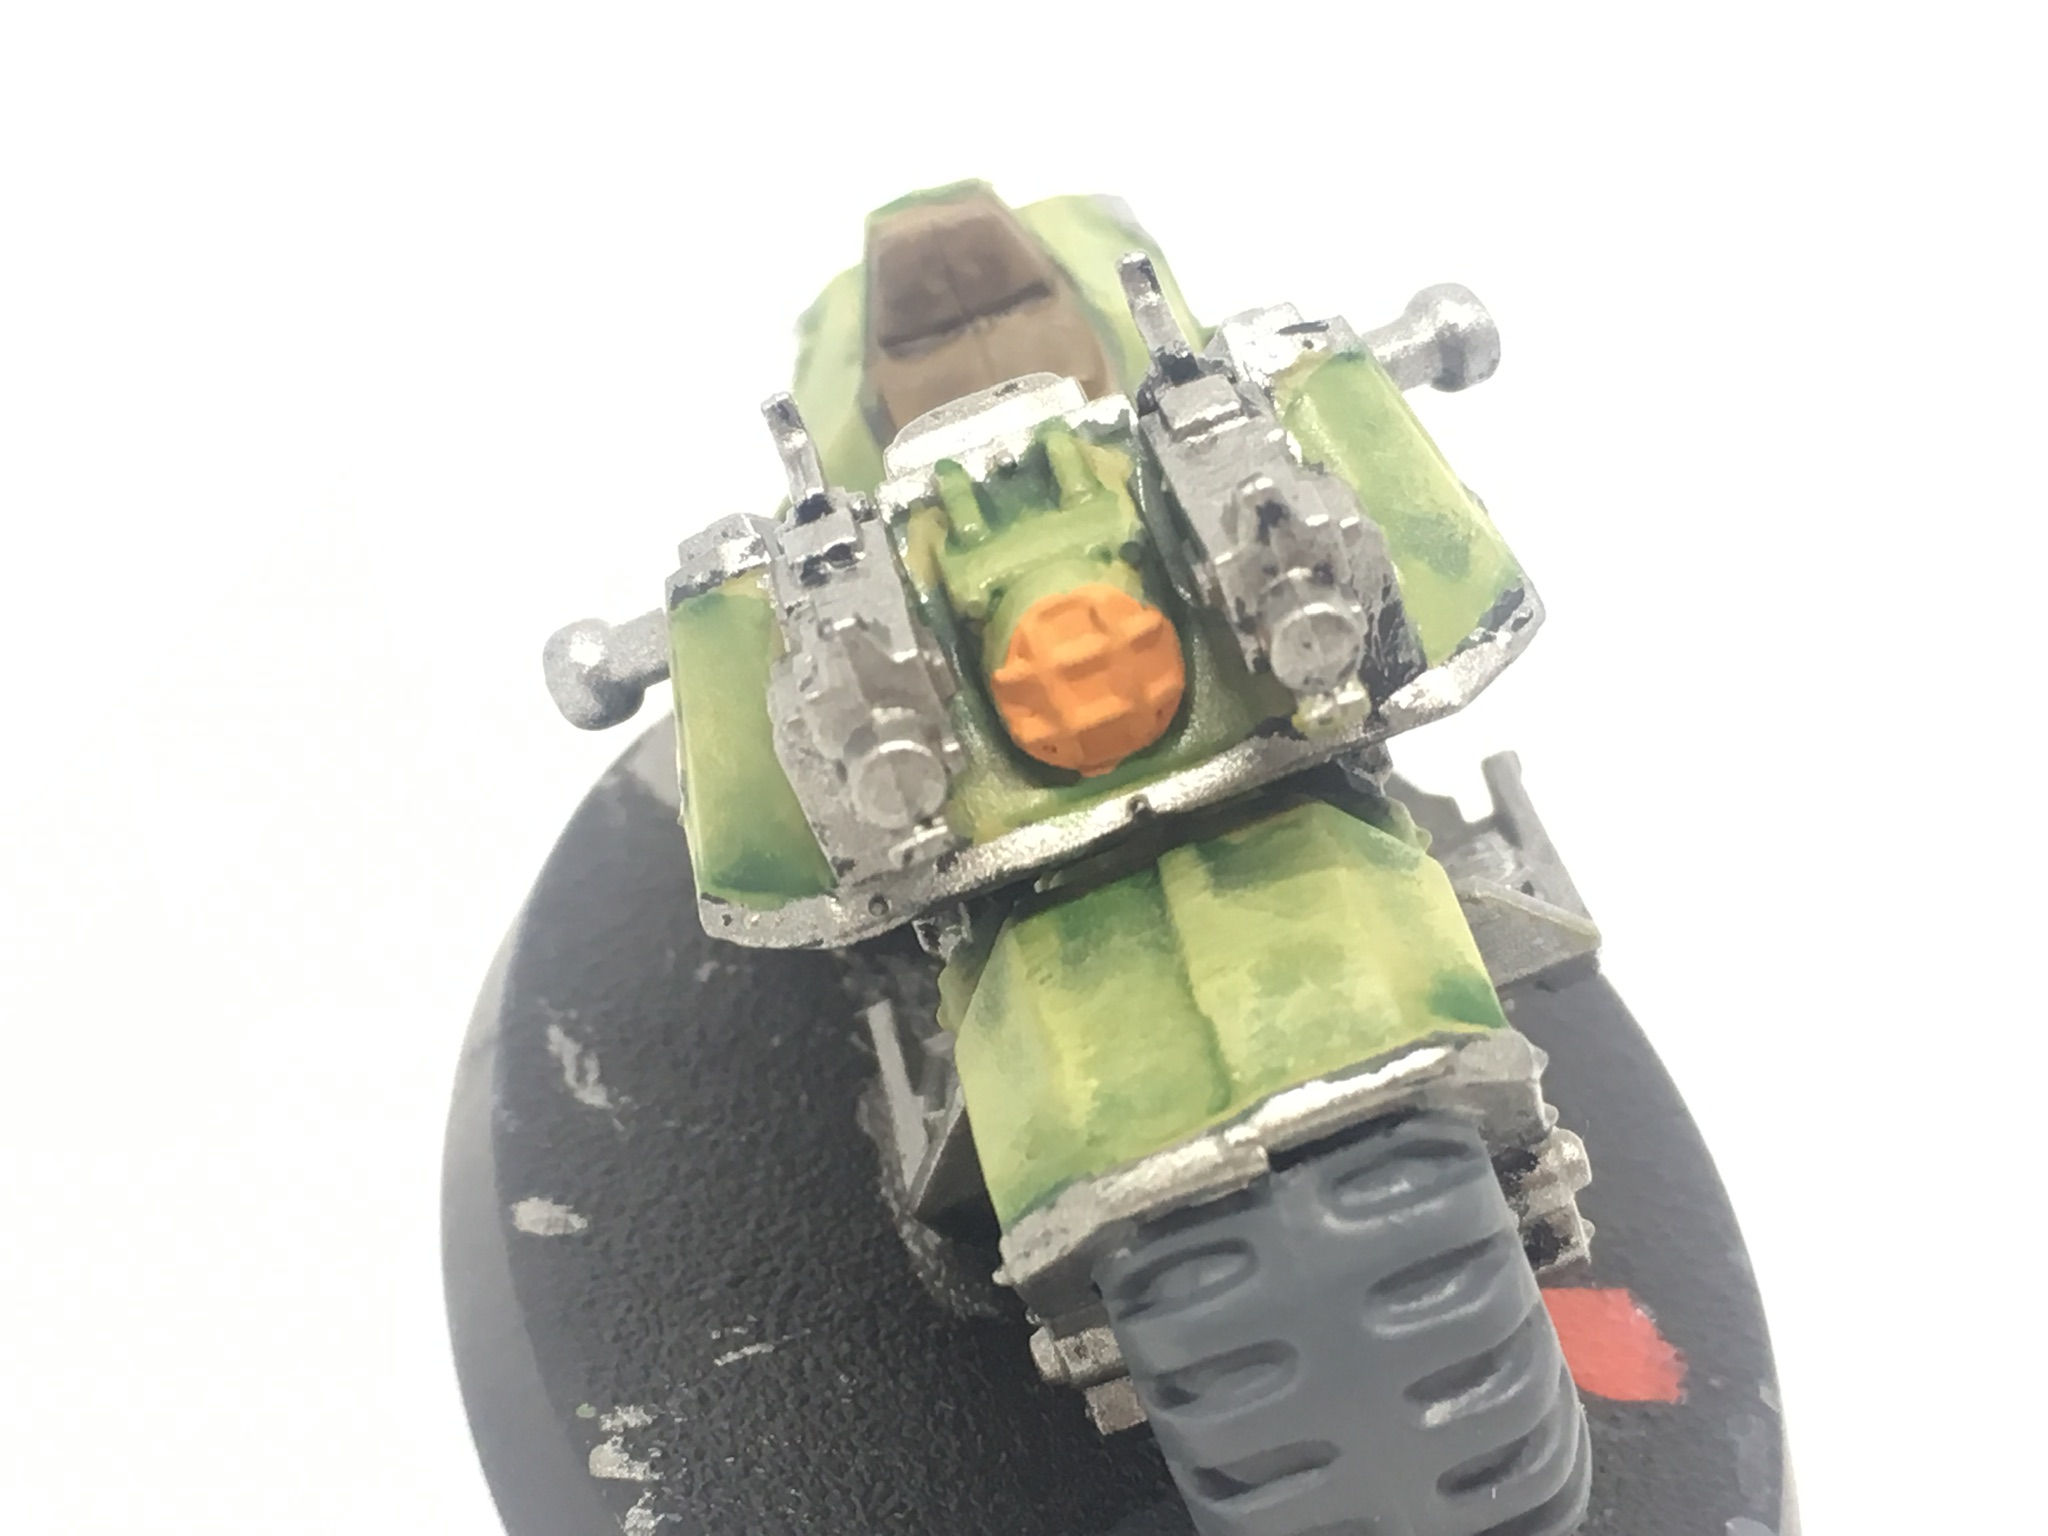 Do two thin coats of Macharius Orannge
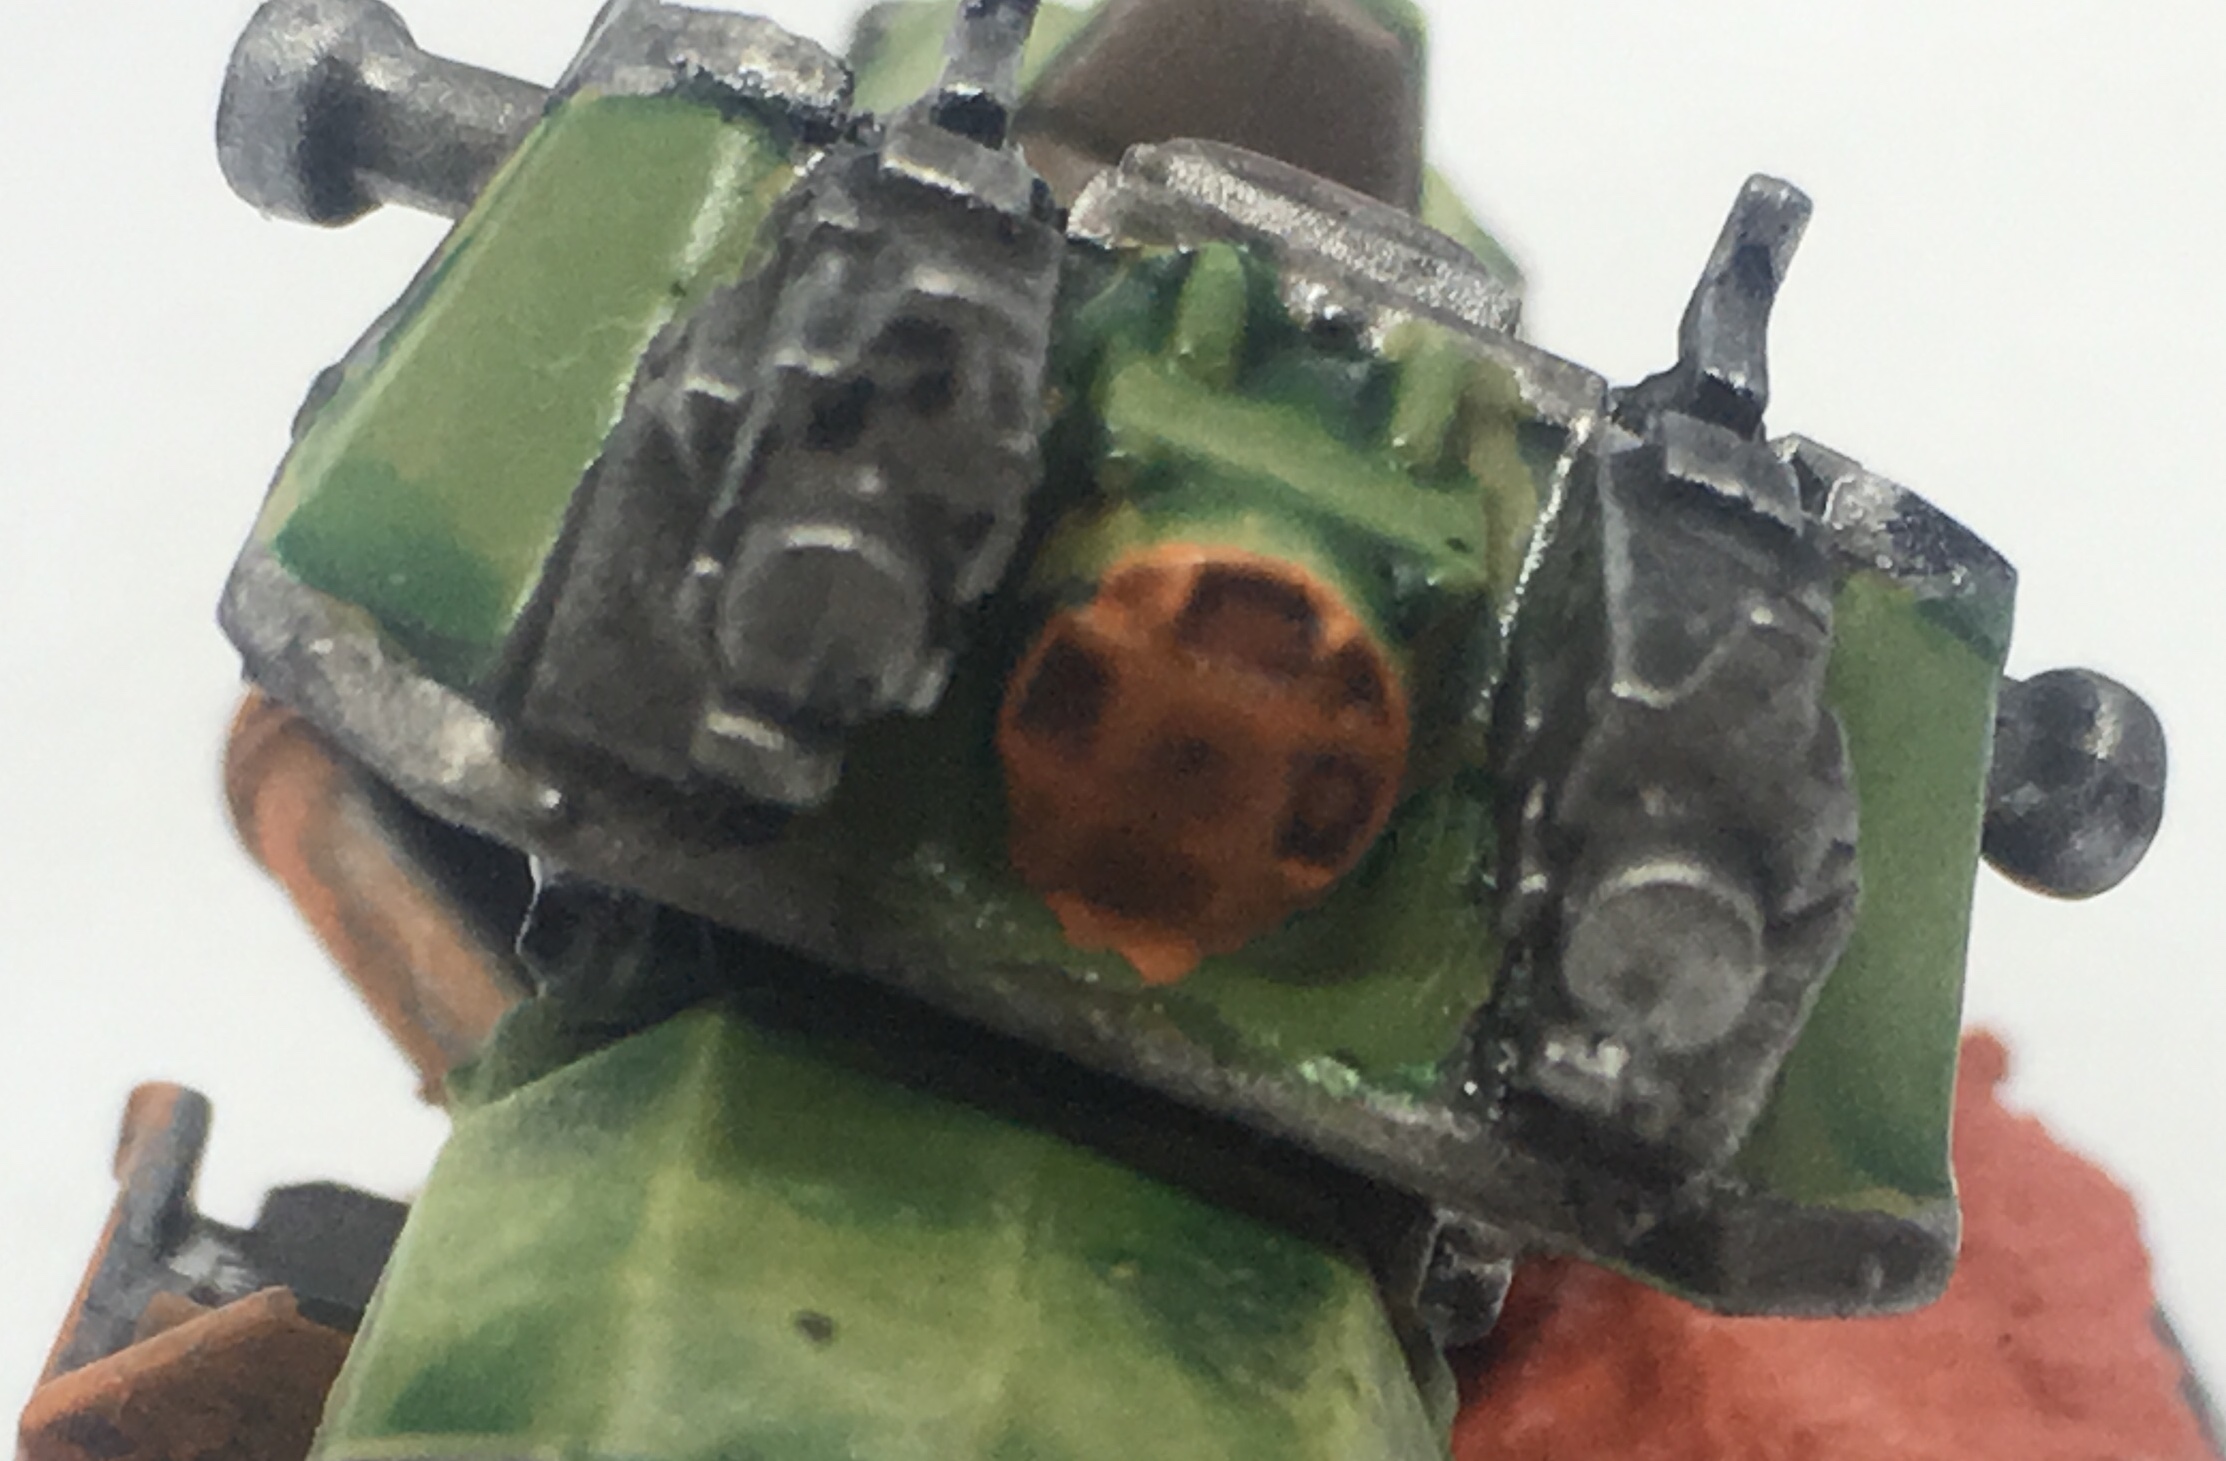 Do one thin coat of Seraphim Sepia. Do not use Soft Tone from the army painter, it wont look as good.
Entry 2: Bike Saddle Tutorial
By highlighting the armour a lot, using drybrushing, and weathering I have found that I can be sparse and lazy with highlights to ‘kind of speed paint’ and cut corners without it impacting the collection. It also has the added effect of letting you come back to details or having the effect of a fully painted army offsetting two more stages of highlights that will eat into your time.
This is a short and sweet bike seat tutorial. I did not do a good job filing or gap filling the saddle as a rider will be obscuring it later.
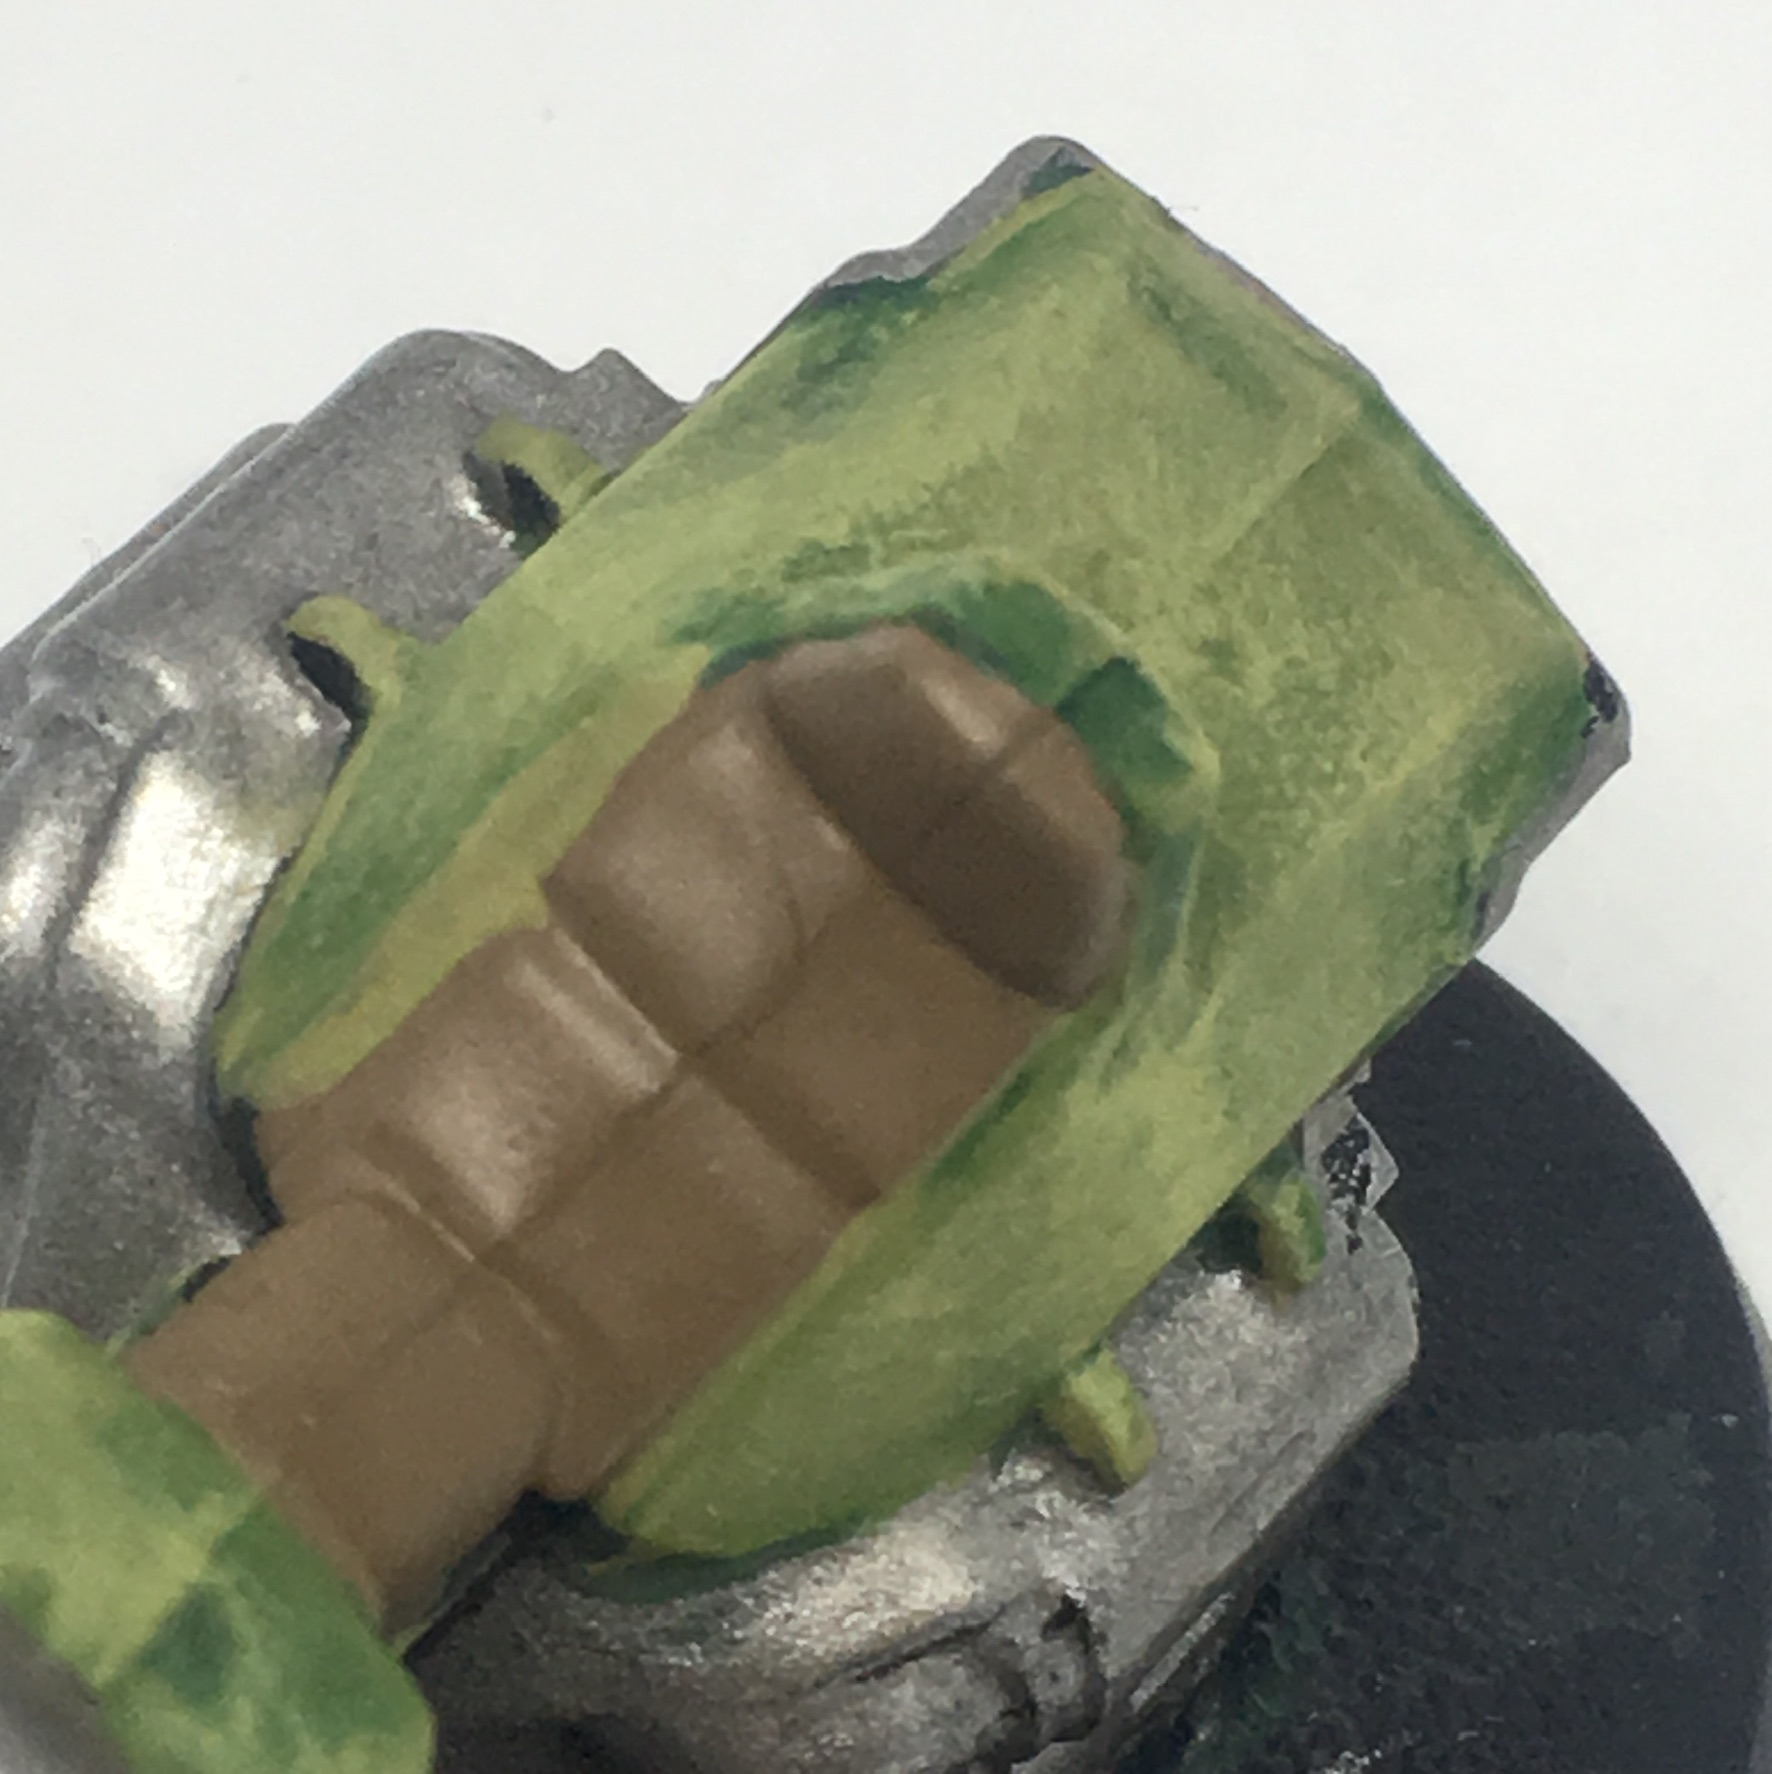 Paint two thin coats of Steel Legion Drab onto the seat
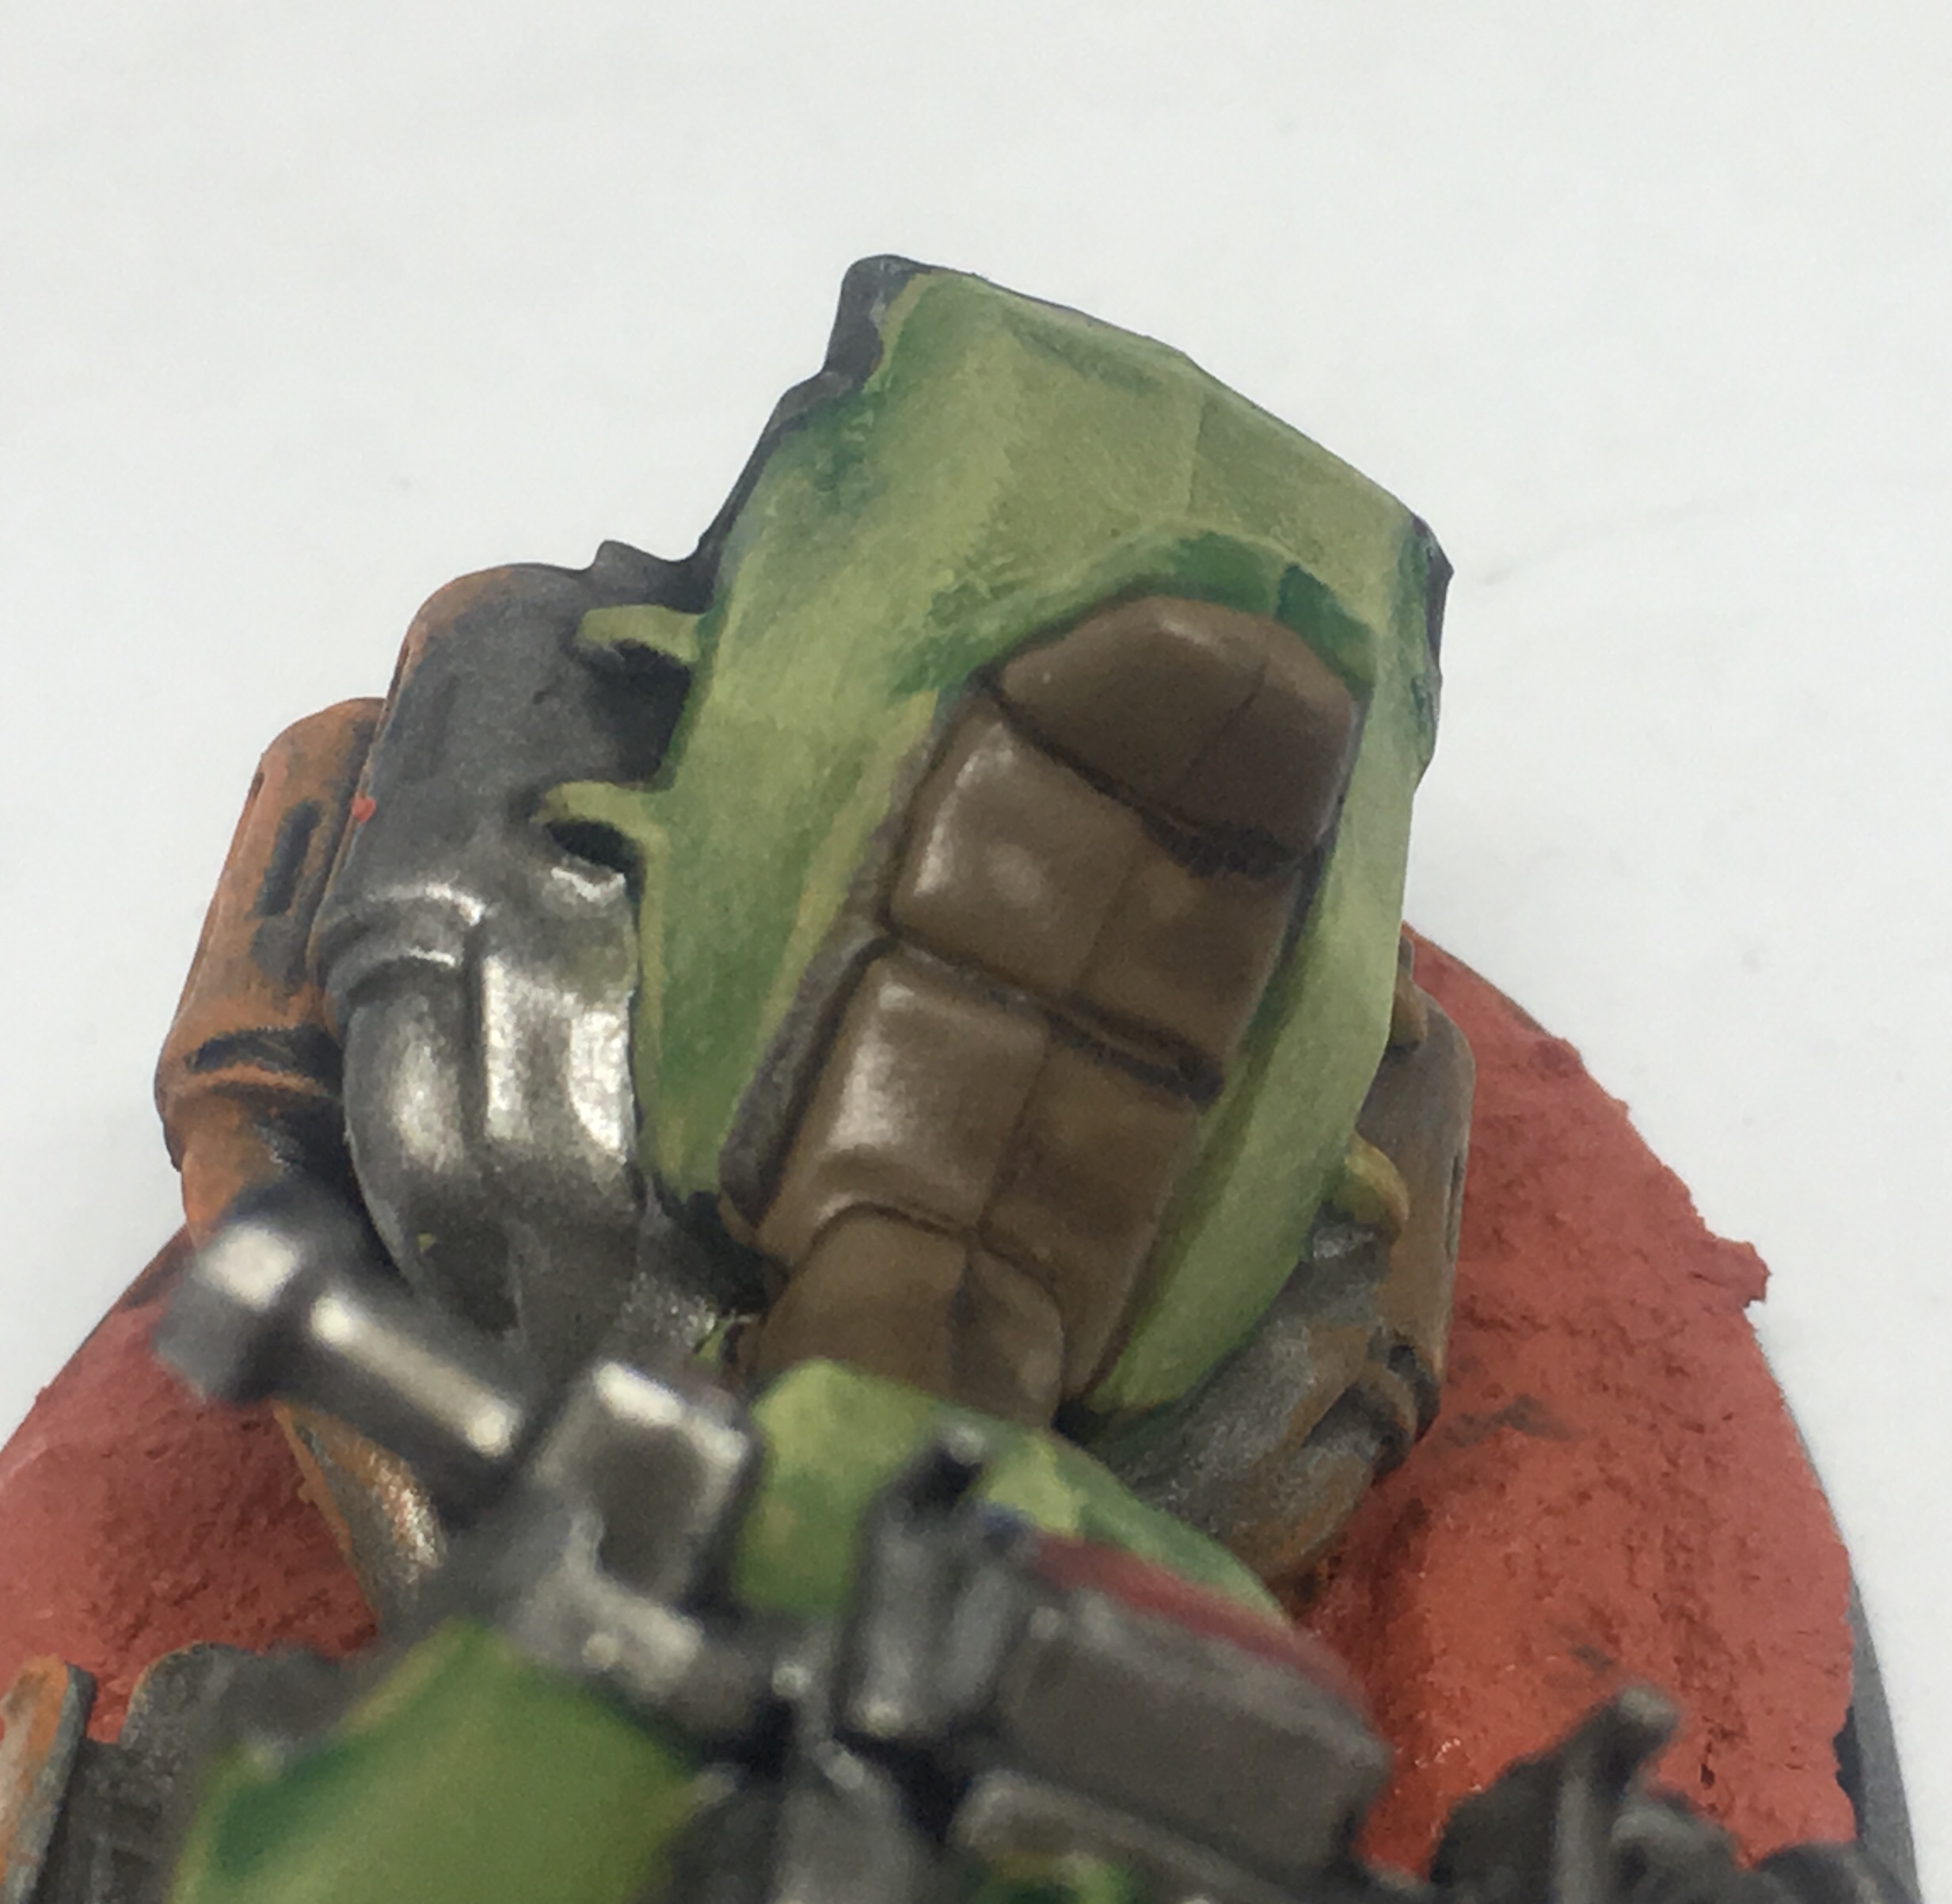 Give it a heavy wash of Army Painter Strong Tone from a dropper bottle. If you do not have this, use Agrax Earthshade but do two thin ish coats.
Entry 1: Mantis Warrior Power Armour Tutorial
To begin with:
(1) Assemble the Bikes but do not attach the riders
(2) Do not attach the riders
(3) Blue tac the riders on a separate base to the bike
(4) Do the same with the combat knives and arms. If the biker has a weapon in one hand and is not holding onto the bike then attach it to the rider
(5) Prime and paint everything separately
(6) Glue everything together, painted, when priming.
(7) Prime models with Chaos Black.
 Drybrush the model twice with Waaagh Flesh
 Drybrush the model twice with Gretchin Green, Death Guard Green or Deathworld Forest
 Wash the model with Bile Tan Green citadel Shade
 Drybrush the model as per step 4 once more
 Give the model one more drubrush with Ogryn Camo


![Zenit Miniatures’ Samurai Warlords Now Live On Kickstarter [Updated]](https://images.beastsofwar.com/2026/02/samurai-warlords-launch-main-600-338.jpg)


