15mm Italian Chapel – Spring Clean Challenge


Recommendations: 118
About the Project
Tarting up some 15mm MDF Terrain
Related Game: Flames of War: The World War II Miniatures Game
Related Genre: Historical
Related Contest: Spring Clean Hobby Challenge (Old)
This Project is Active
More weathering and starting to build the base
I need to add some more shadow and weathering to the chapel as it’s still not looking right yet. To do this, I’m going to use my air brush to apply some watered down strong tone to areas where there would naturally be shadow. So in this case, under the eaves of the roof, the underside of the top of the window frames and under the window sills. I’m going to allow a fair degree of over spray as this will replicate some dirt and grim build up.
It’s subtle but really makes a big difference.
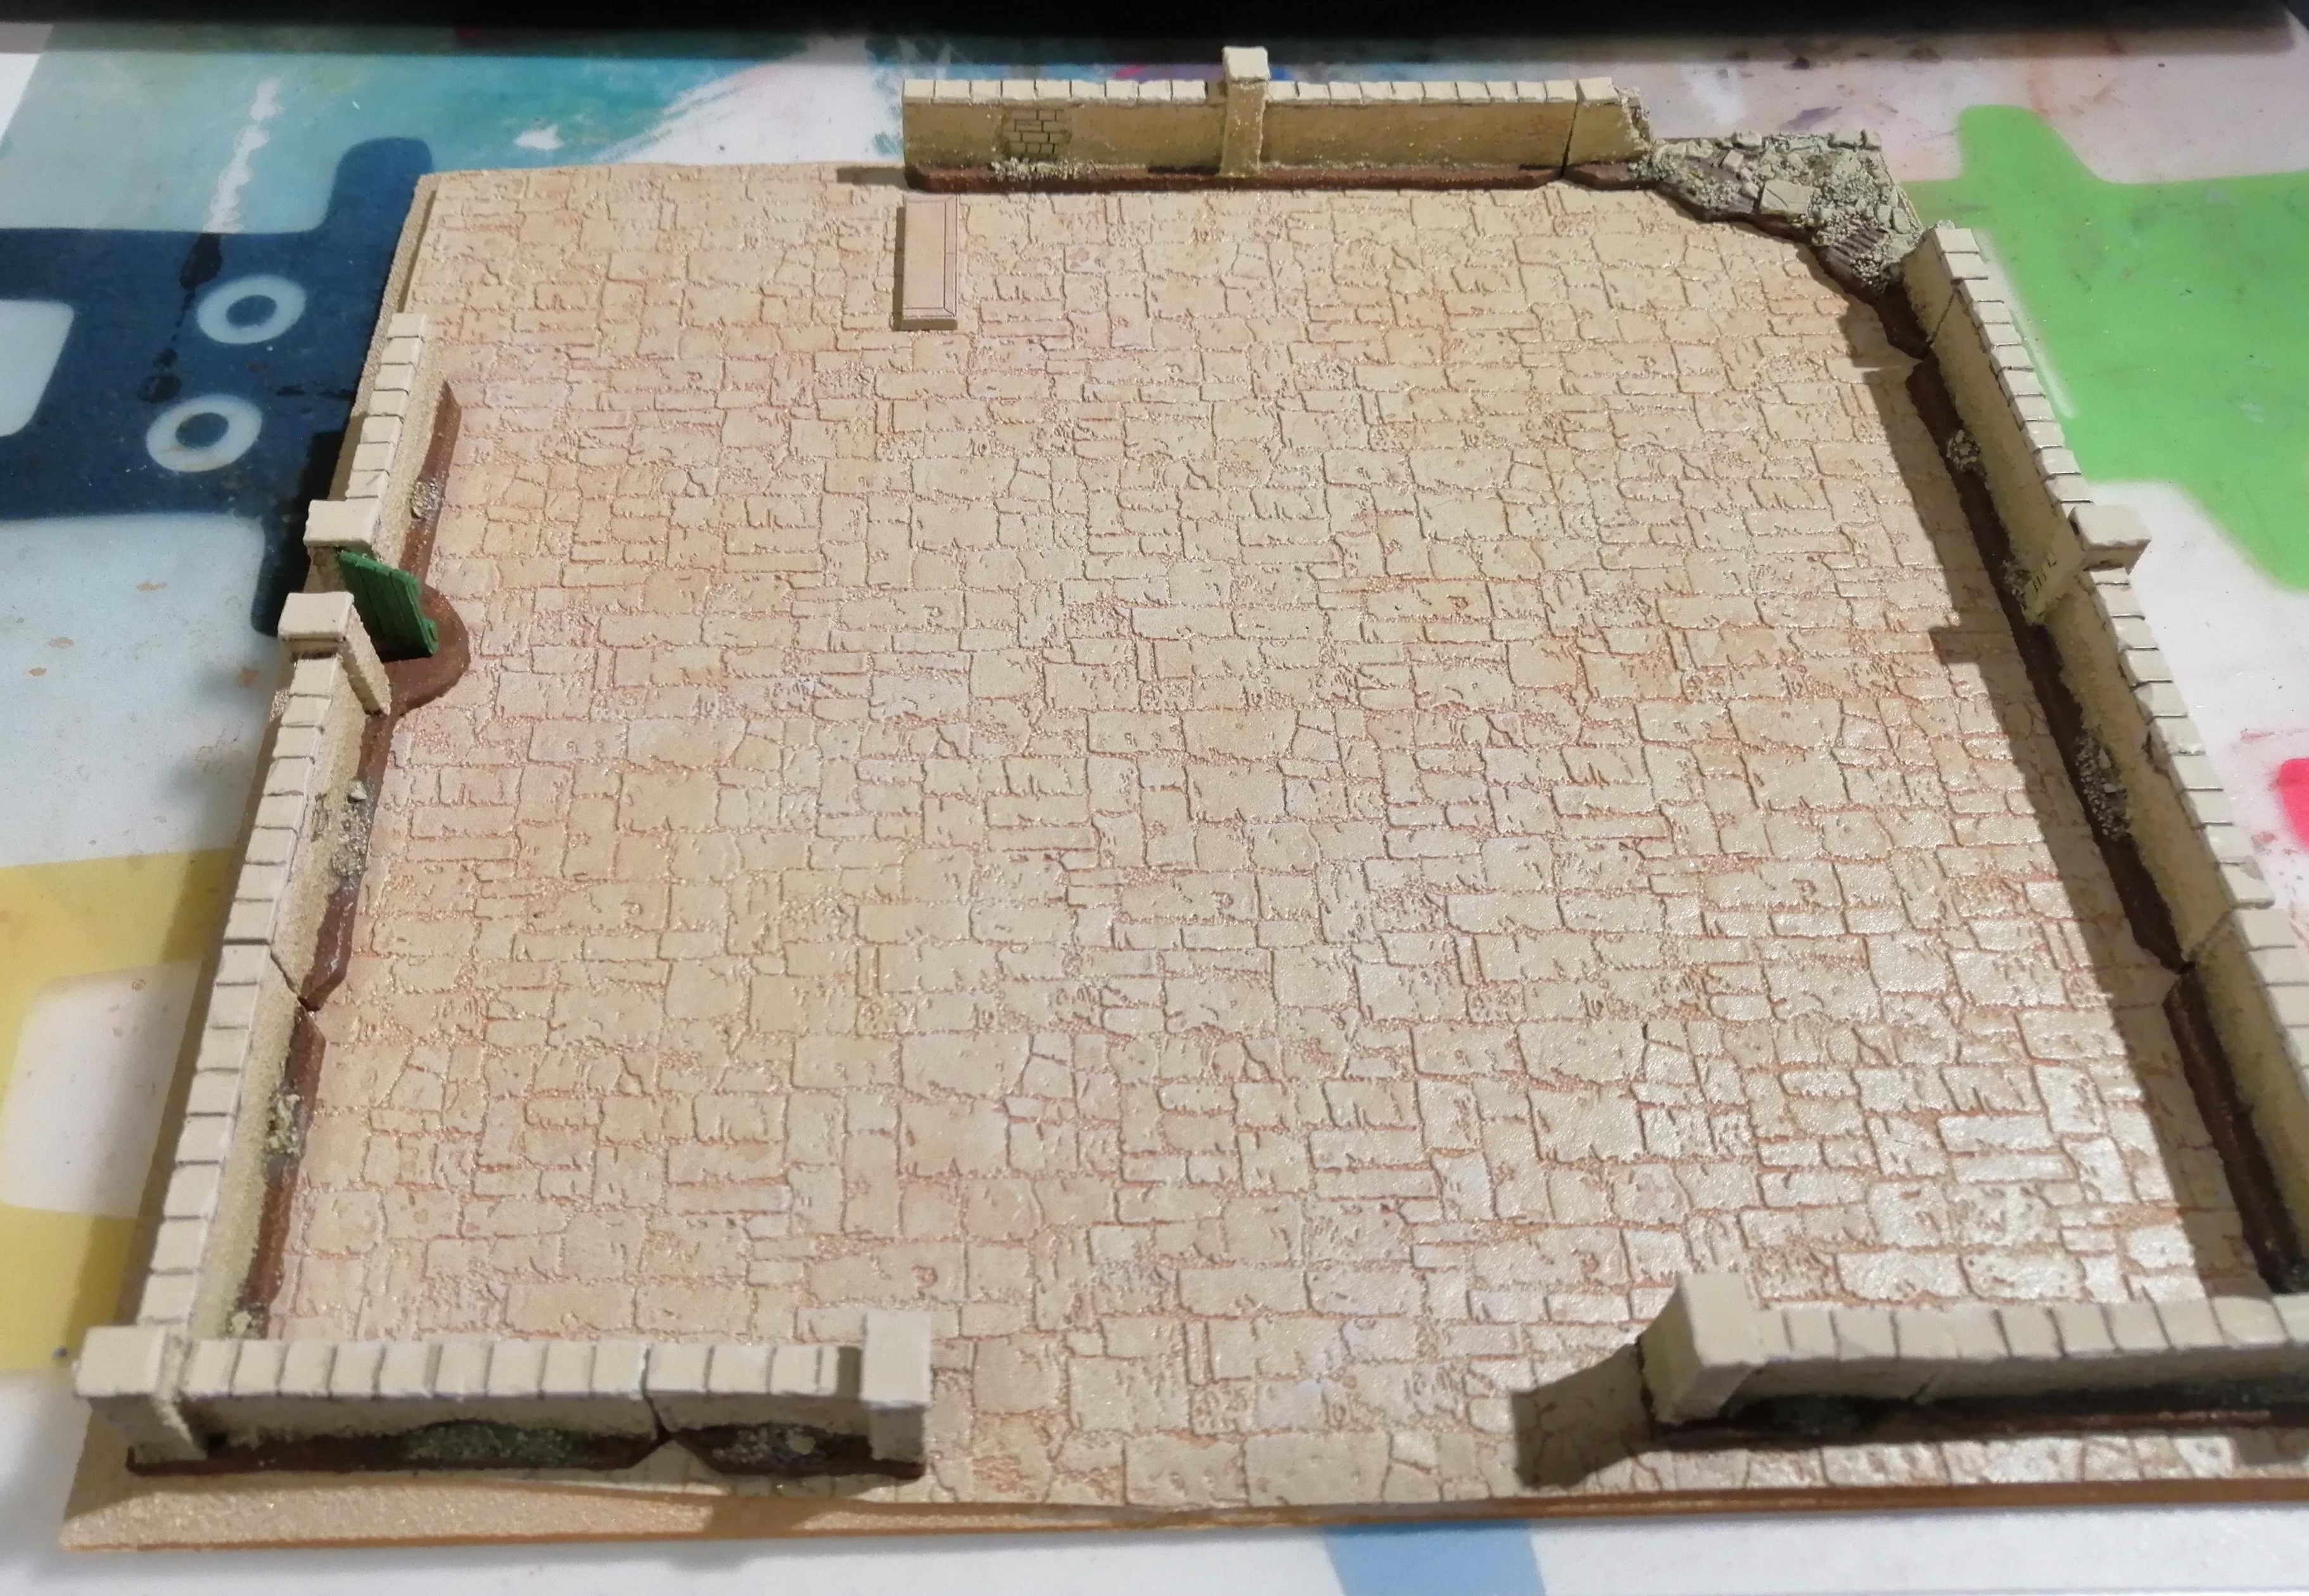
I’ll leave the chapel to dry off and carry on with the base. Next step is to get the walls attached ready for building up the cemetery. I’ve already marked out where the chapel will sit on the base and glued in the step. From there, I can mark out where the walls will be.
In a previous step I put pins into the base of the walls to provide a more sturdy join so using blu-tack, I can mark where the pins will contact the base and drill the holes. The walls then just get super glued into place.
The base and grave stones
Quick update as I grabbed 10 minutes to work on the project.
The base and the grave stones were primed and base coated previously. Here’s what they look like

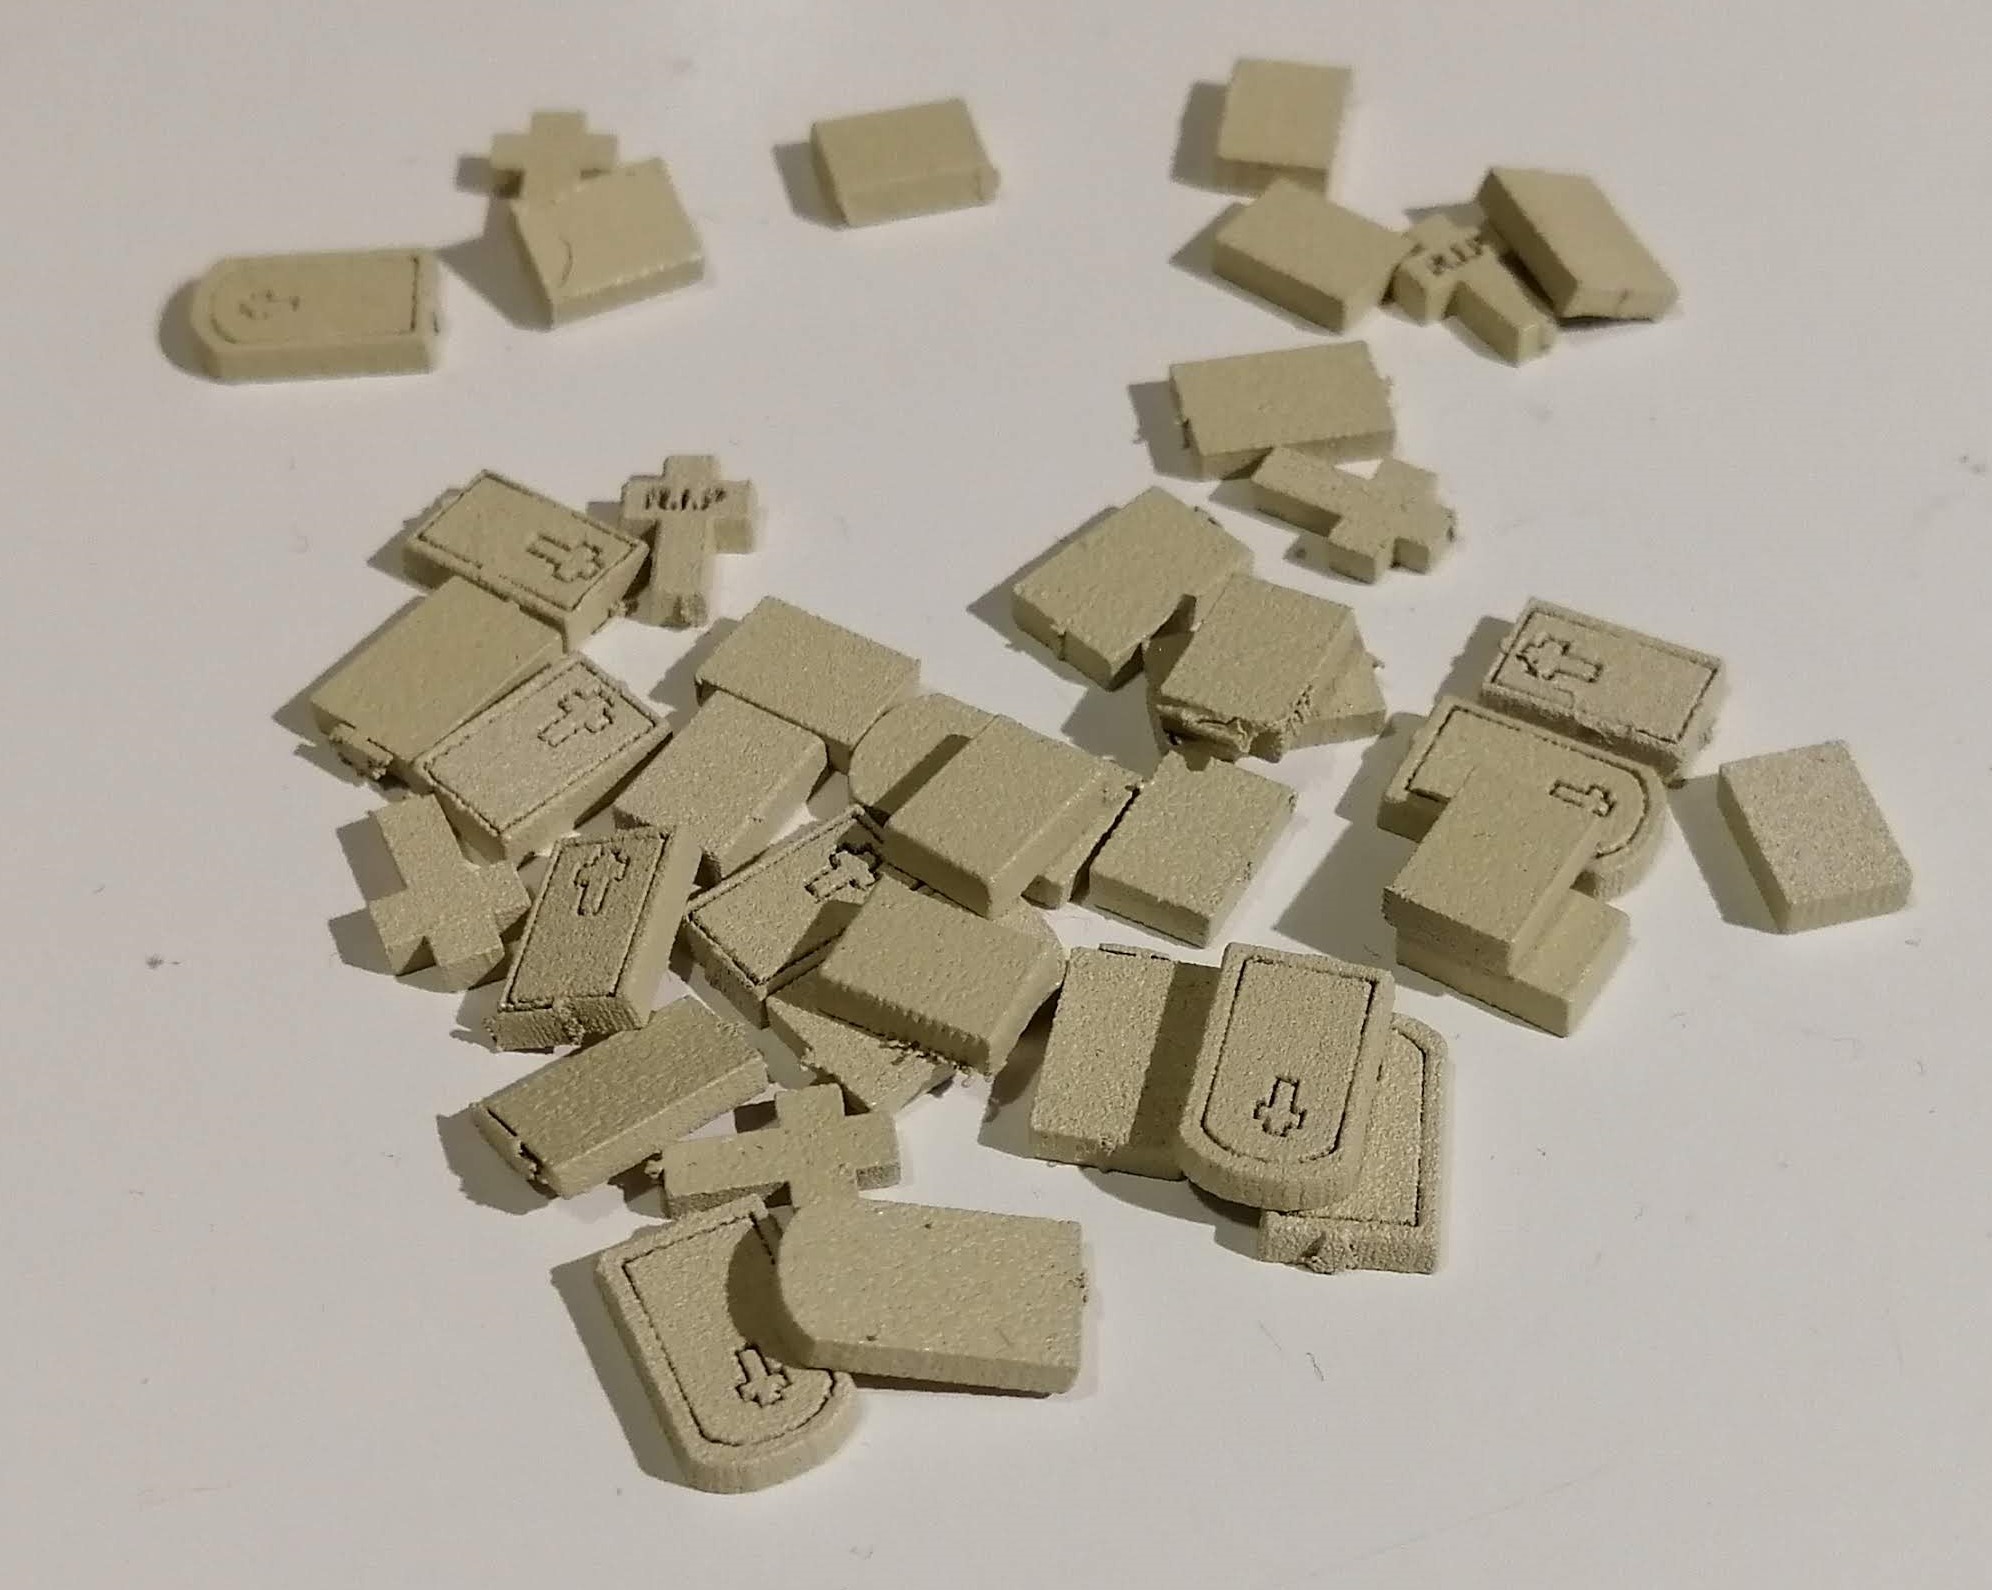
They both need a wash so I mixed up a thin brown wash using flat earth, a bit of medium and some water. Applied liberally and job done.
When the wash was dry, I hit the grave stones with some pigments (ochre and white like the roof). Just a slight spattering.
The base got a quick dry brush with silver grey to add a bit of variation.
All in all, I think I took longer cleaning the brushes and mess up than I did actually painting 🙂

Weathering the Chapel
With the walls finished, it’s time to start weathering the chapel and the roof.
For the chapel, I’ve used some strong tone from Army Painter but I’ve watered it down at least 2:1 water to strong tone. It may even have been 3:1. I’ve then liberally applied this over the chapel. However, rather than let it dry, I’ve then wiped the wash off using a paper towel. I’ve done this lightly and only where the paper towel could reach. In this way, I remove most of the wash lying on the upper surface but leave most of the wash in the cracks. I’ve also wiped down the building (roof to floor) so it also creates slight streaks.
Once dry, I’ve picked out the corner stones and window stones using silver grey, just to give them a little definition.

Looking at some reference pictures, I see that an ochre moss grows in patches on some roofs. To try to emulate this, I’ve used my ochre pigments mixed with some pigment fixer. Using a toothbrush, I’ve gently flicked this over the roof. Once dry, I used an off white pigment and very lightly flicked this over the top. Finally, I gave the roof a matt varnish and drew the brush down the tiles in the same direction that the water would run. The varnish has the effect of lifting some of the pigment and ‘smearing’ it a little, which softens the effect

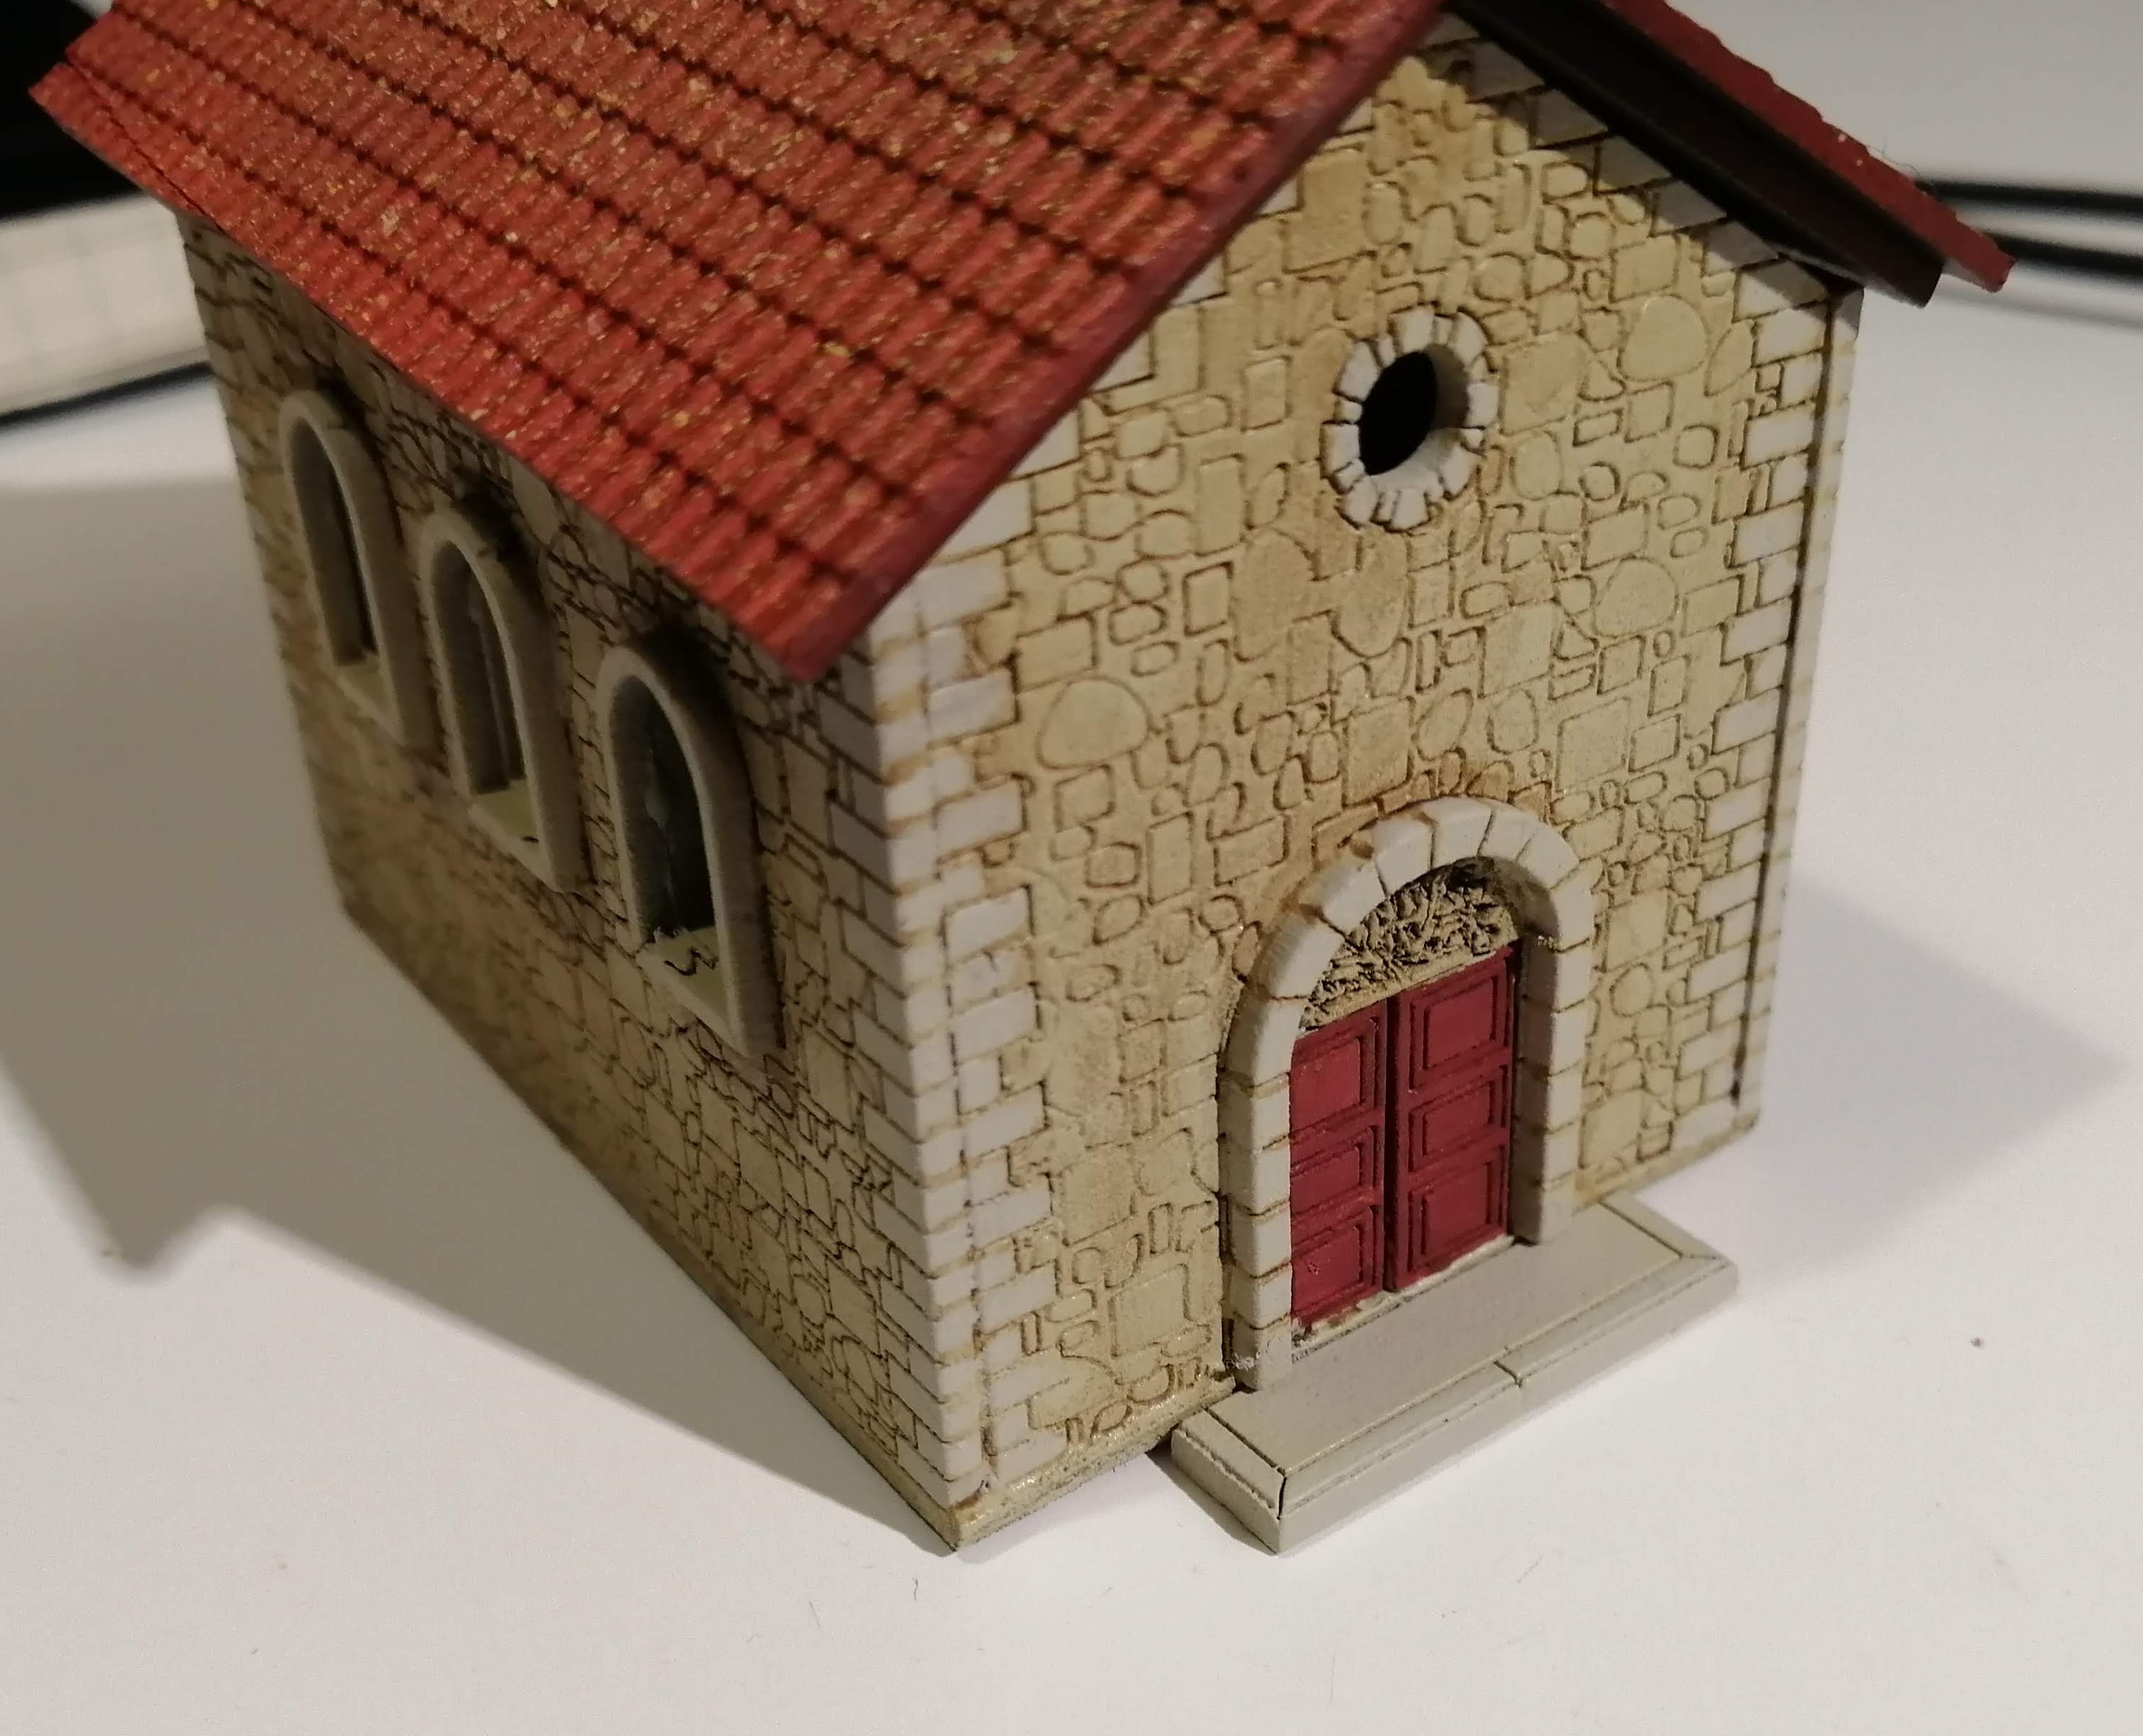
Below you can see the effects of the weathering. I also found a windowsill from a larger mdf set that was left over which makes an excellent entrance step 🙂
Painting the walls
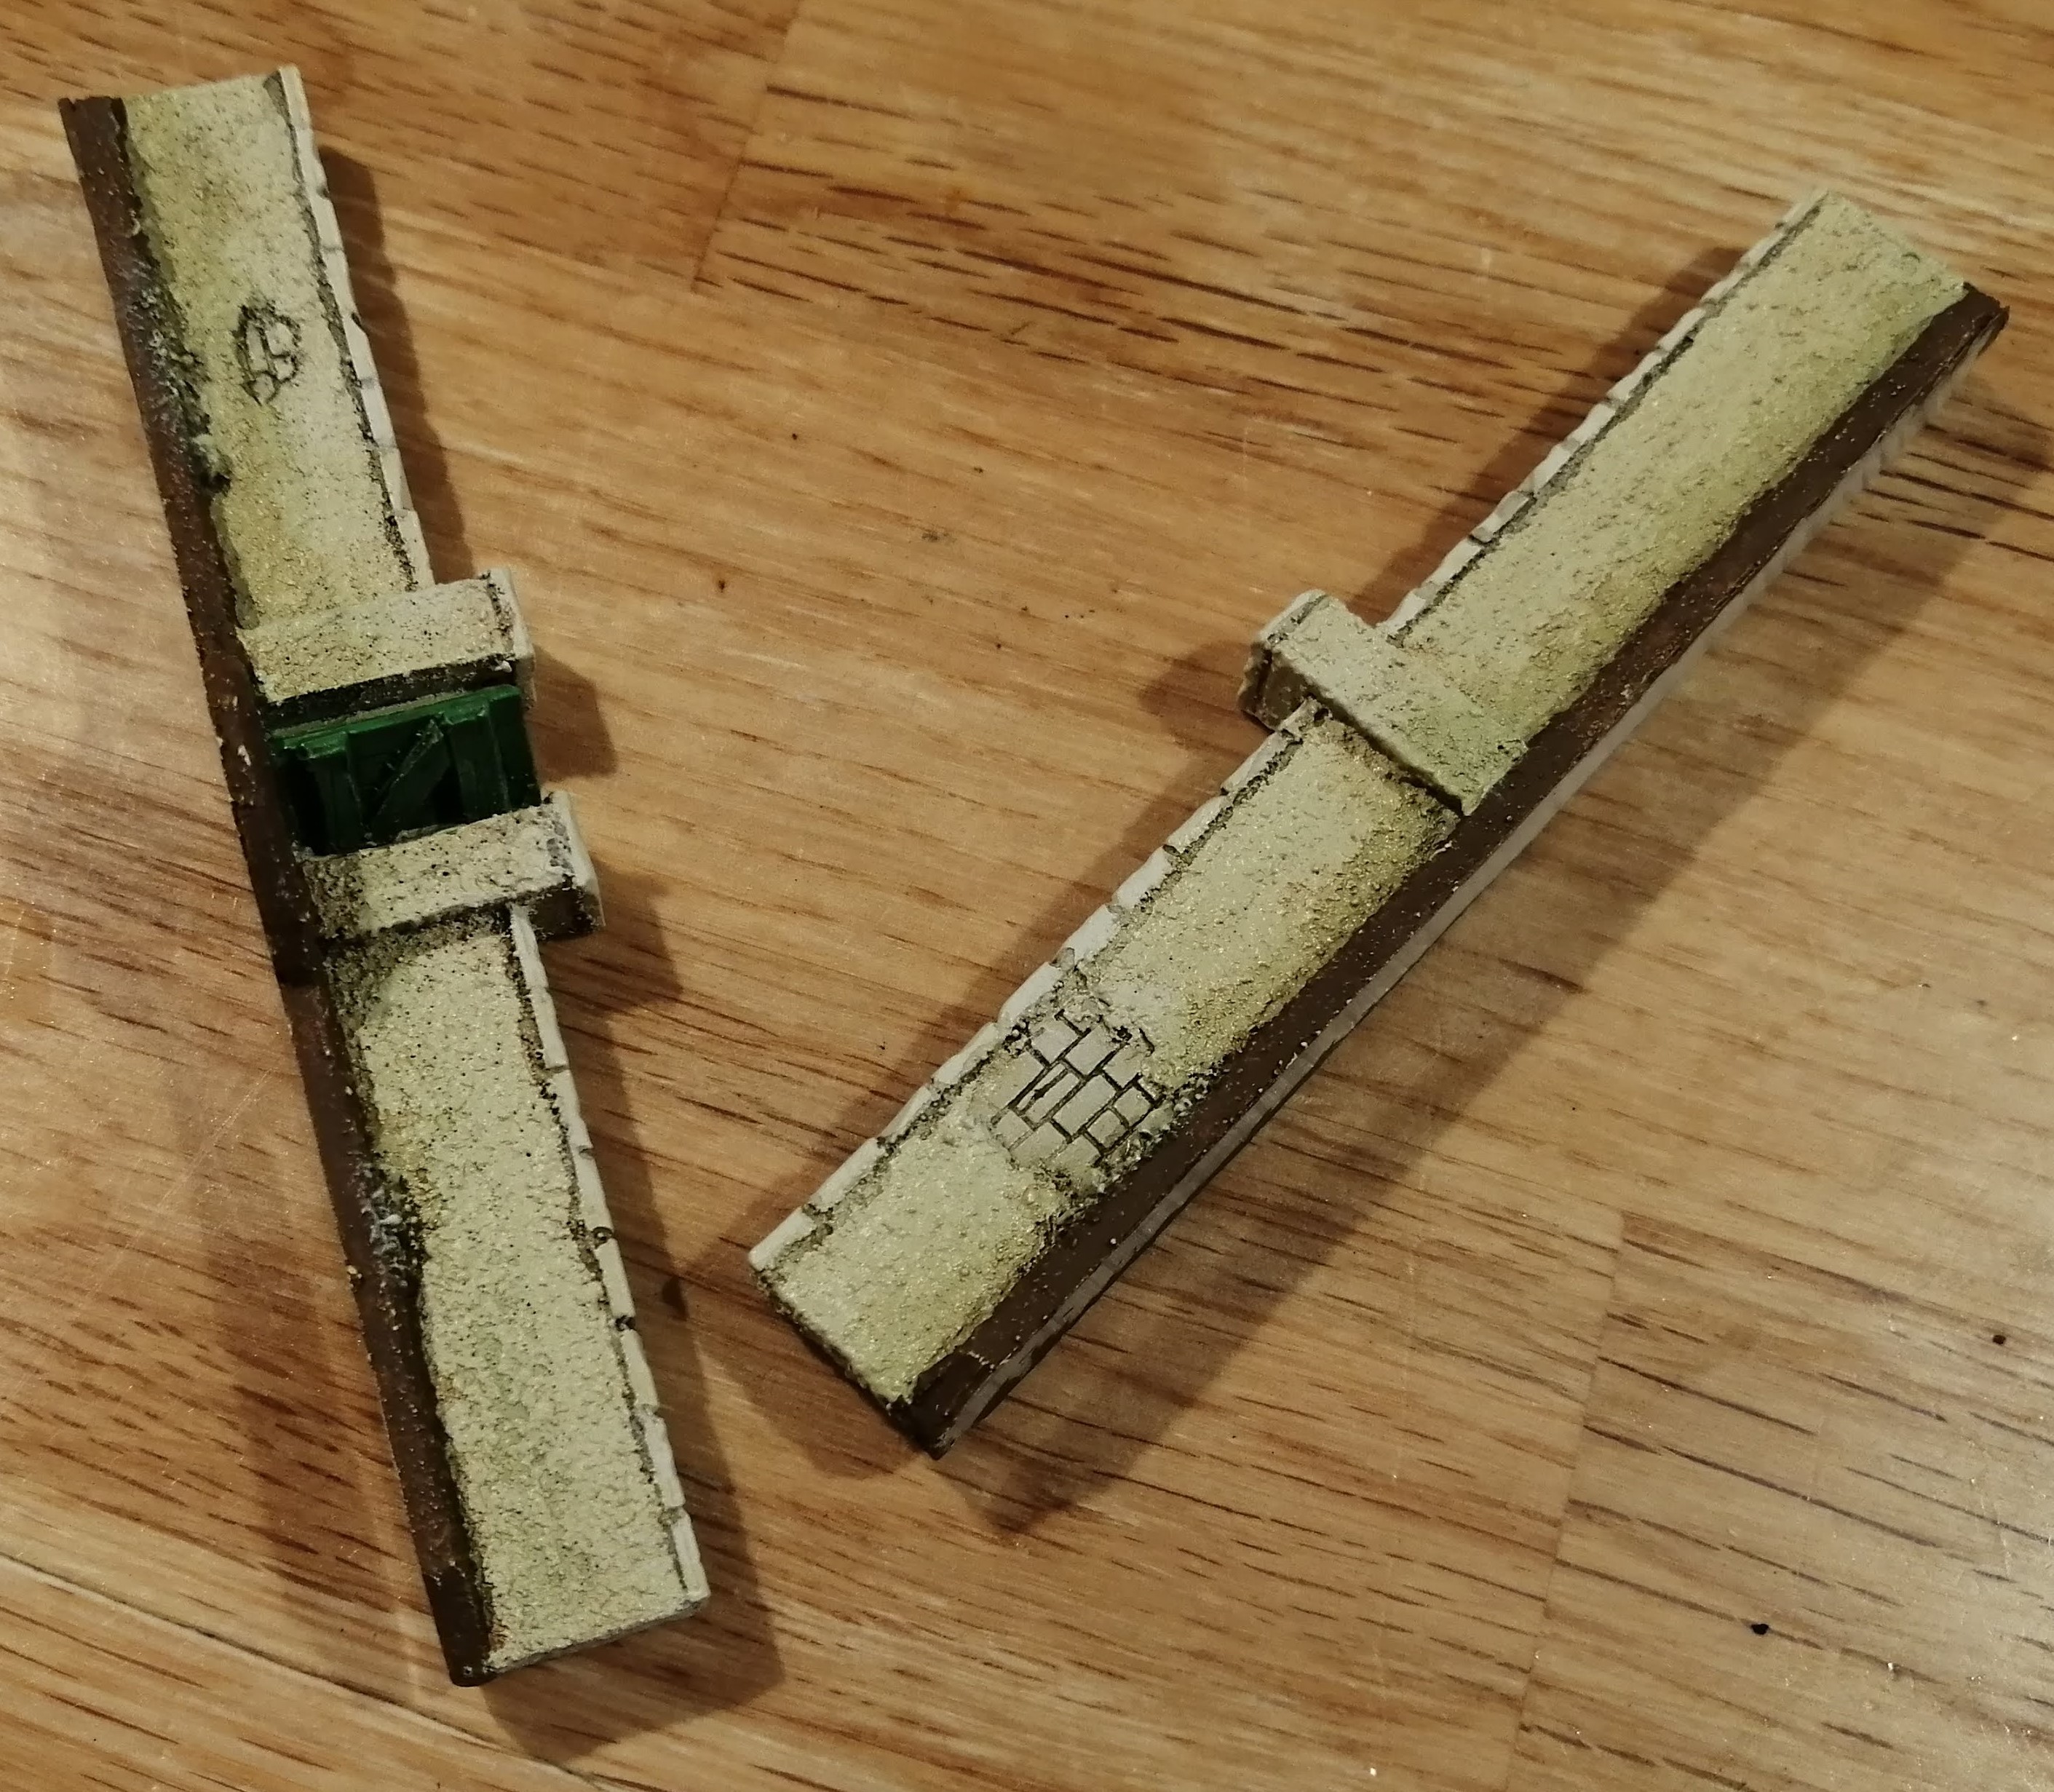
I’m going to paint the resin walls in the same colour as the chapel. I’ve primed them grey and then hit them with the Kobra Desert spray can. The earth area along the base I’ve painted Flat Earth as I’ll be flocking over this toward the end of the project. The single gate on one of the long walls I’ve painted goblin green, to add a little colour.
To start to add a little variation, I’ve given everything a dry brush with longbeard grey. I’ve applied a light dry brush over the vertical elements of the walls and gone heavier along the capping stones, wall edges and where the plaster has come away from the brickwork.
To shade, I’ve used some thinned down army painter strong tone and applied under the capping stones and where shadow would normally be.
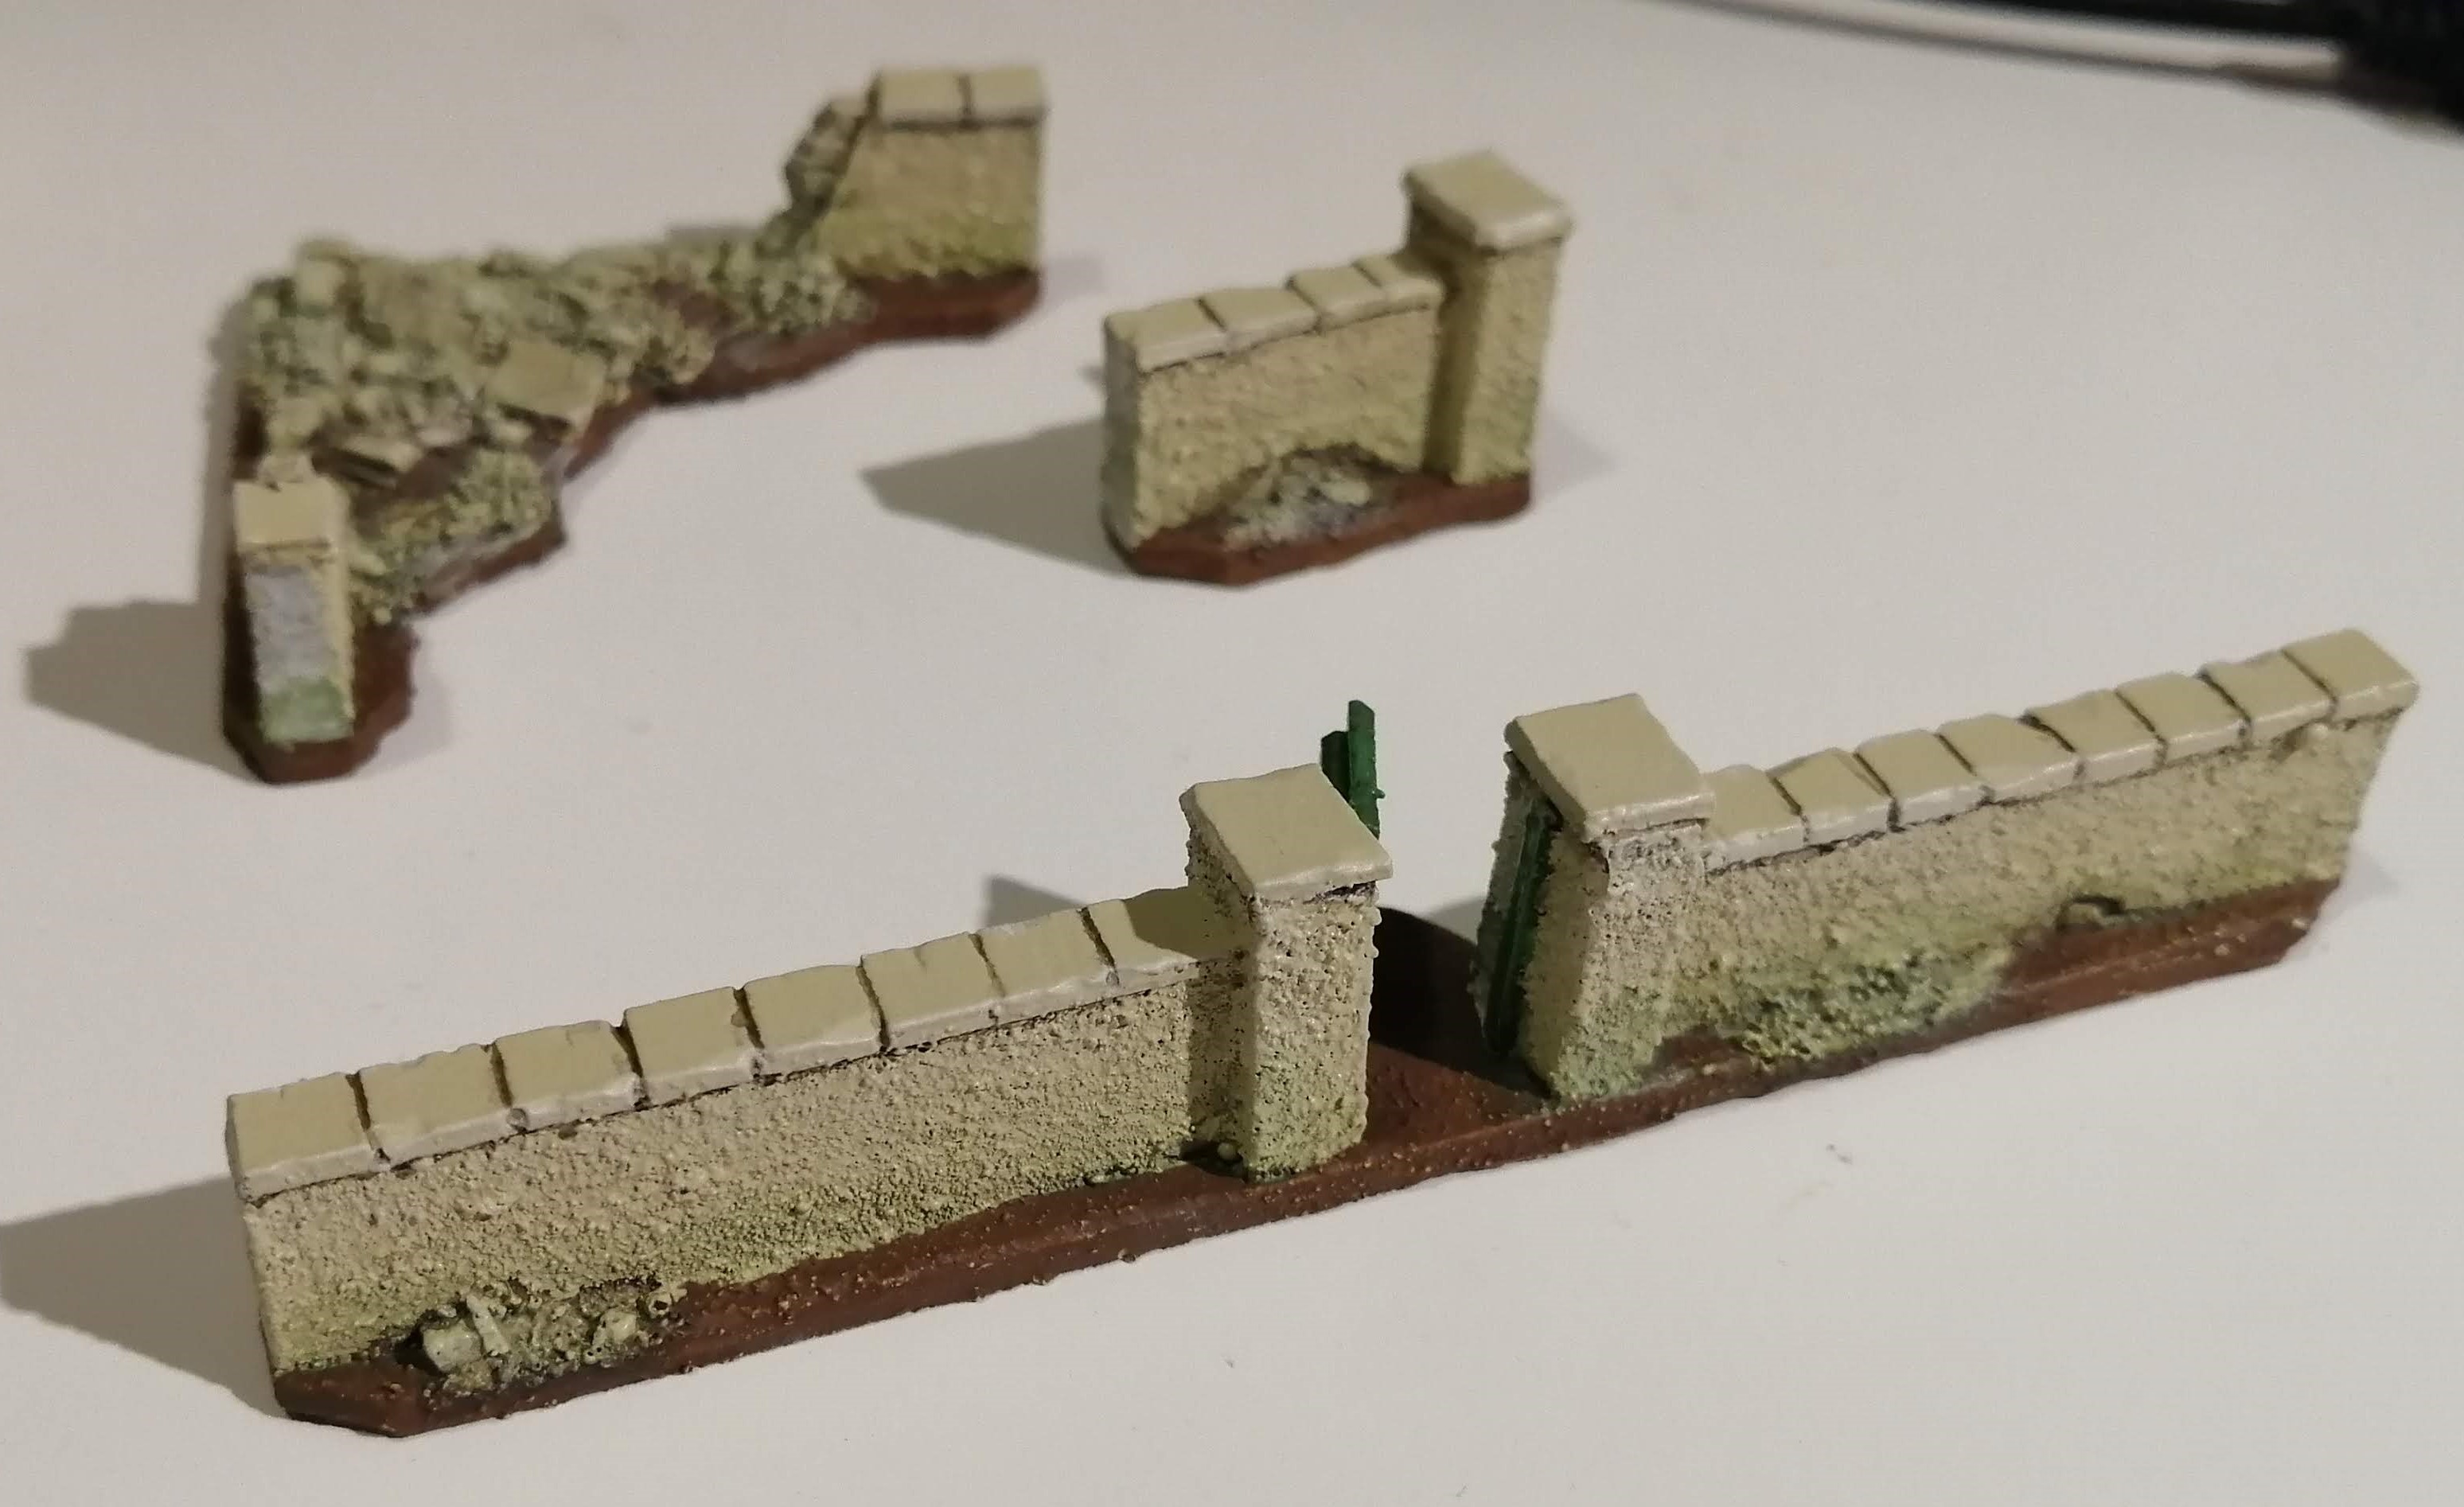
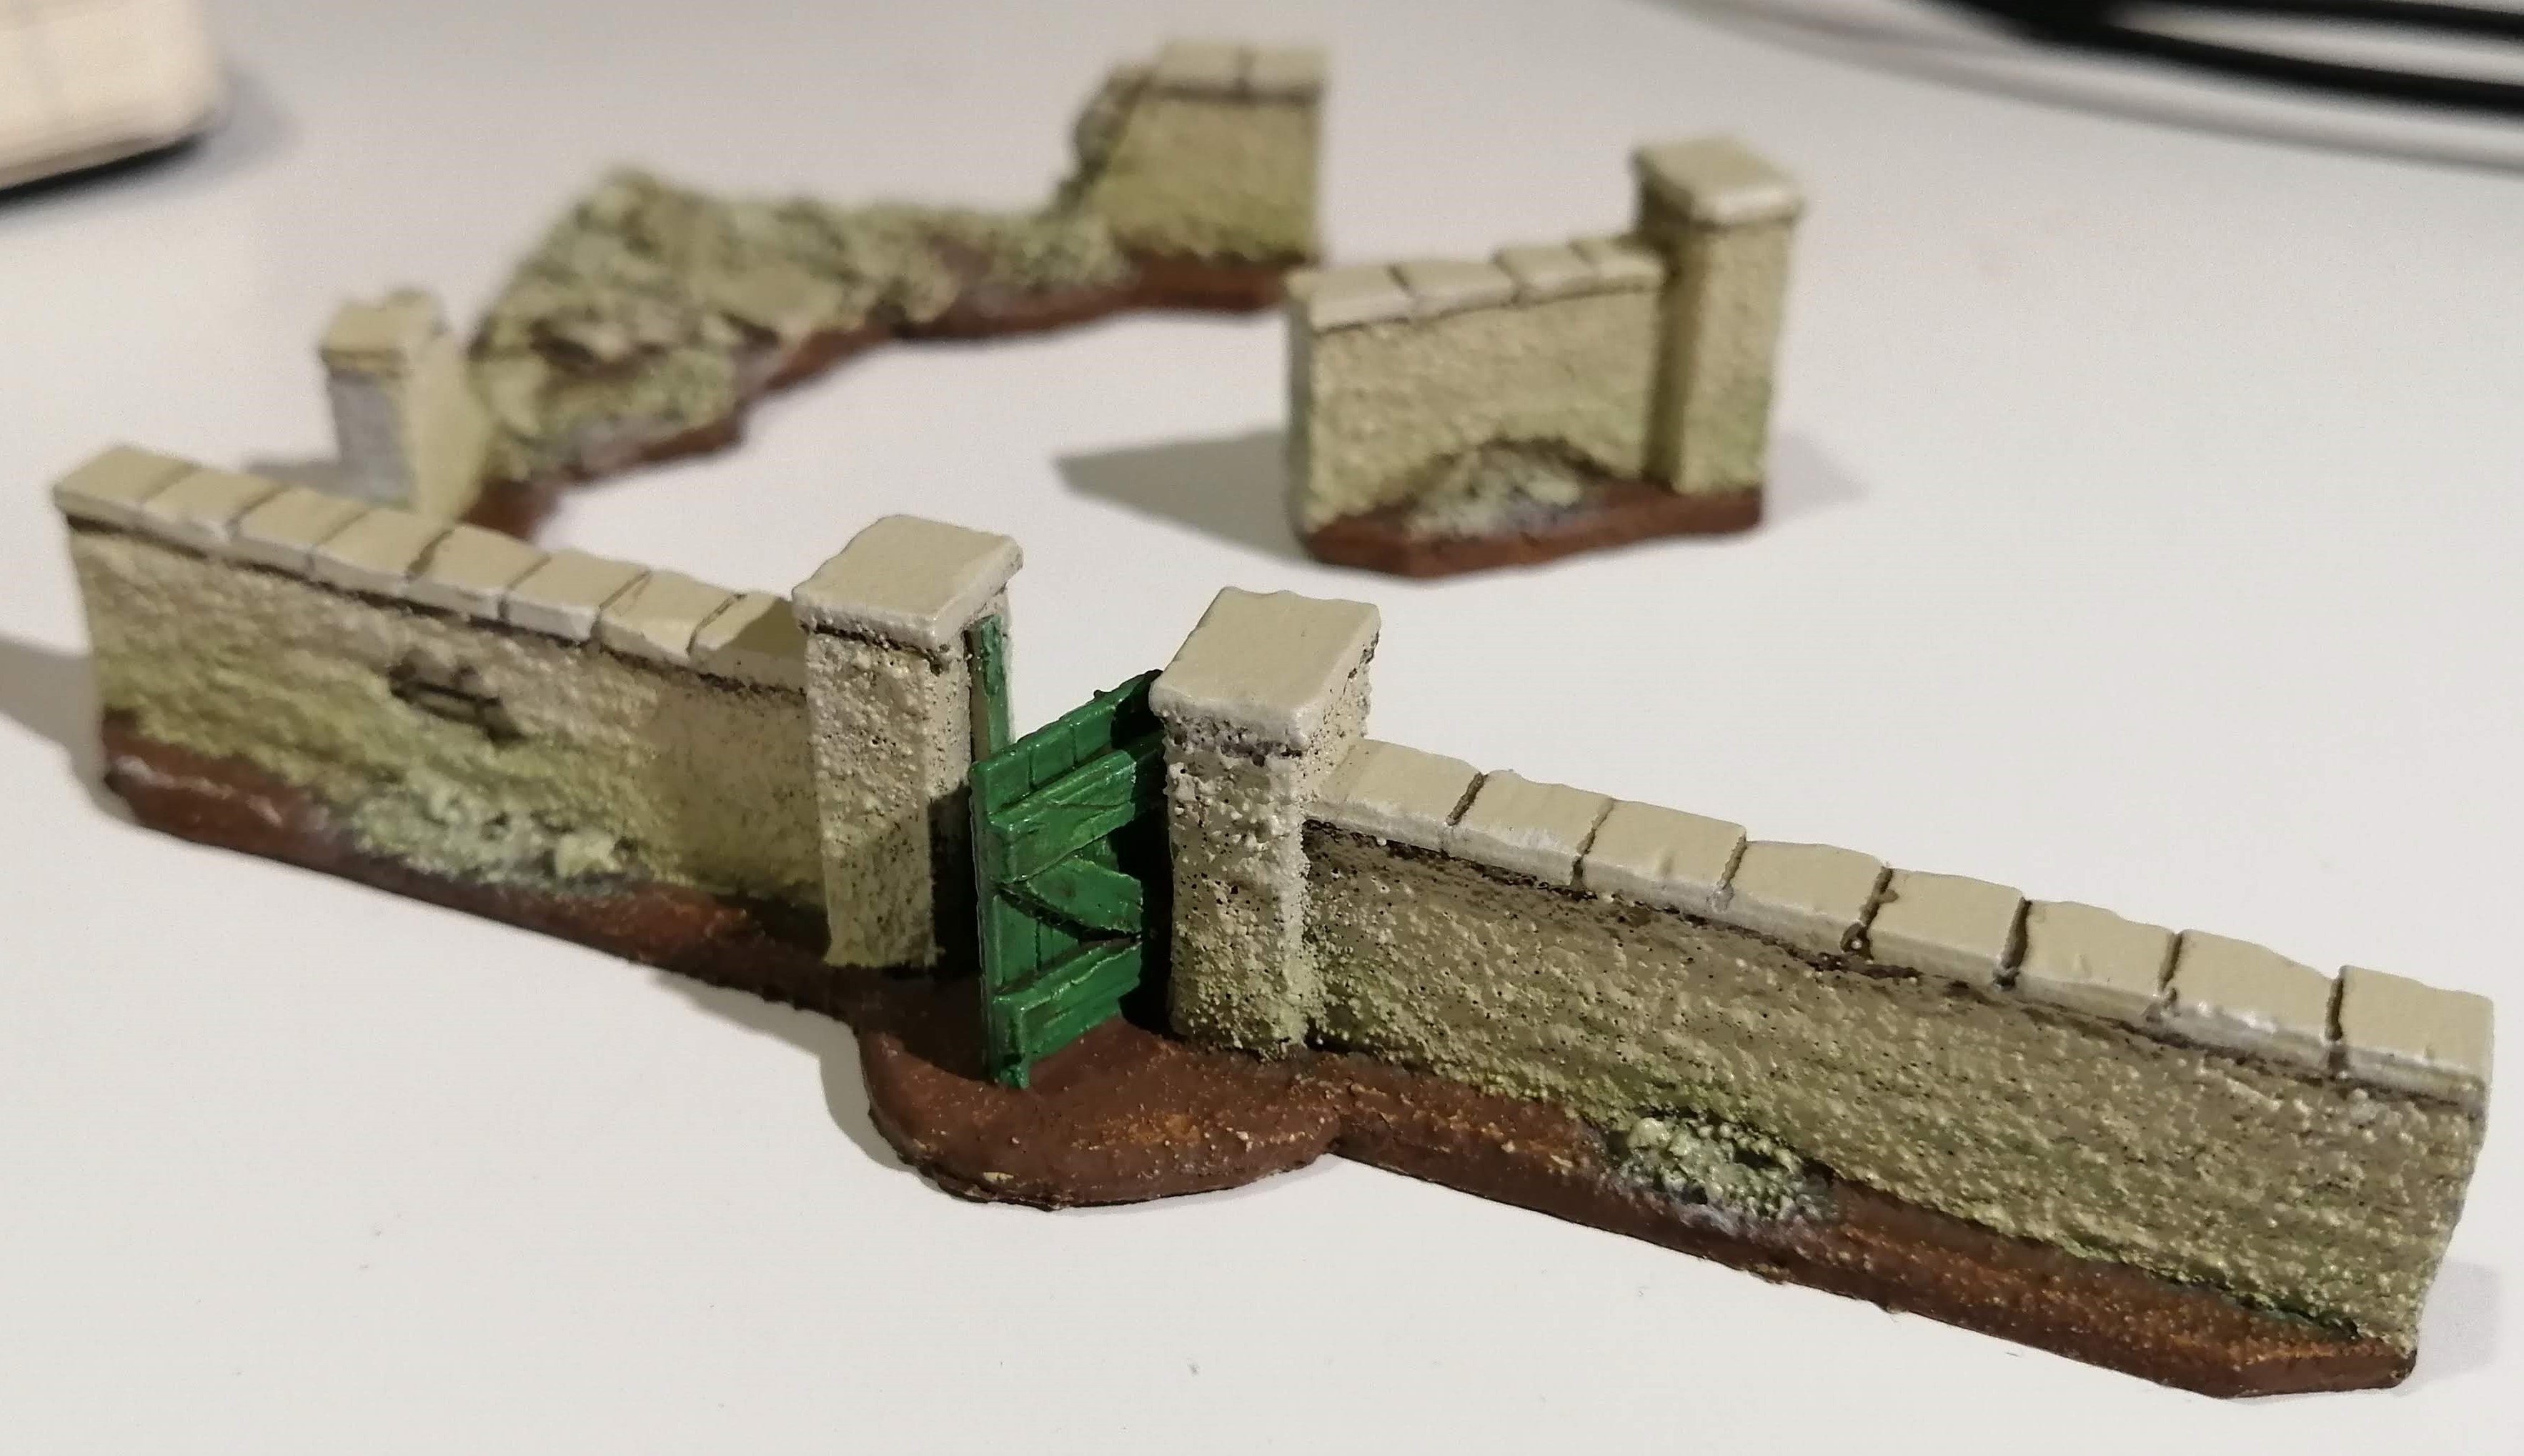
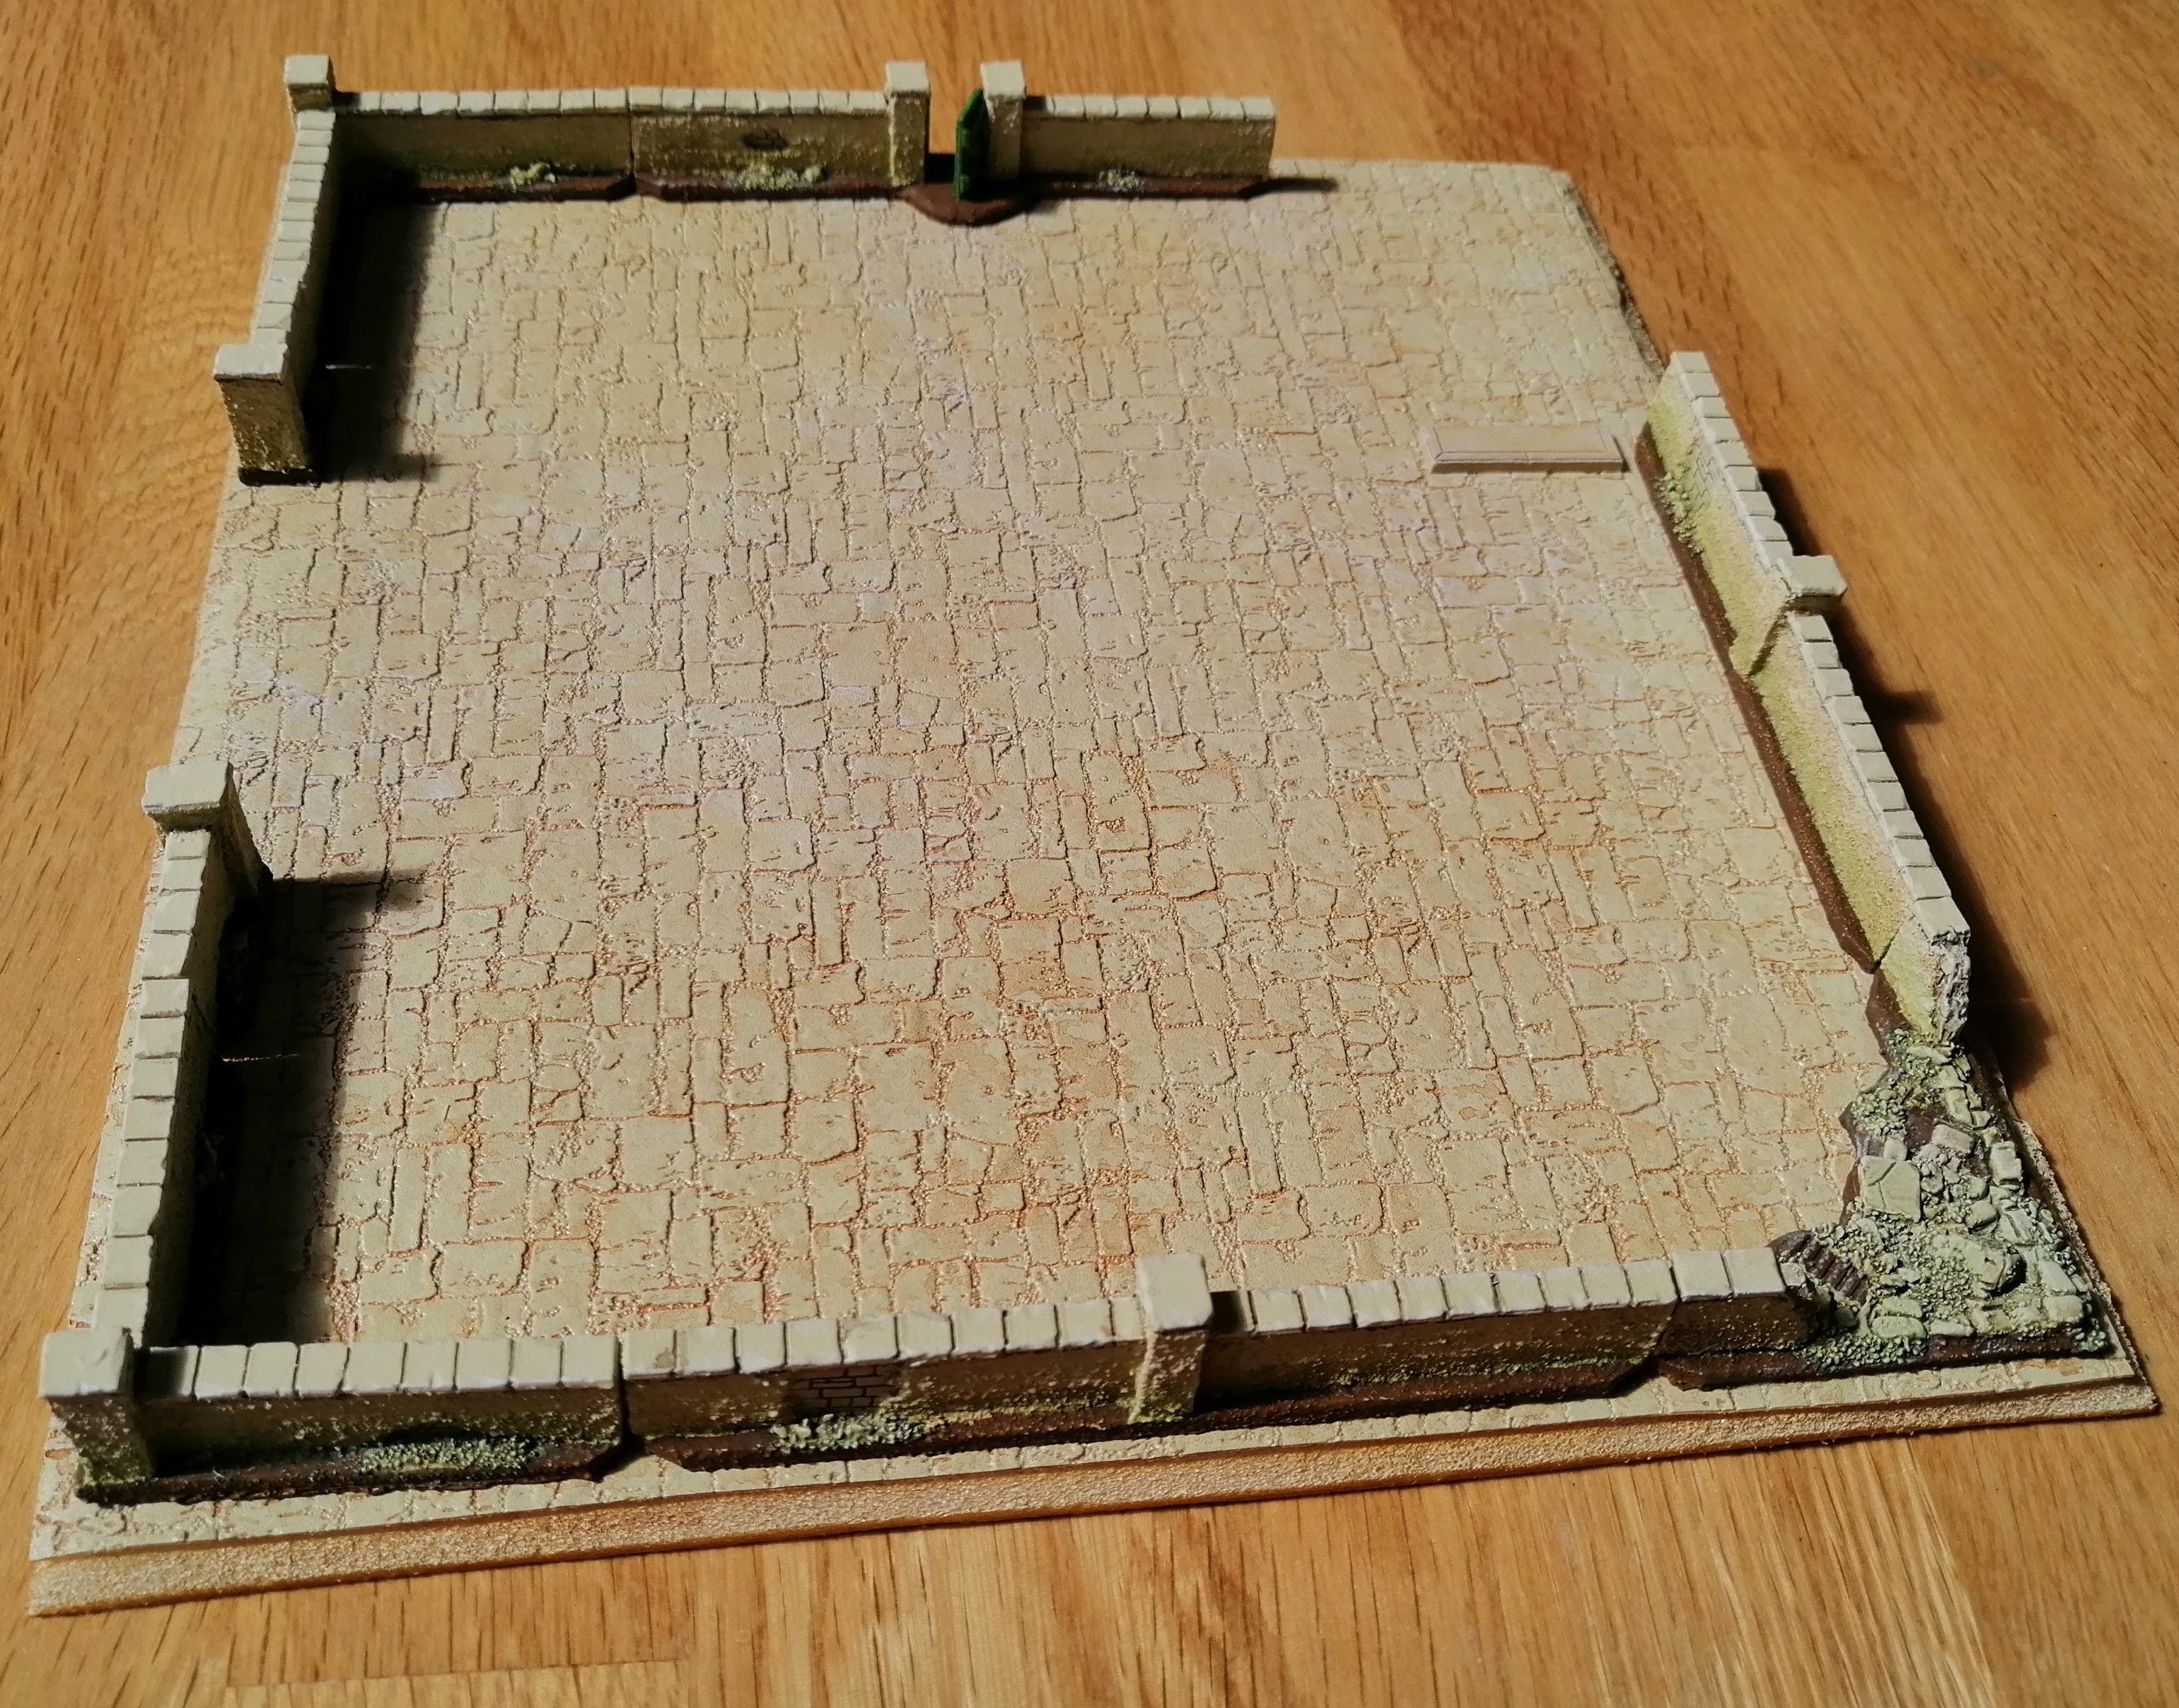
To add a little more variation, I mixed up a thin green wash and applied it along the bottom of the walls to simulate a light moss or slime from the damp. As the wash dried, I kept going back in with a wet brush to keep moving the wash around and to try to vary the depth of colour across the wall. You can see the results in the above pictures.
Once everything was dry, I felt it needed a final wash to just darken it a little. Using some cheap brown acrylic, I mixed up a very thin wash and applied this over all of the walls, letting it settle wherever it liked. This is the final finish,
Perhaps some of the bricks could do with some more attention but, as this is 15mm, you probably won’t see it unless you’re really getting in close.
Final step was to apply a matt varnish to protect everything.
I’ll be using superglue to attach the walls to the base but to provide a little more structure, I’ll attach a couple of pins into each base. I’ve used paper clips for the wire.
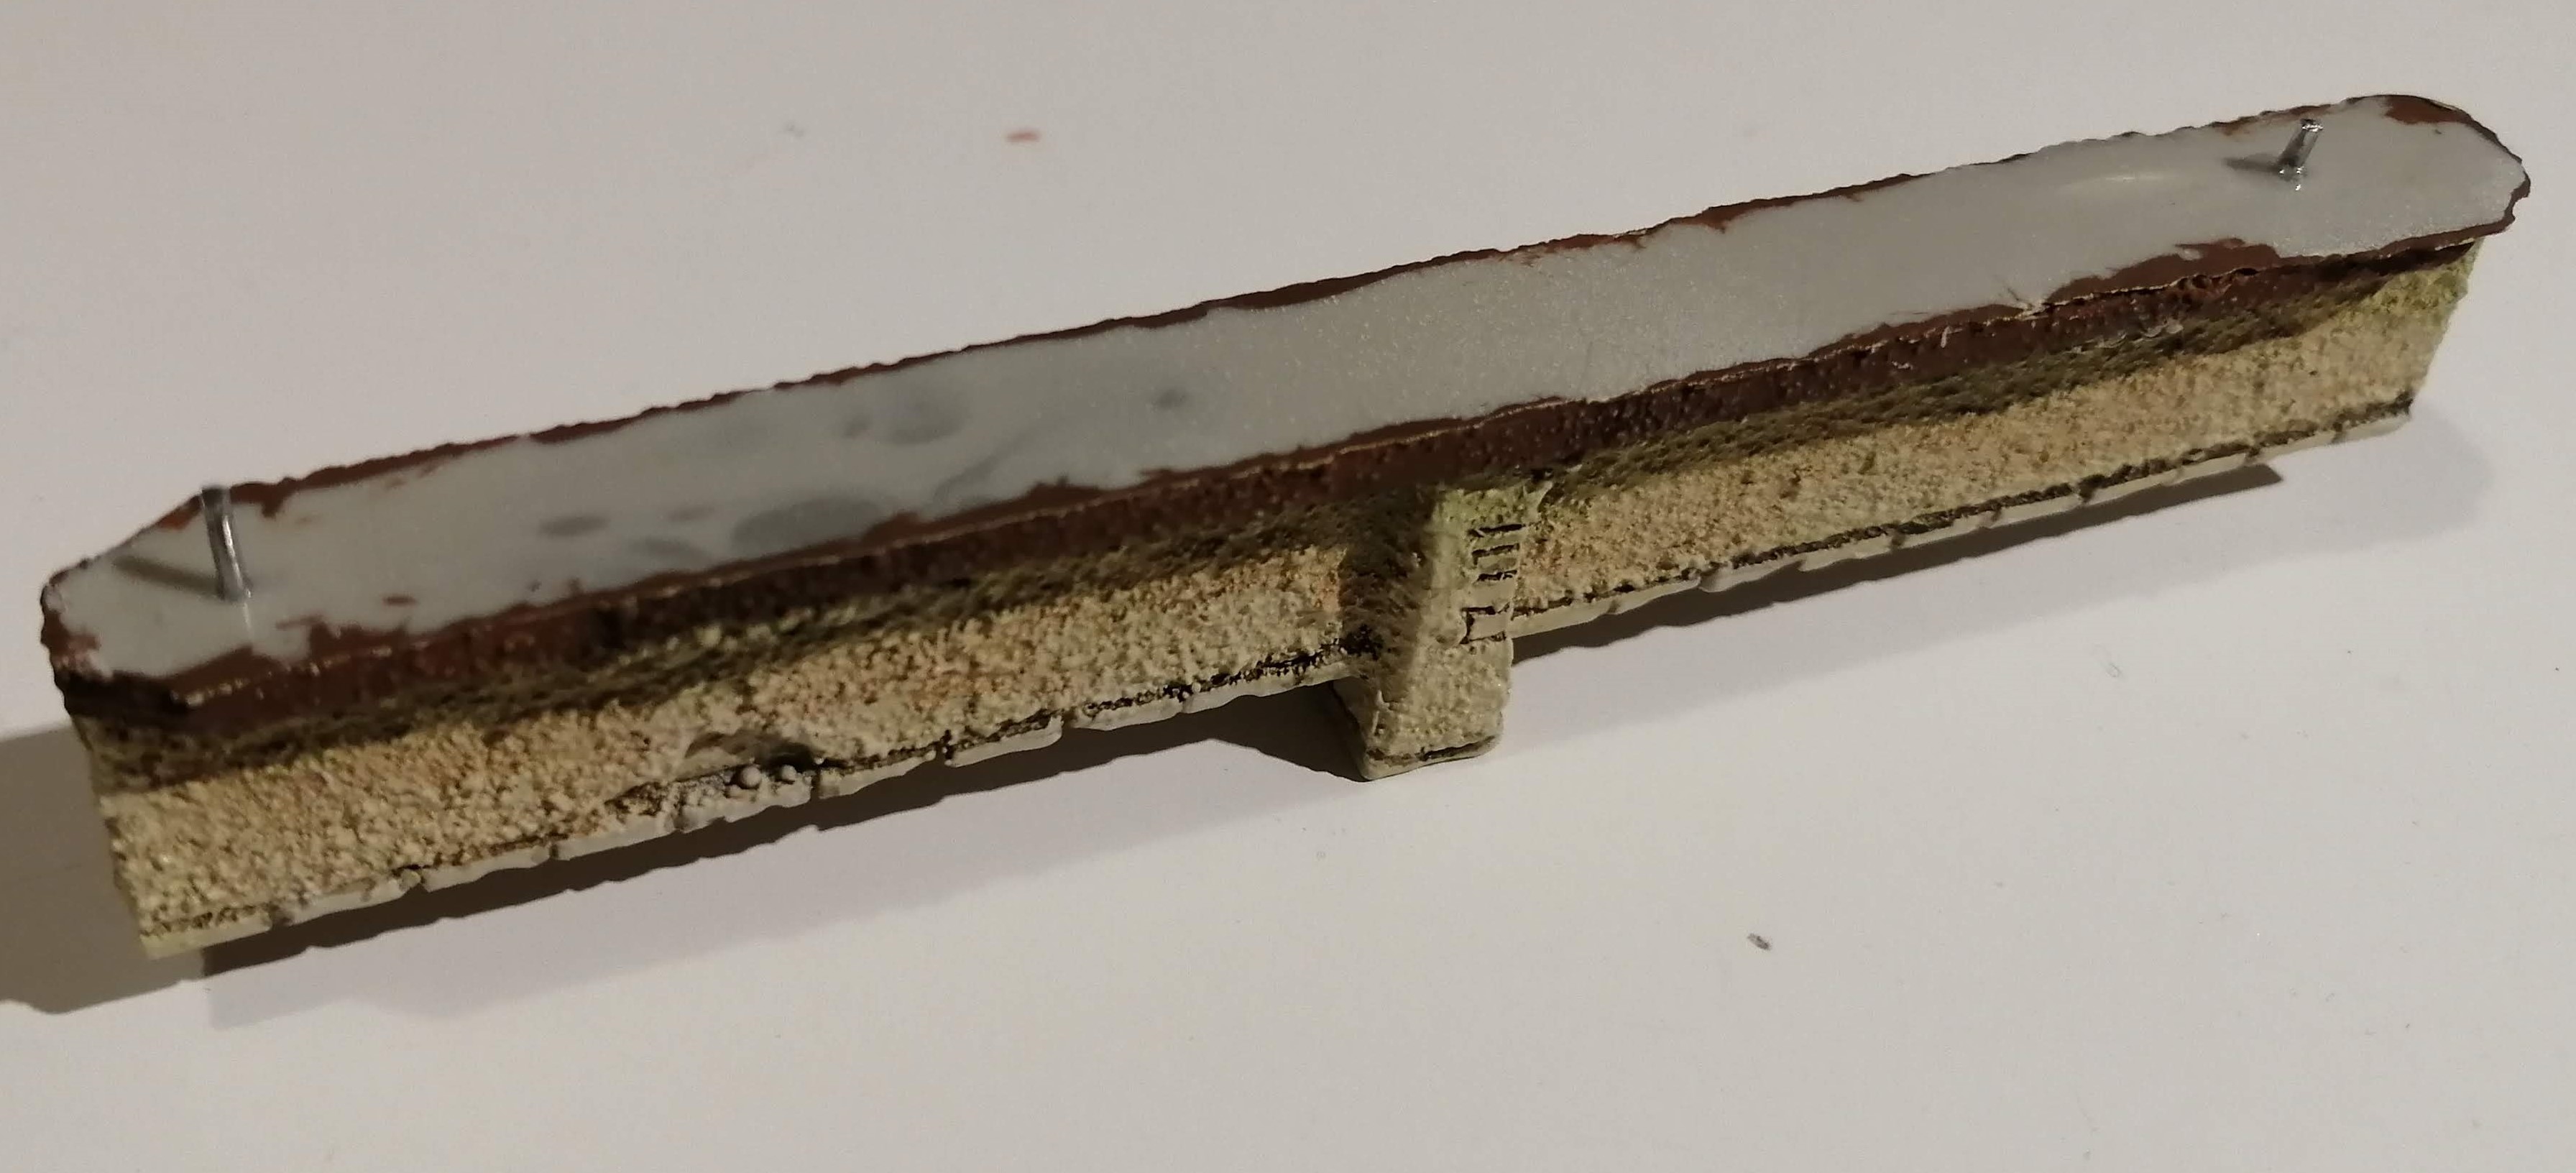
And that’s the walls completed, ready to be mounted on the base.
Putting some paint down
Time to get some paint on the chapel to see how it looks.
These types of buildings tend to be quite old and the builders would have used the local stone to construct them. Therefore, it’s going to be the same colour as the paving stones. With that in mind, I used the same Kobra Desert spray can on the whole building. I’ve then painted the front door cavalry brown as I want to give it a good, rich colour.
The roof tiles in Italy are a distinctive colour but also have a degree of variation in them across the roof, which I want to try to work in somehow. So after applying a primer, I used the airbrush to apply random spots and stripes of hull red, to really darken down some patches. I’ve then sprayed Ferrari Red over the top to try to achieve a really vibrant colour.
The roof tiles didn’t look light enough to me, so I then went back over with Fiery Orange.
I should have taken more photos during the process but forgot, so apologies but here’s where I got to
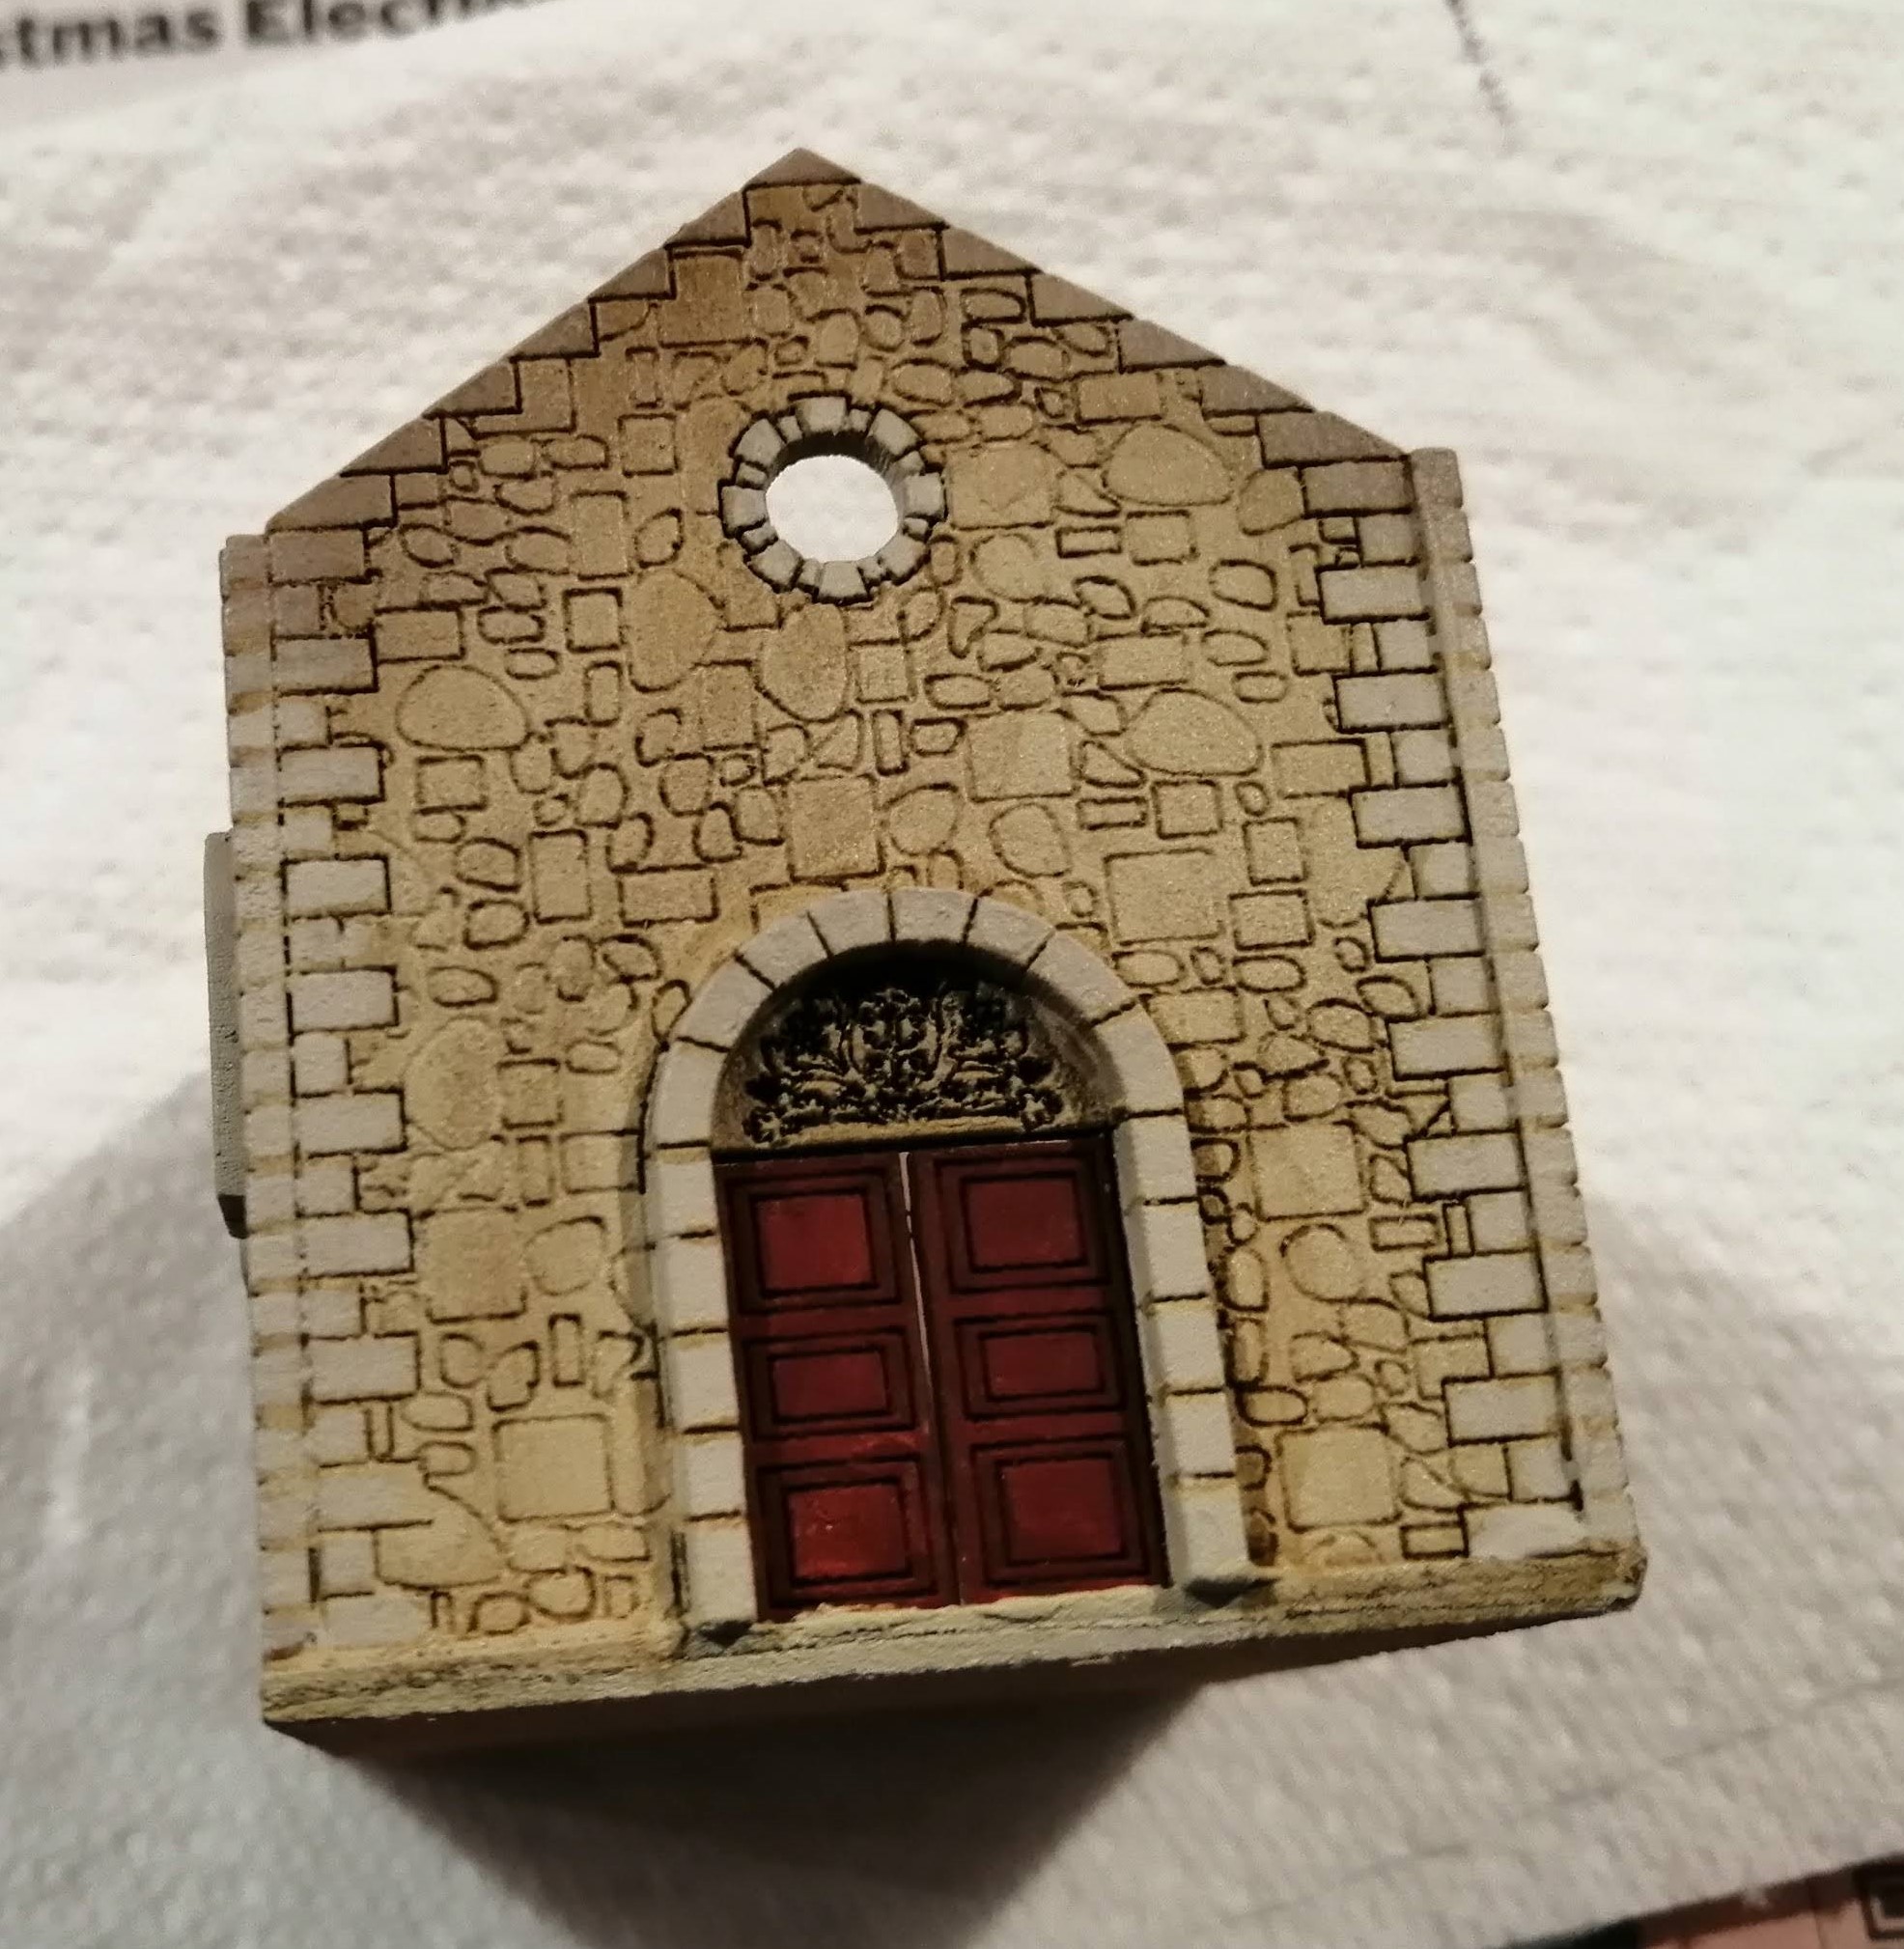
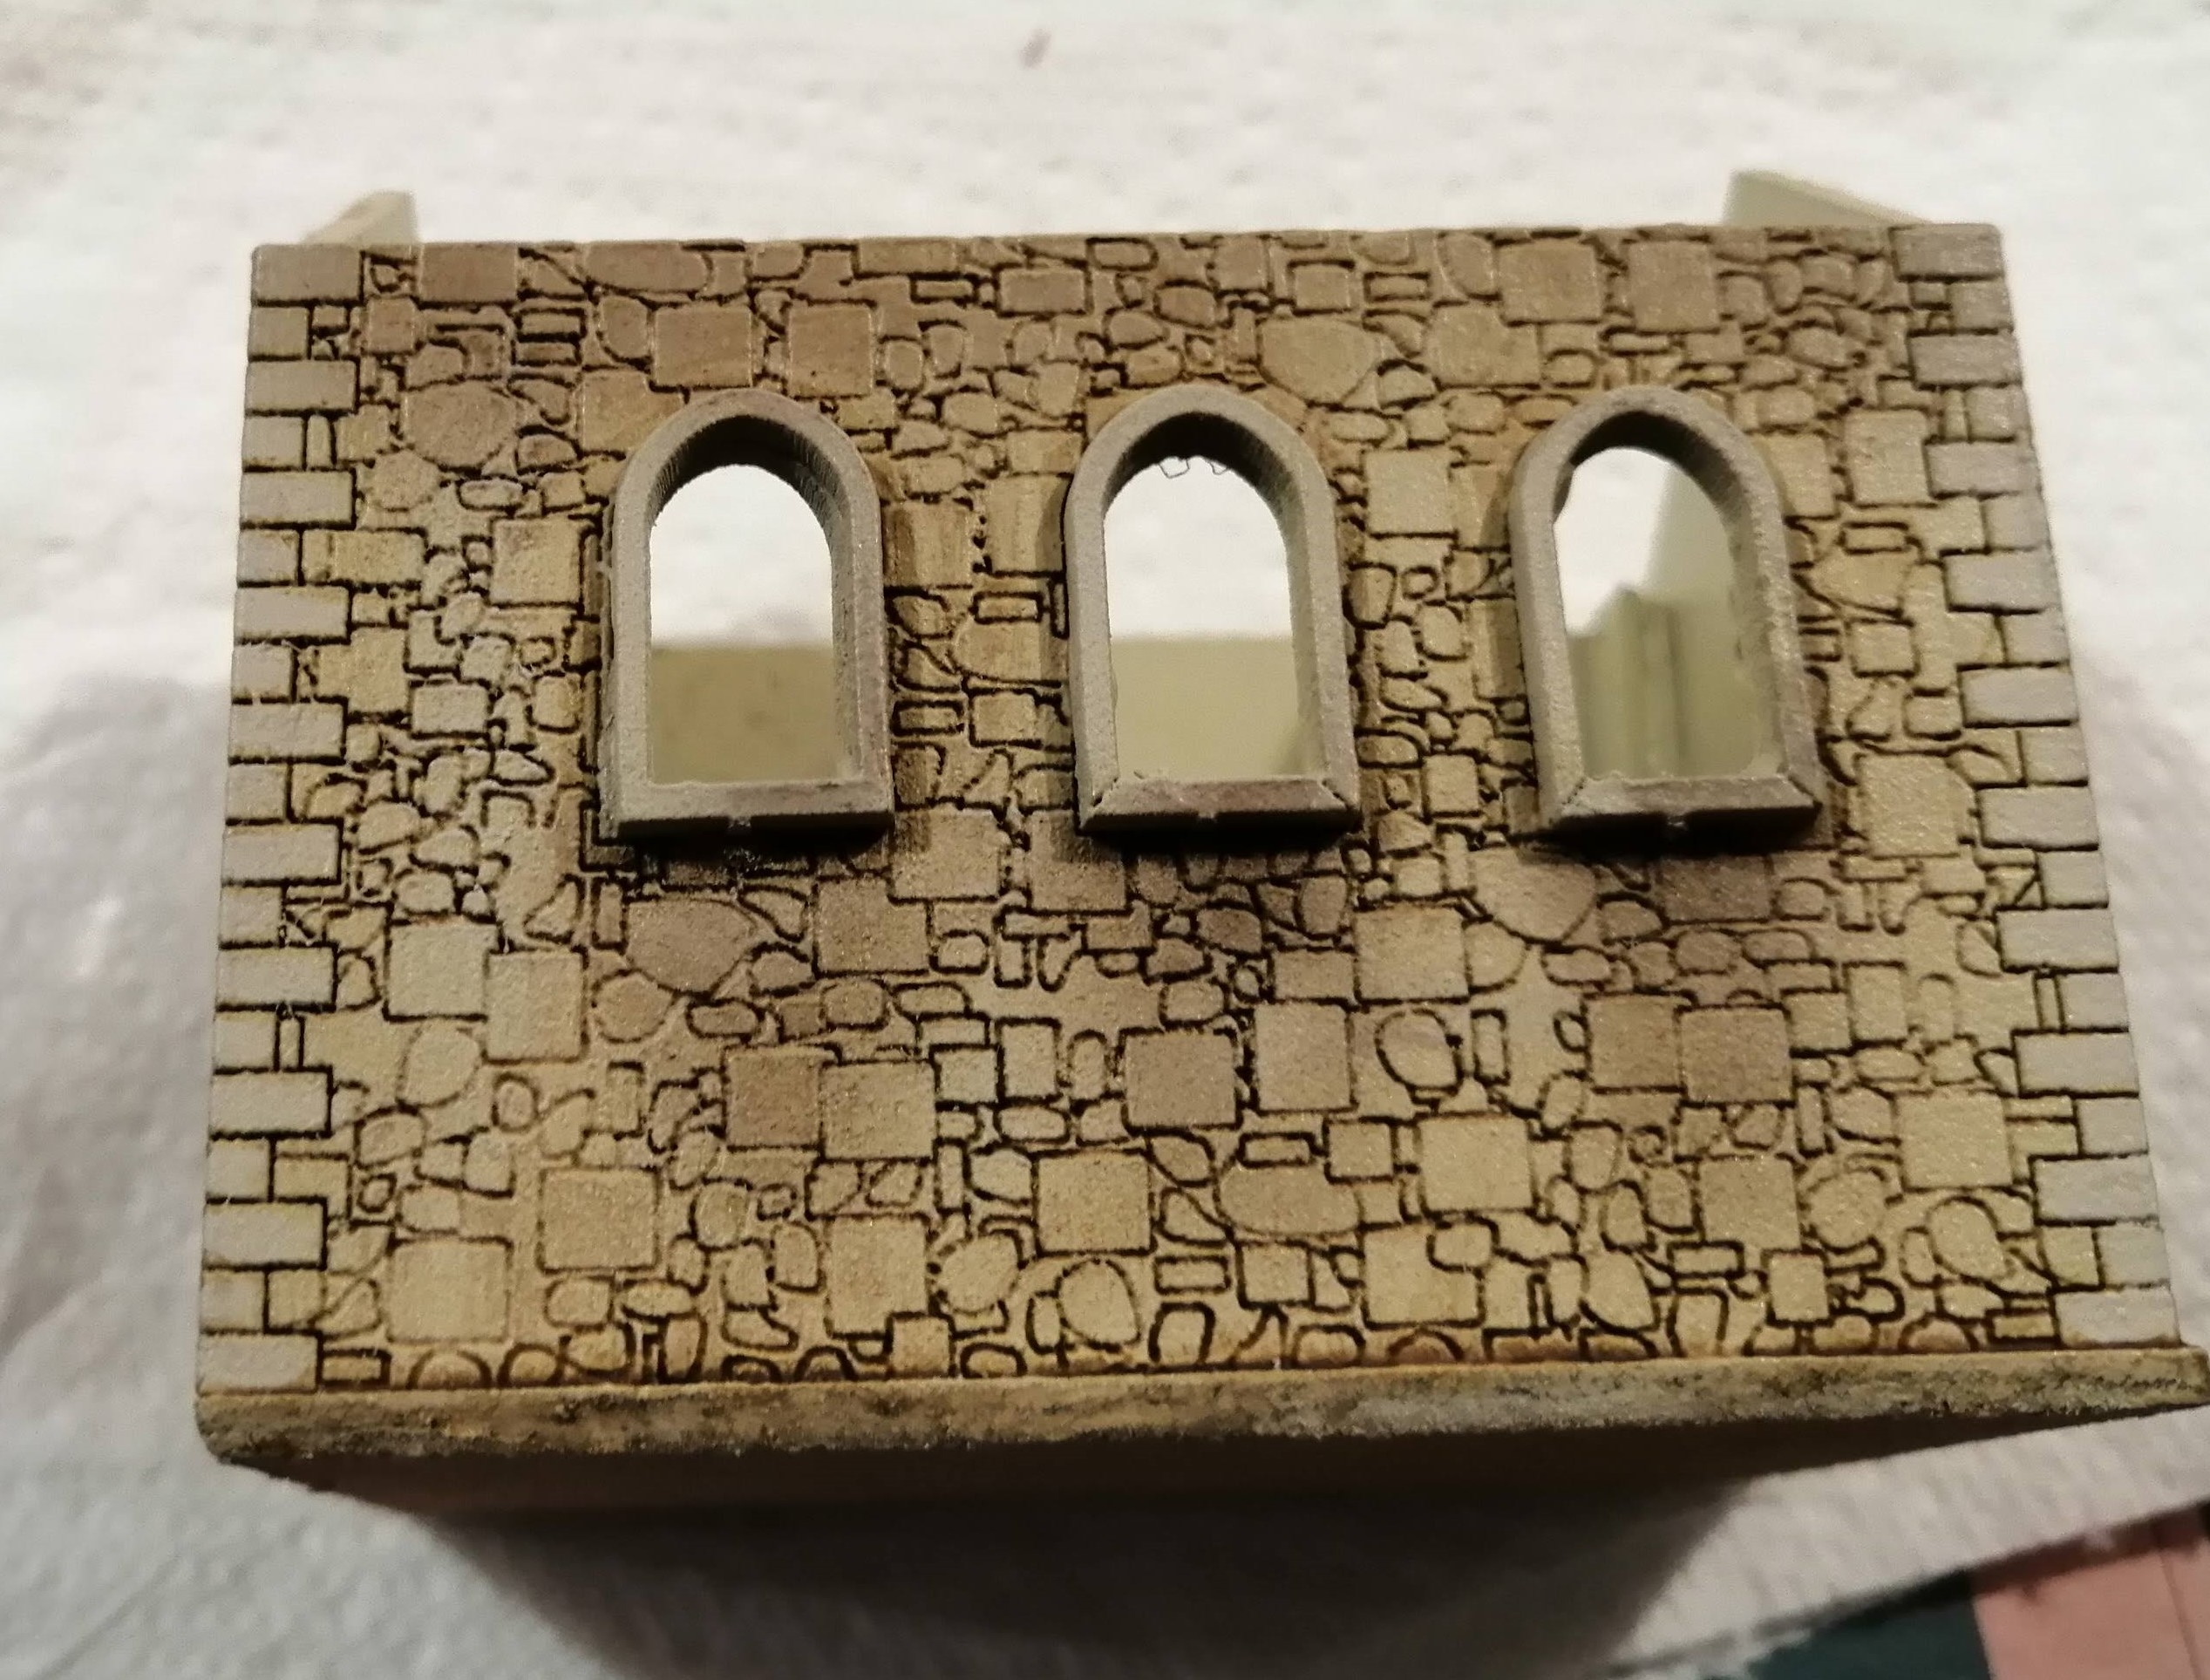
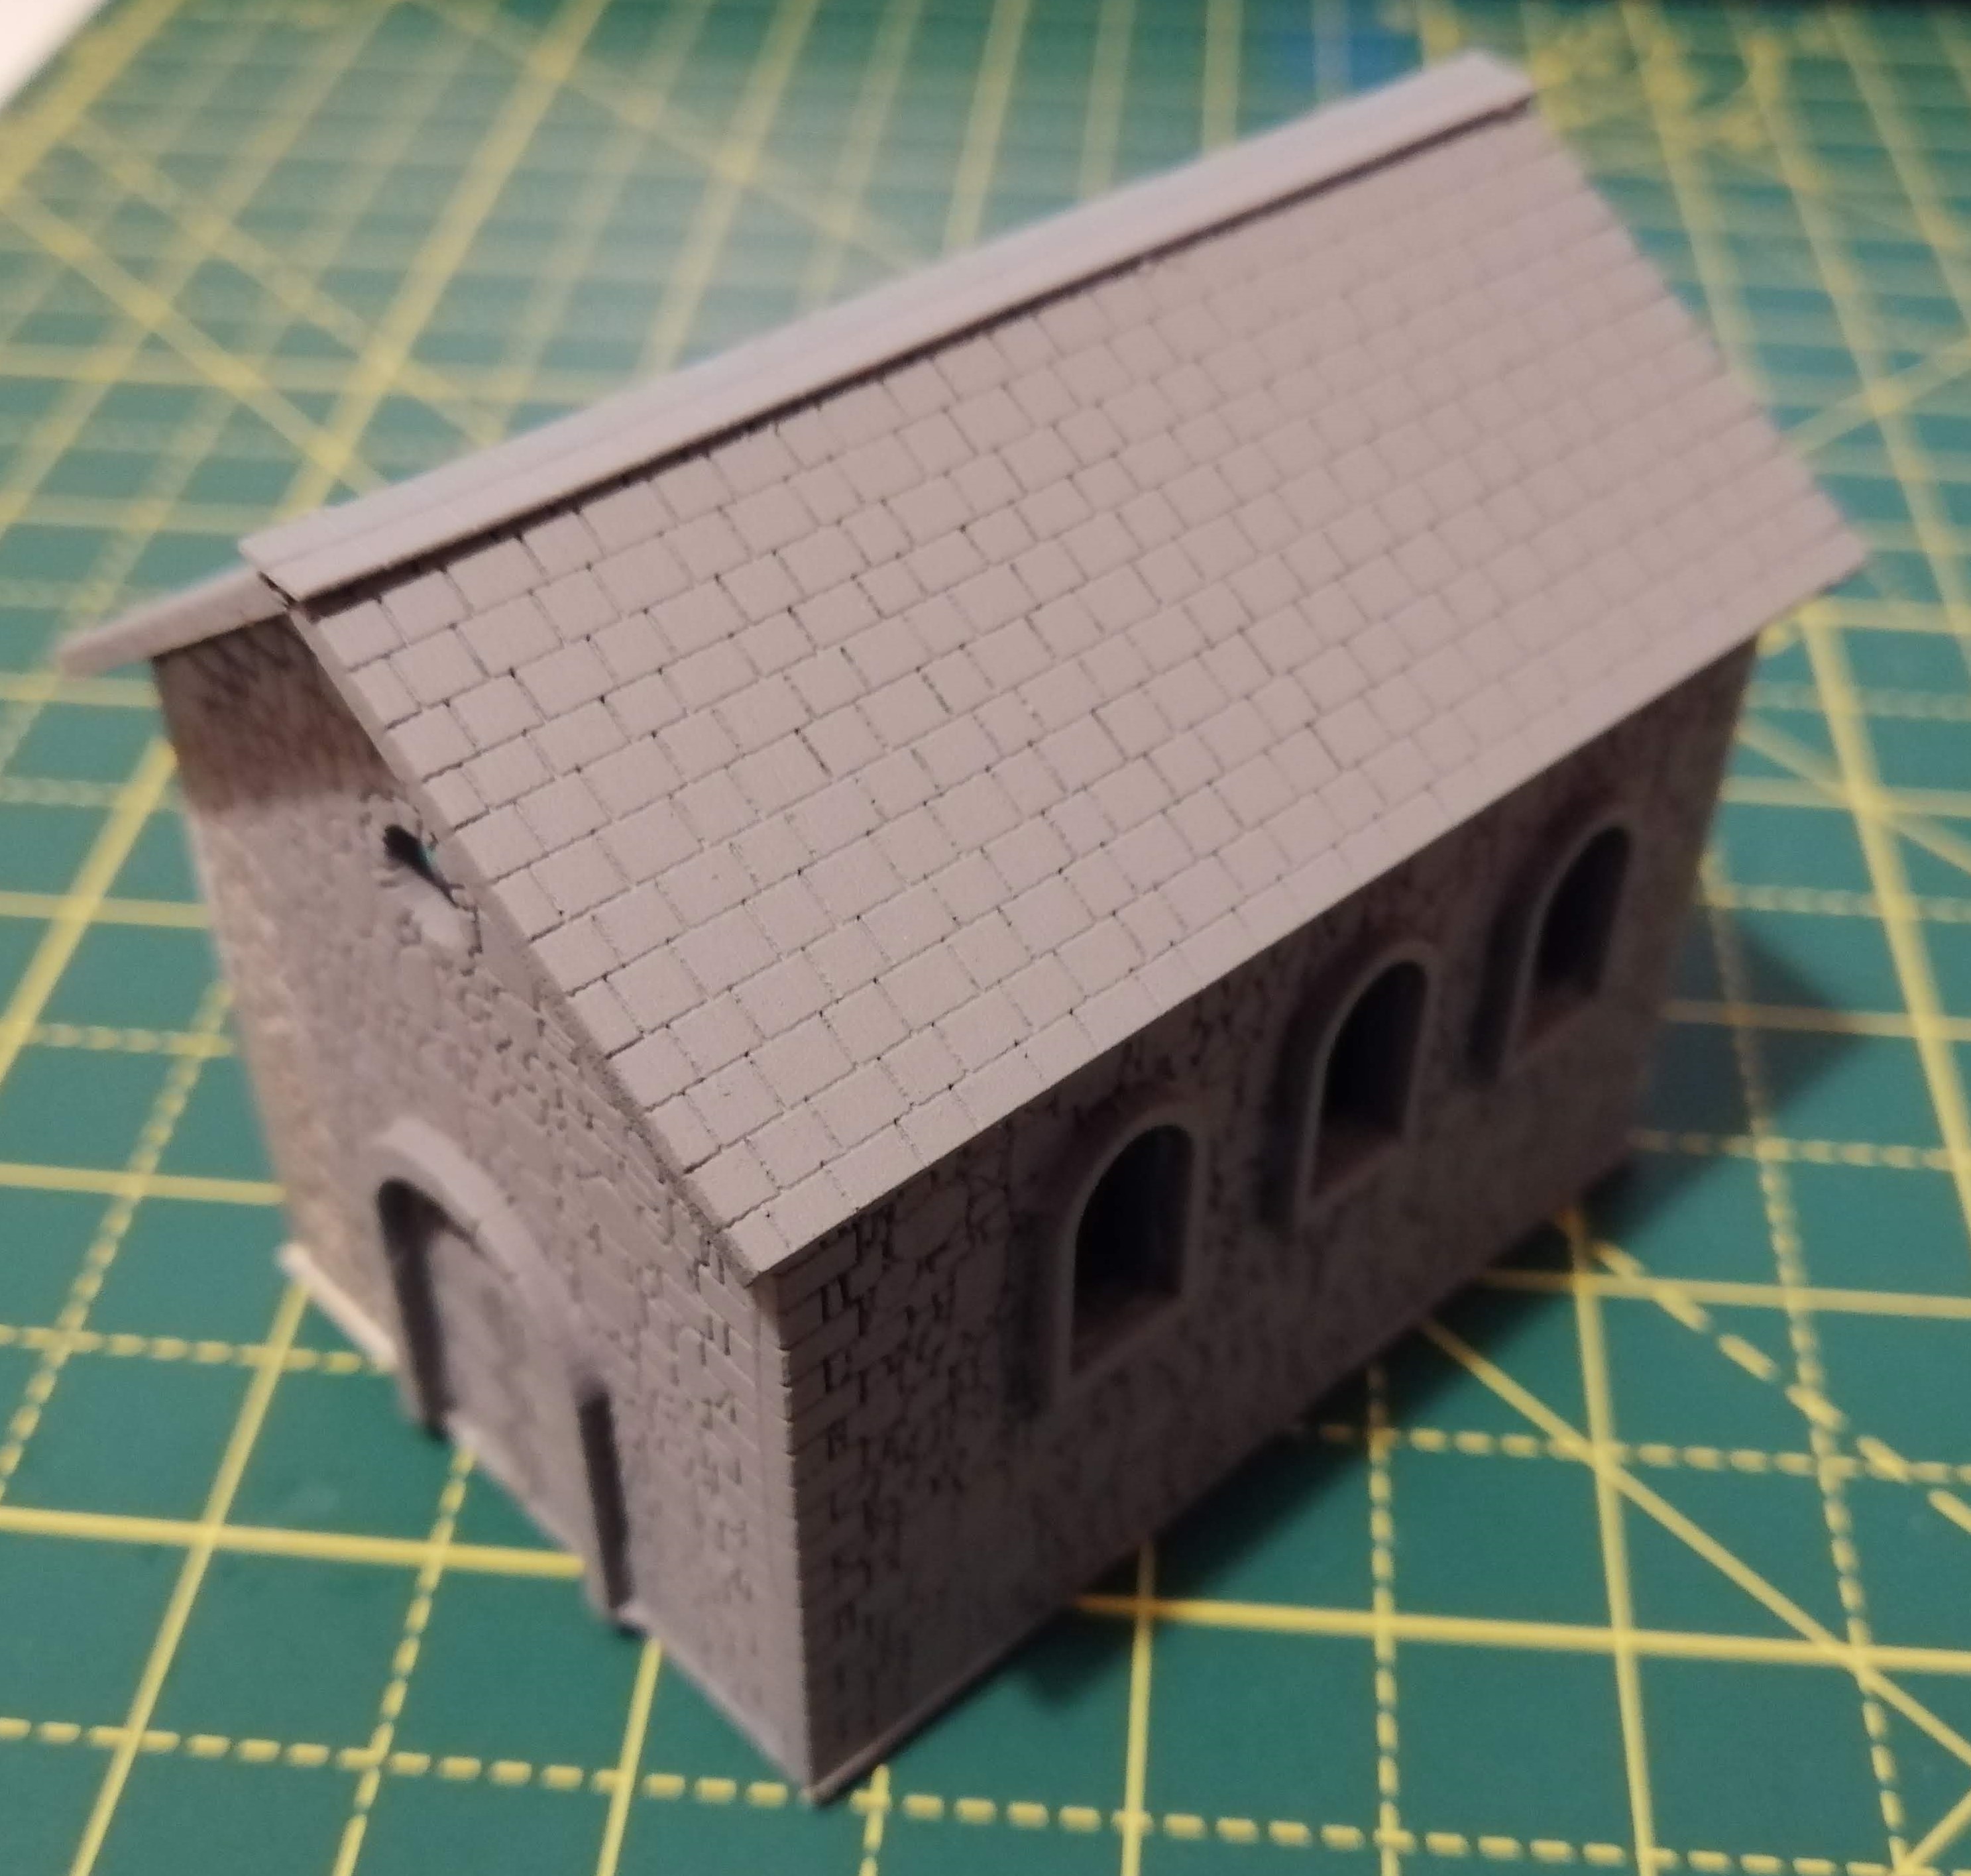
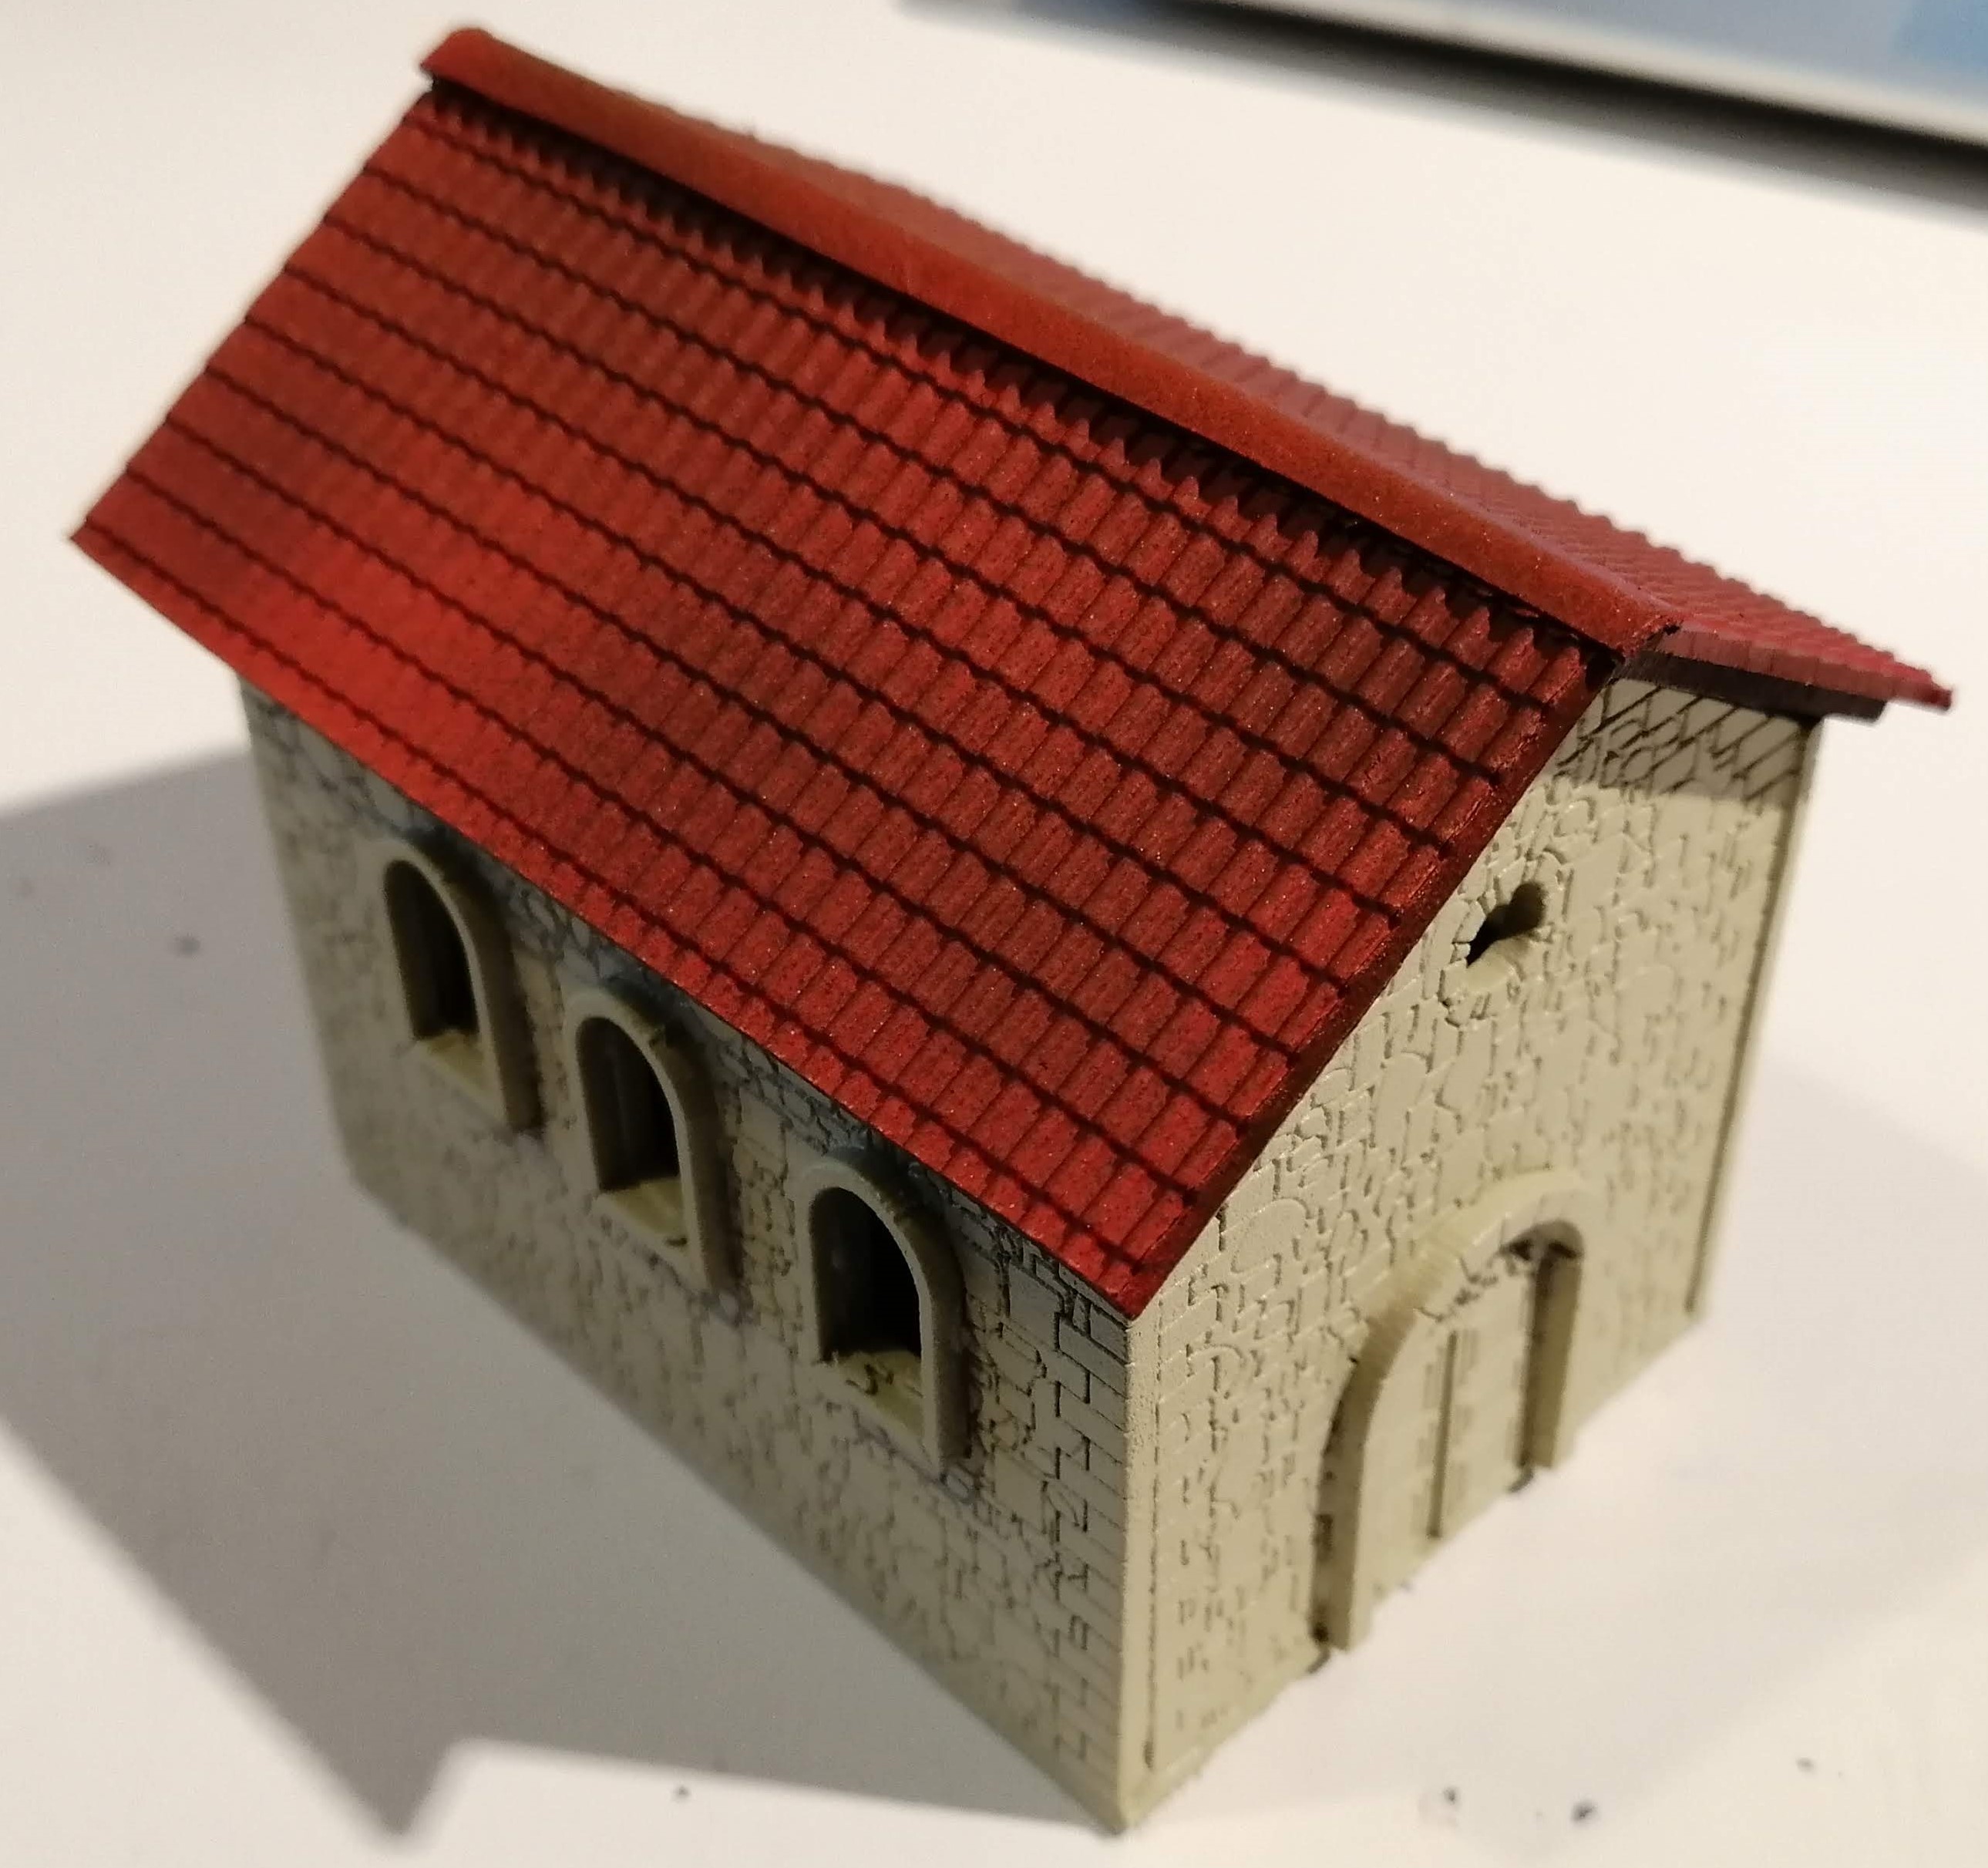 After spray painting the building and roof, but before painting the door
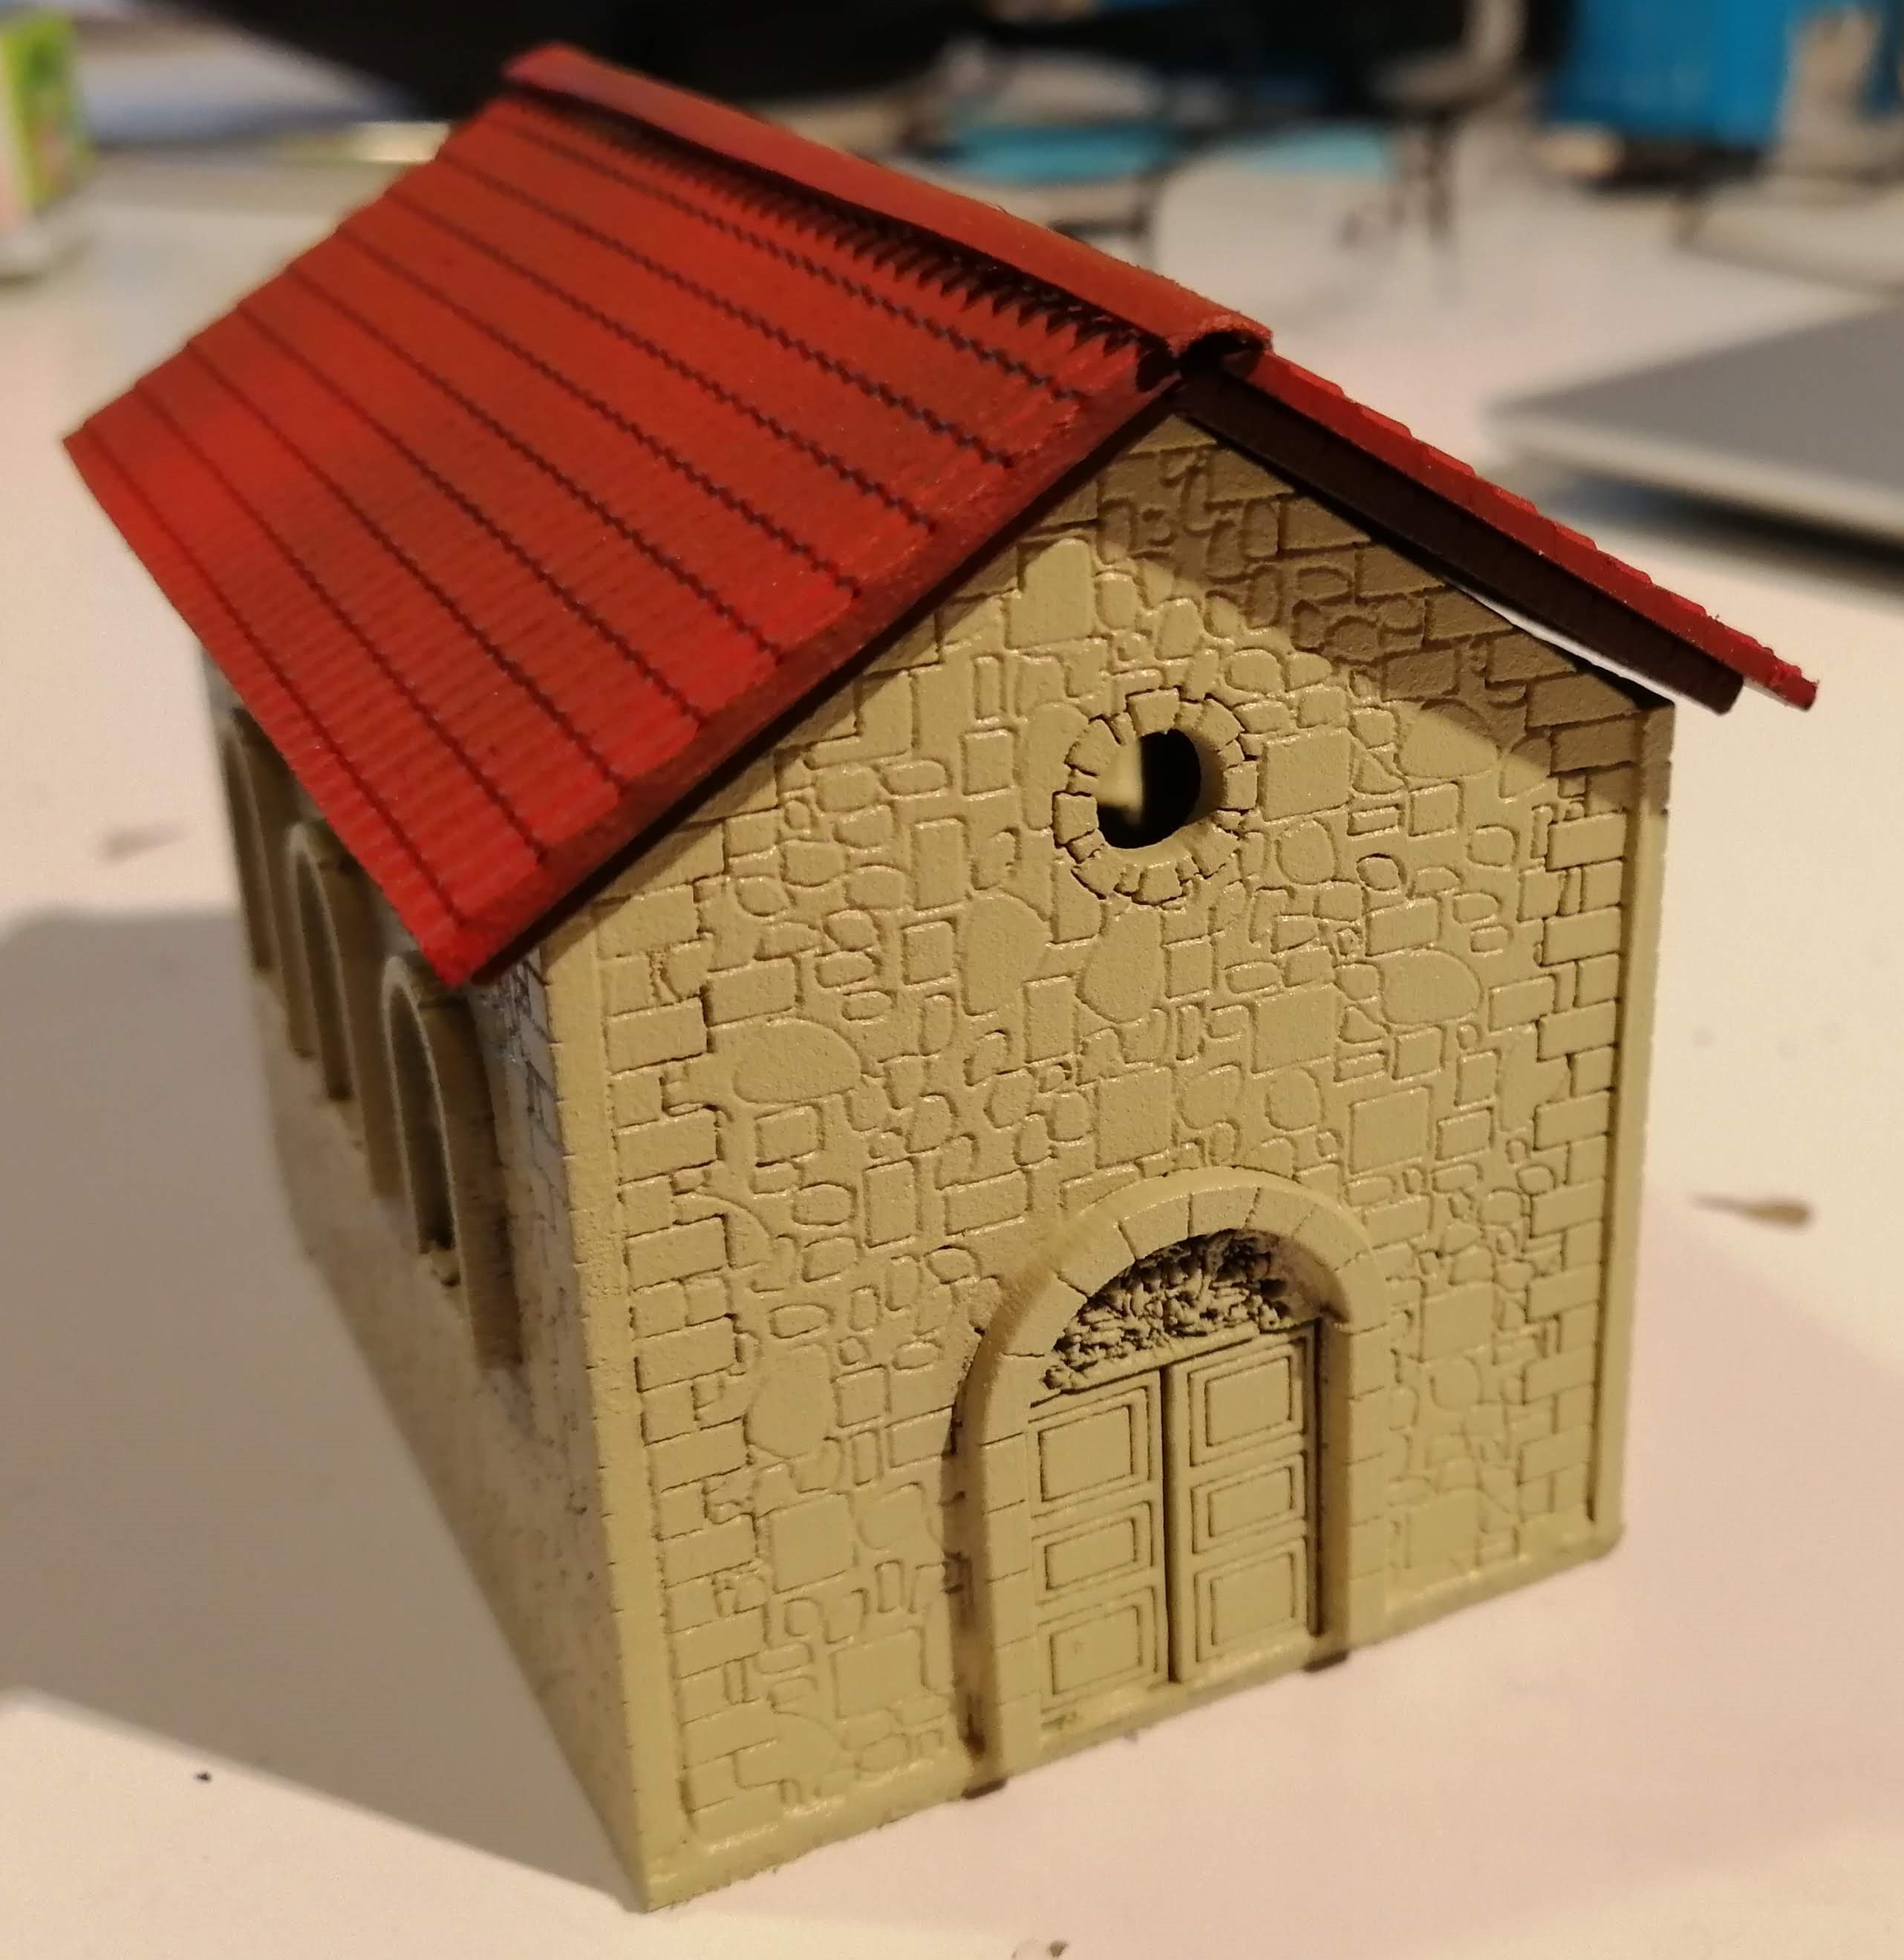
I’m quite happy with this as a base coat for the building and I’m already thinking that the roof may not need much more work.
I’ll now work on the walls.
Problems with the base
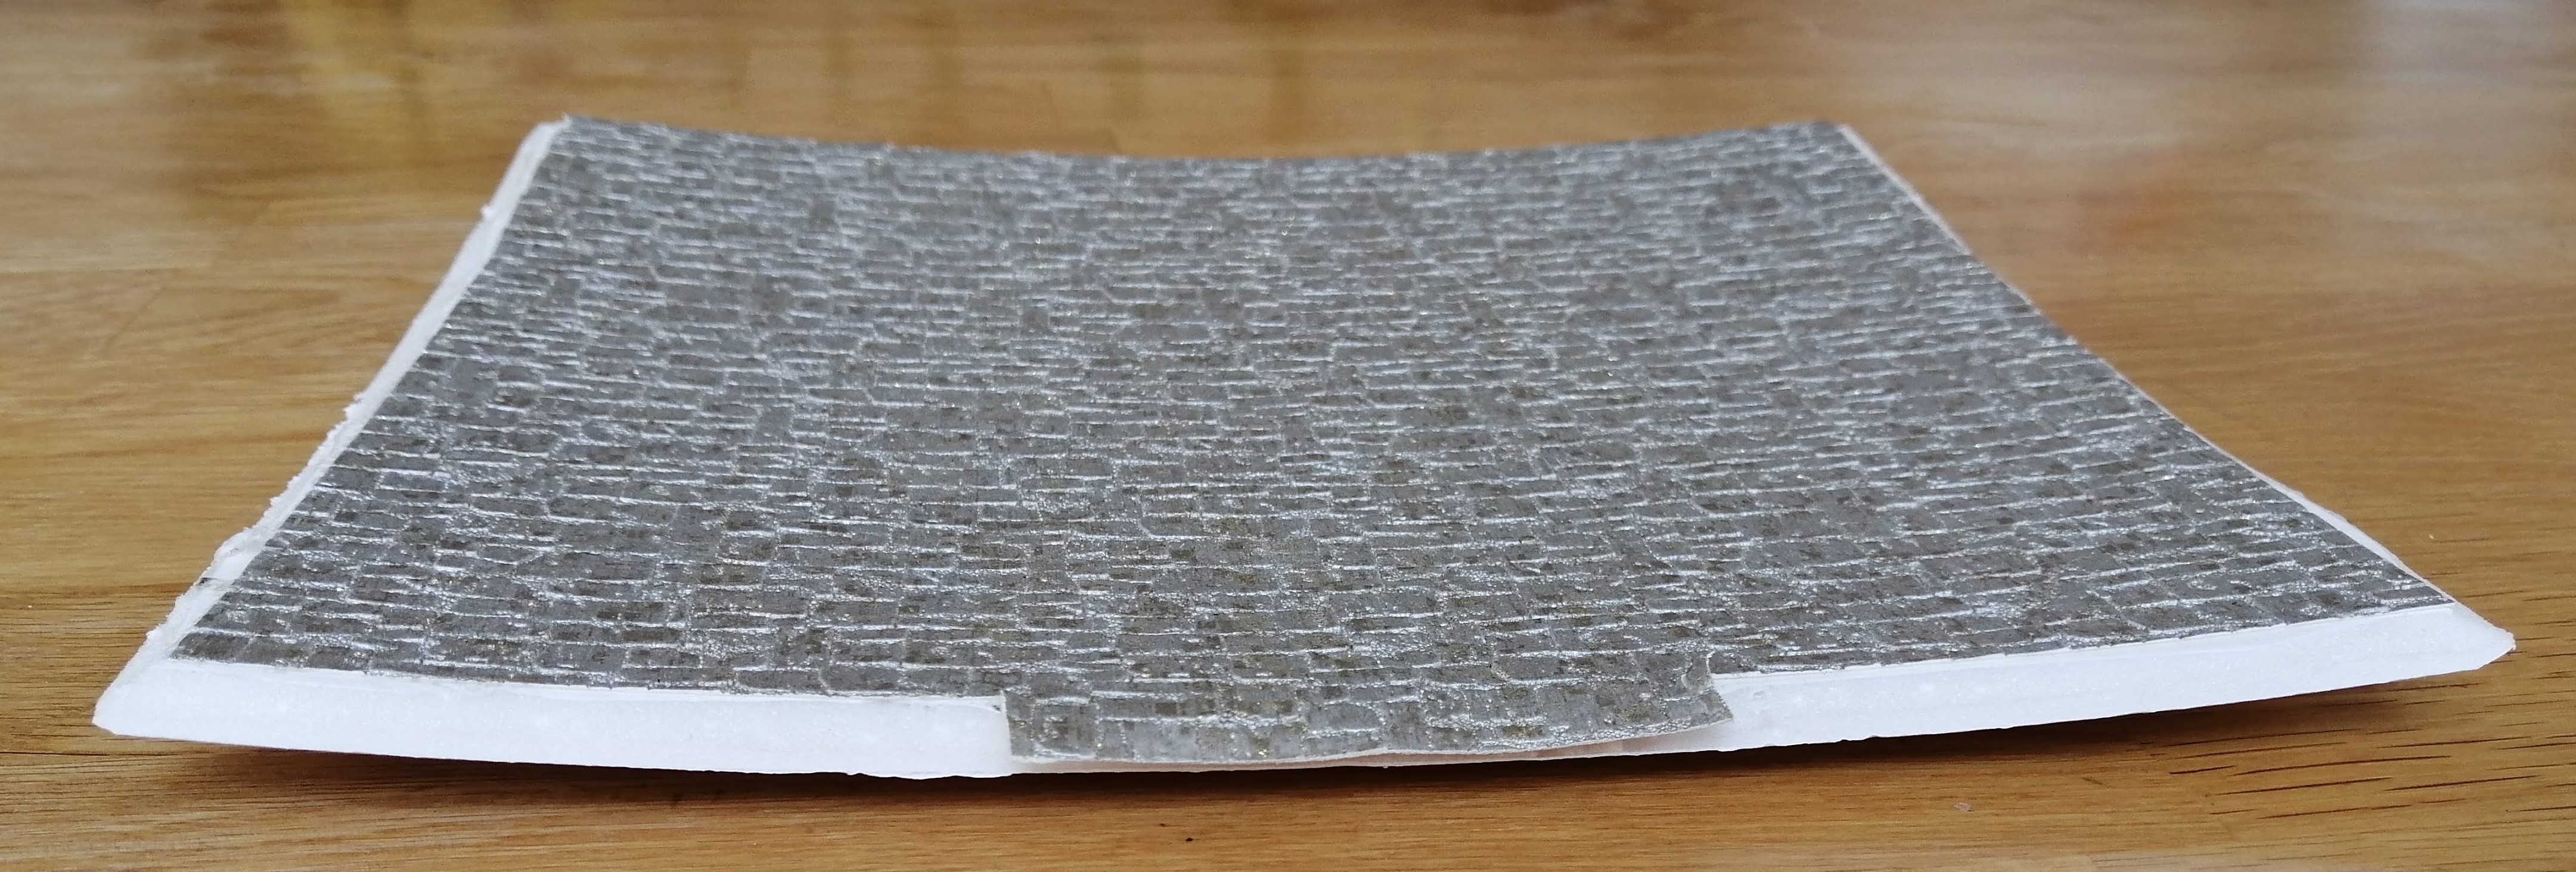
I plan to mount the chapel and walls on a base and then build the cemetery inside the walls. I was planning on use 3mm mdf for the base and then gluing some textured wallpaper over the top. So, using PVA, I glued the wallpaper to the mdf and placed it flat under a heavy weight. This was the result:
As you can see, it warped. Badly. So I thought I would try foam board, wallpaper and PVA….
Same problem, which surprised me. I should have spotted the problem here but didn’t and tried again with 3mm plywood, wallpaper and pva…
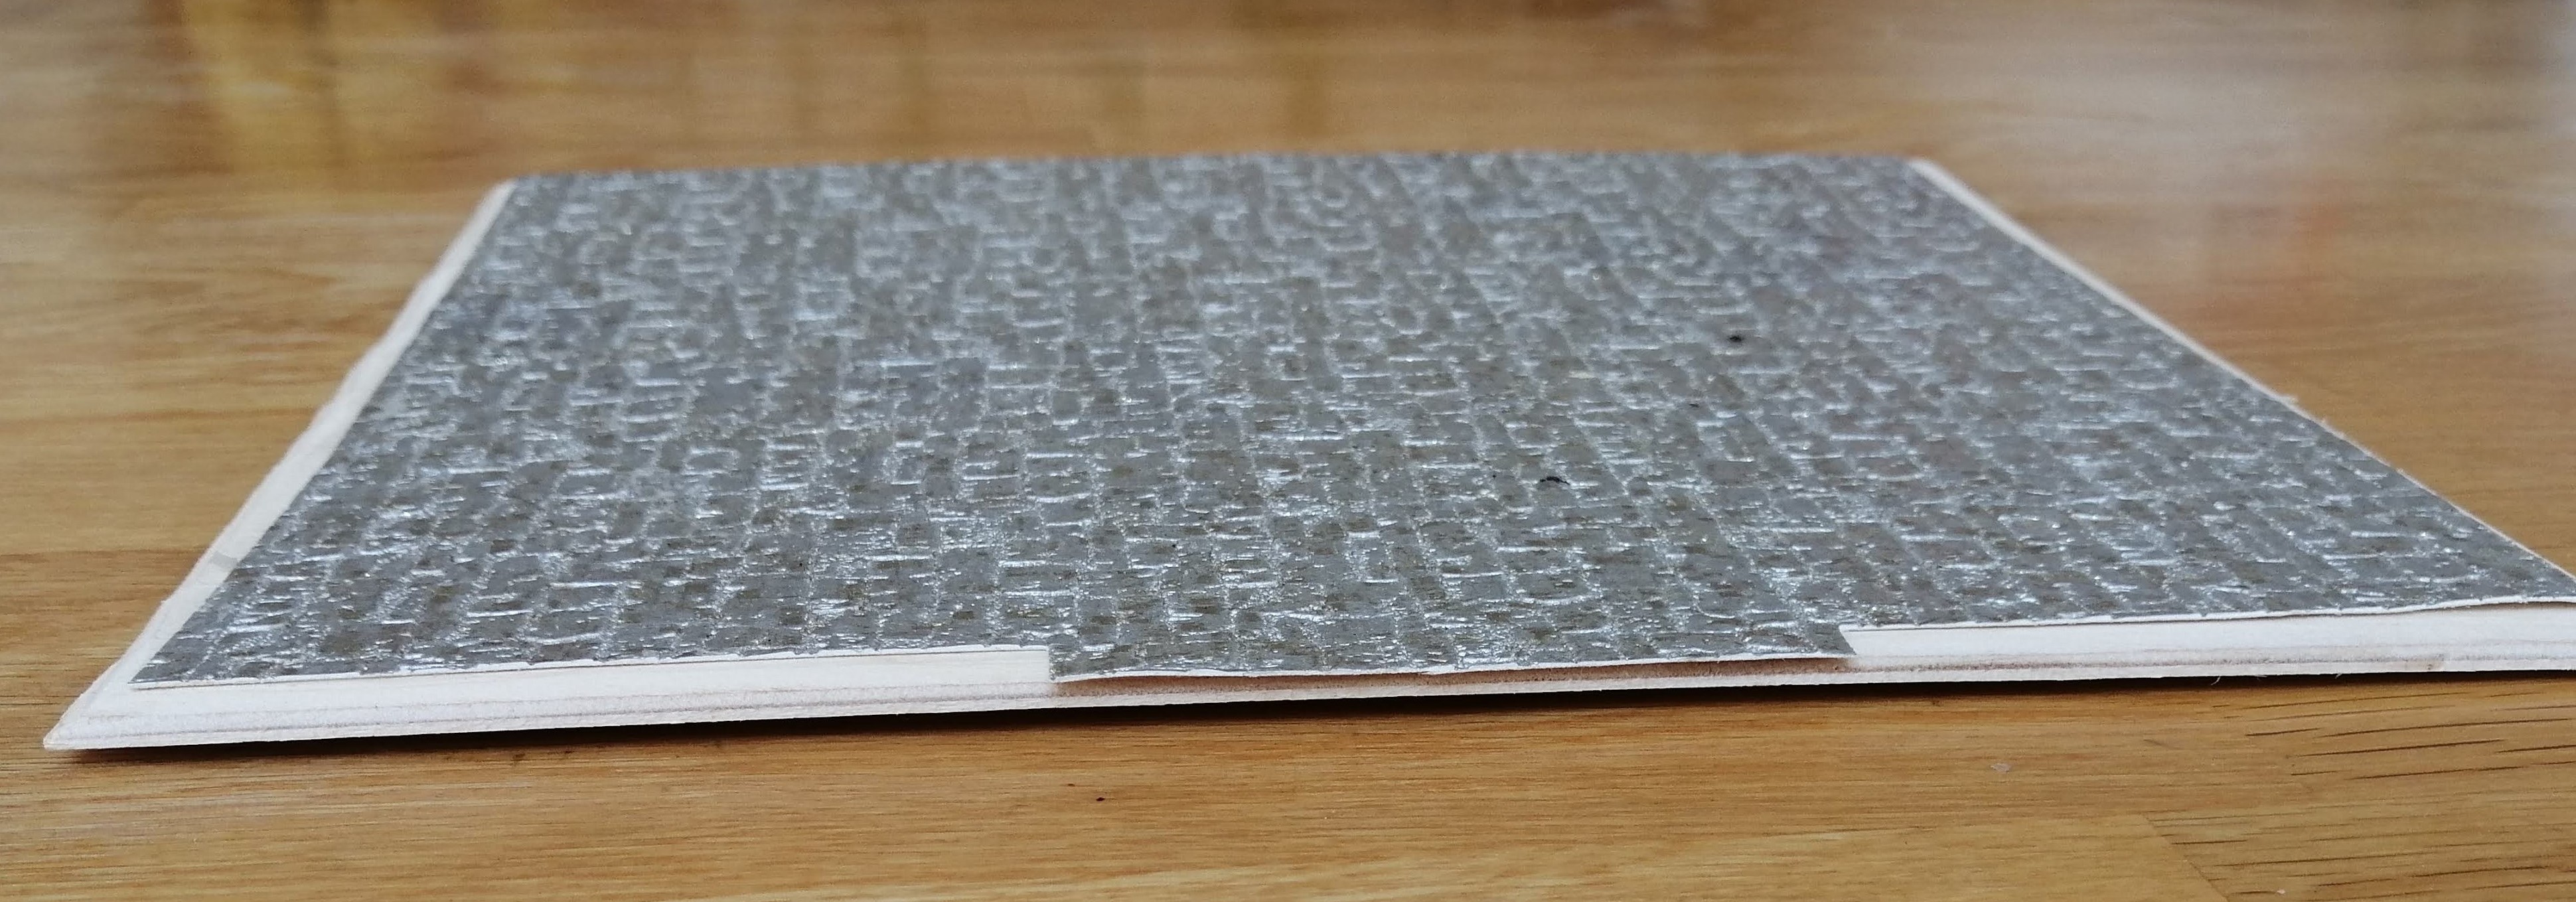
At least is warped in a different direction. I then applied a little bit of brain power and changed the glue from pva to spray on floor tile adhesive and used foam board again. This time success!
I’ve then gone and primed the top with a Halfords yellow plastic primer. Then sprayed it with a Kobra Desert spray paint. This has, finally, given me a decent base and base colour to start building on.
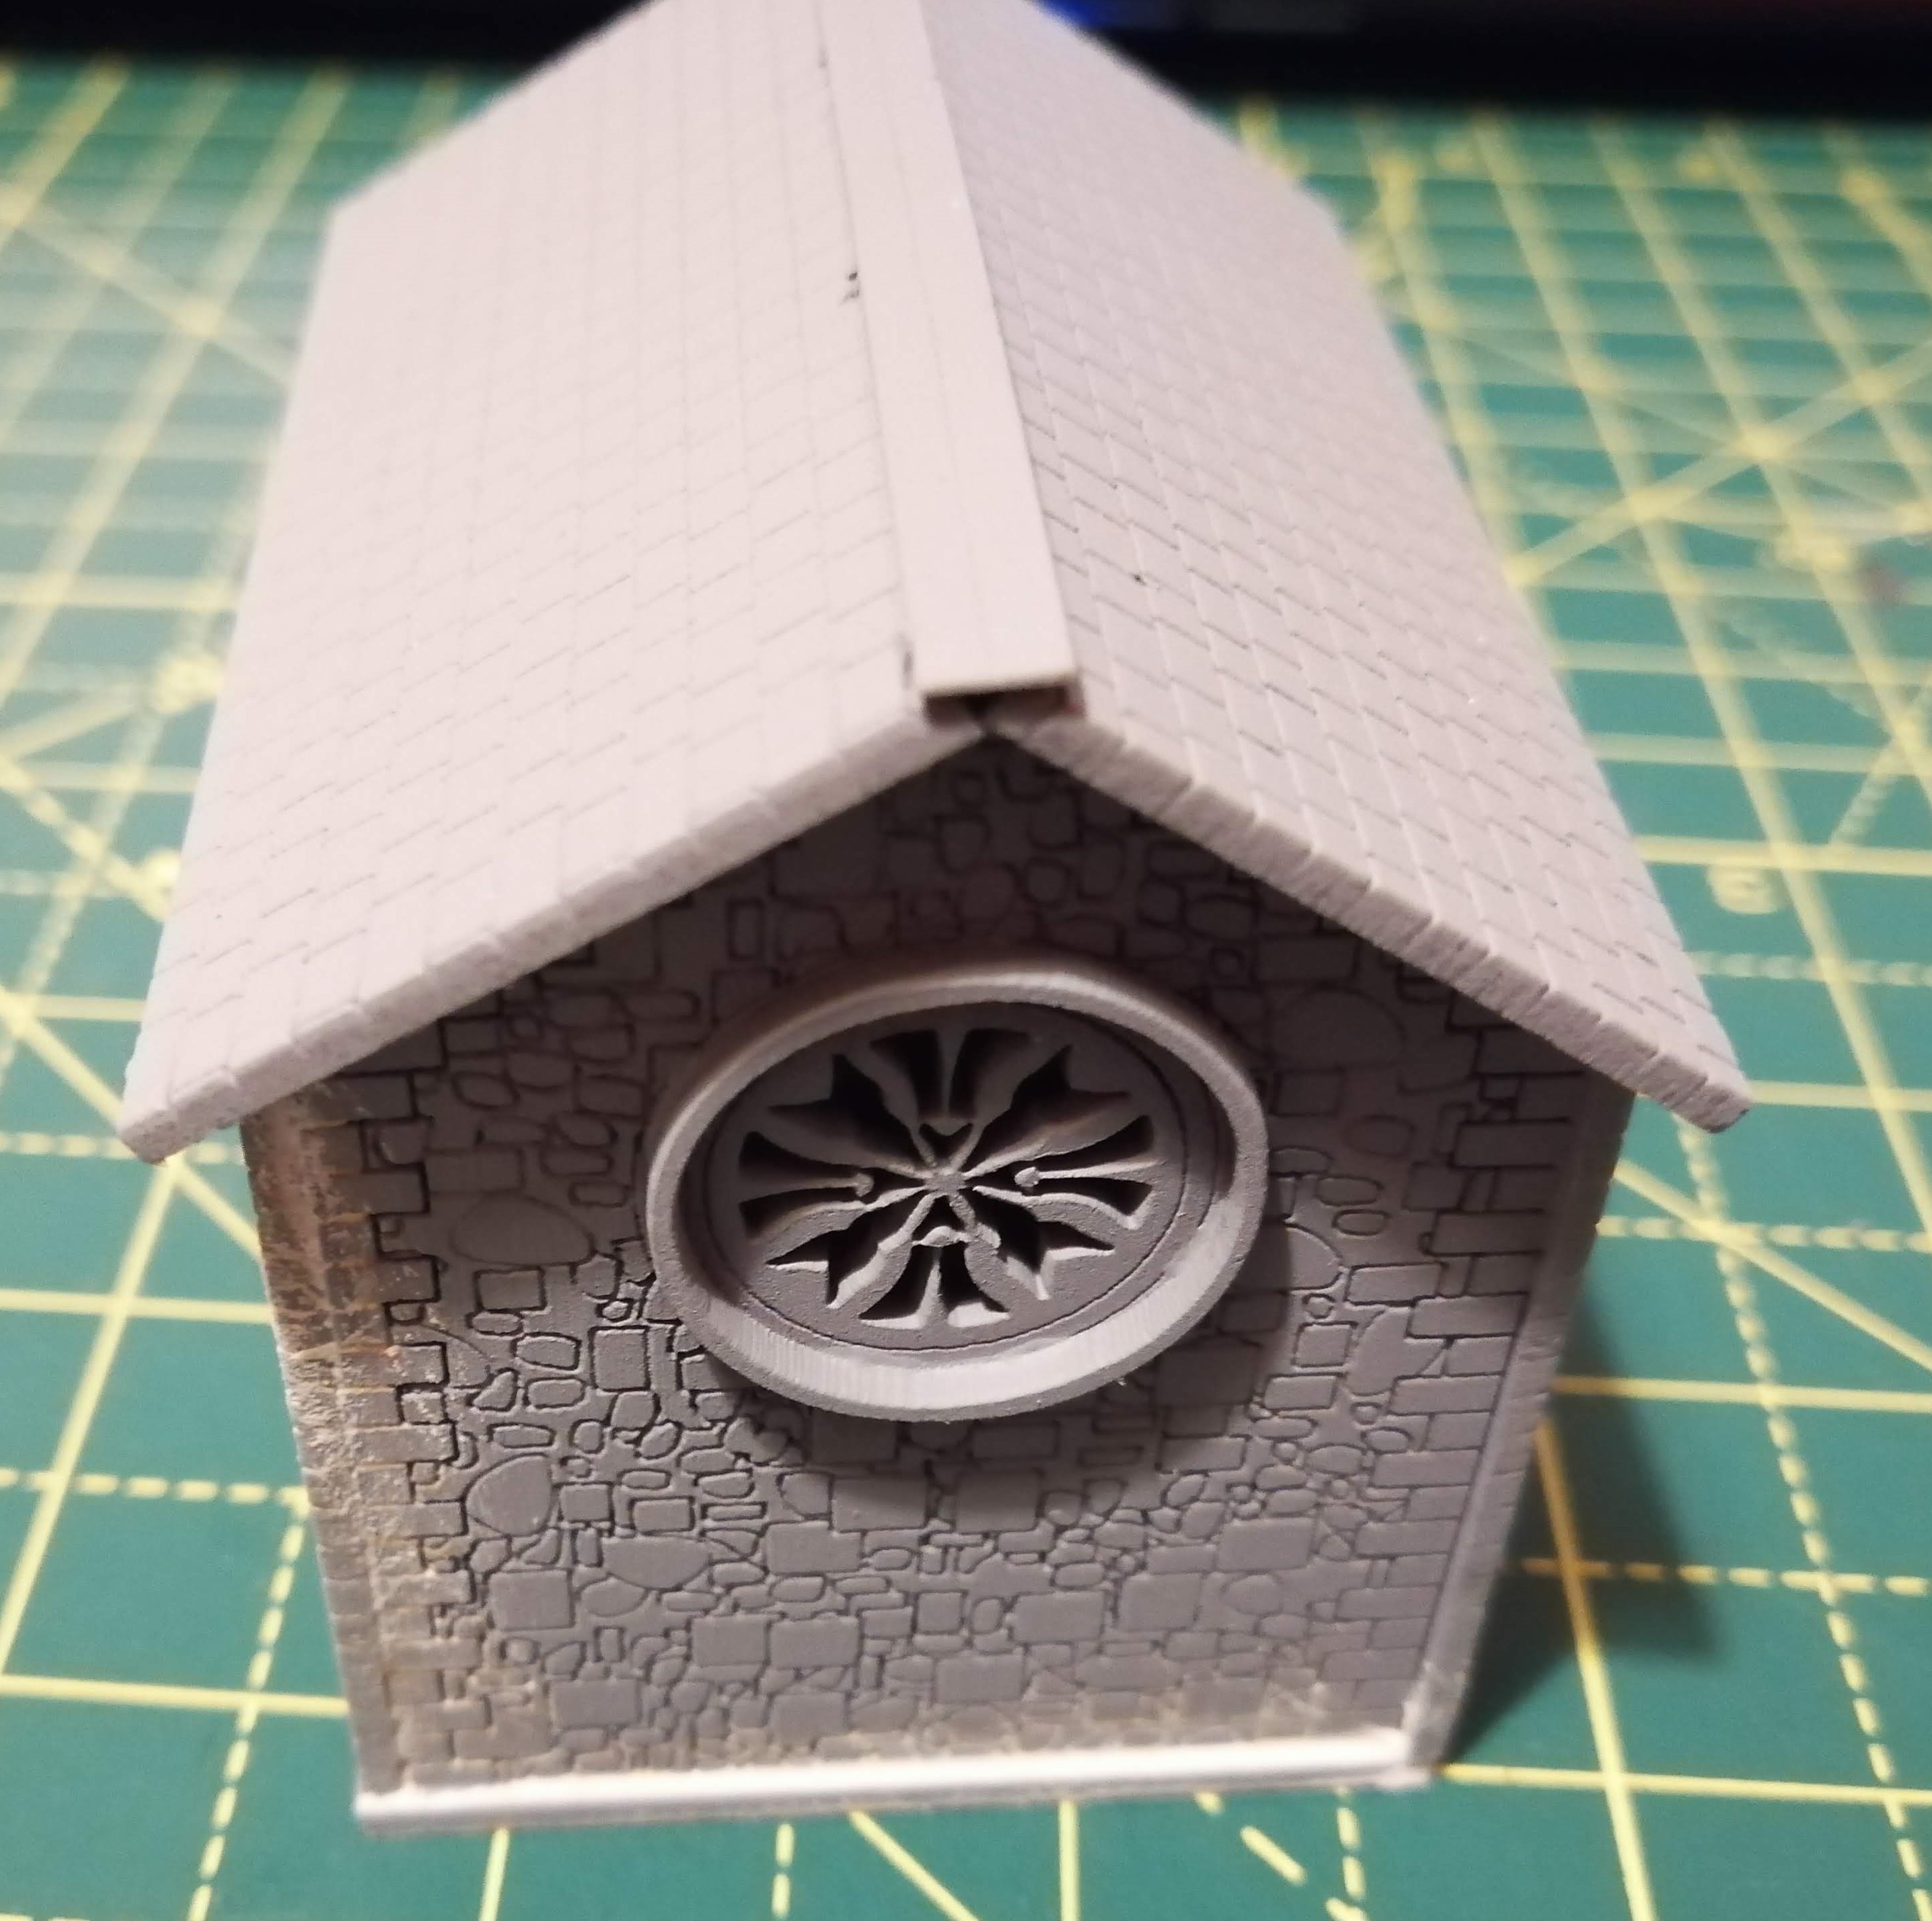
Fixing the roof
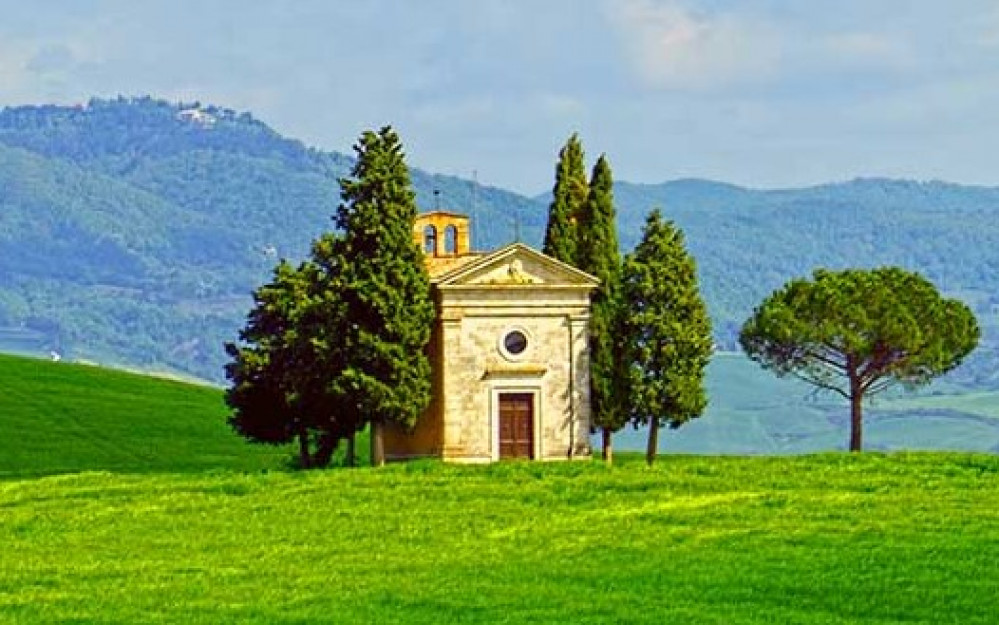
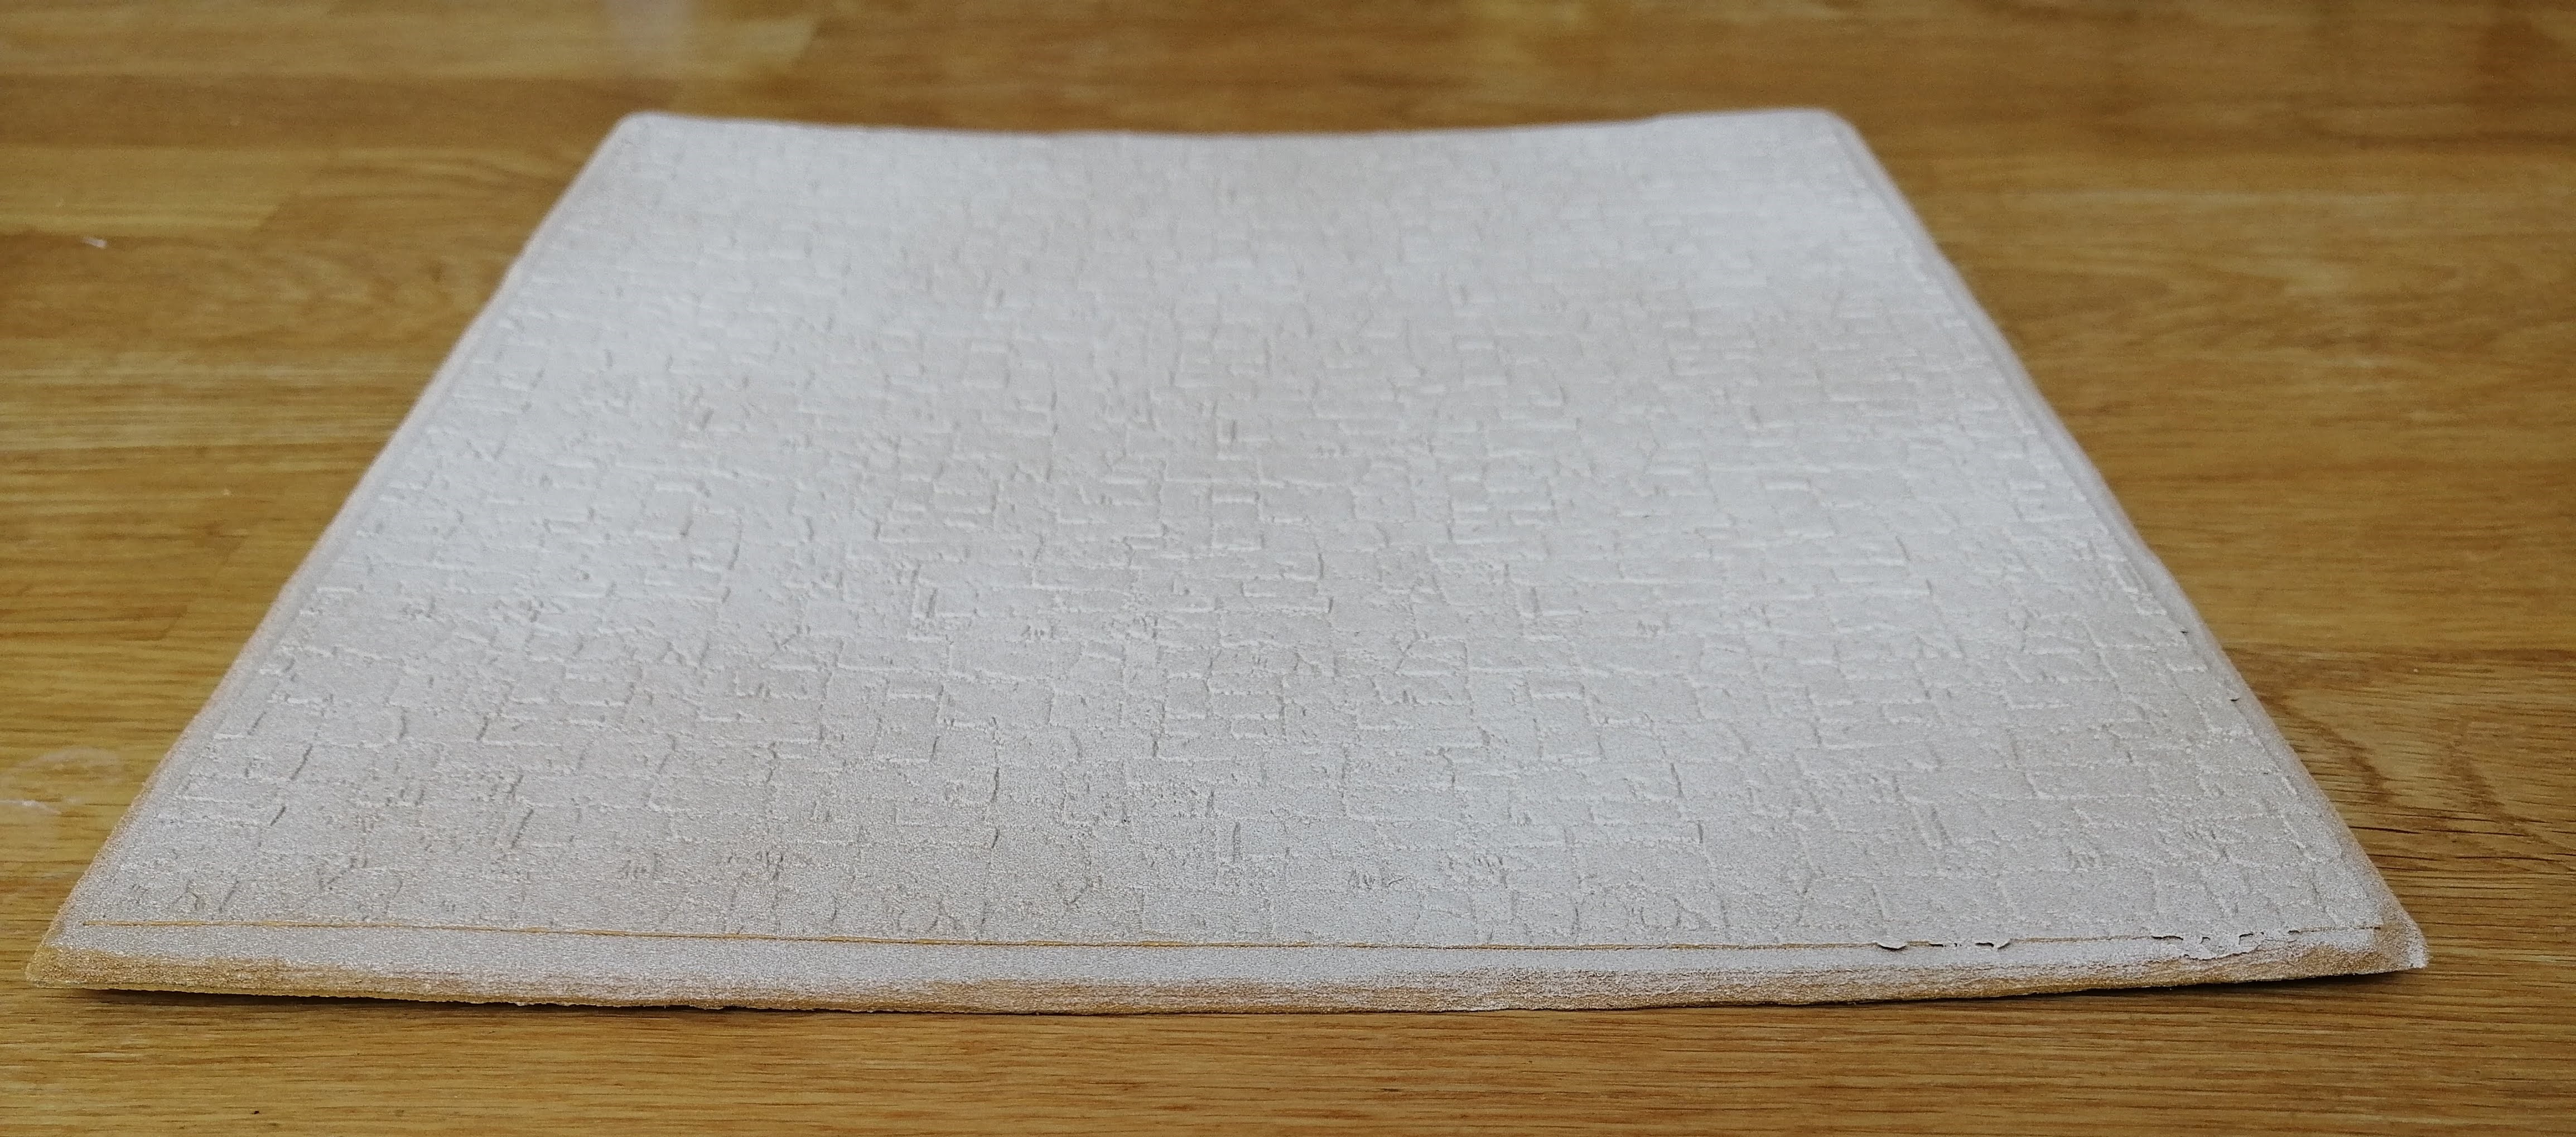
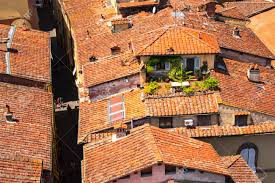
The current roof, while nicely etched by the laser cutter, isn’t really ‘Italian’ in look and feel. I’m aiming for a more terracotta tile look, similar to the roofs you see in Tuscany, such as this:
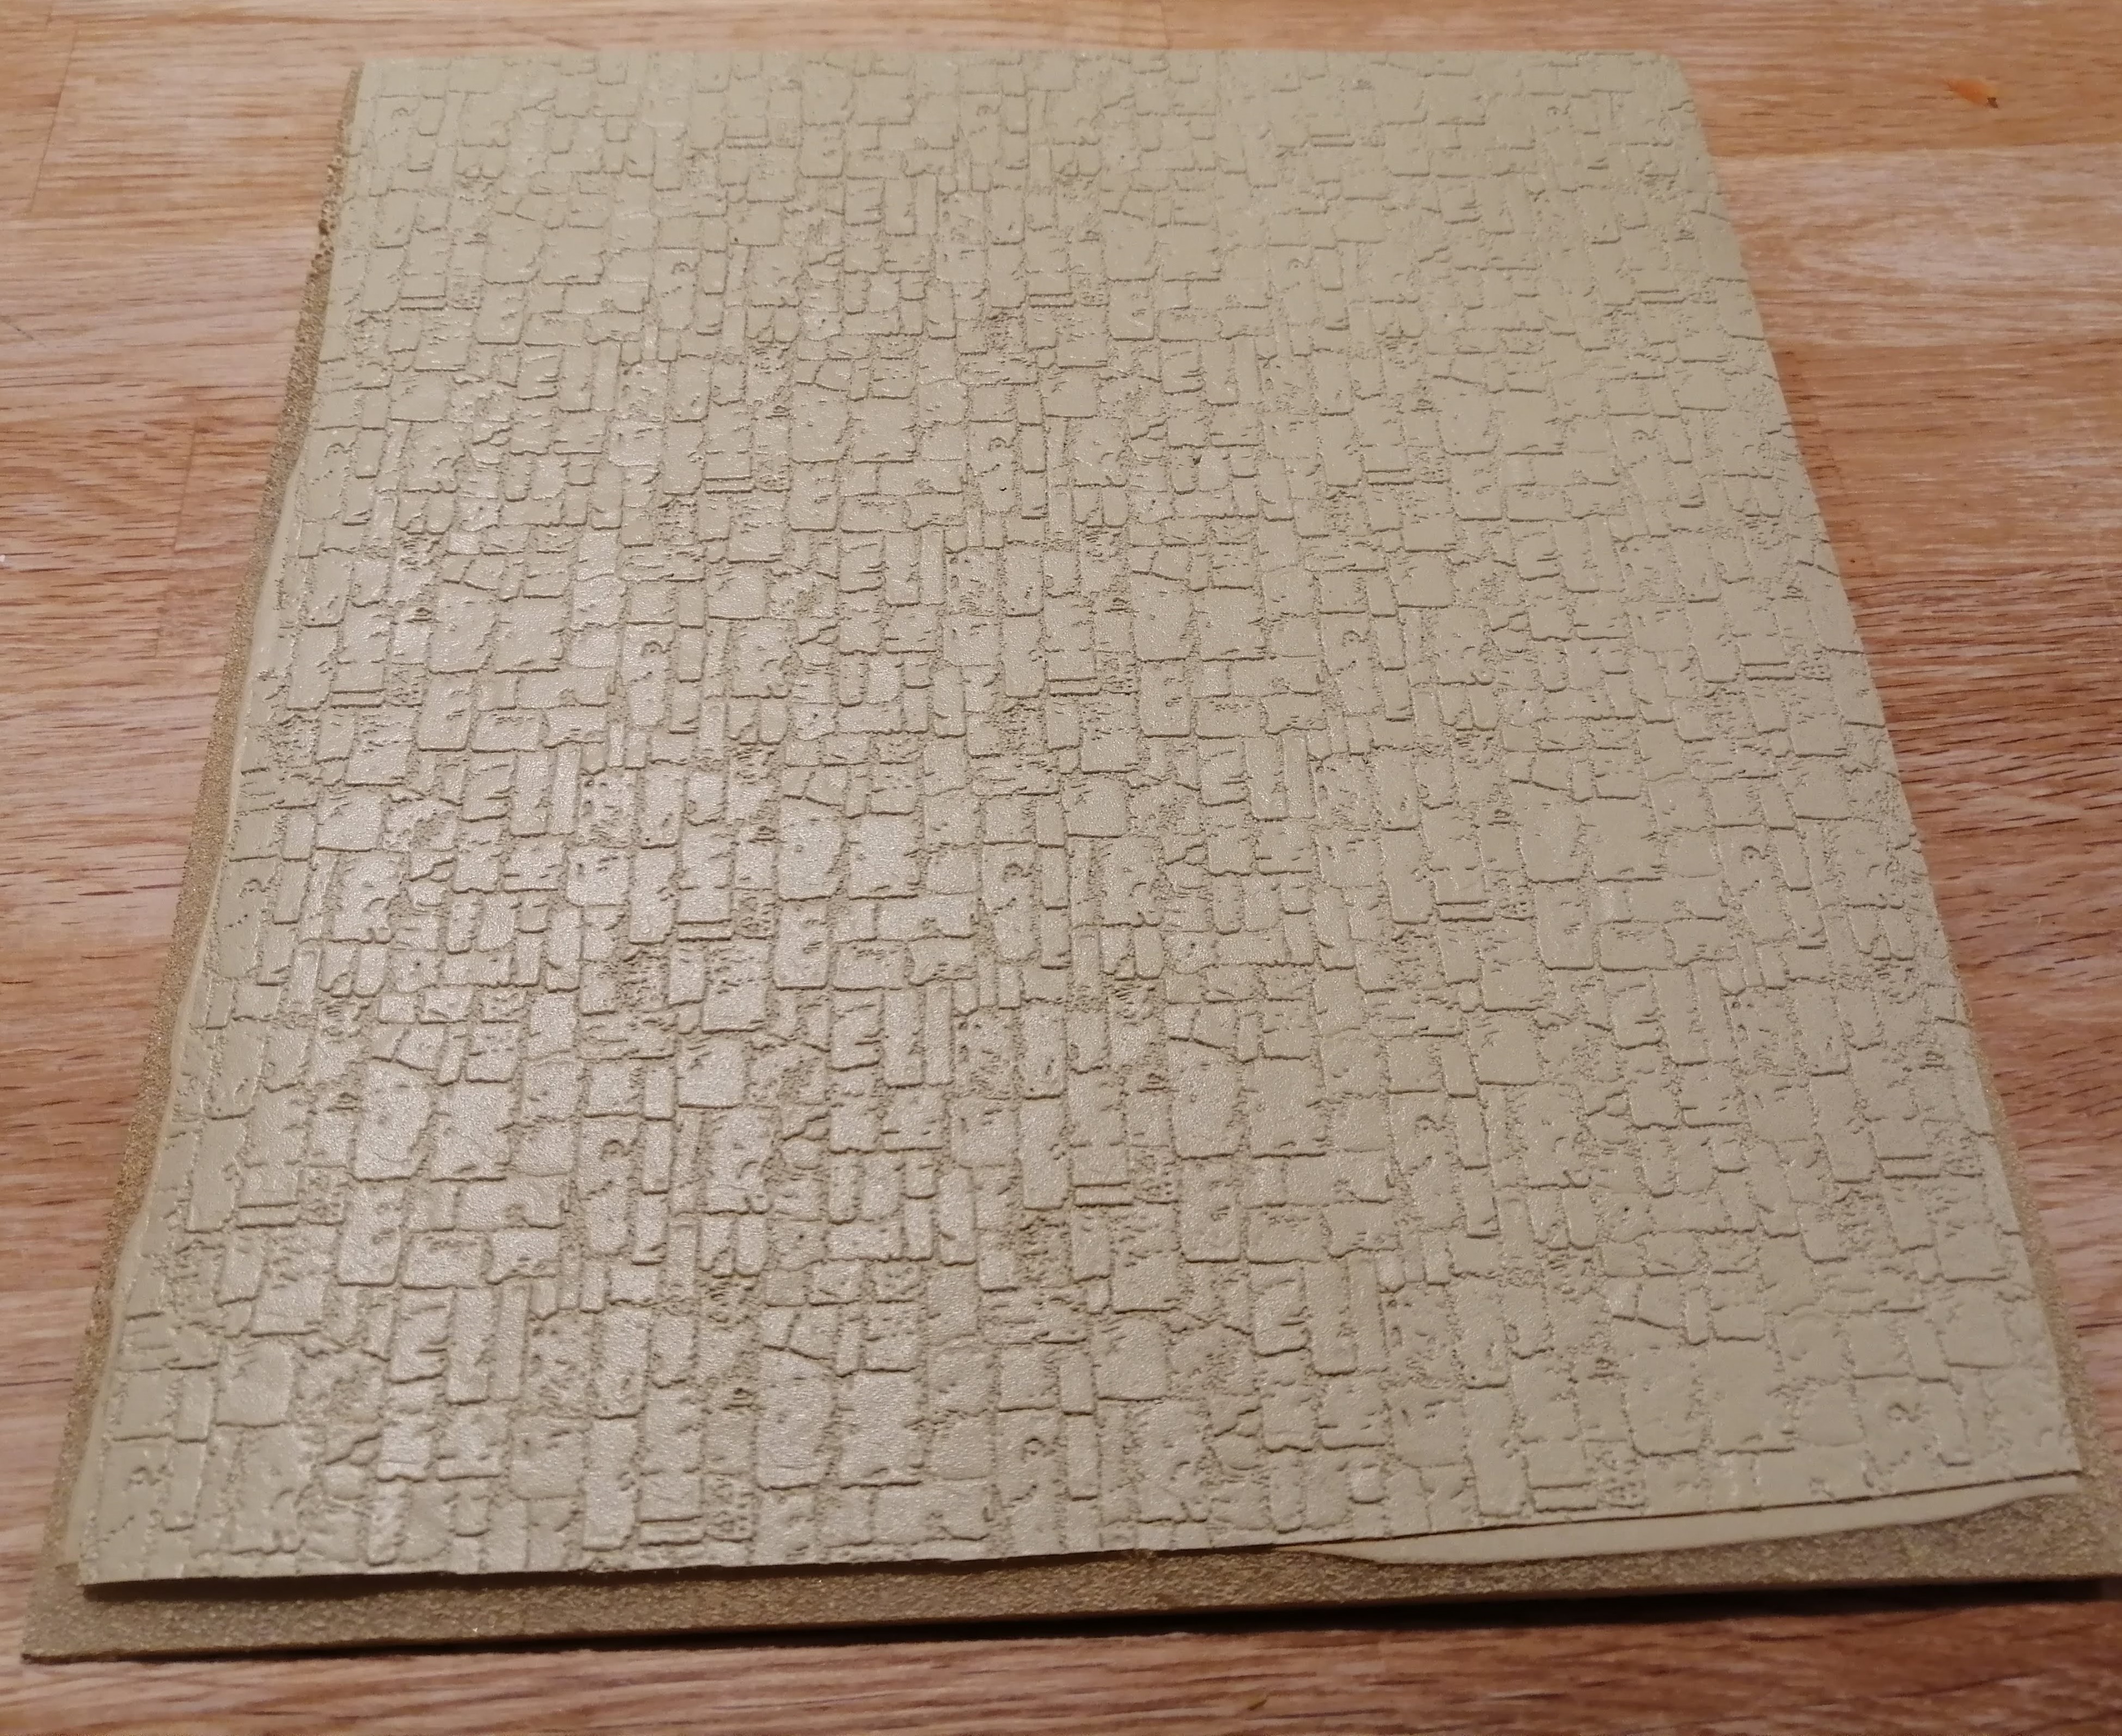
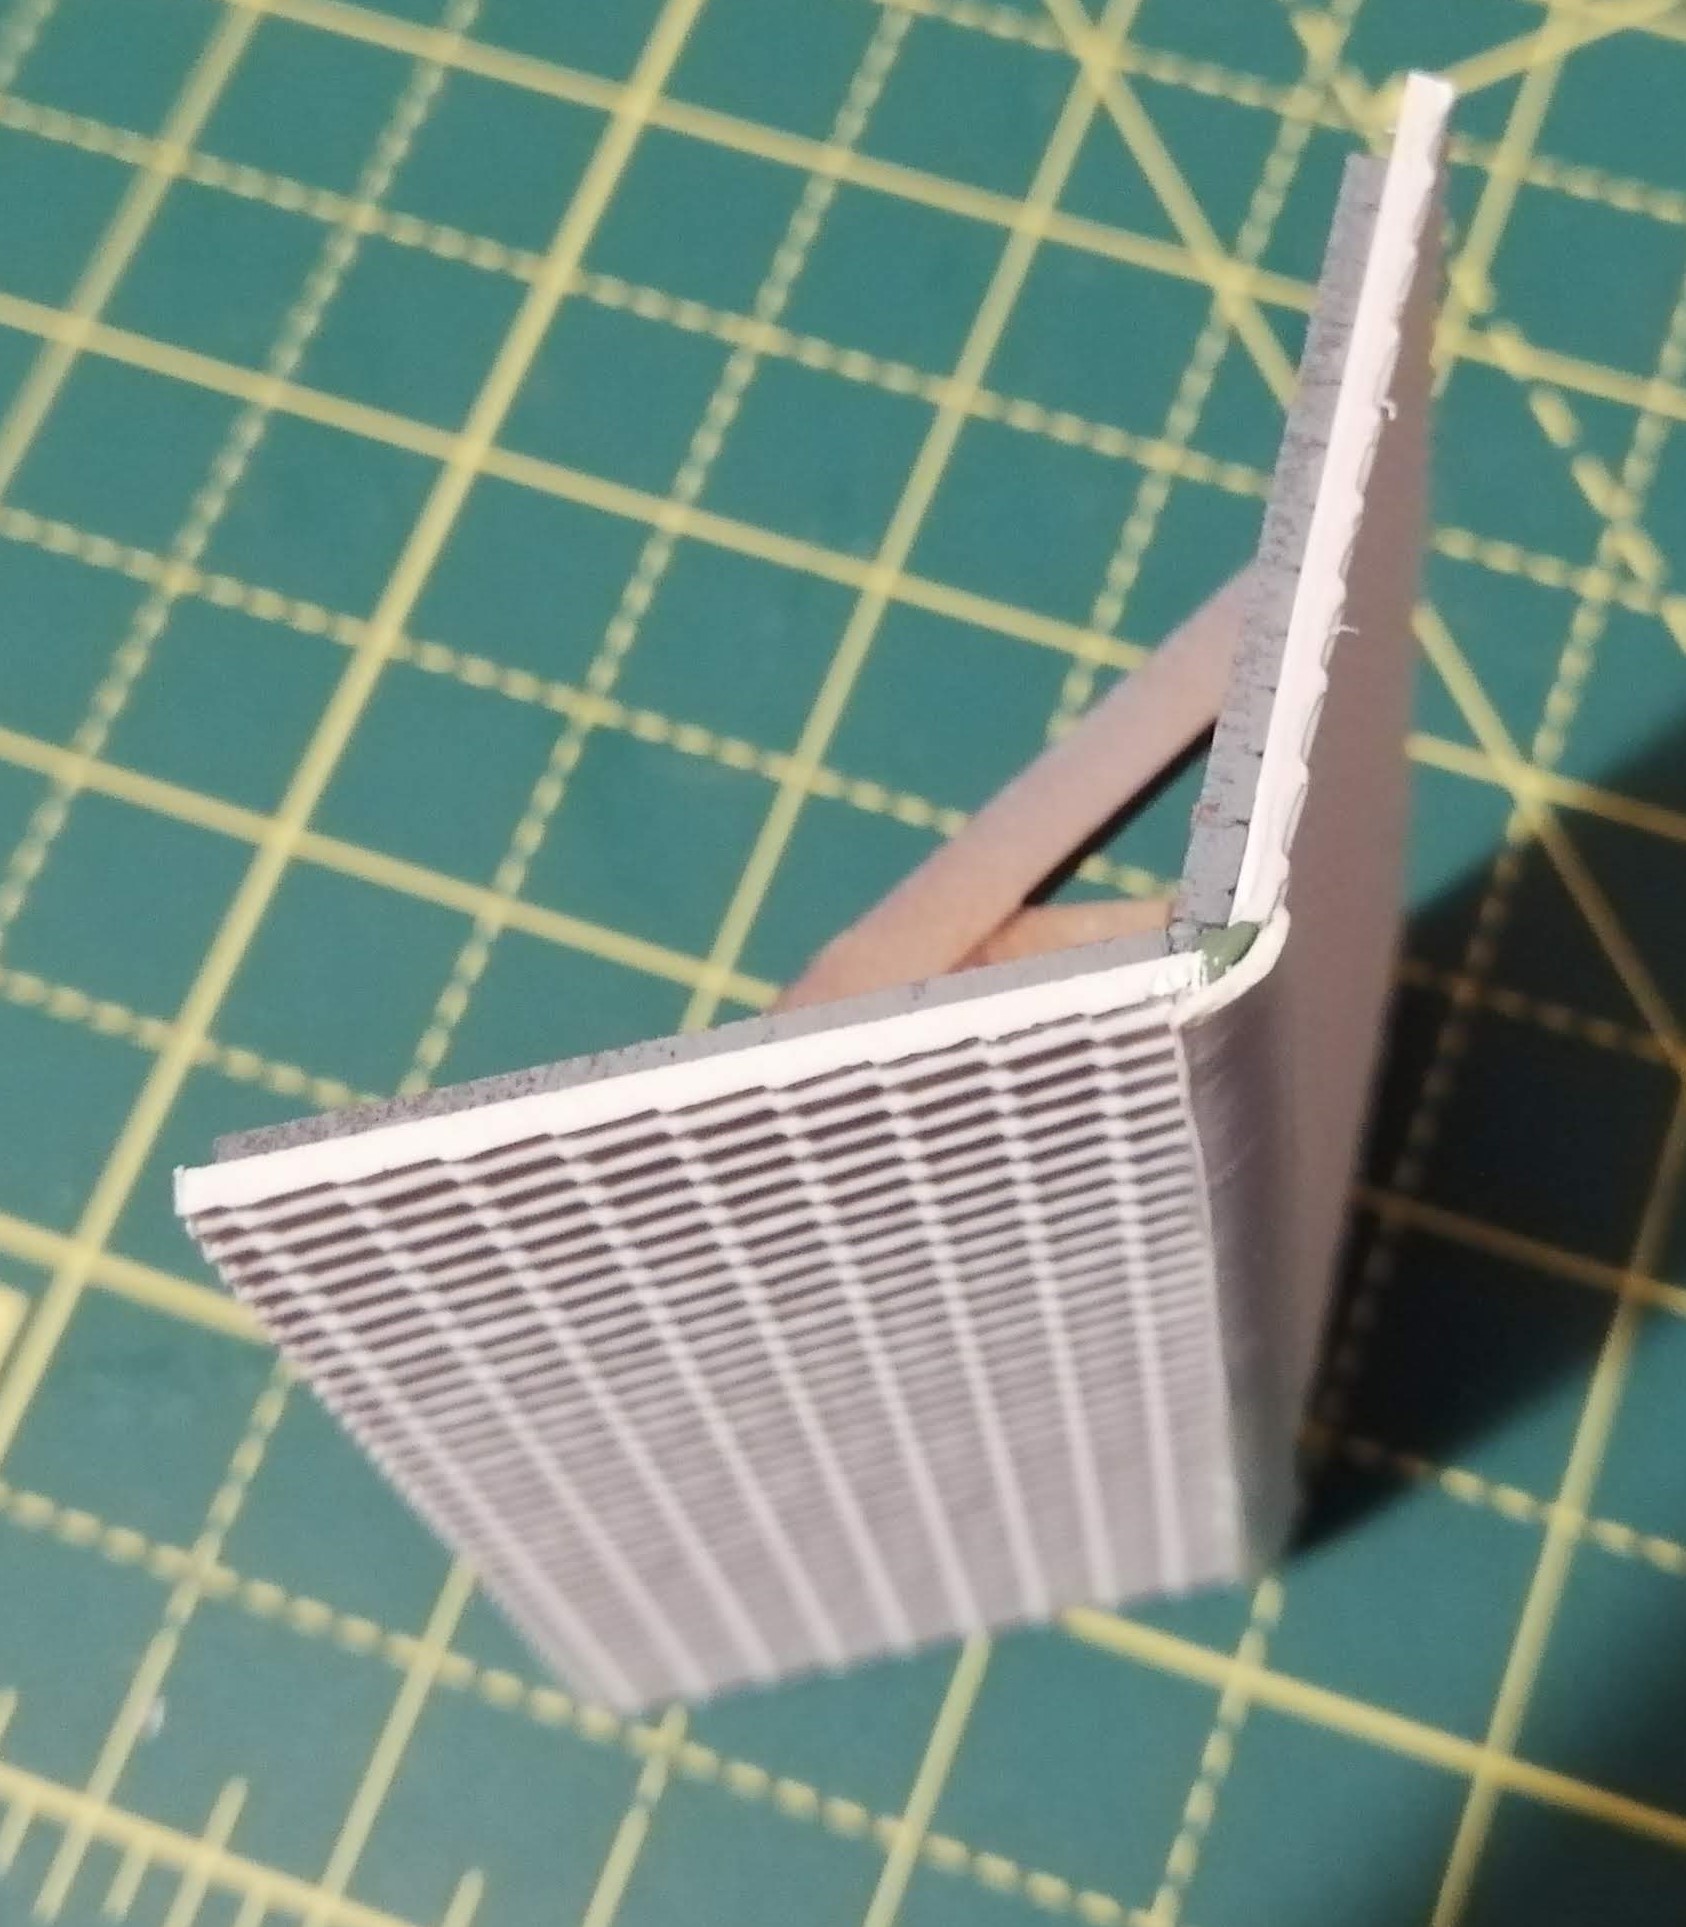
I managed to find some plastic sheets with a roof texture molded on while searching ebay a few weeks back. These are aimed at the model railway community but will work perfectly well here. I think they were HO scale, which isn’t that far from 15mm.
 You can just about see the texture on these sheets
I’ve cut the sheets to a few mm larger that the roof panels as I want more overhang. These were super glued on.
It did leave a gap along the ridge of the roof that I filled with green stuff. To create the capping tiles, I’ve used a drinking straw (paper, not plastic so no turtles were harmed in this spring clean challenge!) which I’ve just cut to size and super glued in place.

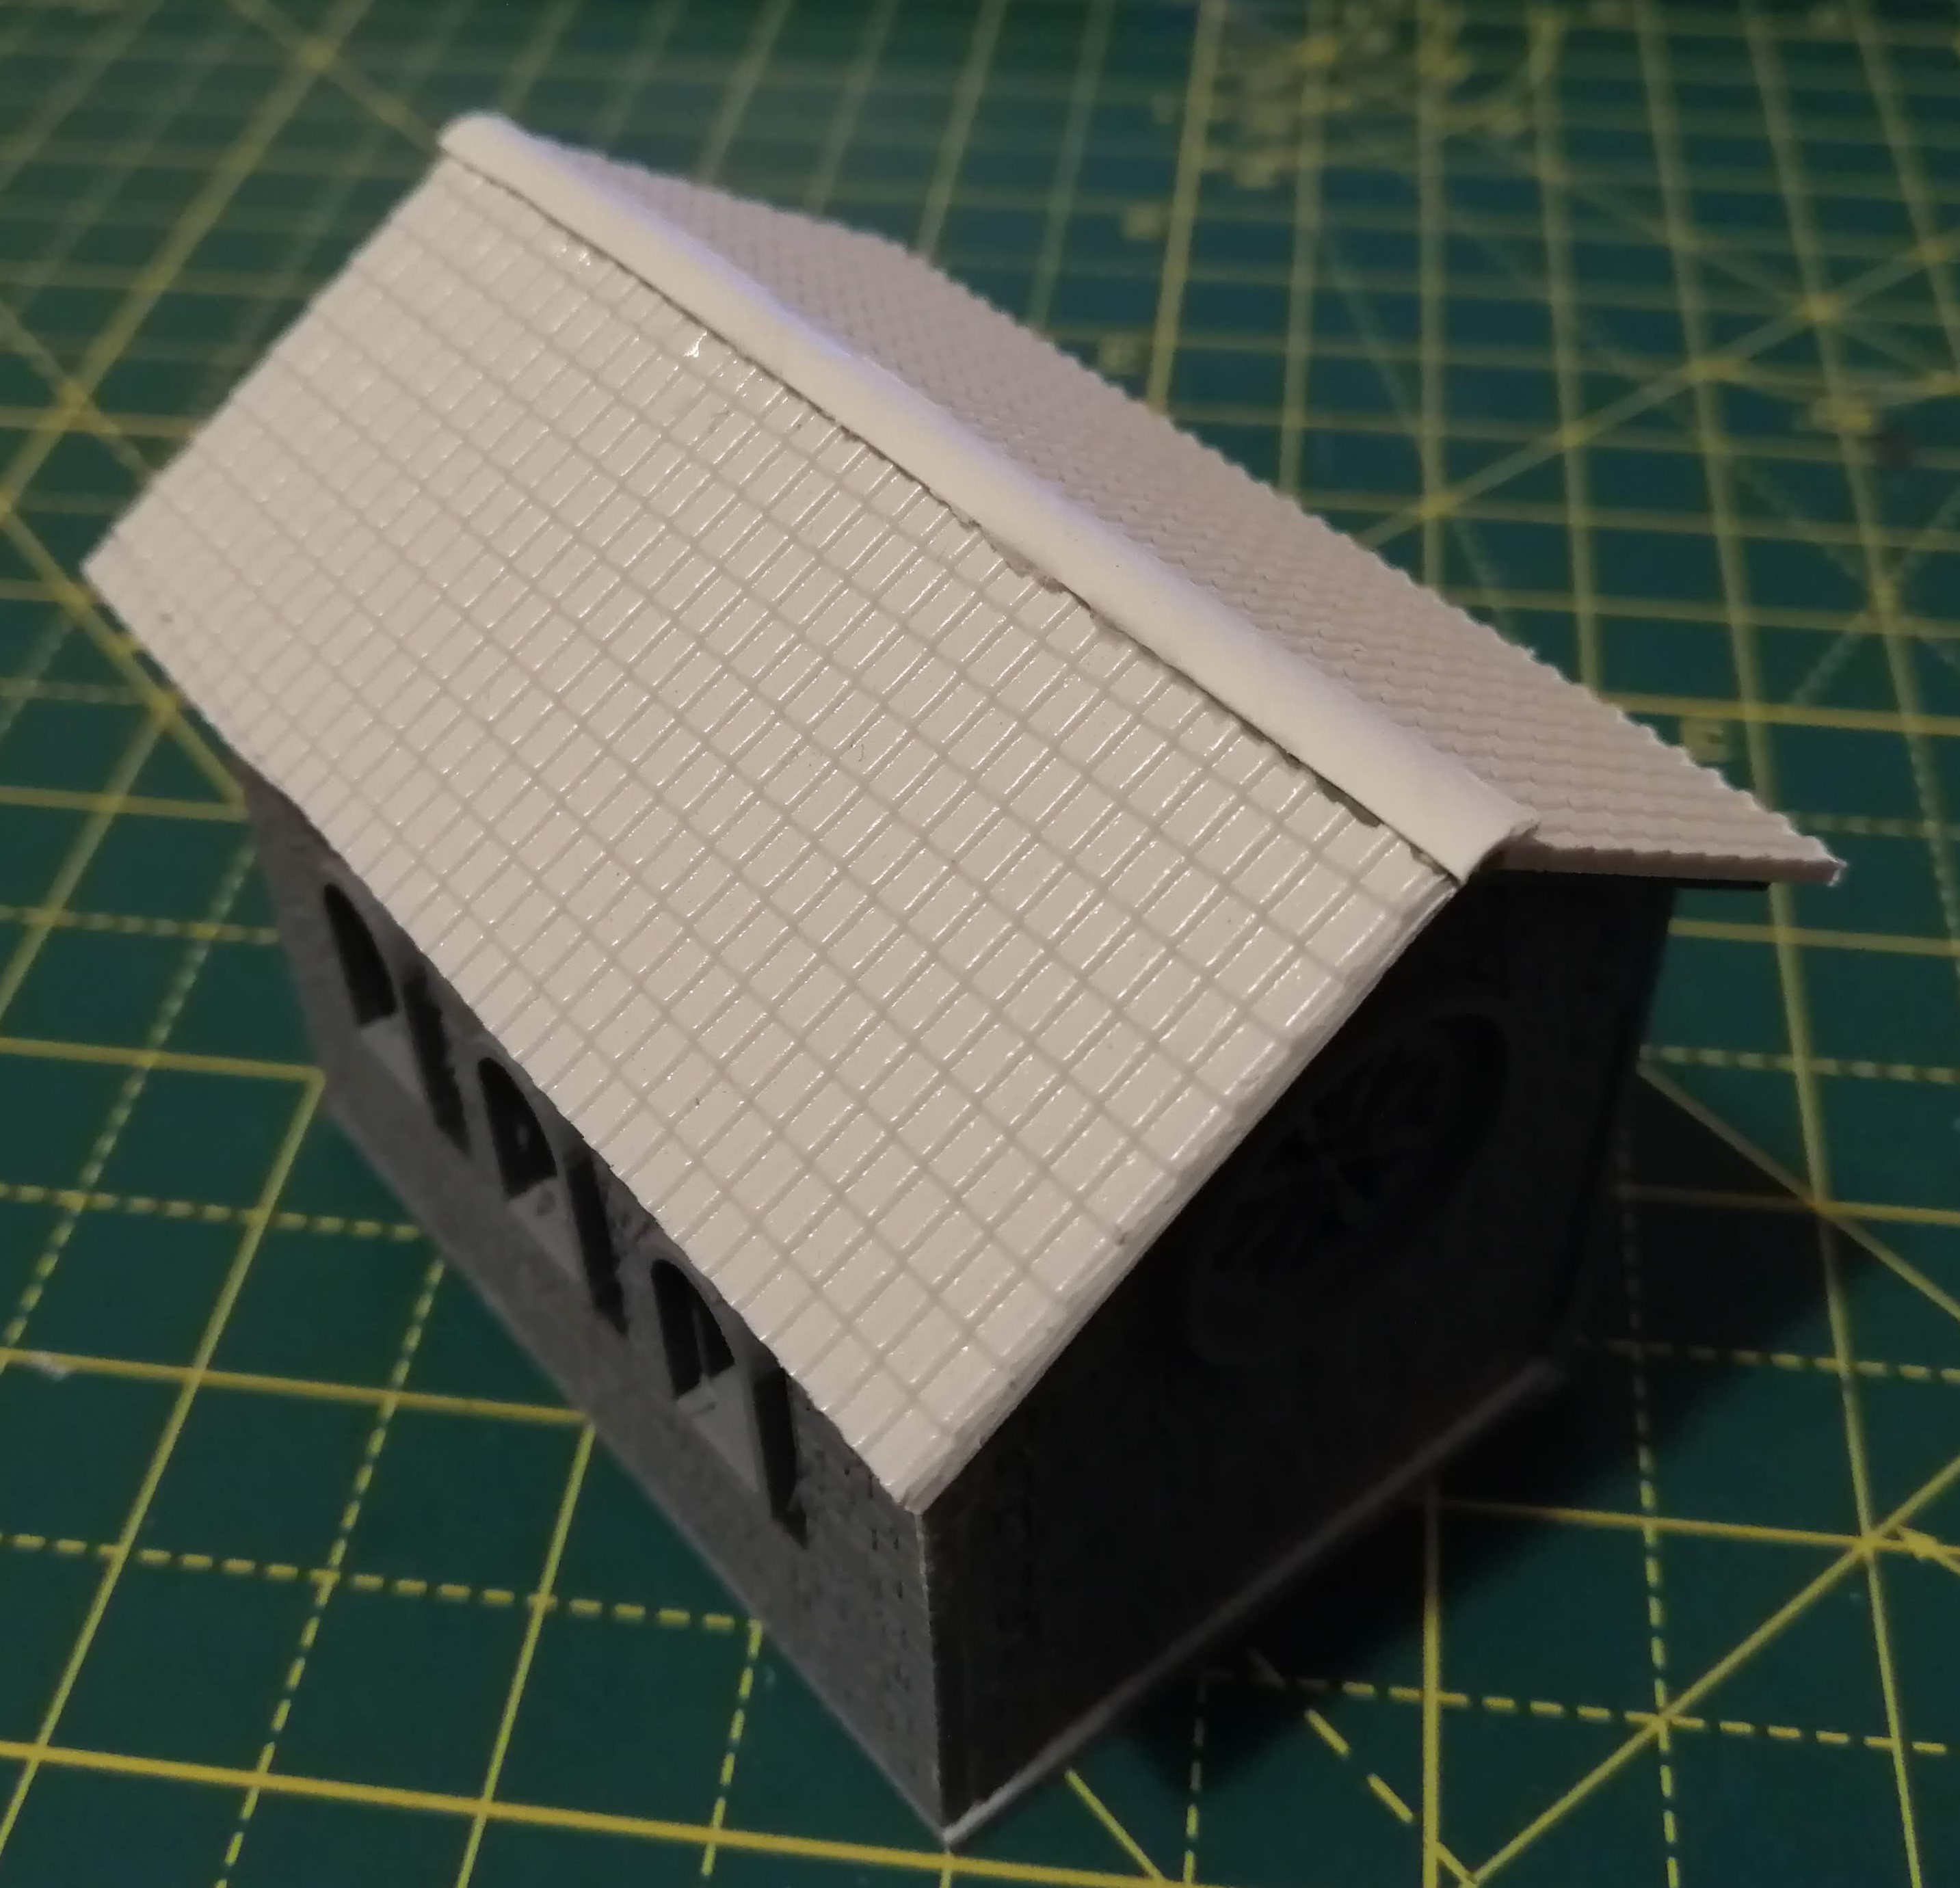
The roof will now need priming and then the whole chapel can be painted.
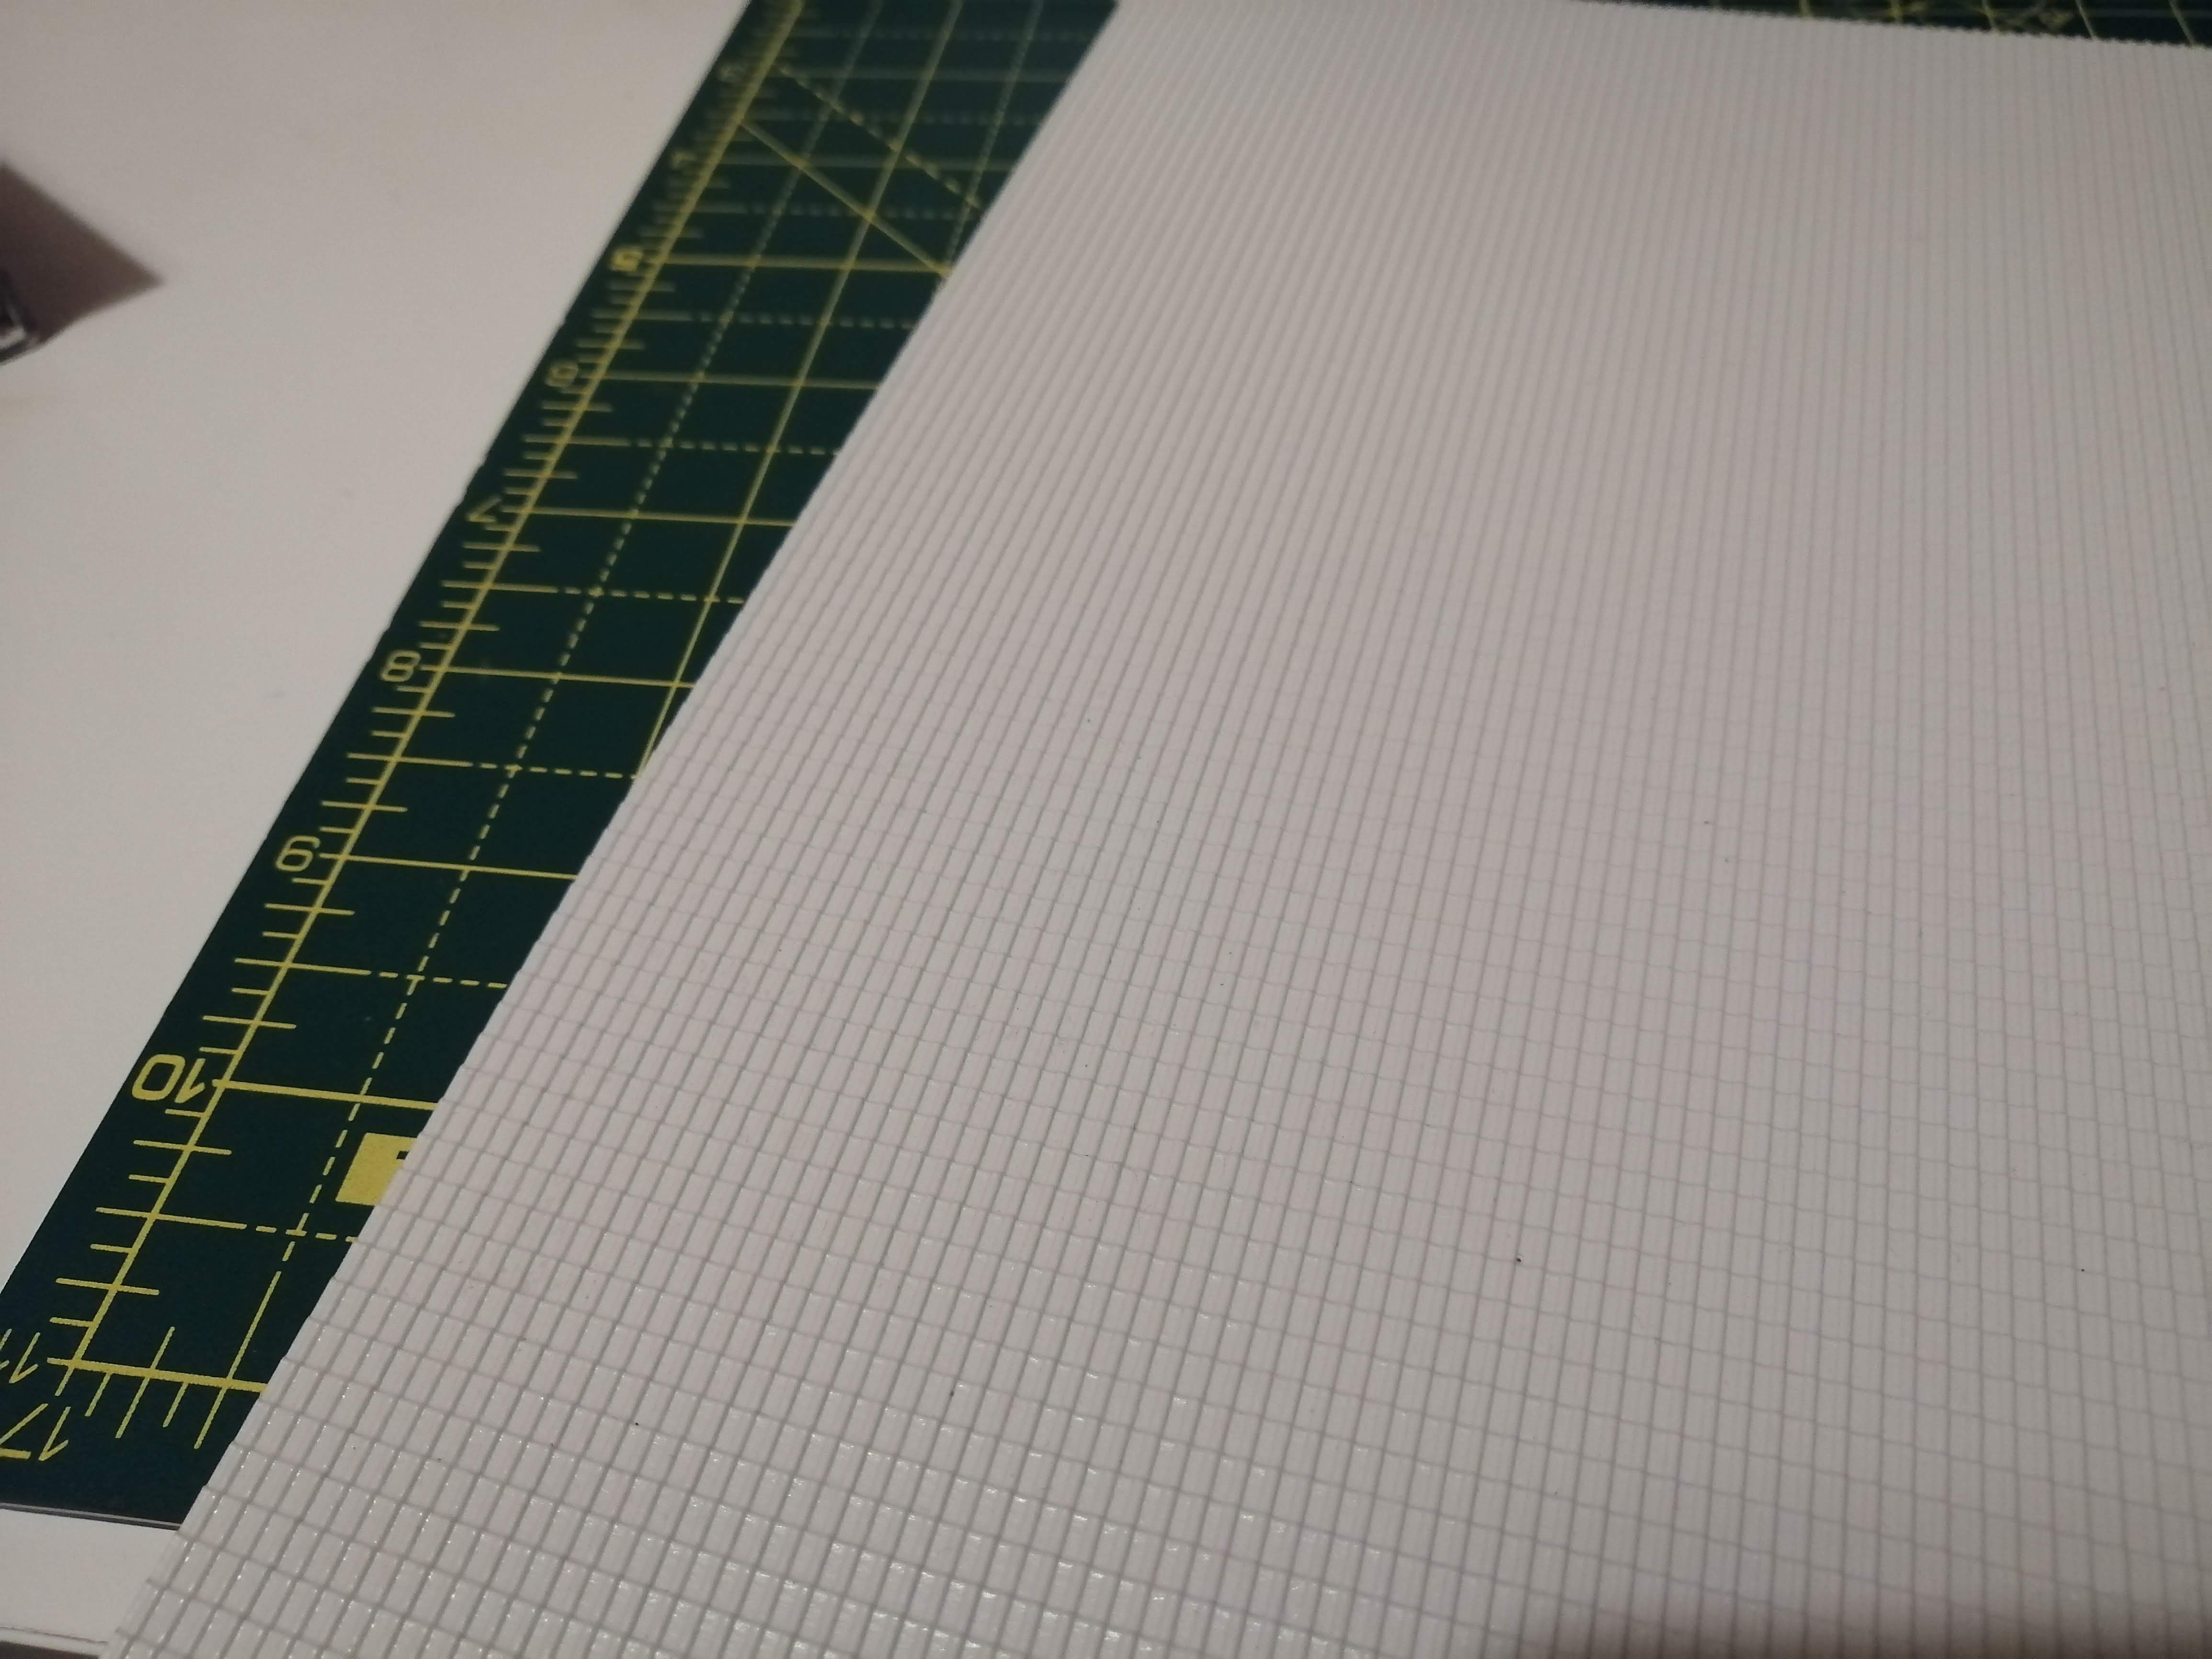
I’m going to mount the whole terrain piece onto a board. I’ve got some 3mm MDF lying around. I’ve laid out the design and drawn it in with pencil before cutting it out and rounding the edges off. I’m then going to use textured wallpaper to make a paved area across the MDF.
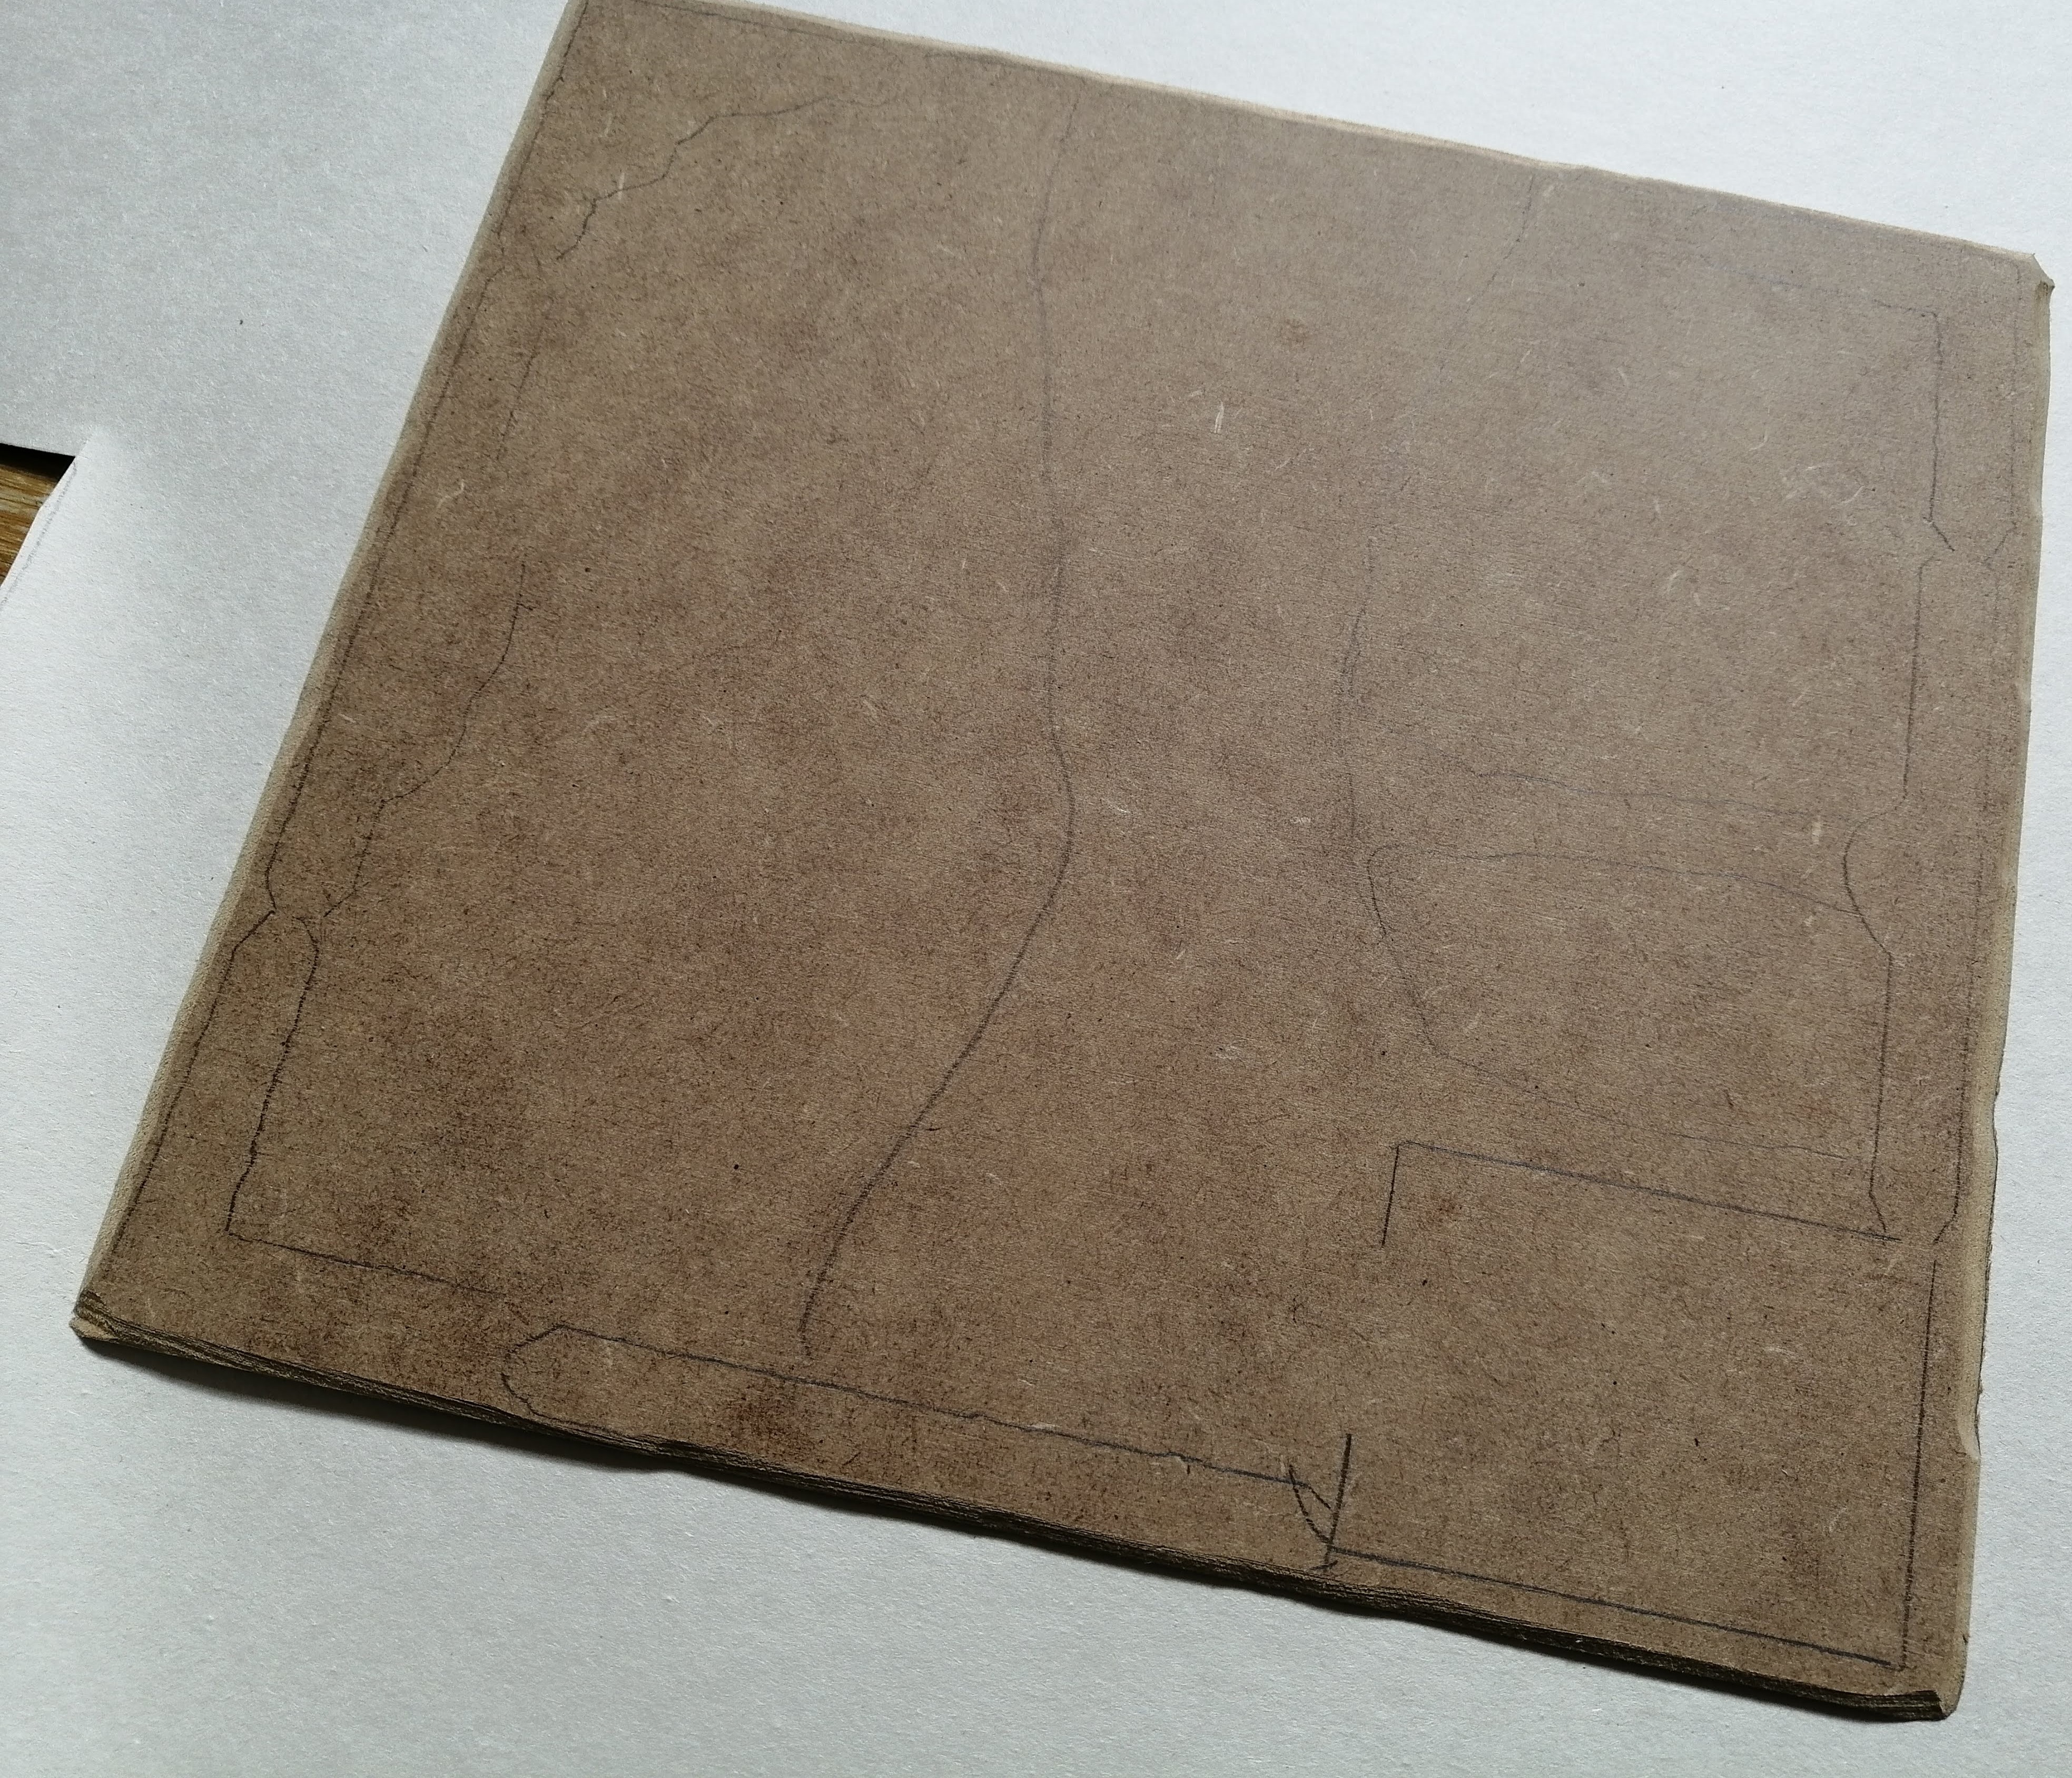 My MDF cut to size with the layout drawn on
Getting started
It’s spring and everyone else seems to be entering something into the spring clean challenge so never one to be a contrarian, I thought I’d have a go.
I’ve already got a couple of projects running looking at the Italian campaign in WWII, most notably, the battles around Monte Cassino (here if you are interested). I’m planning on moving the games further north in Italy and will need some local architecture to set the scene off. Ideally, I would like a chapel and small cemetery that you often see outside of towns in Italy.
The image in the project header is the basis for my project.
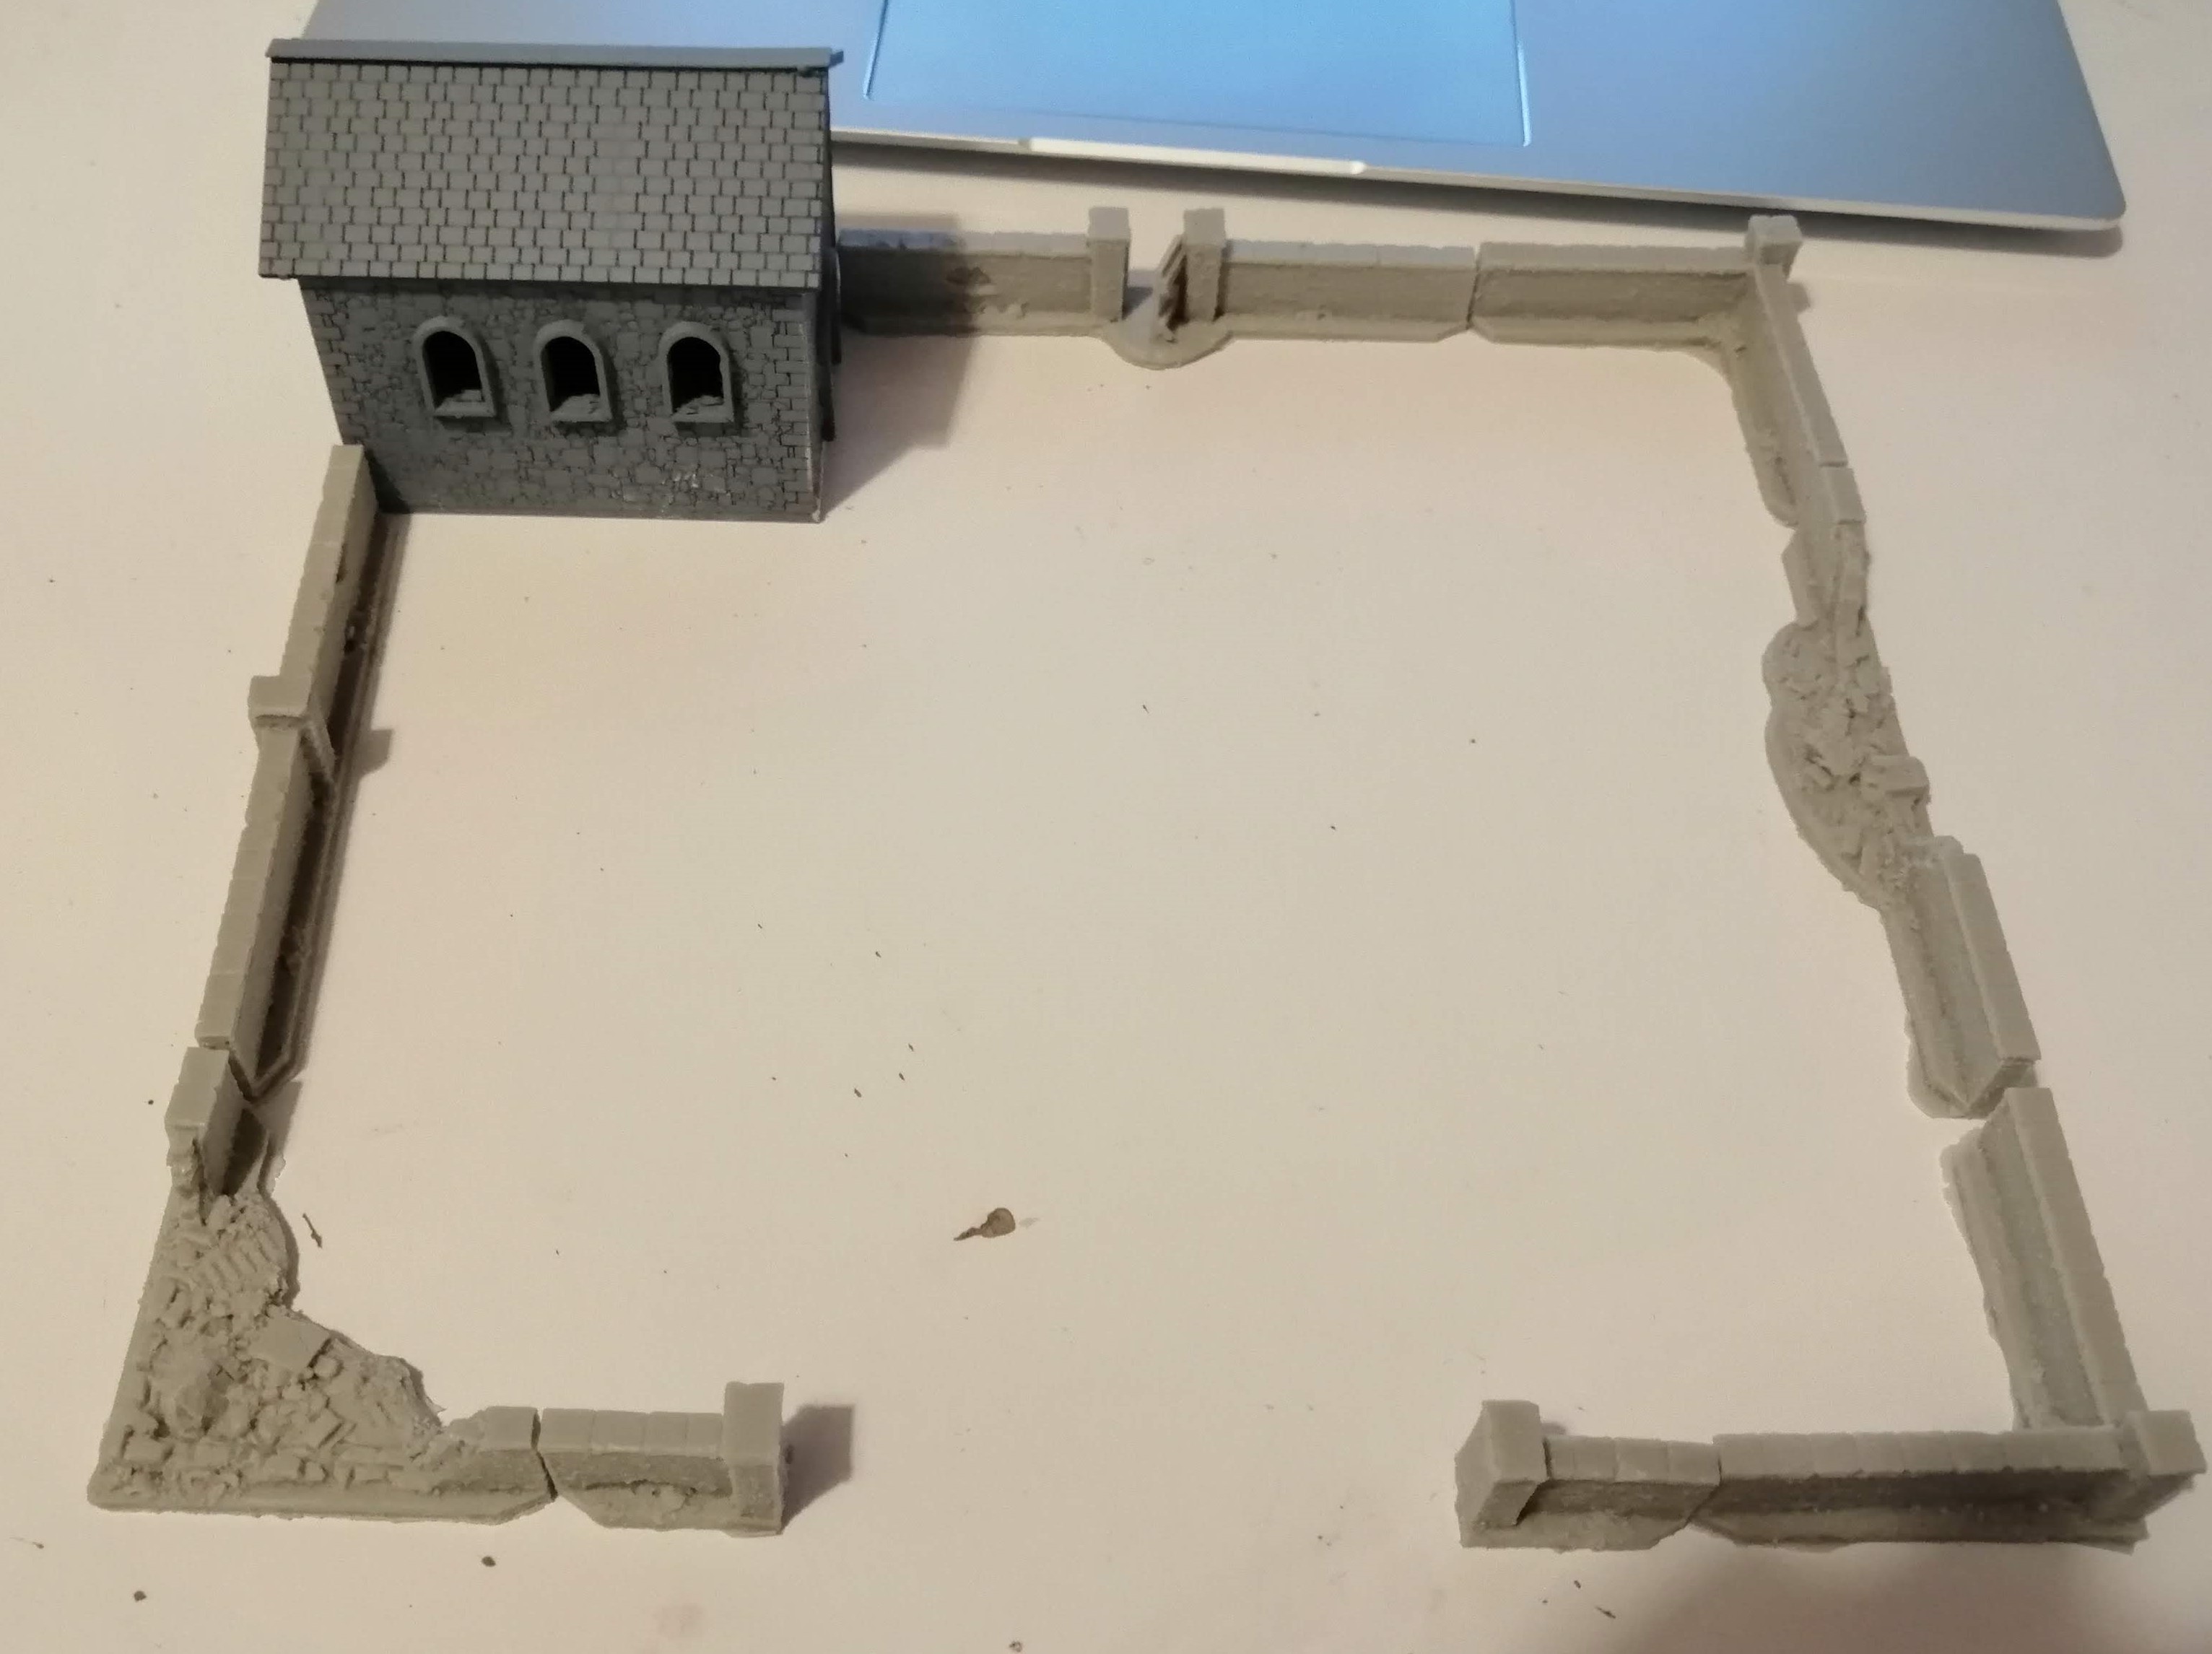
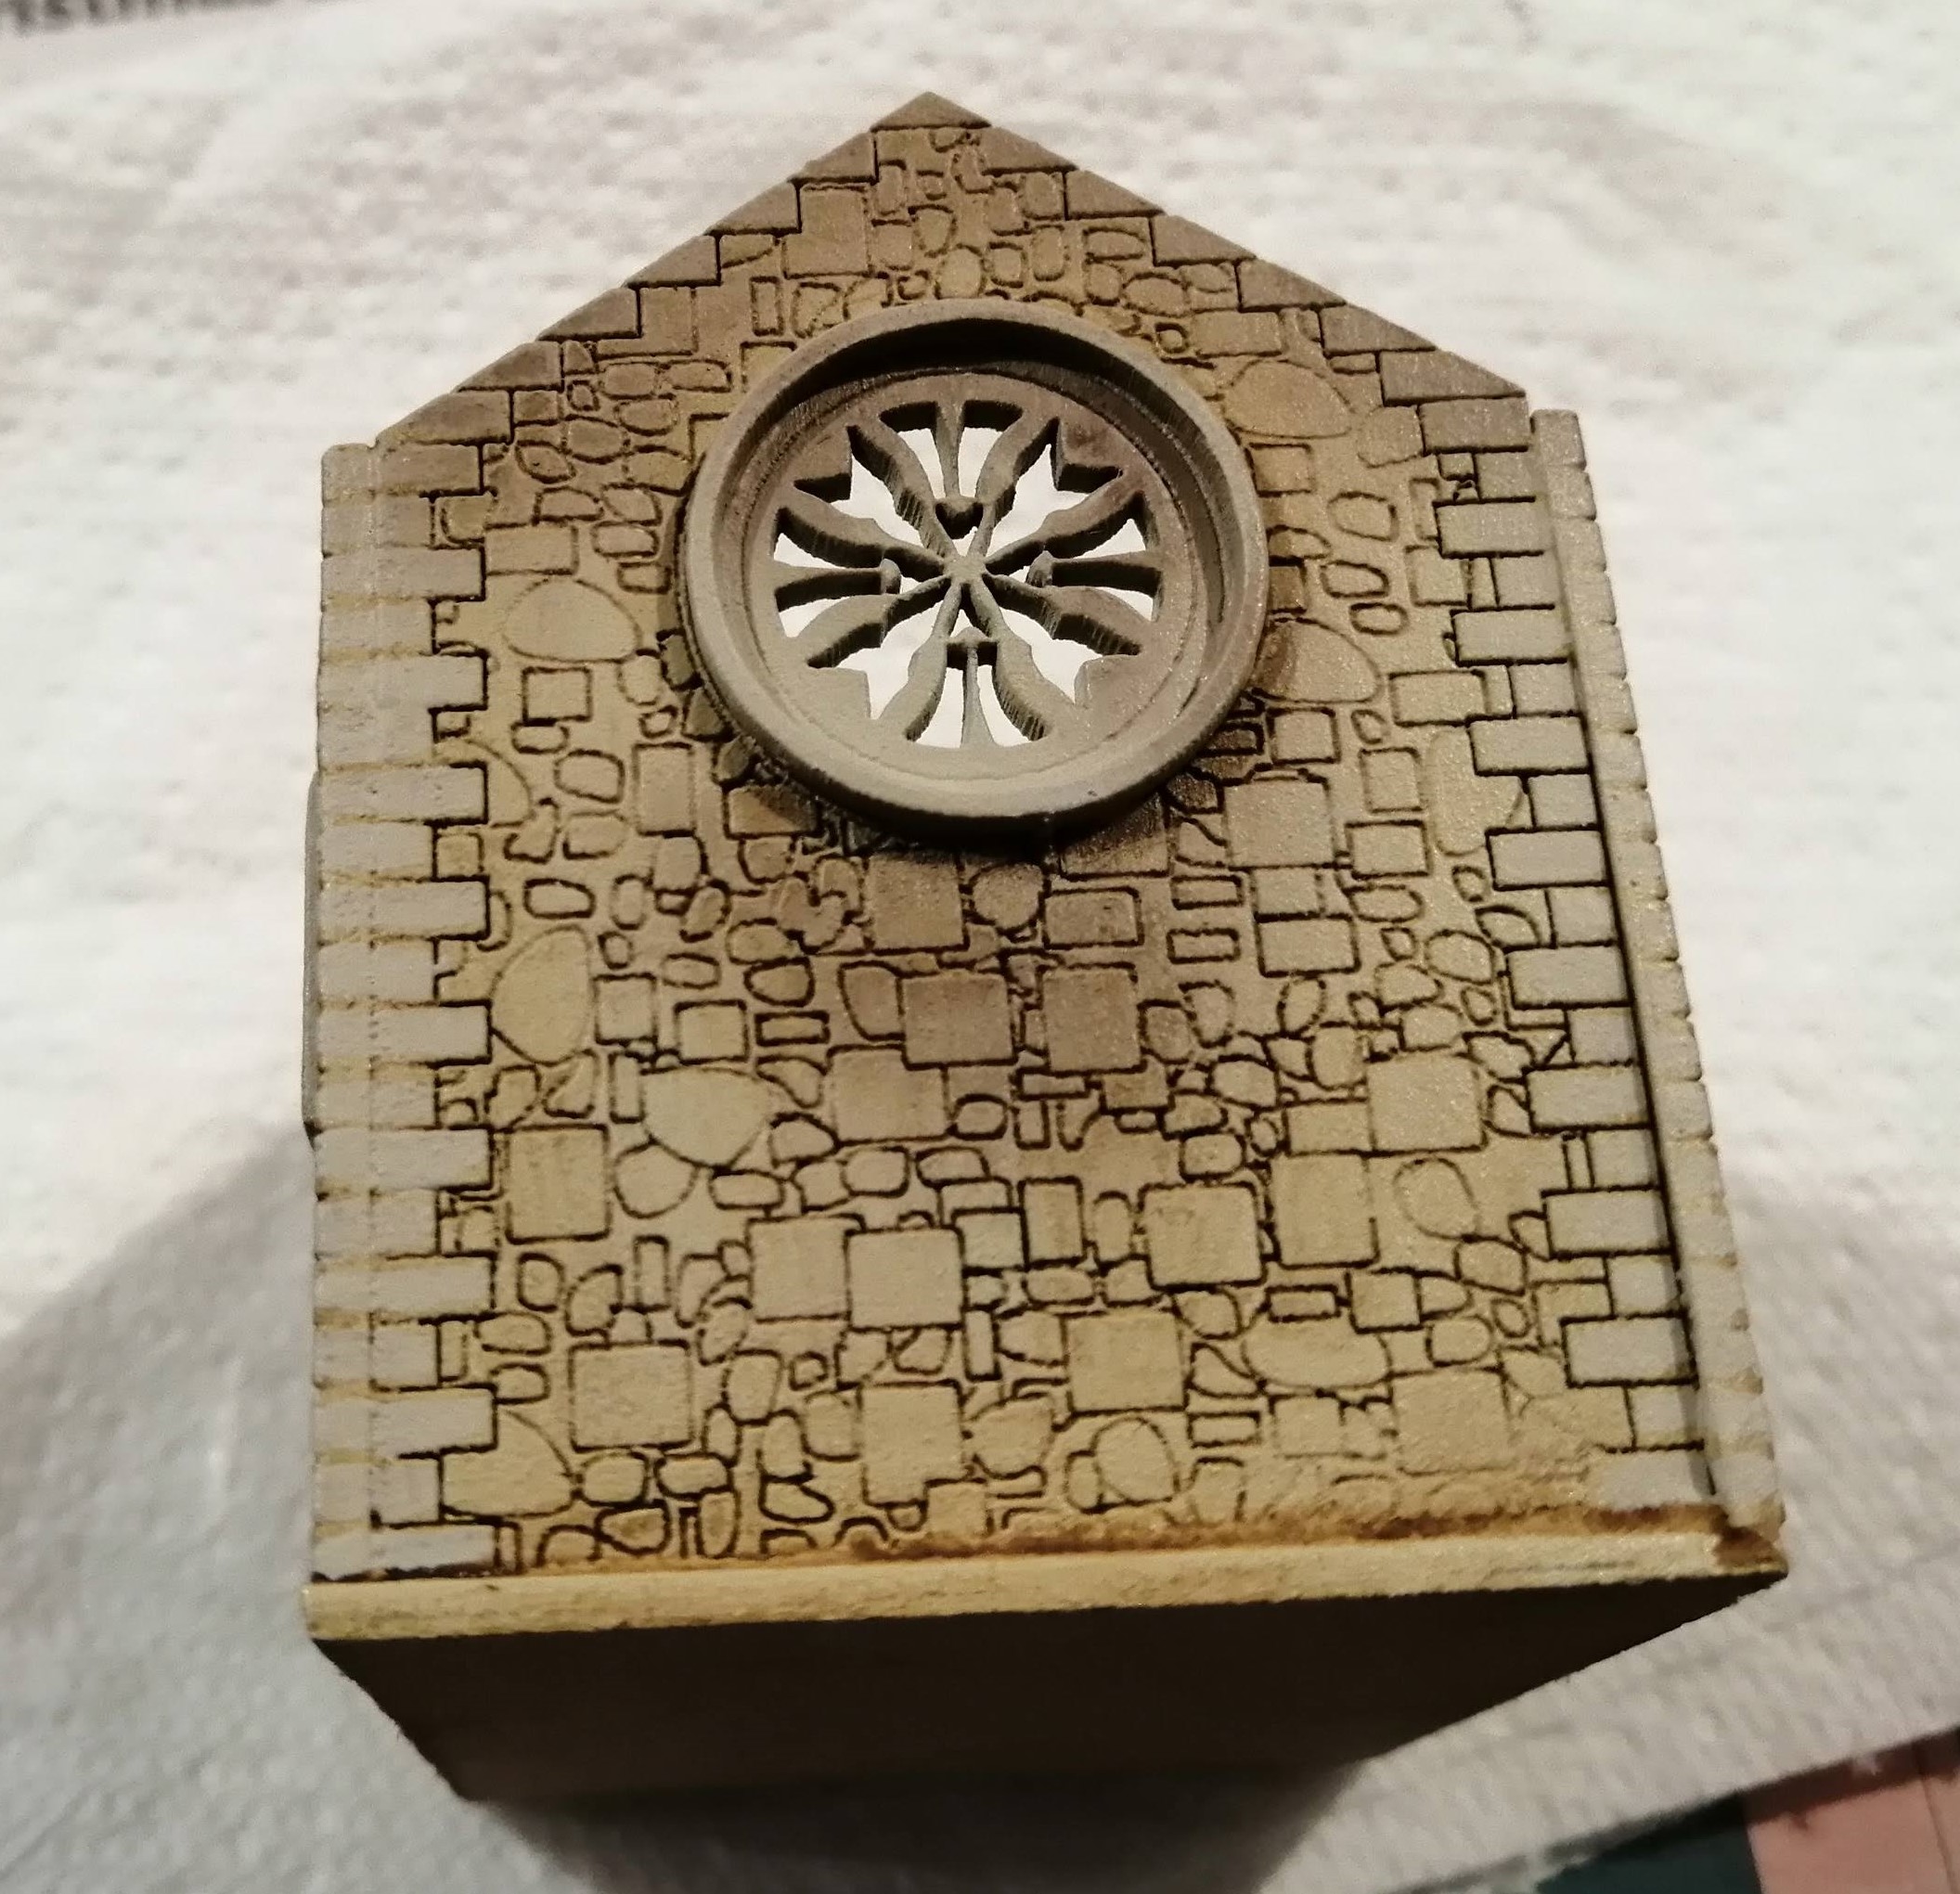
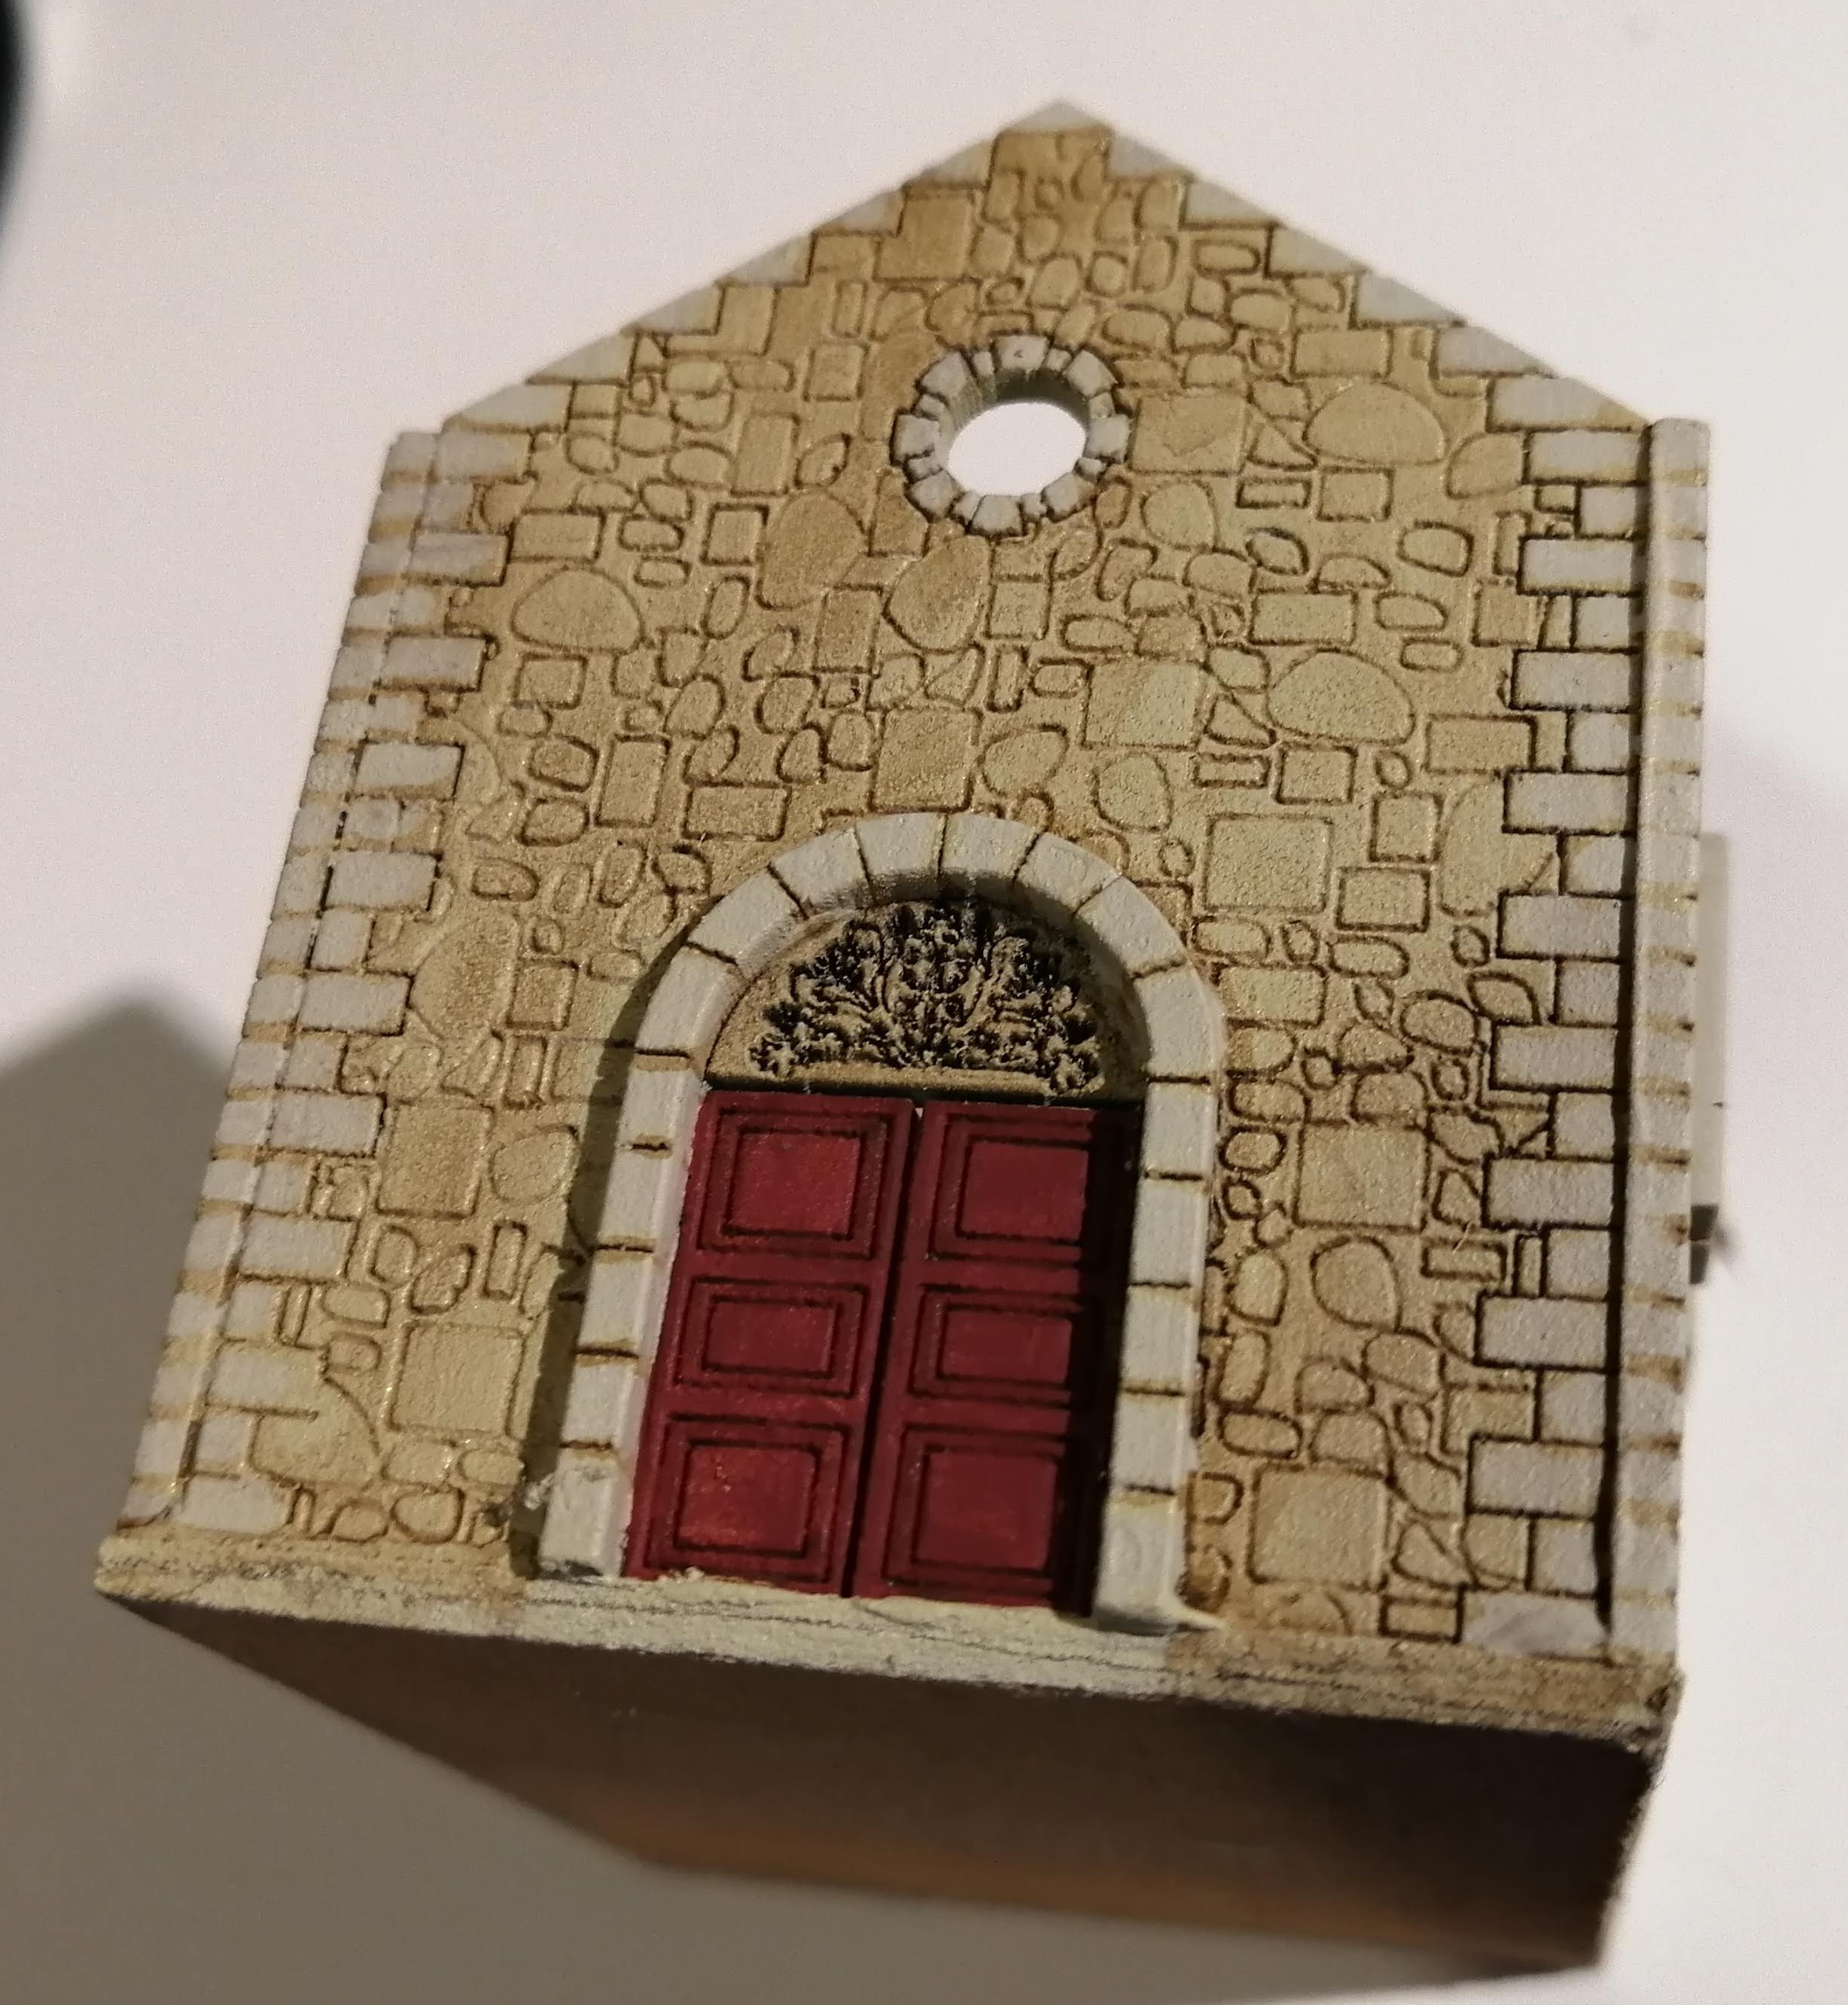
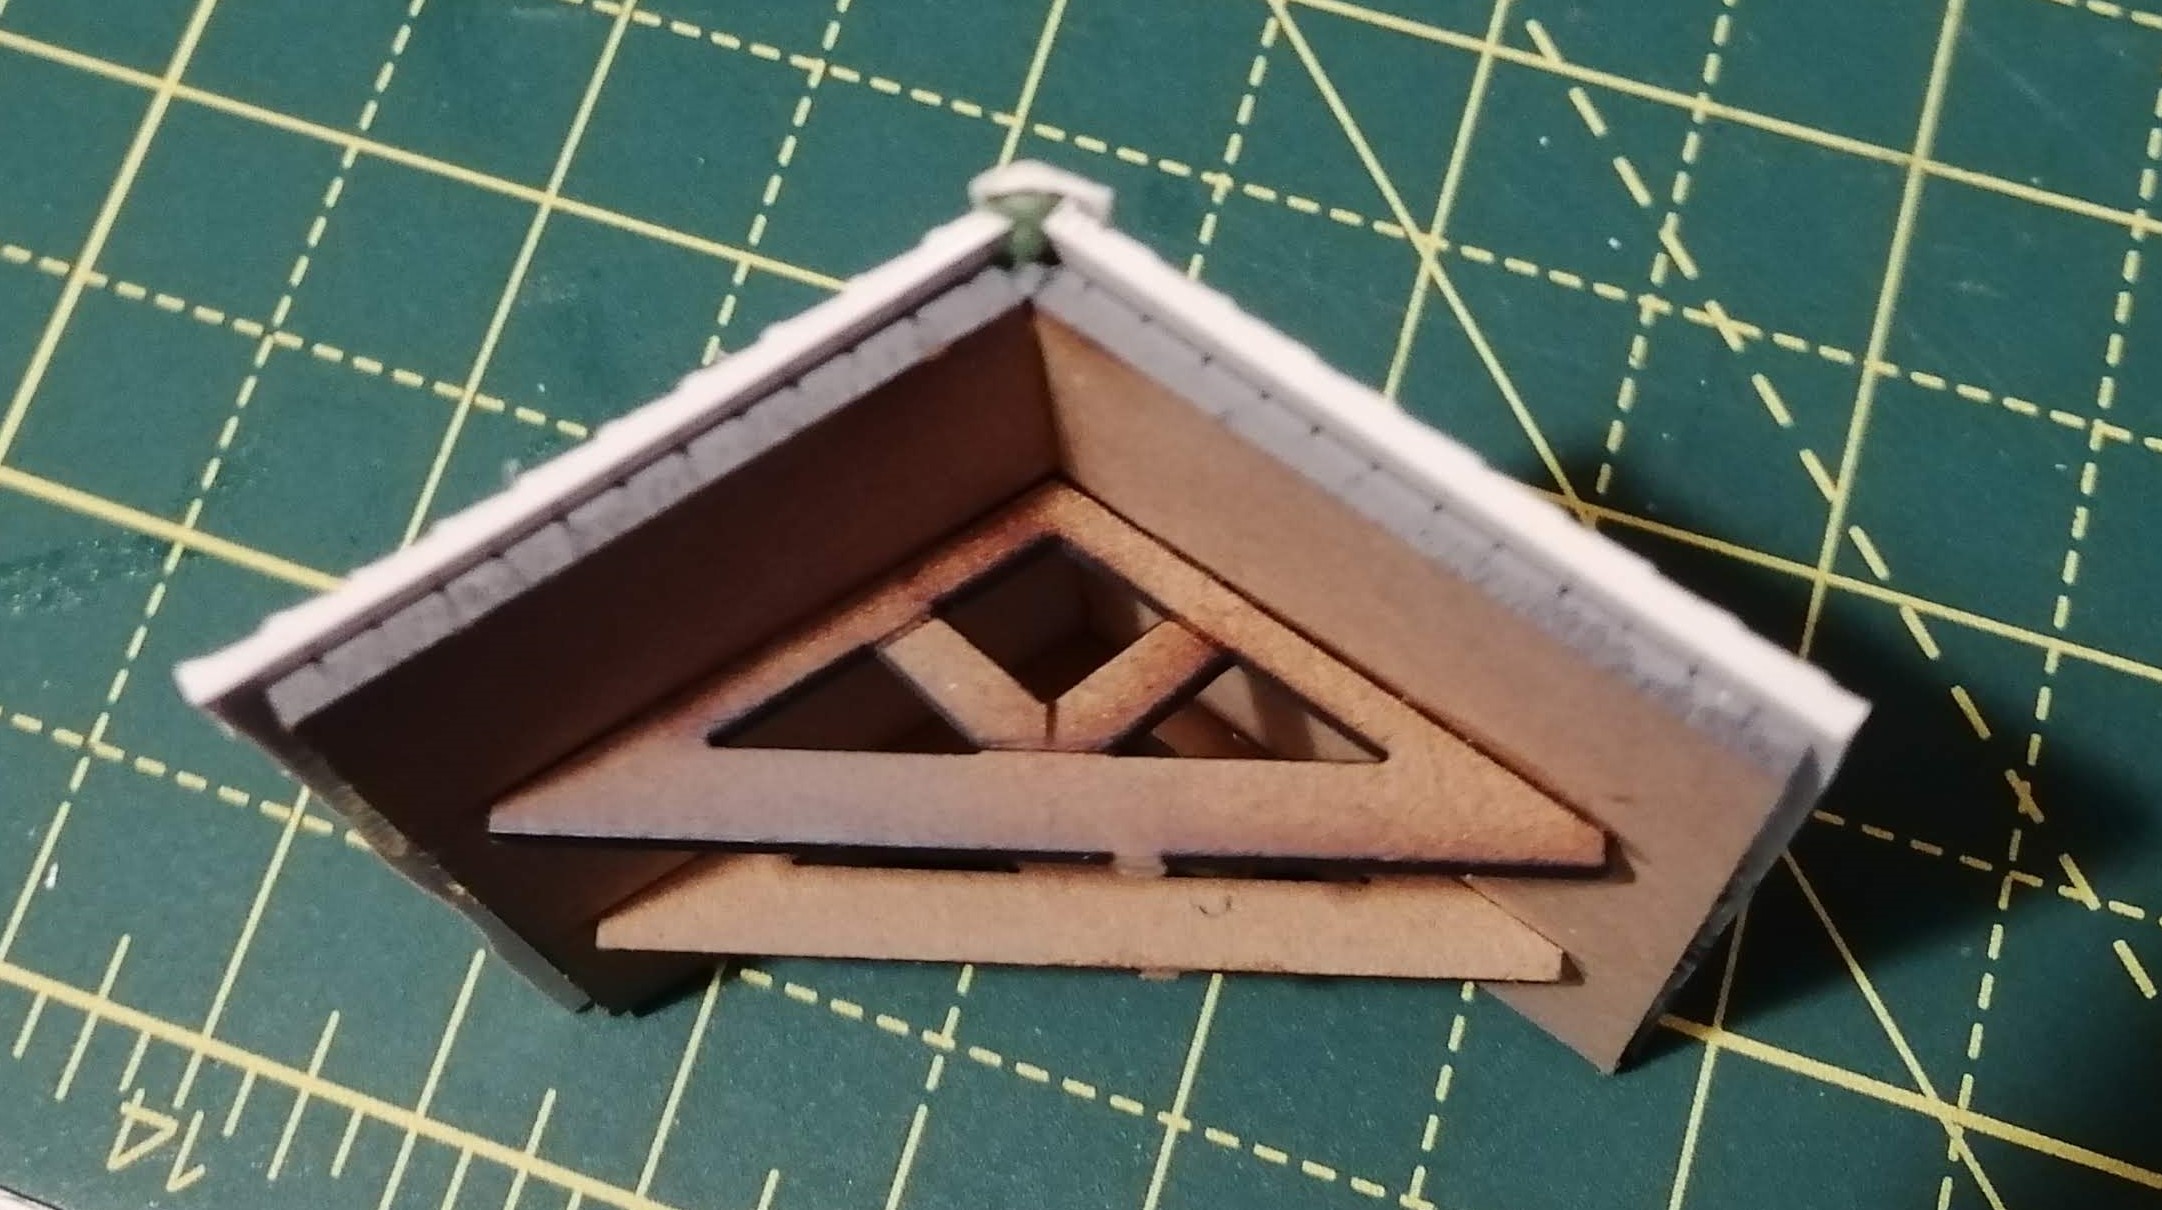
So, let’s start with what I have that will be used as the basis. Firstly, I have a small mdf chapel that I purchase on ebay several years ago. It was cheap and I would post a link to the seller but I couldn’t find them. Here it is:
As you can see, I only ever got as far as gluing it together, priming it and then putting some filler into the gaps. Don’t ask why I used the filler after priming….
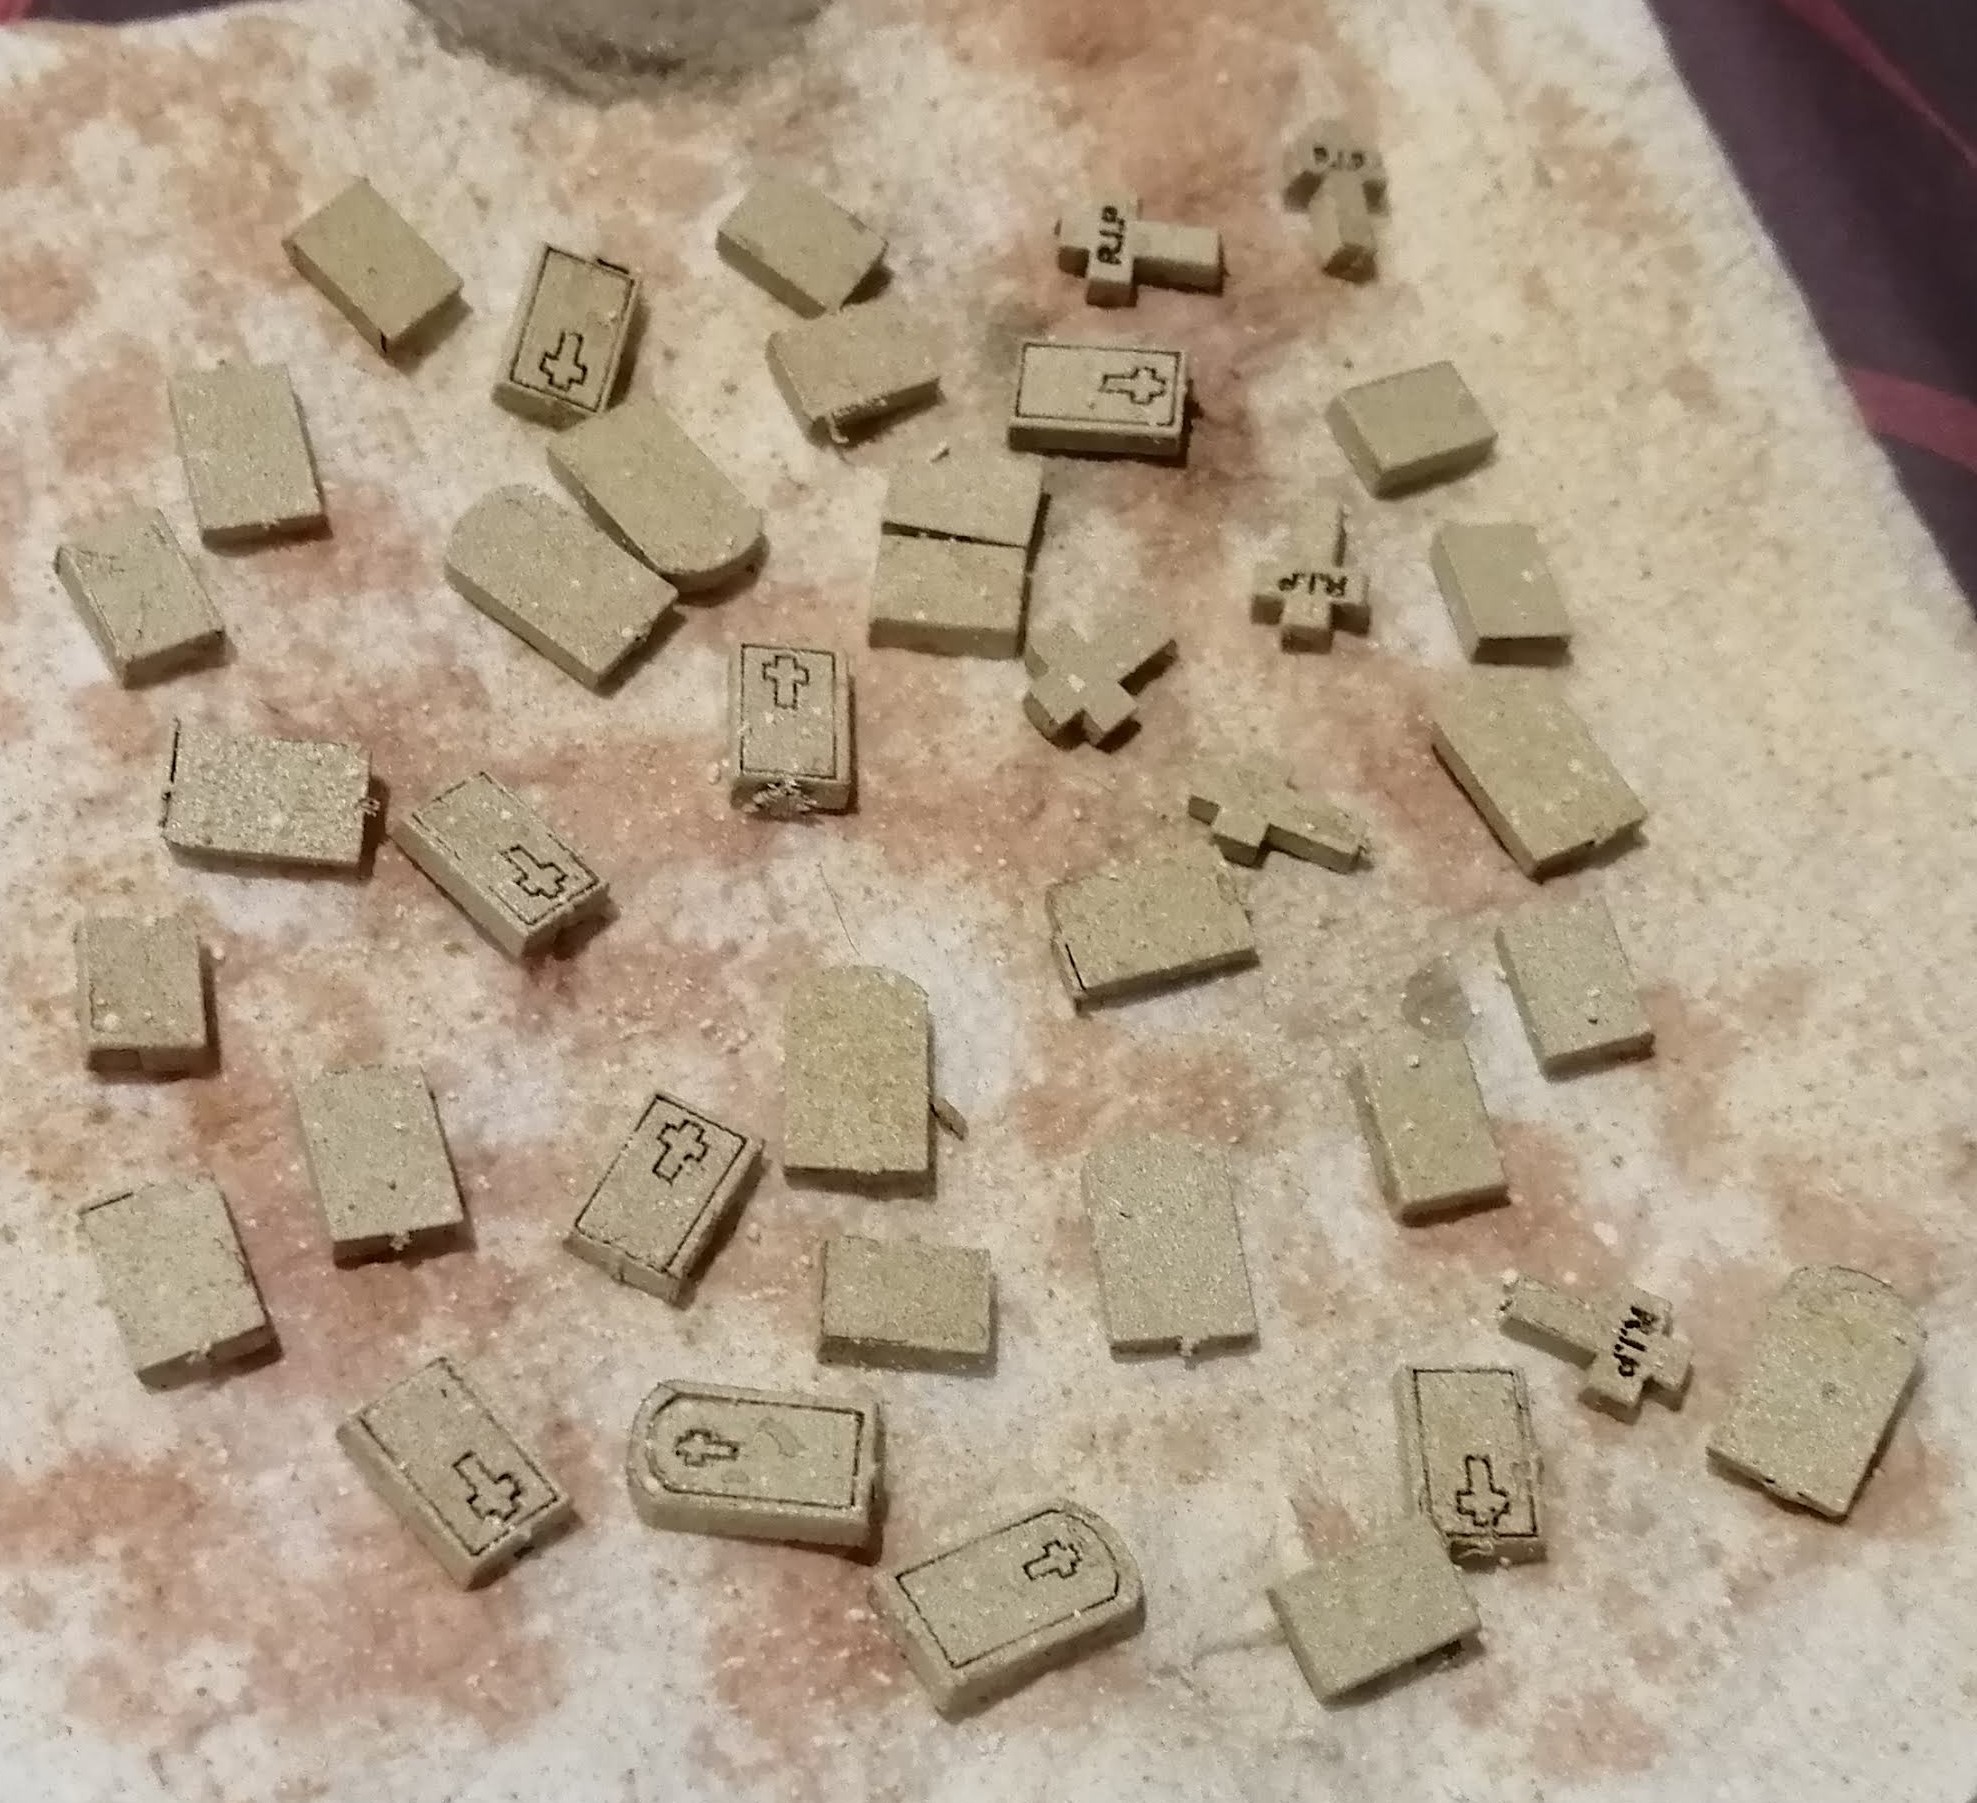
I’ve also got some mdf grave stones lying around from some other mdf kit – I can’t remember which one that I will use to make the cemetery.
Finally, I purchased a resin wall set that I think will make an excellent boundary wall for the cemetery.
Here’s my initial trial layout