![NO Weekender Or Cult Of Games XLBS This Weekend [Updated]](https://images.beastsofwar.com/2026/03/No_Weekender_and_XLBS_this_Weekend-225-127.jpg)


Guild Ball Kick Off Spring Clean


Recommendations: 287
About the Project
I fell in love with the minis and the lets plays on this site for Guild Ball. I started by priming, painting the balls and mascots and then tried to explain the rules to my son to play with the Kick Off box set. Didn't find it easy to convey the rules because every character has different powers and strengths. When he didn't really seem into the game from the outset and i didn't know enough about the game, his characters or mine, to explain the options it all broke down and we gave up and packed it away. In the end i got very disheartened and other painting projects wormed their way onto the bench and the box has gathered dust since 2017. I need to get some enjoyment out of this present that was bought for me all that time ago. If i have to sell it because i can't find anyone to play it, in the flooded Blood Bowl rich player base since the GW relaunch in the meantime, well then so be it, but i want some fun out of this box even if it is just to paint them. The Spring Clean Challenge seems as good a time as any to get these two starter set teams painted.
Related Game: Guild Ball
Related Company: Steamforged Games
Related Genre: Fantasy
Related Contest: Spring Clean Hobby Challenge (Old)
This Project is Completed
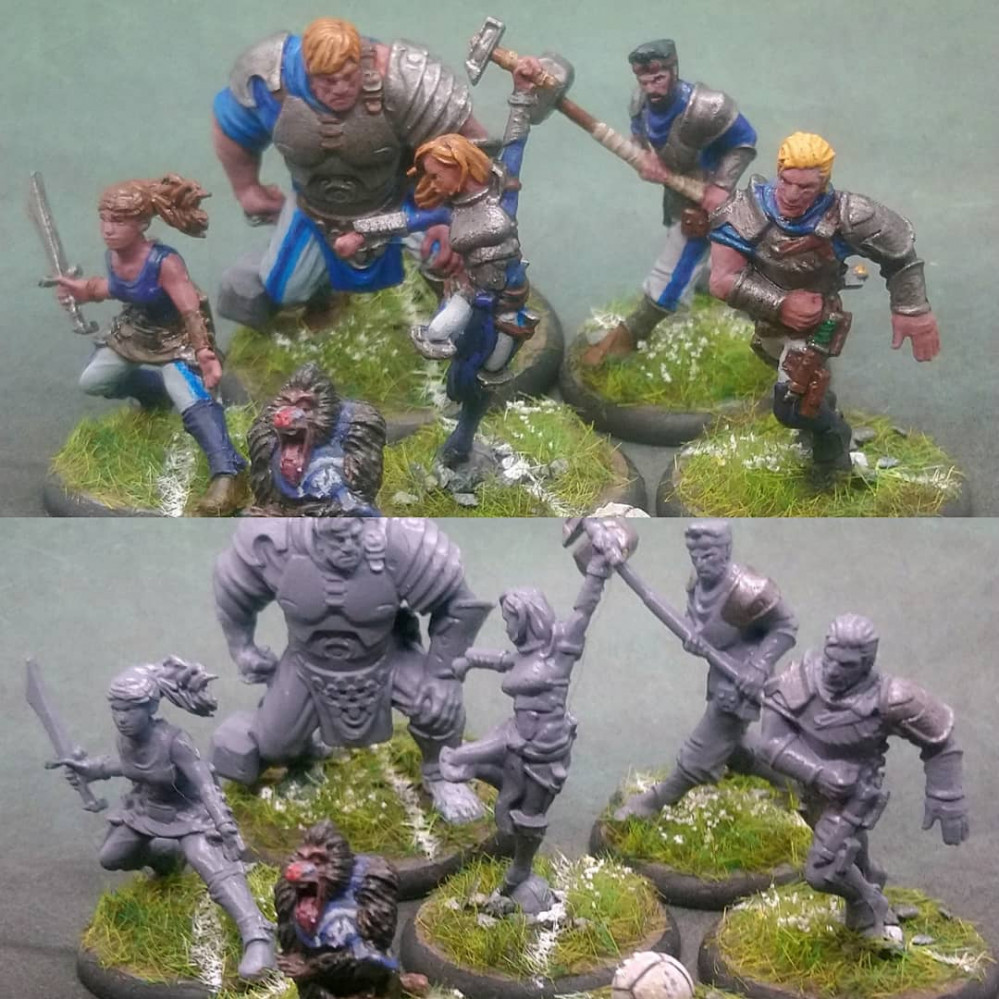
Brewers Starting Point
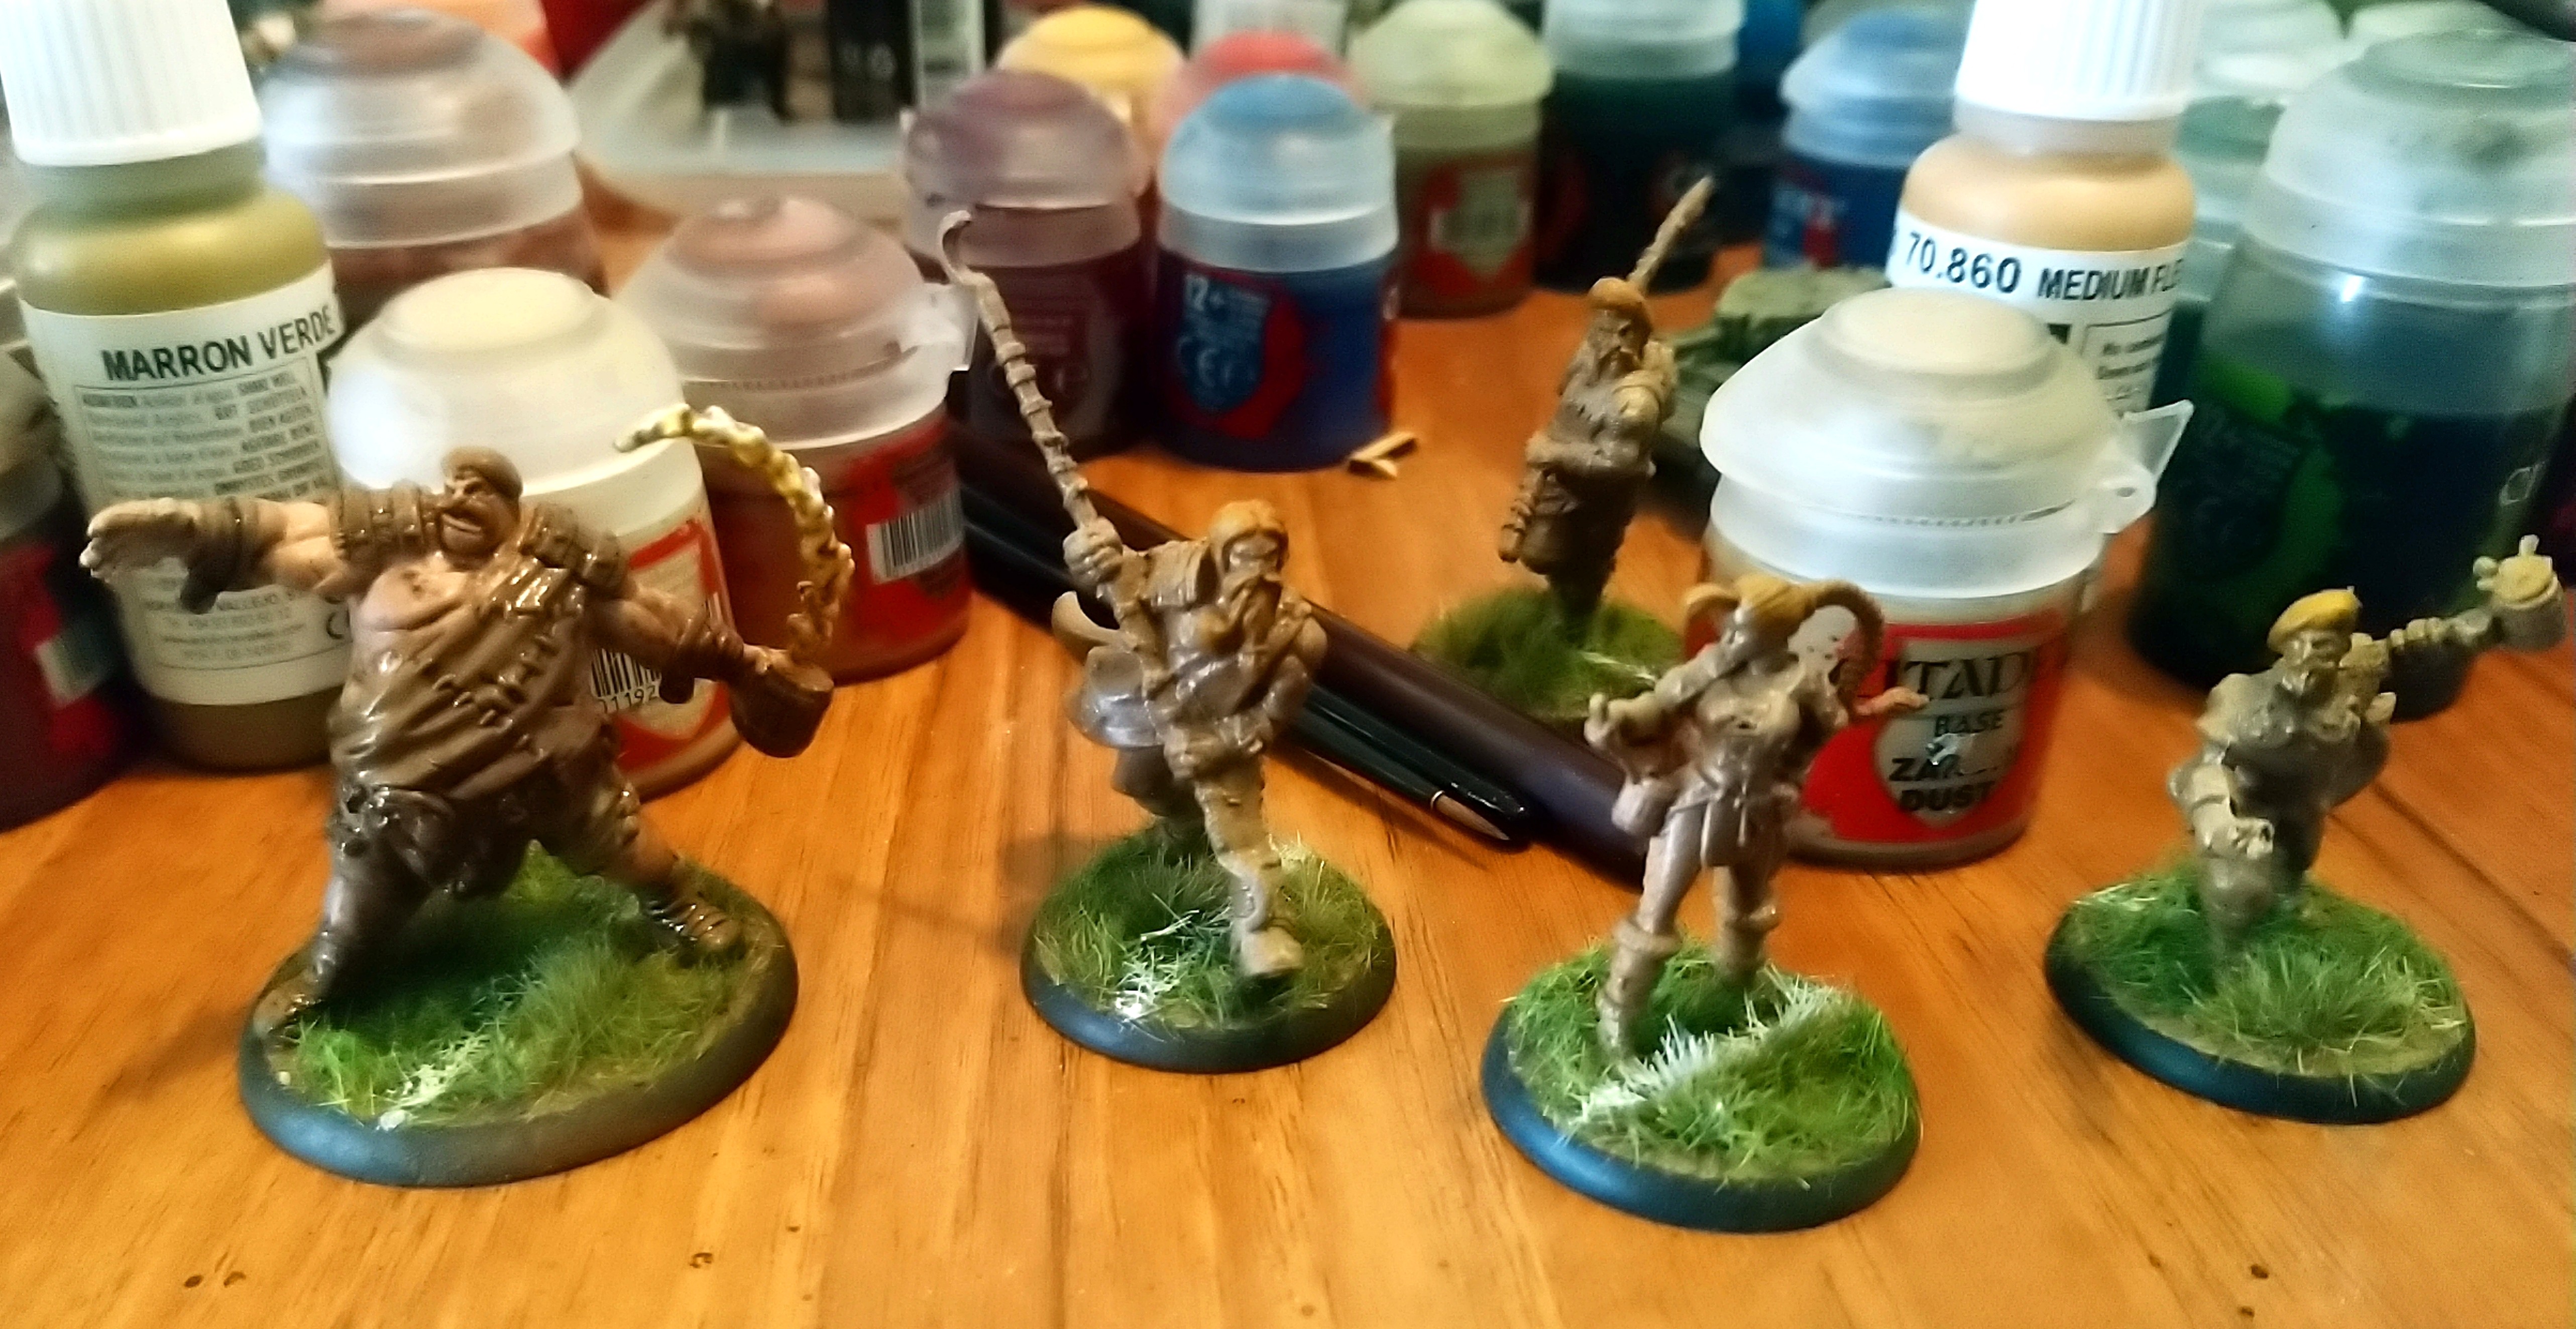
Brewers as I found them.
I realised i have based both teams. I primed the Masons with Army Painter Uniform Grey and, I think, the Brewers have been hit with Monster Fur Brown?
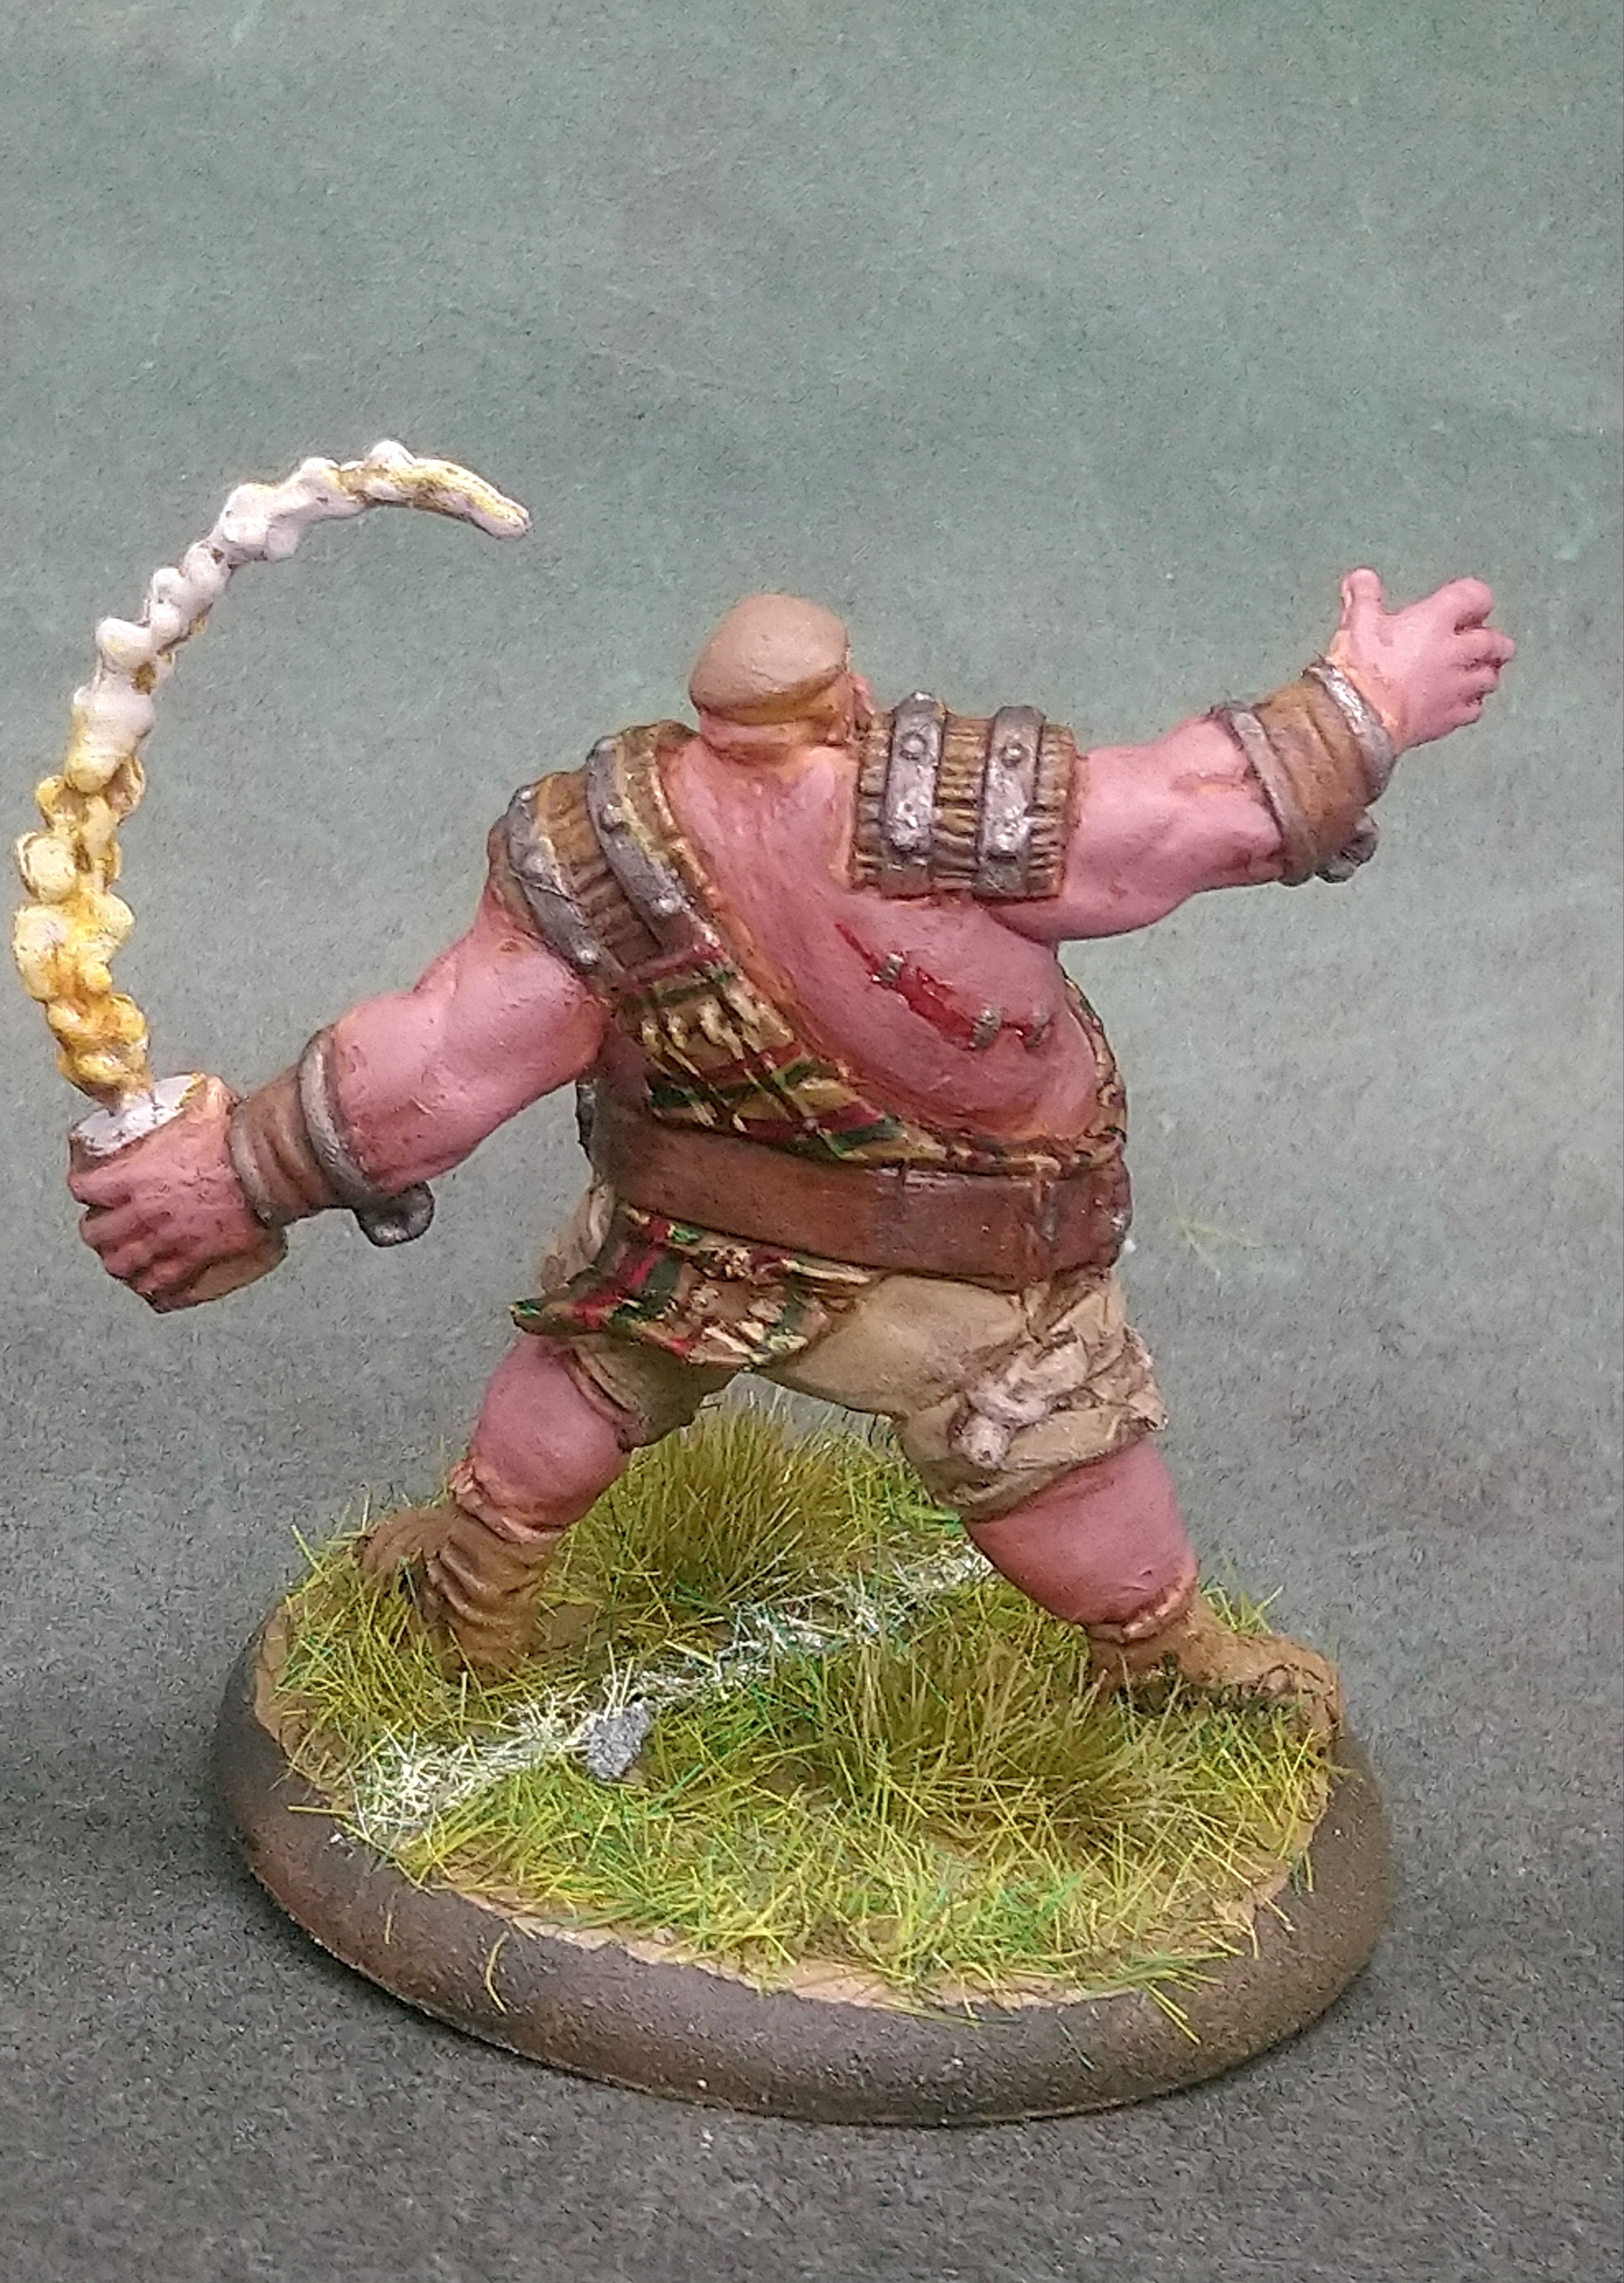
I started the skin on the big fella and he got parked and shut away at some point in 2017. 🙁
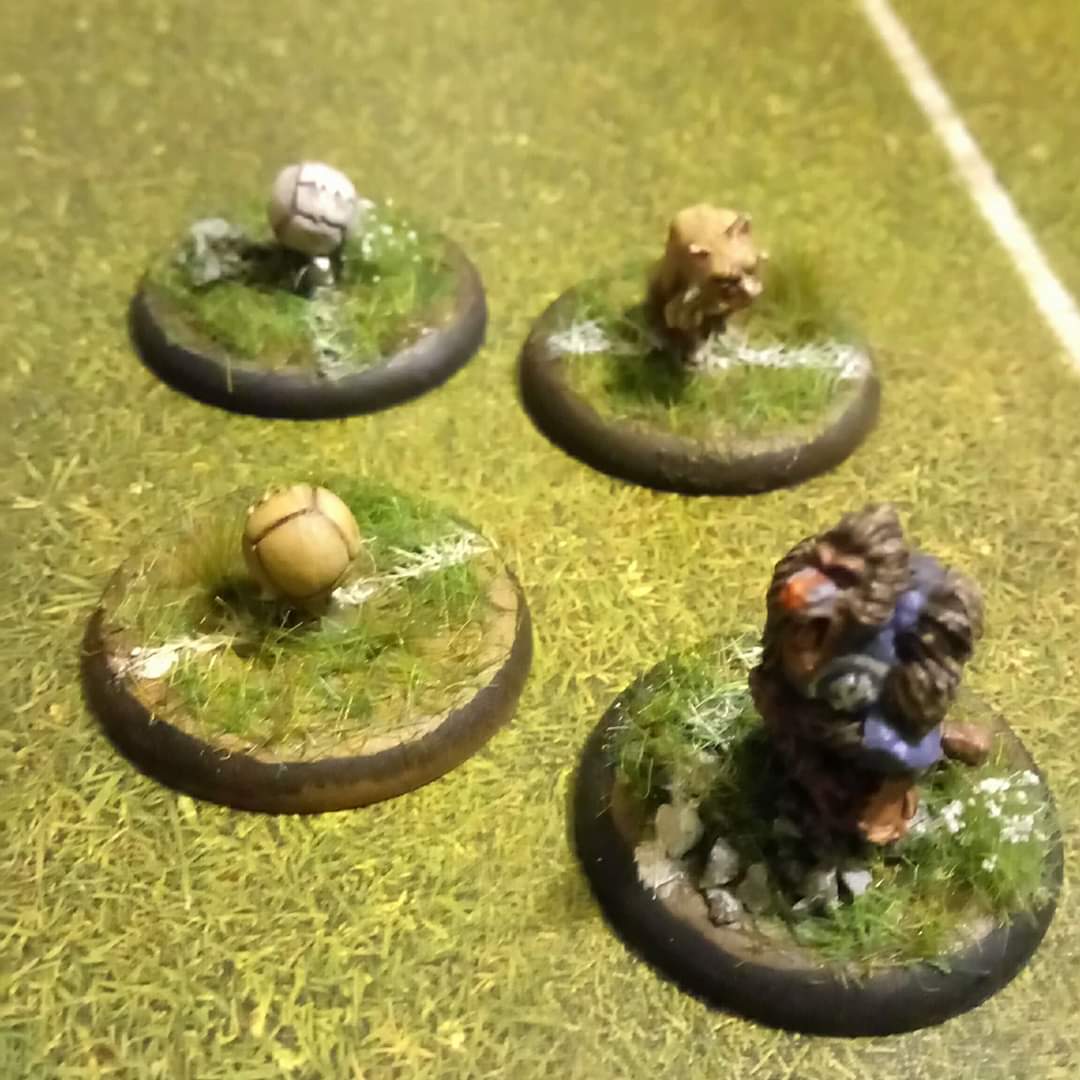
I remember painting the balls and the mascots but beyond that I wasn’t sure what progress I was going to find in the box.
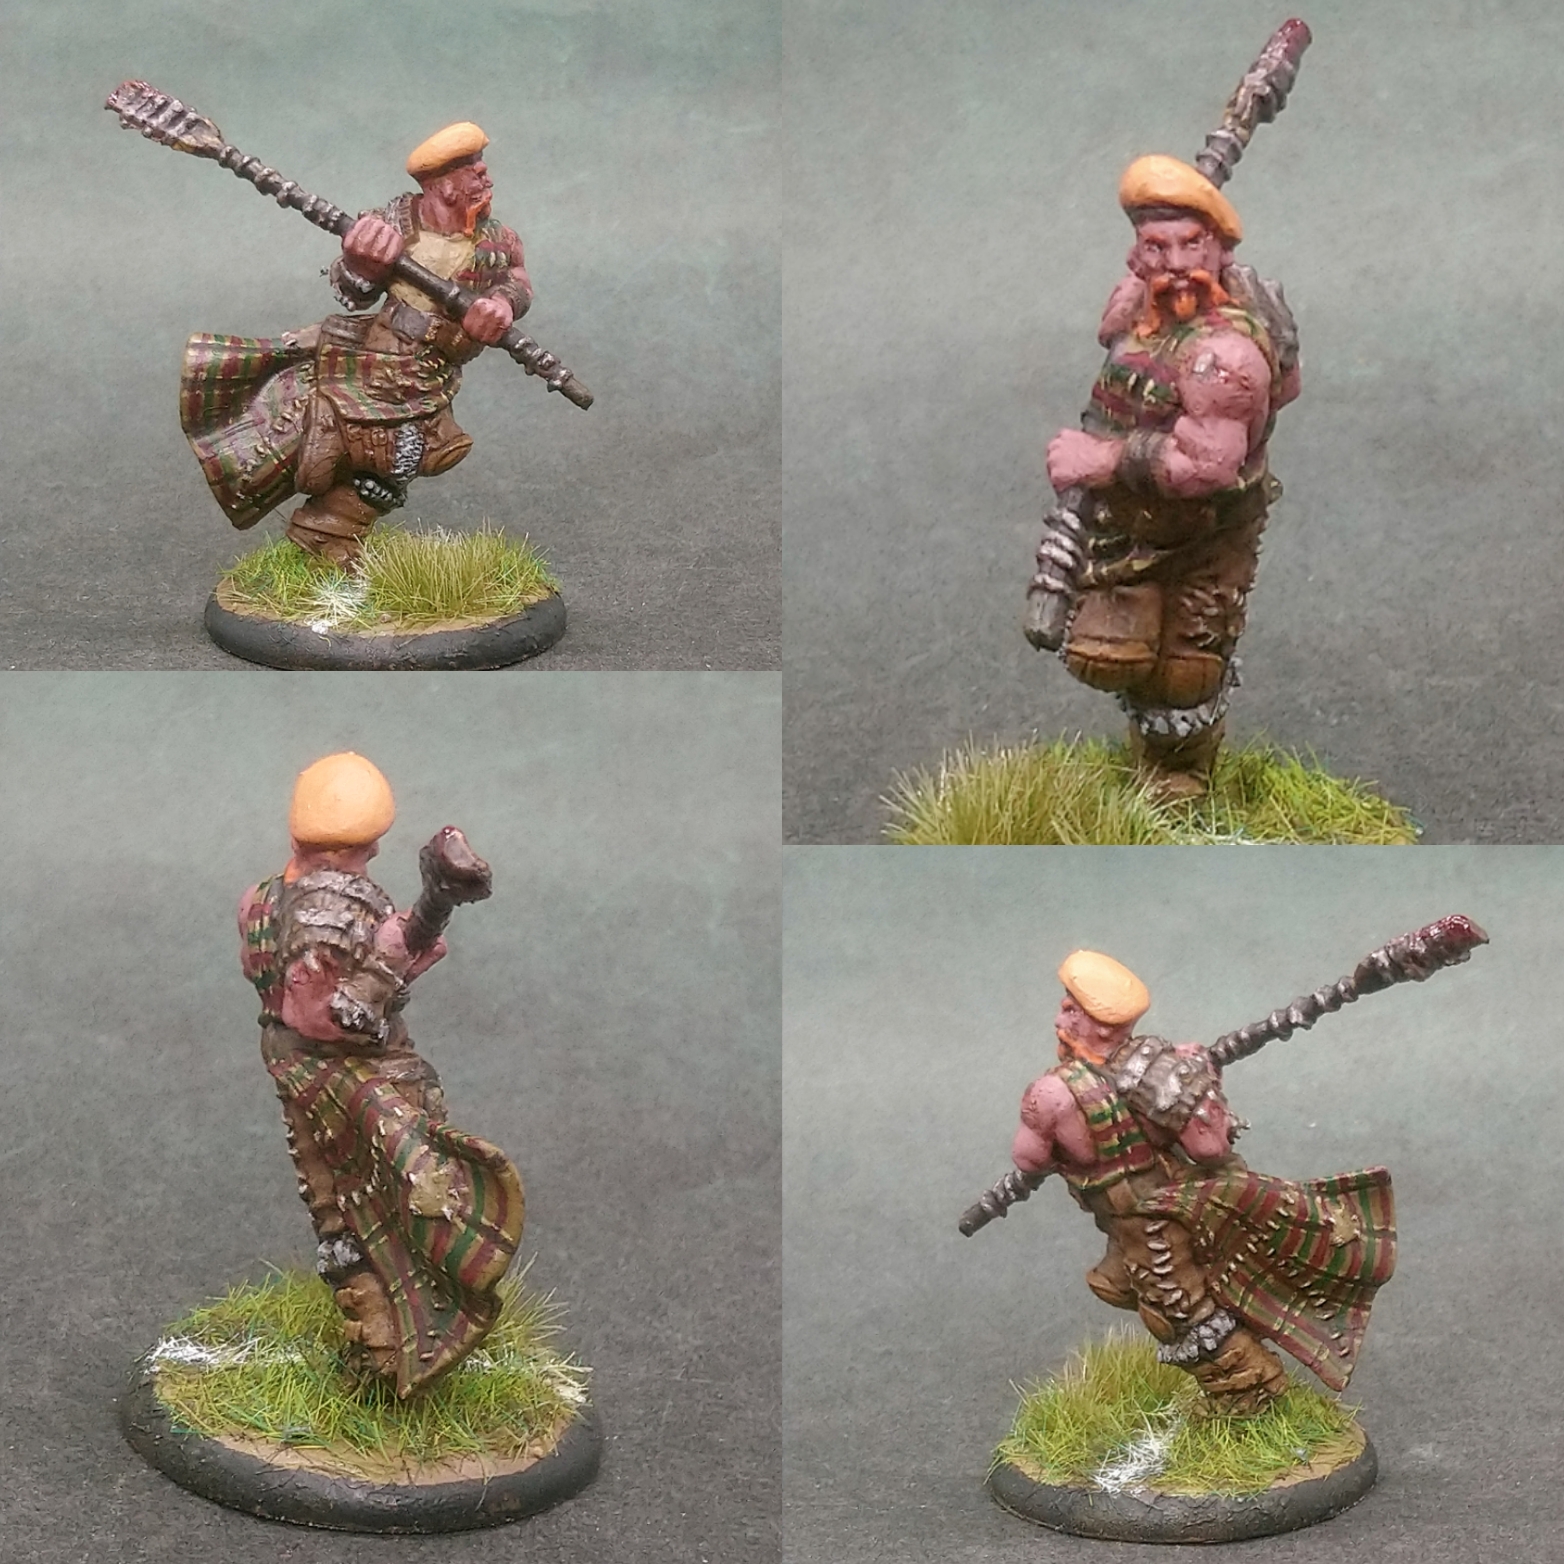
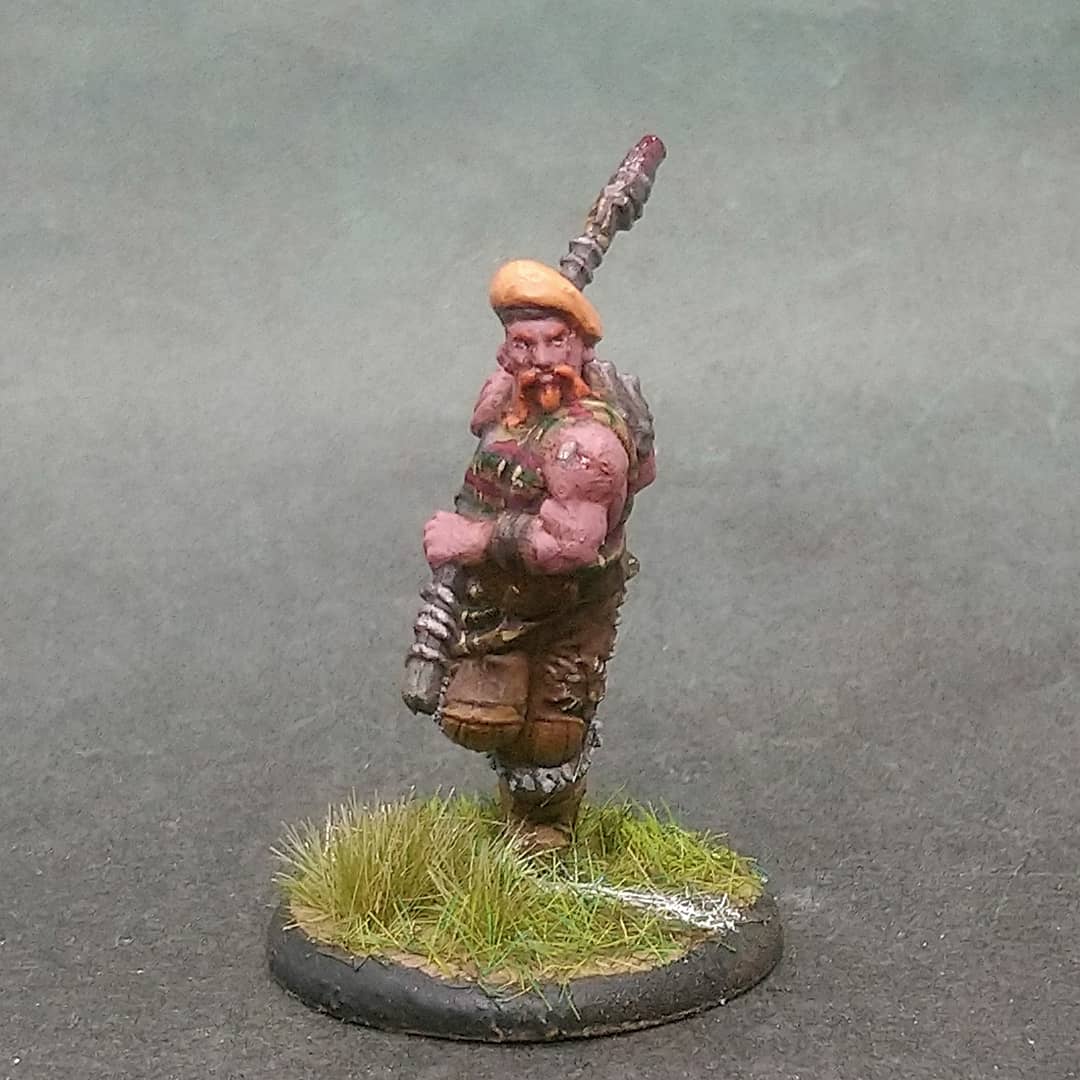
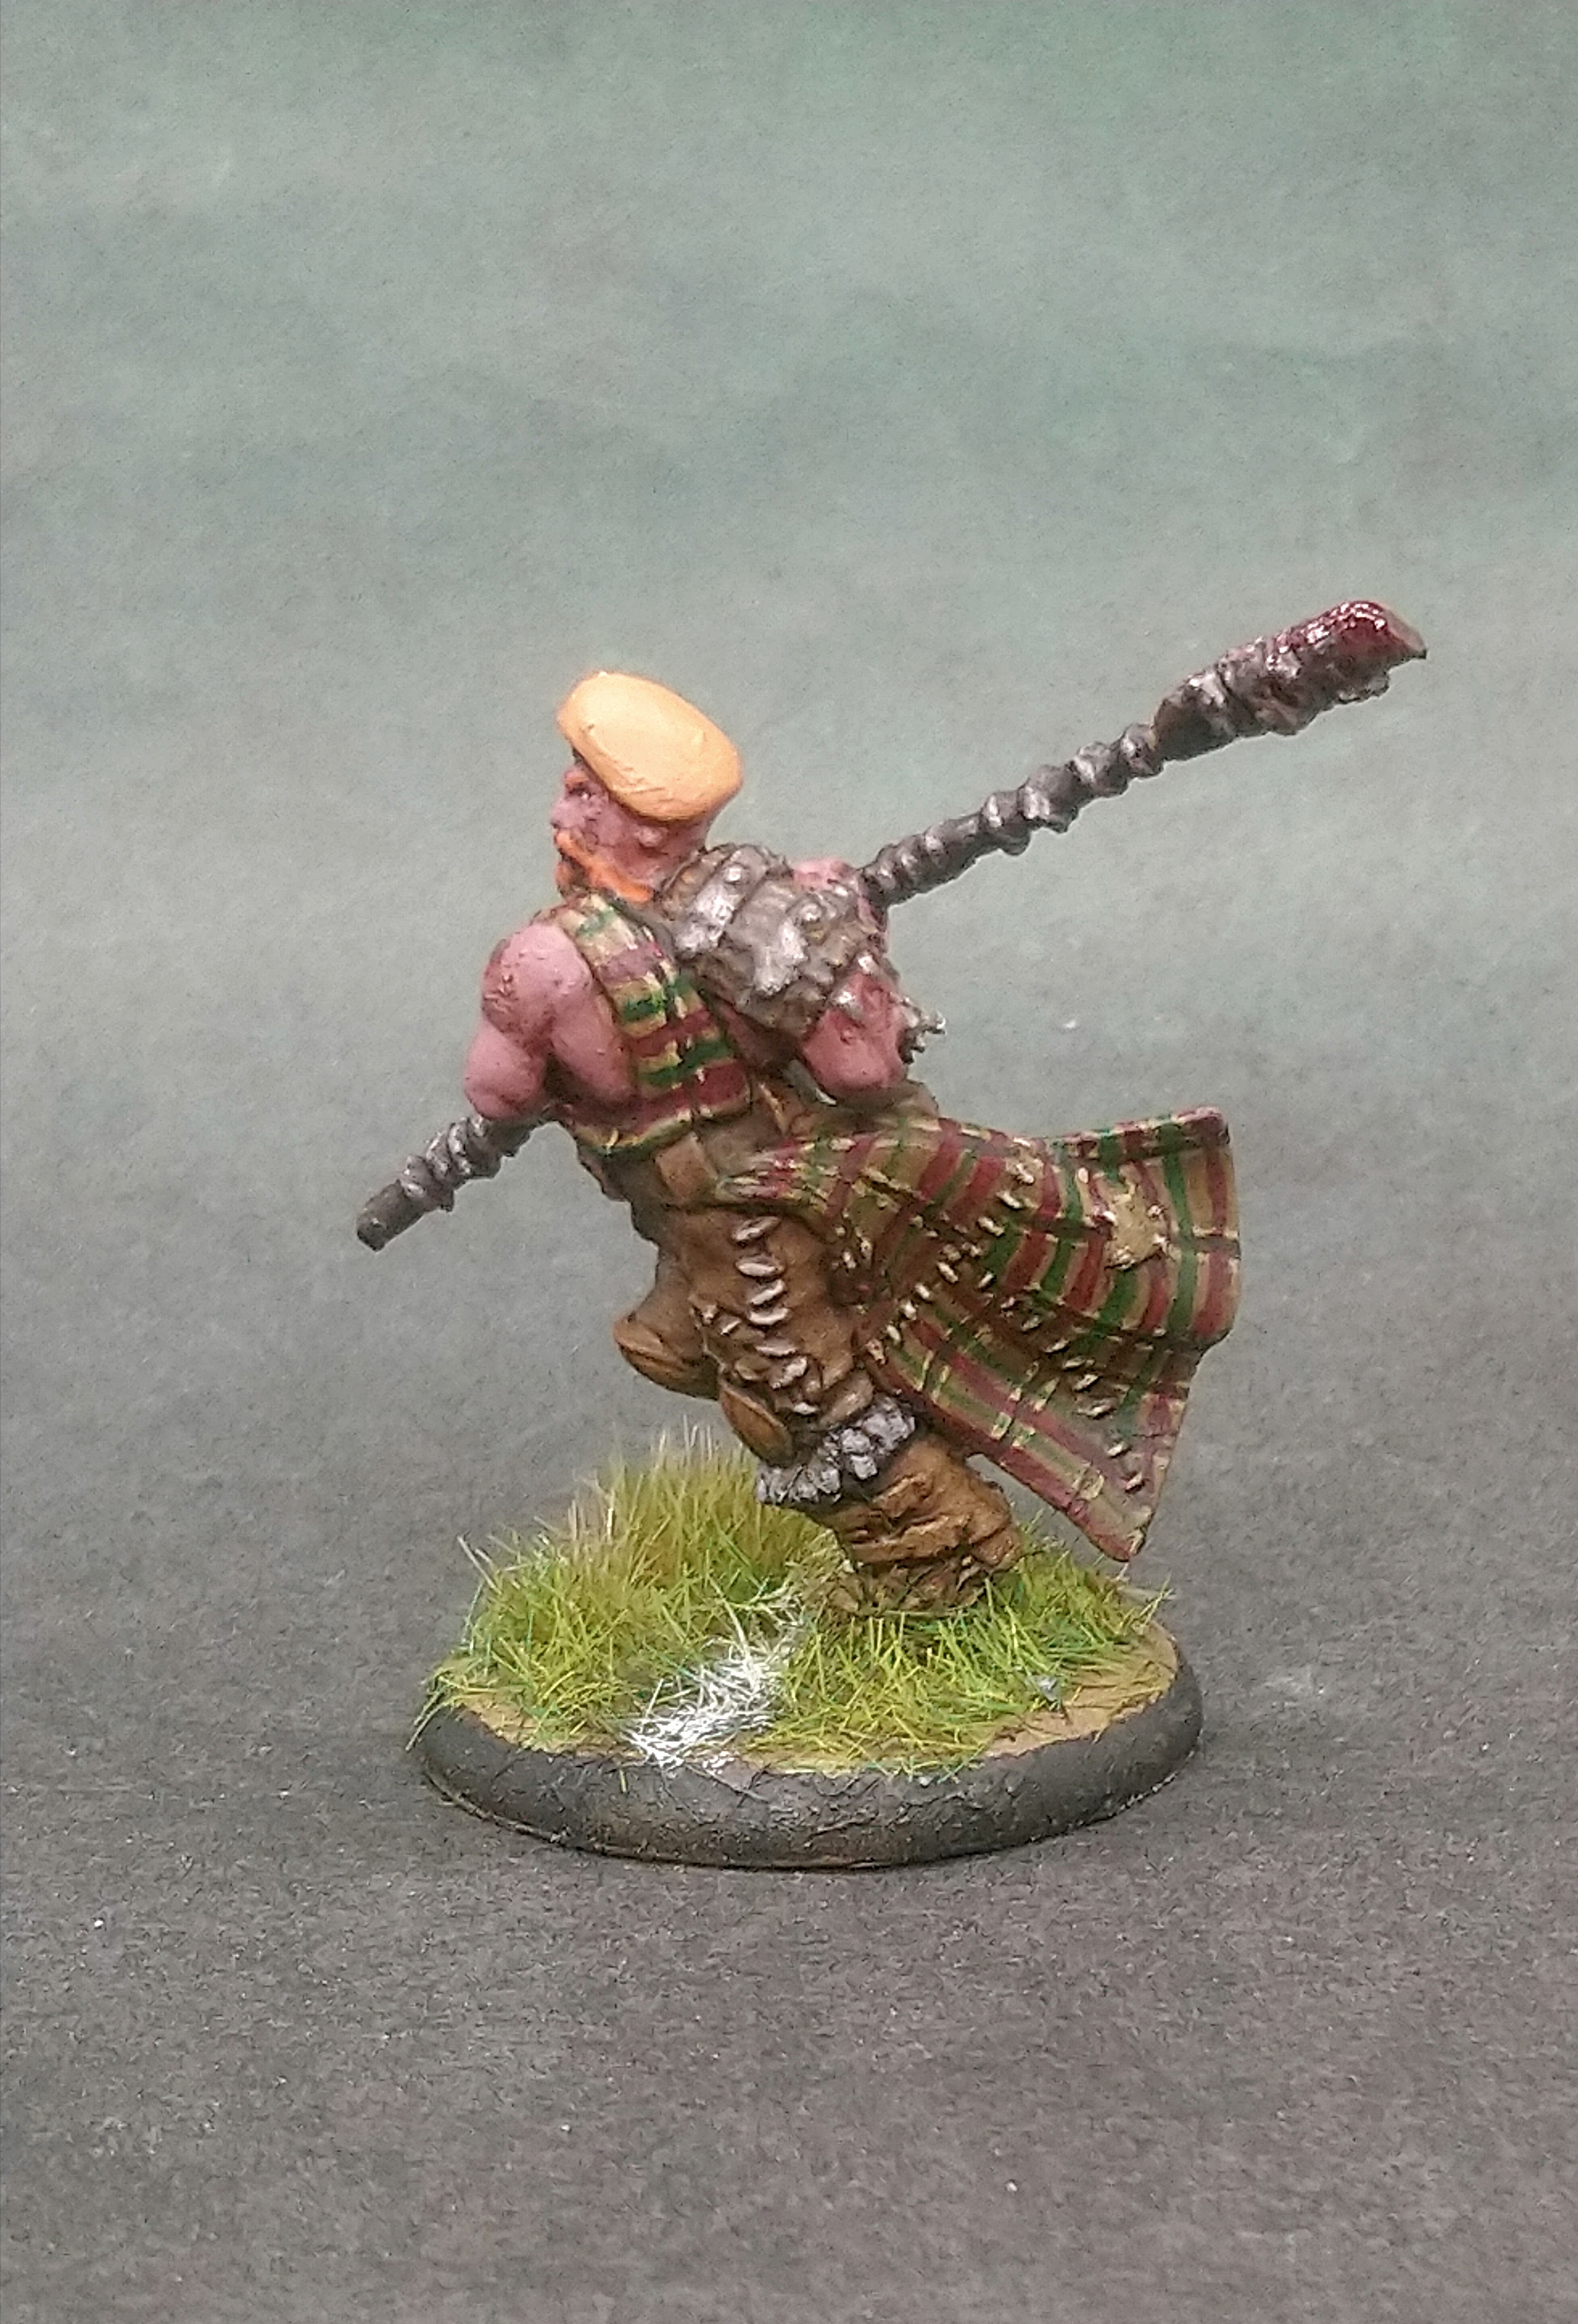
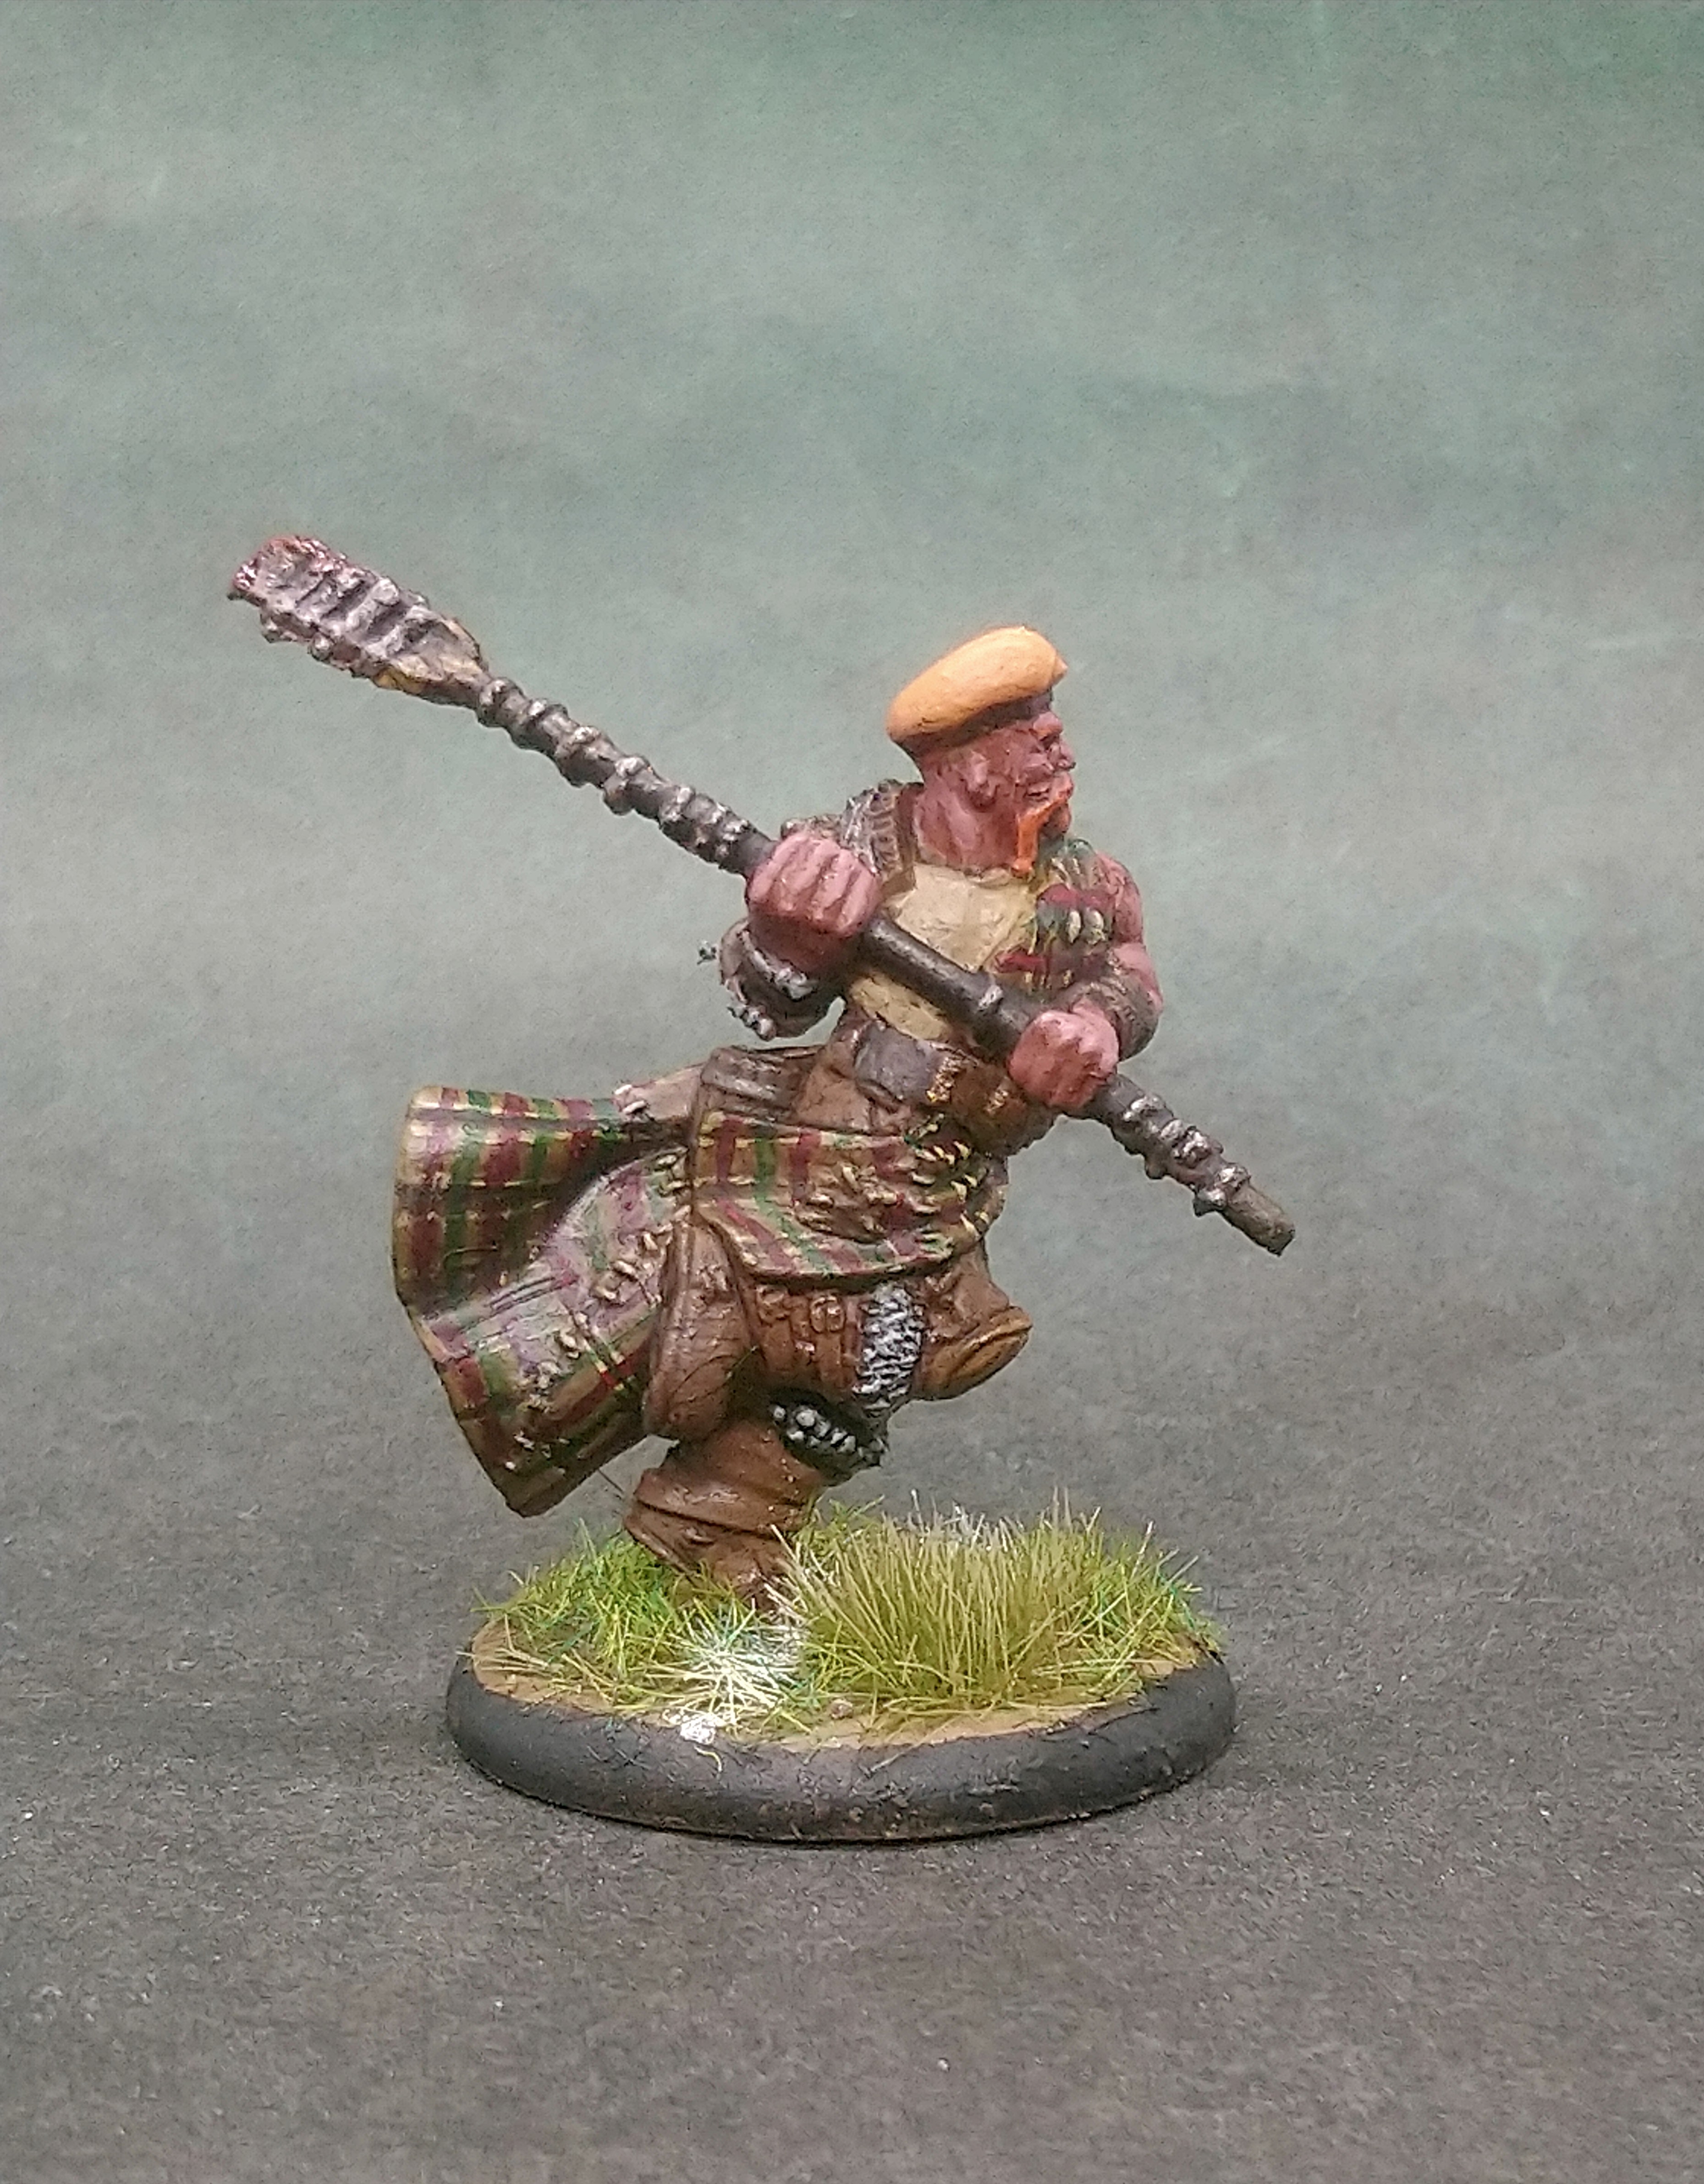
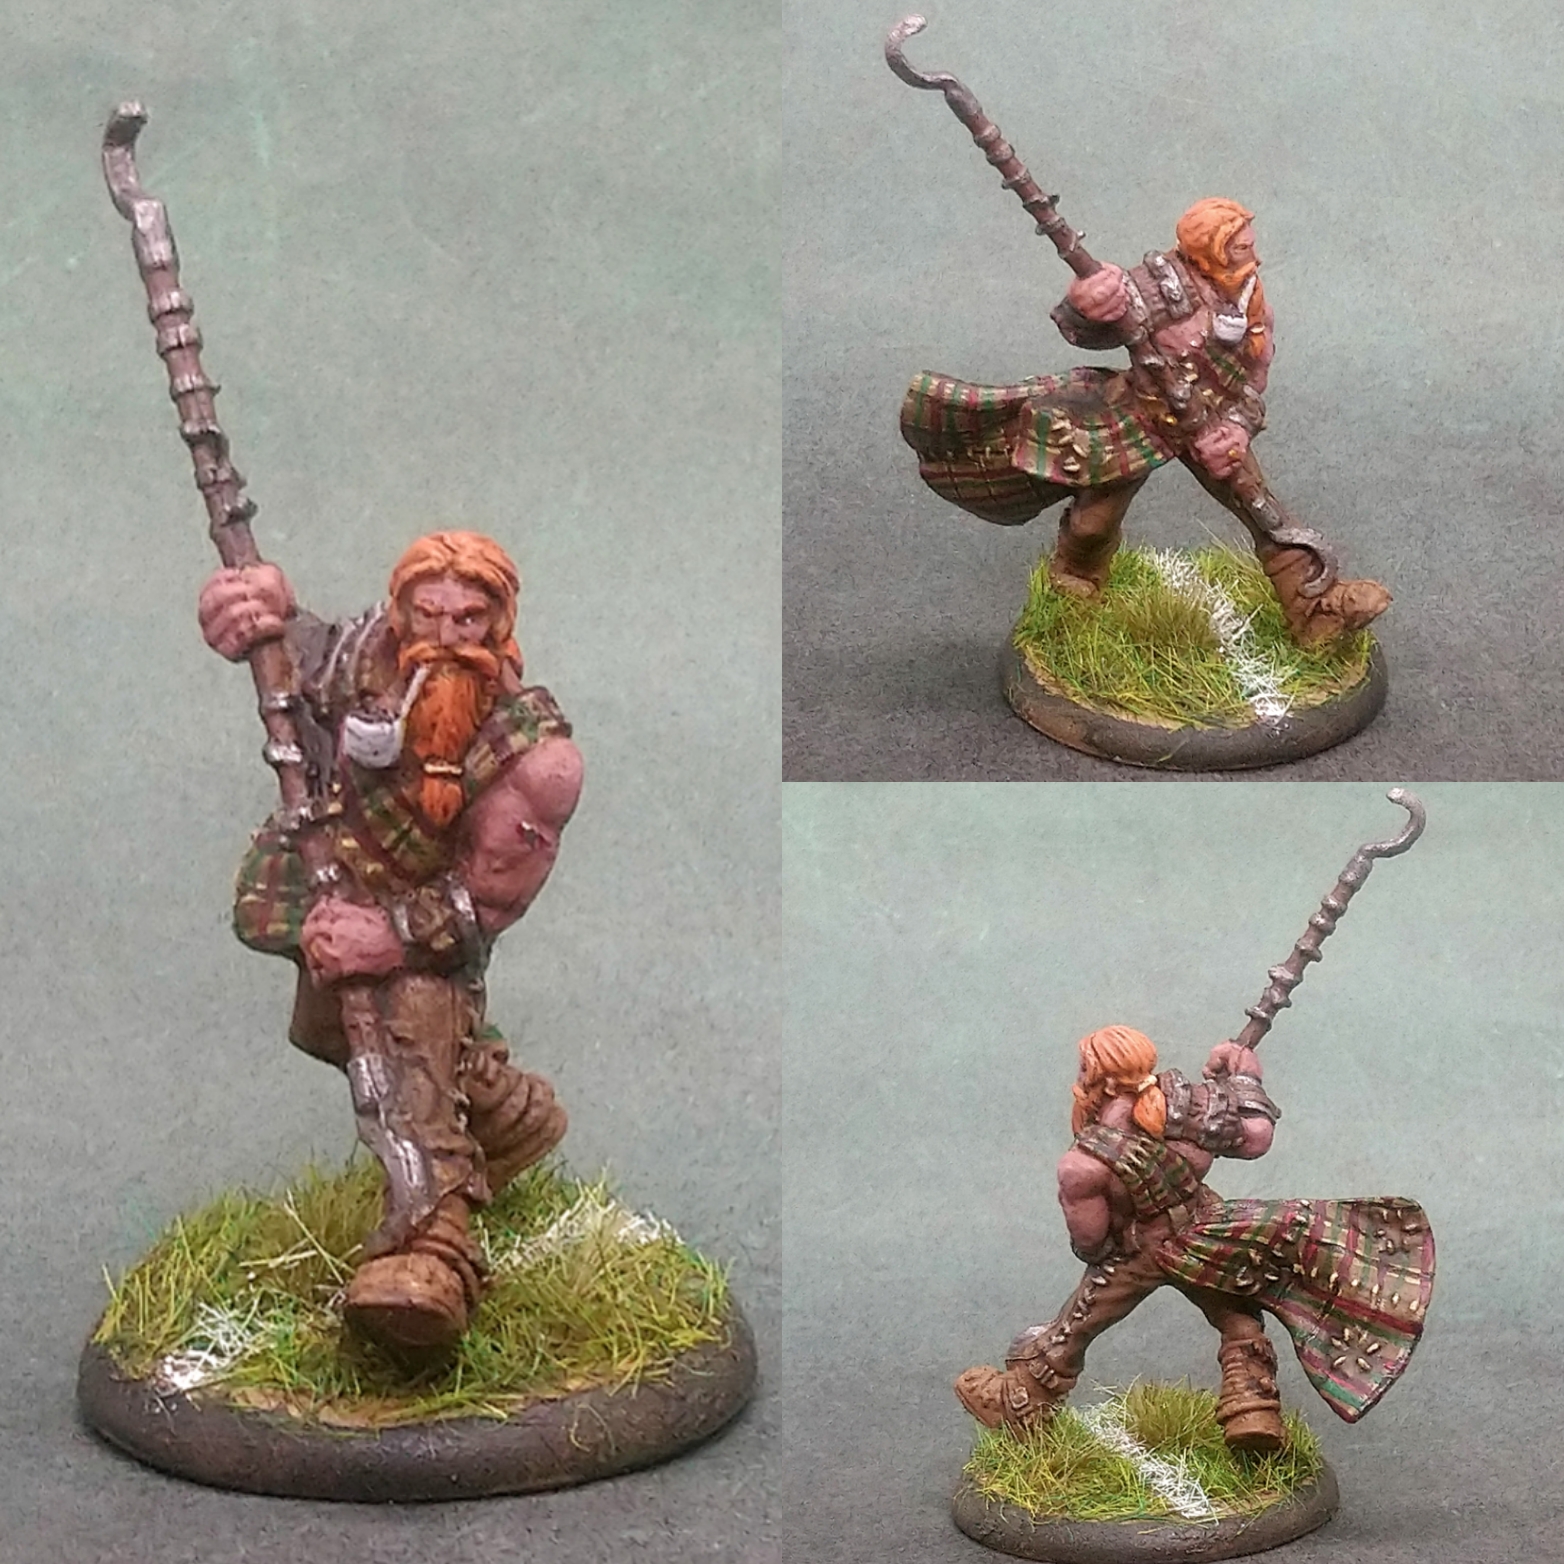
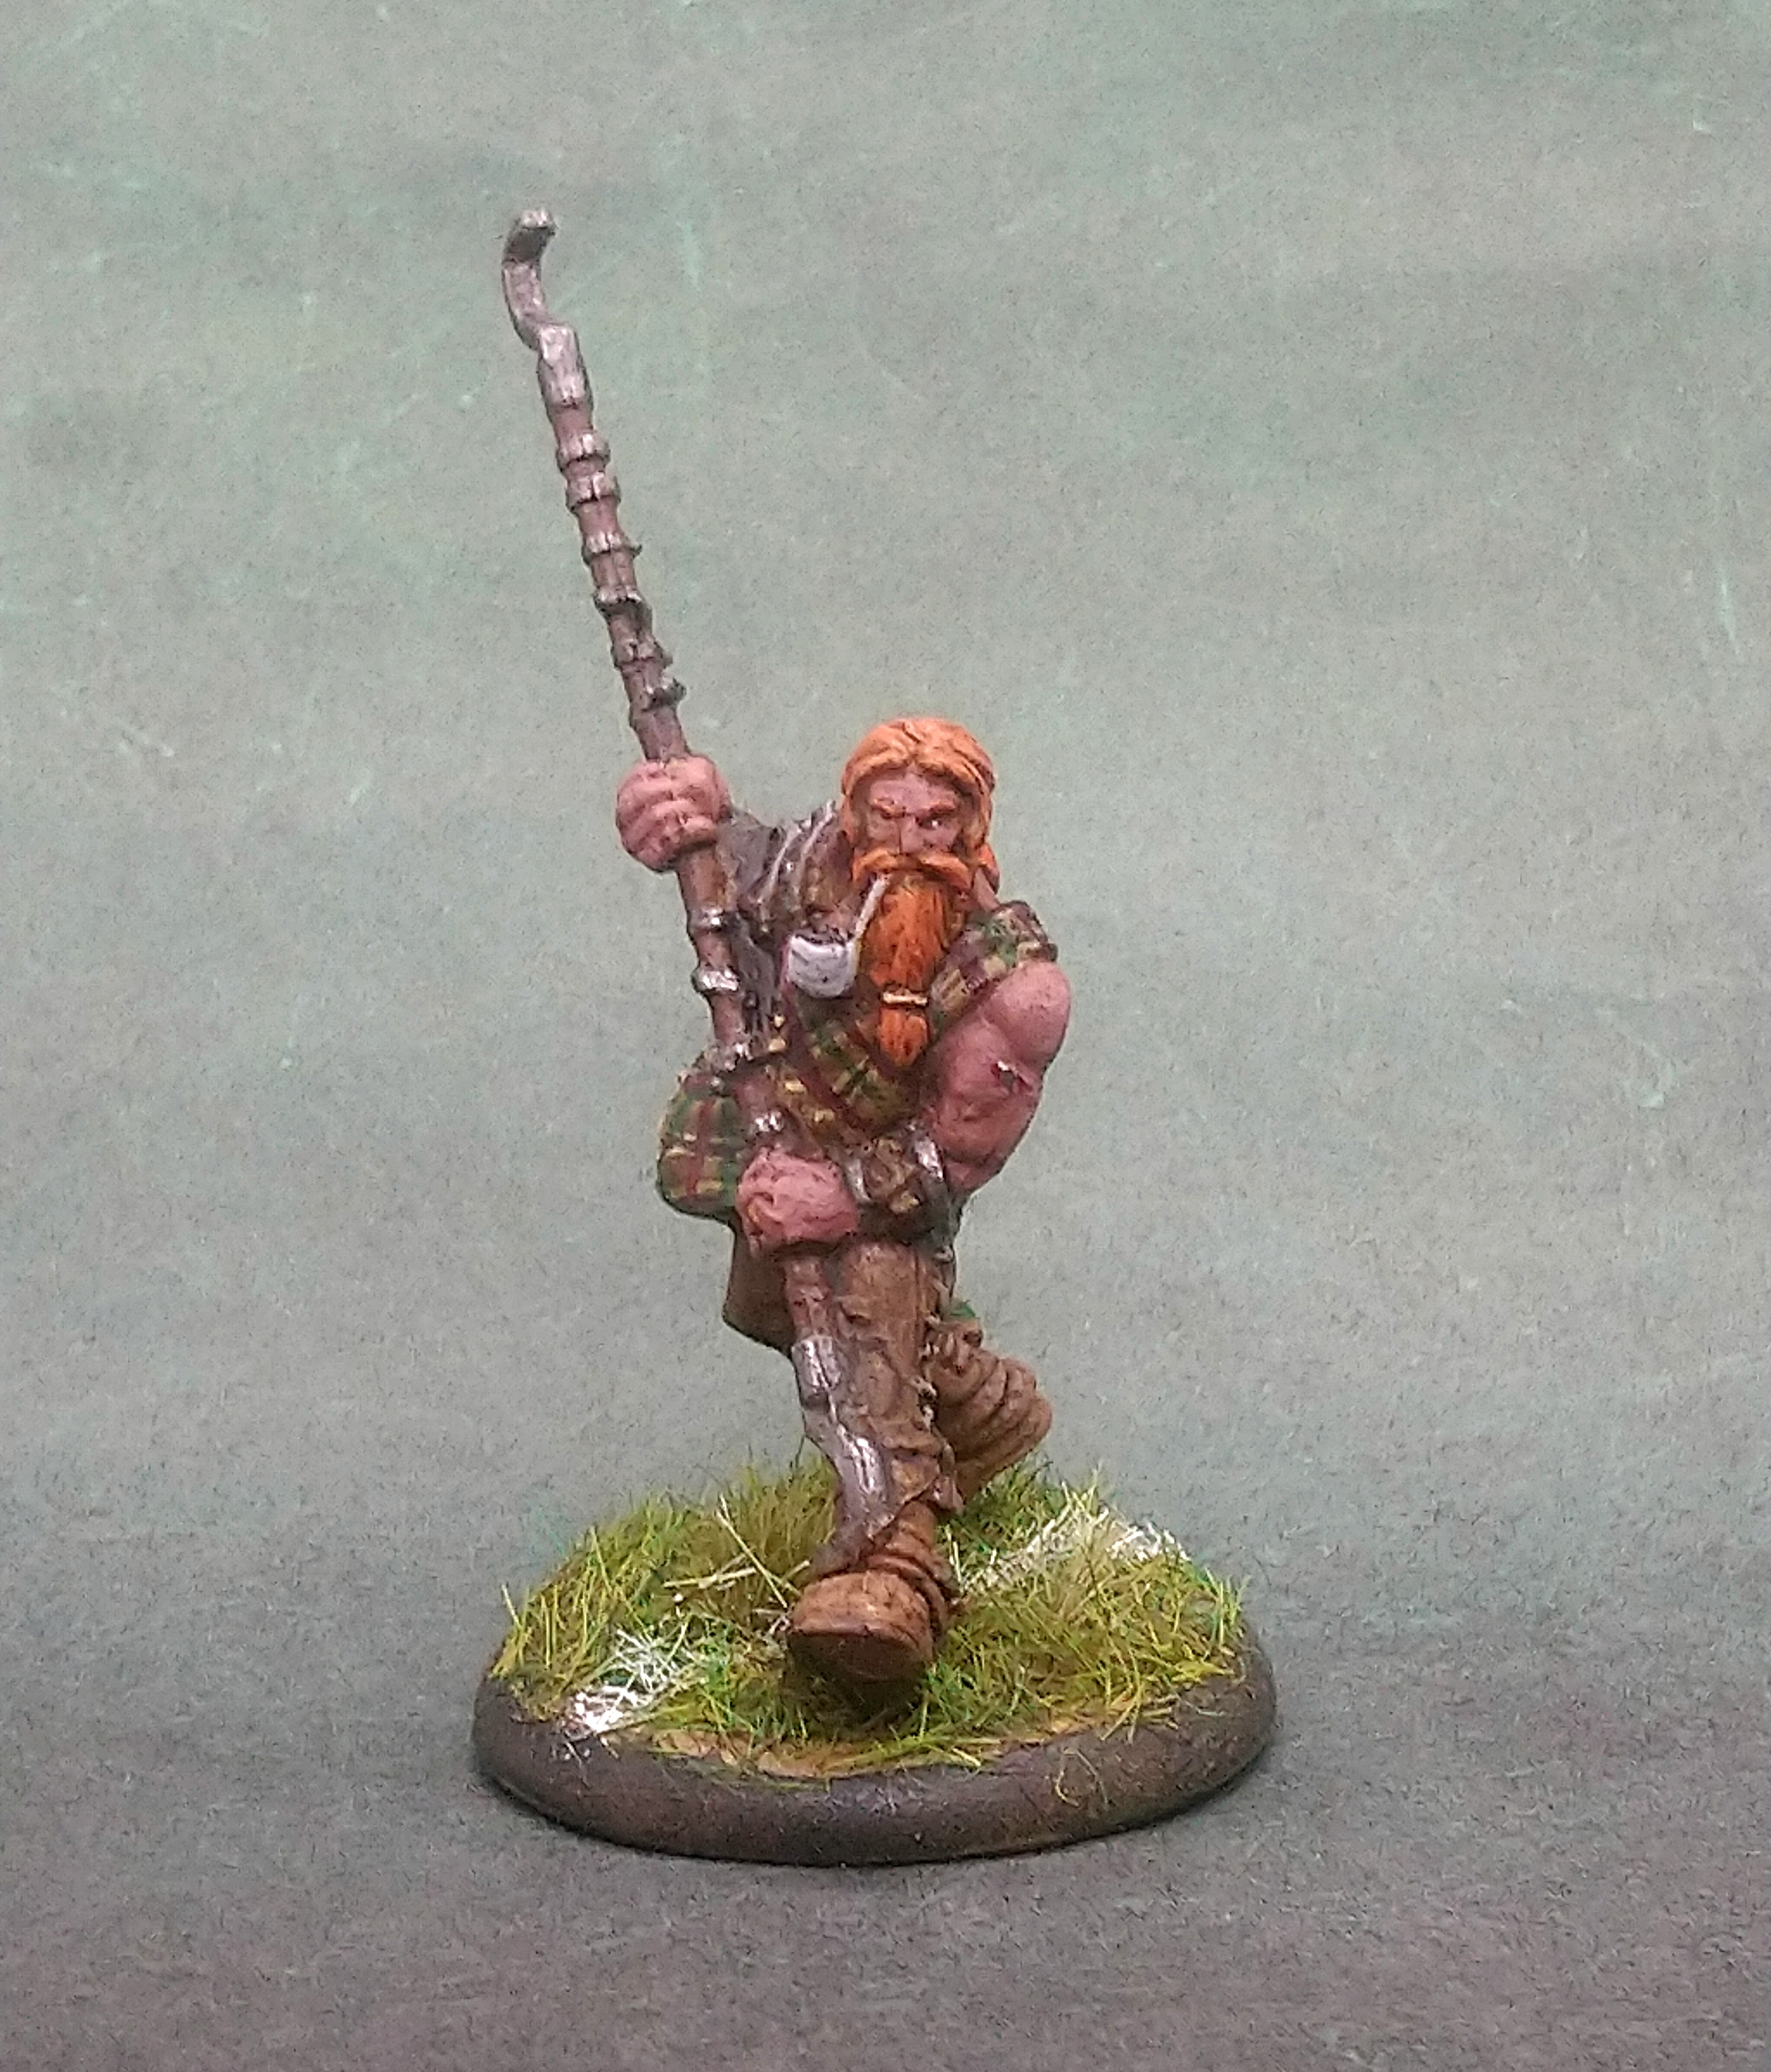
Brave Stave.
Fairly happy.
Need to tidy a couple of bits that i spotted after i photographed him.
The tartan was enjoyable to paint. Used some contrast paints for some of the lines.
Will write up my paints and method soon.

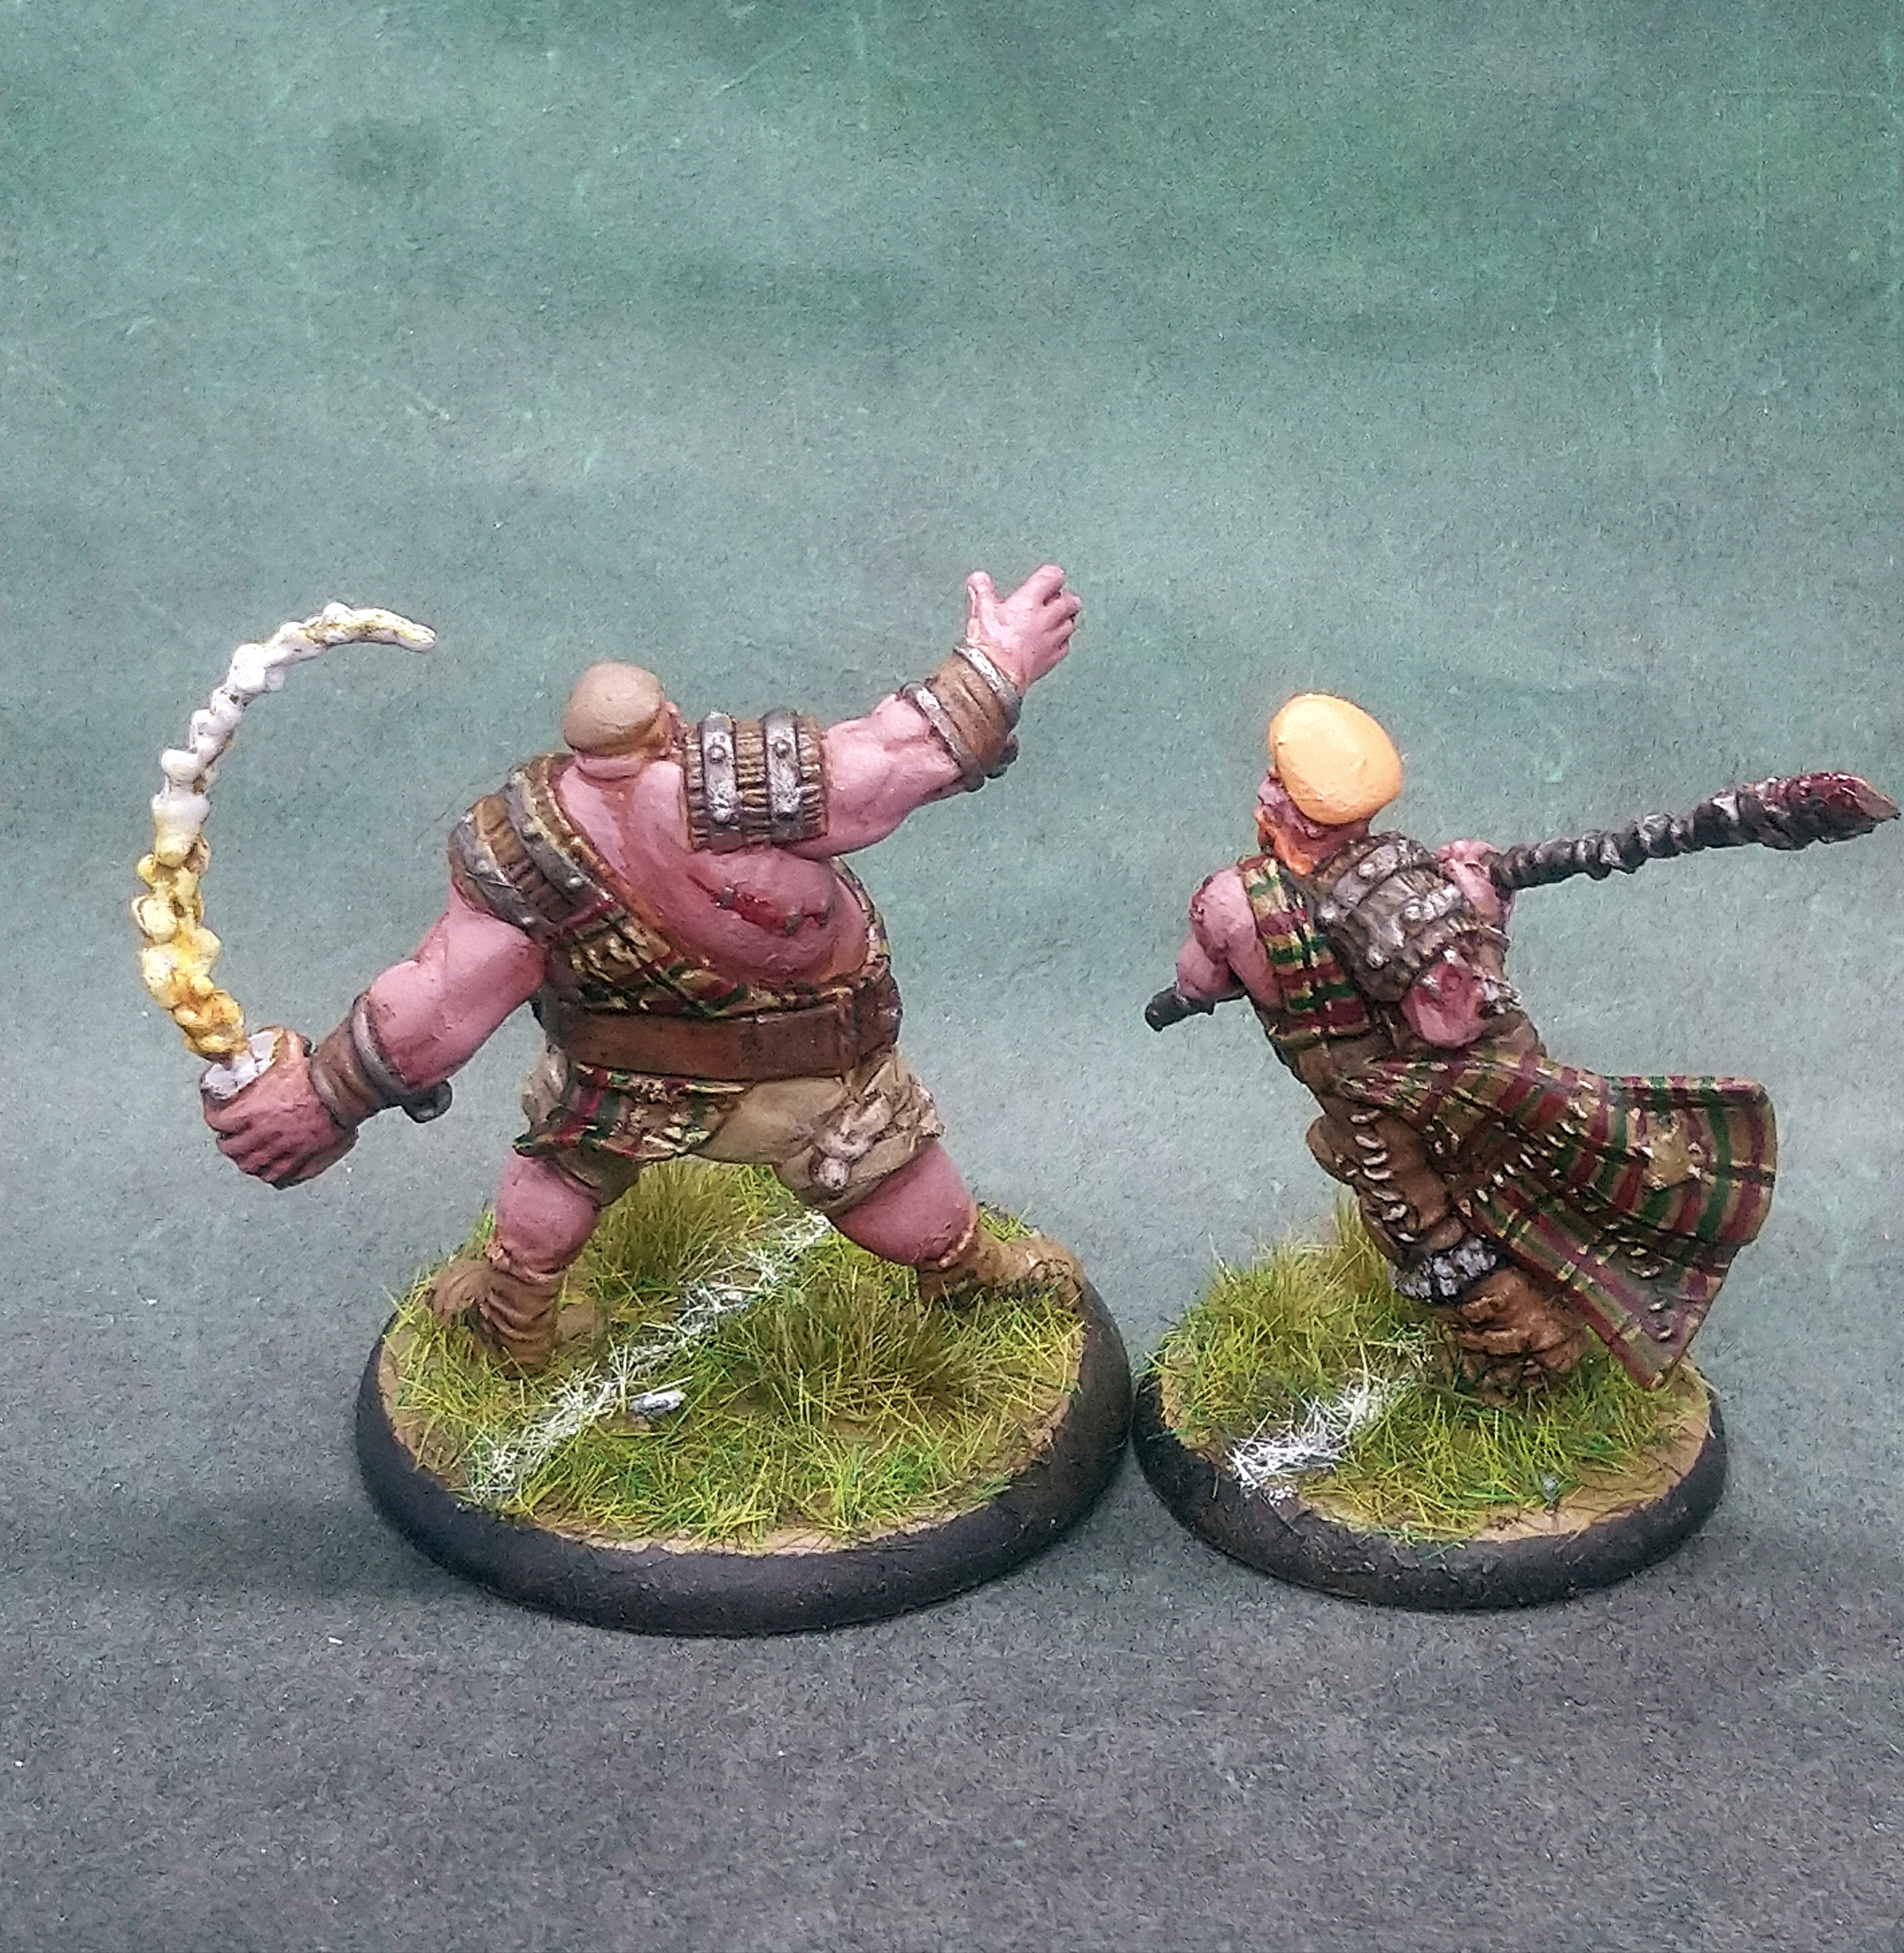
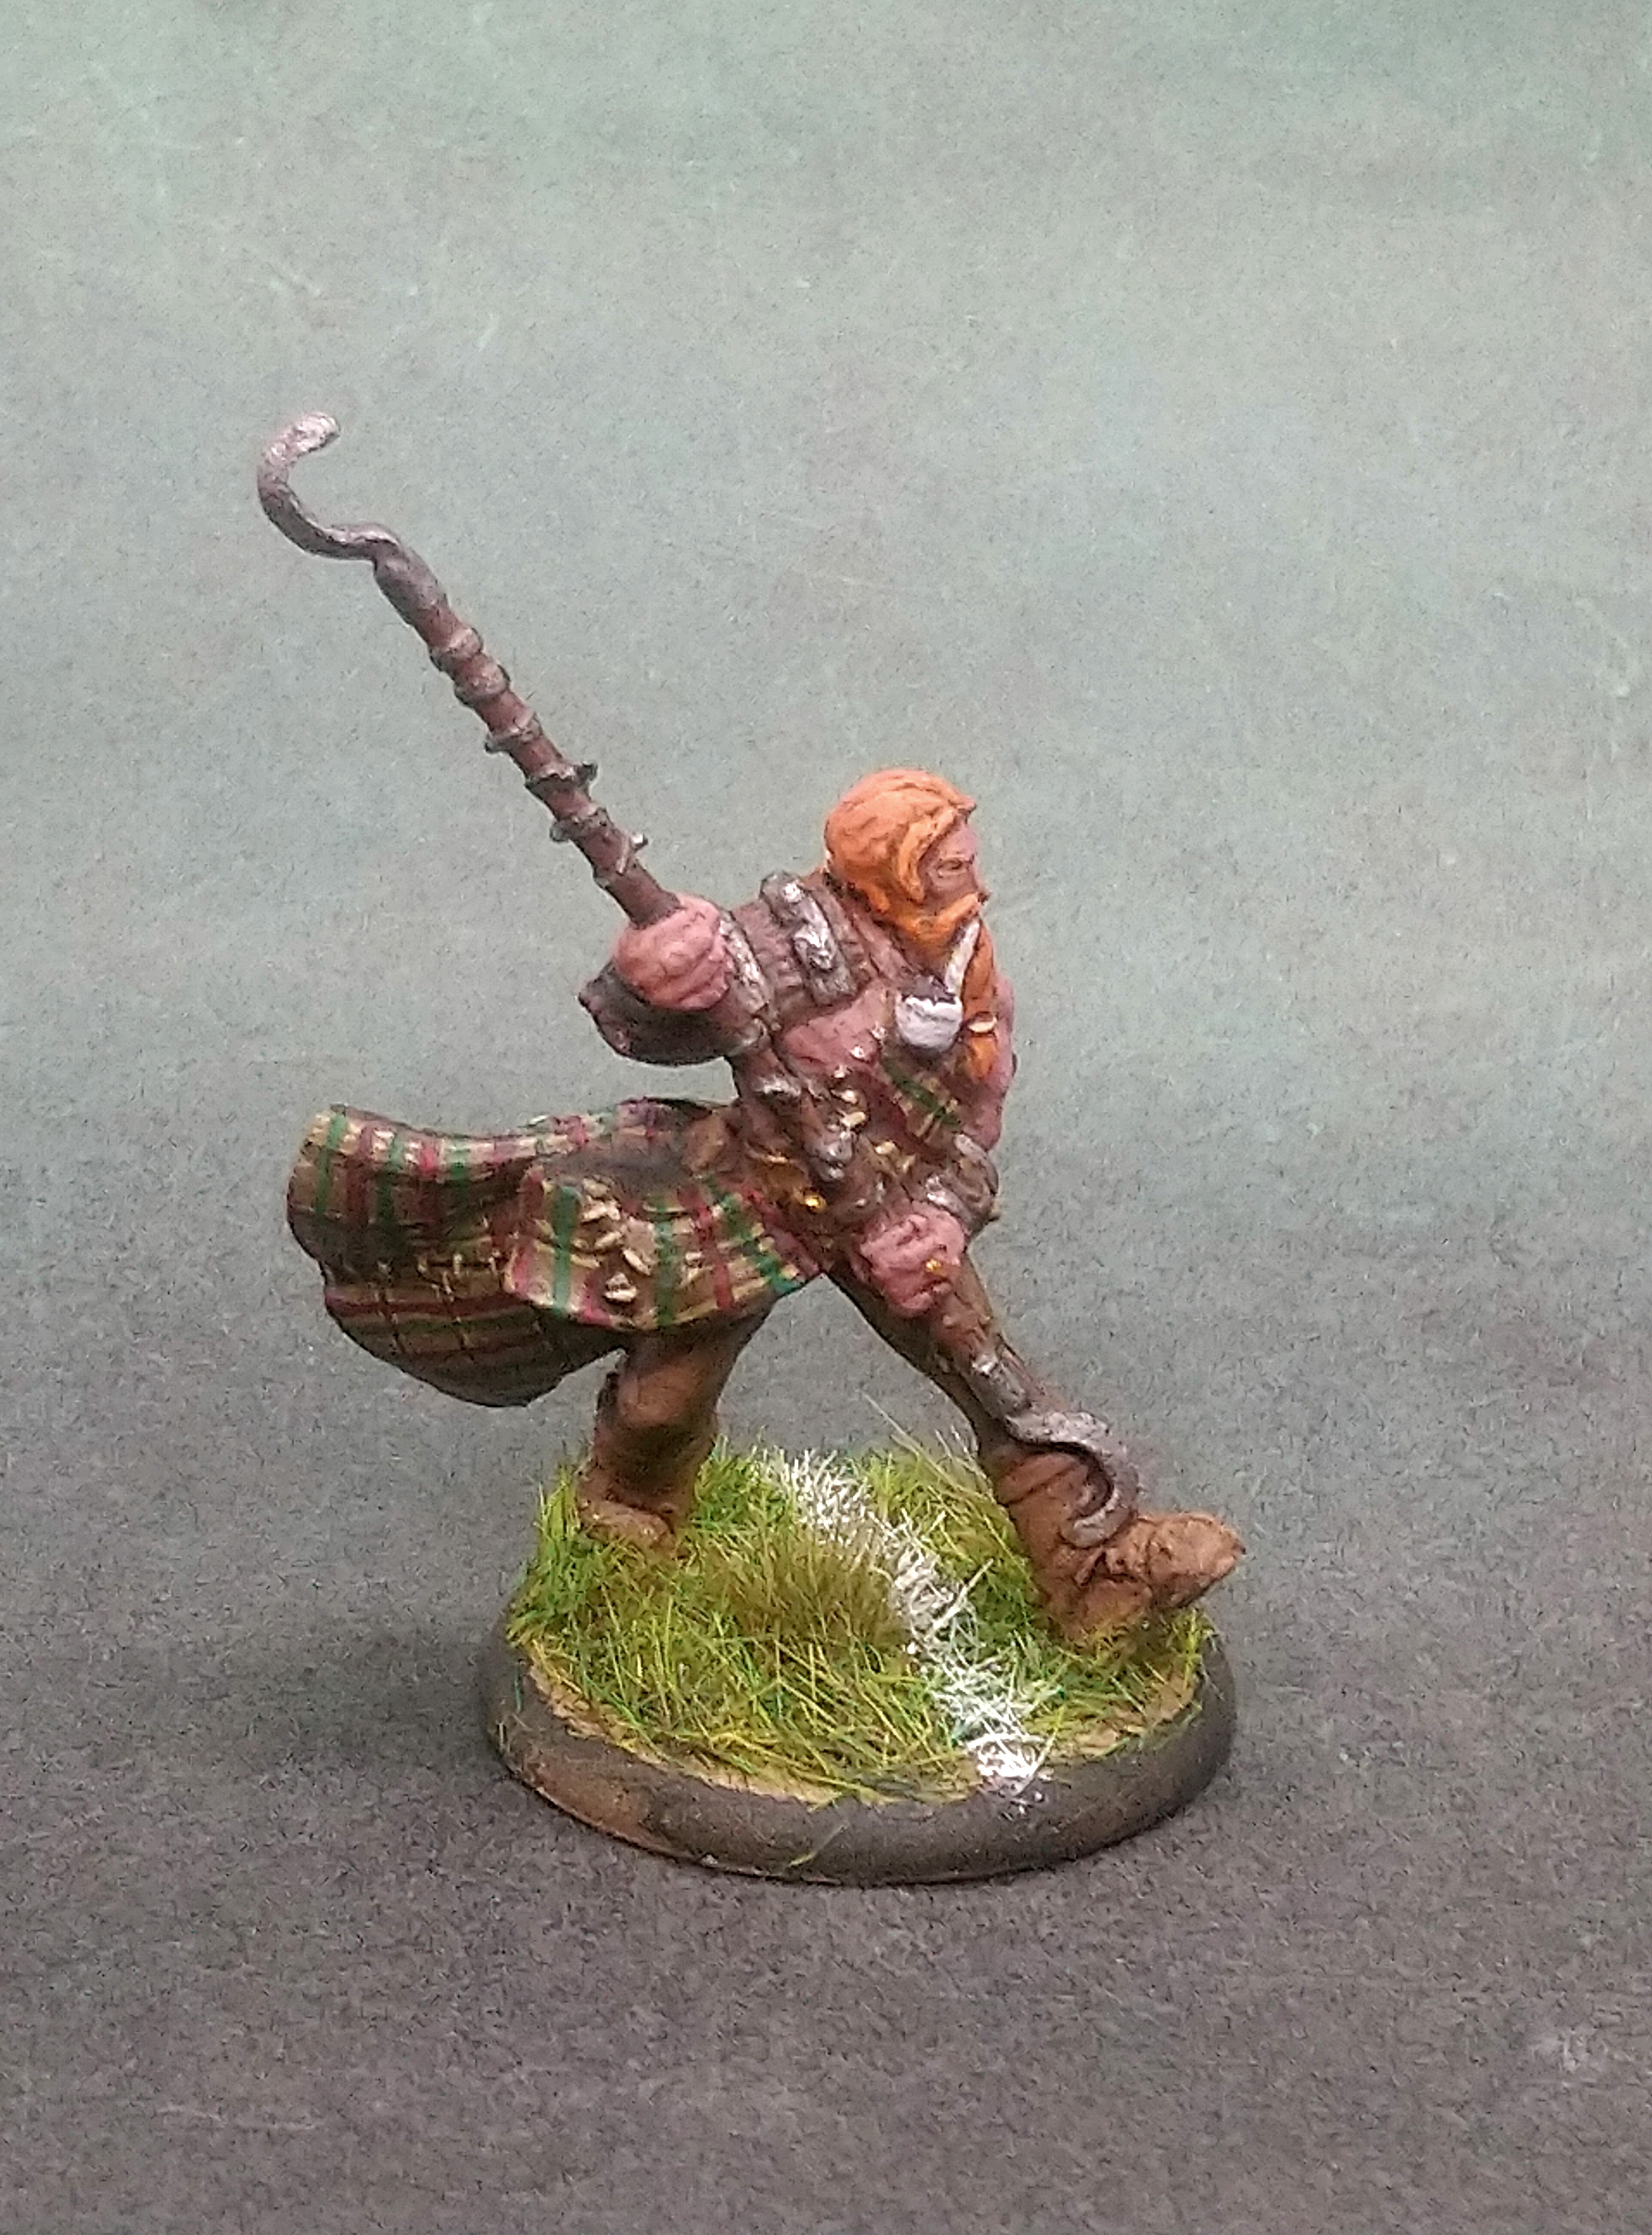
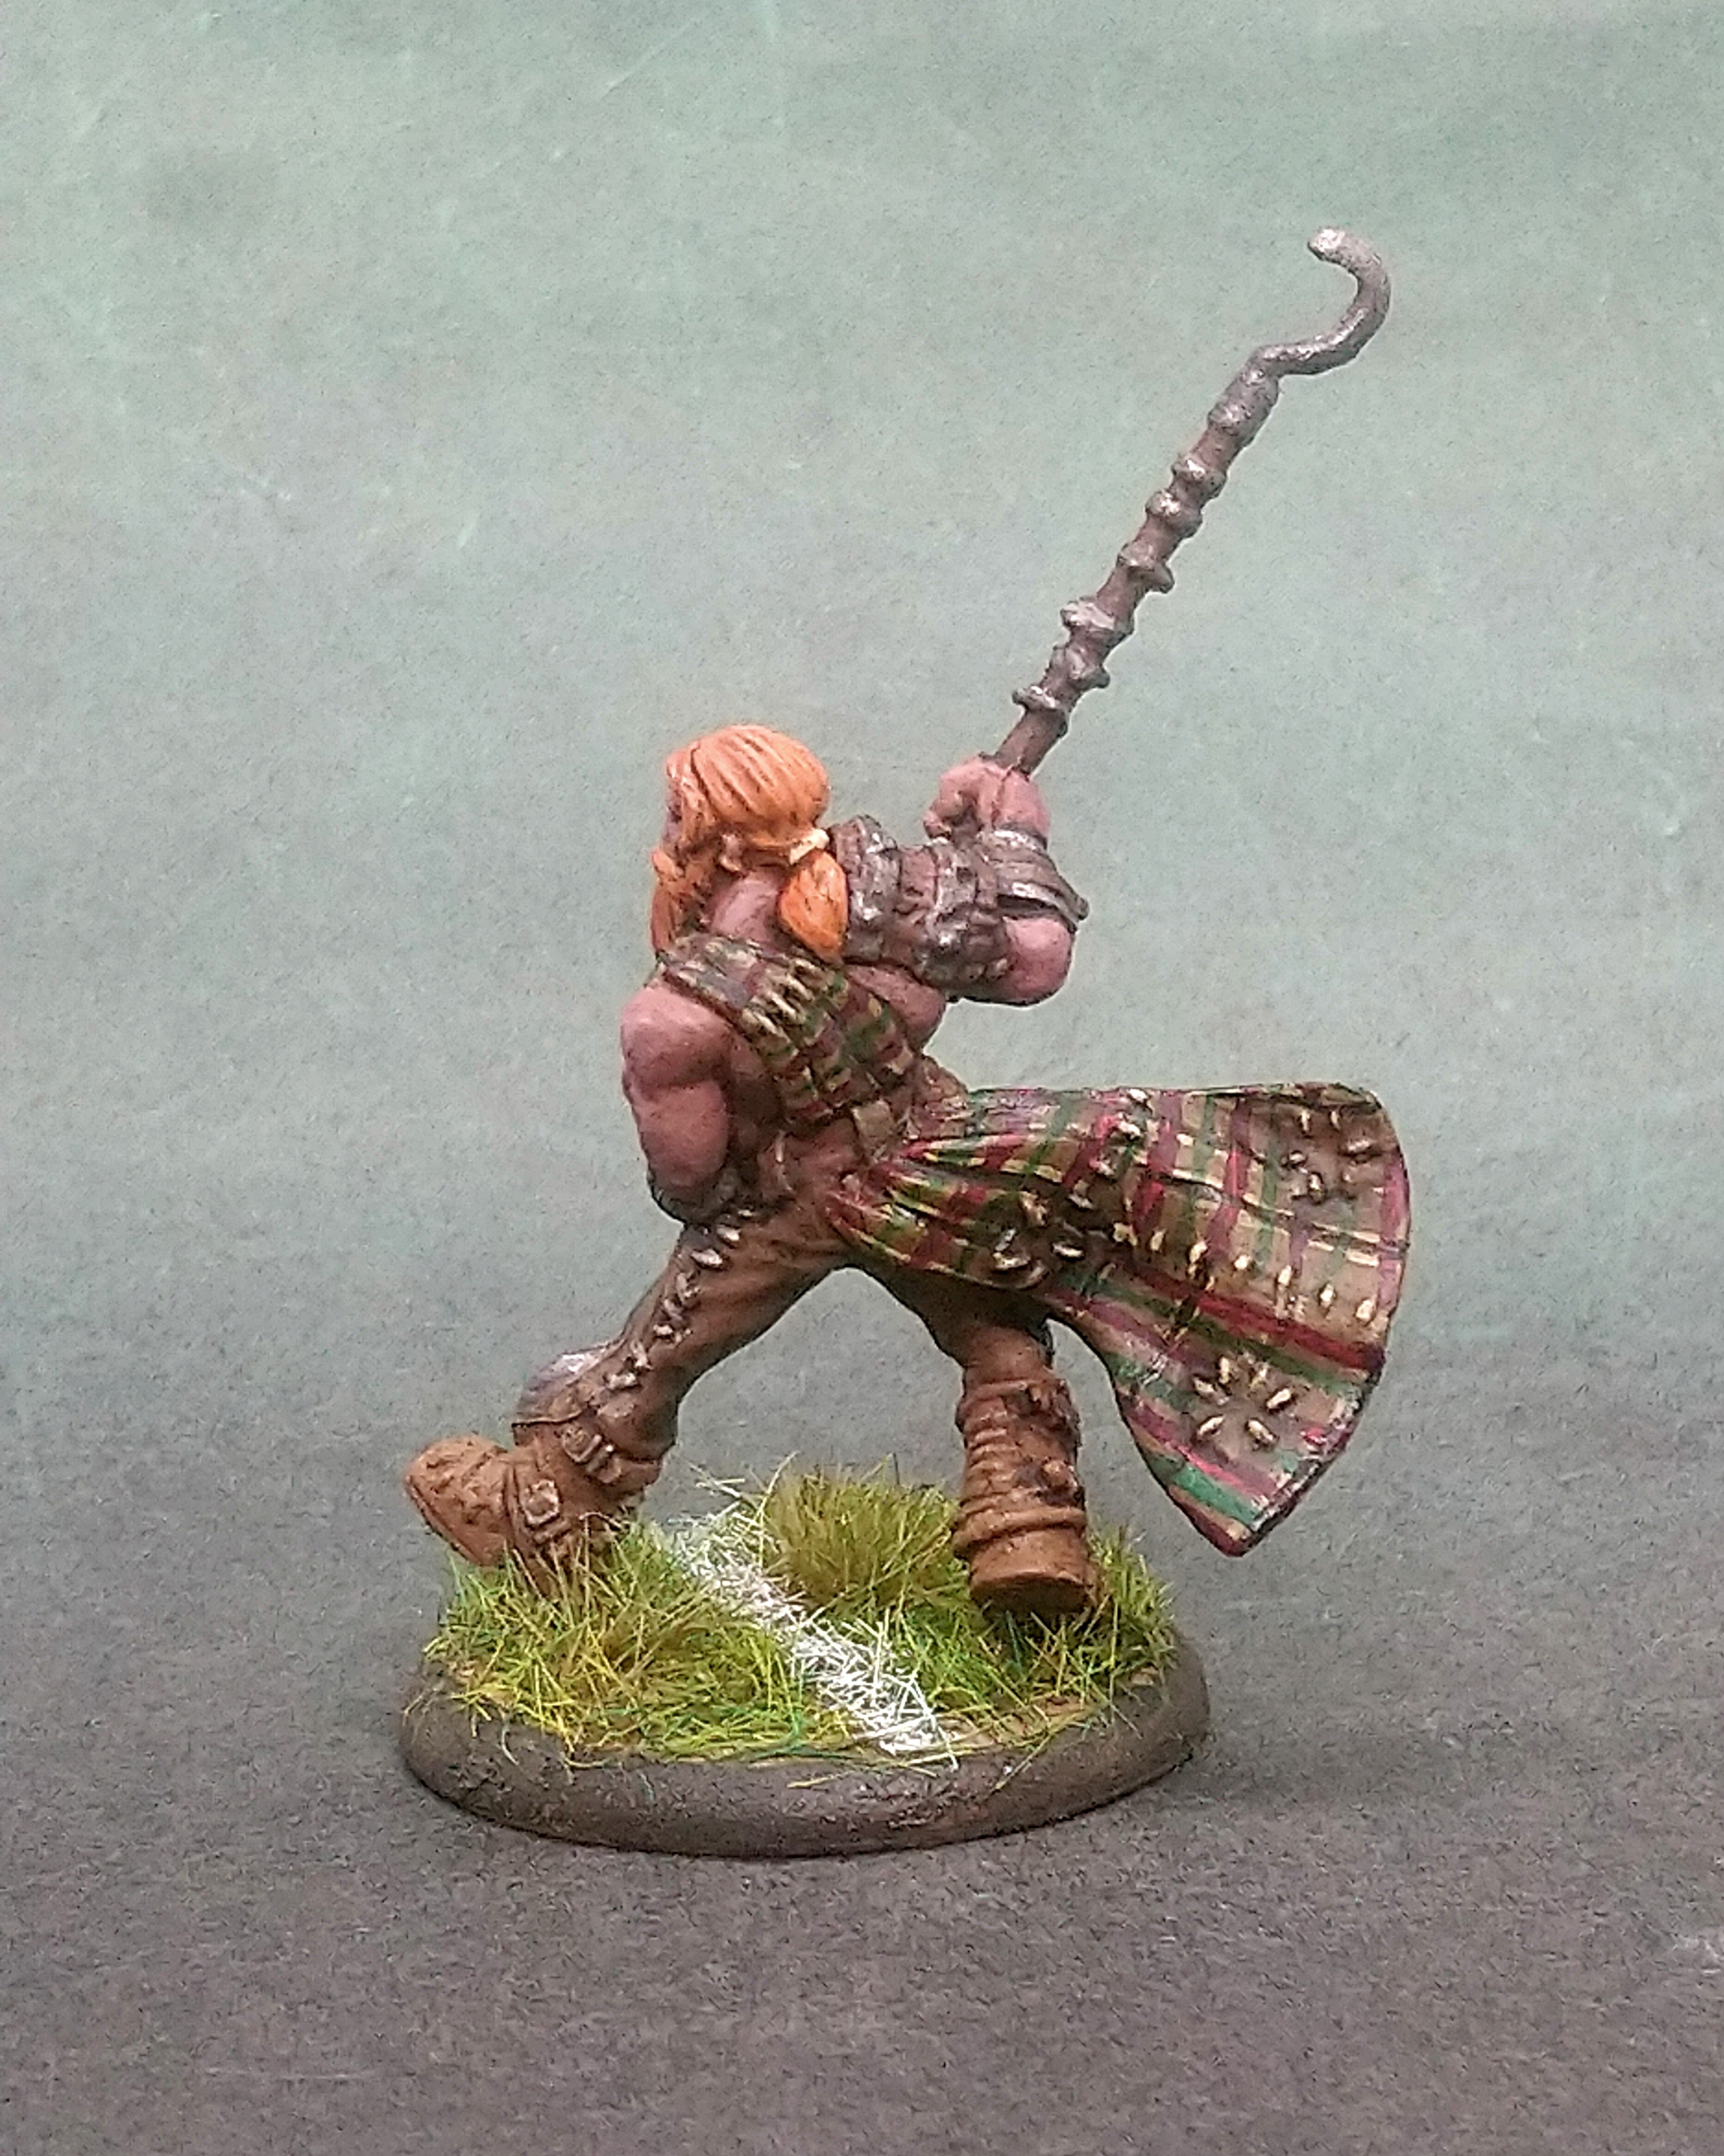
Super Hooper
More progress. Happy with the tartan, though now i have started to look at other Brewers teams painted up online it looks as though others look far better. 🙁

Tartan Paint
I am in no way an expert. But you can’t always get the best results from experts, after all… Breaking it down, an Ex is something that broke your heart and a Spert is a drip under pressure.
There’s no real trick to it, you just have to get used to painting straight lines.
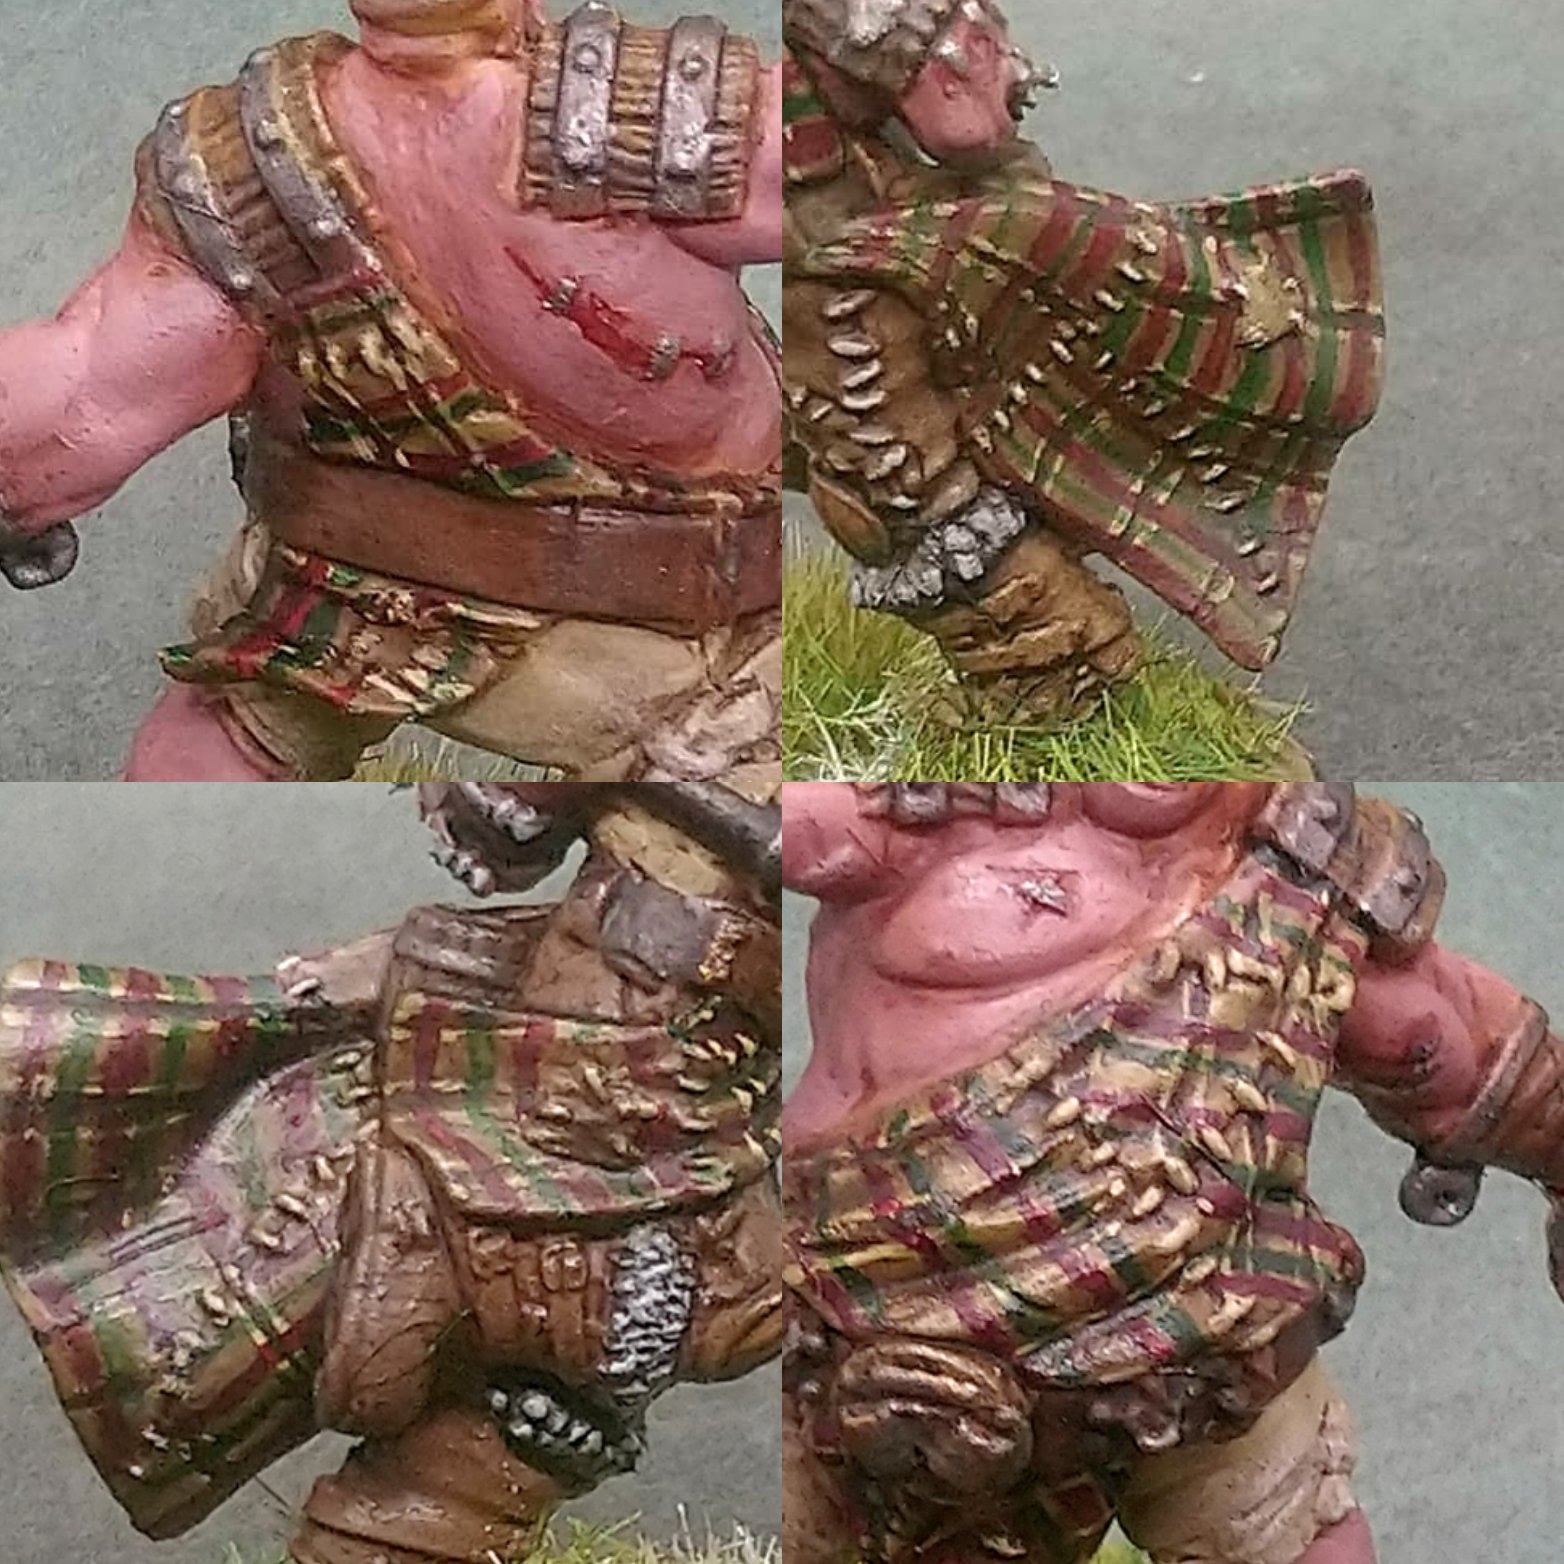
My method for these guys is to prepare the cloth, by highlighting high areas in Steel Legion Drab. Almost all of this will be lost under other colours, but i still think it helps in the long run.
Then i paint two thin Wraithbone White lateral parallel lines as close to each other as i could. (fig. 1) I then used the Flesh Eater Red Contrast Paint for the first horizontal lines. Leaving enough space to be able to add the second horizontal line with Orc Flesh Contrast Paint. (fig. 2)
Then i go back and carefully add Wyldwood Brown Contrast Paint between the two parallel lateral white lines. (fig. 3)
At the end of this i found things slightly glossy, especially the Wyldwood, and kinda looks painted on rather than woven. So i knocked the whole thing back a tone with come Athonian Camoshade. (Fig. 4) Once this is dry everything seems far more natural looking and tied together, but you can lose some of the contrast and it looks quite dull. I picked some high spots to try some careful highlighting with Zandri Dust on the dulled down white lateral lines and some Mephiston Red on the horizontal red lines. (Fig. 5)
Where there were large stiched areas i tried to twist the pattern of the tartan to show it wasn’t a perfect fit.
Don’t be afraid to do corrections, but try to complete the steps upto the shading part and see what the errors look like after the Camoshade has hidden any minor errors.
- The biggest tip is to watch the consistency of the paint on your brush.
- You don’t need an insanely thin brush you just need the paint to be relatively thin and flowing easily from your brush.
- Start by painting straight lines on your thumb nail perhaps?
- And always strive to get a nice point to your brush and don’t put tons of paint on the brush at a time.
- Be patient. Not only in the slow progress of the paint job, but also be patient with the learning curve that you are on, trying to accomplish something that even great painters say is a challenge.
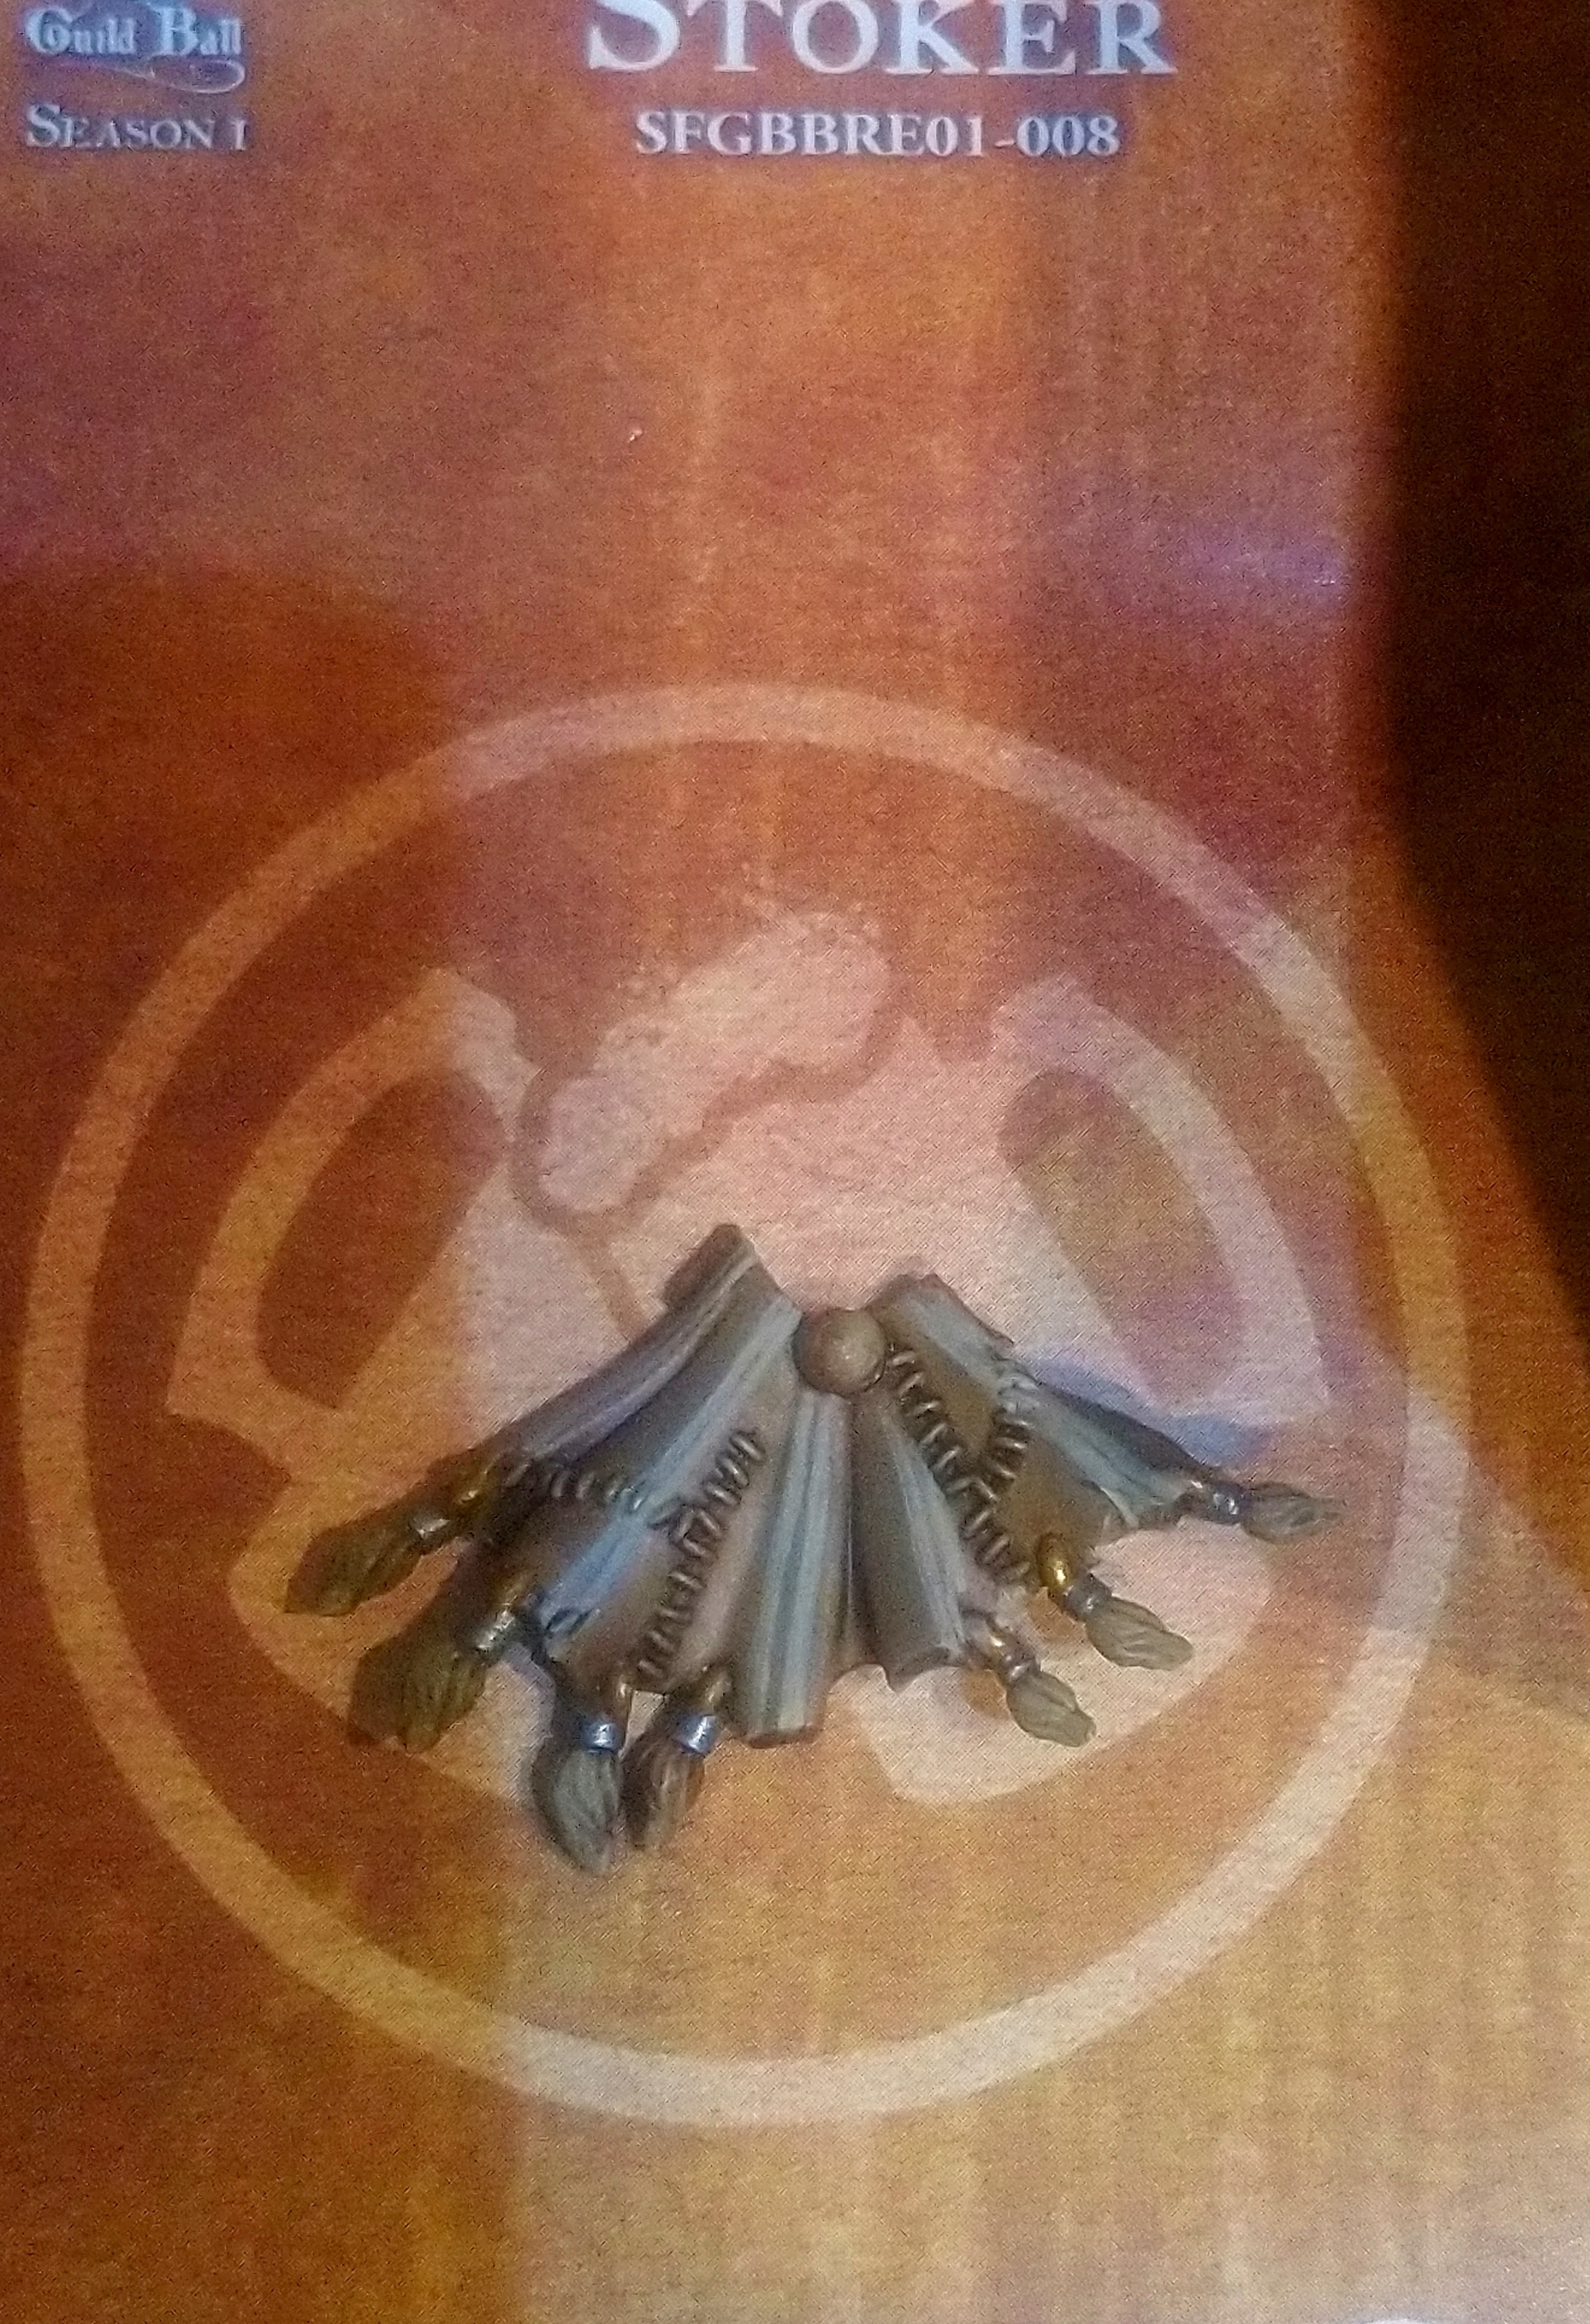 Fig. 1
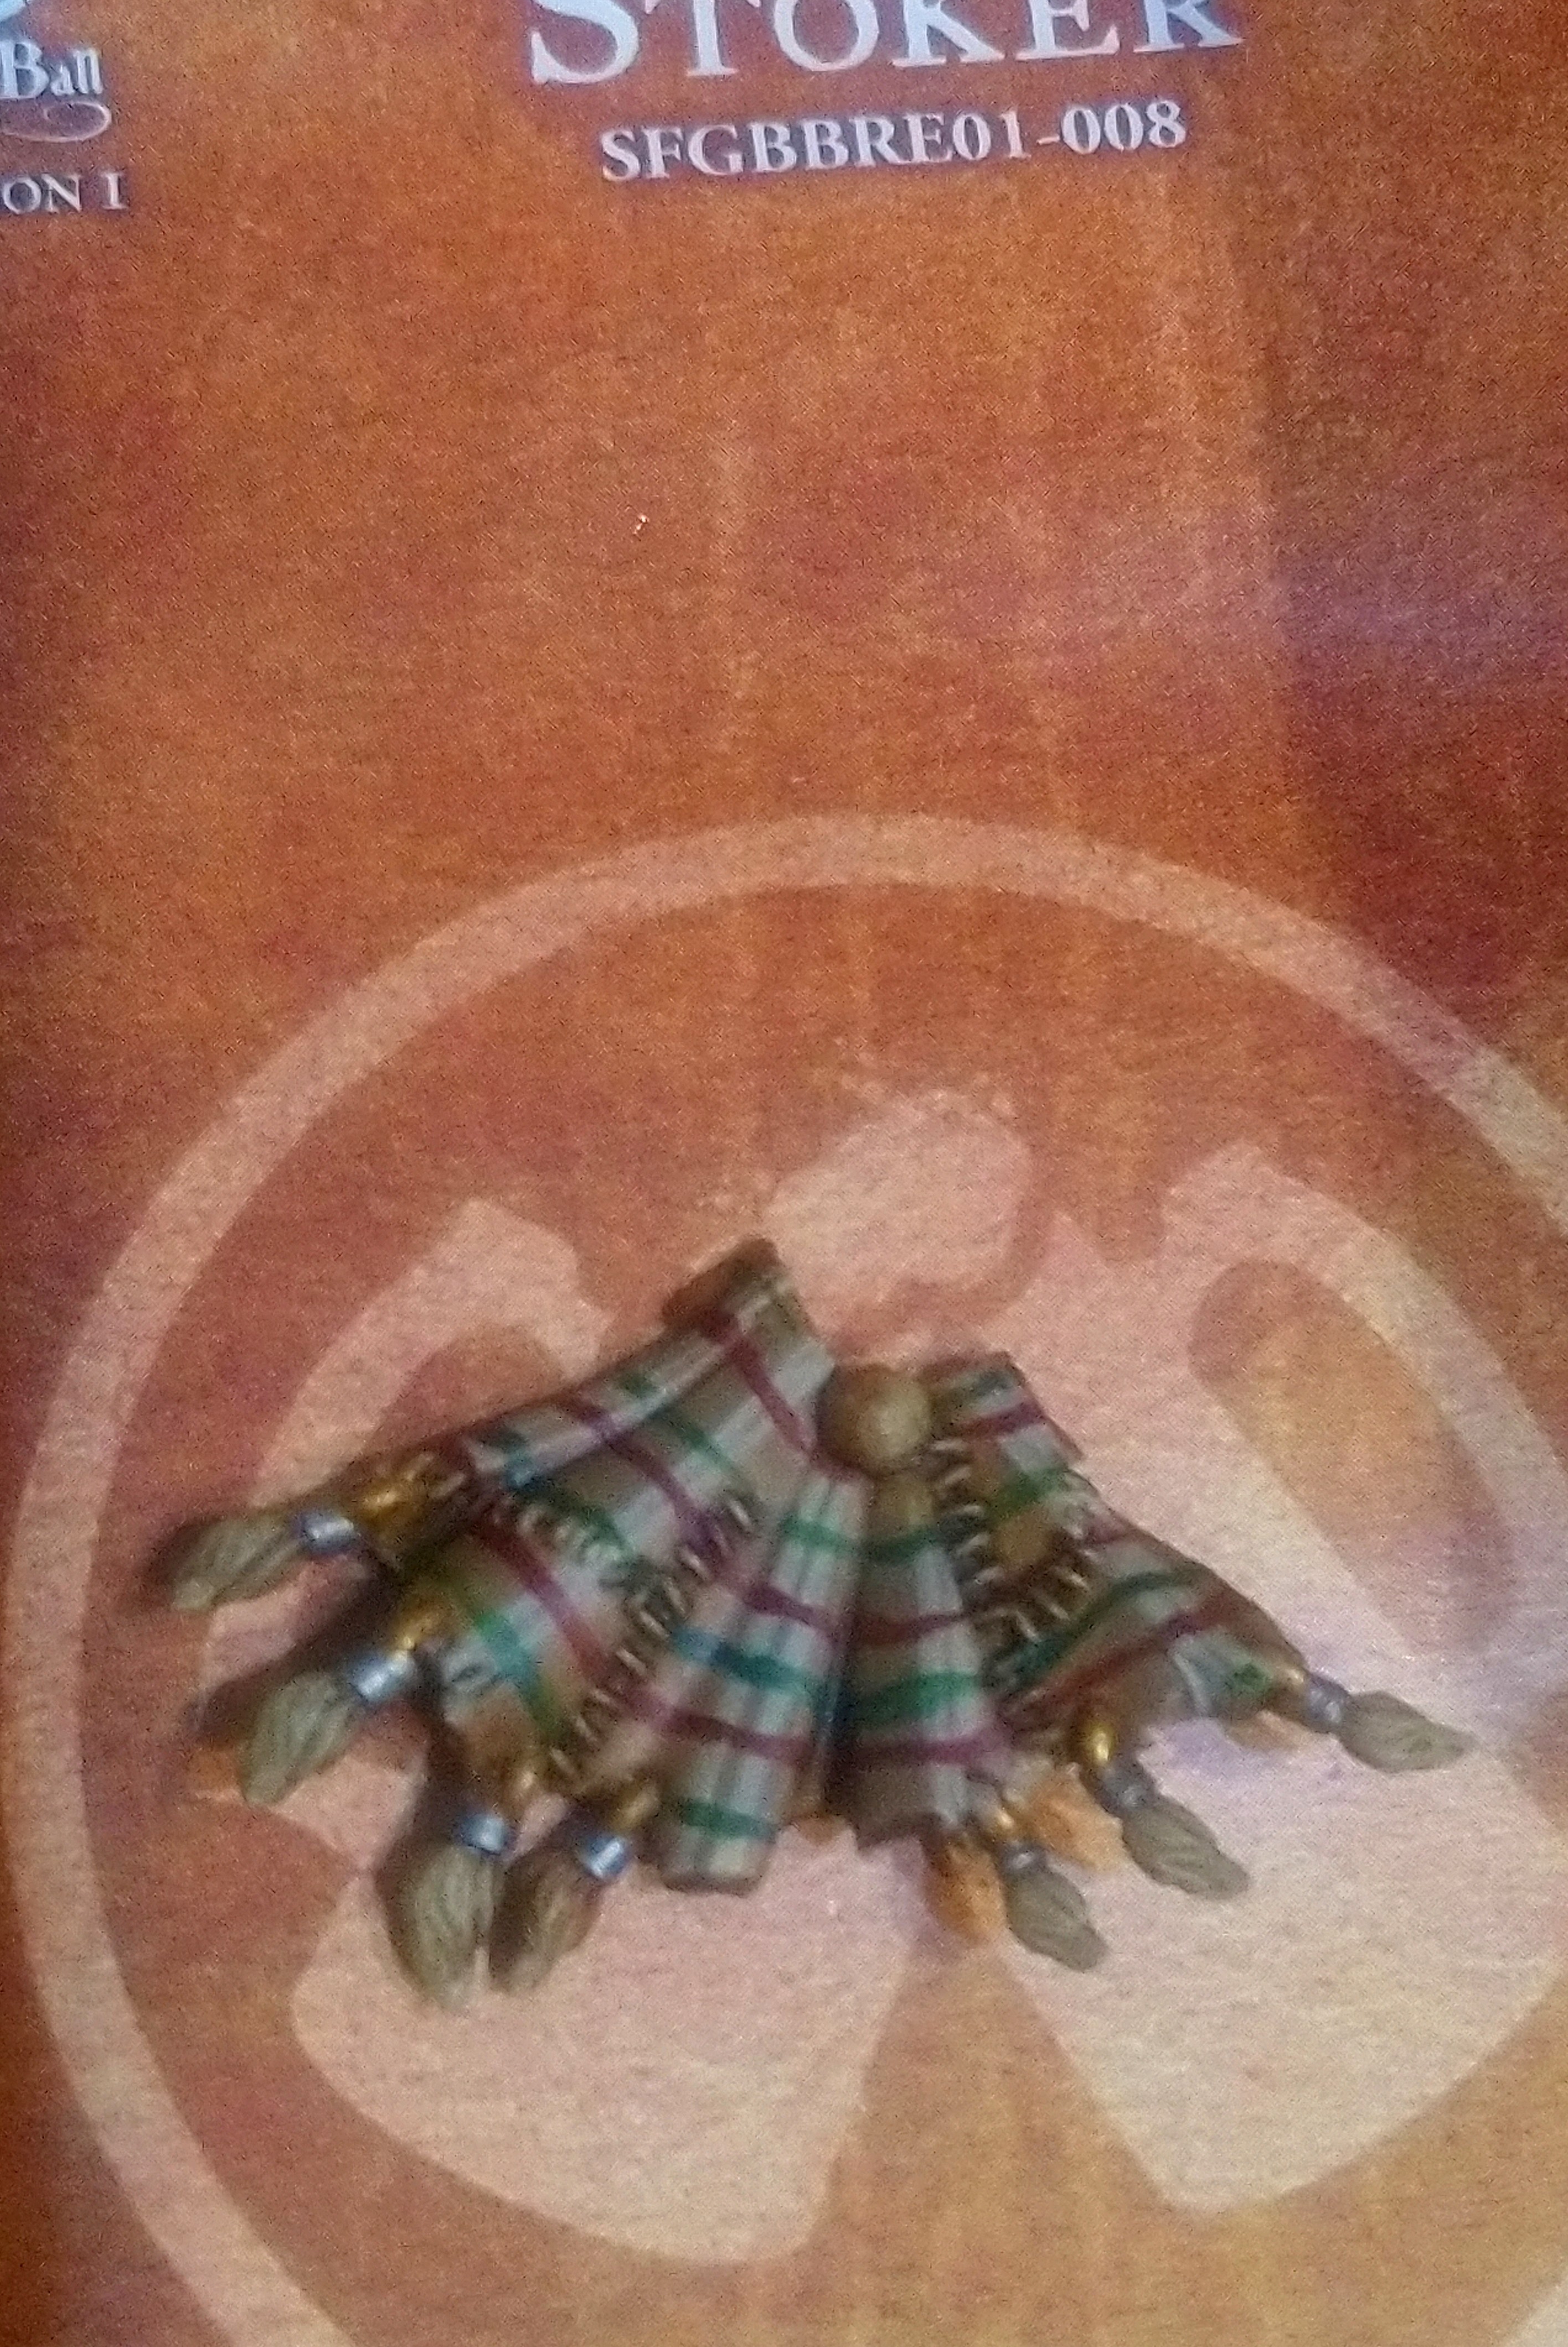 Fig. 2
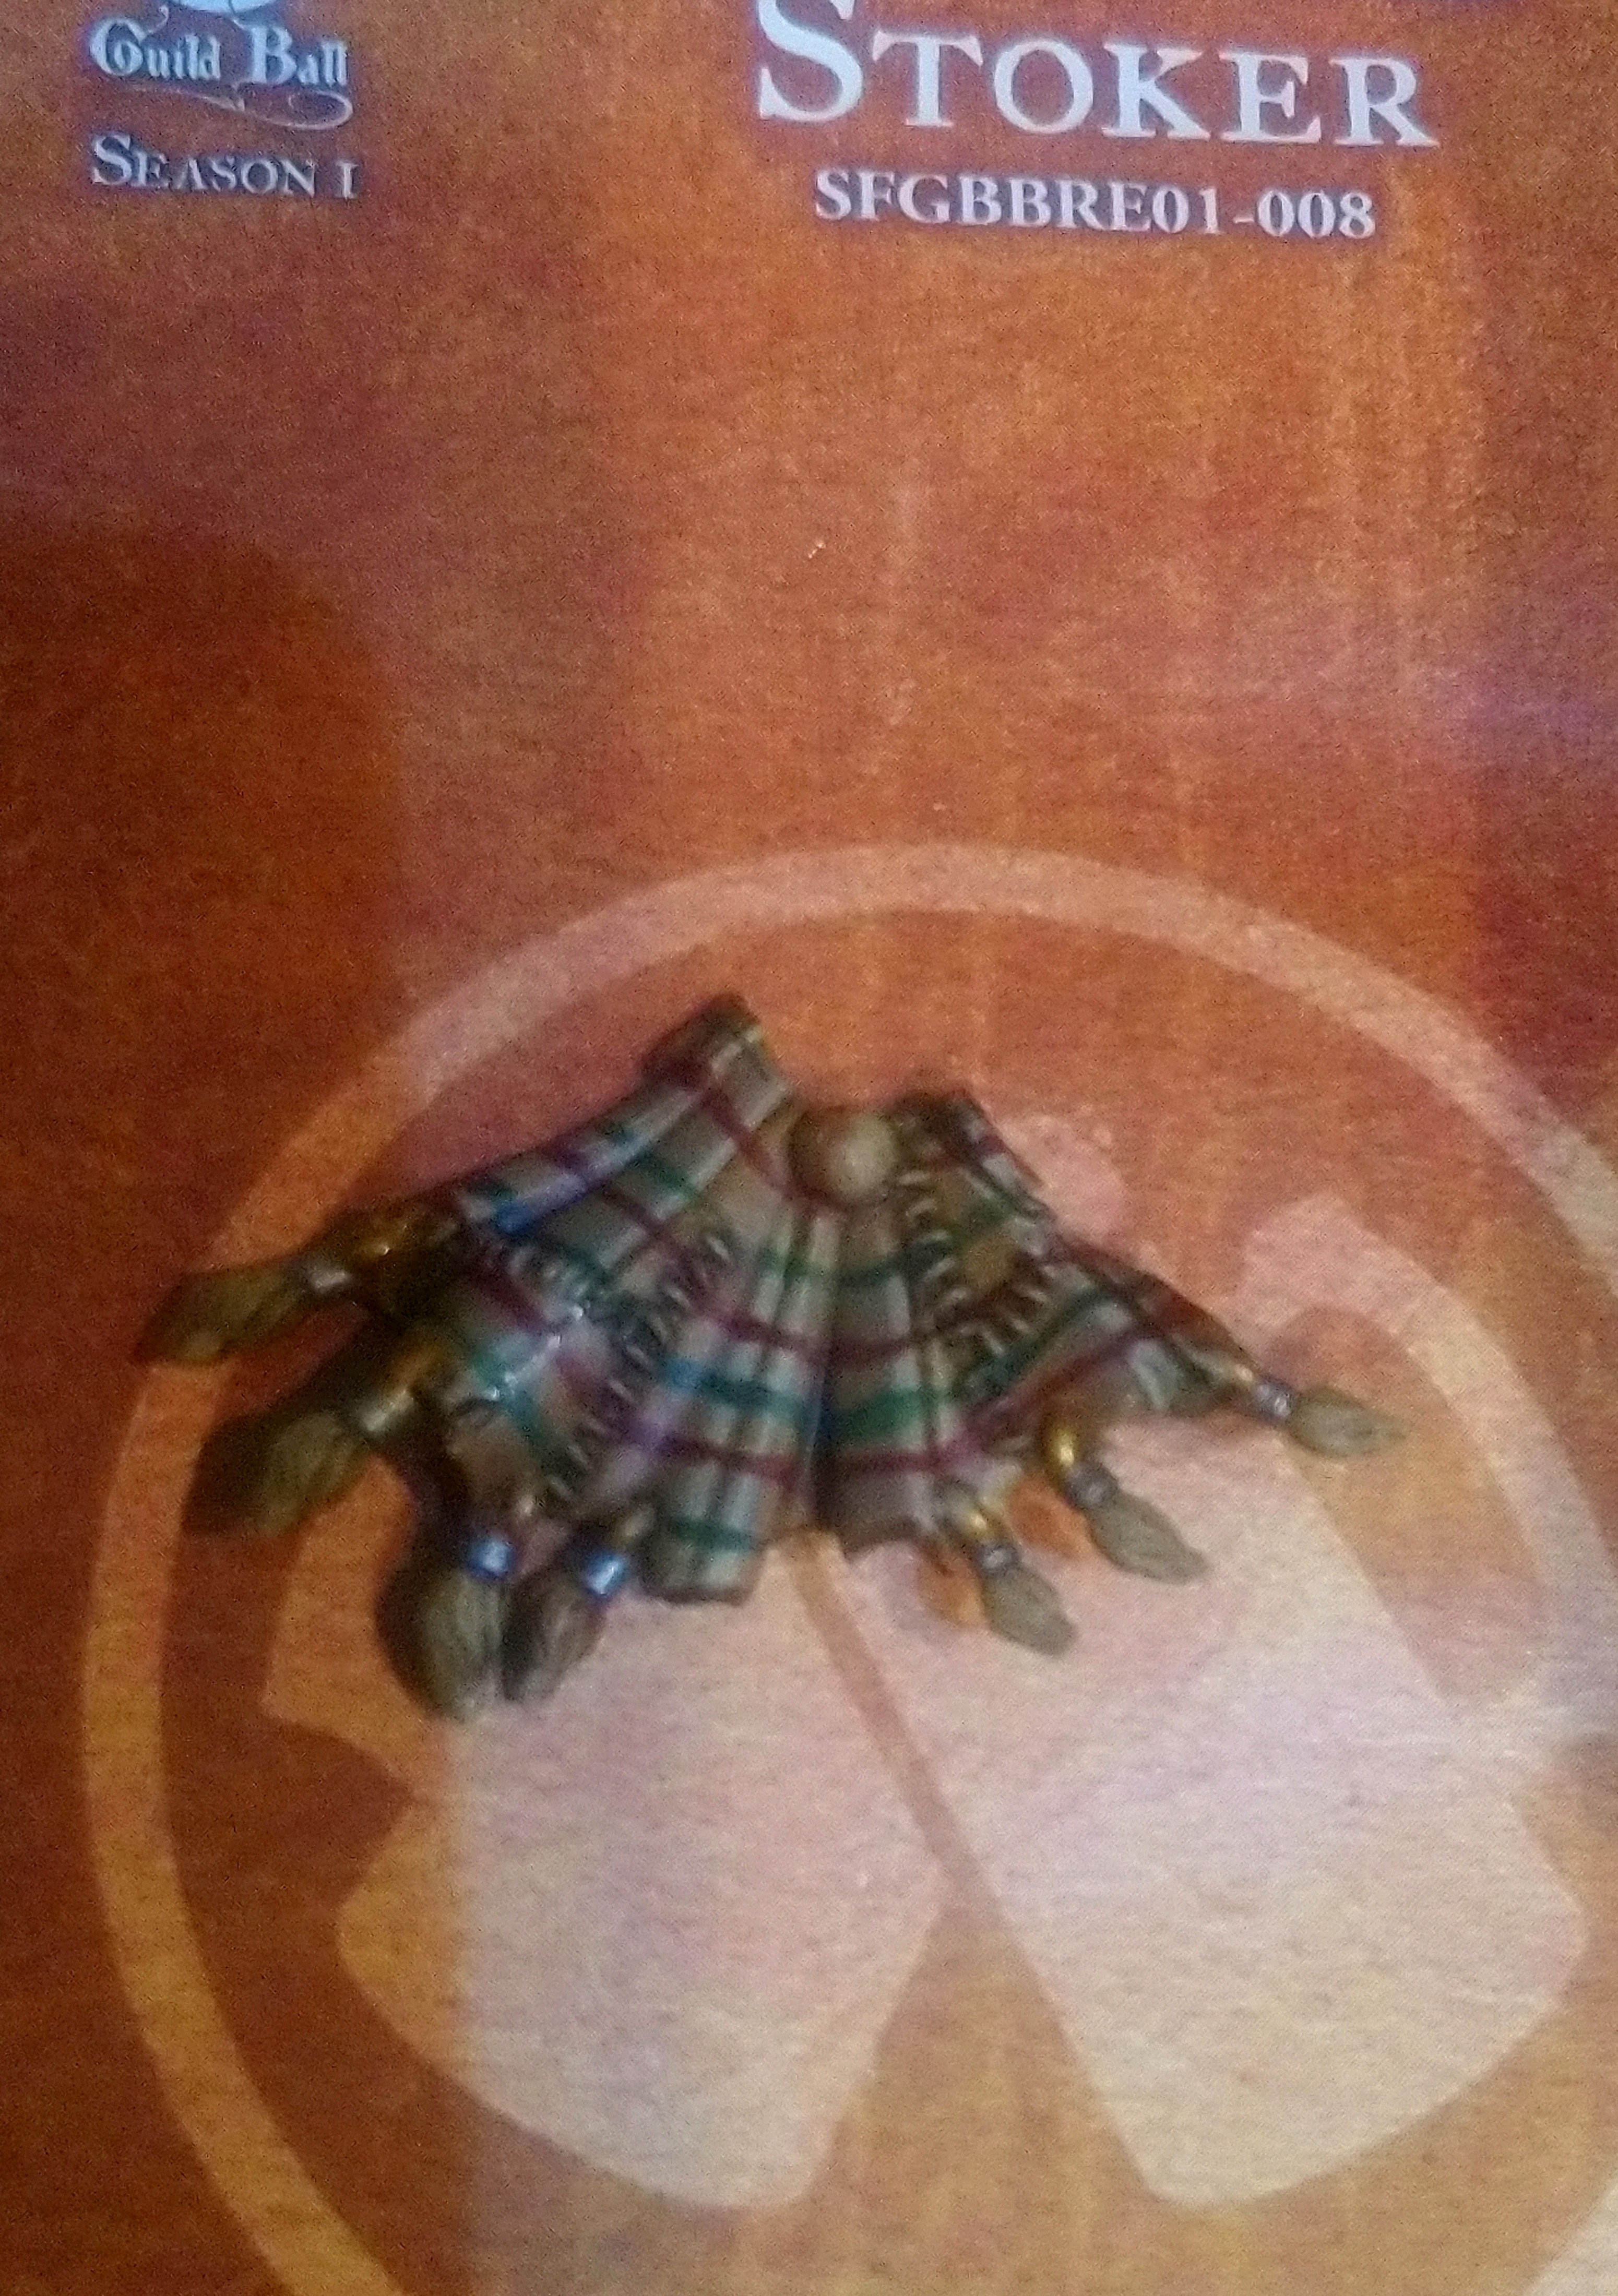 Fig. 3
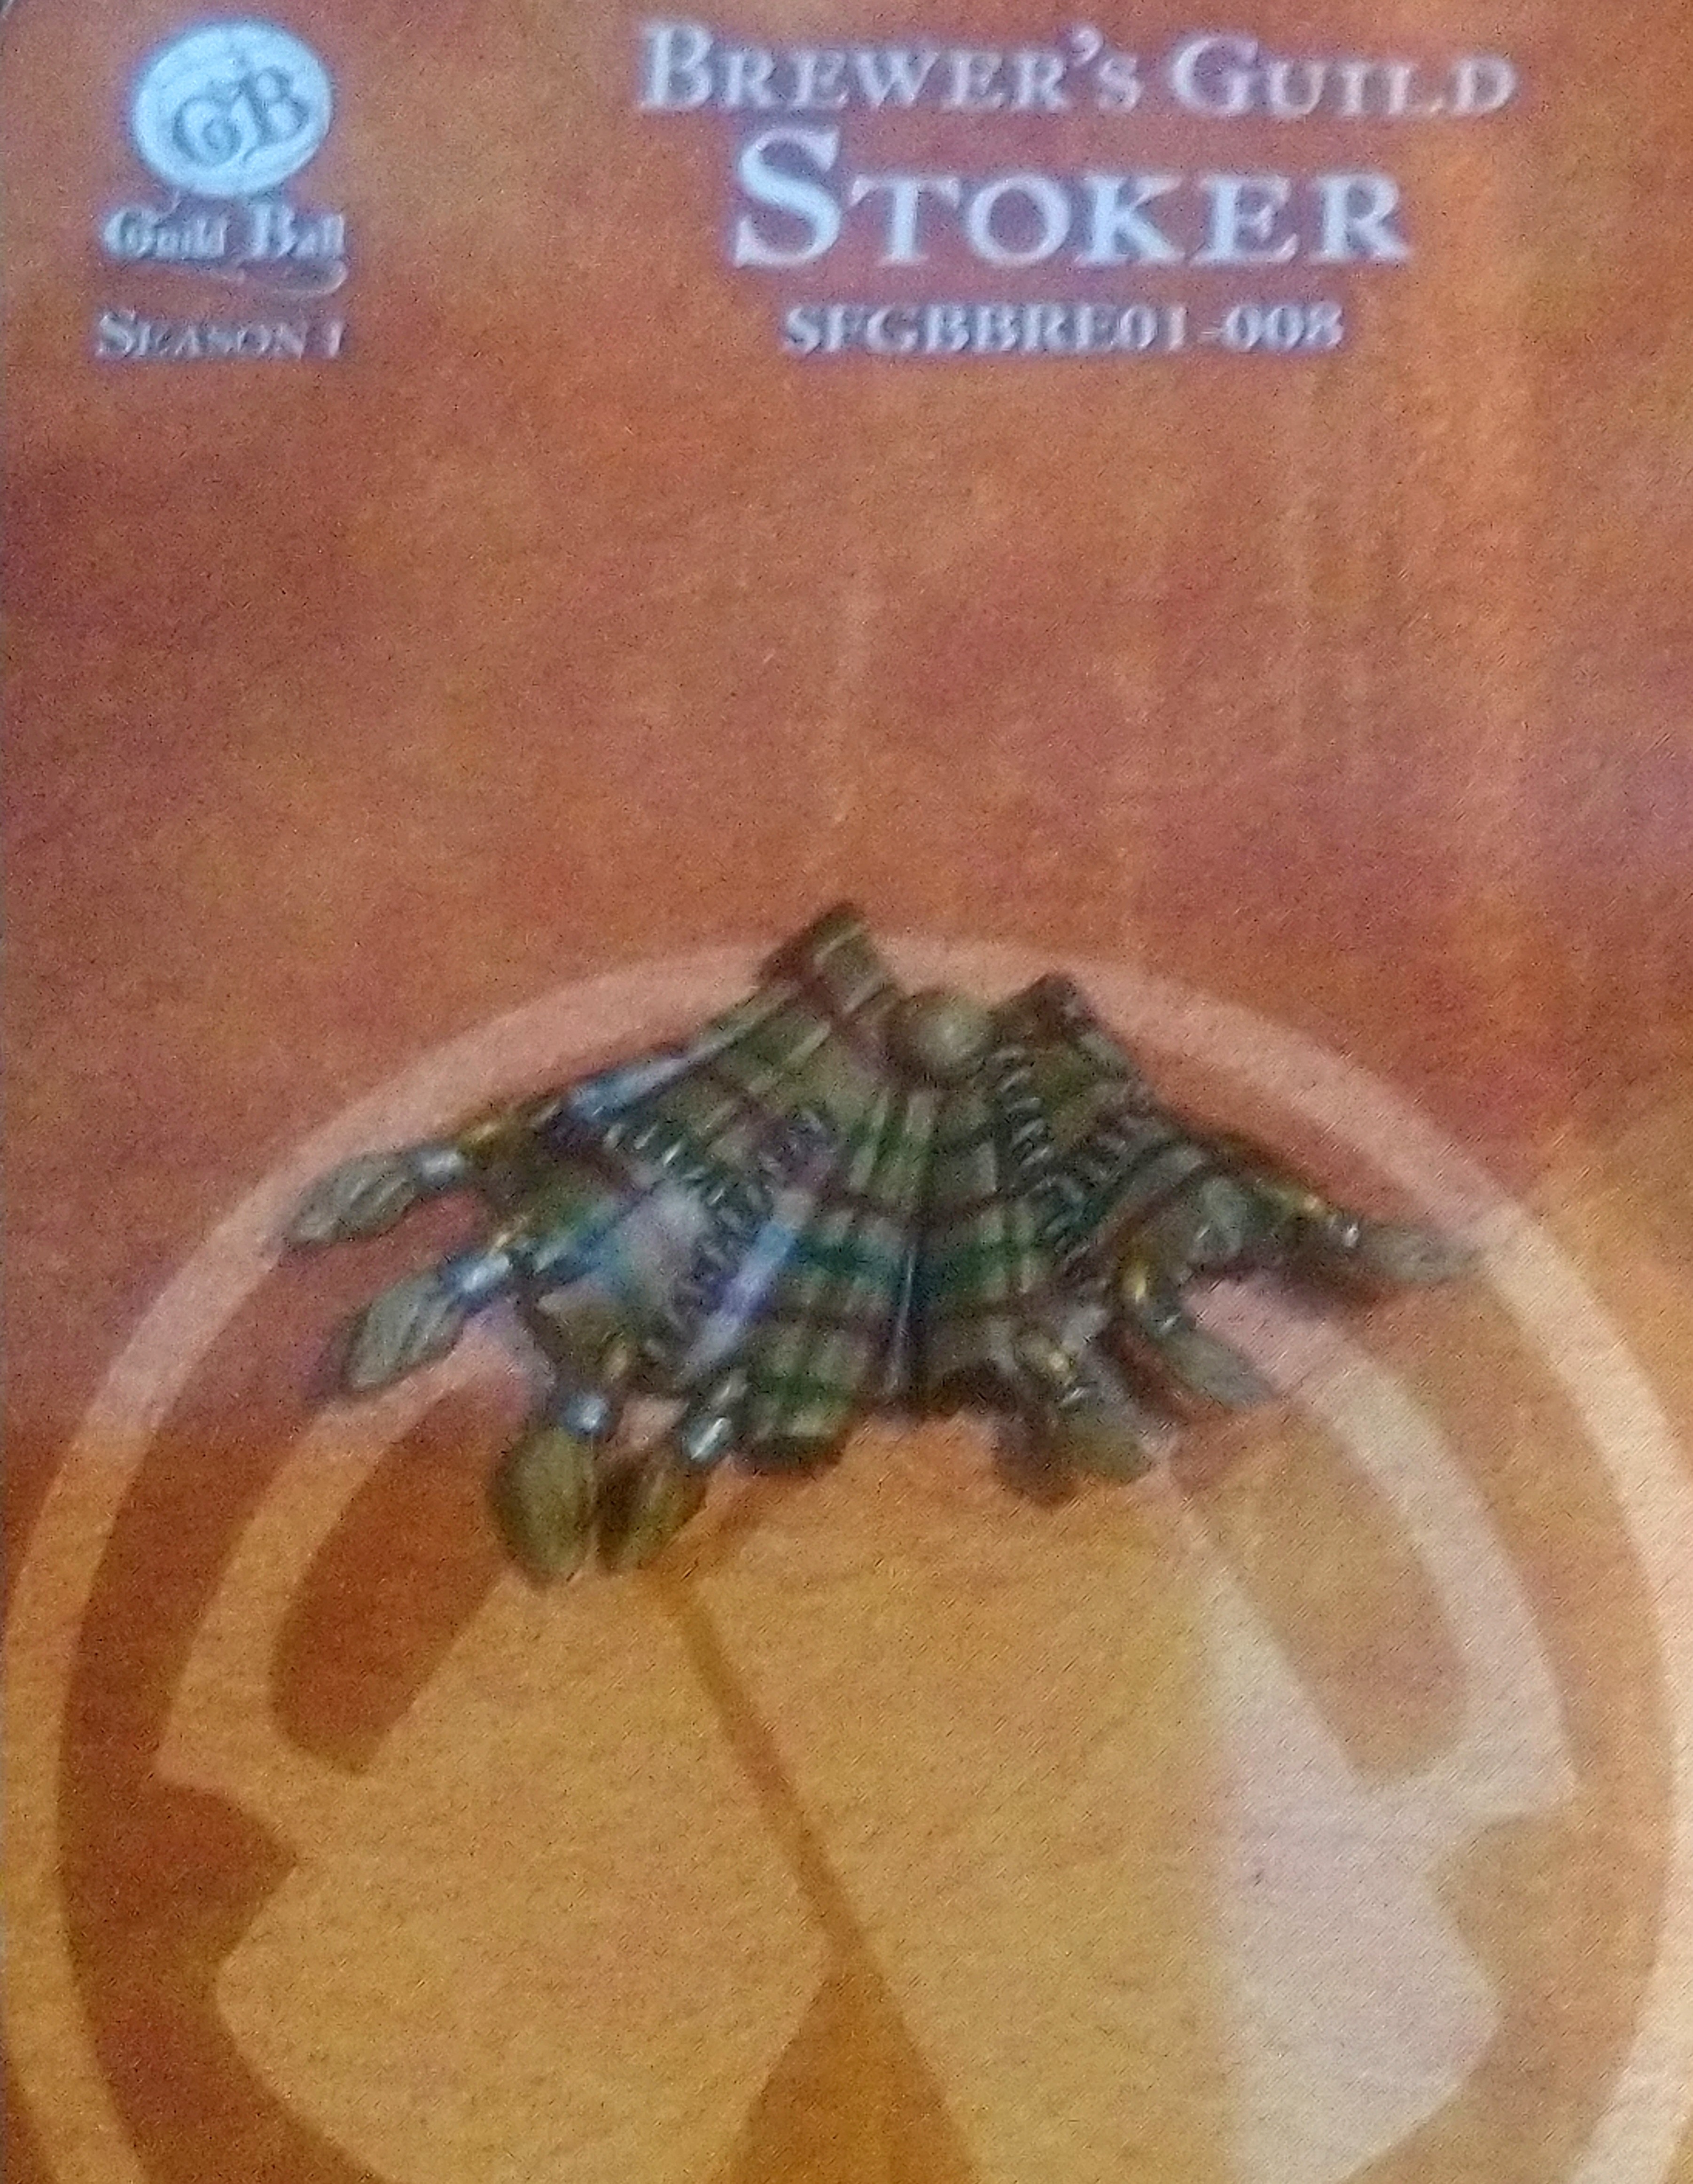 Fig. 4
 Fig. 5
Scum... Where's ya tool
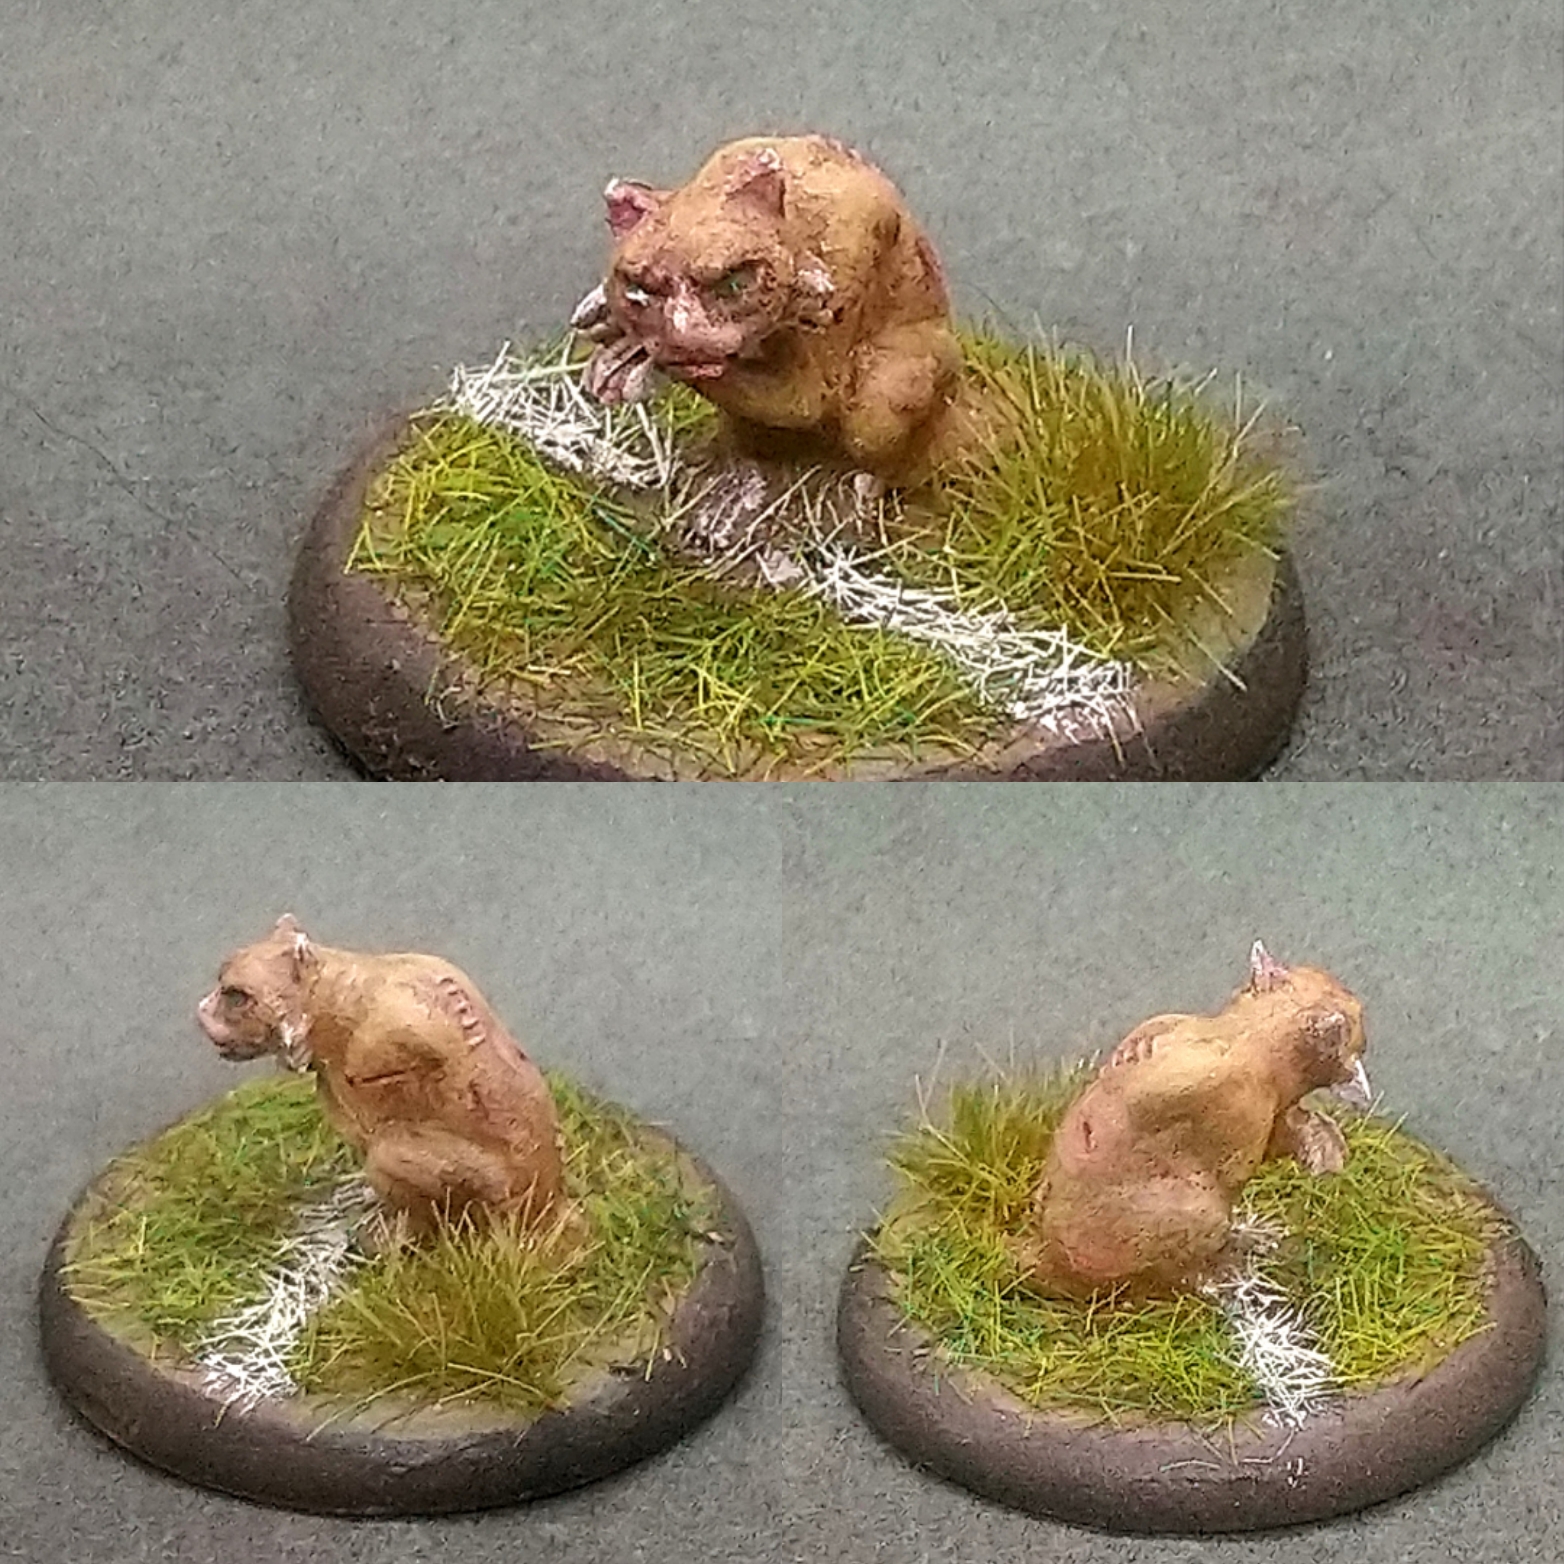
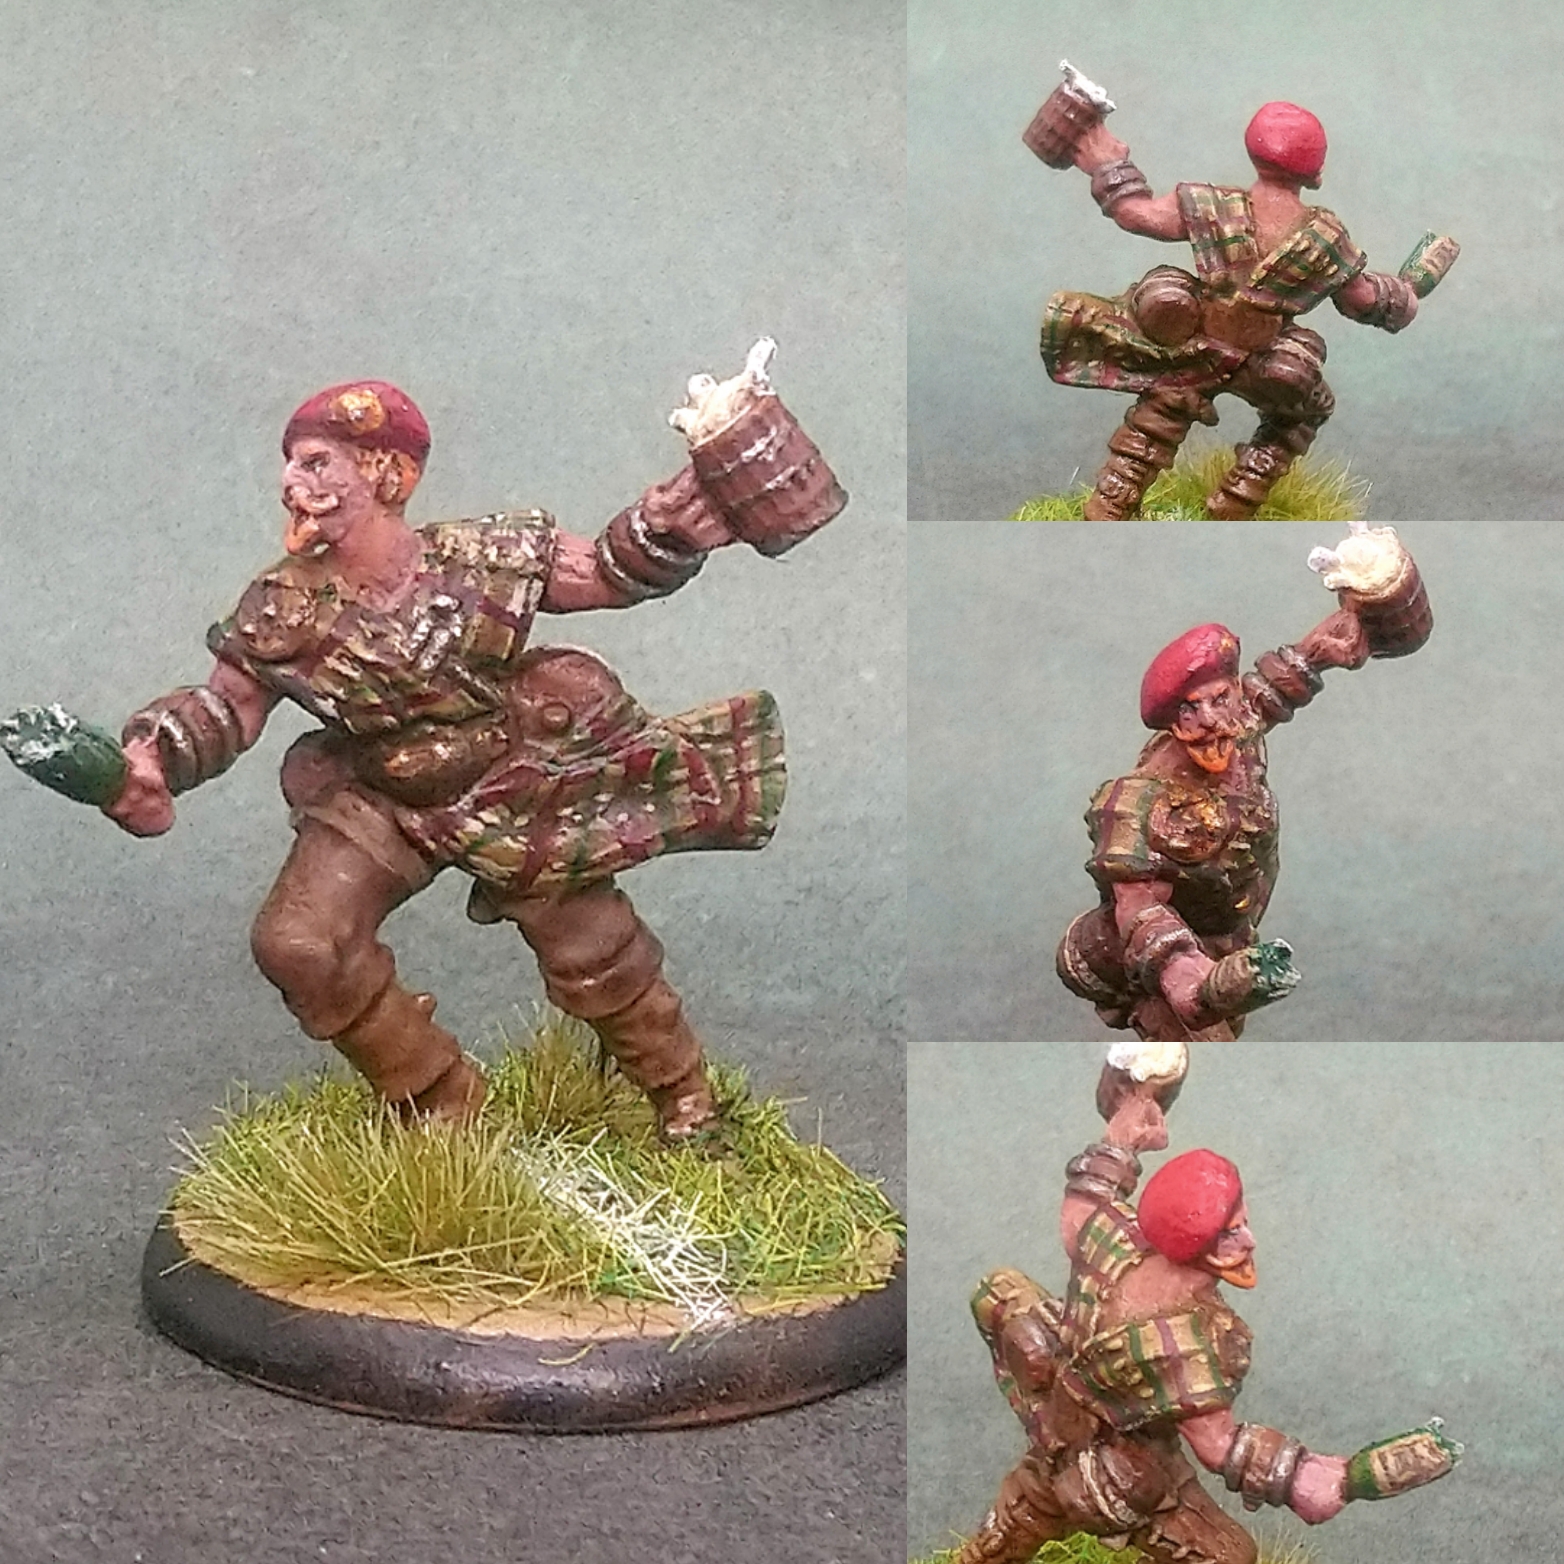
Painted this mascot years ago, but didn’t bother to spruce it up at all because i like the battered look i achieved at the time.
Advice taken...
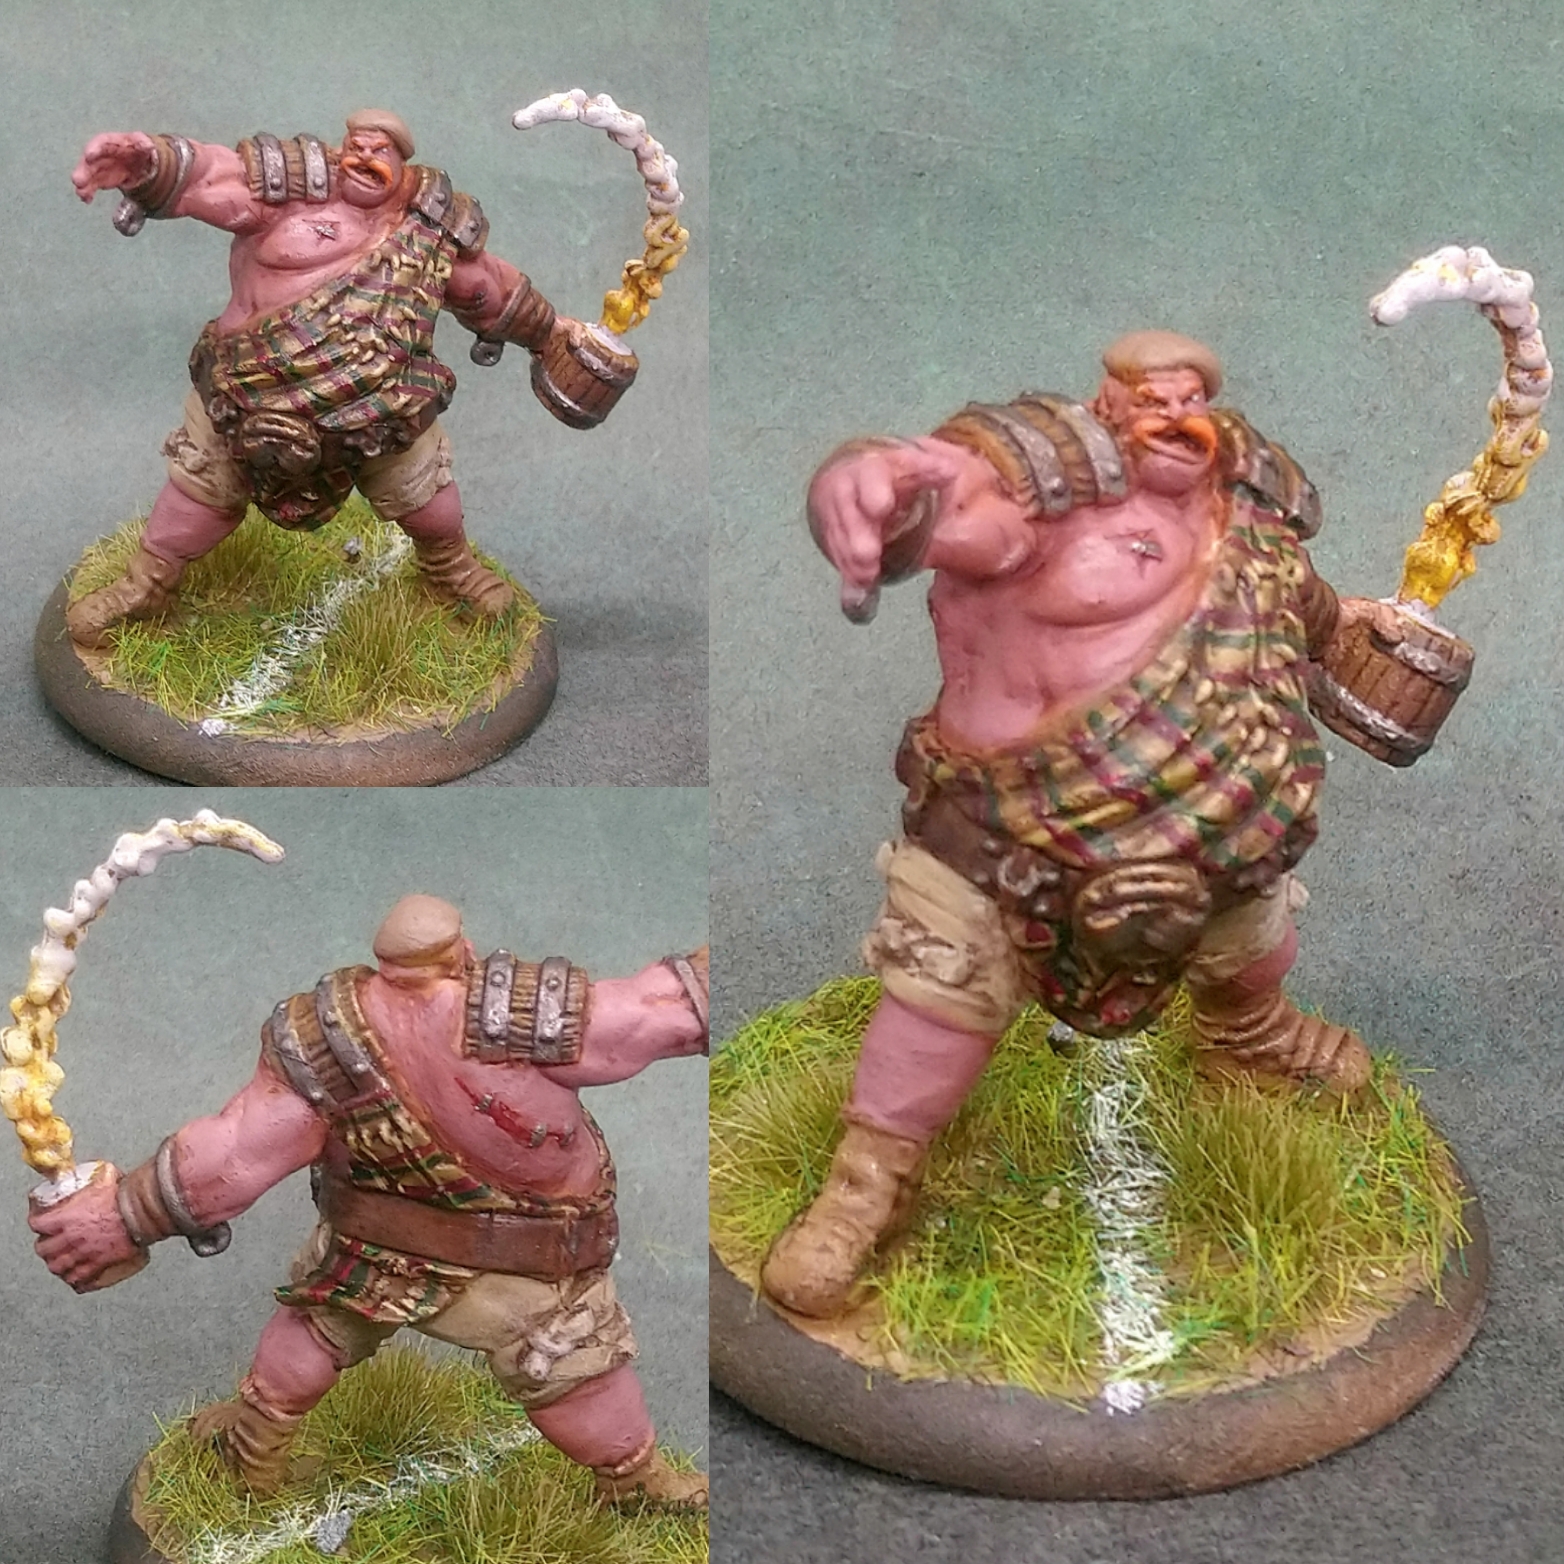
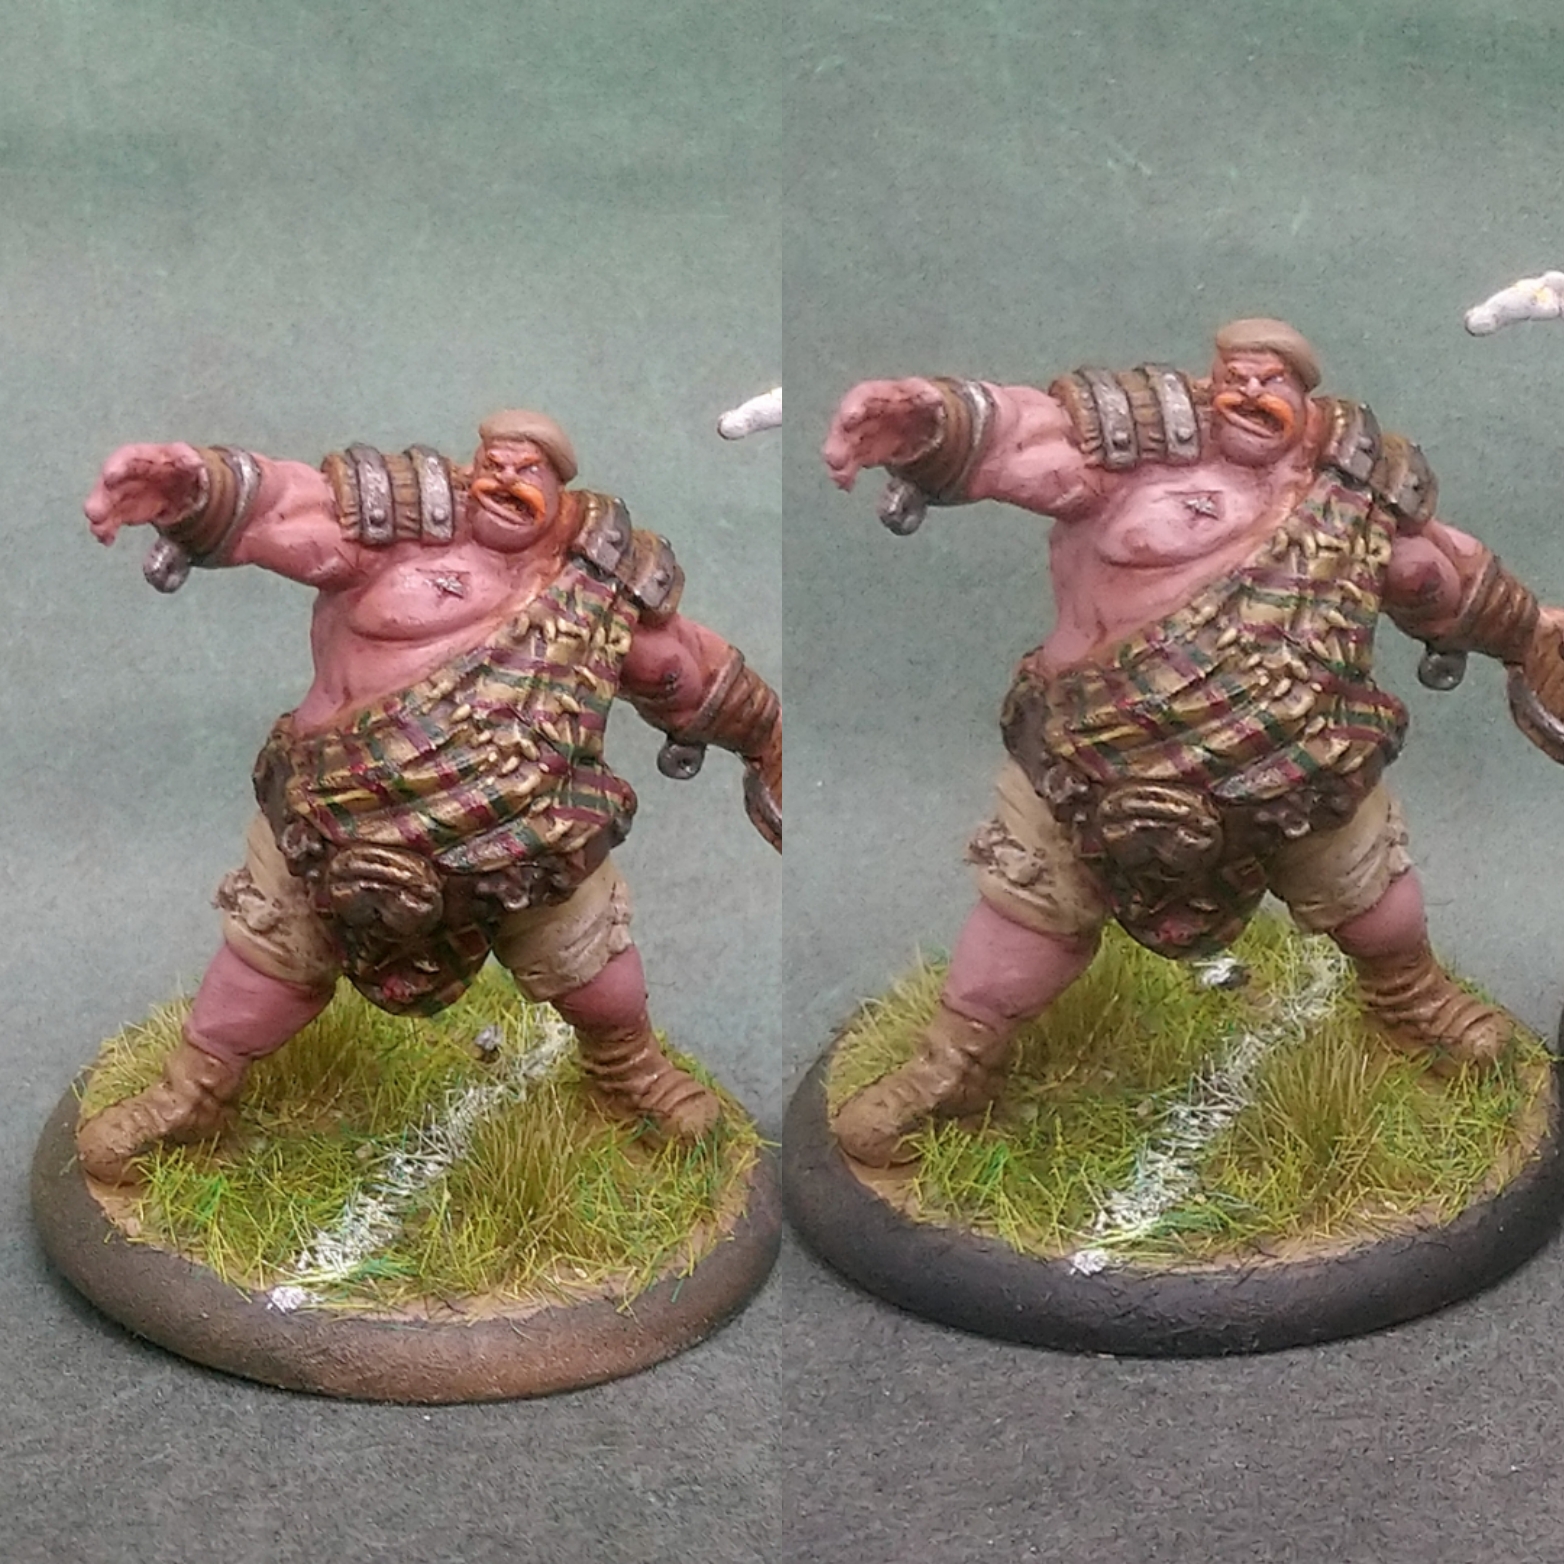
On the Facebook Guild Ball Painting page i have been posting my progress and had a polite comment about my tartan efforts and a mention that the skin on Stave and Hooper was too pink.
I agreed and thought as much when i took the photos. I was considering whether to go back and the comment just edged me in the right direction to have another go at the skin.
The skin had just been a straight up Bugman’s Glow layer with a Reikland Fleshshade wash and Bugman highlights after.
The second attempt had a Grey Seer mix to make them a bit paler. (Even in a fantasy world, if you’re leaning heavily on celtic culture from the real world… I doubt they come from tropical climbs with lots of tanning time on their hands. ?)
Used a before (left) and after (right) pic below, to show the difference.
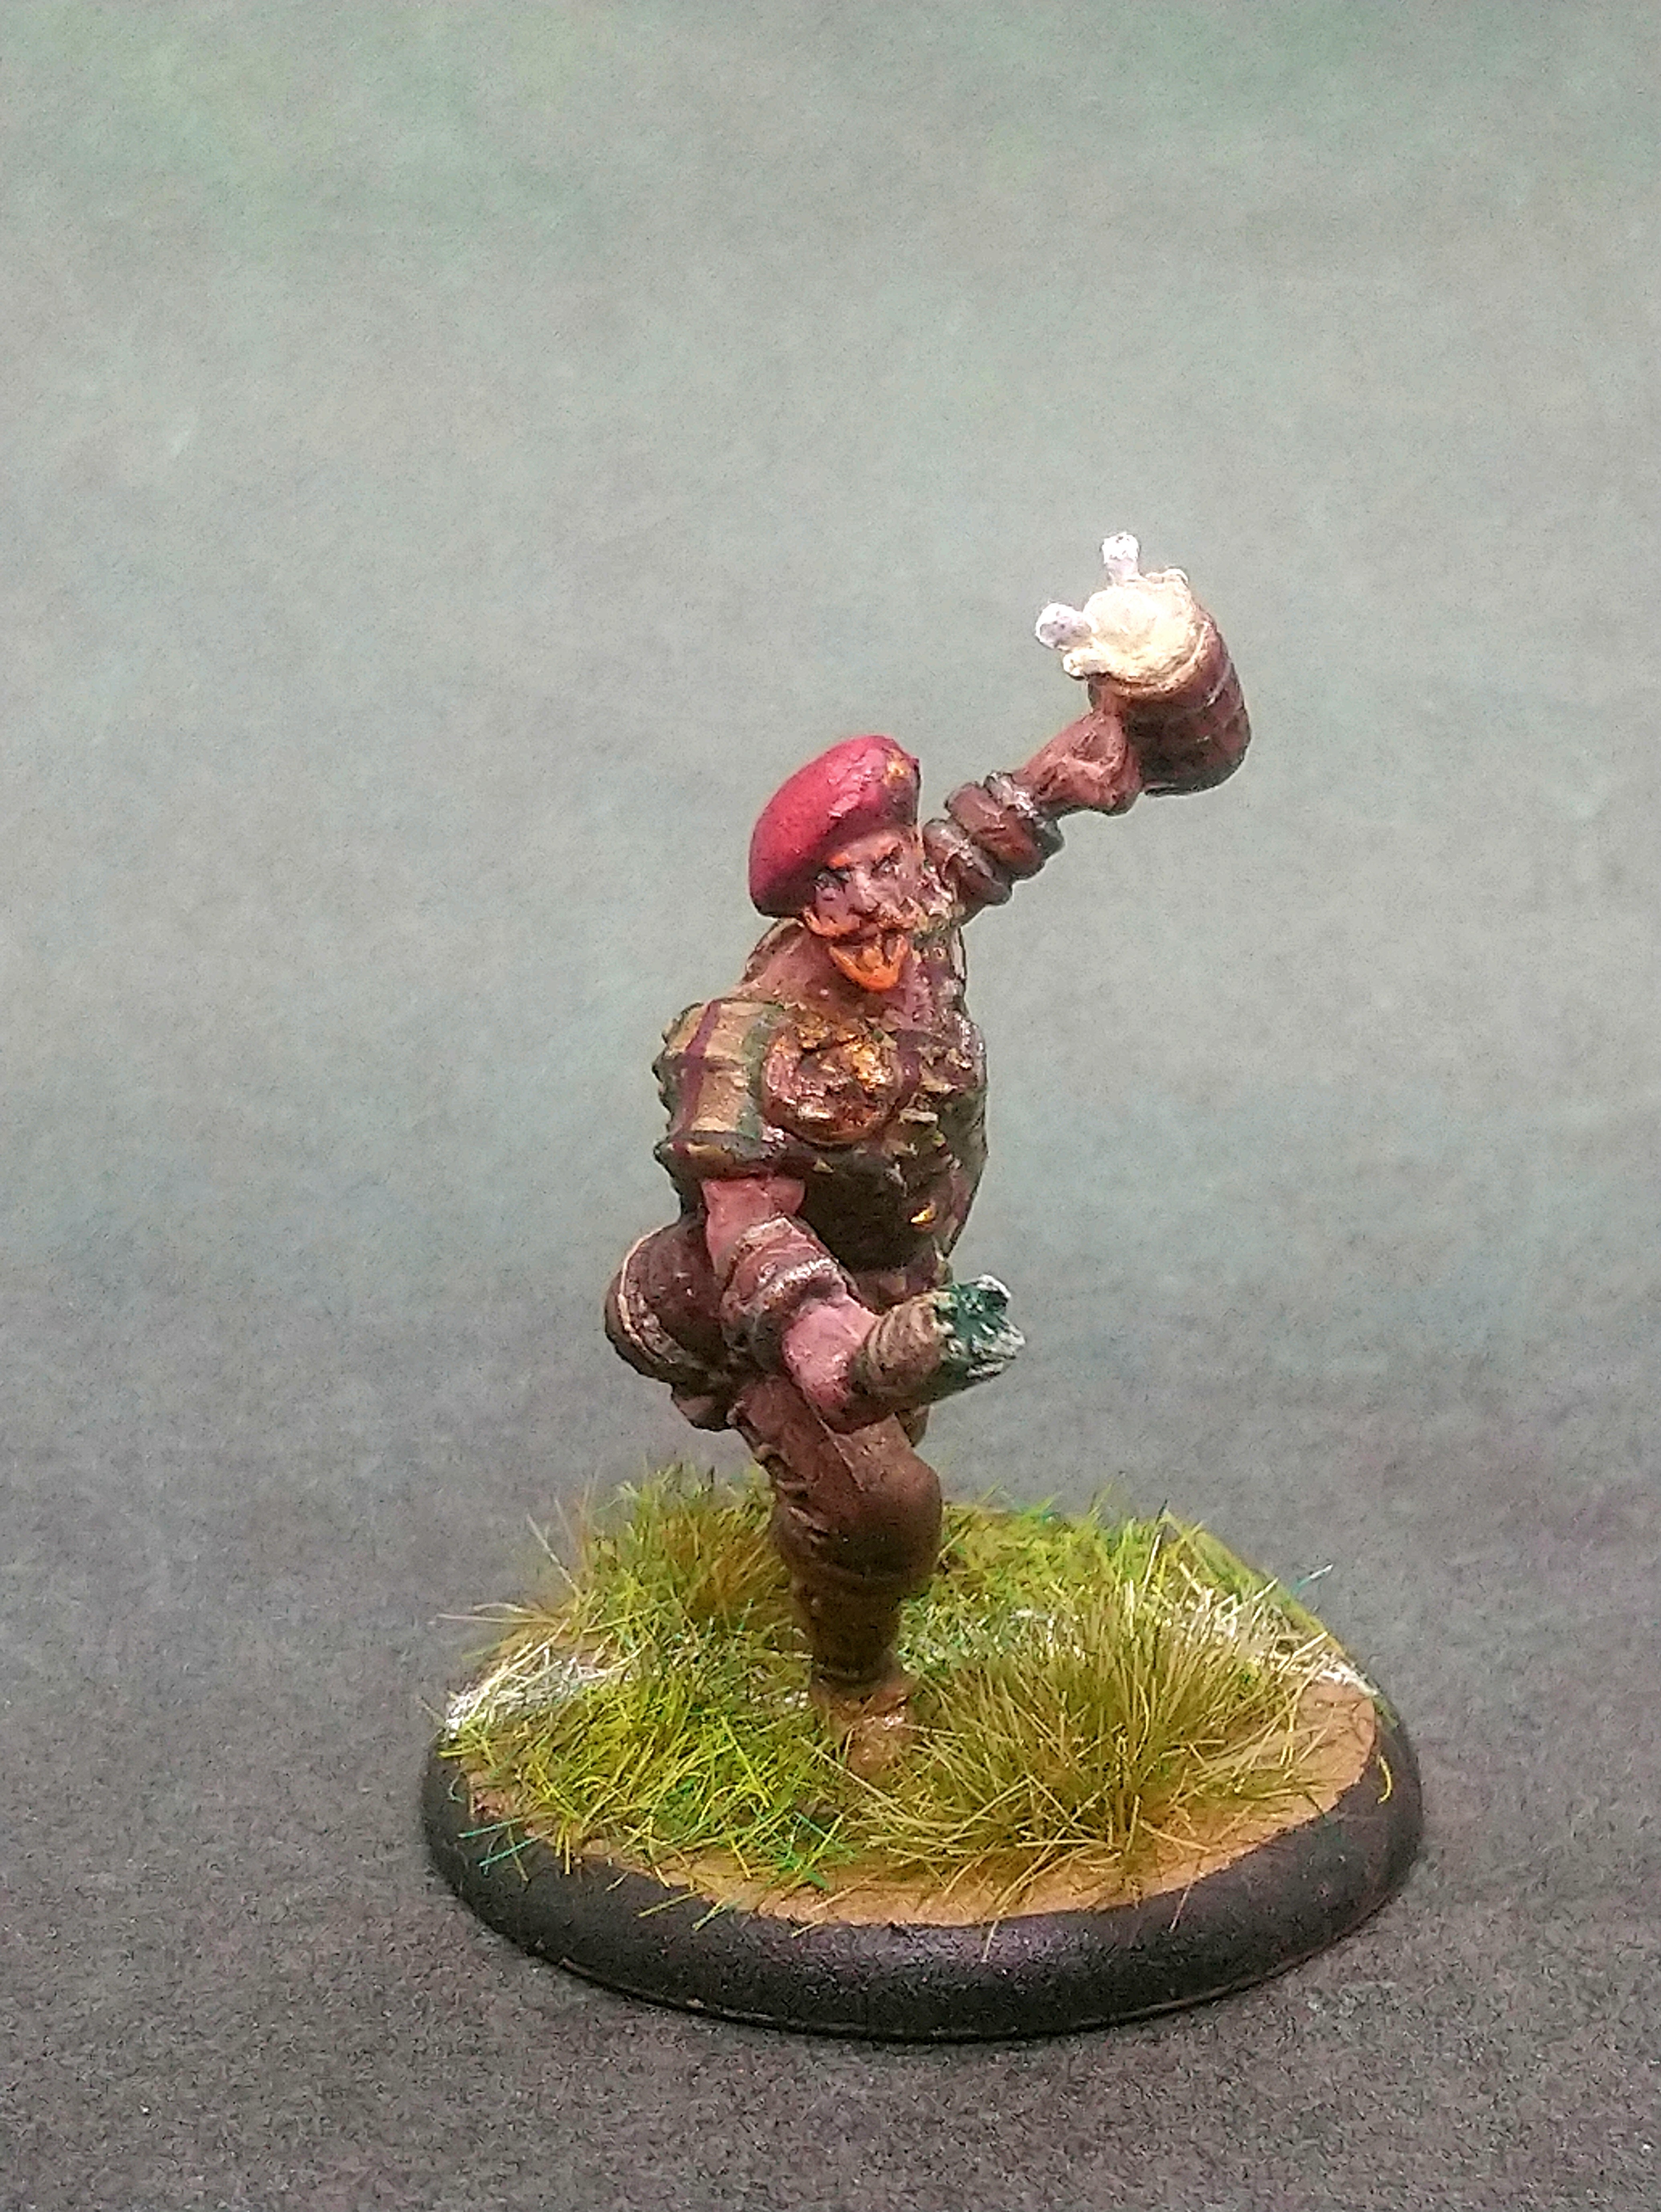
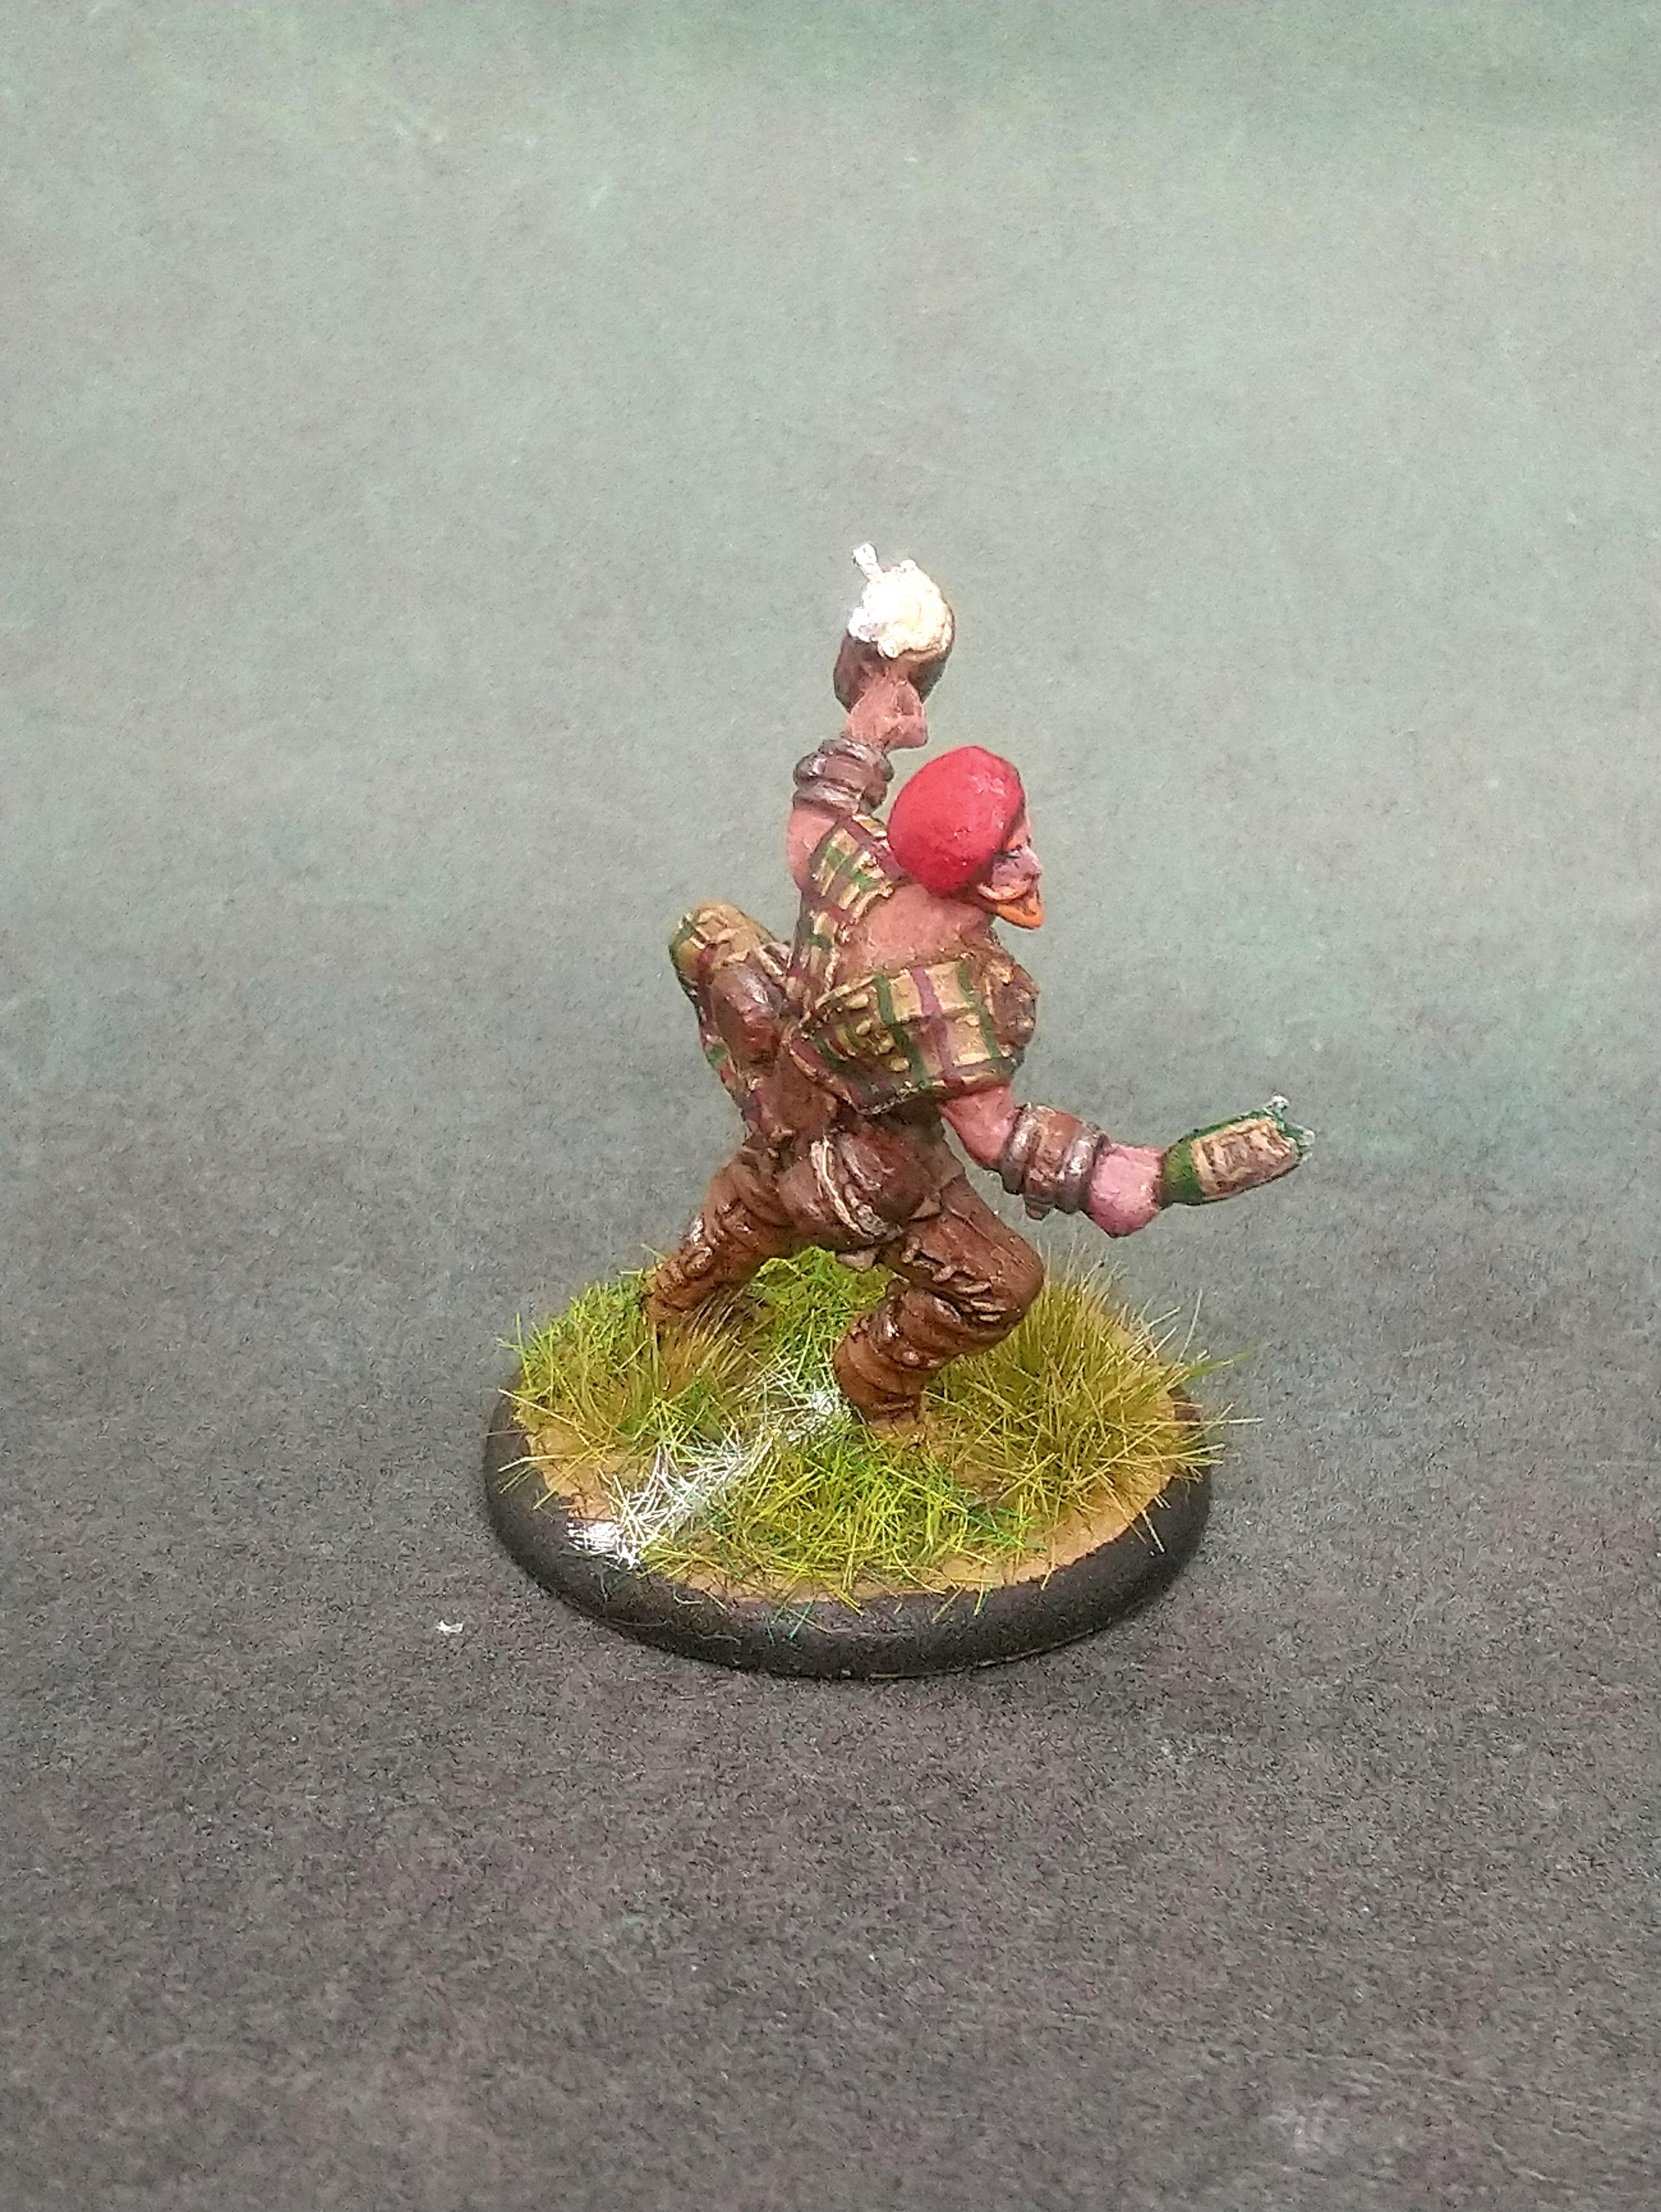
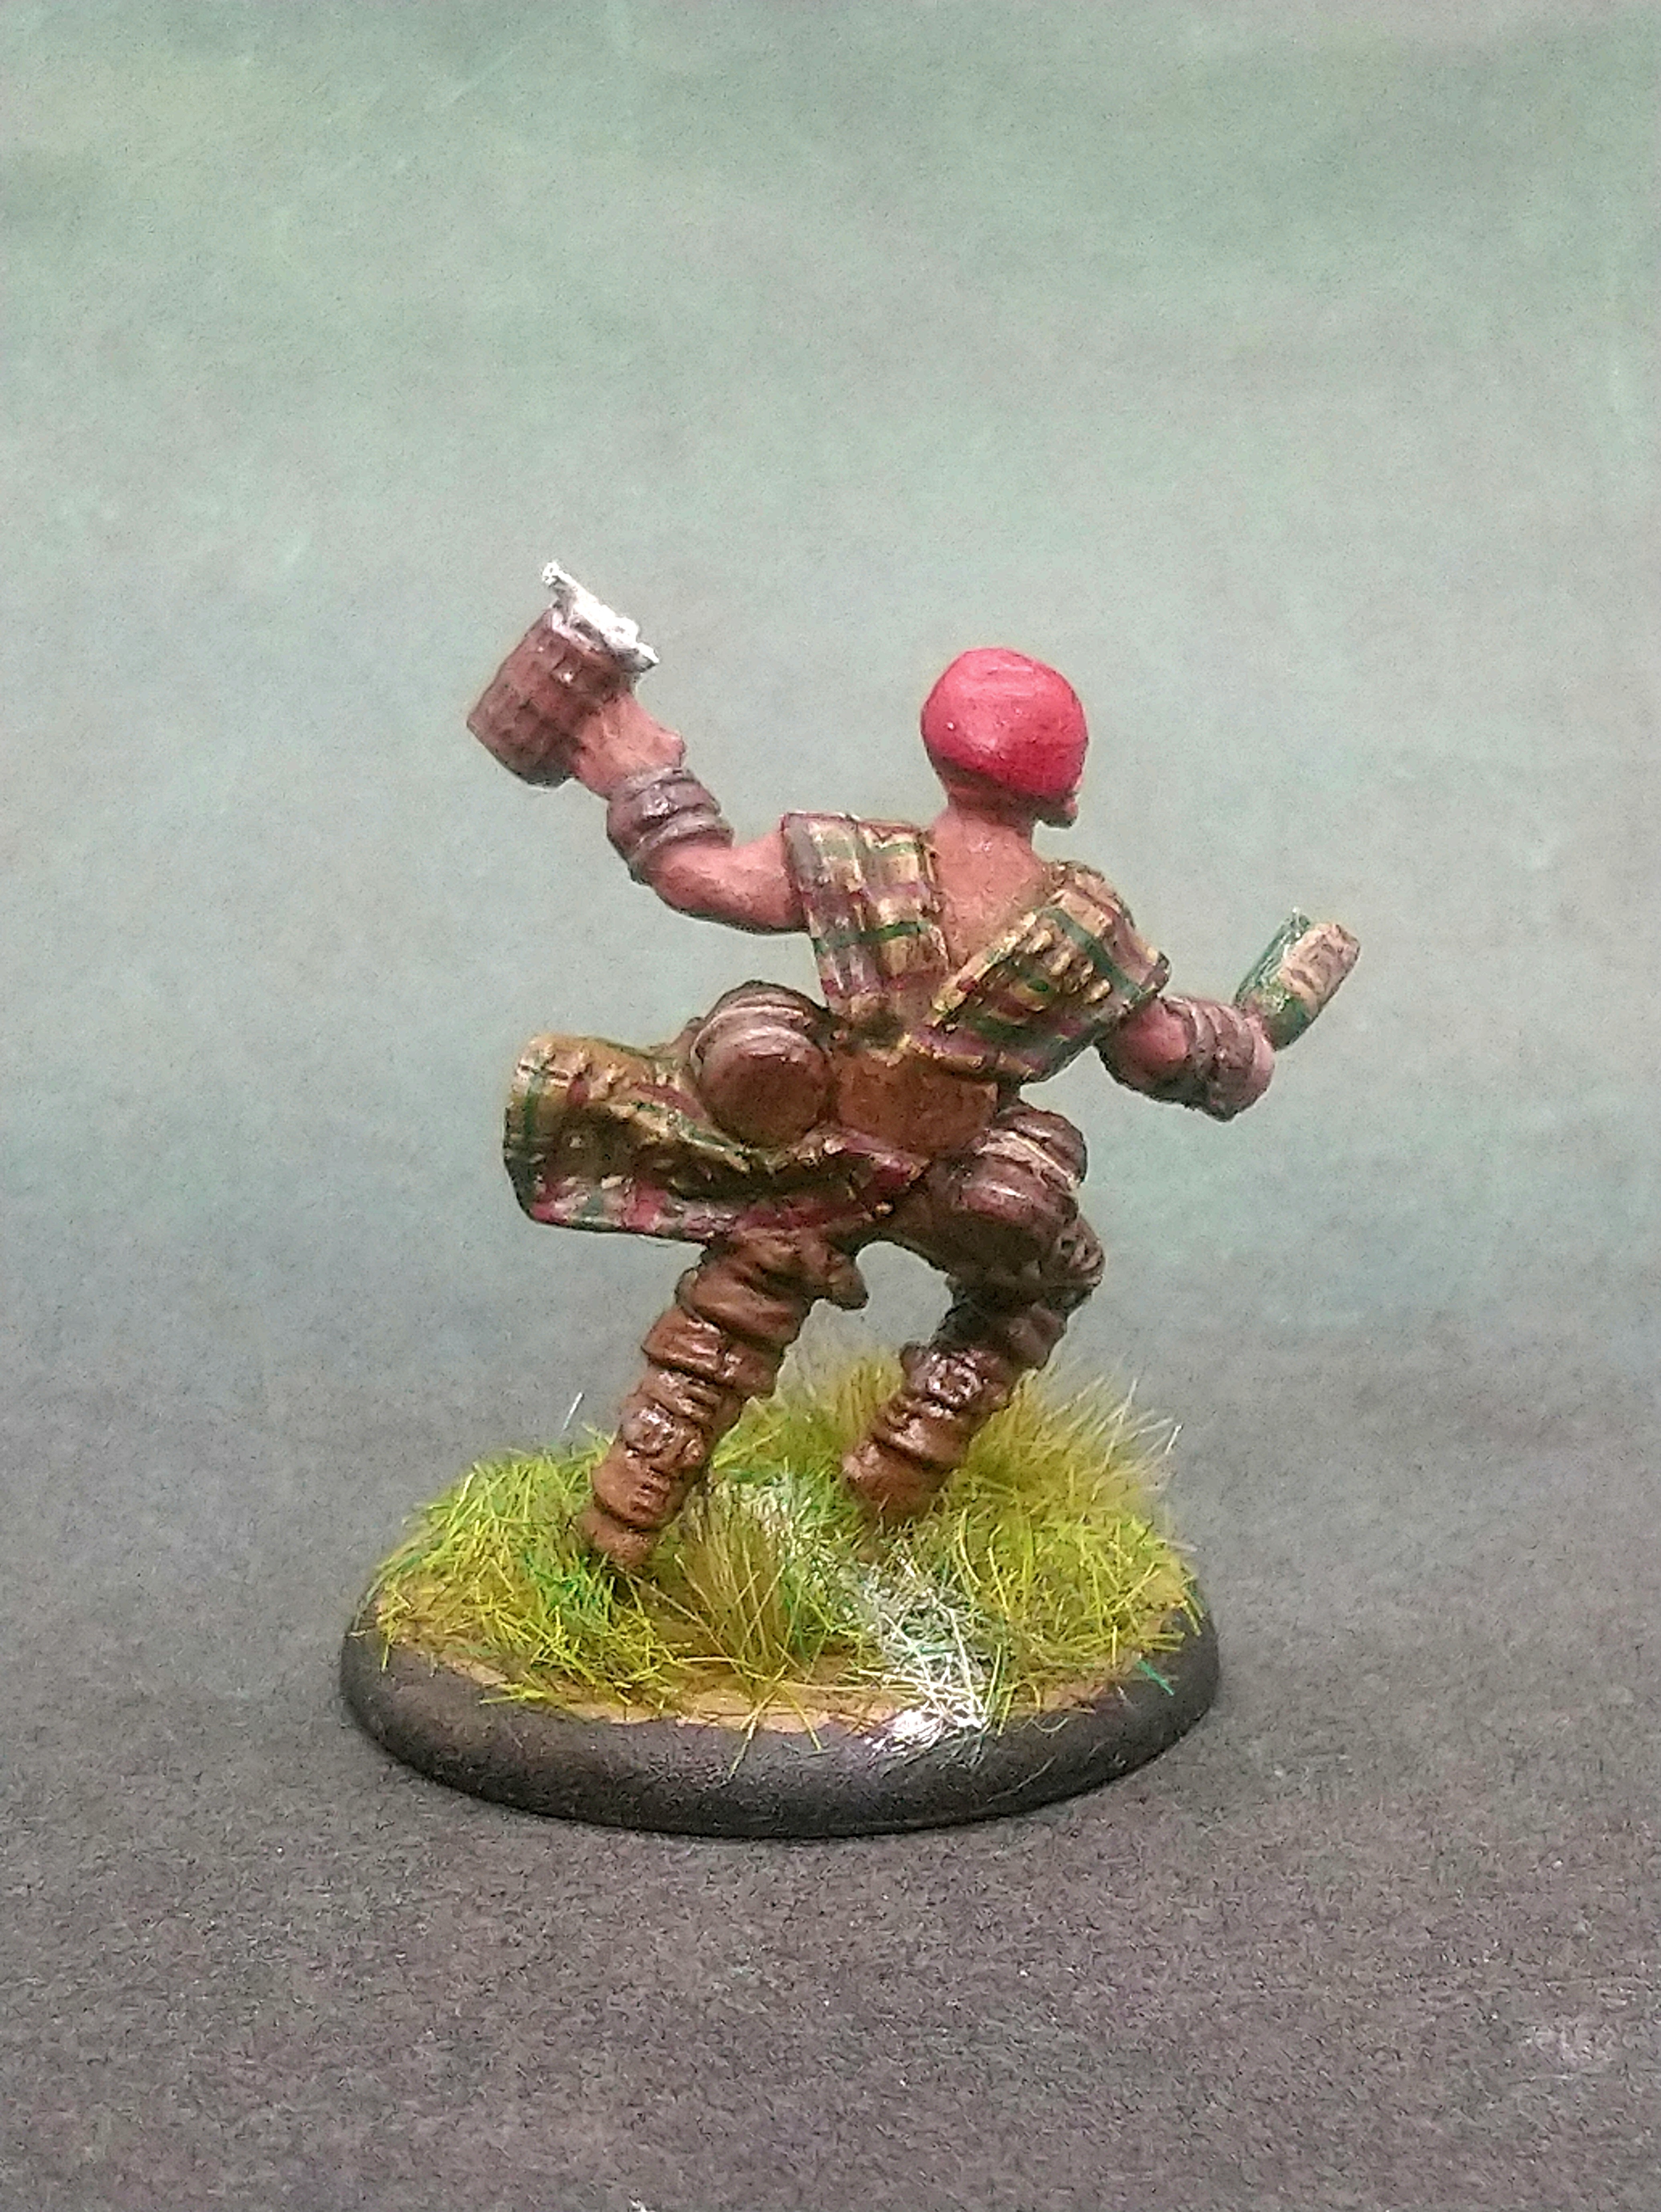
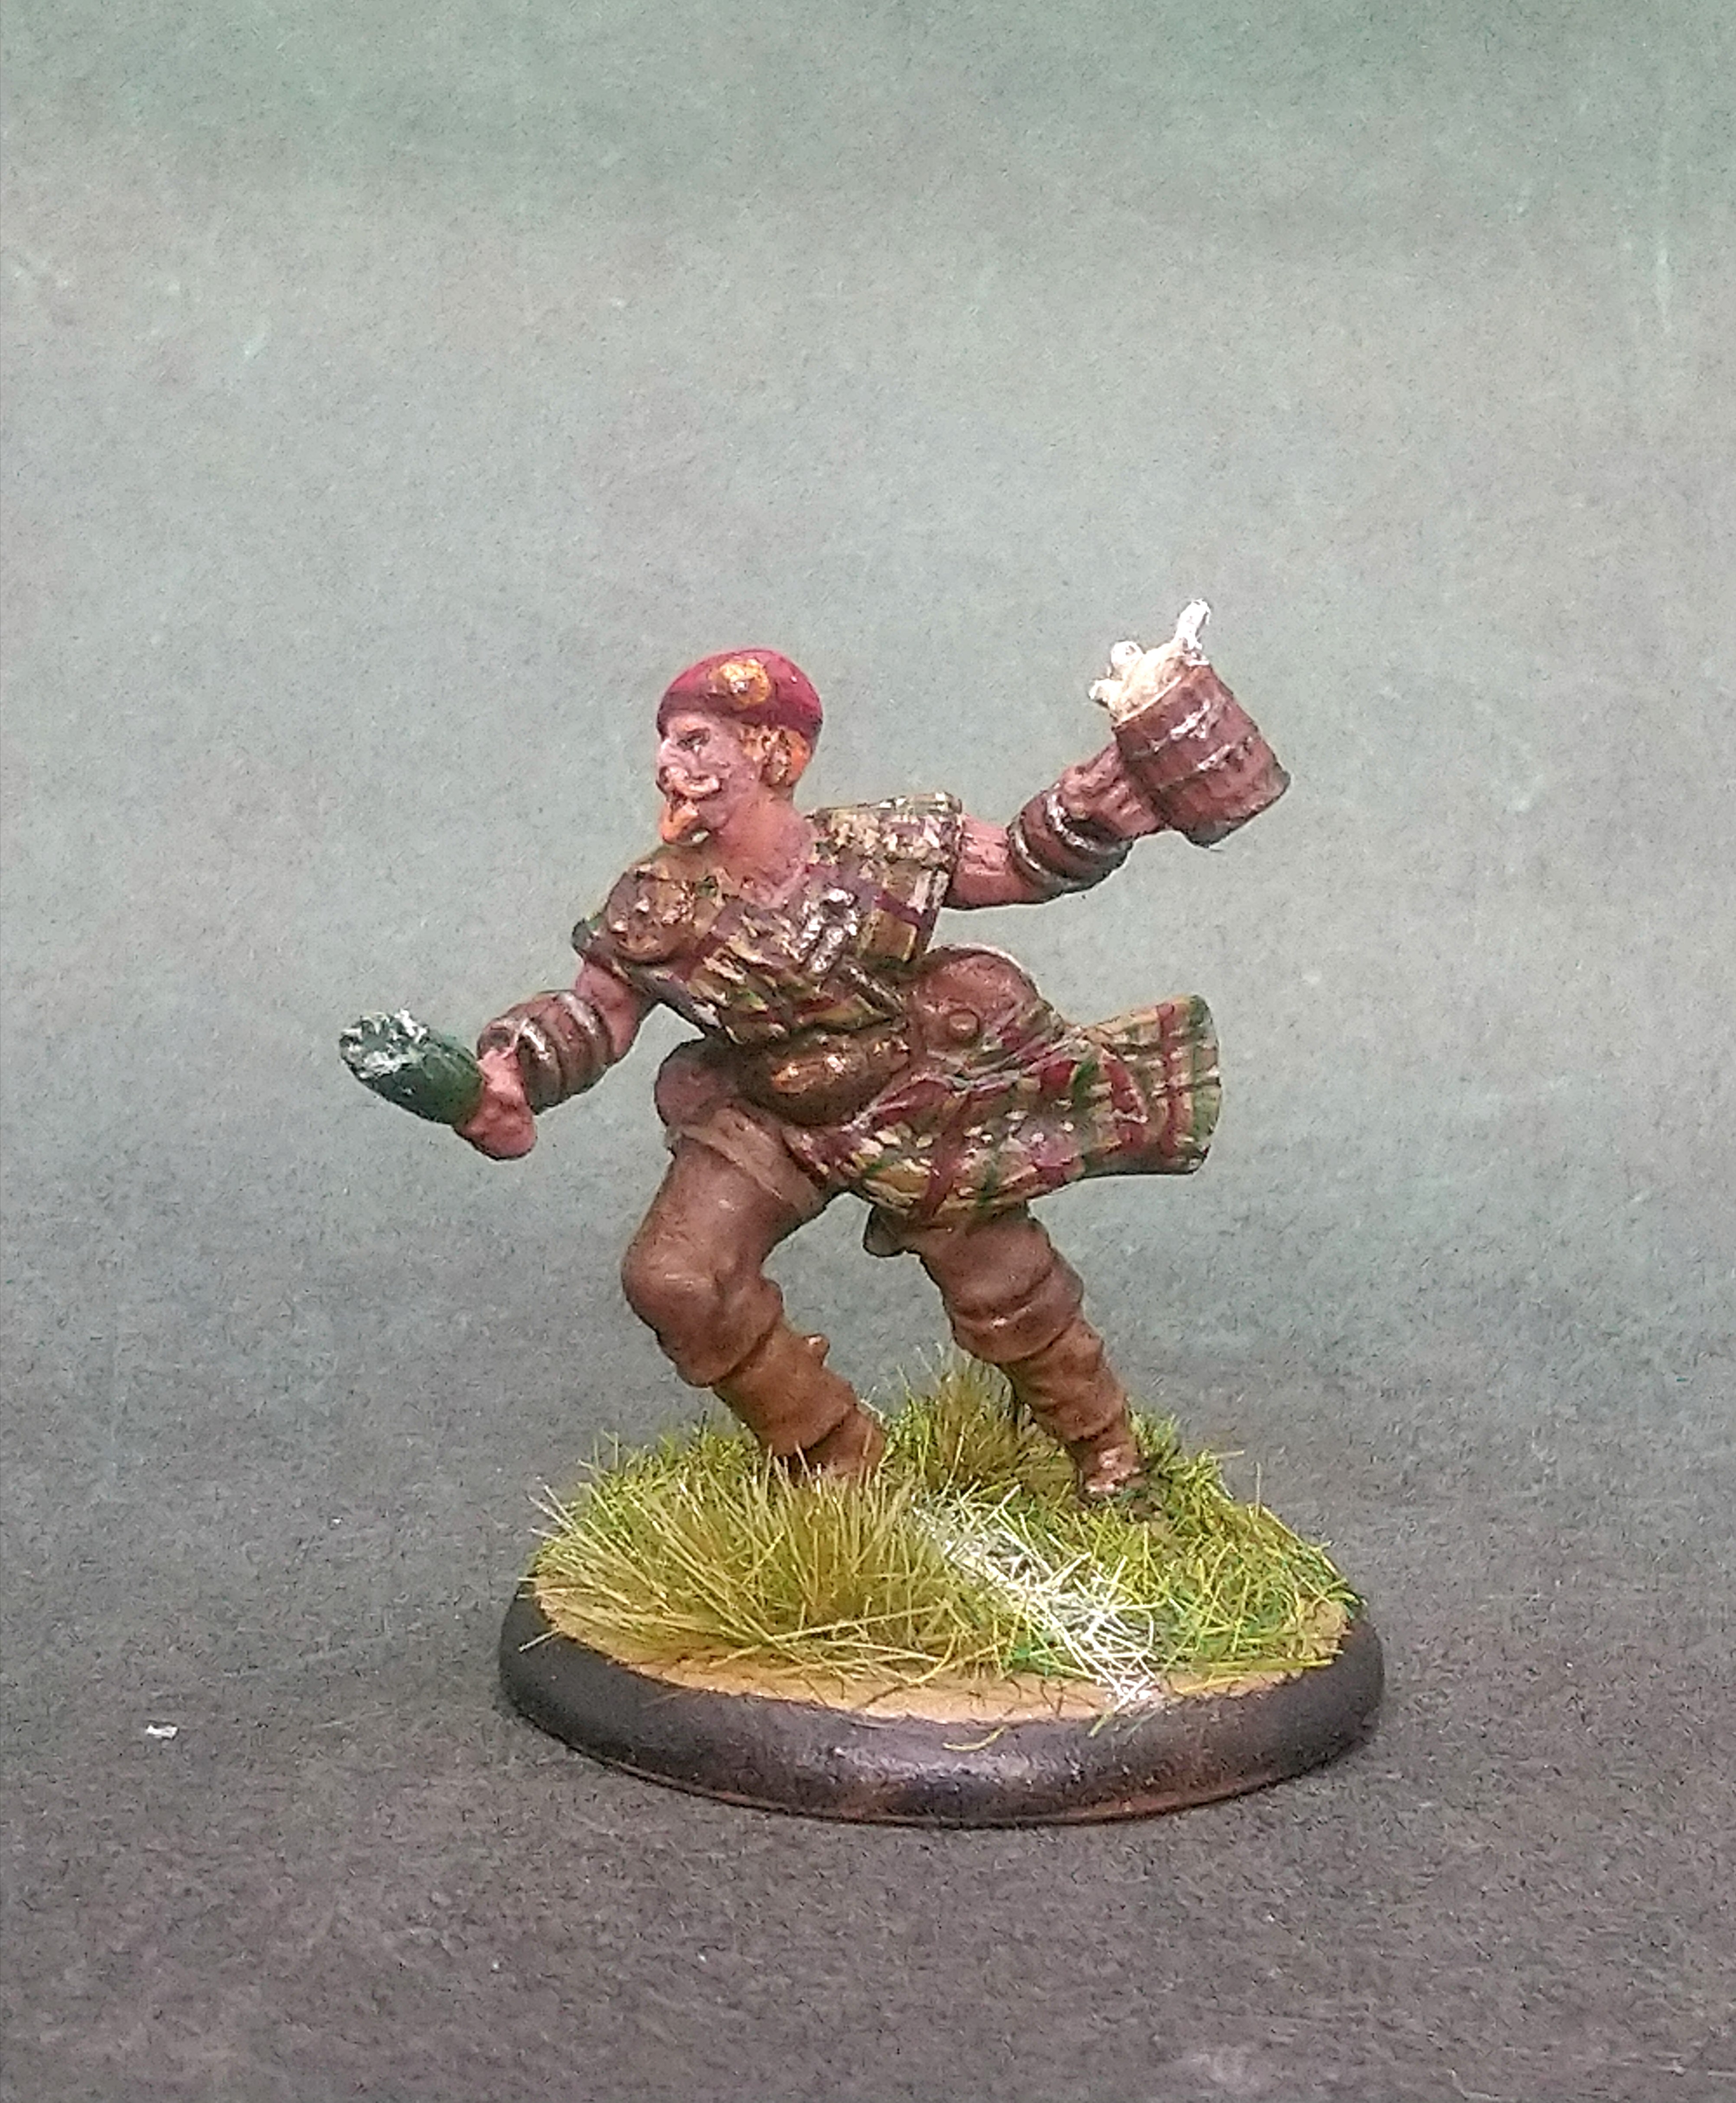
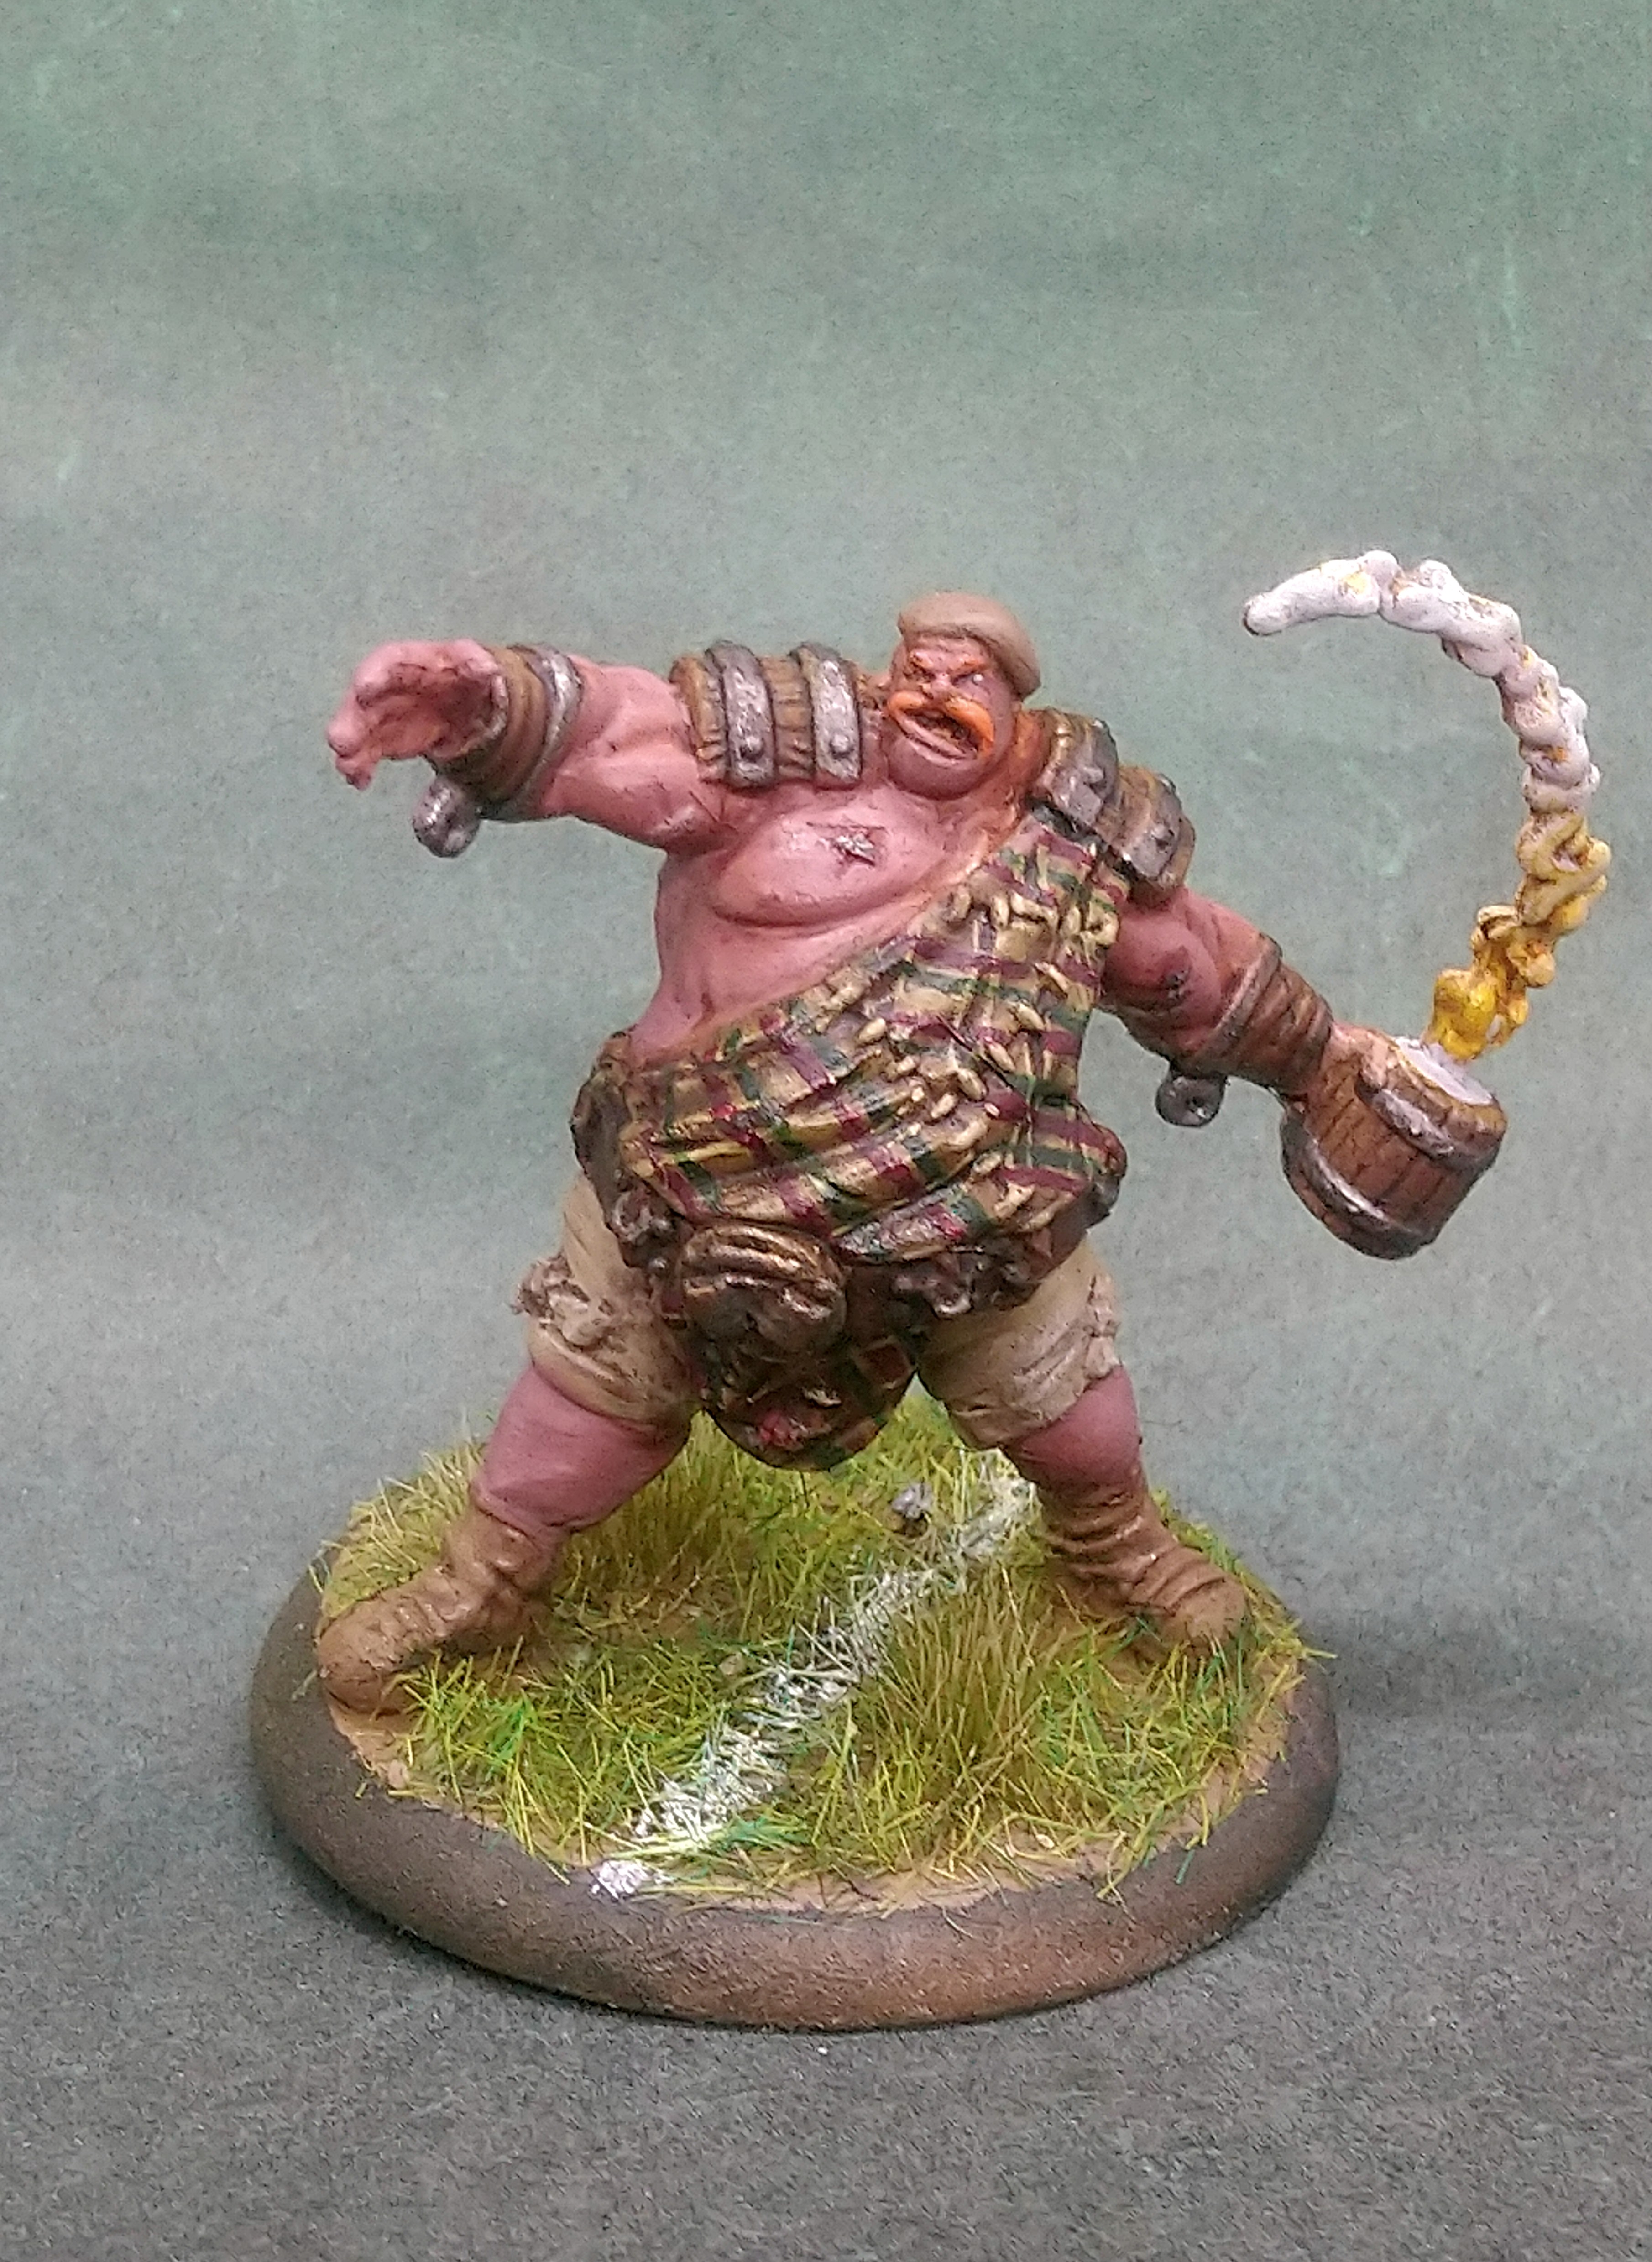
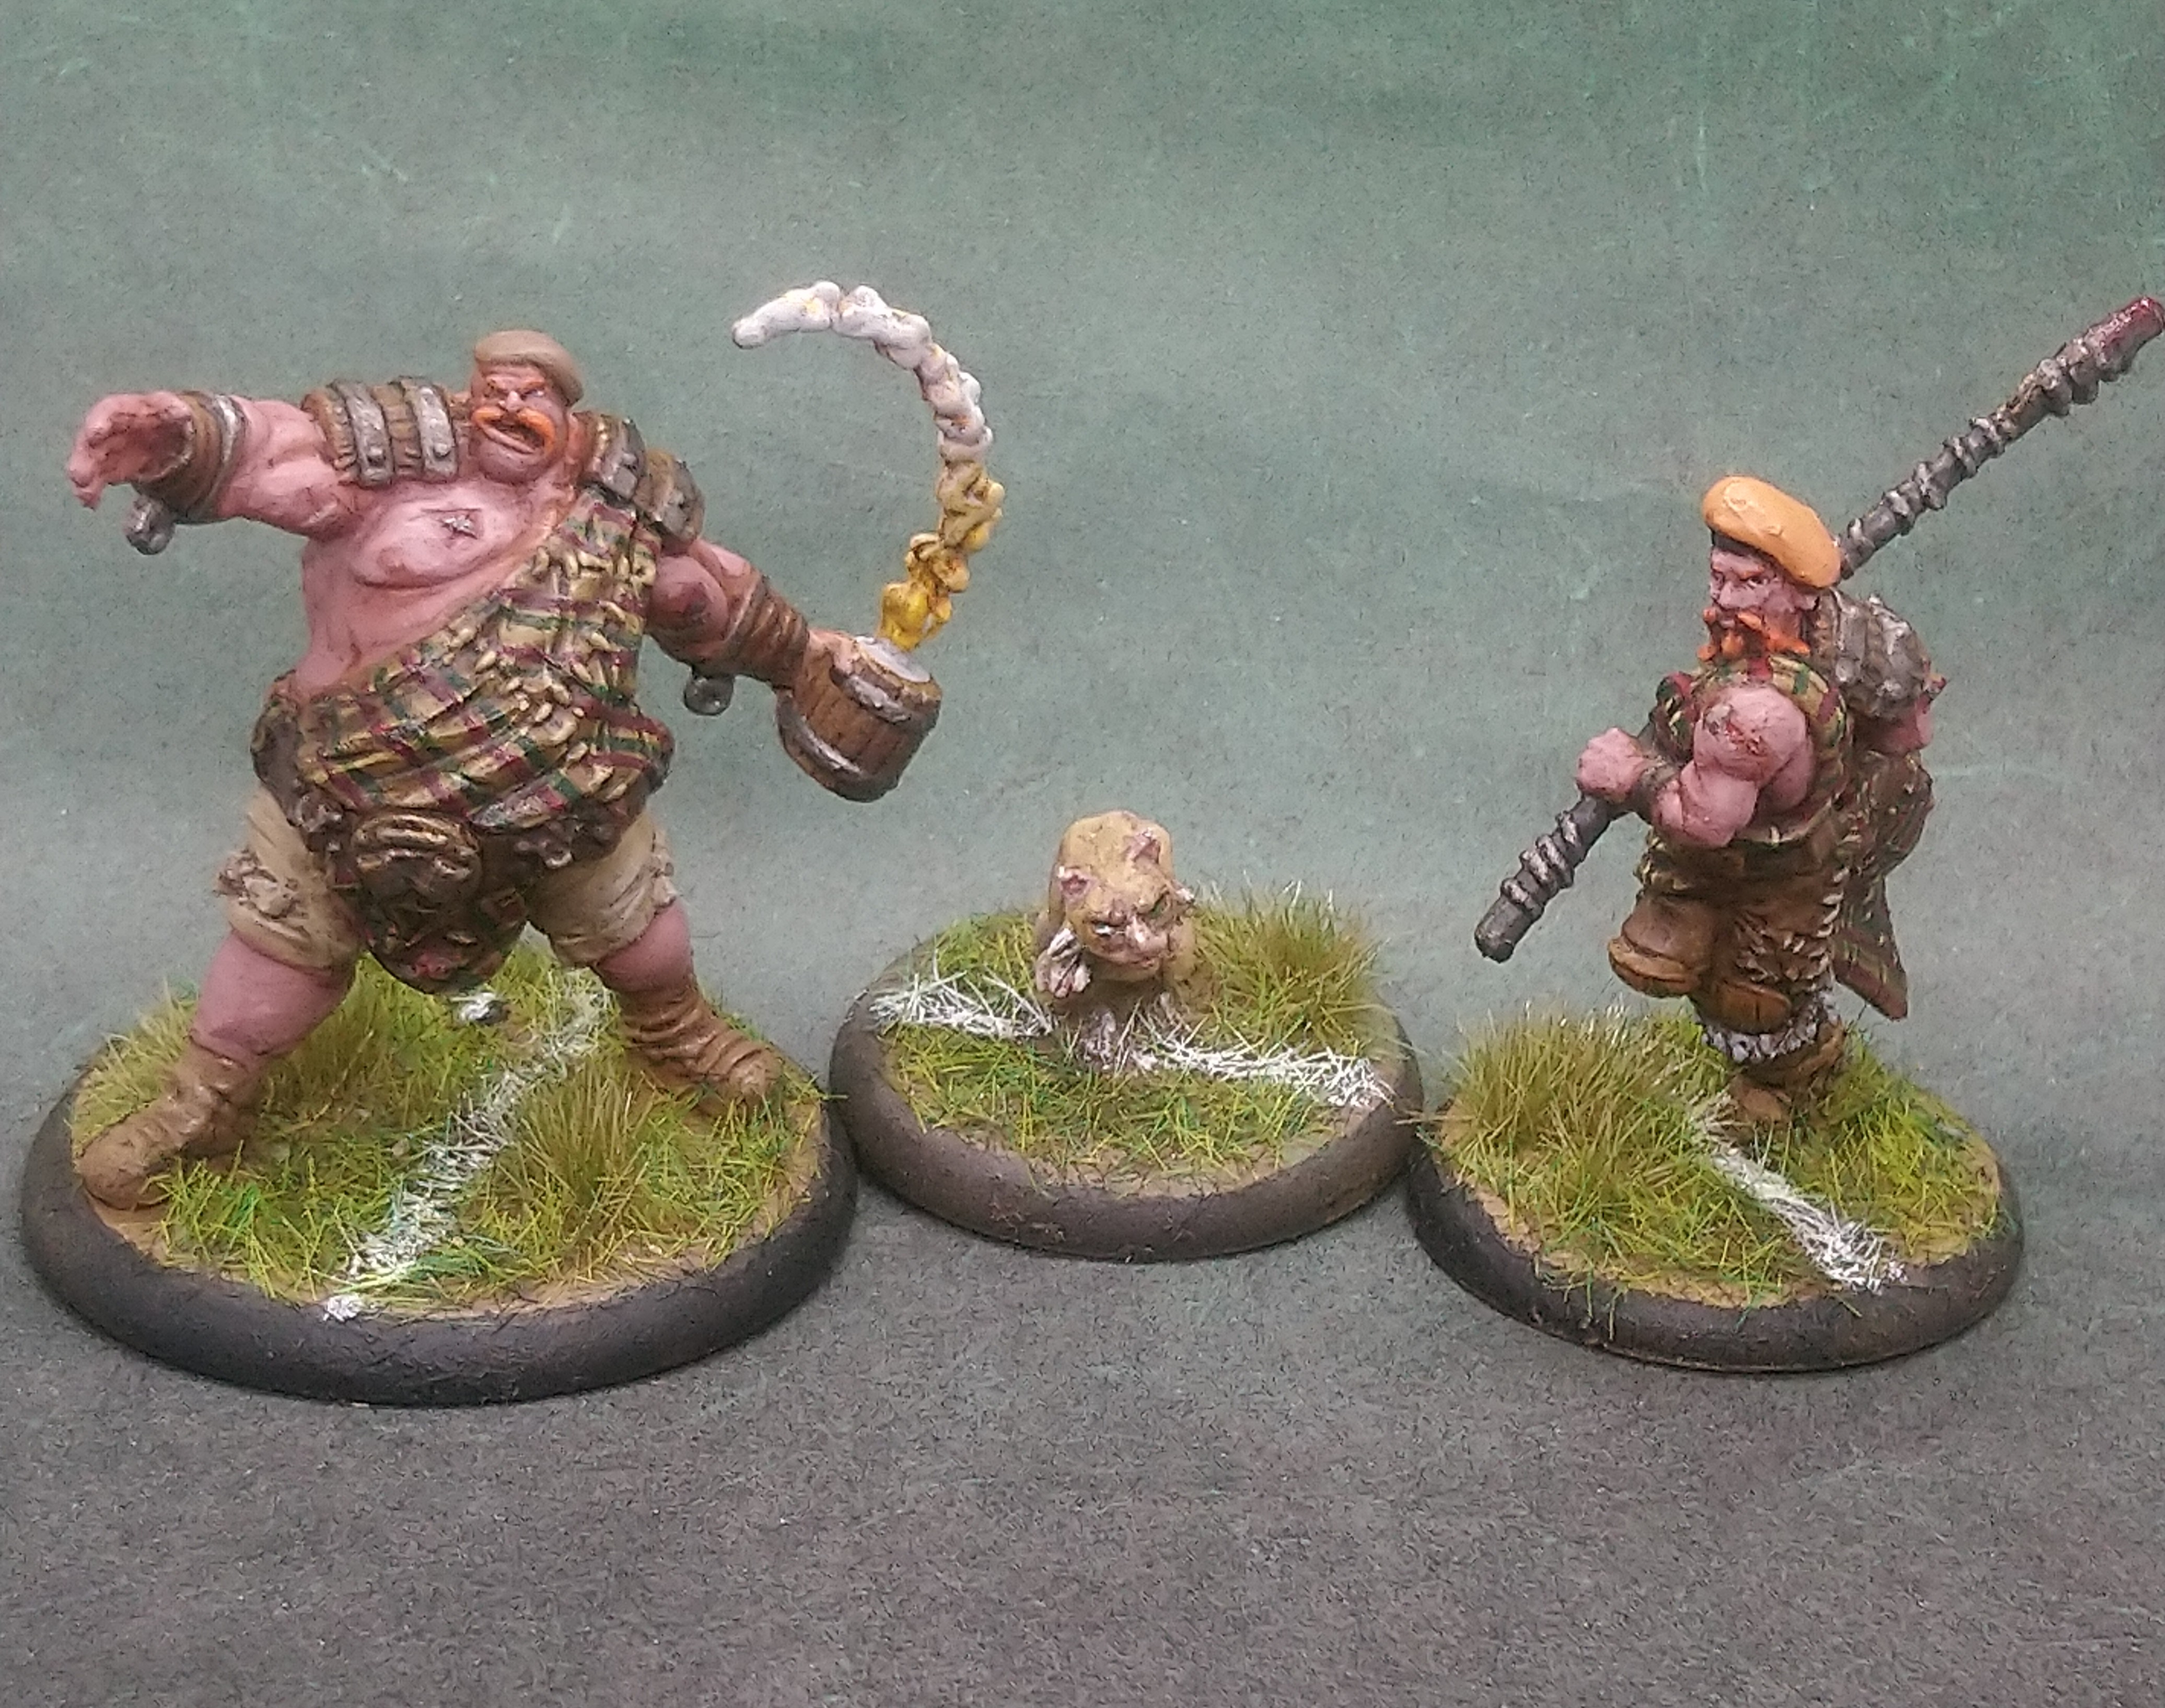
Tapper the Skipper
Loads of tartan on this fella so it took a while.
I have some woodland floor brown flock and I glued a touch of it into his pipe and i think it looks like tobacco.
Lester Spigot
Found the tartan tough on this one and sadly it shows.
I could start again and clean it all up, but i feel i am better off moving on and doing better with the next one.
I have found that doing more minis improves your technique faster than devoting hours and continually correcting your work on one mini that you can’t quite seem to get right.
Maybe if i keep improving this whole project can be a Spring Clean challenge in 2031 to strip the minis and go again. ?