![NO Weekender Or Cult Of Games XLBS This Weekend [Updated]](https://images.beastsofwar.com/2026/03/No_Weekender_and_XLBS_this_Weekend-225-127.jpg)


Corona Self-Isolation made me build a STAR DESTROYER


Recommendations: 749
About the Project
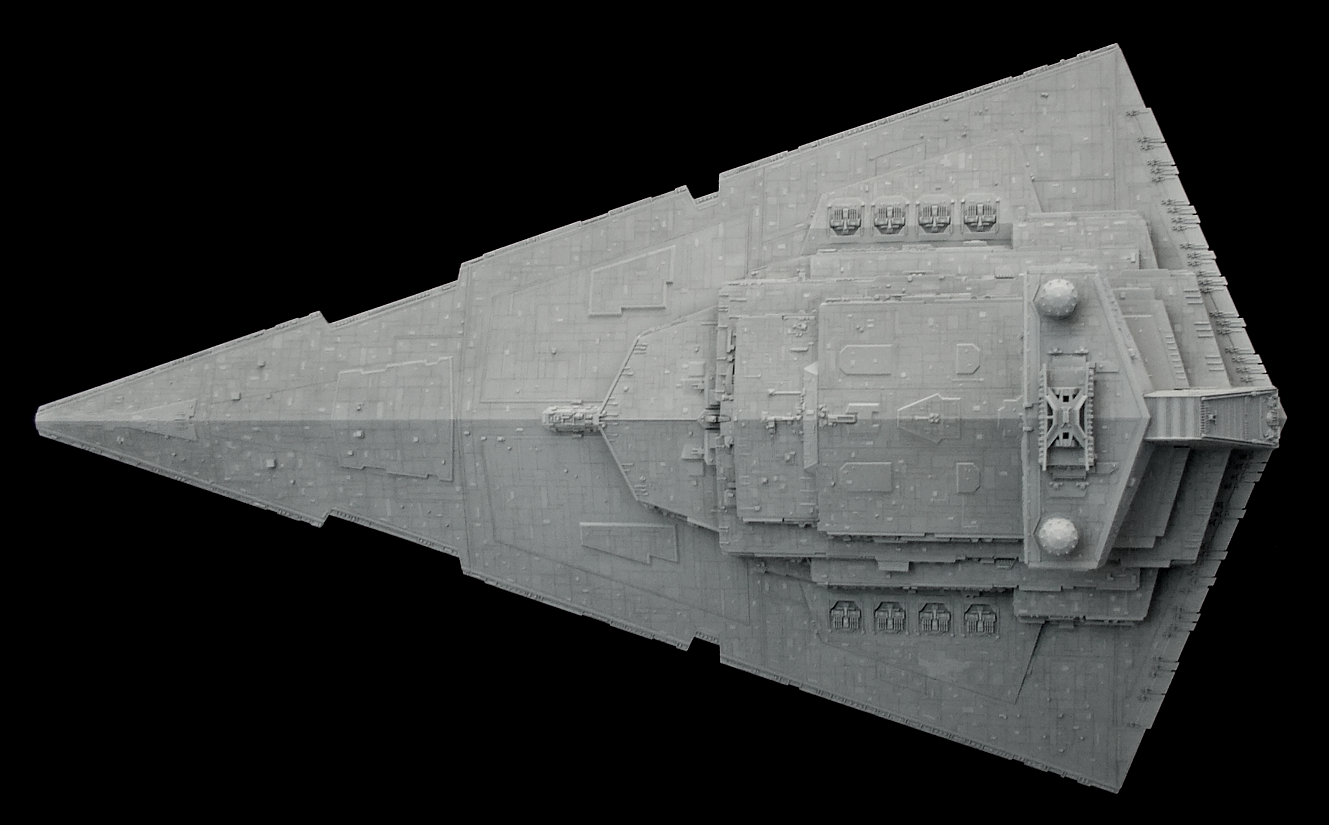
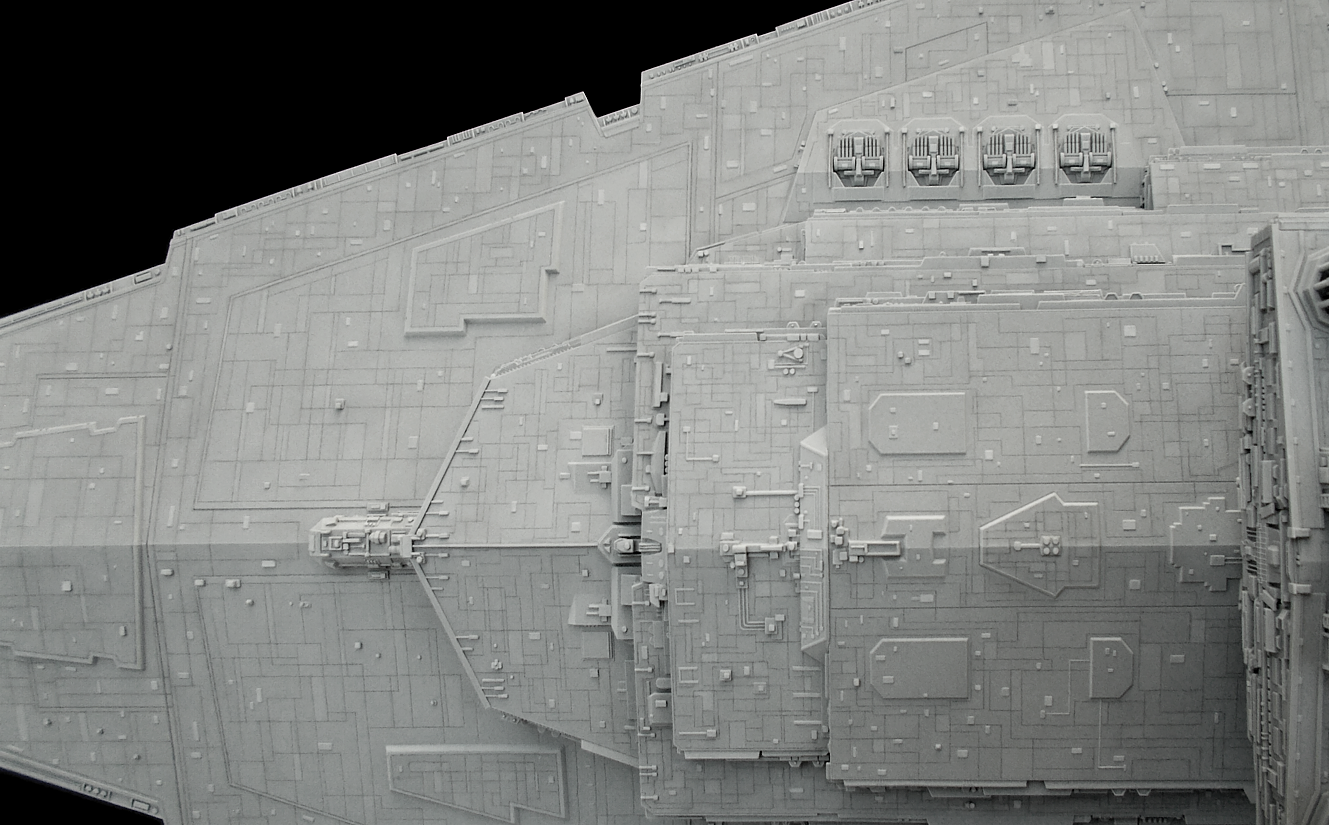
Since my childhood over 30 years ago - when I started building model kits before I got into miniature gaming - I always wanted to have a model of a Star Destroyer from Star Wars. Since then, a handful of attempts have been made and discarded because I wasn't convinced by the kits, my attempts to make them more accurate, and ultimately the results. Most of all: I lacked the patience and time to focus on the task, and a Star Destroyer is a quite complicated thing, despite its basic shape. So, when I had to go into homeoffice late march with not much to do for work, I needed to fill the time with something worthwhile. Why not attempt another one? - I thought immediately. Apart from Randy Cooper's really good (and expensive) garage kit made from resin, there are two affordable kits available currently which are top notch for different reasons. First, there's the 32cm Bandai kit which also comes with (crappy) lighting and is a formidable replica of the original 8-foot studio model, both in detail and proportions. However: It is only 32 cm long, and you don't need to improve anything about it. Then there's the 60cm kit from Zvesda which is now a repackaged model distributed by Revell. This kit has a good size, all the shapes and proportions are correct except for two major flaws: The superstructure is too flat, and the bridge-sections sits at an incorrect angle. Plus: While there are details, there are too few of them and many, many defining details are completely missing. The Zvesda-kit seemed to be a good challenge for a modeler to bring it into correct proportions and custom-build loads and loads of studio model-accurate details for it. Sounded like fun time - and it was and still is! So here it is - my Star Destroyer-project. The goal is to create a ship that comes very close to the original 8-foot studio model even on a close inspection, although I also rationalized all the tiny differences as it being an improved retrofit of the 'off the rack'- Imp Deuce like the 'Avenger'. Also - no lighting (edit: Yeah, I'm doing lighting now..!). Not because I'm lazy or don't know how to do it, but because the only way to light such a model is via fiber optics, which requires drilling lots of tiny holes in-between the hundreds of tiny or complicated custom-built detail without damaging it or knocking it off the model, and if that succeeded, having to go in with a tiny side cutter cleanly cutting off the strands of fiber optics - again in-between the hundreds of tiny or complicated custom-built detail without damaging it or knocking it off the model. No way - I wanted to come out of self-isolation sane!
Related Genre: Science Fiction
This Project is Active
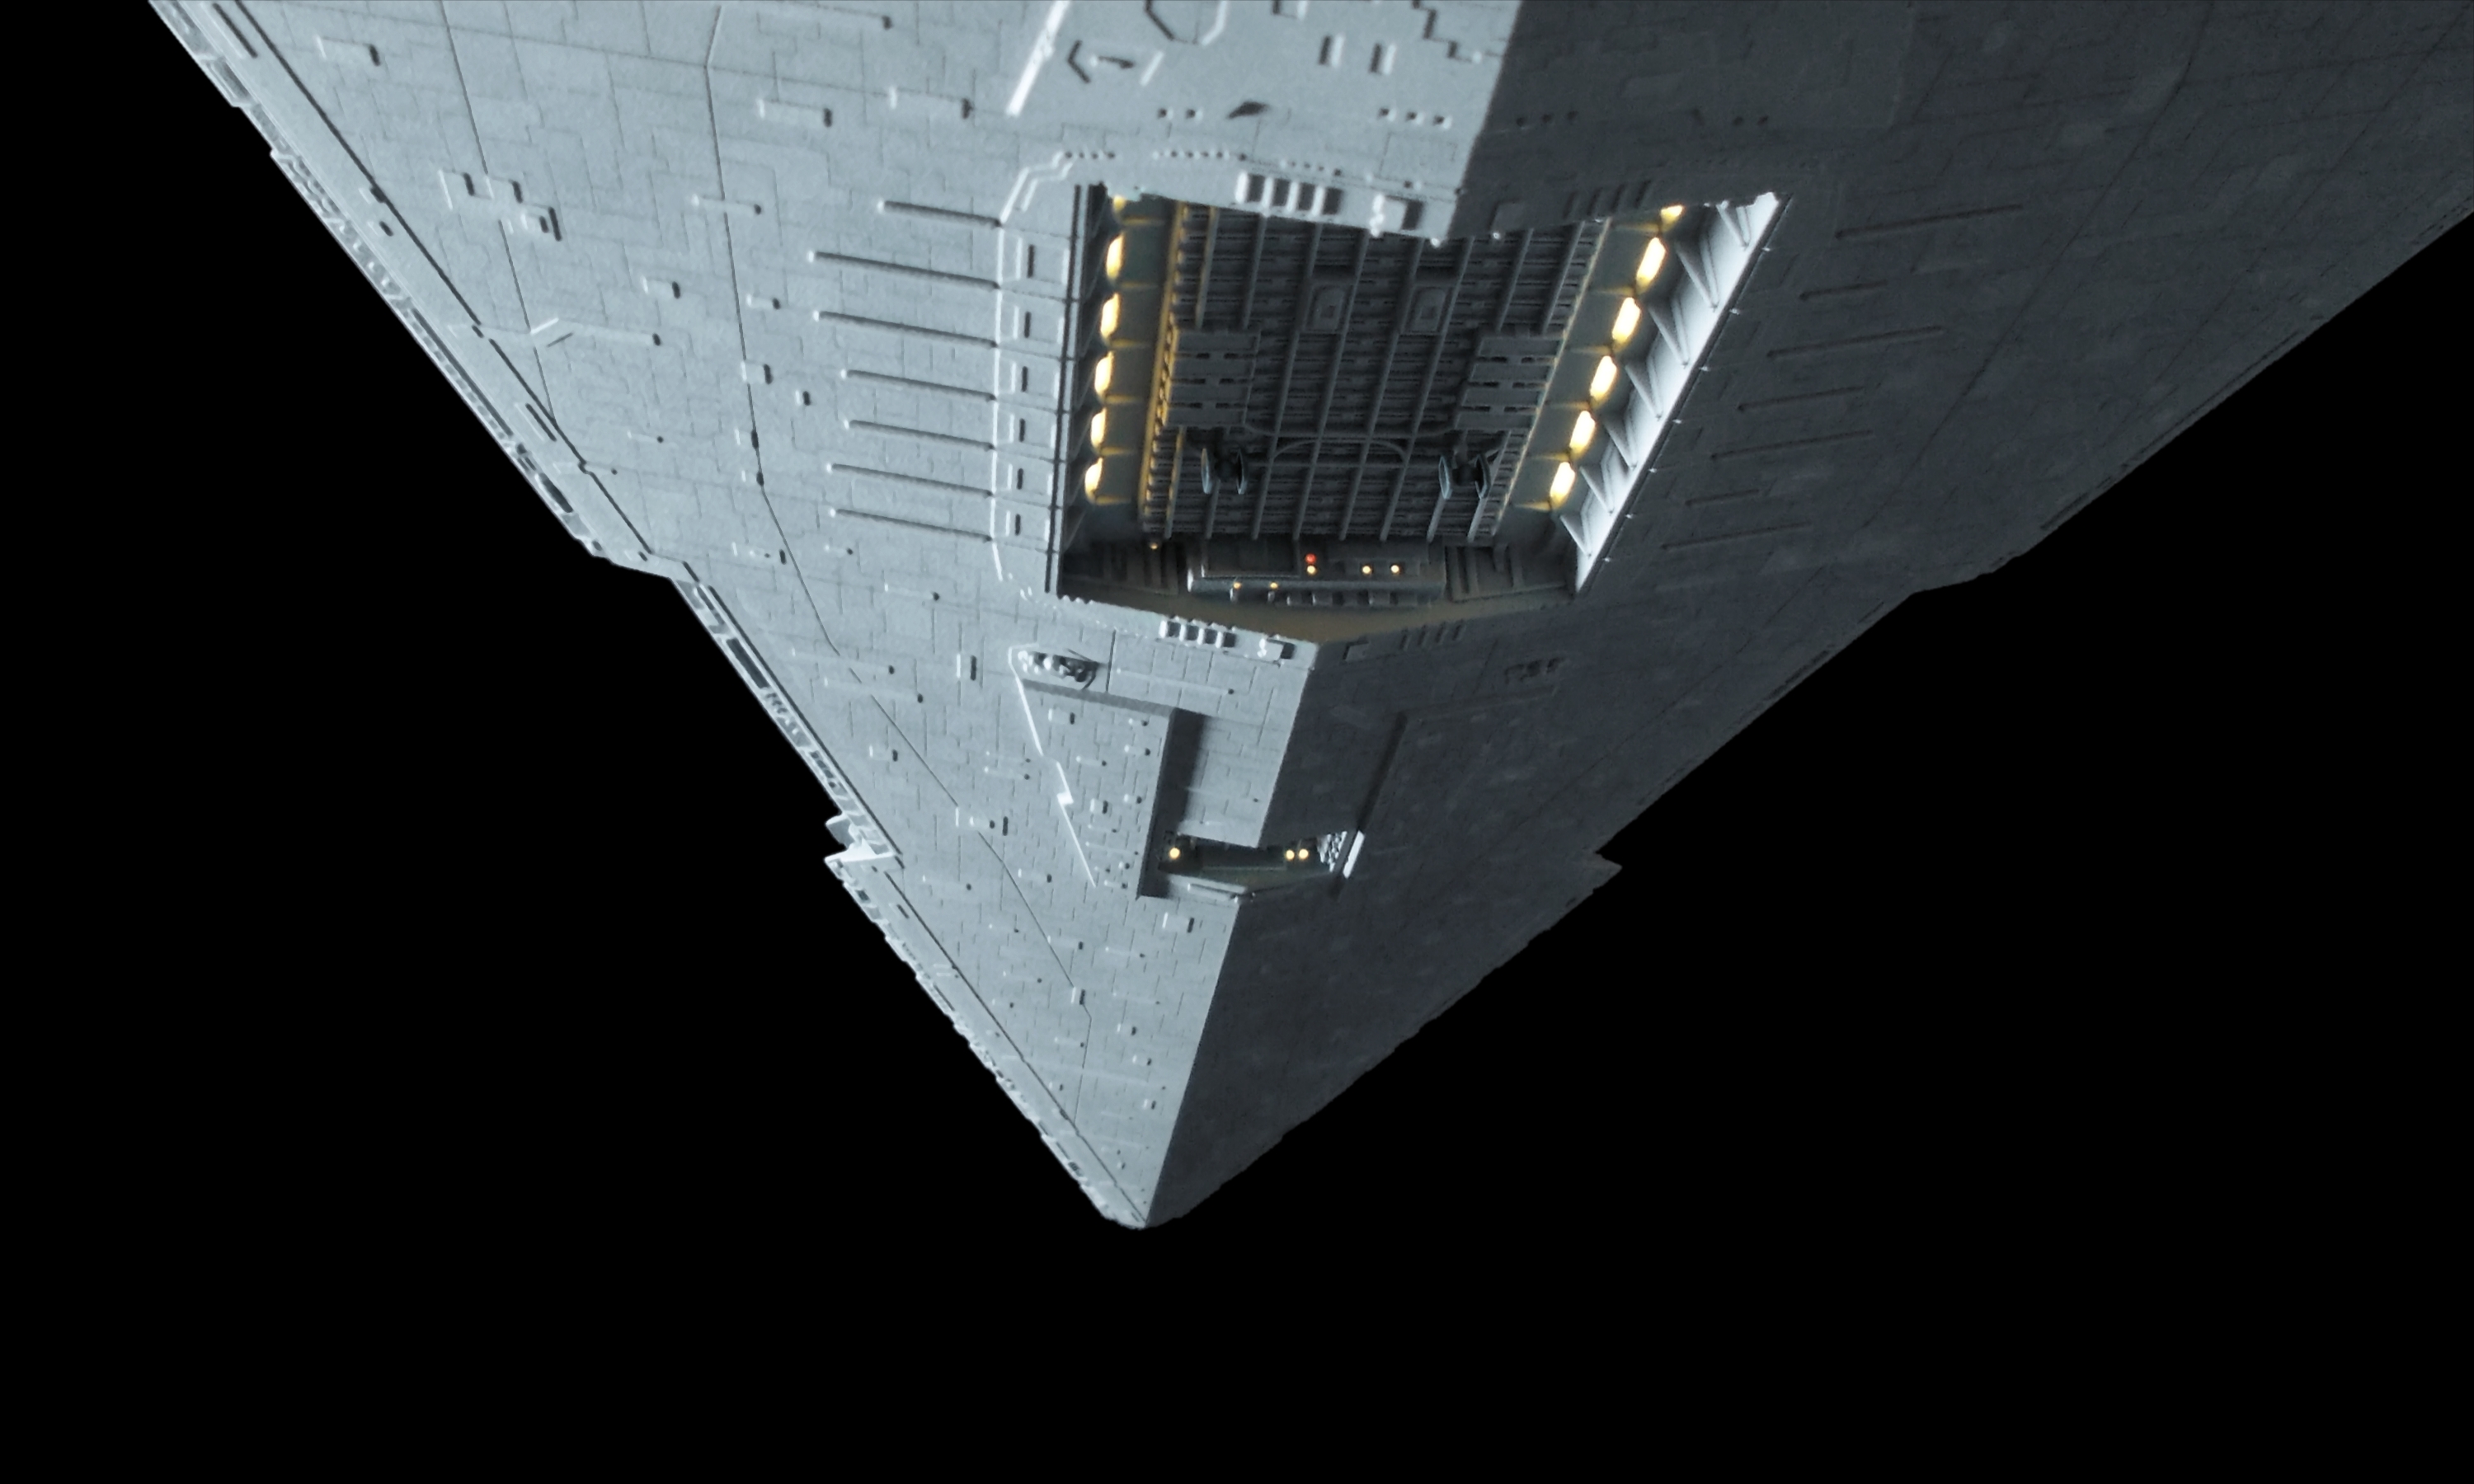
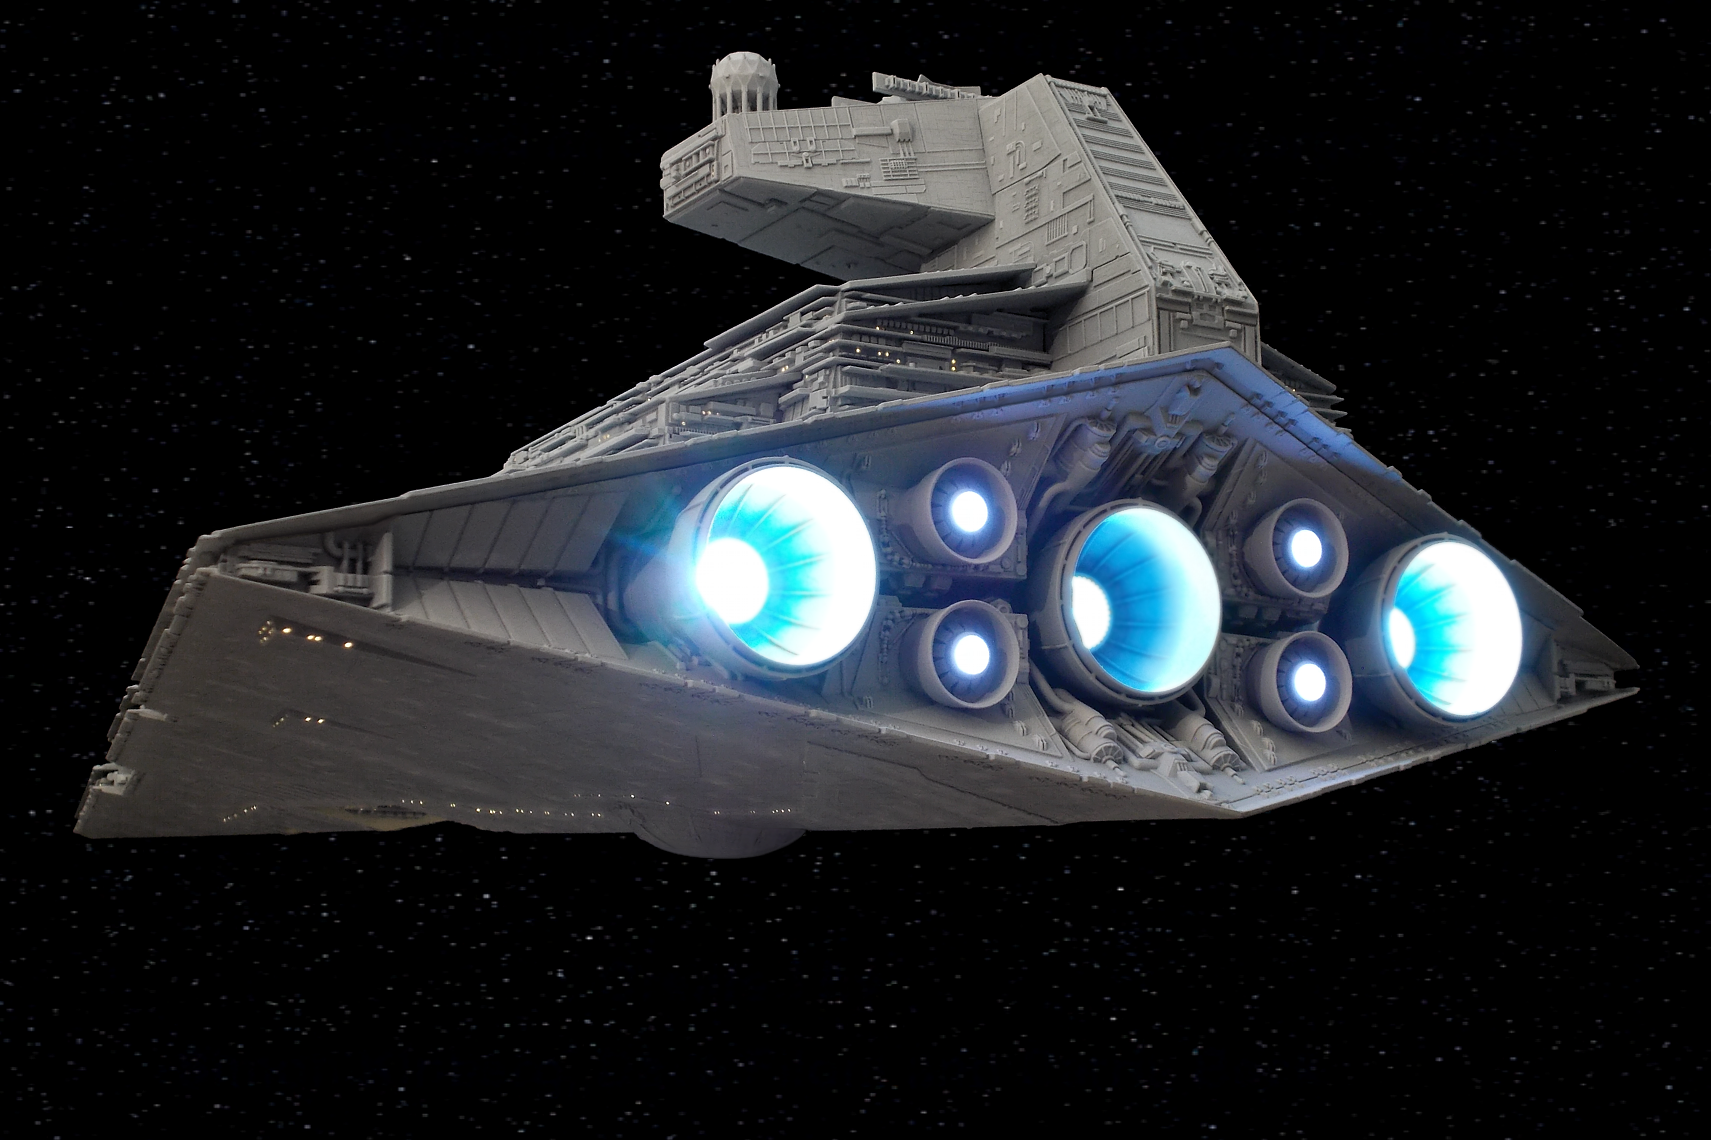
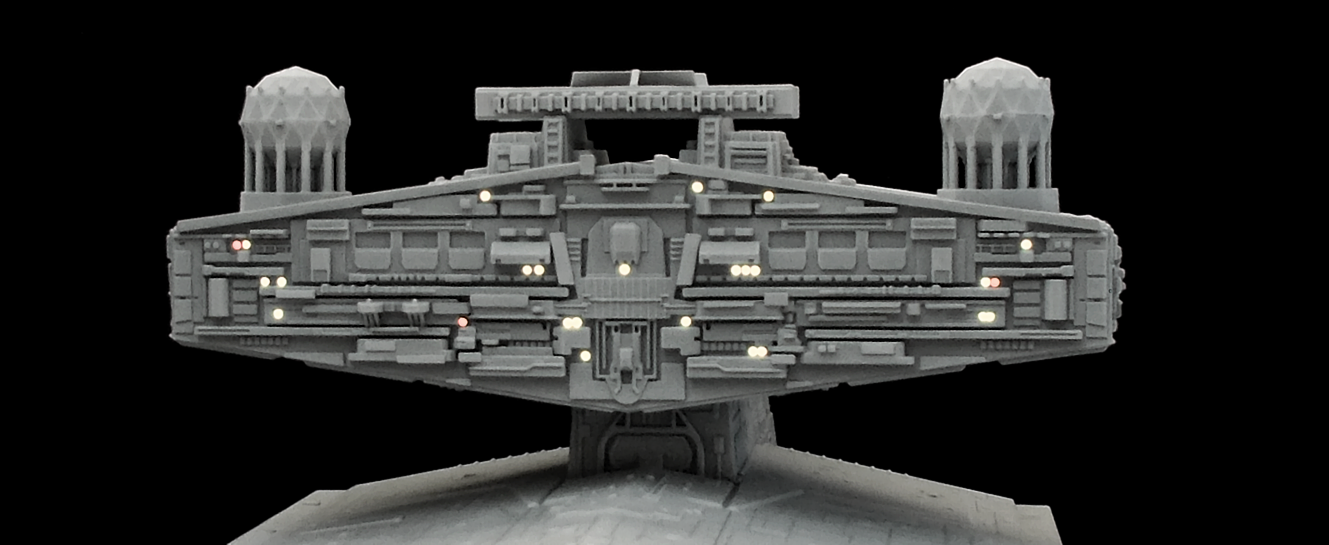
The DOMINATOR in movie lighting...
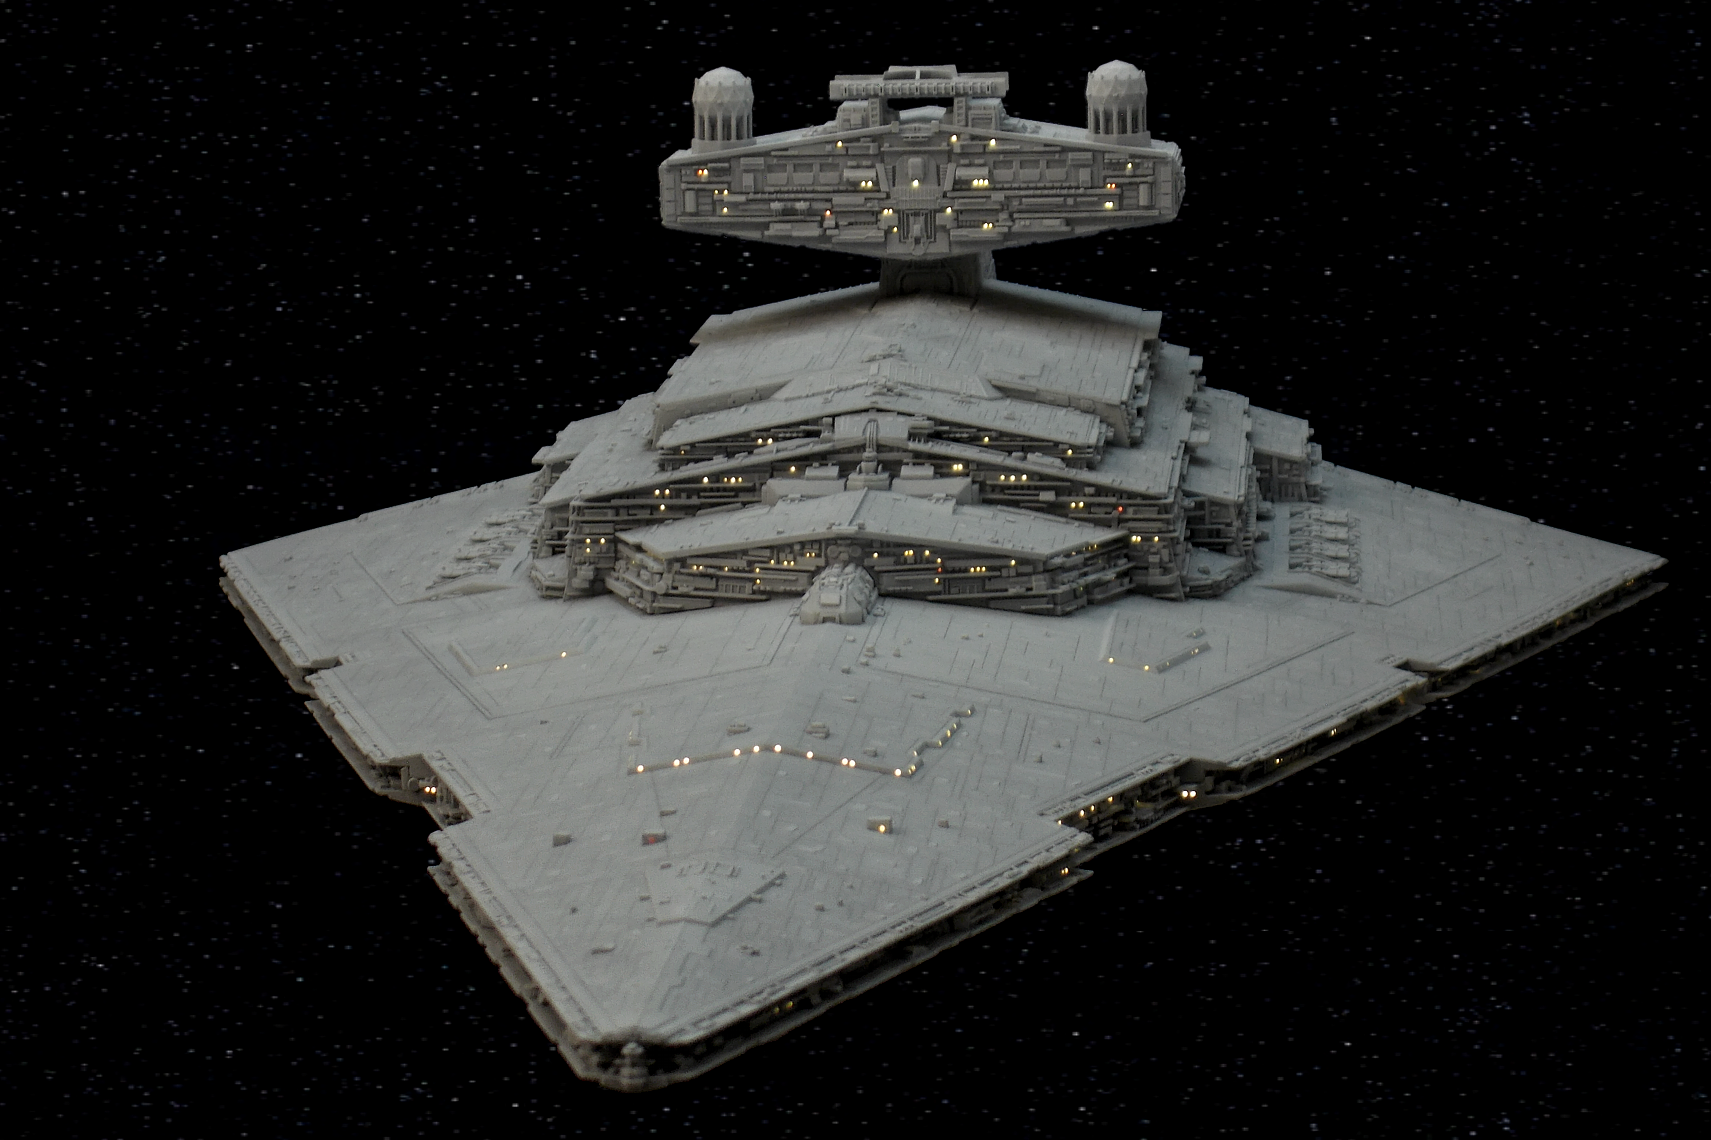
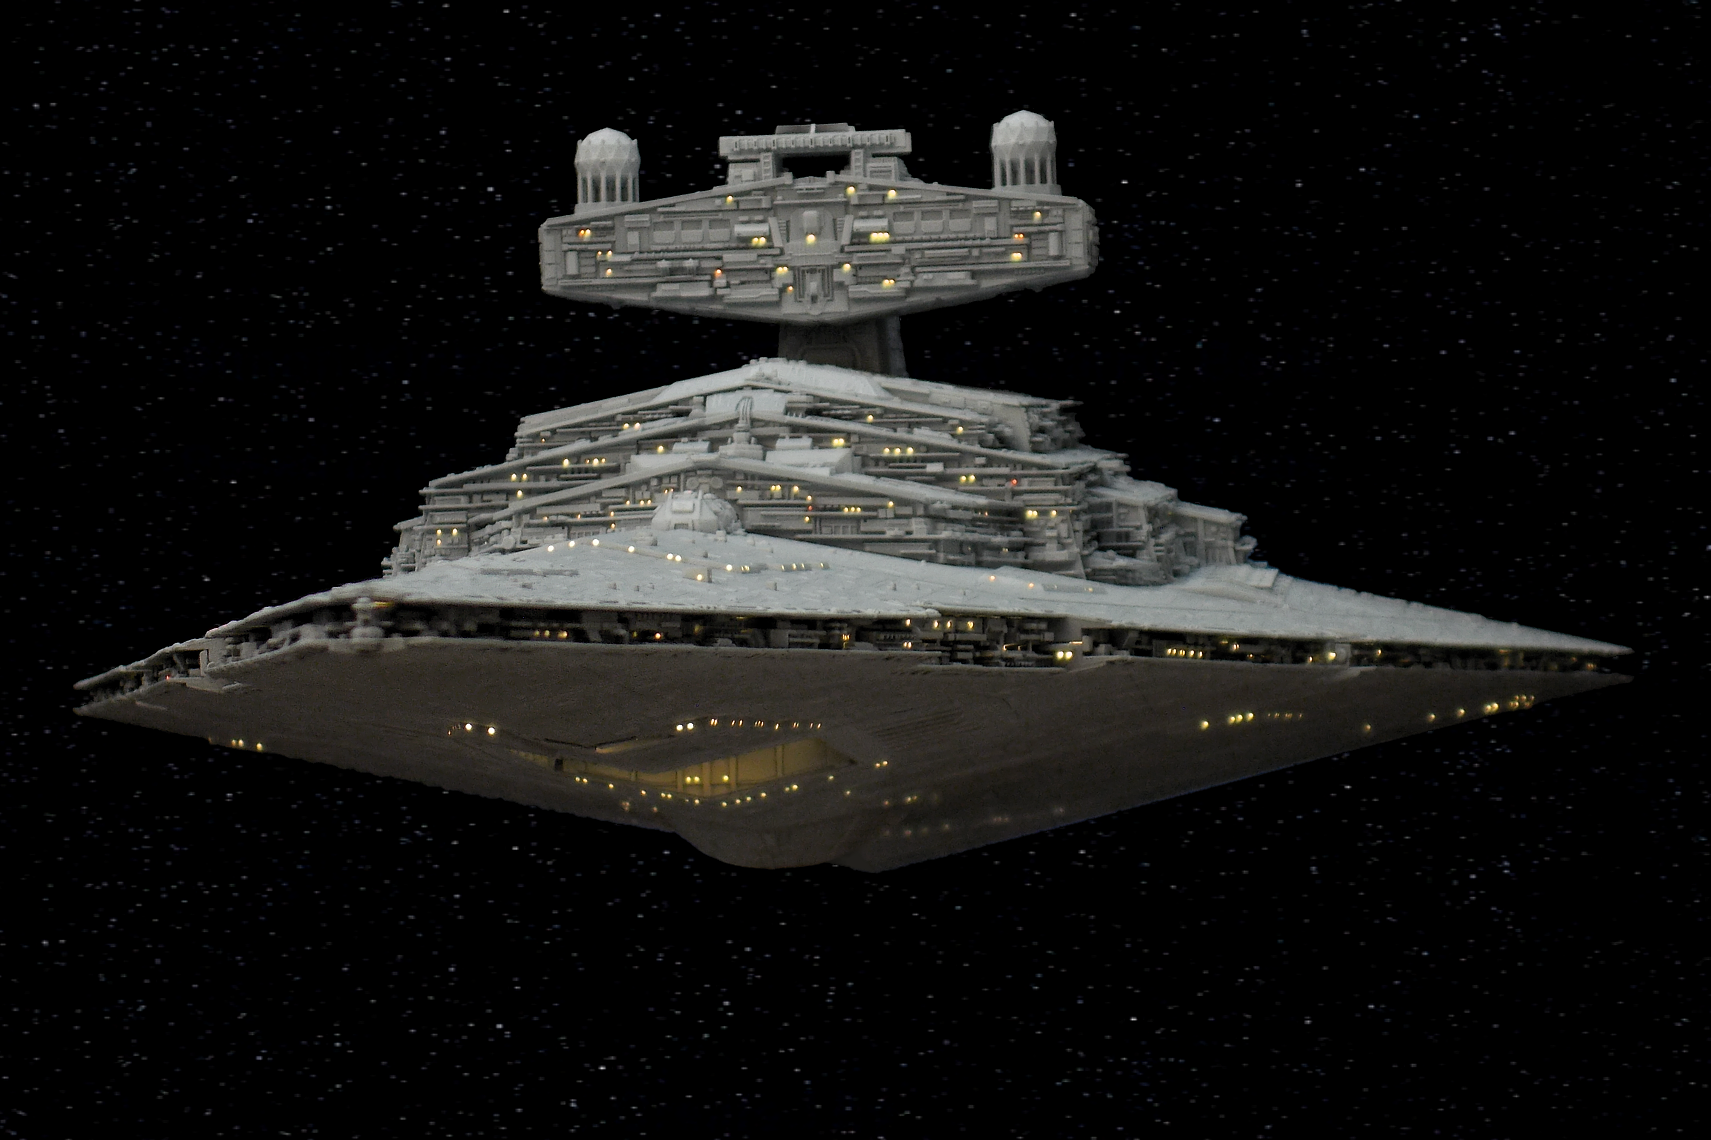
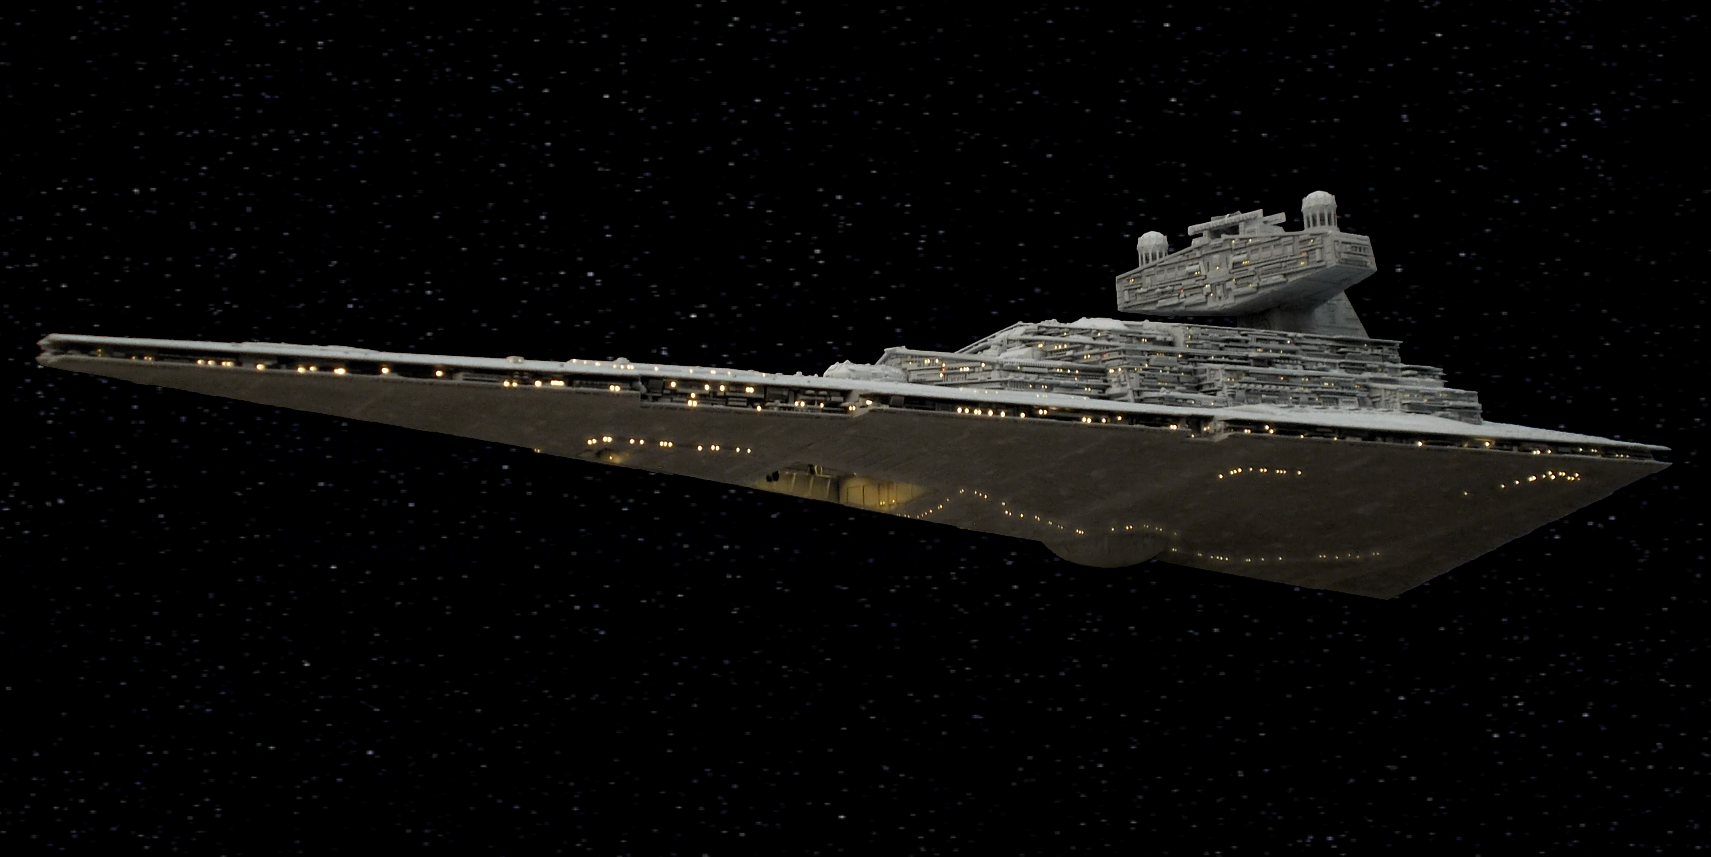
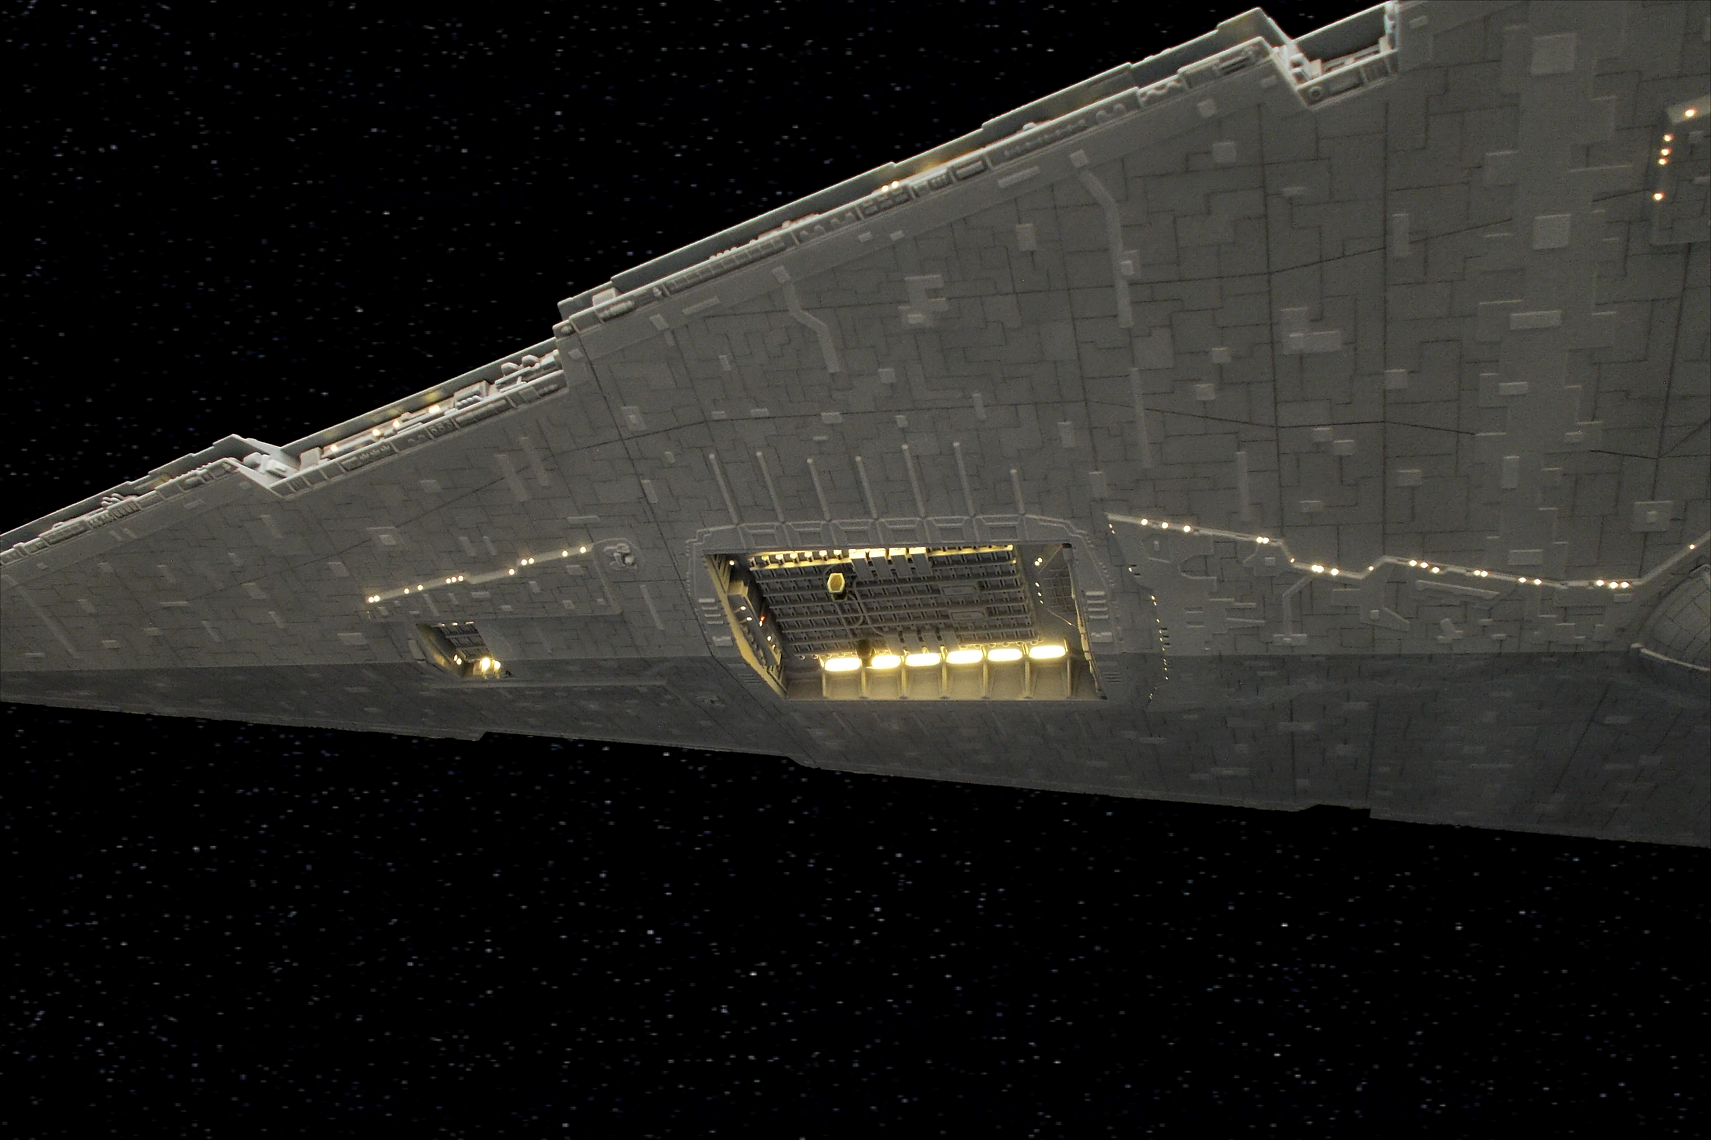
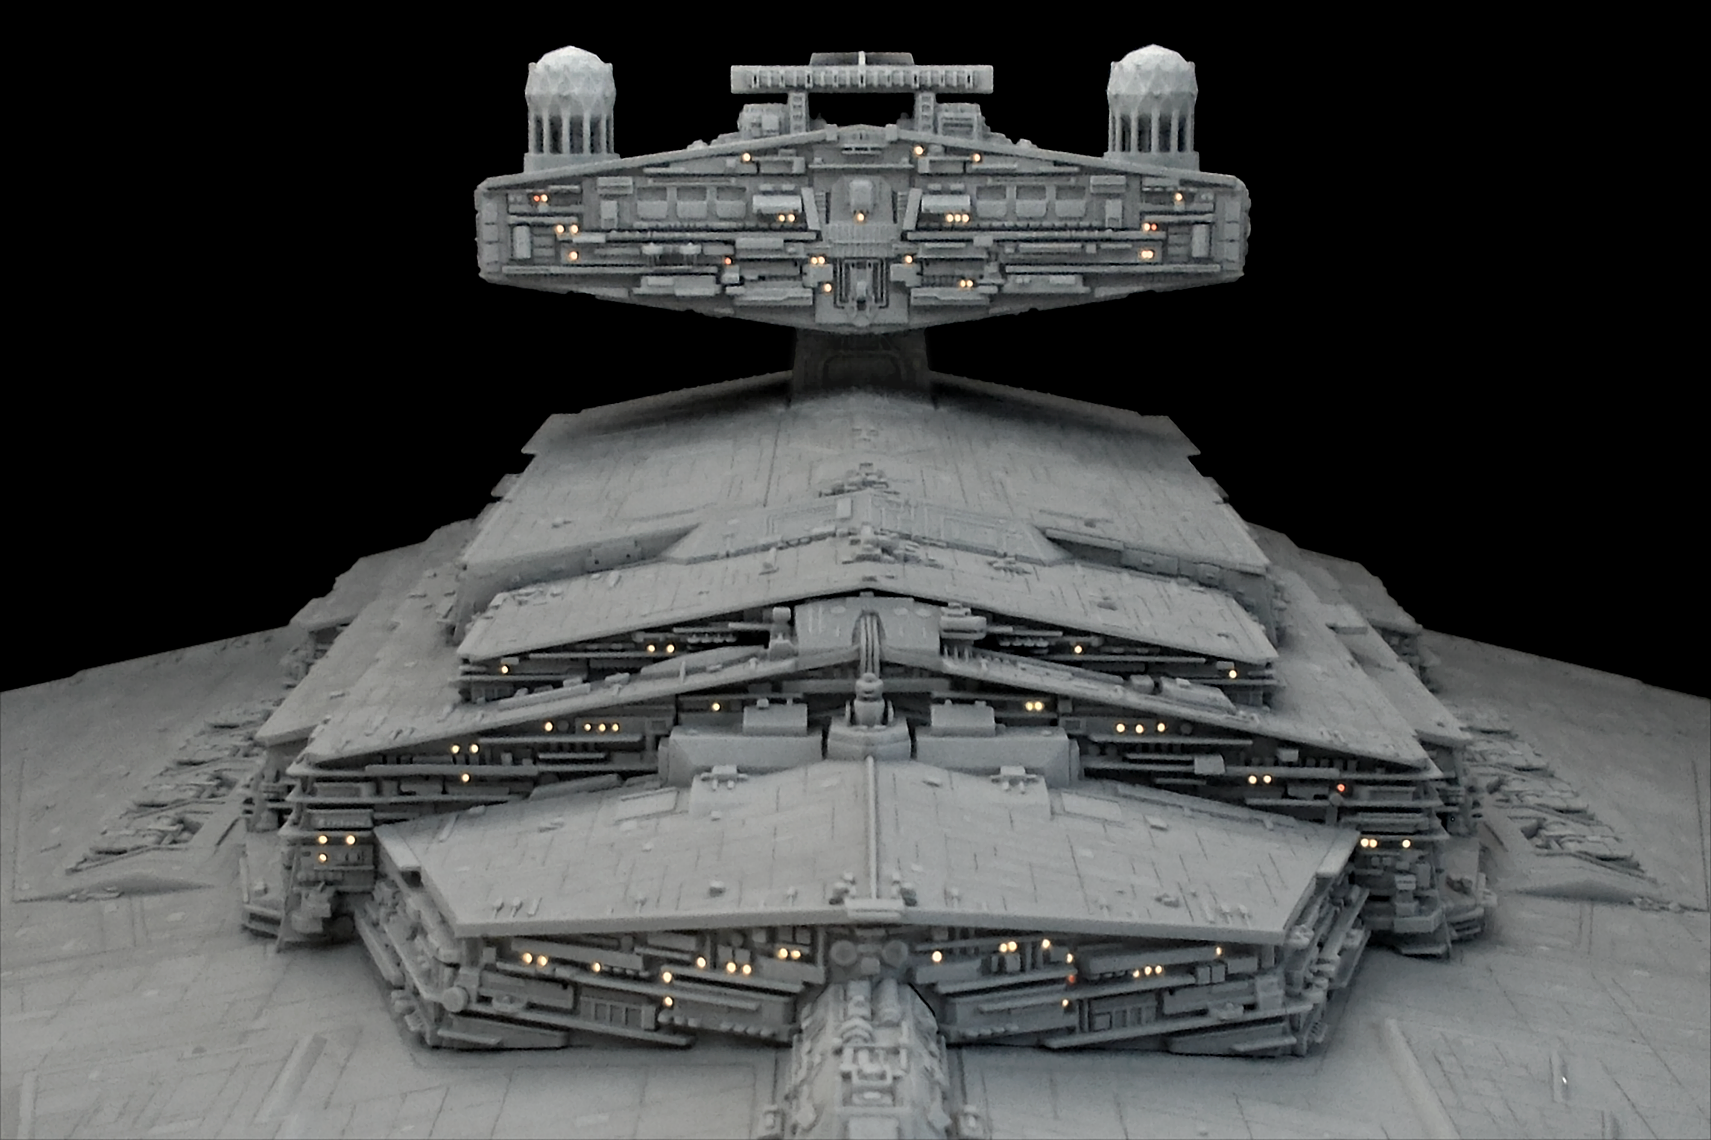
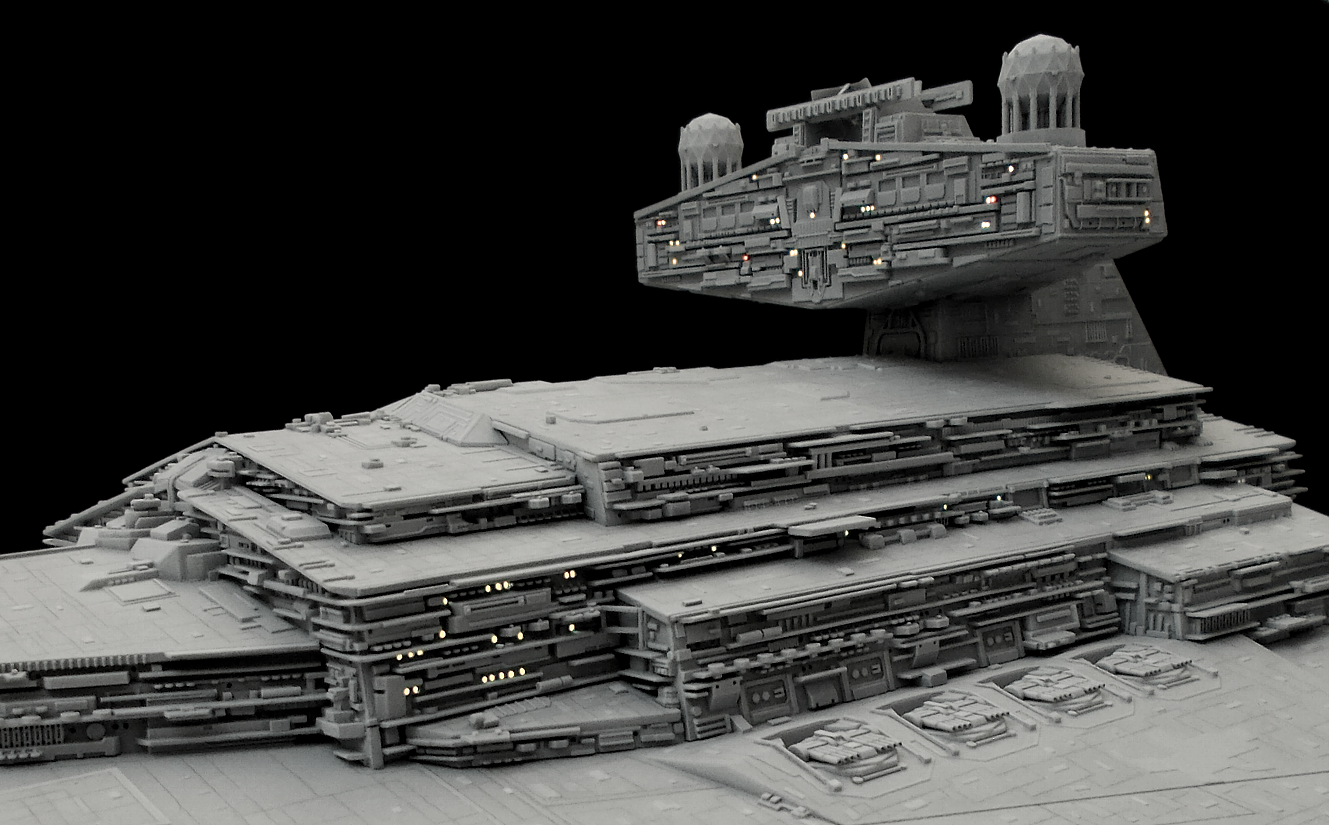
I want to close this project and milestone on my hobby journey with a couple of photos shot and lit the way the studio models were filmed in the original trilogy.
As usual, I placed the model in front of a pitch-black background. As for the lighting, I set up an even, diffused white ambient lighting, as well as a bright white key light directly aimed at the model to create shadows. Then I arranged some large white cards in a way that they bounced light into the shadows to bring out some details there without eliminating the shadows. That’s pretty much how they lit the models during the visual effects filming of the original movies.
Here are the final, large images – I had a blast with the project. Enjoy!
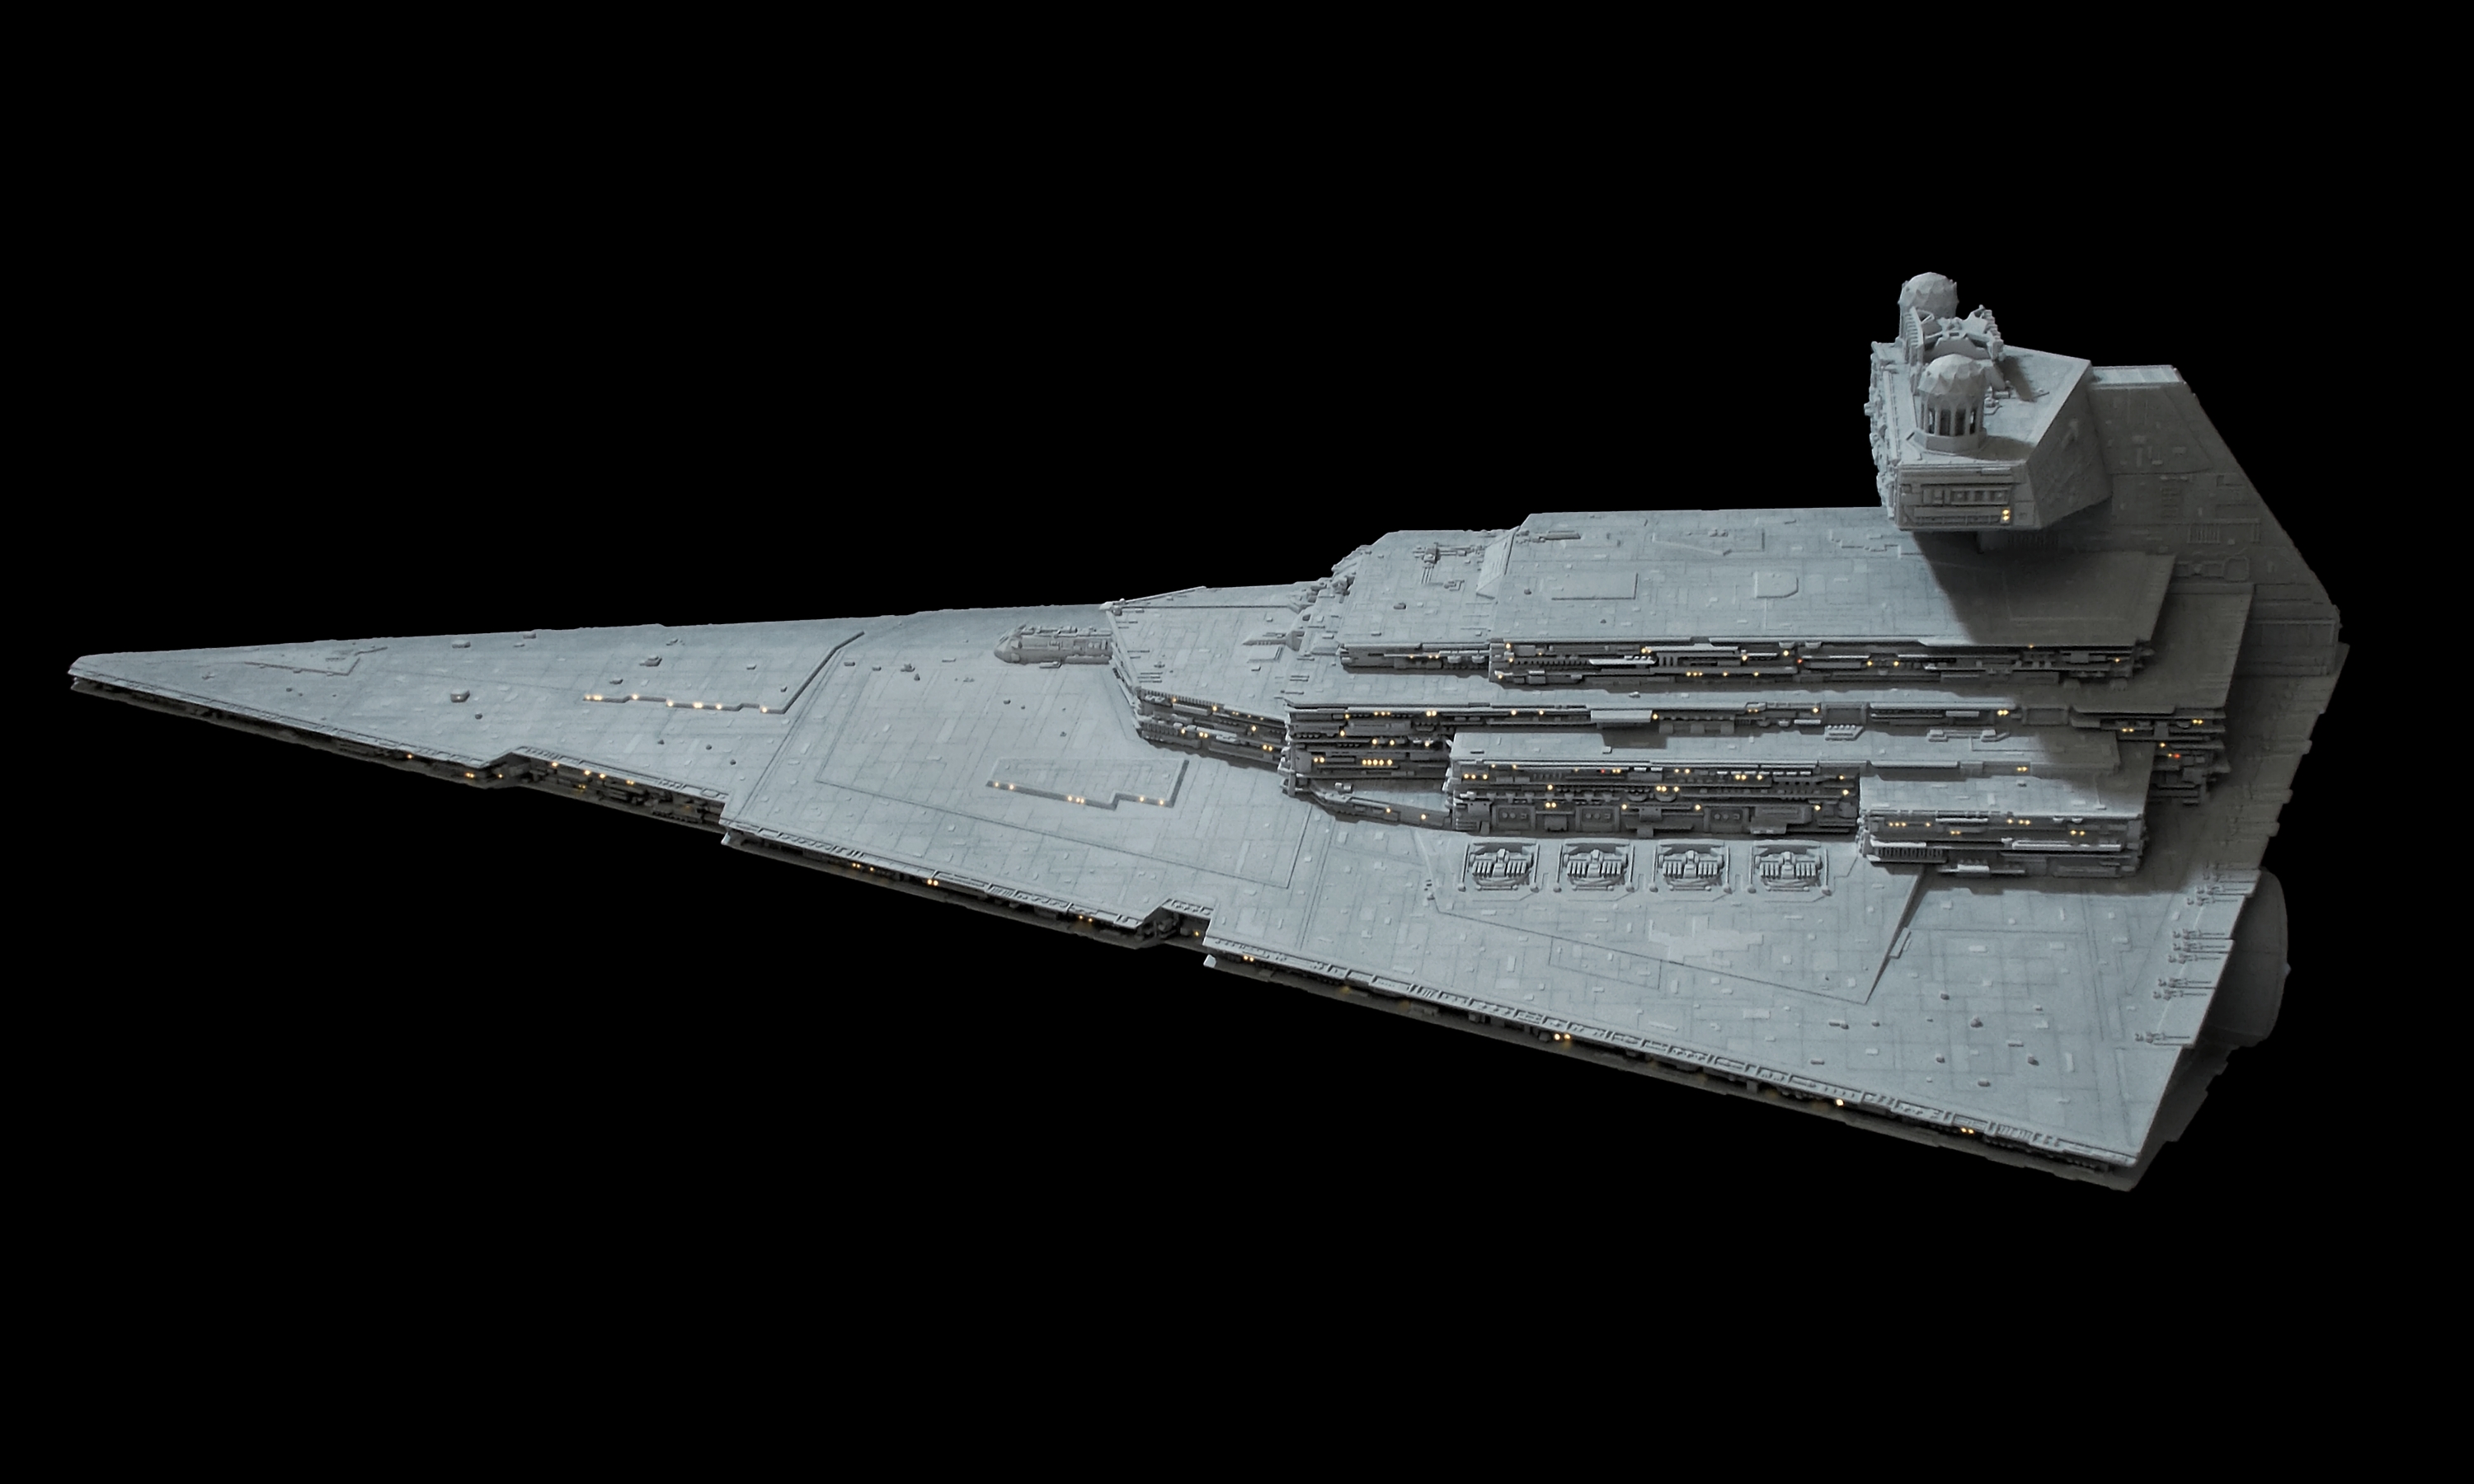
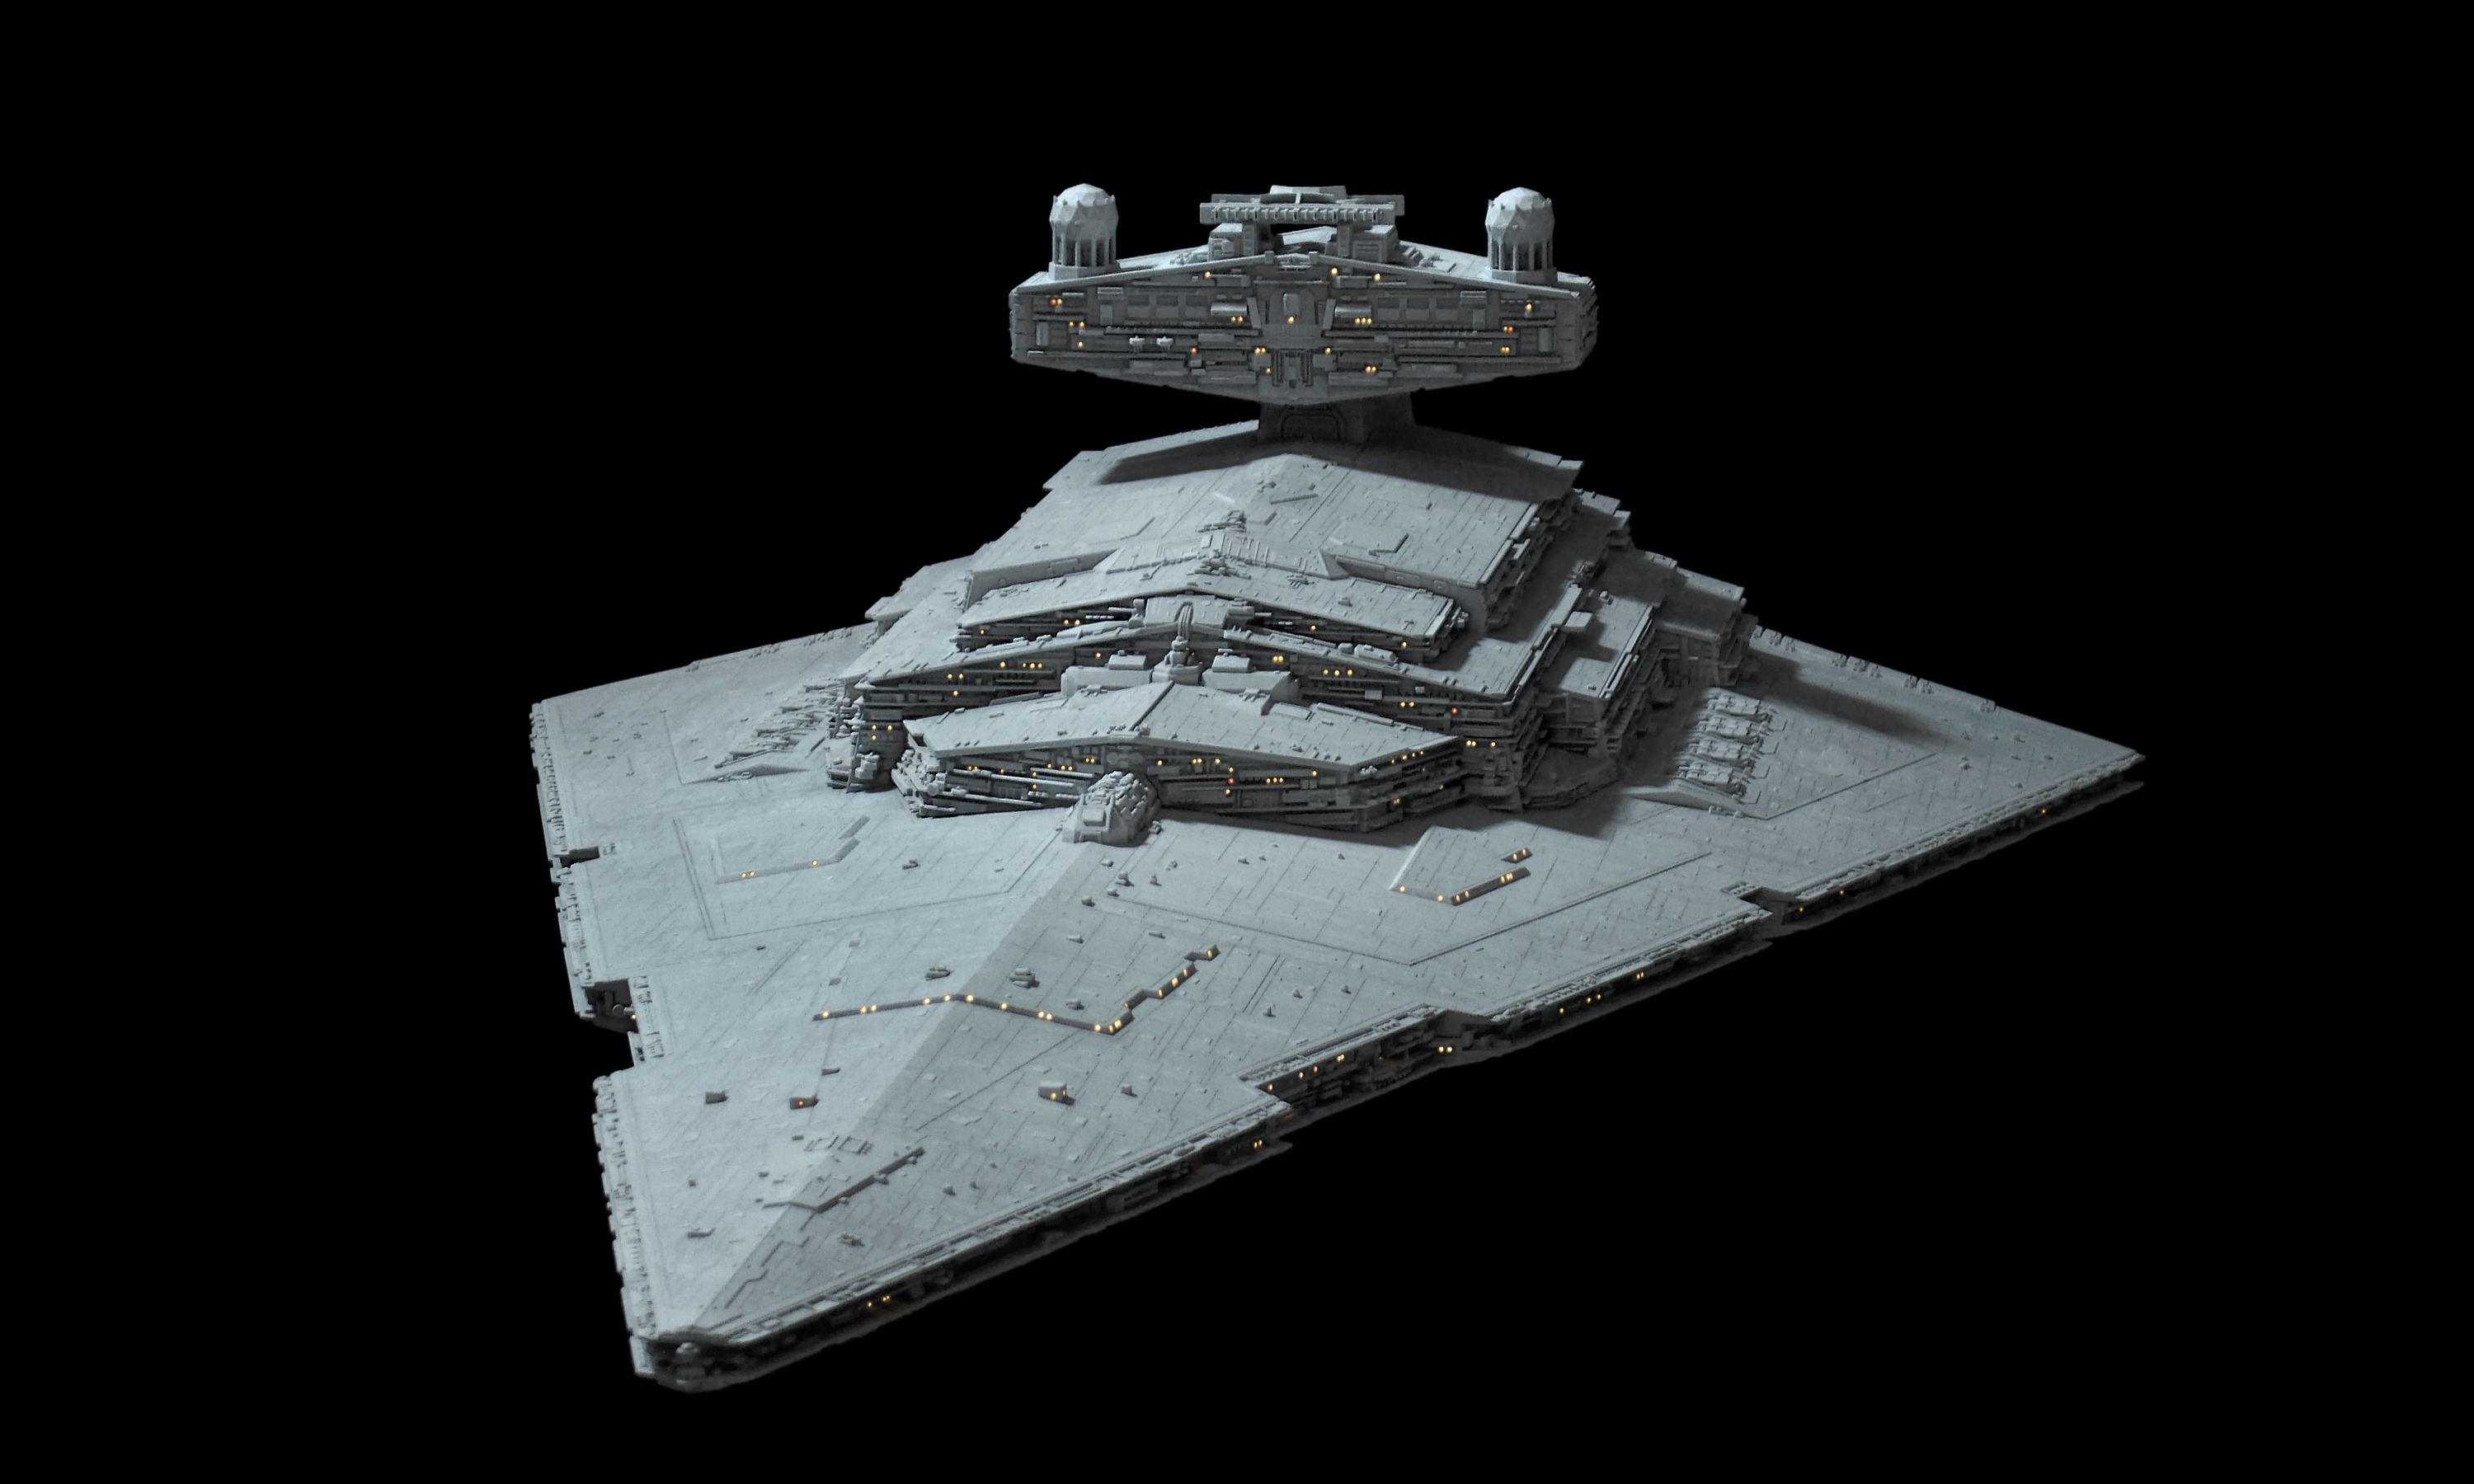
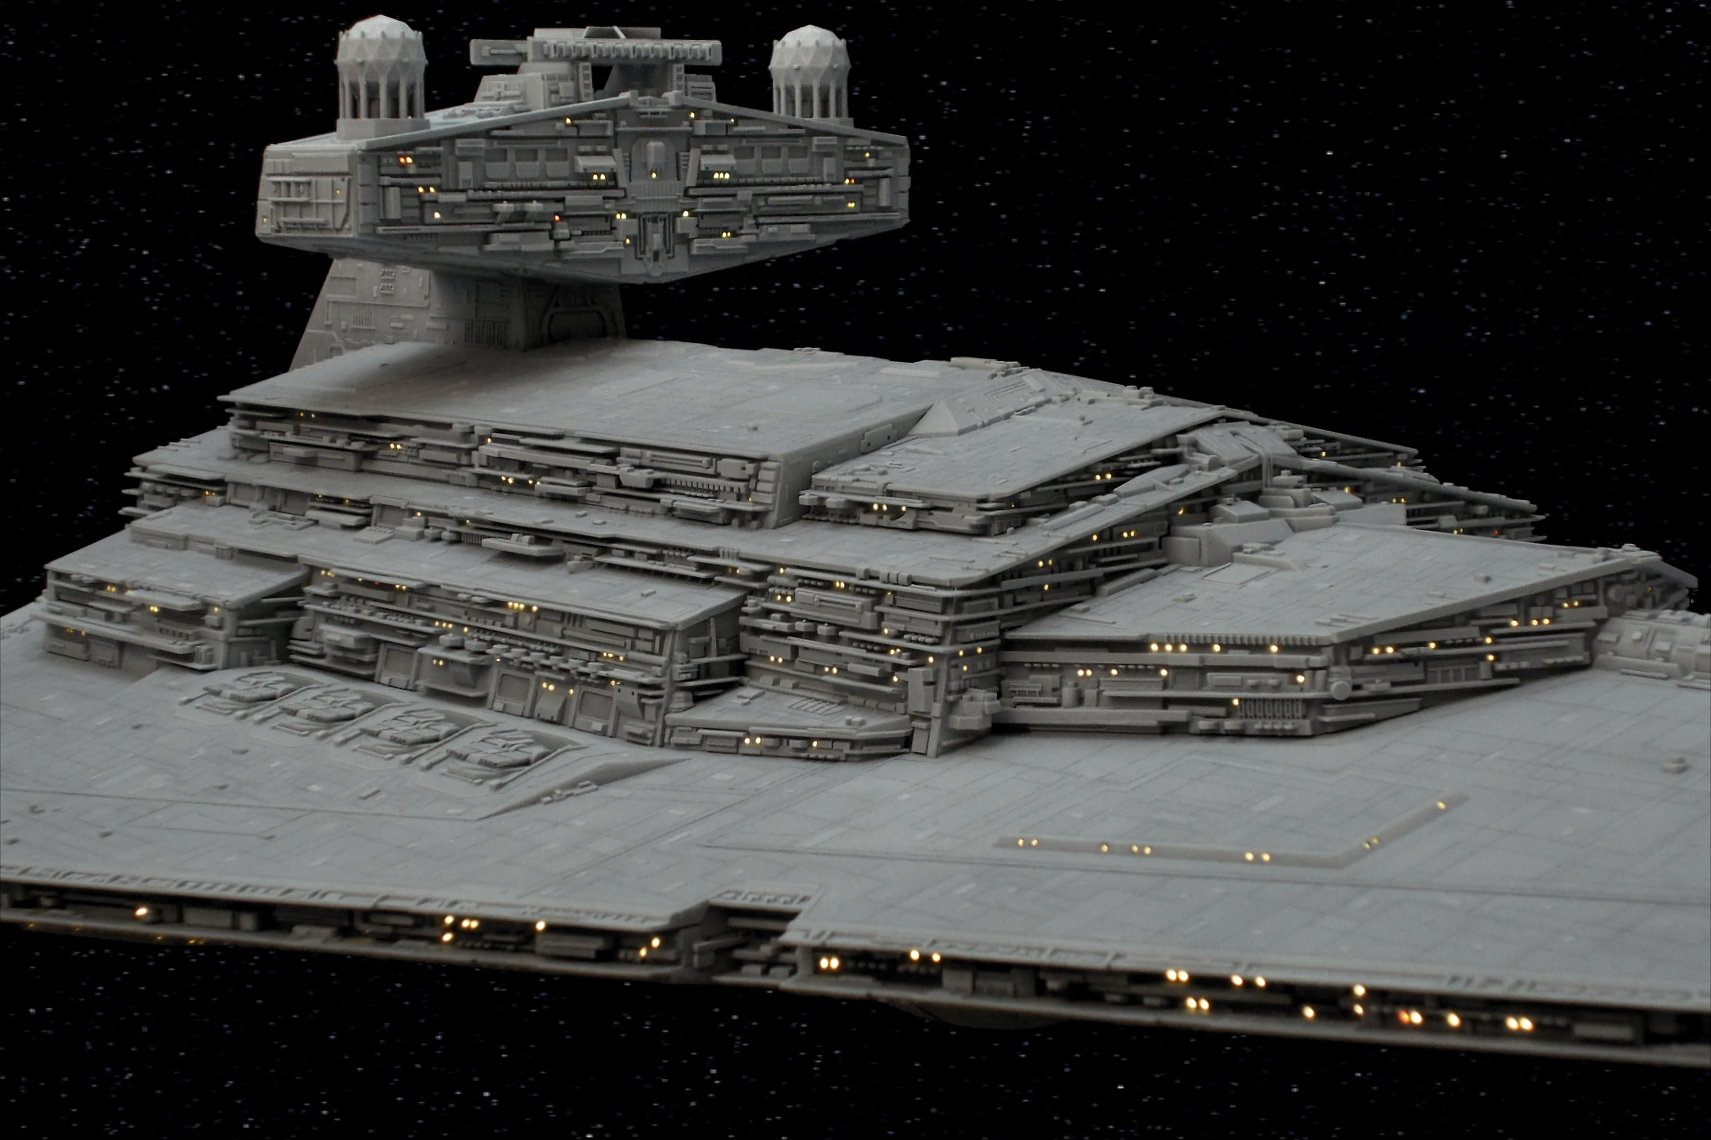
Star Destroyer 'DOMINATOR' is operational.
It’s done! The most ambitious, difficult, demanding, and eventually rewarding model-building project I’ve ever done to date. I’ll keept it brief, and post the first photos of the finished model – more will surly come. I’ll keep the project open for the time being, so that I could post how I’ve done the electronics and lighting of the model.


Back from the repair dock...
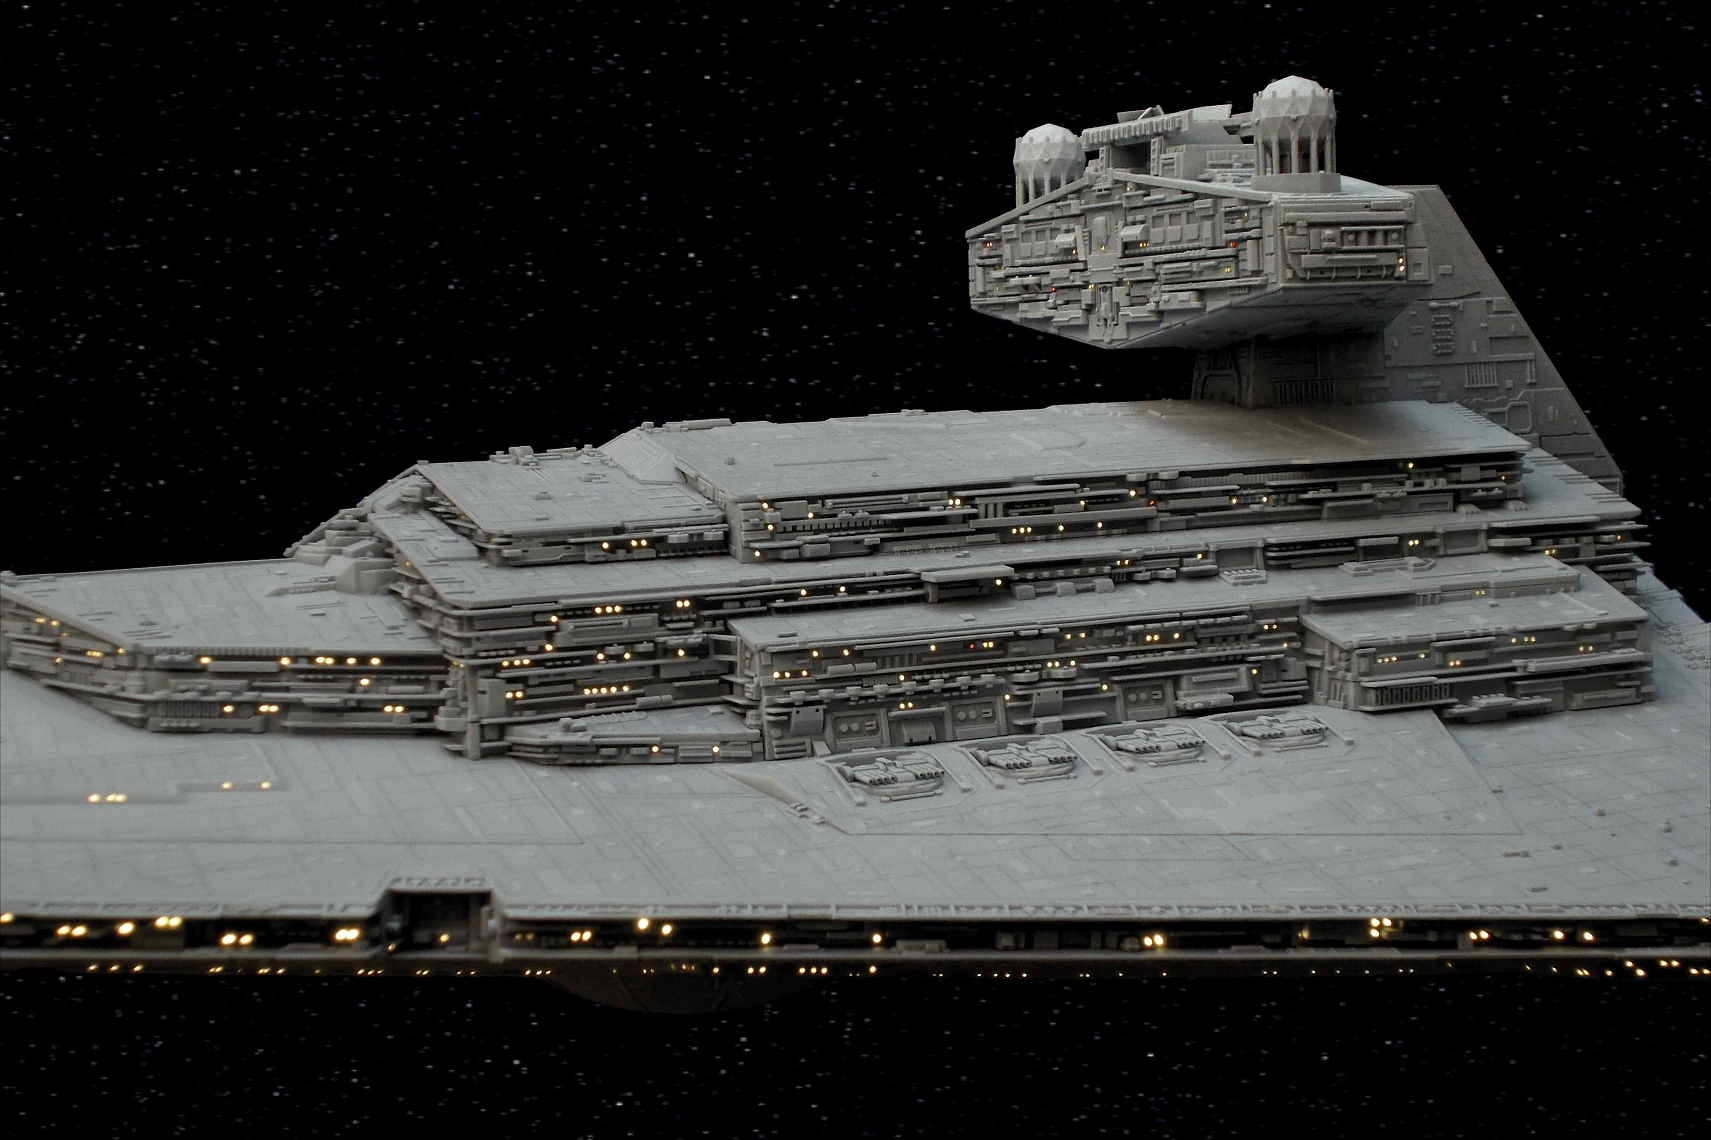
After an accident which destroyed a few of my custom-built details on the port side of the superstructure, I put the kit away and was a bit demoralized. Two weeks ago, I dared to closely inspect the damage and came to the conclusion that I could repair it flawlessly. Most bits came off whole, so that I only needed to clean and repaint the break points. A few parts required to be built again, which I did meticulously. I’m very glad that the repairs turned out undistinguishable from the inital bits which got destroyed.

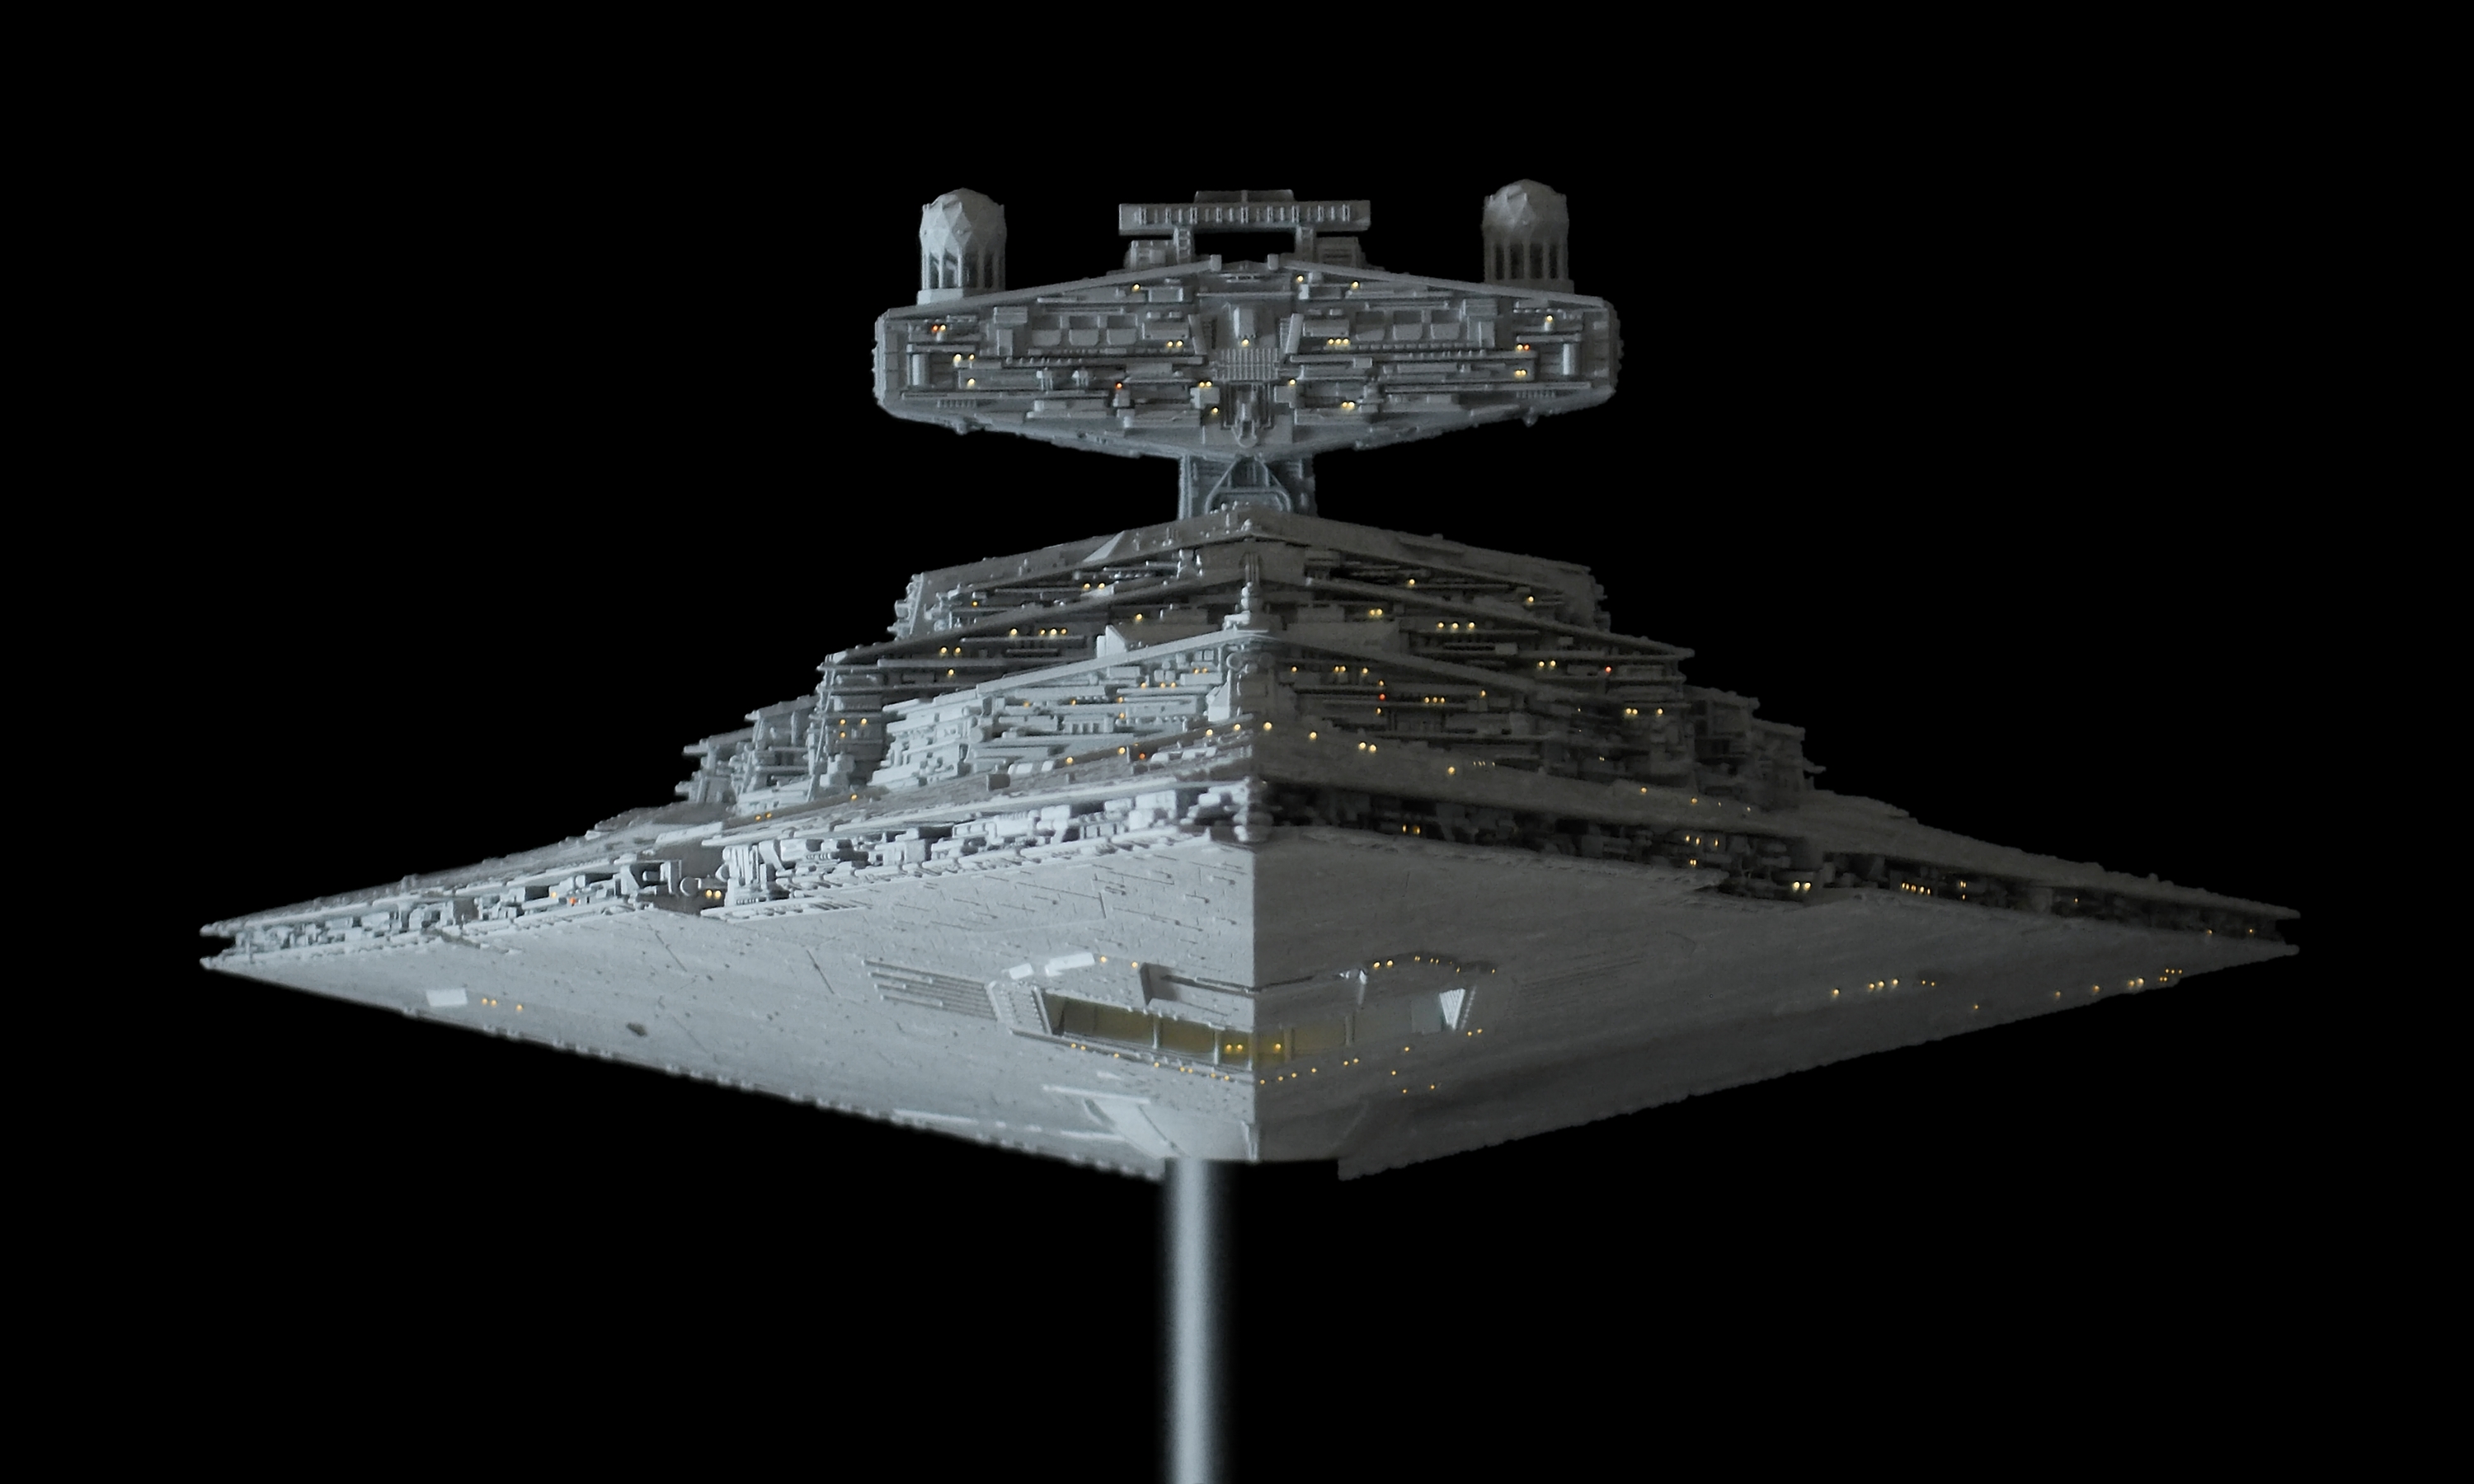
With that out of the way, I resumed my work to finish the model and happily share the results here. At the moment, all fiberoptics for the lighting of the upper half of the Star Destroyer are finished:

Work on the Fiberoptics continues - 60 done, roughly 500 to go...
I never liked how the hull-lighting on many lit-up Star Destroyer models is way too bright. To avoid this, and to also get a nice even warm-white light on all light dots, I cover the end of all FO-bundles with one layer of white electrical tape before it goes into a slot above an LED.
Light It Up!
The model-building part of this model is now done, as are all the modifications to greatly enhance the model and make it as movie-accurate as possible, as well as preparing it for everything required to light it up.
I’ve started installing the fiberoptics – beginning with the bridge section, which was by far the hardest. Fortunately, it went well and all 30 FOs are now in place, bundled up and ready to get stuck into a port above one of the 9 LEDs for the hull-lighting.
Now I have 400-500 more fiberoptics to do…
I guess this is where the fun begins!

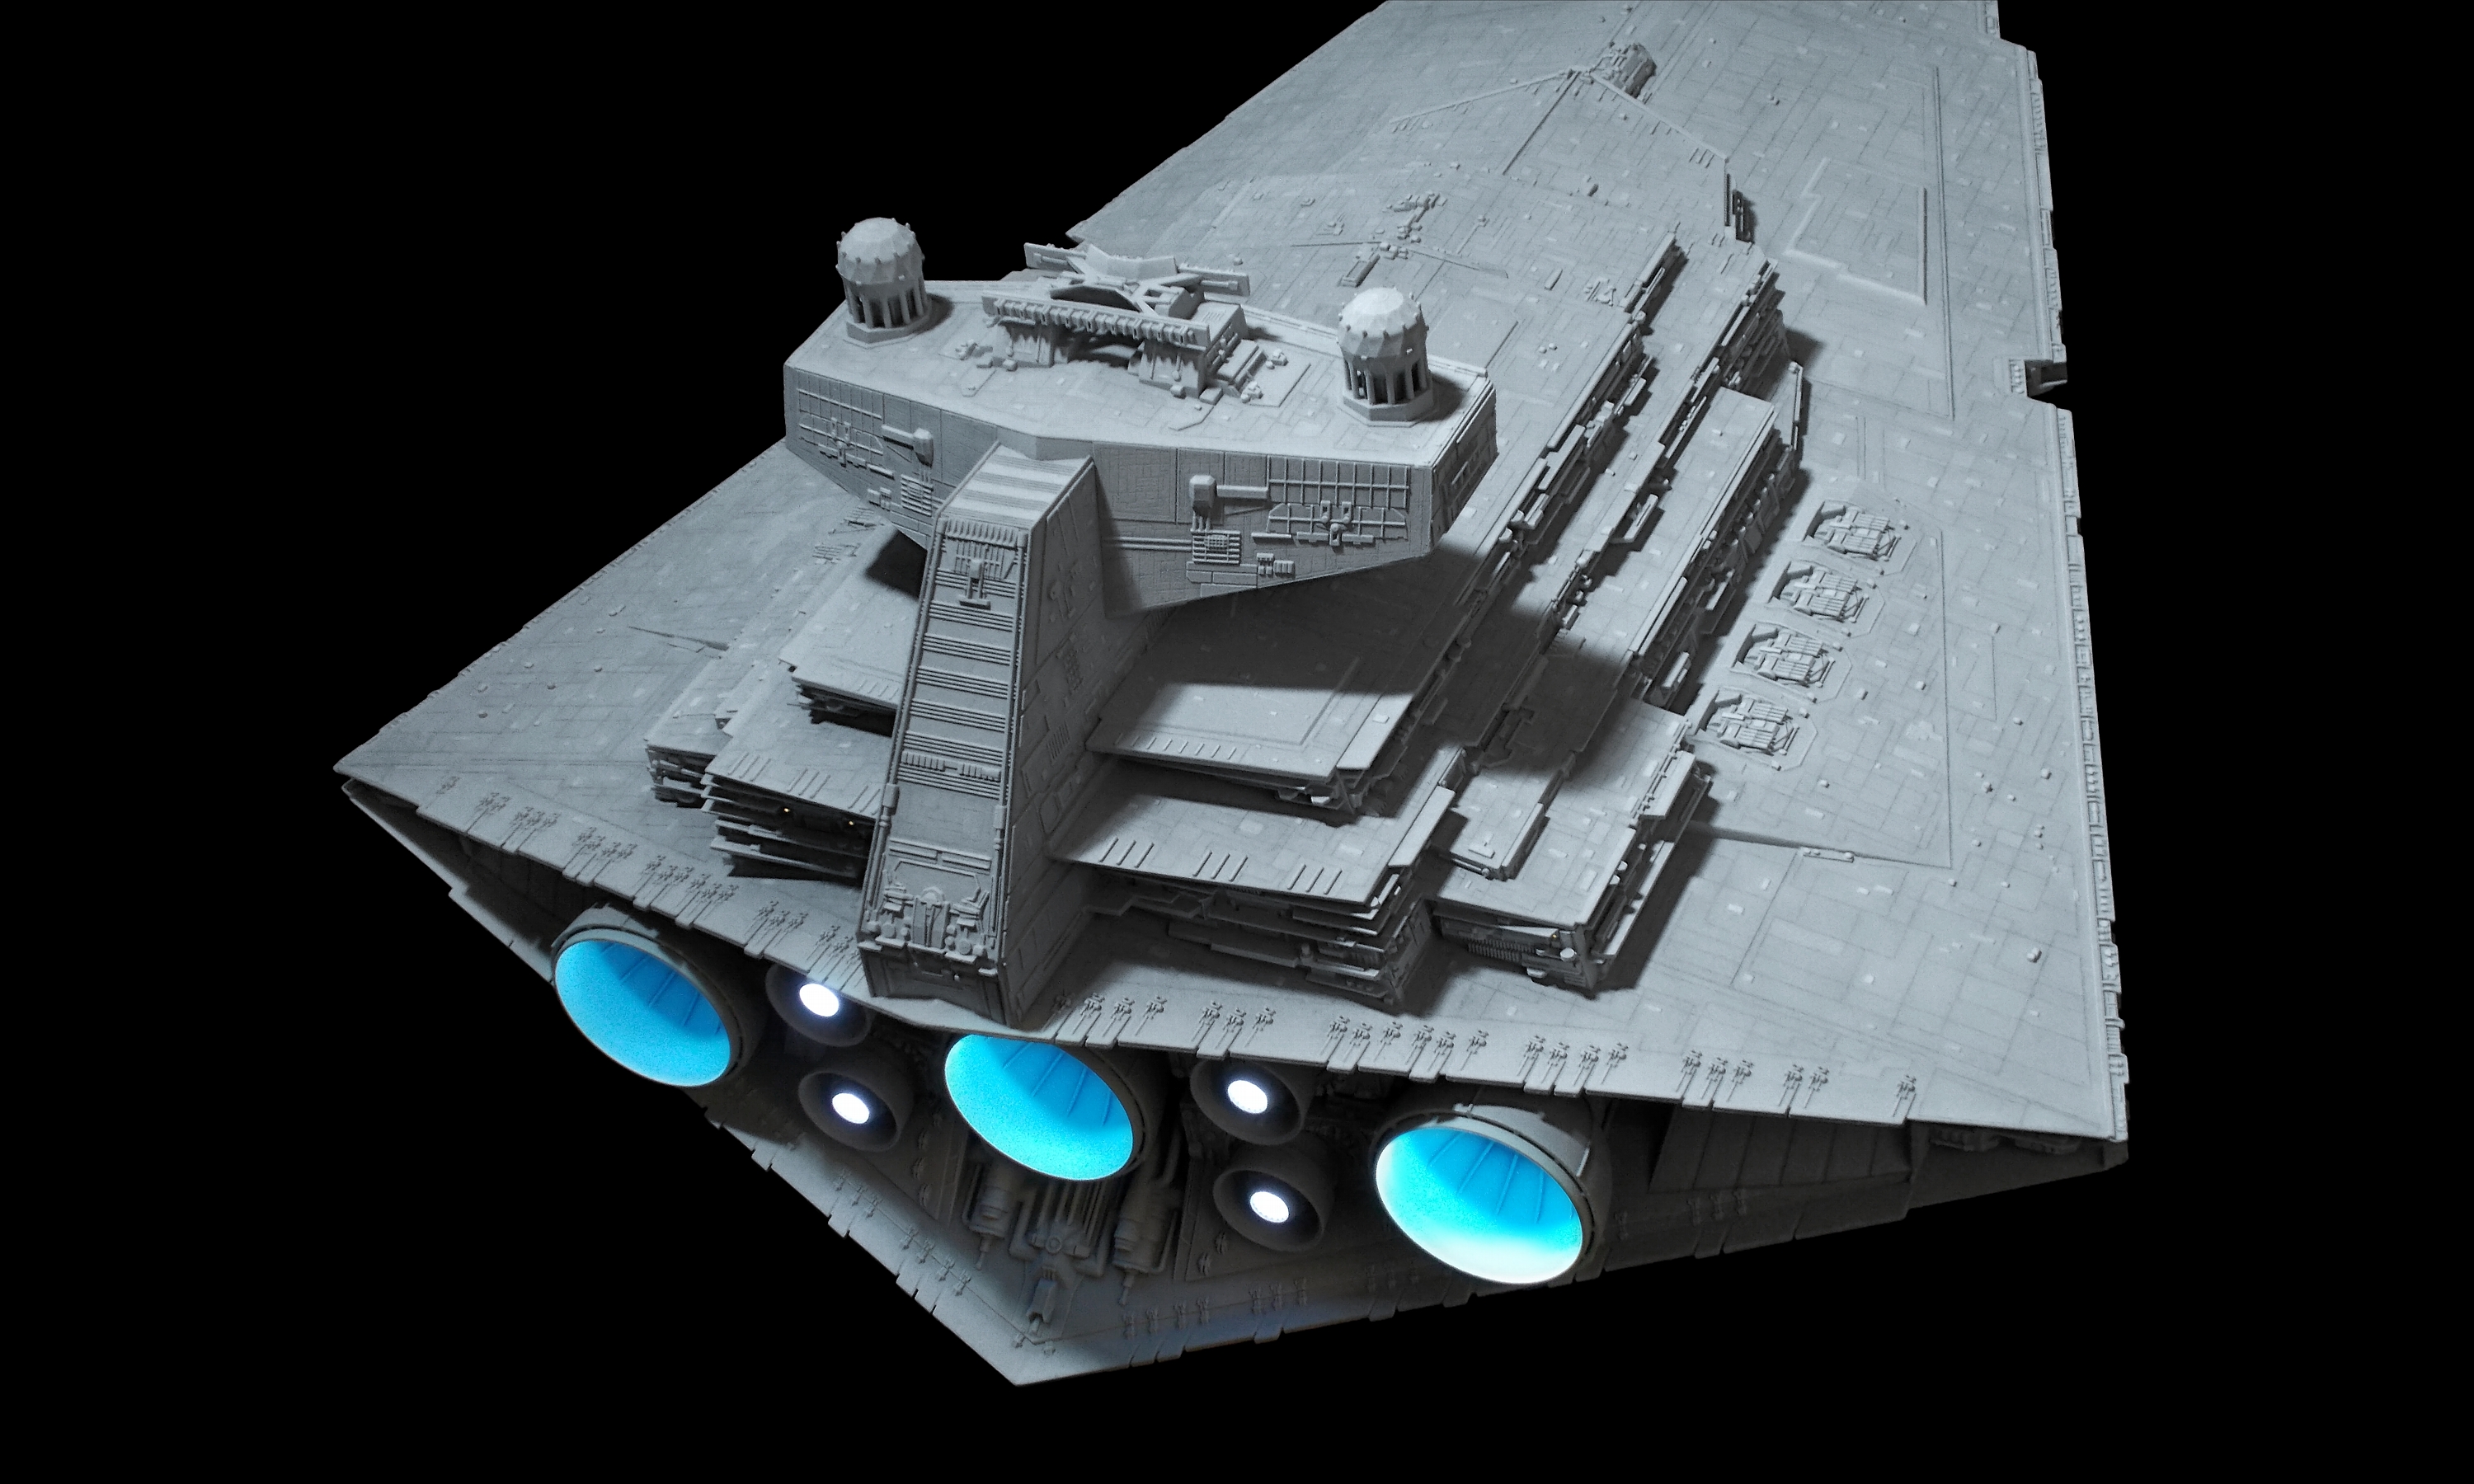
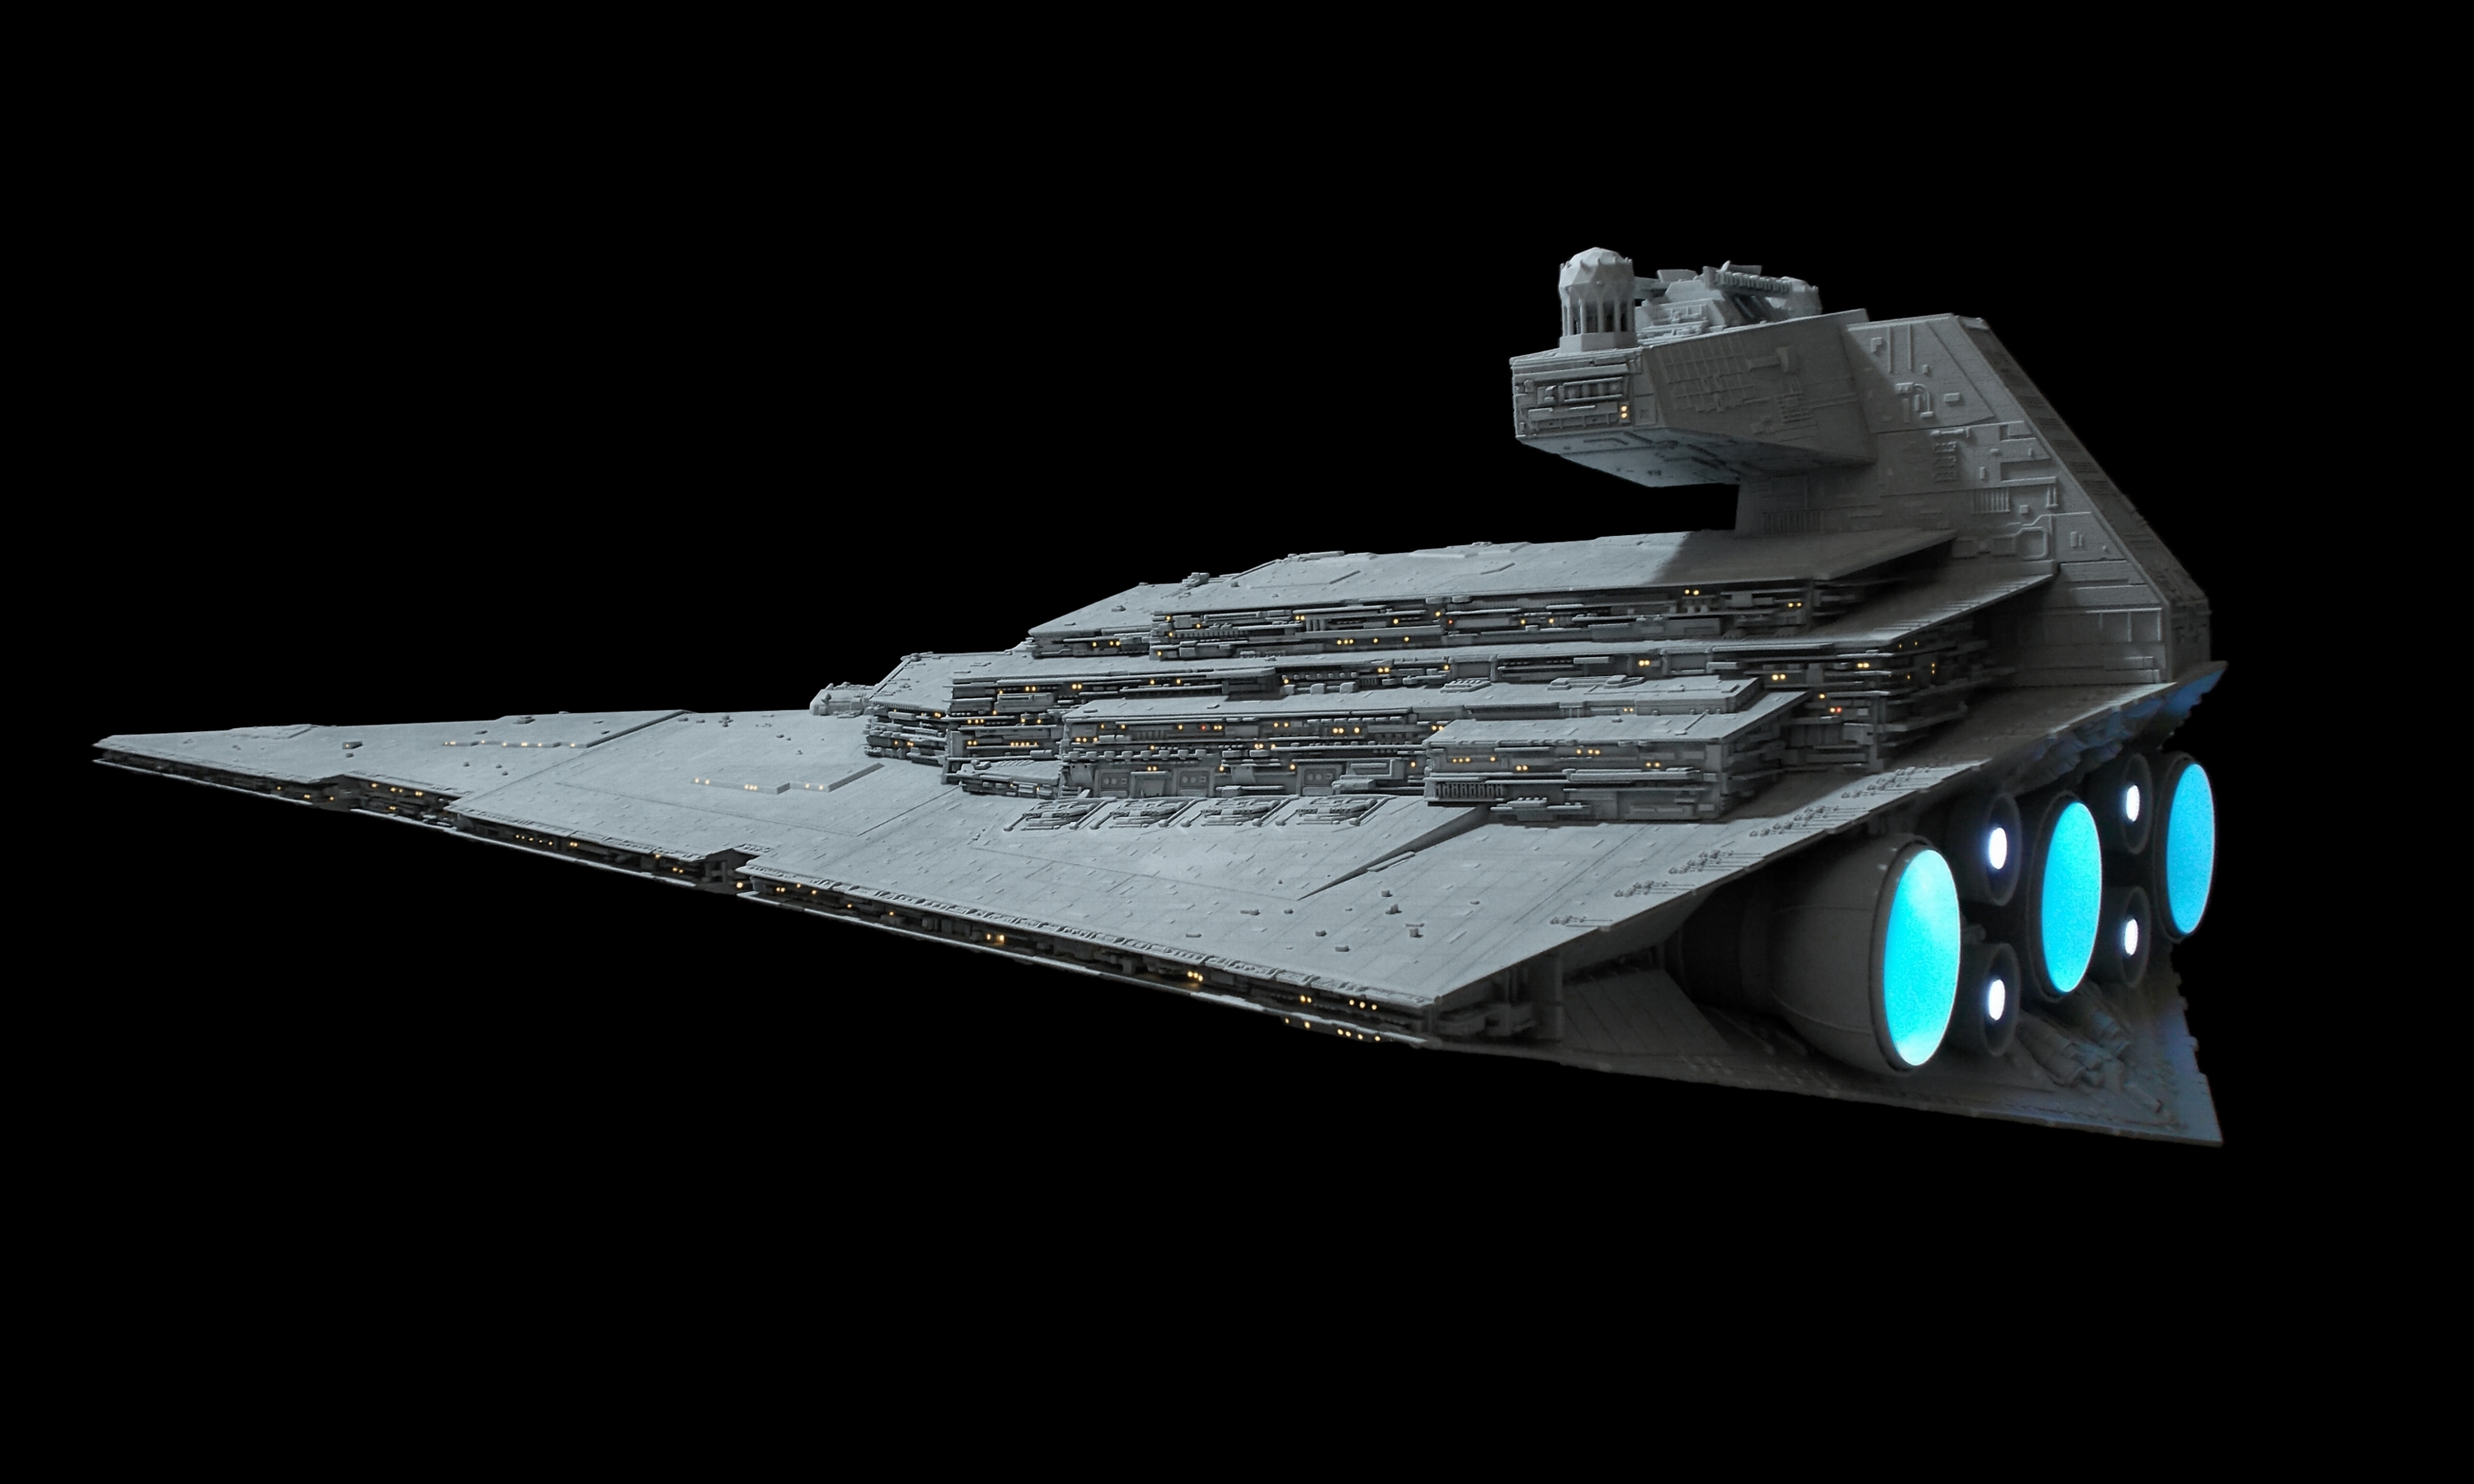
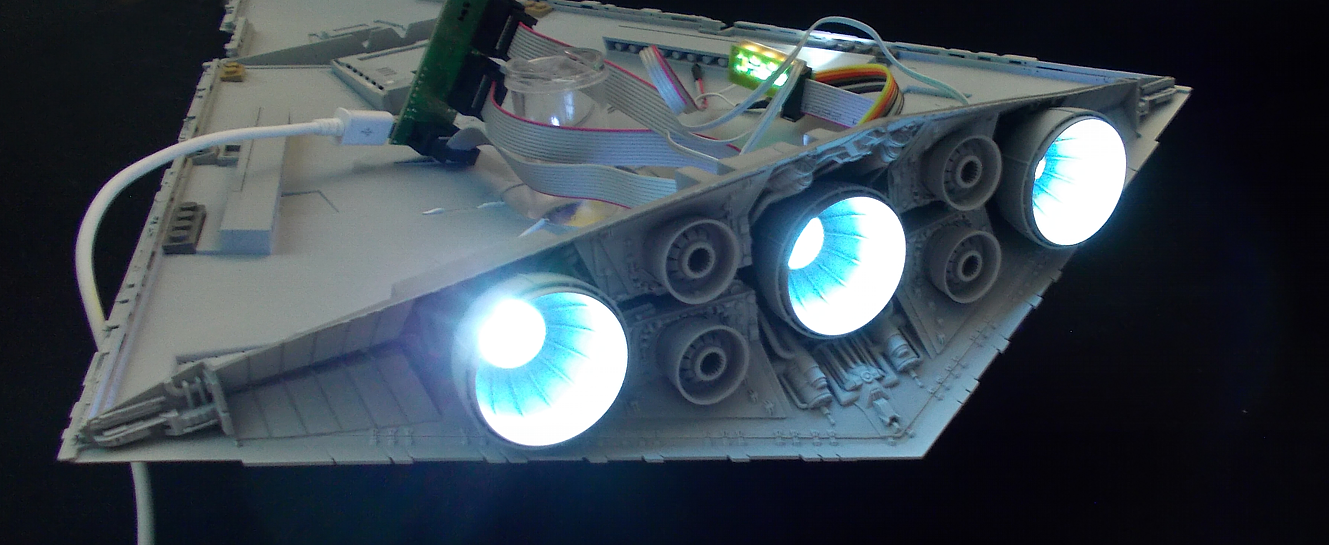
First Engine Test
While I’m getting closer to finishing the lower half of the hull, I’ve also created three light diffusors for the main engines: I cut out three appropriately-sized disks from a transparent blue BluRay-case and filed the surface to a fine rough finish with my electrical micro-rotating tool. I also applied matt varnish for good measure, and then carefully glued them 1cm deep into ridged engine-tunnels at the center inside each of the three huge engine bells. Each engine will be lit by three LEDs arranged in a triangle on a disk-shaped board which will be set behind and right up to each light diffusor. I test-fitted them and powered them up to see if everything works okay, which it gladly does:
Lighting Kit and more Panel-lining and Panel-shading...
Today, the lighting kit arrived, and I immediately put it together and hooked it up with power to test it. It works fine. The lights are not as stark as in the photograph below, but I still wouldn’t recommend staring directly into the engines of the Star Destroyer once it will be finished and the lighting kit is running…
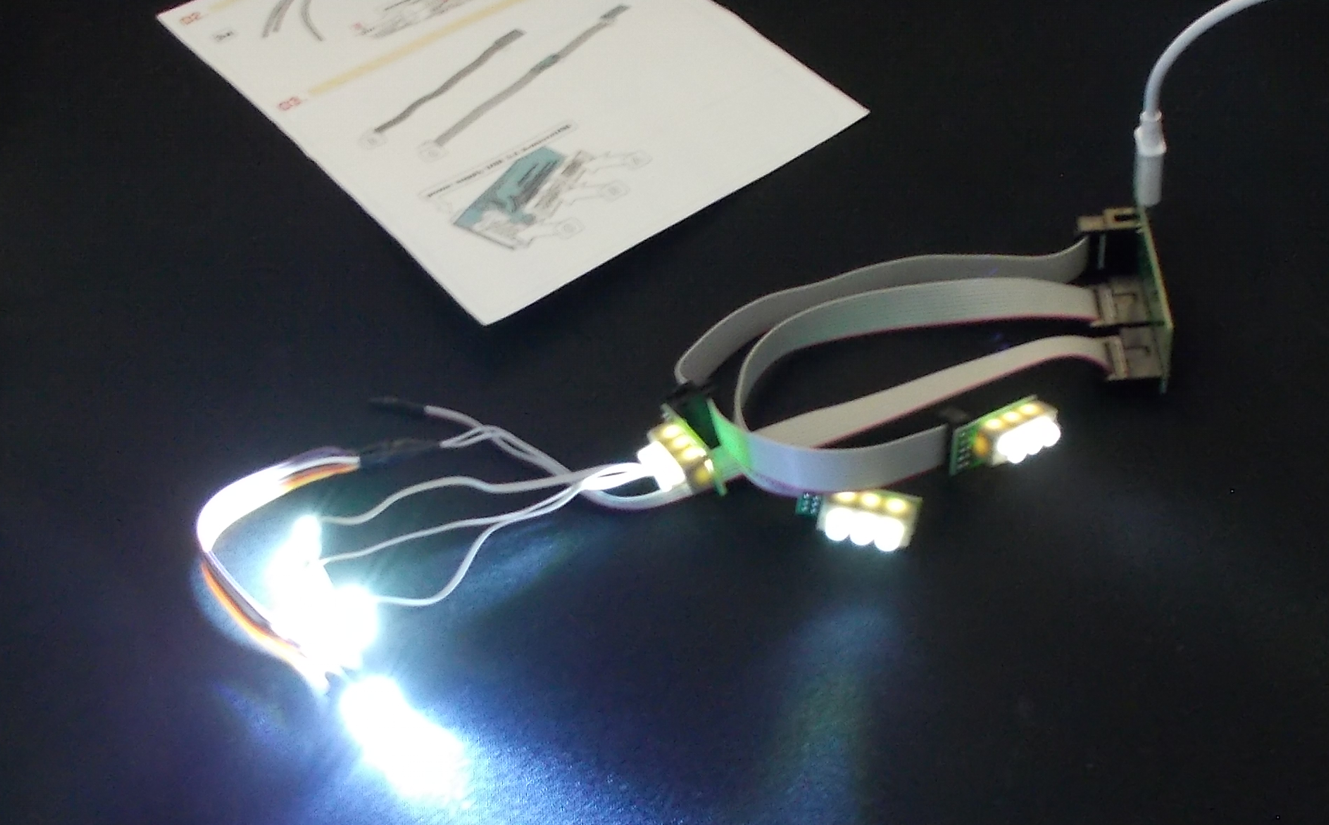
The power for the lighting kit is supplied via a micro USB-port, so this will be a Star Destroyer with a micro USB-port.
Of the two sub-assemblies of the model, the lower half still needs to be finished painting, and work is progressing nicely on that front. I already drilled holes for the fiberoptics, and also opened up the main engines so that they are ready to receive their LEDs. Here’s a WIP of the lower half:
Okay - let's go the whole mile and then some...
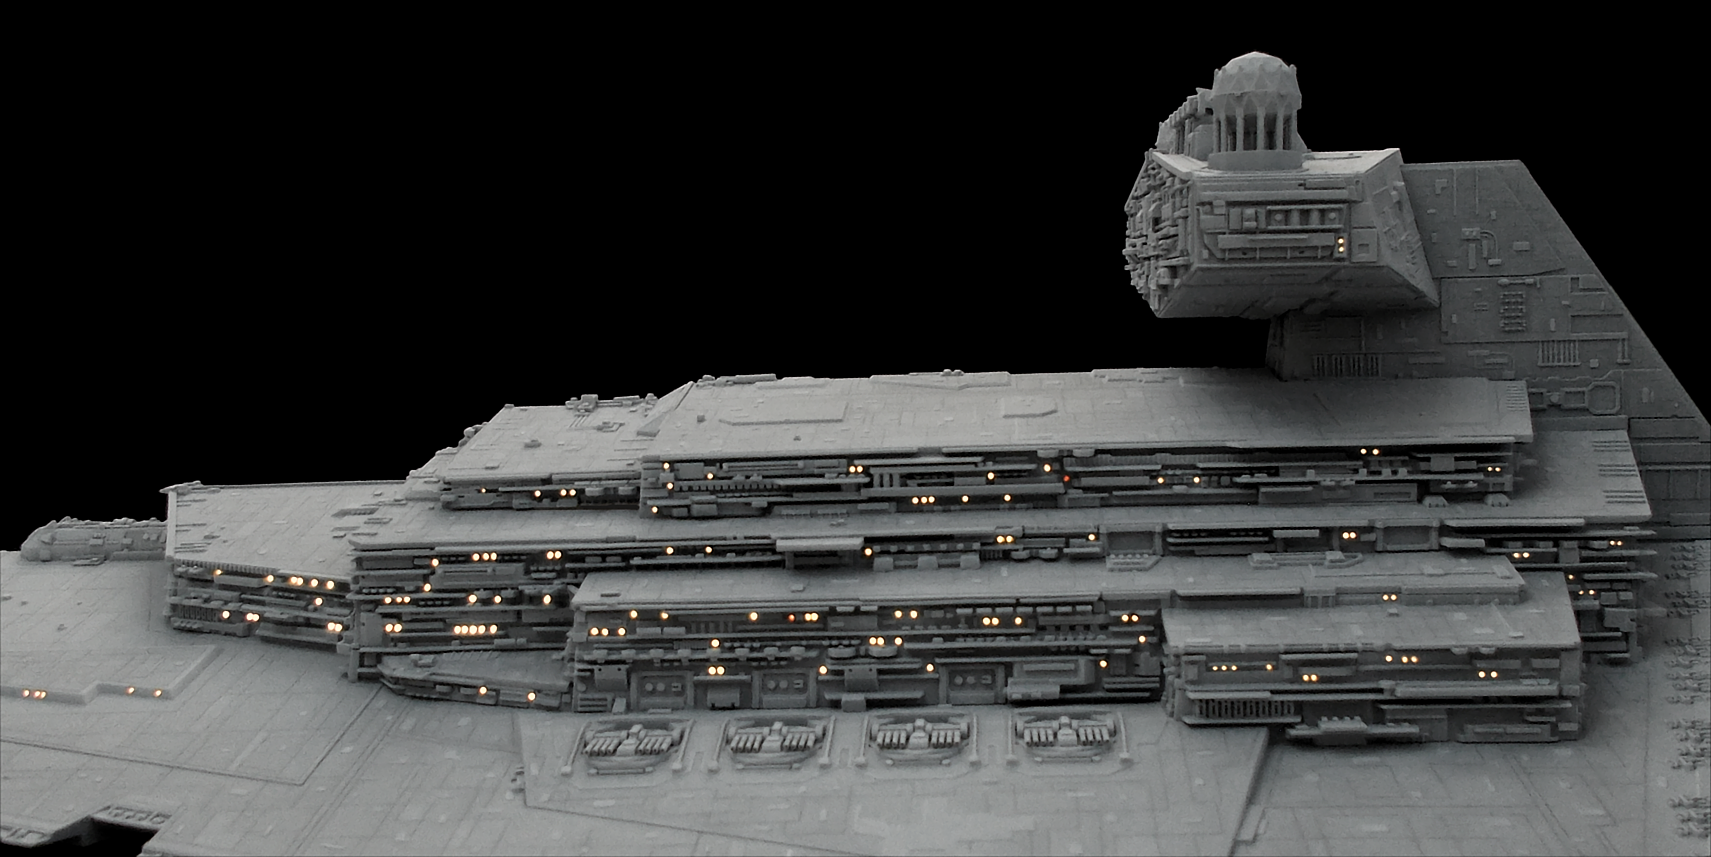
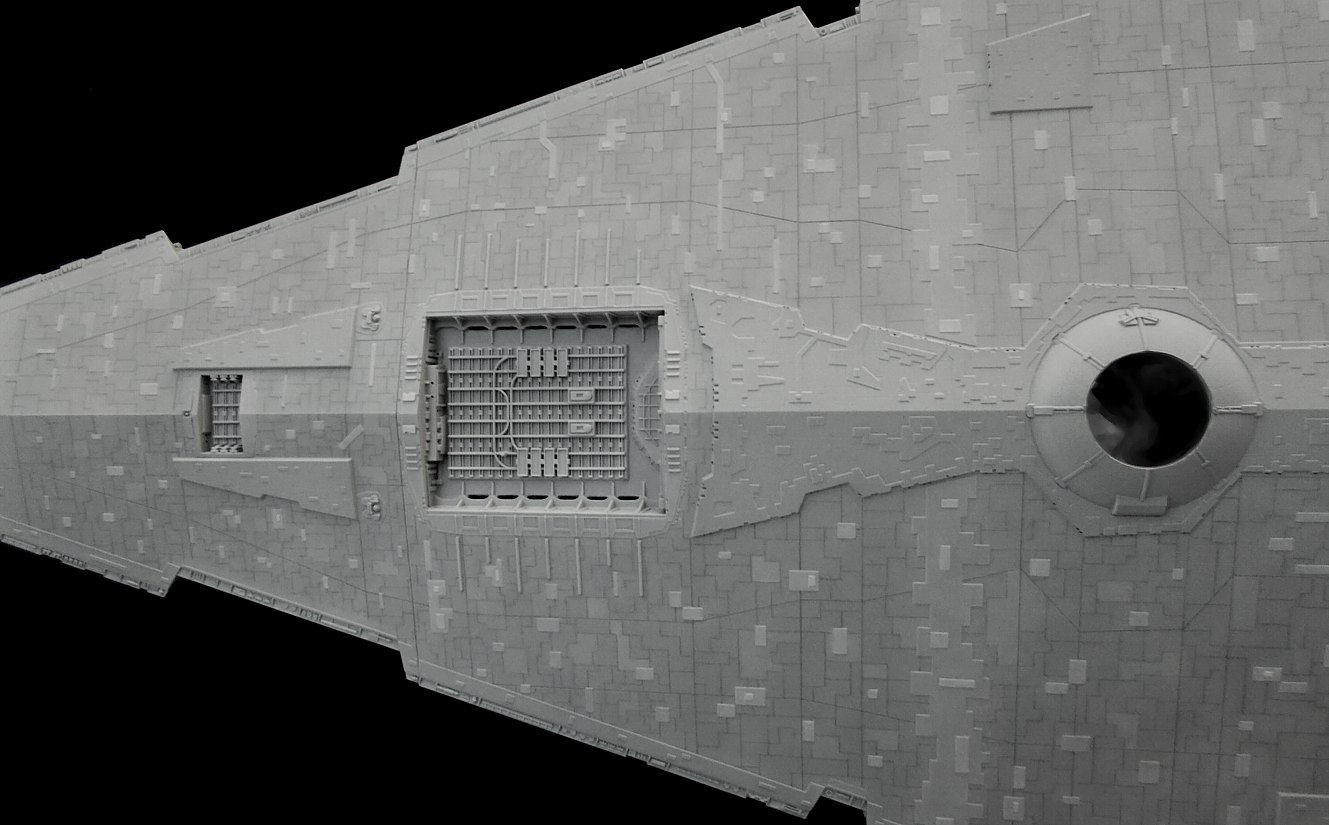
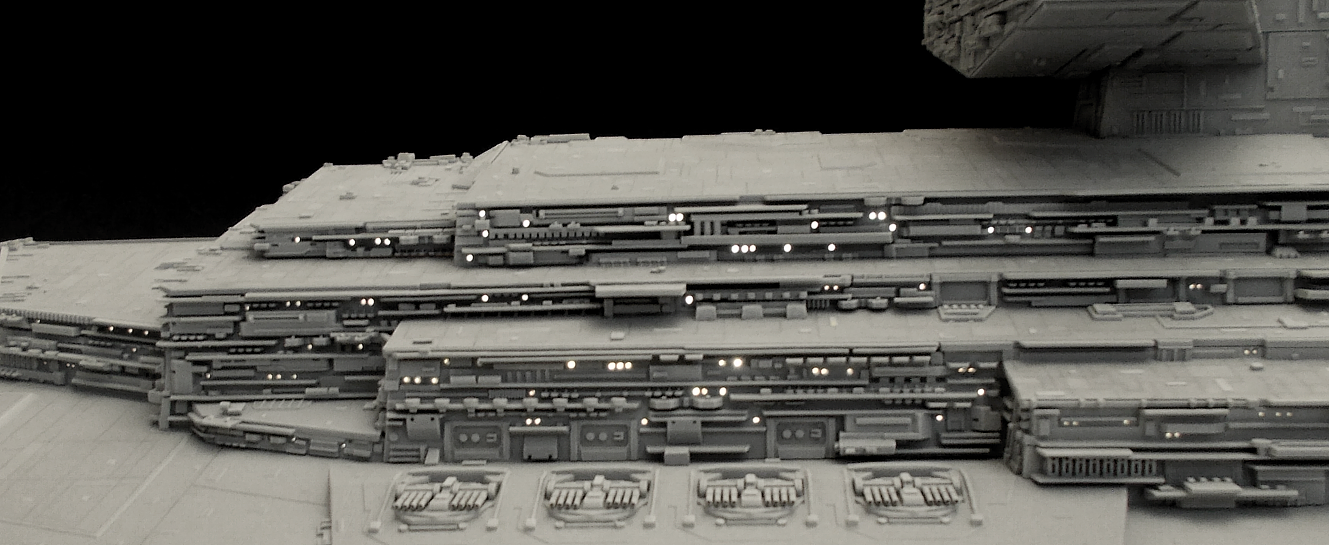
Once the super-detailing was finished and I was able to test-assemble the whole damn thing, I realized how cool and accurate the correction of the proportions and the multitude of custom-built details turned out. I already rationalized why I didn’t want to light it up, but *beep* that – this model needs to be lit up, to make it look even more impressive, so I researched some lighting options and came upon a lighting kit produced by Greenstrawberry specifically for this model kit, and it comes with a programmed board which enables you to light up sections in sequence and even has effects for the engines to be fired up, flickering a bit until they glow bright end evenly. I pulled the trigger and I’m now expecting it to arrive in the next two or three weeks. In the meantime, I ordered 0.5mm fiberoptics, grabbed my electrical micro-driller and proceeded to carefully drill hundreds of tiny holes, as well as opening up the ‘light-gallery’ in the main hangar. In the following pictures, I placed a very bright LED under the model to give a hint of how it will look once the lighting kit is installed. Note, though, that once the fiberoptics are installed, all lights will be the same brightness. In the test images below, the light is shining through holes at different angles and with varying depth.

I also finished painting, panel-lining and panel-shading the upper half of the model, so that I could varnish it with a nice flat coat. It is now ready to receive fiberoptics…