


Build an LED Arch Hobby Light


Recommendations: 34
About the Project
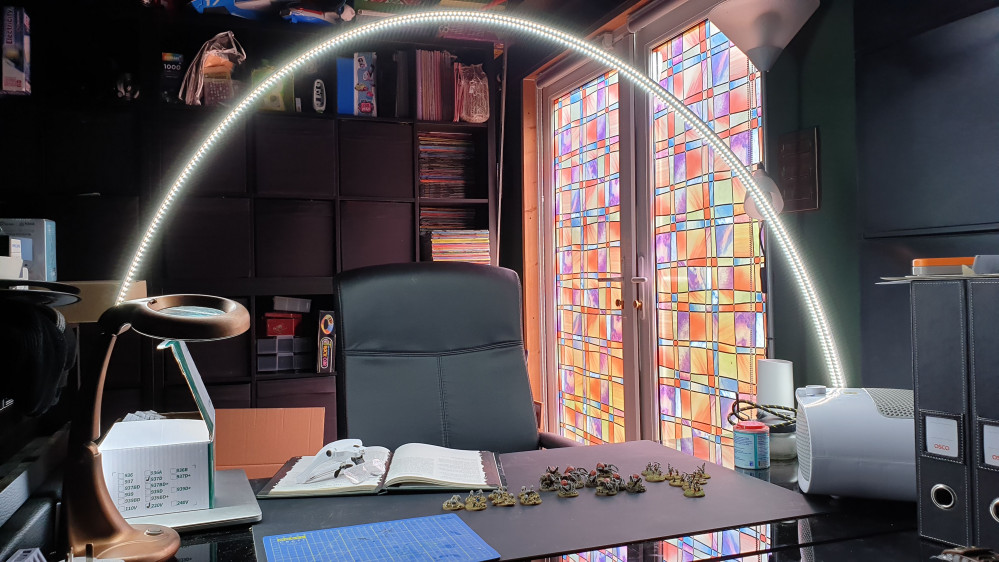
I want better lighting on my project desk, so I have opted to build an LED arch light for maximum light and maximum shadow reduction.
Related Genre: General
This Project is Completed
Something to create the Arch
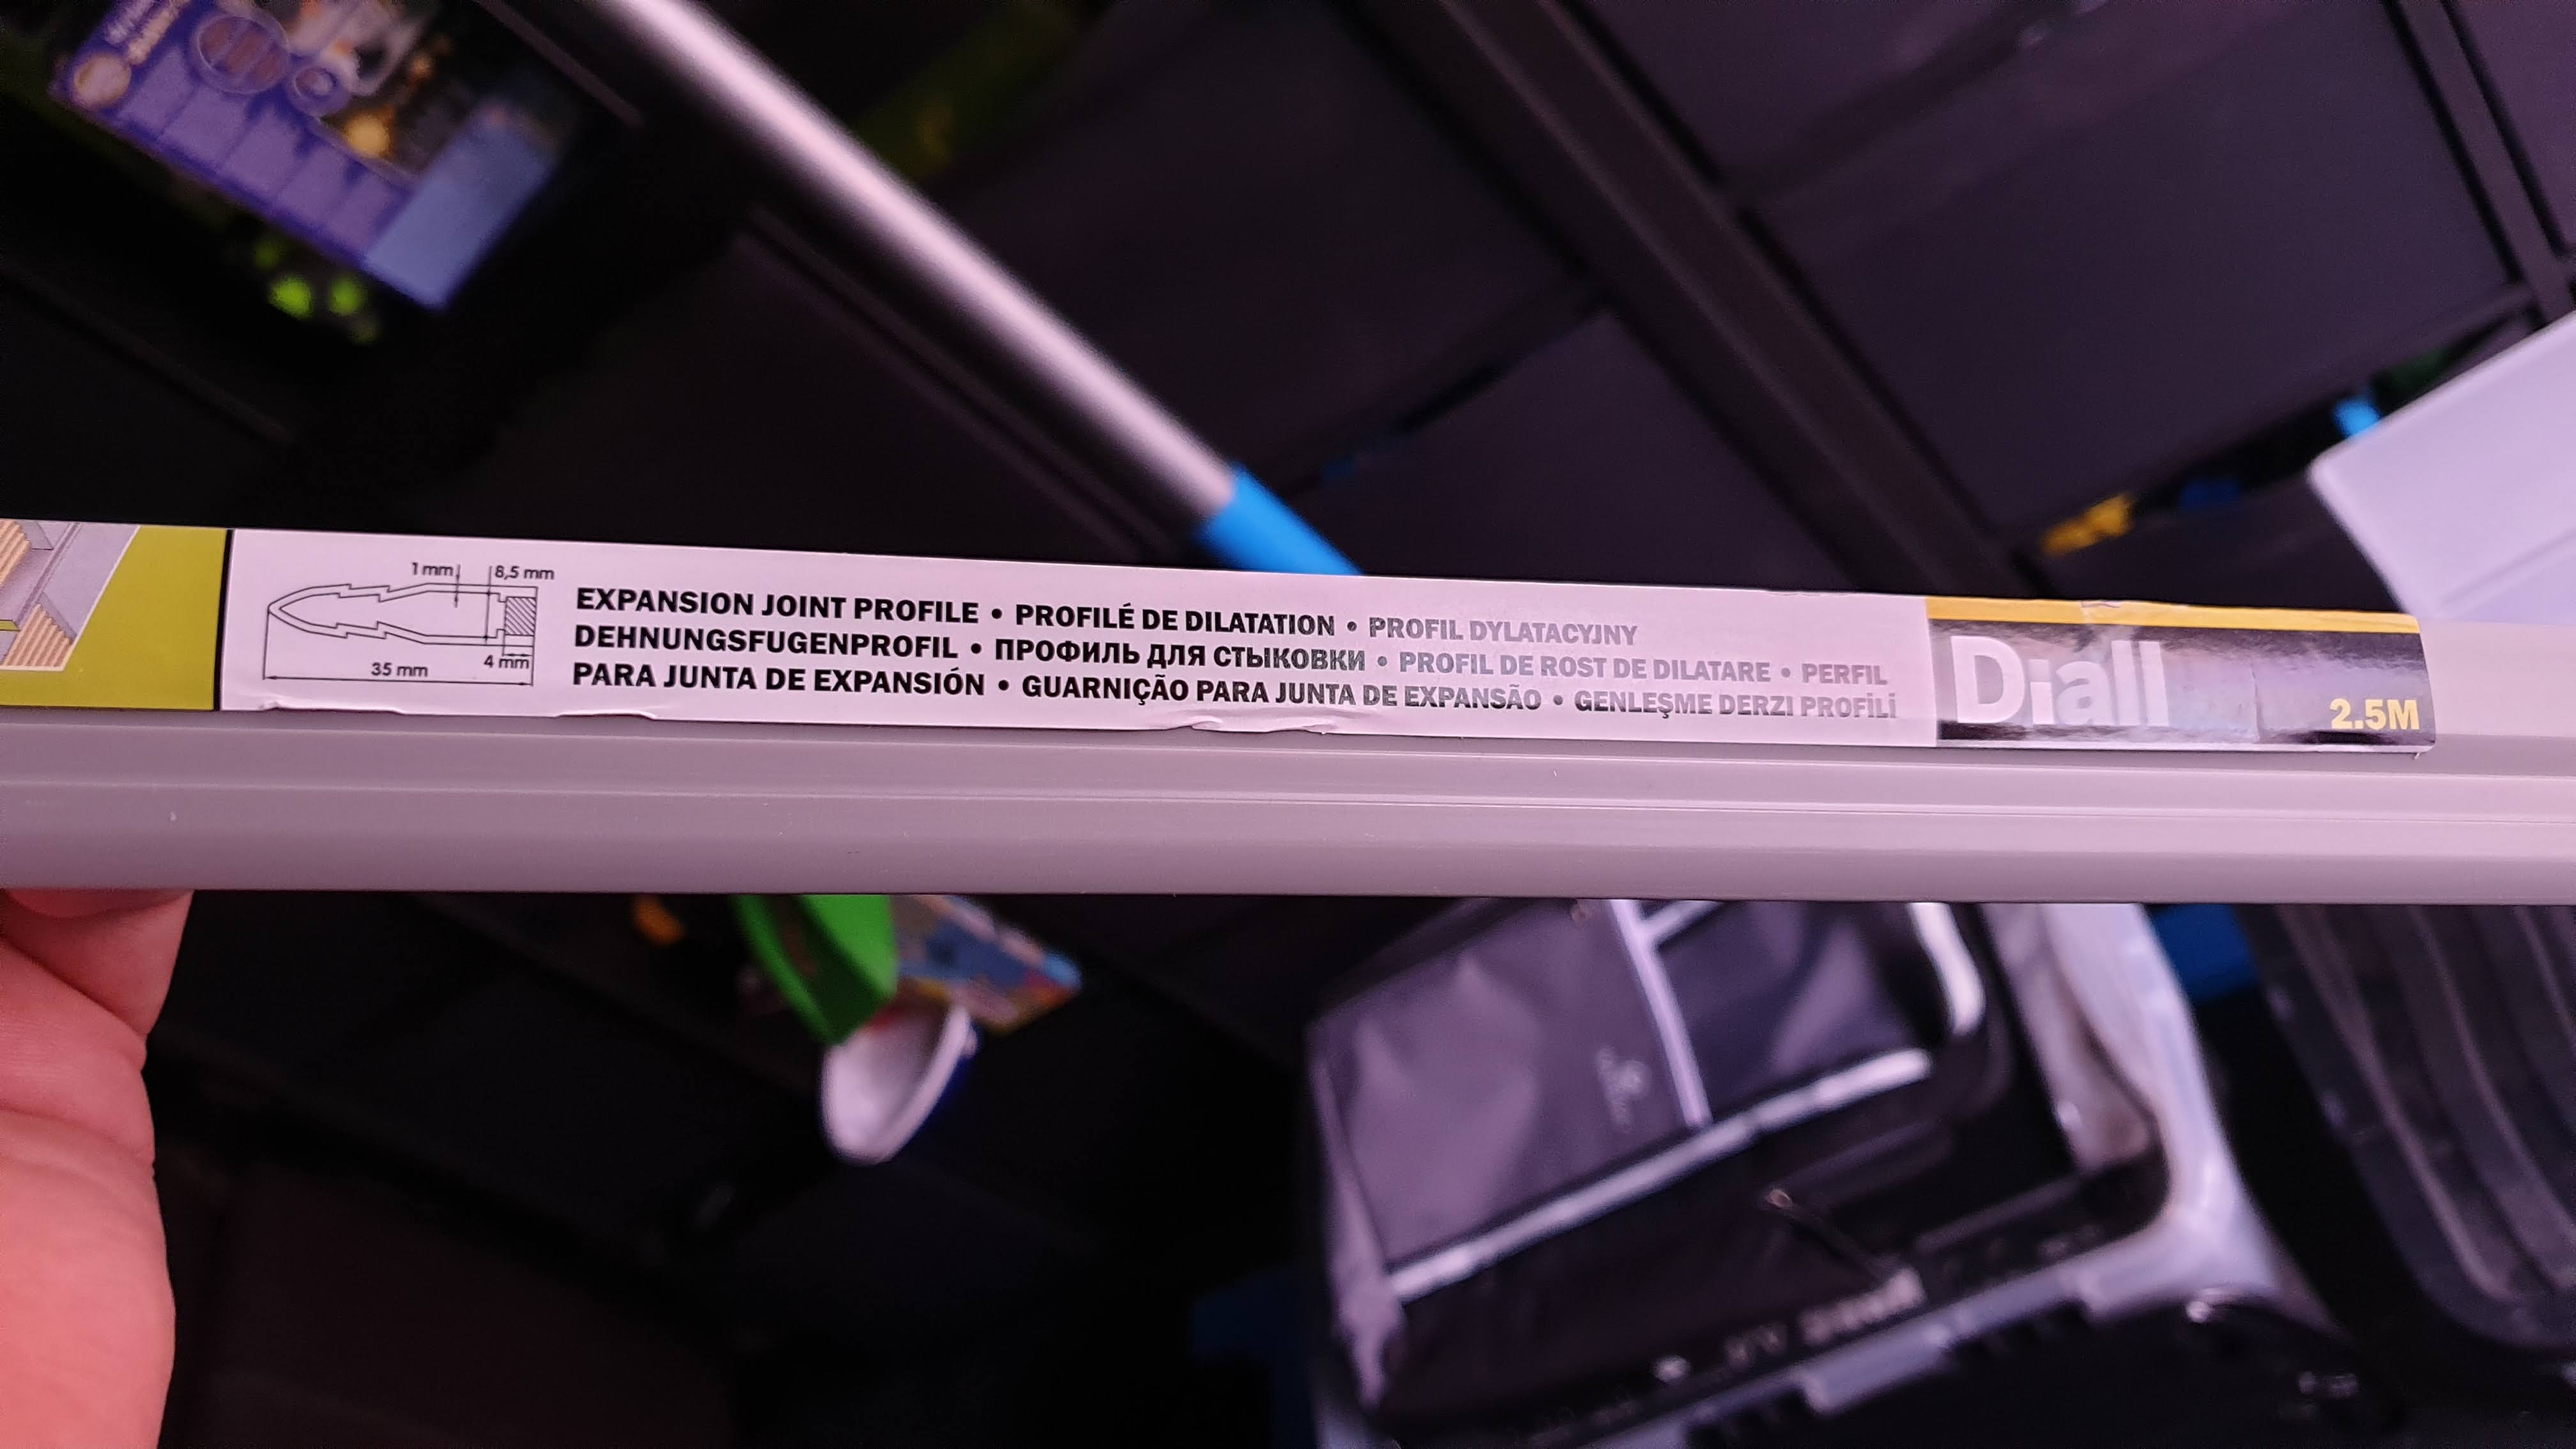


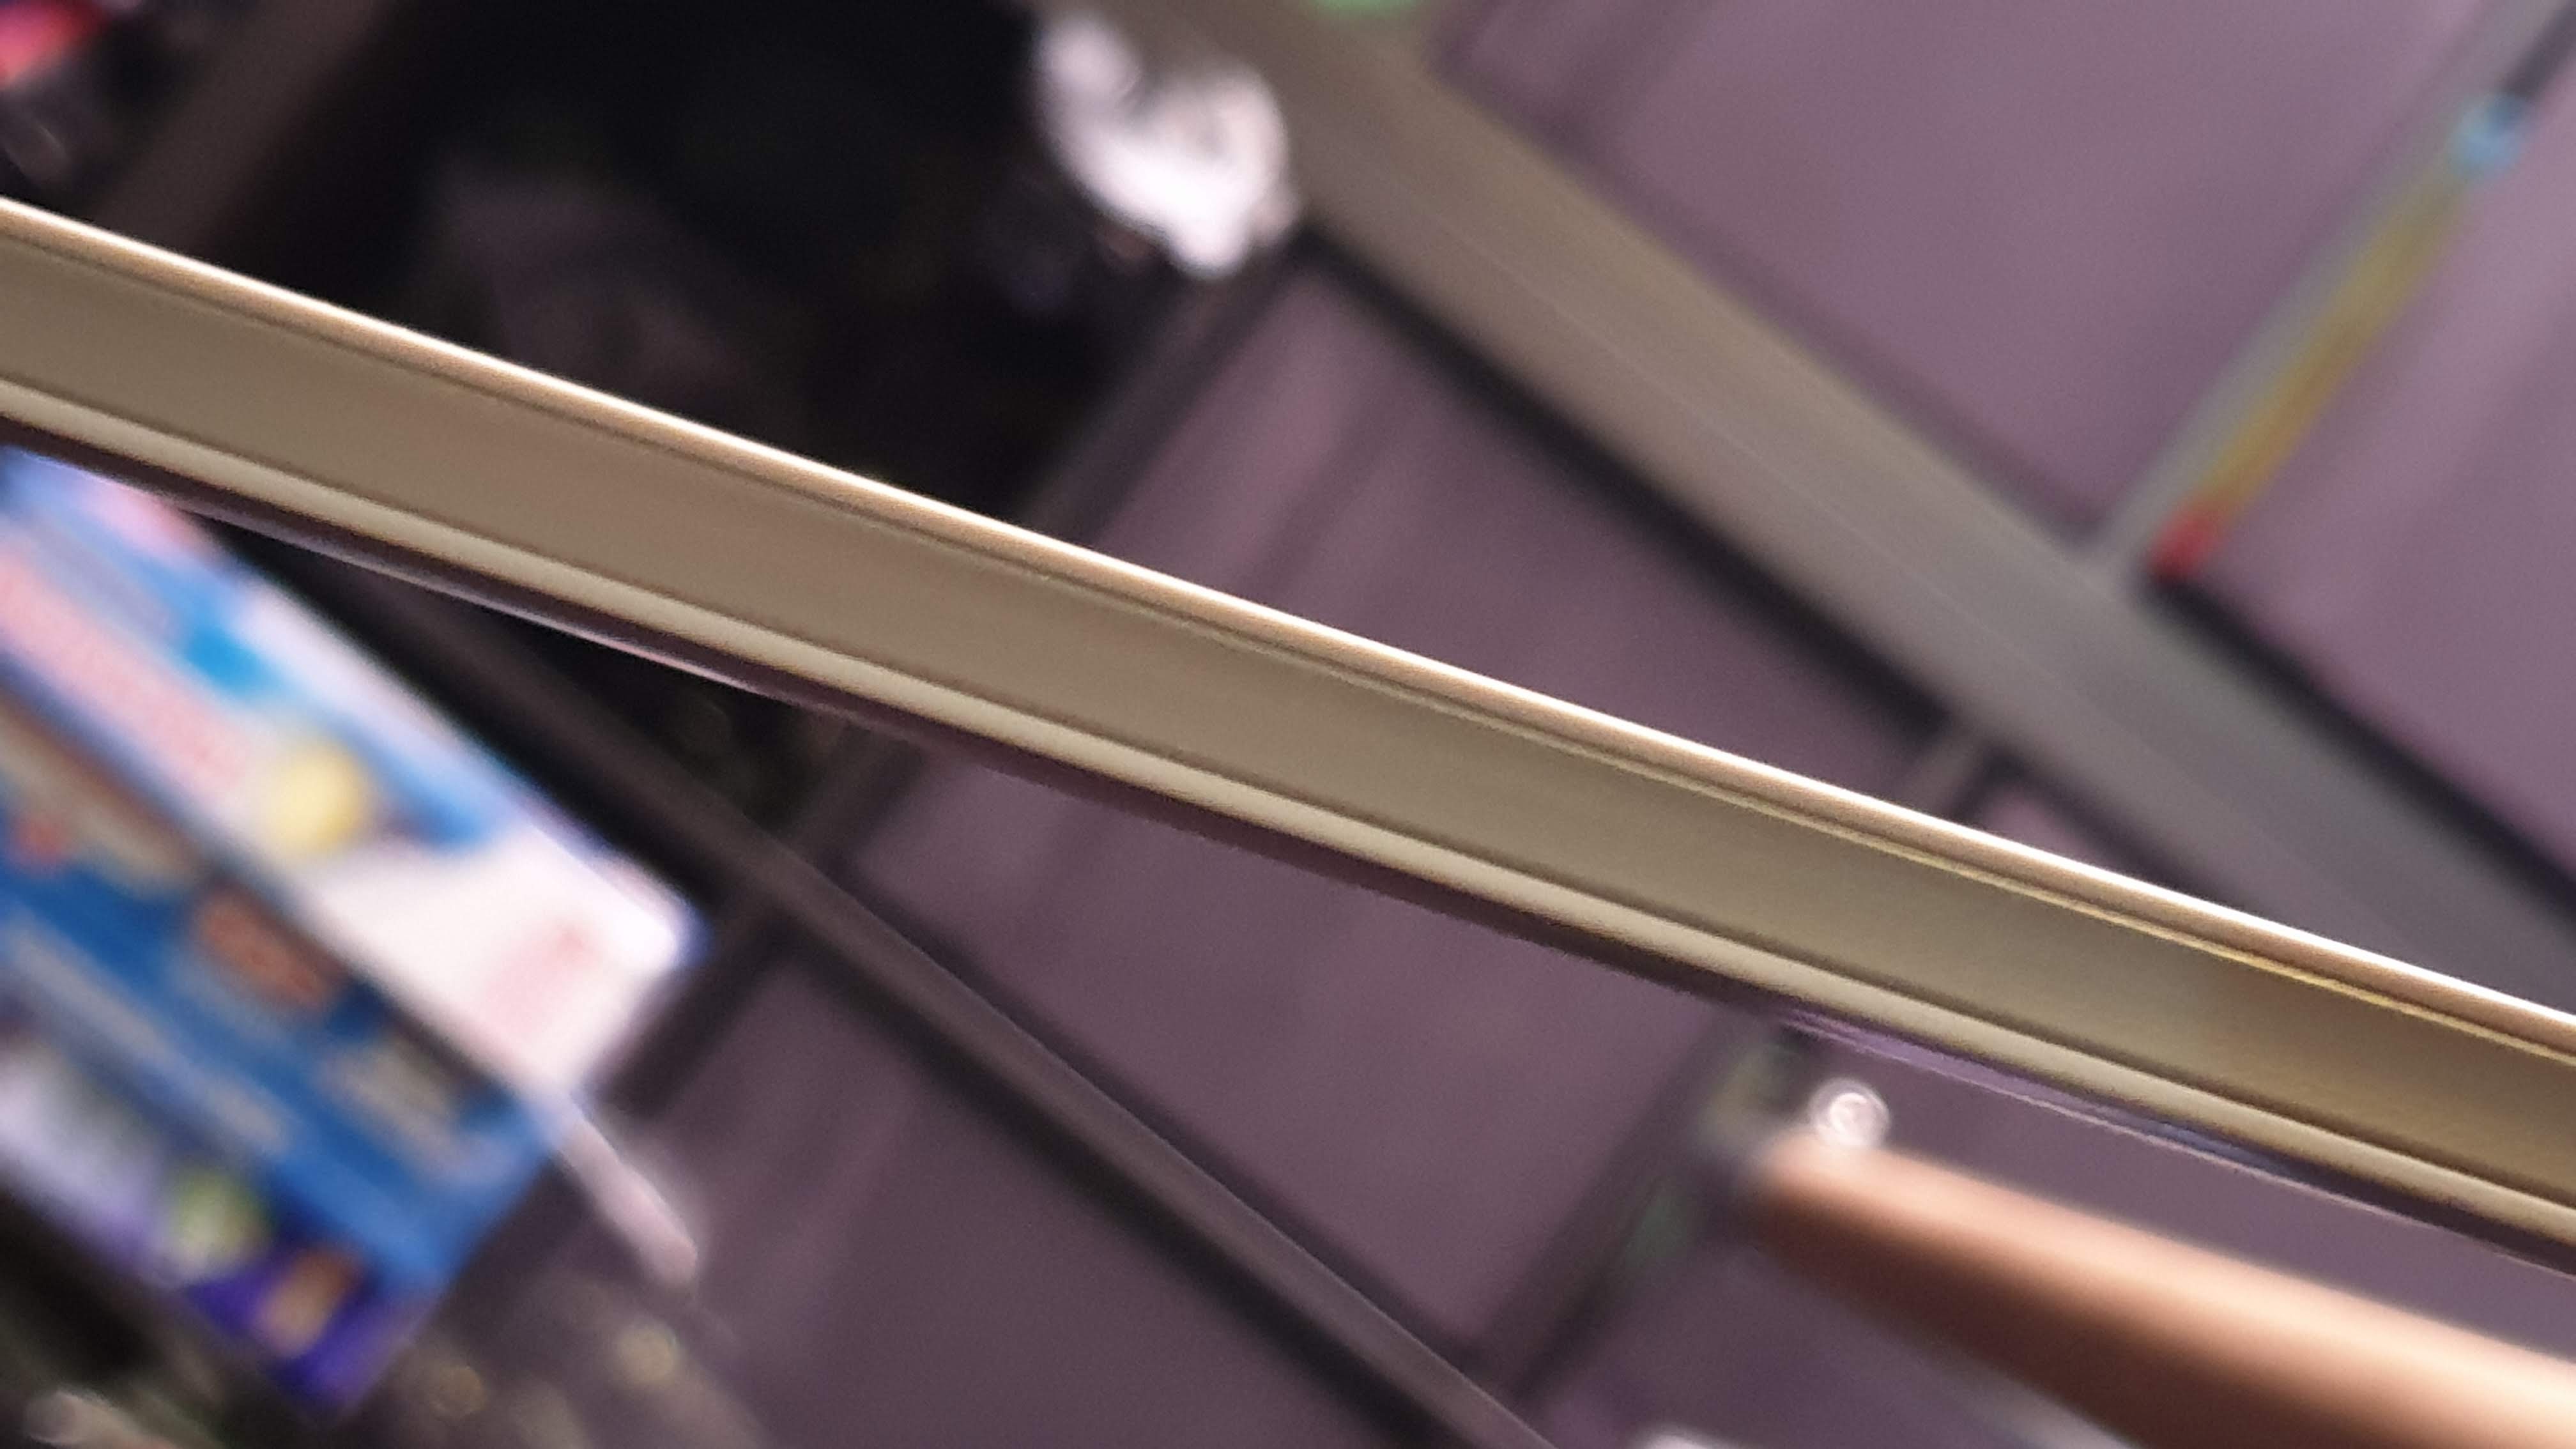
So I took a trip to the hardware store. The please to go to is the tiling section and have a look through the PVC Tile Trims. You will find all sorts and all colours. Most will be flexible enough to create an arch.
On this particular day, I discovered these joint profiles, honestly I’m not sure what they are for (I think they are a flooring product of some kind)
But they were reduced to £2! – So I picked up two of them in case I decide to create two of these arch lamps.
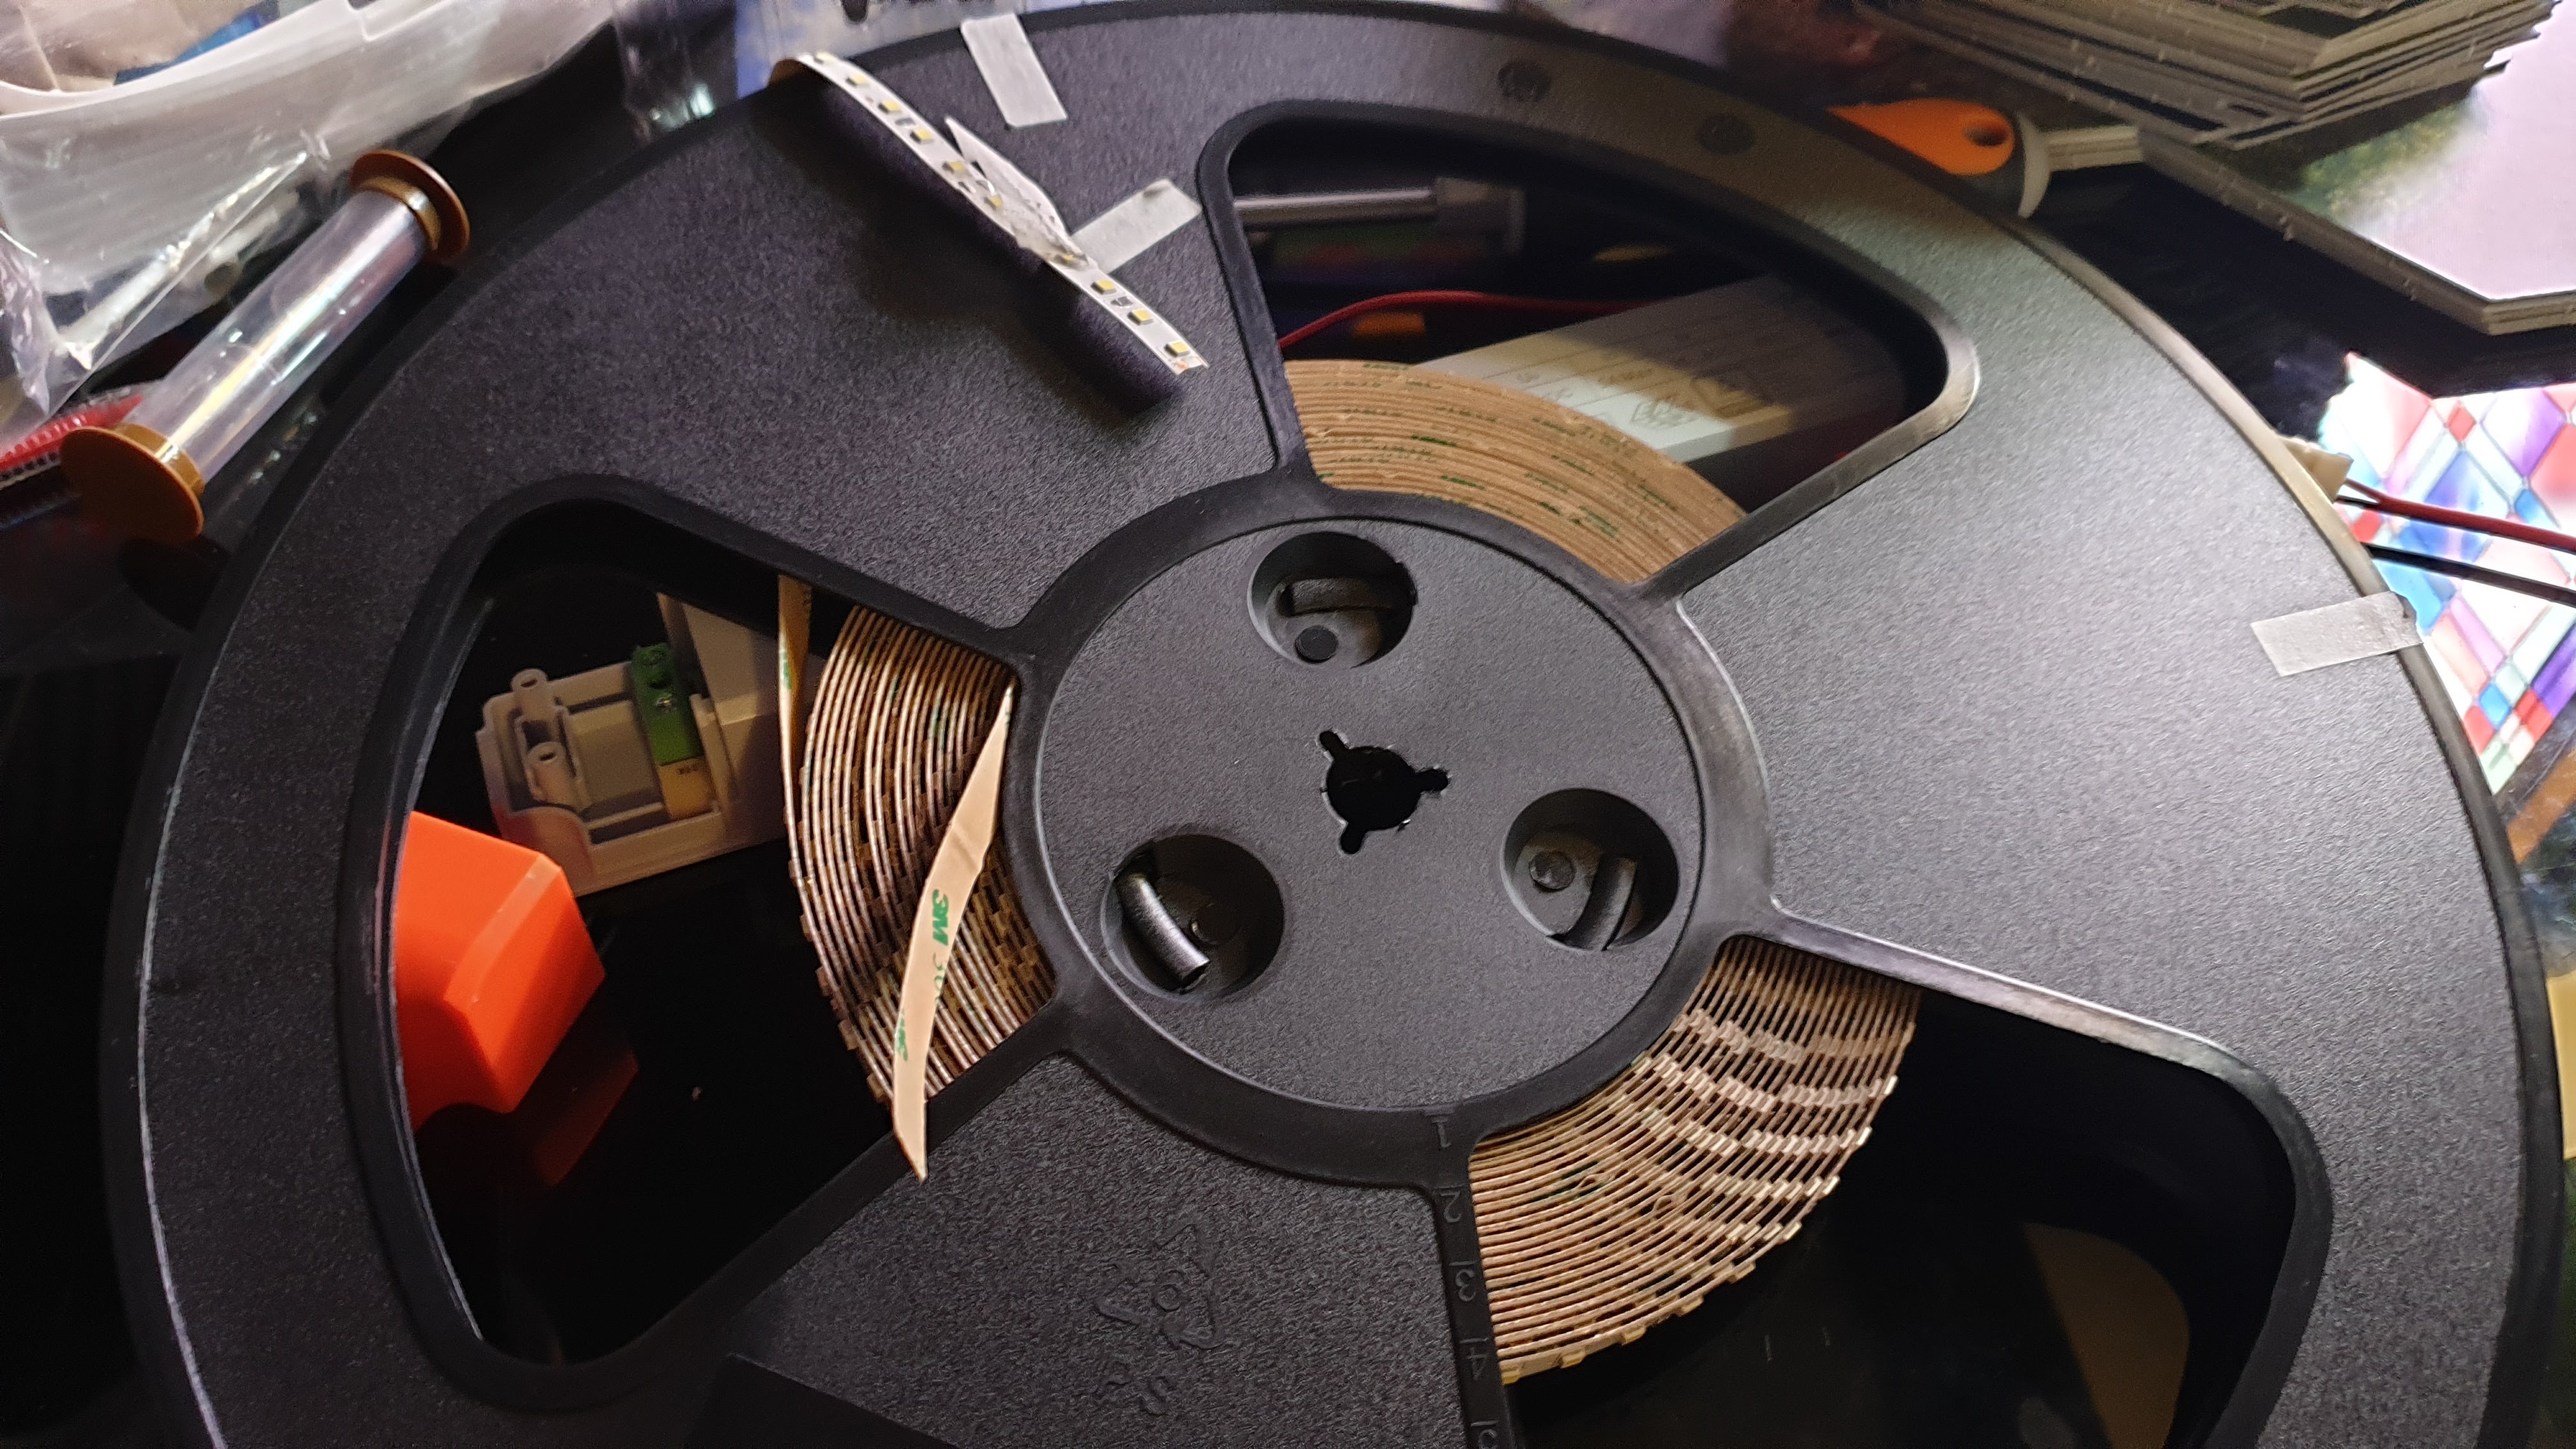
The LEDs
I set myself a bit of a wishlist on the LEDs as they do come in all sorts and varieties.
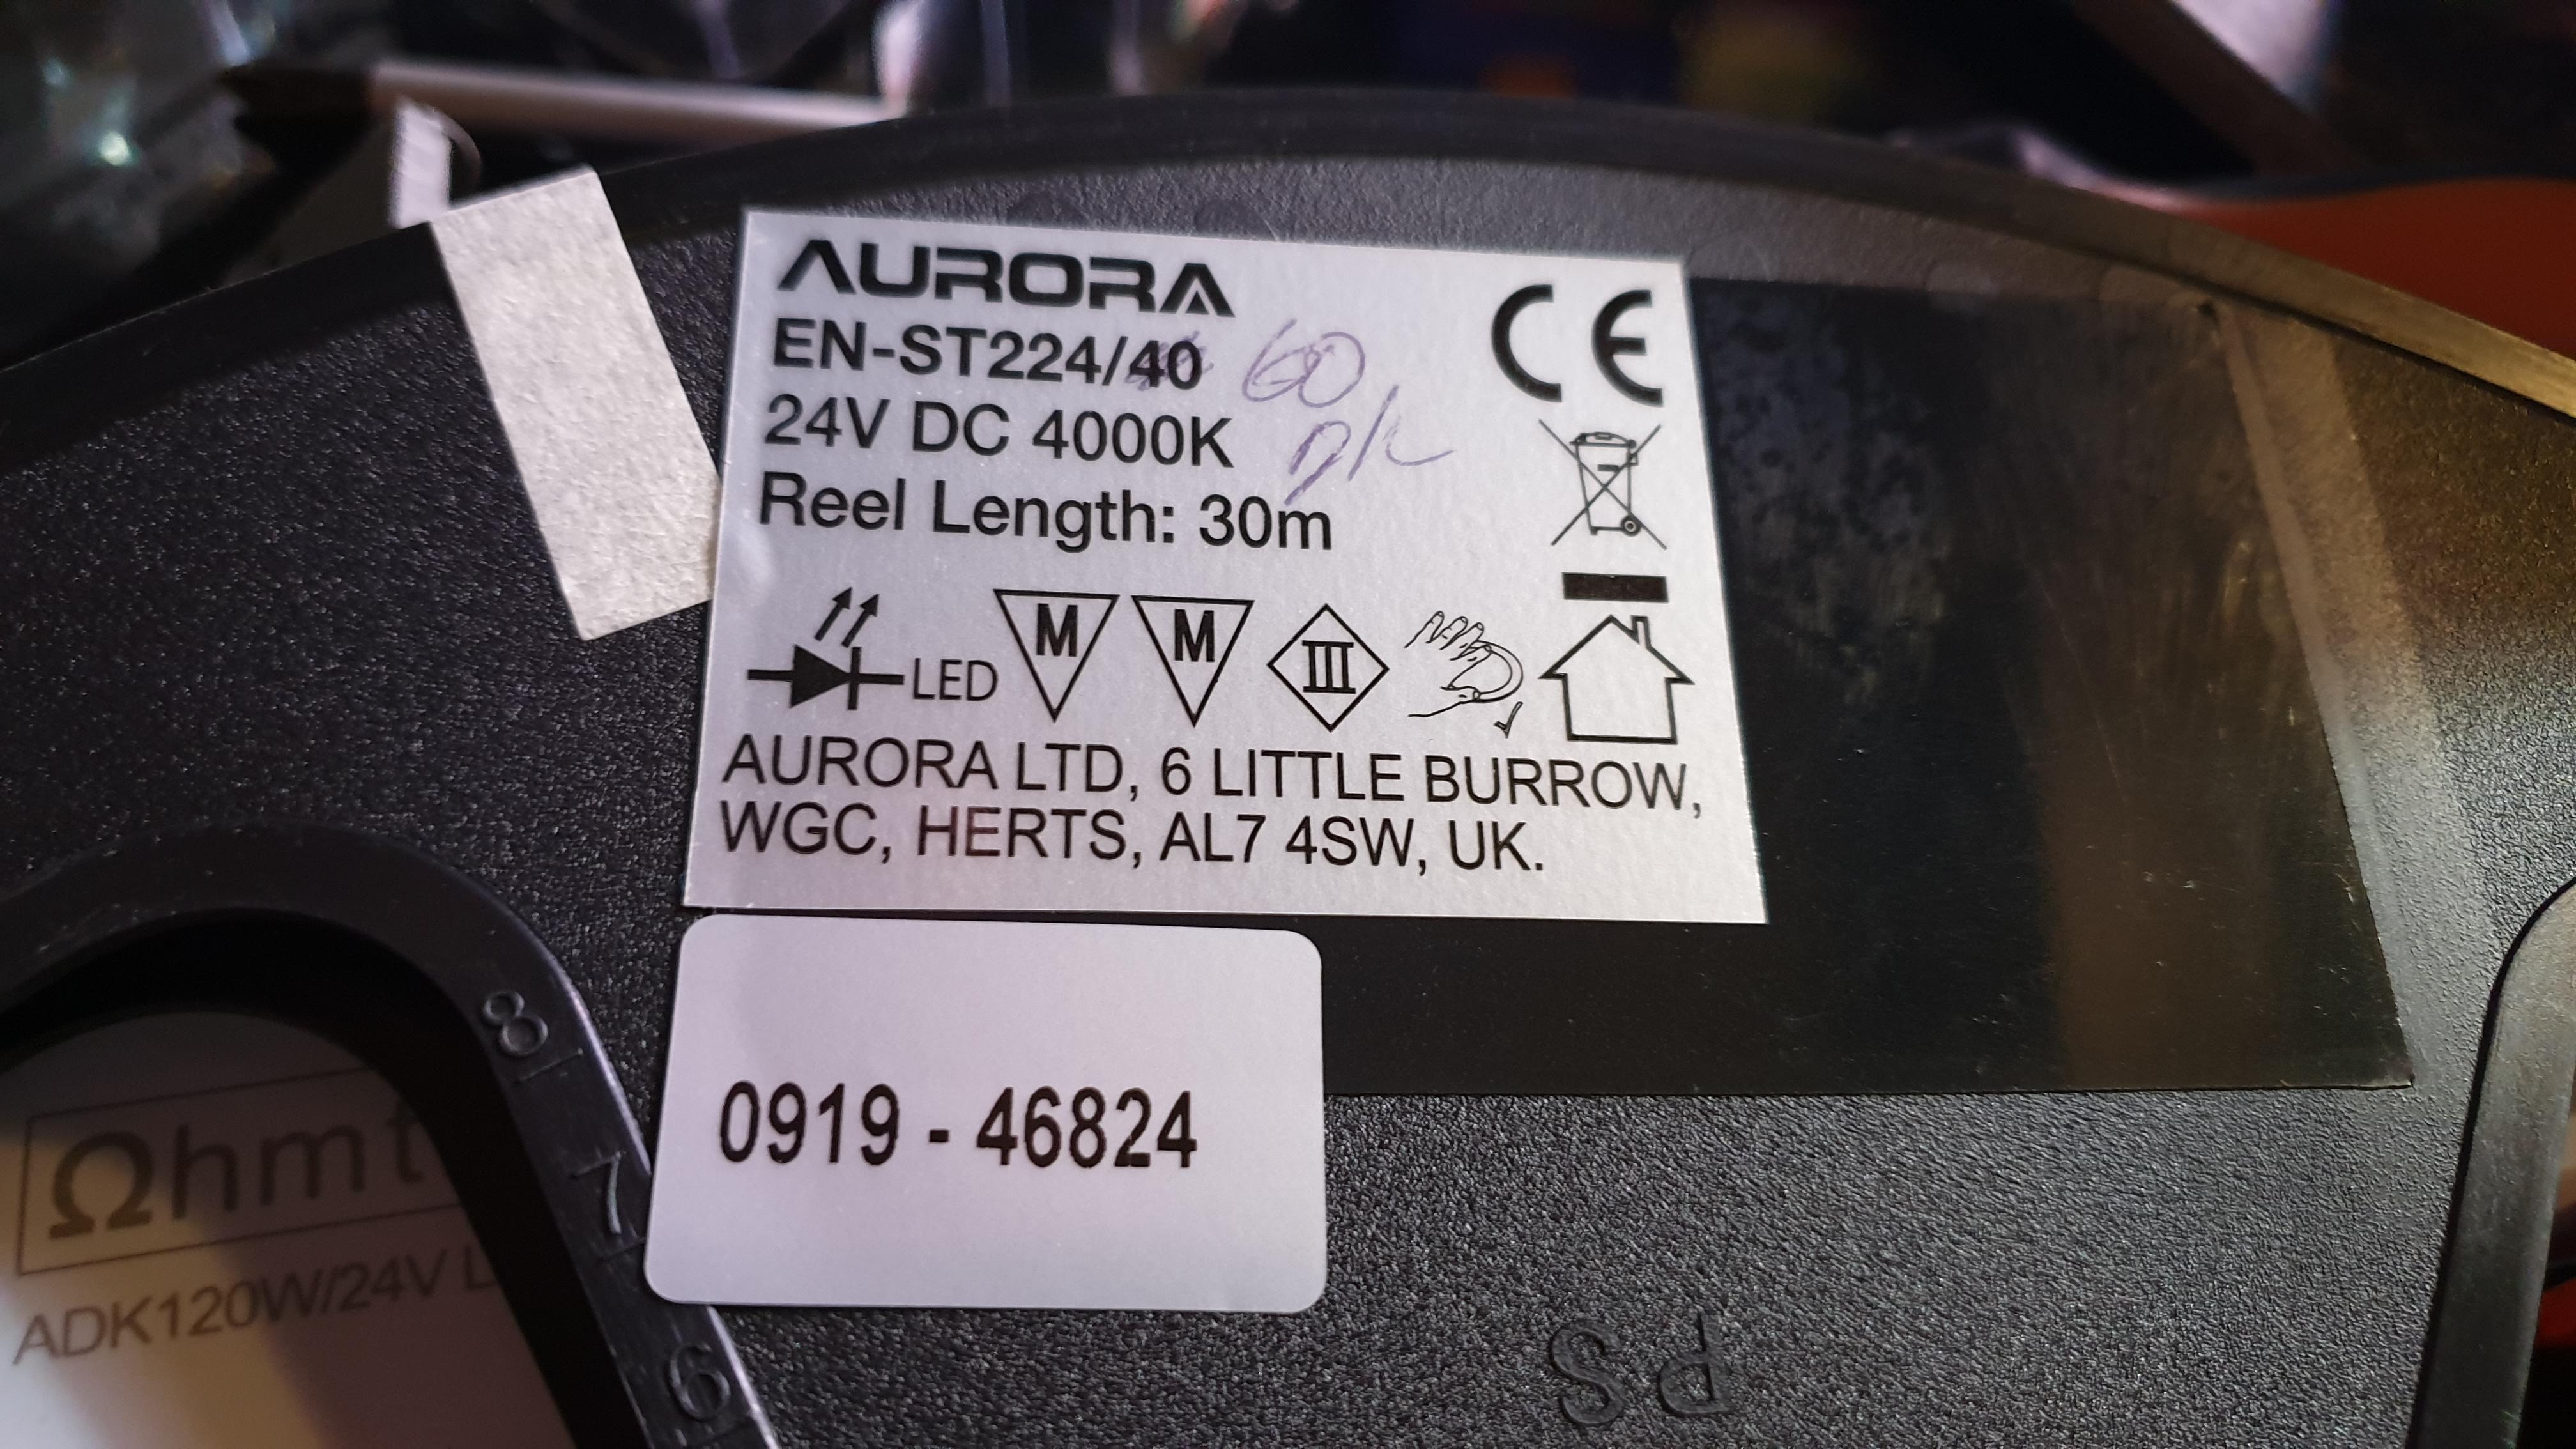
I wanted a simple setup with a single colour temperature – day light. You can, of course, get sets that will vary the light temperature from warm light to daylight, but often they use multiple varieties of LED on the strip so at any one time you are only utilising half the LEDs. Because I want this as a work light I’m not fussed on being able to change that.
You can also get other systems such as Philips Hue that will let you play with colour, I thought hard about this and although I’m a big fan of Hue again I opted not to bother and put all the tech into a simple setup without the bells and whistles that honestly I would rarely use in this use case.
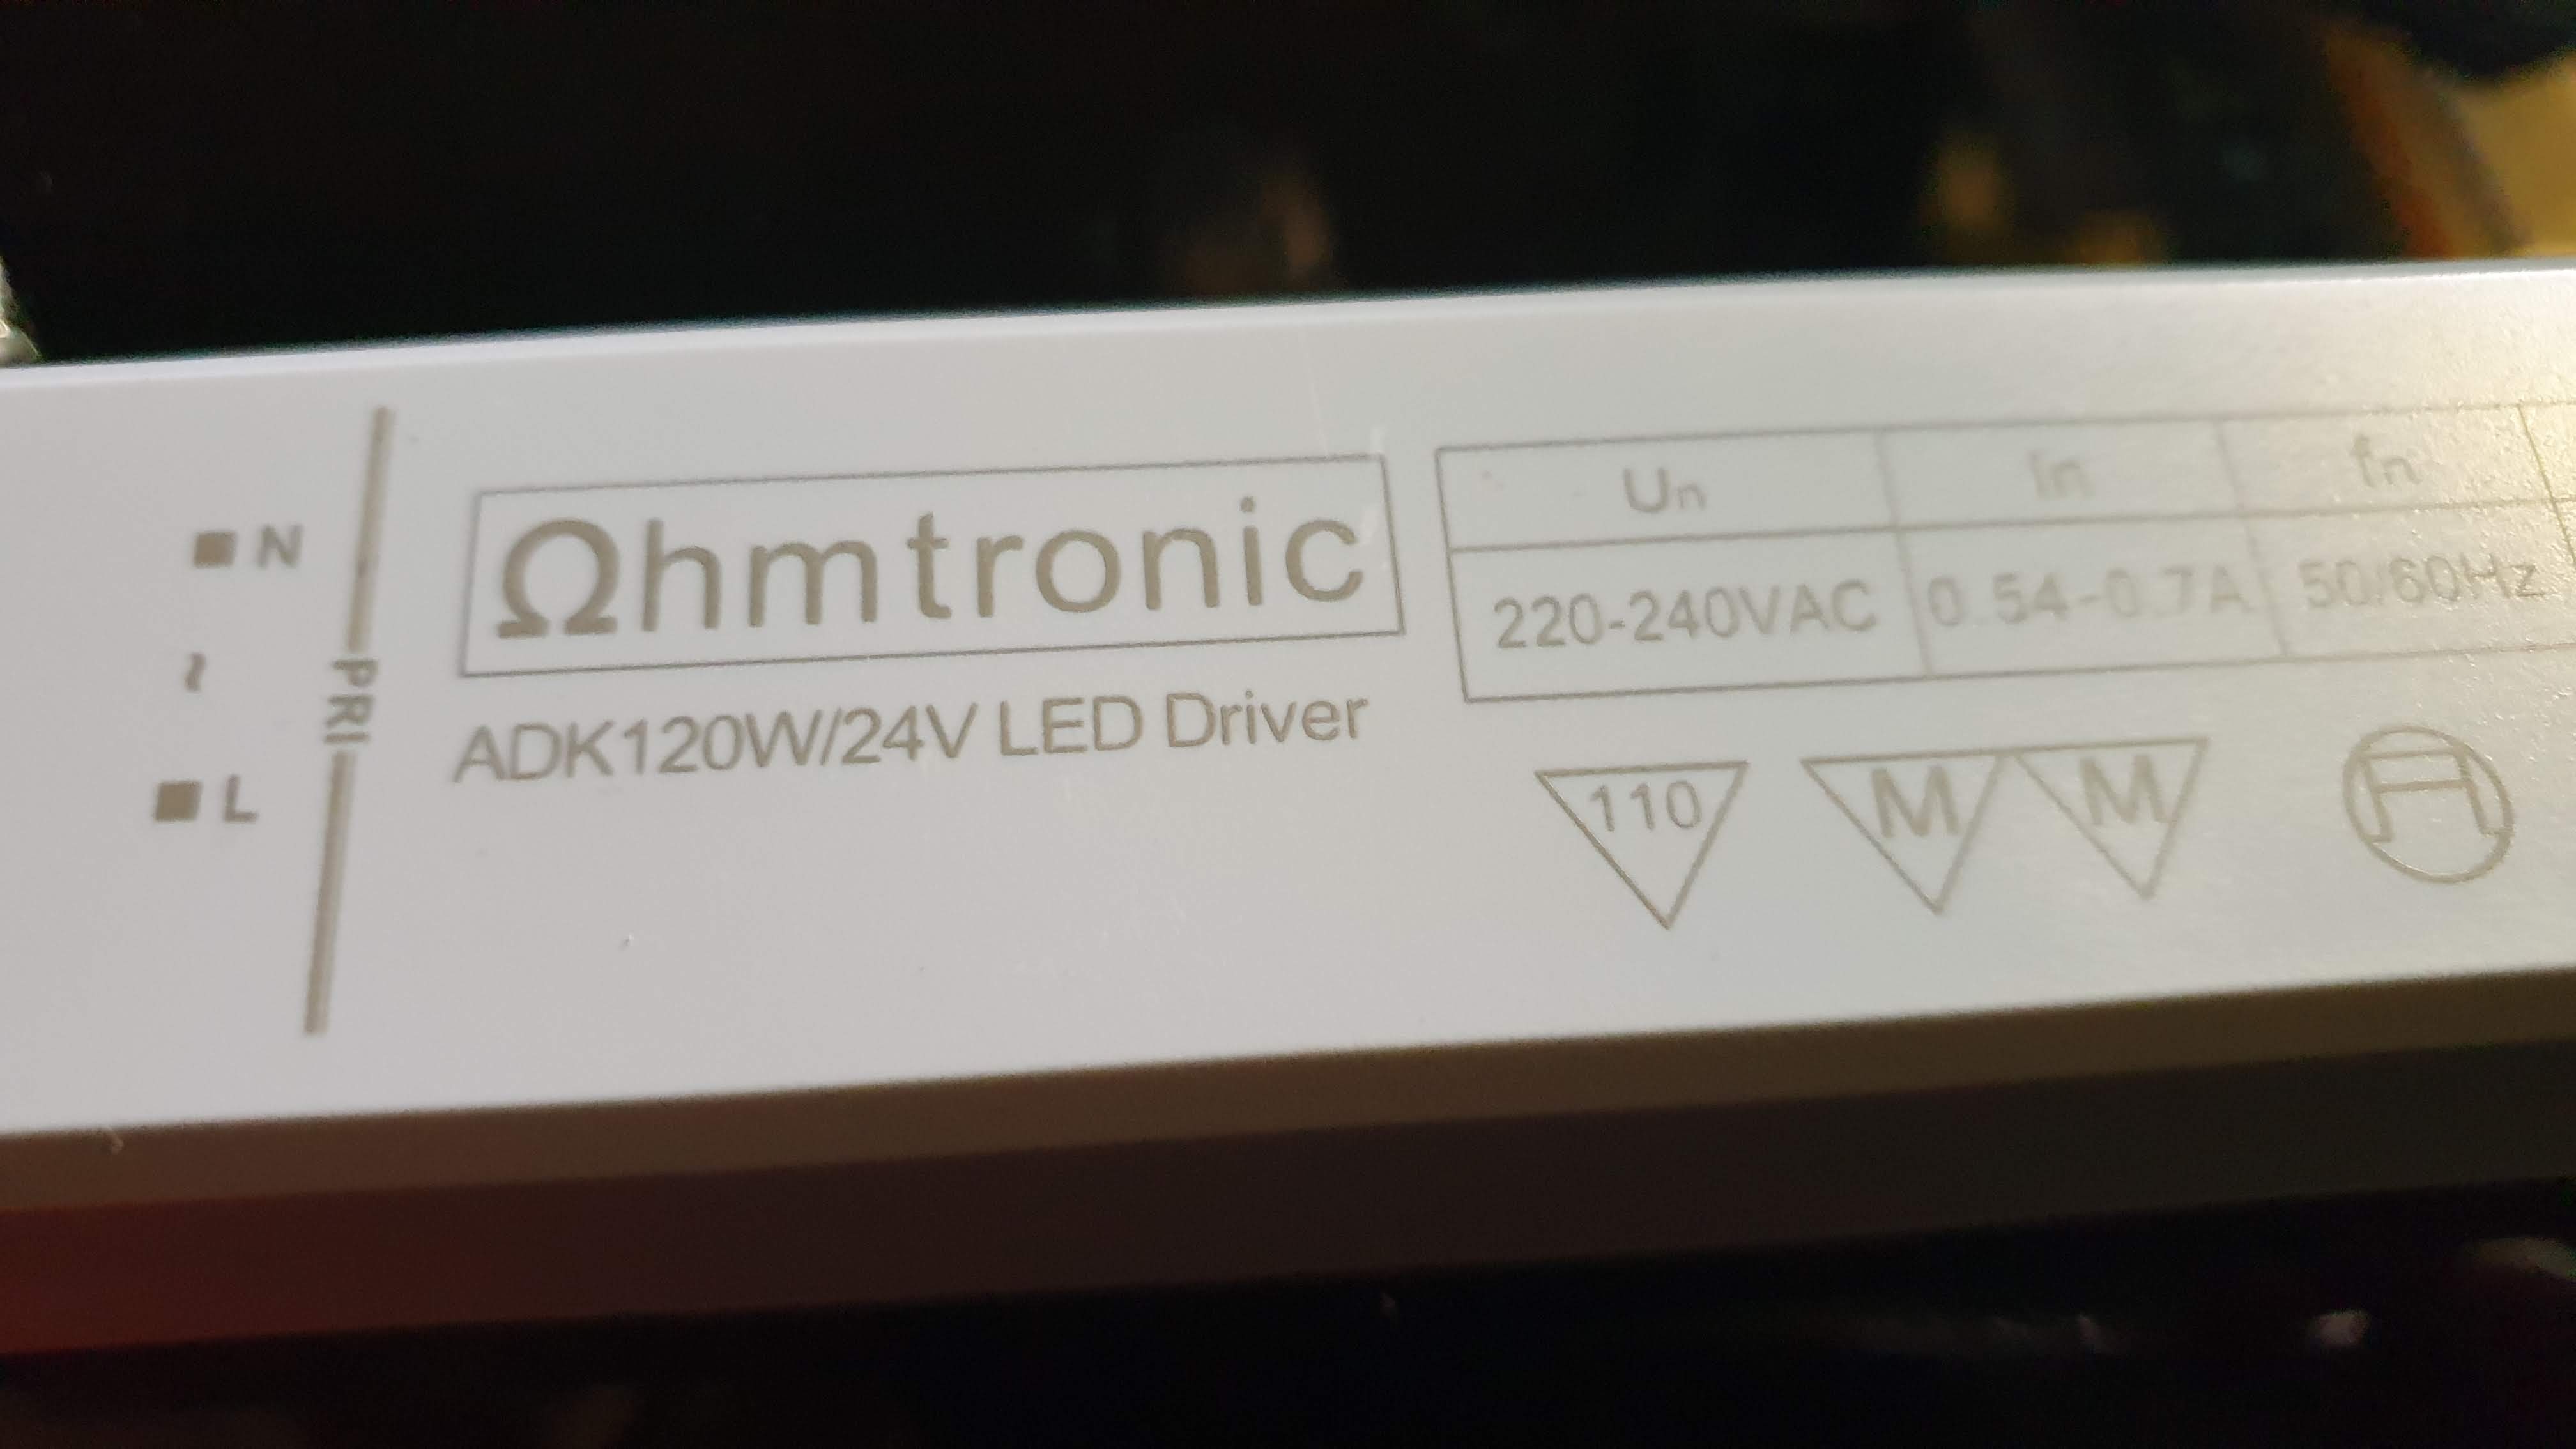
Power of LED’s is another consideration, in this instance, I’ve opted for 24v as the electrical contractors tell me I will, in fact, get more light from them.*
You can also see that the led density on the strip is quite high, and it comes with a 3M self-adhesive back.

A word on ‘local experts’…
One area of my life that has been a real letdown is ‘local experts’ for some reason 99% of any that I have ever worked with have unfortunately been bullshitters.
So as it turns out there are differences between 12v and 24v but it has little if nothing to do with brightness.
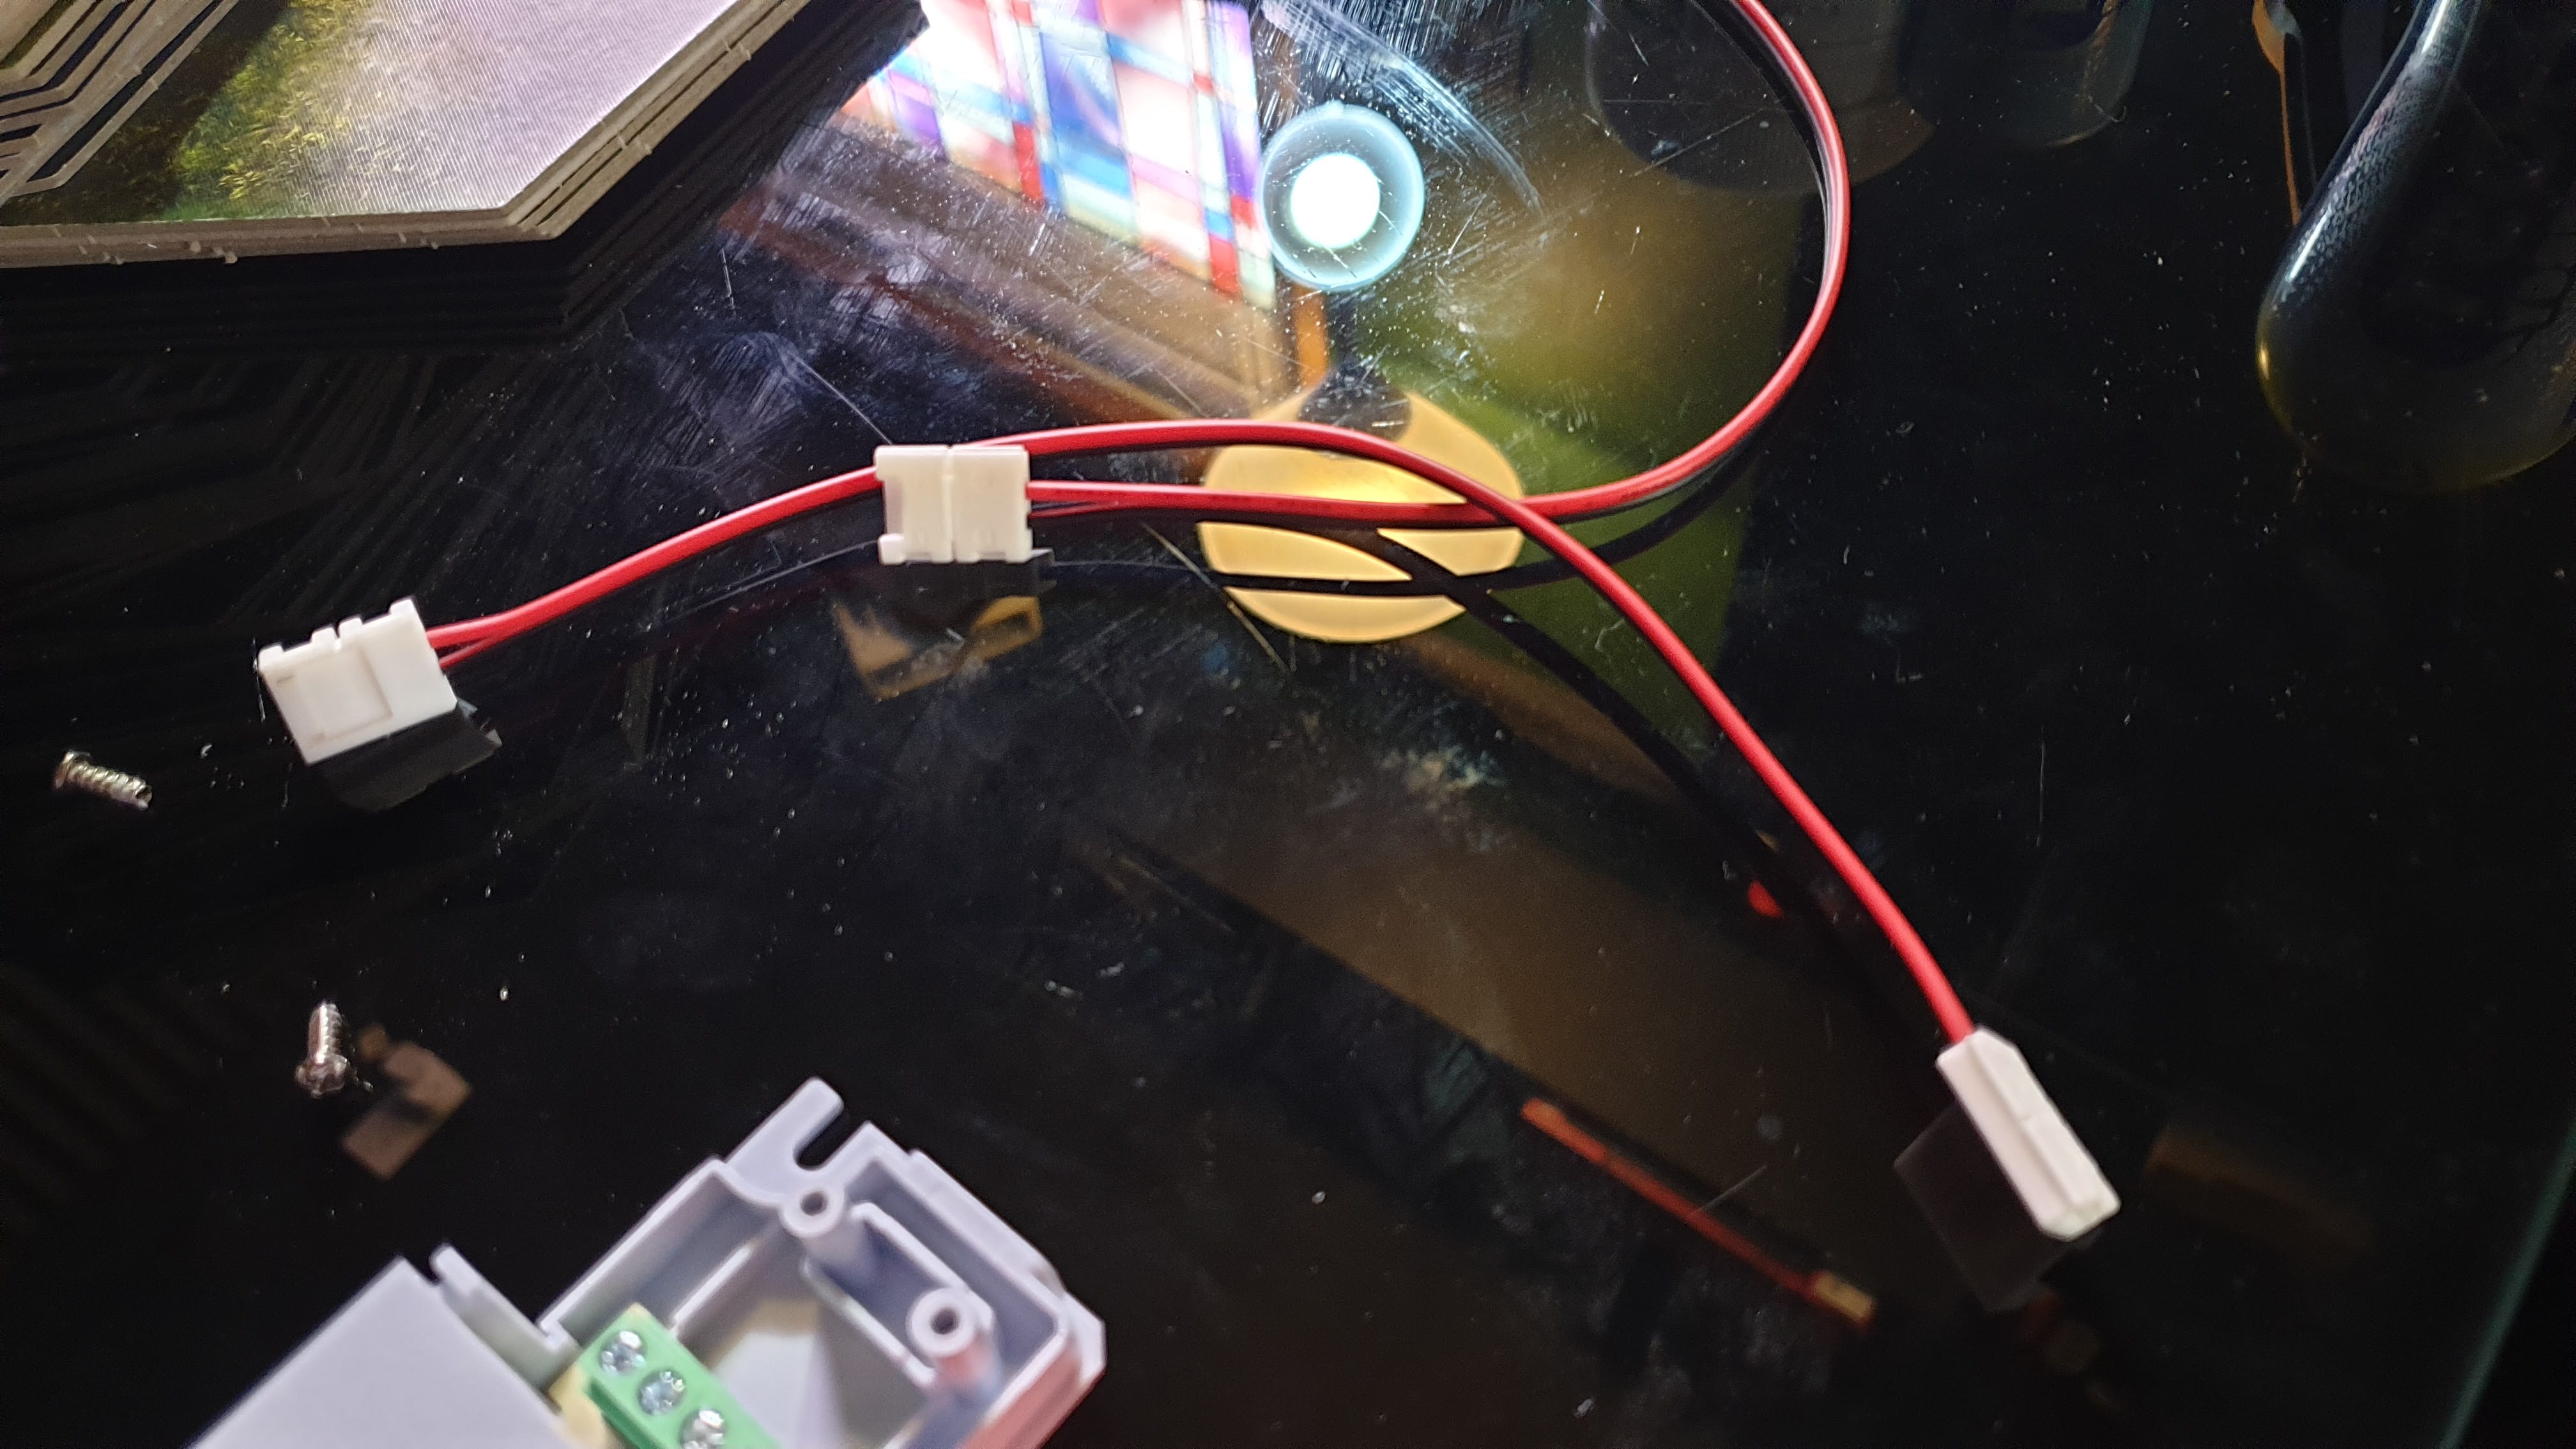
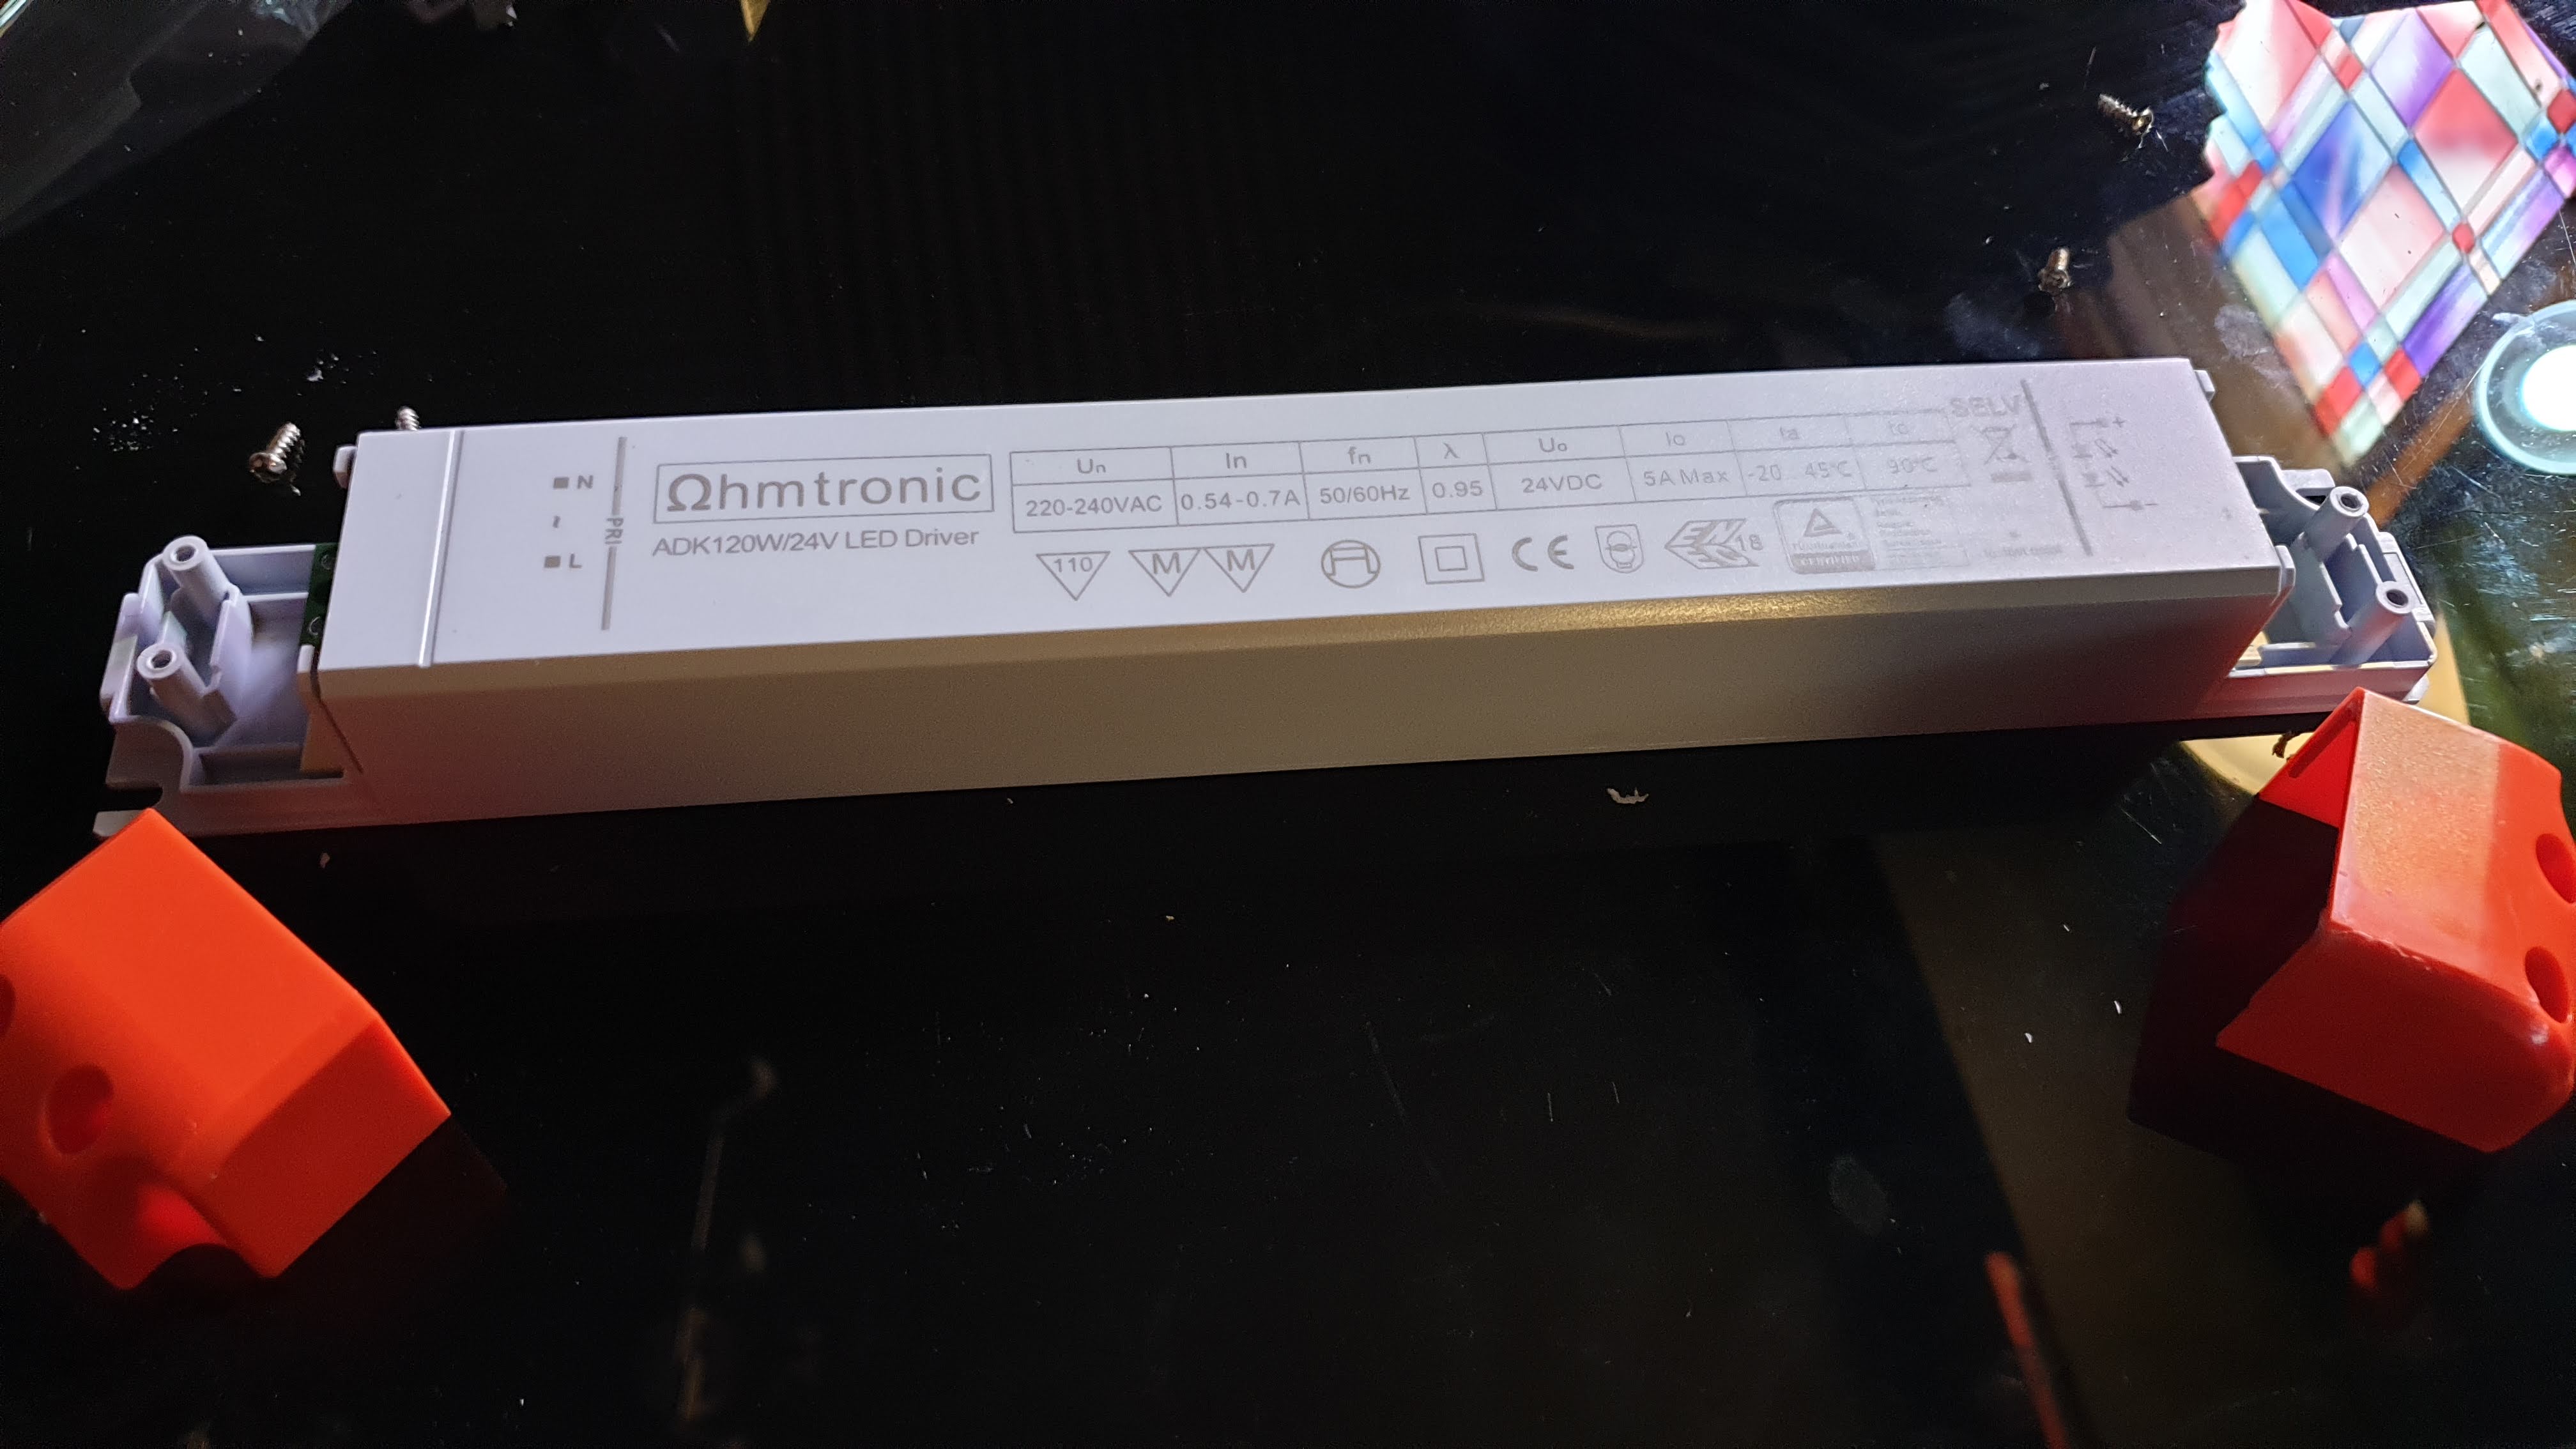
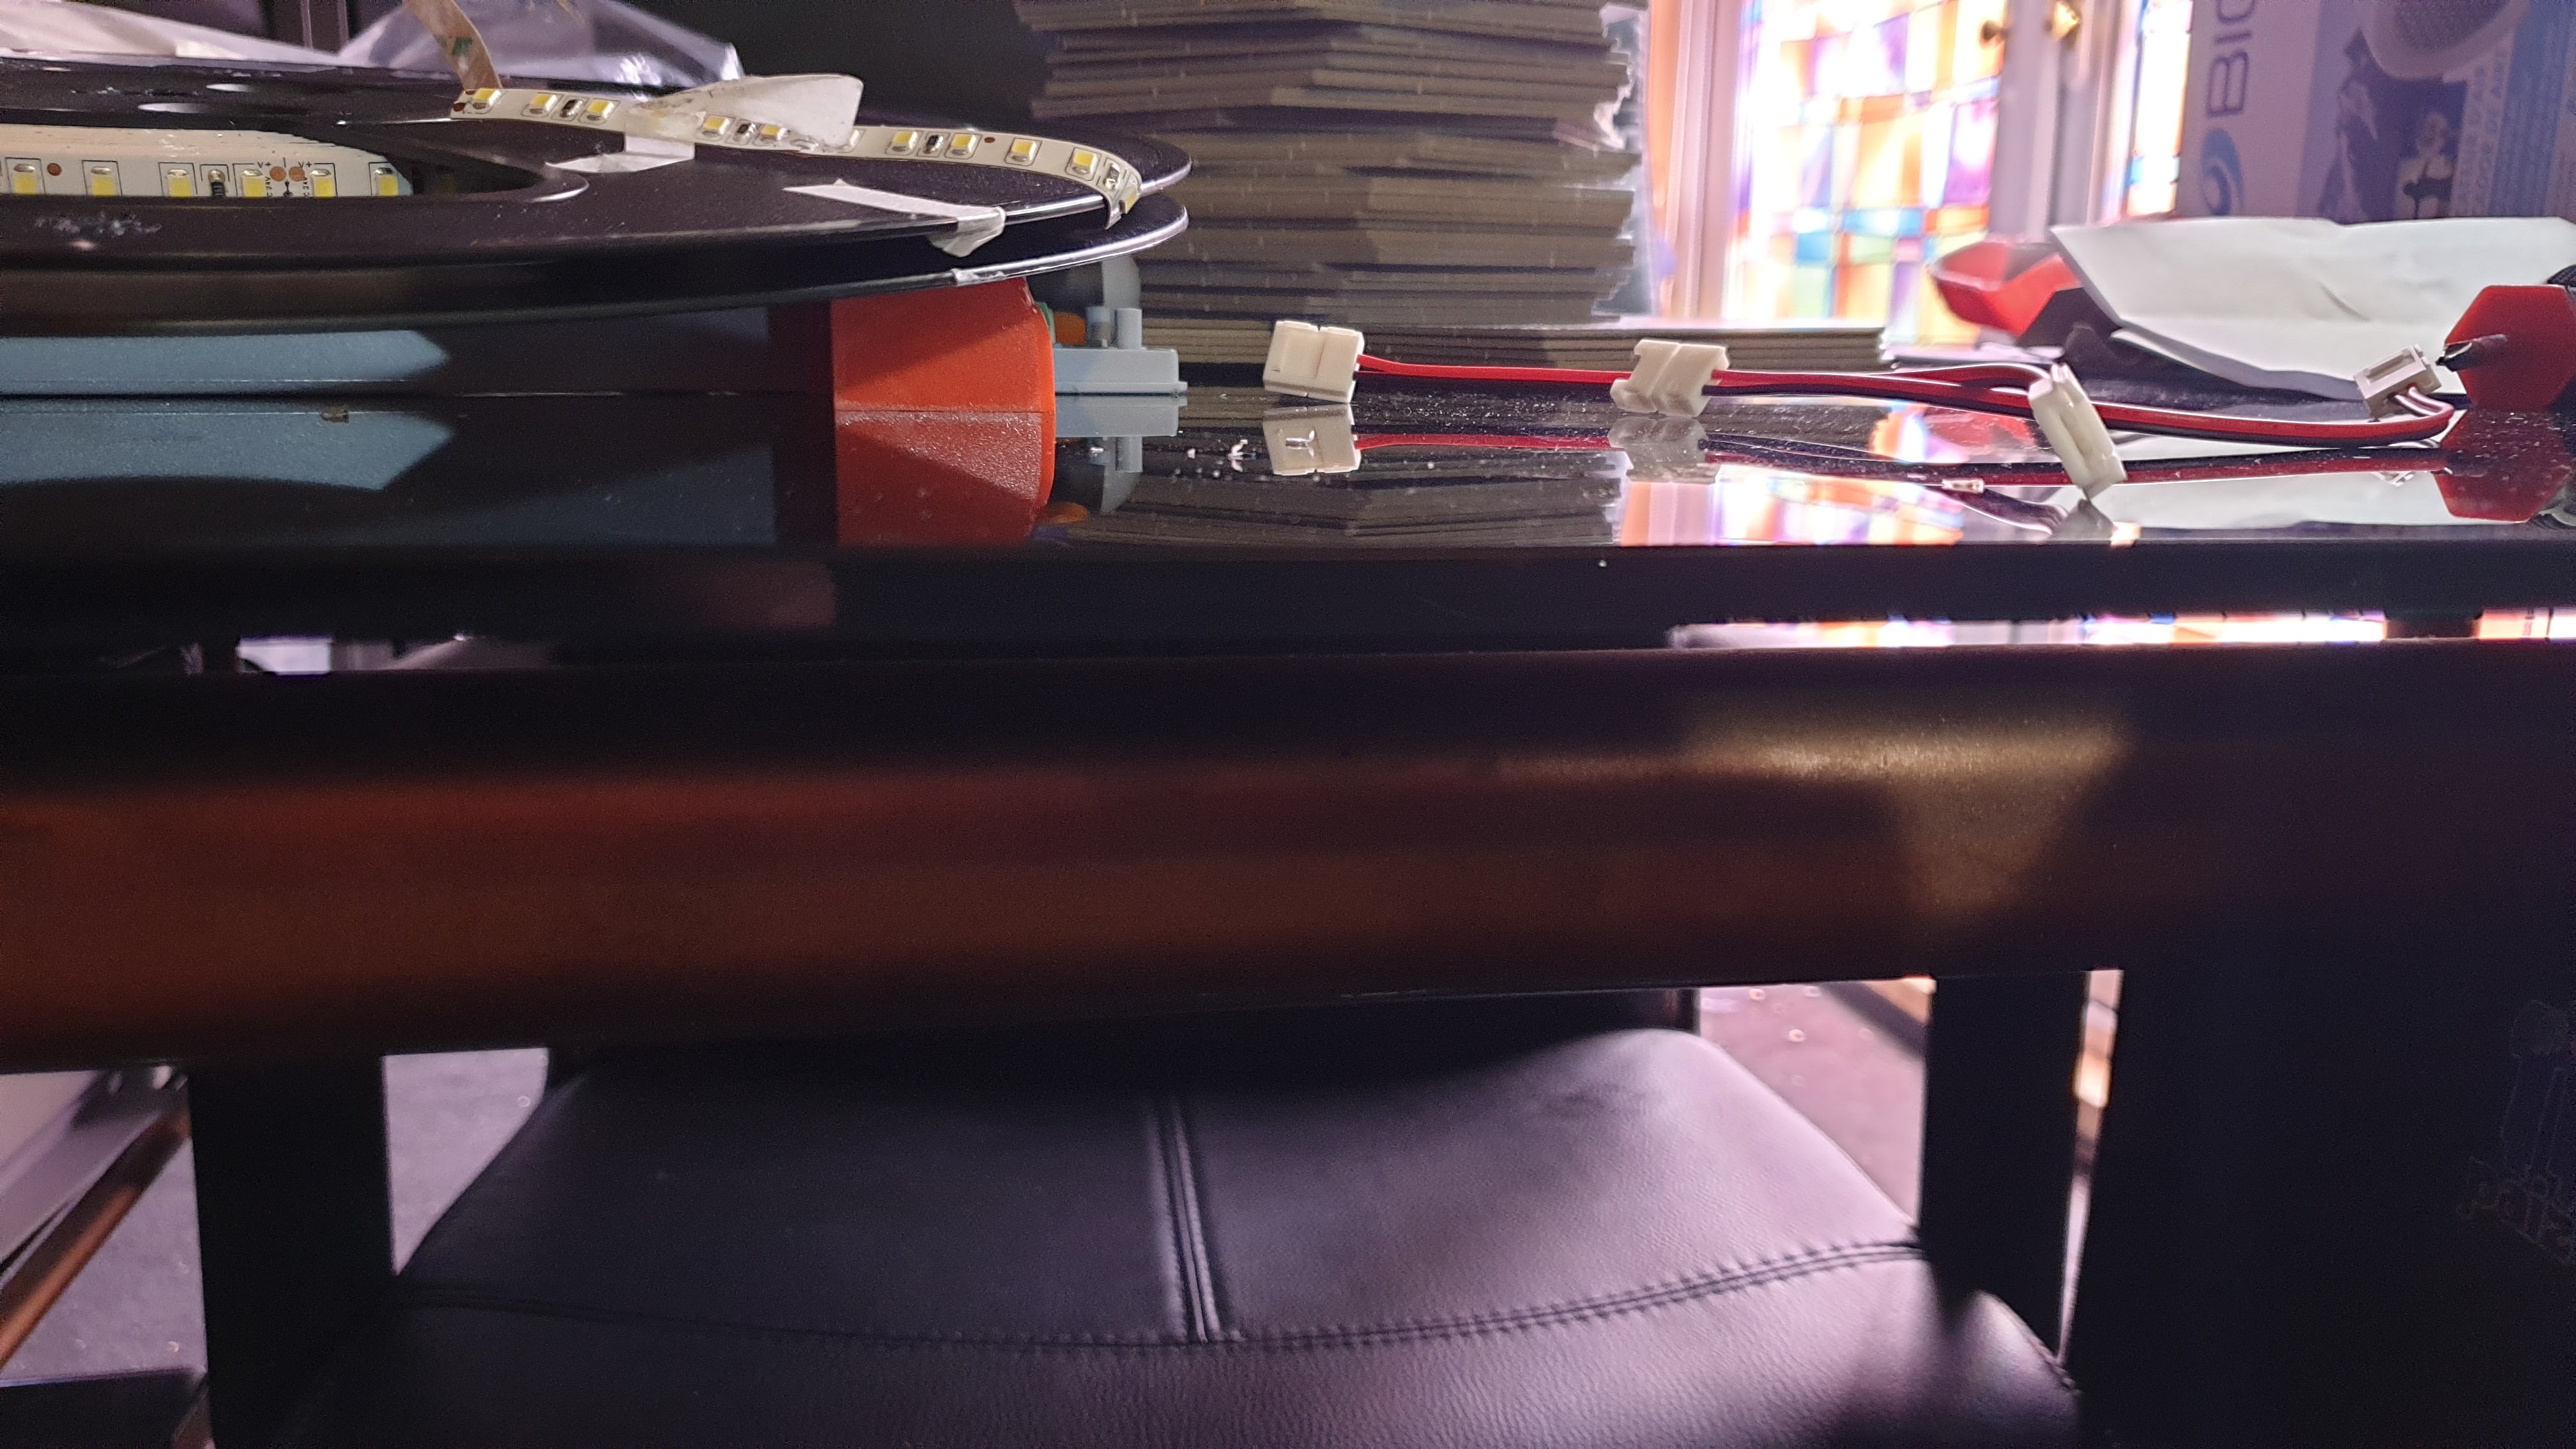
Driving the LED's
To power the LEDs you will need a driver. There is cheaper ways of doing this (and simpler) just buying one of the little kits with a plug from Amazon, but I wanted to test the difference here if you went down a more ‘electrical contractor’ type route to see if the little bit extra you spend on the semi-pro stuff actually makes a difference.
So here is the 24v driver and some of the connectors I plan to use.
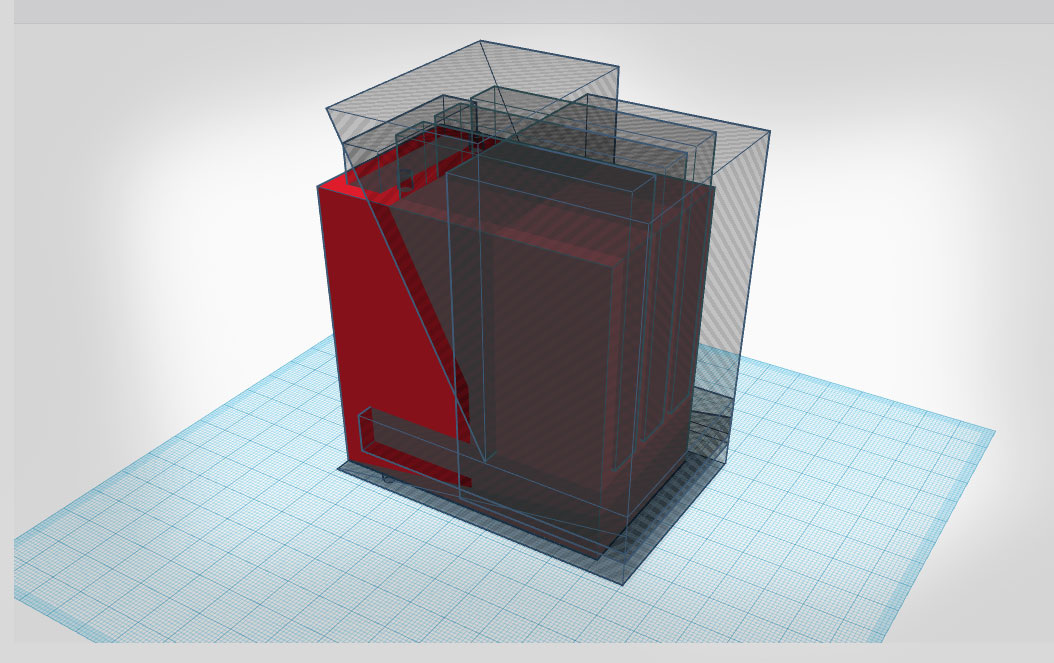
Designing a table clamp
Next stop is into Tinkercad to design a table clamp. I need a clamp that can fix to the glass desk I use as a hobby table.
And it also needs to fit the profile of the flexible arch material.
In both cases they rock in at just under 10mm
Tinkercad
I am no expert at tinkercad. But I tend to try and think of it as a subtractive modelling system – at least in this case. That’s where I started with a solid block and then added shapes that I wanted to remove from its volume.
It takes a little getting used to, but after a while, you will add a bunch of shapes to subtract from the whole – and the whole time trying to take into account where the forces are most likely to exert themselves upon the clamp.
You can then combine everything to see what it will look like.
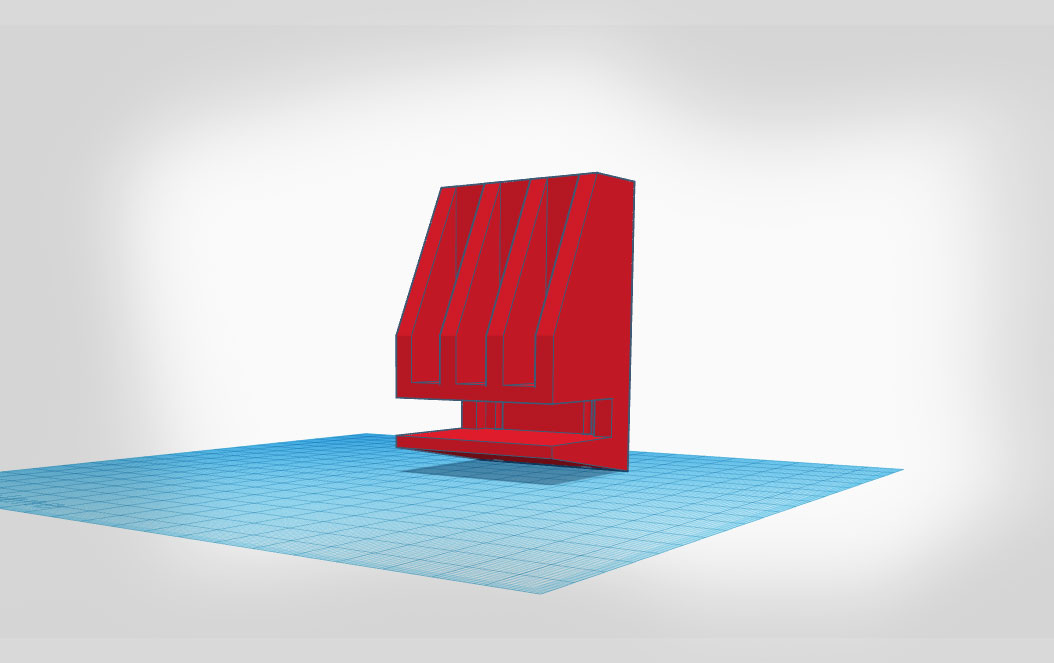
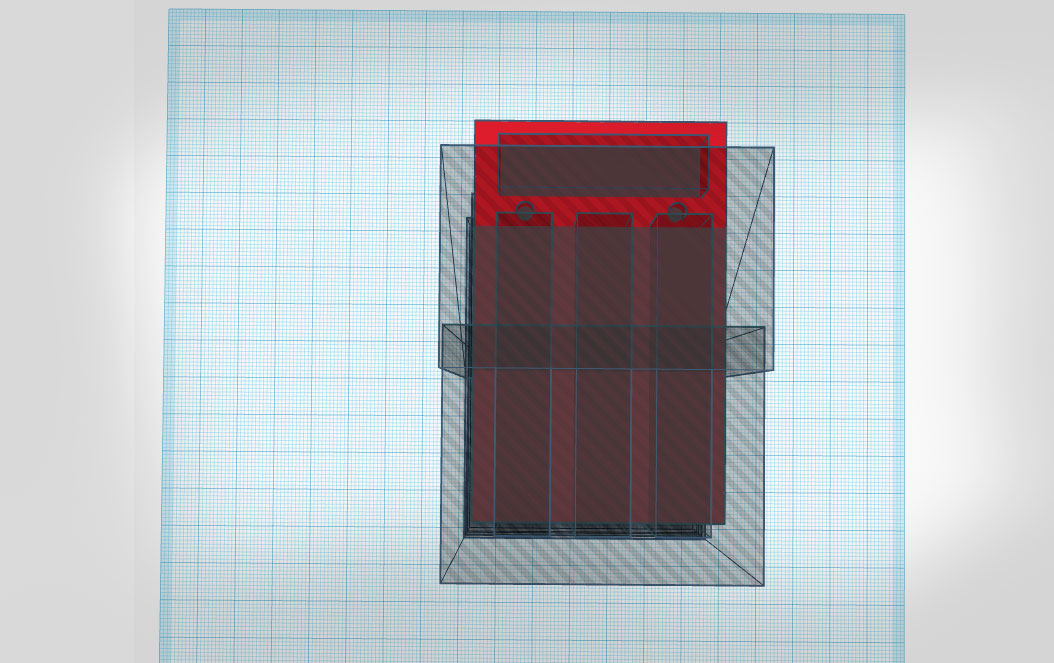
Building some supports in.
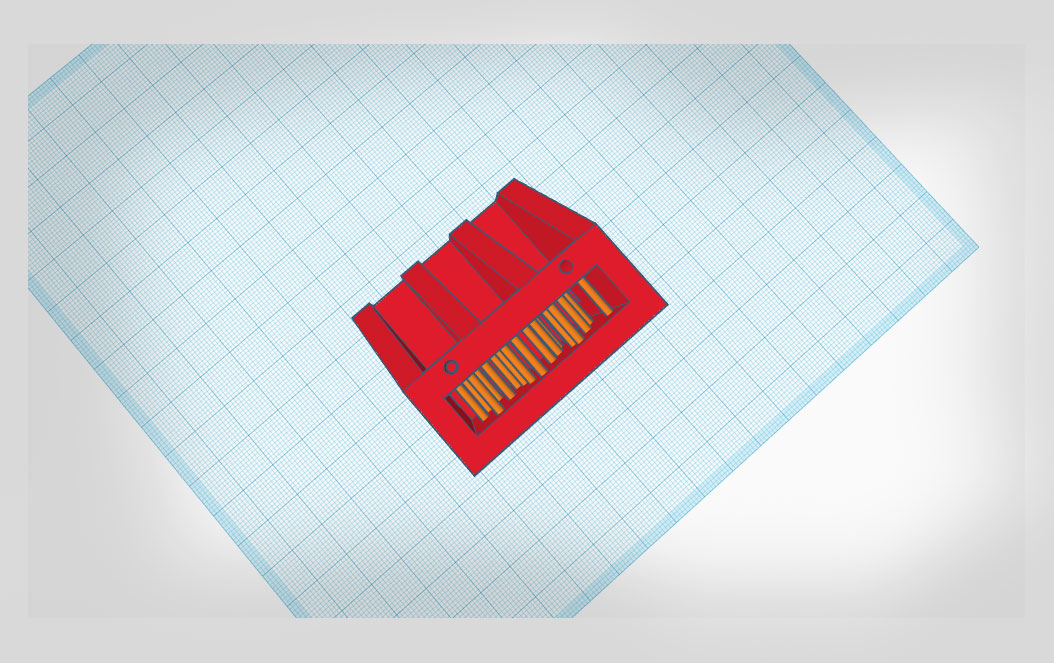
When printing this on the resin printer there will be a part that will need a few extra supports to stop it collapsing in on itself during printing. Rather than messing around with the slicer I just added 1.5mm pillars (Marked in orange) to that section in the model. If it works I will then basically scrape these bits out after it prints.
Working in the slicer
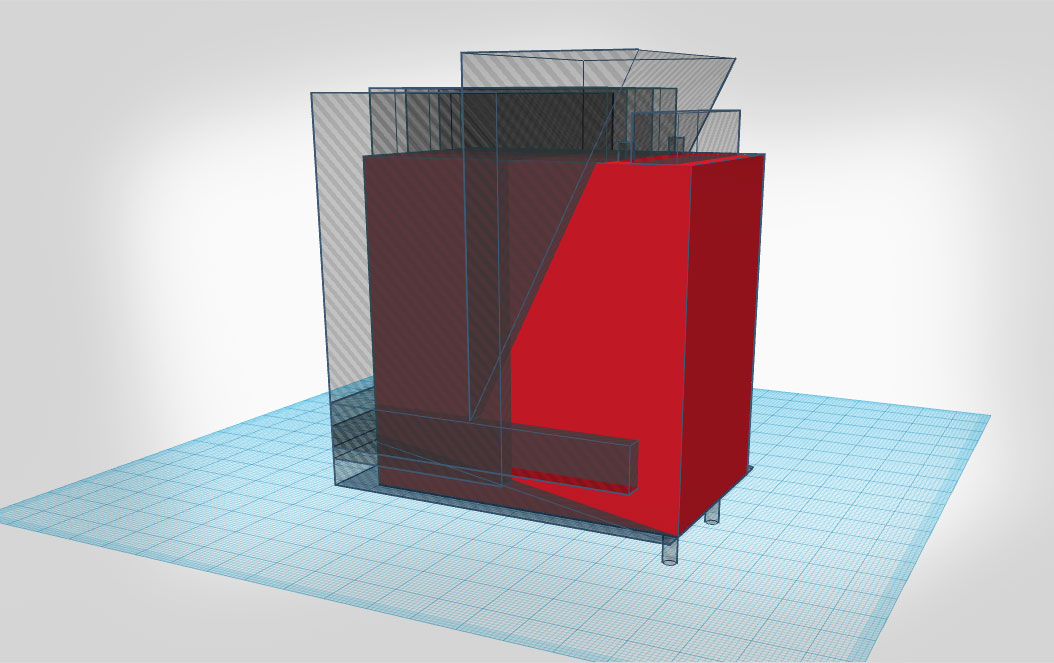
When I initially built the model the part that slides under the table was a good bit longer, but upon slicing I saw it had become a 14hr print. (resin printers time is based on the height of the model).
I thought that was overkill and the way the forces would act upon the clamp it wouldn’t be necessary so I tweaked the model and what you see here is about a 7hr print (per clamp.)
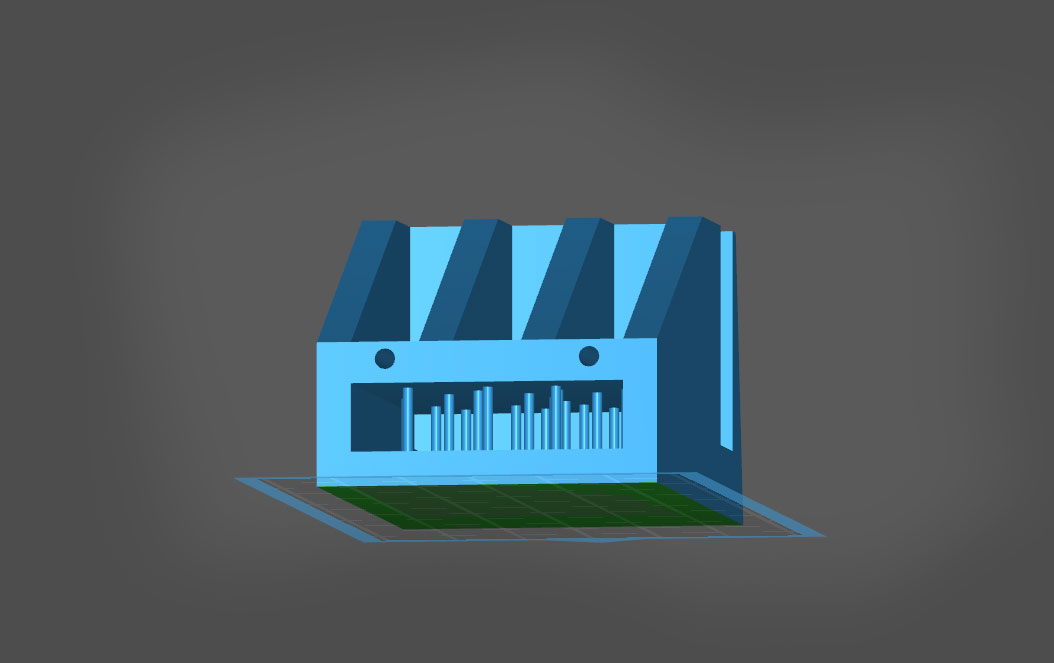
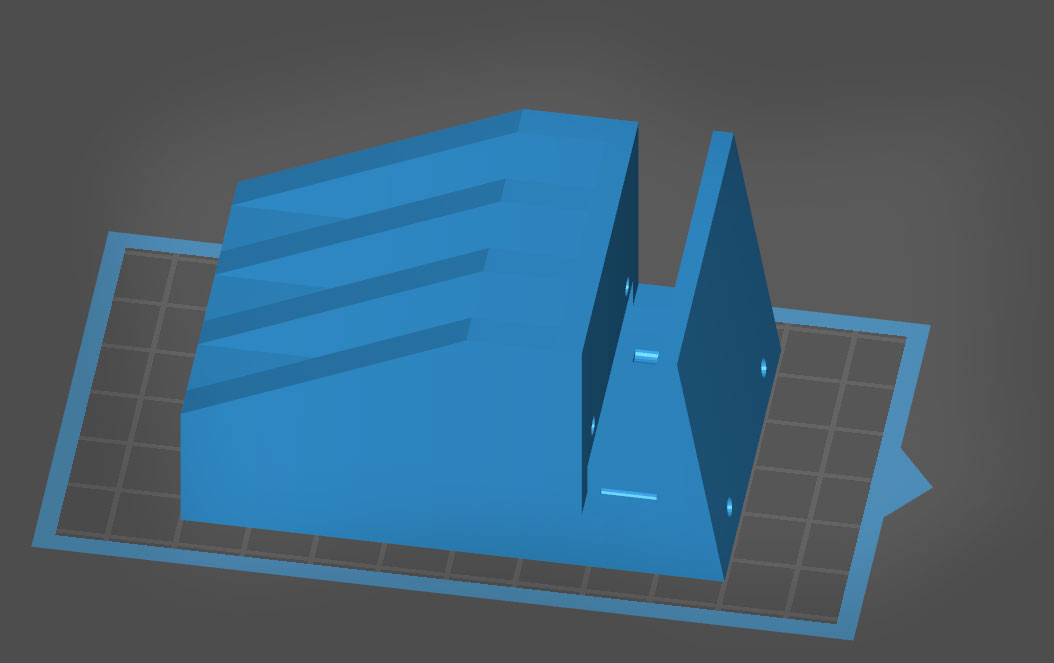
You will notice some little holes in the clamp. I added these to run some of the electrical components through.
And Now Time to Print...
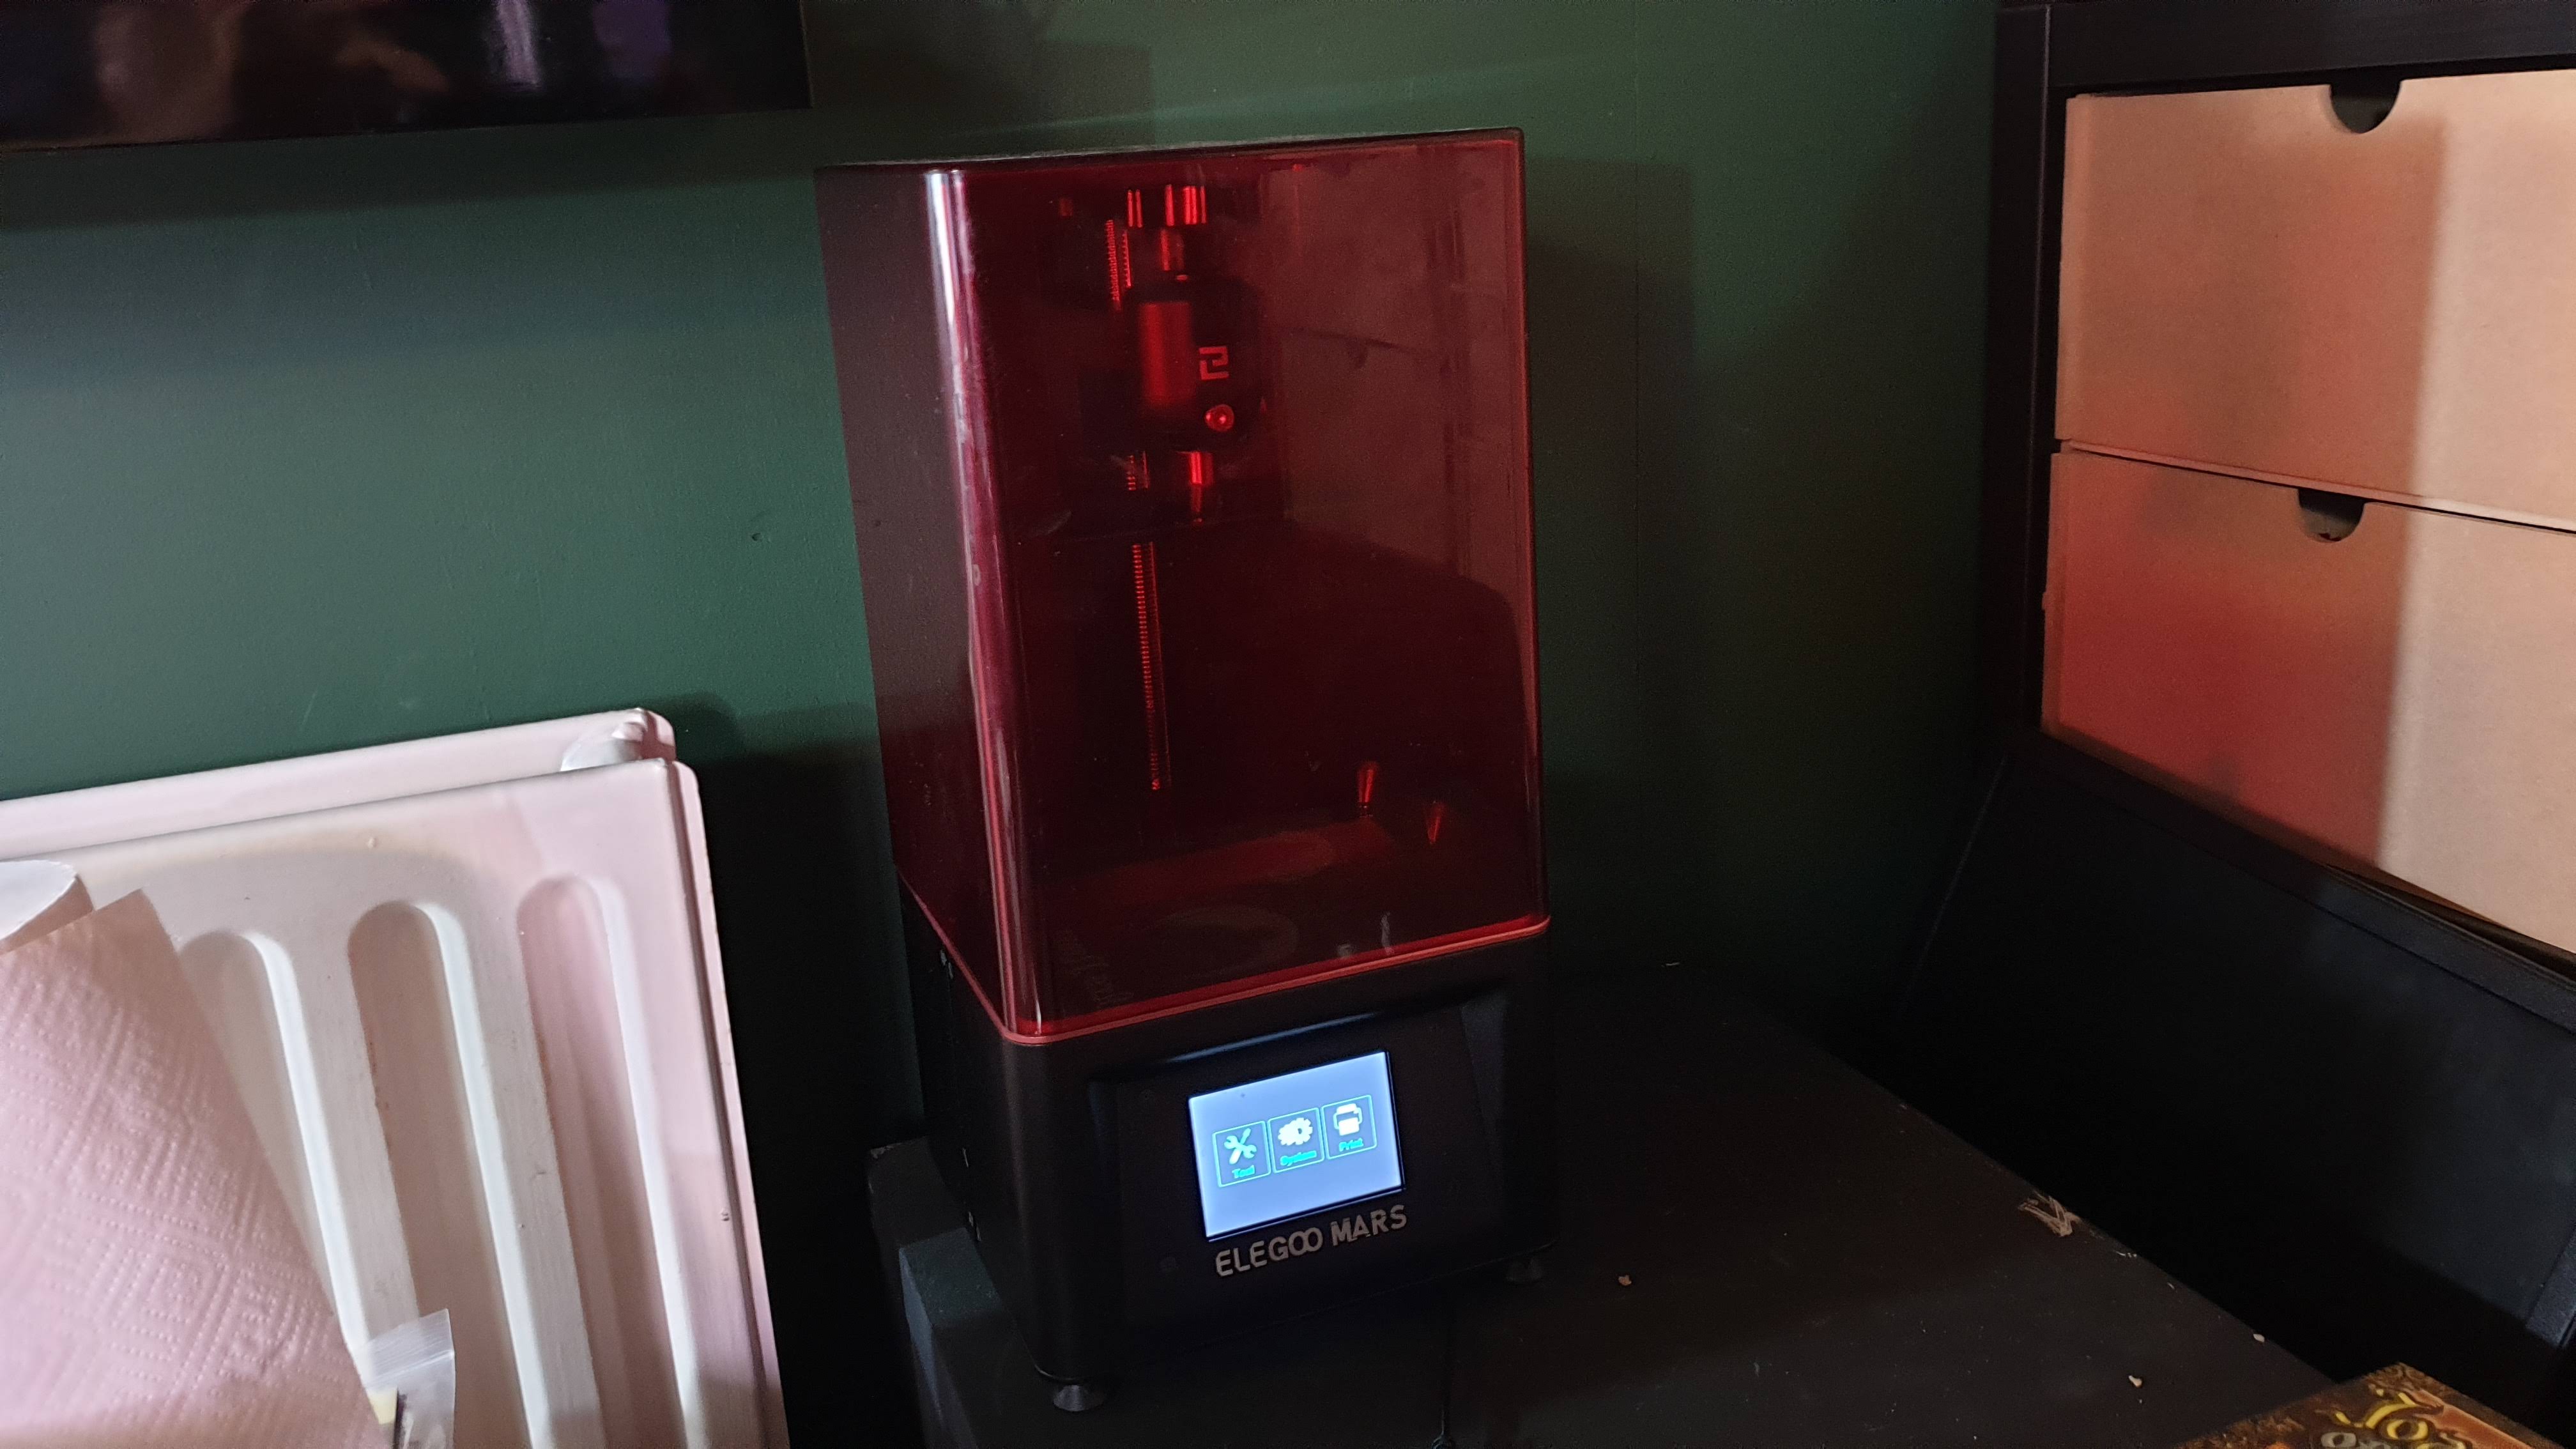
So Im going to print this on an Elegoo Mars resin printer. Mostly because its the only one handy. I’m sure it would work just as well on an FDM, you could print more of them too and they will print quicker. (My FDM is in the studio printing out ear protectors for local health workers so I’m not planning on disturbing that!)
Anyway, I really like the smooth finish from a resin printer so provided the finished print can take the stresses this should be good. Also, it will be interesting to see if the tolerances are too tight or loose in the final version.
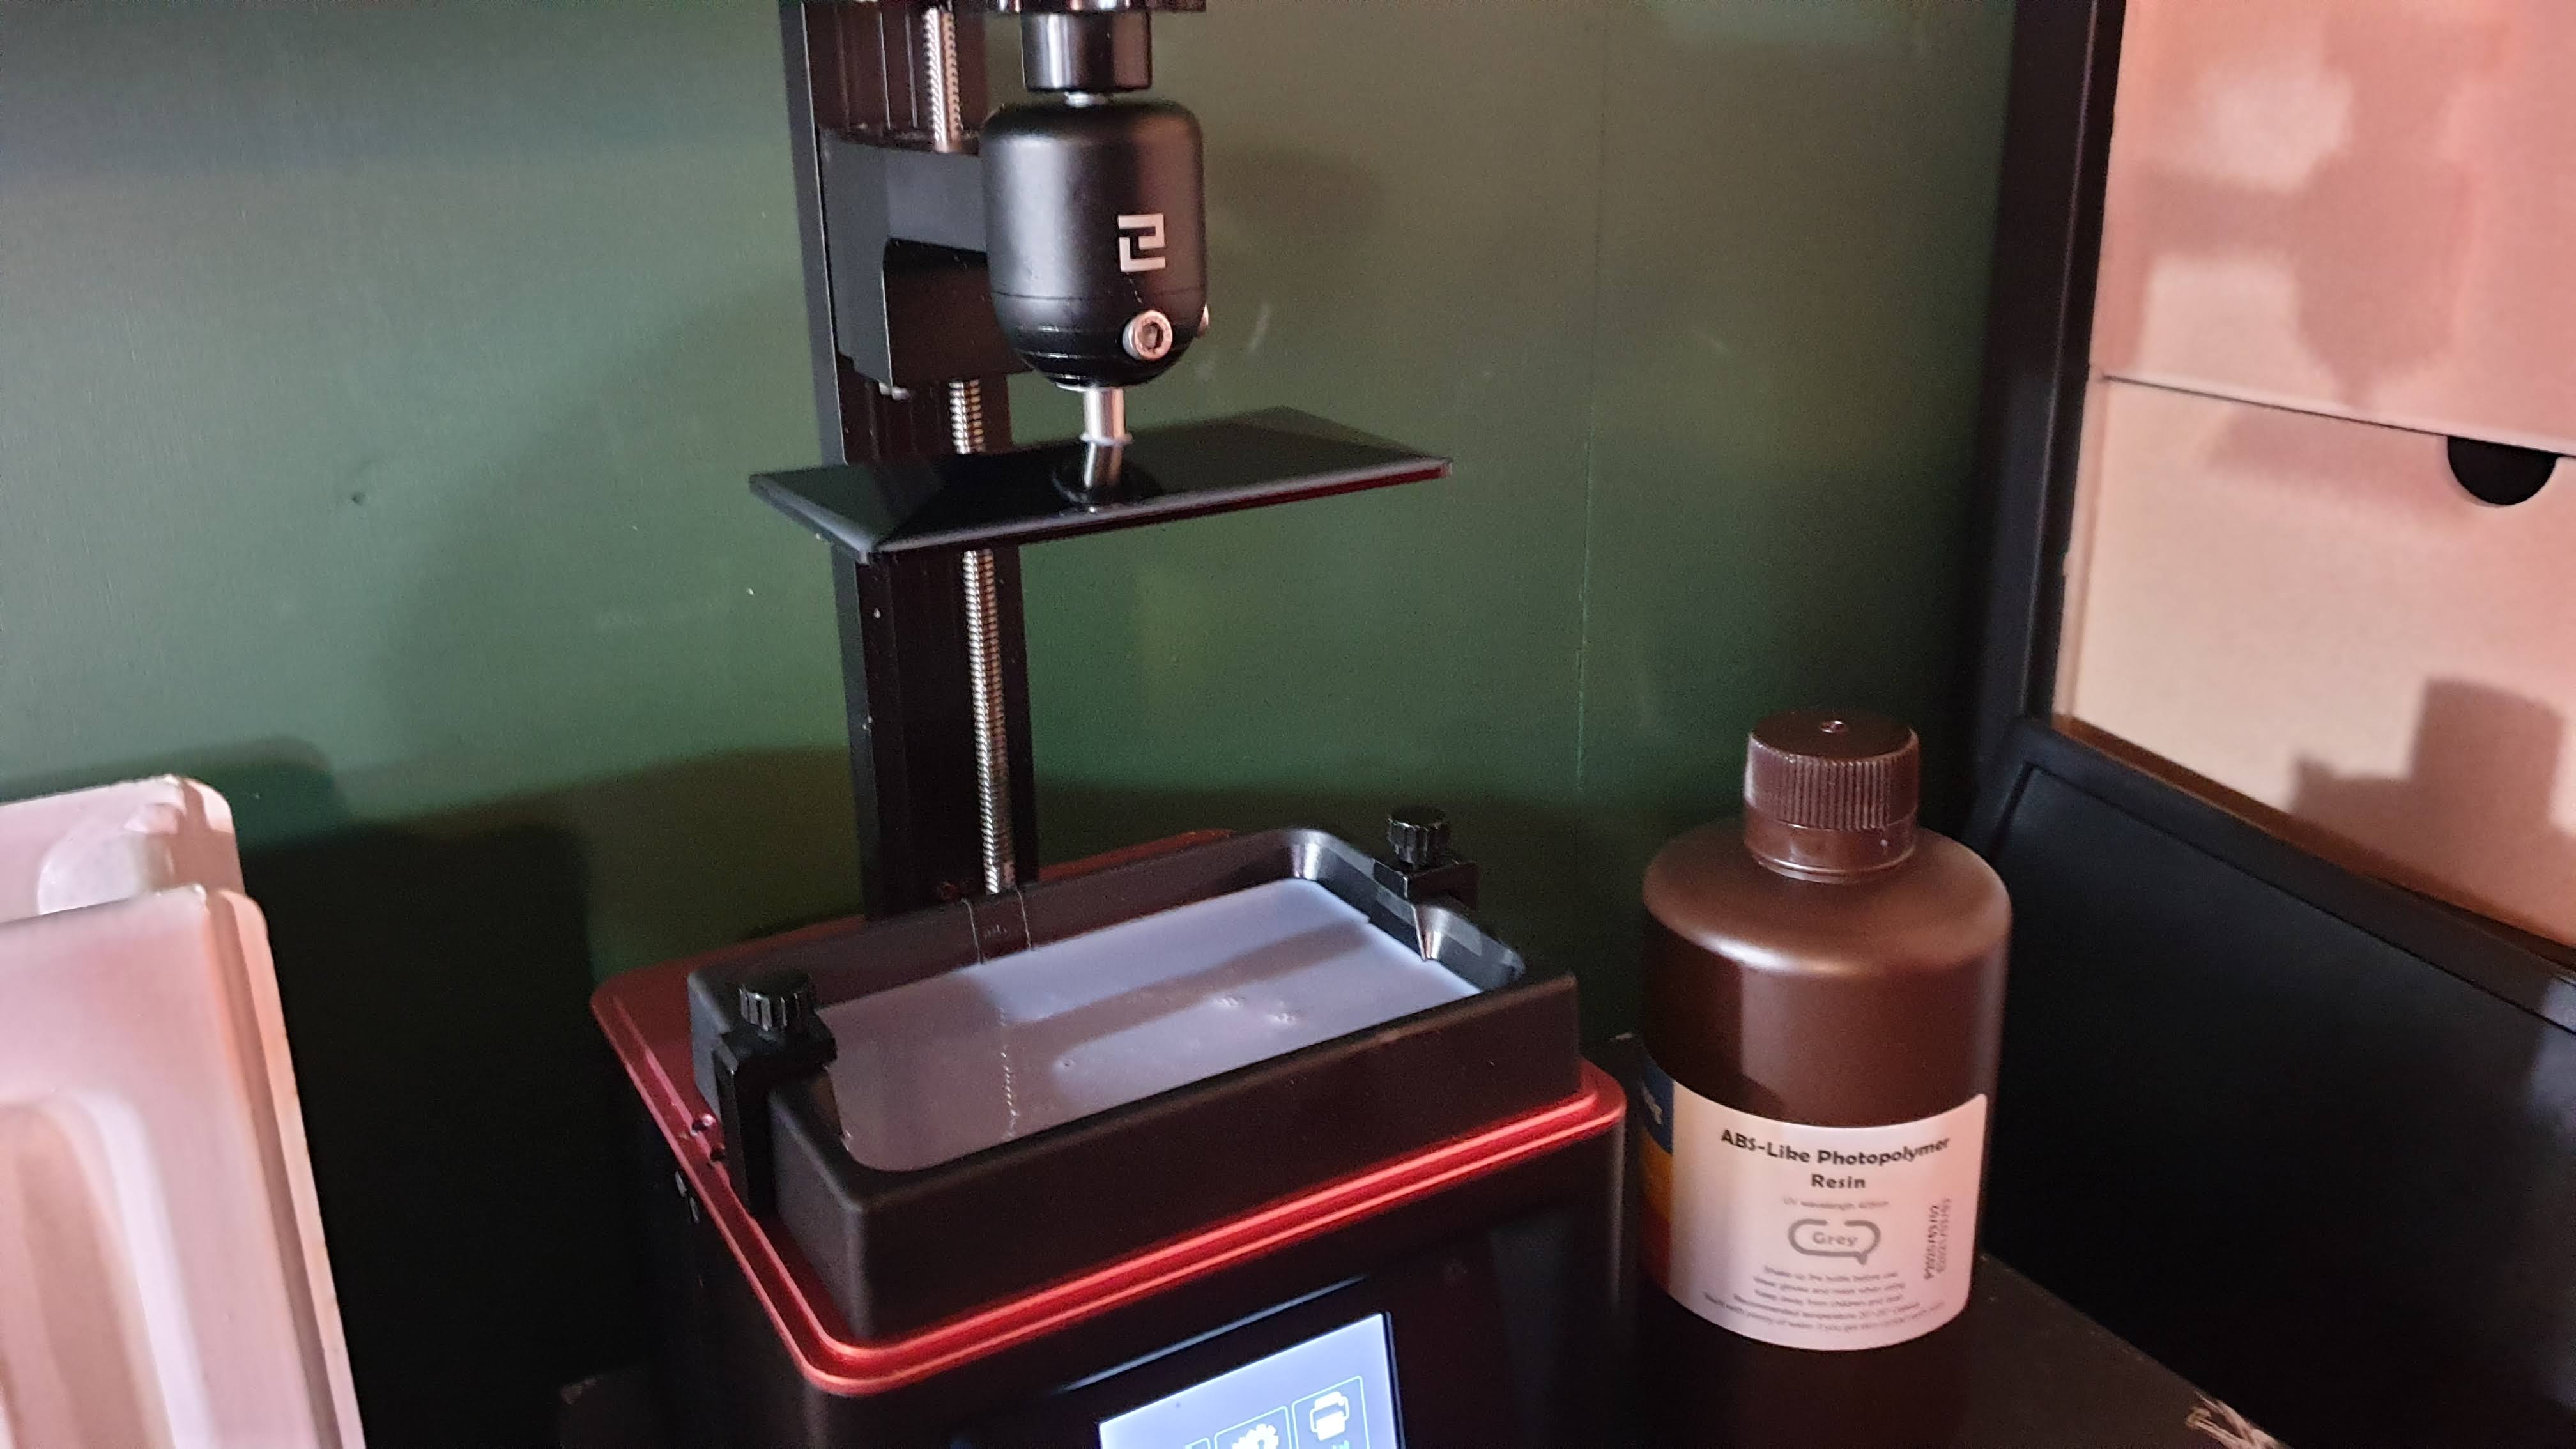
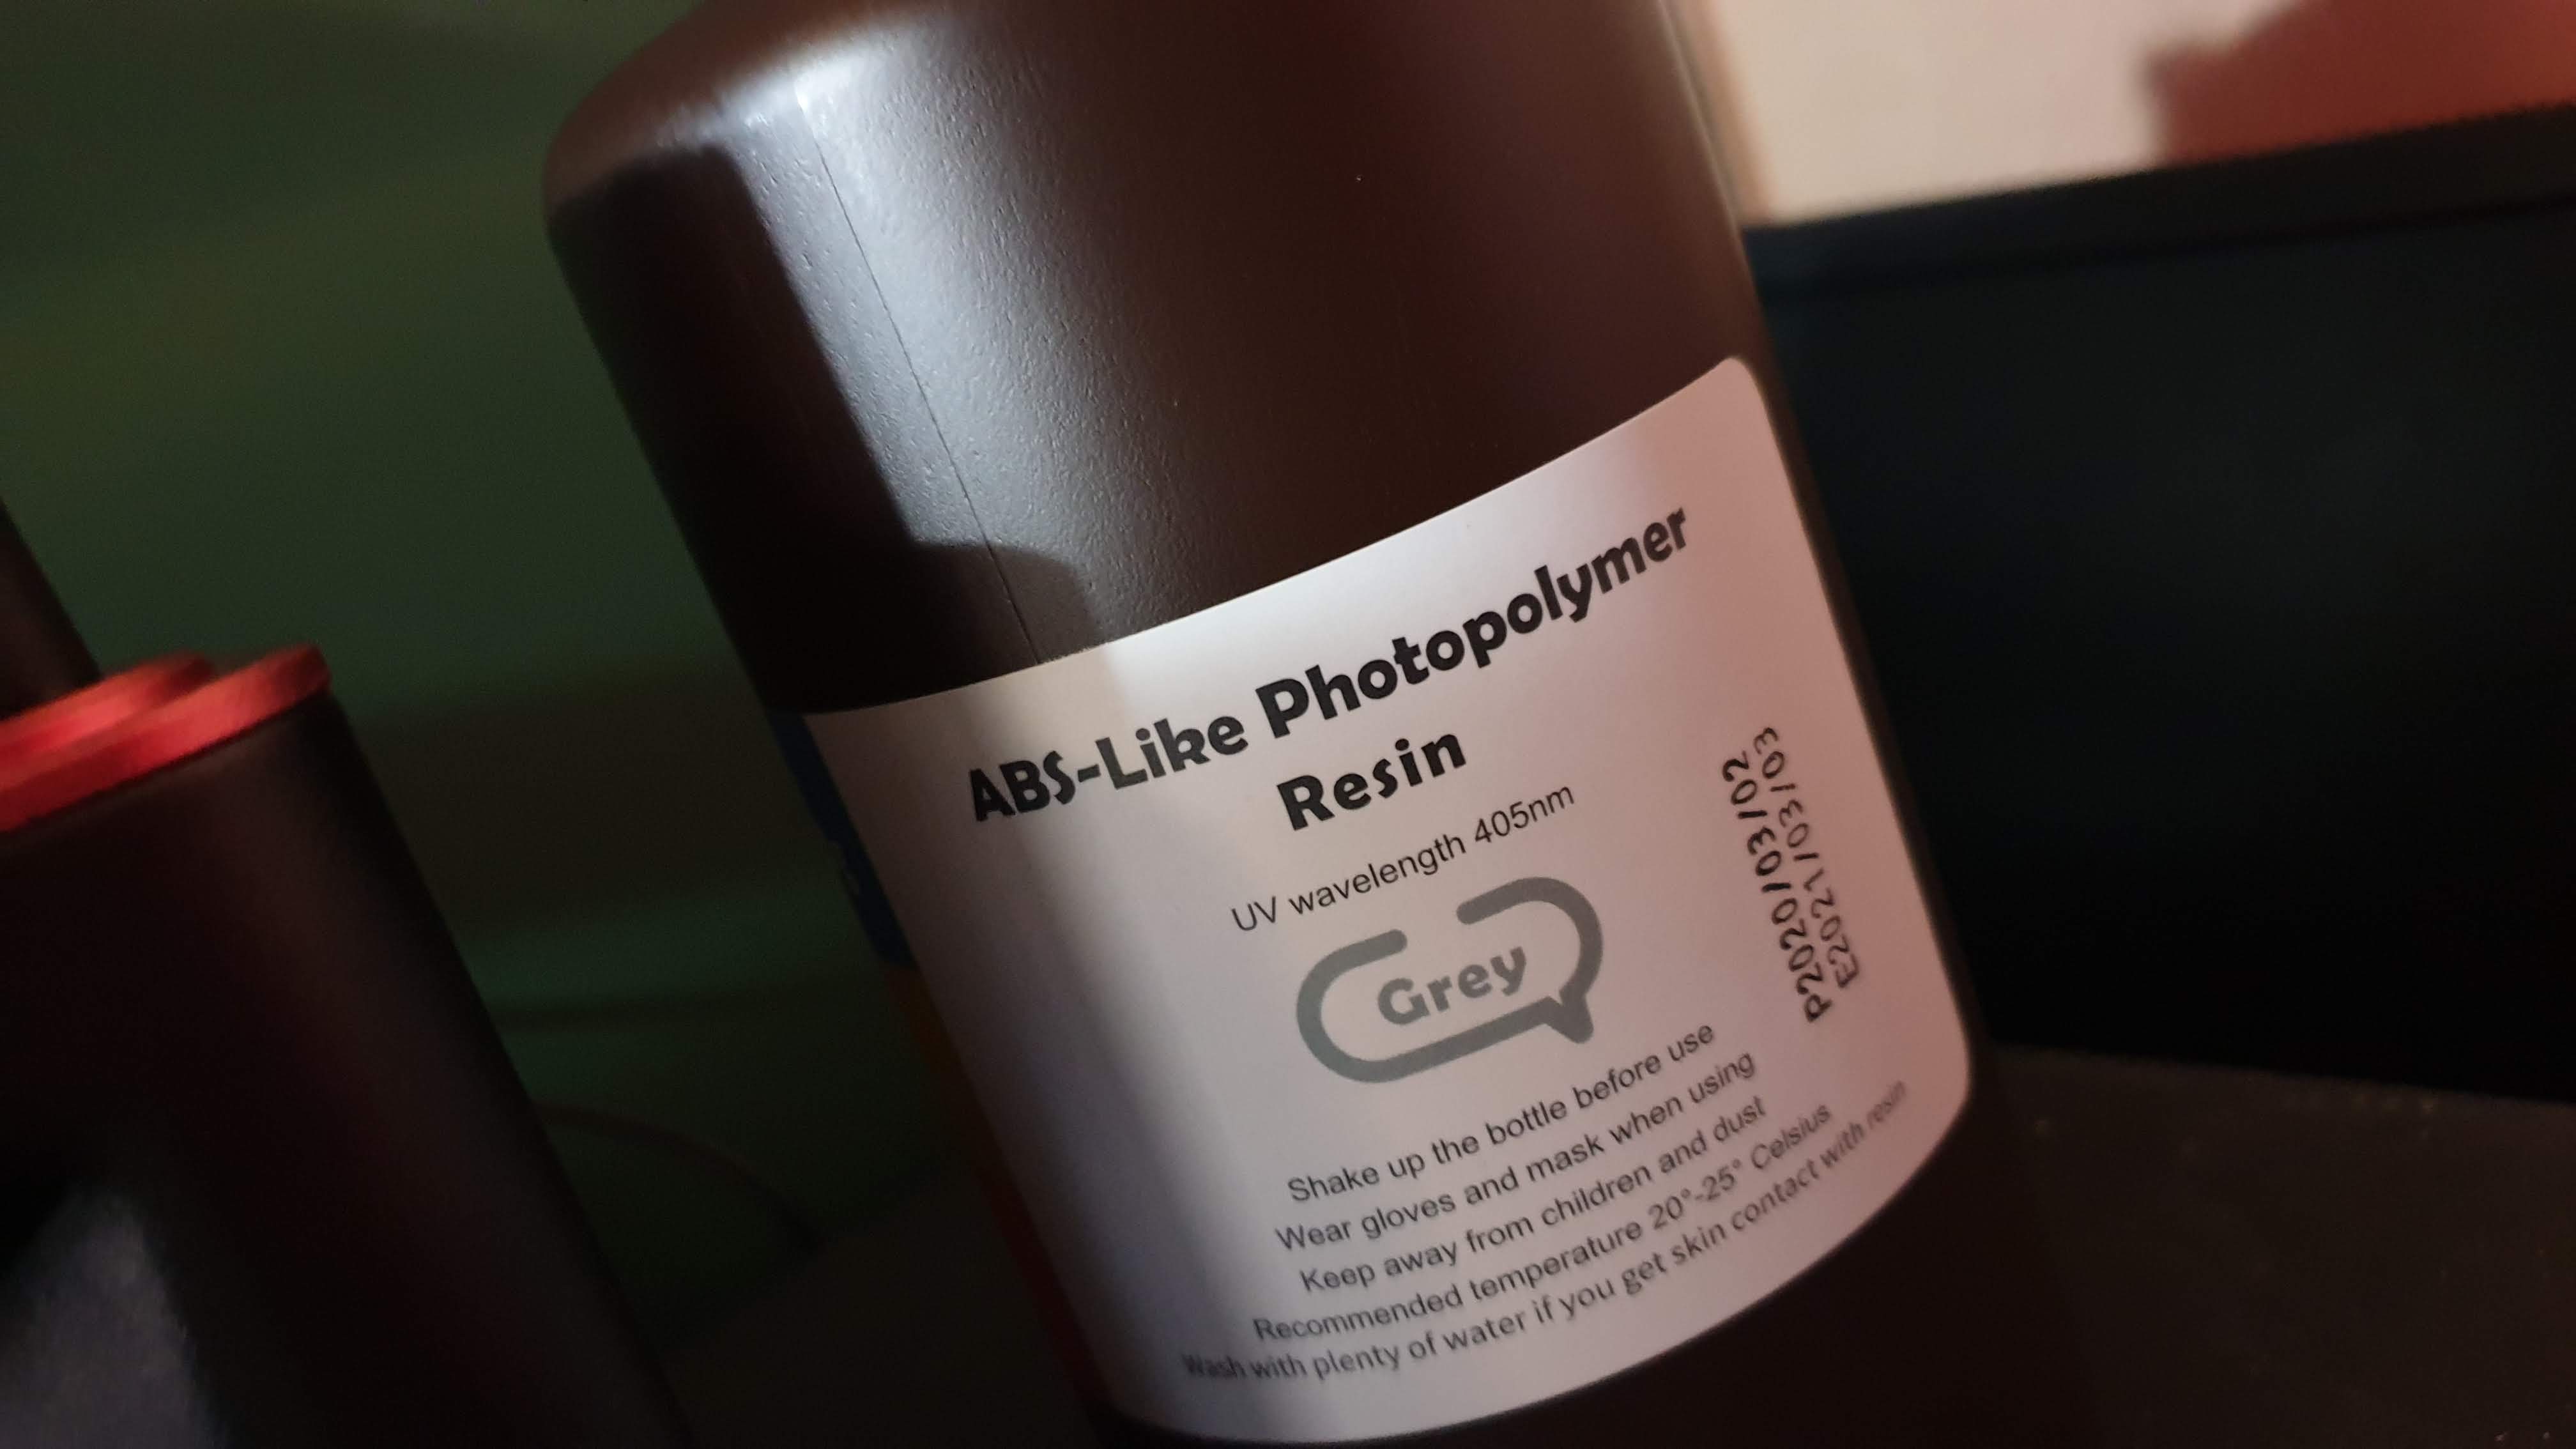
I’m using a grey ABS-like resin for this. It’s my favourite so far because when you are printing models it looks like a model you would buy. That and I’ve found the results more predictable than some of the translucent resins I have tried.


