


![NO Weekender Or Cult Of Games XLBS This Weekend [Updated]](https://images.beastsofwar.com/2026/03/No_Weekender_and_XLBS_this_Weekend-225-127.jpg)


Red Rocket 3D Printed


Recommendations: 450
About the Project
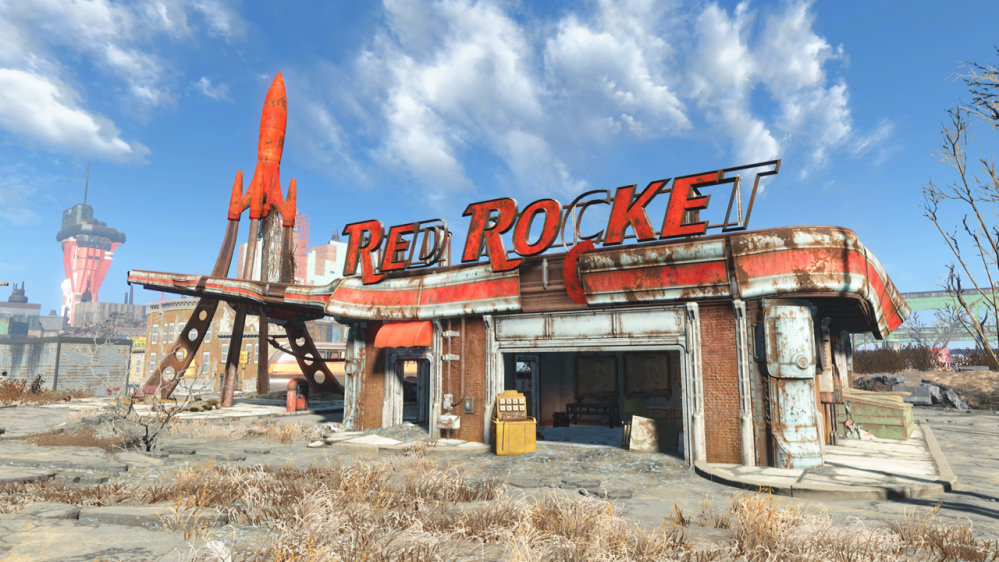
This is my journey of printing painting and dressing the Modiphius Red Rocket 3D Garage and the ups and downs of using a 3D Printer.
Related Game: Fallout: Wasteland Warfare
Related Company: Modiphius Entertainment
Related Genre: Science Fiction
This Project is Active
Herbie Hancock move over
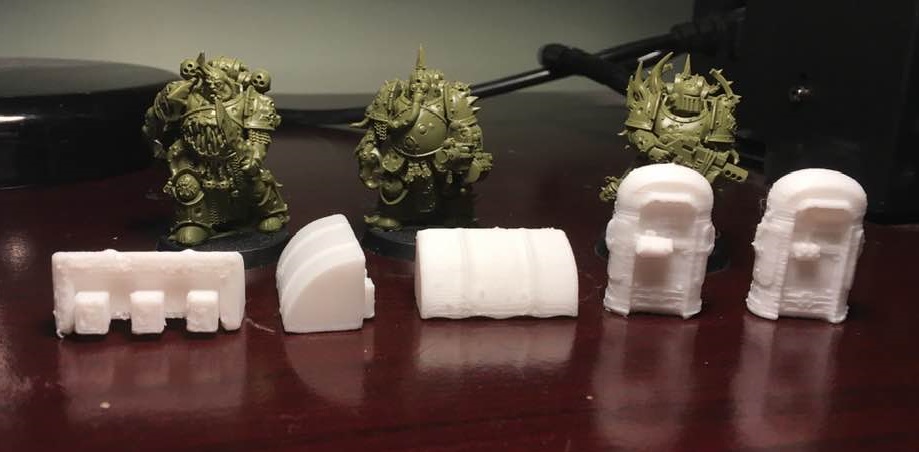
So the Canopies and Pumps printed fairly well. Once I’ve cleaned them up they will be done. (Nurgles Servants Spread the word. The word being ‘Plague’ ).
Now comes the part that I’ve been looking forward to print the most… Yup it’s the Red Rocket itself.
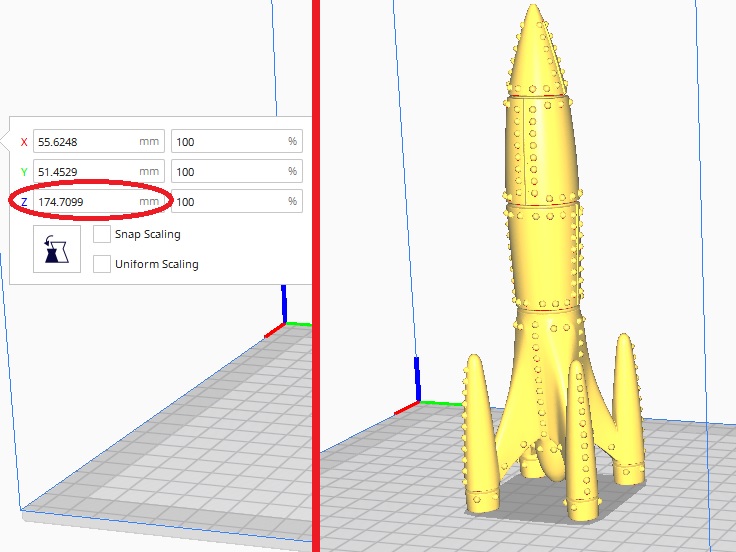
This is one big model coming in at just over 174mm tall.
This model is going to be printed at .25mm Layer height and using a Brim.
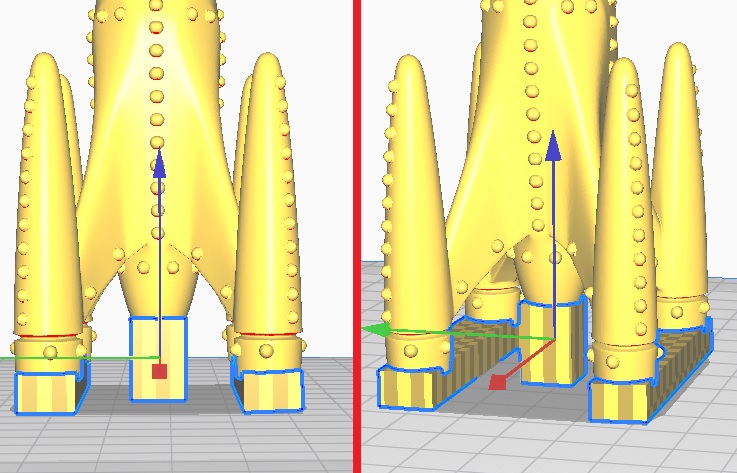
The supports will be added to each of the Rockets engines (two rectangular supports and one square support for the bottom of the rocket.
Really looking forward to see this model in the flesh (so to speak).
Back soon folks.
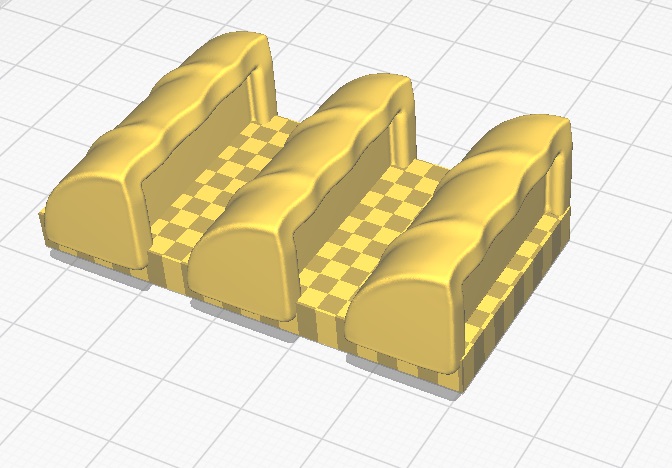
Canopies And Pumps
The next parts to print are the three canopies to hang over the outer doorways and the two fuel pumps.
For these I am going to reduce the layer height down to 0.15mm which should give a better finish on the curved parts.
First up are the canopies.

Looking at them i feel it is best to have the three squares facing downwards with supports.
As before, I make the required number of copies and rotate them to all face the same direction. I then create a rectangular support to house all three.
And all done.
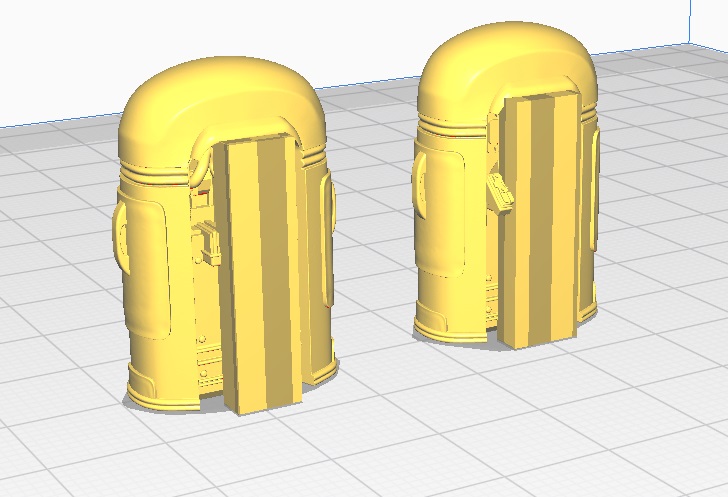
Secondly, I will be adding the supports to the pumps.

Each pump will require supports at the front and back for the pump controls/power supply box and the void under the top of the pump.
Combining all the elements gives me this to print.
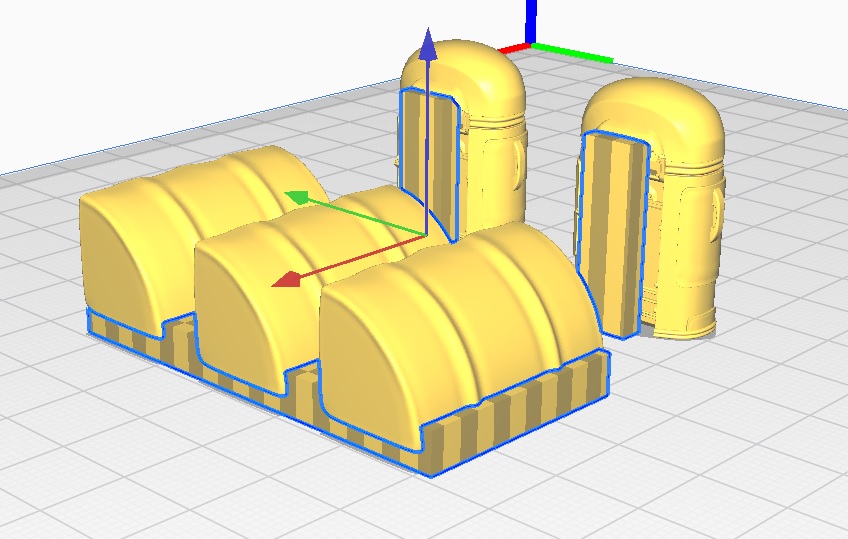
I have also decided to change to a raft, rather then a brim for this print due to the smaller parts, which may come loose.

New light through old windows
This one printed well. The supports did their job and were easy to remove. (Horizon and Fathom of the Navigators guild come on to dry land to stock up with supplies)
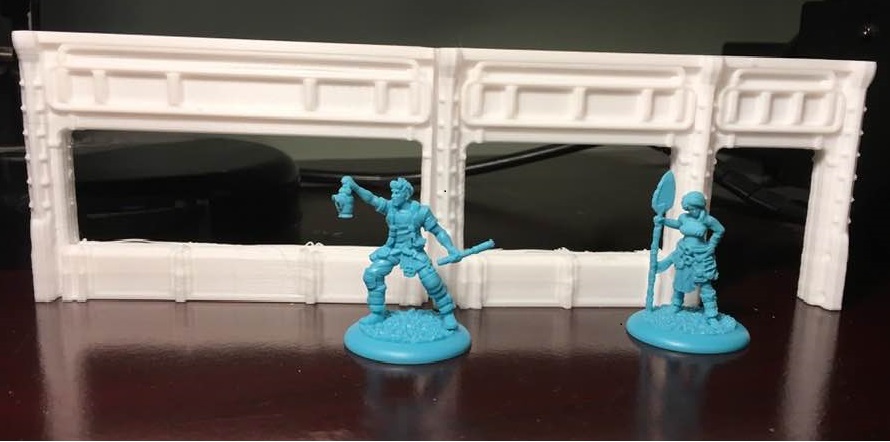
Having now finished the walls. I’ll move onto the Canopies and the Pumps. More on that in the next post. In the meantime I’ ll say Lets Dance, keep Working on it; and burning the Candles.
Support your local windows
These are the first of the parts that will require Supports.

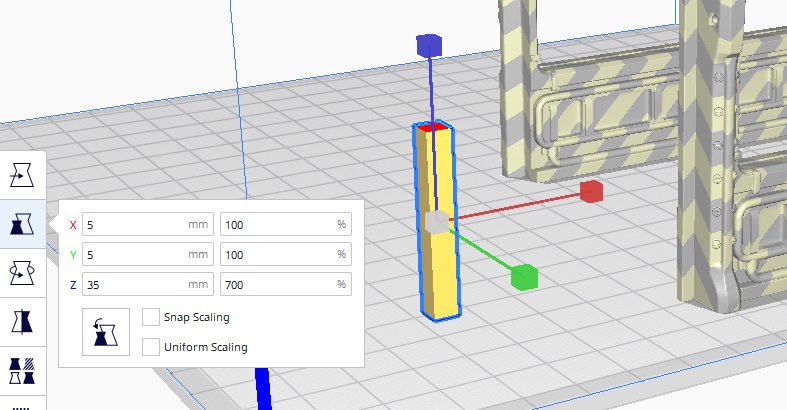
I have previously created a Cube file that I use to create my custom supports.
Loading the cube, the first stage is to alter the cube size so it will fill the window voids.
Select the ‘resize’ tool from the left hand lower menu and ensure both the Uniform & Snap Scaling boxes are unticked (as I only wish to resize the Z axis of this model). Then change the Z axis to 35mm.
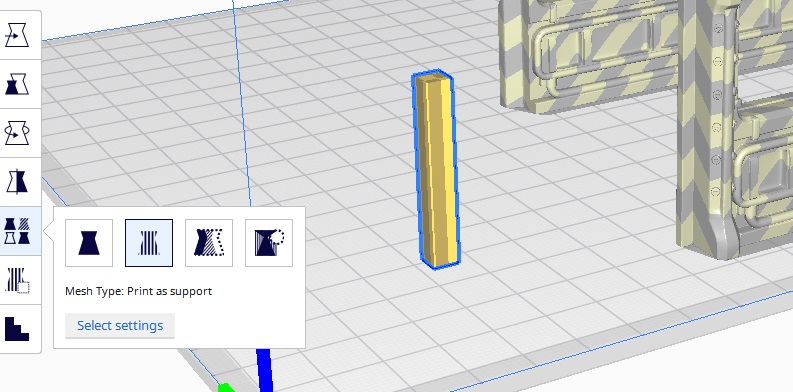
Now I need to change the model type from an ‘Object’ to a ‘Support’.
Select the ‘Mesh type’ tool from the left hand lower menu and click on the second box. And now we have a support.
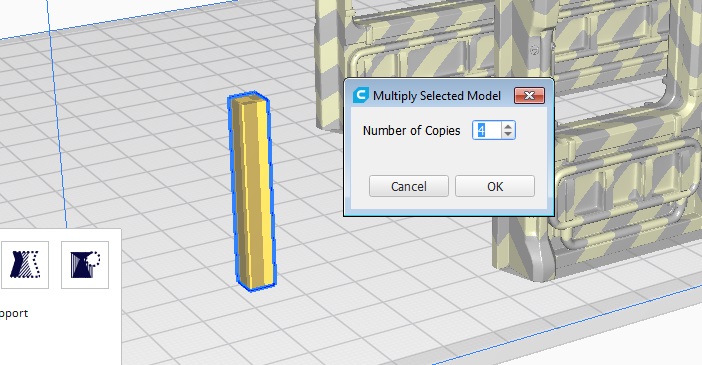
In order to fully support this print I will need 5 of these supports.
As with a previous print you will need to make copies (albeit a support not an object as last time.
Right click on the Support and select Multiply Selected Model. Now alter the Number of copies to 4.
The final stage for this print is to move the supports into position.
It is important to note that the void does not have to be filled completely and the print will be fine.
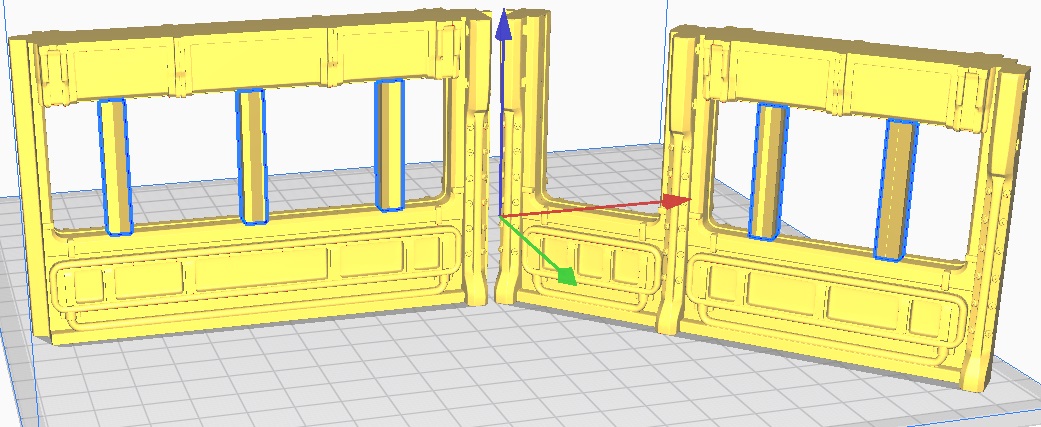
Just a quick amendment, I could not get the supports to correctly position in the vertical direction (they kept snapping back down to the build base). So I increased the Supports Z axis to 70mm. If any one knows how to stop the supports from snapping back down please let me know and I’ll pass it on here with credit to whoever tells me.
Walls, I Scream
The Corners are done (A Super mutant and his Mutant hound scavenge for caps)

Next up are the Left hand walls.

And here they are… (Nora, Dogmeat and a Settler check out the locale)

Next up will be the two front walls. Both with windows, time to set up some supports on Cura. Pics and details in the next post.
More Walls
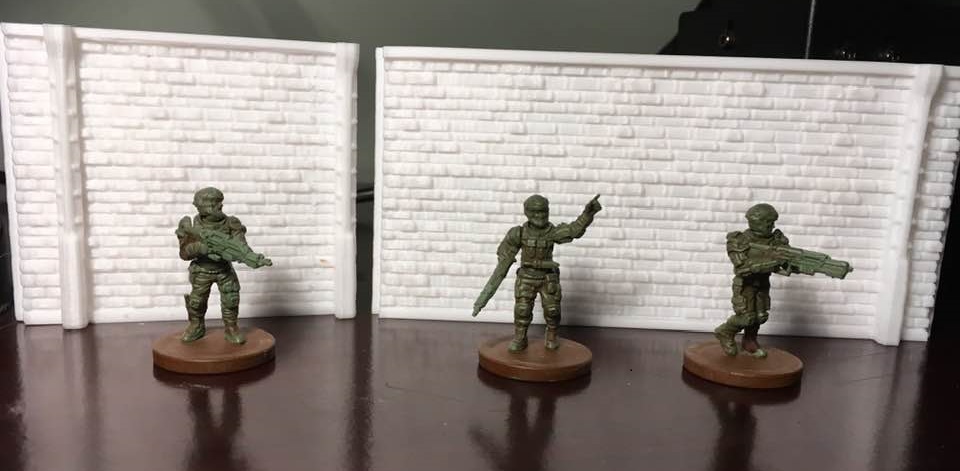
The rear walls are complete. (GCPS troopers are sent to the wall)
The next set of prints will be the four outer corners. Once again, these require no supports.
I’ll print all four at once.

OK folks, here we go again!
Choose your entrance
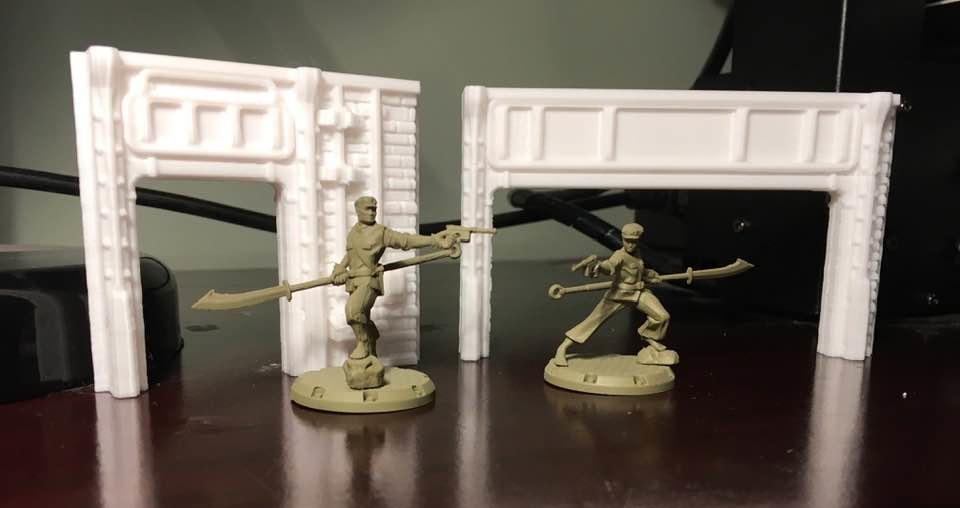
Here are the two Right hand outer walls (The Dragon & Phoenix scout out the entrance for the SSU)
Now comes the rear outer walls. Both pretty simple prints, which will require no supports.

I’ll post up the photos of these, once they’re done.
There's Somebody at the Door (way)
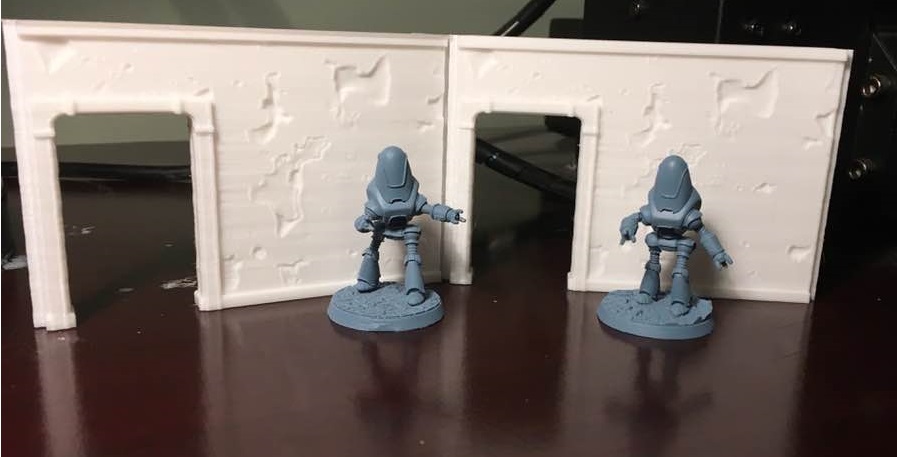
Here are the two doorways (Being guarded by the ever vigilant Protectrons)
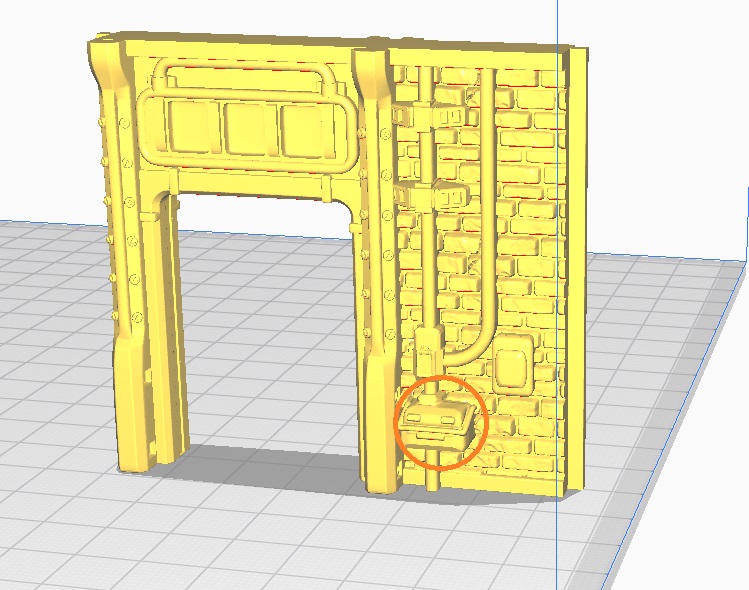
Next onto the Right side of the building. There are two parts. The large outer entrance and a smaller outer doorway.
As with the previous inner doors, they will be printed upside down. The smaller outer doorway has a small (fusebox?) on the outer lower right which will require a small support to be added (It may print without the support but I don’t want to risk it).
I’ll print both of these at the same time and will post the results.


