


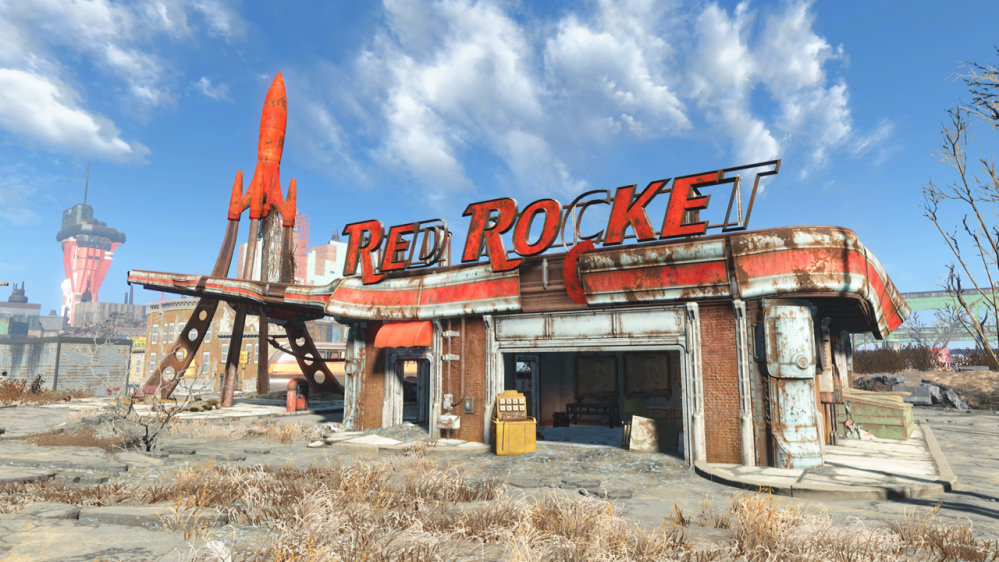
Red Rocket 3D Printed


Recommendations: 450
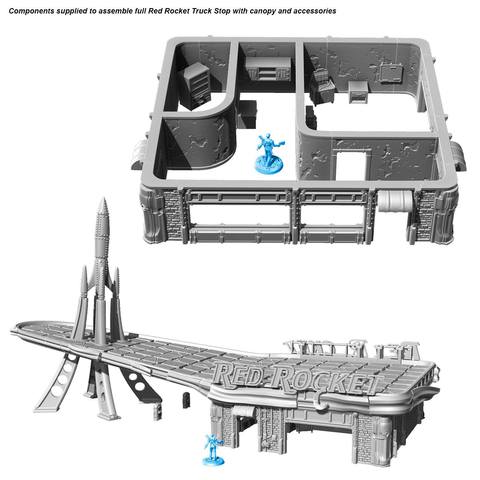
About the Project
This is my journey of printing painting and dressing the Modiphius Red Rocket 3D Garage and the ups and downs of using a 3D Printer.
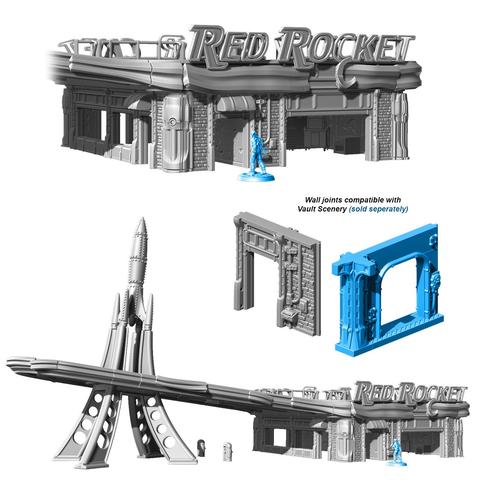
Related Game: Fallout: Wasteland Warfare
Related Company: Modiphius Entertainment
Related Genre: Science Fiction
This Project is Active
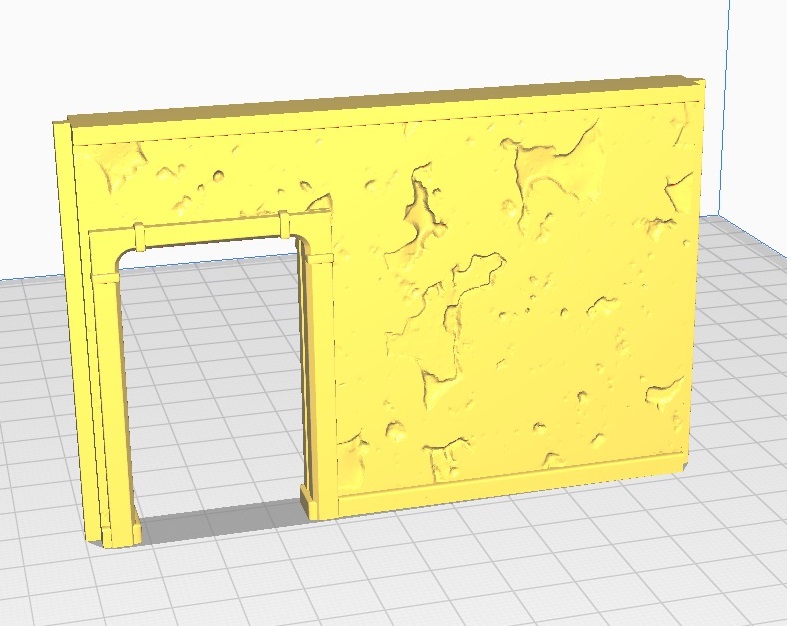
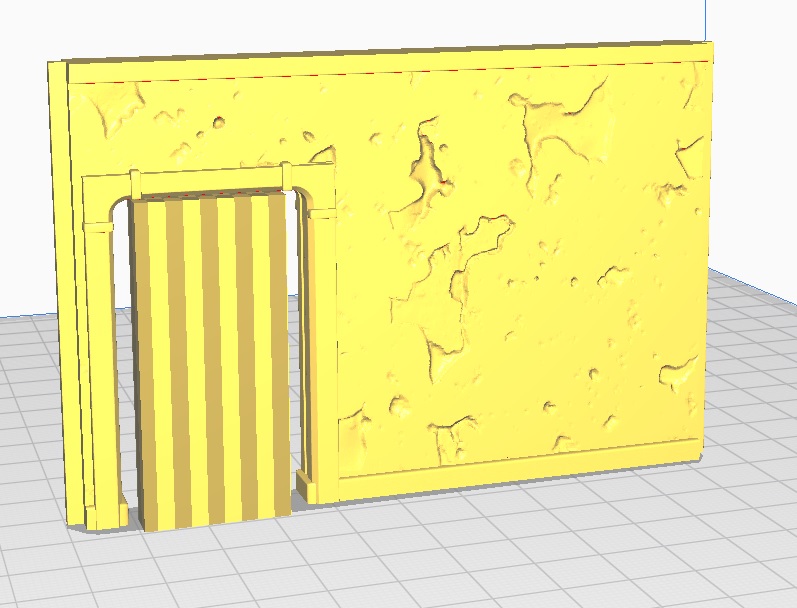
The inner Doors
So next I’m tackling the 2 Inner doors.
Unlike the three previous prints this print would appear to need supports.
If you are either new to, or not involved in 3D printing here is a brief explanation of supports:
Supports for 3D prints are needed in the same way that building a railroad over a valley would require a structure beneath. In both cases not supporting them leads the railroad (or in this case the Printed layer) to bow or even collapse entirely.
However, I did say the print would appear to need supports. There is a really easy fix in this case, which will avoid needing to use supports. Flip the file upside down and there you go.
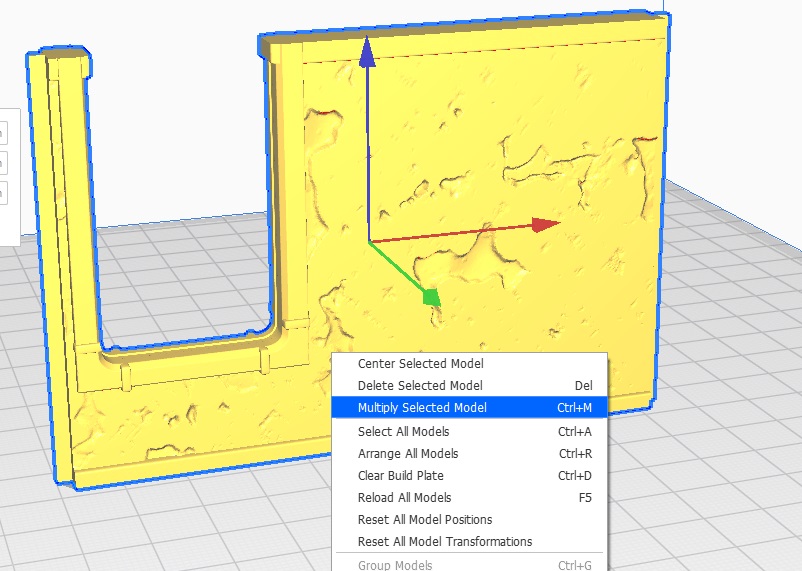
This build will require two of these Doorways, a shortcut to get a second copy is as follows:-
- Right click on the file and select “Multiply Selected Model
- Choose Number of copies (in this case 1) and click on OK.
Now back to the printer.
The first Prints
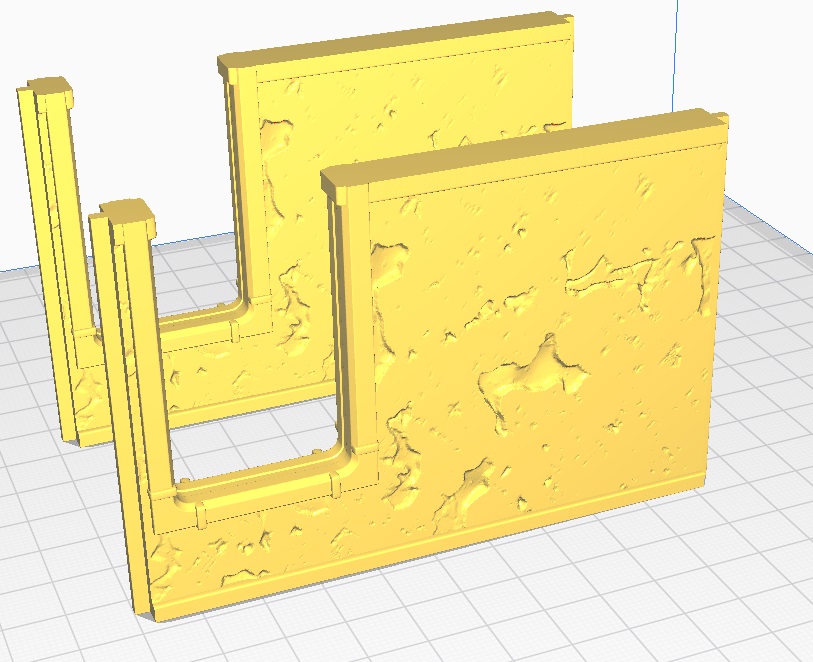
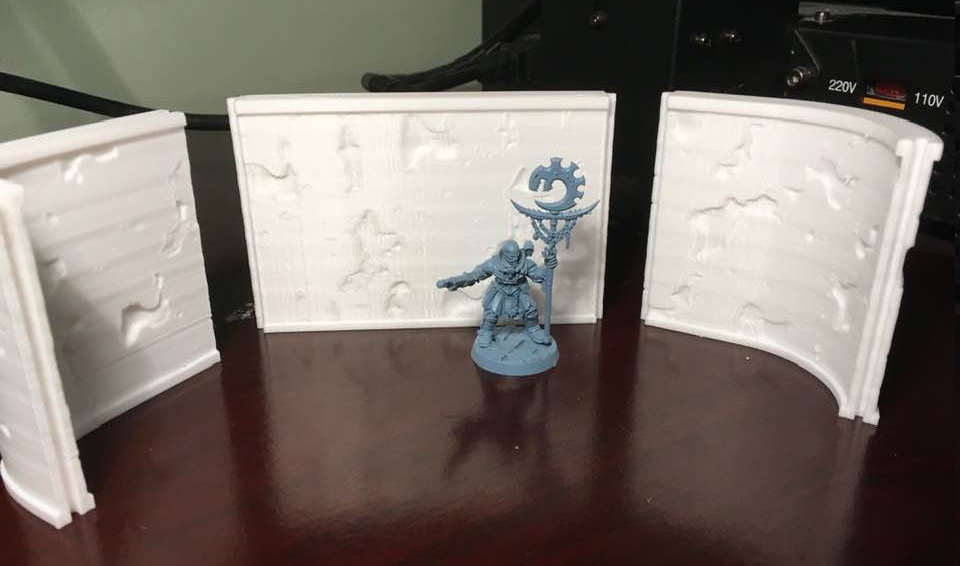
Well several hours have passed, and I present the first Printed files in all their glory… (Thanks to the Genestealer Cult Icon Bearer for appearing in this Image for showing the walls size)
So no problems at all (which is a nice start). I have only just realised that If I combine a few of the stl files I can speed up the (non supported) prints.
Start with the easy stuff
Having looked at the stl files, there are several that don’t need supports (more on supports in a later entry). Therefore, these will get printed first.
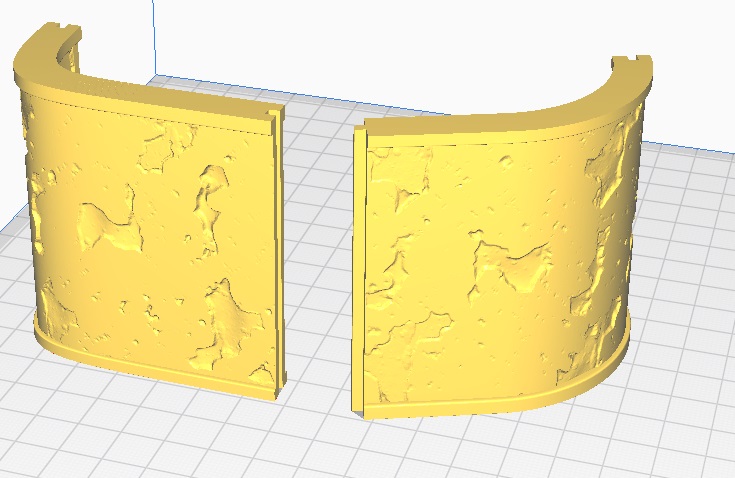
I decide to print the inner wall and two curved walls first.
When preparing the stl file for print, you will have to make several choices.
Layer height is one of the most important, too high and the model will look awful. On the flip side of the coin, too small can make the print time prohibitive.
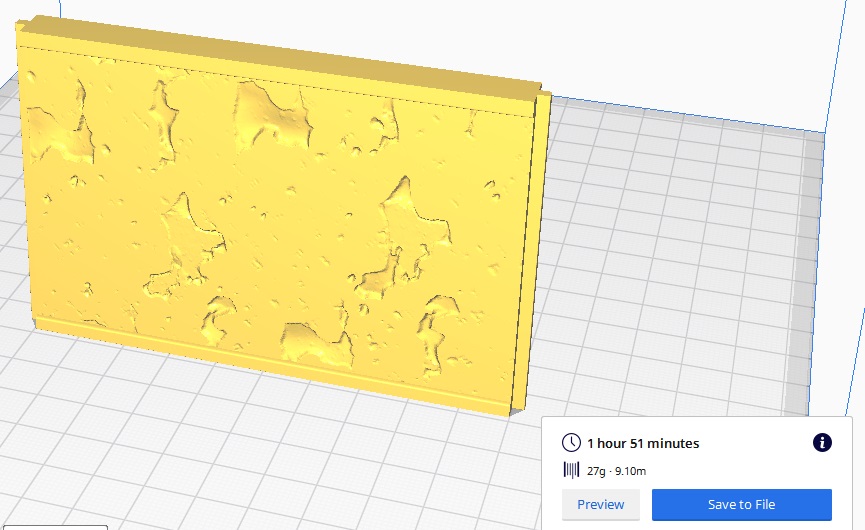
Using the straight wall as my sample, I check to see what happens if in print each file in 0.25mm, or the finer 0.15mm height.
Printing in 0.15mm will take 3 Hours 5 min. A total time of over 9 Hours 15 min for the three files (estimated).
Whereas, printing in 0.25mm will take 1 Hour 51 Min. A total time of over 5 Hours 33 min for the three files (again estimated).
As the walls do not need to be highly detailed I choose the 0.25mm height.
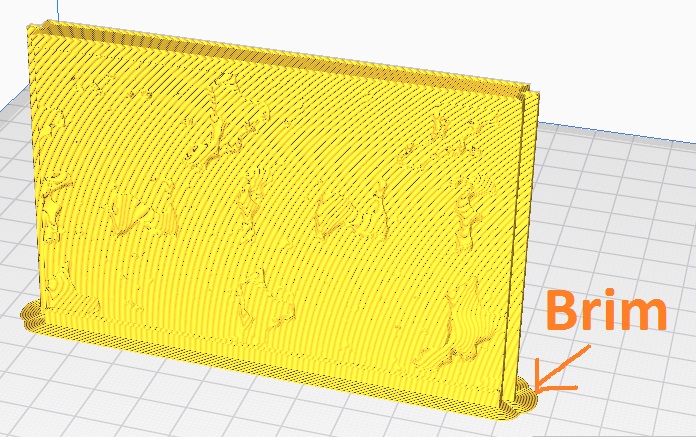
I also like to print my files with a Brim around them (think of it like a hat brim) as I find it helps the prints to stay stuck to the printer bed.
Well here goes, see you all soon …..
What am I using?
So before I get into the actual printing, here is a brief resume of what is being used to create The 3D Print.
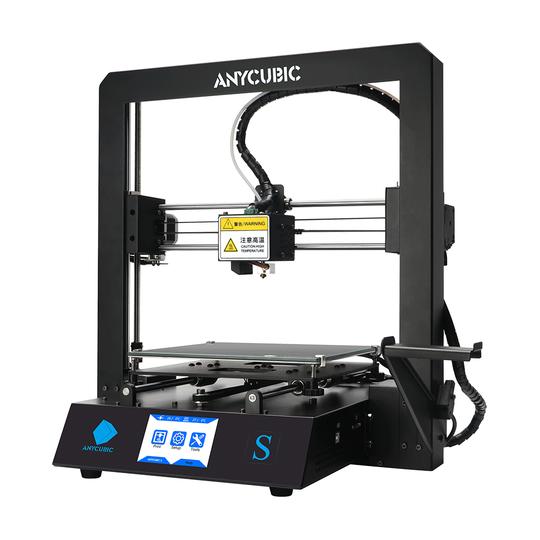
- Anycubic Mega i3 (3D Printer)
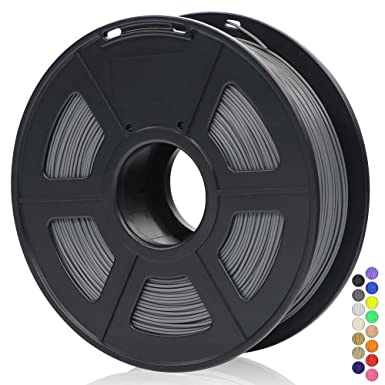
- White & Grey PLA (Colours will vary)
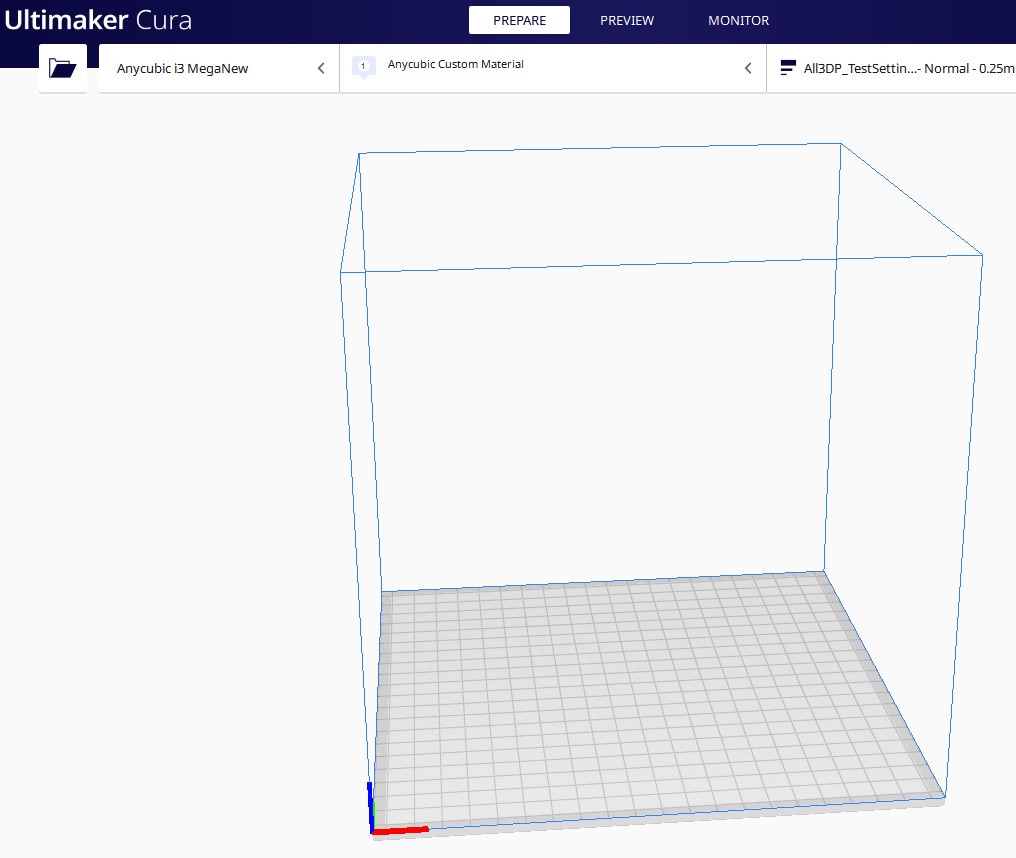
- Ultimaker Cura (Slicer Software)
I also have some Posters (small pictures really) to add to the interior , as well as a resin Nuka Cola vending machine.
So it begins...
So here it starts.
I’ll be honest, this is the biggest (in both size and sheer amount of parts) 3D file project I’ve ever undertaken and I’m not sure how it will go.
For anyone else wanting to buy this file here is the link.
I will look to show the stages involved in setting up the files for printing. As well as putting up images of both, screenshots of the slicer program and the finished printed file.
With the sheer amount of parts and the complexity of a few of them, I expect a few hiccups.


