


![NO Weekender Or Cult Of Games XLBS This Weekend [Updated]](https://images.beastsofwar.com/2026/03/No_Weekender_and_XLBS_this_Weekend-225-127.jpg)


Tuscany Hill Village Terrain Build


Recommendations: 1109
About the Project
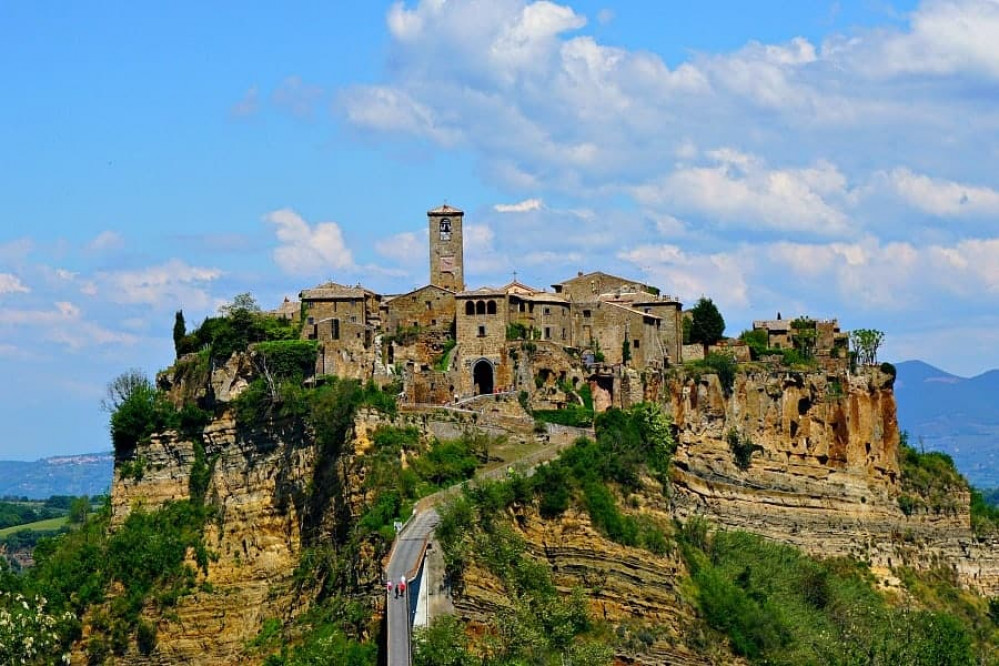
I started this project some time ago. It's a slow burner. But I've decided to turn it into a project so that I have a reference point but also to get some help along the way. This is my attempt at trying to recreate an Italian Hilltop village in 15mm....
Related Genre: Historical
This Project is Active
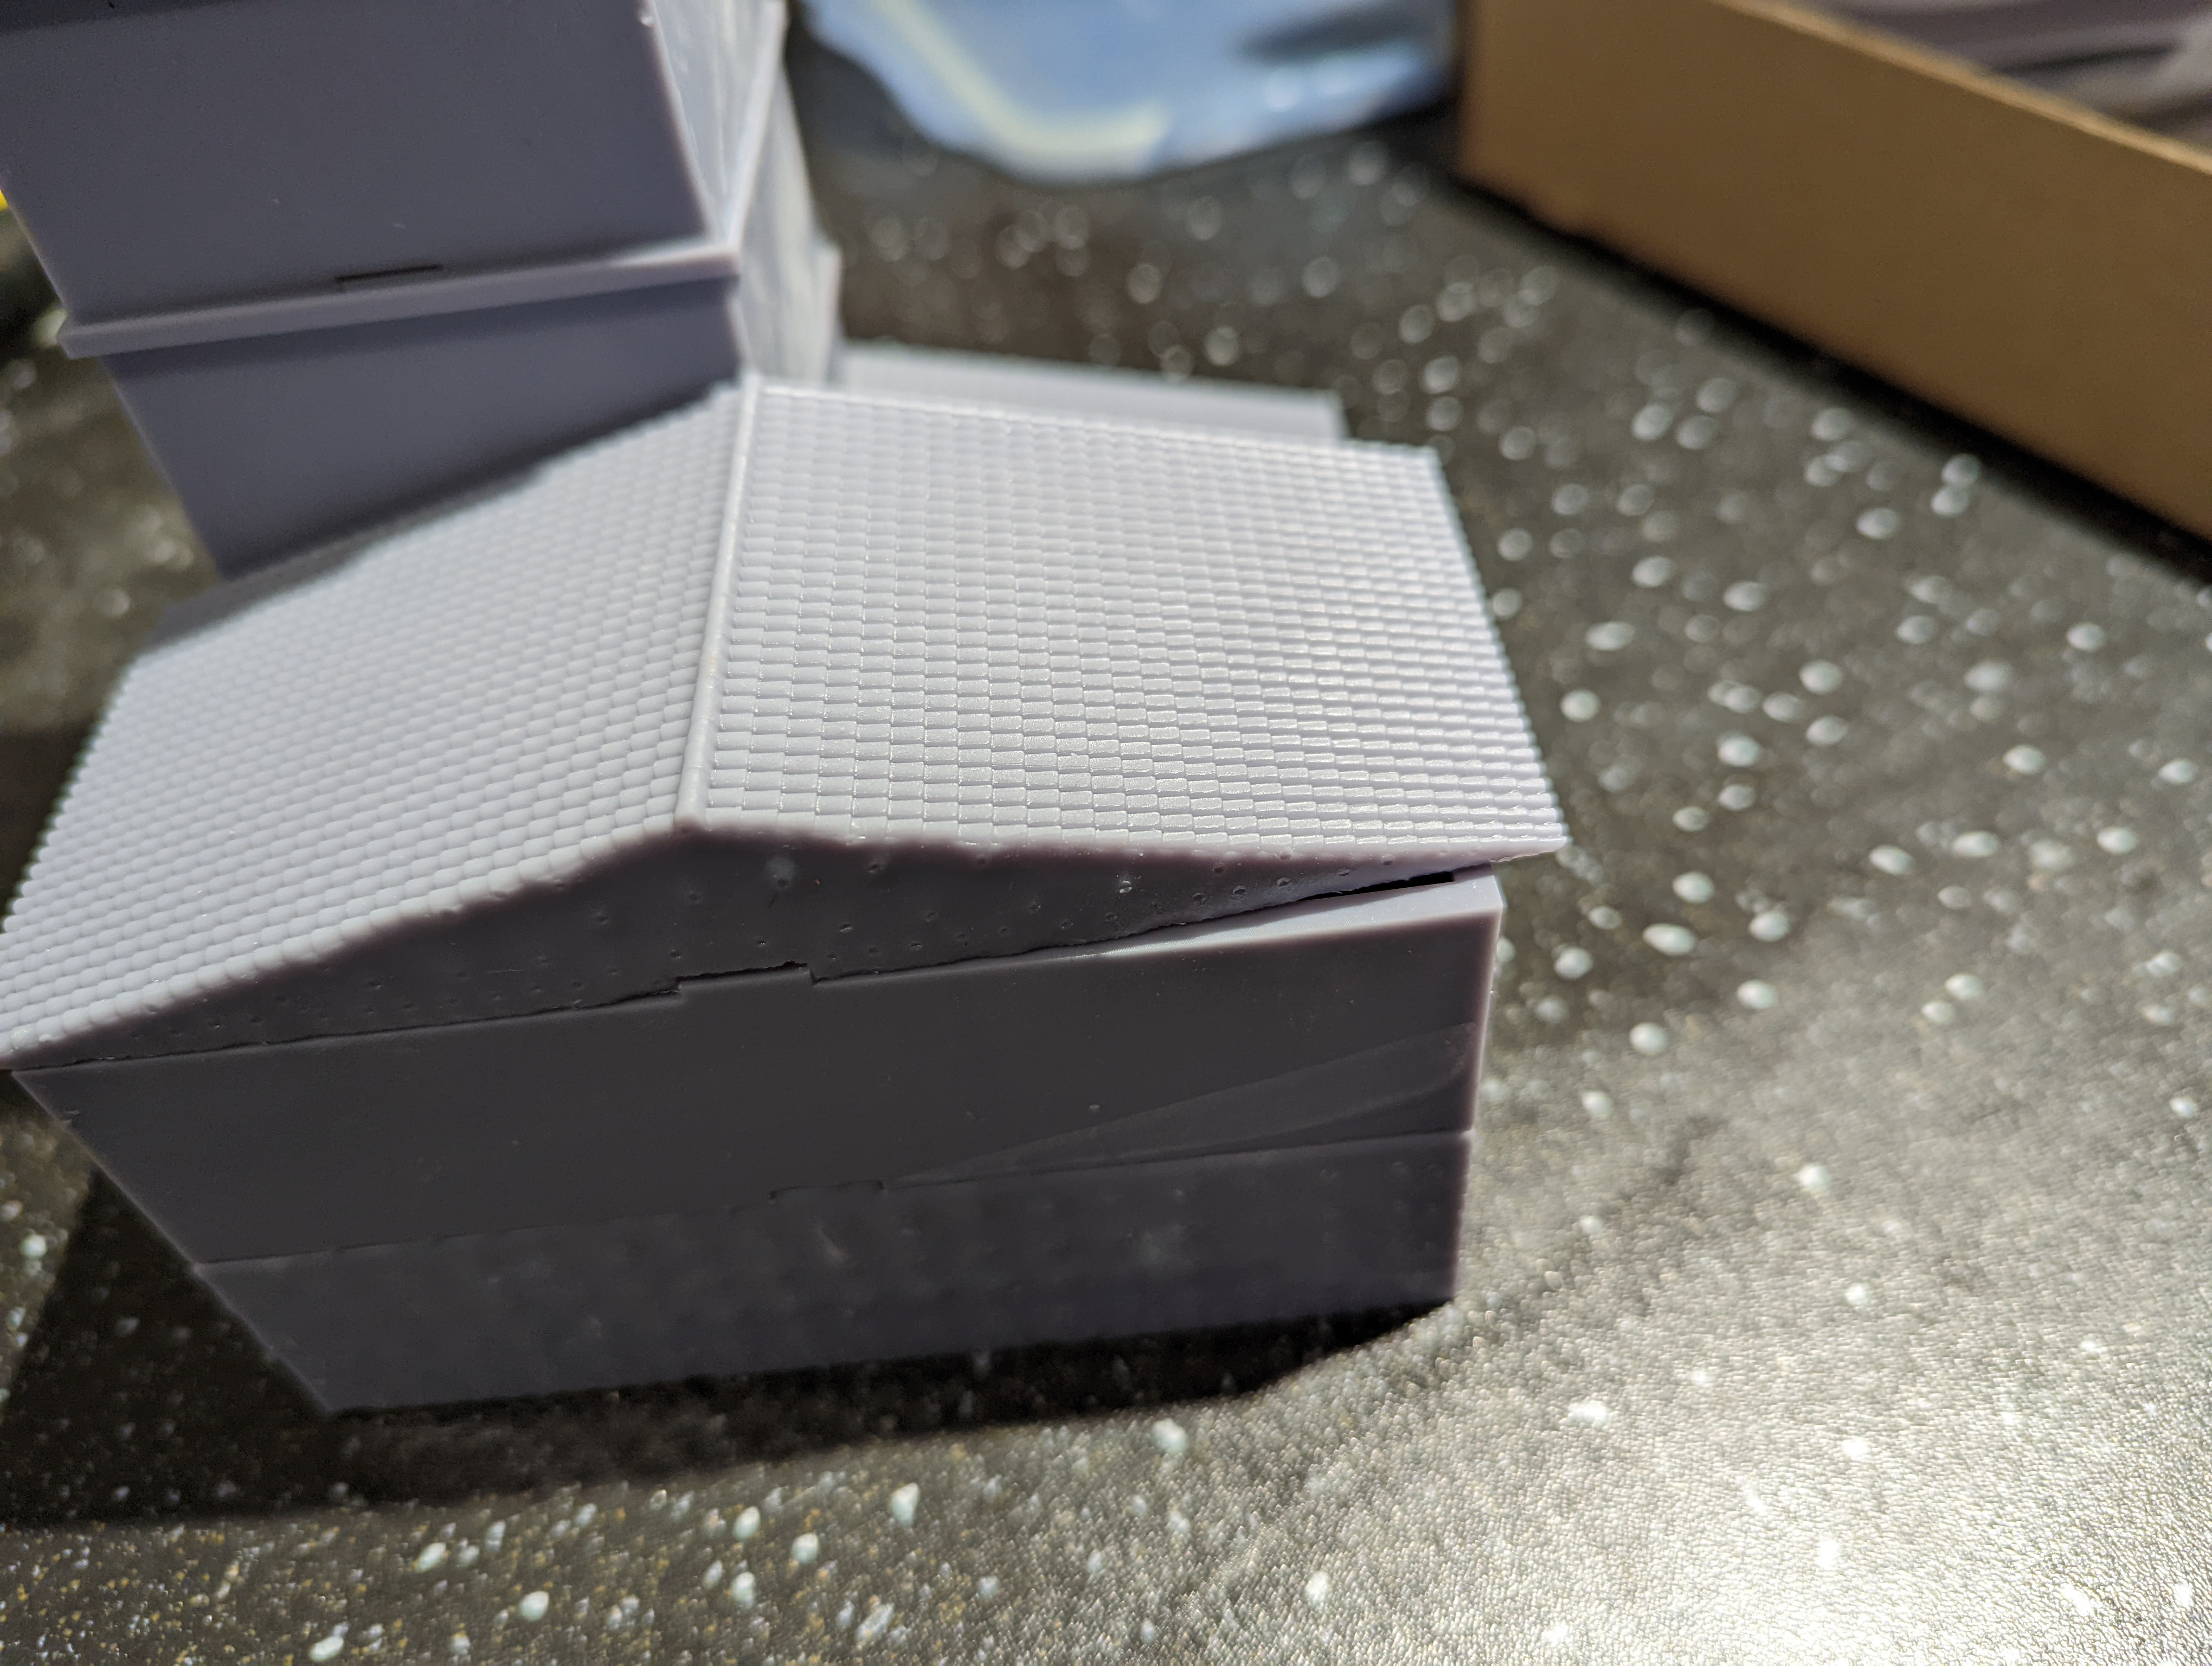
Exploring texture
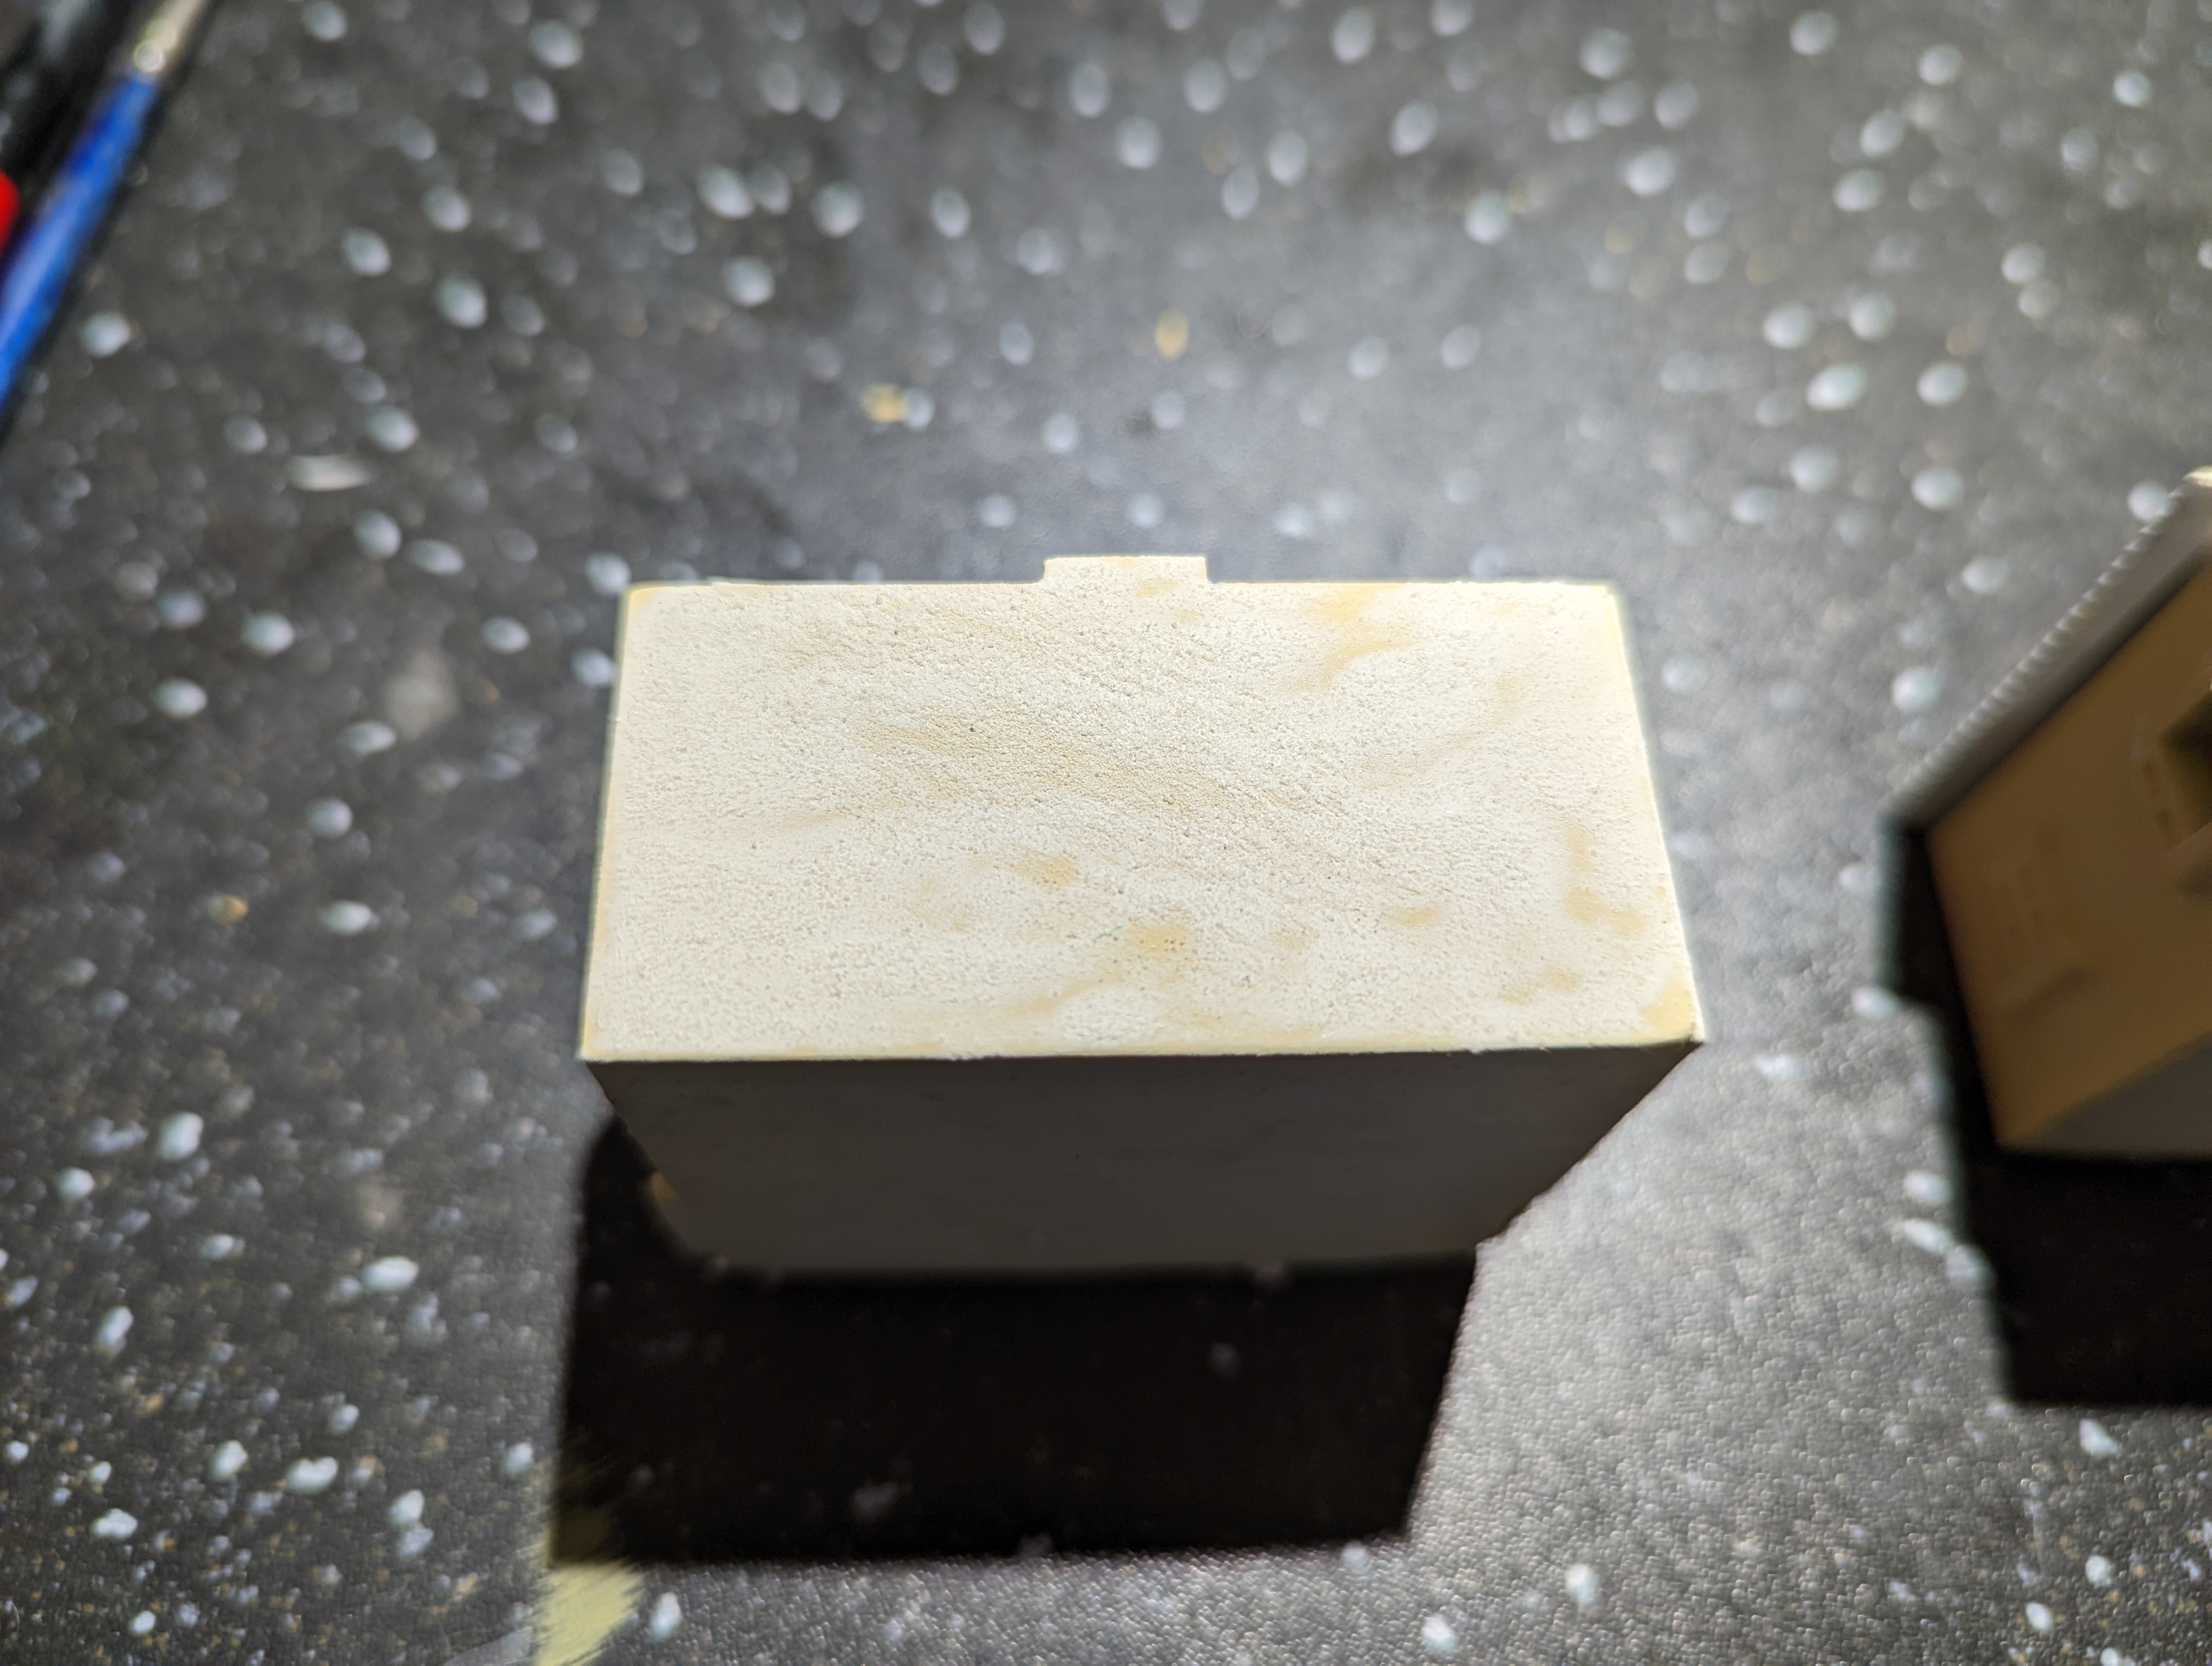
I designed all of the buildings in FreeCad as this software was easy to pick up the basics and is designed for engineering. While I’m not an engineer, this does fit how my brain tries to work. This has left me with a lot of resin buildings that fit together neatly but have no texture on the walls. This may or may not be a problem given that I’m working in 15mm scale. But I thought I would find out with some experiments.
Taking one of my test print buildings, I’ll try some techniques. Firstly, I tried tile grout on the basis that it is very fine and likely to work well at the 15mm scale.
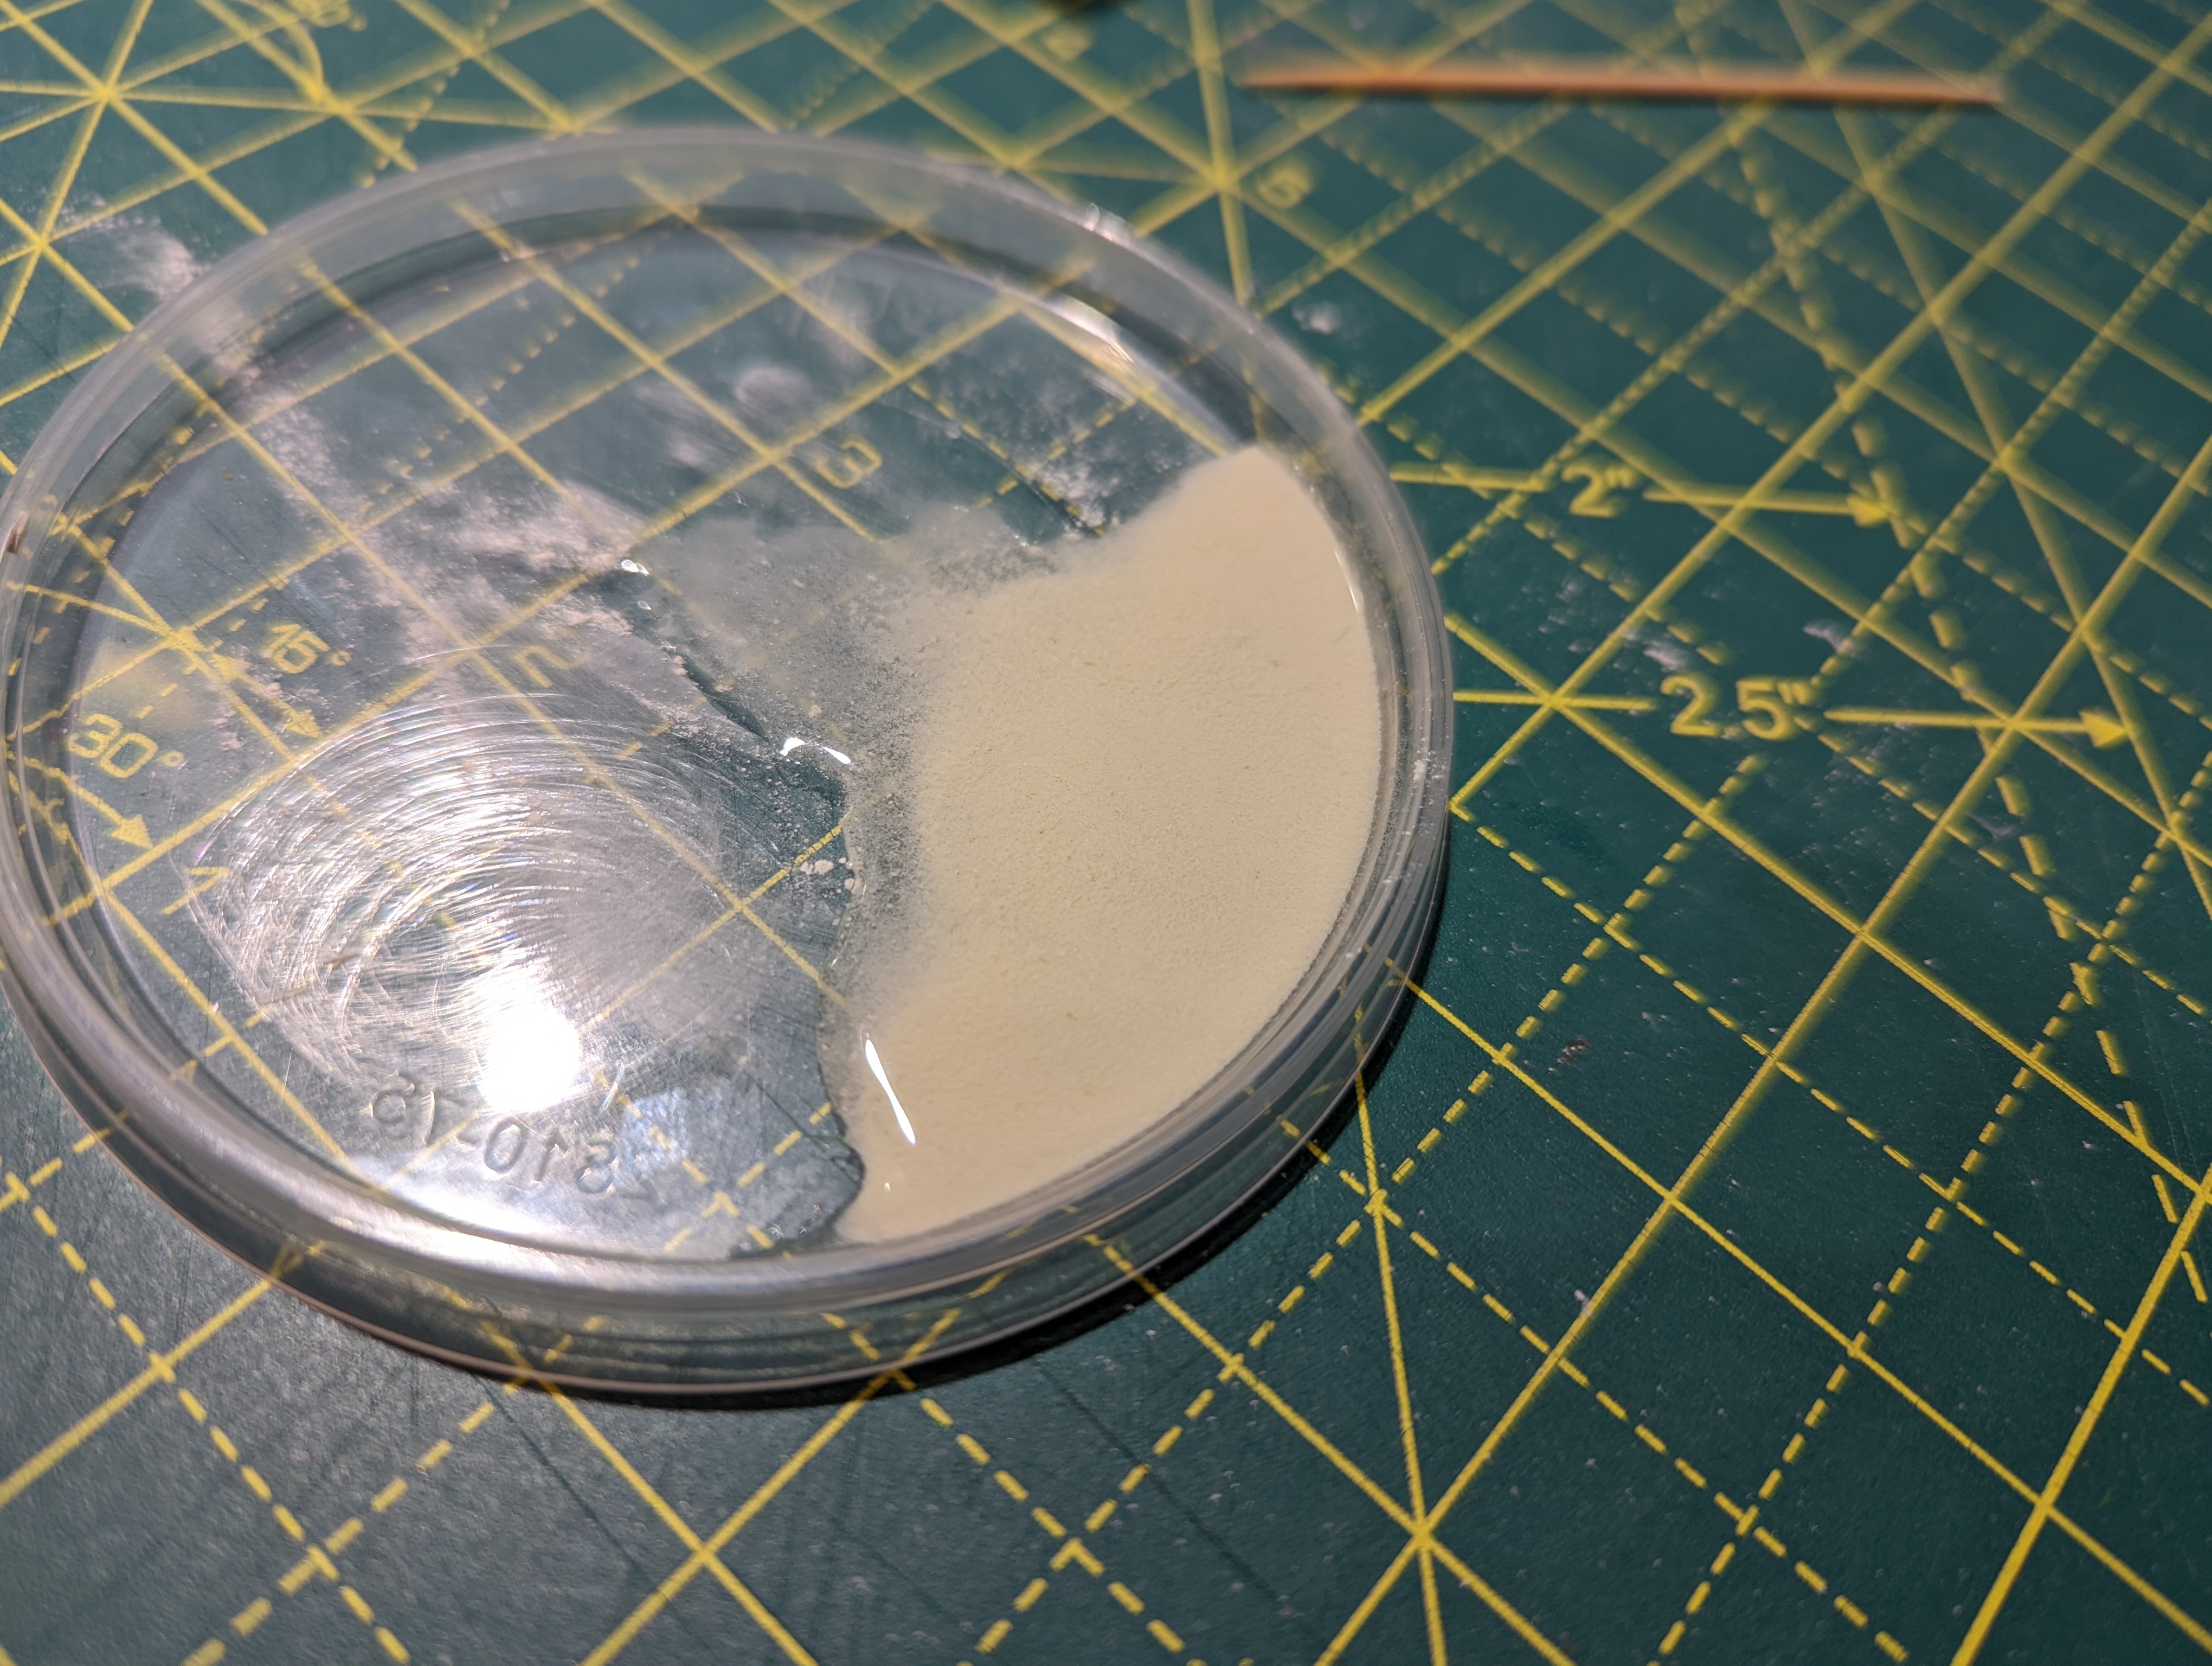
Unfortunately, the tile grout did not stick to the resin. Not sure why or whether I needed to treat the resin first to get it to stick but I wasn’t going to waste time trying to find out. So tile grout is out.
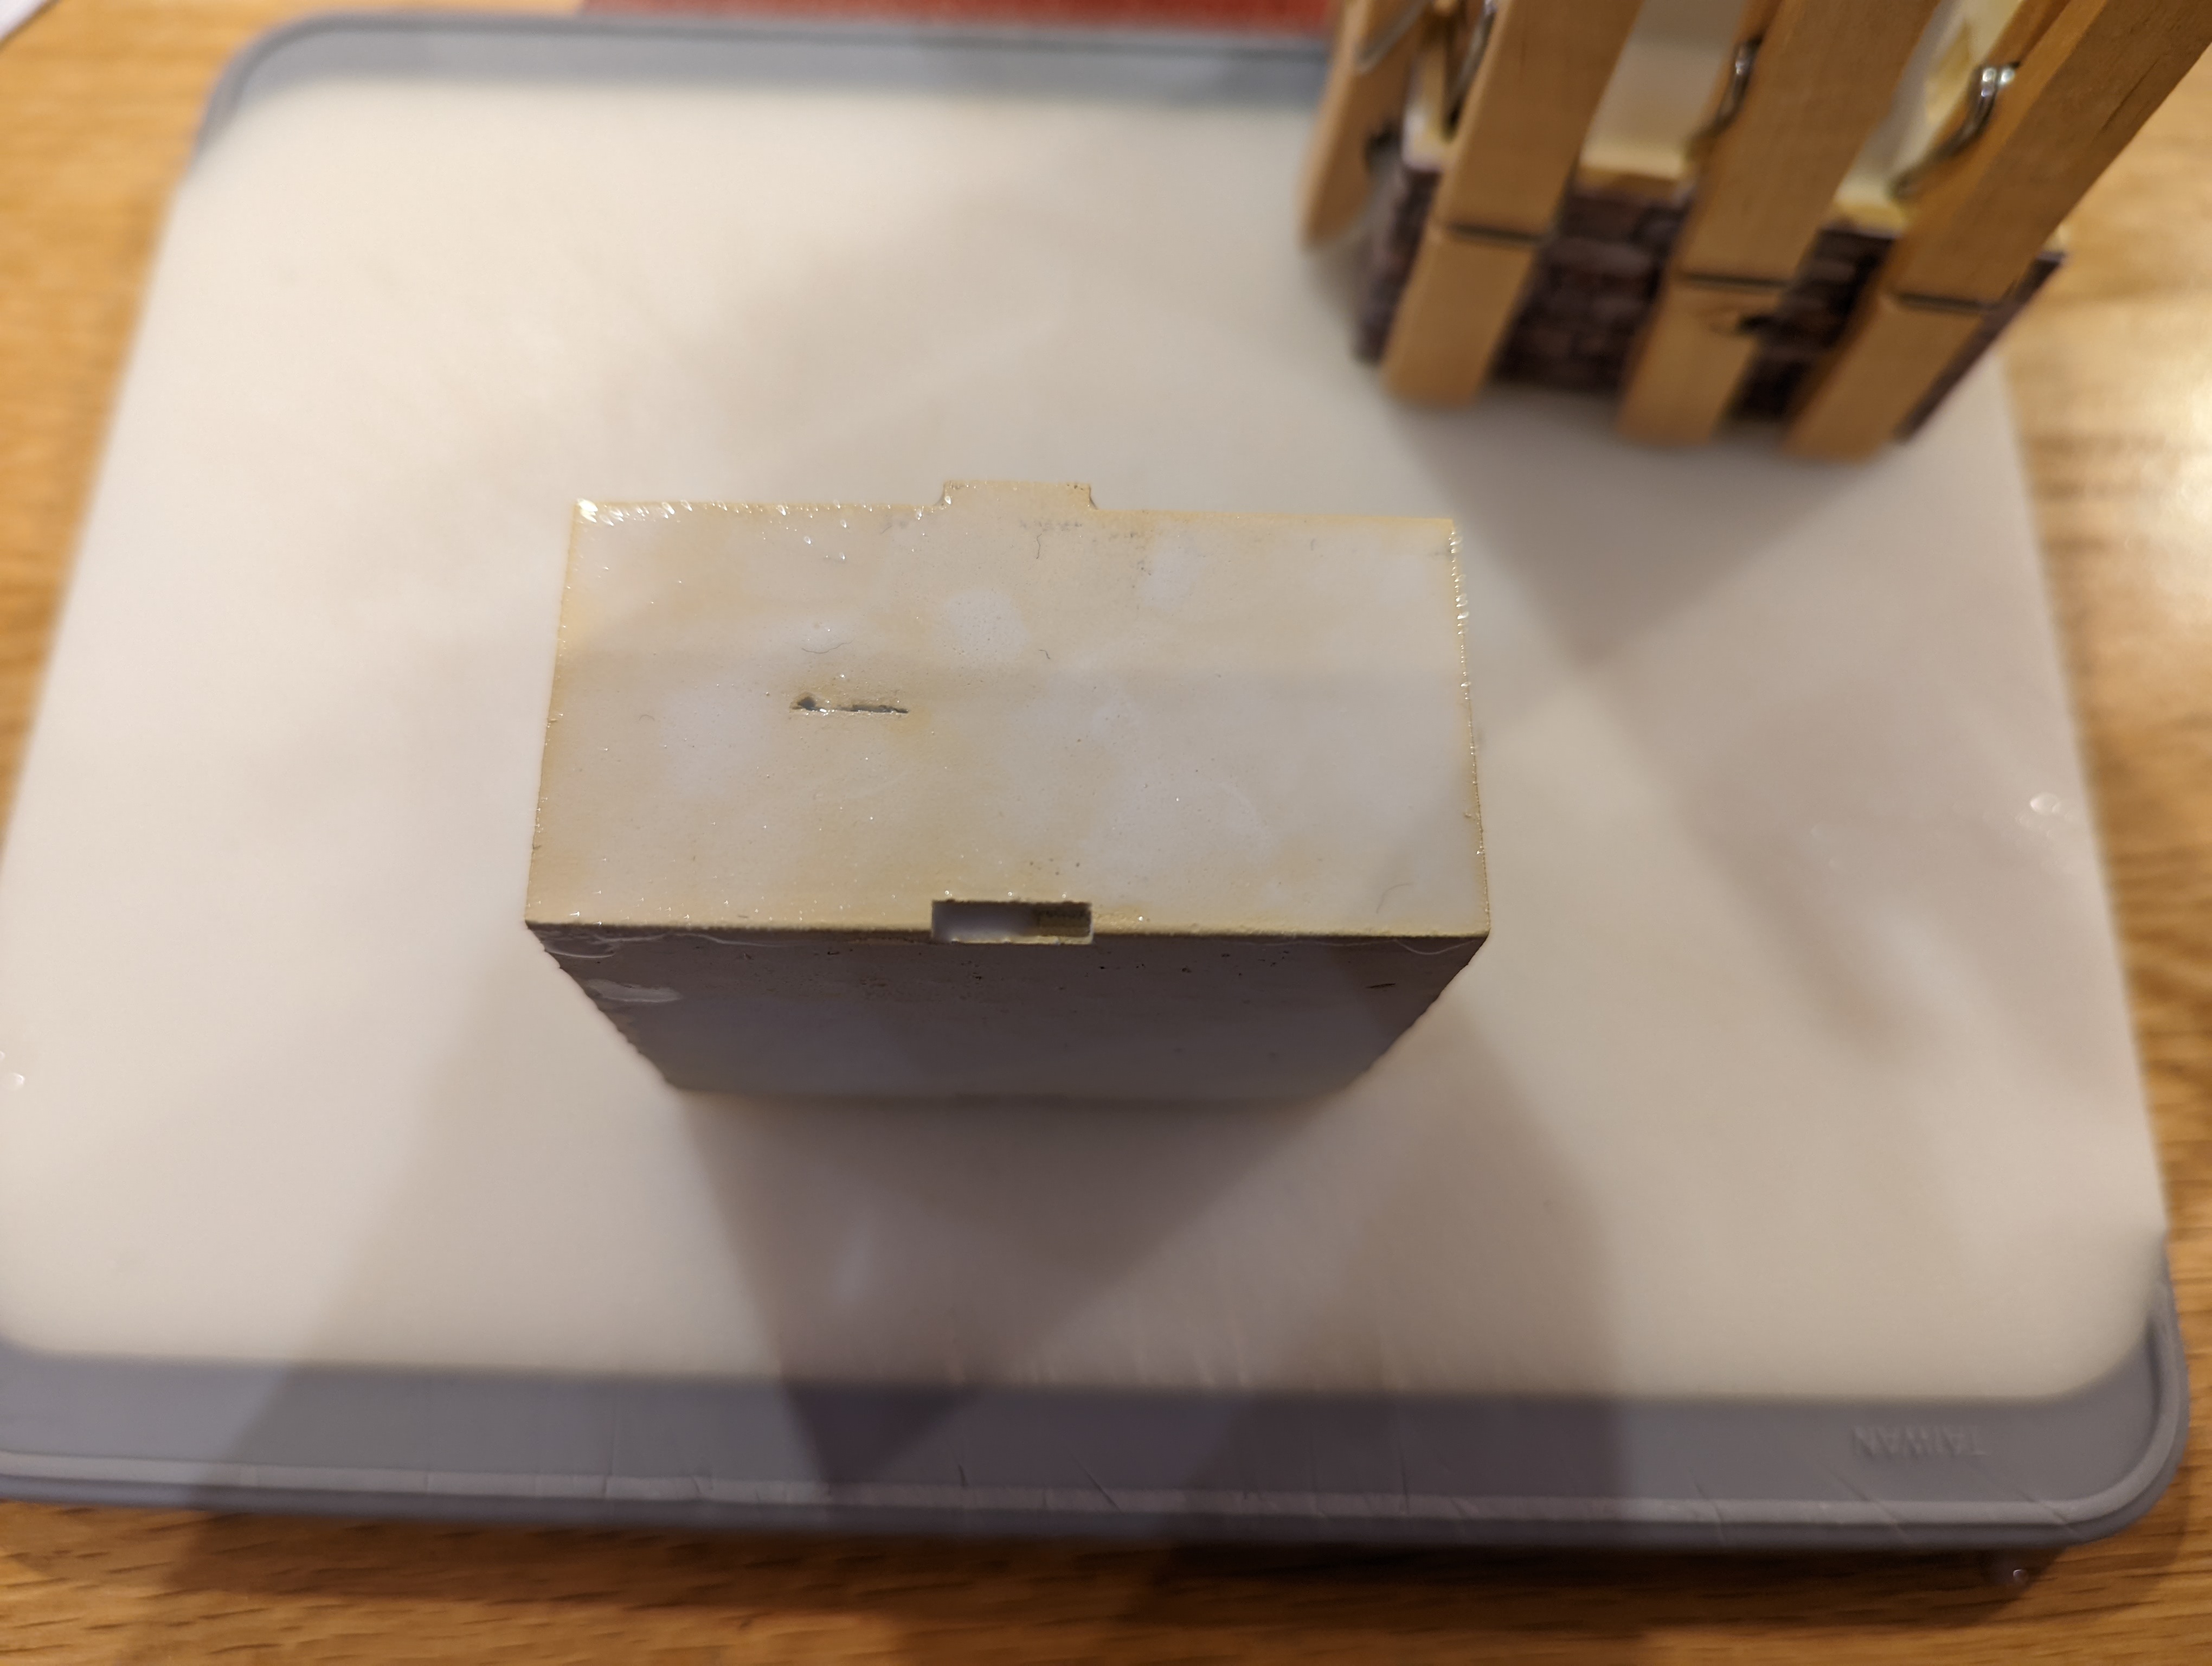
Working up from tile grout, I watered down some polyfilla and applied that. This worked better and actually stuck to the model. It isn’t as fine as the grout but certainly works. Down side is that you can only really apply it to one side of the model at a time and leave it to dry flat otherwise it runs.
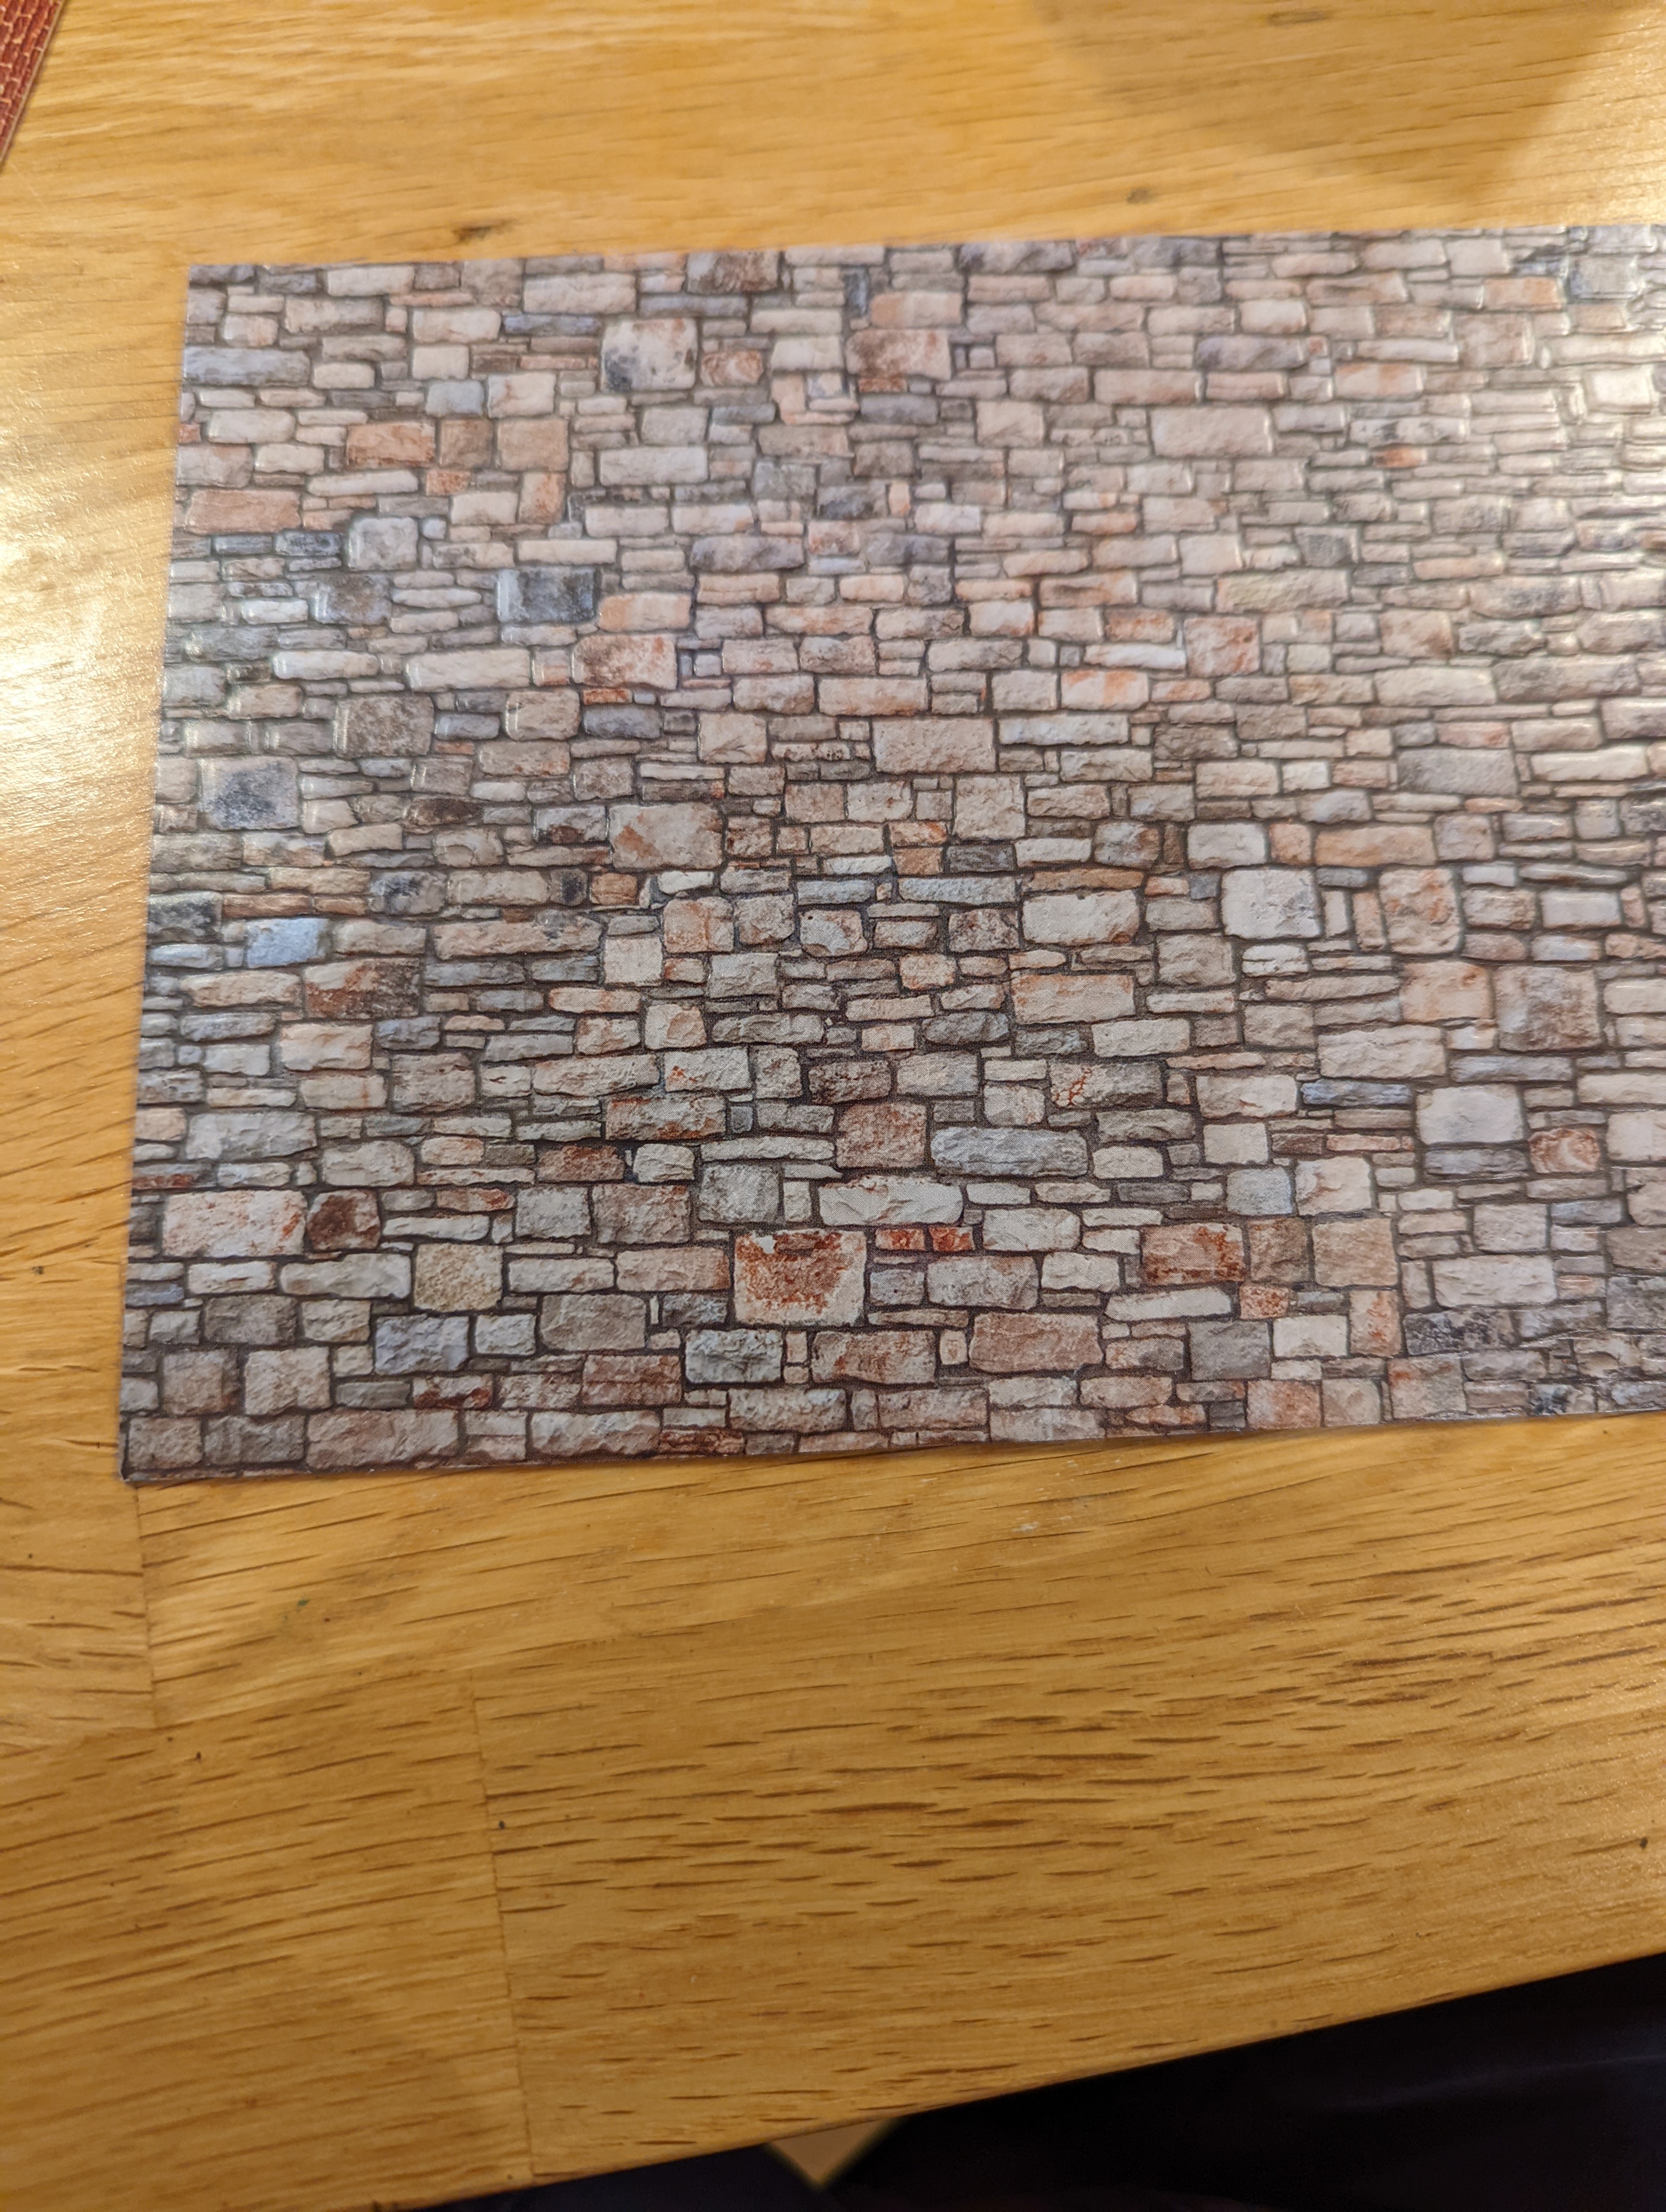
As a final option, the uHH suggested using textured paper. Digging around on the internet I found some aimed at the train hobbyist. Unfortunately, there was none in the right colour that I will need, so I opted for the paper that is closest to the stonework I’m looking for and will then paint it.
I had to cut the paper to size and then fit it around the doors and windows. This was, putting it mildly, a pain. It took a good 15 minutes just to cut the paper out for the part of the test model. Looking at the rest of the village, this option could take a while.
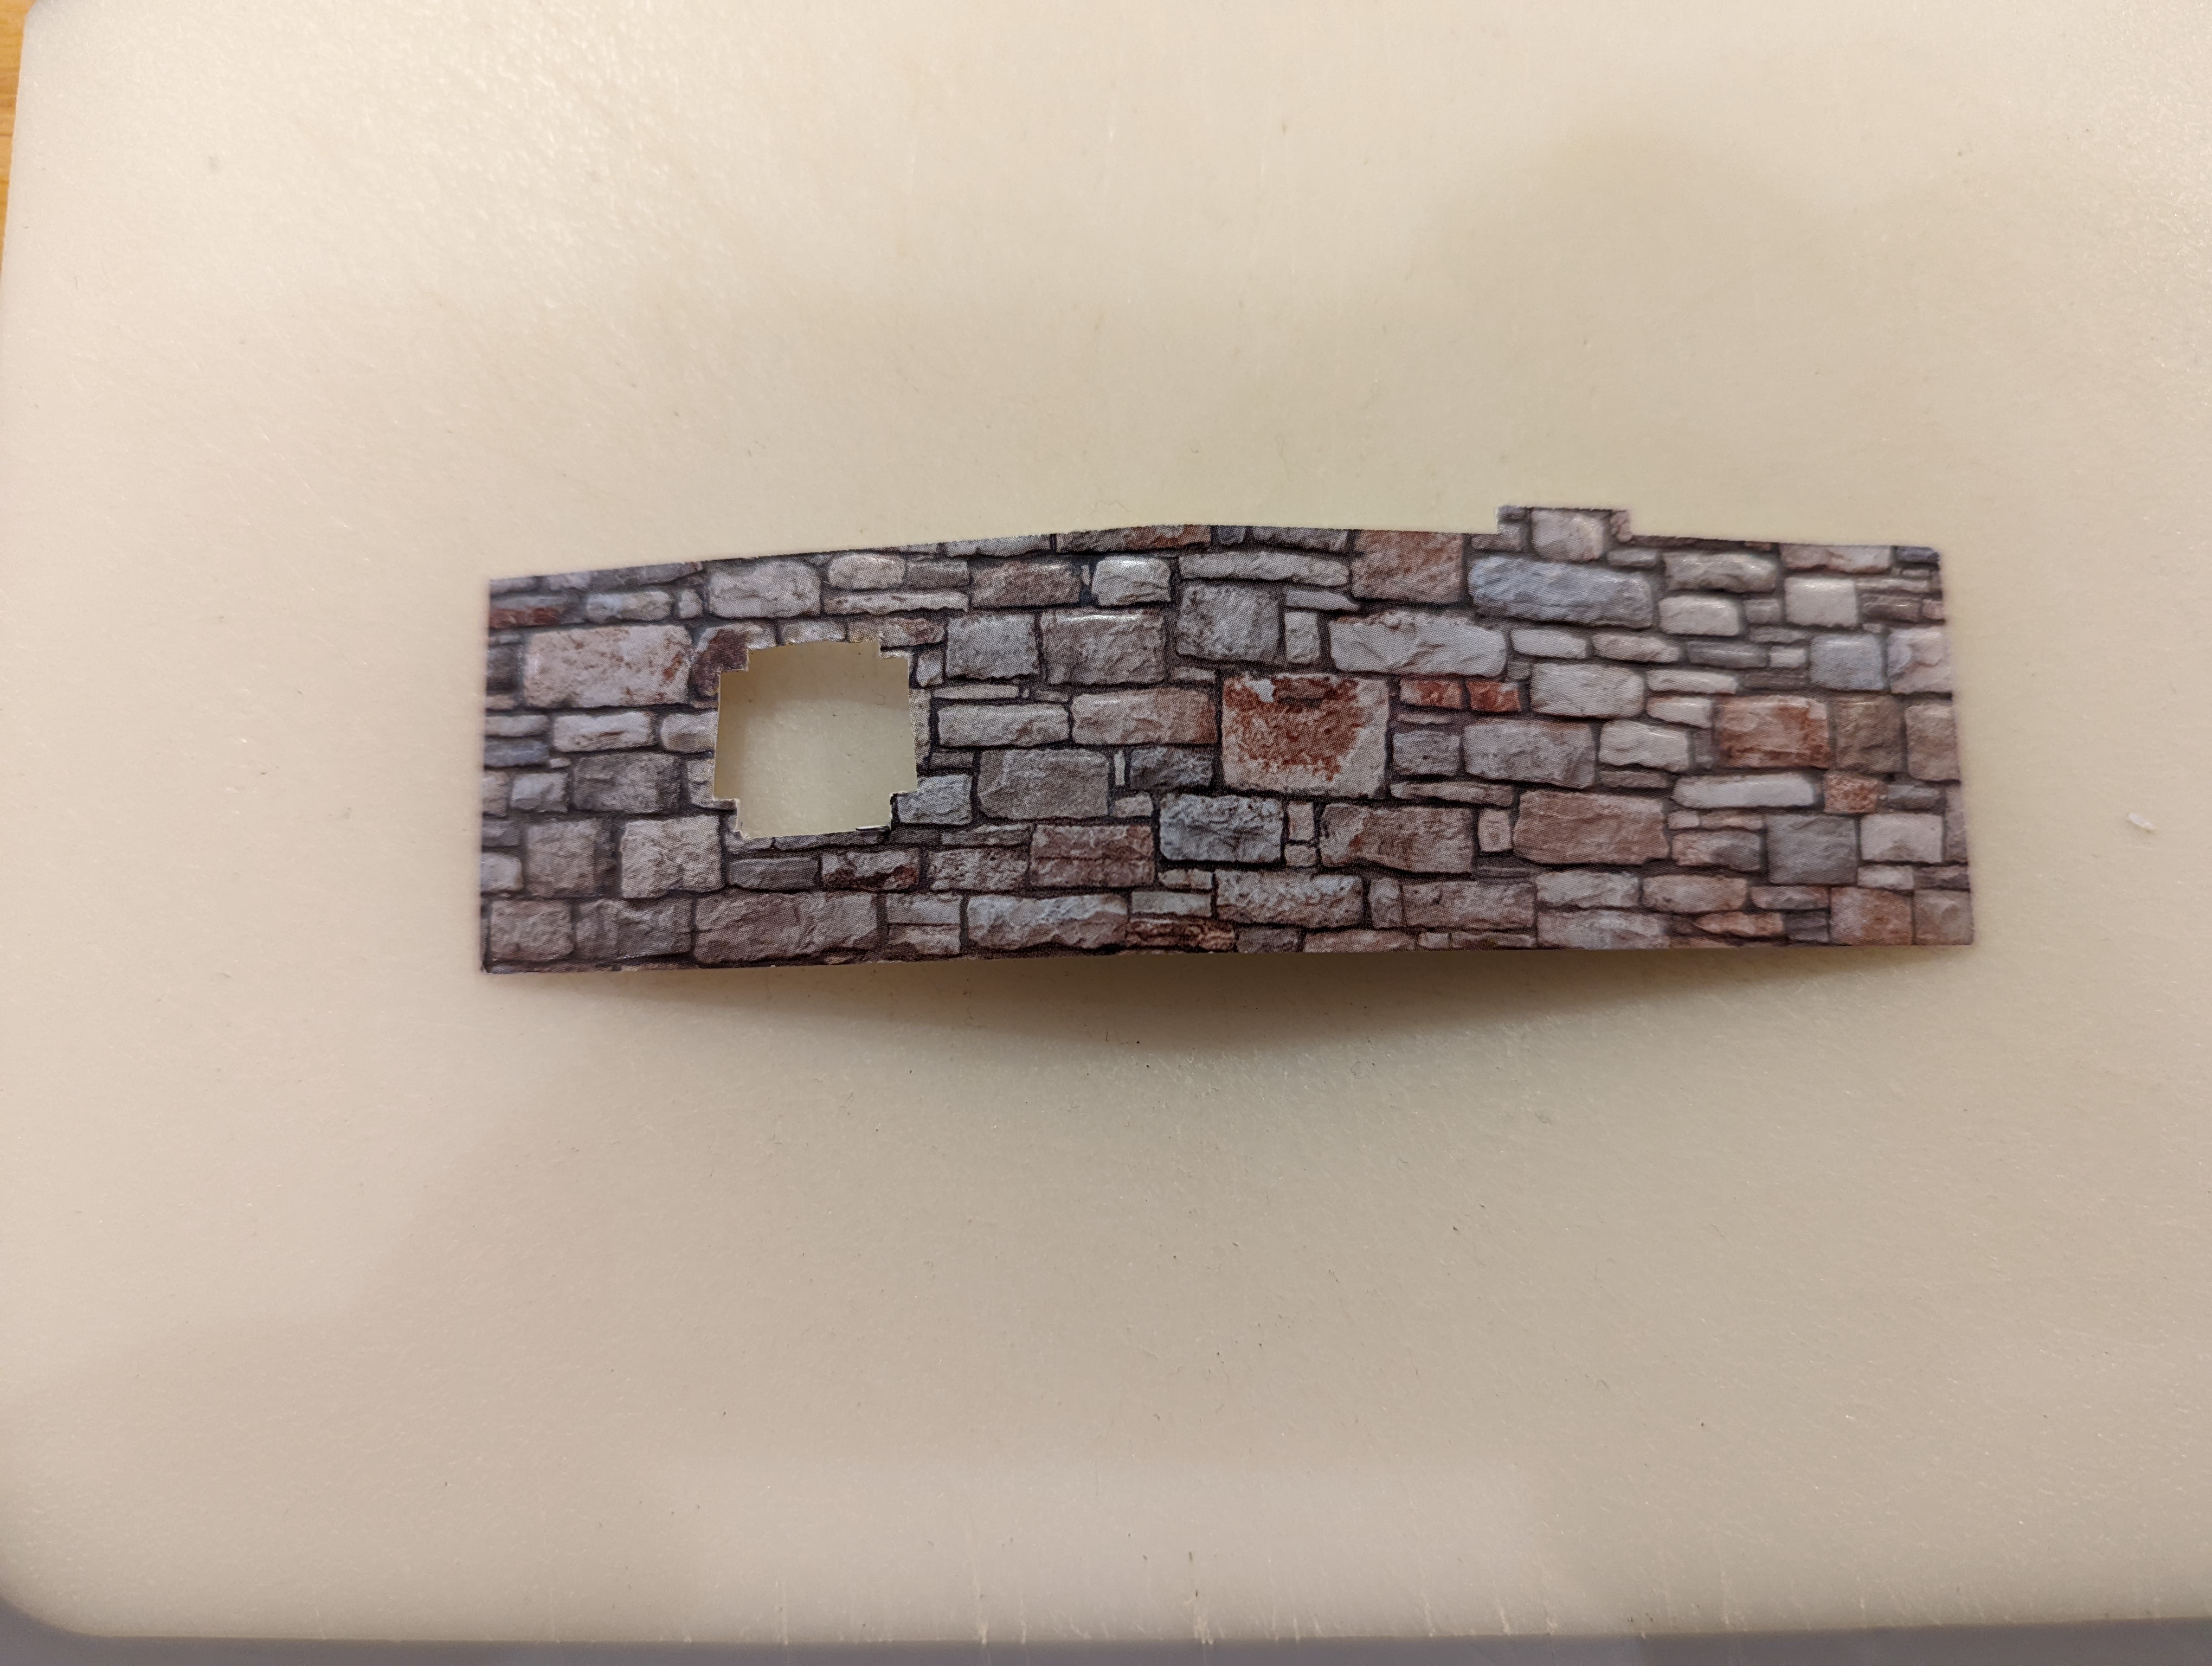
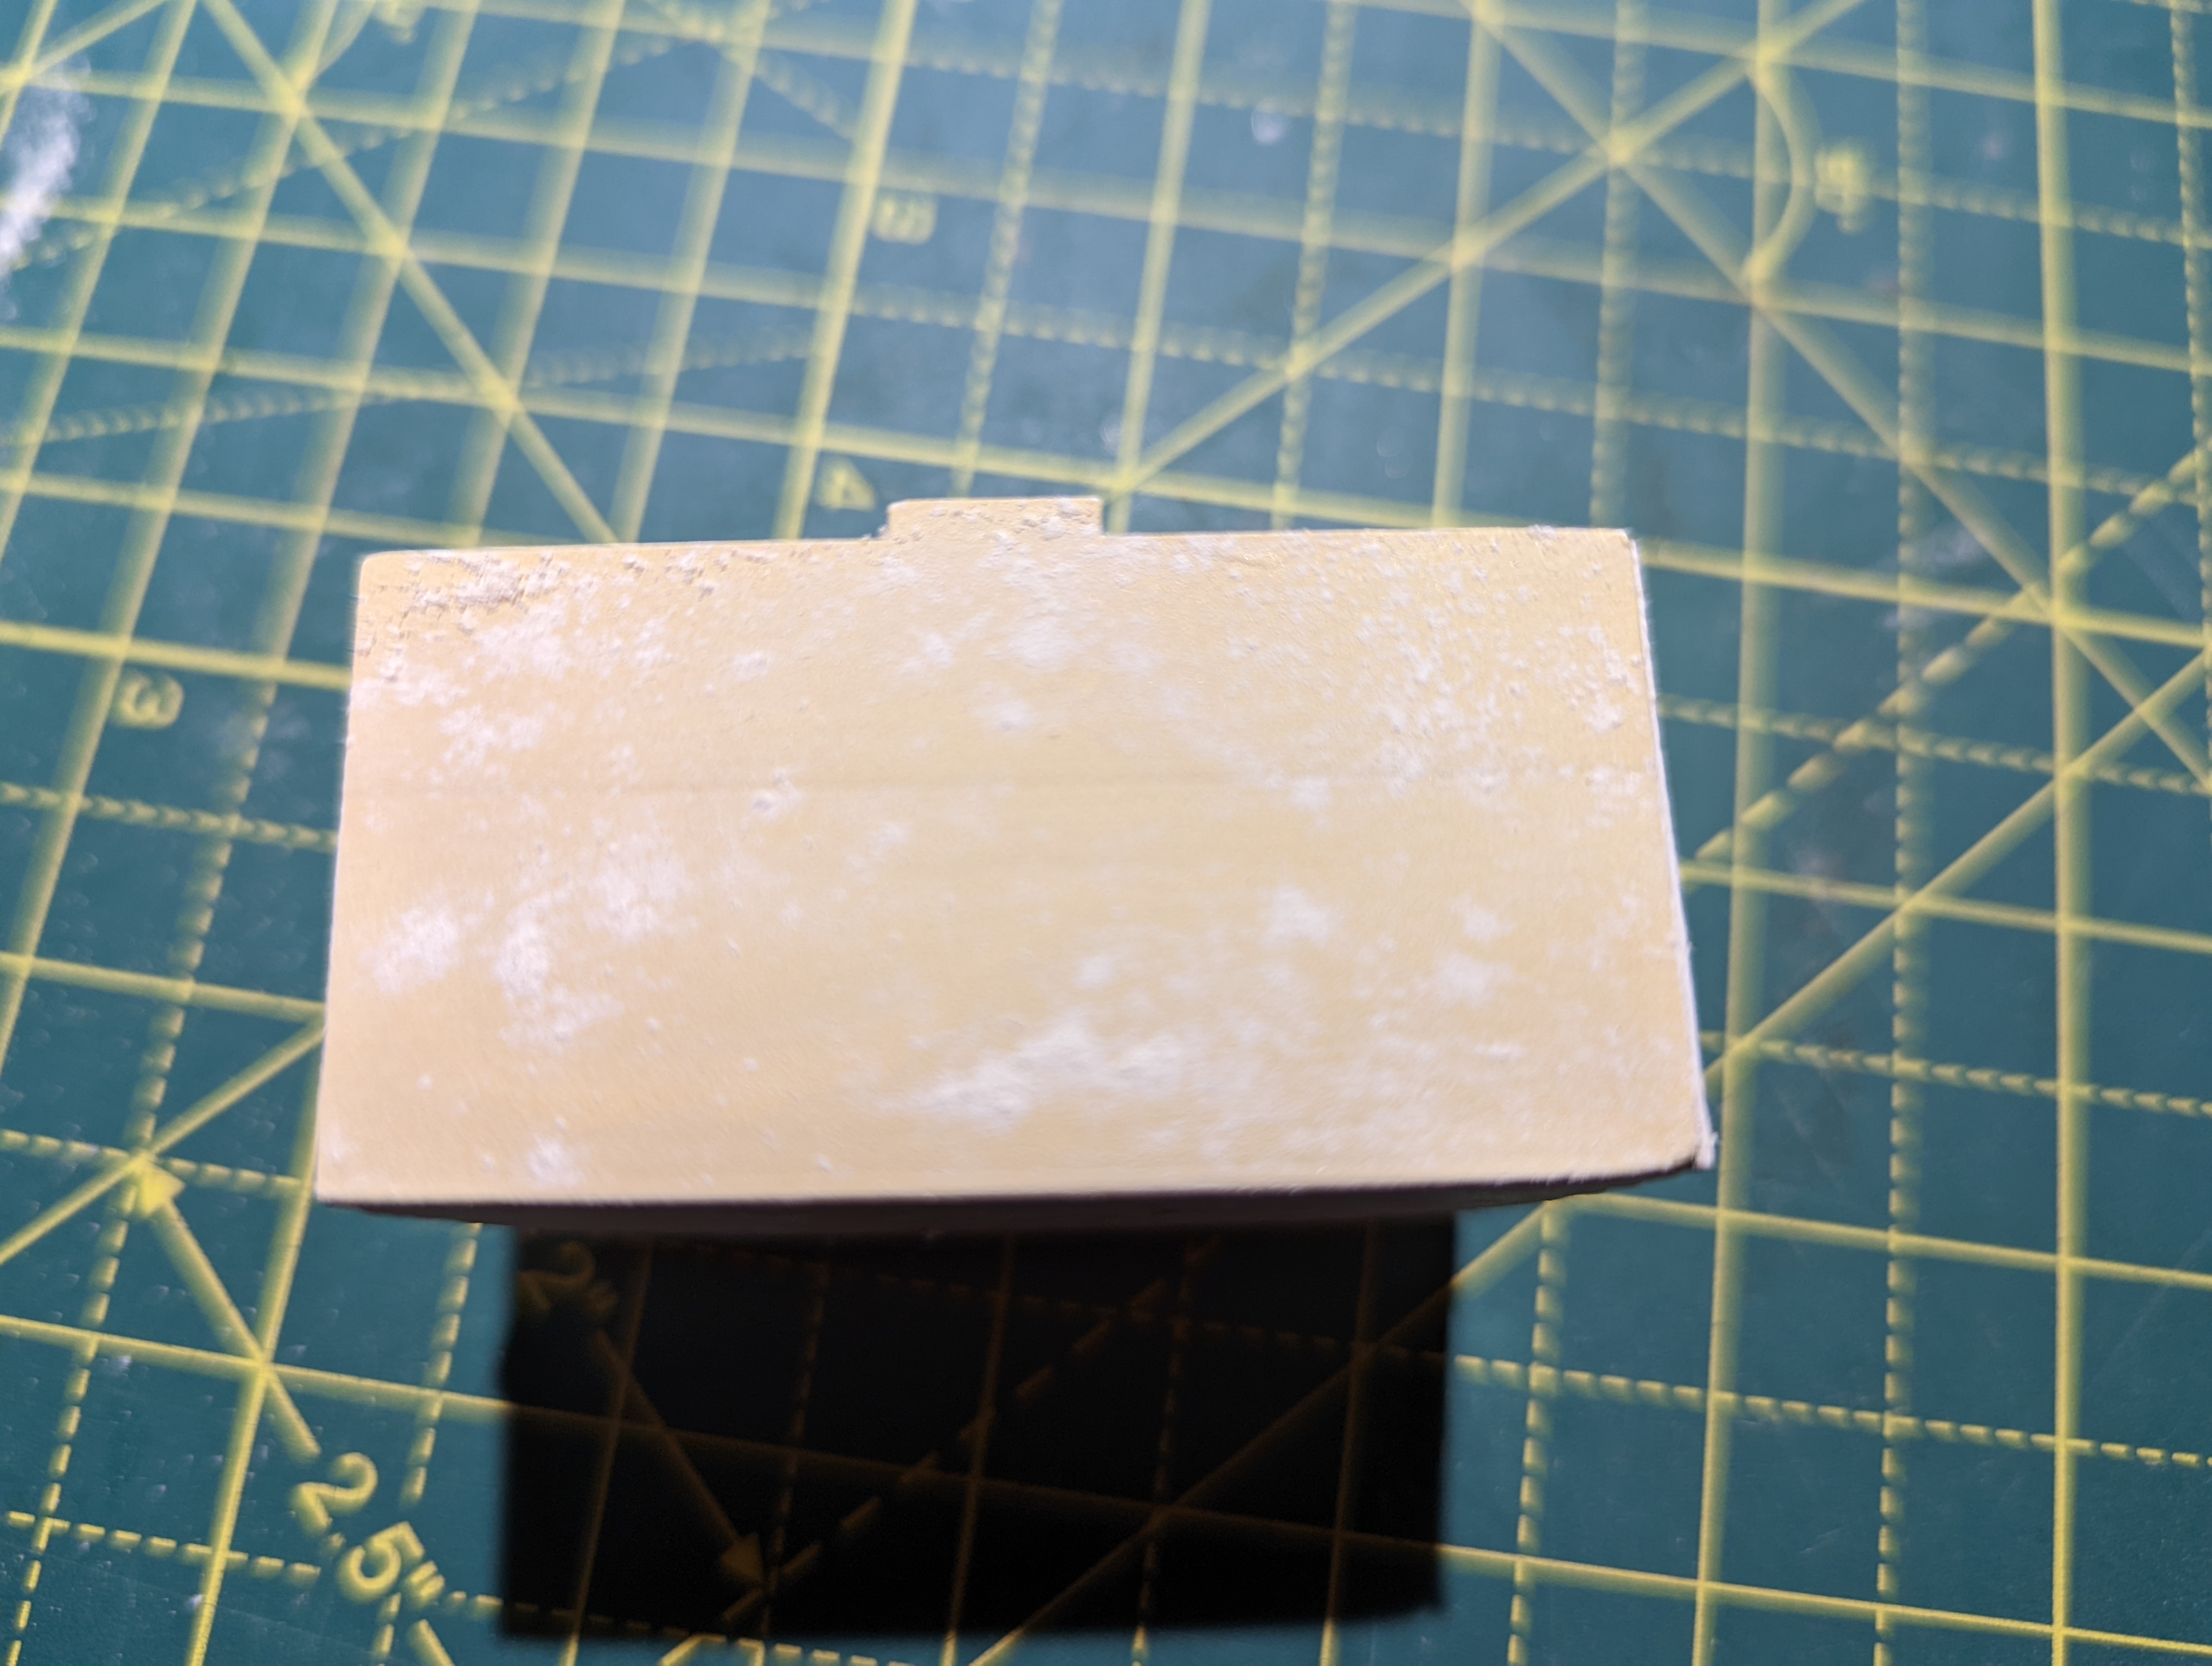
Once everything was dry, I primed and painted the options using the colour scheme that I’m thinking of using across all of the models. Below are the options and I’ve included a test option which is just the bare resin.
So the question is, given that this is 15mm and terrain, is the effort and time for adding the texture actually worth it?
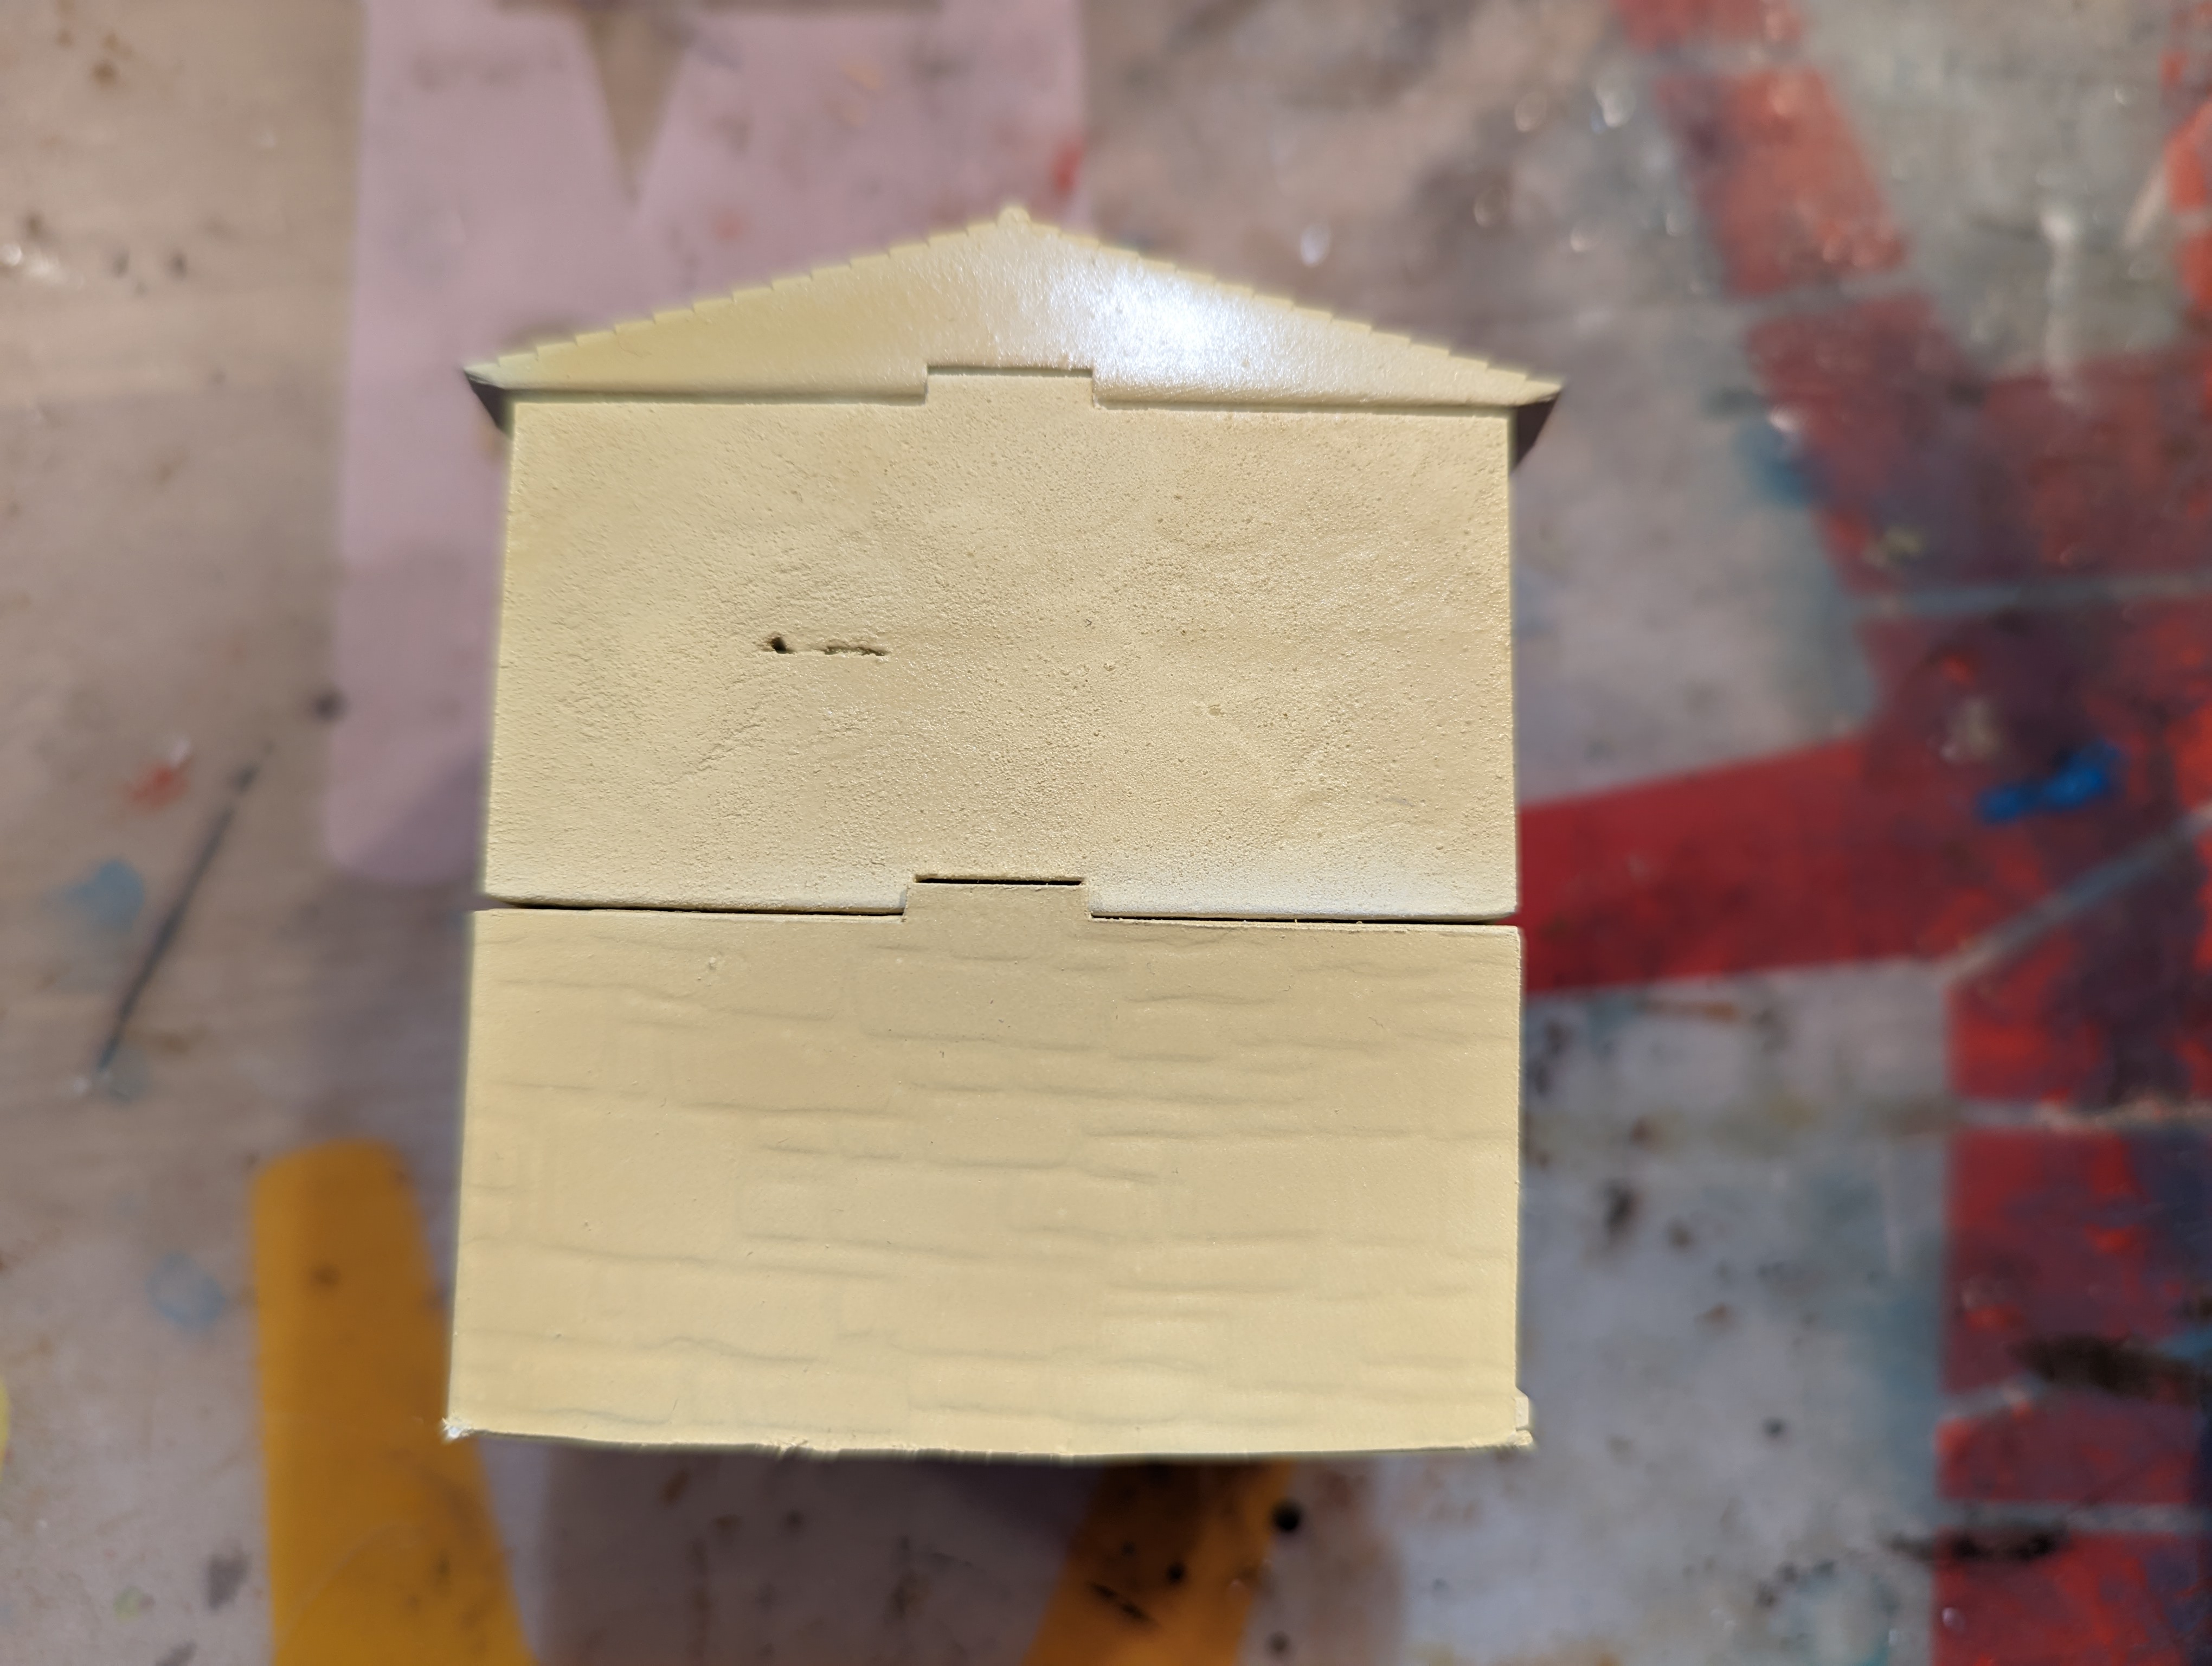 Polyfilla on top, textured paper on the bottom
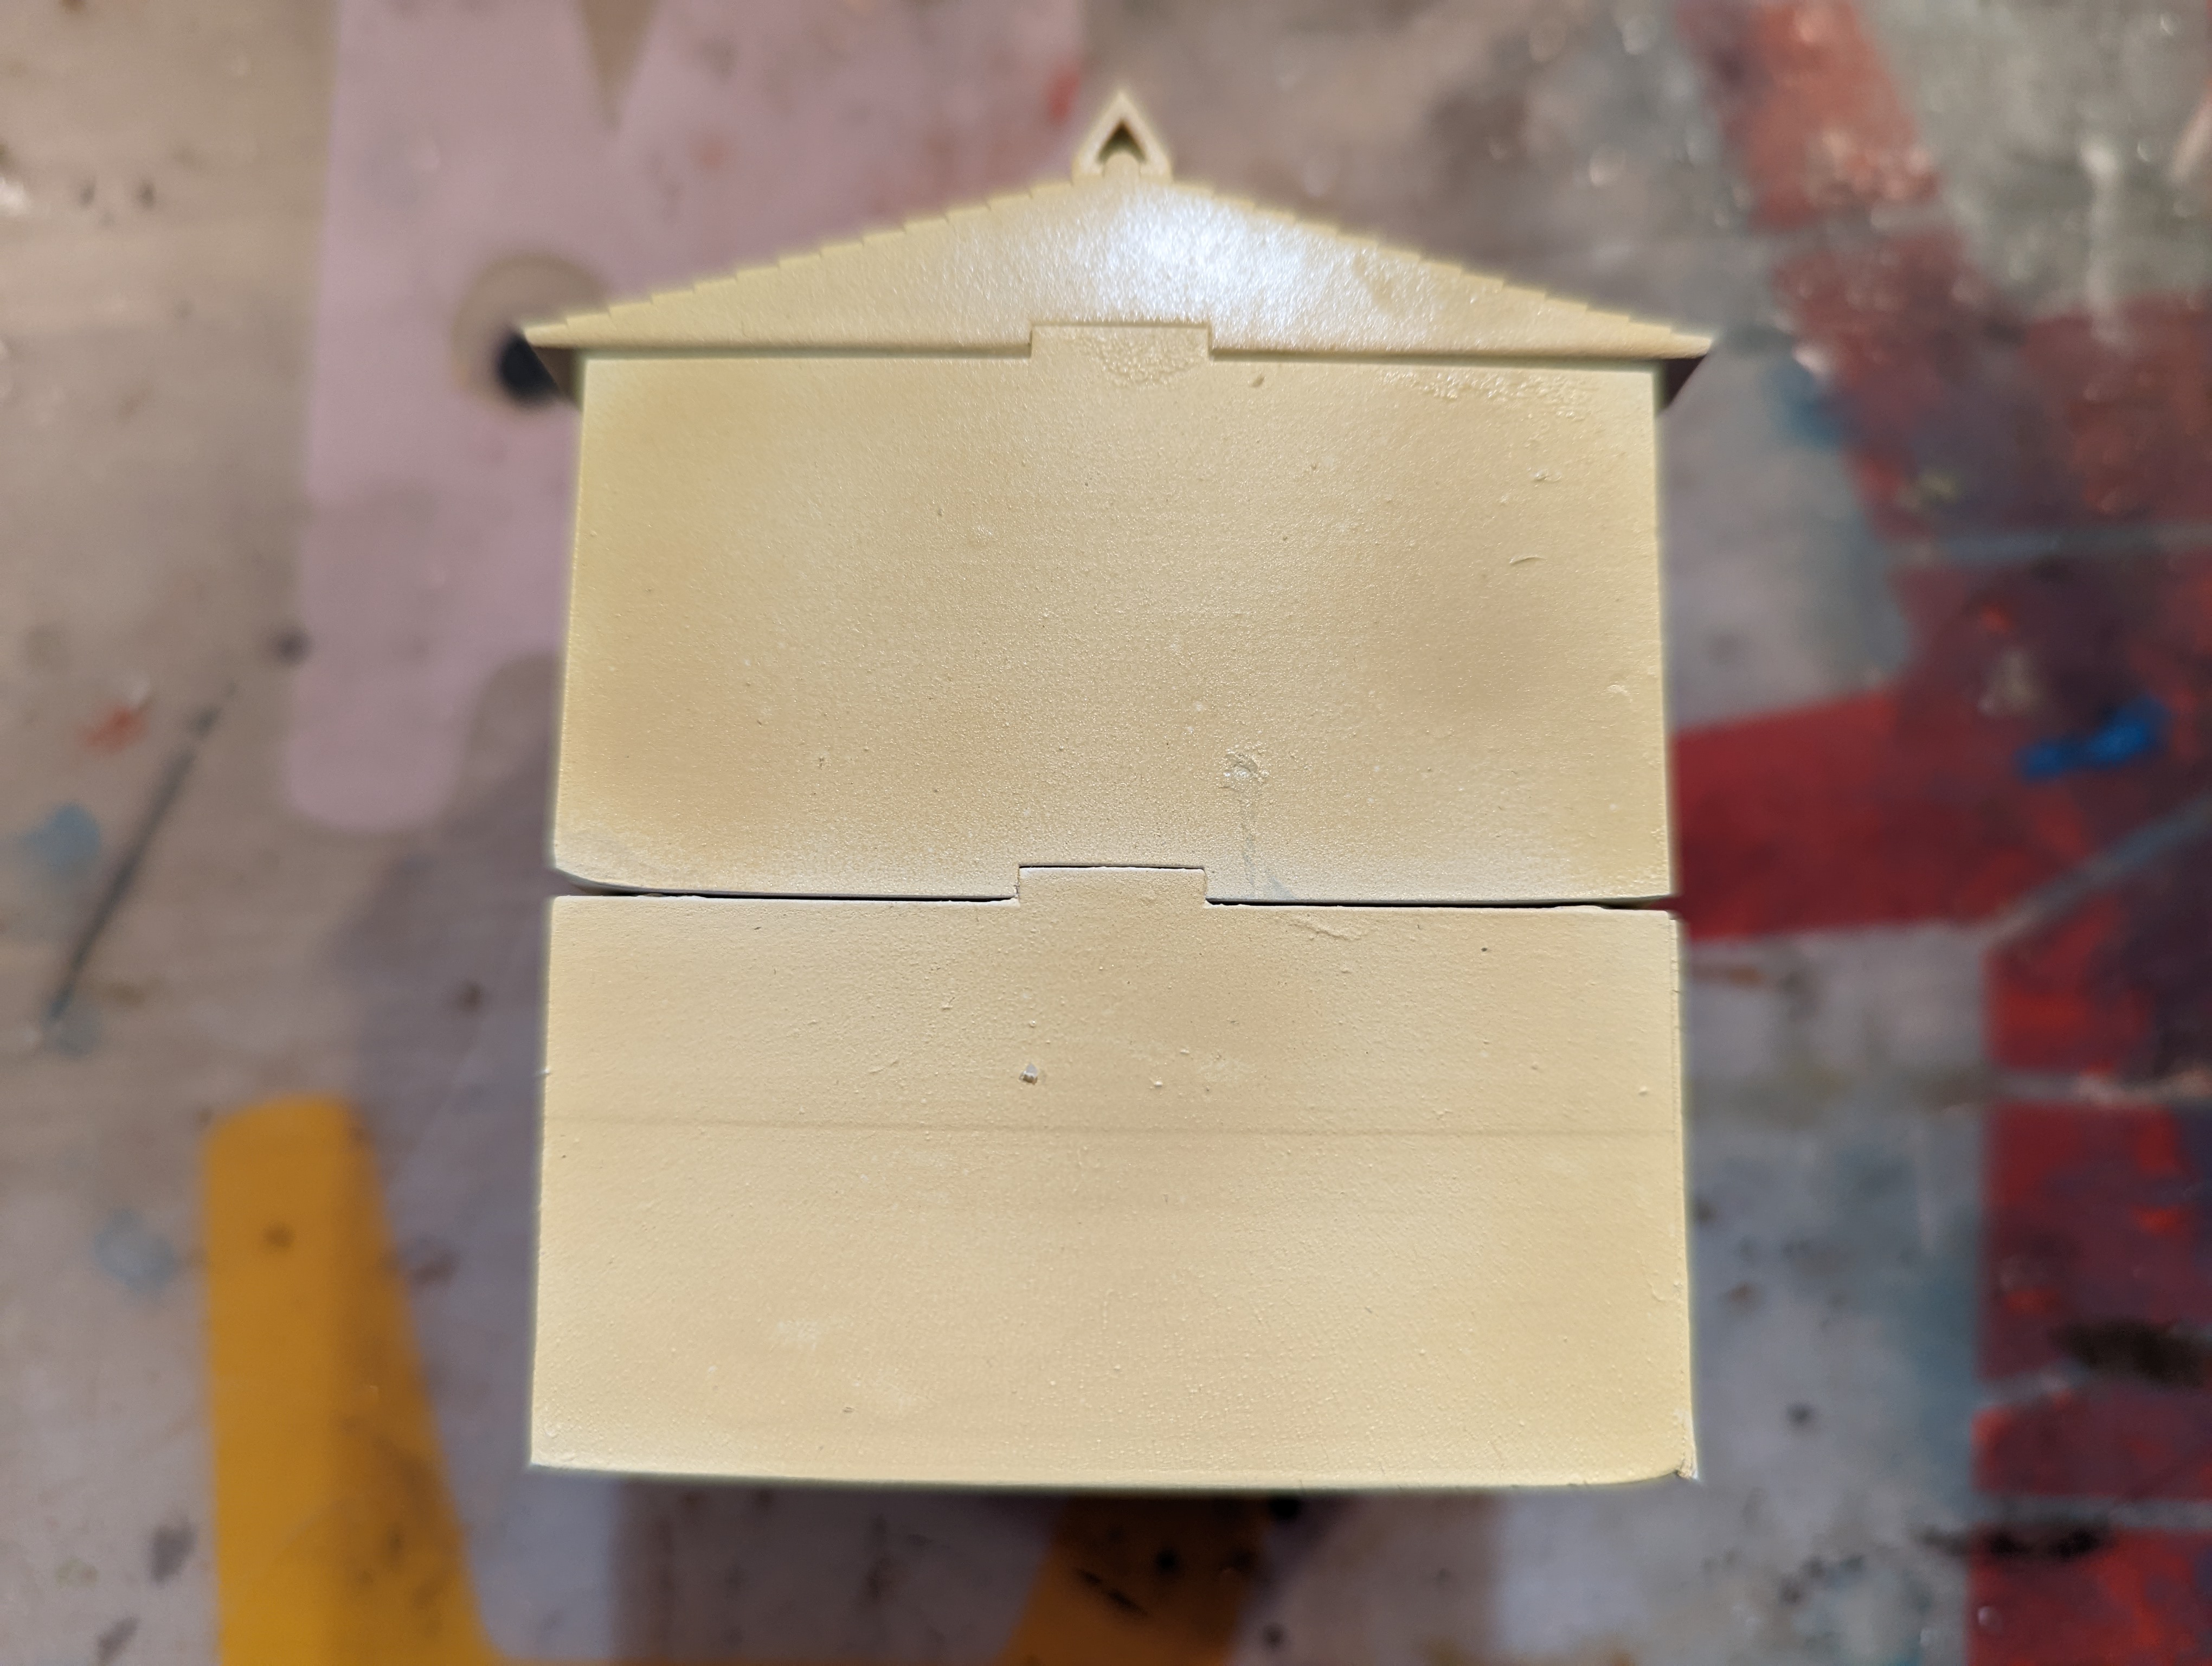 Bare resin
I’m leaning toward just bare resin as my life is too short for the time required to add the texture.
But, as I commented at the beginning of this post, I used FreeCad to design my models. I wanted to use Blender as this would probably given me the tools to add some texture and more ‘artistic’ elements. But Blender is so dense as a piece of software that I’ve not been able to get further than creating a cube in it (and you start with a cube when you launch the software). Then I found the below linked YouTube channel, which is fairly new but the chap takes you through, step by step, how to use it for 3d modelling for the table top. This will work for what I want and give me a much better finish. The big question is should I redesign all of my buildings and re-print them….
Either way, the Artisans of Vaul channel is going to really help me with my 3d modelling going forward and is well worth checking out, even if just to see how easy it actually is if you know what you are doing.
The Big One (again)
The last entry covered the challenges that I had with my flat pack church. It warped and nothing really fit together. It fitted together fine in CAD but my lack of 3D printing skills probably caused the warping. So I returned to CAD and, armed with some knowledge of what my printer was capable of, I reconstructed the roof digitally to create a bigger piece that would be less likely to warp.
The re-printing of the roof into two halves worked a lot better. There was still some minor warping but nothing that couldn’t be patched up. I was a little concerned with the structural joining of the two parts and so used some plasticard across the internal braces to provide a better hold.
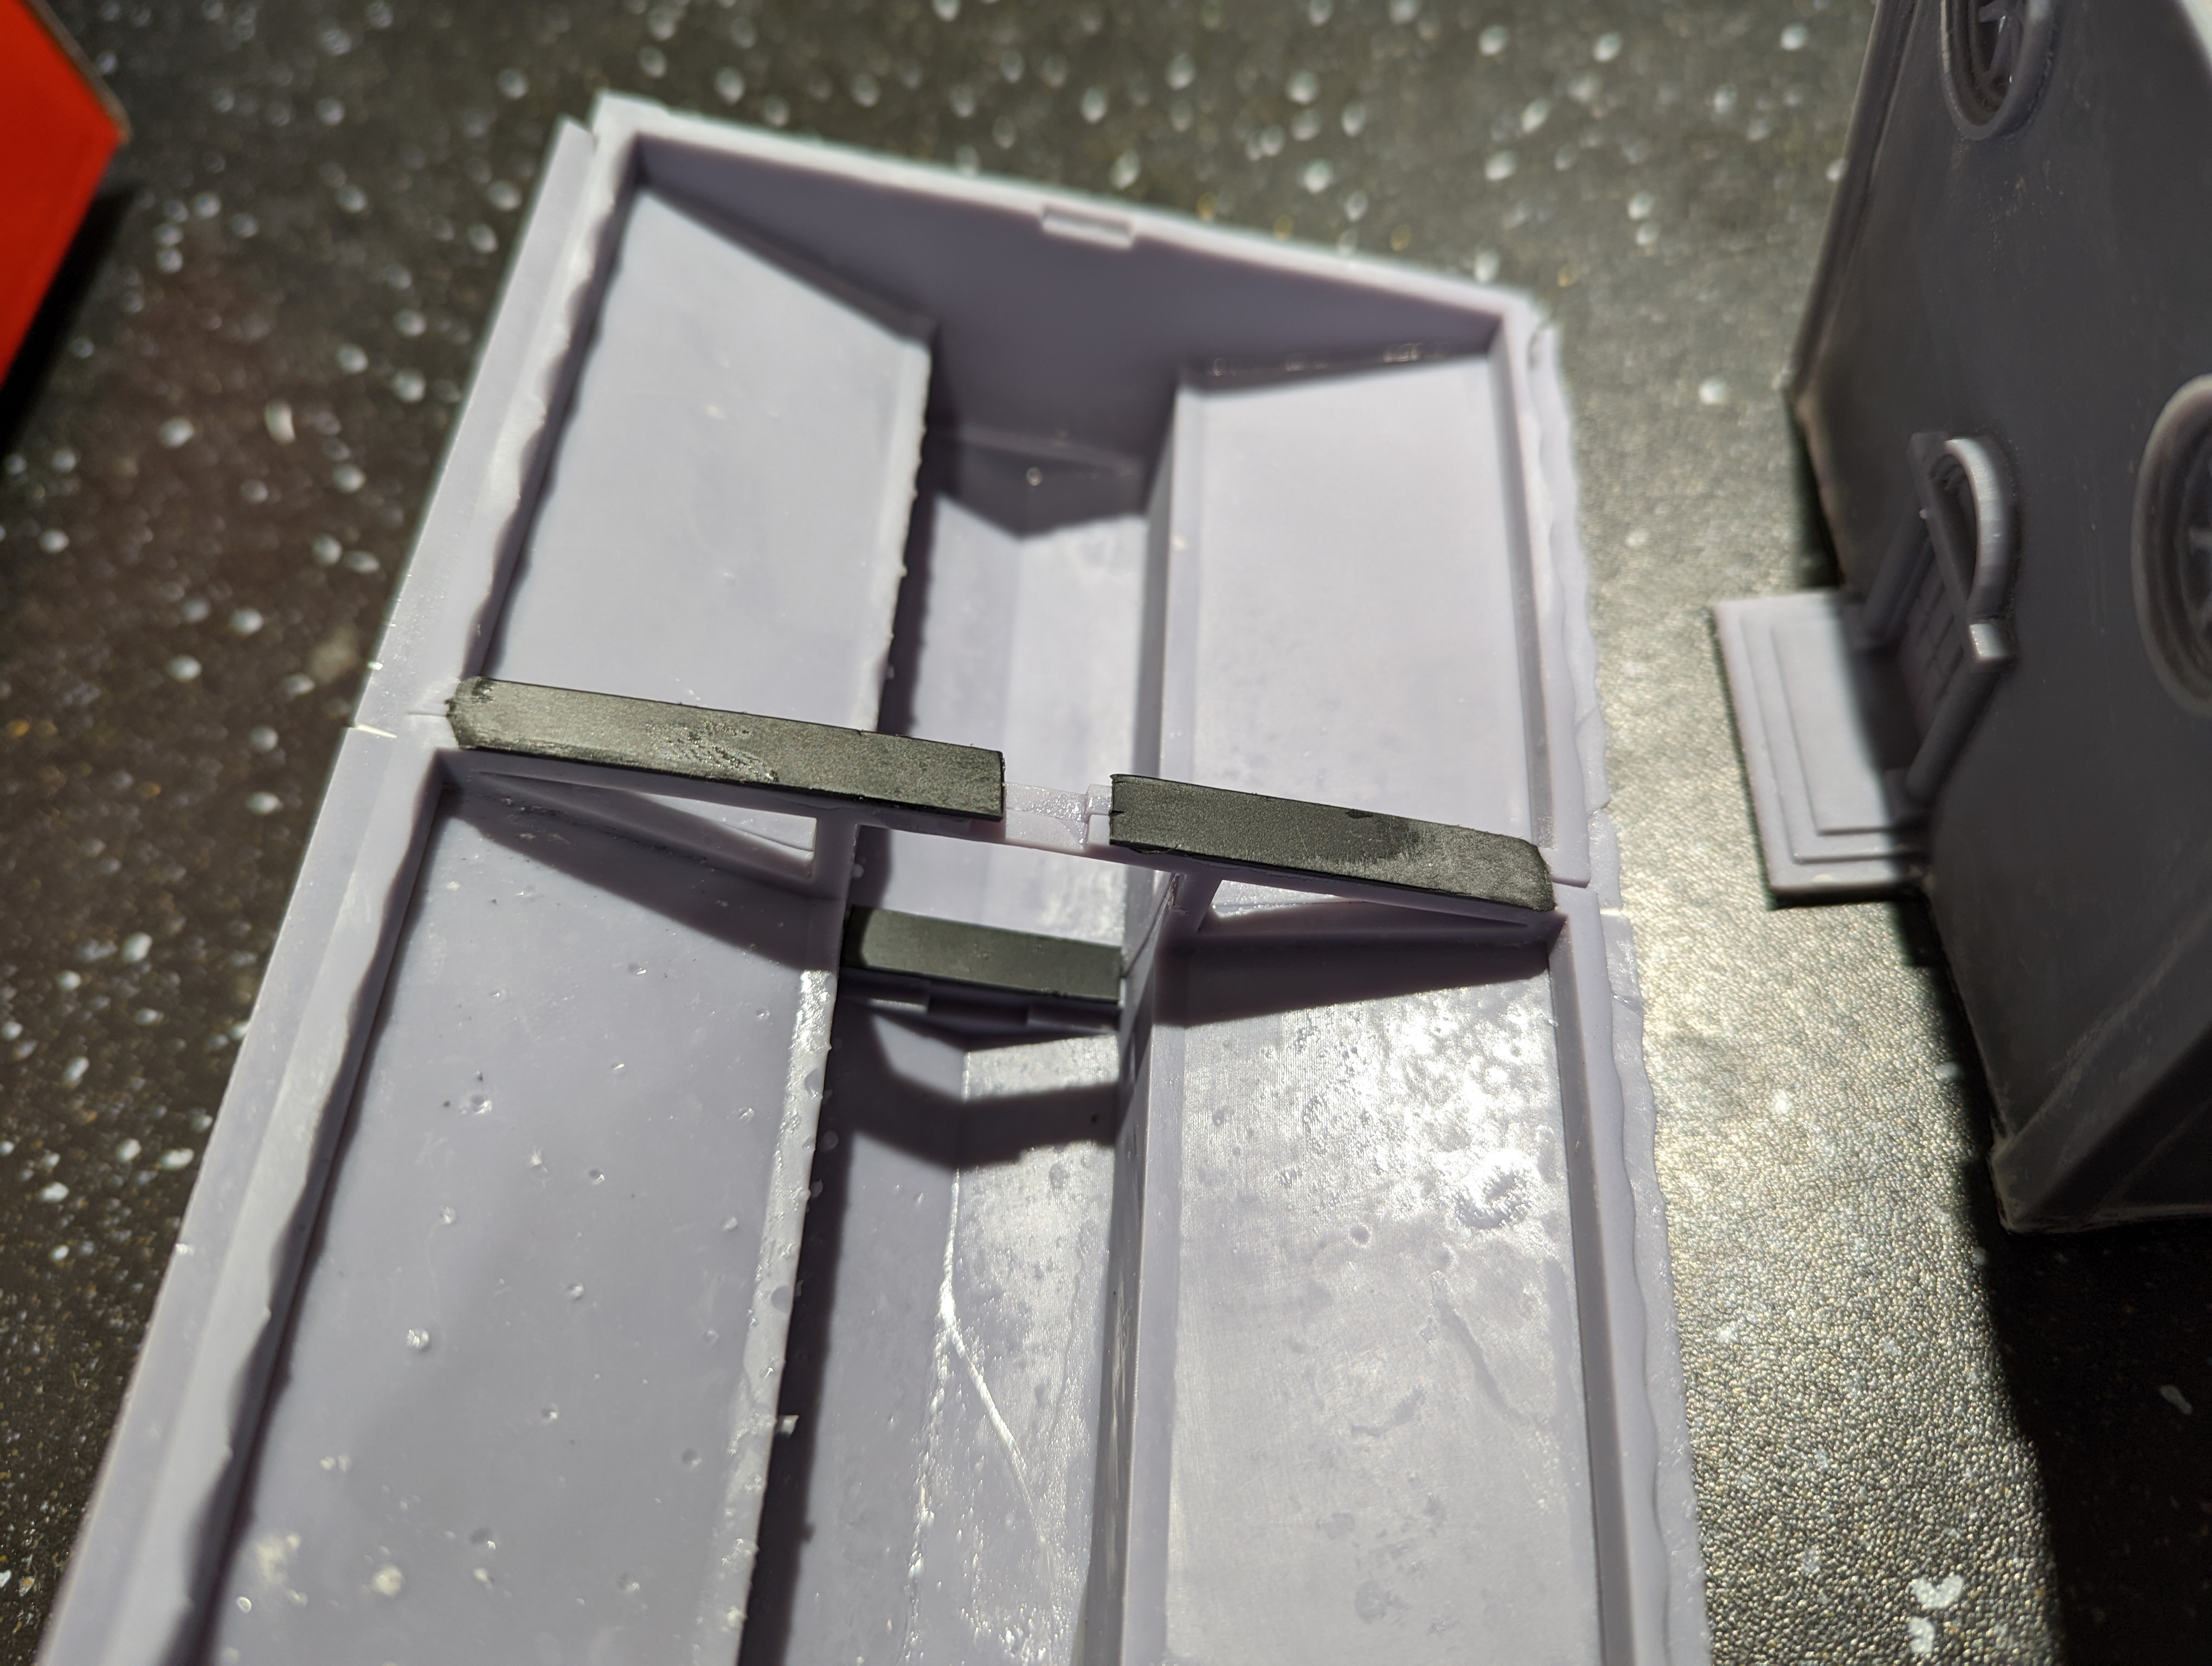 The inside of the newly printed roof
I also revisited the main building and added some additional internal supports to make sure it didn’t fall apart the moment someone picked it up. Again, just plasticard glued over the joins. It doesn’t look great but then no one is particularly going to be looking inside a lot during the game.
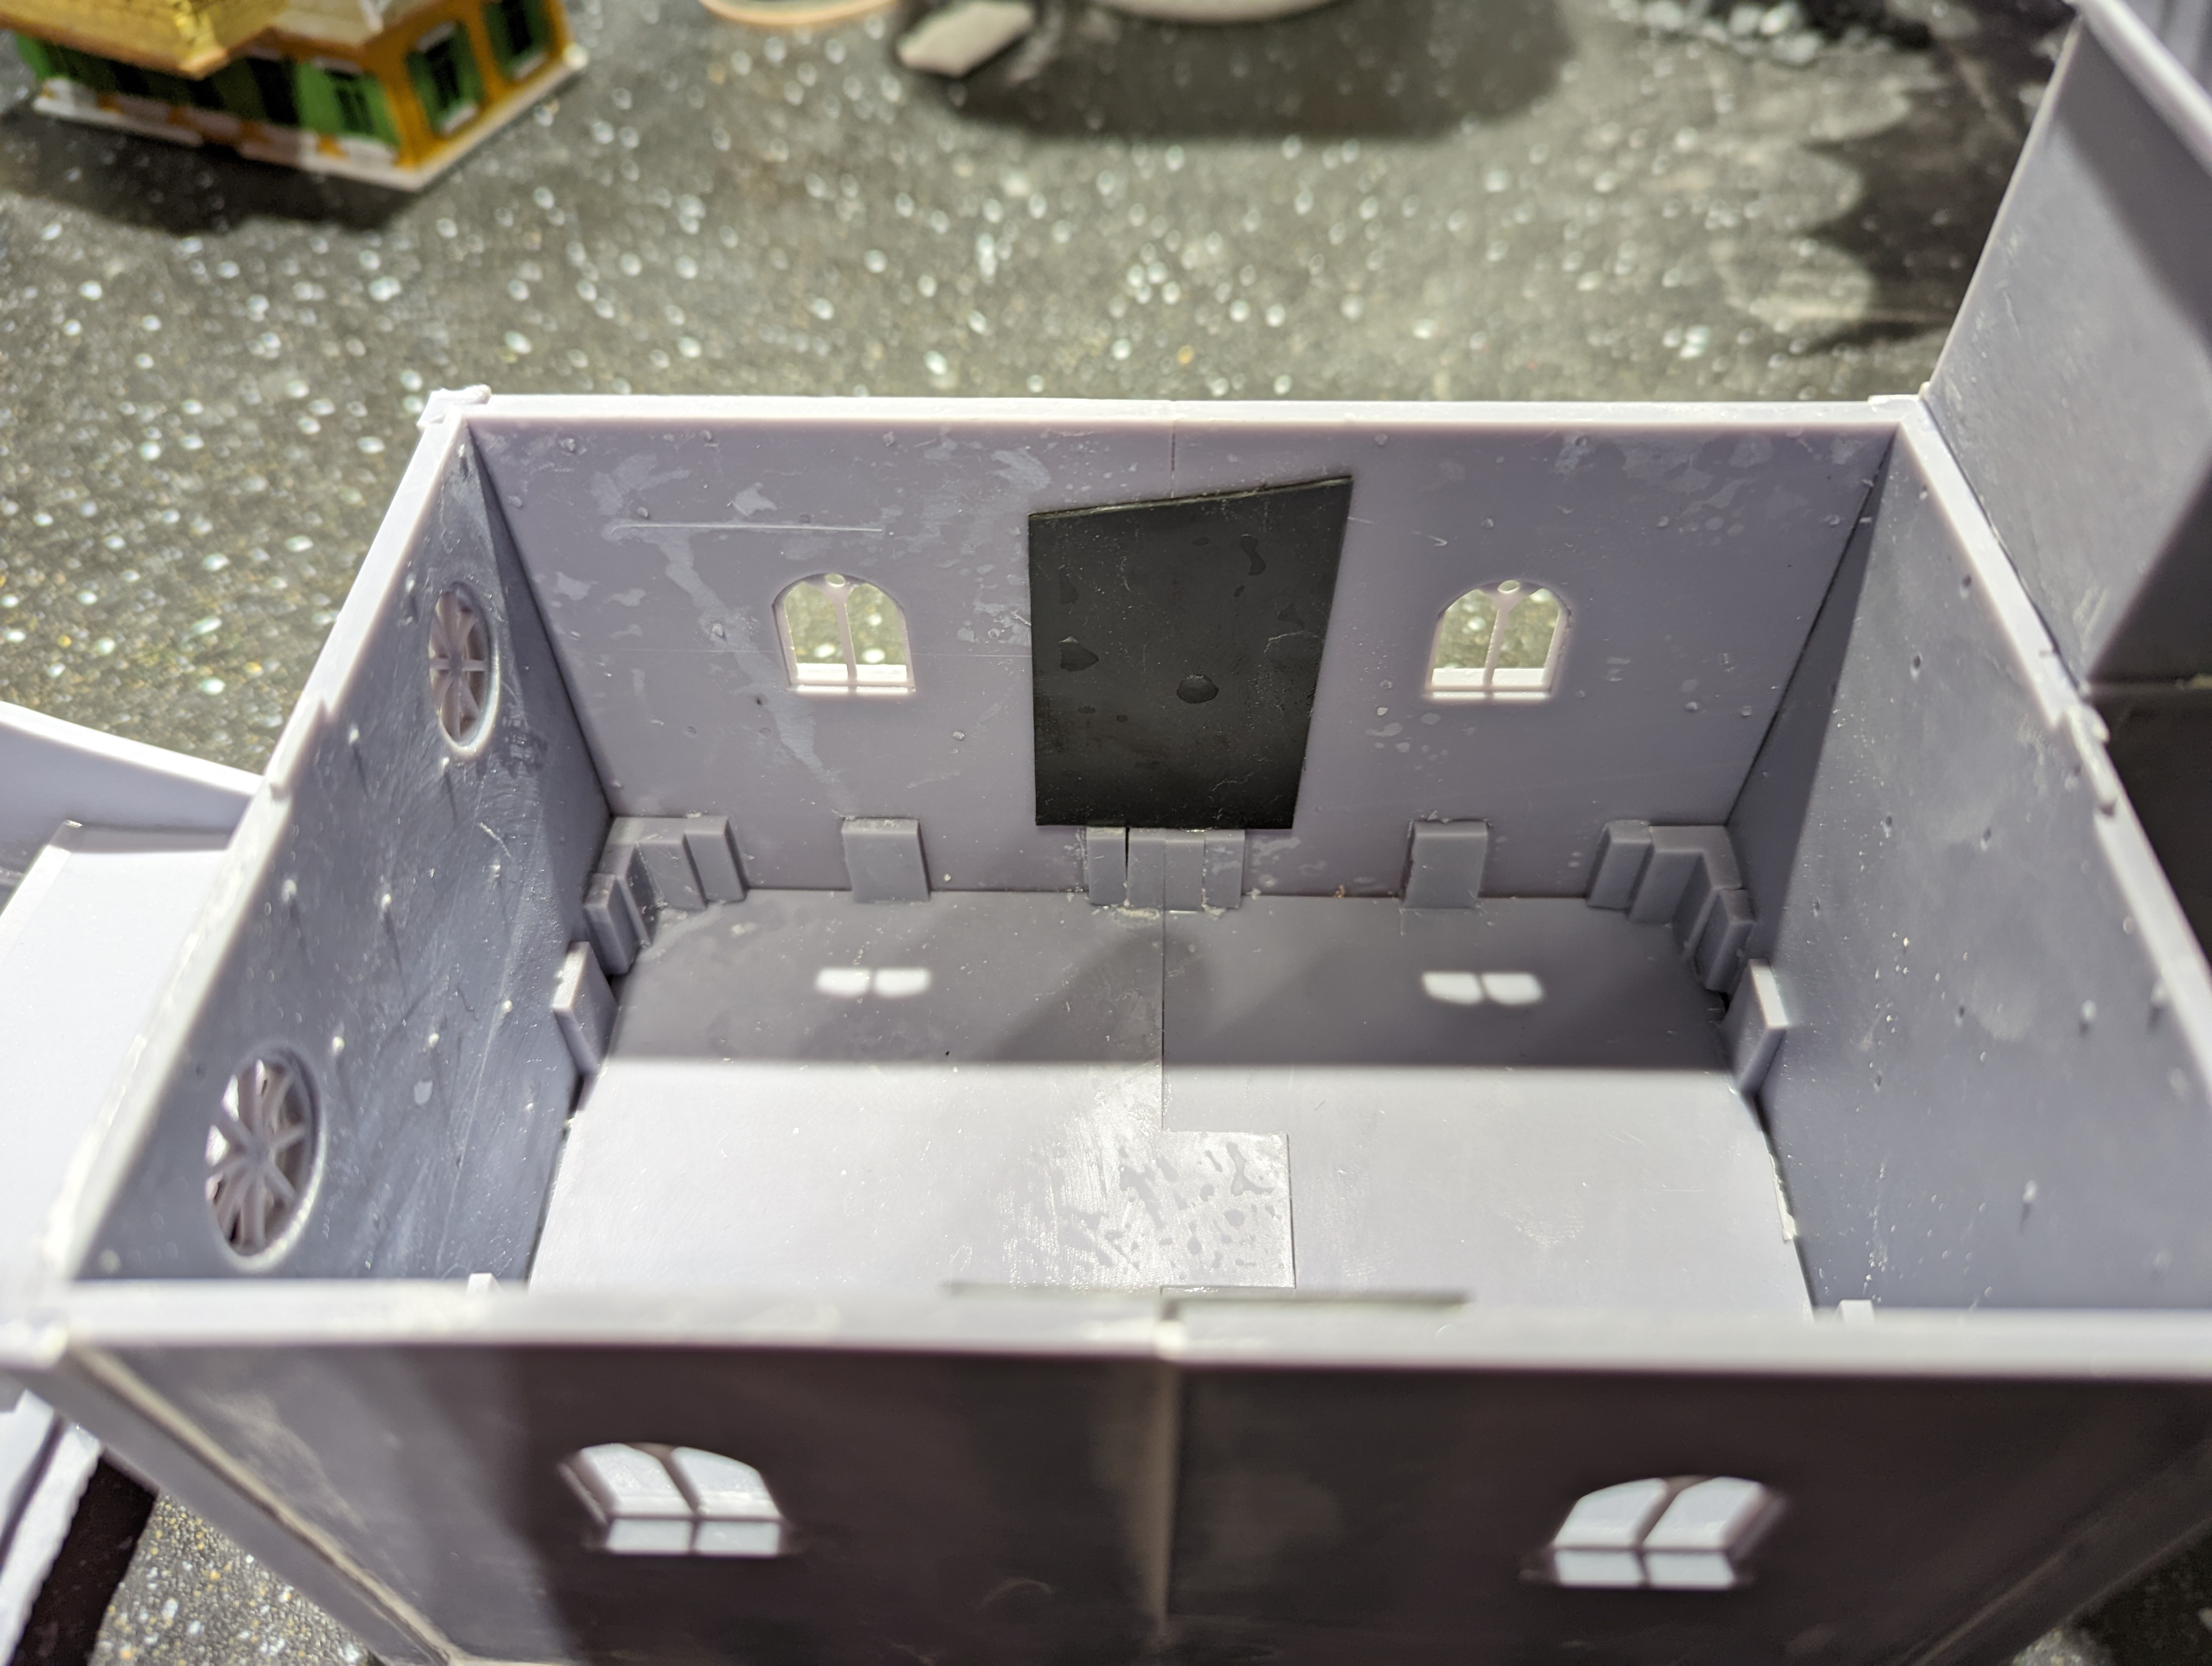 Church interior
Now to patch up the gaps. This was just a simple case of watering down some polyfila and carefully applying it to the various areas that needed. Once dry, a gentle sand with a fine grade sand paper should mean that once painted, it shouldn’t be noticeable. Hopefully.
Overall, it’s not perfect but it’s good enough.

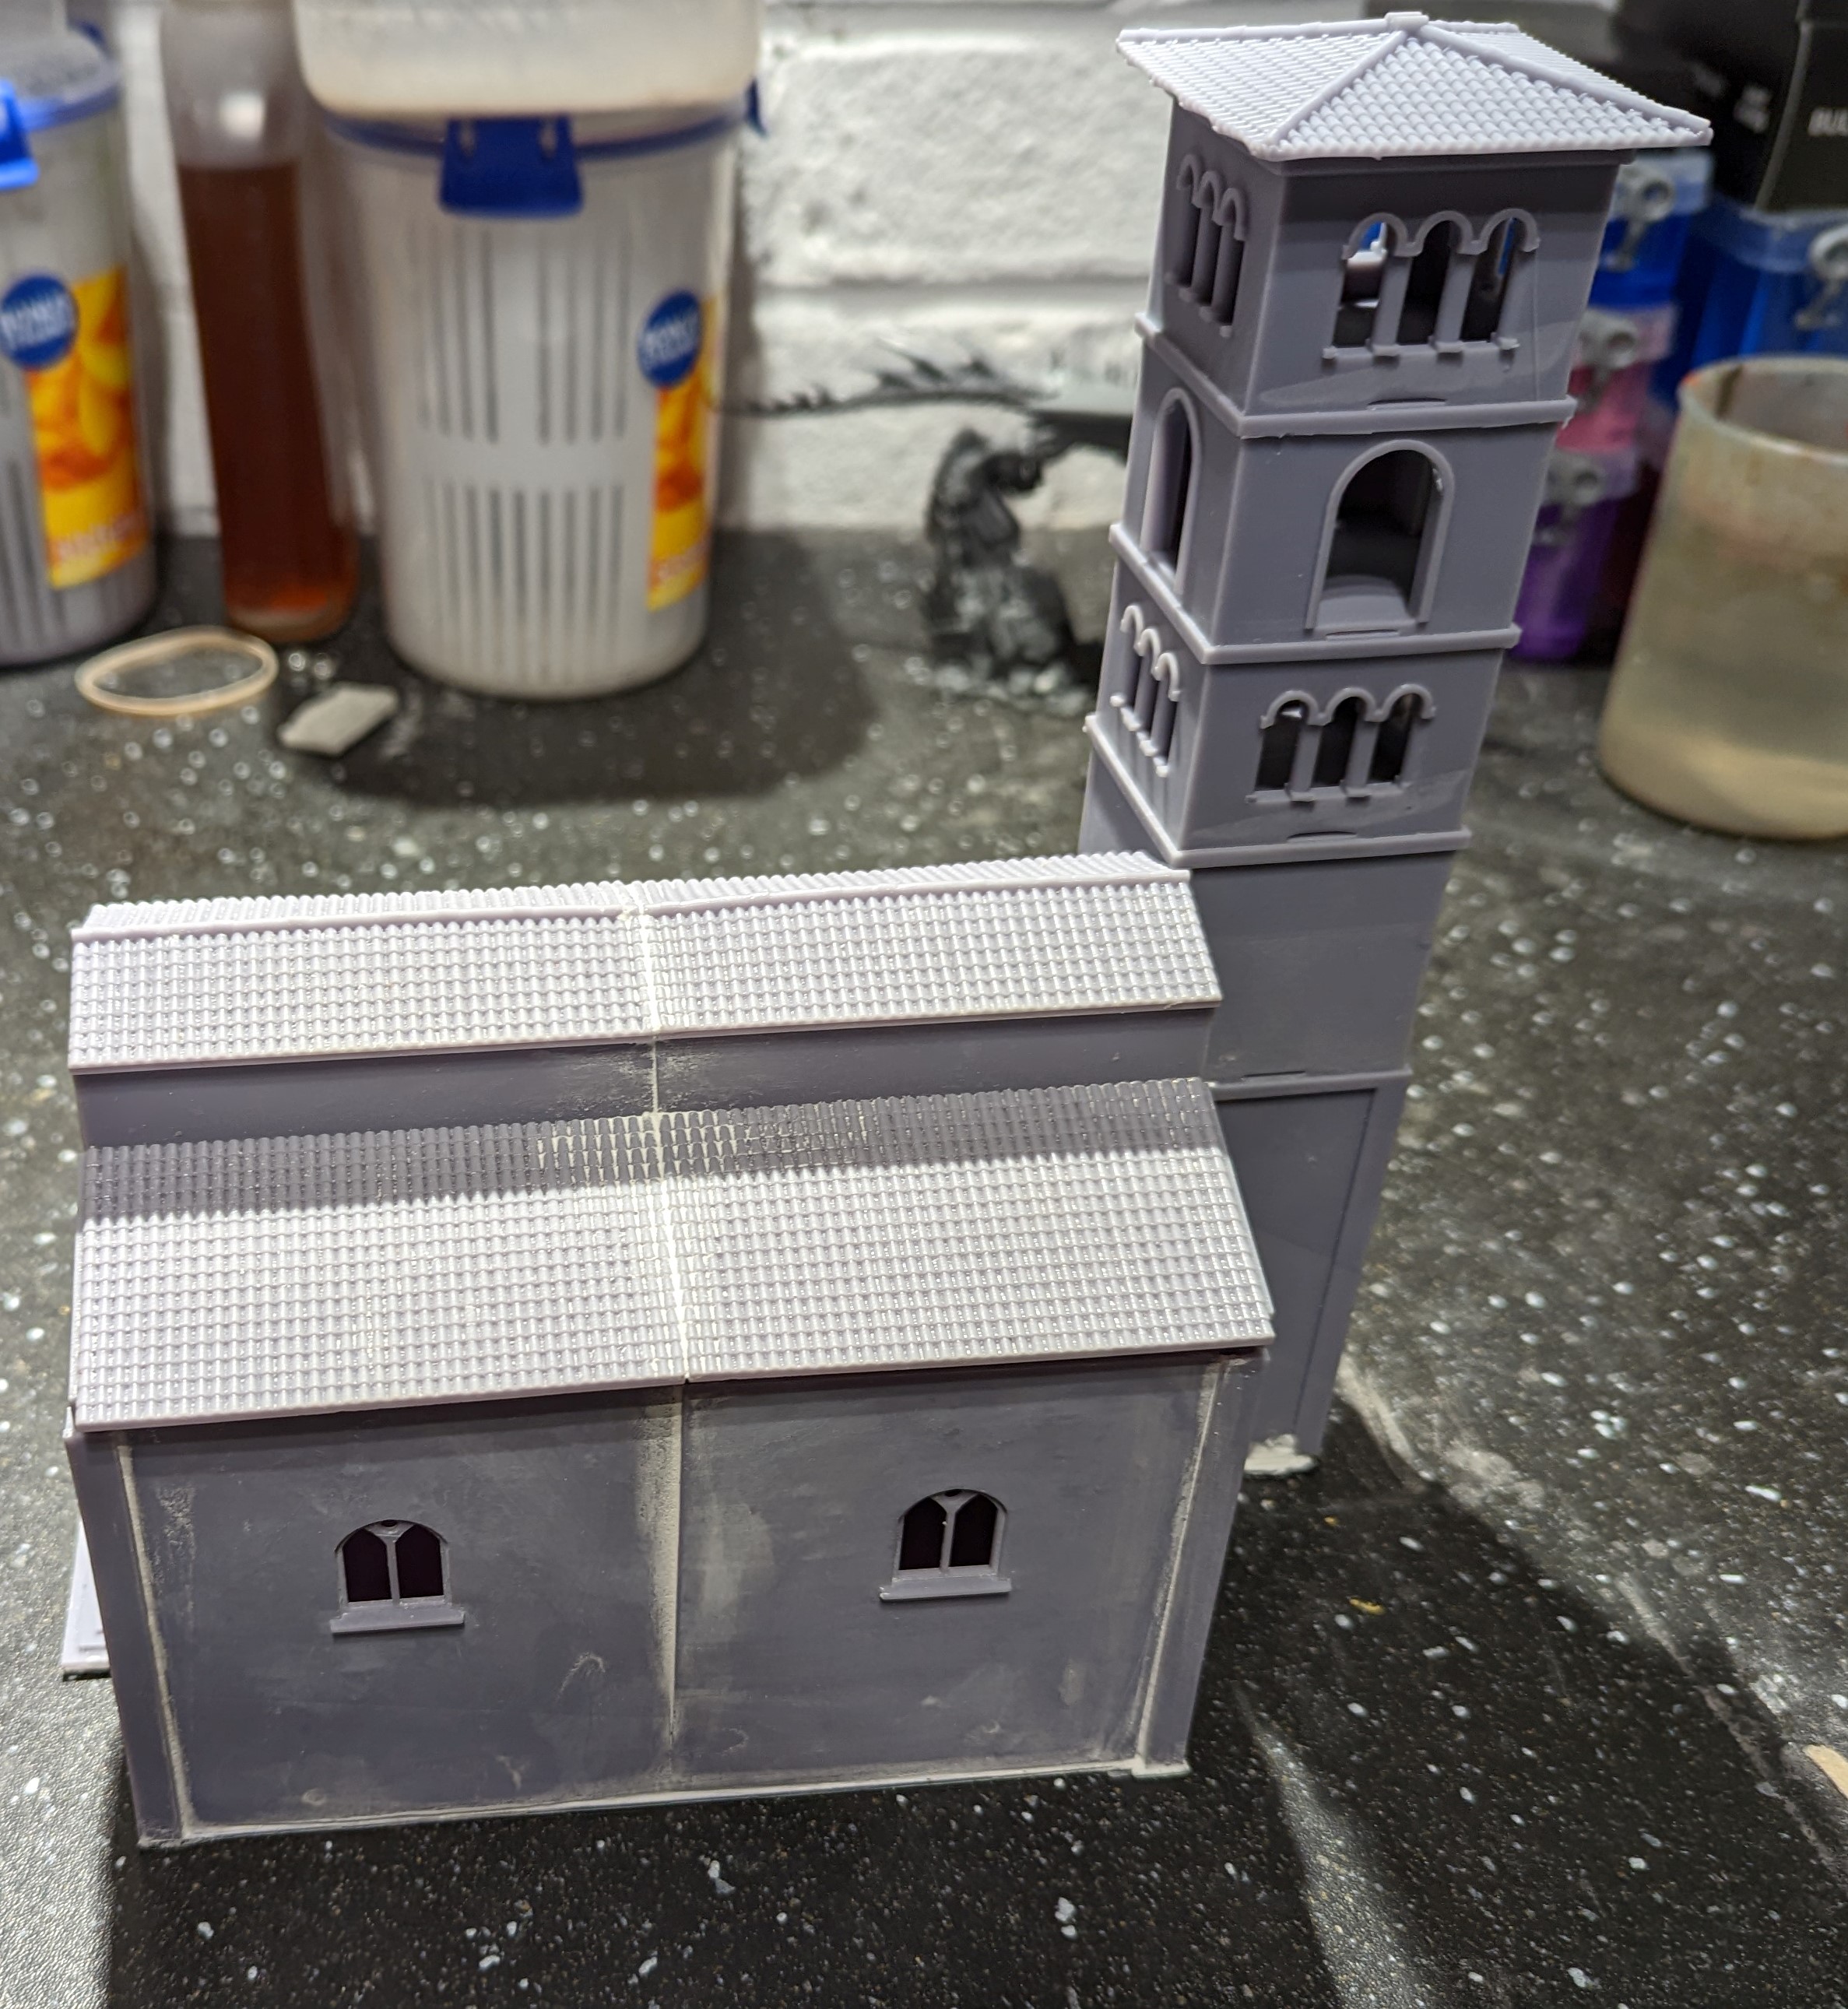
That’s all of the buildings printed. I now need to build the base and think about whether I will texture the buildings before painting them up.
The Big One
I can’t put it off any longer, with all of the other buildings printed out, I only have the church left. Here’s the FreeCad design

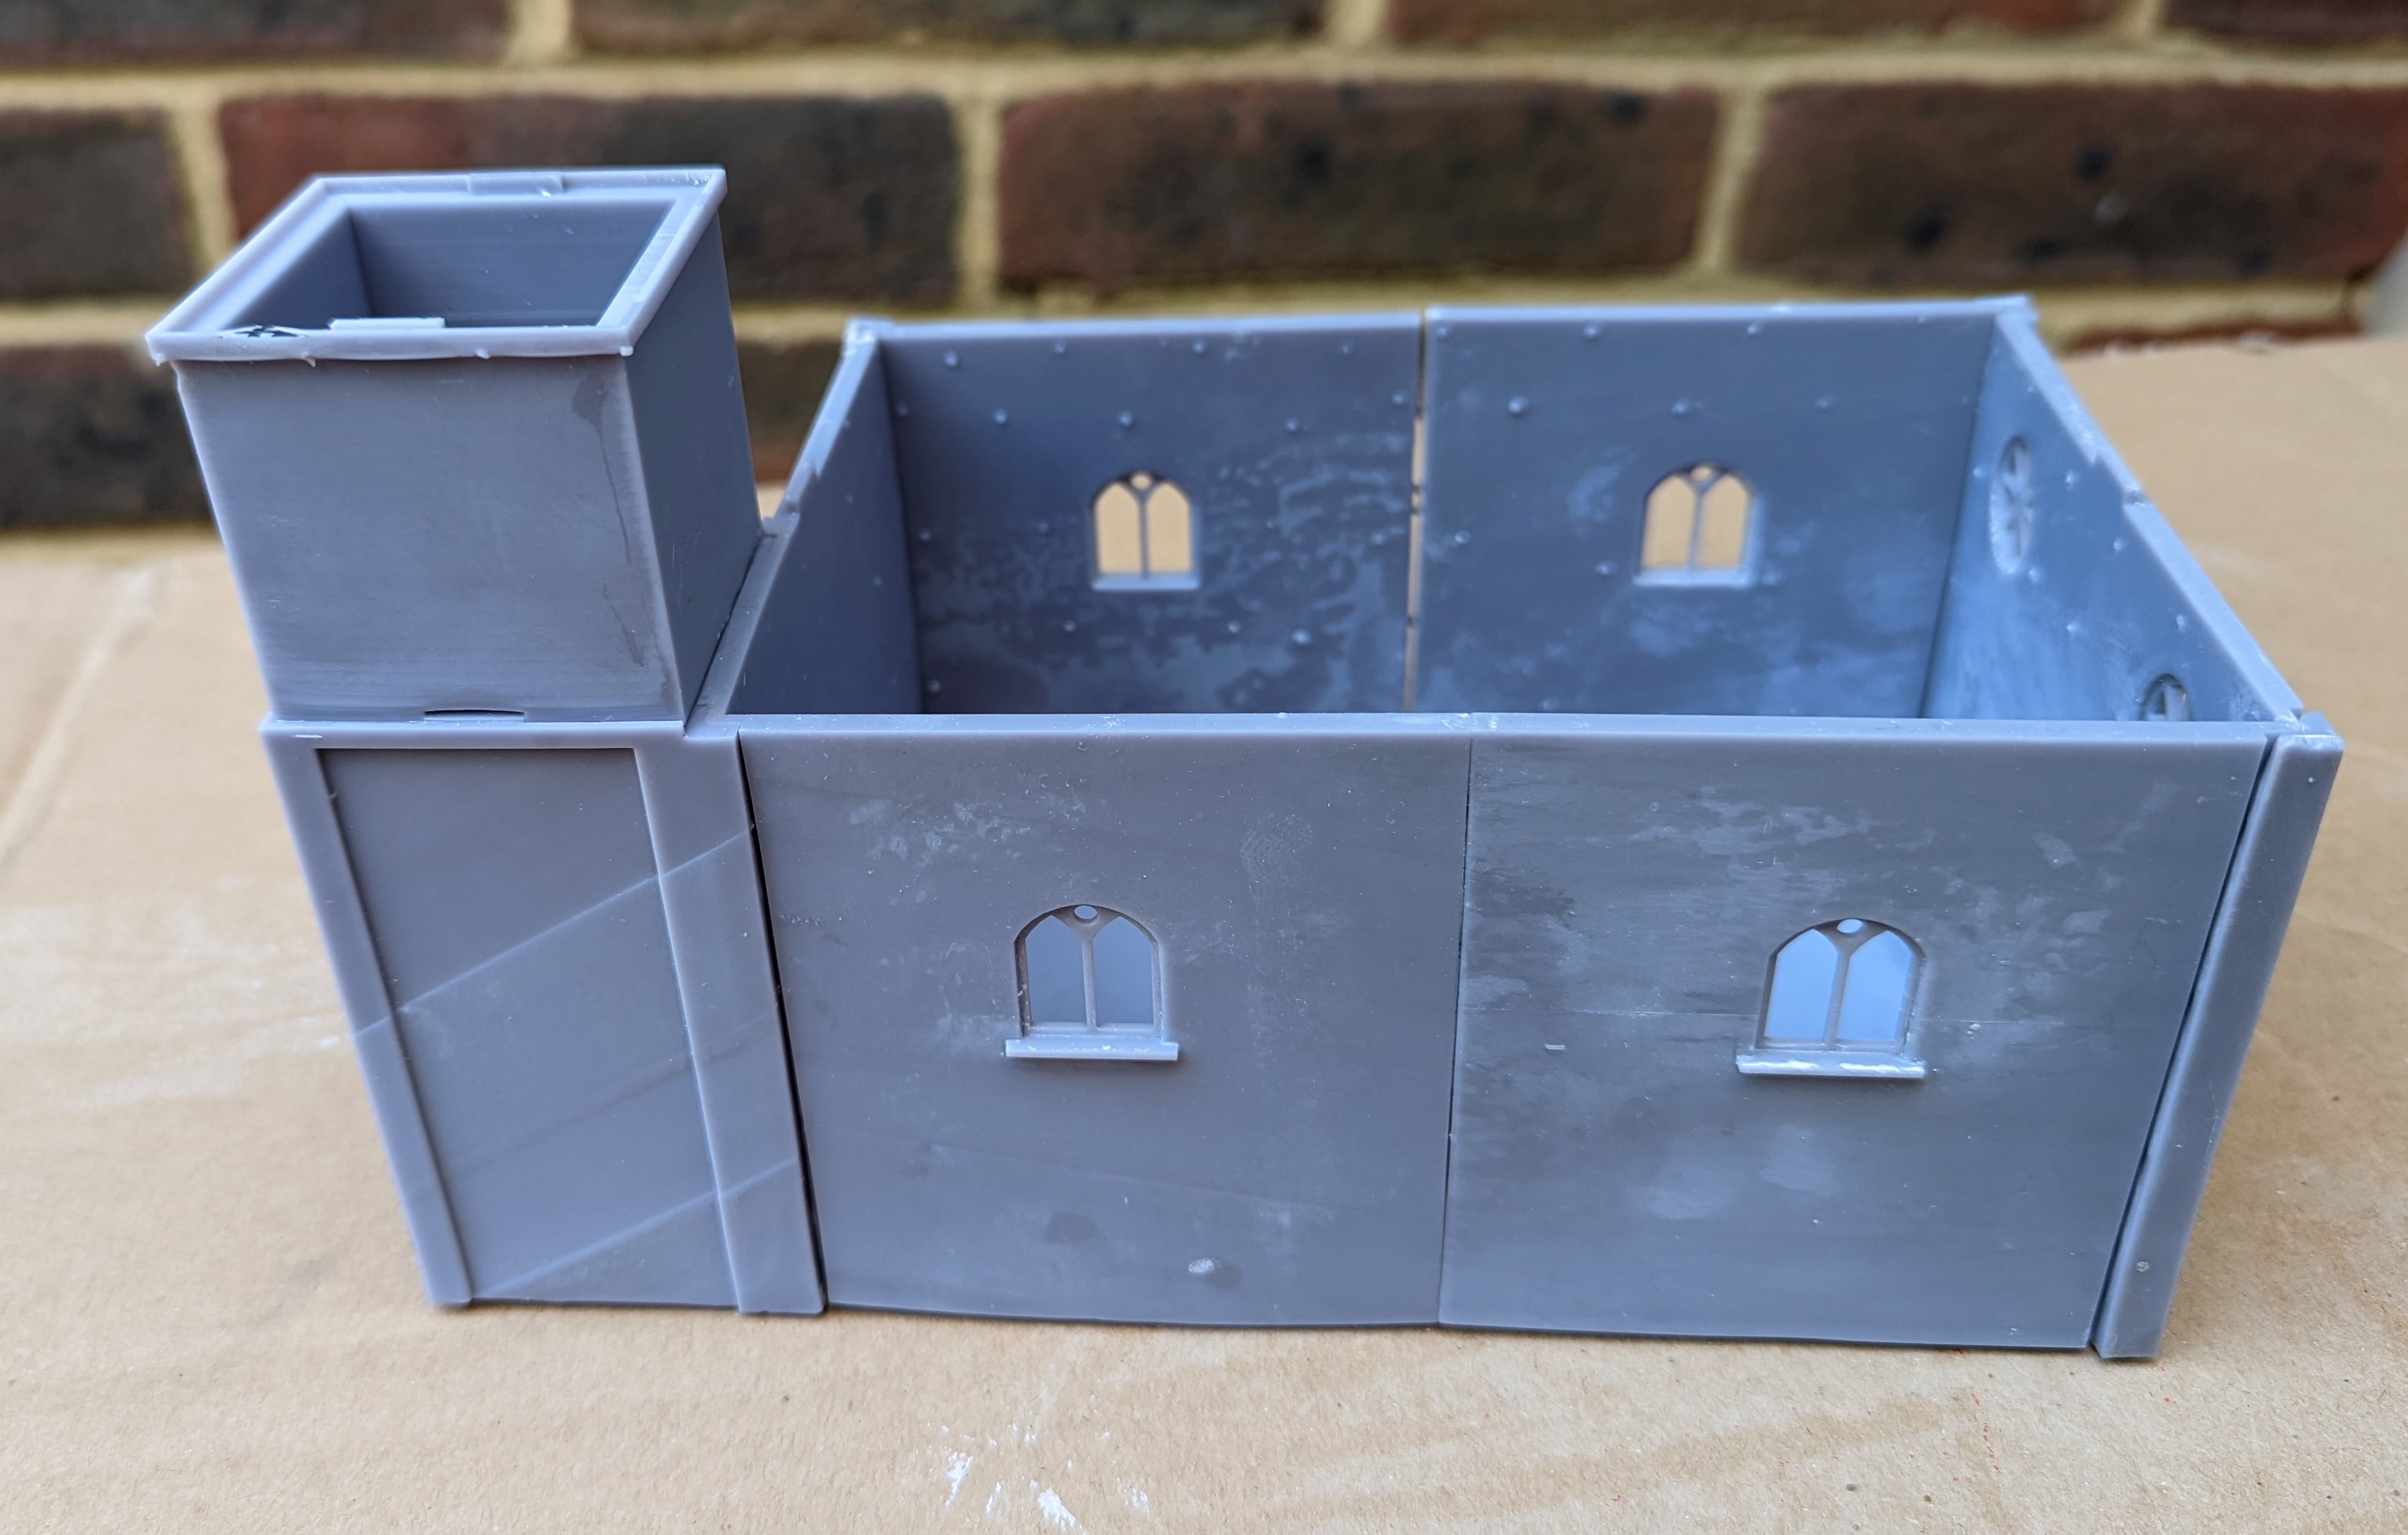
This is too big to fit on the build plate of my printer, so I have constructed it as a flat pack church. Only the tower is printed as complete sections. Here’s all of the elements of the base level of the church and the tower
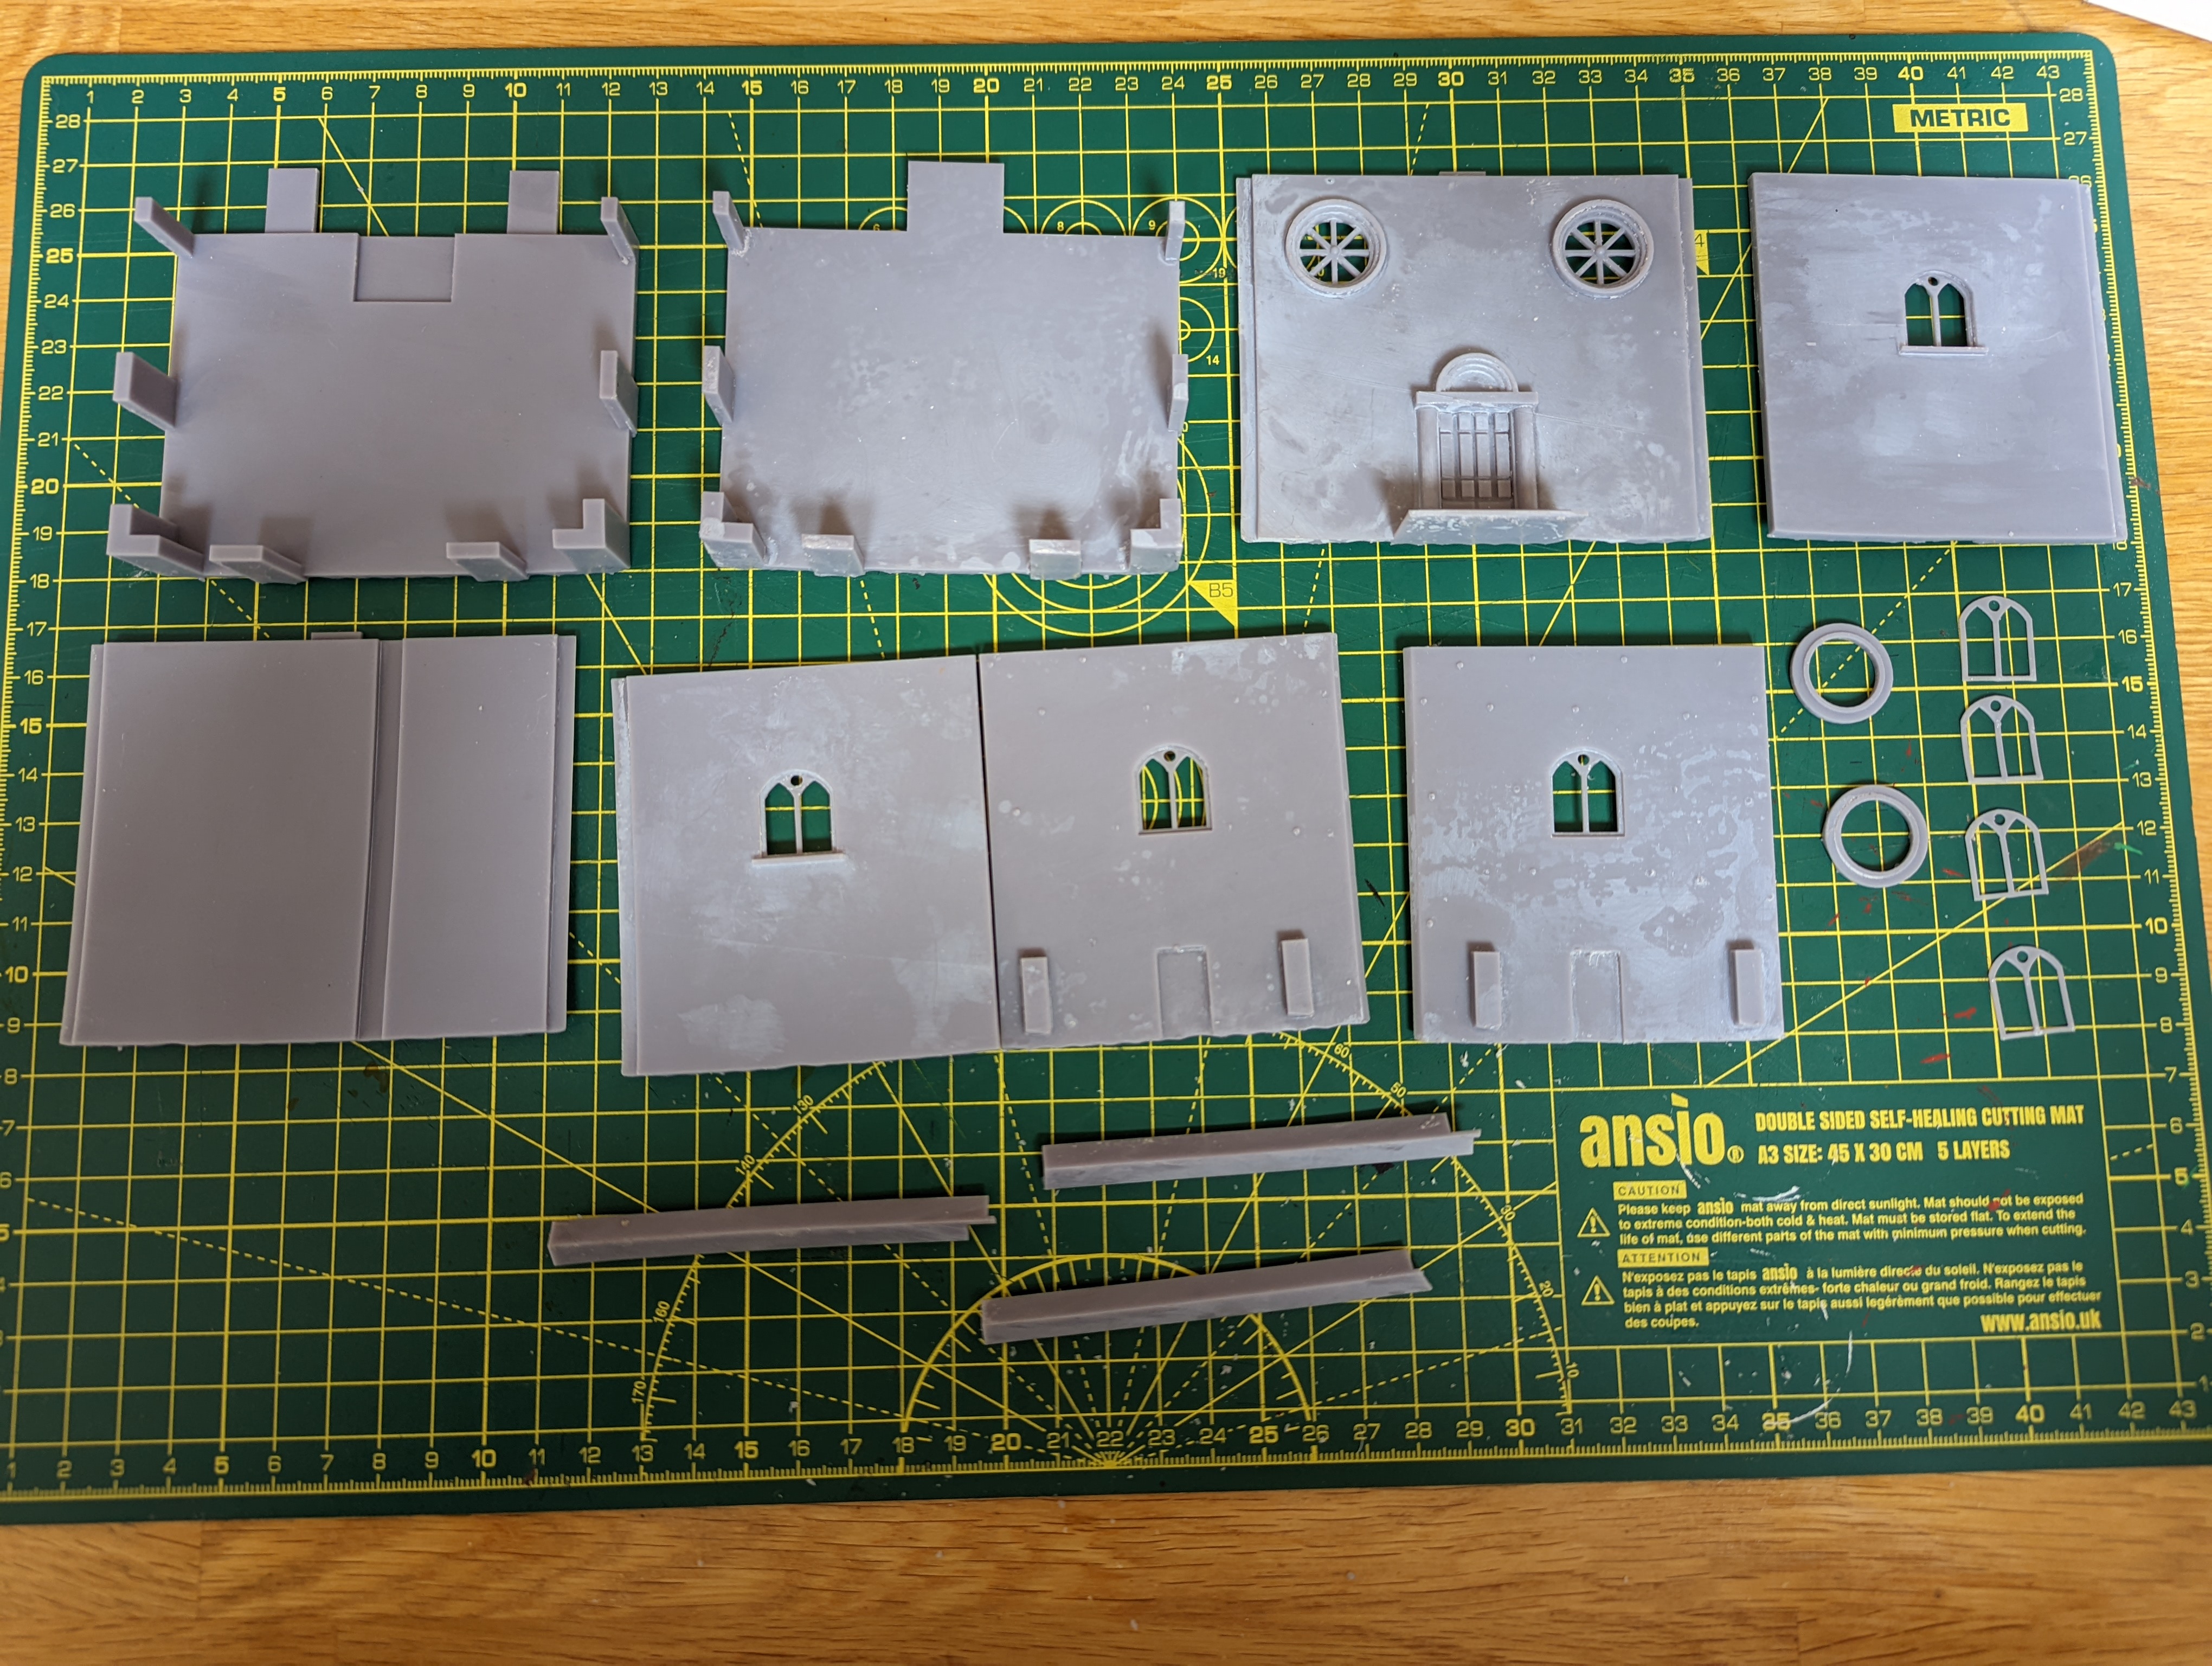 Ikea flat pack church
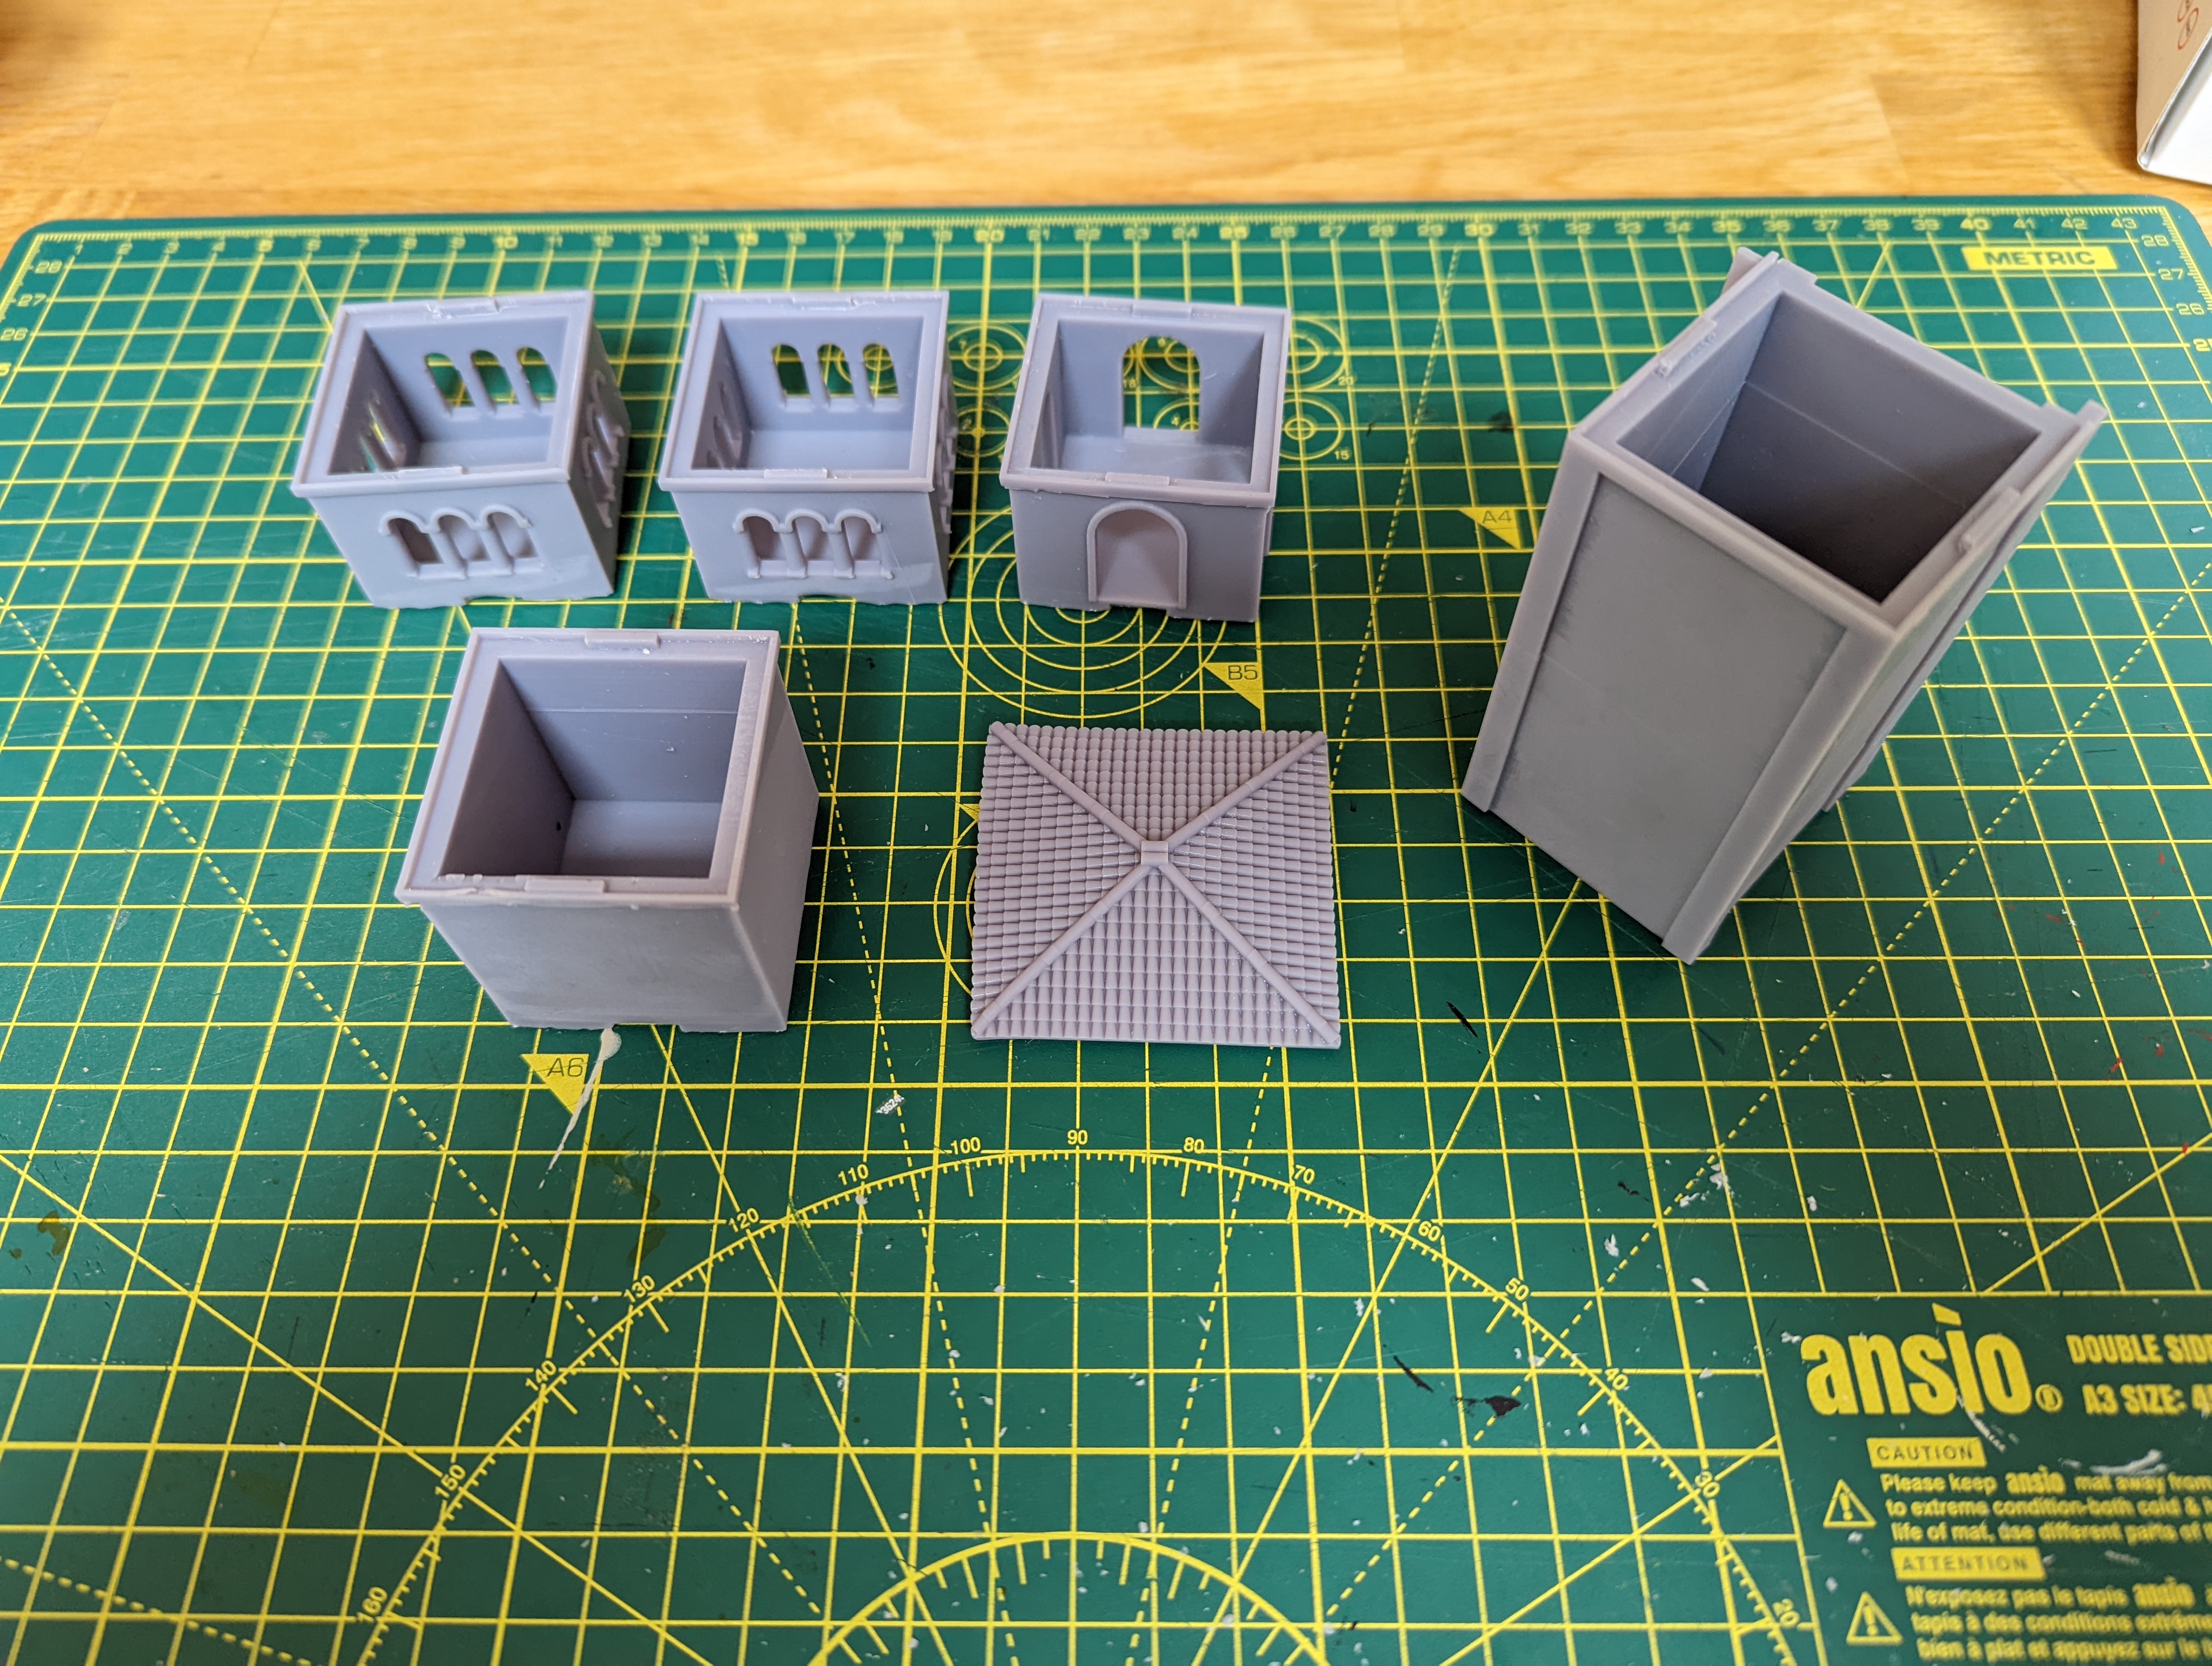 The modular tower. You can print as many layers as you like to get the desired height
This has created problems. Each element is slightly warped from the printing as such large ‘plates’ are thin and get pulled out of line during the printing. With a little bit of warm water and some sanding, I managed to glue most of it together reasonably well. This gave me this
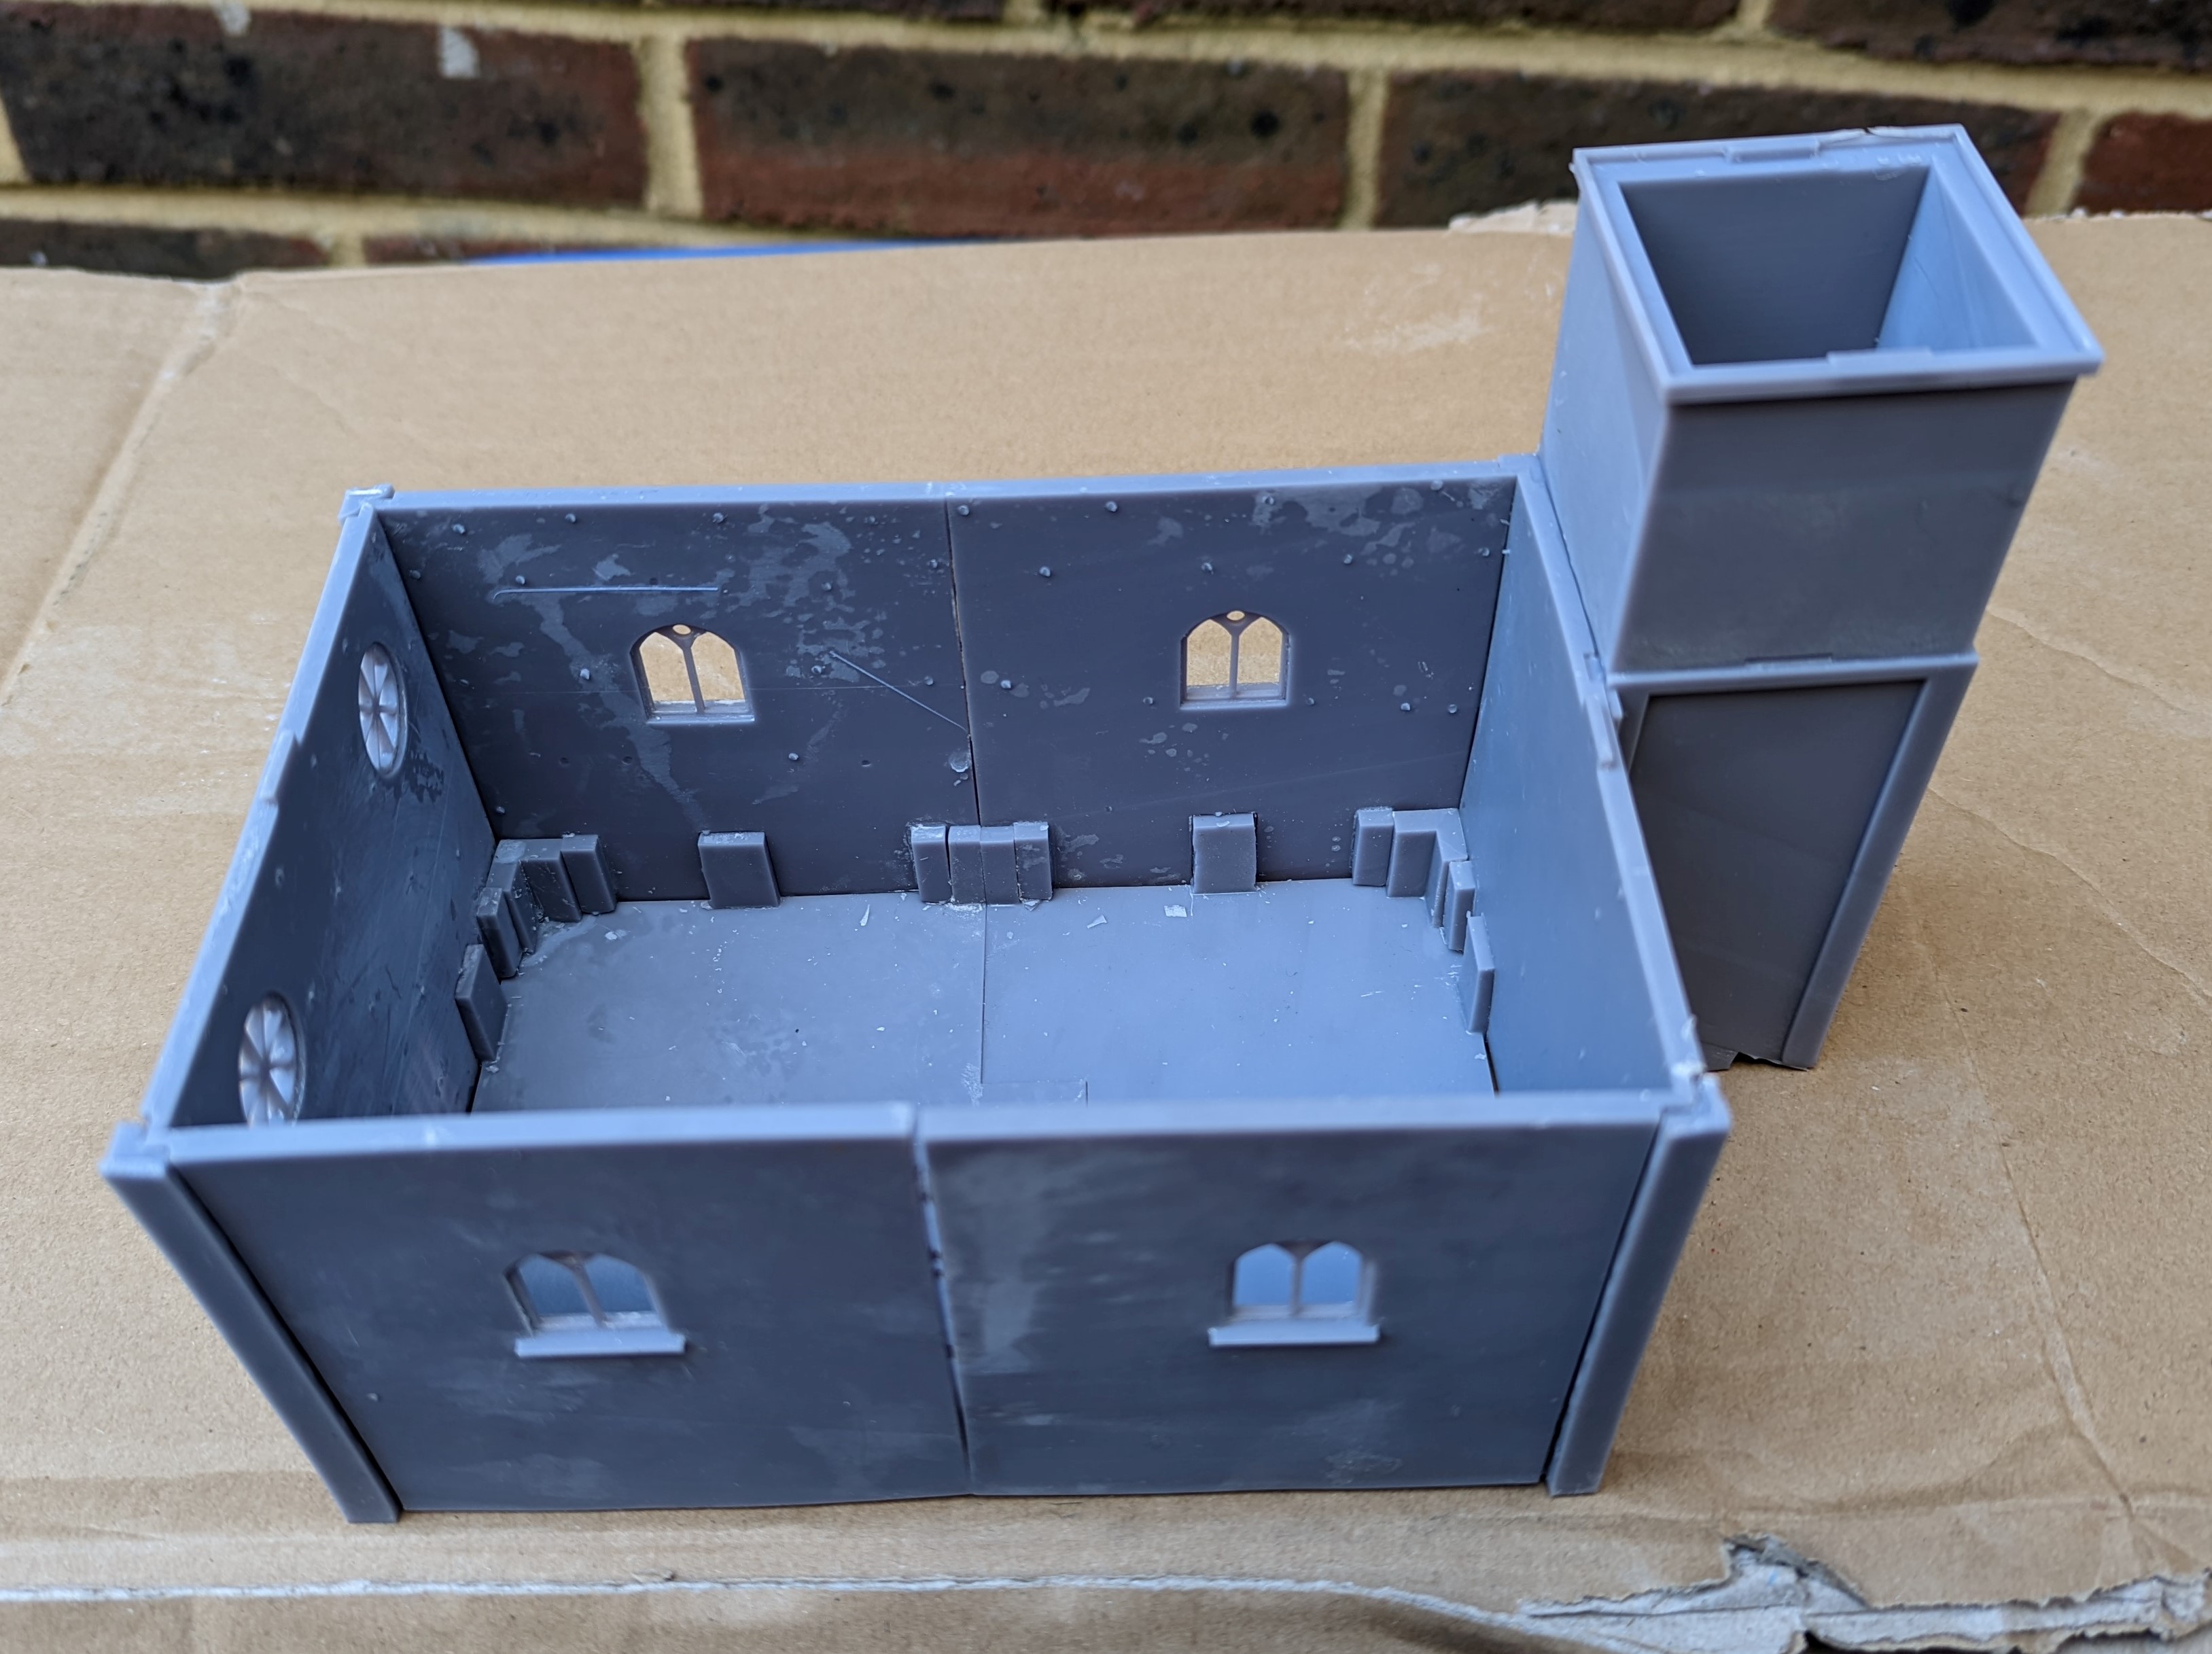
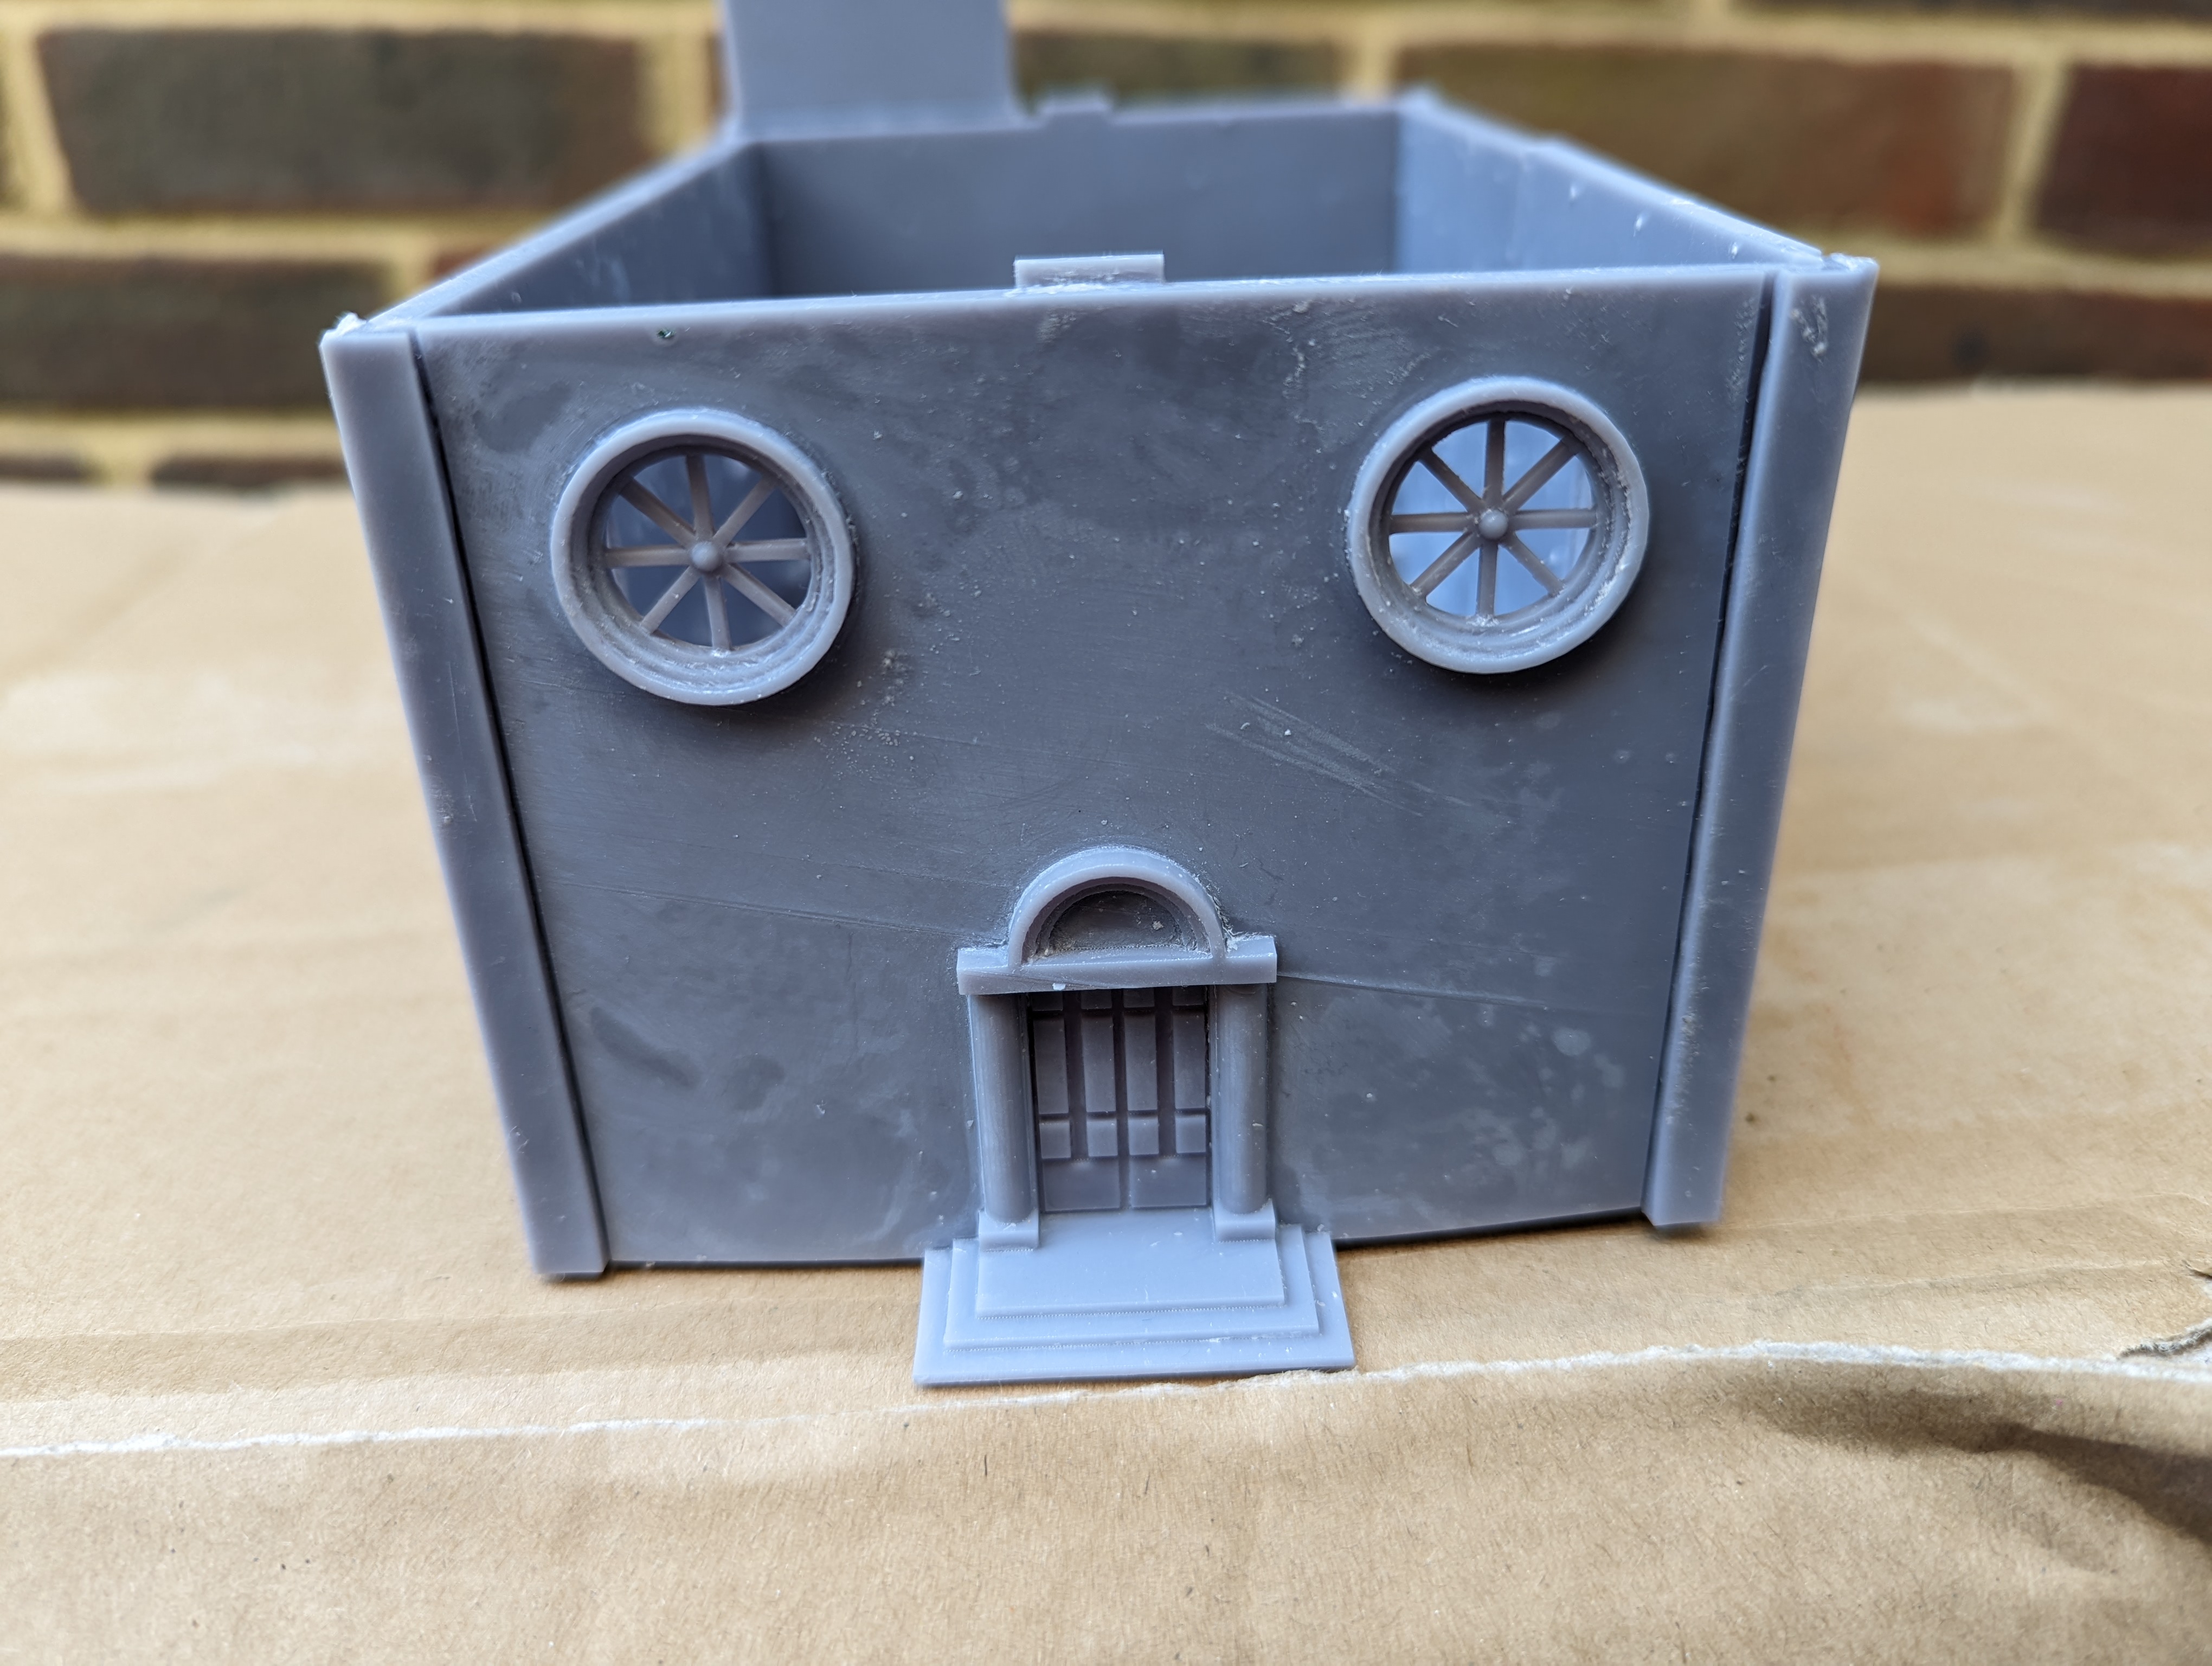
In the above pictures, you can see some gaps areas that just don’t line up. This is frustrating as I digitally built this model in FreeCad to make sure it would work but I must have over estimated either my printers accuracy or my ability to 3d print. But I’m hoping that the gaps can be filled and the end result isn’t too bad.
However, the flat pack roof was a disaster. It was very out of alignment and when placed on the church, just looks dreadful. You can see this in the pictures below.

I’m going to have to re-print the roof. I think that if I construct the parts together in FreeCad and then arrange them carefully on the build plate, I might be able to print them in one complete unit. That’s my next job.
Town Hall
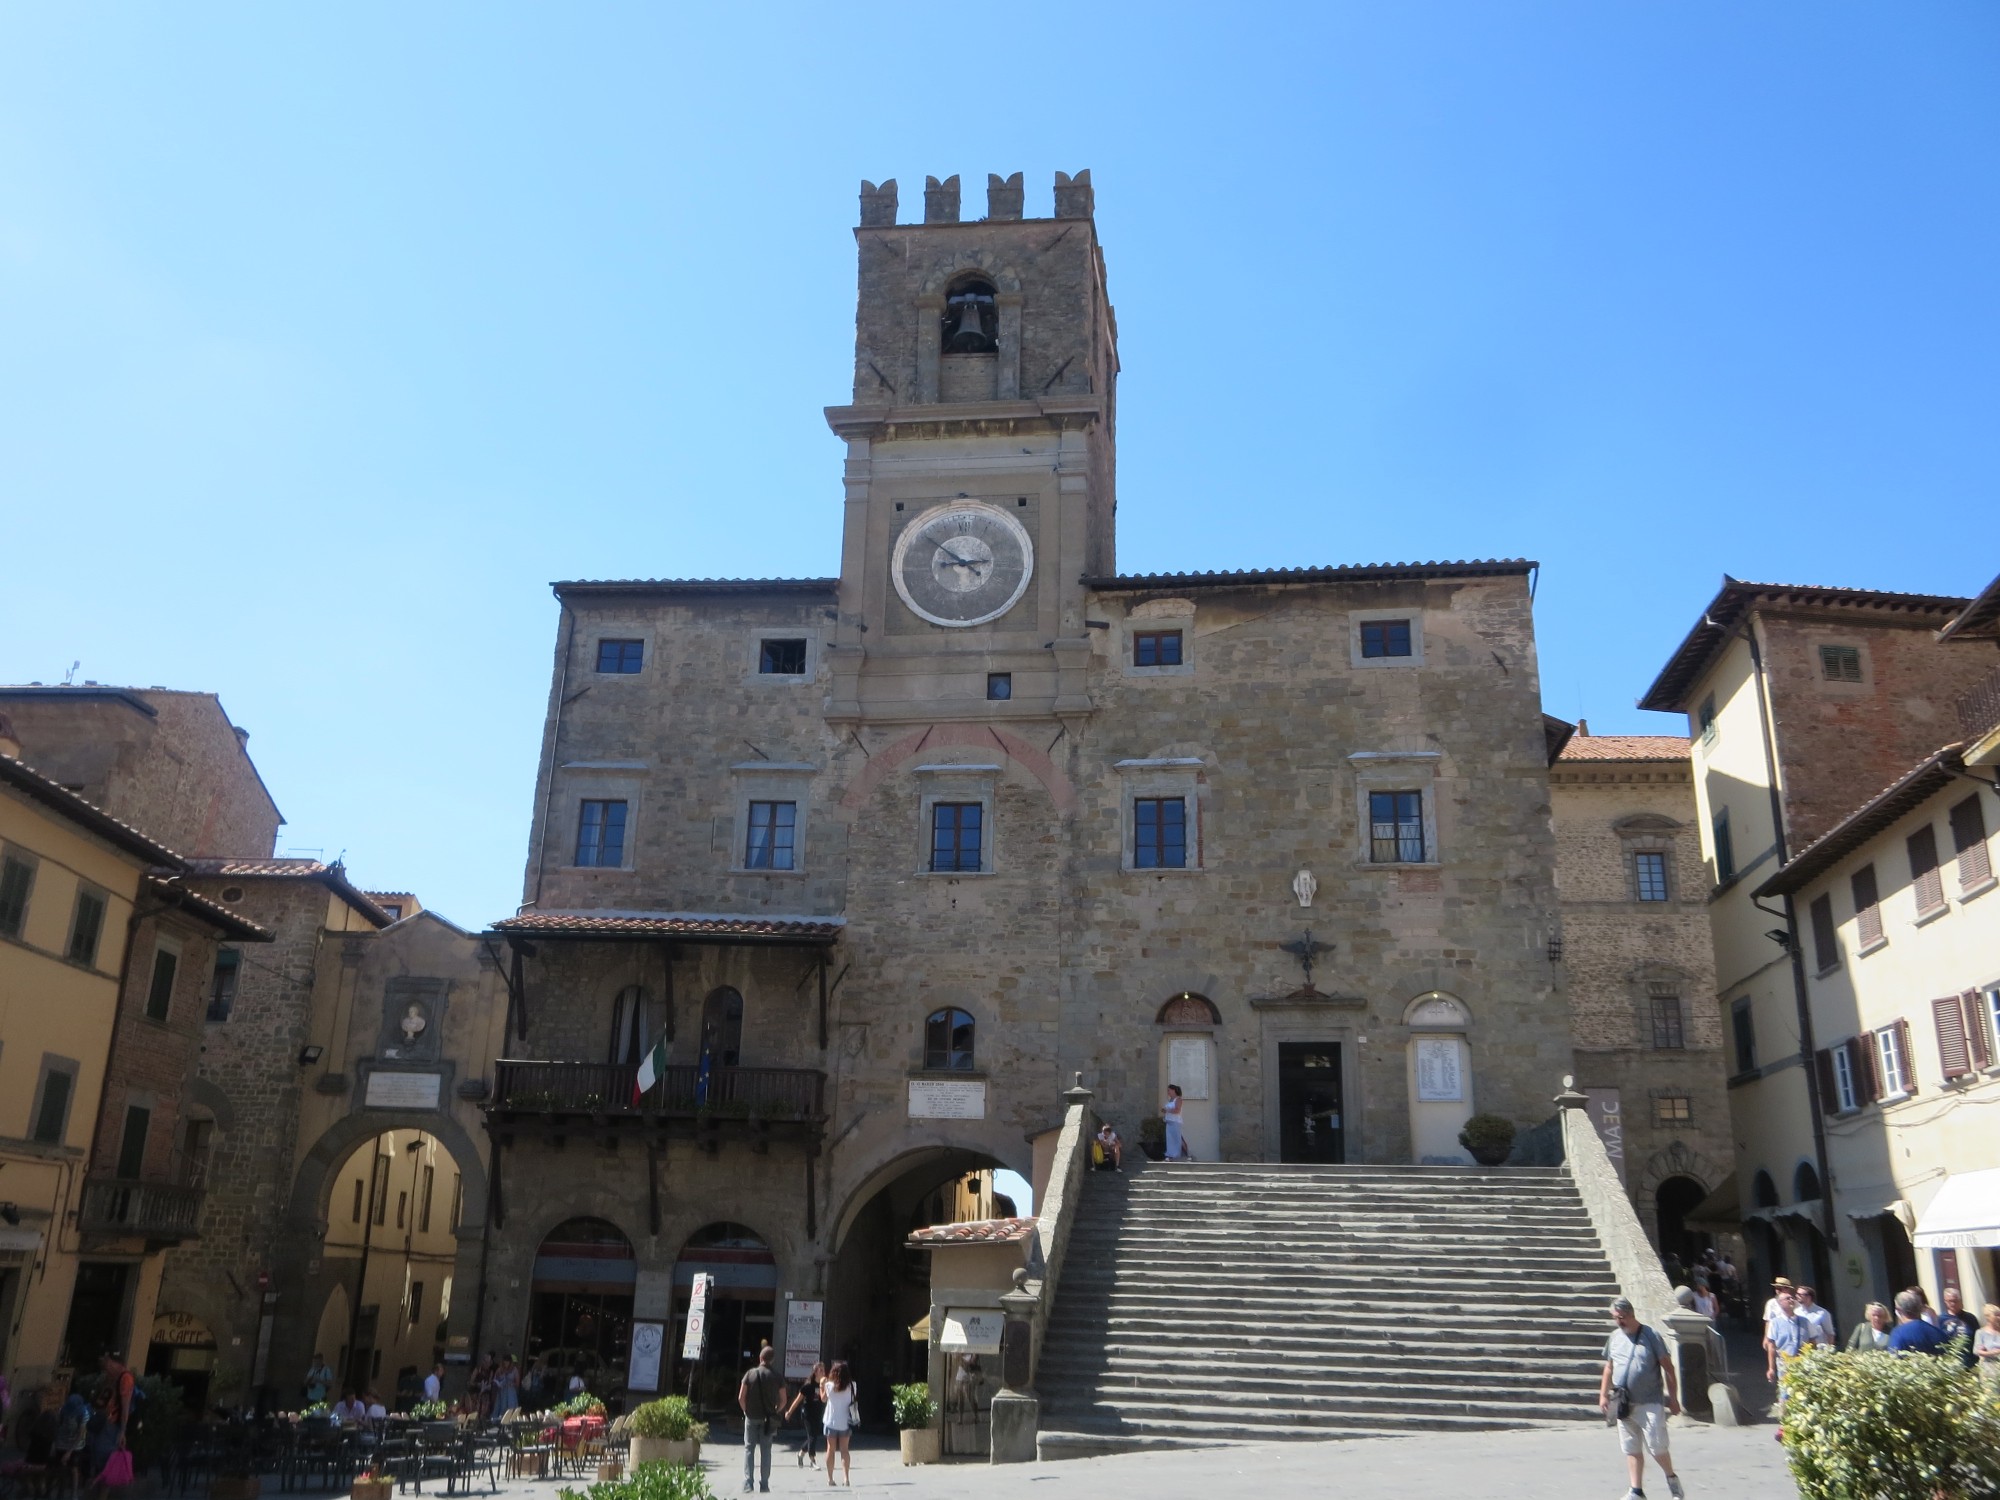
A long time ago now, I designed the Town Hall in FreeCAD. I used Cortona’s town hall as the basis and came up with the following.

Having gained some experience of printing resin buildings on the 3d printer, this would be the most challenging yet. Firstly, it’s the largest building that I’ve attempted to print. Secondly, the footprint of each floor doesn’t fit onto the build plate without some offsetting and printing at an angle. The ground floor will also have to be printed in two separate sections, with the stairs separate.
I also reviewed the cad diagram and decided that the front of the stairs looked a bit plain, so I designed a fountain/water trough thing to attach to it. And then printed these out.
 Stairs and water feature
Now to print each floor. Each print took around 6 hours to complete and there was, annoyingly, some slight warping. I think this was due to the size and weight of each print and the supports. I probably needed more supports. But overall, it wasn’t too bad and I was able to gently de-warp them with some warm water. It’s not perfect, but good enough.
Here’s all of the floors after printing.
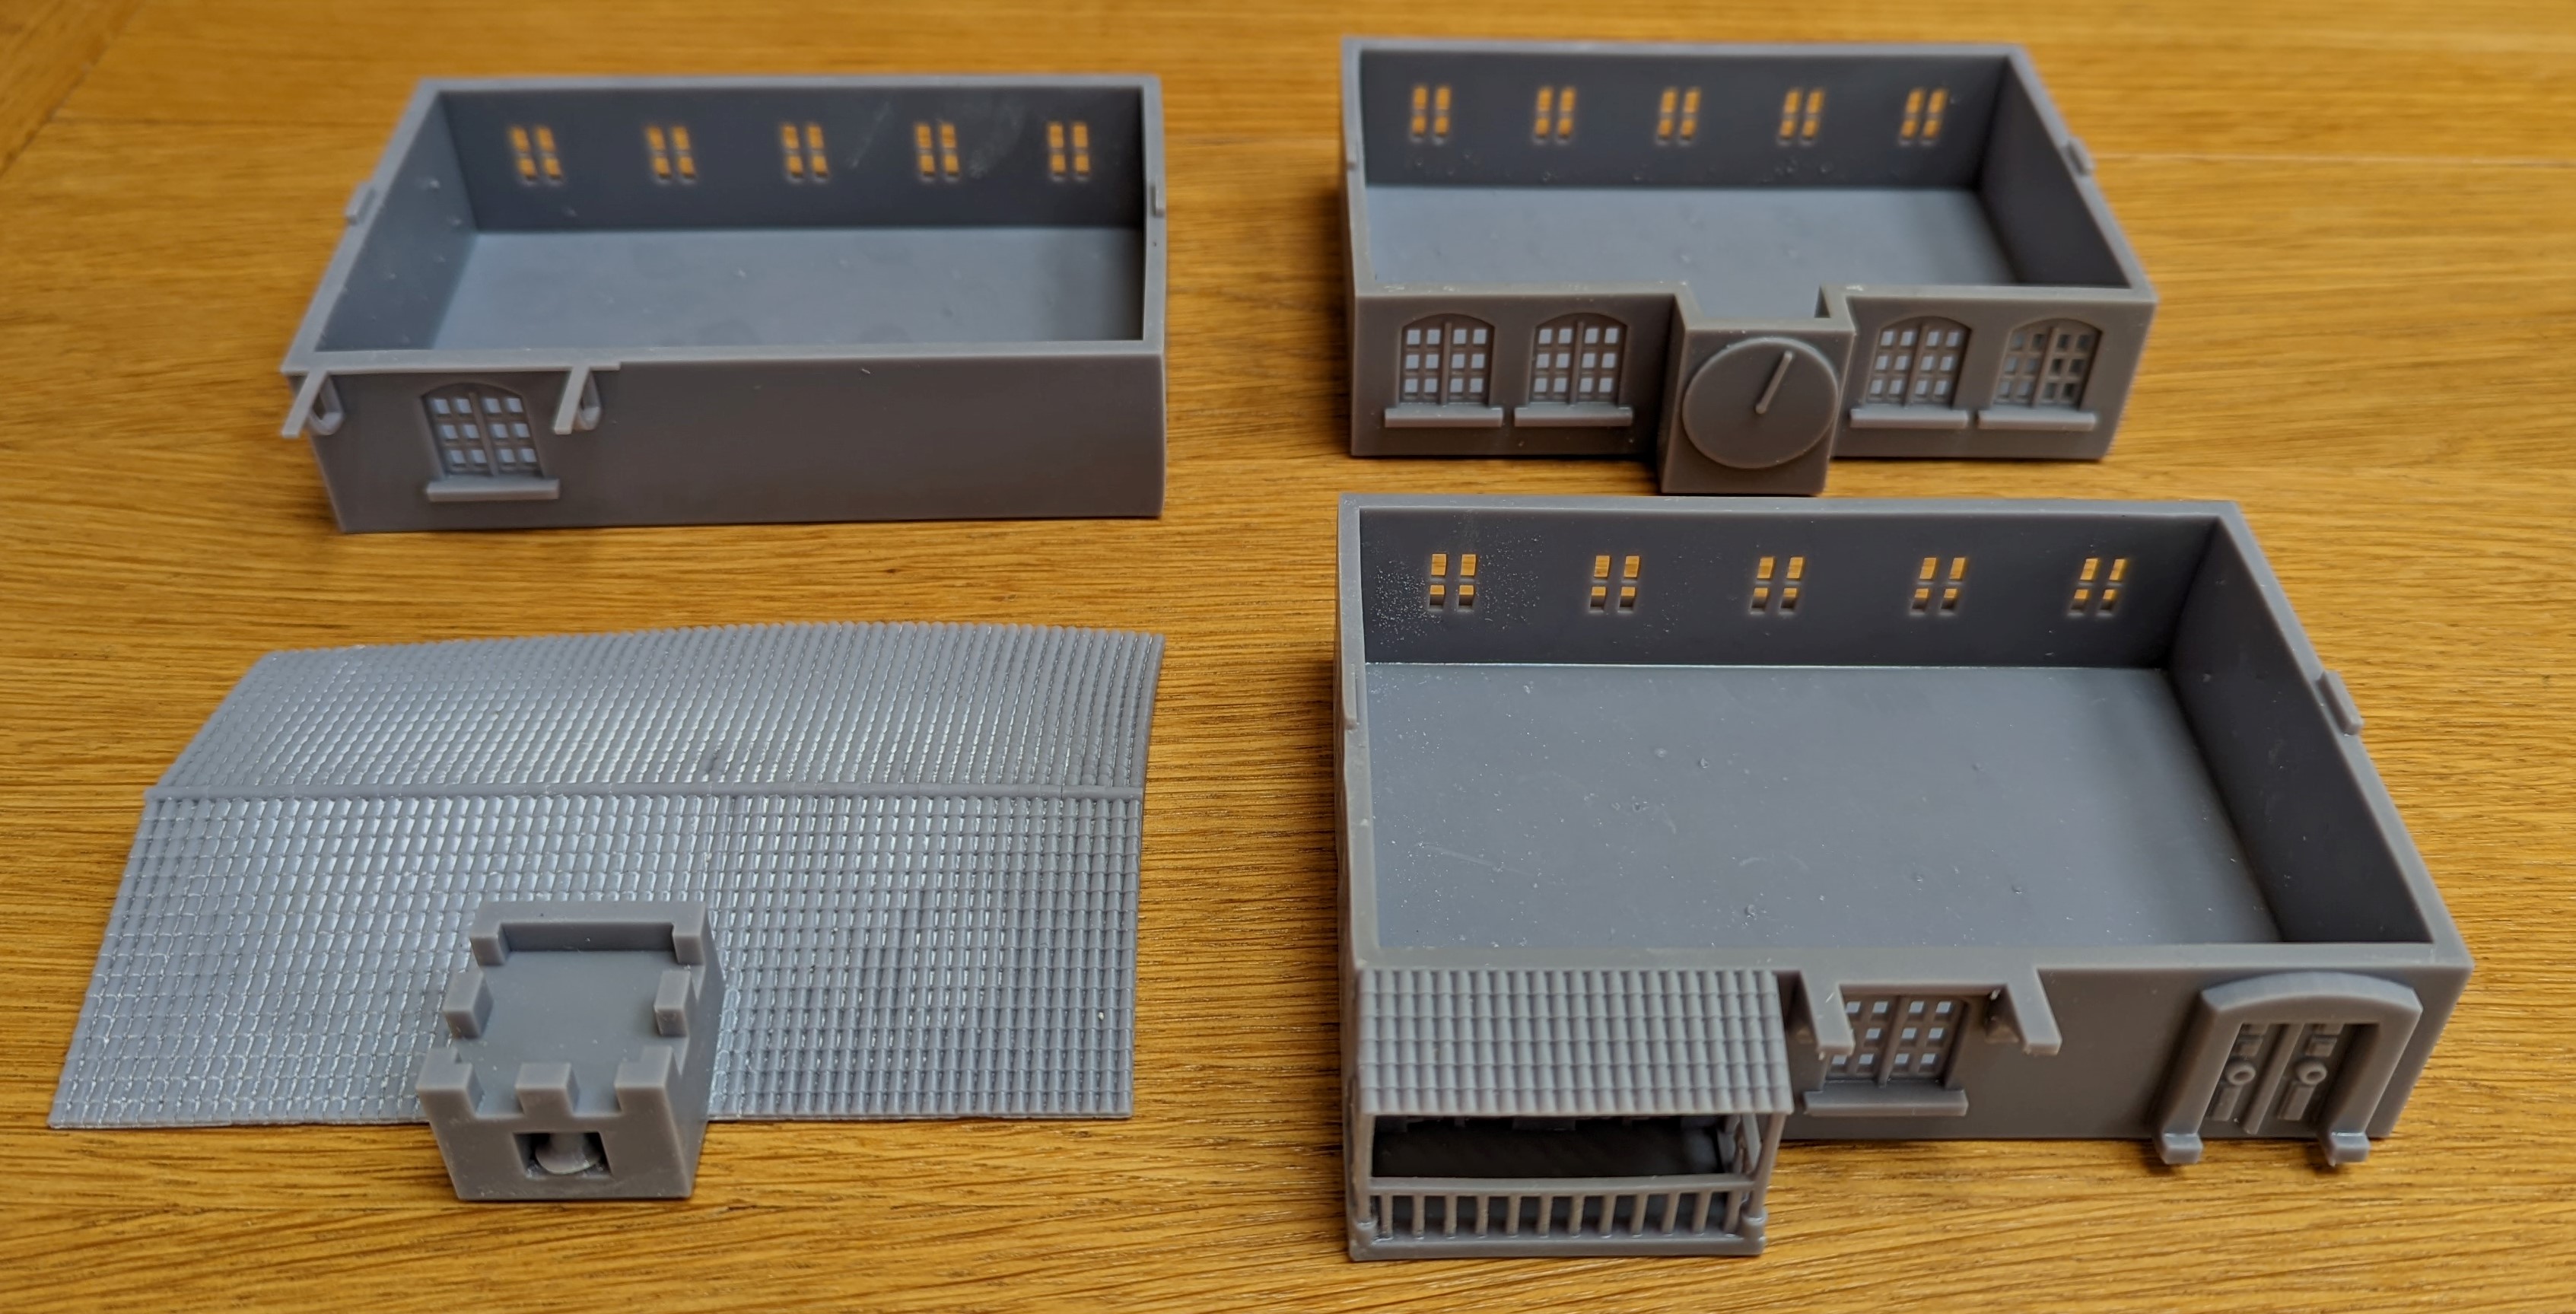
With a little bit of sanding and some gentle cutting in a few select places, I now have my Town Hall. I’m quite chuffed with this.
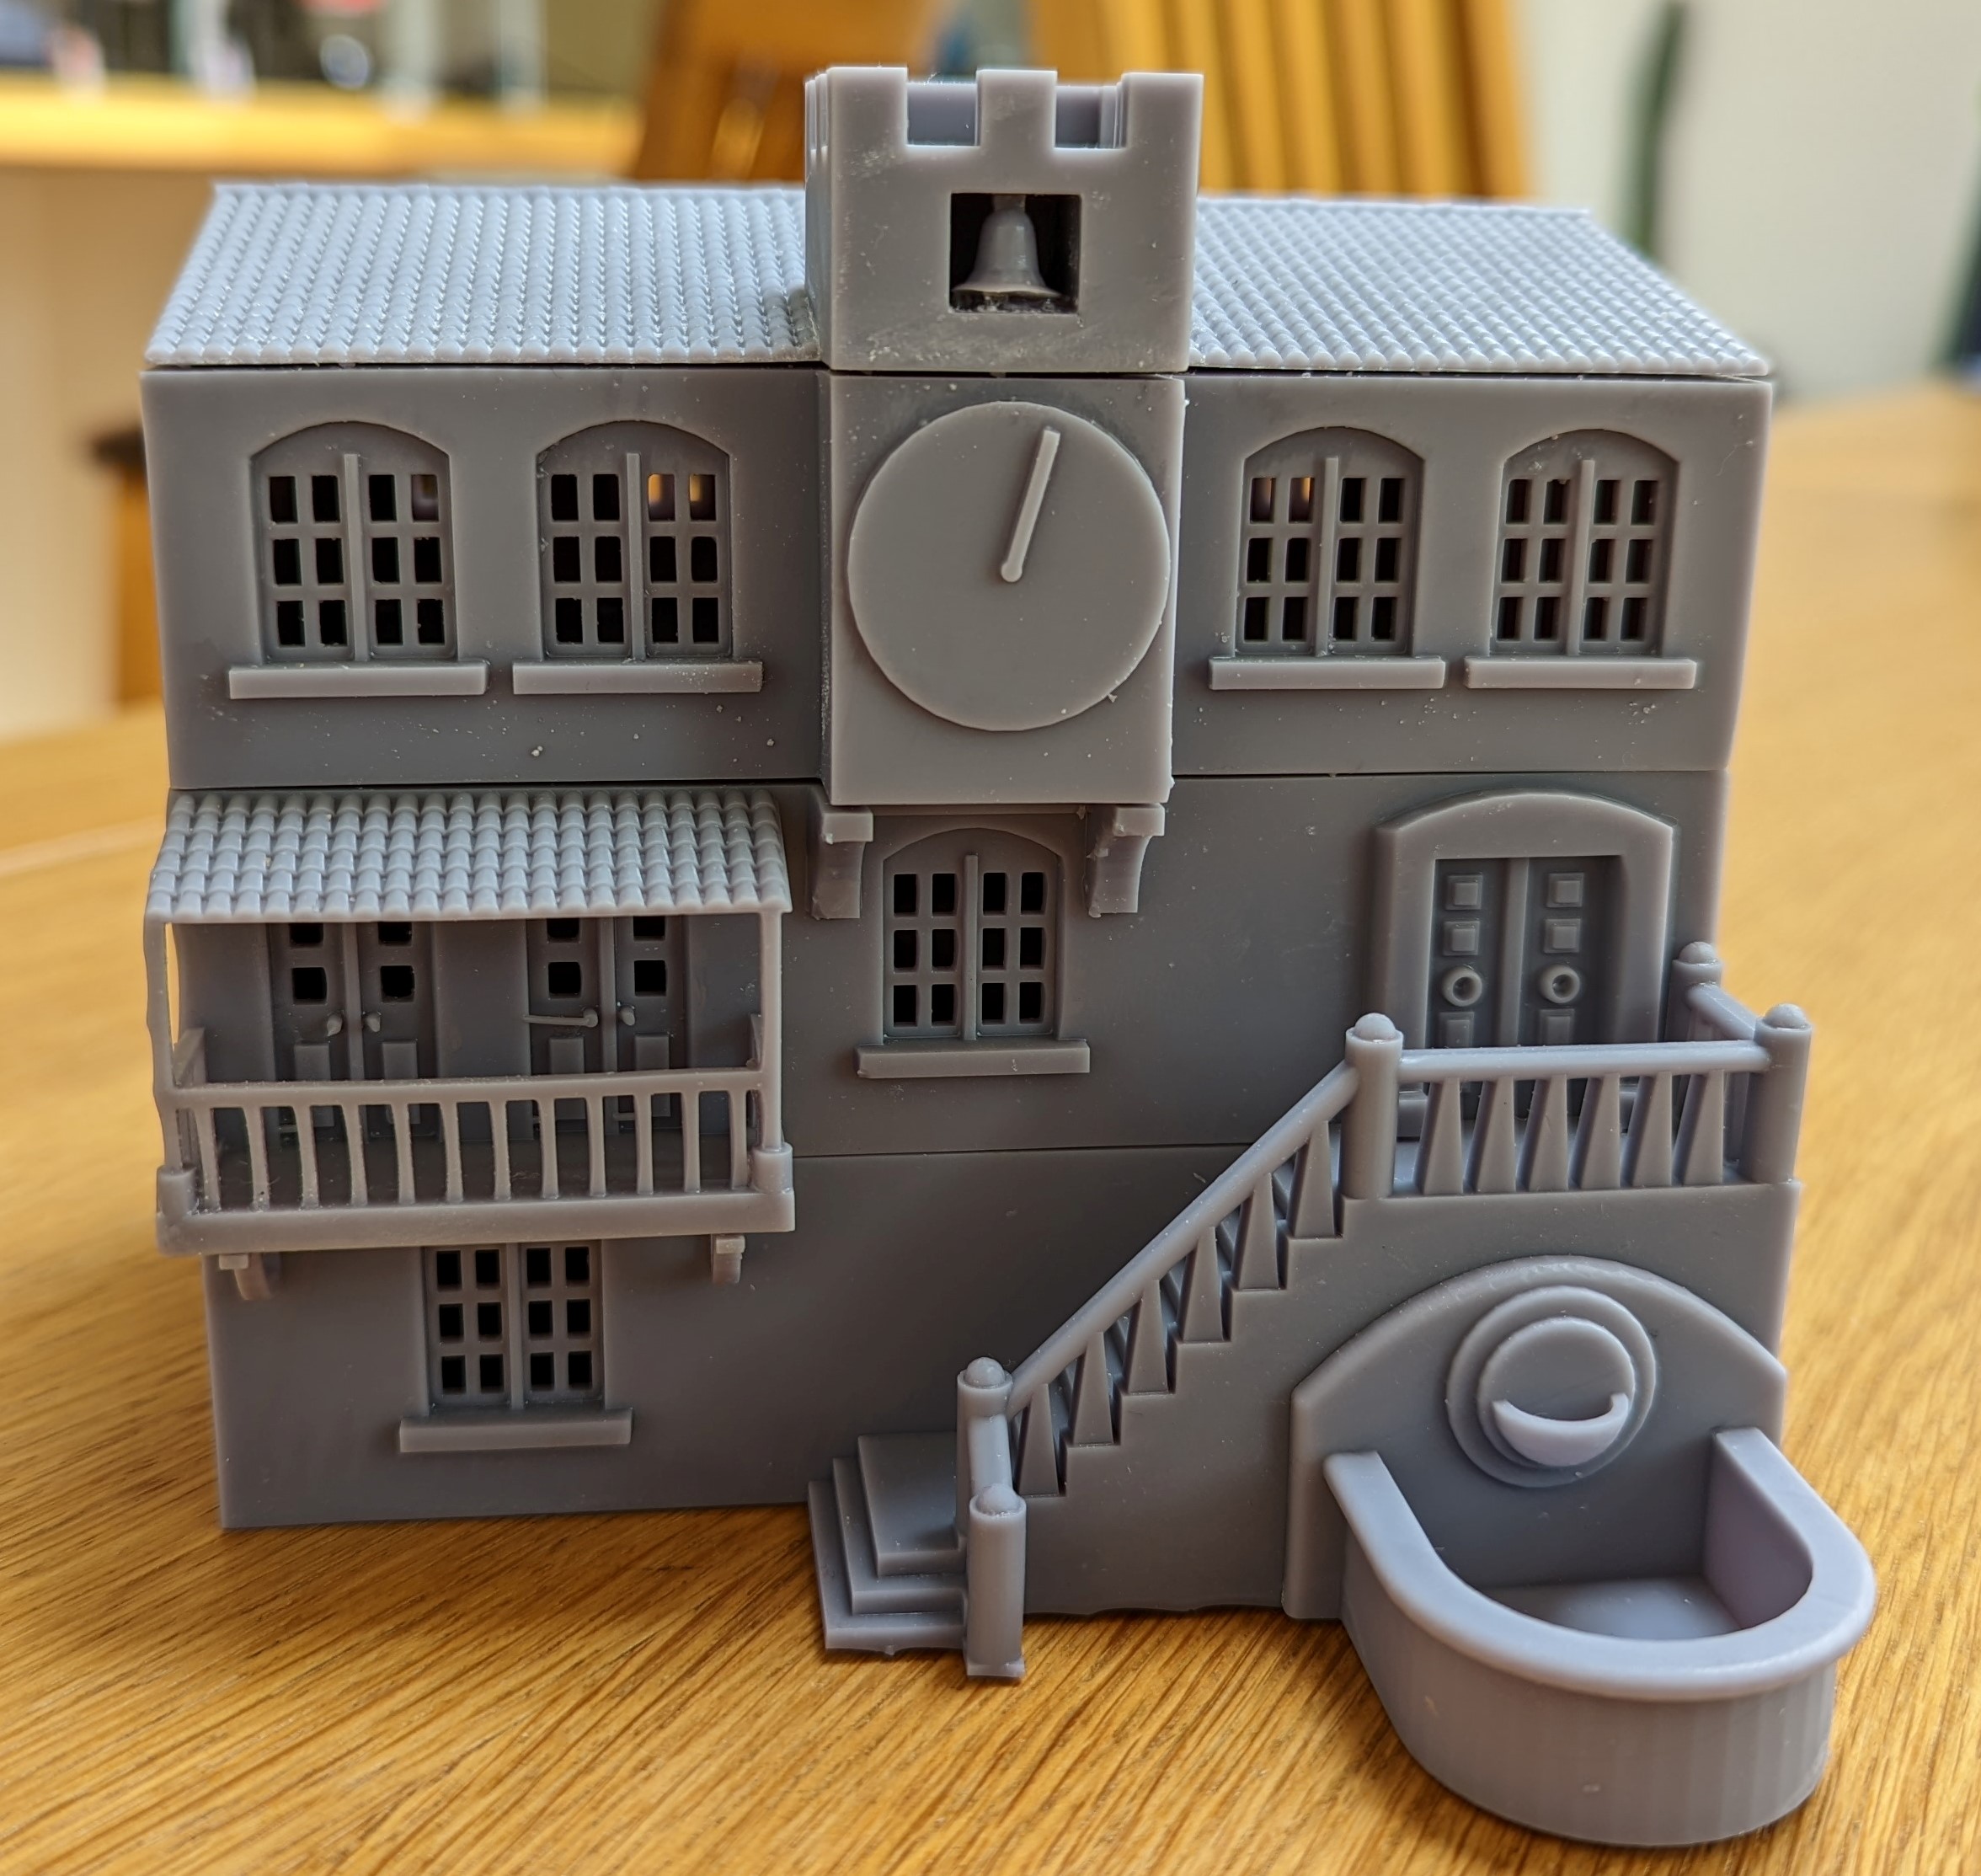
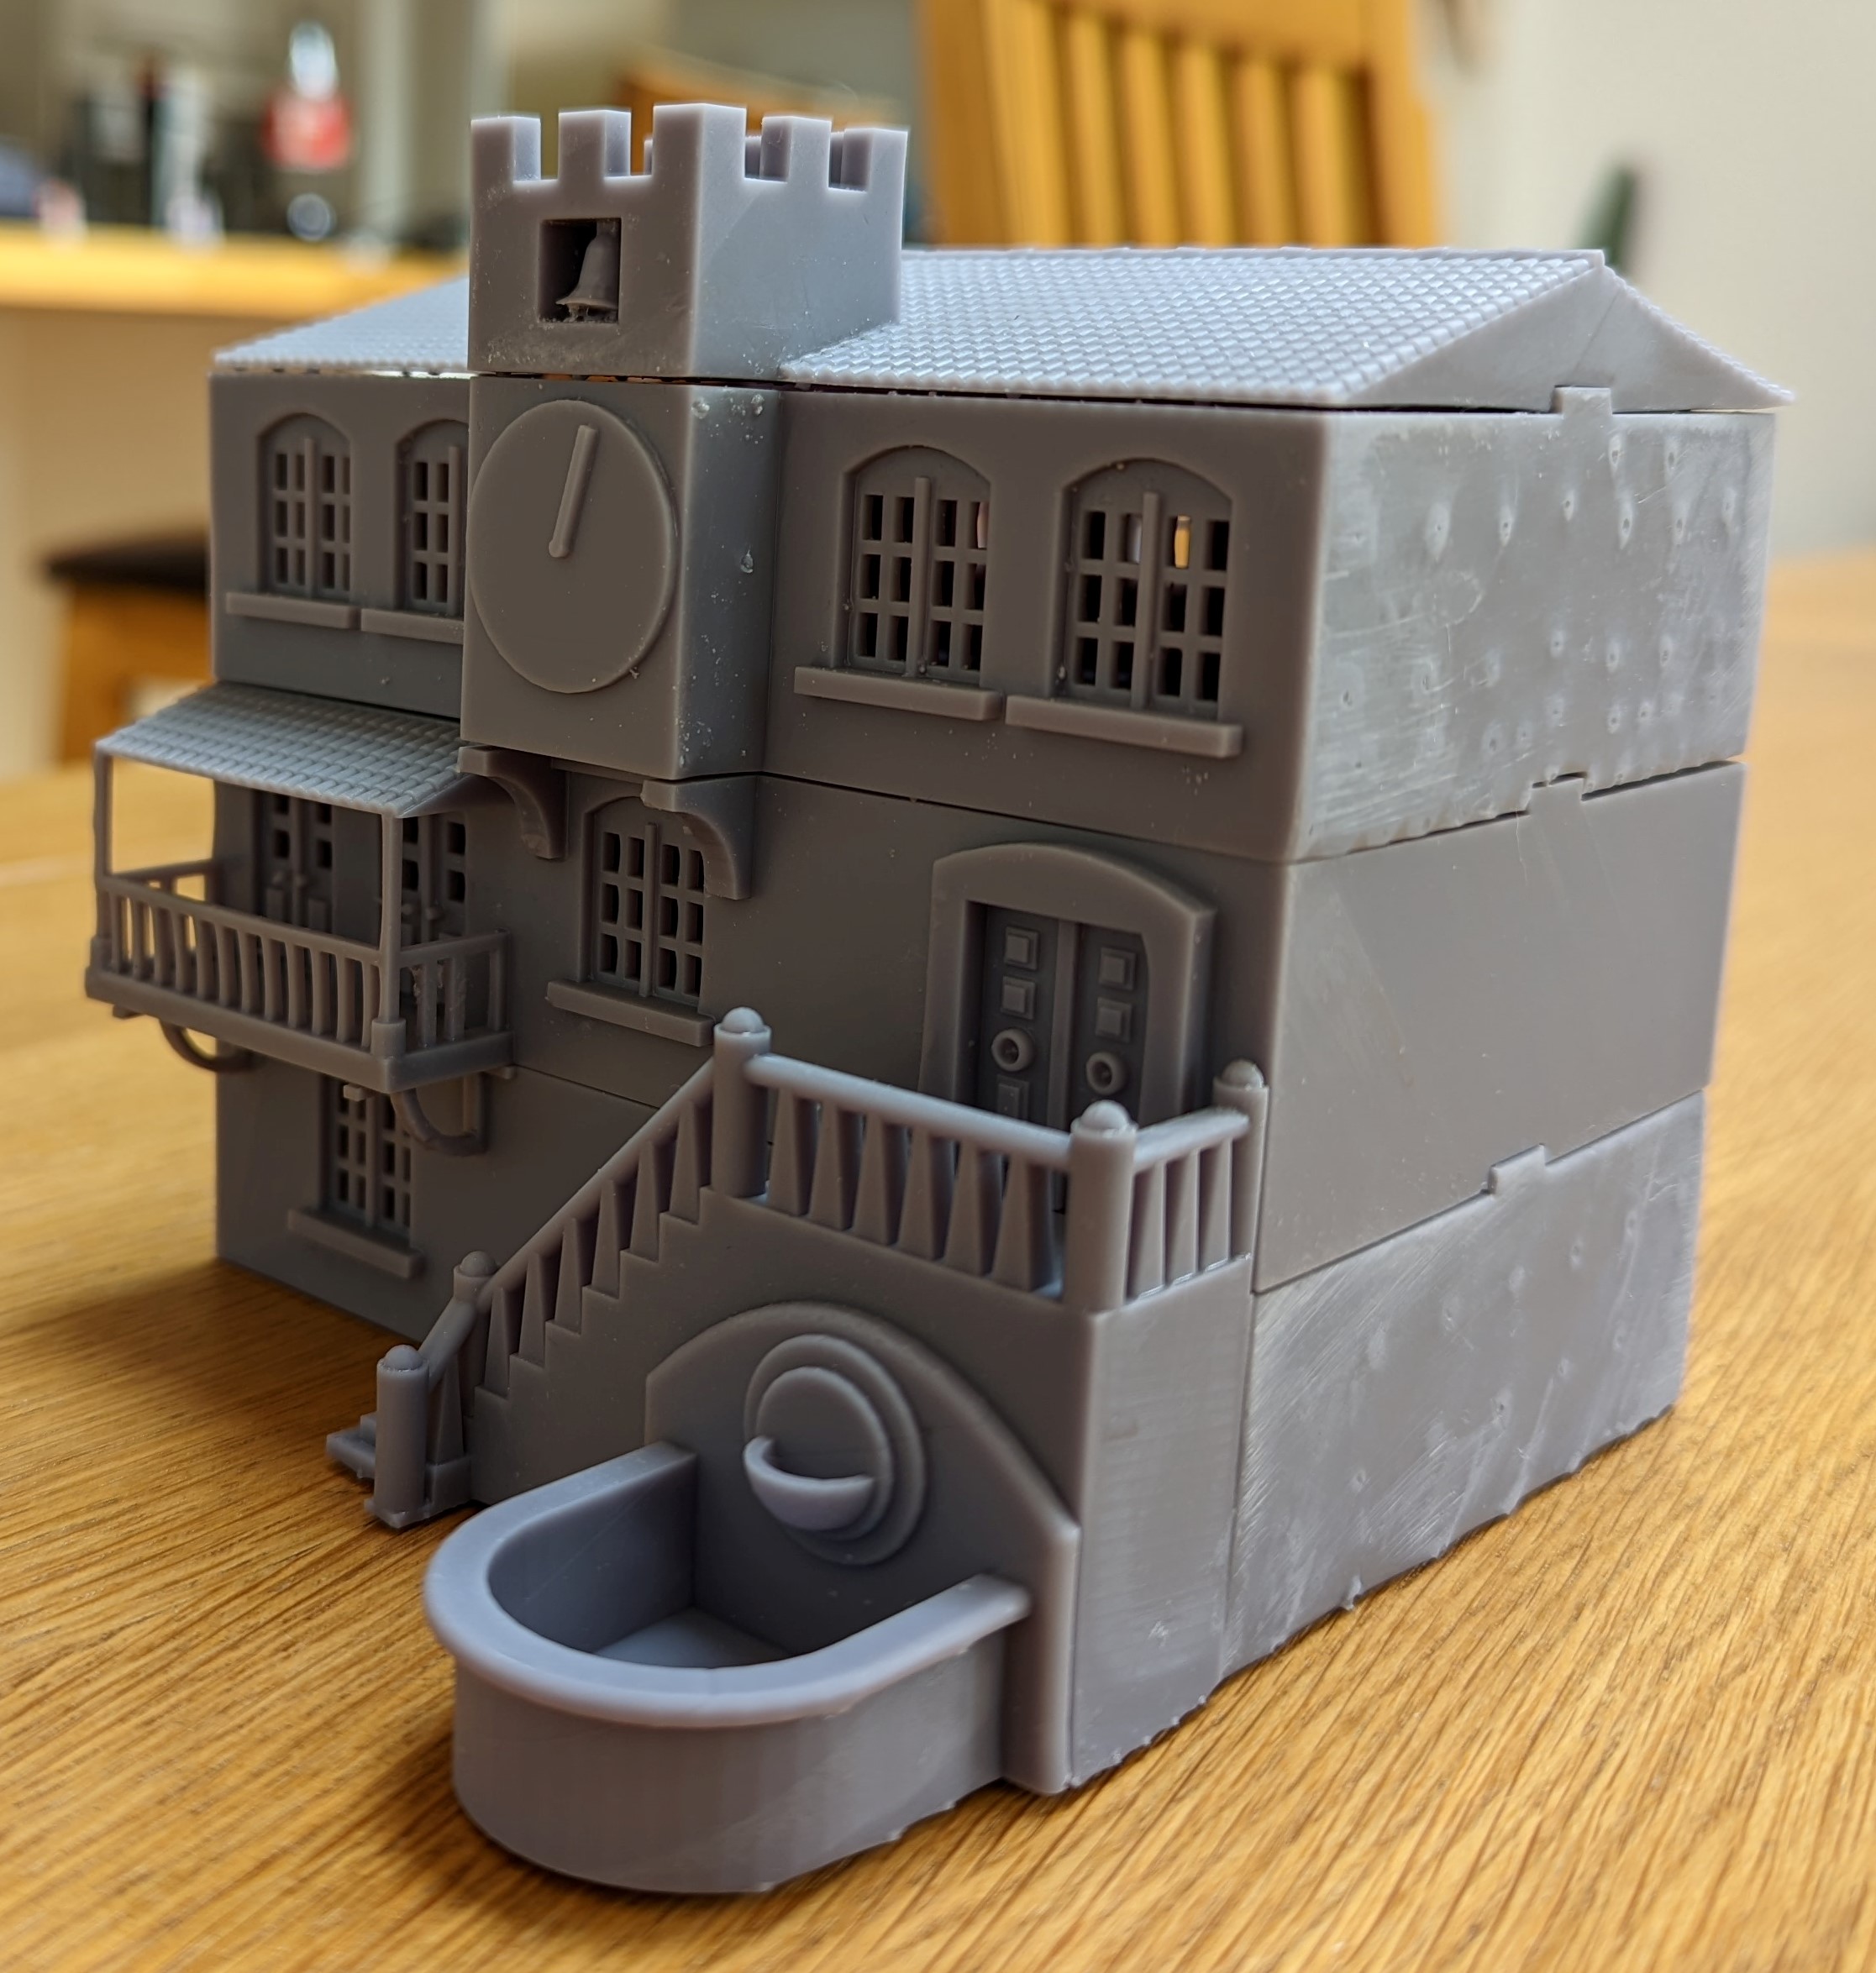
 Lloyd Shot
The really eagle eyed probably spotted that the clock only has one hand. I could claim that the time is 12:03 and the minute hand is covering the hour hand but in truth, I forgot to add the hour hand in the design process. I’ll have to make one out of plasticard and glue it on before painting.
That’s the penultimate building printed out. The last building is the church. I’ve been leaving this until last to get some experience but also to put off what it a very daunting print. I had to design the entire building as a 3d jigsaw as I knew it would be too big to print in one piece. And if I’ve got anything wrong, it will be a very time consuming task to correct it in the cad drawings. But time to give it a go and see how it turns out……
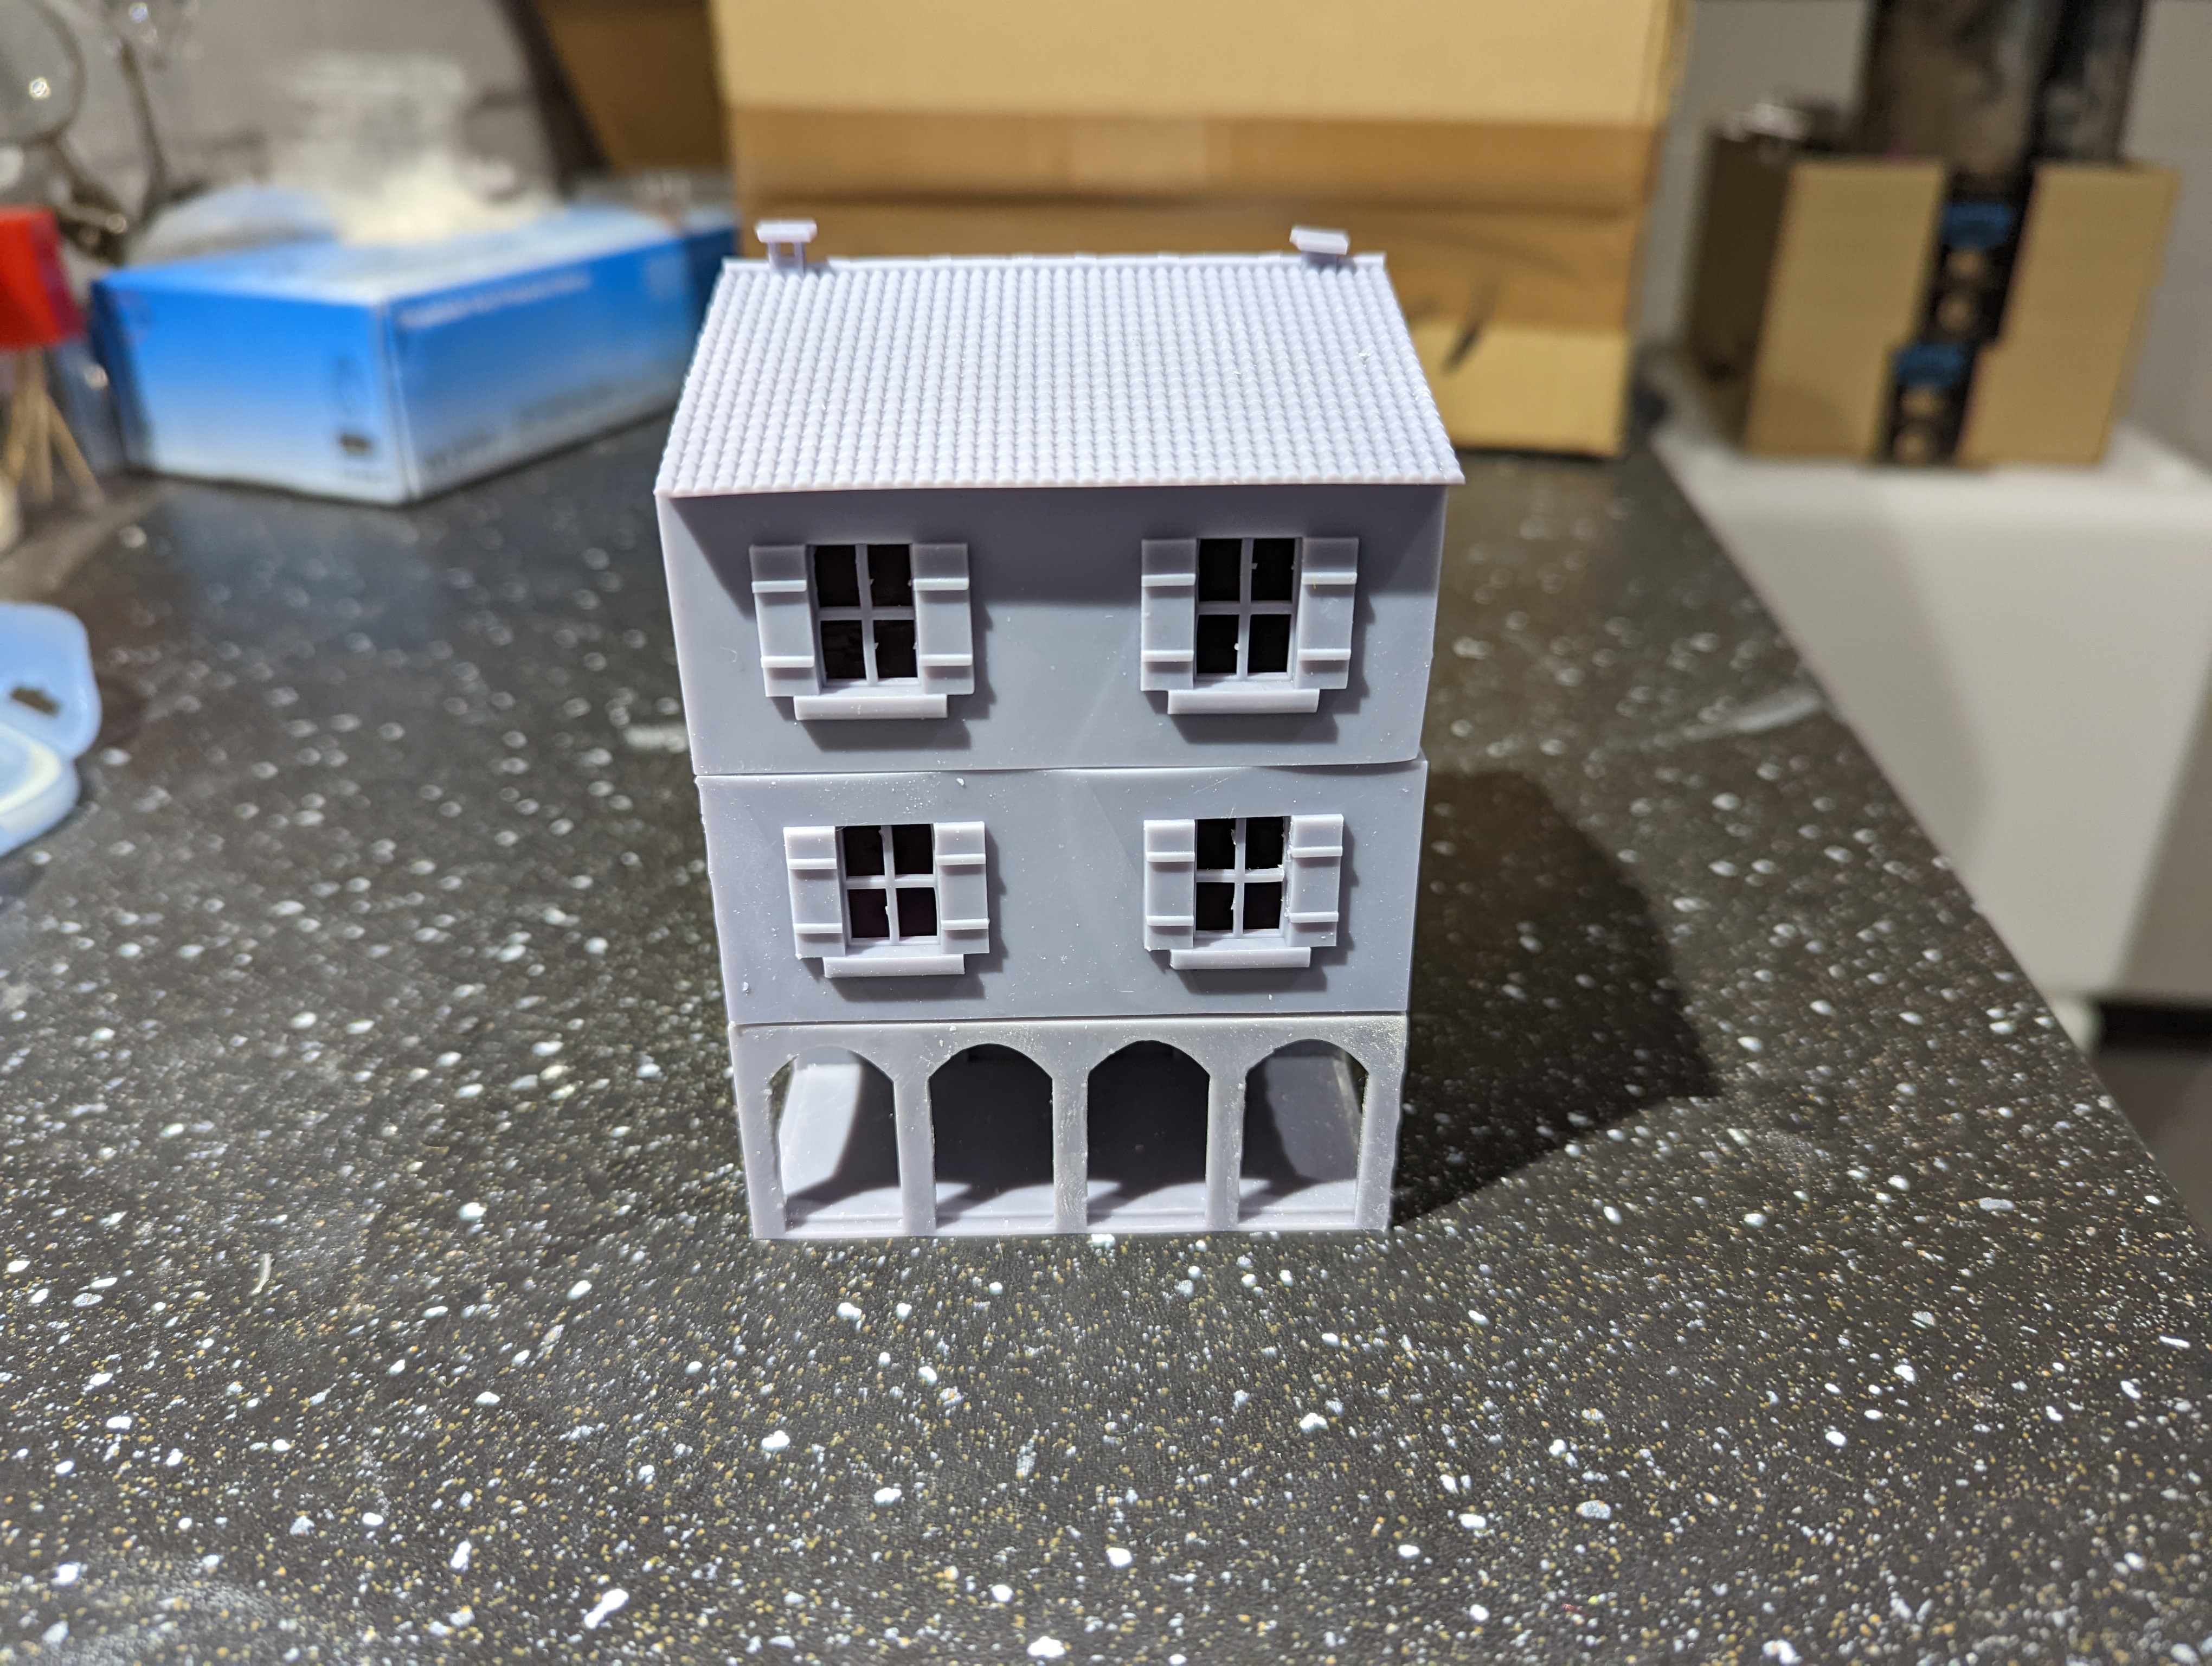
Piazza Shops
More 3D printing action. As a recap, my inspiration for the shops were some buildings in the picture below. And the second picture being the FreeCad that I put together.

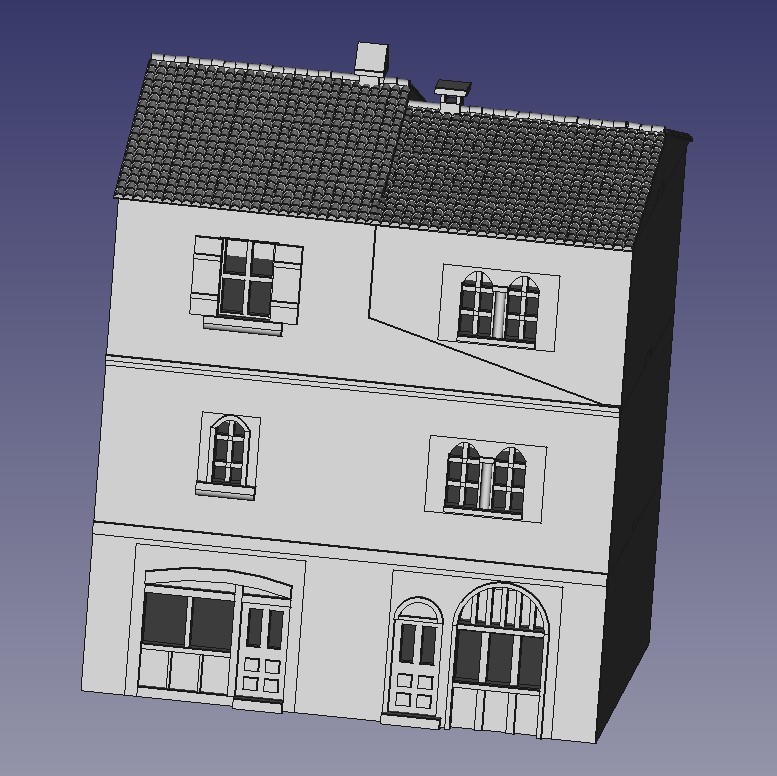
The right side of the building in the picture looks like a later addition and I’ve seen similar later additions to other buildings in other pictures. So I thought that I would try to capture this a little in this build. I plan to create some contrast by using a brick render on the upper floor of this building and so designed the upper floor with a slight indent. I’m planning to use some embossed brick card and wrap it around the building.
 Resin Printer Porn
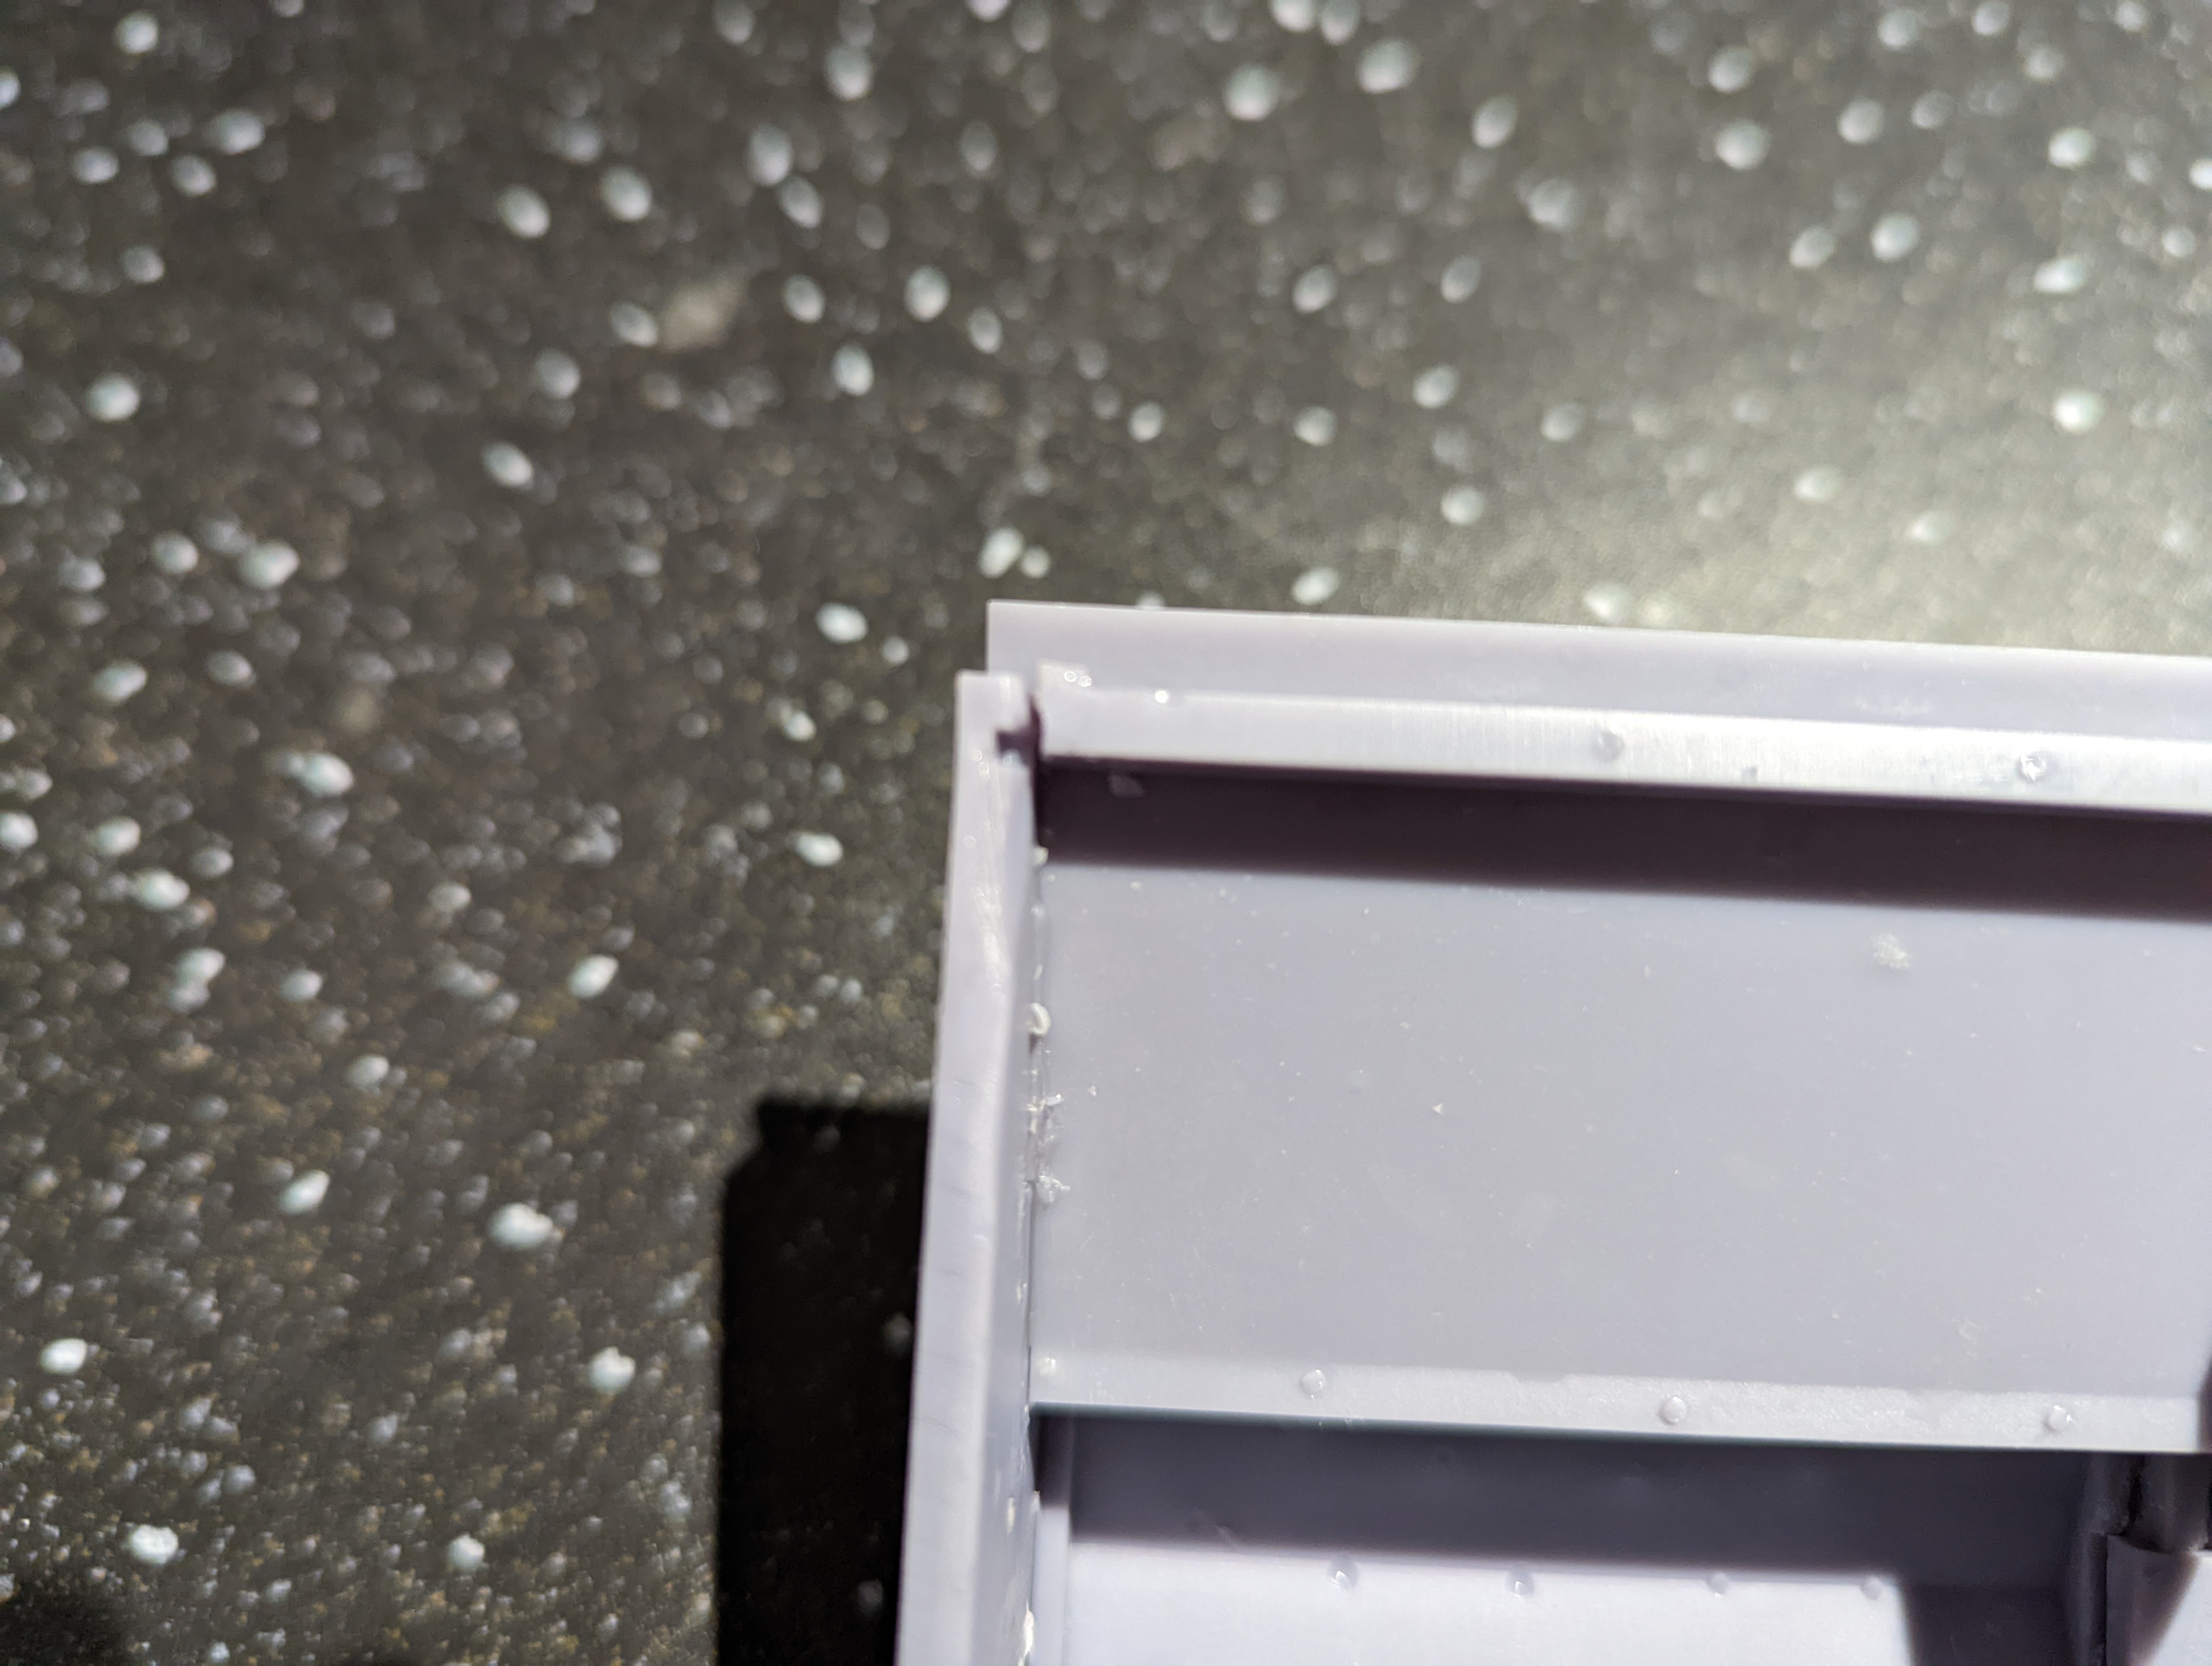
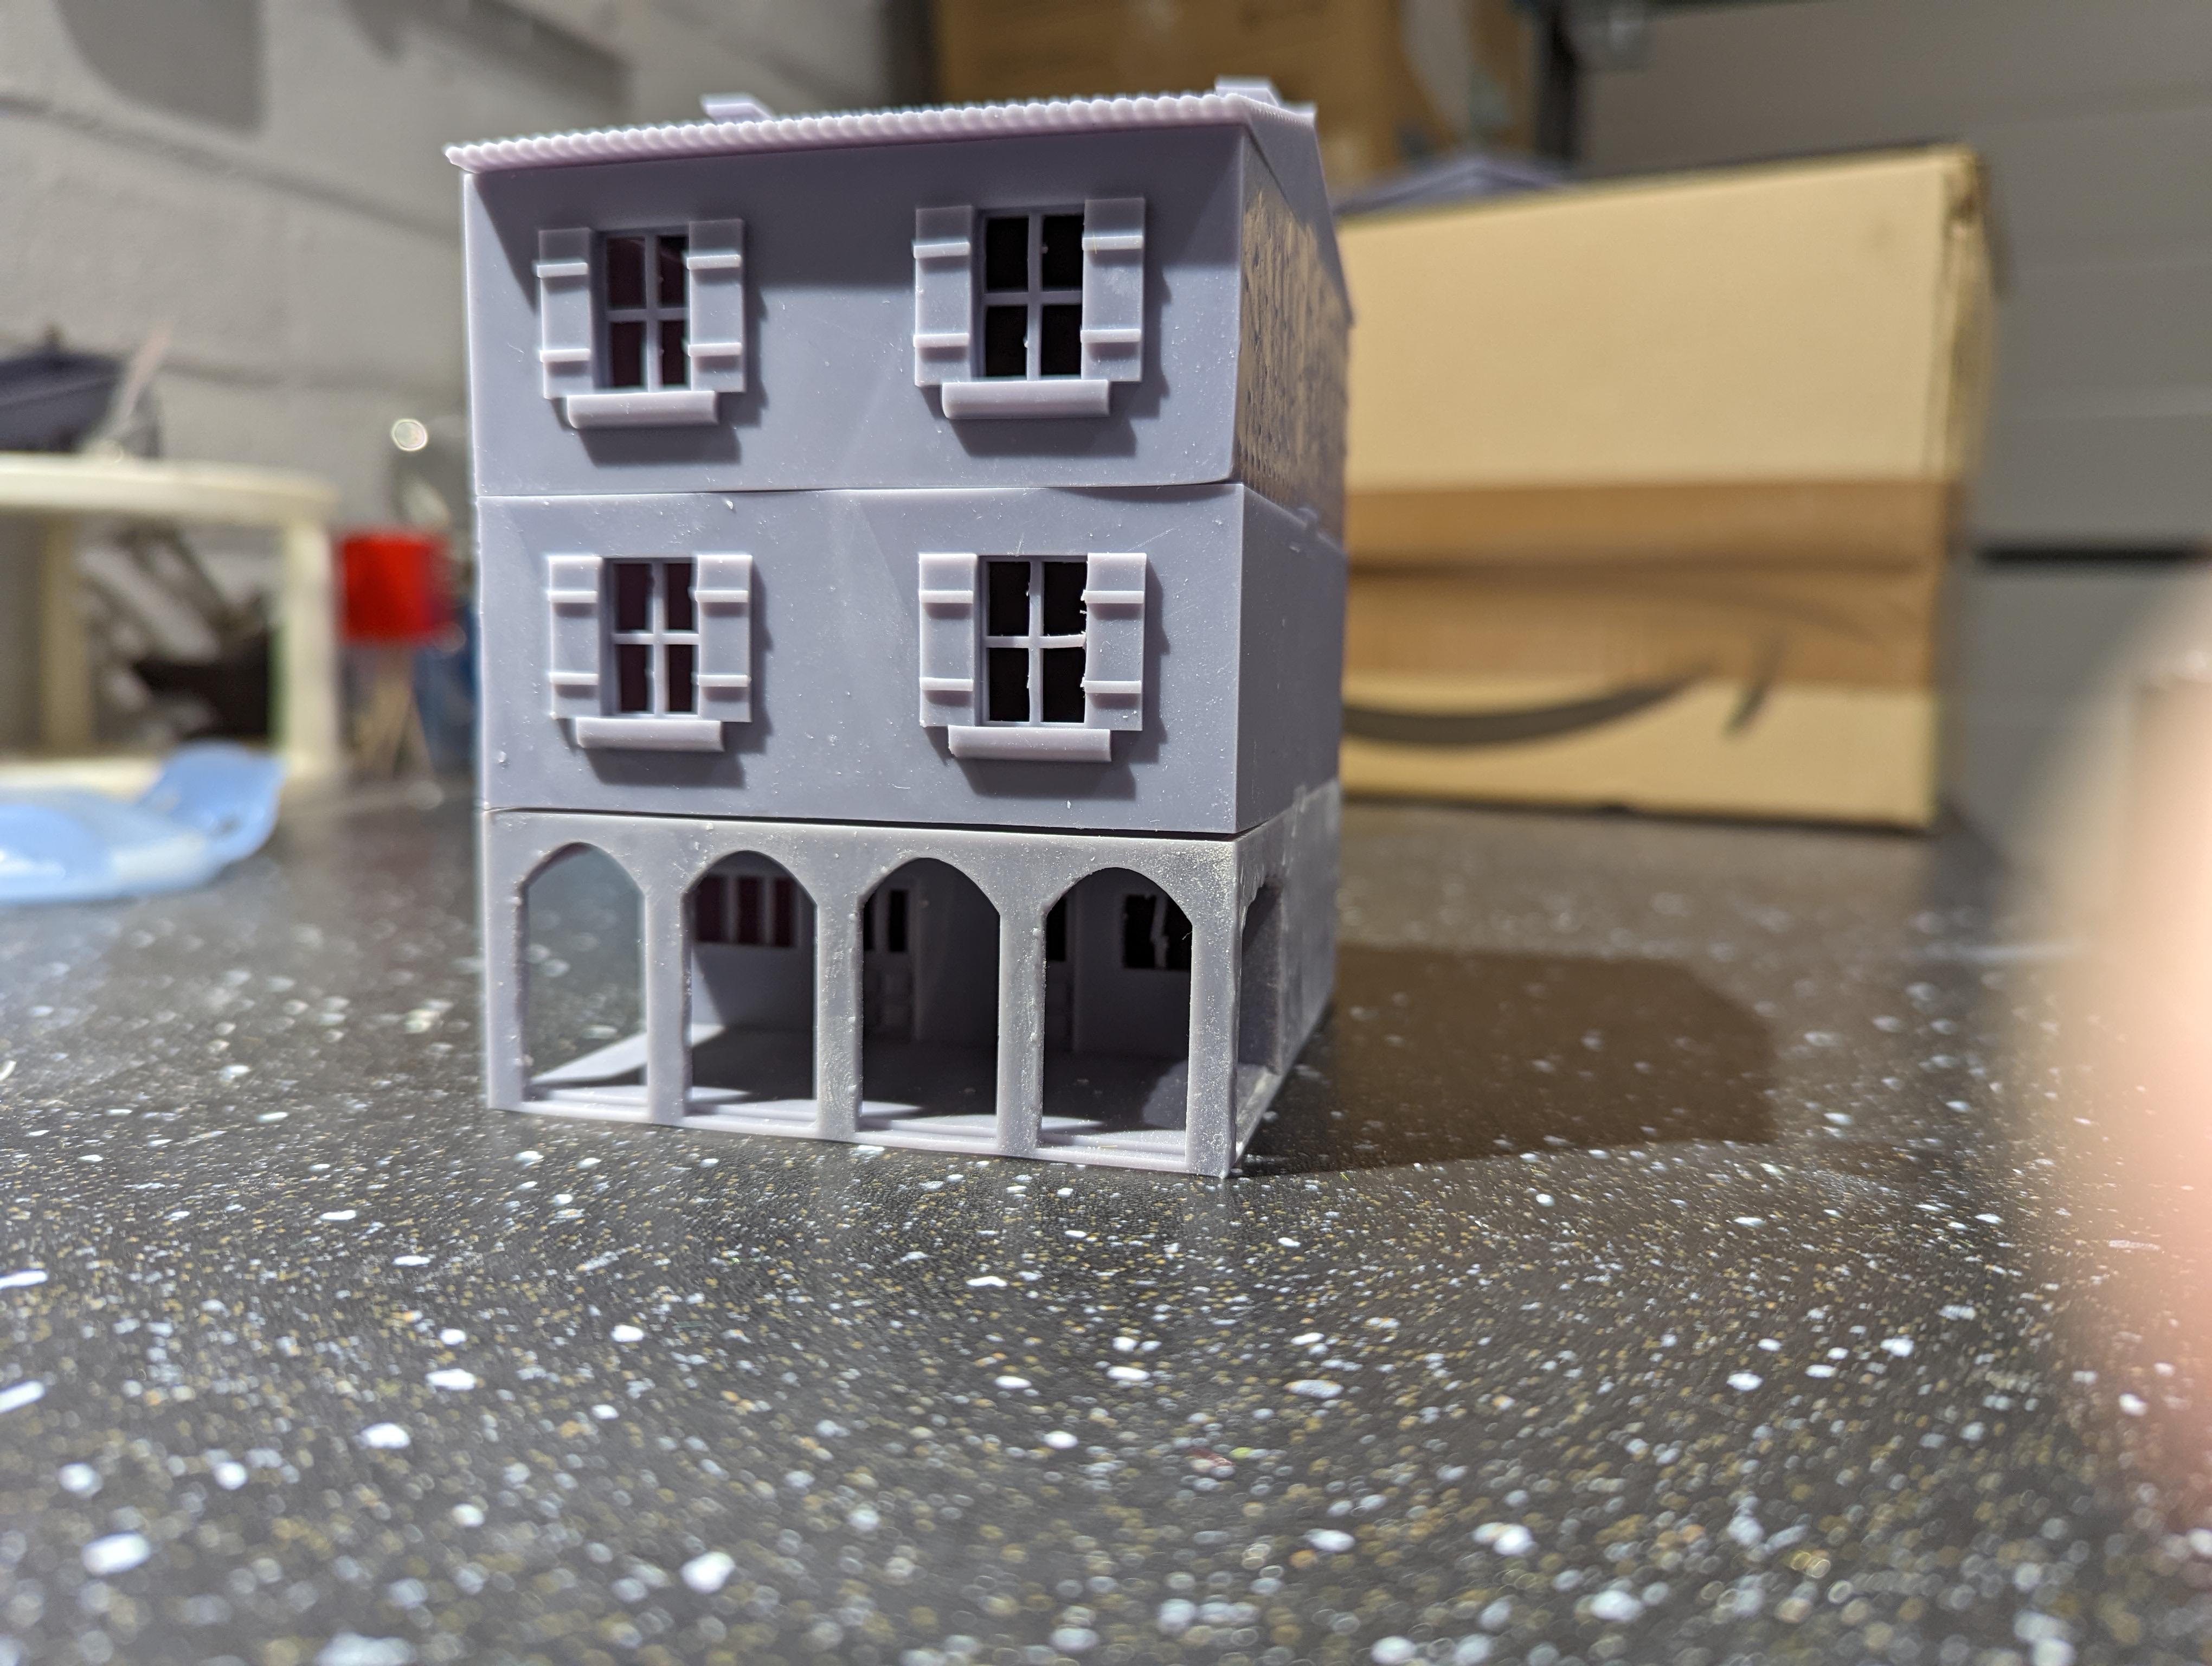
The print came out well, except for the roof, which warped a little bit. Nothing dramatic and from a metre away while gaming, you won’t notice. But I’ve yet to fully get the settings of the printer dialed in yet for these bigger, heavier parts of the build.
You can see the warping just under the roof line in the picture below.
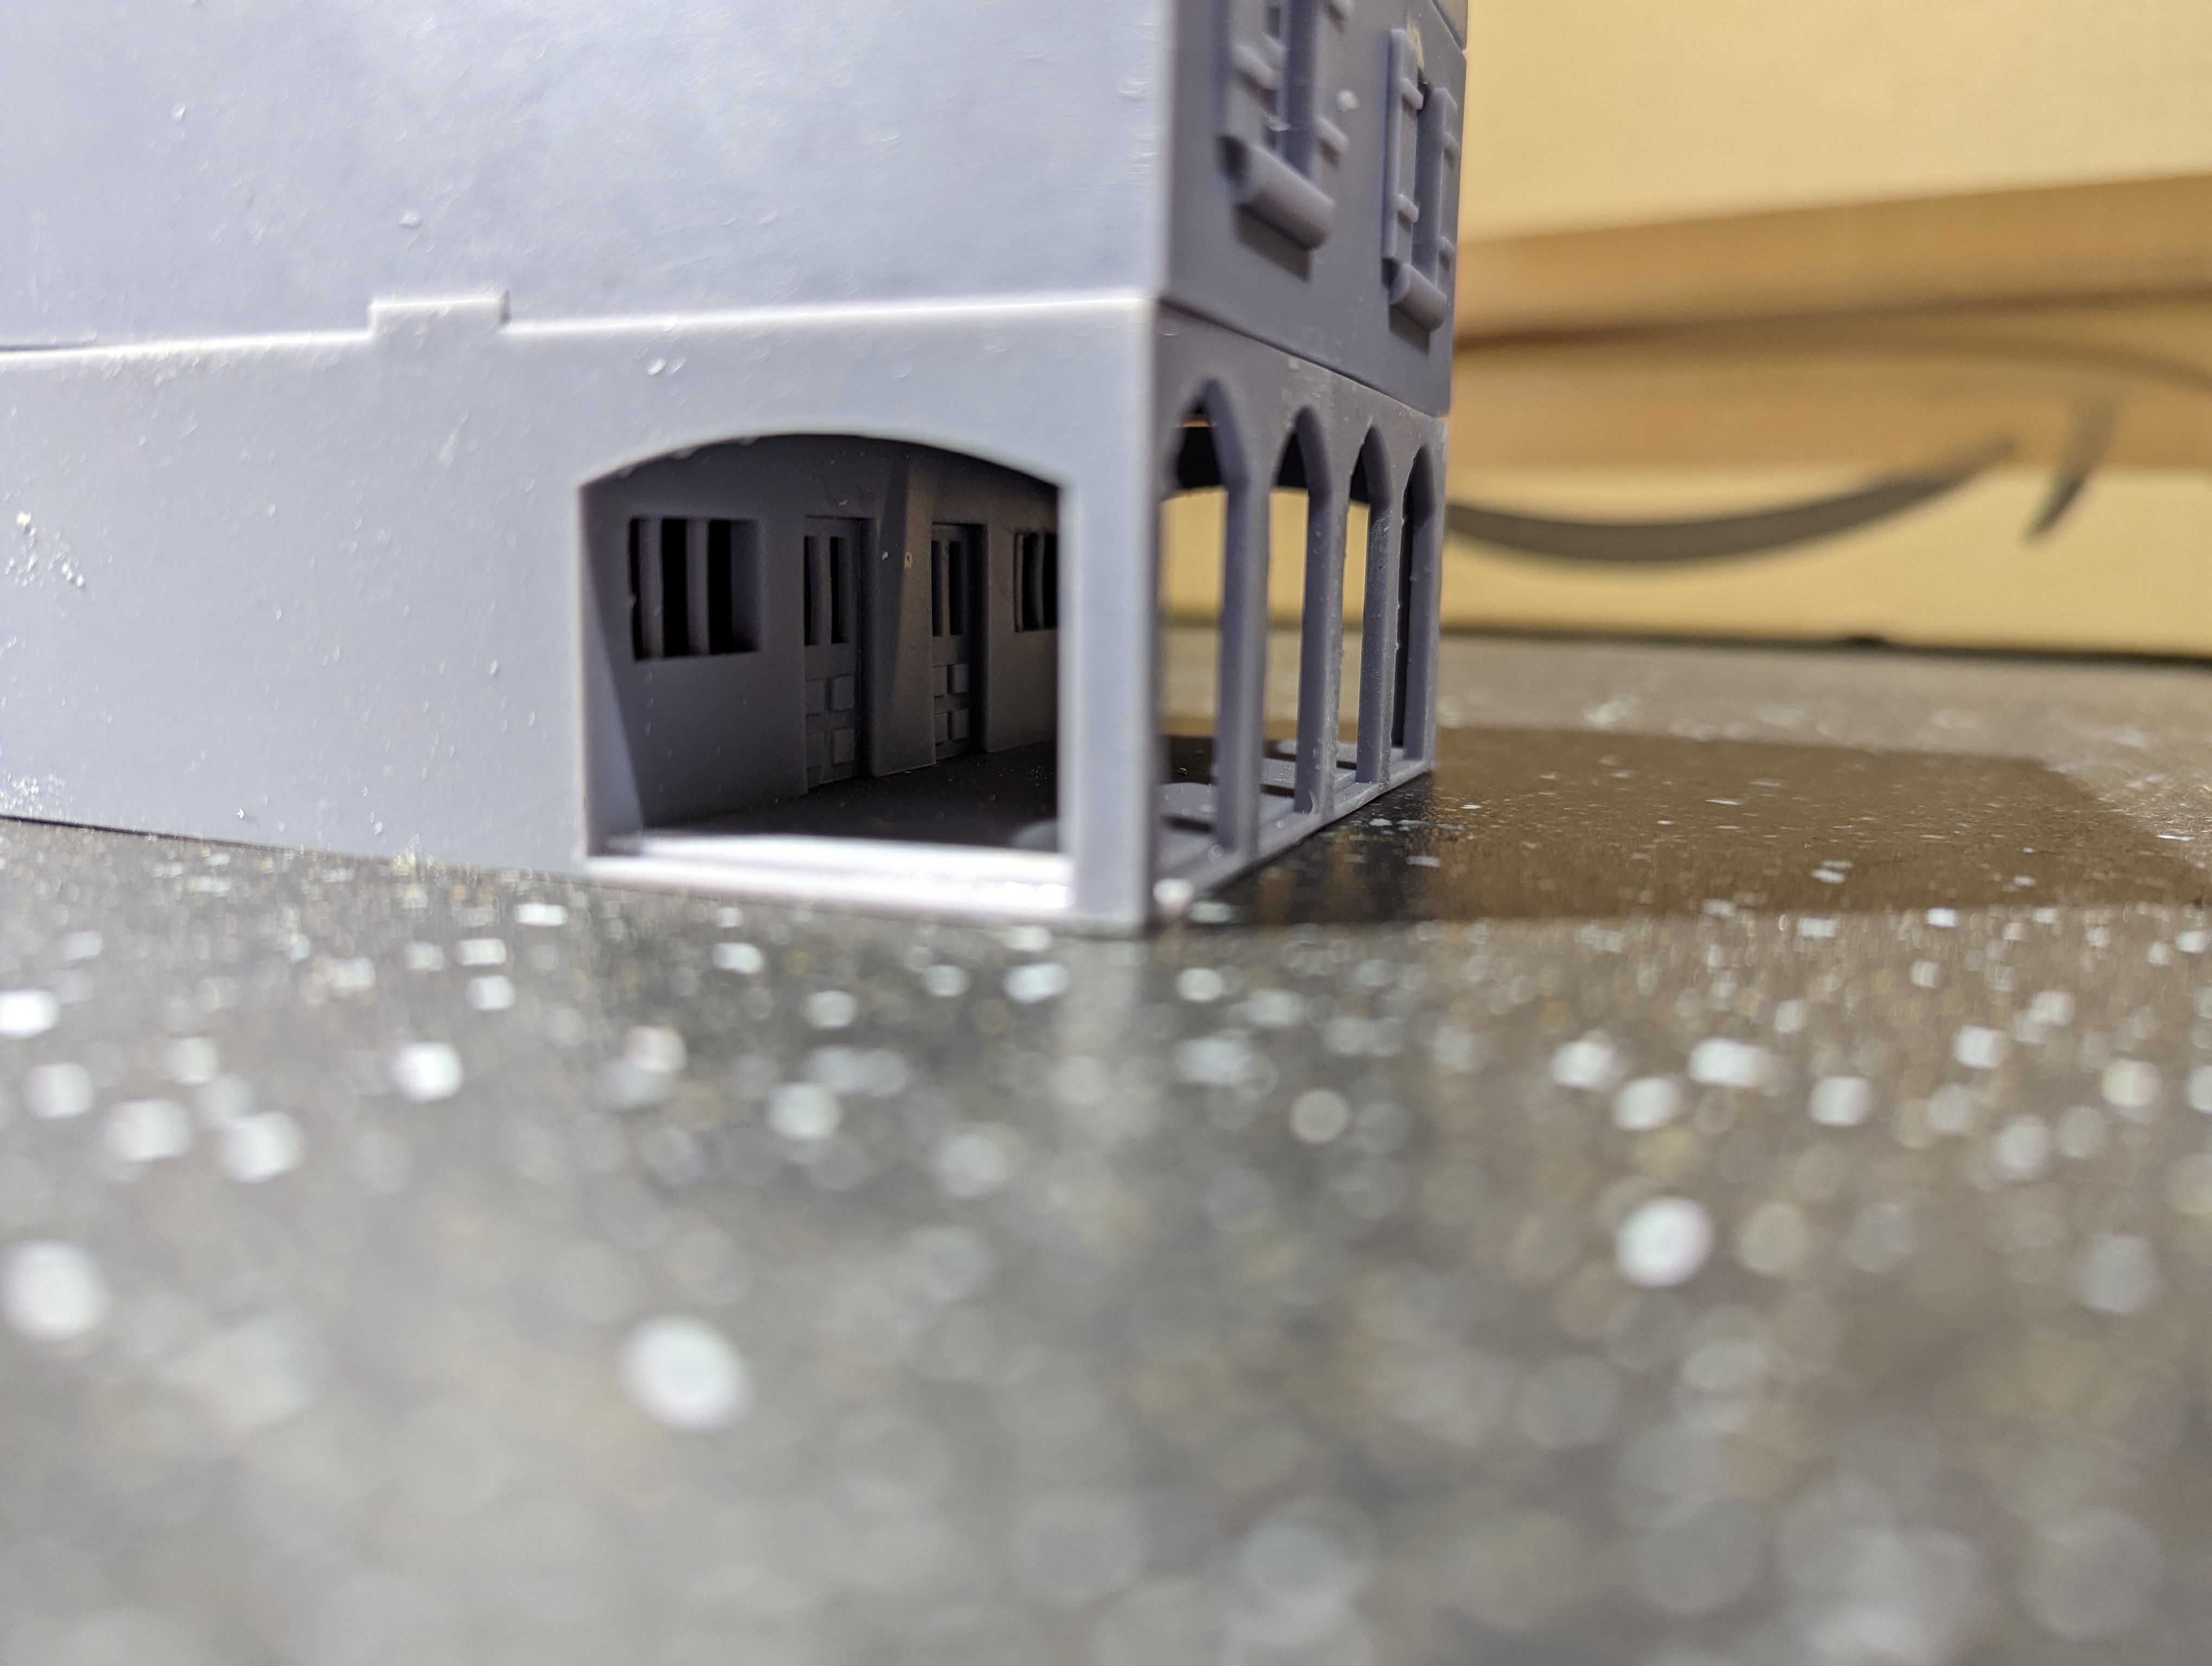
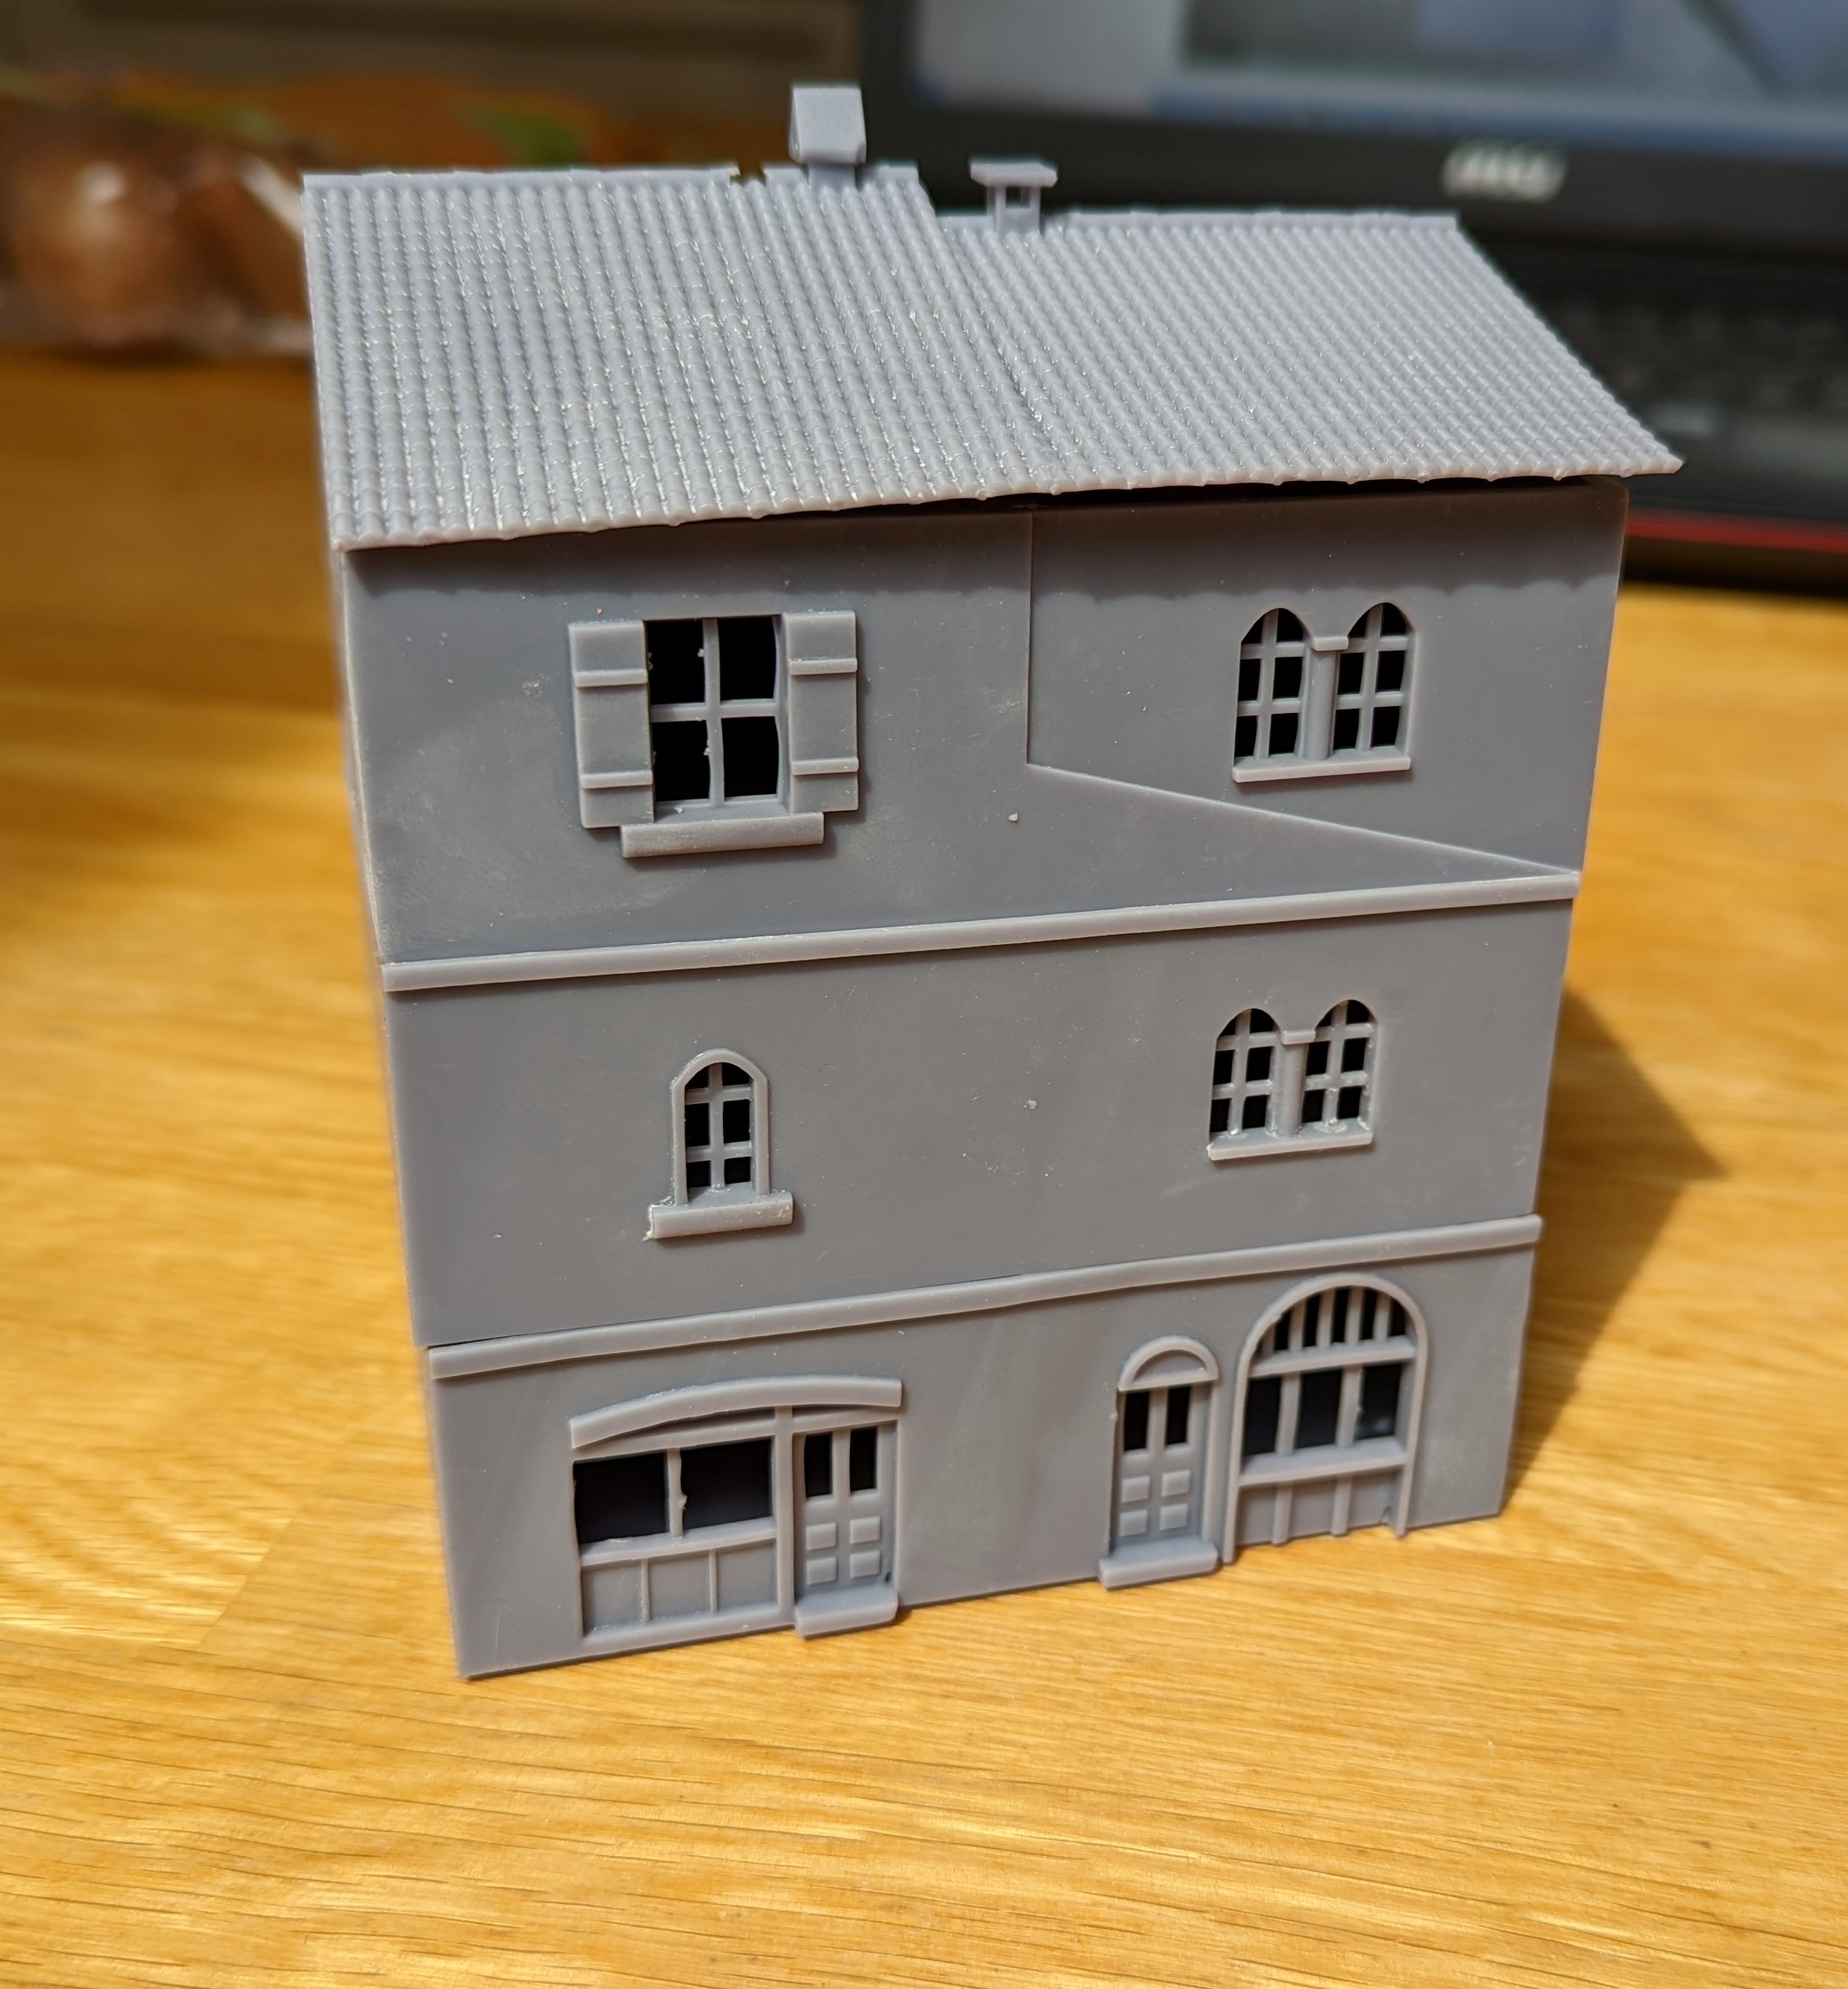 Shop Frontage
 Shop 'Lloydage'
Gatehouses
I’ve kept the 3D printer running and tackled my first ‘multi part’ design – the gate house. I need three of these for the village layout and I need one with the house to the left of the gate and one to the right. So when I designed these, I made it as reversible as possible.
As a reminder, below is my ‘inspiration’ and the CAD design that I came up with.

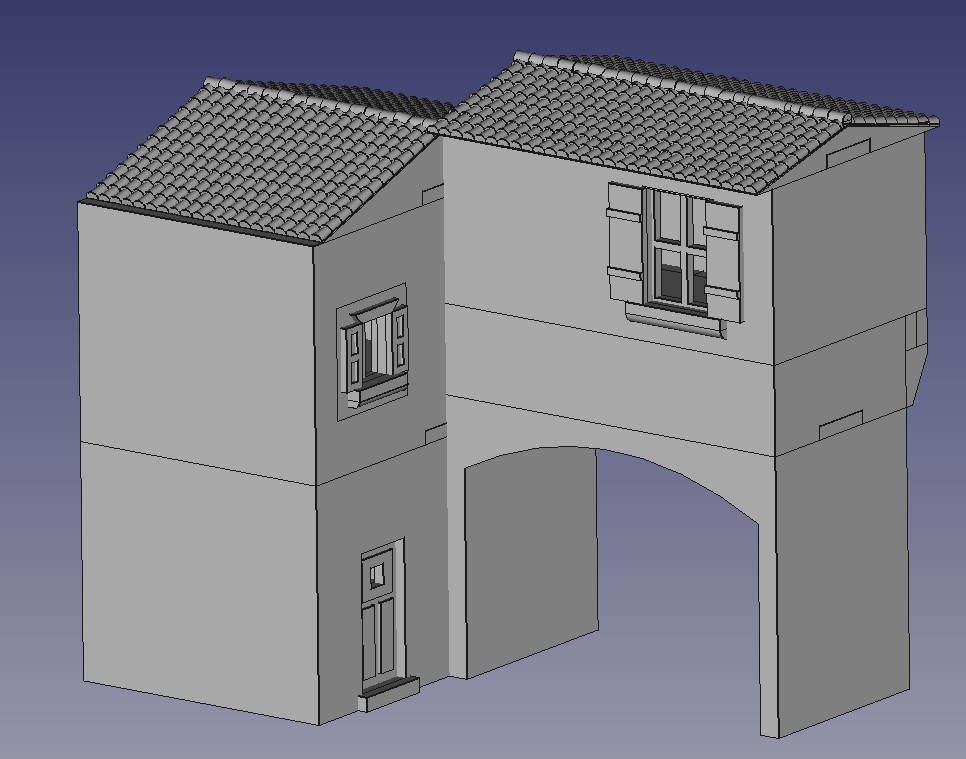
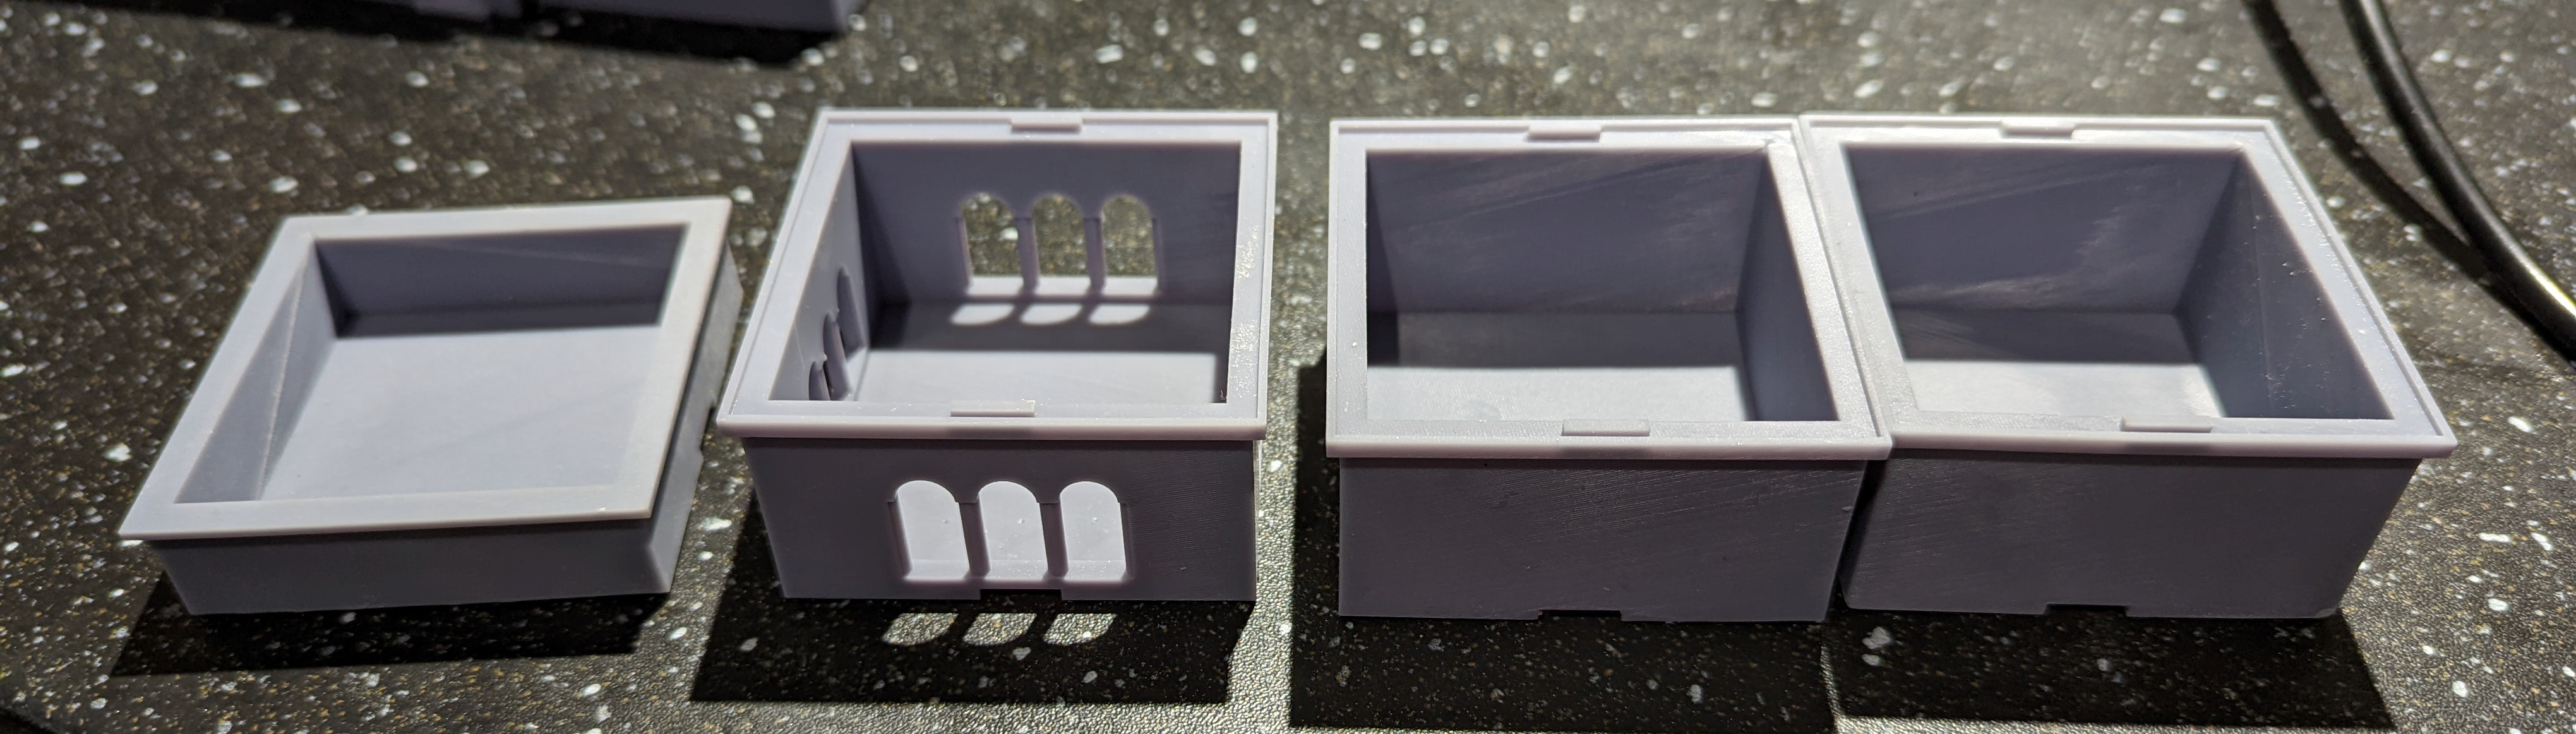
I’ve had to break the model down into 6 parts. This is partly to make it easier to print and partly to allow access into the building to place models. The arched gate needs to be glued to both the ground floor of the house and the building with the ‘murder holes’ above.
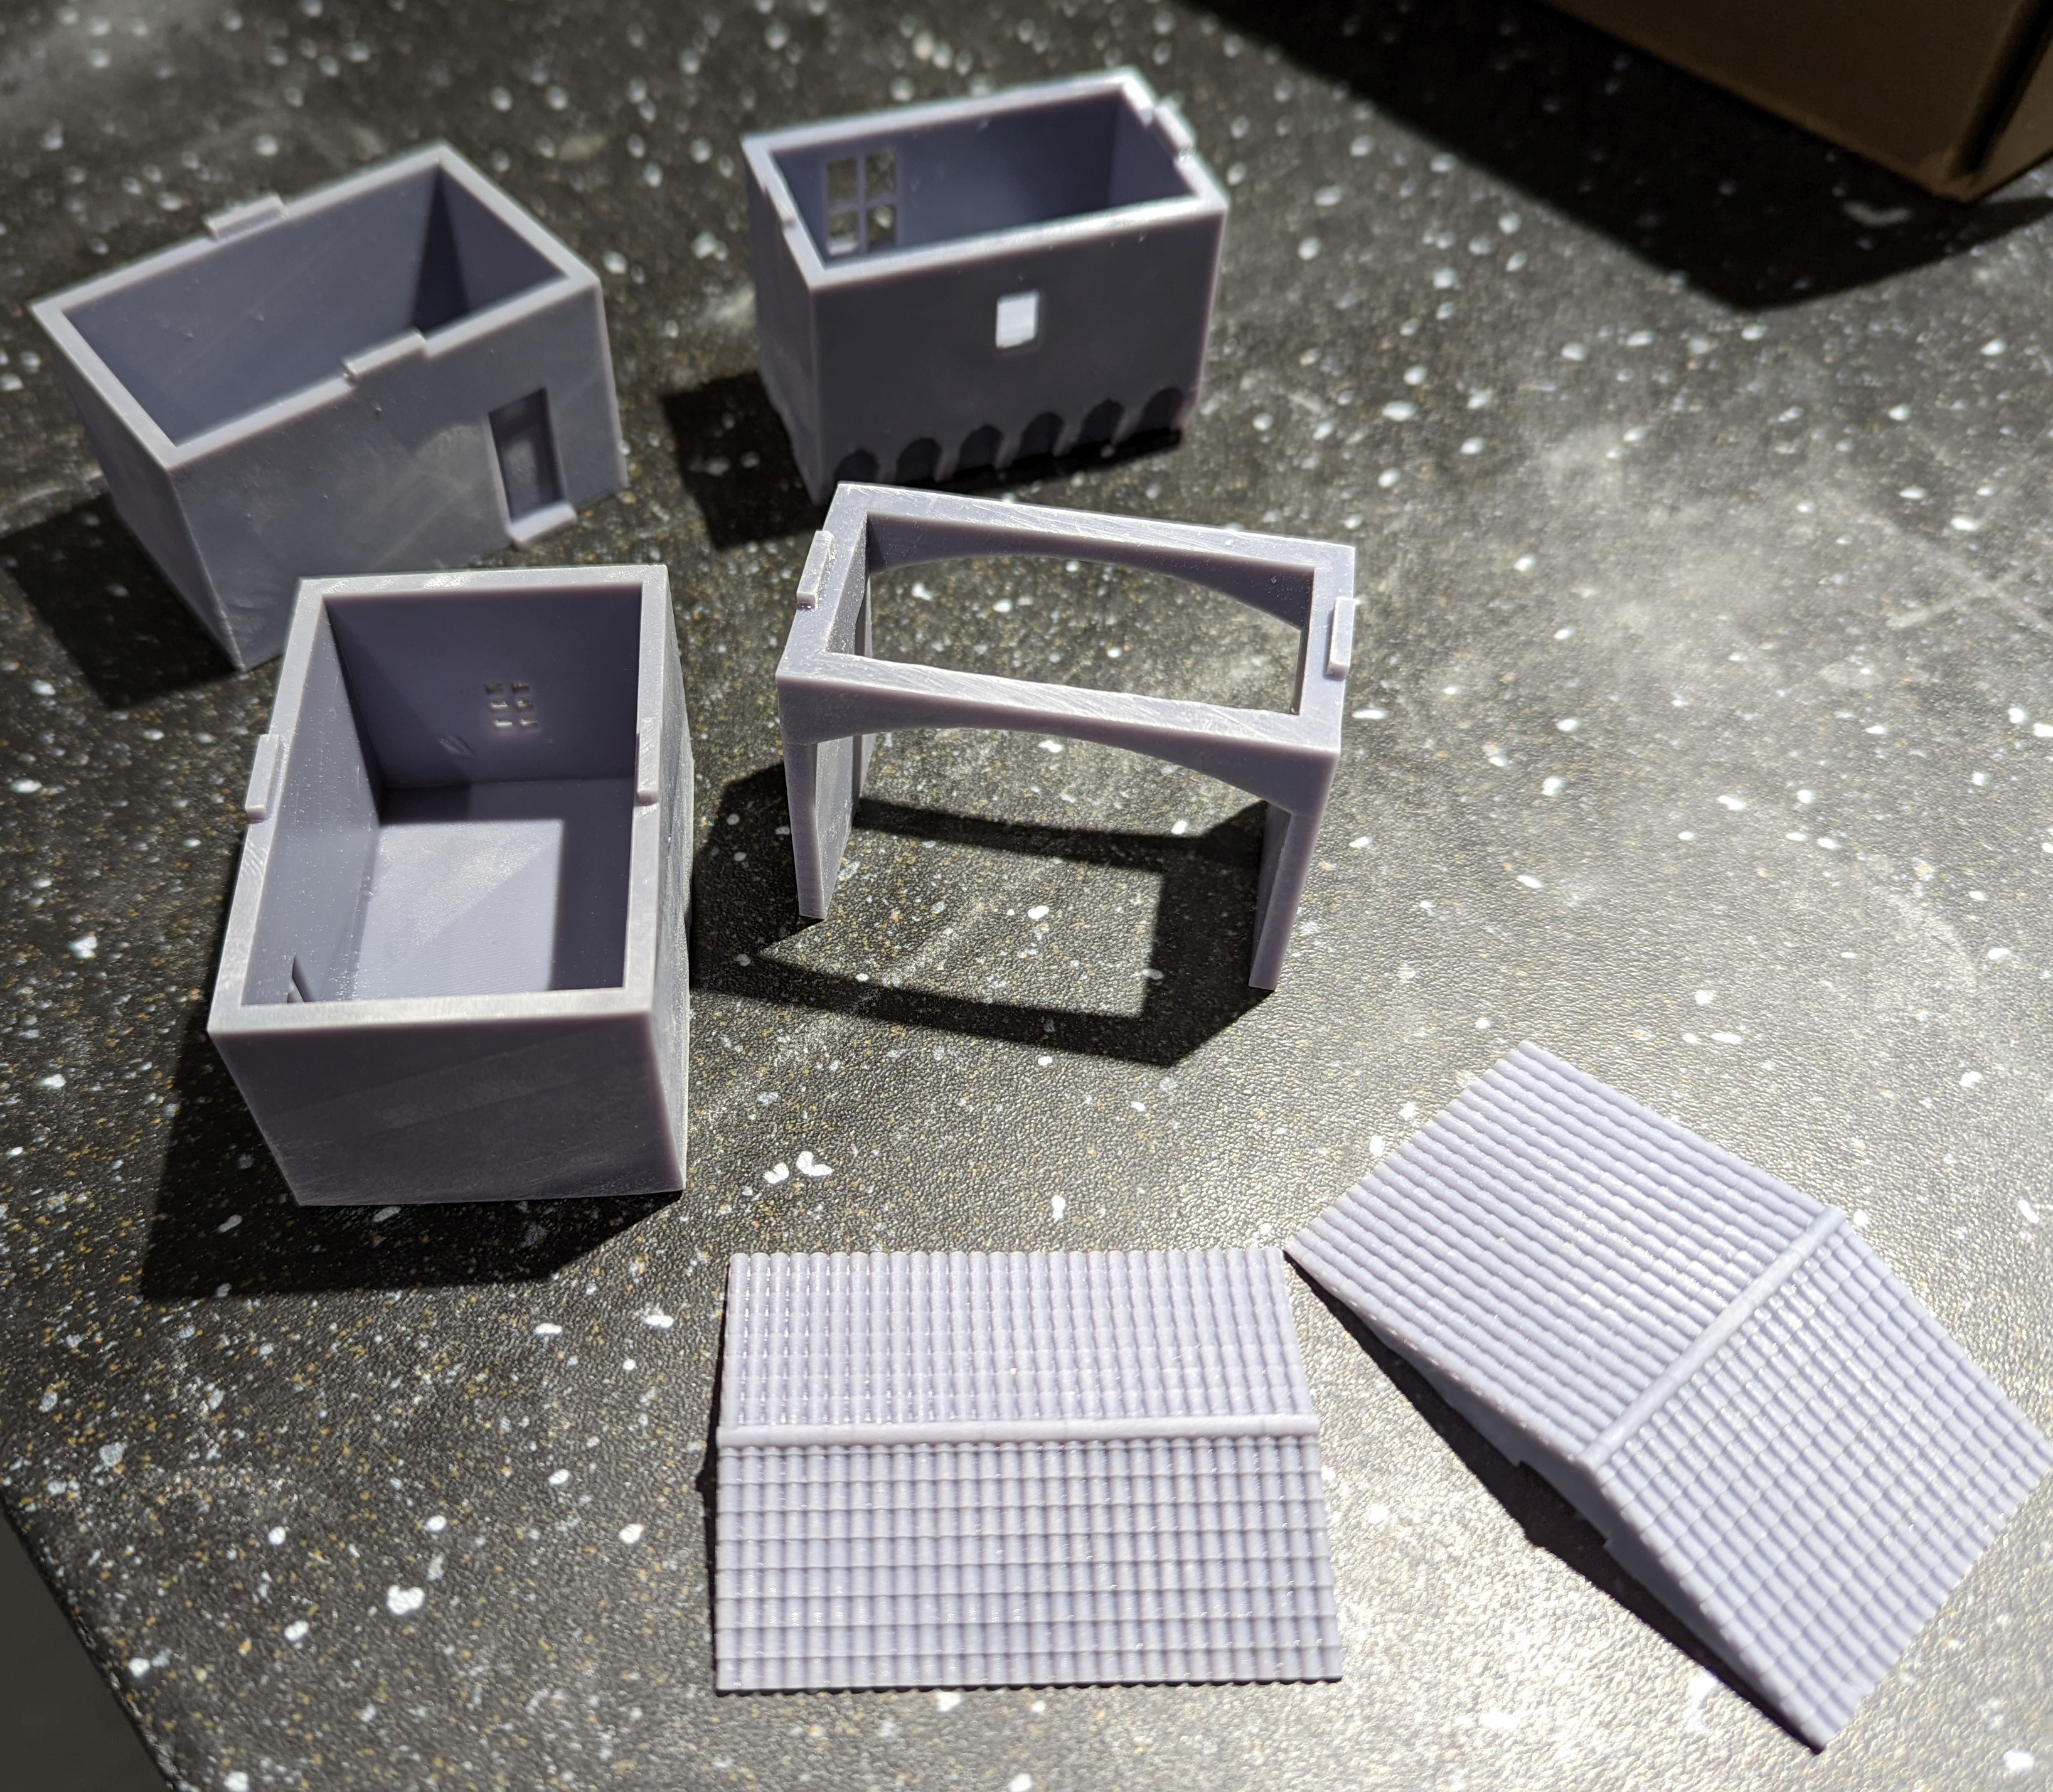 All the bits
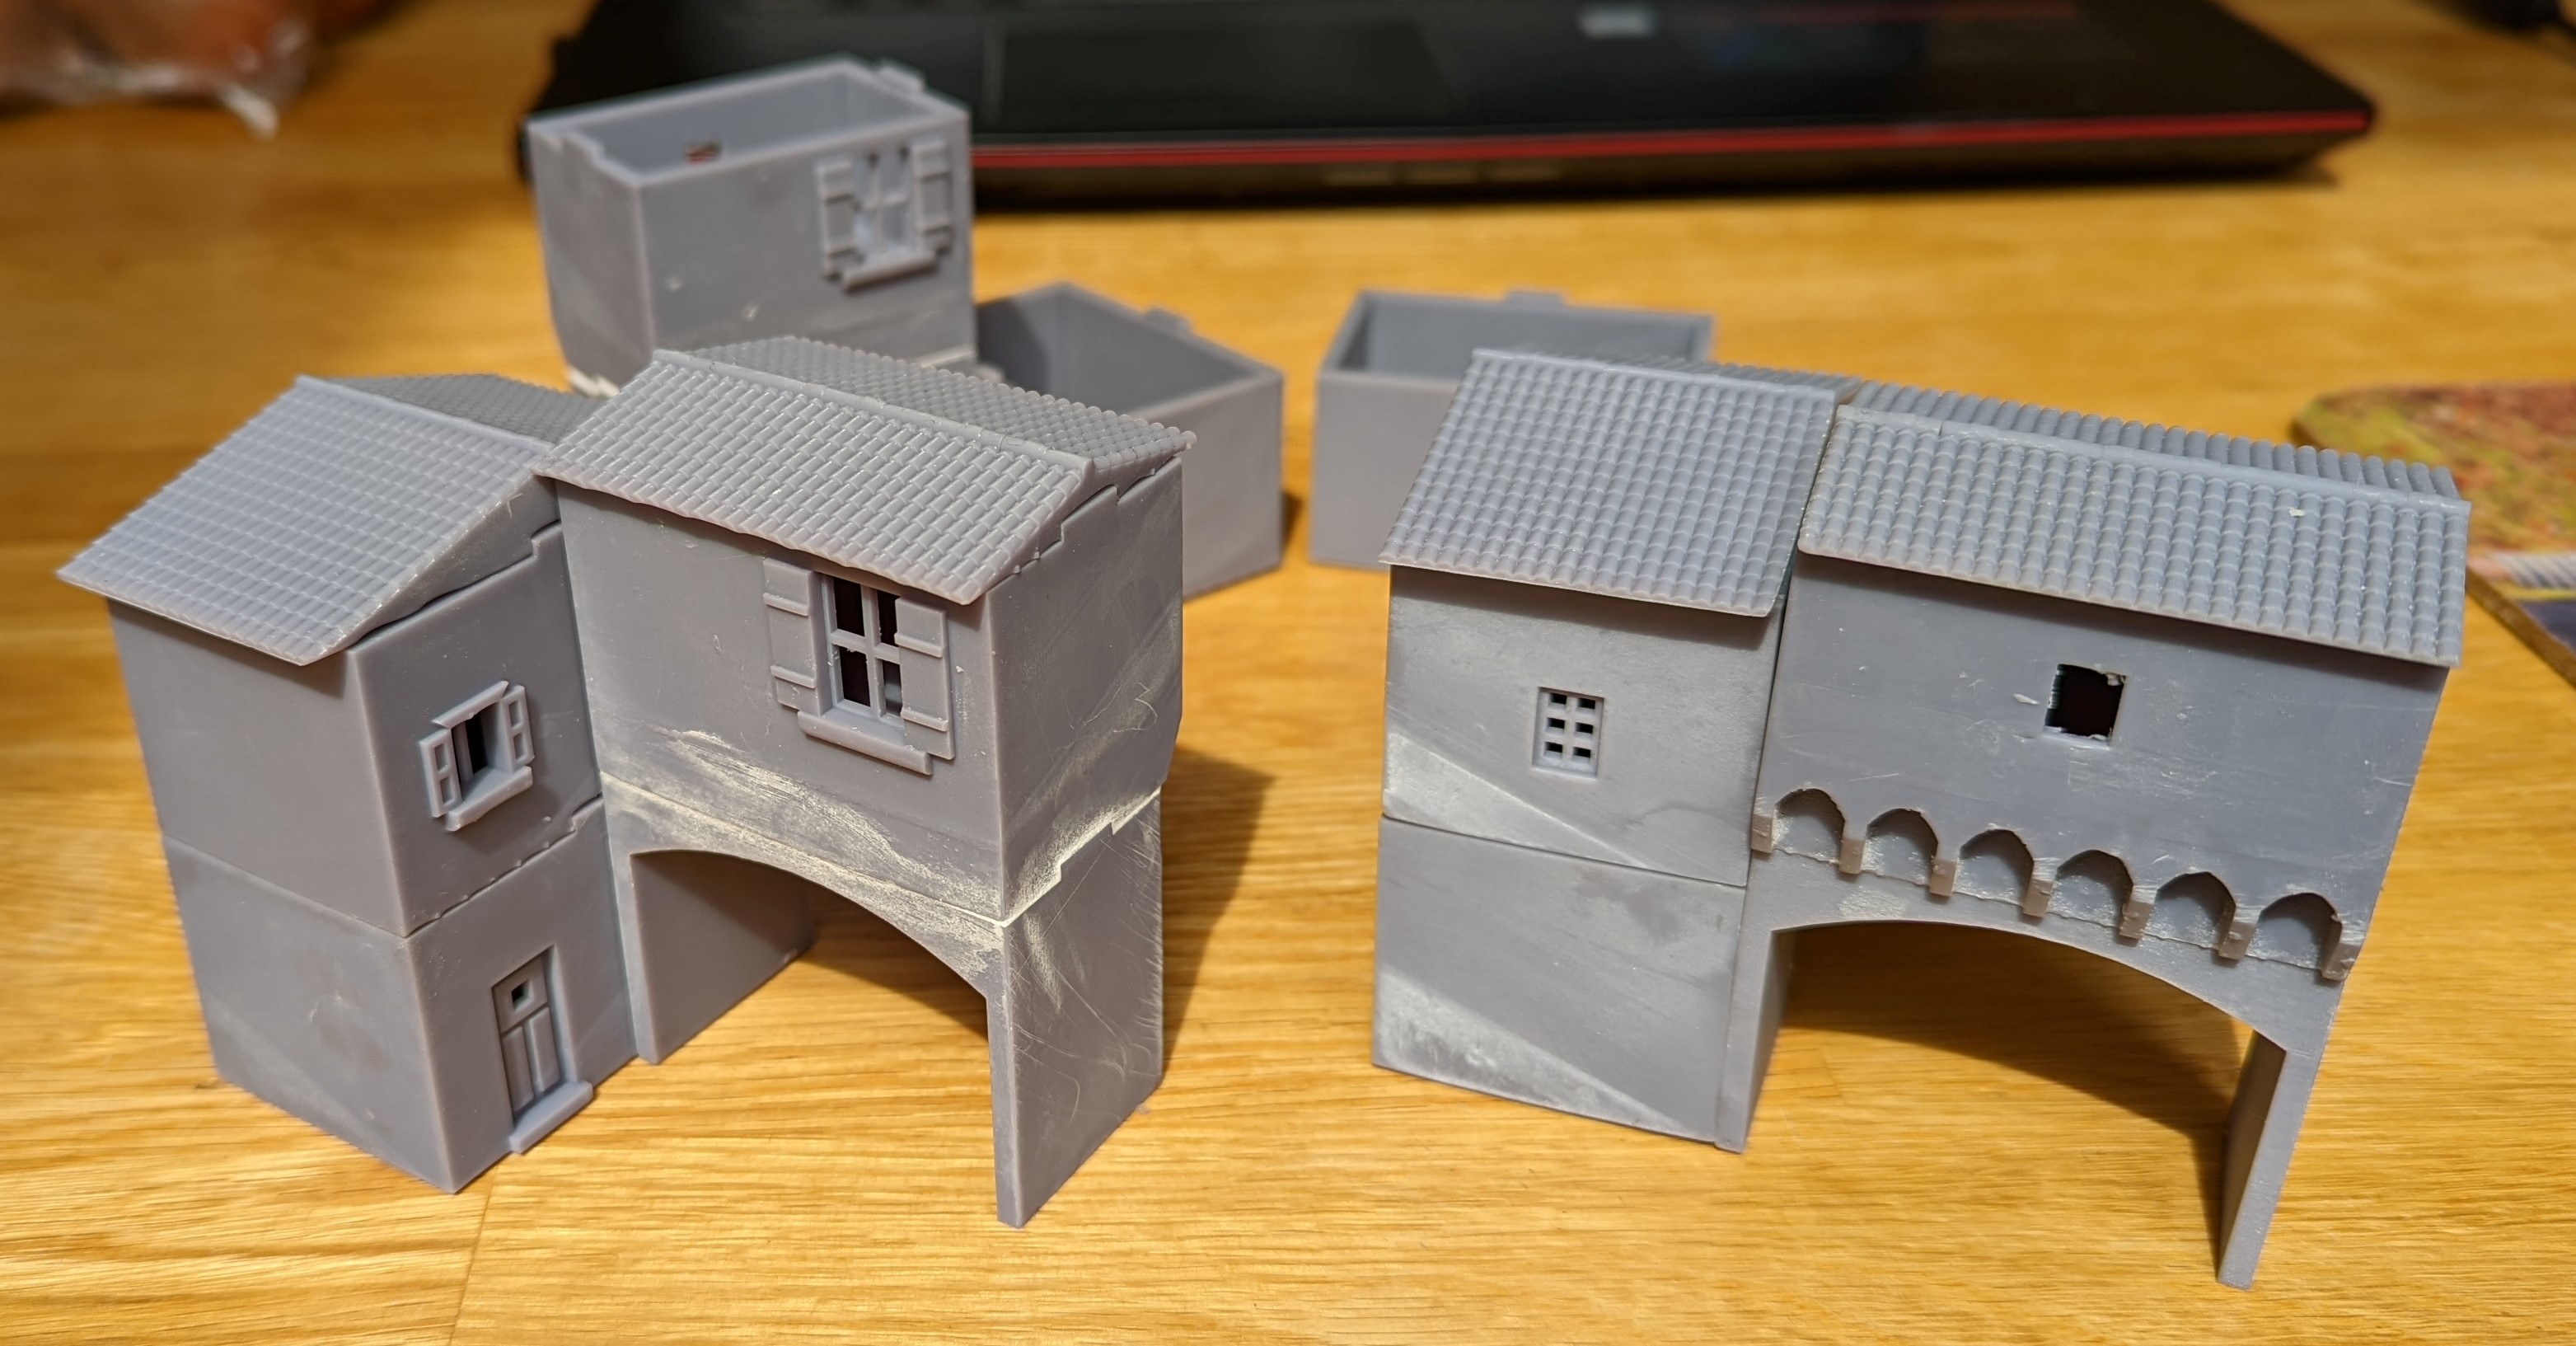
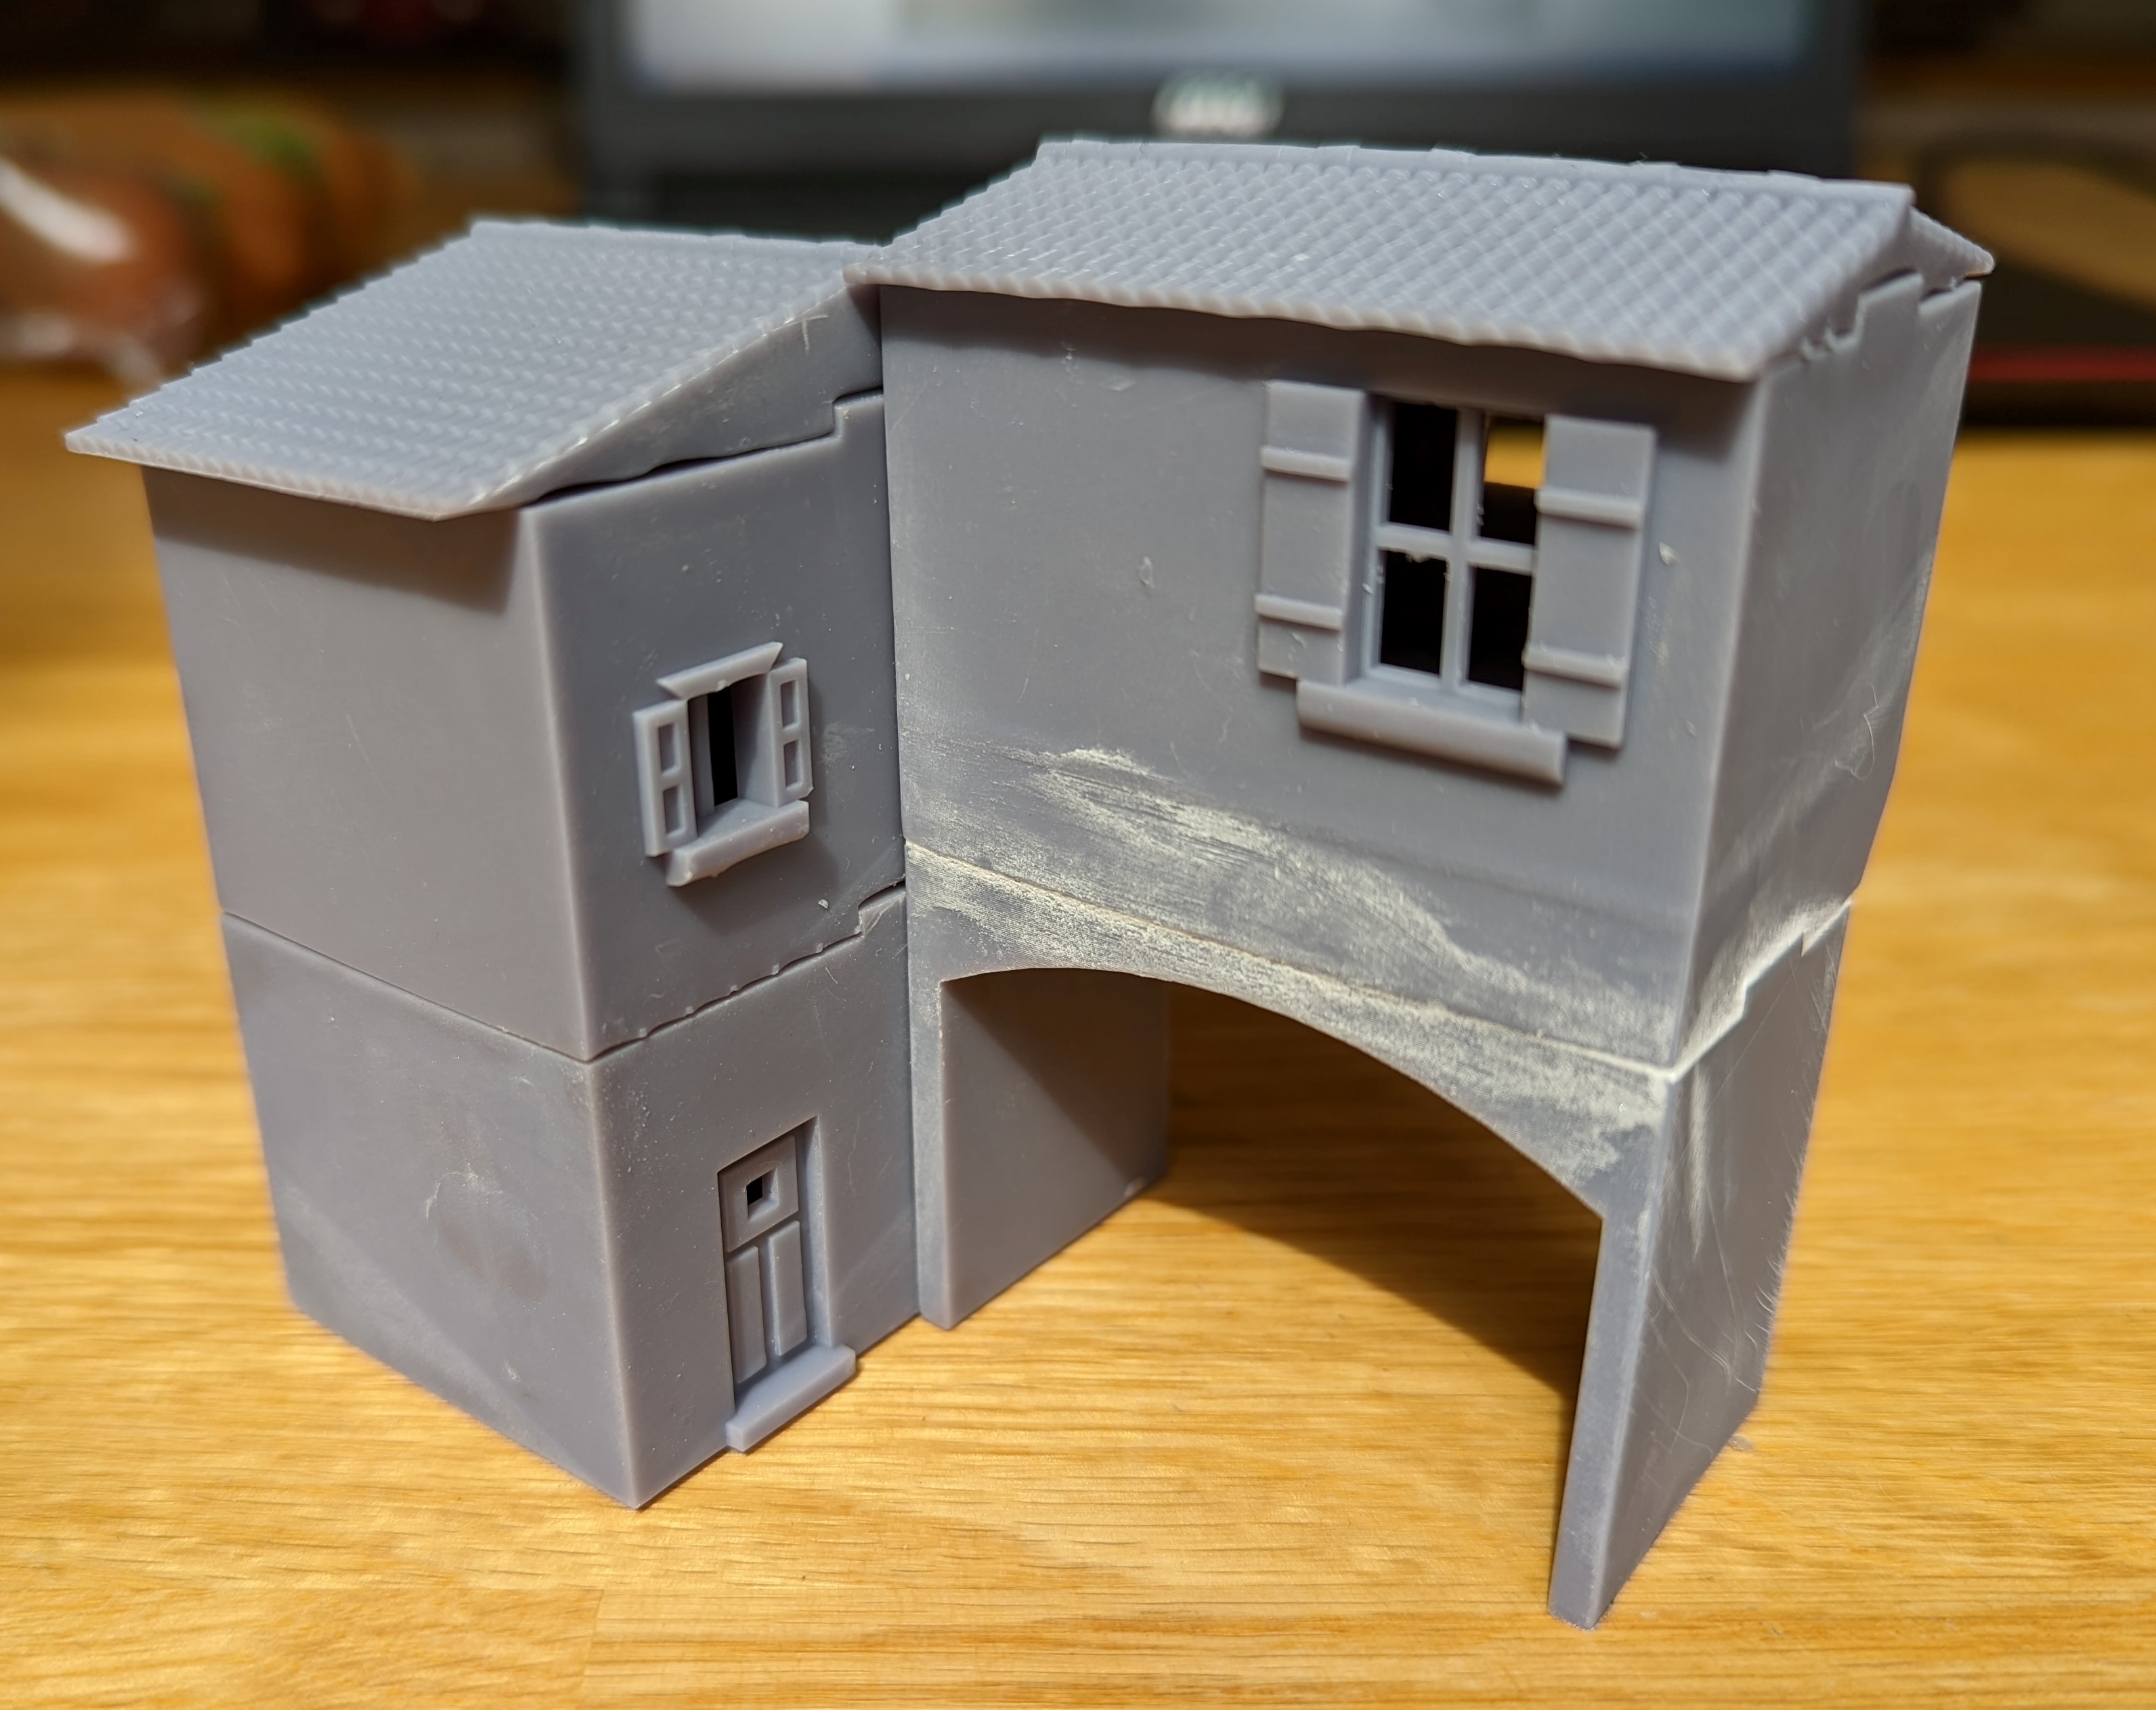
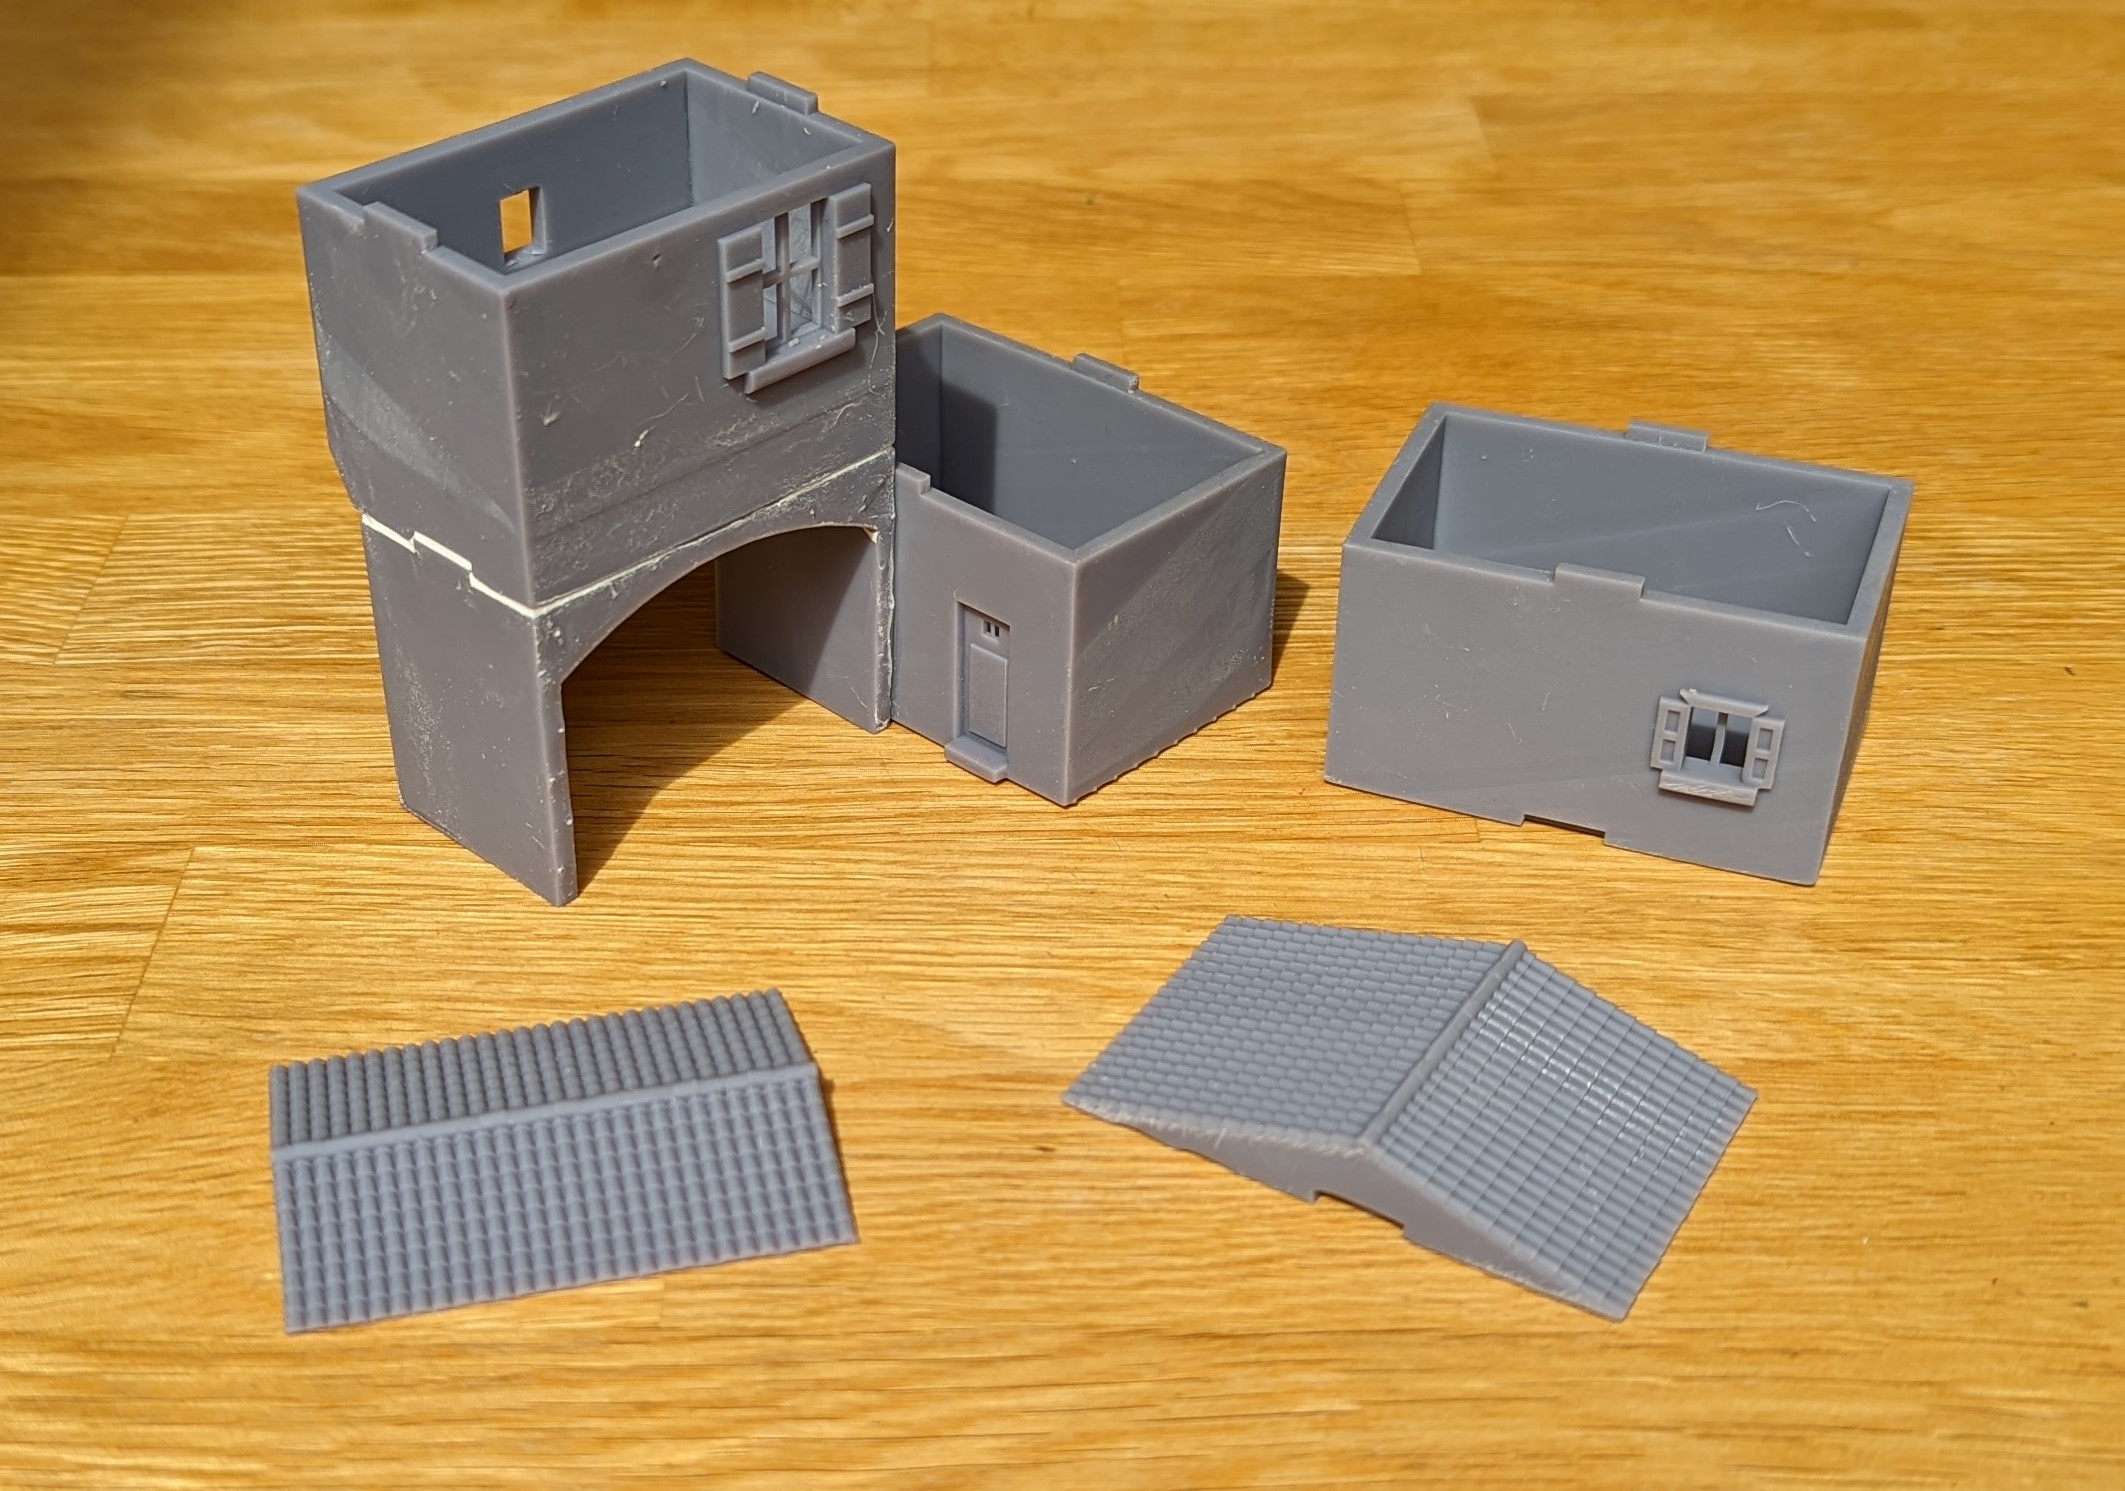 All the bits glued together
I clearly don’t have the print settings dialed in just yet as there is a little bit of warping in some places. Not significant but I had to fill the small gaps once I had glued everything together.
Here are the finished gate houses

Tuscany Towers
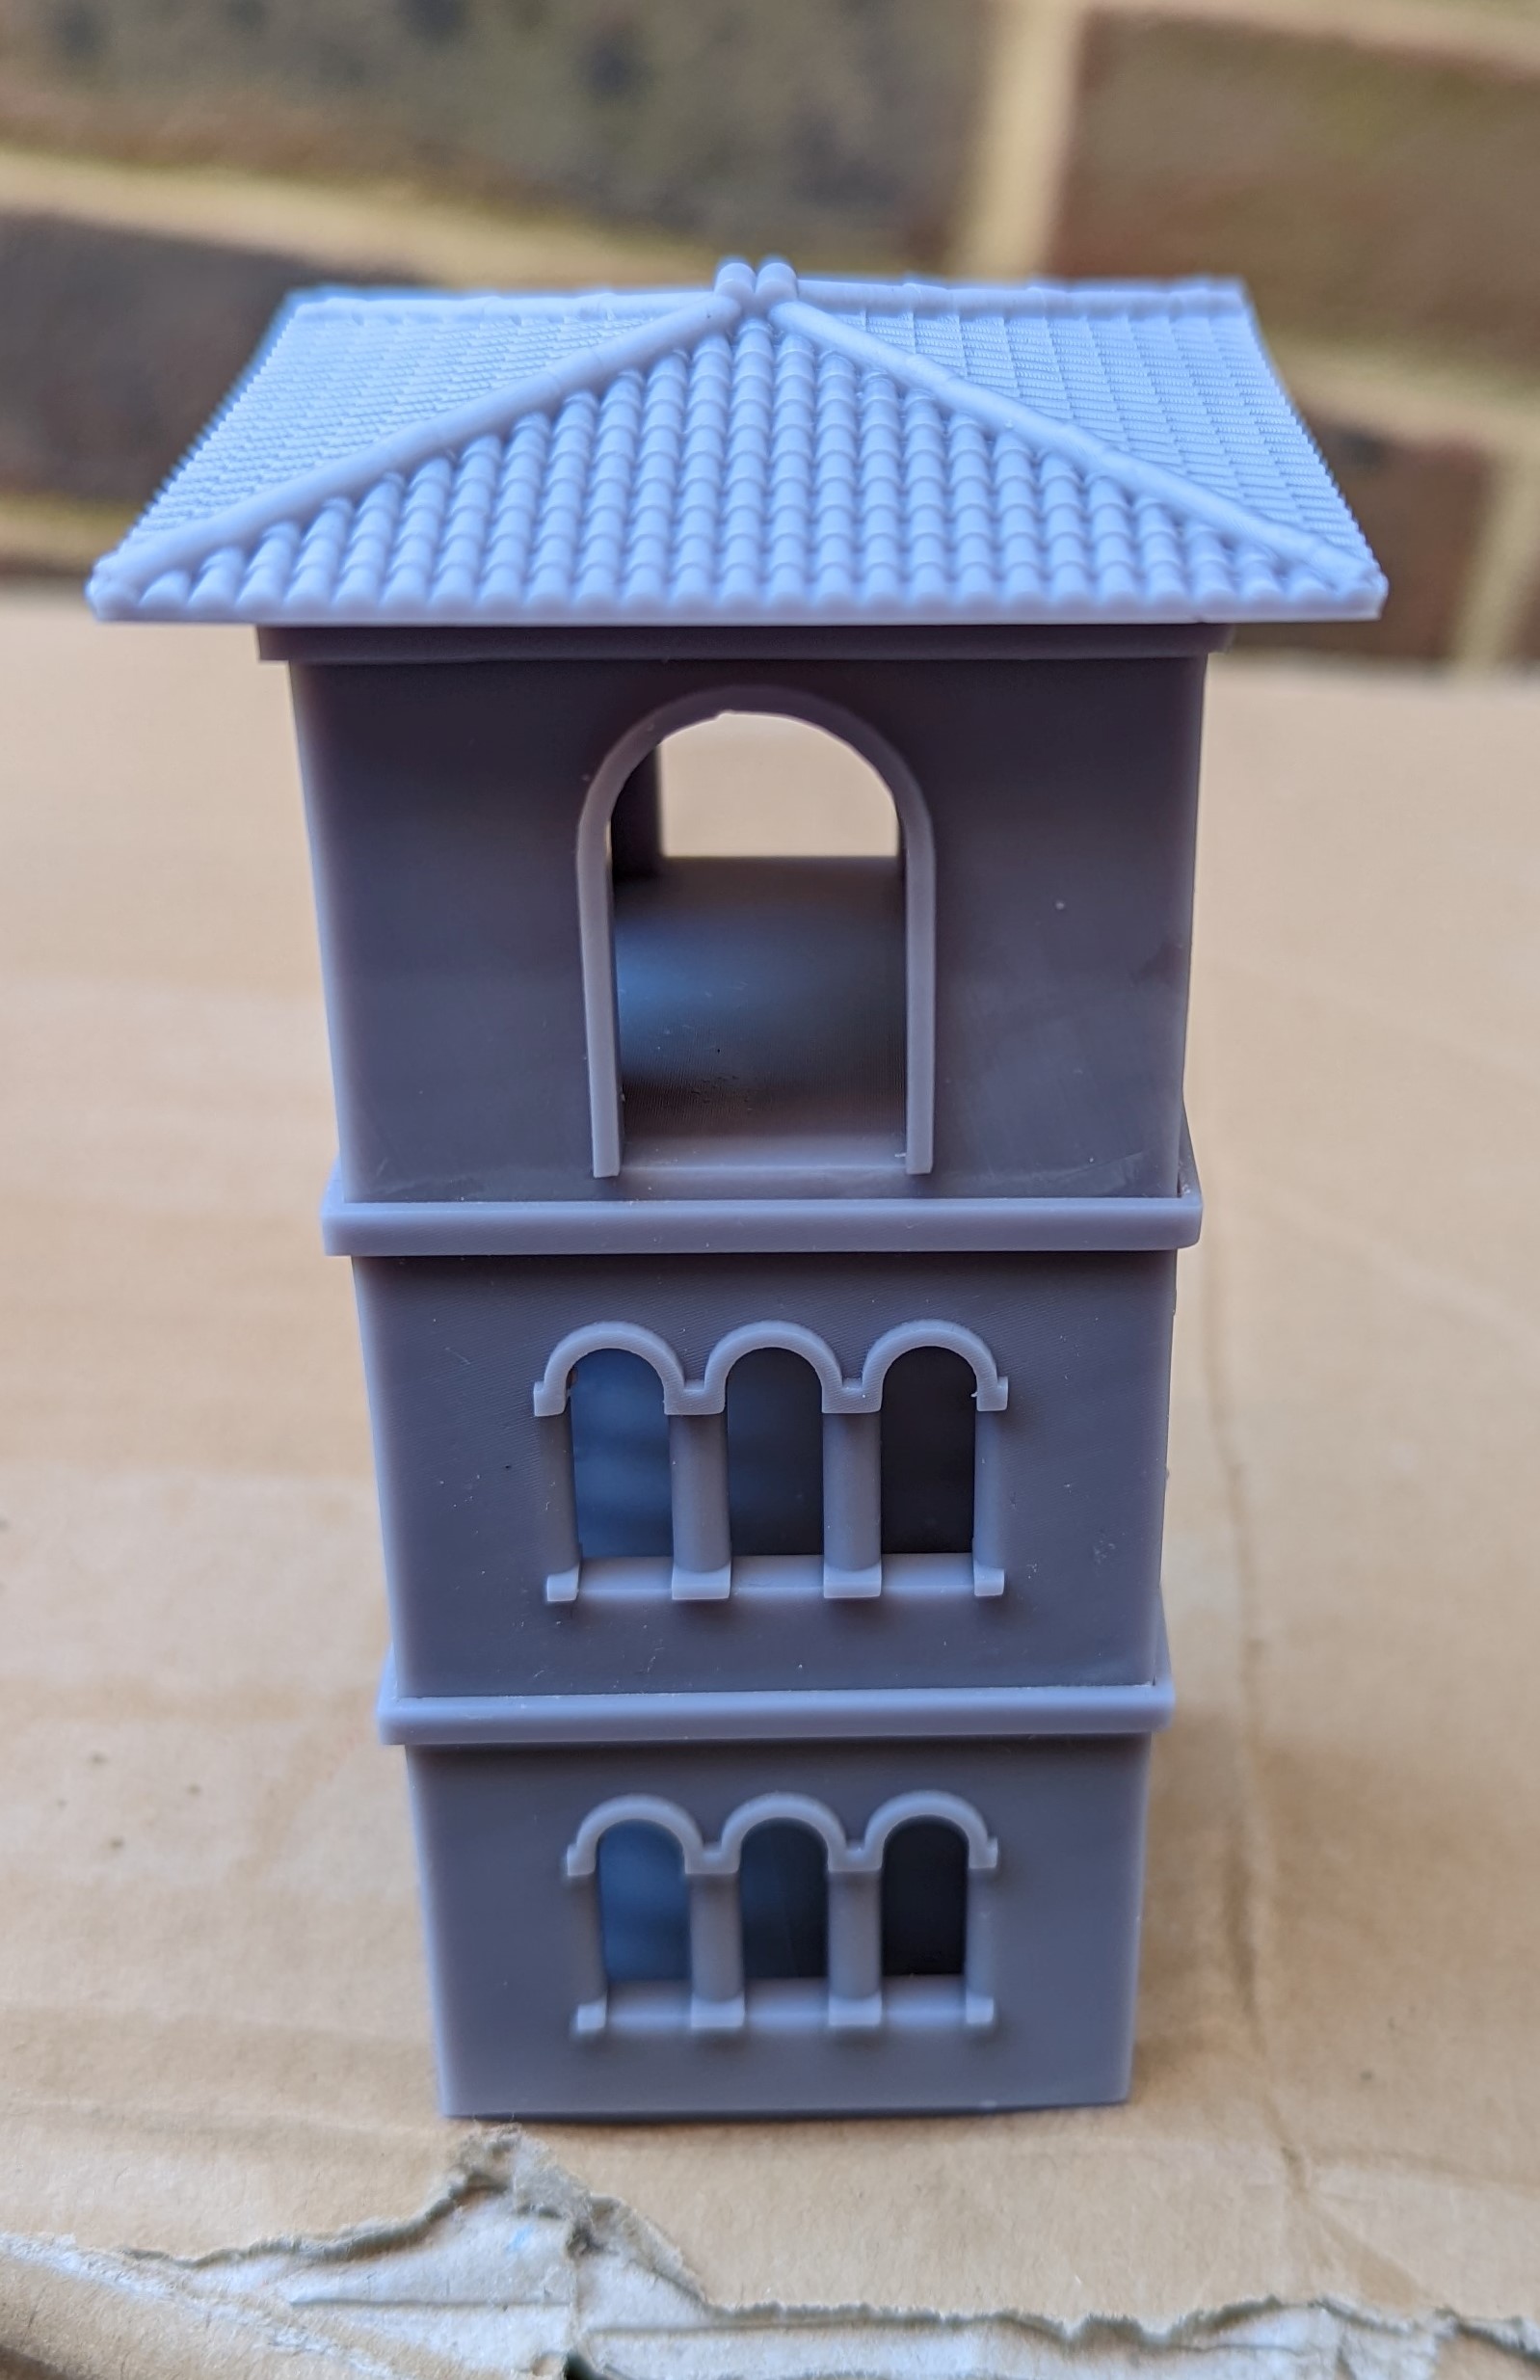
They like towers in Tuscany. It’s a feature of the towns and villages and while every church has a lovely tower, a number of buildings also have them. With that in mind, I designed a house with tower attached (below).
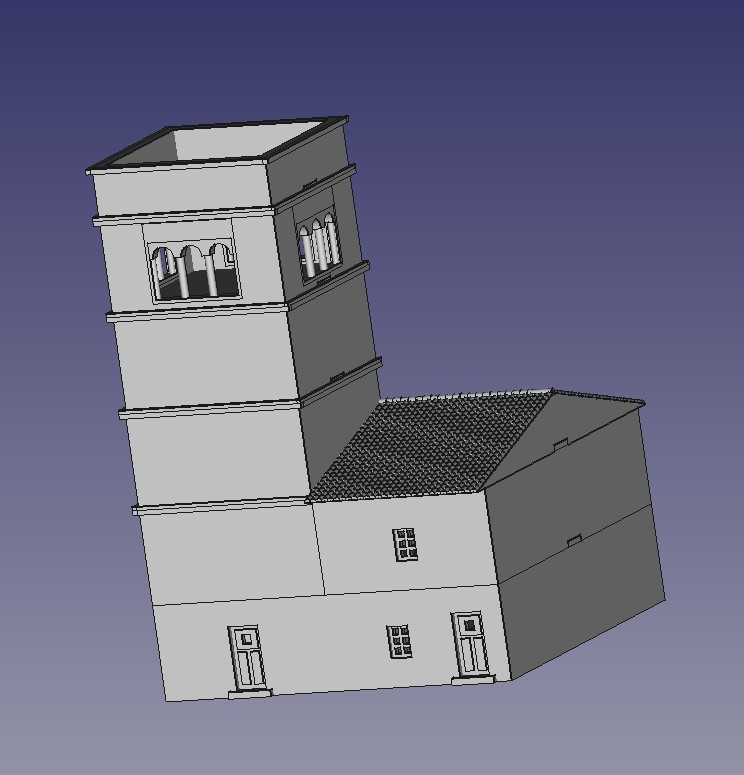 CAD Tower House
Printing this out on the 3d printer took some time. I also encountered my first failed print which I think was due to the supports. As these were heavier models, I needed more supports but failed to space them out correctly and created a suction problem. At least I think that was the problem.
The building comes apart to allow models to be placed inside, especially useful for the sniper teams who do like a lovely high position!
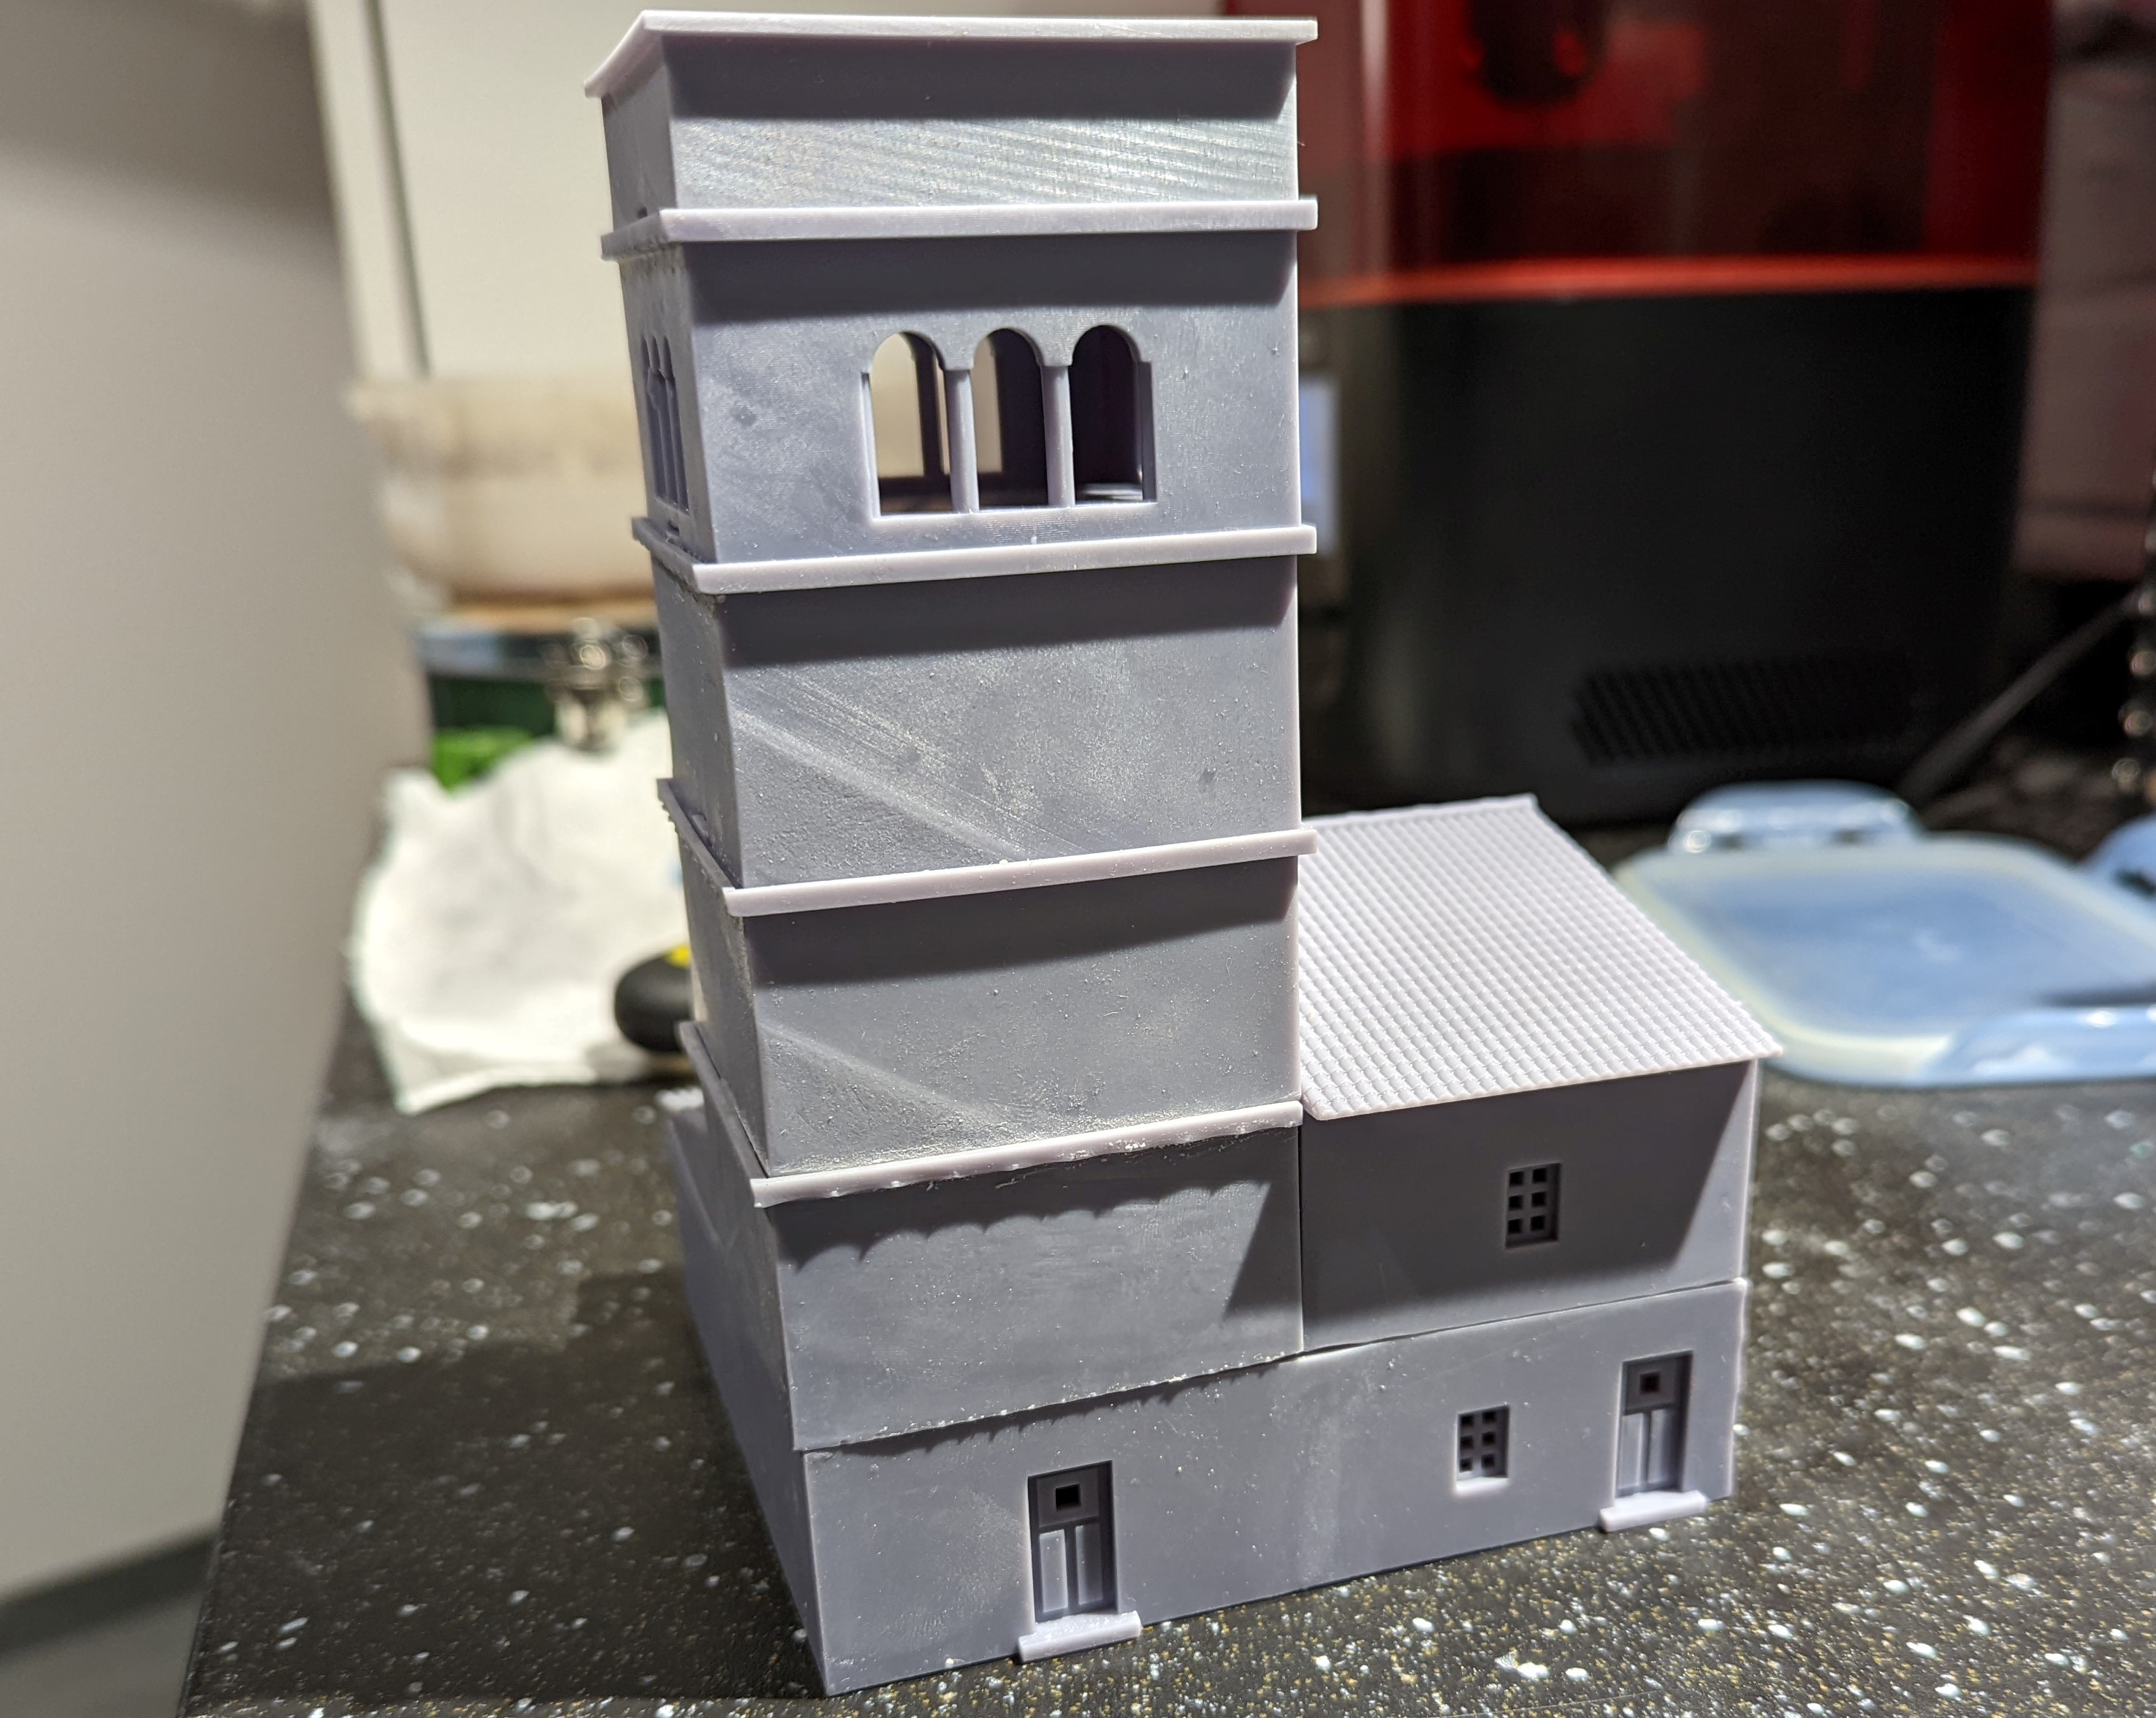
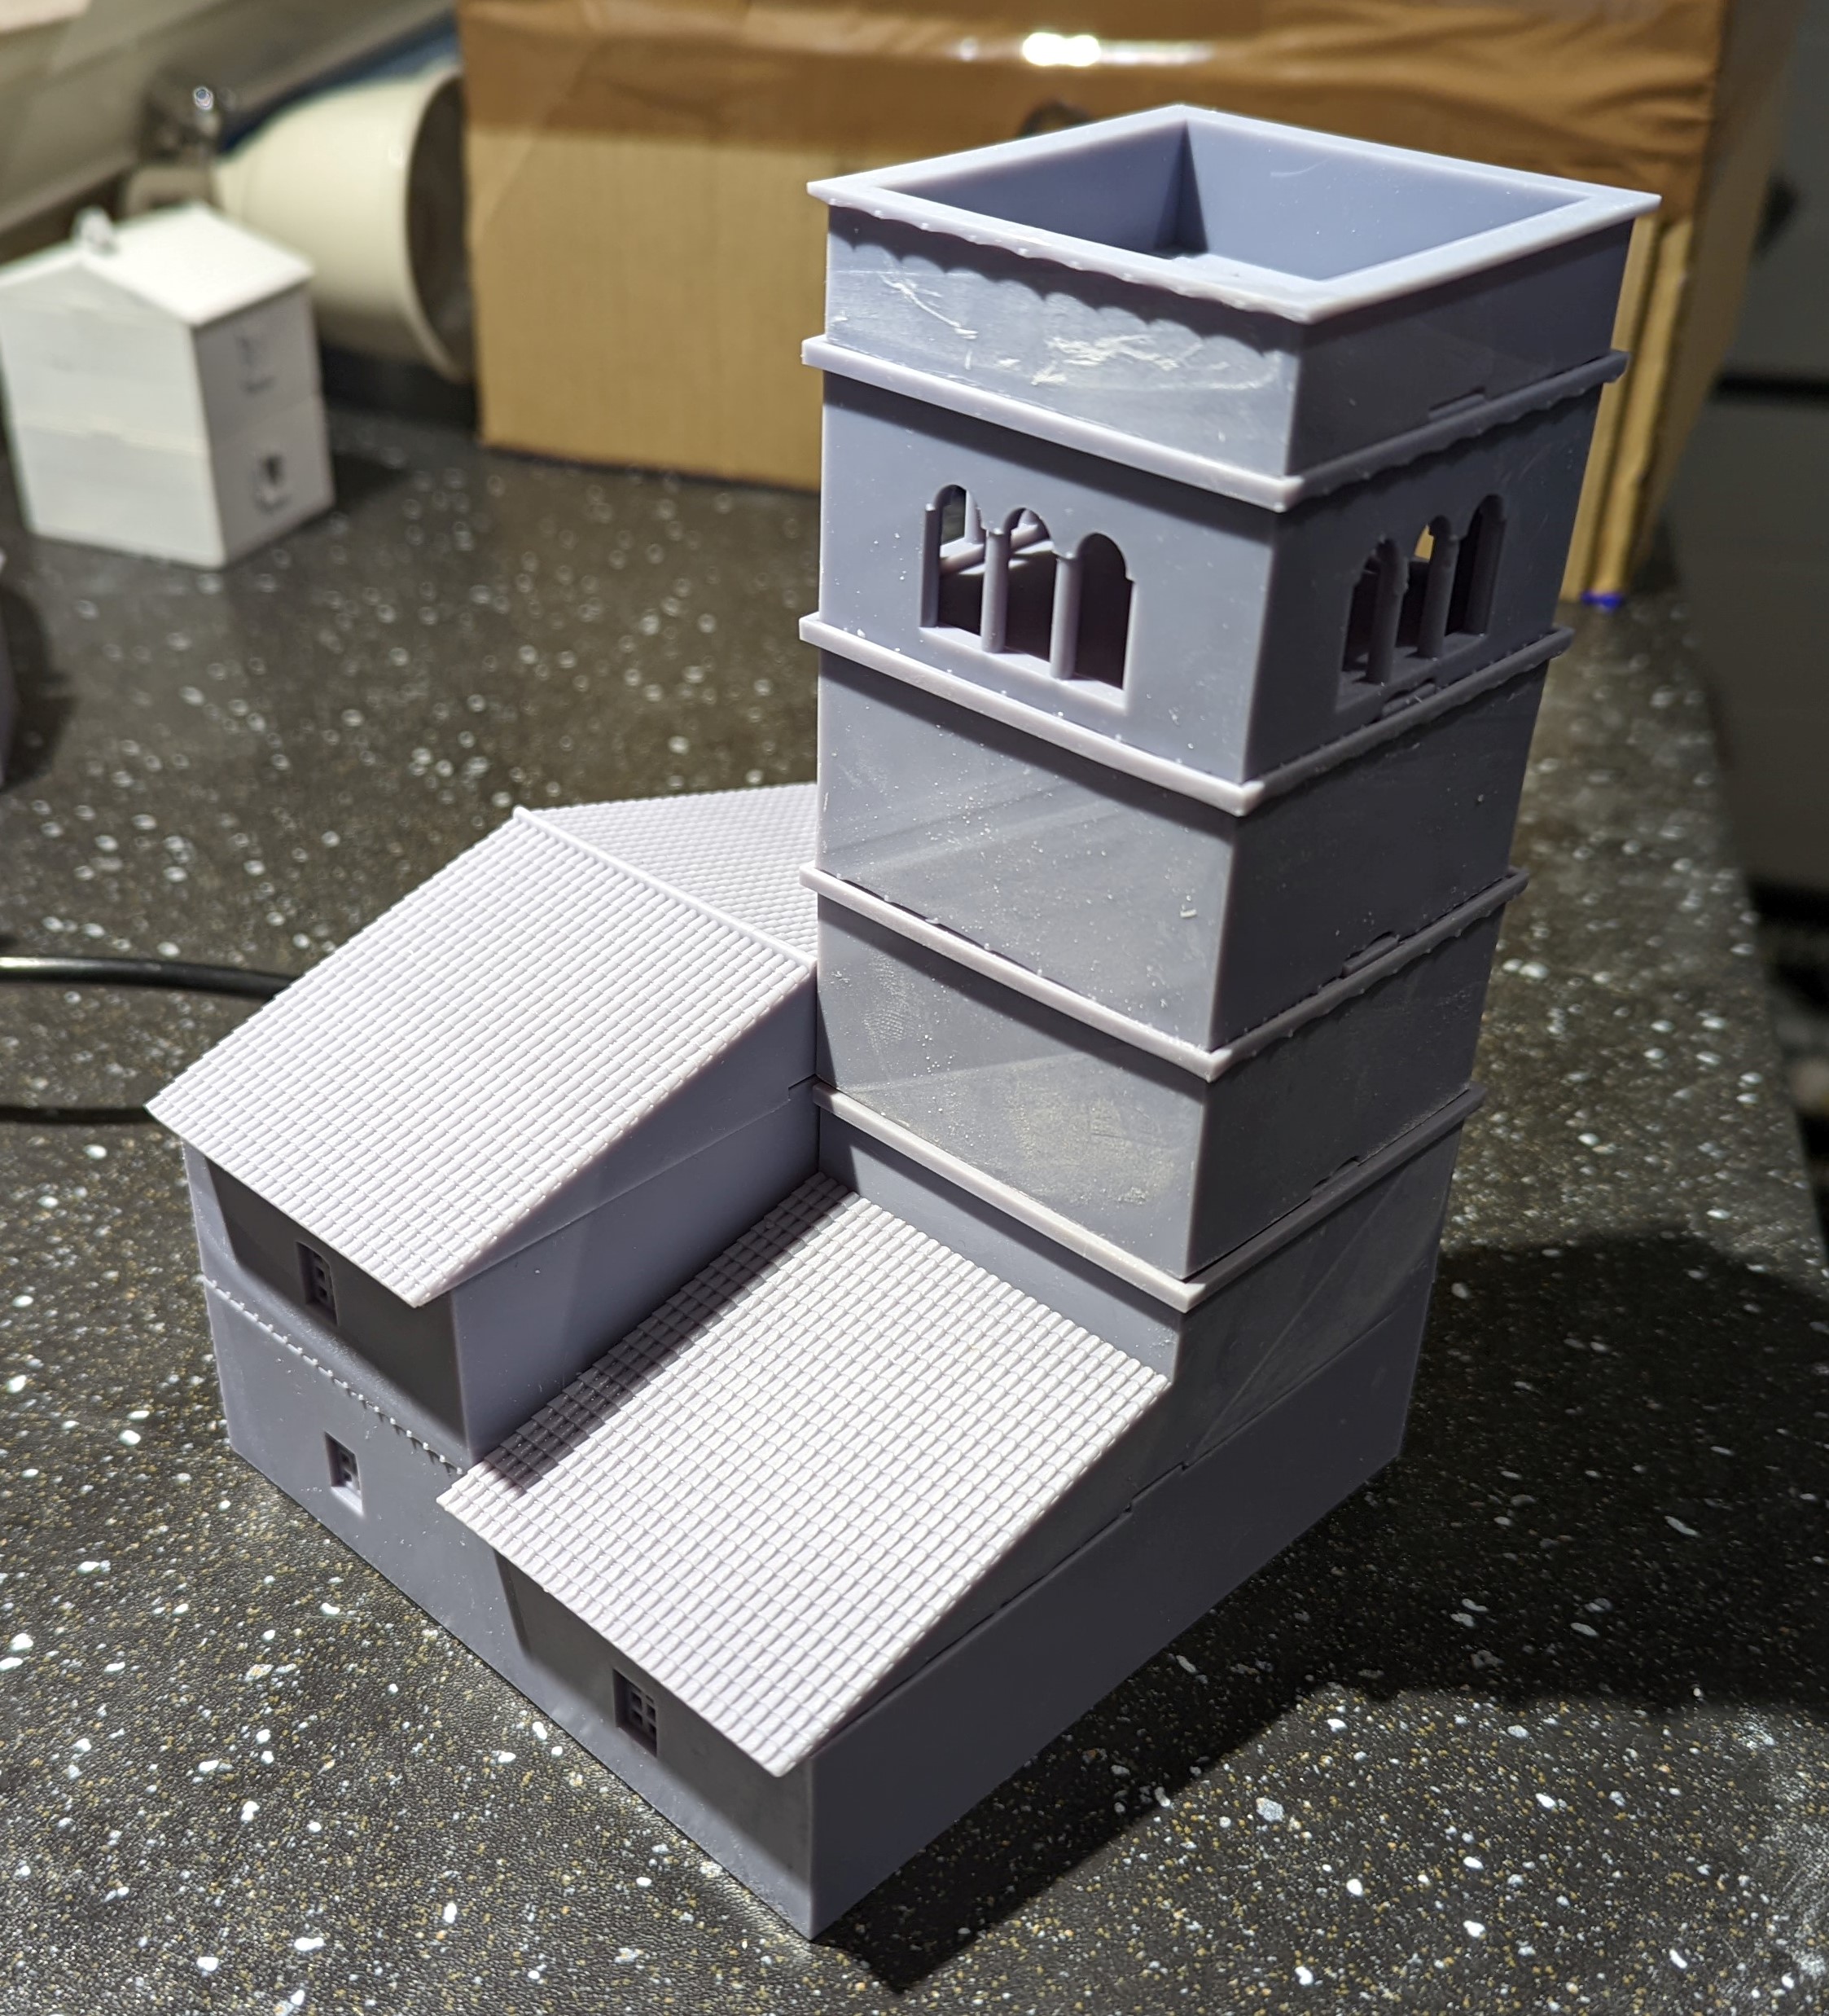
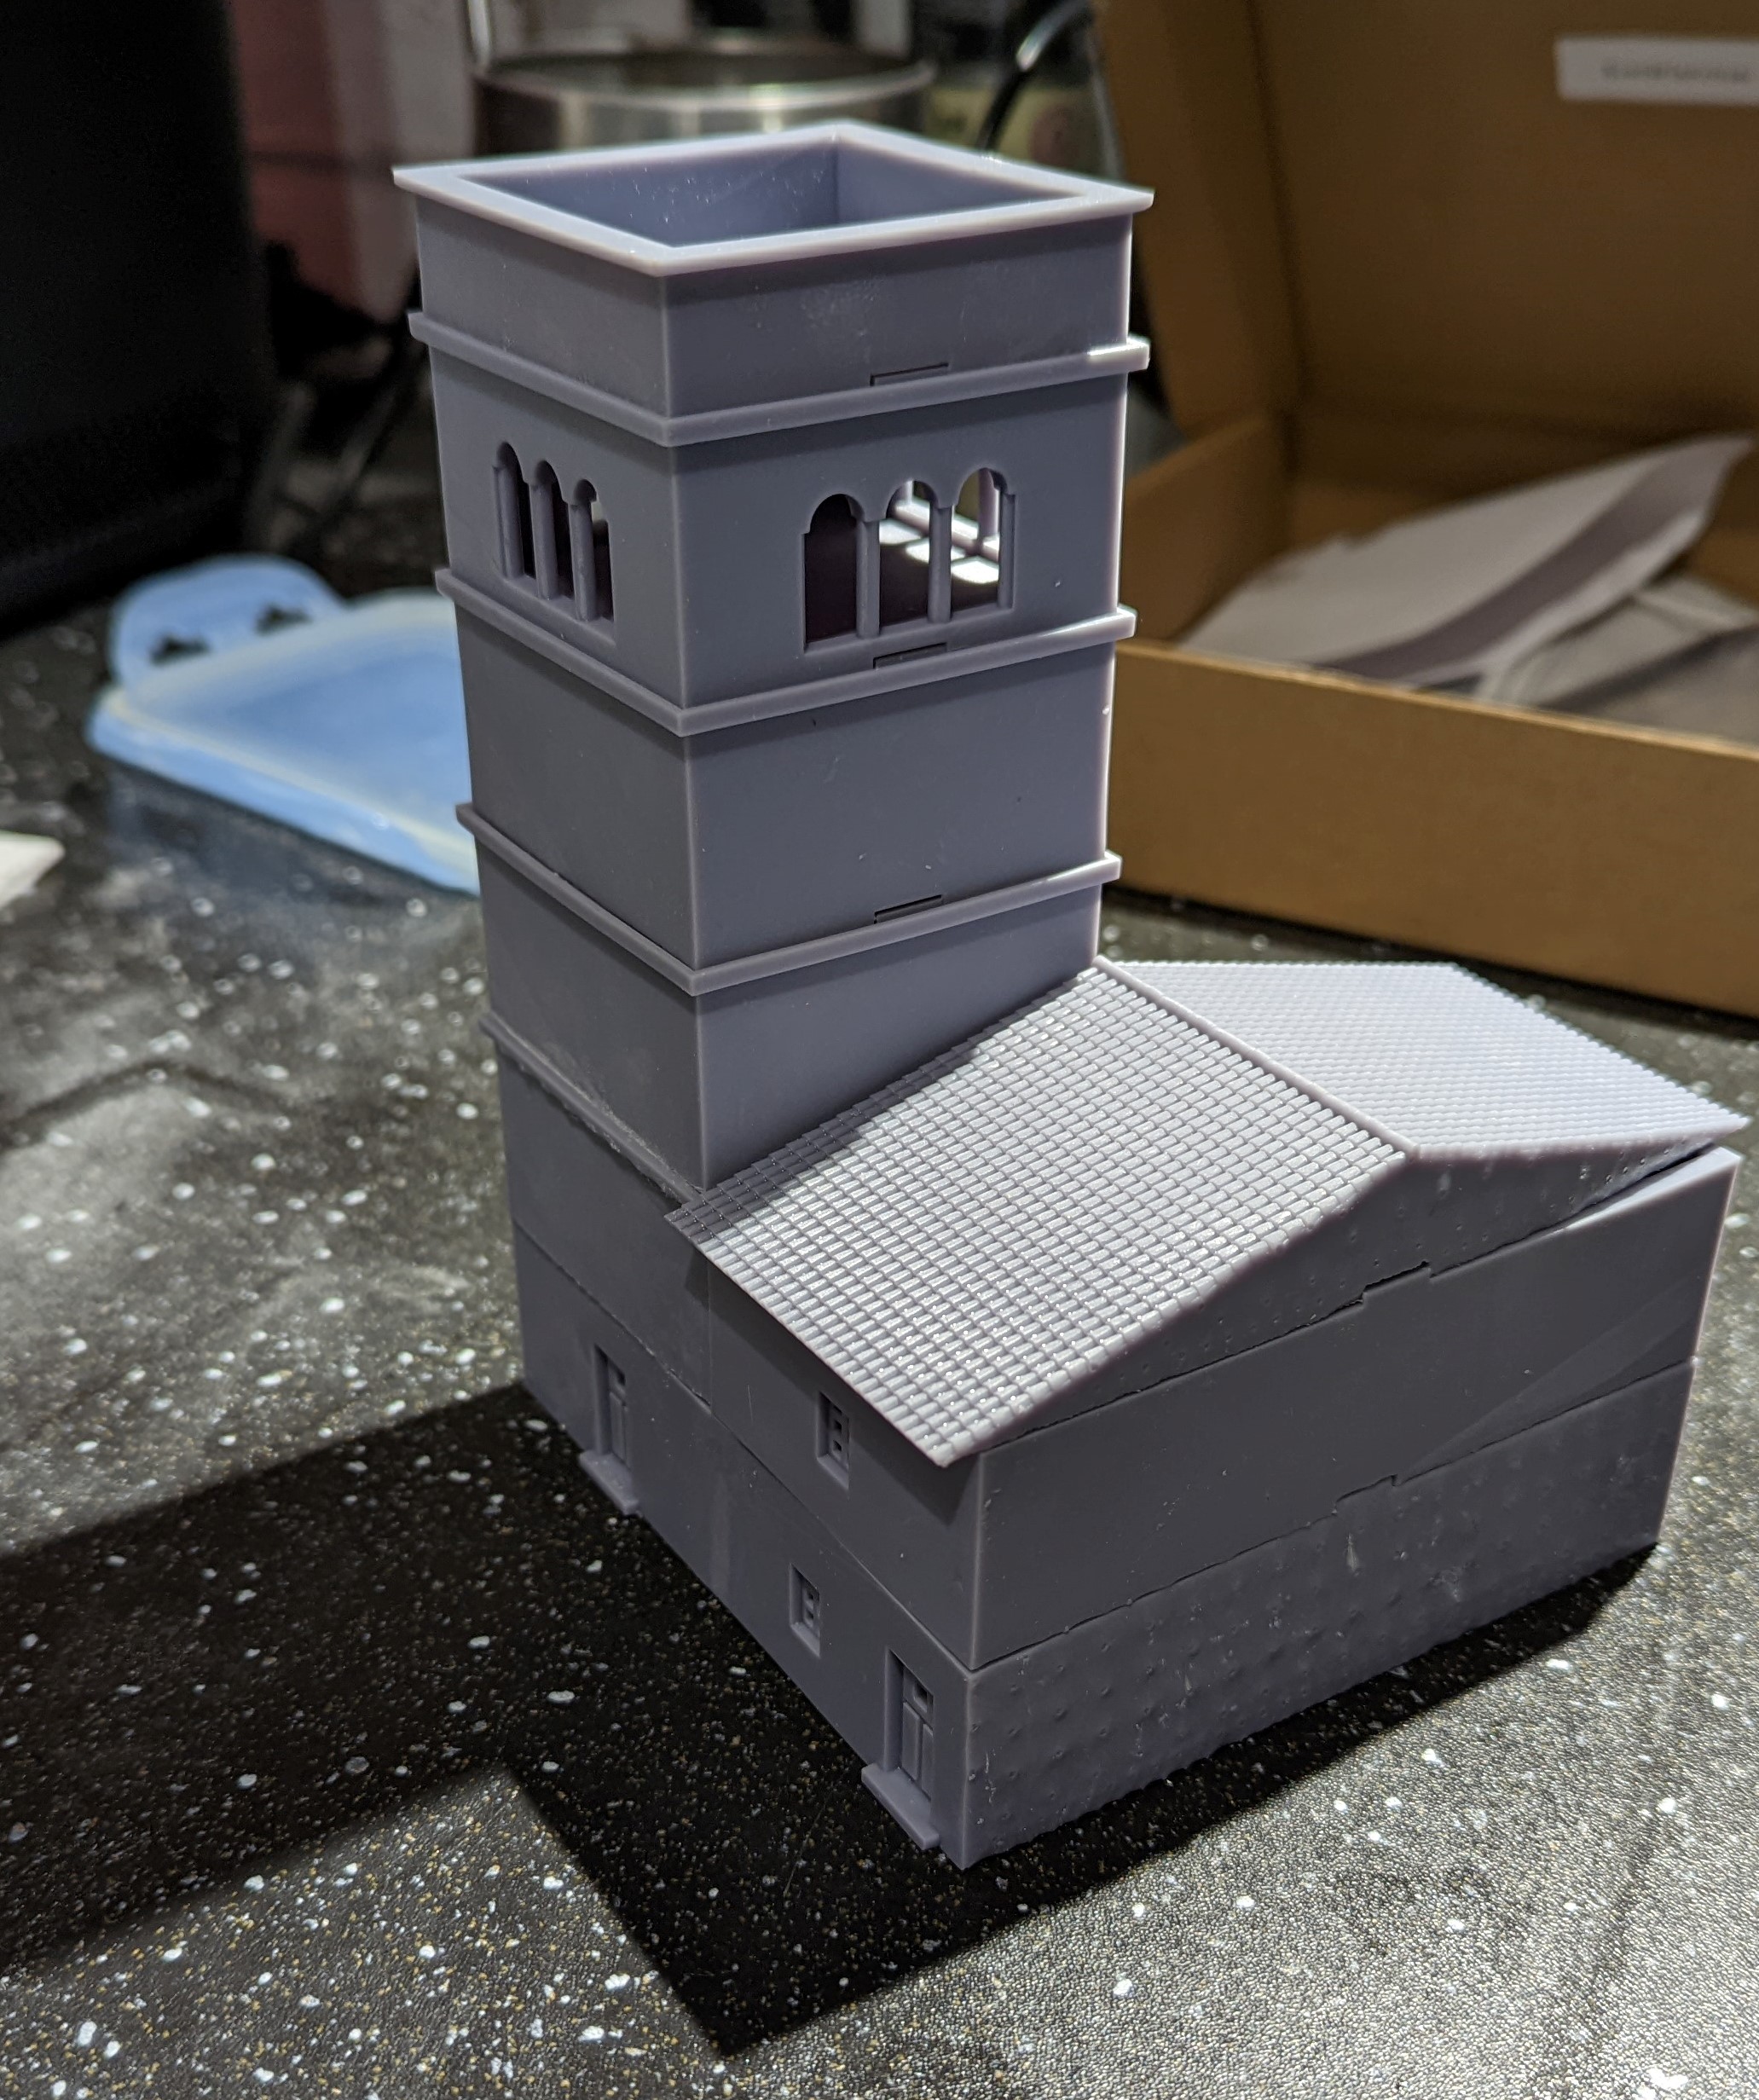
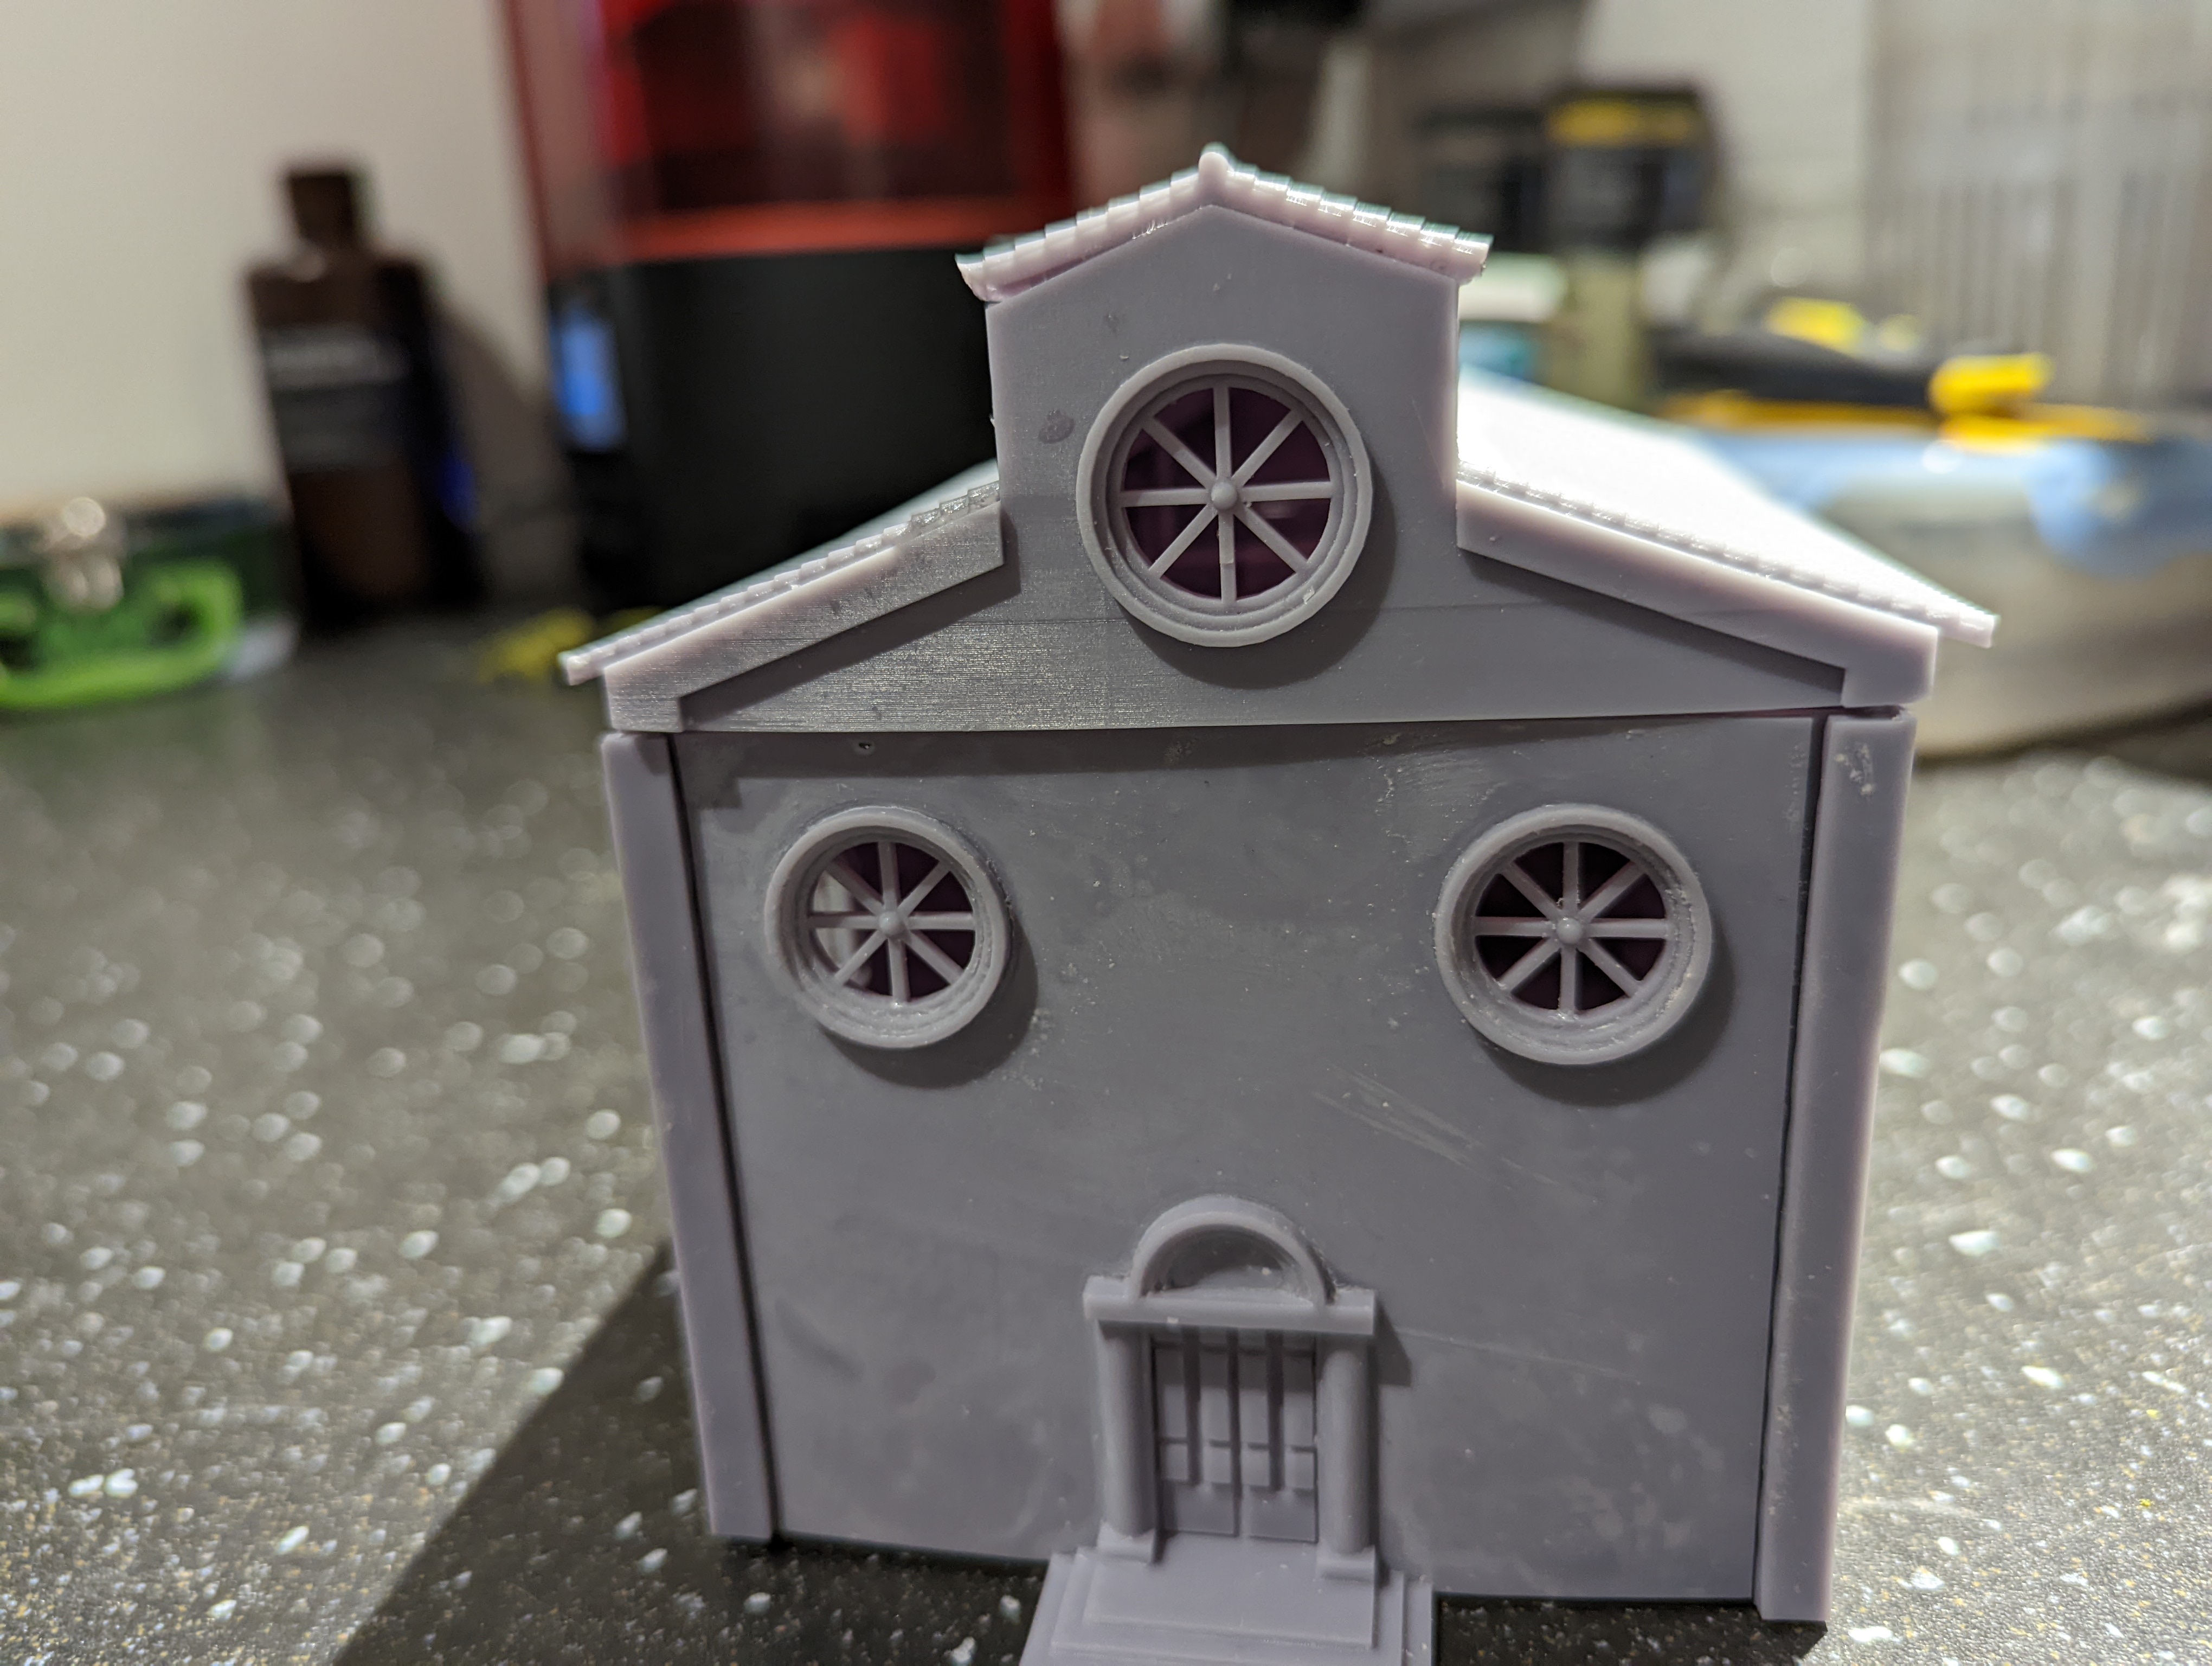
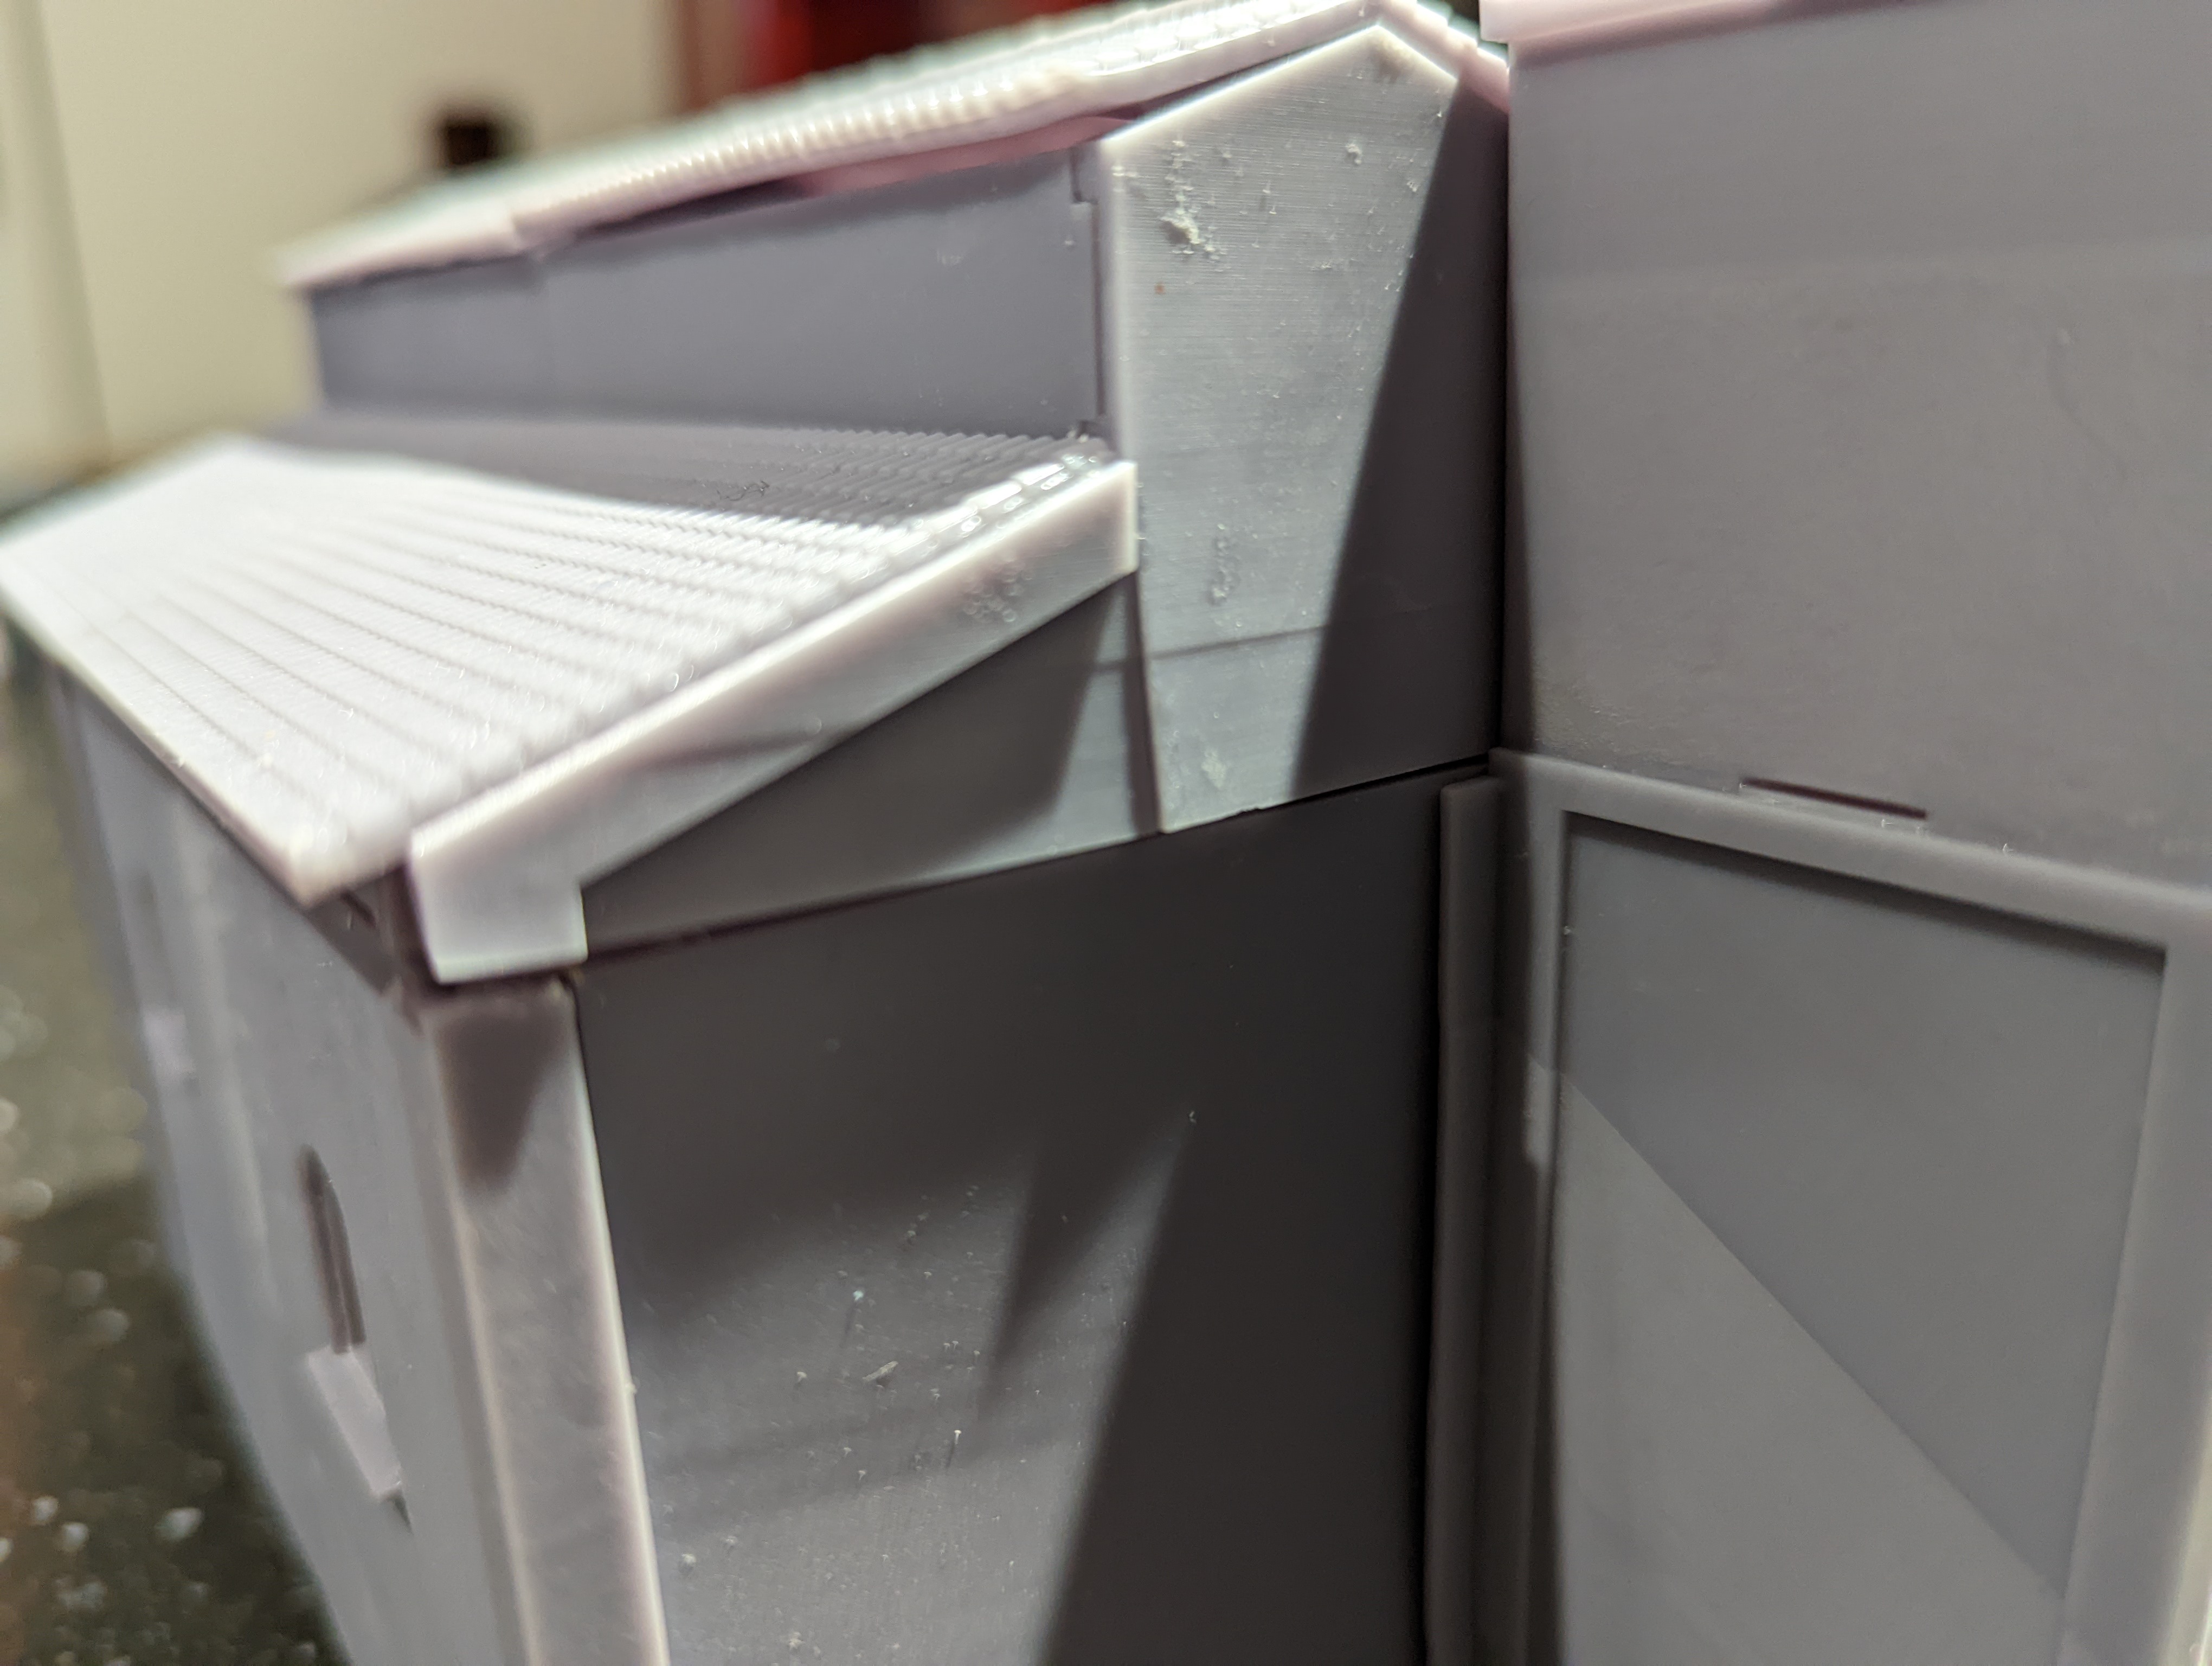
I did have a couple of minor print problems. As you can see from the picture, the roof didn’t print quite straight. It’s not the end of the world but I might reprint it at a later date
 Misprinted roof
With a few of the buildings now printed, I thought I would lay them out on the top down plan (below) to get a feel for how the finished project might look.
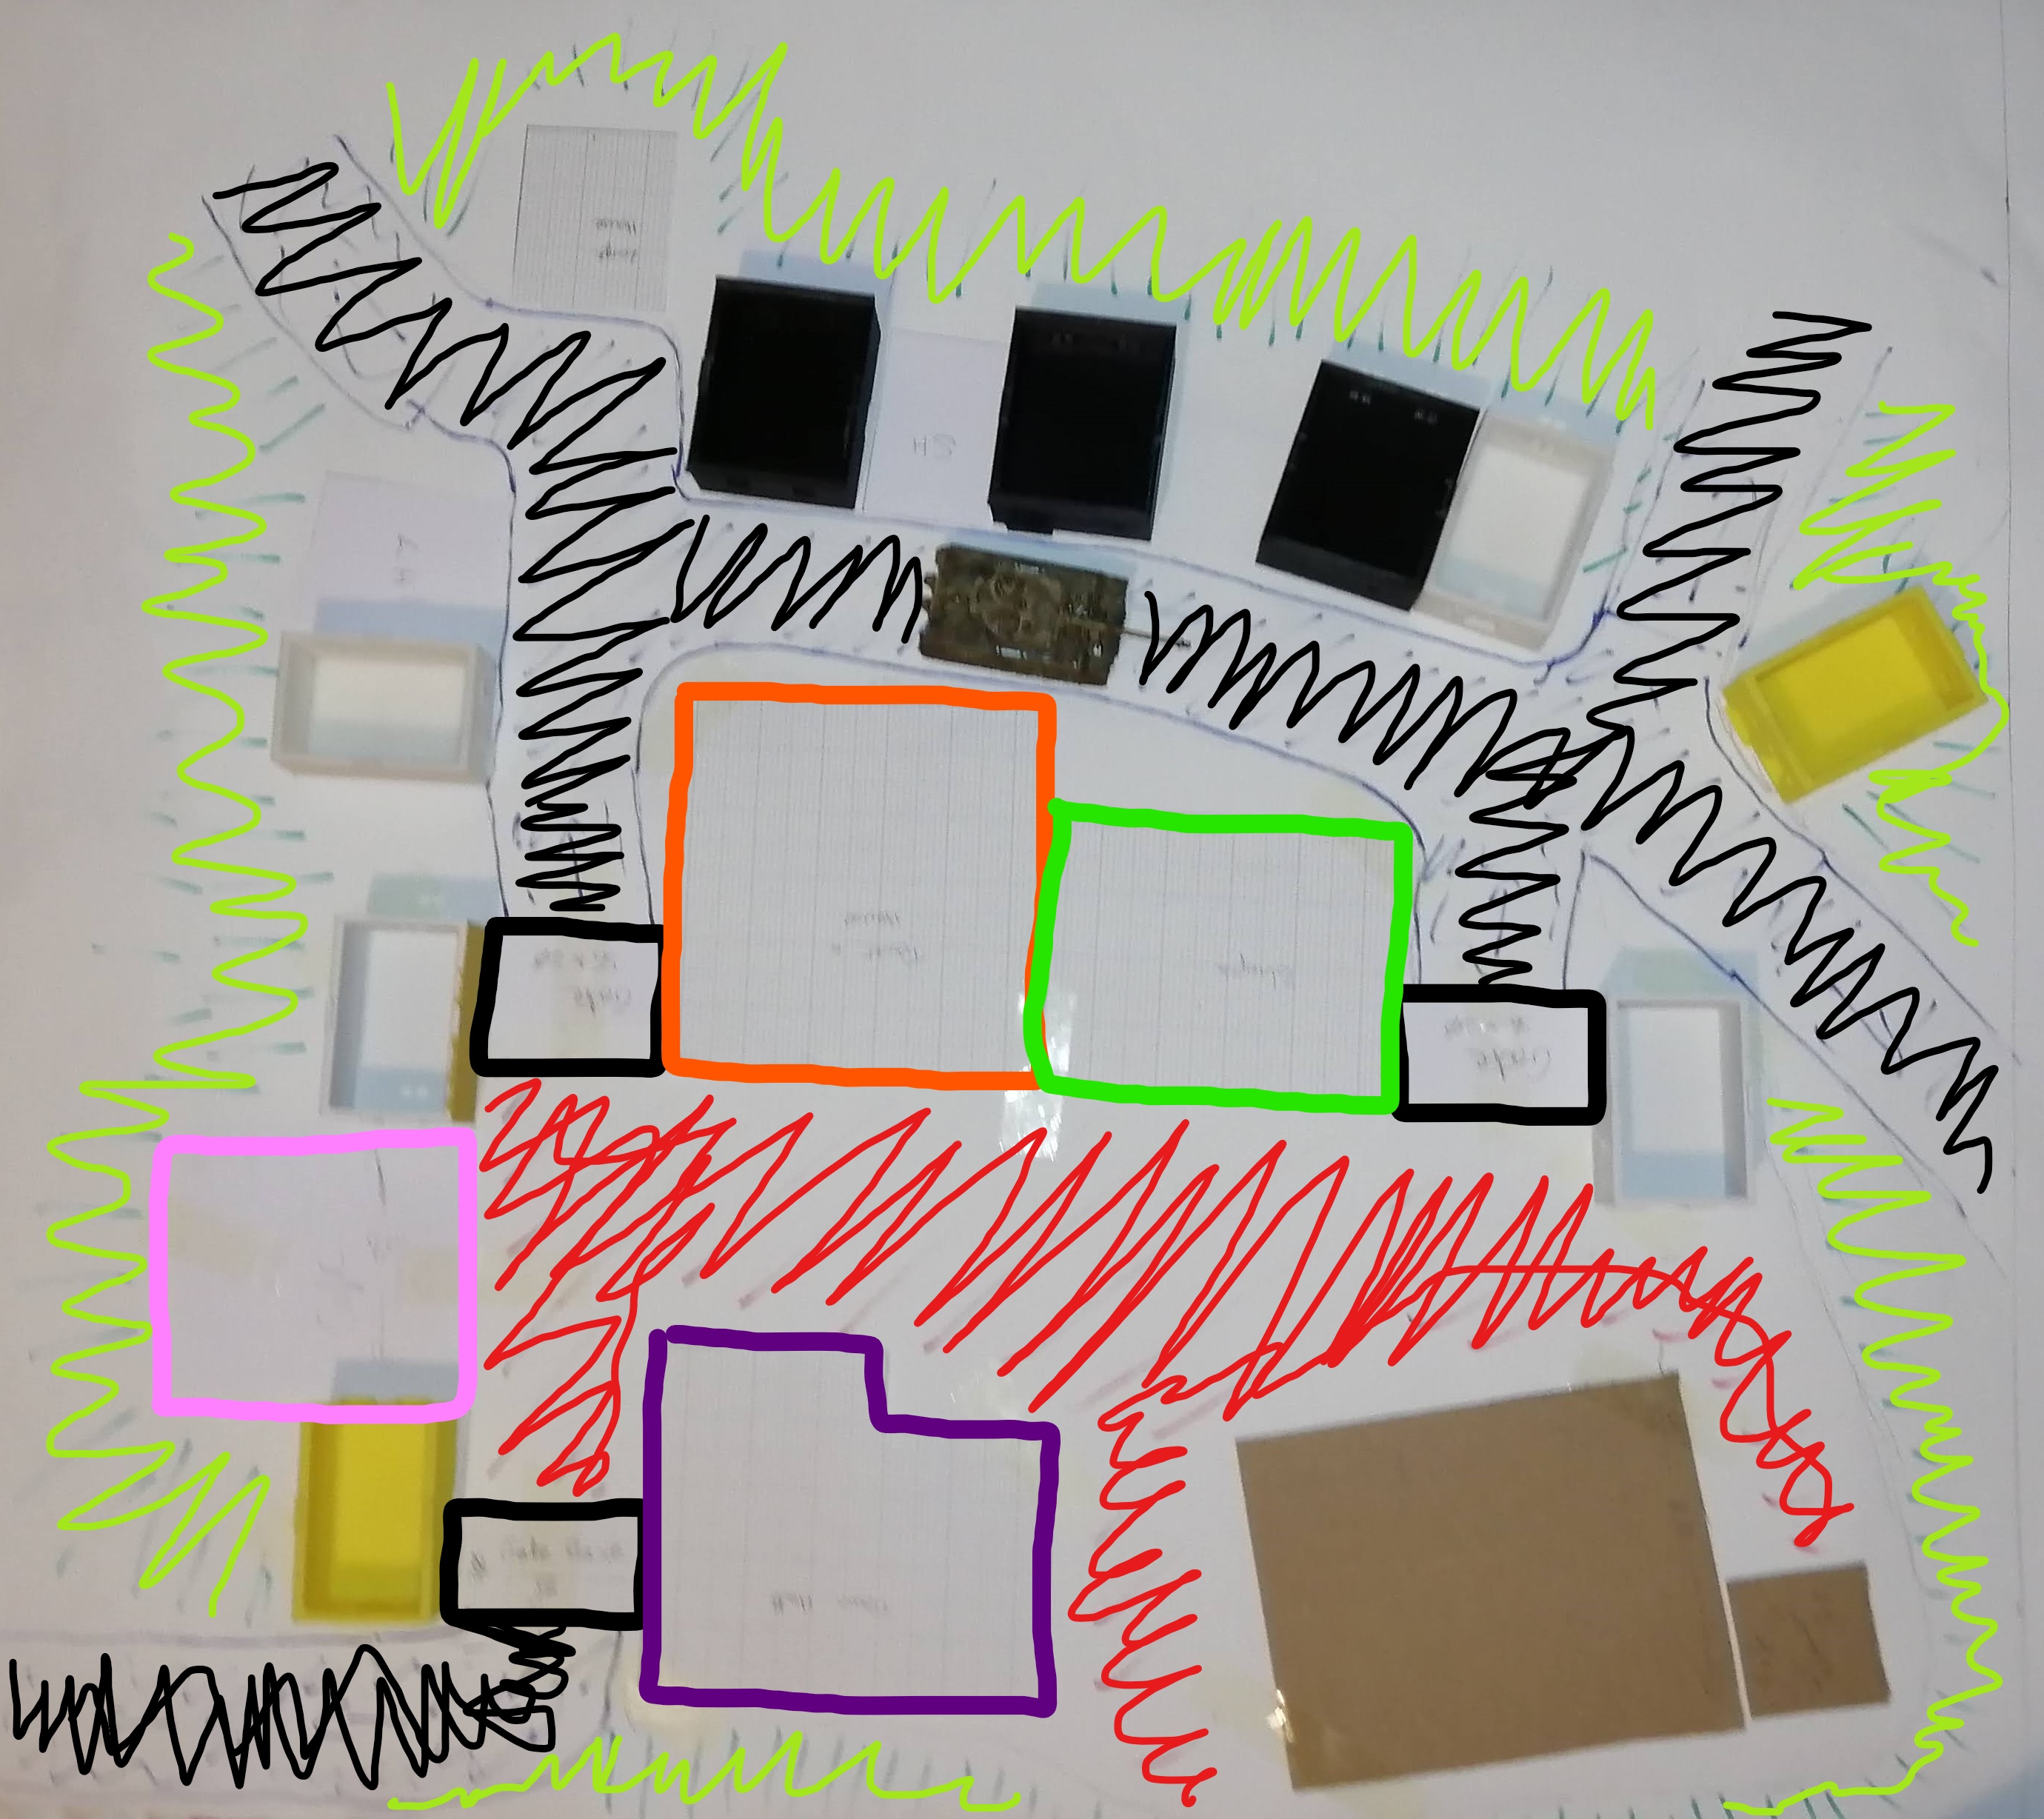 The top down plan
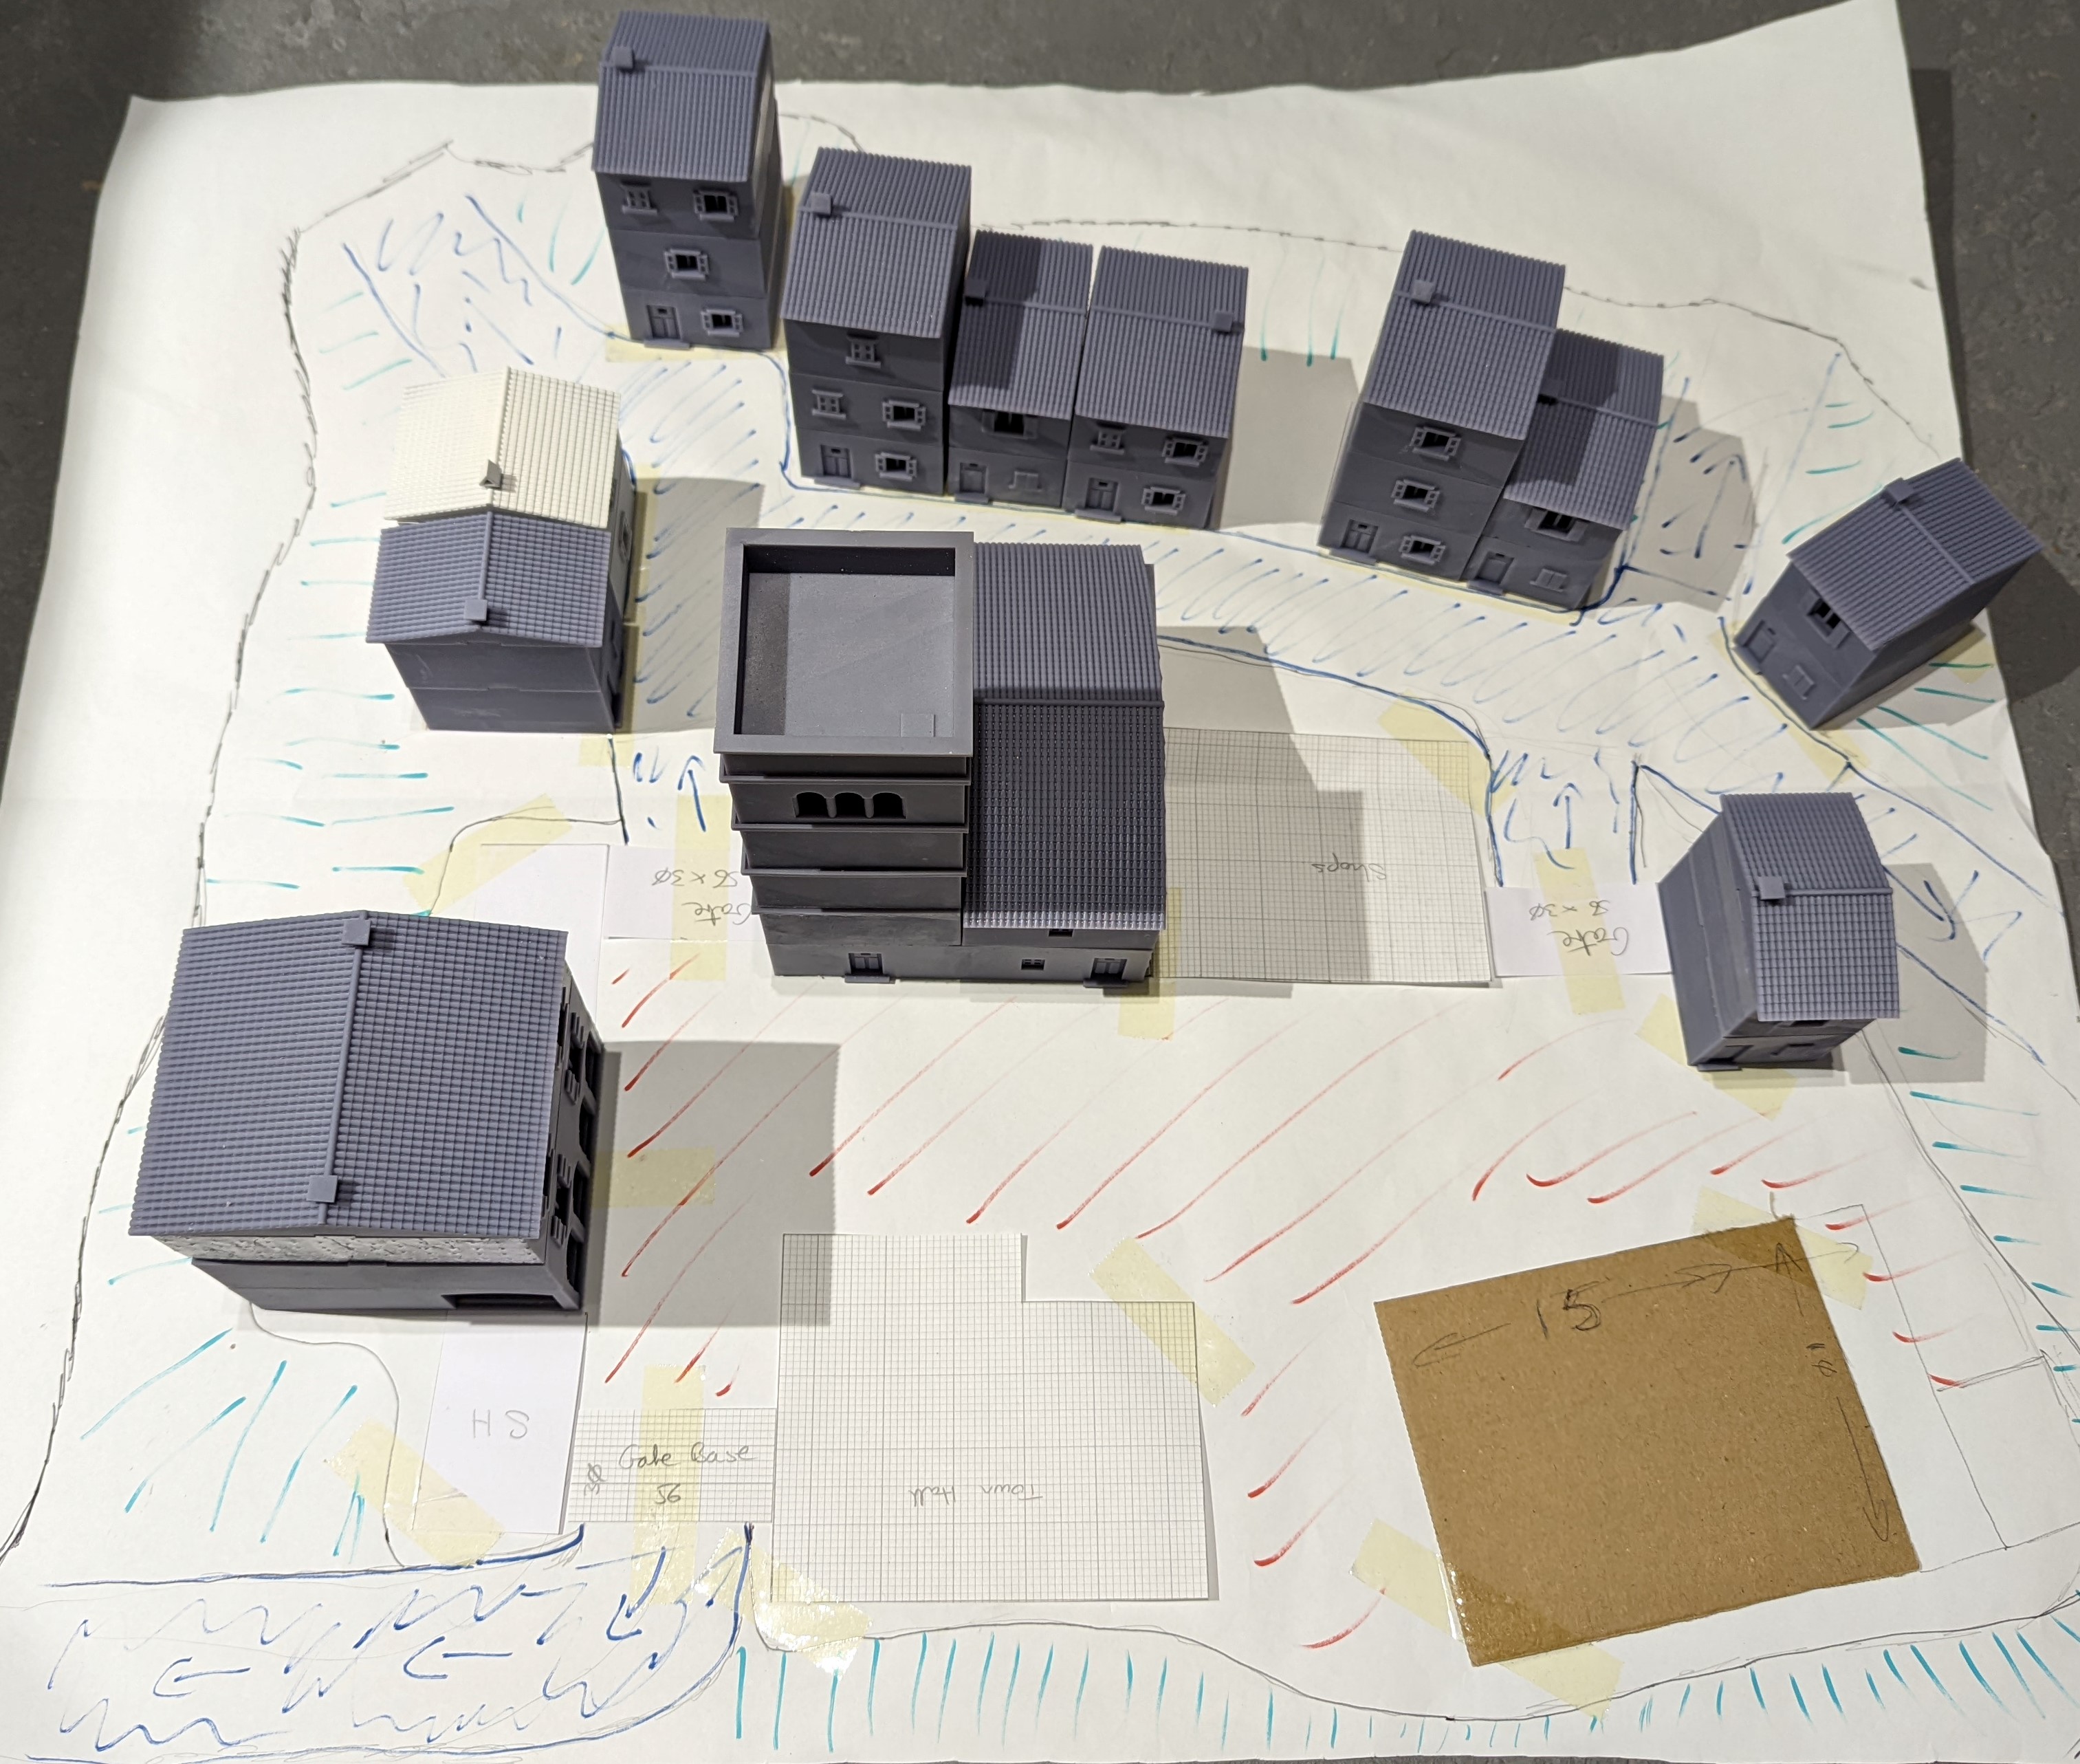
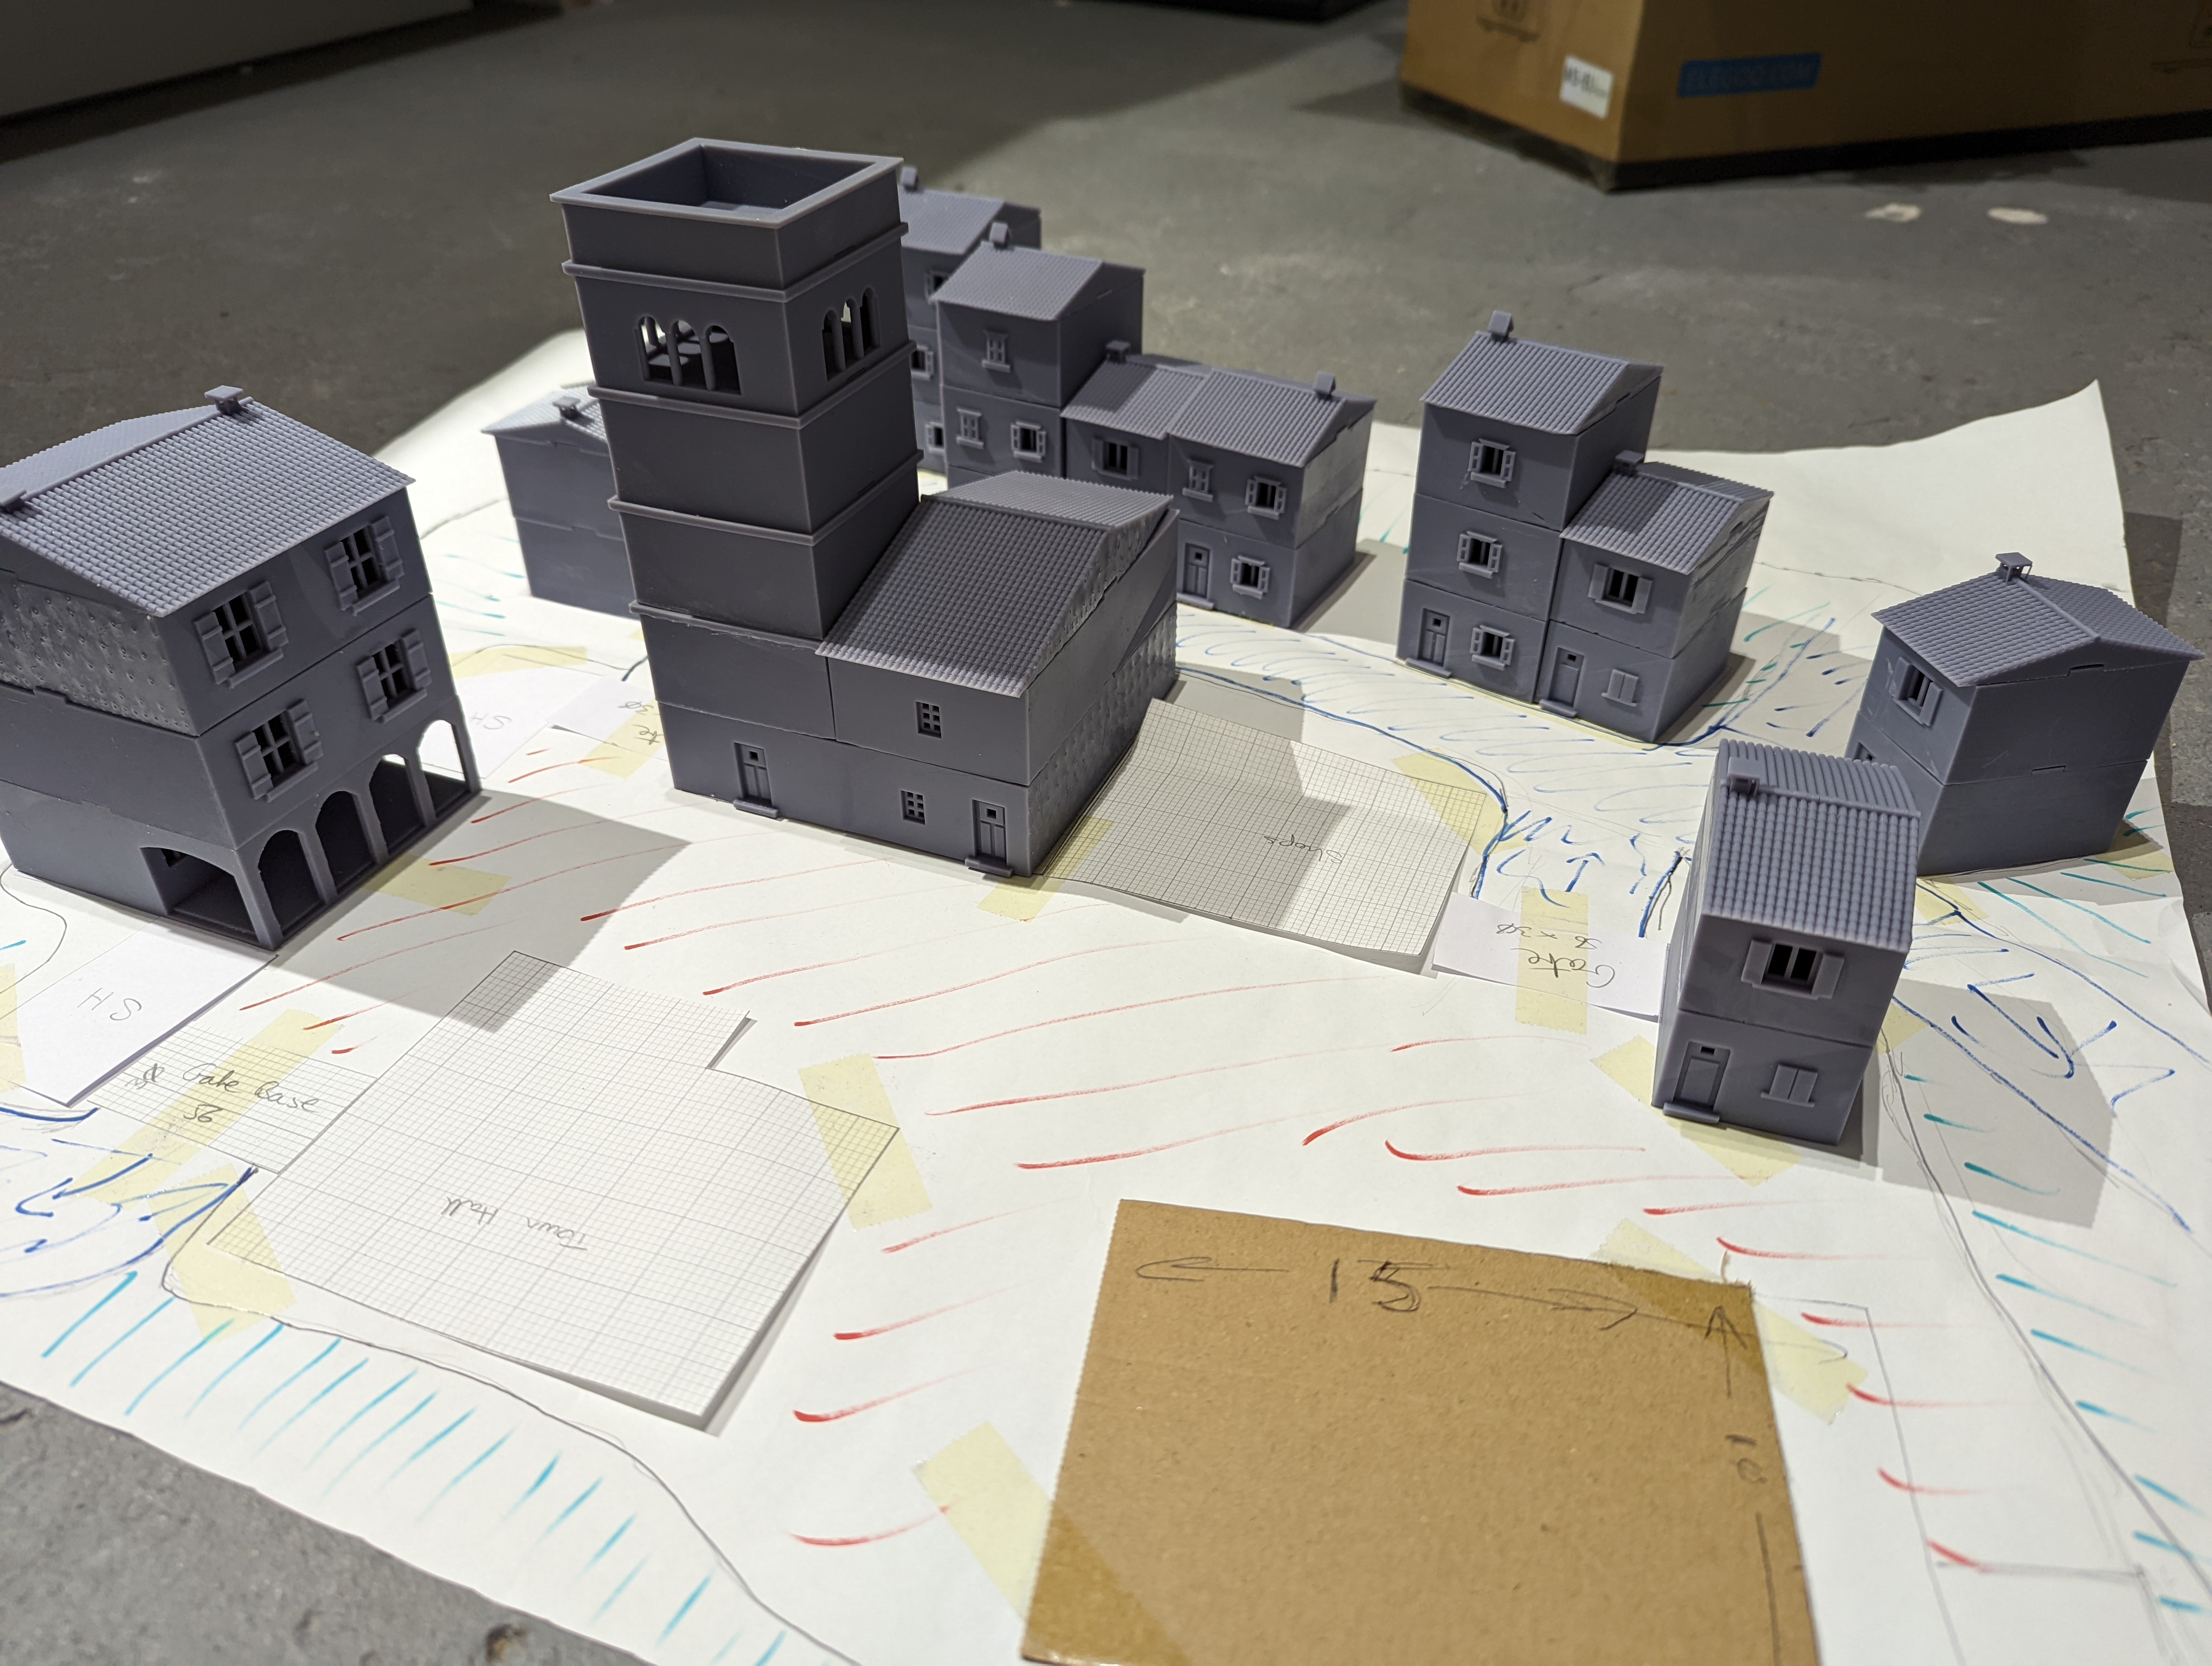
 The row of houses on the right here will be on the lower level
3d Printing Update
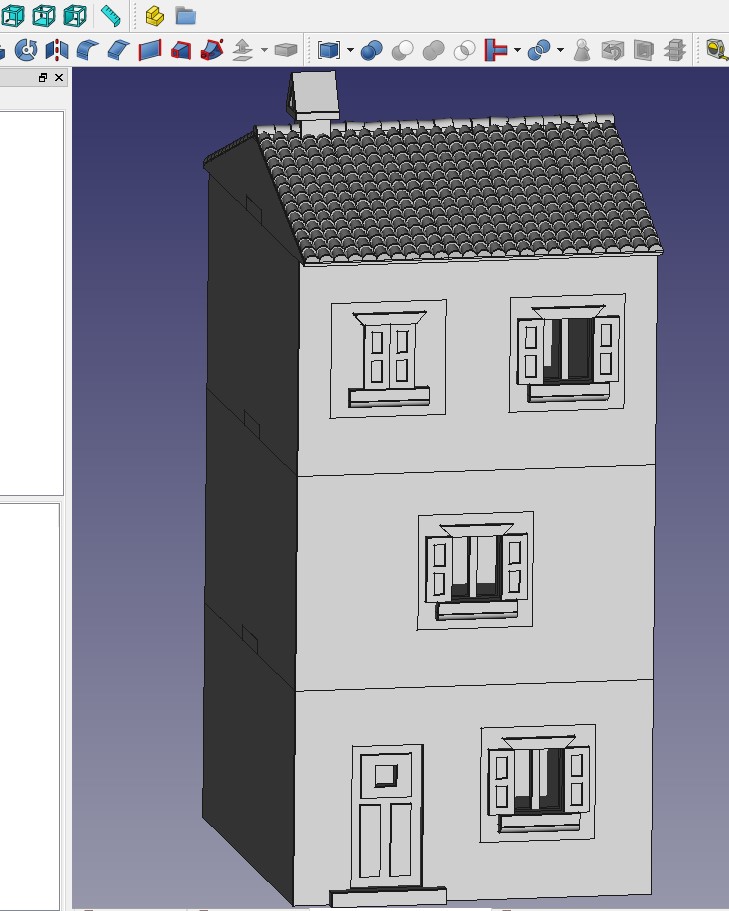
While I’ve been busy trying to work out how to build the rocks and base, I’ve kept the 3d printer running. I now have 6 complete ‘Large Houses’. These are similar to the houses I put up before but have a large footprint and I created more variation in the designs. You can see my 3d design below and then the printed versions
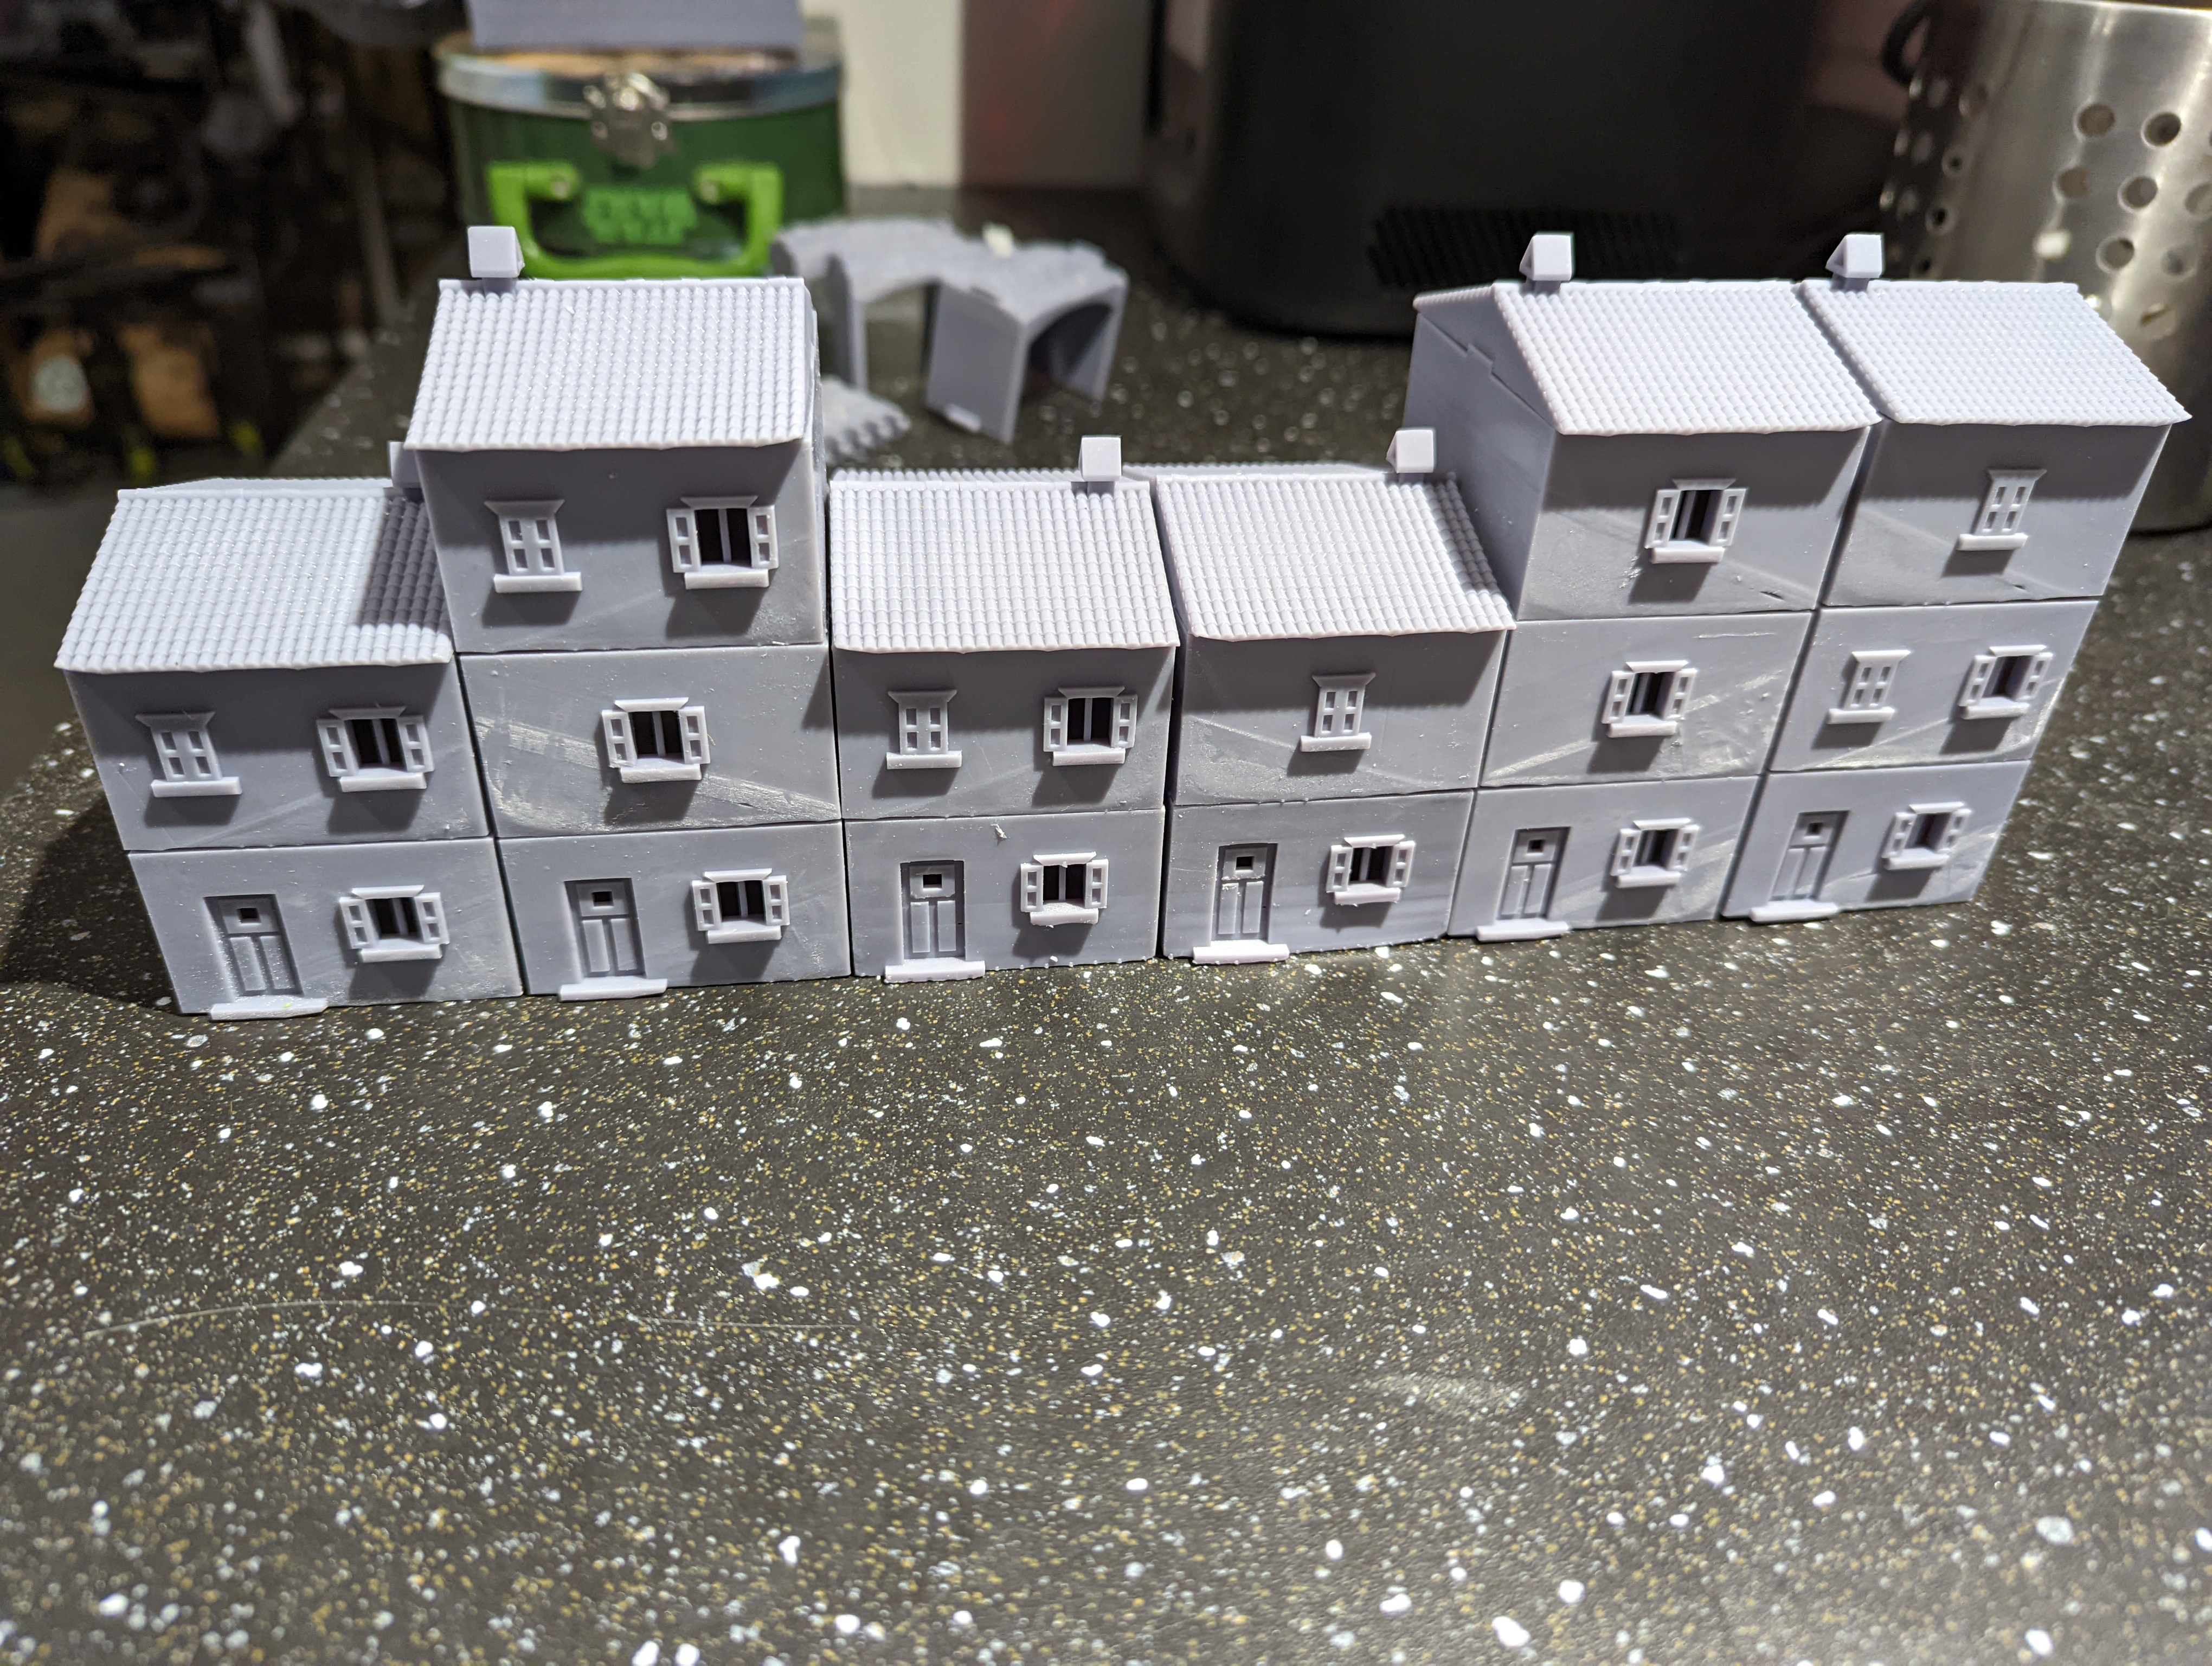
The odd diagonal lines on some of the prints is, I think, a result of temperature or suction in the vat. The printer is in my garage and some of these got printed when it was a bit colder so this might account for it. Either way, it comes off with a light sand, so no big issue.
Happy with how these simpler buildings have turned out, I turned to something a bit bigger. In this case, my design for the ‘cafe’. Below are the 3d design and the final print
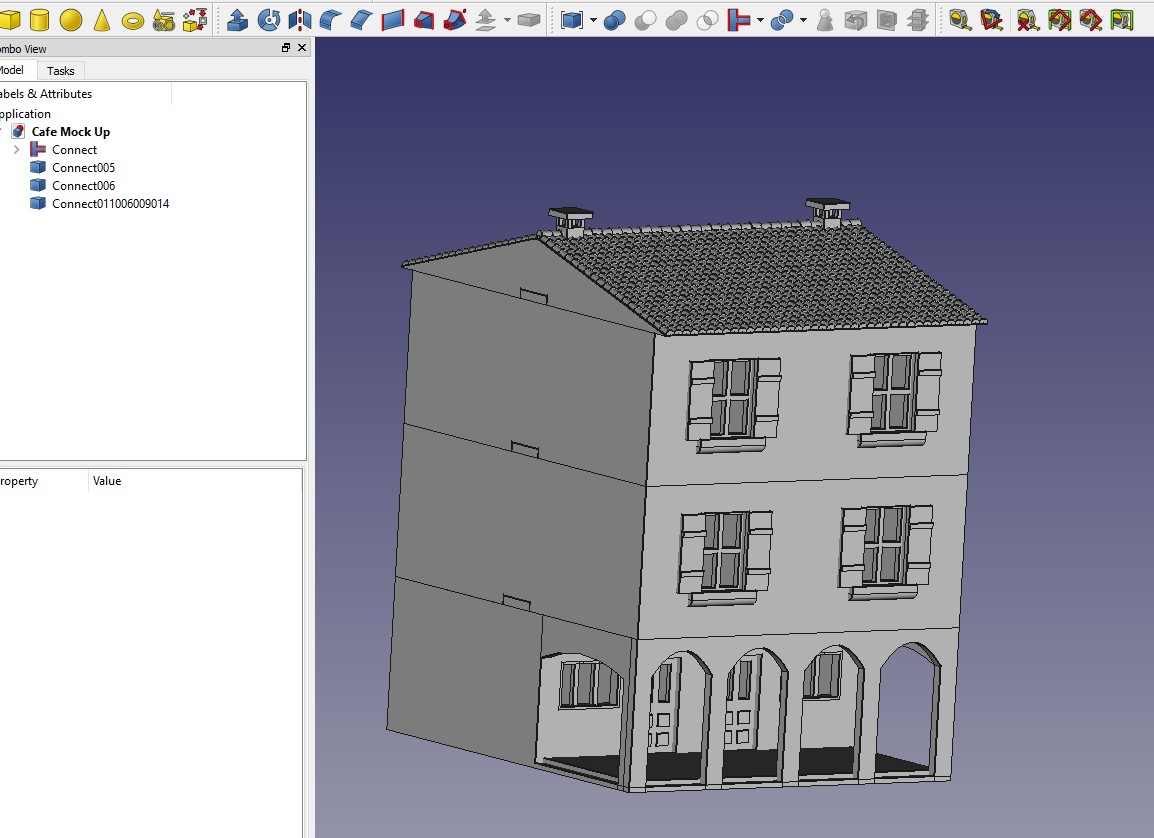
I’m quite chuffed with this print as it printed out quite nicely. Time to move on to the other large buildings.


