![NO Weekender Or Cult Of Games XLBS This Weekend [Updated]](https://images.beastsofwar.com/2026/03/No_Weekender_and_XLBS_this_Weekend-225-127.jpg)


Stalingrad


Recommendations: 497
About the Project
I recently picked up the big Stalingrad box set from Warlord Games for Bolt Action and due to lockdown and being in isolation I've decided to crack on and attempt to finish all the content... even the terrain! I will try my best to update this project and add plenty of pictures to share my progress with you guys. Hope you enjoy following along with me!
Related Game: Bolt Action
Related Company: Warlord Games
Related Genre: Historical
This Project is Completed
First Update!

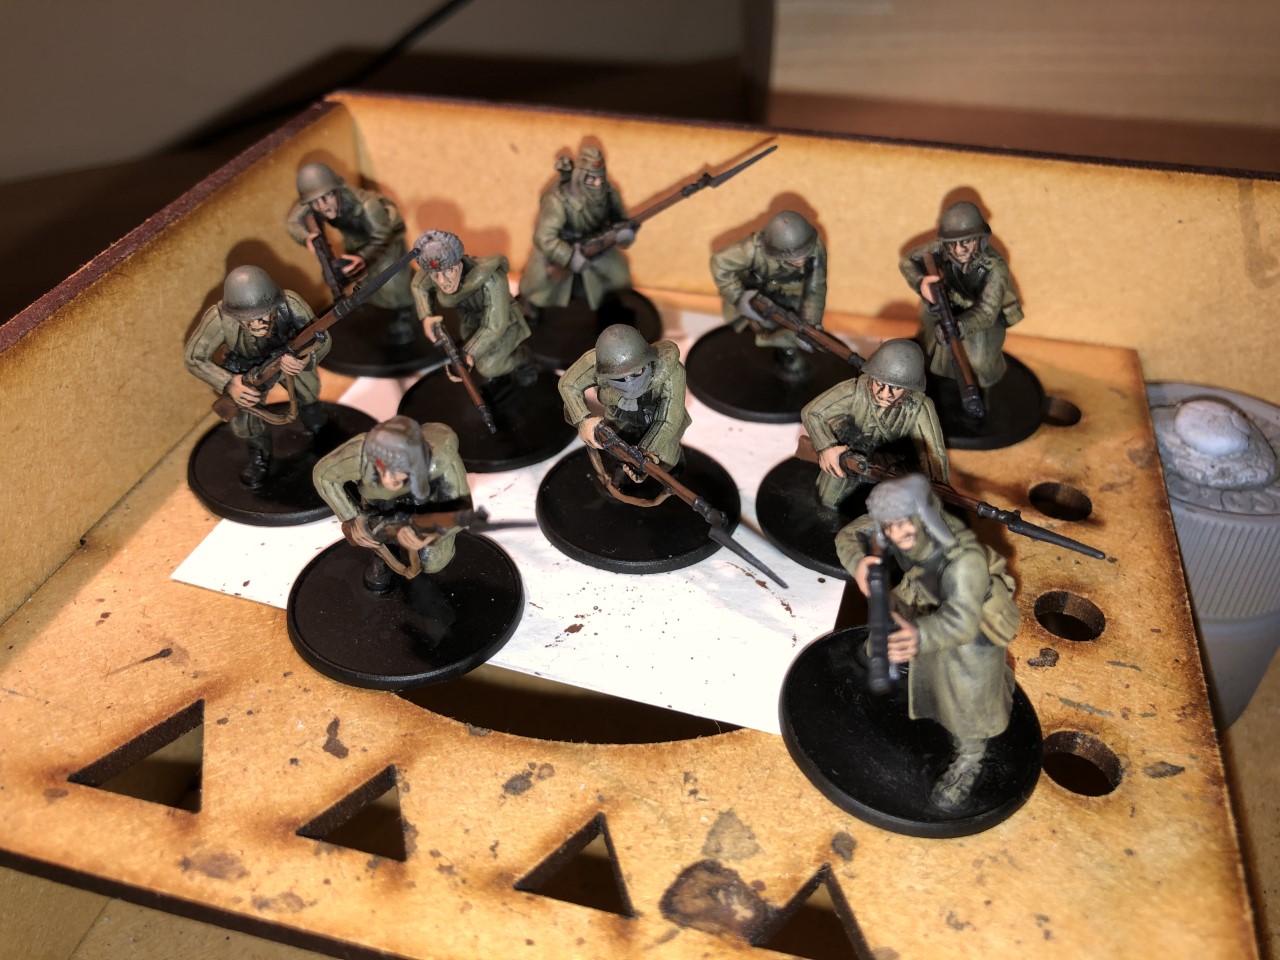
So this is the first post in my Stalingrad project. I have already made a start to the mountains of plastic in the box and I have built all 50+ of the Soviet infantry and primed them black.
I have also painted some test models which I will show off in the next post…
Soviet Infantry Test Models
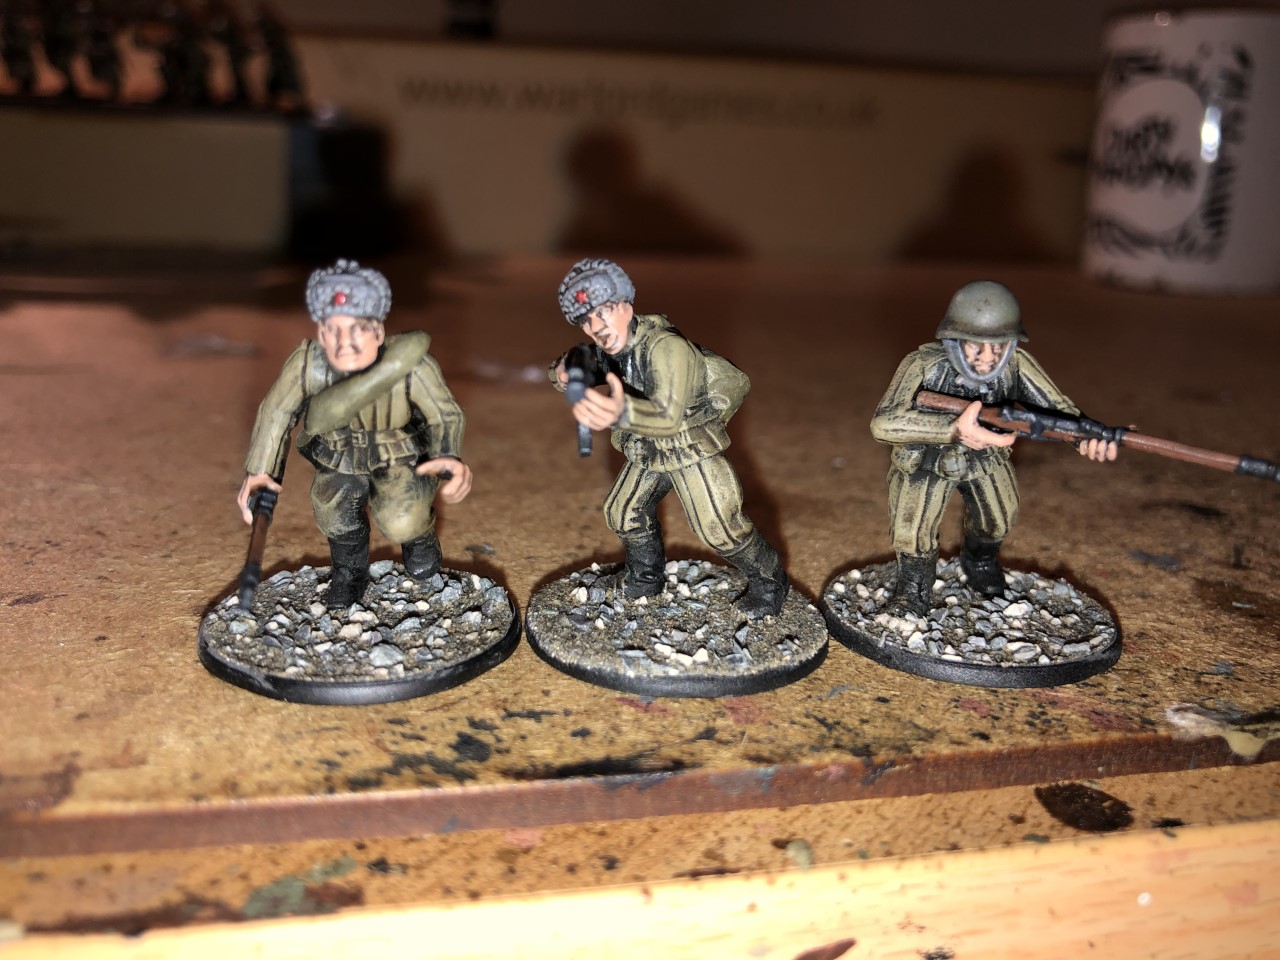
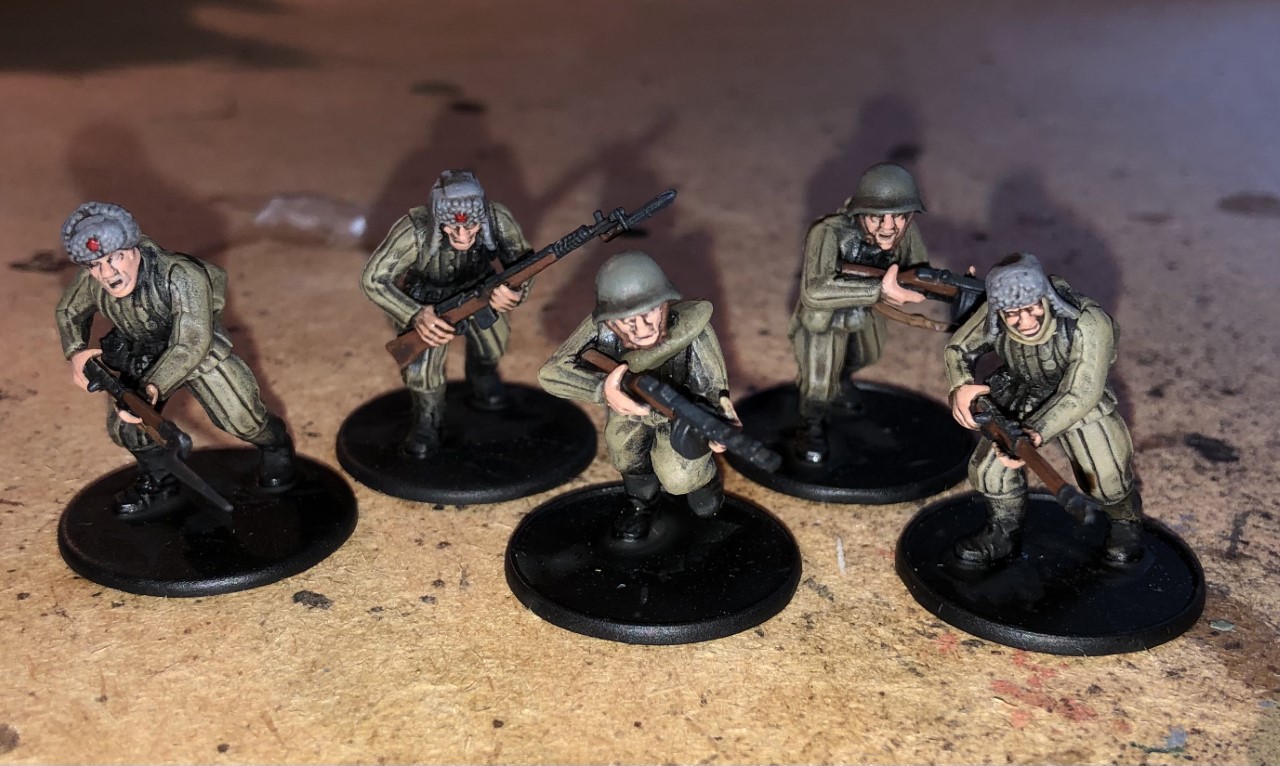
So here are some test models I did in order to nail down my paint scheme.
Due to the hordes of infantry both Soviet and German in the box I’ve decided to adopt a very quick but gritty looking paint job. I think this rugged, almost dirty look fits well for infantrymen fighting in the hell that was Stalingrad. The scheme is based primarily around dry brushing and I will go into detail within the my next post on this which will contain a step-by-step guide for anyone who is looking for a way to churn out their Red horde quickly!
Furthermore, apologies for my amateur photography…
Soviet Infantry Painting Guide
As promised, here is my painting guide for how I do my Soviet Infantry. The aim is to be a quick method, using a limited pallet but achieving a gritty, muted and battle-hardened look!
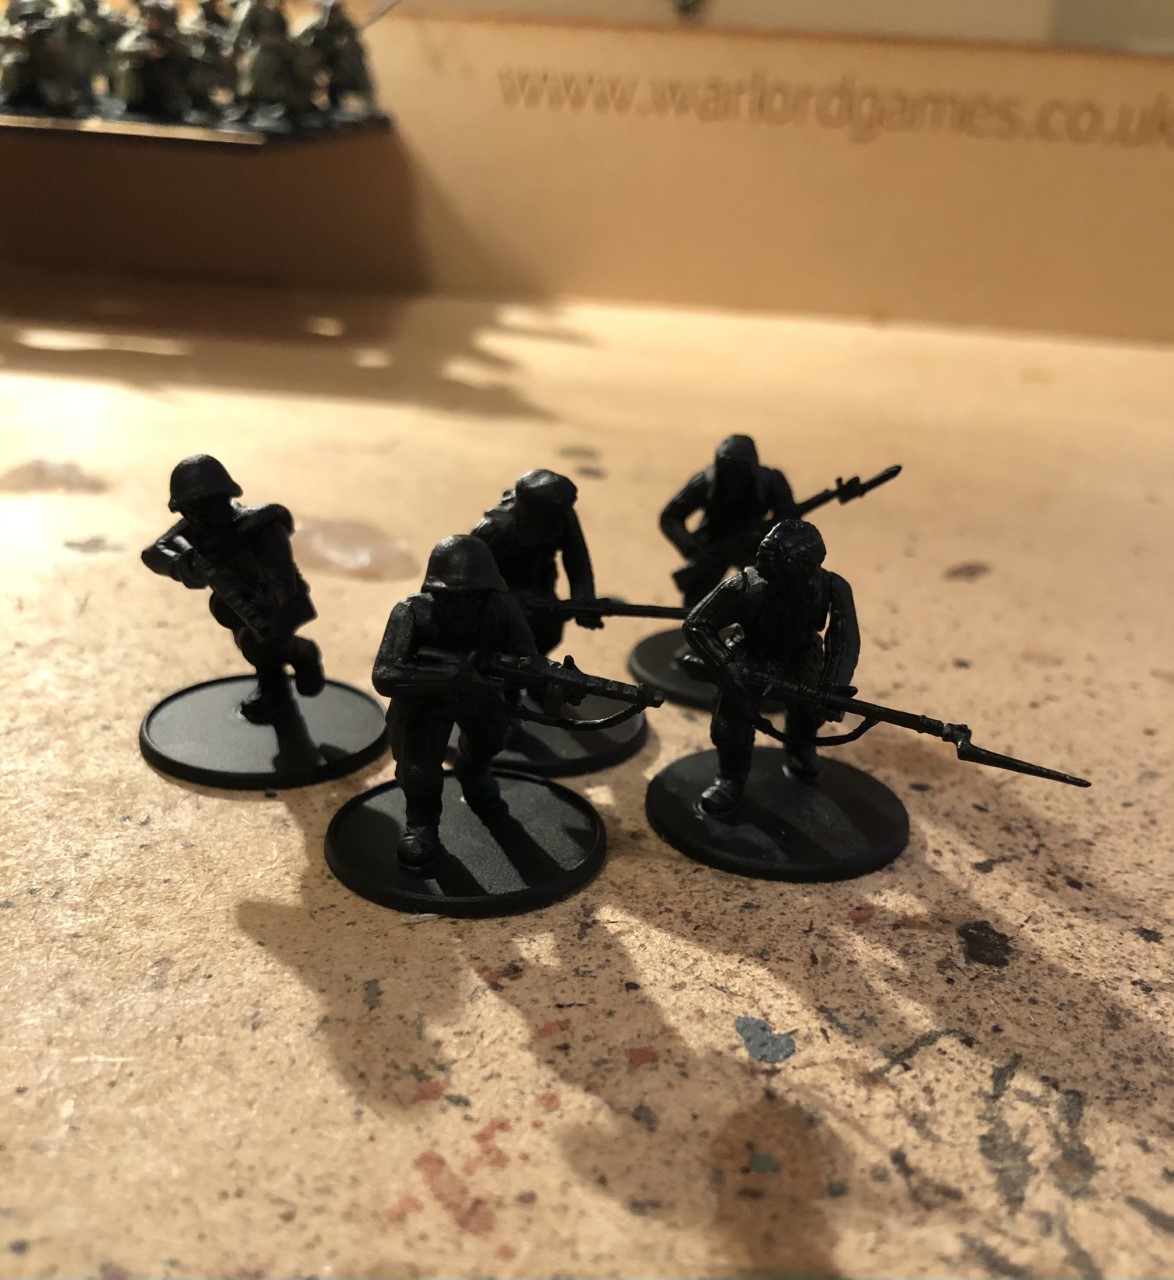 Step 1: To start I prime my figures black. This is key as they black underlayer will create shadows on the miniature. As seen here, I usually paint in batches of 5.
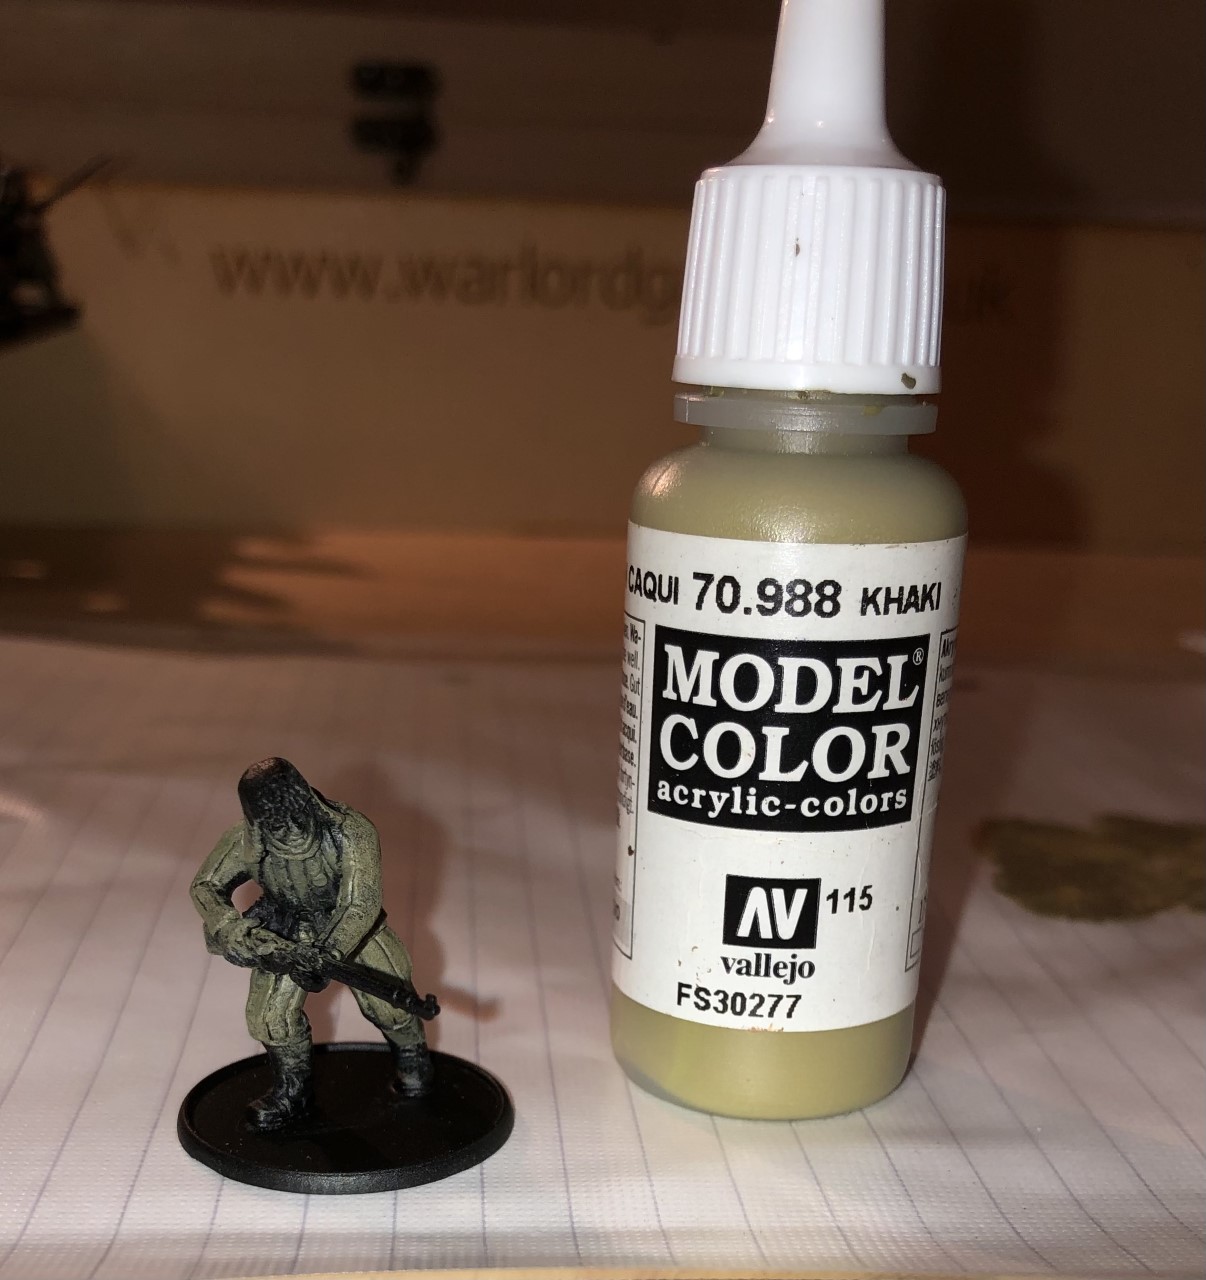 Step 2: Next, I liberally apply Khaki over the entire uniform, while also getting a touch on the boots to create a dusty highlight on the raised parts. This is messy but does look quite good when finished.
  Step 3: Then I paint the backpacks and bedrolls US Olive Drab.
 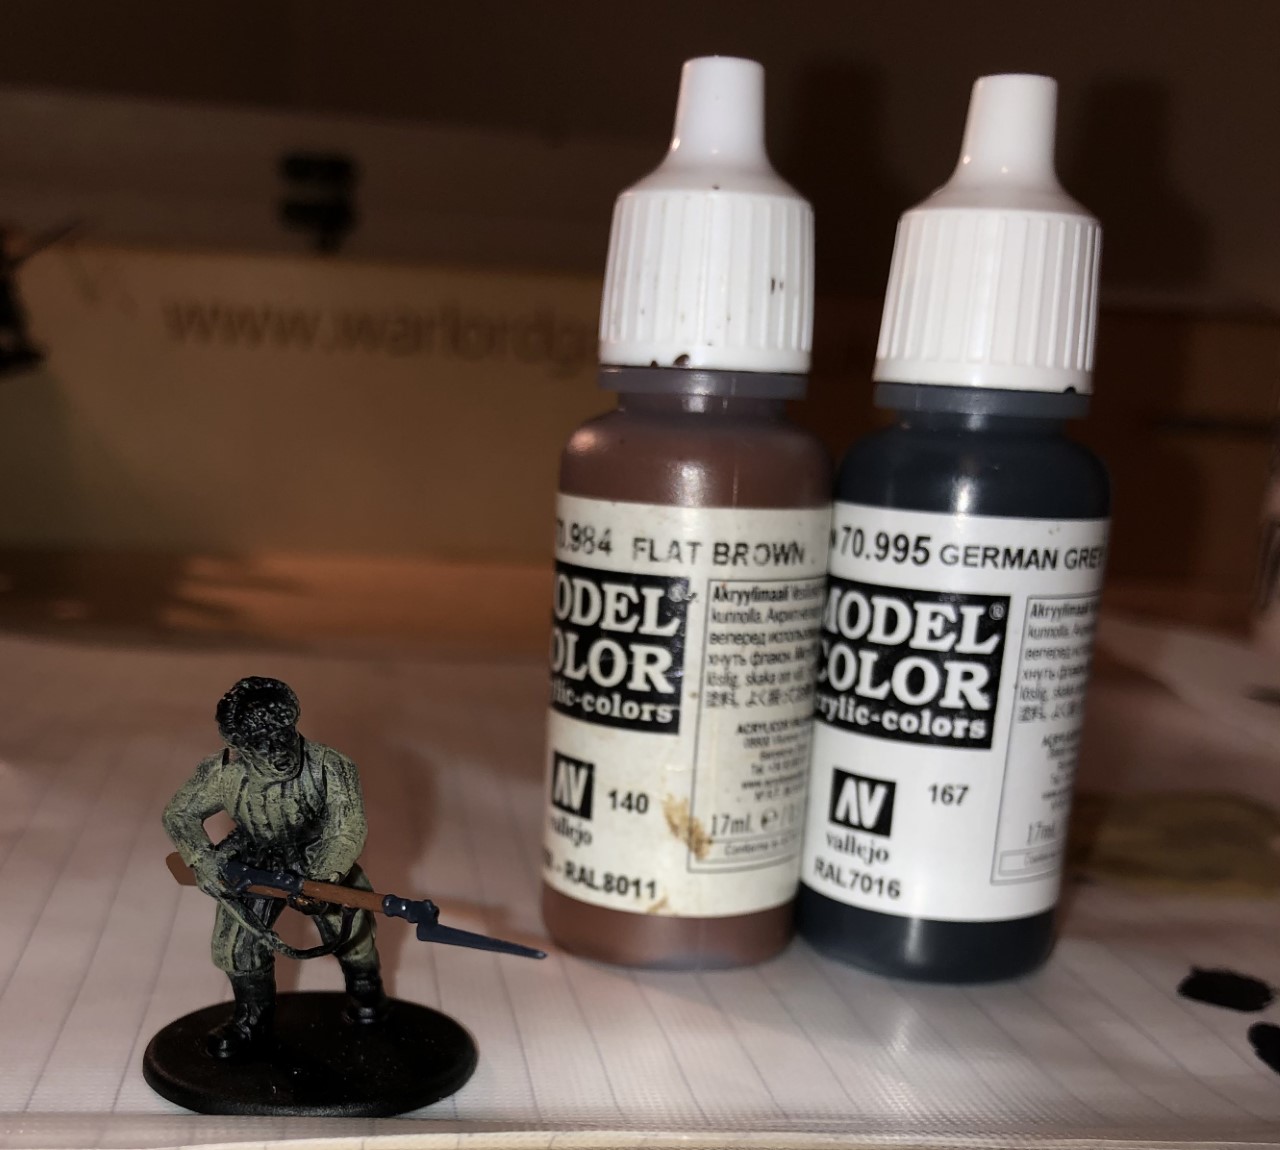 Step 4: Now its time to paint the weapons. I use Flat Brown for wooden stocks (I also pick out bayonet handles located on some of the figures belts and any helmet straps with this colour) and German Grey for metal, which I think gives the metal a nice blue-ish tinge.
 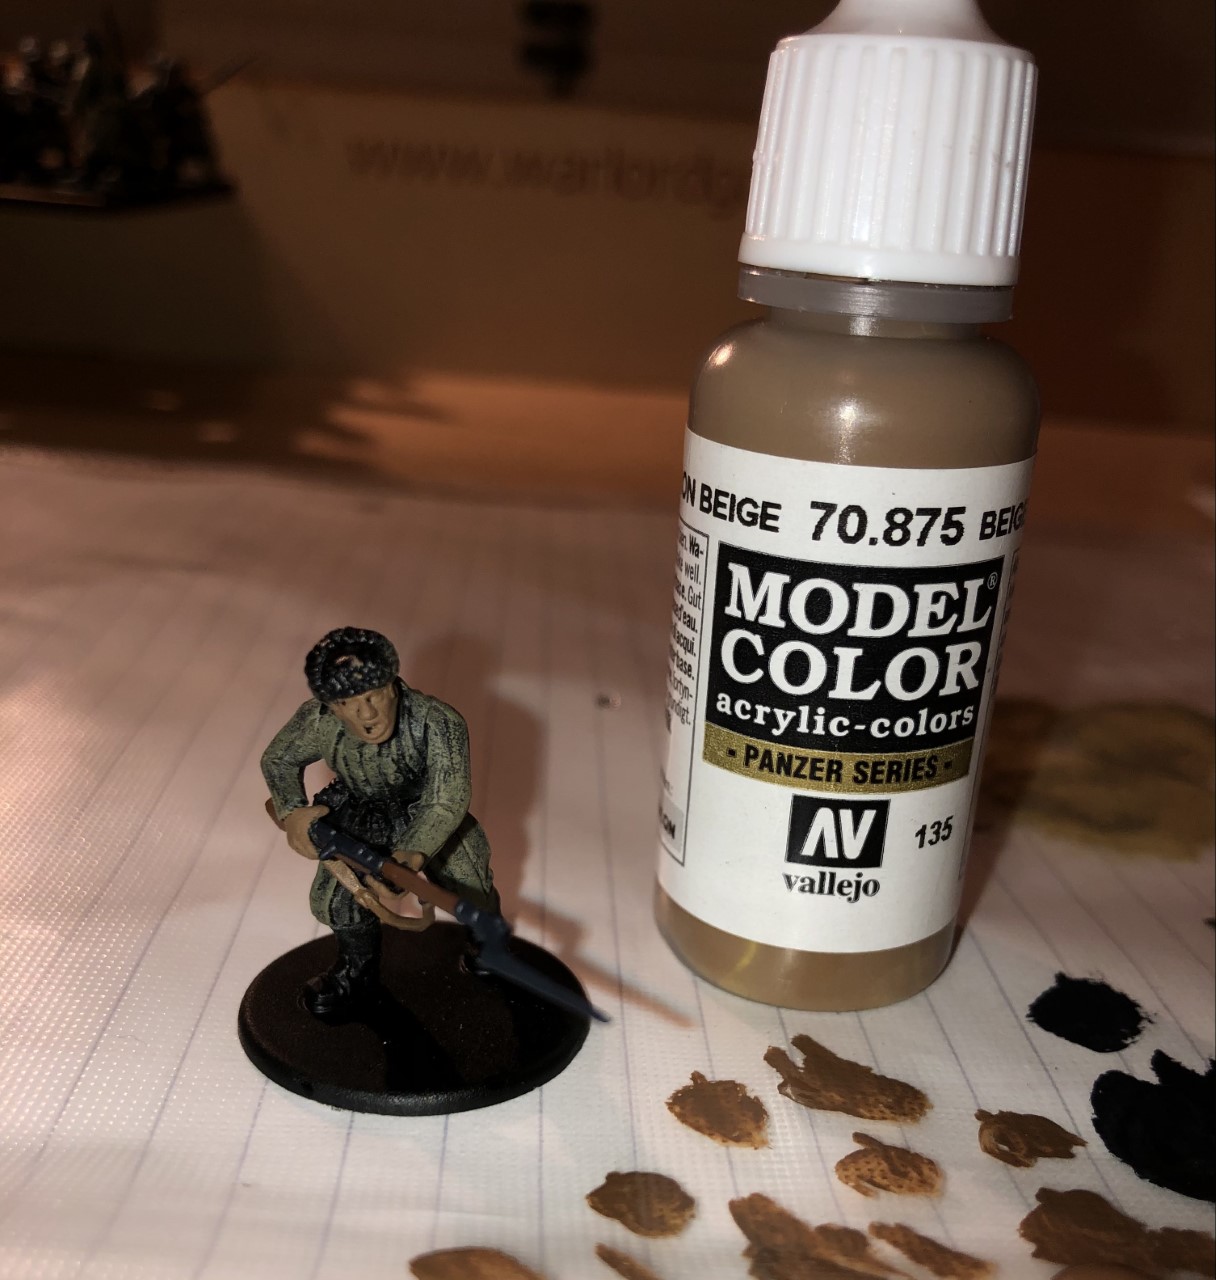 Step 5: Next, I paint the flesh with Beige Brown. I also paint any weapon slings this colour.
  Step 6: Then I paint the helmets with German Field Grey and Ushanka hats Uniform Grey (I also pick out the Soviet stars on these in red... of course).
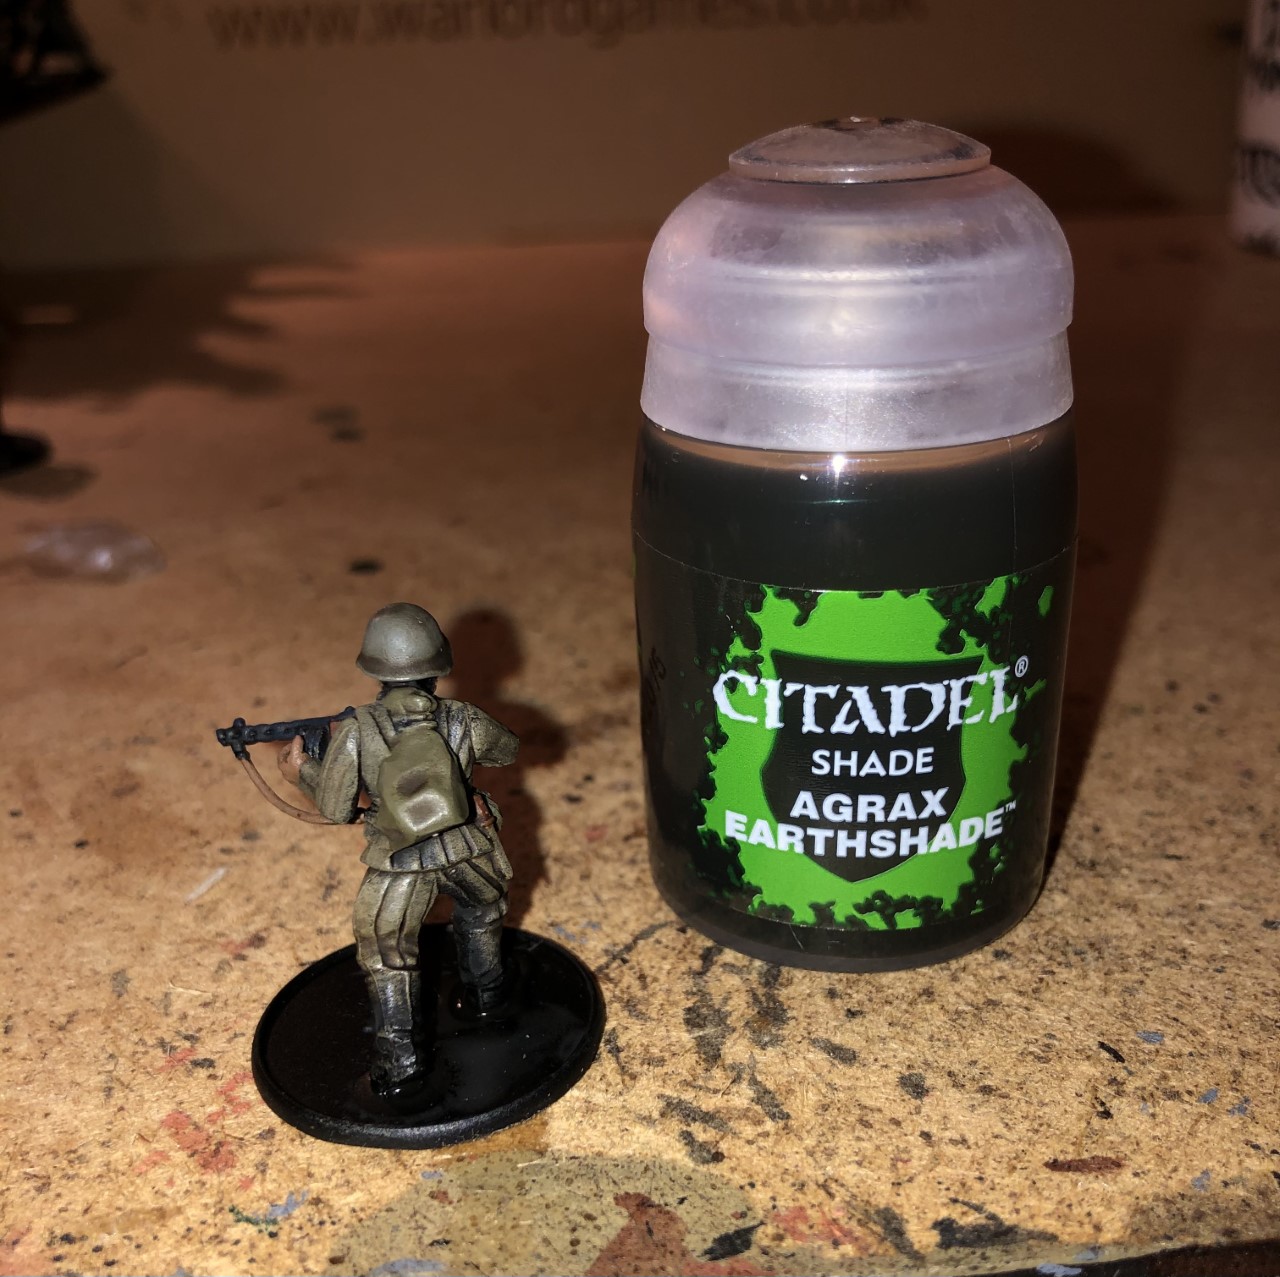
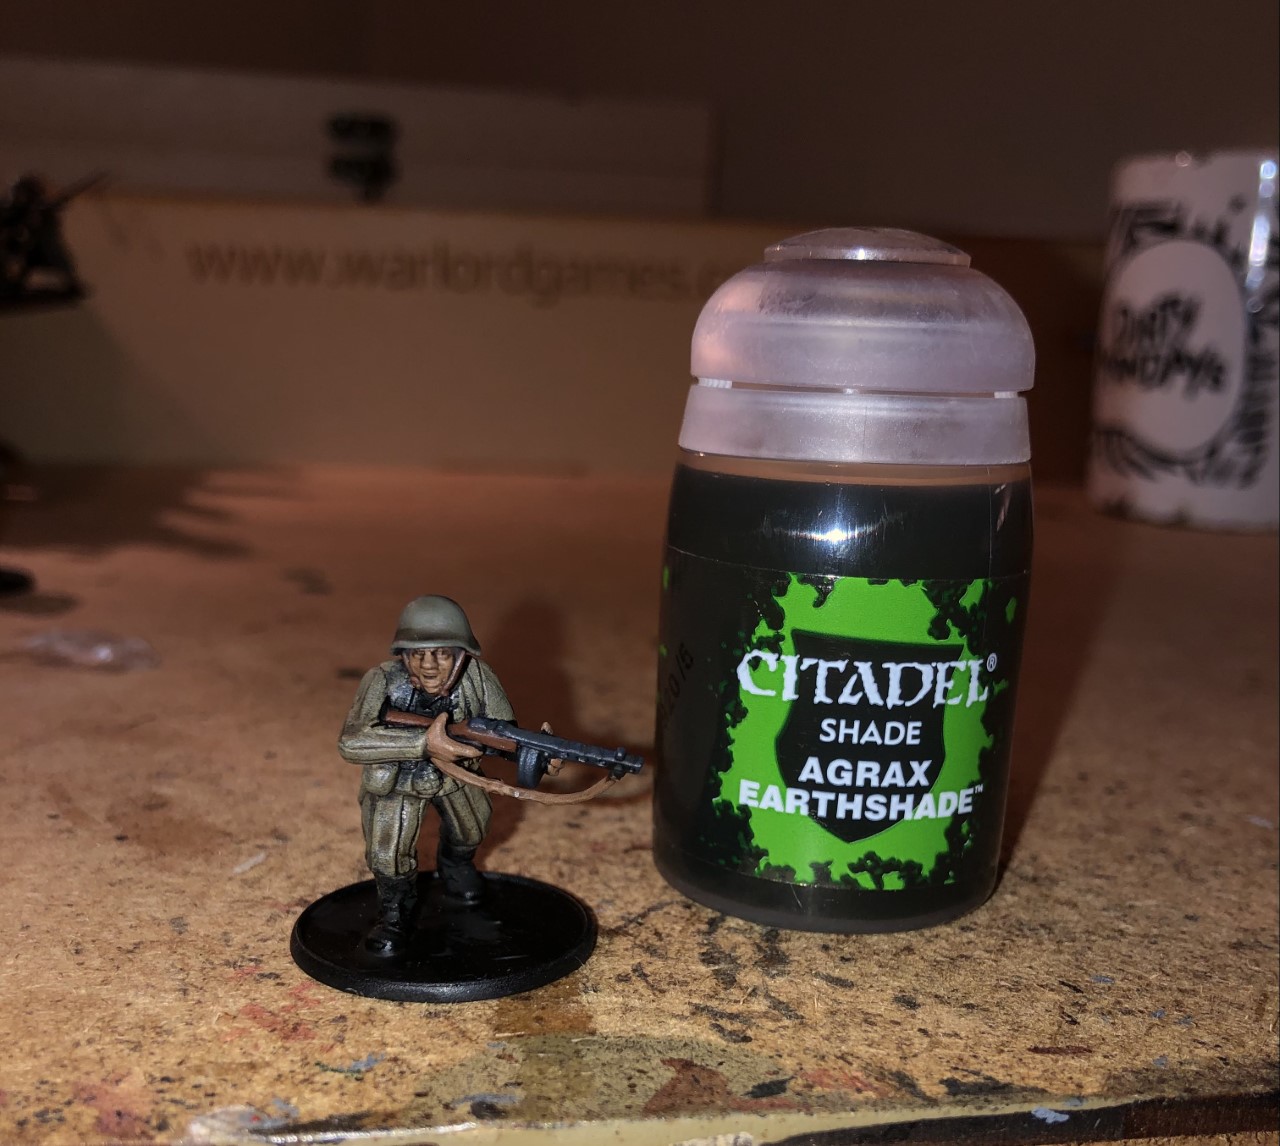
Step 7: Now it’s time for the wash. My go to is Agrax Earthshade and apply it liberally all over the model. This step ties the model together and makes that dry brushed uniform look a lot less messy.
Step 8: Once the wash has dried, I apply a light, ‘dusting’ dry brush of Khaki again over the uniform, including the backpacks and bedrolls. I also highlight the head gear in its original colour too.
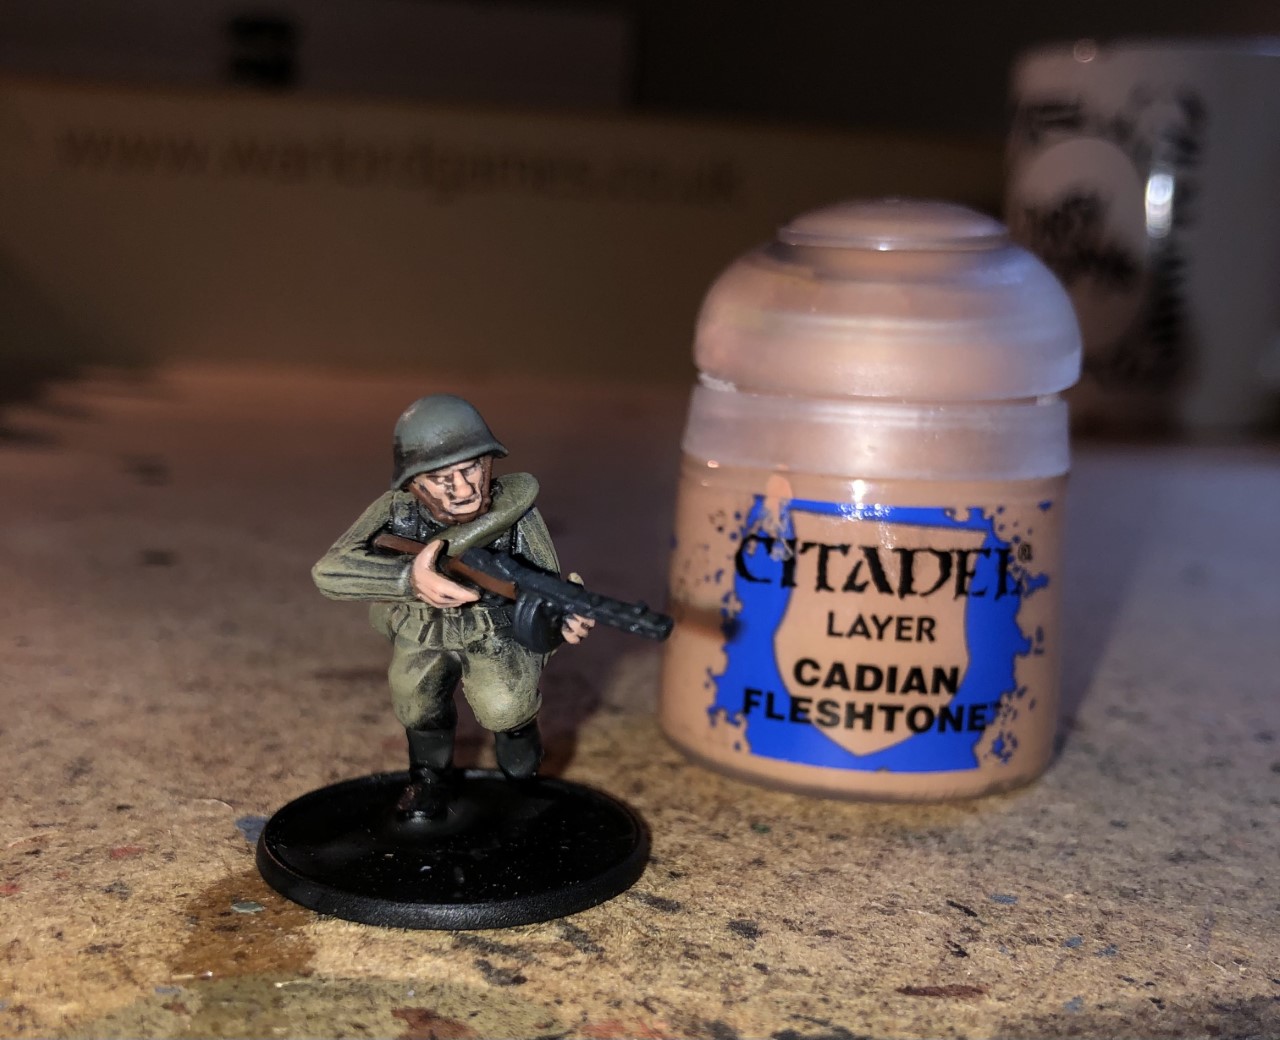 Step 9: For the final step I highlight the flesh with Cadian Fleshtone.
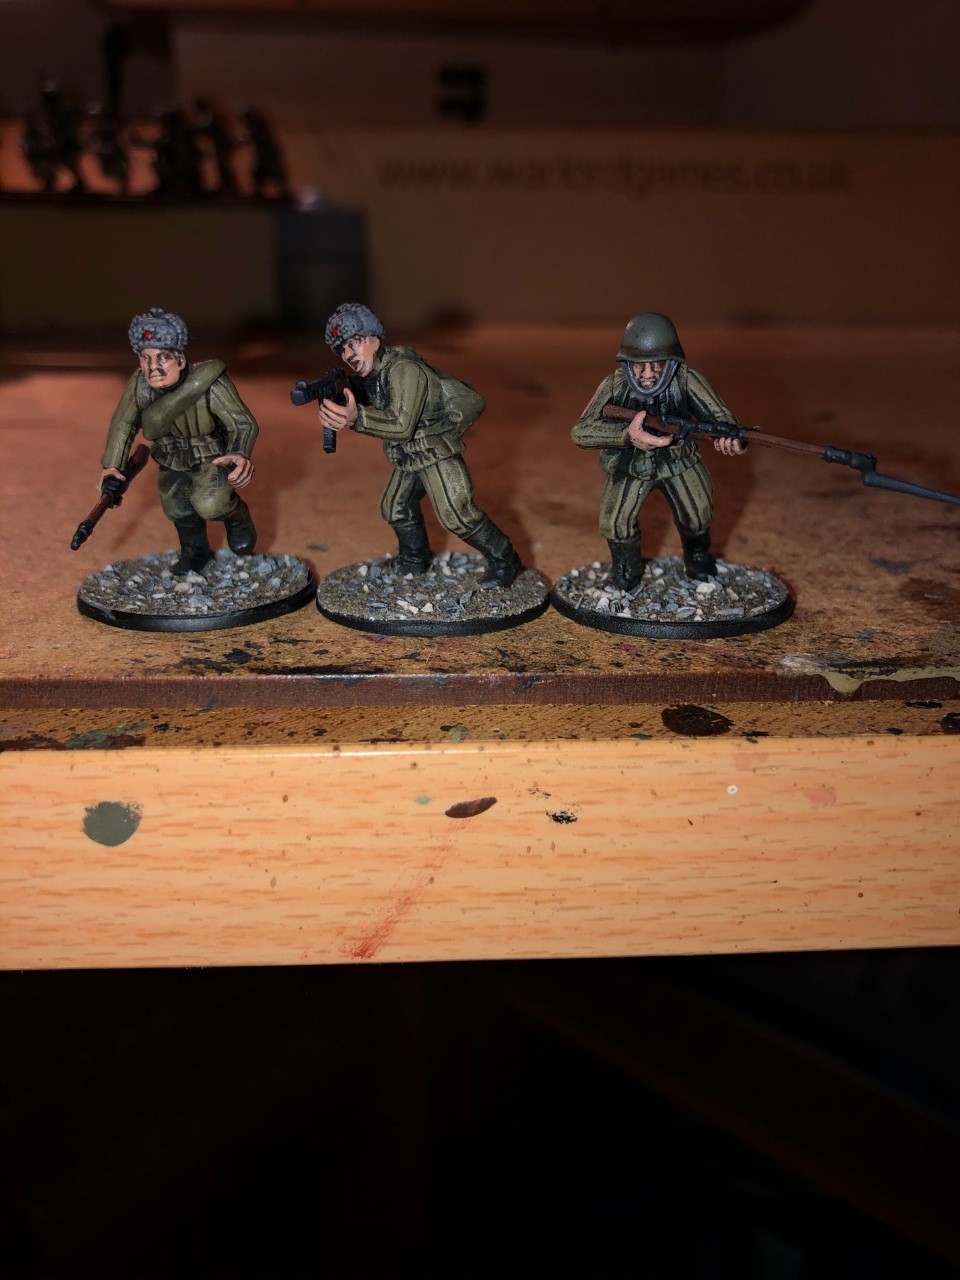
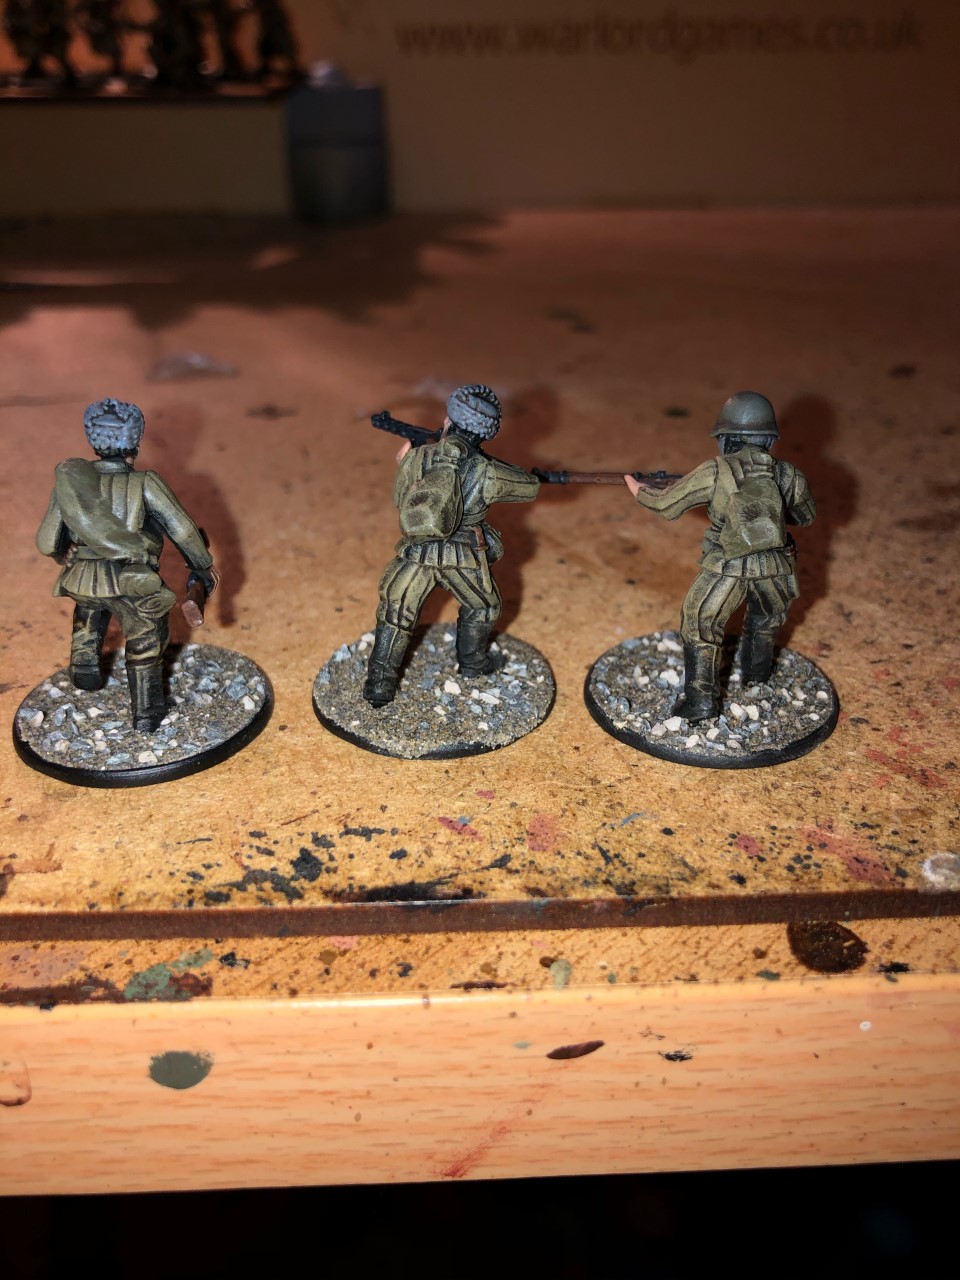
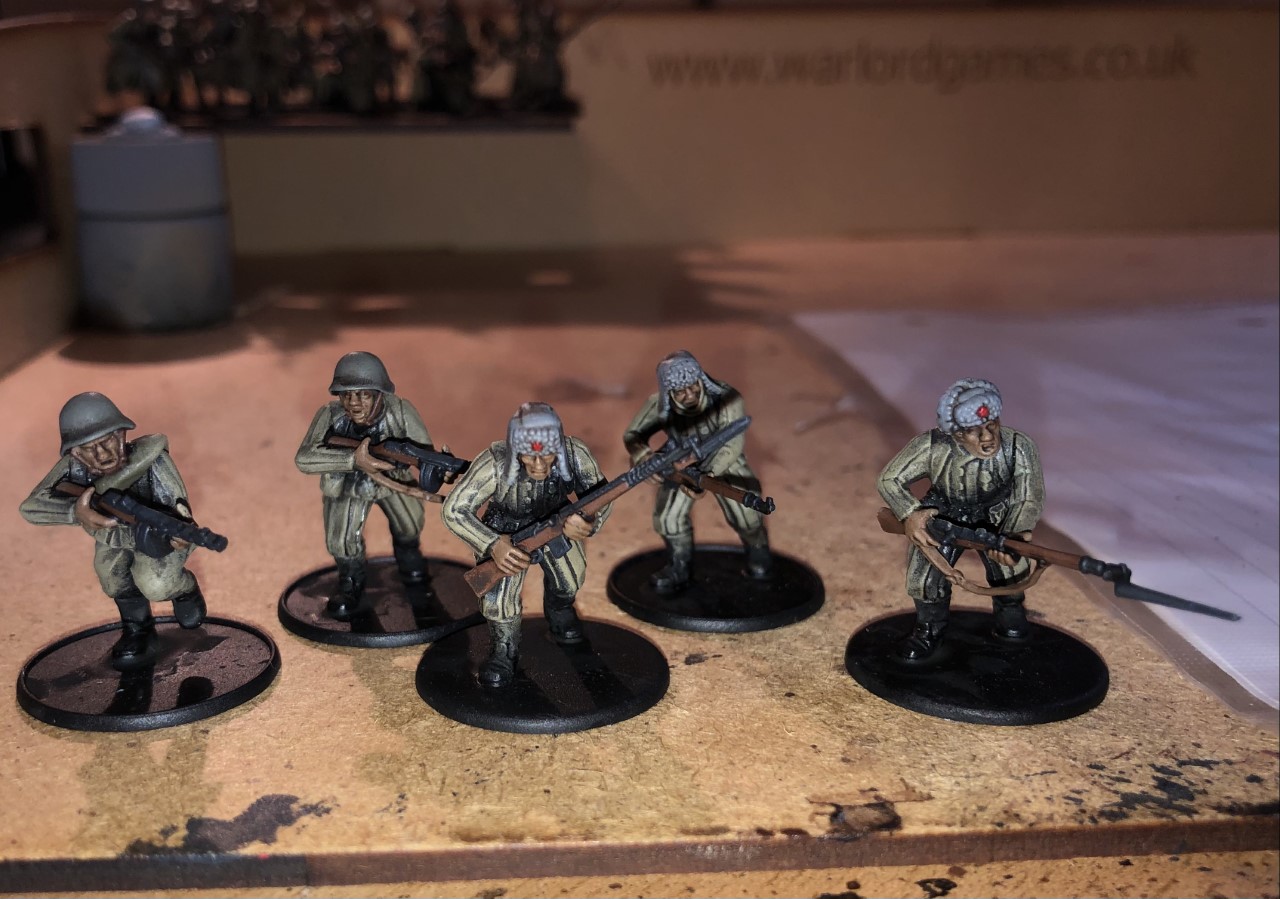
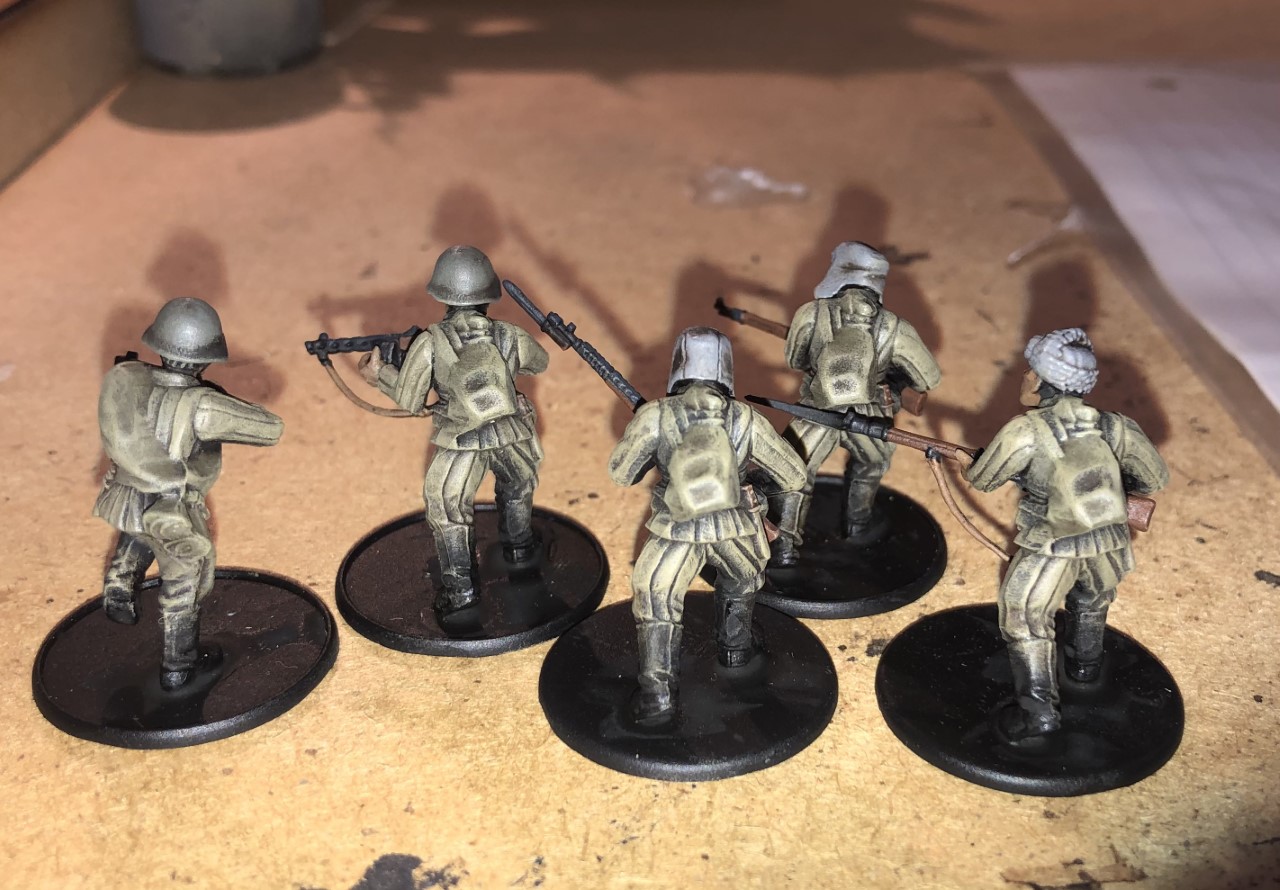
 Final Results

This is the final result of the painting guide. The flash on my camera makes them like a little garish but I am very happy with how they’ve turned out! My Soviet Horde is growing…
(Note: the only difference I make when painting the figures in greatcoats is that I dry brush the coats with US Olive Drab).
Basing
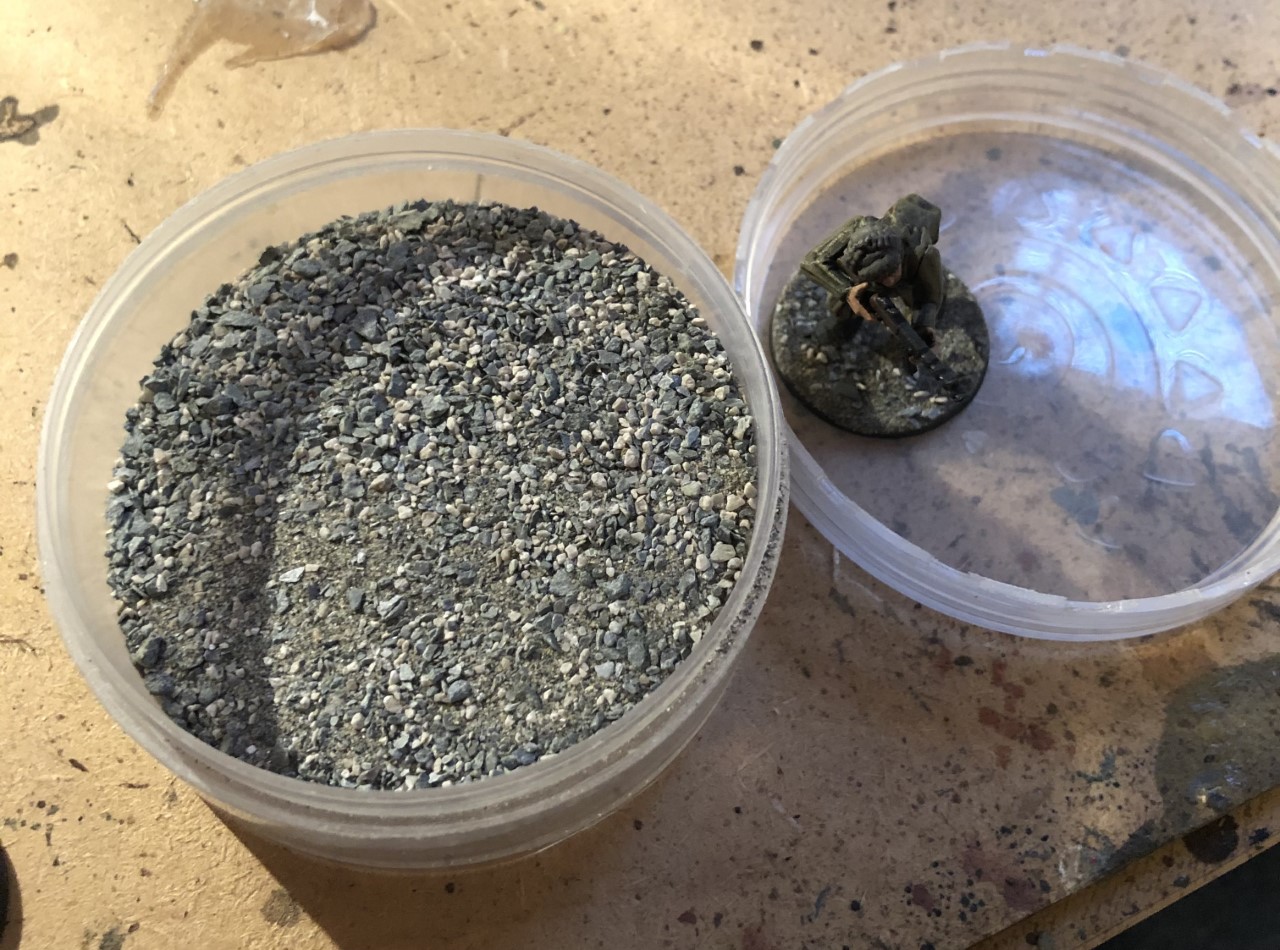
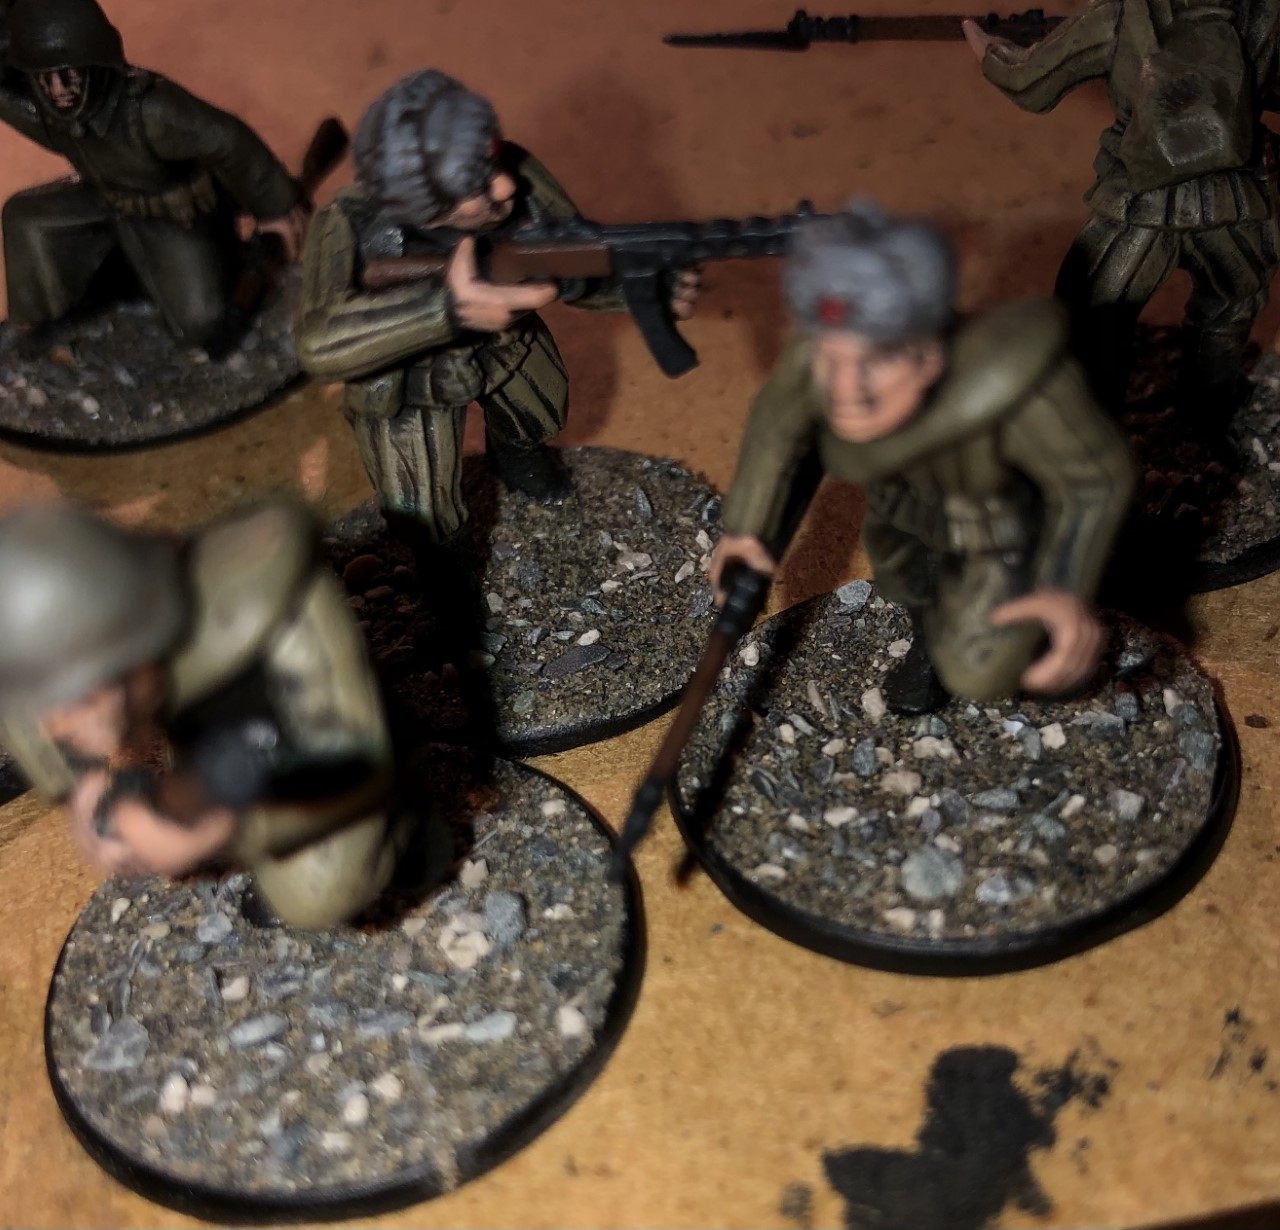
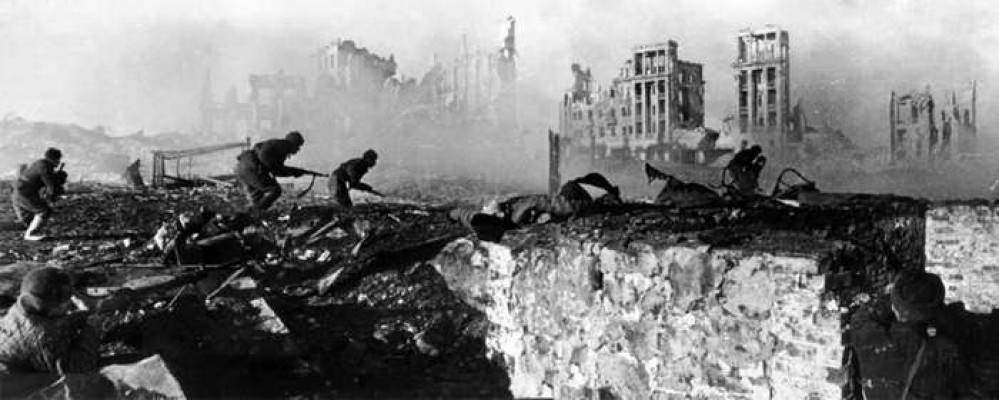
As for basing, I try and keep it as simple and as quick as the paintjob. I’ve simply created a concoction of various sands and grit I have collected over the years, to create a rubble mix to represent the frozen city ruins of Stalingrad.
I also think the ‘black and white’ and simple style of the basing mix makes it look generic enough to fit into any Eastern Front setting.
The Red Horde Grows
 Around half of the Soviet infantry from the box are complete!
 The Defenders of Stalingrad
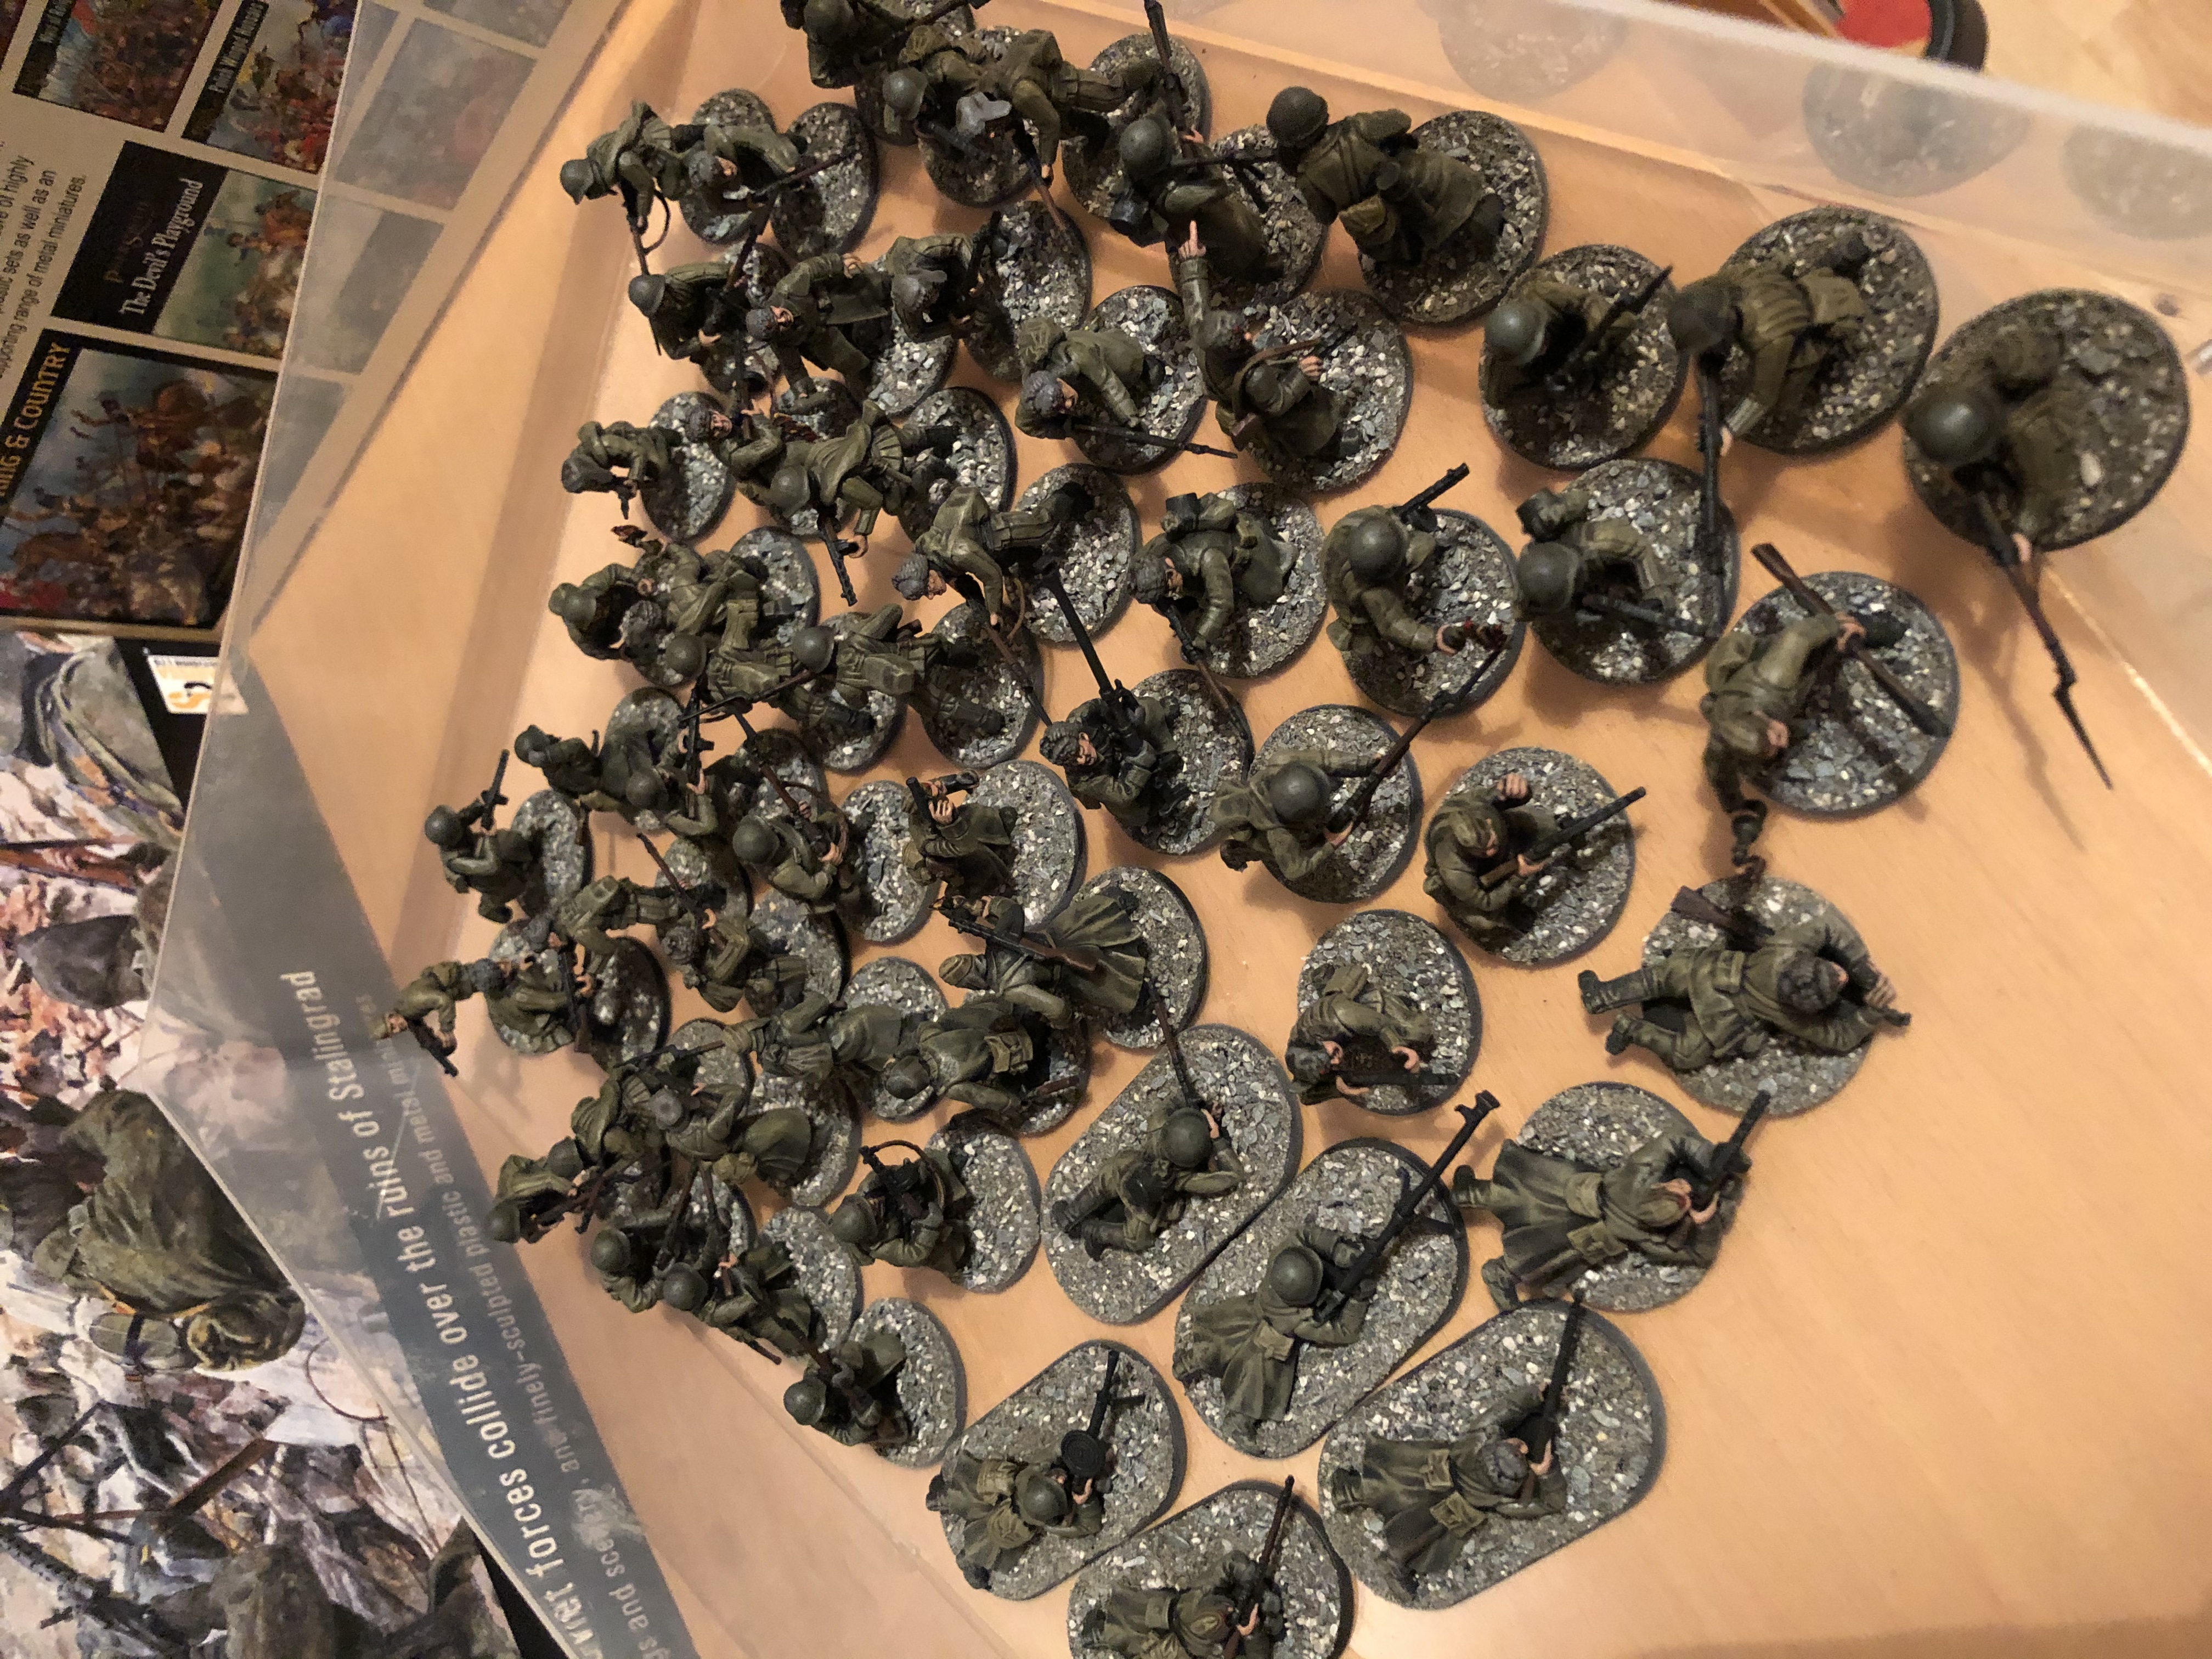 Just a quick update for the project. I have now painted and based all of the Soviet infantry! Next task will be painting the sniper team...
Enemy at the Gates
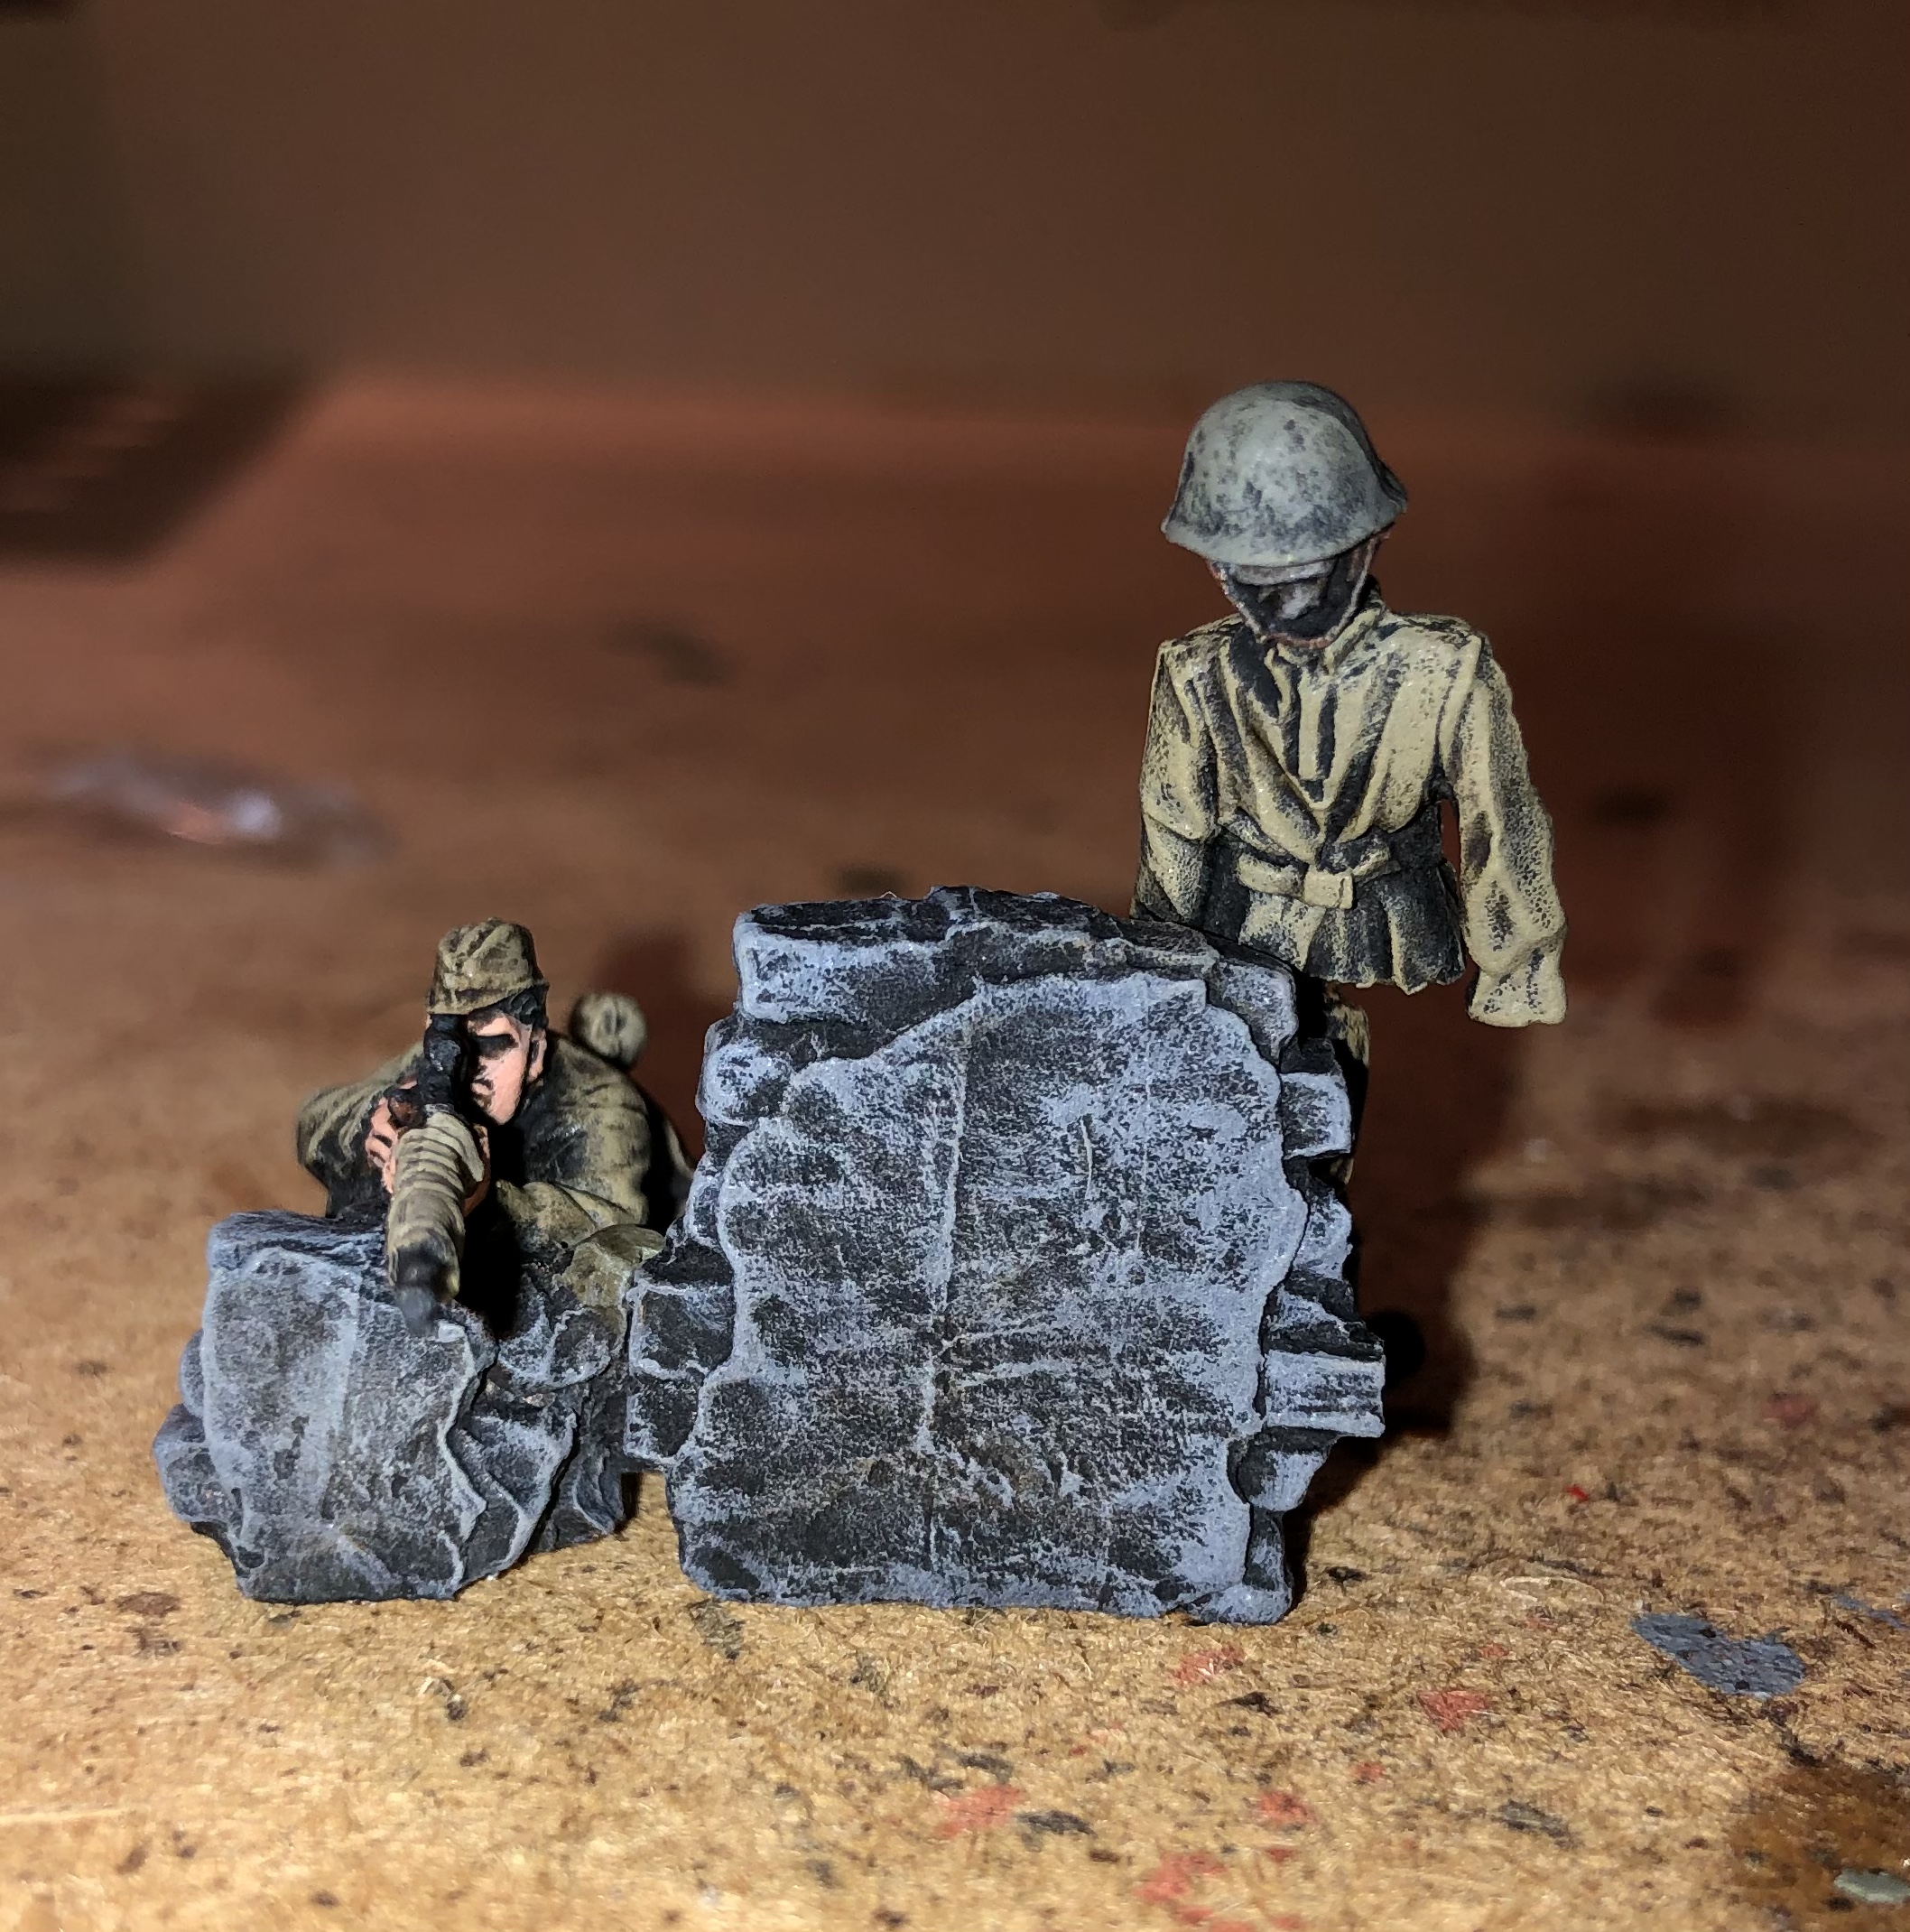
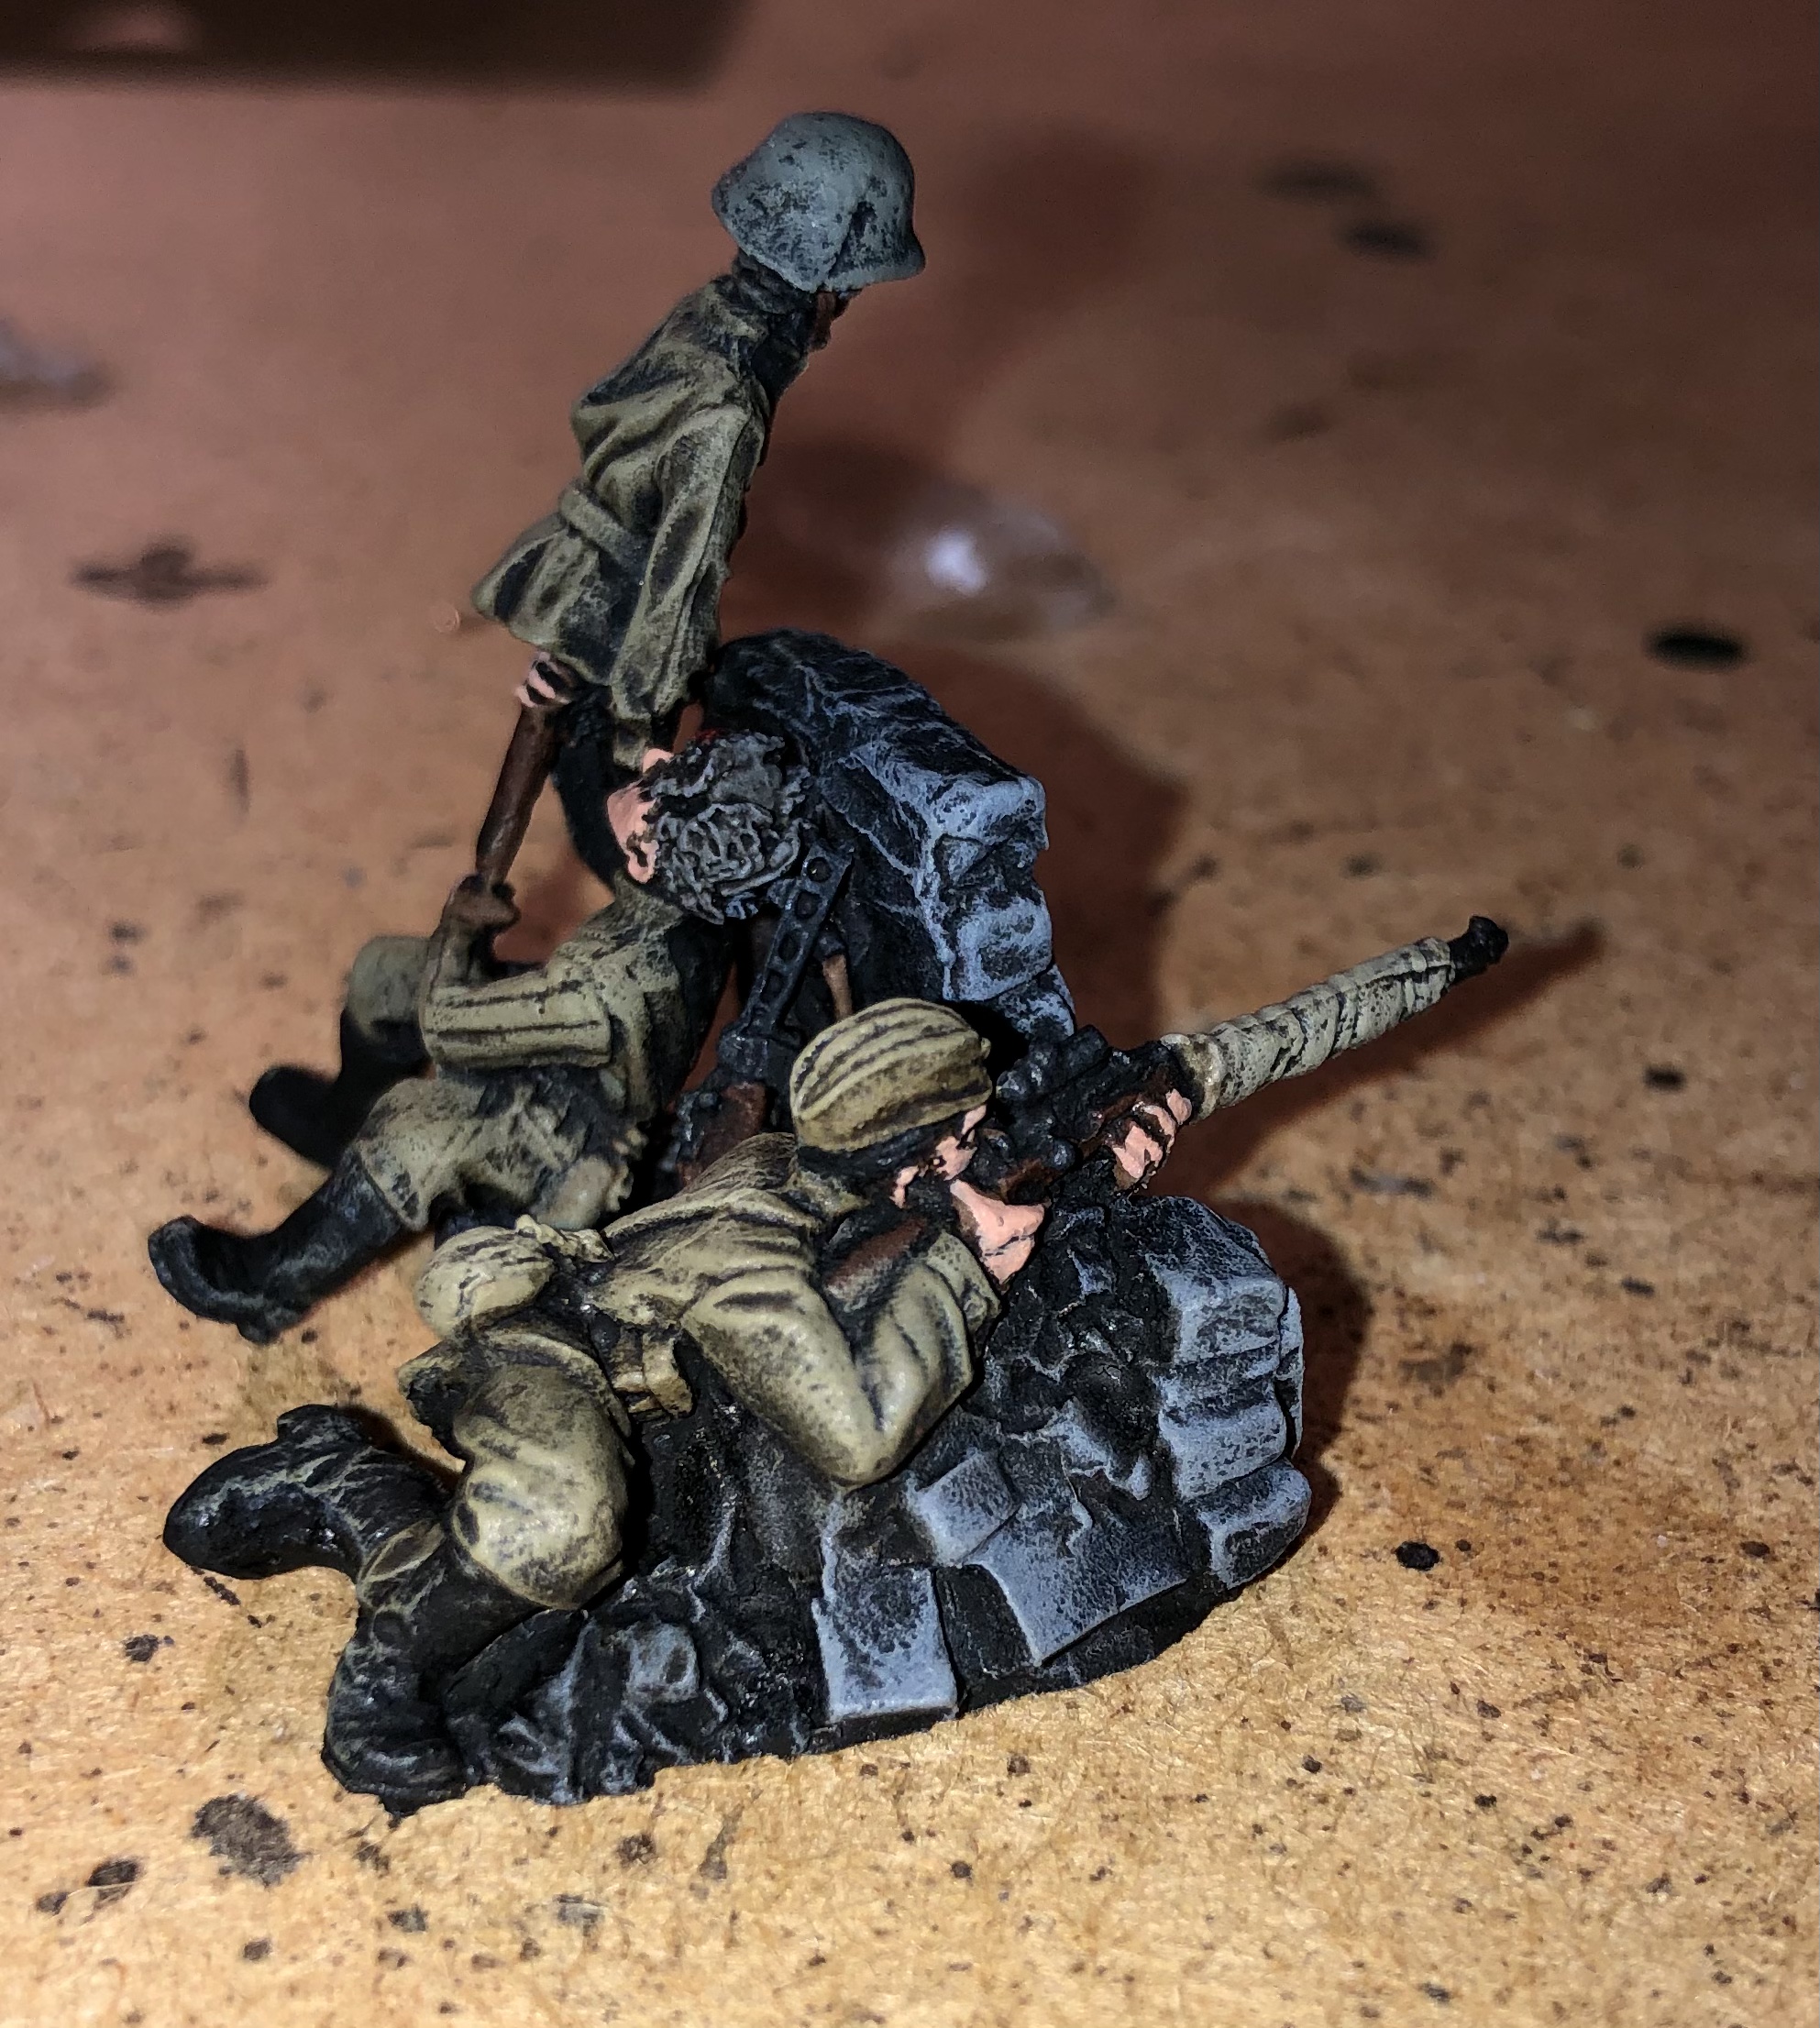
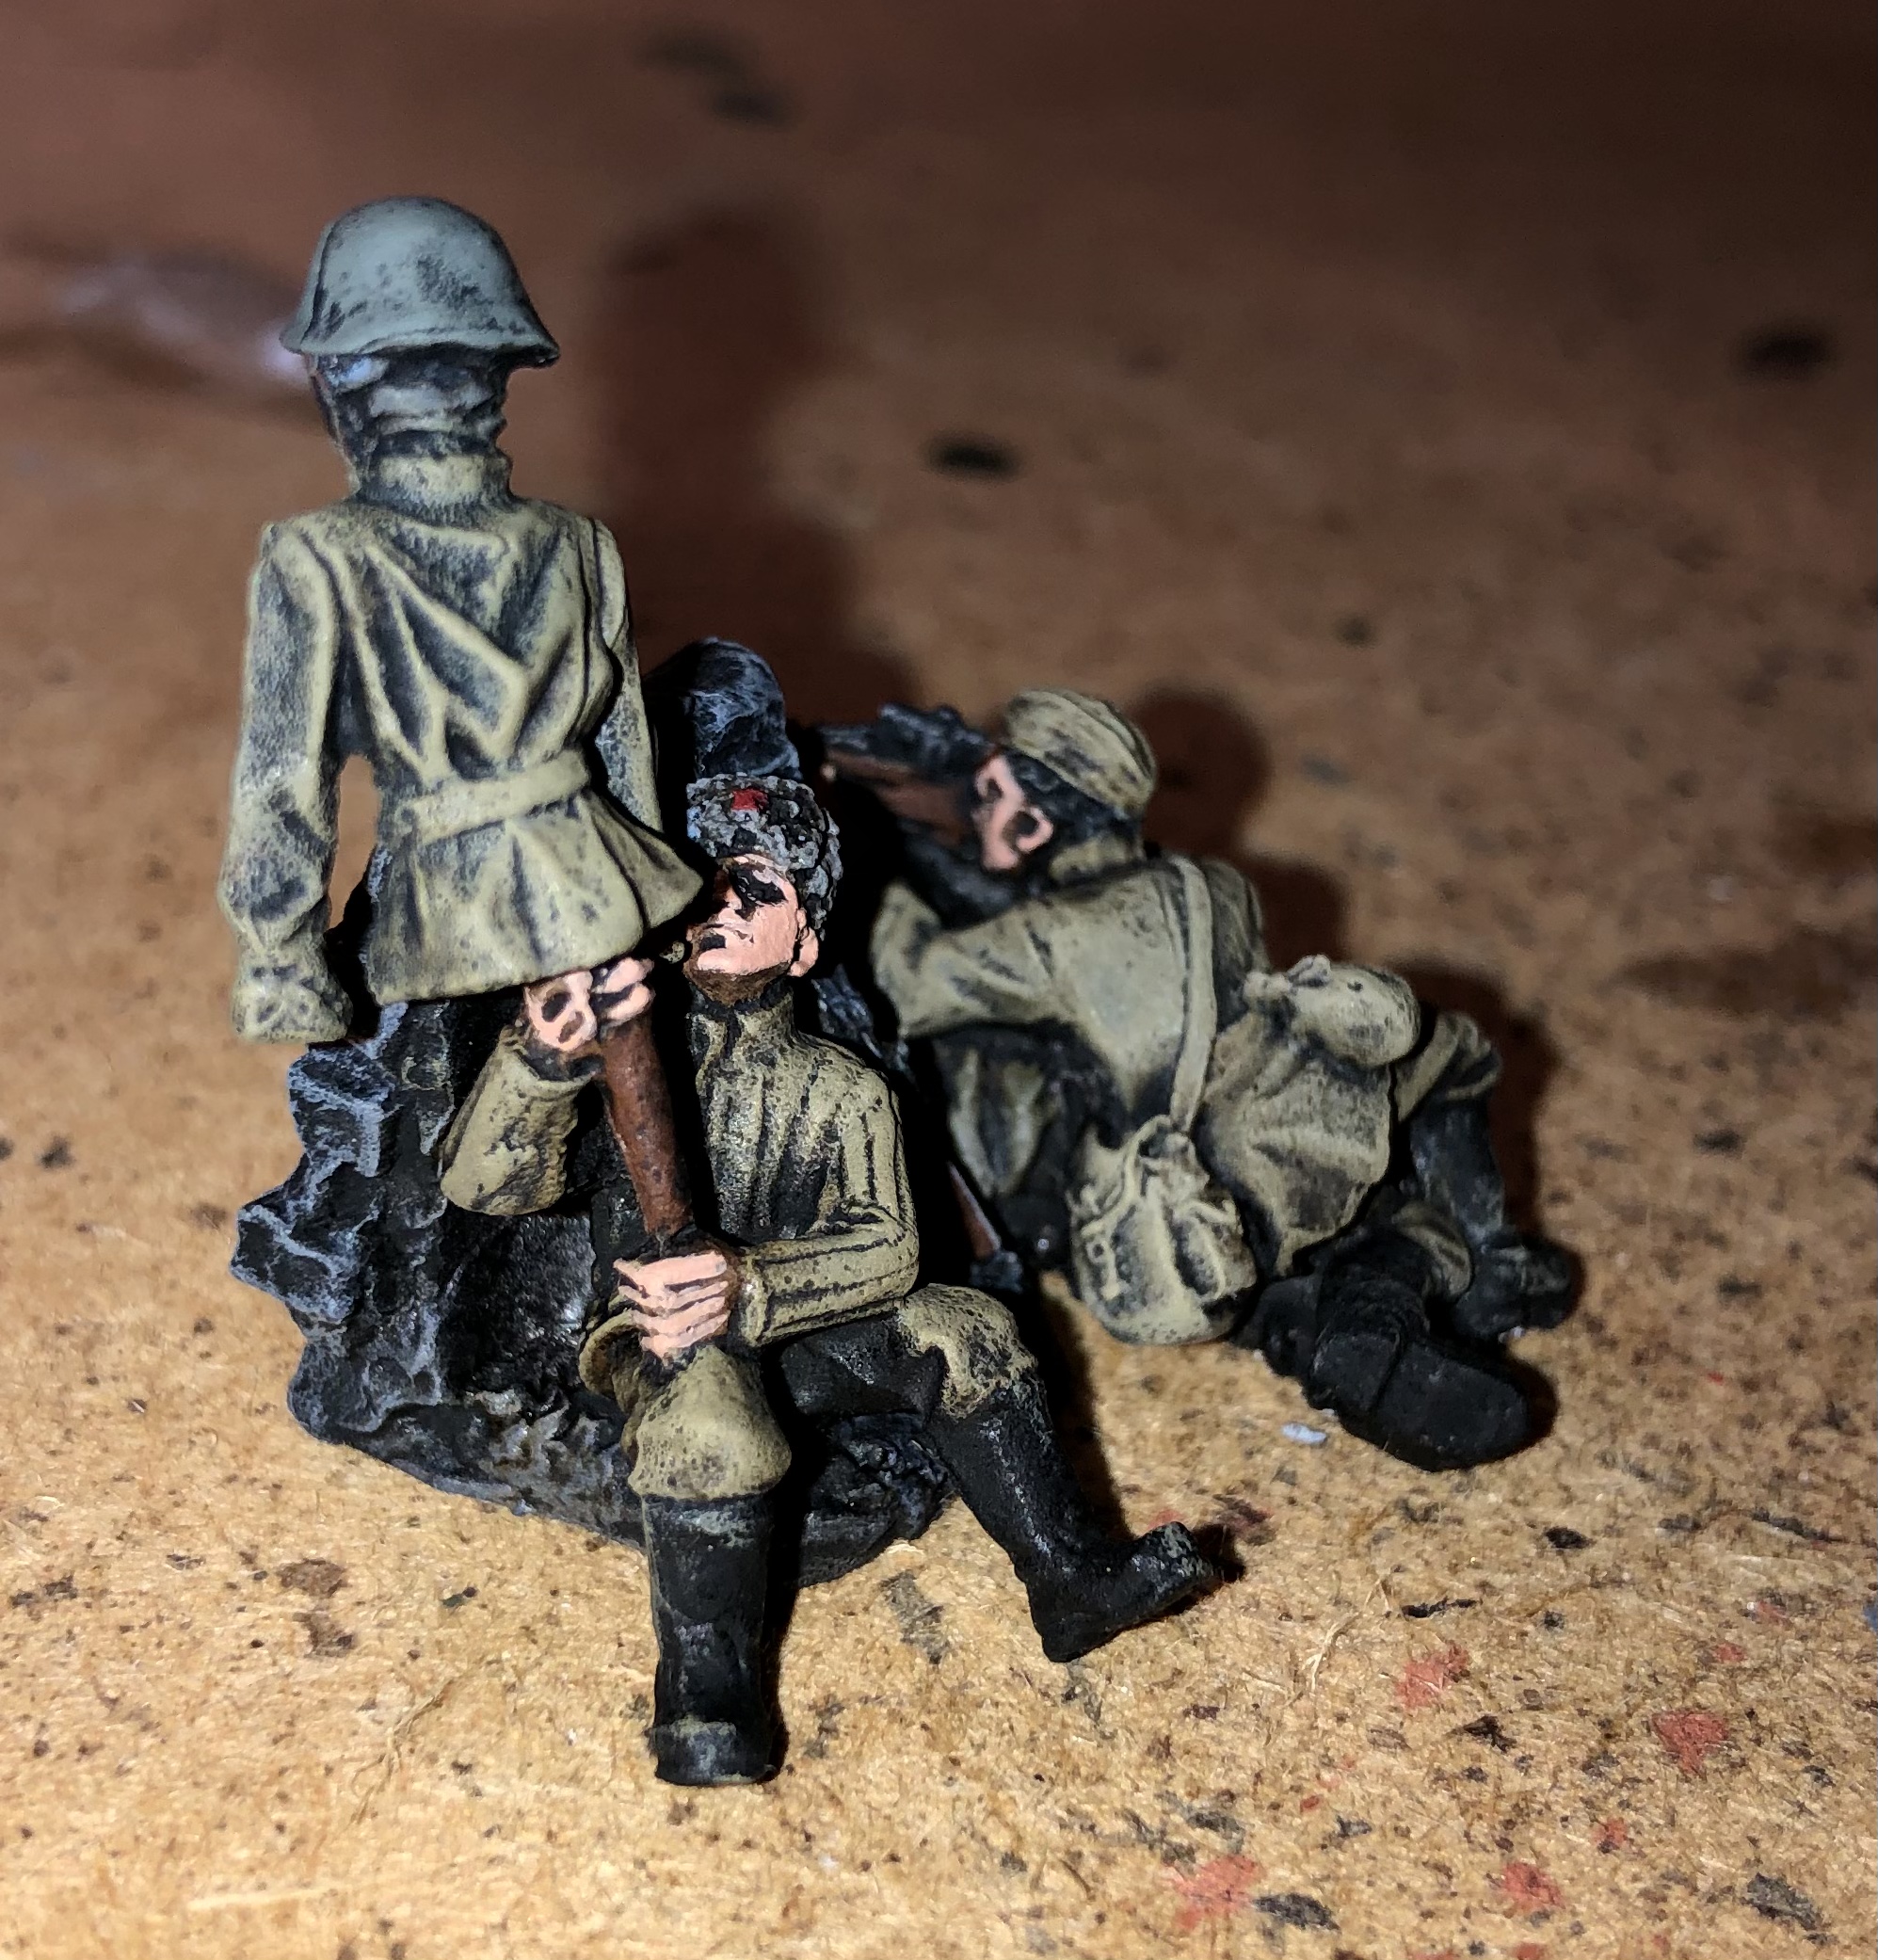
Soviet sniper team completed. I really love these models! I used the same basic paint scheme as the regular infantry.
I kept the diorama bases simple and muted as it will blend in with the plans I have for the terrain…