


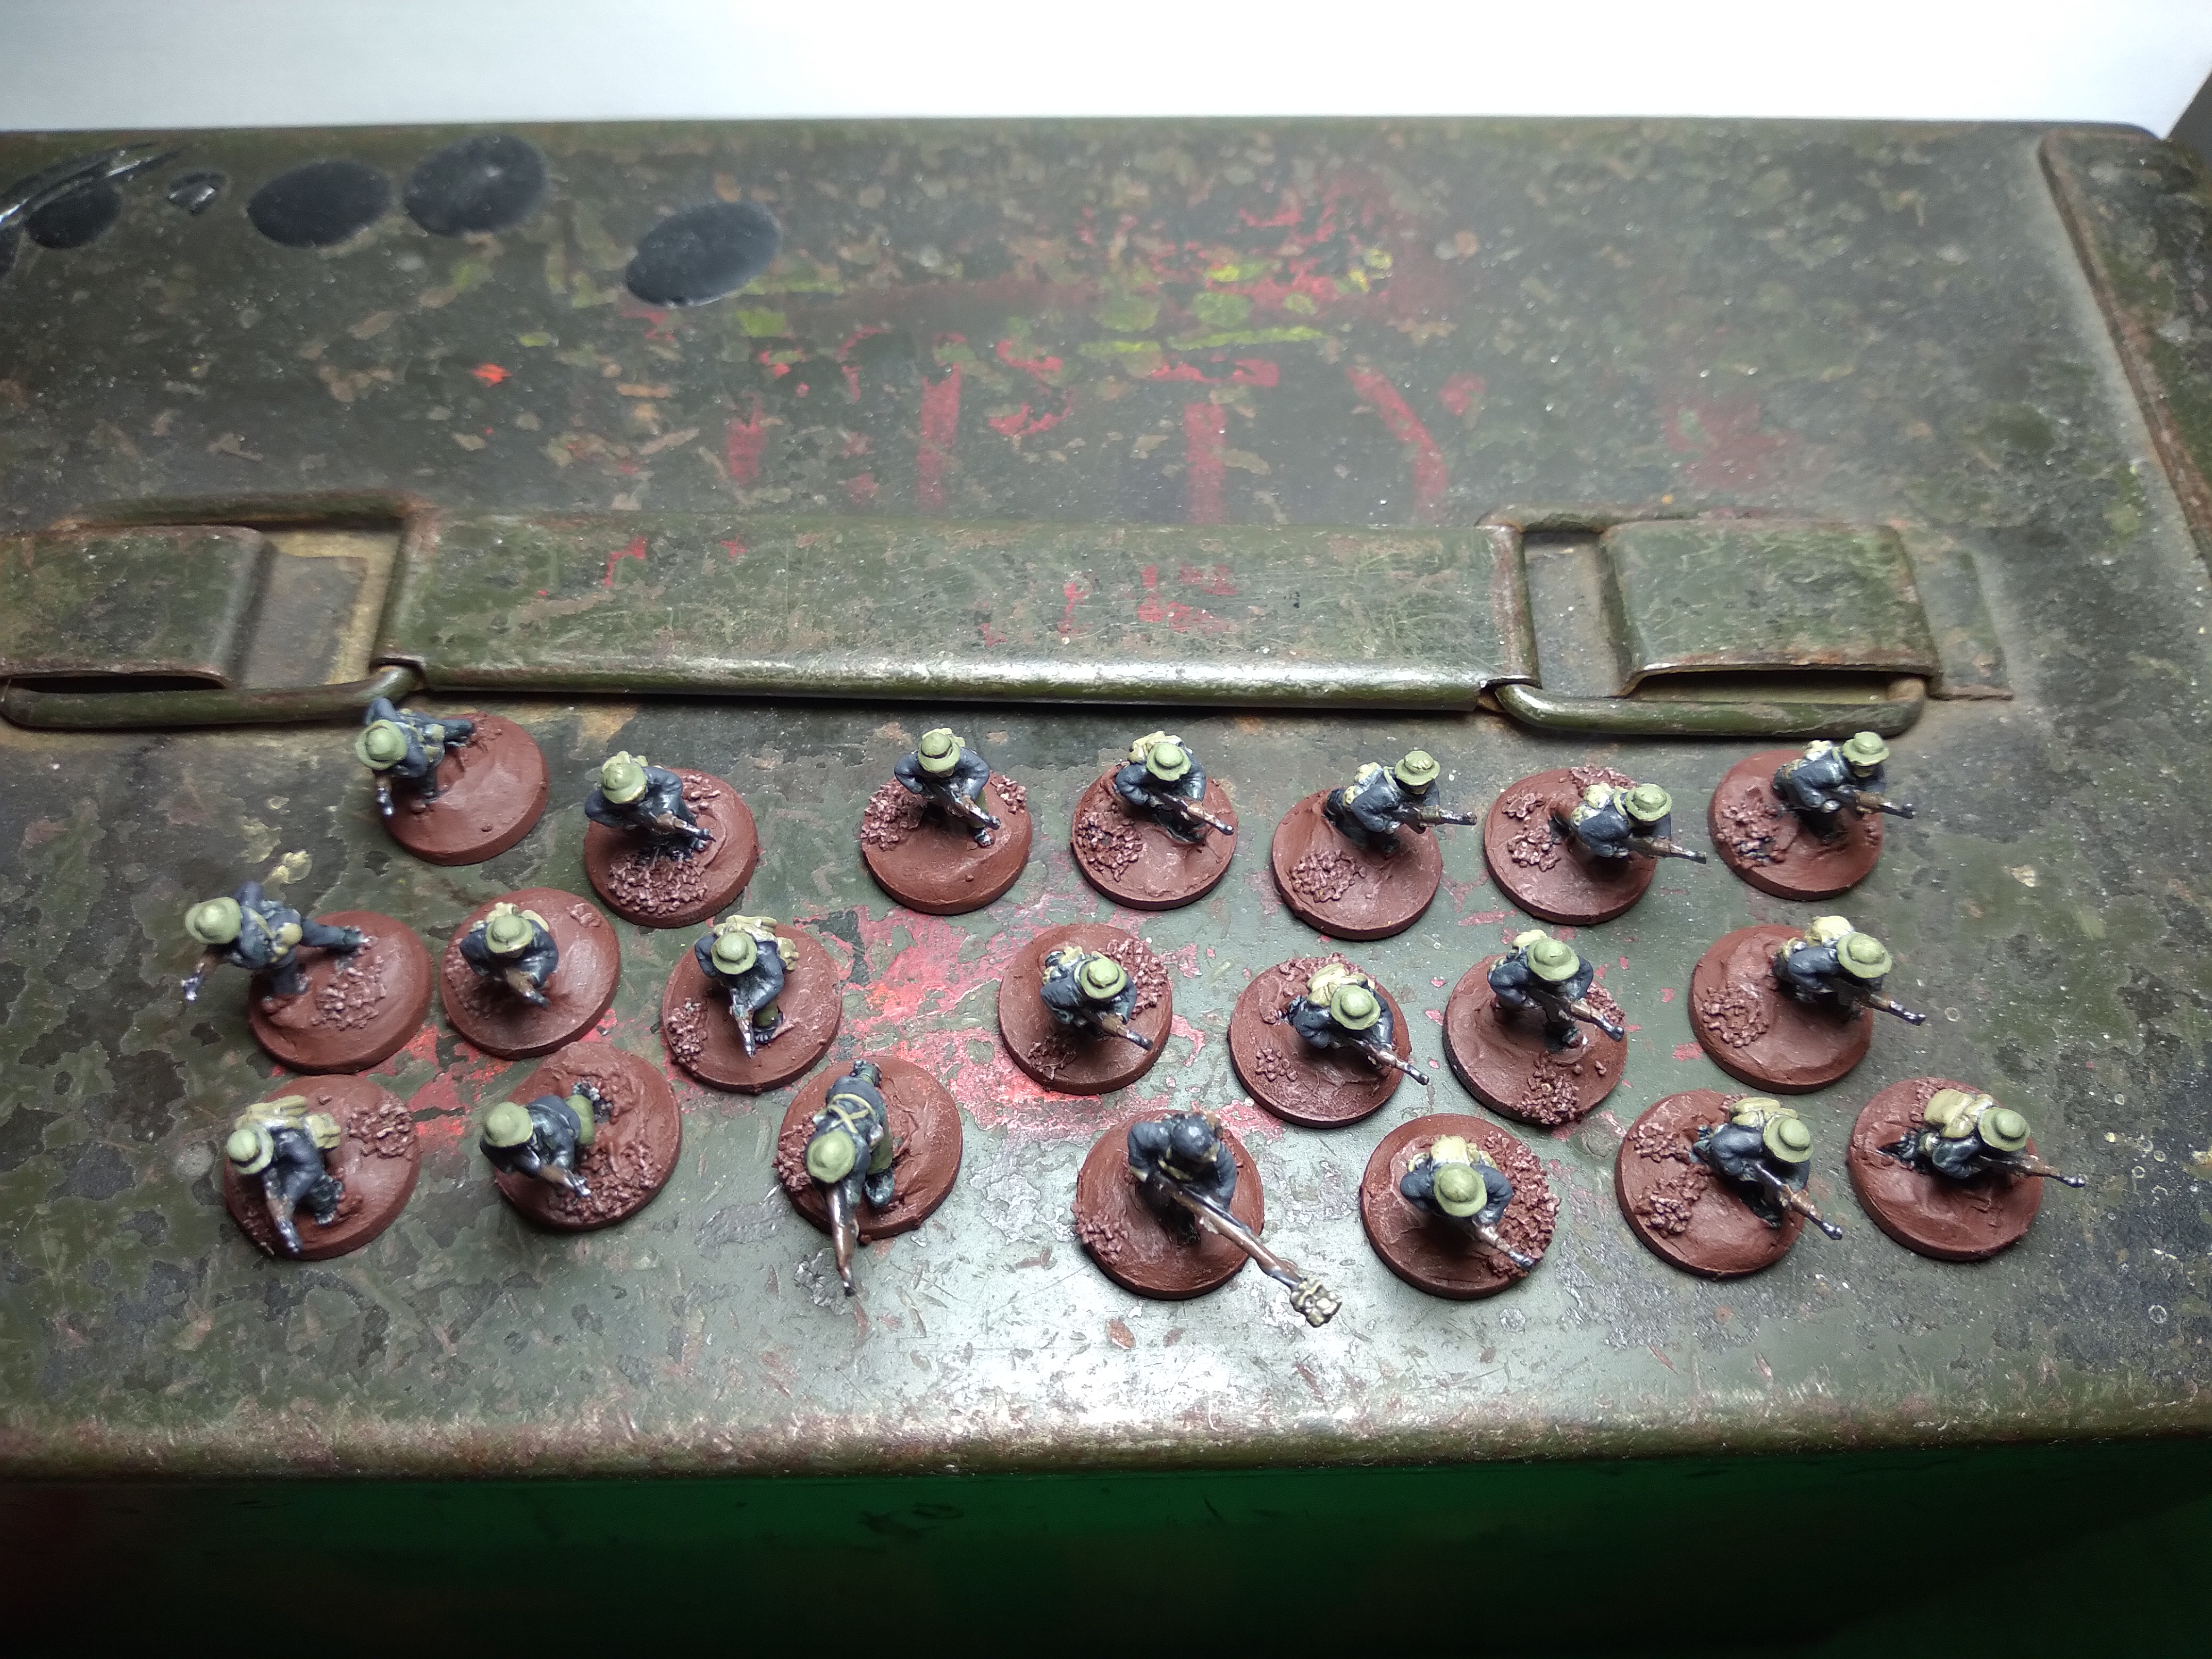
Grasshoppers and Elephants


Recommendations: 1629
About the Project
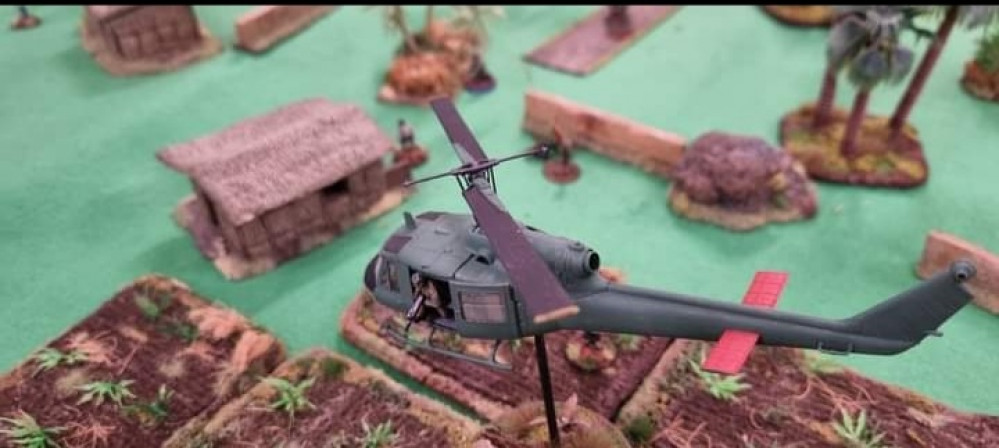
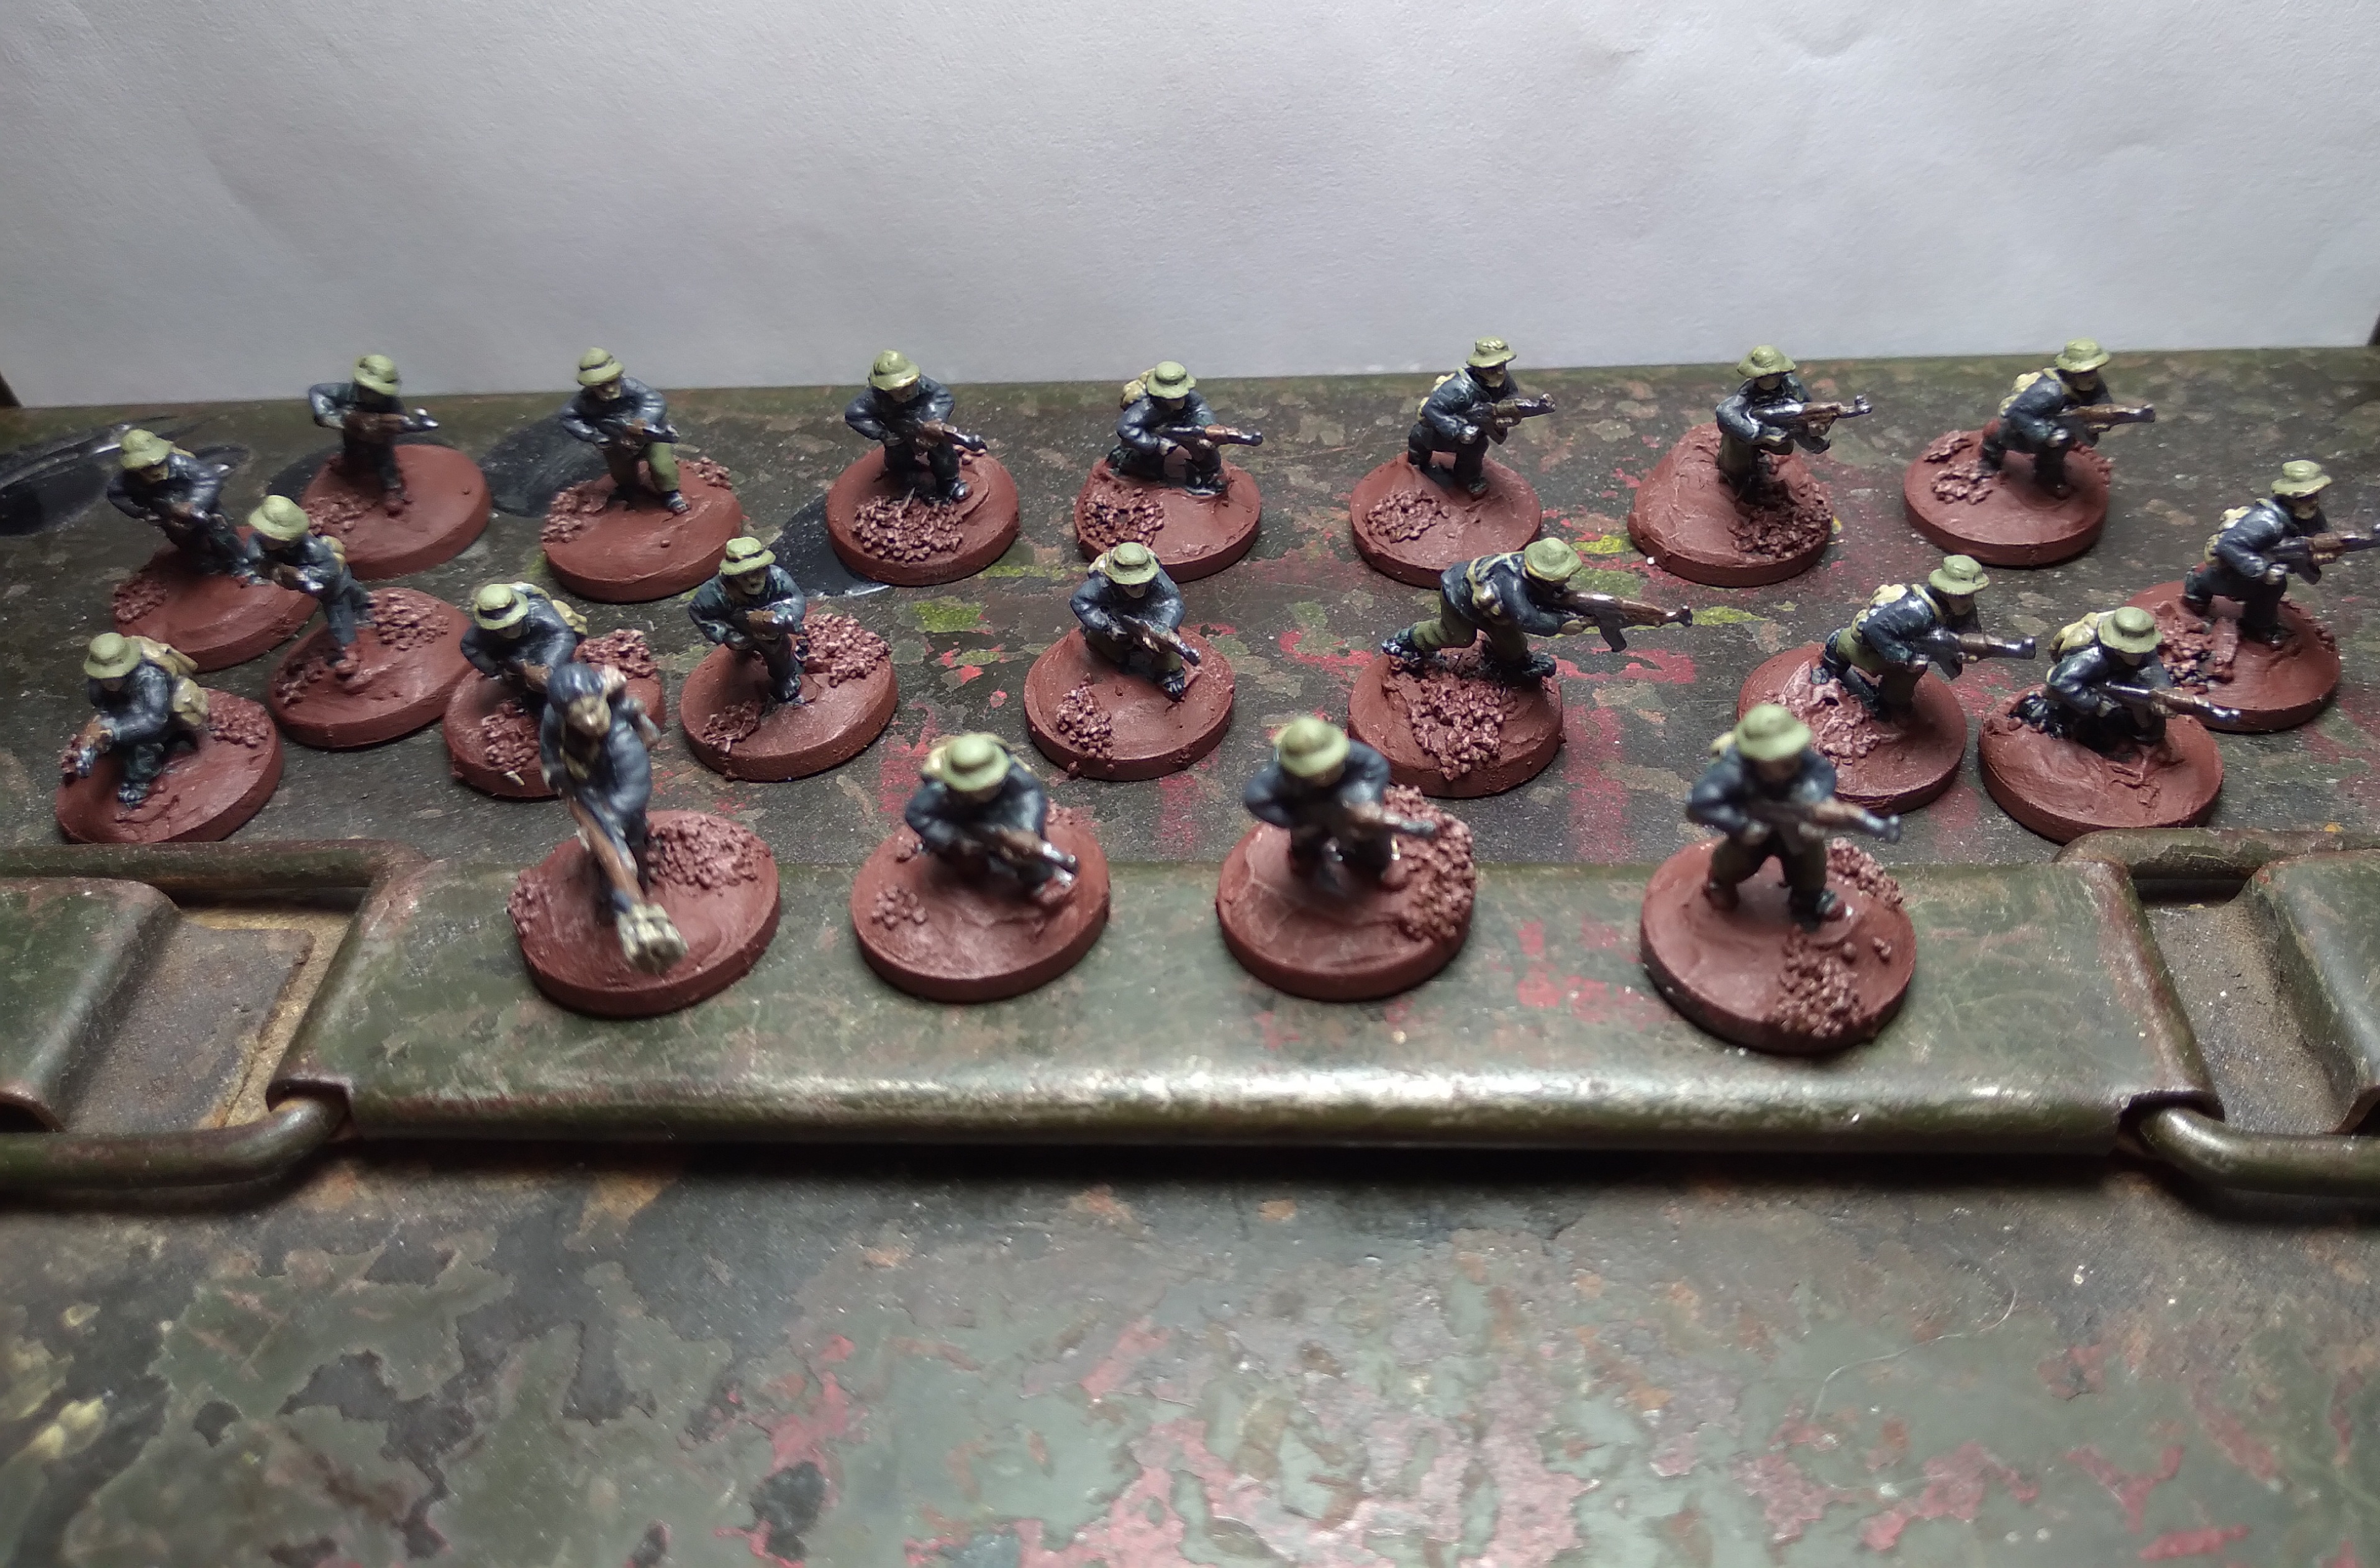
This project is my way of trying to compile and complete my growing collection of models from Vietnams resistance war against America era miniatures, rather than having a box of dusty lead it will be rather cool to have a box of painted miniatures. This project has been ongoing on and off for a few years now. It started off as a collection of books on my Kindle about the vietnam war then i got into 15mm with battlefronts tour of duty that i first tried playing at a demo game at the grumpy gamers convention at wayland games. Then i started collecting 20 mm vietnam miniatures for use in FNG, force on force ambush valley and the lard's charlie don't surf rule set. i found the 20 mm miniatures by chance wandering round salute i came across the grubby tanks stall they have a huge range of us and NVA and VC in metal as well as a very swish resin firebase and resin huts, This project will cover mainly my 28mm collection and maybe dip into my 15mm and 20mm collections at some point. I plan to collect and paint as many of the Gringo 40s range of figures that i can for both the Vietnamese and Free world forces. Im going to use the painting guide from the flames of war tour of duty book as much as possible as i am colour blind and brown and green can be awkward to work out. This can lead two some interesting colour choices.
Related Genre: Historical
This Project is Active
Mud Time
 I painted the whole thing brown with cheap burnt umber acrylic
  Then added some bits and bobs like steps from match sticks and a few more sand bags.
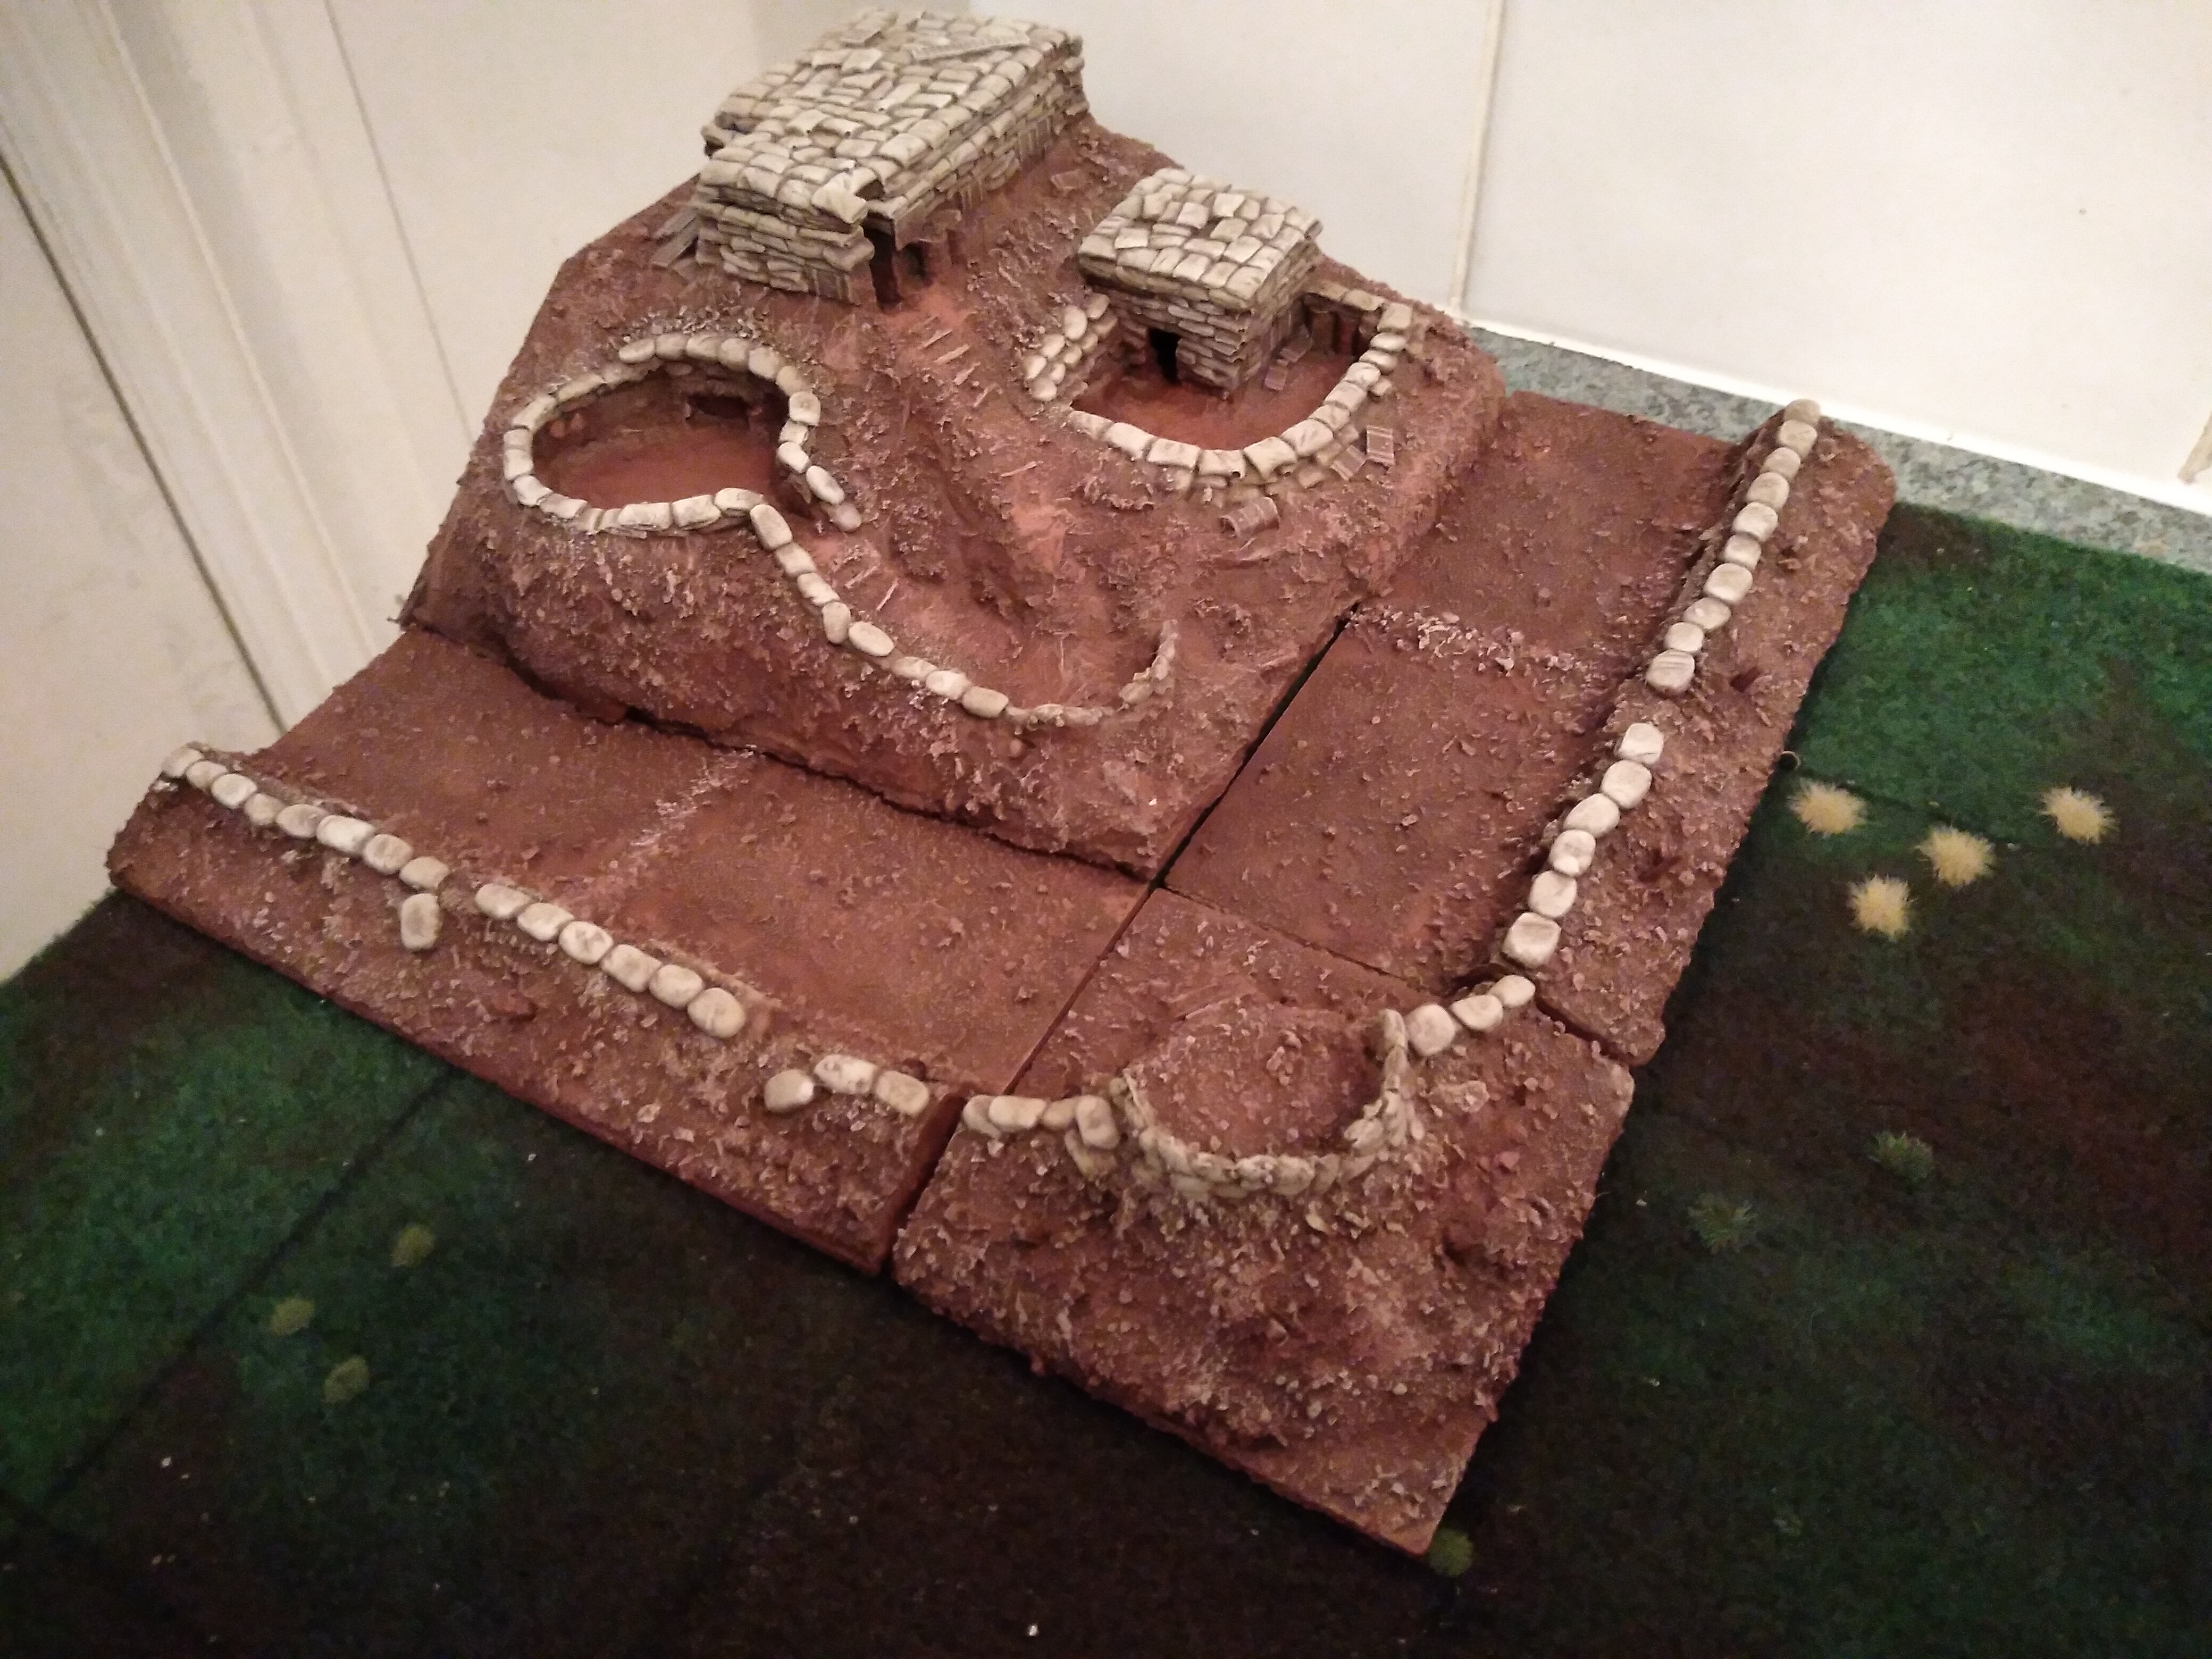
To paint the fire base I used a cheap burnt umber acrylic over everything.
The next step was to mix red into the base colour to make a clay like colour then splashed that everywhere.
Once that was fully dry I gave the whole model a Drybrush of zandri dust.
Then using Martian iron earth I painted blobs around the bases and to create paths down the hill connecting the bunkers.
Finally I gave everything a second Drybrush of zandri dust really focusing on the sand bags followed by a light brush of wraith bone.
The wood areas were then dabbed in with brown speed paint and the barrels were painted with vallejo russian uniform.
Once all that was dry I mixed contrast medium with a terracotta earth weathering powder and I worked that into the bunkers and around the sandbags removing any excess with a damp cotton bud.
Last but not least I drilled some little holes to poke the barbed wire into.
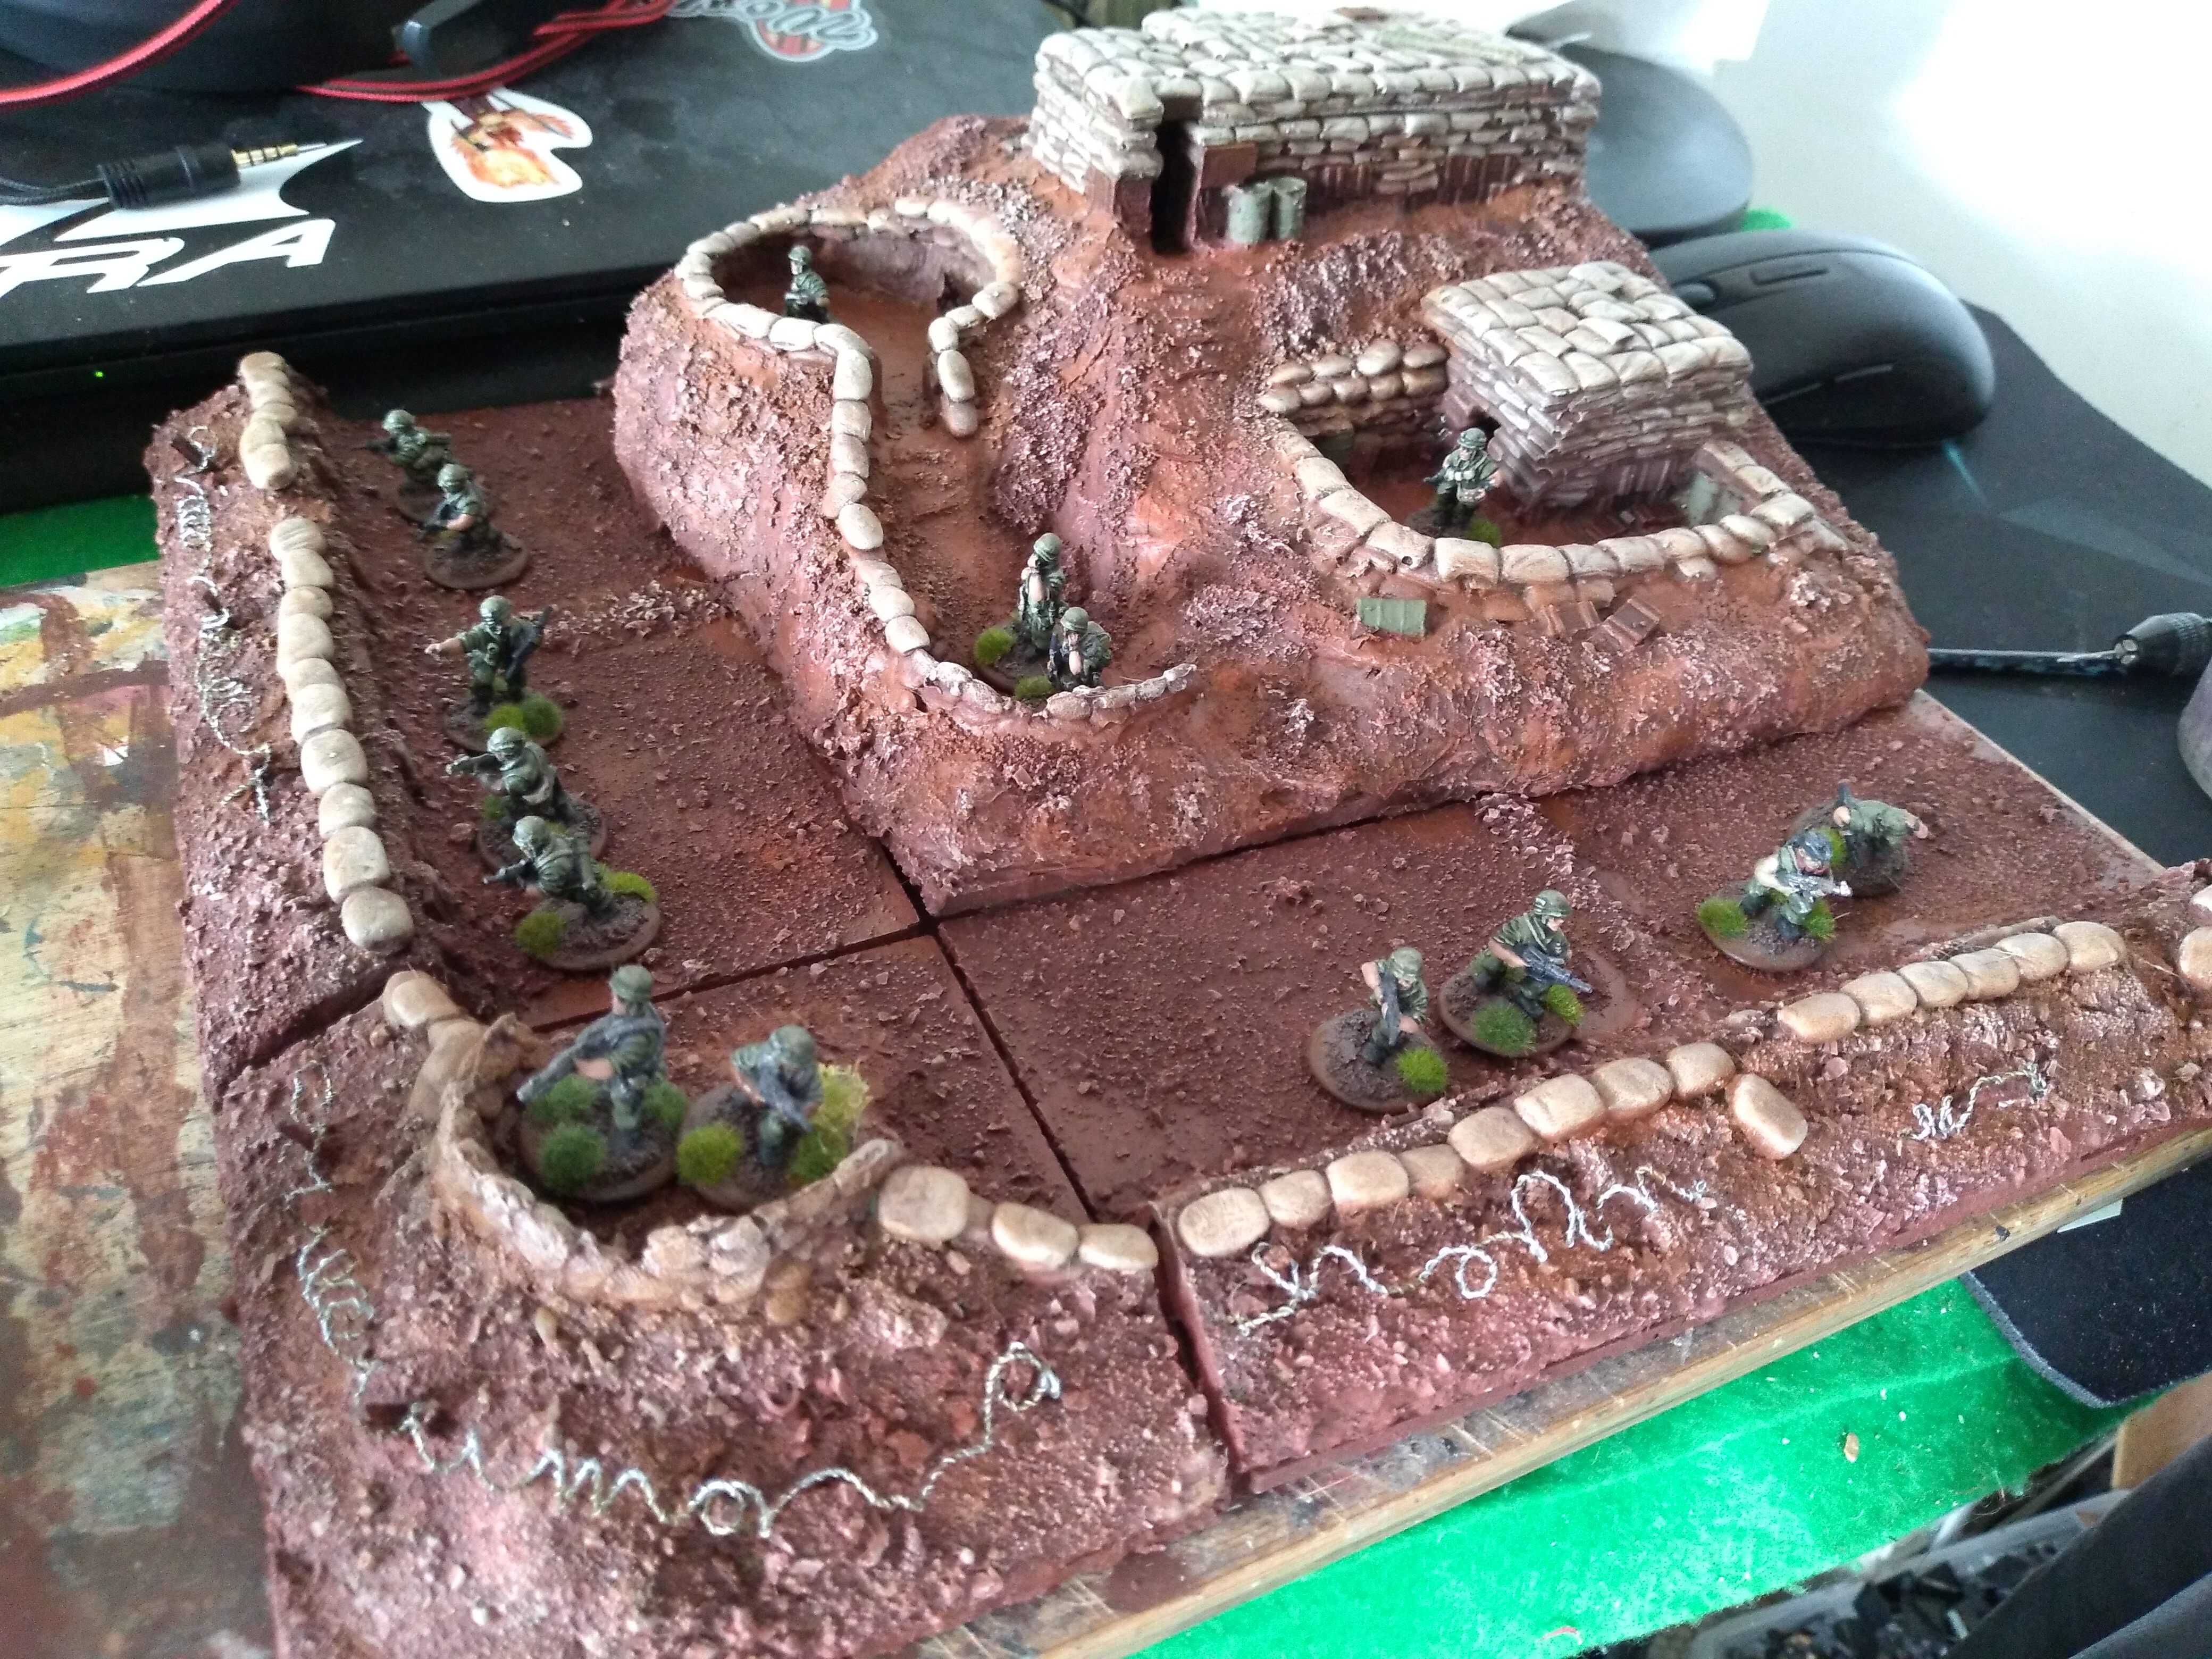
Building a firebase
I thought it was about time that I started working on some more scenery.
Thought it would be cool to build the corner of a fire base for my 20mm US infantry platoon to defend.
Using up some resin bunkers and dug outs I already had from Brittania miniatures, I started working out how I was going to place the separate areas.
The bunkers will hopefully look like they have been dug into a hill side with a protective burm with sandbags on top protecting the fire base.
The hilly part is built onto an 8″ by 8″ Cork mat with two 8″ by 4″ defensive berm sections and one corner section on a 4″ by 4″ tile.
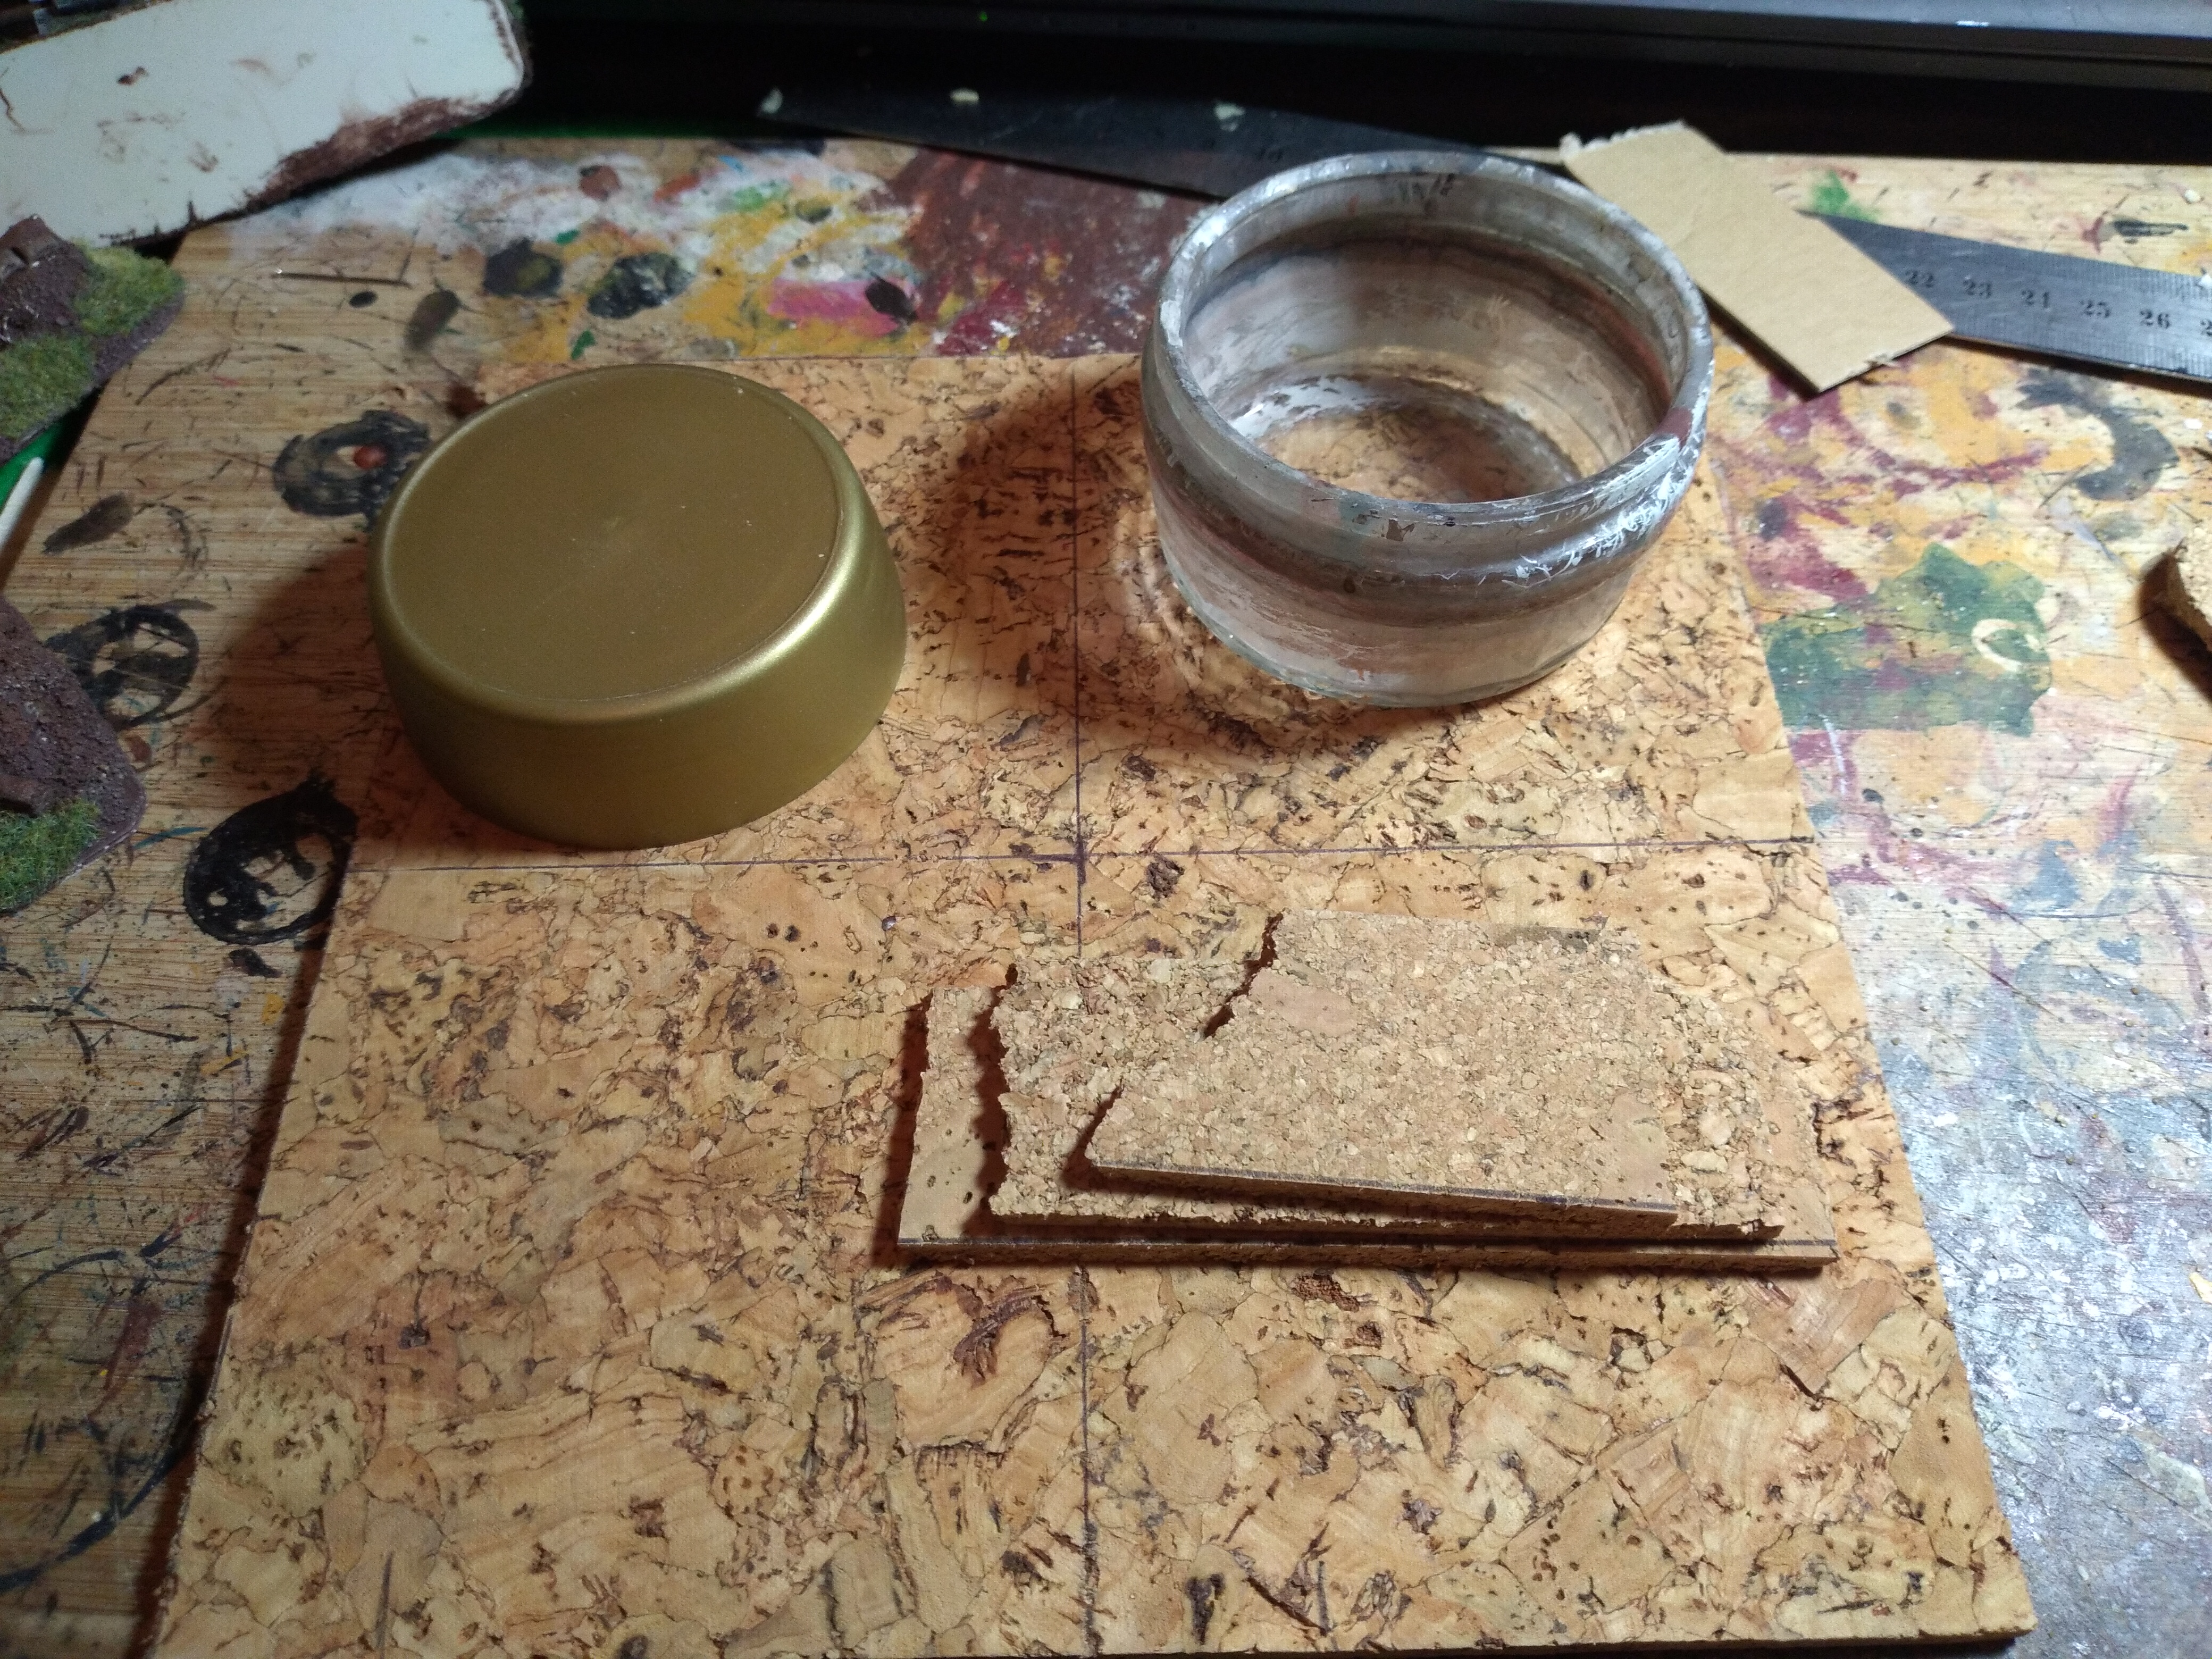
My plan is to use up bits and bobs I have laying around, the hillside is airdry clay covered in kitchen towel and pva glue sprinkled with sand.
The sandbags are milliput and greenstuff and the defensive berms are the tops of some vacume moulded trench lines I had laying about.
To get the levels of the bunkers I balanced them on odds and ends that were the height I wanted then back filled with clay.
 Getting the levels right
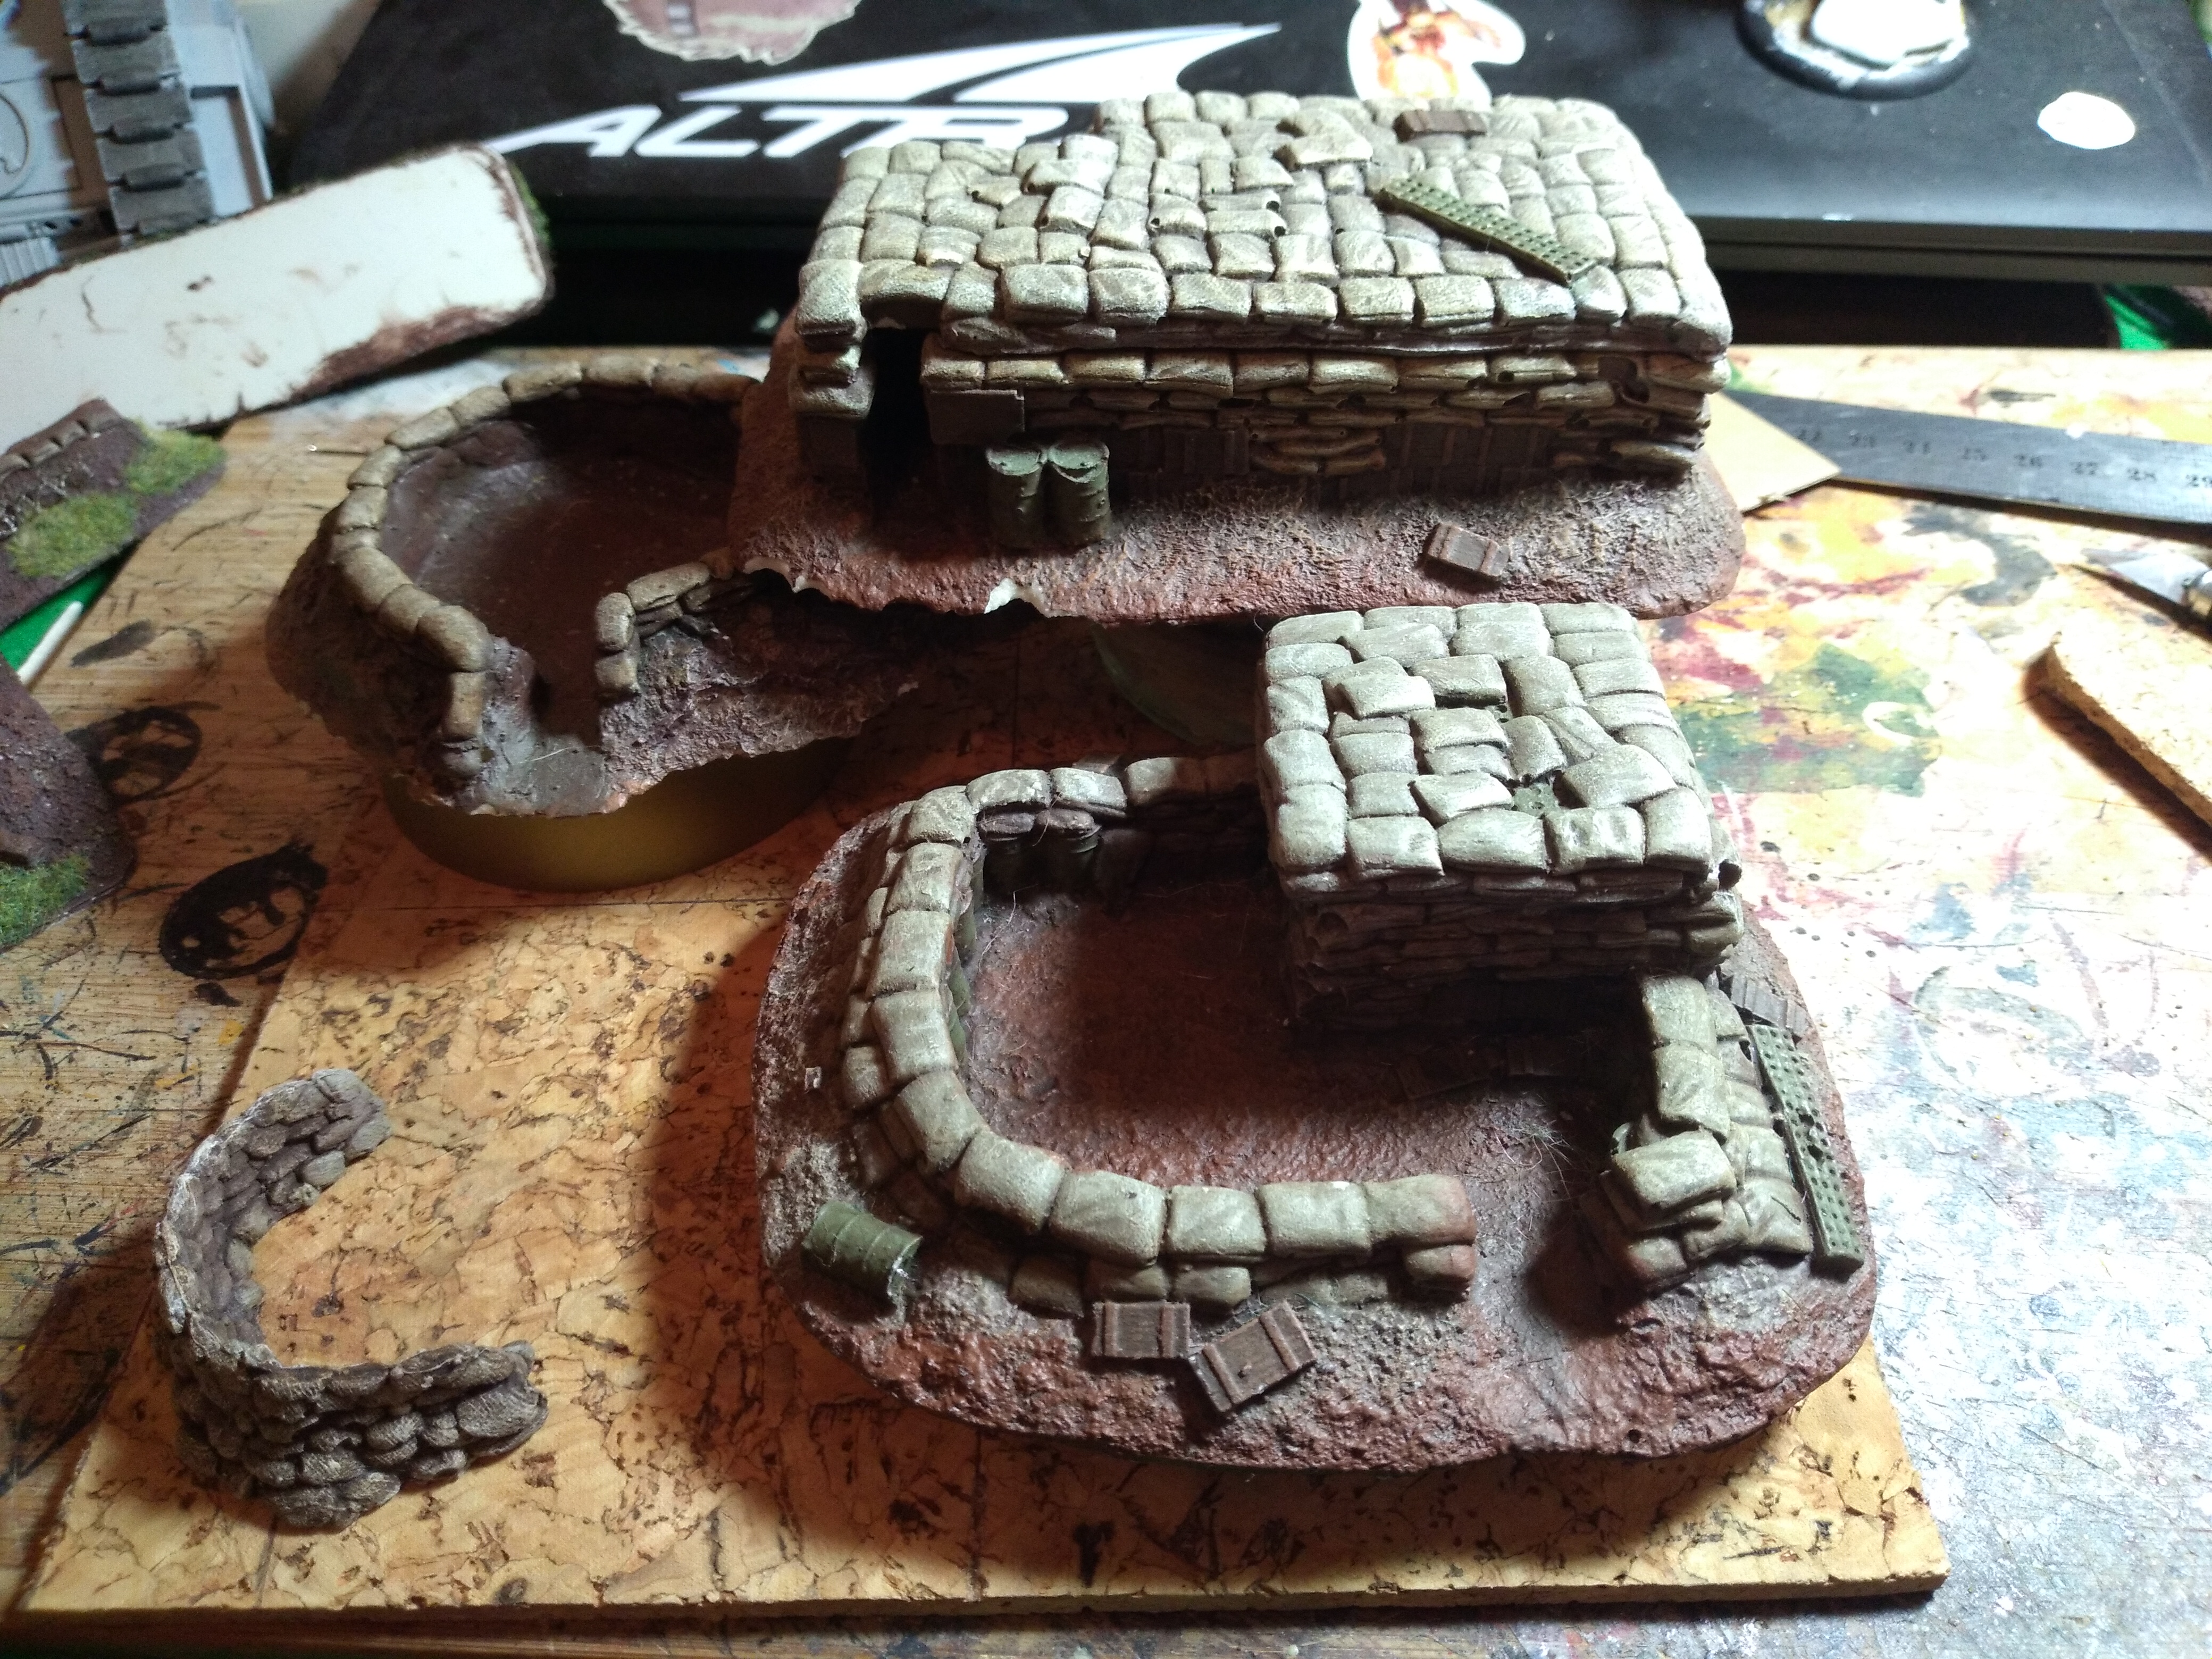
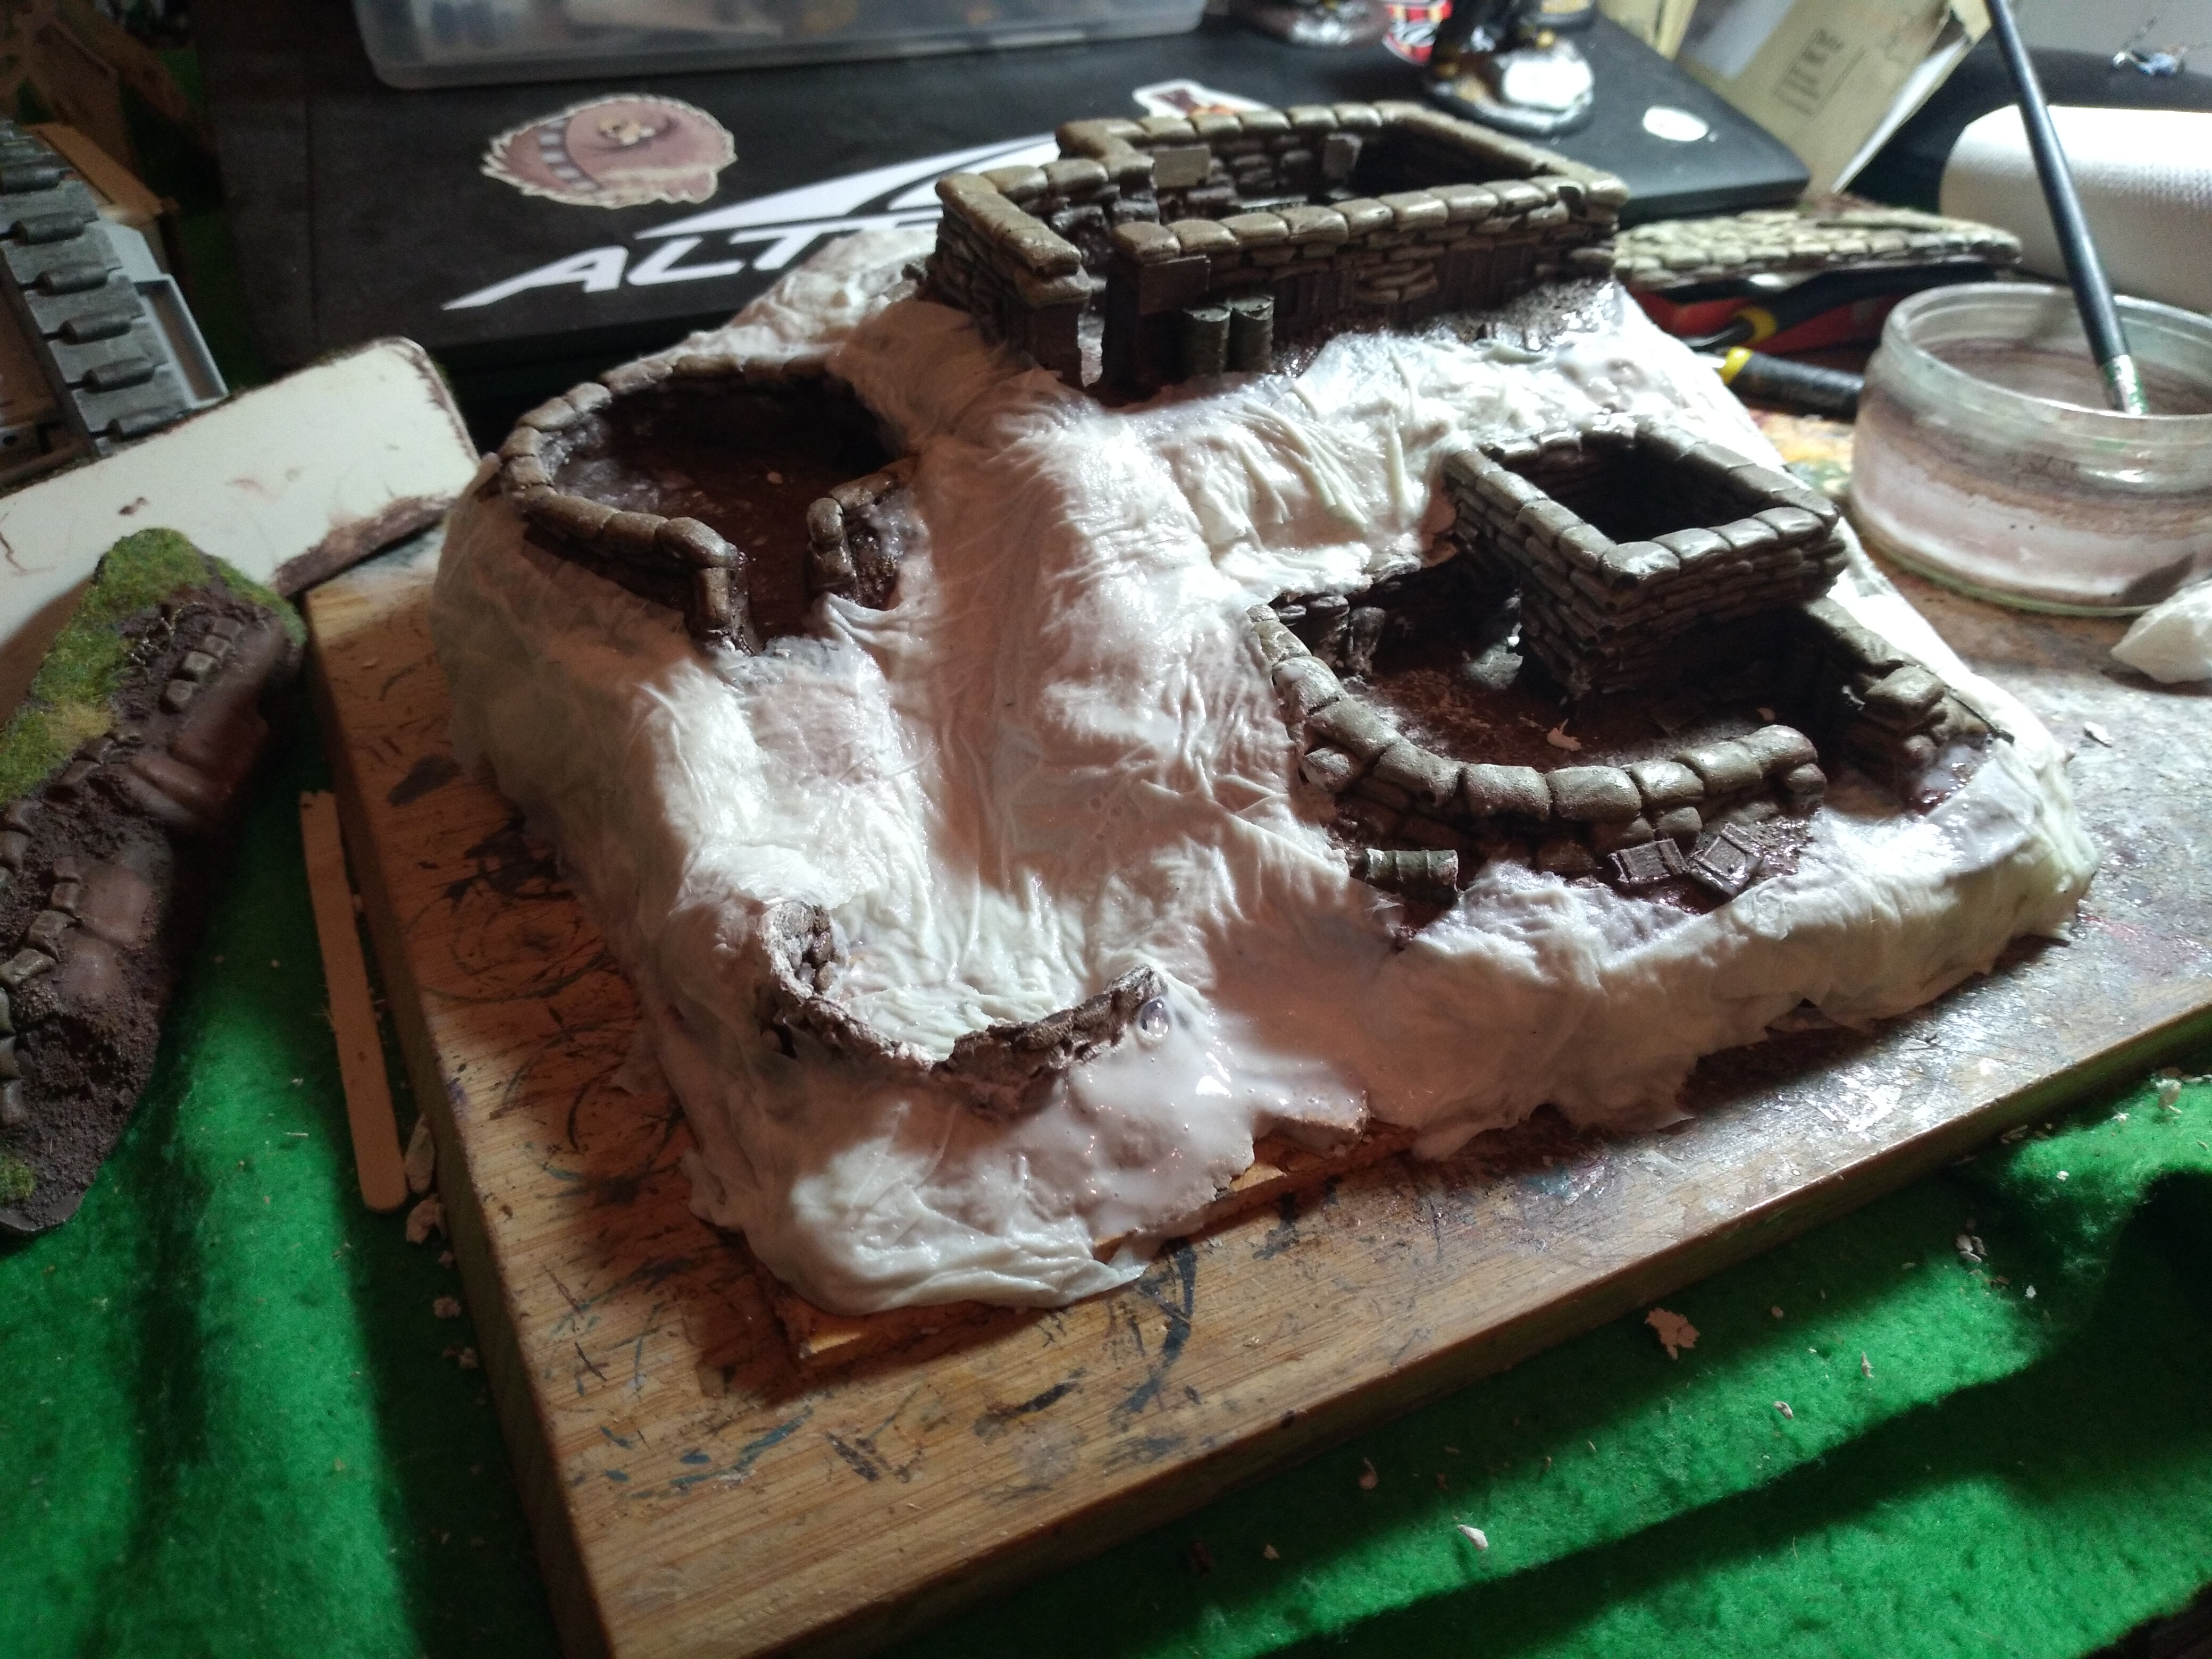 Clay and kitchen towel time
 Perimeter defences being sanded, bird grit is great for this
Bill kilgore
 I picked this dude up at the colours show a couple of years ago and has been sitting on the to paint pile for a while.
Bill kilgore
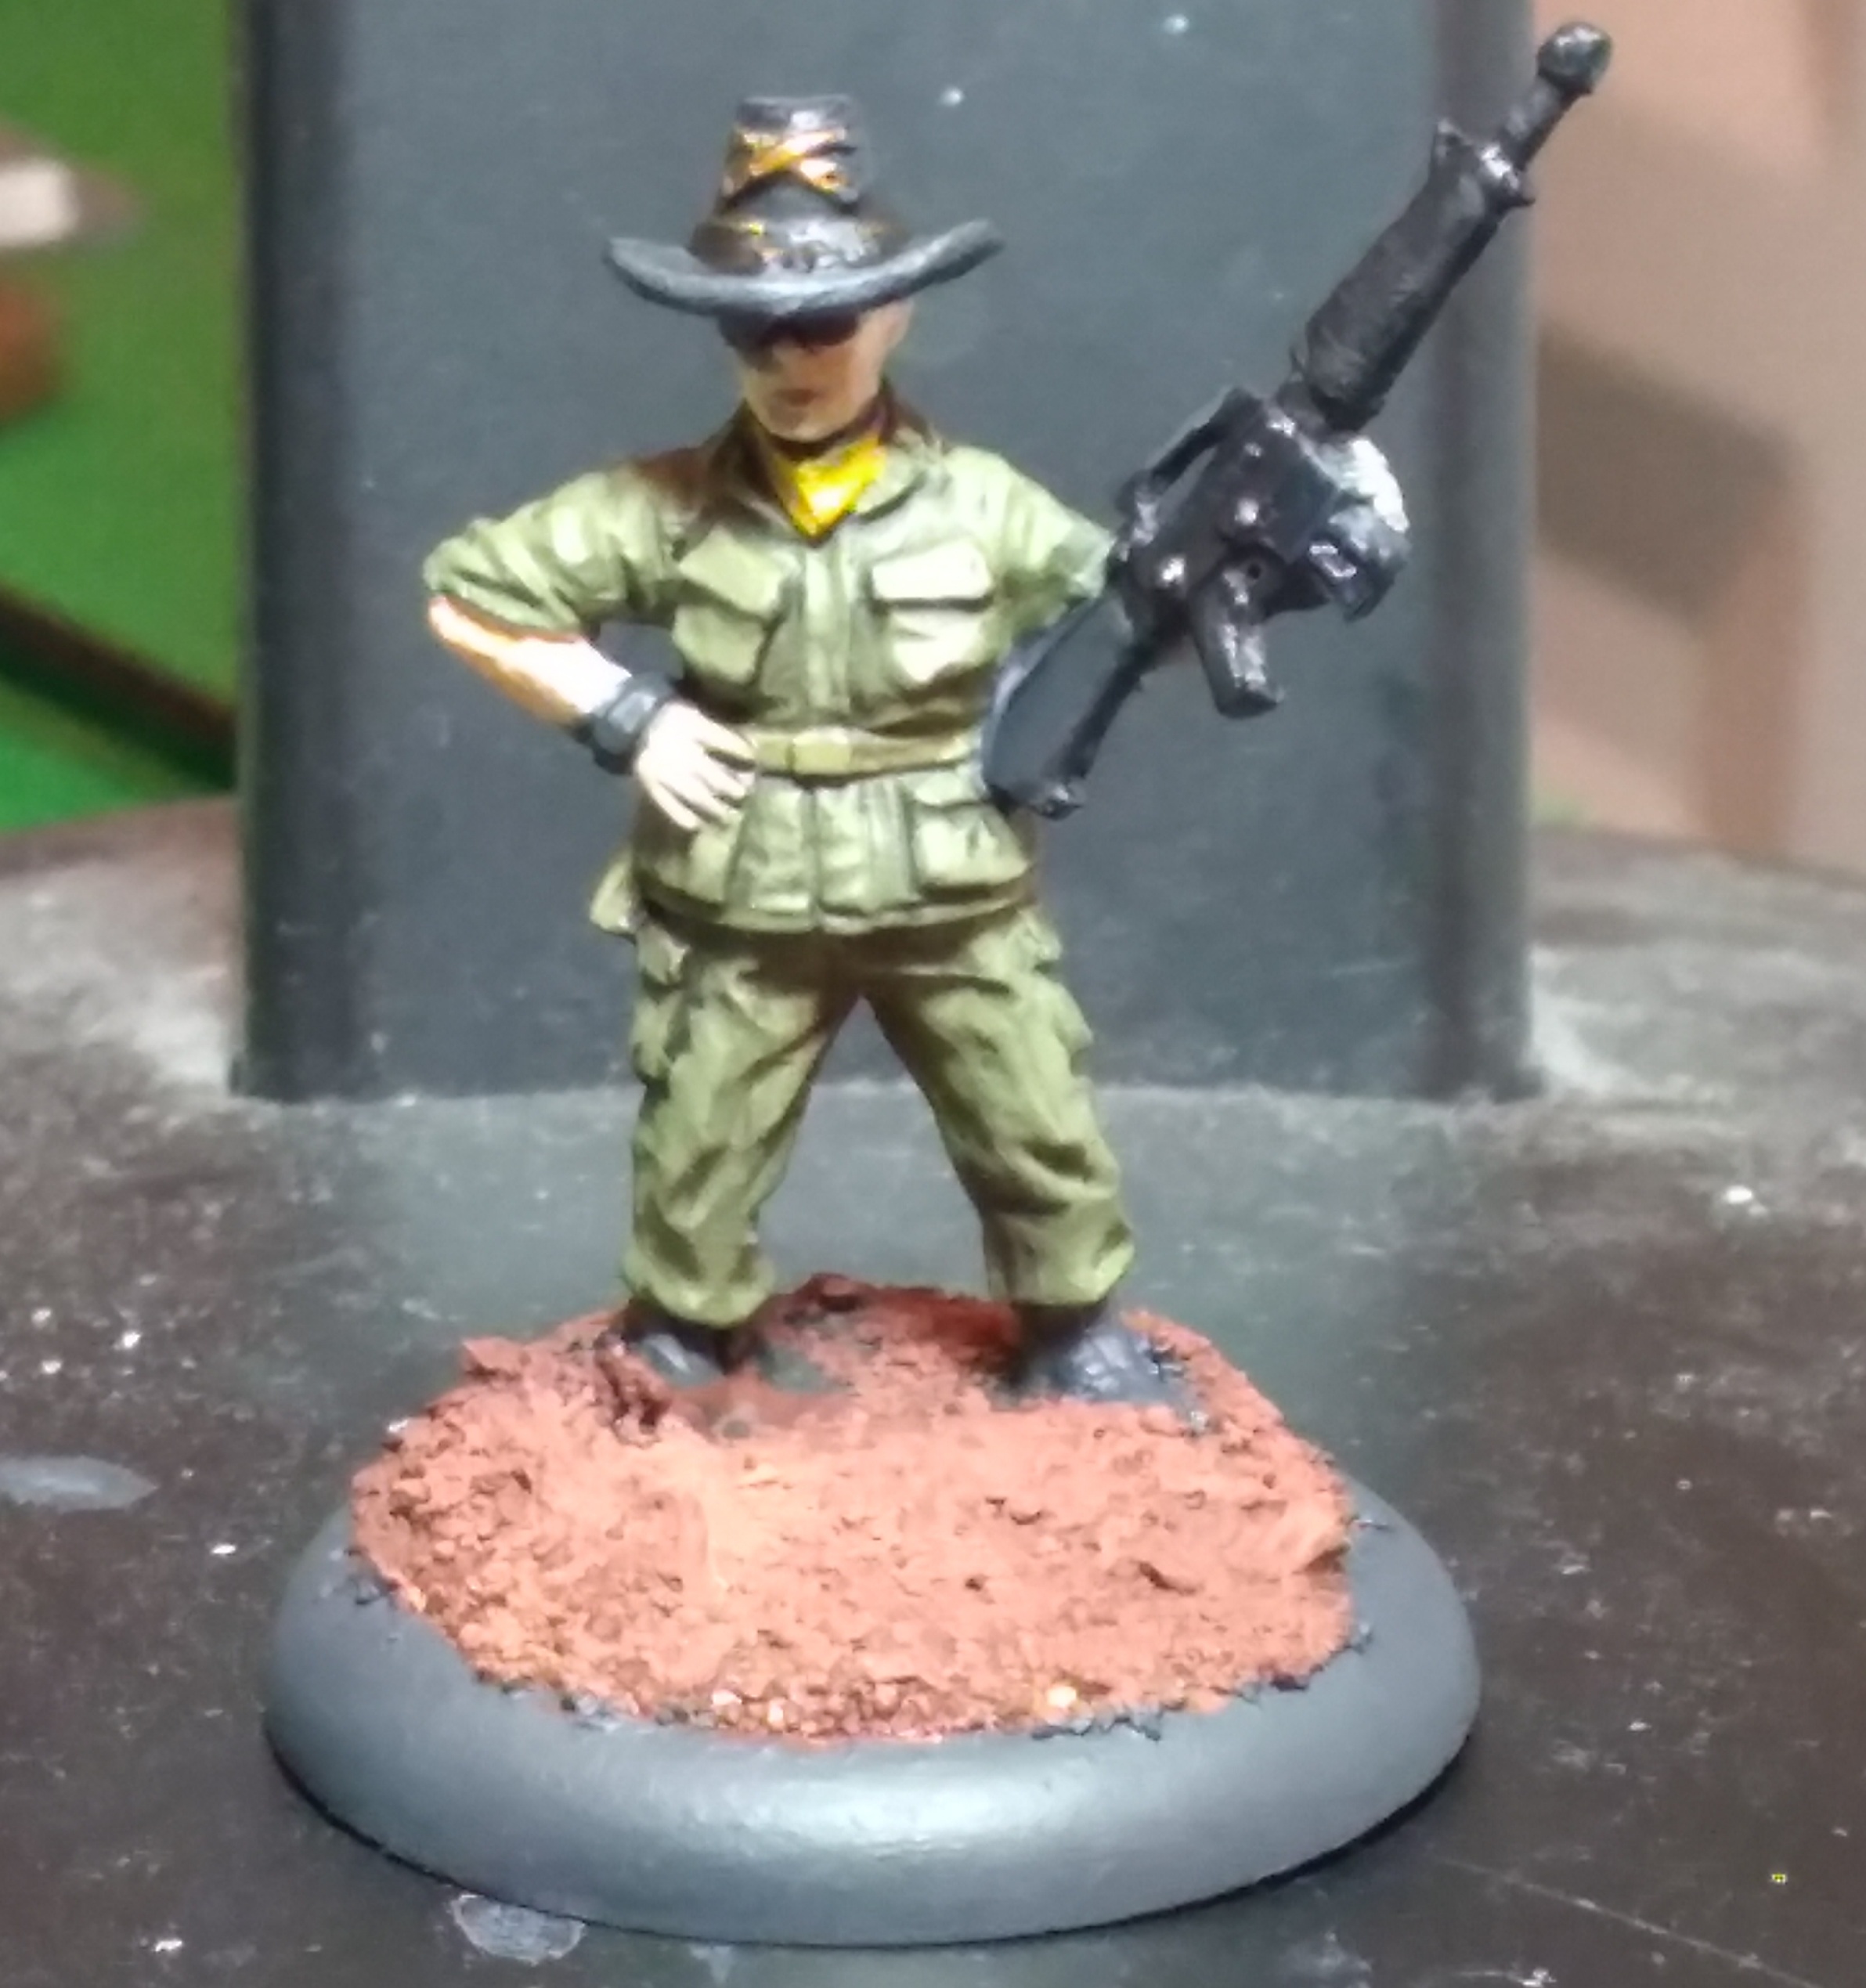 I picked this dude up at the colours show a couple of years ago and has been sitting on the to paint pile for a while.

Chieu Hoi Token bags
I got a load of unissued Chieu Hoi bags at the war and peace show a couple of years ago.
They were made to go over ammo magazines keeping them waterproof.
They were part of the open arms program.
Once used they would be left on the floor and was supposed to be used by a North Vietnamese fighter as a token of safe passage.
They also make superb token and dice holders.
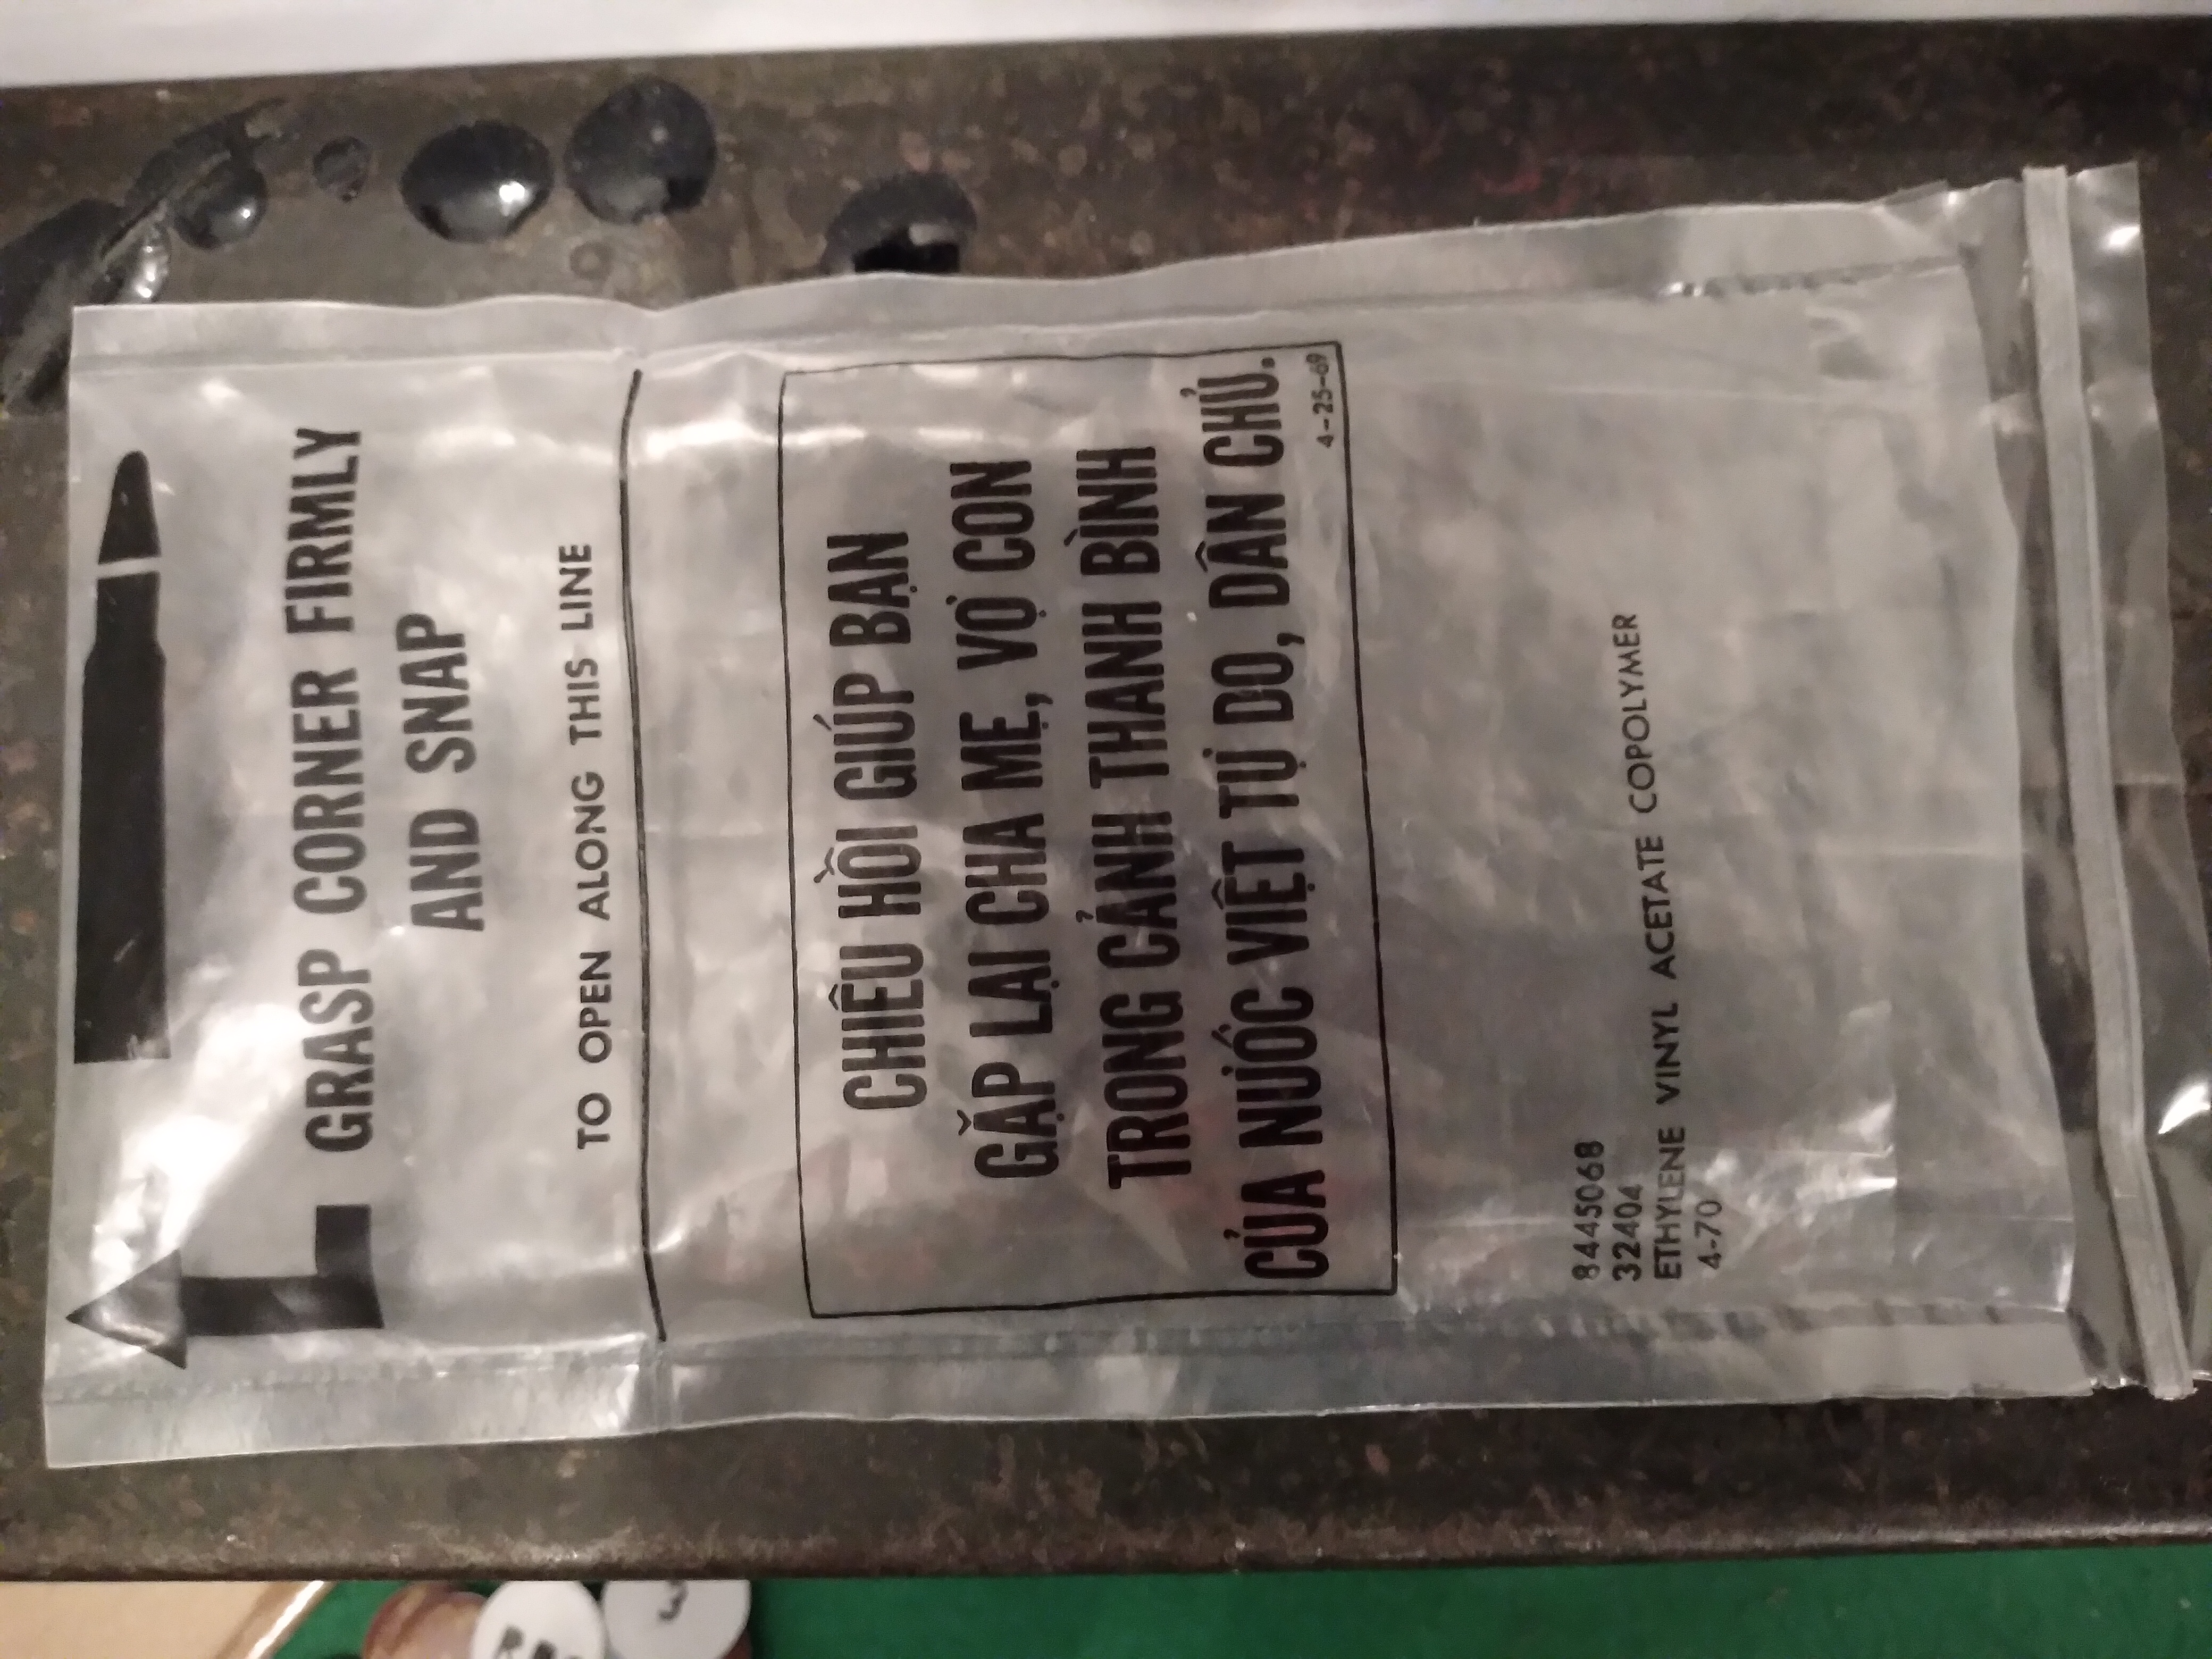 An unused Chieu Hoi chit
Making tokens again
 Swish new tokens
After watching a gerrycan about token making I thought I would give it a shot.
Ordered up a 1″ paper punch and some bottle top thingies and away I went to find my printer.
Switched it on to an array of flashing lites, so went into town to grab some ink.
Got home instaled the new ink and created more flashing lites and beeps so gave up and took the files I wanted printed to a shop in town.
To put the info on side b of the token I went old school with a stencil and a pen.
I’m pretty pleased with the results although I should have been more careful when stamping the tokens to get the star more central.
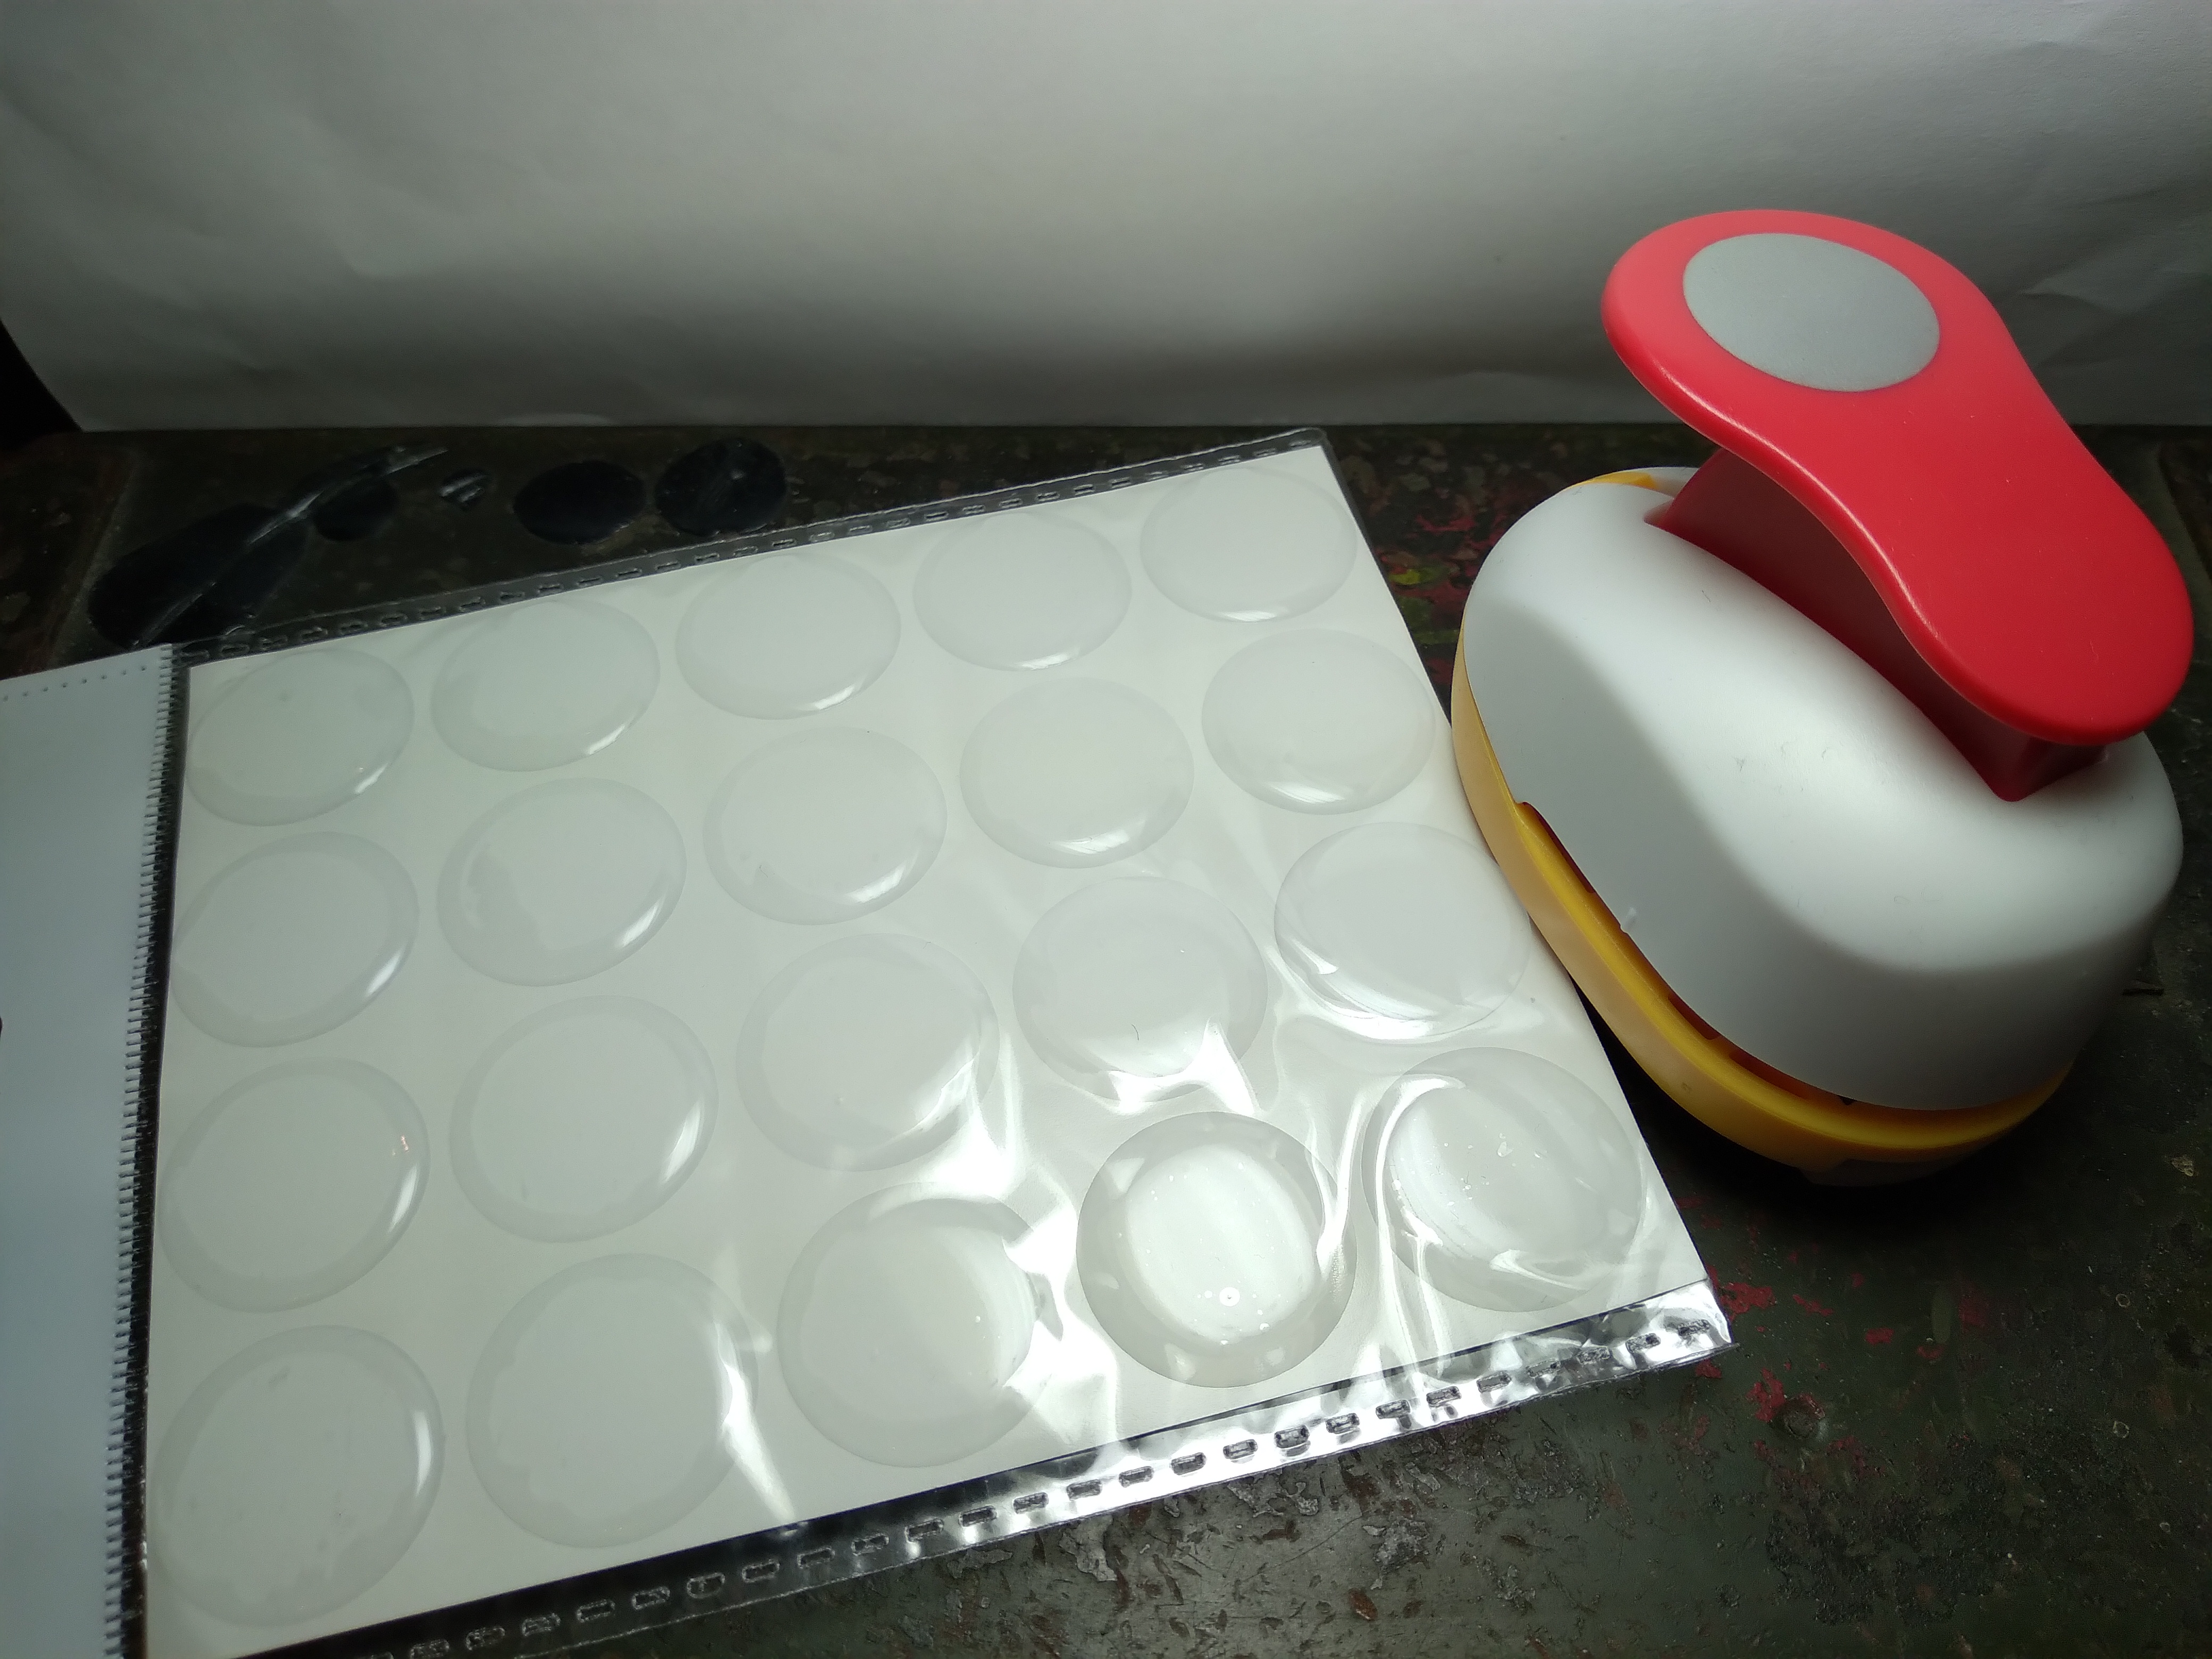 Punch and bottle cap thingies


