

![10mm Medieval Miniatures! Azincourt English Army Review | Wargames Atlantic [7 Days Early Access]](https://images.beastsofwar.com/2026/03/unboxing-wargames-atlantic-azincourt-english-army-coverimage-225-127.jpg)


WIP it


Recommendations: 372
About the Project
I really need to start finishing stuff, my Work in Progress table isn't full, and I never want it to be full. In fact I want to empty it. On it at the moment is; 40k, the Repulsor, might never get get used, it's stupidly expensive, but I want it painted. Also the Ravenwing Command figures, and a couple of Watchers for my Deathwing. Victory at Sea, I have more Destroyers, some Submarines, and MTBs. Blood Red Skies, I have three Bombers, so I'll finally be able to do scenarios other than dog fighting. Infinity, and even Dust Warfare,
Related Genre: General
Related Contest: Spring Clean Hobby Challenge (Old)
This Project is Completed
Bolt Action Objective Markers
These were given out at a Charity Event that used to happen here called ANZAC CUP, the Bolt Action part of the event failed hard, with only three of us signing up. I did try to get more to join, but none of my mates liked the TO. So two Australian Armoured lads and I plus the TO just played some games over the weekend. These started off Red, but that’s a horrible base colour to try and paint over, so I’ve gone back to a far more neutral Grey.
 Grey casualty markers
Black Knight Command ready
Thanks to a club mate, I have new shoulder pads for the Ravenwing Black Knights command models. The Champion is okay, Whoever assembled him did an adequate job, the Ancient, and Apothecary on the other hand, wtf. I’m glad they were cheap. Getting the old ones off was a nightmare, but that’s all over now. The plan is to get the three painted this weekend.
 Apothicary
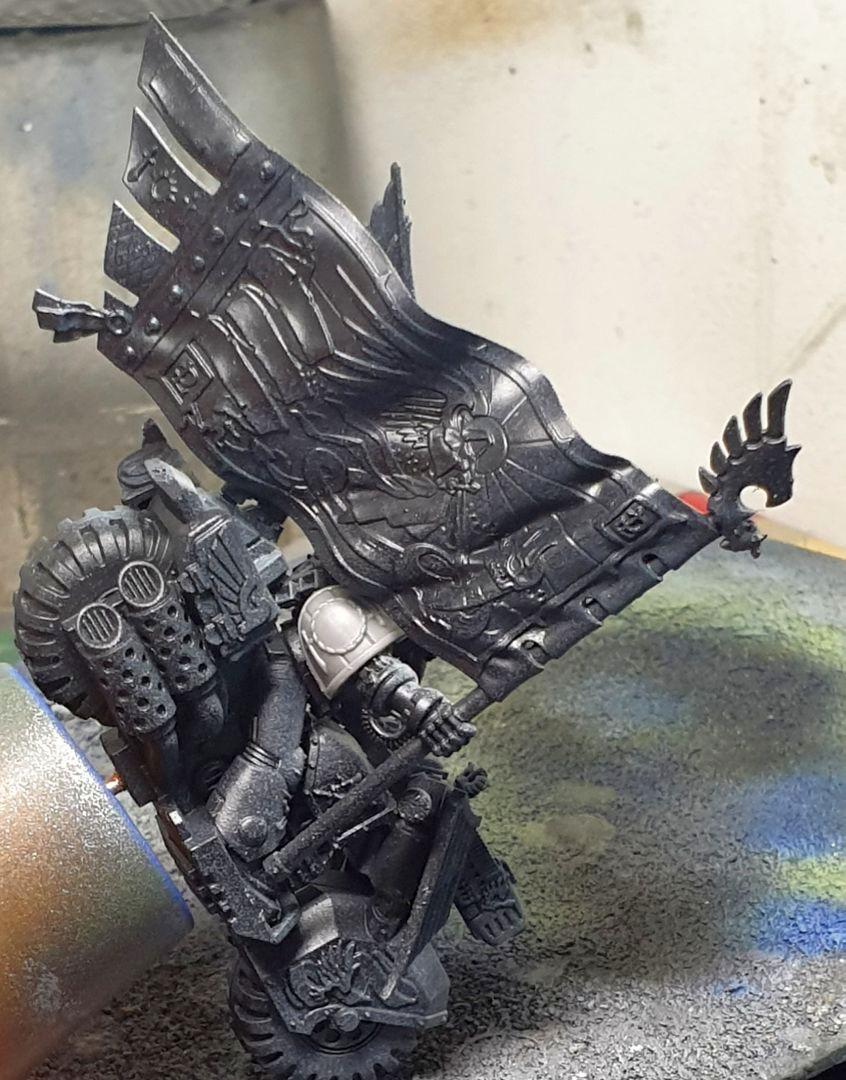 Ancient
RavenWing Command Squadron
It was my painting weekend, and so in addition to all the drinking(It turned out to be a rather social weekend) I got a lot of work done to these.
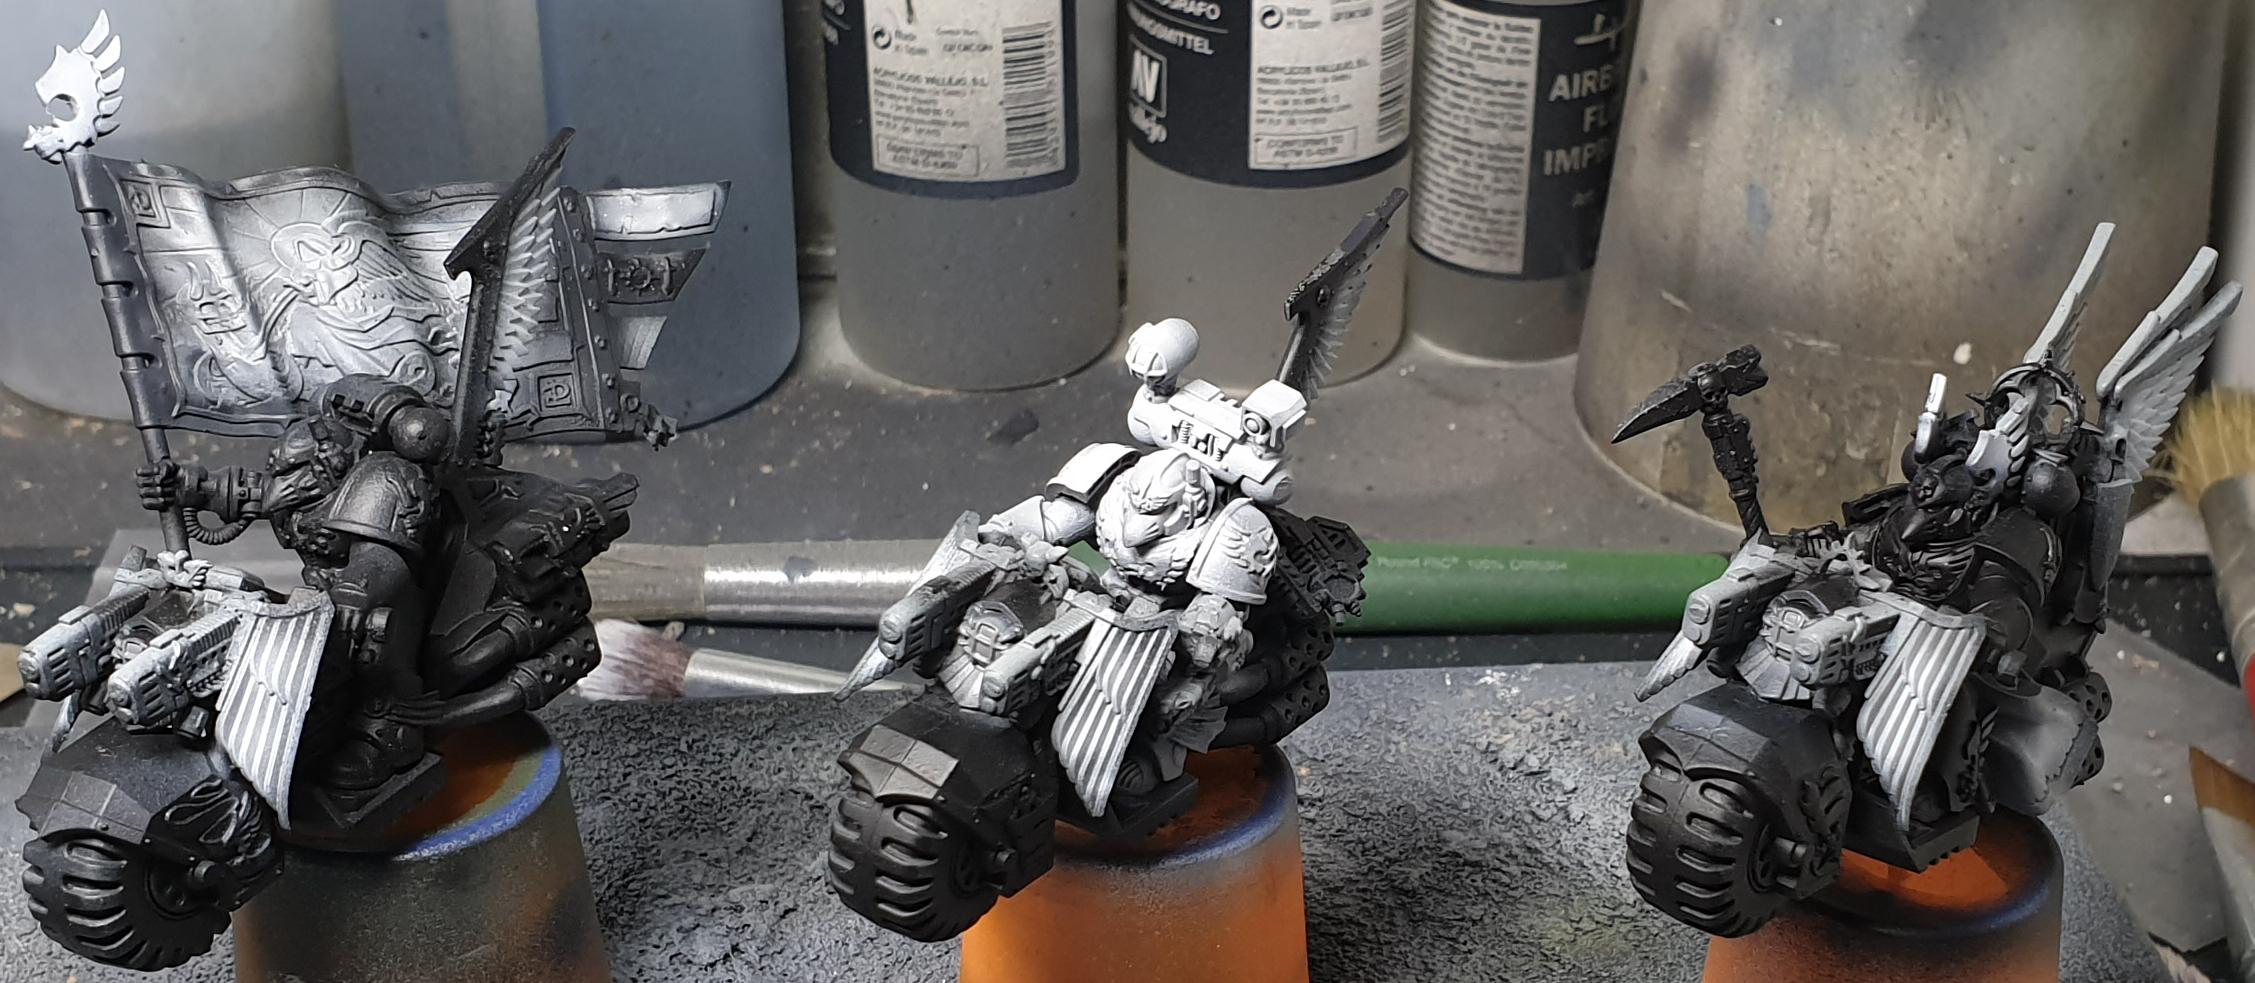 The airbrush made the black stuff Black again, but also the other coloured stuff grey.
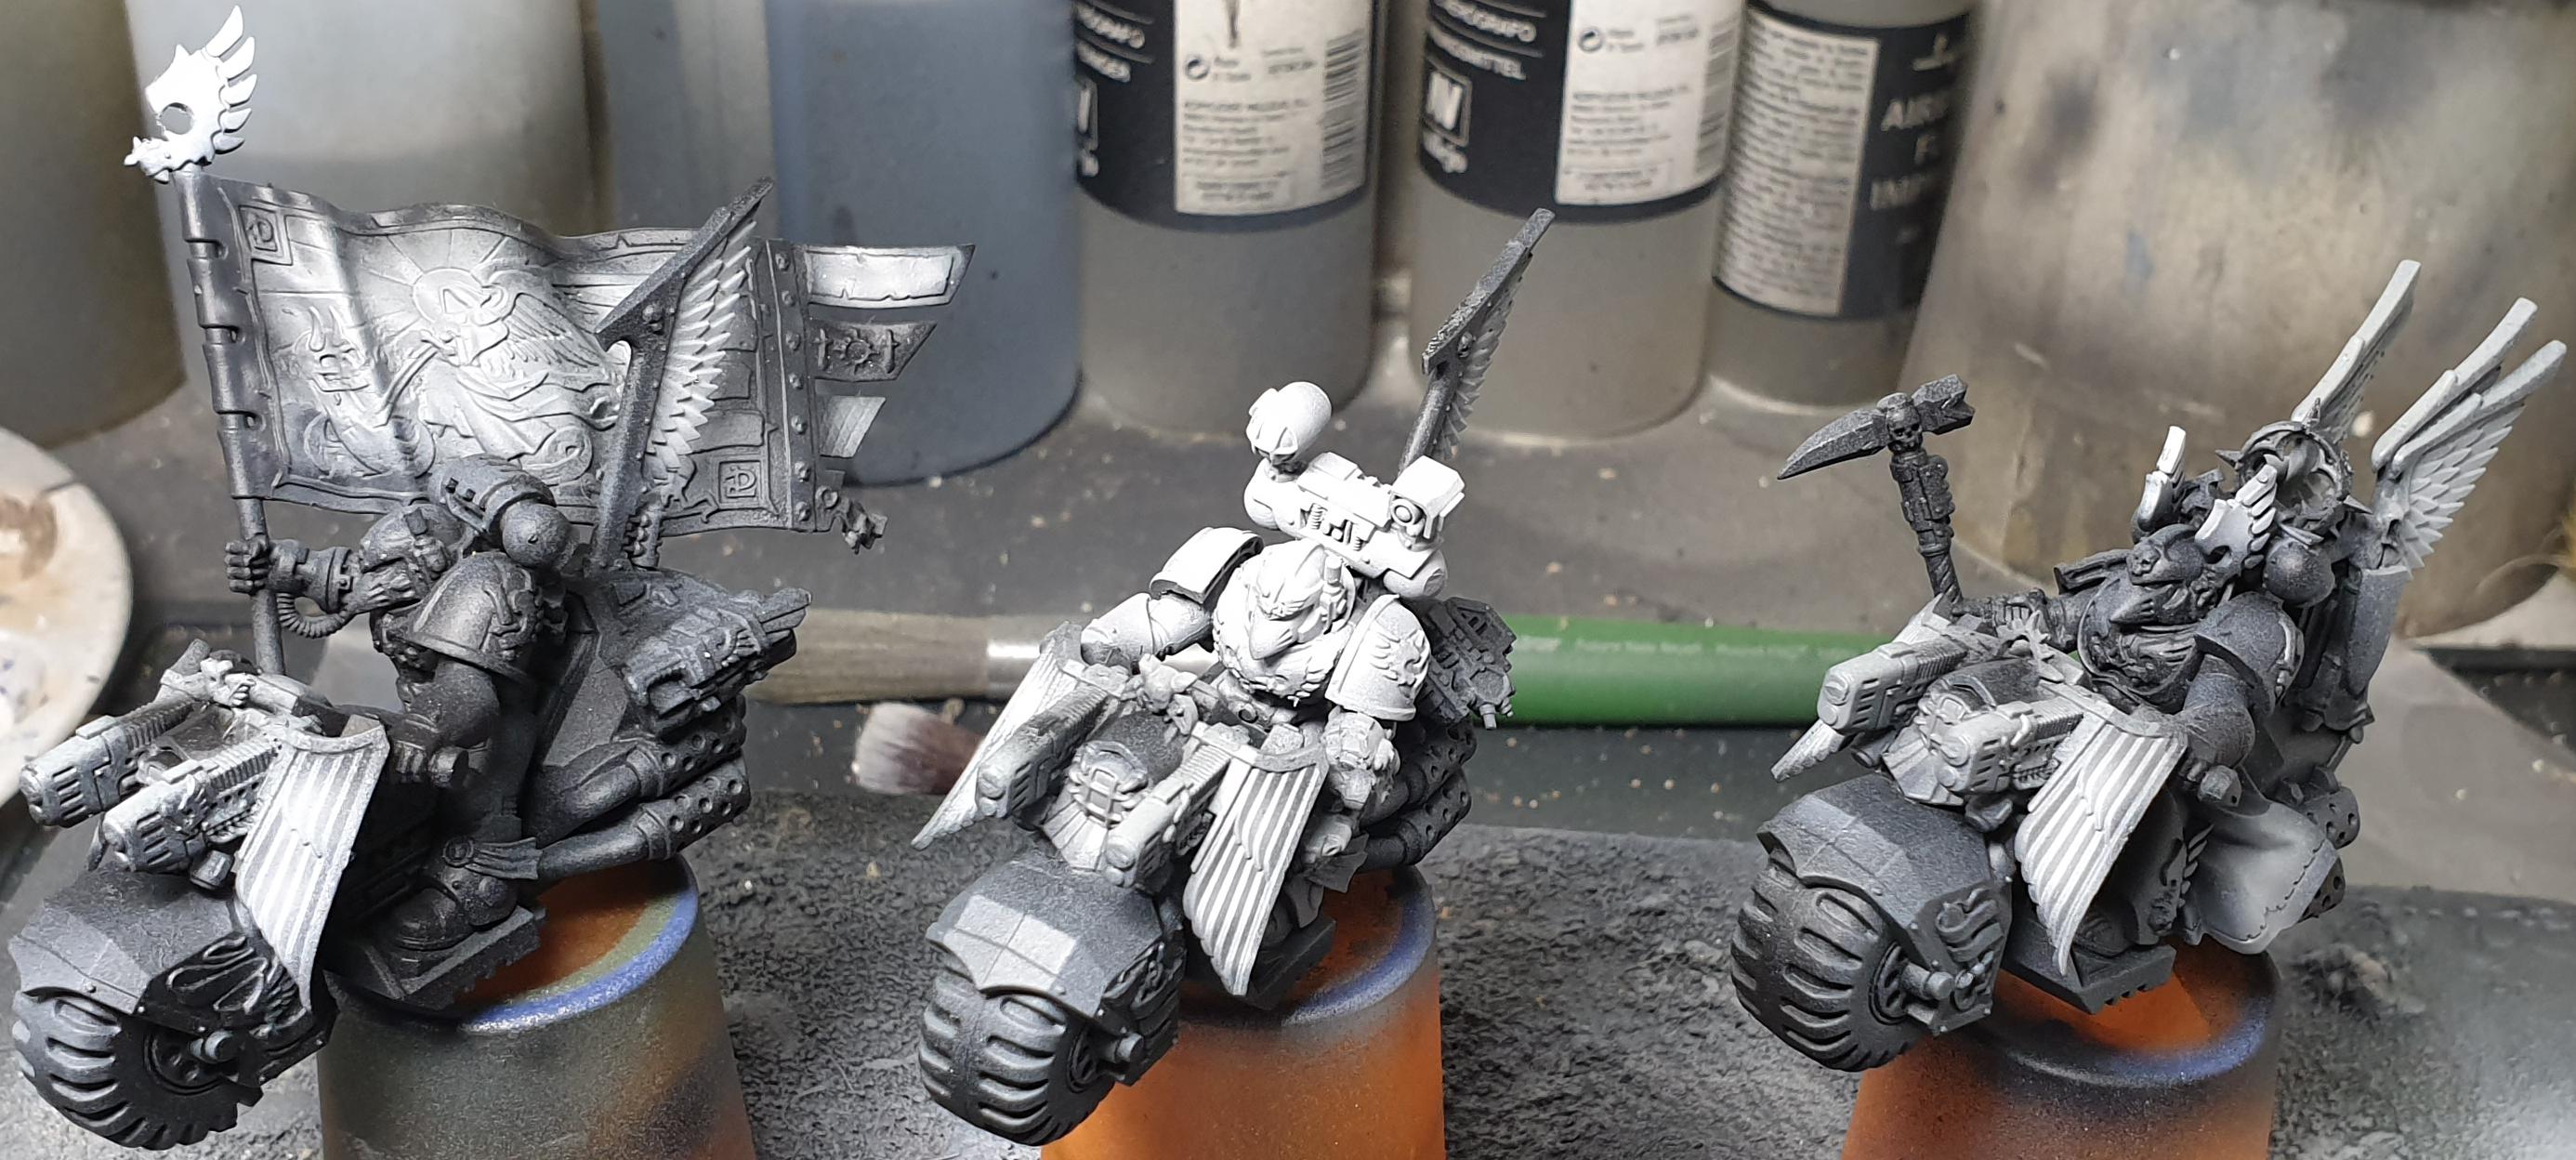 Extra grey done, made a mess of the black...
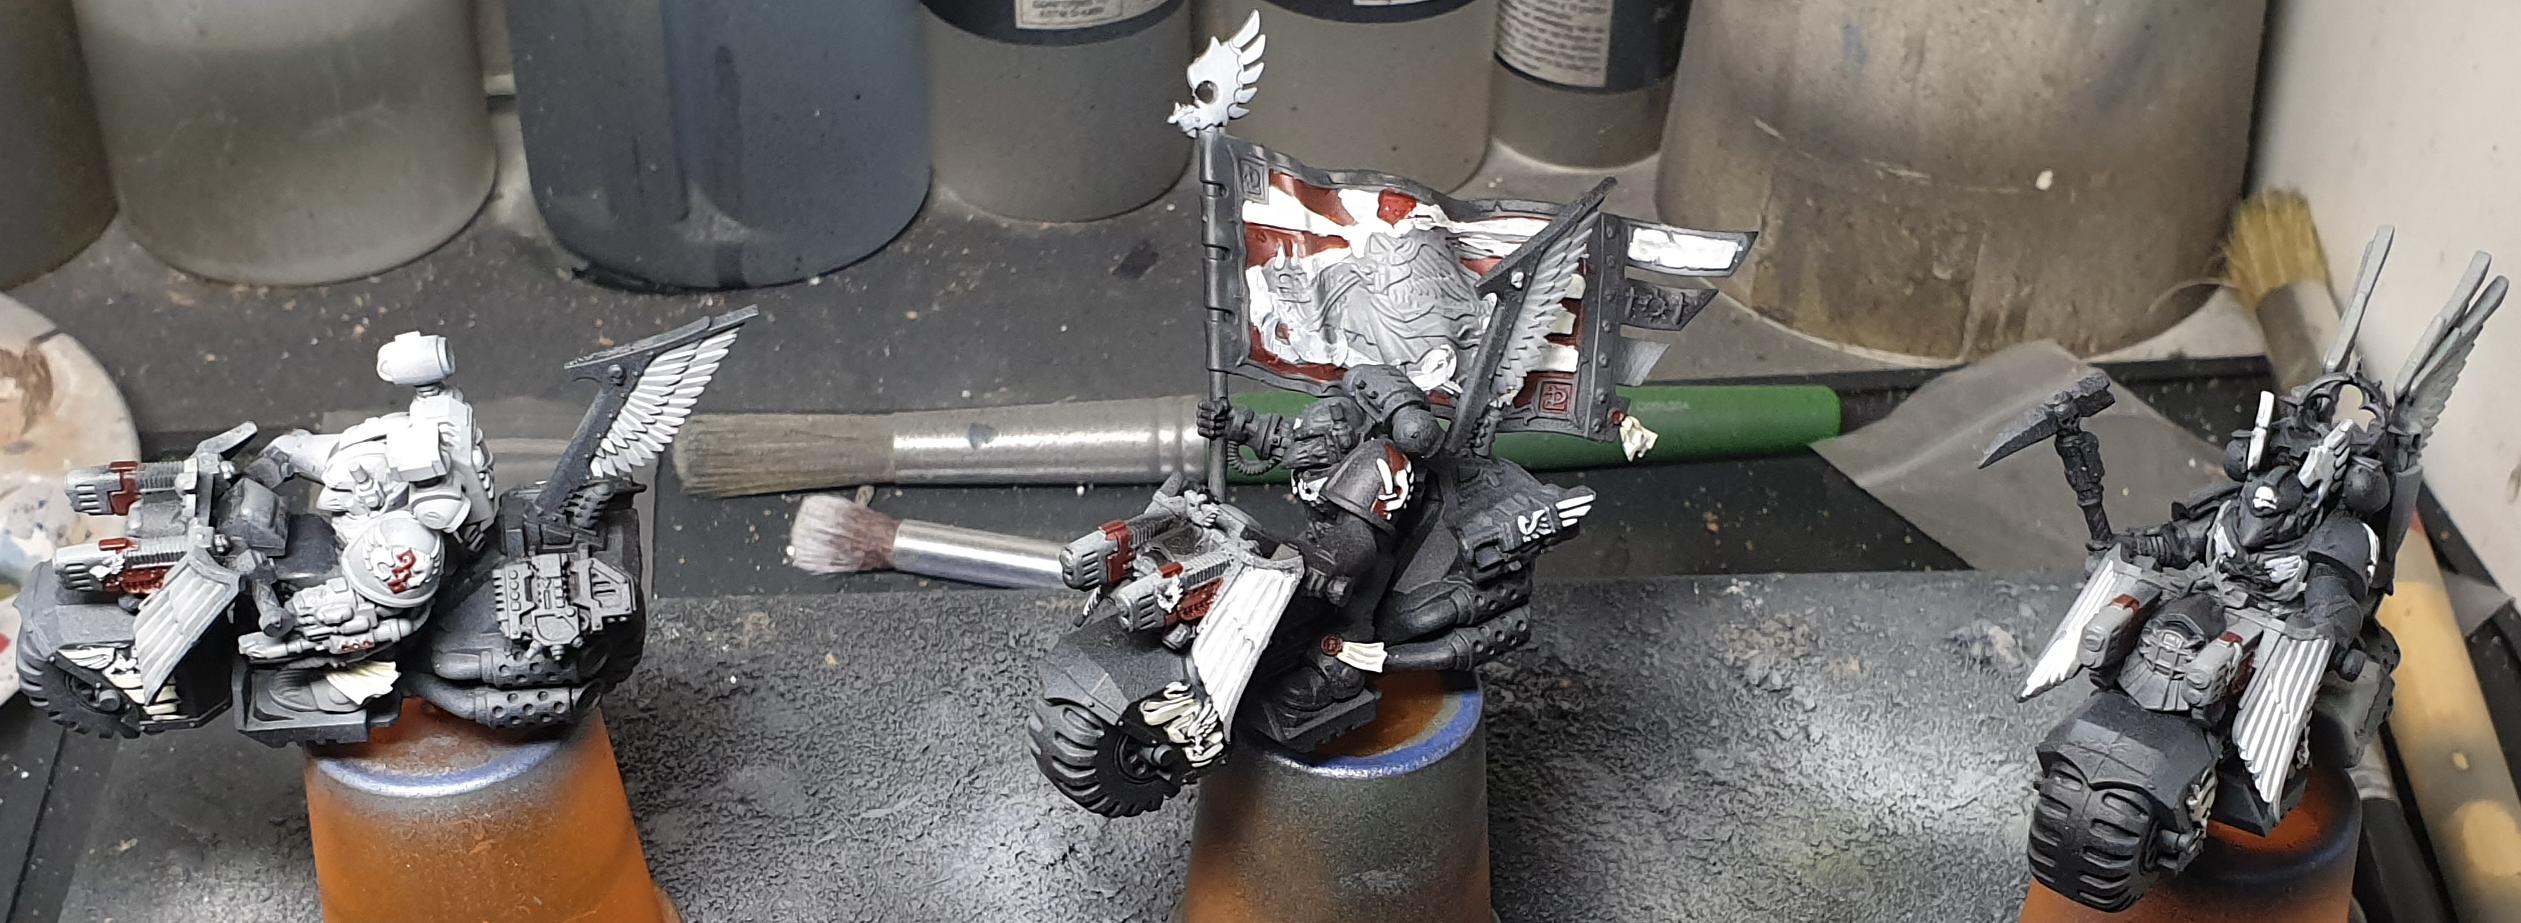 Red~
Red~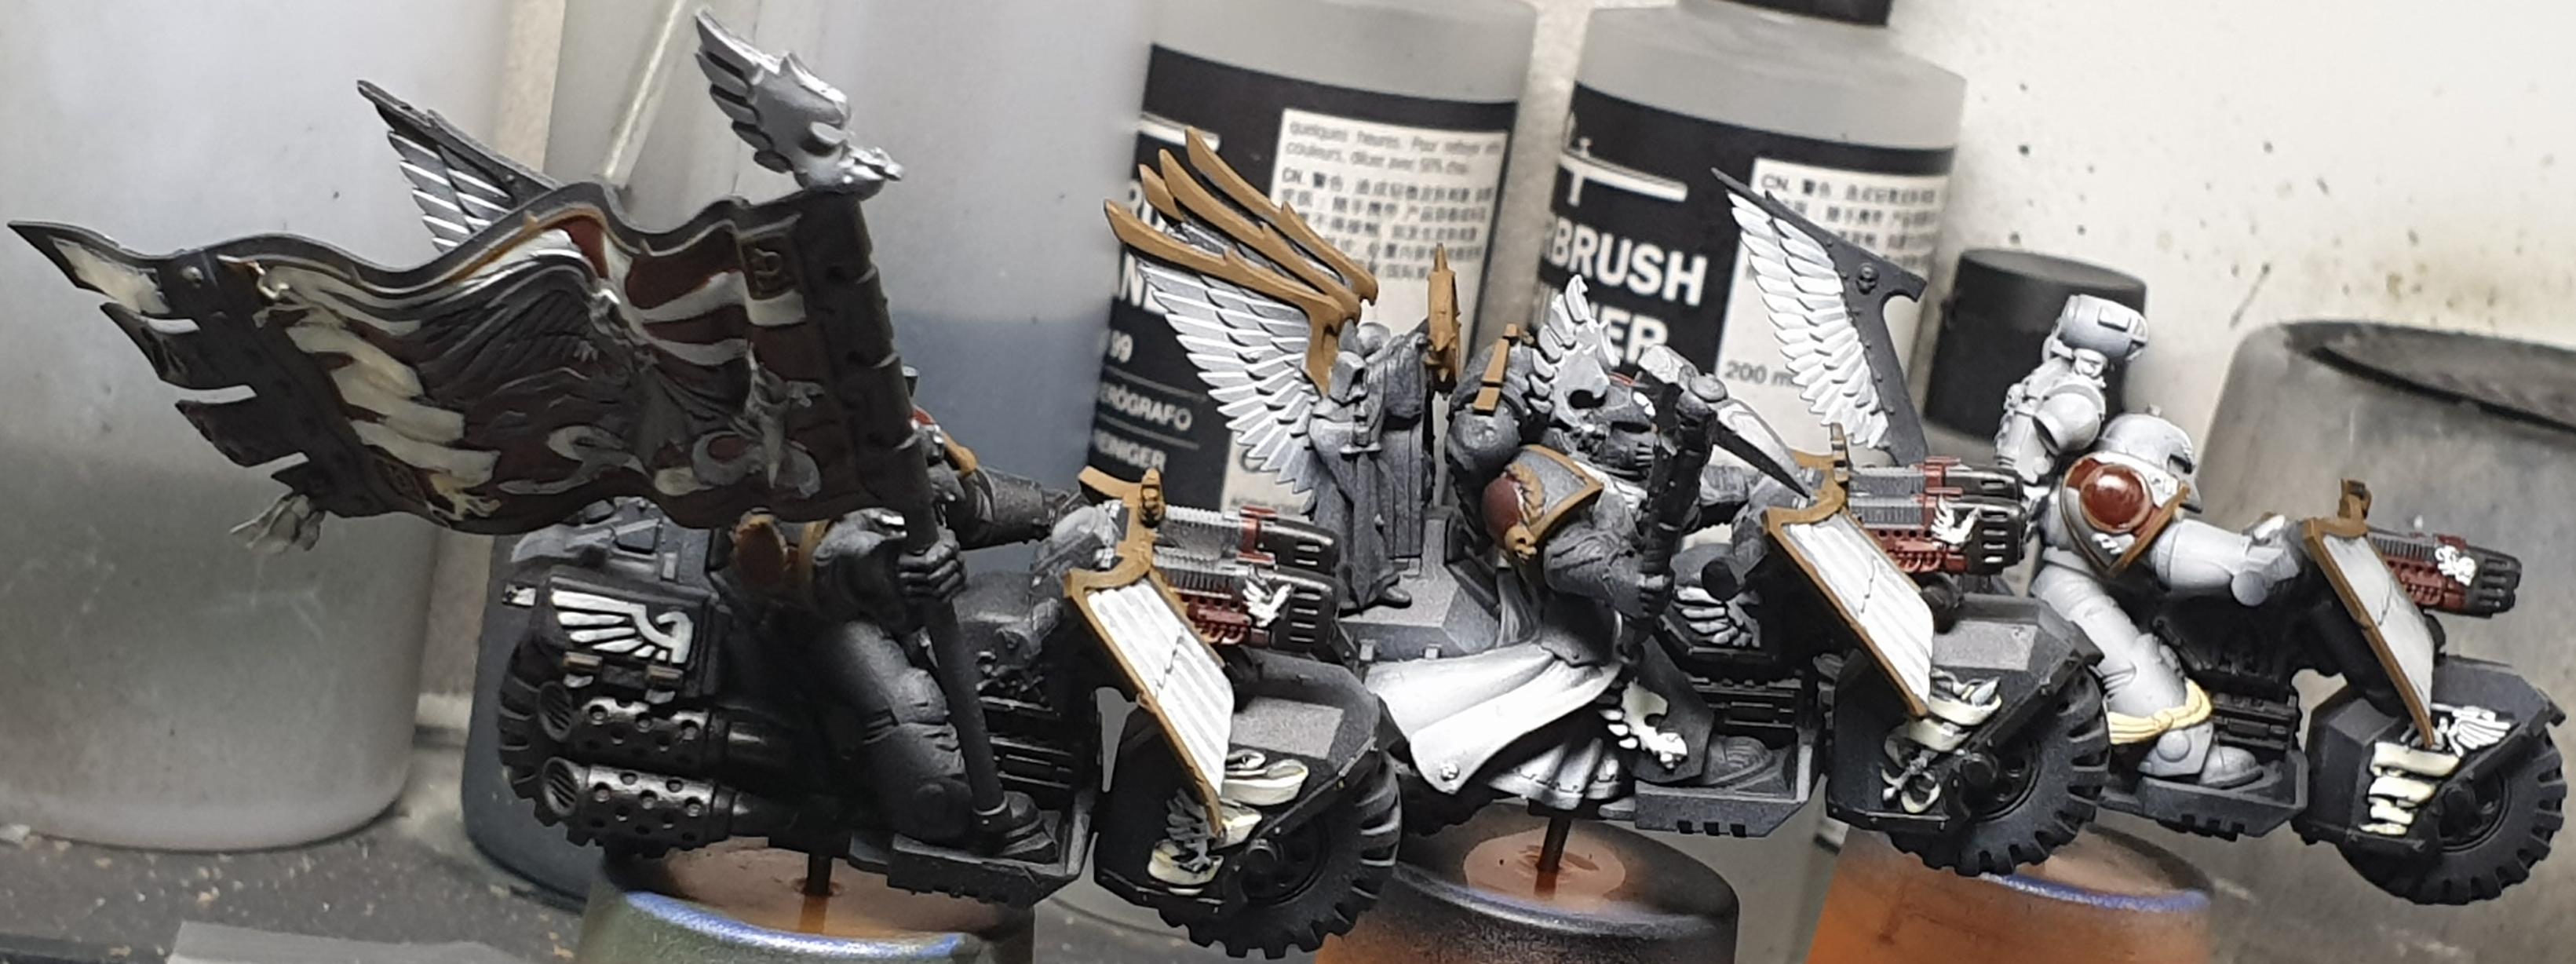 Base colours for the metallics, back to black for the silver, and brown for gold.
 Silver, and gold done, also some work done on the banner.
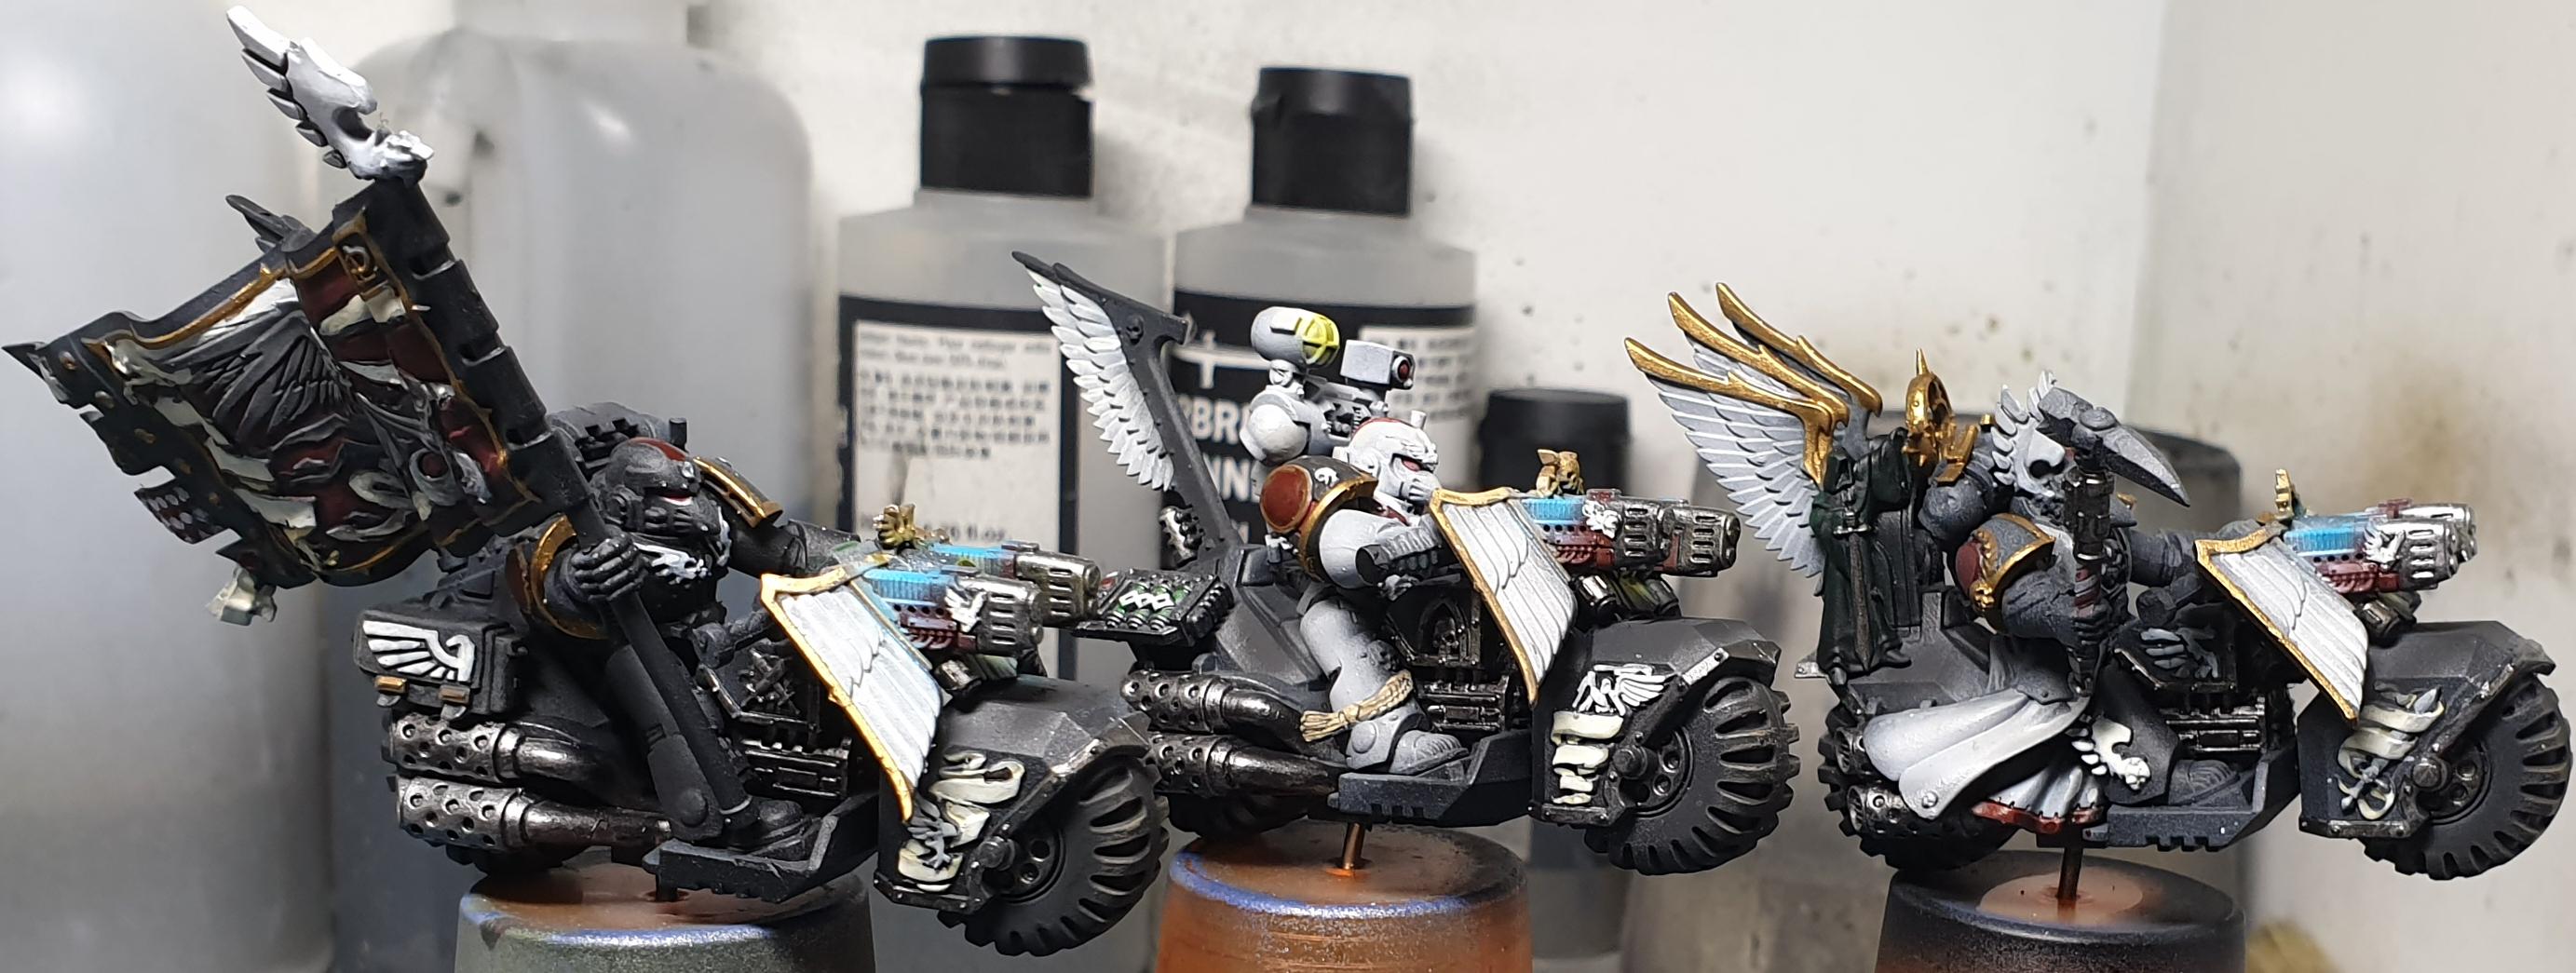 Plasma, lights, also eye lenses.
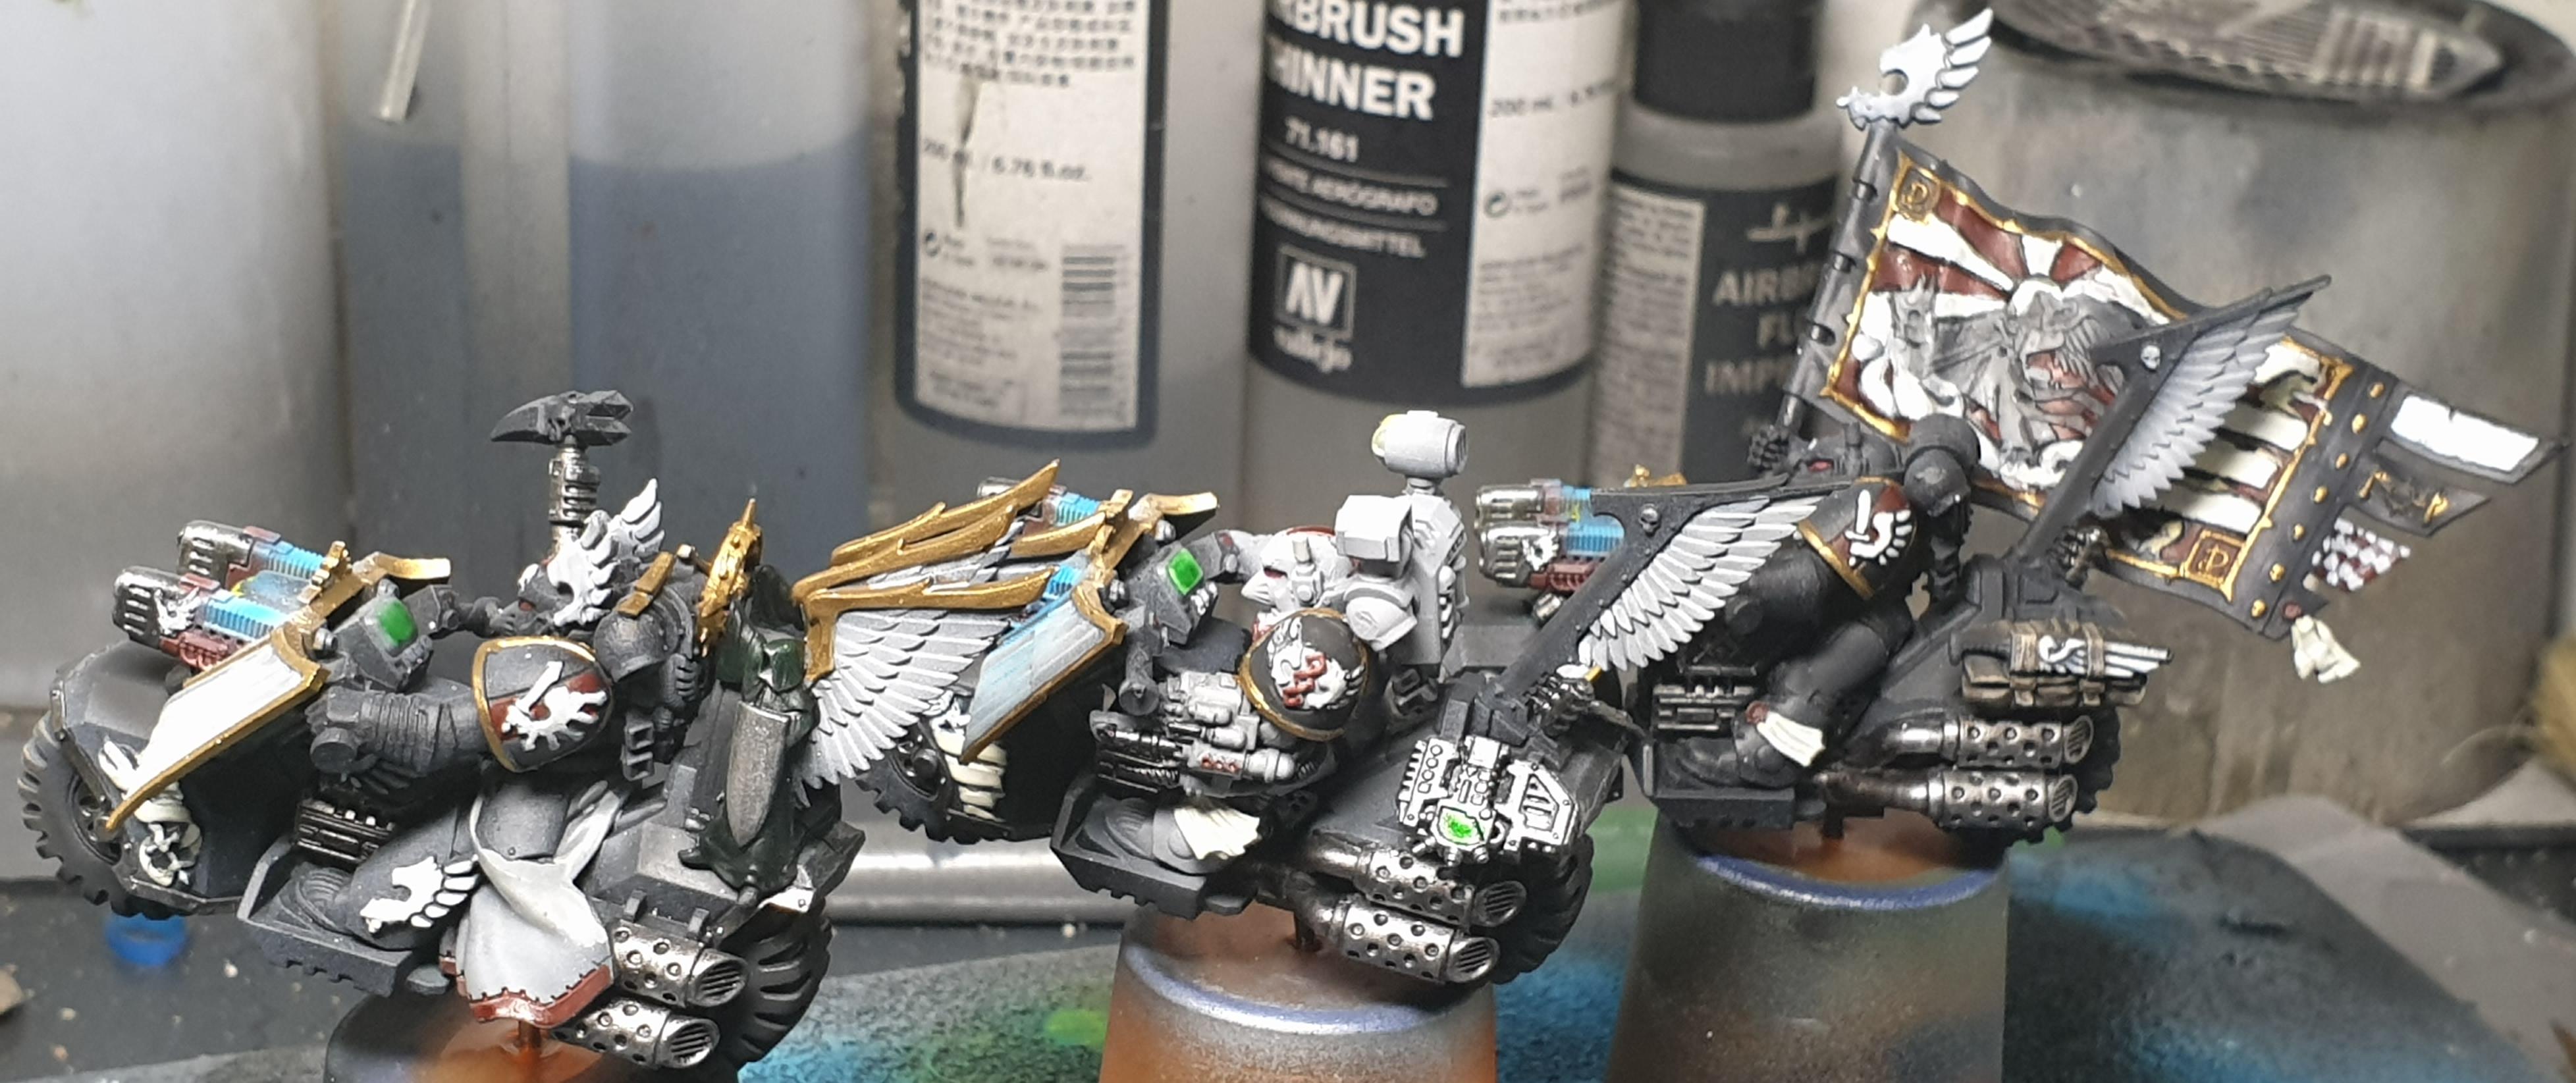 also a lot more work done on the banner.
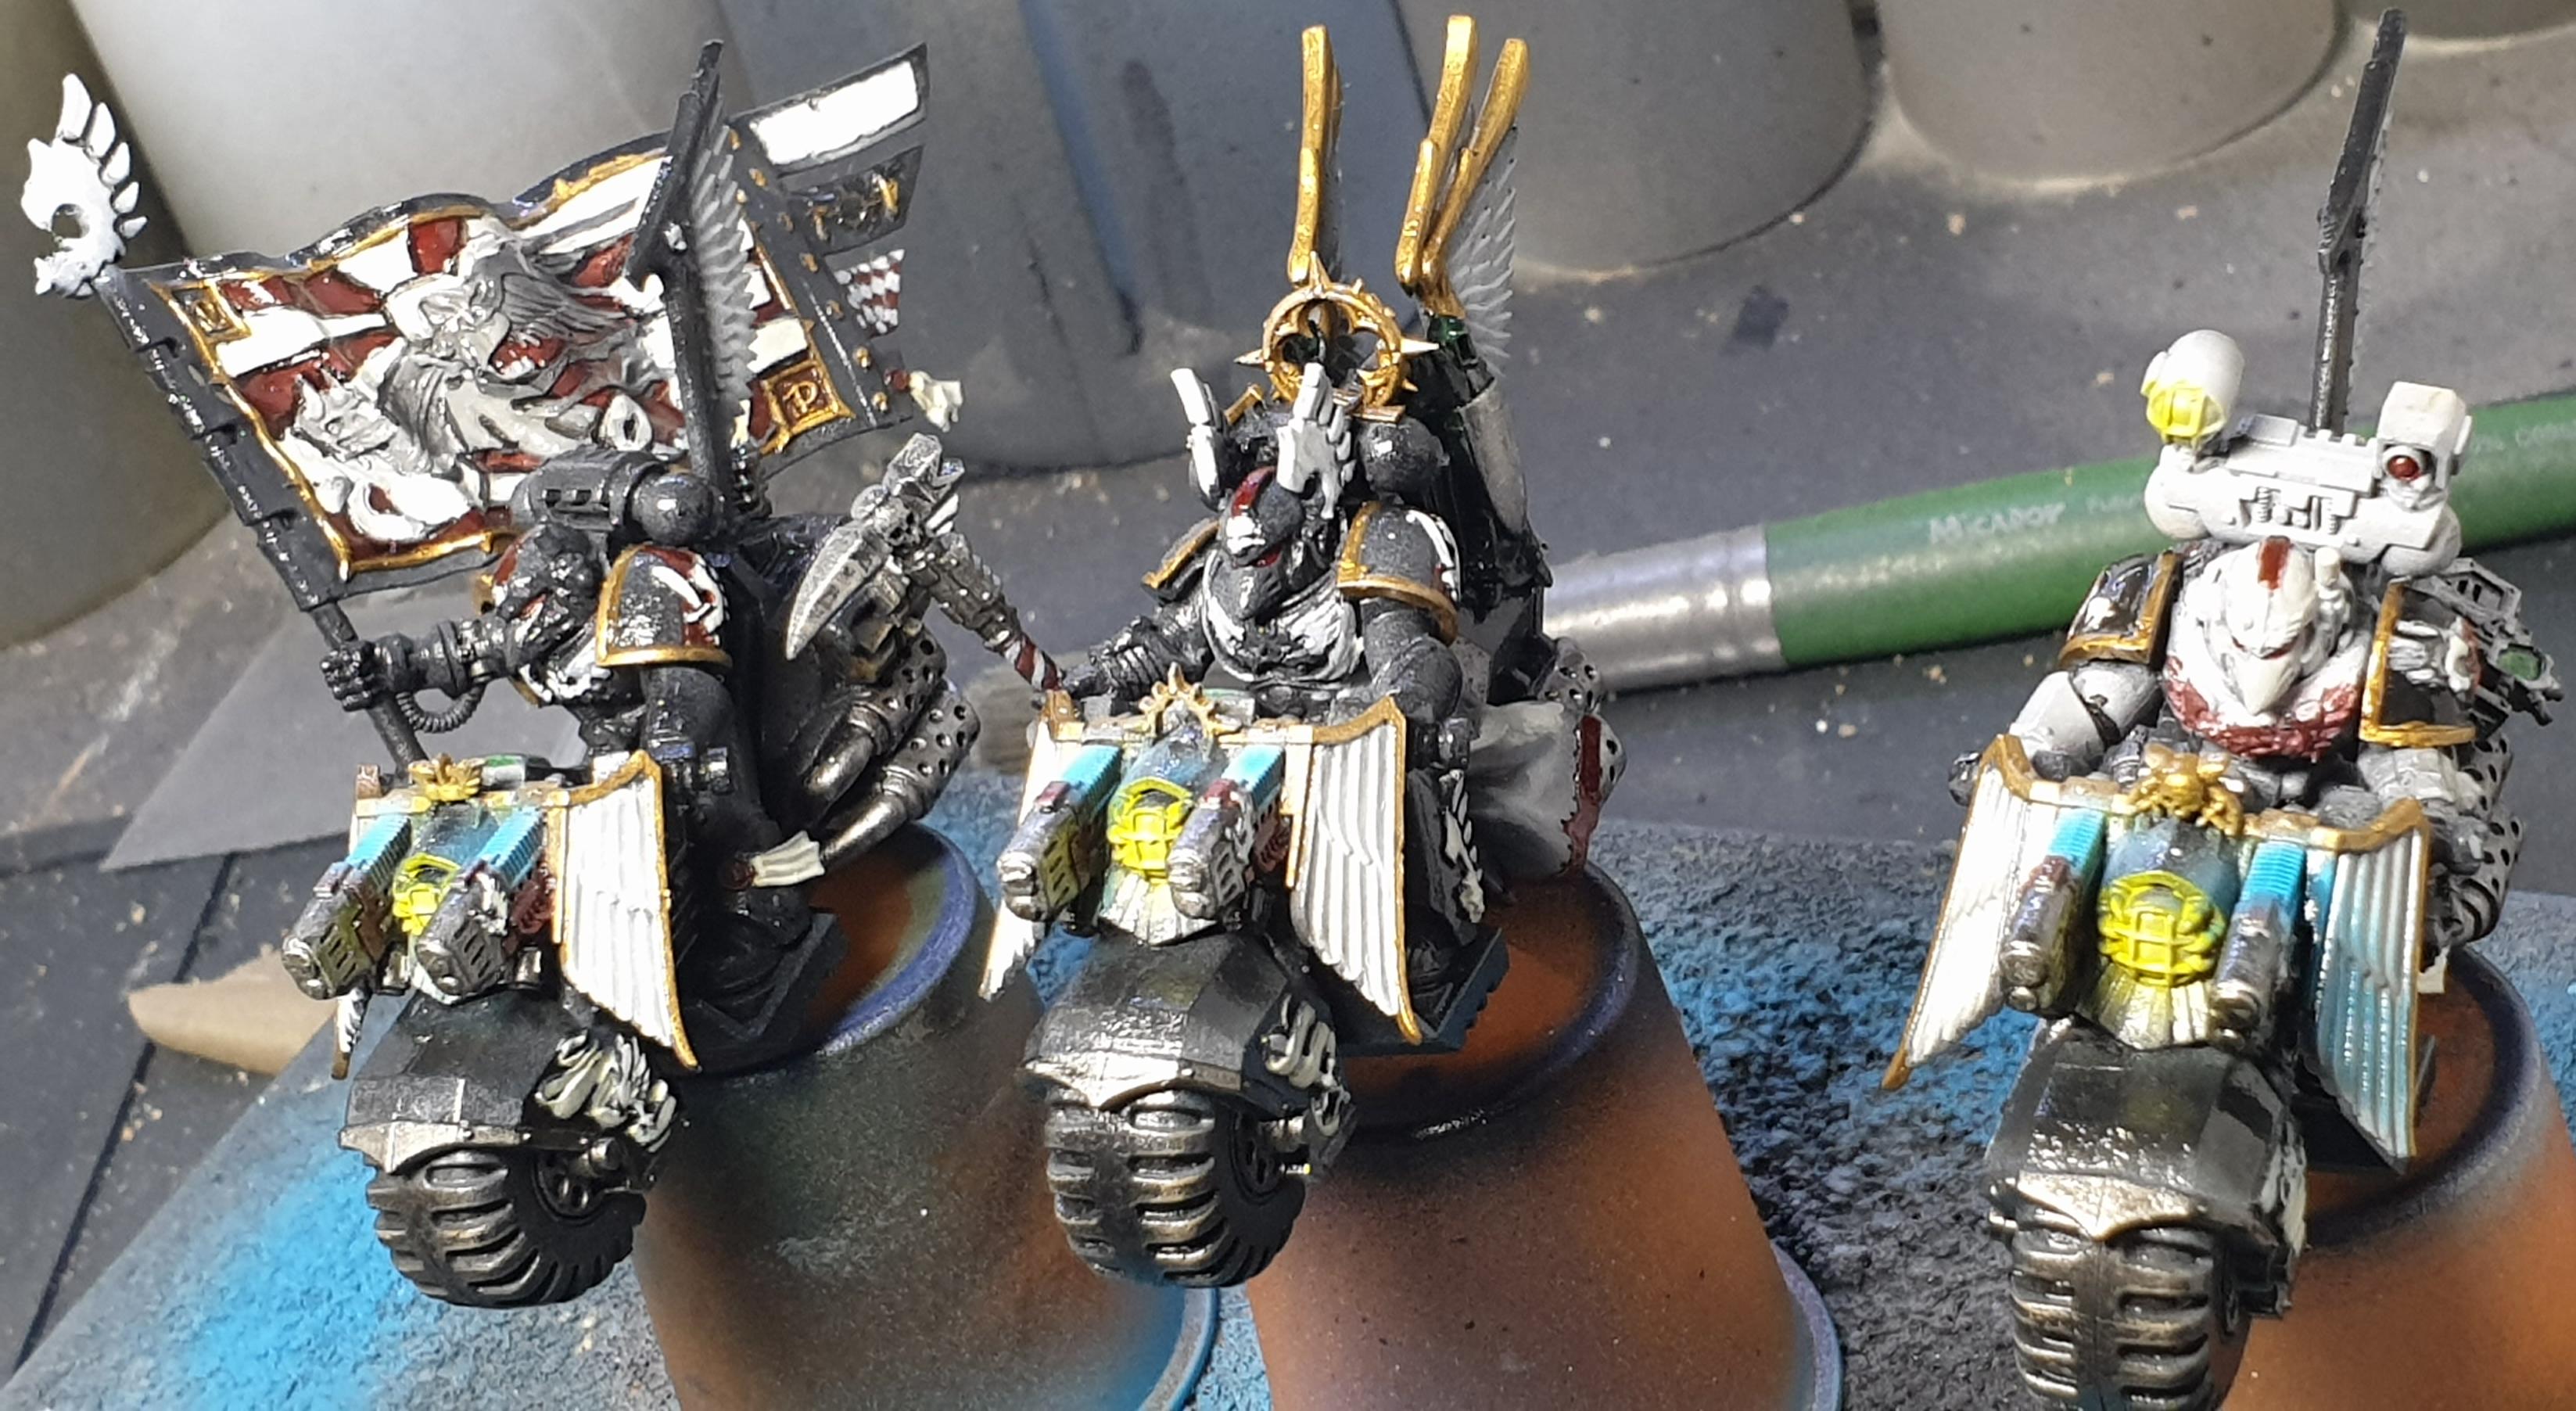 Varnished.
Next weekend I can add decals, do their bases, varnish, and matte coat.
RavenWing Command Squadron
 Numbers added
 I added a campaign badge to the shield.
I also changed from yellow headlights, to white.
Tomorrow I just have to do their bases, then stick them on, one more coat of varnish, and then a few layers of matte.
RavenWing Command Based
 Bases after doing the sand in thw gaps, and then trying to prime while it hadn't dried. Last weekends failure.
 I primed again, and then used three greys; Dark on the rocky area, medium on the ruin sections, and then a dusting of light over everything.
 Dry-brush, and bronze details.
 RavenWing Command Squadron complete, they're in the cabinet now.
Finally finishing the Repulsor!
The mid tone and Highlight colours finally arrived, so work could progress on the Repulsor.
 Mid tone, and highlights for the Green.
I then started the other colours, of course starting with a base colour, the red/brown for the red, and a brown for the bronze, and gold. A missed photo showing the gloss black for the silver details.
 Base colours elsewhere.
Red is finished, metallics are finished including unveiling the metallics on the hover details, also white details done. Gloss varnish added to start decals.
 Painting done, varnished ready for decals.
Decals added
 Decals.
Final gloss varnish.
 Front
Front Back
Back


![Play WW2 Commando Operations With Butcher & Bolt [Updated]](https://images.beastsofwar.com/2026/03/relaunch-600-338.jpg)


