Victorian Docklands


Recommendations: 354
About the Project
Spring Cleaning Hobby Challenge is a great opportunity to get some projects finished - and building a new board is just the incentive to tie several outstanding projects together. I have Wolsung figures and buildings, Carnivale figures and a paddle steamer all in need of finishing and painting. Part-time work (Covid) has given me the time but finances are restricted so it's going to be a lot of scratch building and repurposing. This going to be a long megaproject - but everything blossoms in the Spring!
Related Game: Wolsung SSG
Related Company: Micro Art Studio
Related Genre: Steampunk
Related Contest: Spring Clean Hobby Challenge (Old)
This Project is Active
Victorian Docks: Playing with Electrics & a bit more on the bridge
I gathered and bought a few components for the Lifting Bridge wiring. I couldn’t get a two-way pin rocker switch (plastic insert type) and had to get a beast of a thing for testing. The switch arm was so strong that I had to add a bar to get a gentle enough leverage. Still looking for a better switch.
The test worked well enough – with a CR2032 button battery lasting about 8 cycles (more than enough for a couple of games).
The LEDs however did not light up while the bridge motor was working, but turned on after the microswitch activated until the lift switch was released.
When I took the battery out and attached the power supply to the terminals it did work as hoped. The button batteries may not provide enough amperage so I will try a twin AA battery pack when I have bought some batteries.

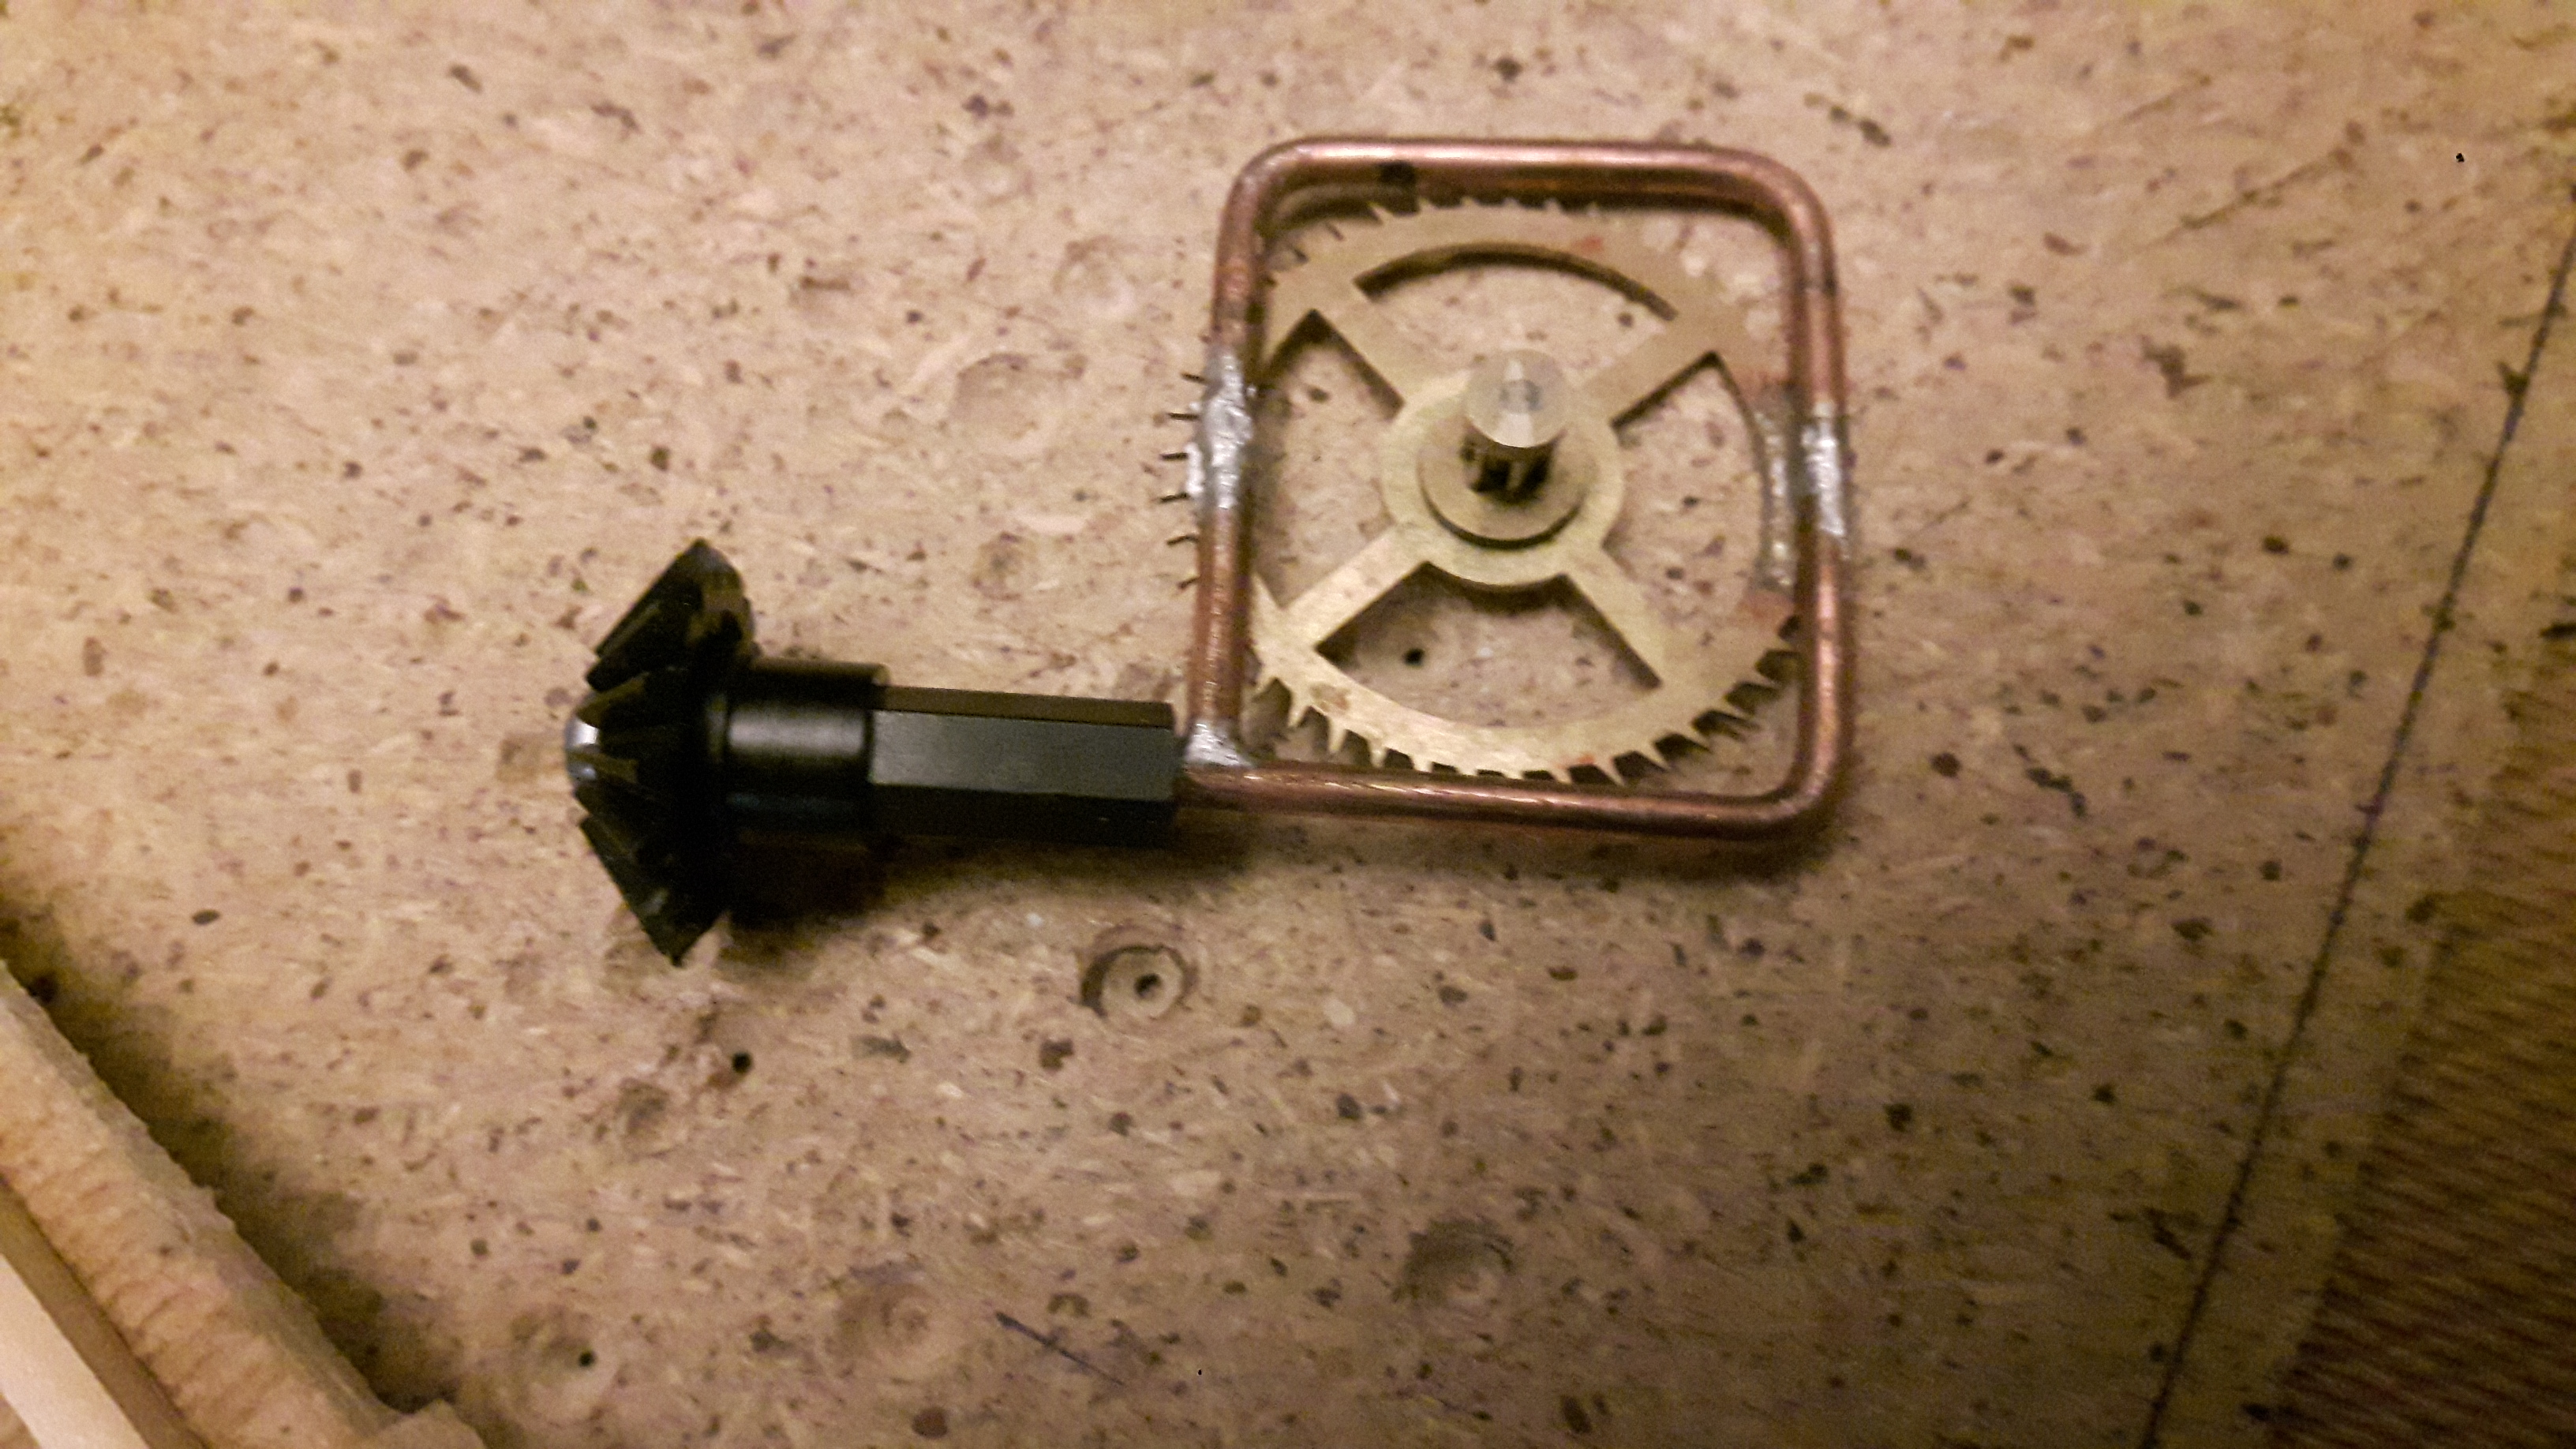
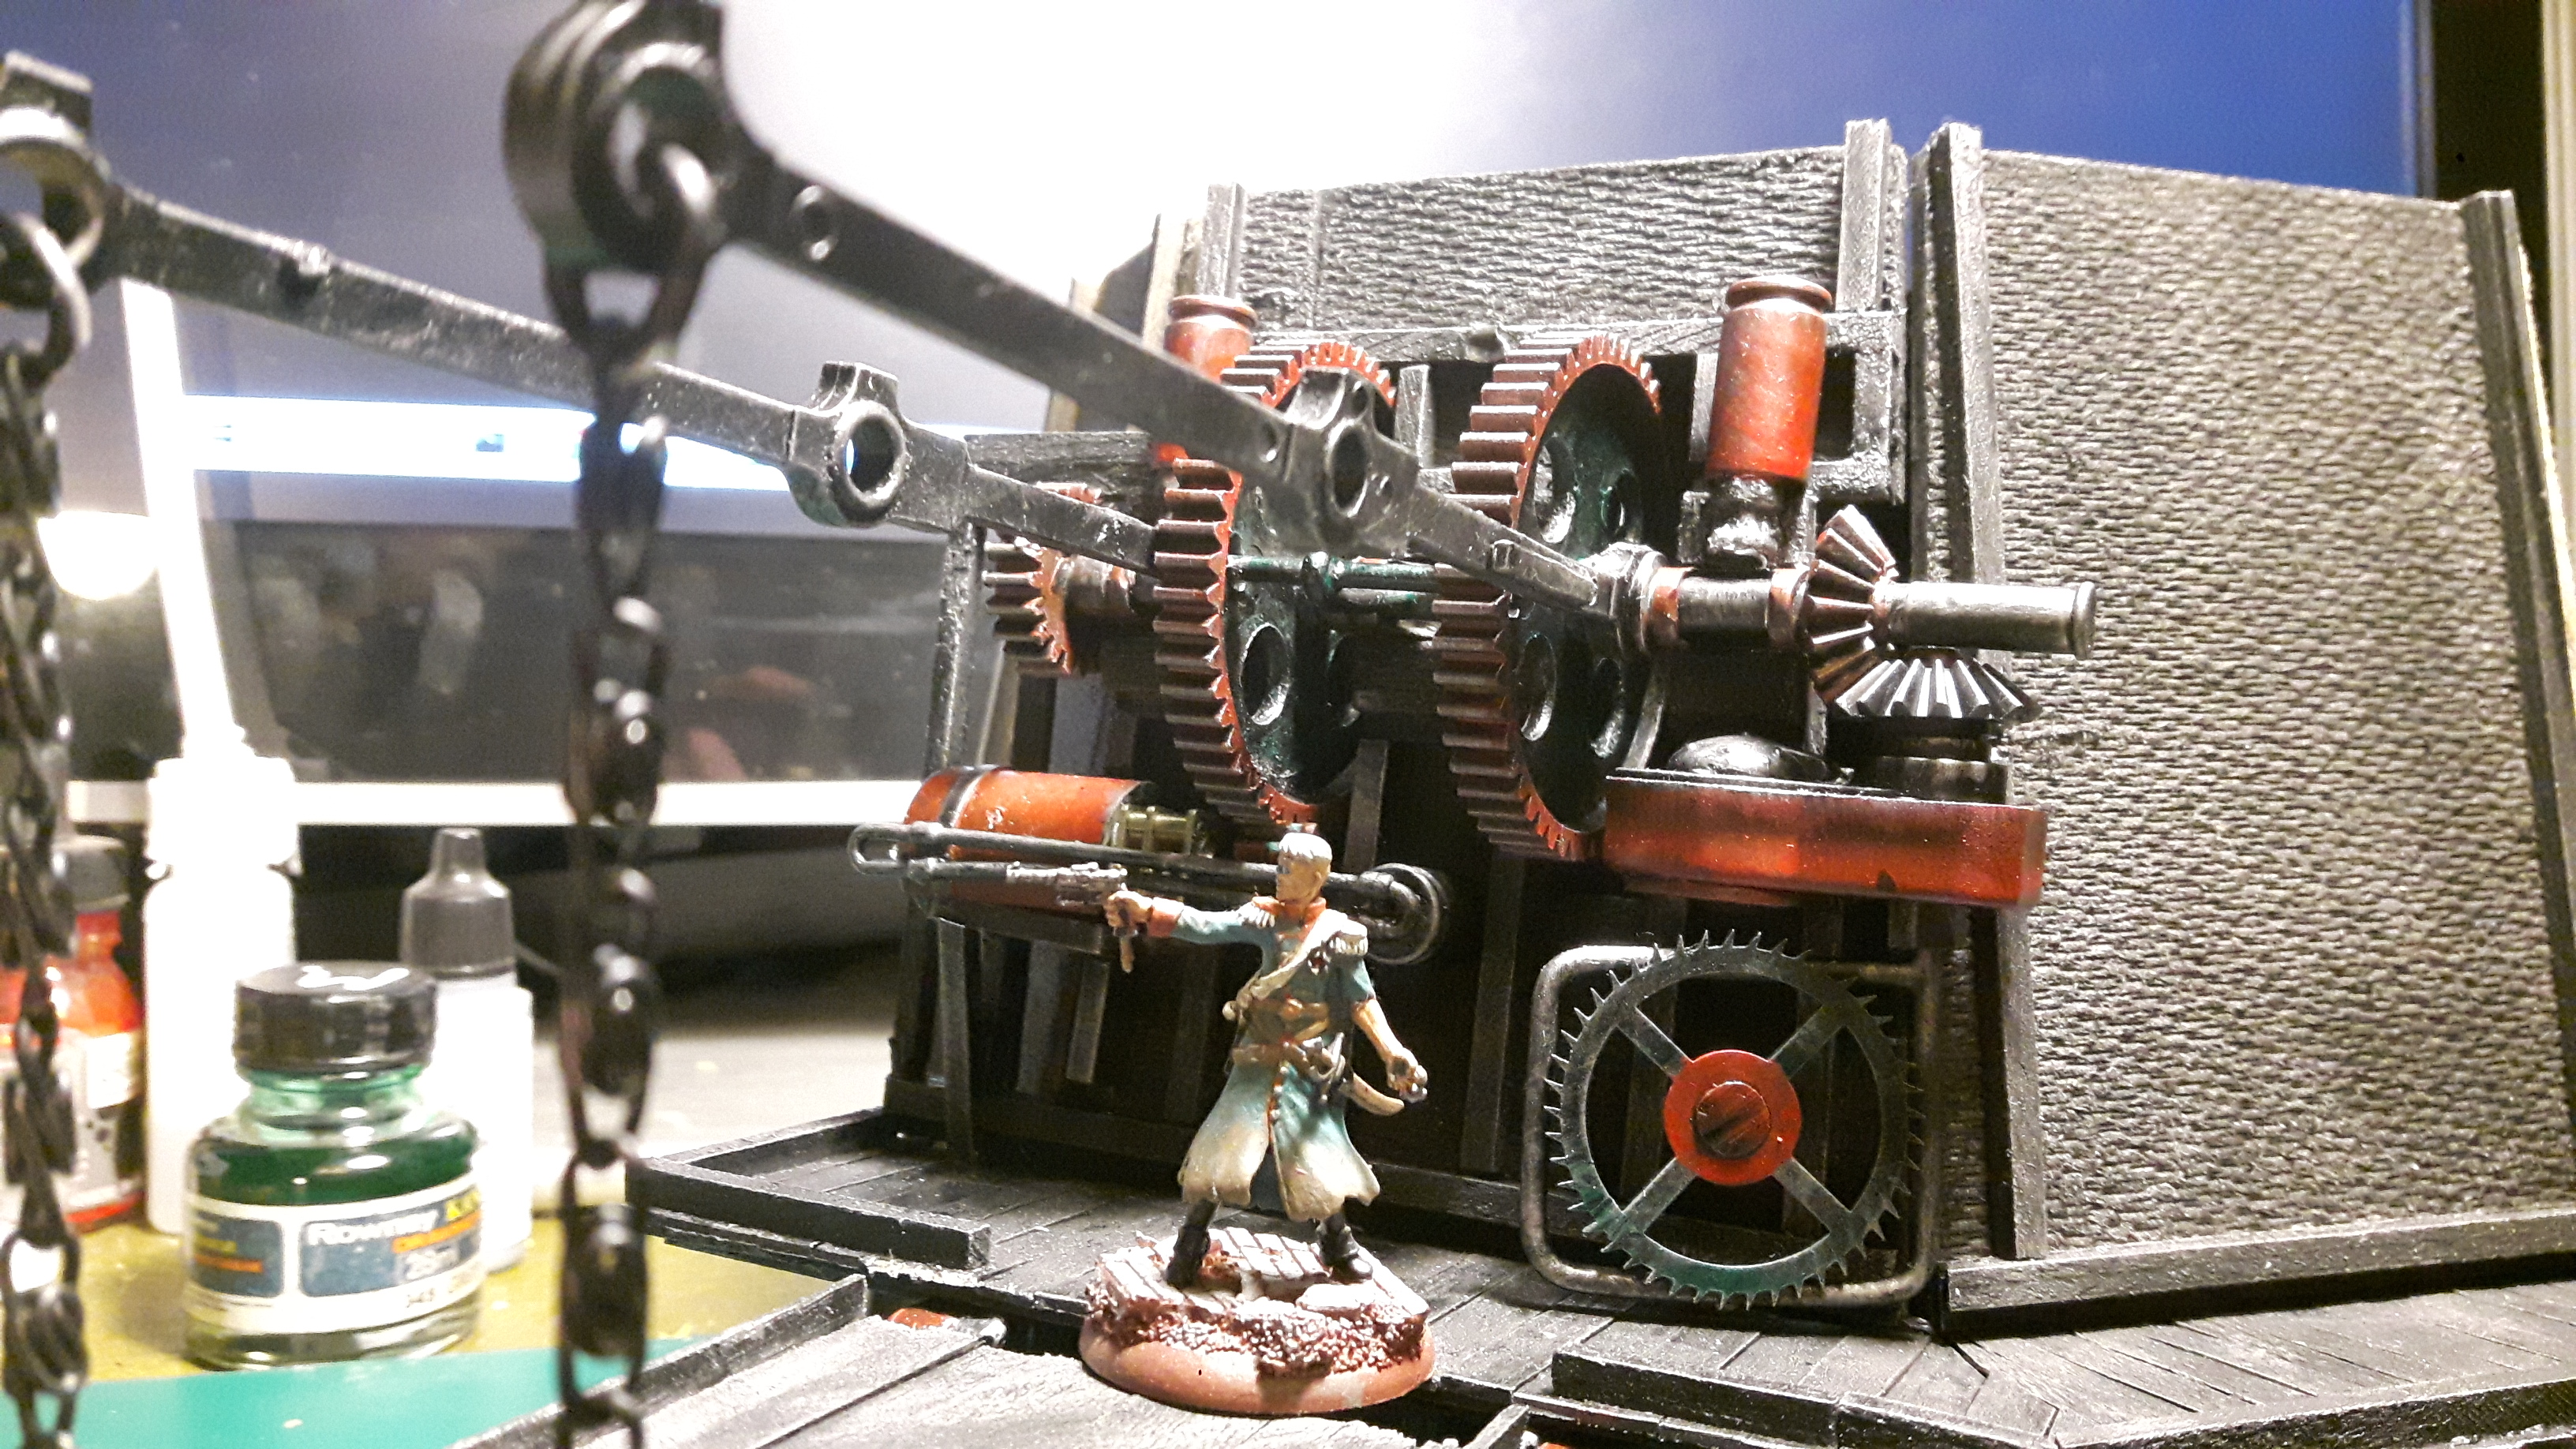
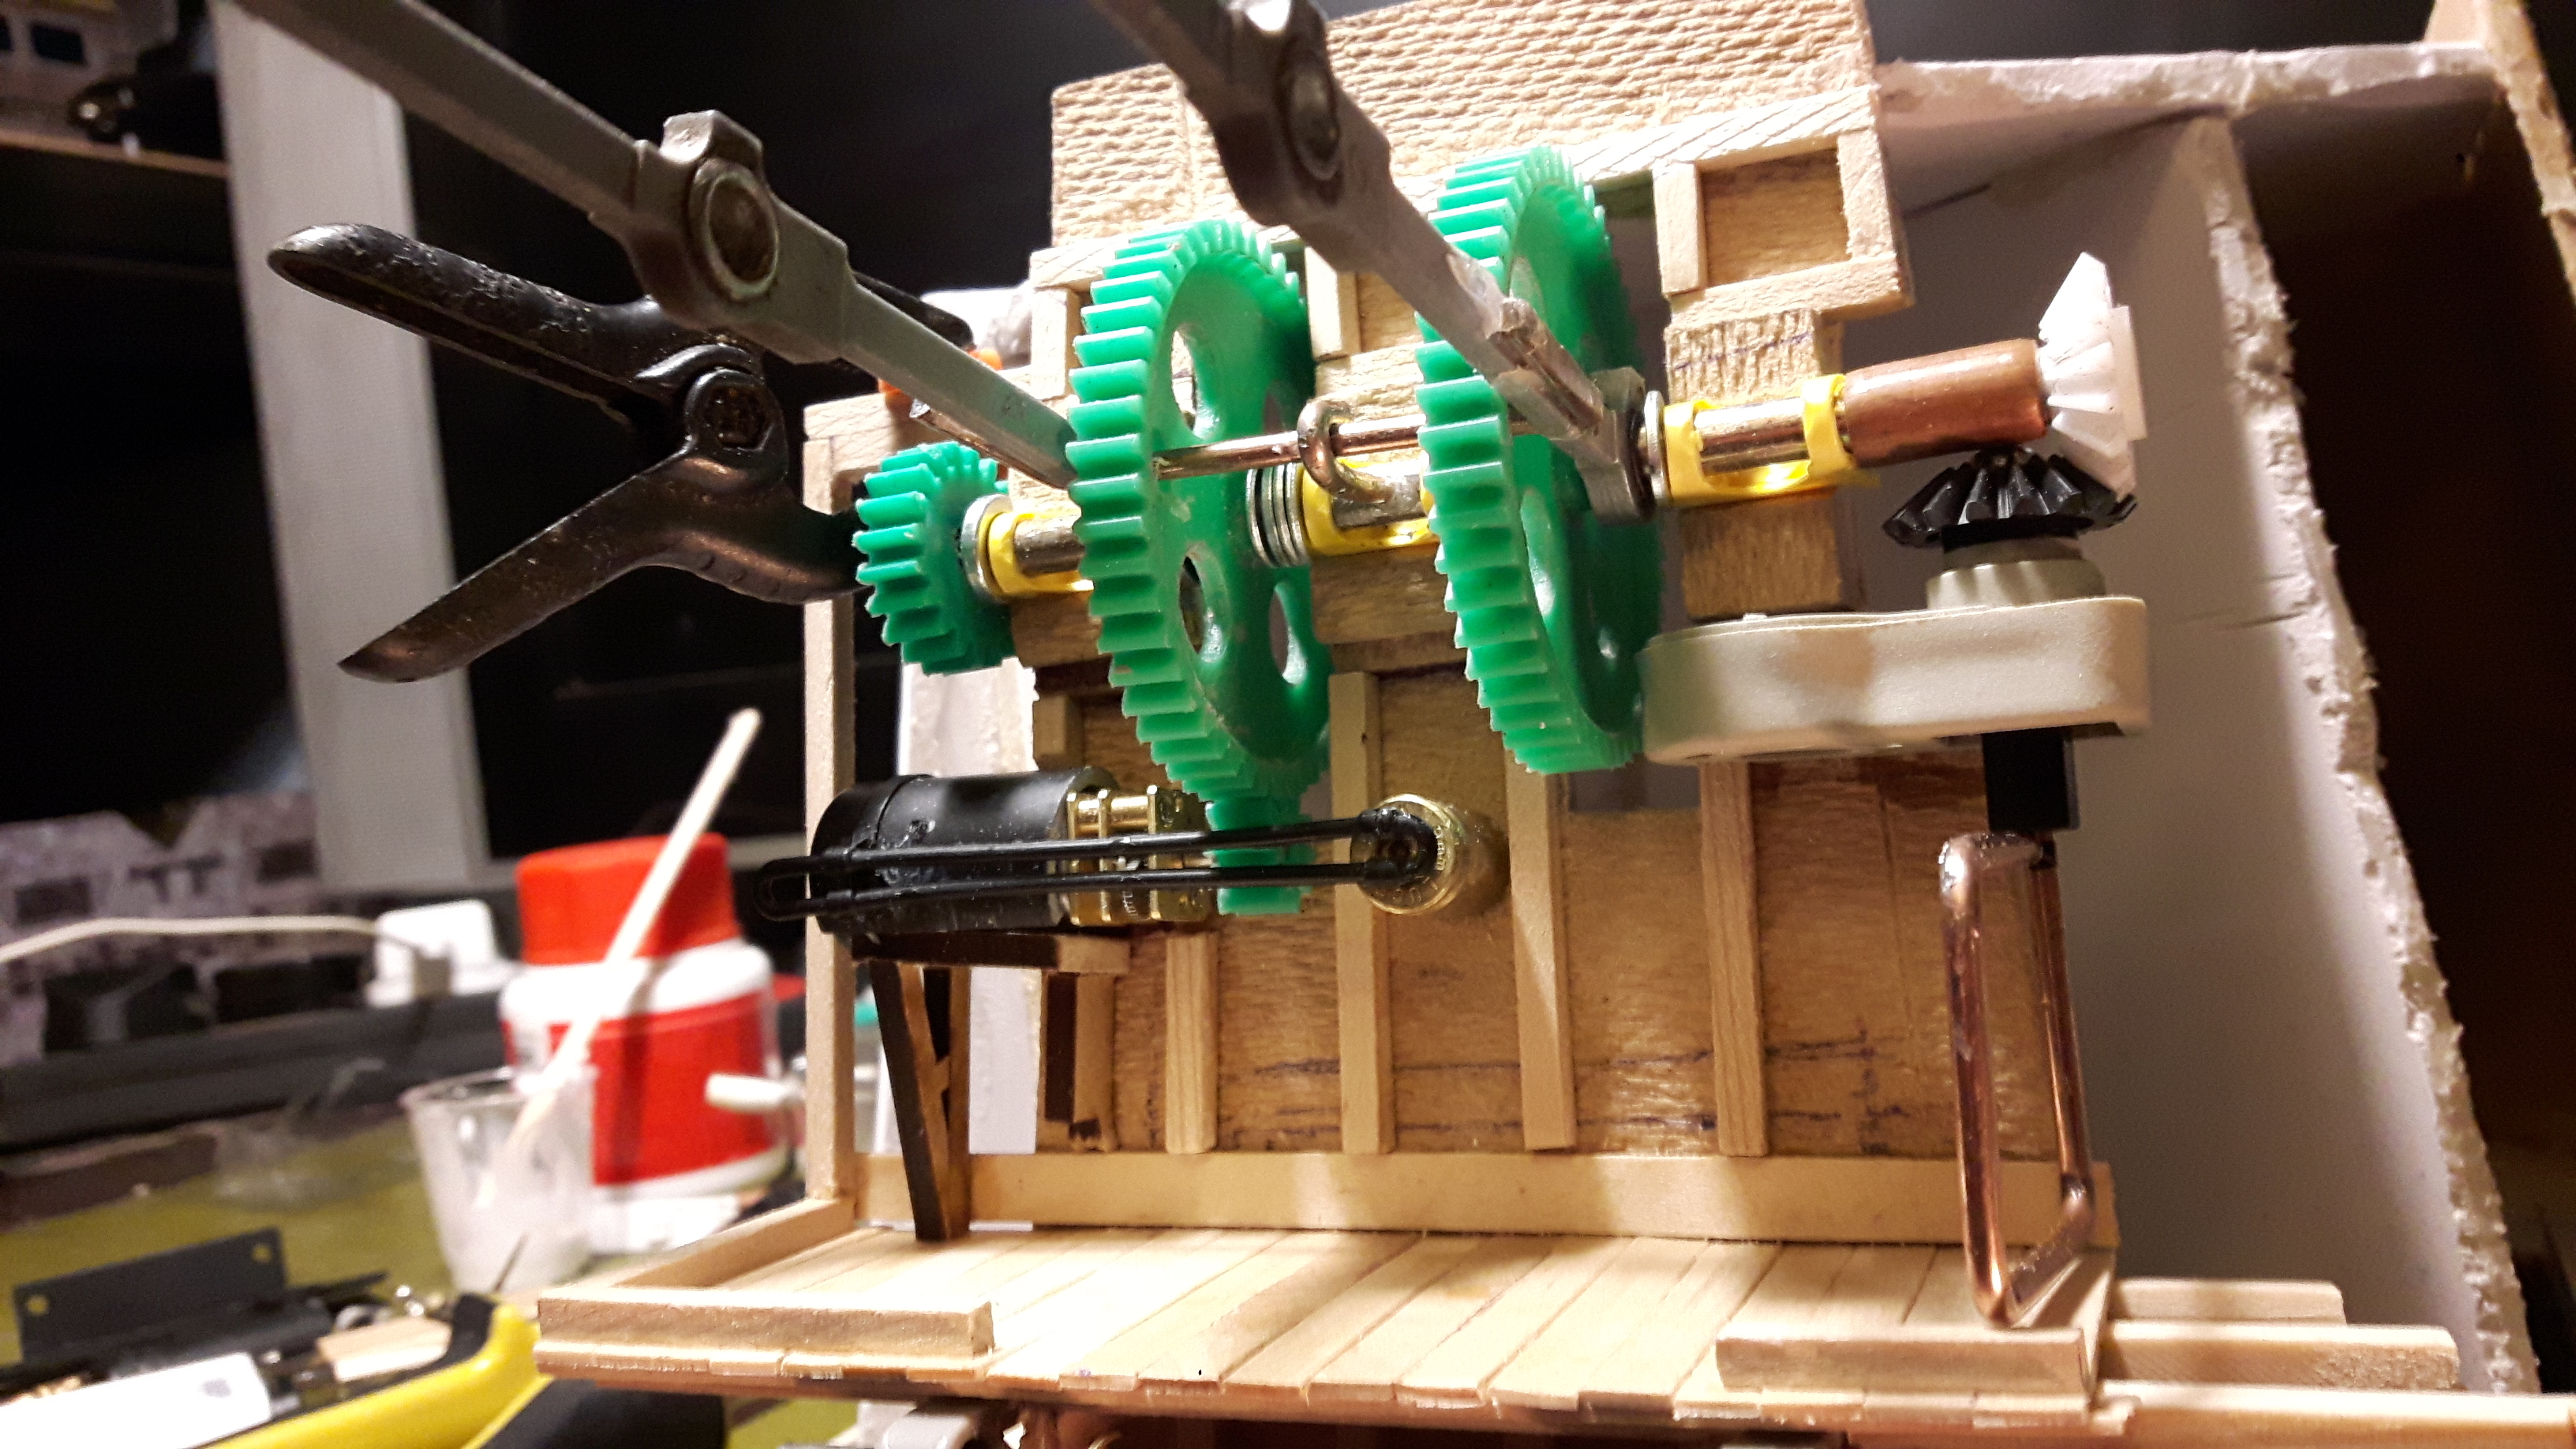
I have done a little more work on the bridge, soldering a gear cog to the gate and priming the mechanism and wall black, dry brushing with gun metal and using Liquitex red Ink and Rowney’s Ink 349 Green for the colour on the gears cogs and other features.
The Bridge and lifting chains are coming along too.
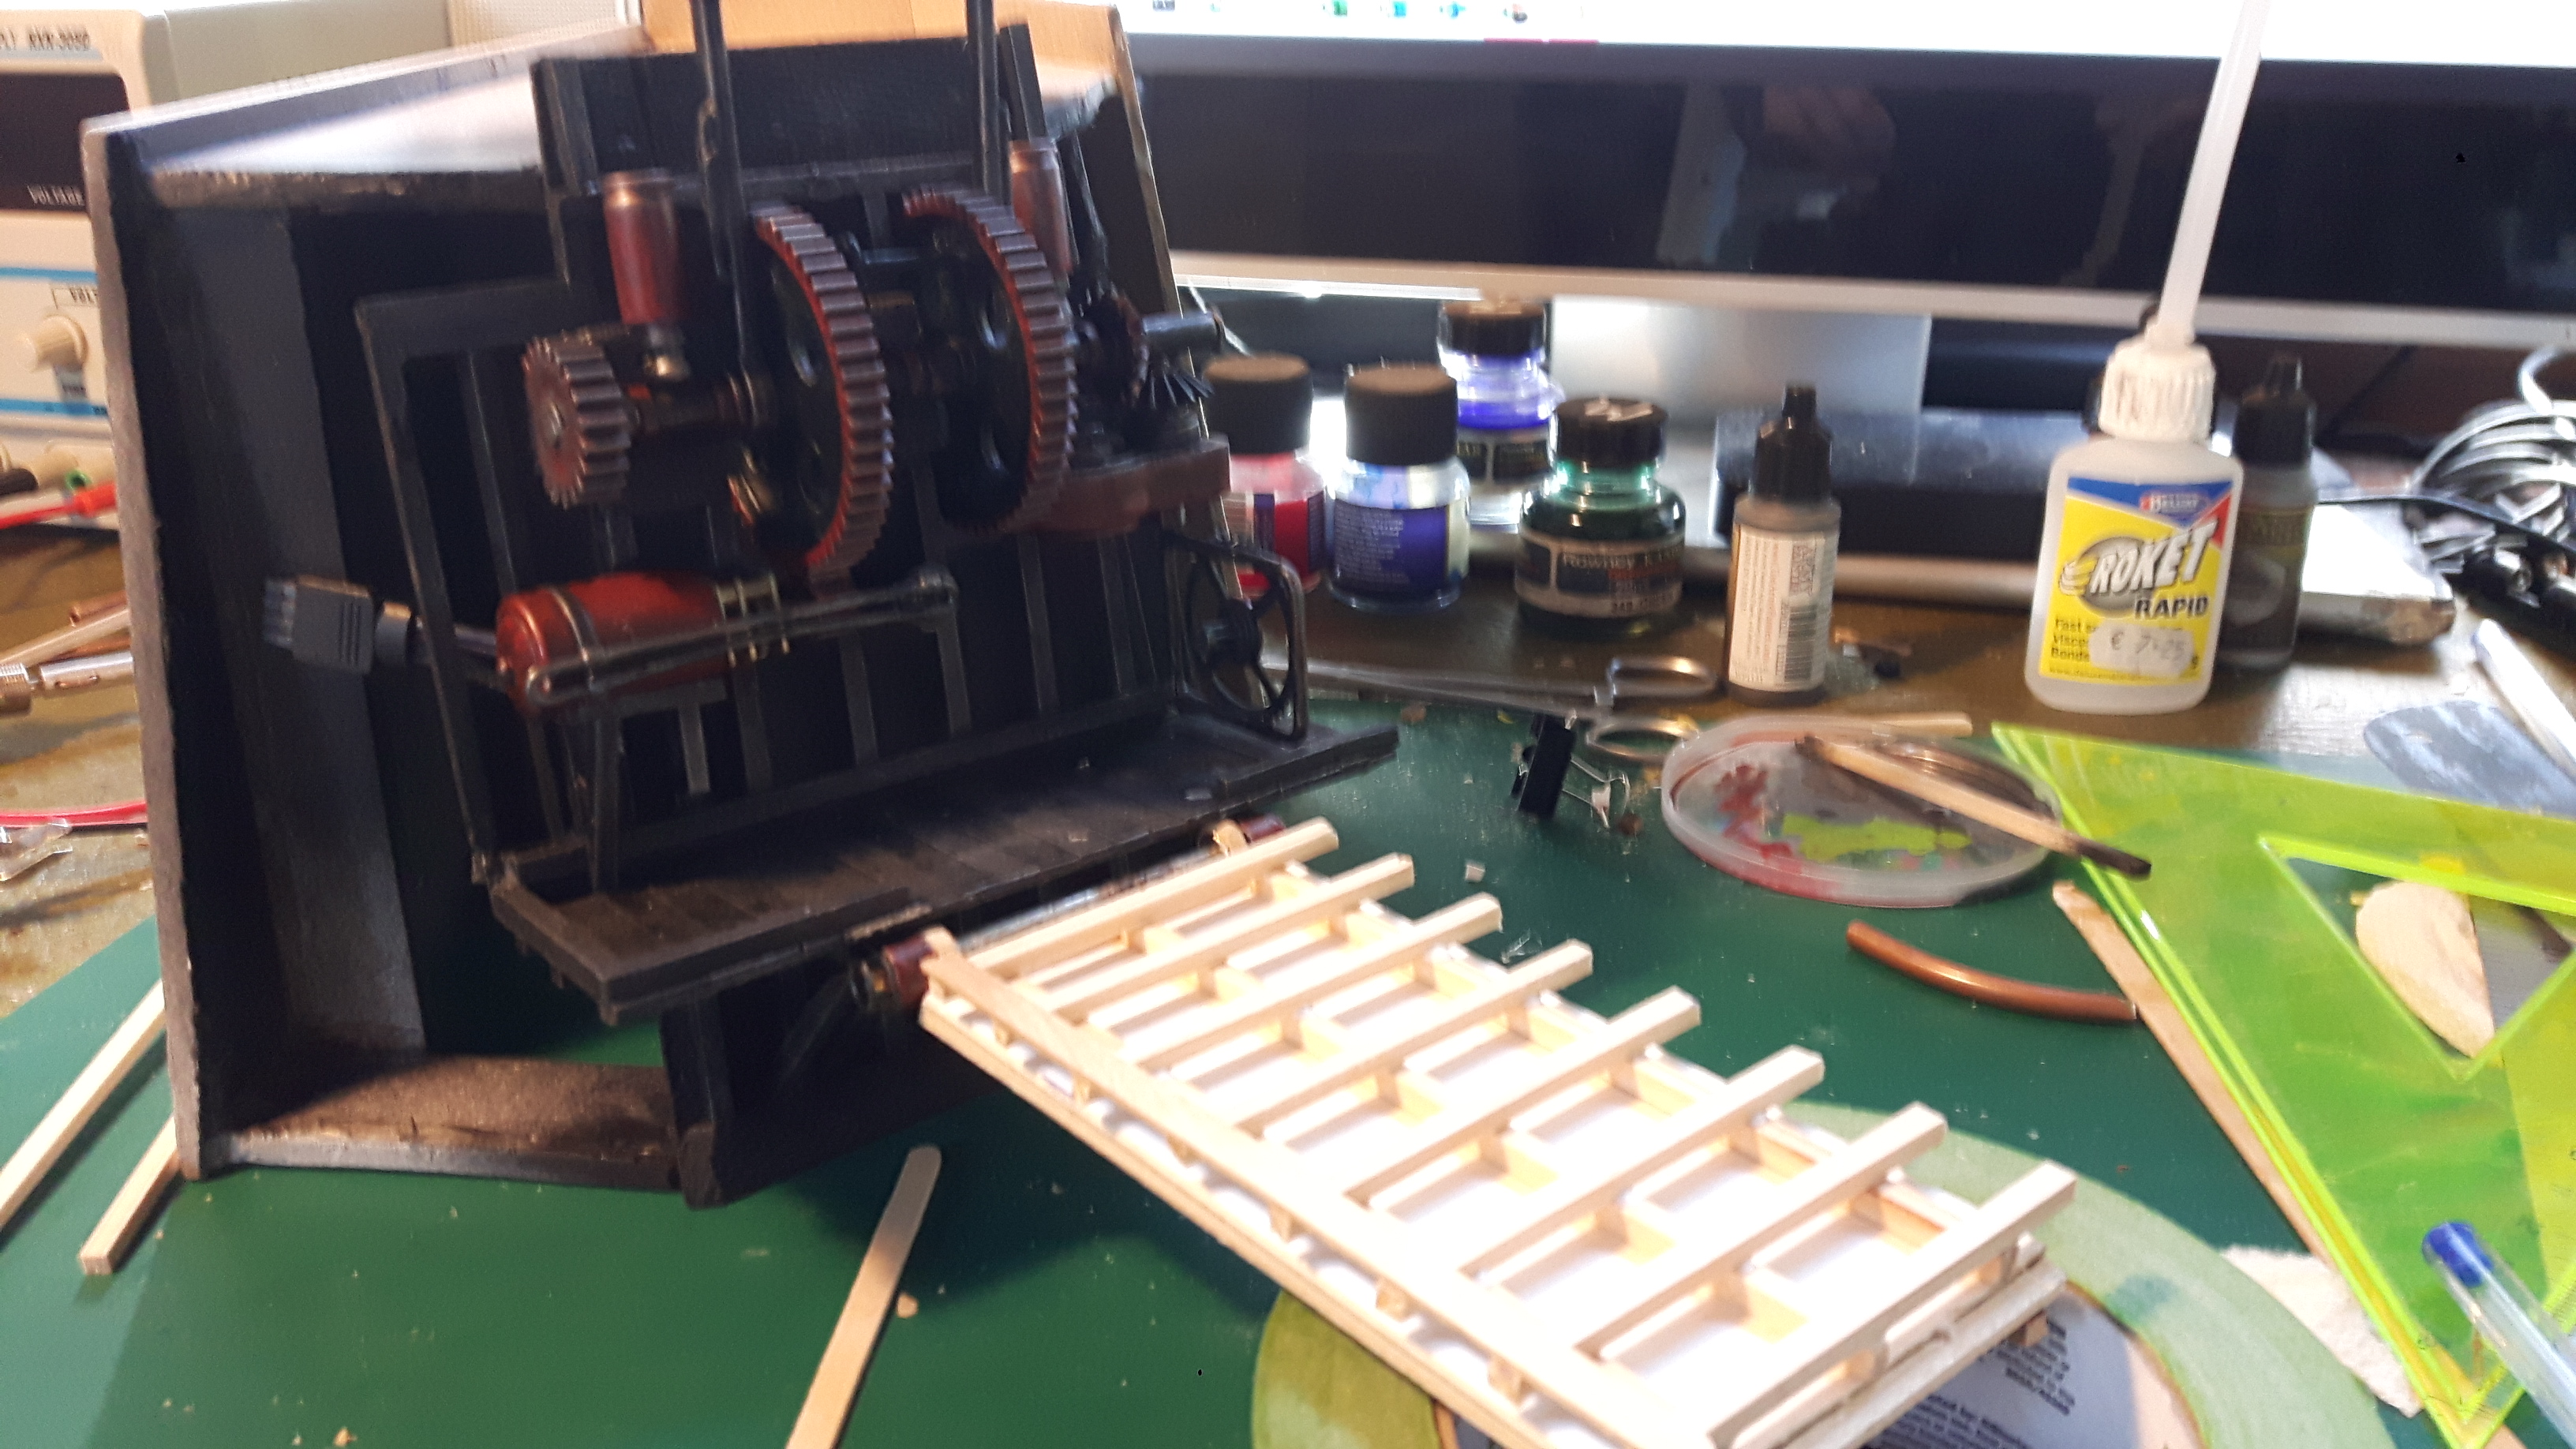
The dark and grimey feel is starting to come together. The dry brush – inks – dry brush make it look as though it has had a lot of use and abuse.


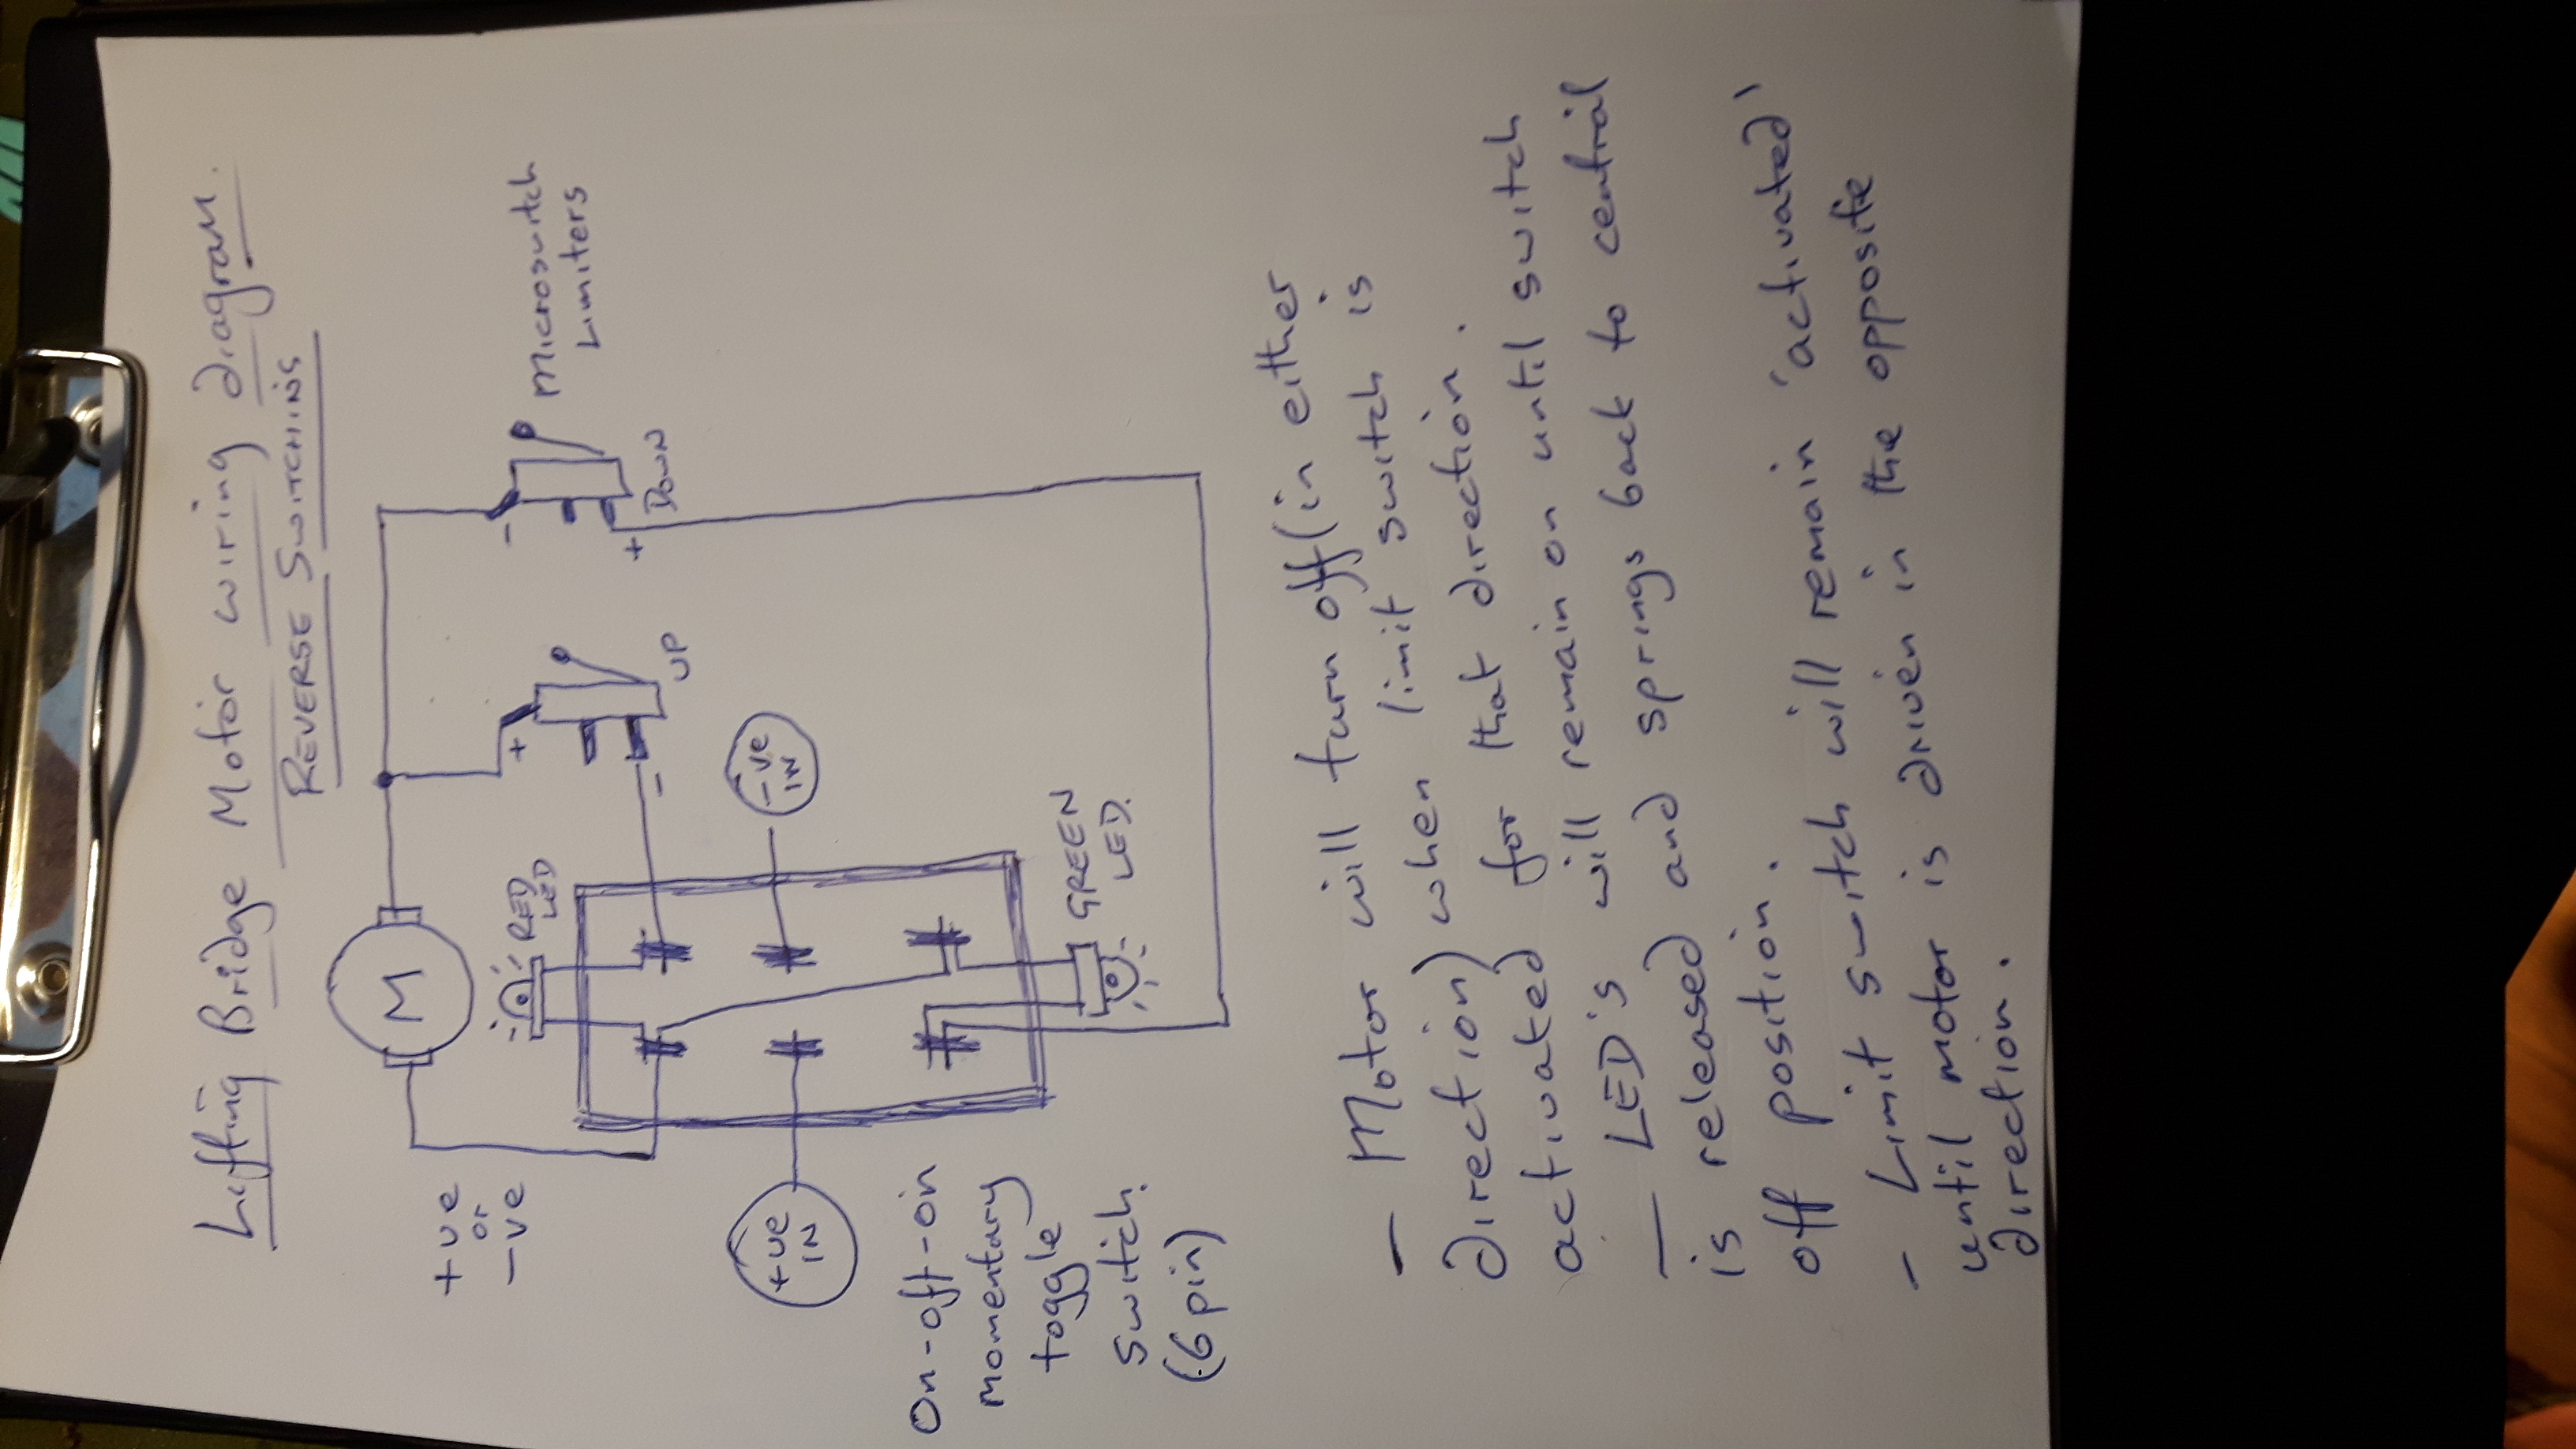
Victorian Docks: Help wanted !
Please could somebody check over this wiring diagram before I go out and buy the bits. I think that it should work but I am not confident. Do I need any other components in the circuit? The motor and LEDs are 3V DC but the motor needs to run in both directions and the LEDs only work one way. Power is supplied via 3V button battery. Many Thanks.
Victorian Docks: Bridge Building - Lifting Gear
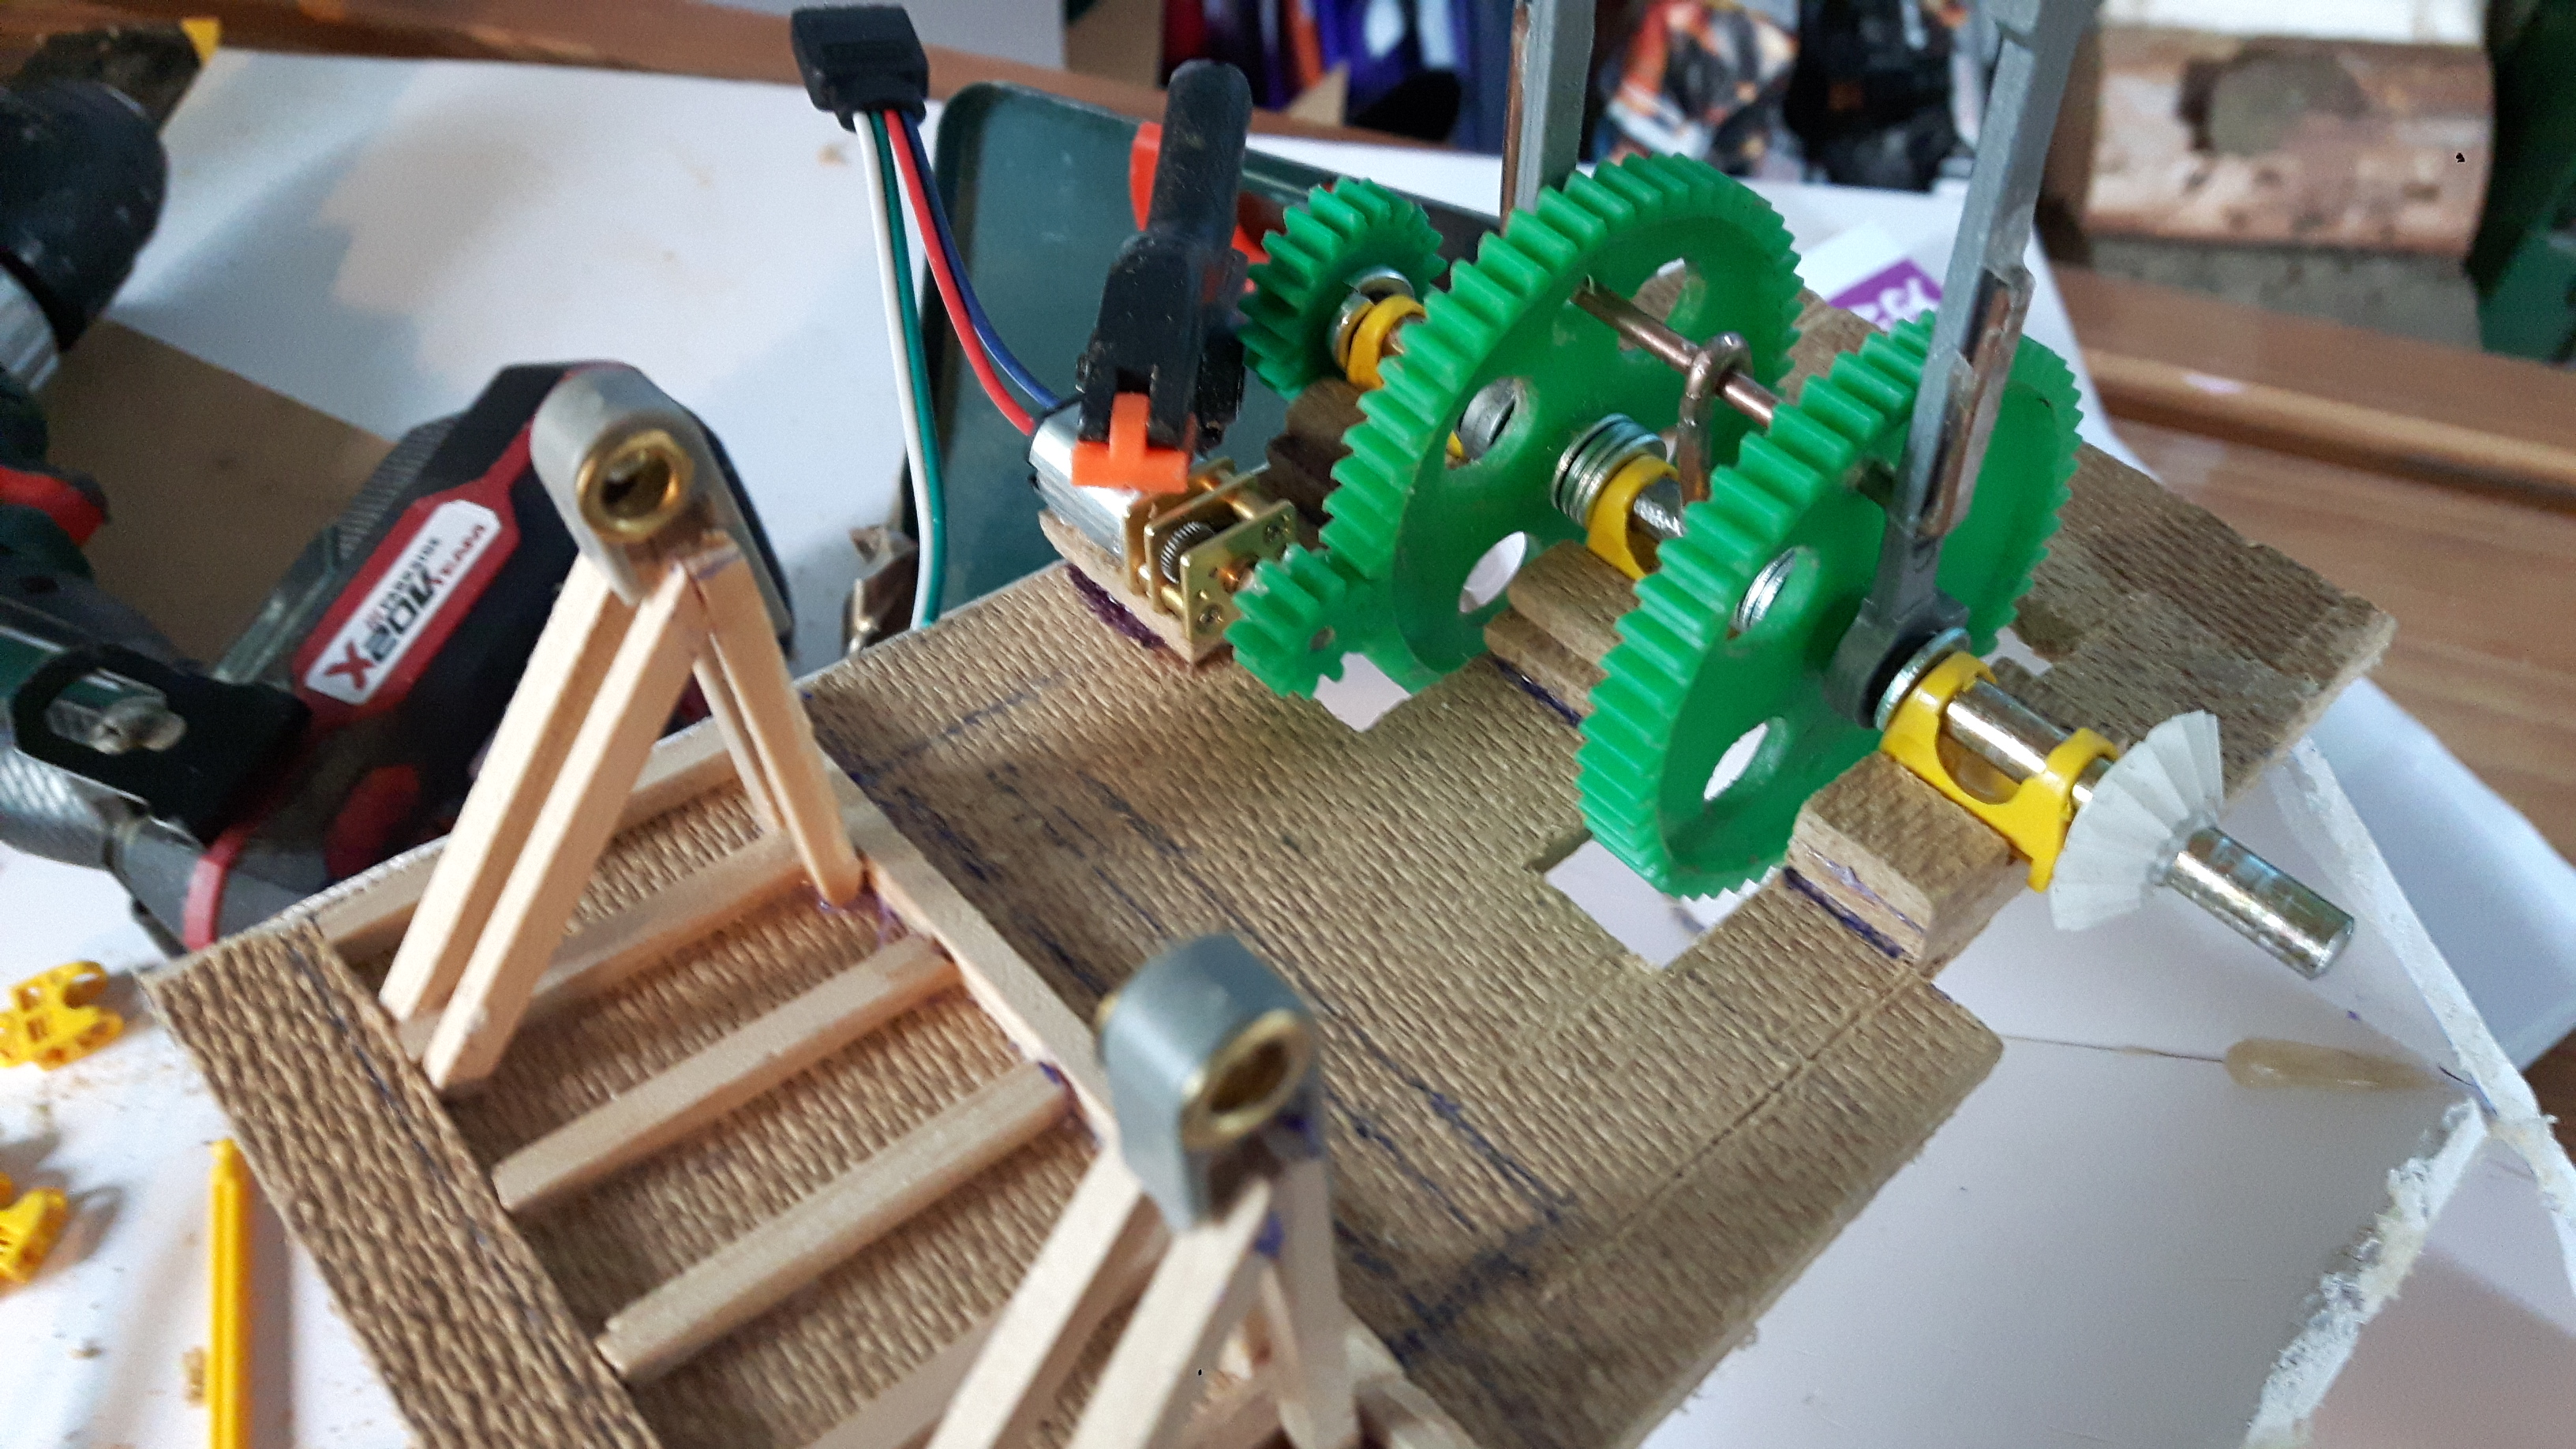
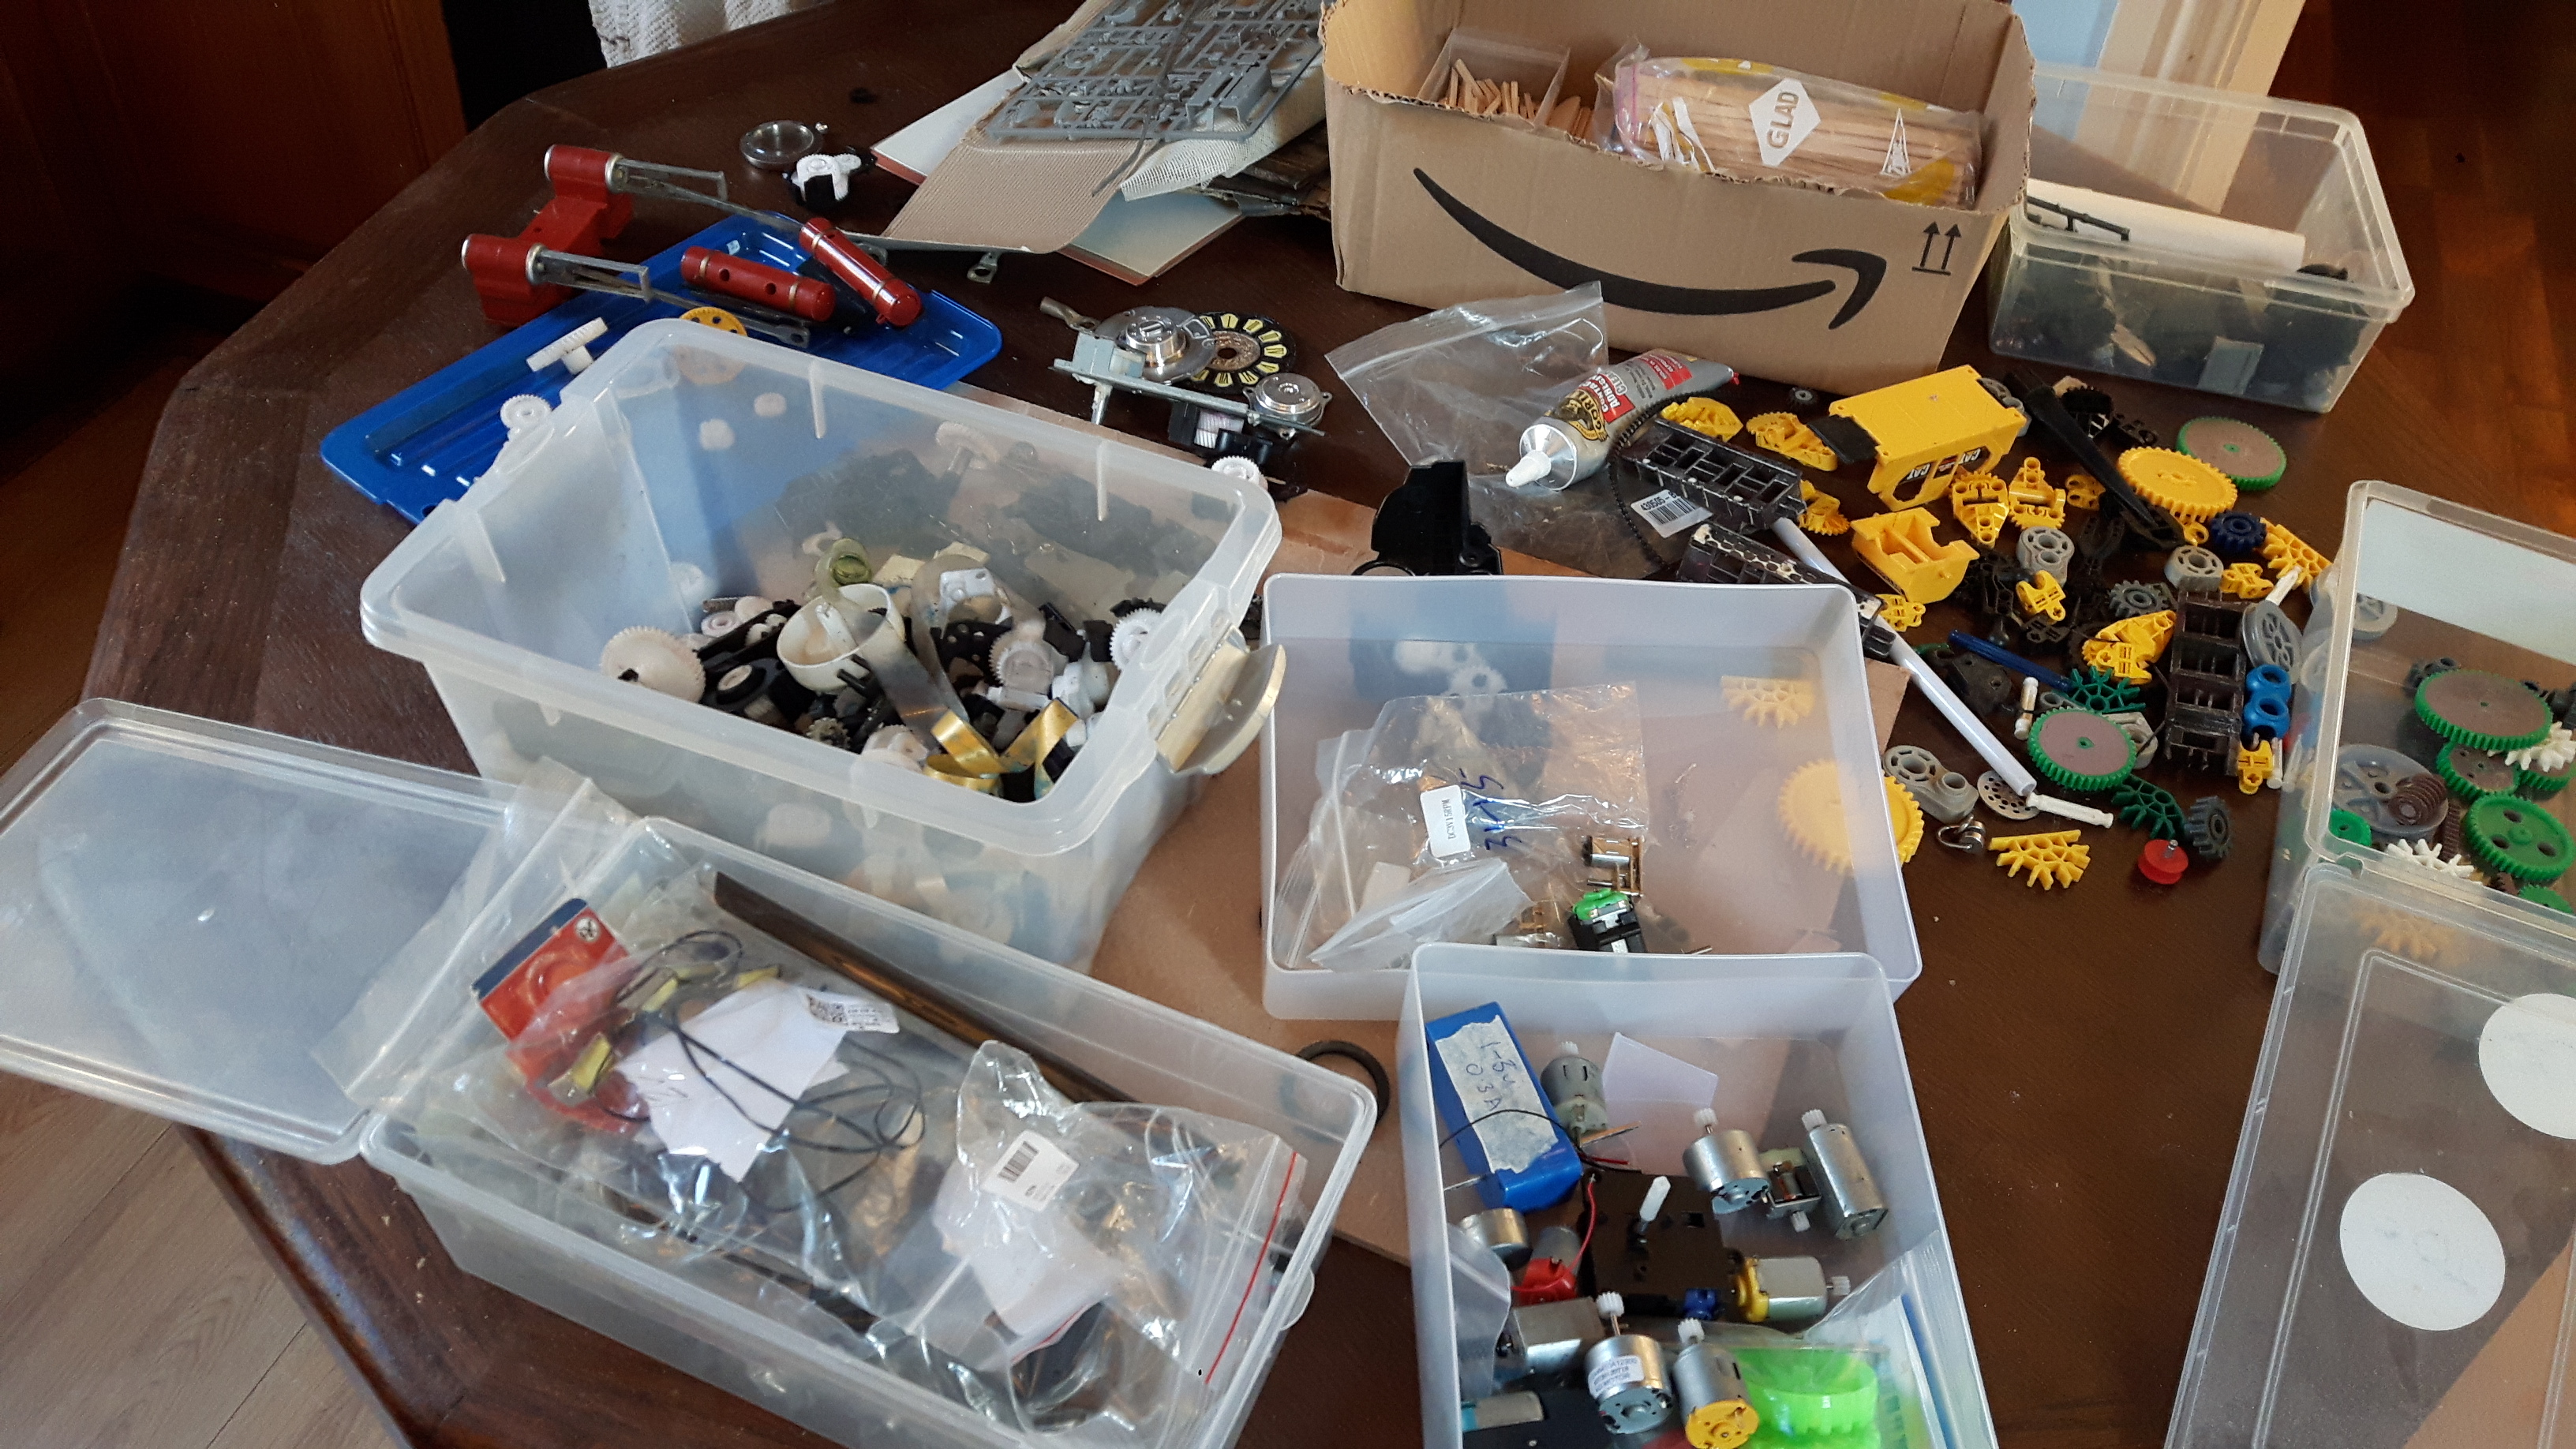
Bit box and other finds:
Lego Technic, Knex, Plastic gears bought from AliExpress, Gears from stripped printers, Brazing wire, Meccano shaft, Brake pipe, Candyfloss sticks, Coffee stirrers, Bullet casings, Brass eyelets, Large scale loco parts, 3V 15 rpm motor & gearbox & sprues from the Wolsung Warehouse kit.
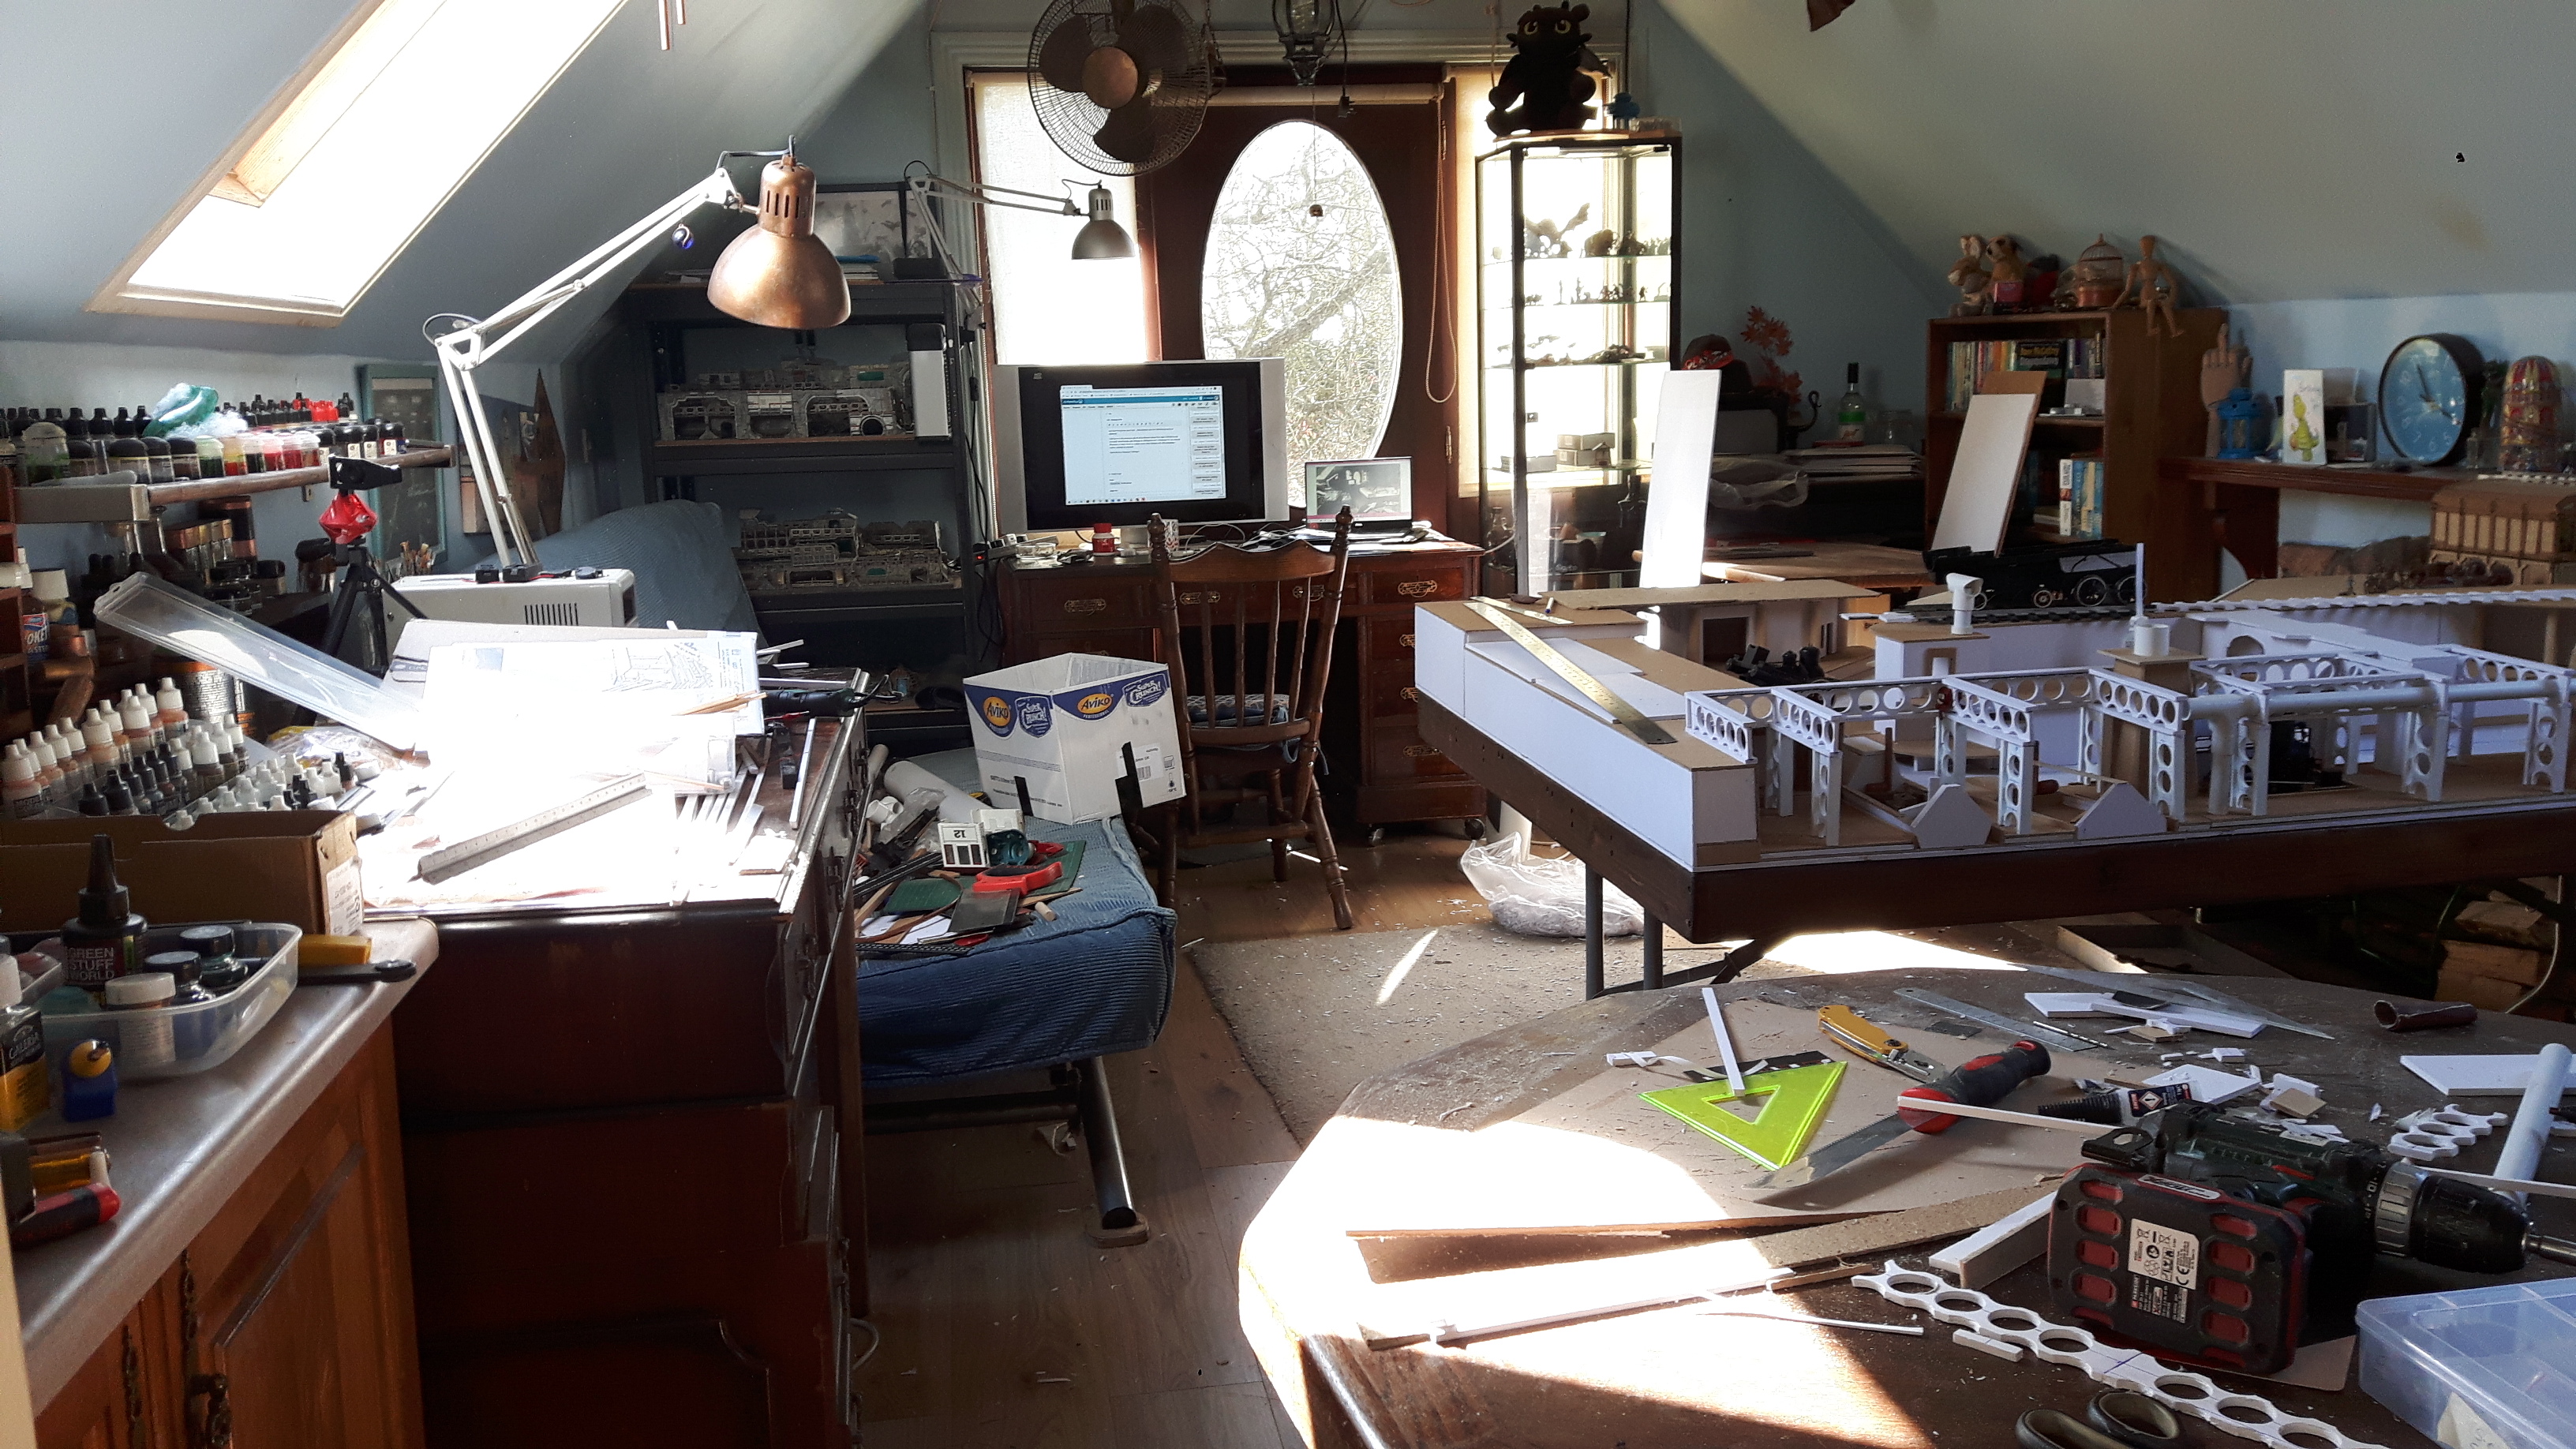
I have spent the last two days in modeller’s heaven: Cutting, drilling, sanding, cursing, glueing, reglueing, trimming, regluing, cursing and enjoying every minute of it.
I am not going to do a blow by blow account, but you can probably work out from the pictures the stages, rethinks, and progress.
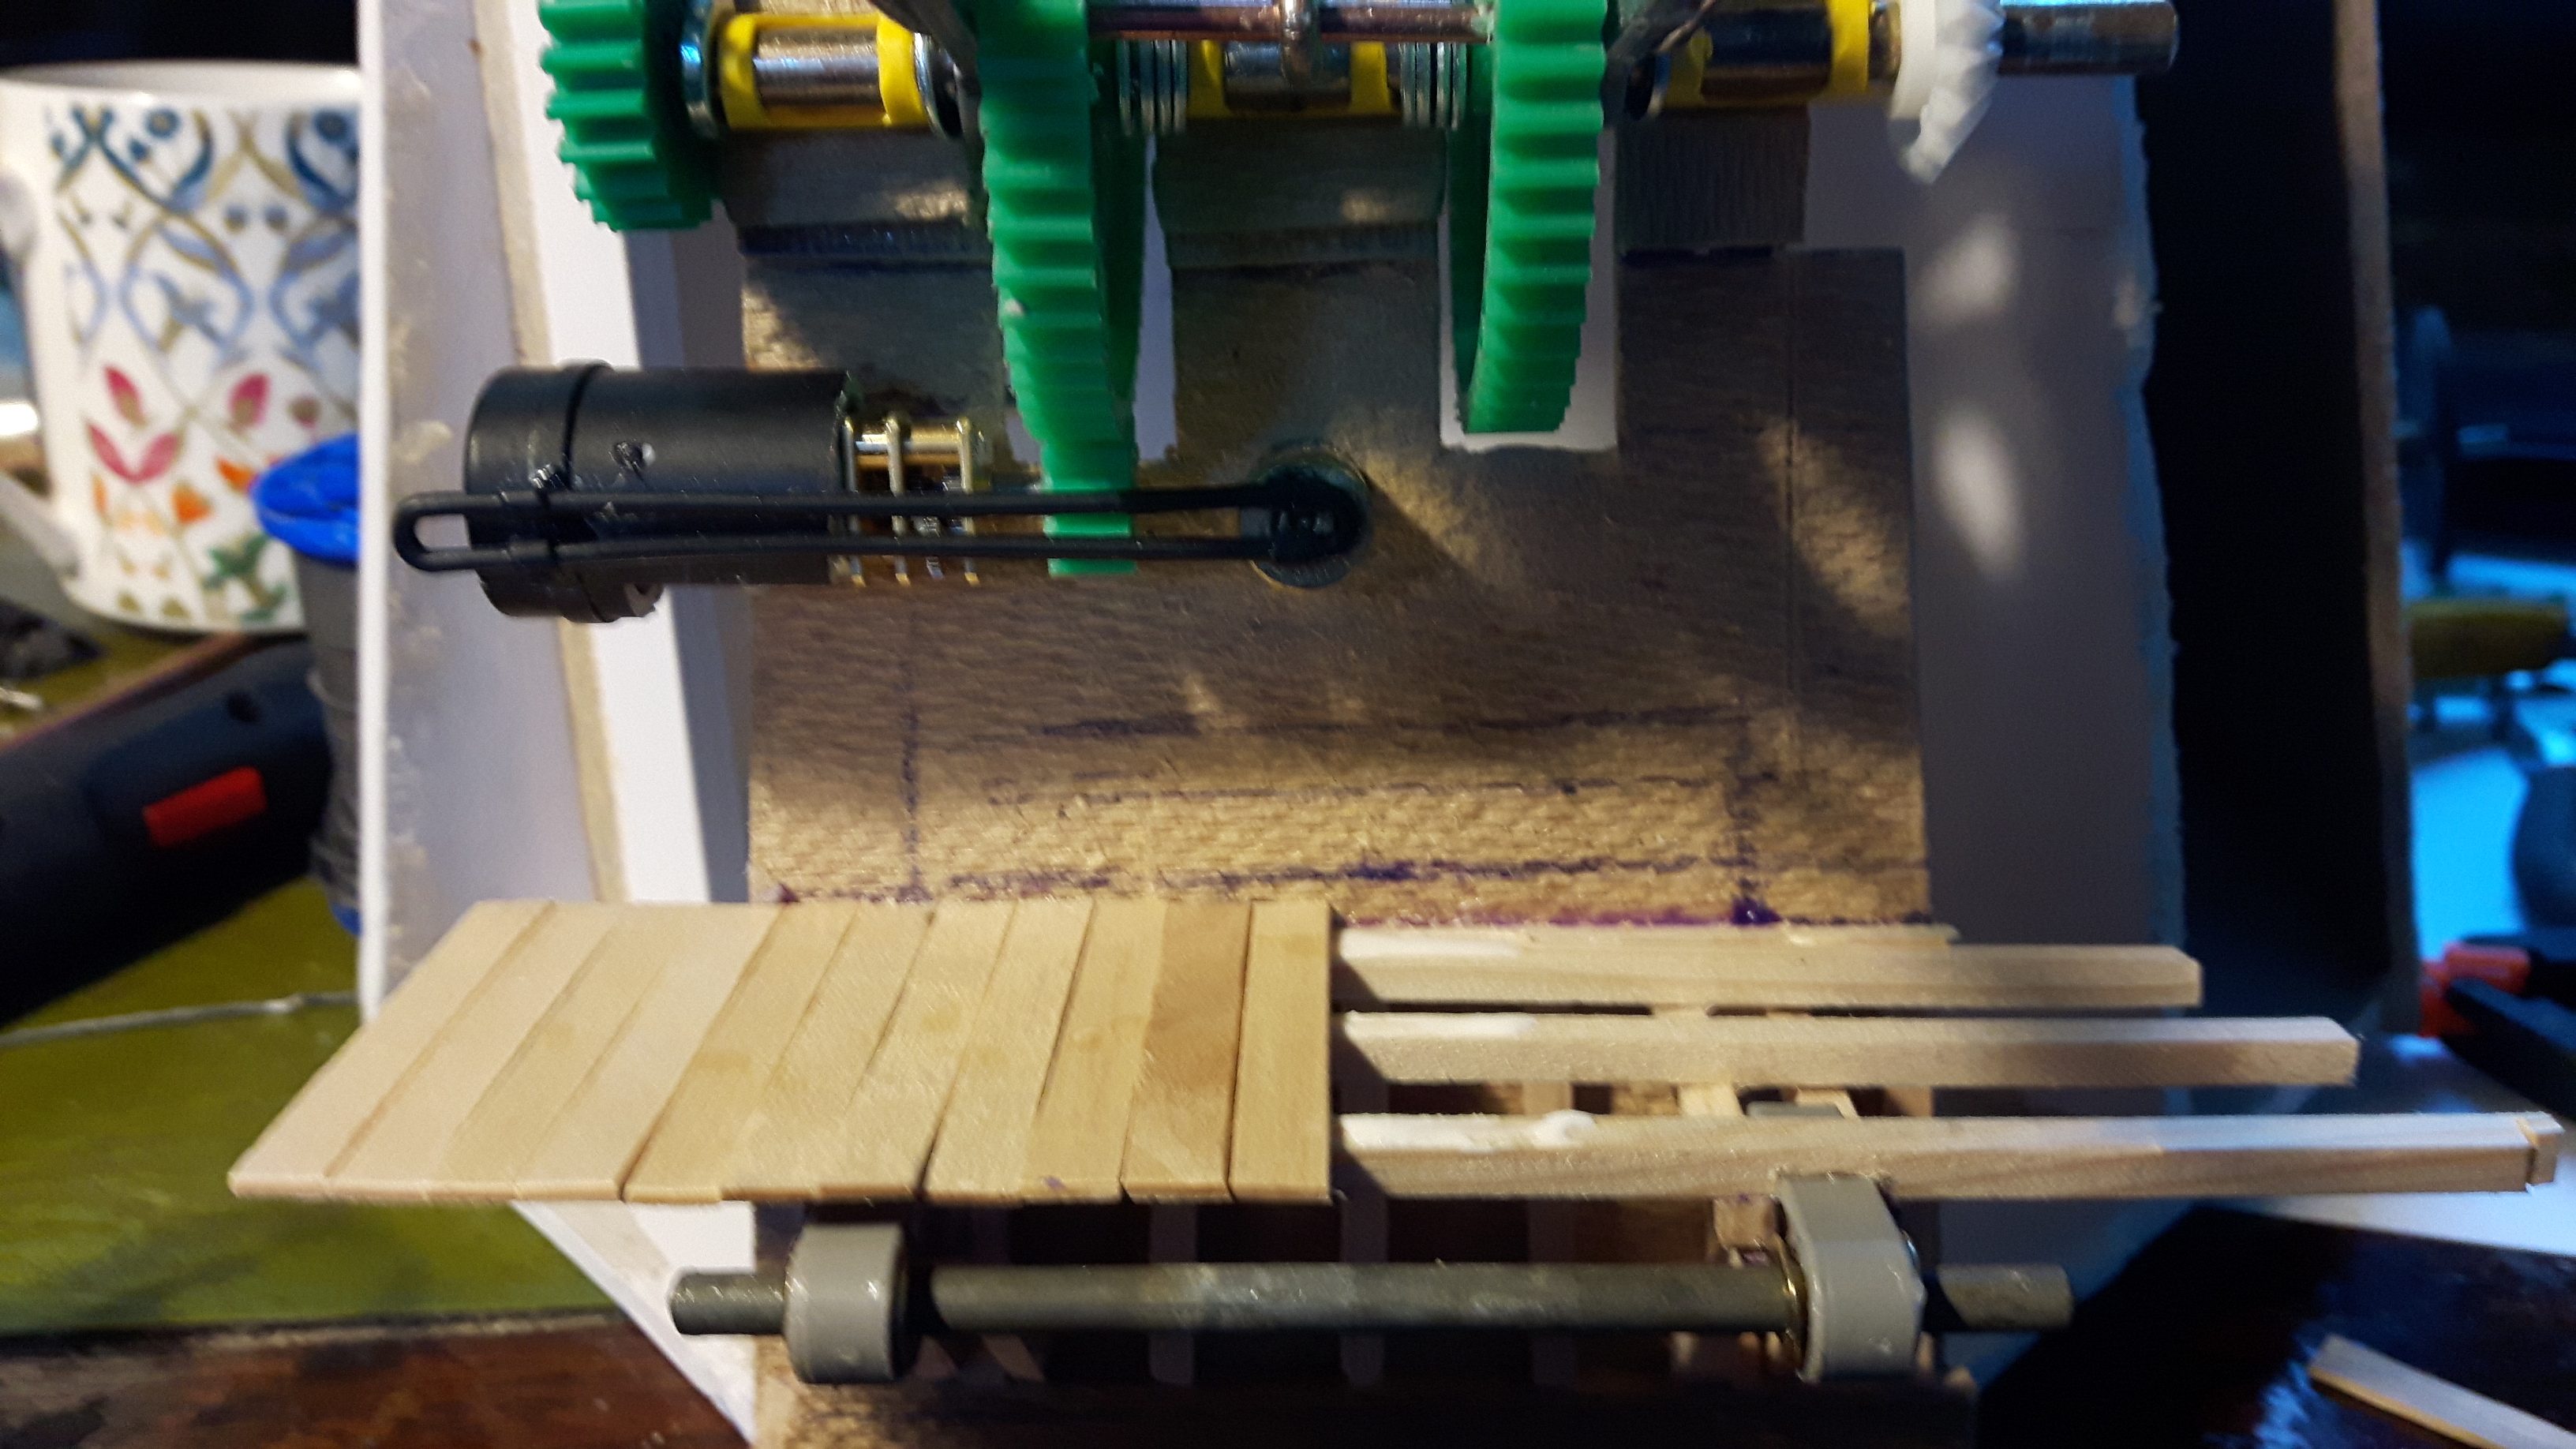
The motor is wired up and I have done a test run. I still need to put in limit switches and control switches and the battery box.
I have started the walkway and made the arms of the bridge.
But there is a long way to go yet and a lot more ideas to add in…


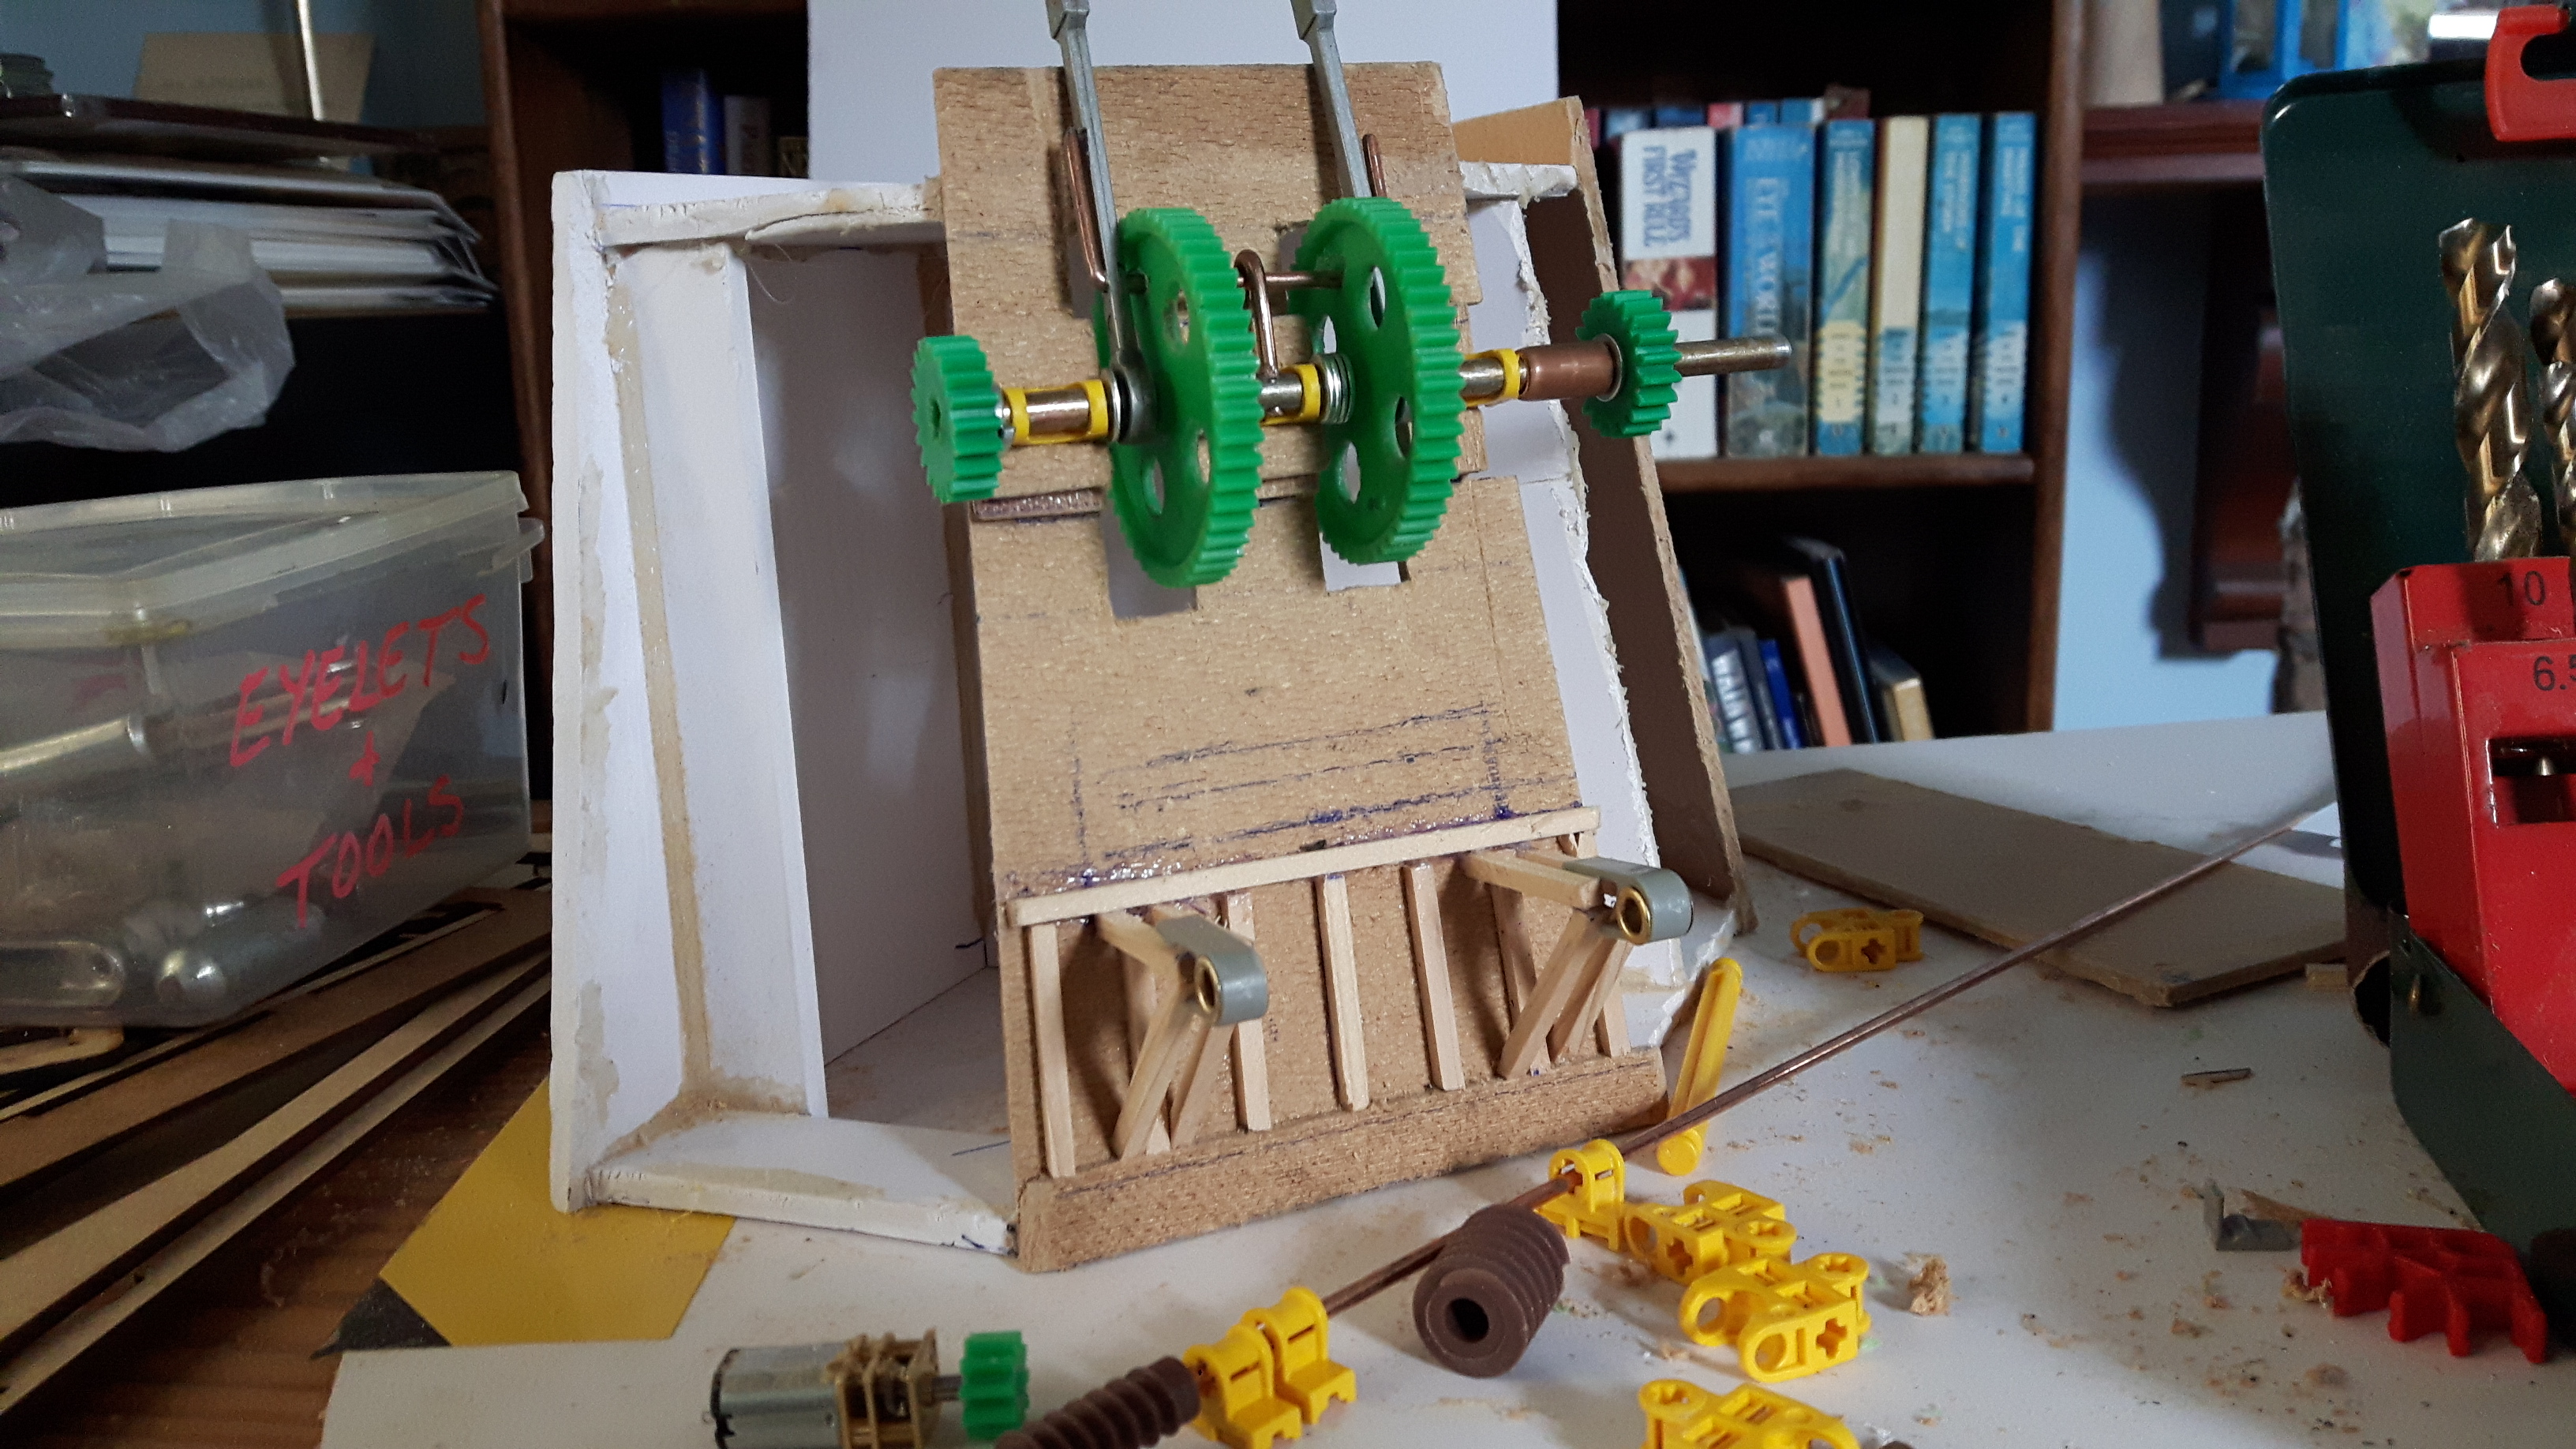

The walkway was made using Candyfloss sticks and Coffee stirrers and the bridge hinges from Knex bits.

Back to work tomorrow, so next progress report will be in a few days.
Victorian Docks: Bridge Brainstorming Session
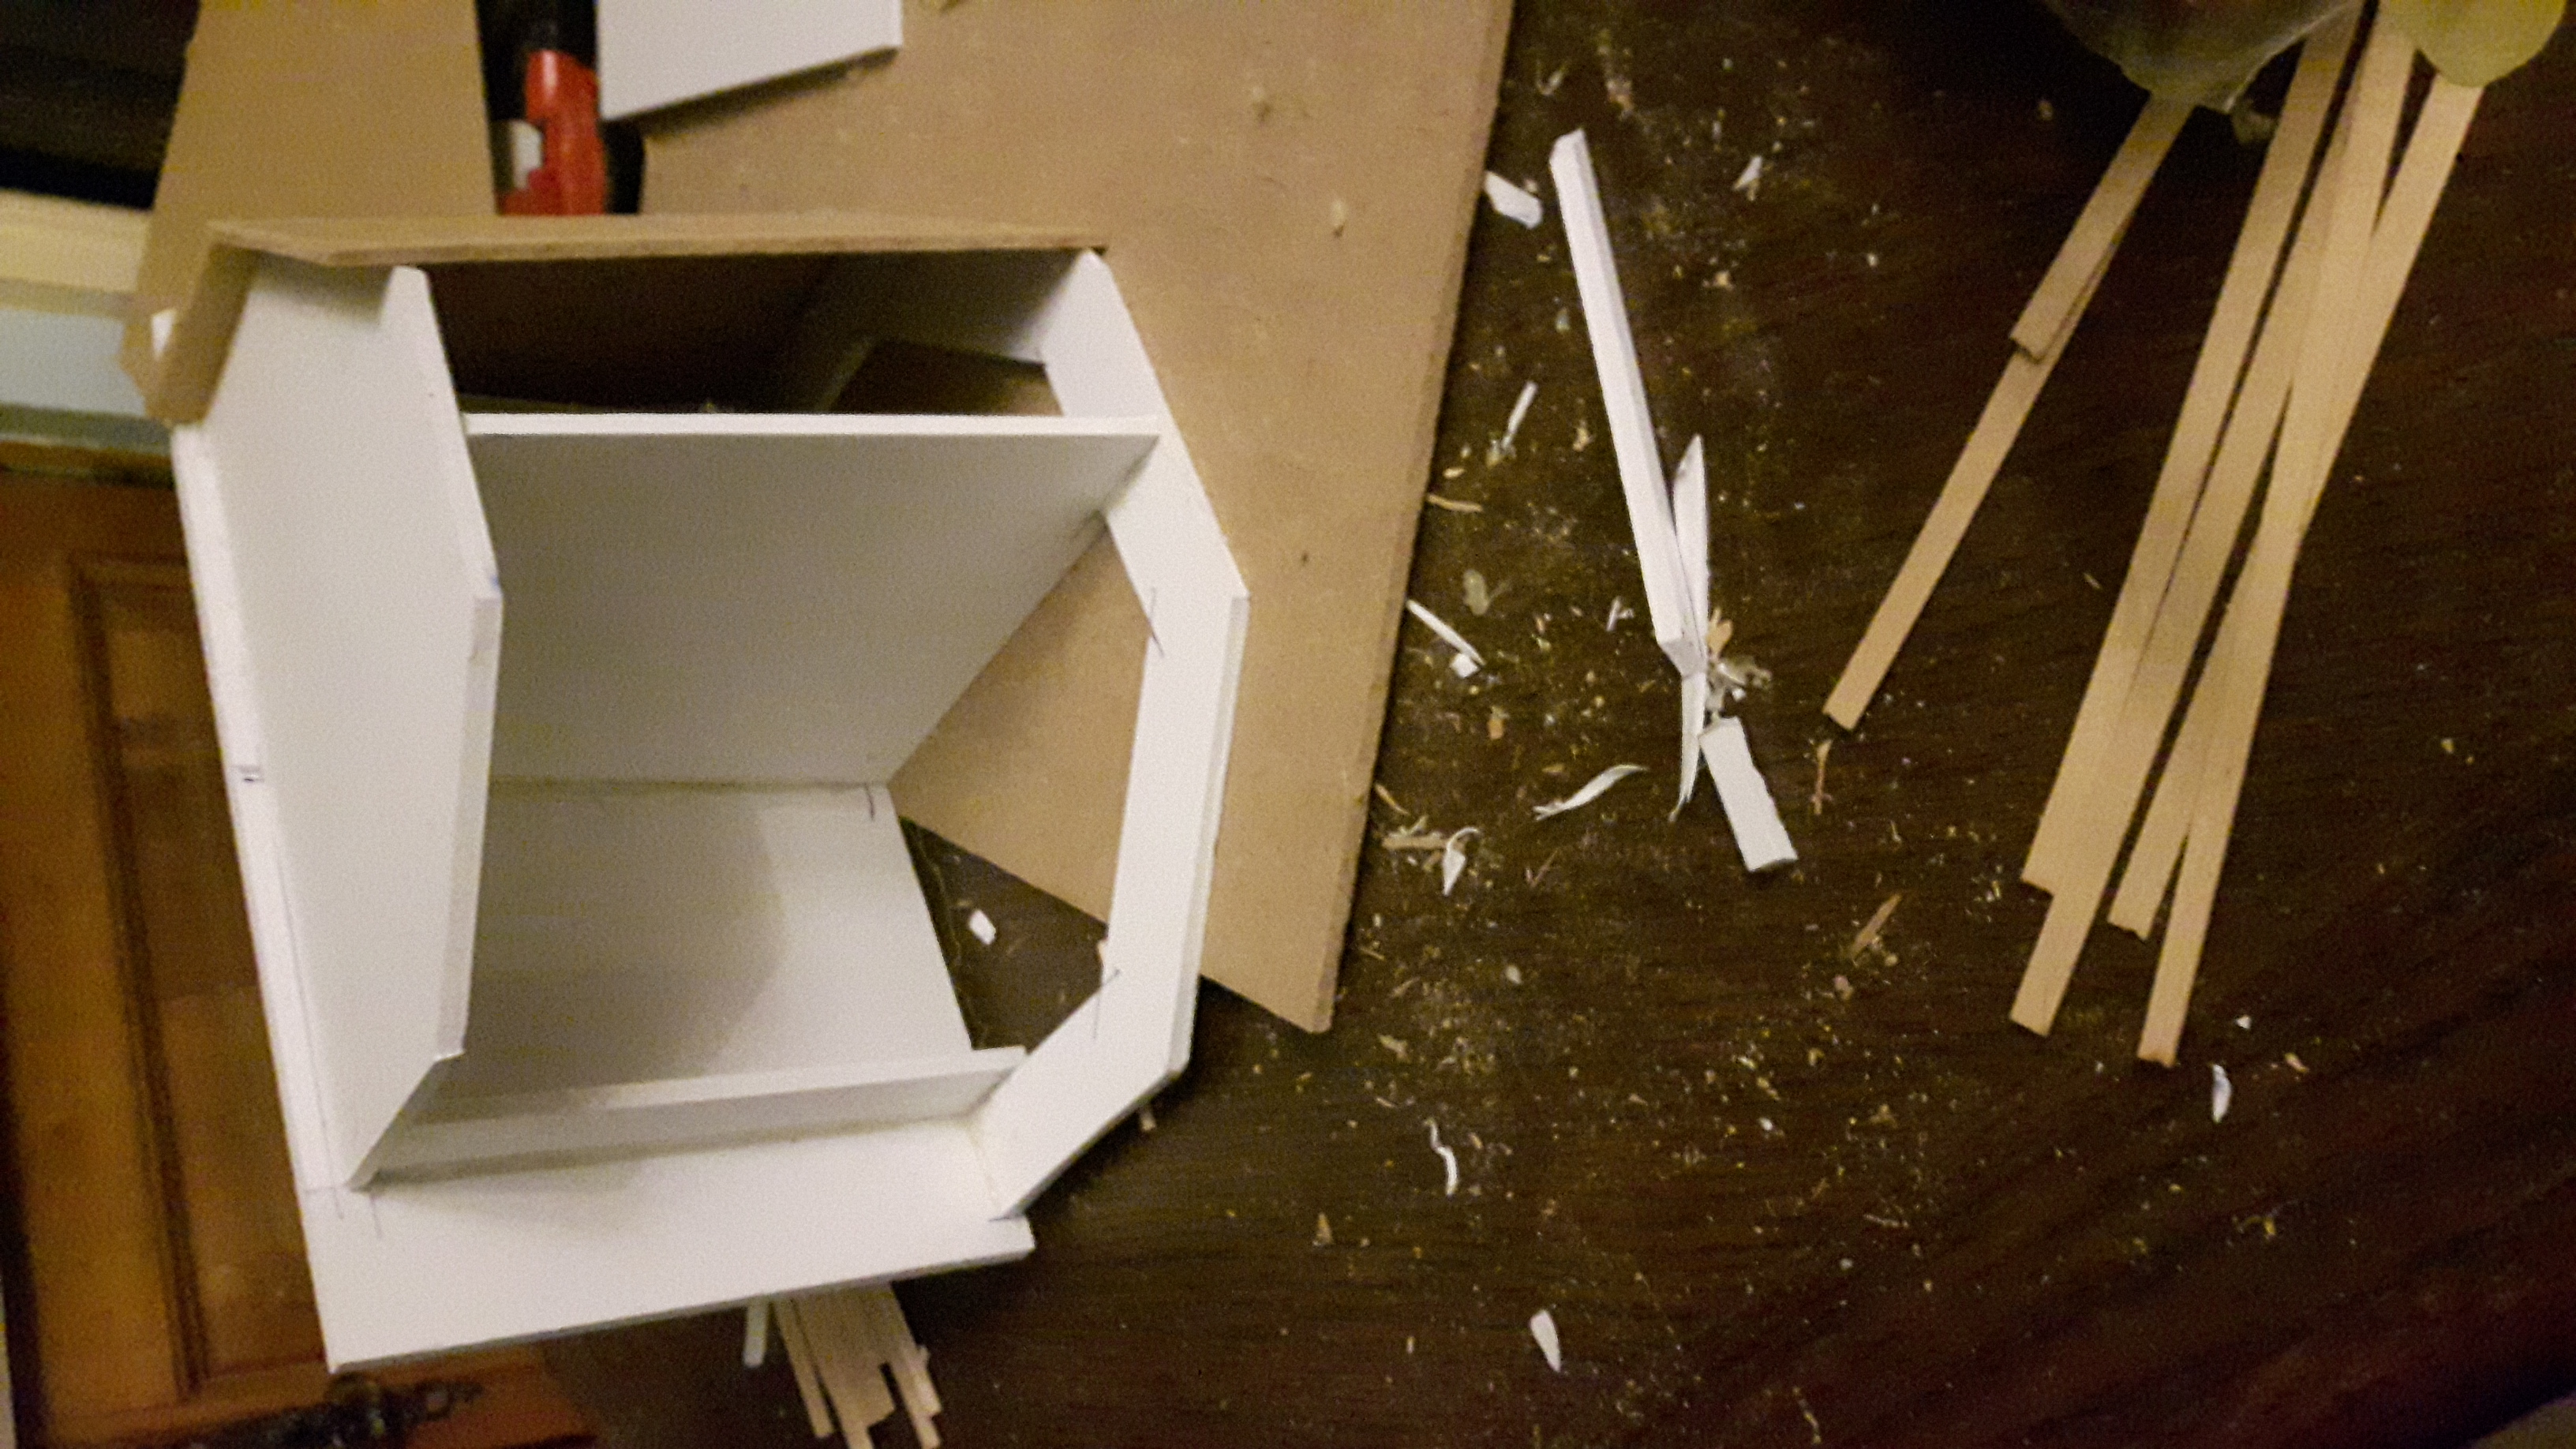
I need a bridge in the back corner to connect the lower deck of the central Quayside with the Industrial area.
The Lighthouse base is the best place to put it but will need a walkway round it rather than a door (tunnel) through it.
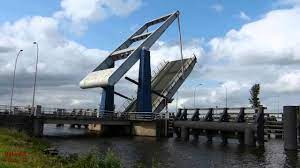
1 – The bridge is low so needs to lift up to allow water traffic to pass.
2 – A footbridge is fine as there are no vehicles in that area.
3 – The walkway and bridge need to be about 45-50mm wide to allow larger models to use them.
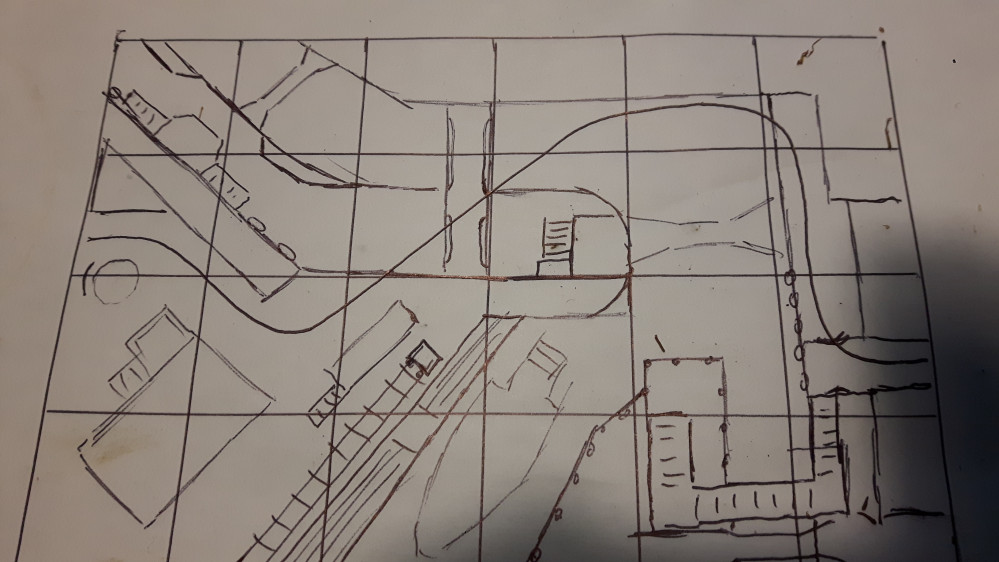
The first job was to construct the framework of the walkway and hinge points to see what the length of the bridge would be and get some ideas for how it would work.

Once that was in place I gathered up a few bit boxes for inspiration.
Next was a Brainstorming Session, flitting between the board and the sketches to see how ideas measured up.
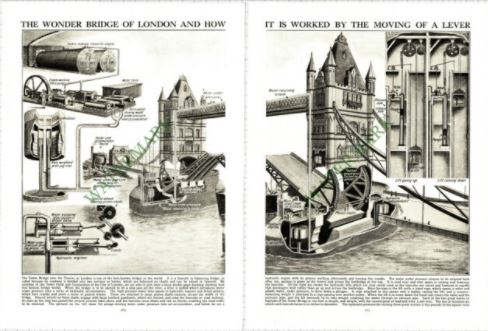
My original thoughts was for a ‘Dutch’ style Cantilever Bridge or a mechanical bridge like Tower Bridge in London.
There just wasn’t enough room in front of the light house for the counter-weights and after ripping two of the lighthouse walls off I found that the centre support would stop me from putting the counter-weights inside.
I rejected the Tower Bridge design because the gear structure would block the walkway when the bridge was down.
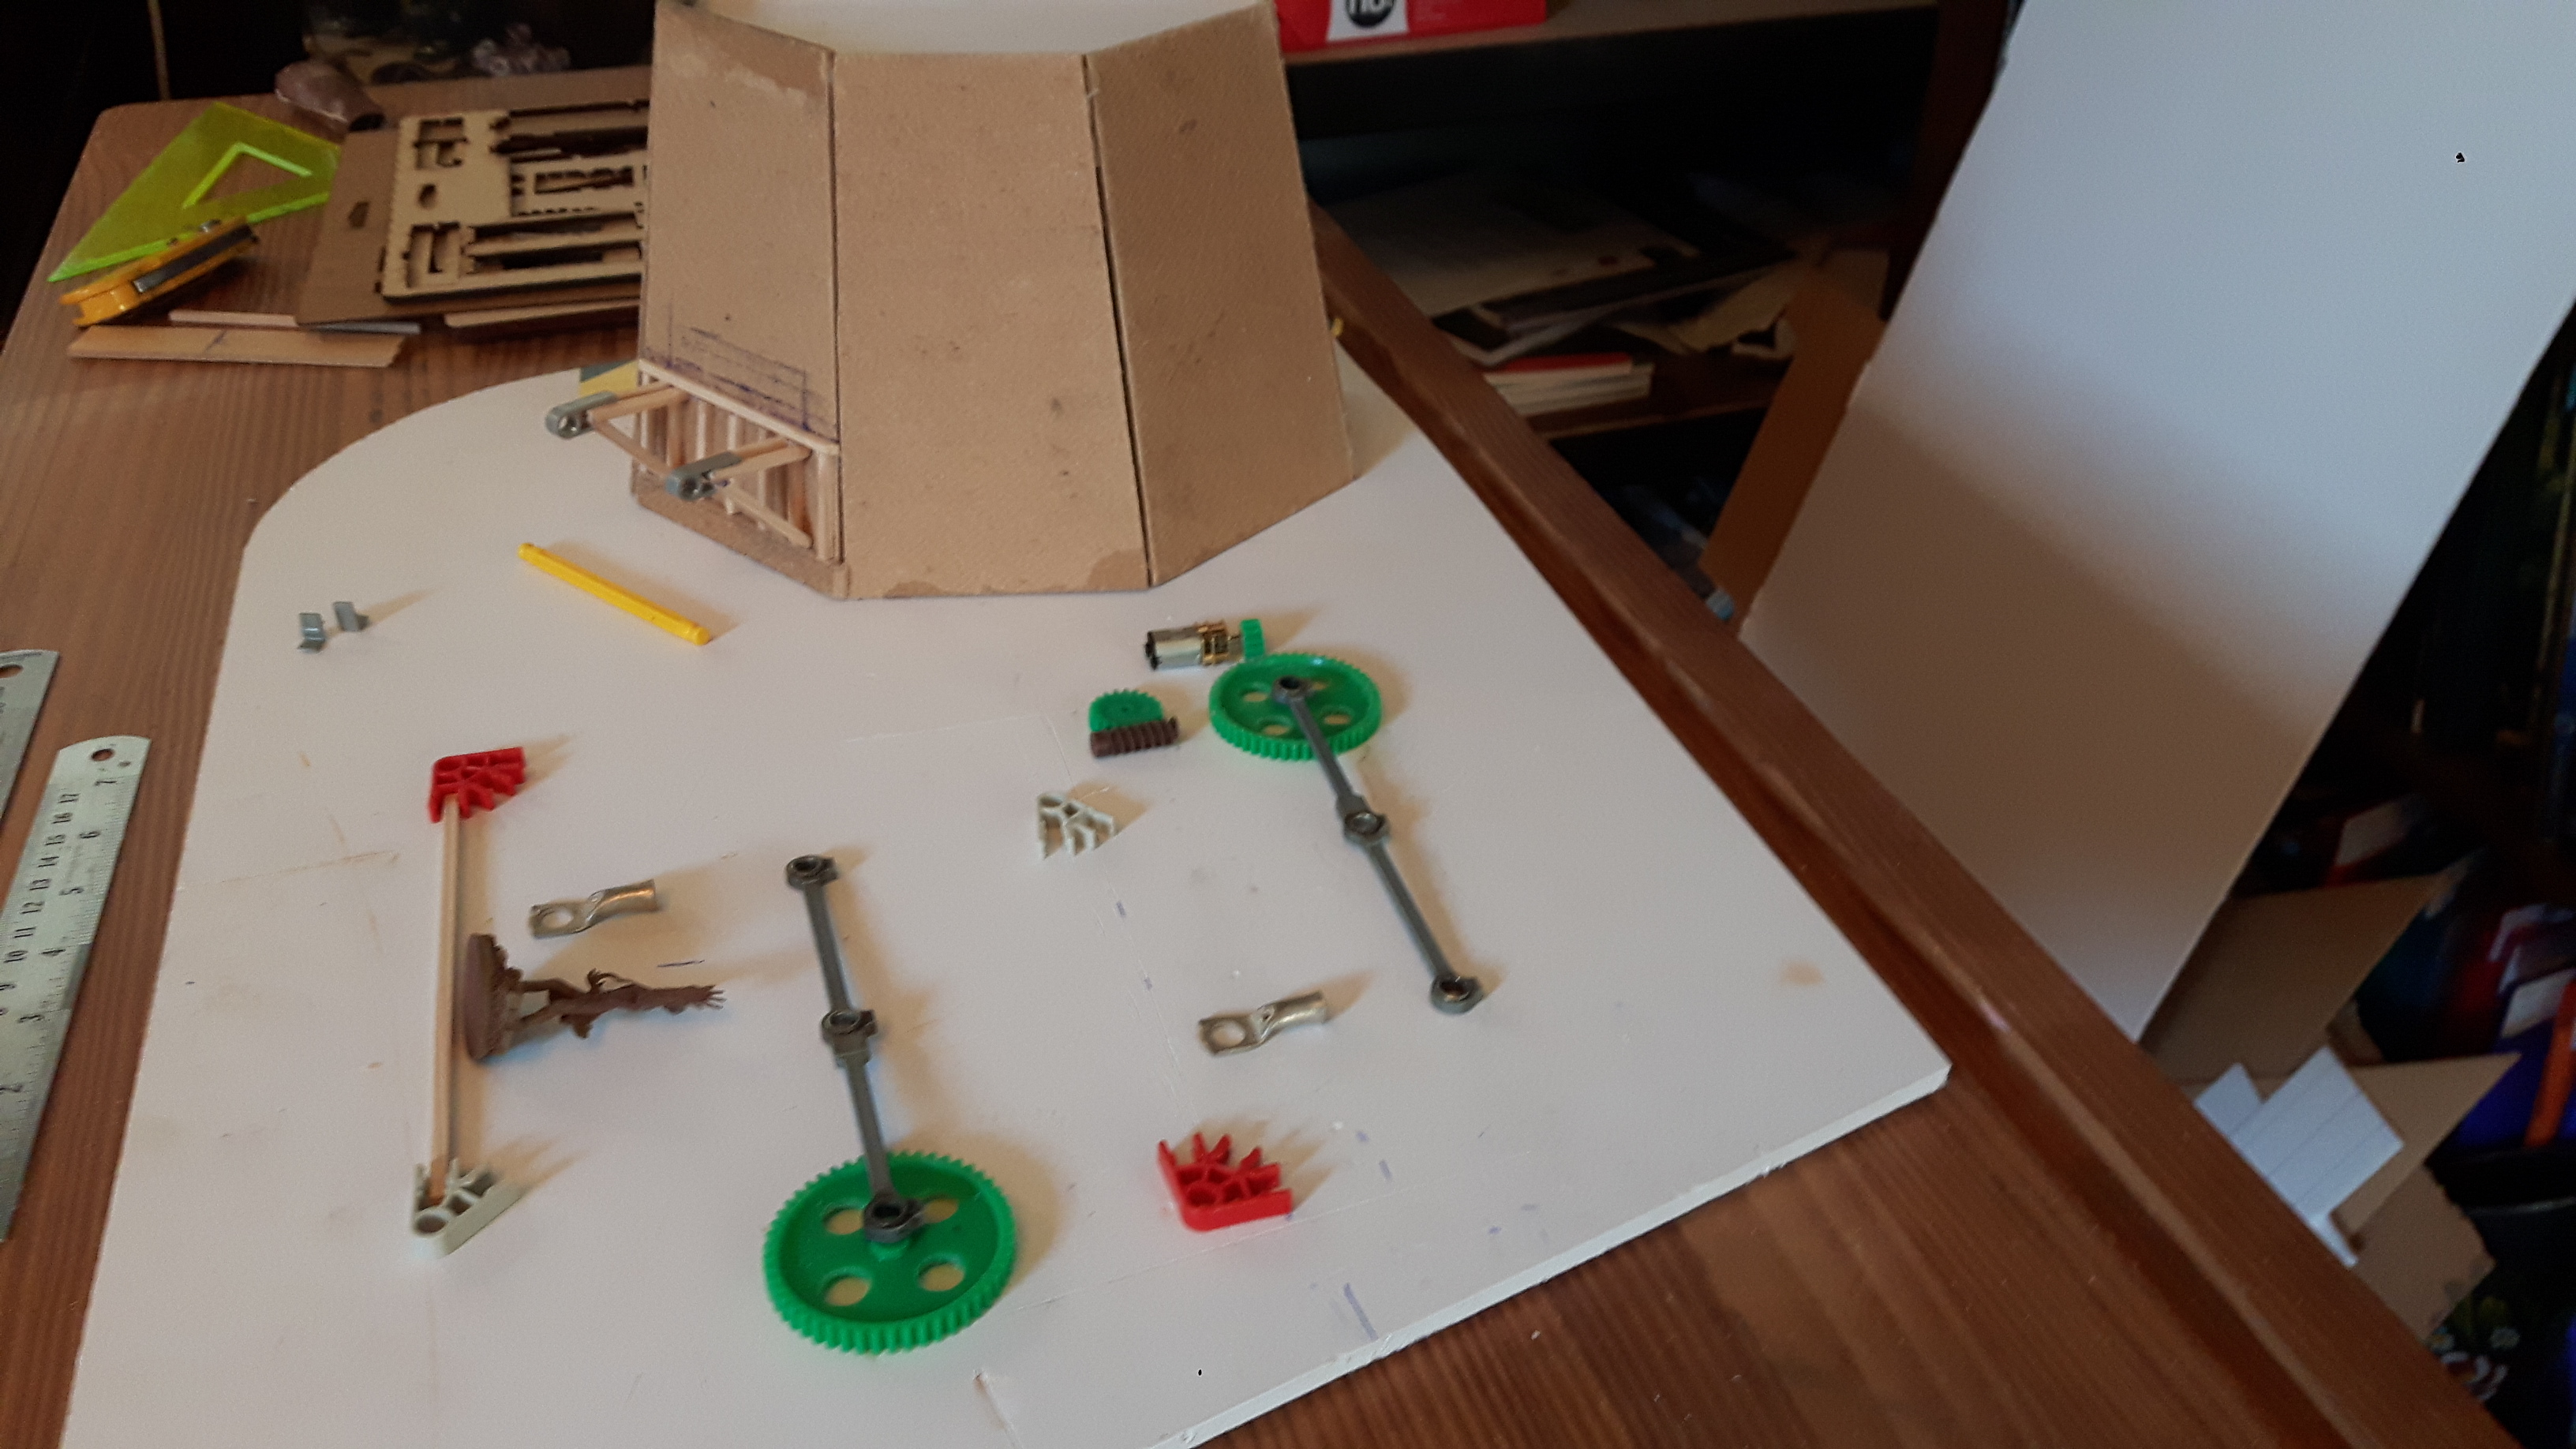
Further examination of the bit boxes revealed some nice gears so I thought that I could countersink them into the base and do away with the weights altogether.
I have some slow speed 3V motors so the bridge could potentially work too!
I could add extra gears and a chimney etc. to make it more Steampunk.
I will have to figure out the electrics as it will probably need limit switches and reverse power for up and down. Maybe some LEDs too.
I pulled out a few items that might be useful and now the fun begins…

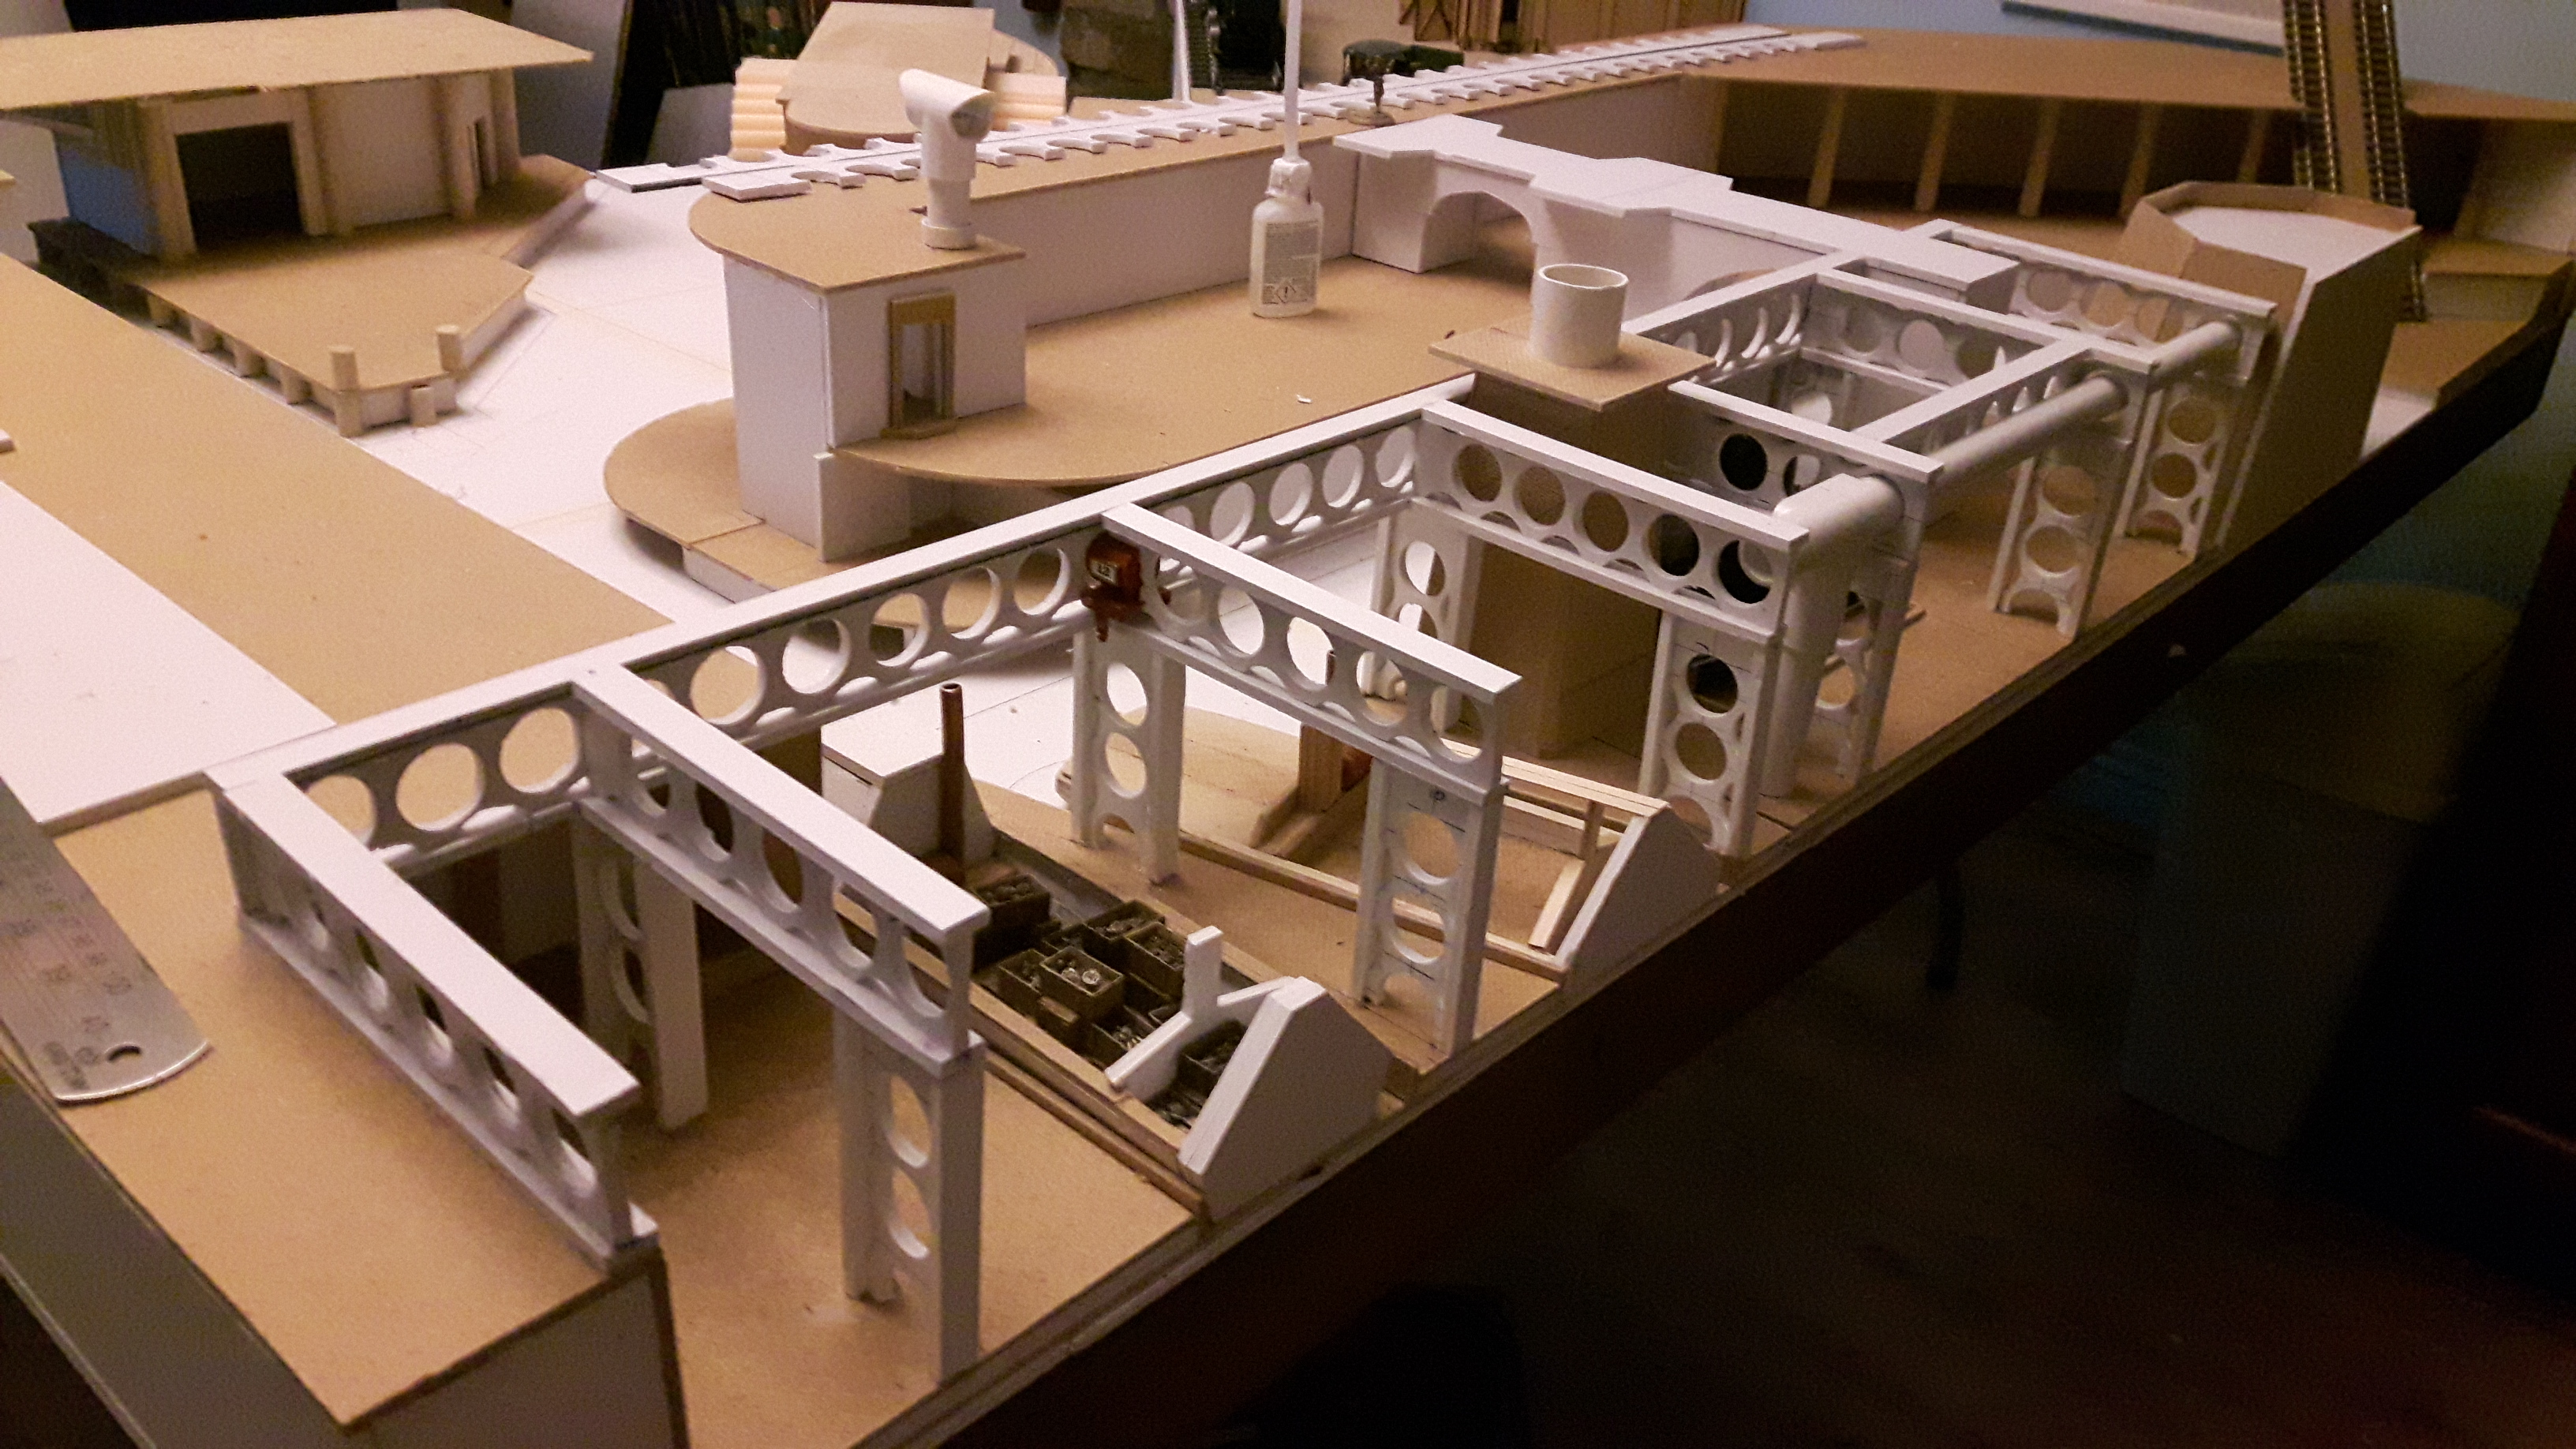
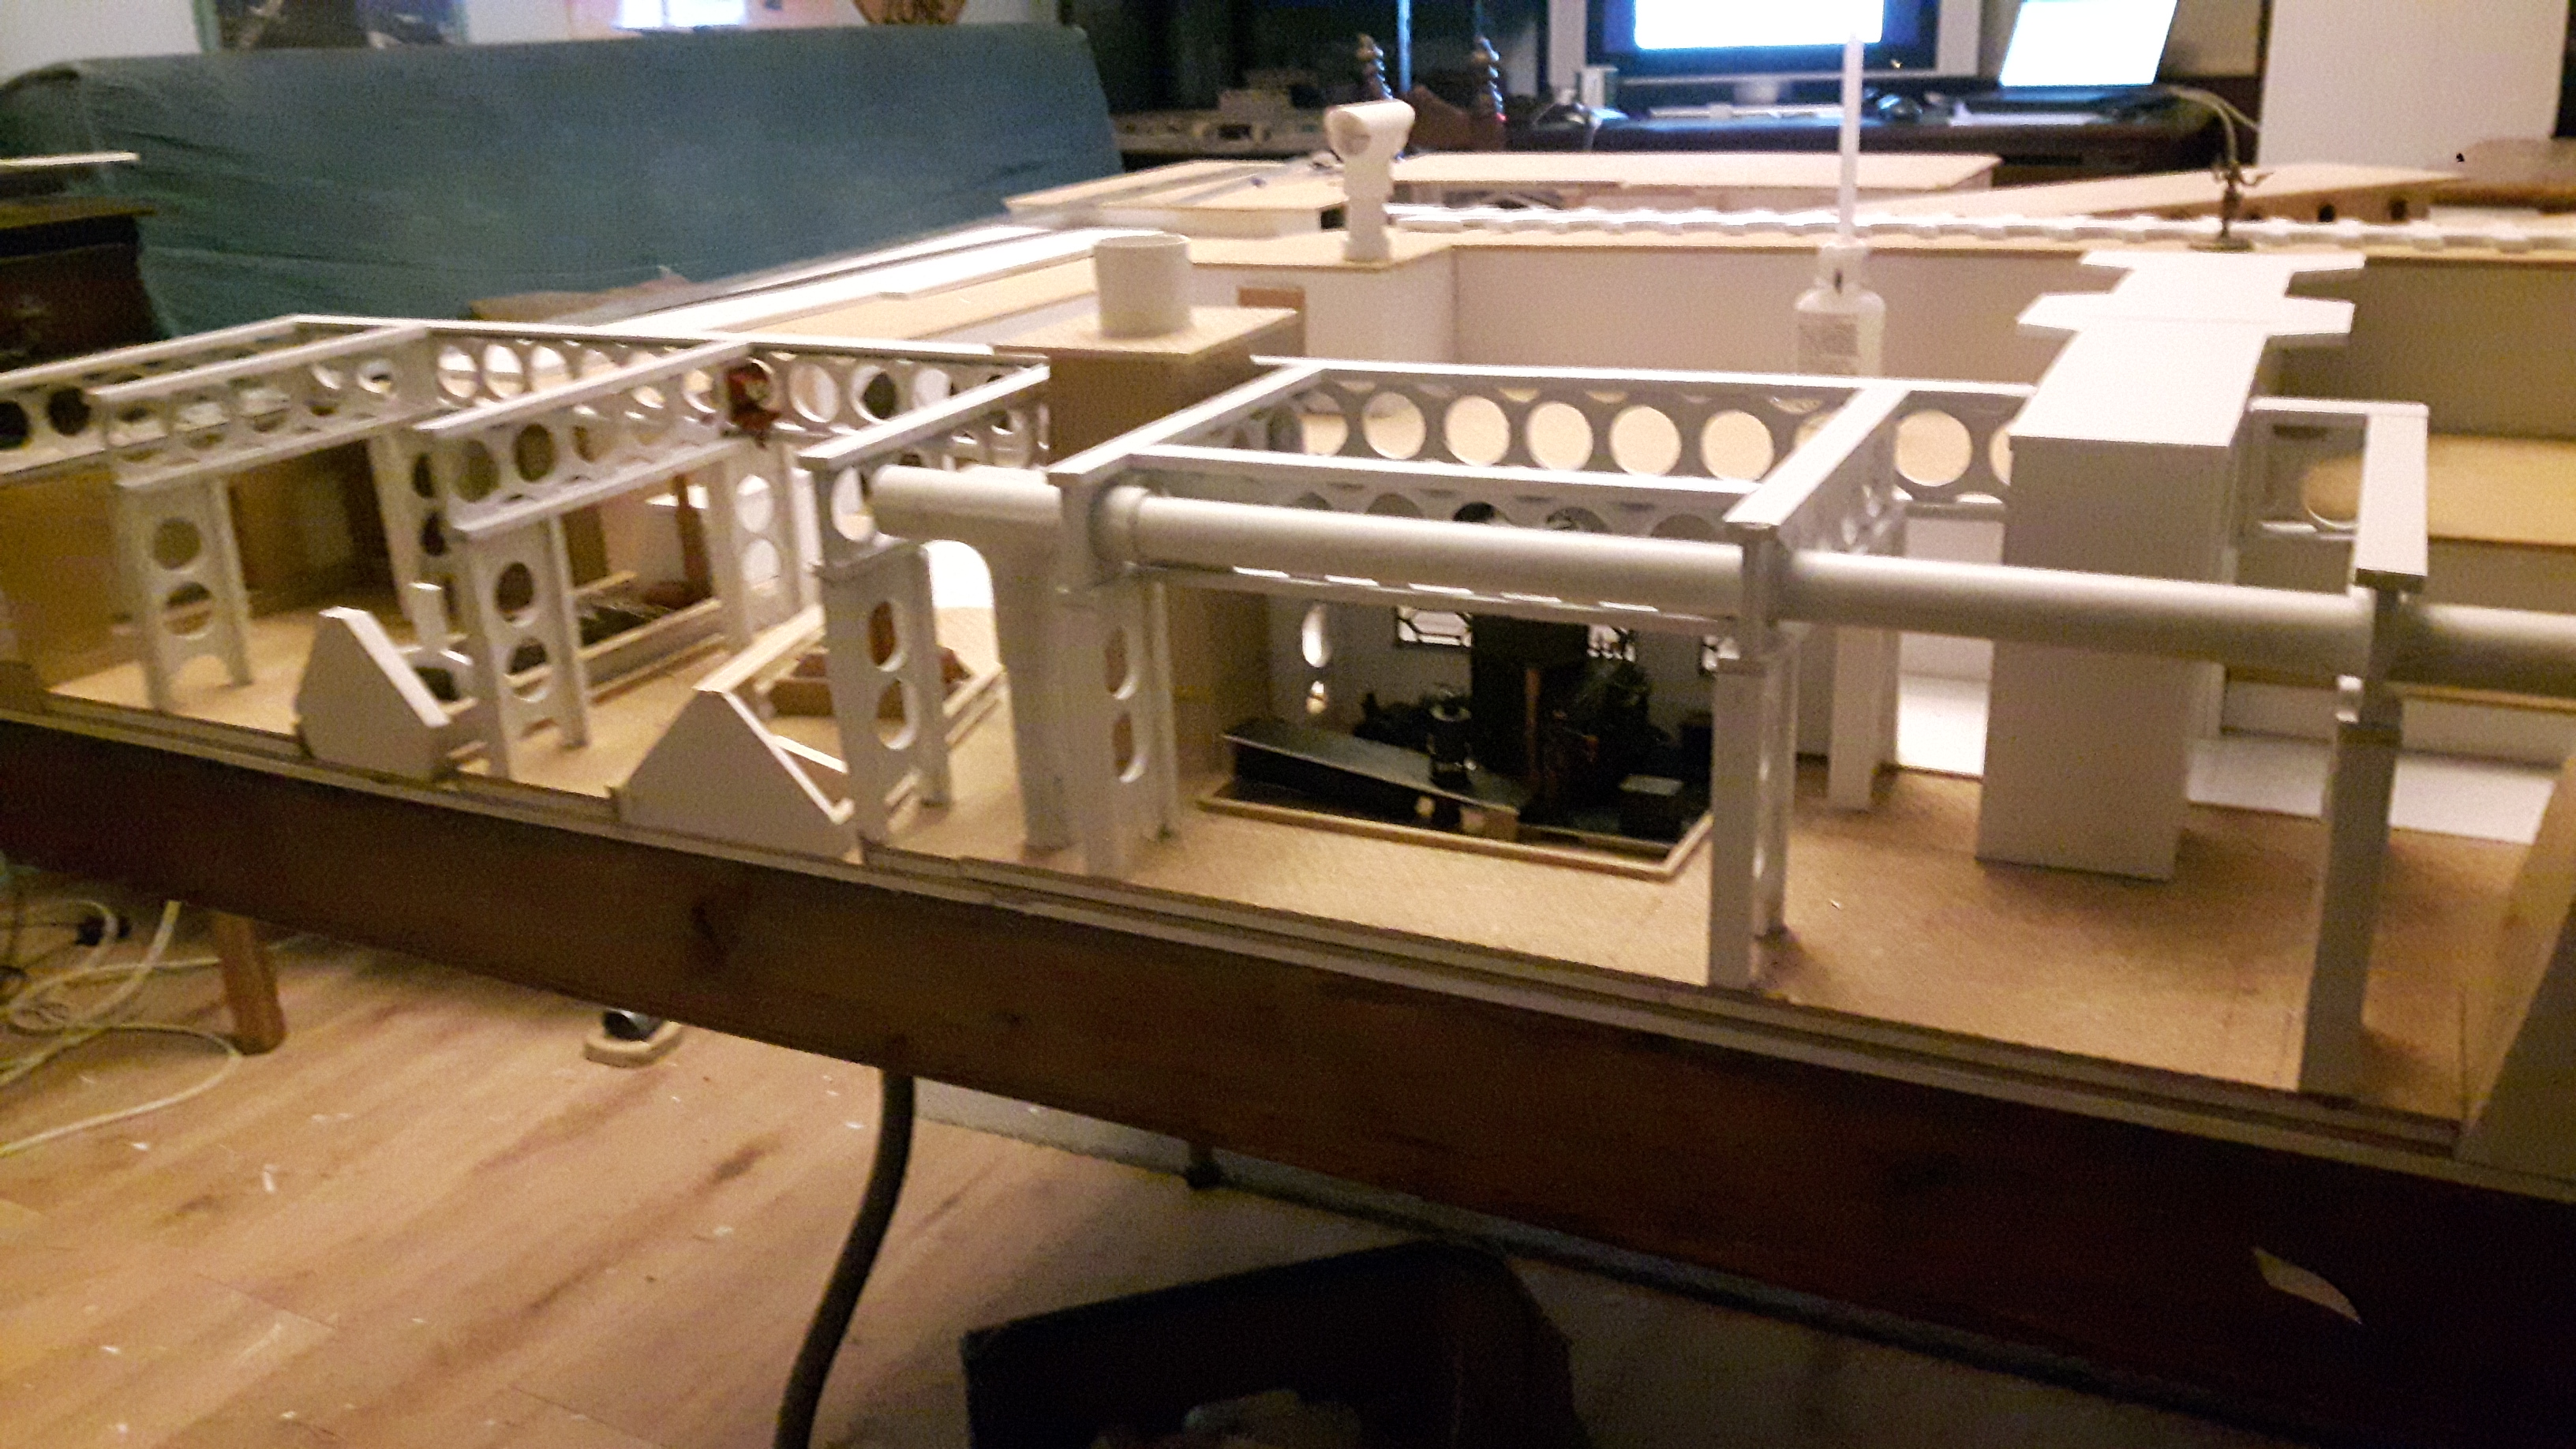
Victorian Docks: Girders.
The Victorians loved their girders, so I have to have a few girders in there.
To support the buildings above the canal quays and engine room these need to be big and strong. Girders were often decorative as well as functional so I wanted a design that was relatively easy to mass produce but had some character too.
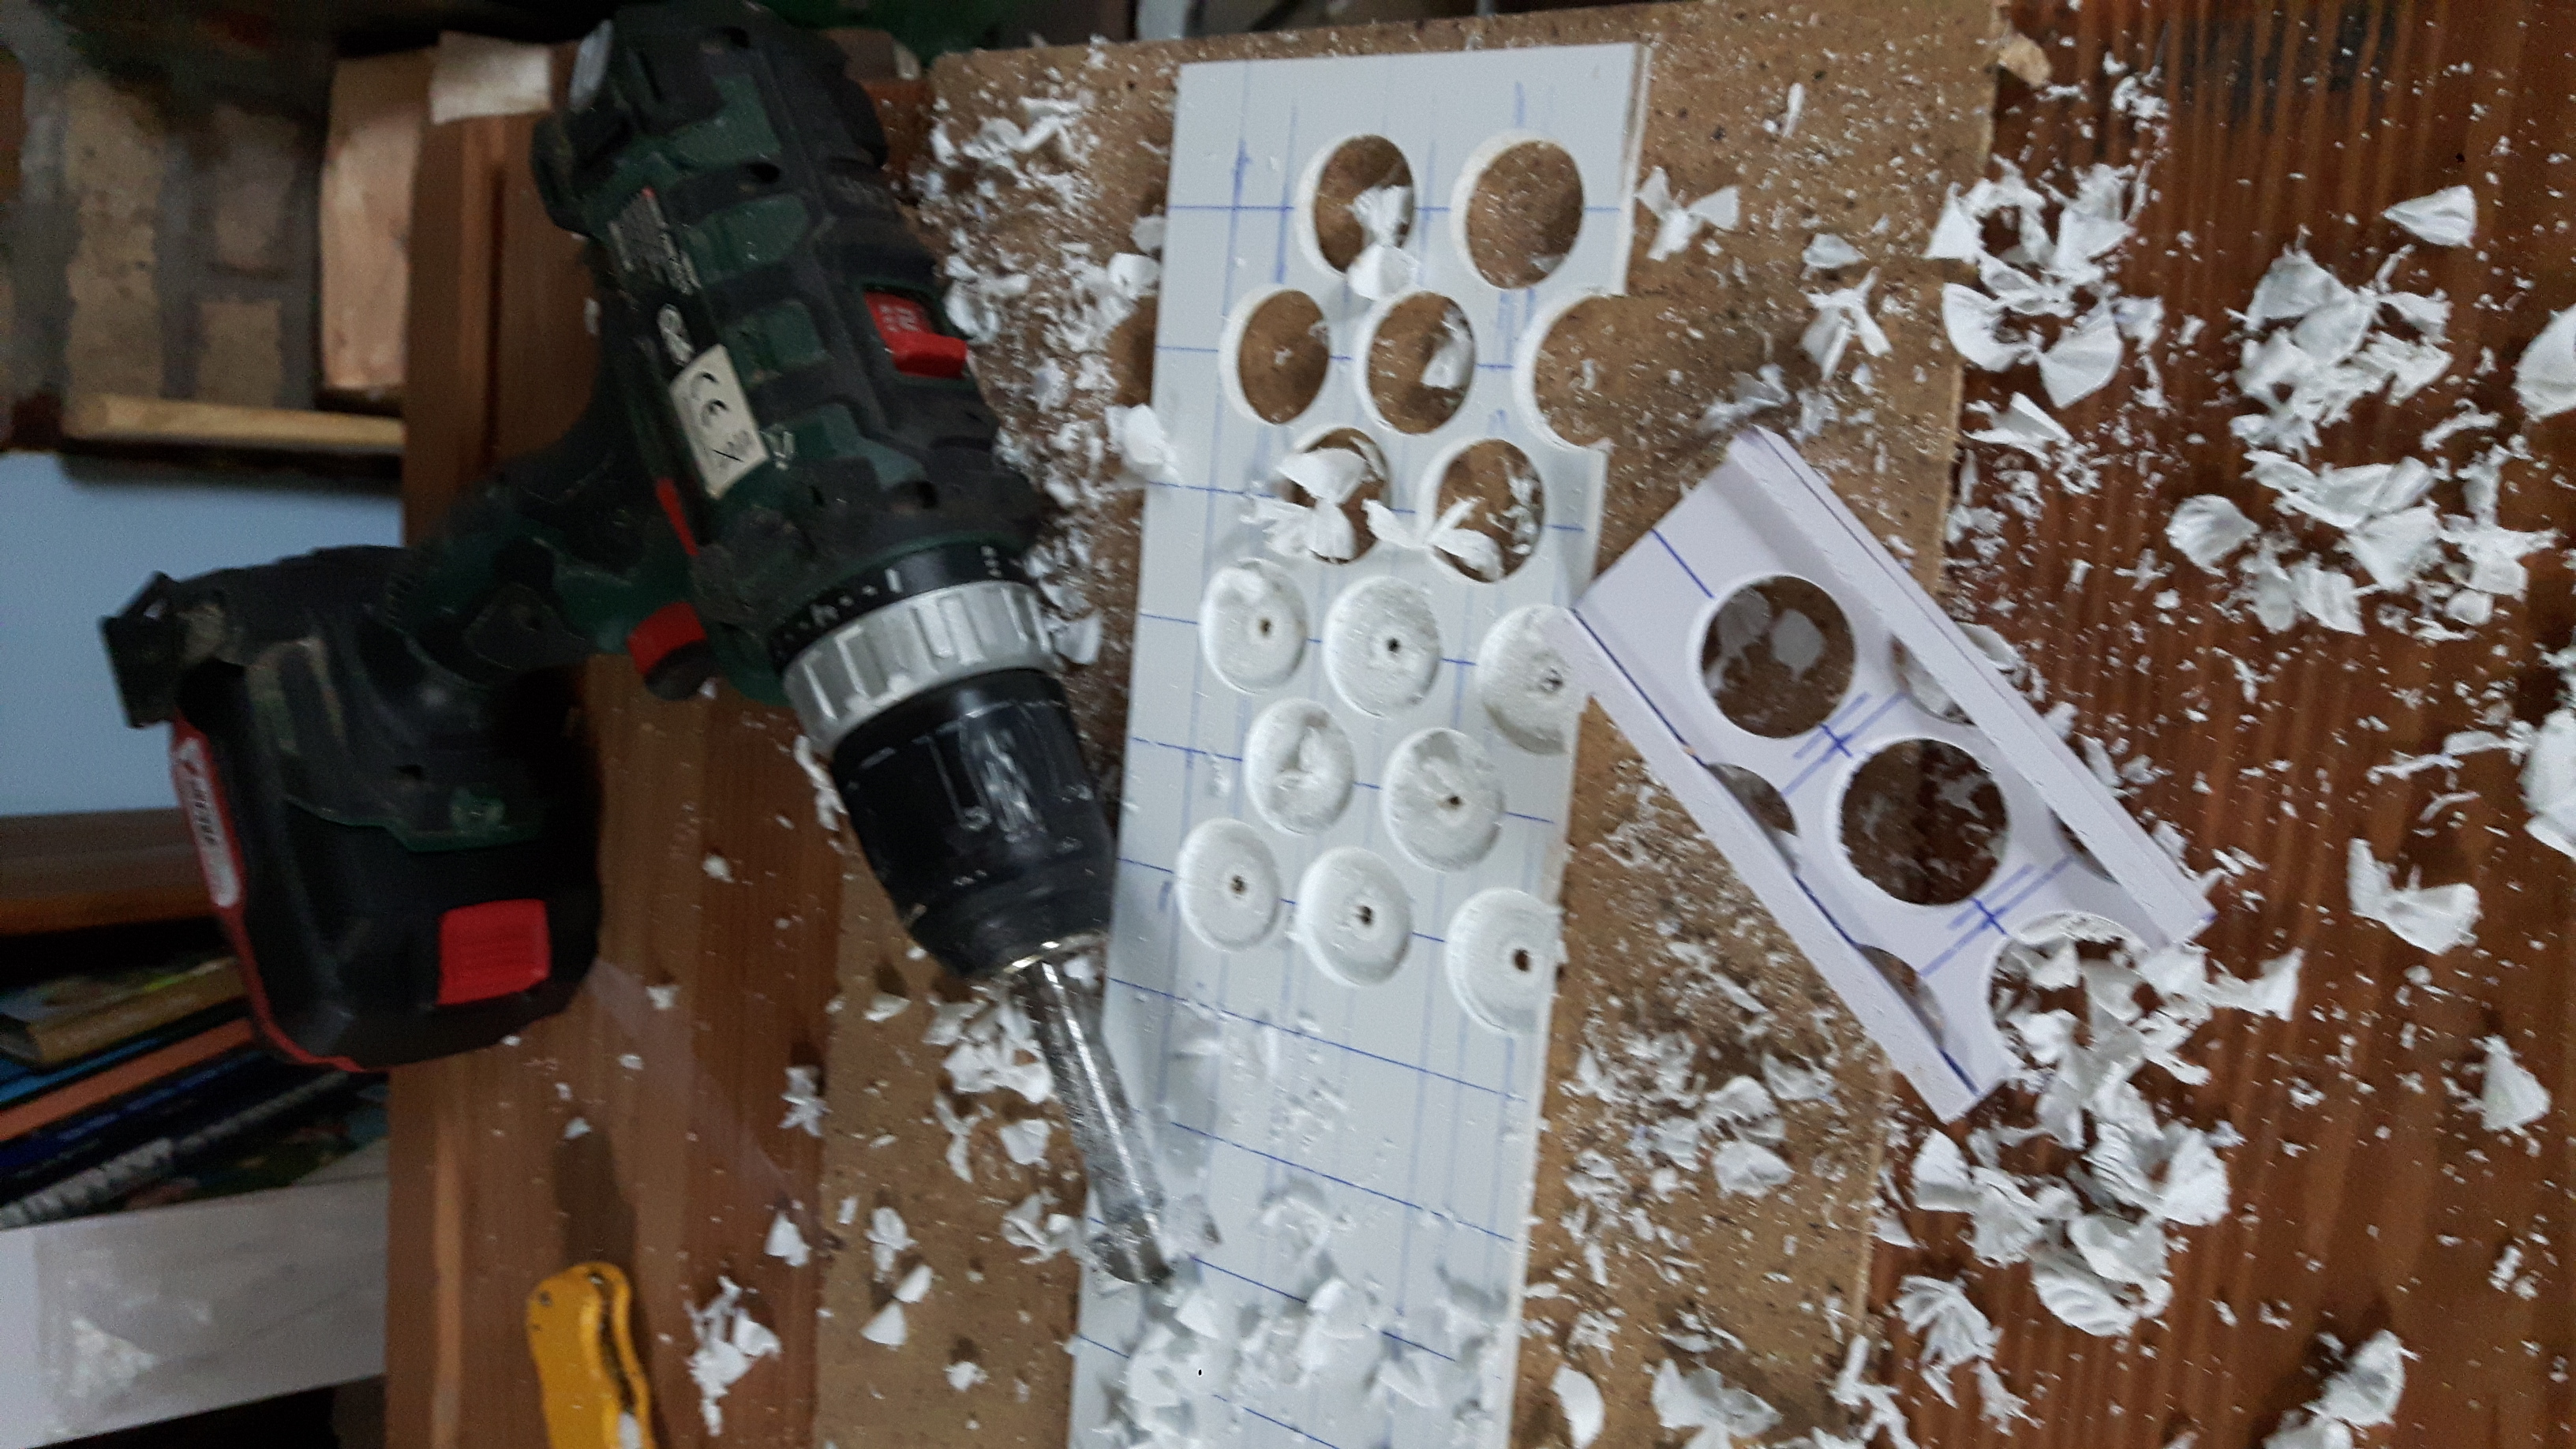
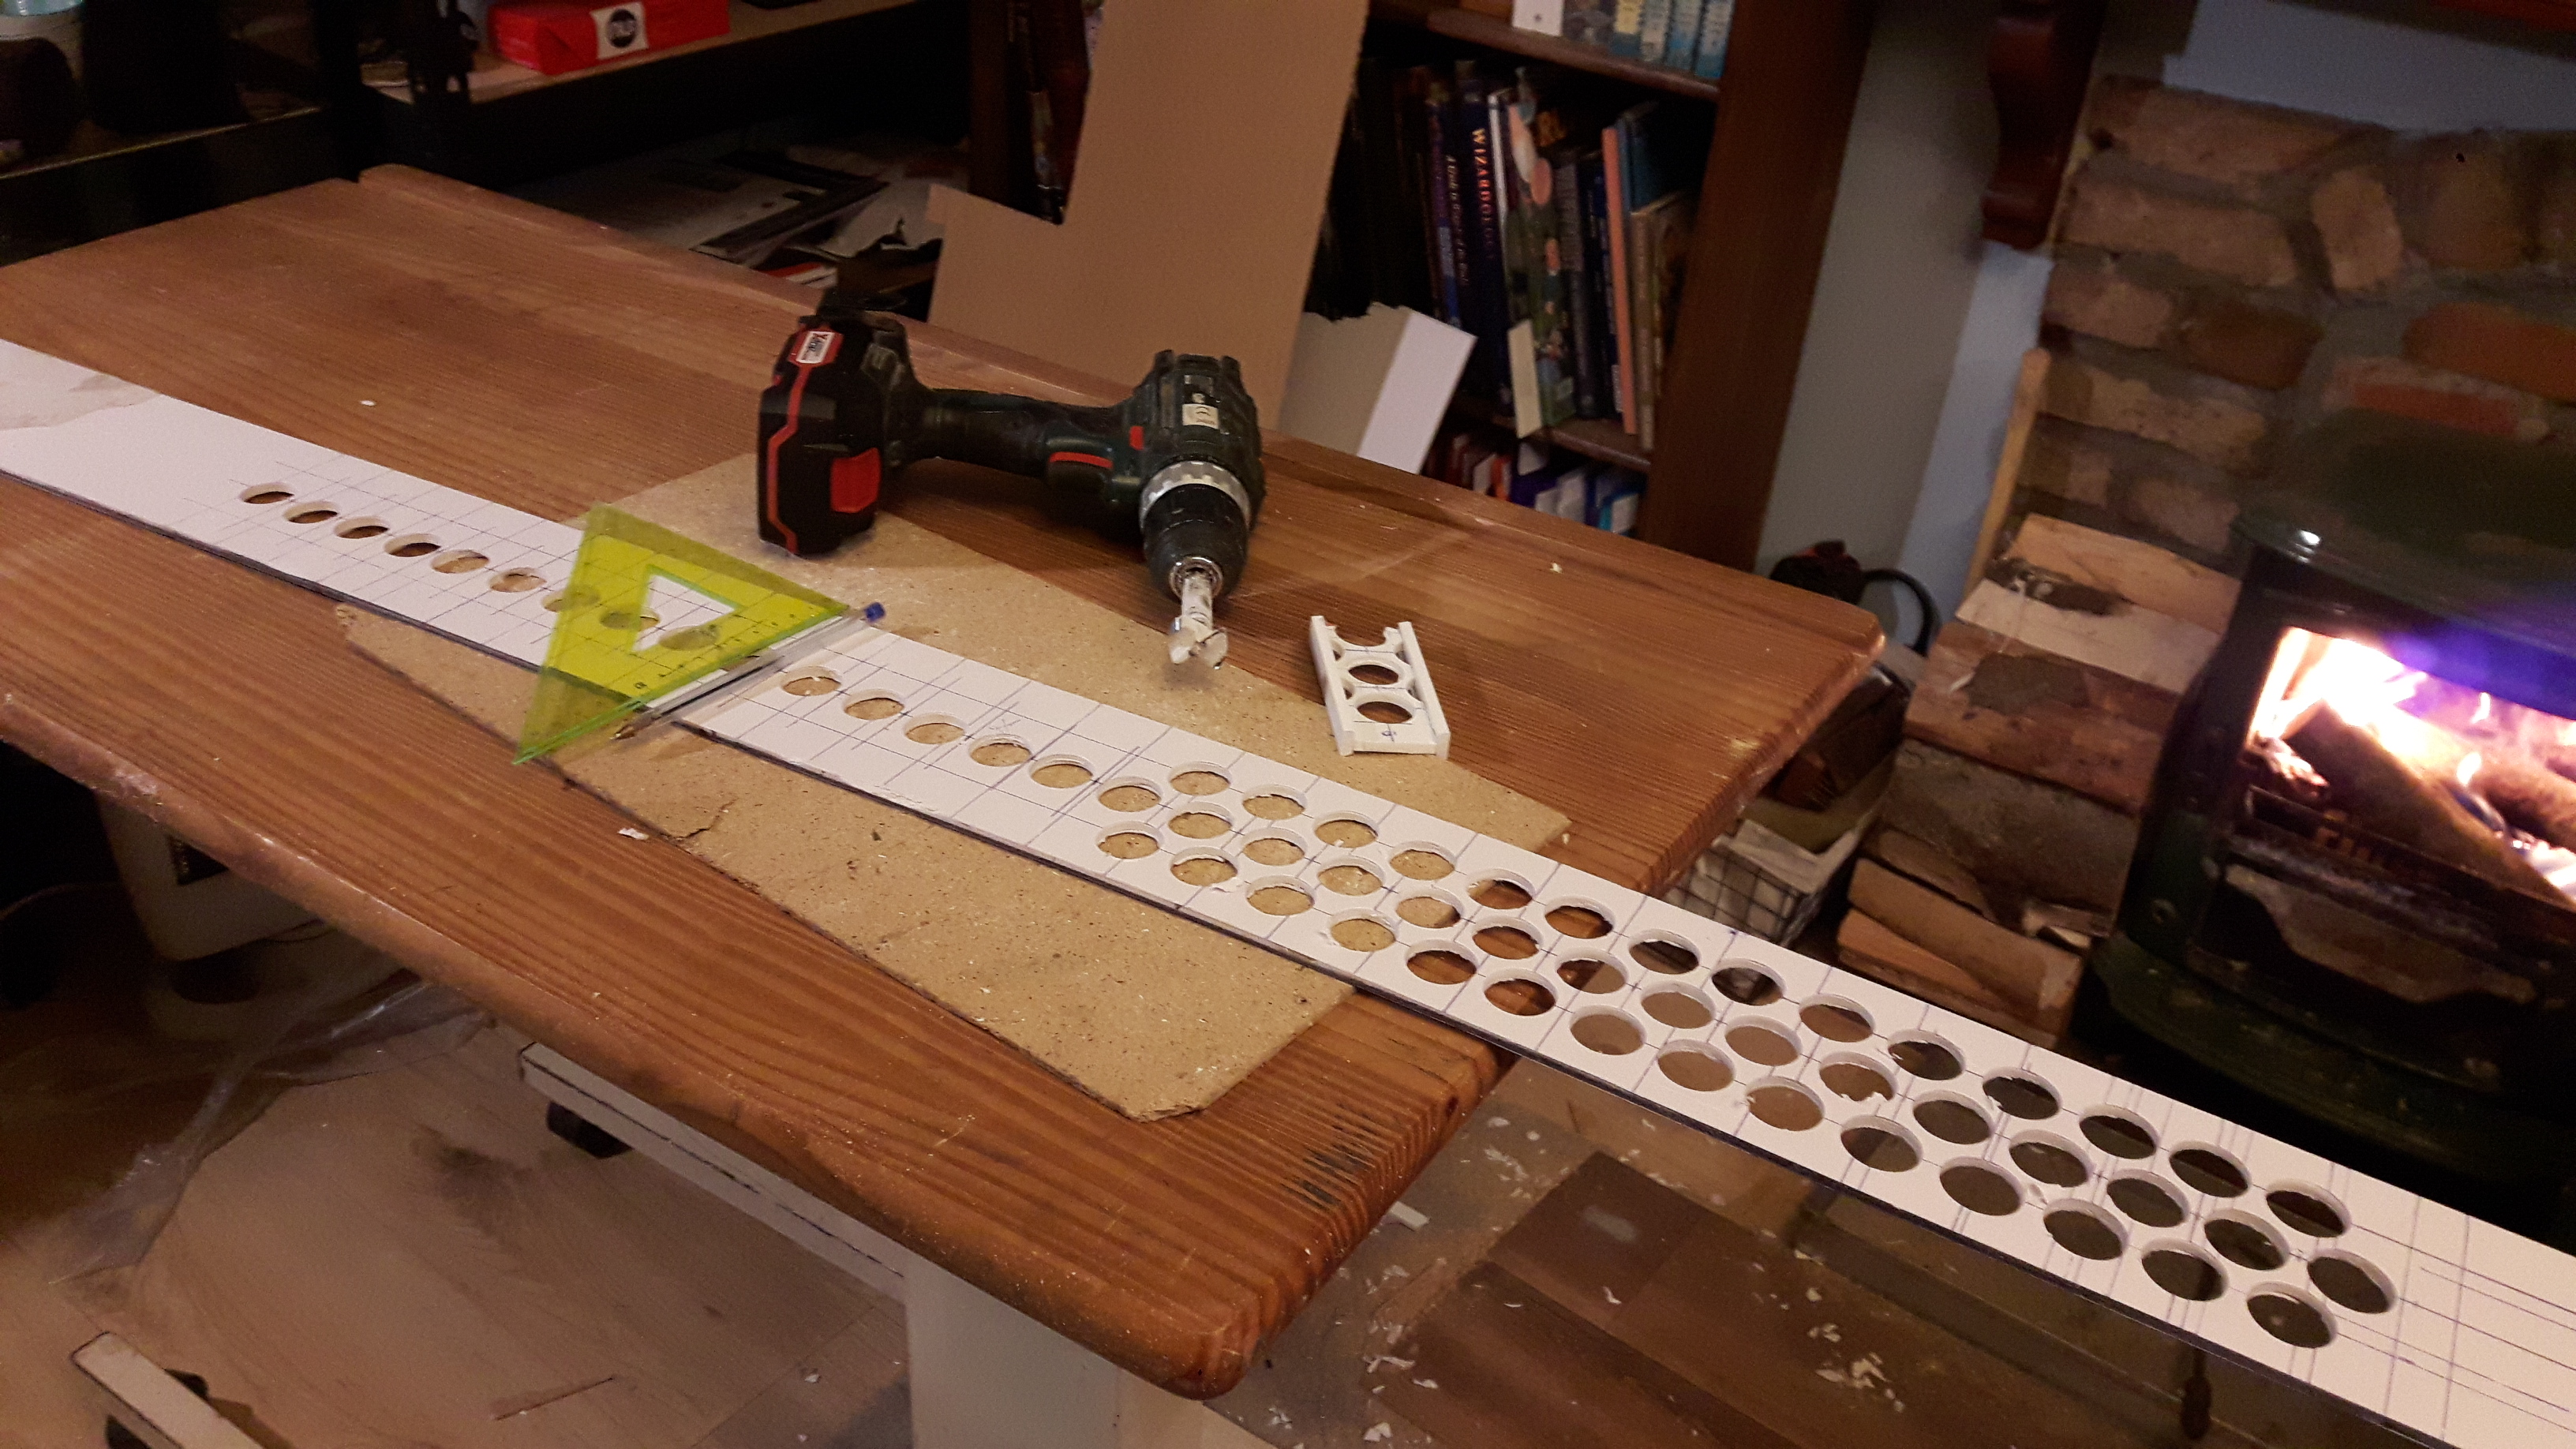
The idea I came up with led to three days of boring repetitive mess and a nice result.
Using a one inch forstner bit I cut out rows of off-set circles and then cut the beams just wider than the centre row of circles. Then I cut thin strips of the sign card for the top and bottoms of the beams and used pipe glue to weld them together. The off-cuts will get used later as wall features.
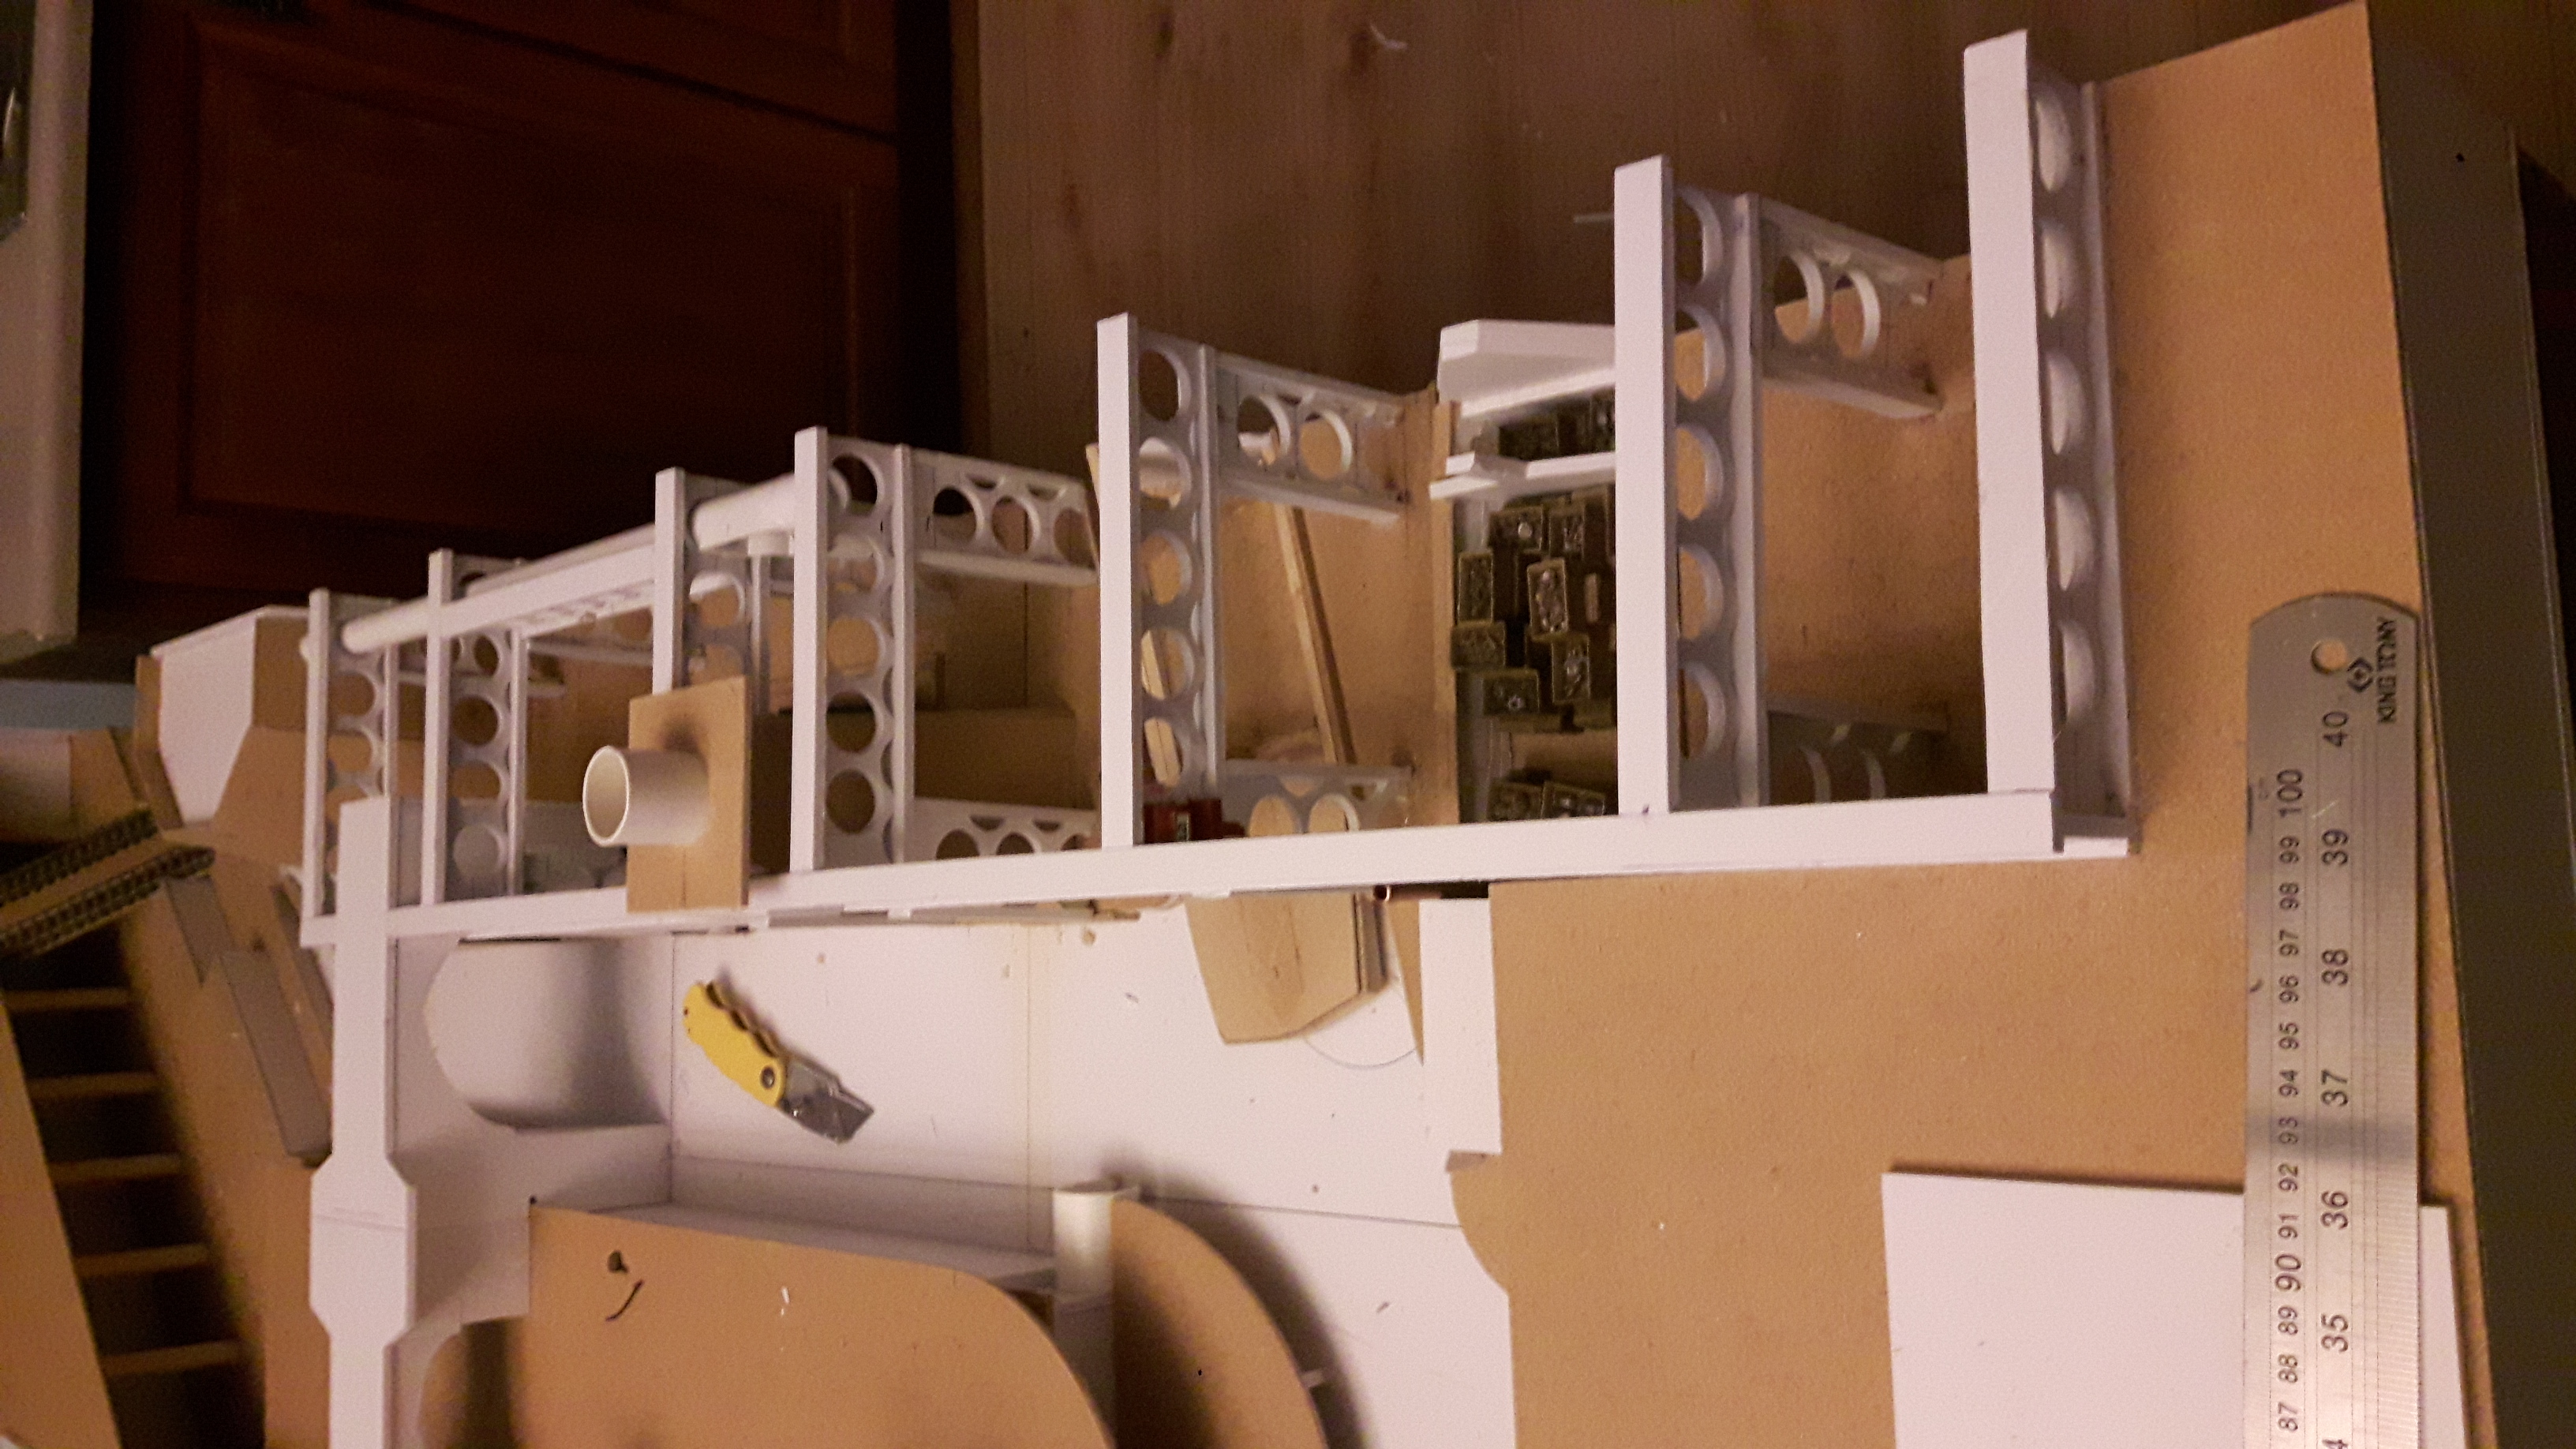
The back area consists of several sections of base board that interlock but need to be stored separately, so the girders were made in sections and glued to the individual boards. Floor sections and a chimney stack were made at the same time.
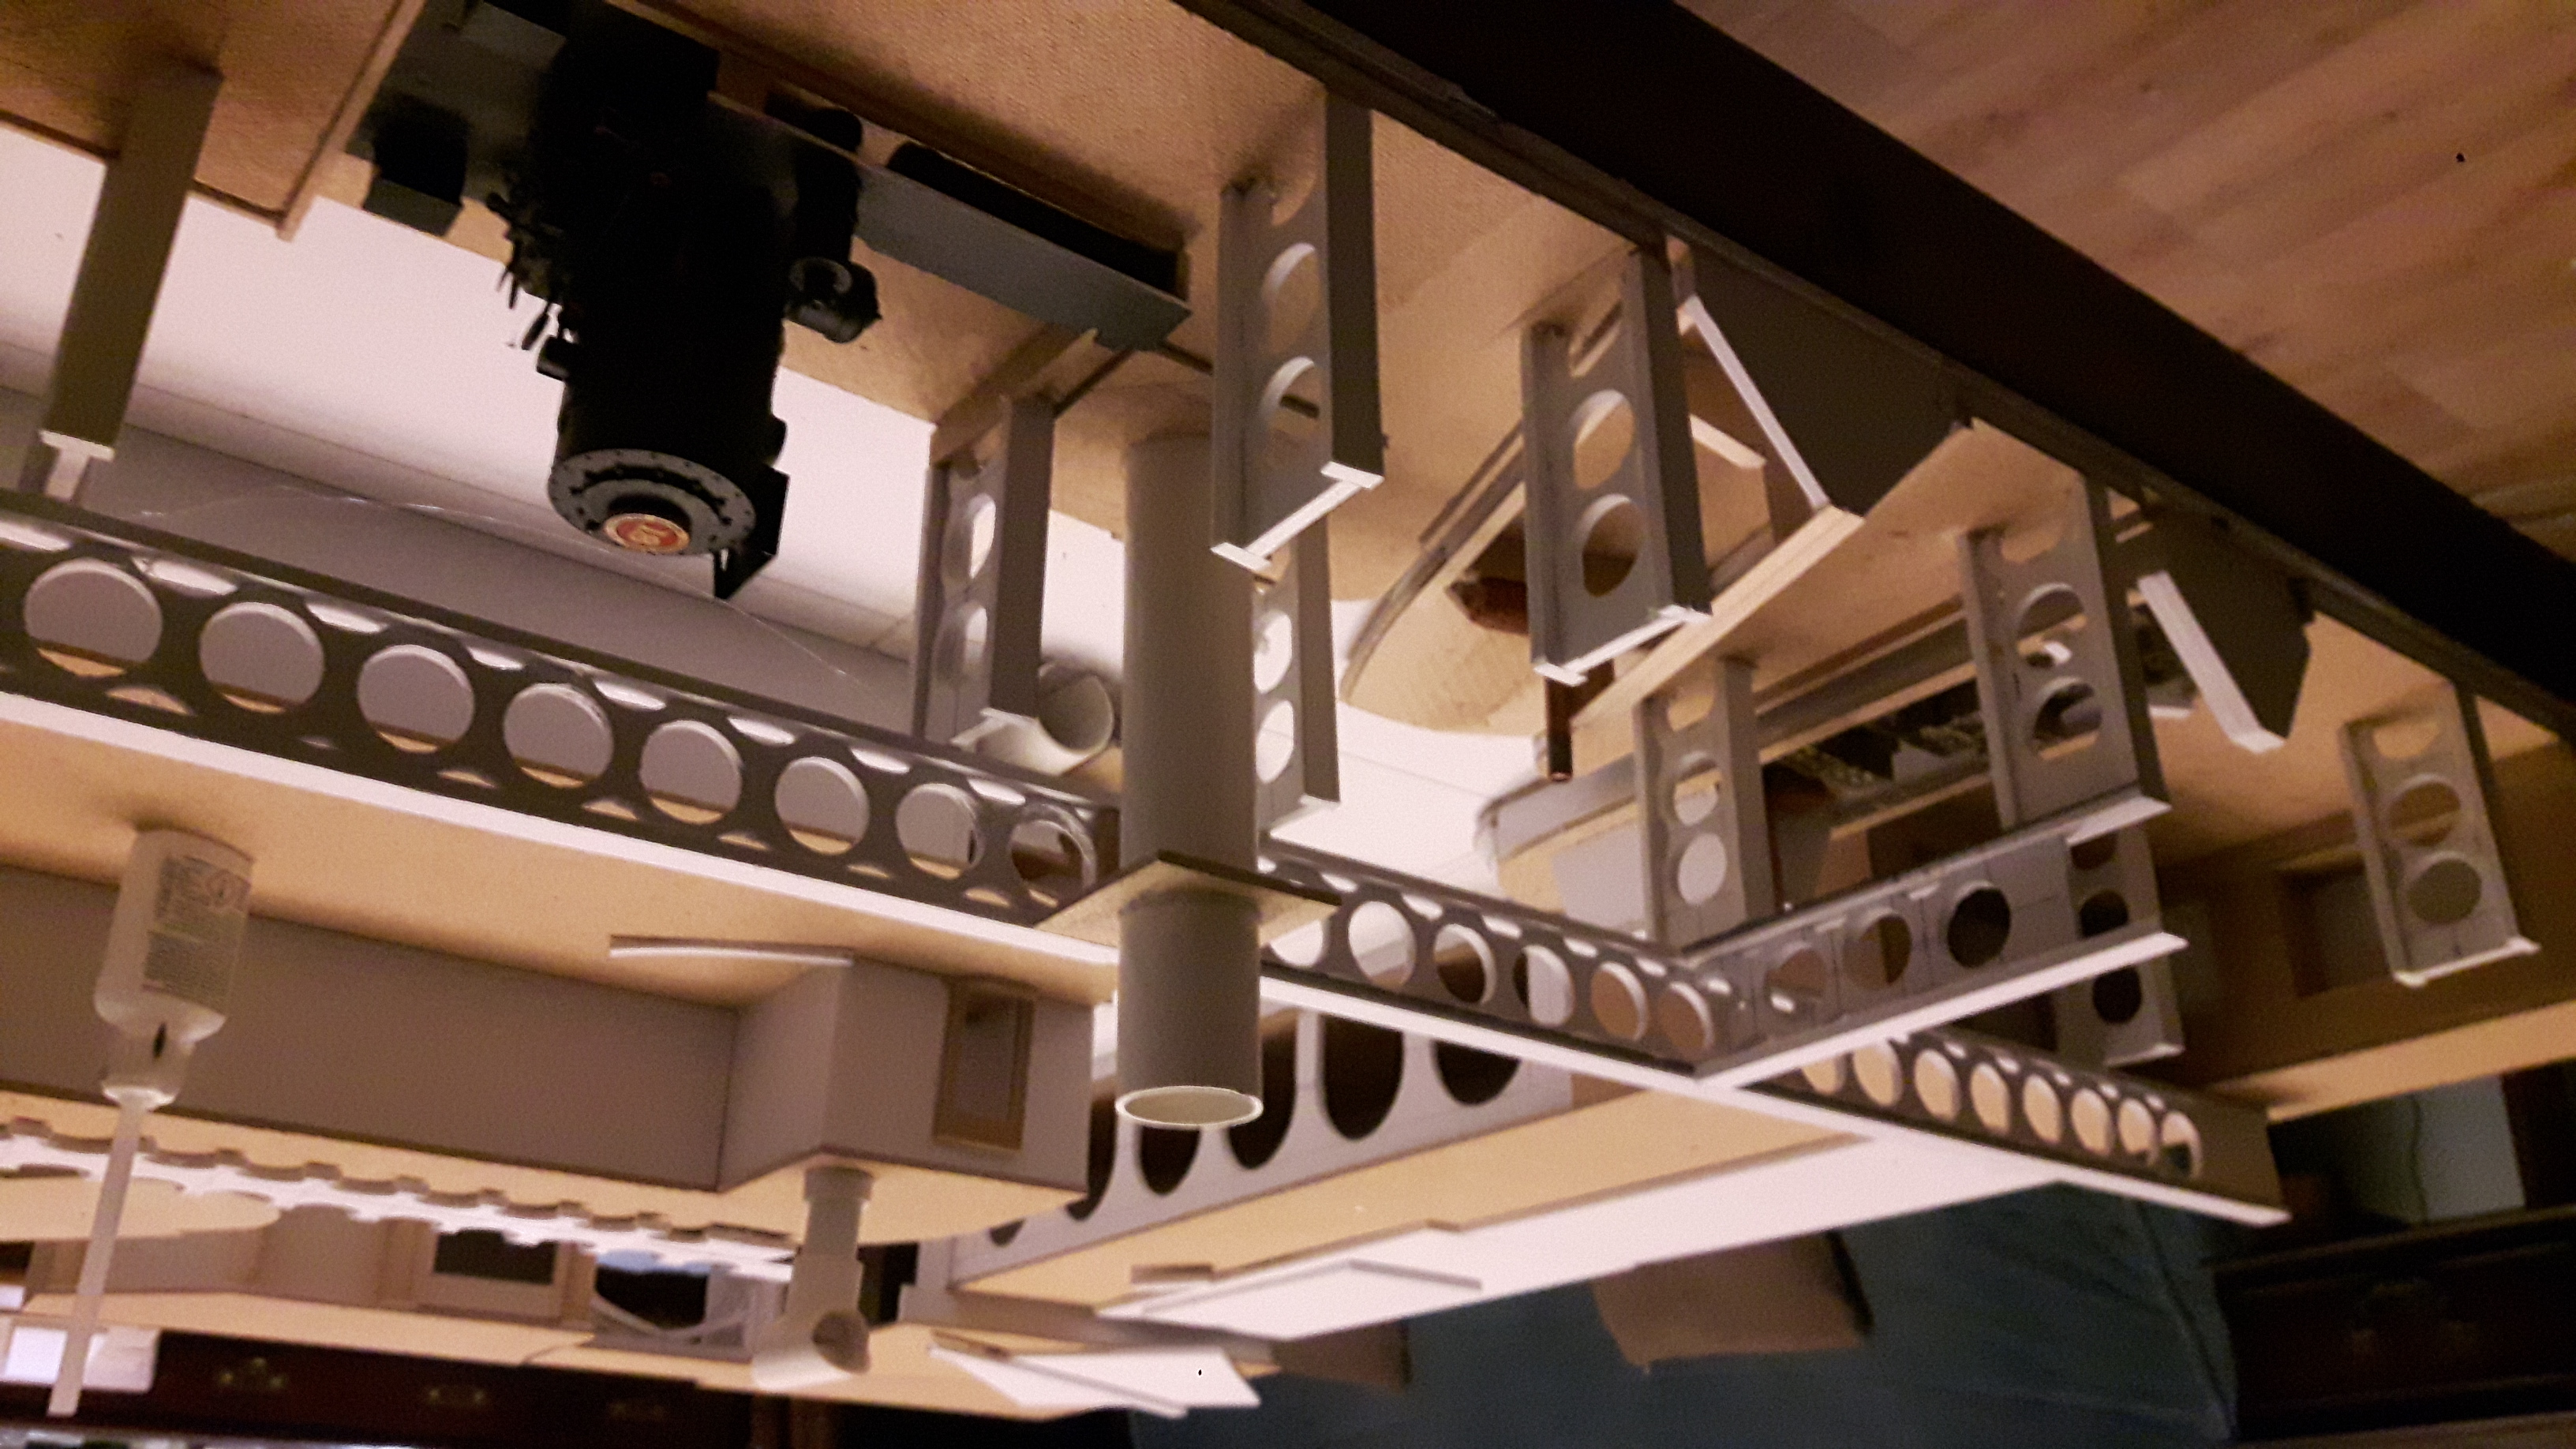
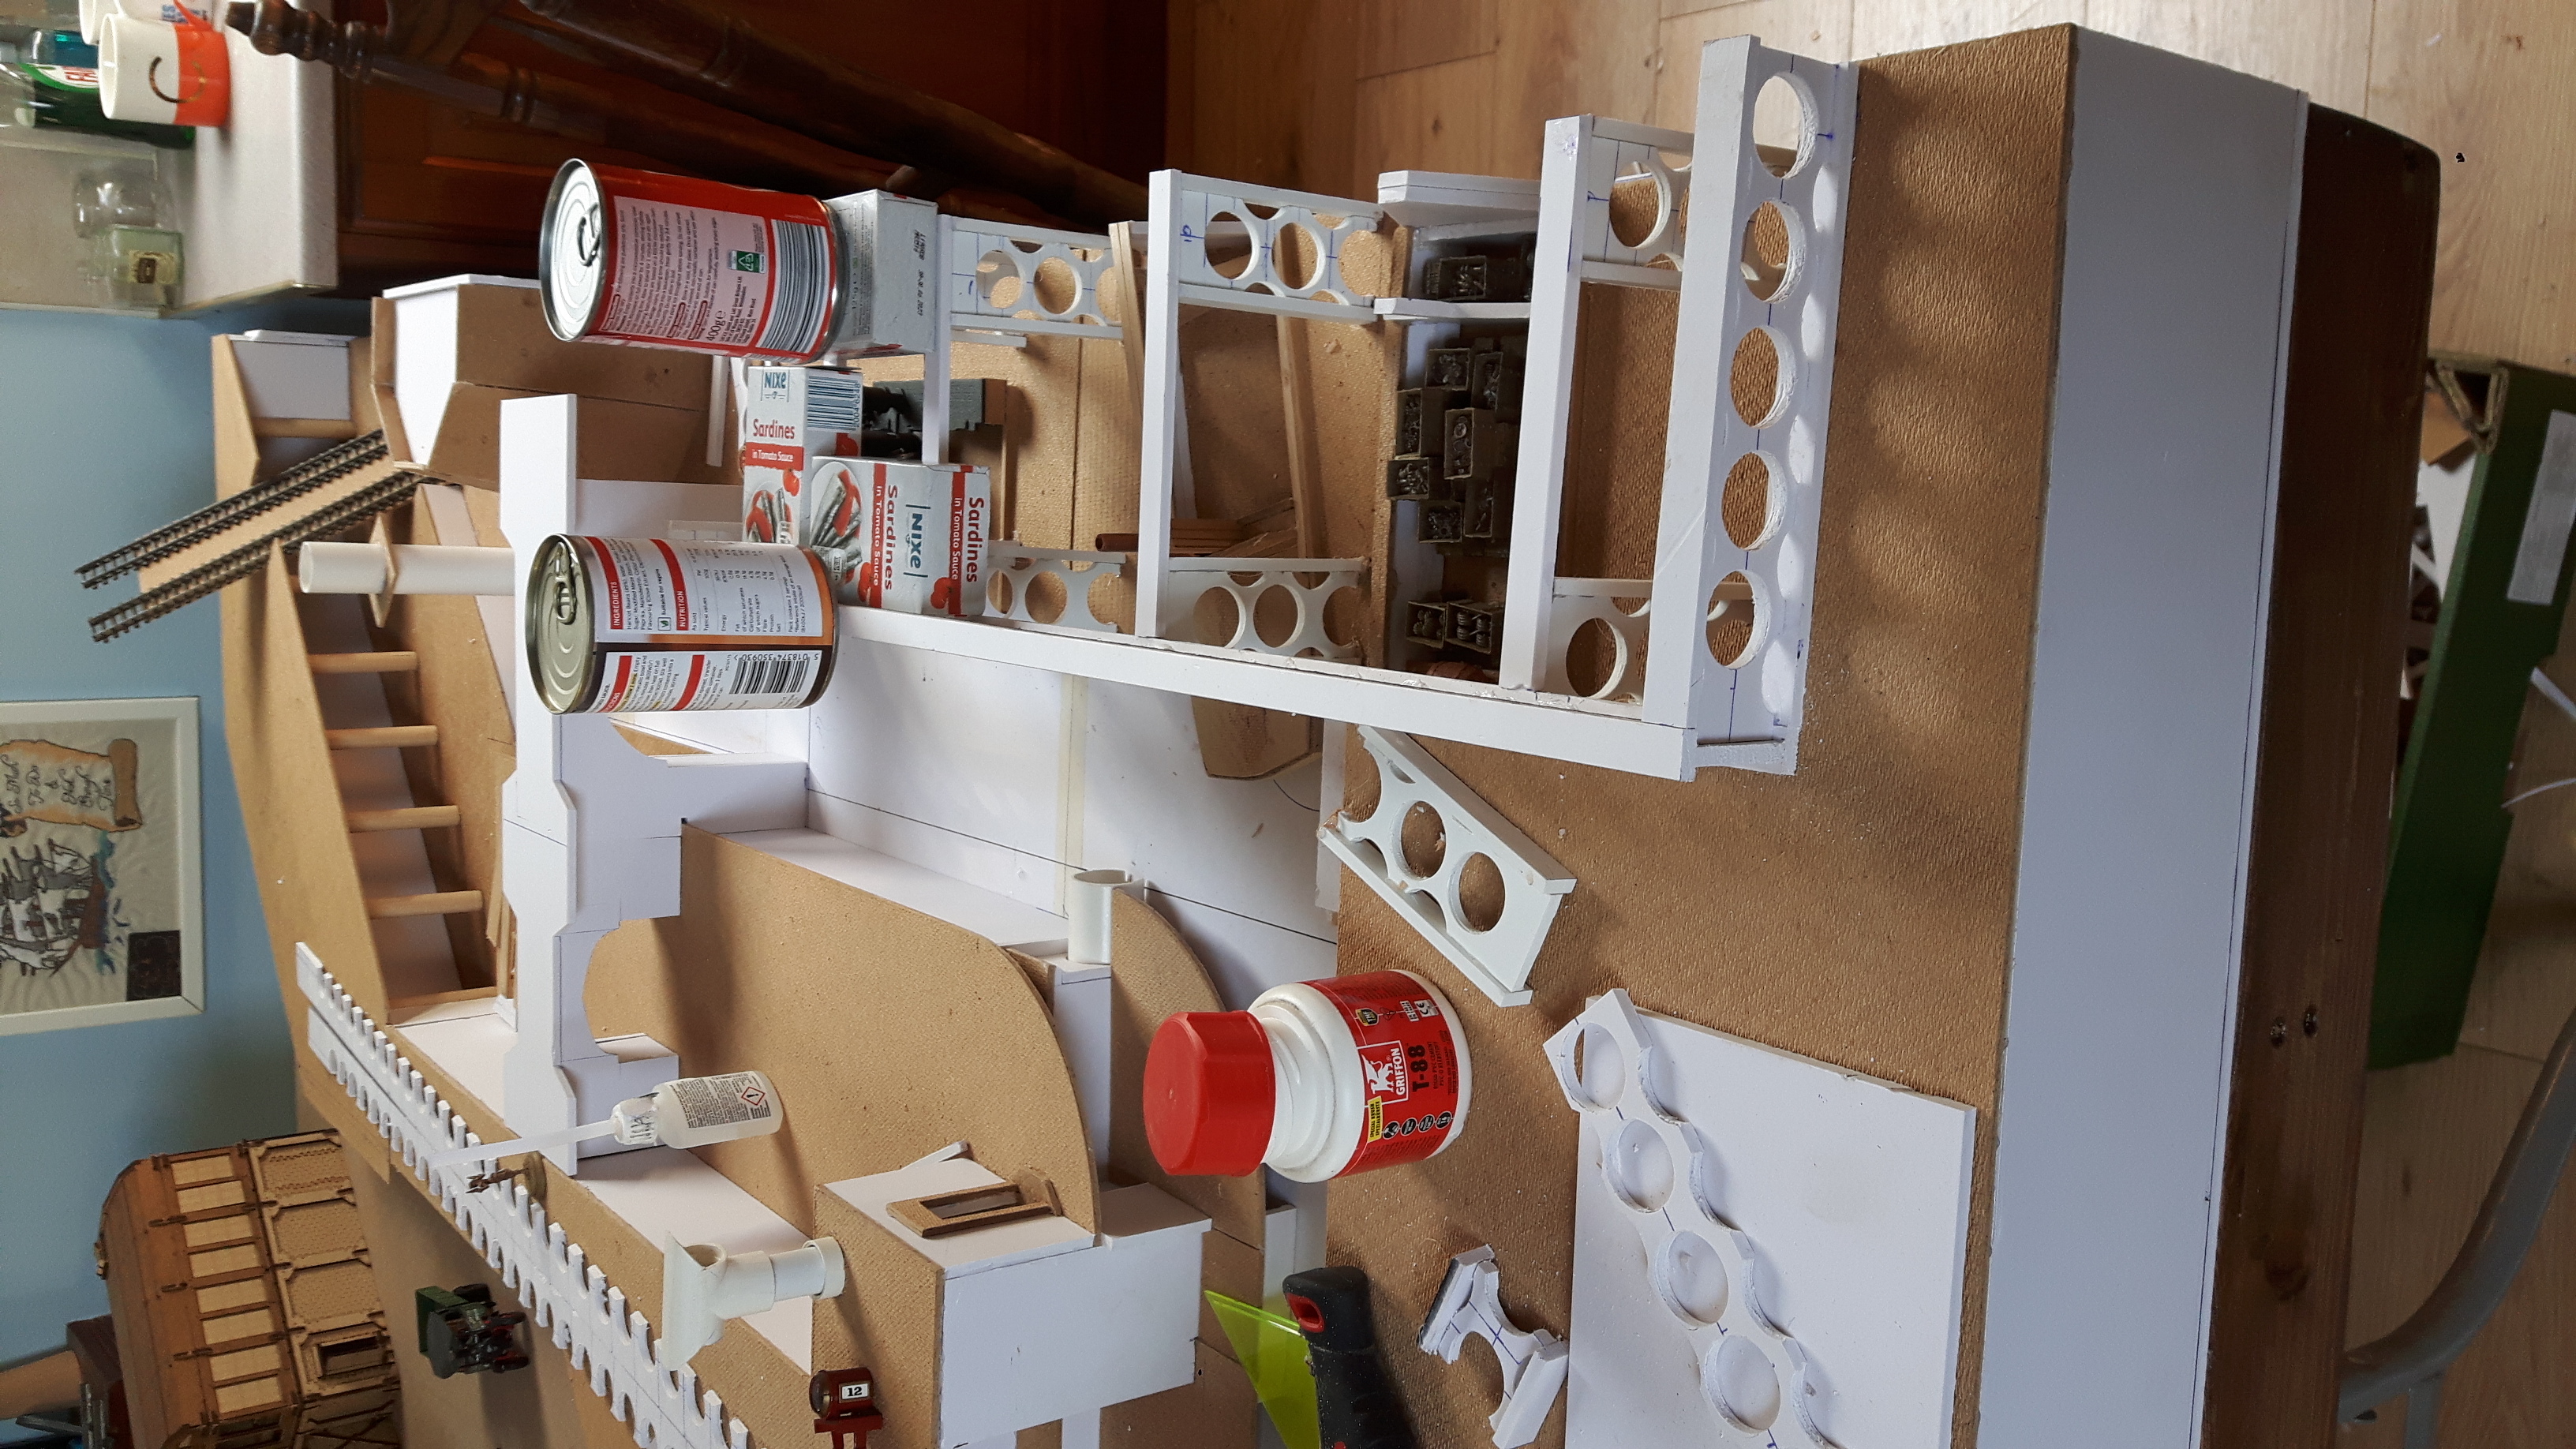
I found some lights and started adding some pipework. The beams on the outside will have ‘glass’ in them, some with signage and some lit. The chimney will carry on up the other levels. A brick front for the engine room was another tedious job but I don’t have any plasticard so a stanley and ruler had to surfice.


And that brings me up to date. Entries from now on will be as progress is achieved.
I did have to buy one more sheet of hardboard (about €11) and I did find some nice LED street lamps and railings on AliExpress and a Genleman’s Convenience (Pissoire), a water tower & a steam crane from Sarissa, but still managing a certain amount of restraint.
Next Job is a Cleaning Challenge!
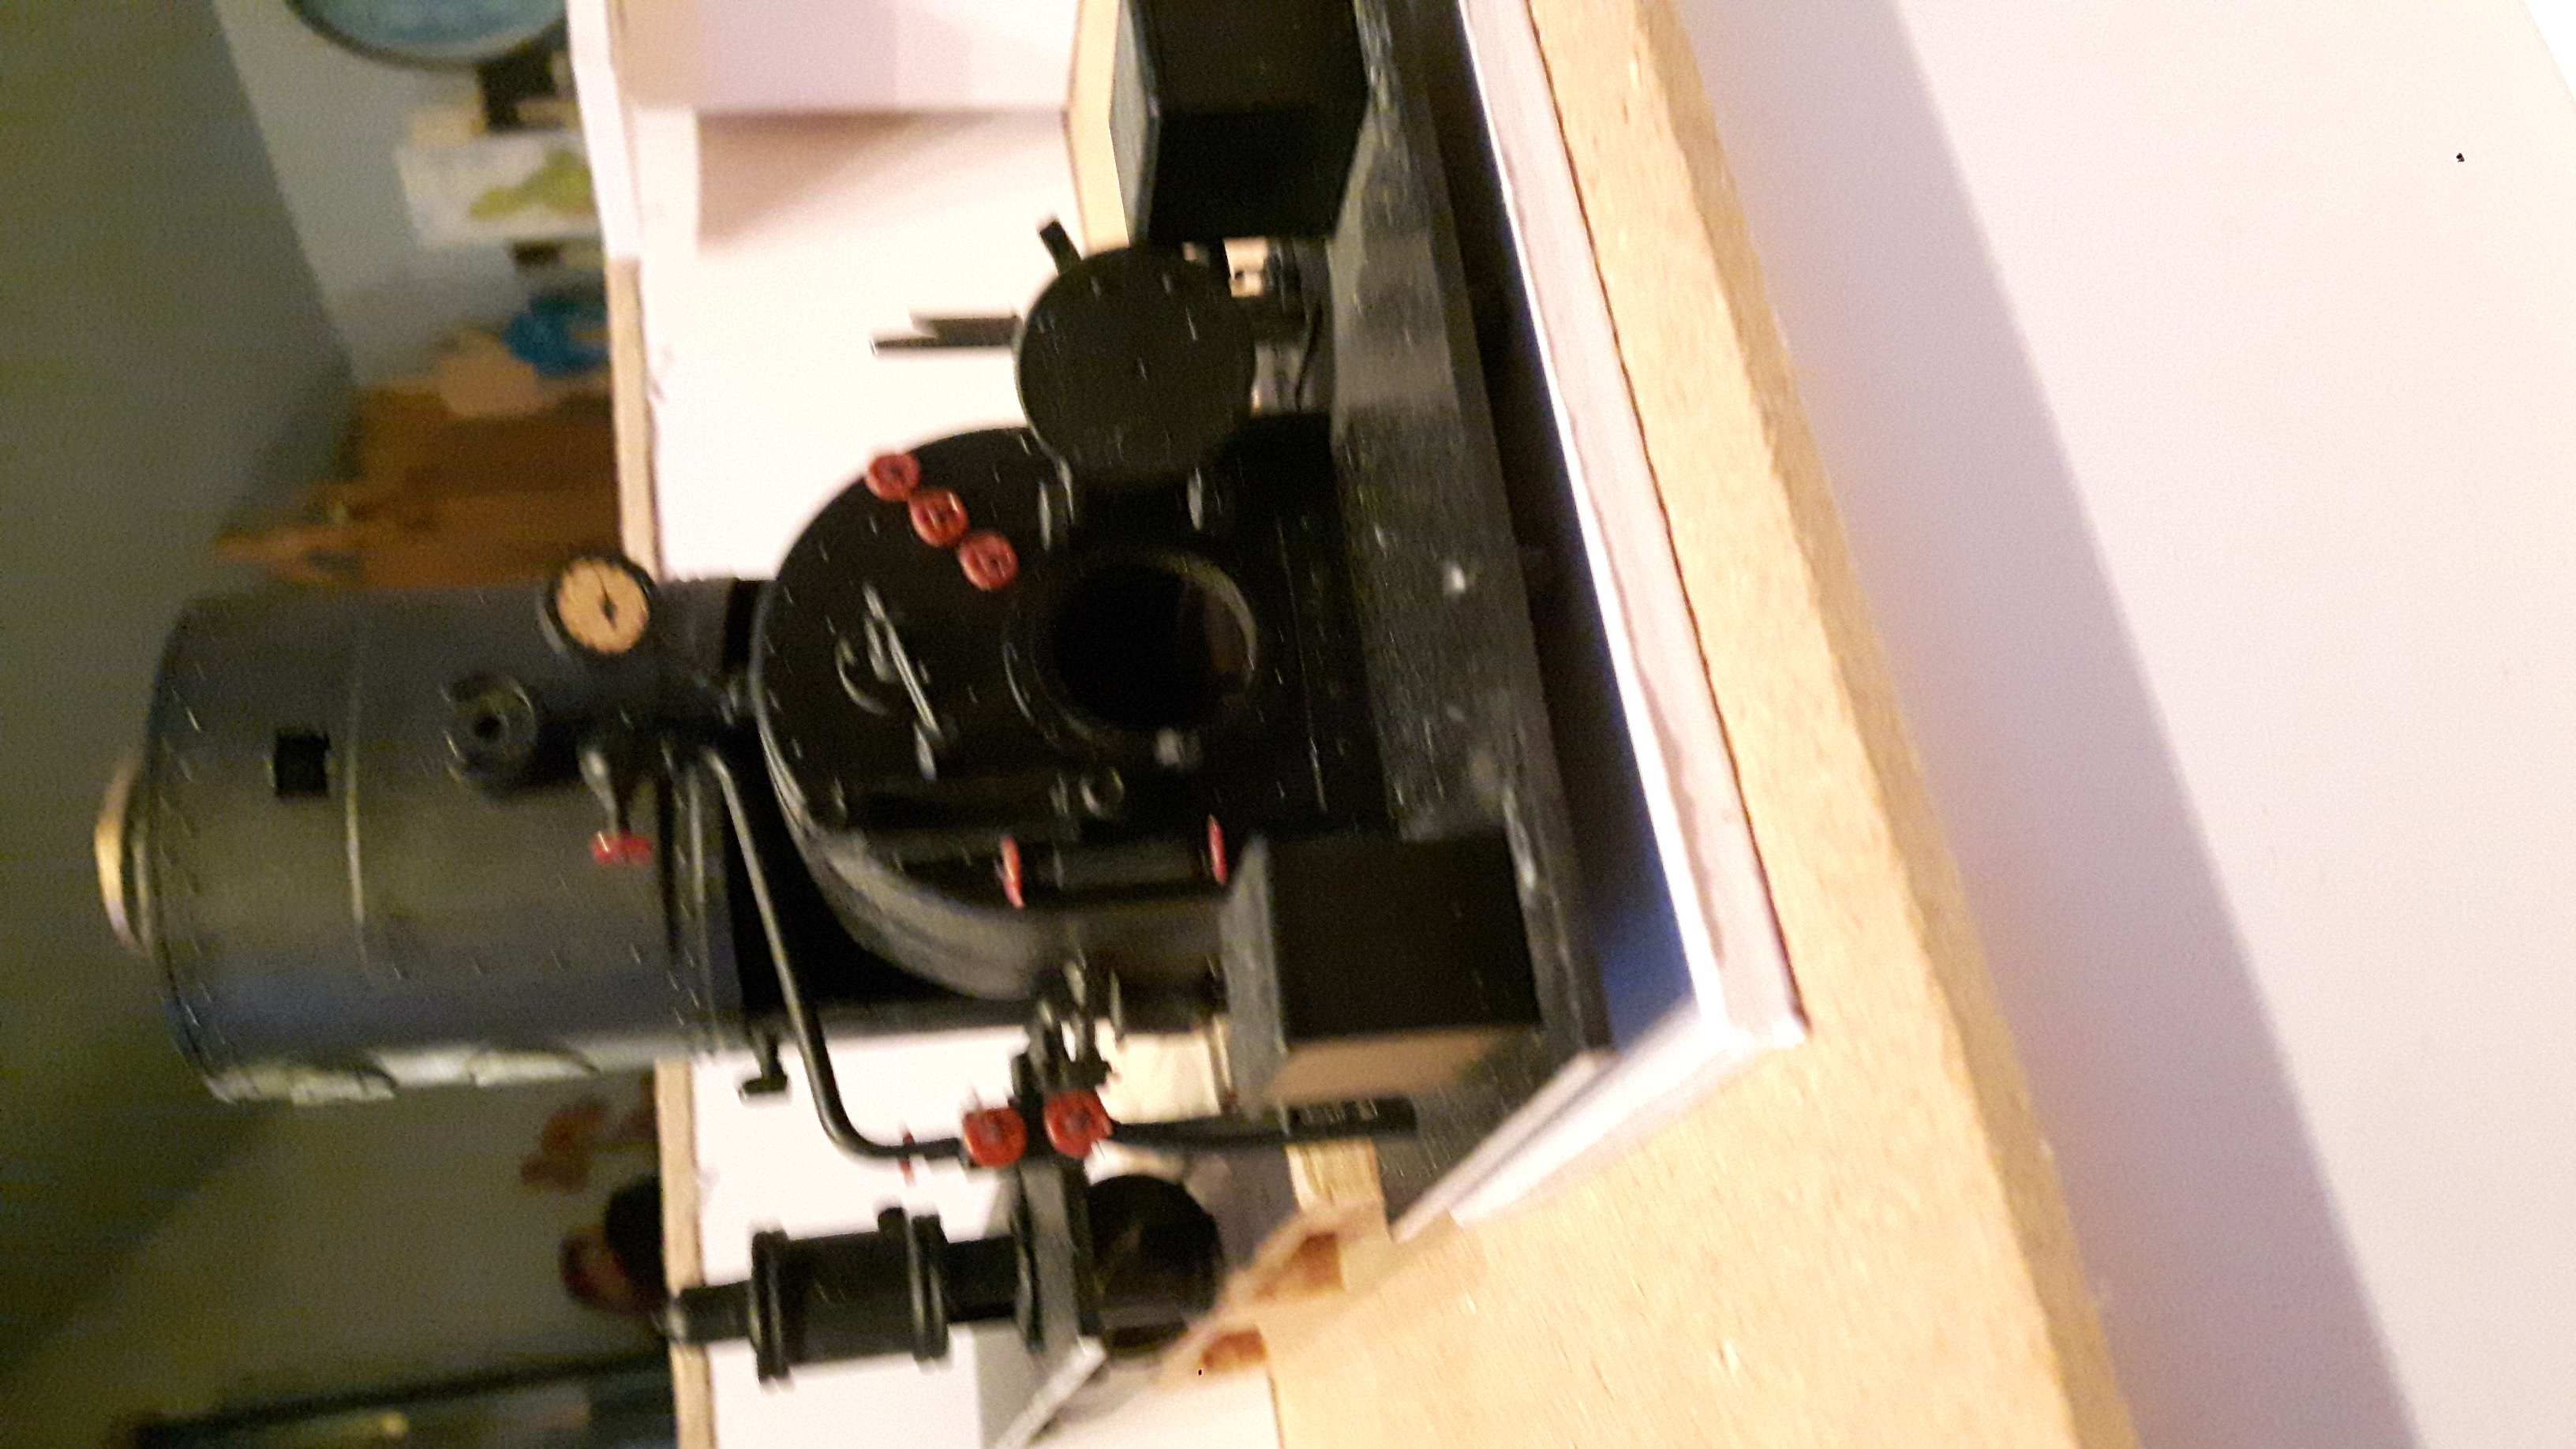
Victorian Docks: Bit box Inspiration and a Lighthouse.
Like most gamer terrain makers I collect stuff. If anyone is throwing out some that has ‘potential’ it goes into a bits box. I have one with old large scale locomtives in it!
Rummaging through it I came up with some ideas for a stationary engine to belt power the factory (need to make flywheels and drive pulleys etc.) and a Stephenson’s Rocket type loco. I was imagining making some heavy steam-punky dark and gritty loco based on the Mallard shape but there probably wouldn’t be room for it and a coach on the board. A ‘Rocket’ would look cute, be a better size for the gaming space and could still be called the Mallard as it would be the fastest thing in this city!
I have thrown a few bits together to get a feel of them, but not cut or glued anything yet.

My original intentions were to build an observation tower and lighthouse beacon above the Customs House but I needed something for the waterway to go round and off the back of the board. An Eddystone type lighthouse would look good there.
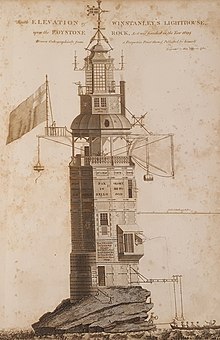
There wouldn’t be enough room for the full width of the lighthouse and the shape would be wrong for what I needed so I ‘cut’ it in half.
The base would have to be strong for gaming abuse and to hold the various attachments to it. I constructed a frame out of sign board and hot glued the side panels of hardboard to it.
The lighthouse will have a Dutch style cantilever footbridge to the other side of the waterway, walkways and ‘hayloft’ doors and pulley beams for loading supplies and of course a light at the top.
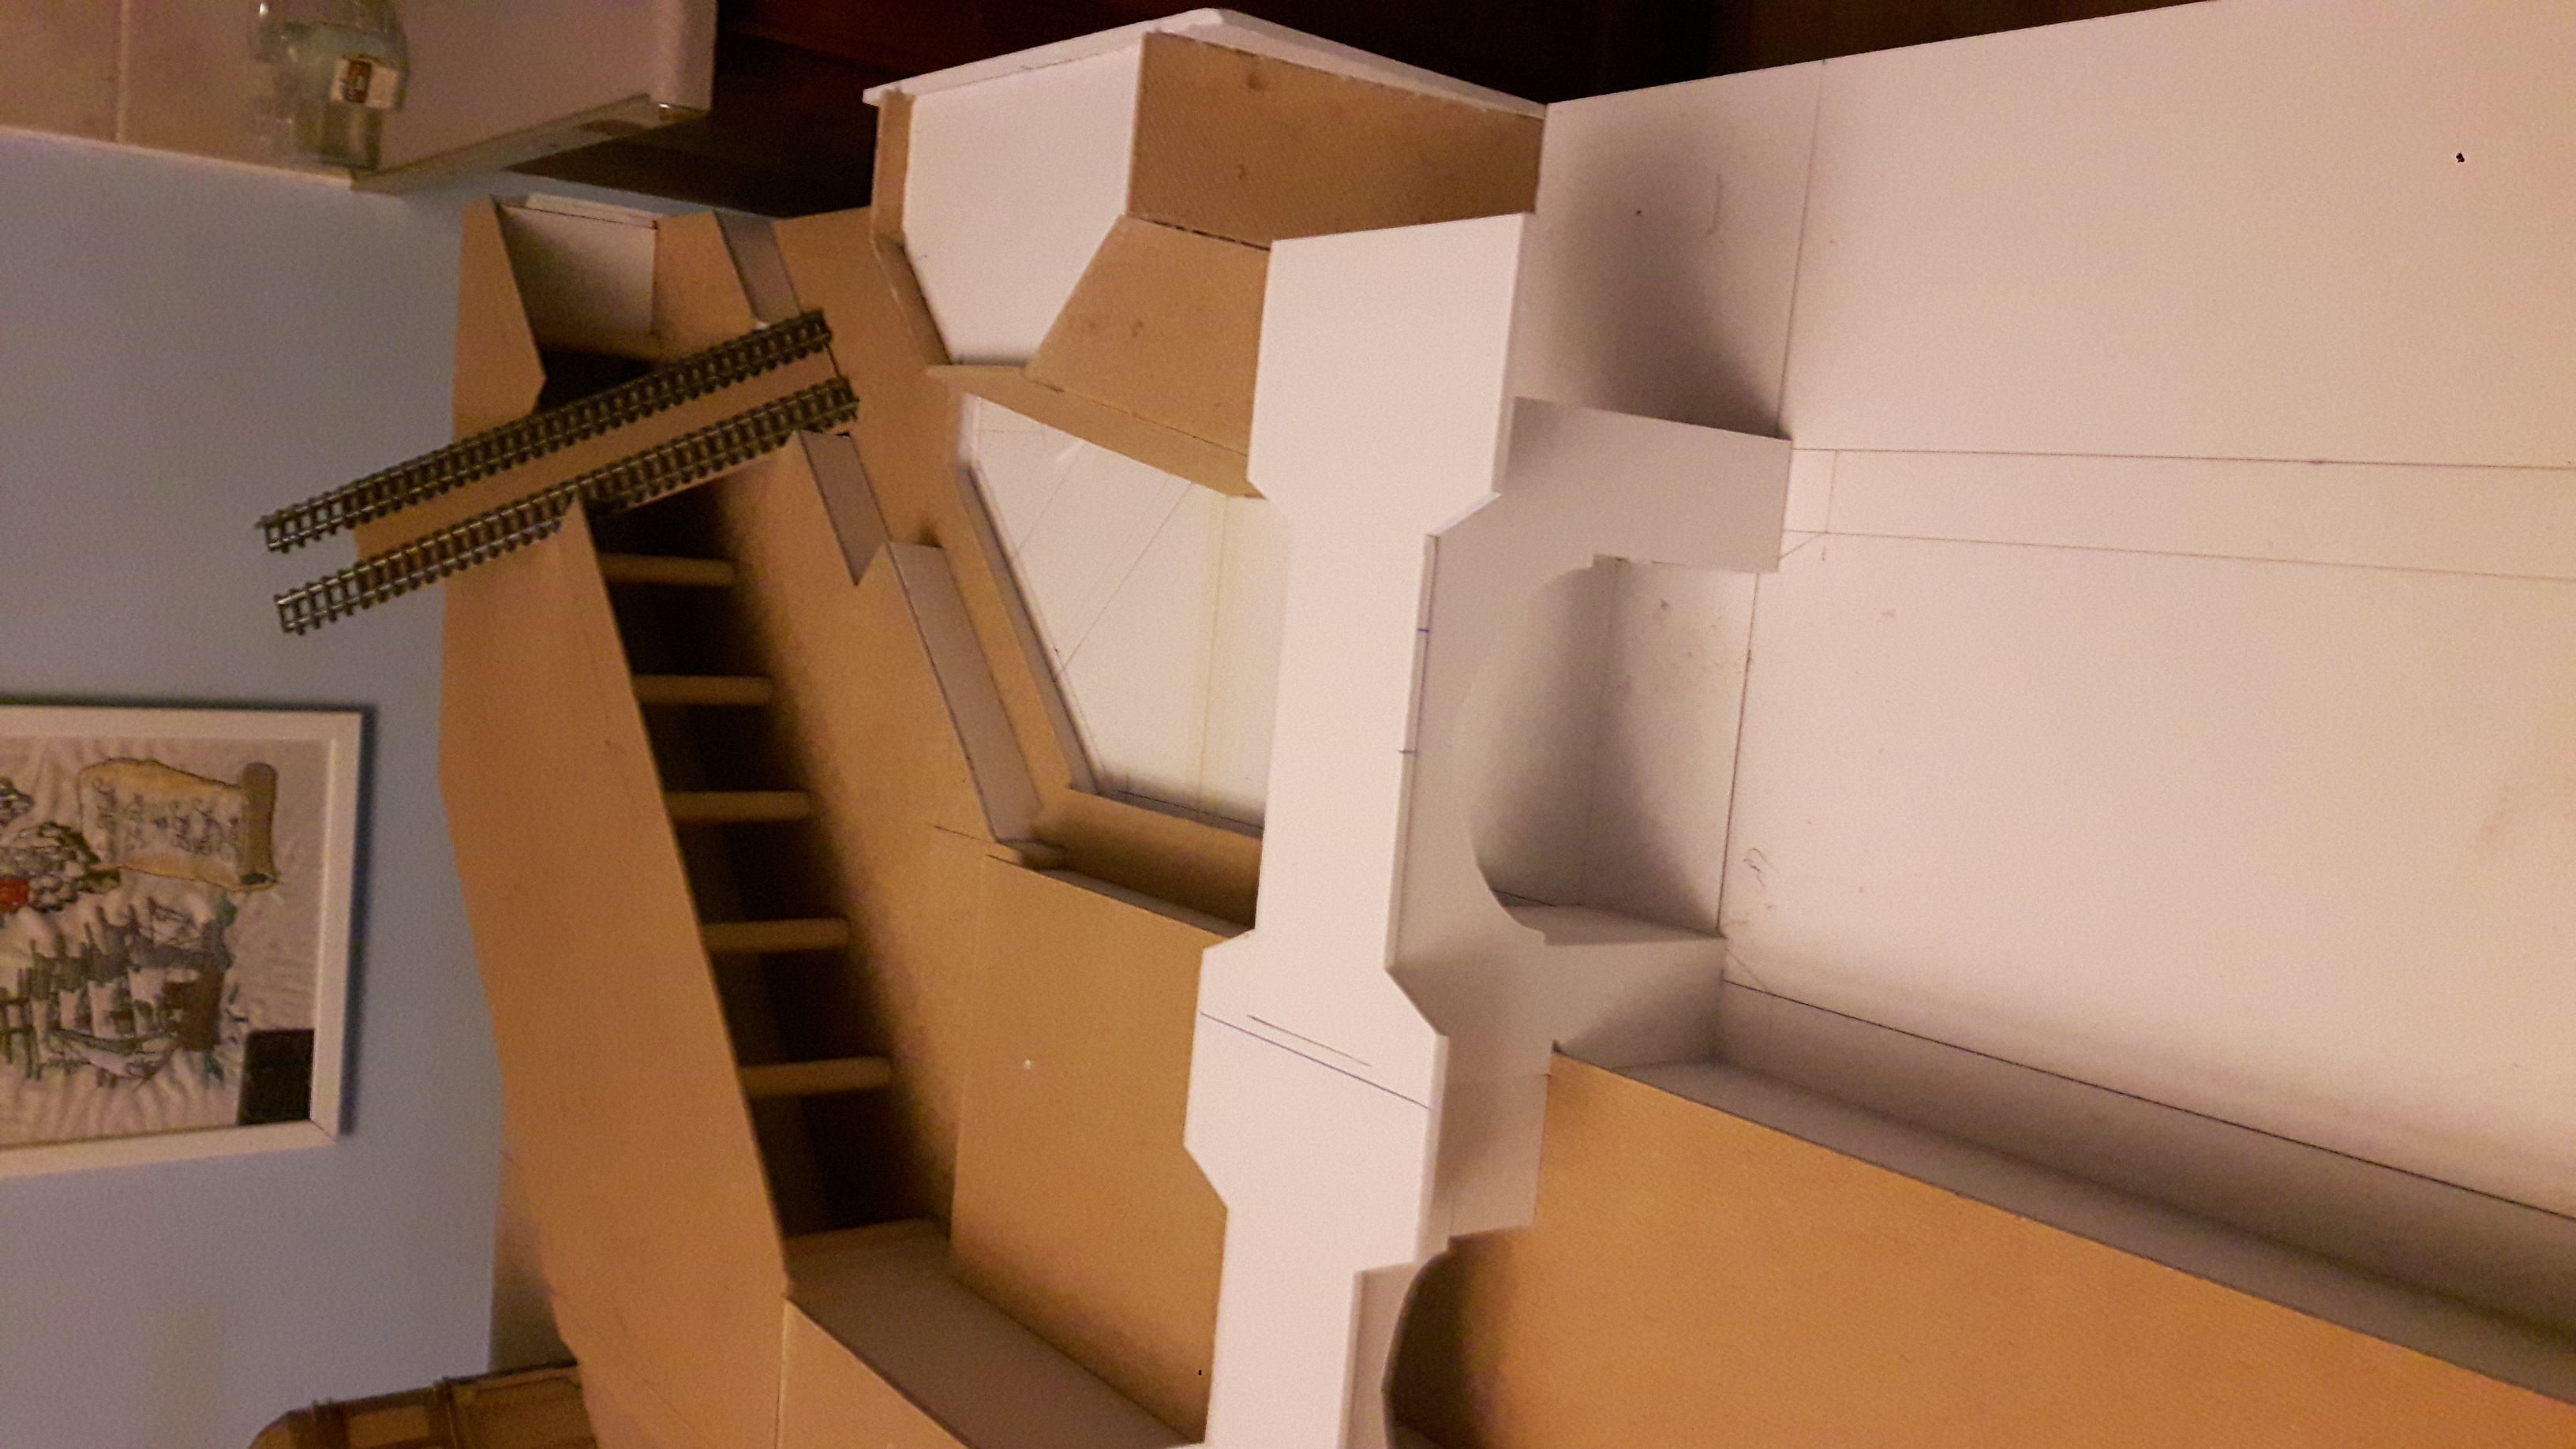
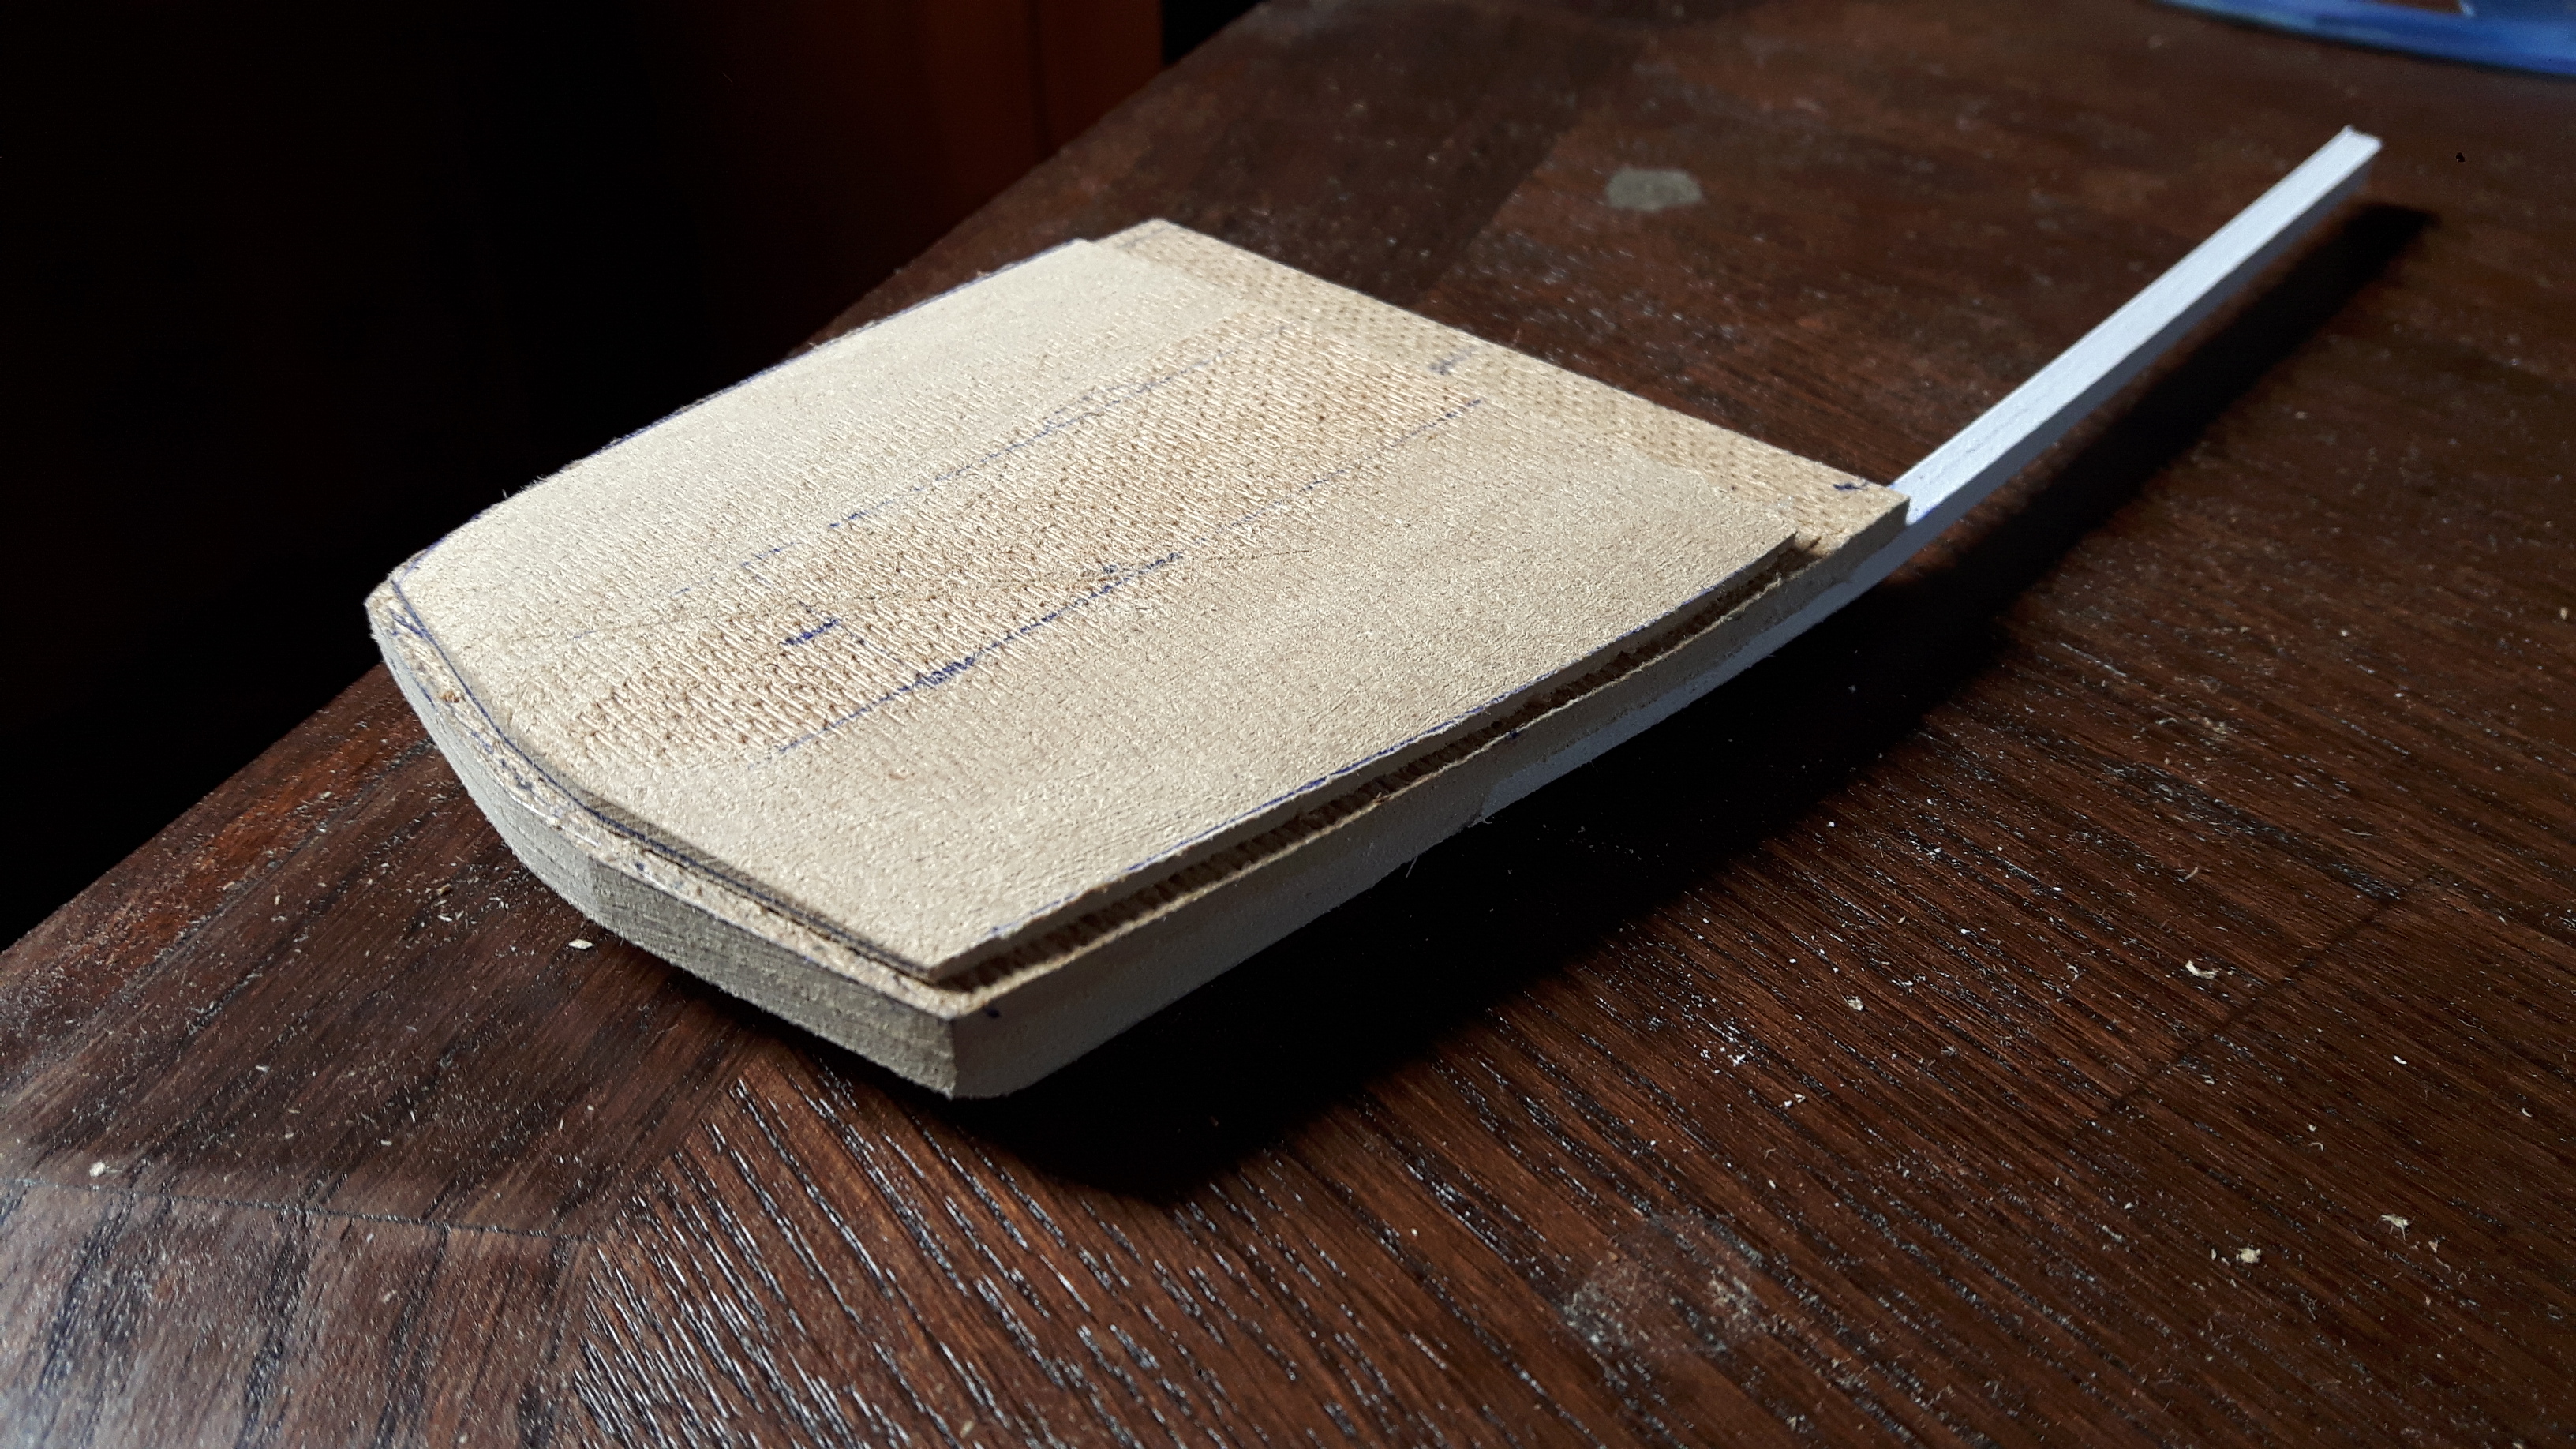
Victorian Docks: Narrowboats and Coal Barges.
The warehouses and the factory powerhouse need coal supplies and a means of shipping goods in and out so I thought a canal quay loading bay would be interesting. Narrow boats and coal barges are very long and I only need to represent them so I literally ‘cut’ them off at the edge of the board. Many narrowboats and barges of this era were steam powered so there is no need to include tow paths.
The boats were made out of. yes hardboard and sign board, cut to shape, laminated and sanded with the aid of the belt sander.
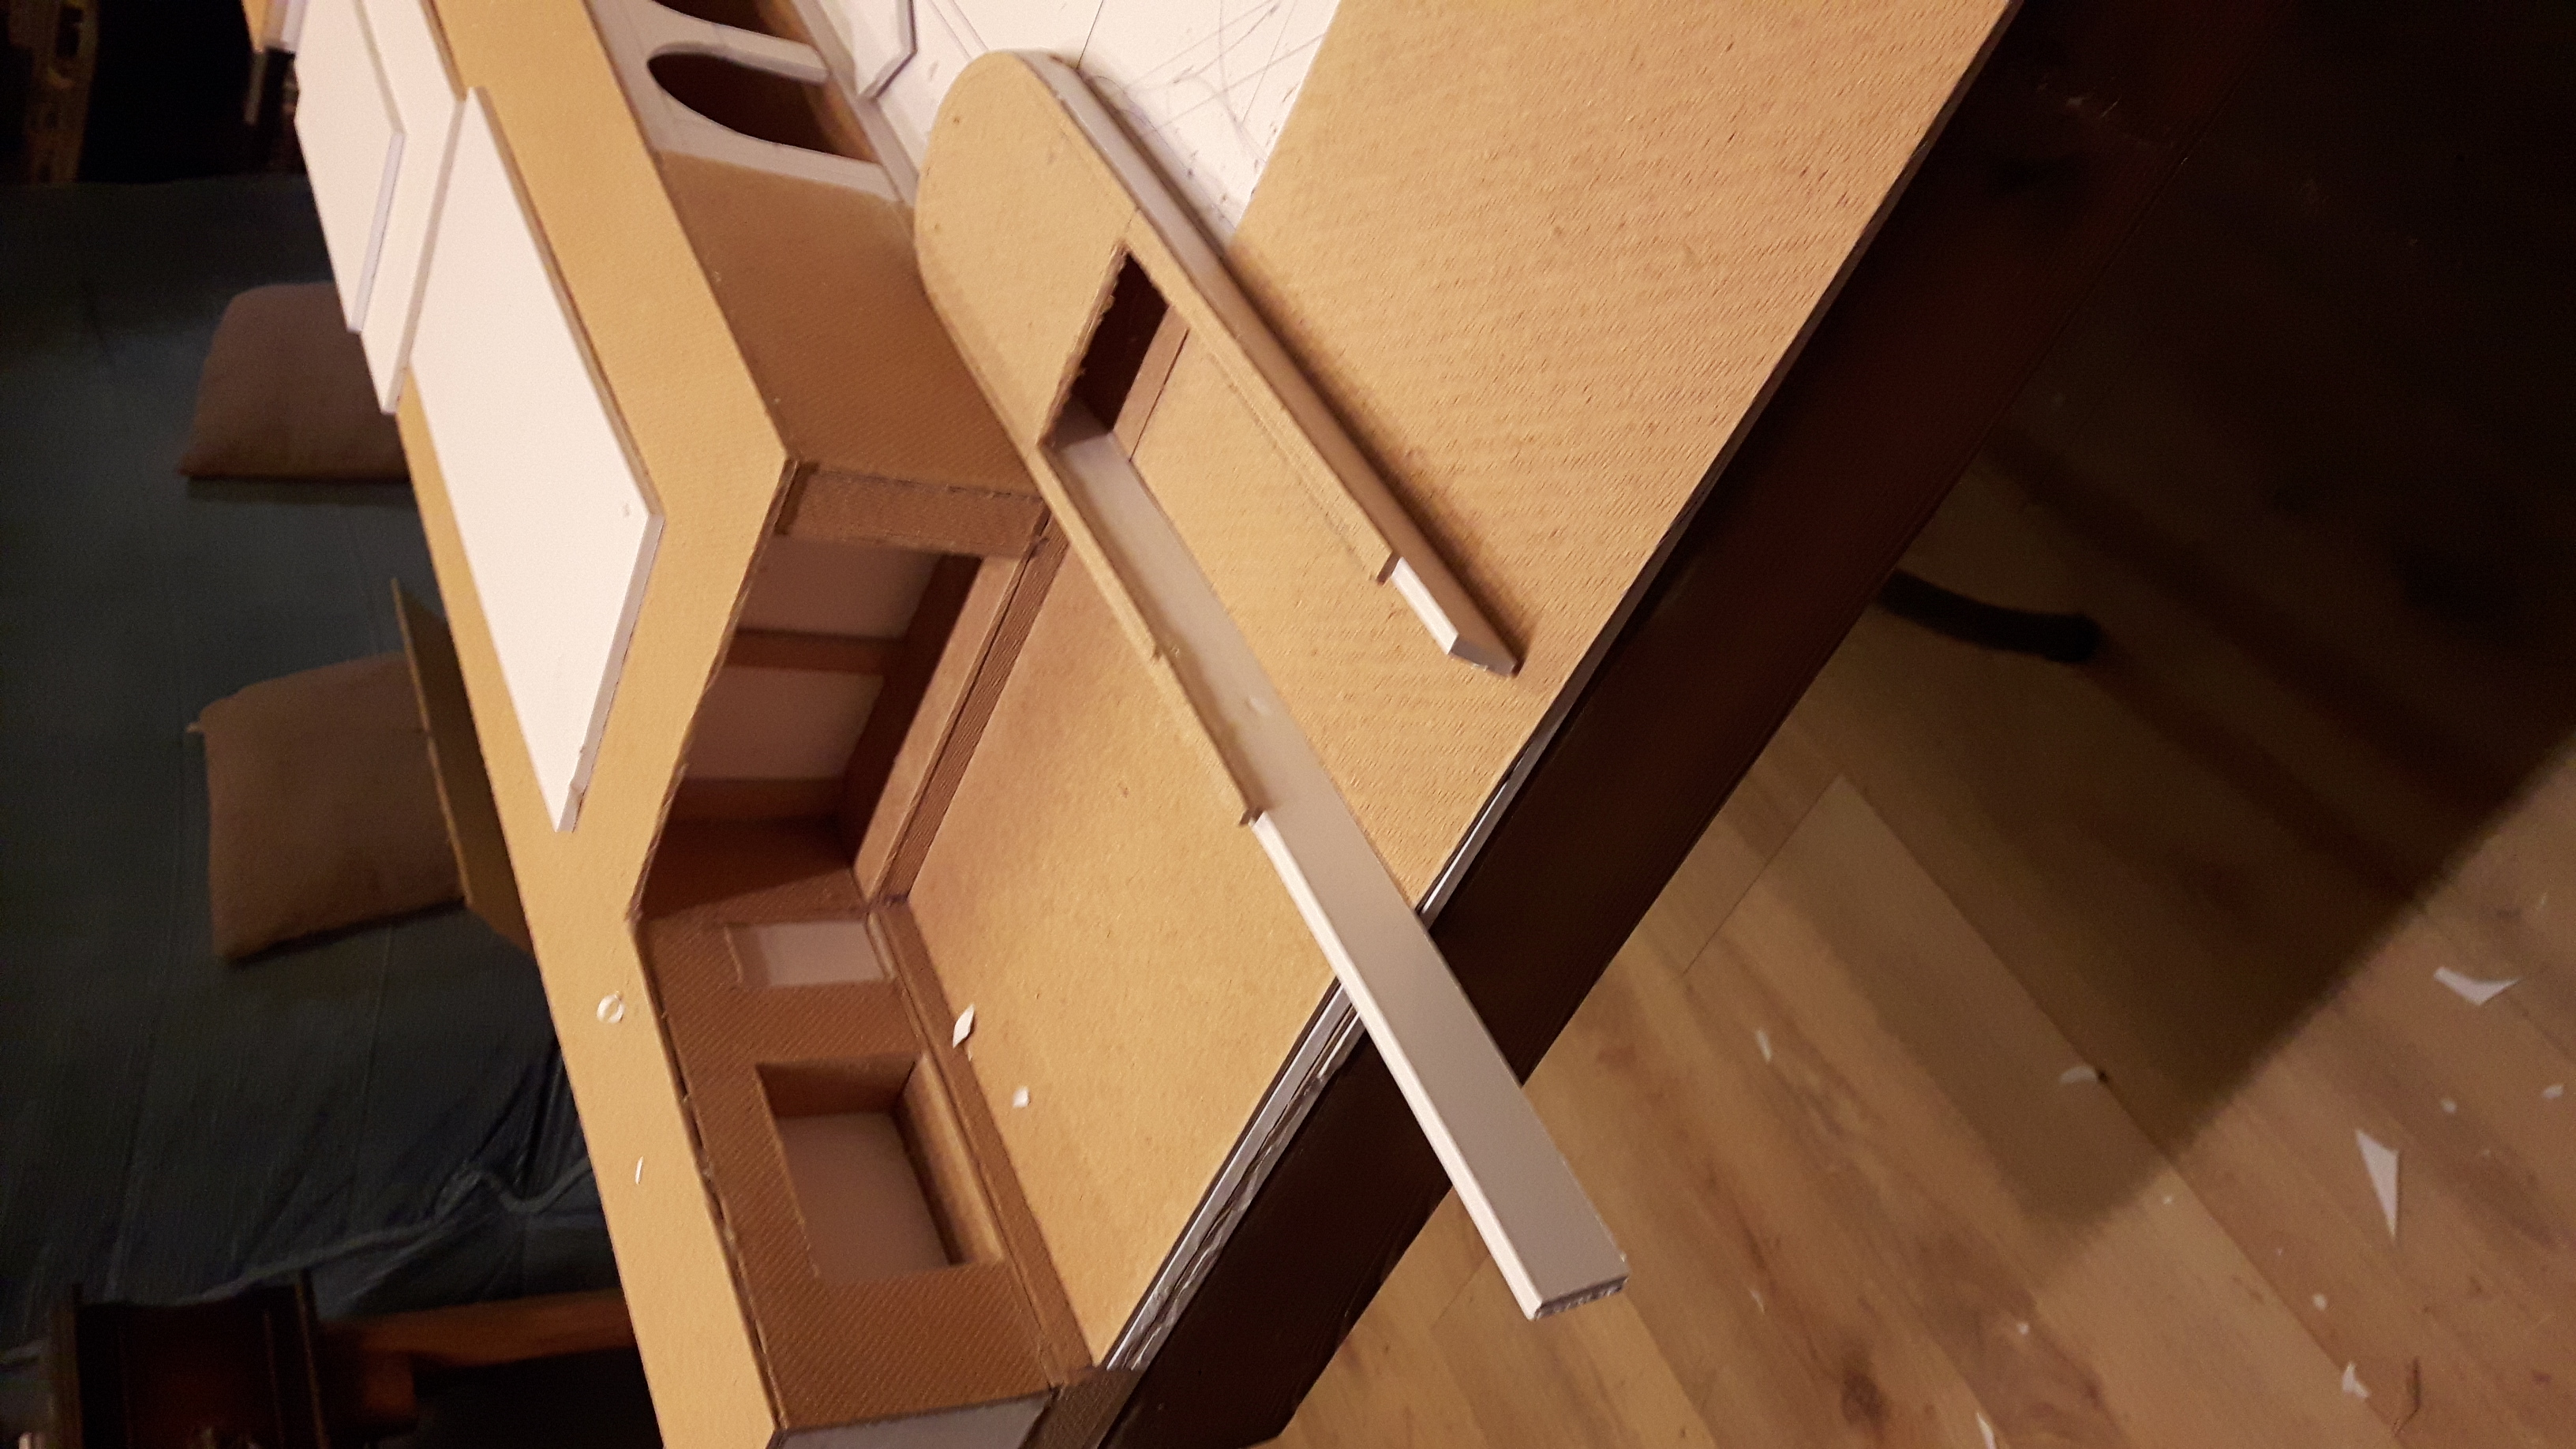
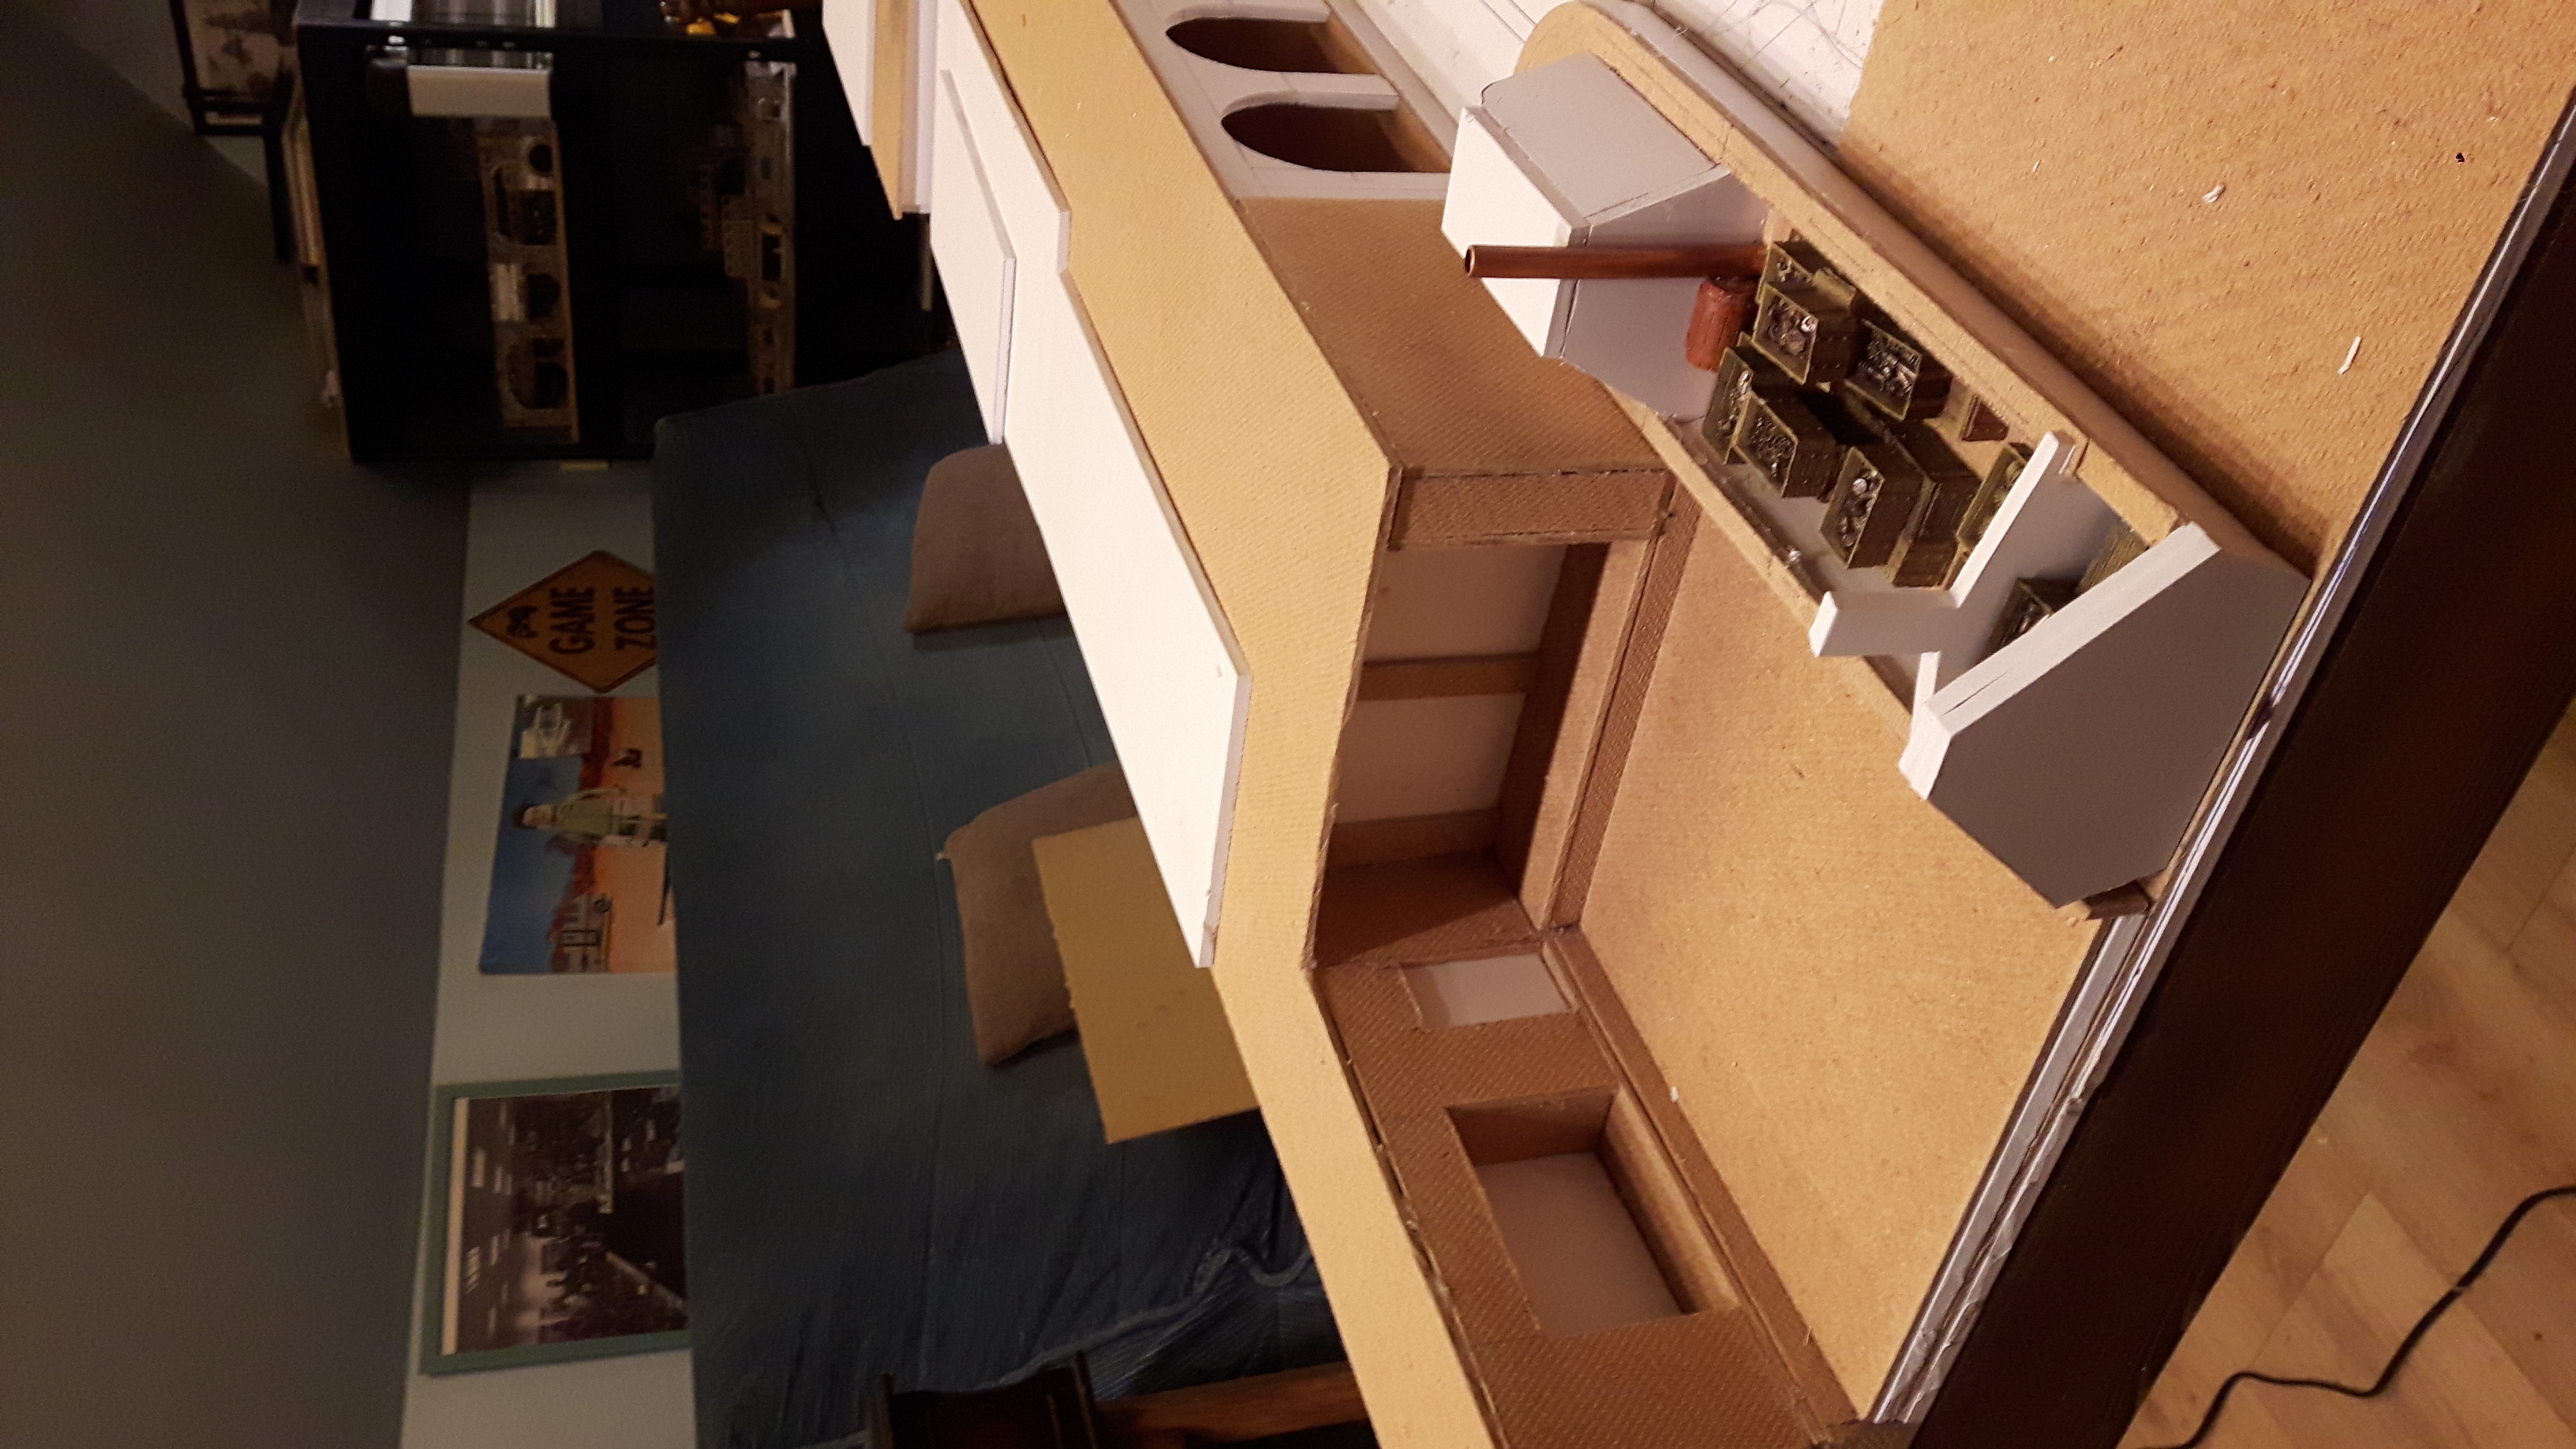
The coal barge is wider, shallower and more curved in the deck and hull.
This was made by laminating hardboard and sanding down the shape.
The addition of the chimneys and water barrels add a bit of interest.
The quays were constructed at the same time and everything except the narrowboat (which will need more detailing and painting) were hot glue to this section of baseboard.

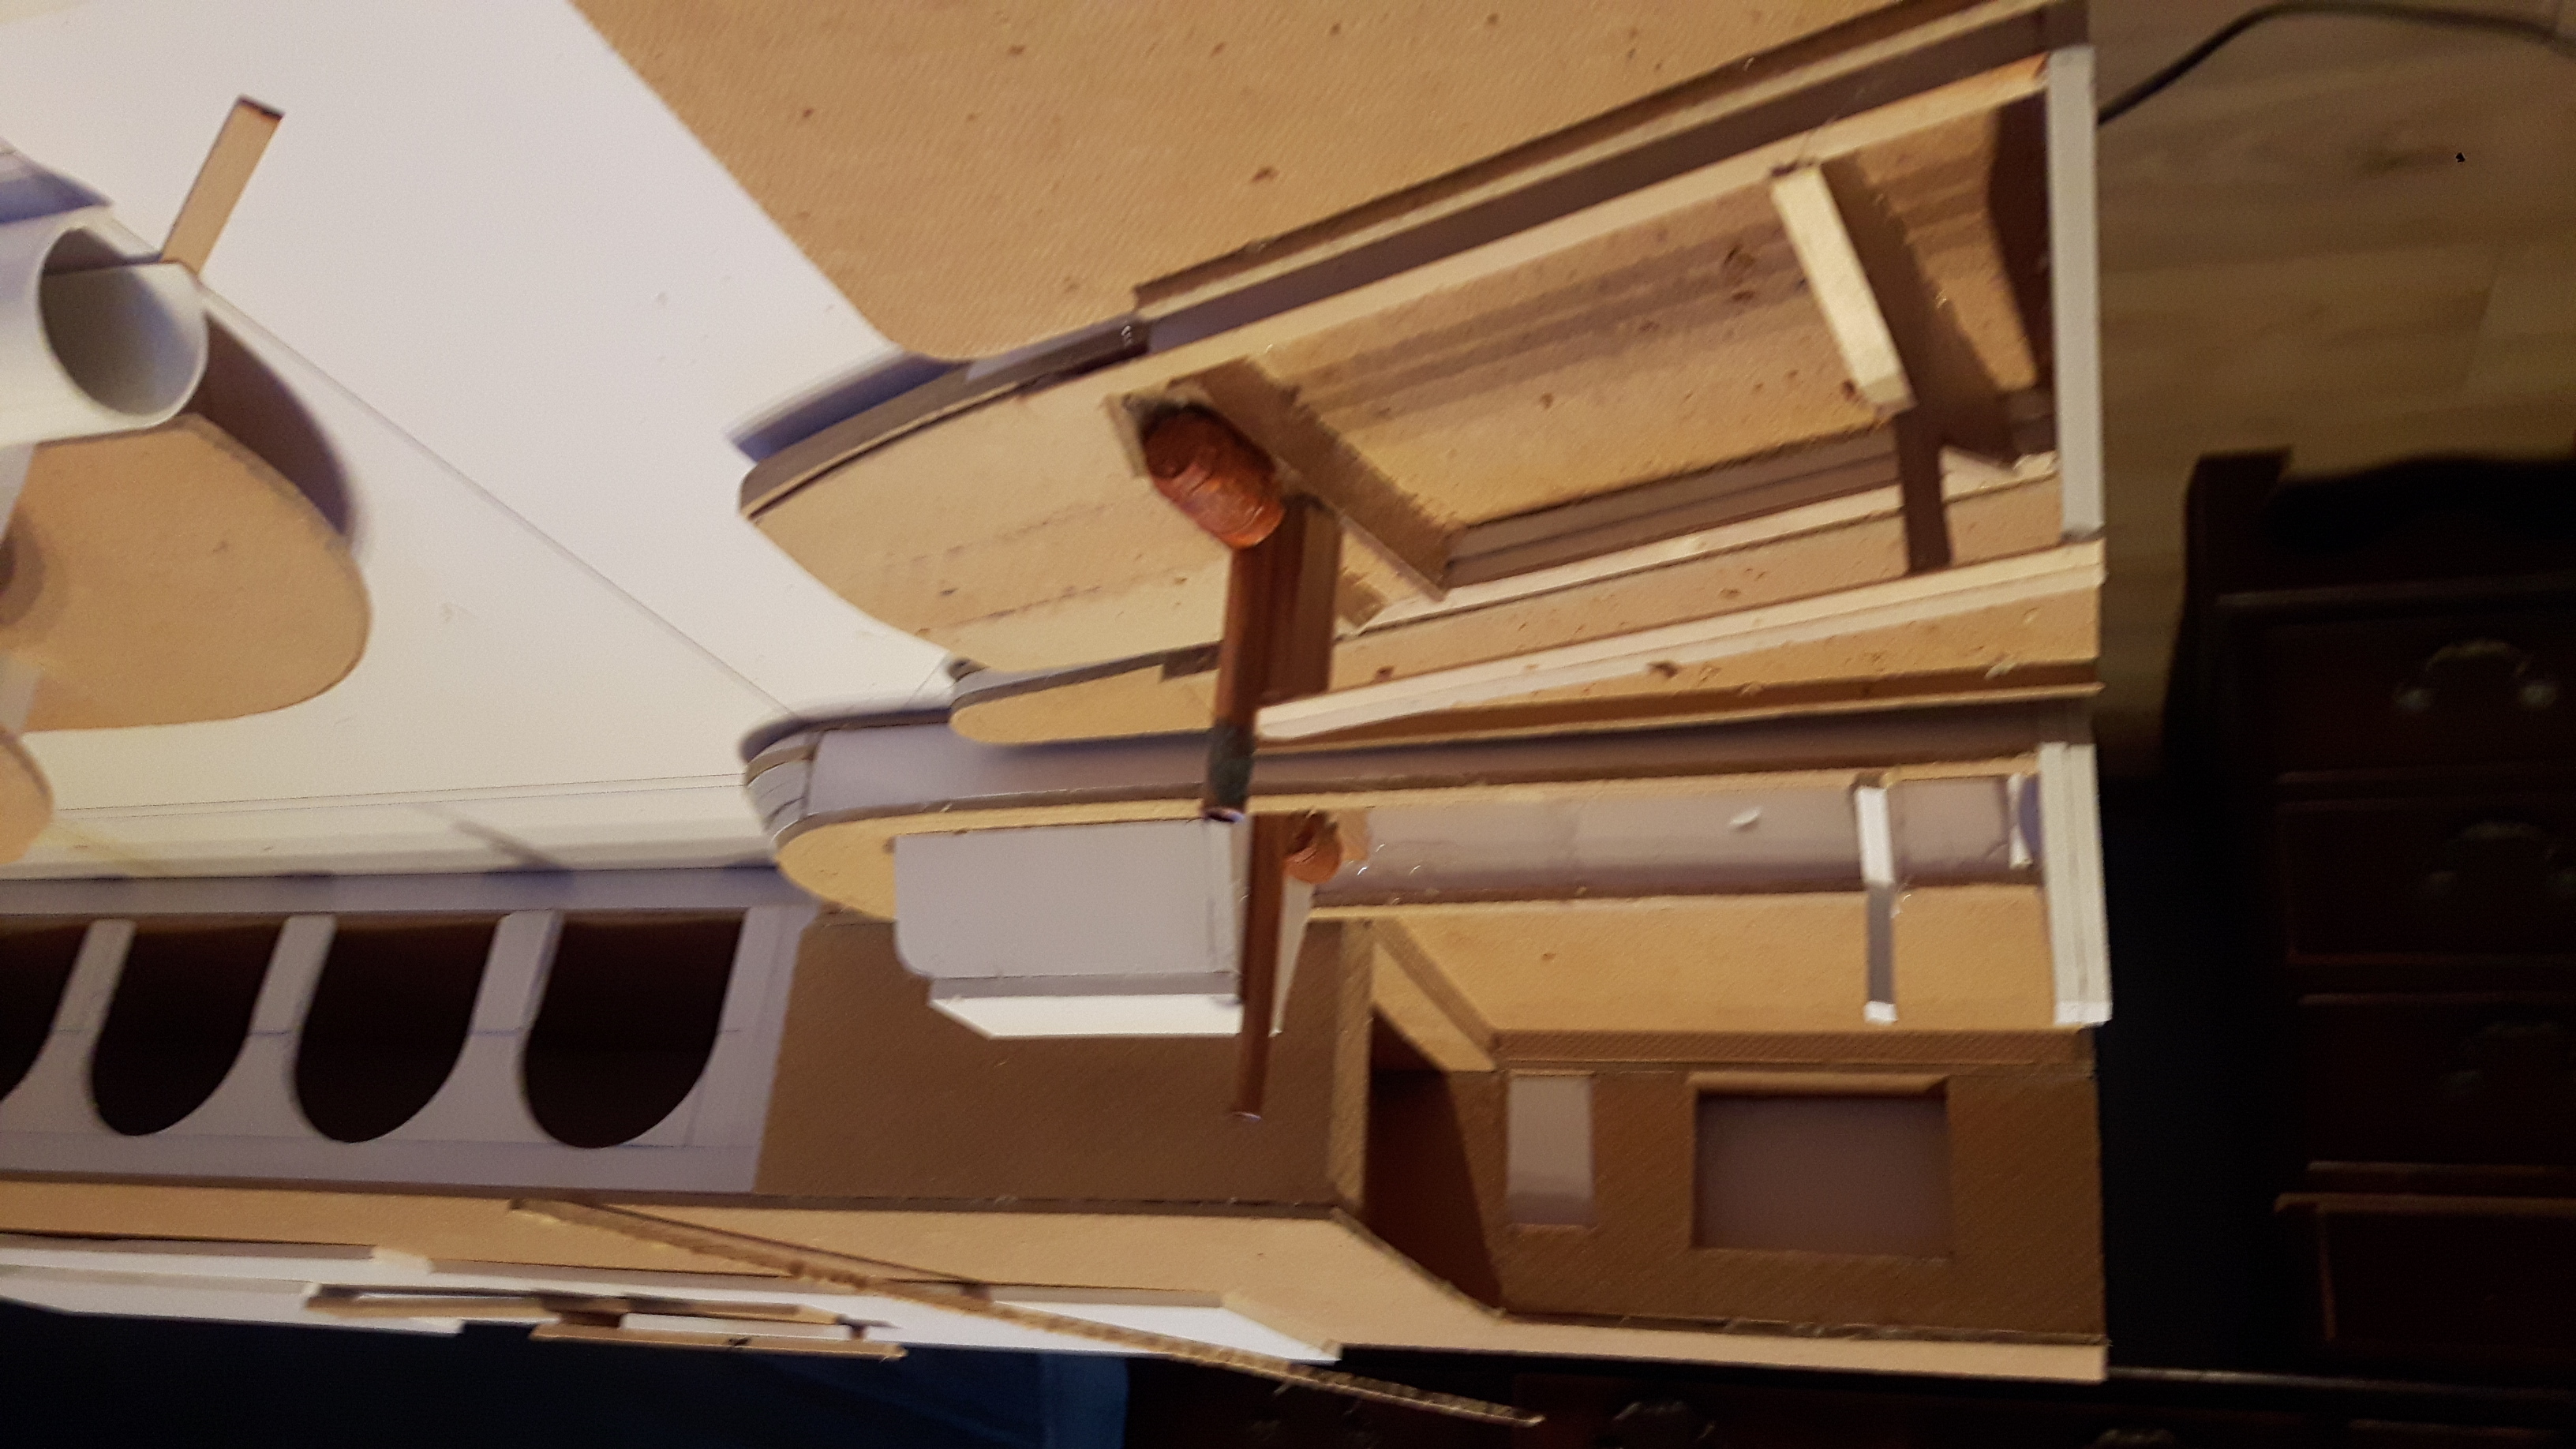
The quays were set at an angle to make entry easier for the boats in the narrows of the waterways (and add some character). The two canals would probably head off in different directions to the coal mines and manufacturing in the North and to the cities and trading ports in the South.