


![Perfect Call Of Duty-Style Miniatures? Wargames Atlantic’s Operators Review [7 Days Early Access]](https://images.beastsofwar.com/2026/02/unboxing-wargames-atlantic-operators-coverimage-225-127.jpg)


On The Waterfront: Spring Clean Challenge


Recommendations: 1151
About the Project
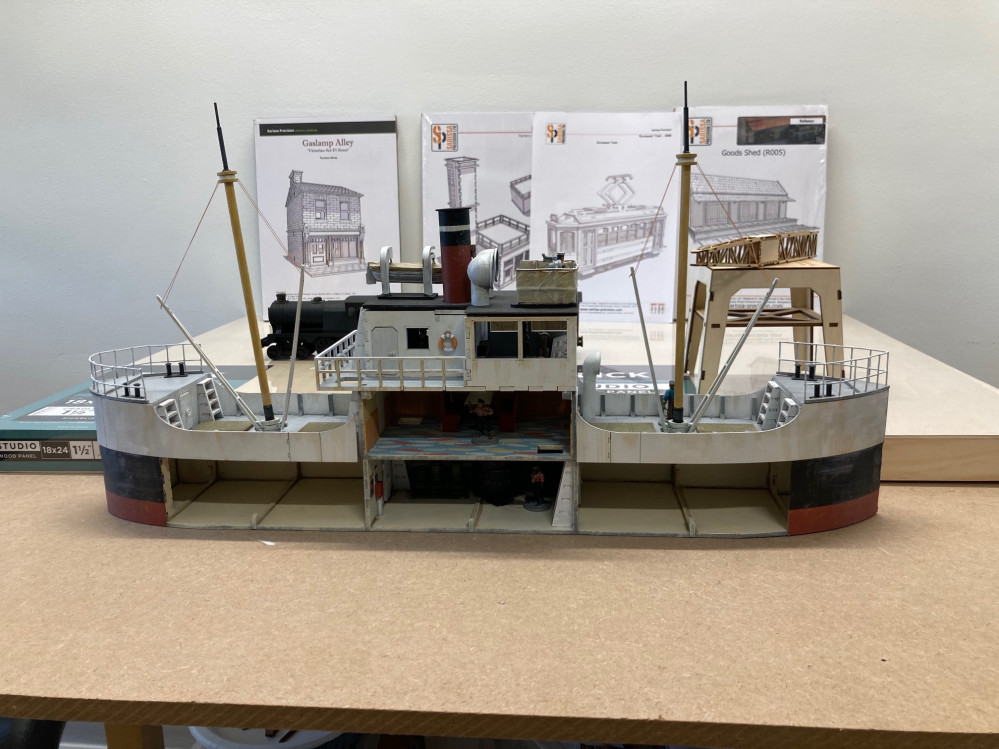
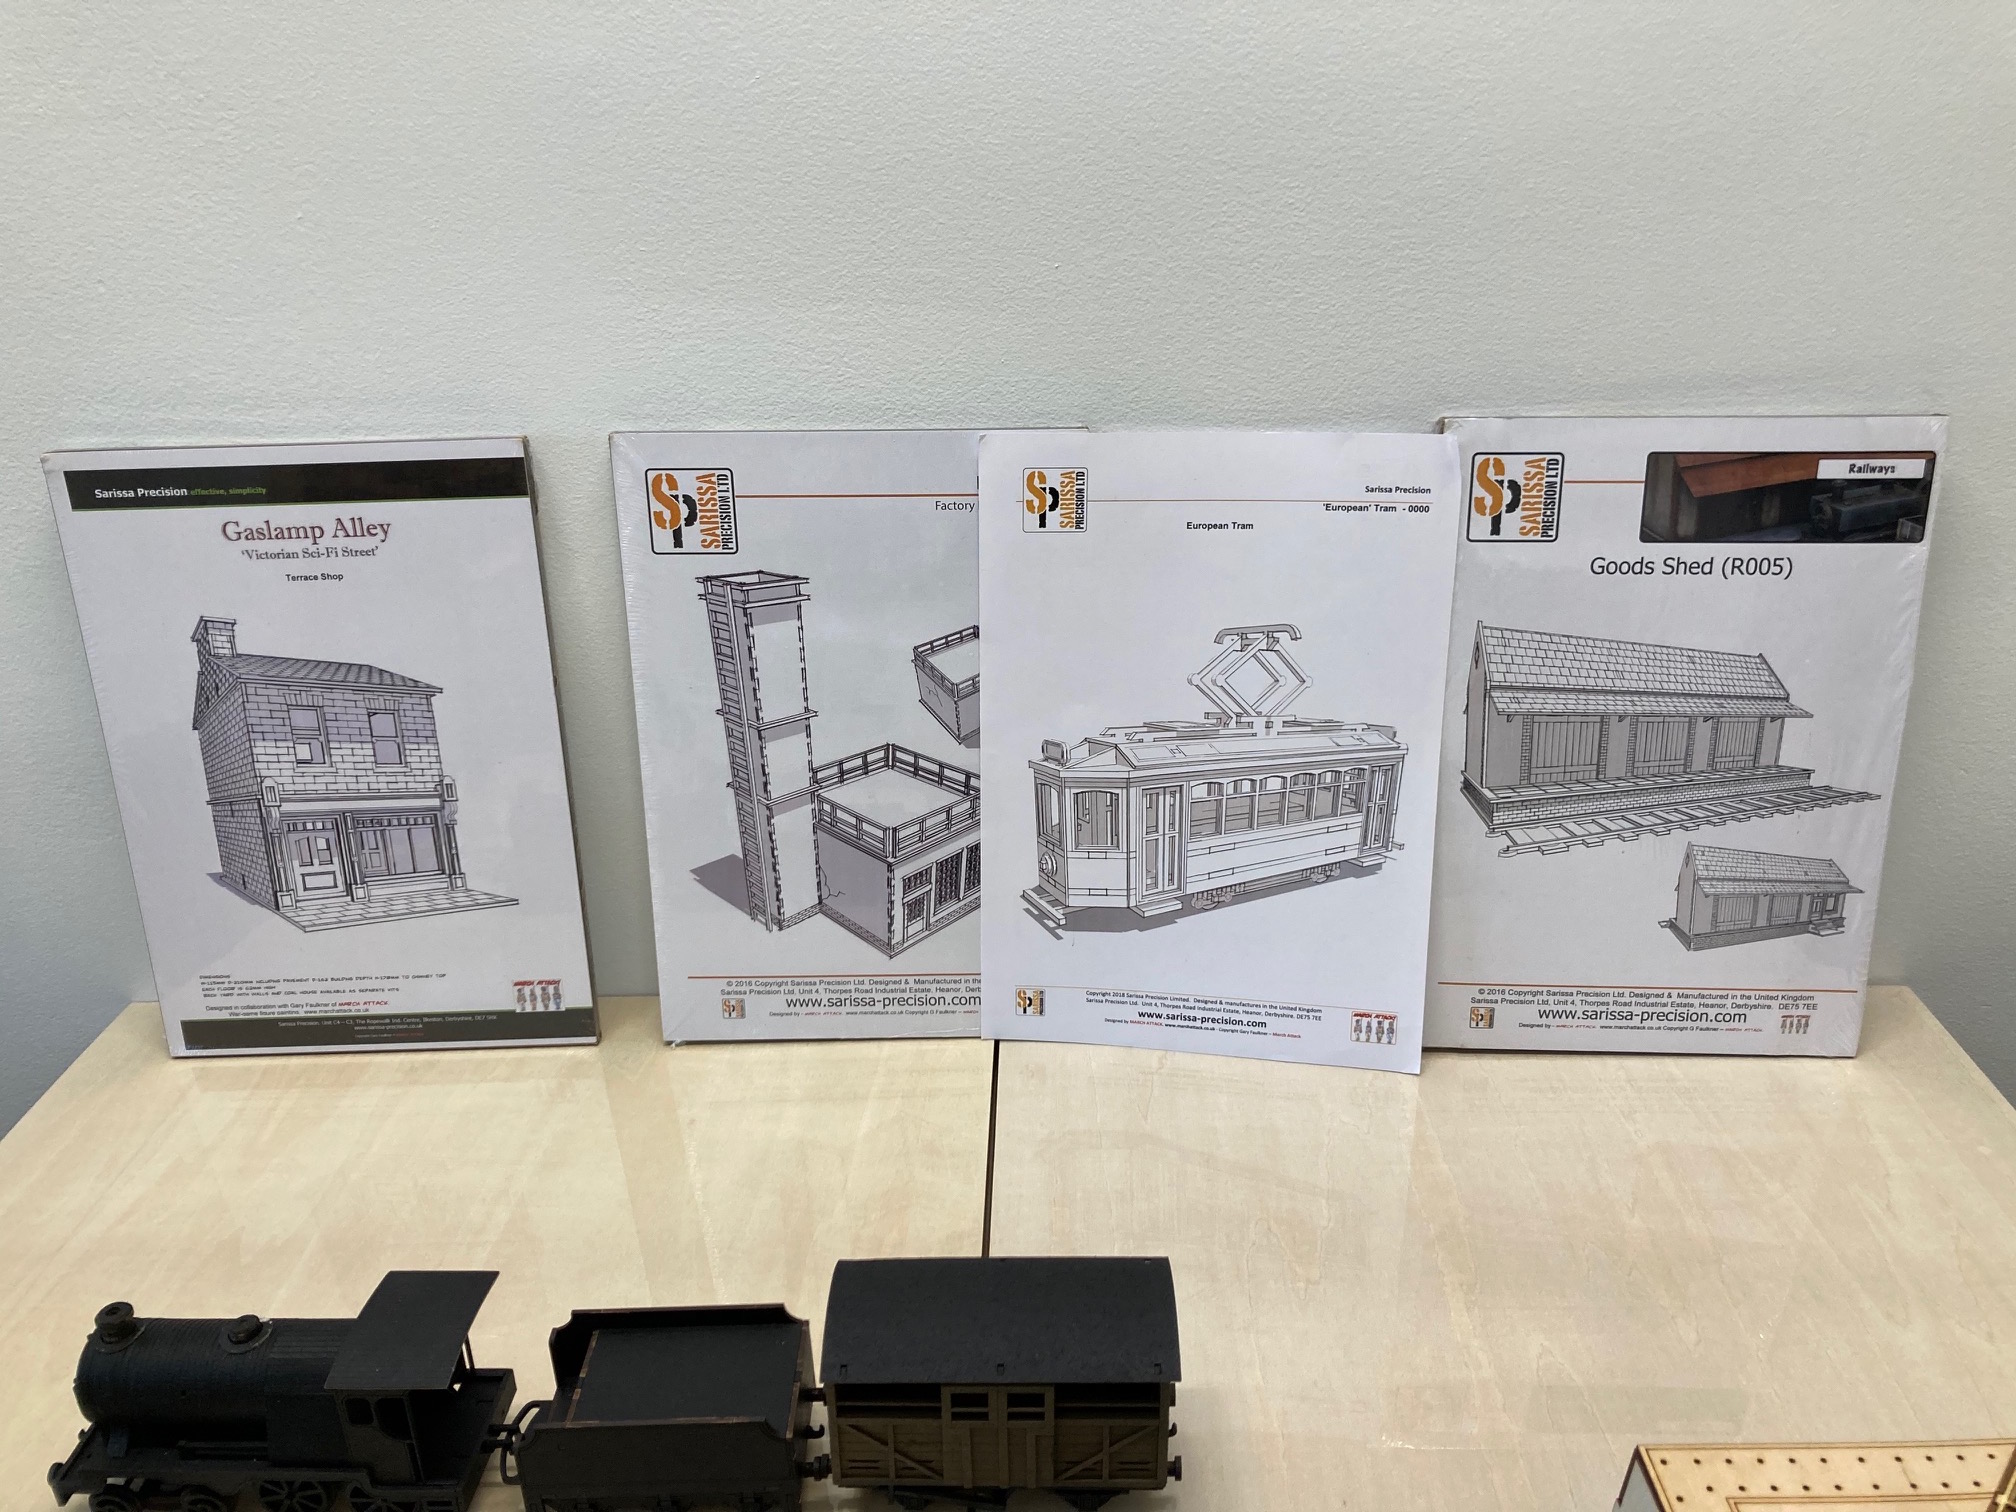
During the 2020 Spring Clean Challenge I converted and finished the Sally 4th "Tramp Steamer". In 2021 I plan to build a 3x3 Waterfront Pulp gaming board. With a 1x3 water area or dock for the Tramp Steamer and 2x3 of land for offloading cranes, sheds, trains, trams, buildings etc. I plan to use what I have, a lot of unfinished or unopened SP kits that I have collected in the past 6 years.
Related Game: Pulp Alley
Related Company: Sarissa Precision
Related Genre: Pulp
Related Contest: Spring Clean Hobby Challenge (Old)
This Project is Completed


Tracks or Grooves?
From the start this is a Terrain project not a Diorama. The Golden Rule is Playability. Keep it simple, cohesive and modular.
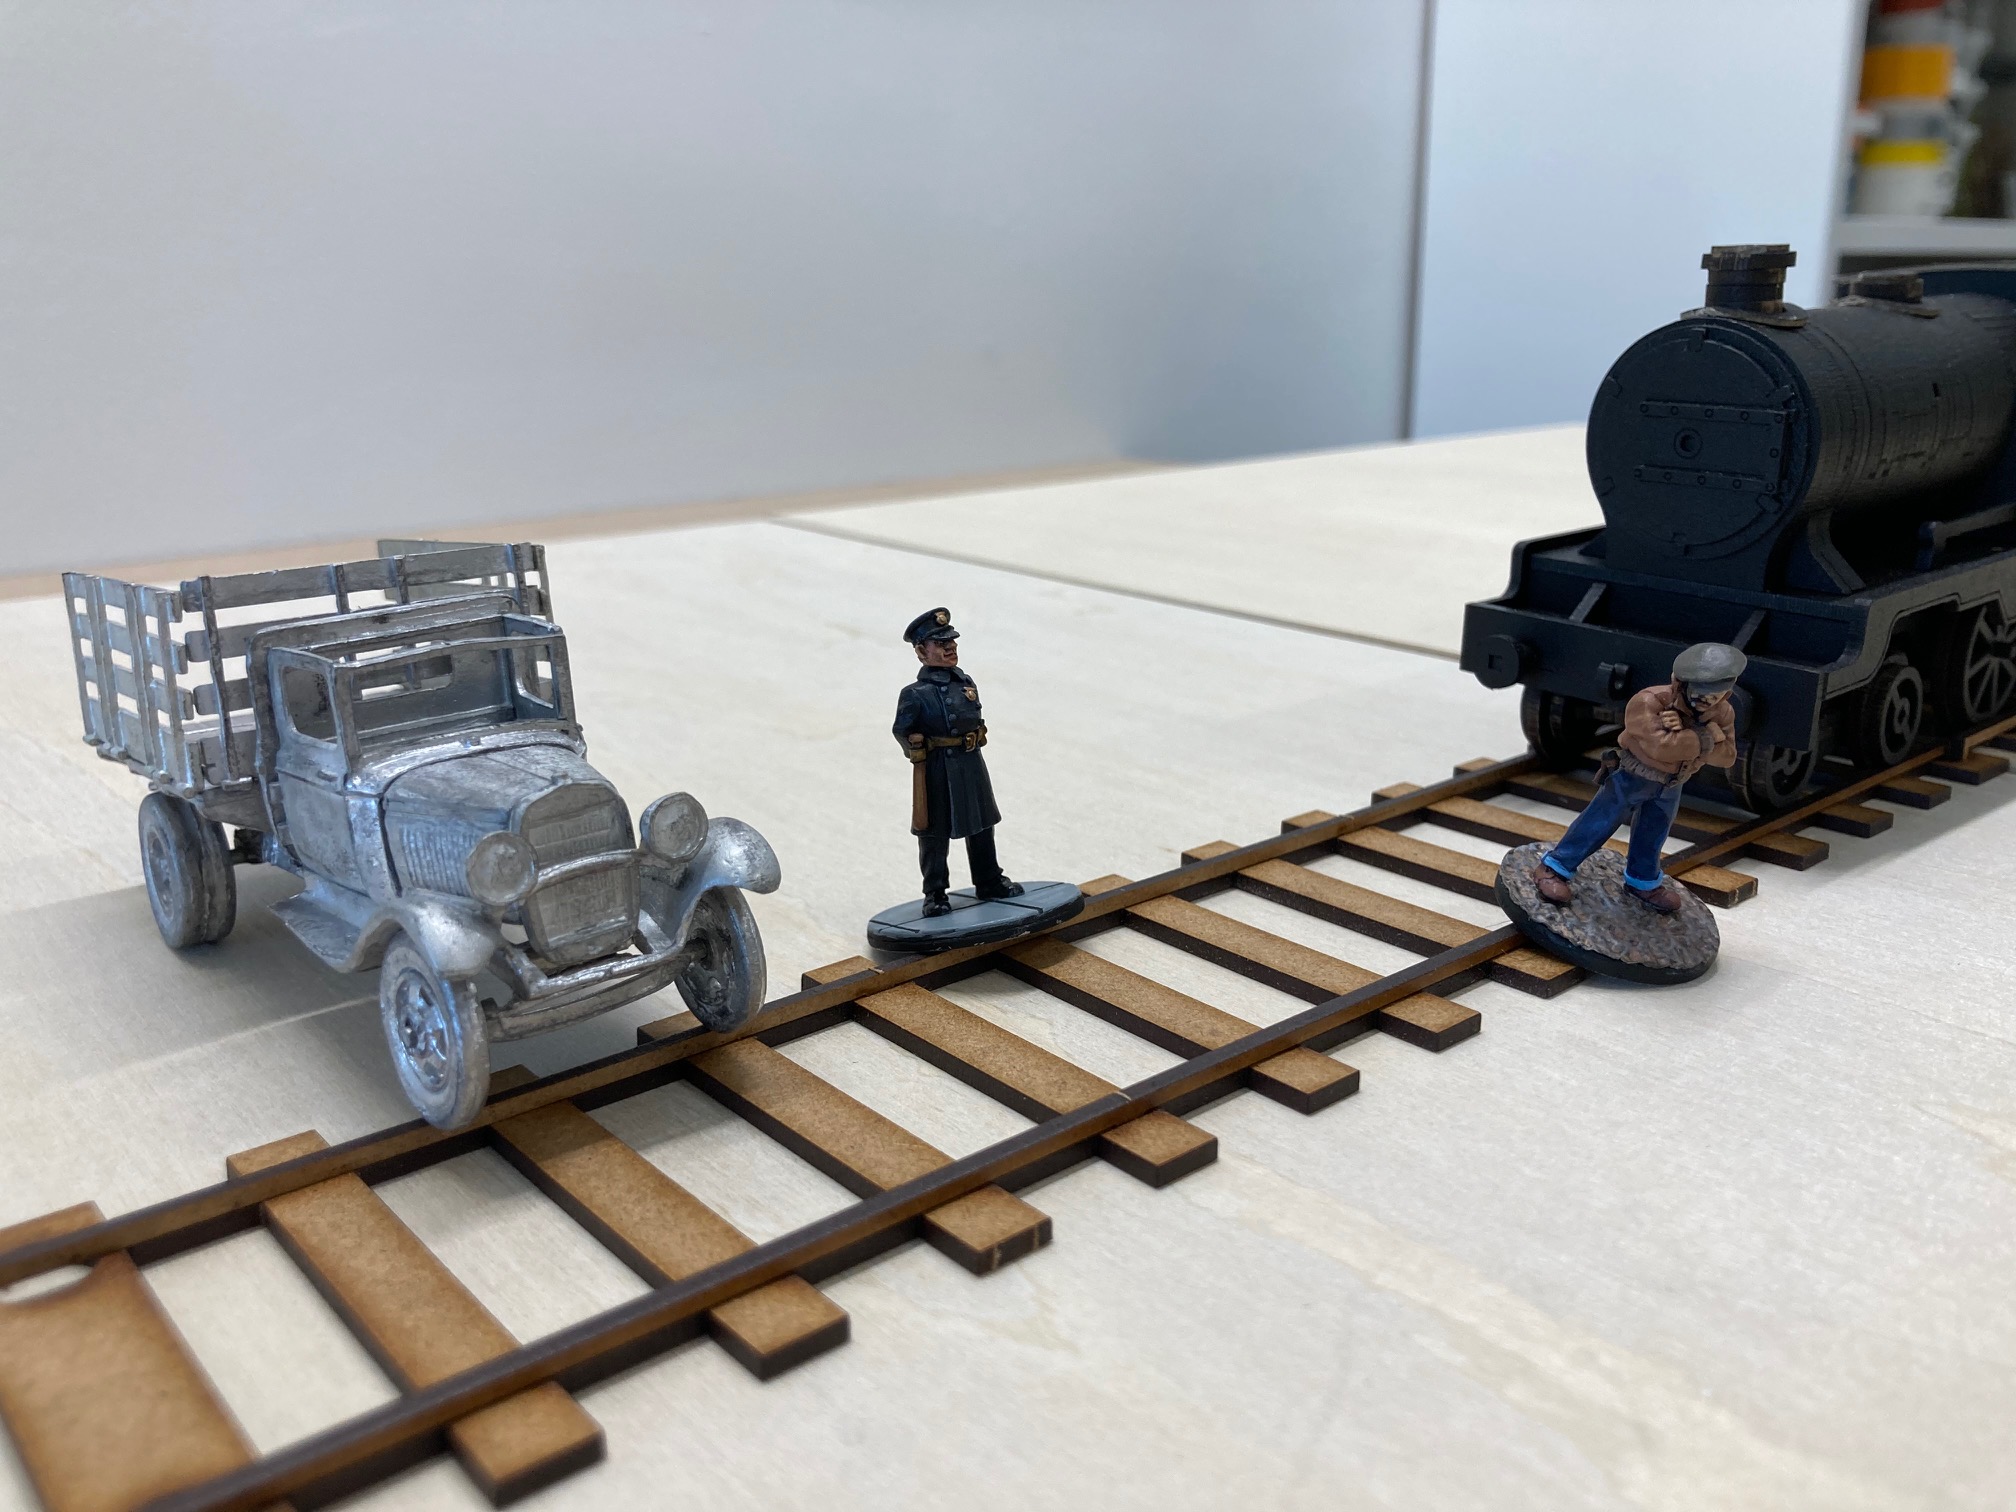
One permanent feature of these two boards with be tracks for train cars and trolly. If I keep the tracks above ground I may on occasion run into a problem of lopsided mini’s tutoring on them or vehicles snagging the rails.

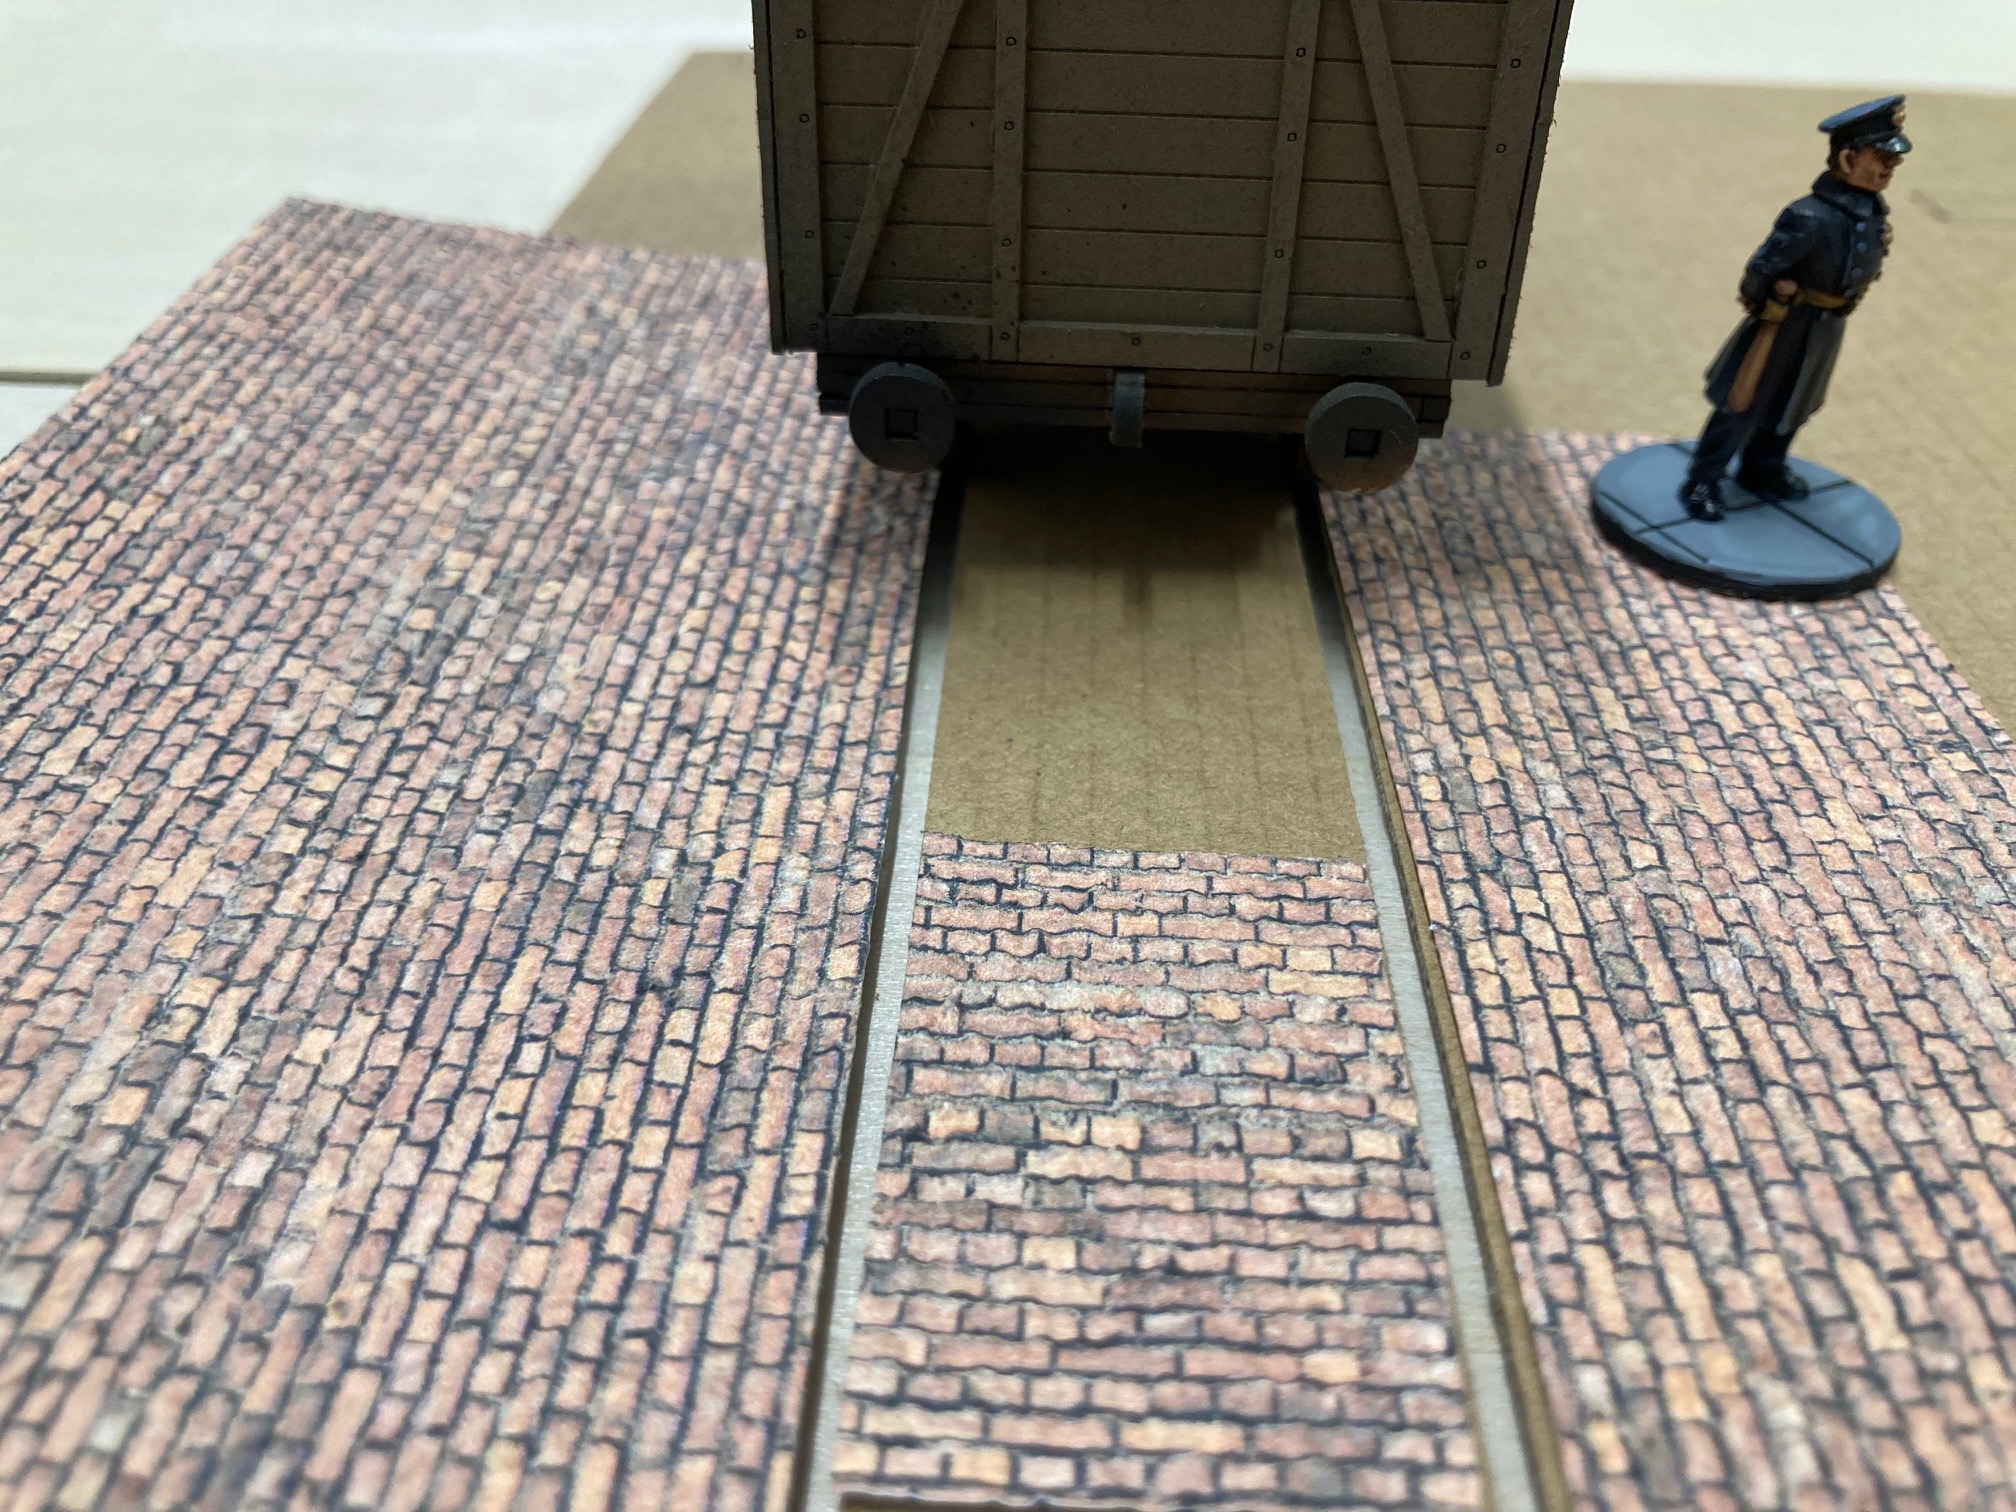
I’ve instead choose to go with grooves for the train and trolly wheels to fit into. I’m going to glue down 2mm cardboard around the track area leaving grooves for the train car wheels to fit into. Then I will glue brick pattern sheets of A4 where appropriate.
Did I Mention Modularity?
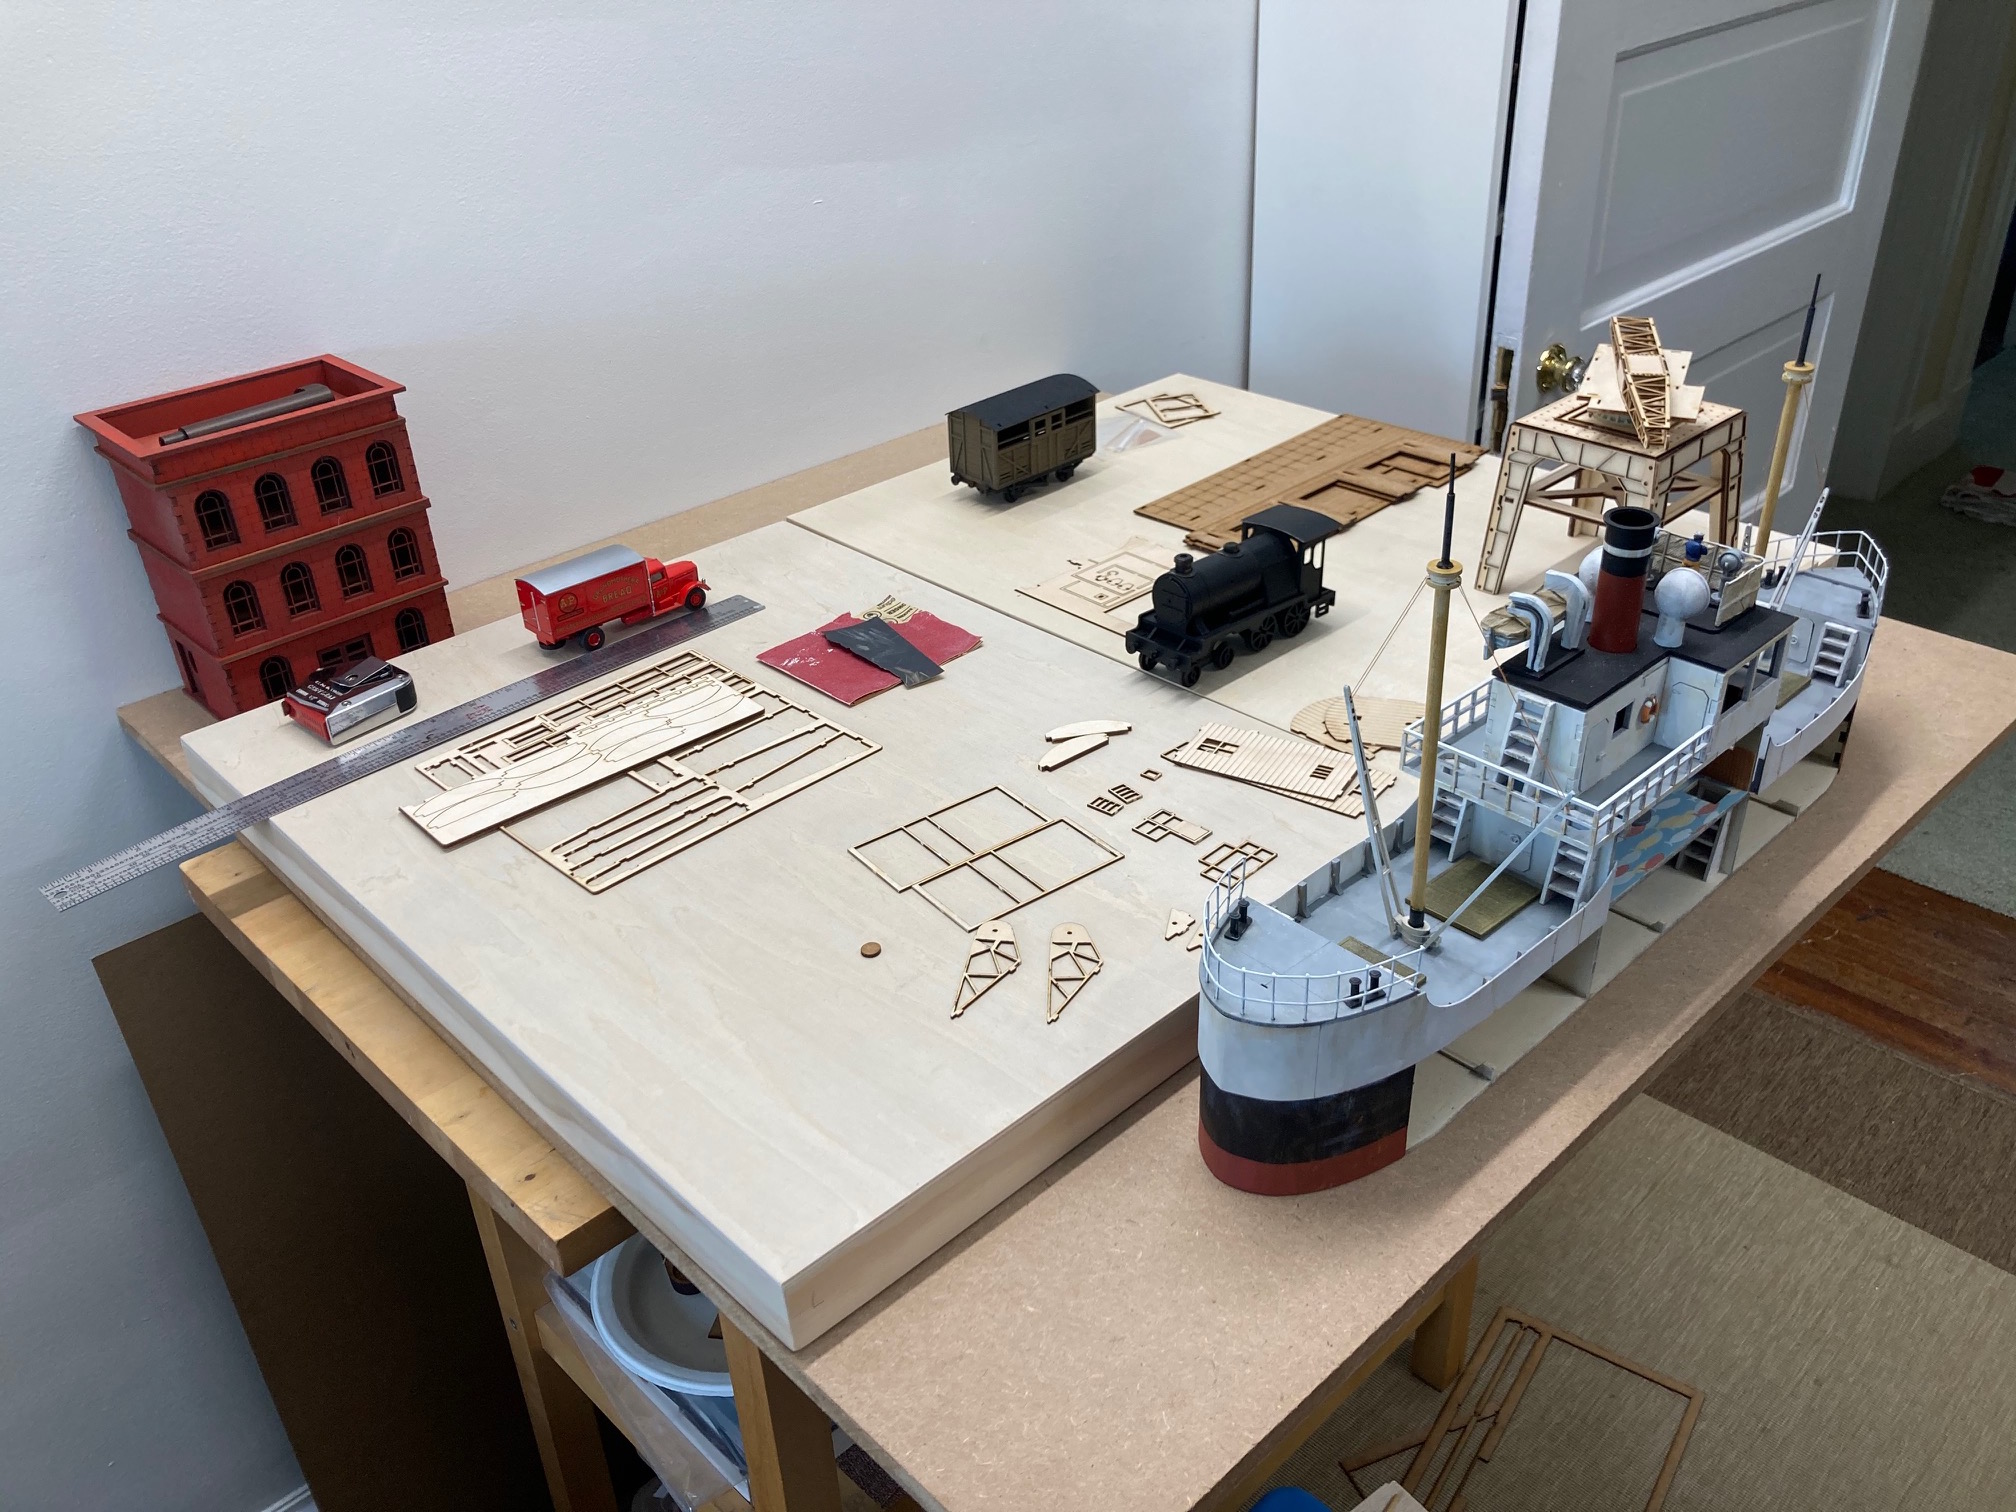
One thing I noticed as I was laying out where dockside, train track, sheds, roads, sidewalk and buildings would go is I don’t have enough bloody room!
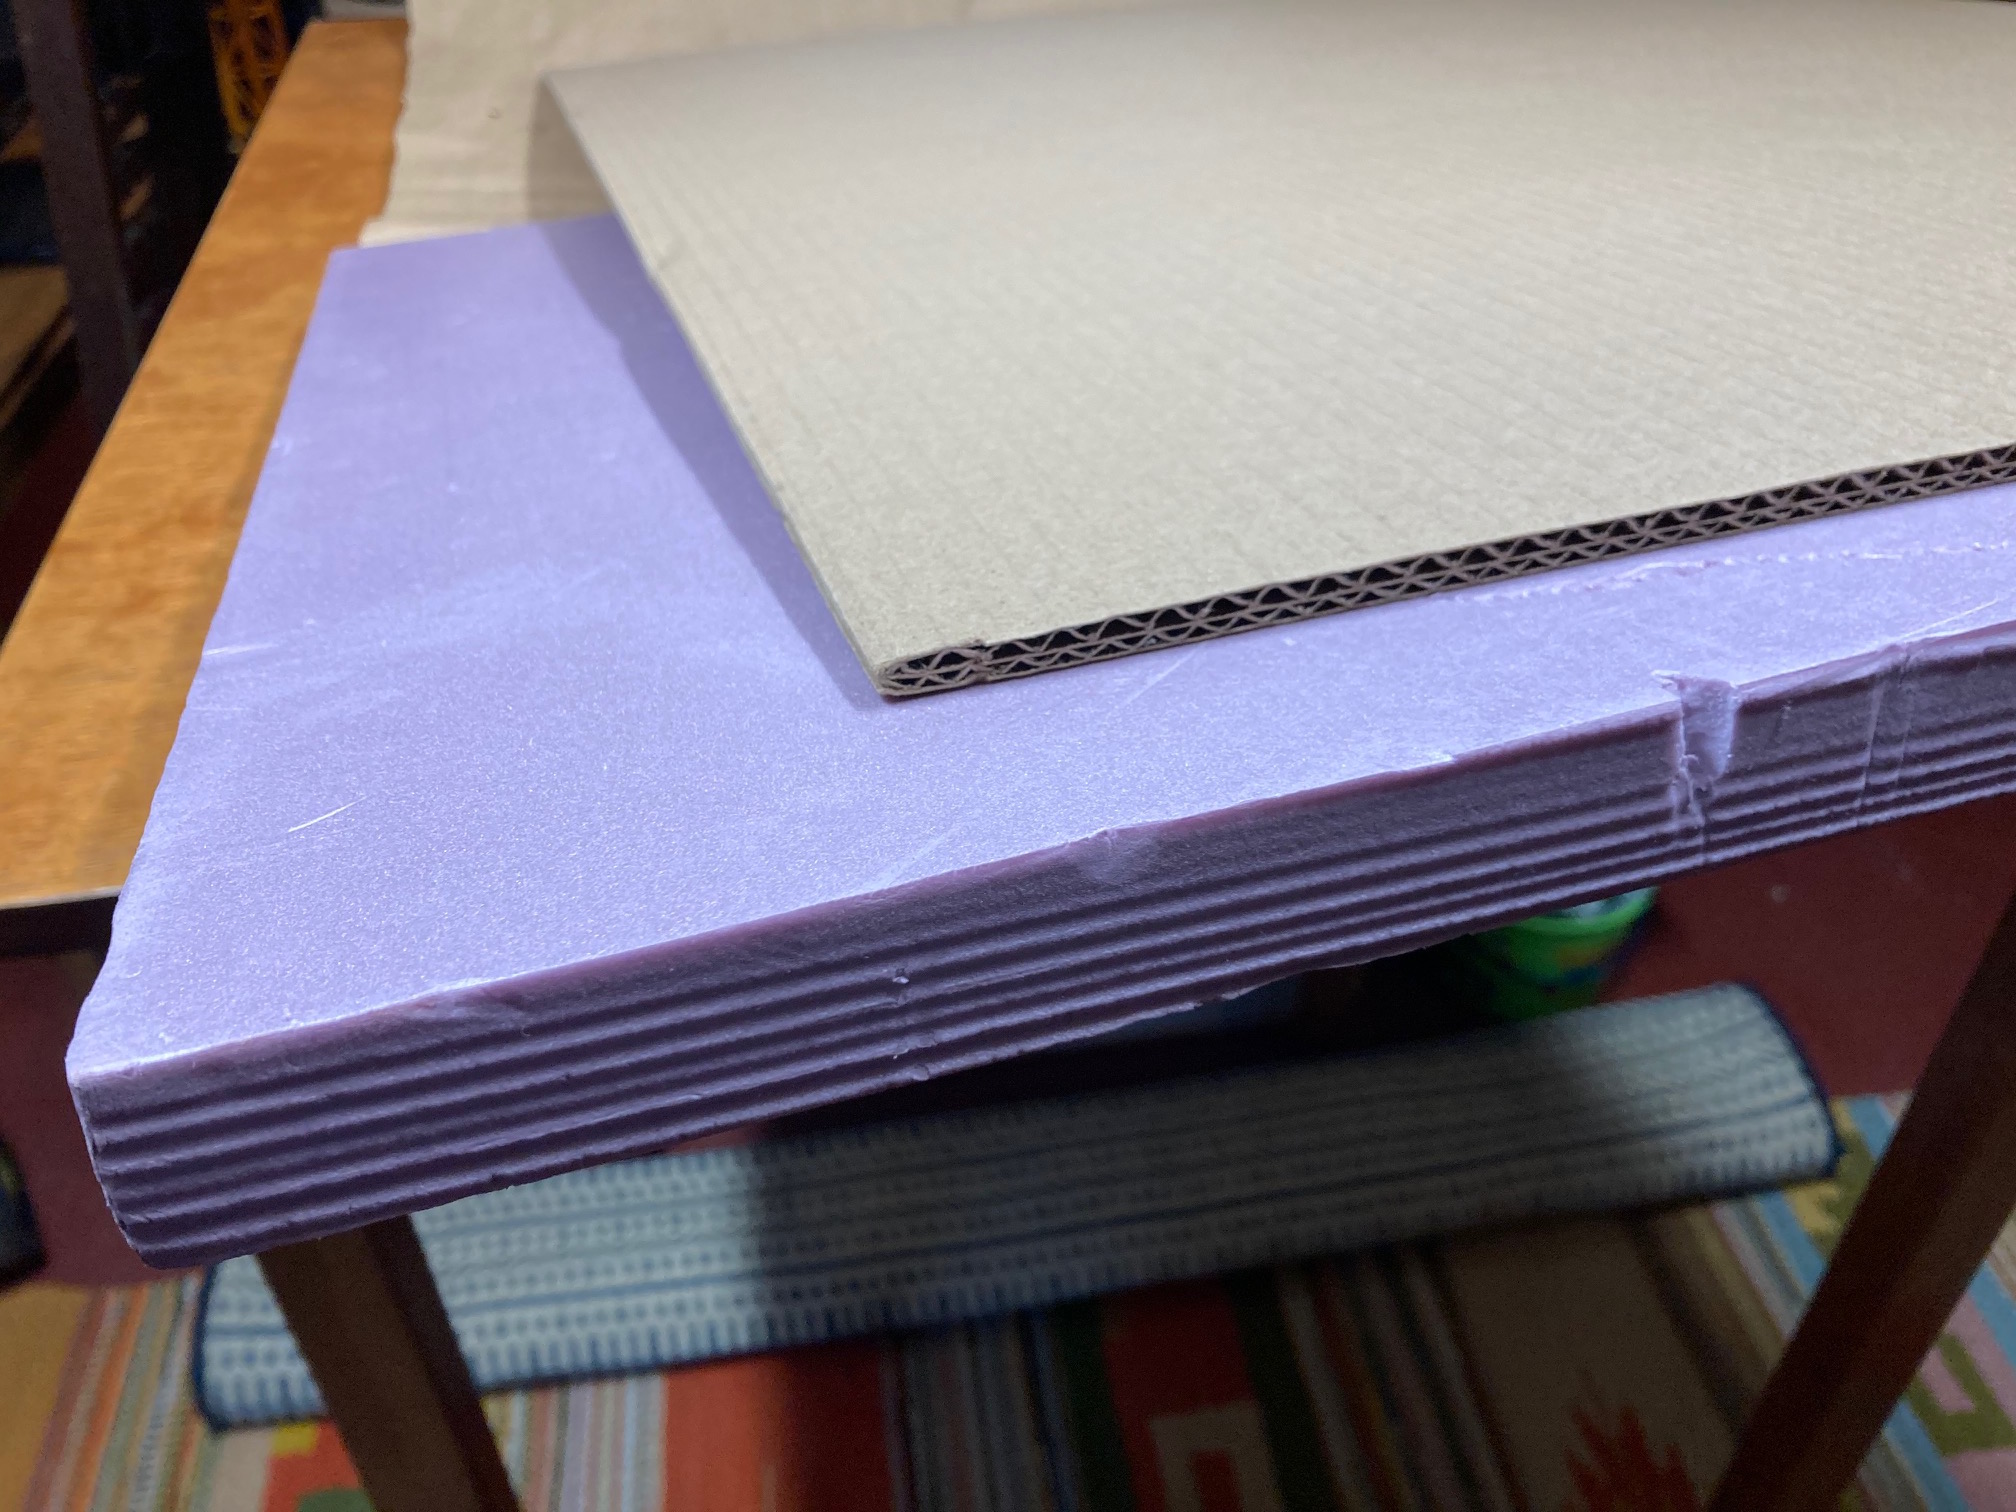
This is where Modularity comes in. I’m going to half the water area and add that half to the land area. 6″of land will allow me to have buildings with a sidewalk. Using two layers of 1/4″ cardboard with 1” of foam on top of that, will give the 1.5″ hight I need to level the new boards with the larger boards.
Cheers
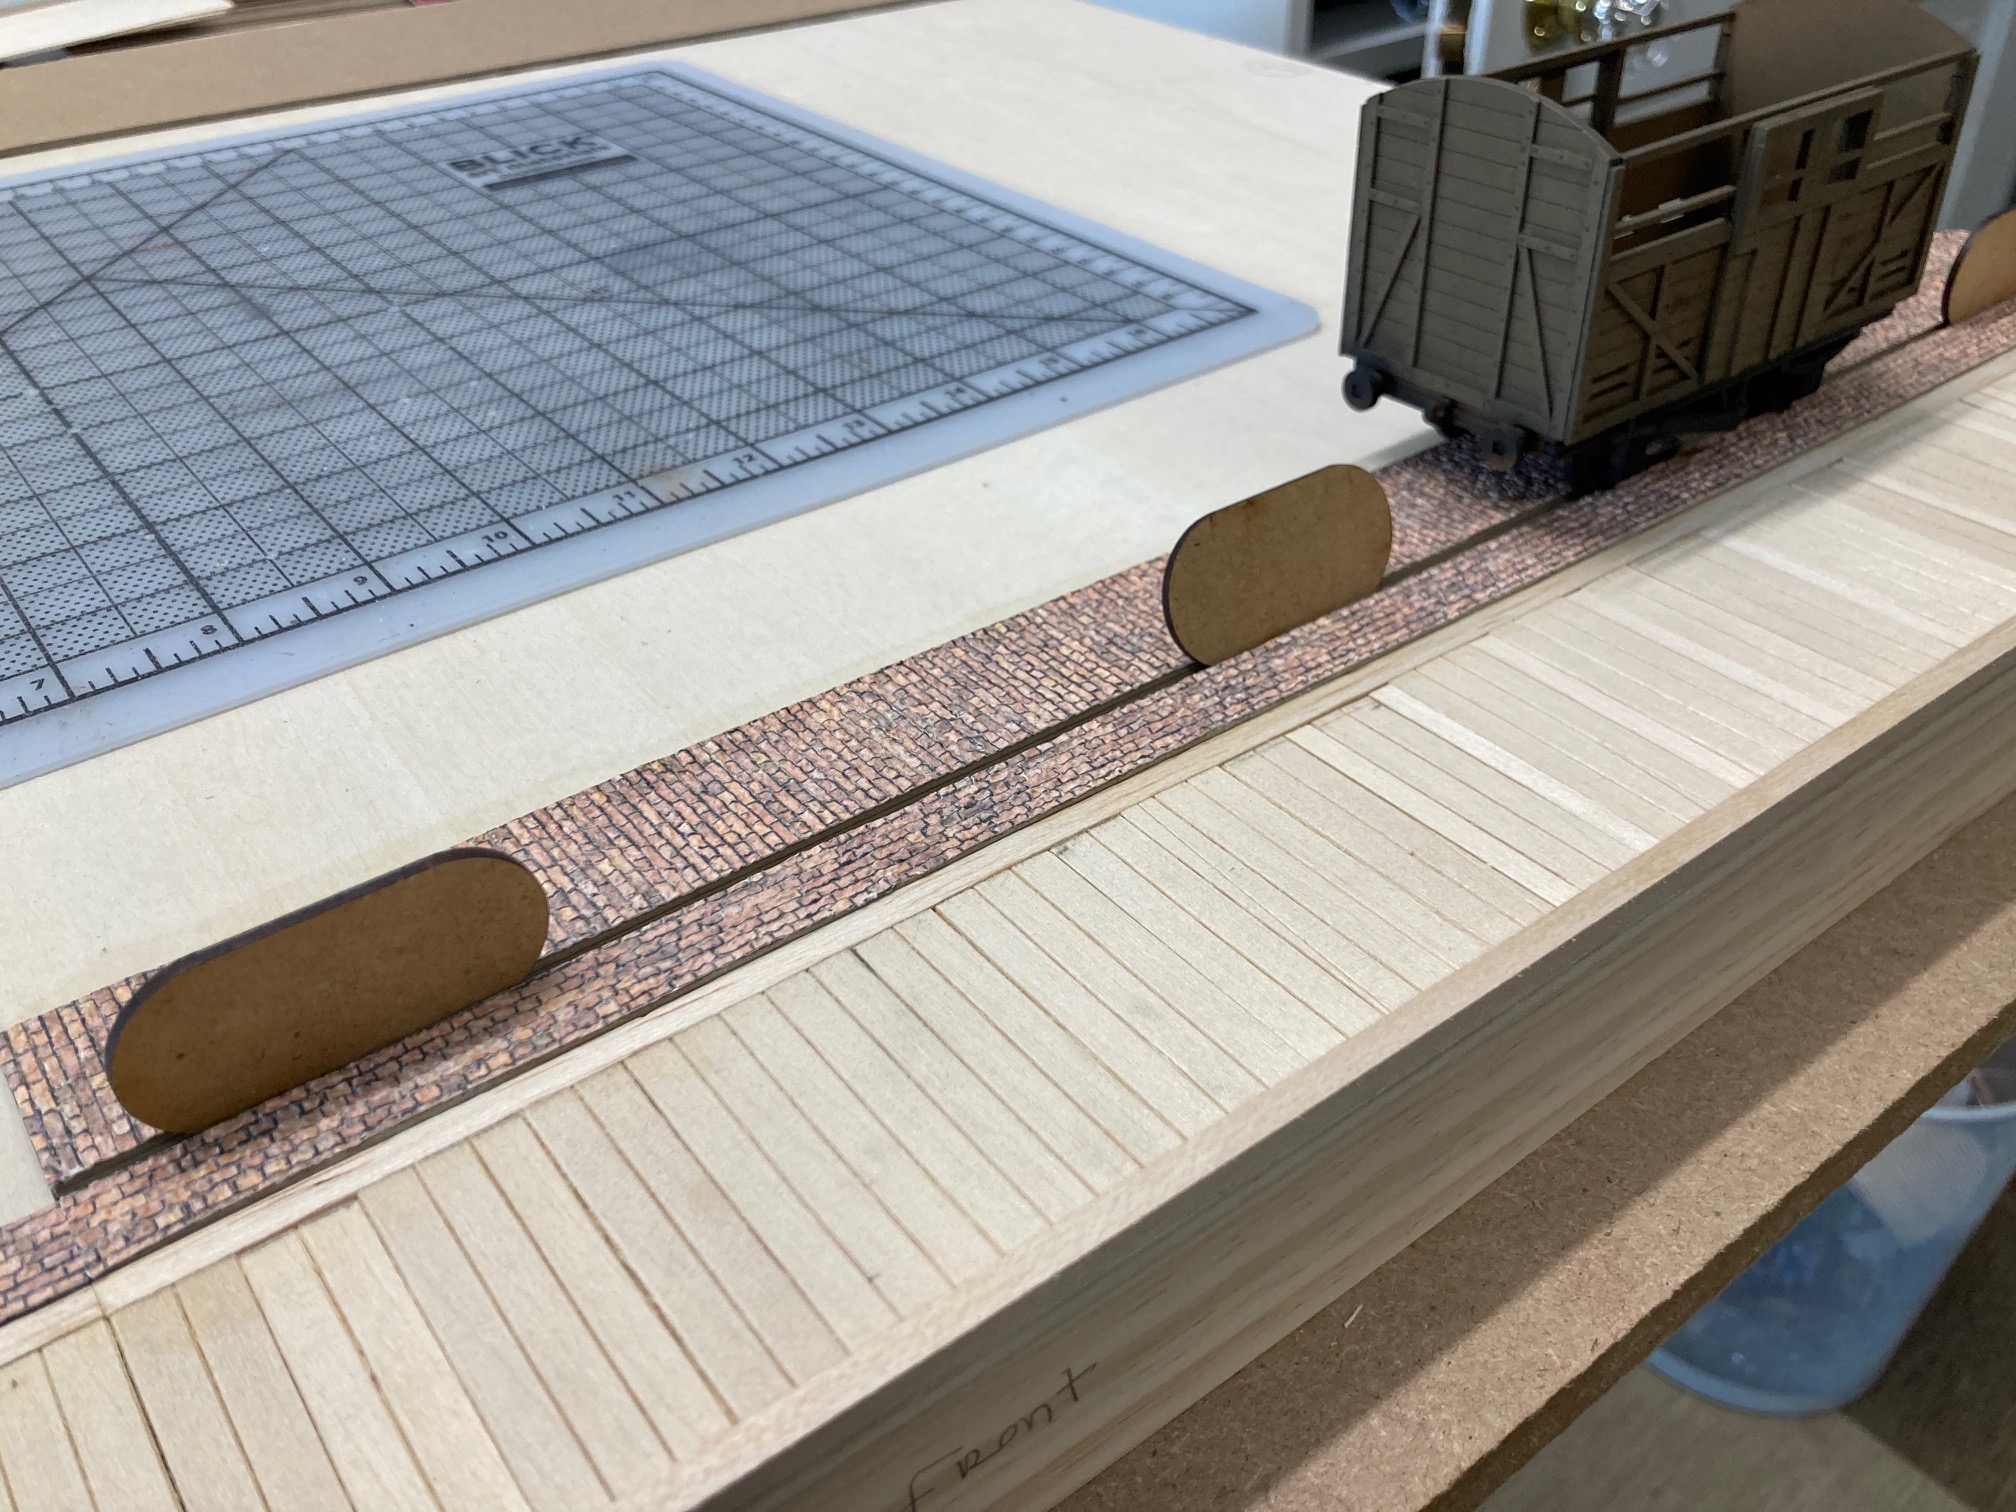
Getting Into The Groove
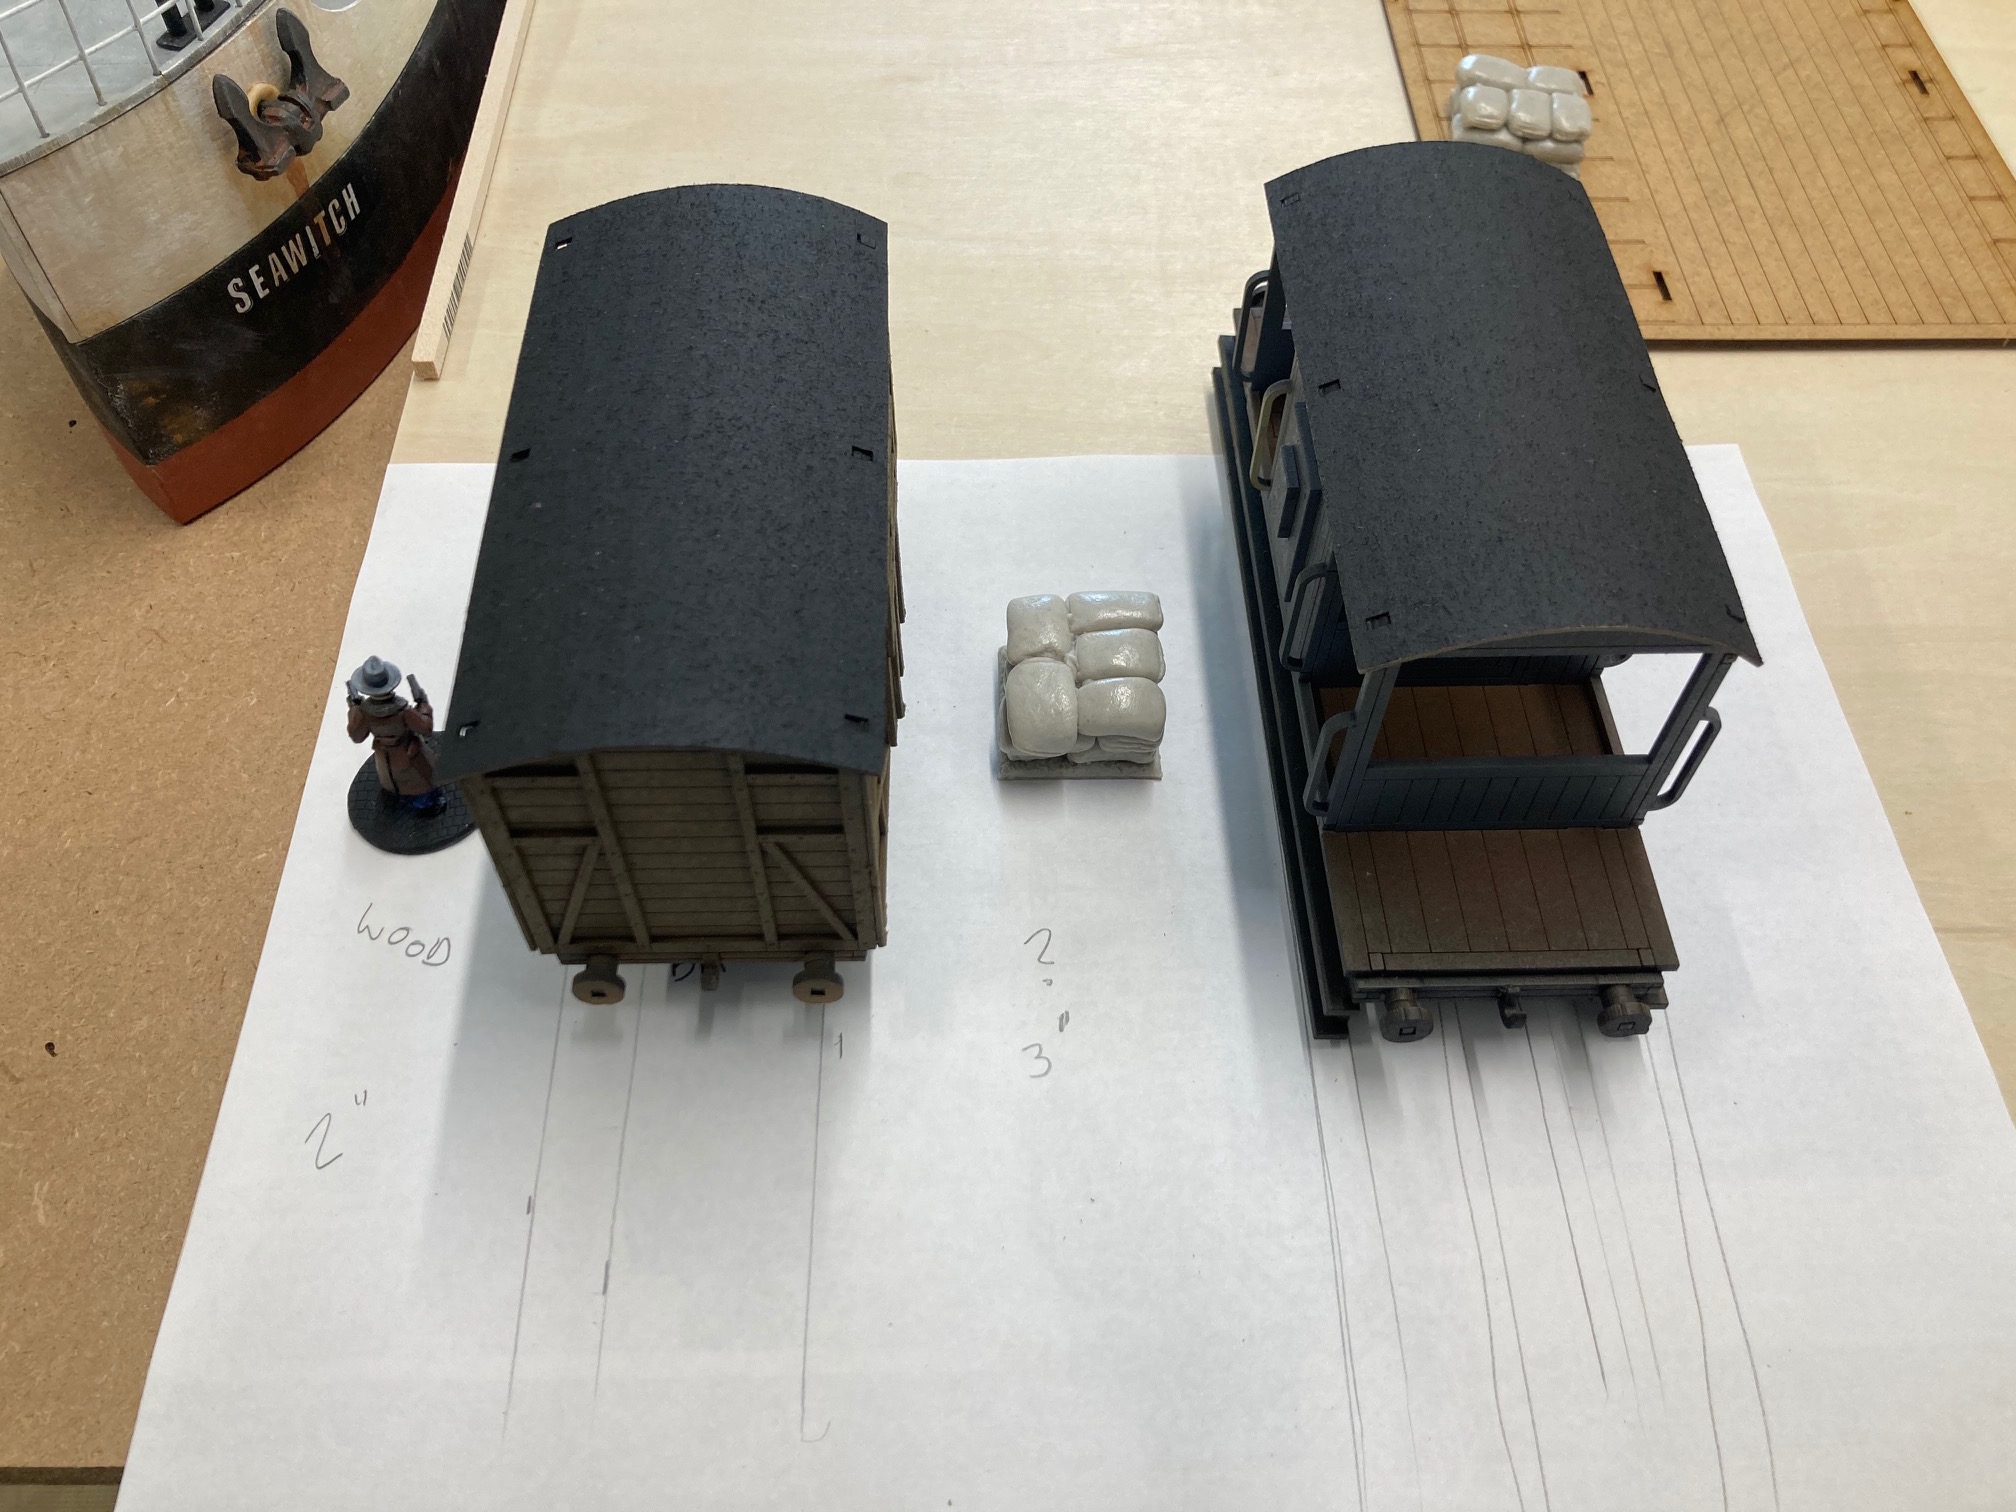
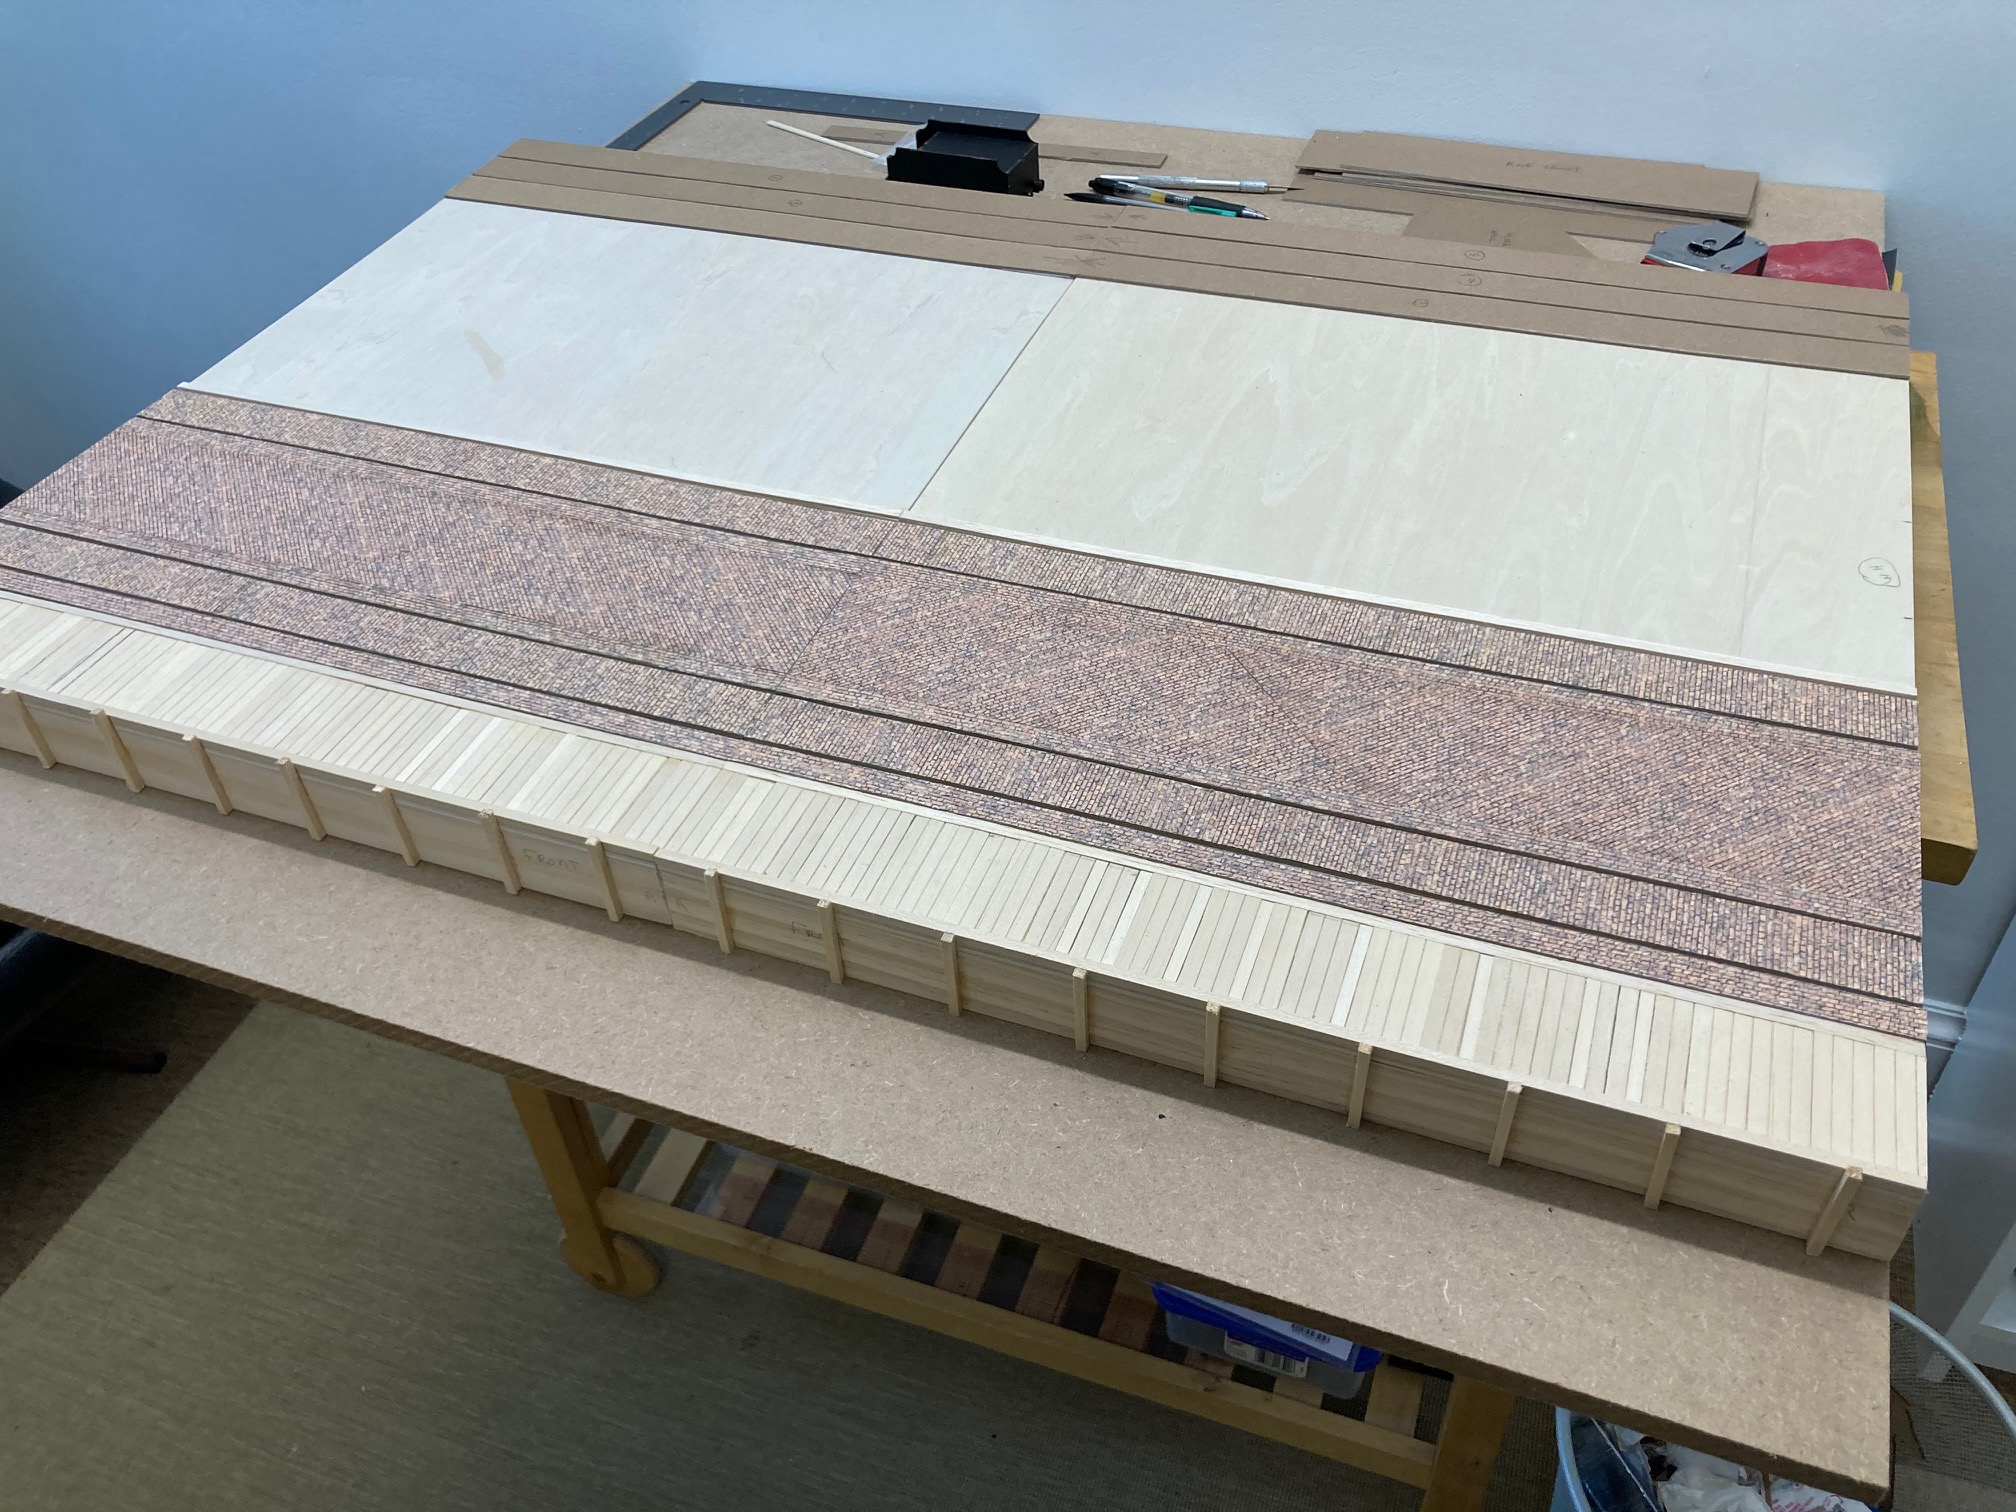
After sometime of laying out on paper the possible options for the dockside track layout, I’m going with two tracks.
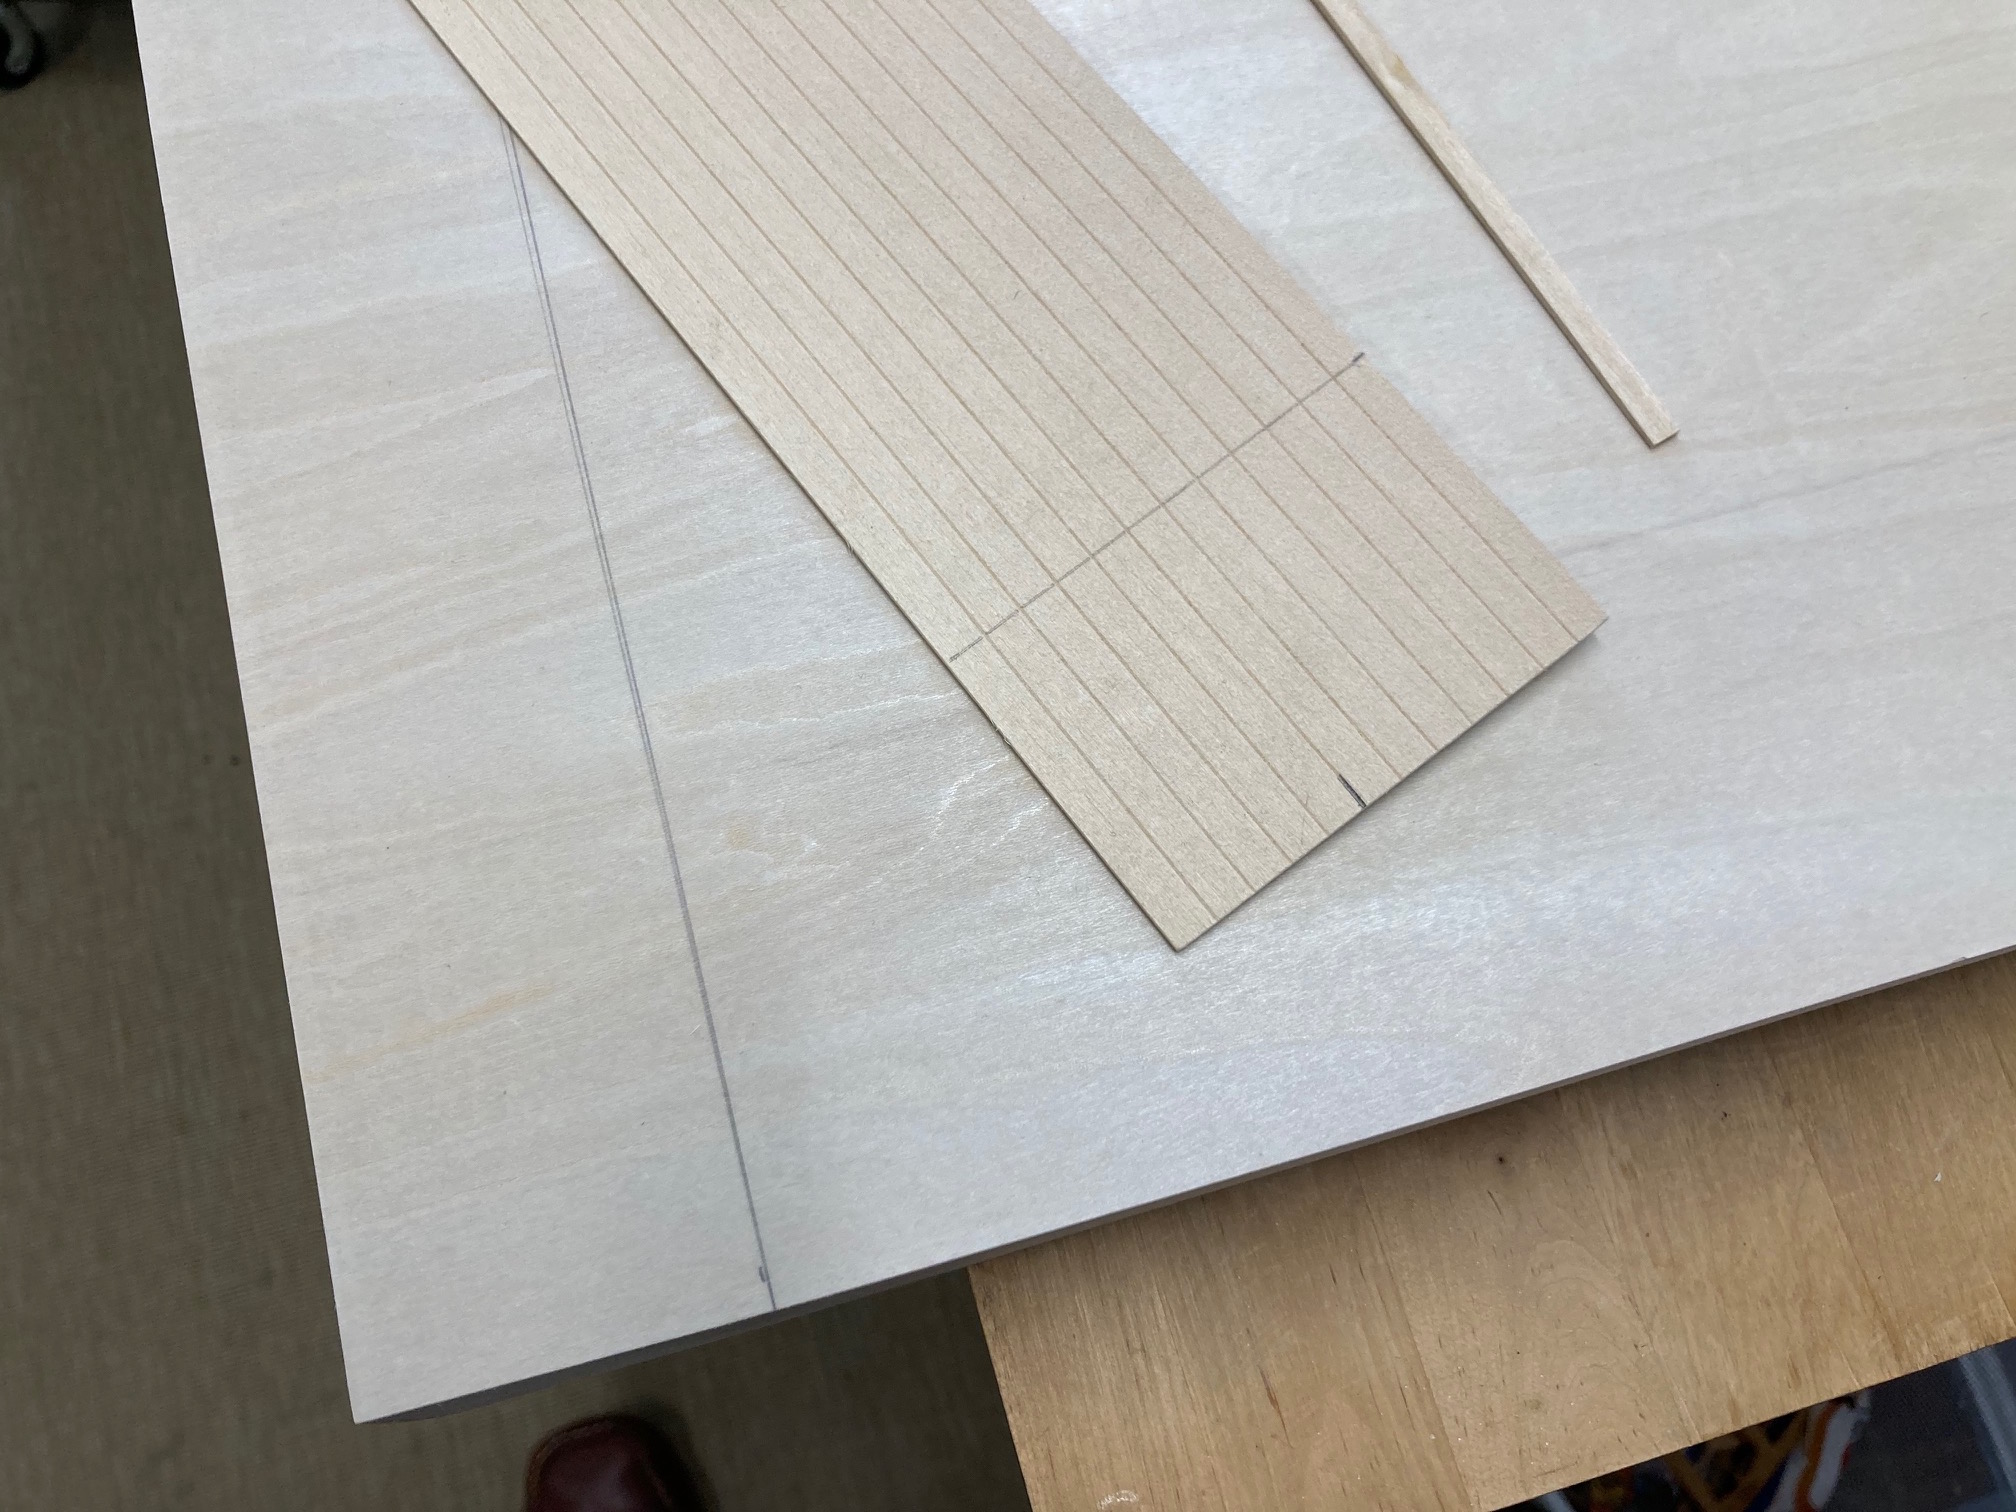
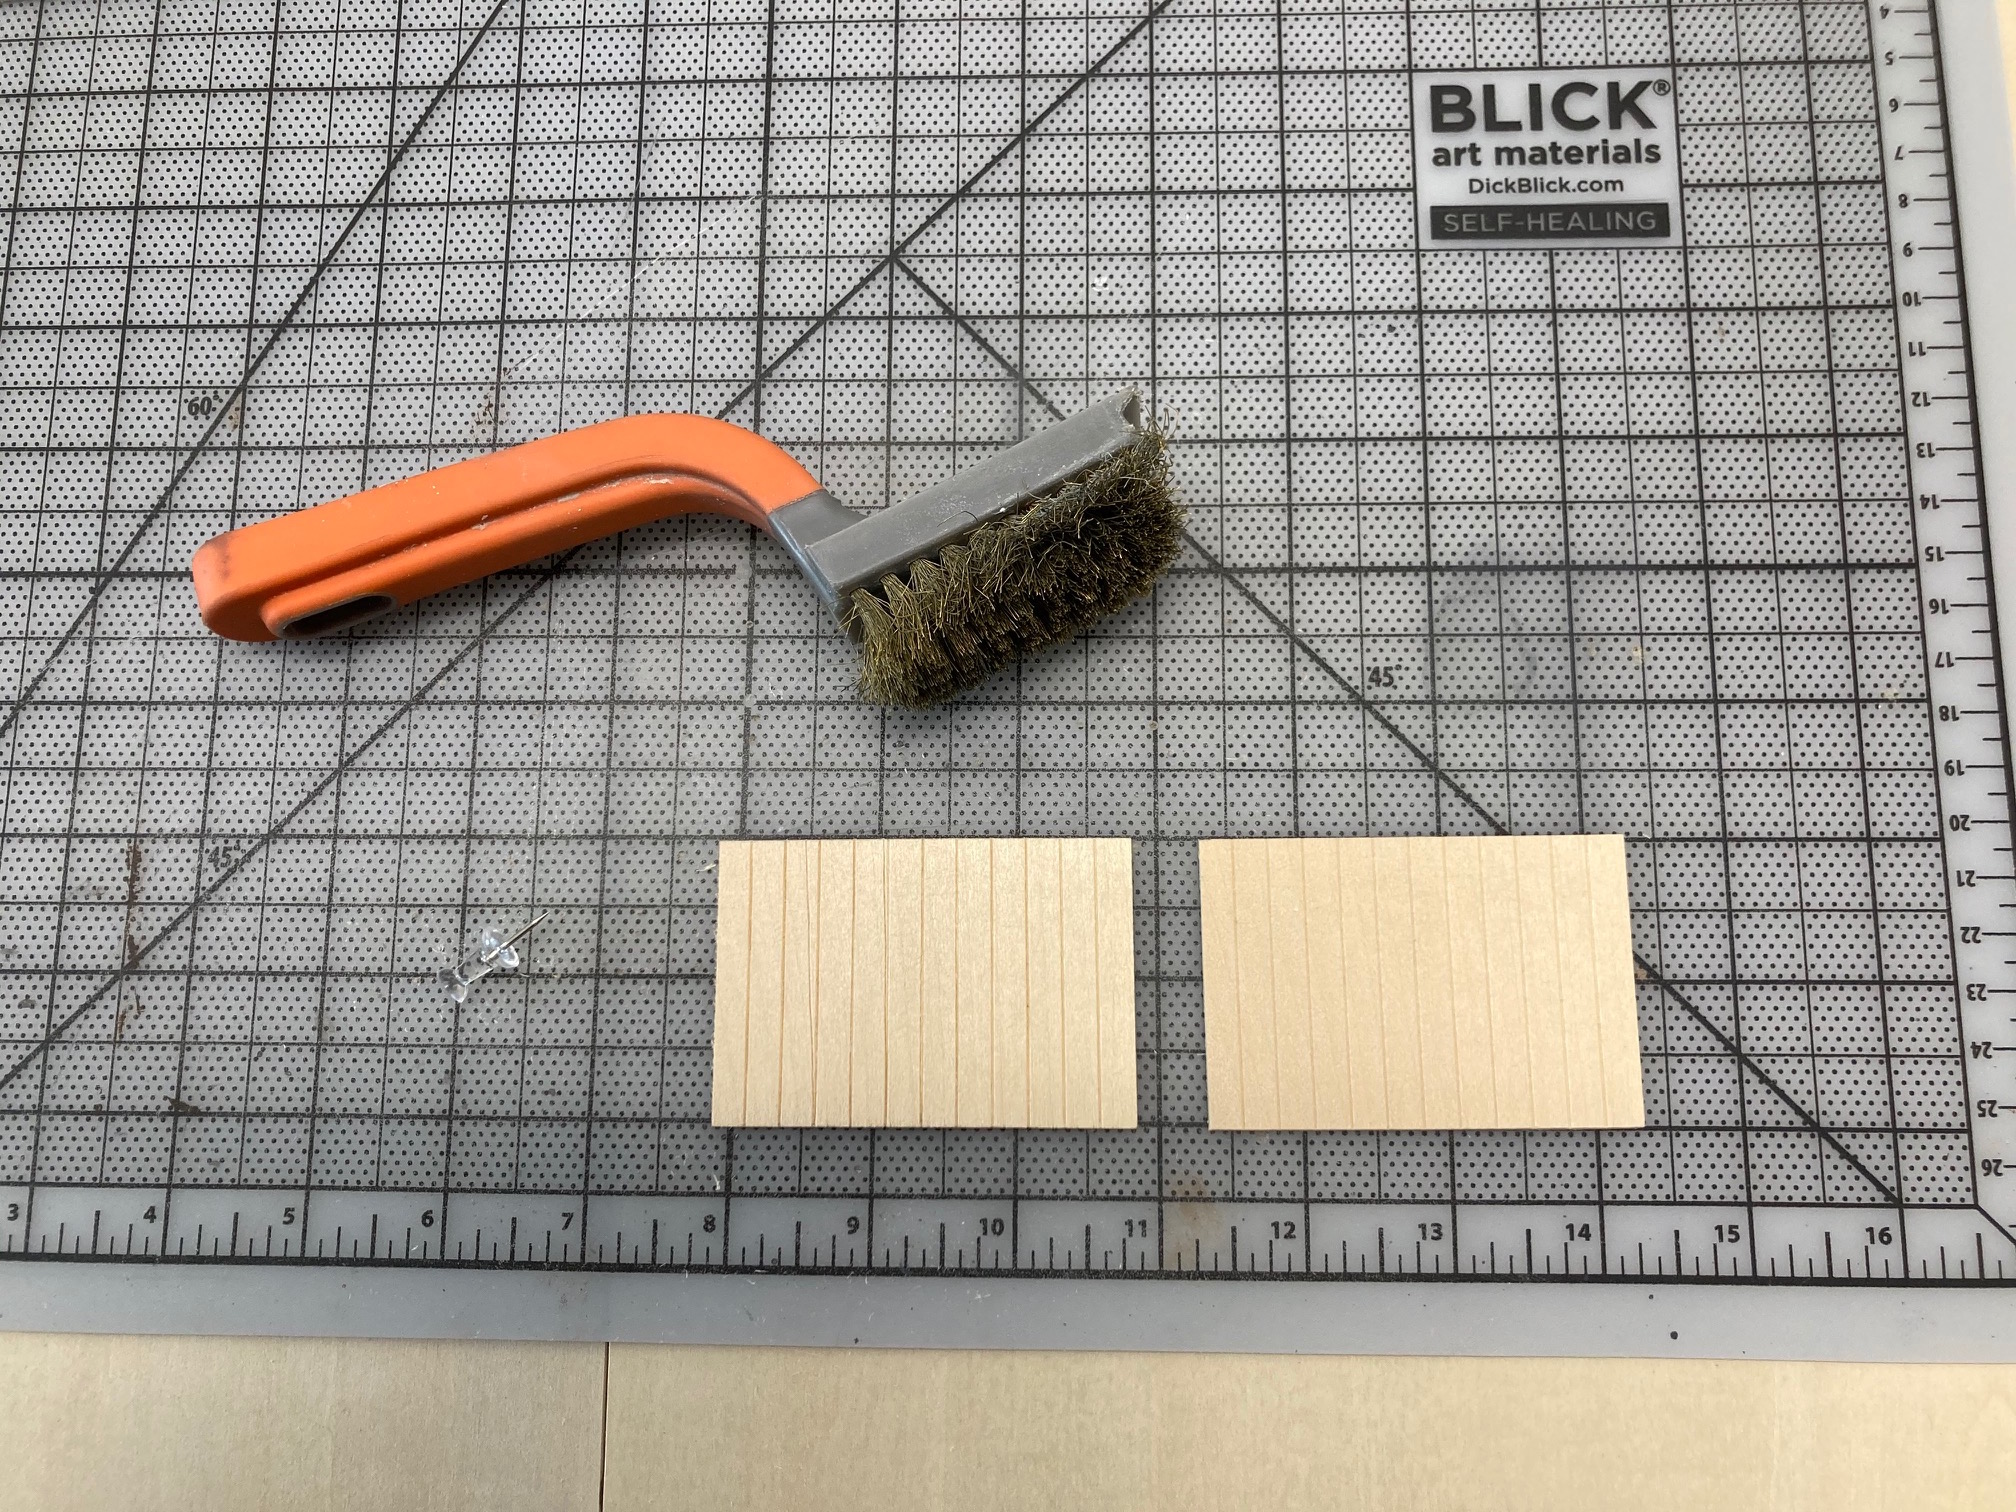
First the boardwalk. It’s Balsa wood that has groves already cut into it. I cut 2″ strip pieces. I will then cut each one and distress the sides. The hope is that all the extra work will create depth to the boardwalk. It will also help balance all the horizontal lines this board has.

So here is the layout so far. I have to repeat the cardboard strips for the neighboring board. Still a lot to do before I can even start gluing down or painting anything.


Lay'n Brick
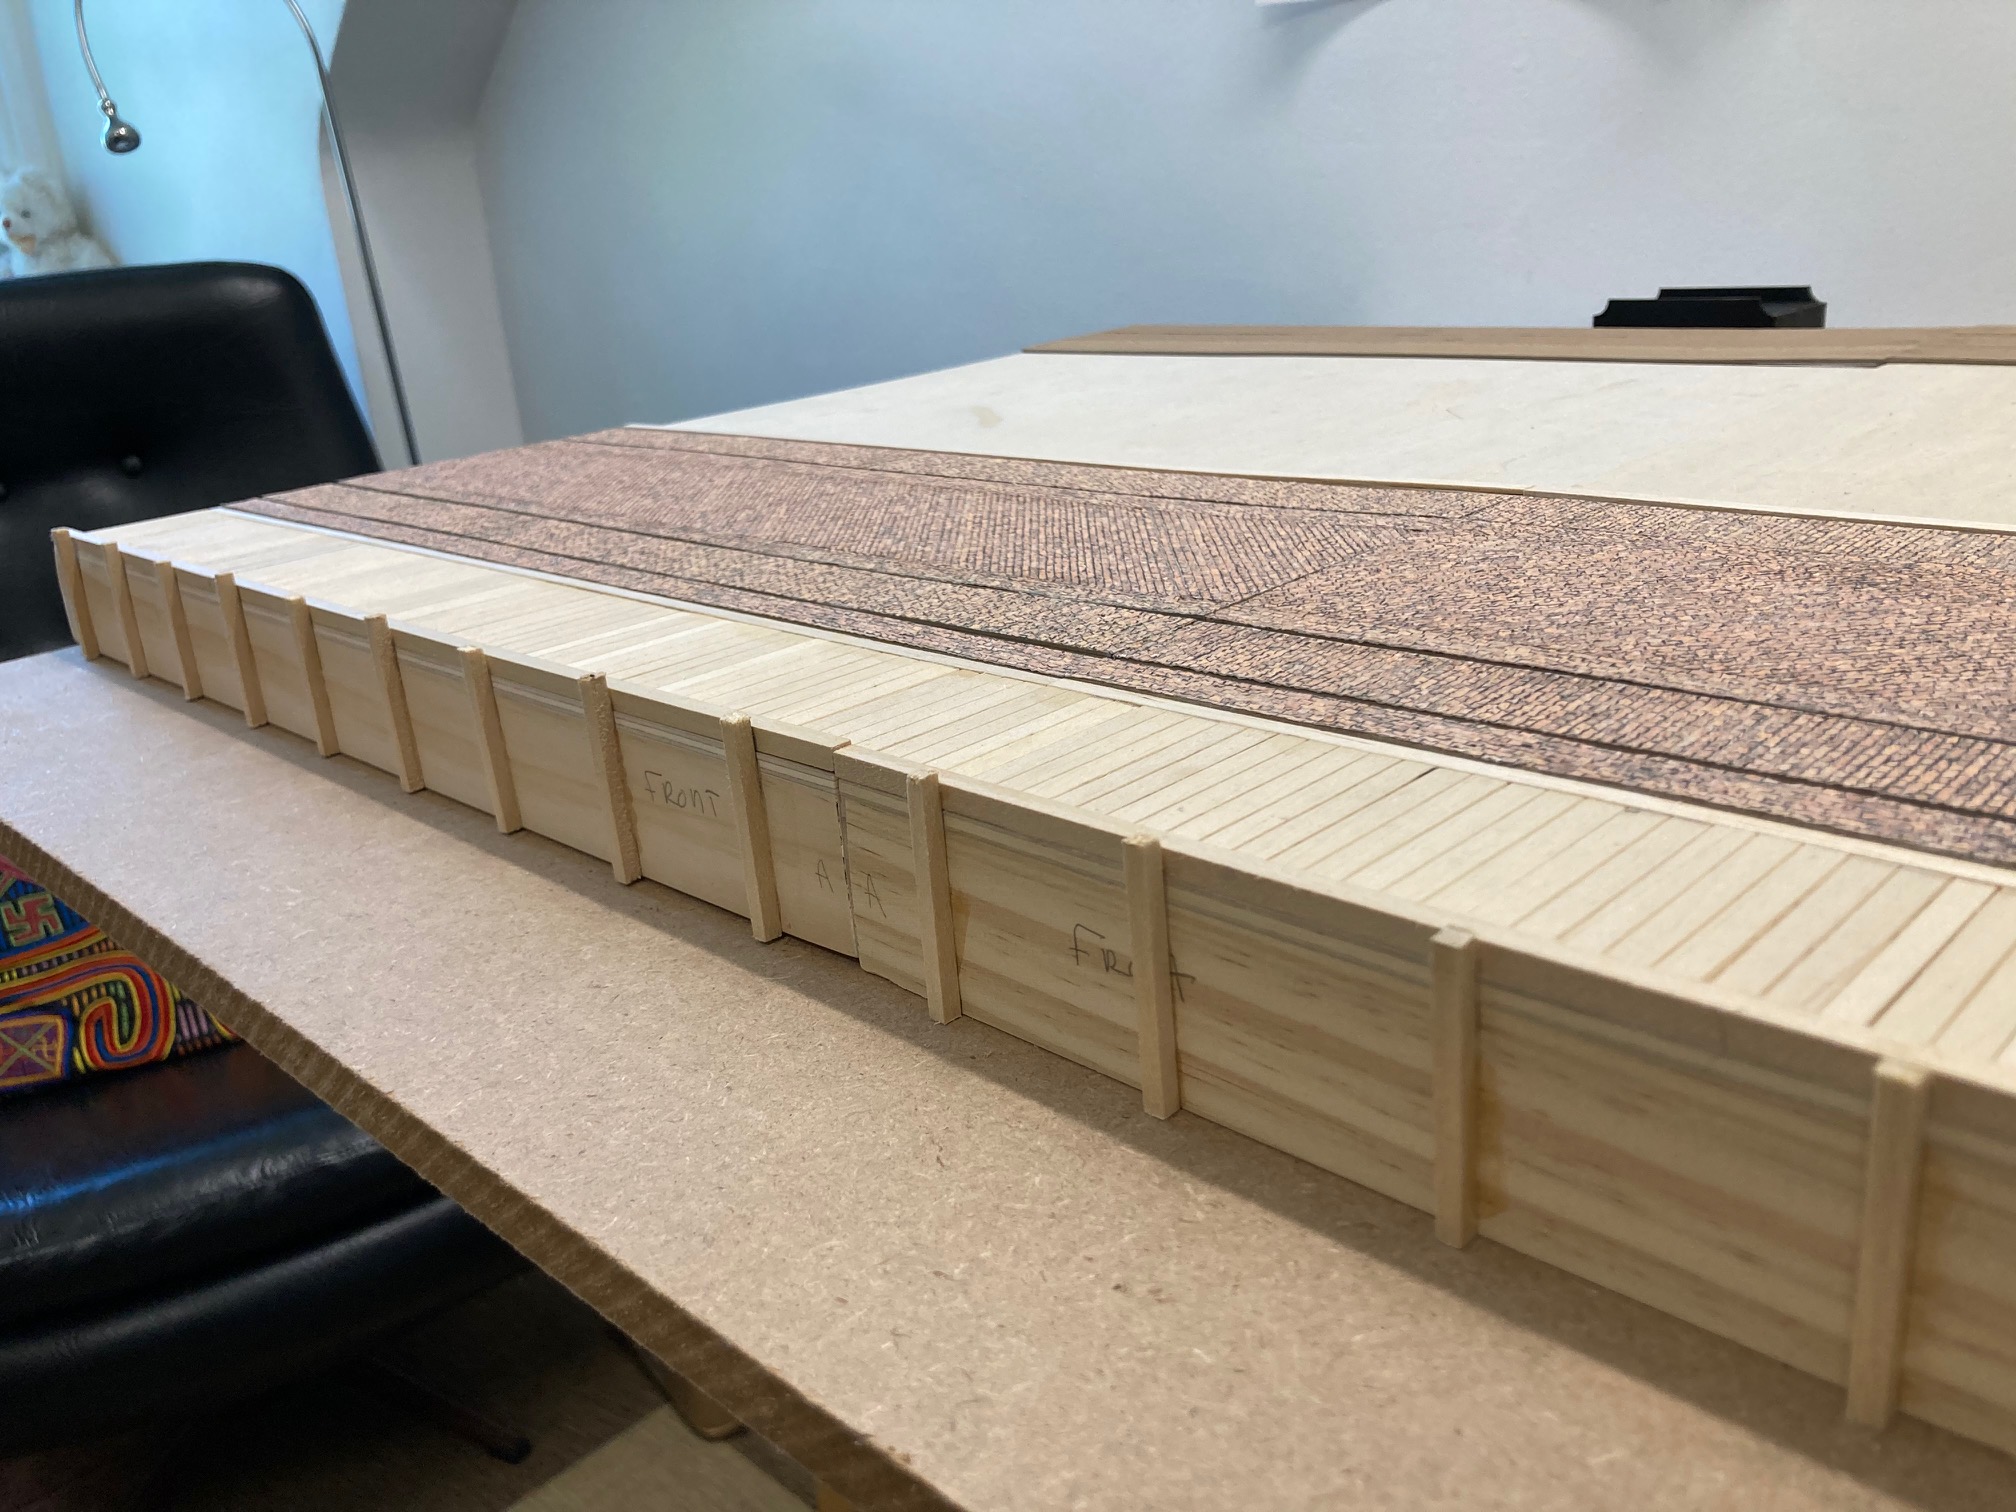
First finishing the boardwalk.
Using a wire brush I scuffed vertical line into the balsa to represent ring lines. I then pressed a pin down each groove to deepen it’s profile.
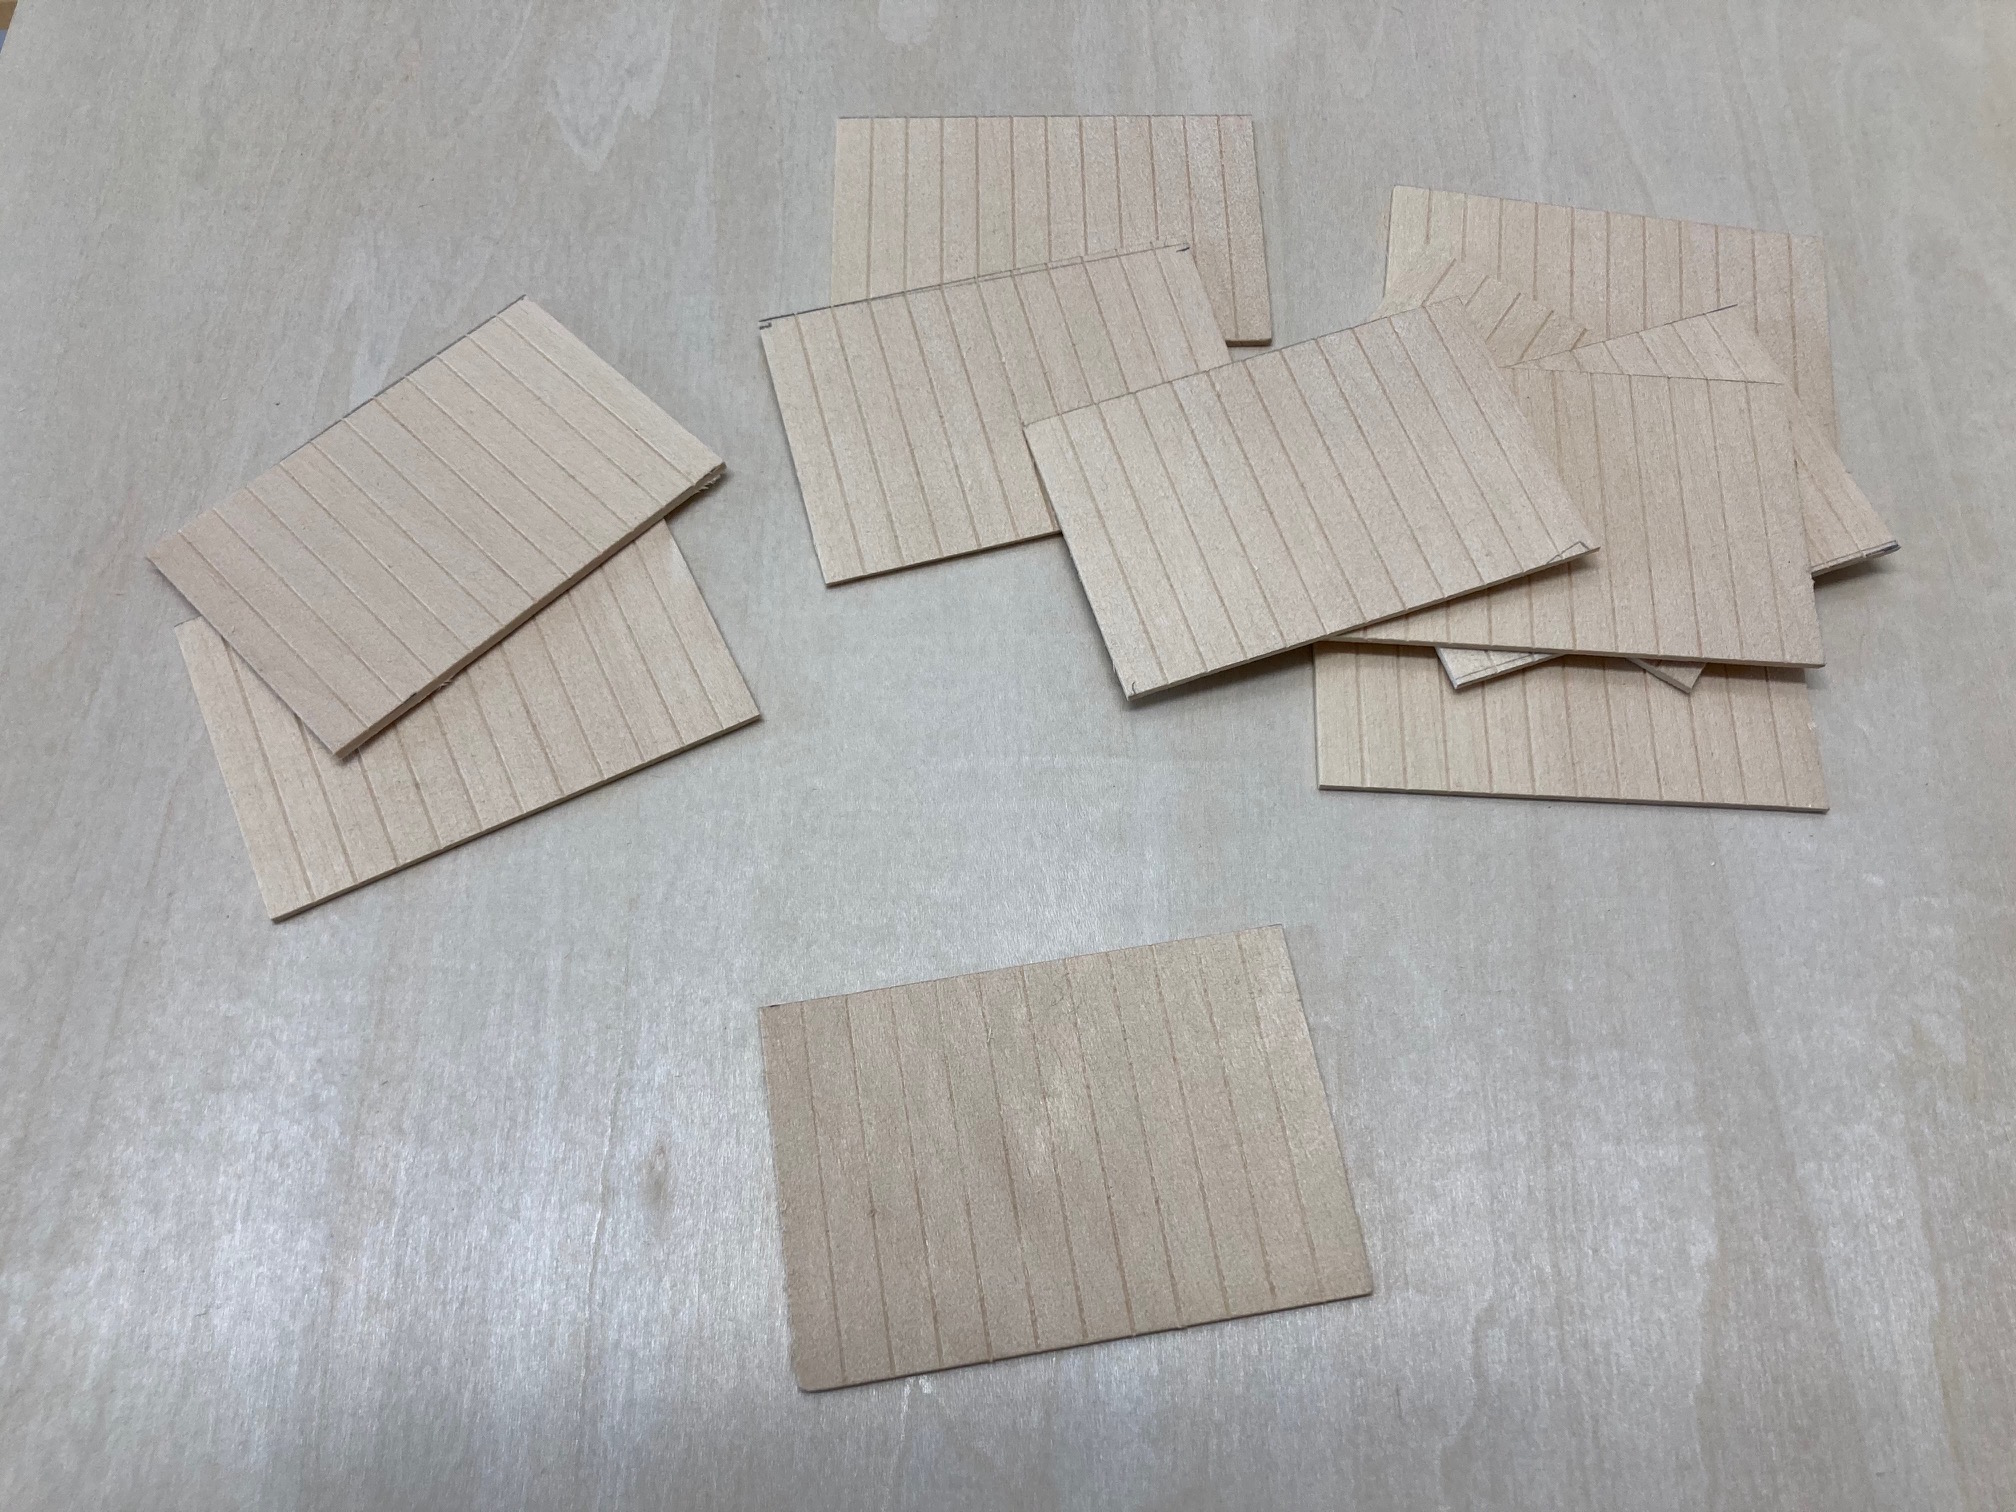
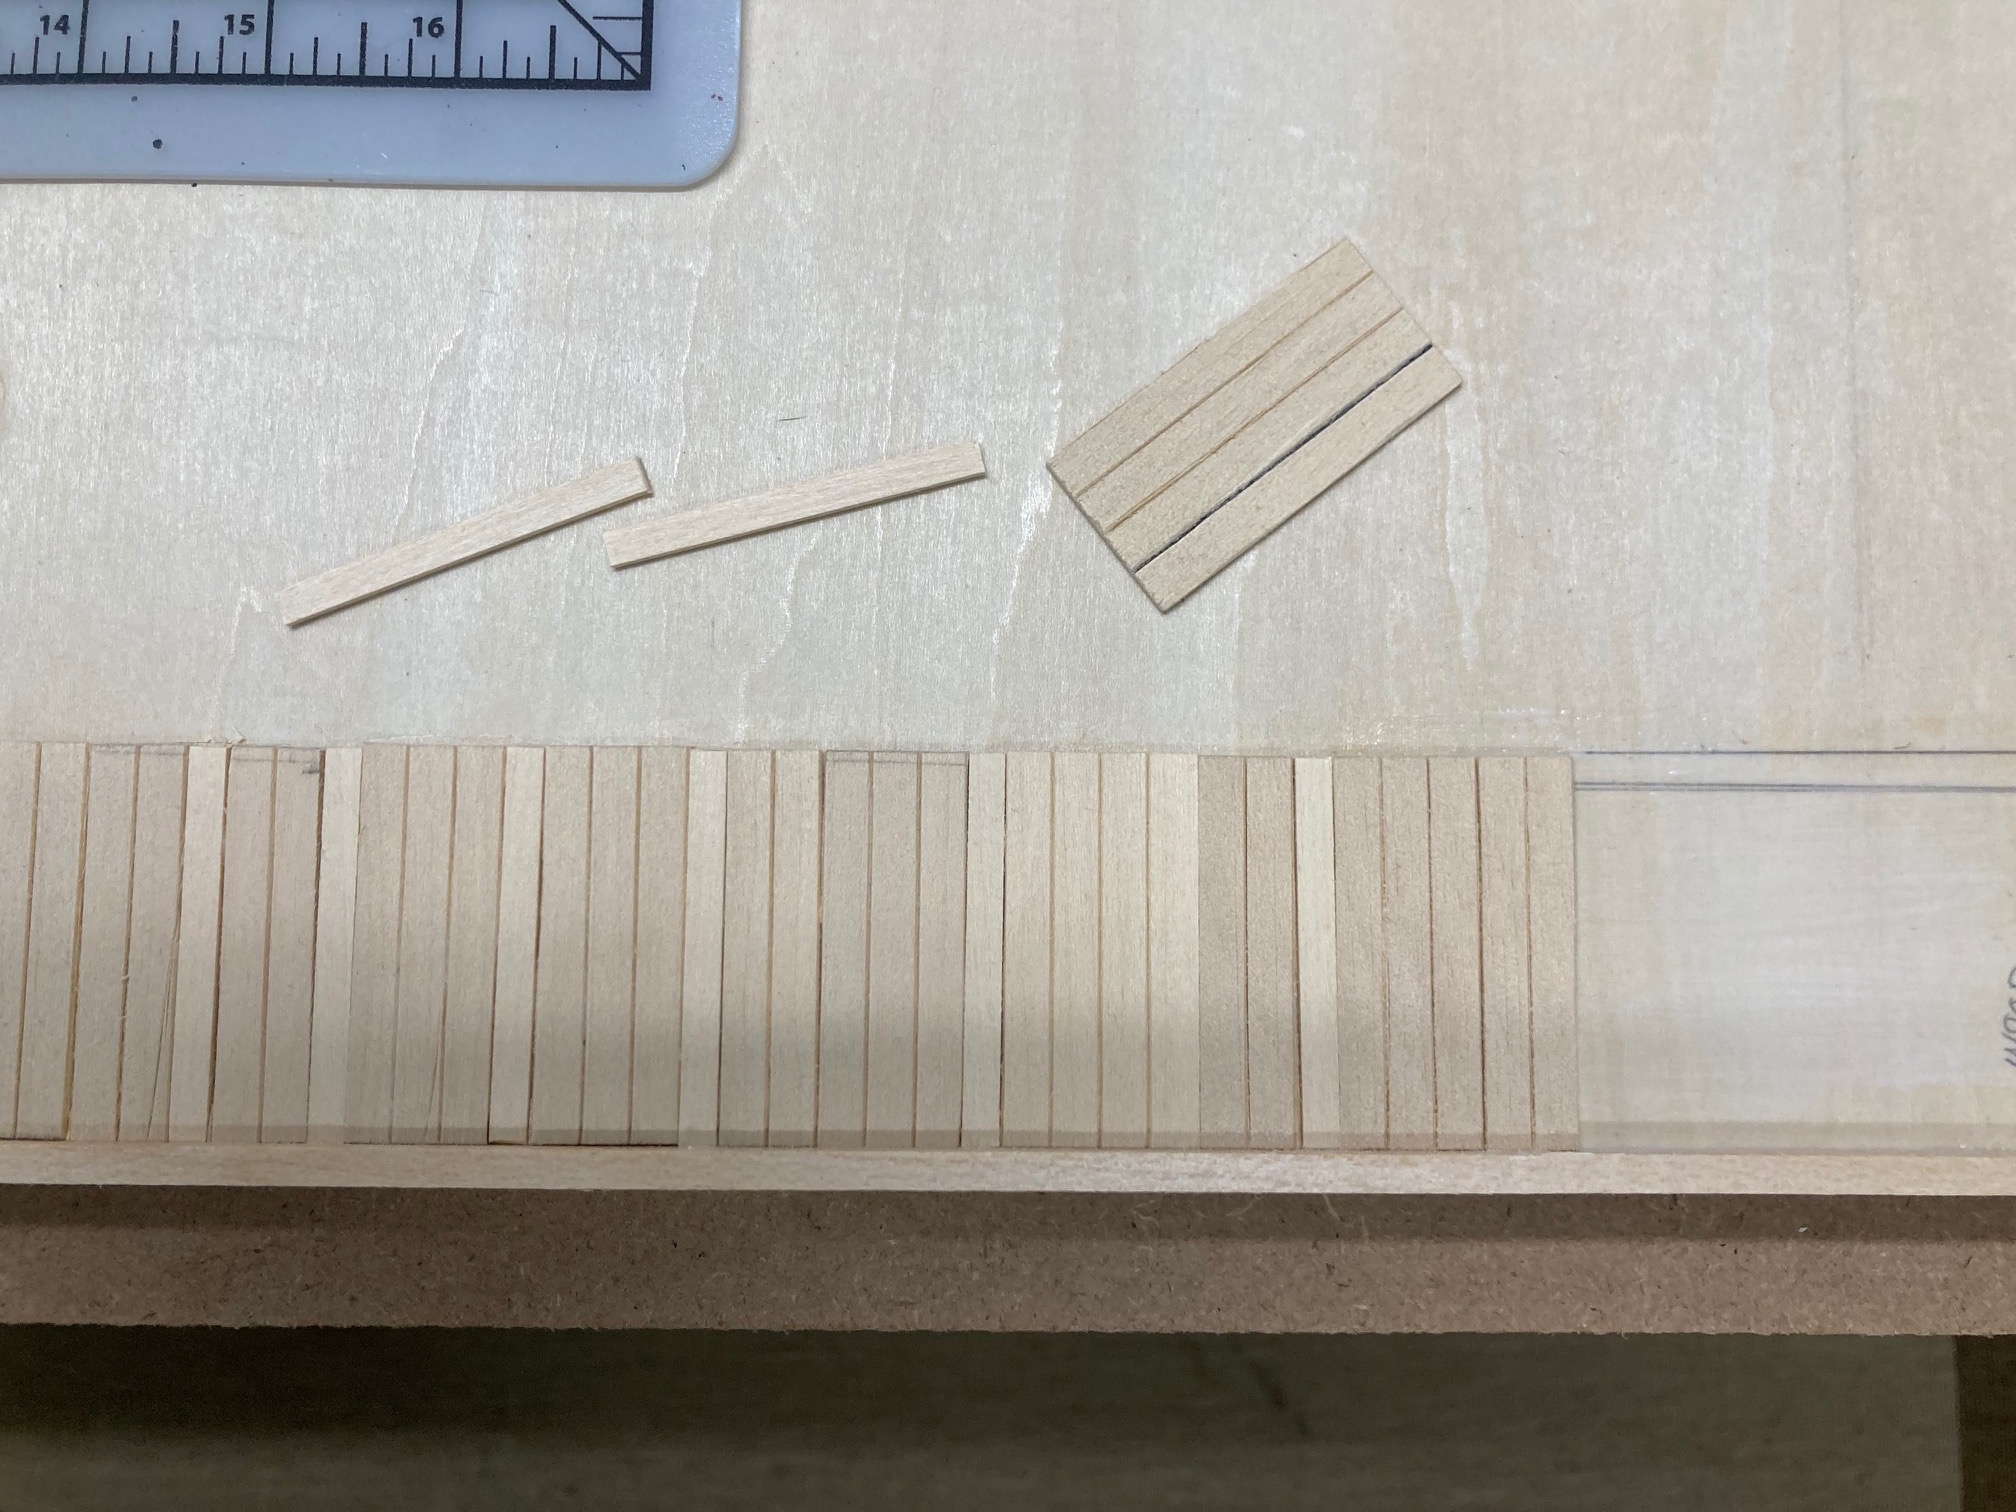
Next I cut them into single, two and three board groupings. I’m trying to make it look as if they are individual boards.
Working from the center seem out, I brushed Mod Podge down and placed random pieces into place. I added a strip in the opposite direction to lock the board pieces into place and also give it contrasting lines.
Fin

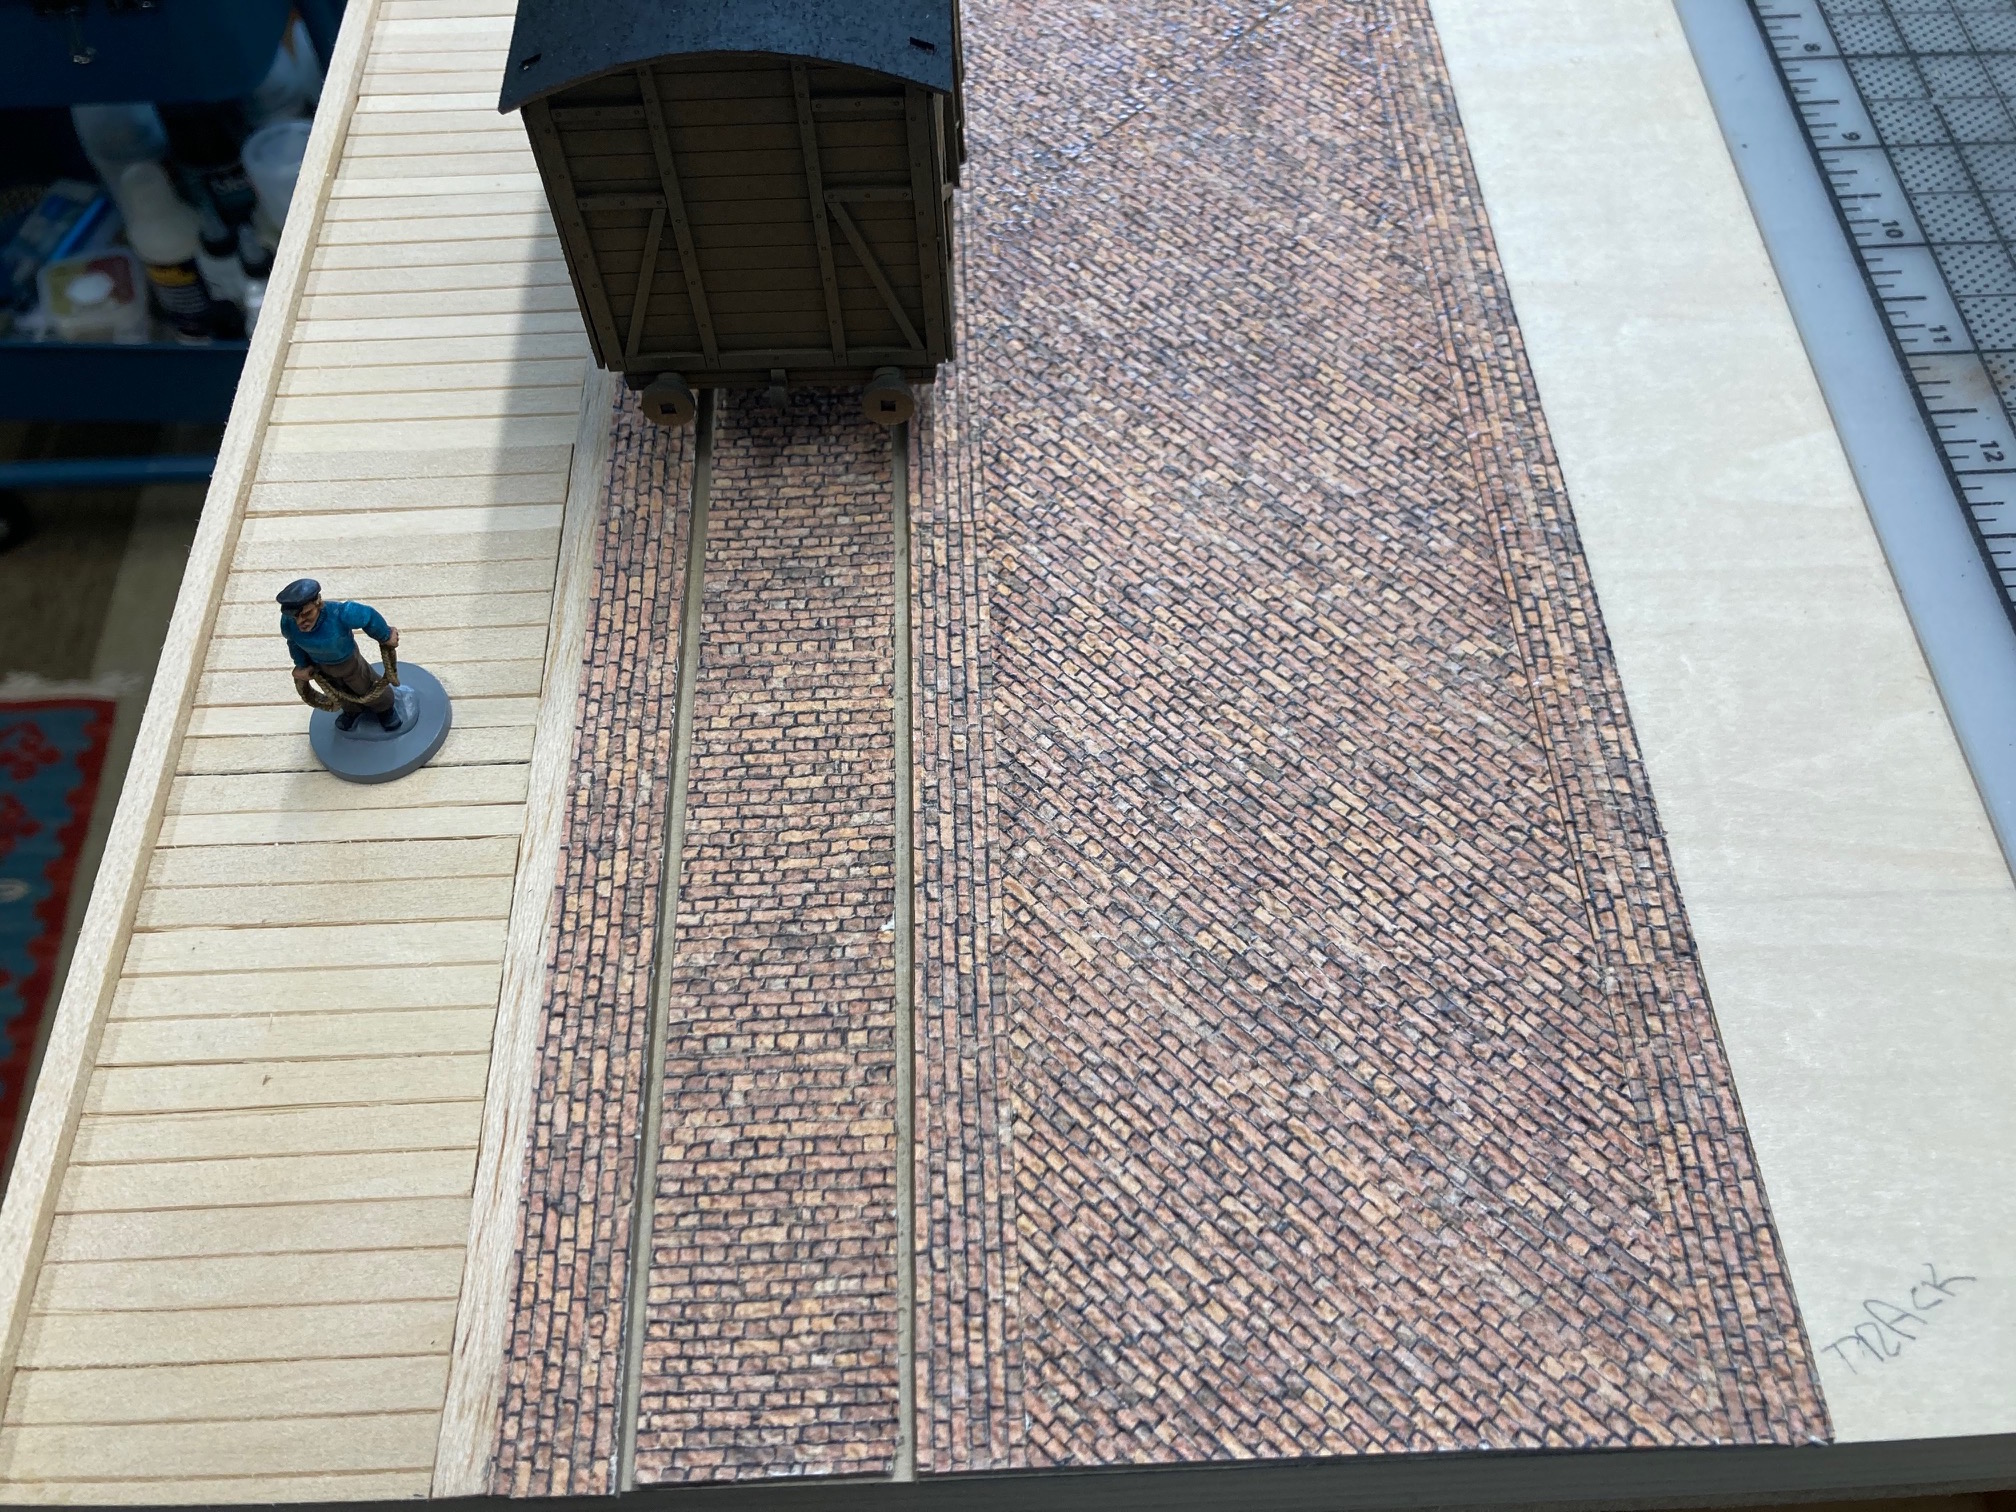
Now onto the brick.
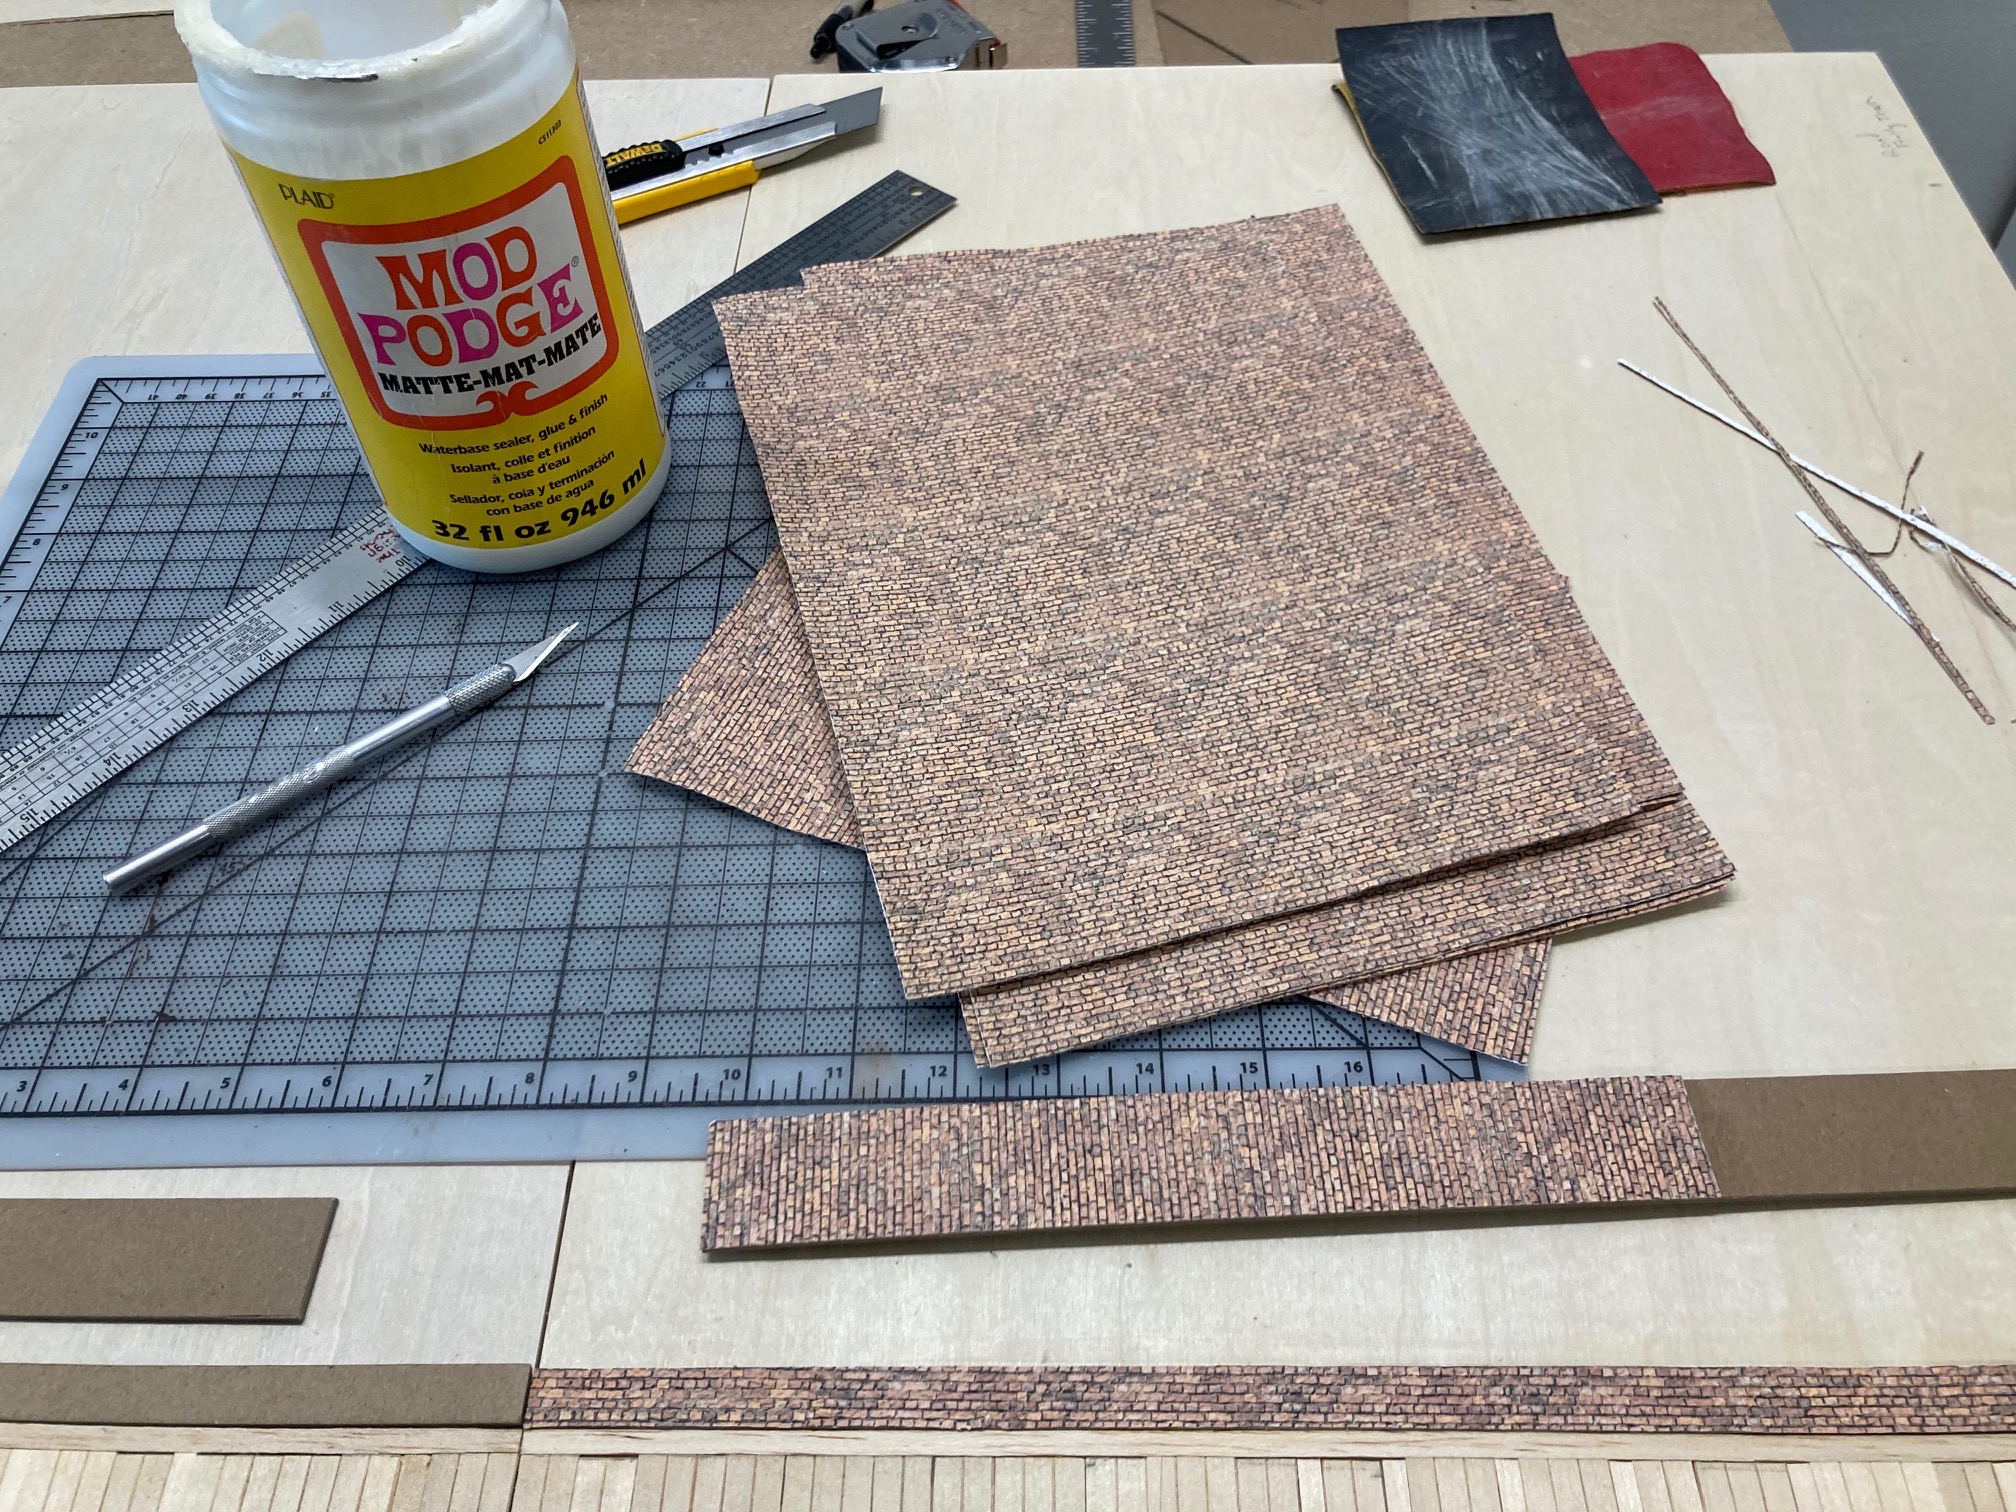
A few years ago I bought laser printed O scale brick pattern on Ebay. To me this yard is the perfect opportunity to use it.
Starting with the strip closest to the boardwalk I simply brushed glue on the top side. Pressed the glued side onto the paper and trimmed the excess.
For the next row I glued the brick pattern in the opposite direction to break up the vertical lines of the track. It also compliments the boardwalk.
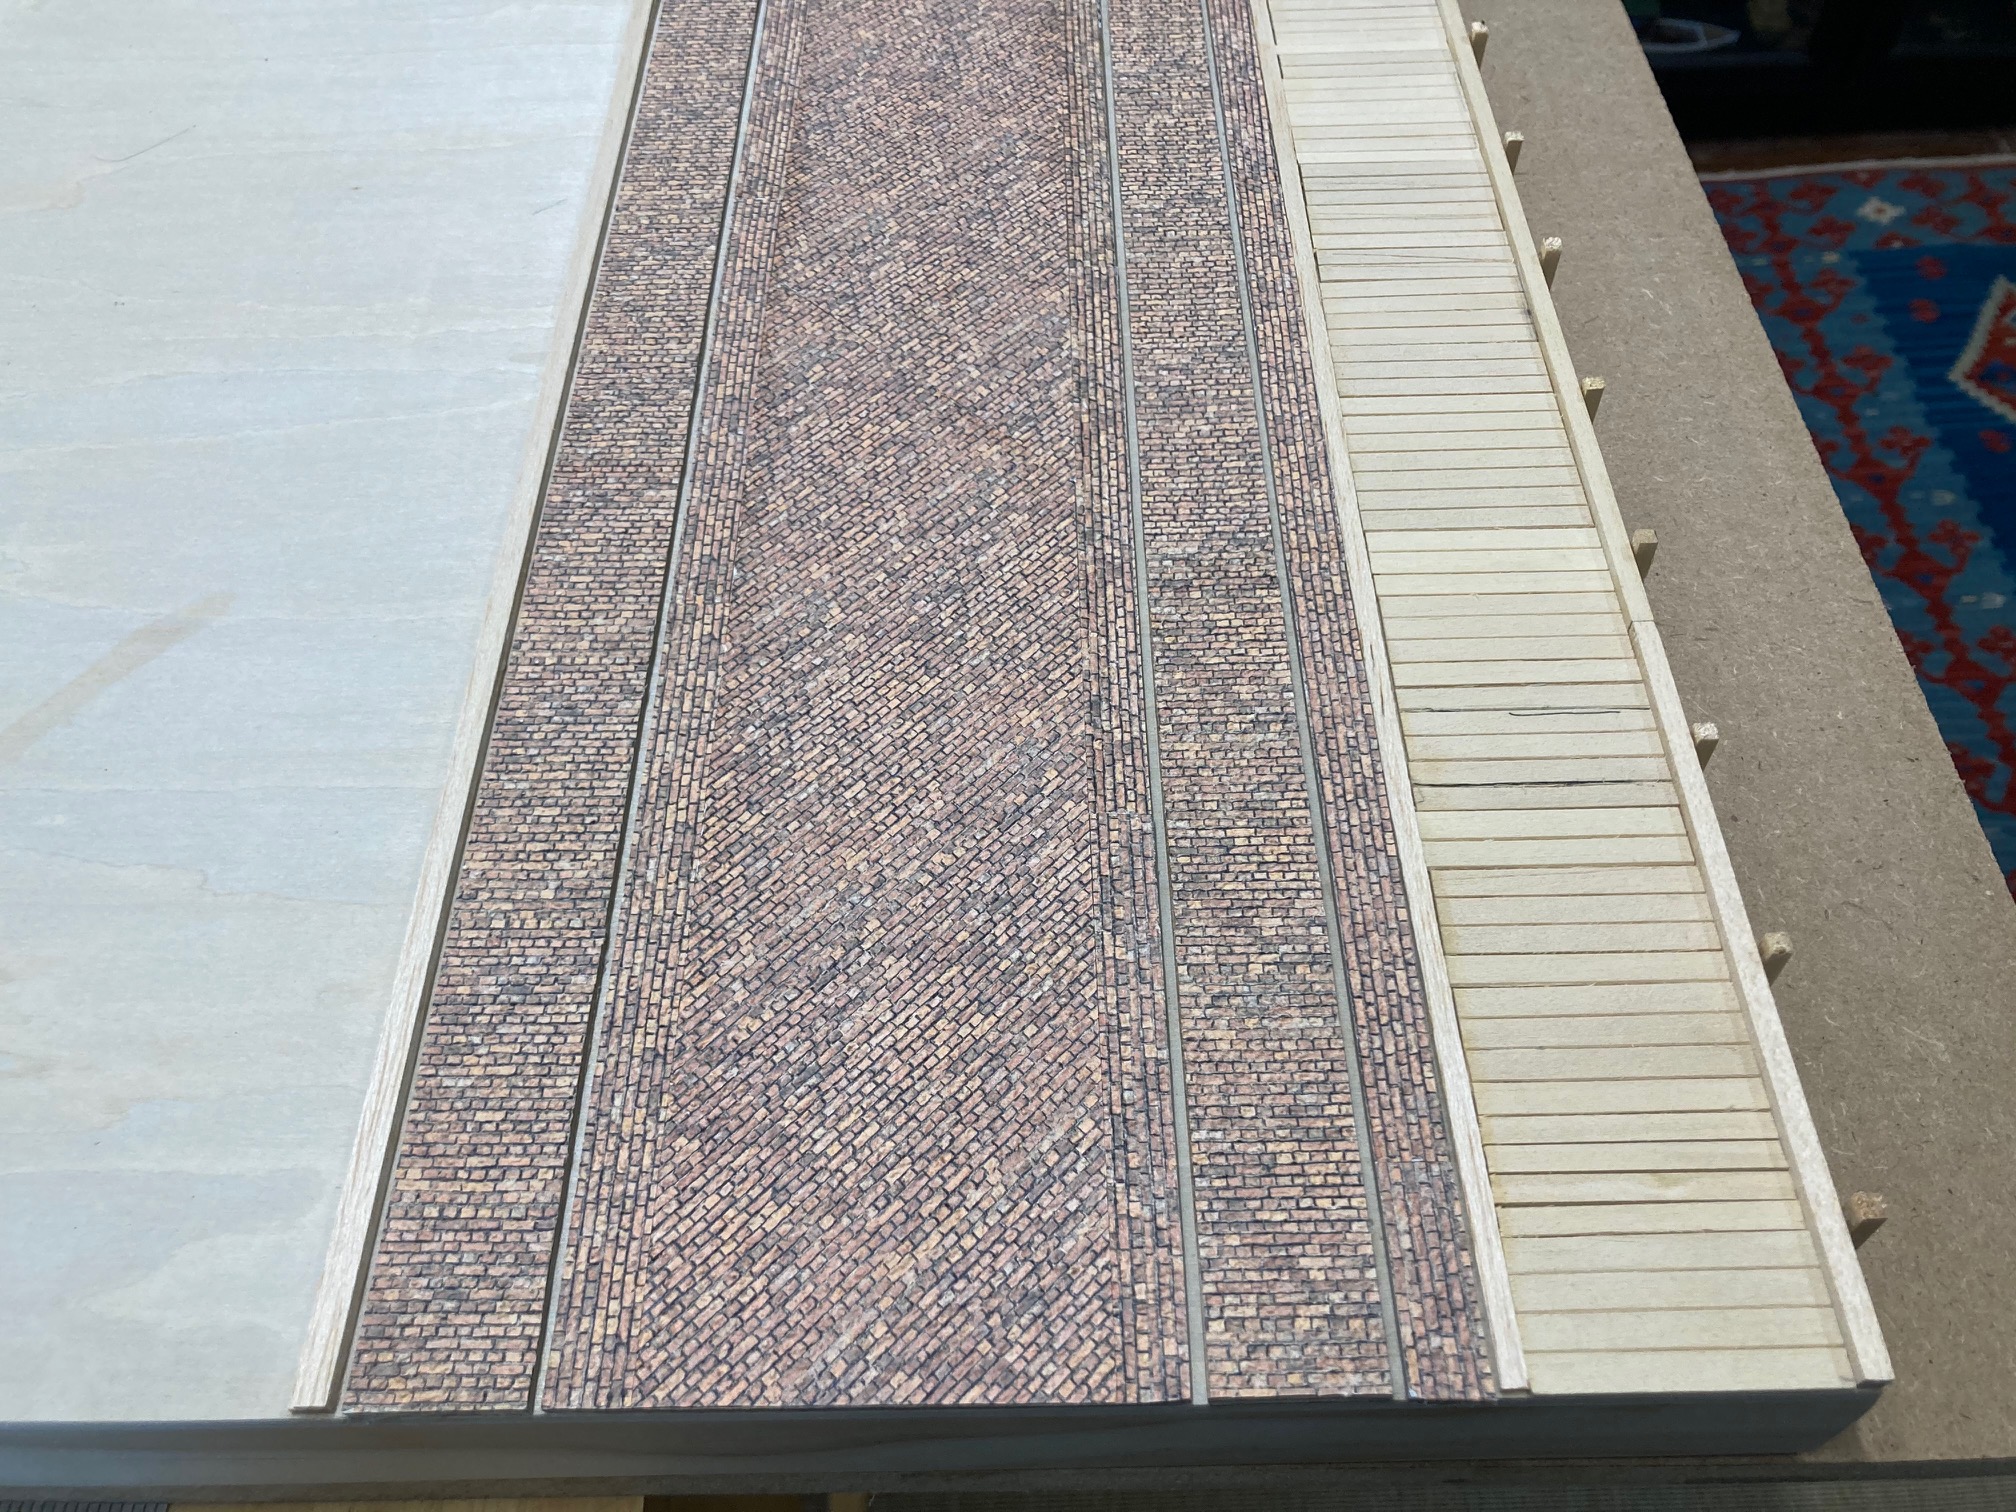
For the wide center strip I wanted to do something different to again brake up the lines. I cut and glued half inch strips to one side. Then 3″ wide strip on a 45 degree angle and another half inch vertical strip to even it out. It’s my favorite piece on the board so far.
Well that’s it for today. I have another track to come. Thanks for stopping by, cheers!

Brick and Asphalt Complete
Finished the brick railroad track loading and unloading area.
I also finished the road with trolley track on the opposite side of the board.
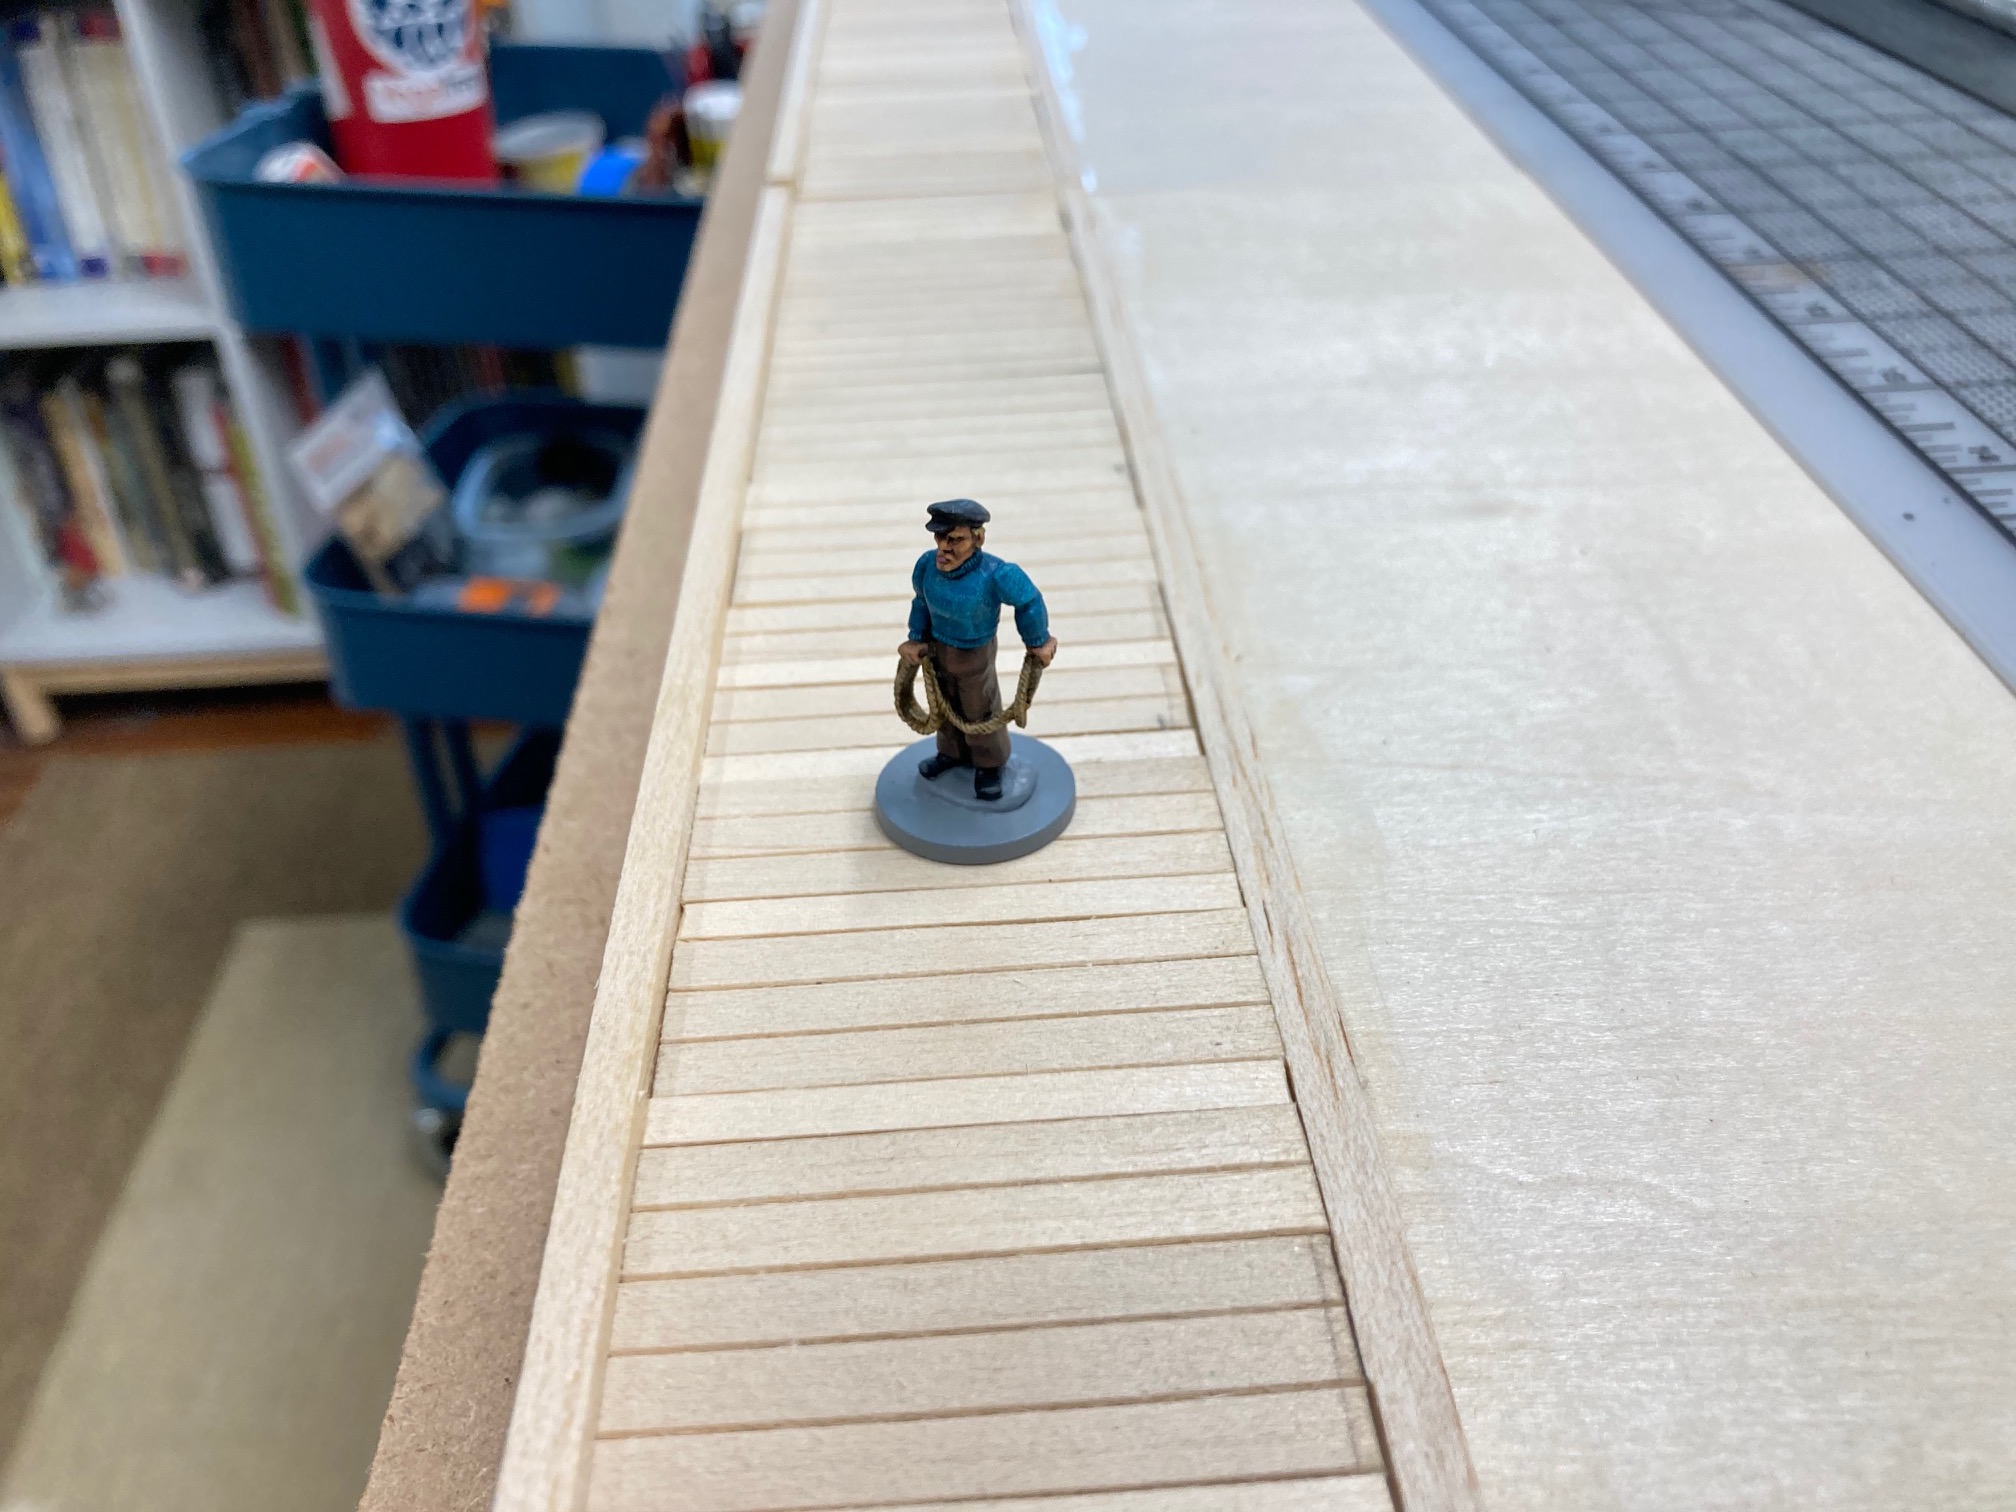
I added some posts to the front of the quay. The idea is to create scale by adding smaller detail.
Cheers!

"Clang, clang, clang went the trolley"
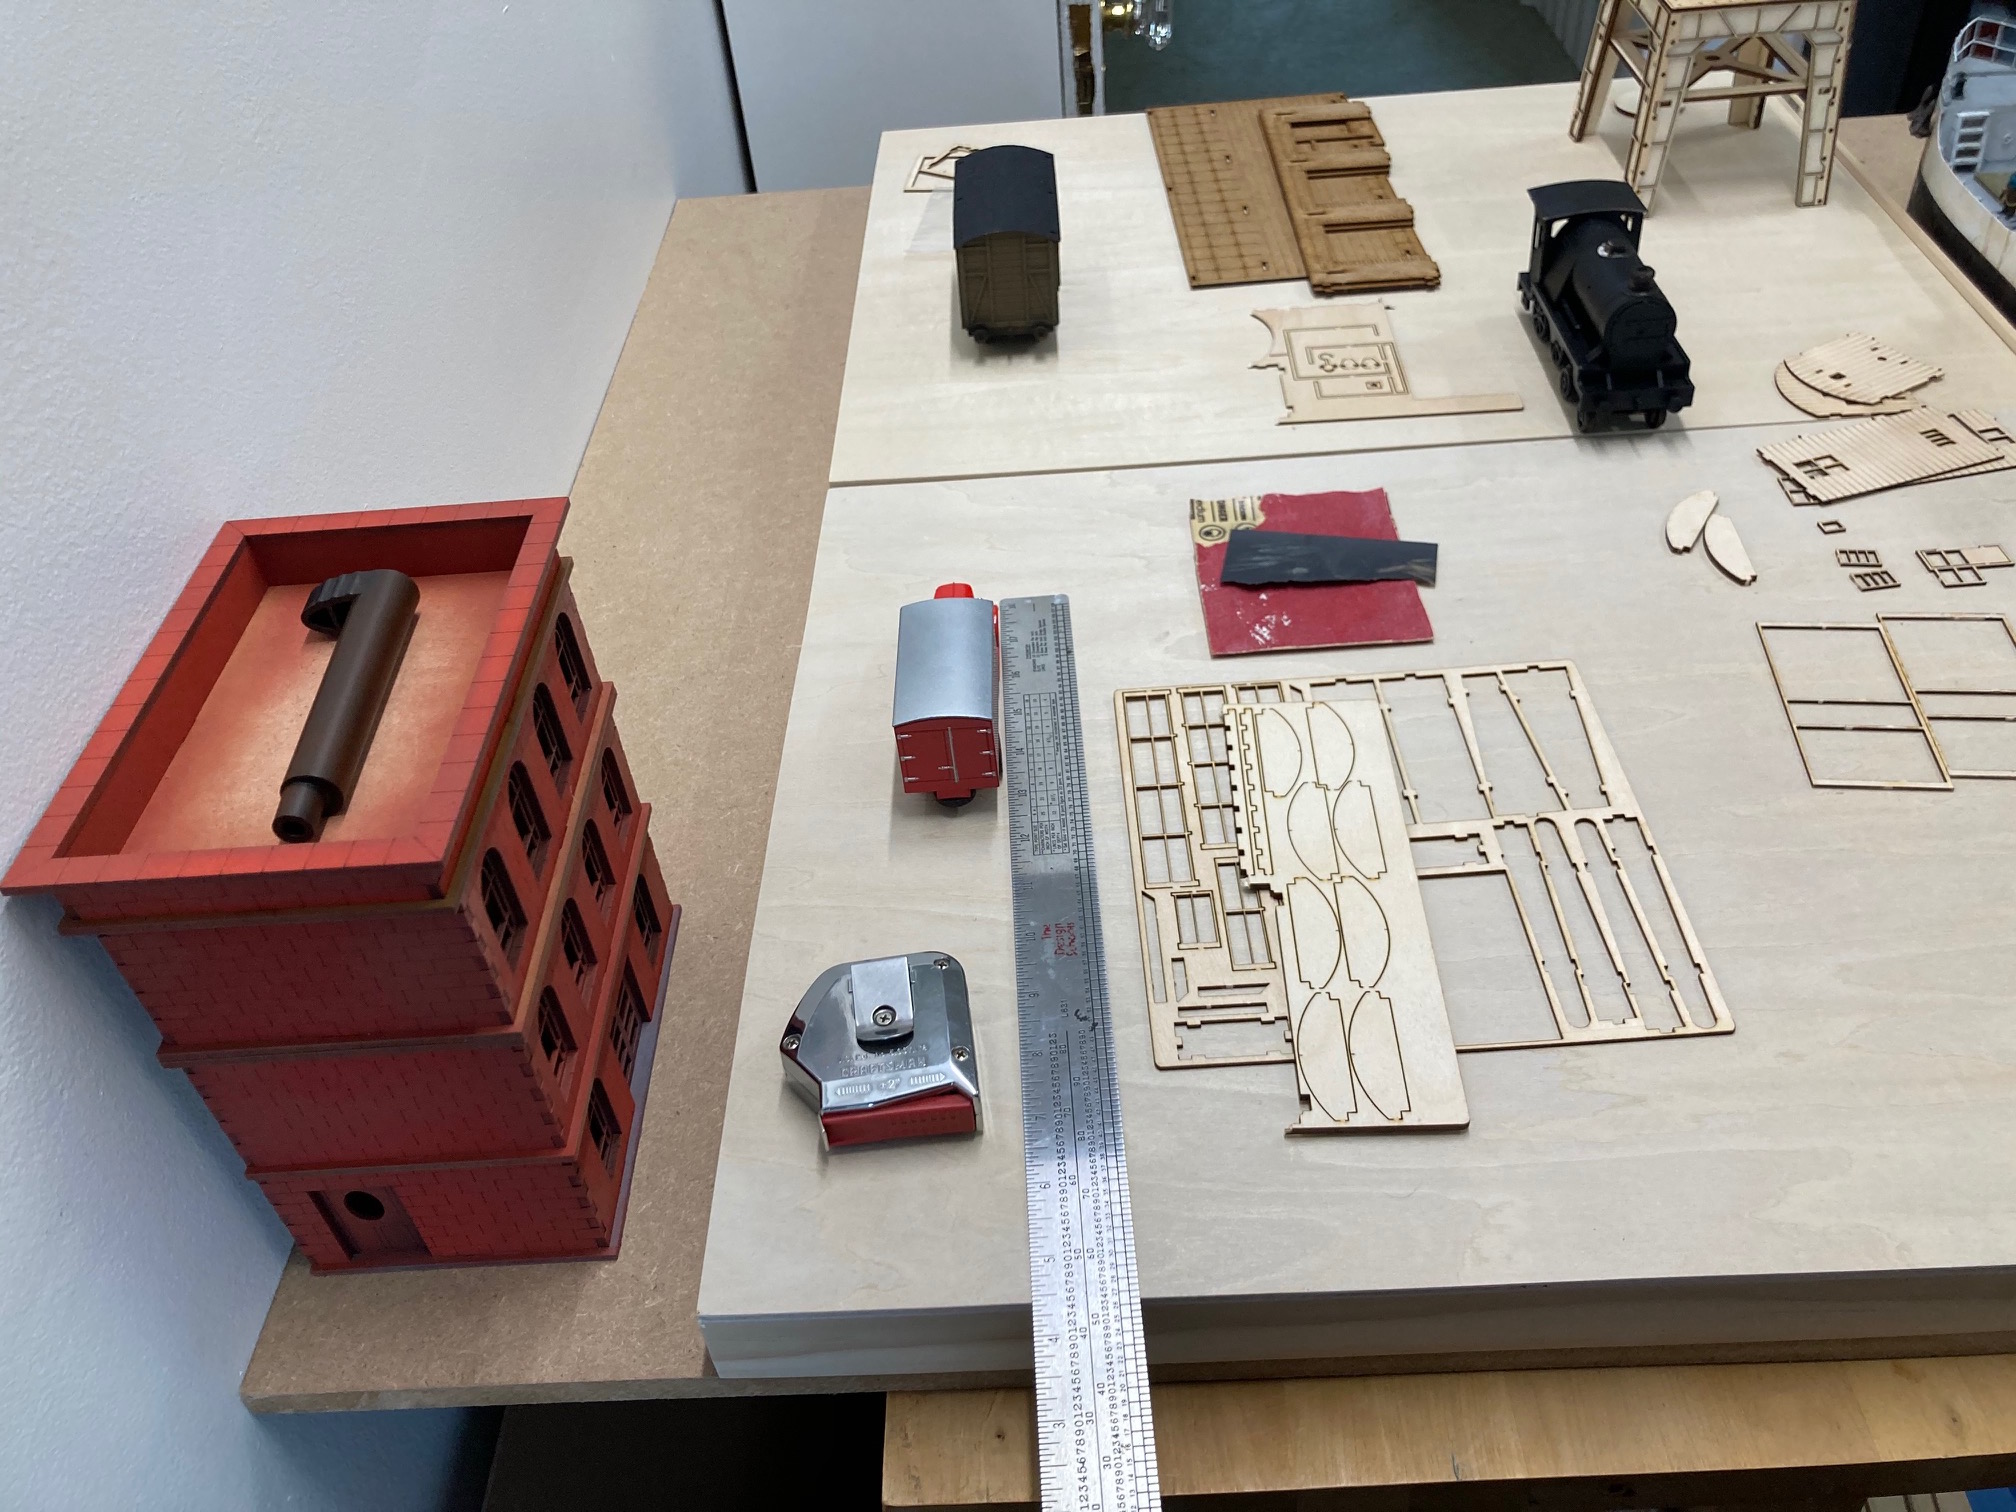
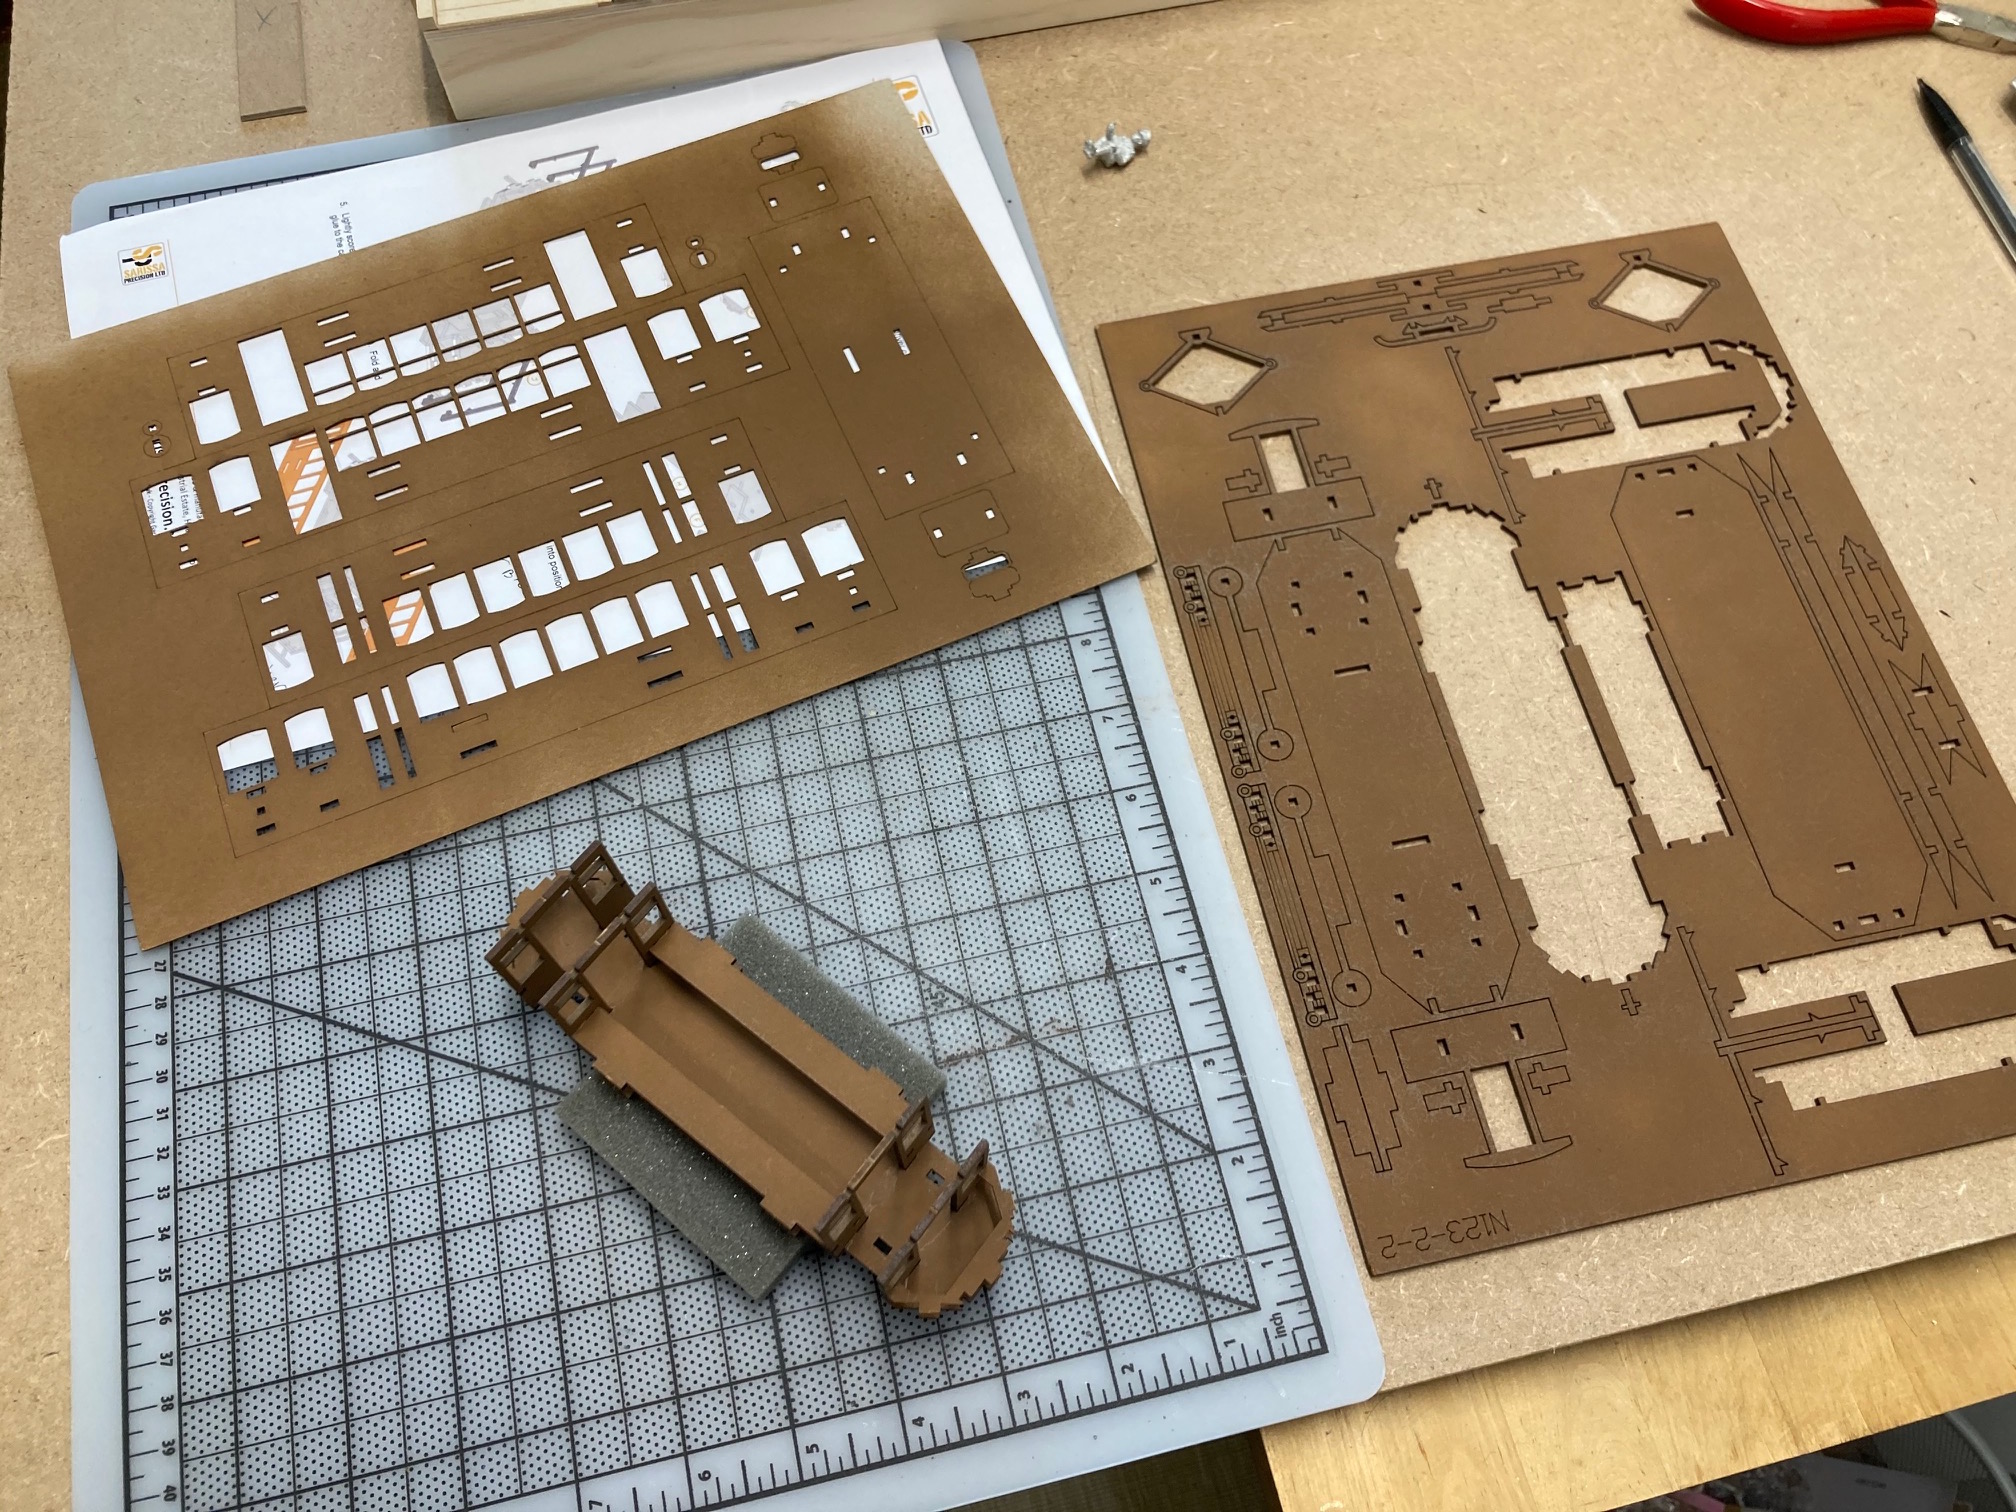
To give myself a break from the dock I focused on this Sarissa Precision Trolley.
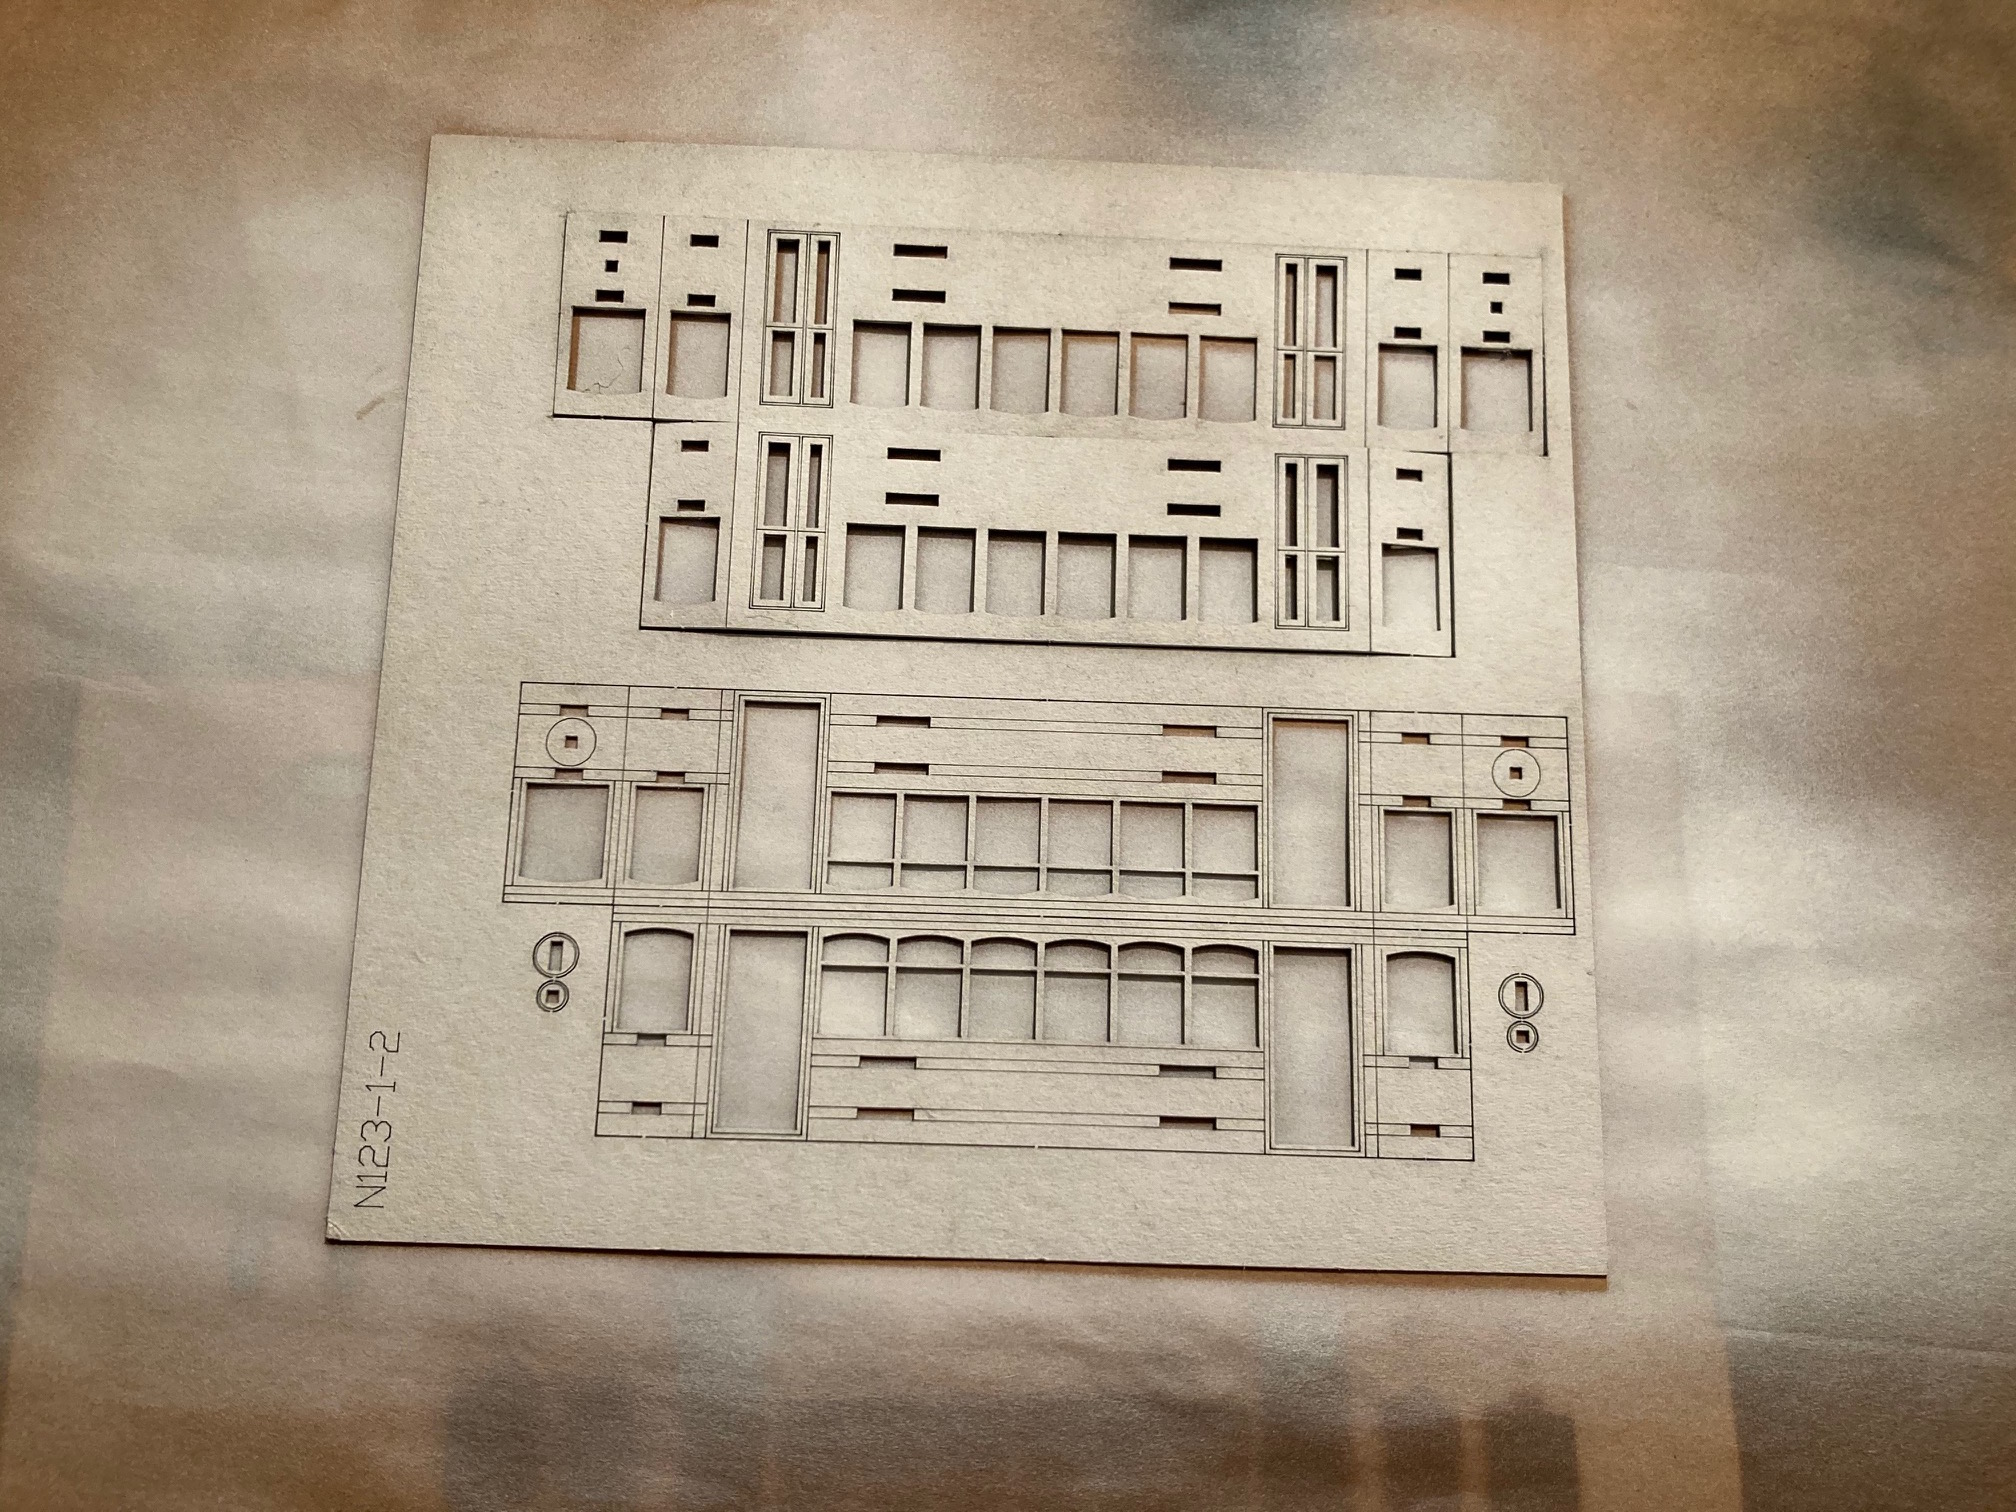
I like to spray paint the whole sprue rather then individual pieces. It gives me a base color or finished color depending.
The front and back of the 2mm mdf got a thin spray of Brown. And the 1mm card got a thin coat of white. I then masked the top end of each car side and sprayed a thin layer of yellow.
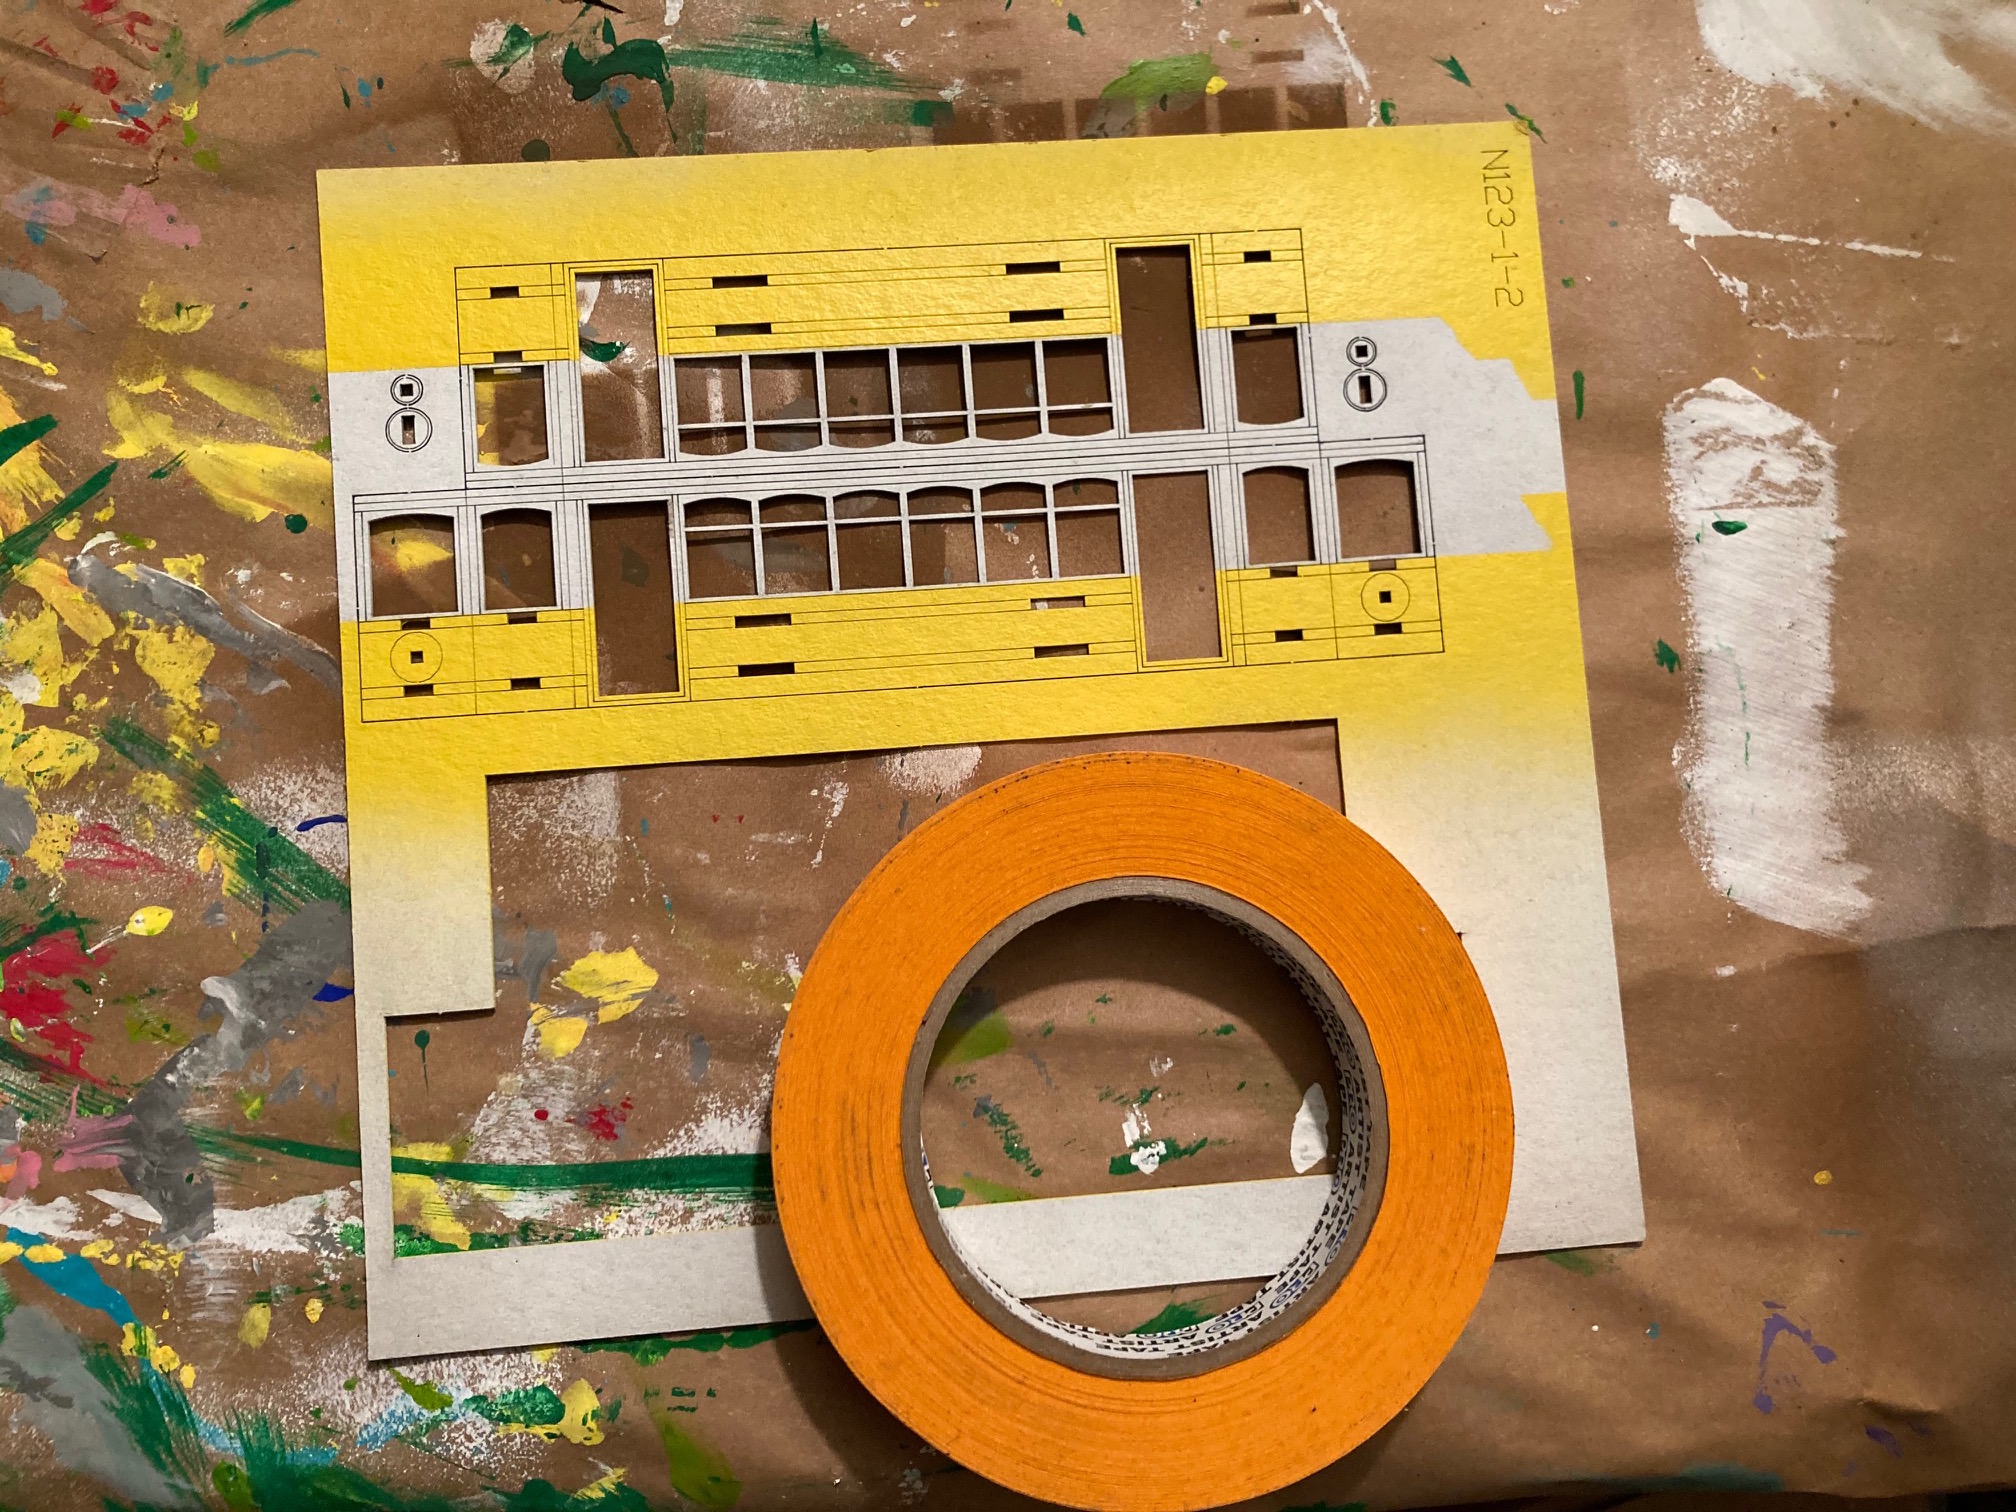
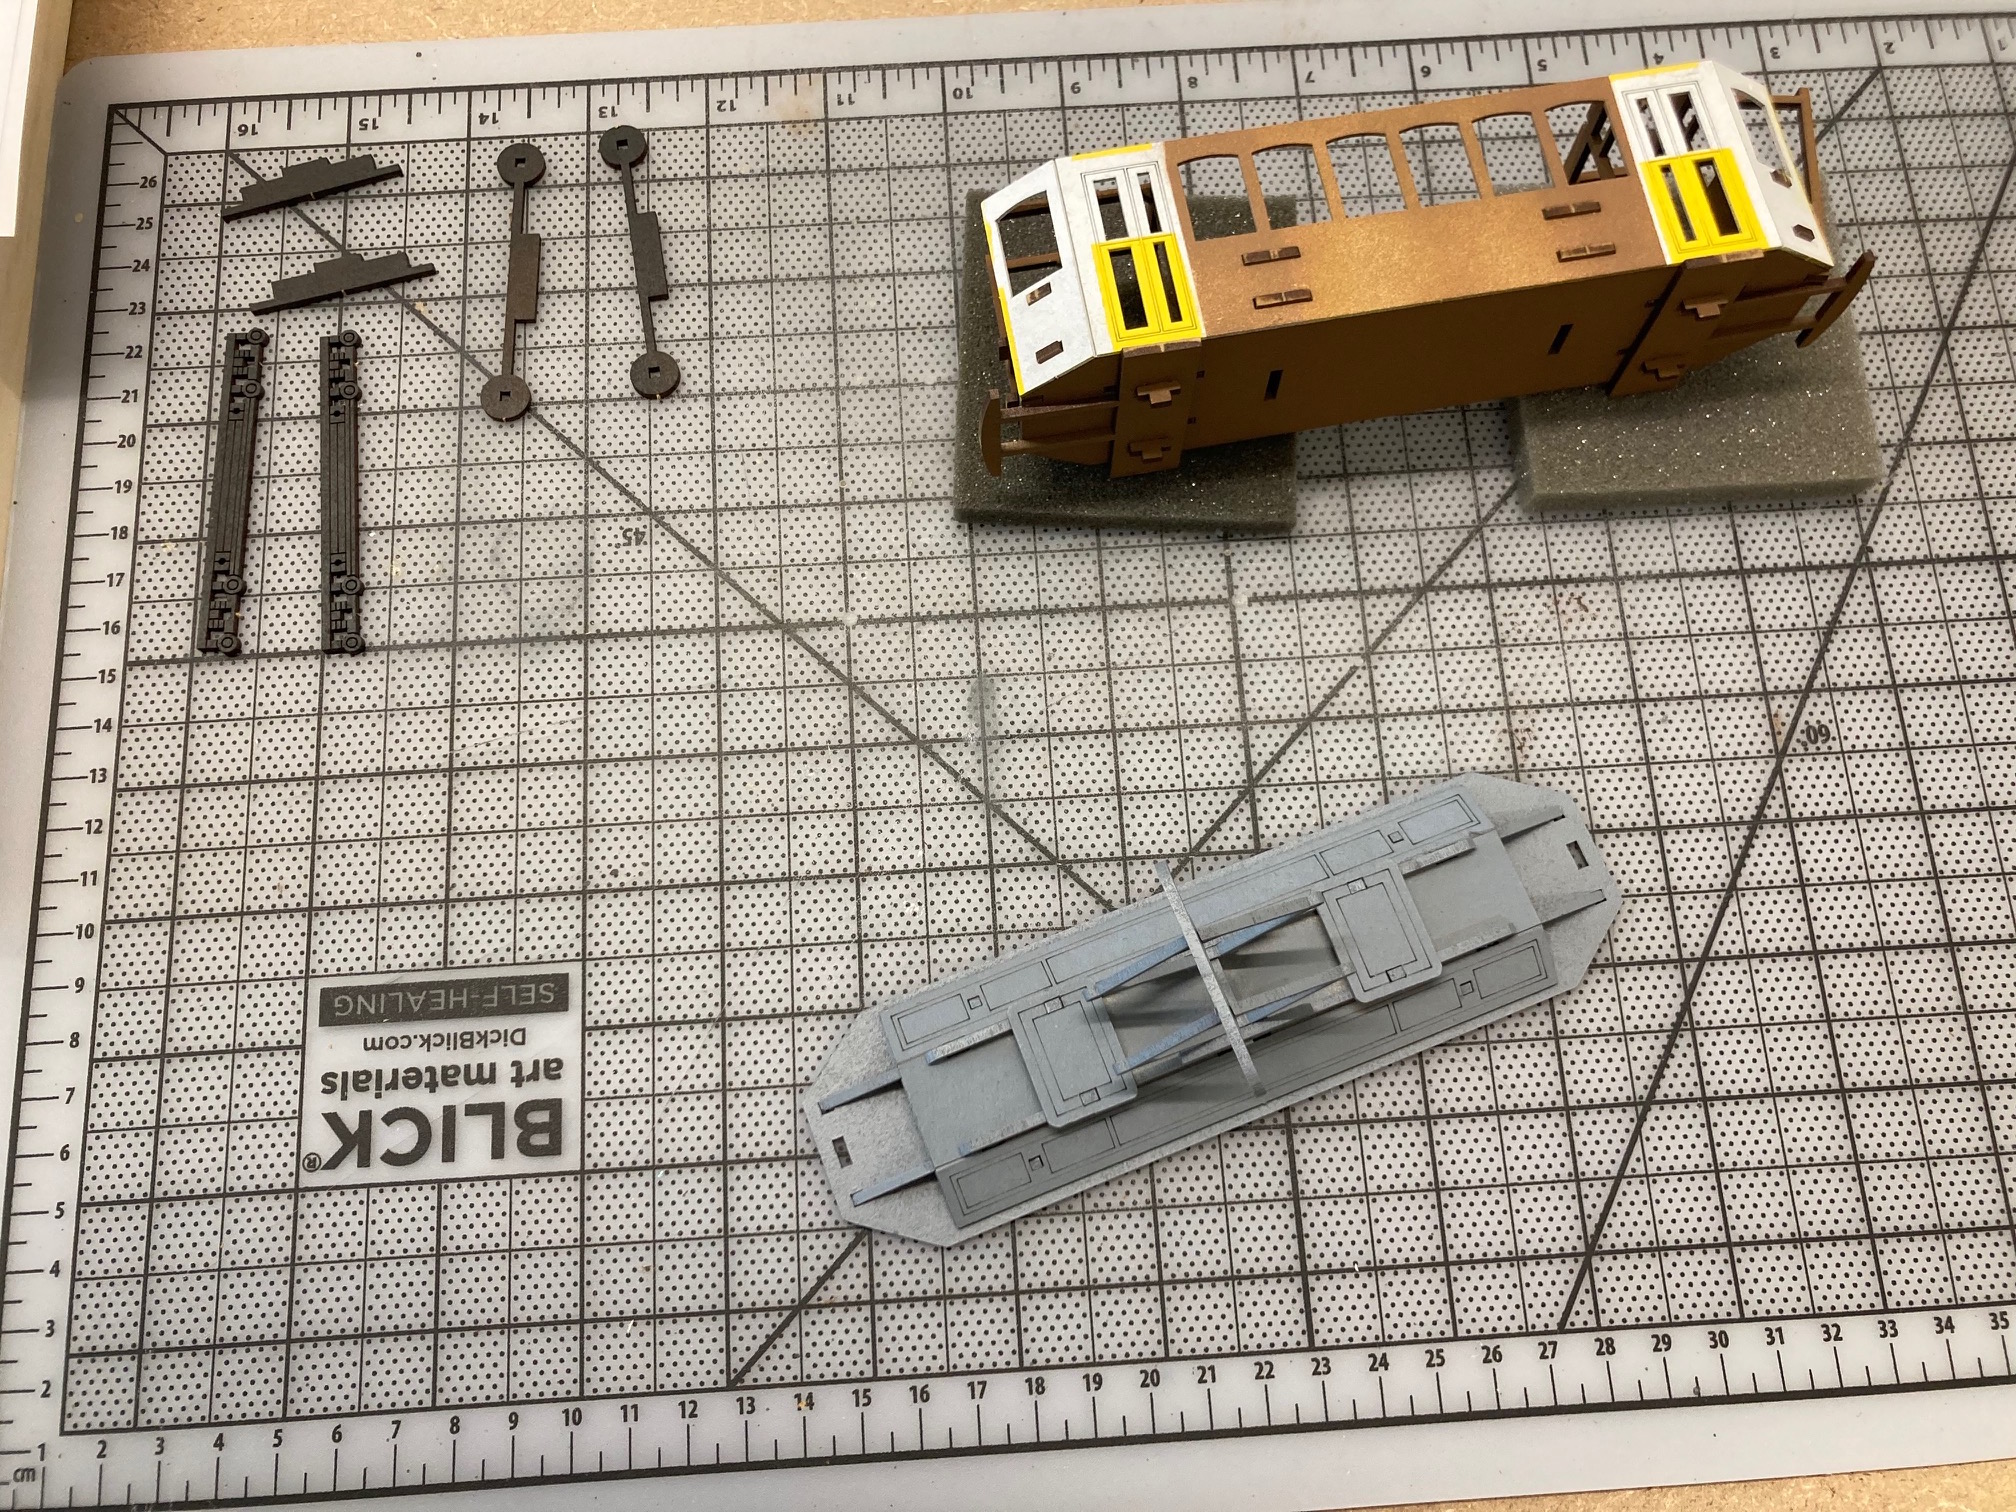
After giving everything an hour to dry I assembled the trolley cab, roof and wheel chassis. I then sprayed the roof grey and the wheels black.
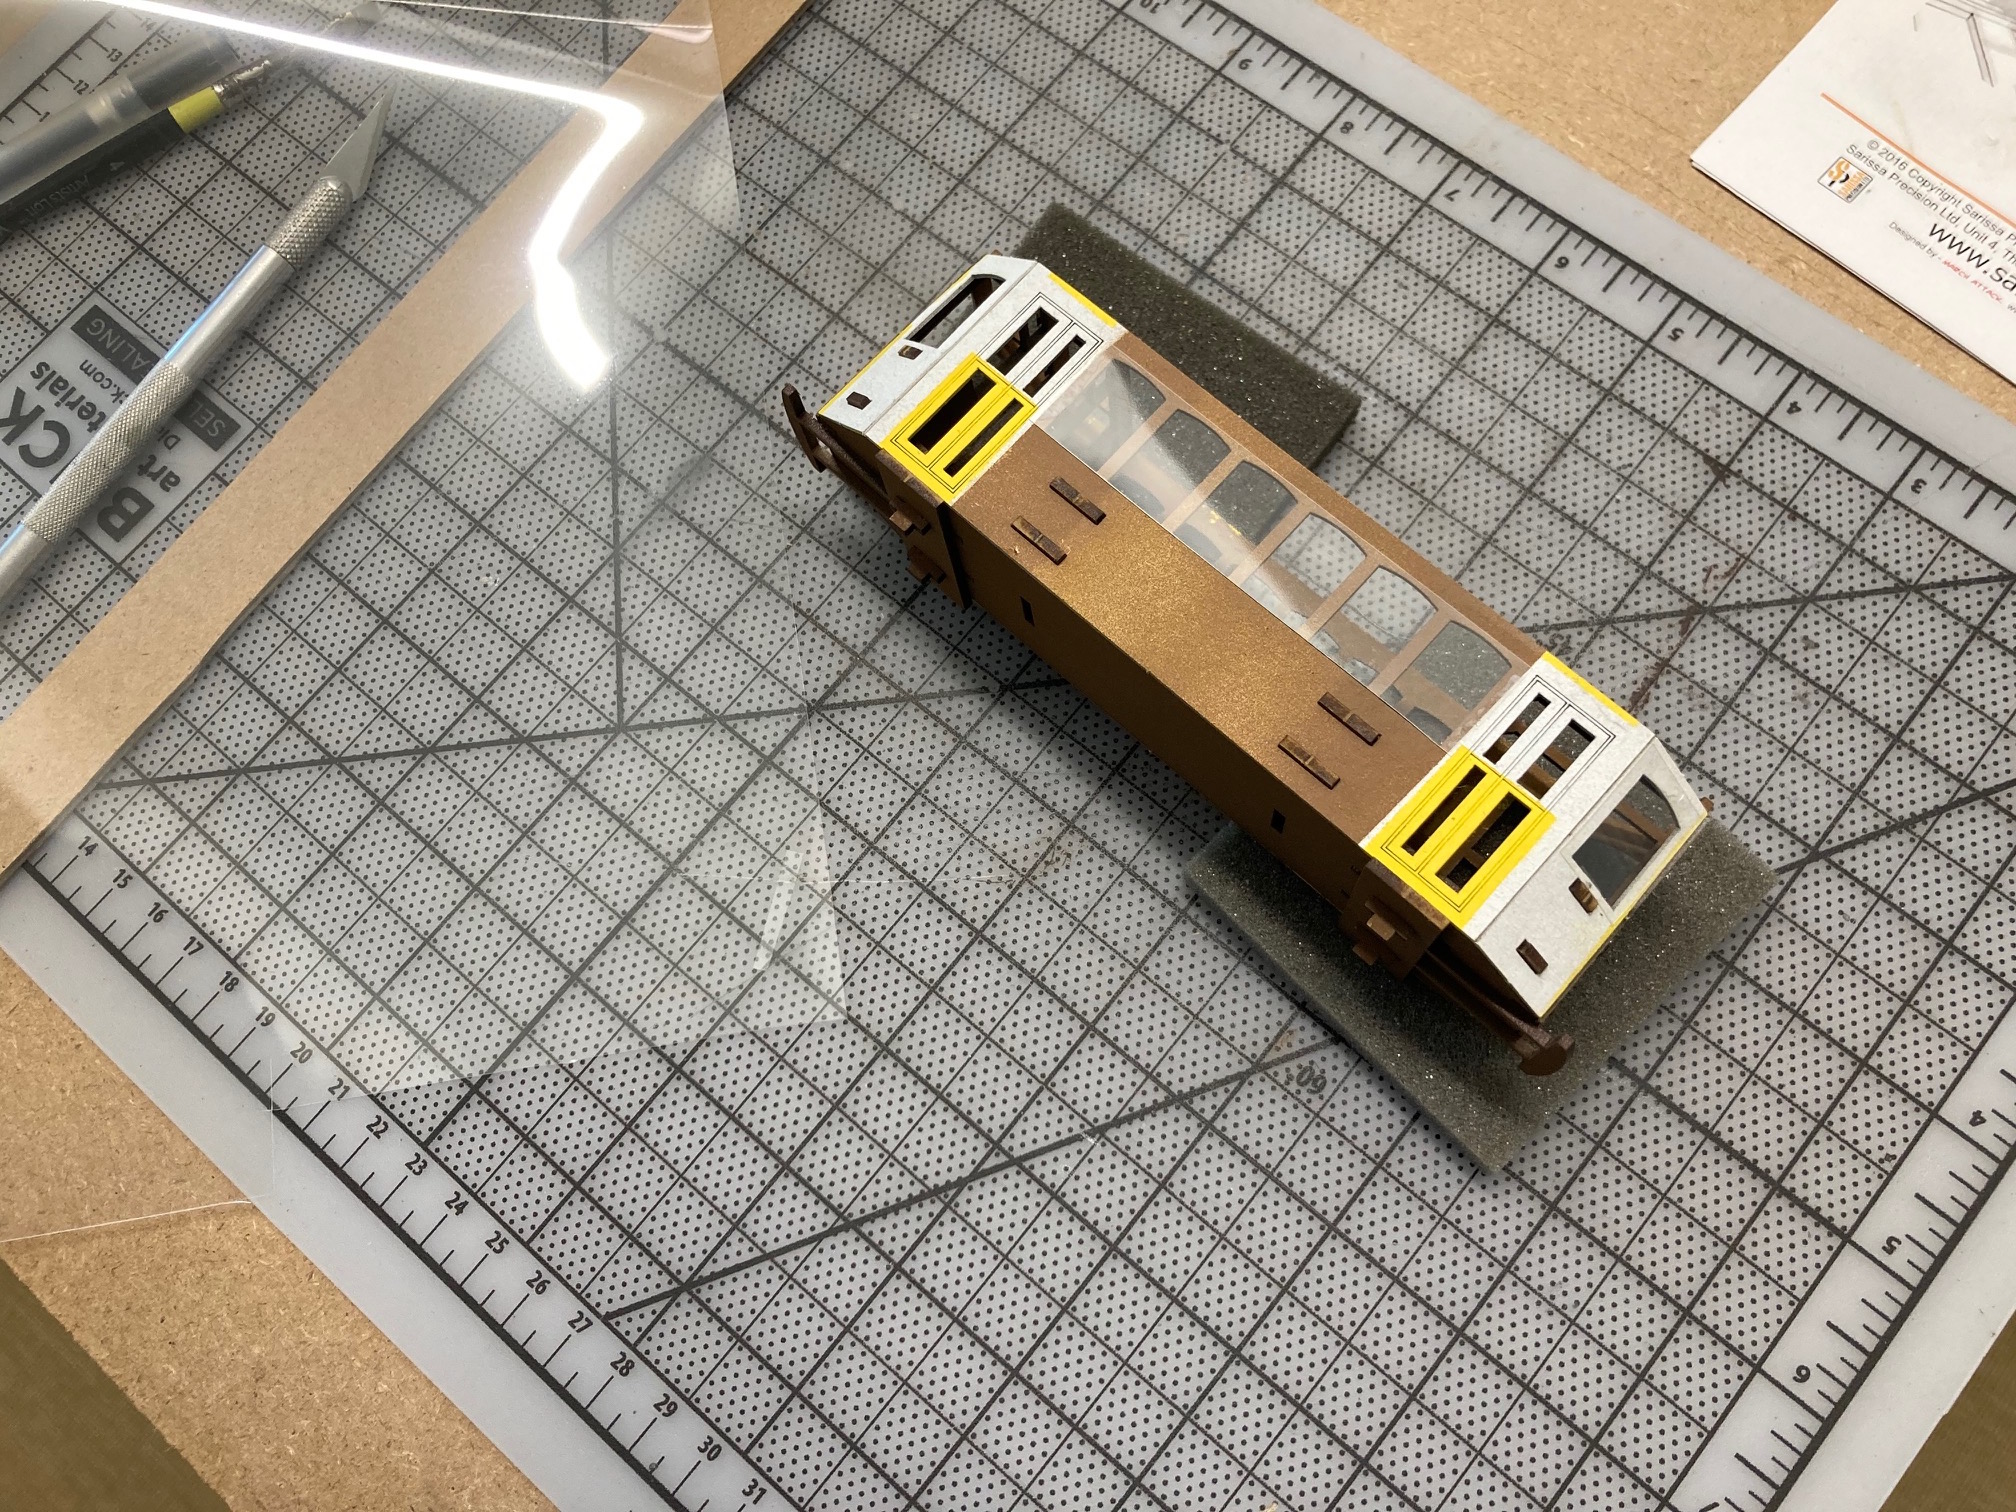
The kit comes with two layers of side panels. After installing the first panel I decided to glaze all the windows. I used laminating sheet for the glass and thin white glue to adhere them. Then I attached the next layer with CA glue.
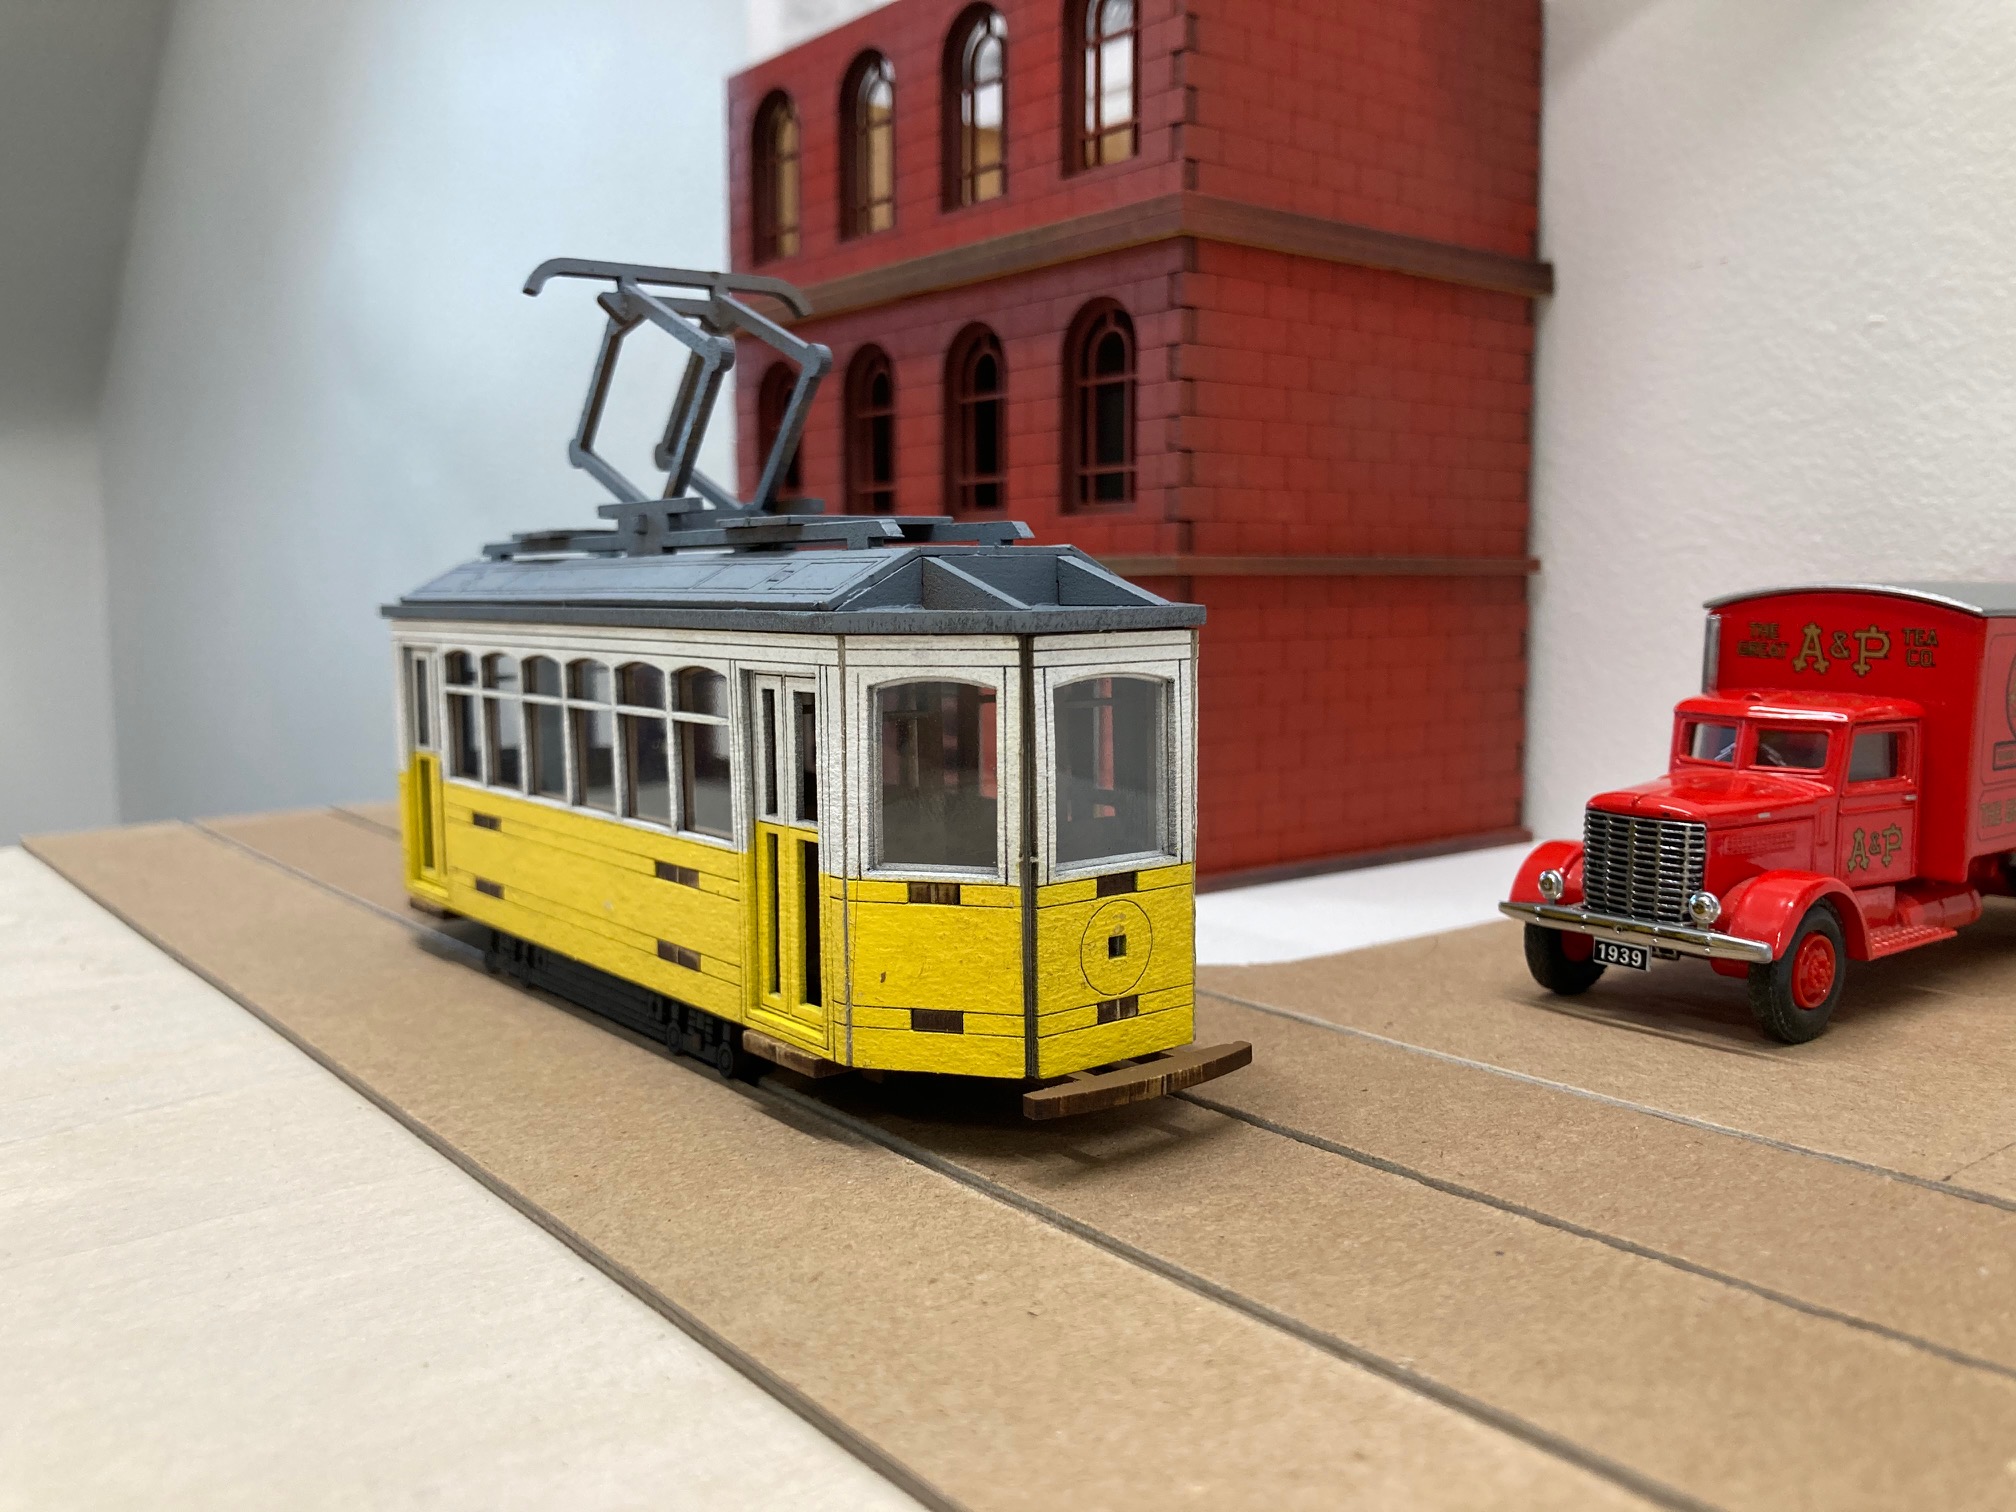
Whala job done, feet up!
Not really, still need to wash, add details, posters etc.
Cheers!
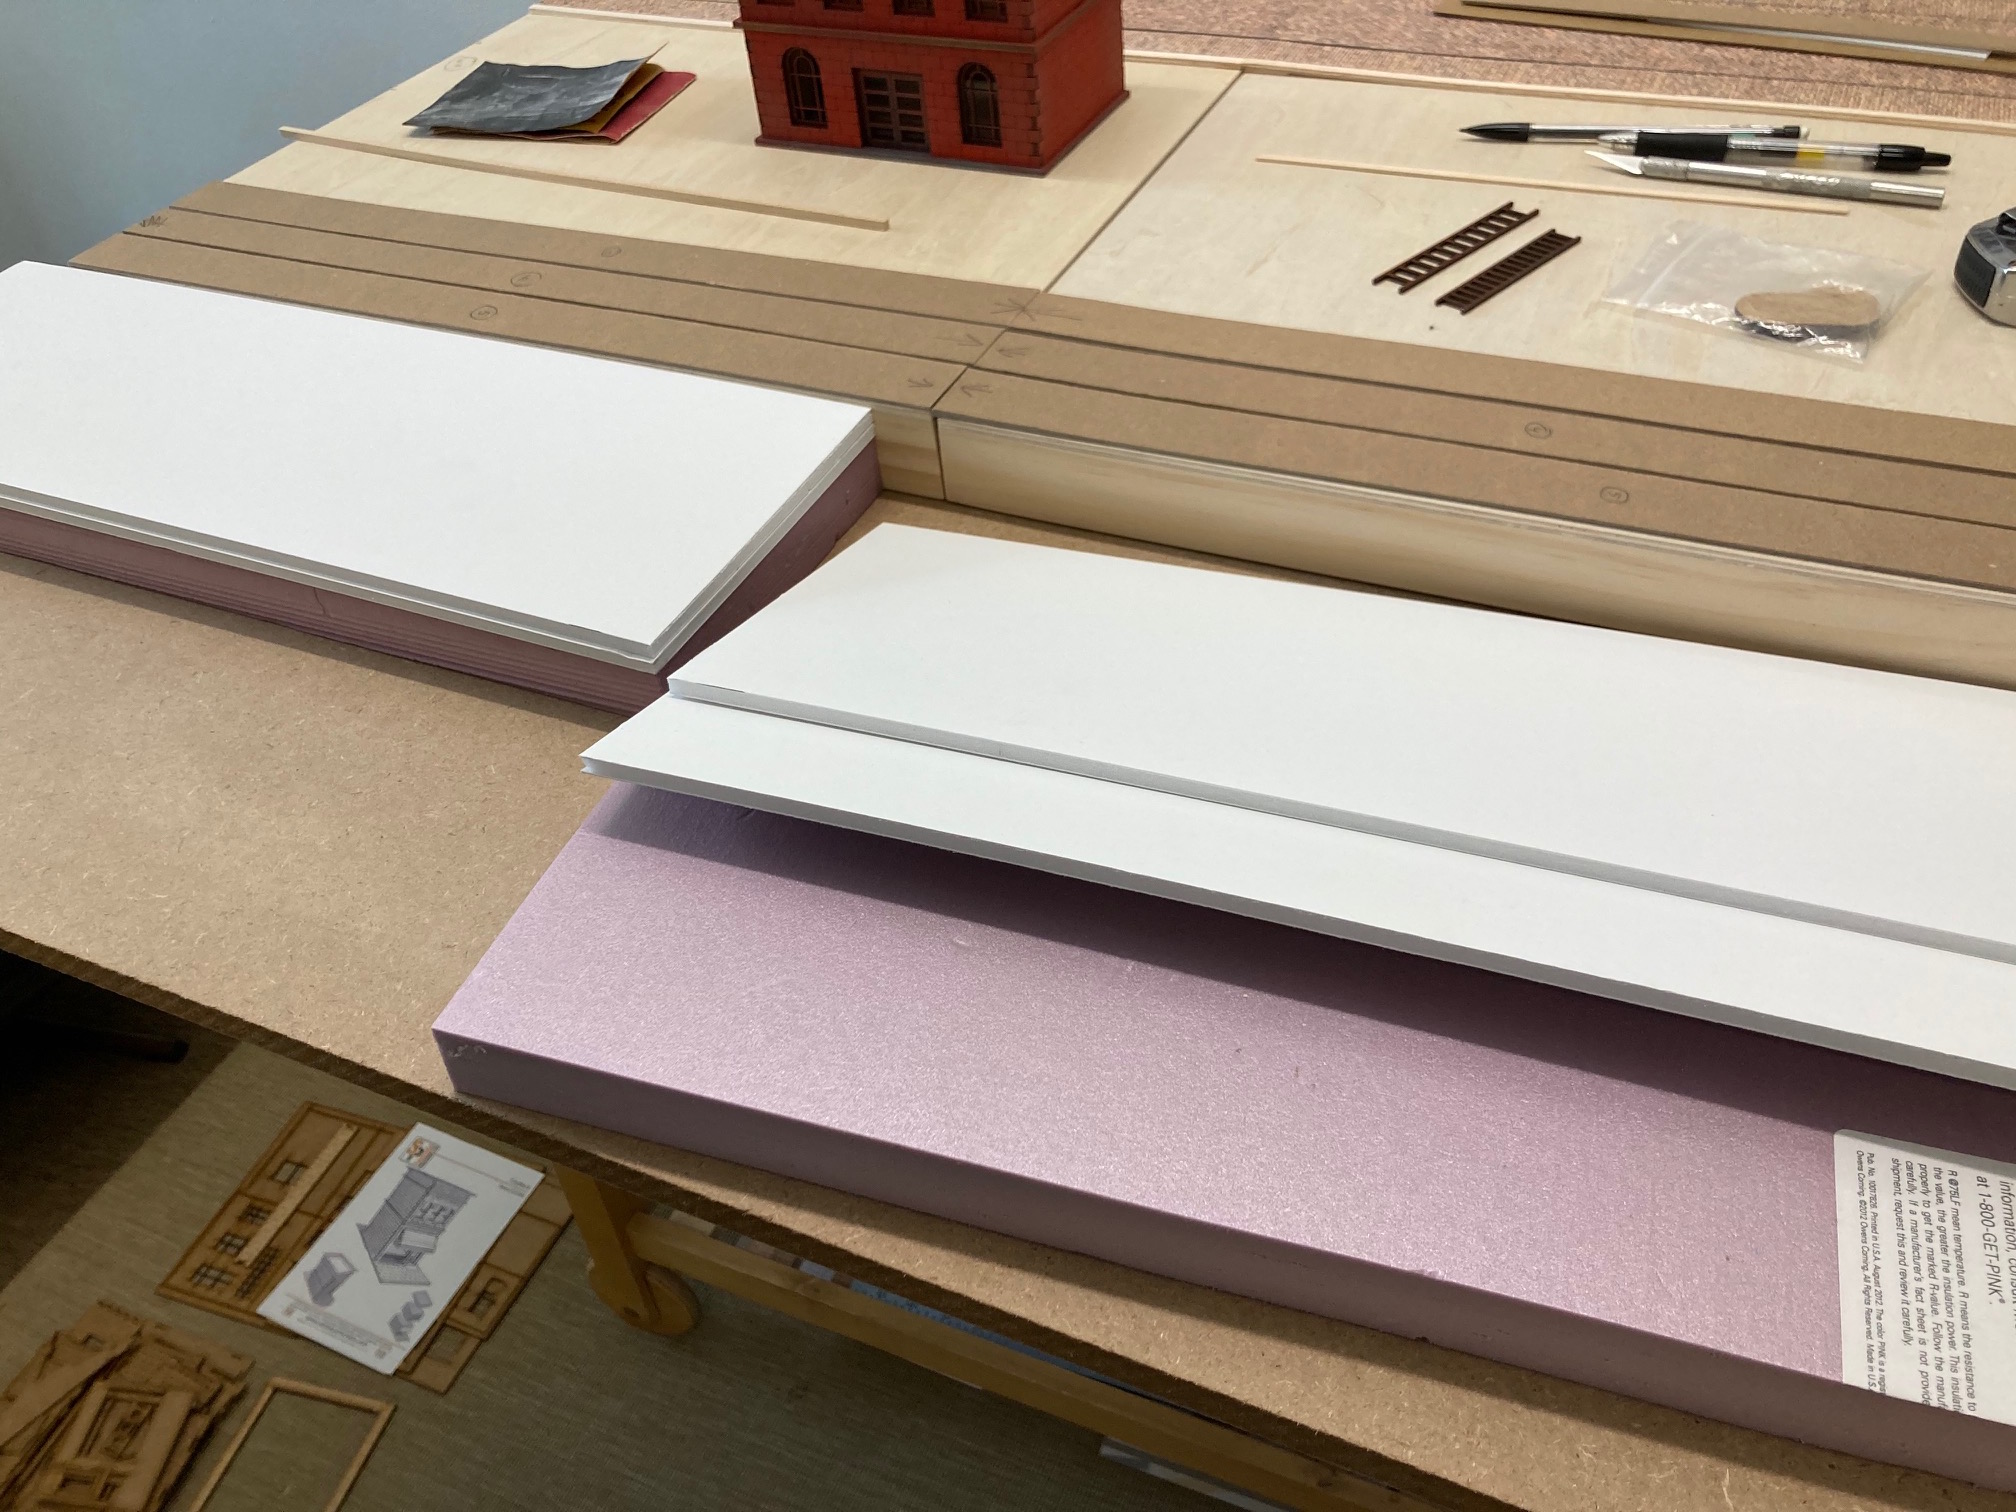
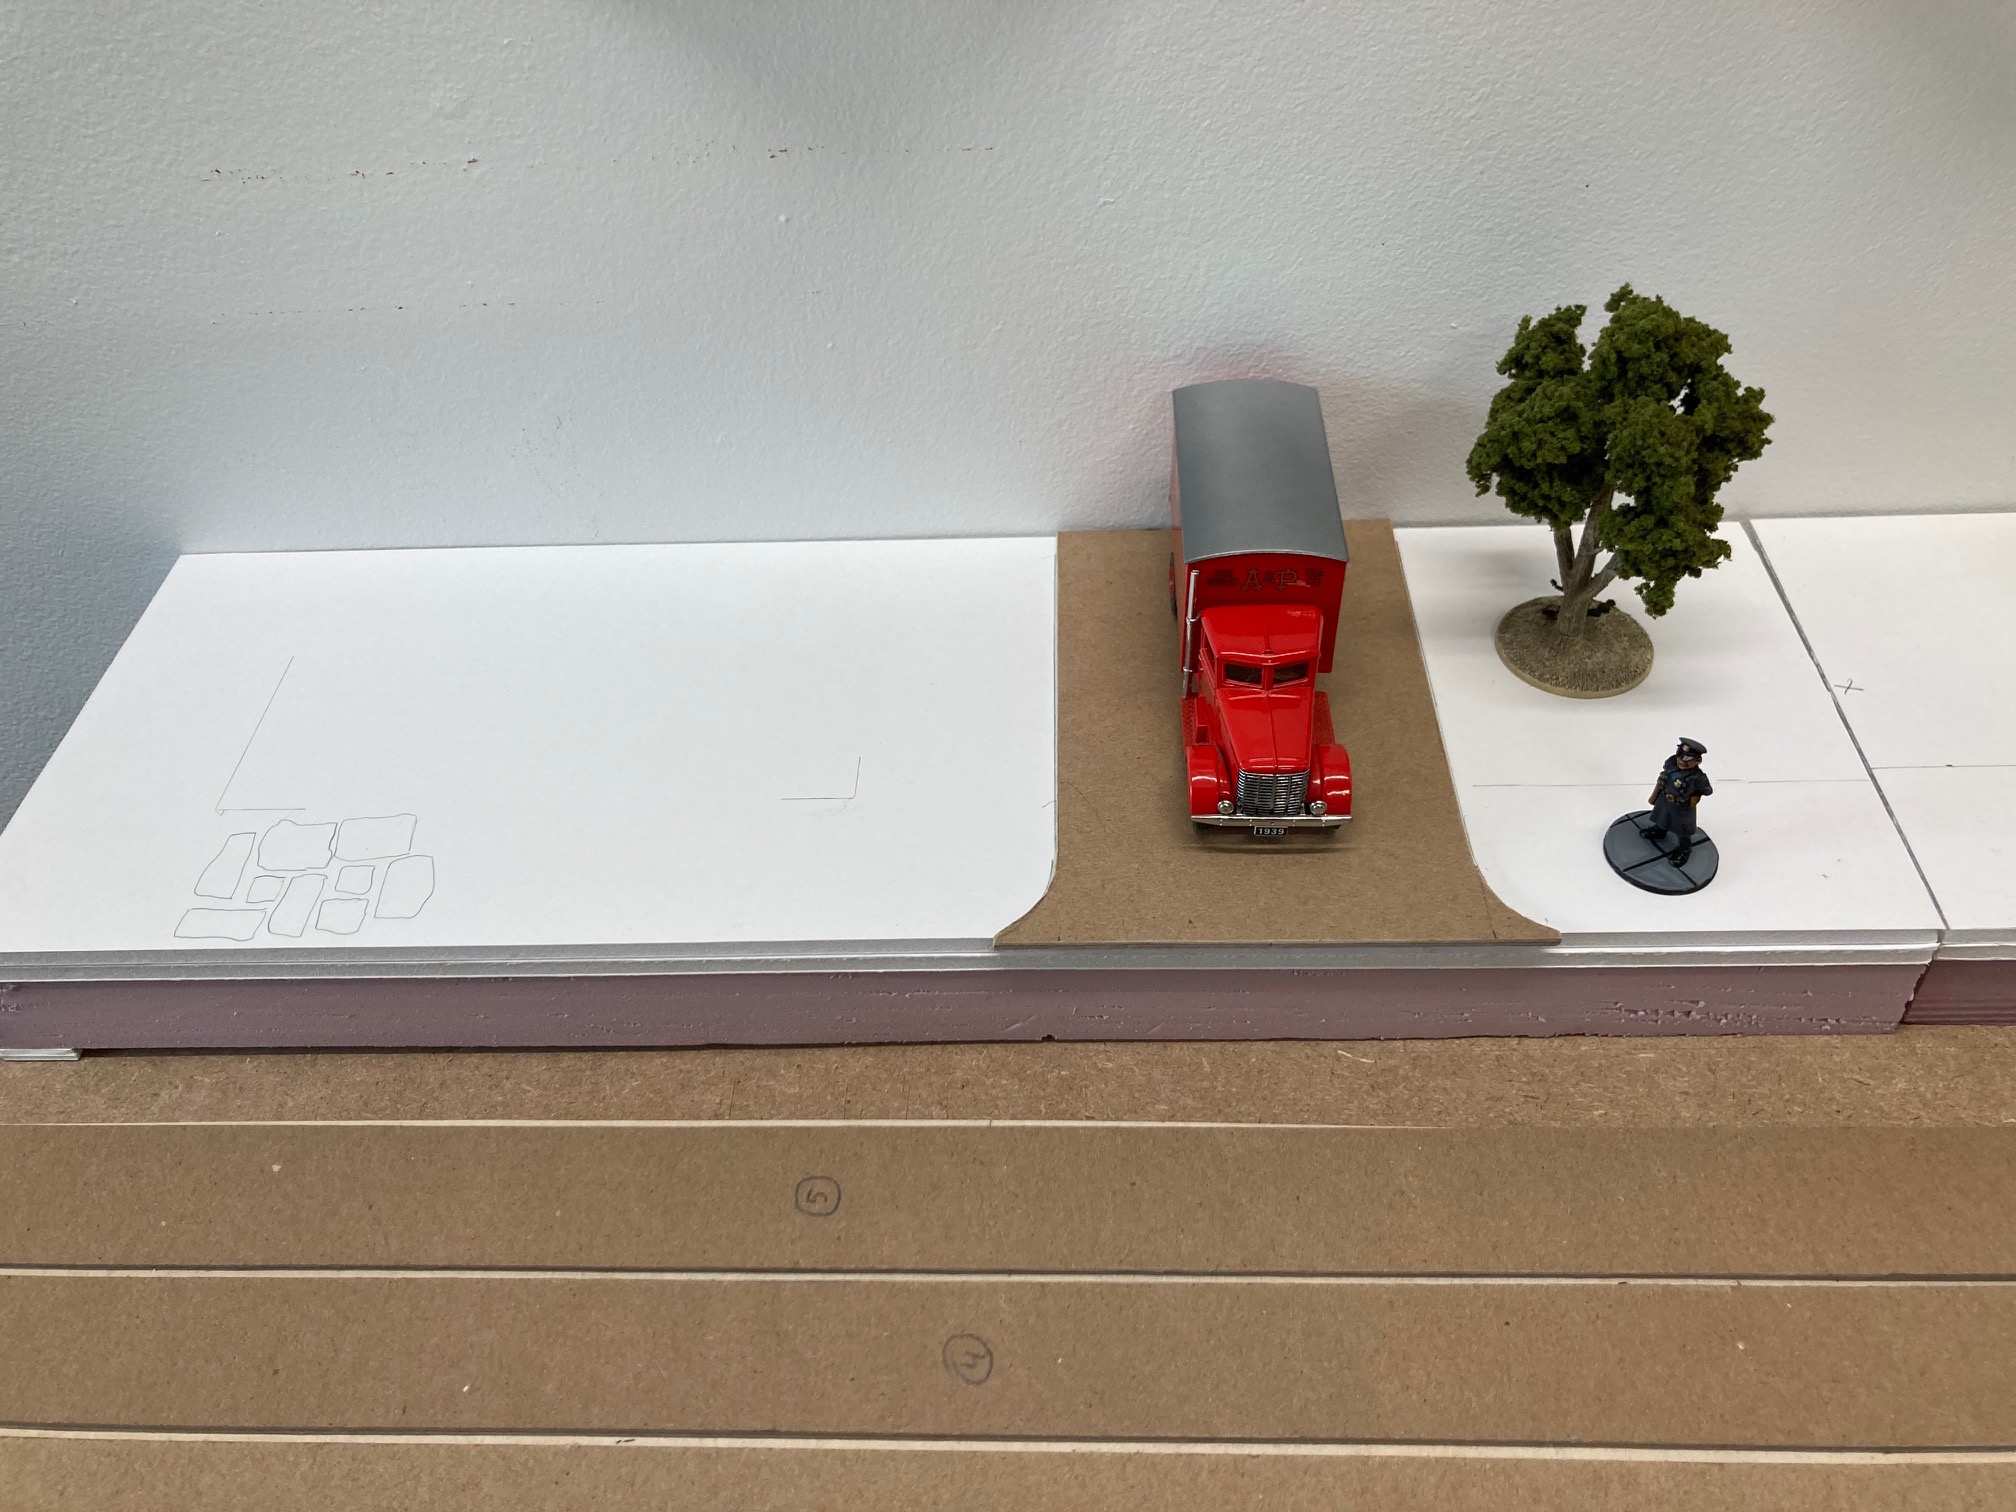
Modularity Part 2
Sometimes I won’t need 12″ of water. So I added 6″ to the back of the board. Giving me more set up area or exit points for game scenarios. I cut two 6″ x 18″ panels out of insulation foam. I then cut 2 layers of 1/4″ foam core at the same size. Giving me the hight I need to be level with the larger boards. I then glued then together, stacked weight on top and put it aside to dry.
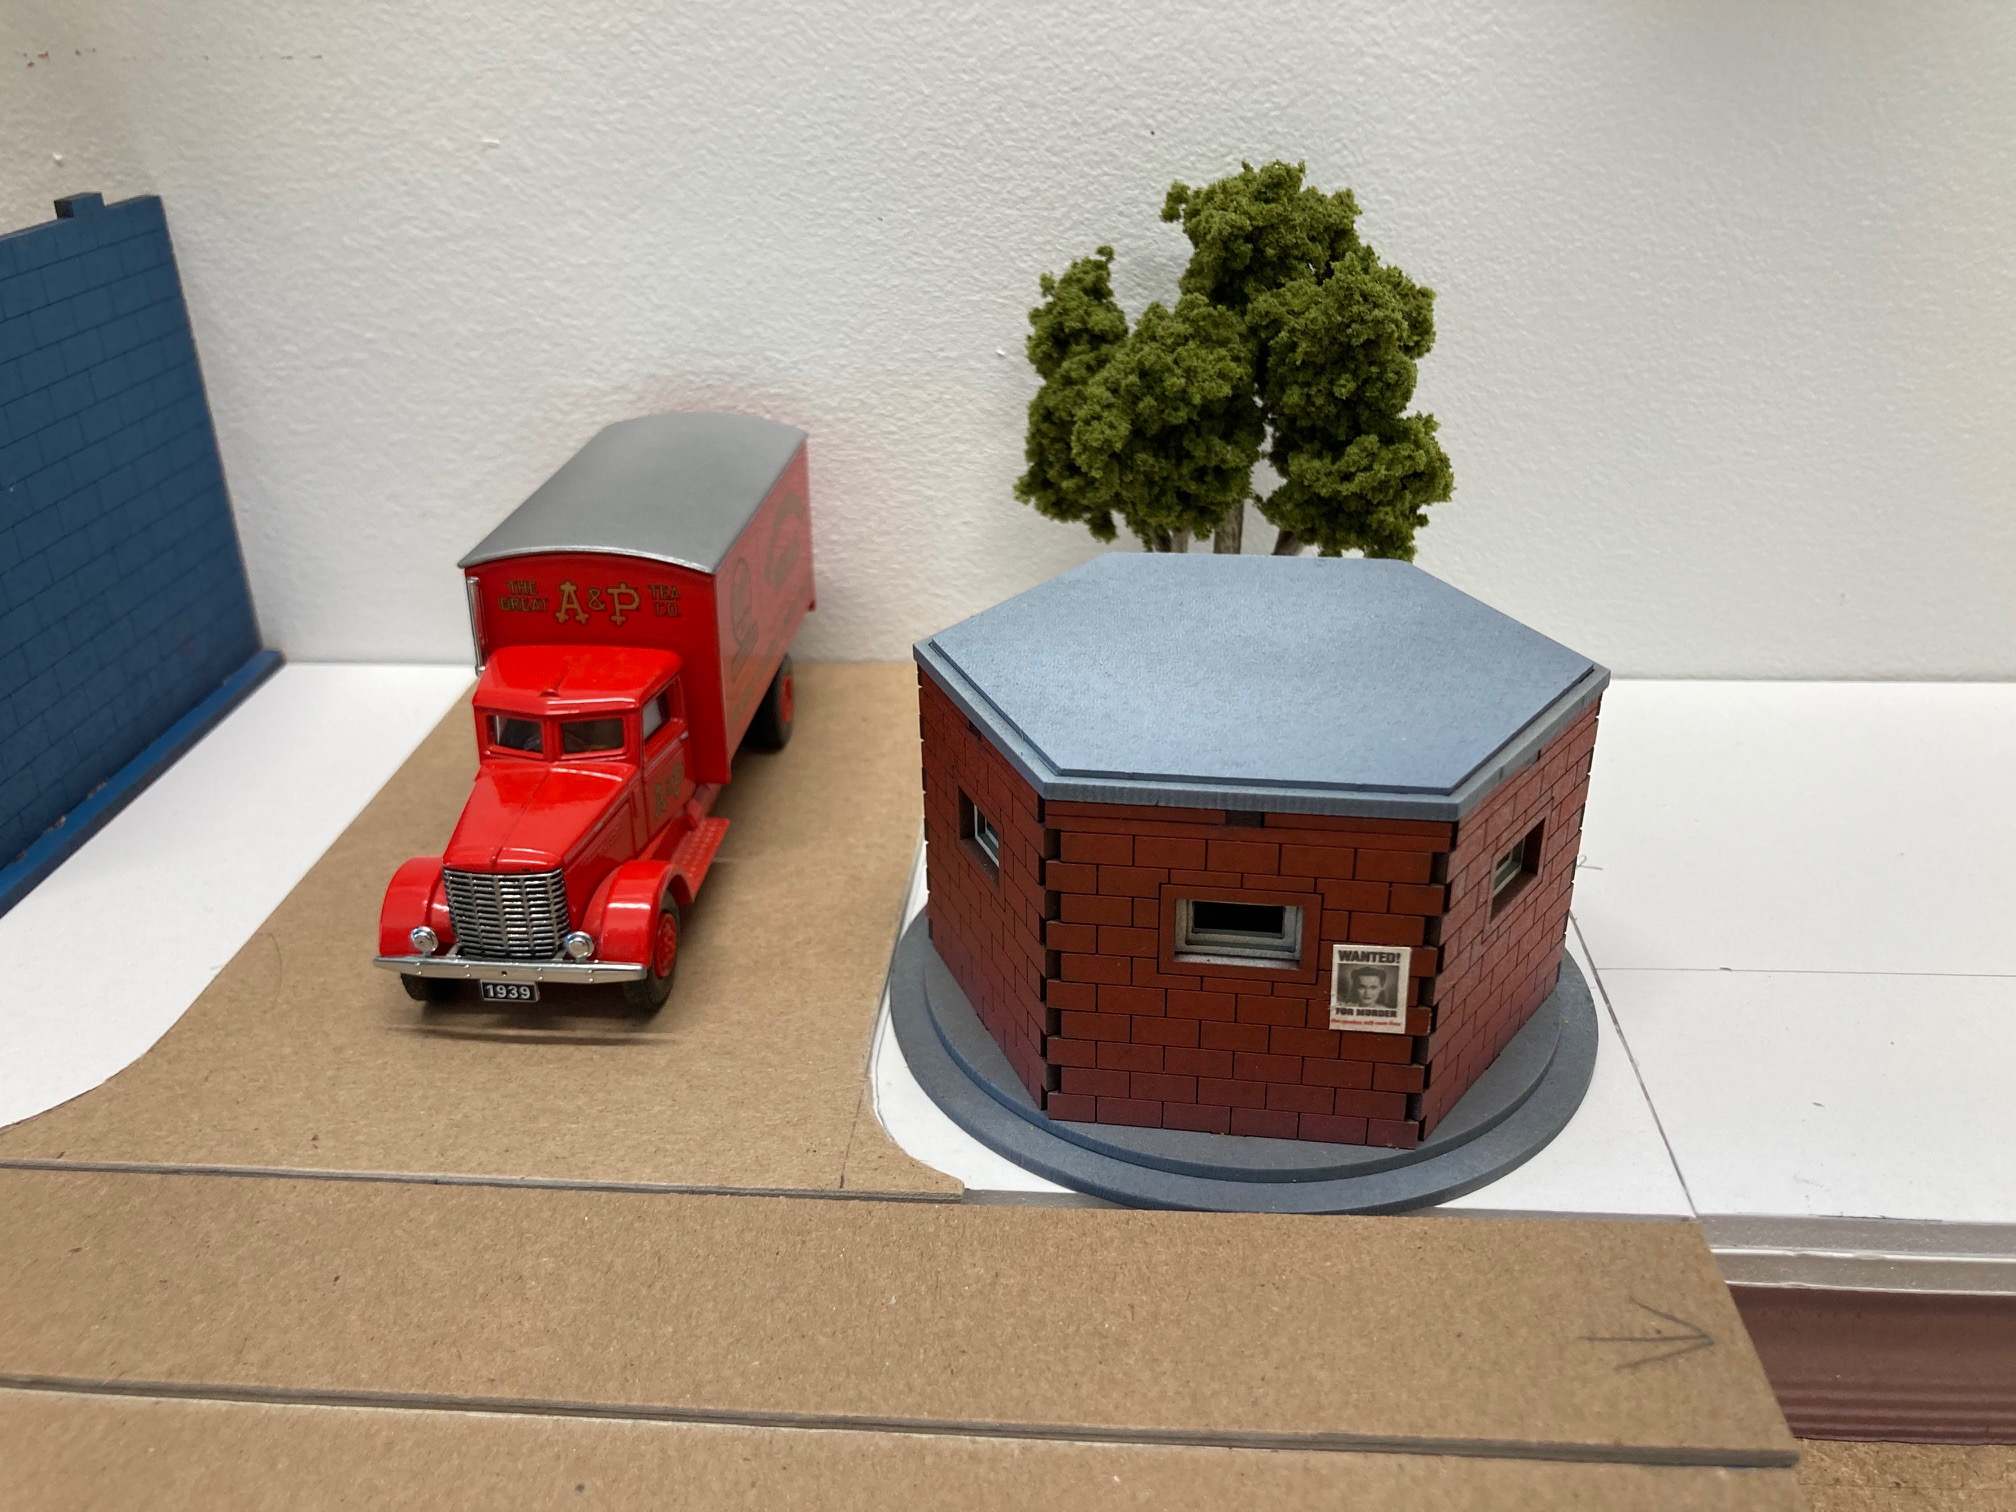
The left side panel will have a flat area where I can place buildings or other terrain. A permanent road entry or exit point for gaming and to the right of it a possible “green” space. It can fit a Pill Box patrolling the intersection for 02 Hundred Hour game for example.


![Zenit Miniatures’ Samurai Warlords Now Live On Kickstarter [Updated]](https://images.beastsofwar.com/2026/02/samurai-warlords-launch-main-600-338.jpg)

