![Perfect Call Of Duty-Style Miniatures? Wargames Atlantic’s Operators Review [7 Days Early Access]](https://images.beastsofwar.com/2026/02/unboxing-wargames-atlantic-operators-coverimage-225-127.jpg)


Volvos in space – a spring cleaning challenge


Recommendations: 352
About the Project
I decided to join the fun this year as well, even with failure of last year project which still isn’t finished. First, couple of words explaining the title. The project is about building and painting (and narrating history) of Pathfinder Chimera class spaceship designed by 2nd dynasty and funded in Kickstater campaign some 18 months ago (IIRC). It is now available for purchase on Myminifactory page (address in first project entry). Now, the ship is extremely blocky, true glorification of the shape of a brick. Since I’m old enough to remember the 80’ as it was yesterday, it instantly brought Volvos 240 and 740 to mind. Those glourios Sweedish cars were designed using only one tool: setsquare! Since designer of the model is Australian but lives in Sweden (!!!) there was no way back from association. For me the Chimera class and Chimera Subclass were all designed by spaceship architects from Volvo Heavy Space Industry PLC and built by shipyards owned by that company or working on its licence.
Related Genre: Science Fiction
Related Contest: Spring Clean Hobby Challenge (Old)
This Project is Active
Progress report 17.04.21
Well, printing is progressing steadily, but I had some stupid misprints – like the one where I put draining hole ideally on the same level and it was enough for the peel forces to tear the model in half…
Also I need to limit final curing time, because the resins tends to get too brittle and break while I push the connectors in…
Also, we had beautiful day today so I painted the outer shell of the top deck.
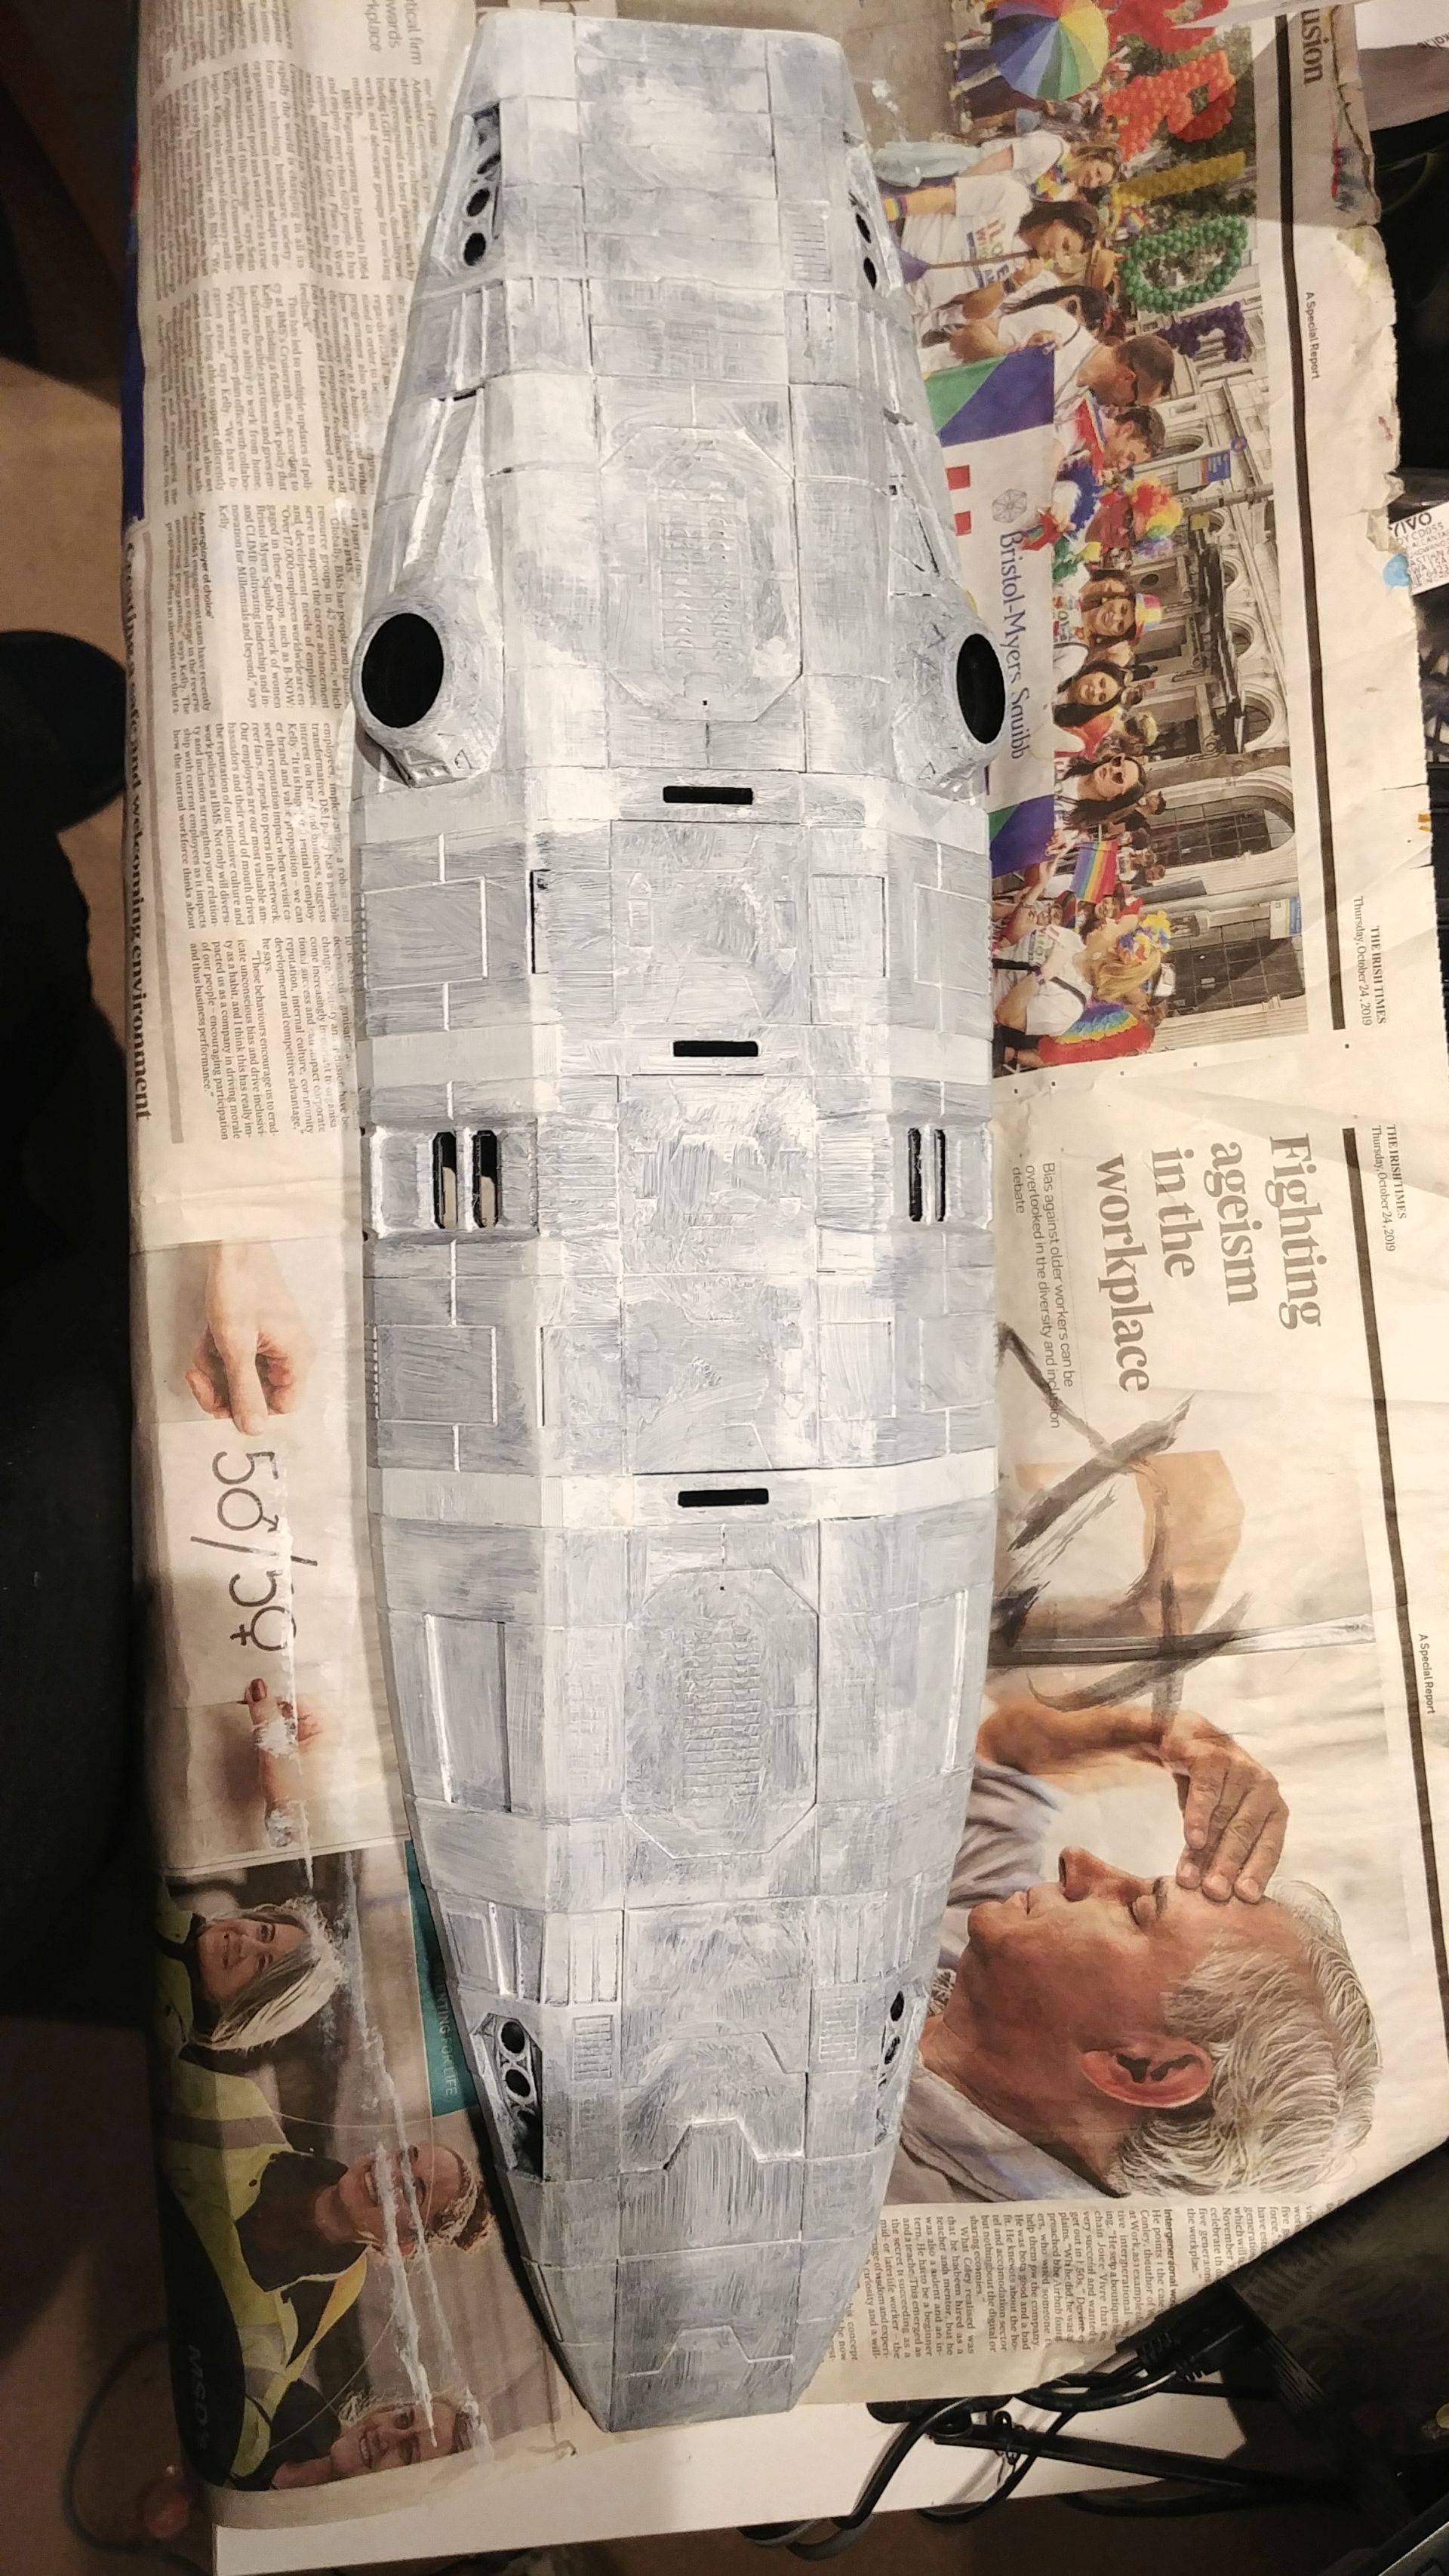 First I applied a layer of gesso to even out the printing layers
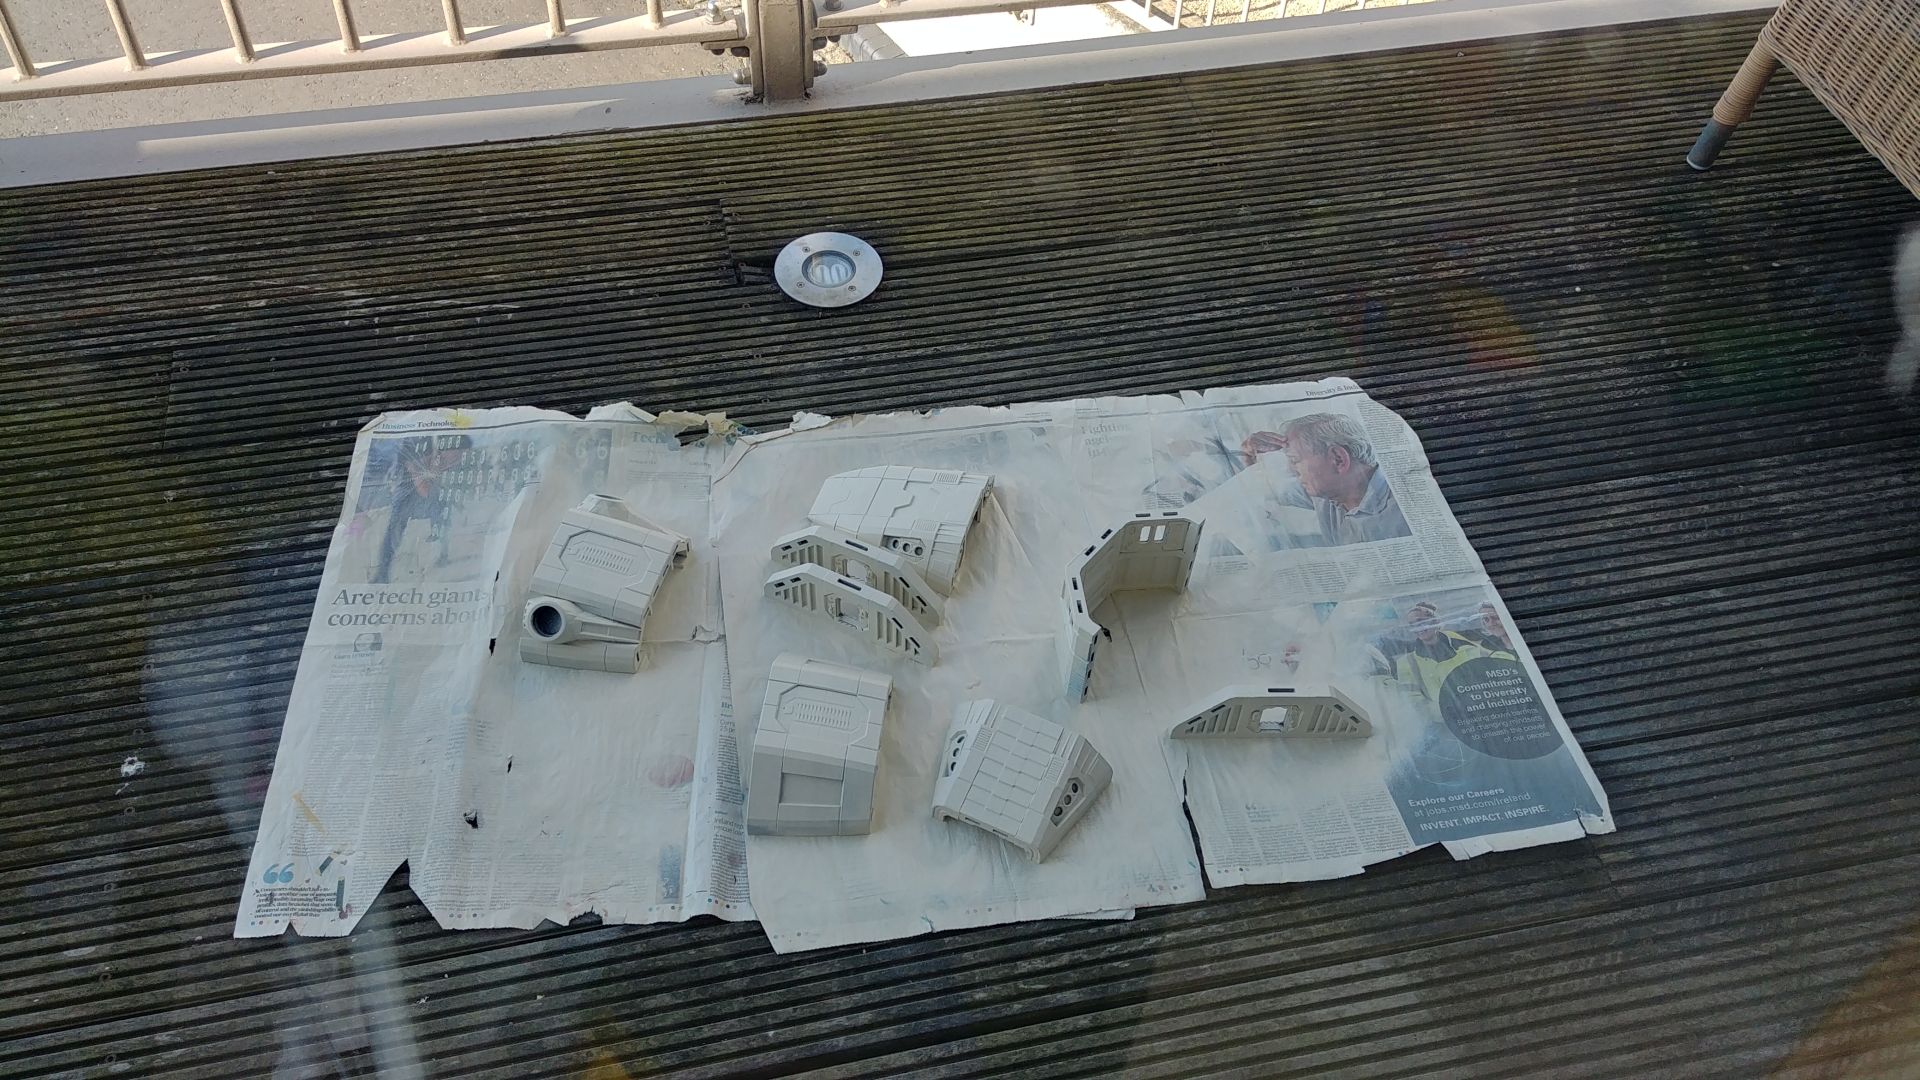 And then sprayed all the parts with montana ivory. BTW I need to change the cap on the spray-can cause this one just oozes with paint everywhere (just look at the newspaper under the plastics.
Detailed inventory and printing plan
I compared whatever pictures of the Chimera Pathfinder I could find with parts I had printed to date. I came to some conclusions on what I still need to print. Bellow you’ll see visualisation of what is needed in case I decided to print original arrangement of the interior, I’m still not certain I want to.
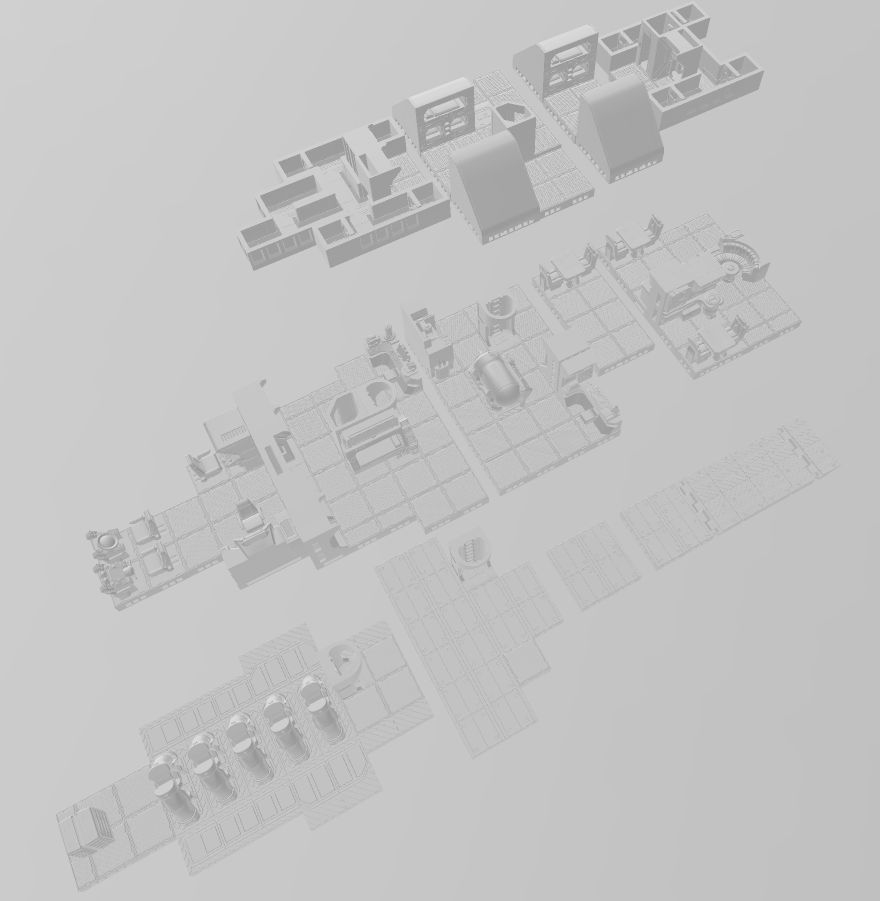 This is original design of the interior according to the printing instructions and reference found on the Internet.
 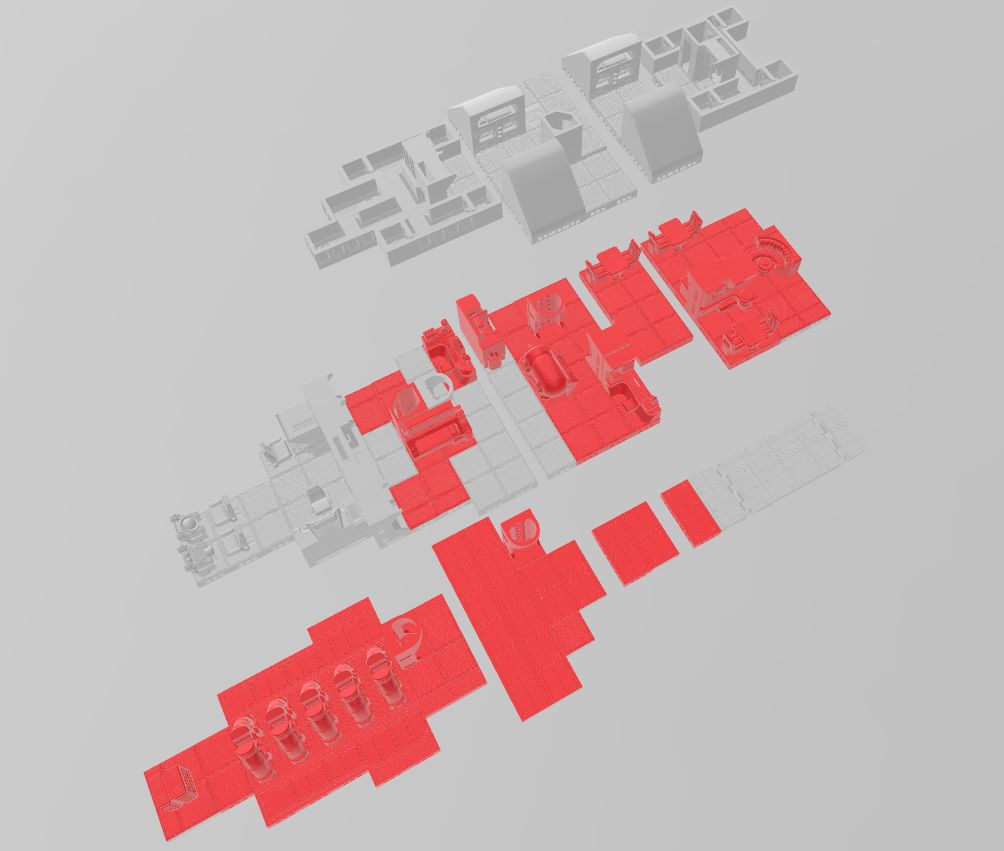 I'm missing parts coloured in red... that's more than I was prepared for. My estimate is that it will take around 70h of straight printing time to get to the end of the process, that doesn't cover time required for preparation and post-processing. I need a week of good (warm) weather.
 Not so humble beginning
True to founding idea of Spring Cleaning Challenge, my project is ongoing for quite some time, at least a year.
That means on the one hand, that I have some work done, and on the other that my initial enthusiasm has already burnt out.
Therefore let me start with a bit of inventory:
 The outside shell is almost entirely printed. It lacks some antennas in the sensor suite and maneuvering thrusters. Also I’ll ned to reprint two big parts near the bow of the ship, since what I have now doesn’t have thrusters’ mounting.
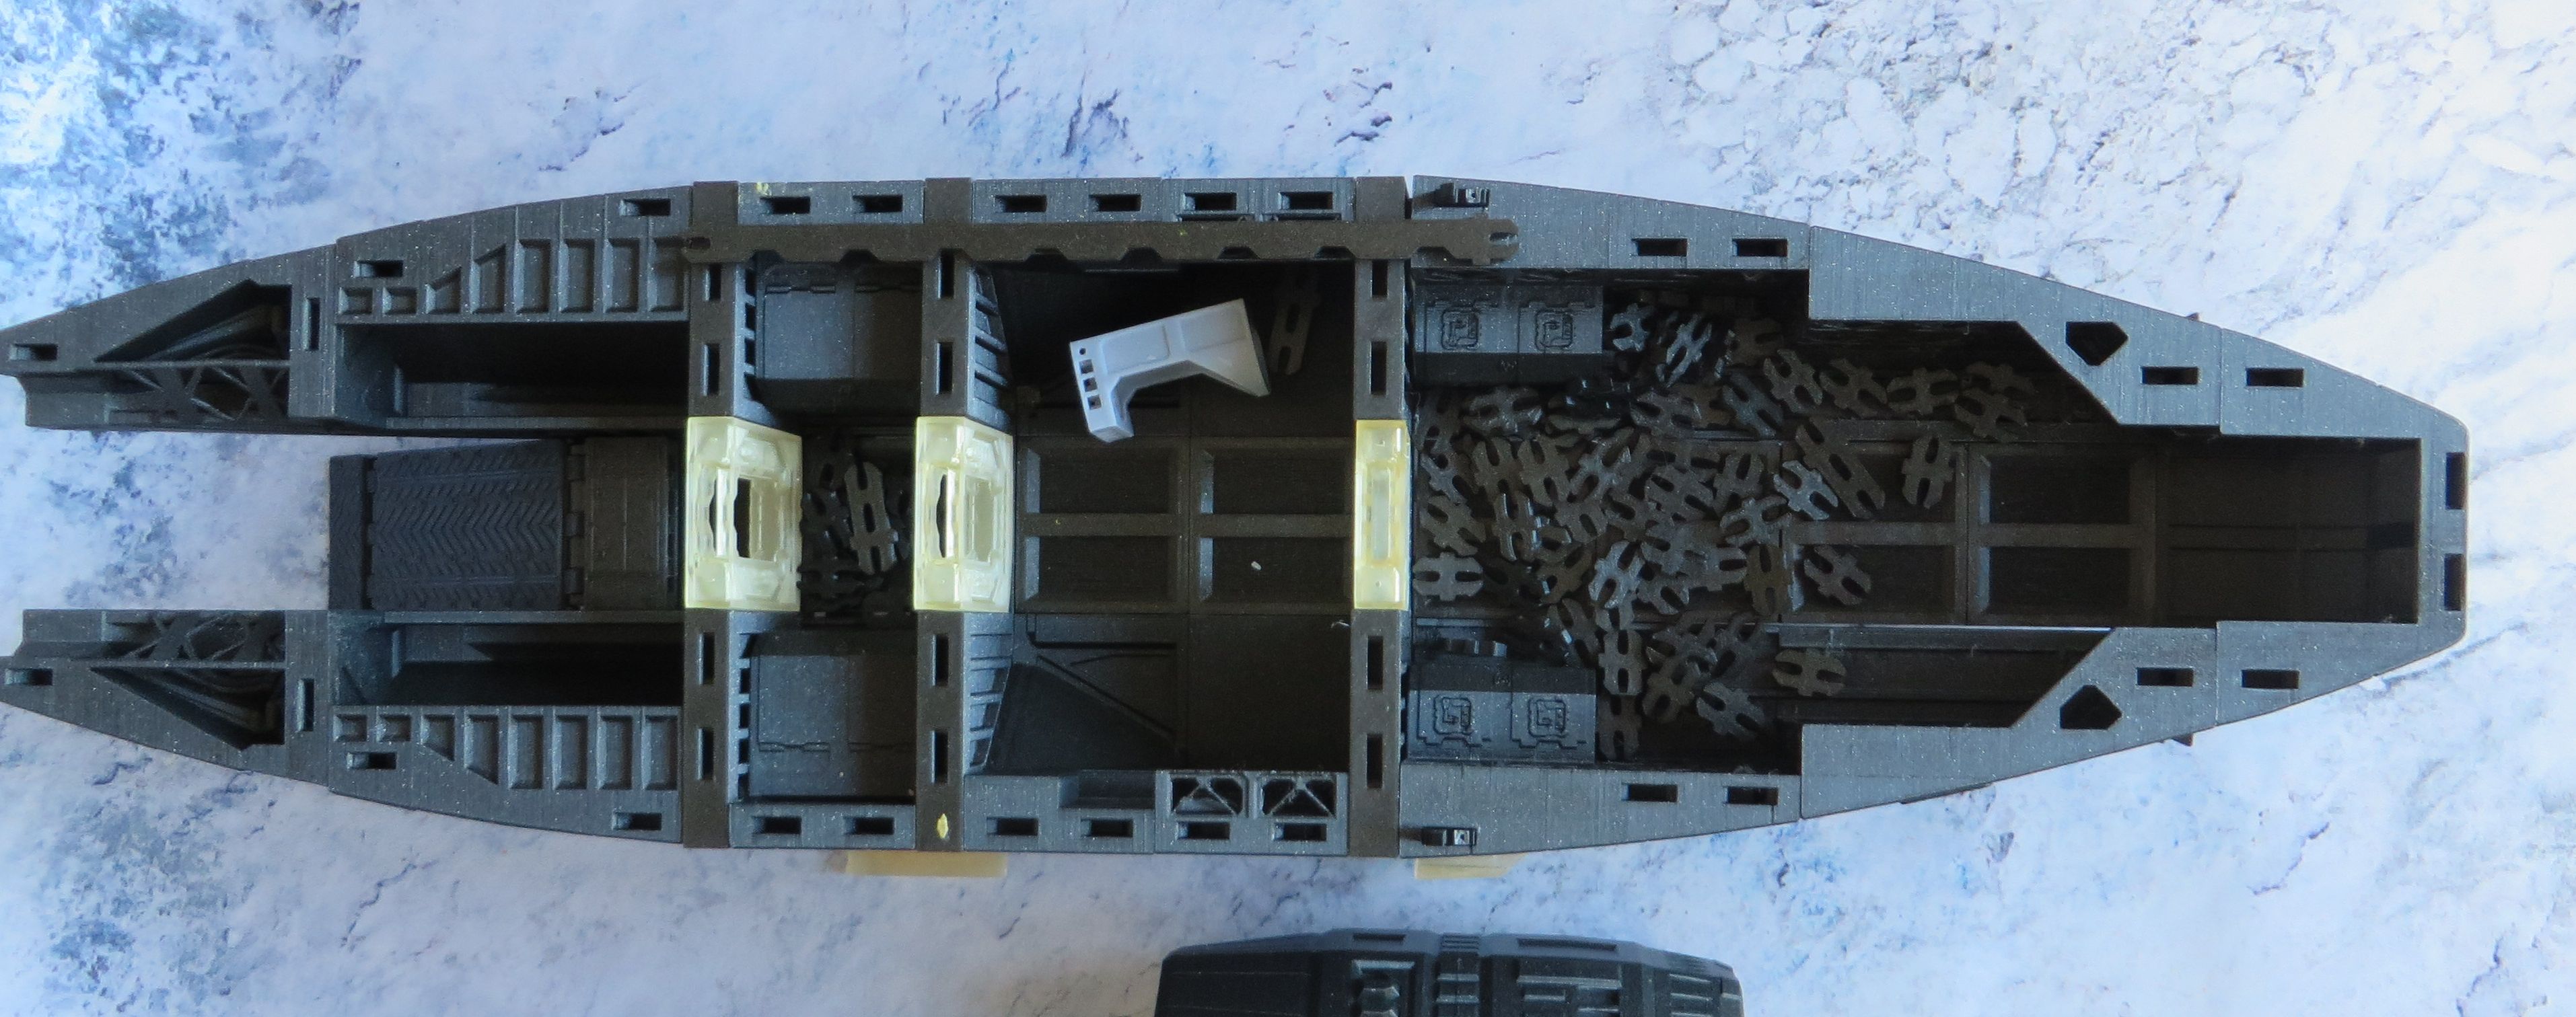 Lower deck doesn’t have any internal details printed, and more than that, I need to thonk what I want to put there, as I’m sure I won’t be installing all those hibernation chambers the original design suggests.
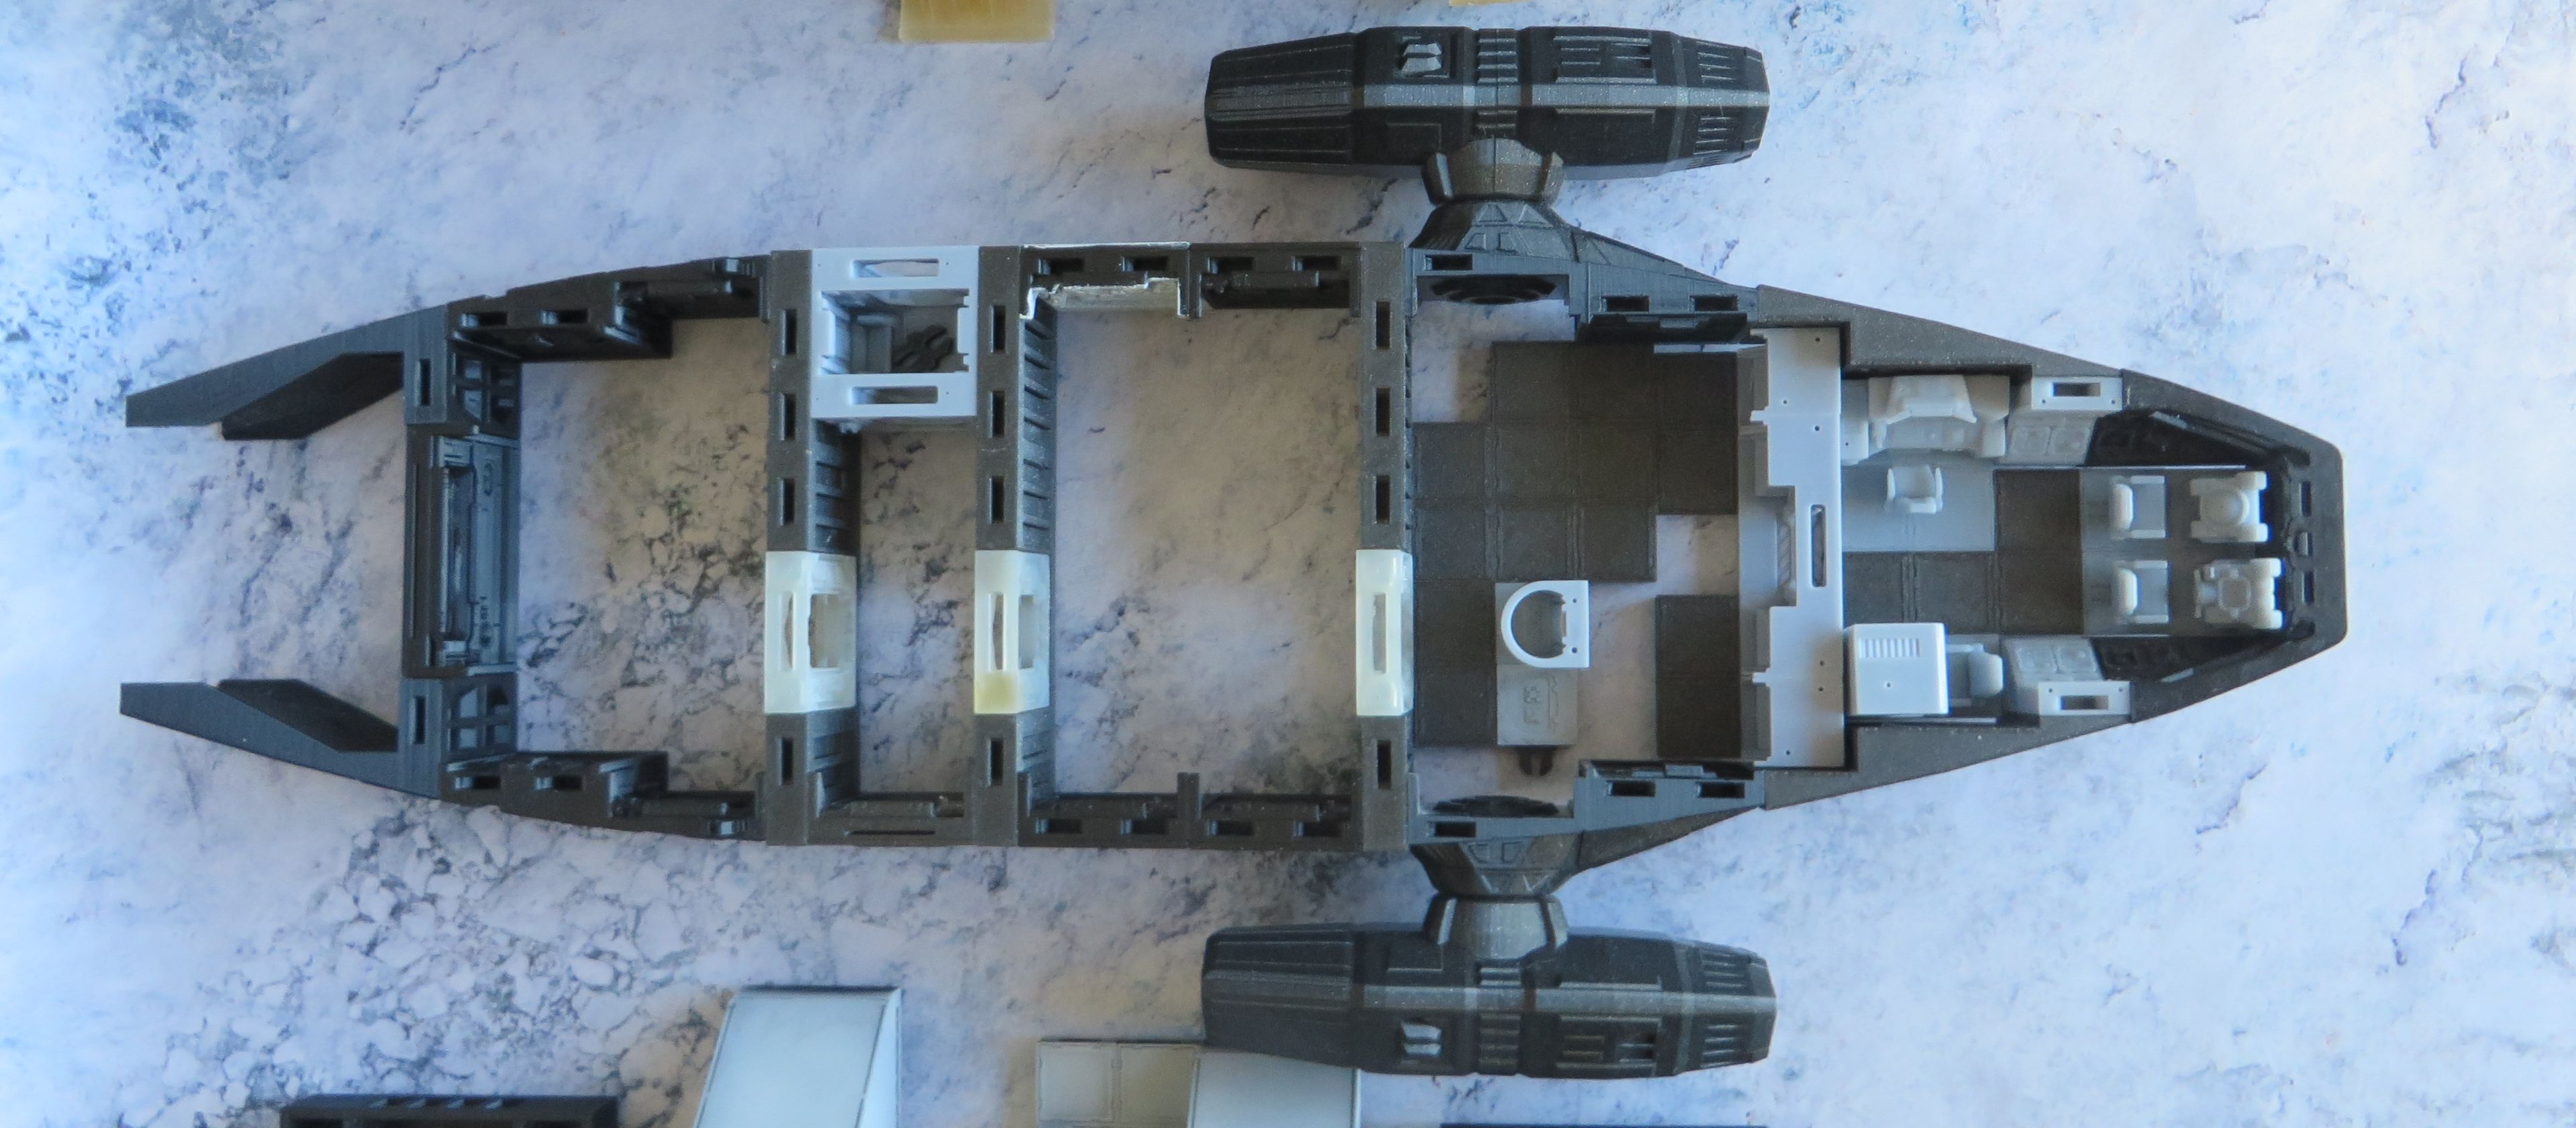 Mid-deck. Bridge is ready for painting, and next room which is med-bay starts to take shape, however, this deck is full of intricate details and will take some considerable amount of time to print.
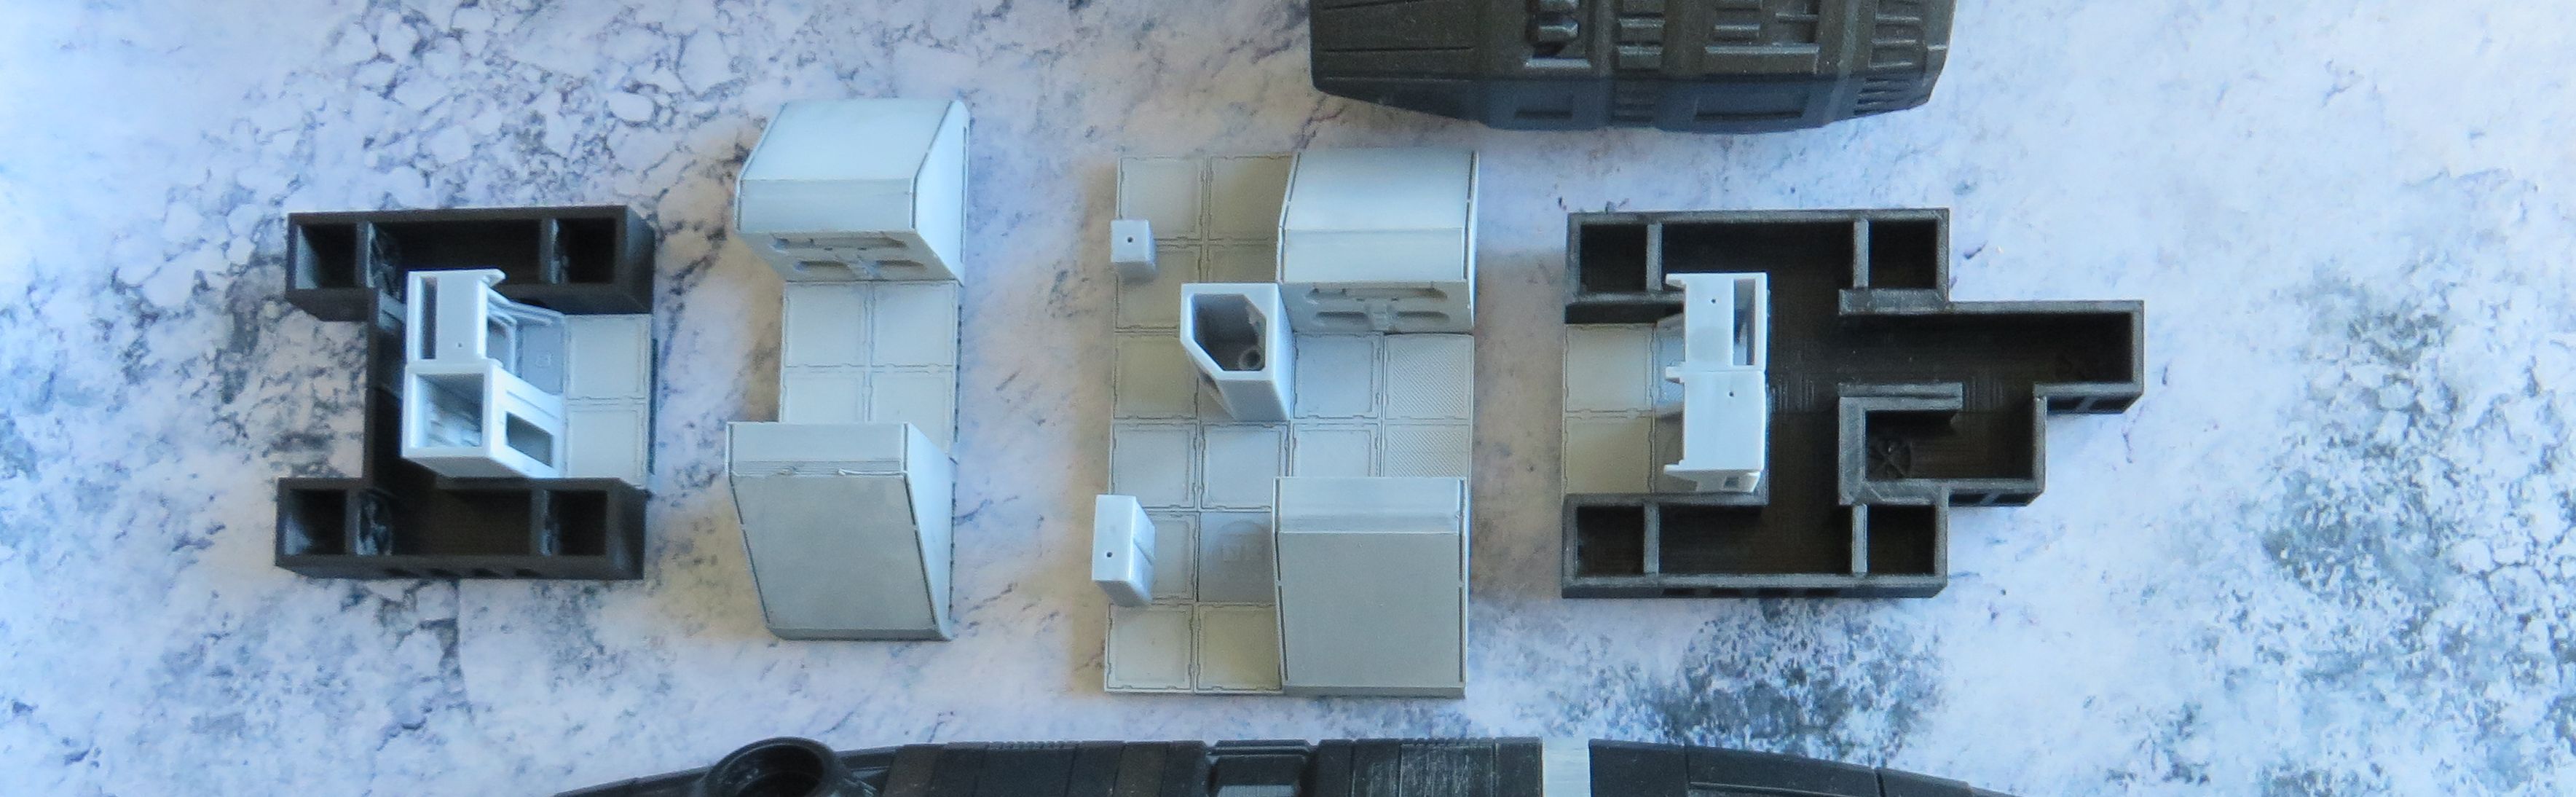 Top deck. All the internal parts are printed and some even have primer on them already. I may still change how the rooms are arranged, but I’ll write more about it in one of the next entries.
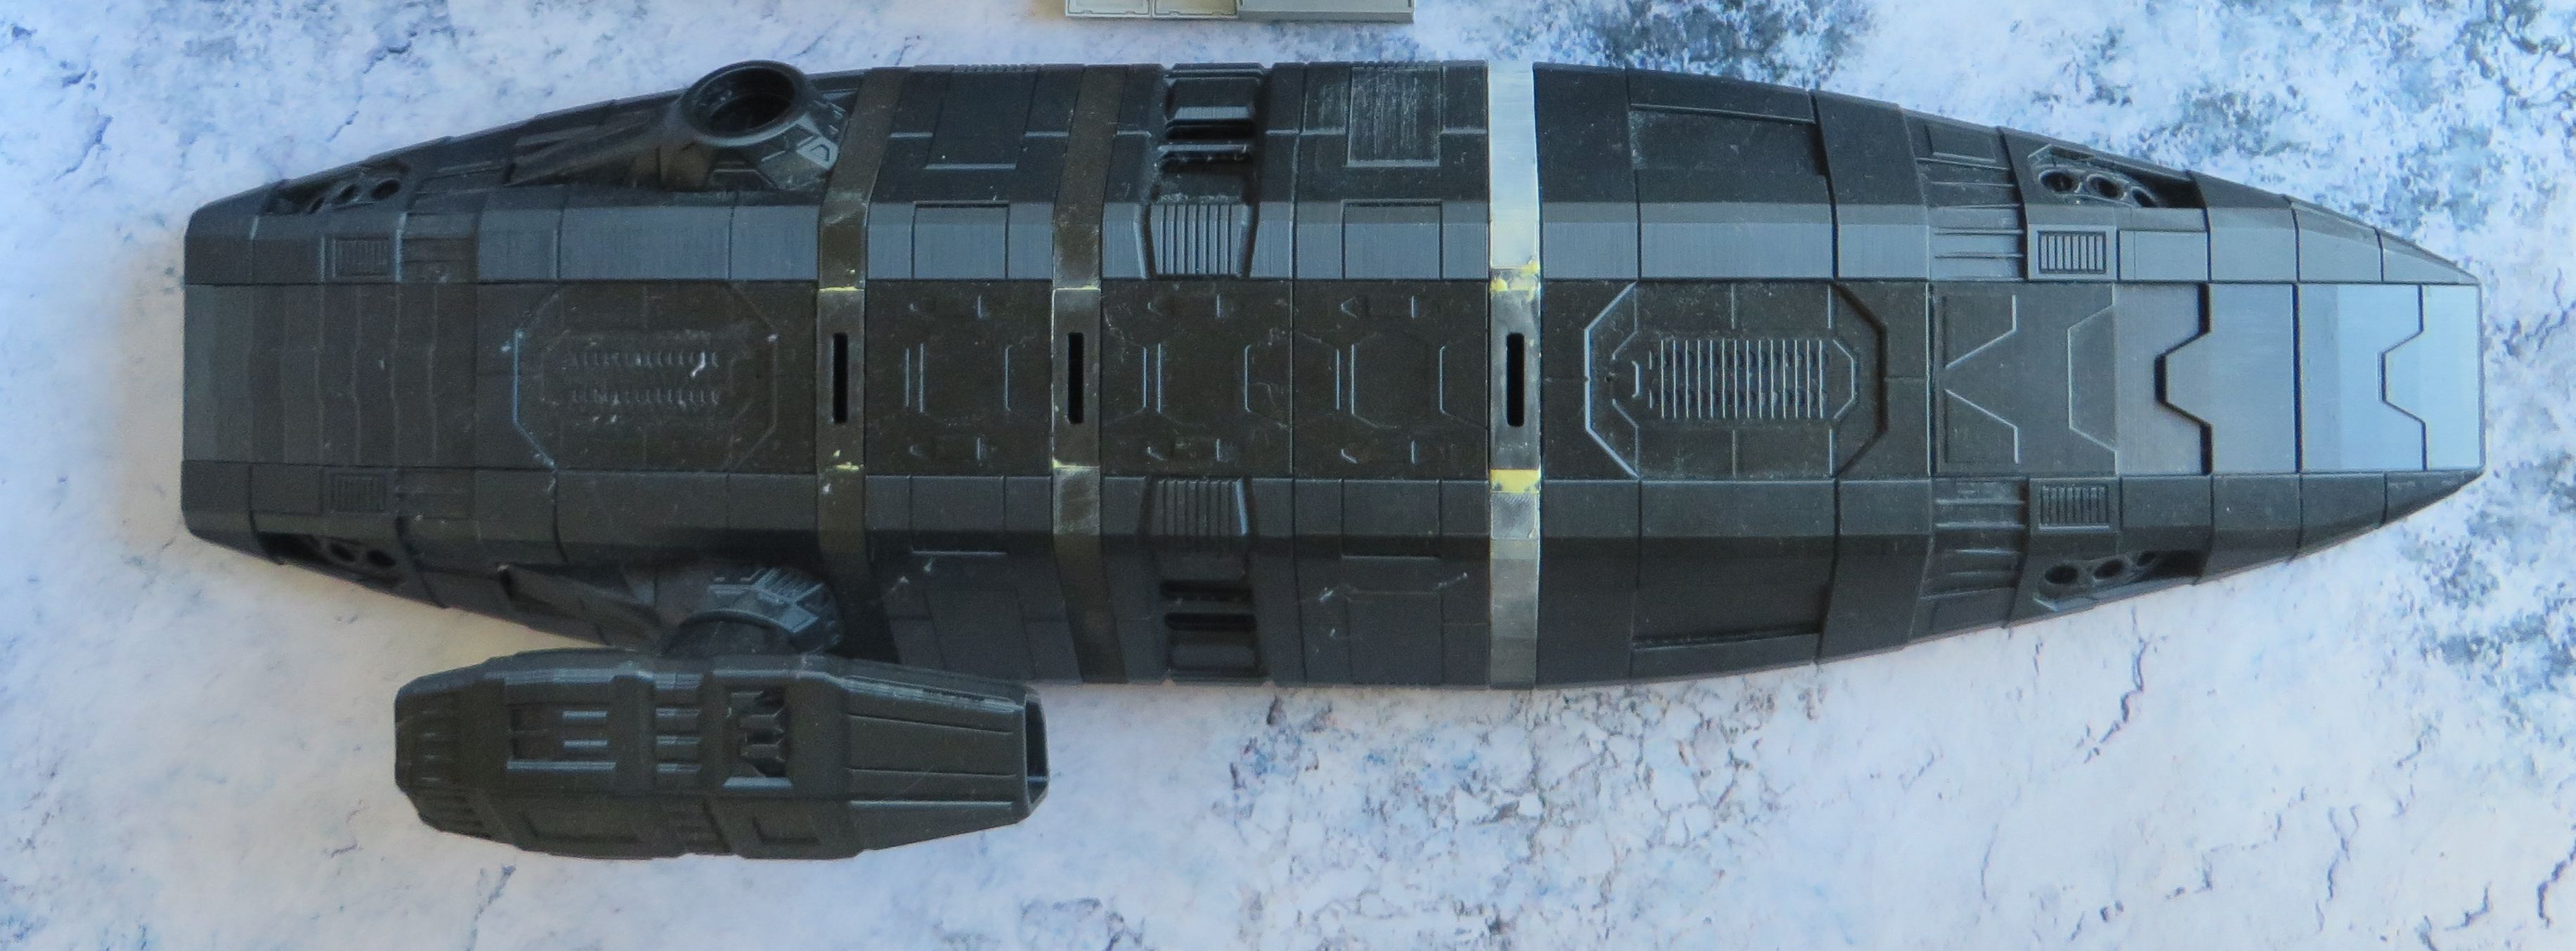 It may look as I’m missing one engine. What actually happened is that while taking the pictures I dropped the model and It smashed a plastic ring which holds the engine and fuselage together. It is repaired already.
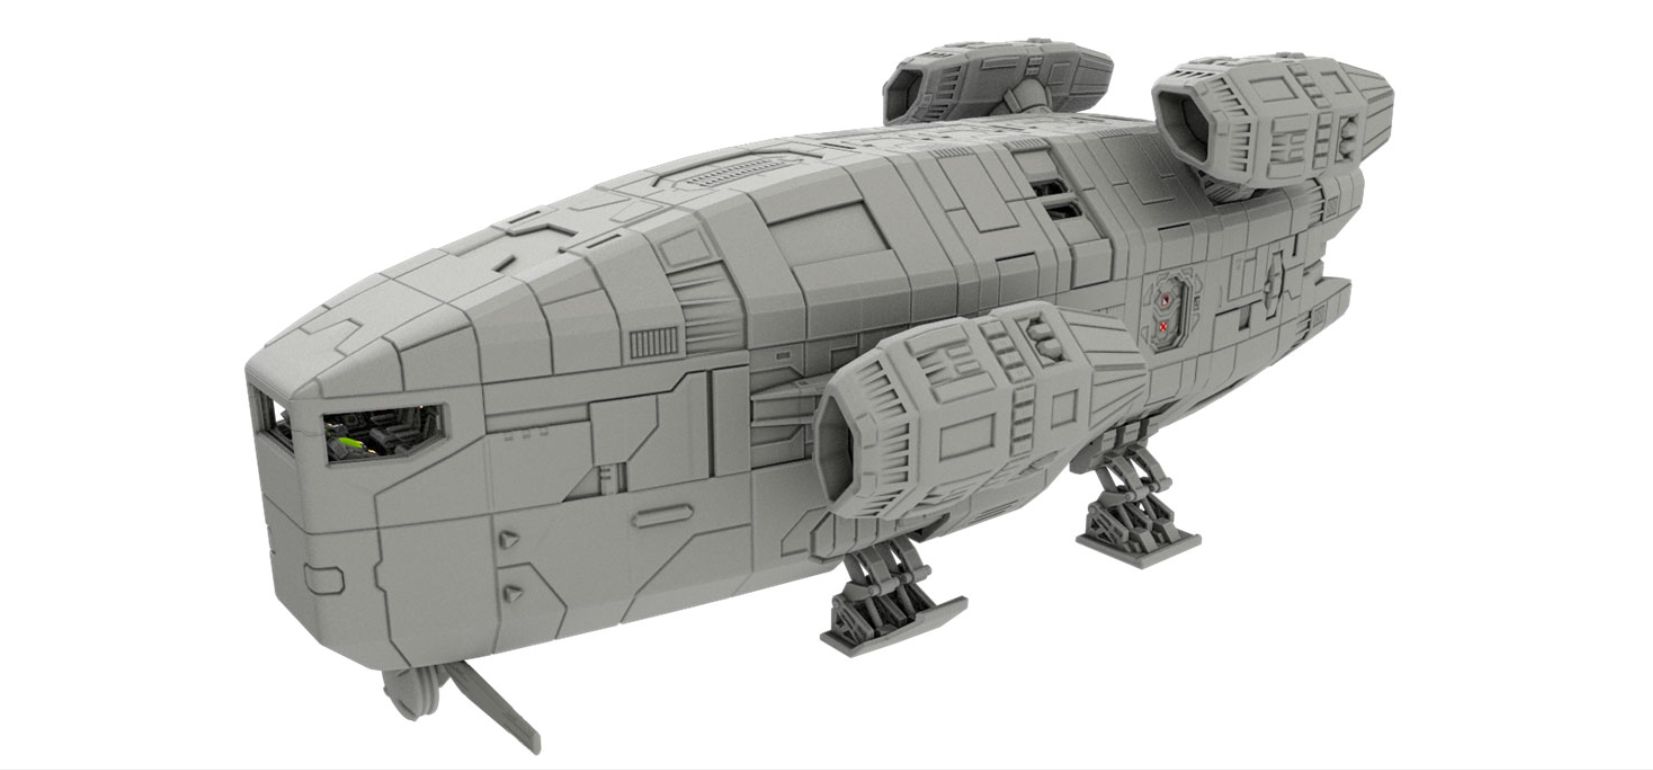 And this is how it is supposed to look in the end, at least when in terms of shape.
 As for technical side of things; all the external parts, most of the floors and bunks on the top deck were printed on my Prusa I3 mk3 at .15 mm layers with 15% infill, with exception for bunks which have varying layer heights from 0.15 to .3 for speed. I used Amazon branded filament and Prusament (both PLA of course).
The parts printed on SLA printer (Elegoo Mars) are printed on normal setting so .05 mm layers, Elegoo resin, some translucent and some grey.
You may also notice that I have cut out detailed parts of bulkheads and printed them on SLA while rest of the part was printed on FDM.
Oh, and the model can be purchased HERE.


![Zenit Miniatures’ Samurai Warlords Now Live On Kickstarter [Updated]](https://images.beastsofwar.com/2026/02/samurai-warlords-launch-main-600-338.jpg)


