


![NO Weekender Or Cult Of Games XLBS This Weekend [Updated]](https://images.beastsofwar.com/2026/03/No_Weekender_and_XLBS_this_Weekend-225-127.jpg)


Its not a PUMA


Recommendations: 342
About the Project
A mix of things. A painters block. Being a Cold War Kid. A conversation out of the blue. Needing a kick to move on my Team Yankee pile of shame.
Related Game: Team Yankee
Related Company: Battlefront Miniatures
Related Genre: Movies
This Project is Active
For anyone that wants thier own
I have made this kit available on Cults for a small fee.
https://cults3d.com/en/3d-model/game/hind-mi-24a-krokadil
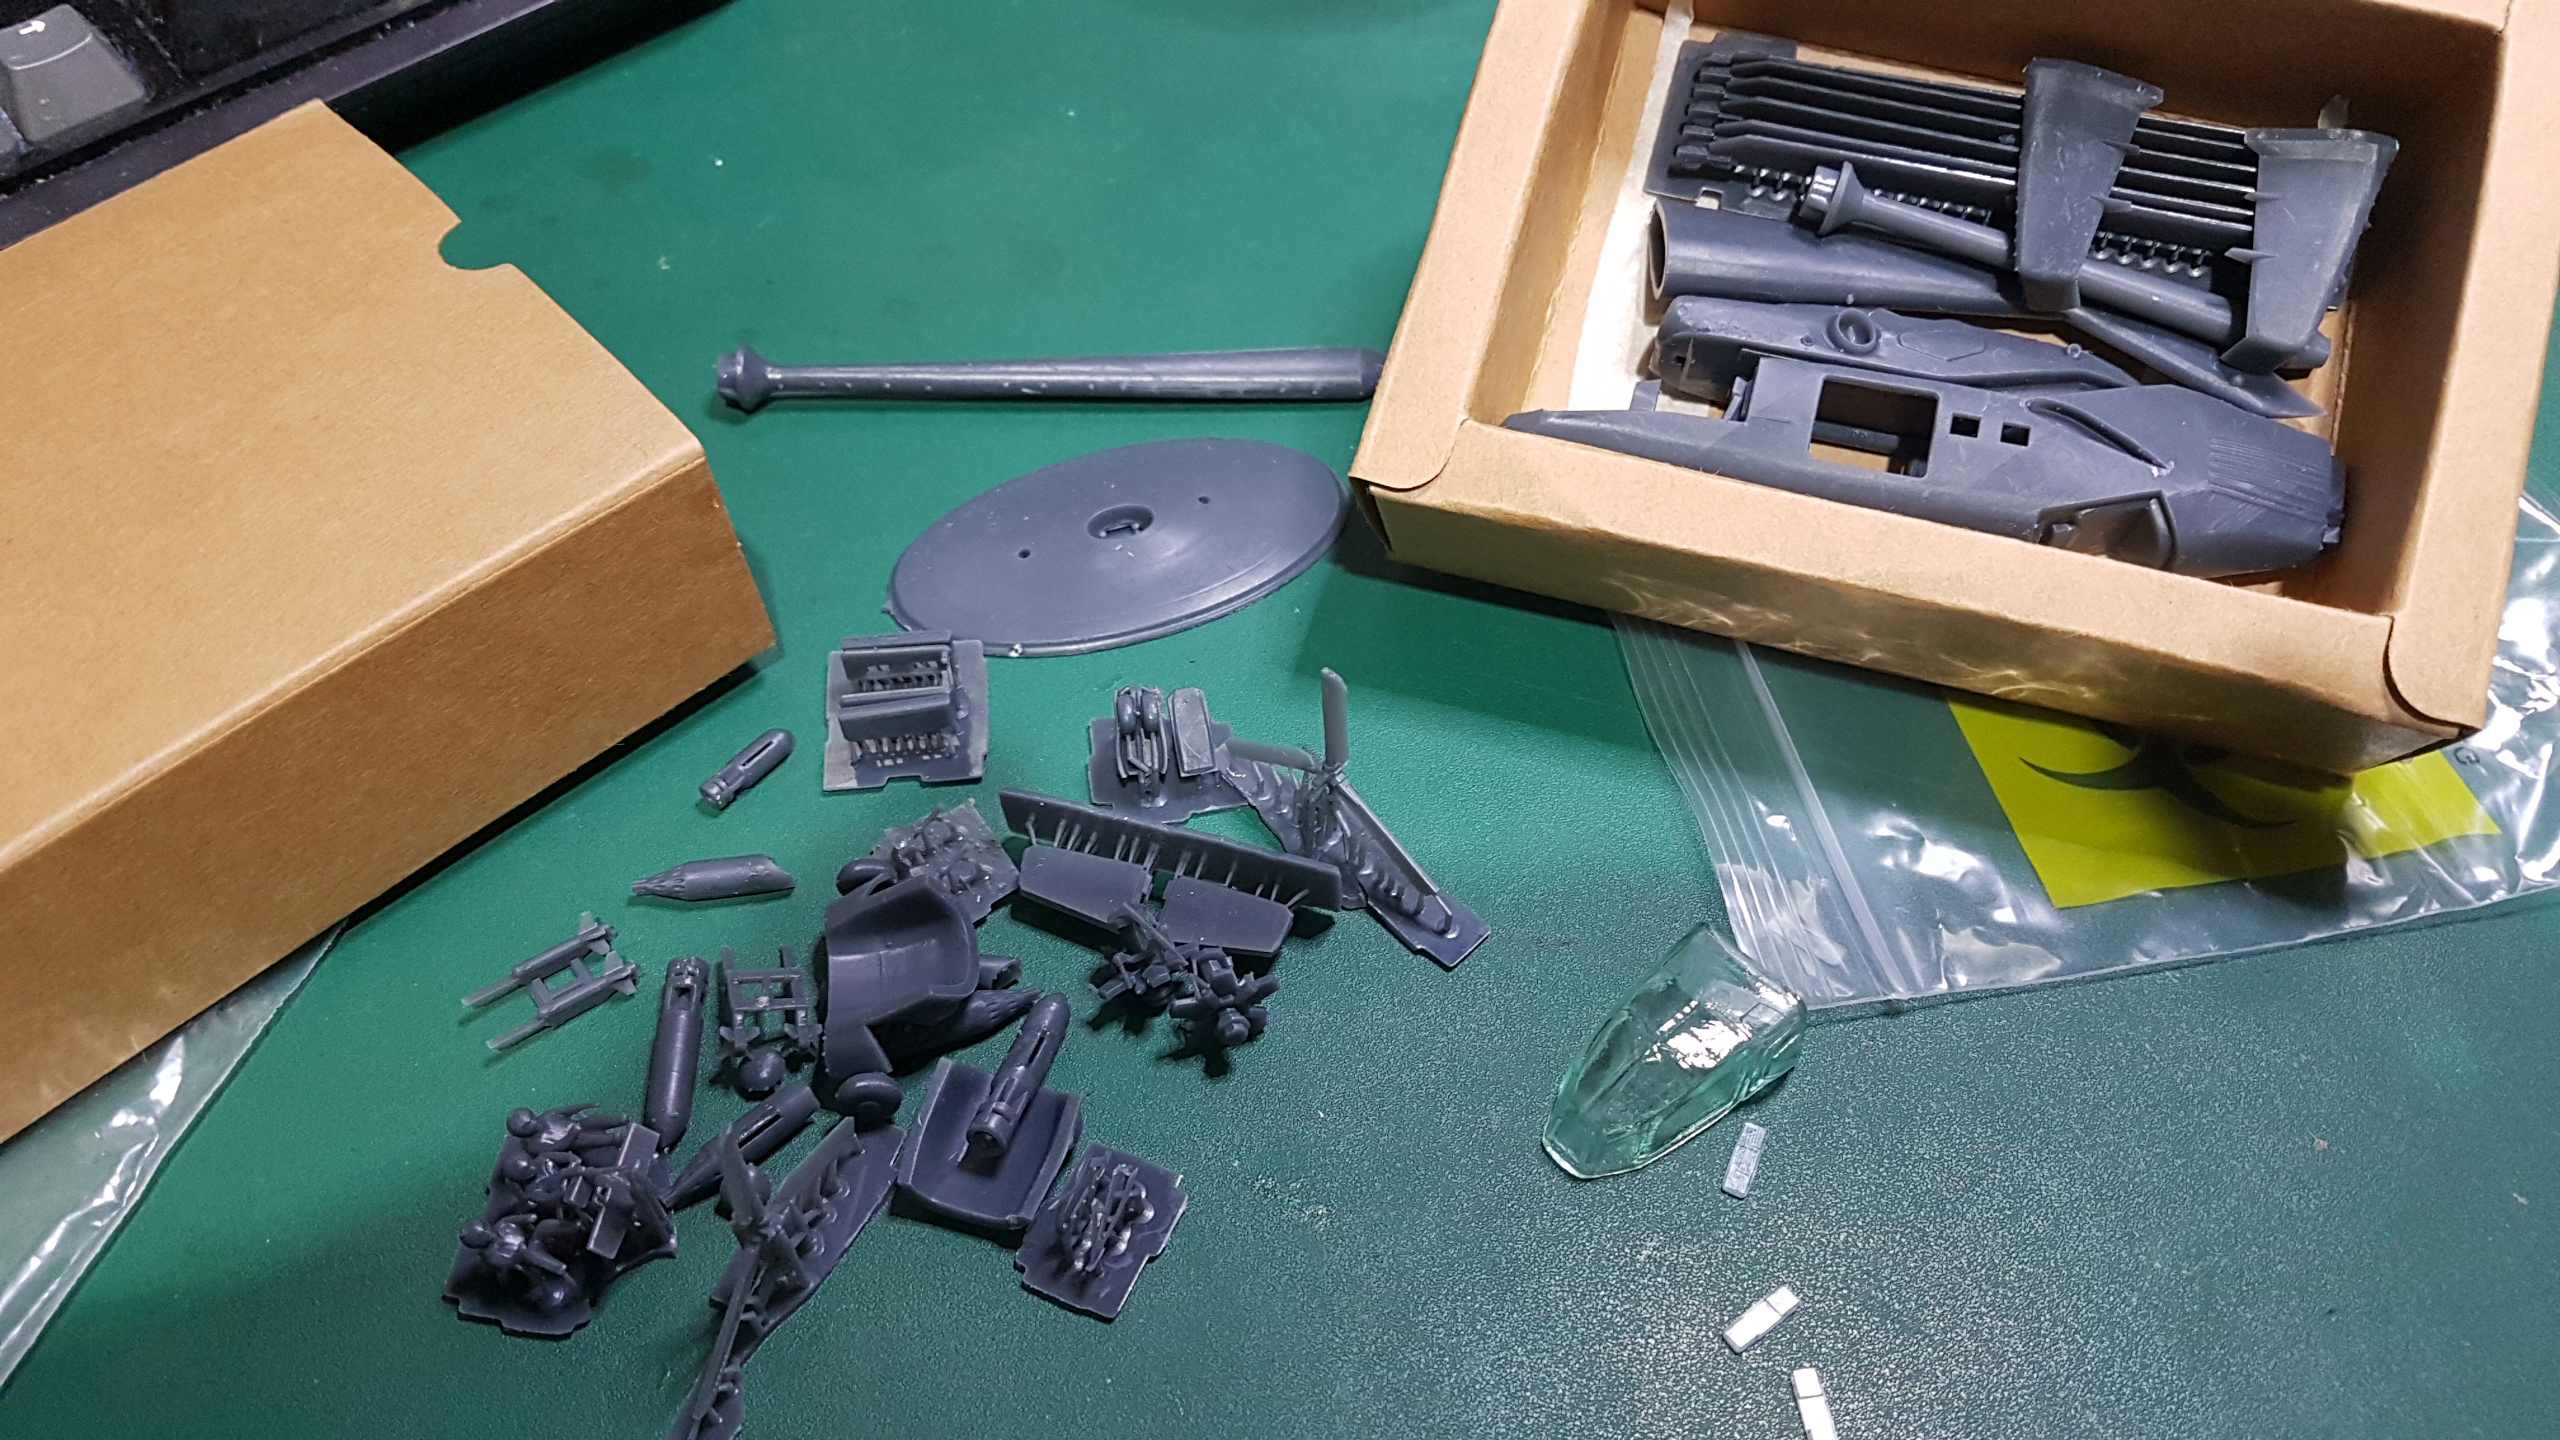
Closing the box for now
I’ve already assembled all the Hind A’s I’ll ever need but my little exercise into producing my own scale model kit didn’t feel quite finished. What would it be if it never took the form of an actual kit. Not sure where I’m going with this. It may become a thing. It may forever be nothing more than lonely unassembled model kit to be displayed on a shelf or in a dark cupboard. Who knows.
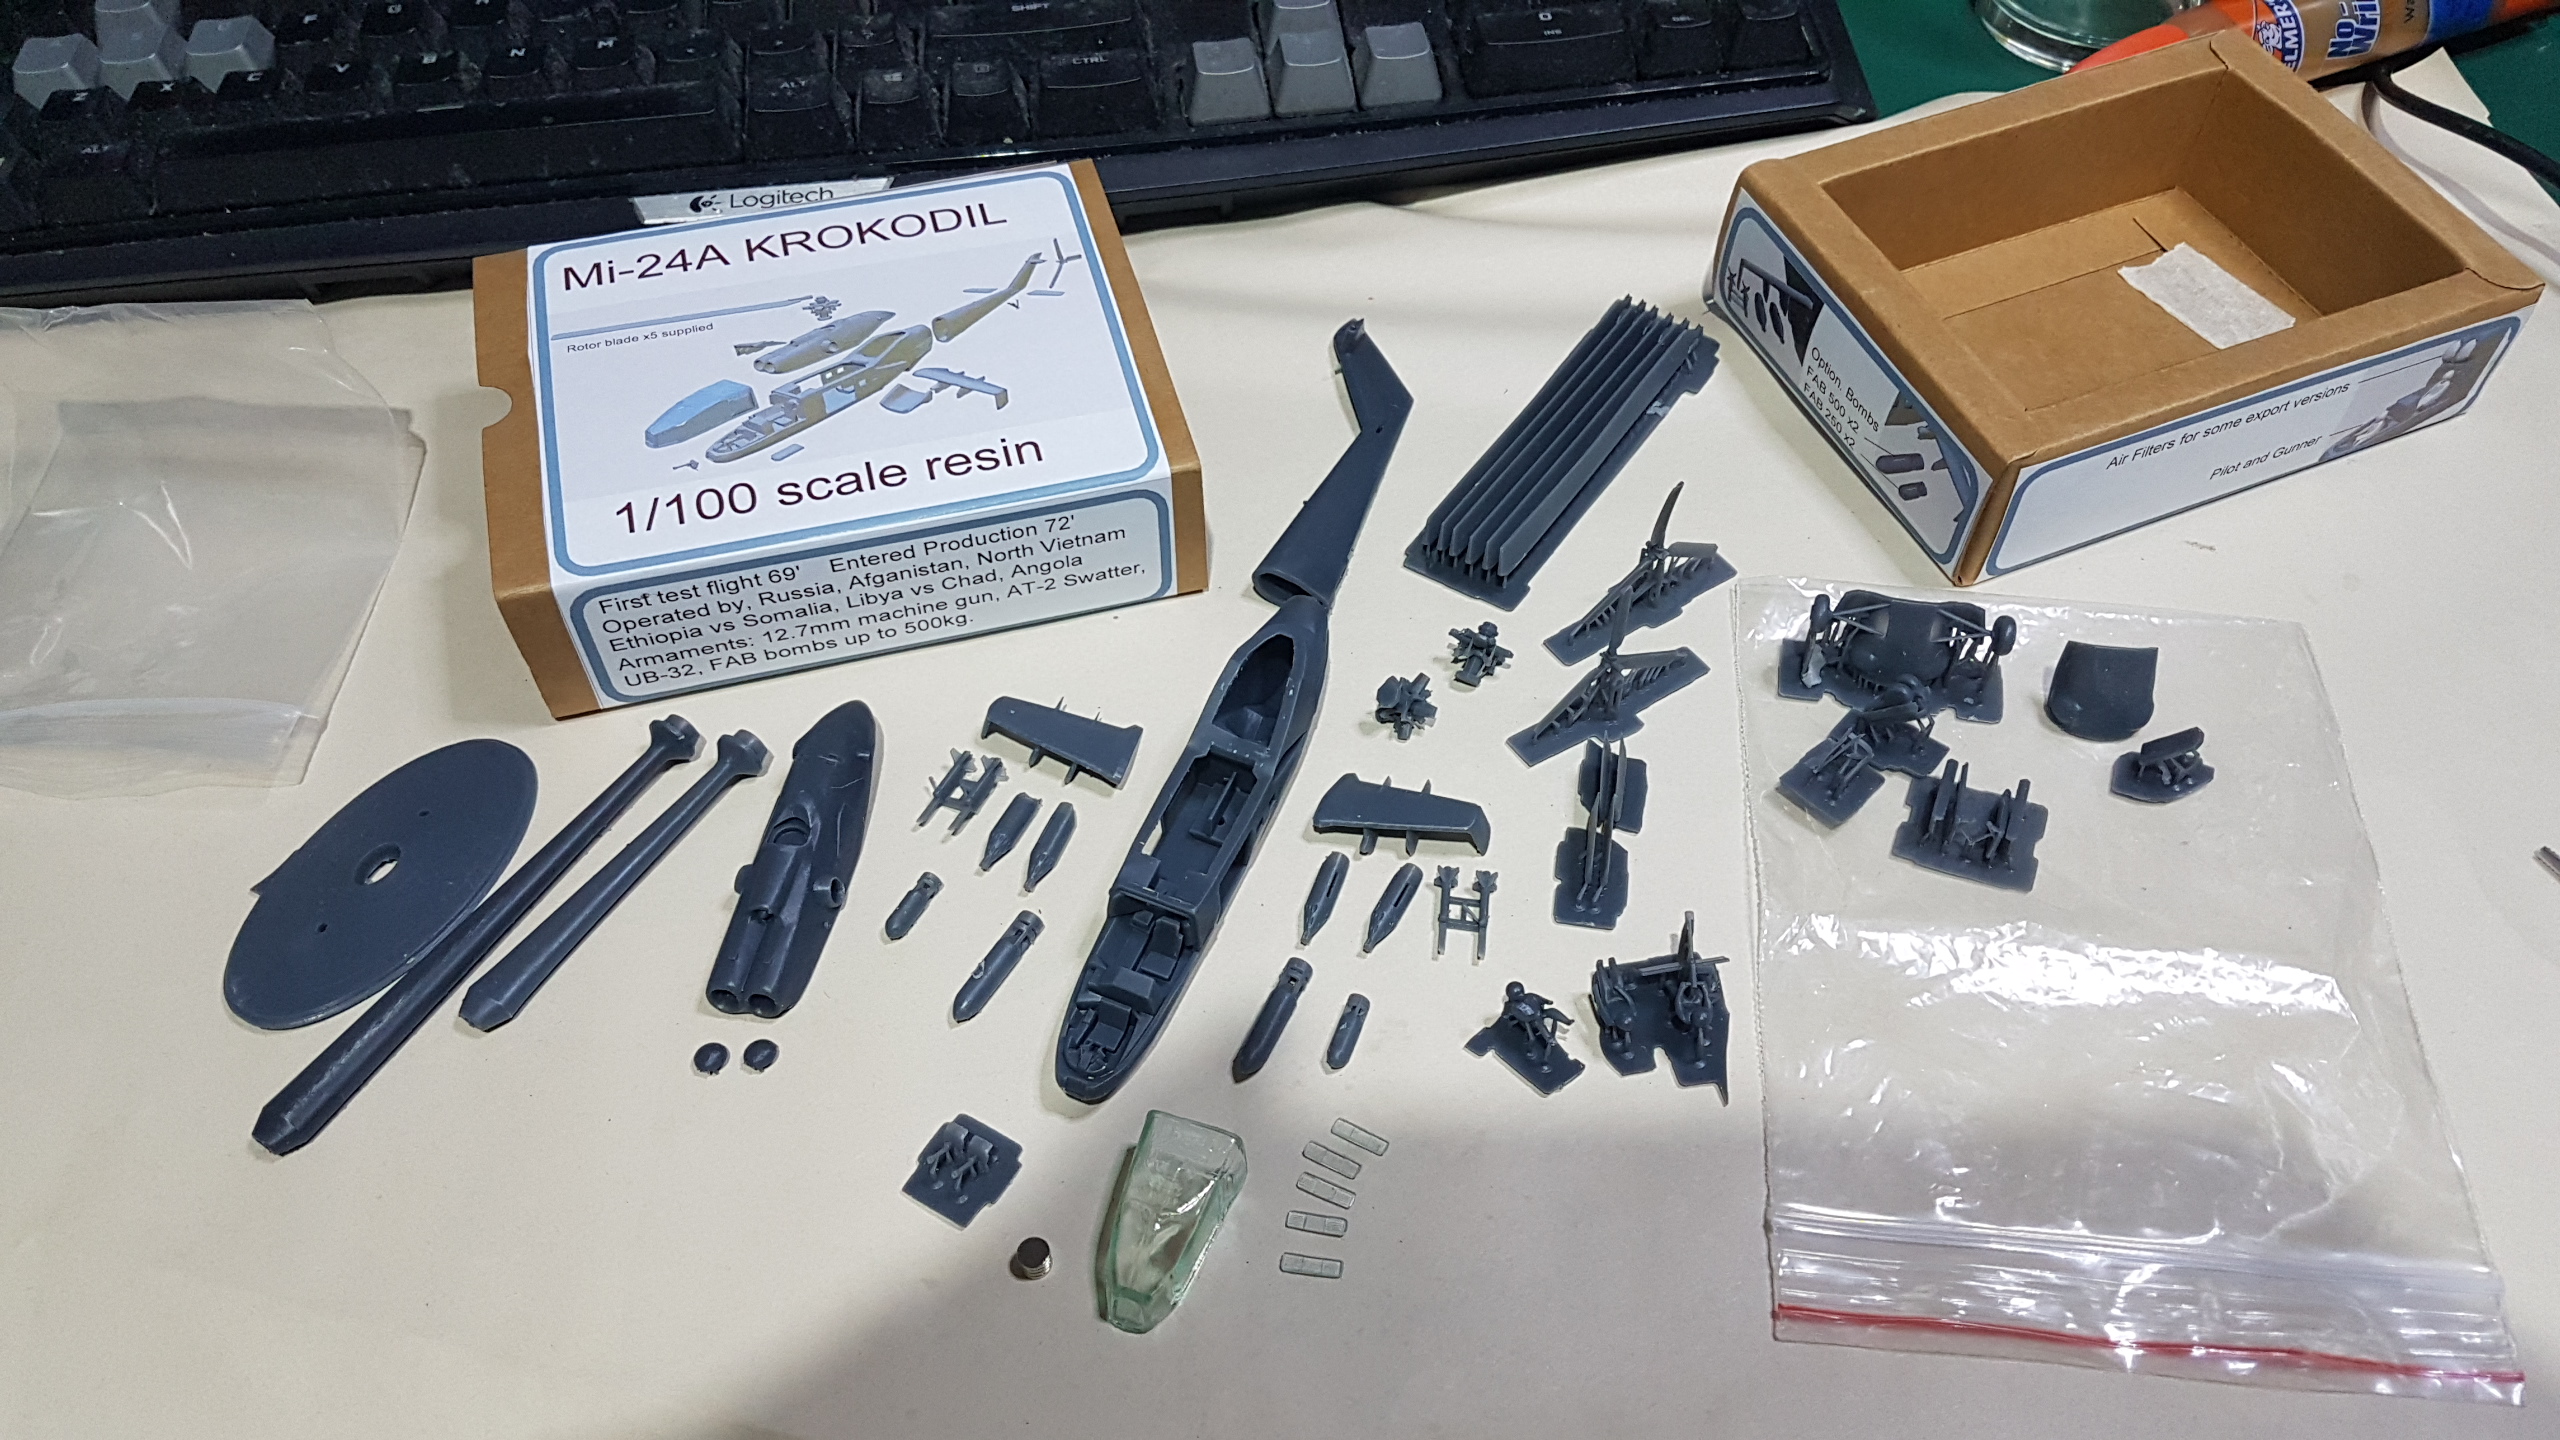 Threw in some spares for those with more thumbs than fingers
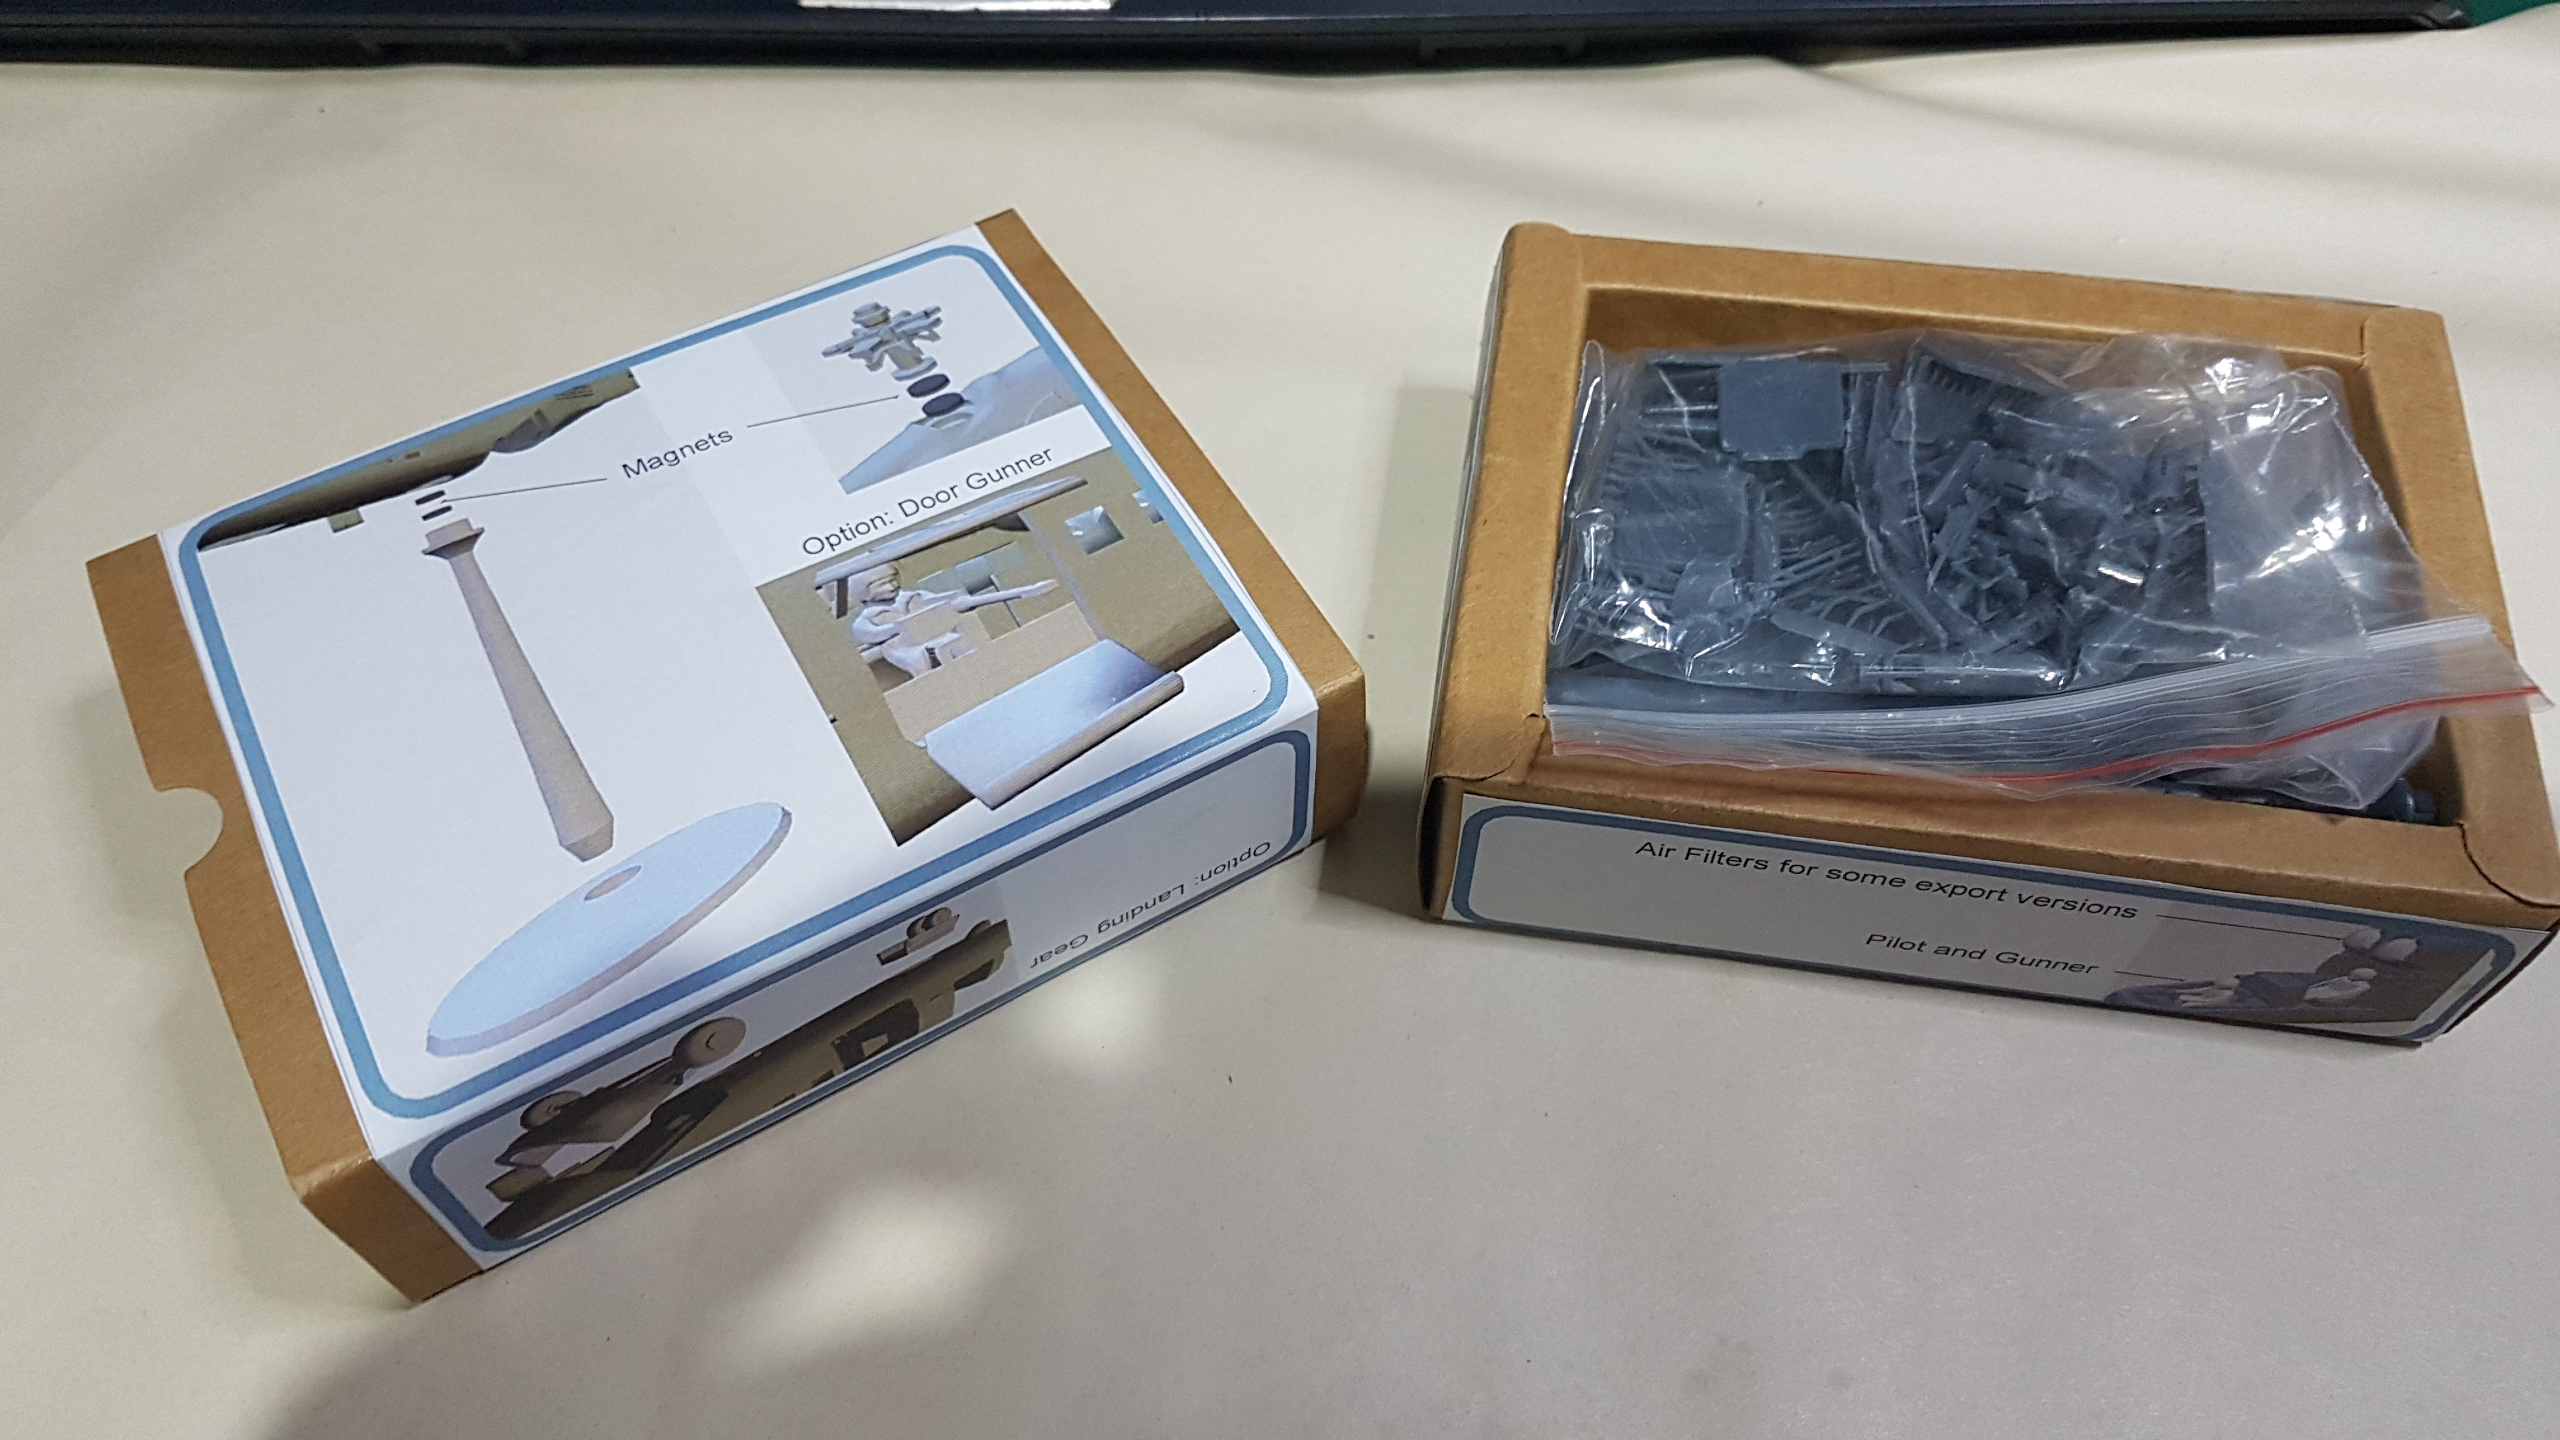 Where to next?
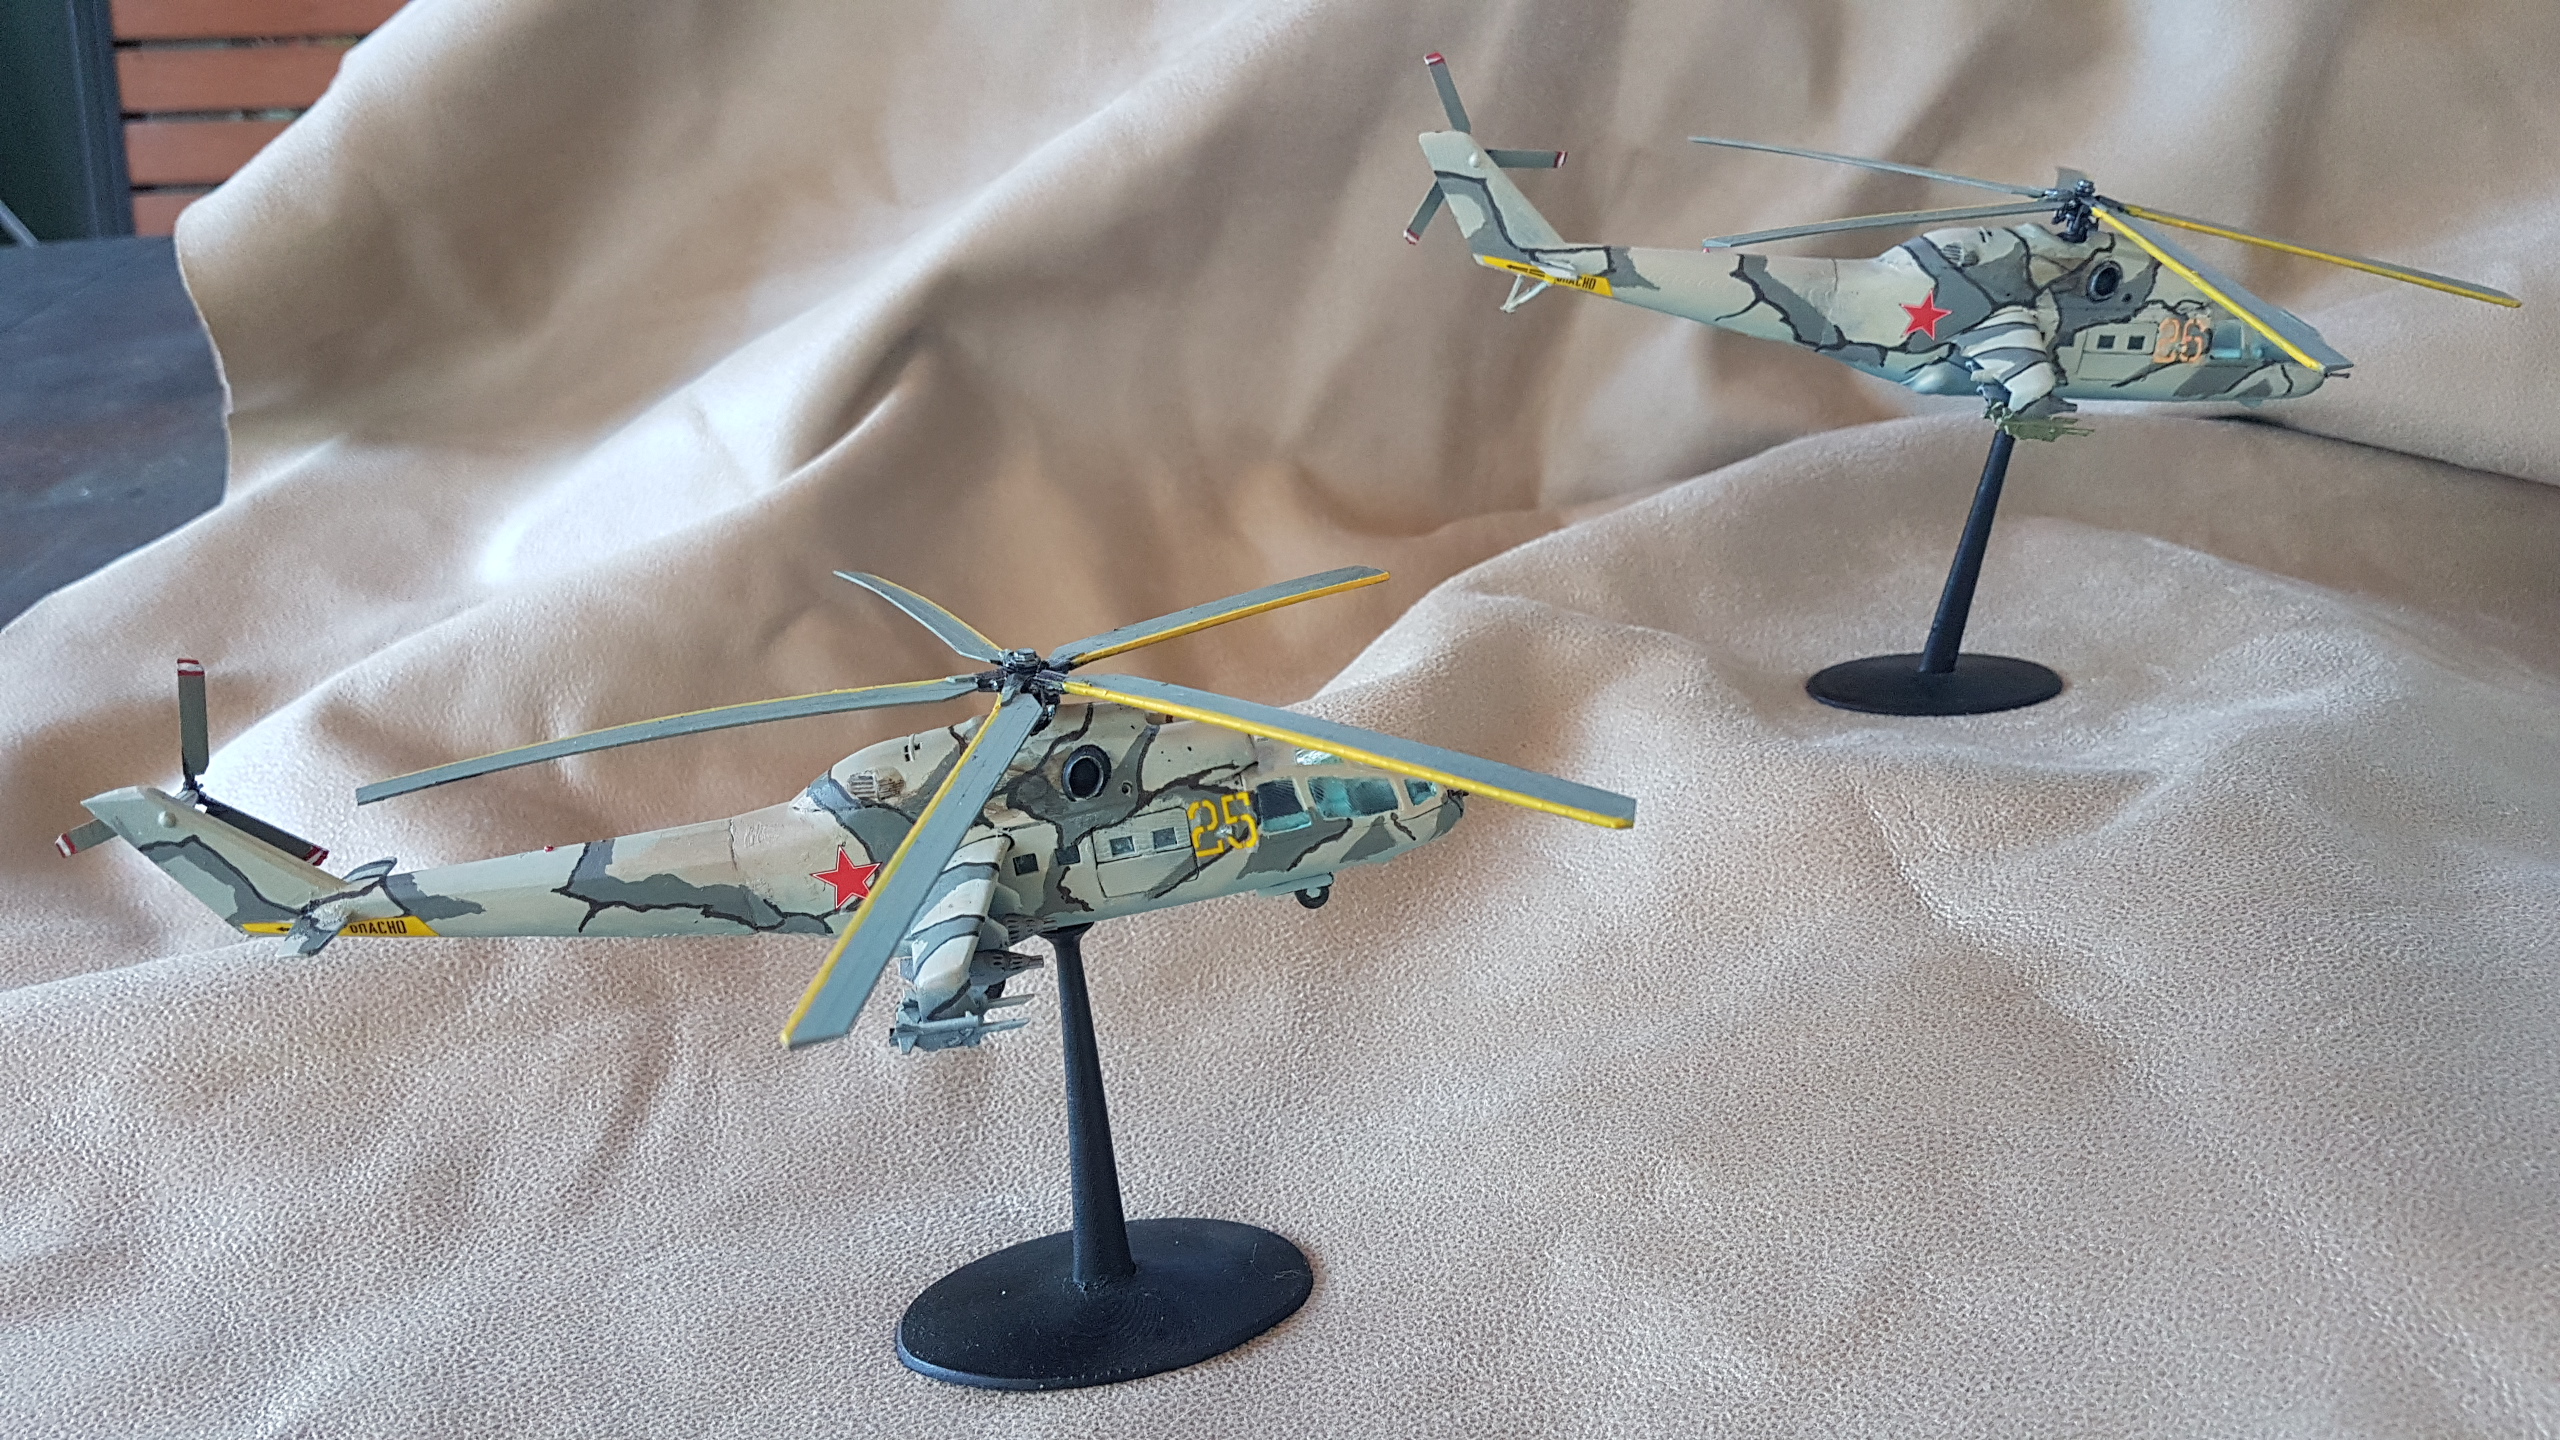
Well that was distraction, but damn it was fun!
Battle fronts announcement of Red Dawn certainly stirred something in me. As a cold war kid I simply couldn’t resist doing something to celebrate. And though it’s been quite a consuming task and distracted me from achieving little else in the way of hobby it has been extremely satisfying to flex my 3D modeling skills, 3D printer and resin knowledge, and effectively produce my own scale model kit.
 Parts perfected. My next task will be to create some box art and instructions
I haven’t painted all my Hind-A’s yet. With a sum total of 2 complete Hind-A’s representing all my completed WW3/Team Yankee I think I’ll move on to something else and see what else Battlefront does besides there is a shit tin of proper team Yankee in my pile of shame I’ve yet to look at. Still as far the Hind-As are concerned I’m entertaining Angola, Ethiopian, Afgan, or Nth Vietnam for the other liveries.
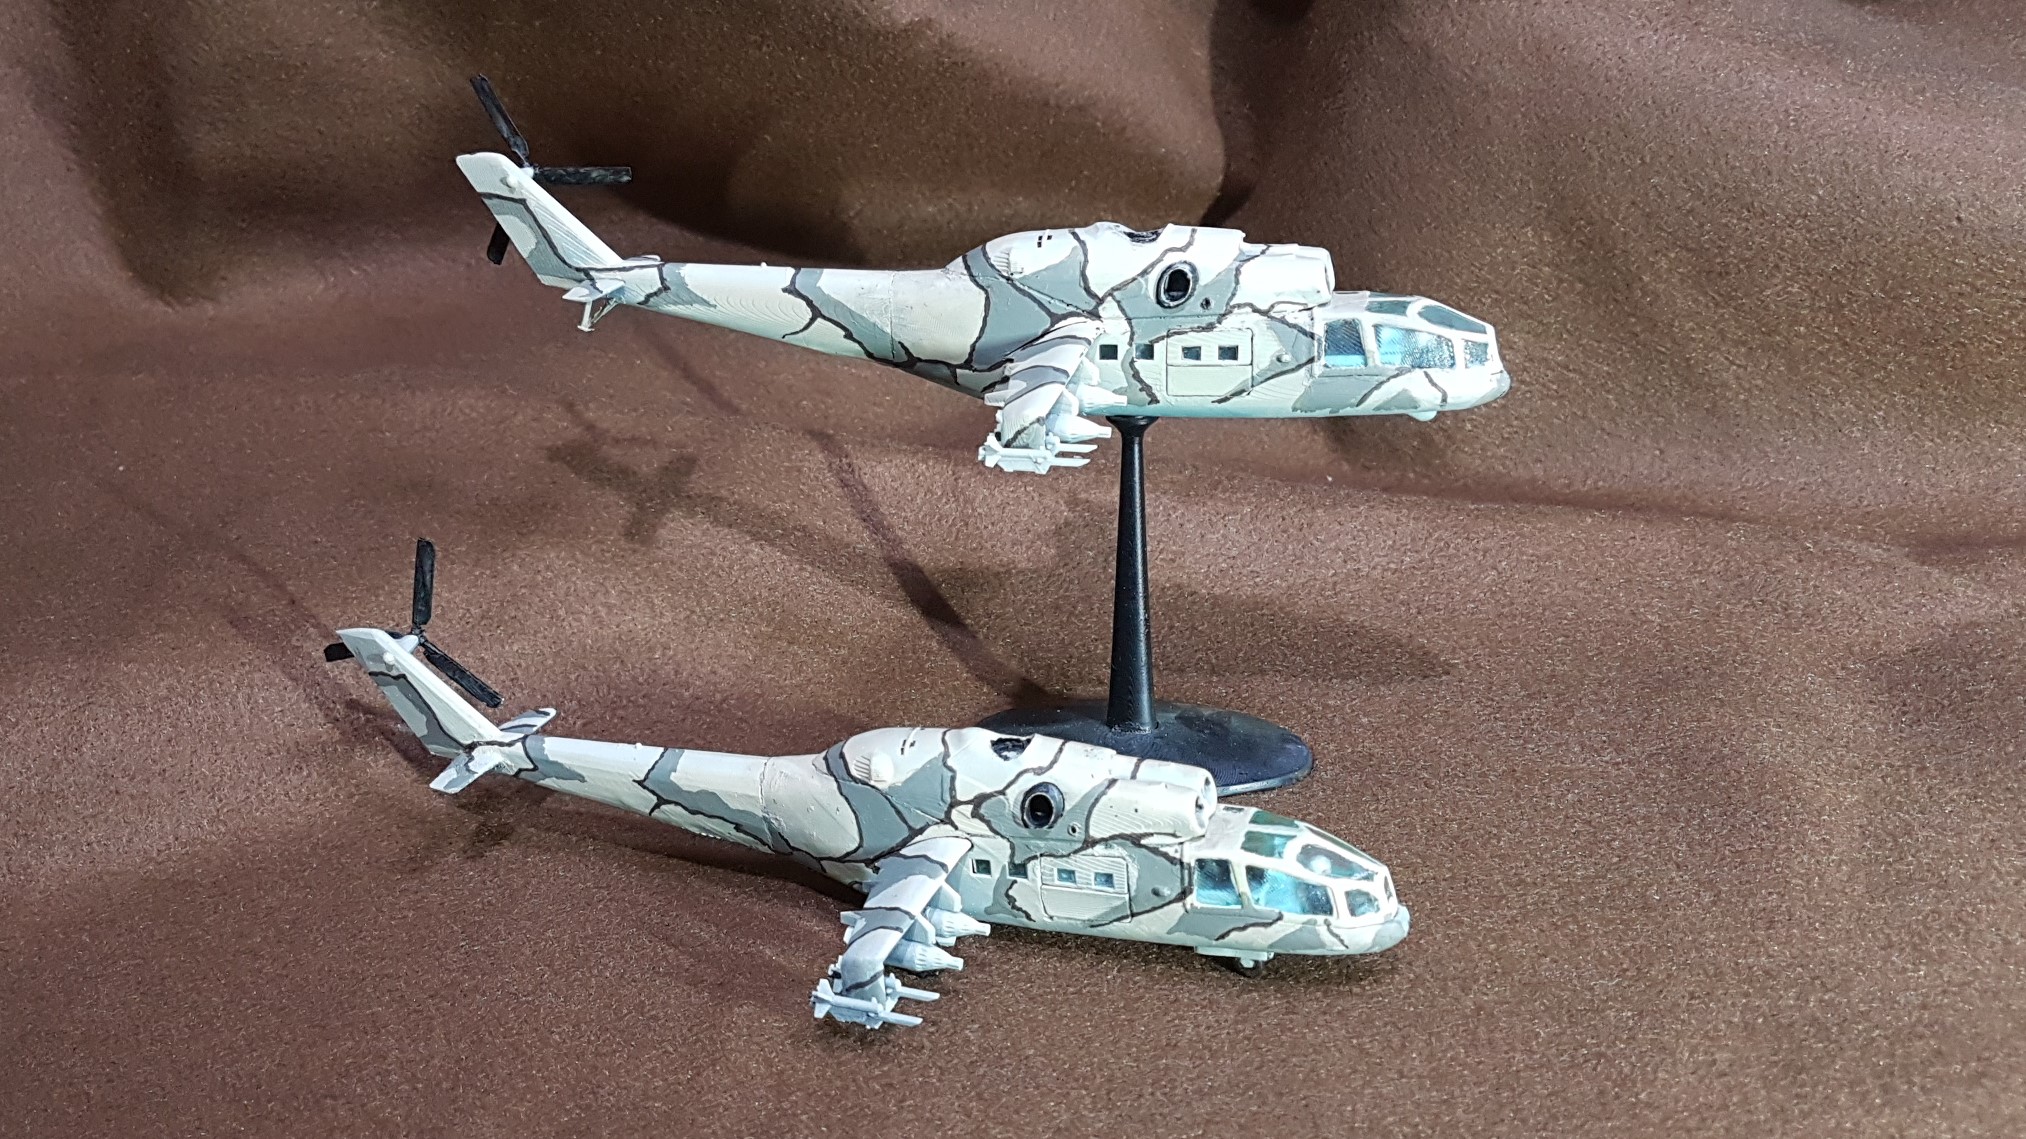
 These will have a rest for bit
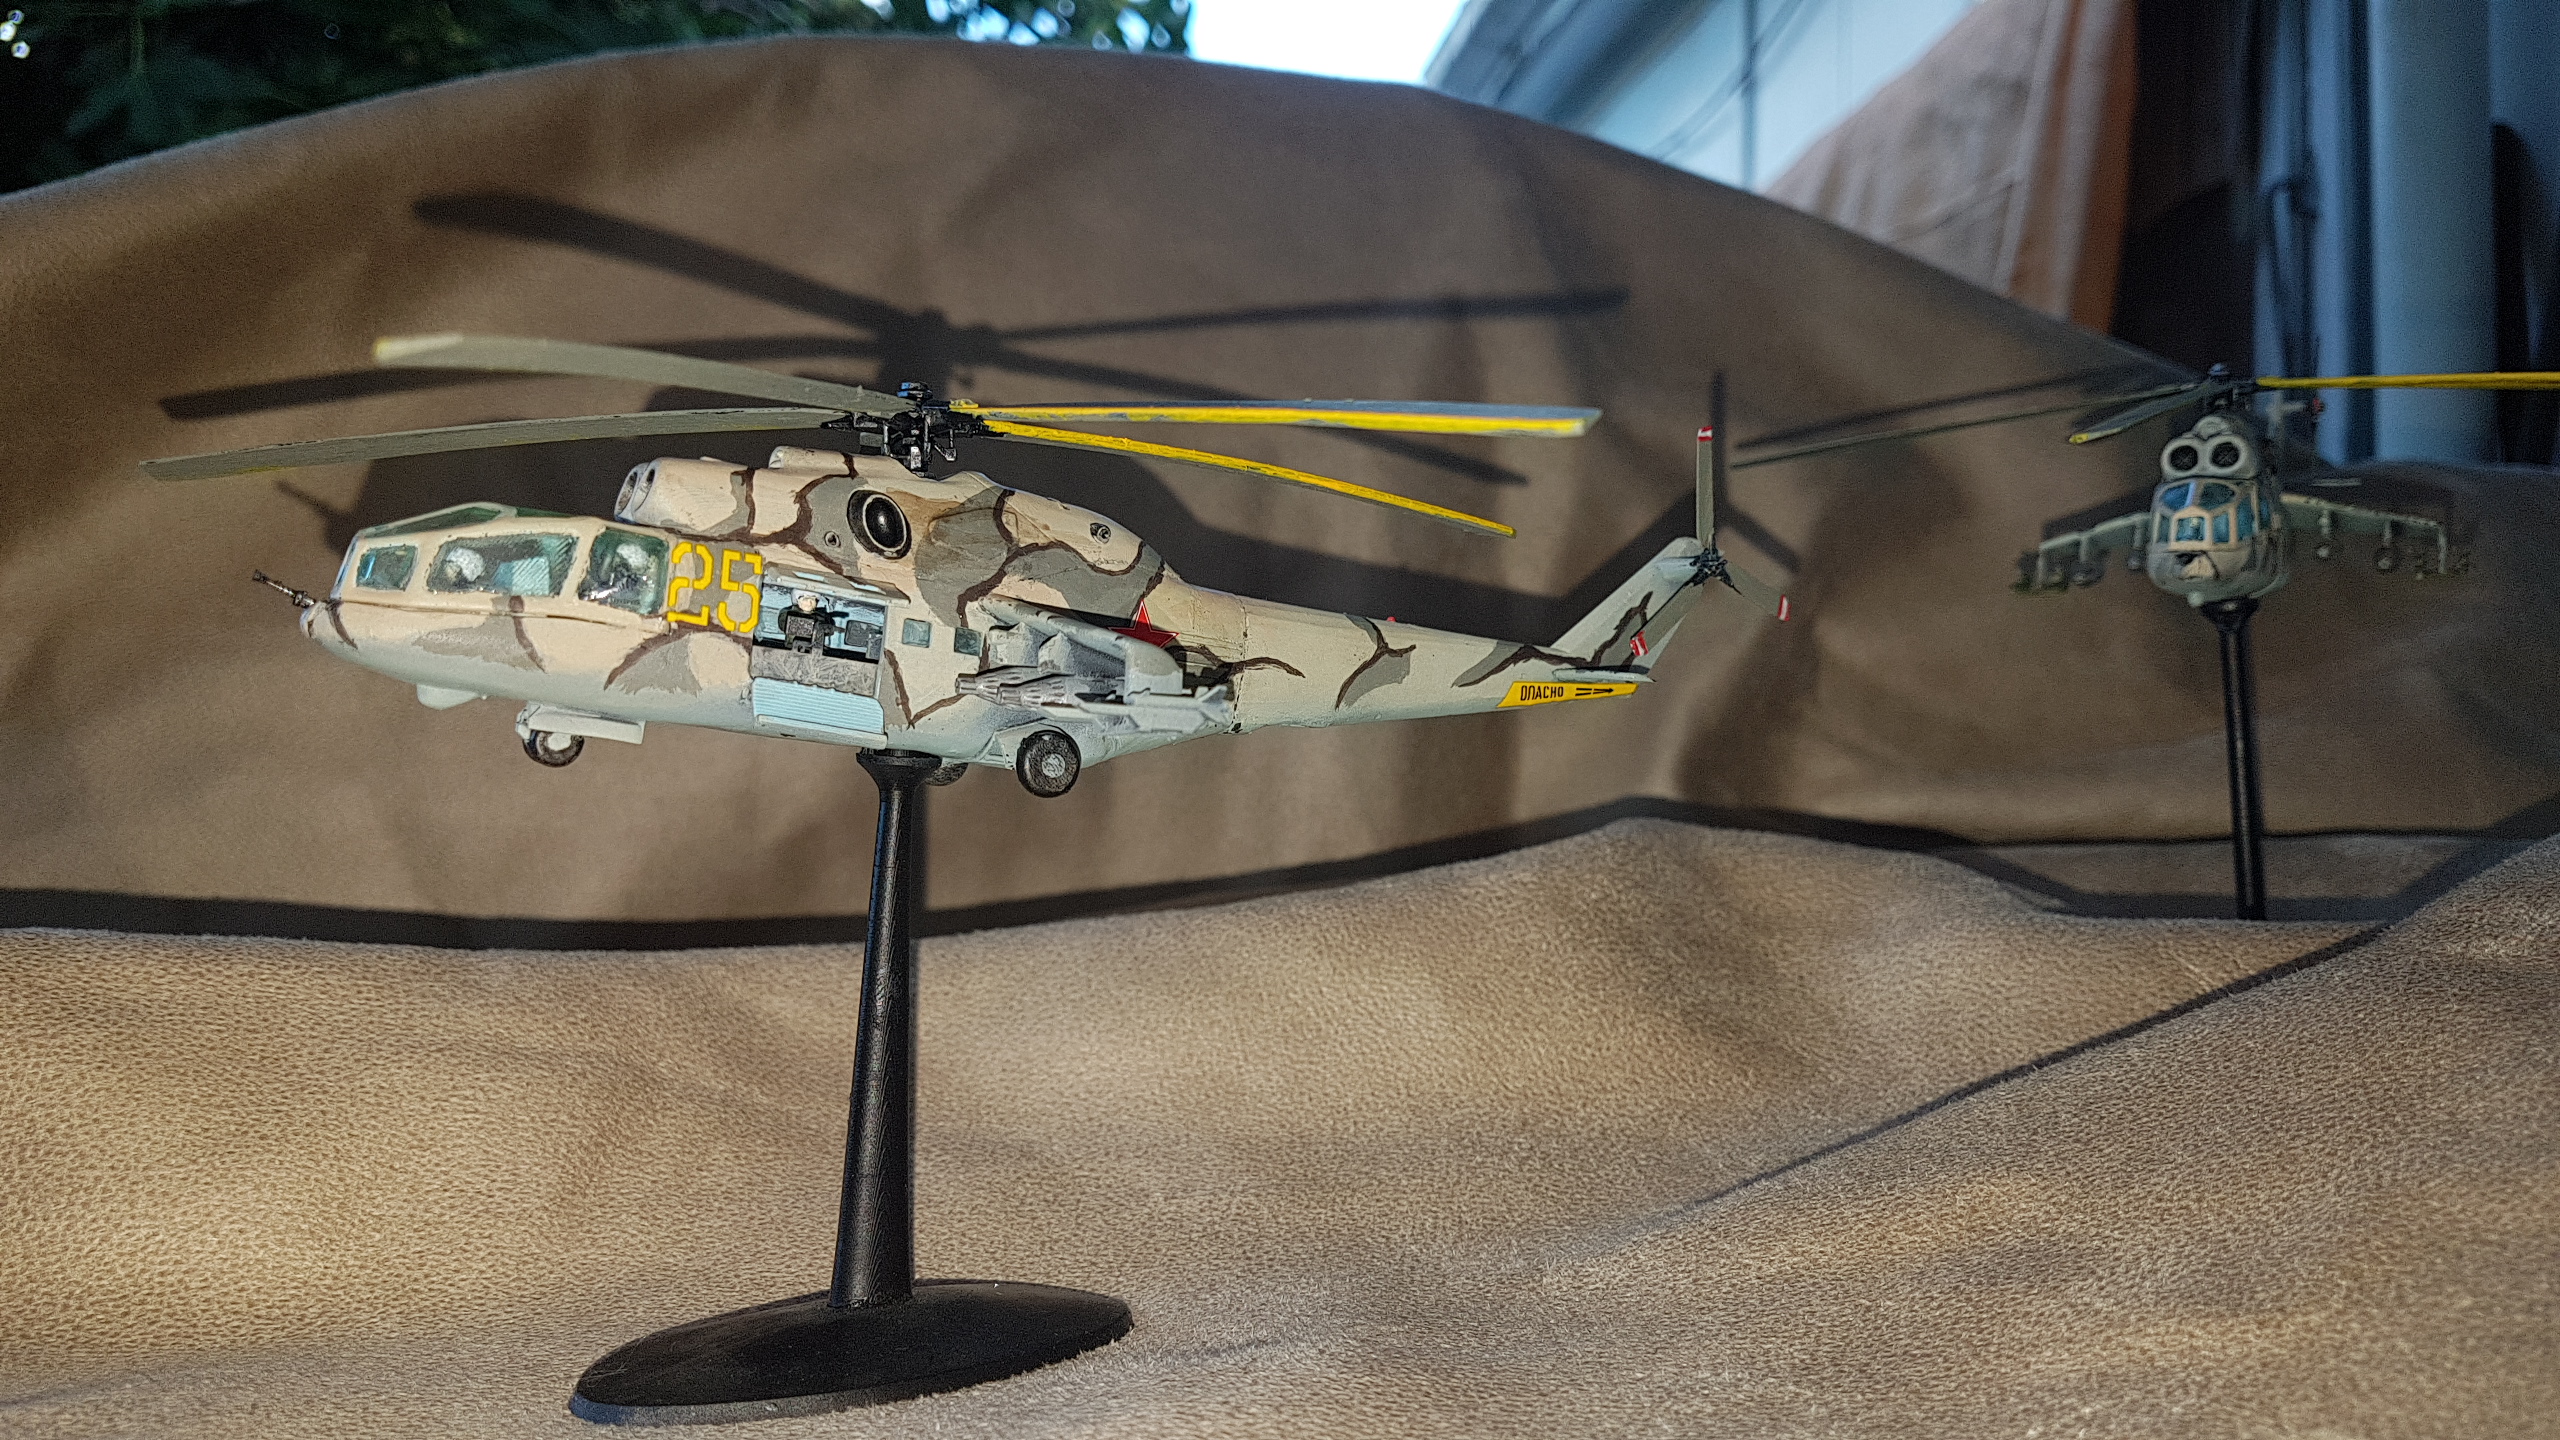
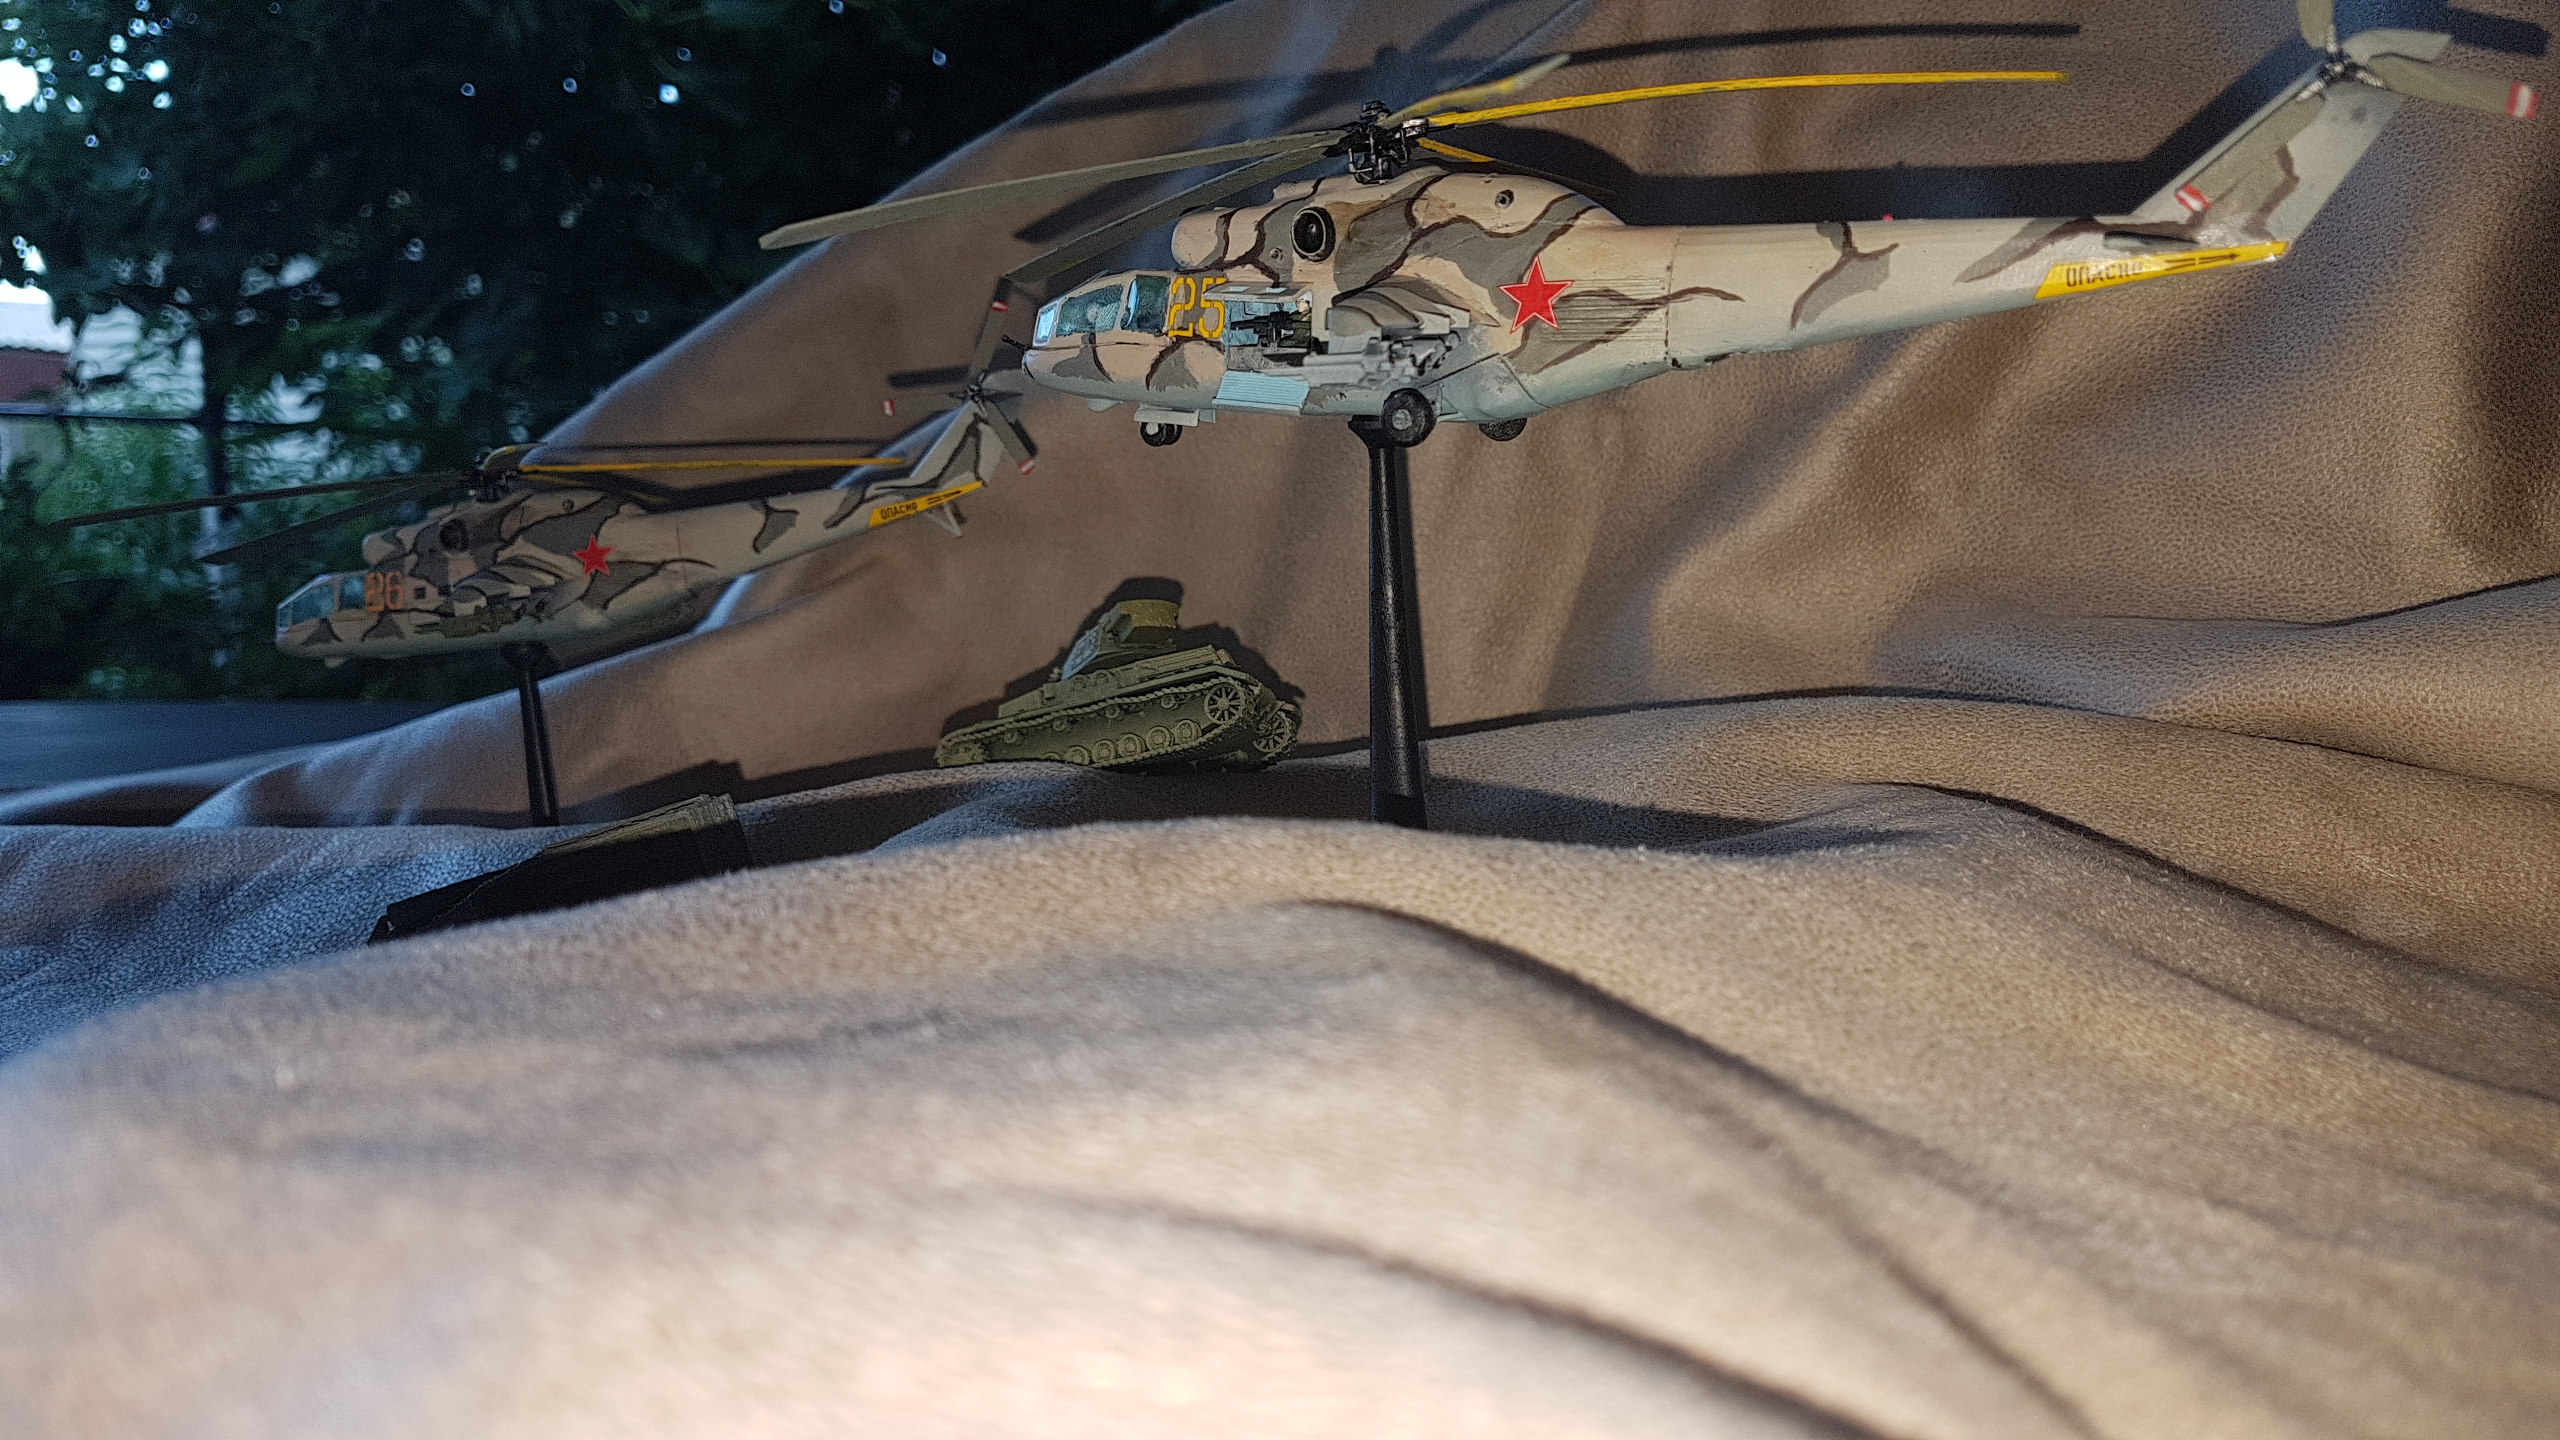
Replicating the camo from Red Dawn
The real key is the header pic and then re-watching the movie with finger on the pause button.
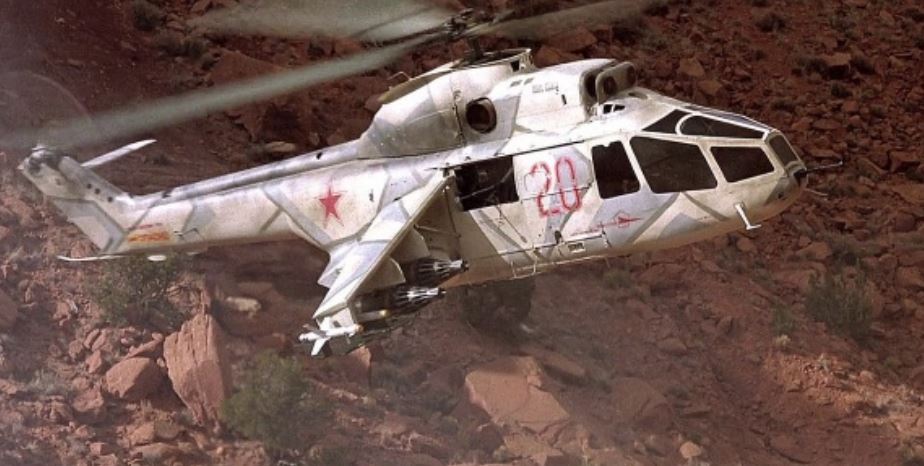 In the movie it was actualy a French Puma mocked up quite well
All paints are Vallejo. The base is 1/3 Khaki, 1/3 Sand Yellow, 1/3 Bone White, The grey is 2/3 Green Grey, 1/3 Grey Green, and the dark lines are straight black brown
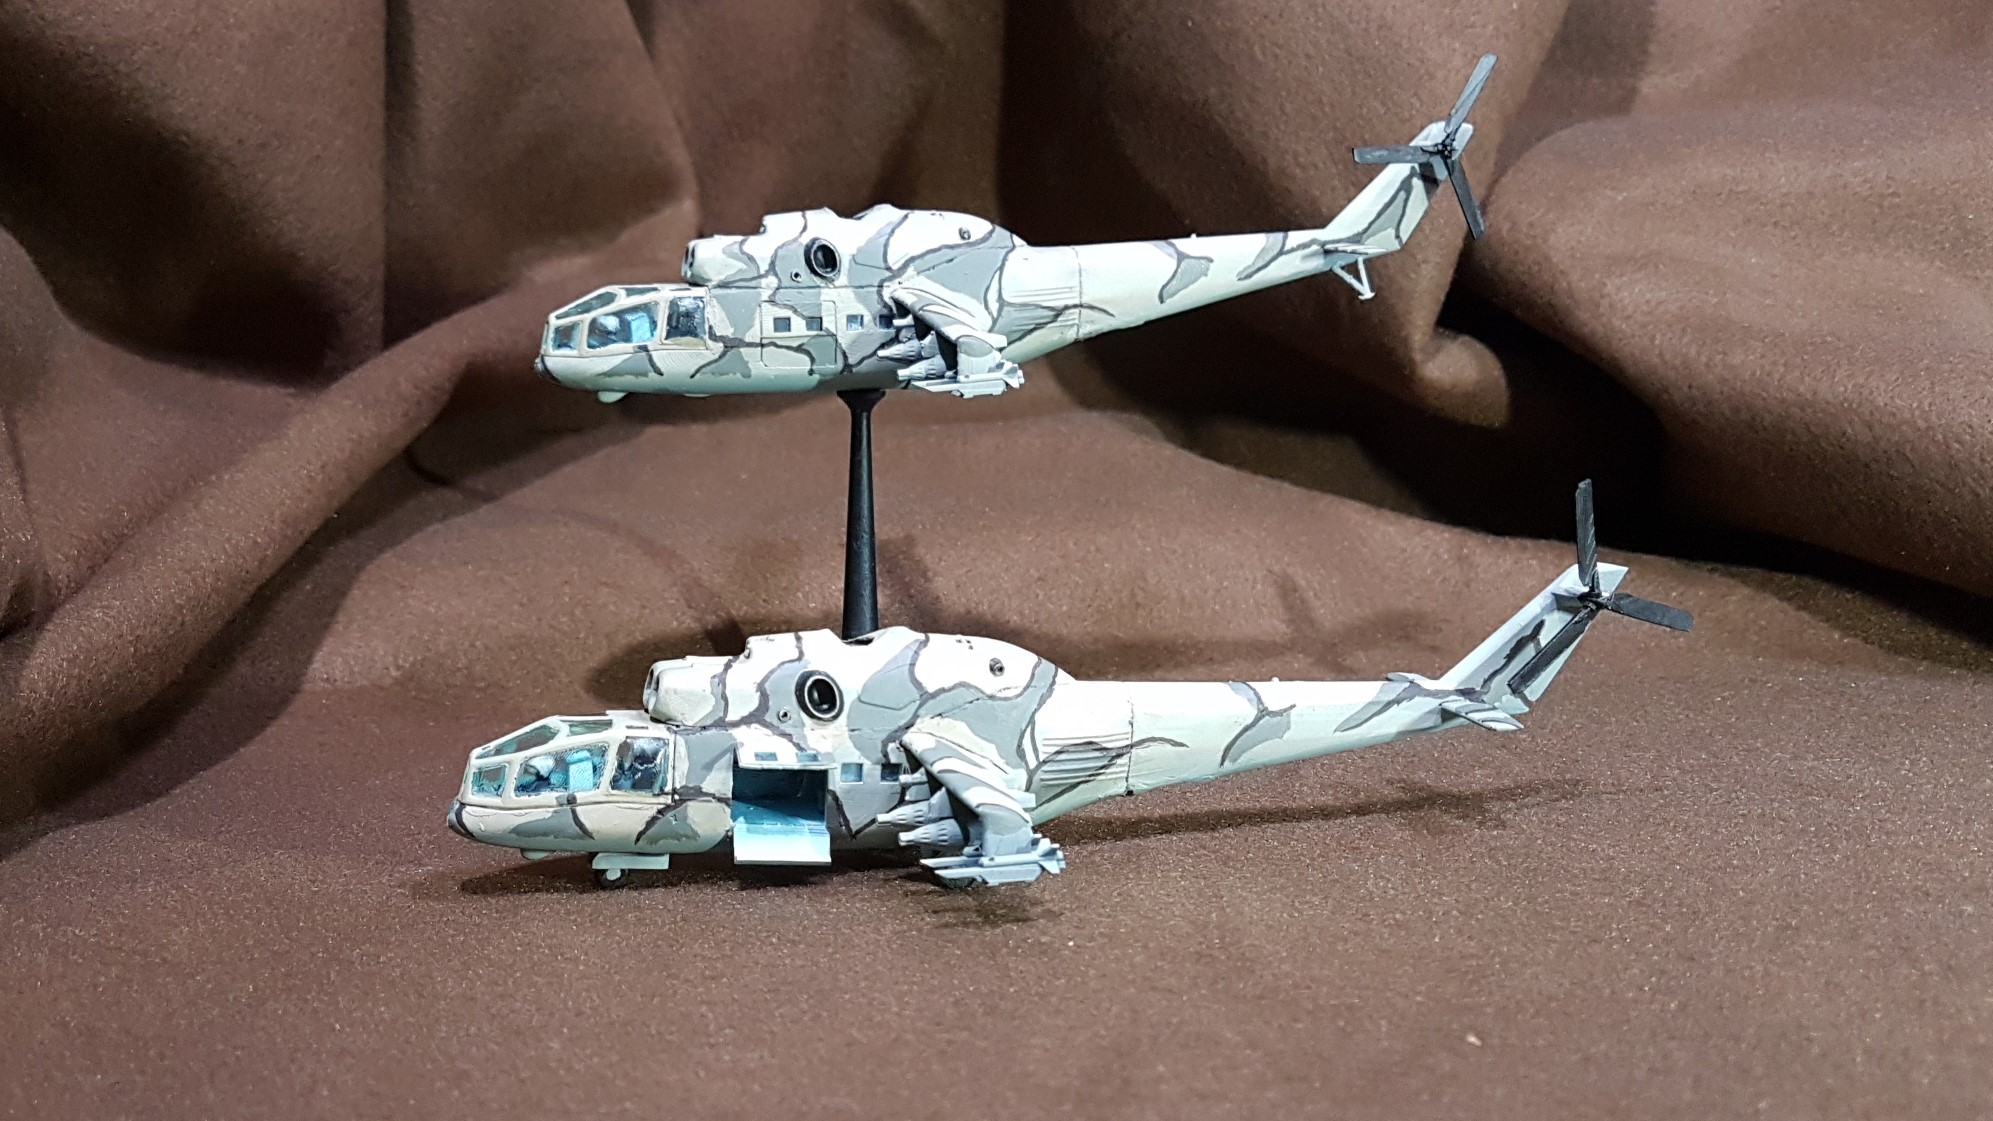
Painting Started
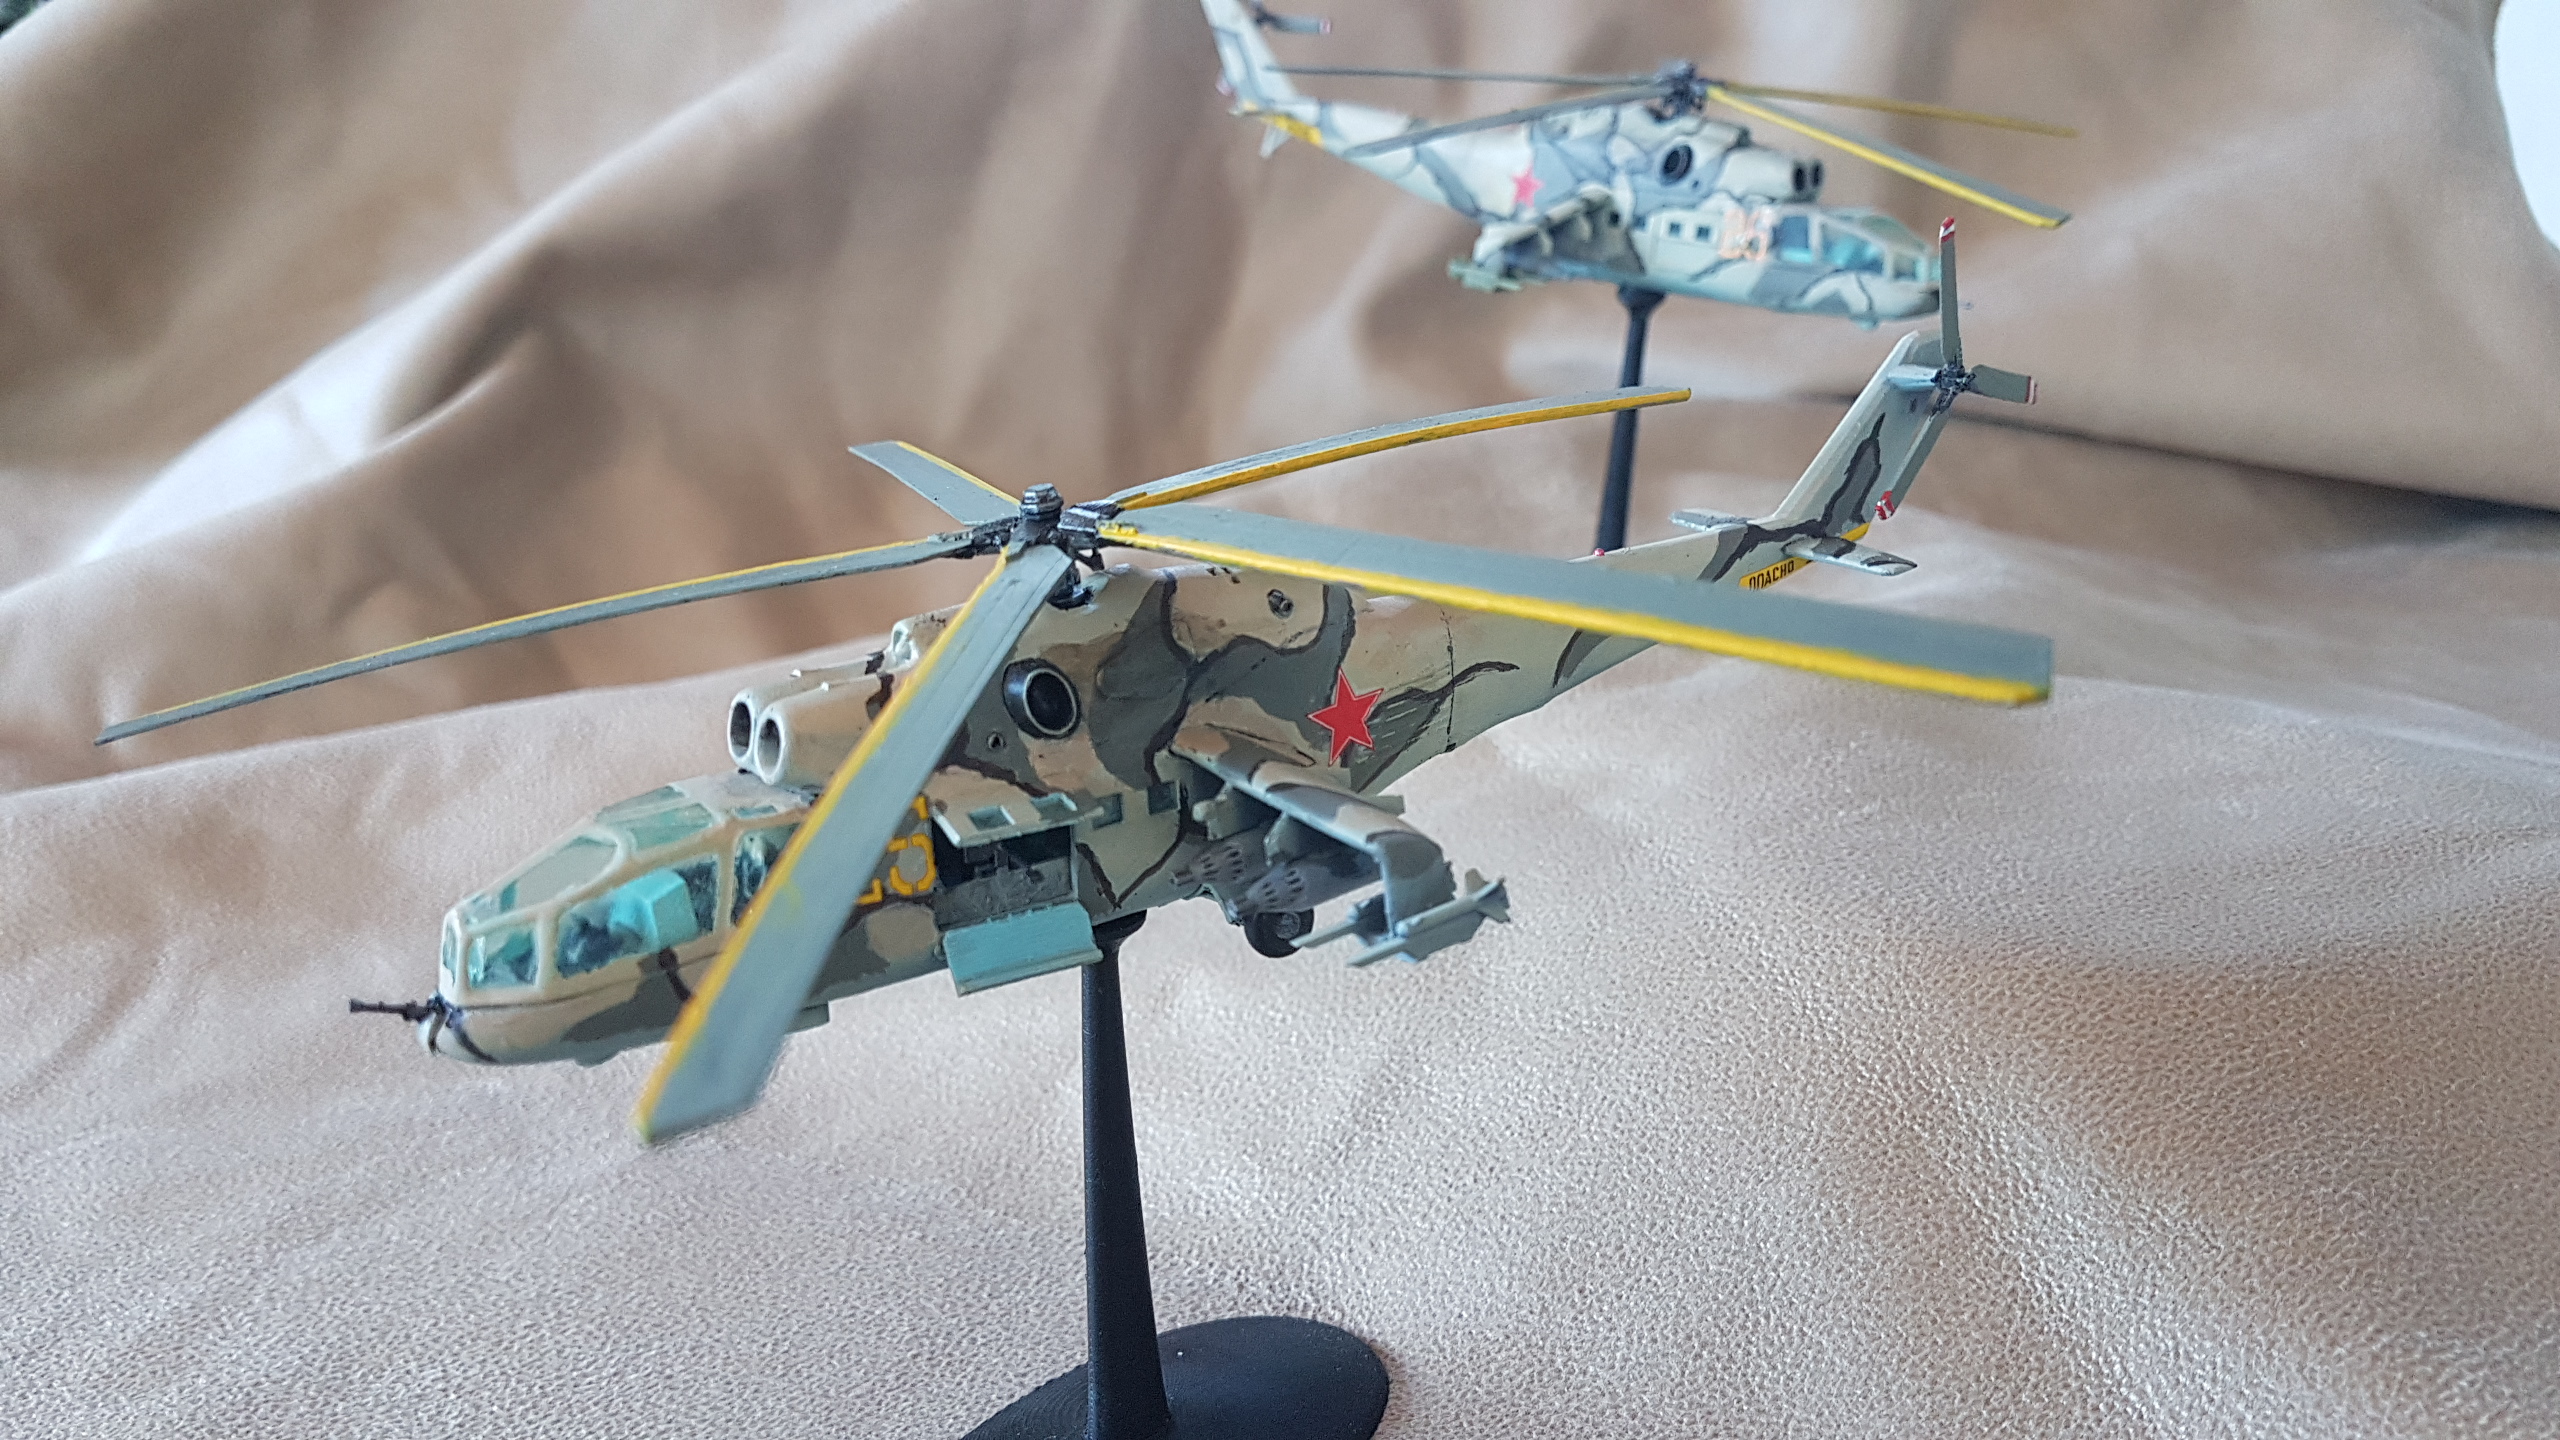
 I know internal detail isnt going to be seen, its just a bit colour for effect
You can spot print lines!
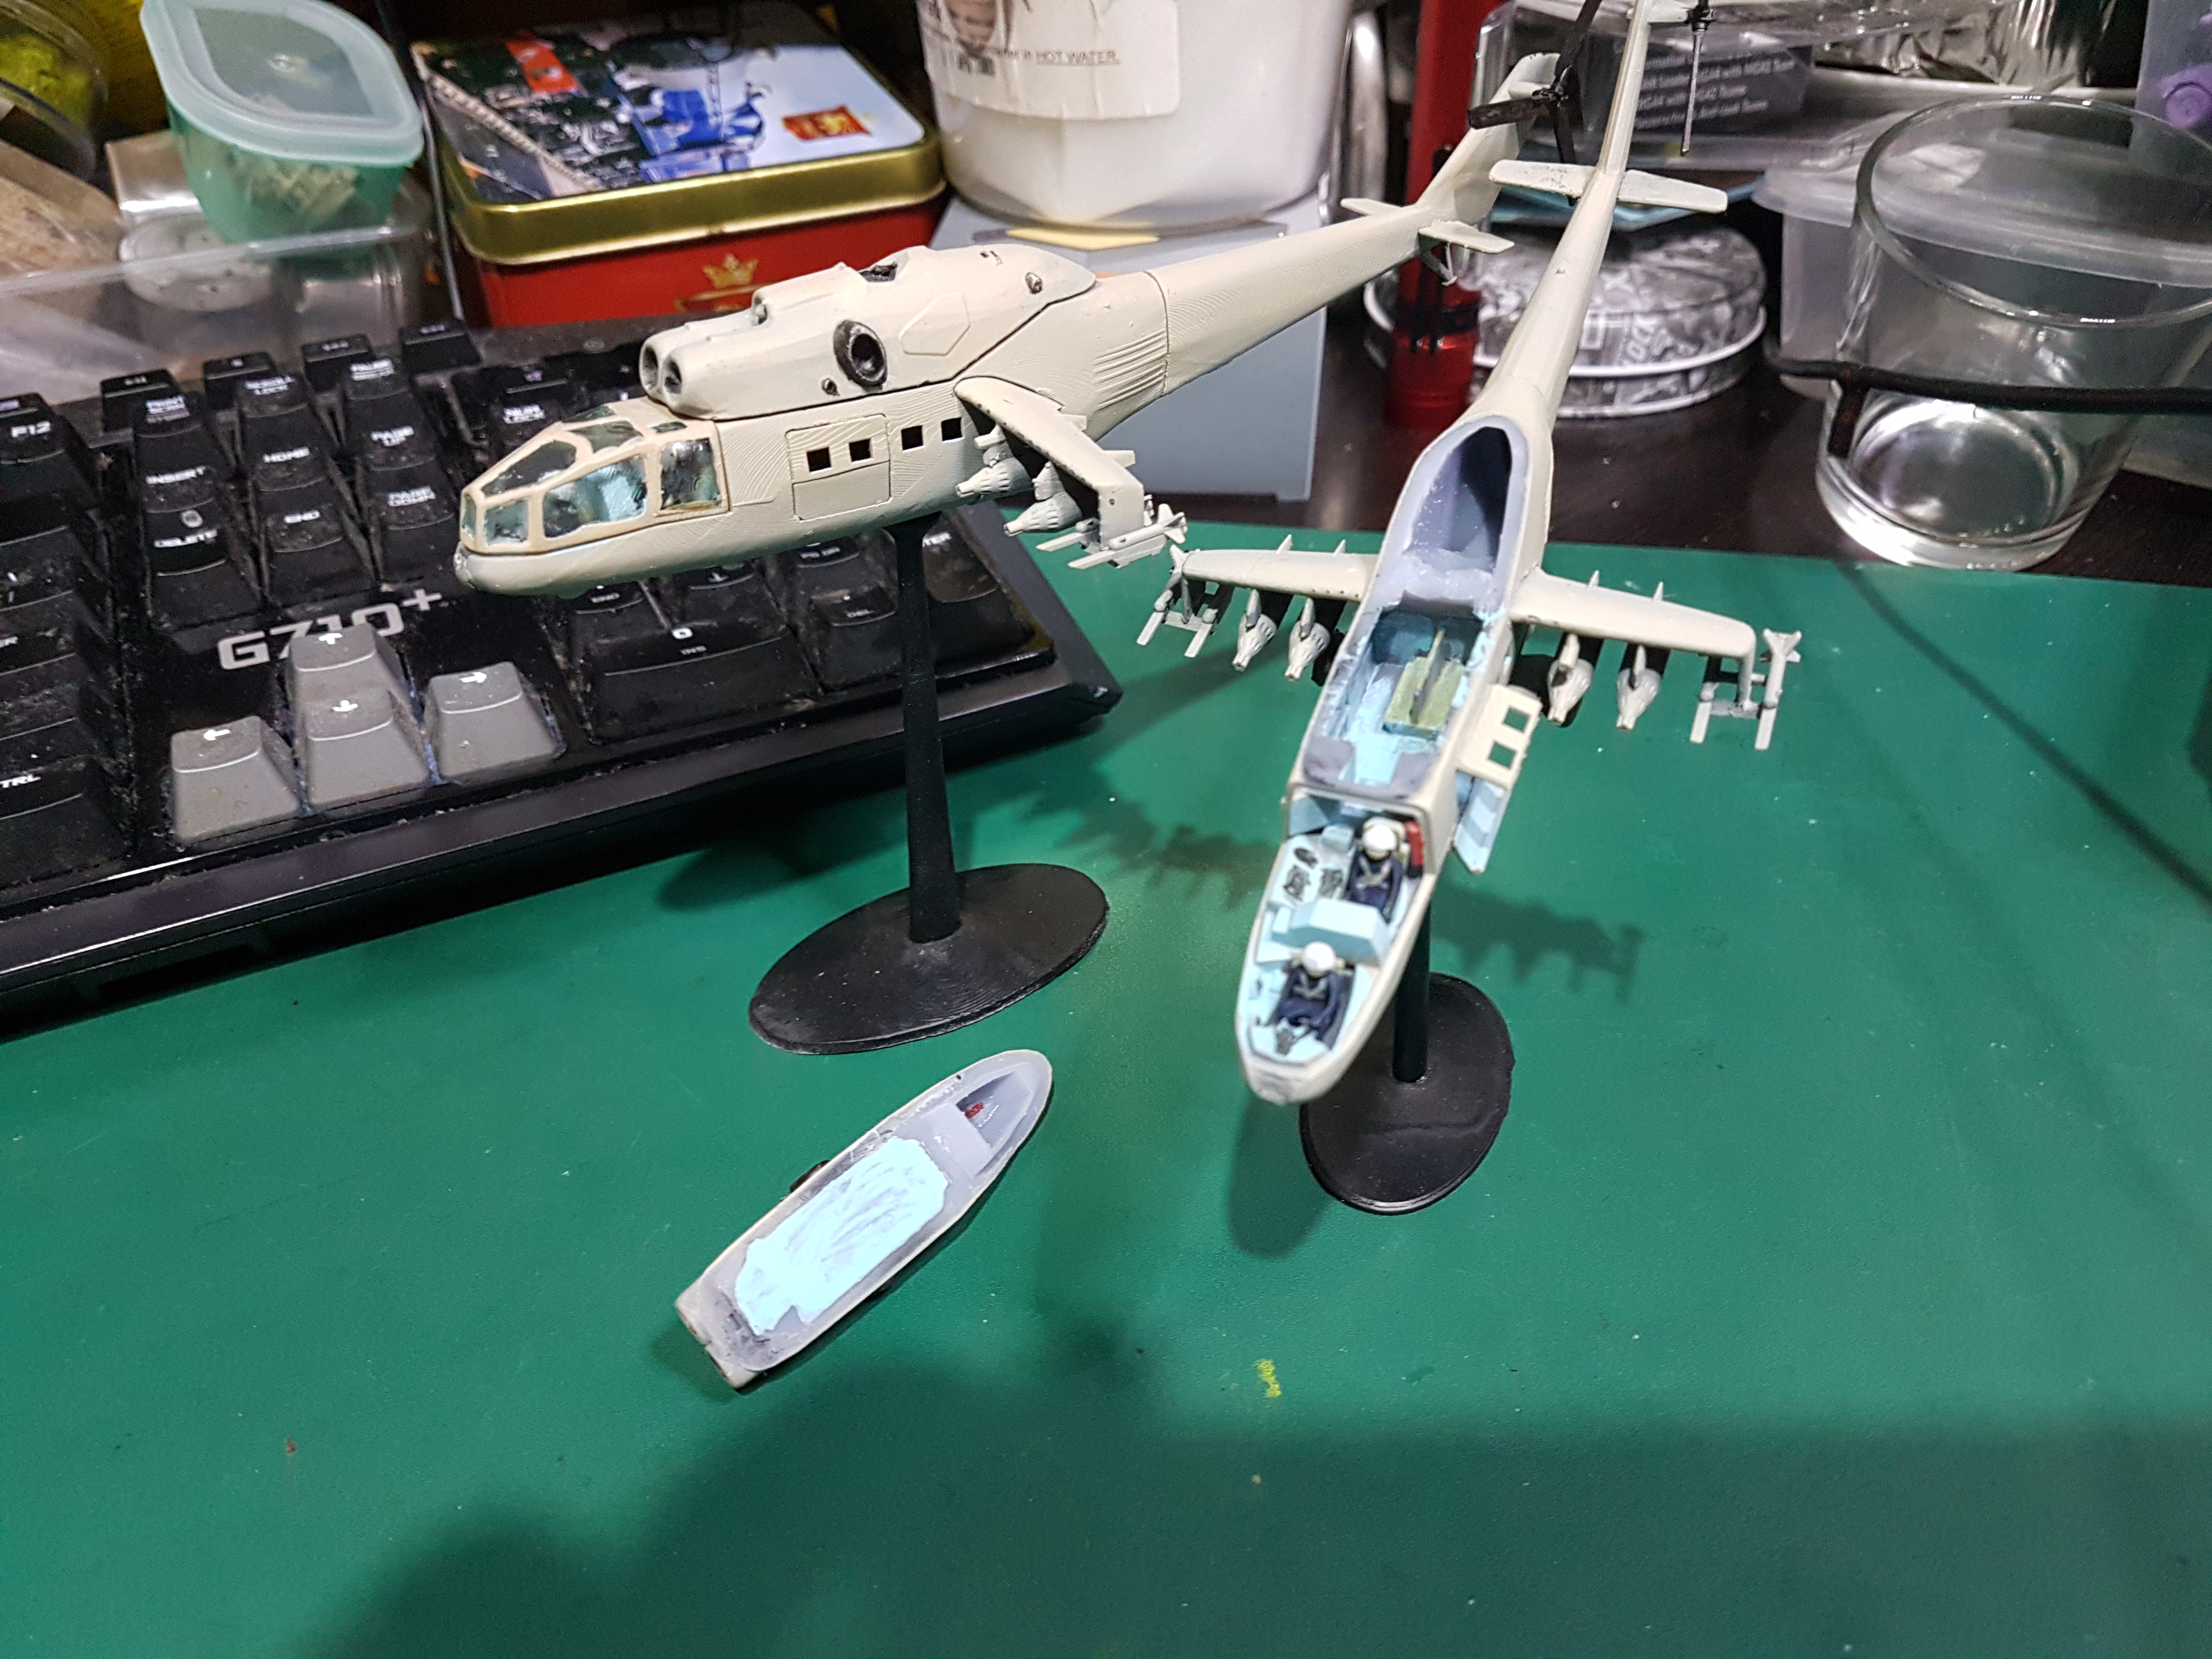
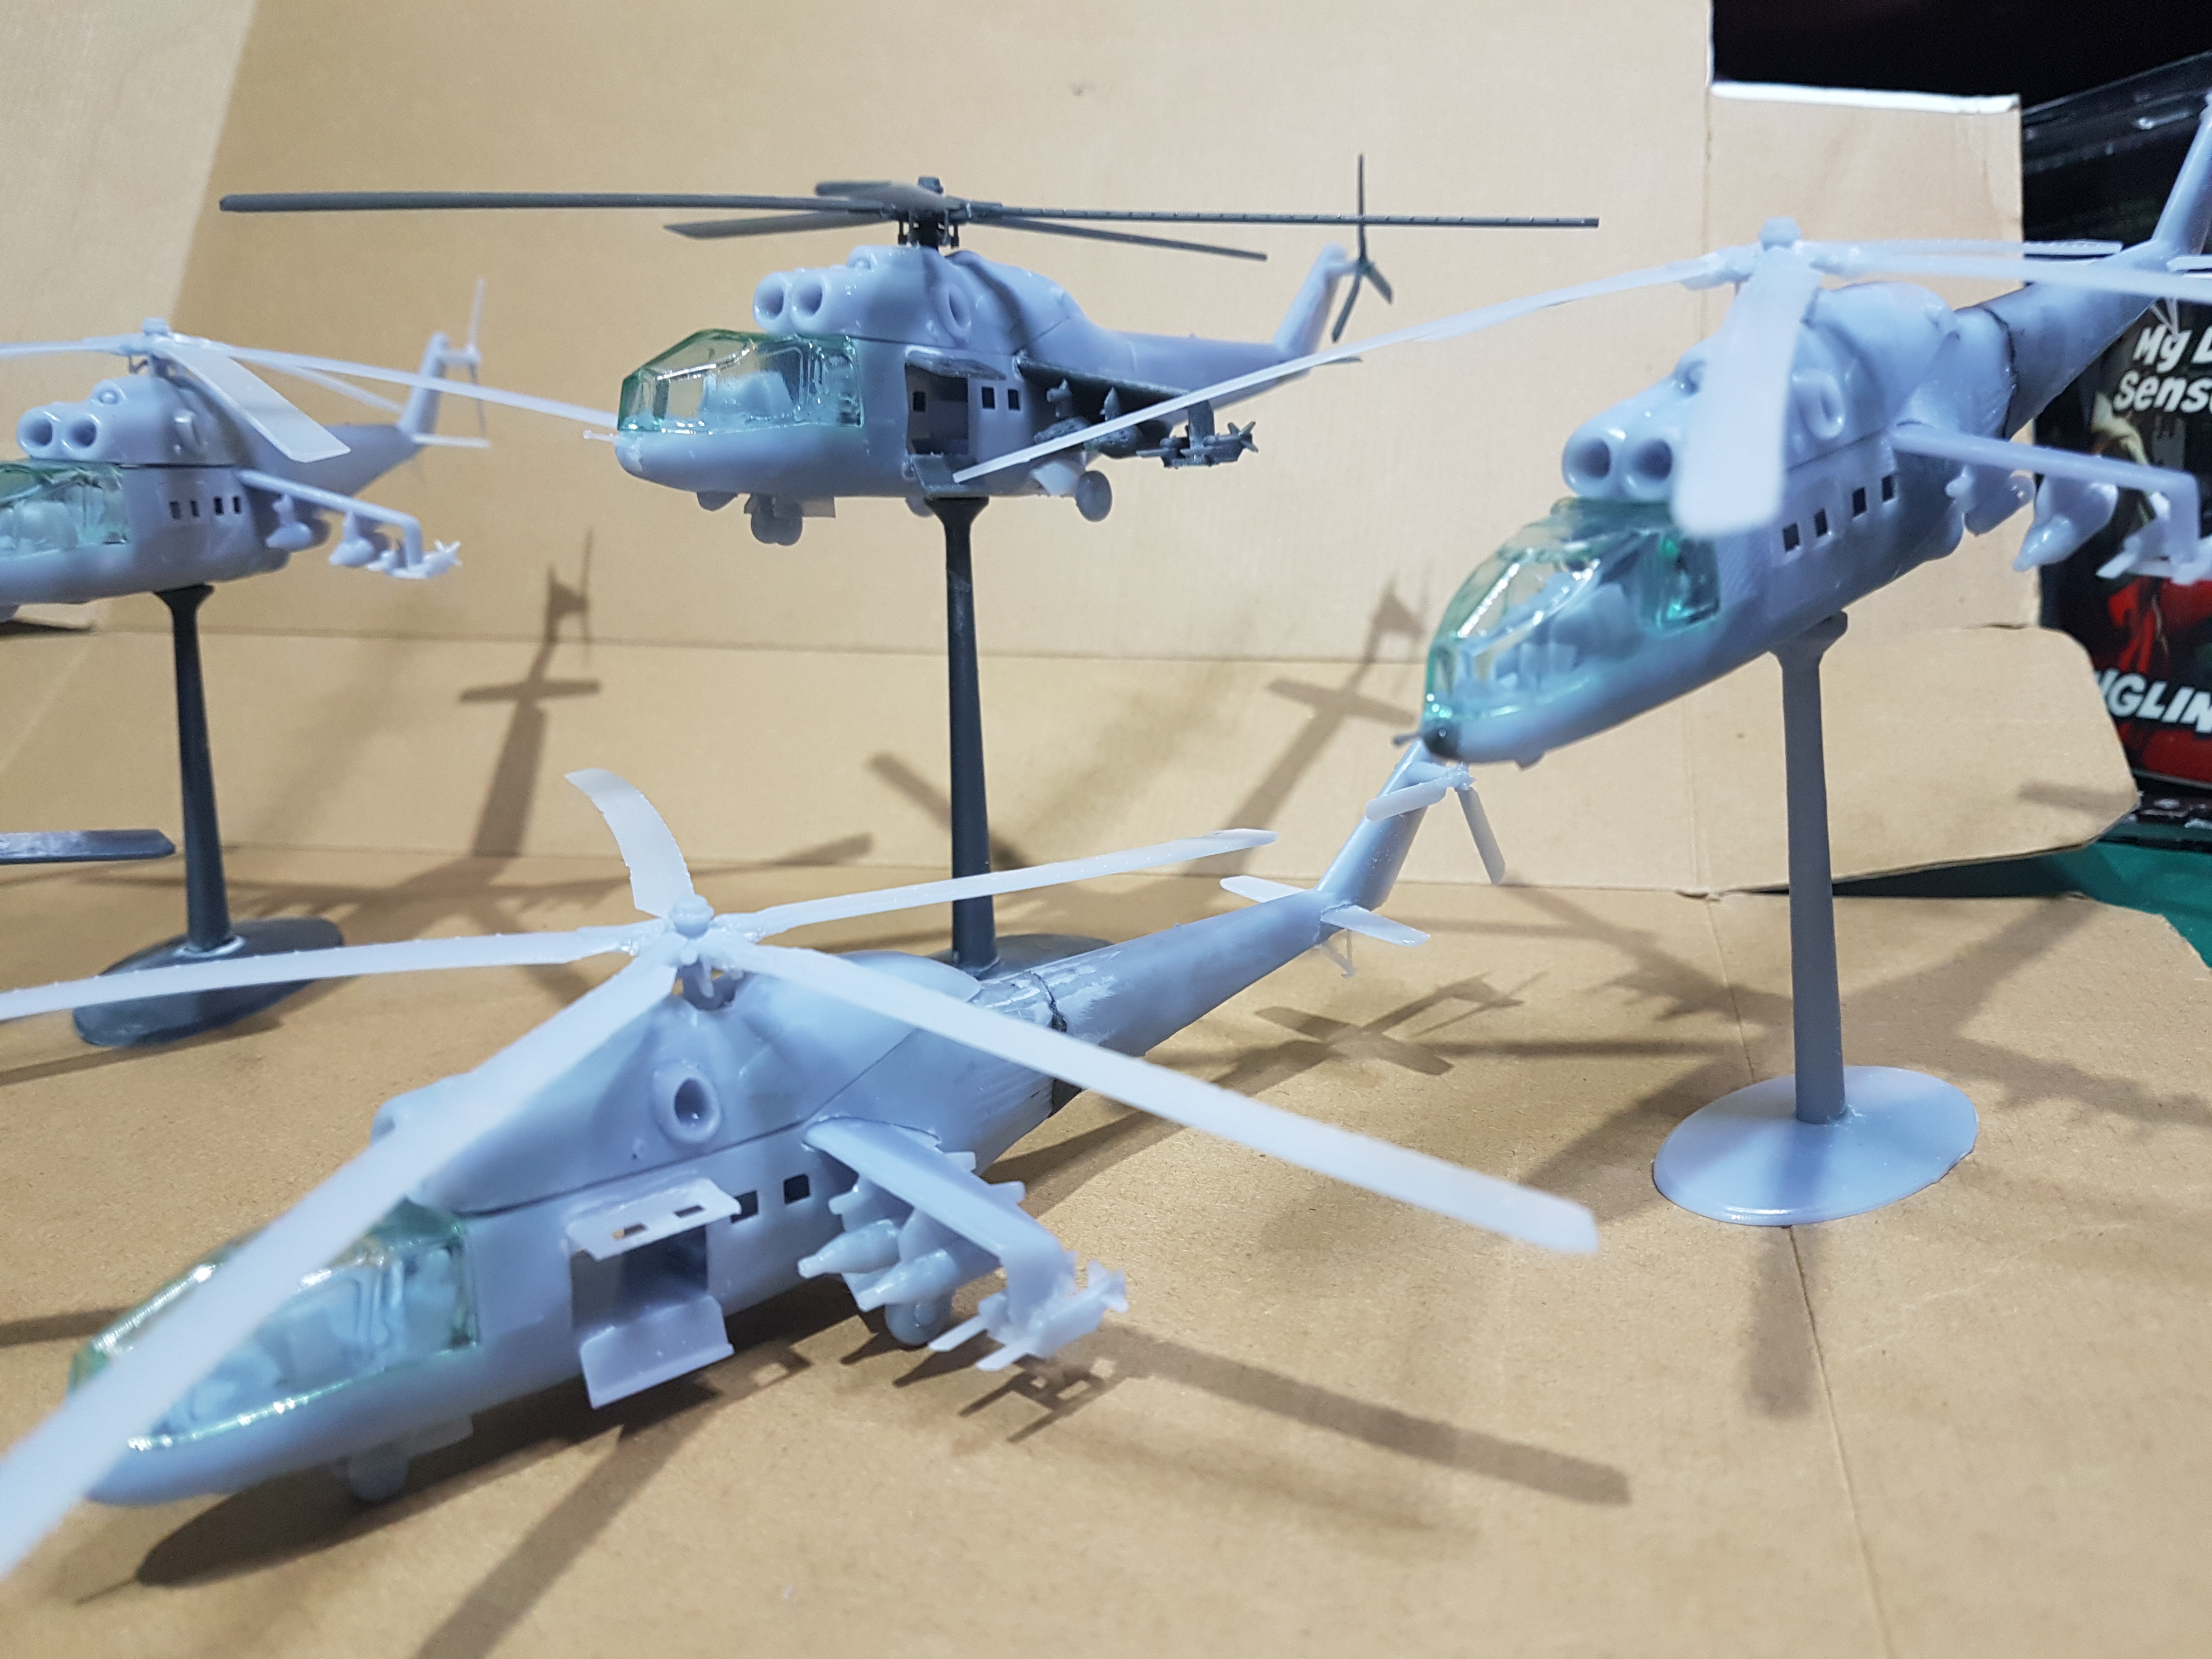
 No choppers currently getting painted are this good but I did perfect my print file and settings to get a pretty good result straight off the bed
 Prototyping done
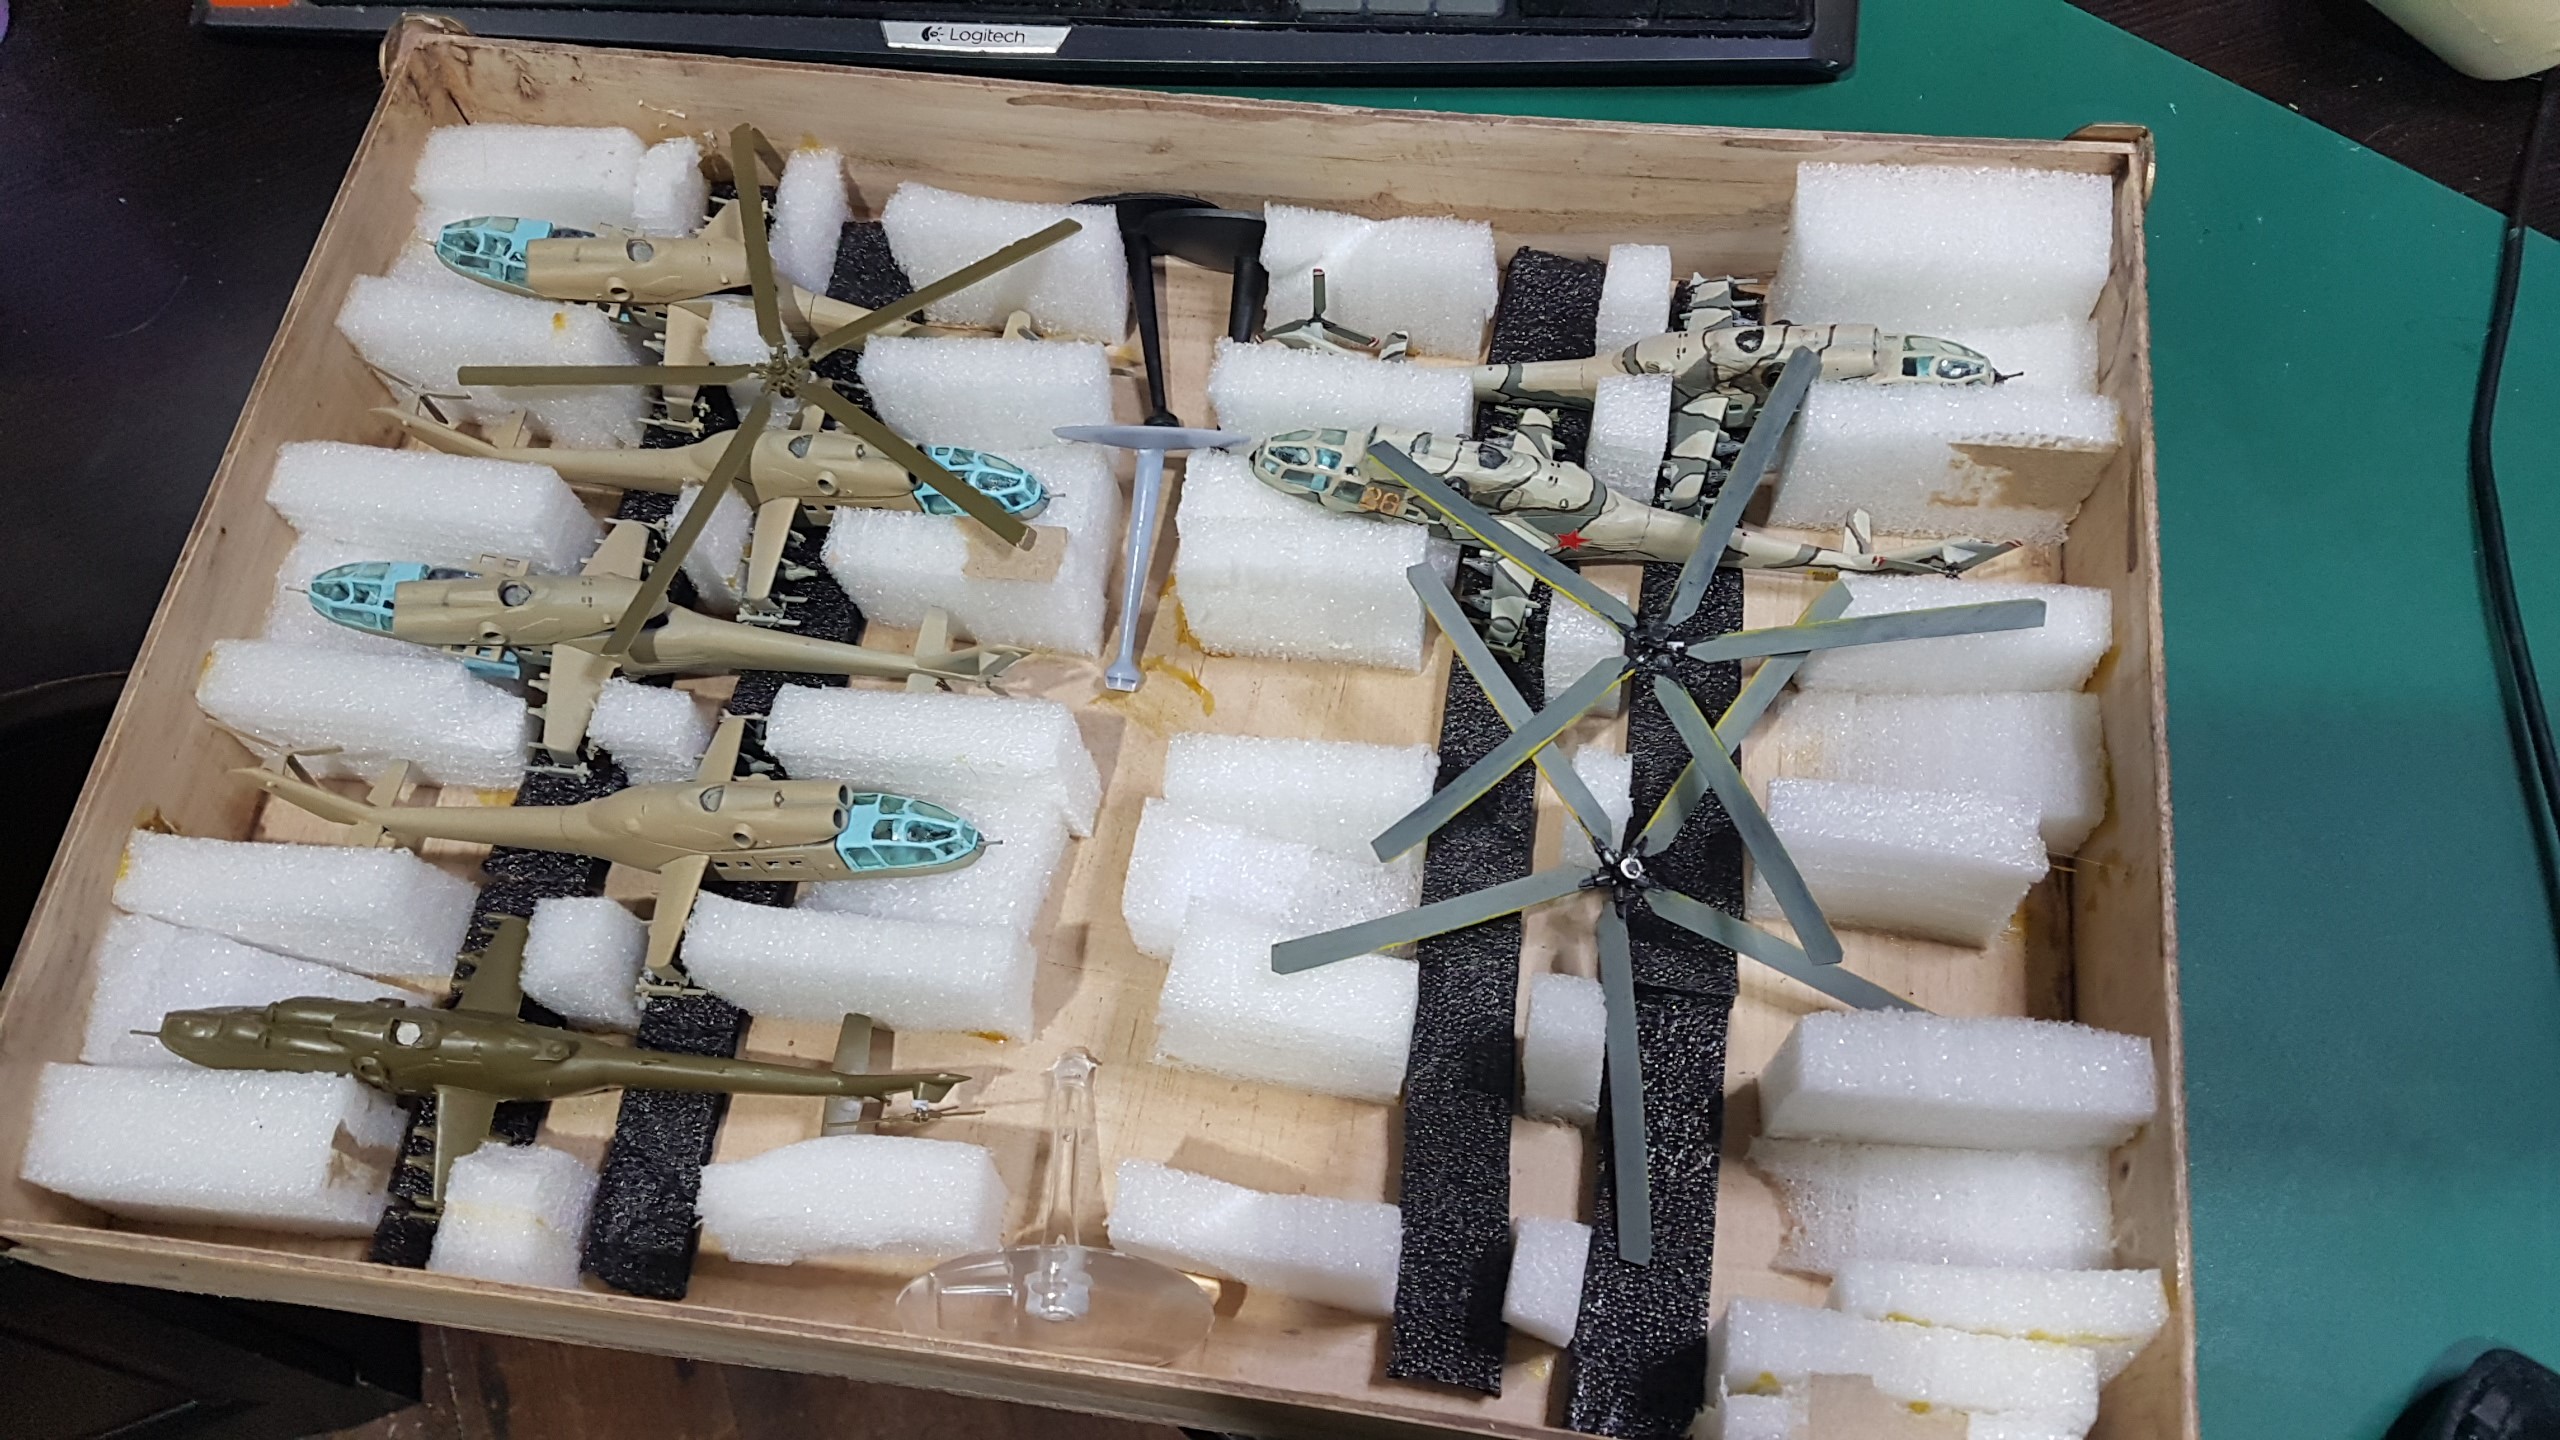
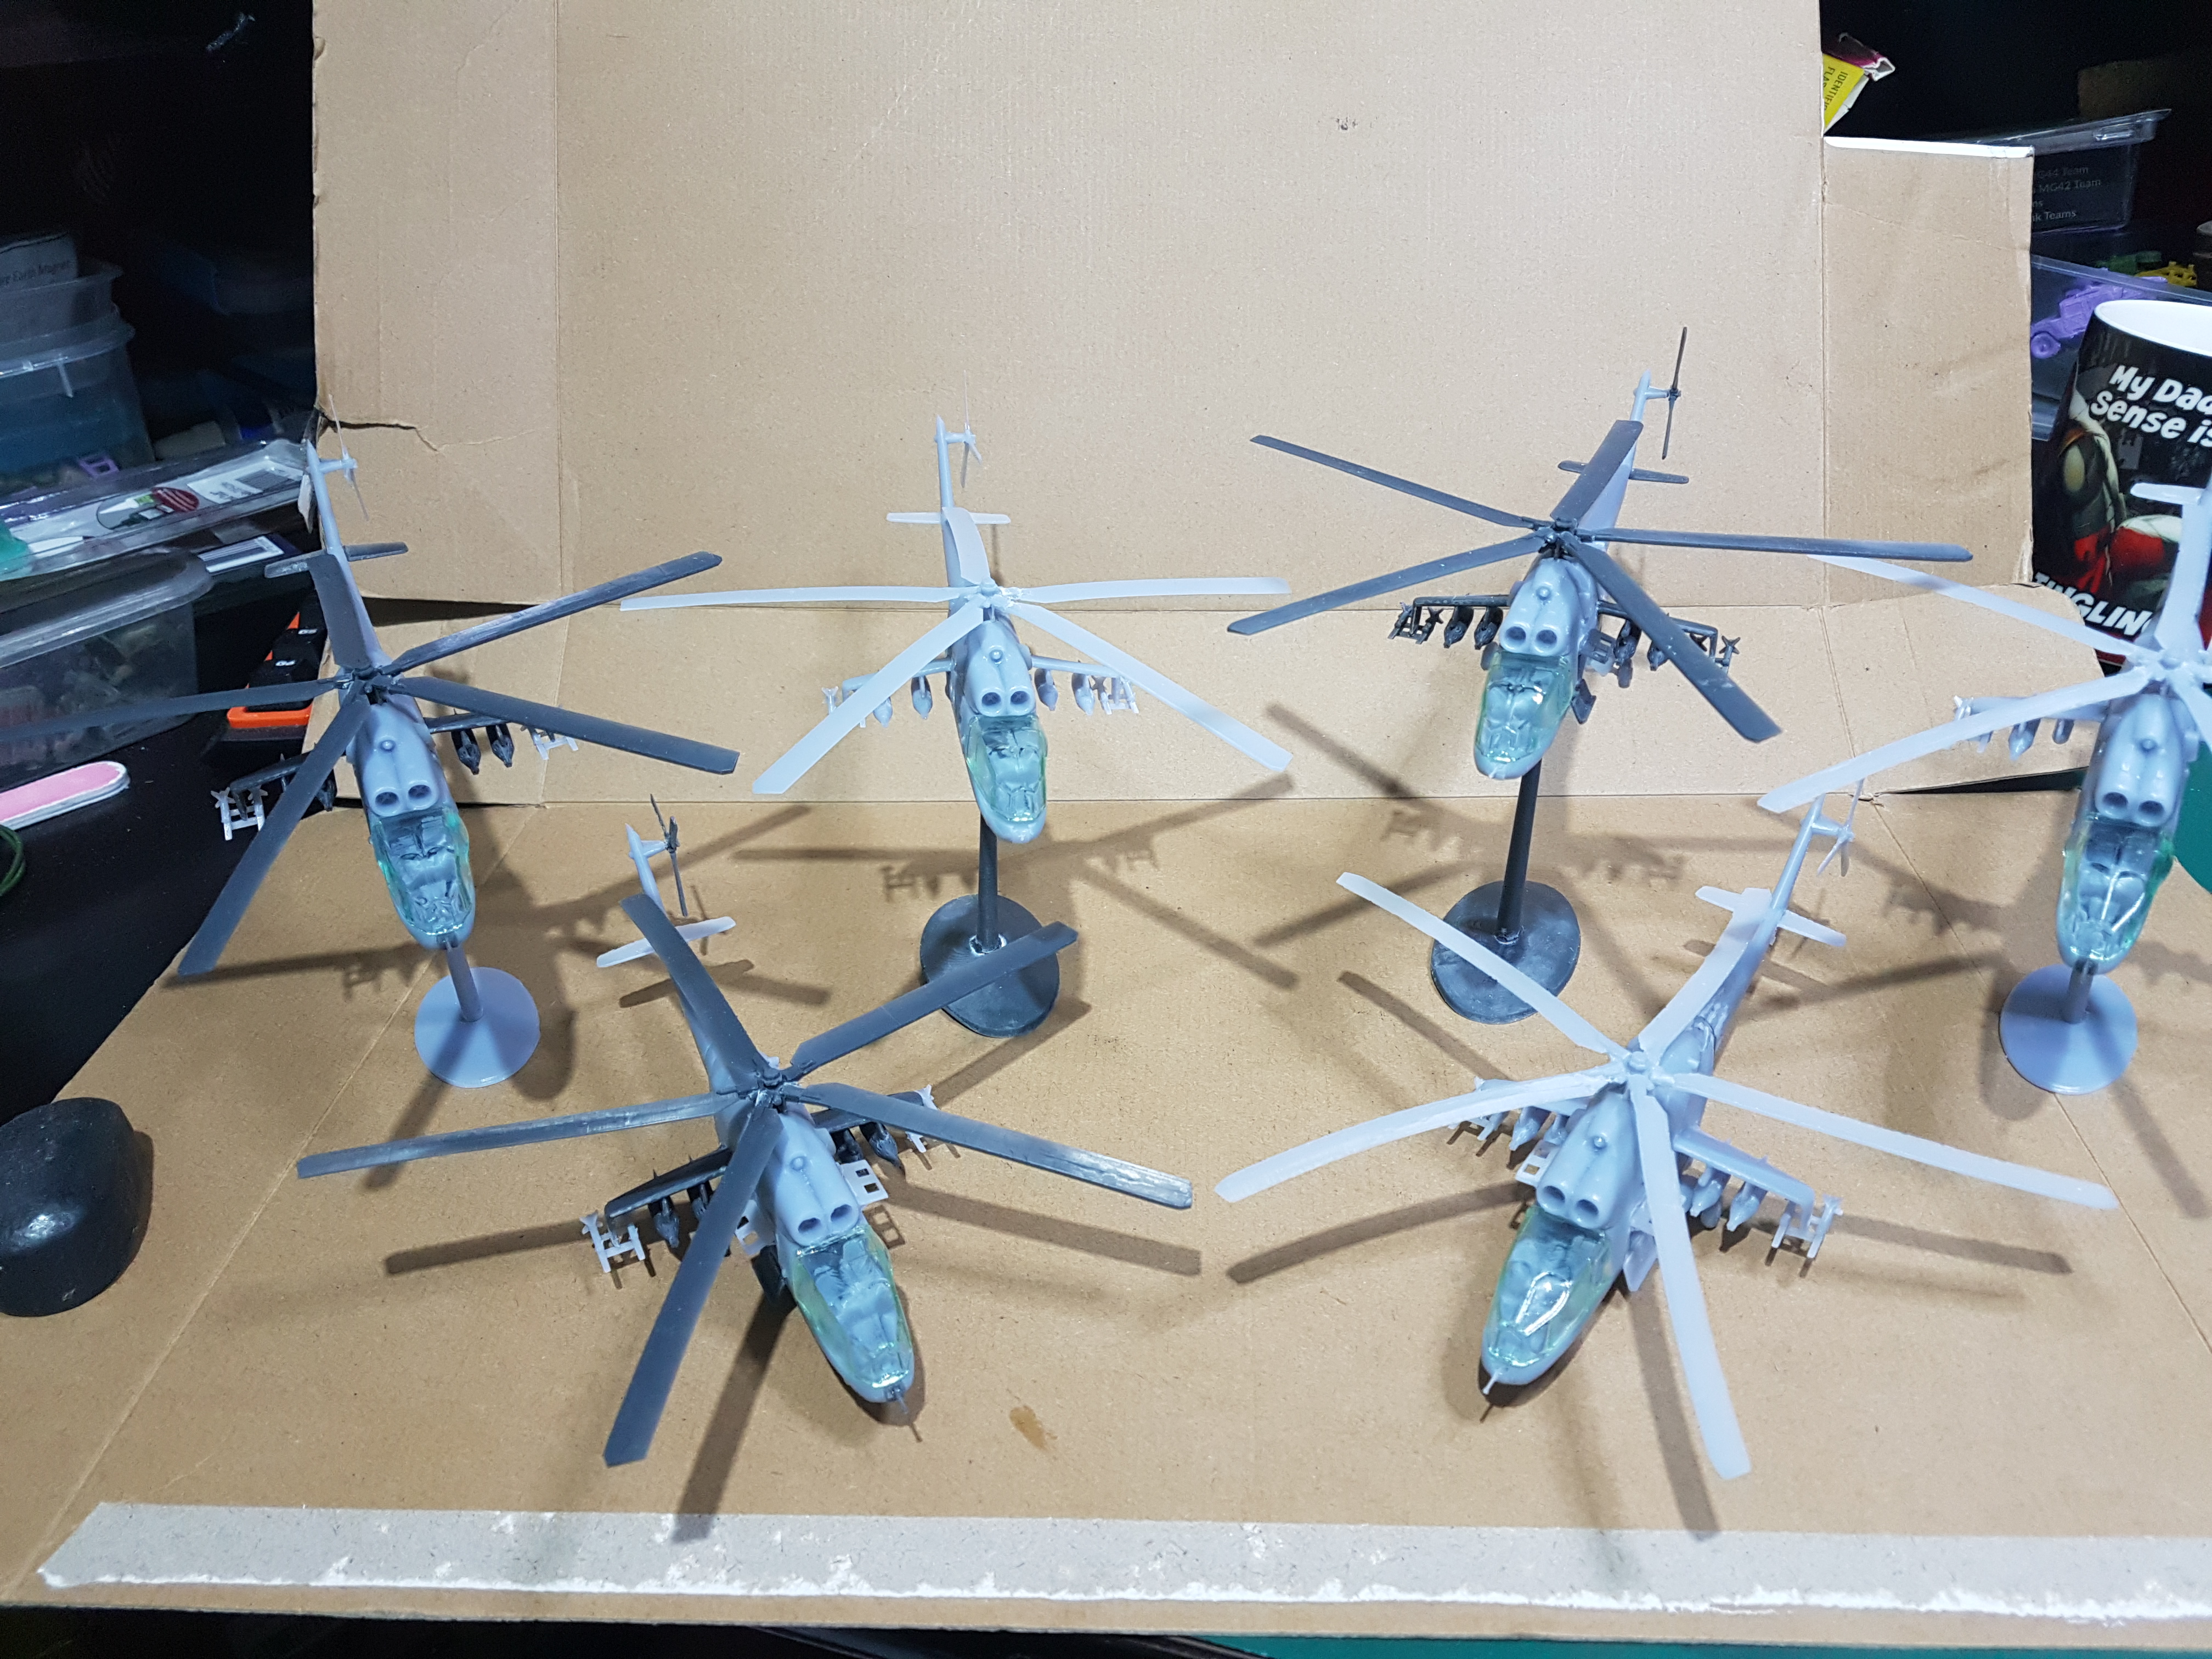 1 company done
Bit funny realy, I didnt want to any of previous resins to be wasted so pieced them together and got a Company worth. Never quite reached that perfect print but will still see how far I can take it.
Putting prototype 3 together
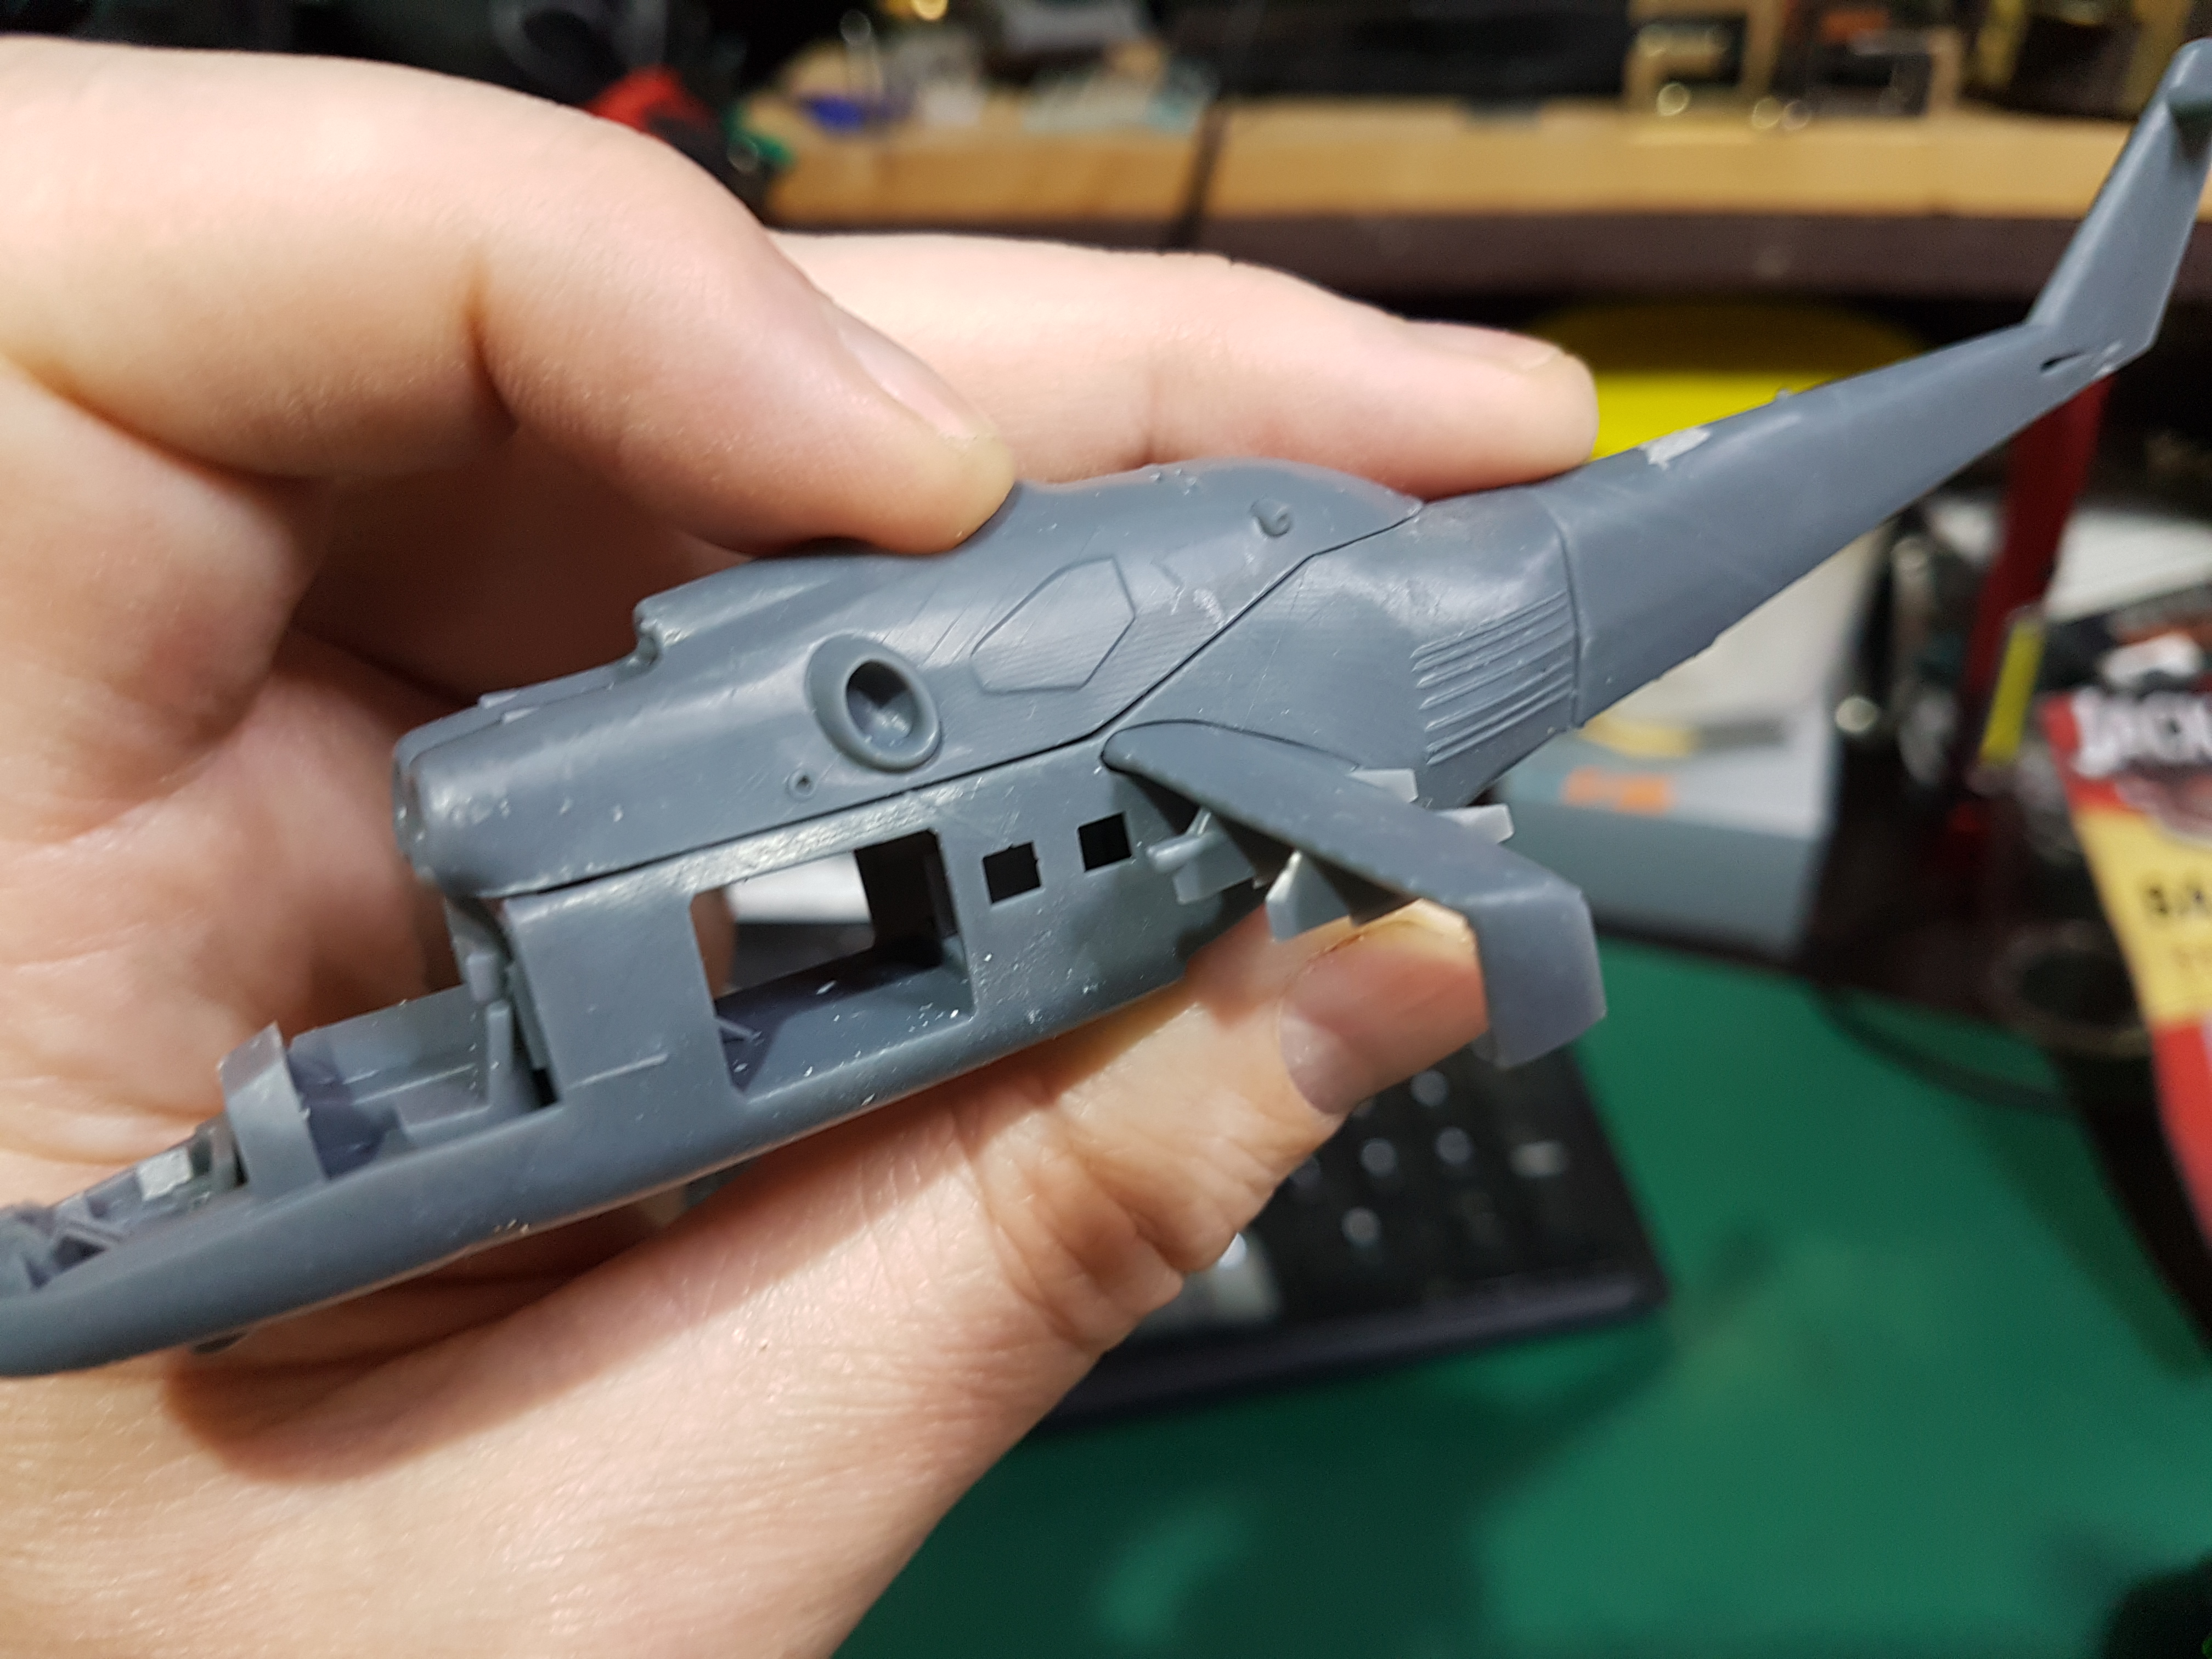
My collection of failed and near useless parts grows steadily on but I am making progress.
- I have managed to up the poly count considerably and quite happy with result. There is no visible polies on my print, though I now doubt I’ll get around to increasing the fidelity and detail enough to make it suitable for larger scales. For now the limitation seems to be the 4k resolution of my screen.
- I have hollowed out the tail and main fuselage quite a bit and achieved a good balance when placed on a stand so it’s no longer tail heavy and I’ve saved myself some resin.
- Generaly much better fit of components al round with only as litter further tweaking to a few parts still required
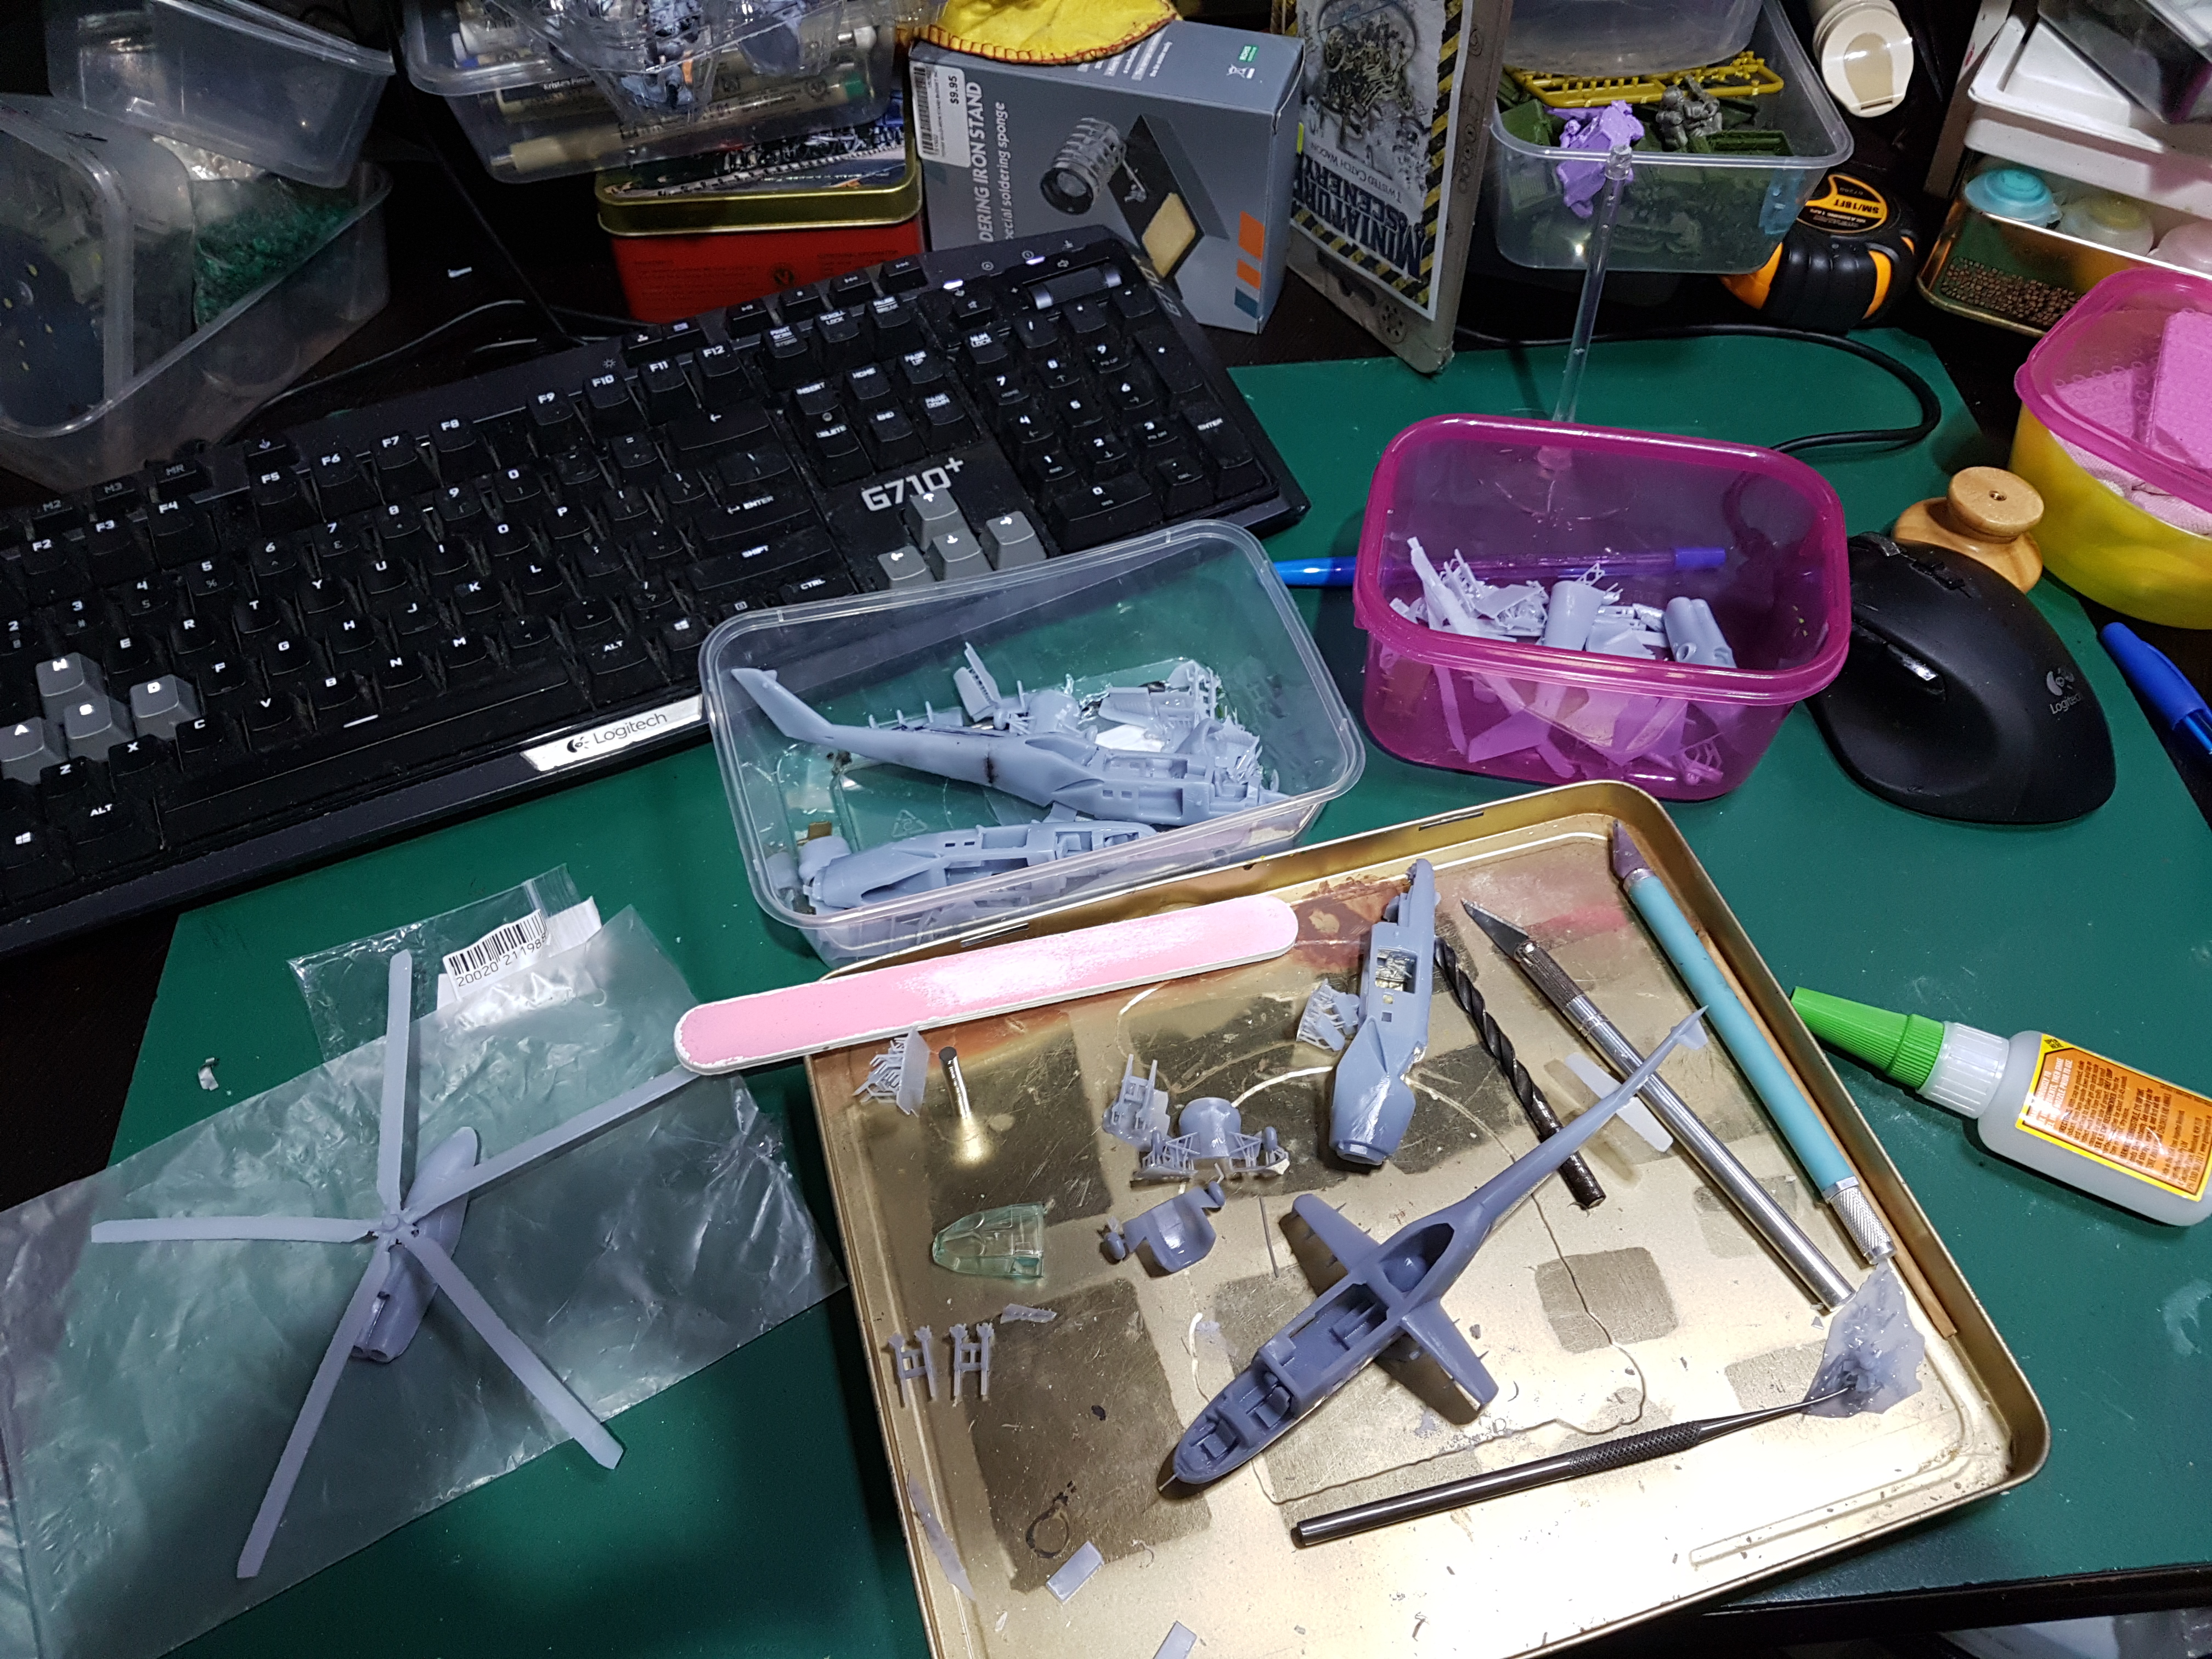 Soo many bits
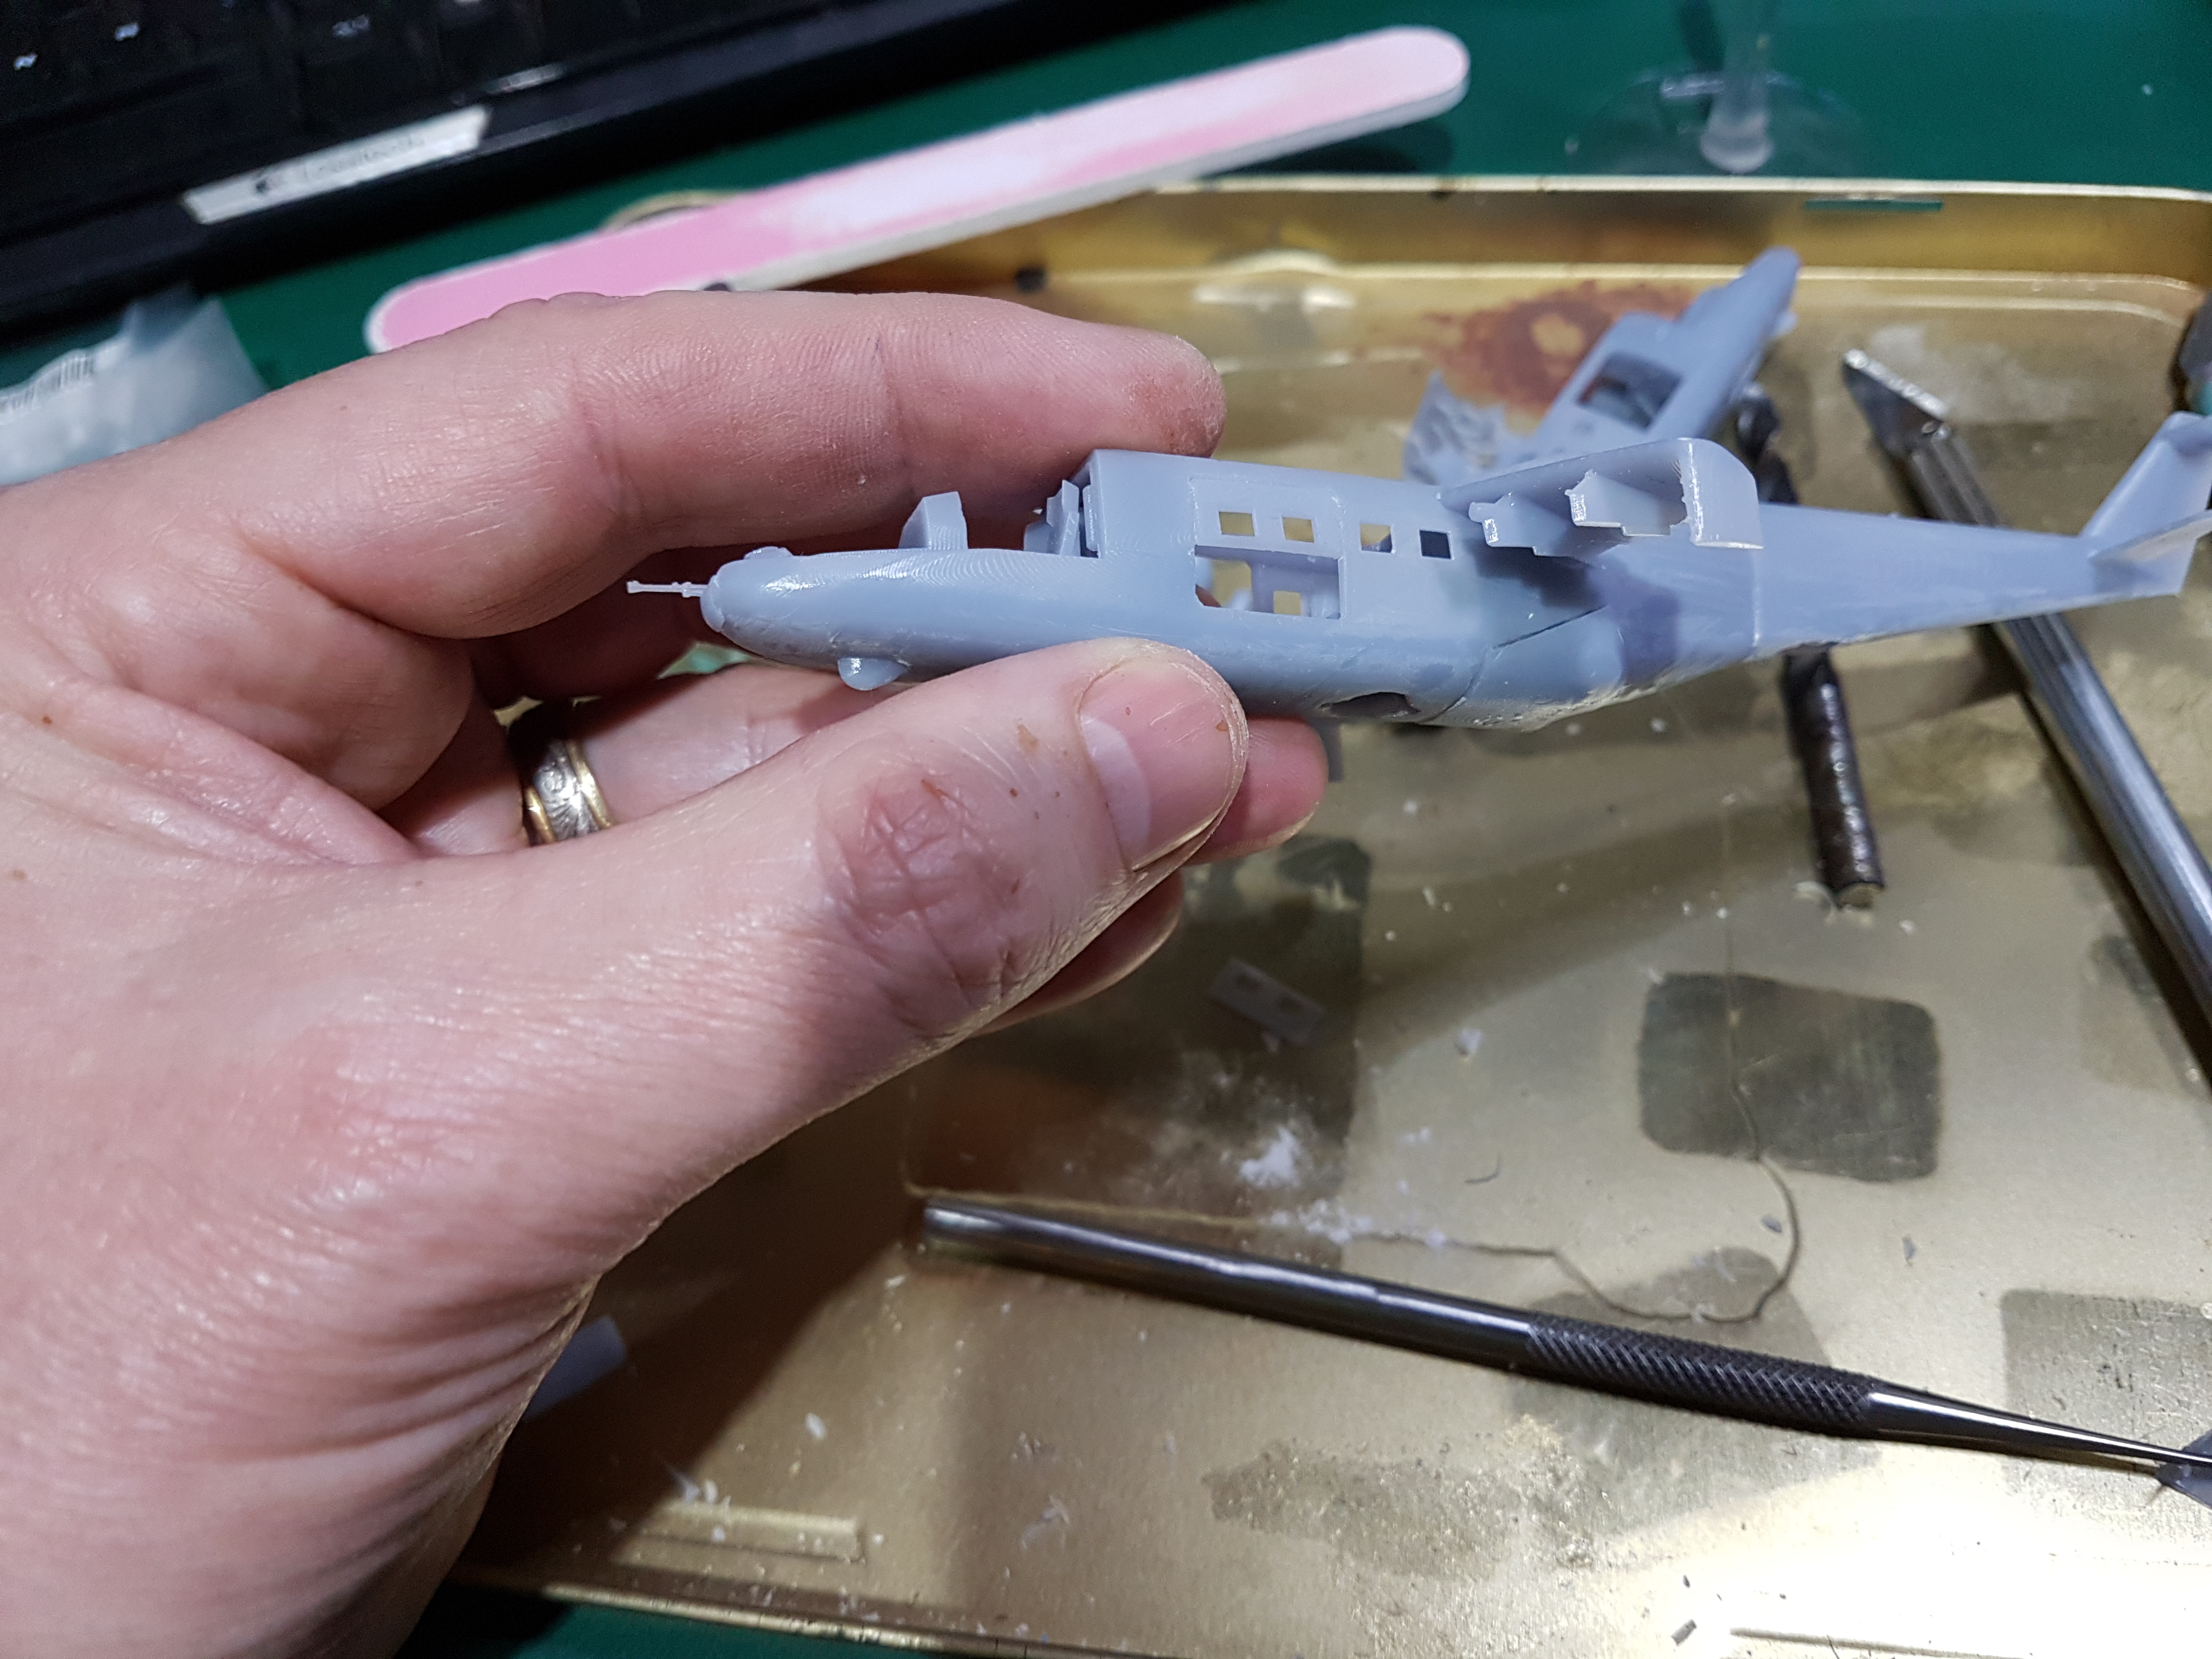 And they is small
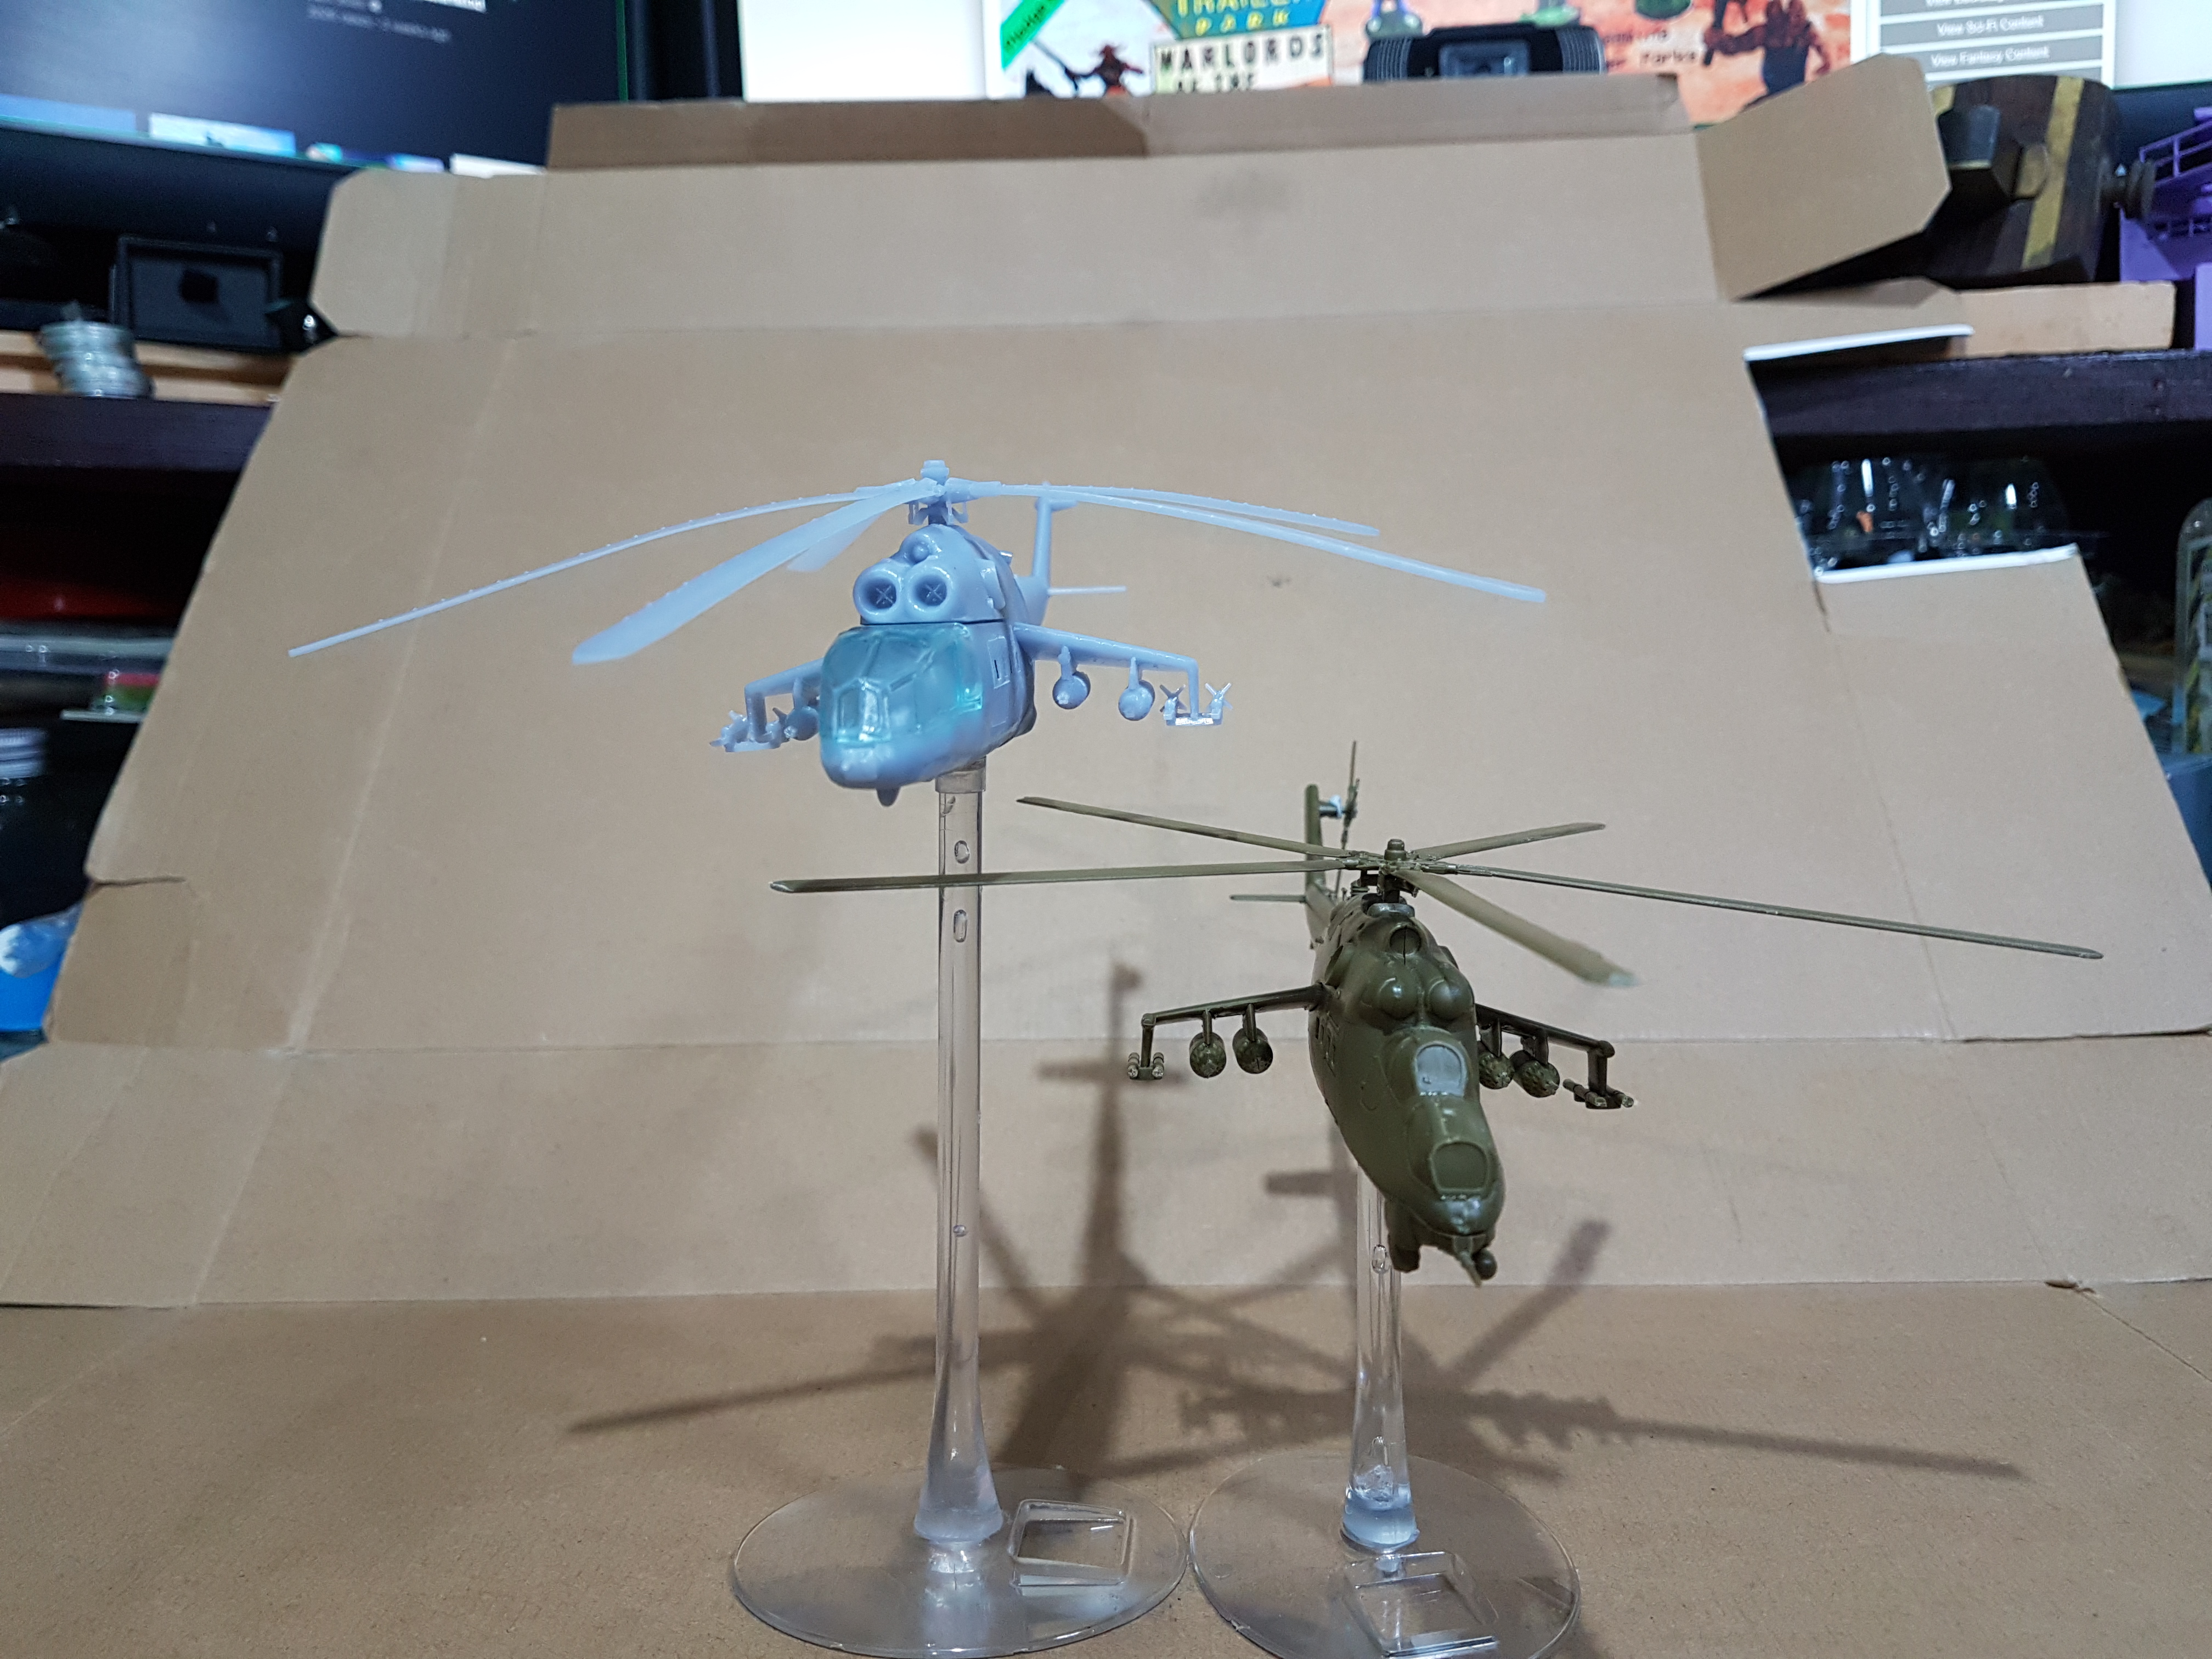 The droopy rotors were later fixed with another 2 mins of curing
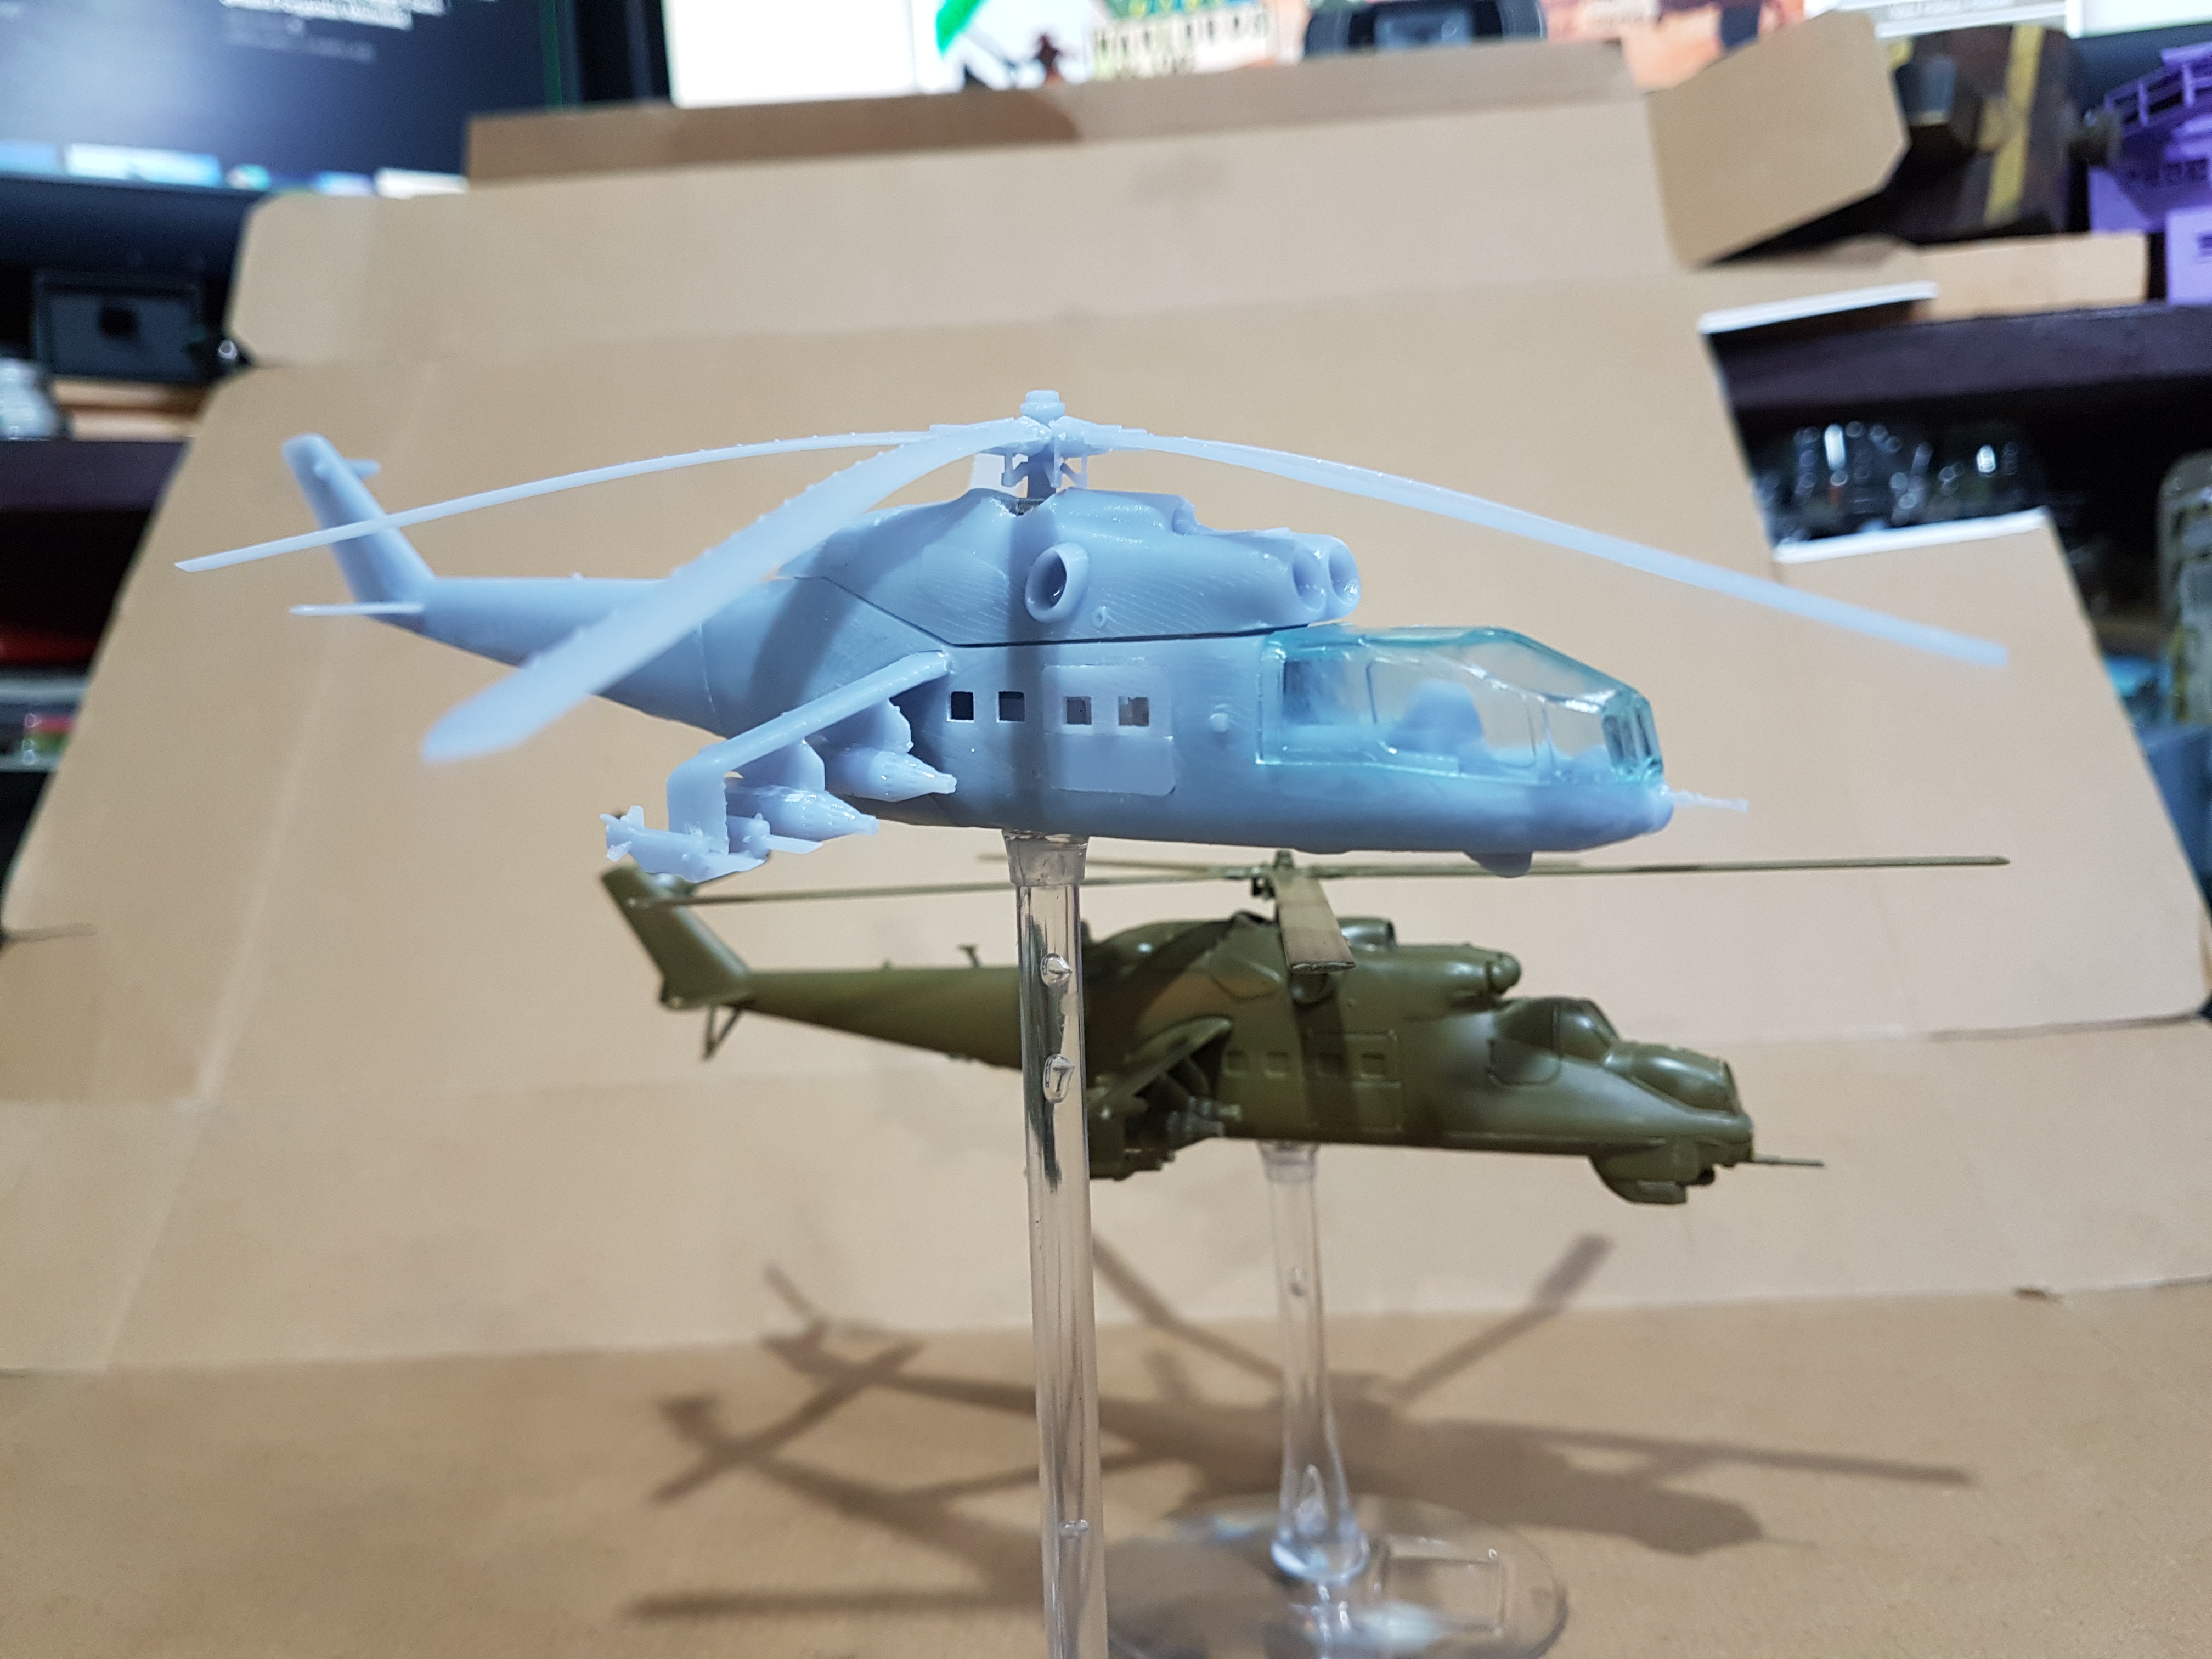 Getting there.
Though I see a lot to be happy with I still have at least 1 round of fixes to get through. Its true that the pieces printed so far would give me the basis of 4 units bar rotors but it would require a lot of filing, sanding and persistence. Besides I need to perfect the model so any future prints are a no brainer.
Changes for next prototype;
- Getting a tail rotor to print successfully and thicken the main rotor blades just a little
- Heighten the main rotor axle assembly so it’s clear of the body
- Move the outward rocket pods inwards
- Thicken the tail rotor fin and nose gun a little
- Numerous fitment tweaks and fixes including tail, doors, and magnet recesses
- Tail skid & antennae


