


![Alternative Trench Crusade Miniatures? Trench Missionaries Review | Wargames Atlantic [7 Days Early Access]](https://images.beastsofwar.com/2026/03/unboxing-wargames-atlantic-trench-missionaries-coverimage-225-127.jpg)


I’ll be working on this stuff forever…


Recommendations: 287
About the Project
coz I'll be painting Infinity! Accumulated wealth of Corvus Belli Infinity miniatures. Intended for use in Stargrave, Infinity: Defiance and maybe even actual Infinity!
Related Game: Infinity
Related Company: Corvus Belli
Related Genre: Science Fiction
This Project is Active
19 Apr 23: Quick-fire Characters
Got a few characters done quickly over the last few days, given that I was stuck at home.
I’ve just grabbed some quick snaps of them, I’ll take some proper photos when they’re done.
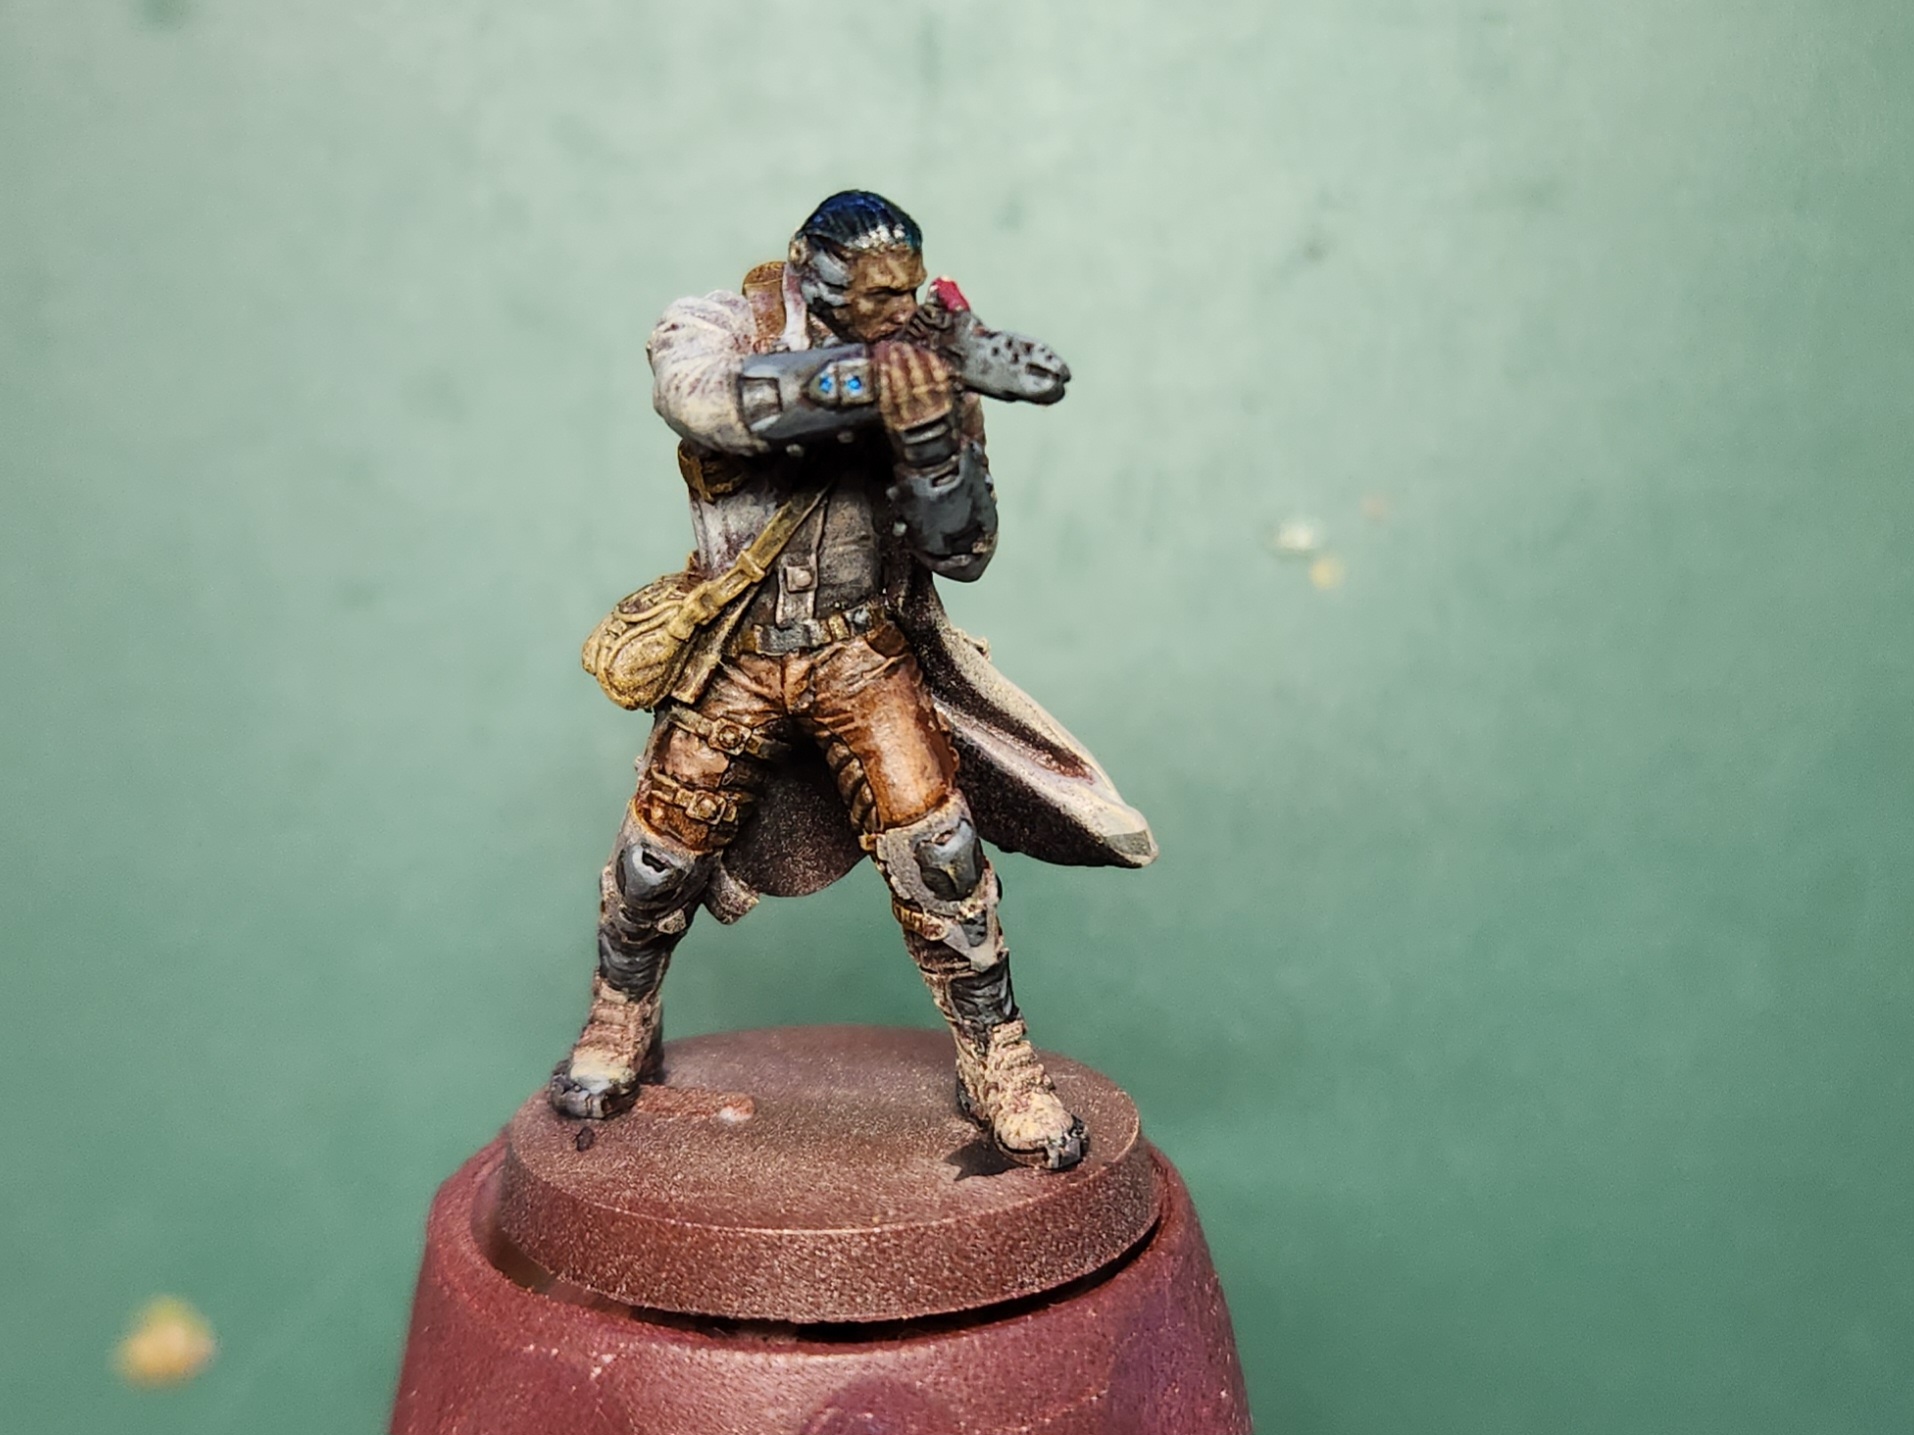
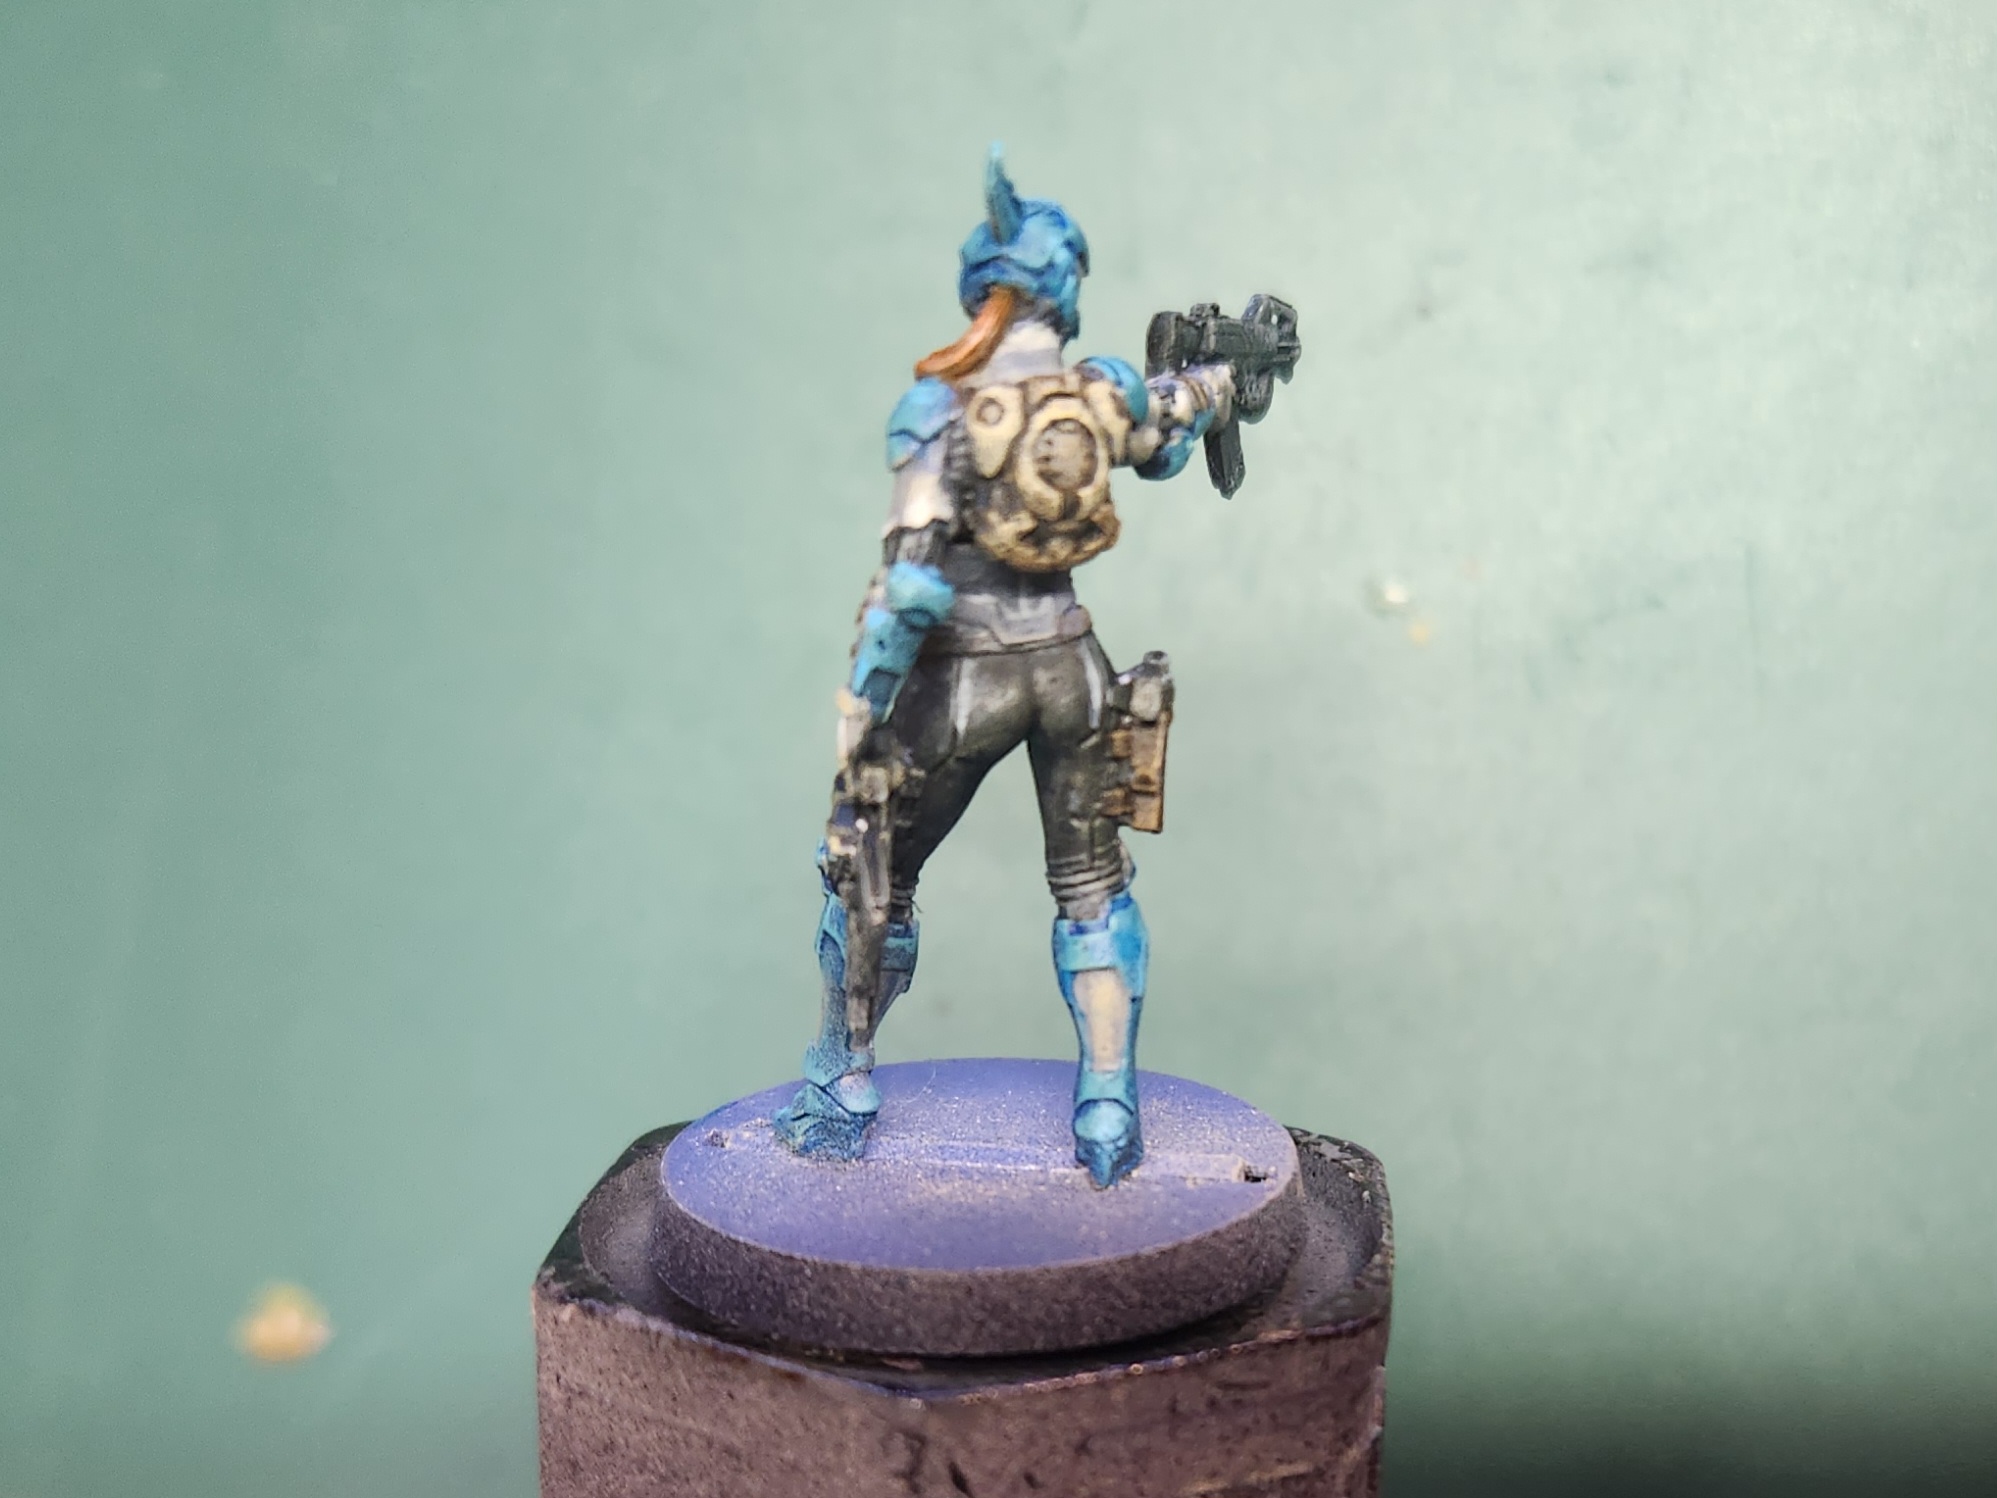
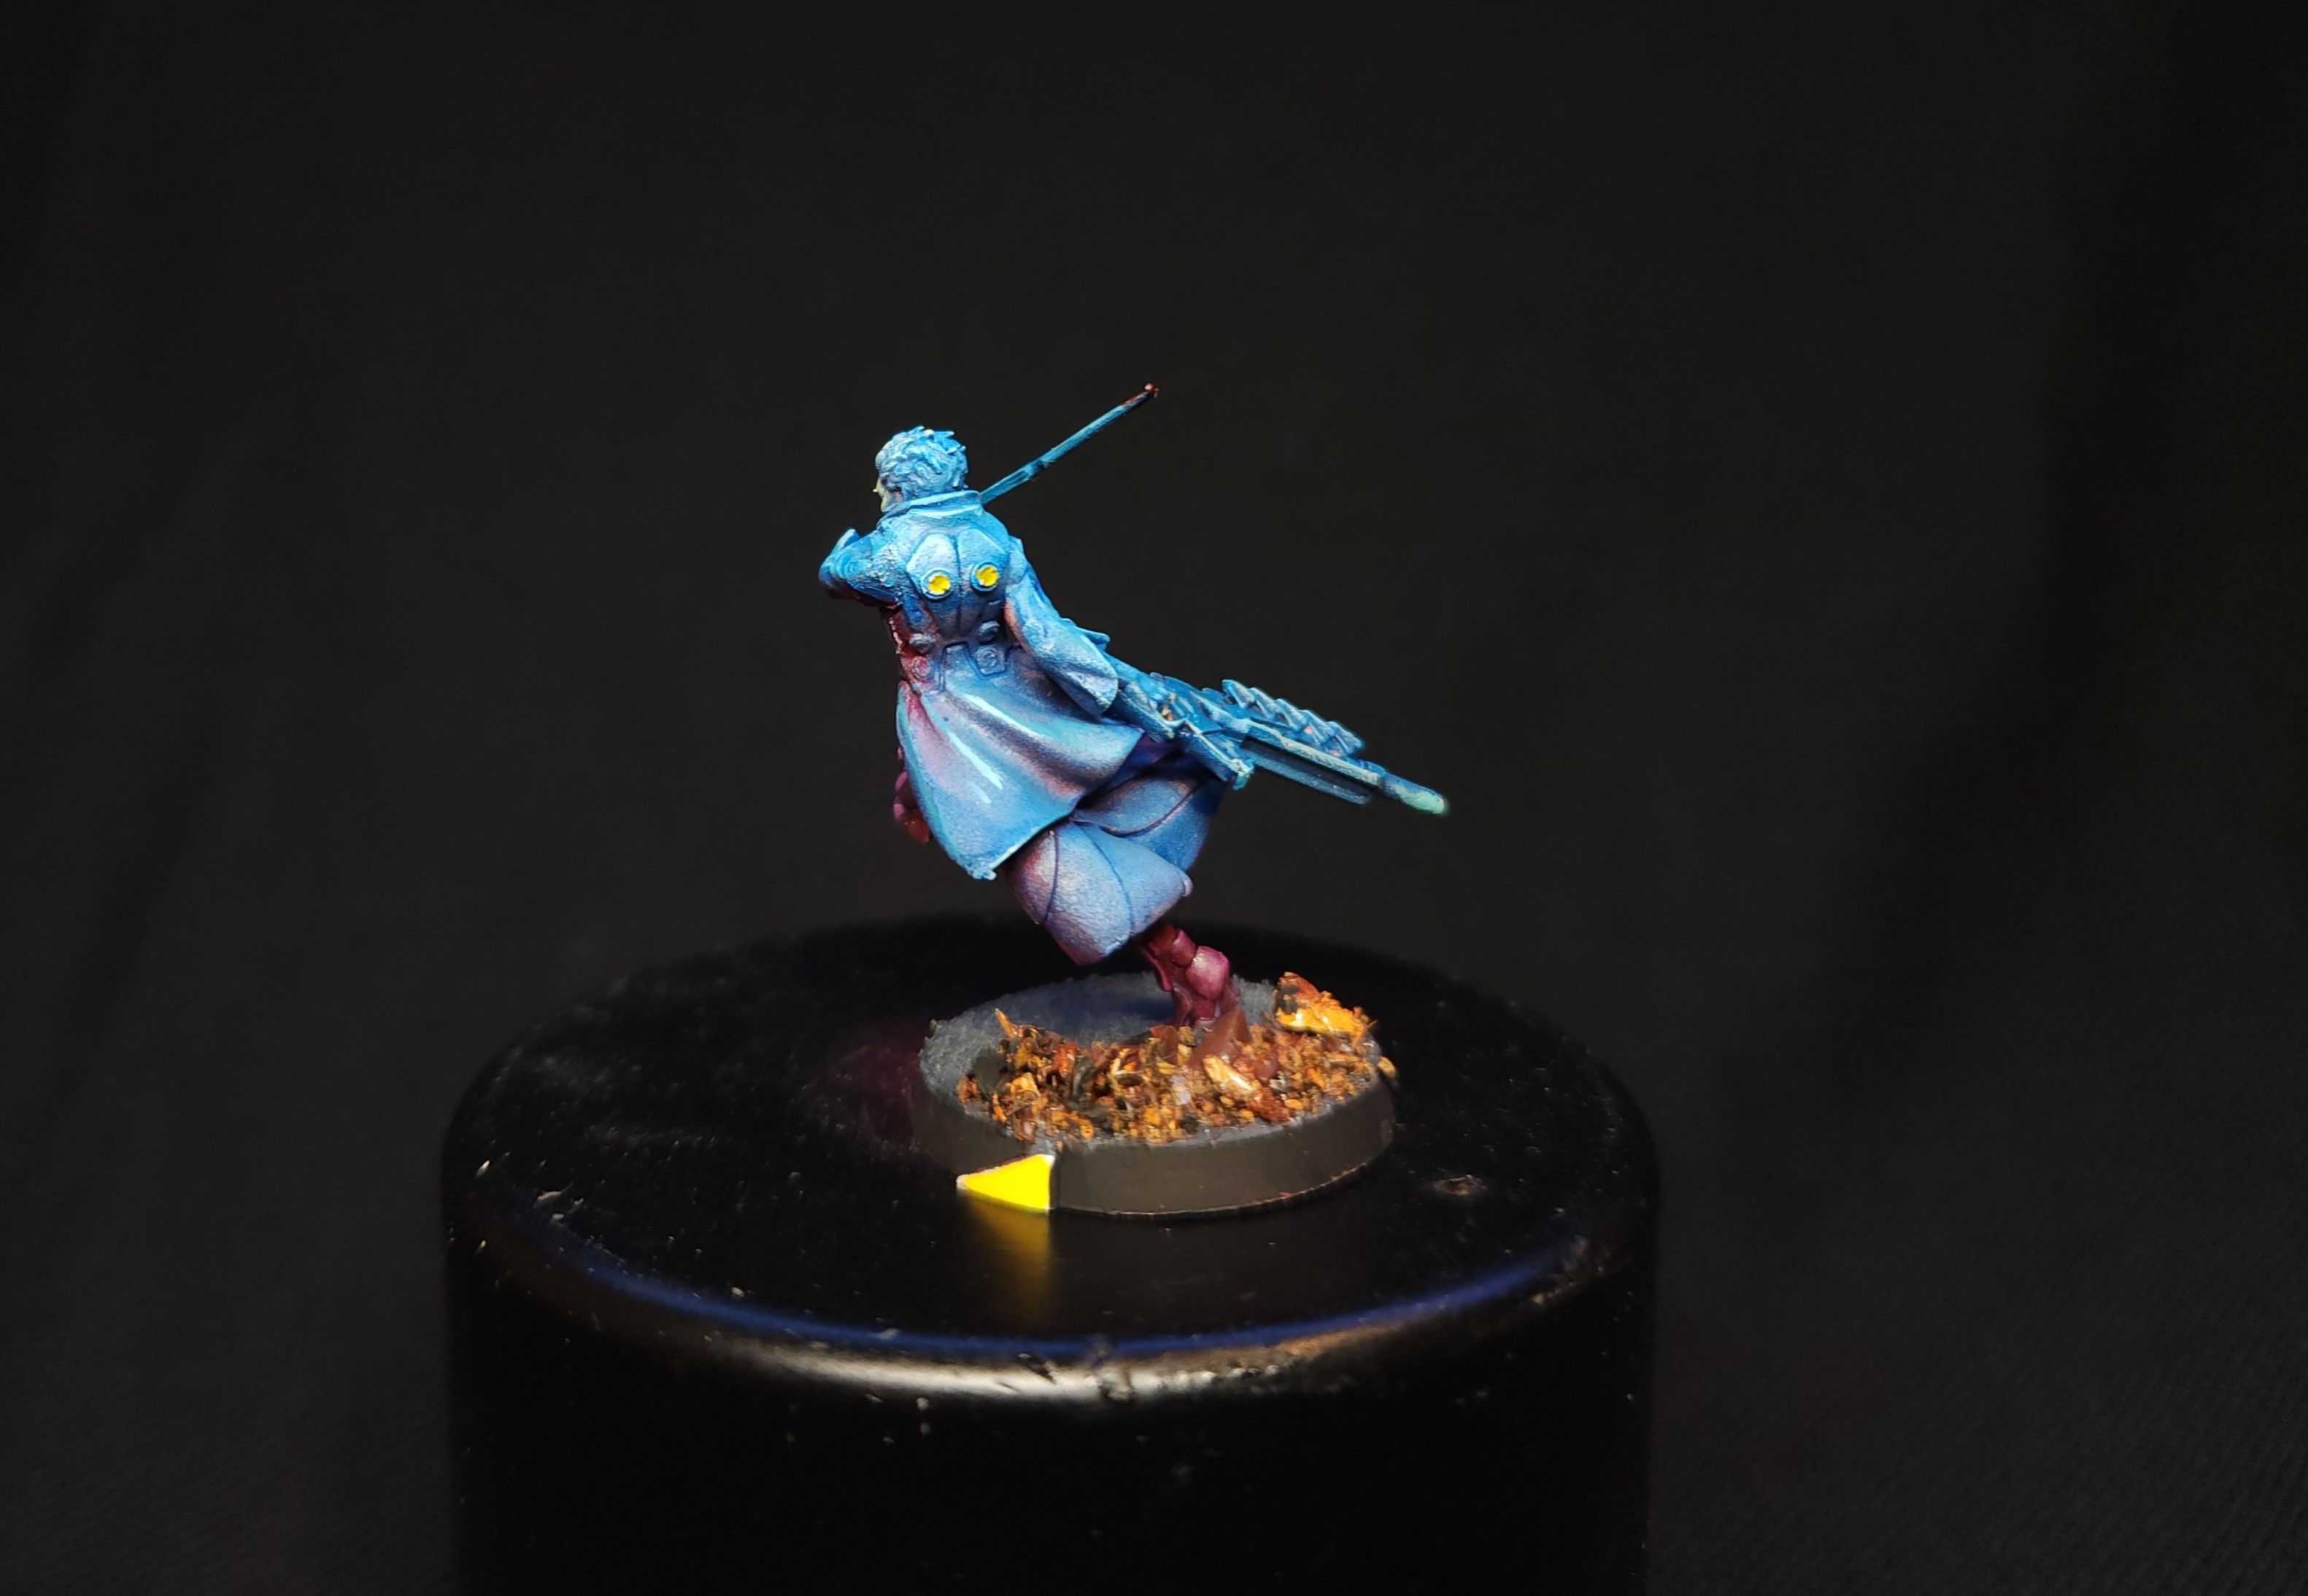
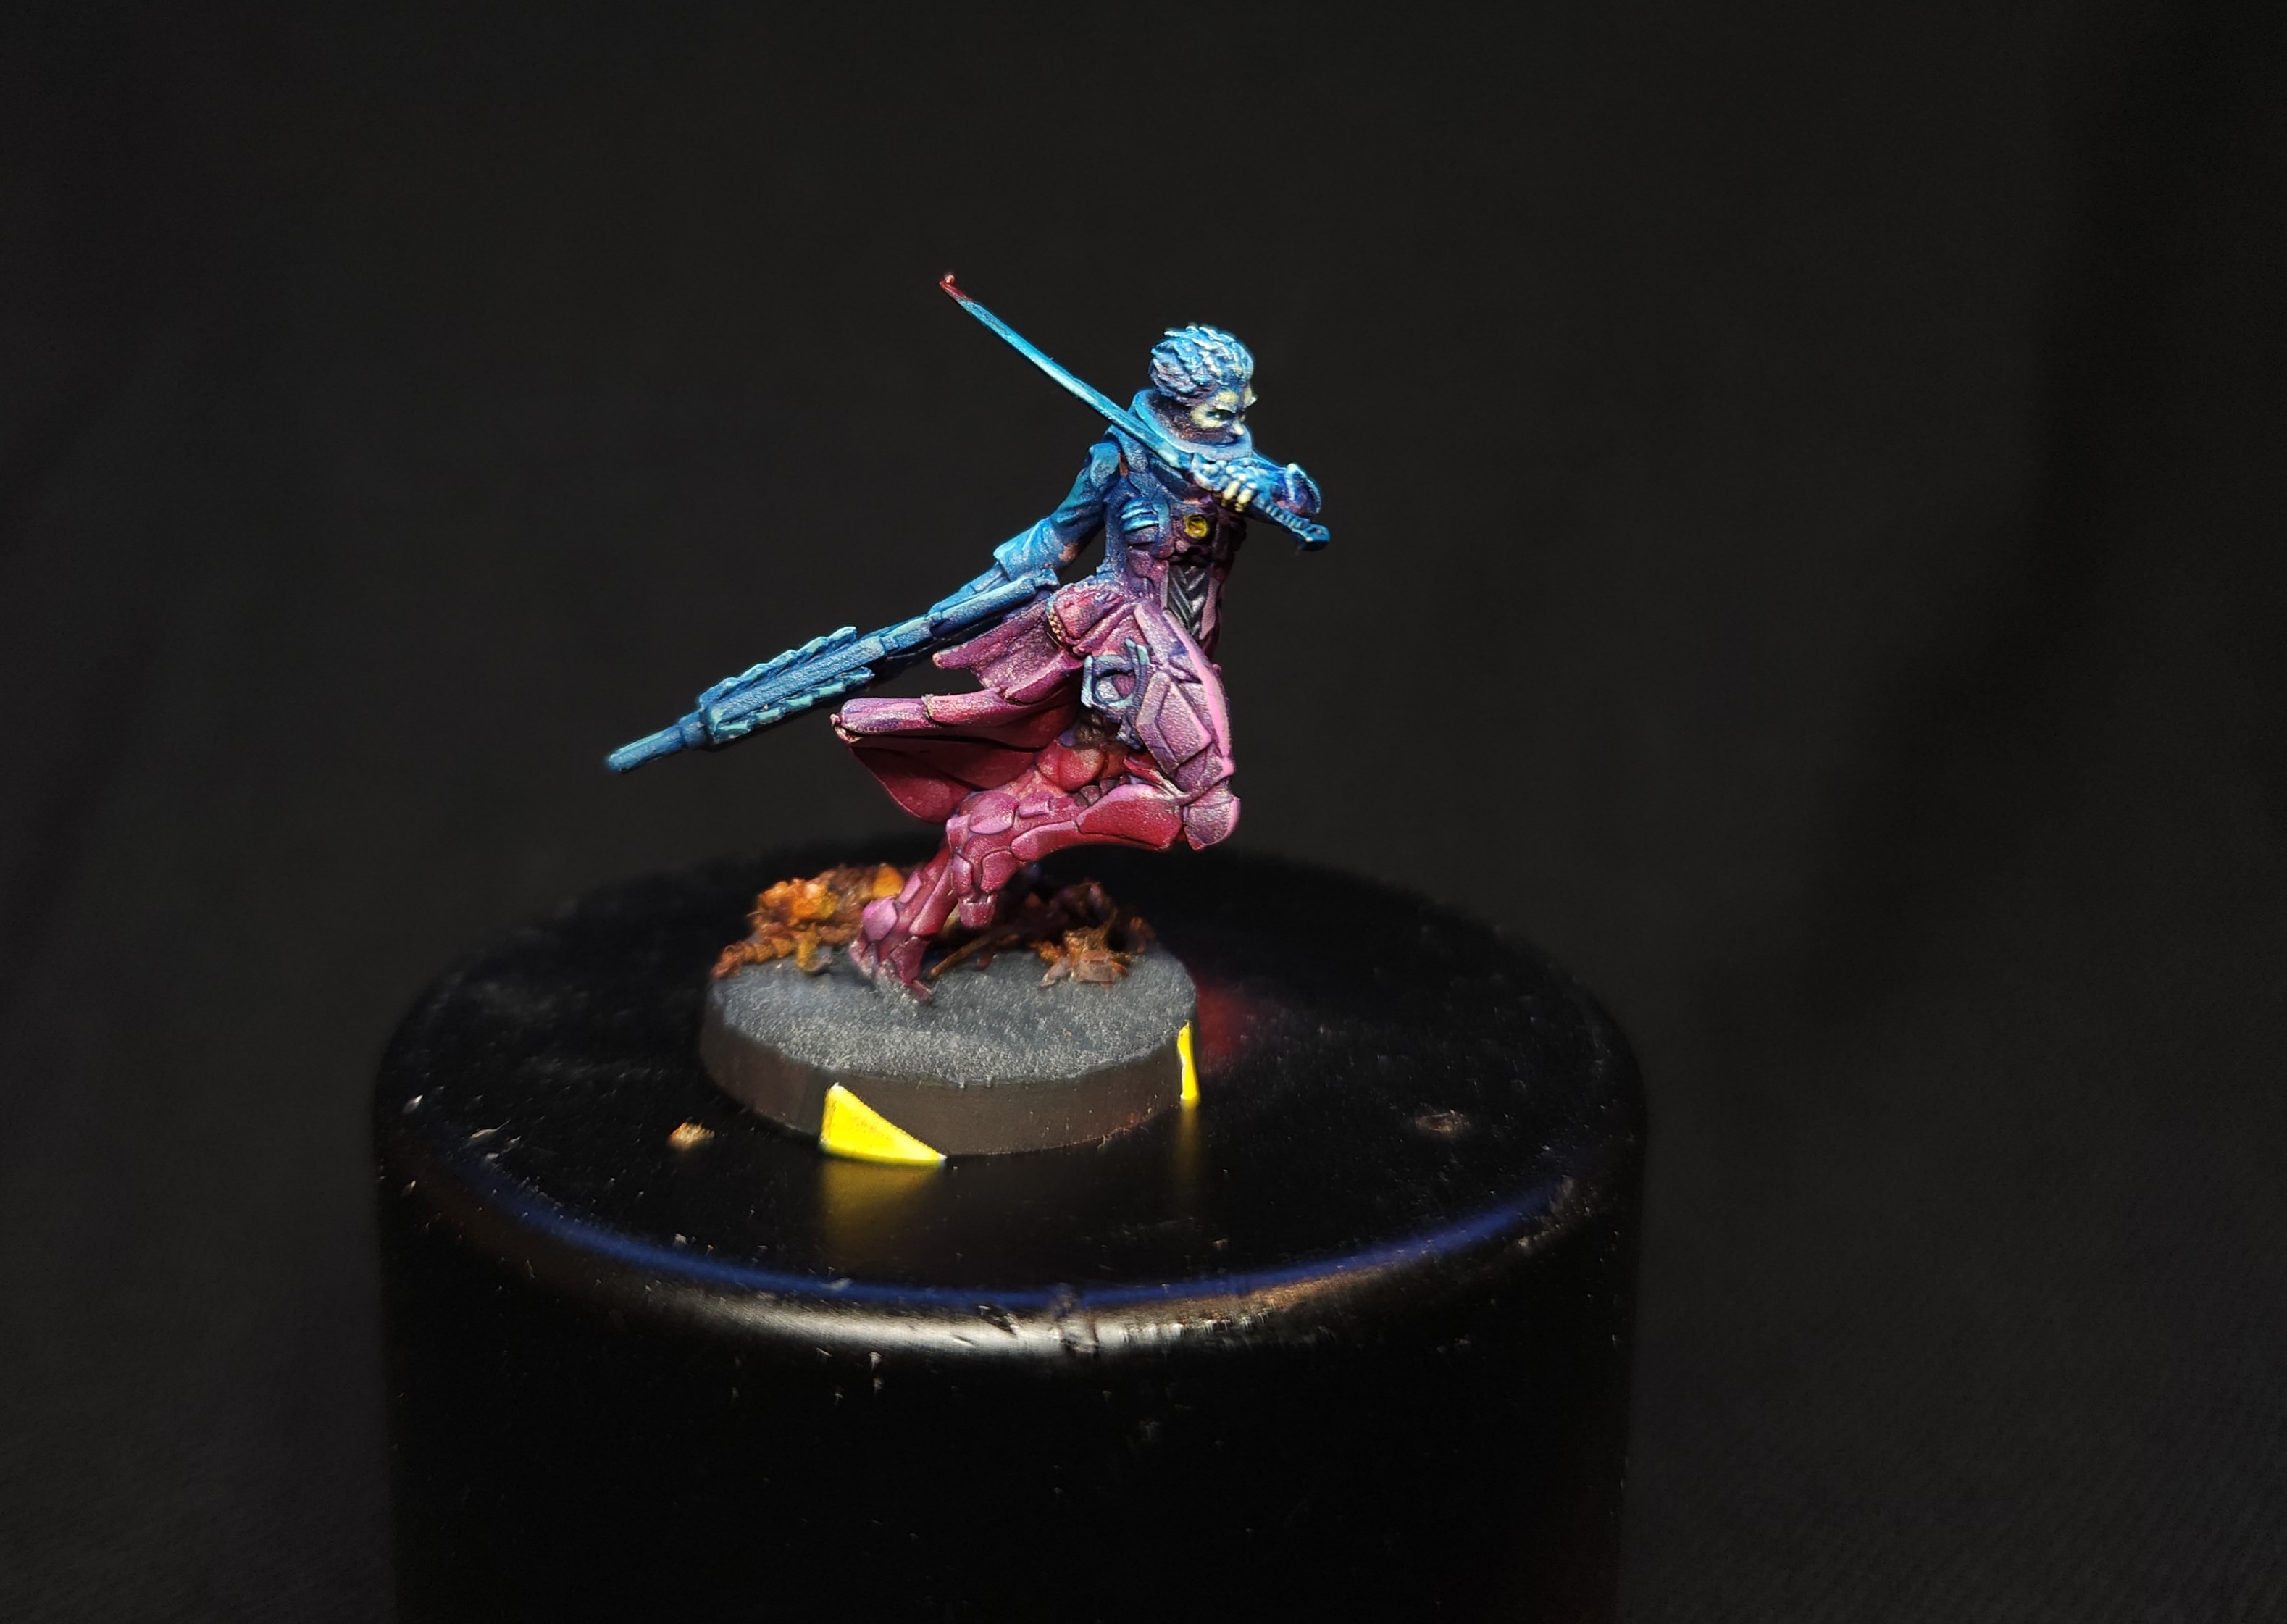
 Cadin "Firststrike"
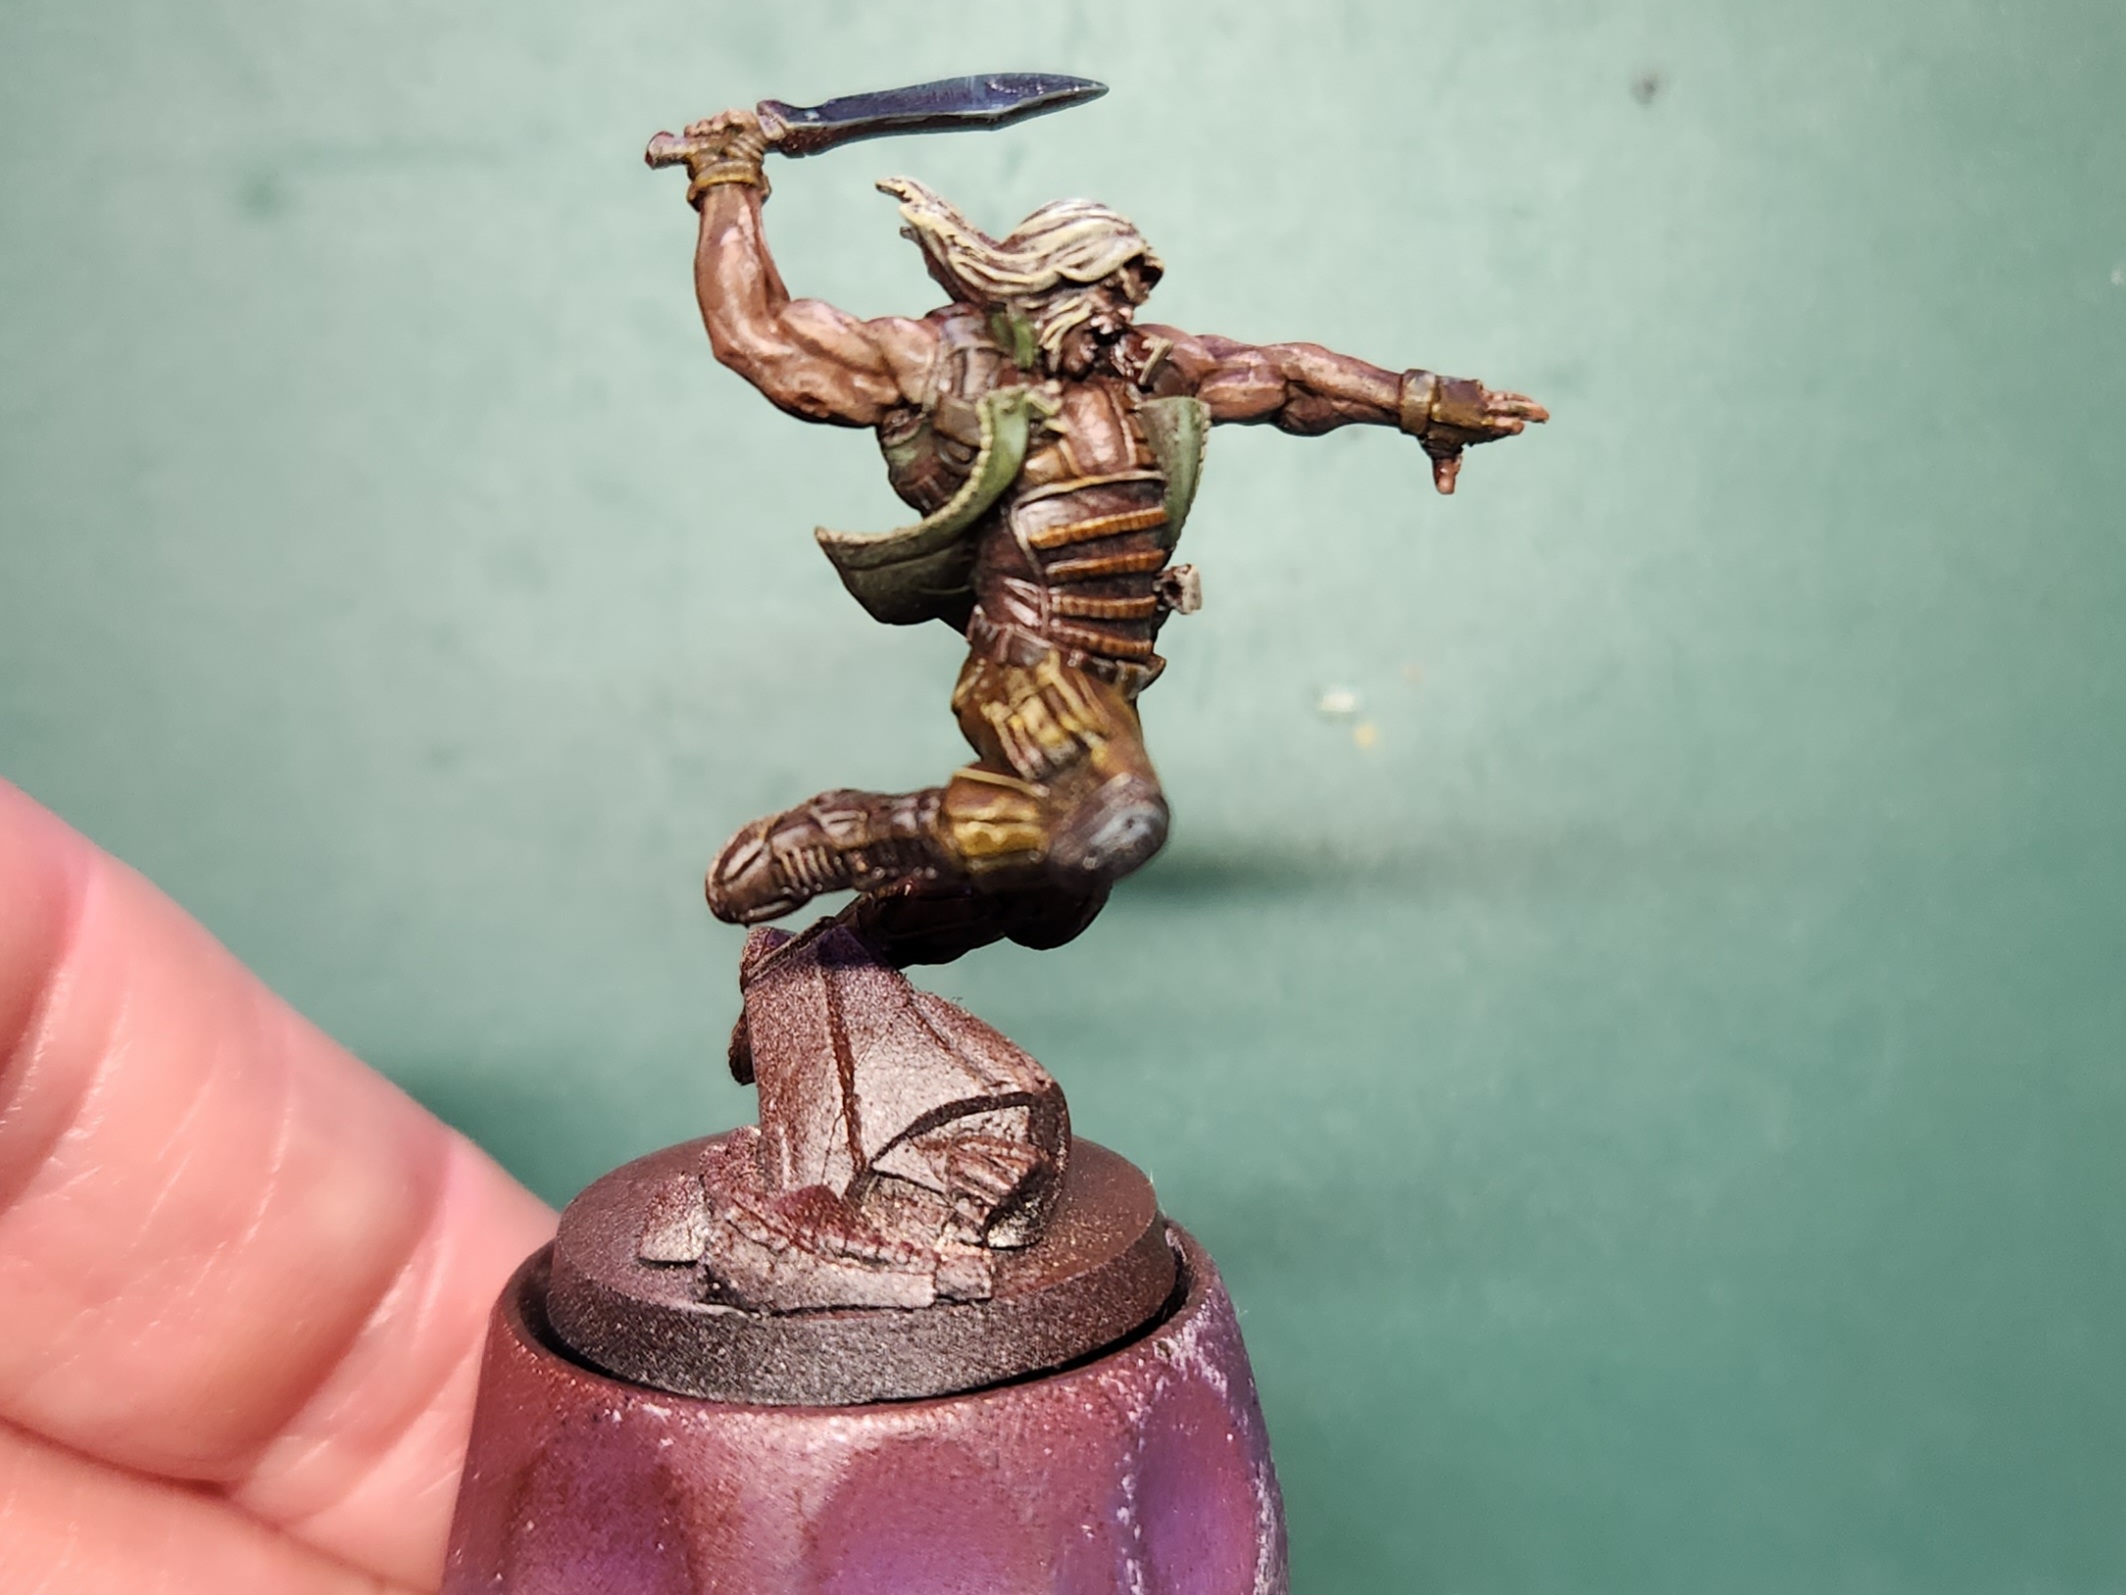
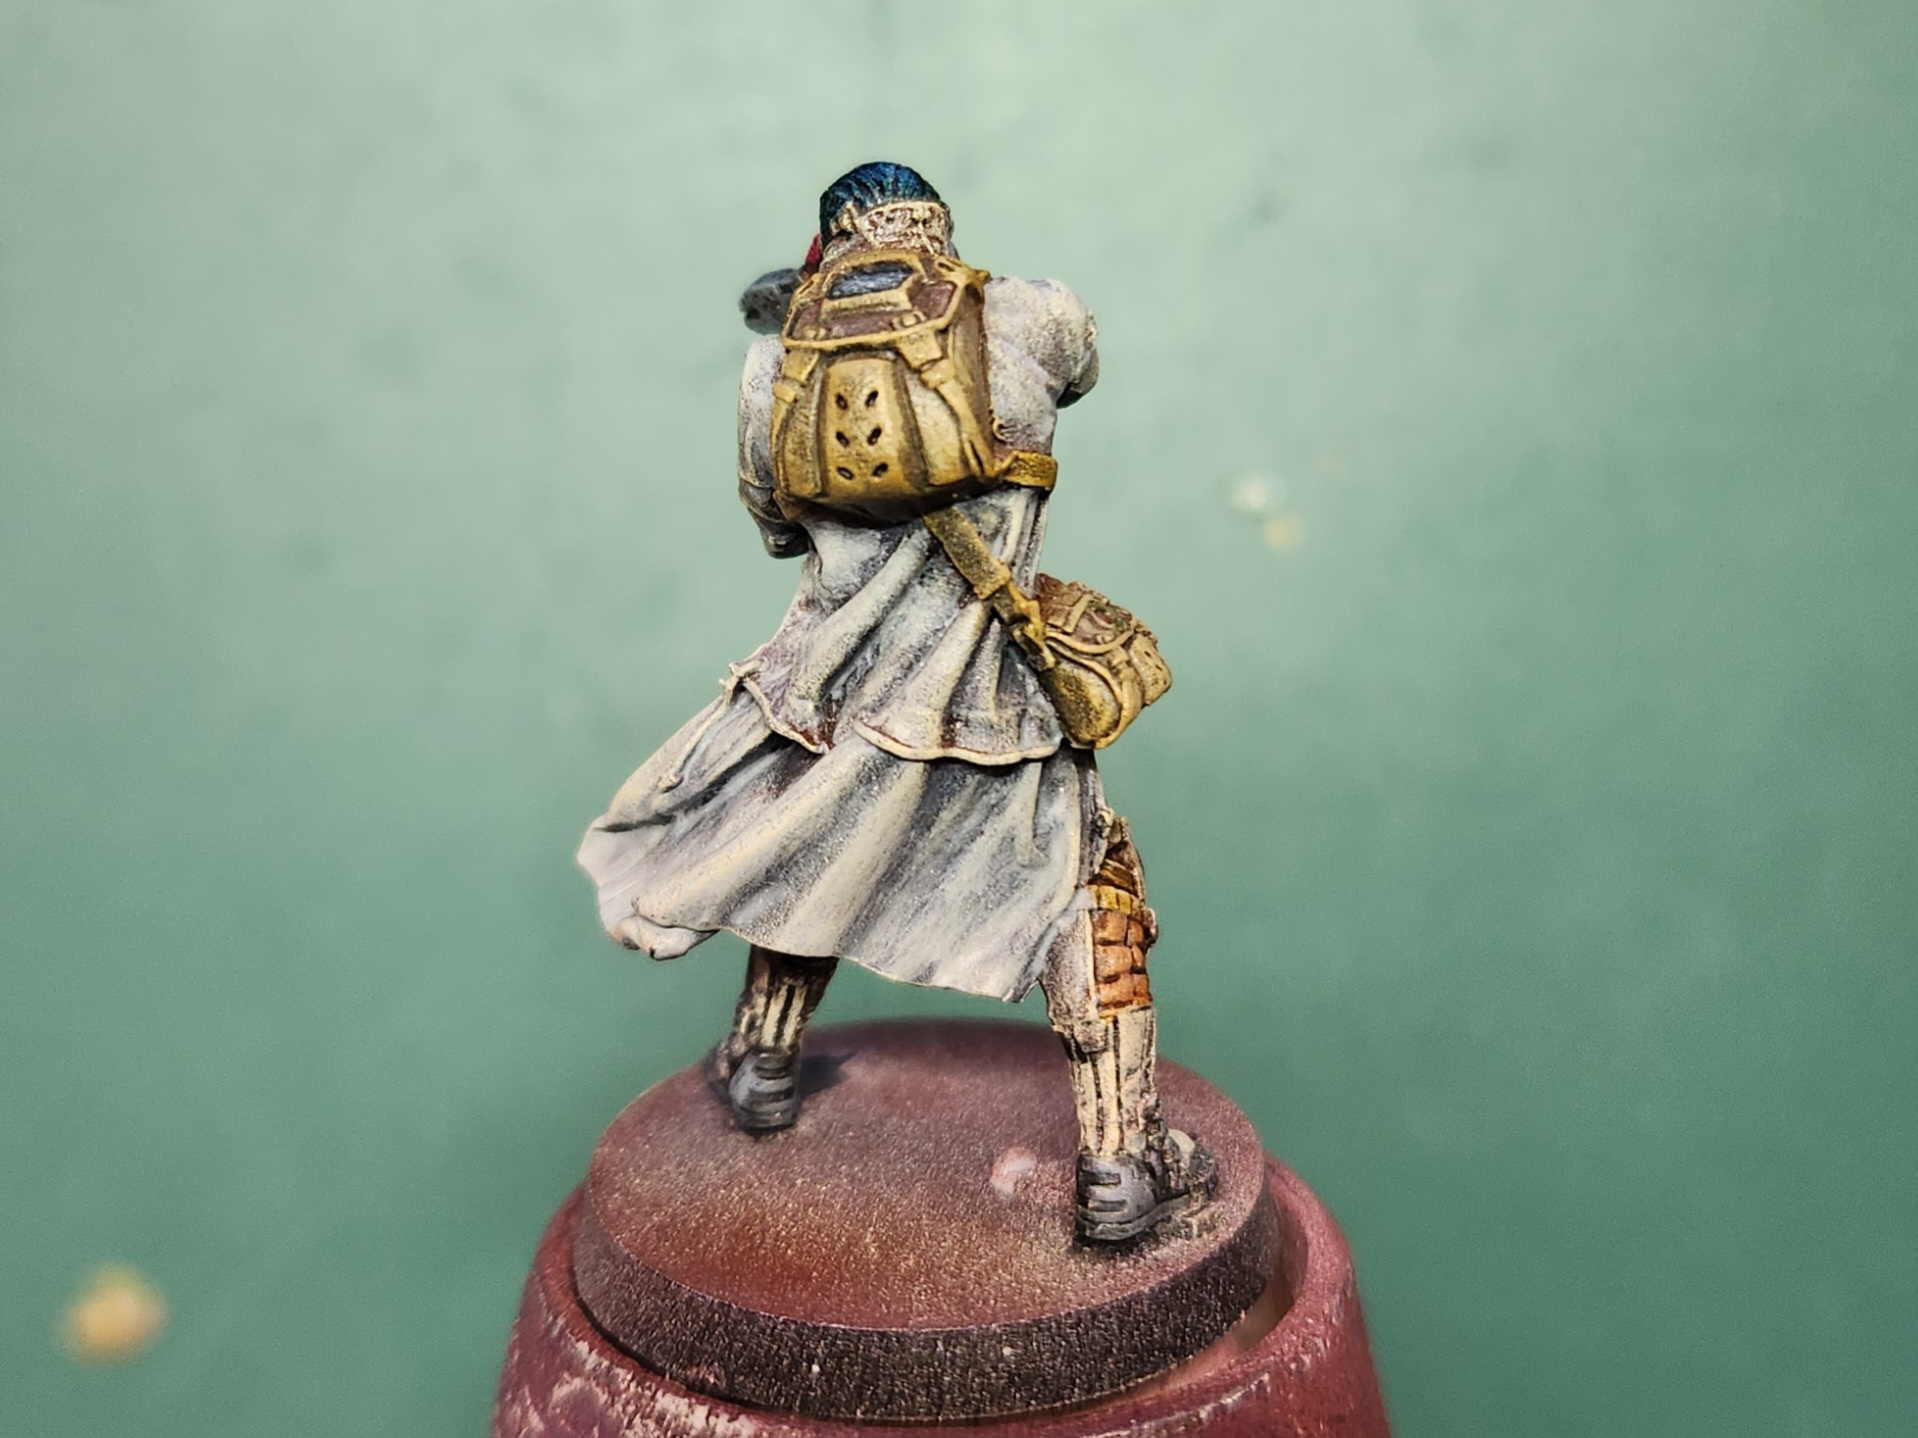
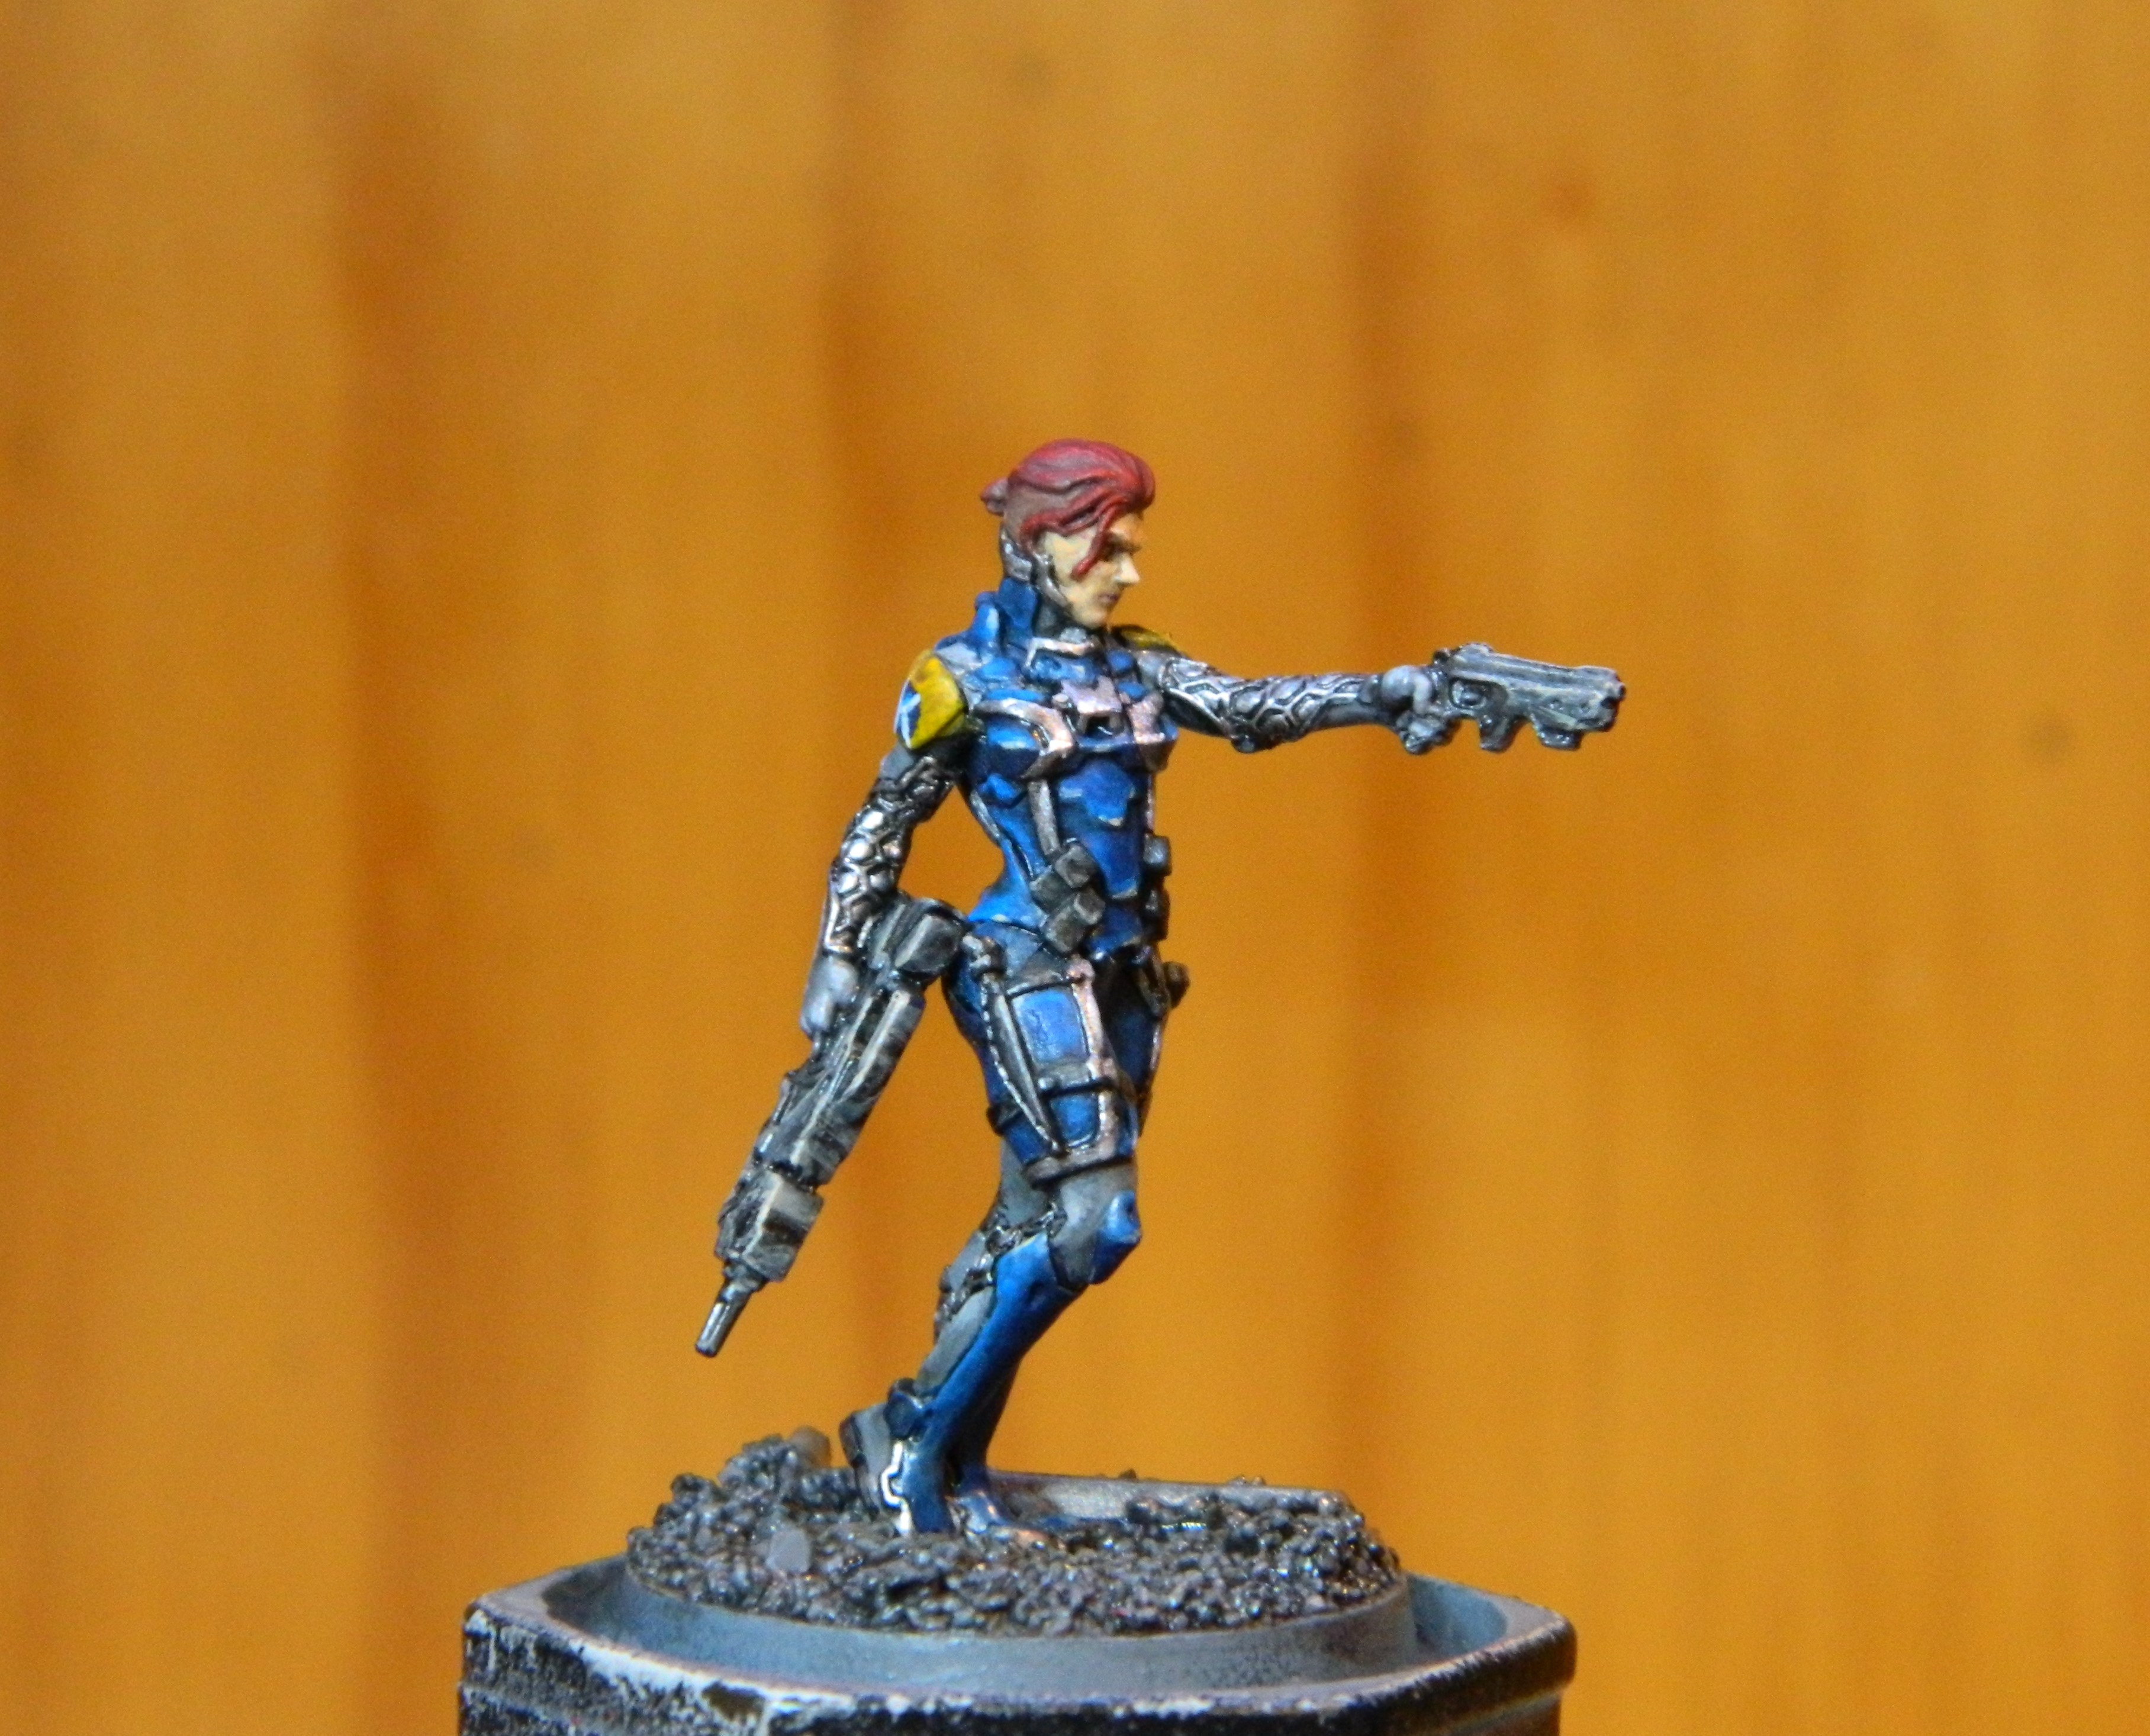
 Dr Rahman Rouhani
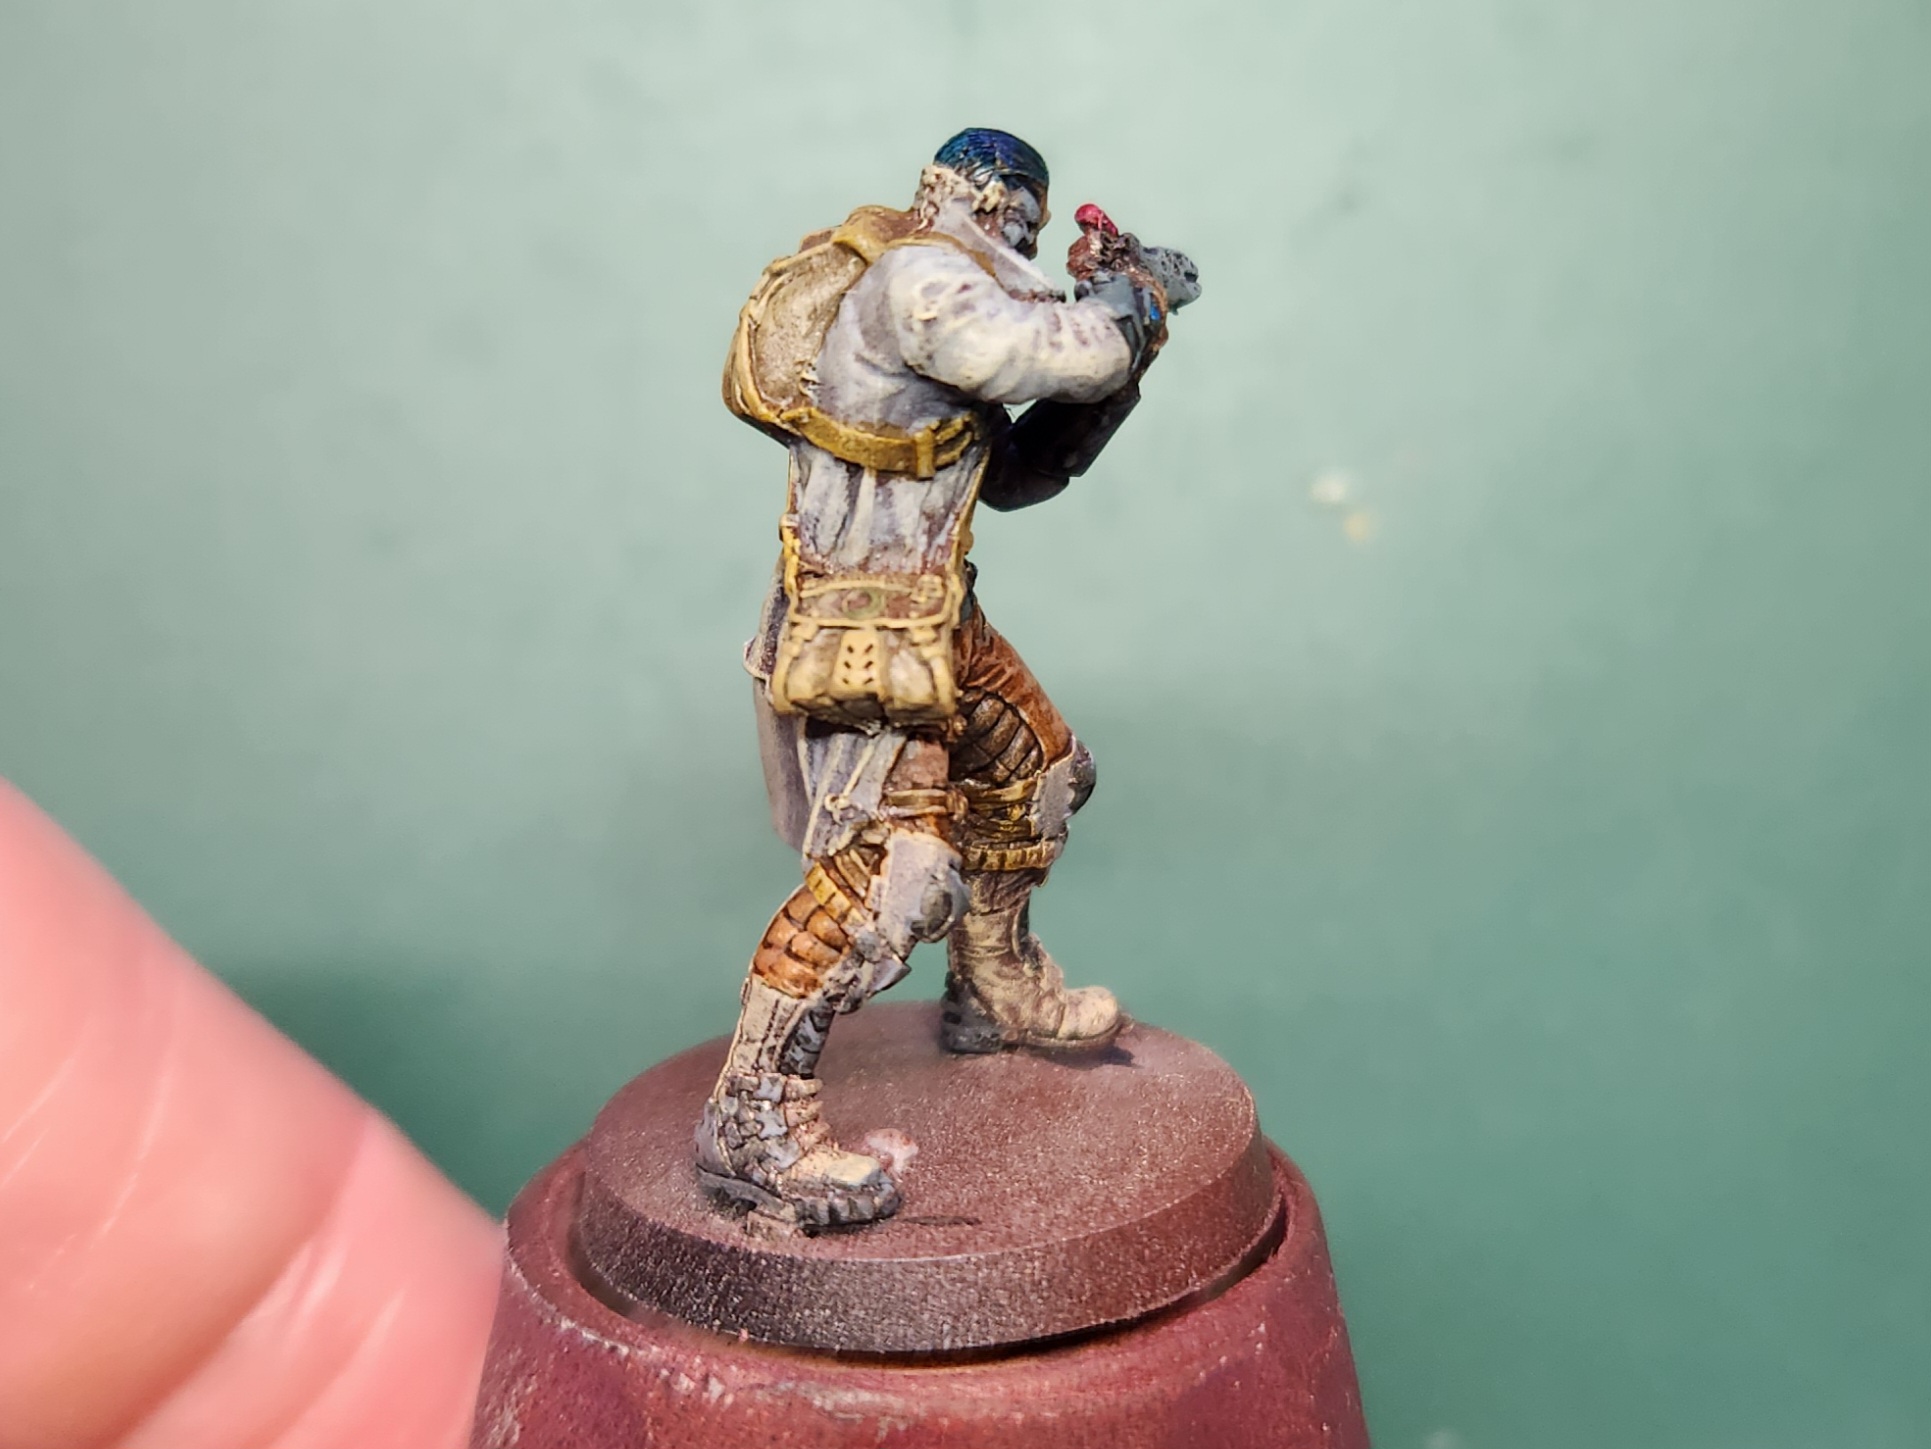
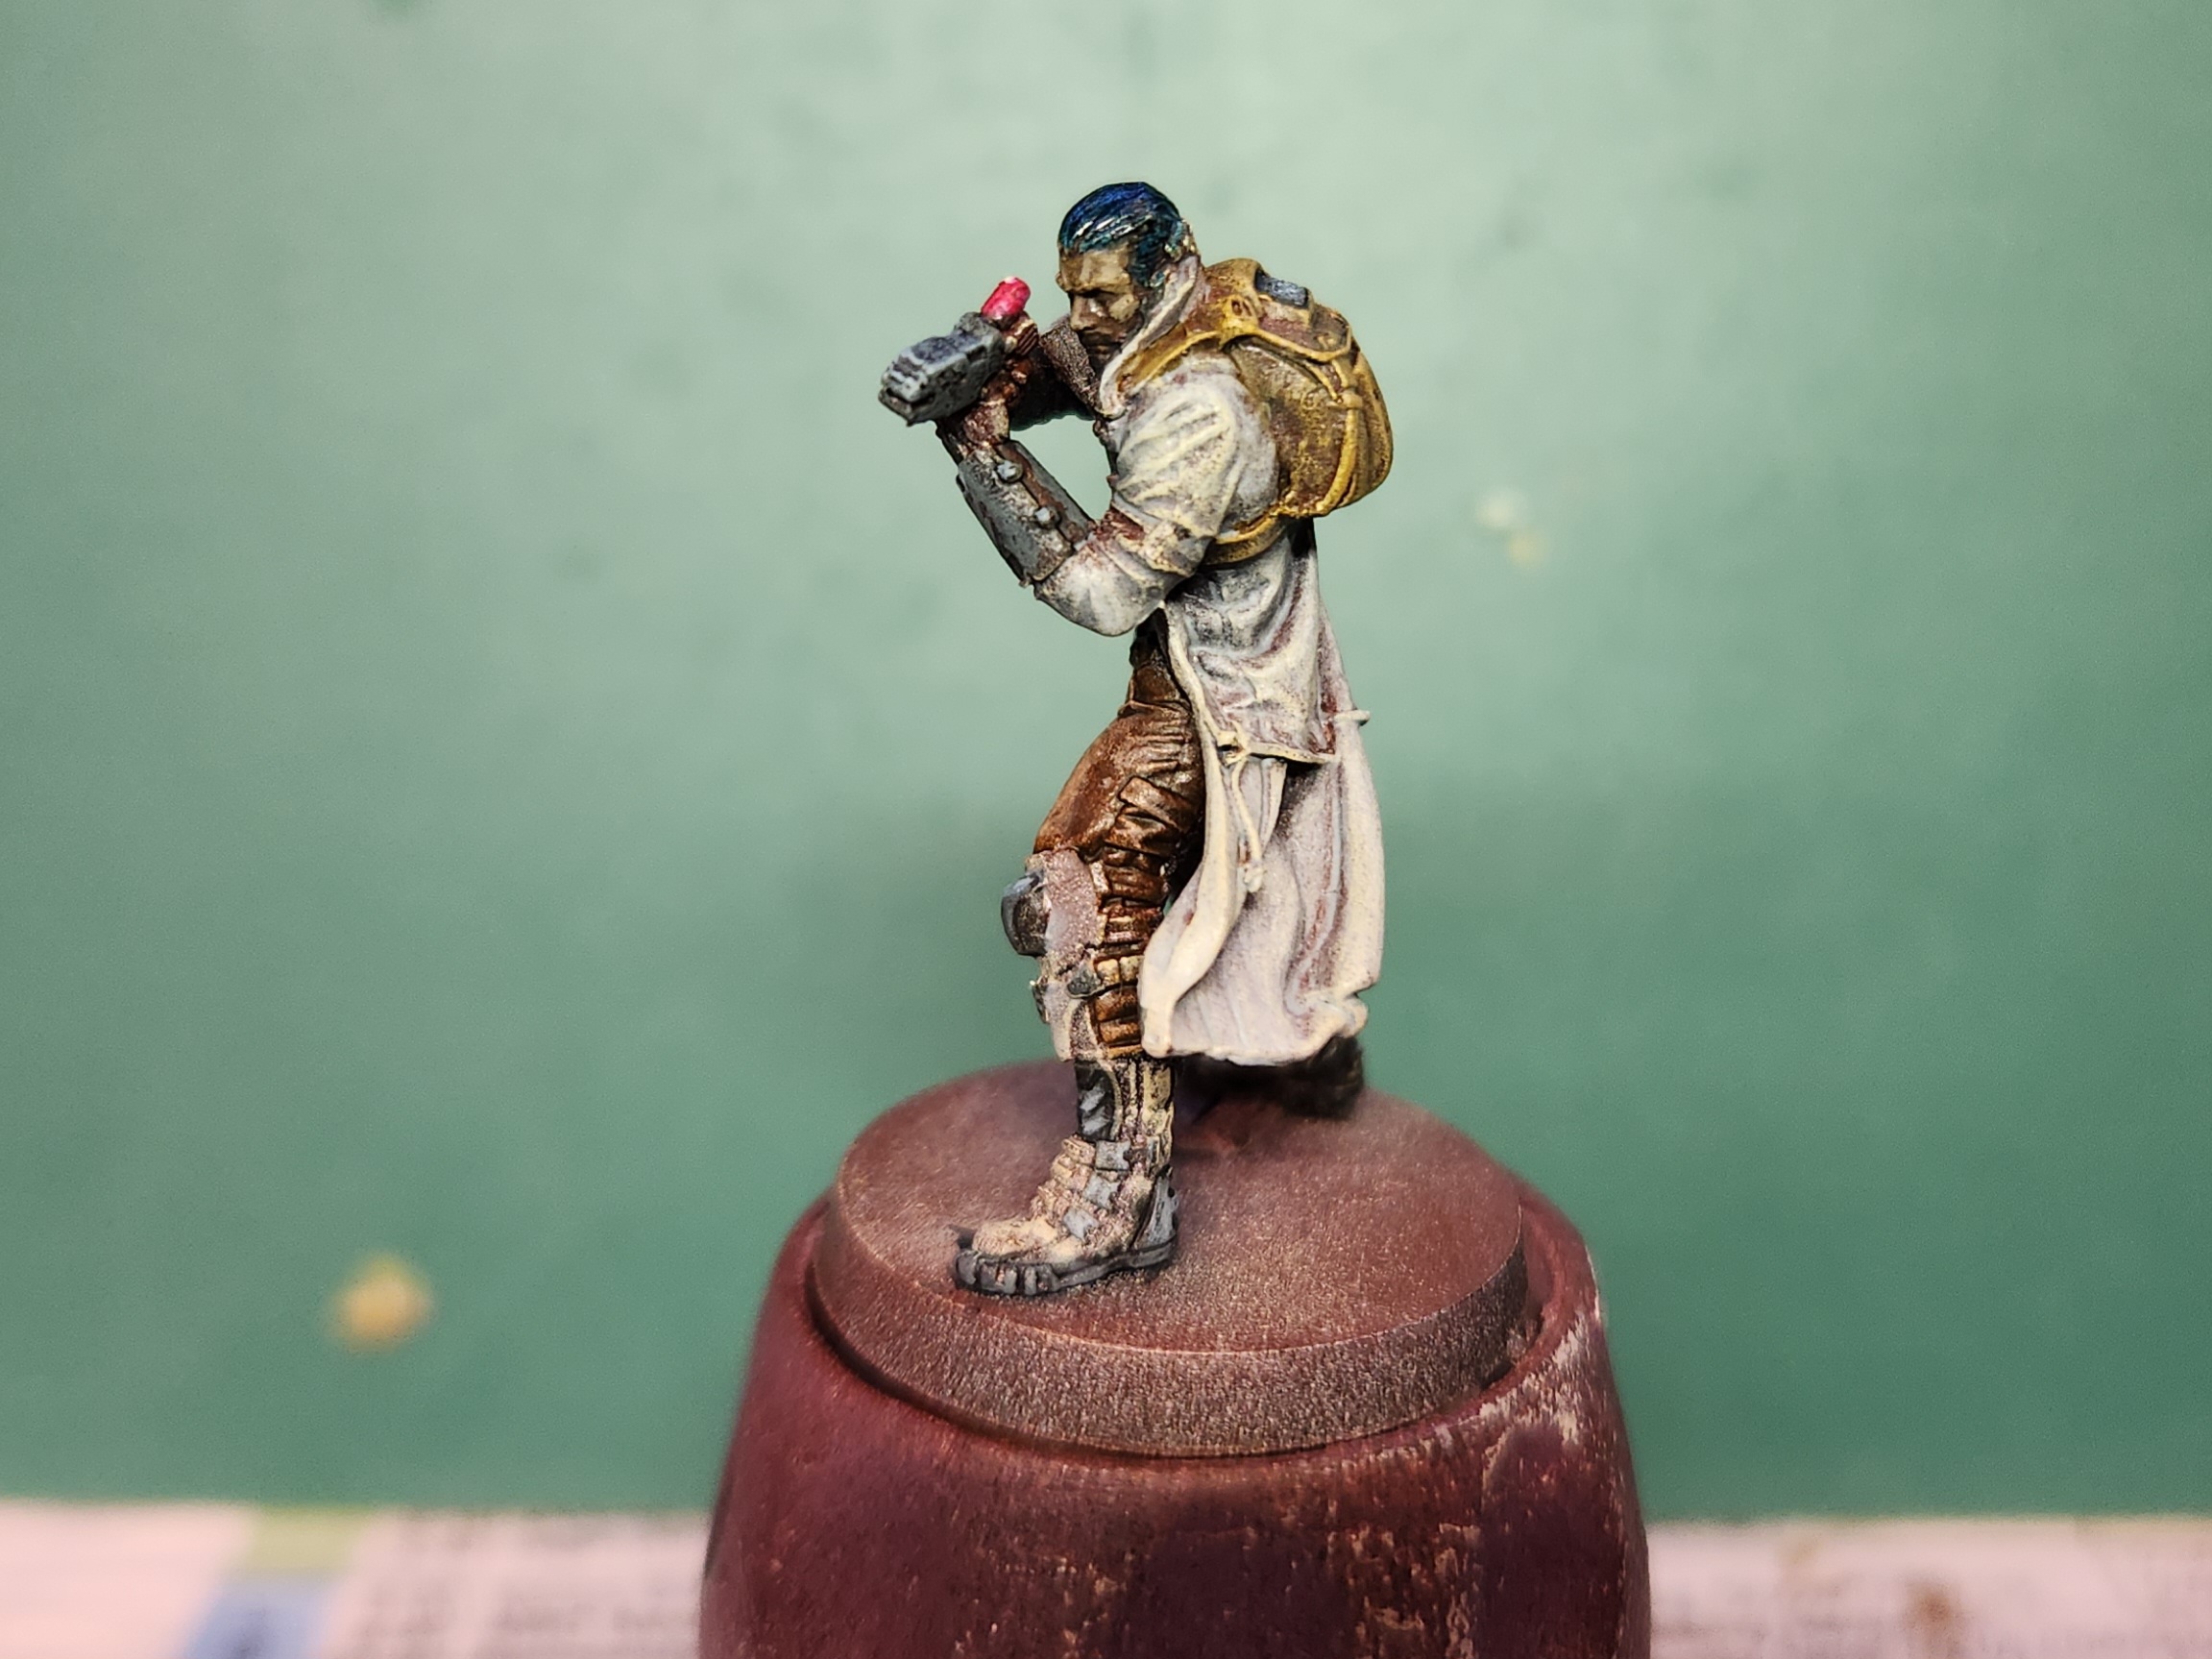
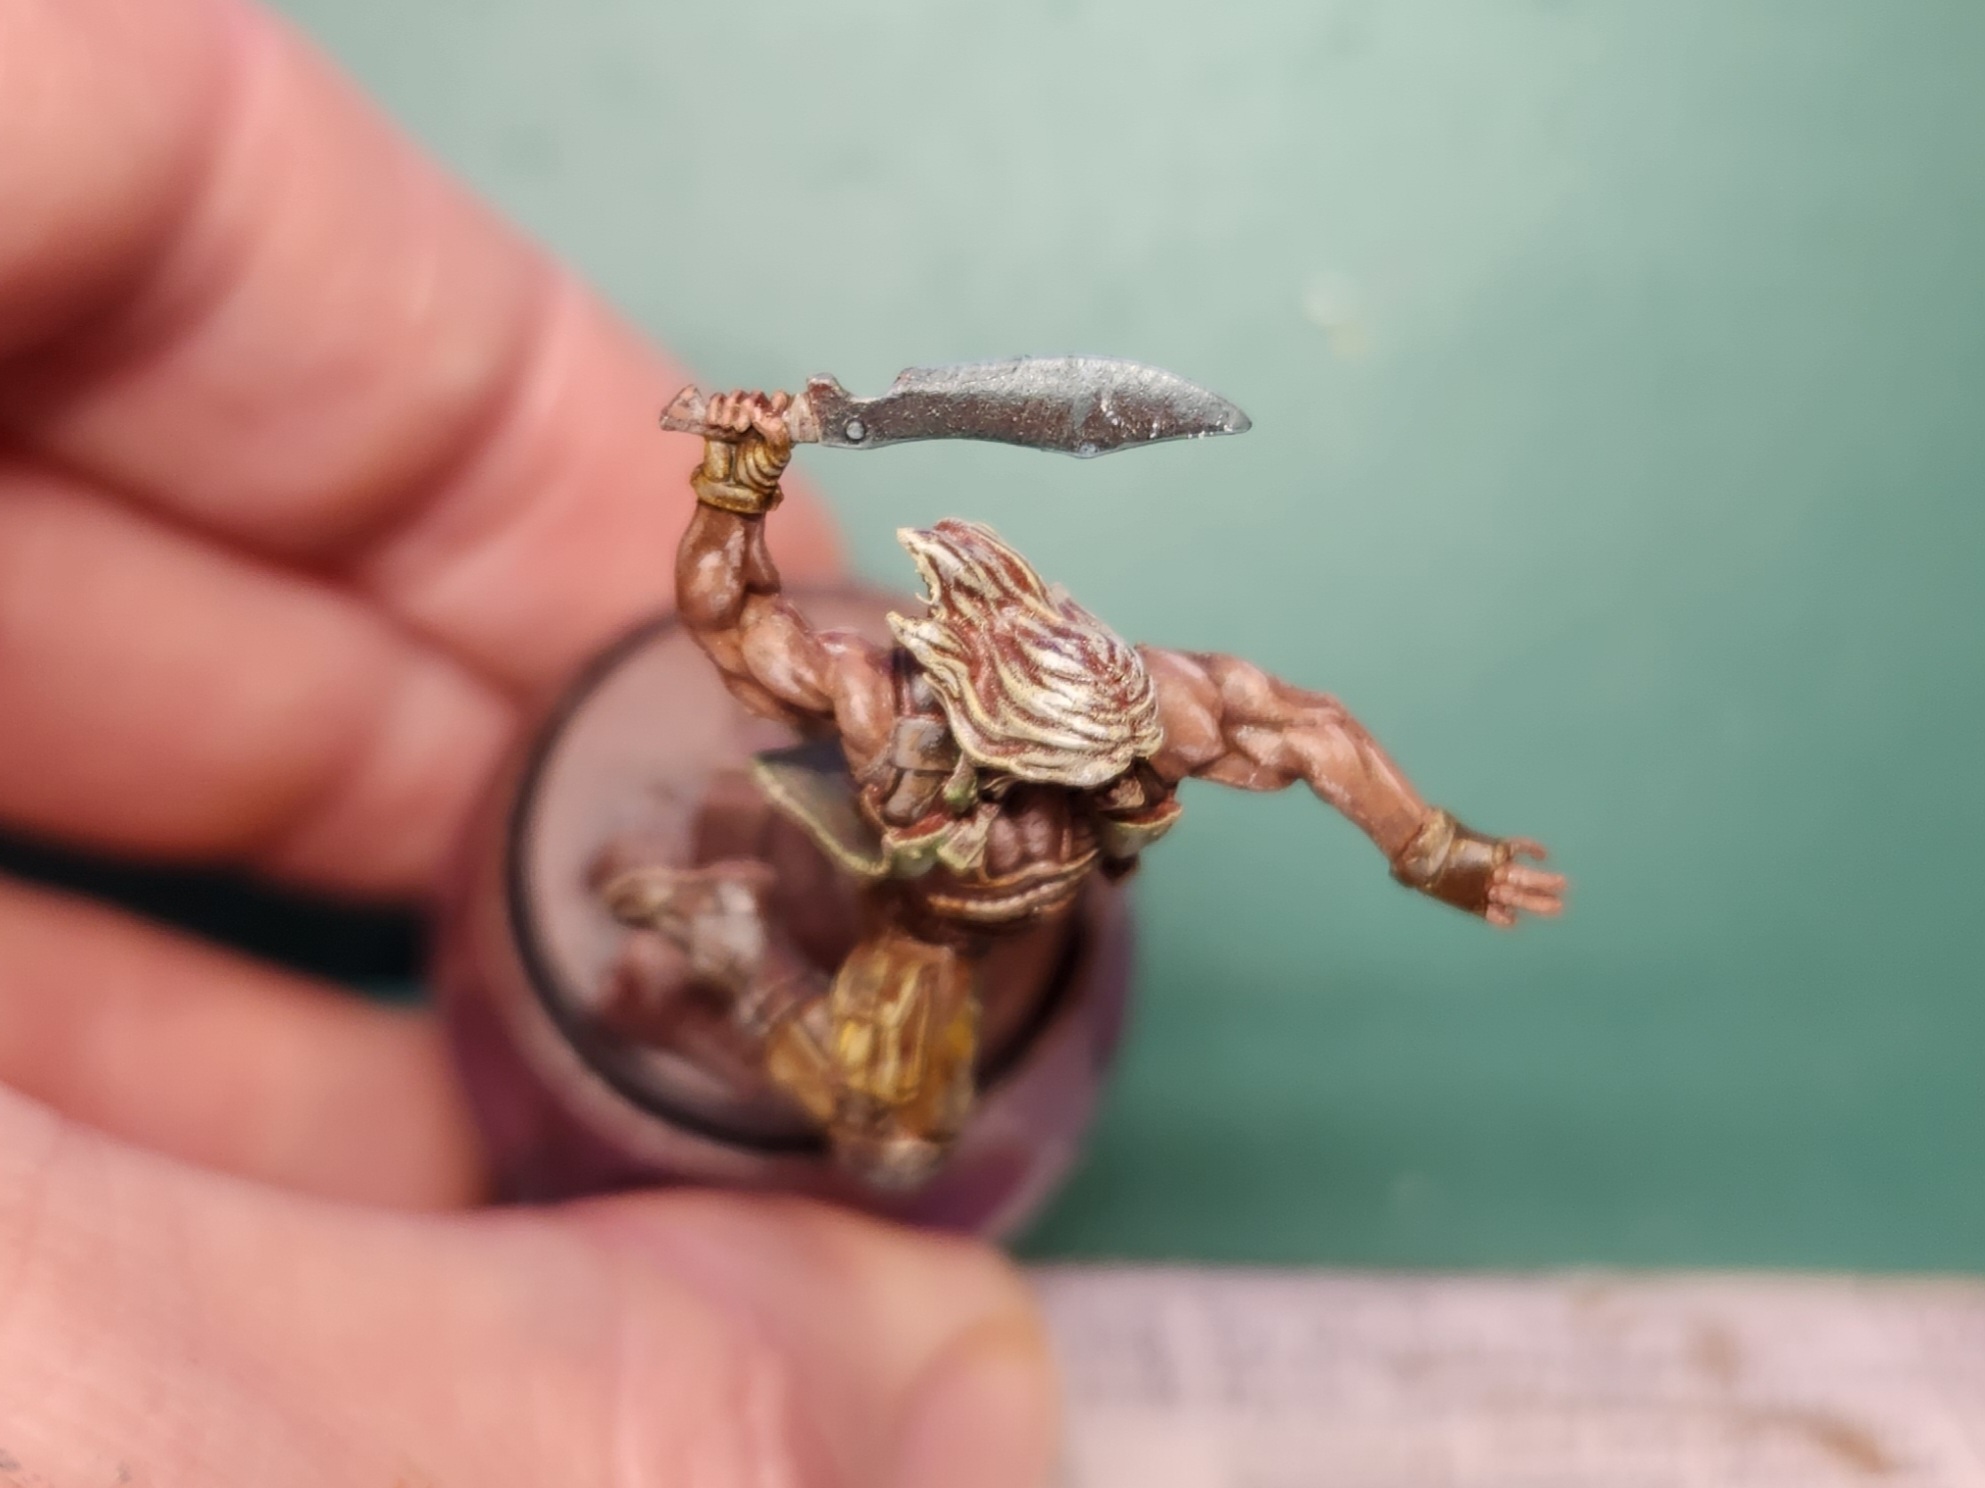
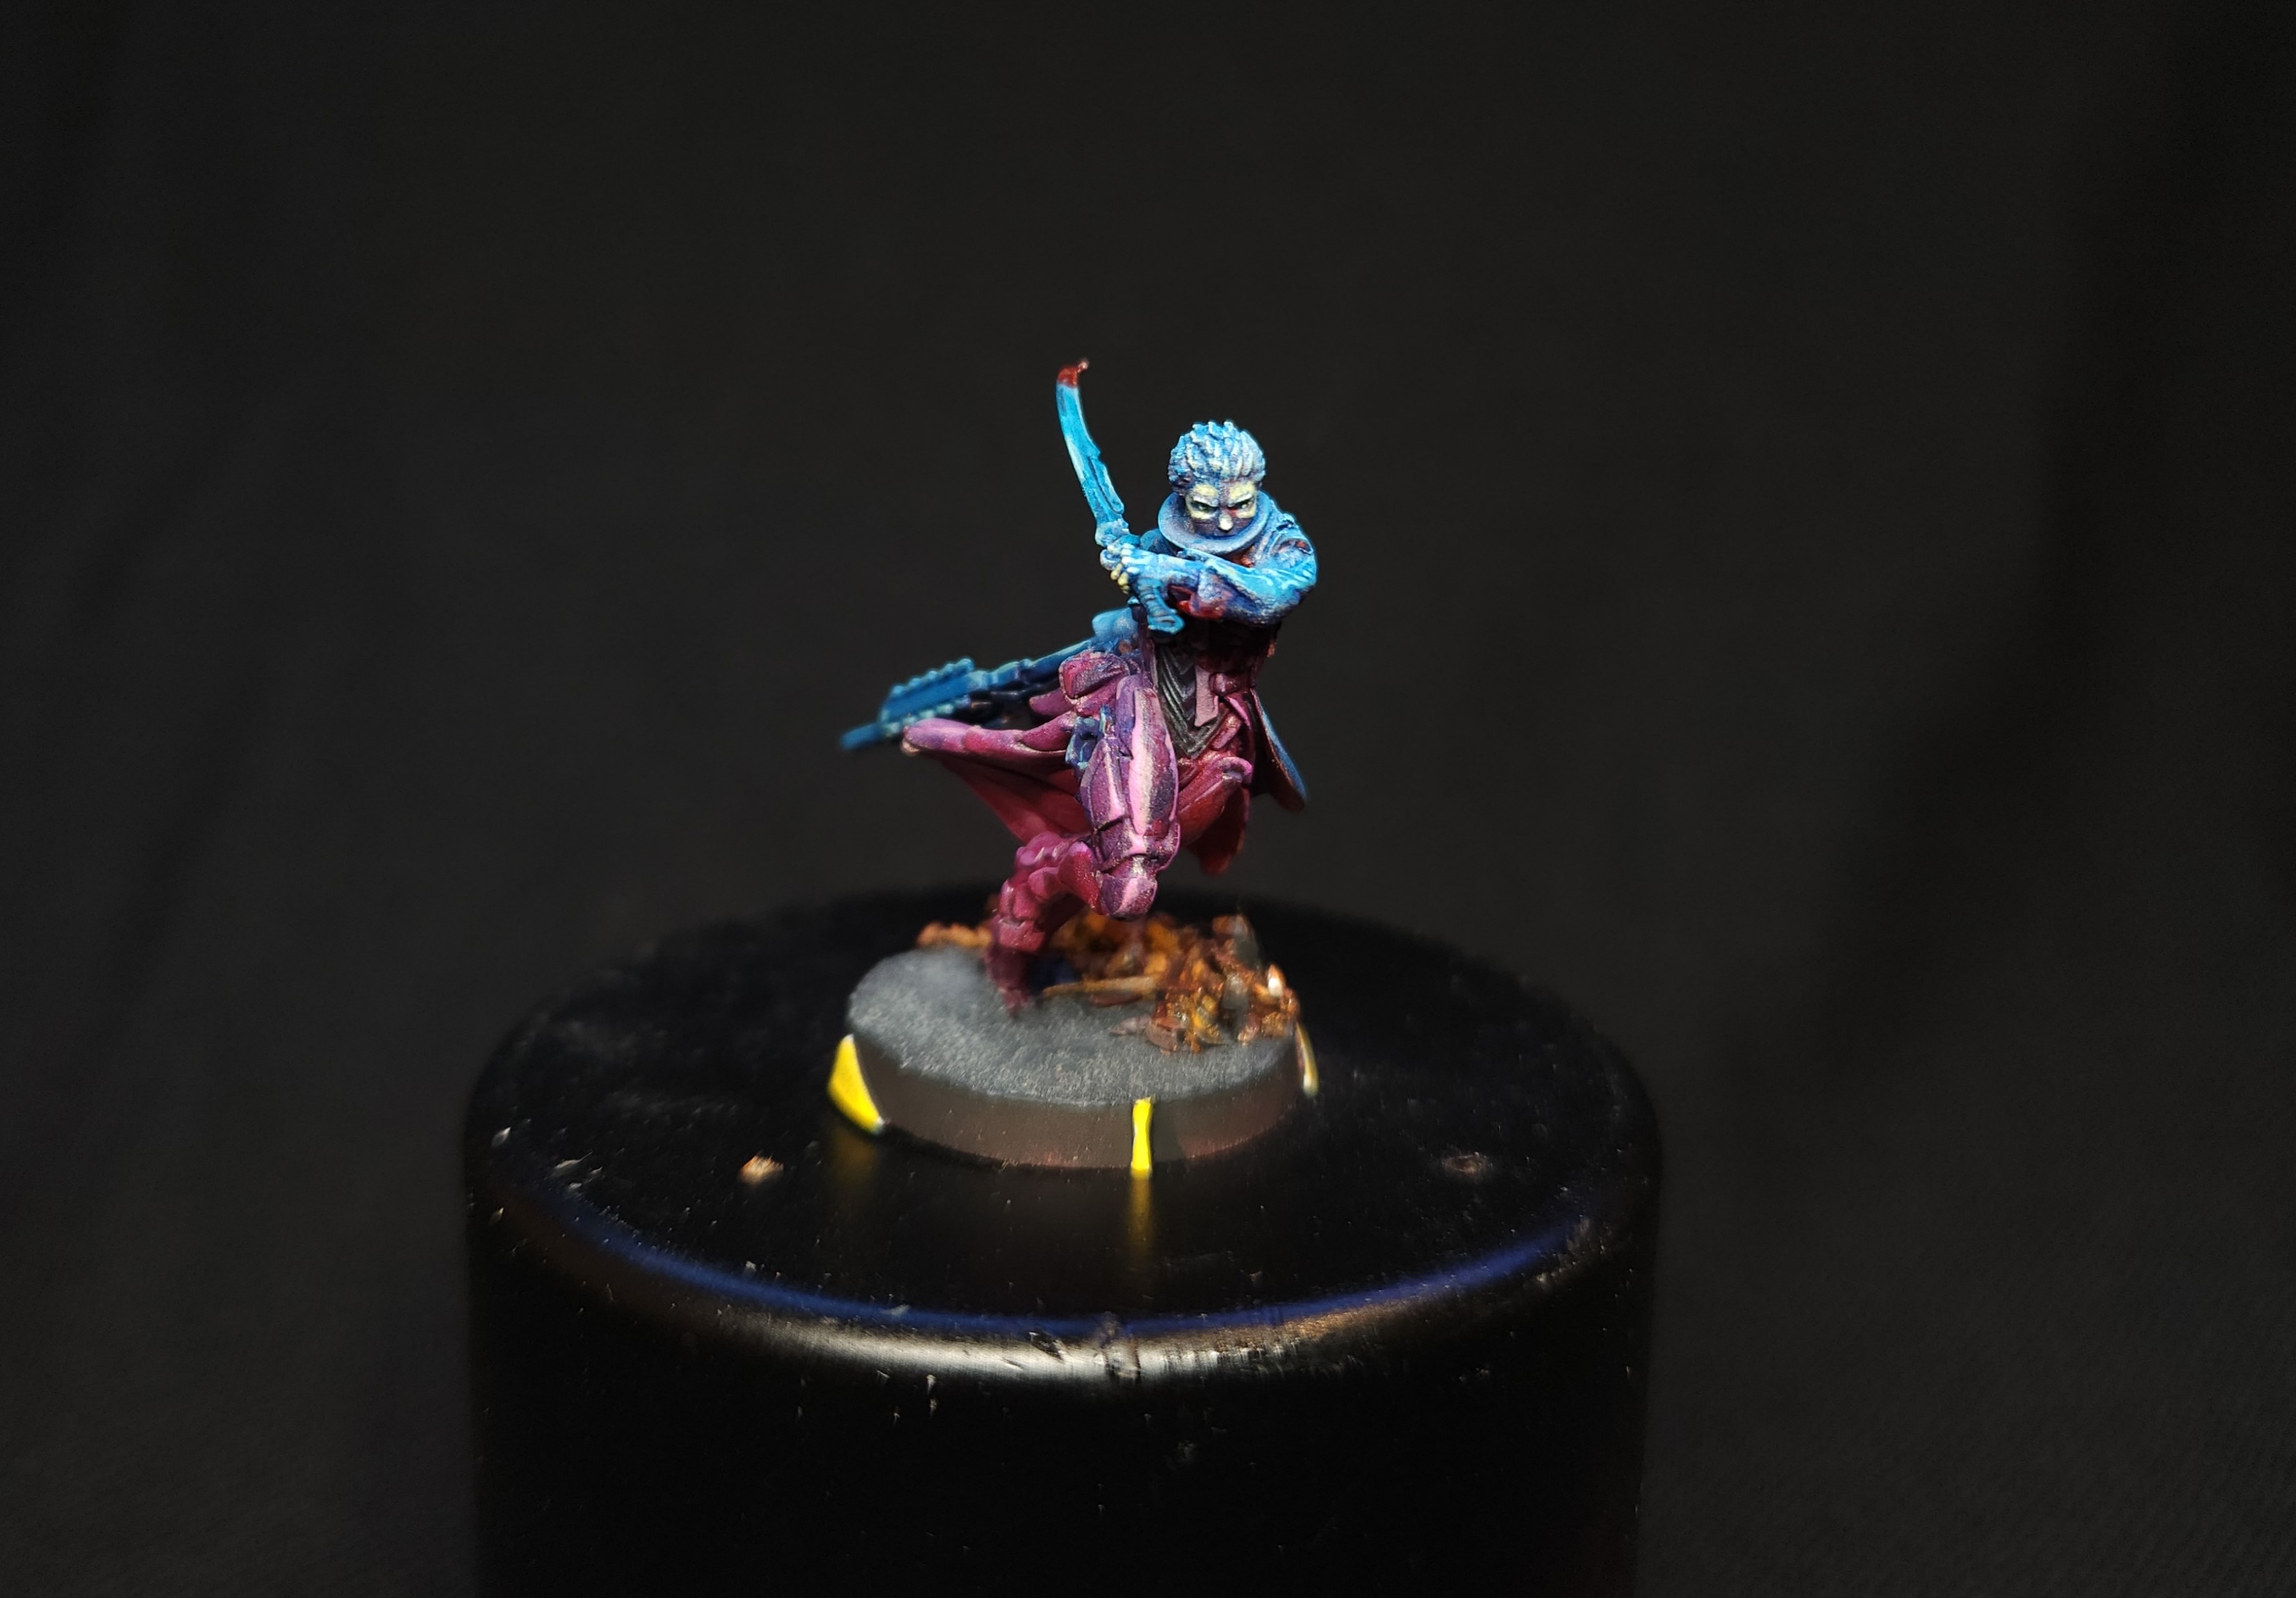
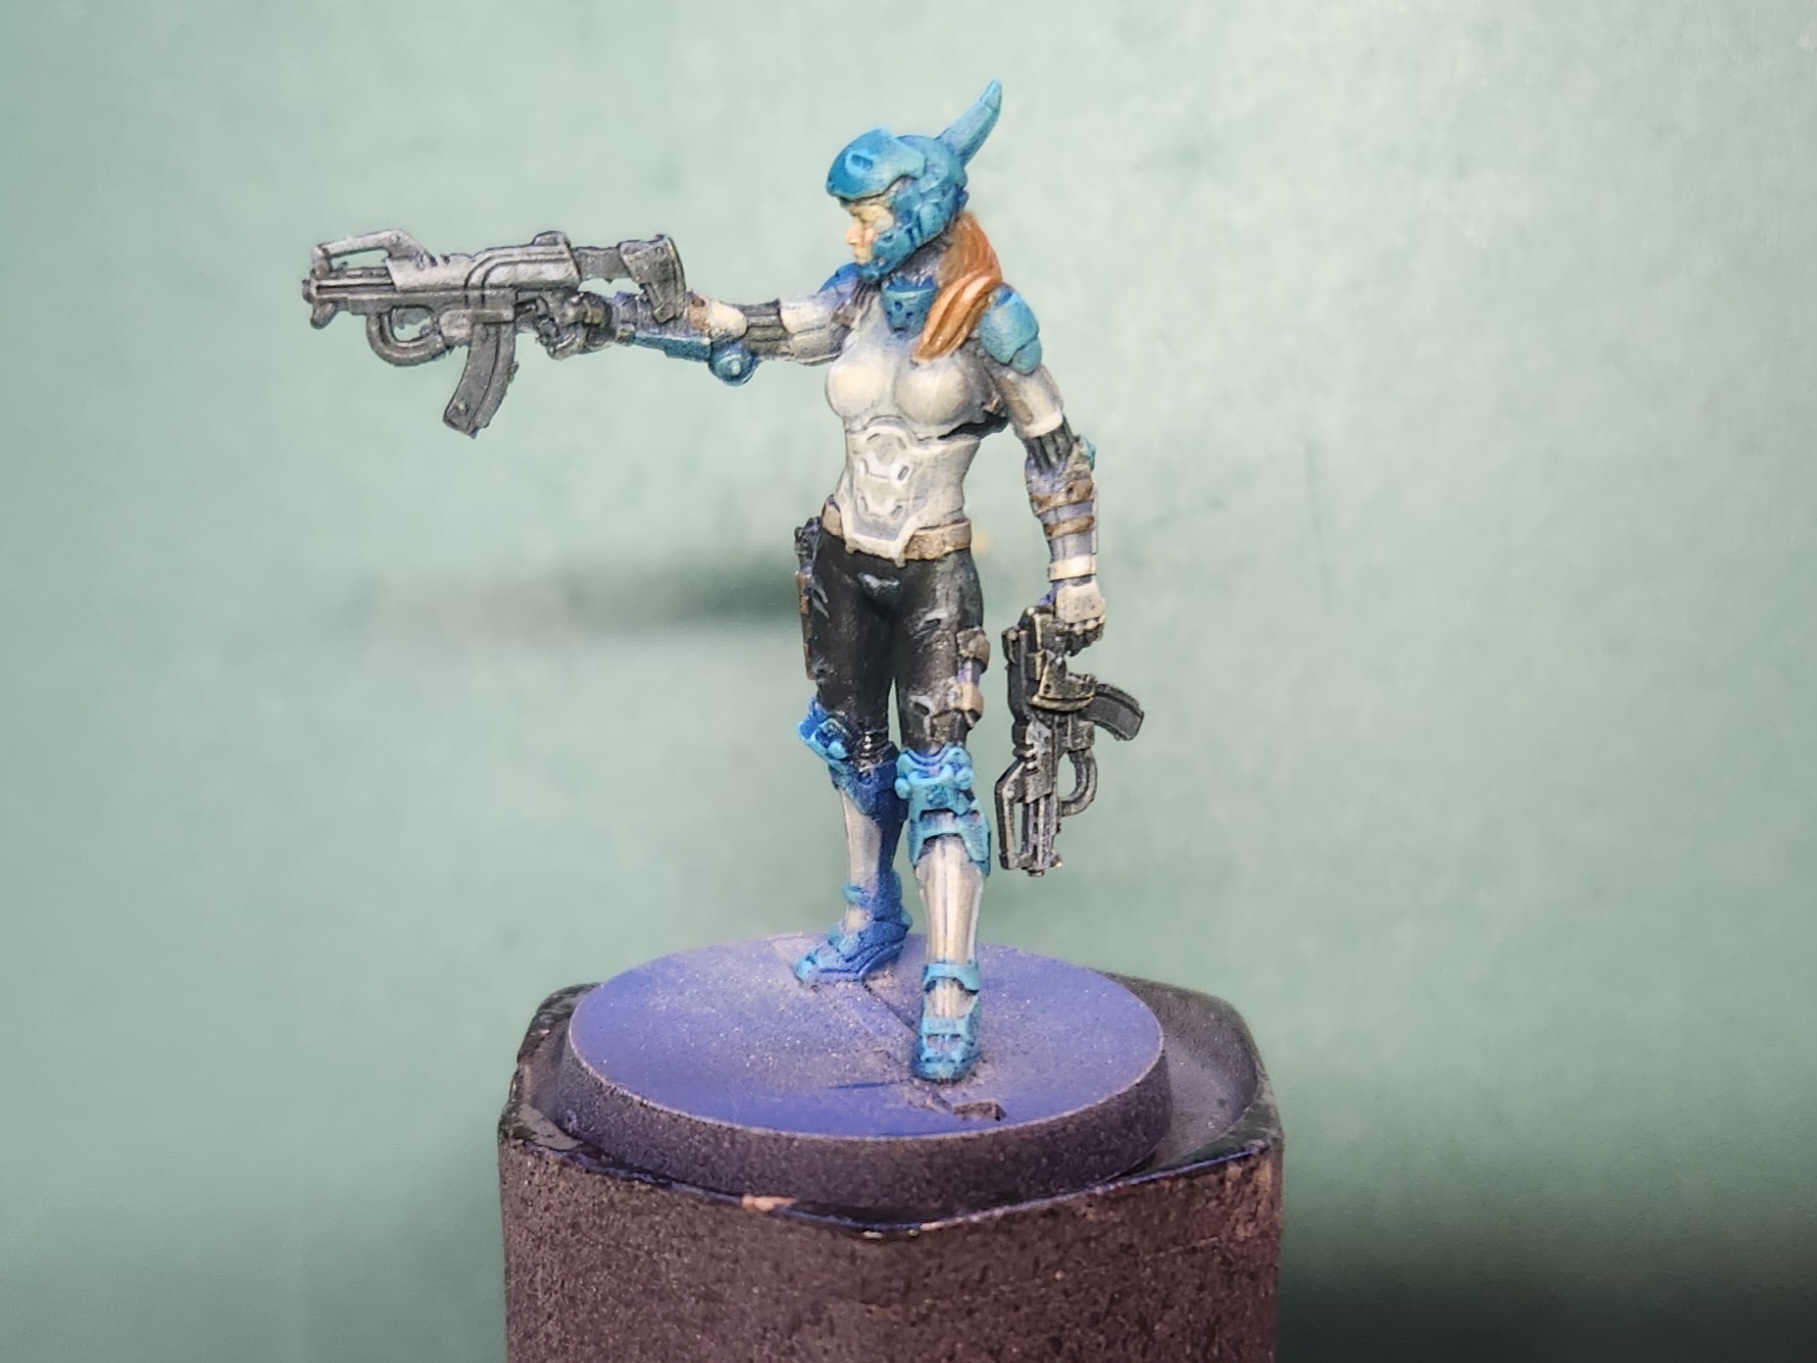 Uma Sørensen

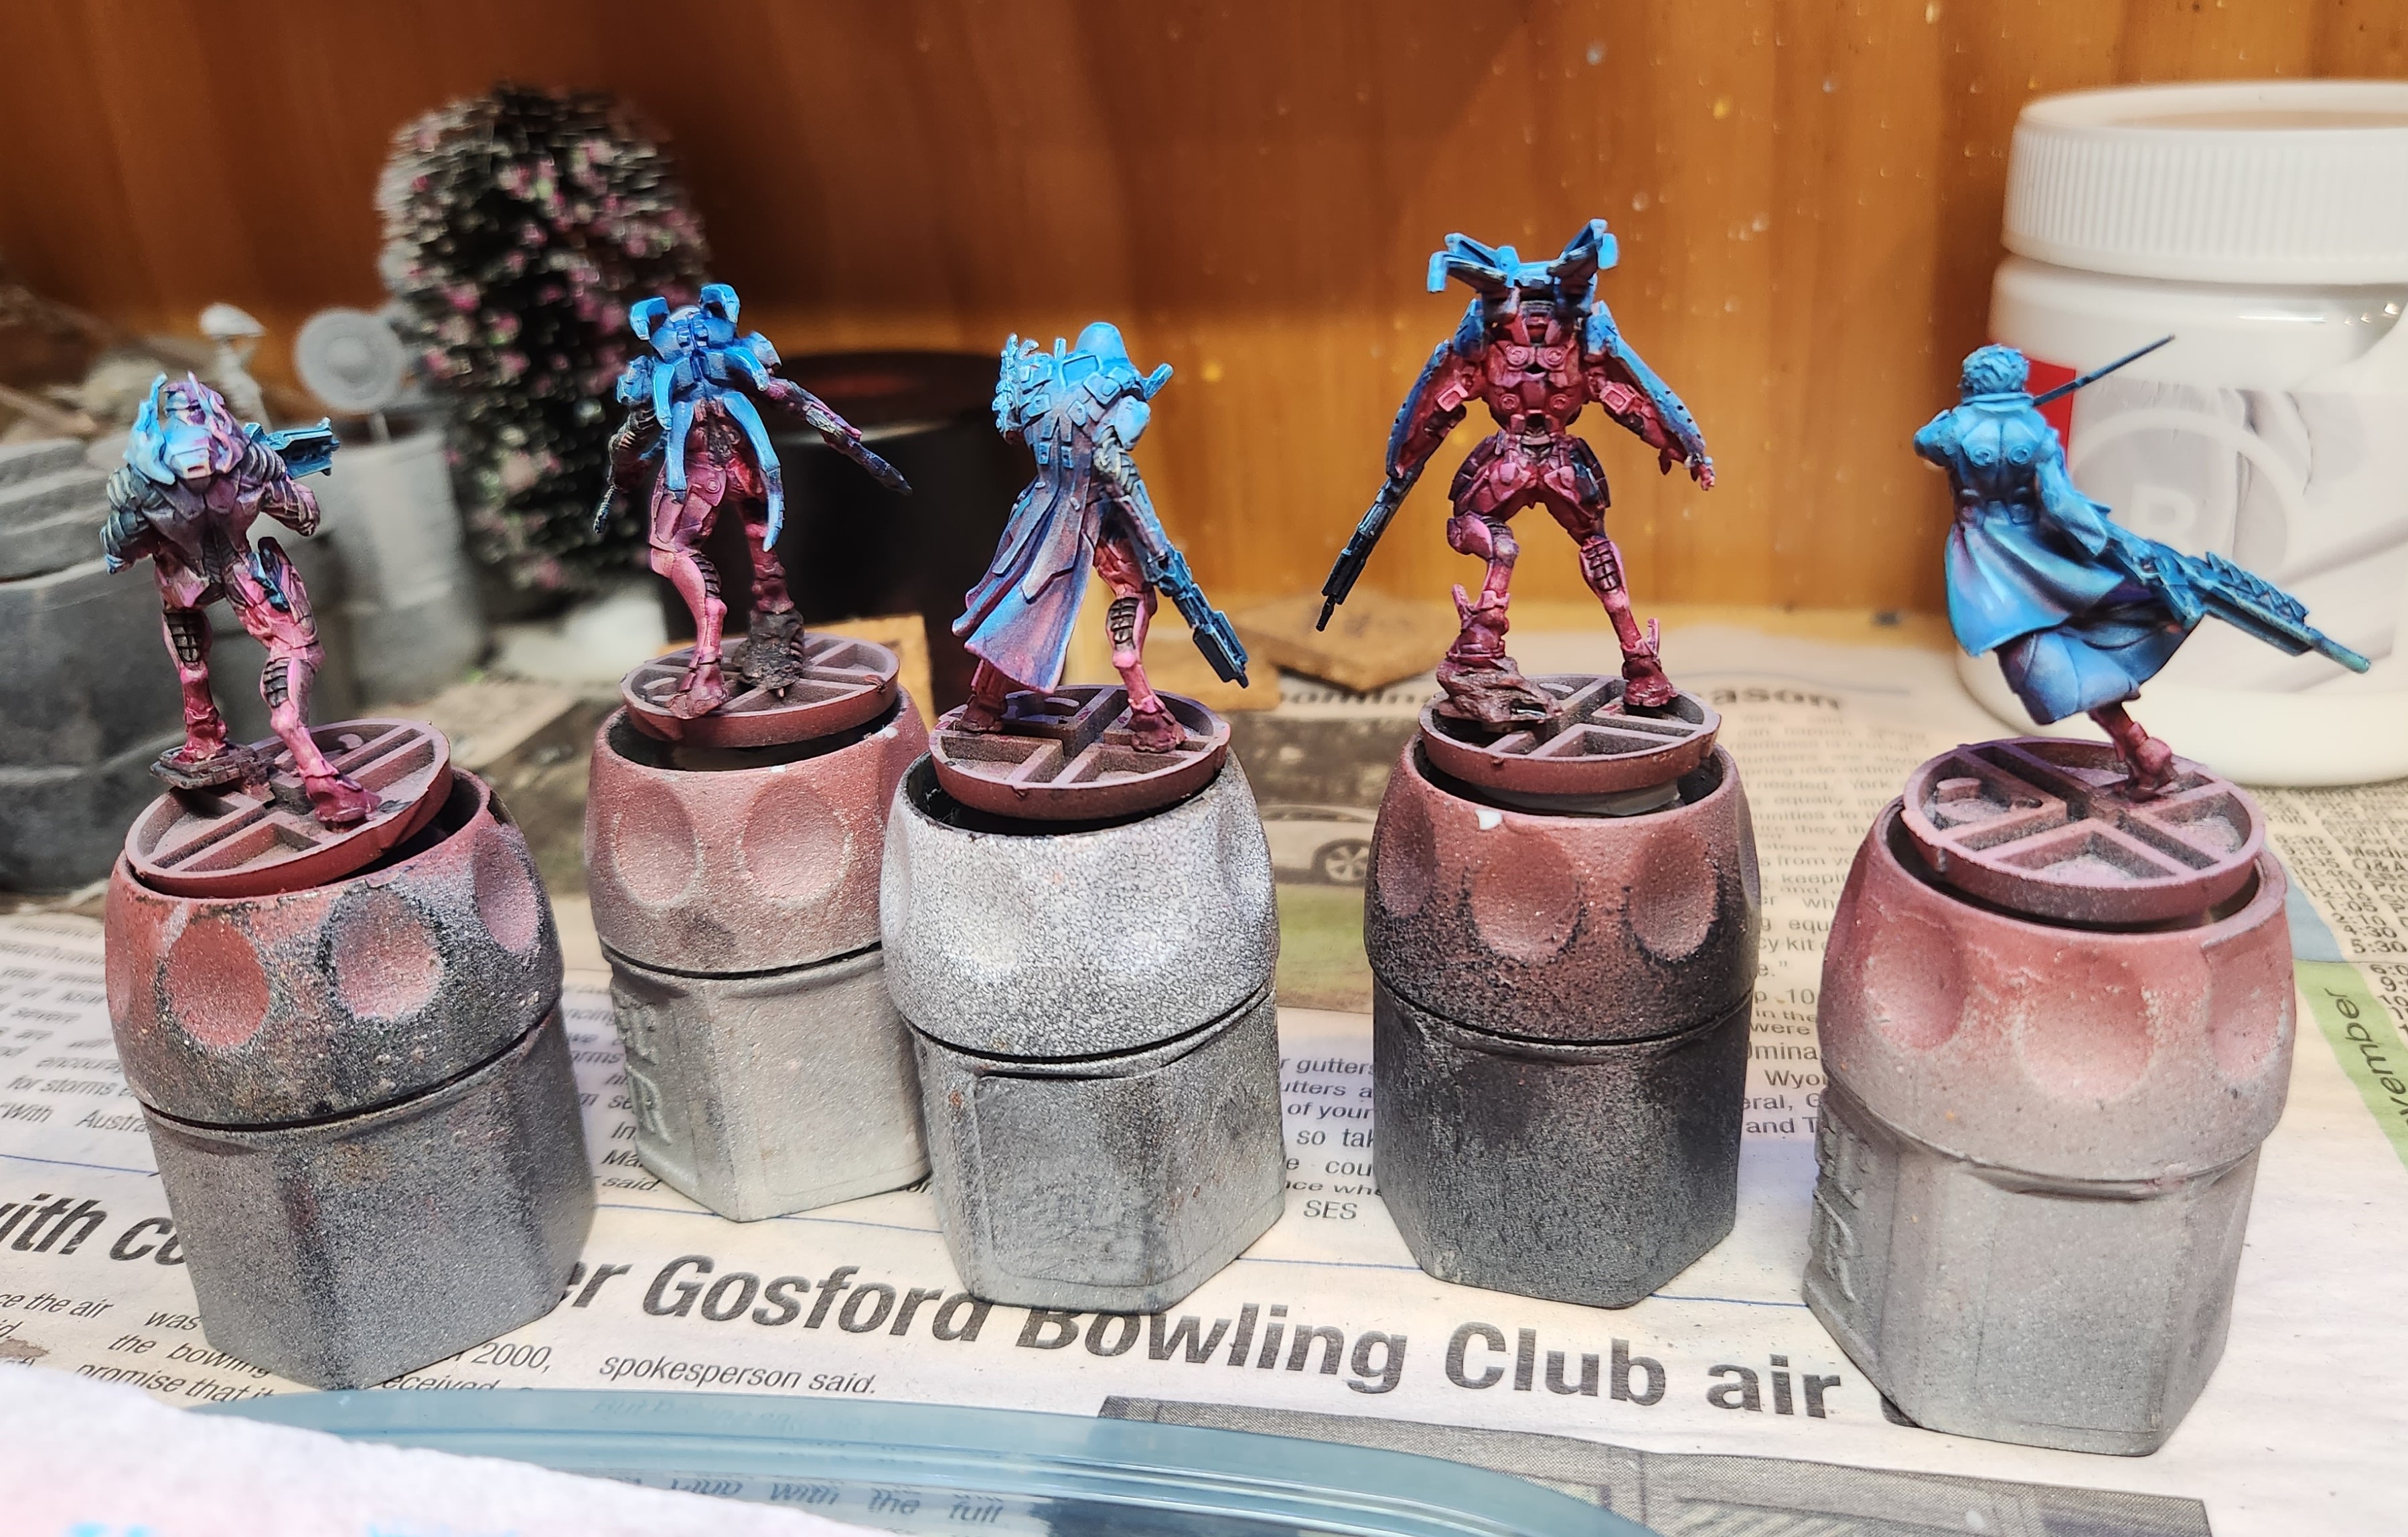
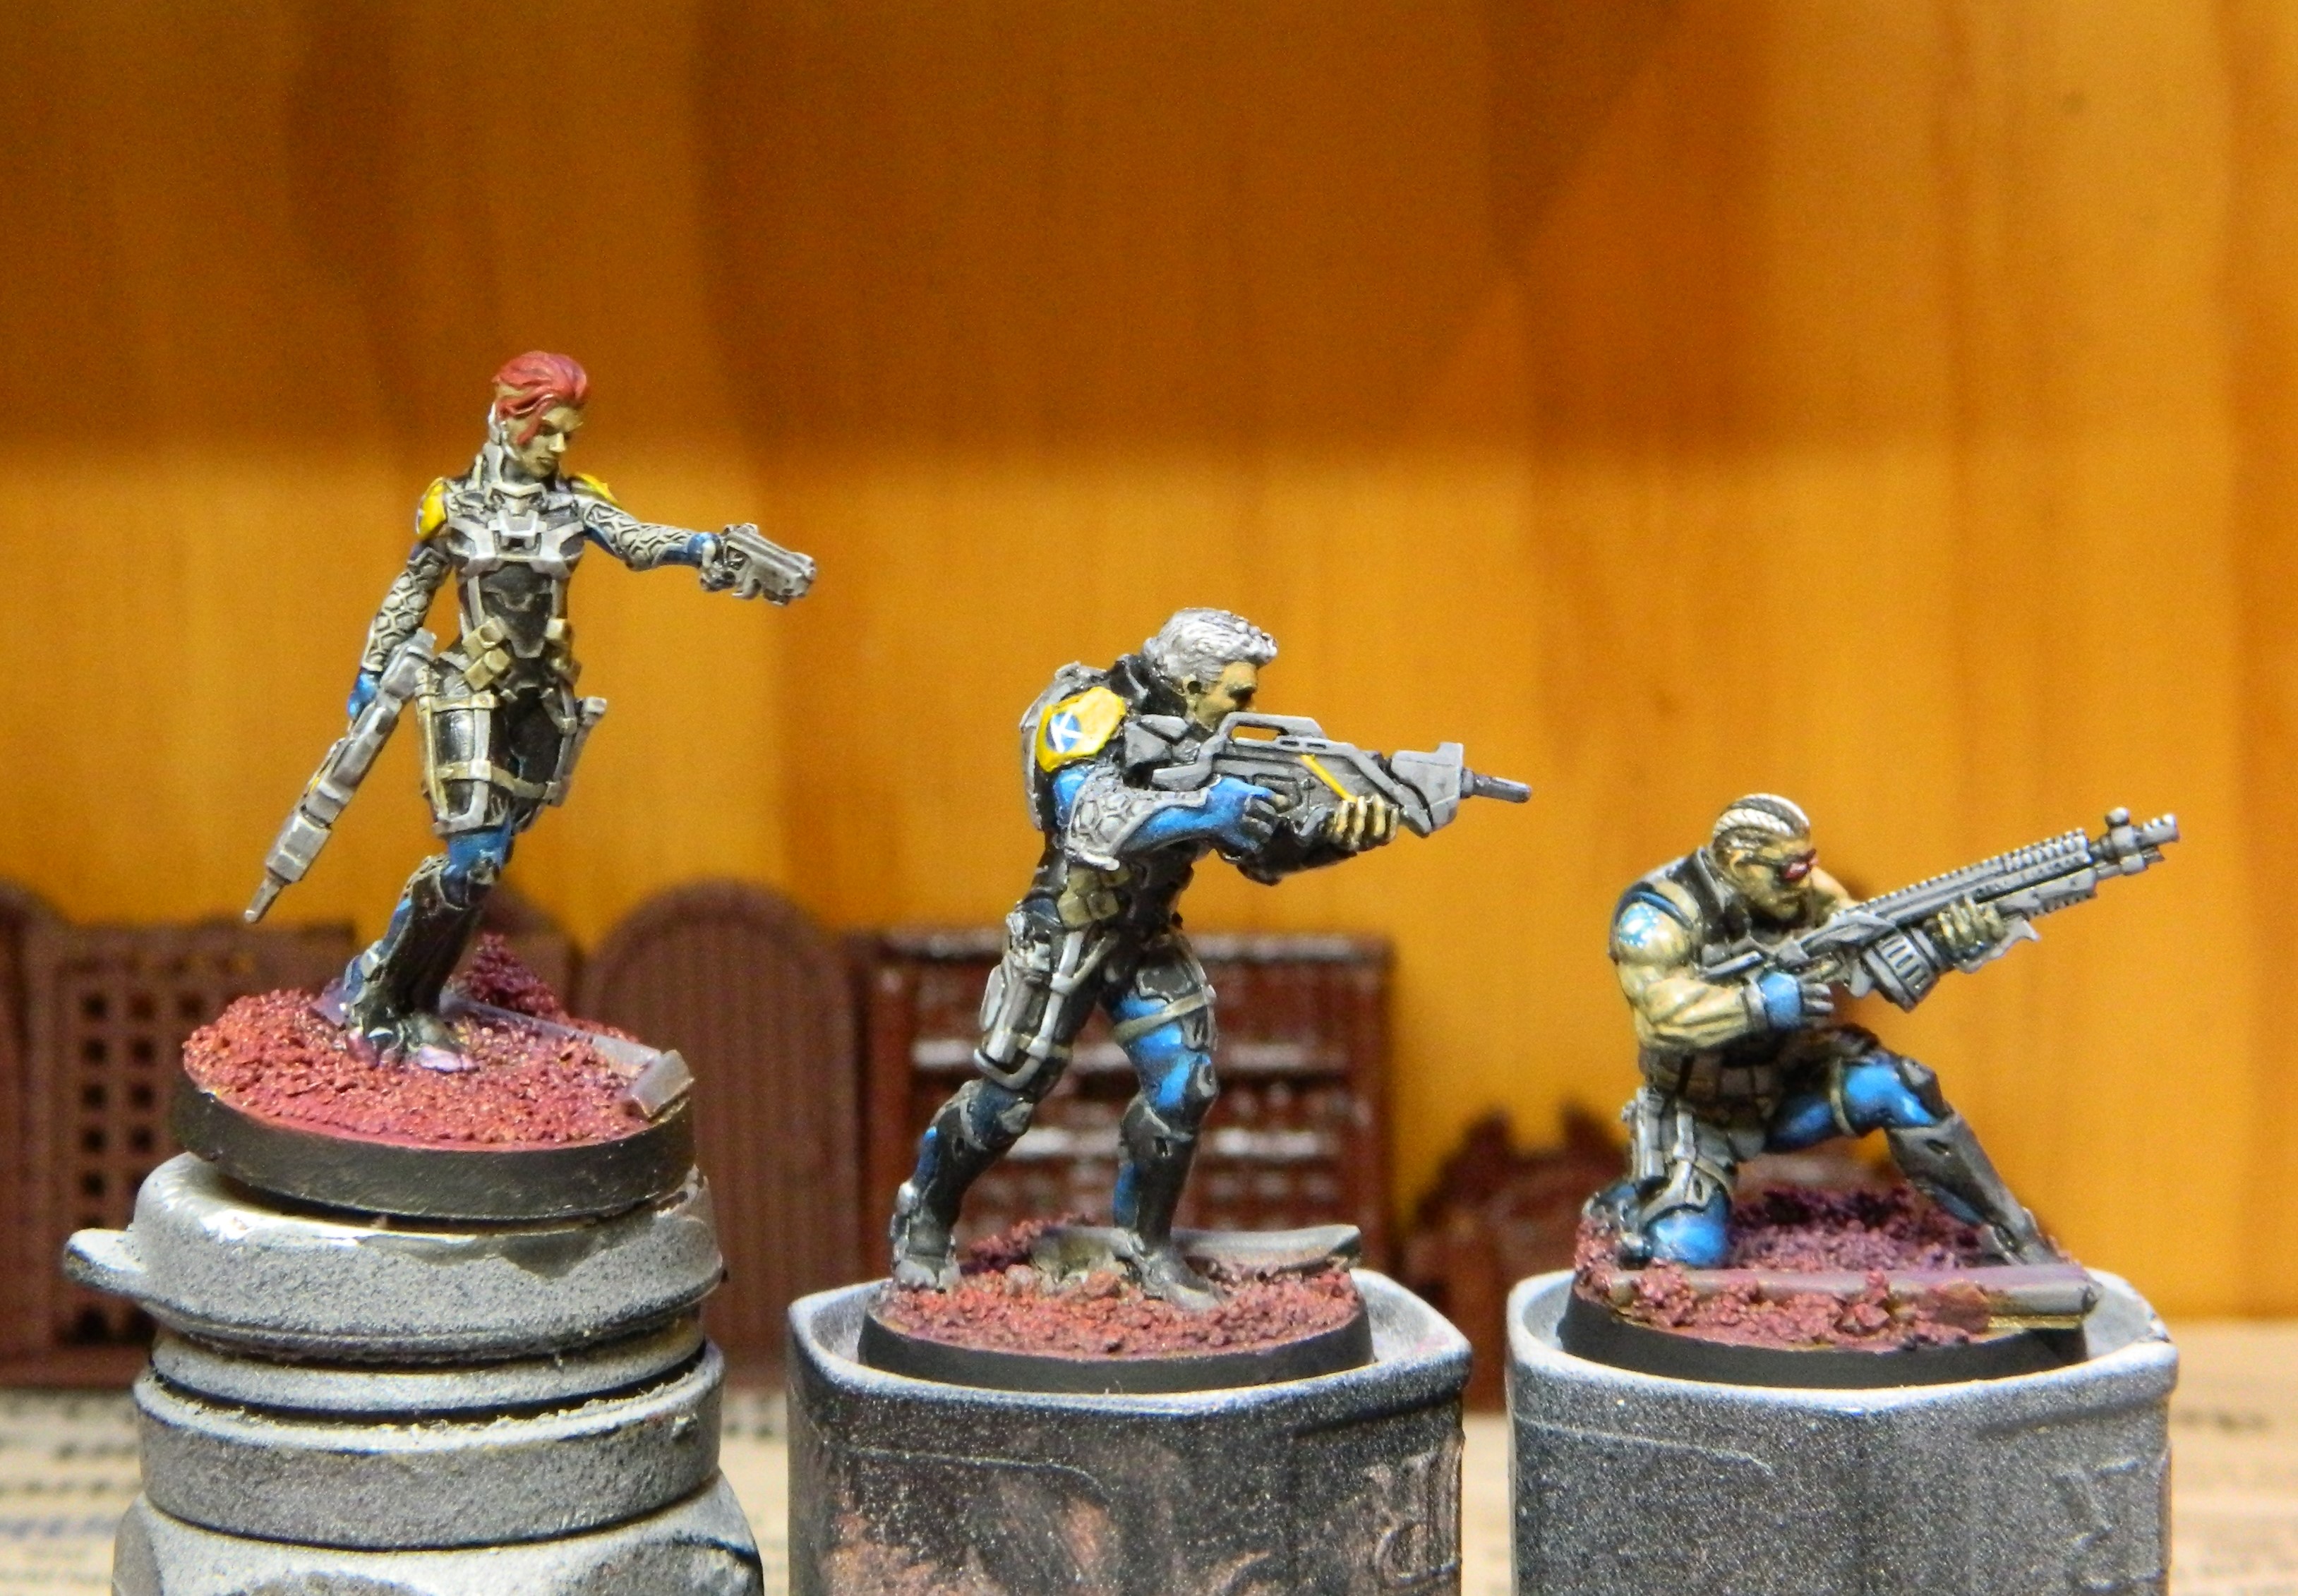
6 Mar 23: Where we got up to
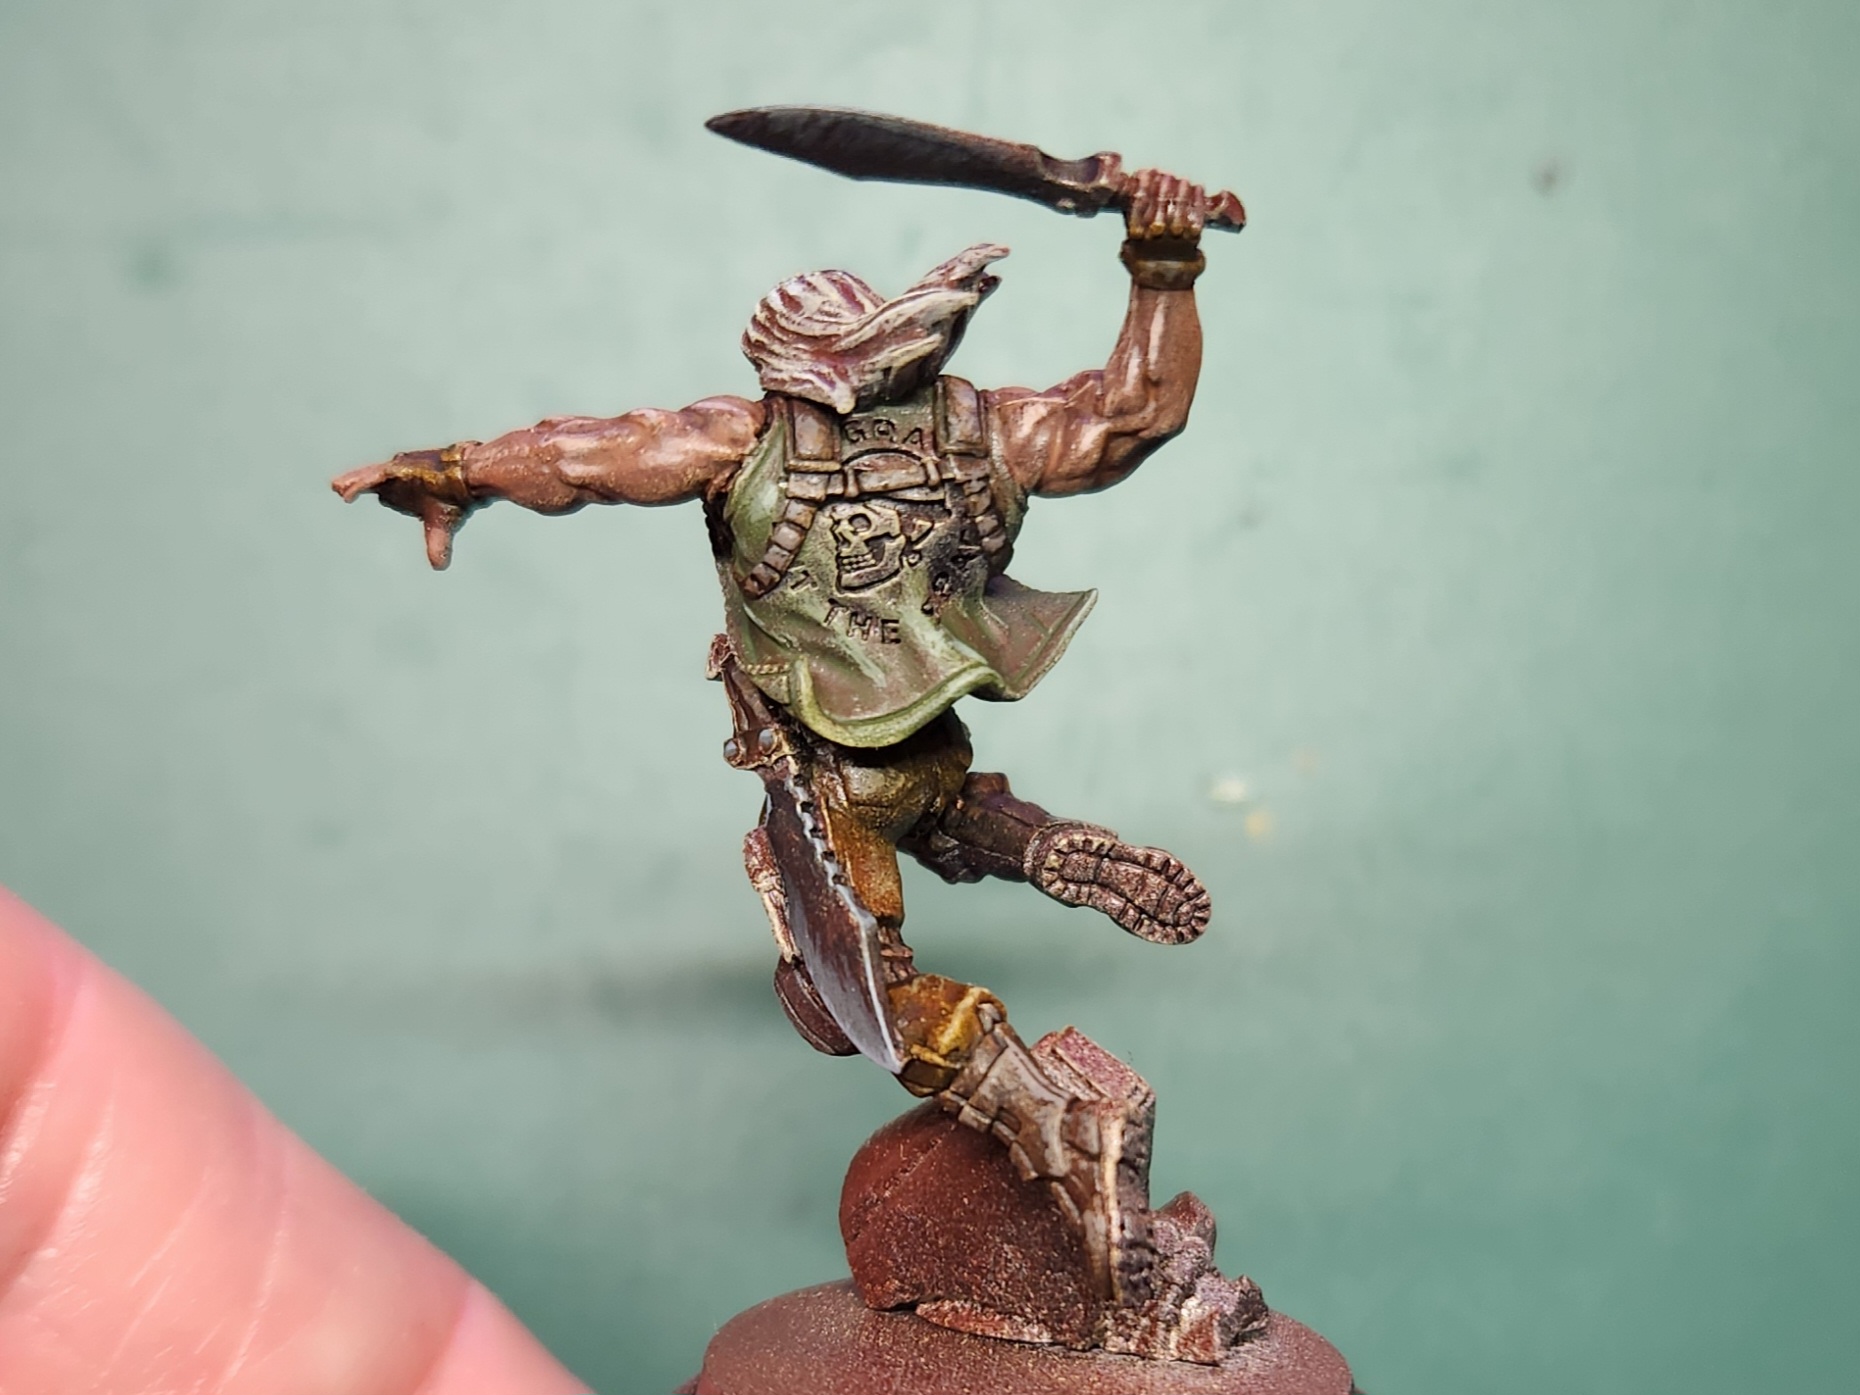
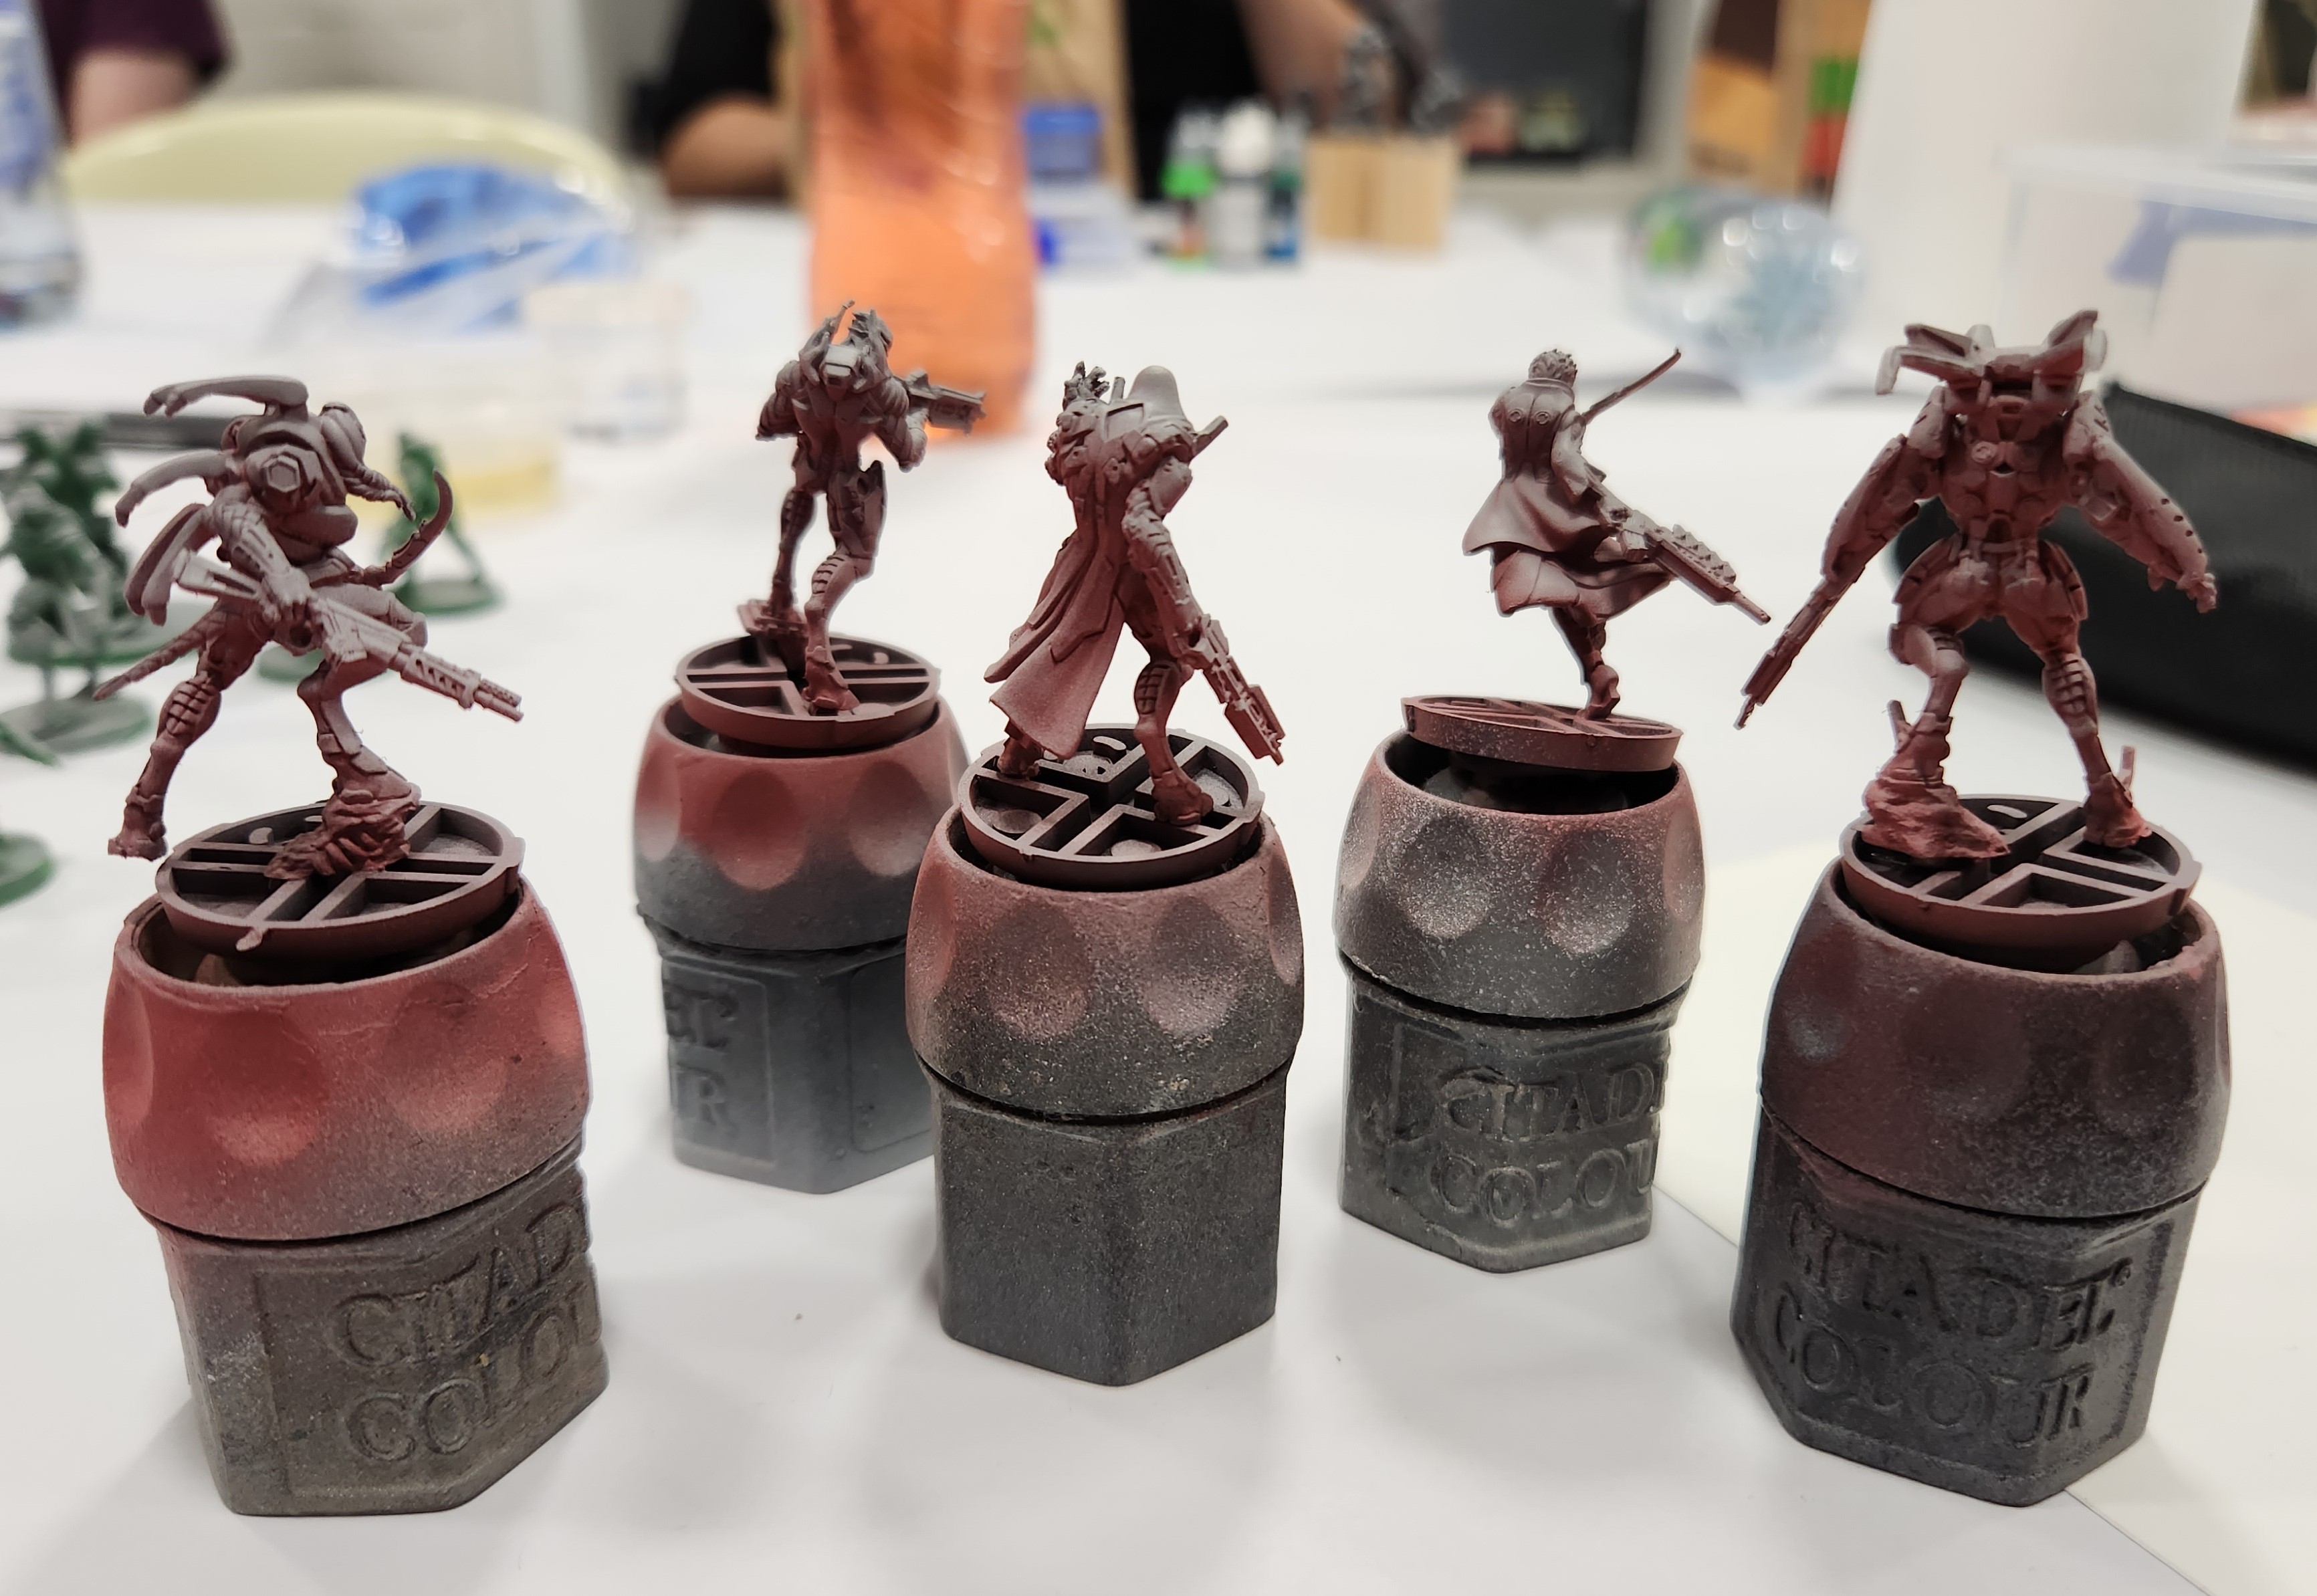
 At the end of the day the minis got to this point. Not Exactly completed, but actually much further on than my usual painting method.
 Ah, I forgot to mention all the weapons are Citadel Contrast Akhelian Green. I’d also done the overlapping armour plates at the shoulders and back of the calves in a single coat of Citadel Contrast Black Templar
At this point, Tom says you can leave it and call it done or go onto the next steps. Basically, each step after this is optional (other than basing, right?), depending how in depth you want to get.
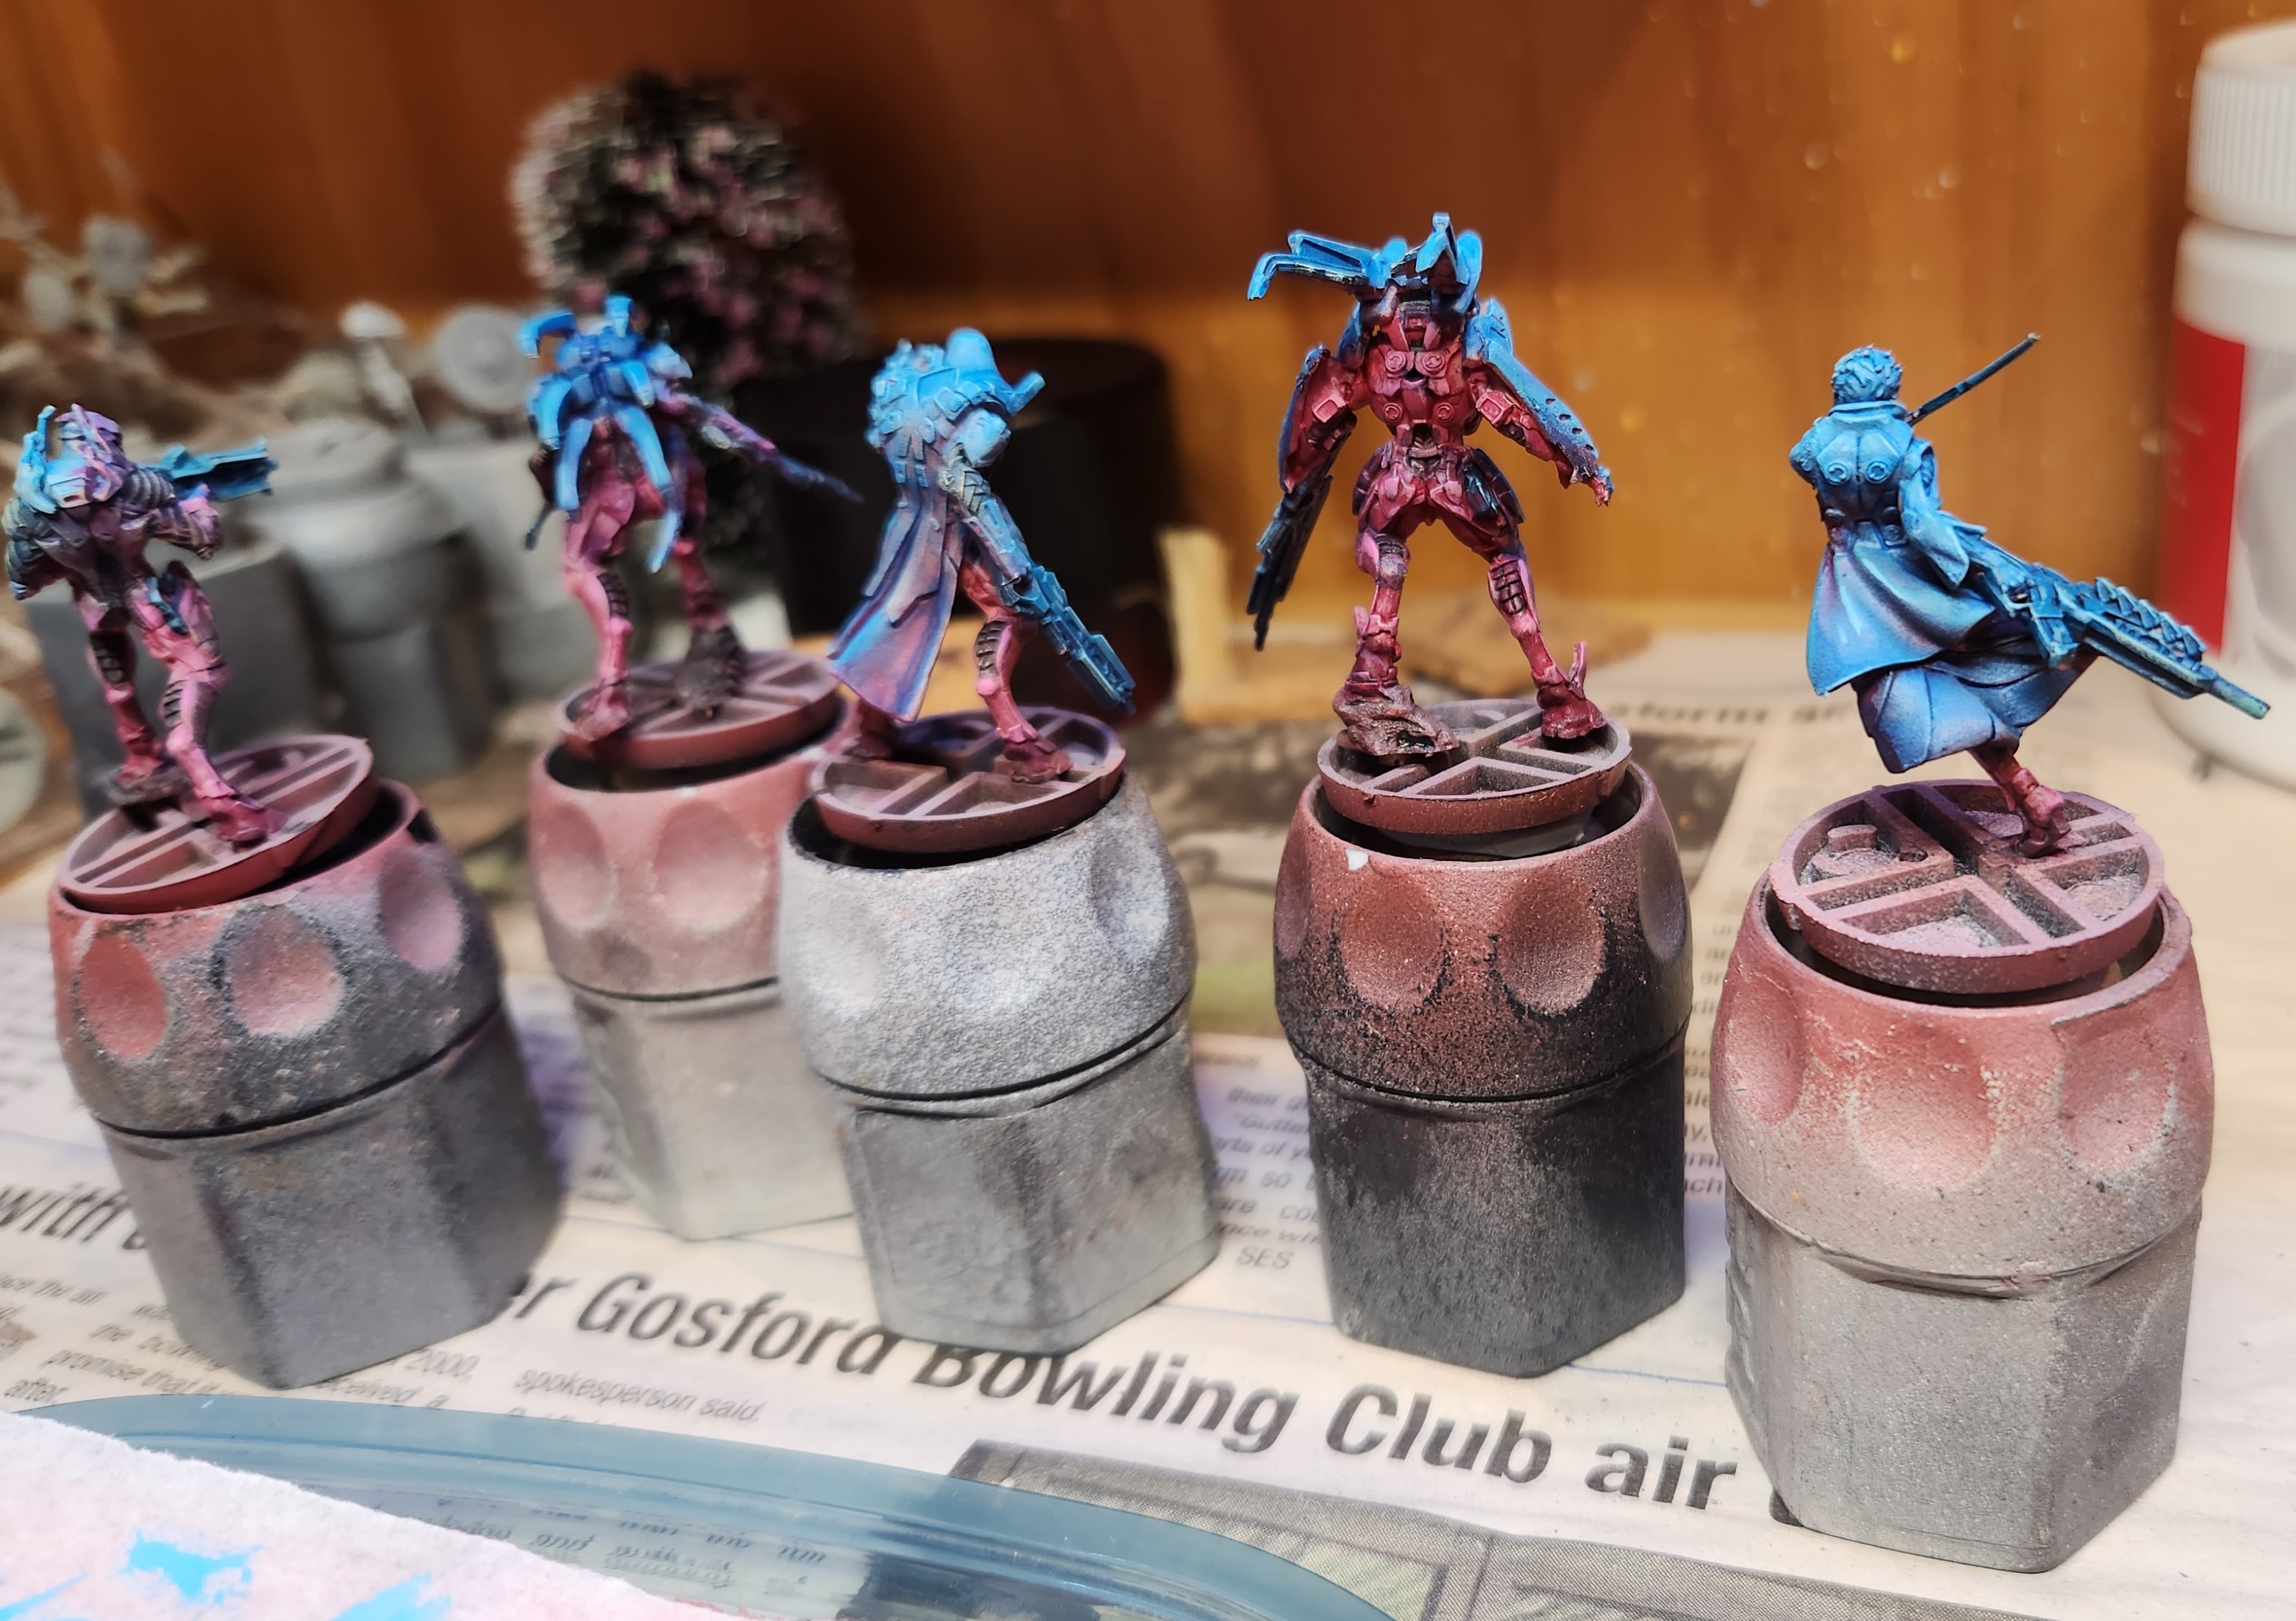
So, next is highlighting. Mix some of your base colour with an off-white/ bone/ beige for the 1st stage highlights.
For 2nd stage mix the Contrast base colour with a pure white or Ivory, a really strong white.
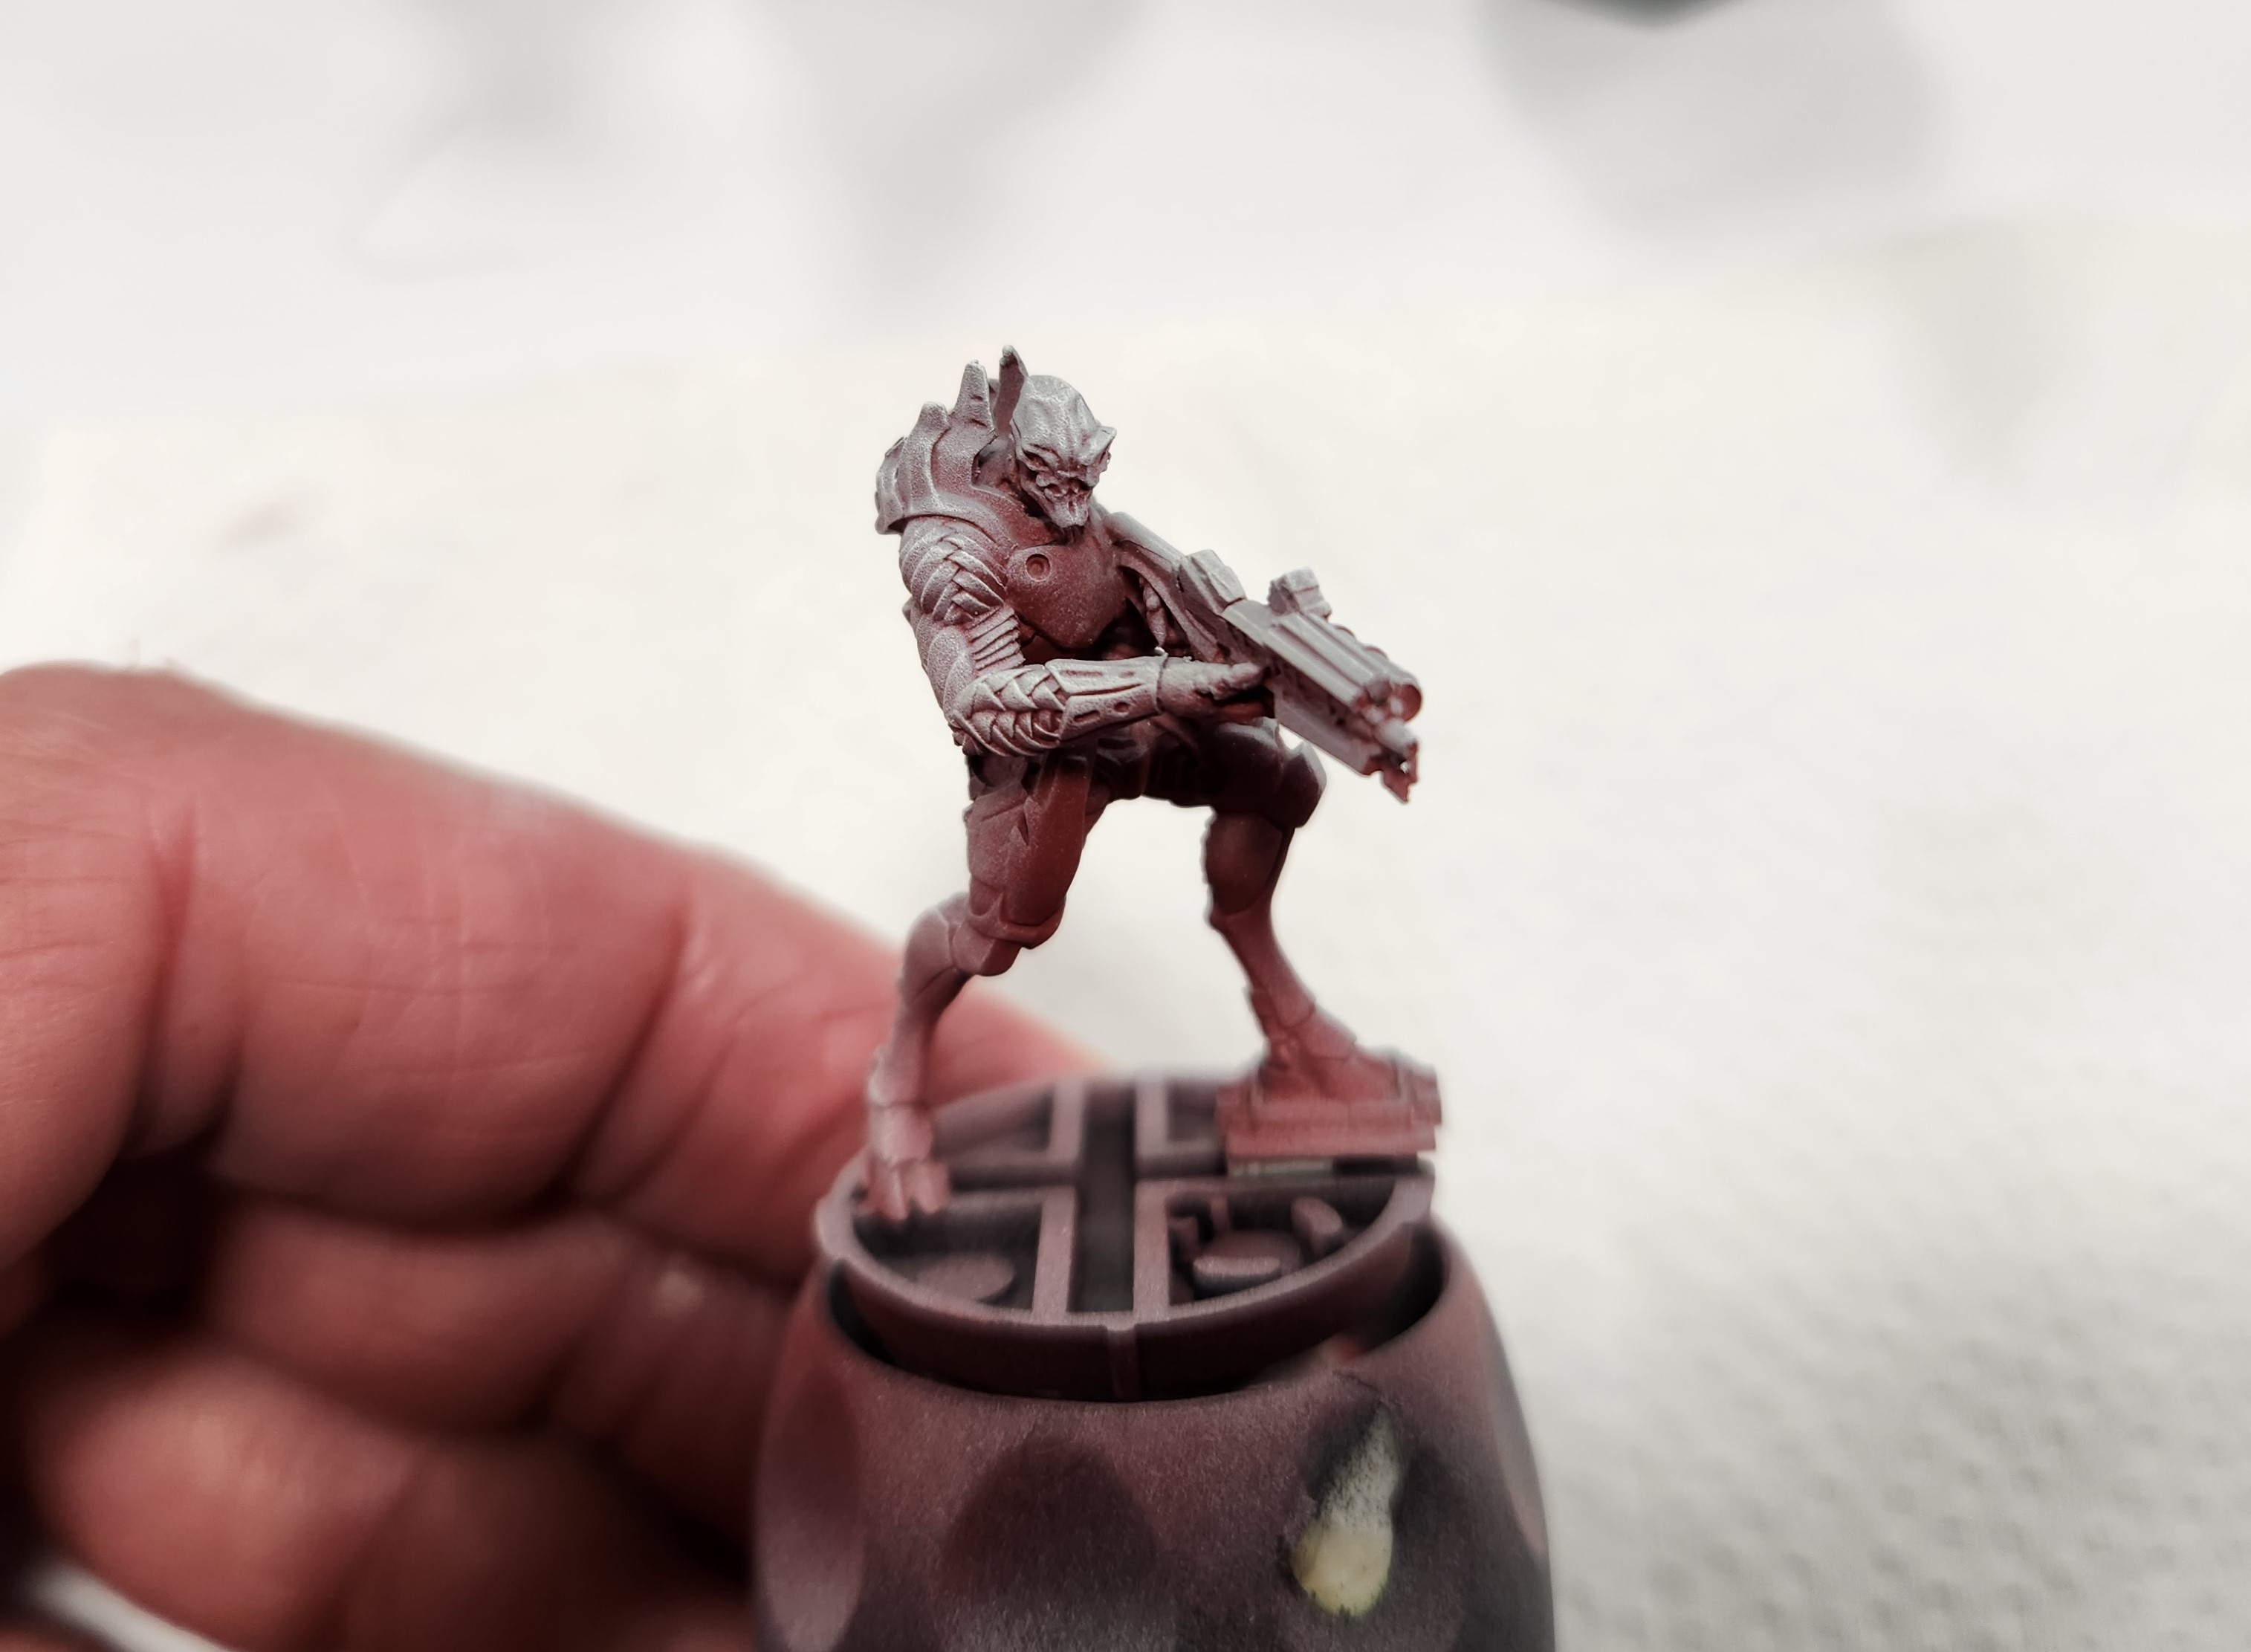
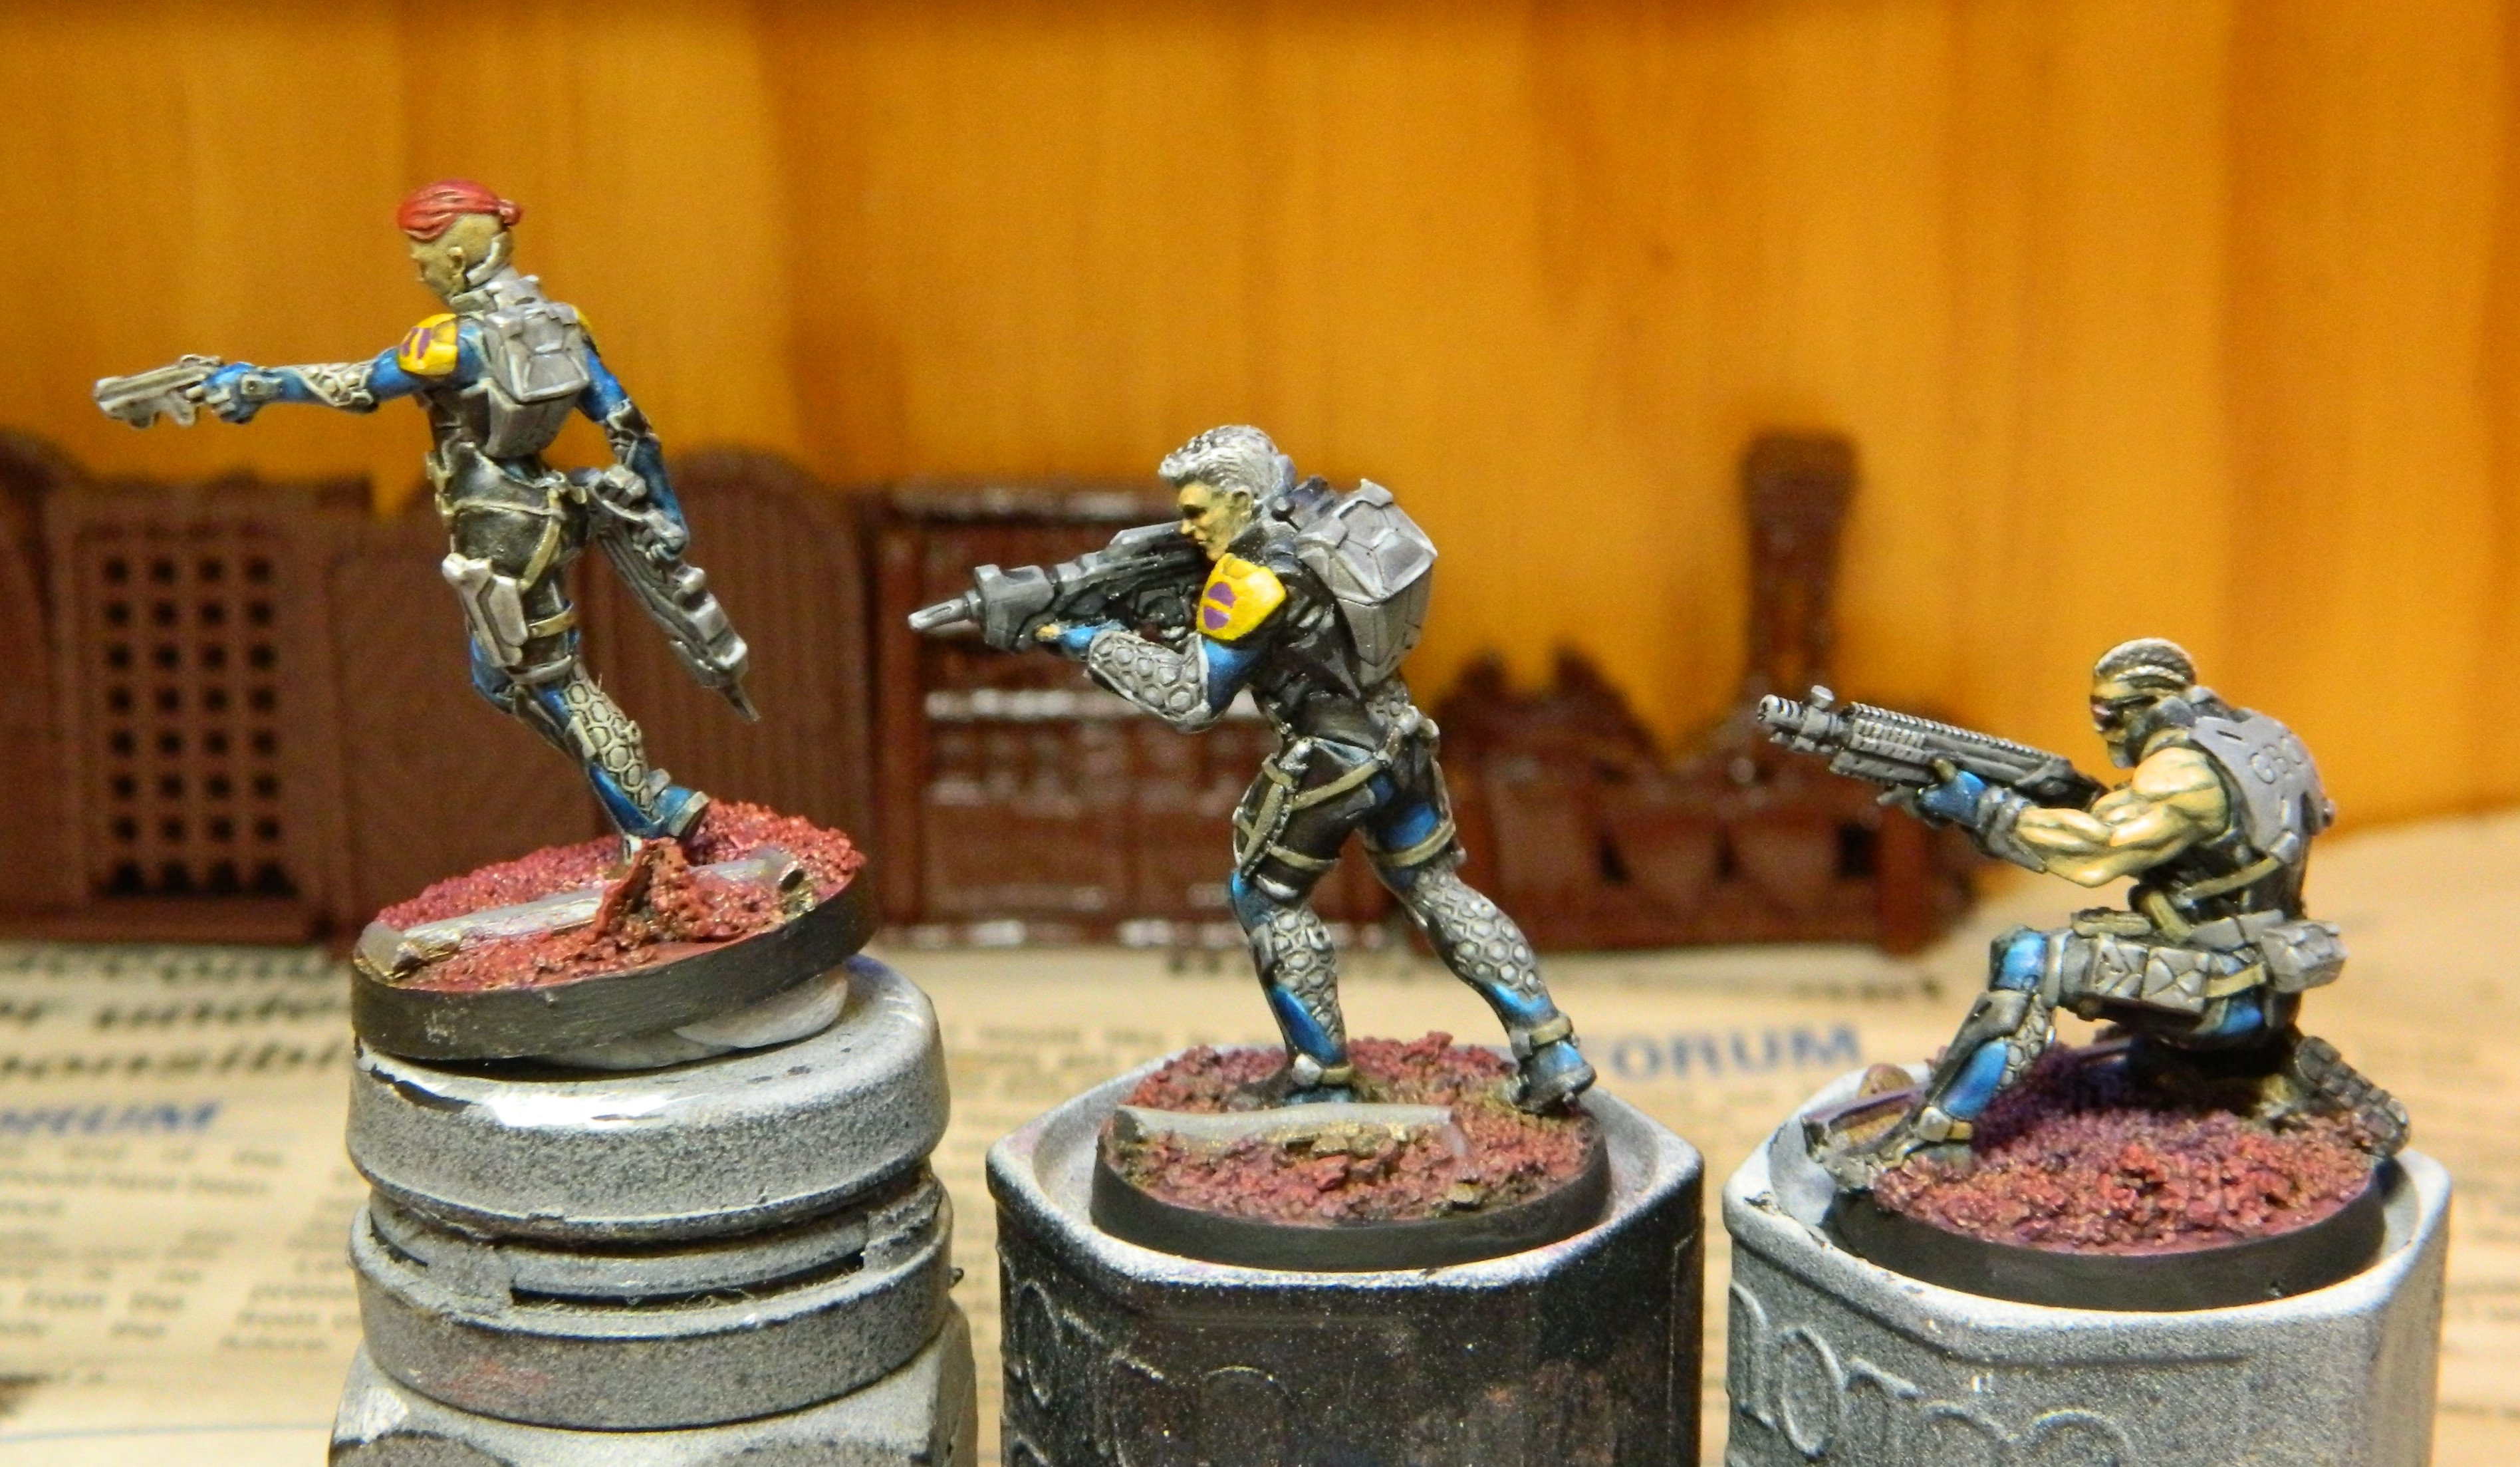
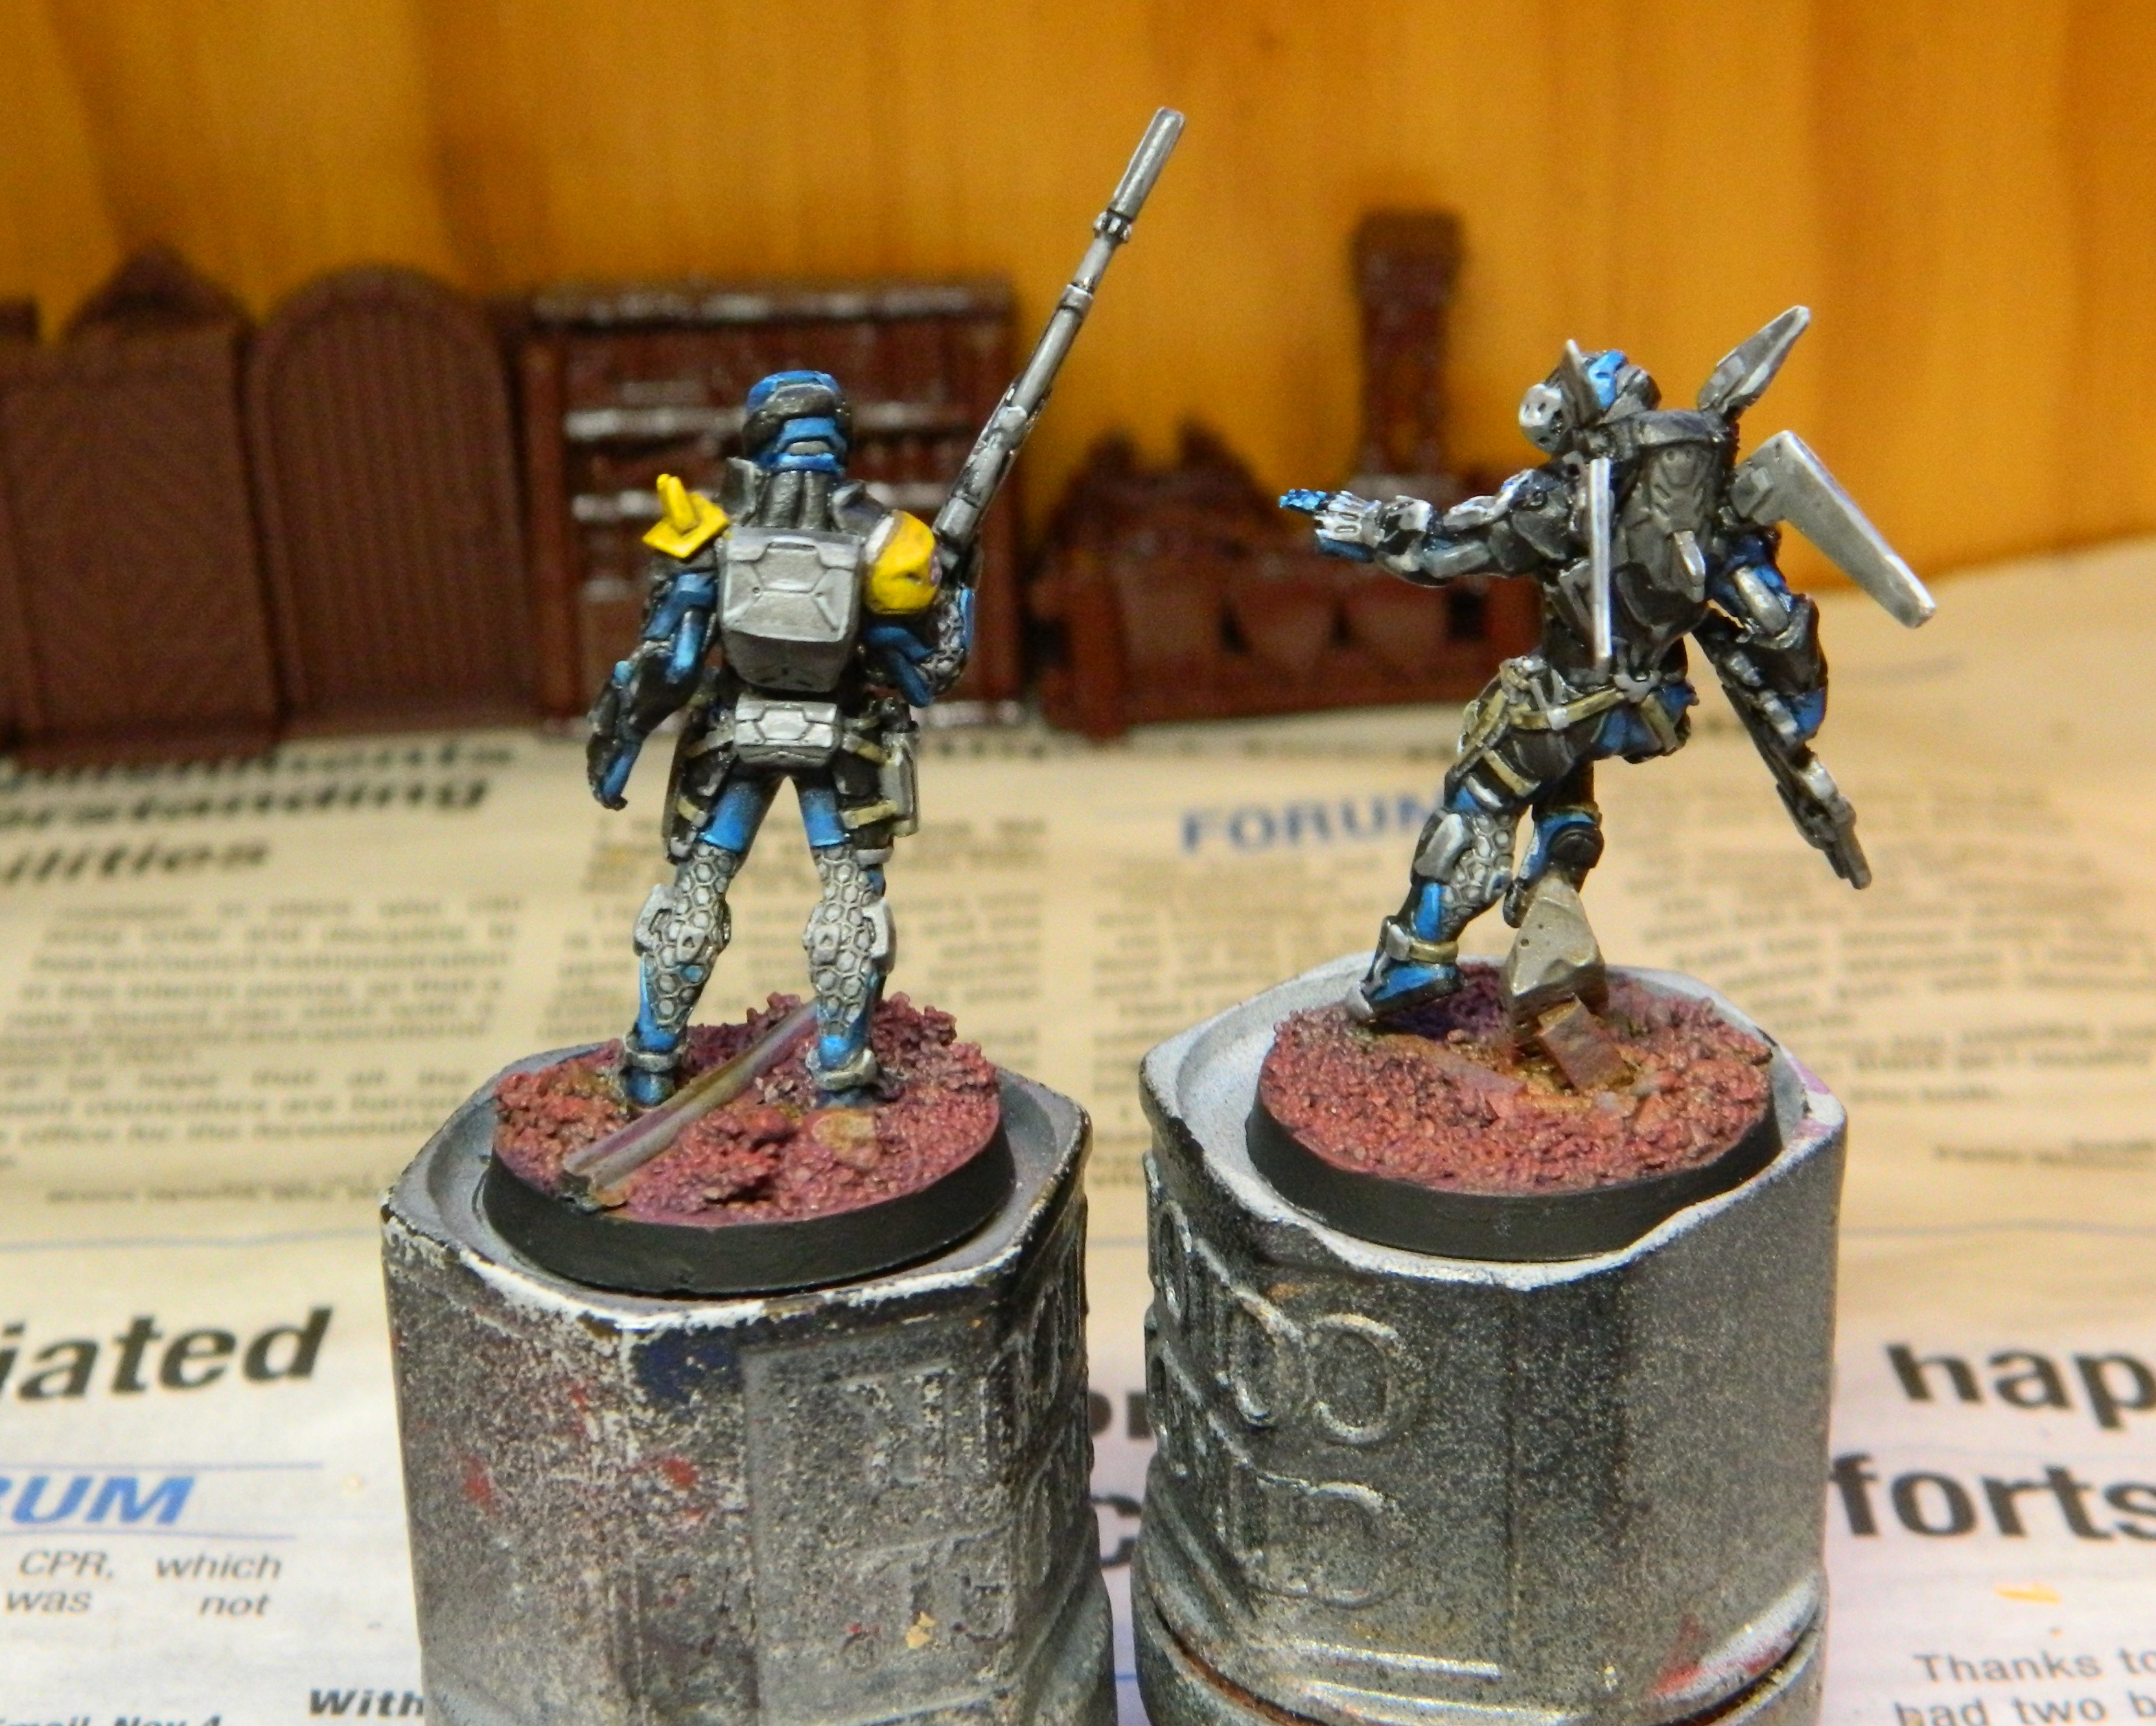
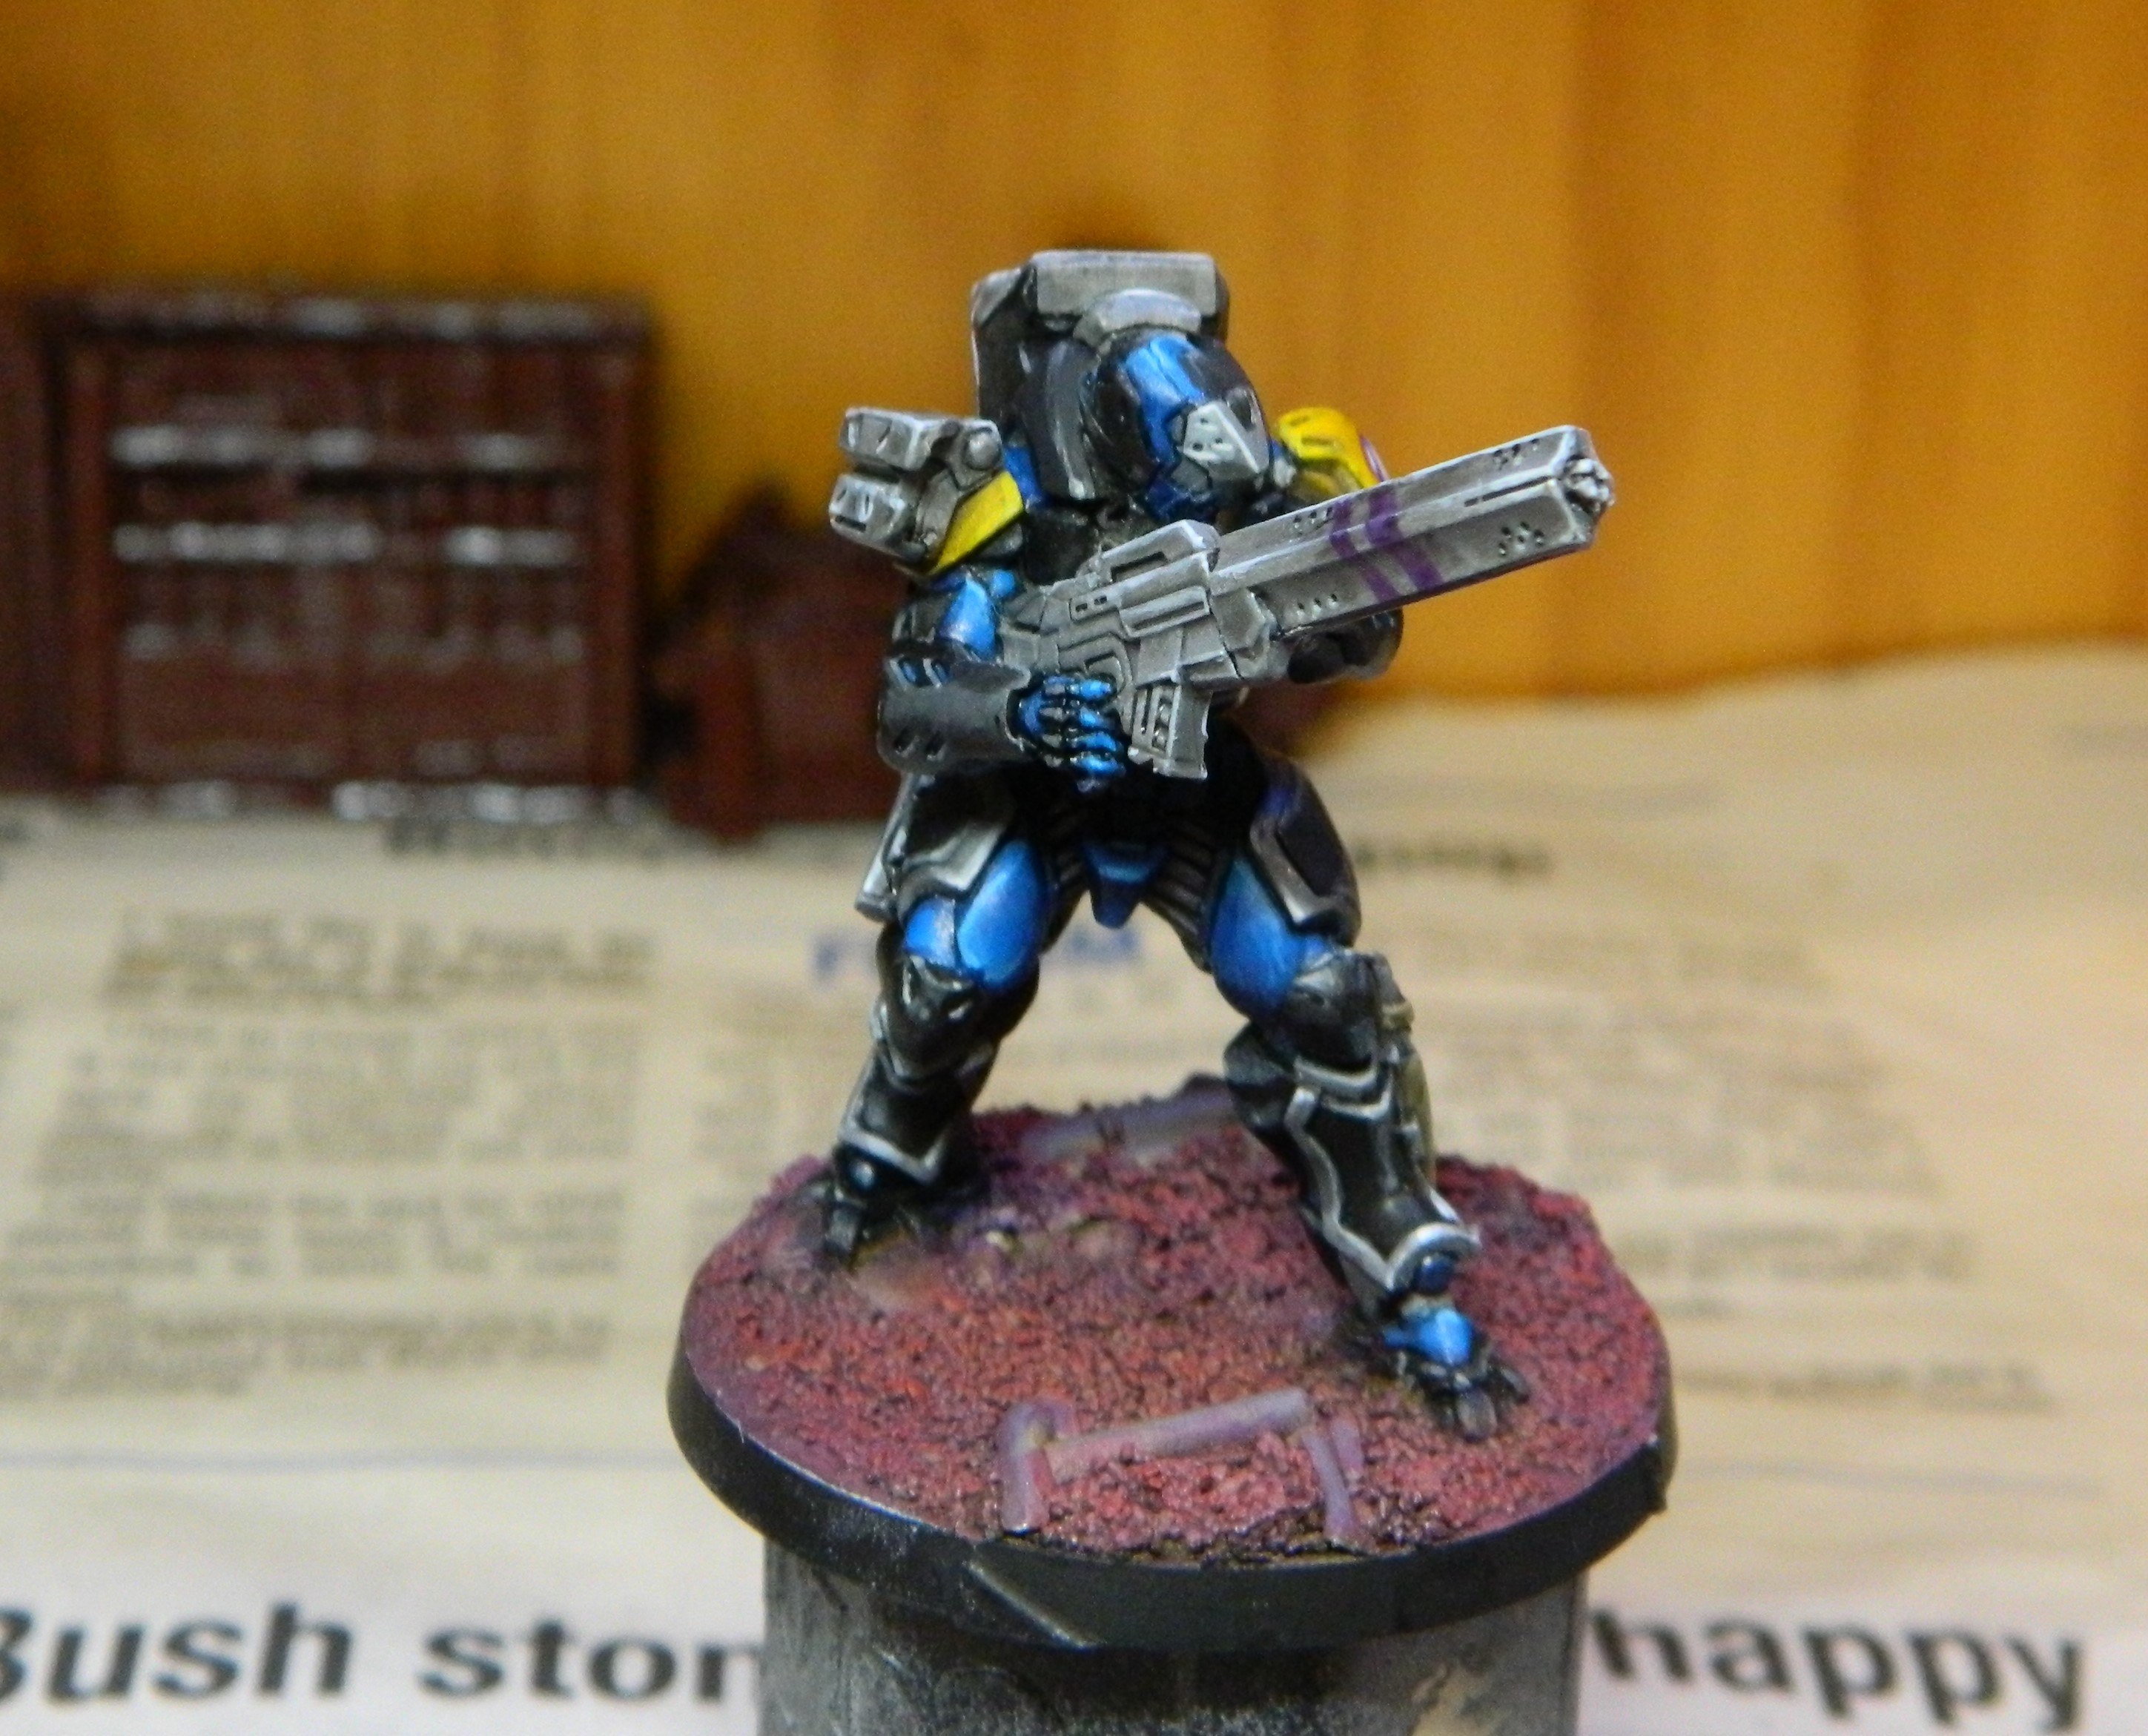
22 Mar 23: Small details
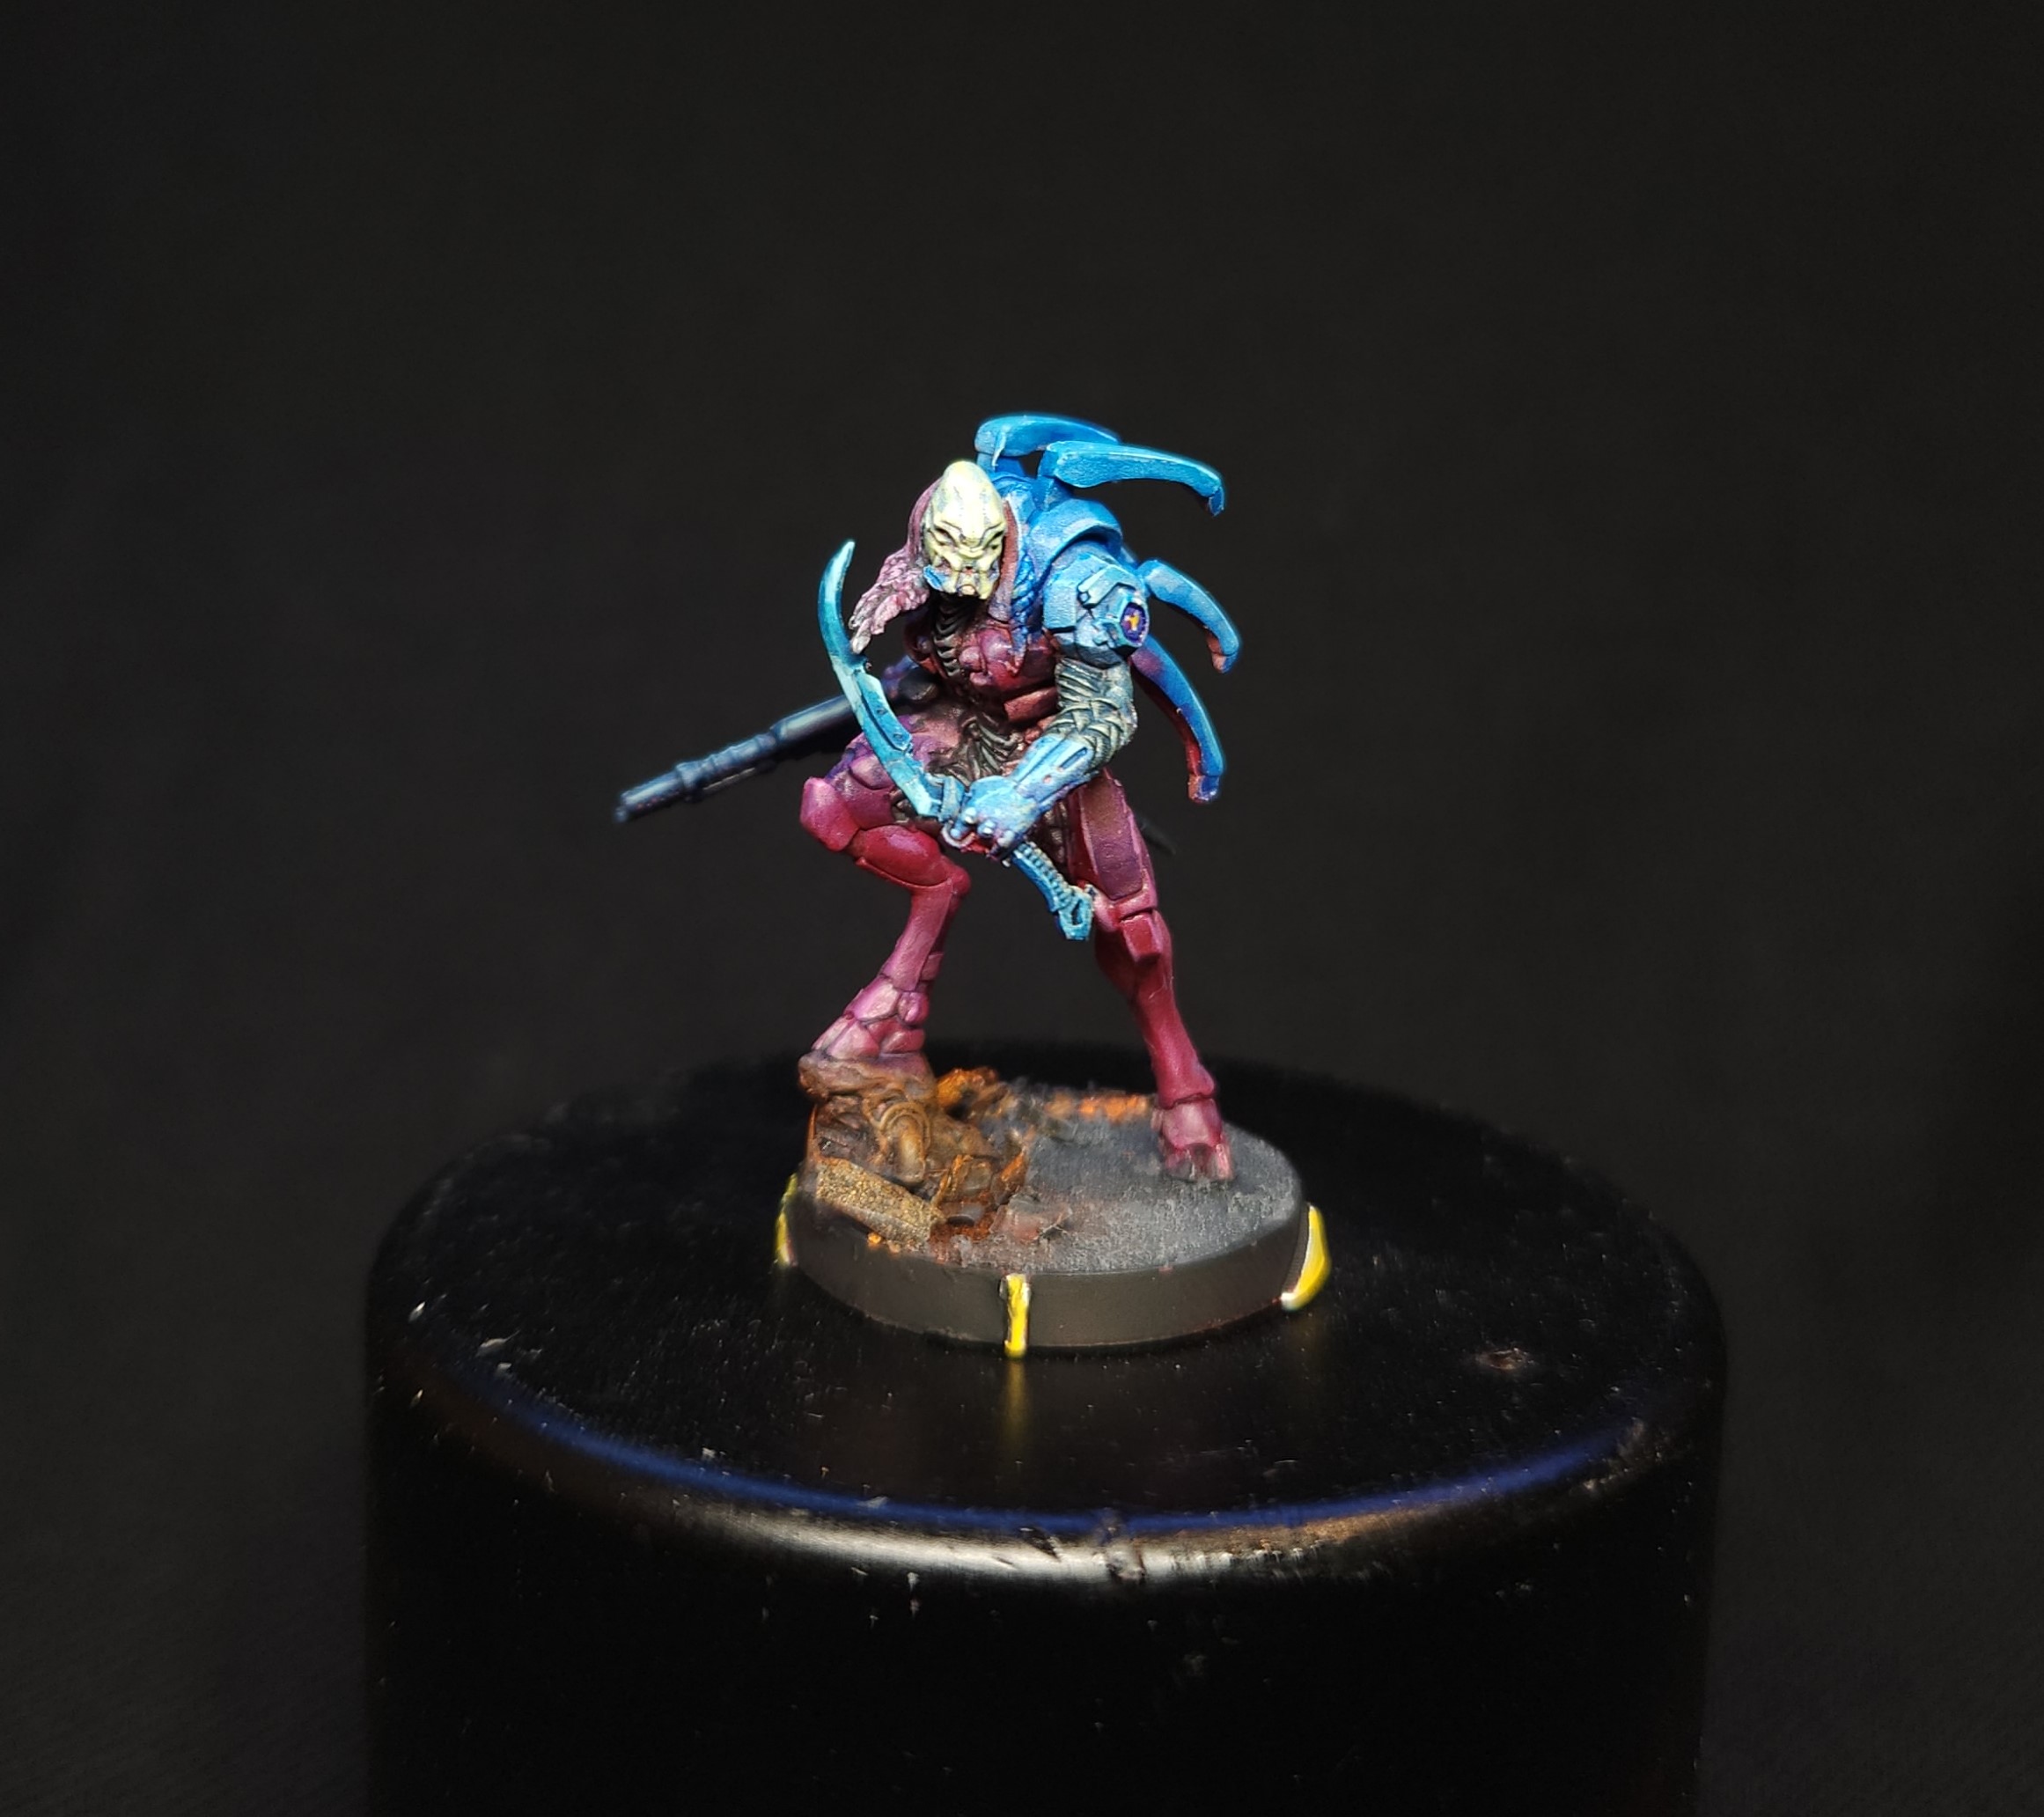
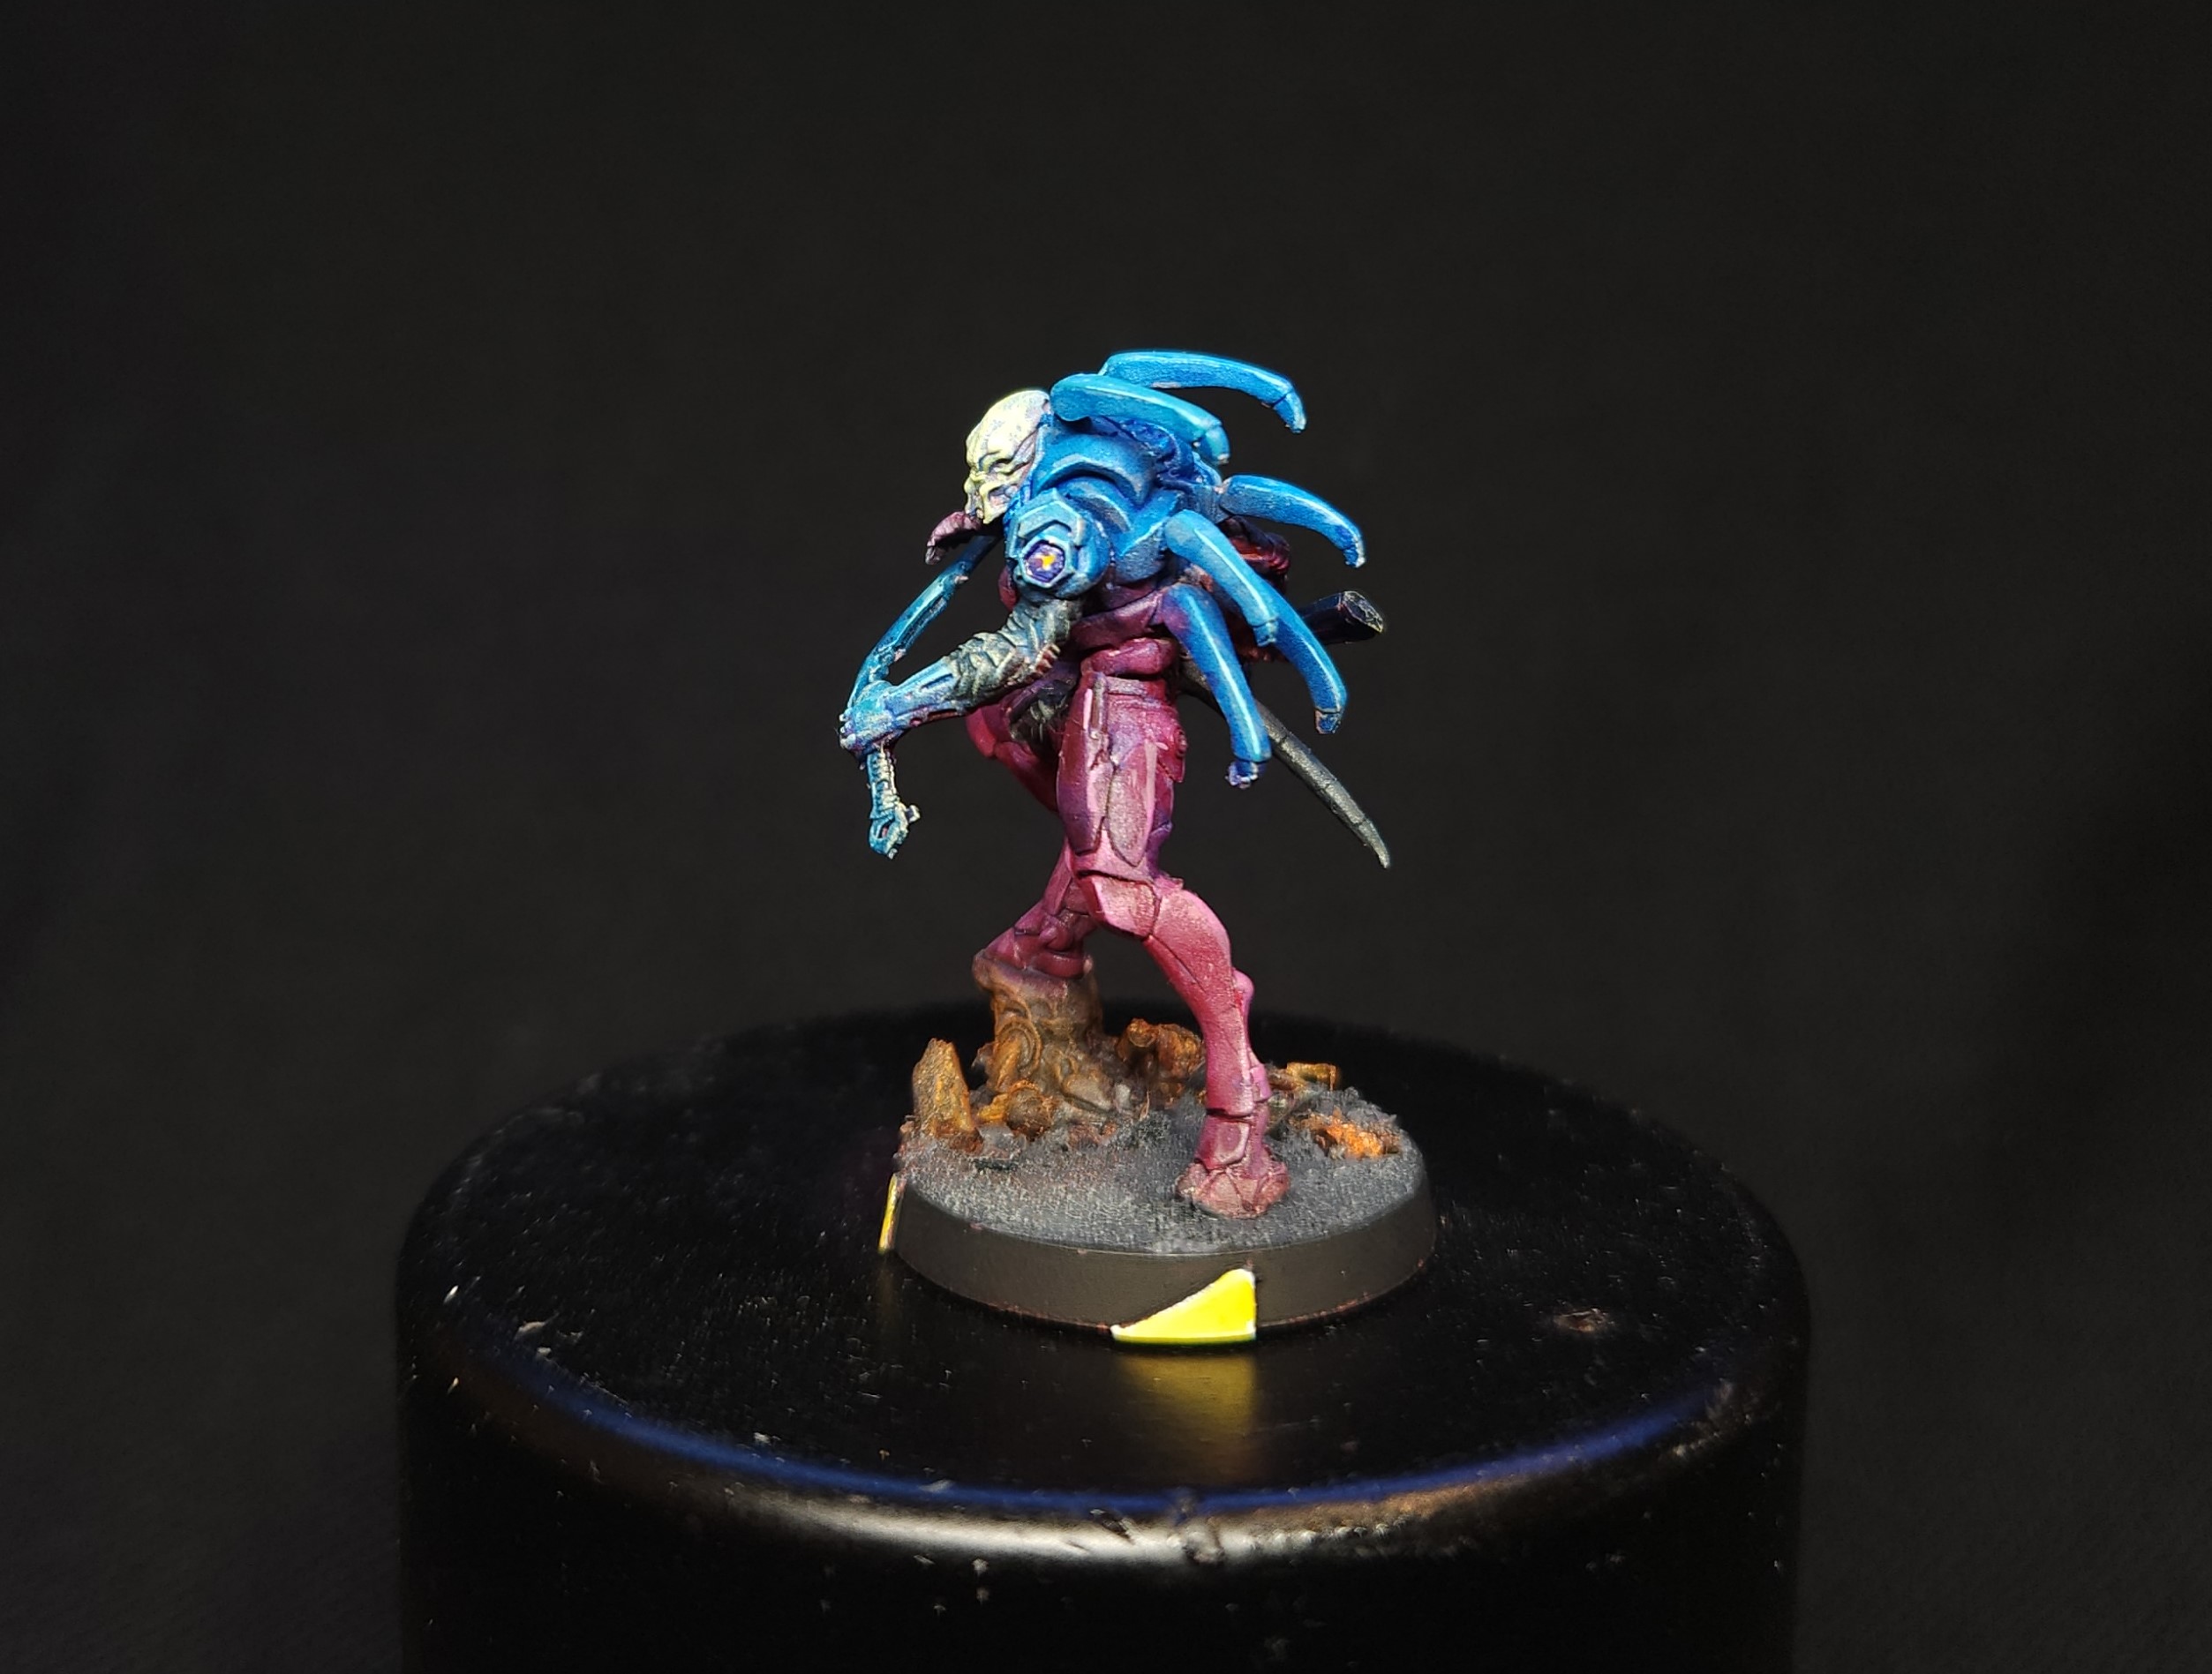
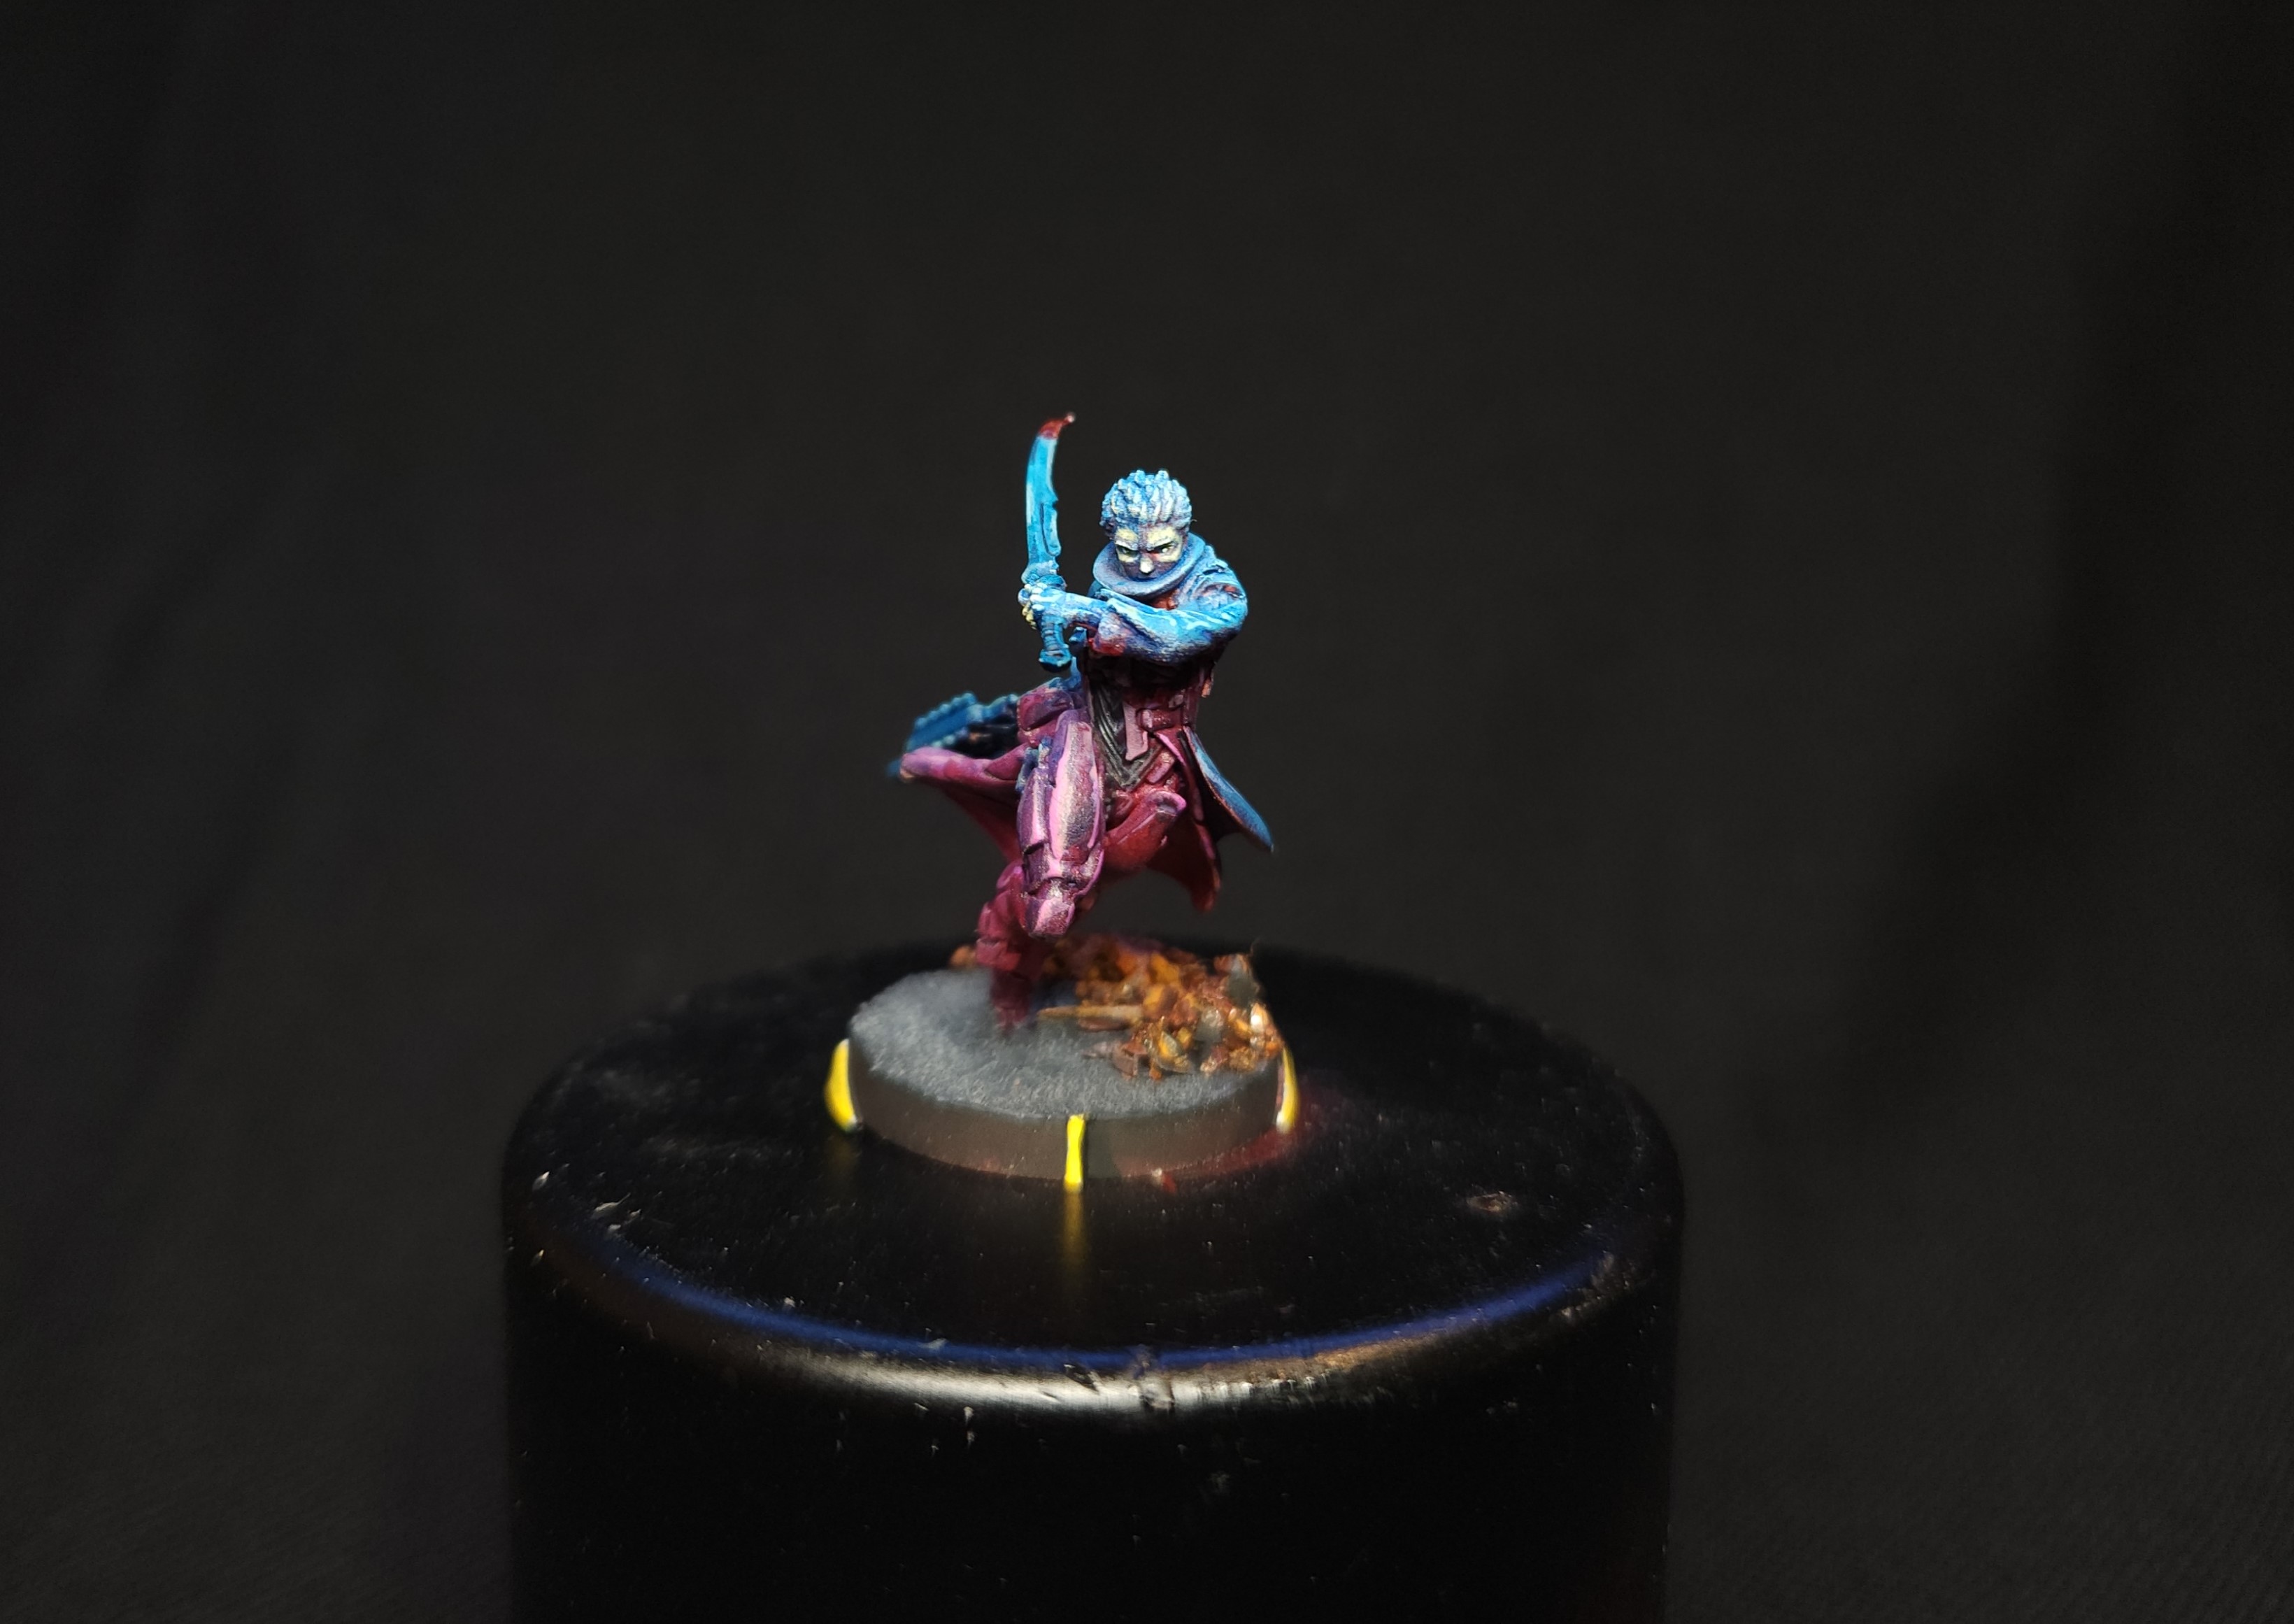
Next optional step is small details. I decided on some small yellow glow details on each of the minis and painting any skin.
The yellow was based with Vallejo Ivory, then the yellow was applied when the white was dry.
The skin is Vallejo Dead Flesh, which actually I got from the Vallejo Shasvastii paint set. I dotted in points of Ivory into Sheskin’s eyes and put a dab of Blood For The Blood God onto the end of her sword.

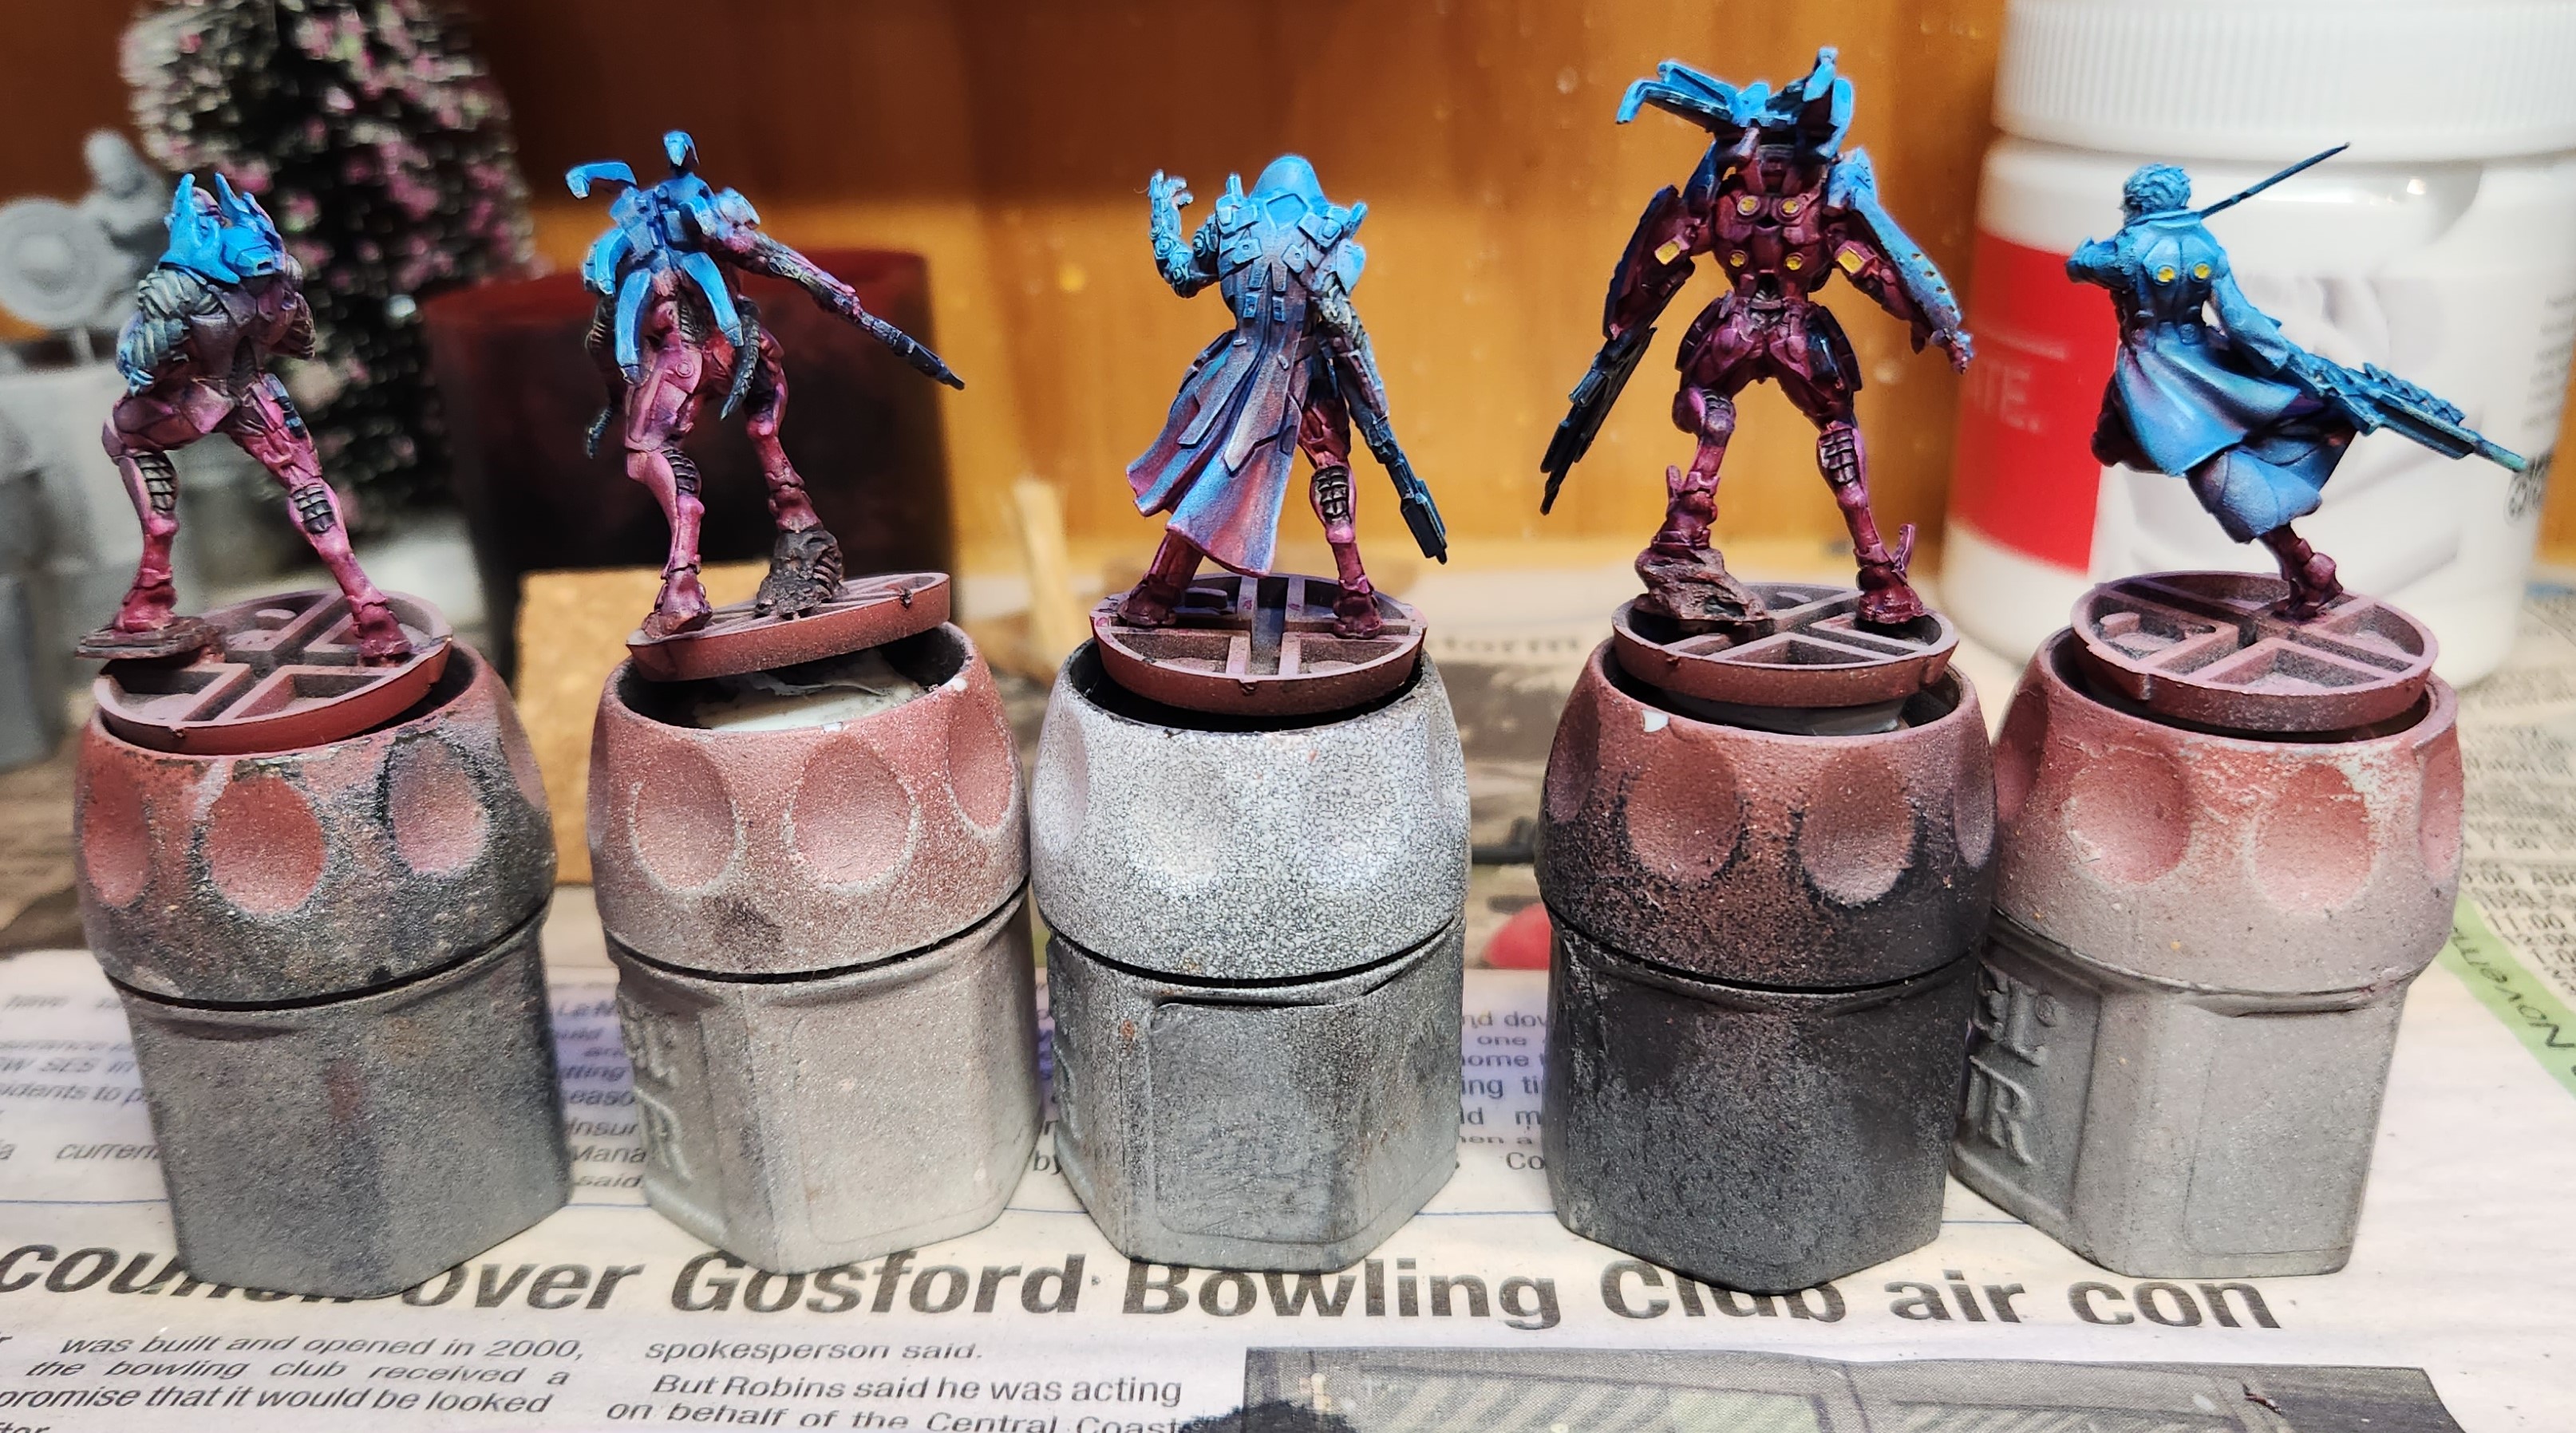 Just the basing to go.
25 Feb 23: A lesson in Speed
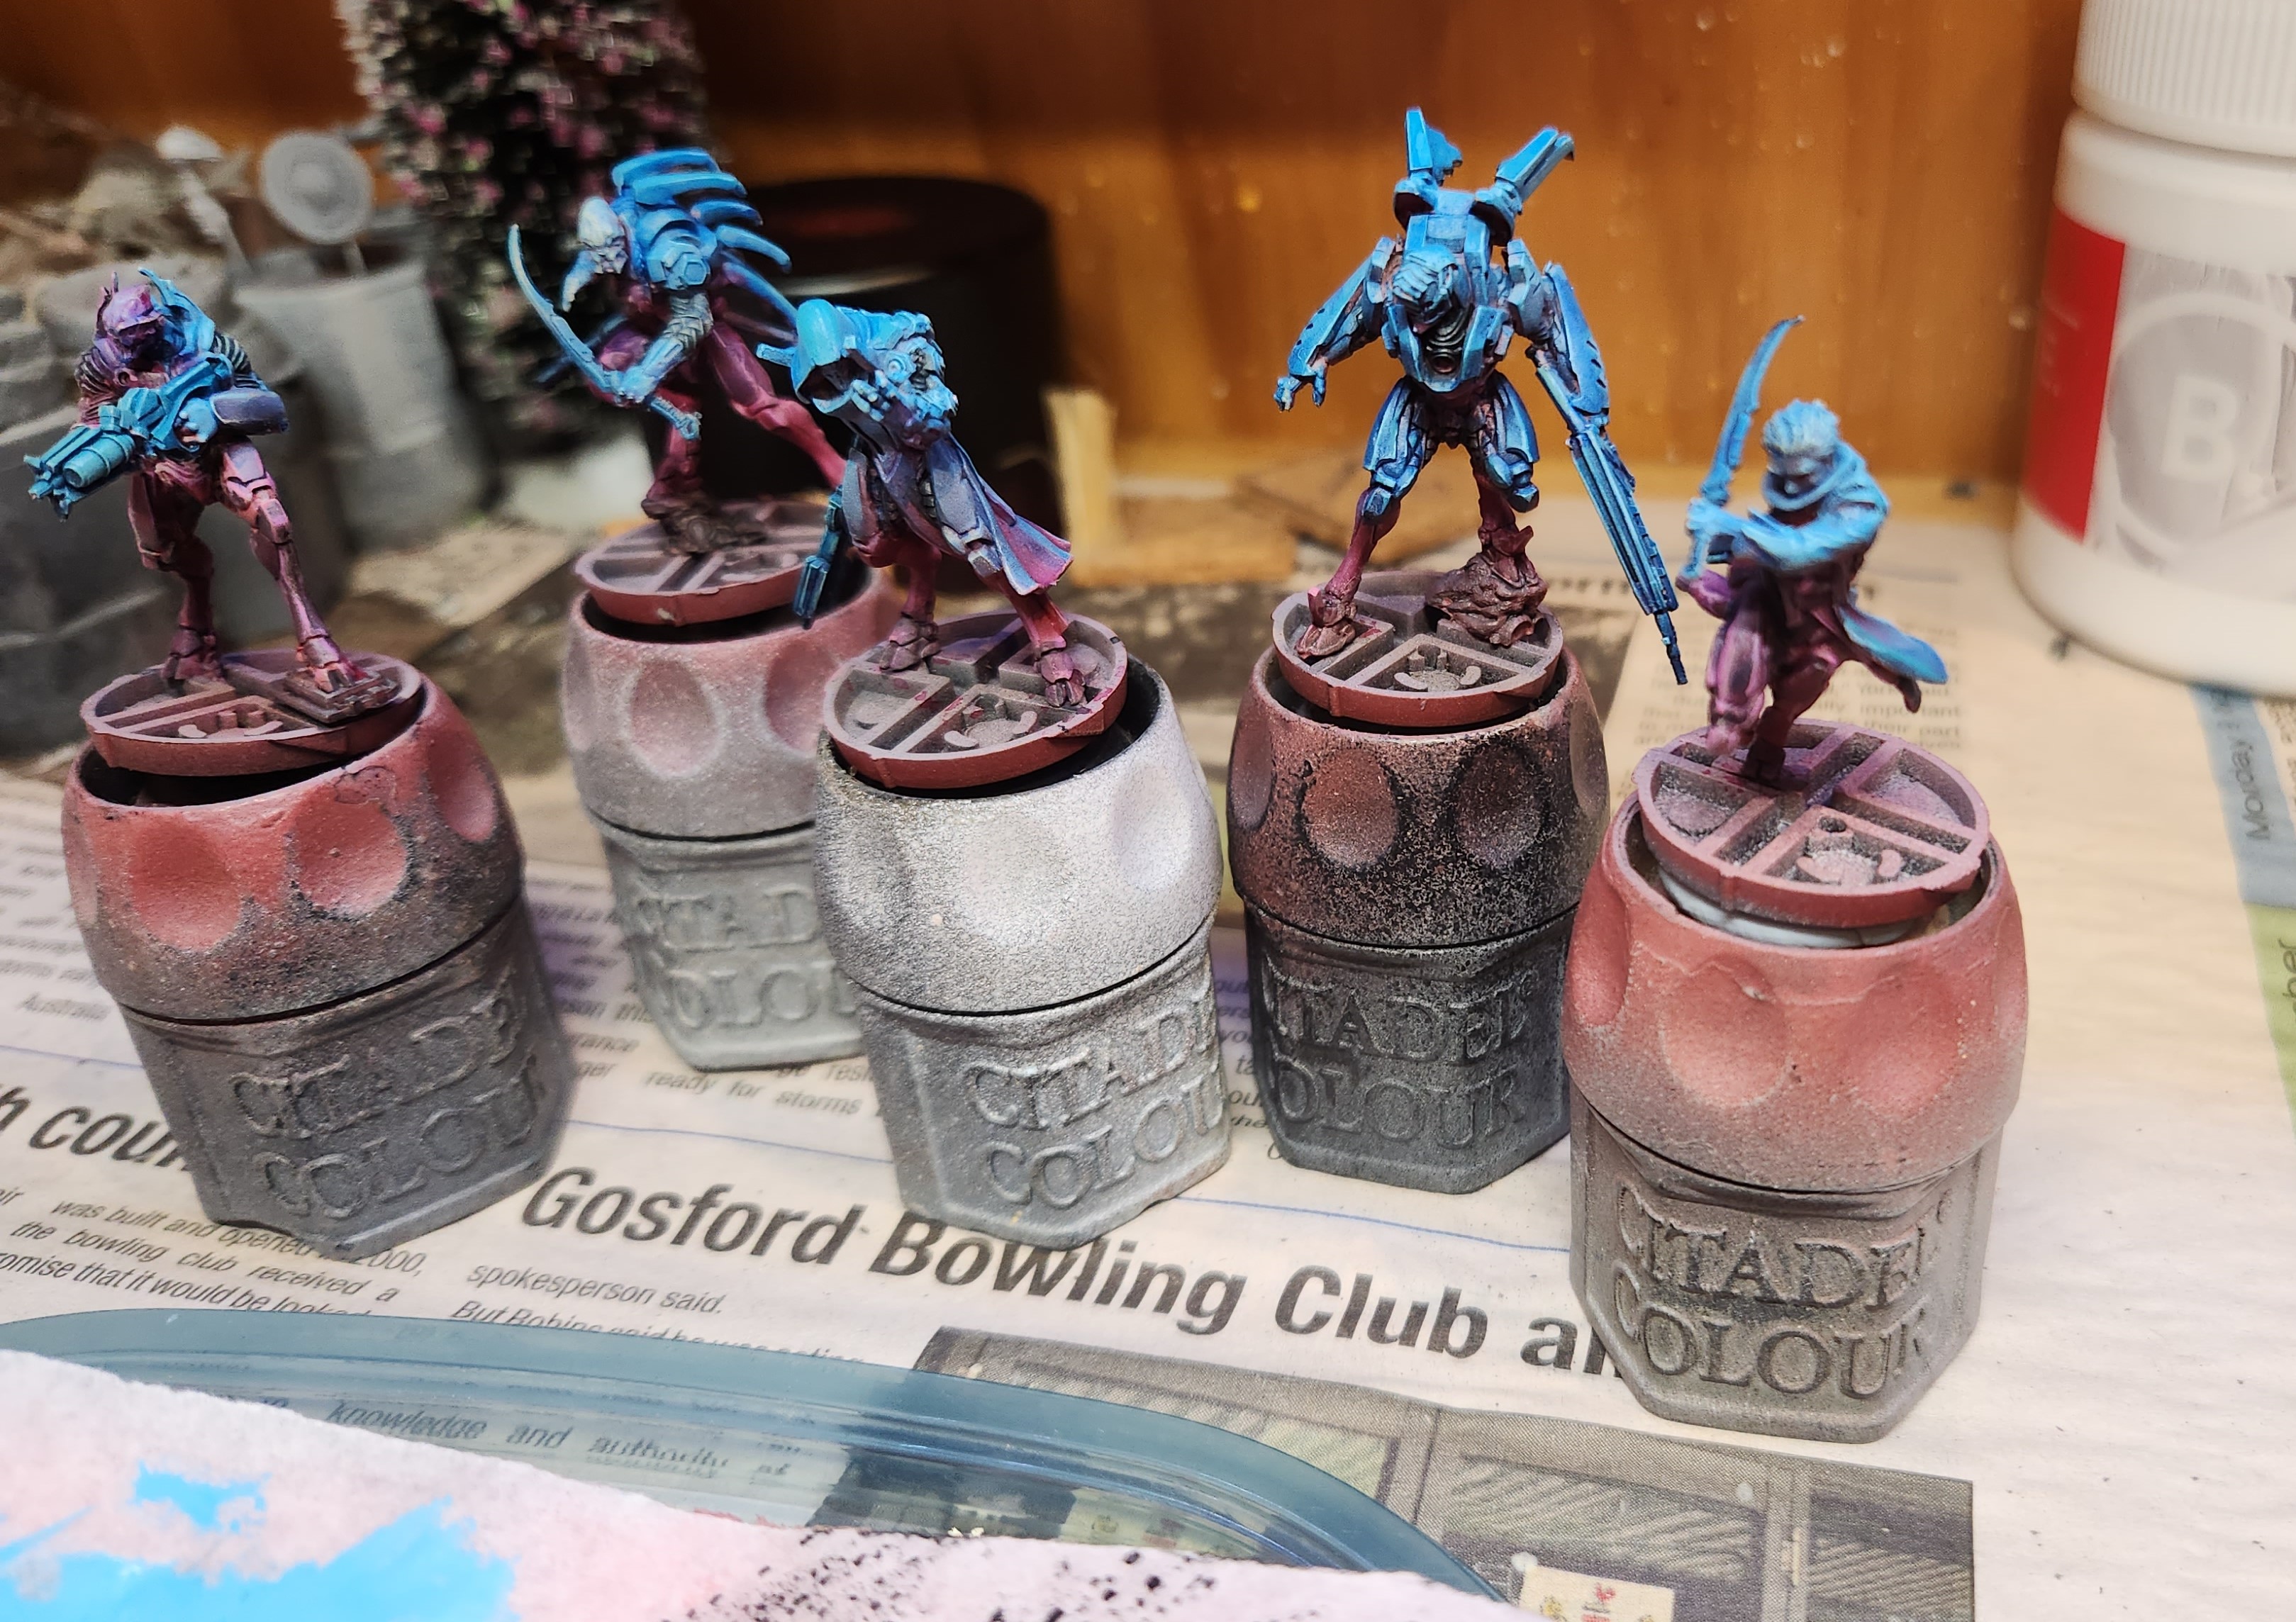
In February I attended a painting tutorial, something I don’t think I’ve ever done! The goal was to learn a method of getting a 1 hour paint job to a decent standard. Without using an airbrush.
So, minis prepped and pre-primed, along I went.
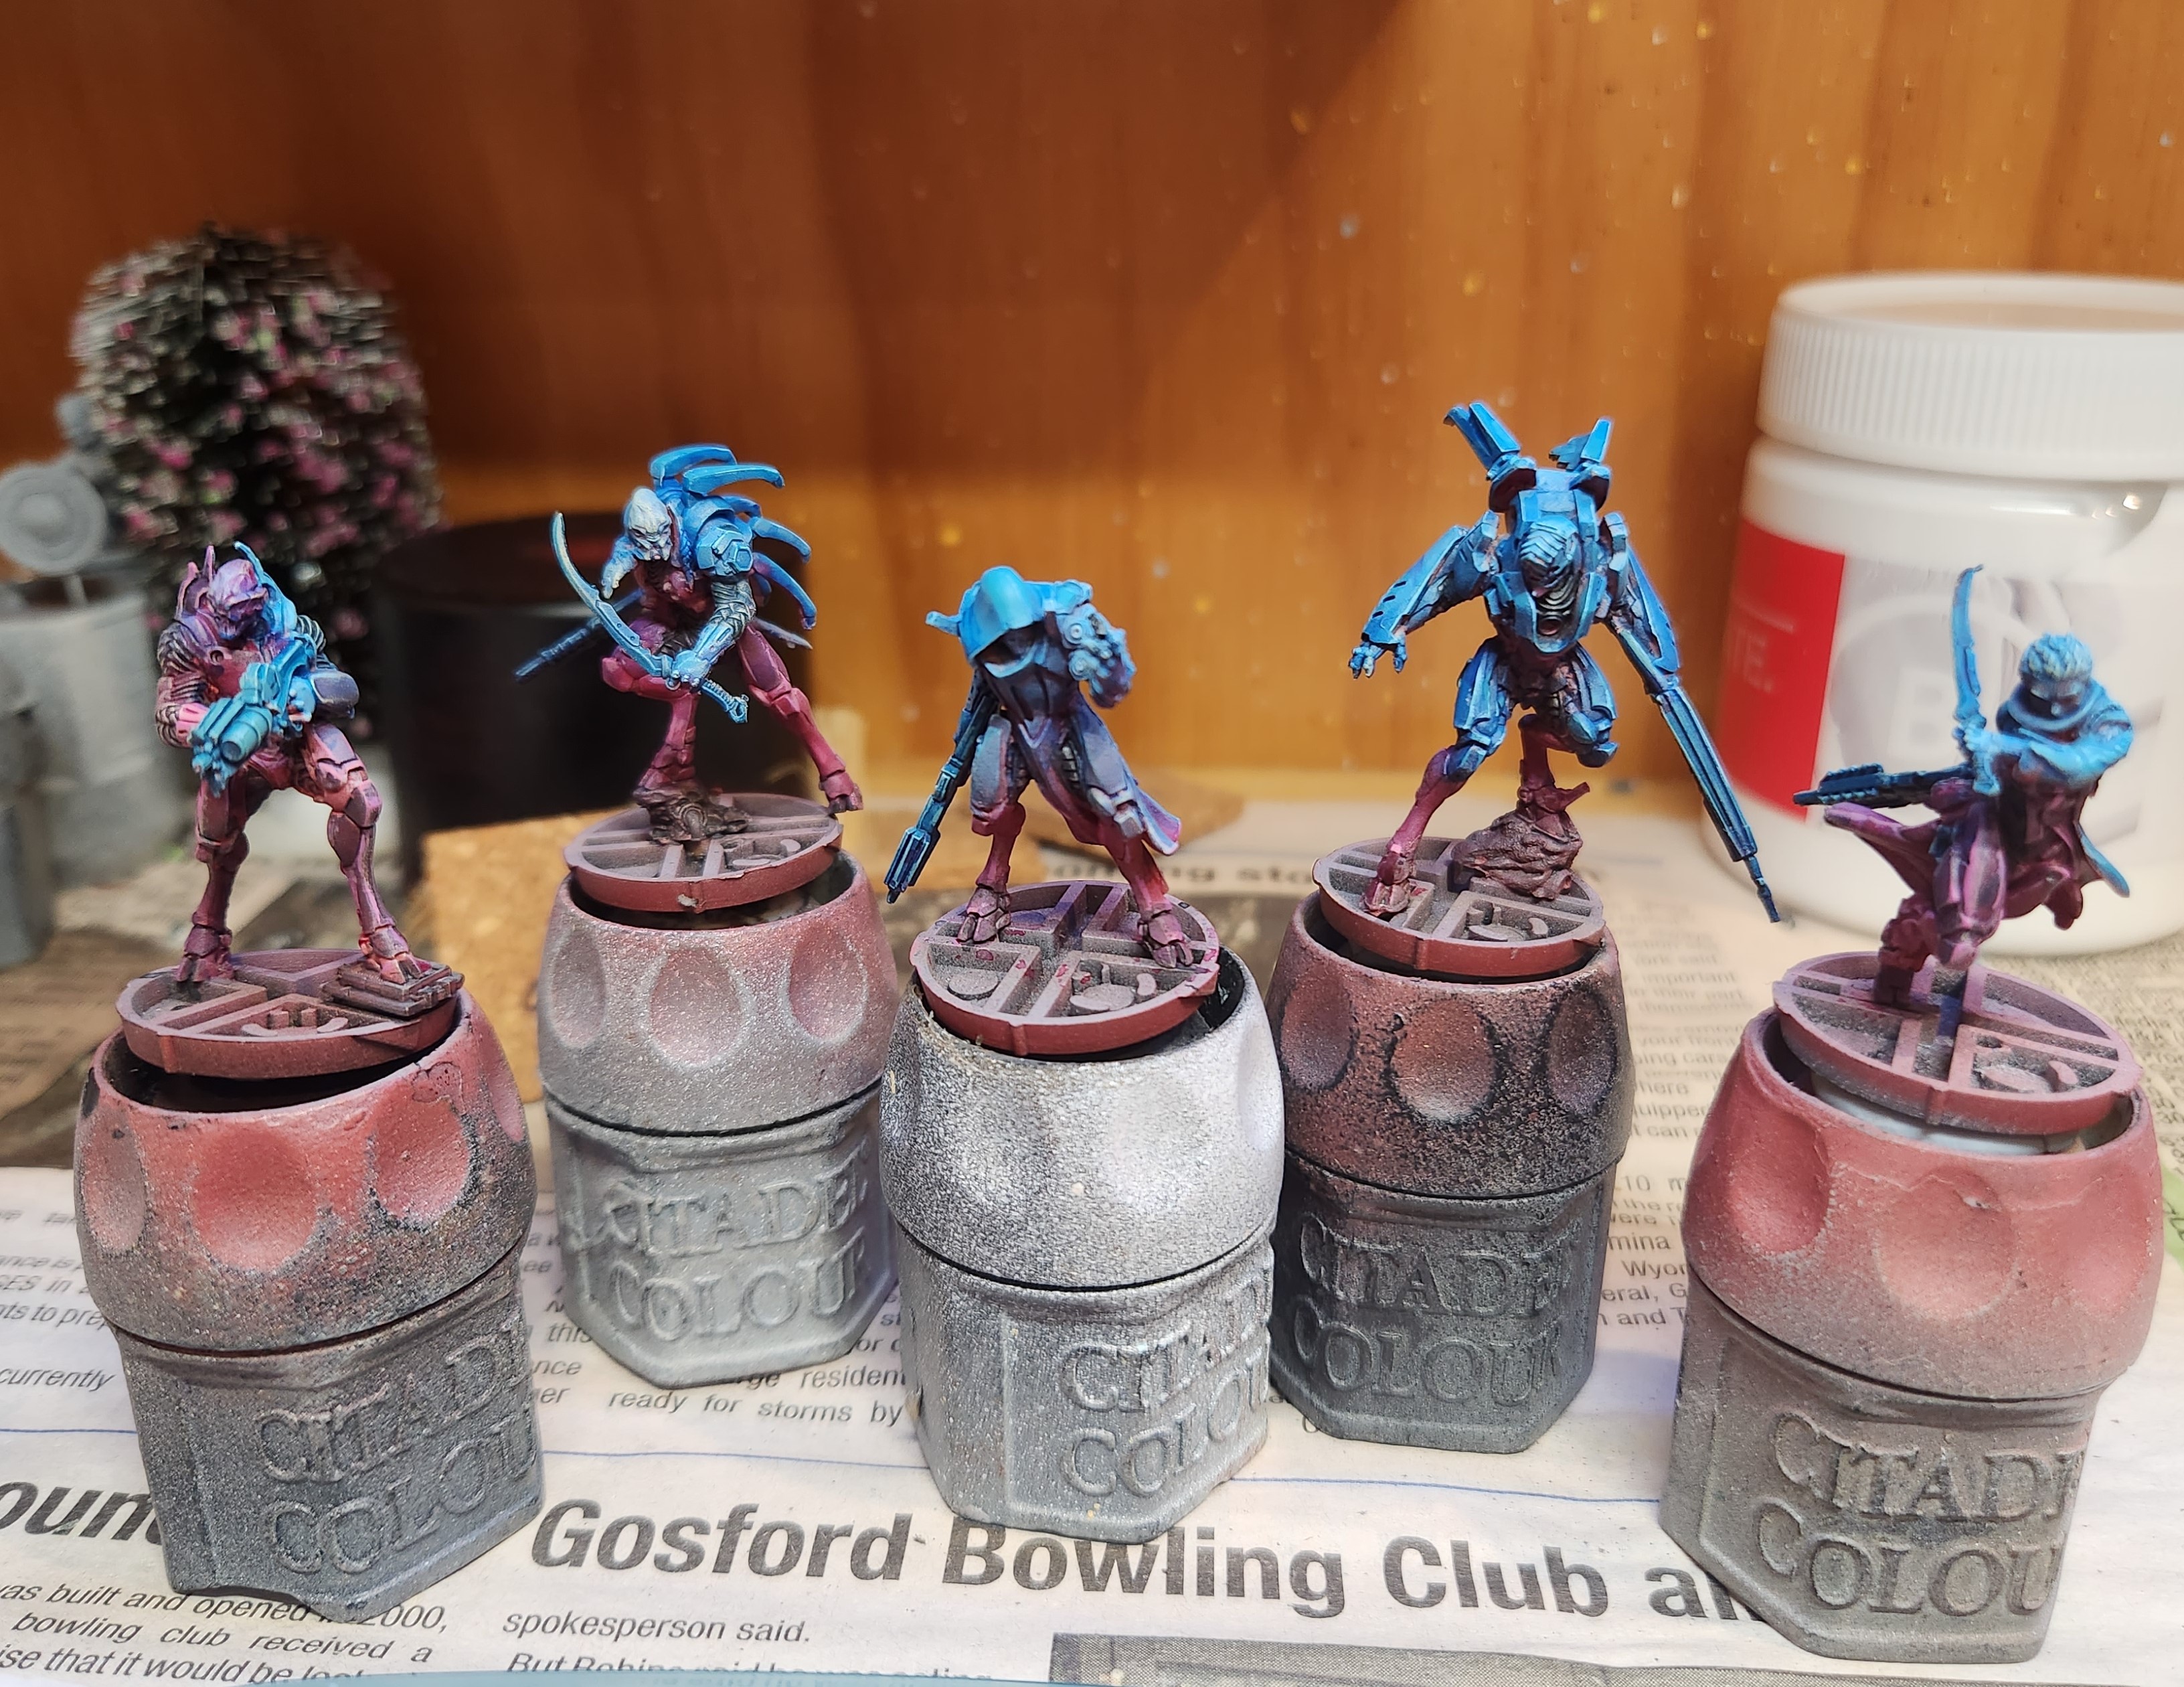
 5 Shasvastii minis
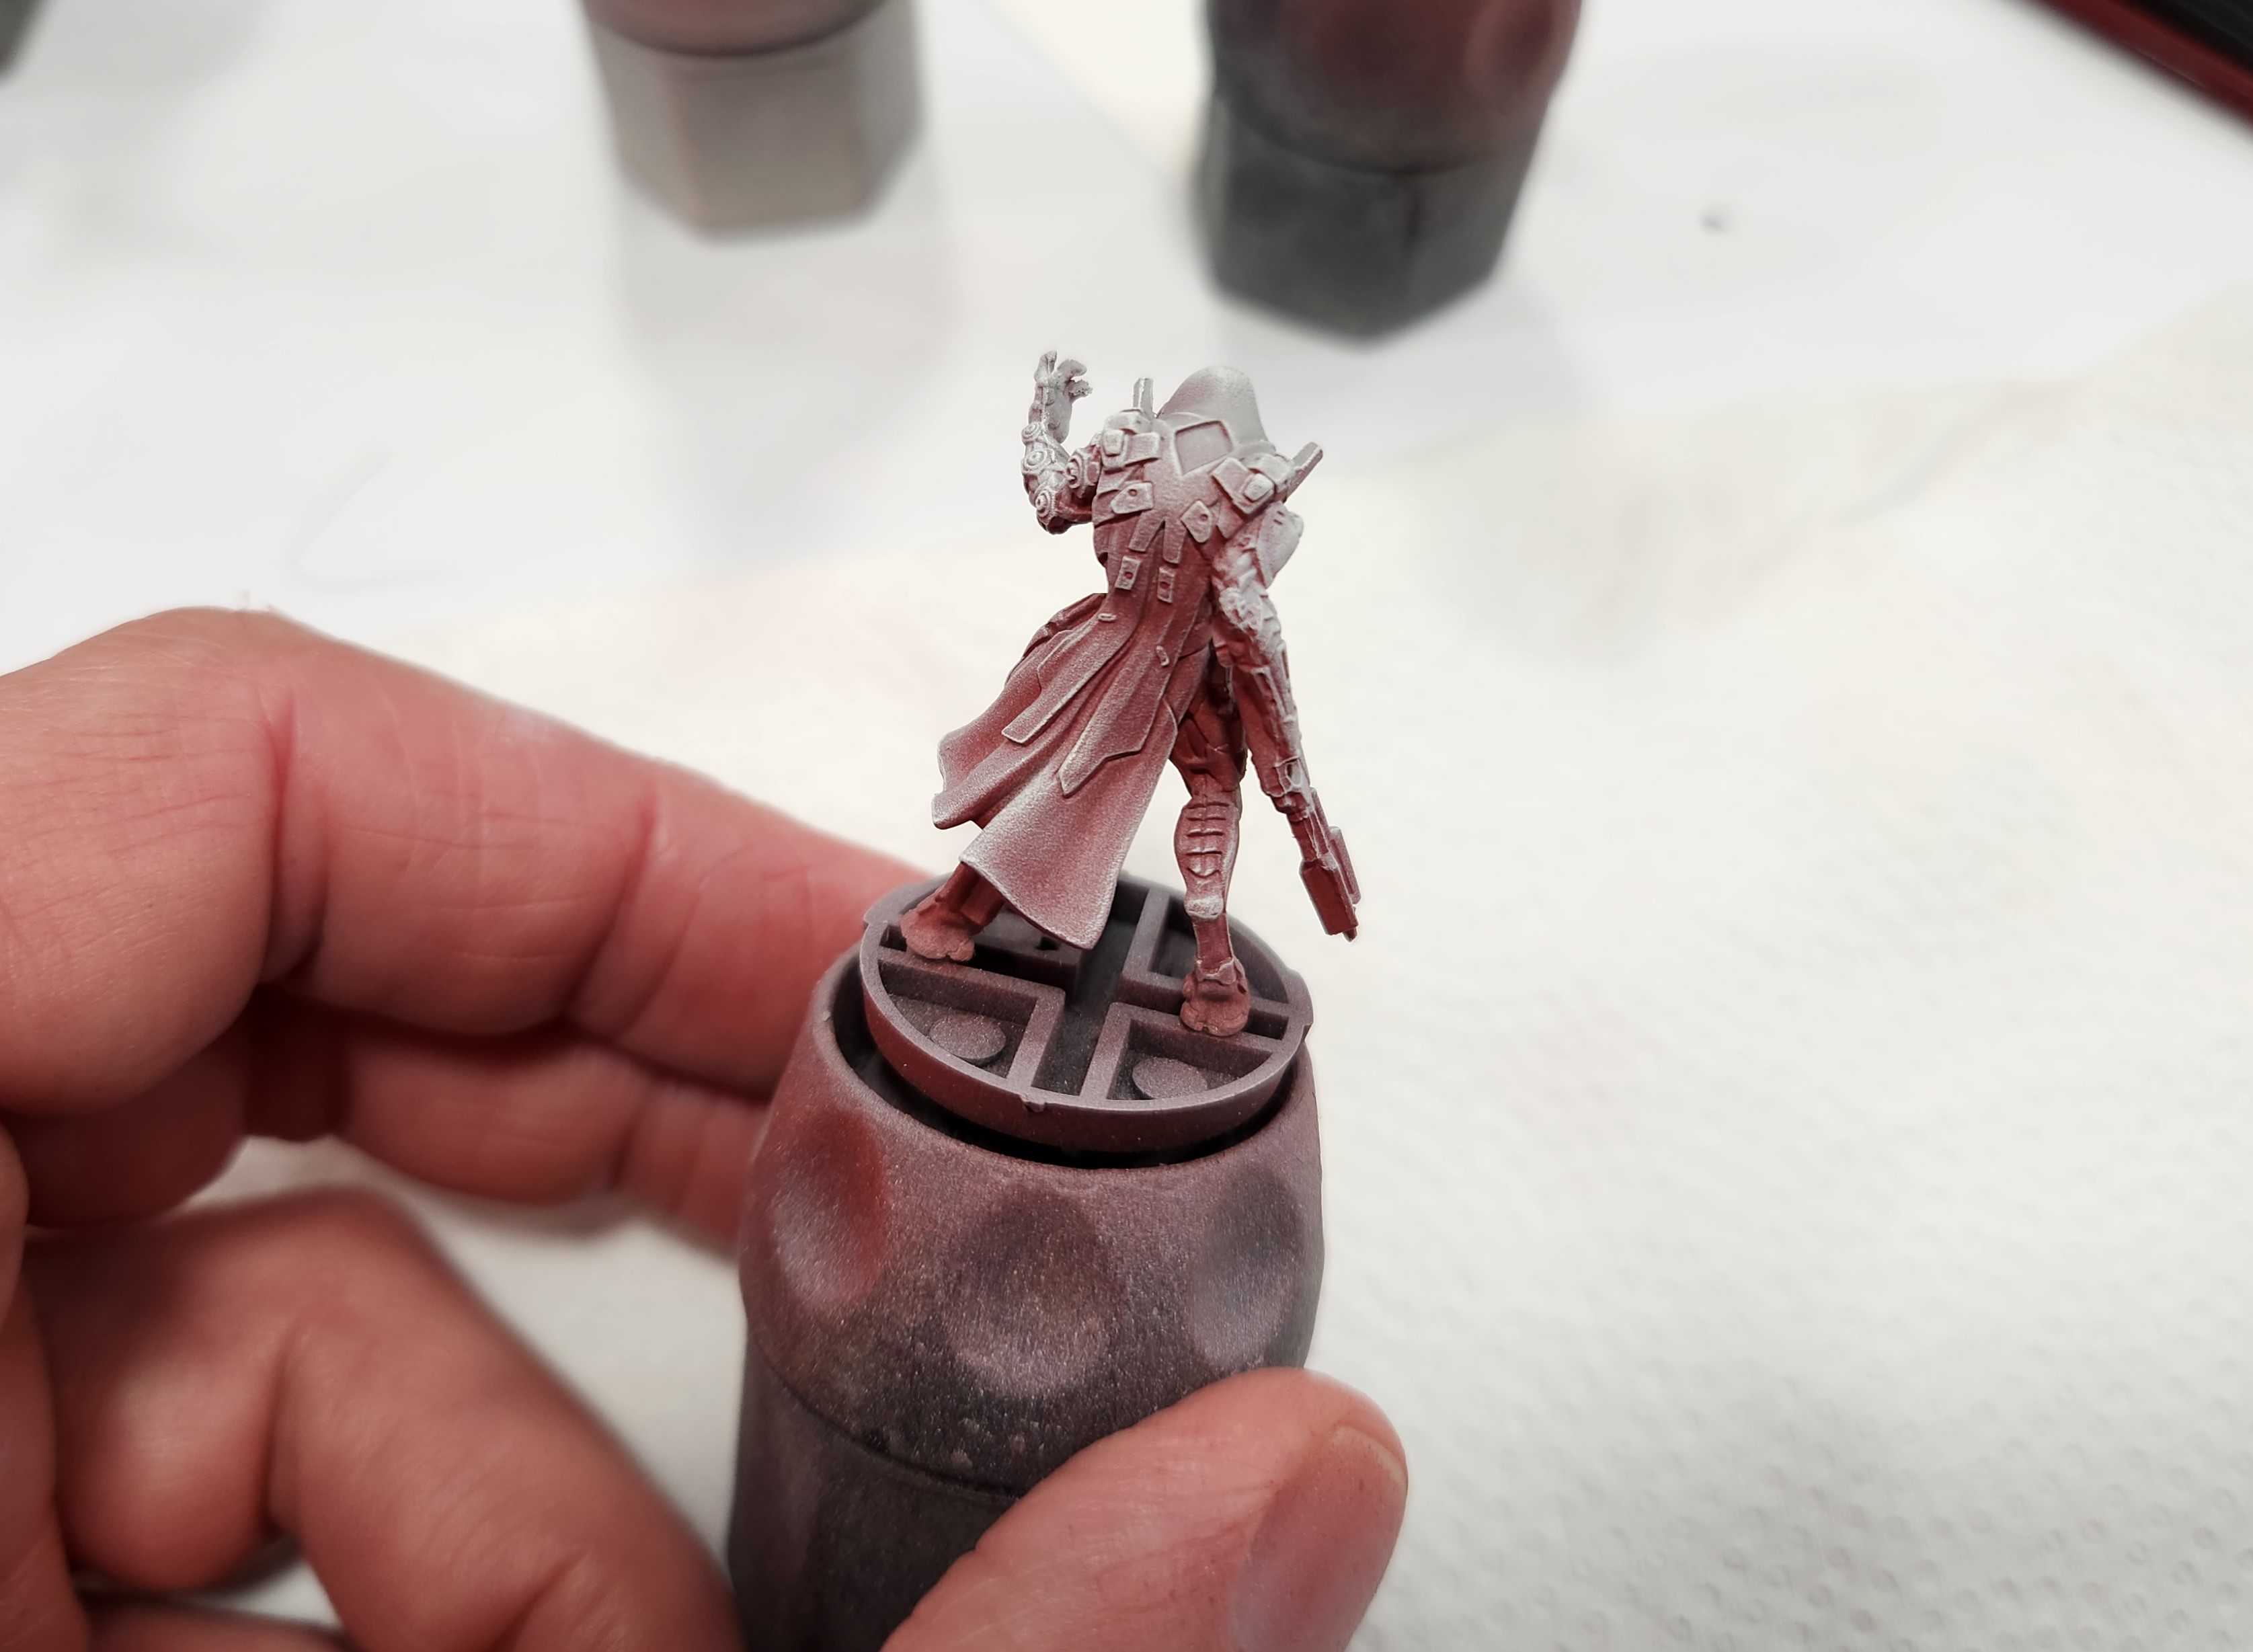
It turns out I needn’t have pre-primed… step one was prime with colour. HA! Oh well. It meant that I only had to prime in one colour [Vellejo Gory Red rattle can] which was applied from under the mini.
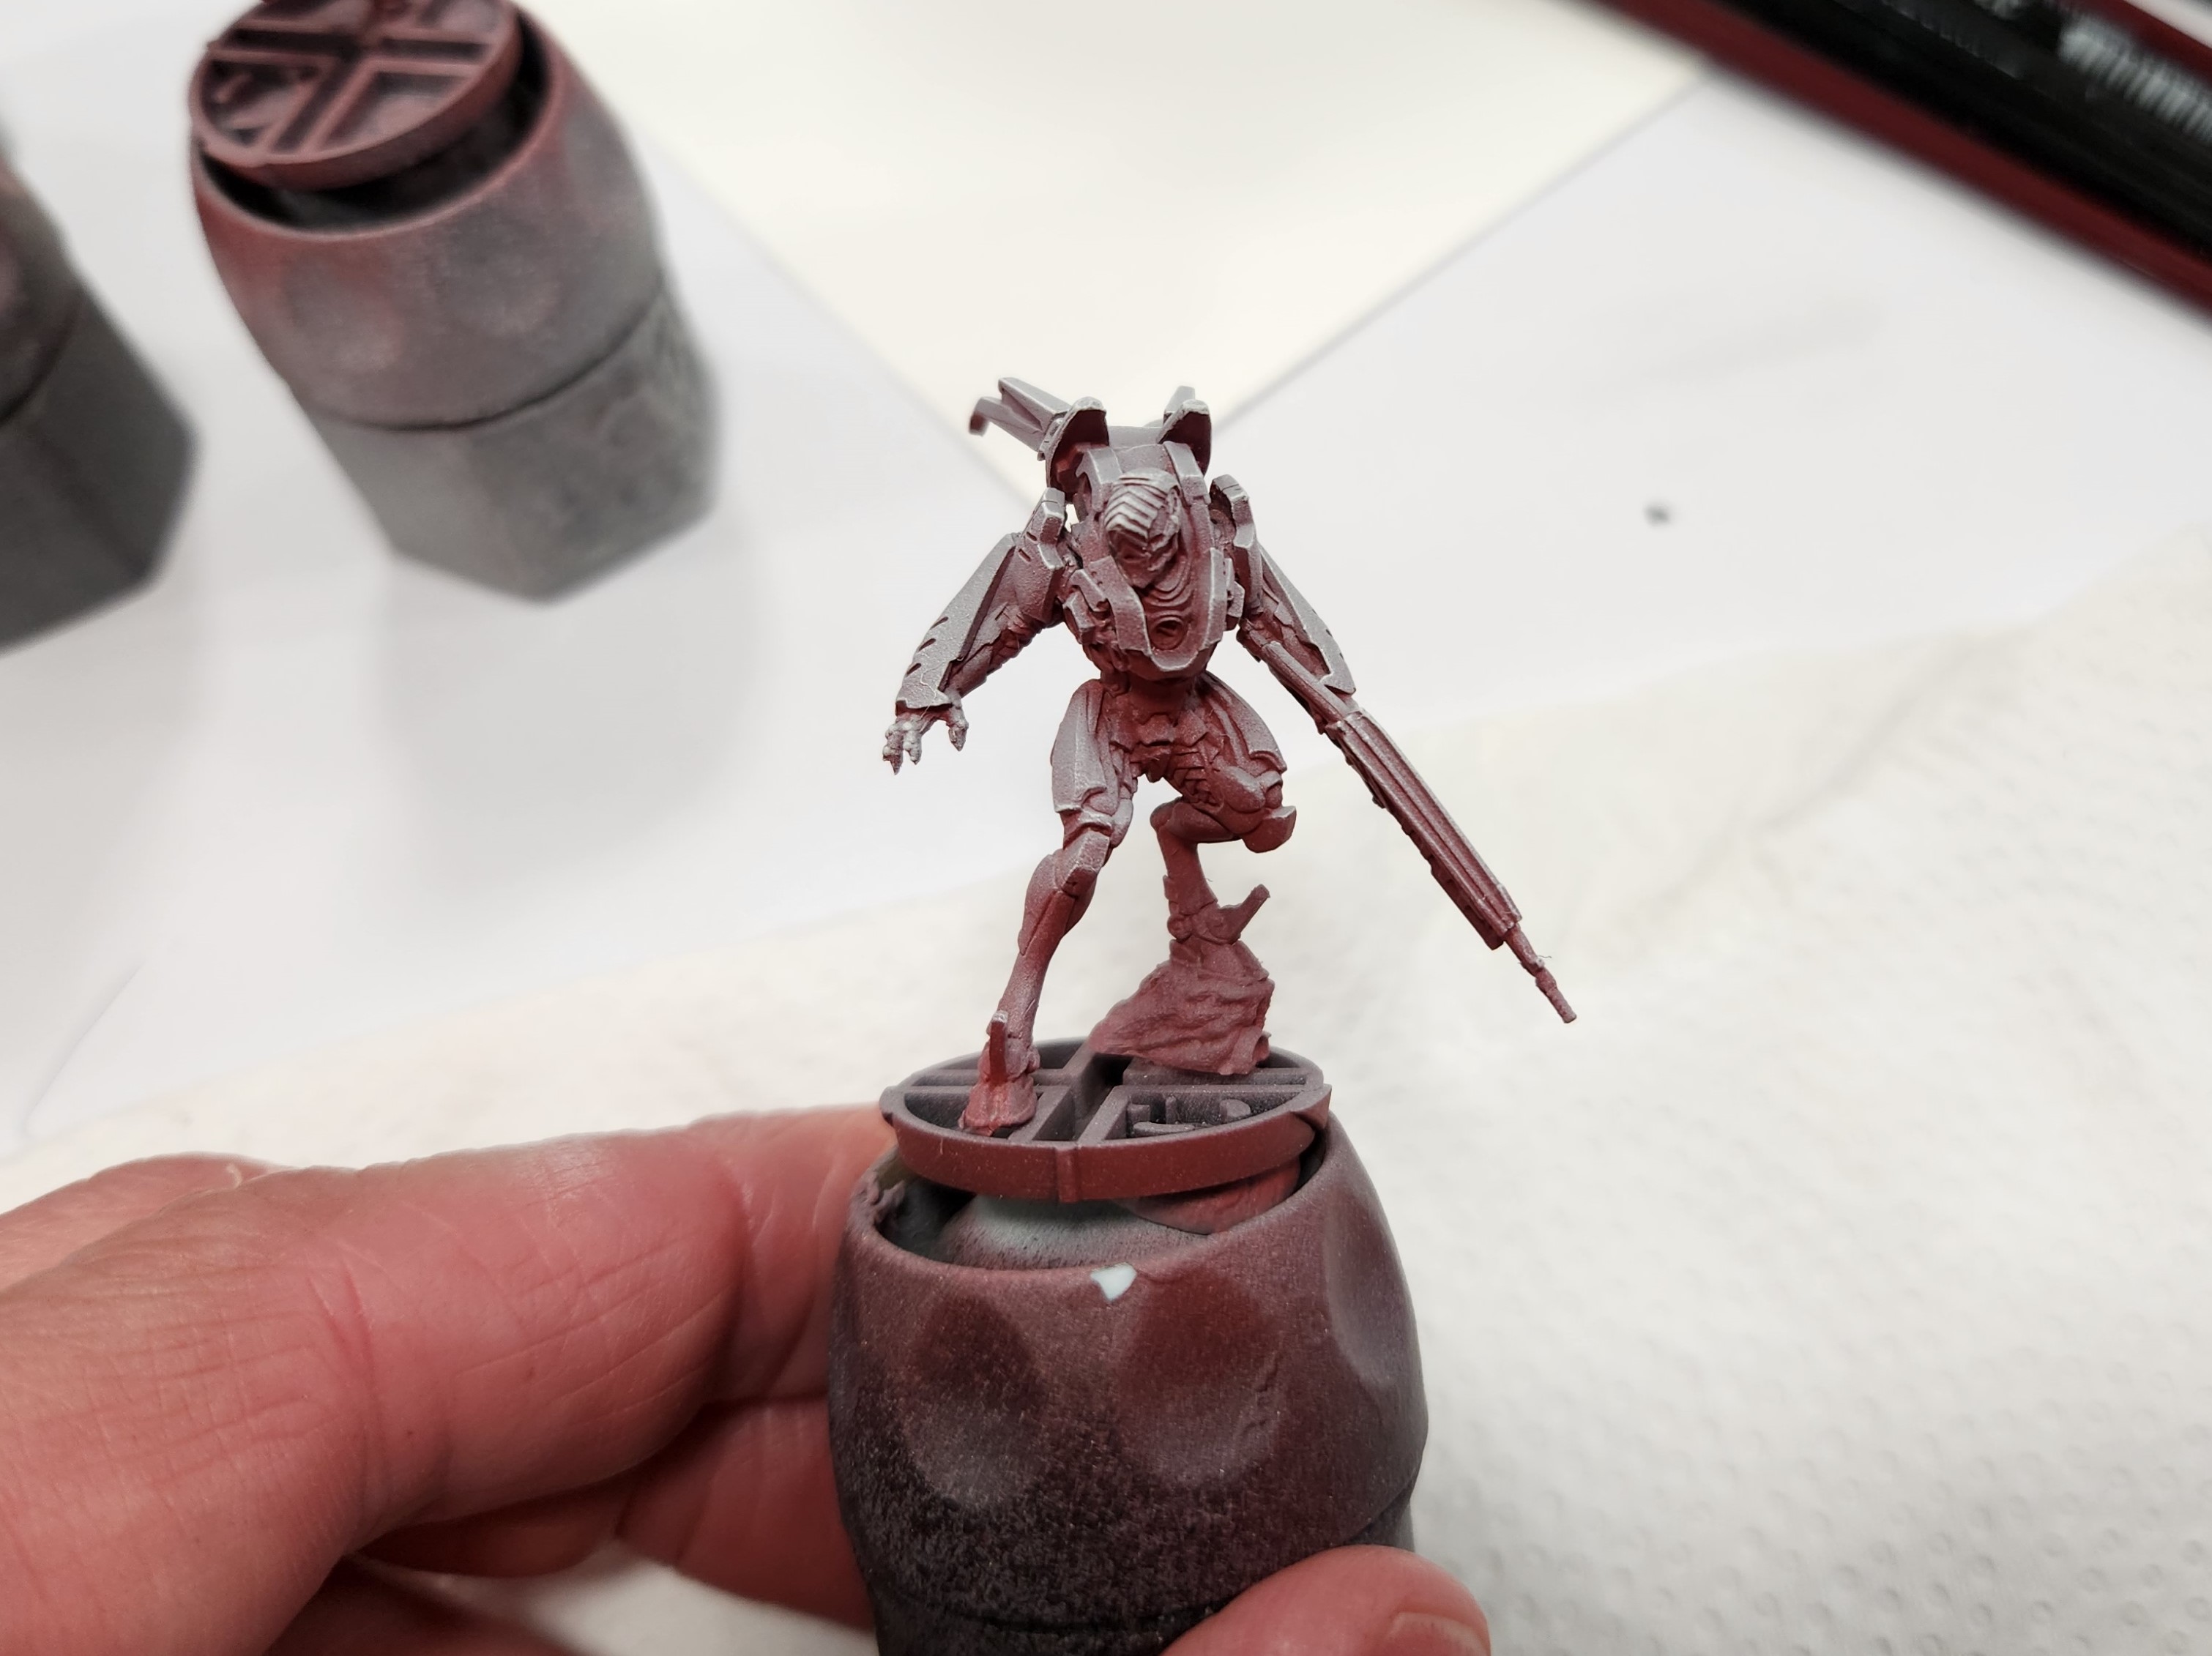
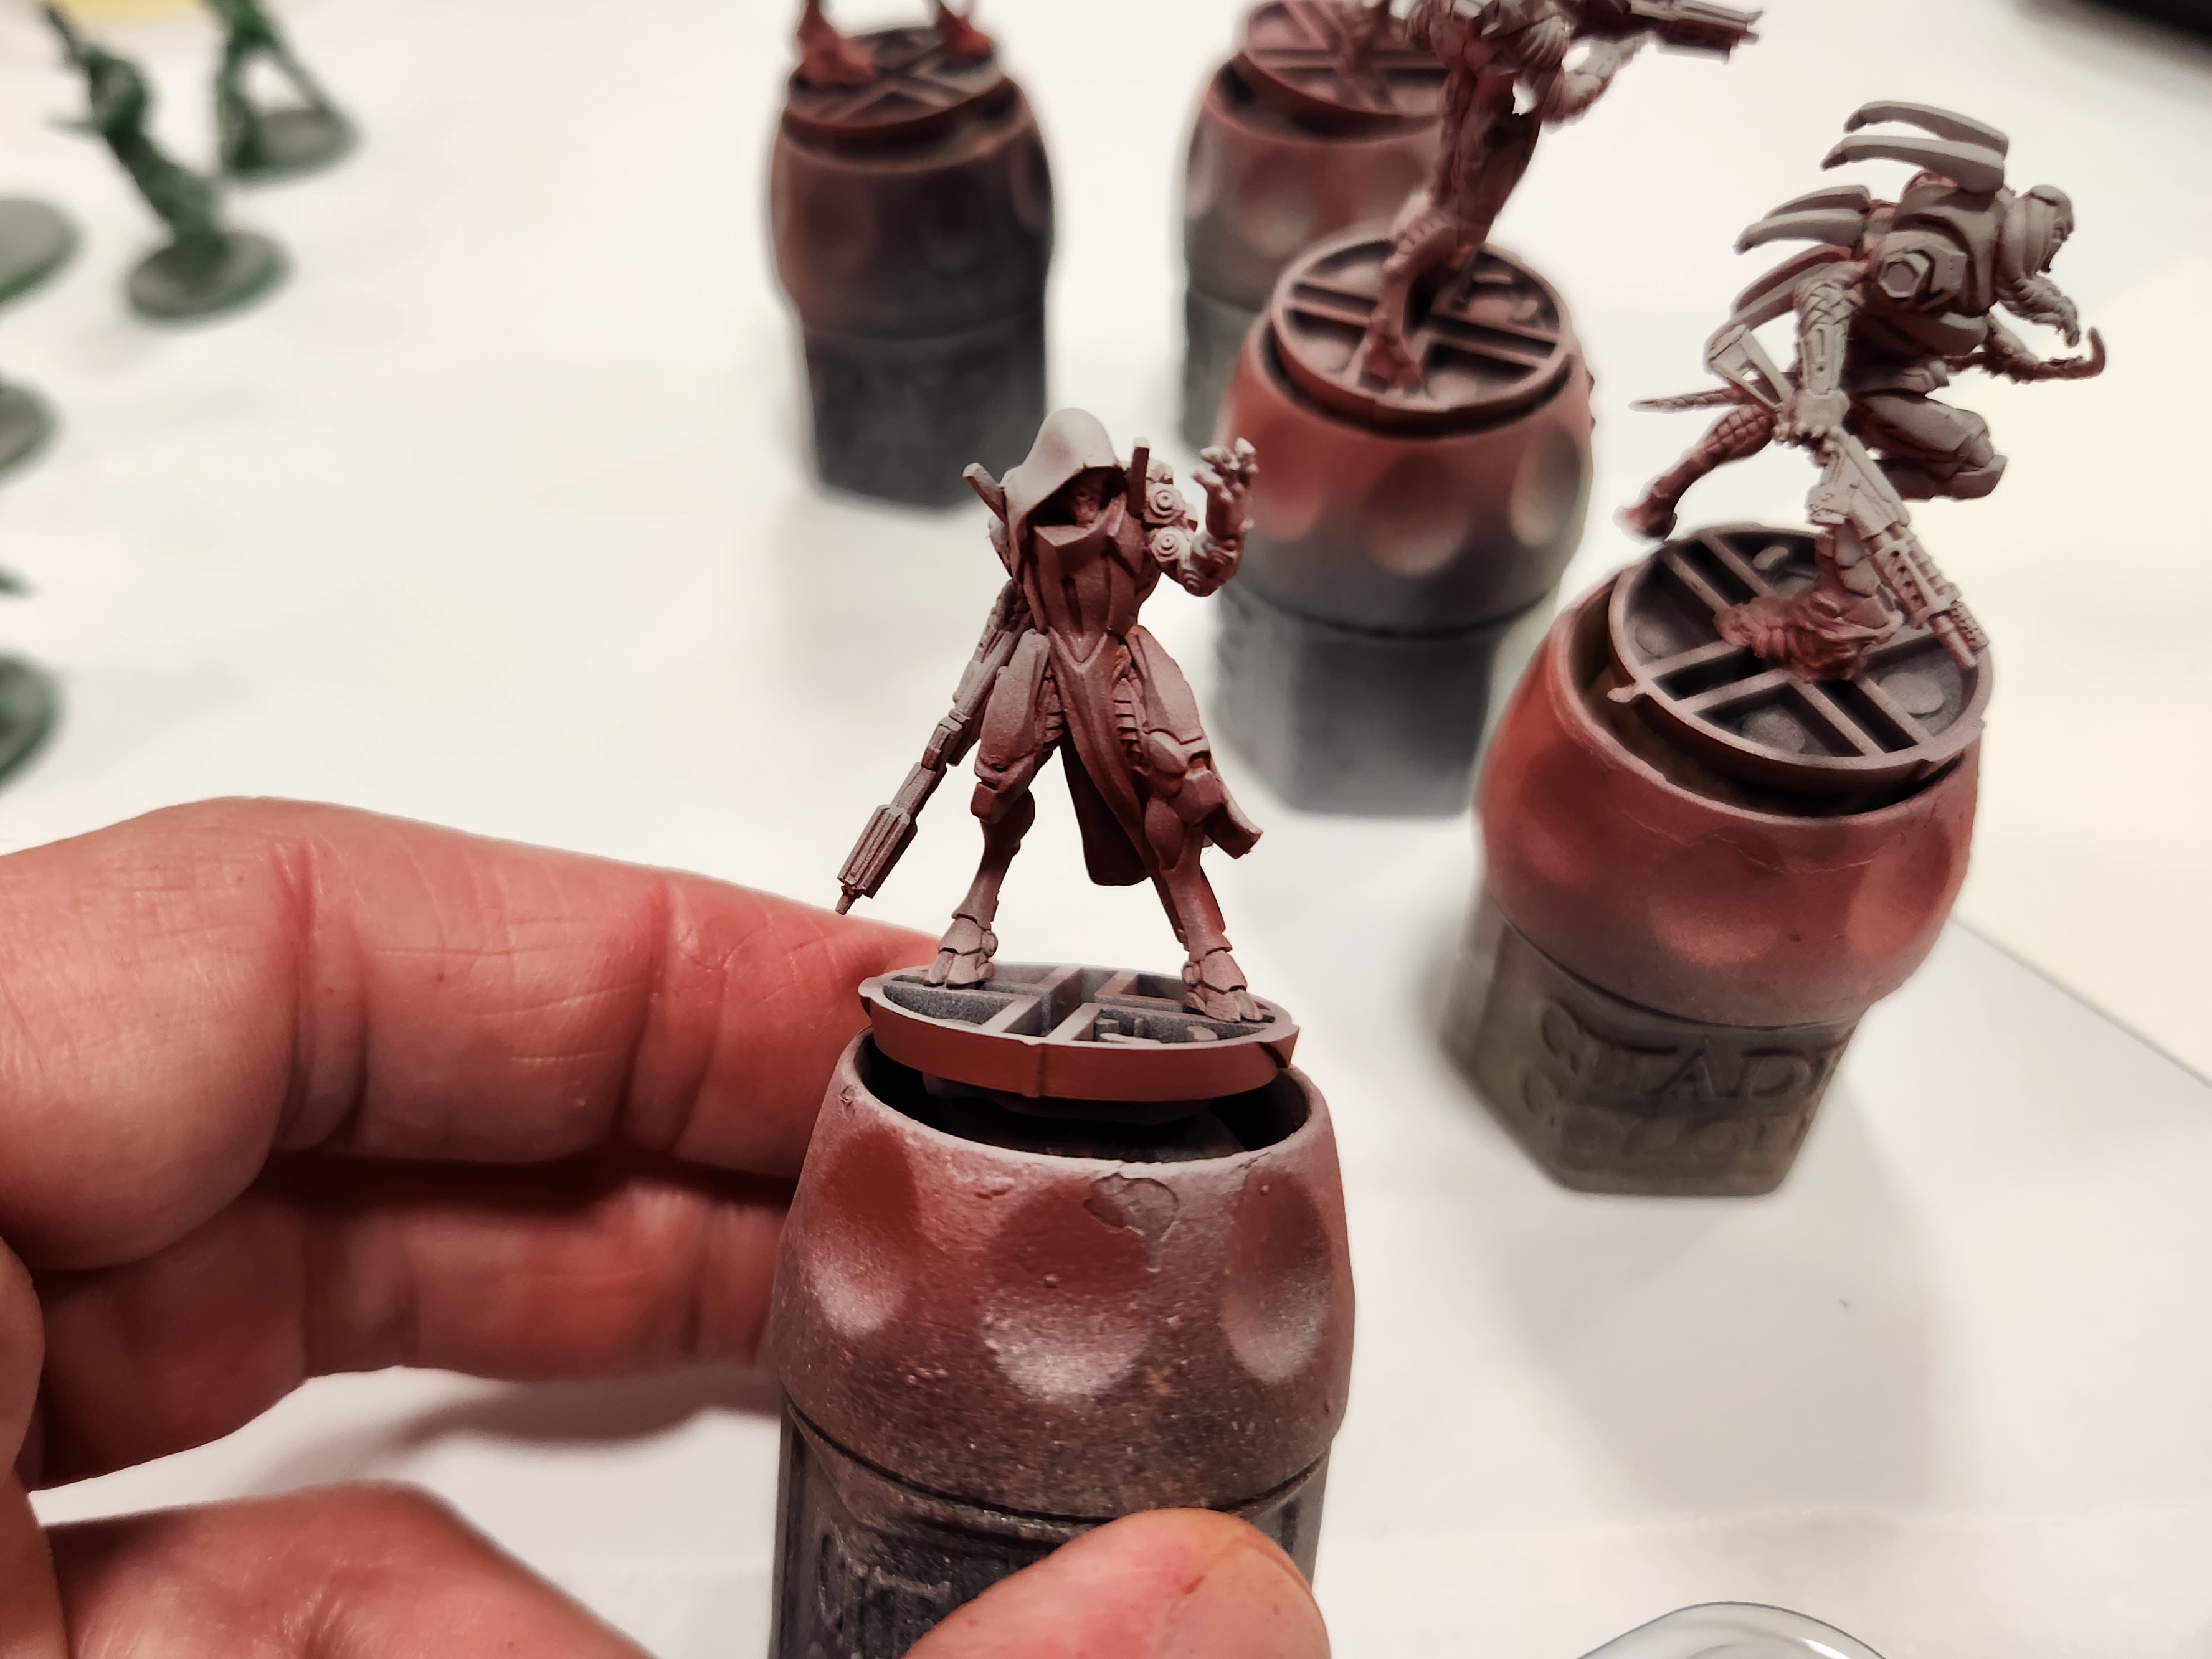 Sprayed up from under, it would have been better if they not been on bases.
 After spraying appropriate colours for the shadows, it is time for 1st drybrush. A Bone/ off-white colour preferably. The following steps use Speedpaint/Contrast… so kind of like that Slapchop thing all those dudes on YouTube are raving about.

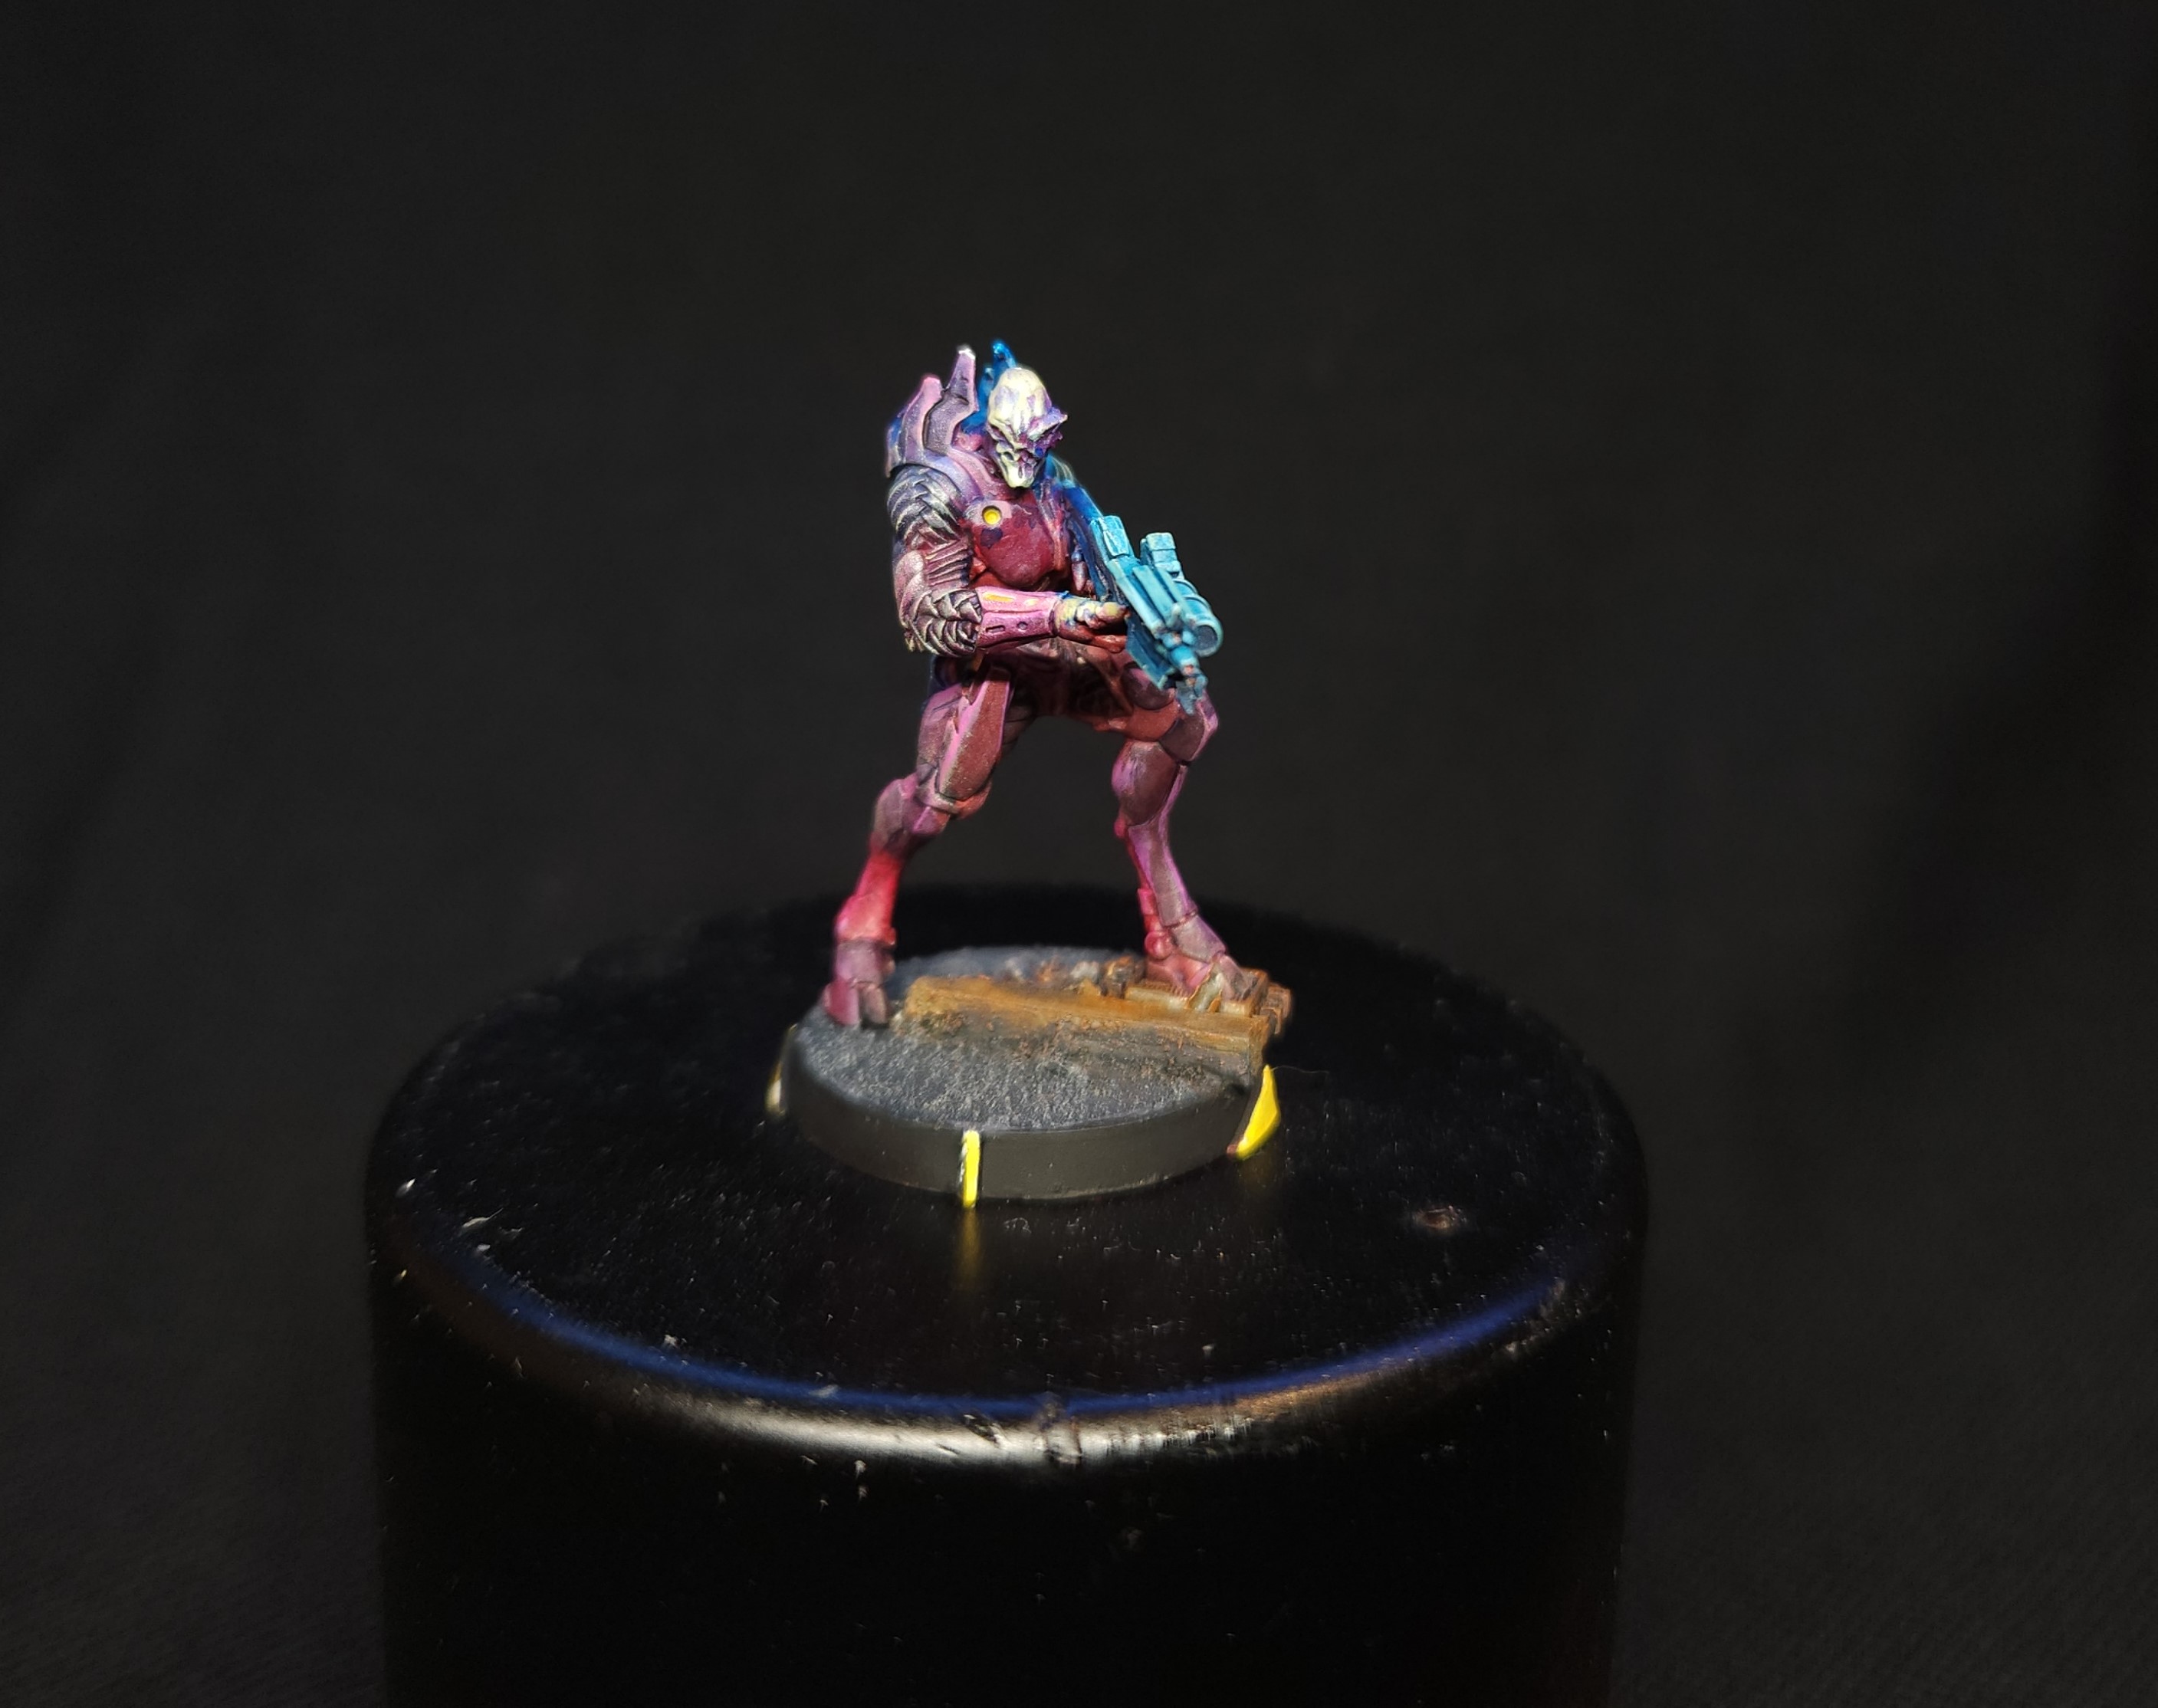
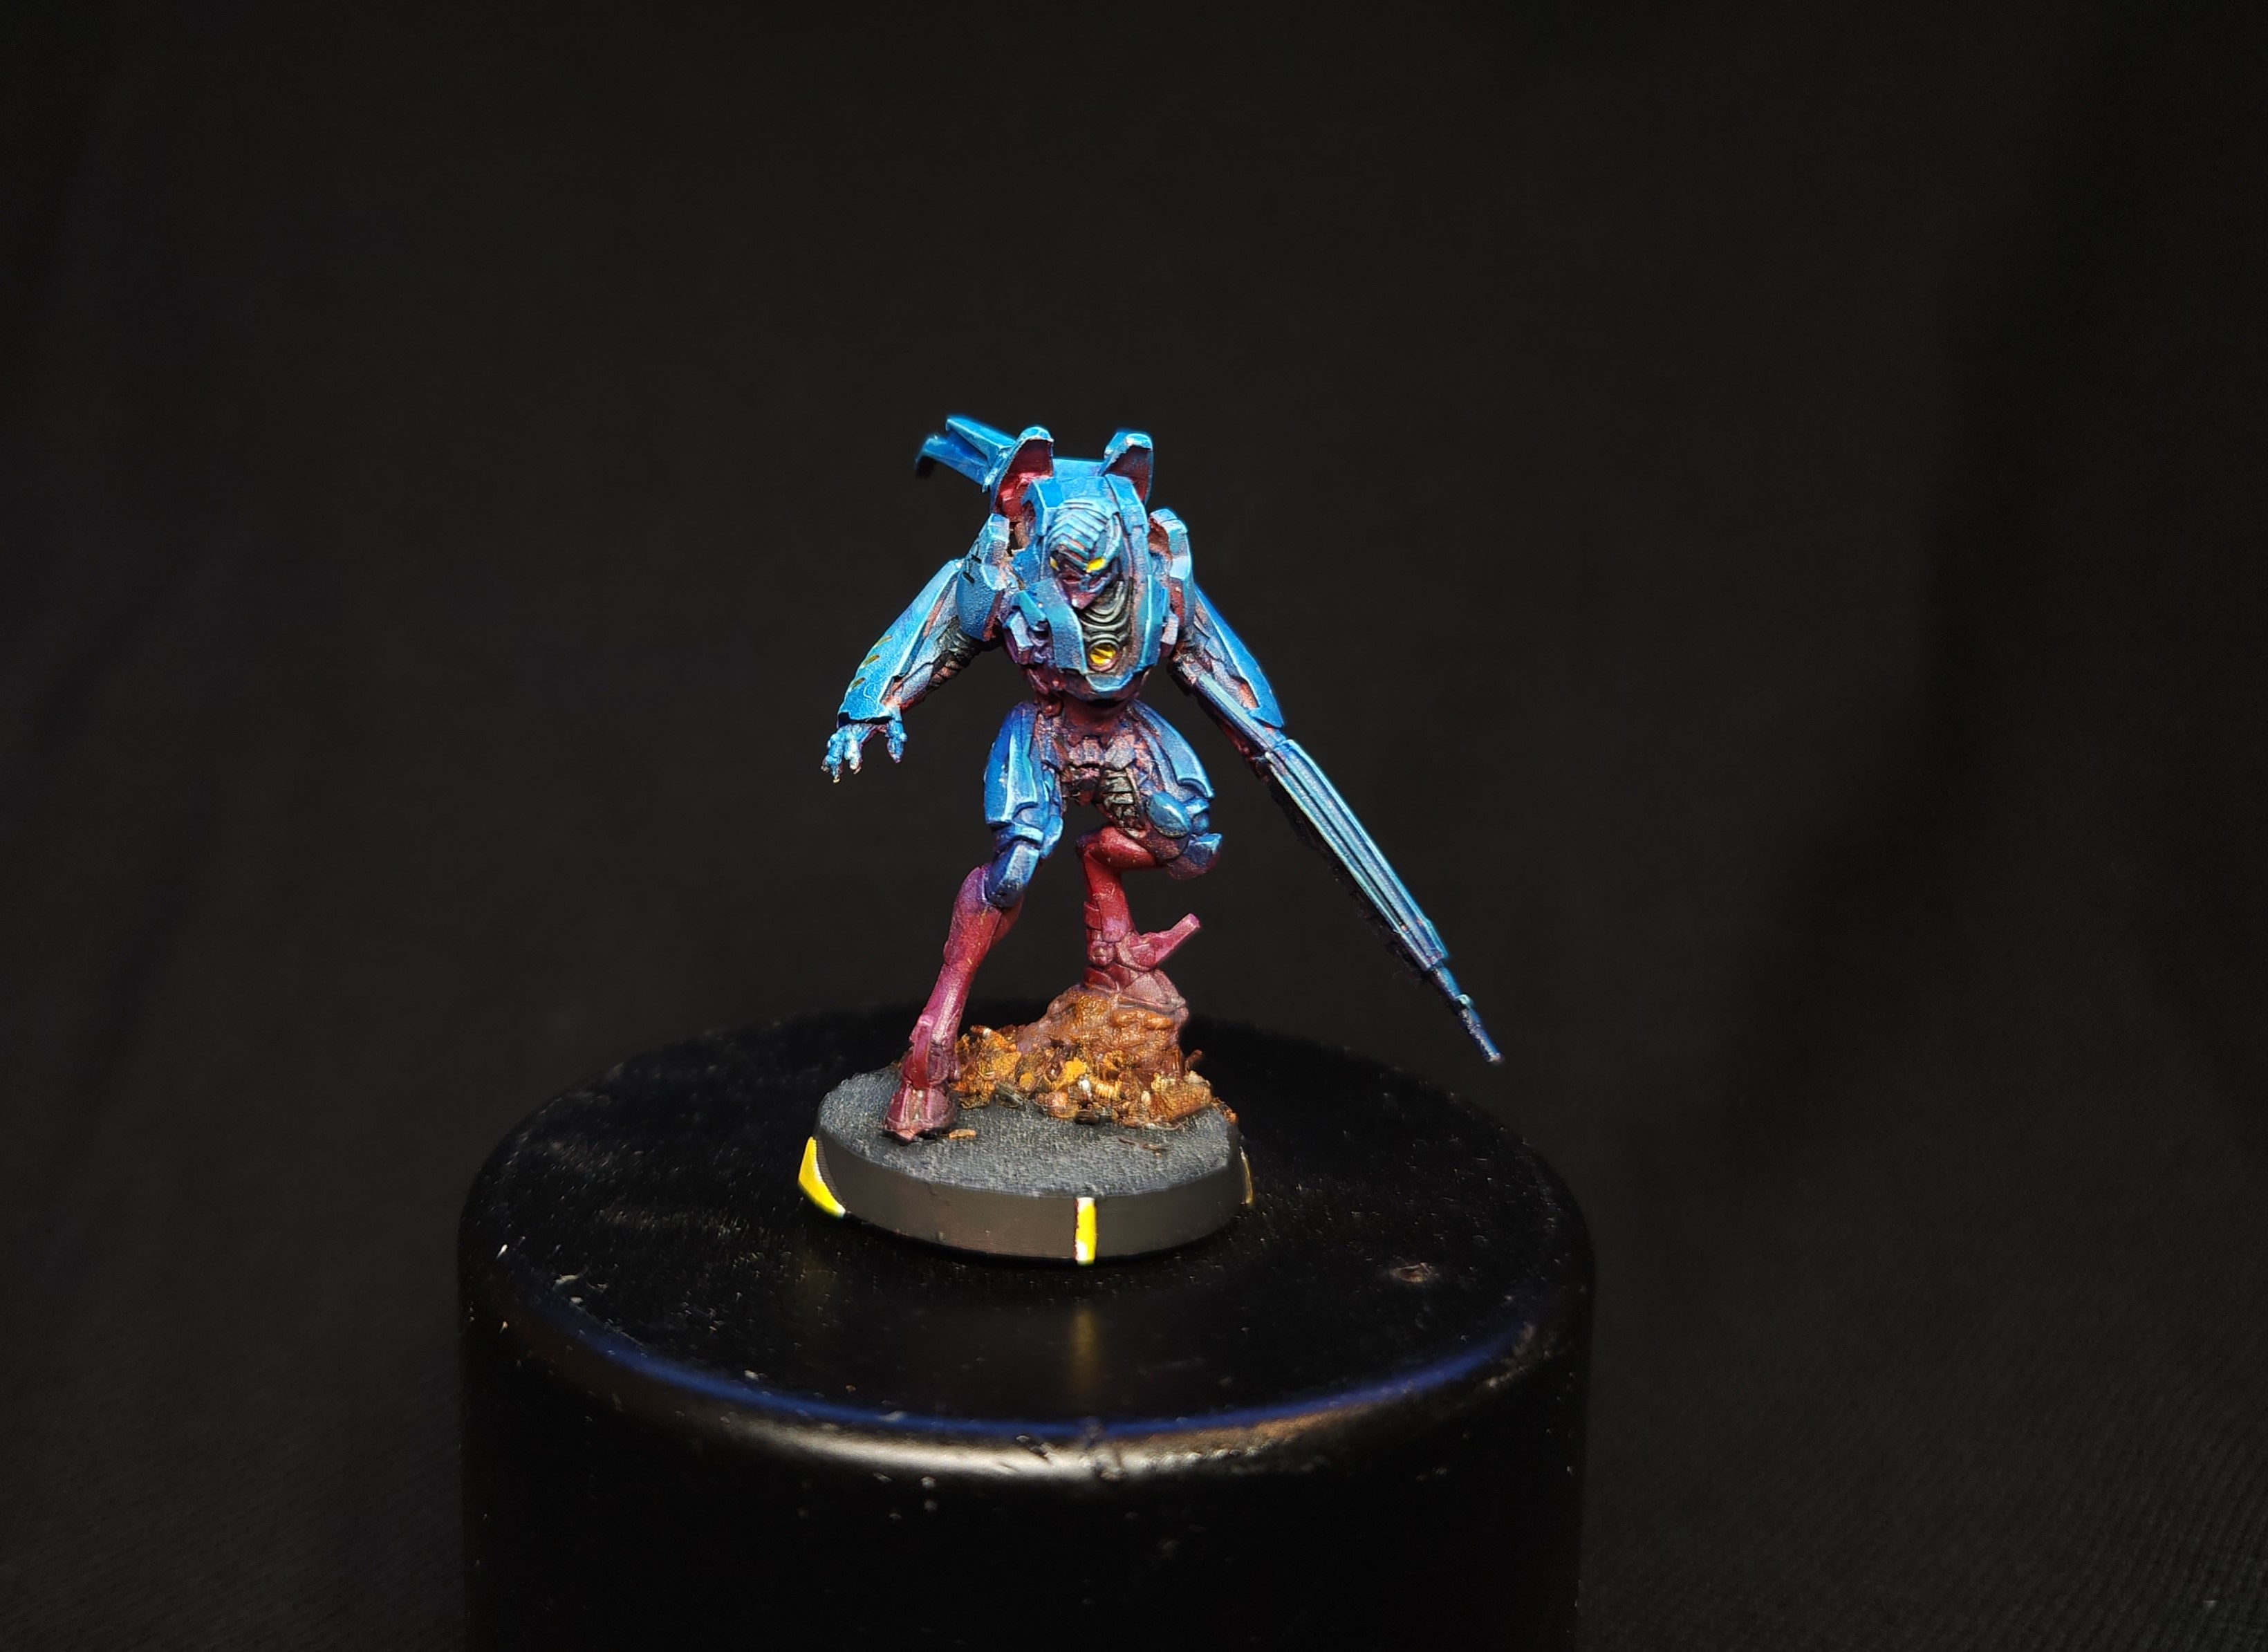
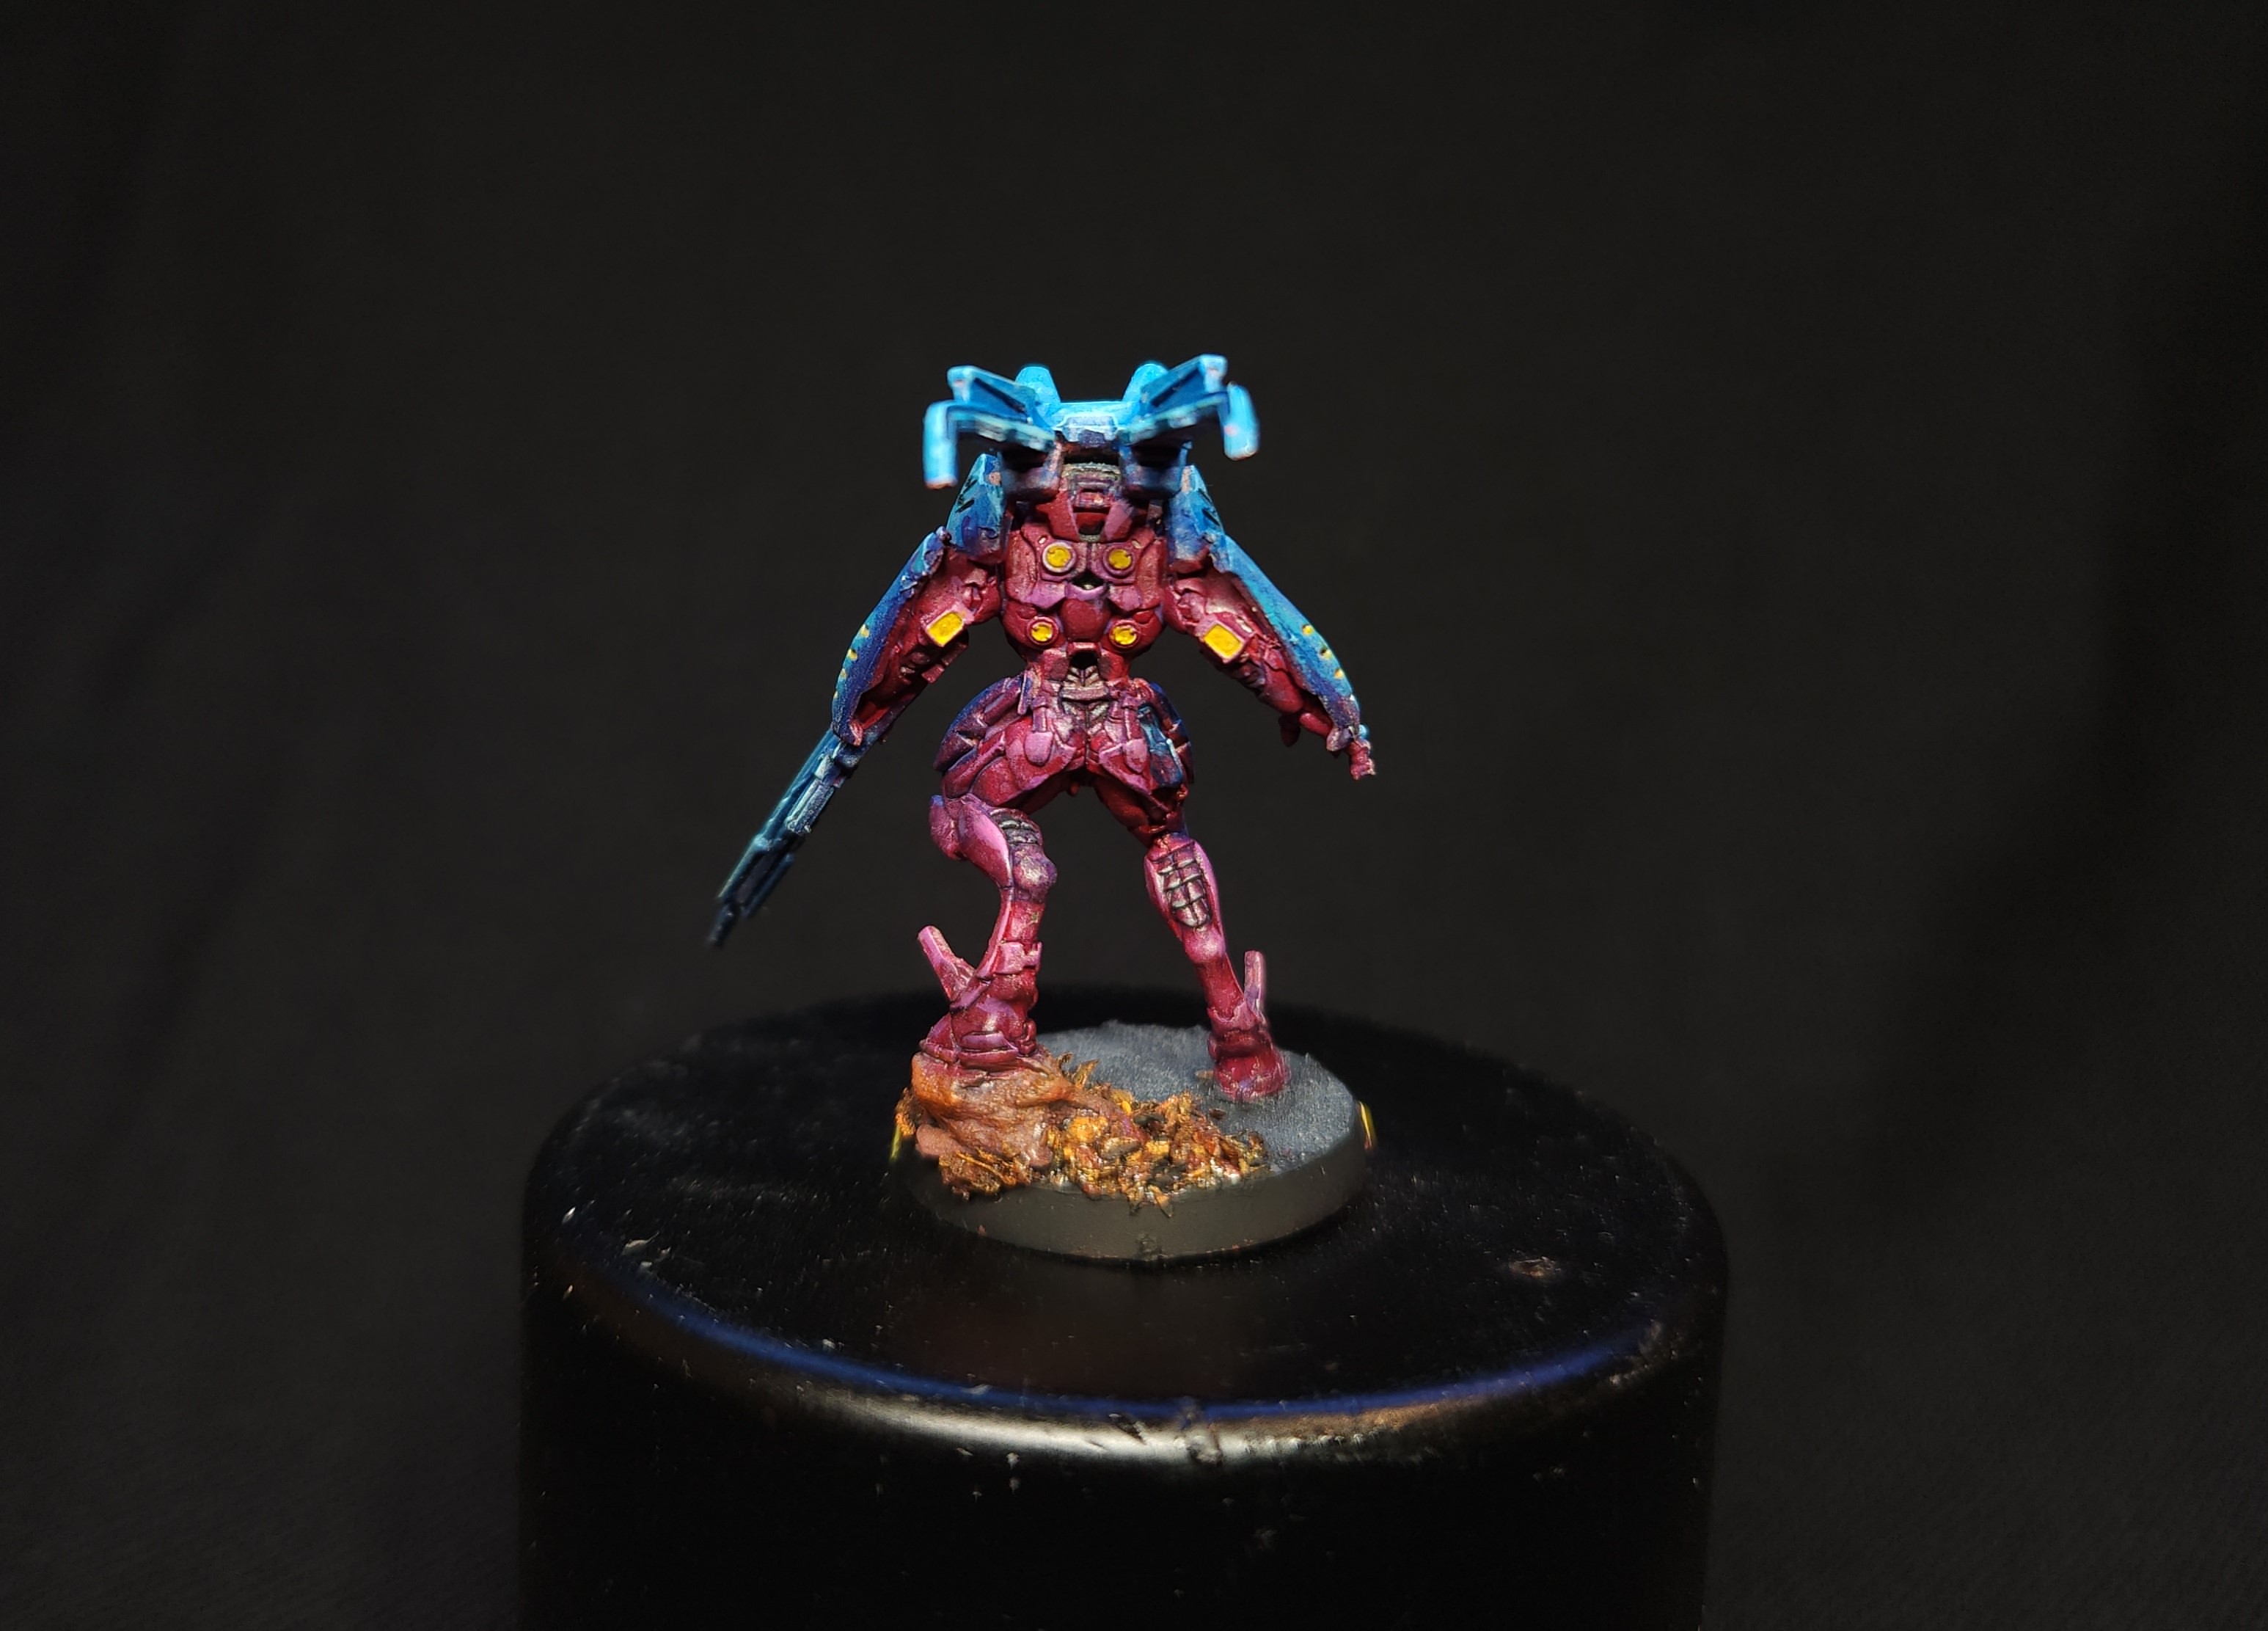
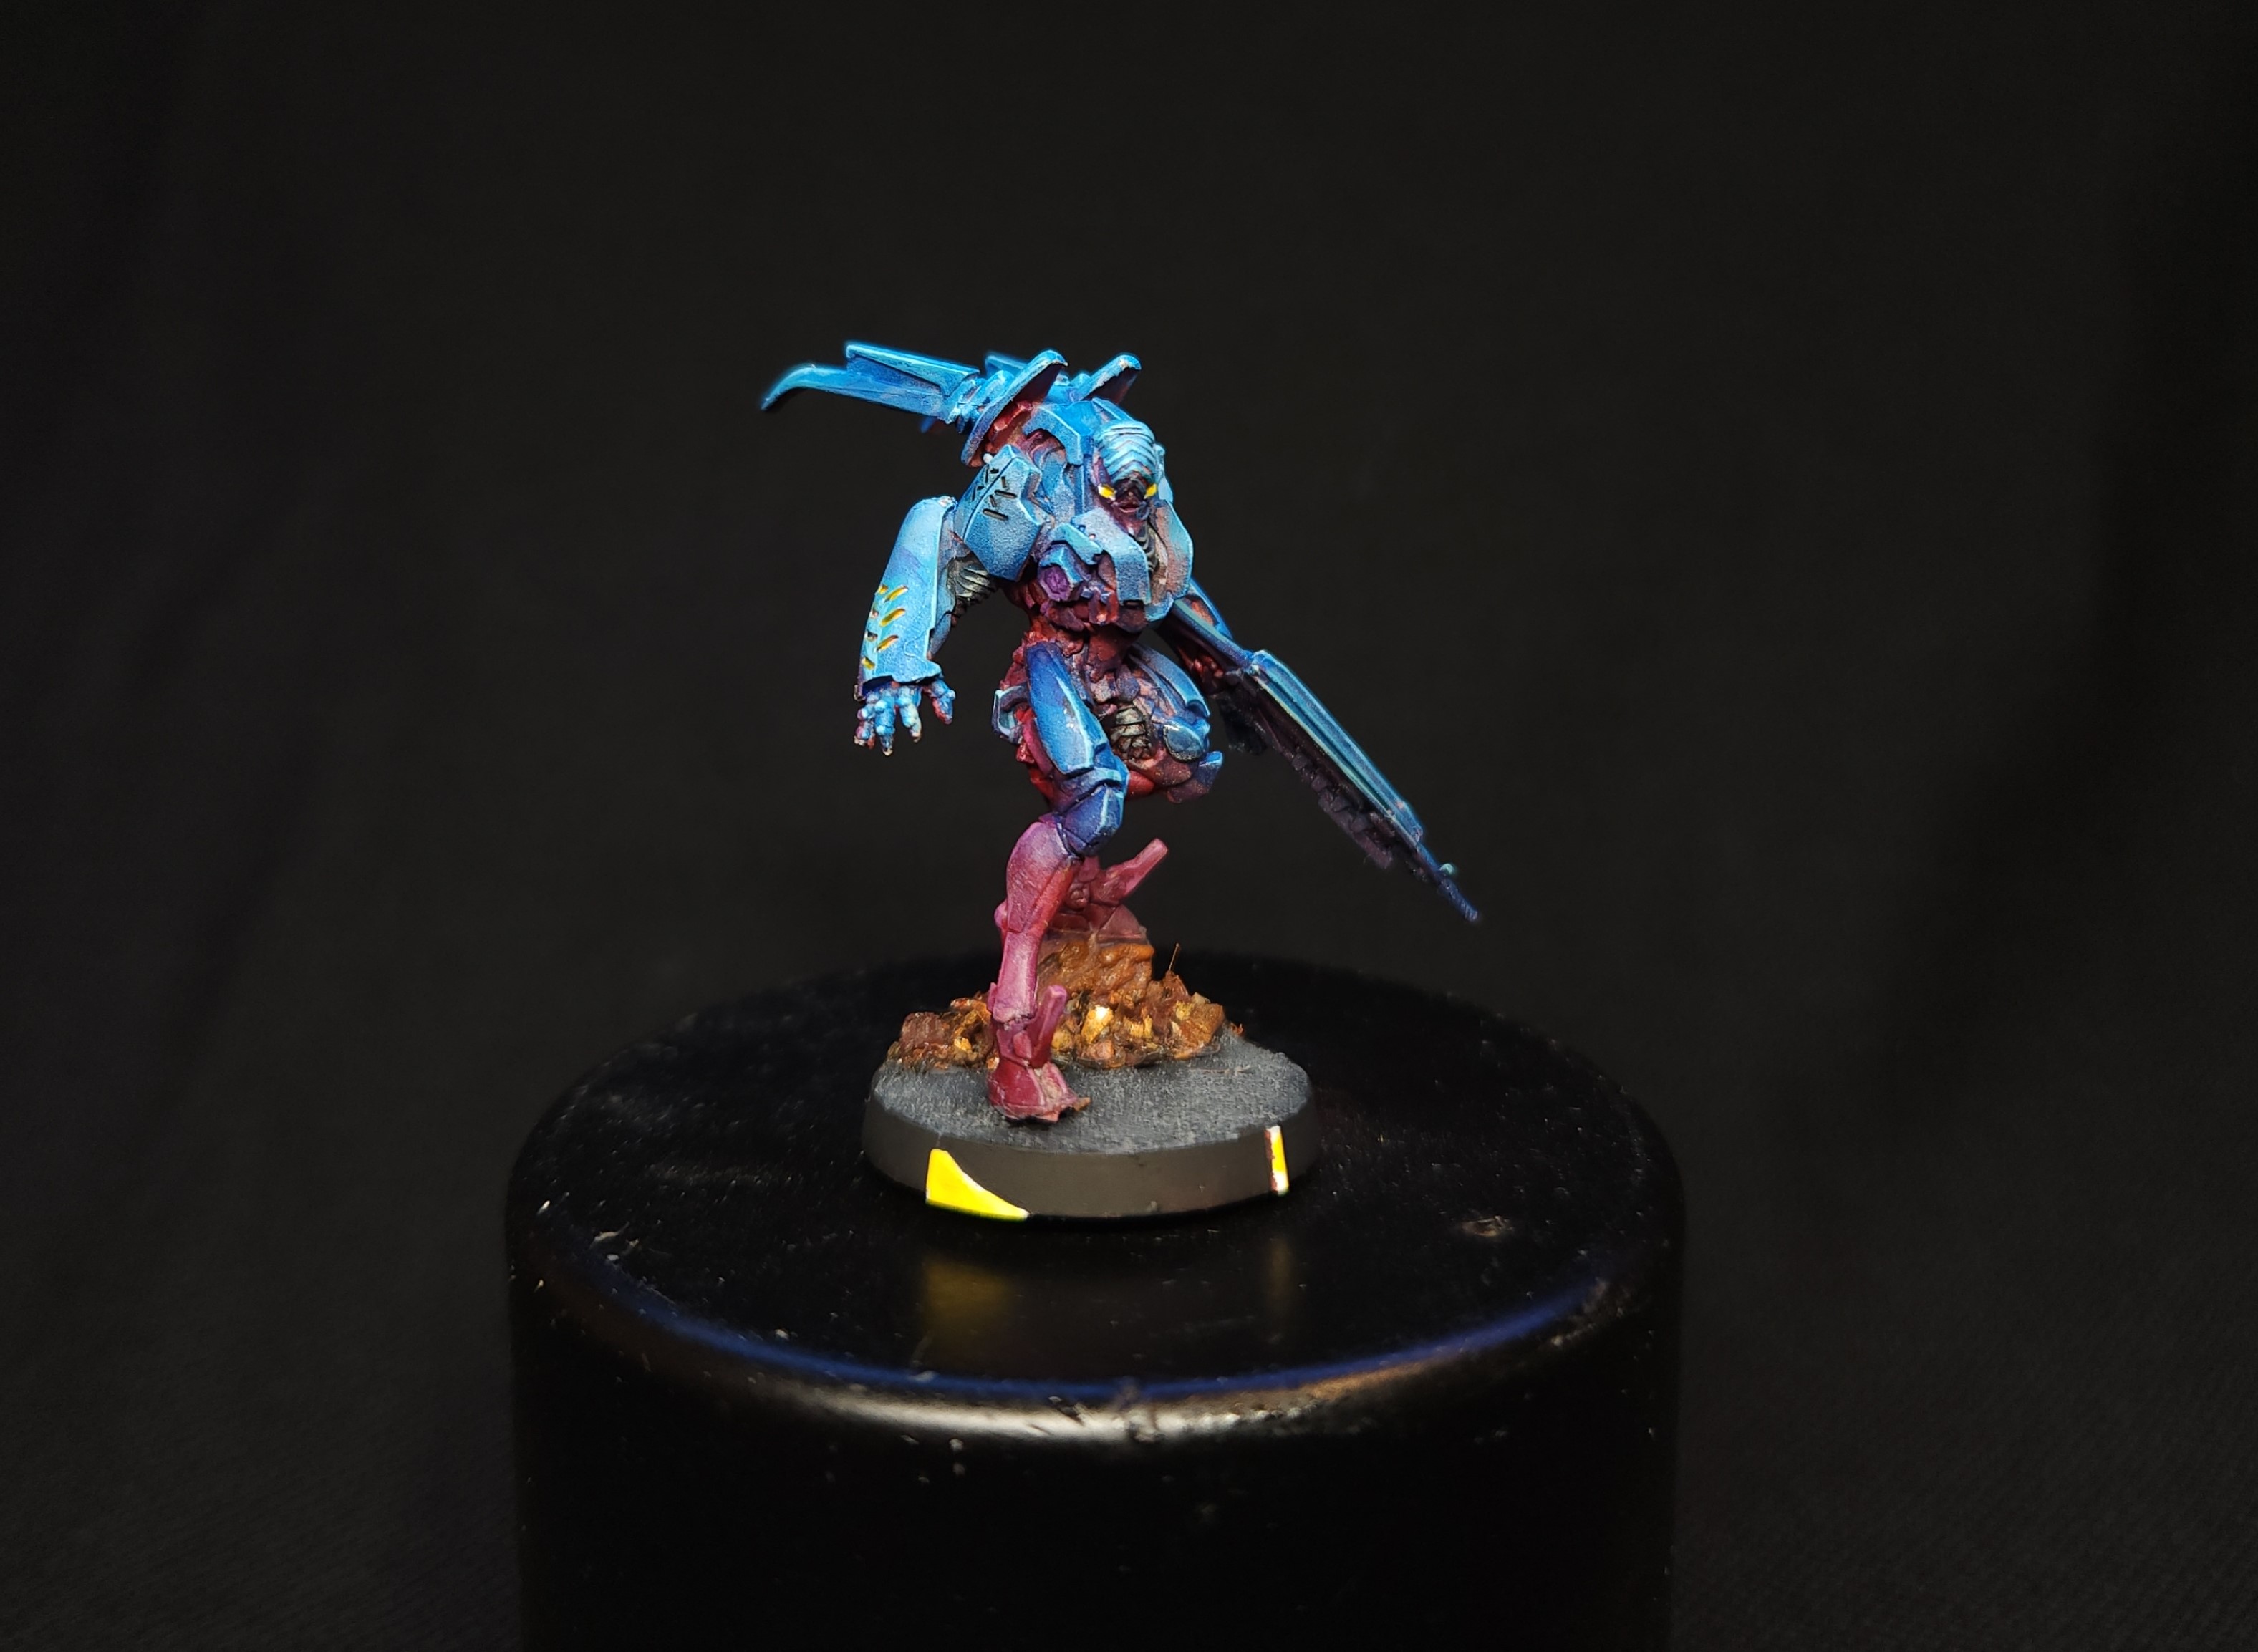
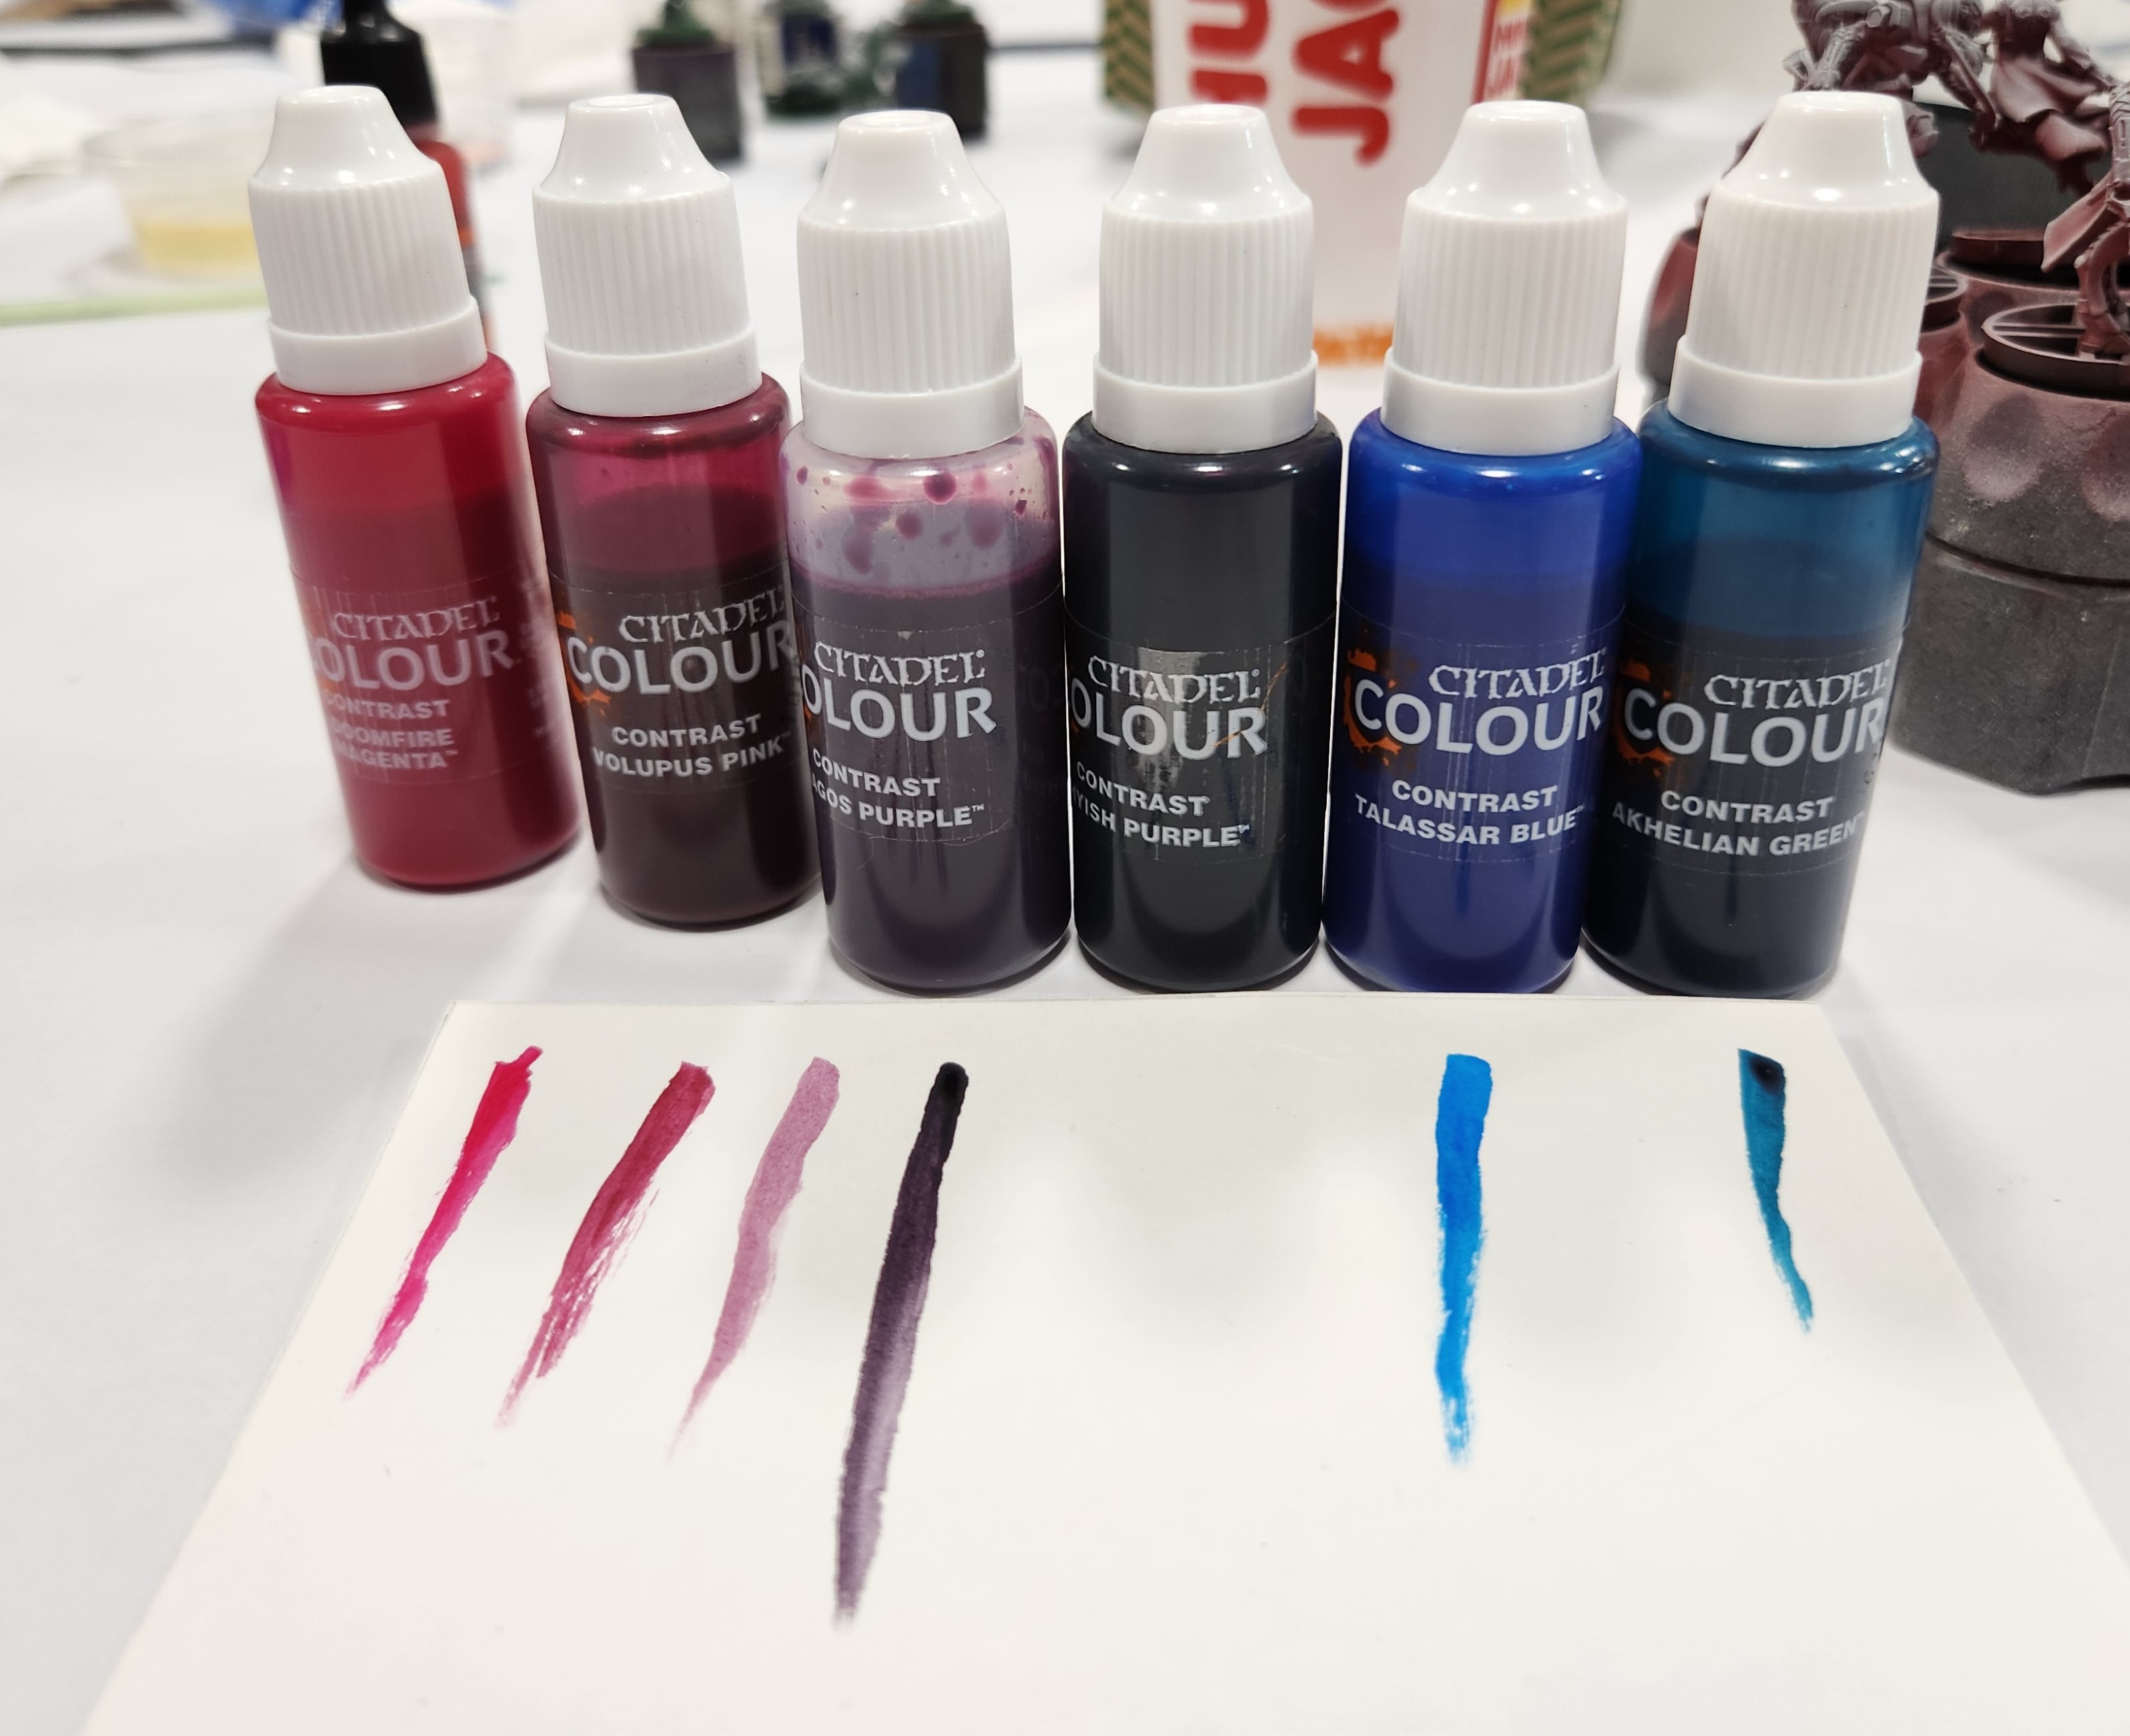
Next step: picking colours. On a piece of art paper (it’s nice and white and just the right absorbancy). Our Tutor, Tom, supplied all the paints. These are his re-bottled Contrast paints. So, by throwing some colours on a page like this, we can see what the colours will turn out like and see if they match what we are planning before we throw them at the mini.
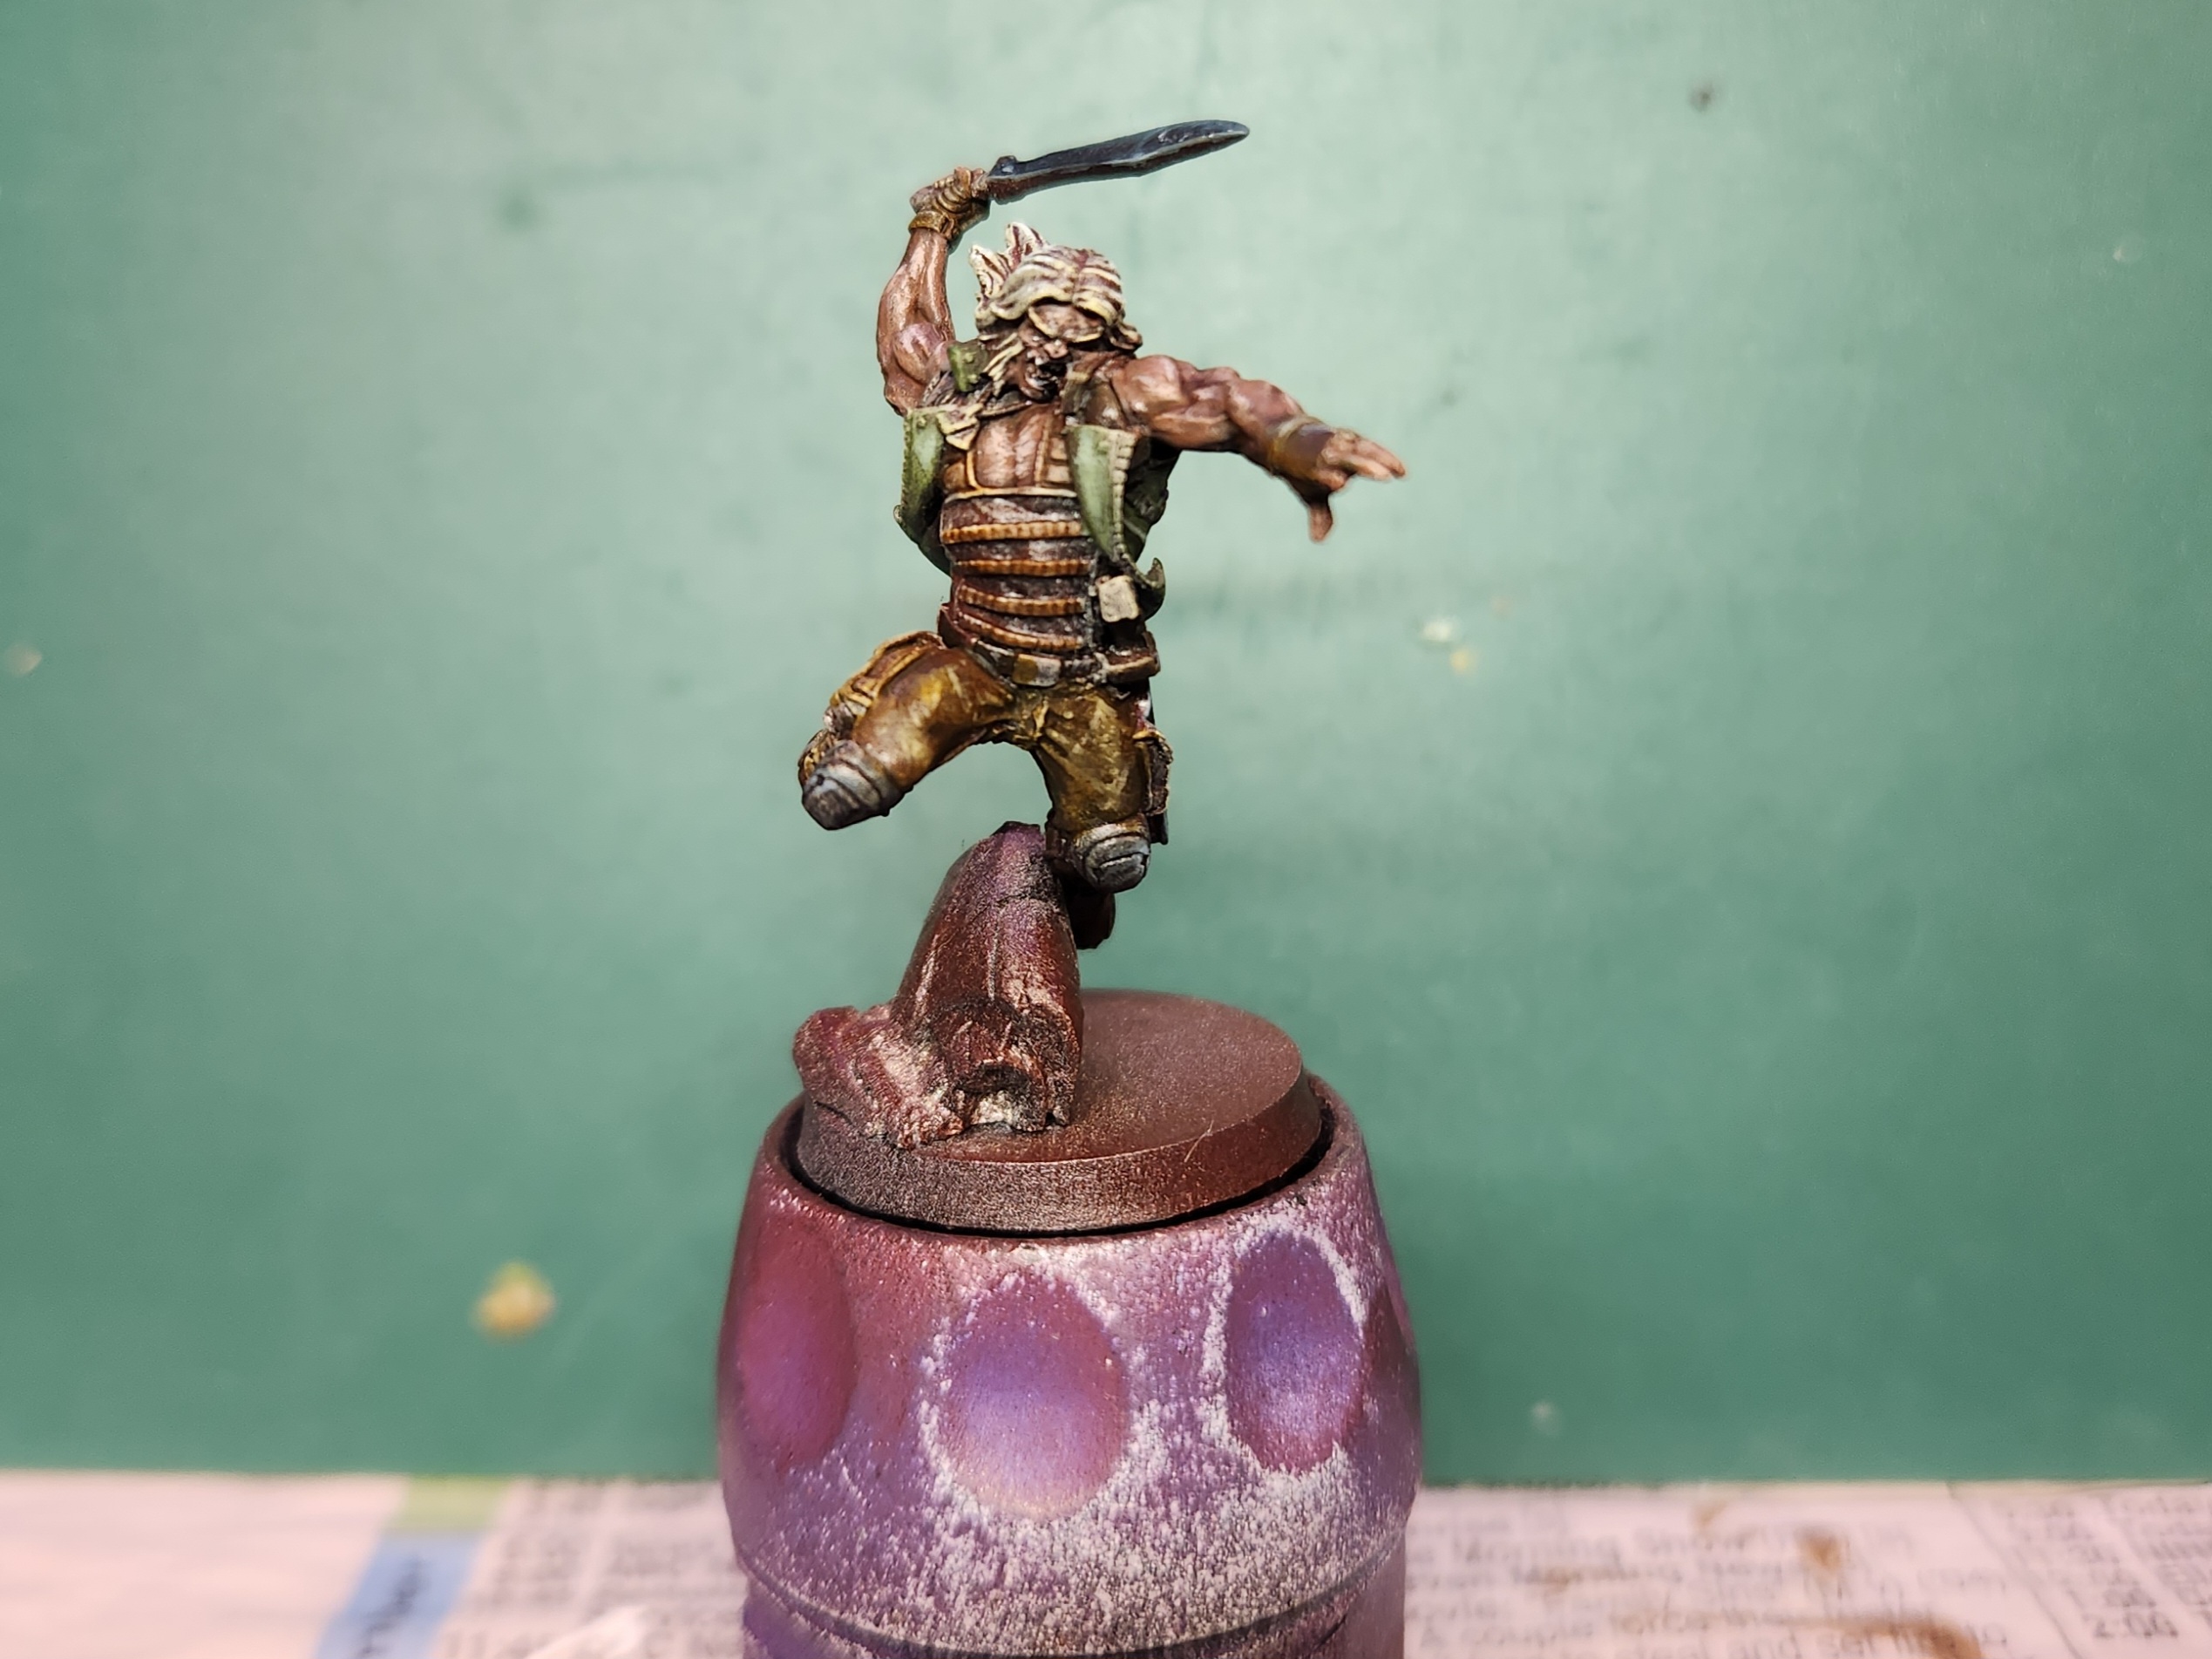
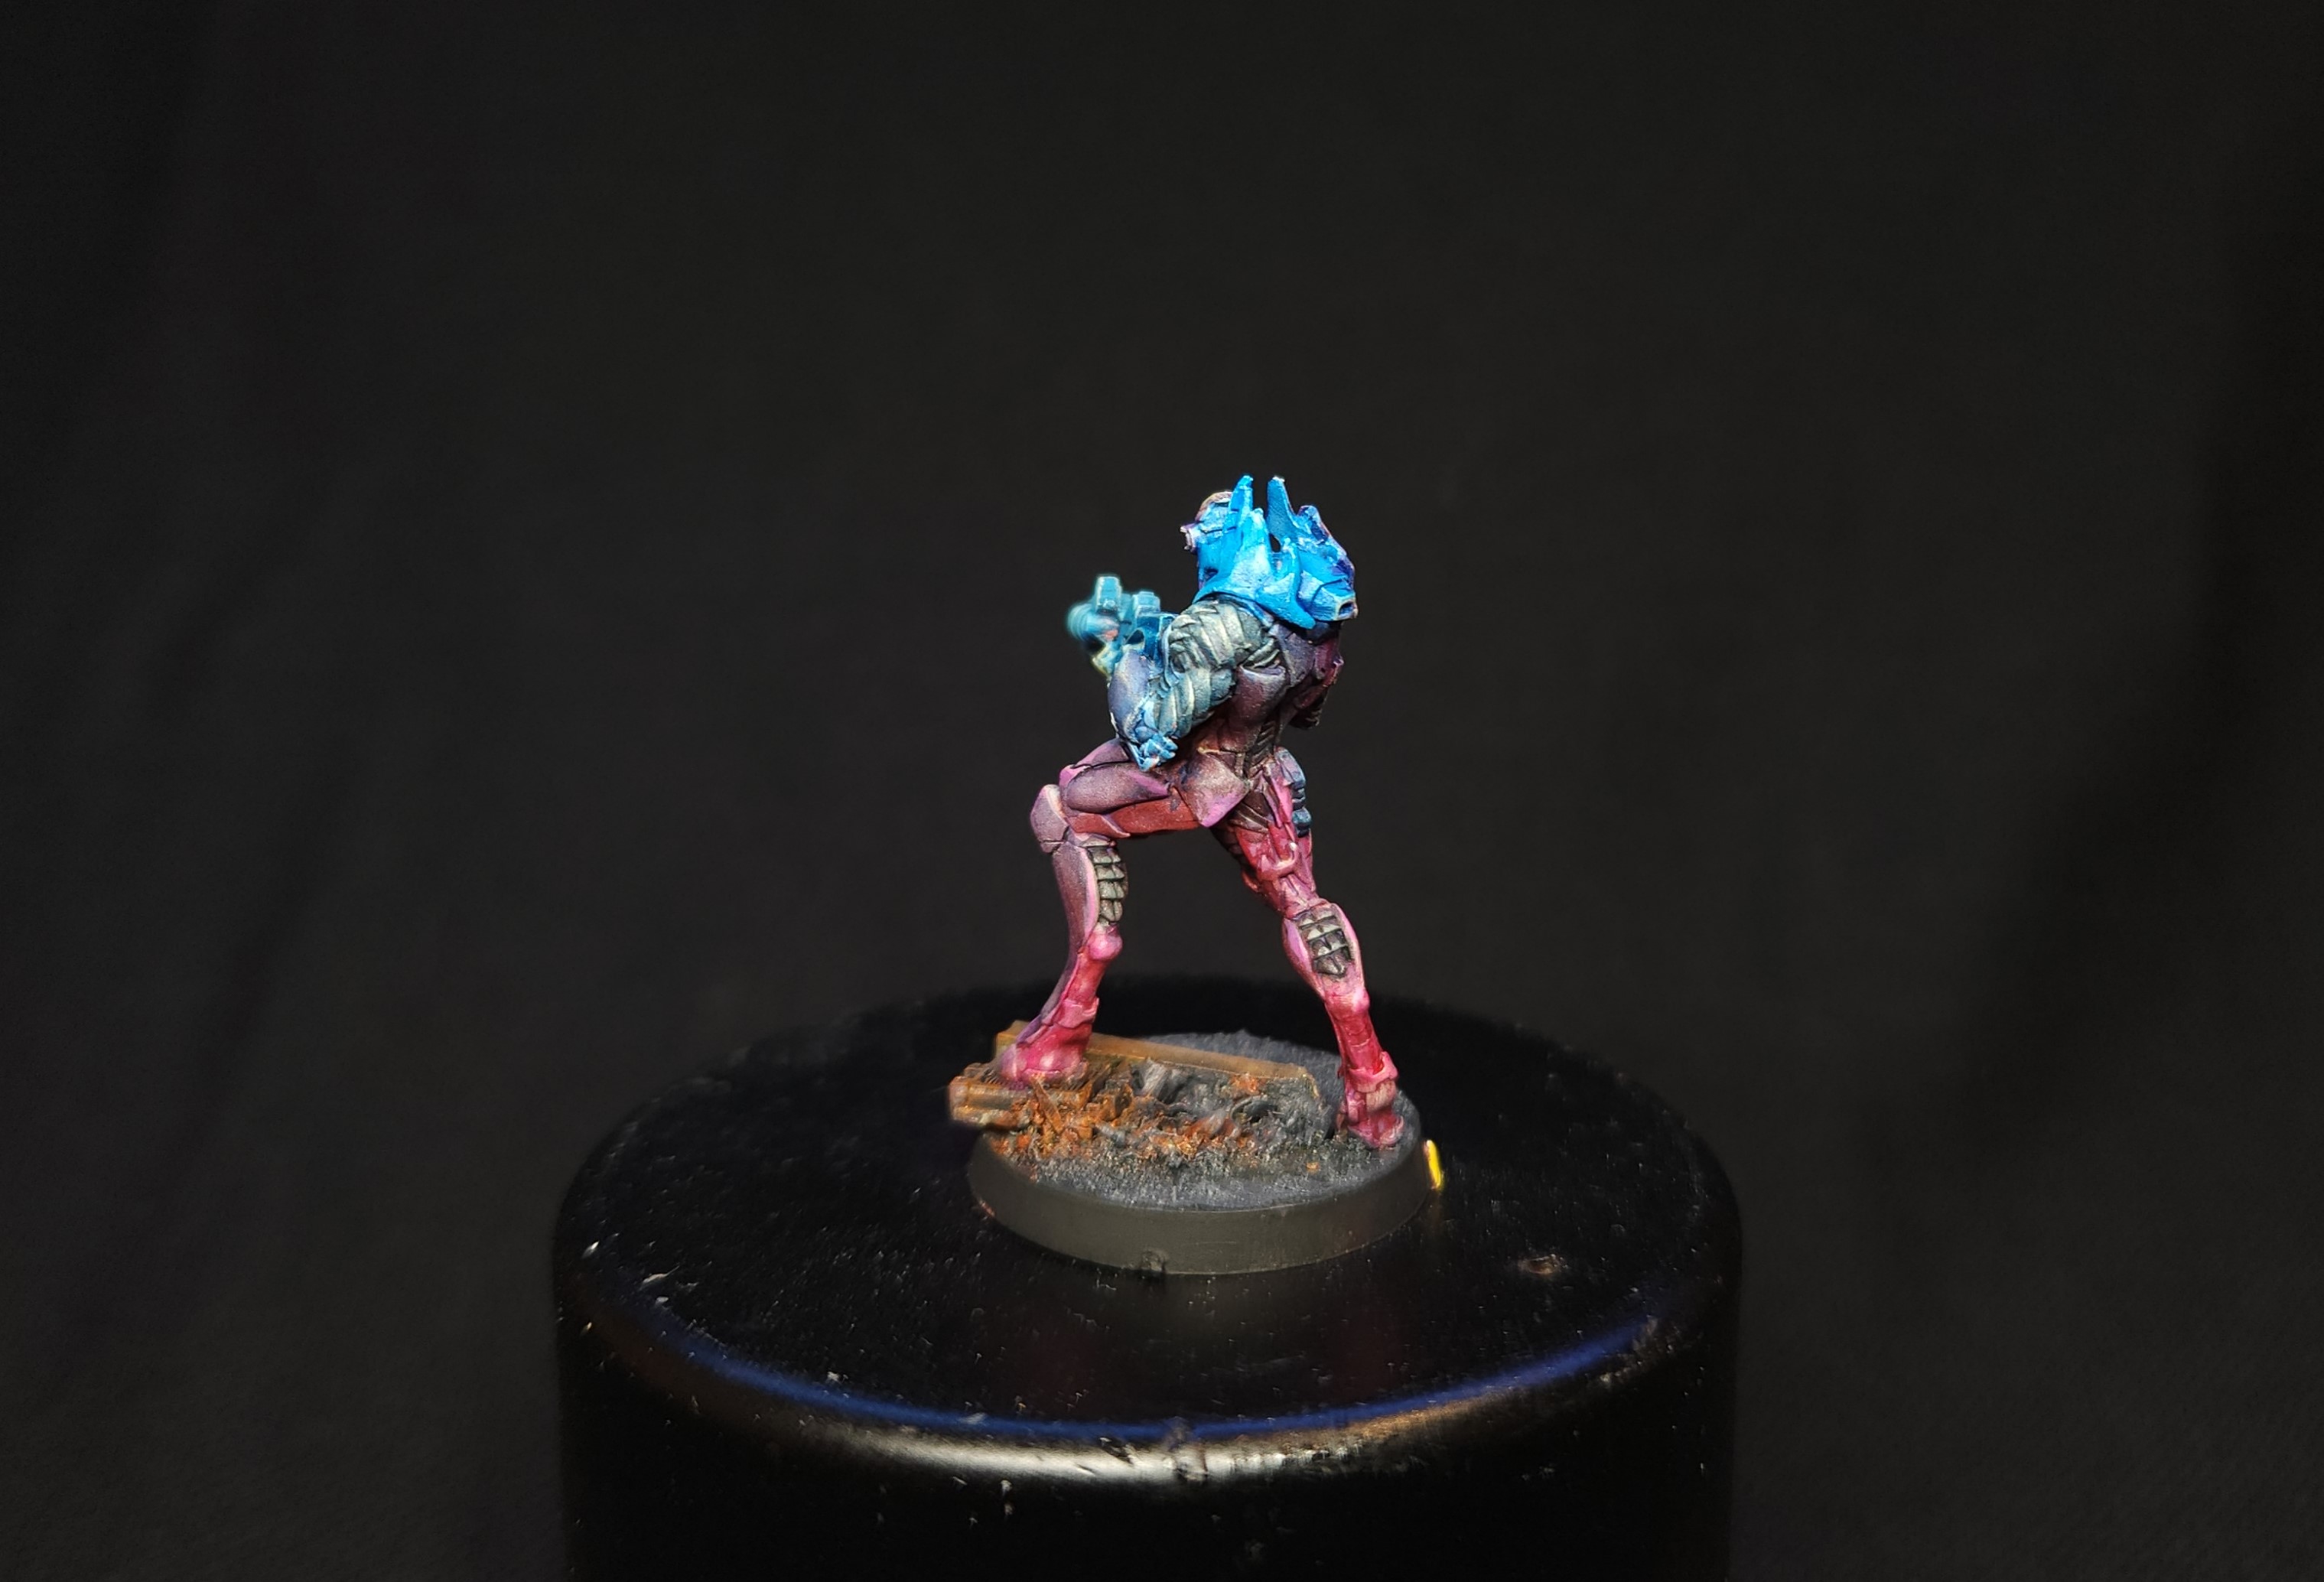
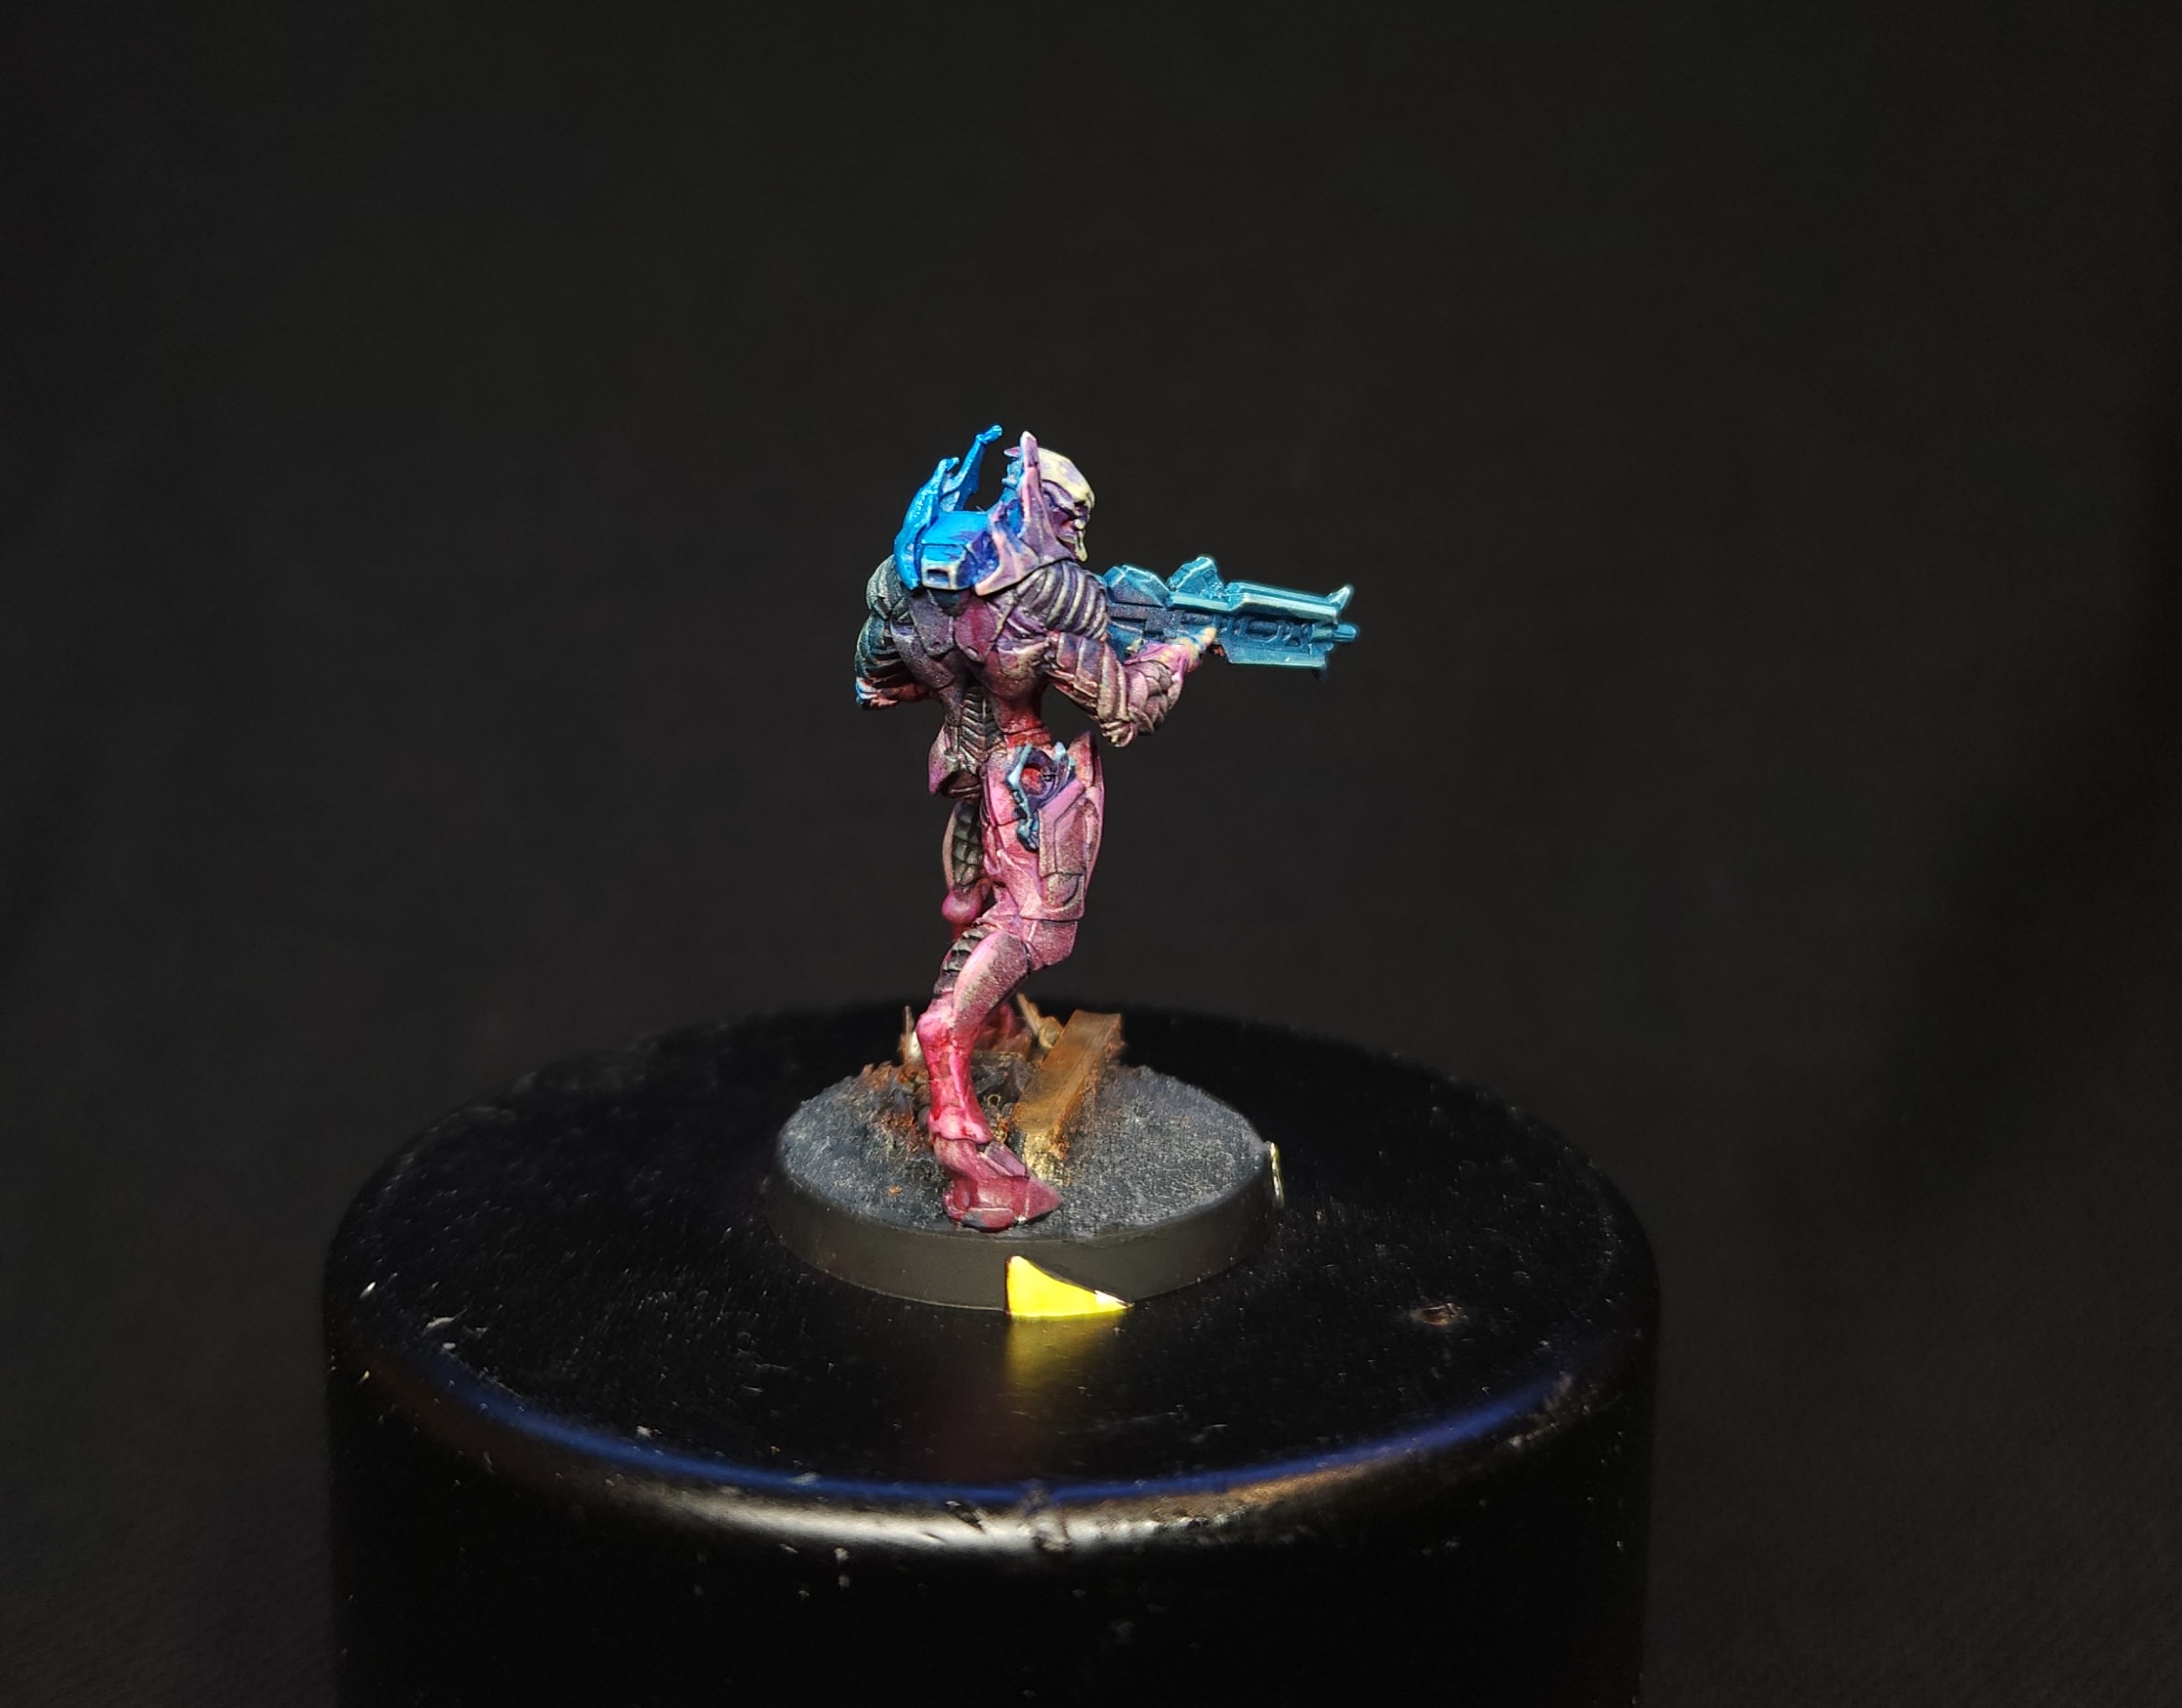
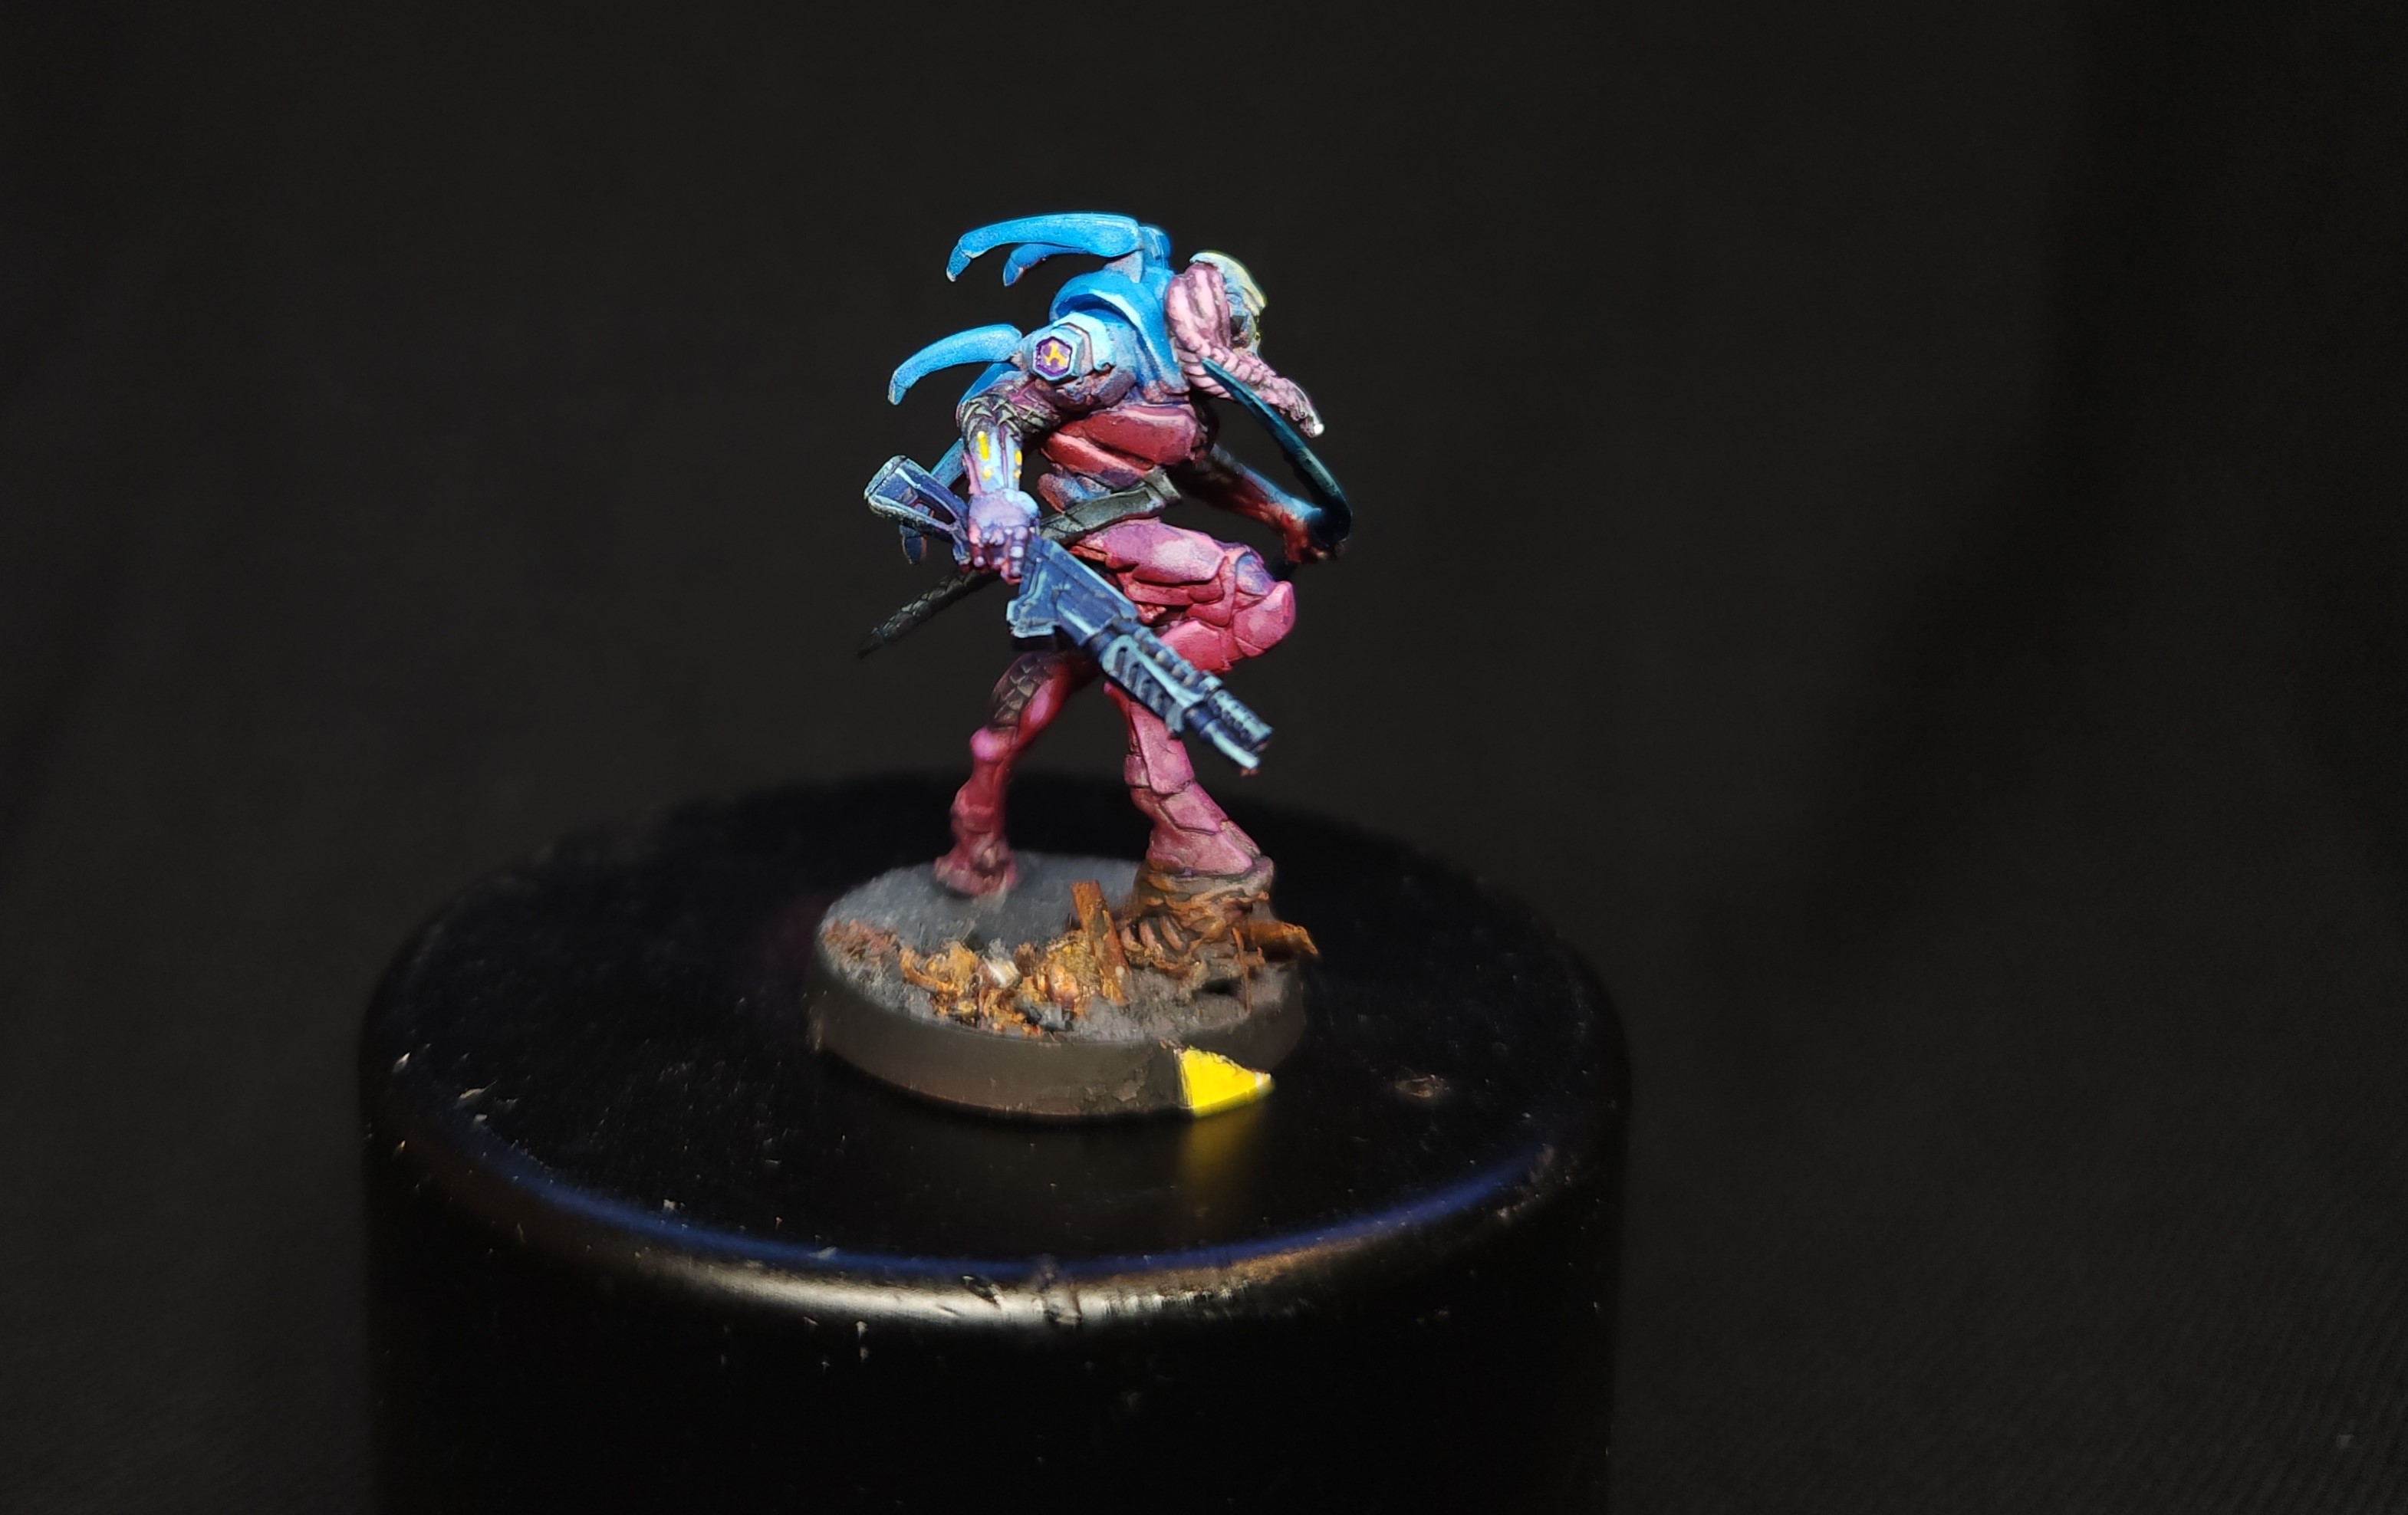
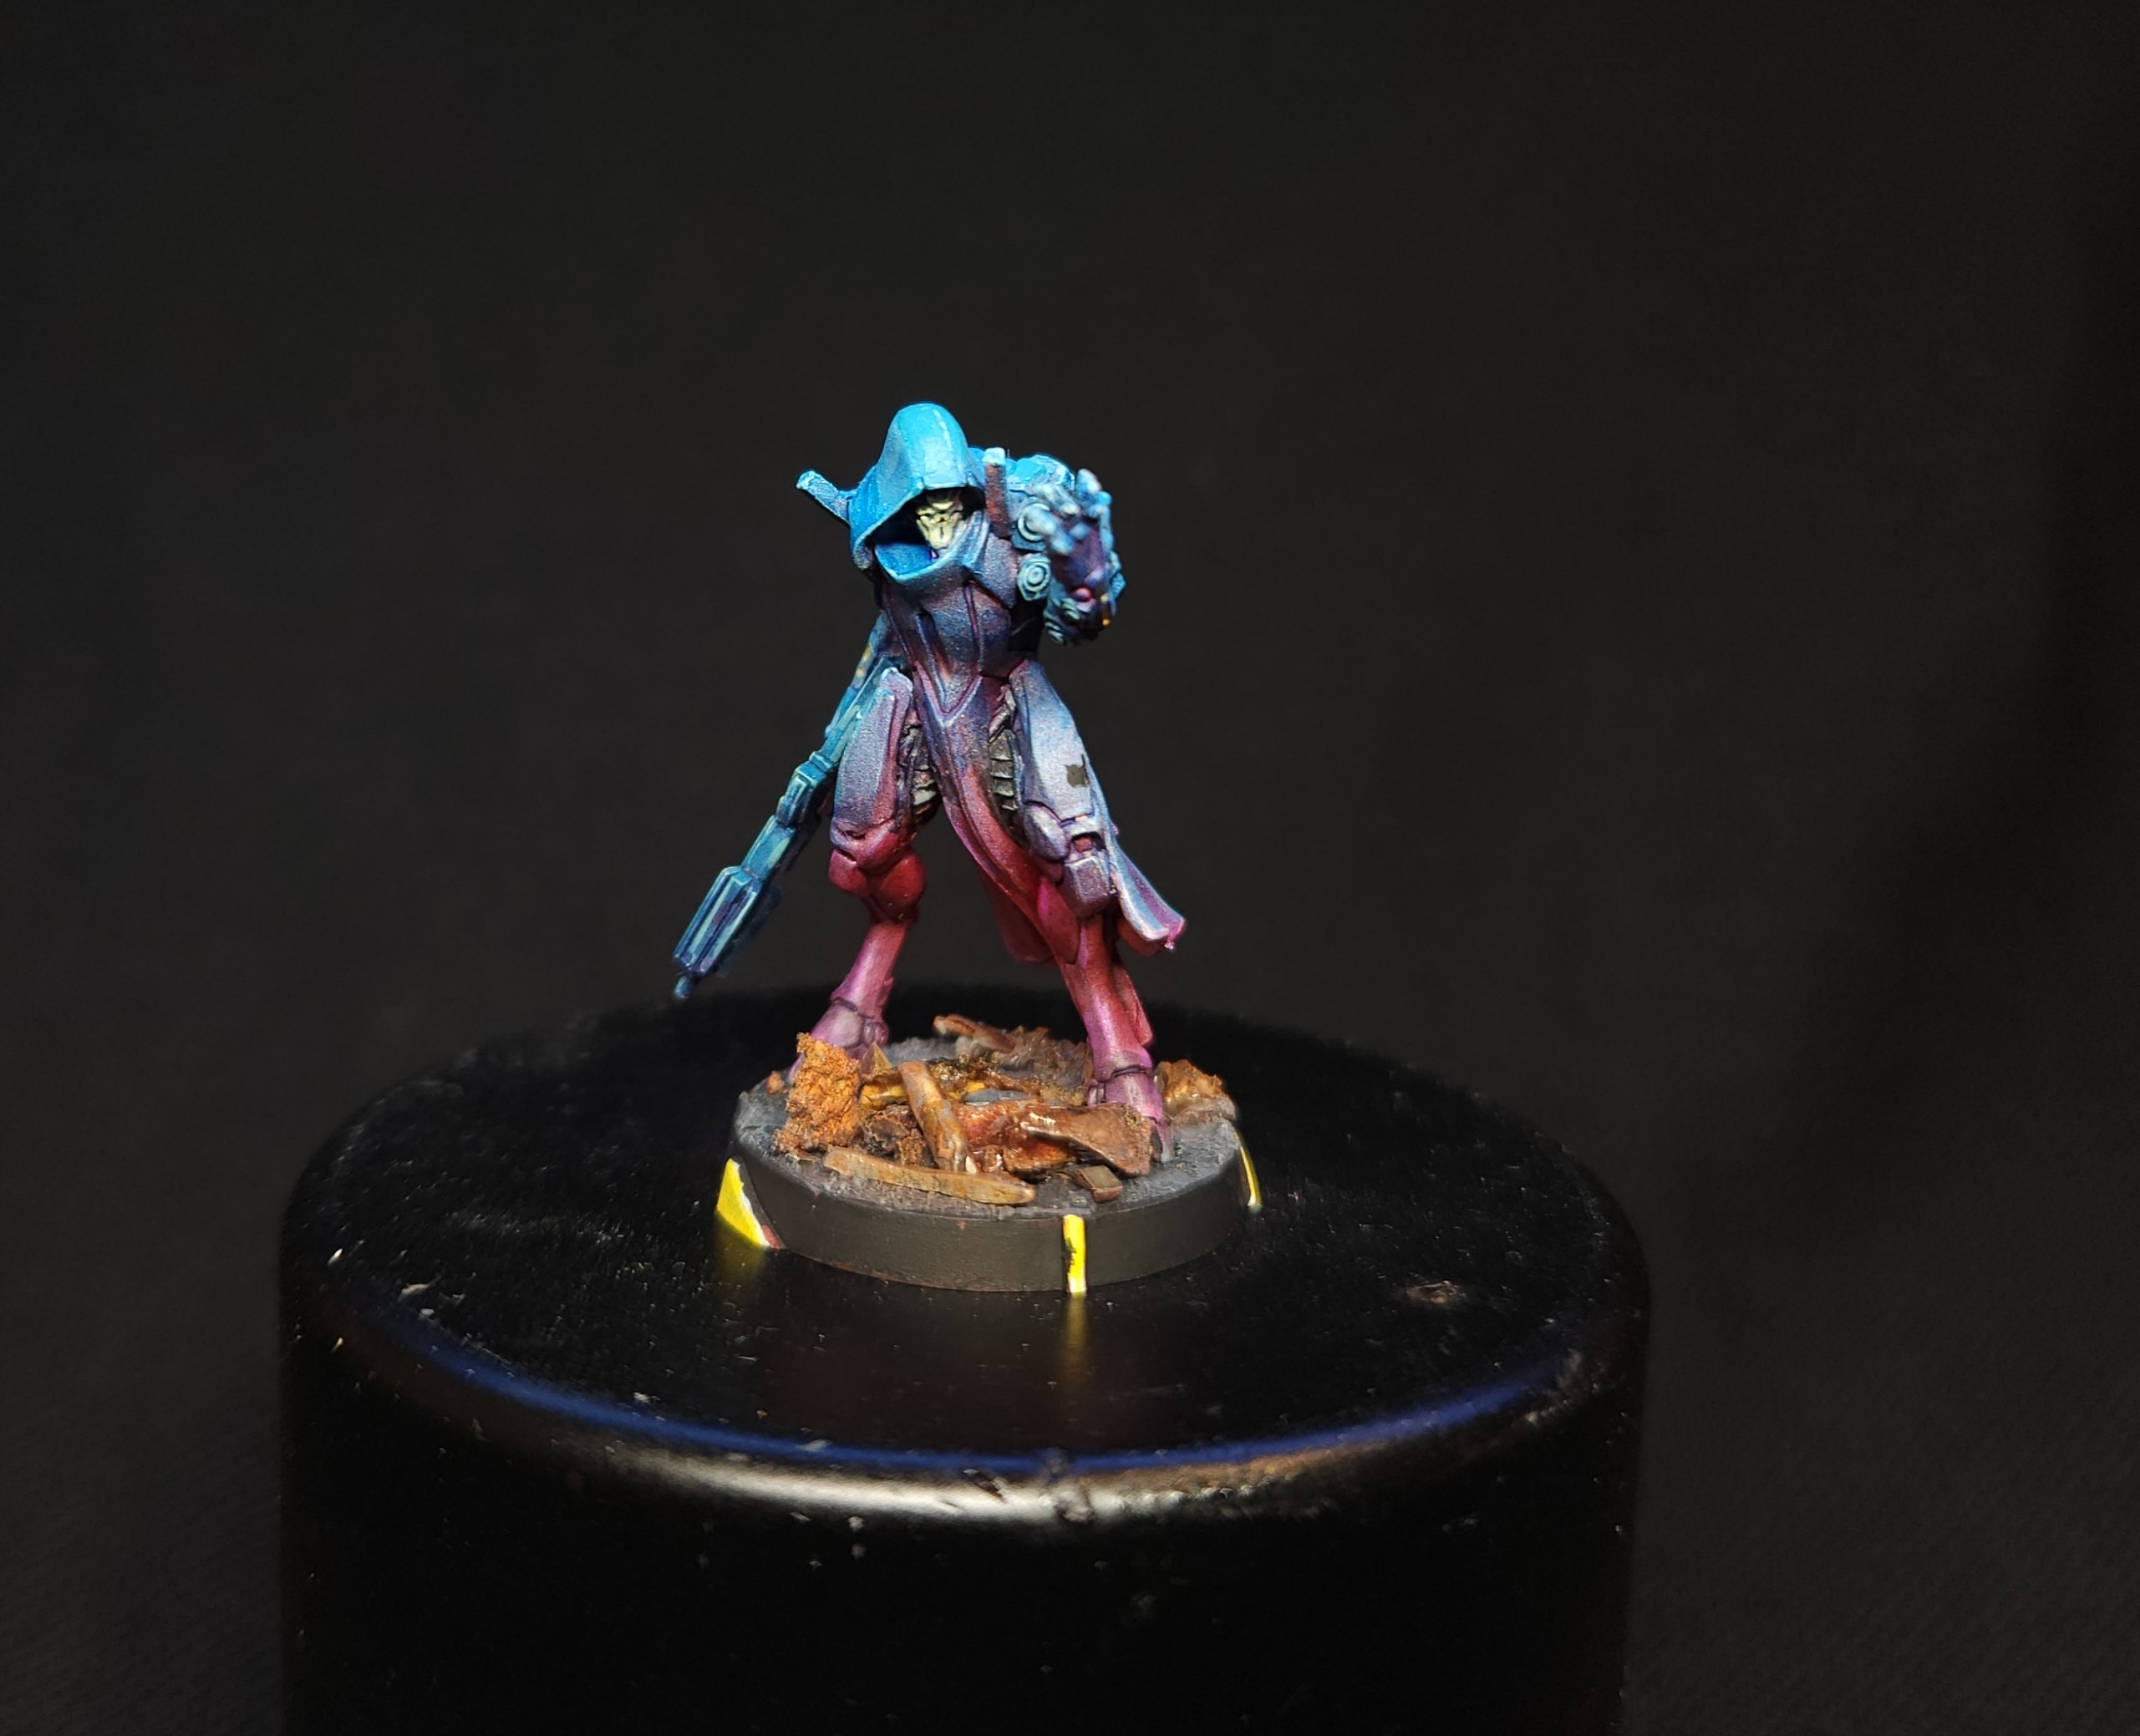
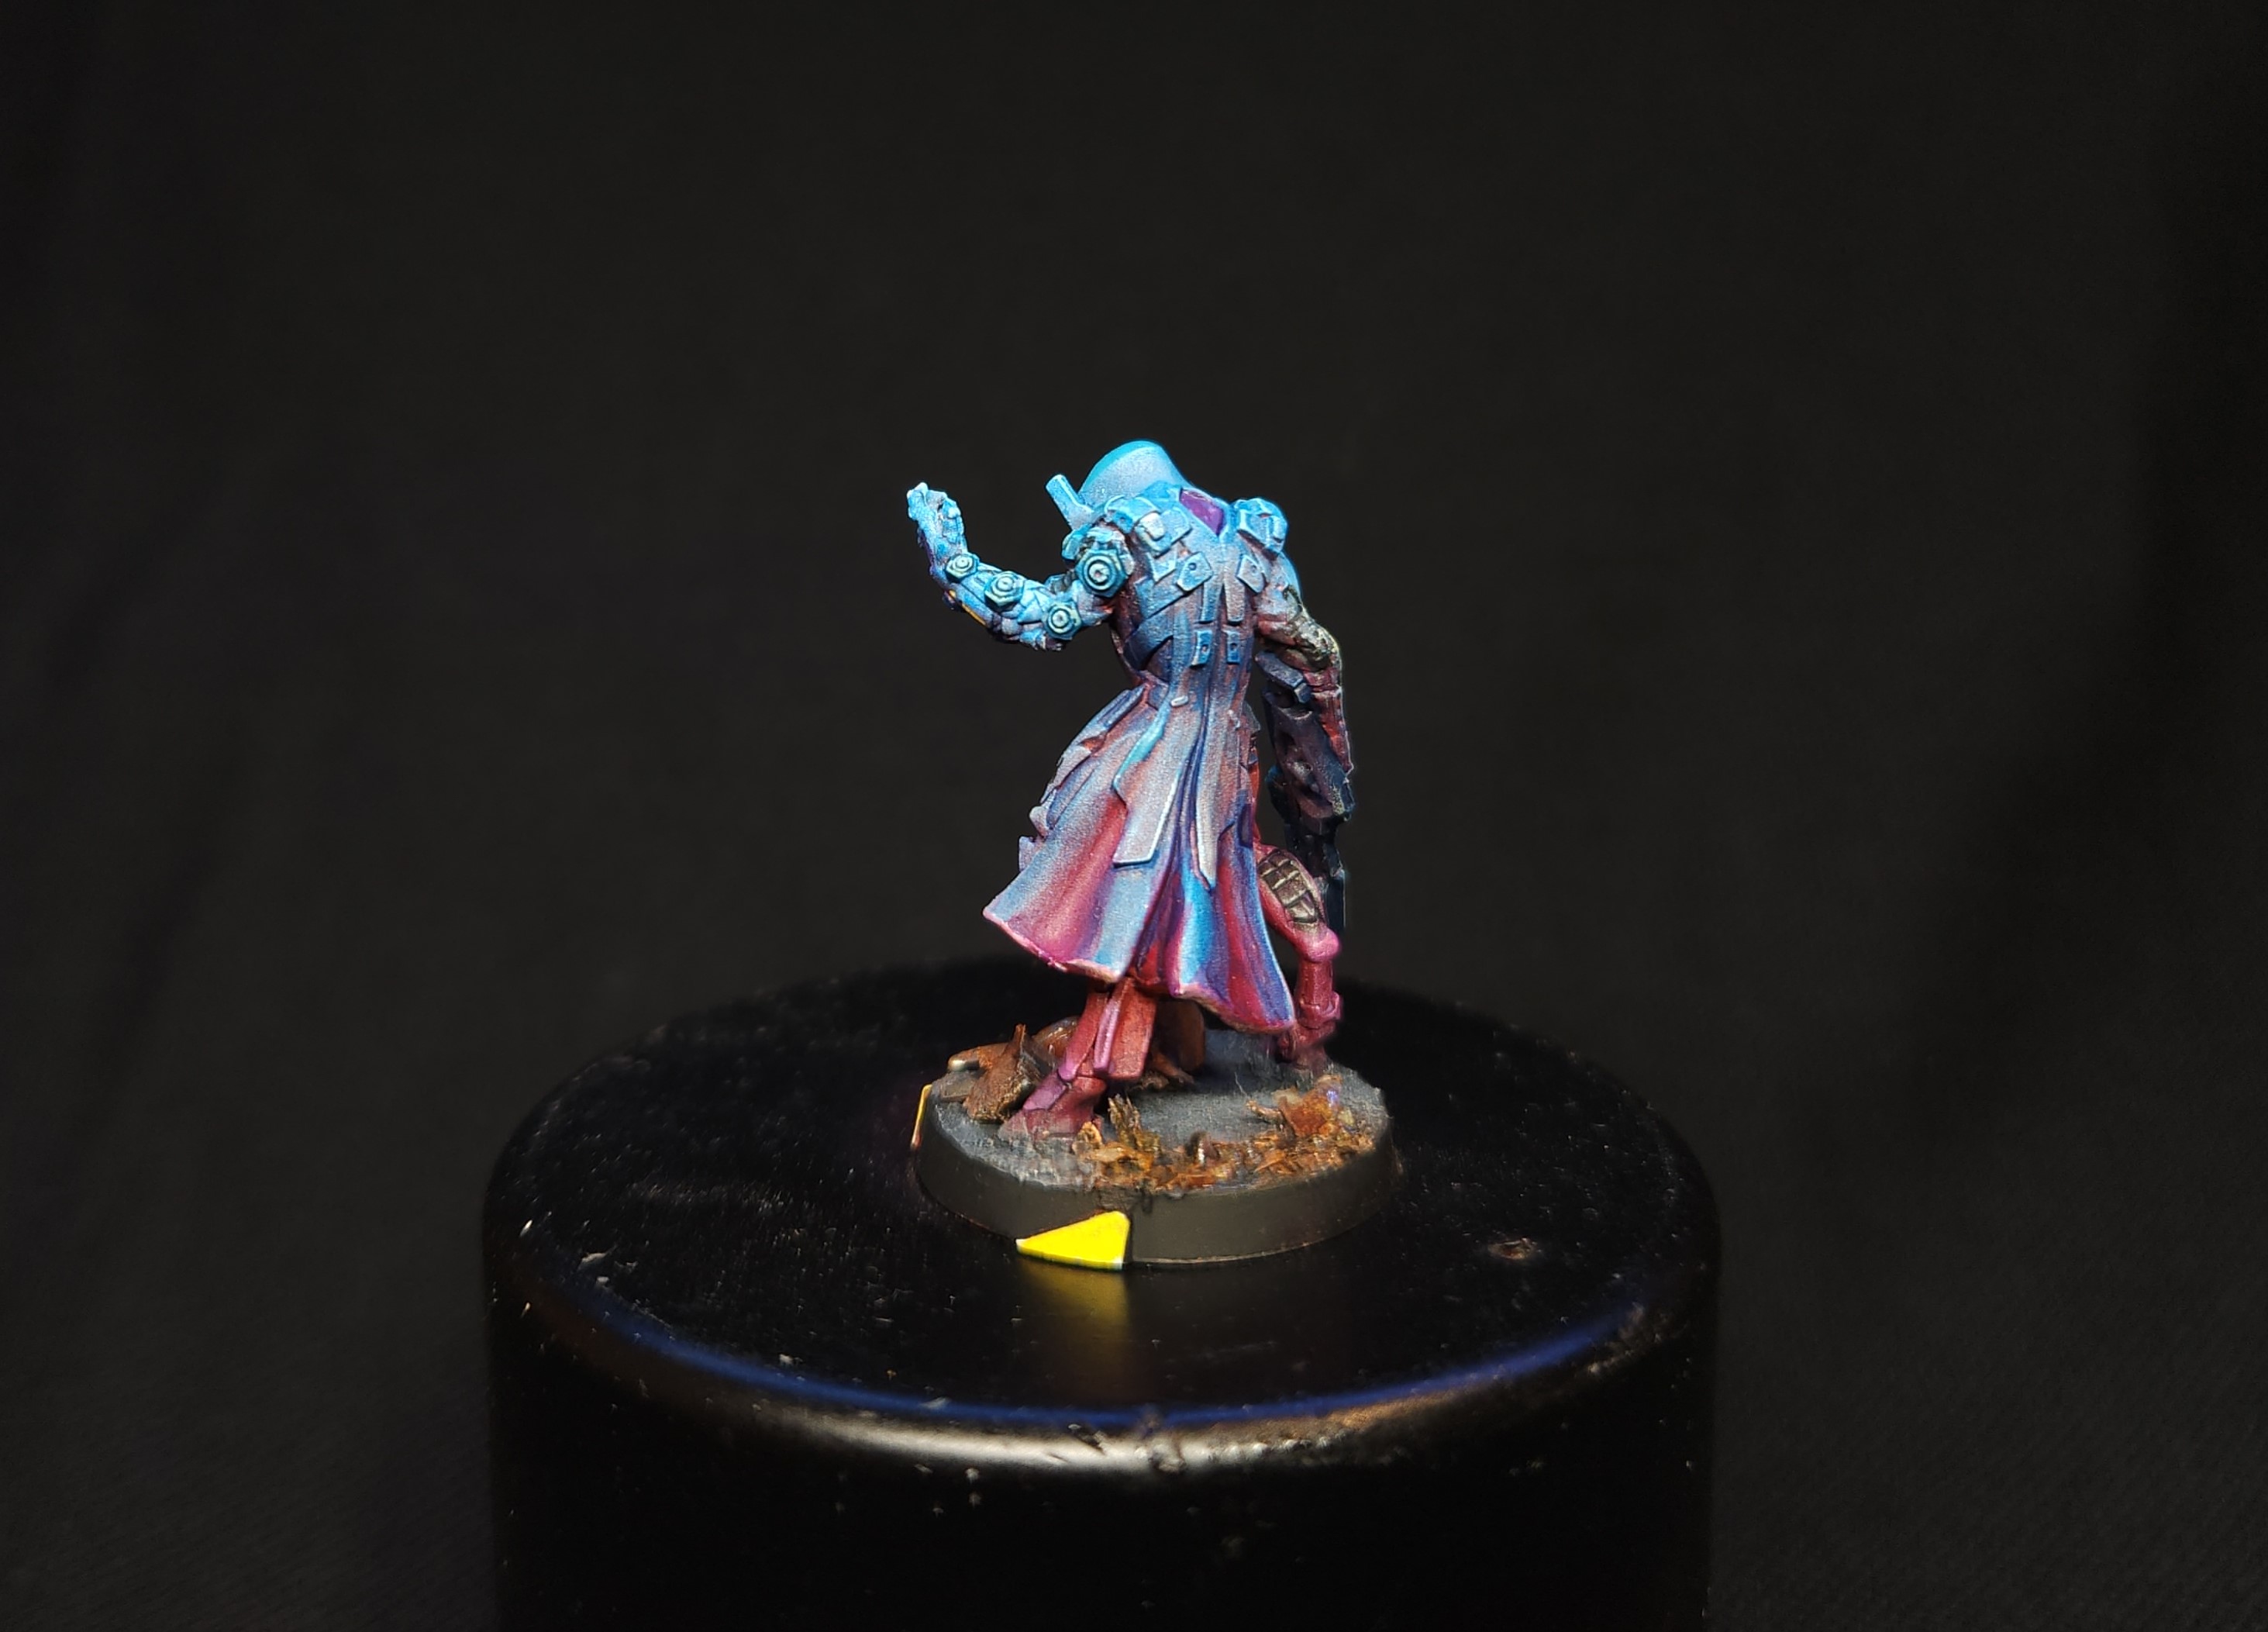
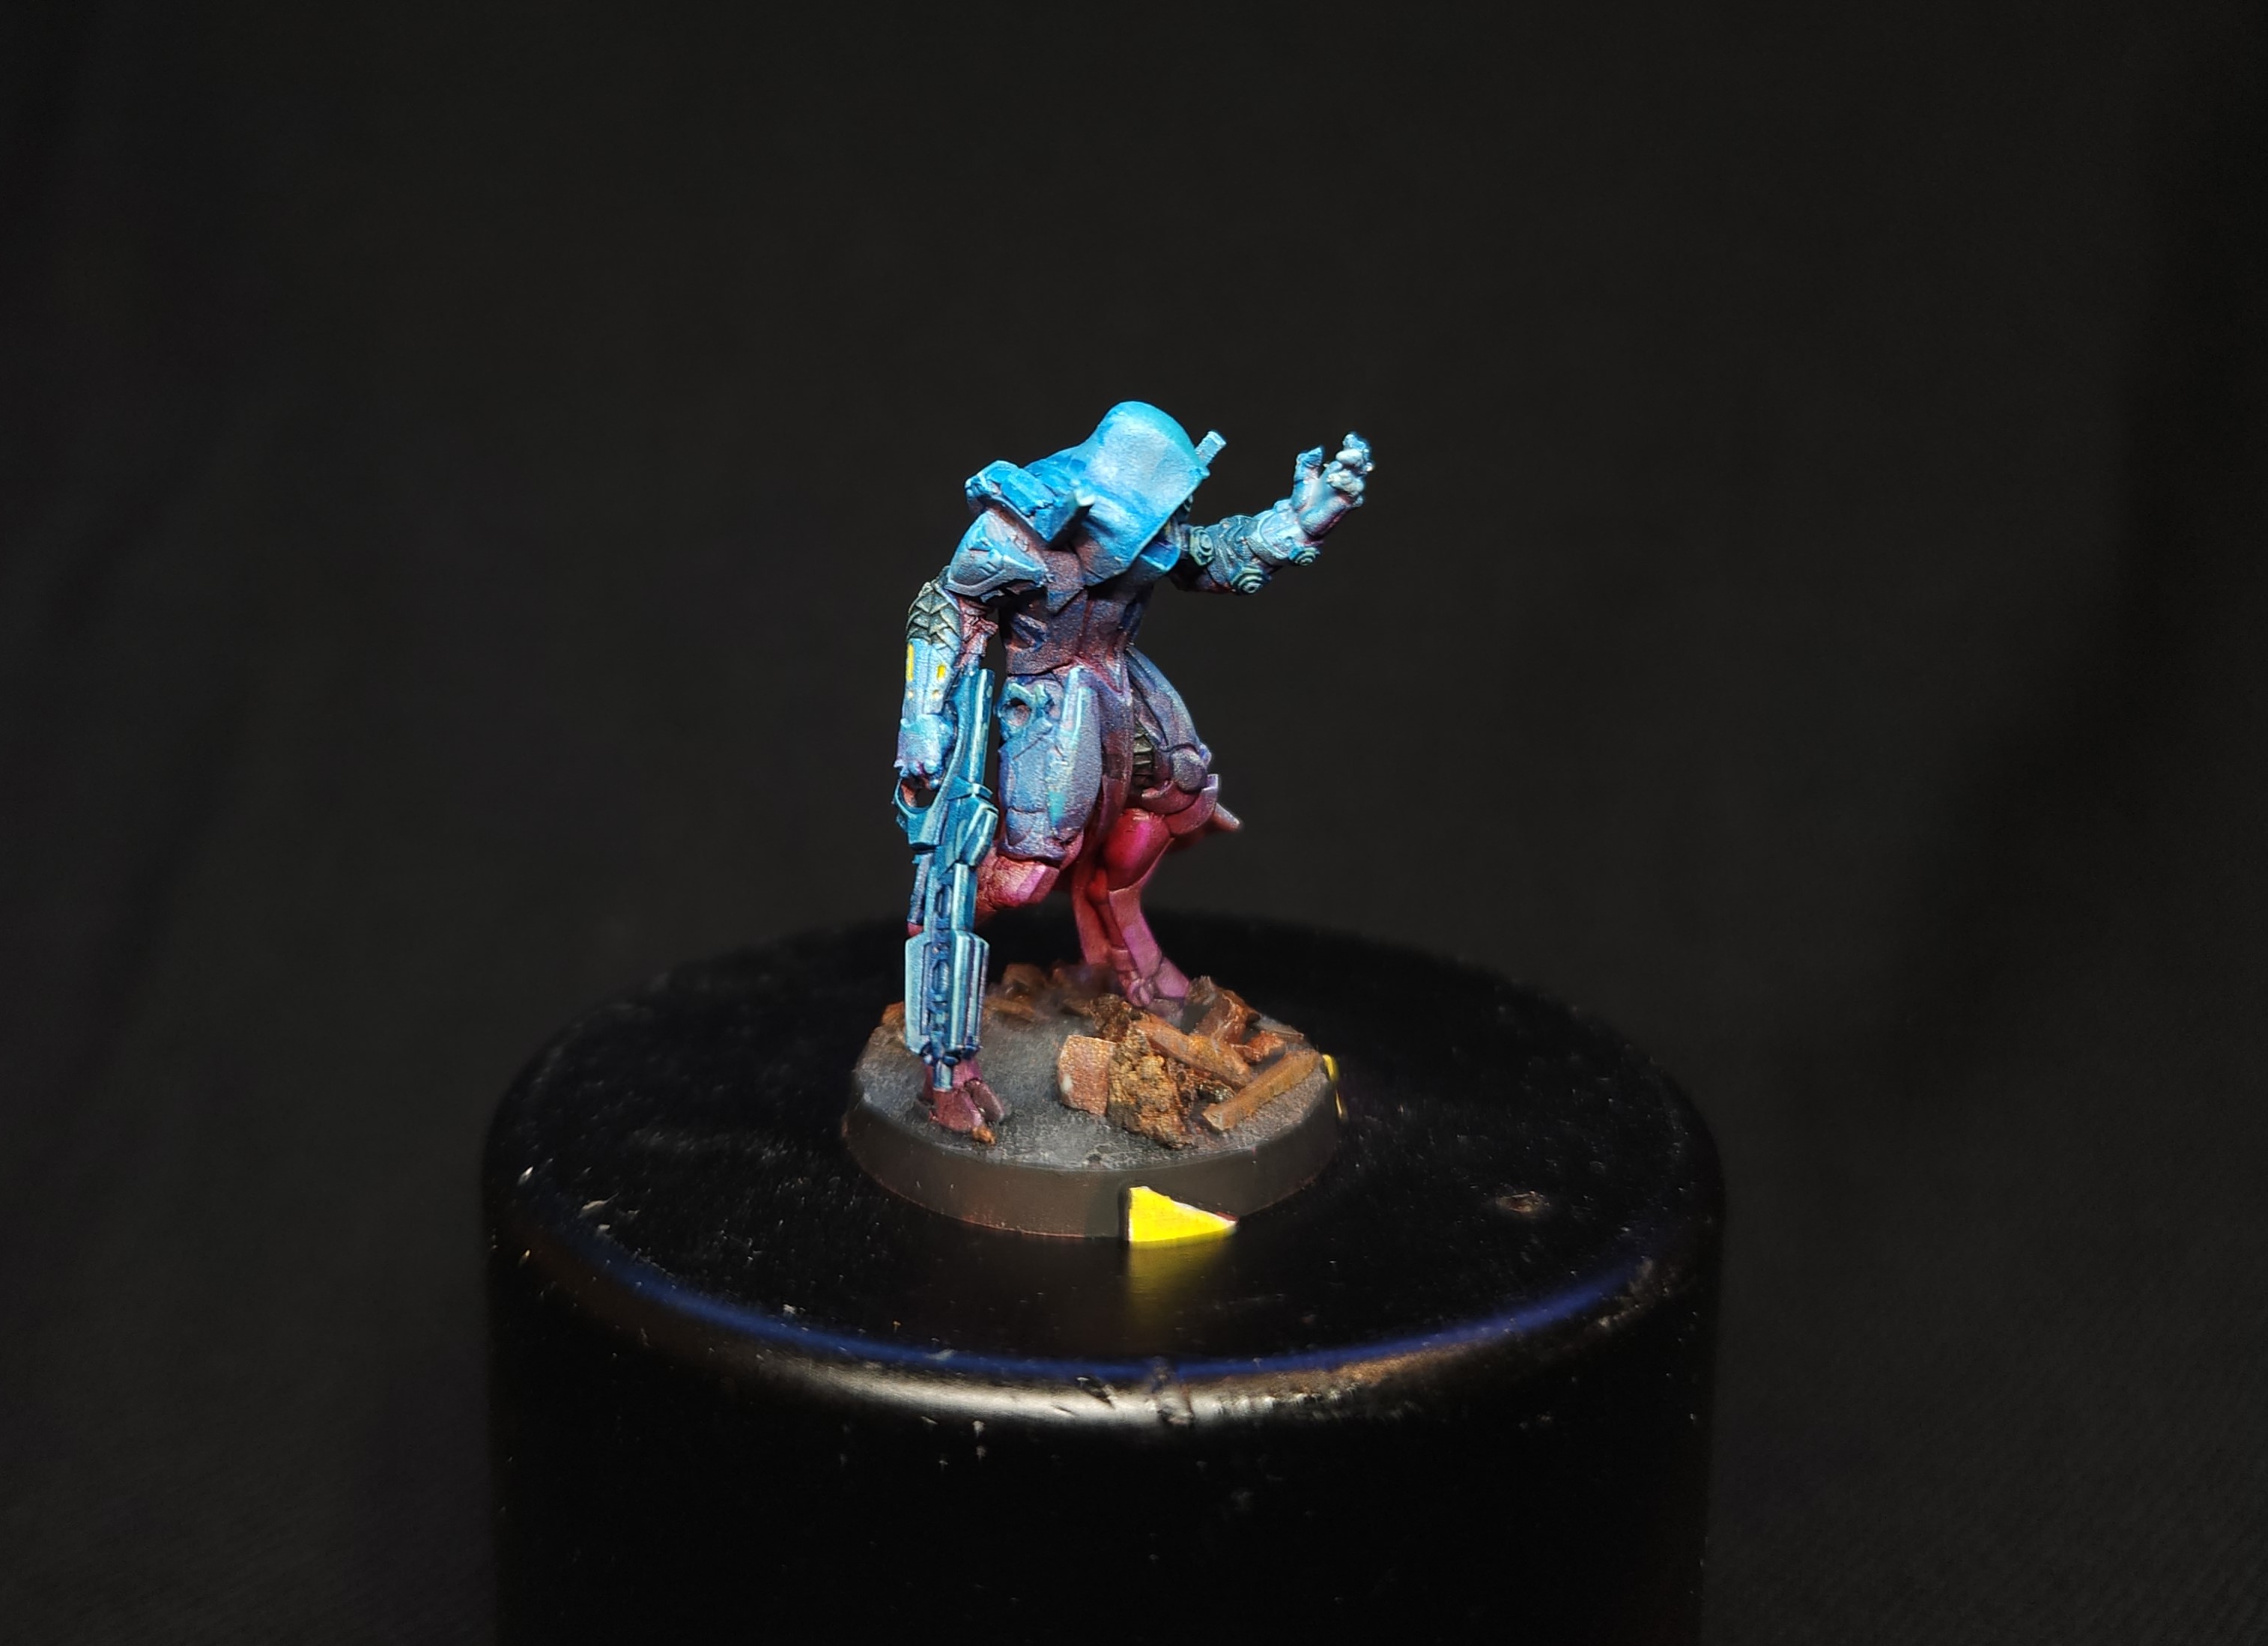
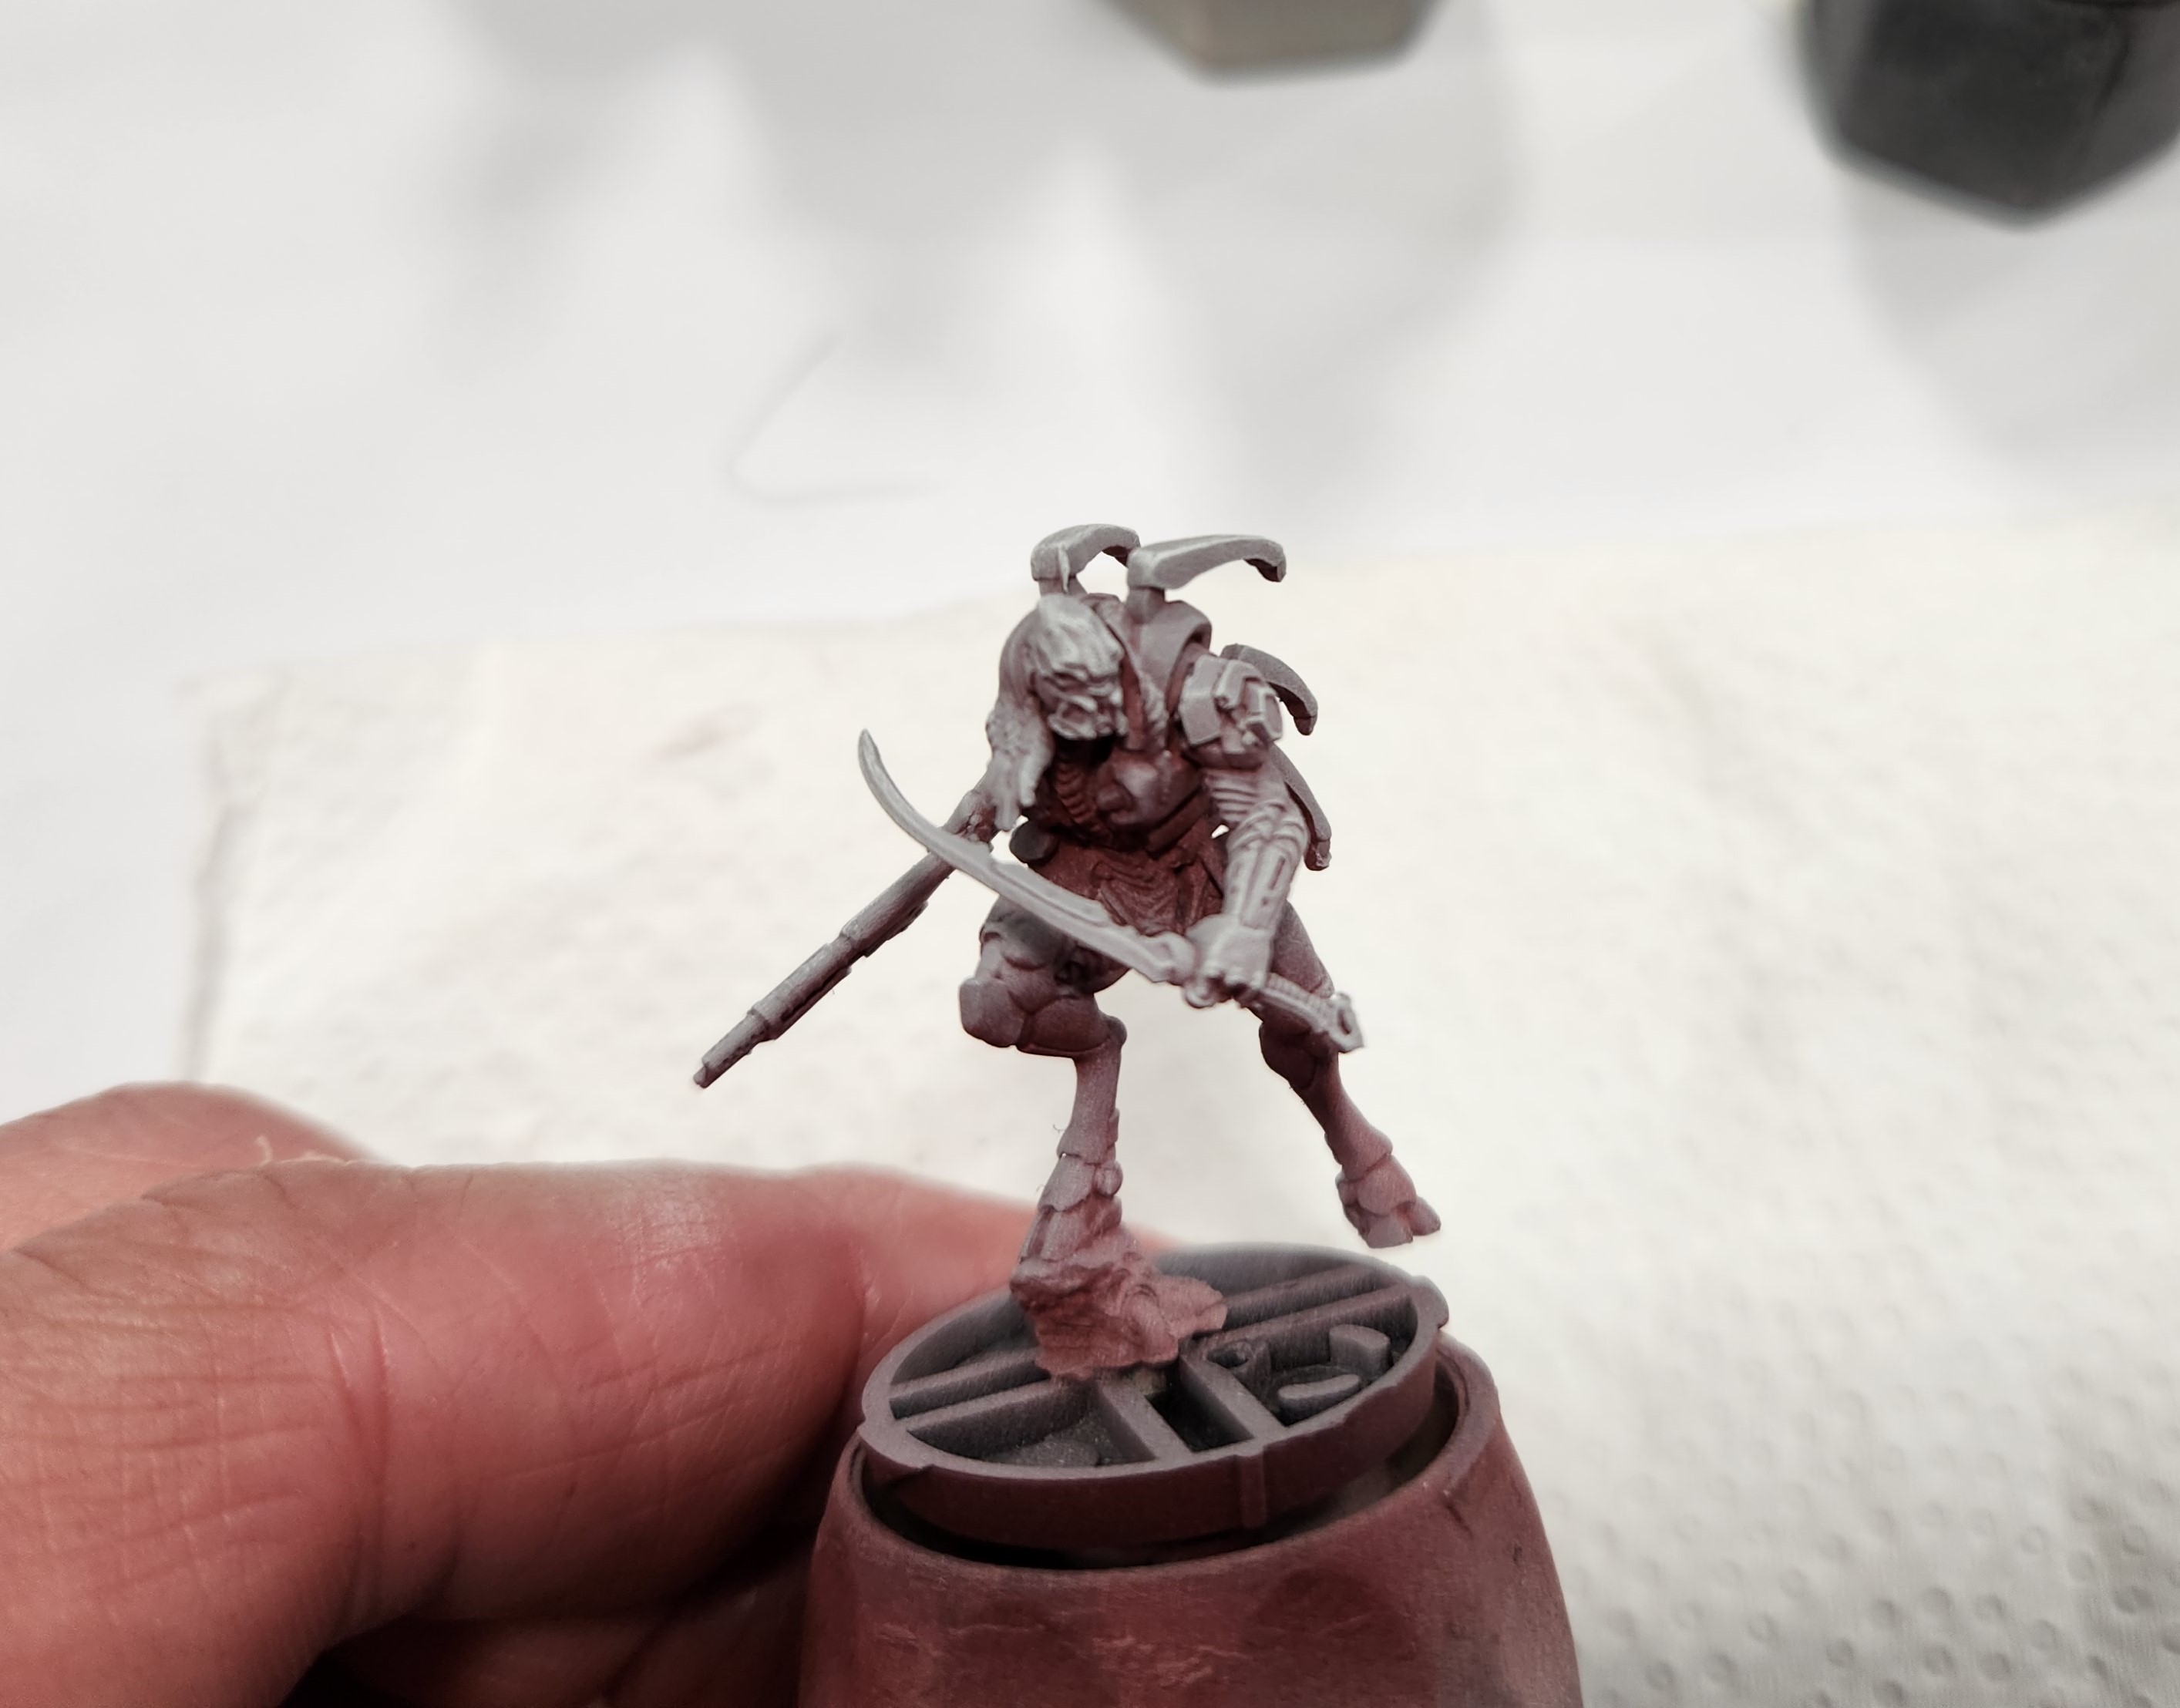
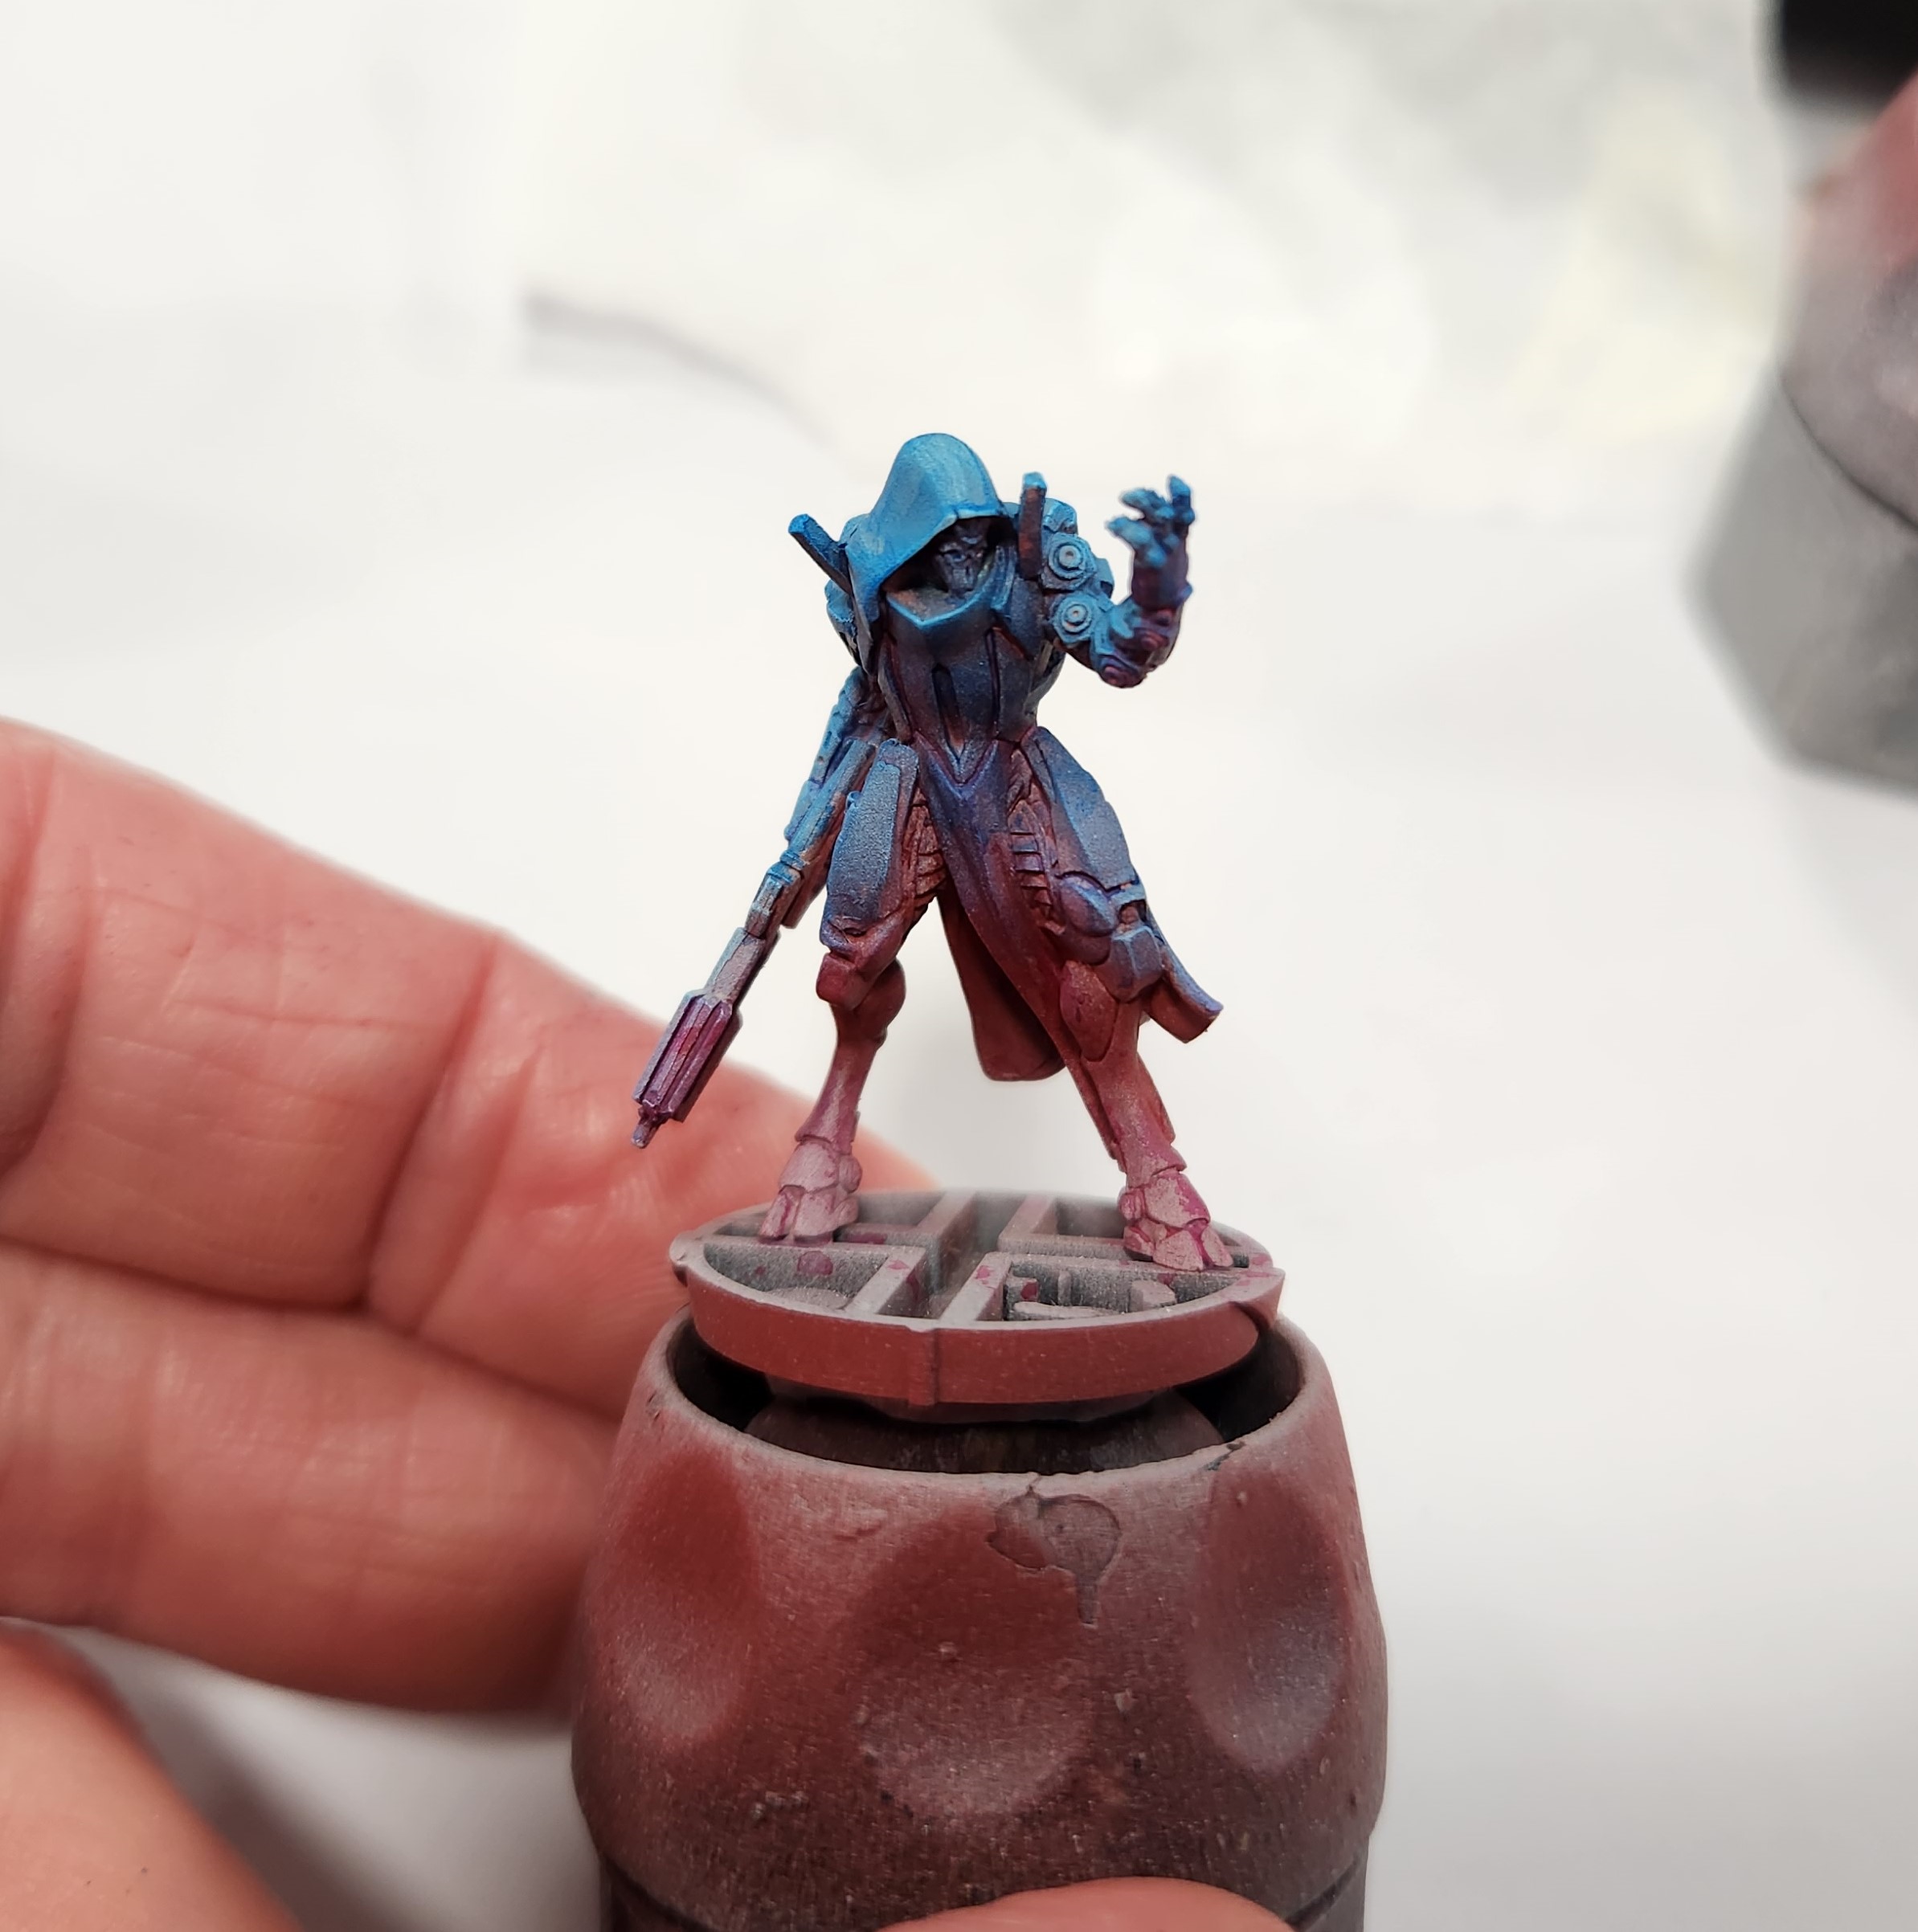
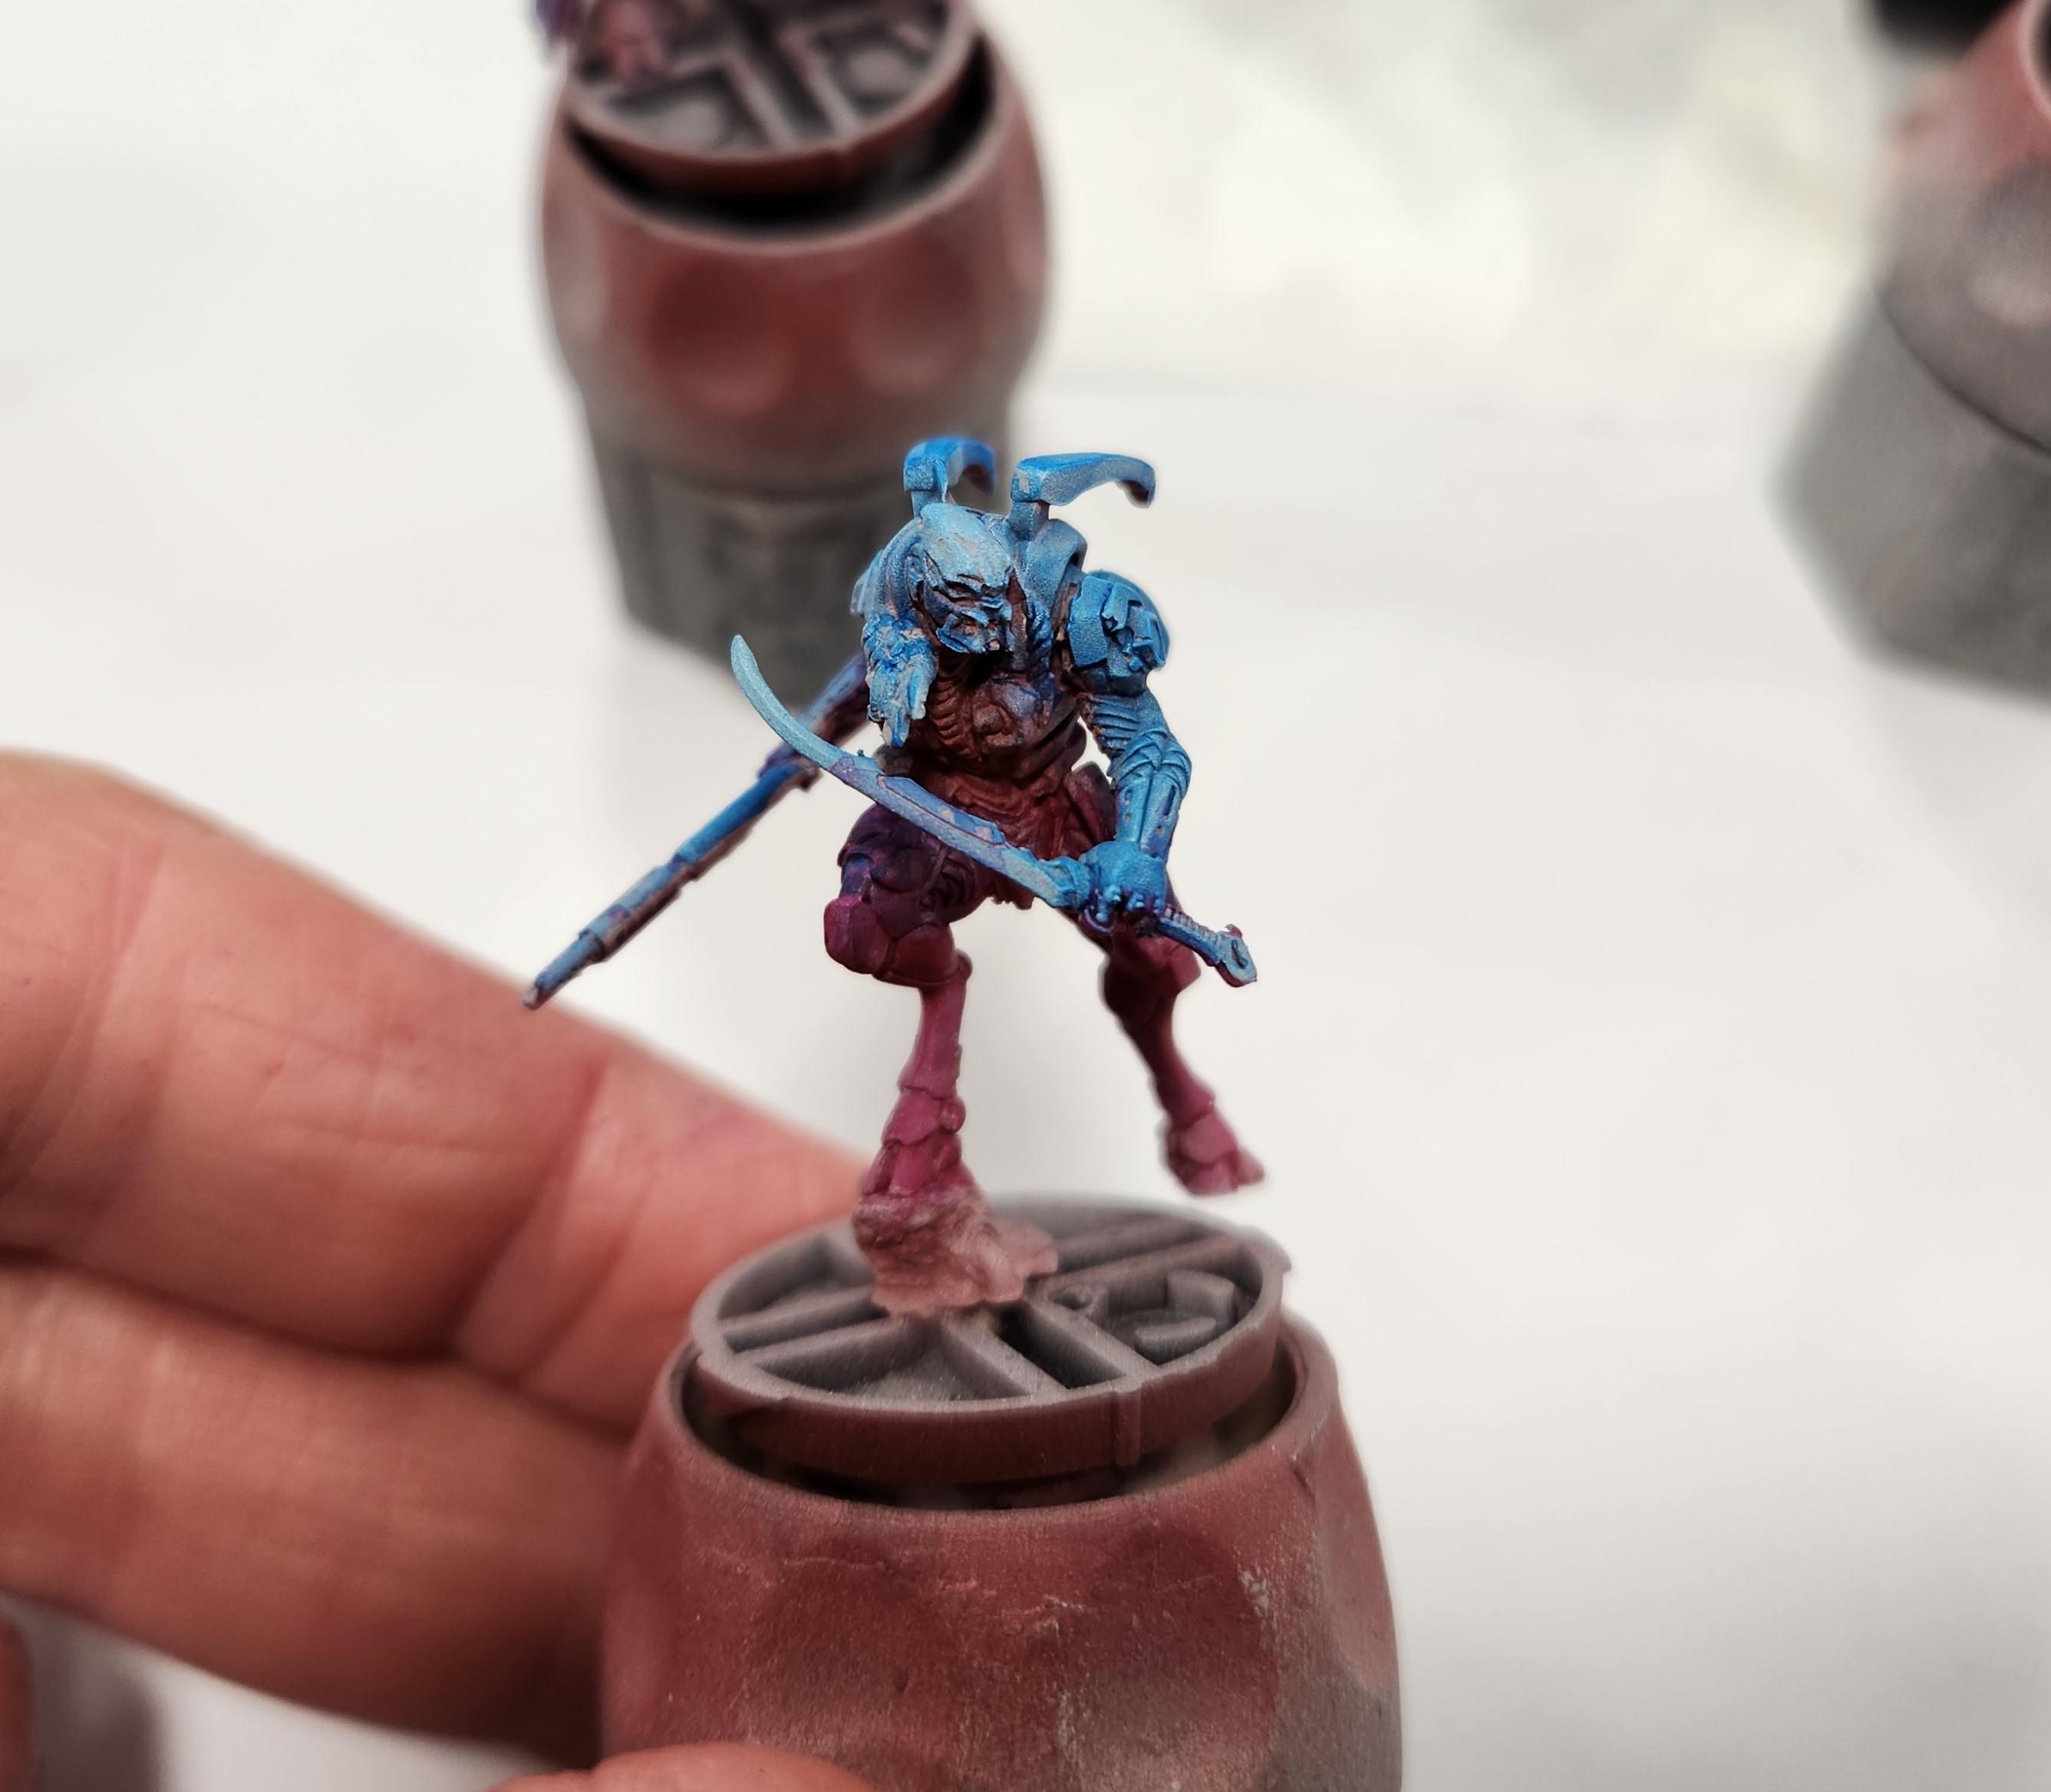
If that looks good then start painting. Since I was doing something more like a colour scheme than a uniform, I began applying the [Doomfire Magenta] from the bottom up and the [Talassar Blue] from the top down.
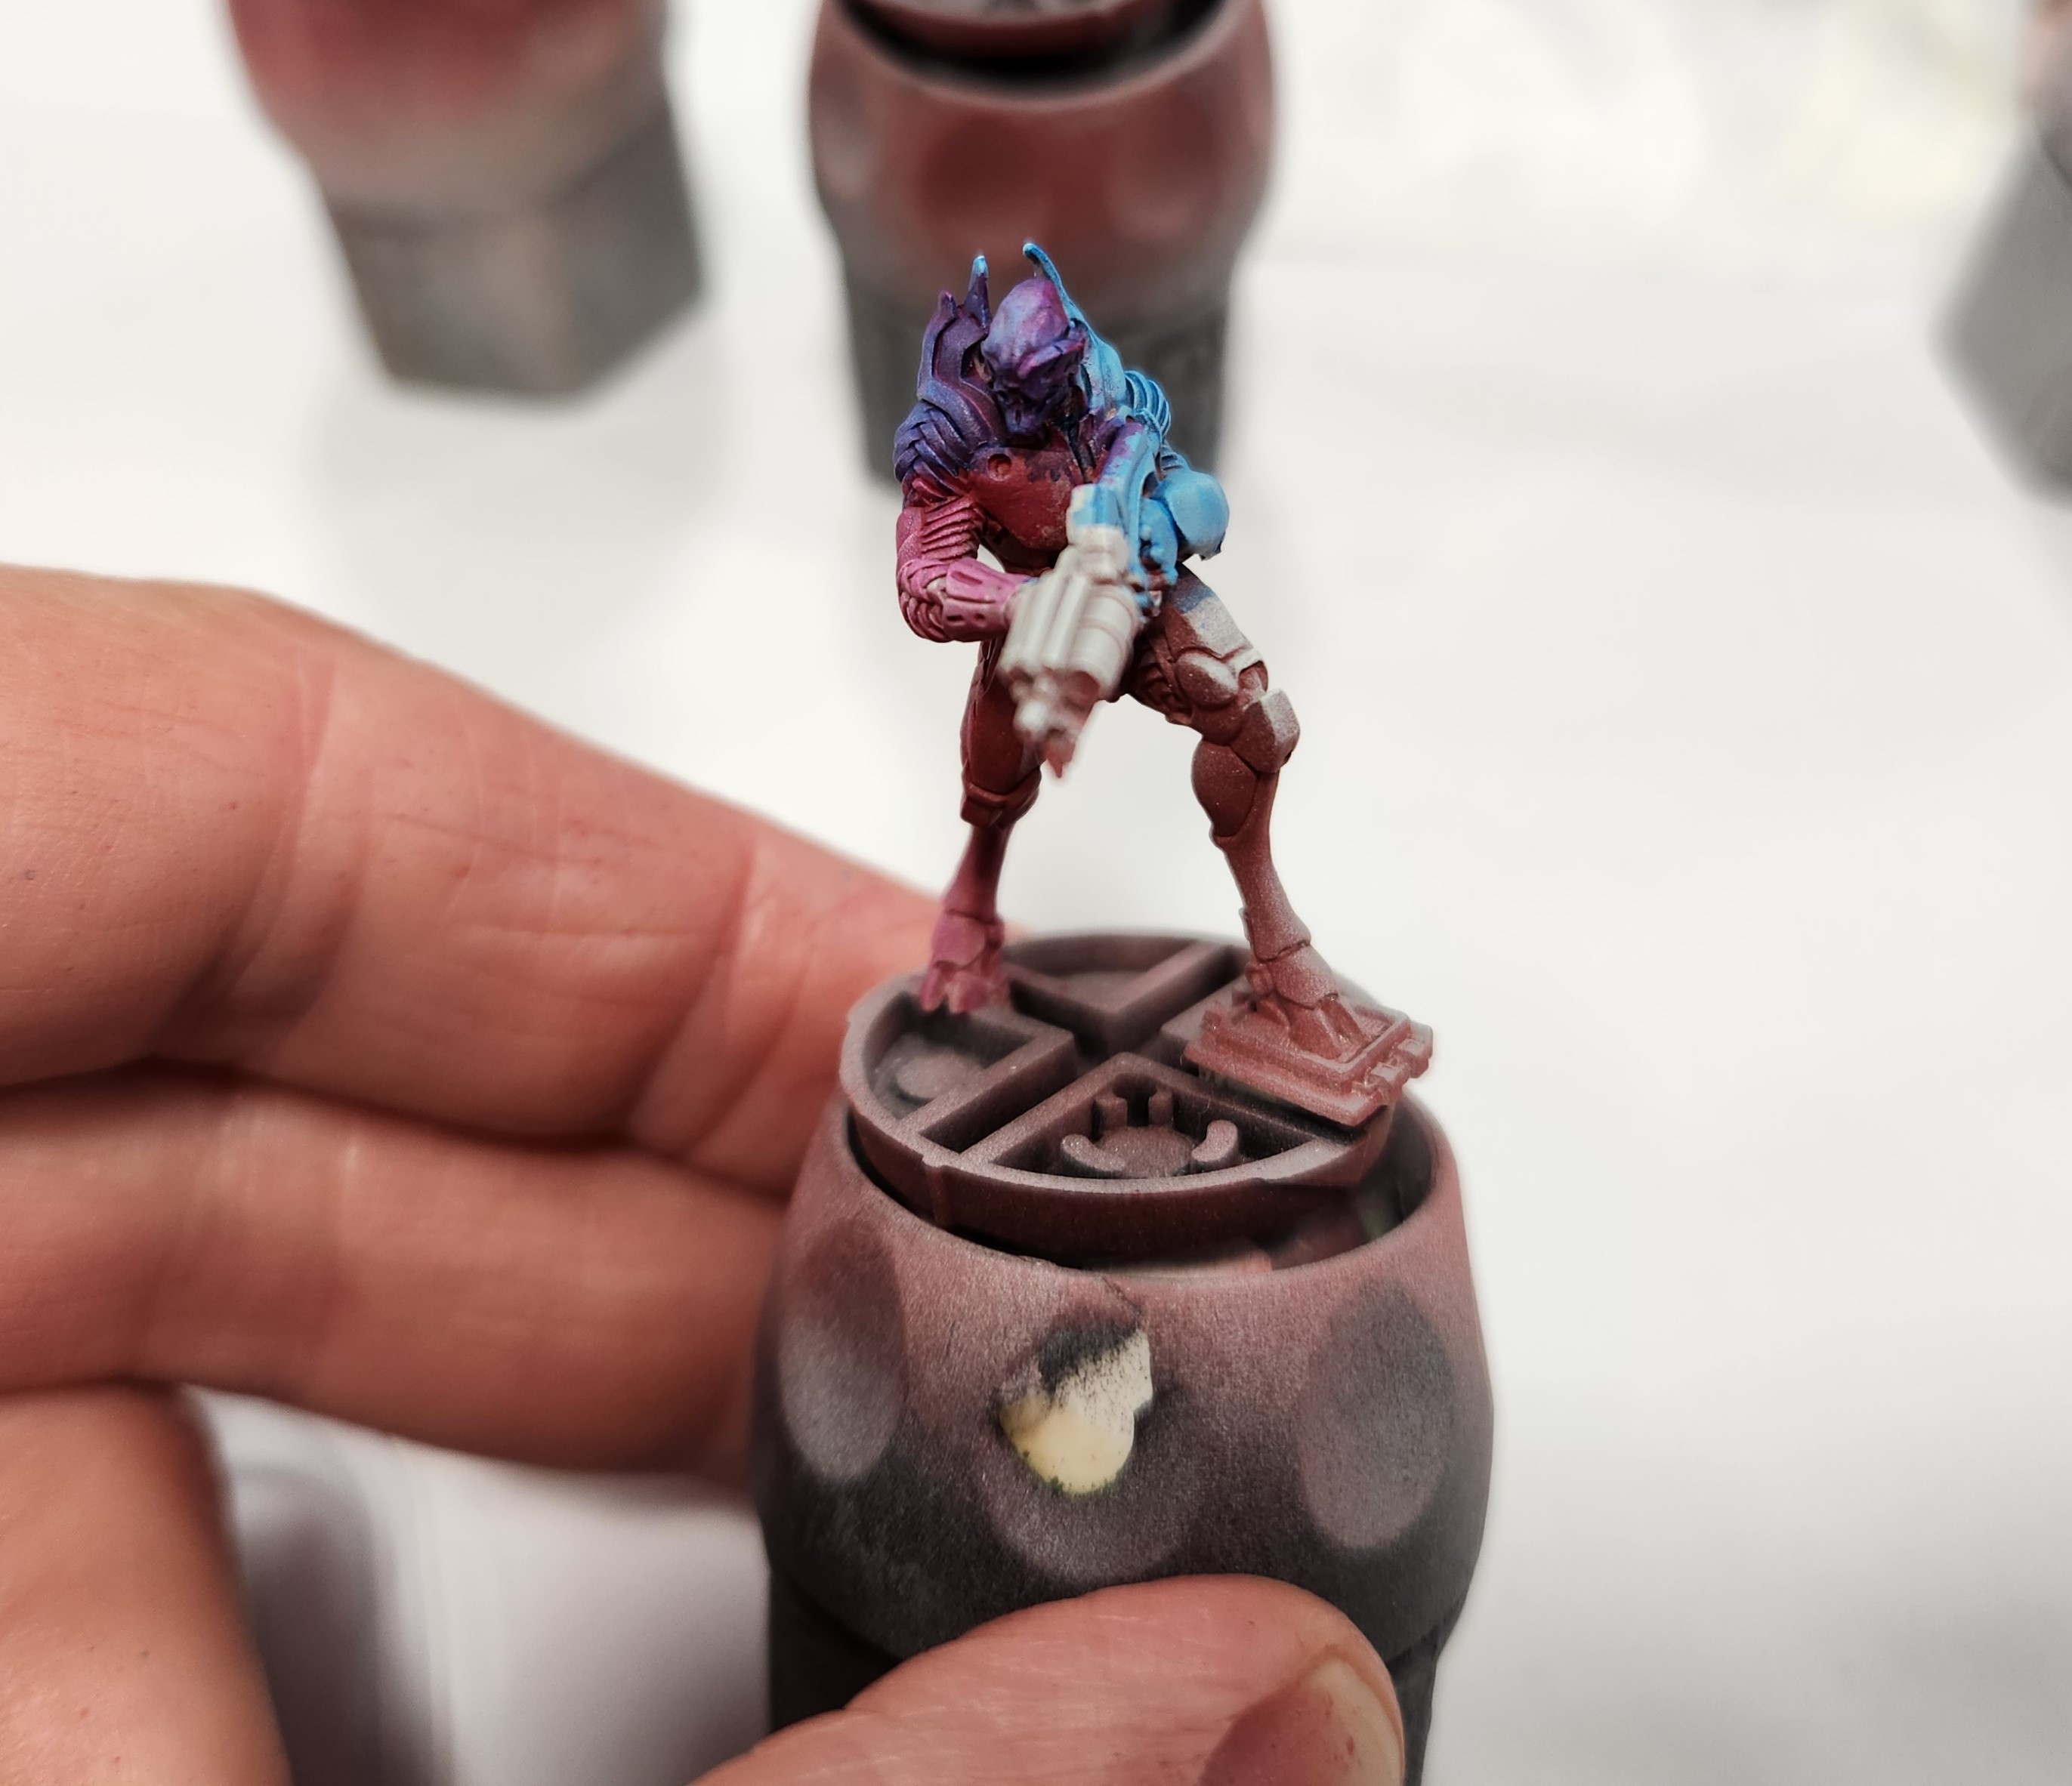
I got the first one “wrong” not really thinking about it, I put the Magenta at the top on a patch. I let it be, just wanting to focus on learning the skills, not trying to get it “right” straight away.
As I got more confident, I started blending the colours more in the middle on the mini, but also pushing the blue down lower on the mini and the magenta higher.
7 Sep 22: A small addition
I wasn’t quite satisfied with the bases, I felt they needed just something a little more, and tufts sprang to mind. I’ve seen those cool “alien world” tufts and was planning on grabbing some eventually. But I was in my FLGS and saw the Gamers Grass Laser Plants Alien Rosettes and figured I’d give them a go.
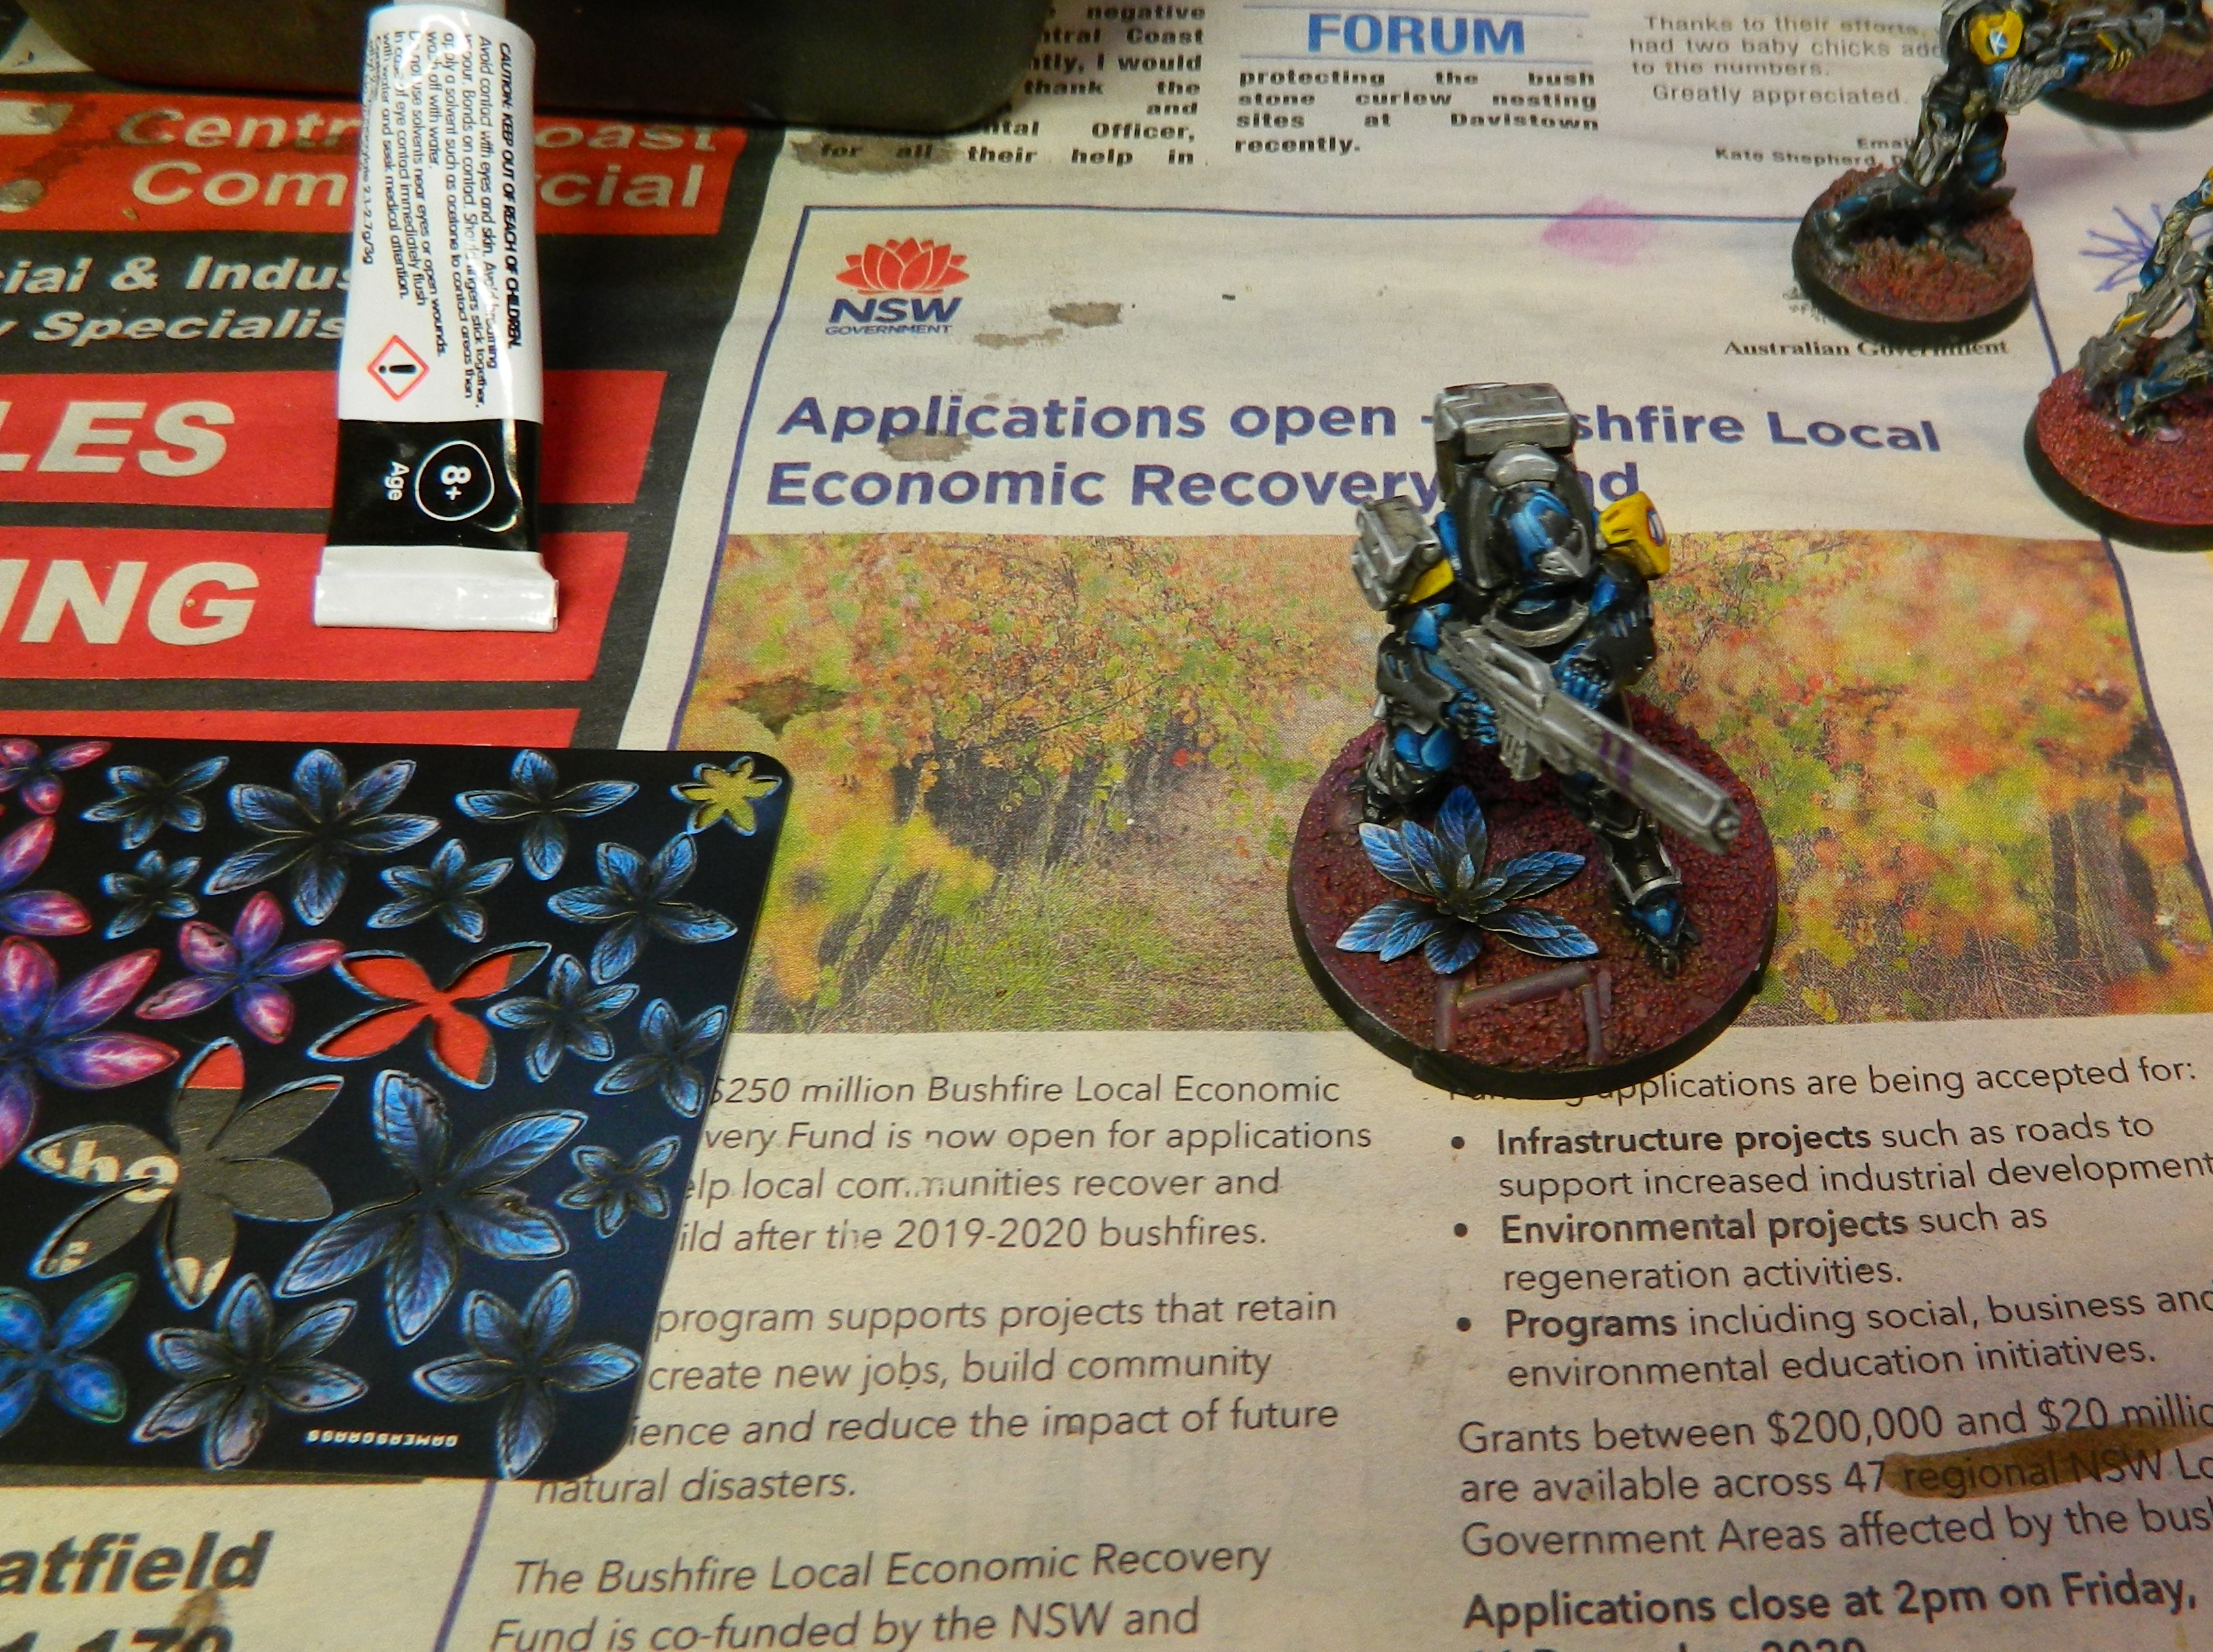
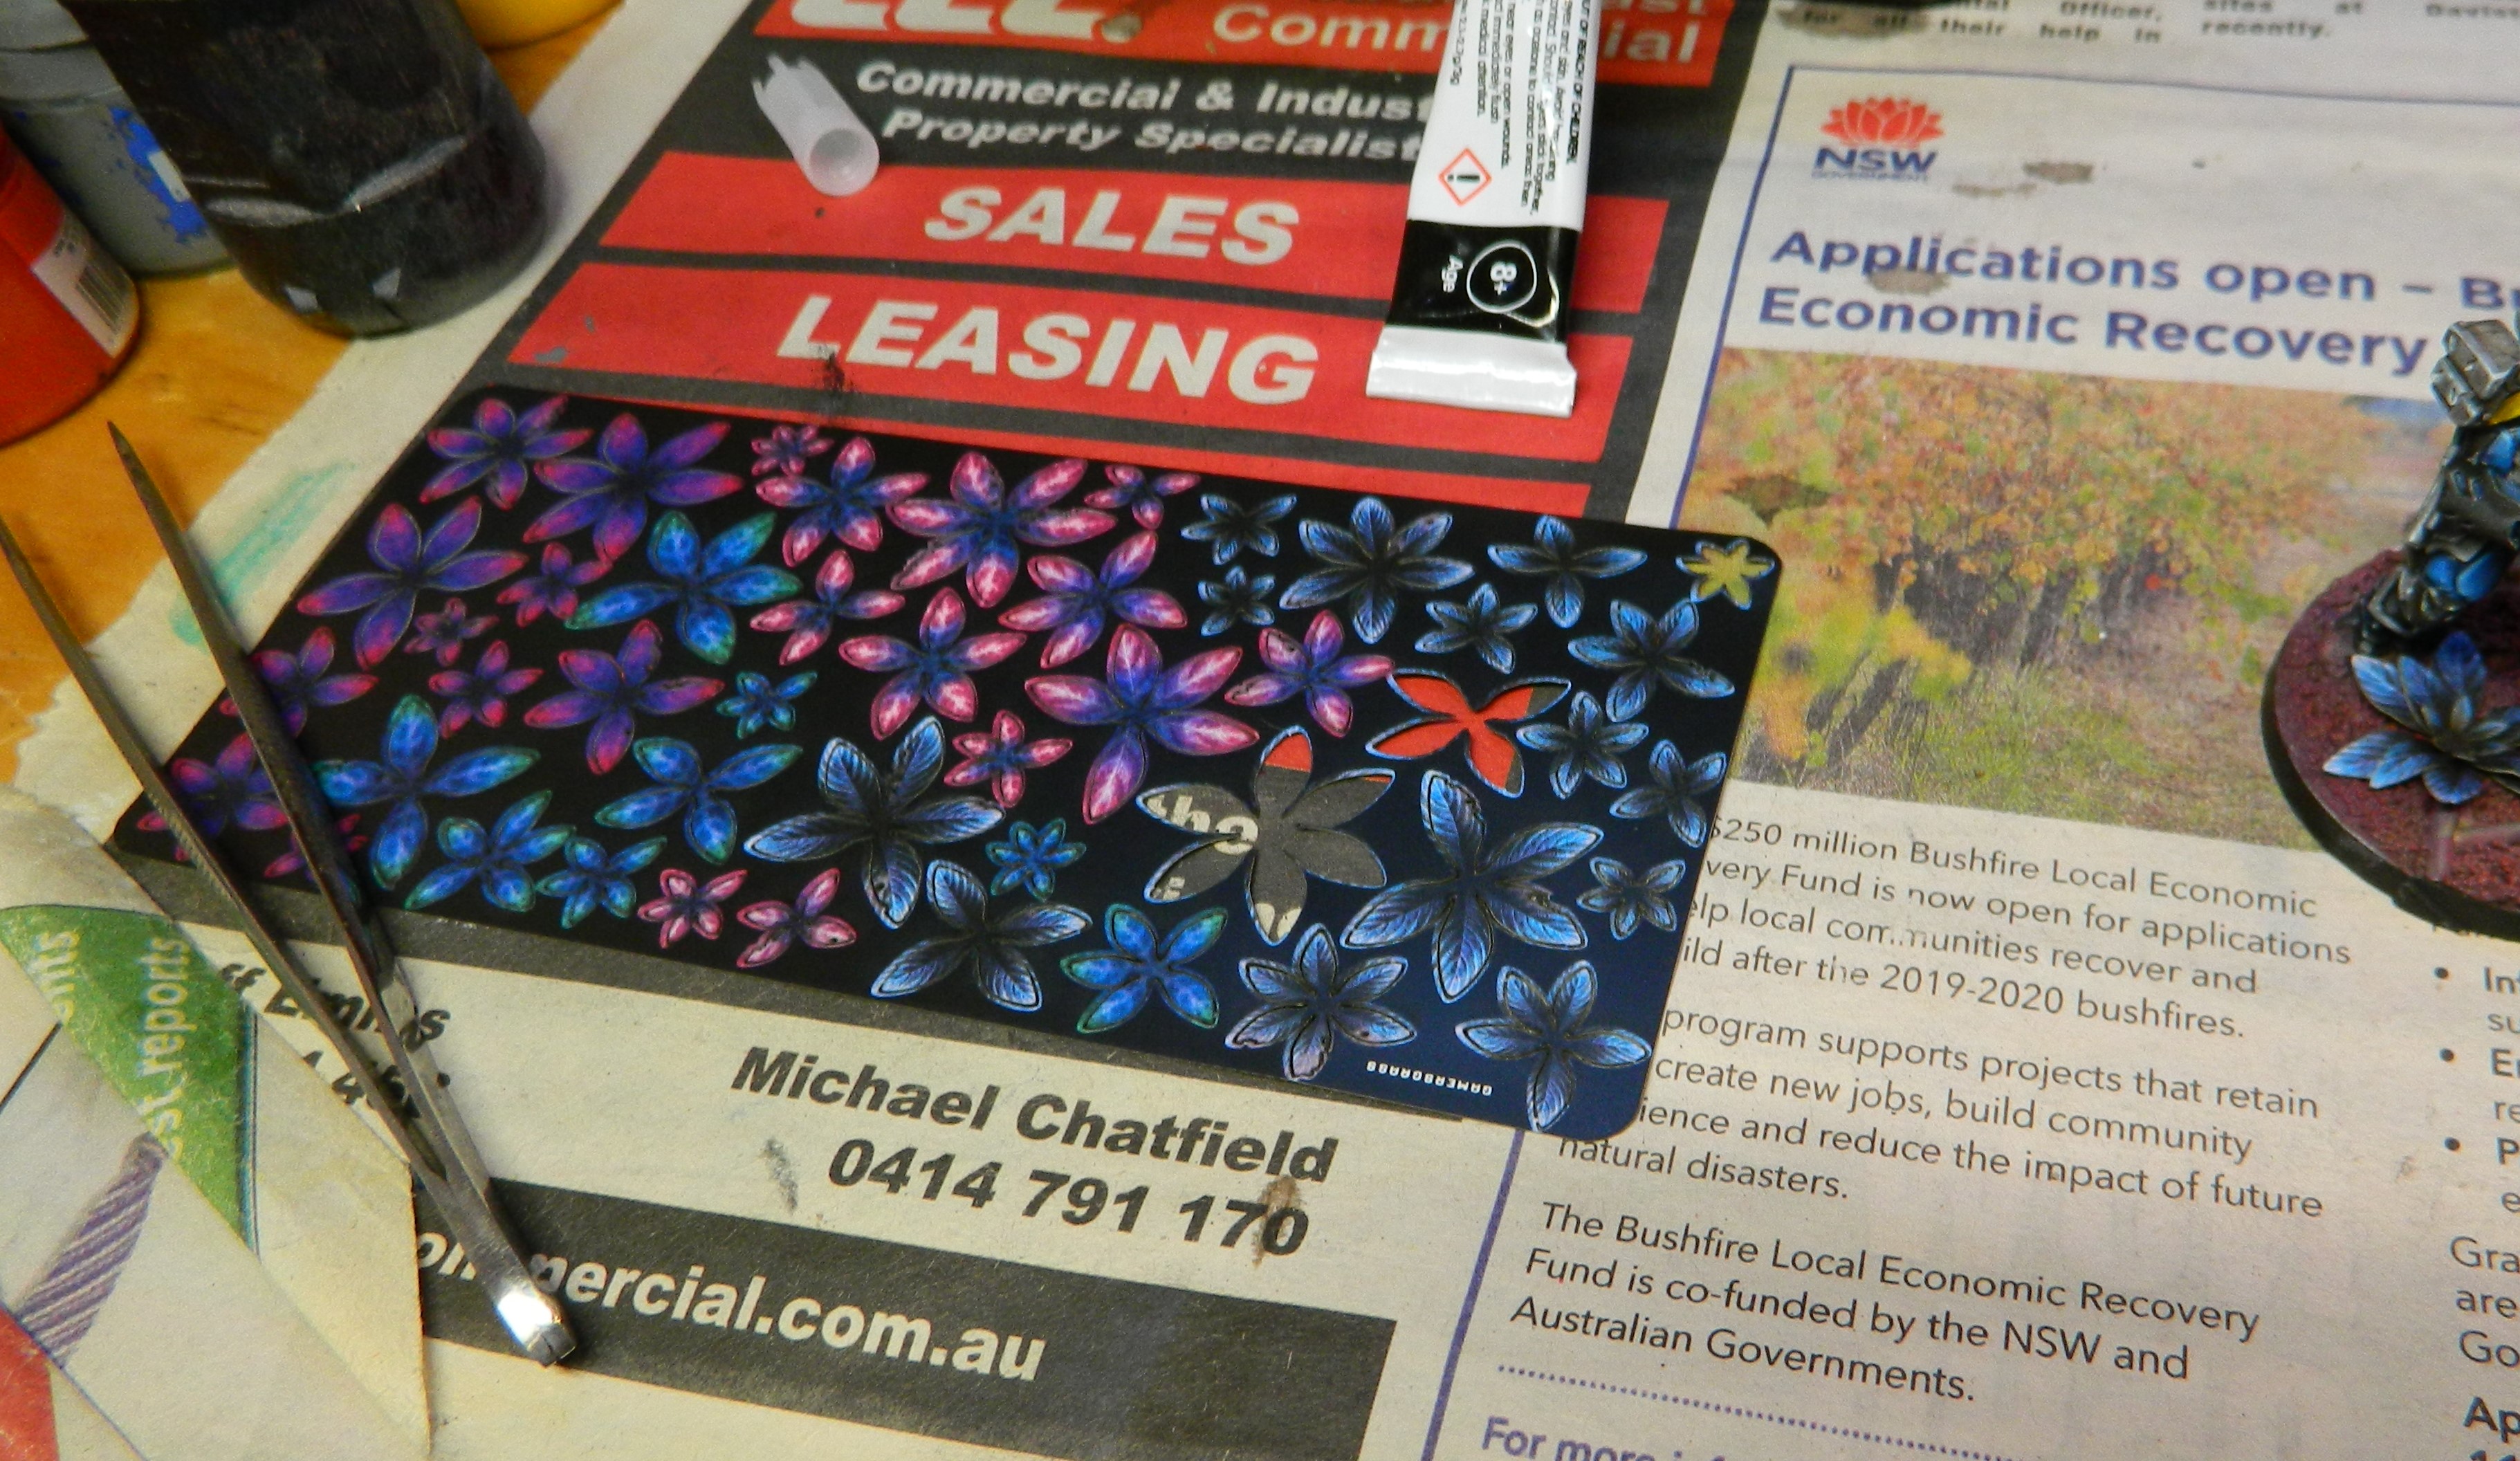
They’re quite interesting. Pluck them from the sheet, bash them up a little bit to give them more dimension and super-glue them down. On the Gamma above, I built the rosette in three layers, sticking each down and allowing it to dry before adding the next layer.
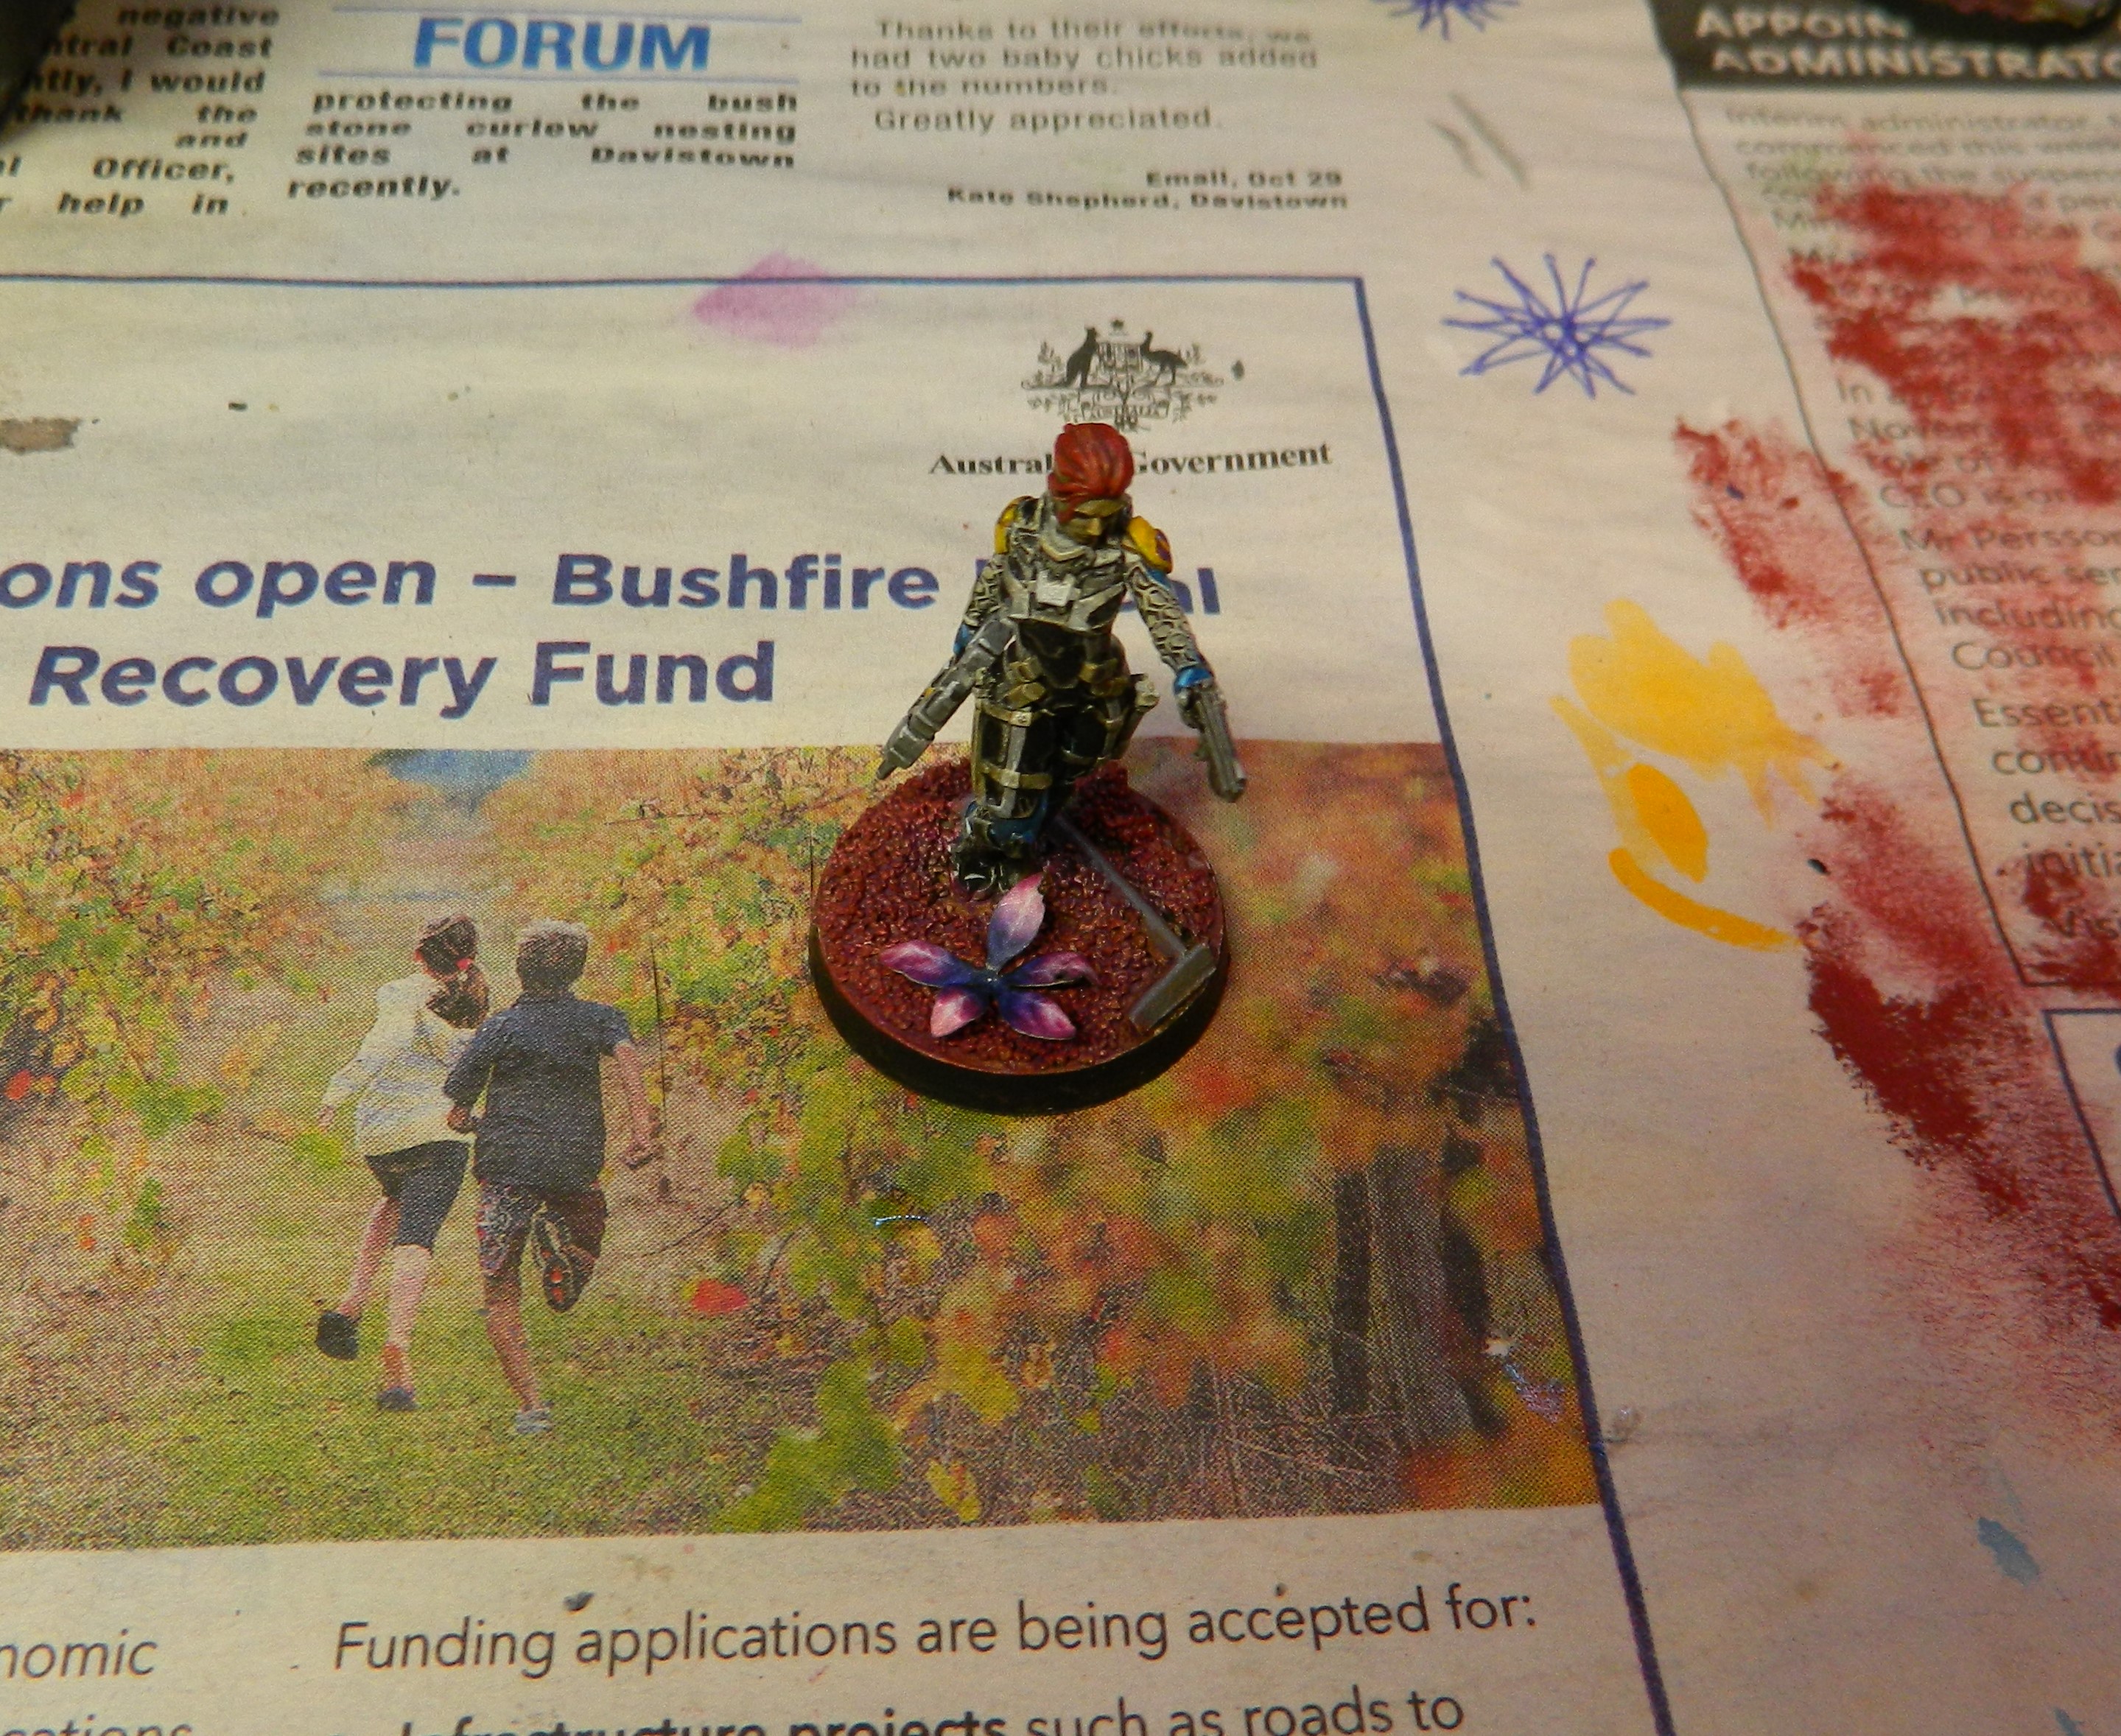 For this one I used only a single piece. It adds a touch of life to the base without being over the top.
 1 Sep 22: huh... I just realised this is the most Infinity miniatures I have painted yet.
My take on the O-12 half of the Operation: Wildfire set done!
It’s the first “complete” set I’ve done from this range, from the 3 factions I own. They probably would have been done sooner if my painting lamp hadn’t died… ah well.

Above: Kappa, Kappa, Gangbuster, Epsilon with Sniper Rifle, Delta Hacker, Gamma with Feurbach
 Haha! When I bought my new painting lamp, I also bought a light box. Experiments ahead!
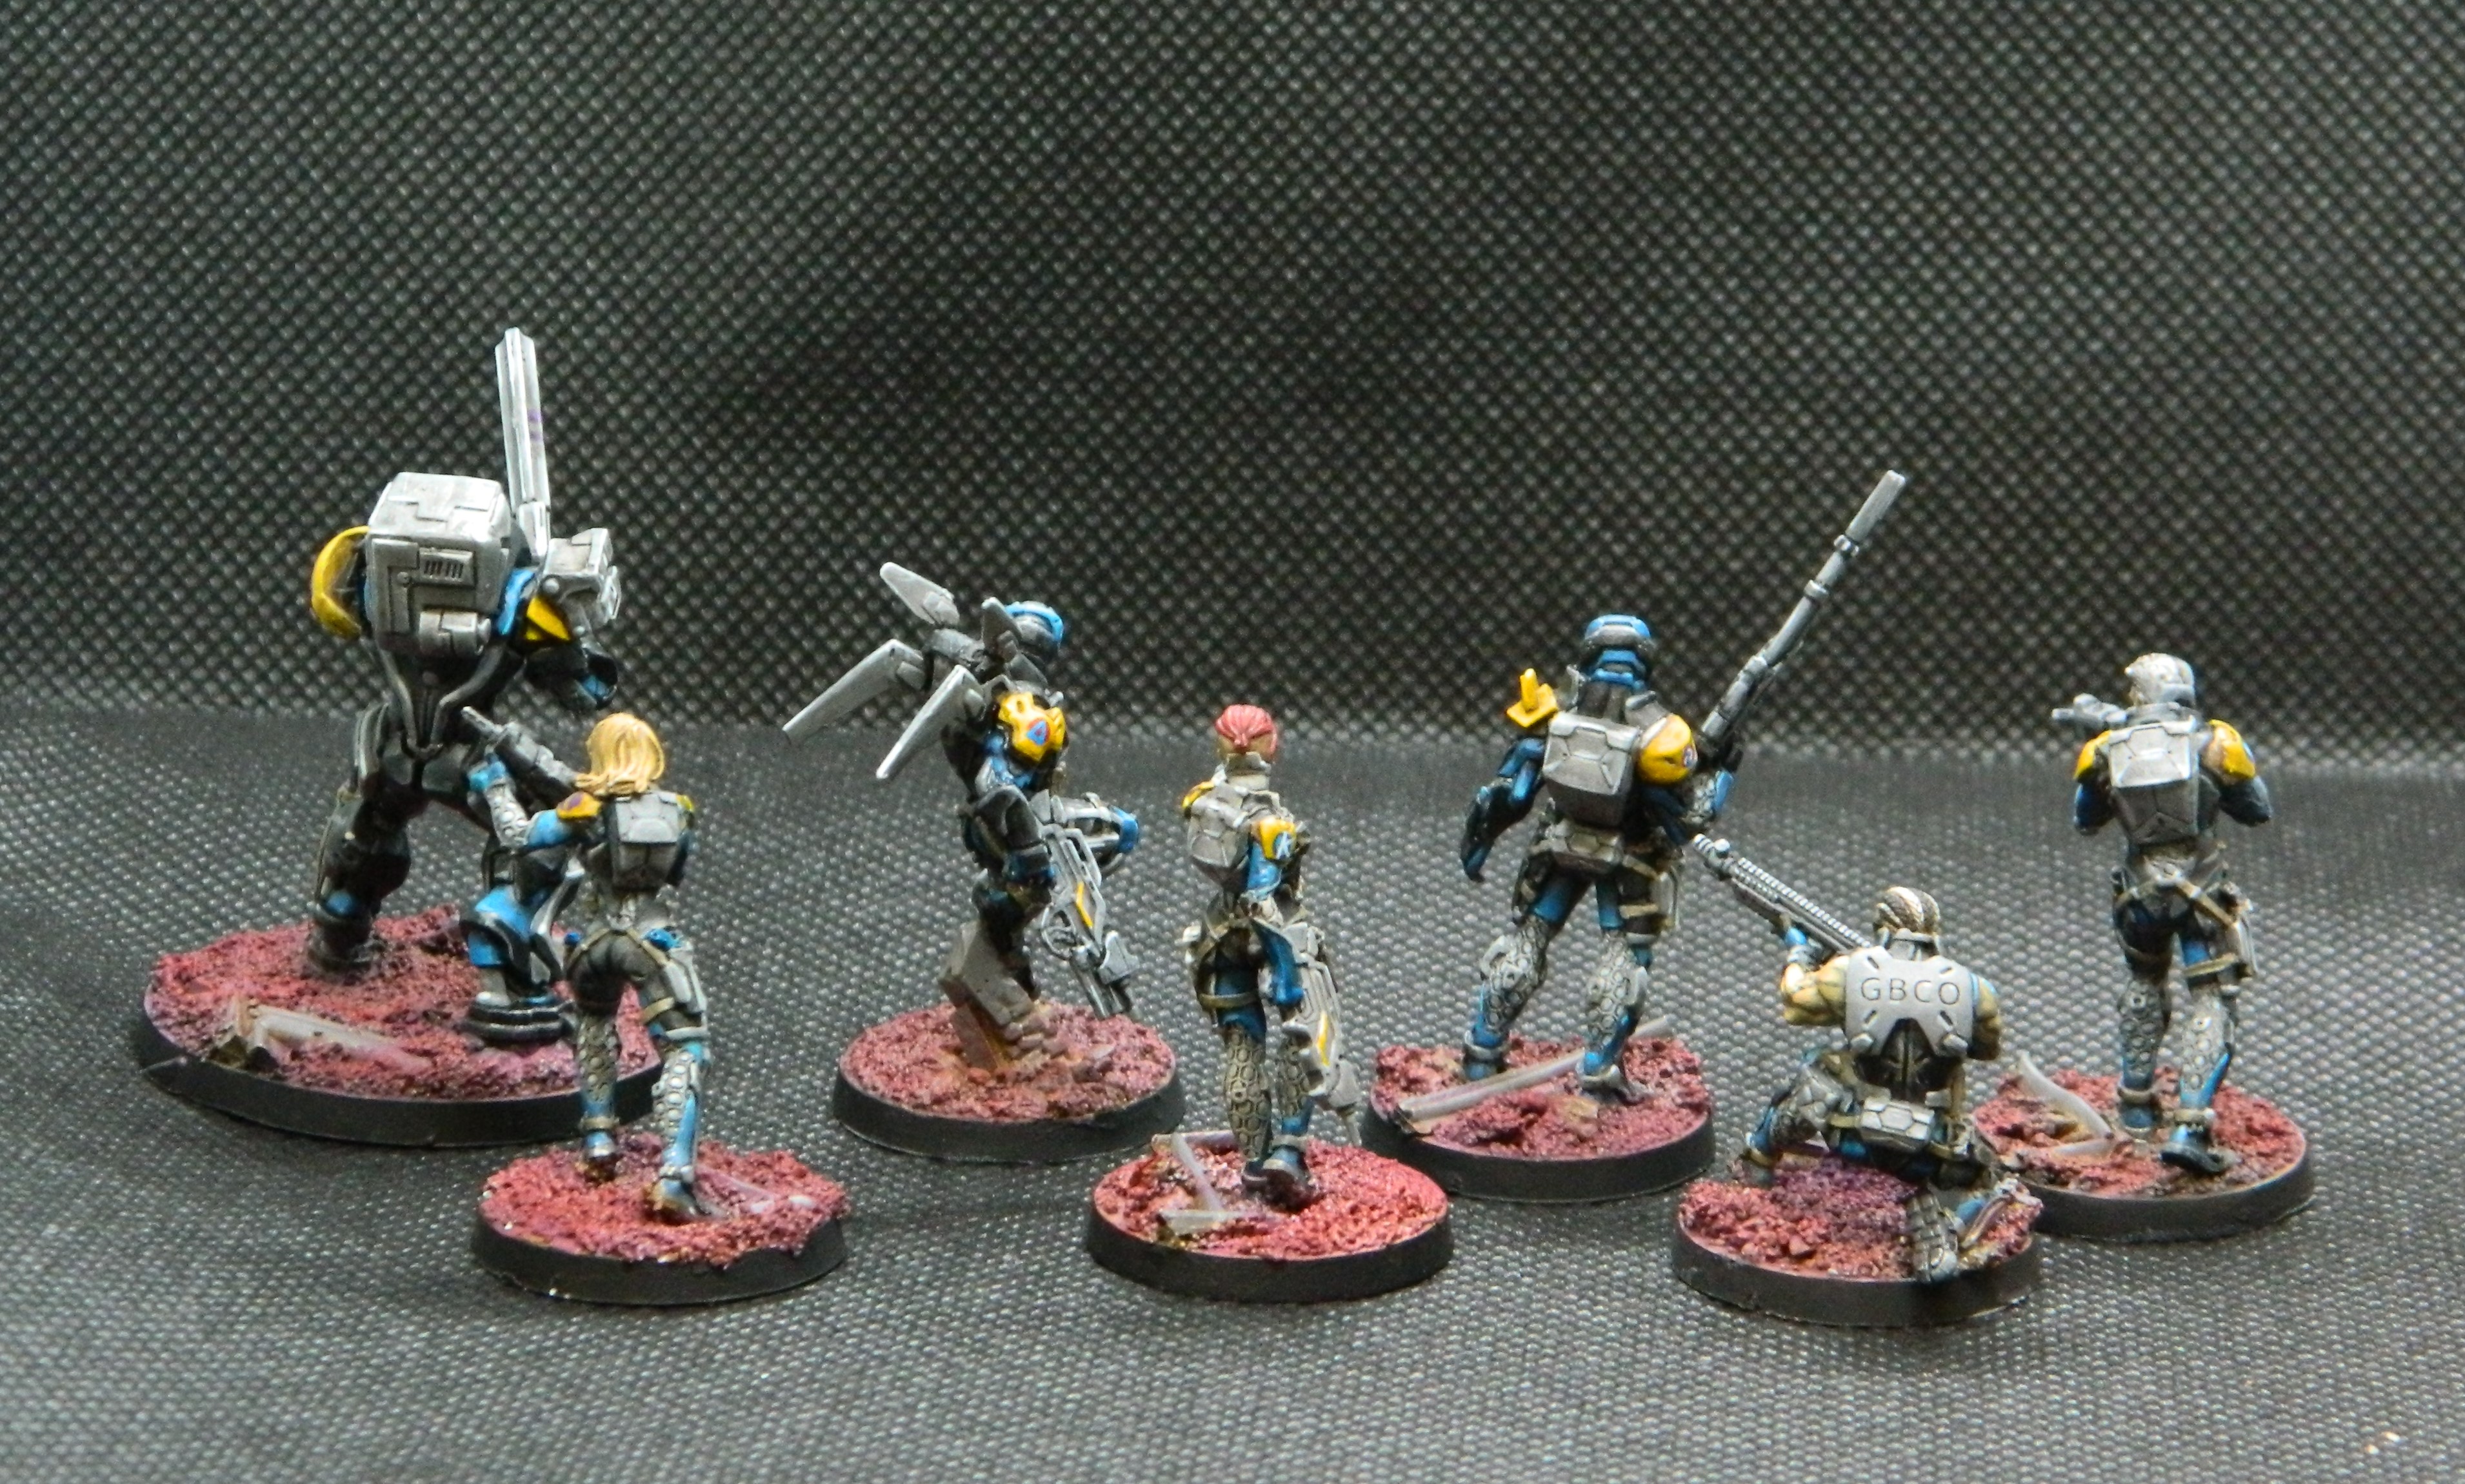
I’m thinking that the bases could do with some plant life on them… Perhaps. Something I’ll look at in the future, but for now I’m happy with these. I’ll keep this theme going. I received a stack more O-12 for my birthday.
O-12 complete: 7/27
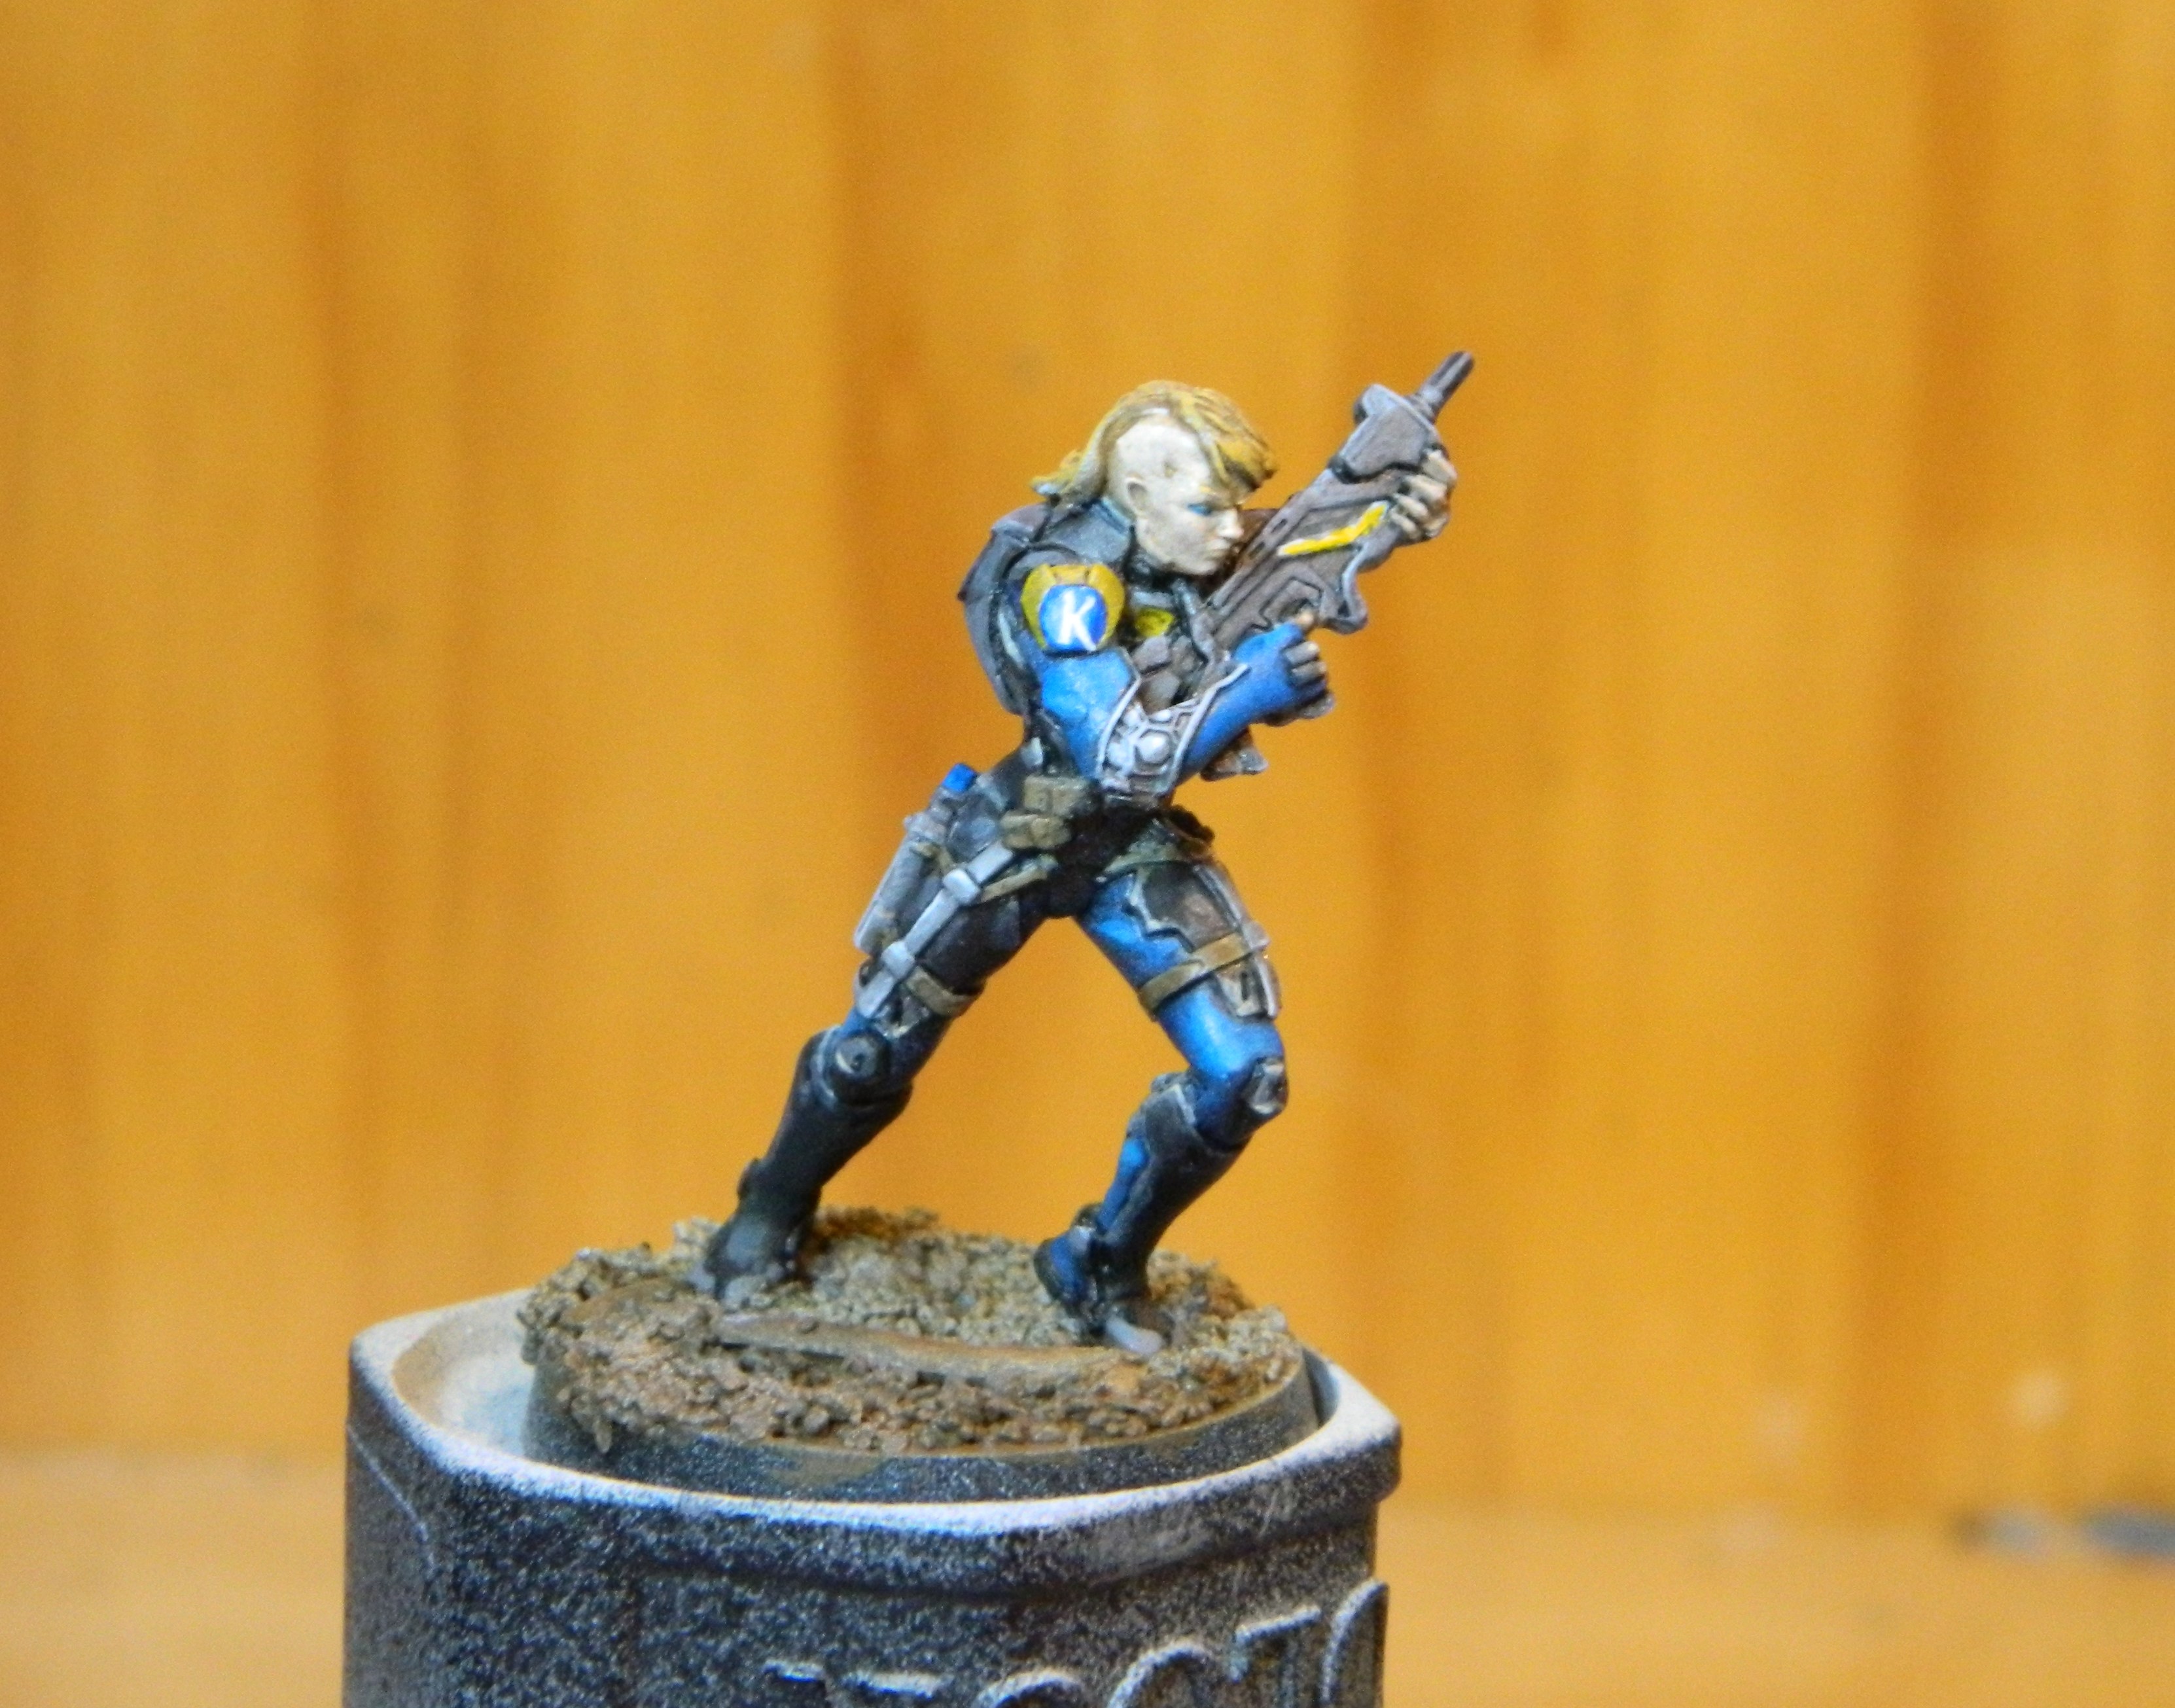
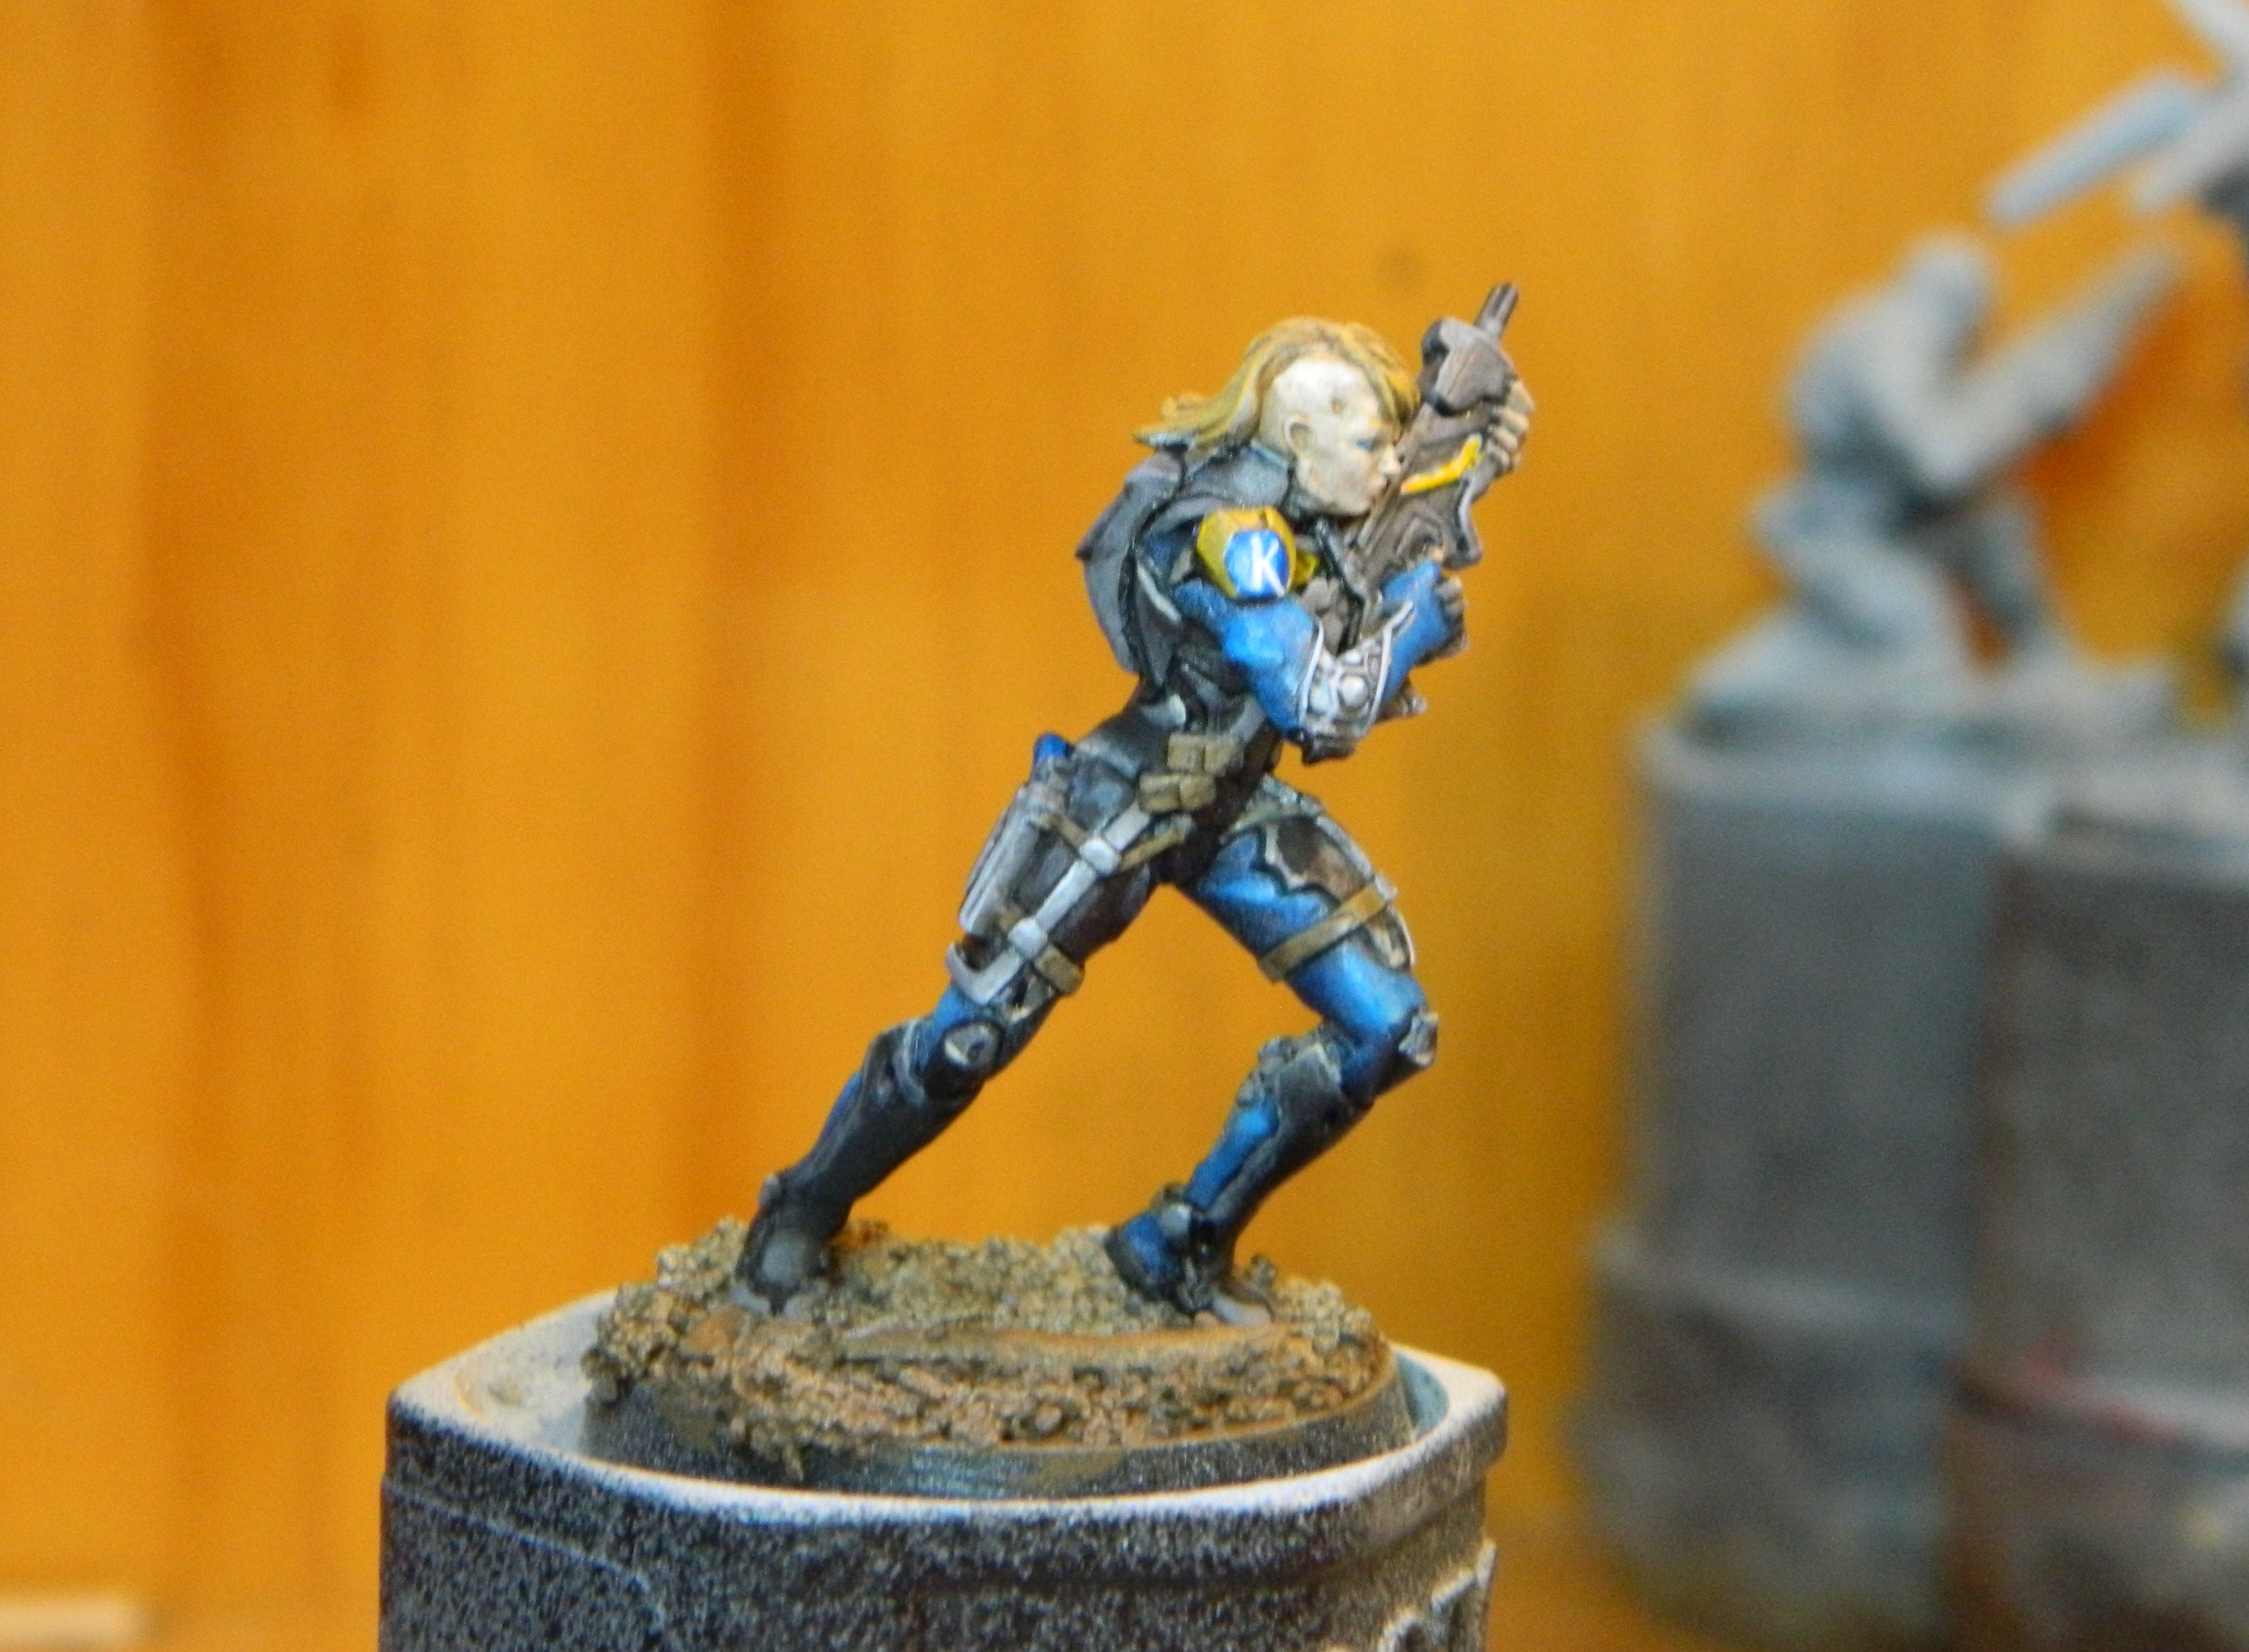
5 Apr 22: Test...
Between Defiance and Operation: Wildfire, I’ve quite a few O12 minis.
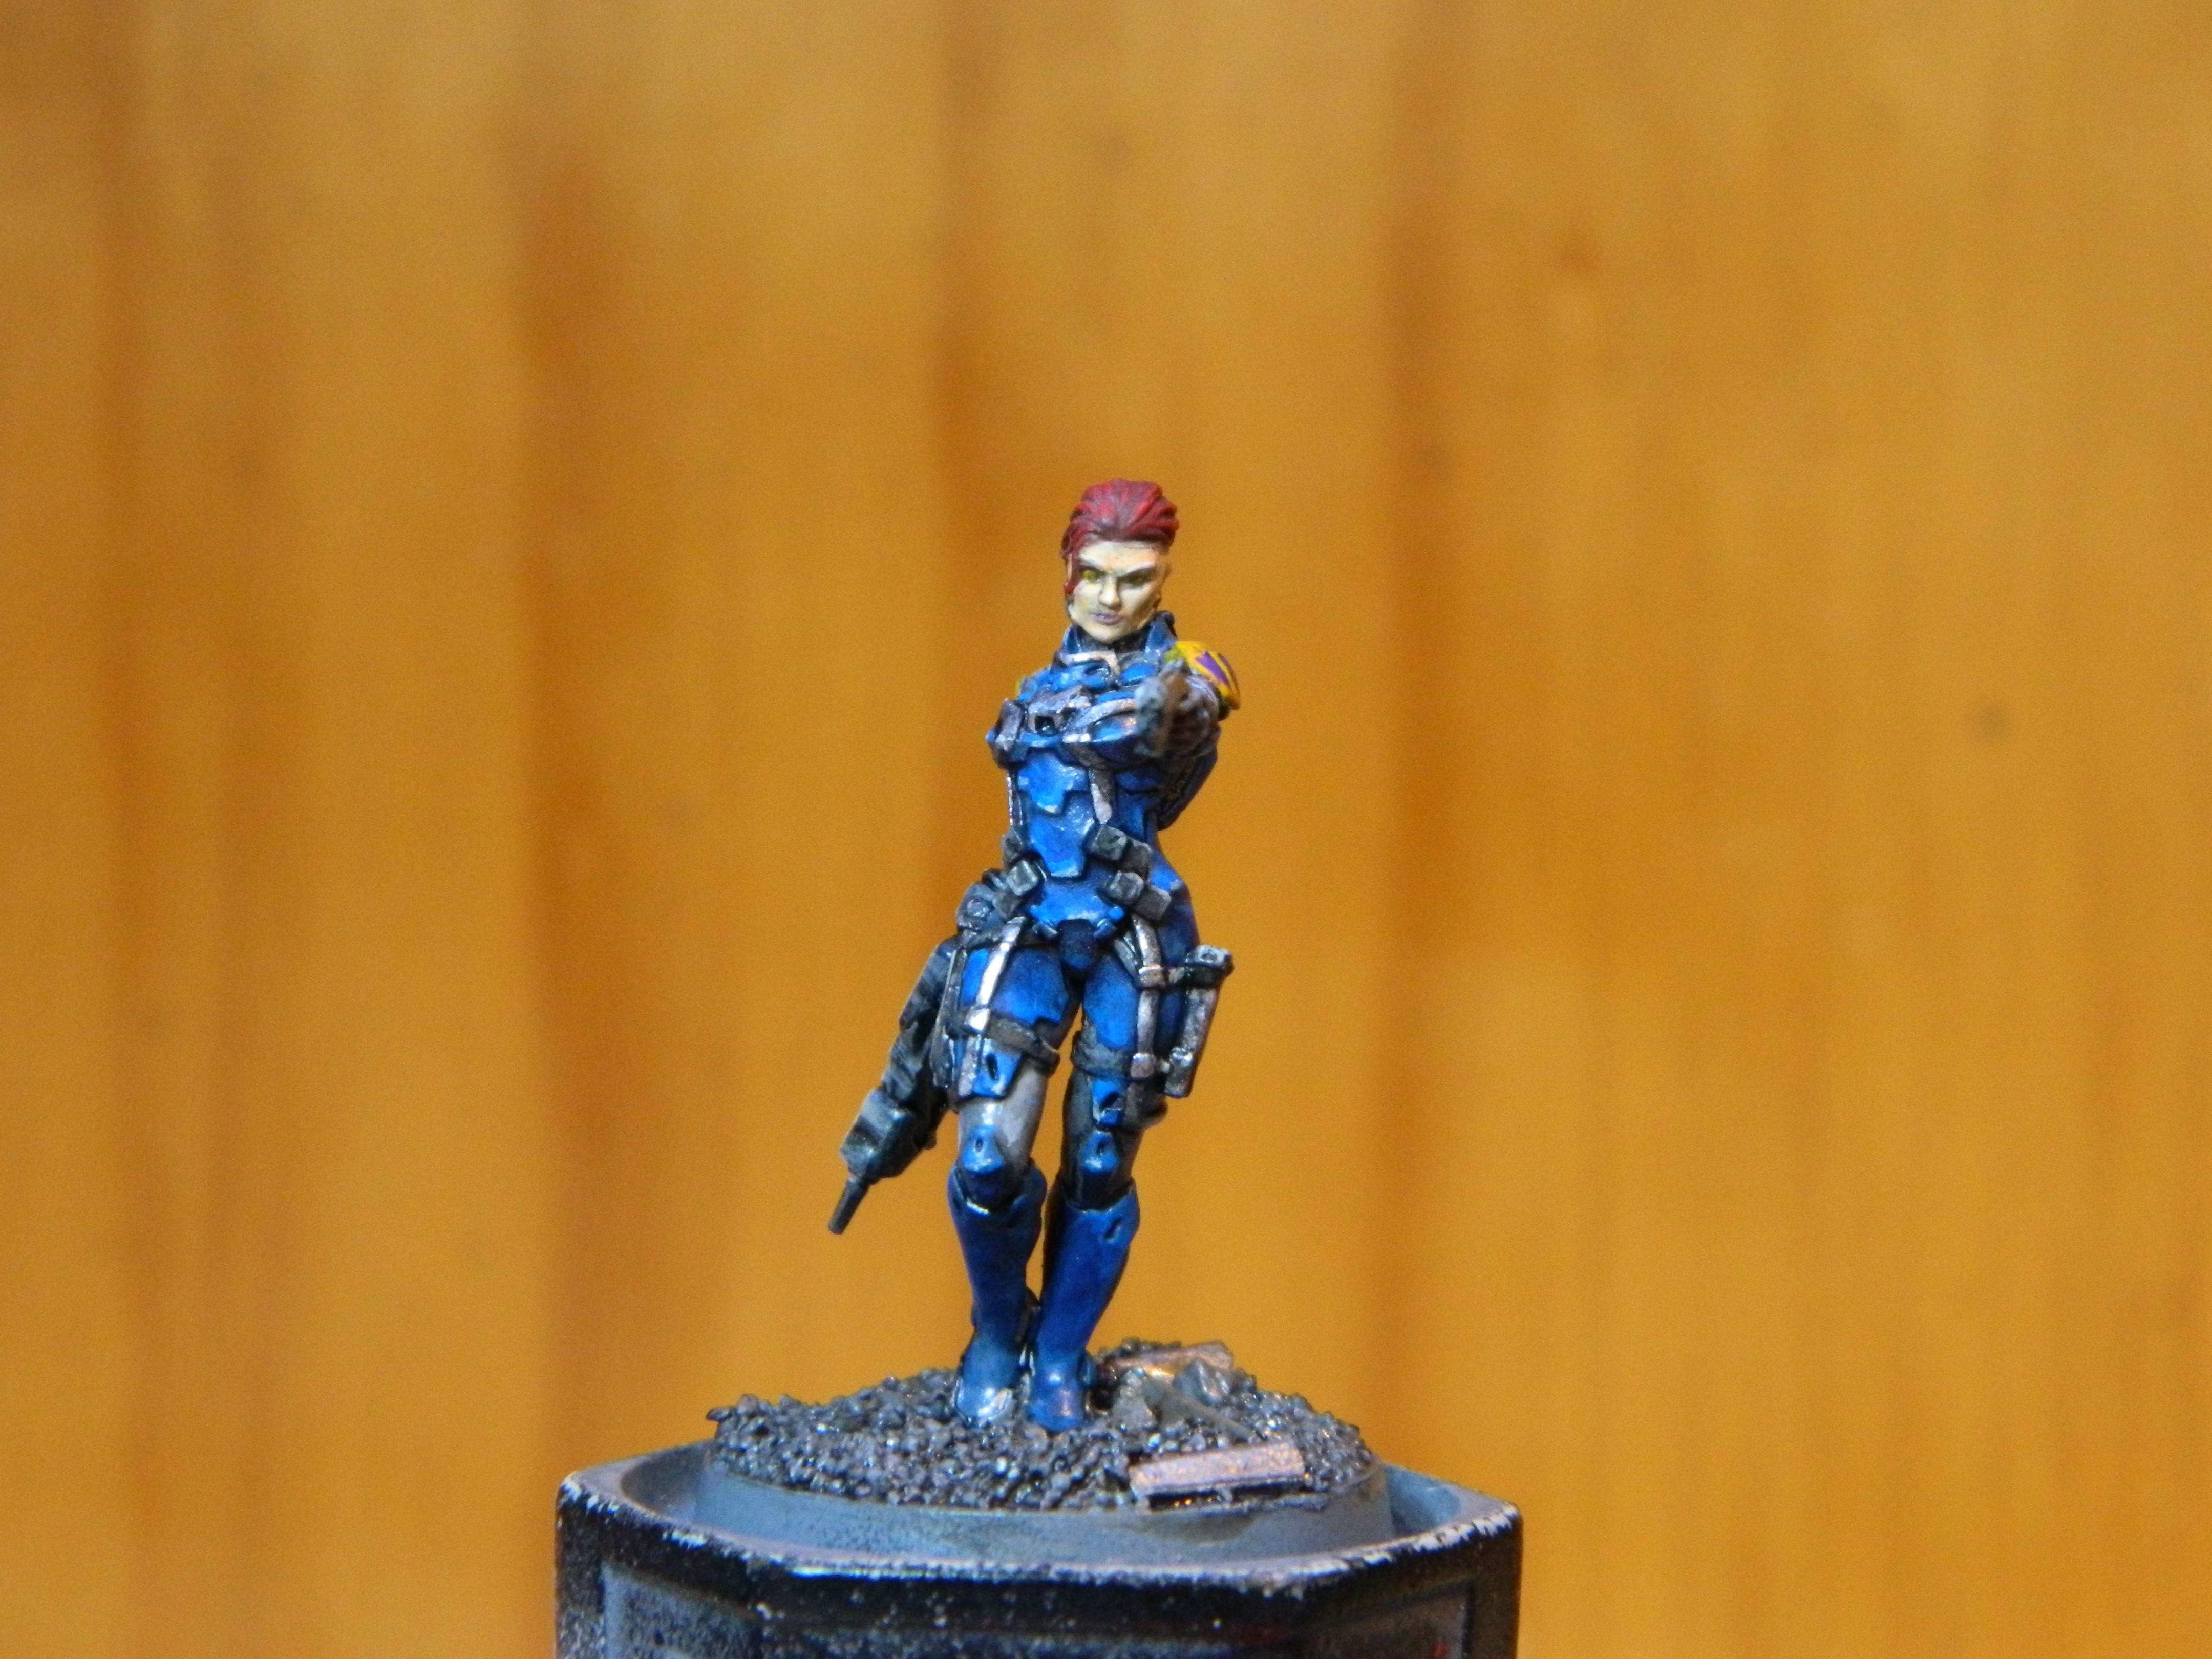
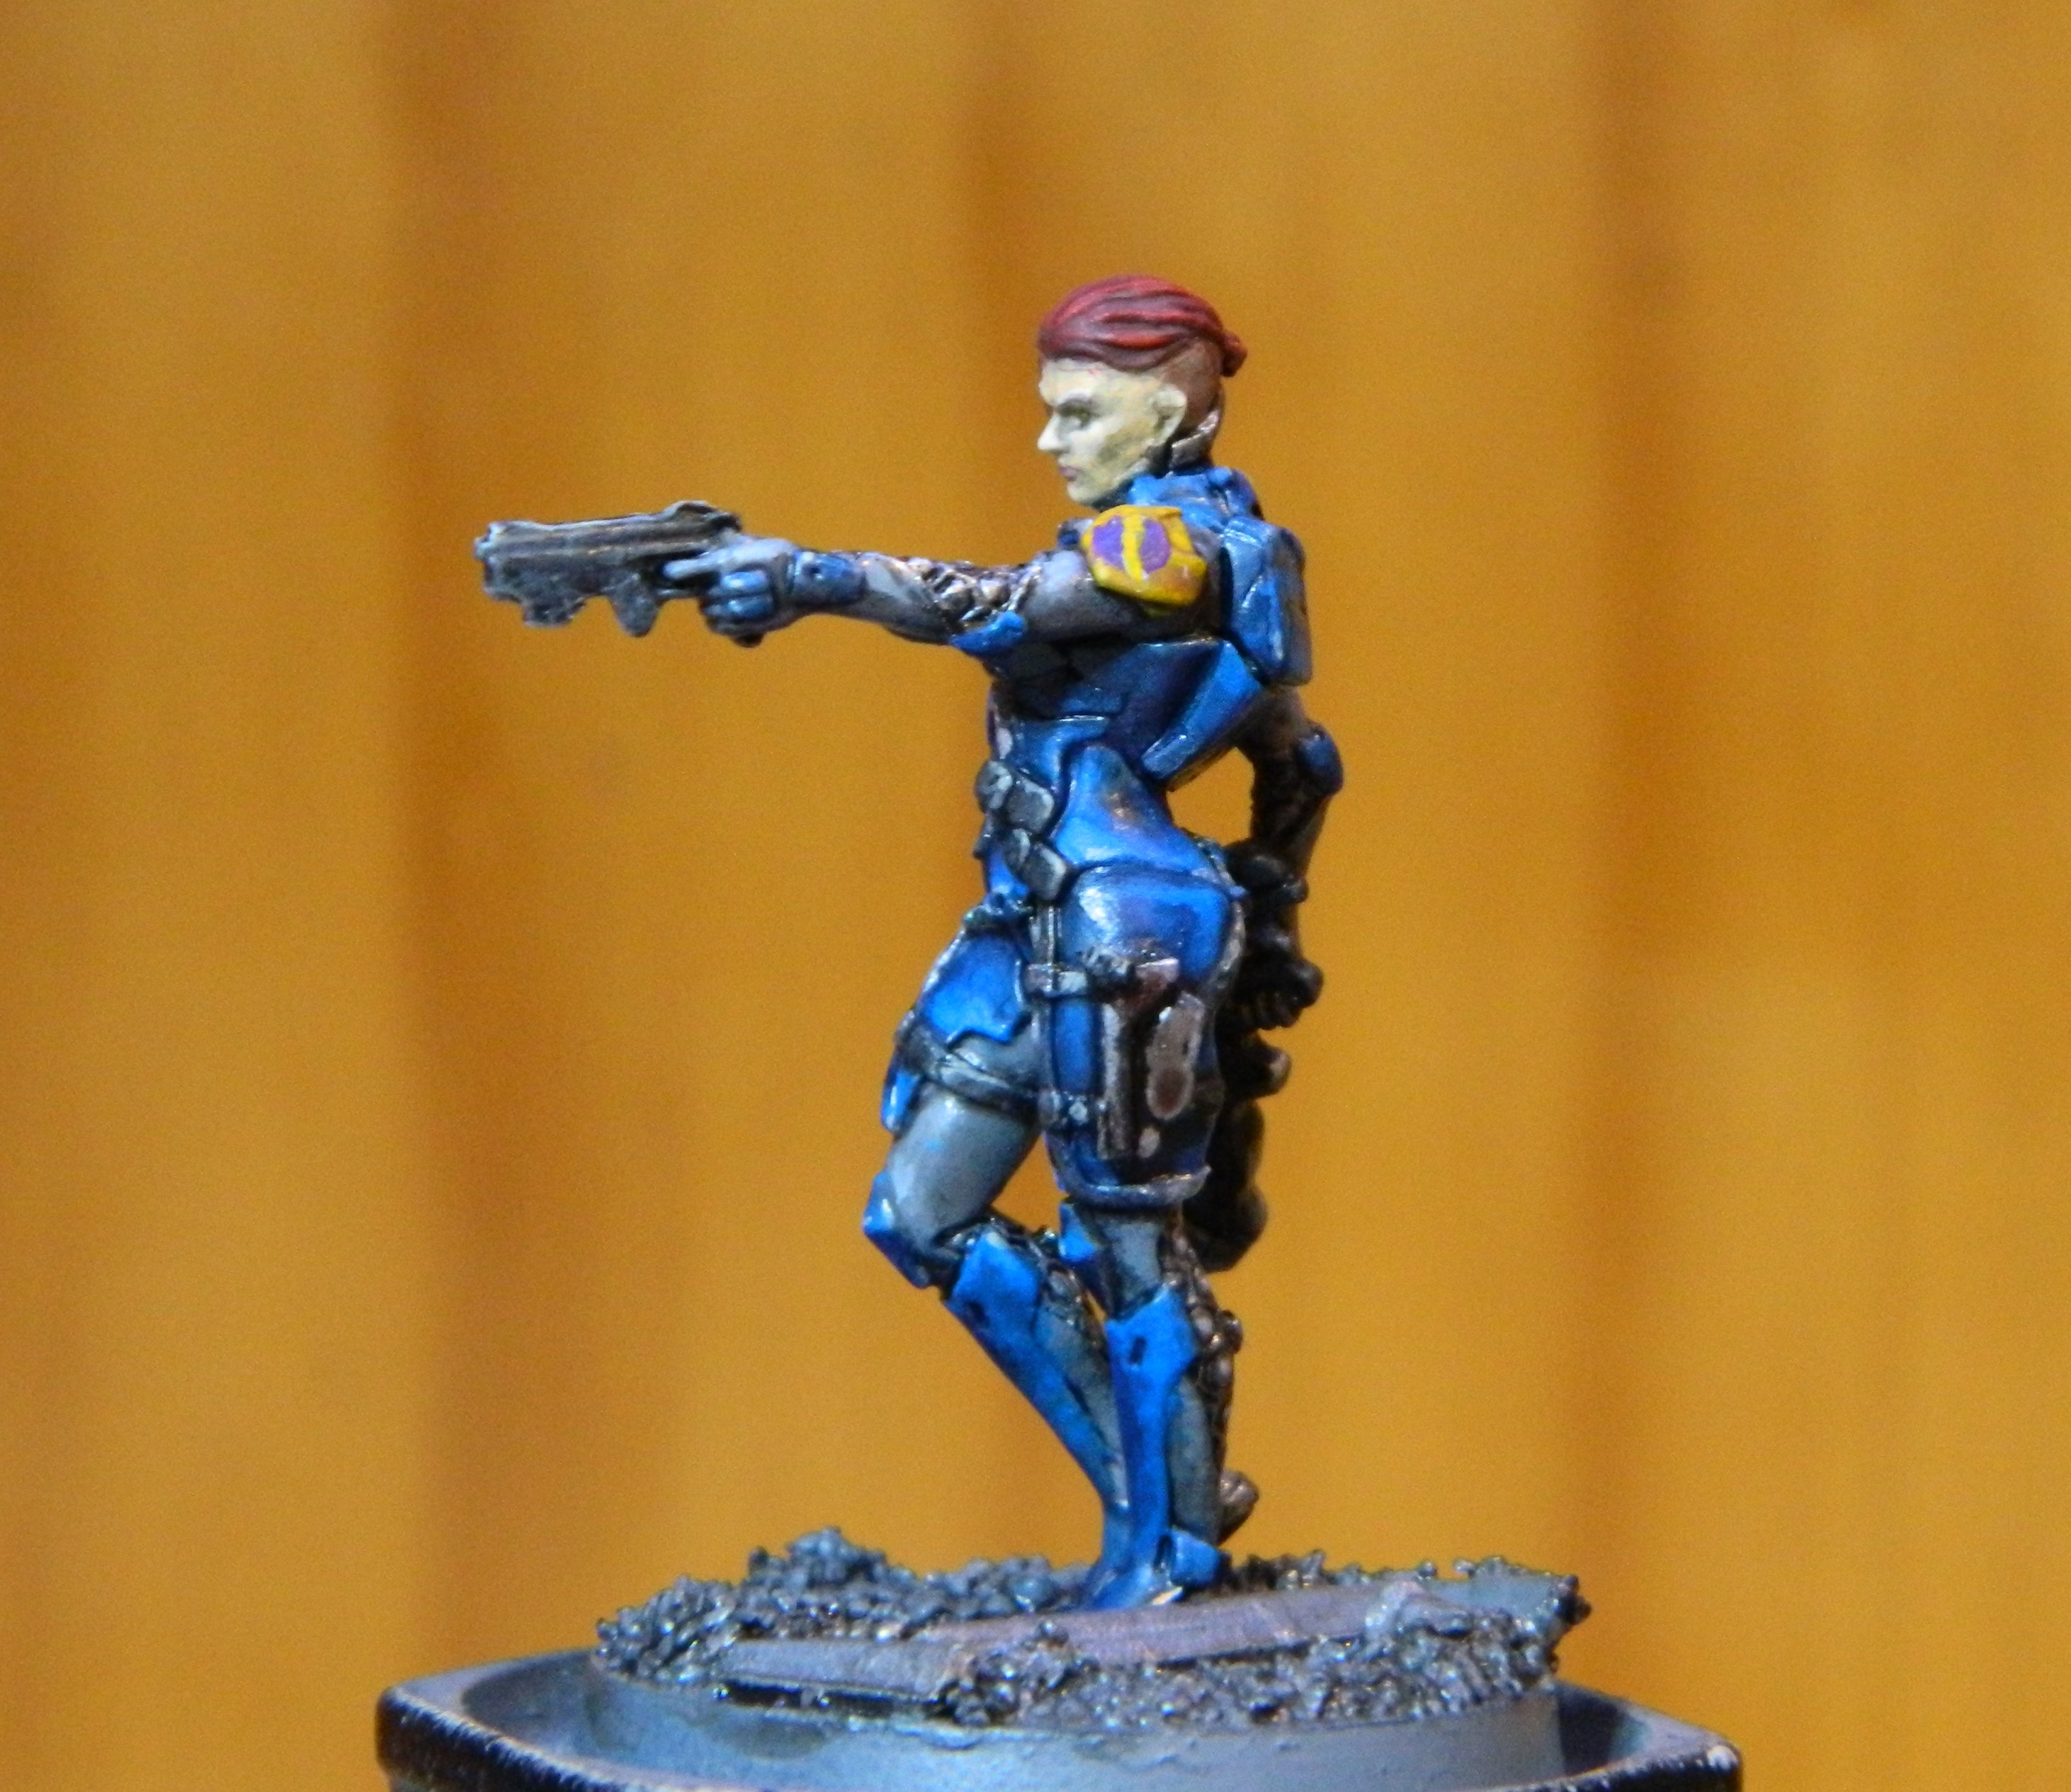
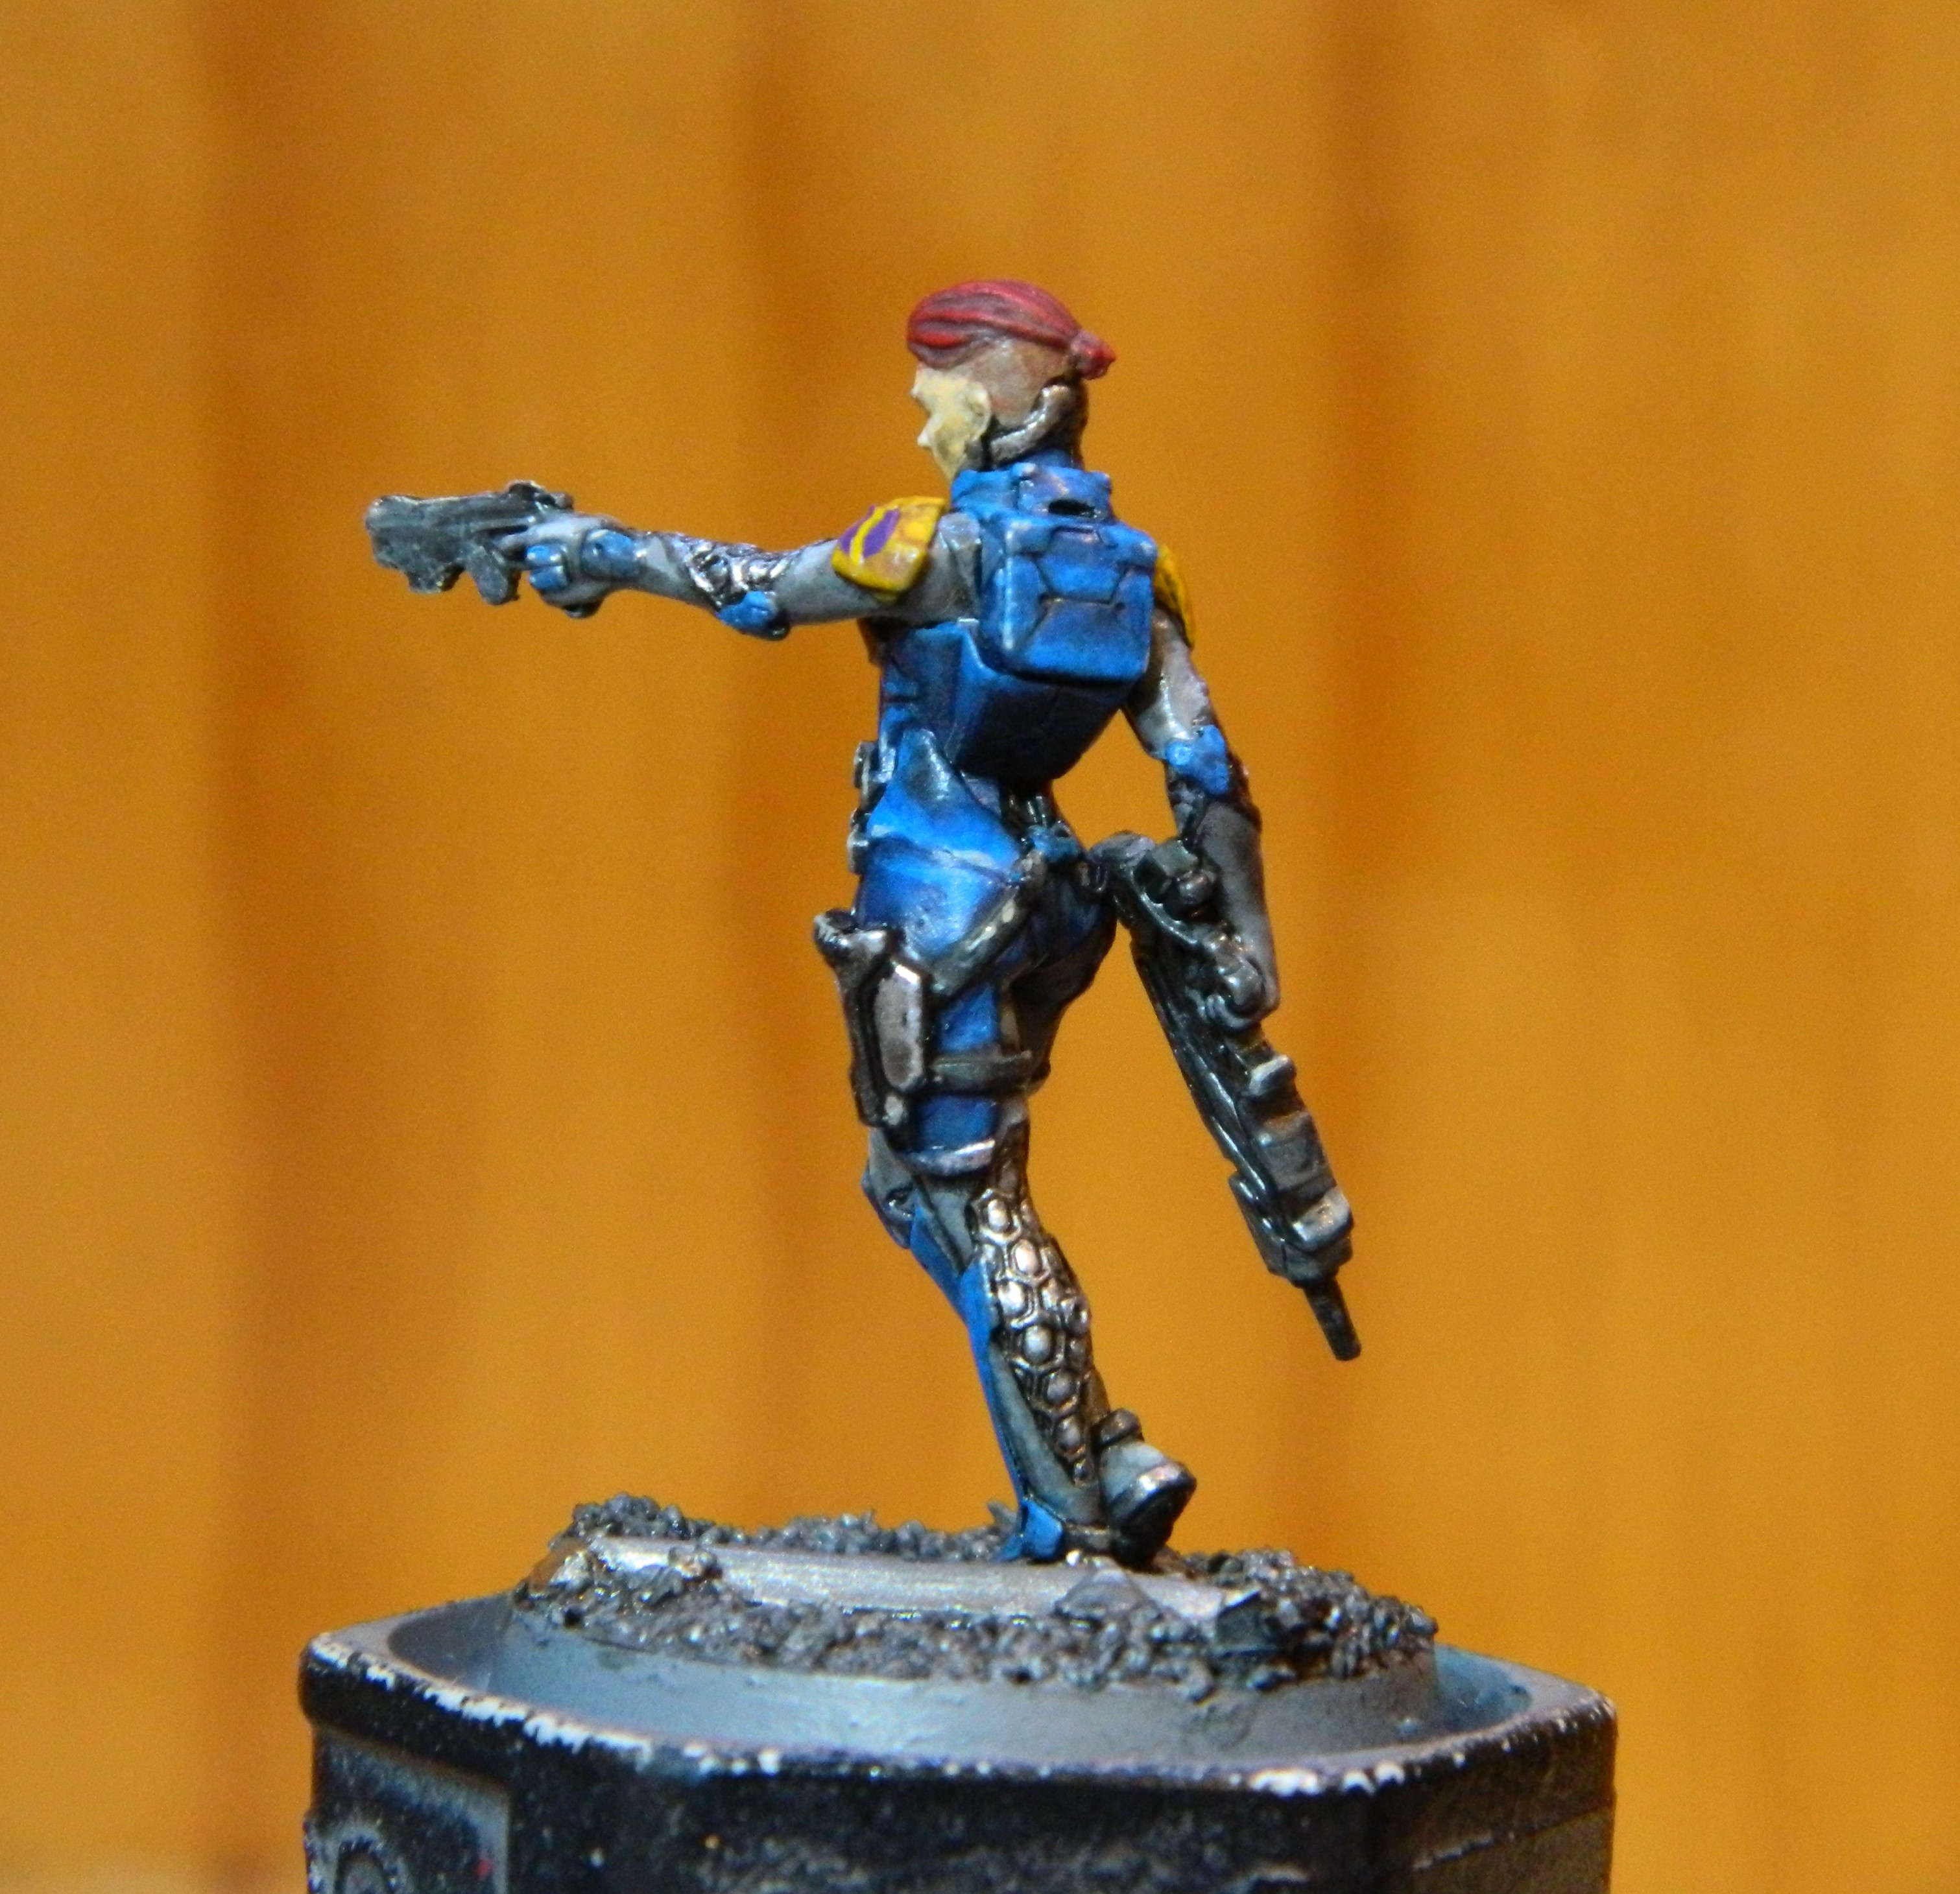
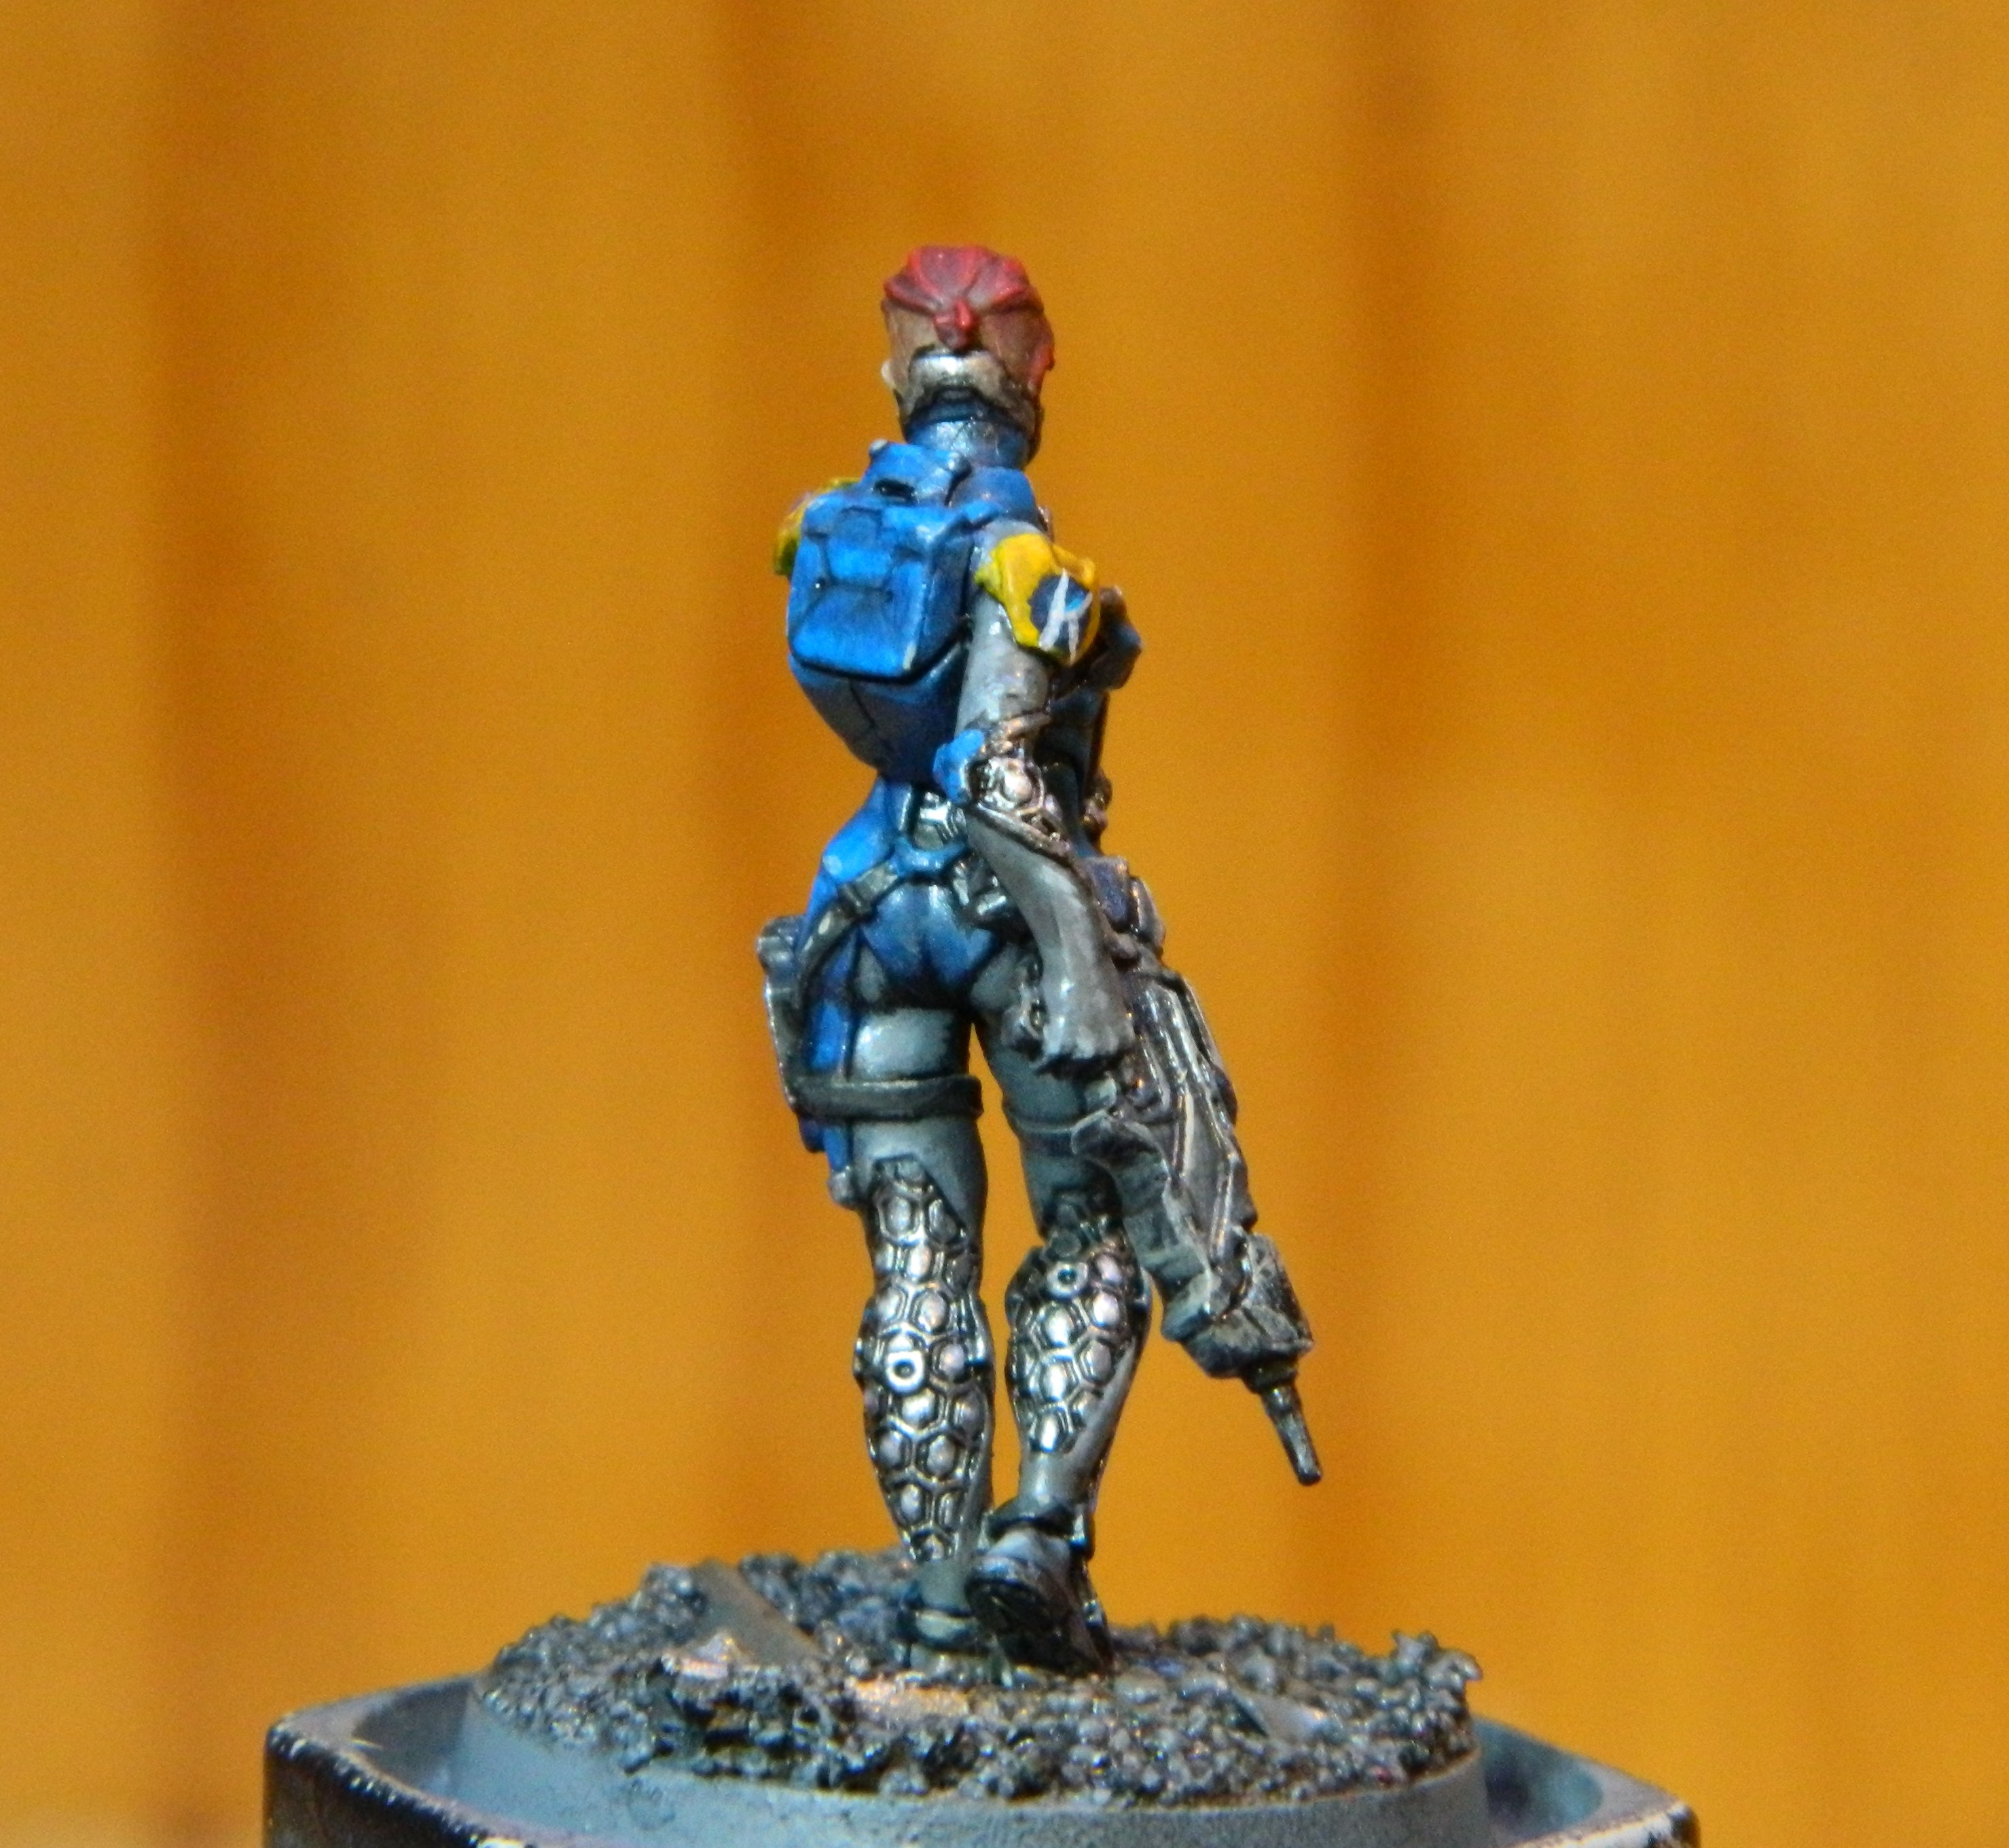
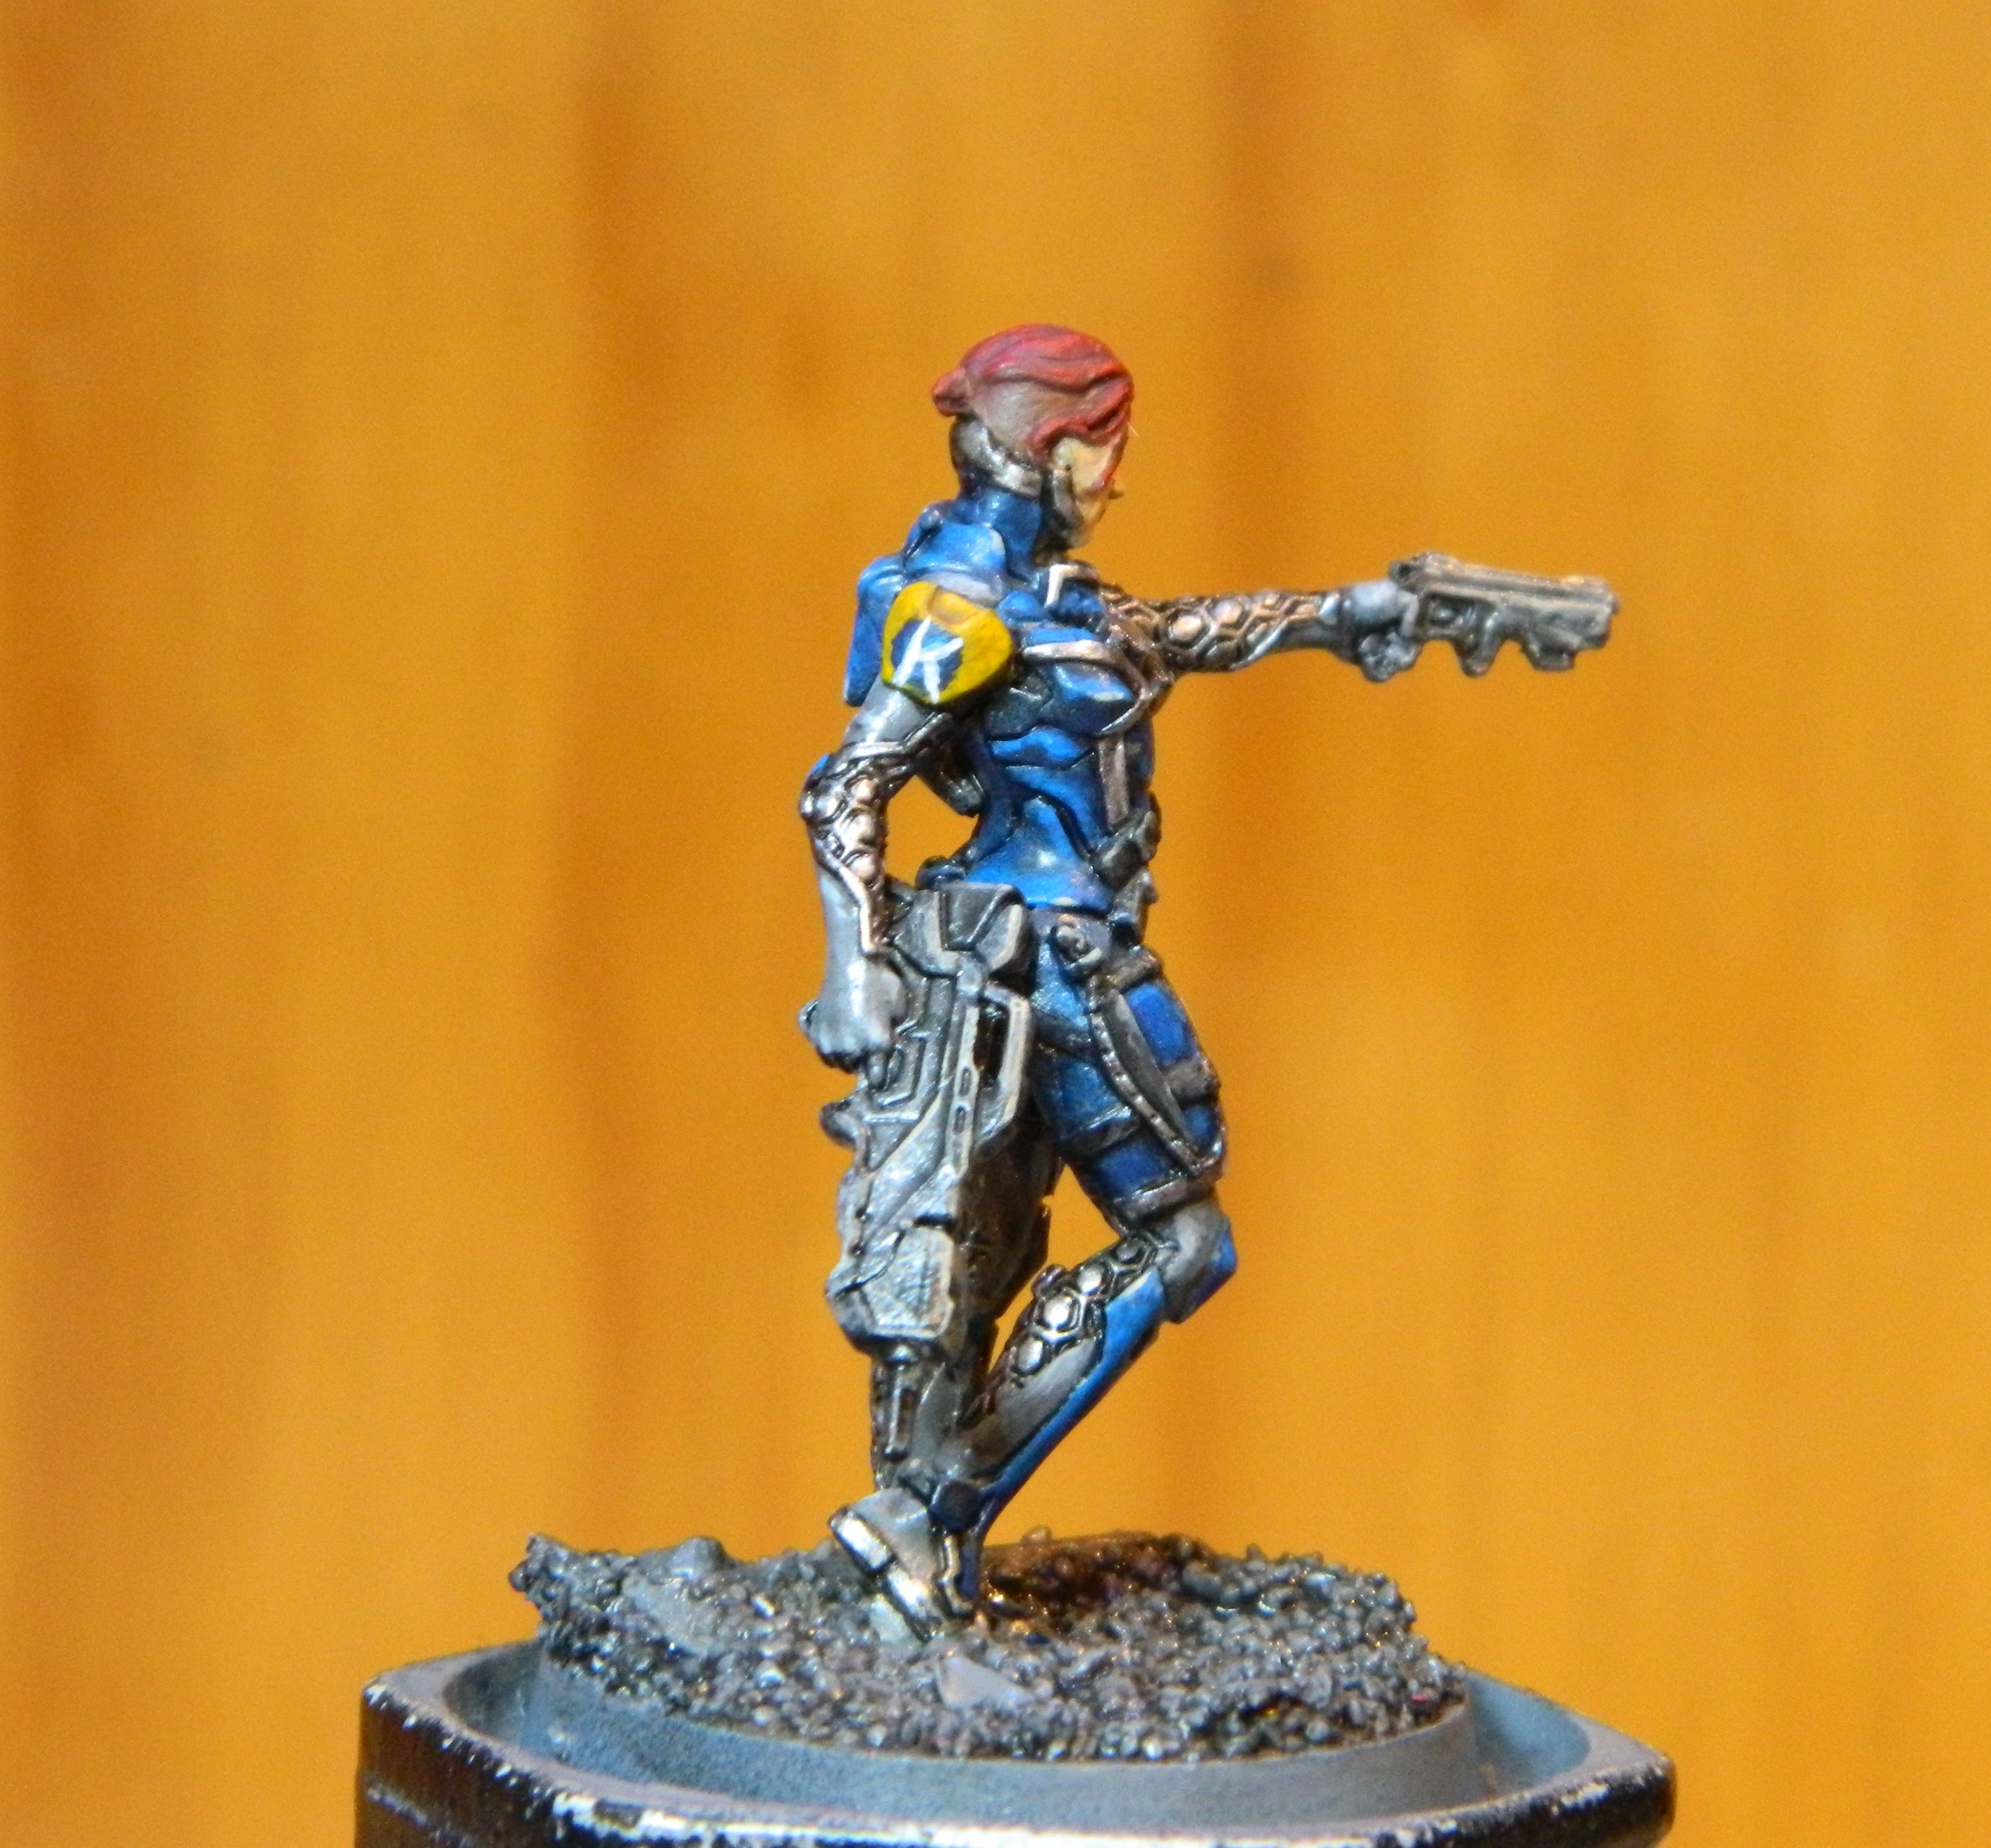
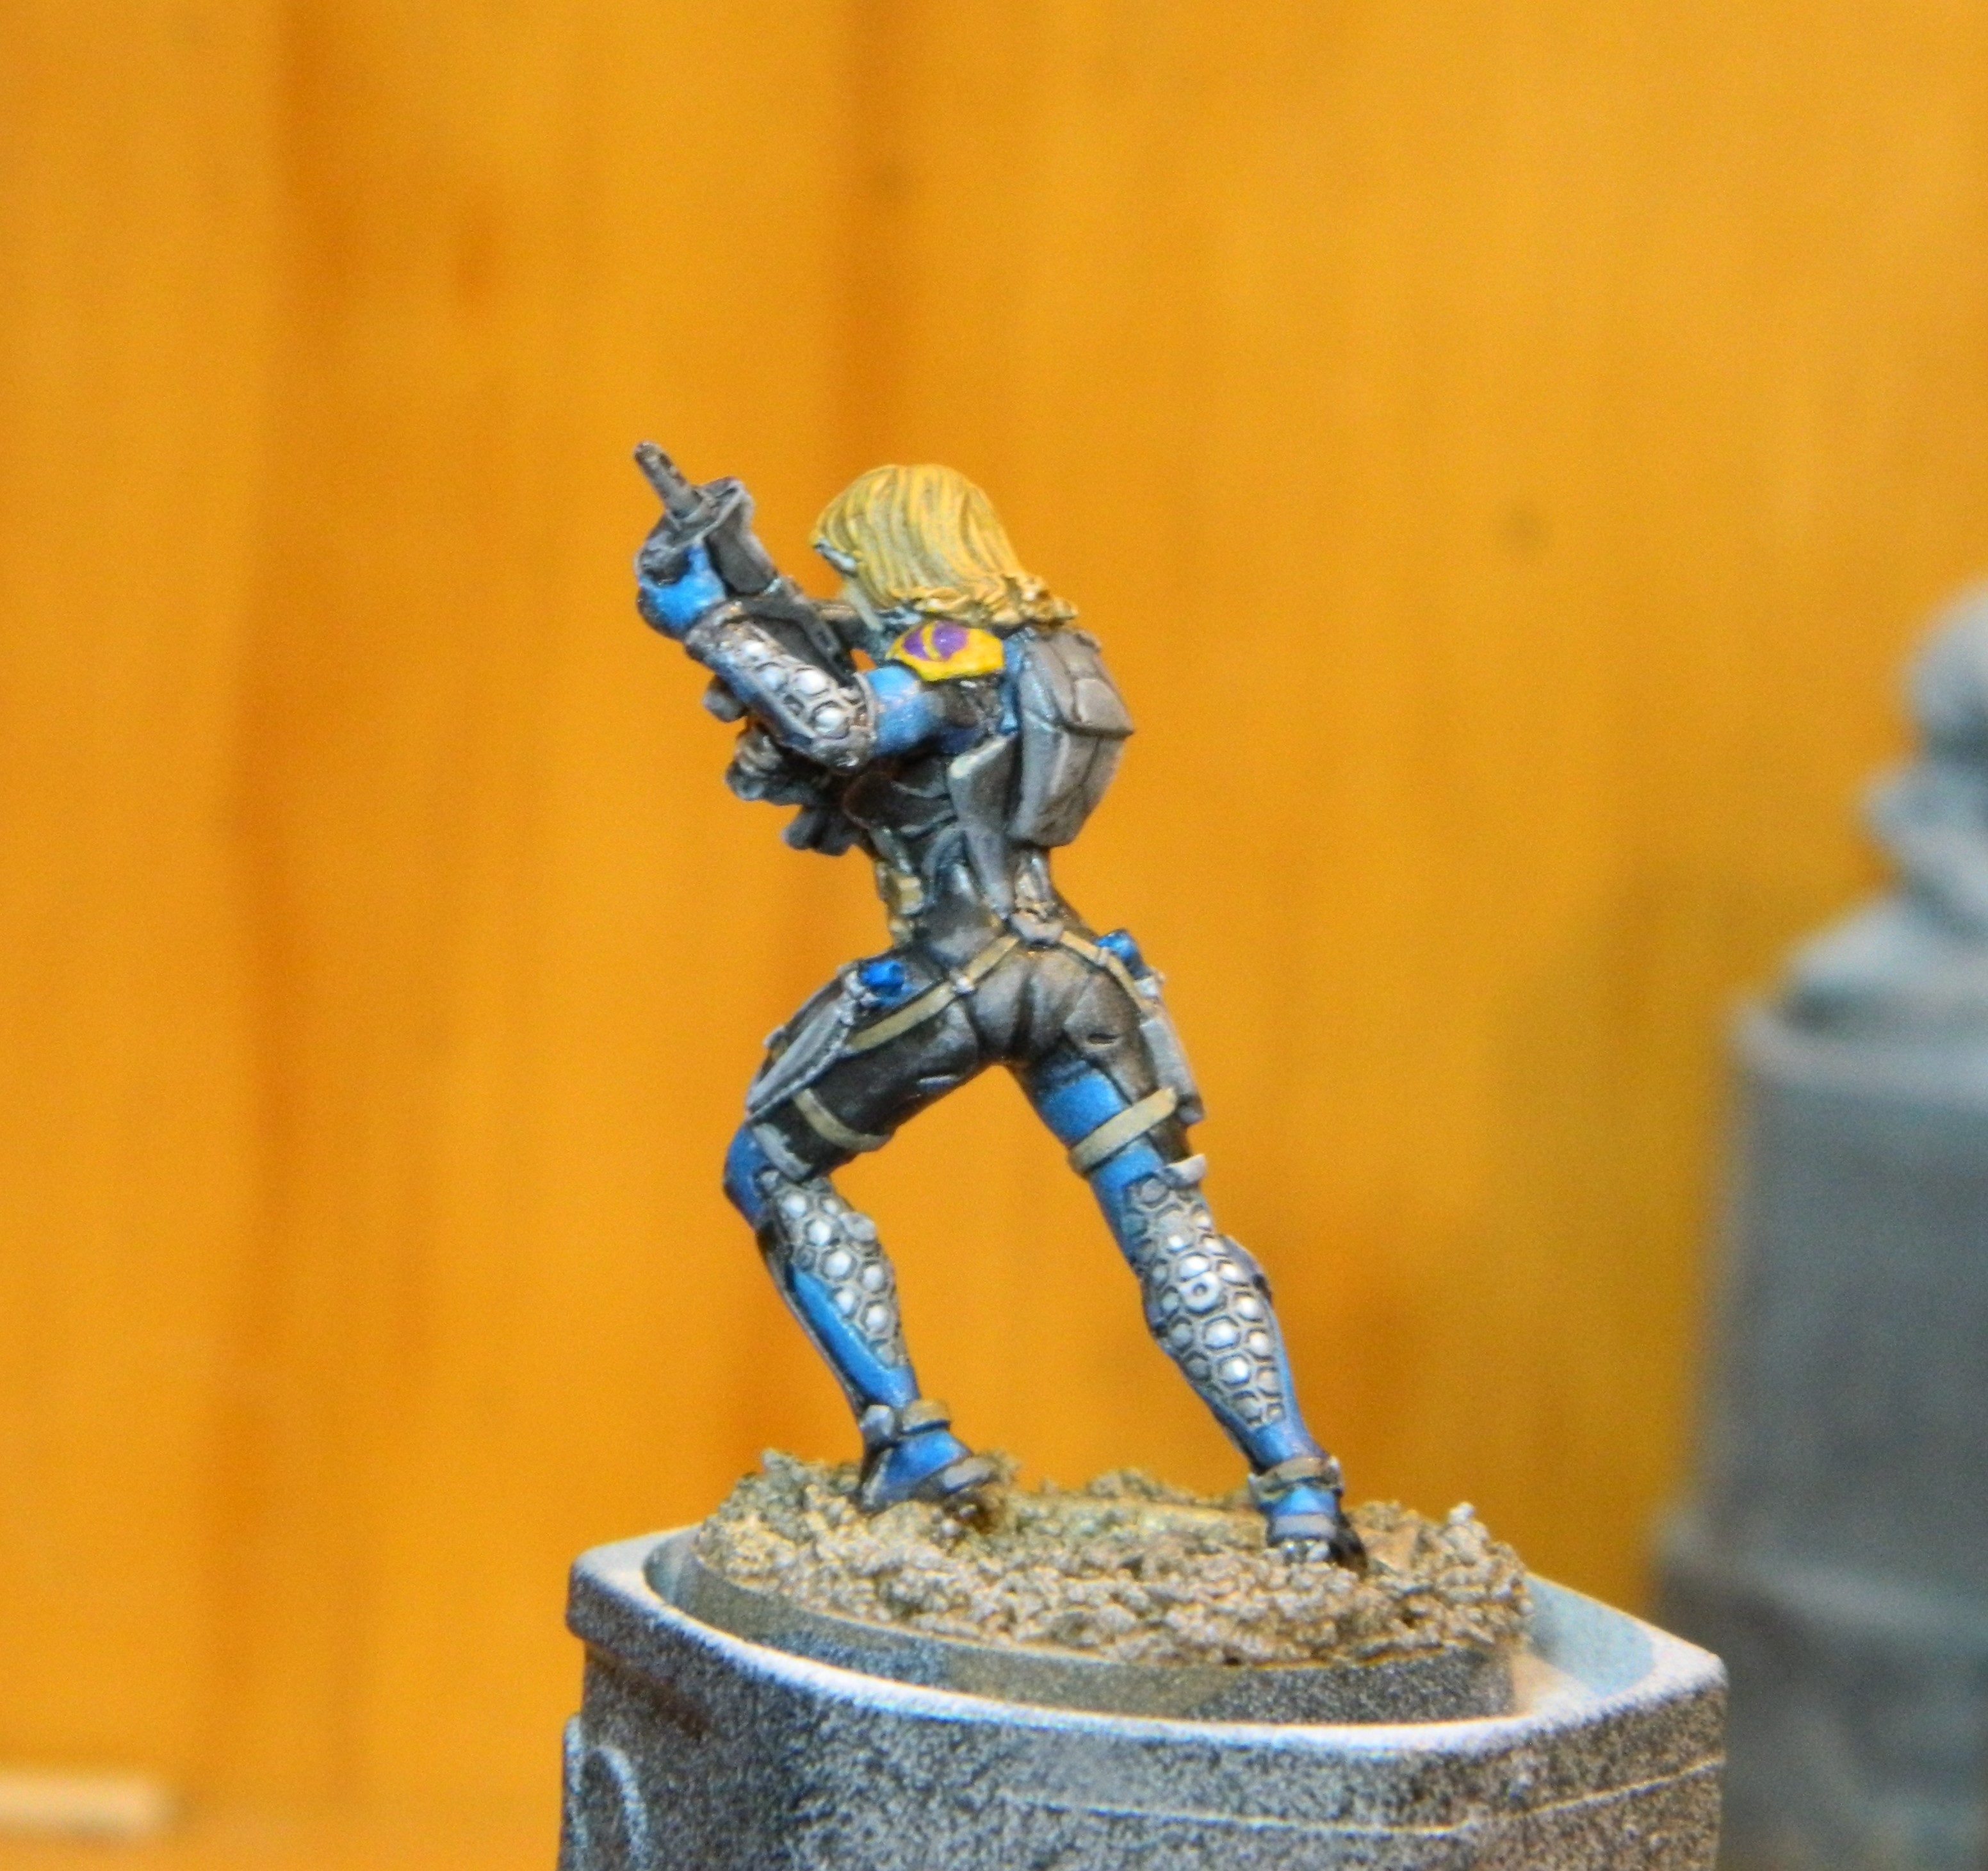
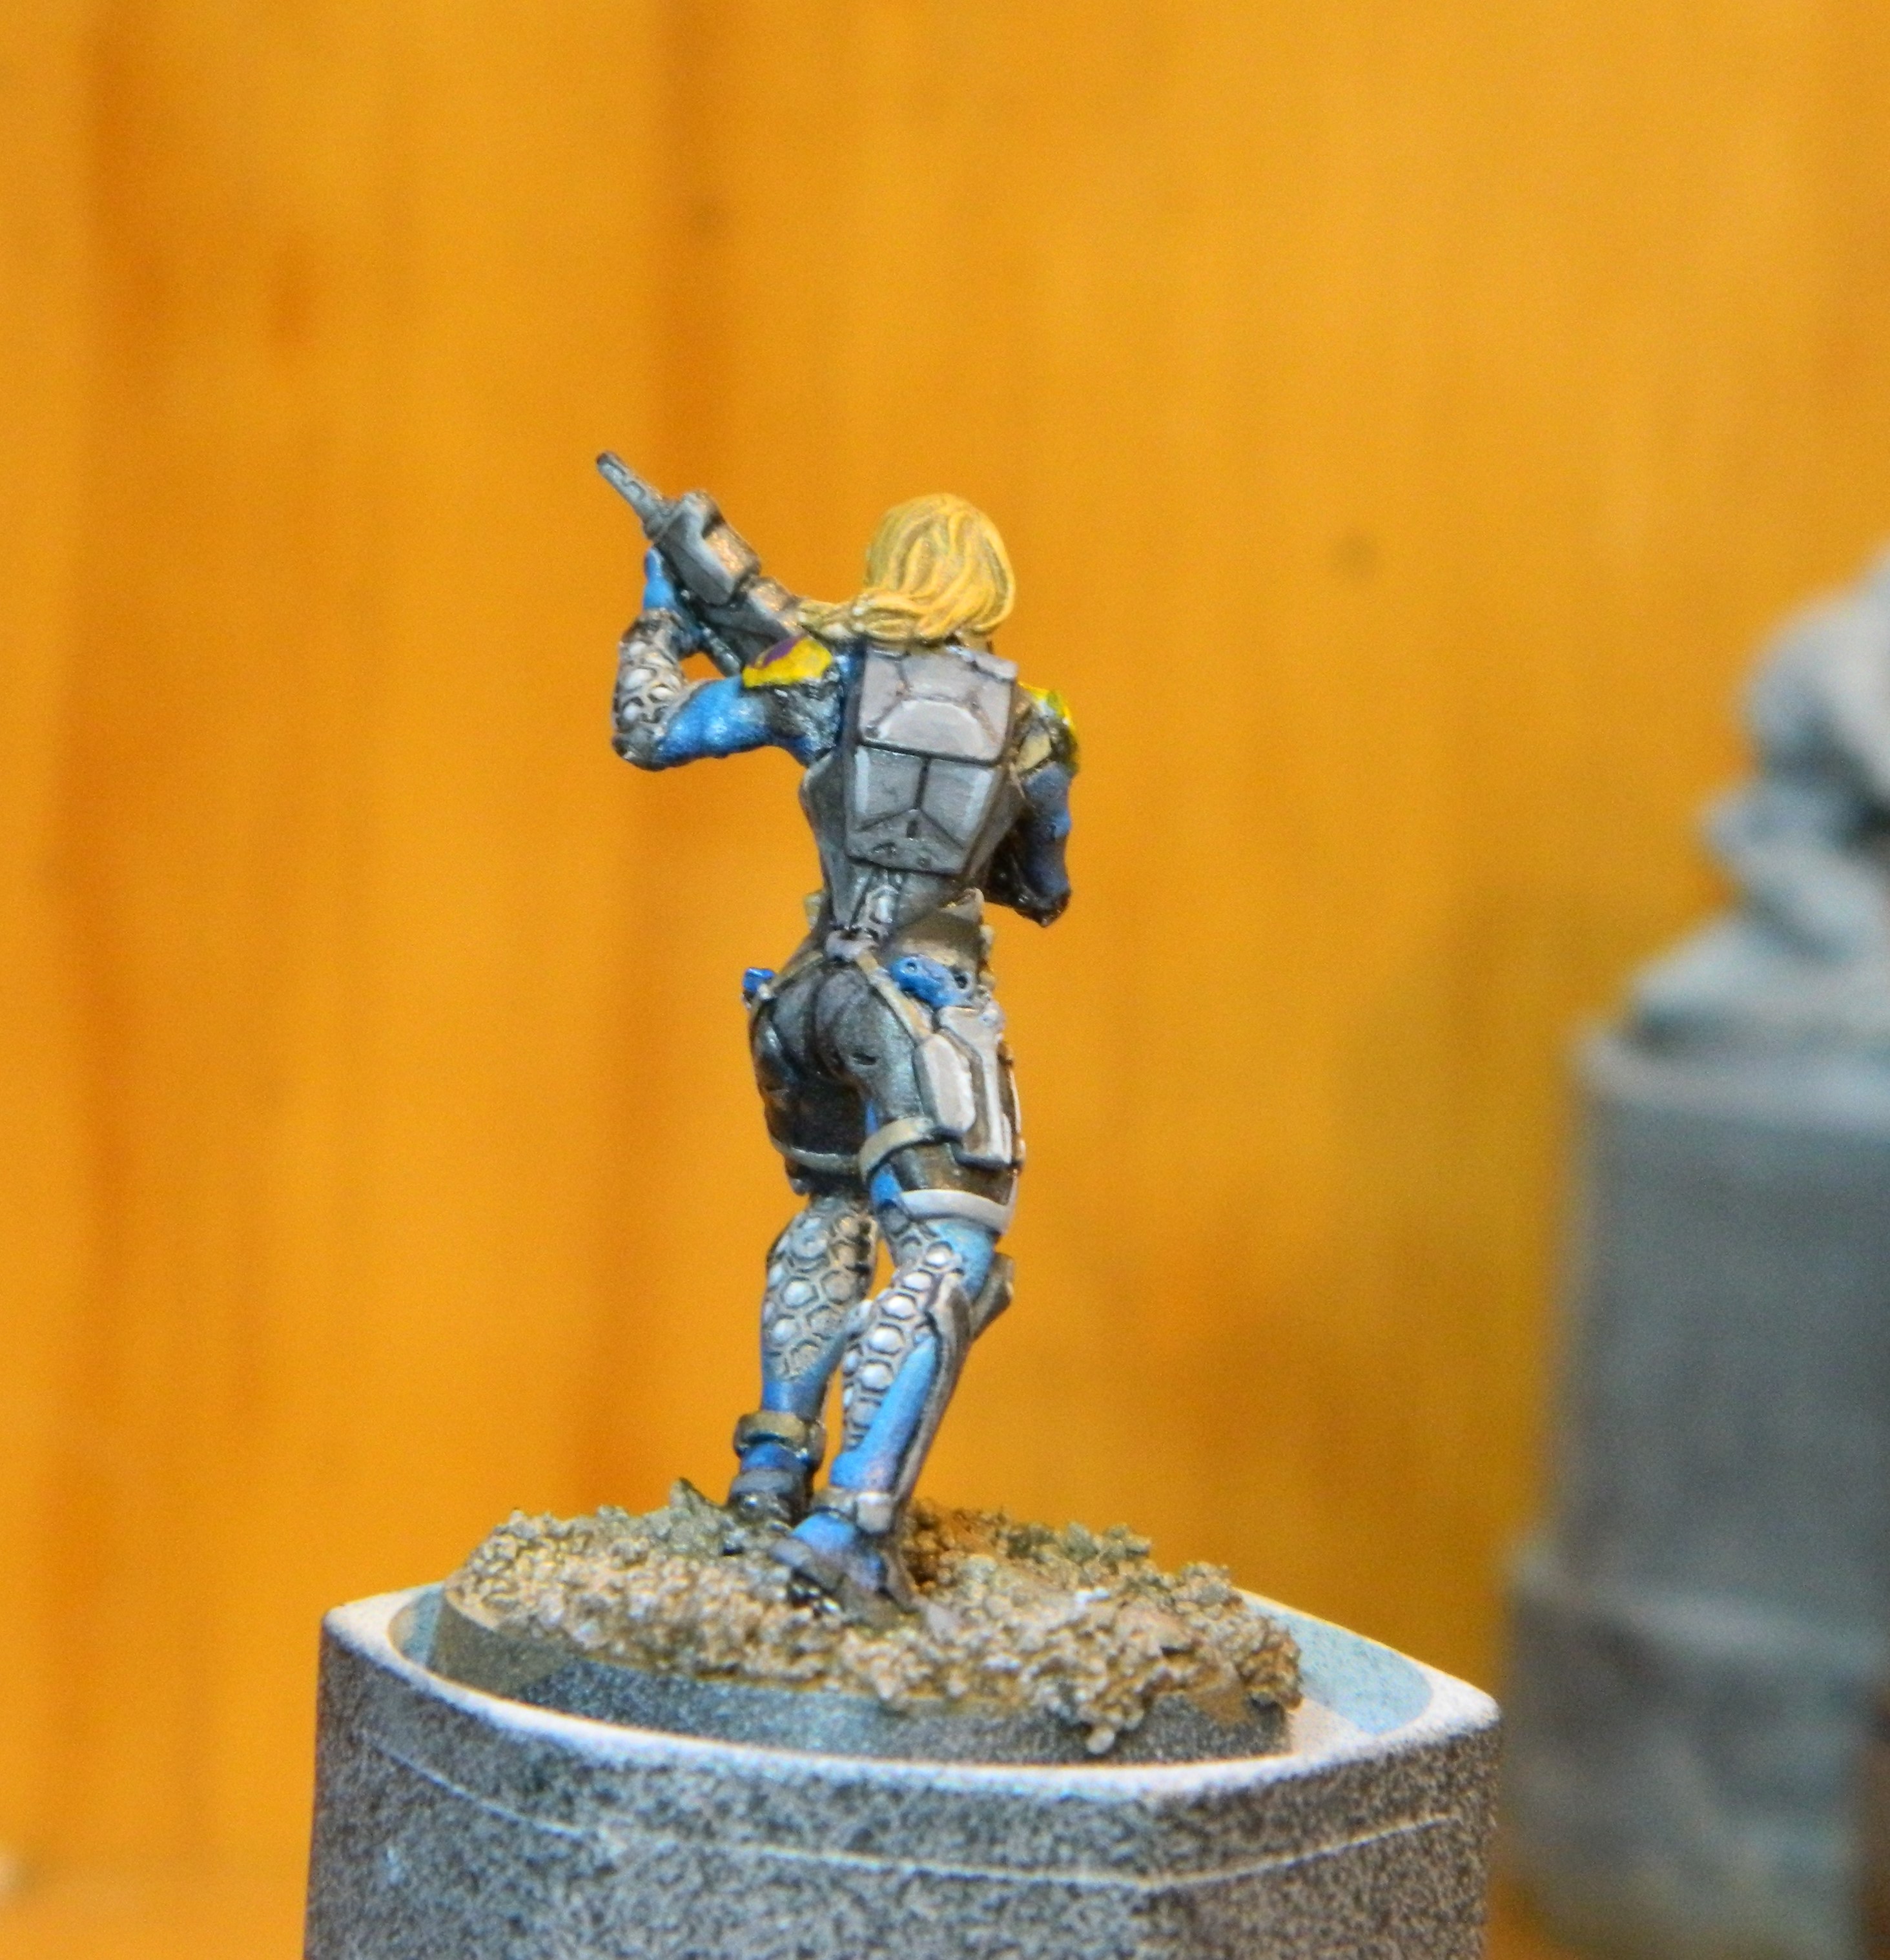
I wanted something darker than the studio colour scheme, though this ended up lighter than intended.
The ideas:
- “Hard” Armour is blue, Fabric is grey, undersuit in metal.
- Trim in metallics
- Pouches and belts in black.
- Shoulders in yellow, squad marking on left shoulder, faction on right.
Afterthoughts:
The blue is lighter than I intended, but actually that’s ok. Overall, the scheme is a bit too flat. The only bright spots are the face and shoulders. The “undersuit”, the texture that can be seen at the back of the lower legs and inside elbows. Doing that in metallic isn’t working for me. Similarly, the trim (runs vertically down the torso to the thighs) in metallic doesn’t really stand out.
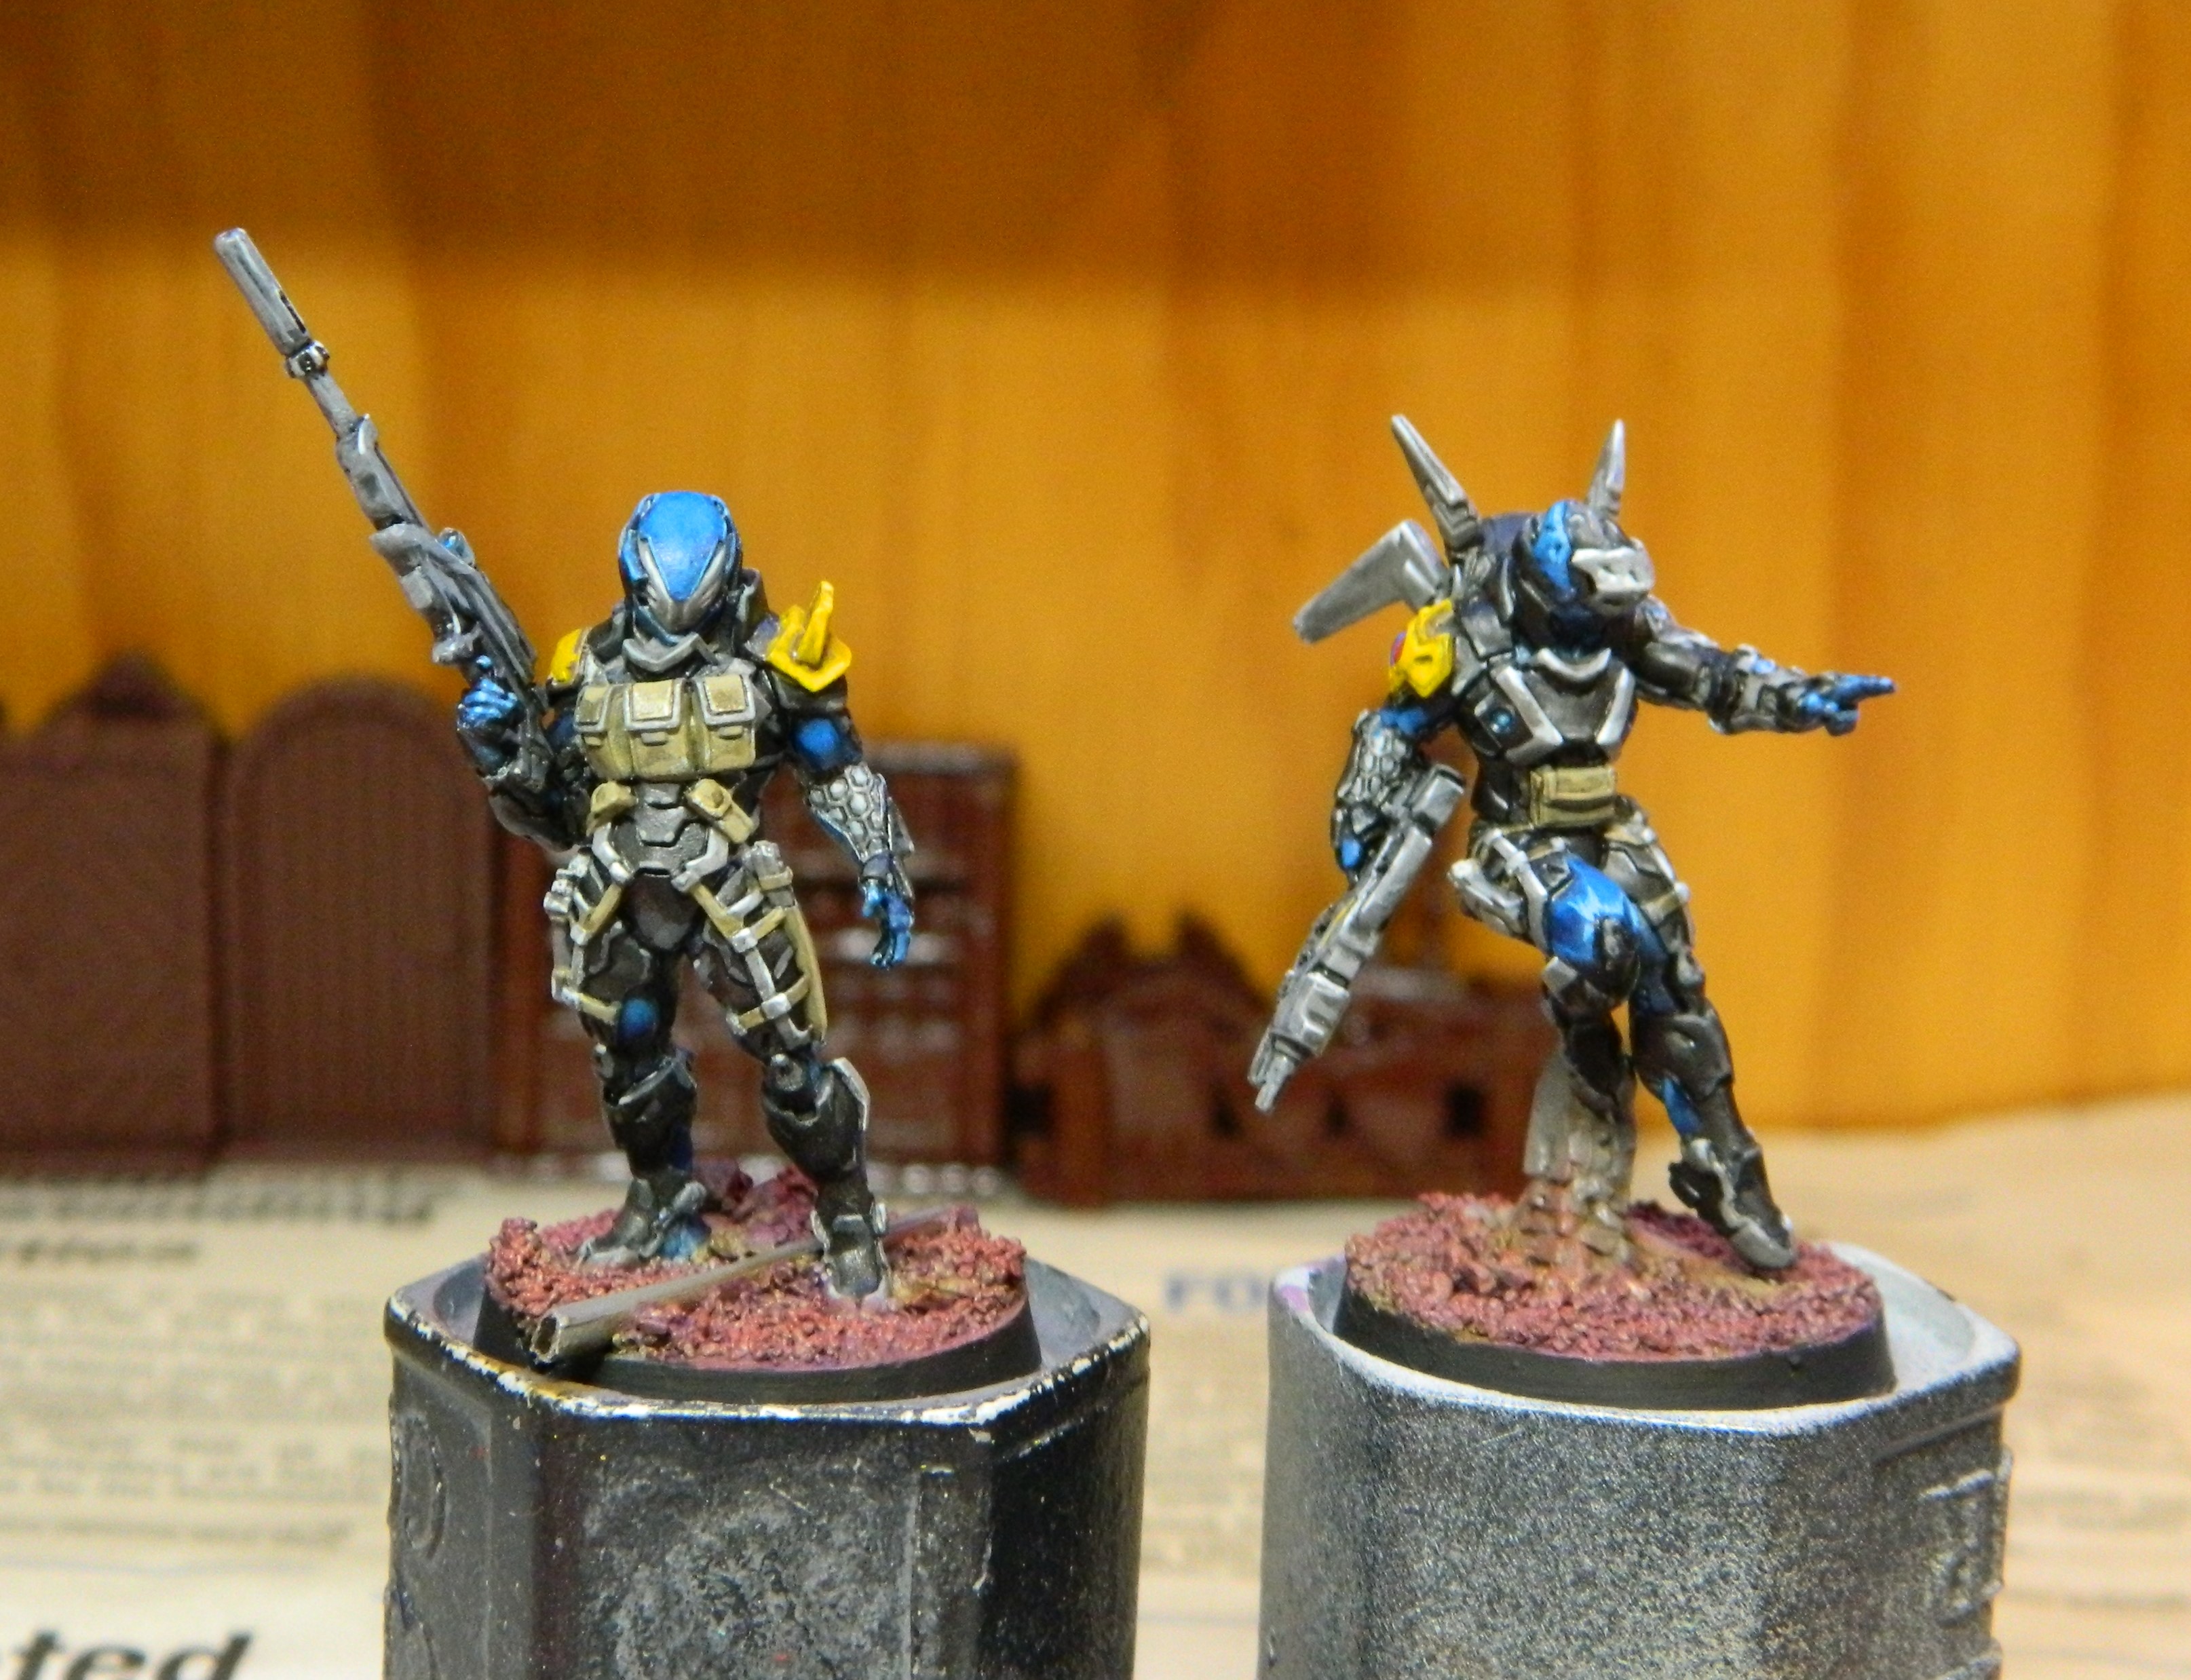
18 Apr 22: ...test, test
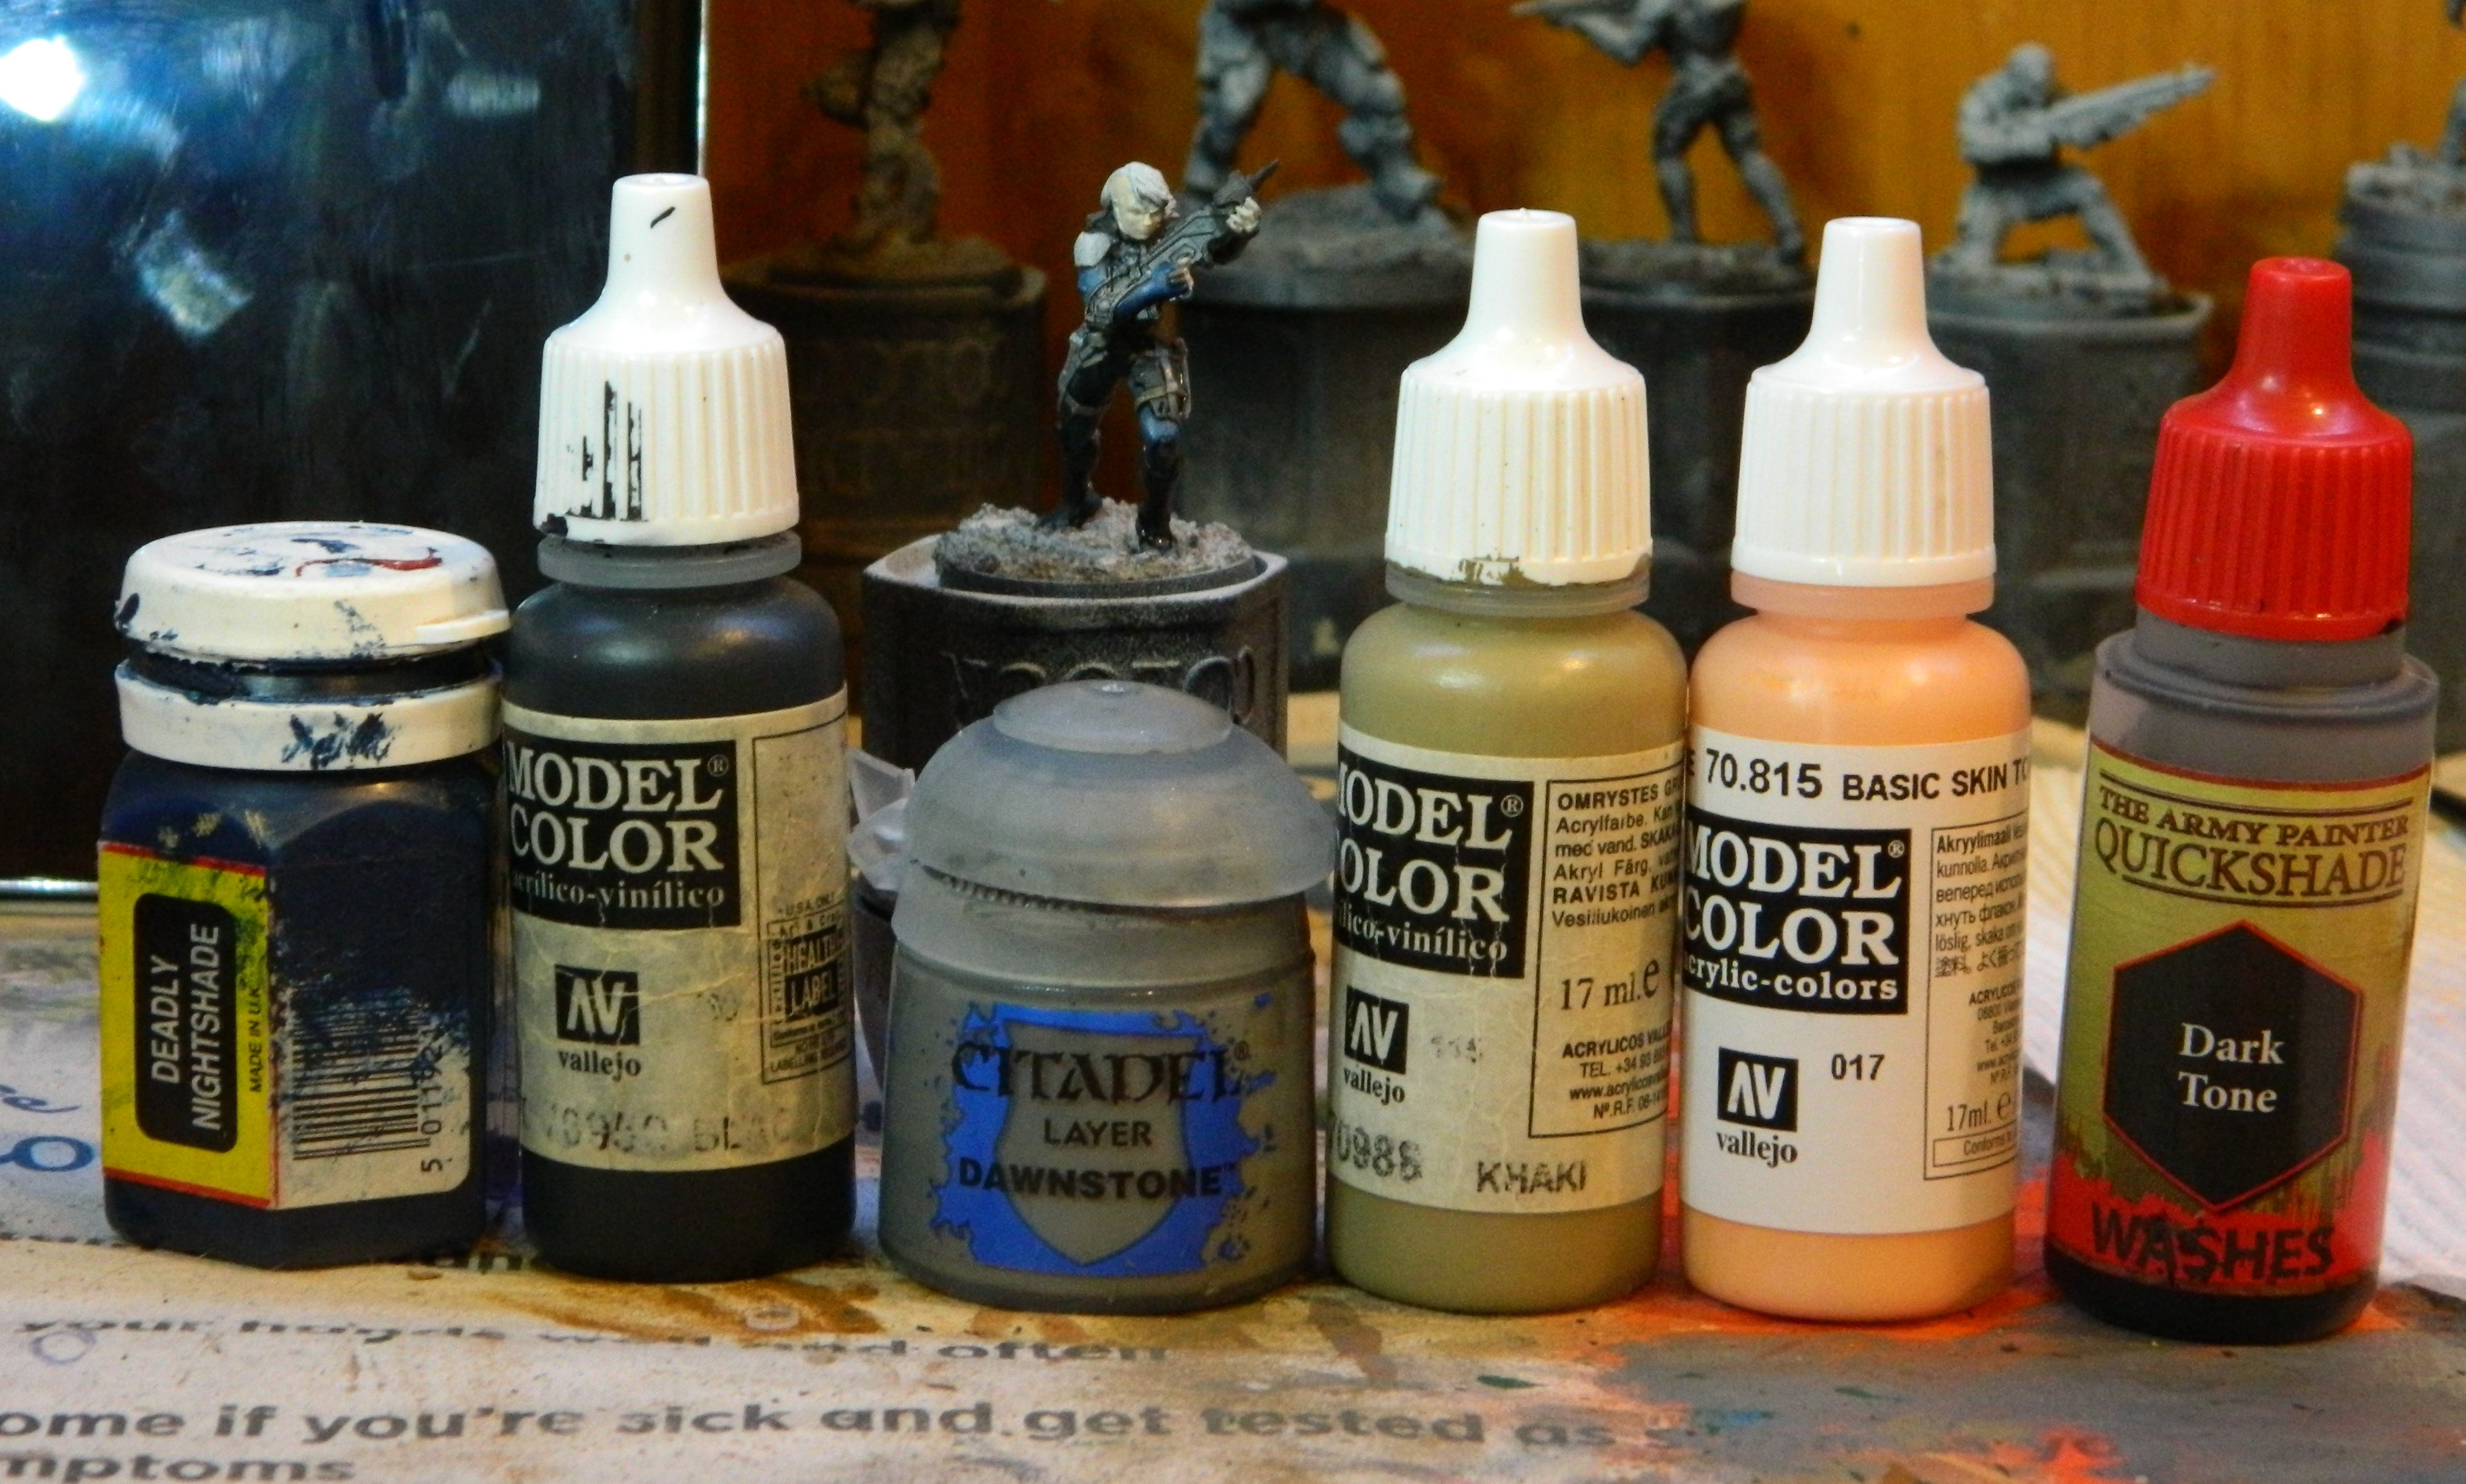
A second test scheme for the O-12, using the same colour selection as the previous test. This time I’m going
- Blue for the fabric
- Black for the armour plates
- Grey for the trim and the undersuit
- Khaki for the belts and pouches
The mini had a black prime, followed by a white zenithal highlight. After all the base colours are down, I put a black AP Dark Tone wash over all the armour, guns etc. I avoided hitting the belts/pouches and skin.
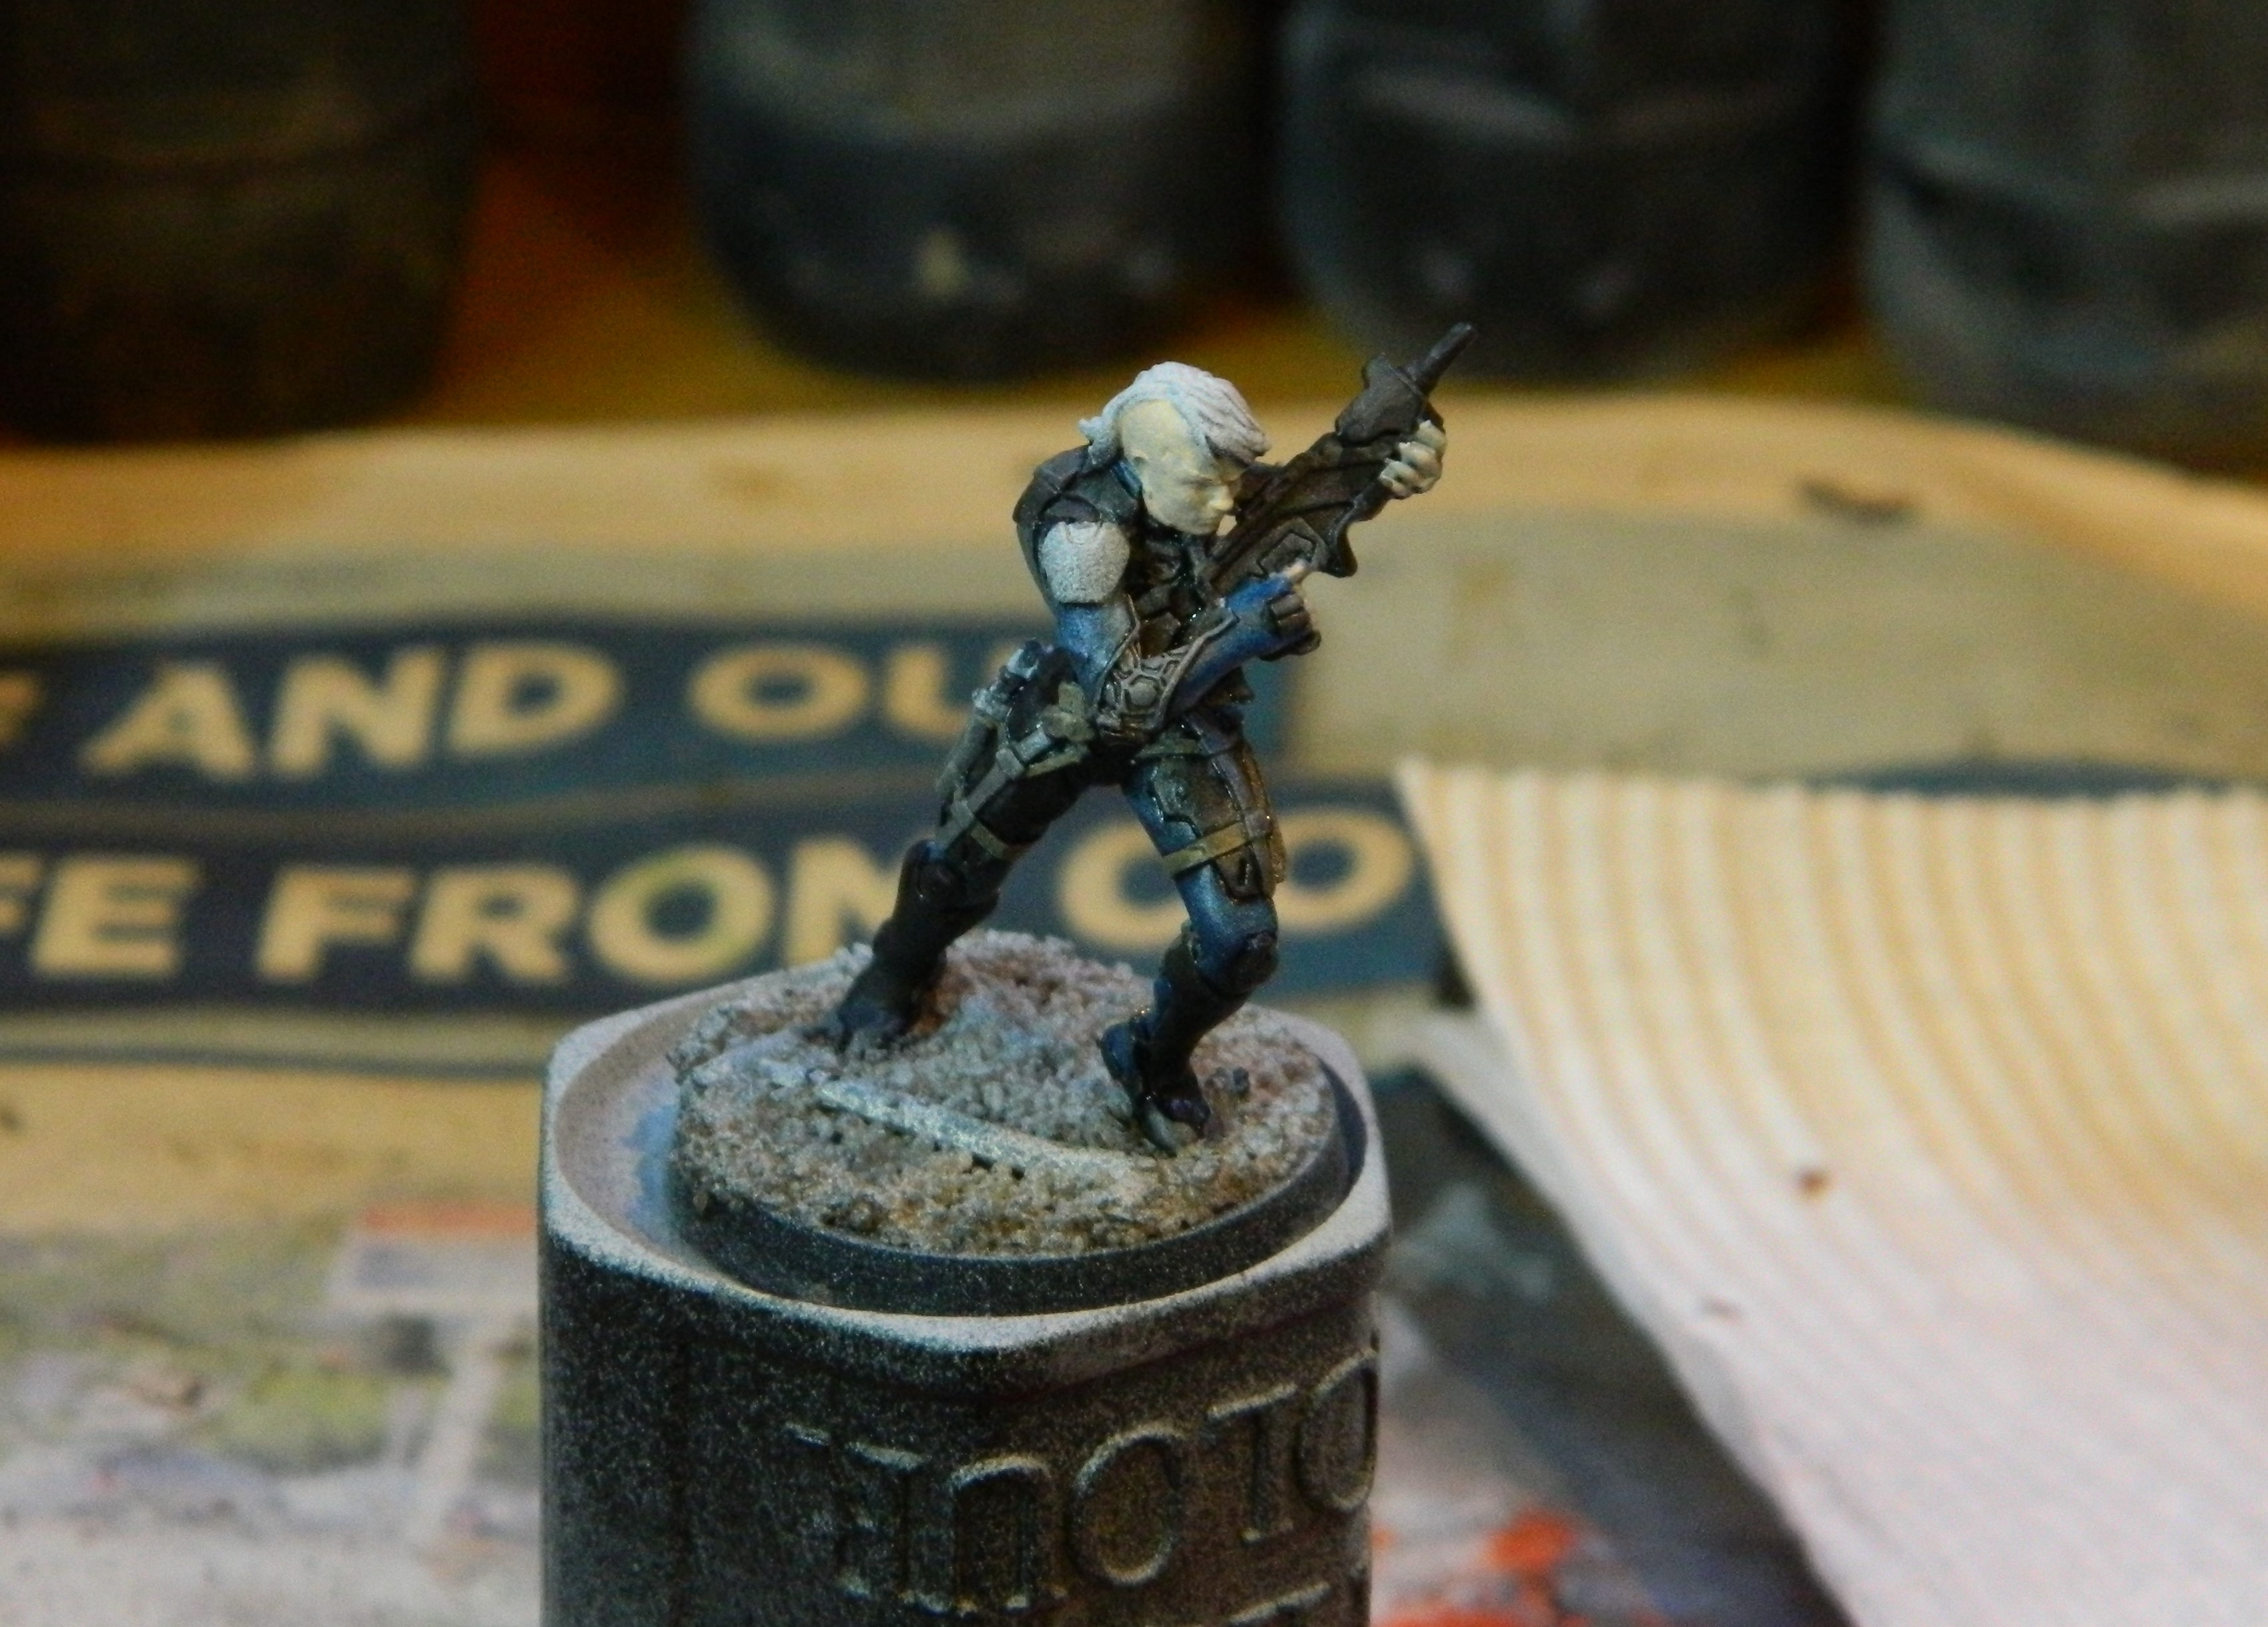
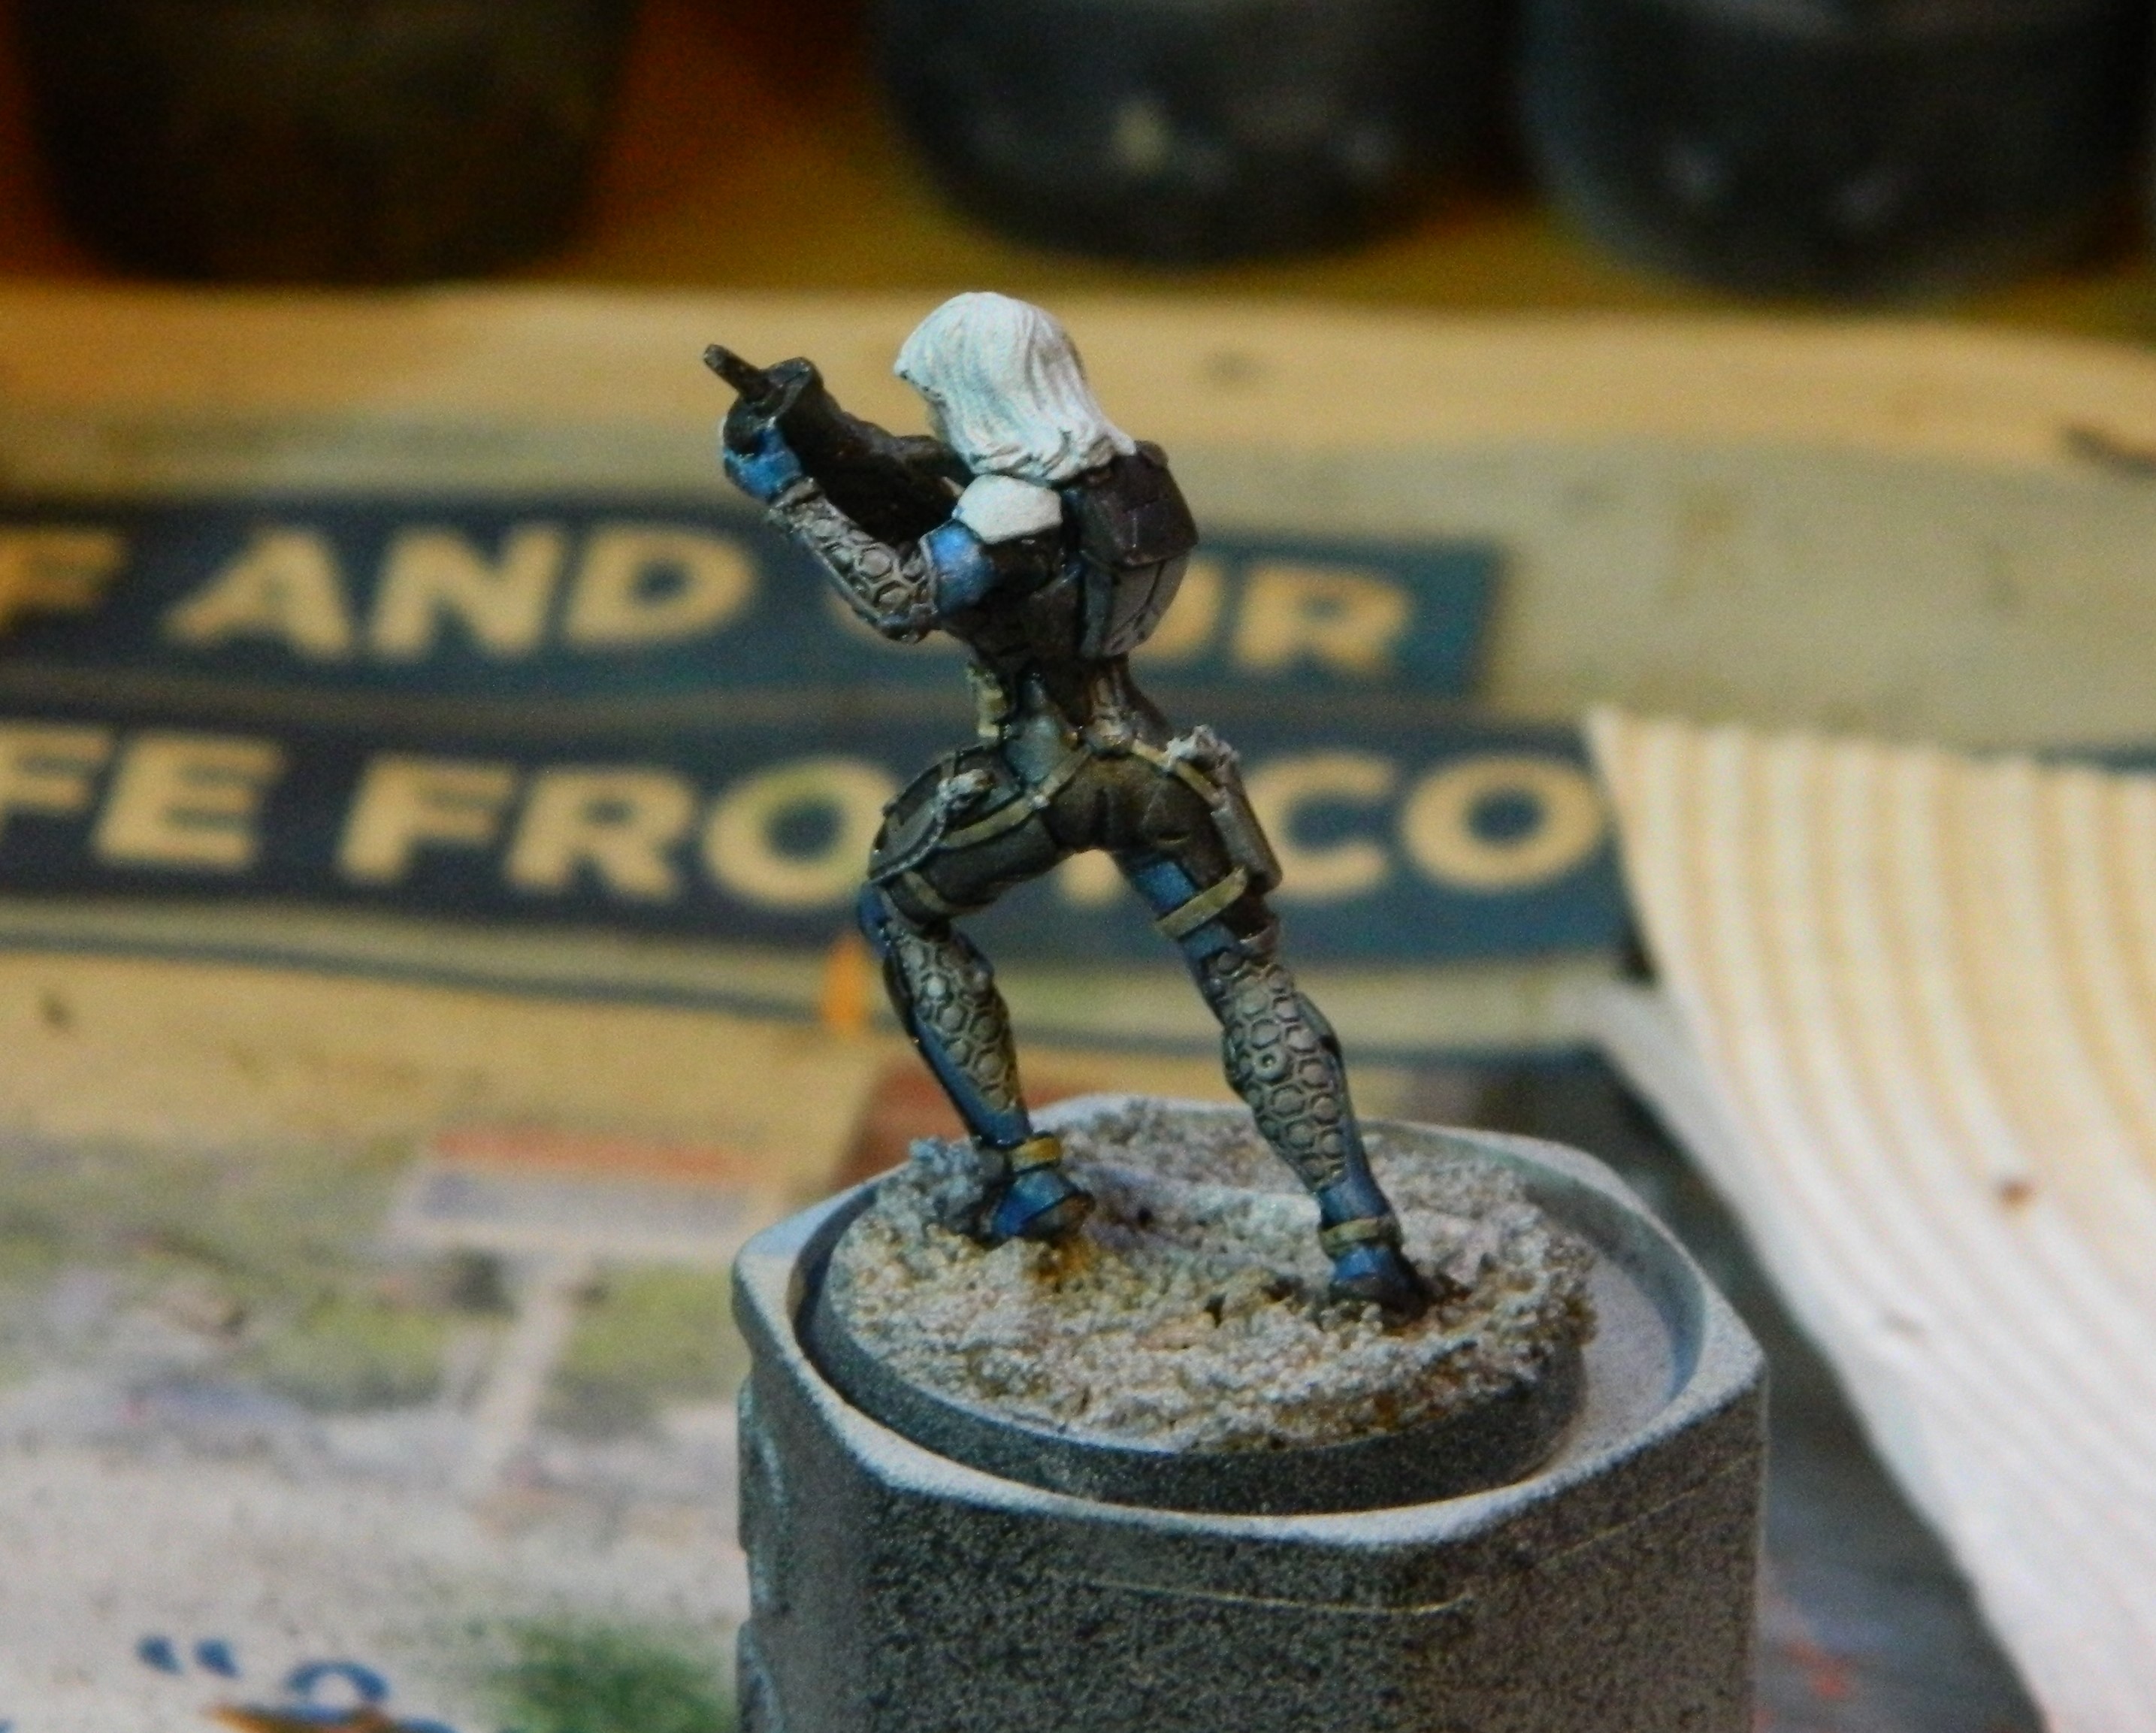
19 Apr 22: Better? Better.
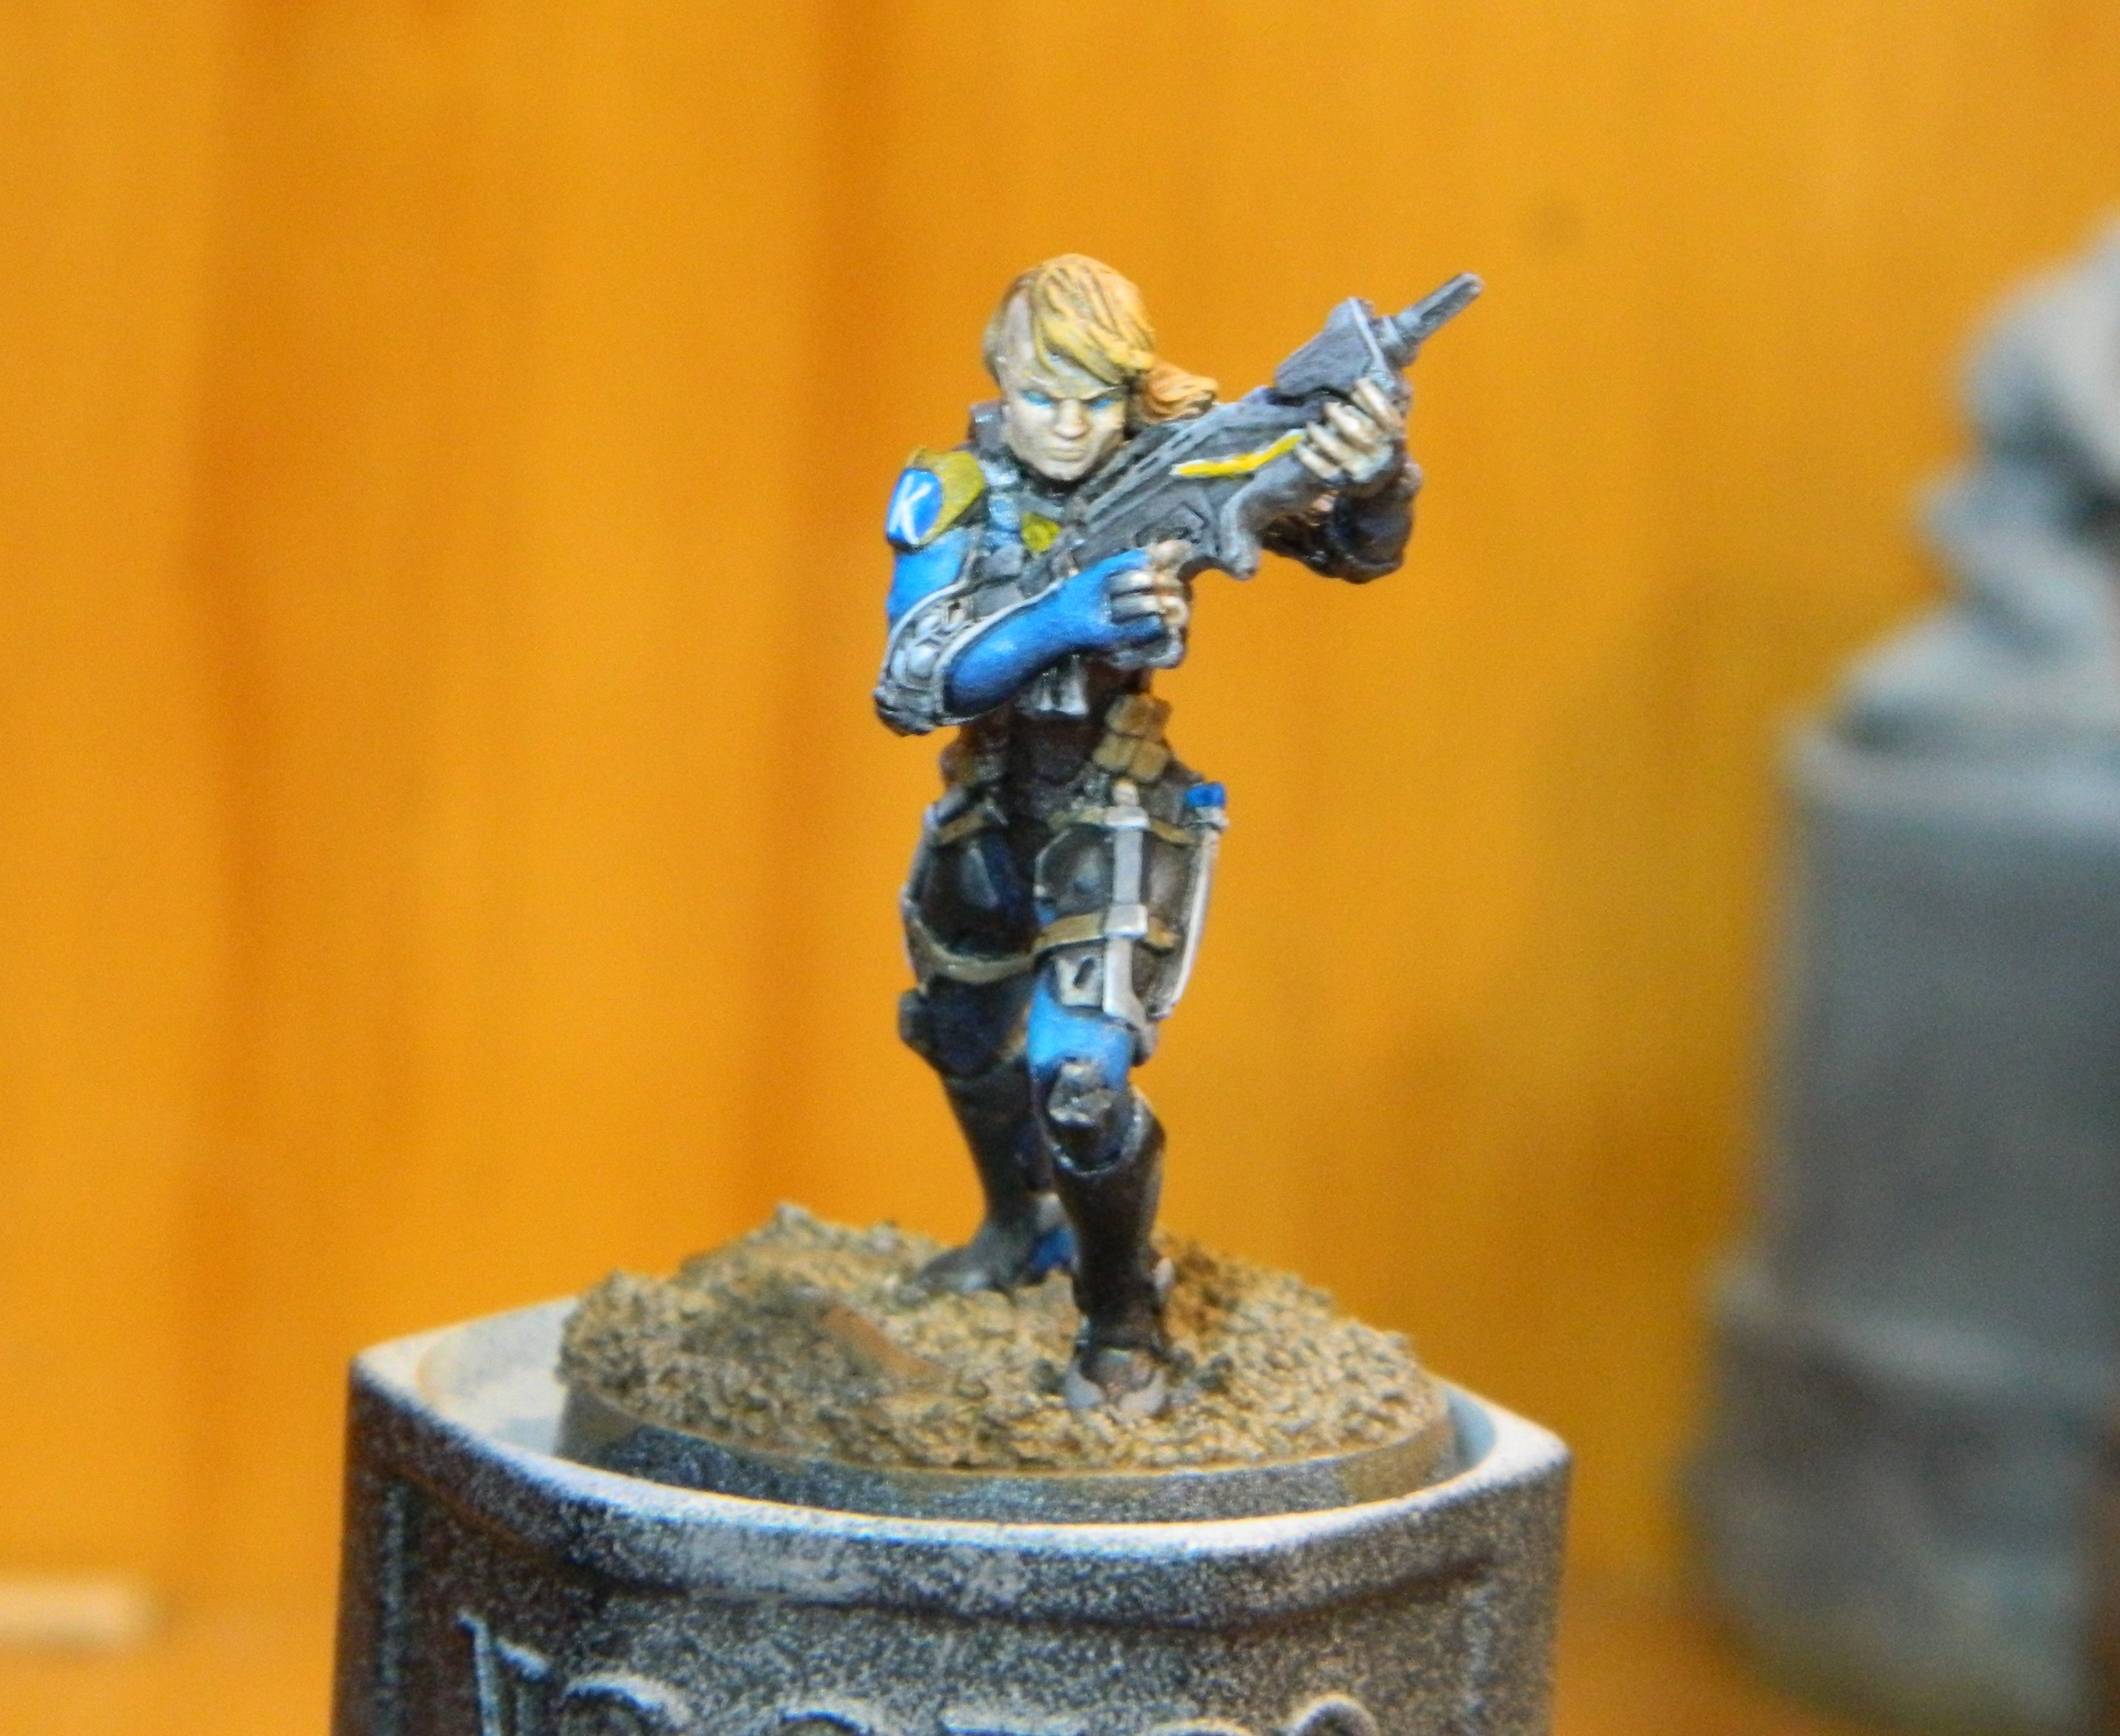
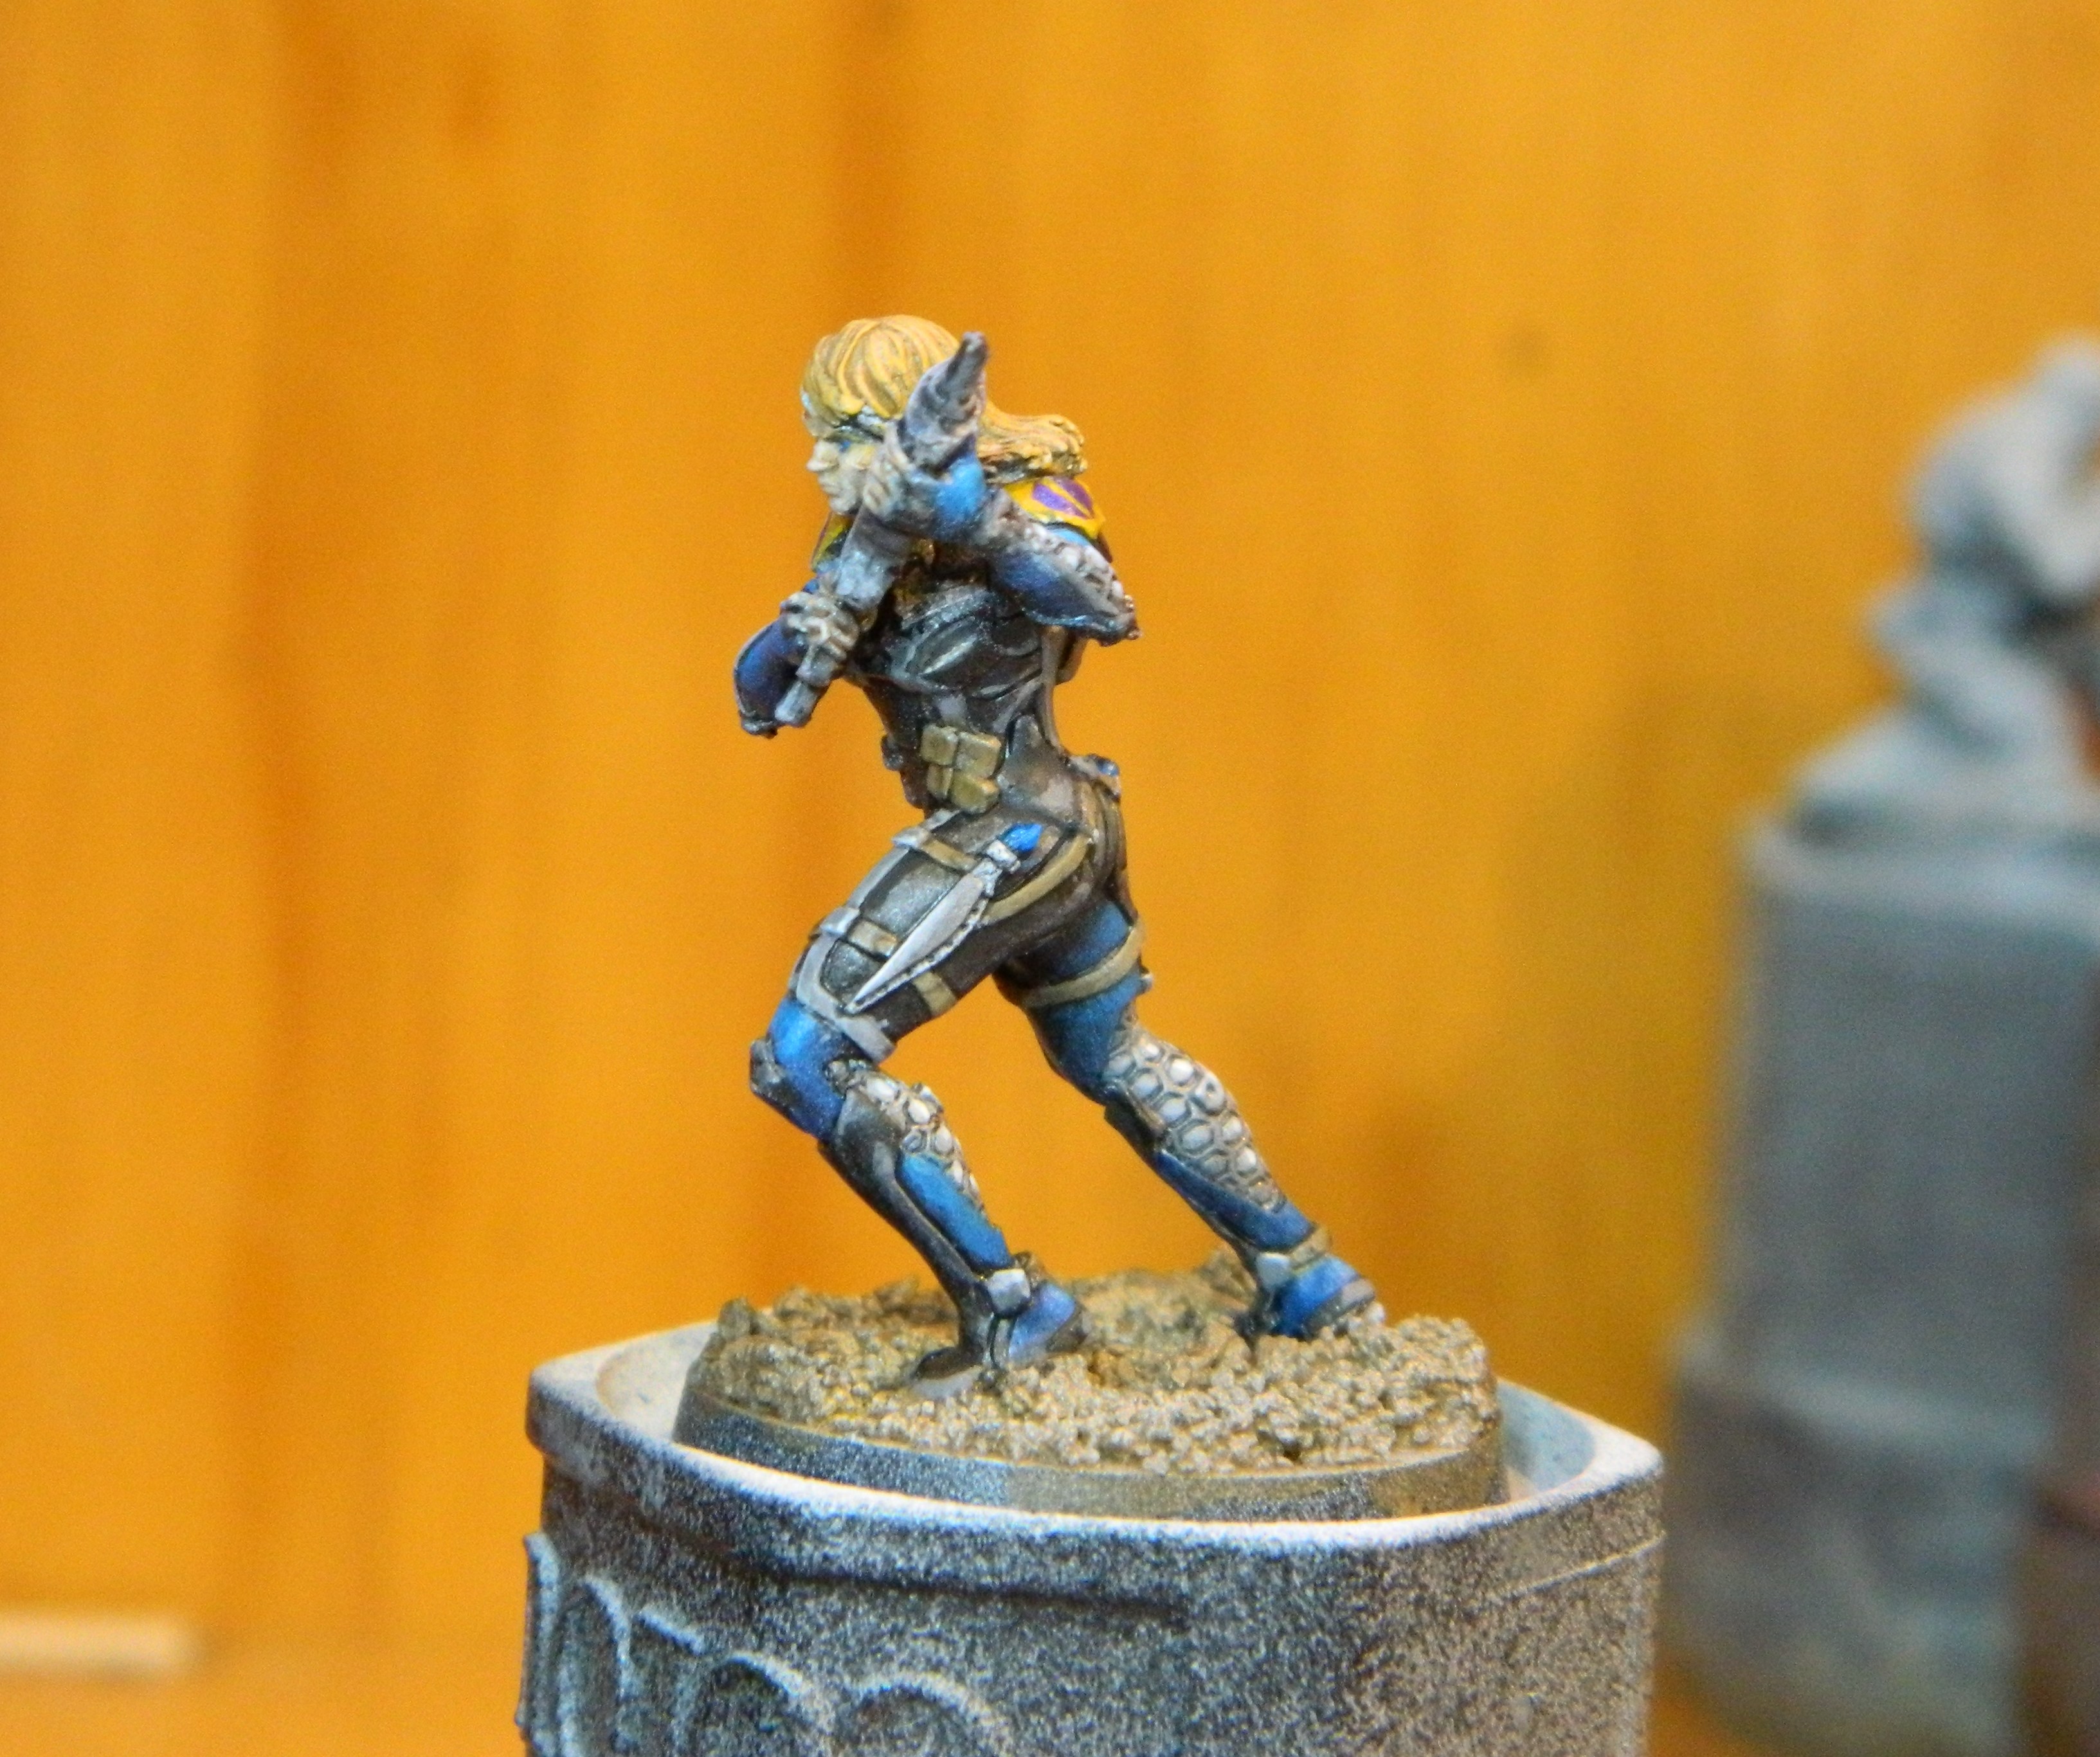
I definitely prefer this scheme. Of course I can now see a couple of things I need to tidy up, but I can do that and finish the basing next.
O-12 batch 1: 1/7 complete (pretty much, :-D)

![StarCraft Tabletop Miniatures Game Pre-Orders Live Now [Updated]](https://images.beastsofwar.com/2026/03/starcraft-tmg-news-cover-600-338.jpg)


![Mounted US Cavalry On Kickstarter For Dead Man’s Hand! [Updated]](https://images.beastsofwar.com/2026/03/us-cavalry-main-600-338.jpg)


![Play WW2 Commando Operations With Butcher & Bolt [Updated]](https://images.beastsofwar.com/2026/03/relaunch-600-338.jpg)


