

![10mm Medieval Miniatures! Azincourt English Army Review | Wargames Atlantic [7 Days Early Access]](https://images.beastsofwar.com/2026/03/unboxing-wargames-atlantic-azincourt-english-army-coverimage-225-127.jpg)


Stargrave and other random stuff


Recommendations: 106
About the Project
I have many other projects so I thought I would lump all my other random stuff into one to stop this getting out of hand. I'm going to start with some stargrave but this could go anywhere from there.
Related Genre: Science Fiction
This Project is Active
Complete
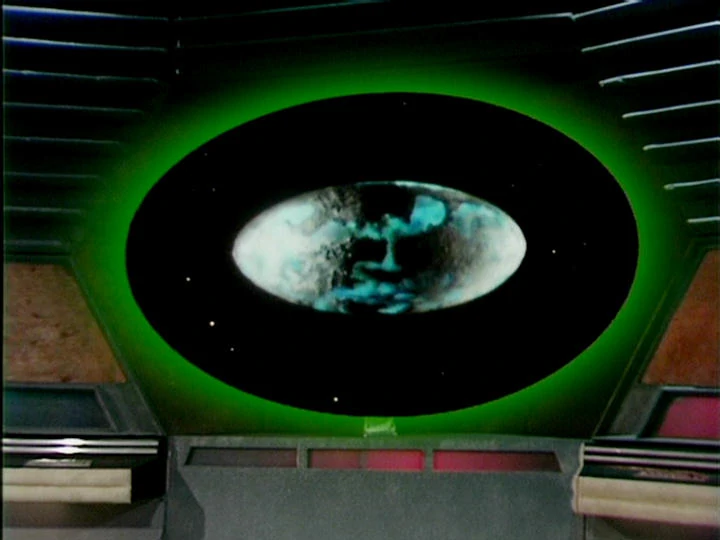

I had one final construction job to do and that was to make the view screen. I found this LED light string thing, which is used for car trim, and gave that a go.
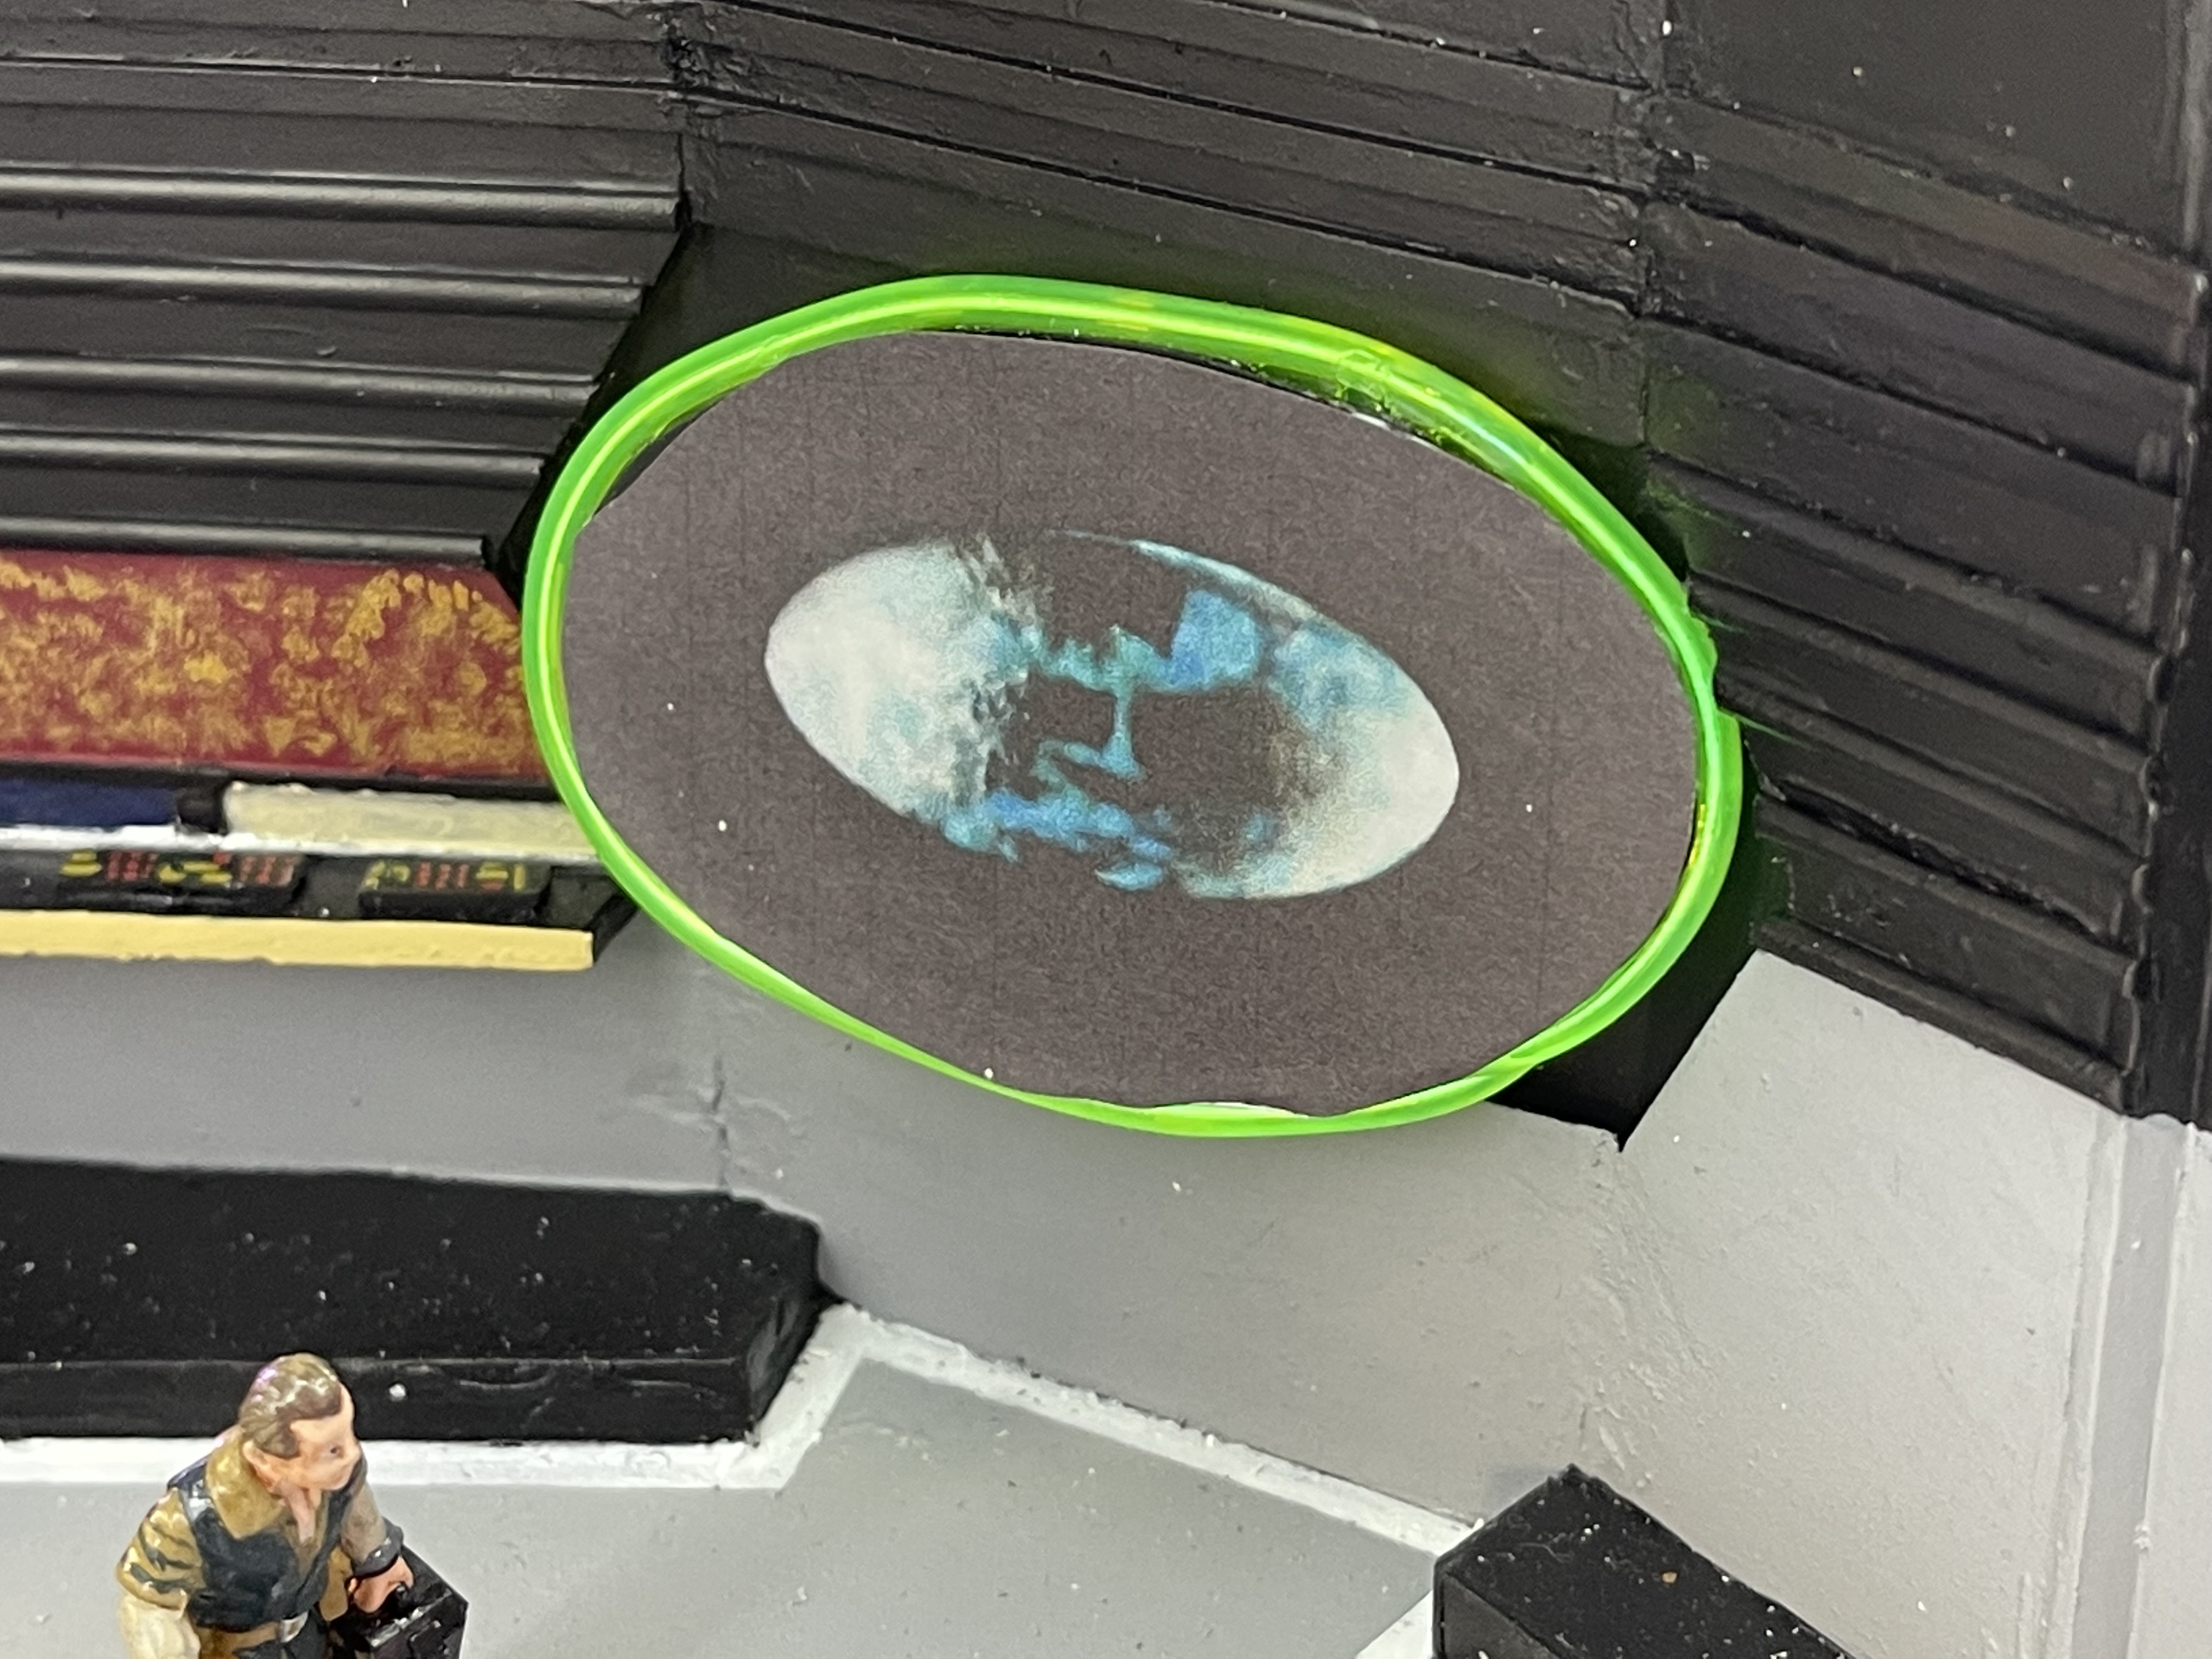
The first image shows what it should look like and my initial idea was to place it behind the screen and allow the glow to come through. There is not as much glow as I wanted and it would work when it was very dark it didnt suit here, so I placed it around the edge and stuck a print out of the scene from the first image on plasticard oval.
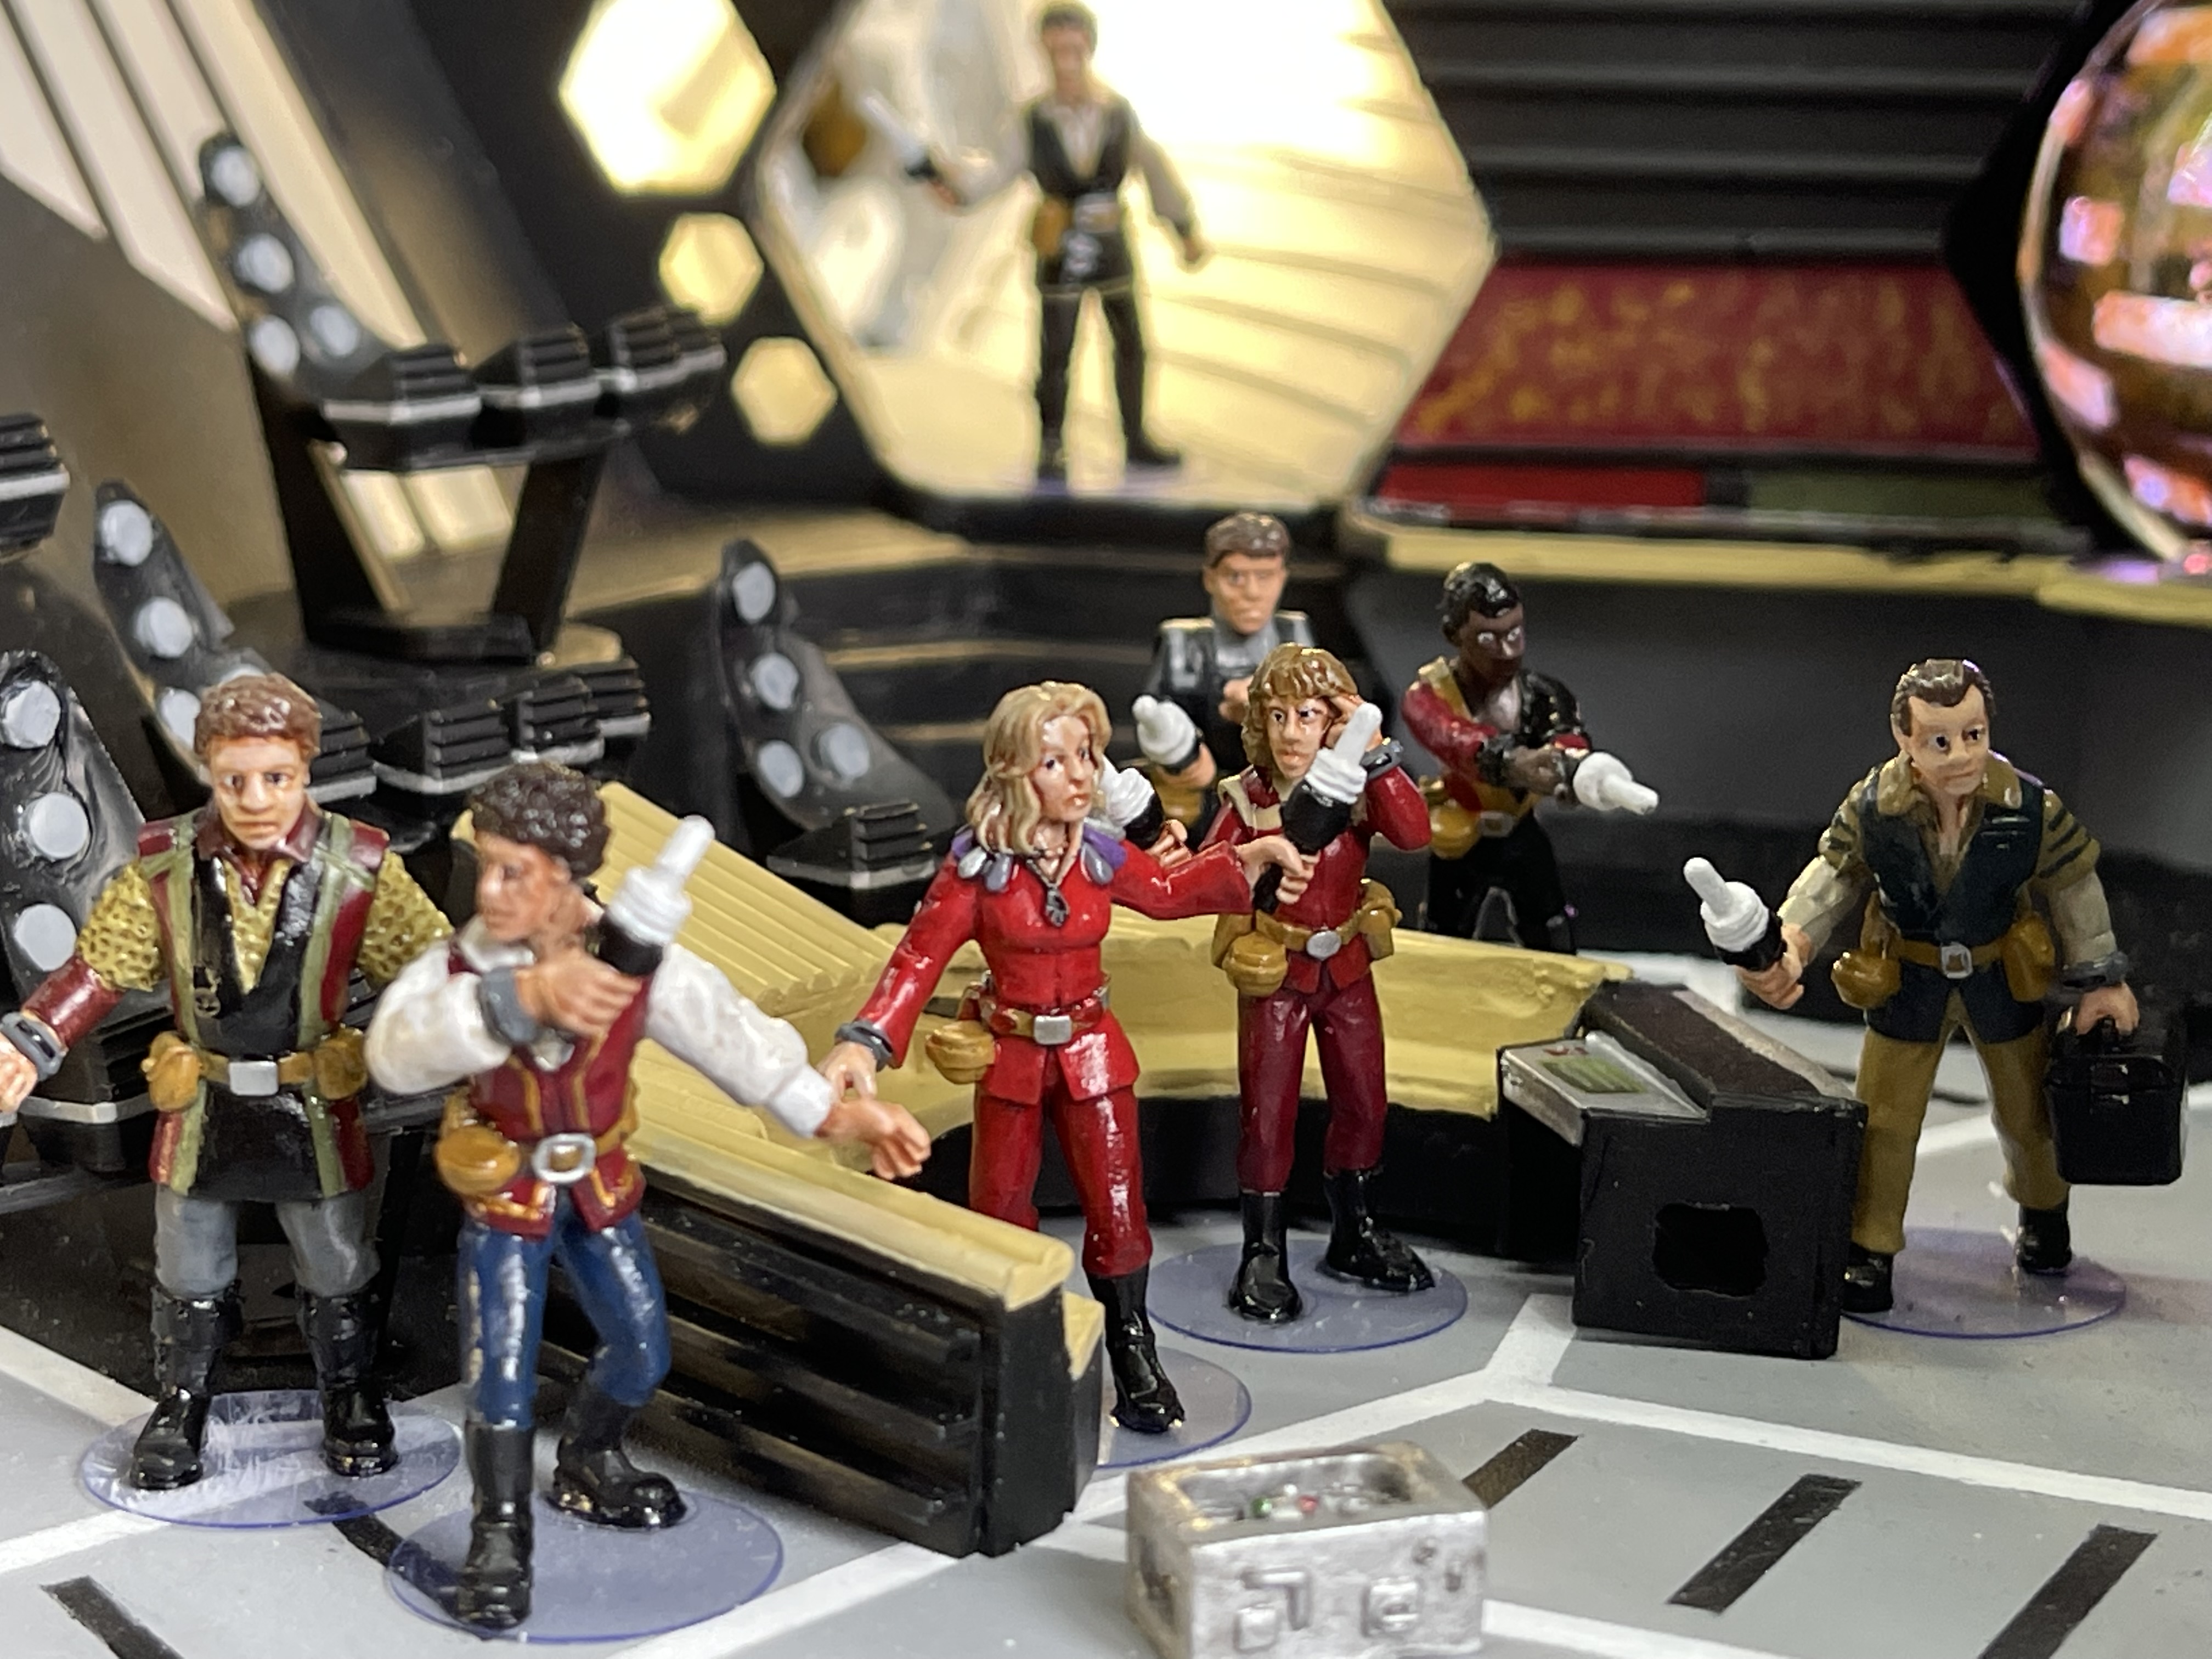
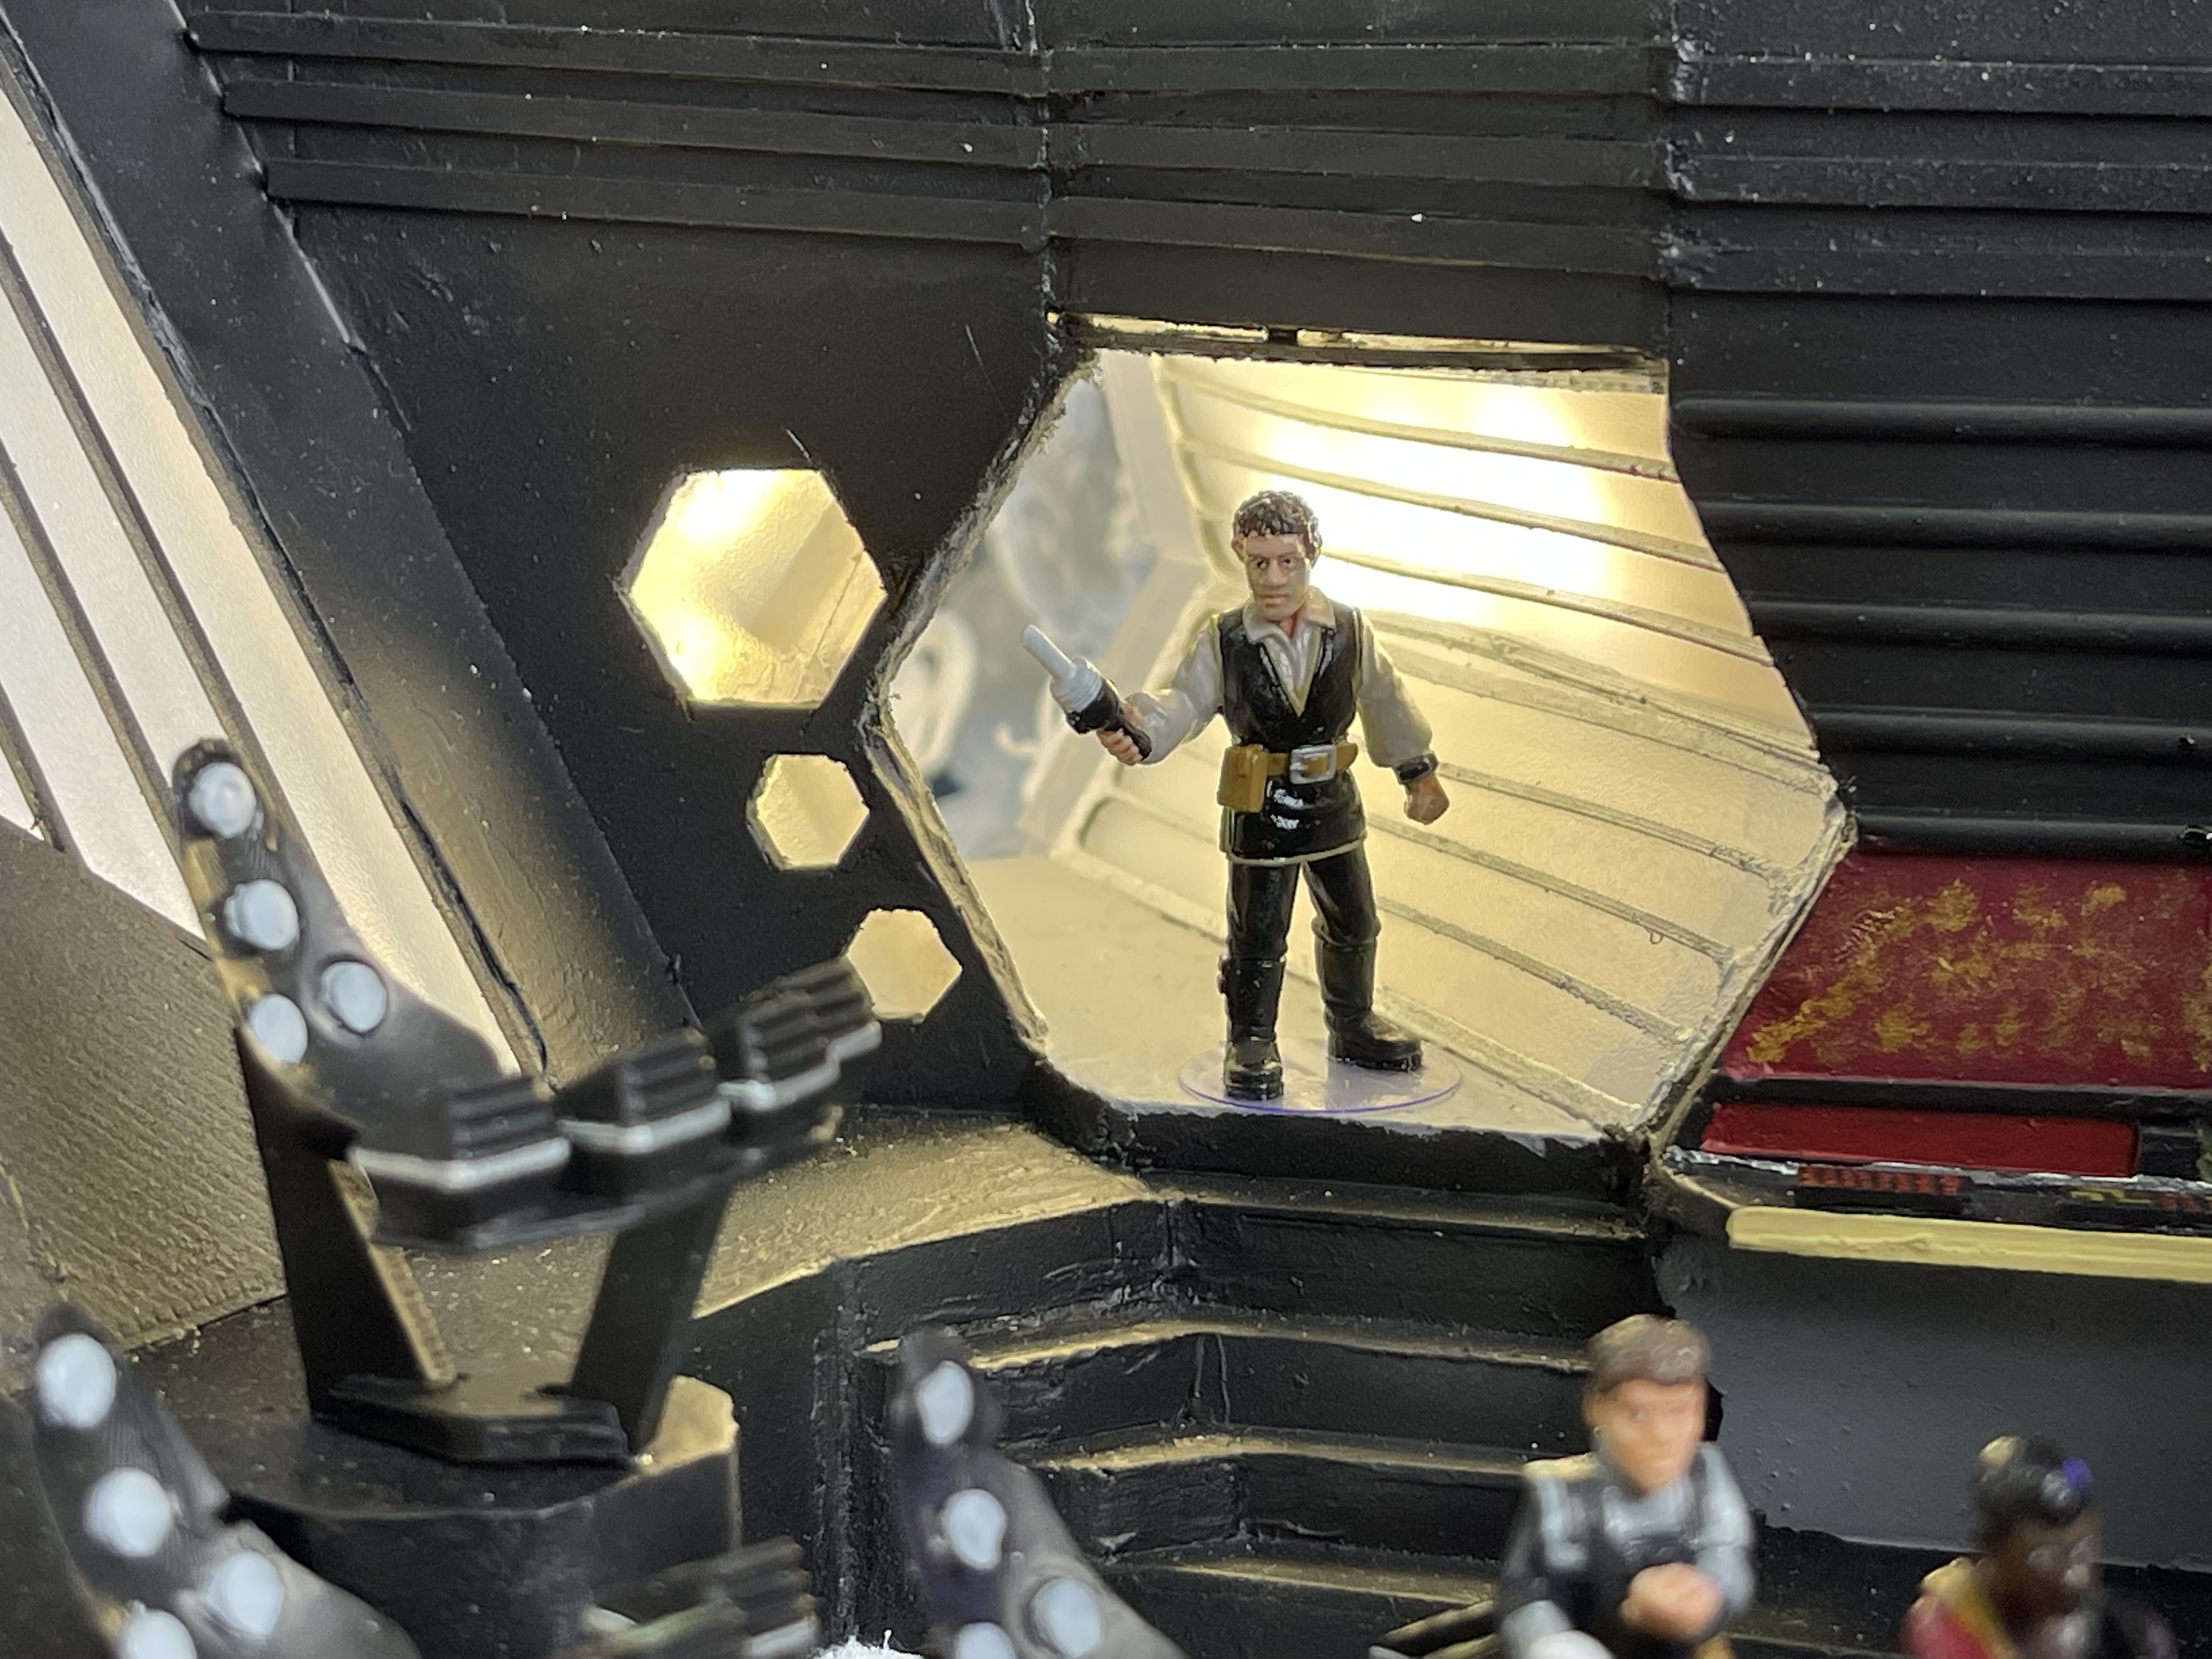
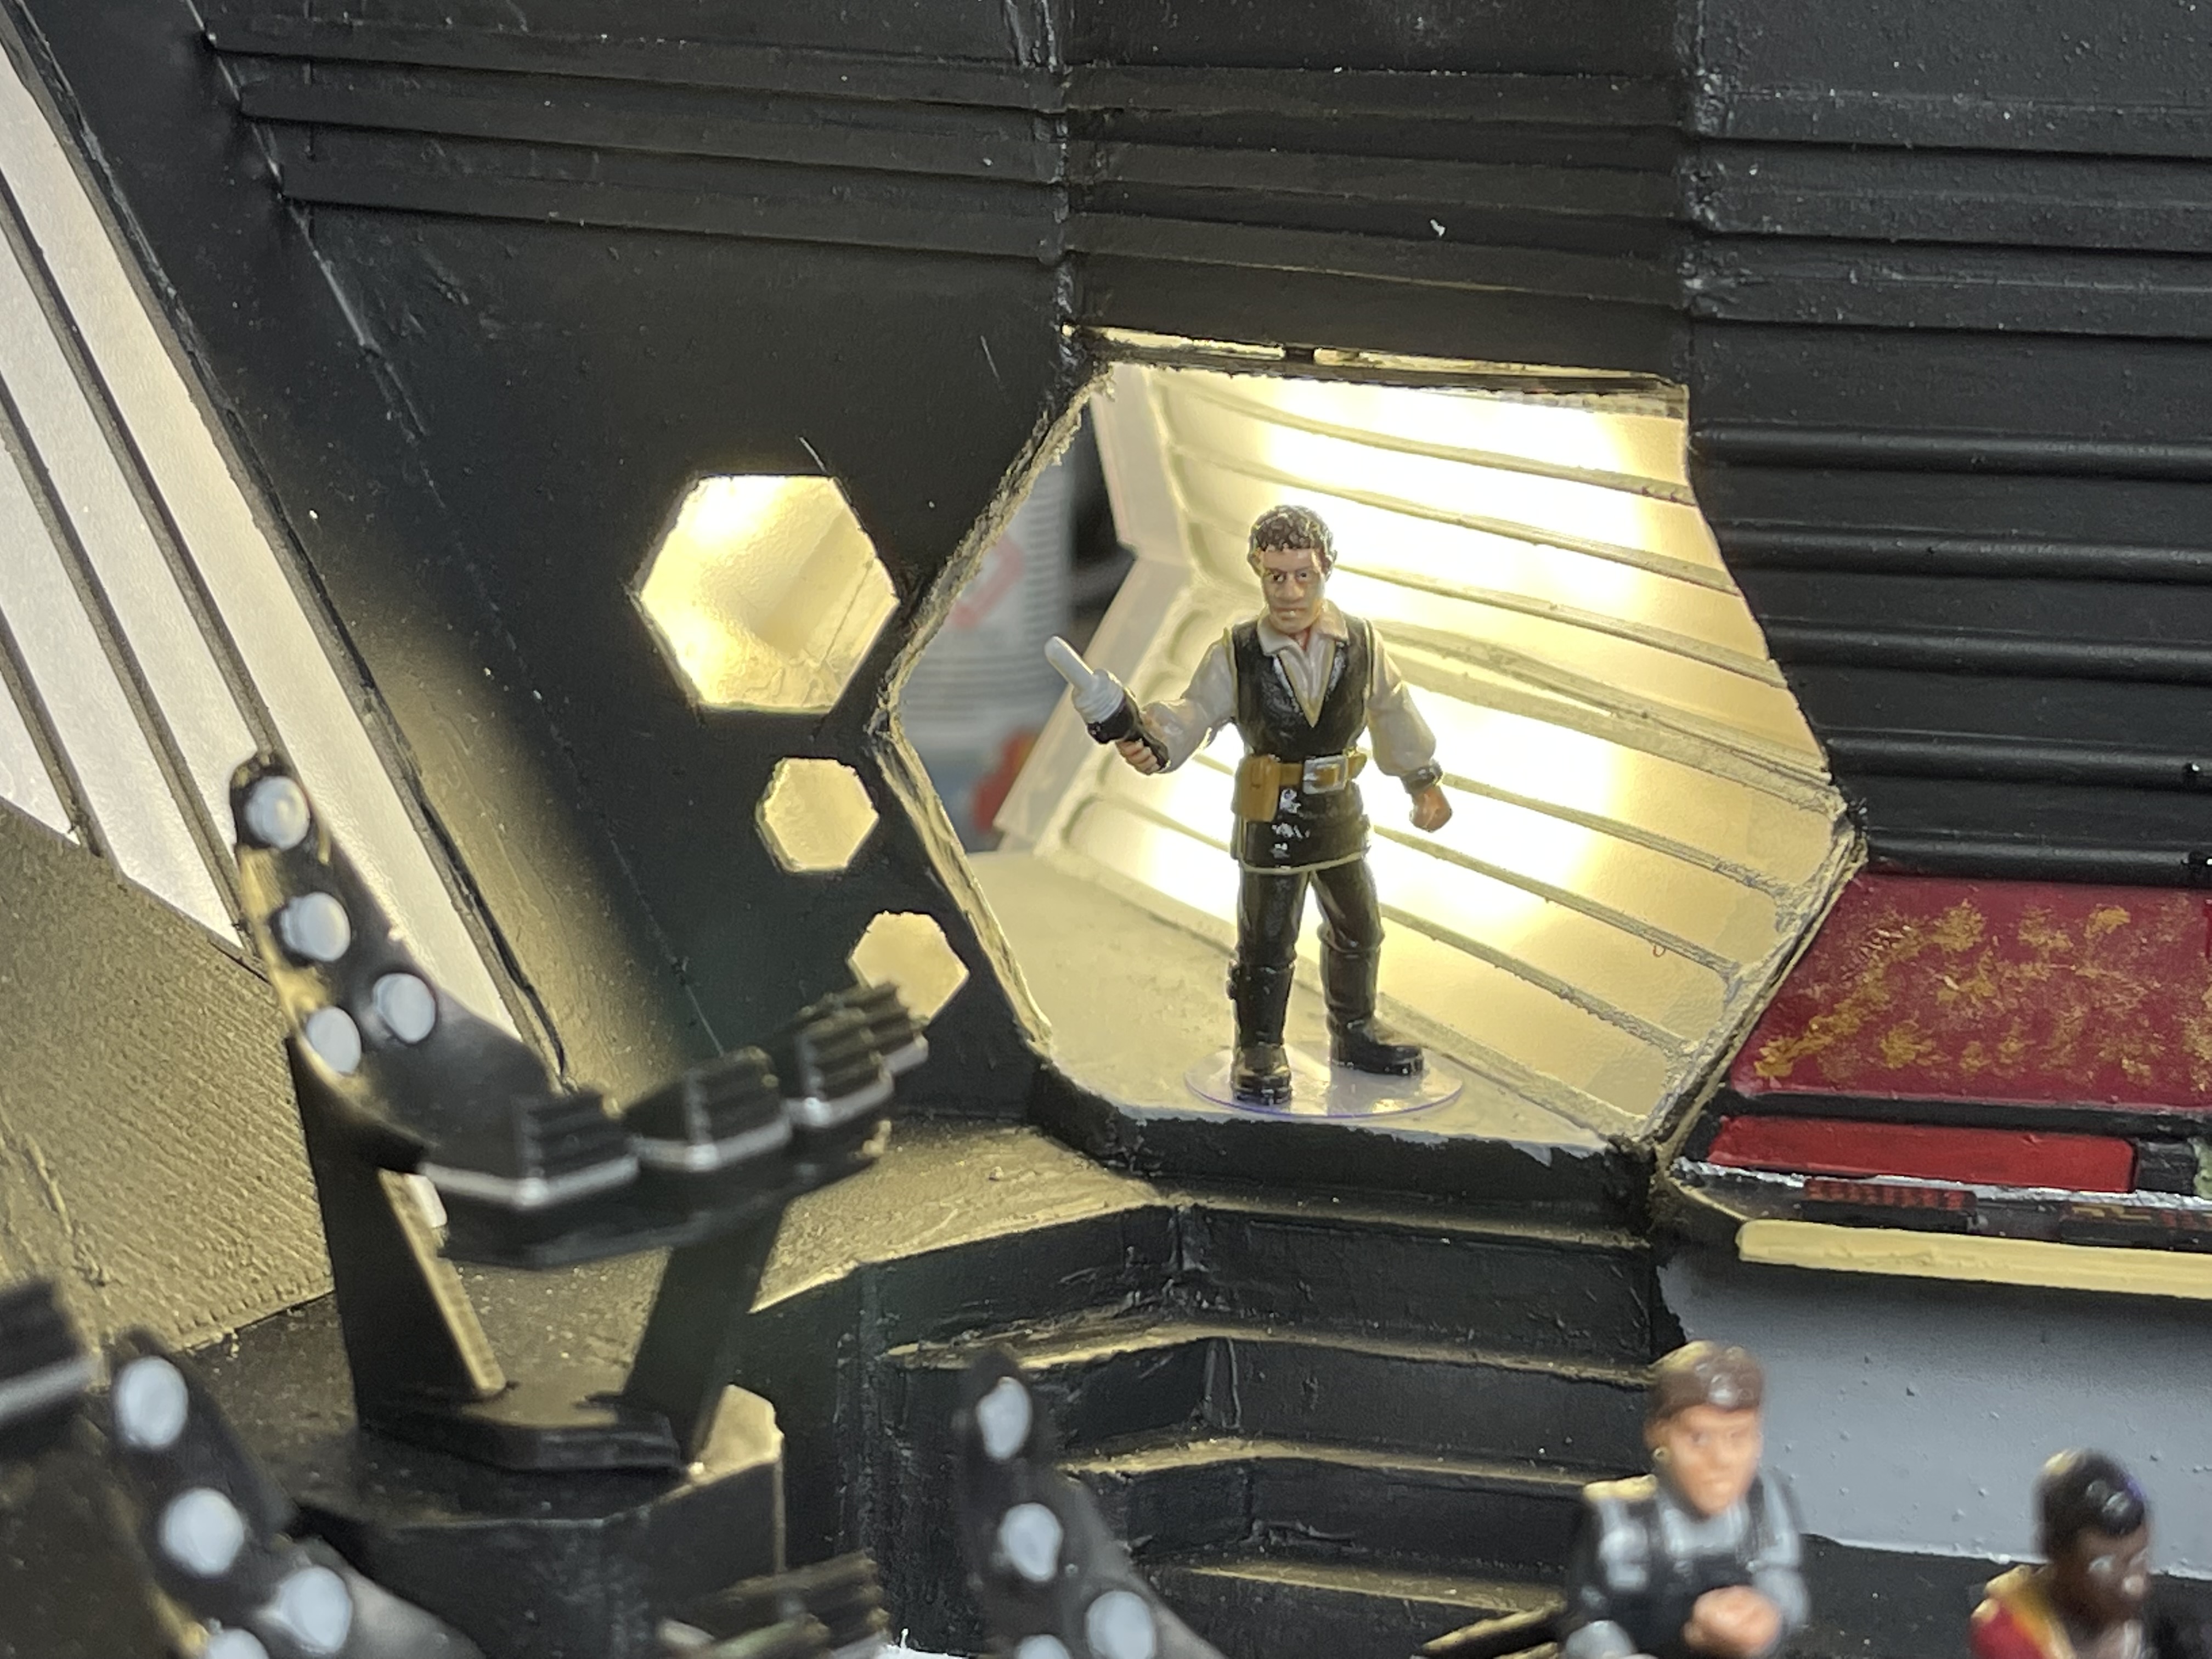
If you notice that the light panel behind Blake at the bottom isnt working in image 6, I had to resolder the connections as I had used solid core wire and every time I bent it the connections would break. I fixed it in the end by getting some multicore wire.
I am going to try and link a video of the new LED panel with a test program installed on the Arduino
Using the new LED matrix I reprogrammed it to work like this:
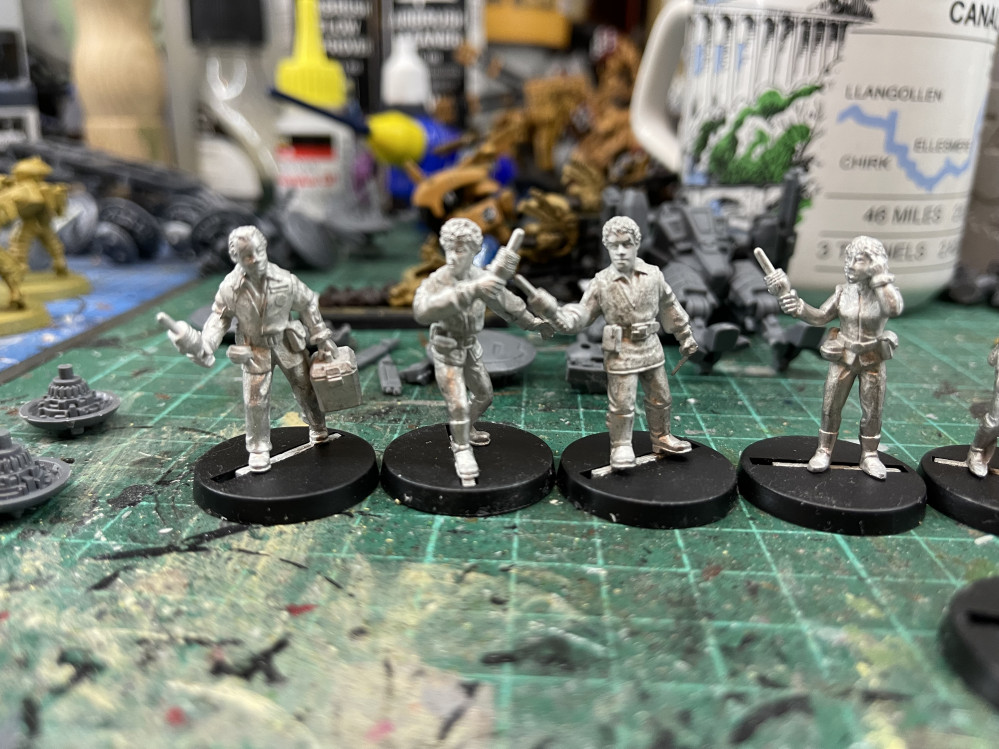
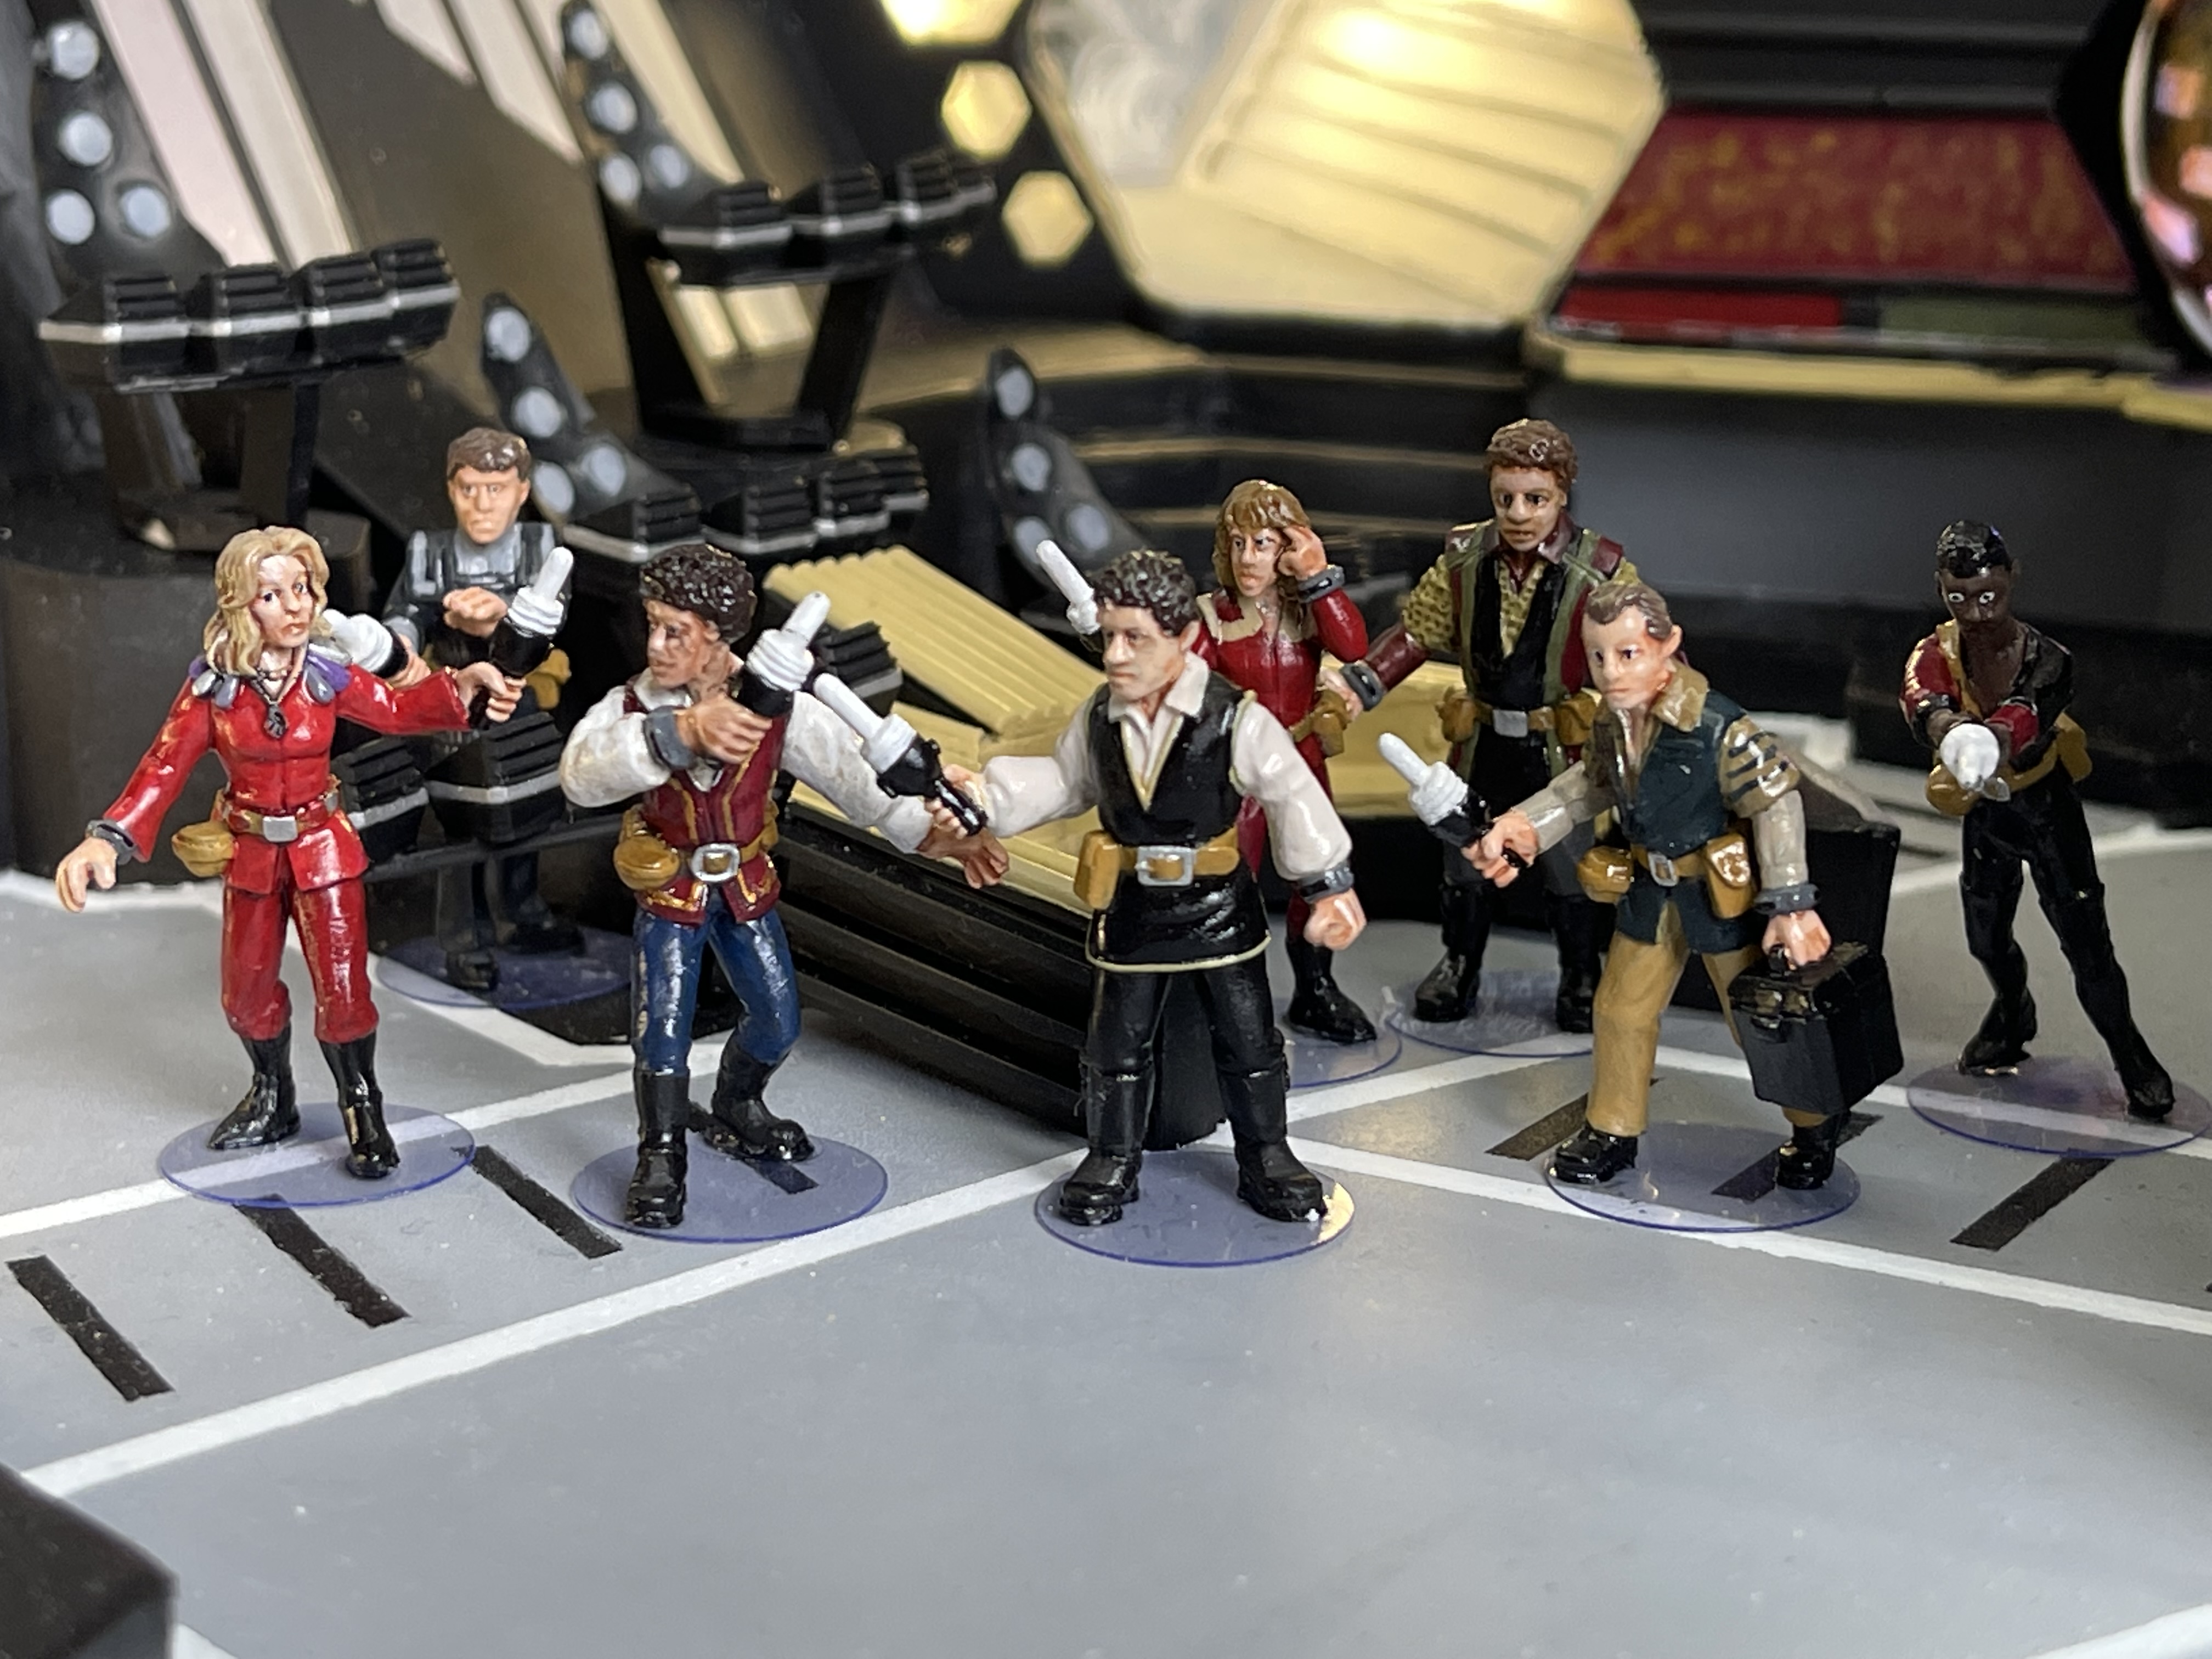
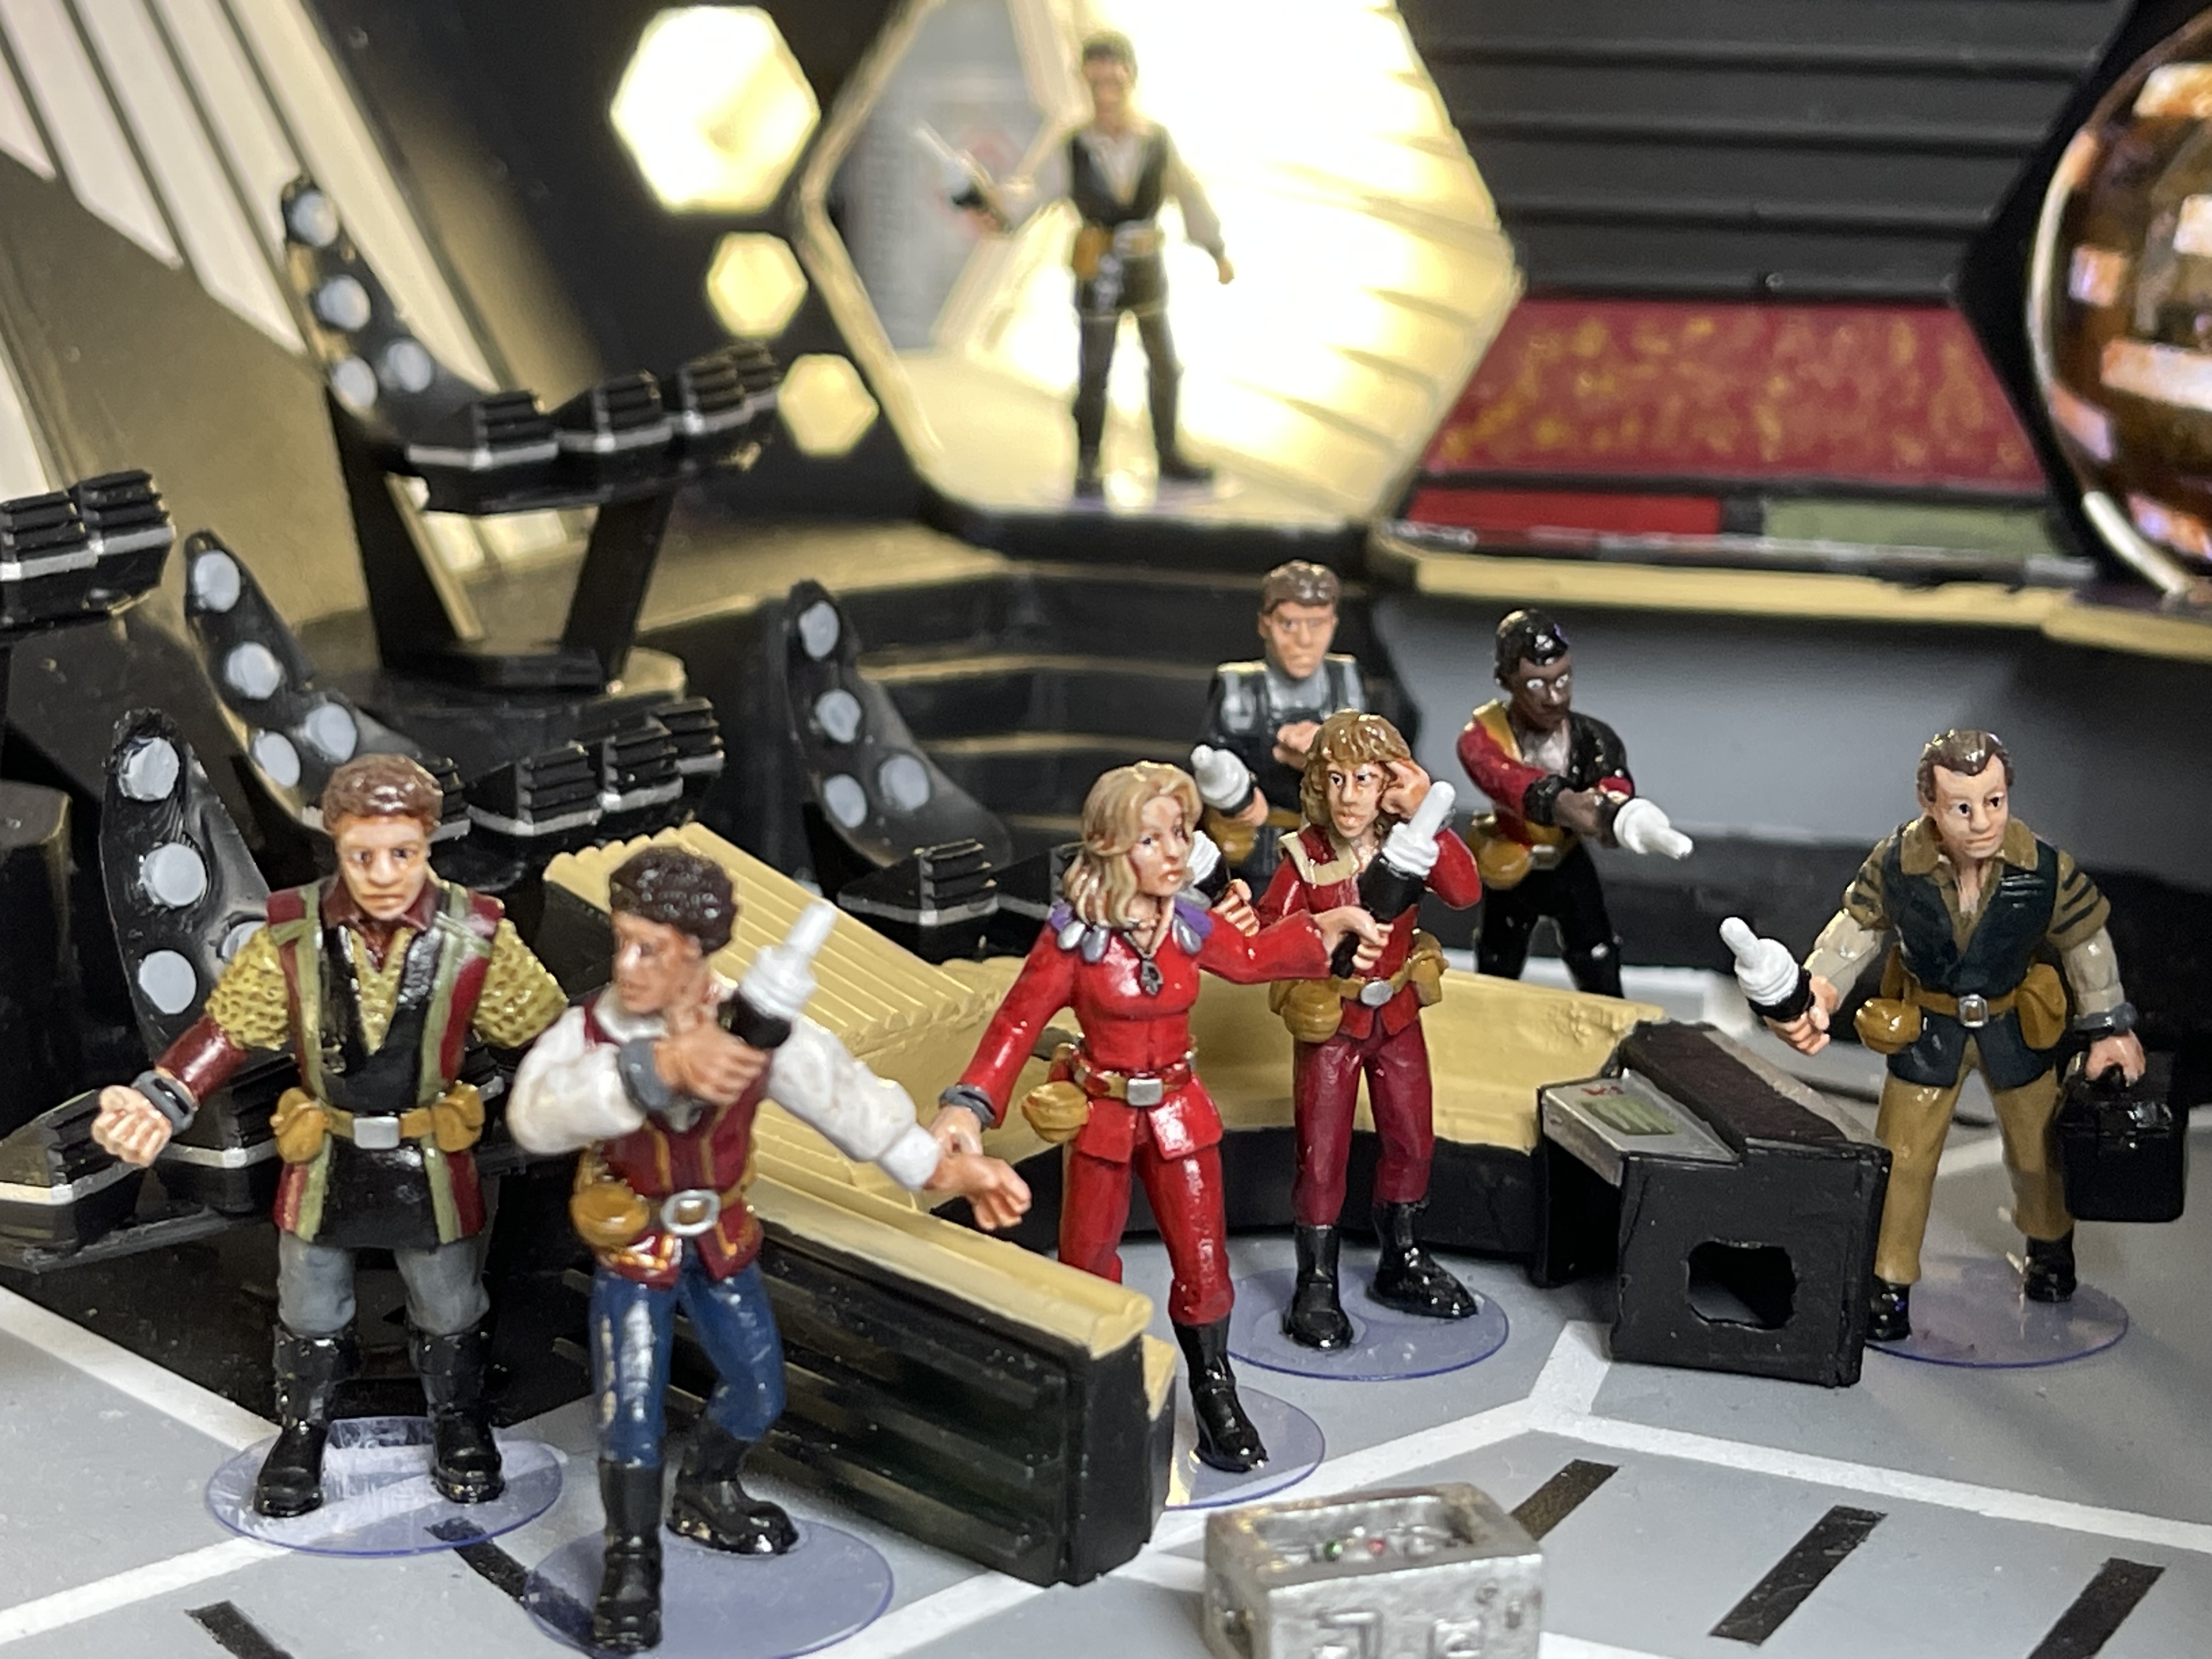
Here are some videos of the whole thing including the crew, I used Warren’s basing idea with a hole punch and an acetate sheet.
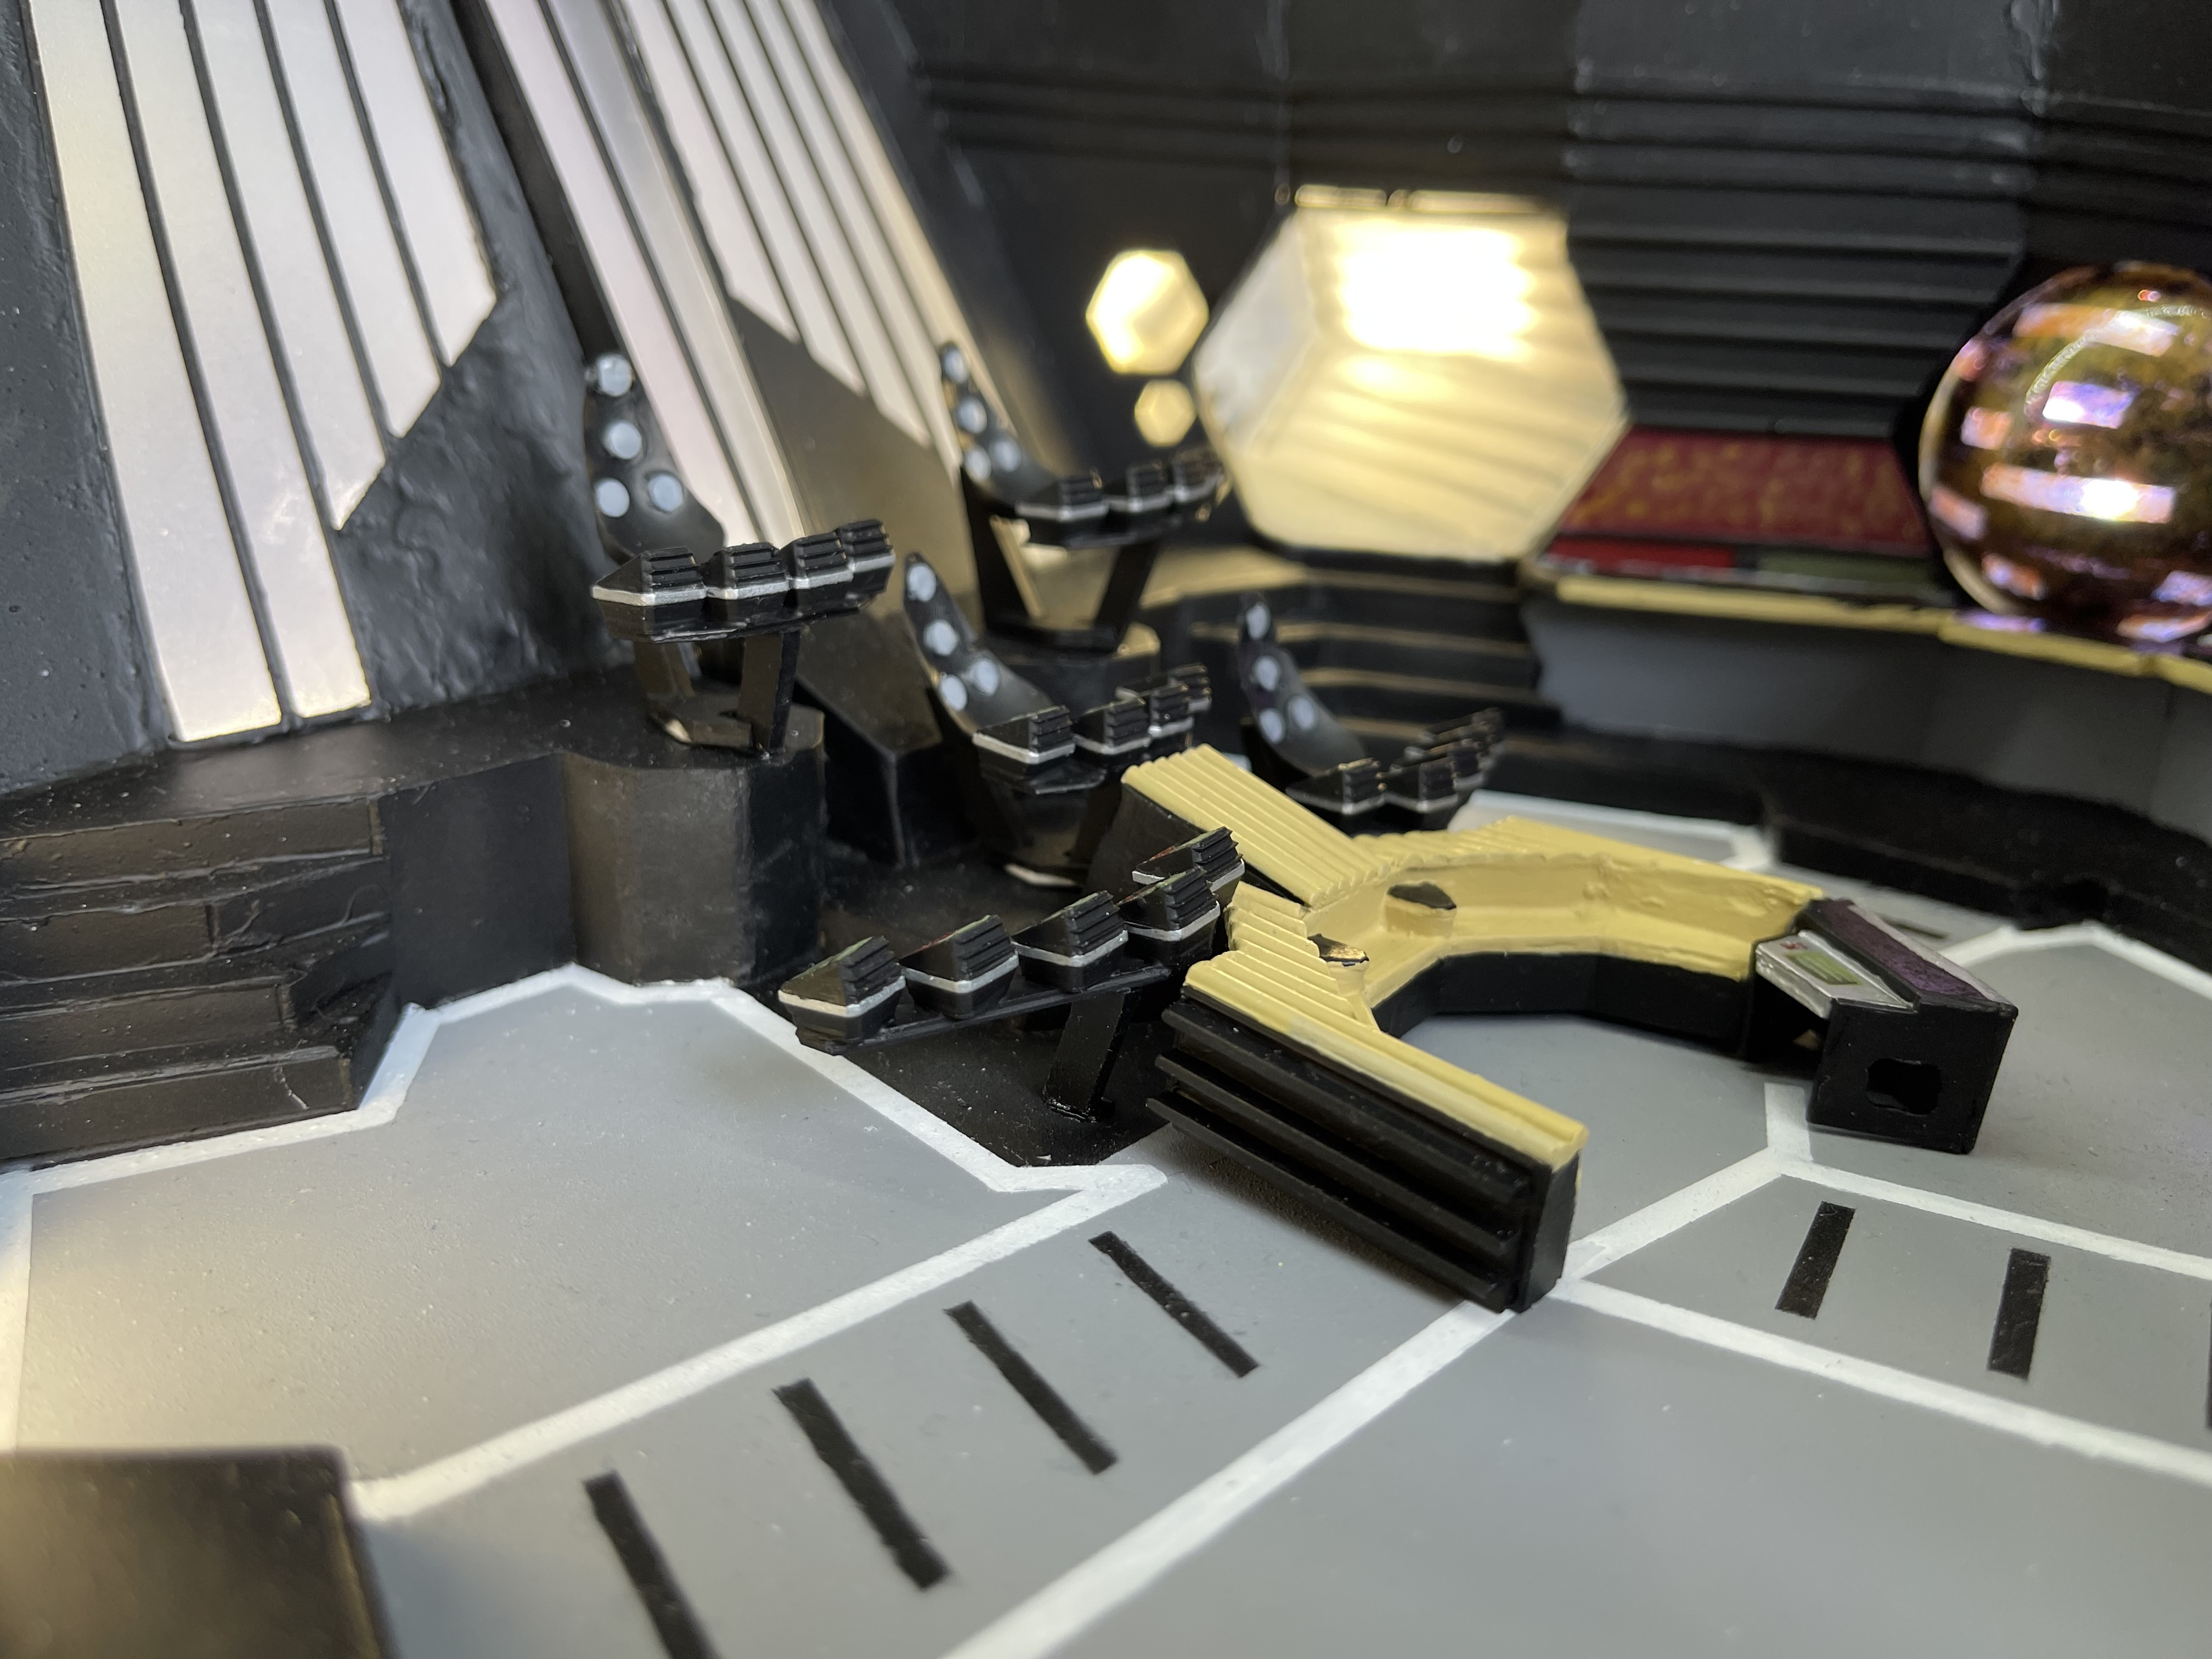
Lighting the corridors
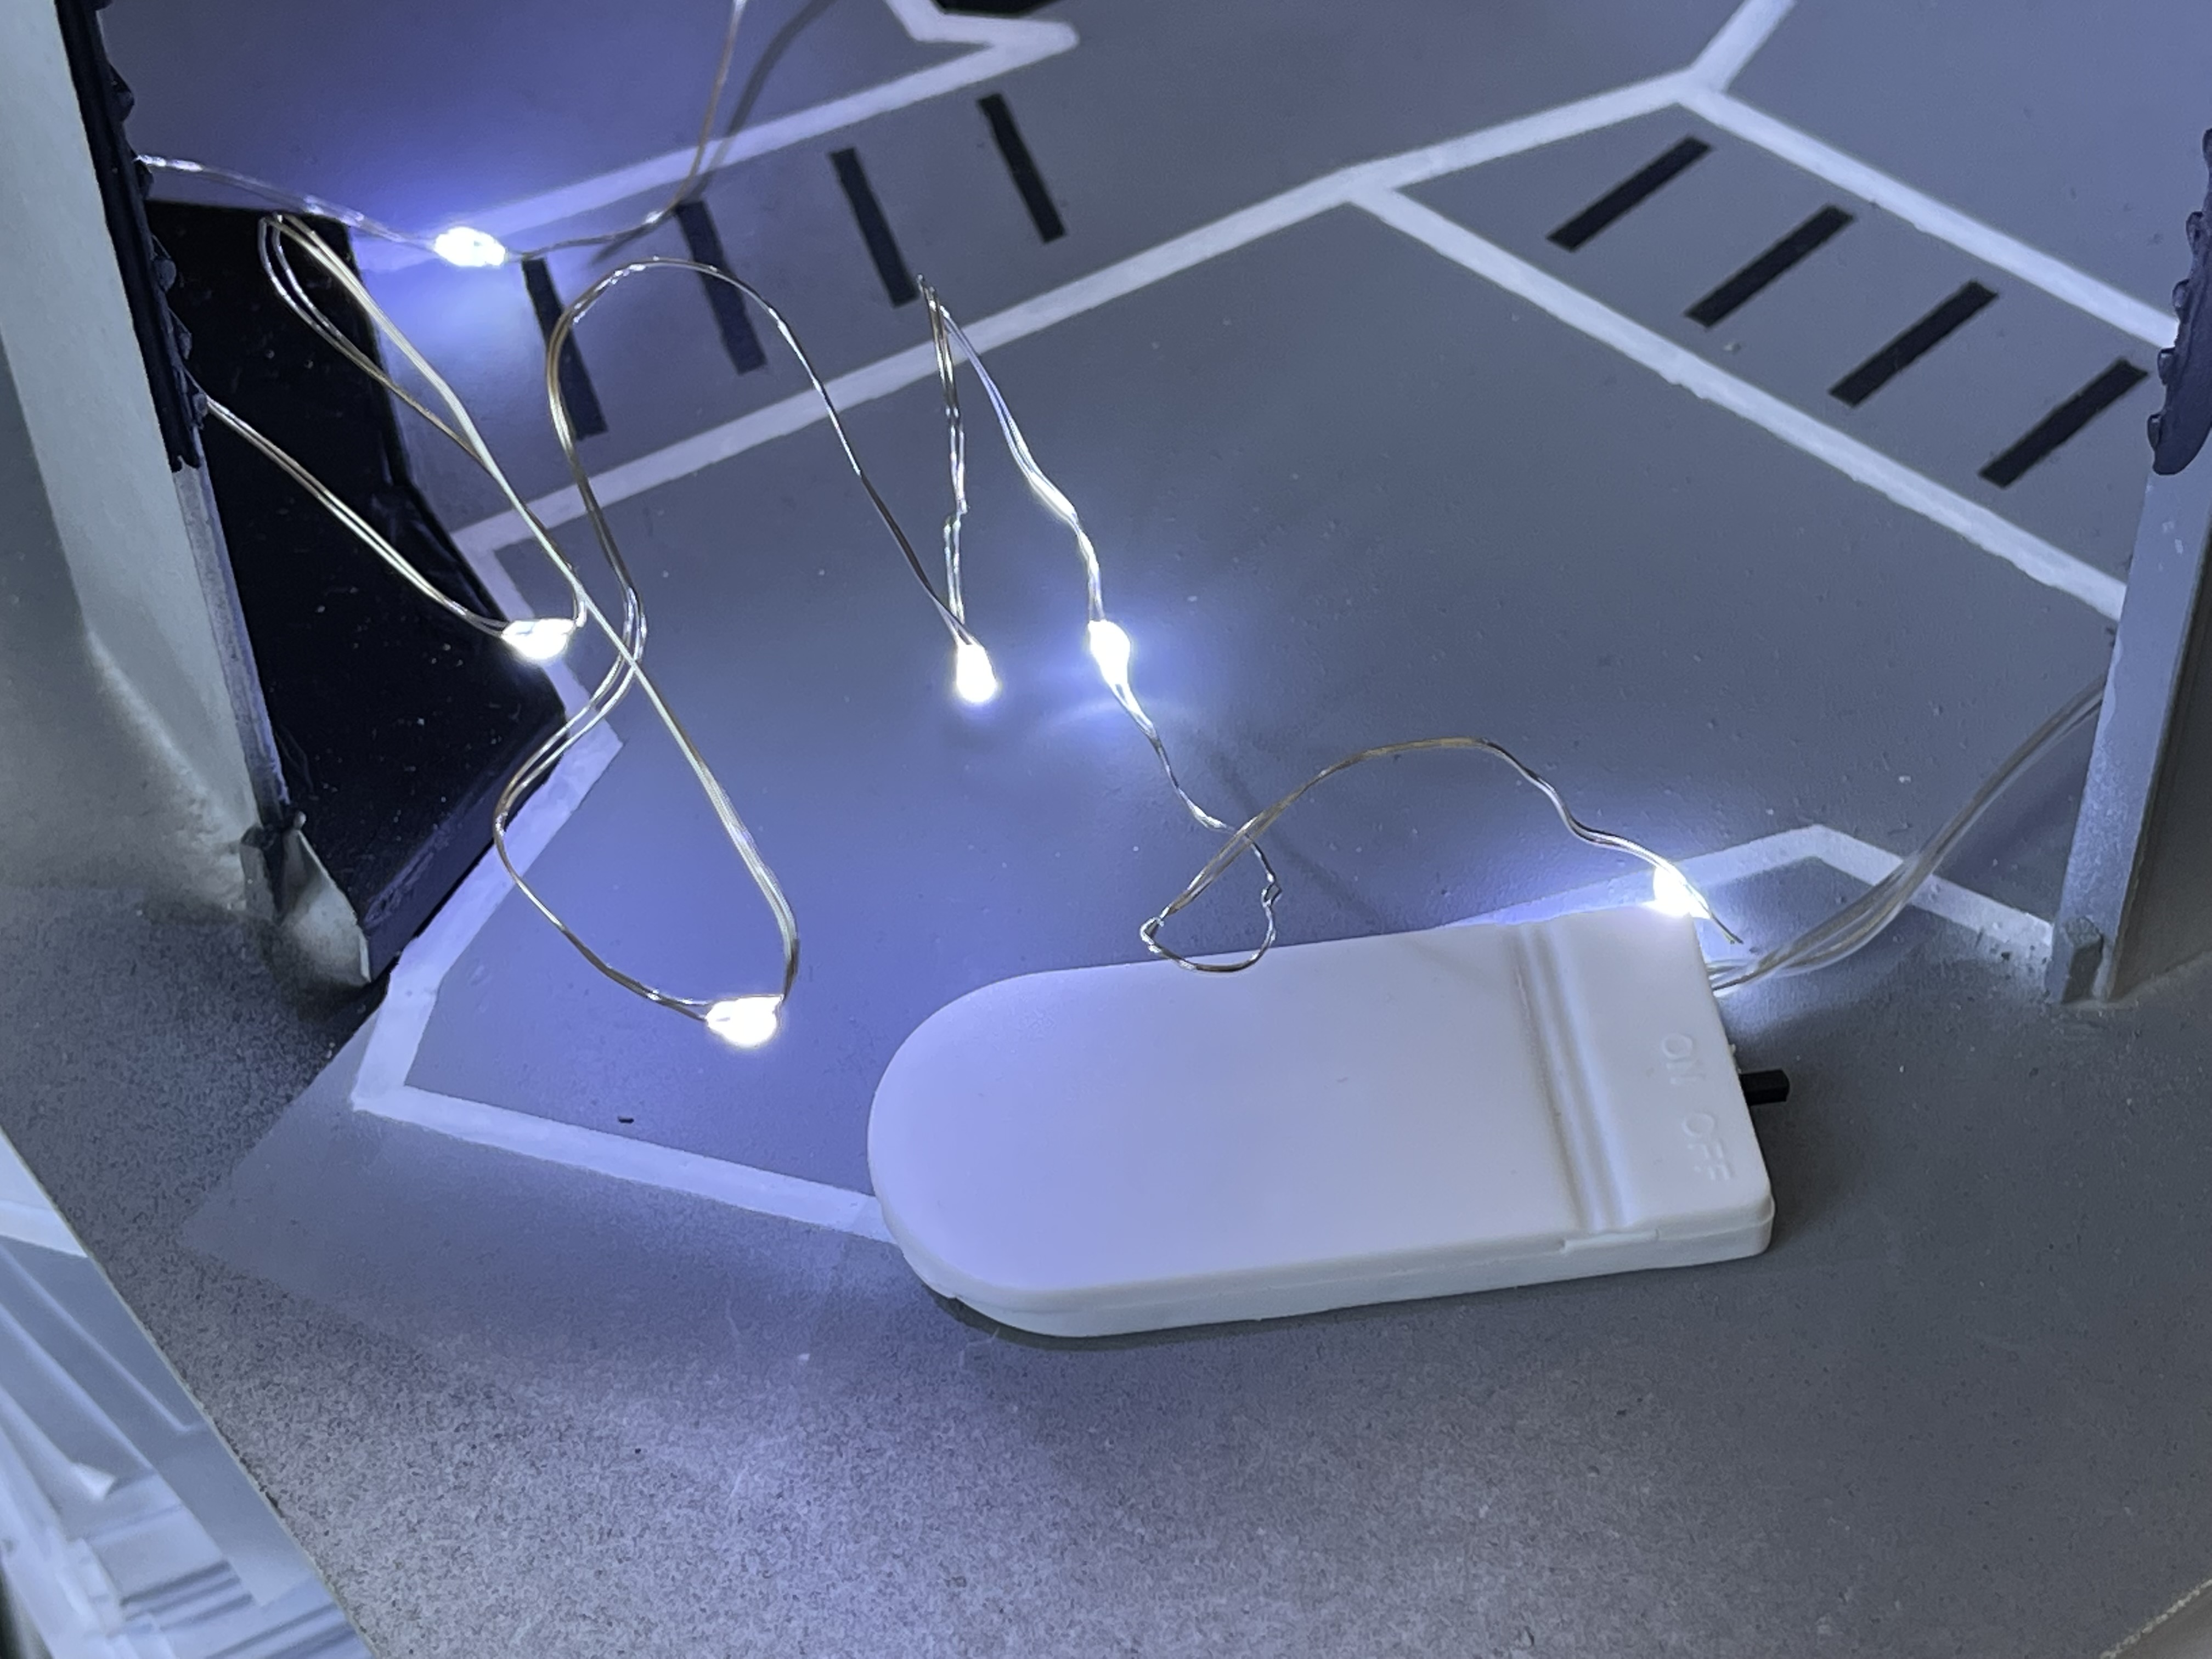
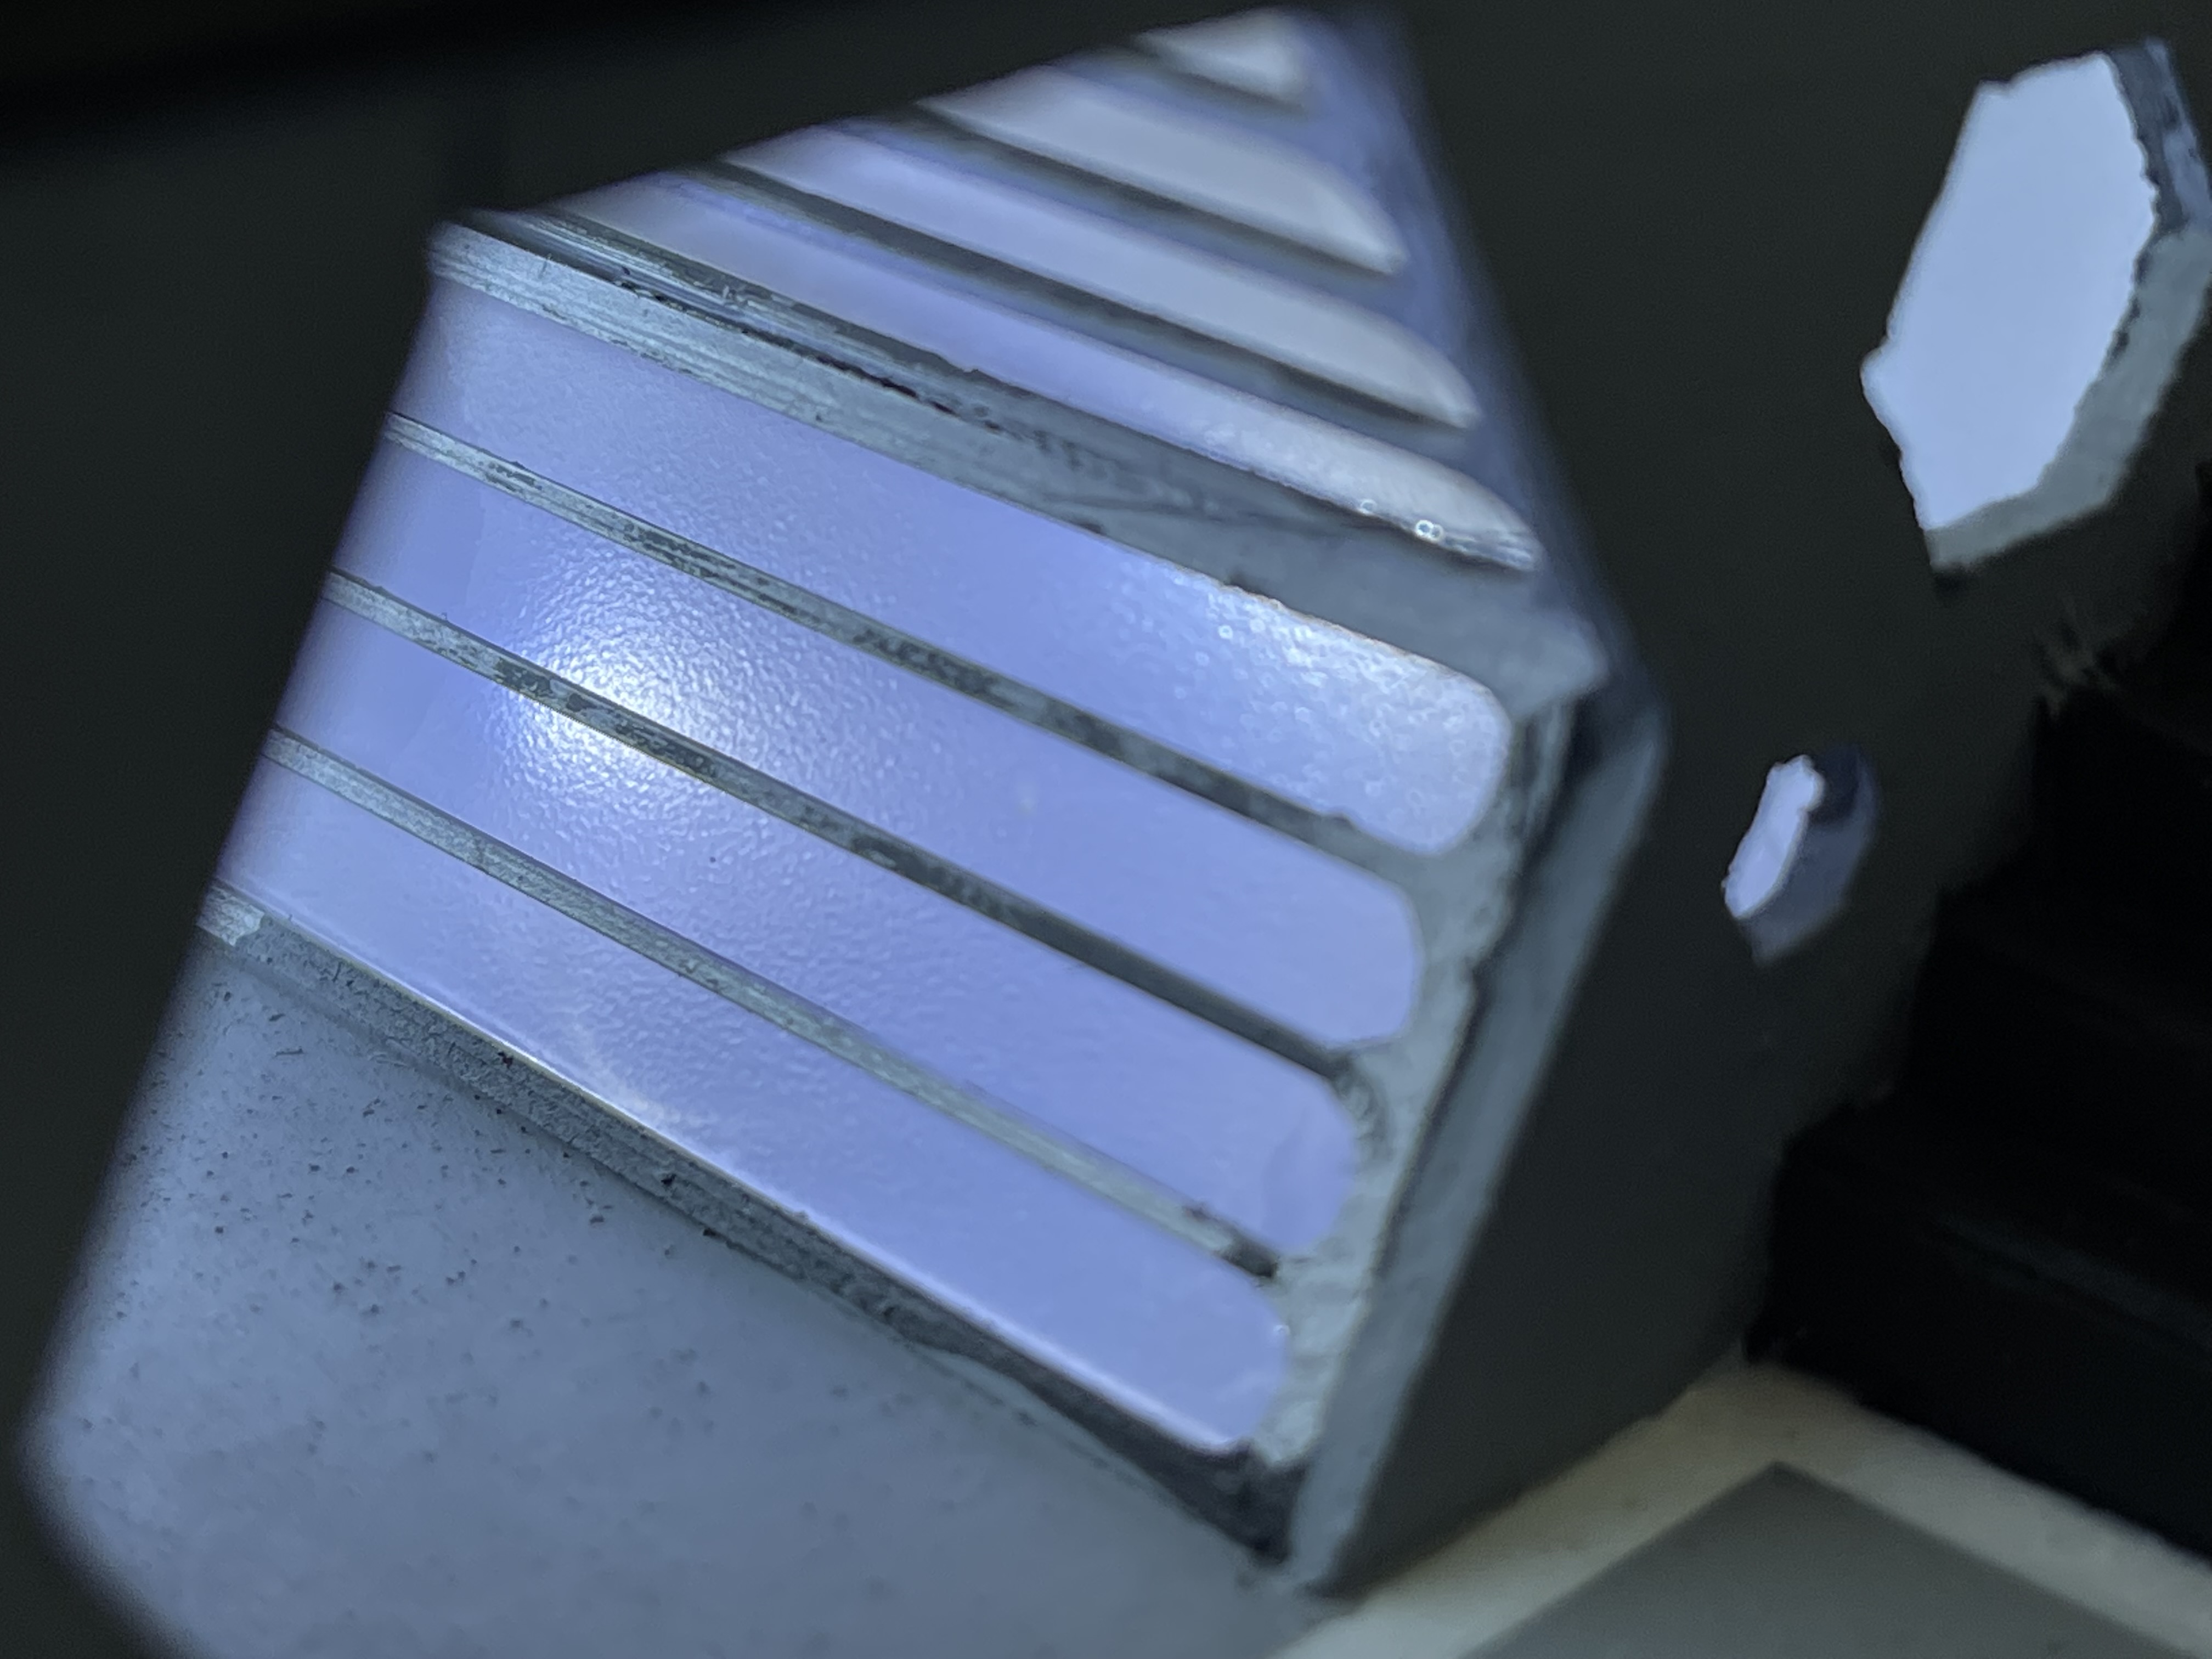
I wanted to light the corridors and my first idea didn’t really work out. I had got some polycarbonate sheet with a frosted finish to use as the translucent areas of the corridors and the back of the bridge, this didn’t really prove to be as opaque as I wanted so I put 2 layers on the corridors. I had got some cheap and cheerful fairy lights that I thought I could use for a light source but as you can see from the second picture it was a bit of a point light source.
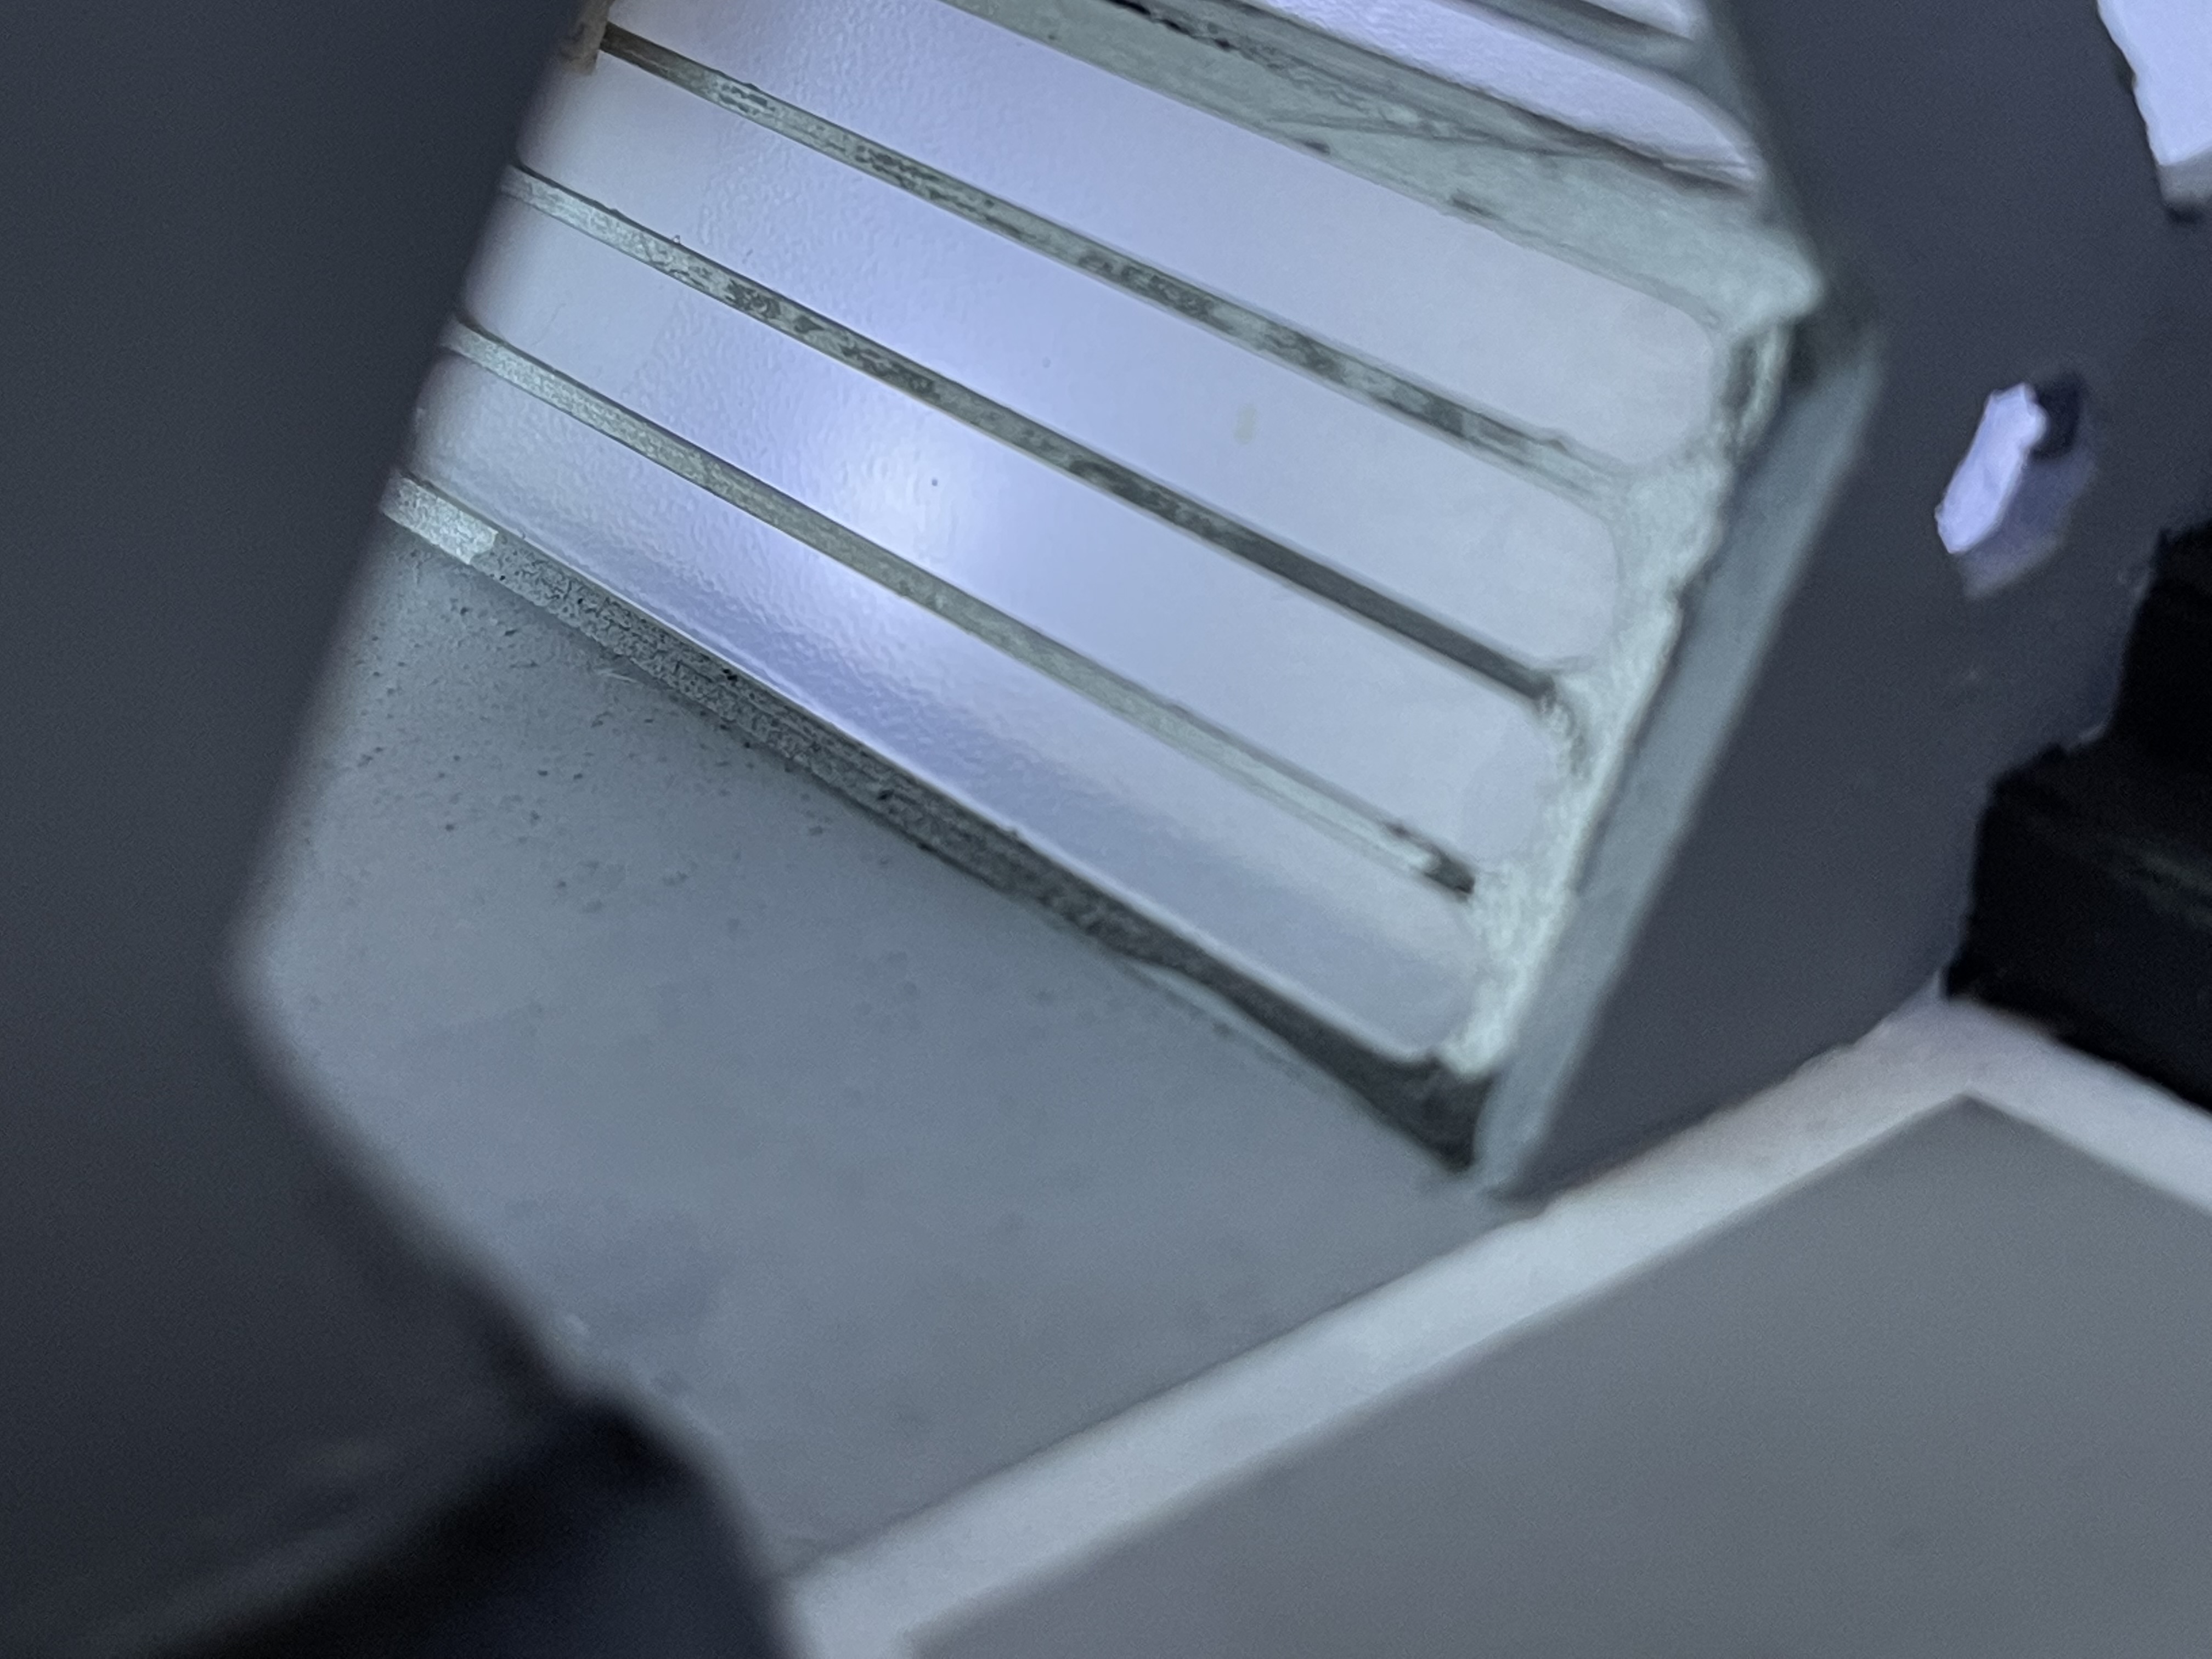
On the third picture I had managed to get small sheet of 3mm perspex diffuser from ebay and I put a piece being the polycarbonate but I still wasn’t happy with the result.
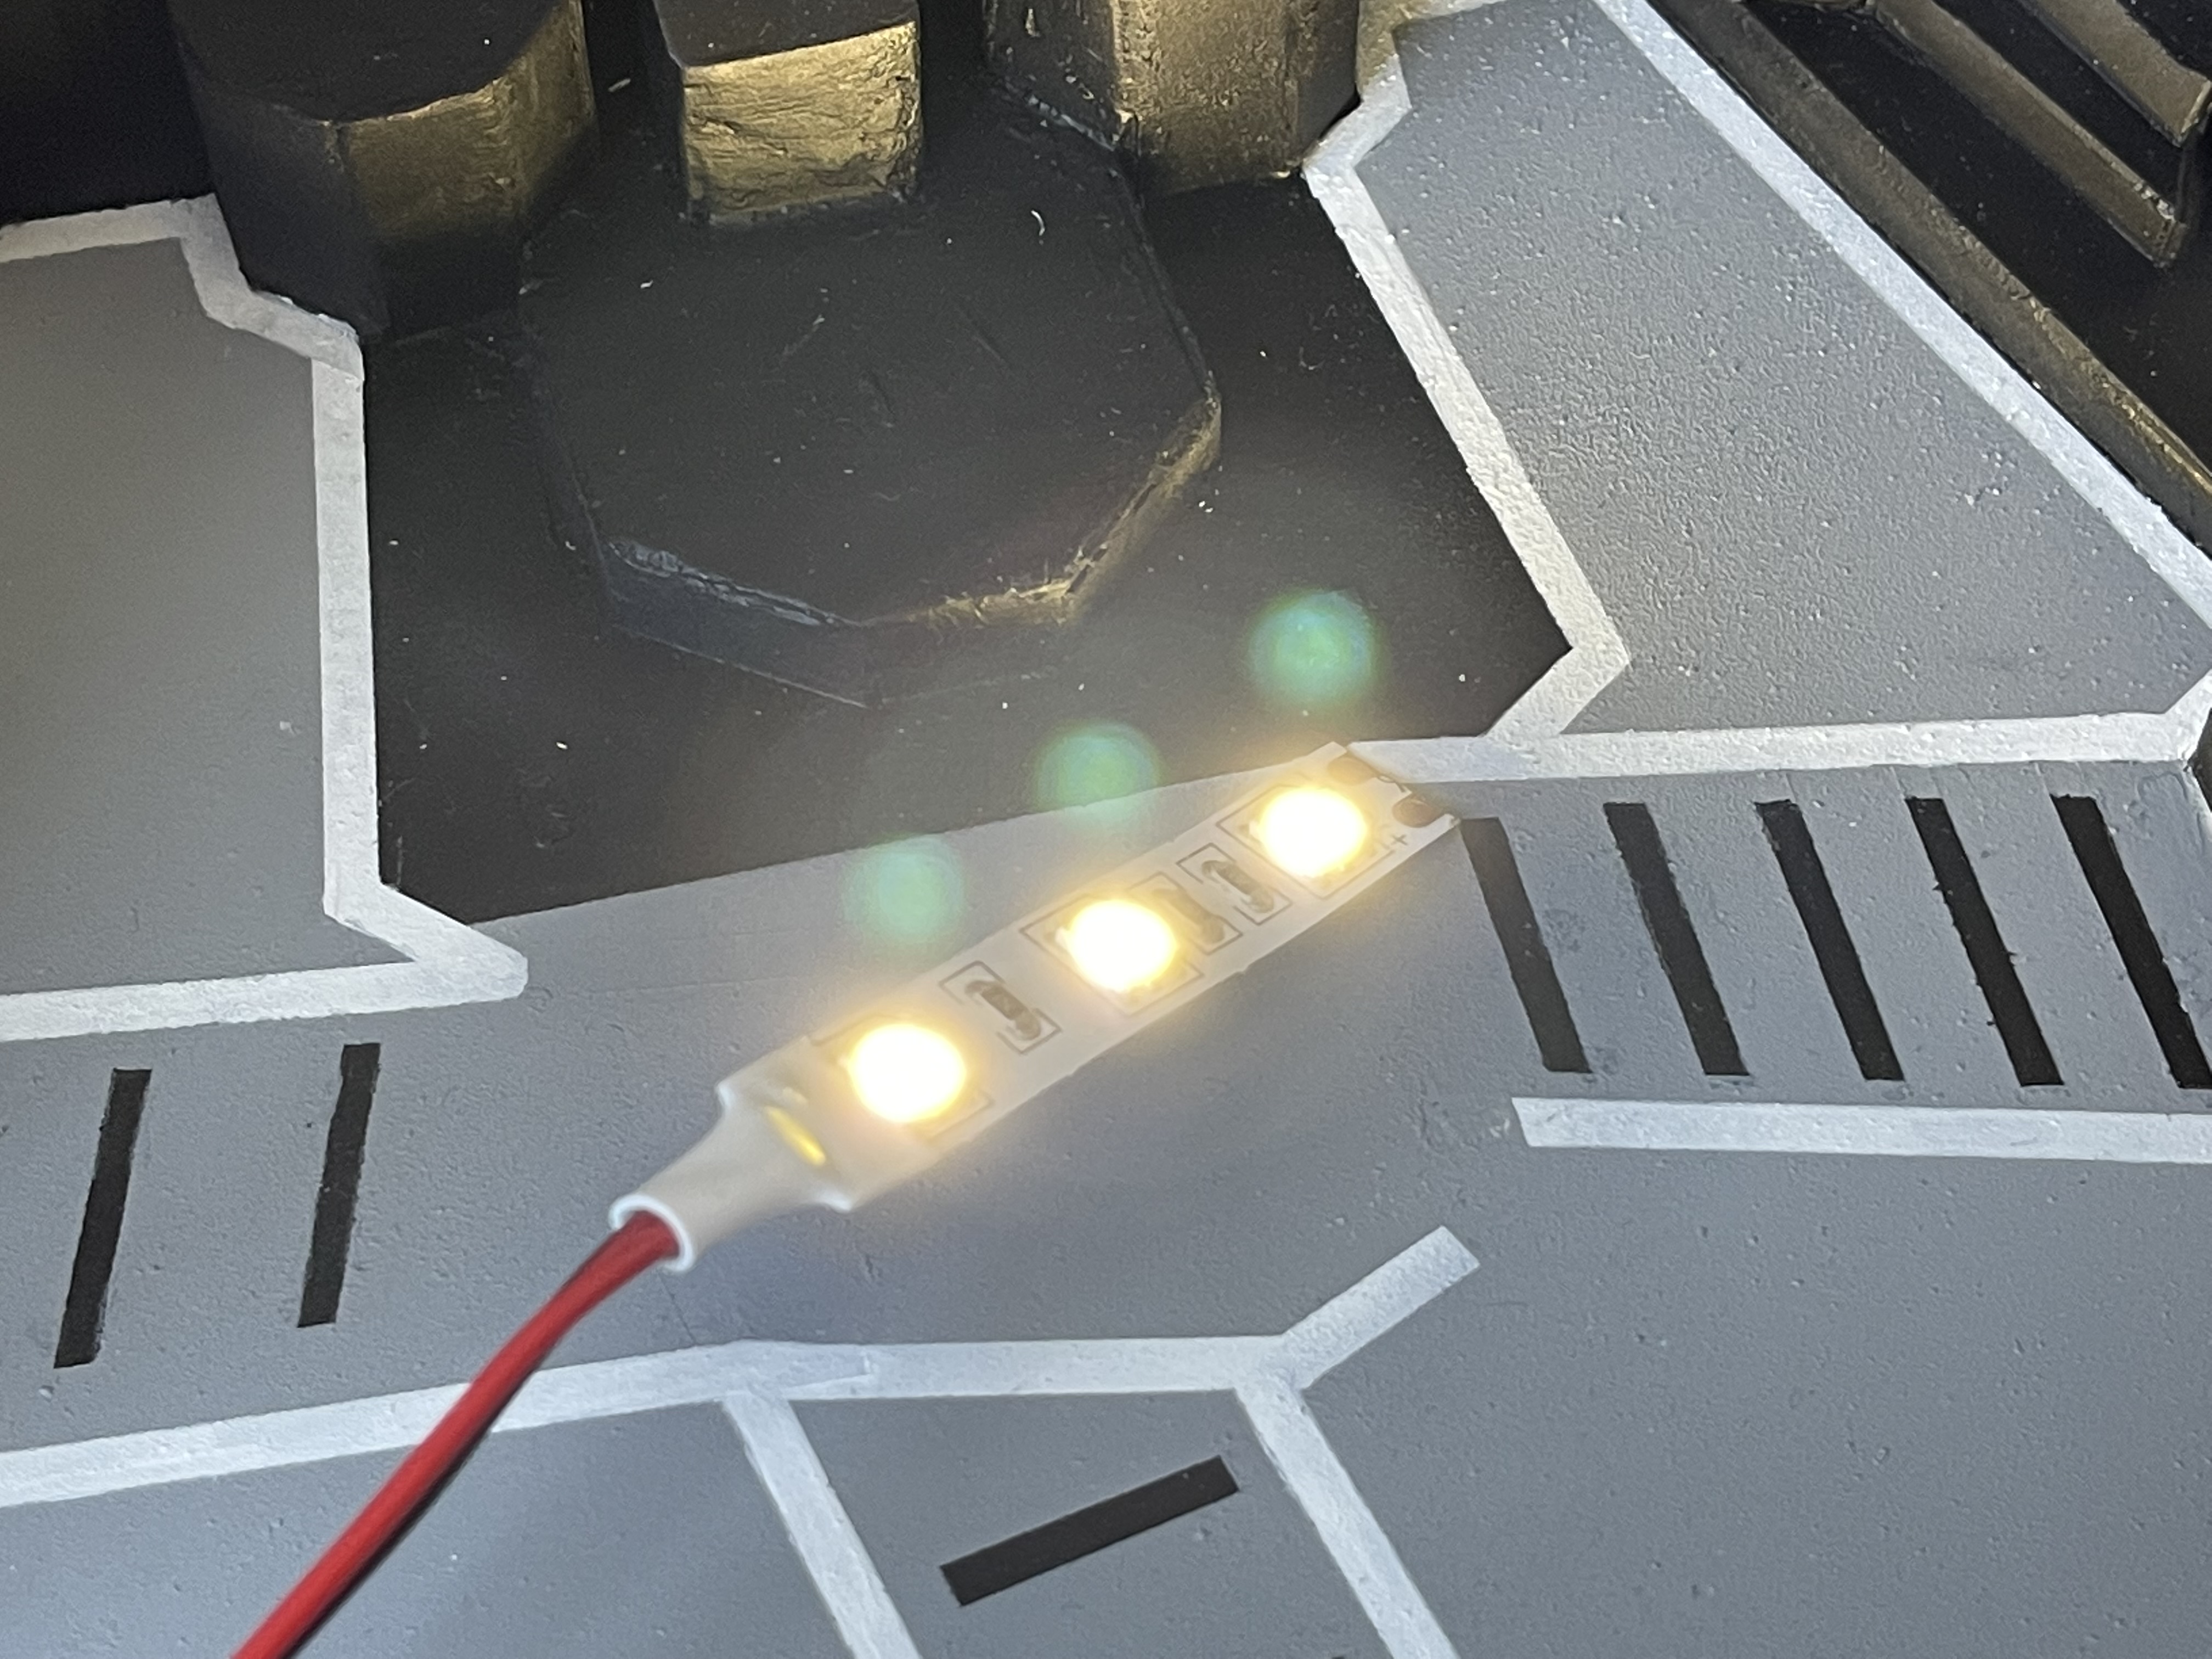
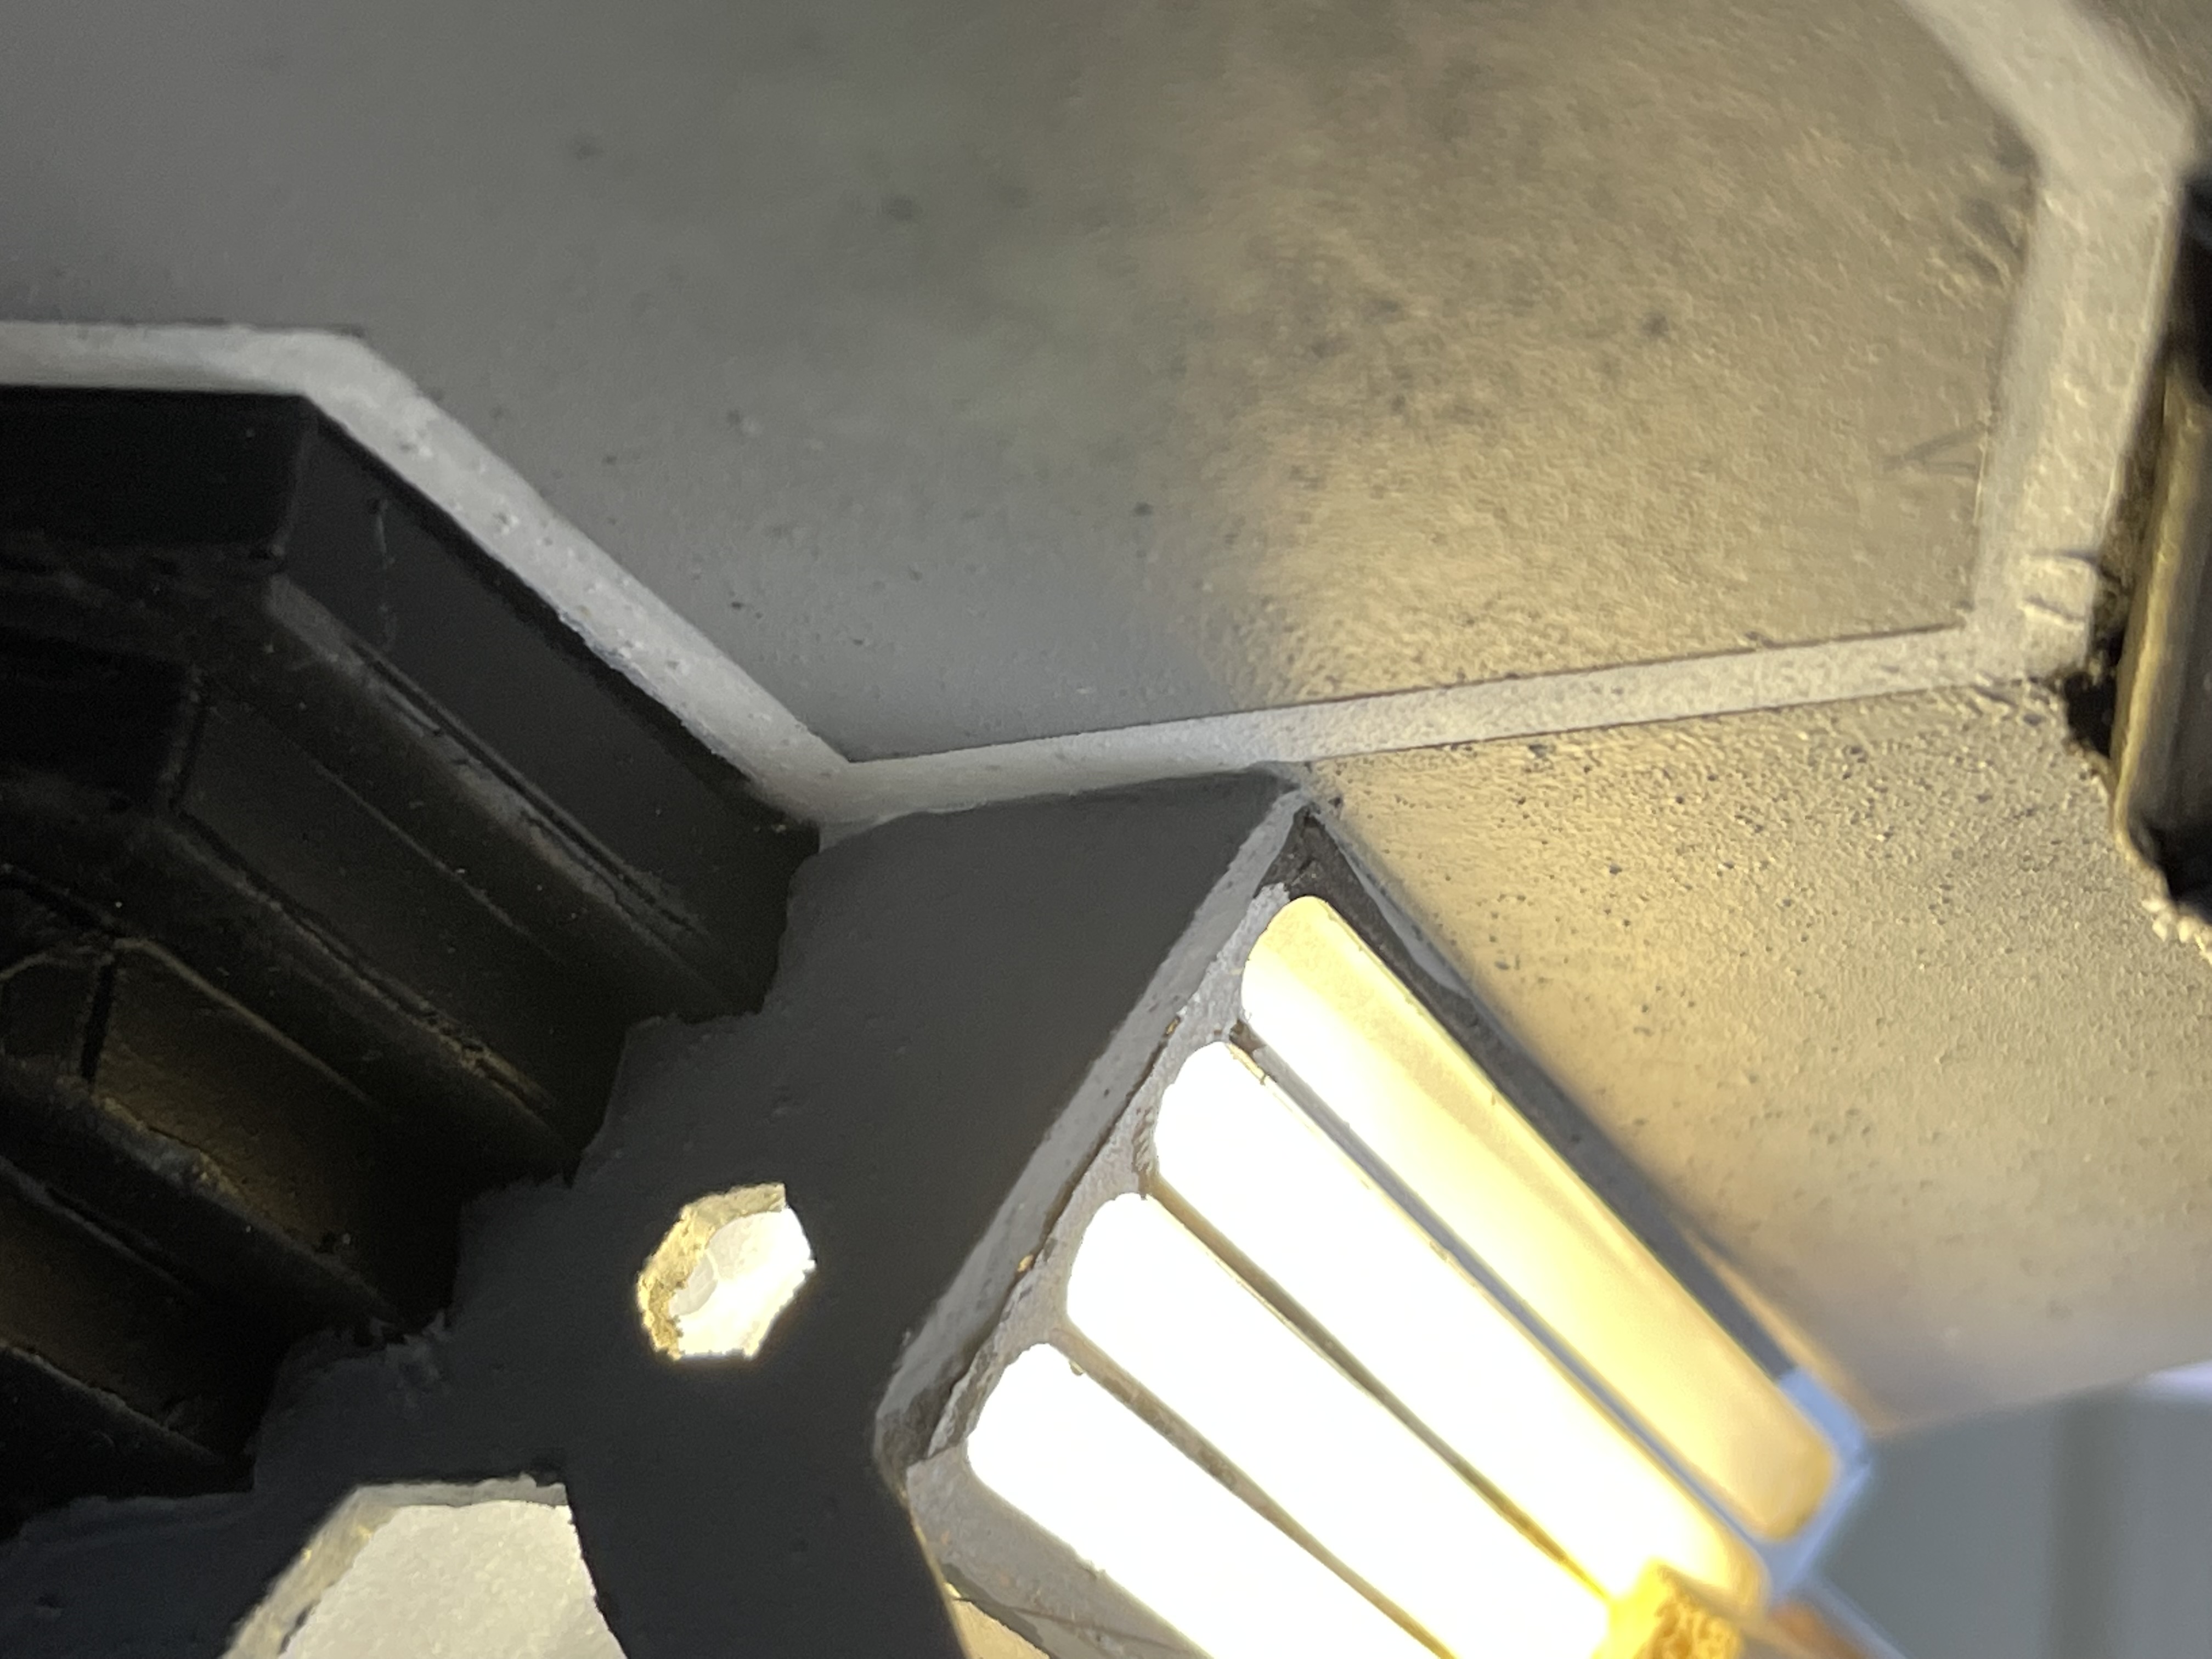
I decided I needed a better light source and so I went with a roll of 12V led’s that I could cut into small strips, to place behind the perspex diffuser. The results are in the photos below.
And now for some Zen time

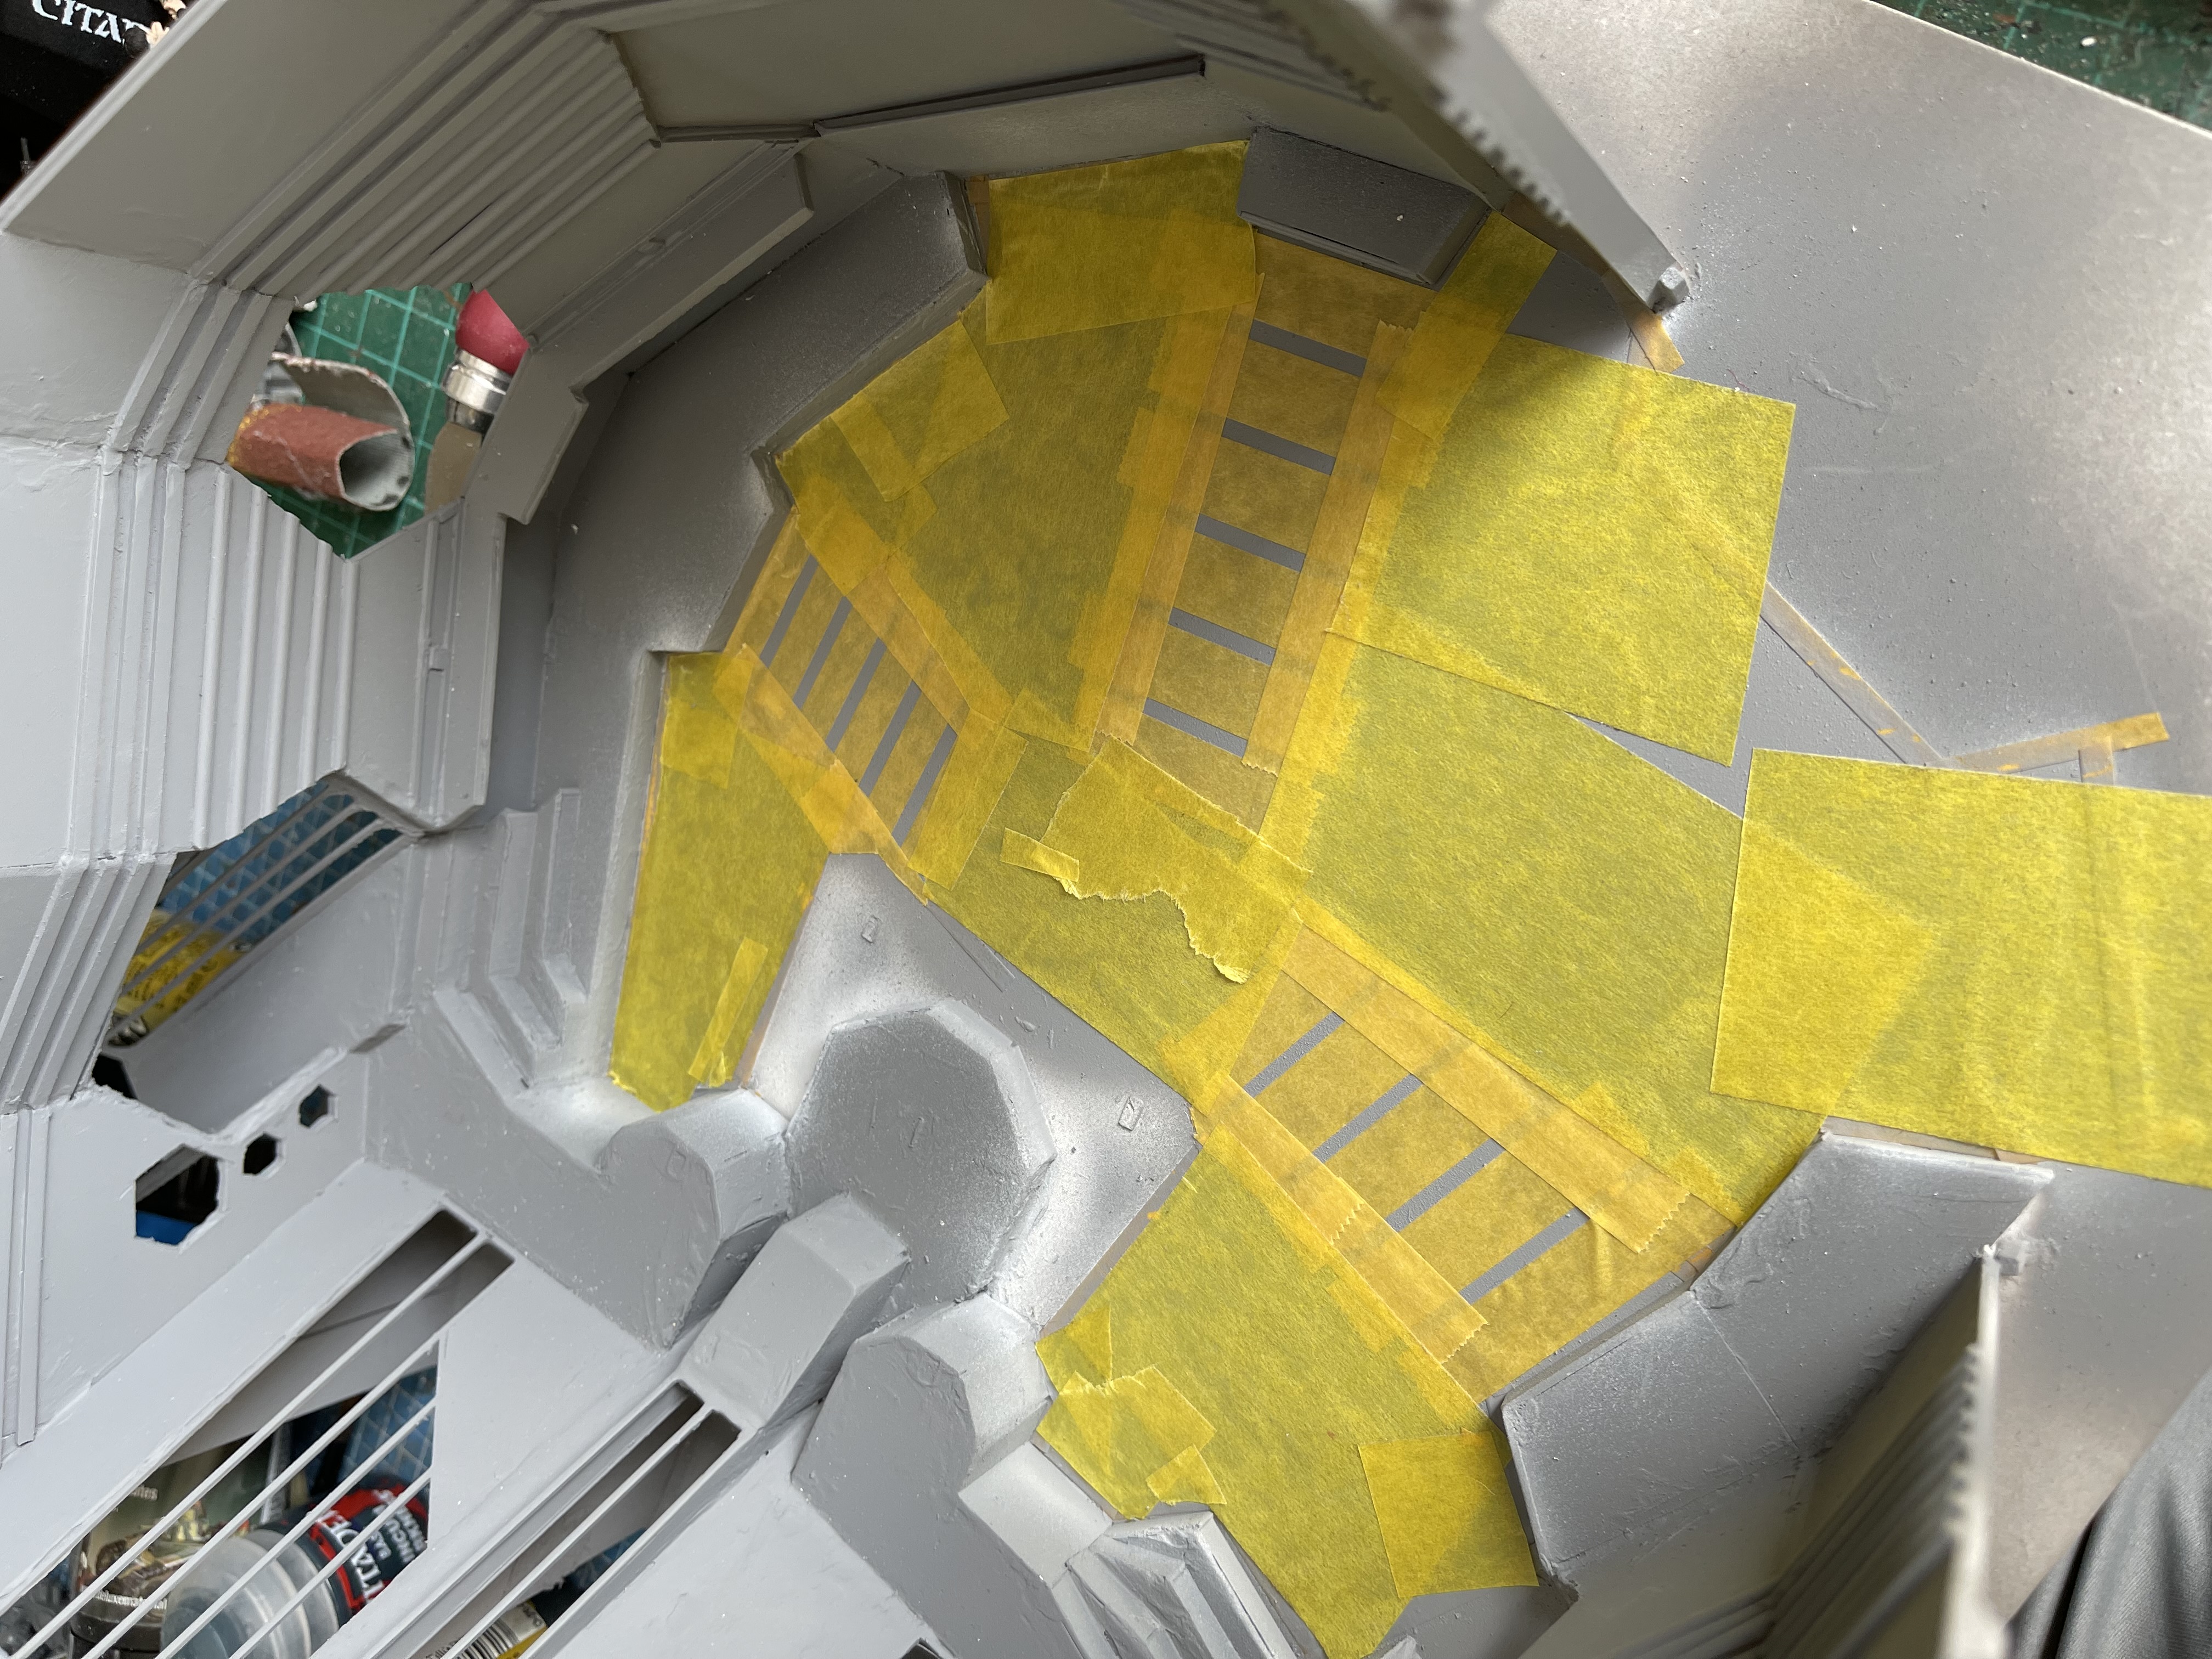
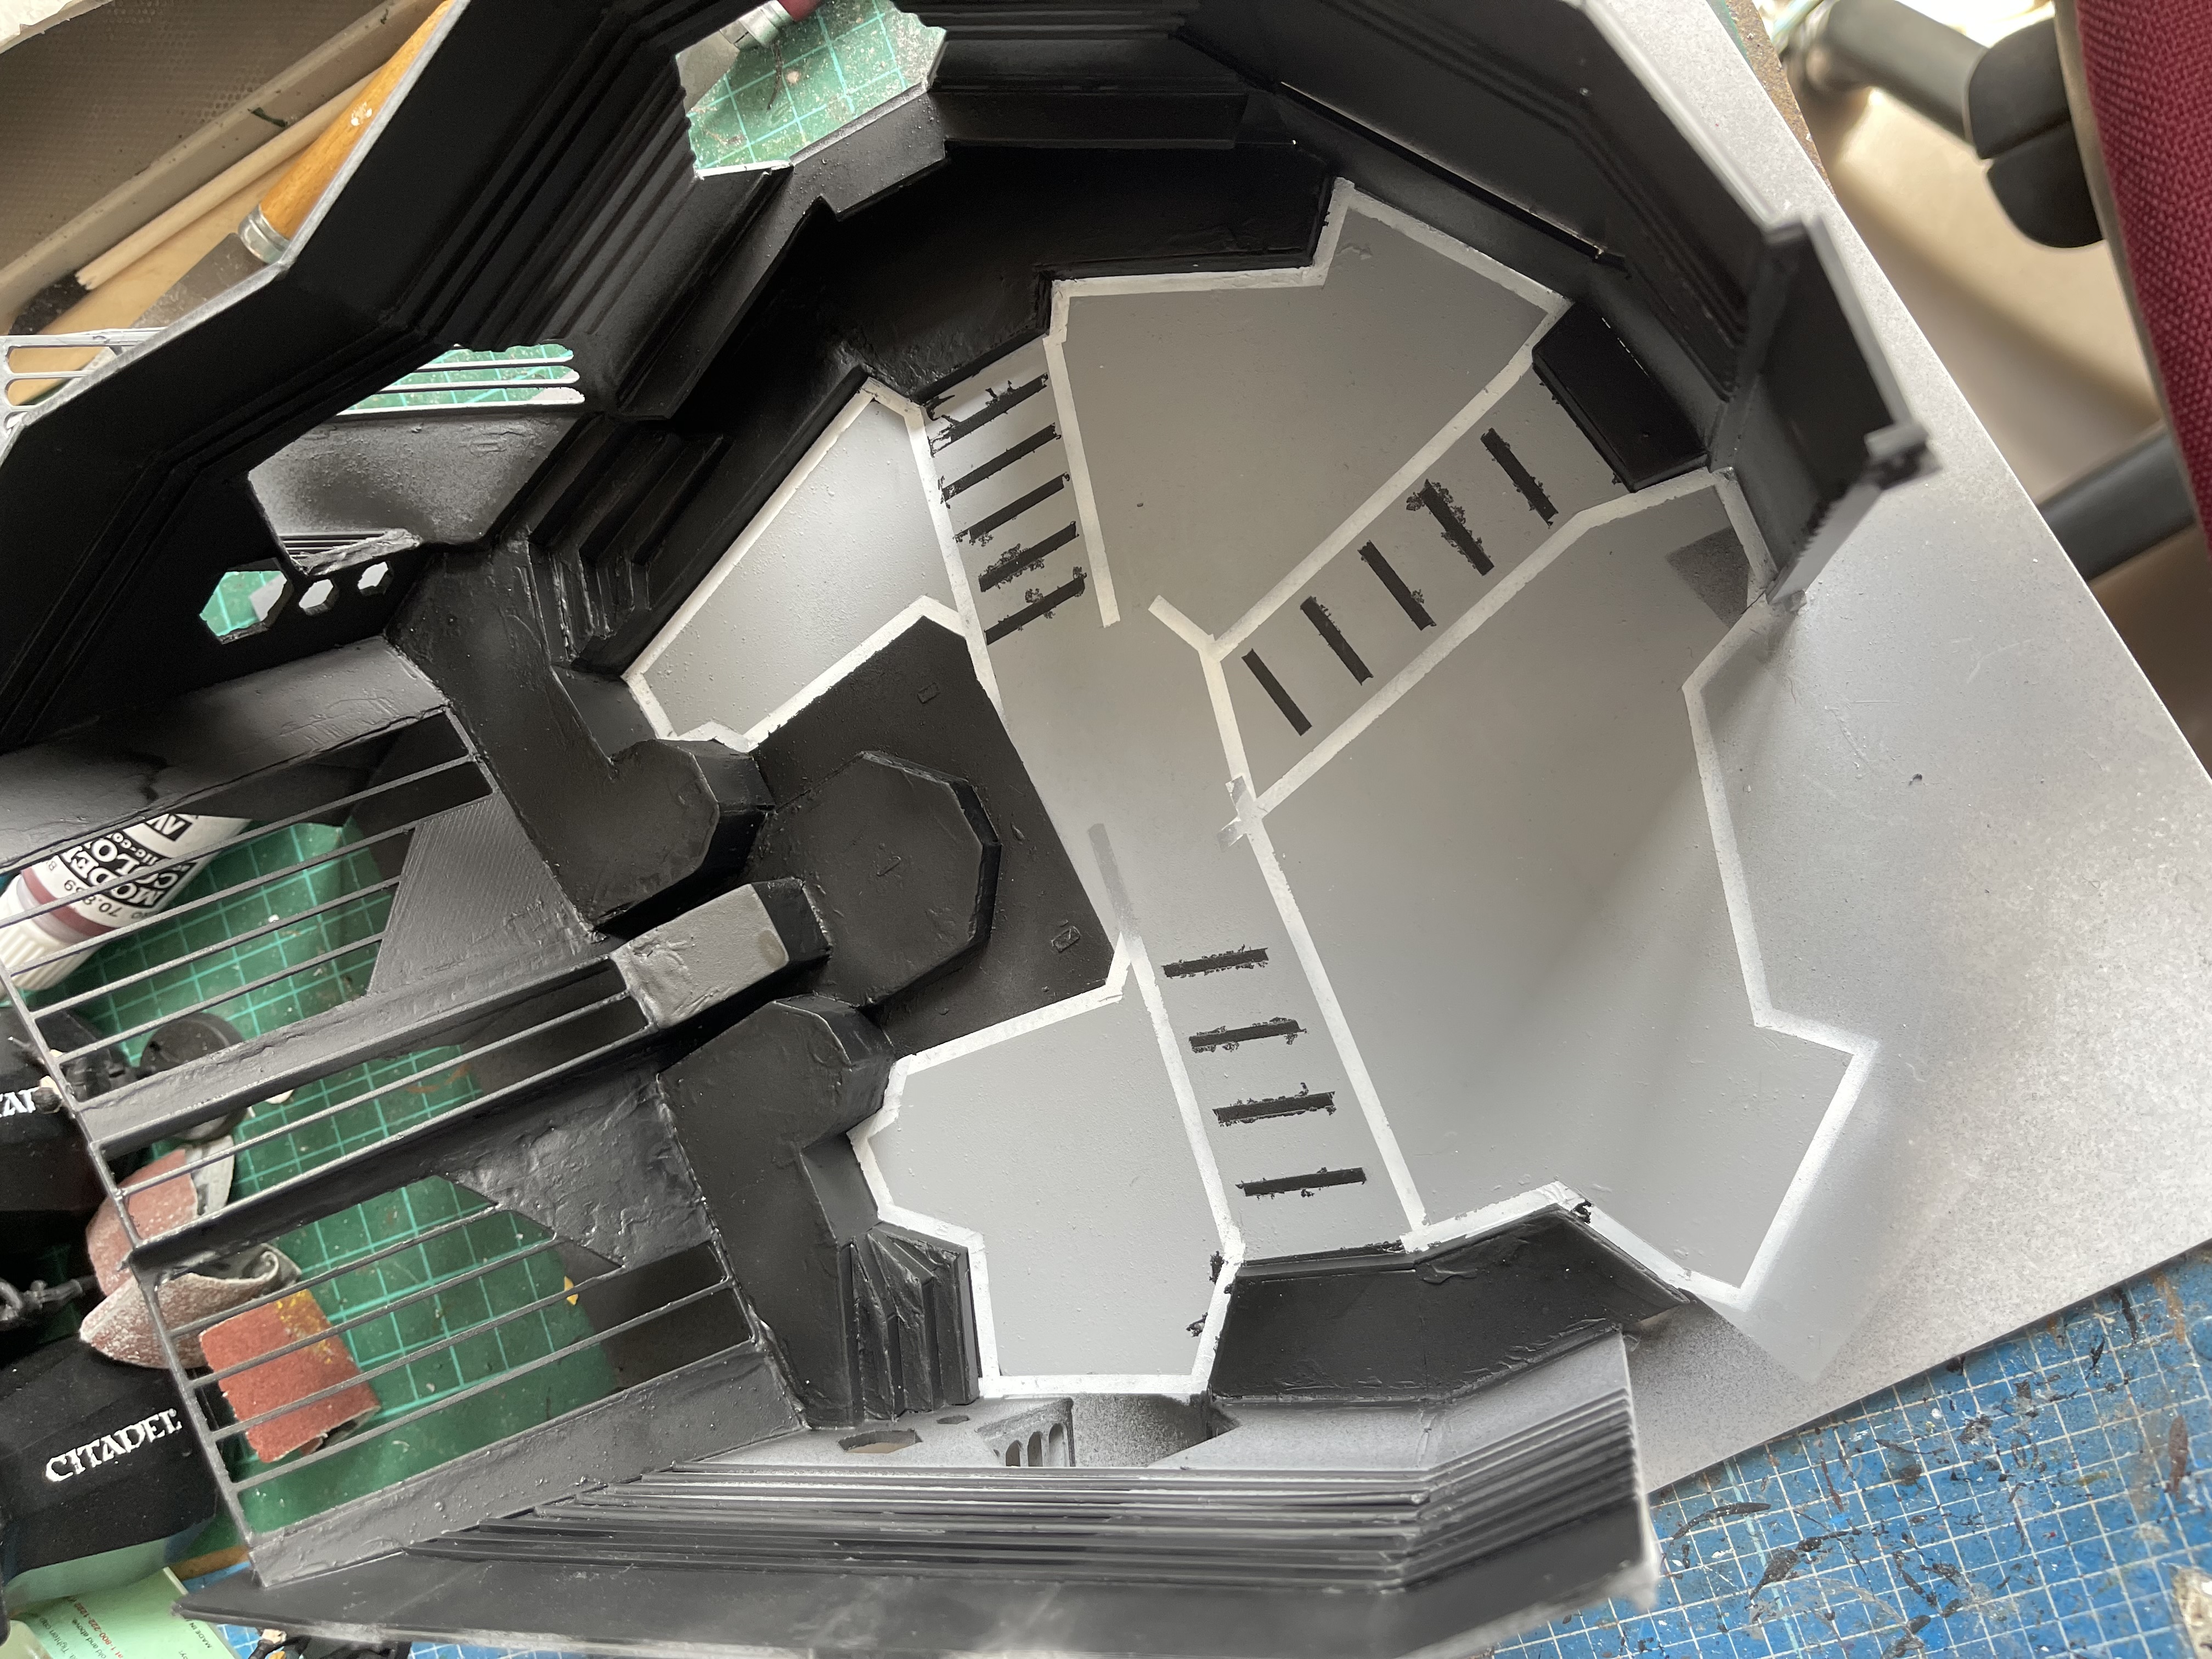
Now that the construction is mainly complete, I painted the white lines on the floor and then masked them off and painted the floor grey and then masked that off and painted the black lines. This didnt turn out as neat as I was hoping and I had to tidy this up with a brush.
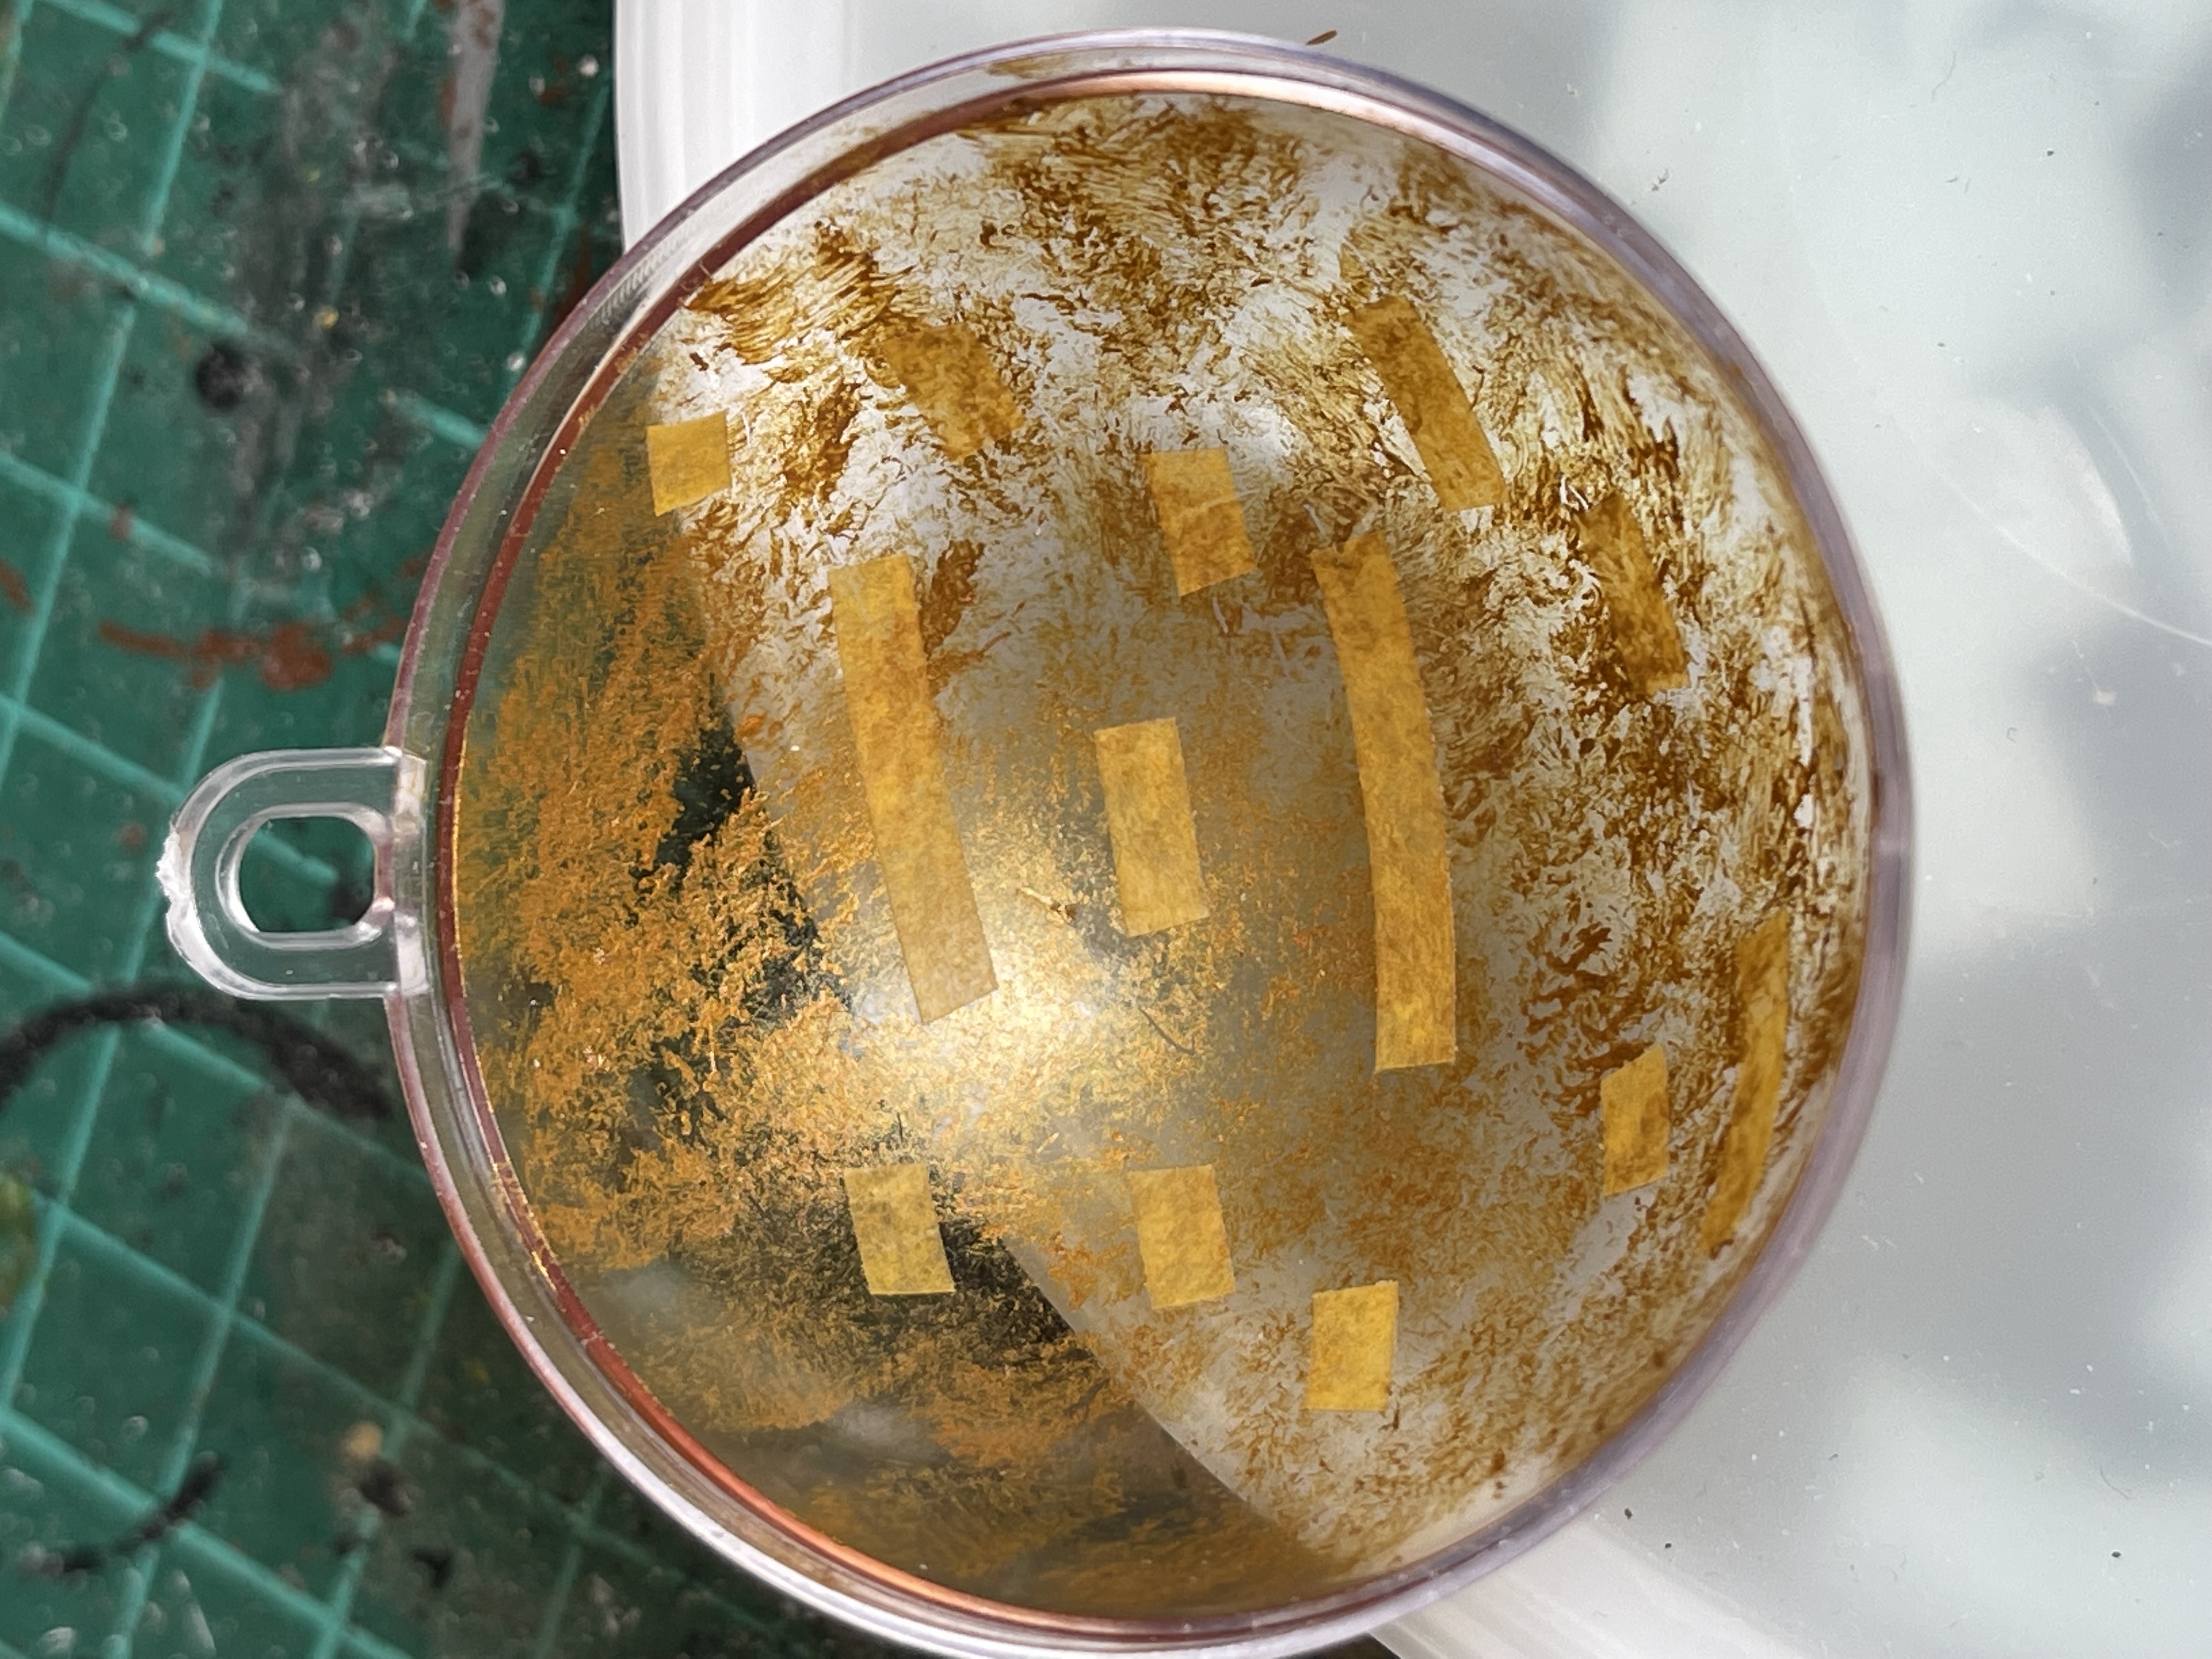
I thought it was time to start work on Zen. I wanted this to light up as well as look the part, I started with some acrylic spheres from amazon which come in halves, they are intended as Christmas decorations. I stippled some gold paint on the inside and then masked off some lines and squares and then painted black over the rest.
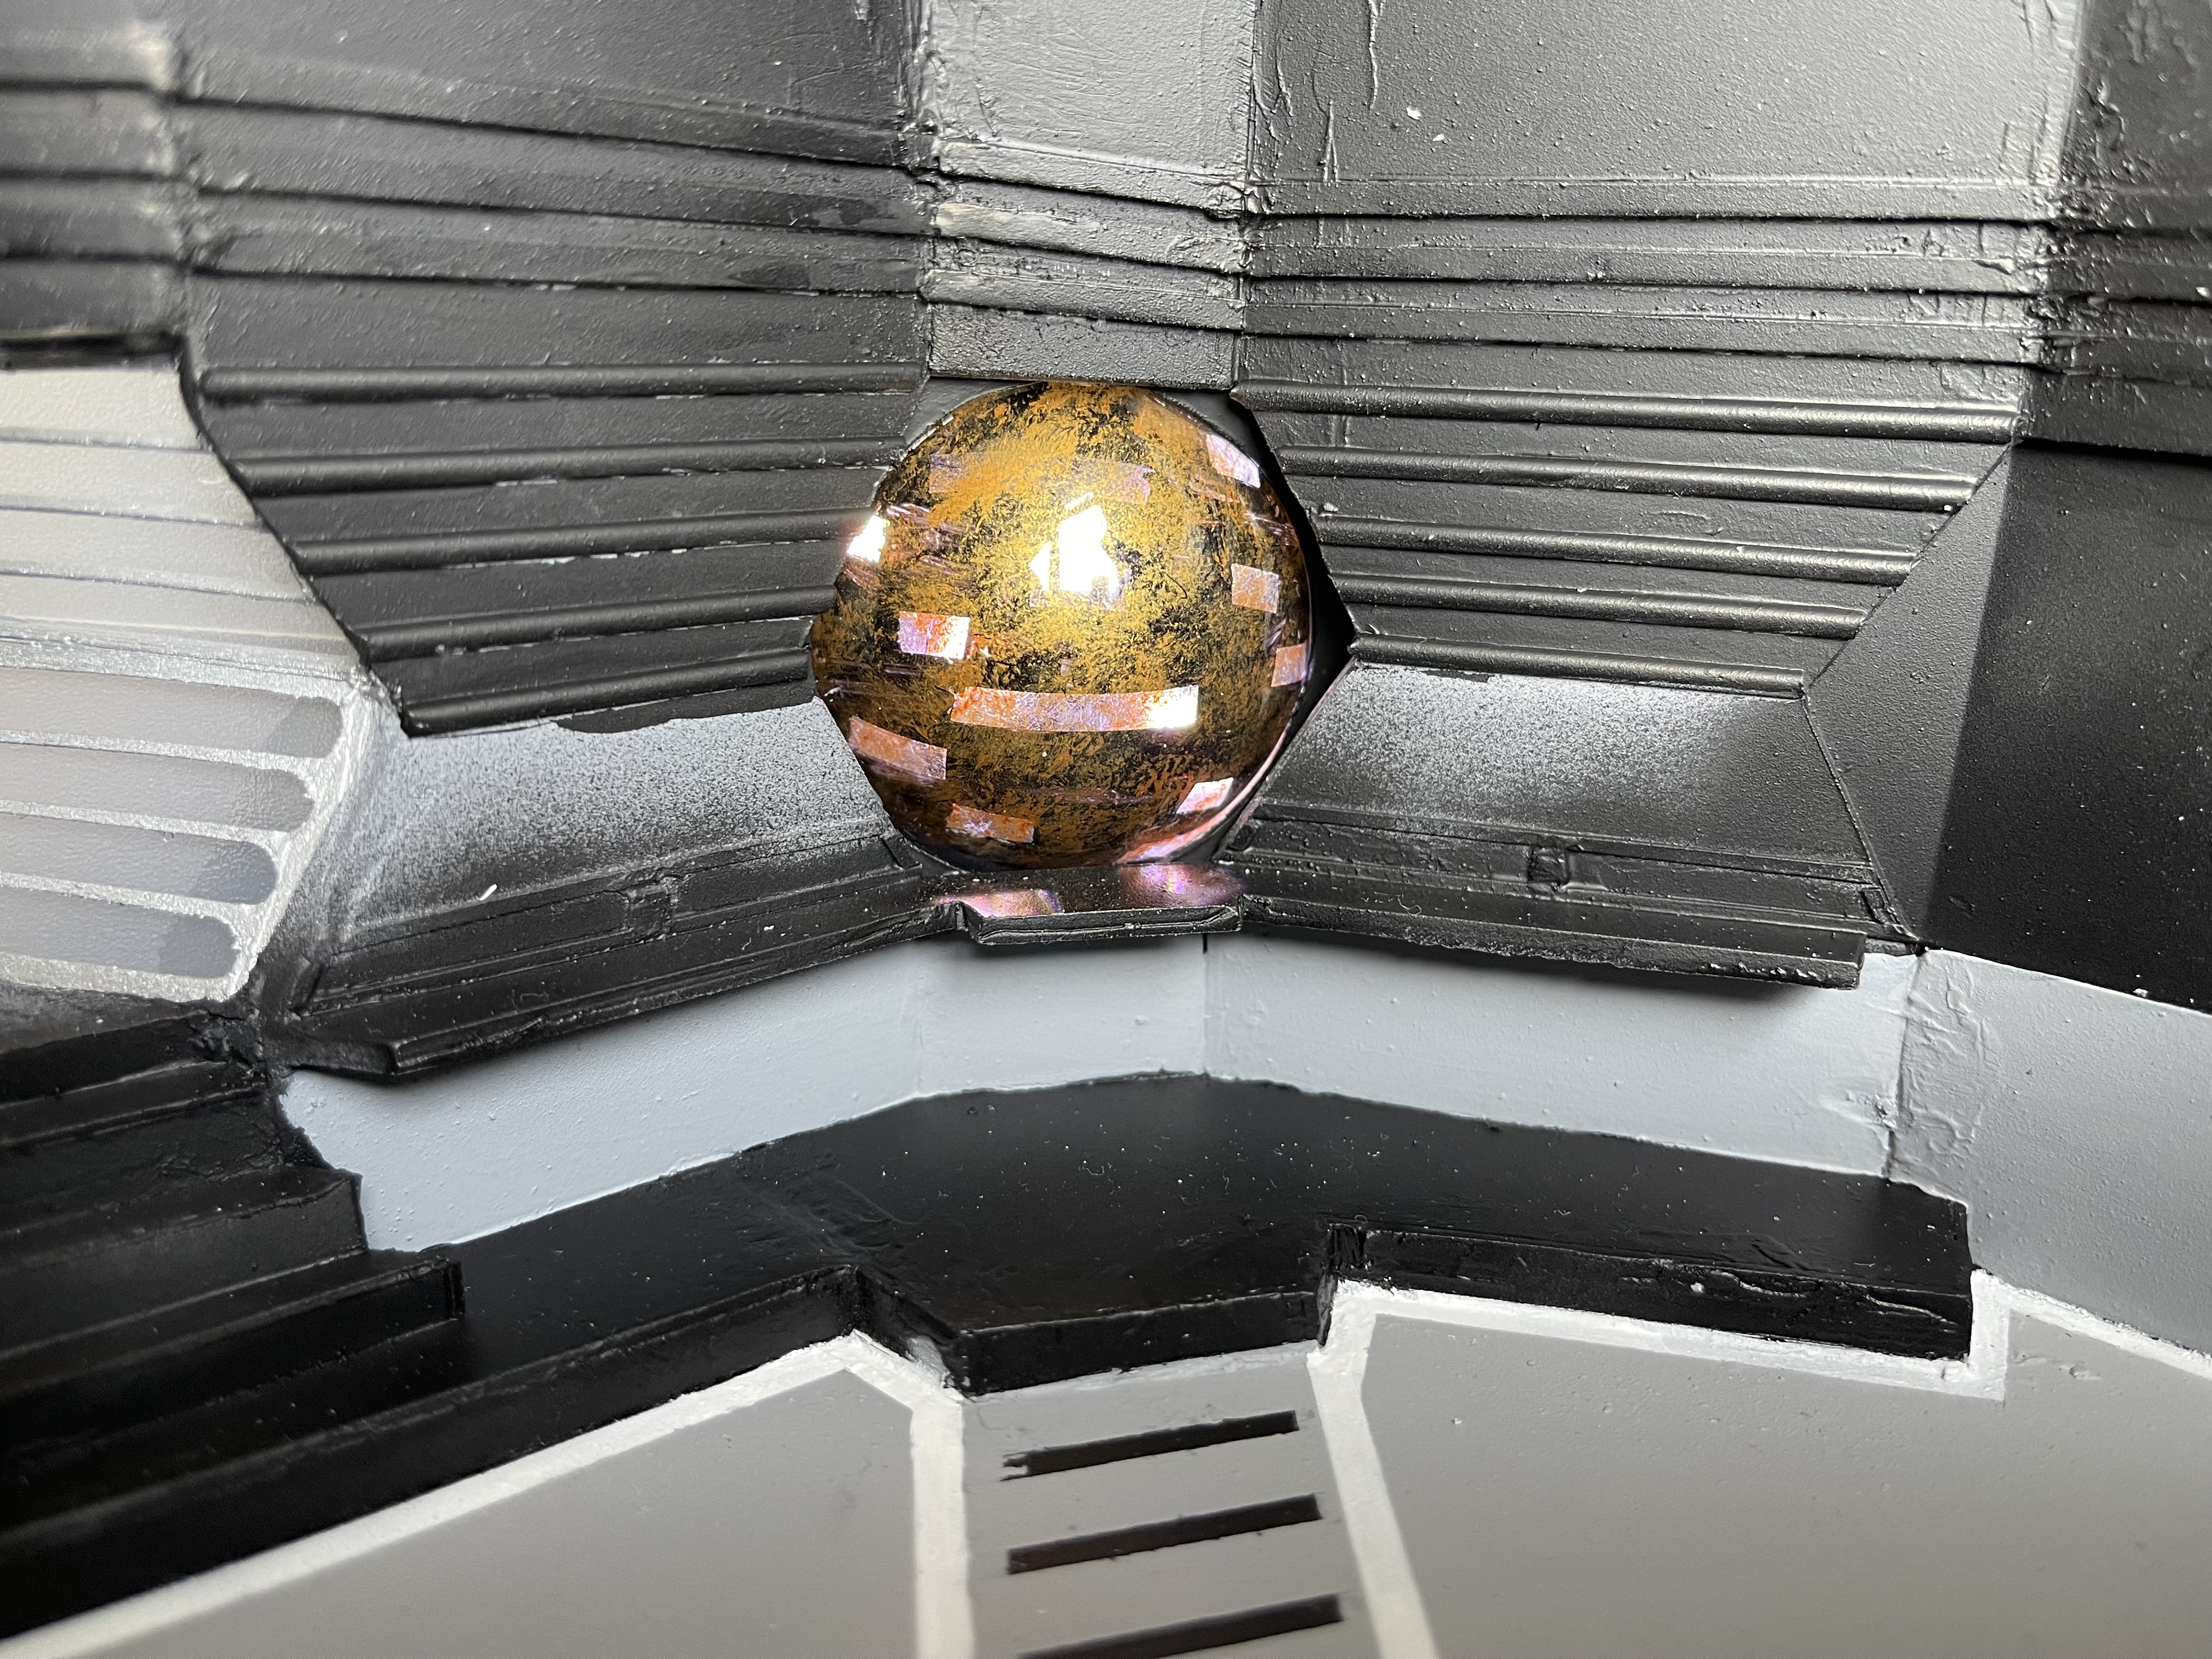

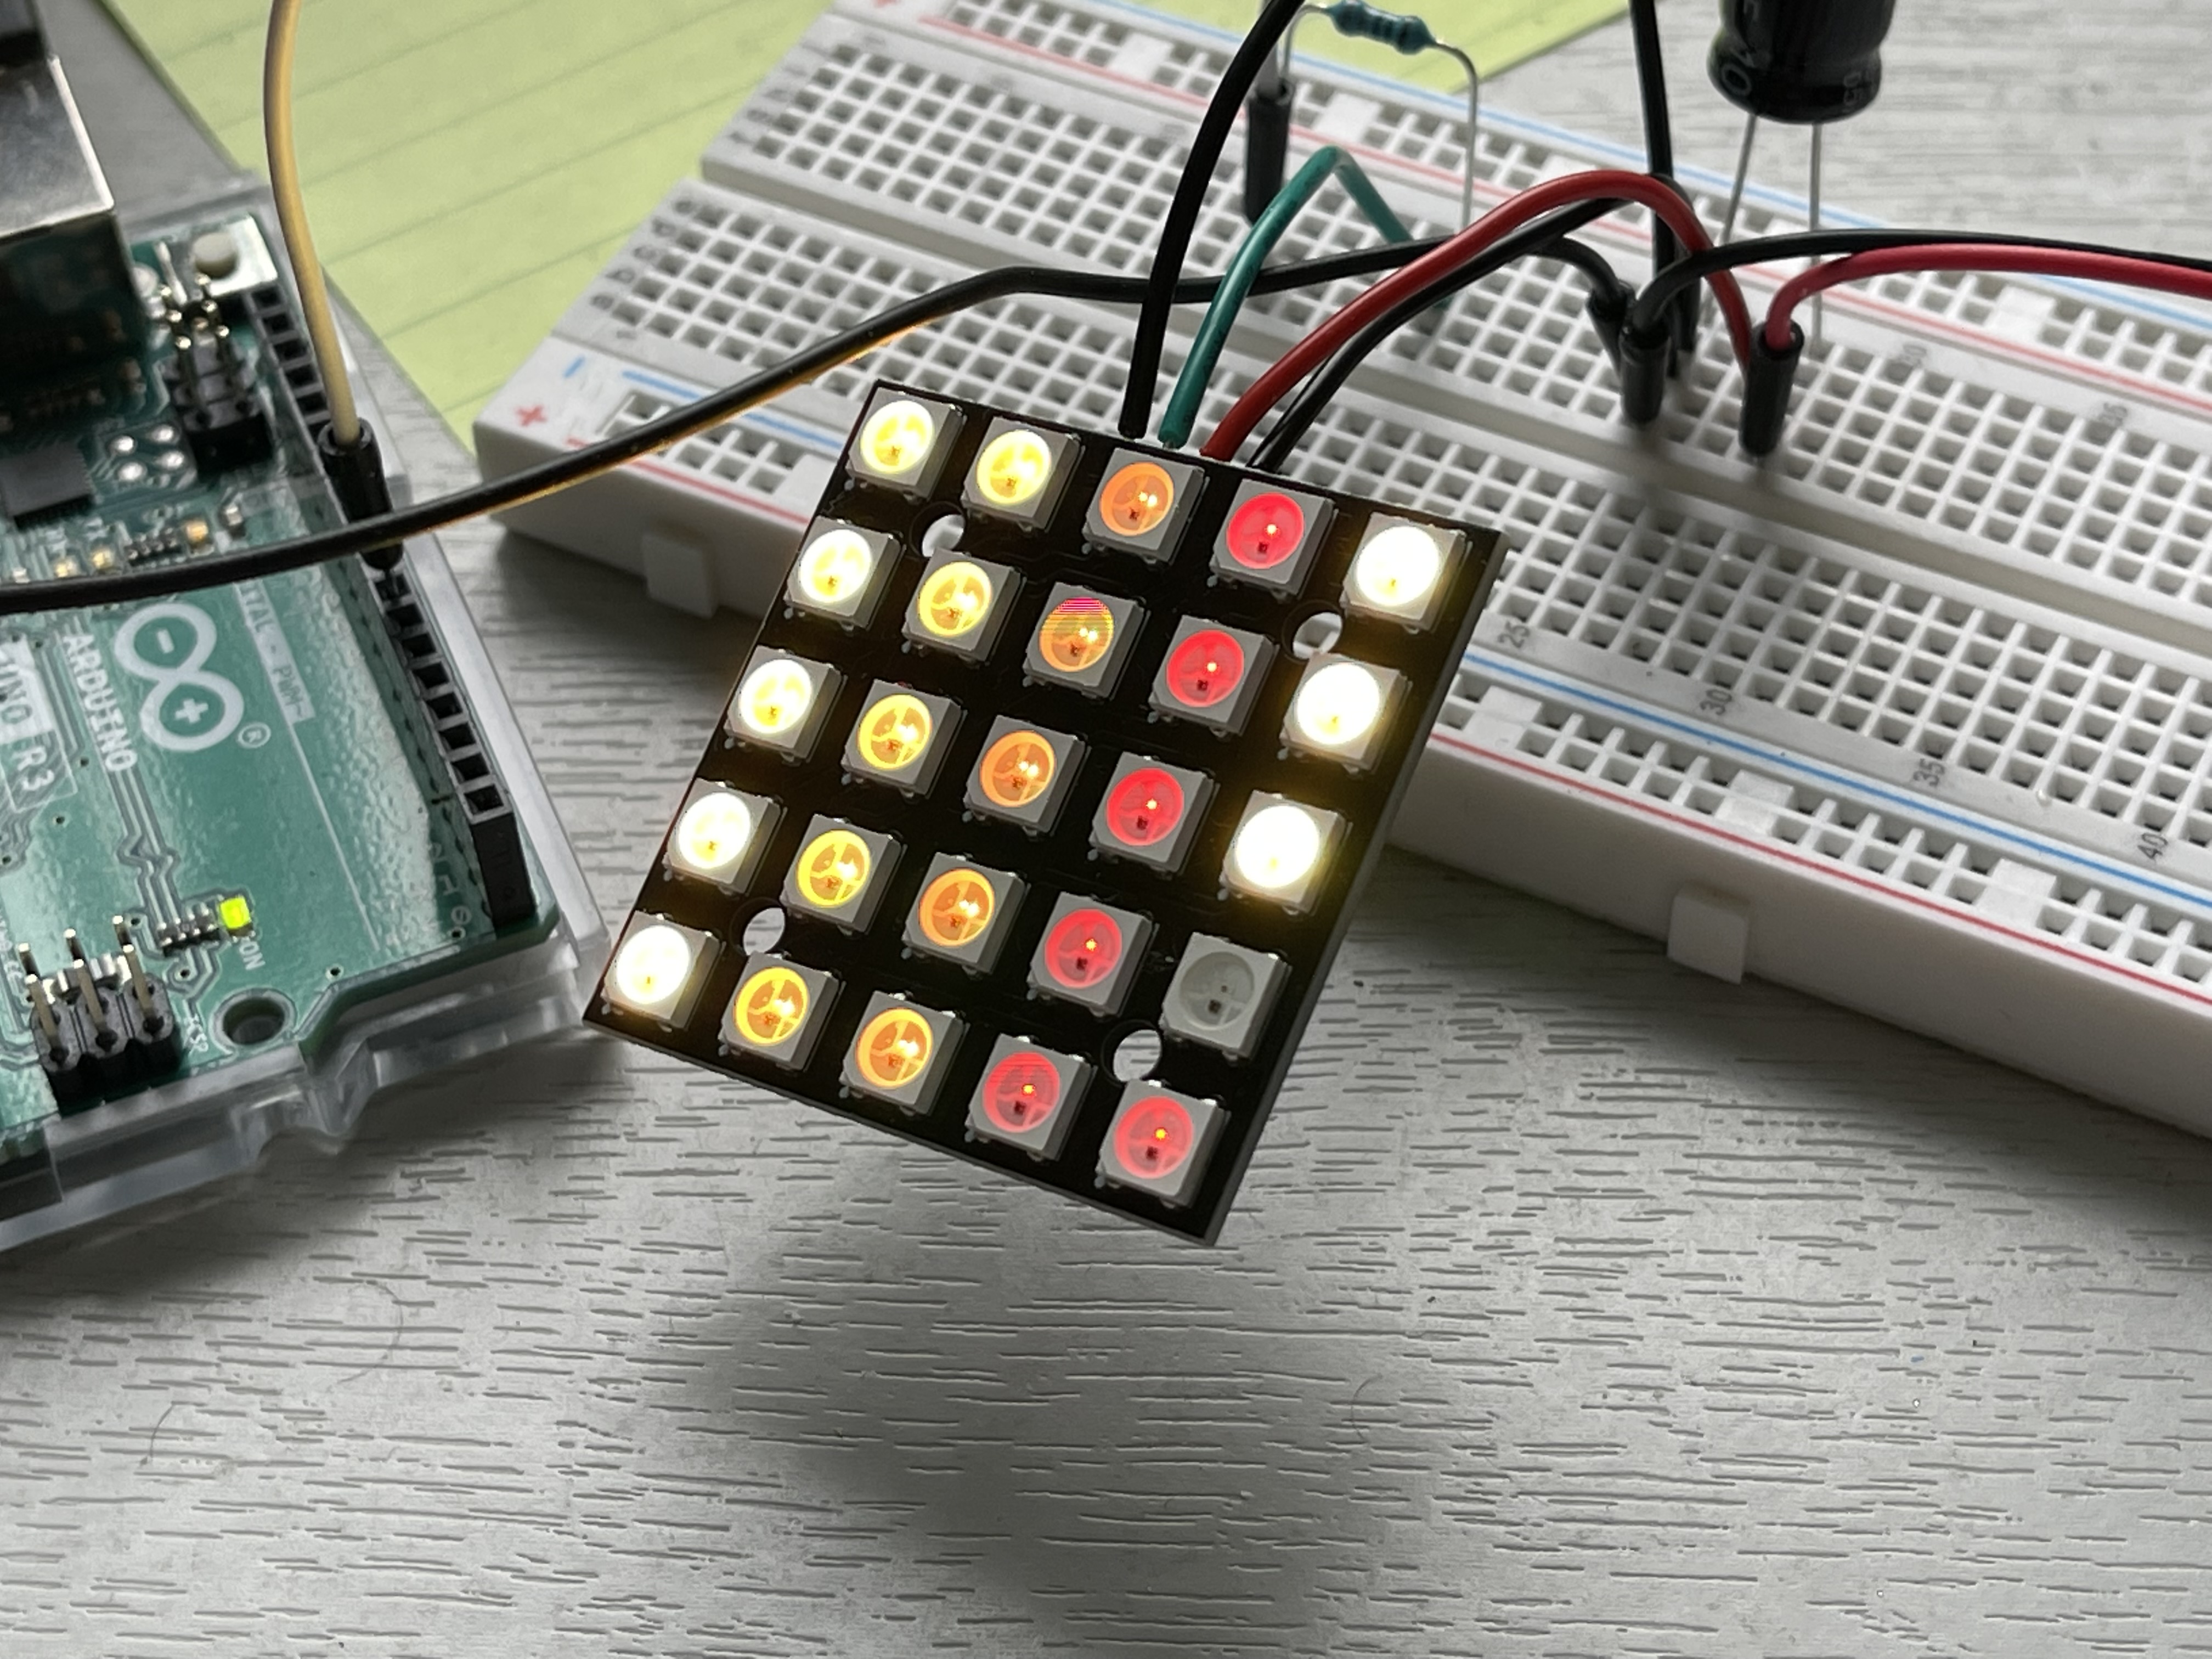
The electronics behind Zen are WS2812B led’s on 8×8 matrix panel (I have ordered a smaller one to see if I like that better), controlled via an arduino uno with 1000uf capacitor in parallel with a 5v power supply and 330 ohm resistor in the command line from the arduino. I had to do some fairly basic programming to get the led’s to light up the way I wanted but it wasn’t that difficult.
The basic circuit I got from this guy’s web site as I no electrionics wiz
https://cohenelectronics.net/led-matrix-arduino-tutorial/
The main problem I had was other led’s were flickering when the ones I wanted were lighting up and after a lot of googling I finally found the answer, I need to connect the ground wire from the arduino to the circuit to solve that.
I have ordered a smaller panel with more dense led’s and couple of others larger ones and I think these might be useful for other things as the led’s are tricoloured and you can program animations into them which may come in some other projects.
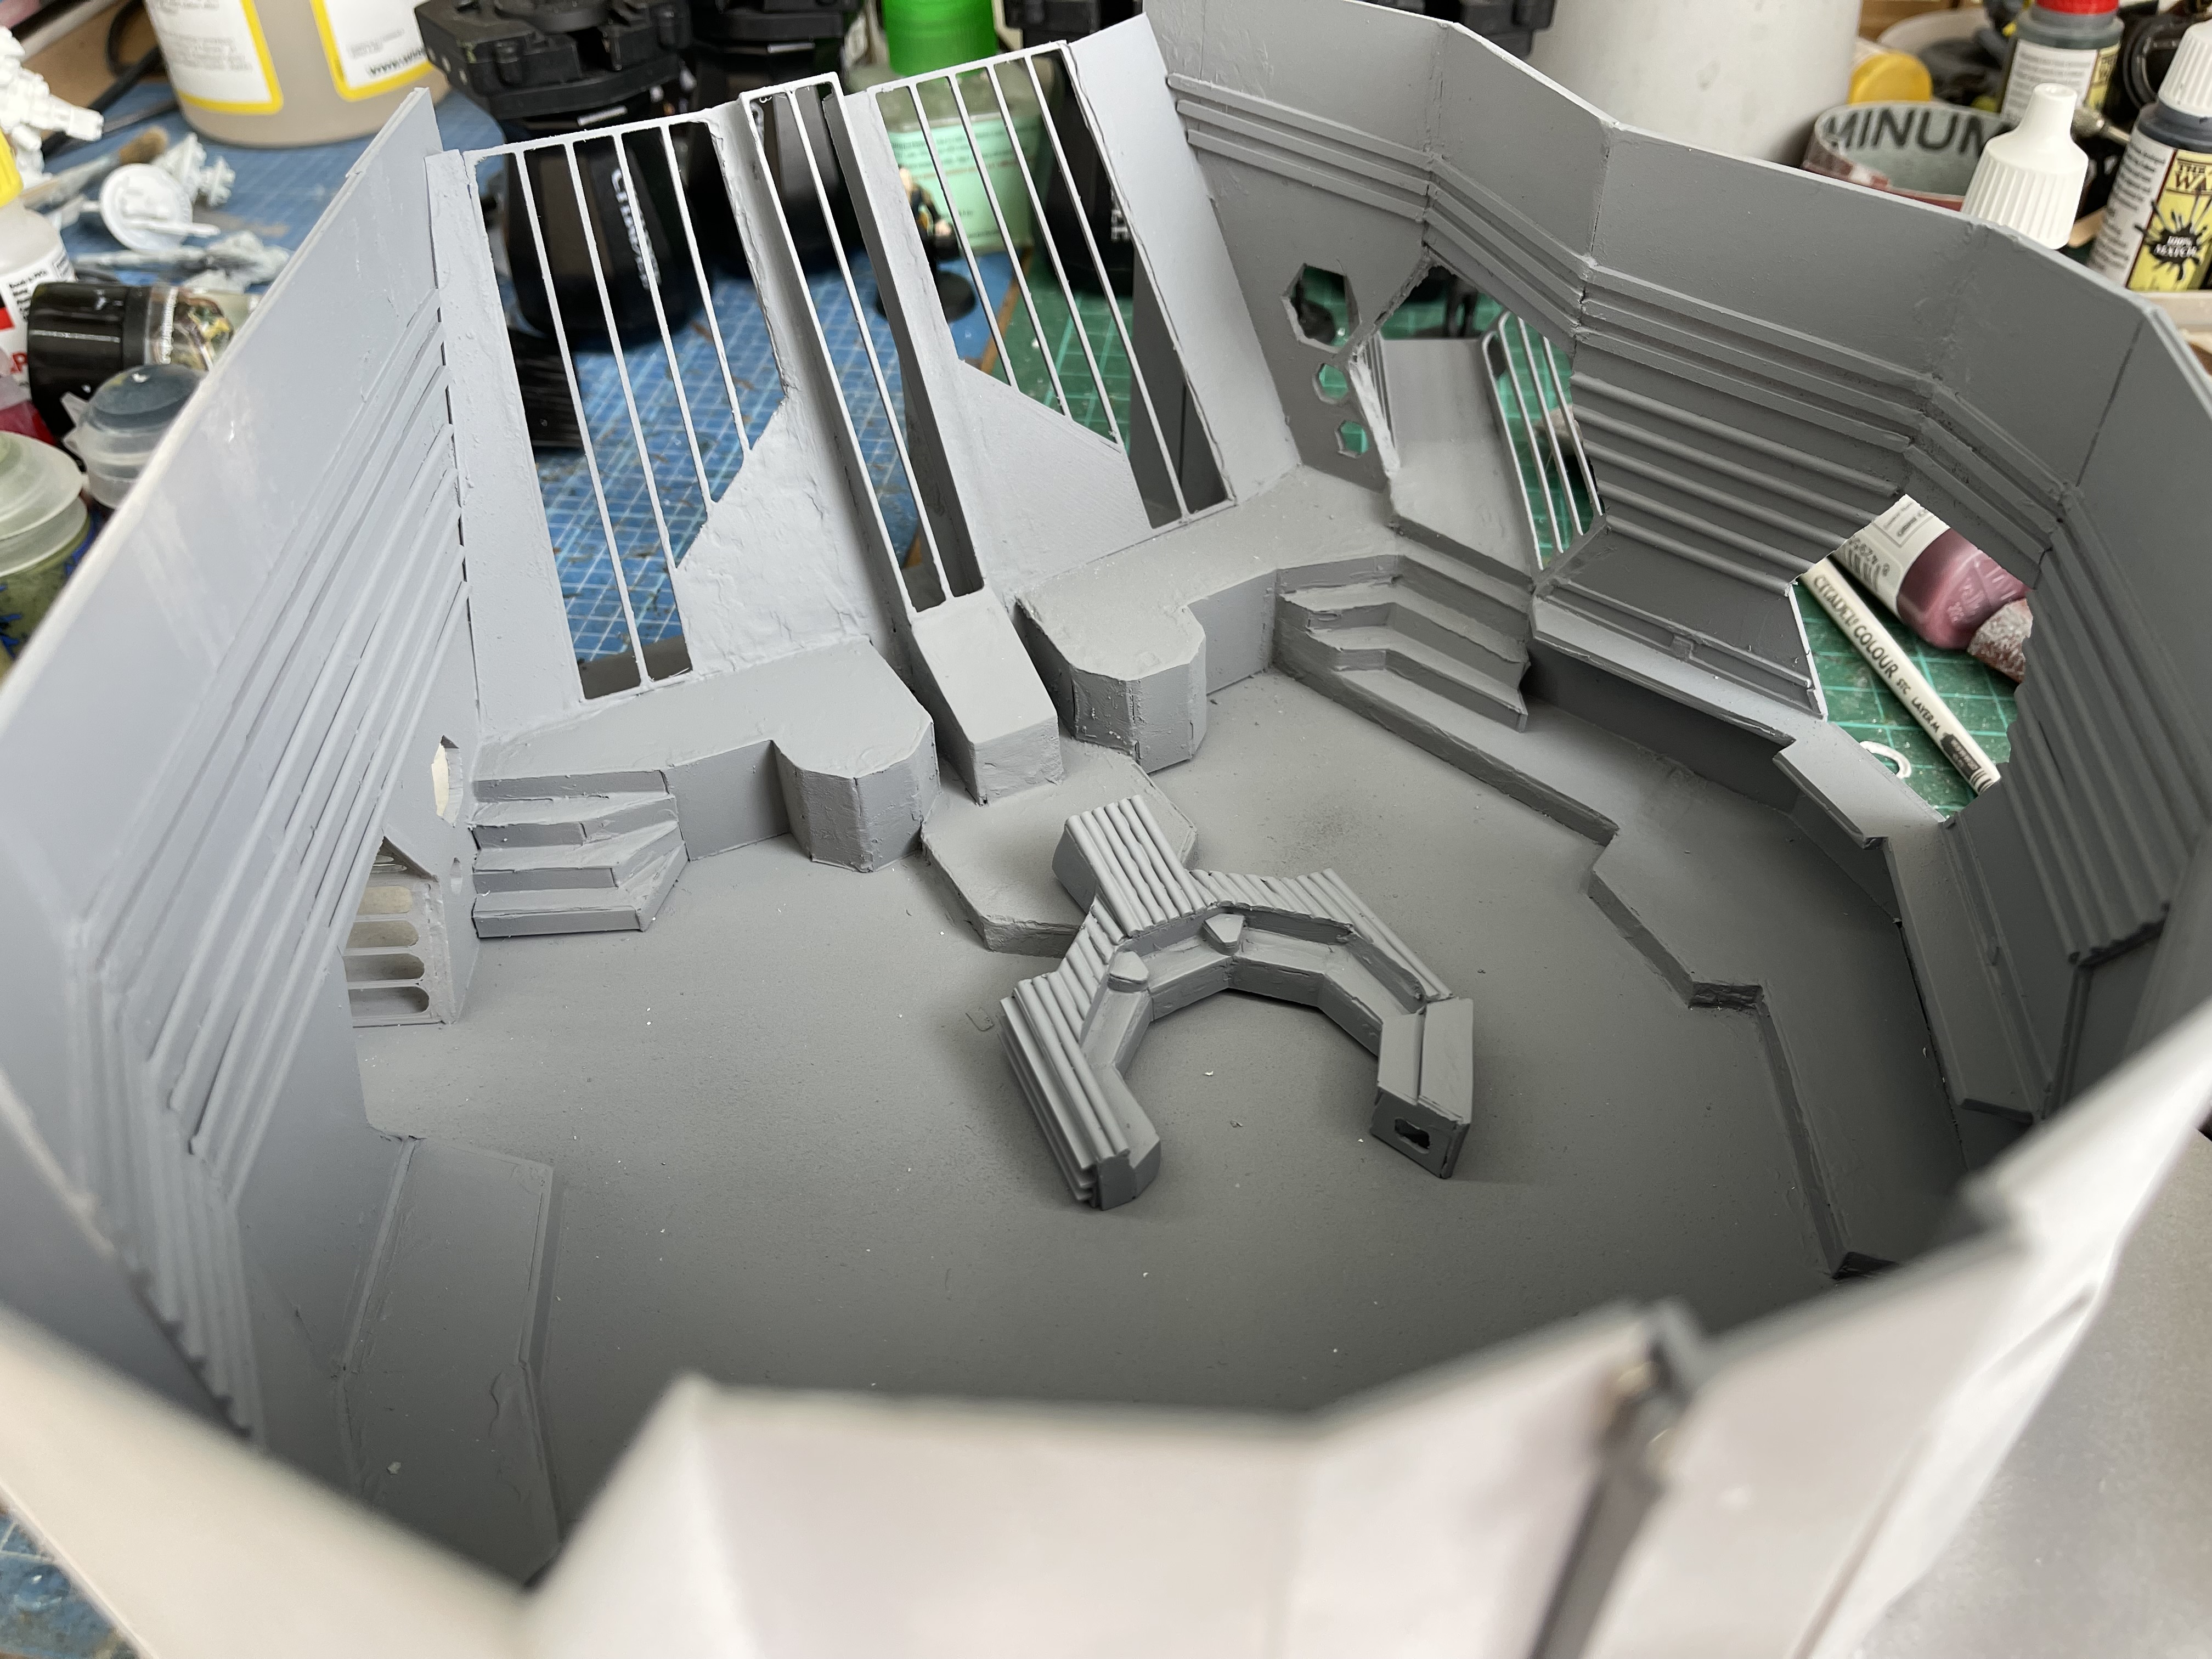
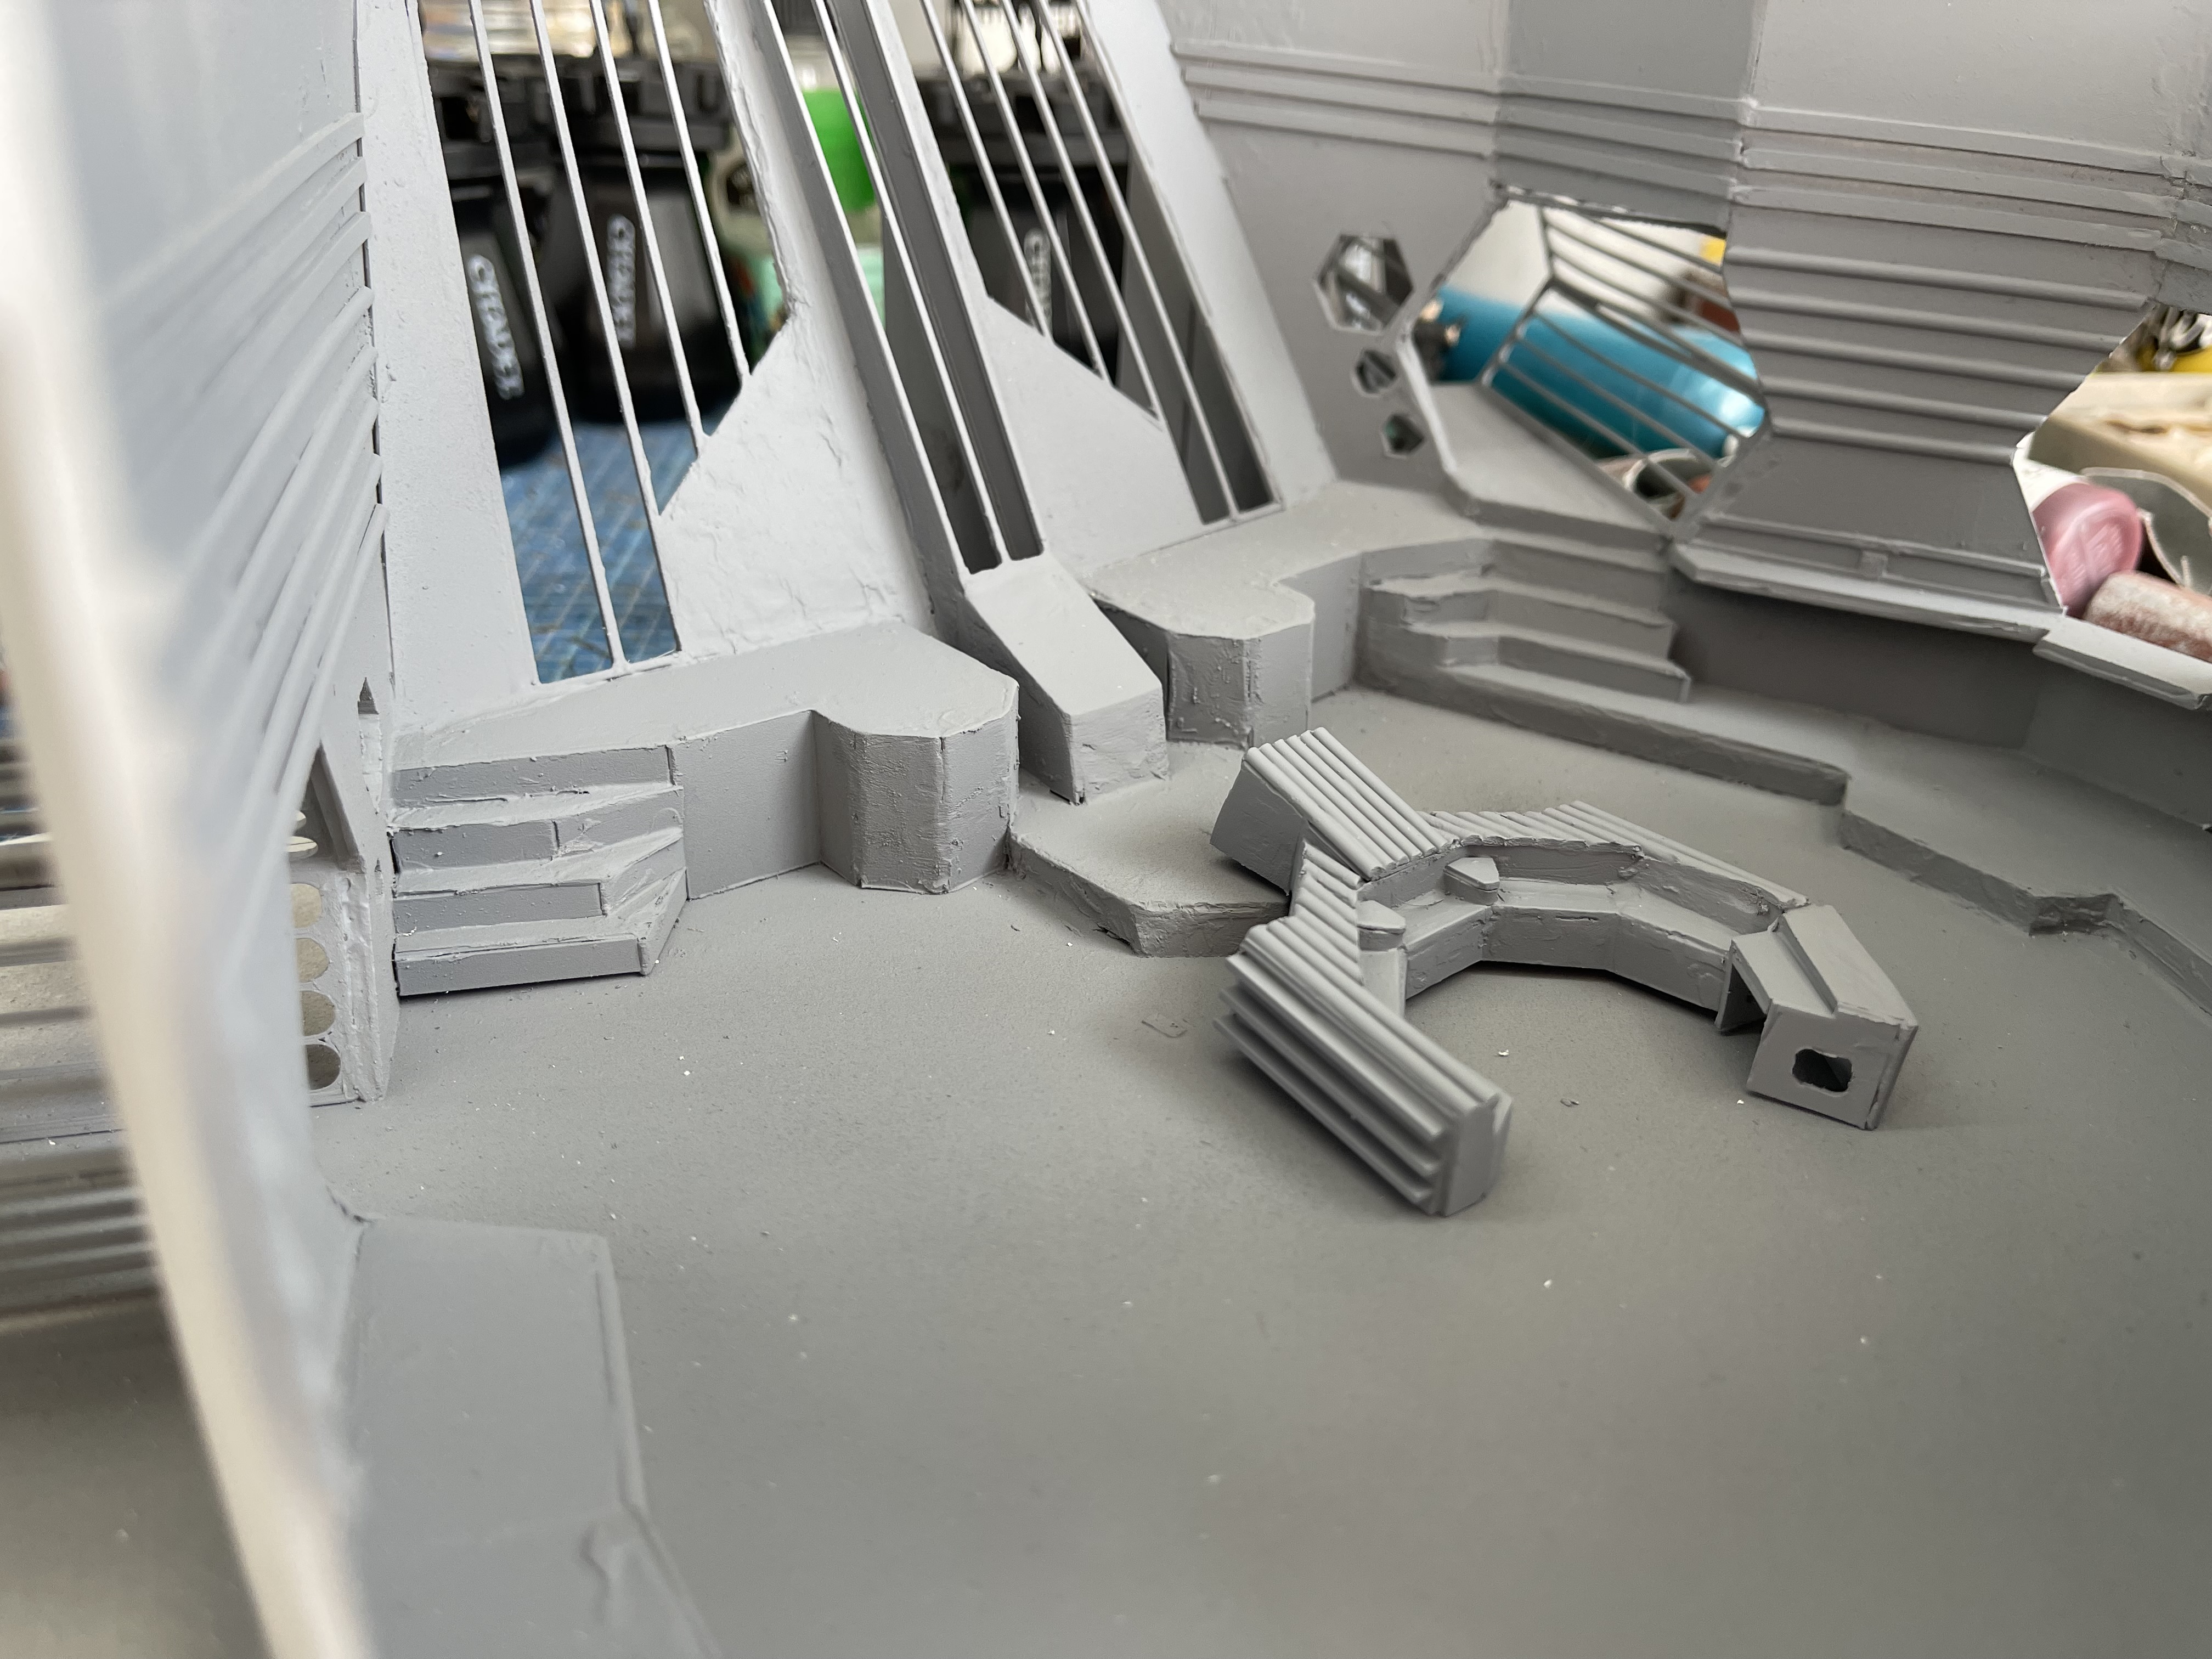
Getting some paint down
I managed to finish the construction apart from Zen and the viewscreen, I made the wall at front removable so you could get some shots at a lower level.
With the build complete I got some primer down and then filler and sanding and more primer to get things look right. Now that is down its on to some colour.
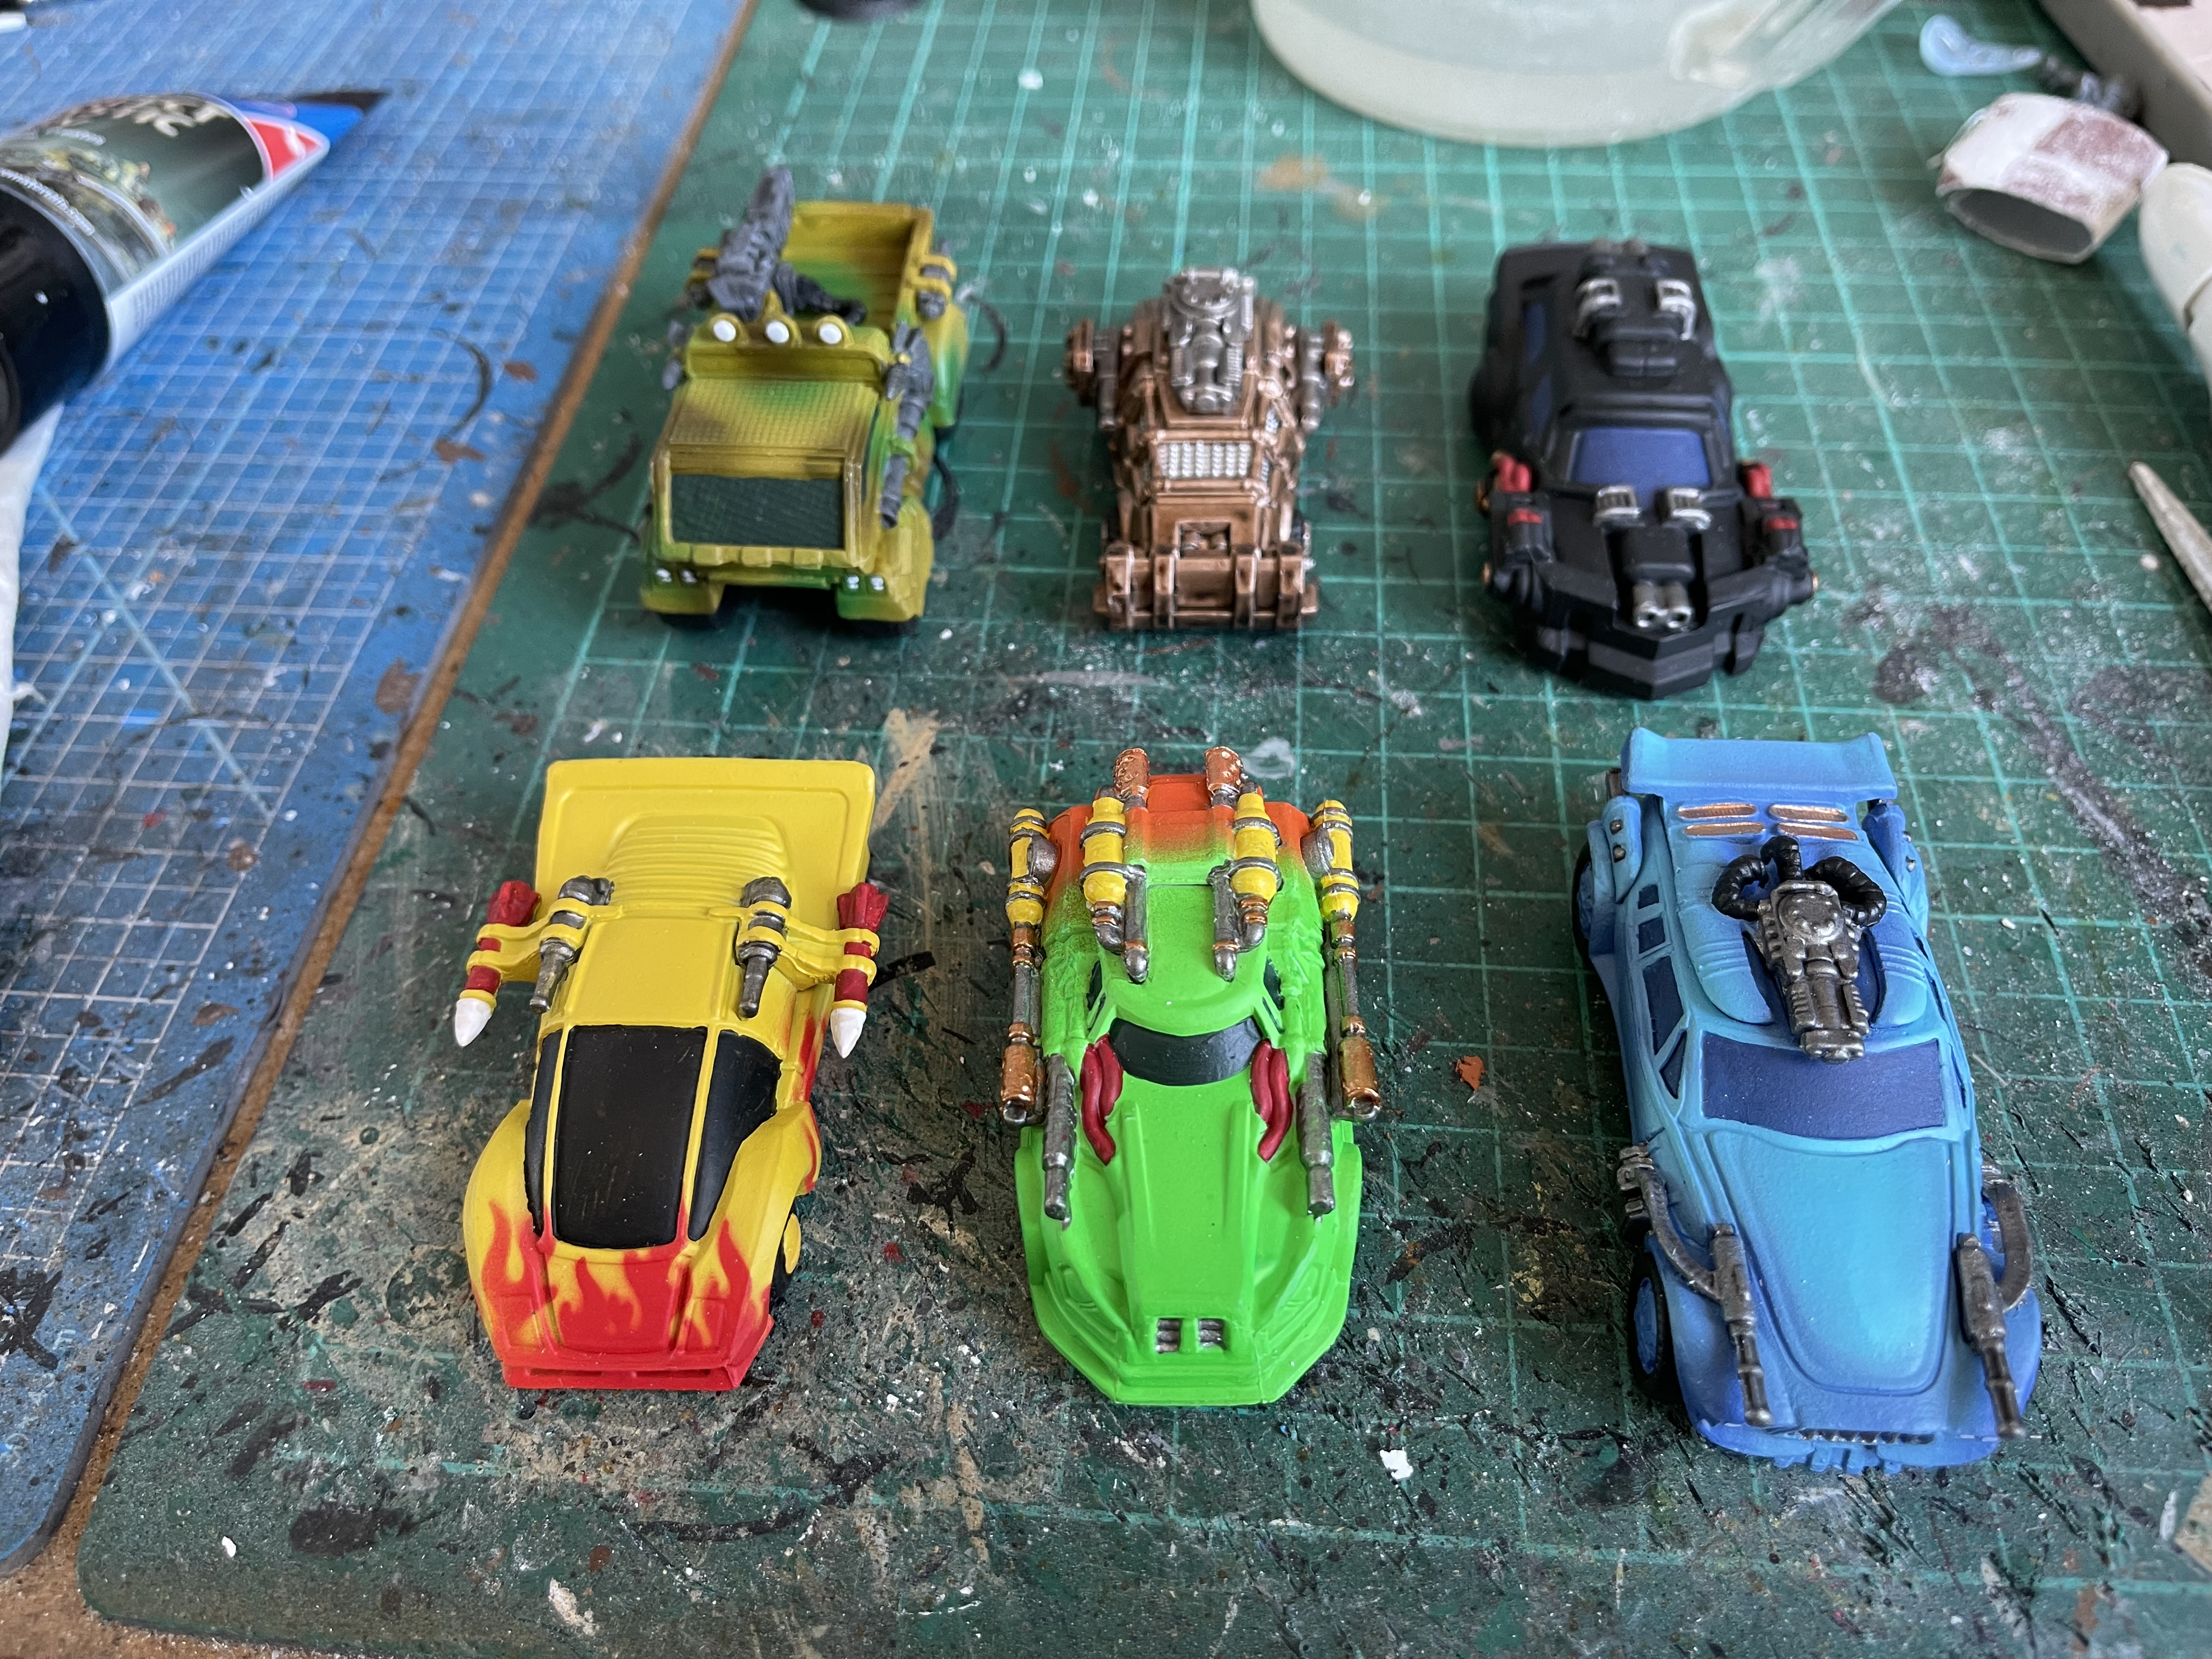
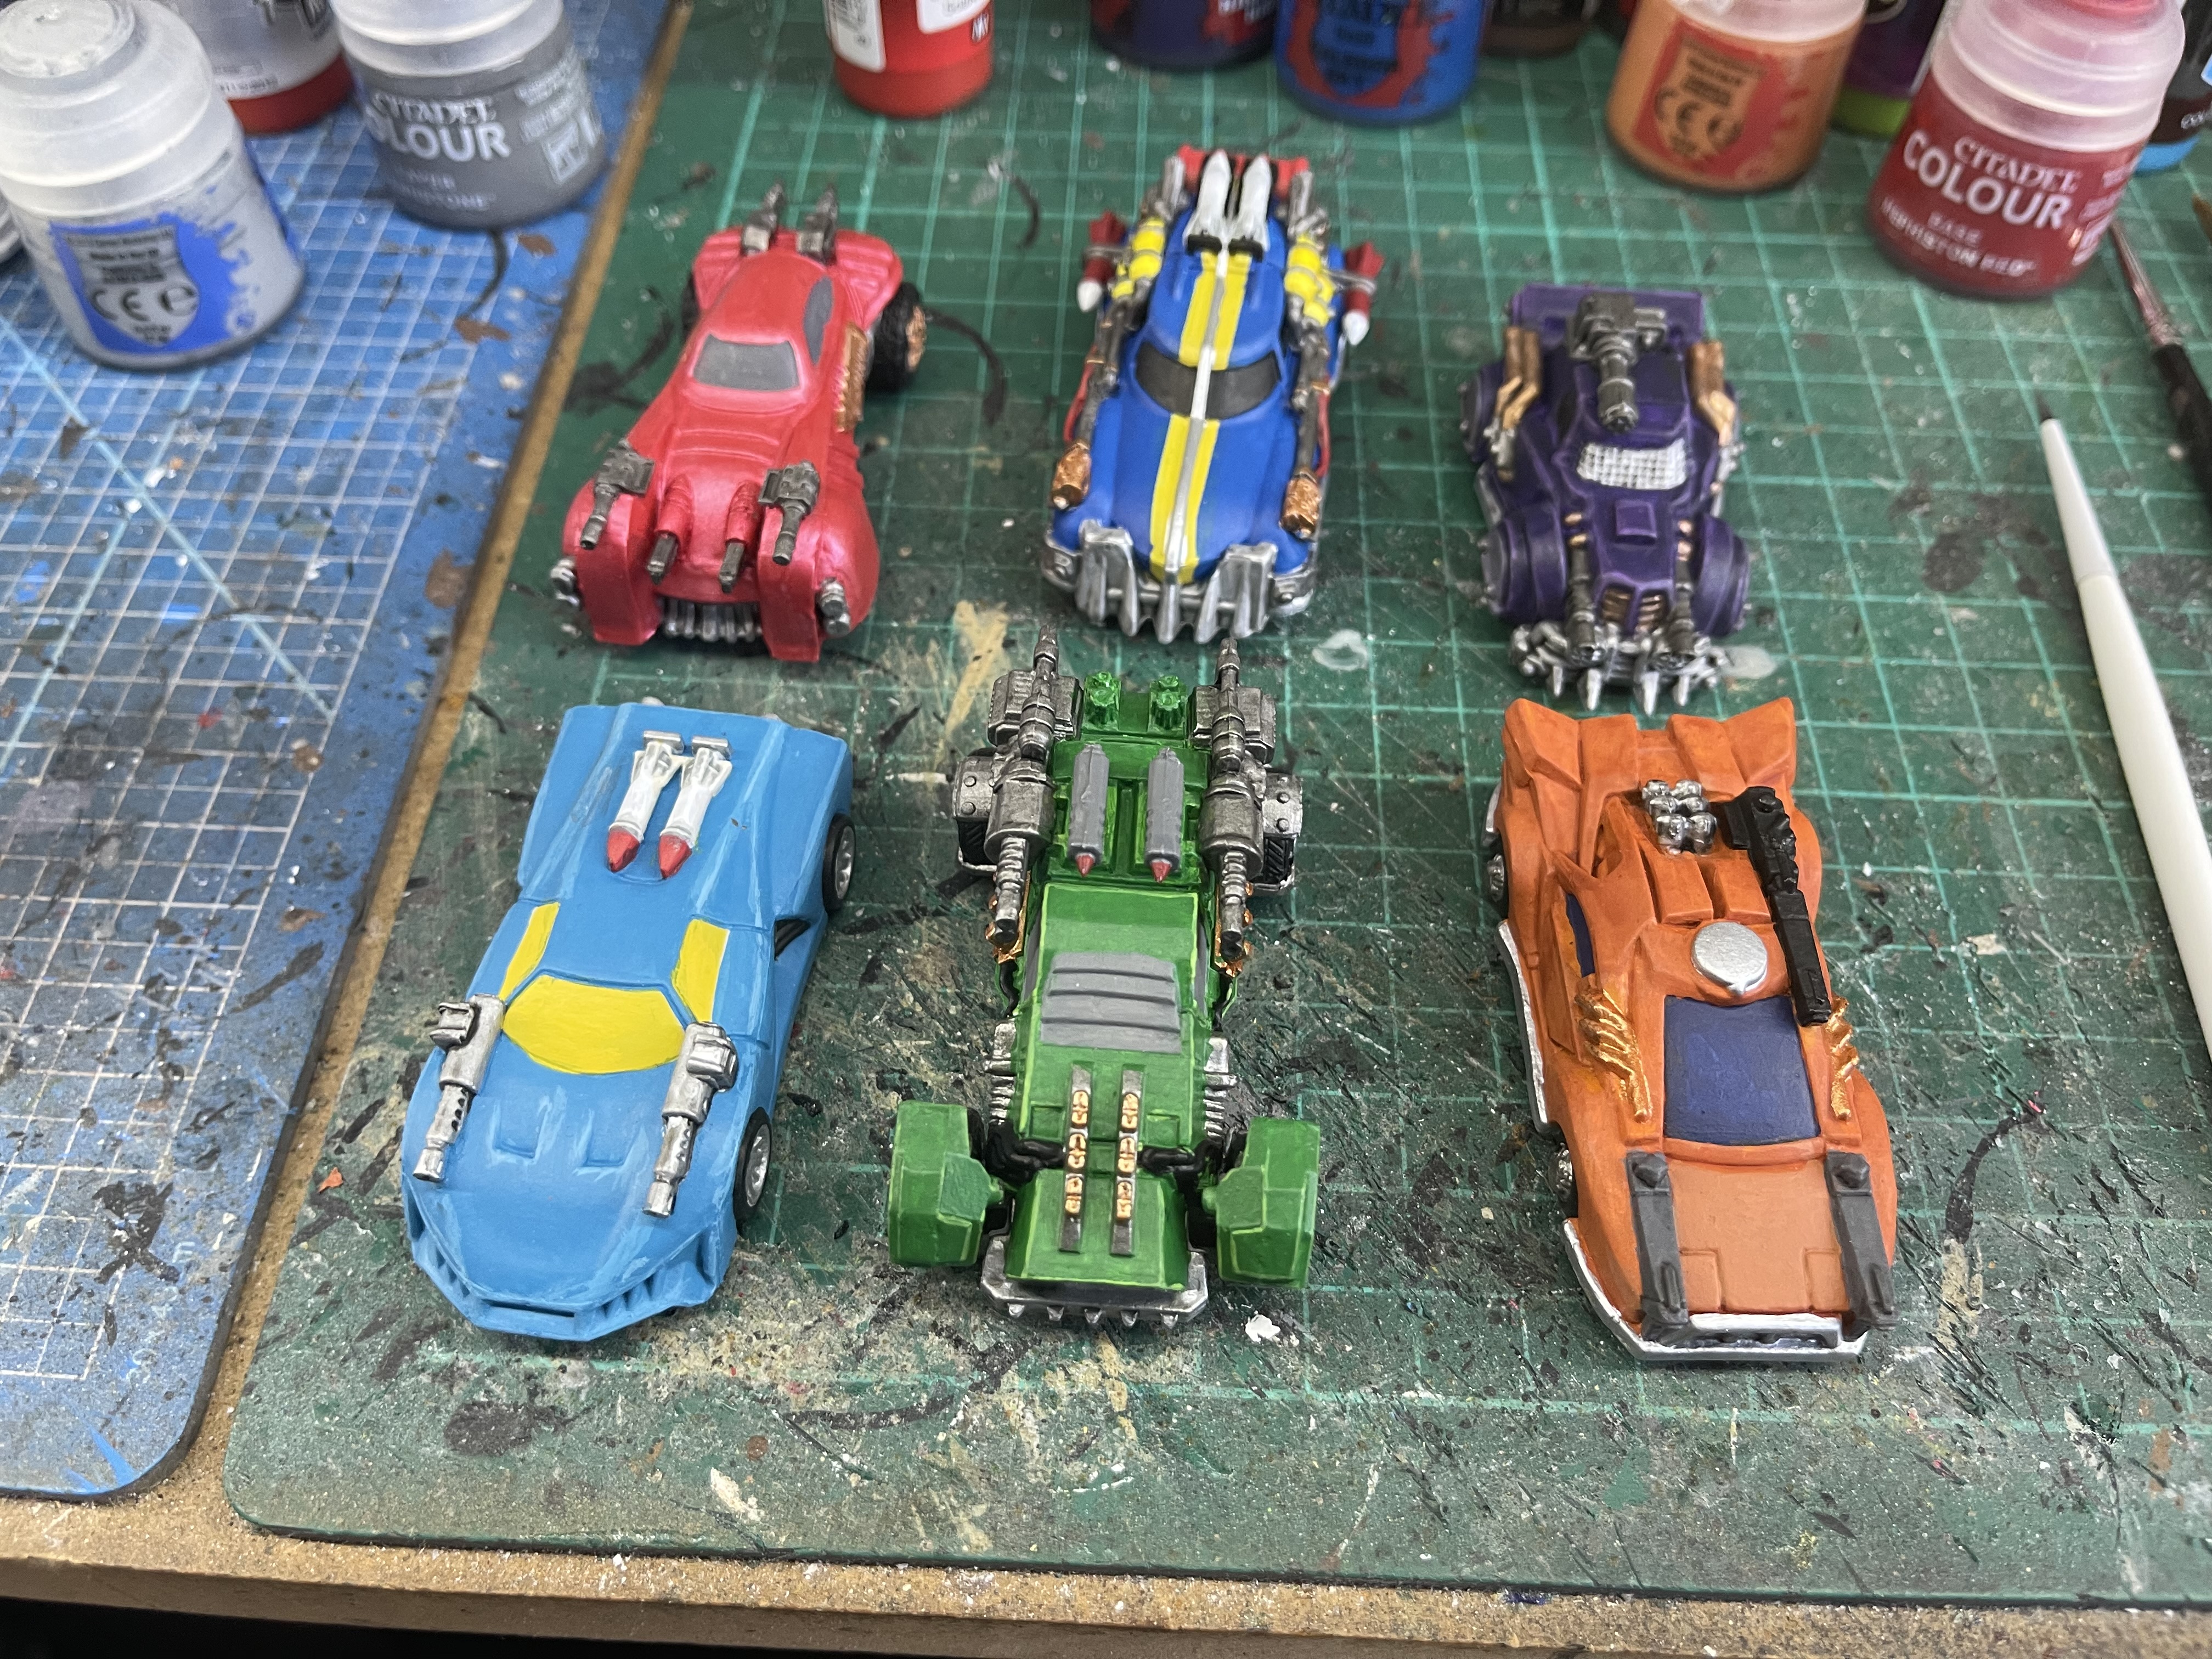
I also managed to get some more cars for car wars done.
And now for something completely different
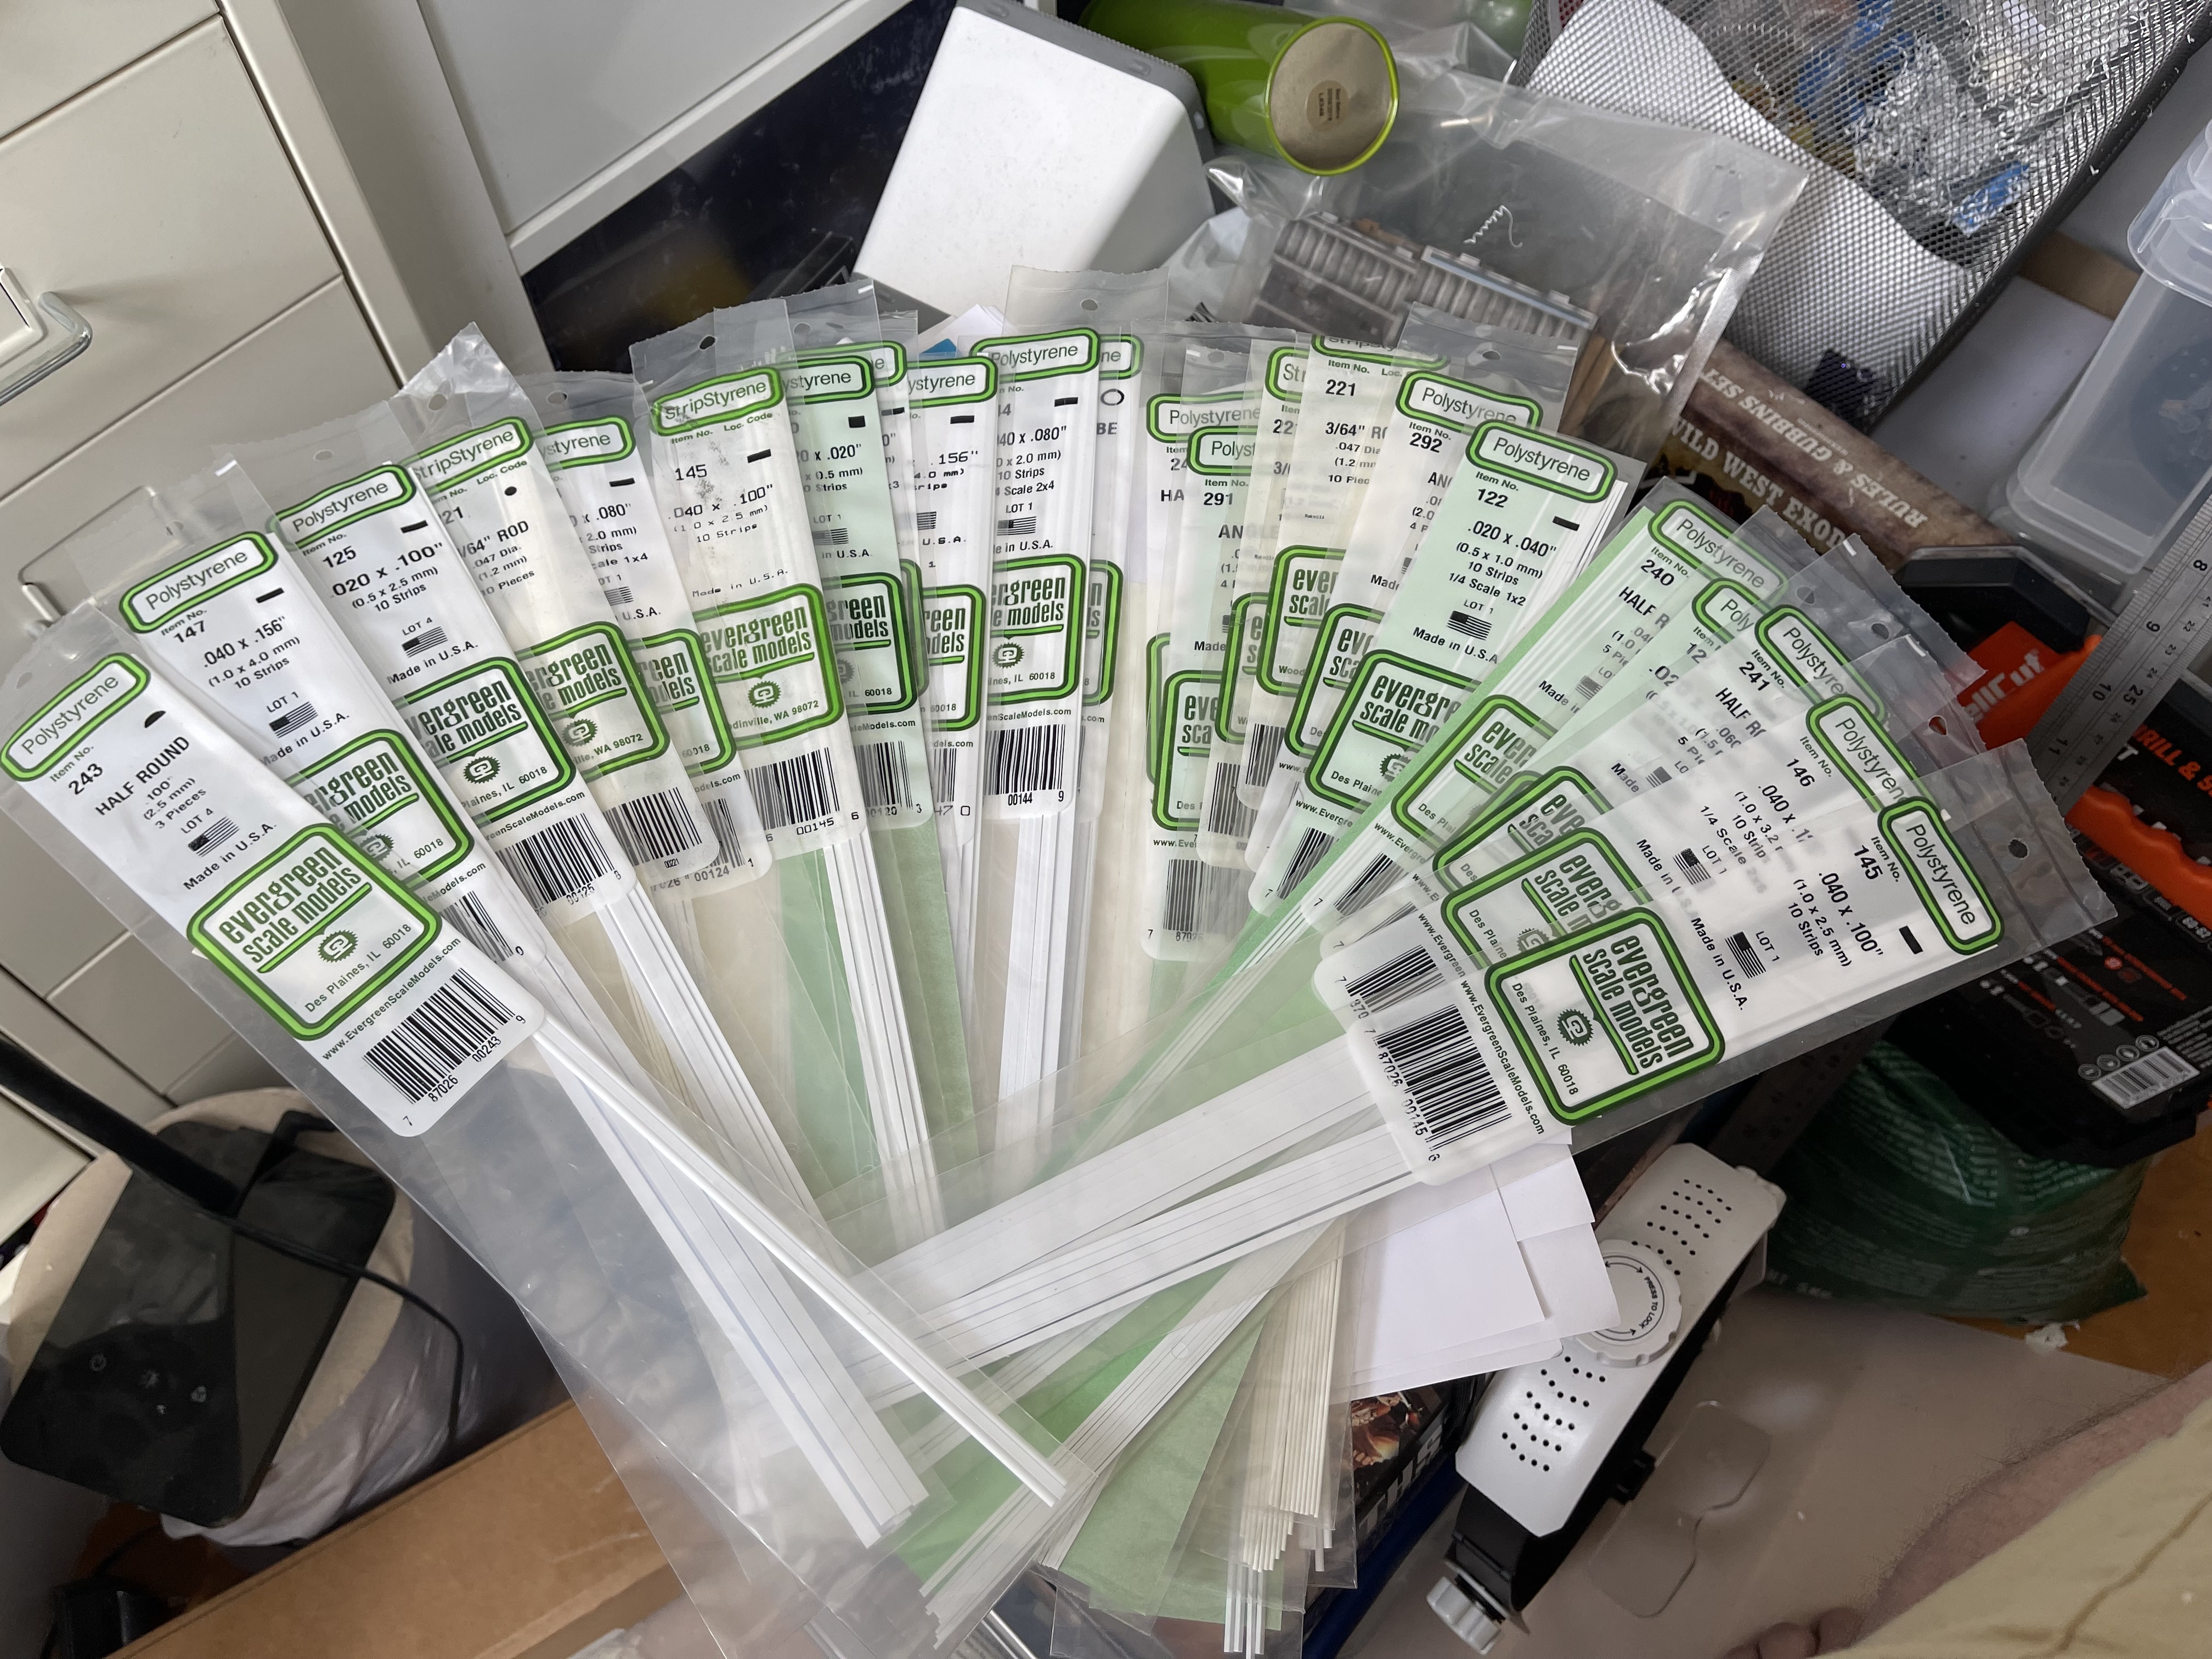
Despite ordering a small model shops worth of styrene strips when it came to putting the trim around some bits of the model I found that one pack of half round was not enough, so while I wait for reinforcements to arrive my car wars sixth edition pledge arrived so I thought I would start painting these.
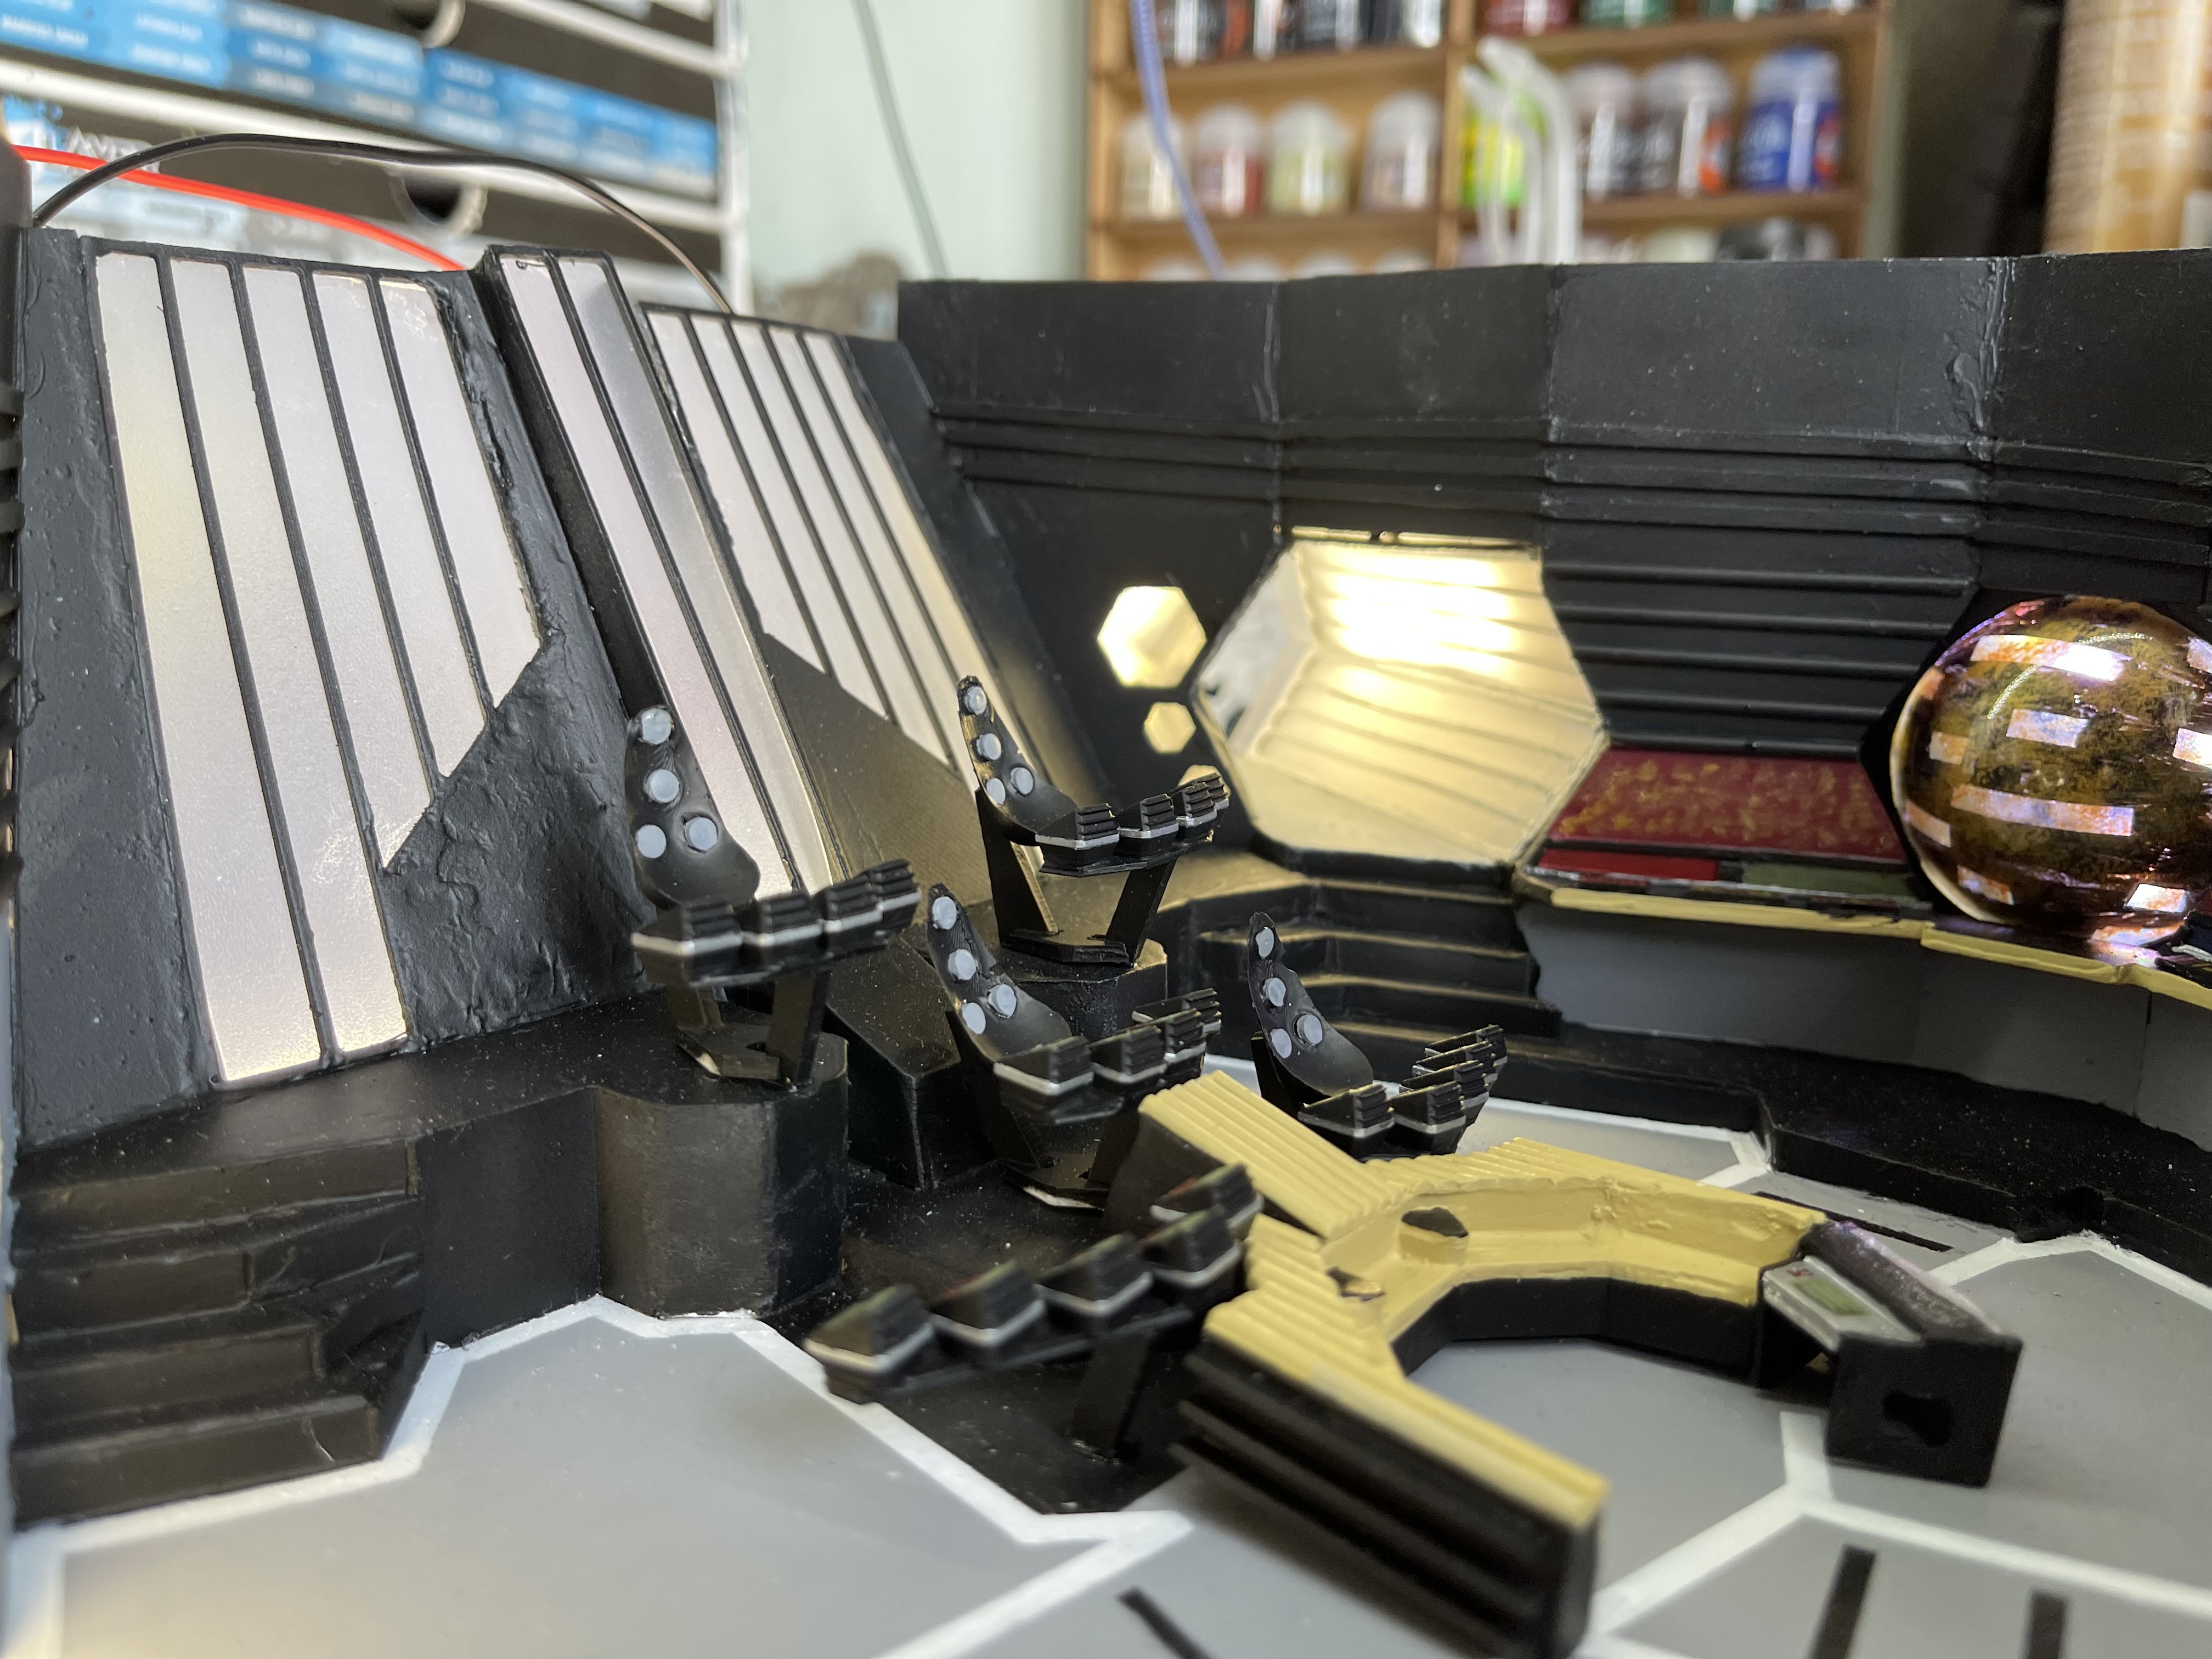
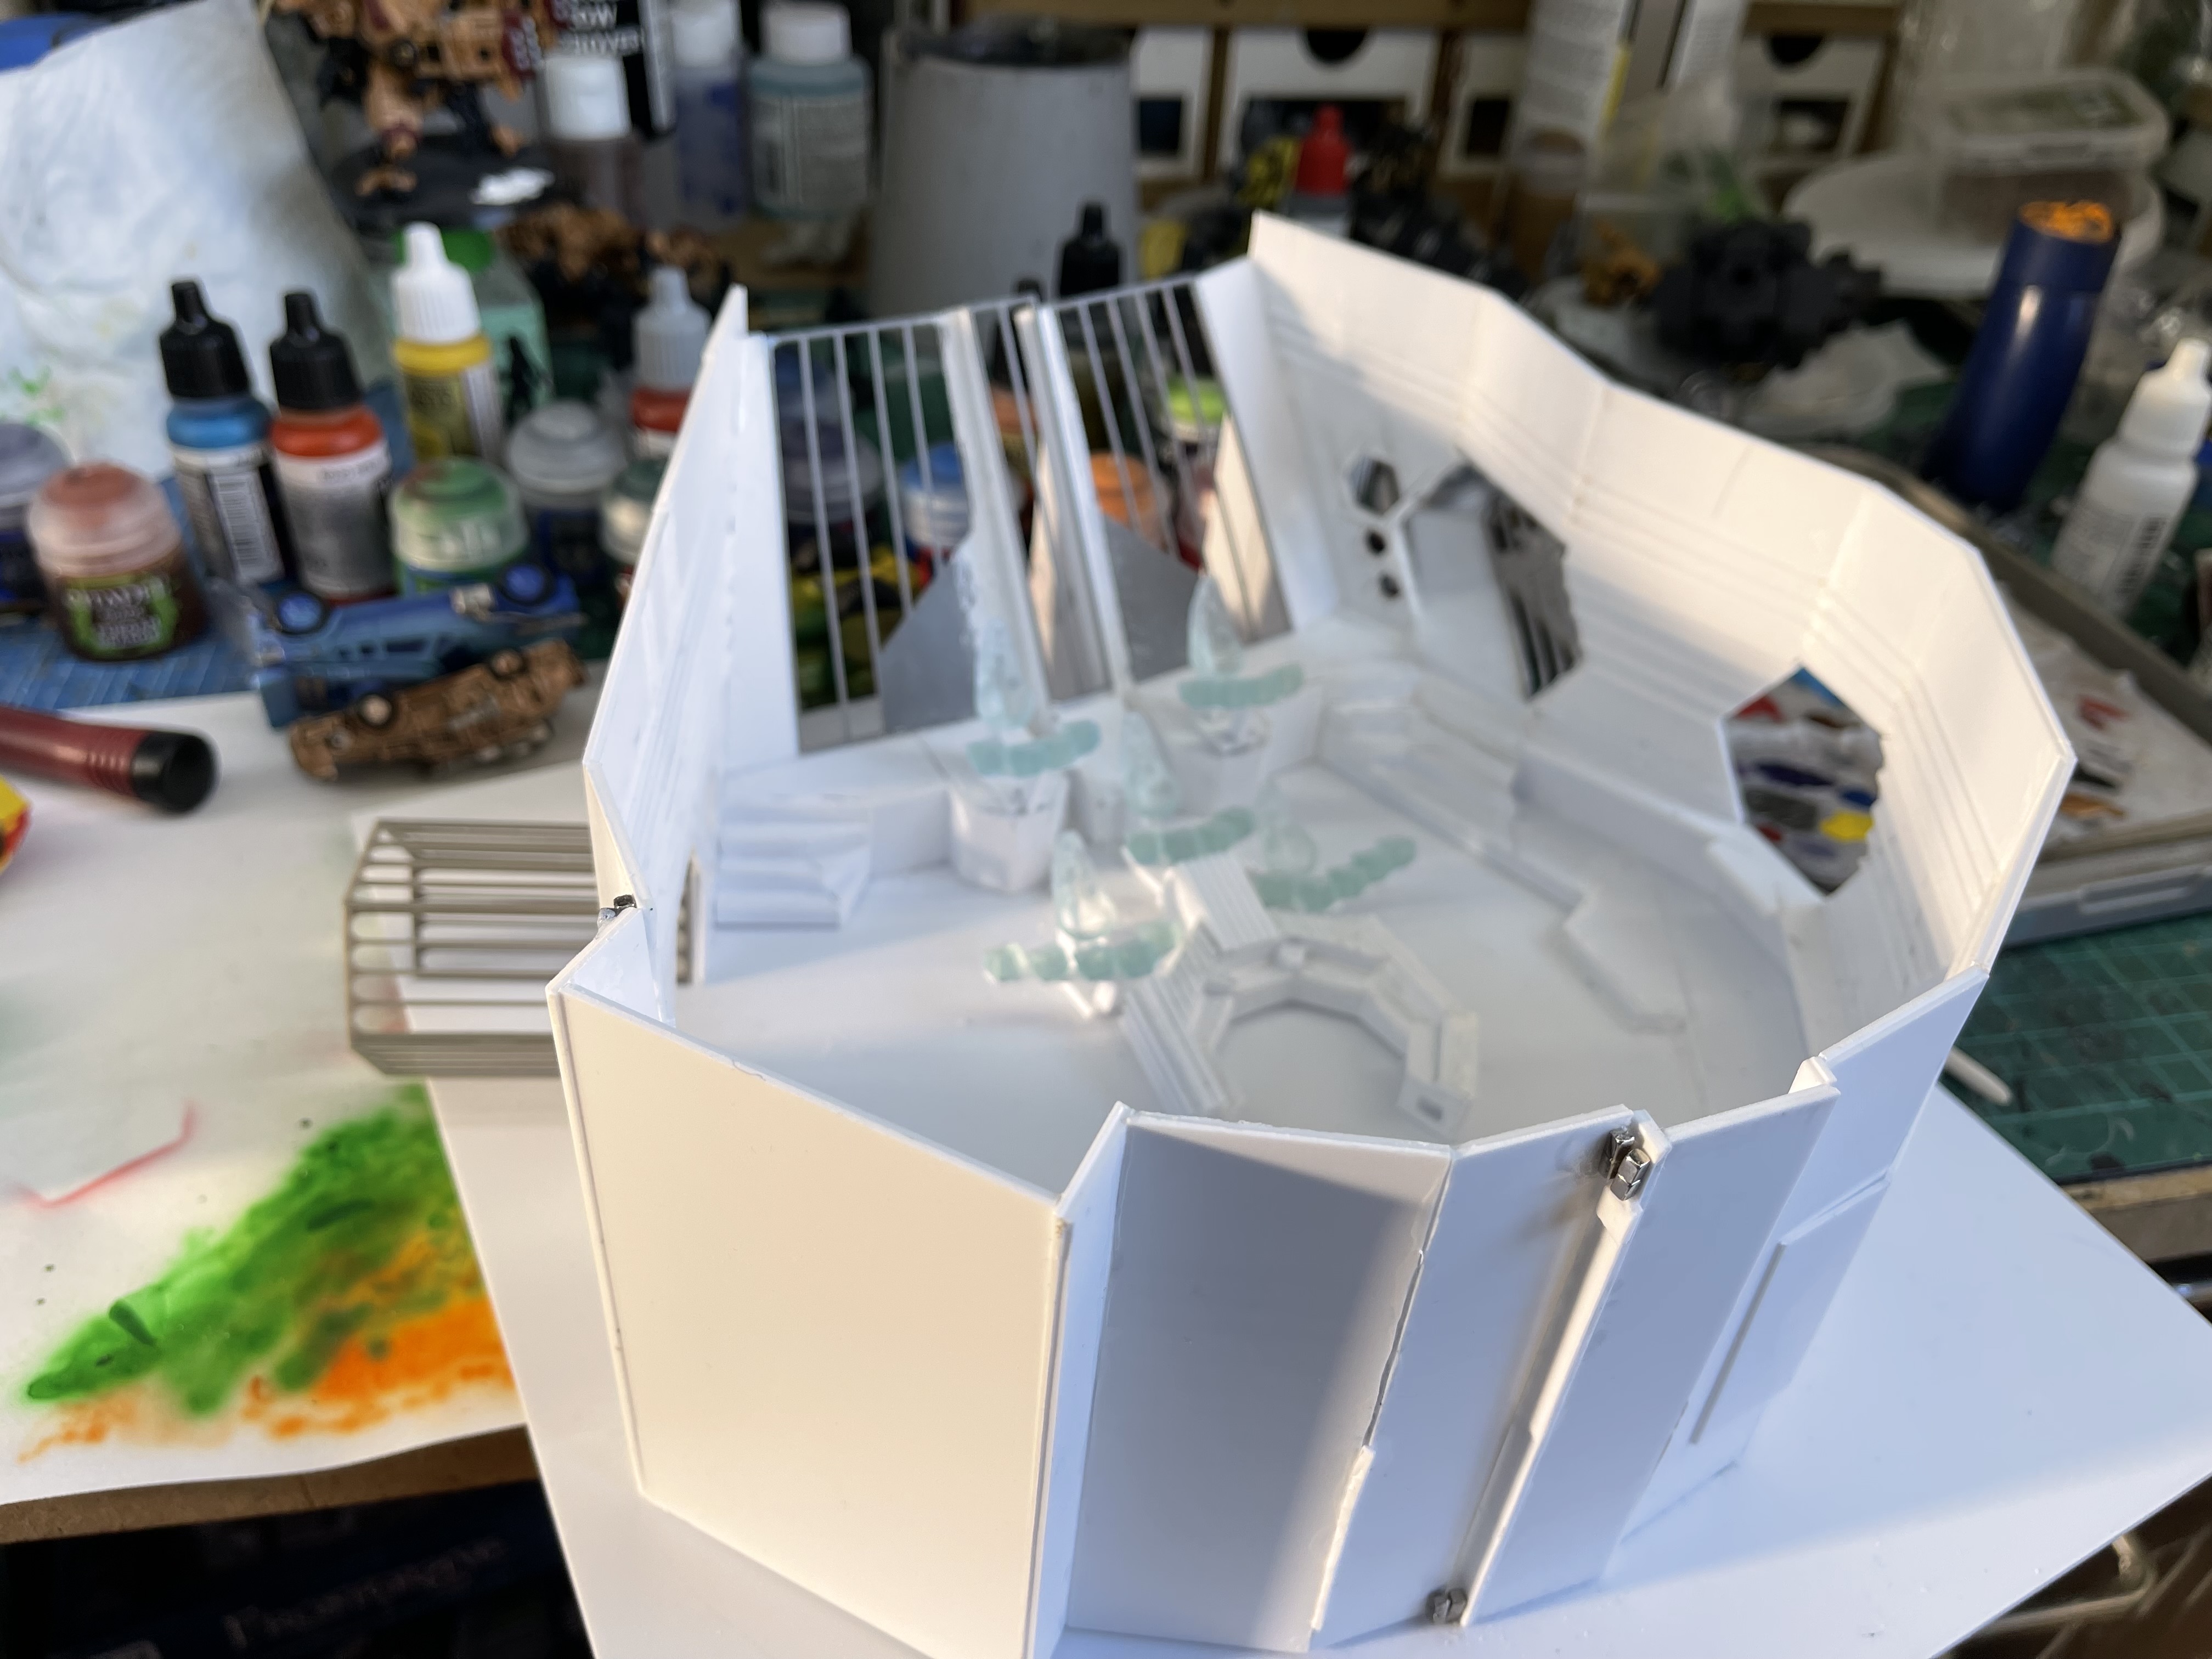
Angled corridors are a pain
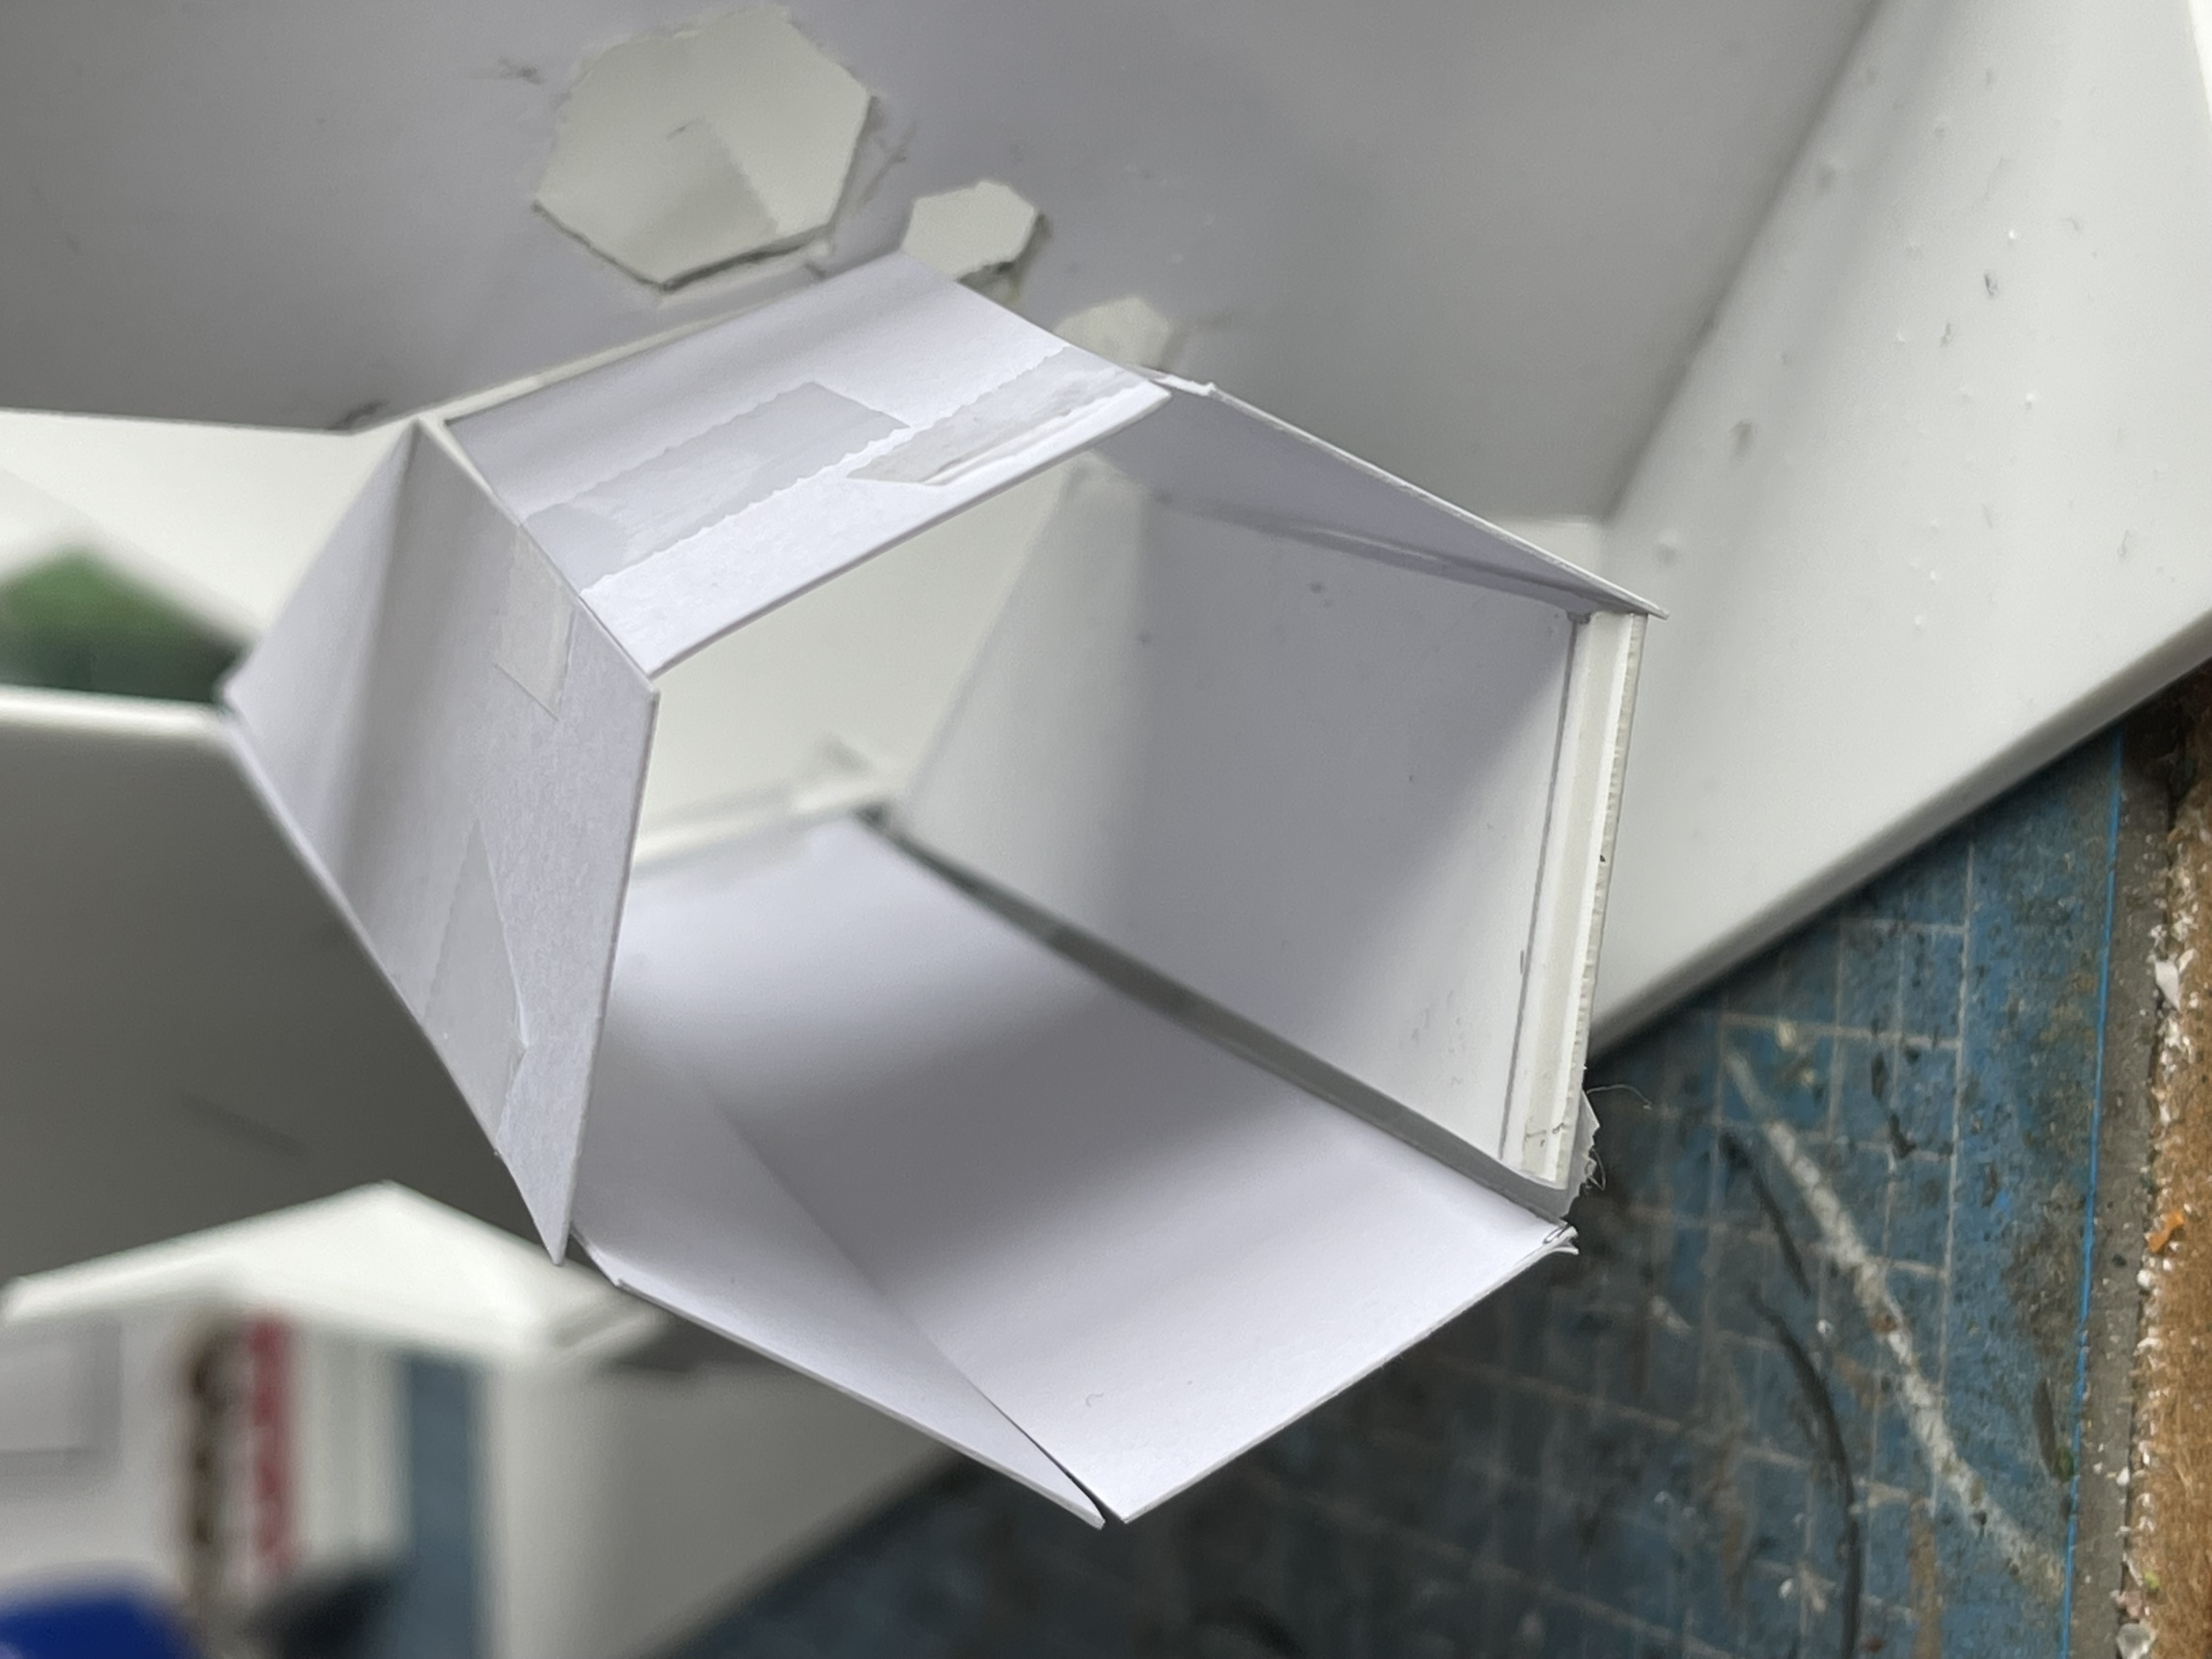
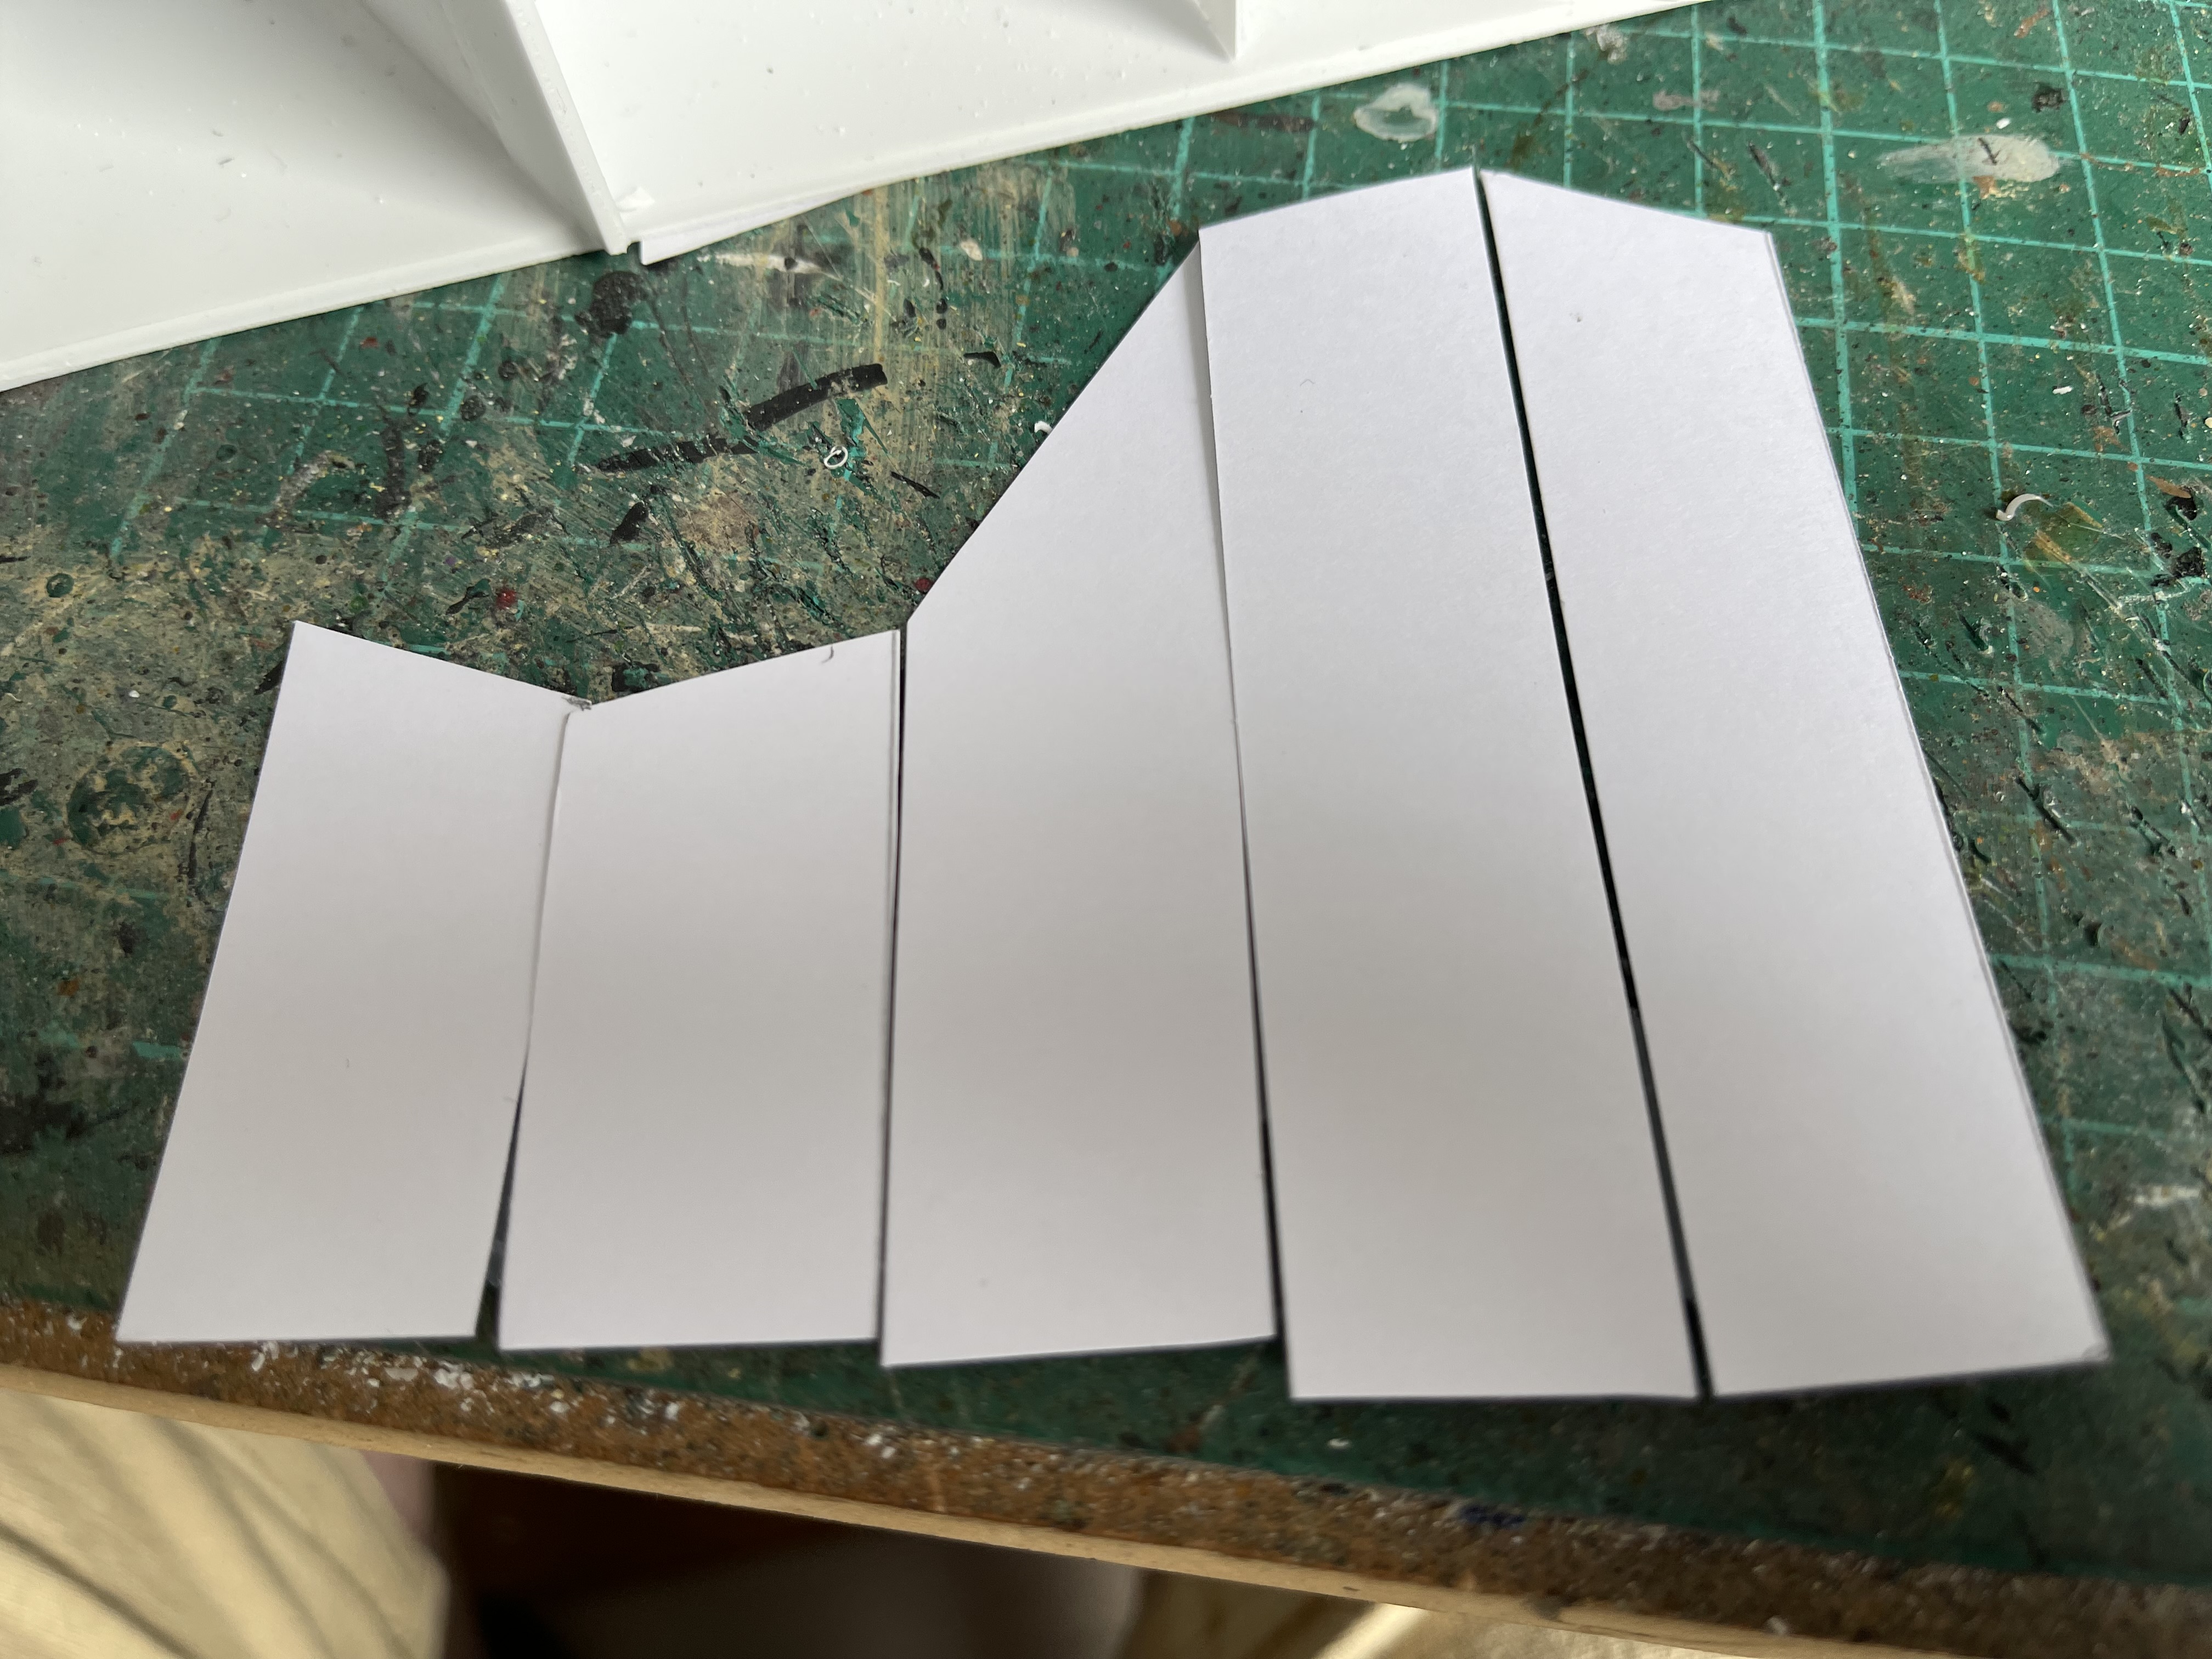
Managed to make some more progress with the flight deck, I started work on the corridors and designed some slats for the sides on tinkerCAD and the one on the left worked like a dream, very happy with that, the one on the right at an angle was a pain. I had a go at taking measurements and designing some sides but that didnt really work out and then I remembered seeing some metal fab people on the TV making a complex shape out of cardboard and testing the fit before cutting it out of metal. So I tried that (with plasticard obviously).
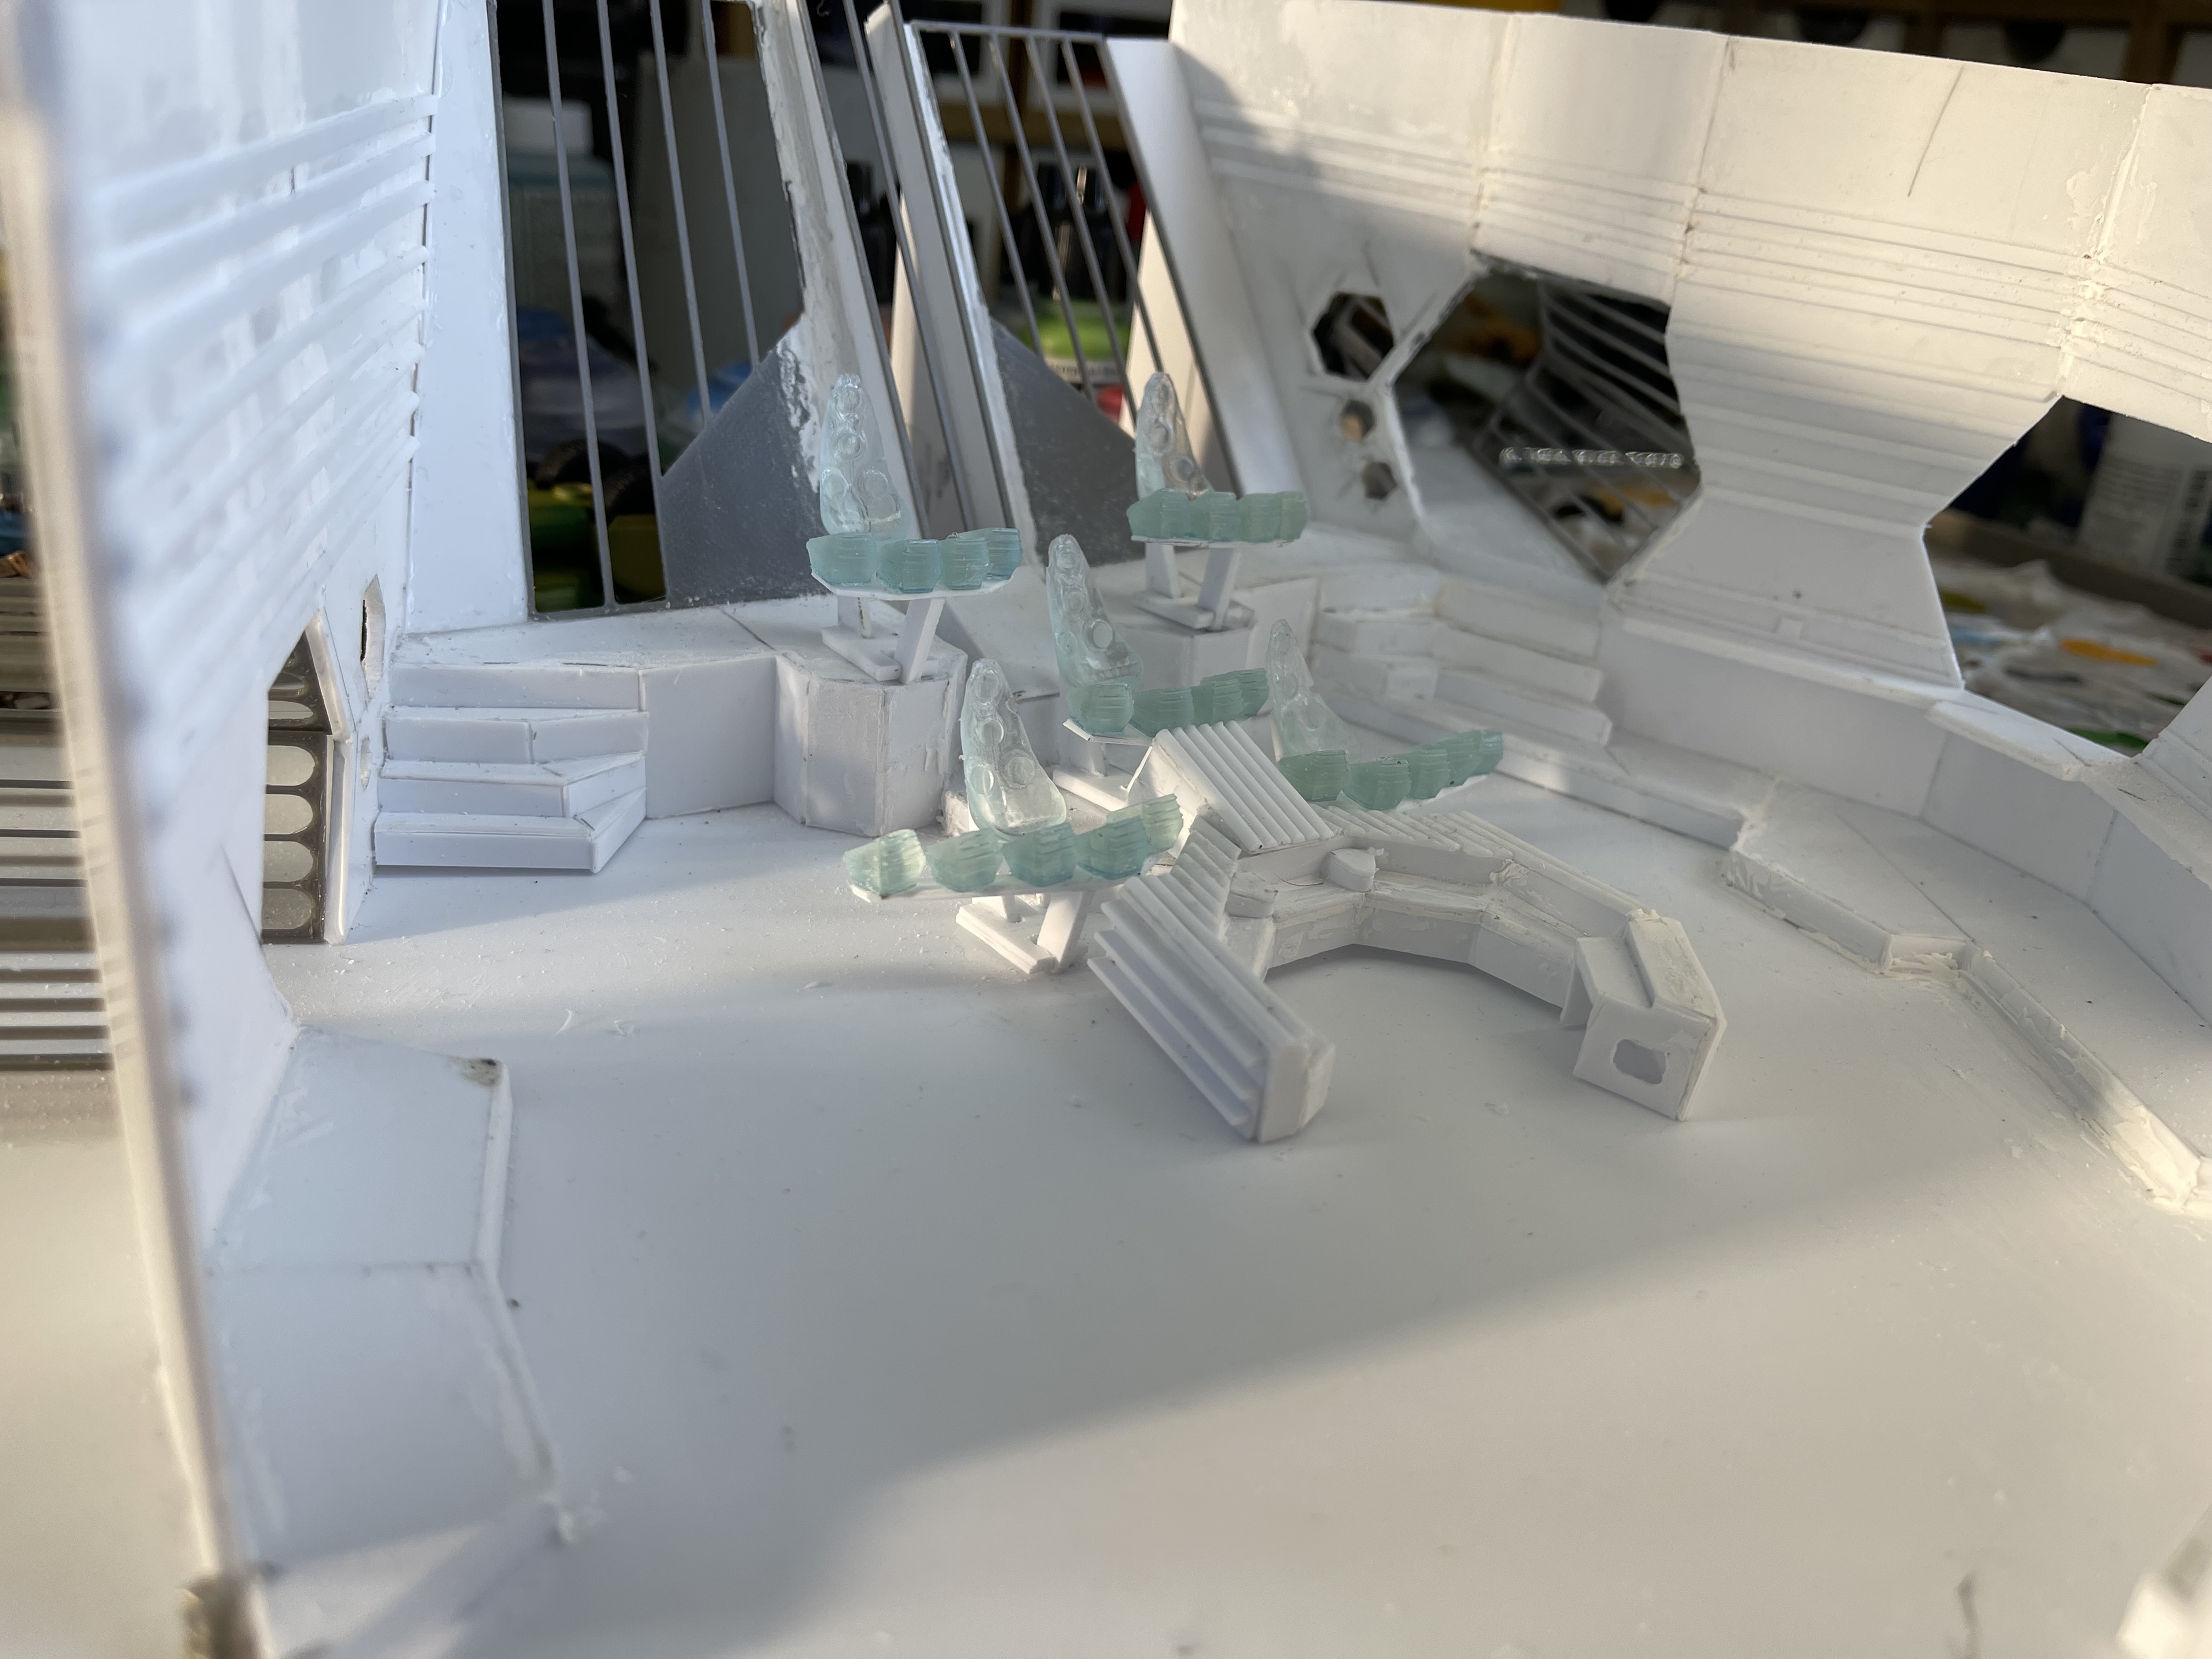
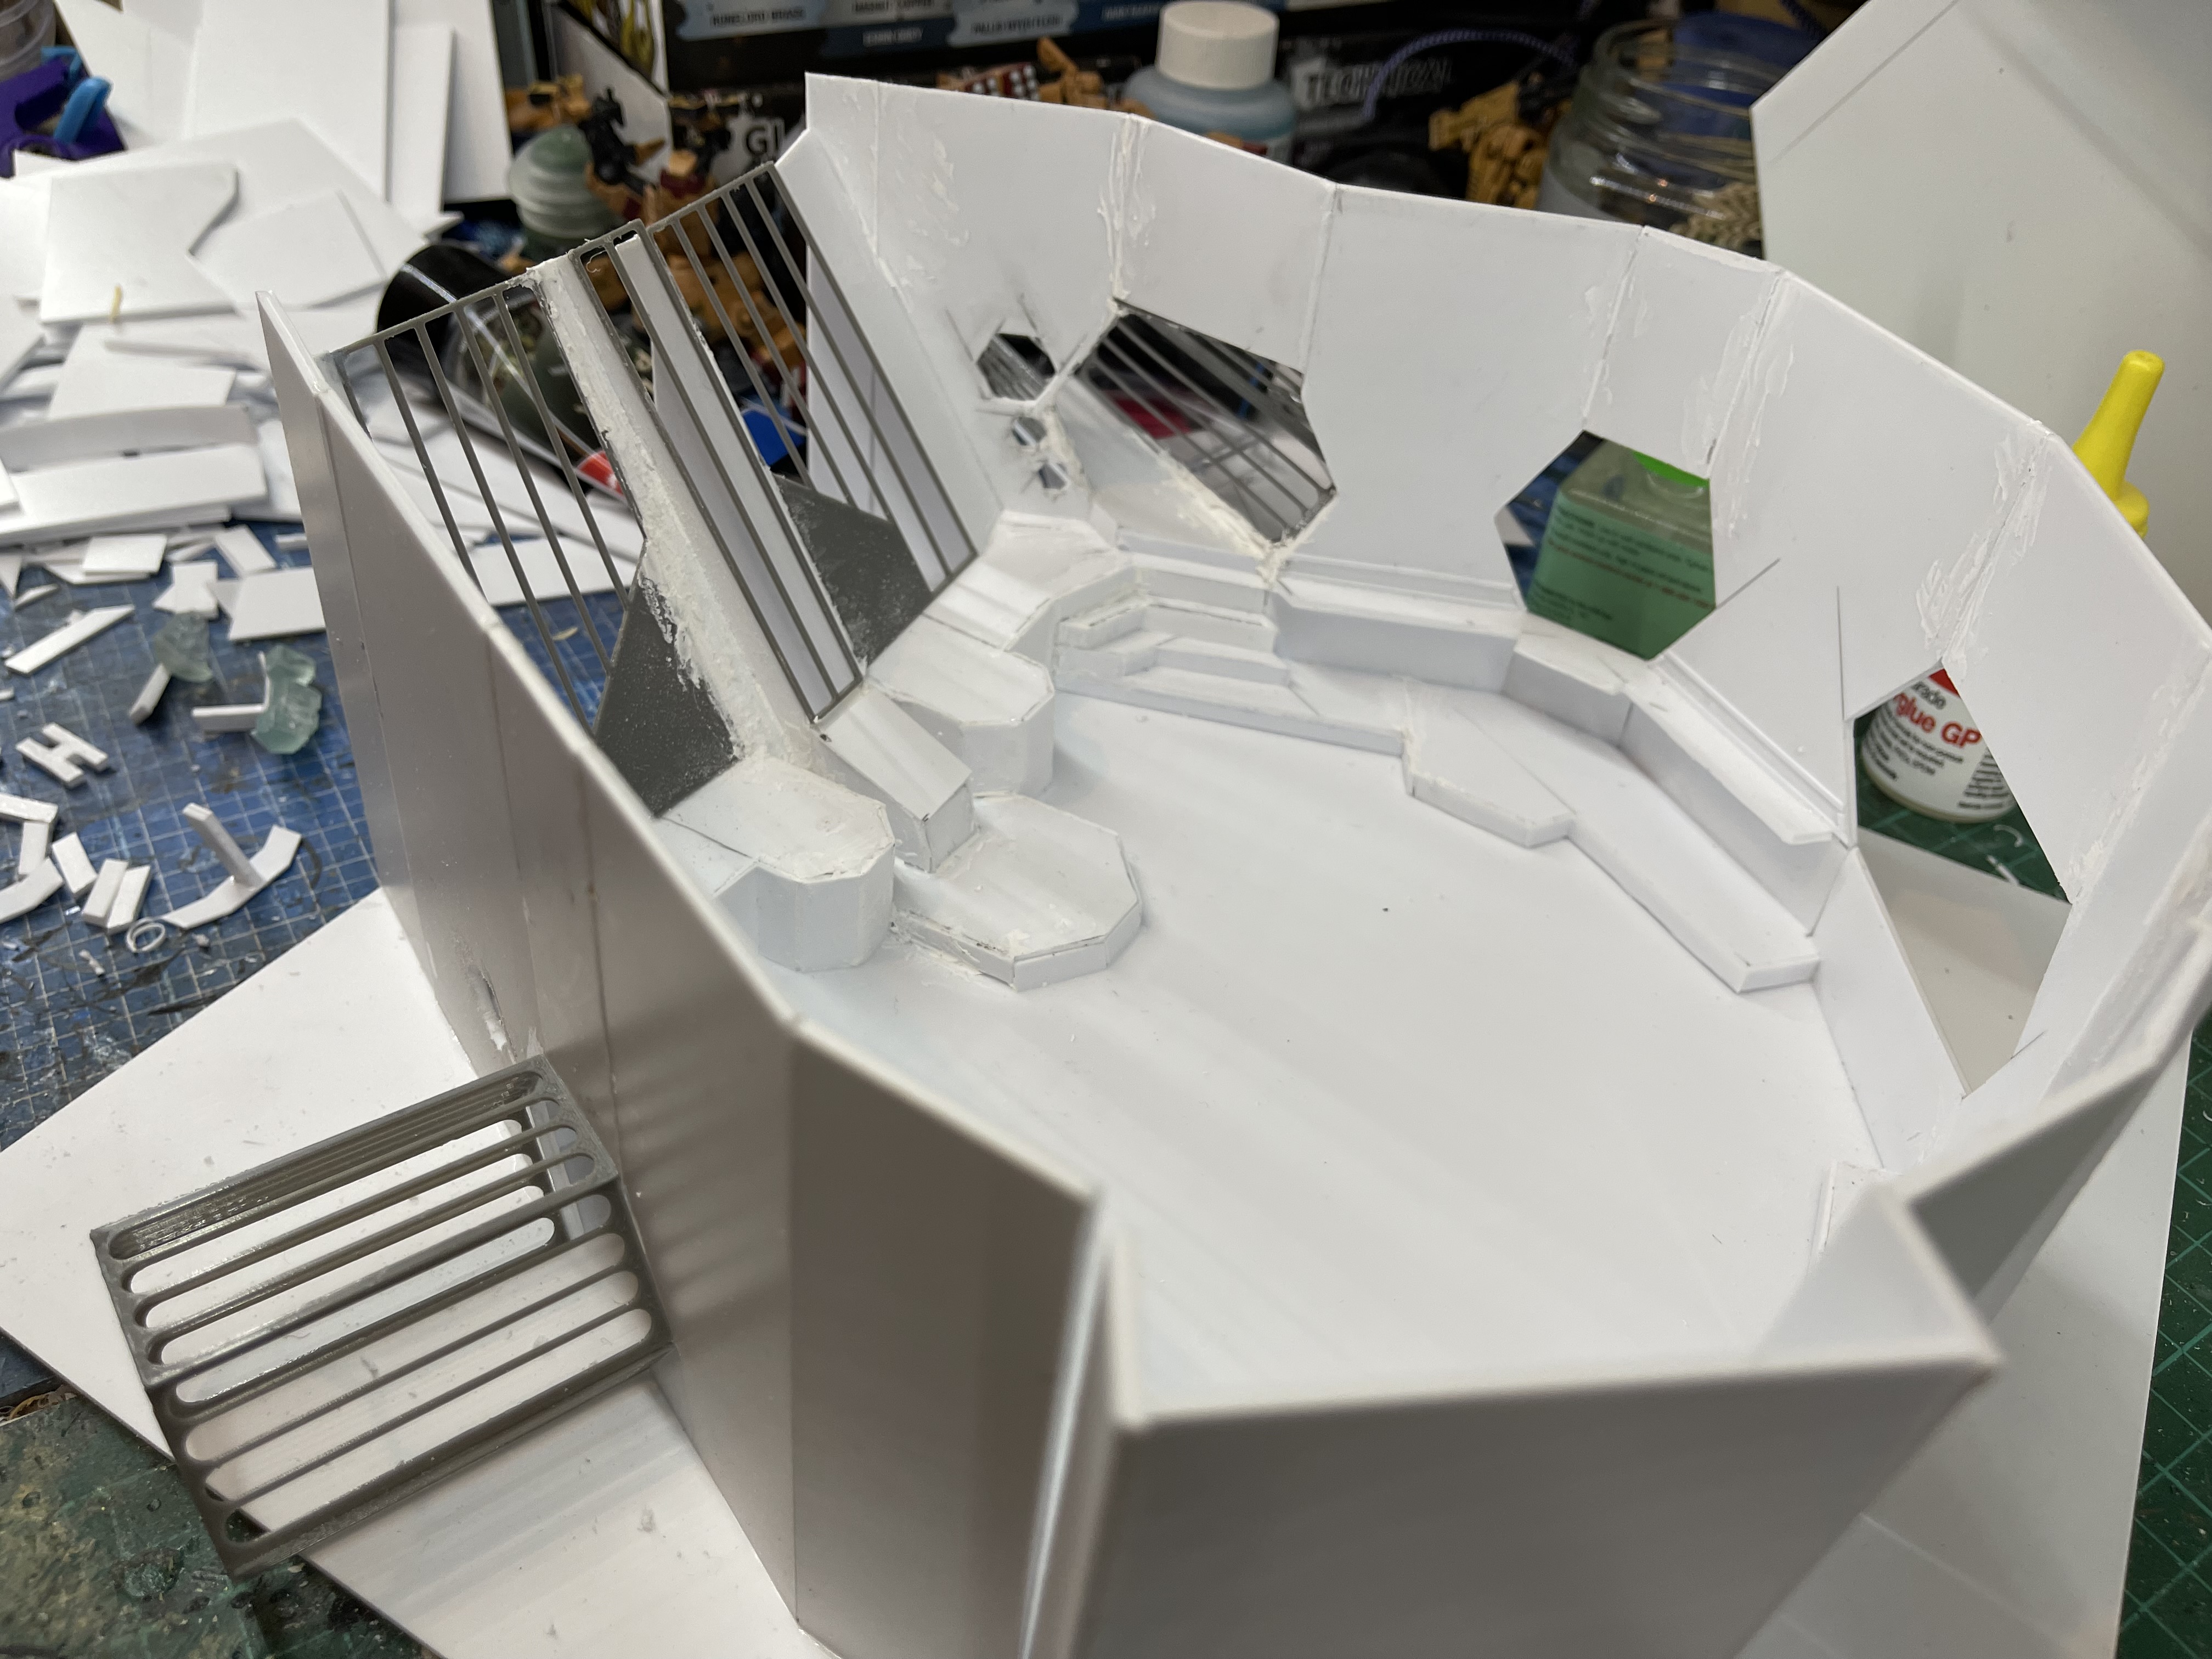
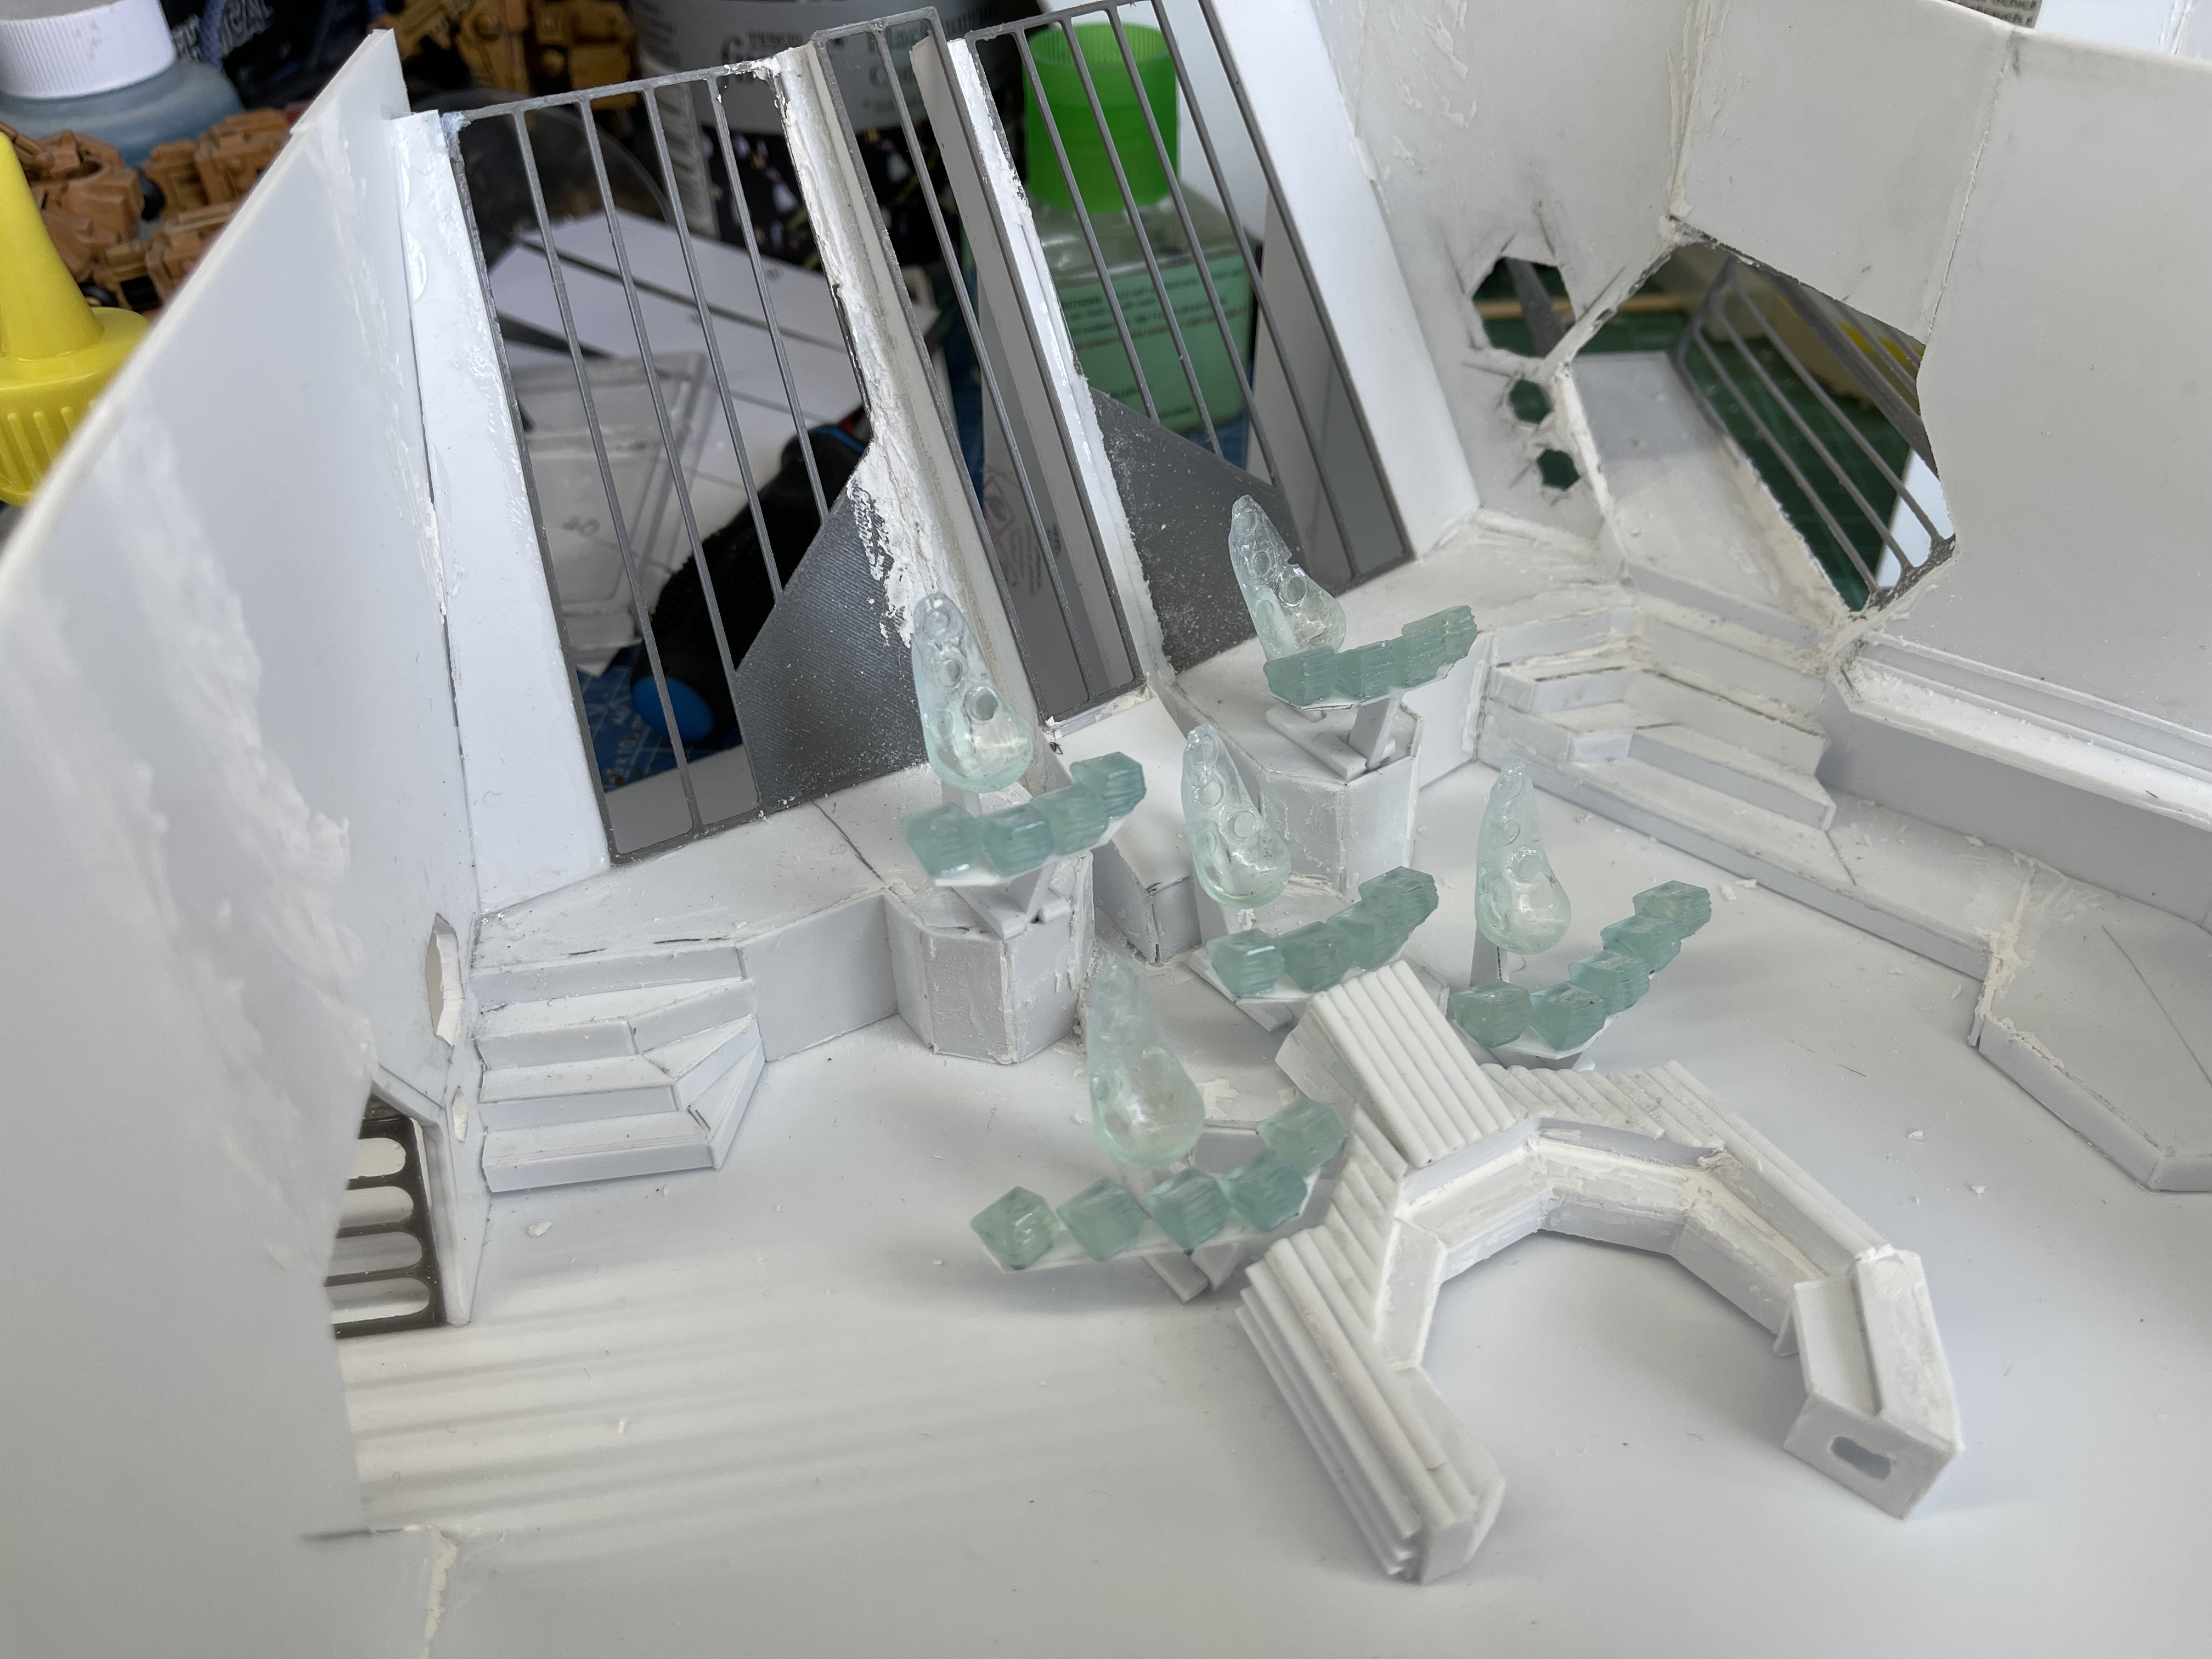
That went OK but the corridor is at quite an angle compared to that from the set so I may remove it at some point if I am not happy with the end result. I’ve also reprinted the chairs and consoles 20% larger and fitted them in, I’ve made the chairs removable so you could stand a character behind them.
Taking shape


Things are starting to take shape now, I gave up with trying to cut the shape of the floor out of plasticard and just stuck it down to a square I had lying around.
The 3D printed panels are installed at the back and I think I will have to try something similar for the walls of the corridors. I also designed the chairs and the consoles of the flight stations, below is a test piece and I think I have scaled them down to much as they are slightly small when standing next to one of the minis. I will have reprint them maybe 20% larger, time to get the ruler out.


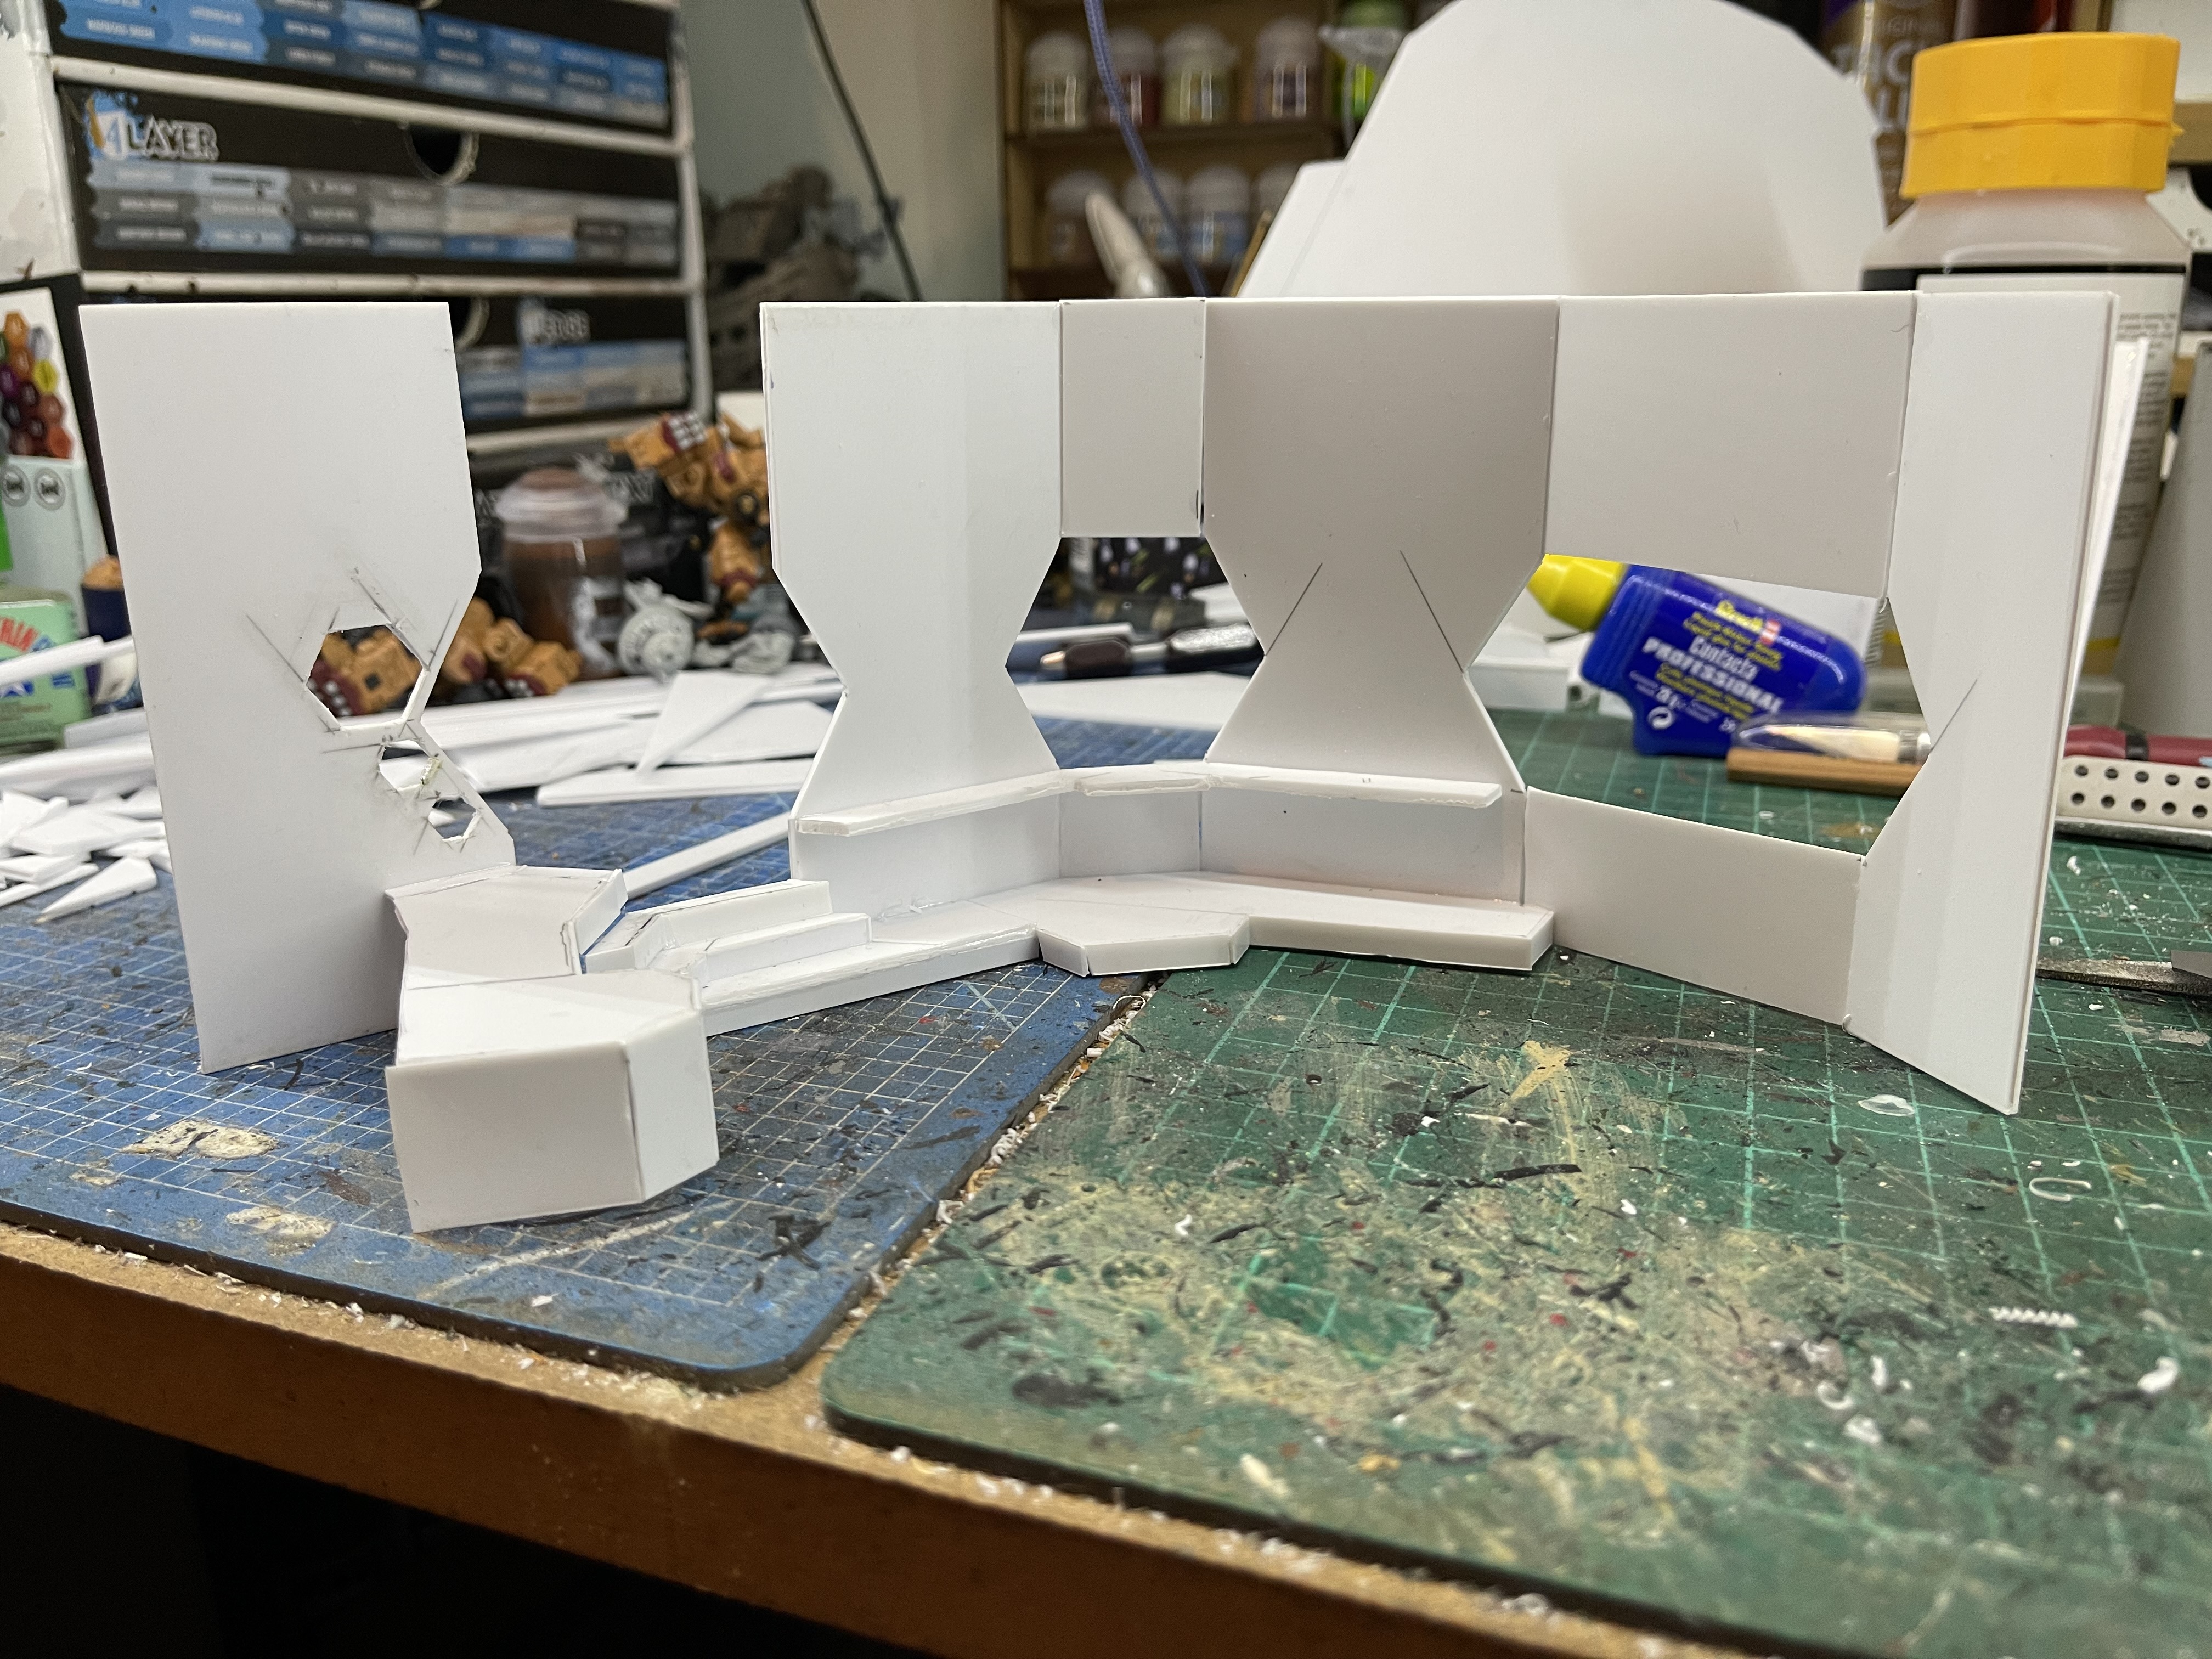
Making headway
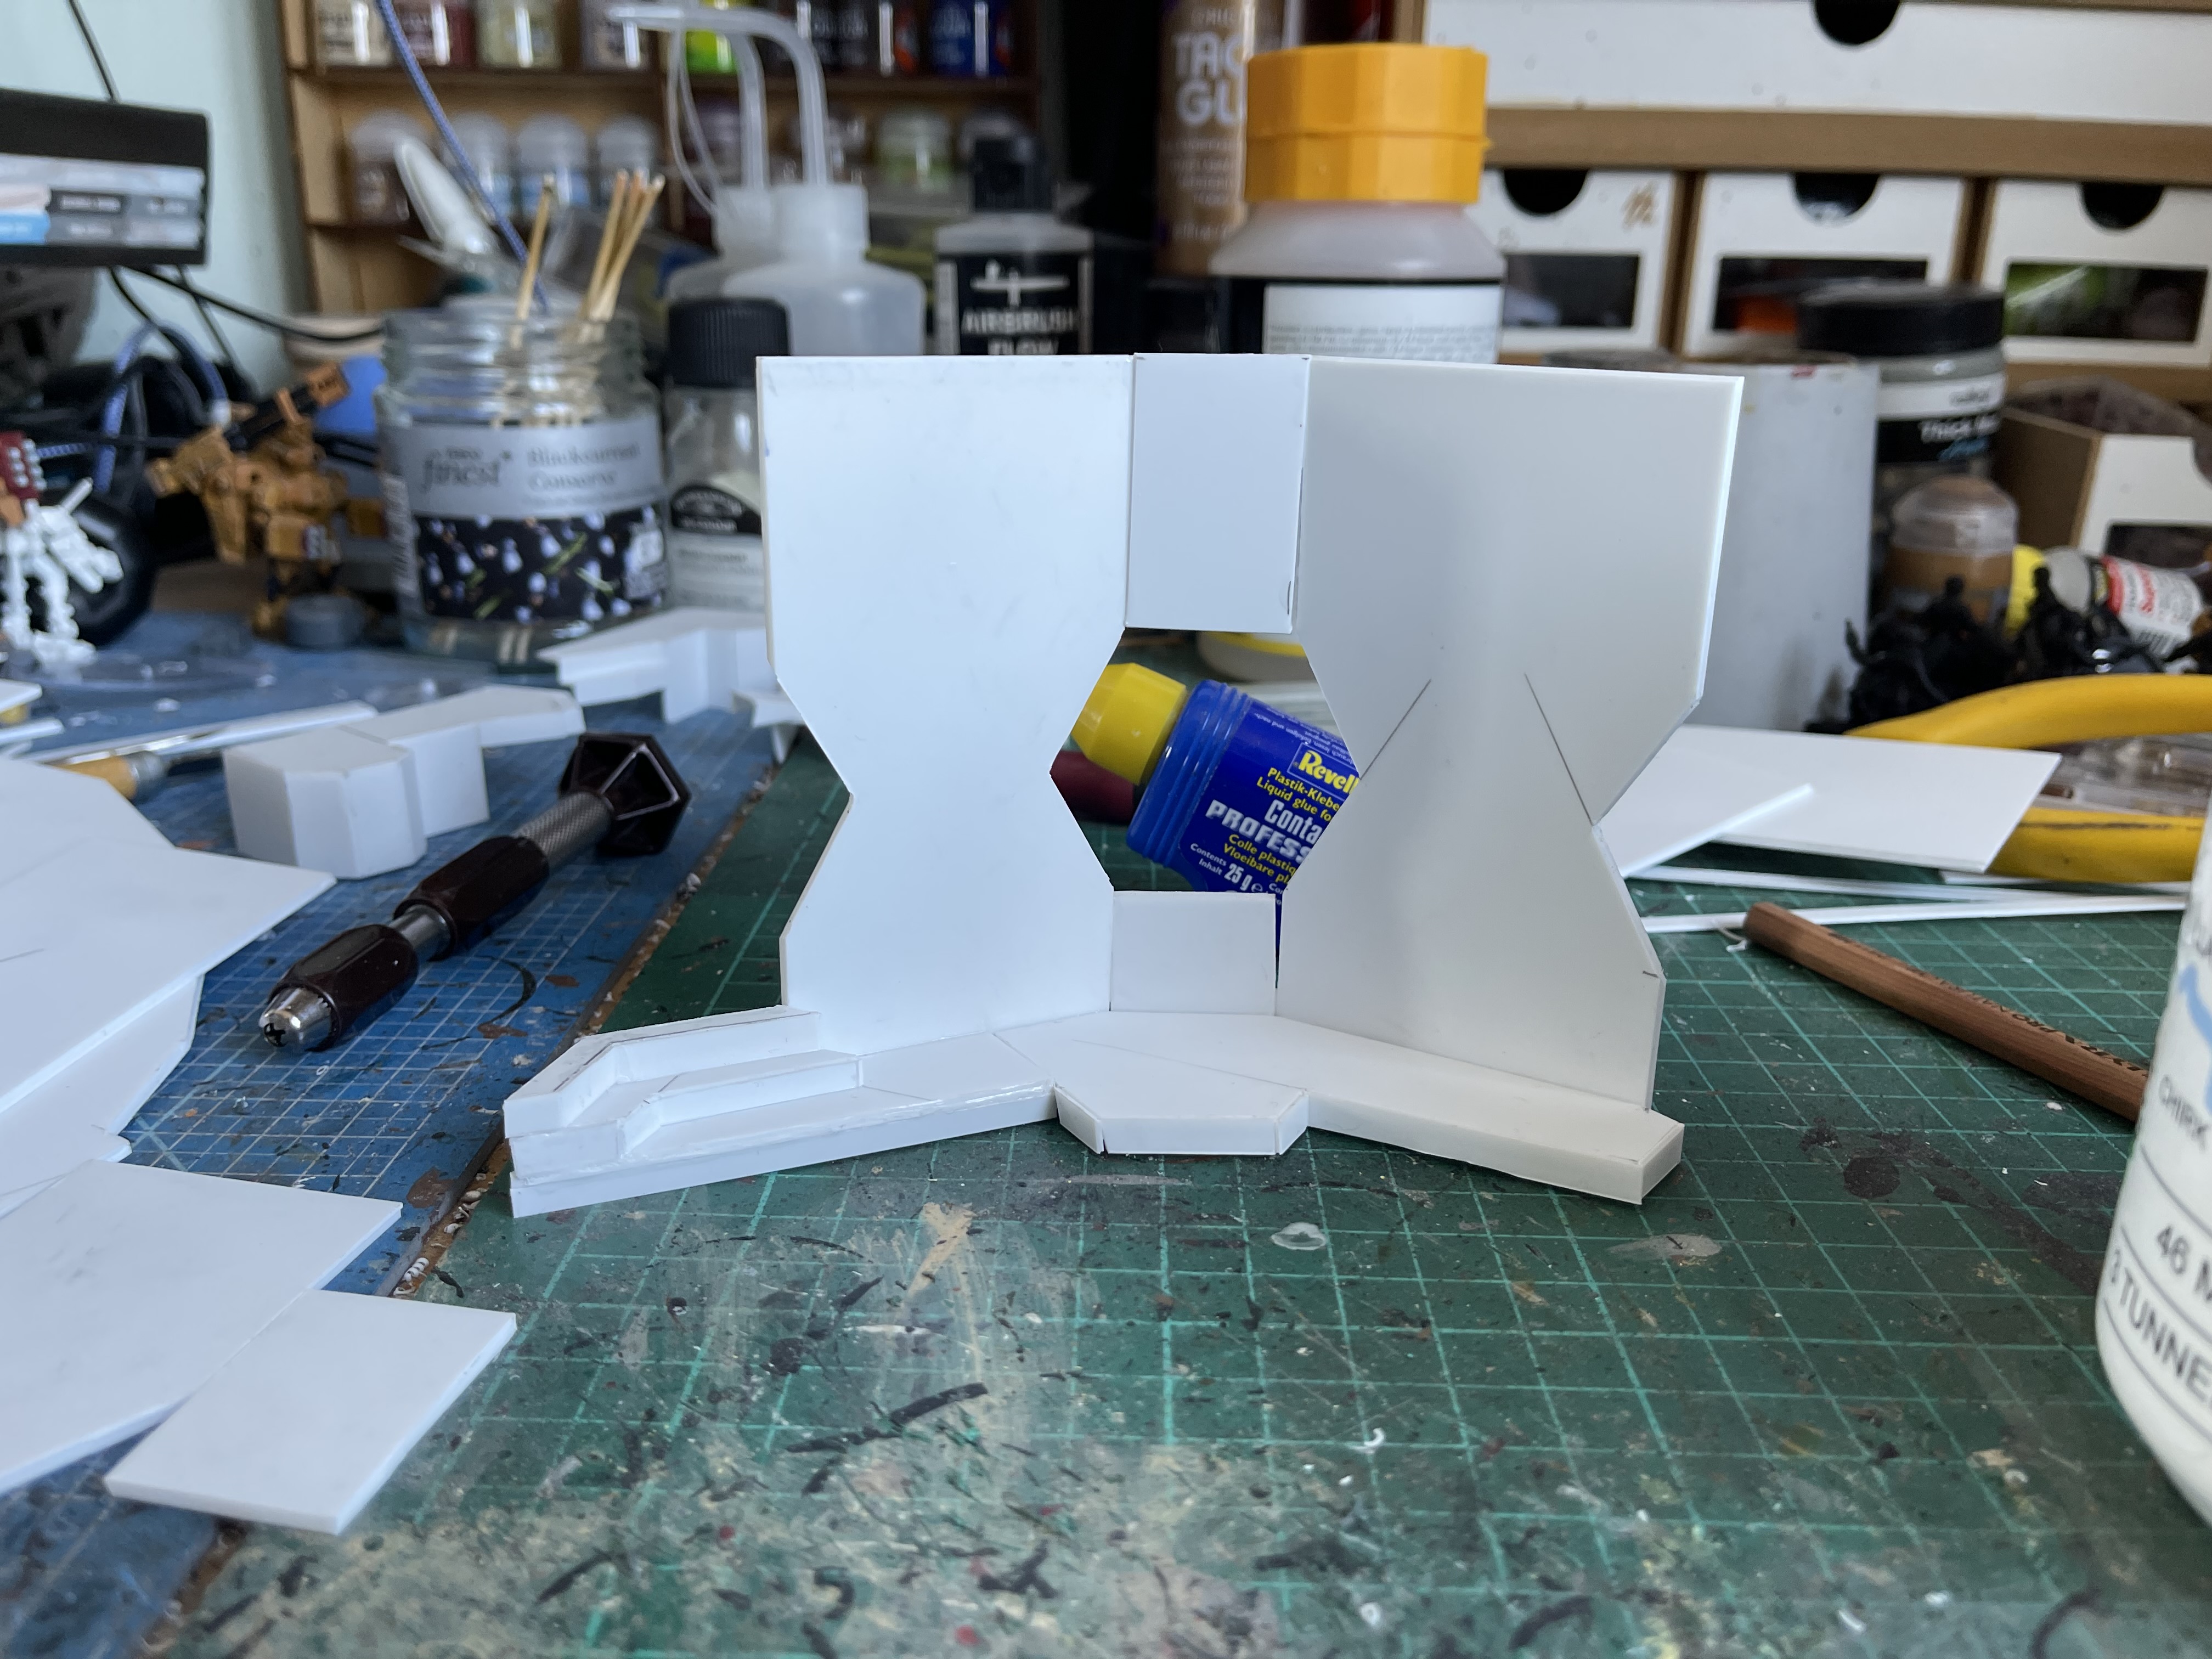
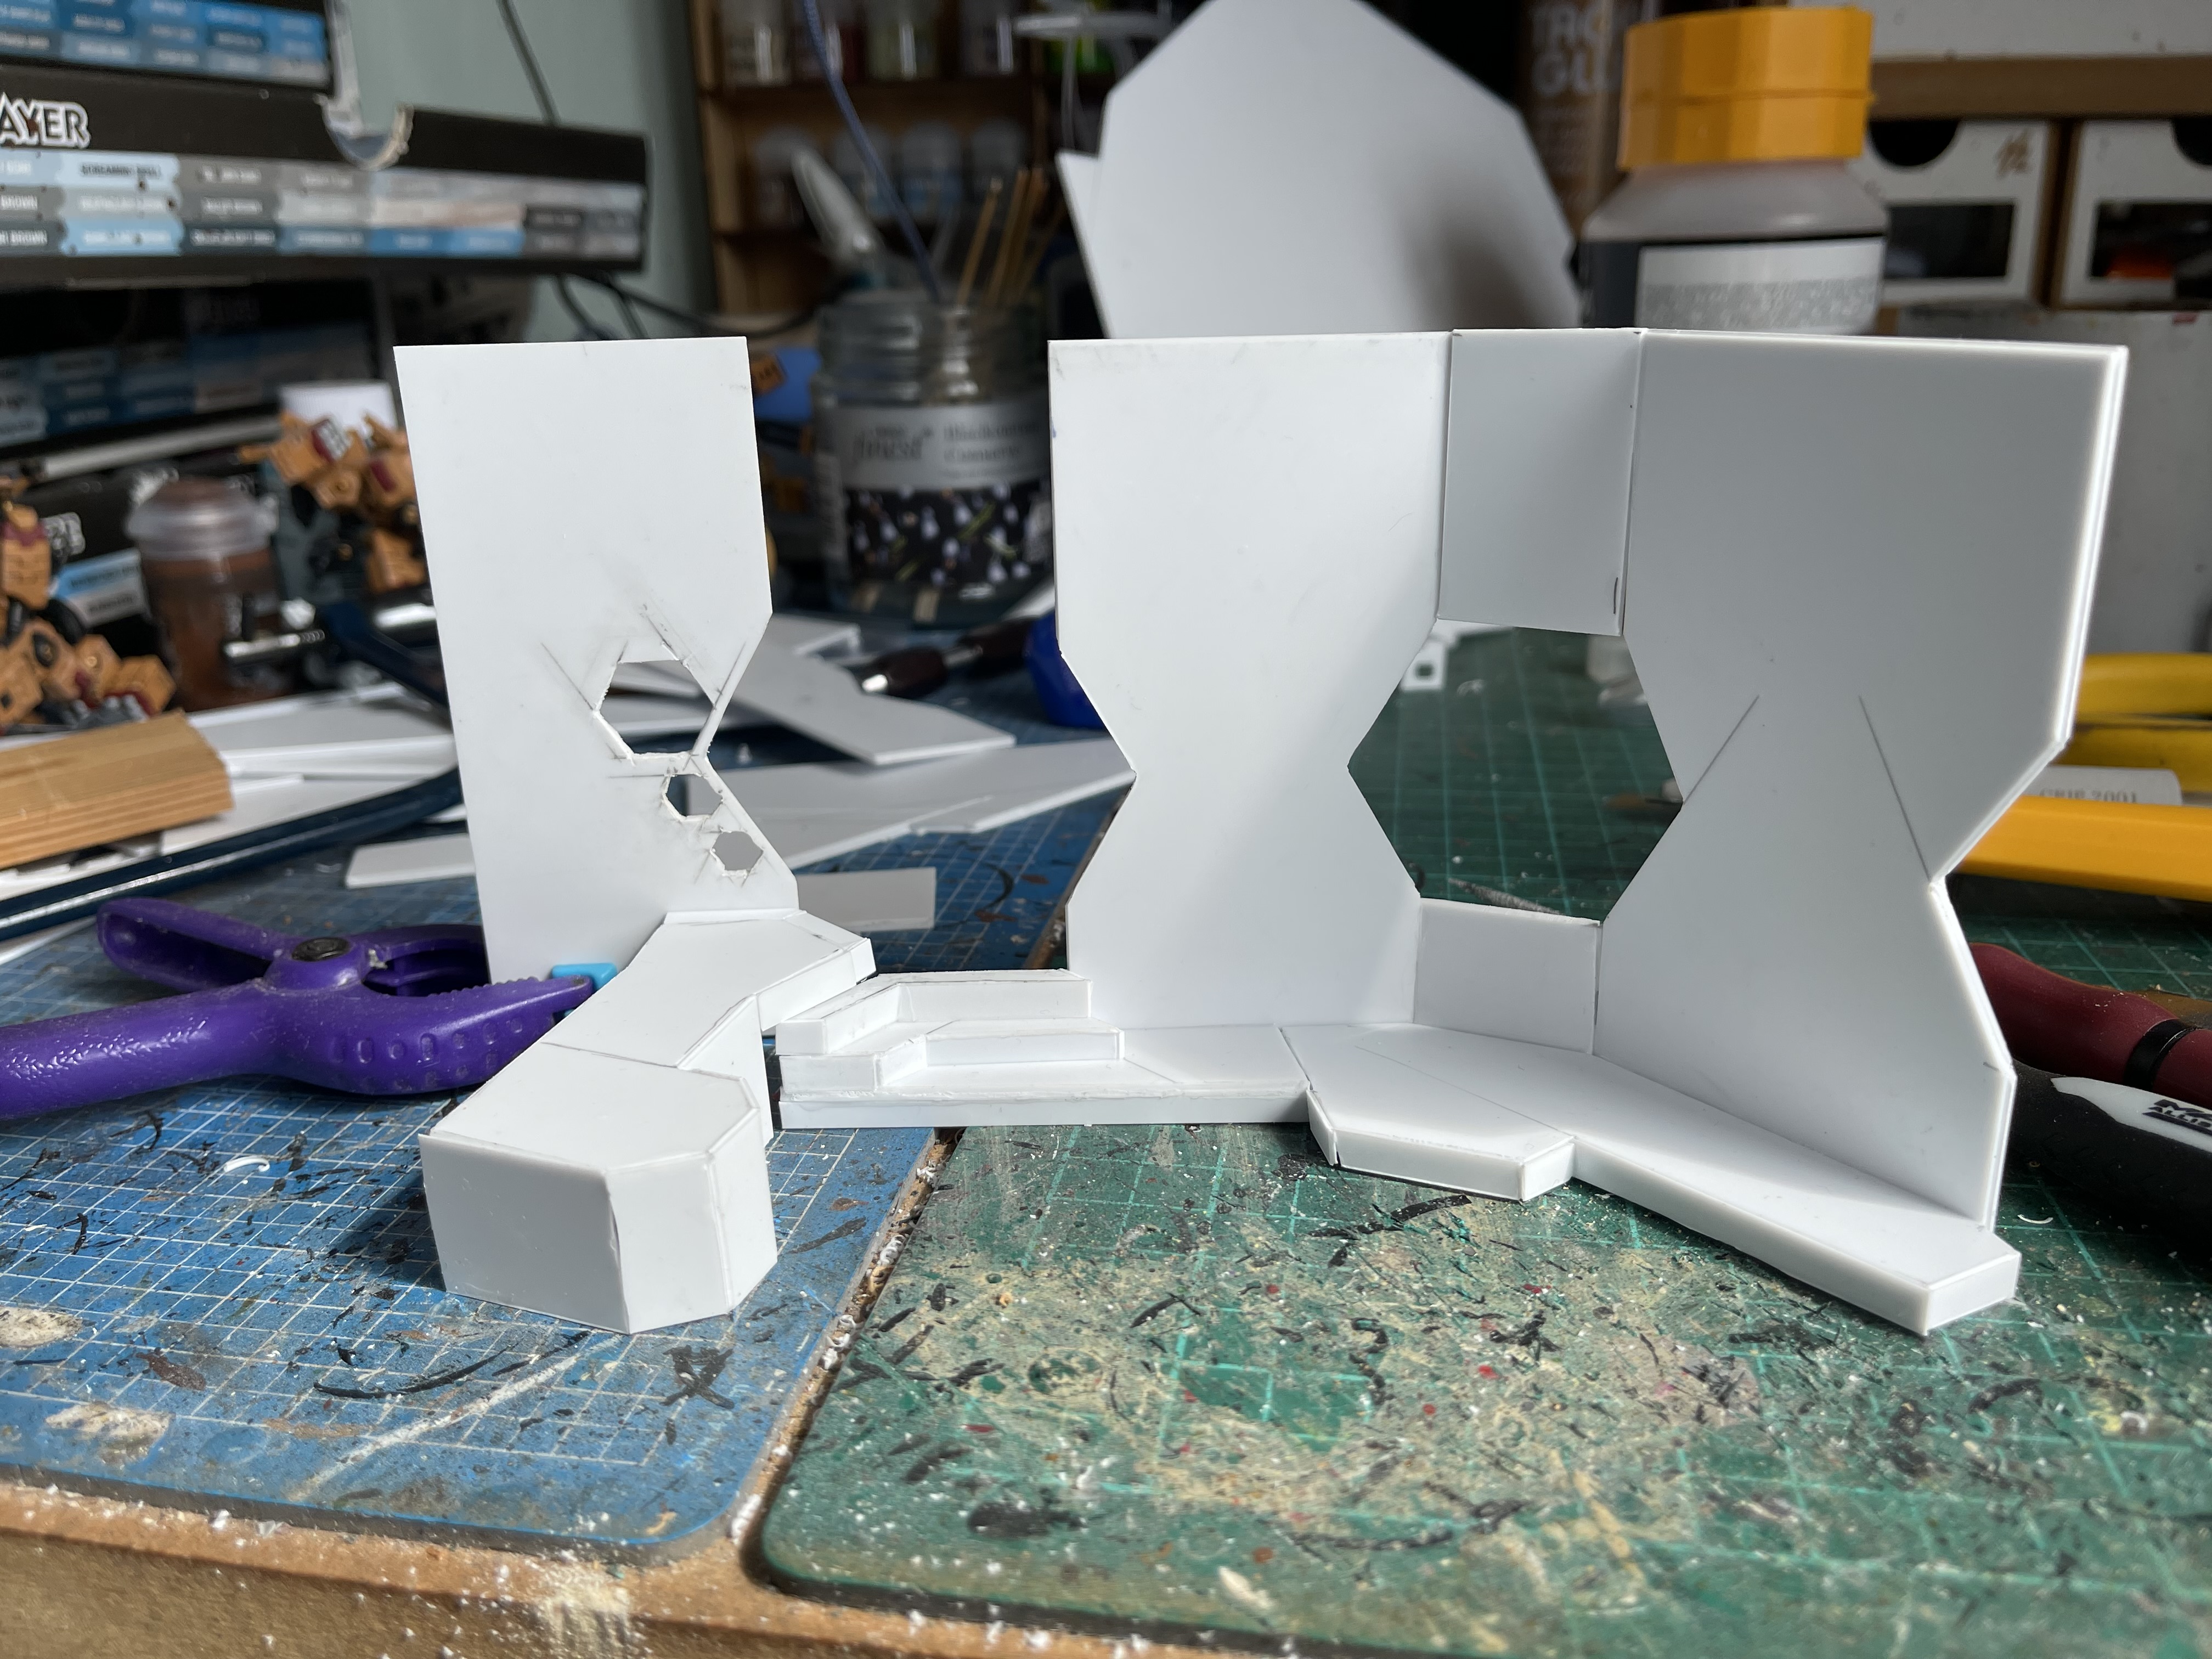
So I’ve made some progress on getting the walls put together, its a fair bit of trial and error to get things done but its slowly getting there.
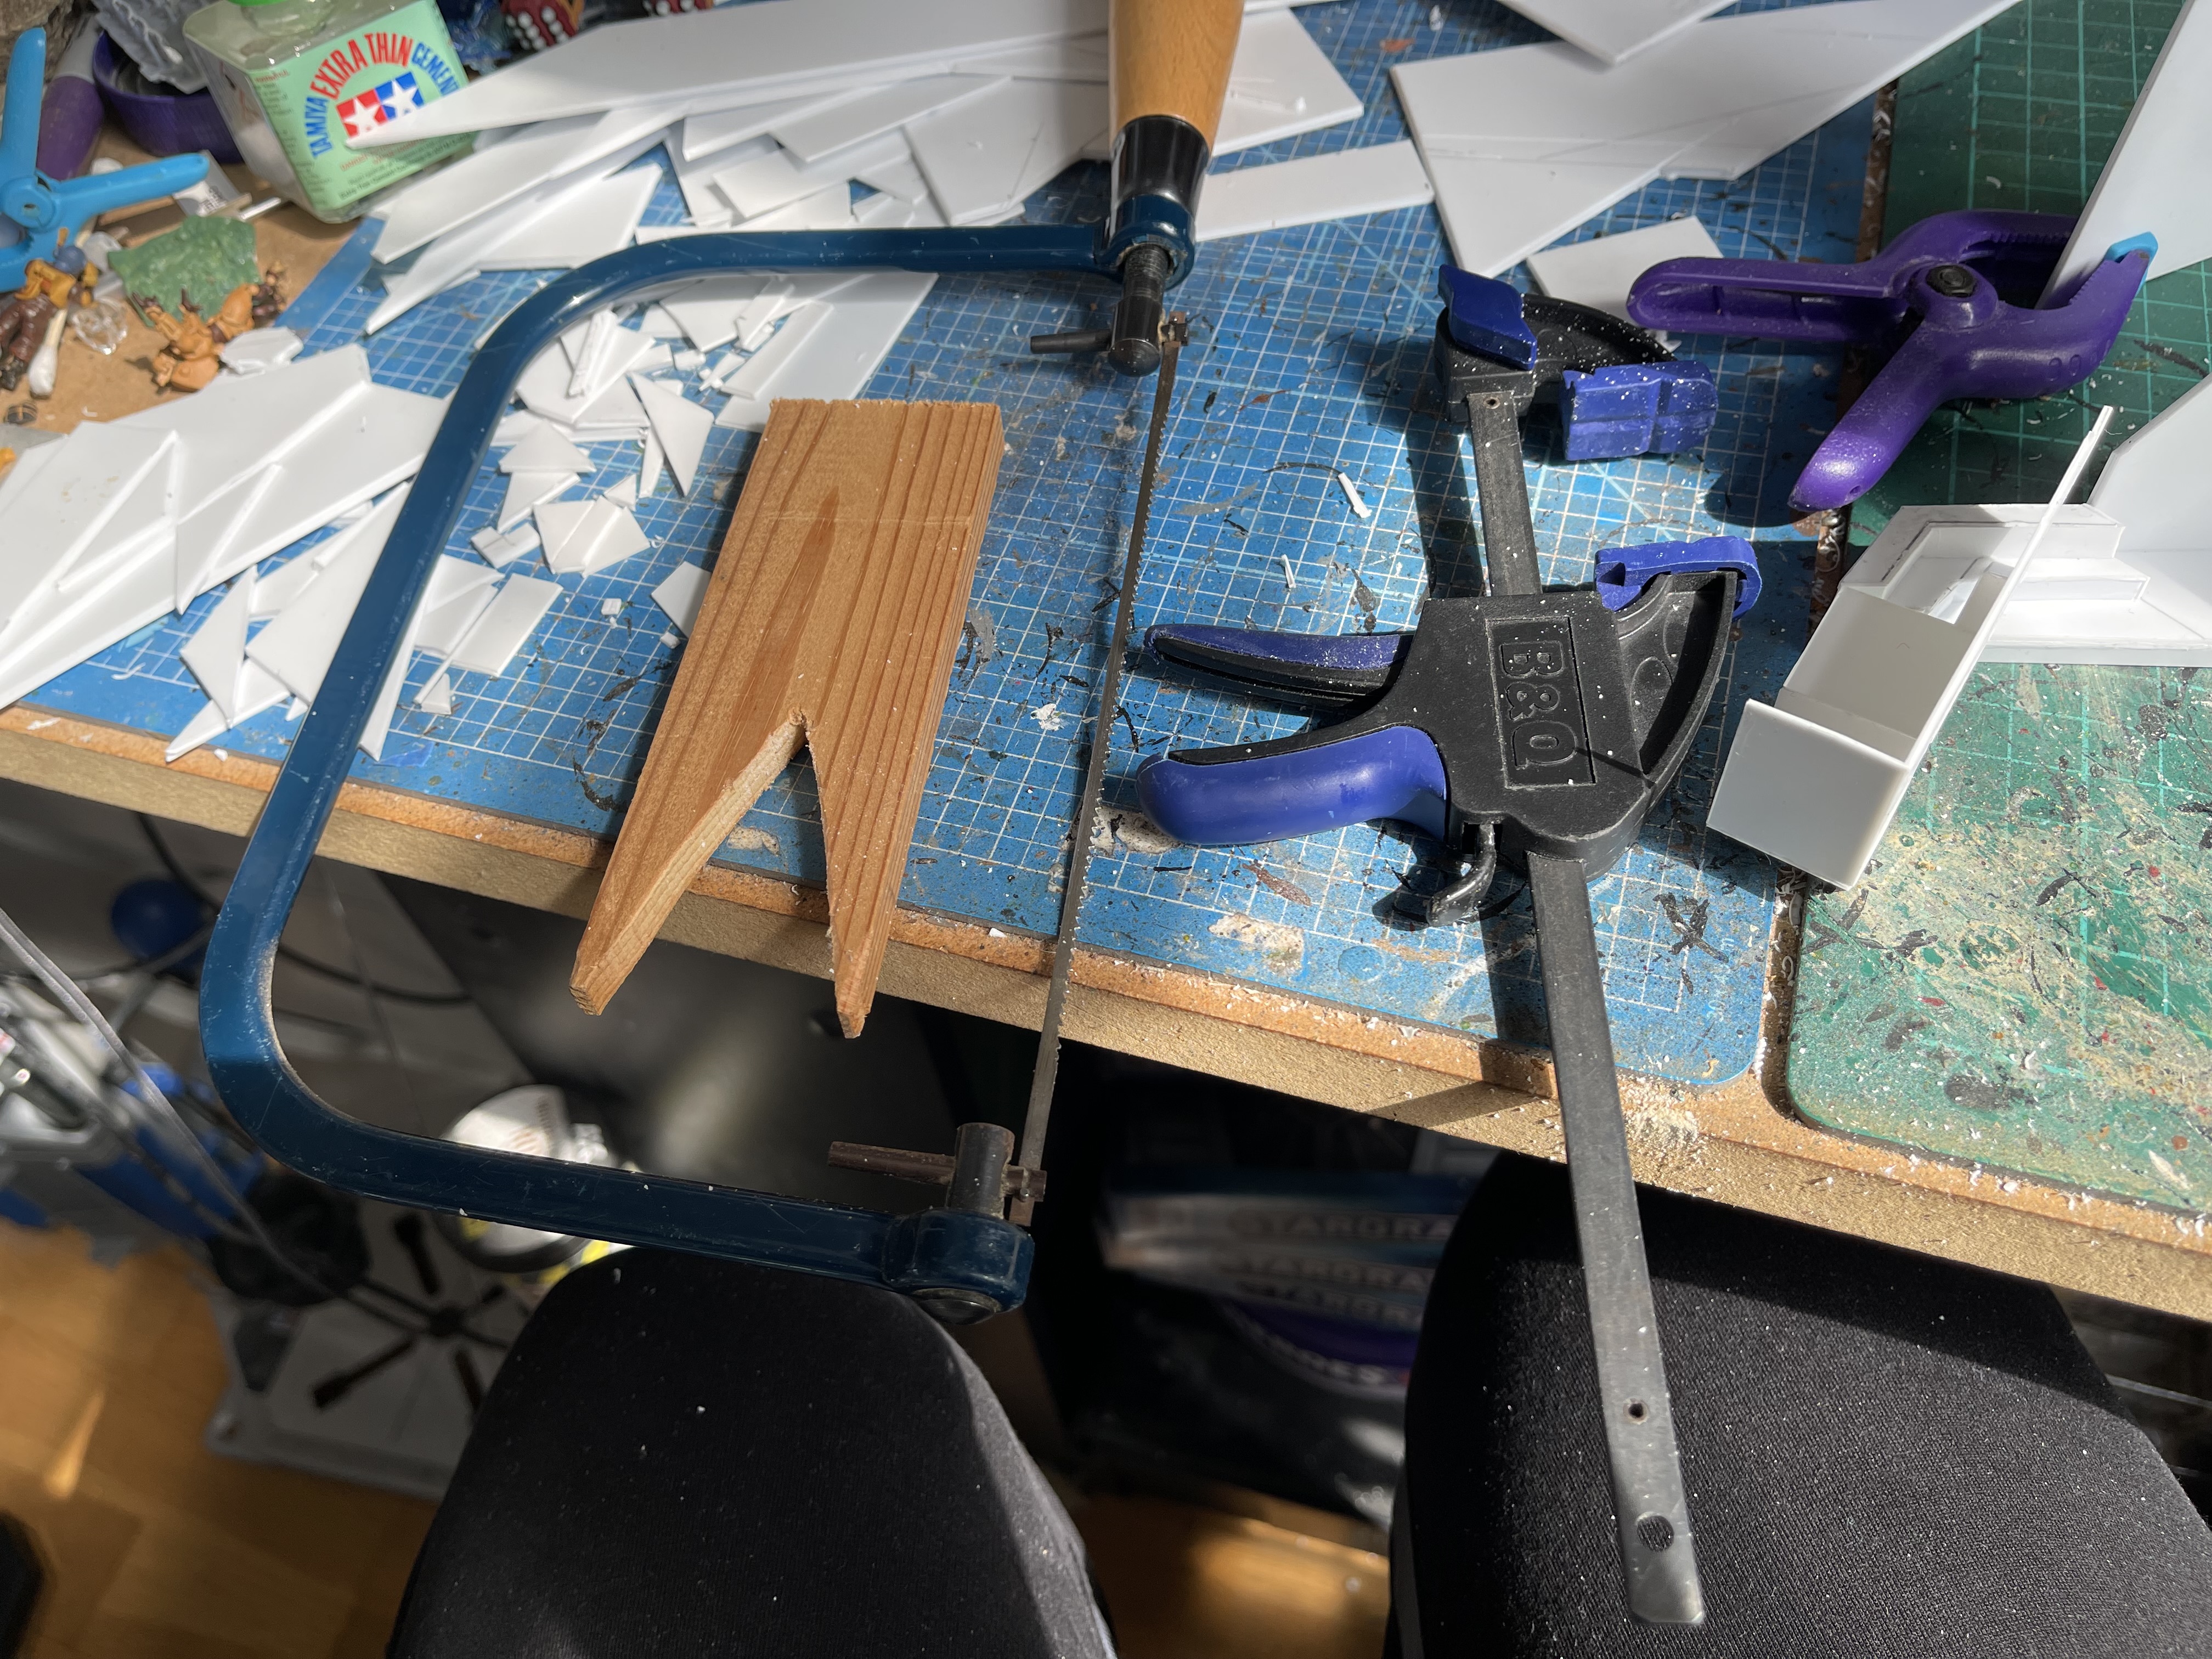
To cut the holes in the wall near the corridor I used a fret saw (a coping saw would have been better but its what I had) and cut a V shape into a some wood so I could support the piece while sawing it (I had seem something similar used on the repair shop).
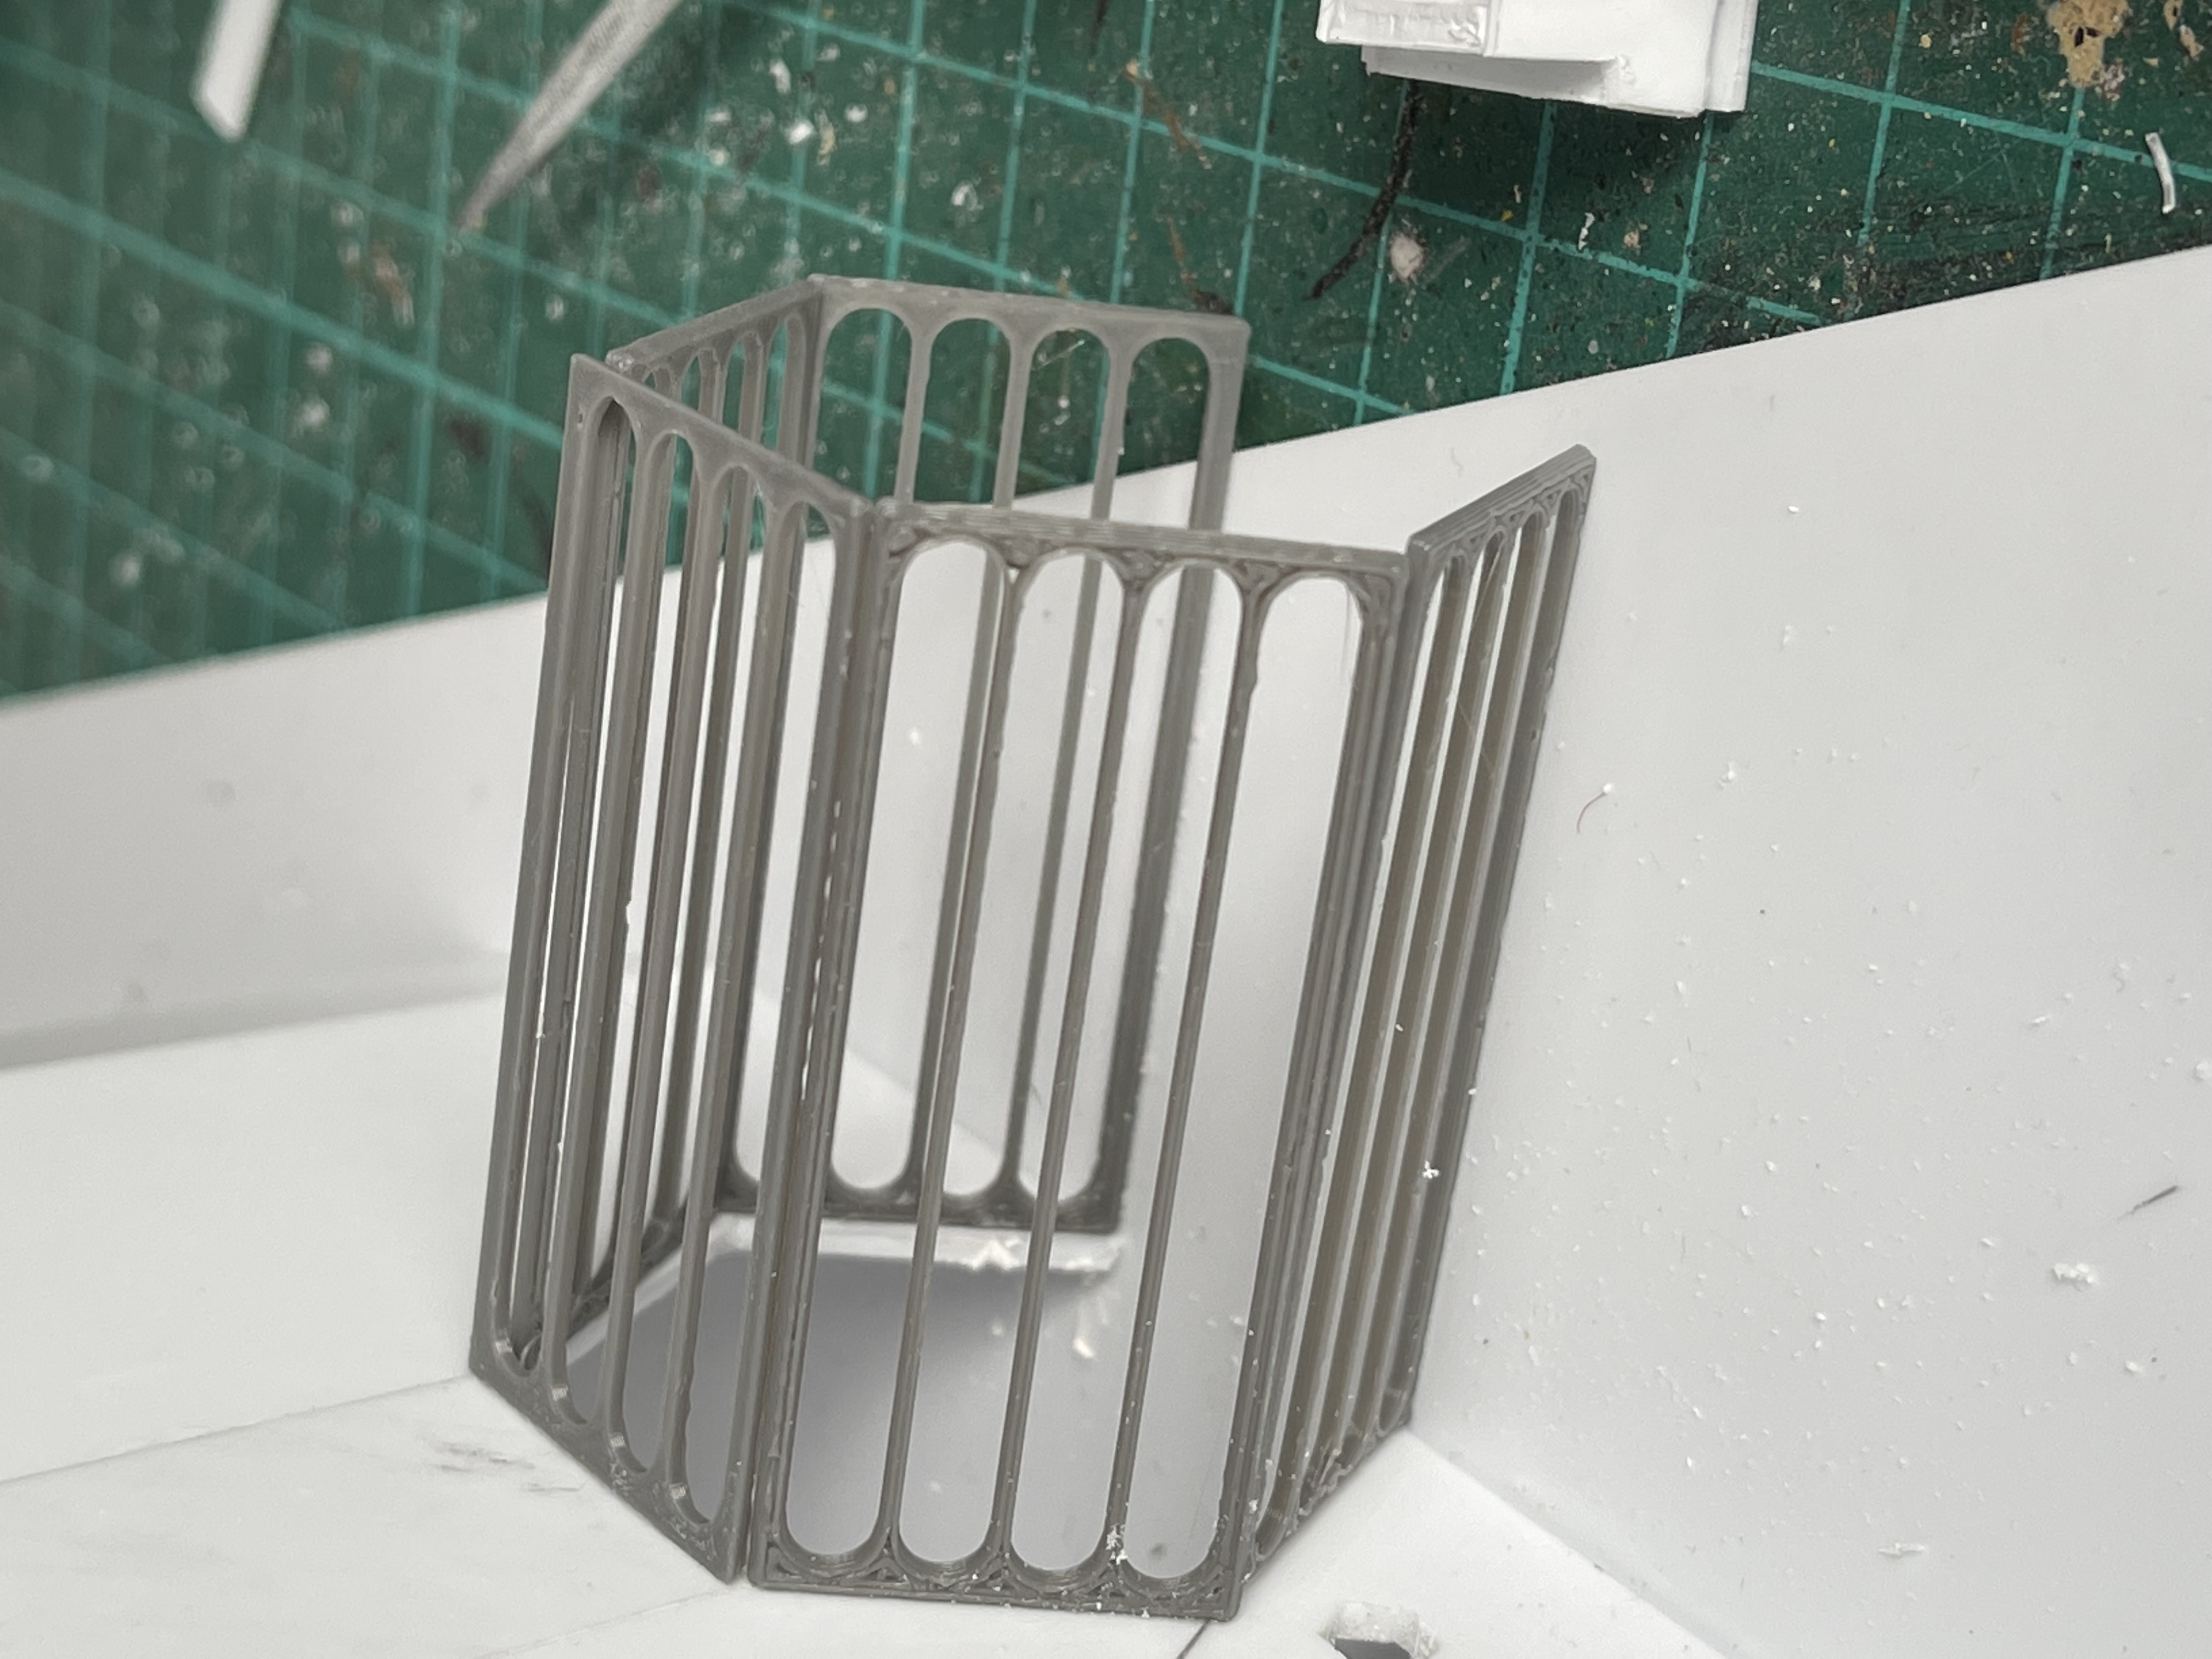
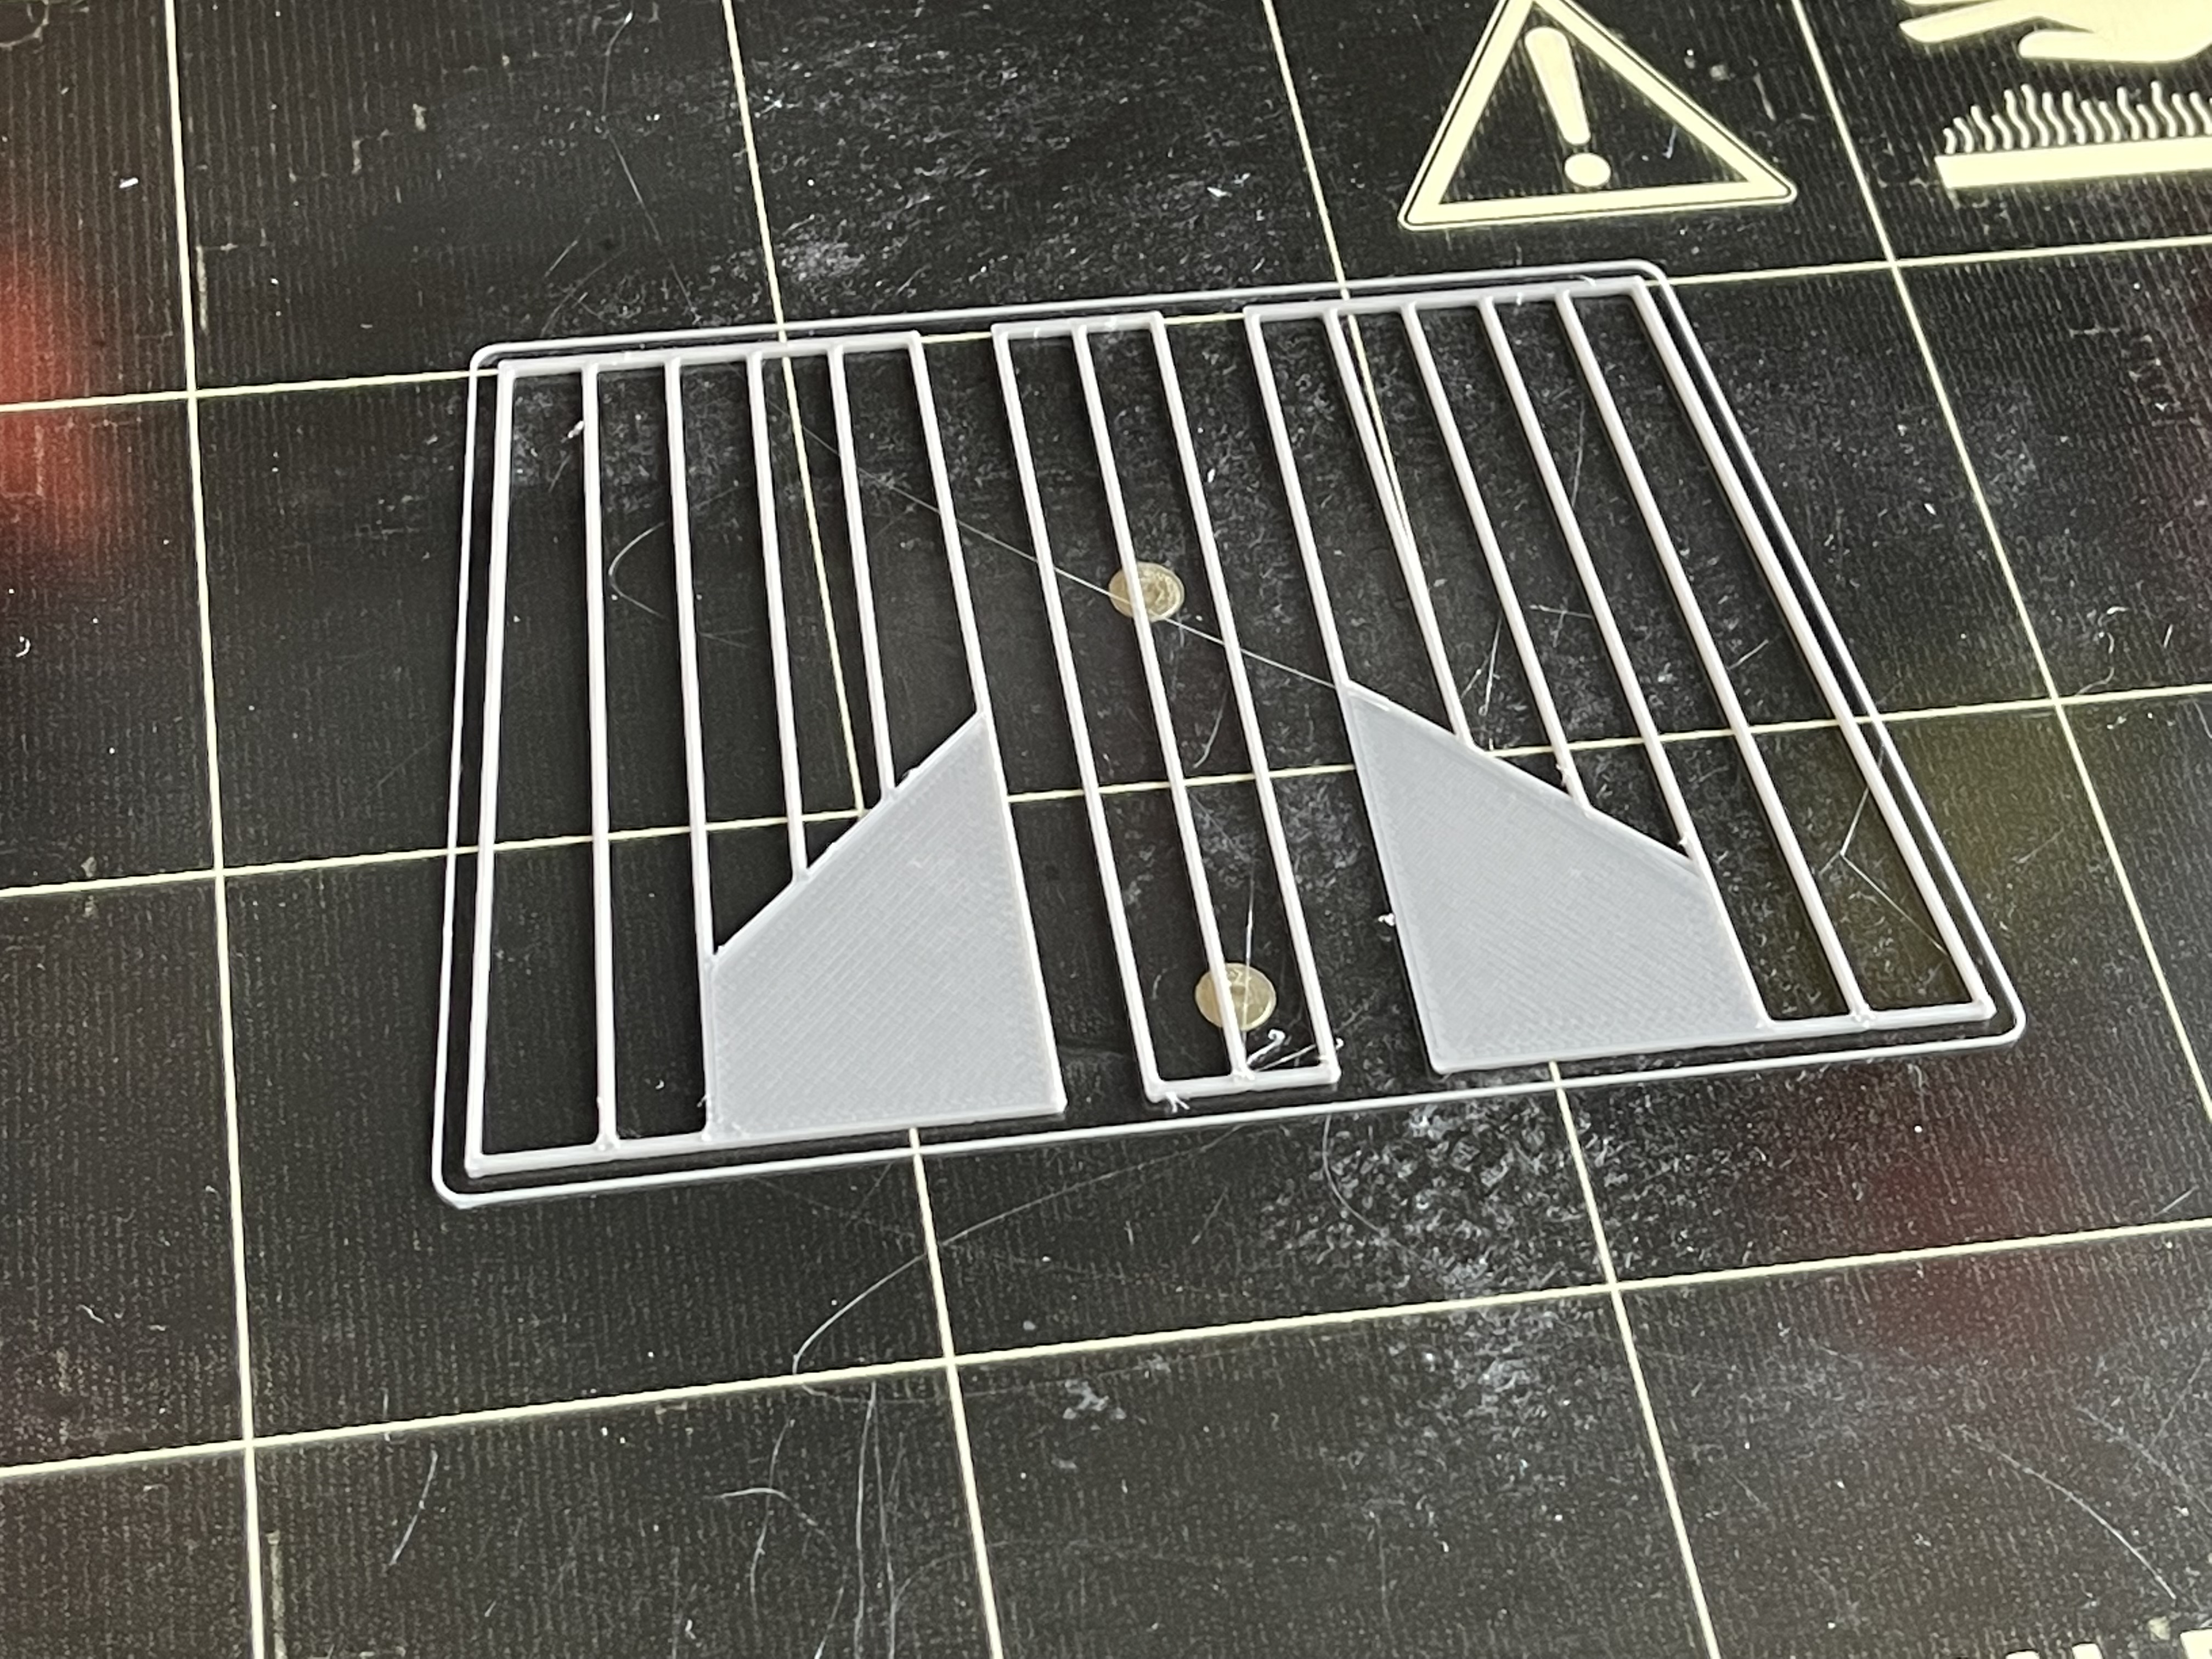
For the rear of the bridge I wanted use back lit frosted acrylic sheet and I could use paint or thin strips of plastic to make the designs. But all I could find is some polycarbonate sheet that is very flexible, so I designed some grids in tinkerCAD and printed them 1mm think. Hopefully these will be strong enough to hold the back up until I paint them and glue the semi transparent sheet be hind them. If this works I will also try this on the corridors too.


![Play WW2 Commando Operations With Butcher & Bolt [Updated]](https://images.beastsofwar.com/2026/03/relaunch-600-338.jpg)


