


![NO Weekender Or Cult Of Games XLBS This Weekend [Updated]](https://images.beastsofwar.com/2026/03/No_Weekender_and_XLBS_this_Weekend-225-127.jpg)


Warcry: Red Harvest – a self motivational project blog


Recommendations: 494
About the Project
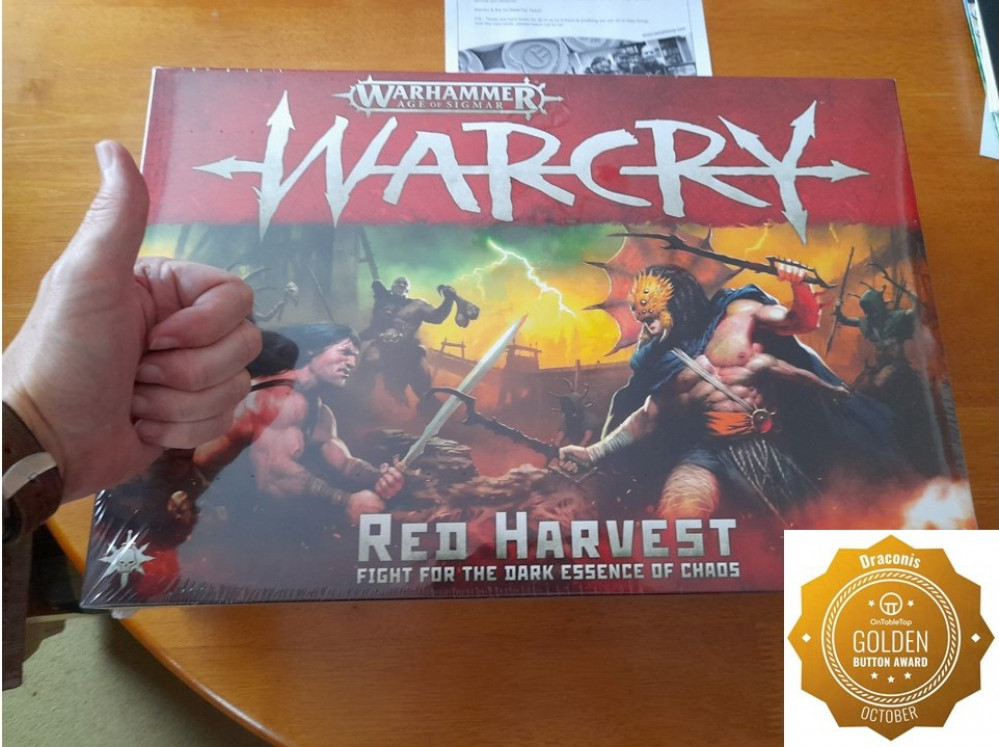
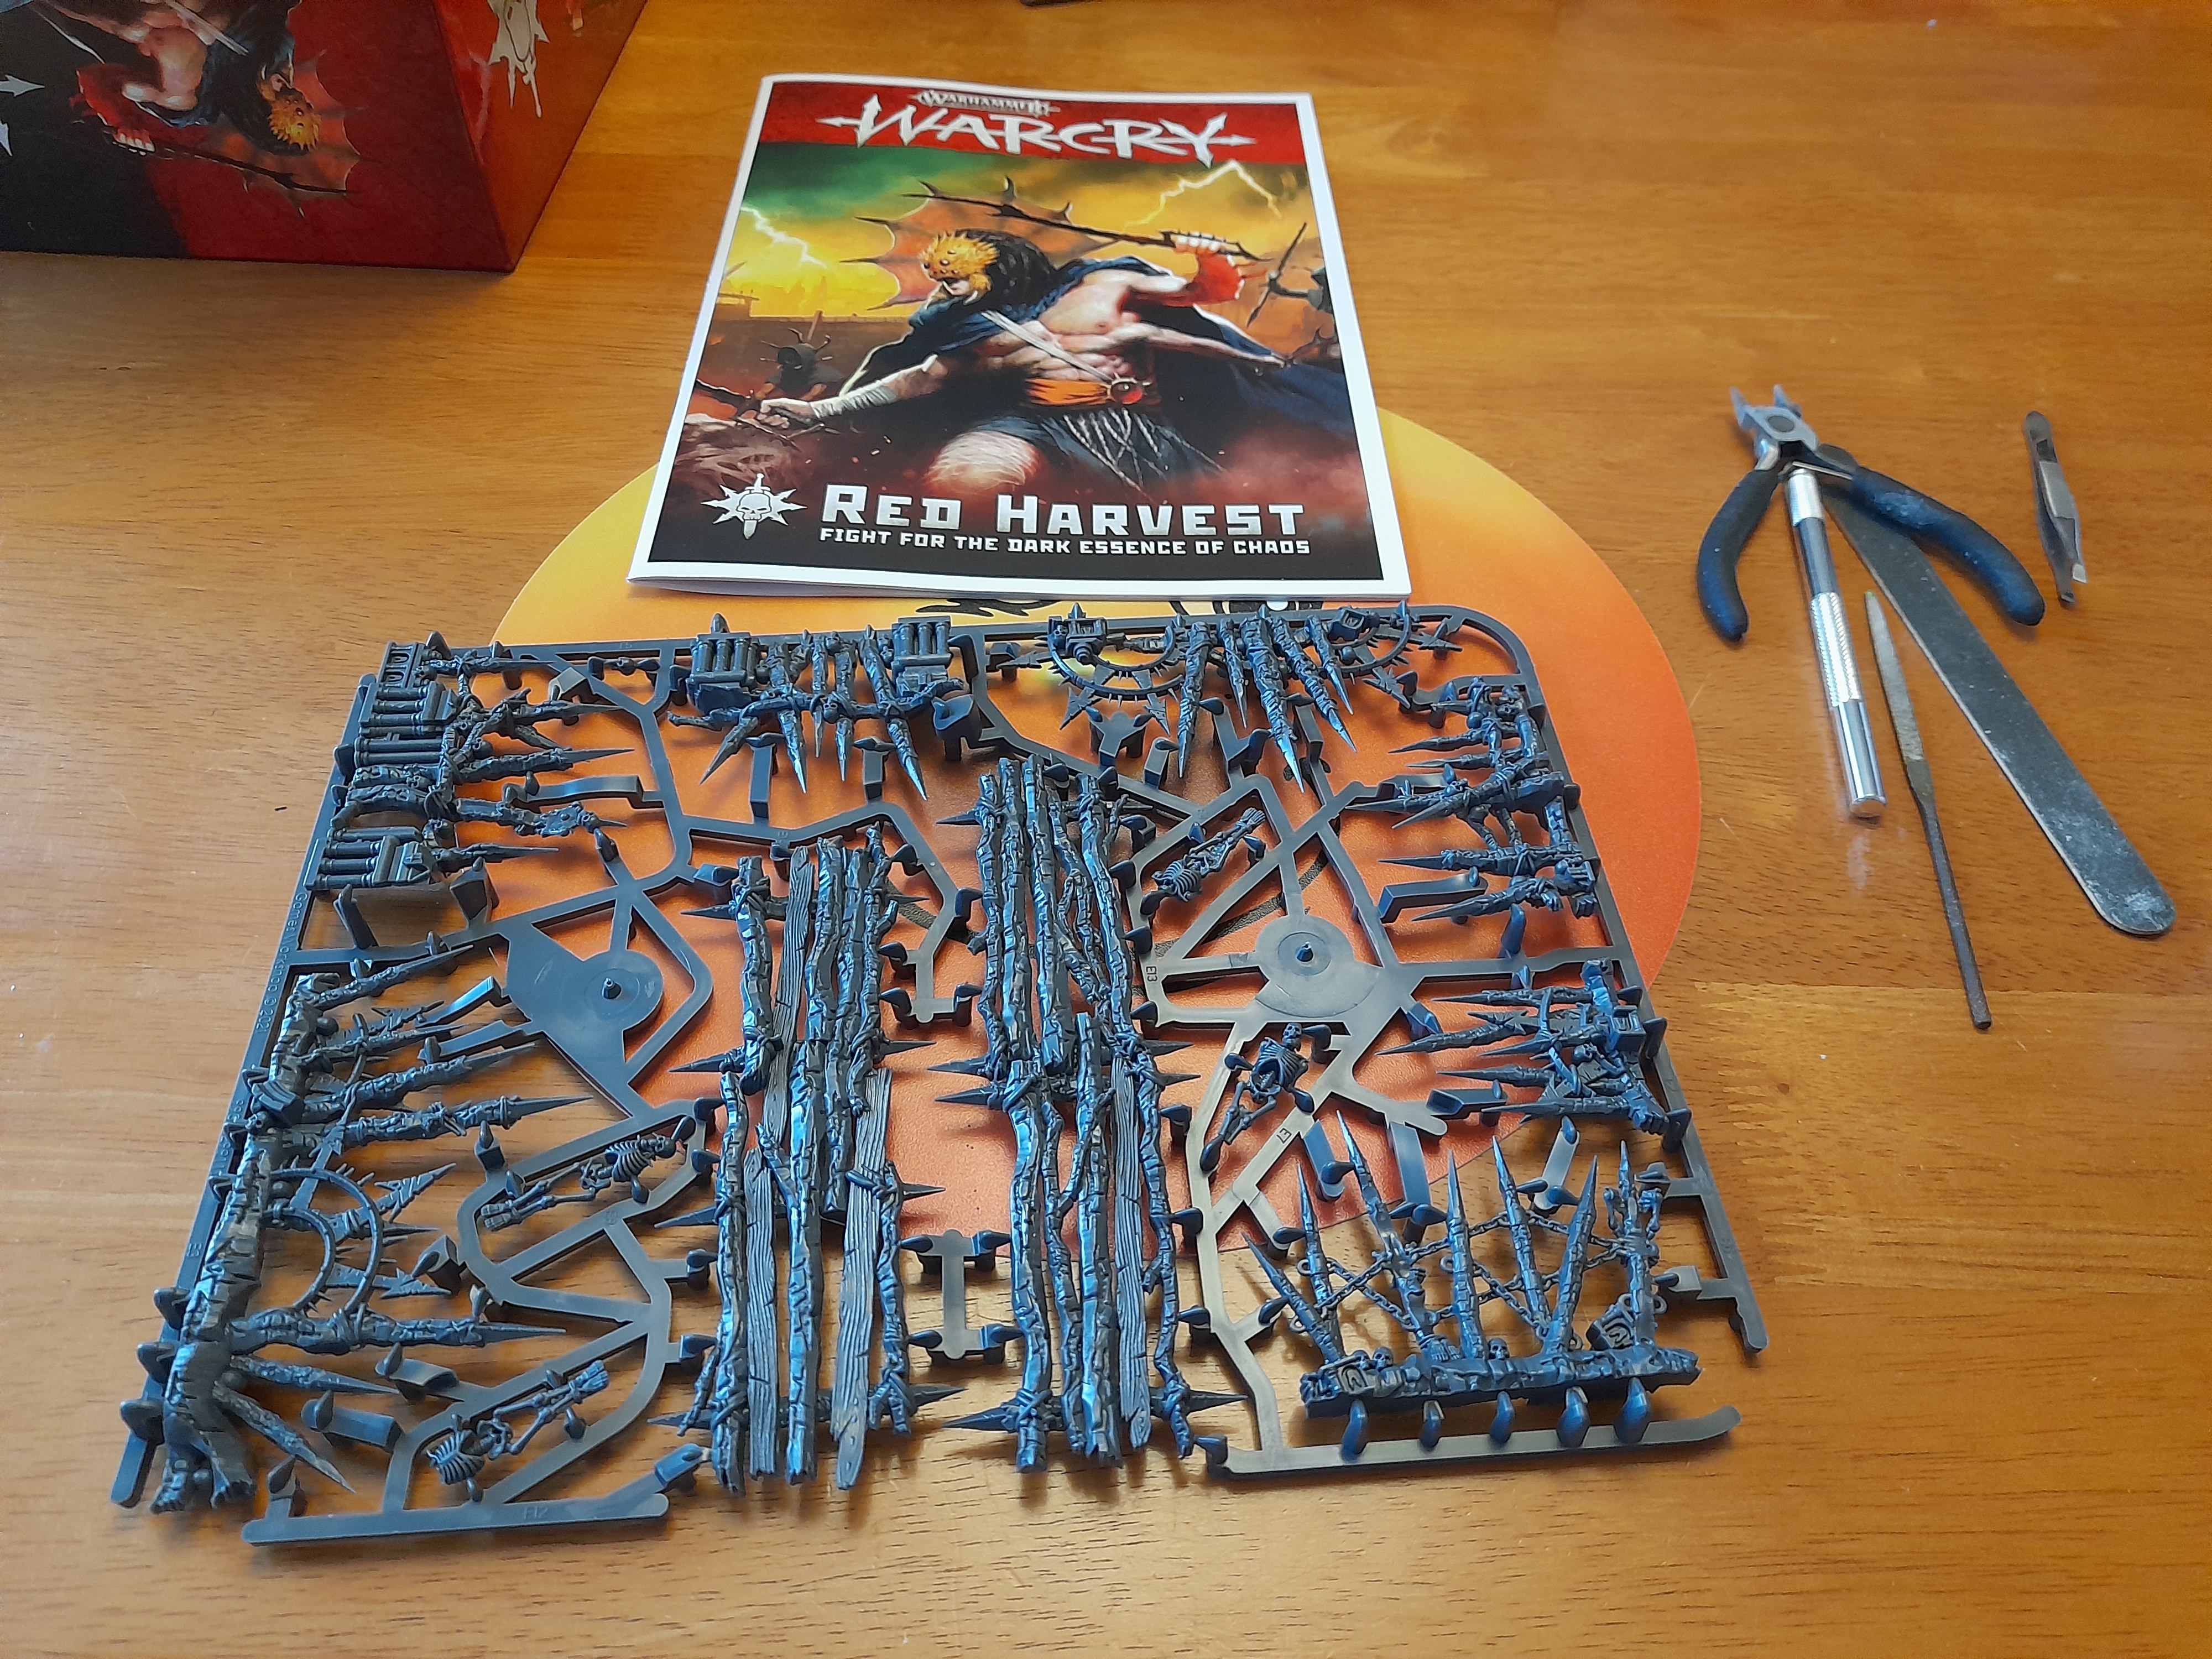
This will be my first project log here, and I am hoping that it will be a good motivational tool for myself in order to make some positive progress. I’m a hobbyist in my late 40’s, having started with GW (WFB 3rd ed, Rogue Trader, WFRP) back in the golden era of the mid/late 80’s. Recent years have seen my hobby progress wain for various reasons, but I have continued to be interested in all aspects of our hobby. Part of that has been watching the content put out by OTT (BoW) – and after entering the competitions many times (including the very enjoyable Heroforge 'design a mini' ones) I was lucky enough to very recently win a copy of ‘Warcry: Red Harvest’. Let me state first - I’m not sure how often I will be making updates here. As said earlier I hope this will be a motivational tool for me, and lead to other projects. Additionally, my skills are moderate at best, so this will be more akin to a progress diary rather than a ‘how to’. I downloaded the new force list info from Games Workshop and a few days before my birthday, the rather large box arrived. So, cracking open the box to release the mystical ‘new box smell’, this is where the project begins.
Related Game: Warhammer Age Of Sigmar: Warcry
Related Company: Games Workshop
Related Genre: Fantasy
This Project is Completed
Of small beginnings....
After a long period of little to no physical hobby progress, the arrival of my prize ‘Warcry: Red Harvest’ box prompts me to (hopefully) get some hobby ‘mojo’ back.

My initial thoughts prior to opening were to begin with small objectives, work on some of the scenery and then work my way up to the minis themselves – my eyesight and hand control not being what it used to be 🙂
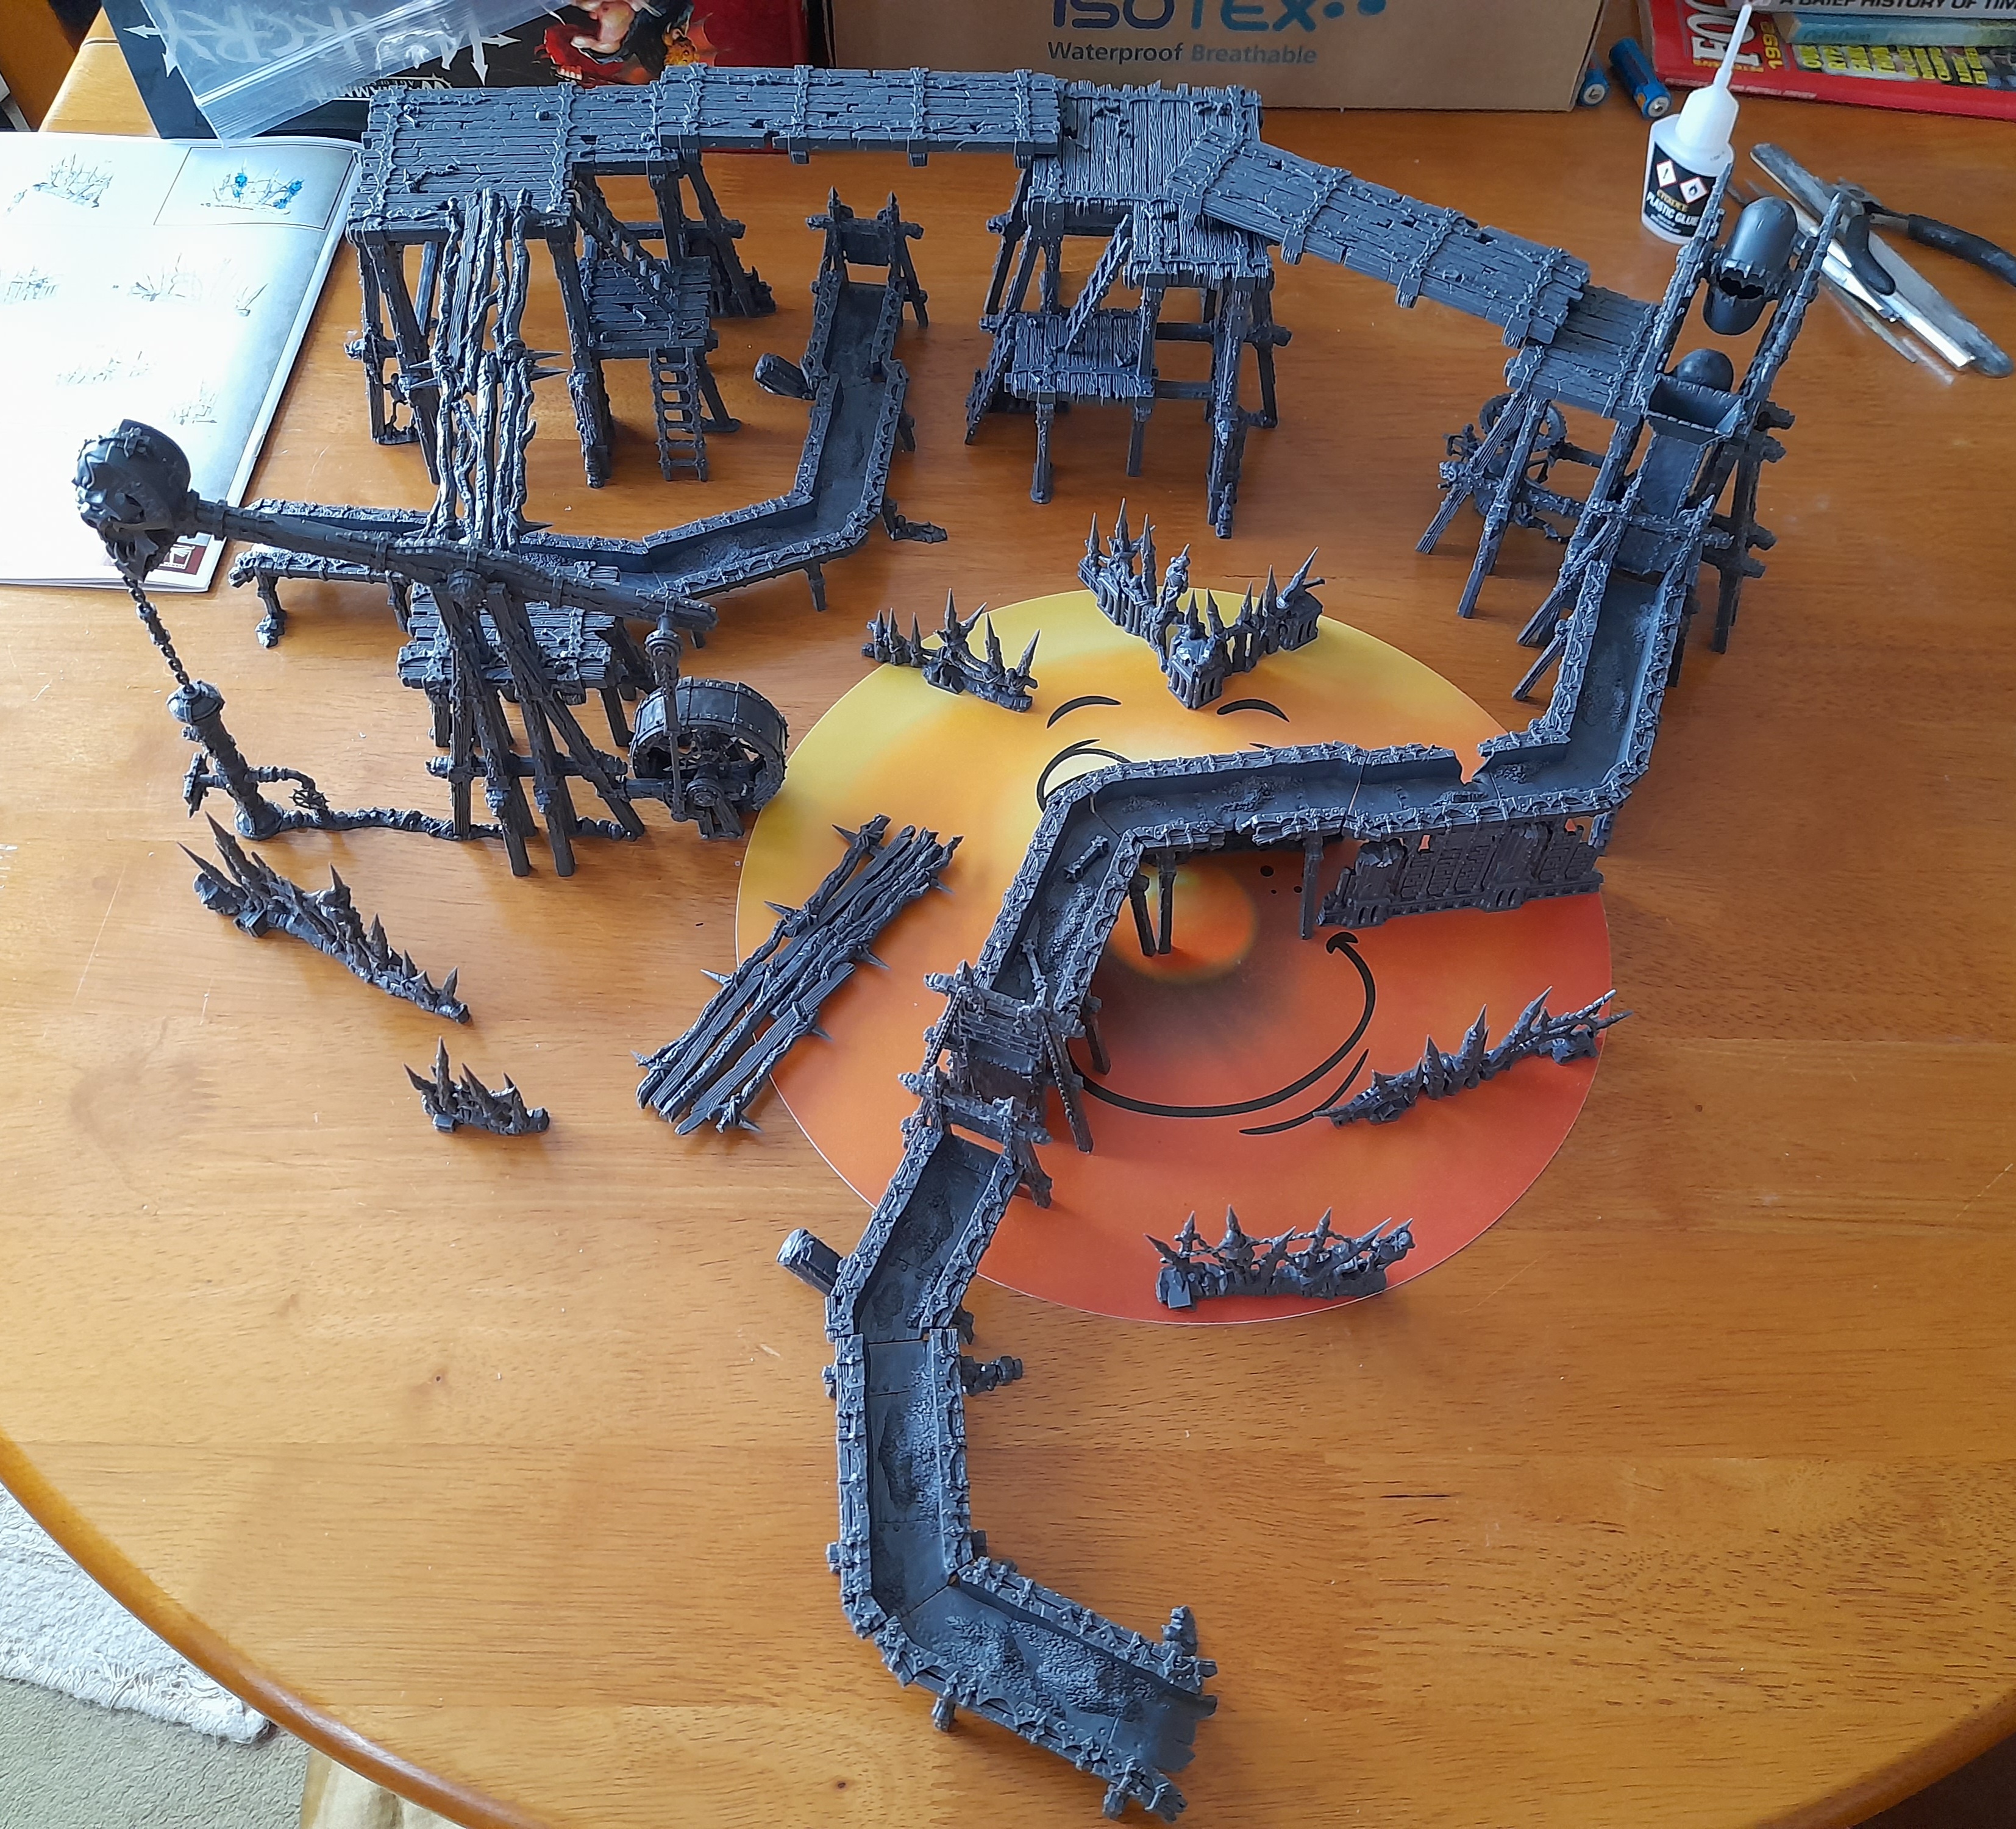
However, despite the relatively low model count, I am greeted with a plethora of plastic content…..
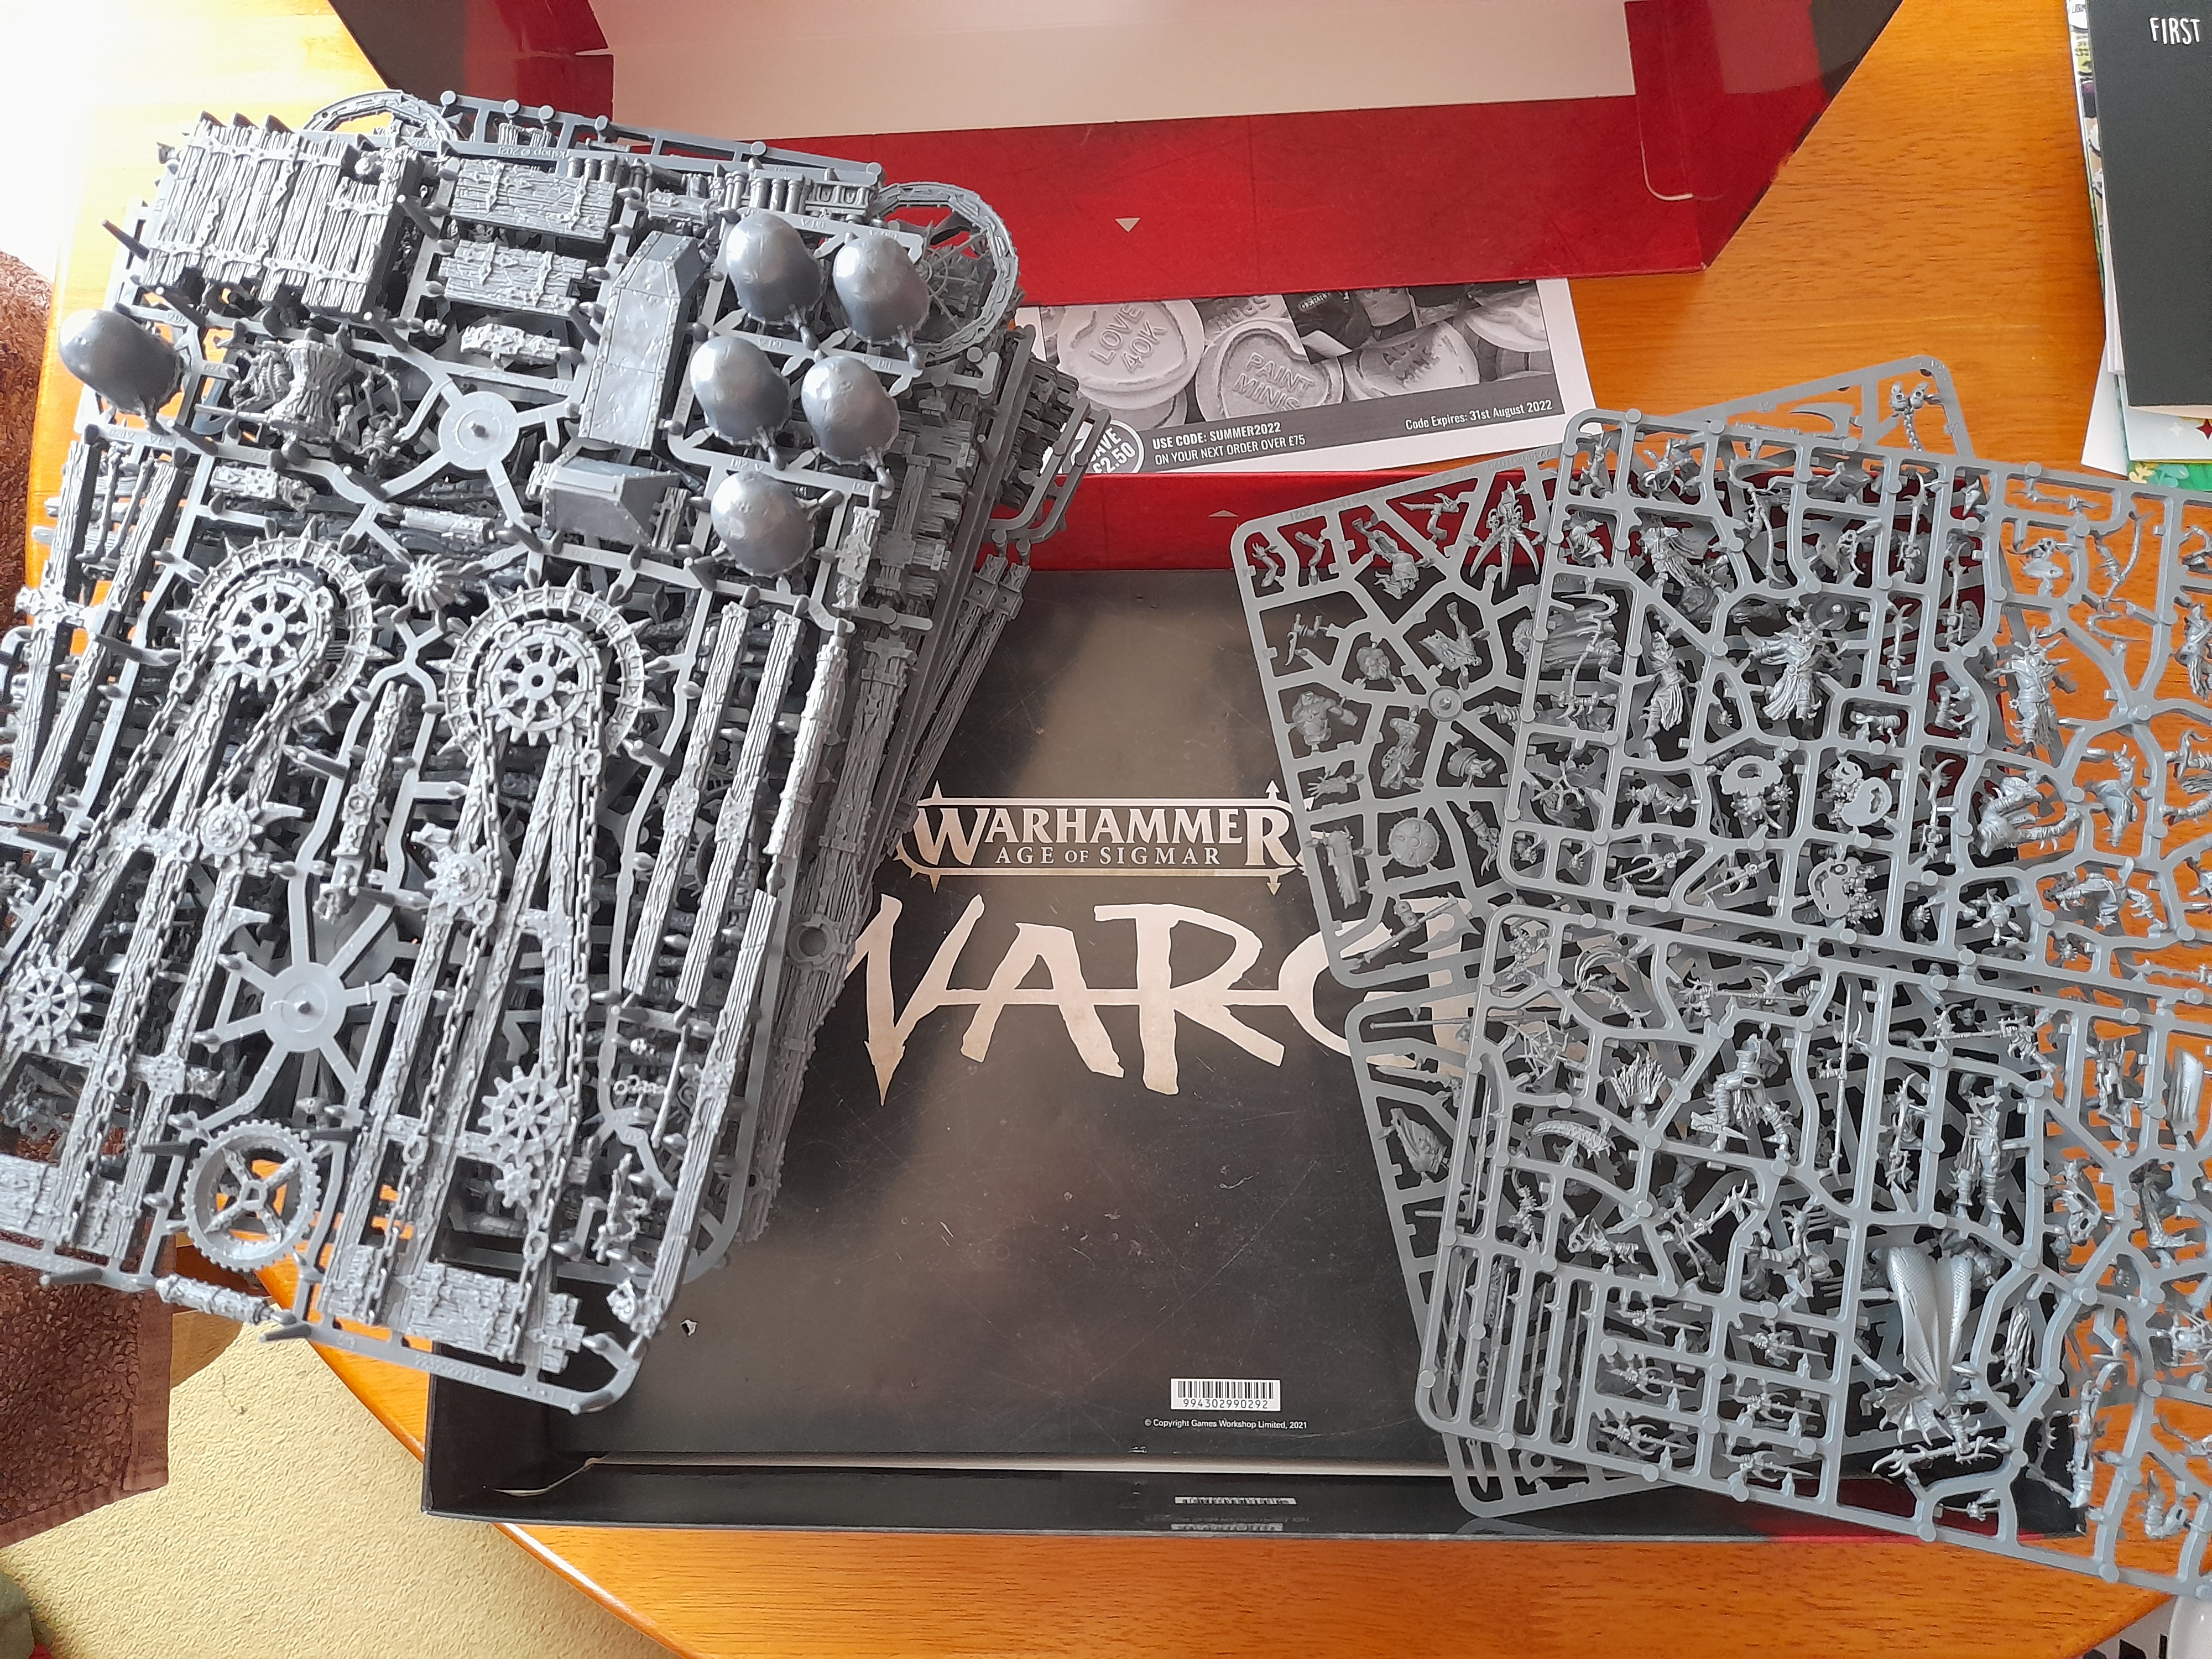
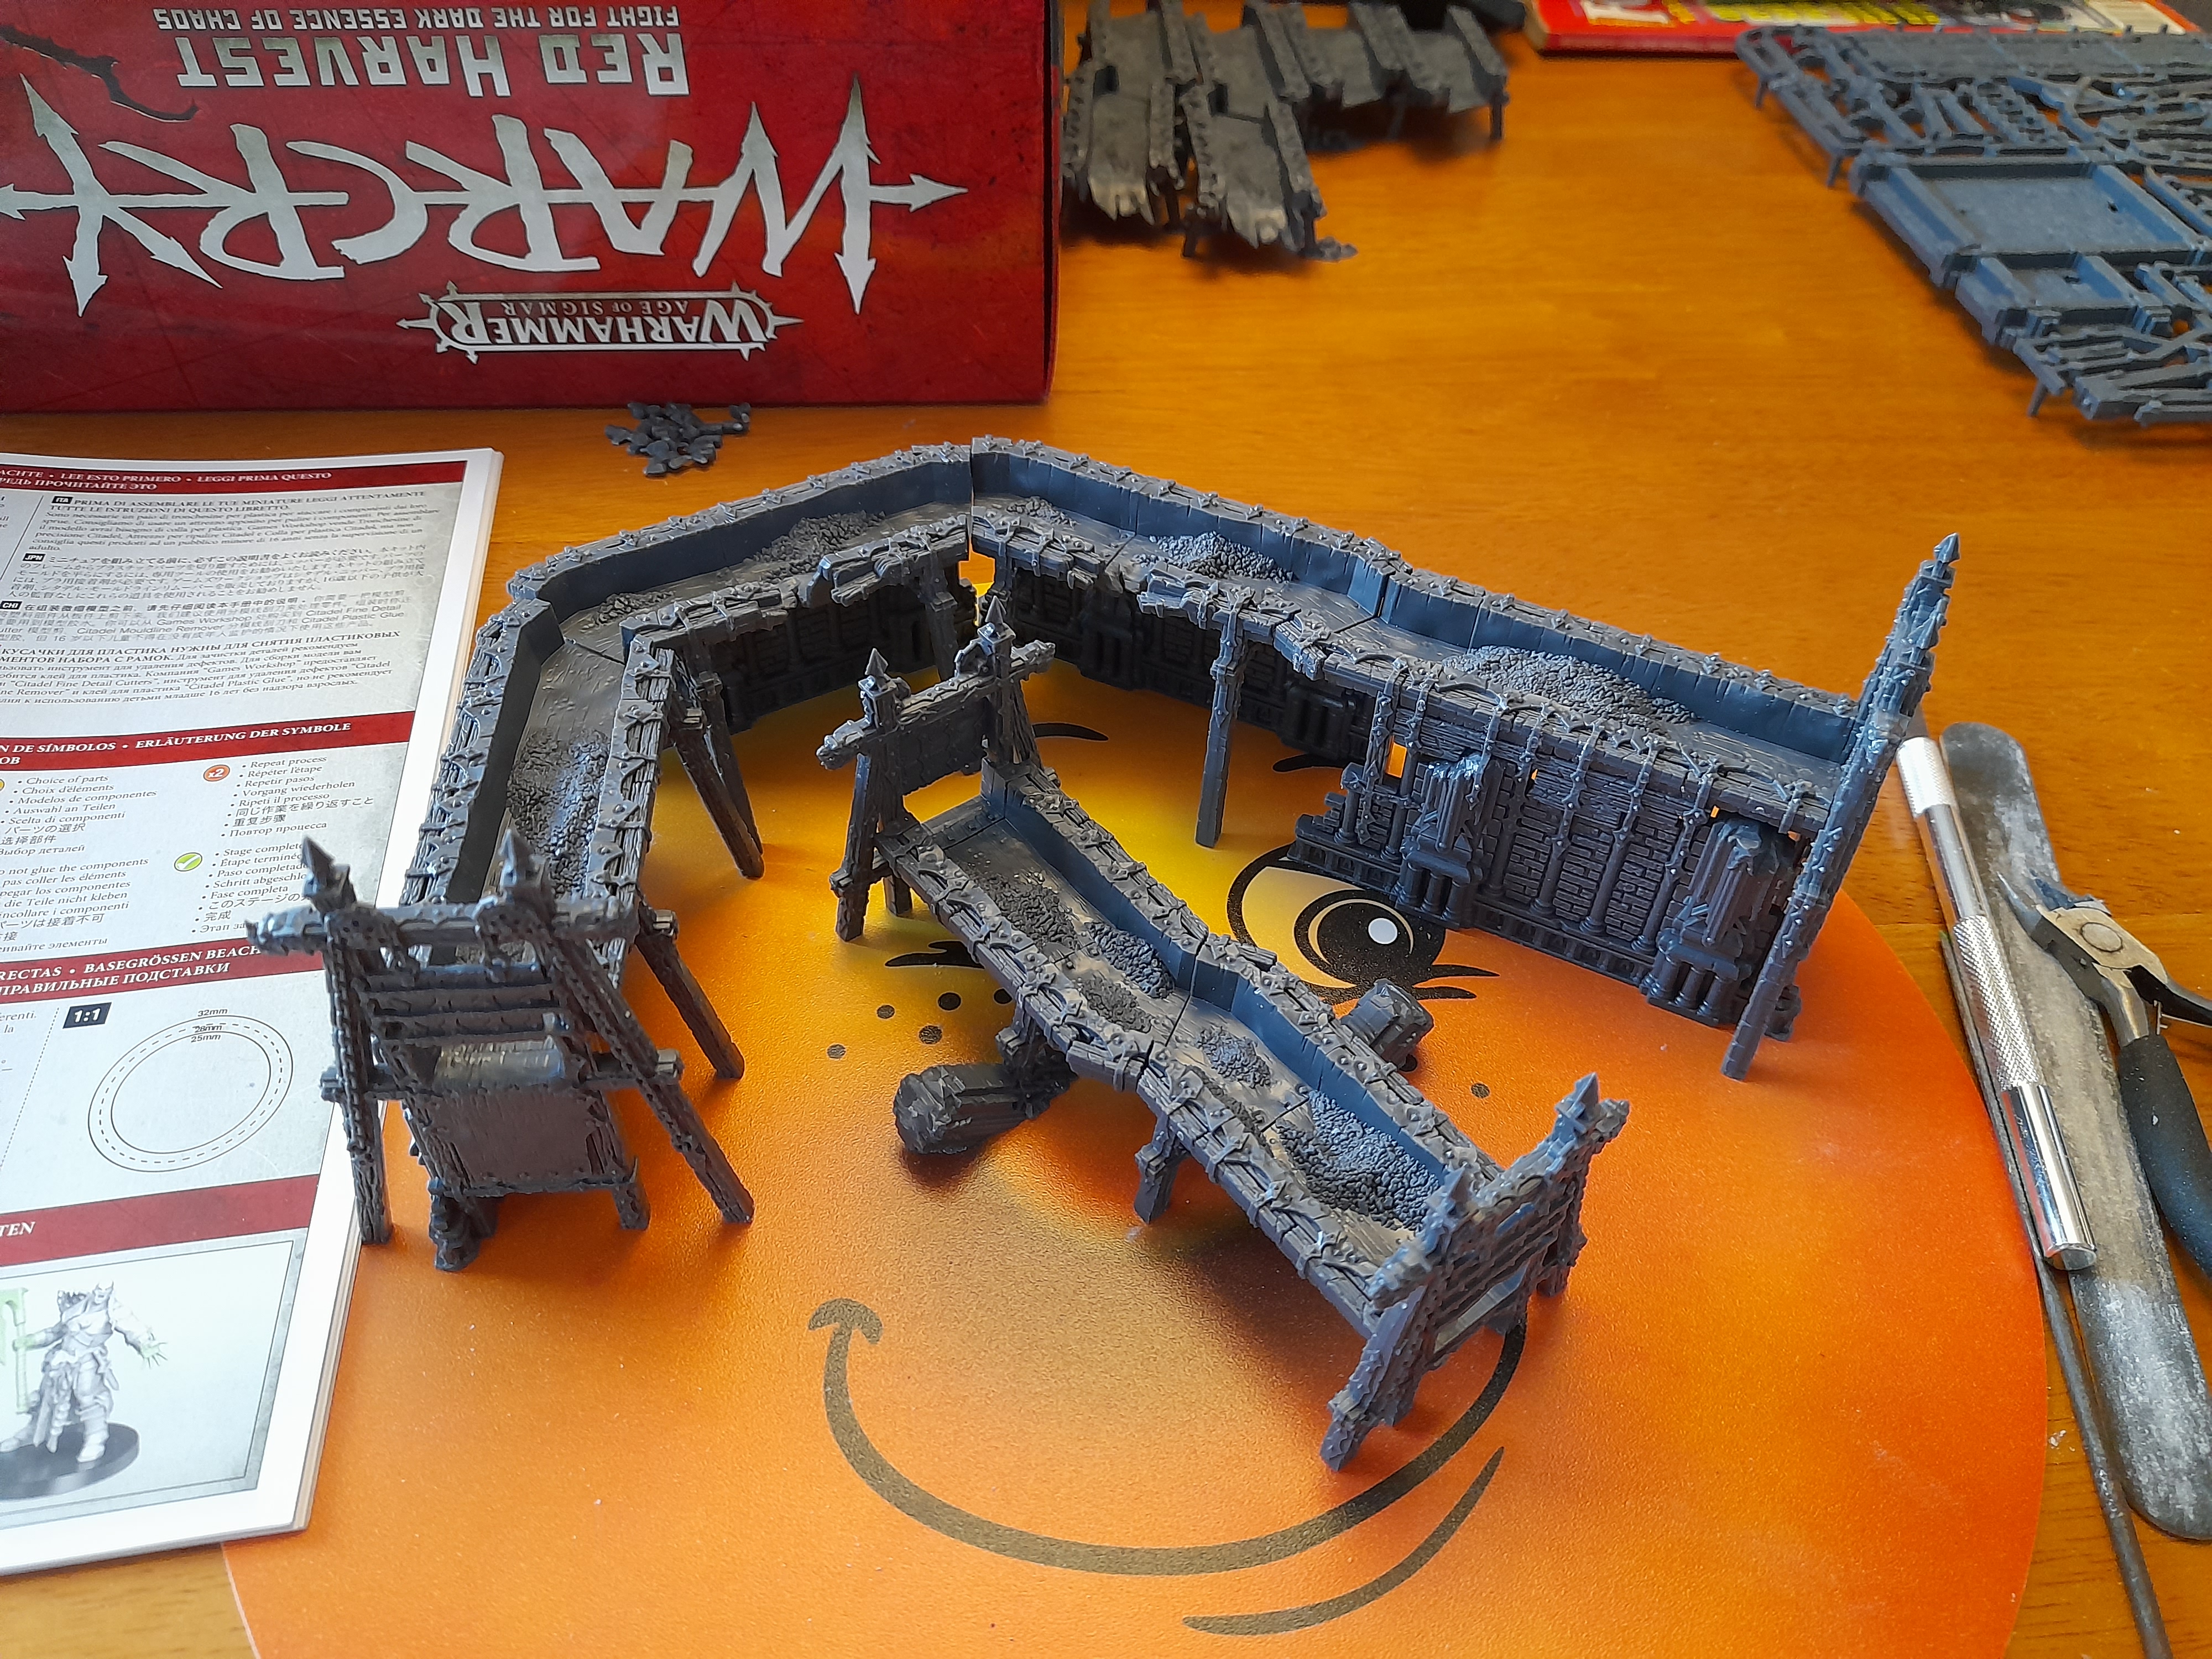
The plan will still be to focus on getting the terrain together first – I’m intending to go with a relatively dark palette for most of the scenery, similar to the GW scheme. But there are a lot more parts than I thought – so, the first baby steps will be snipping and cleaning the parts for assembly.
The matter of the cardboard
With the new edition coming out, I’m not sure how much of the card content will still be usable, so for now that can remain sealed in the box – to possibly see daylight as painting guides even if they aren’t to be used.

Not sure about anyone else, but I found the included graphic novel to be lacking in plot and character development……..
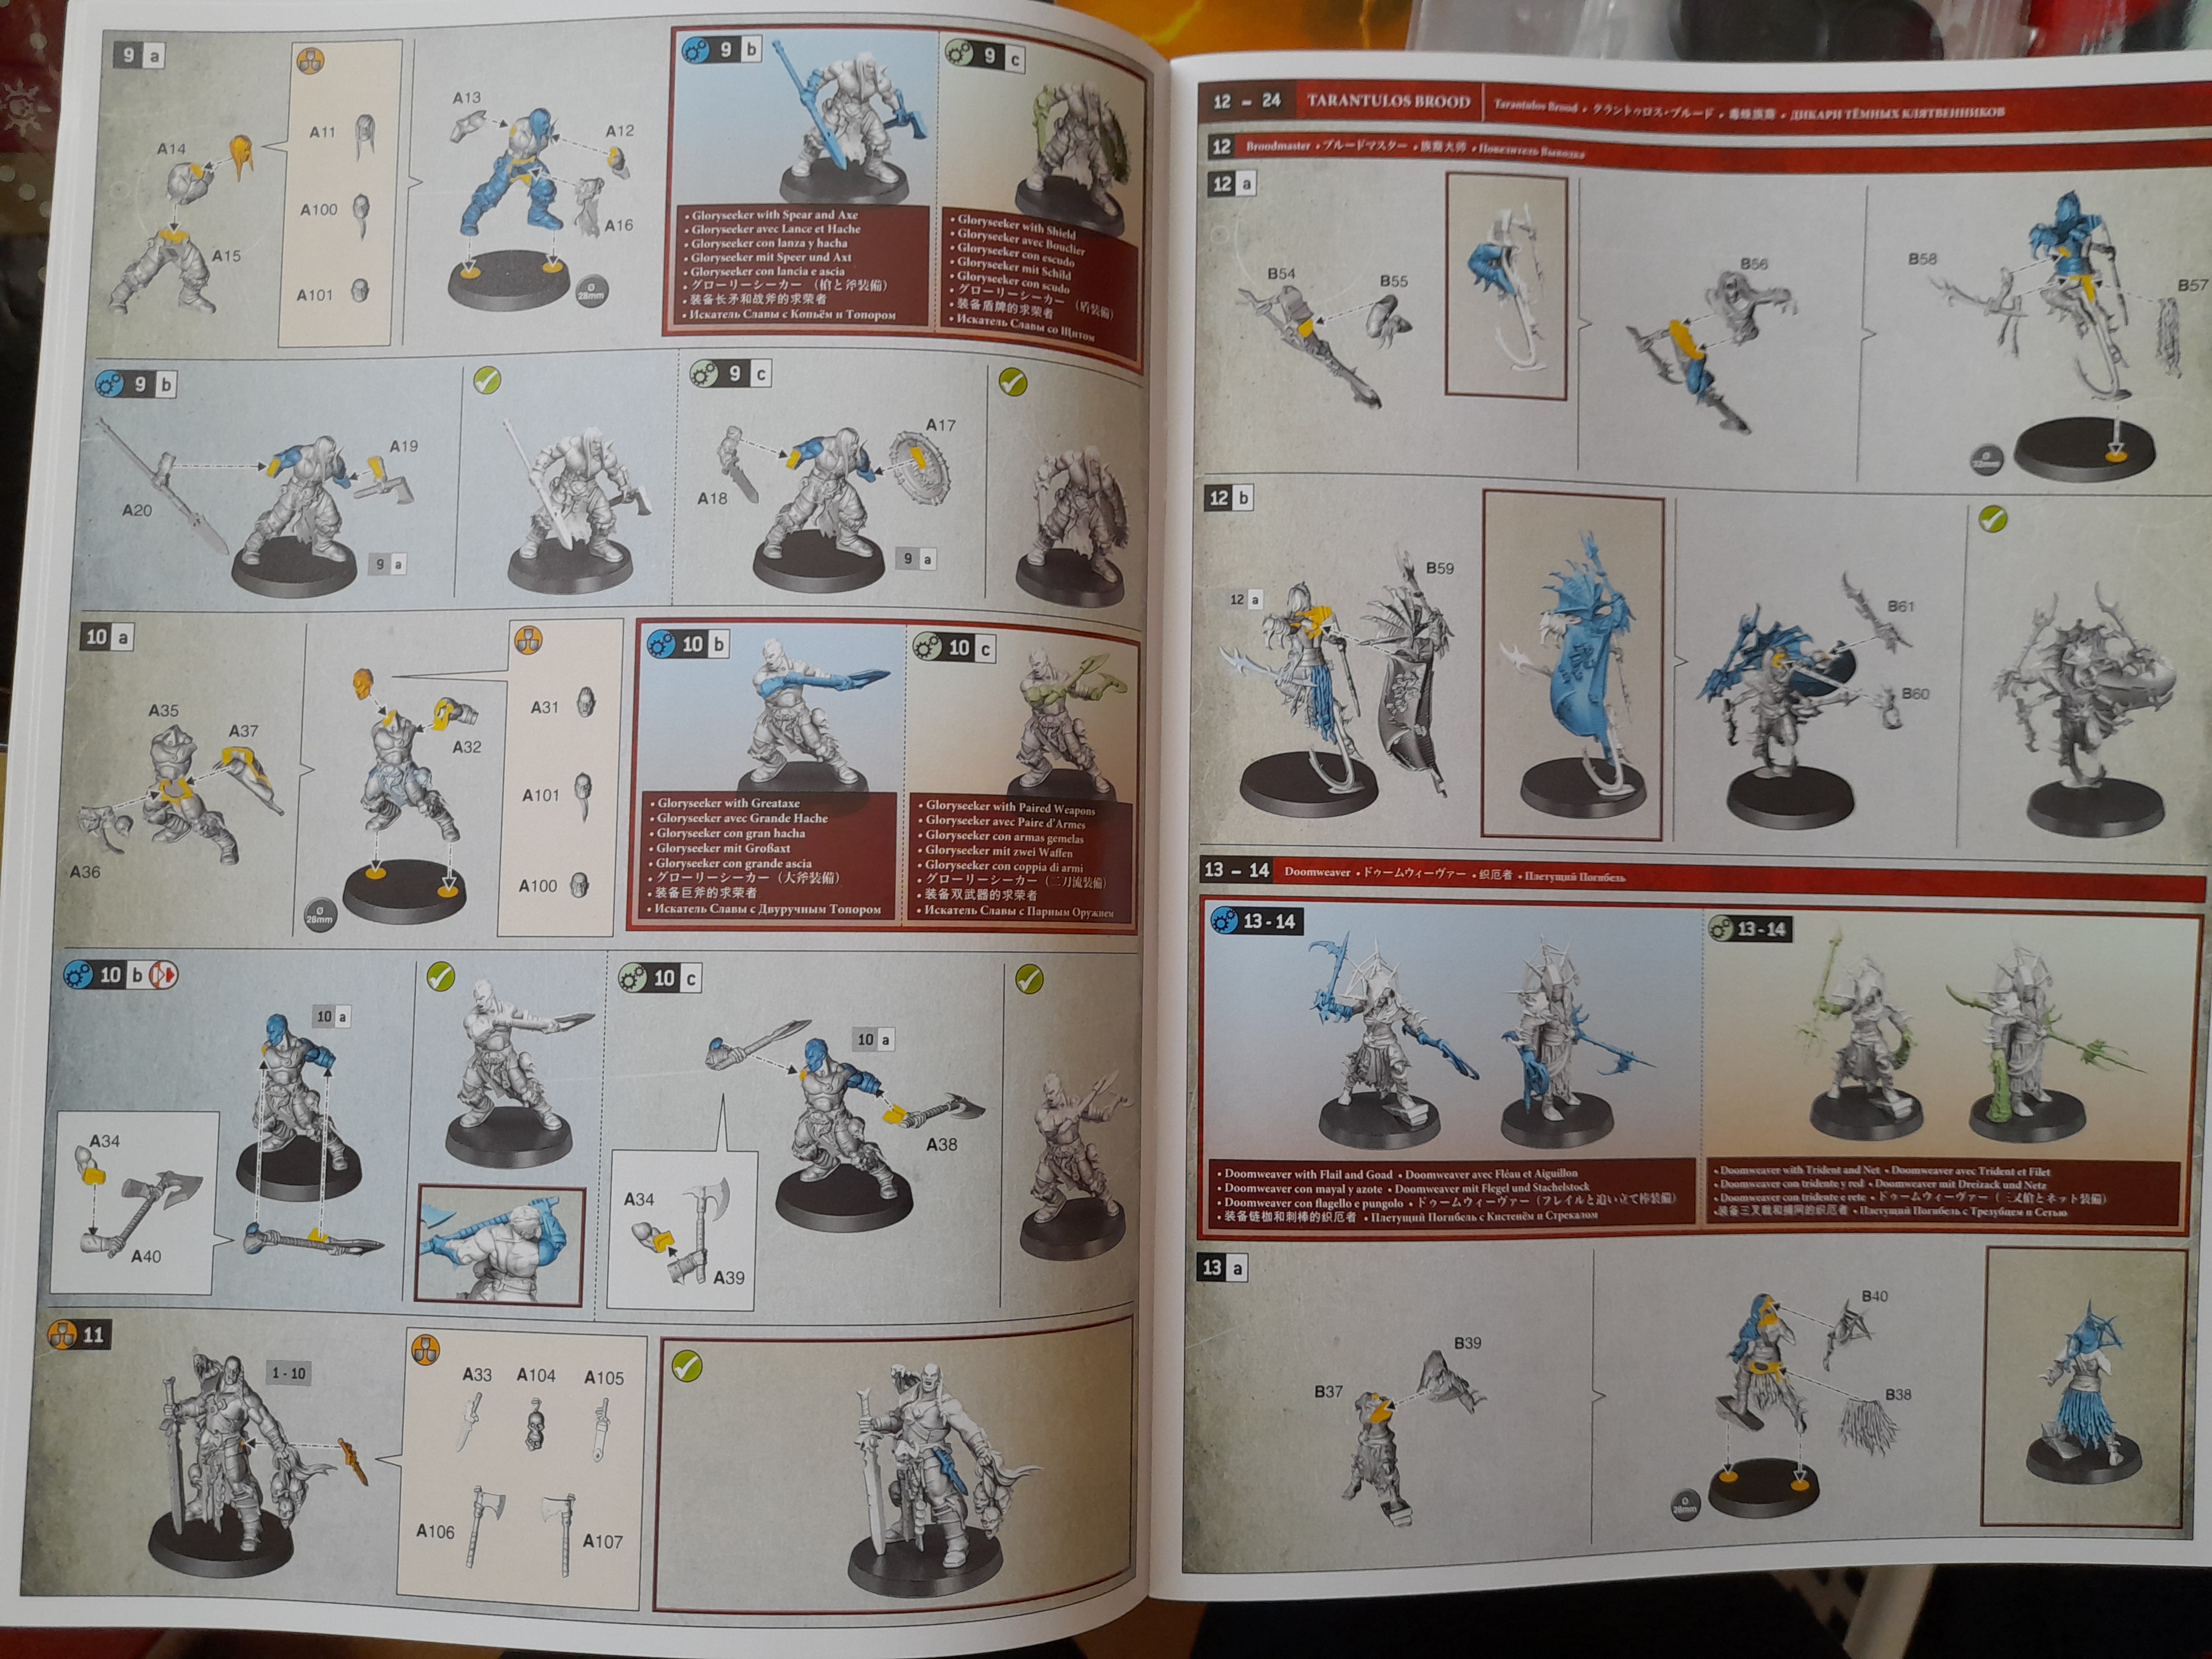 The Beano's storytelling has gone downhill...
The building of a thousand terrain pieces begins with a single snip
Well, maybe not a thousand terrain pieces, but there certainly are a lot of pieces in this box.
So, armed with my trusty snippers, a sharp knife, file, sanding board and glue I begin my journey….
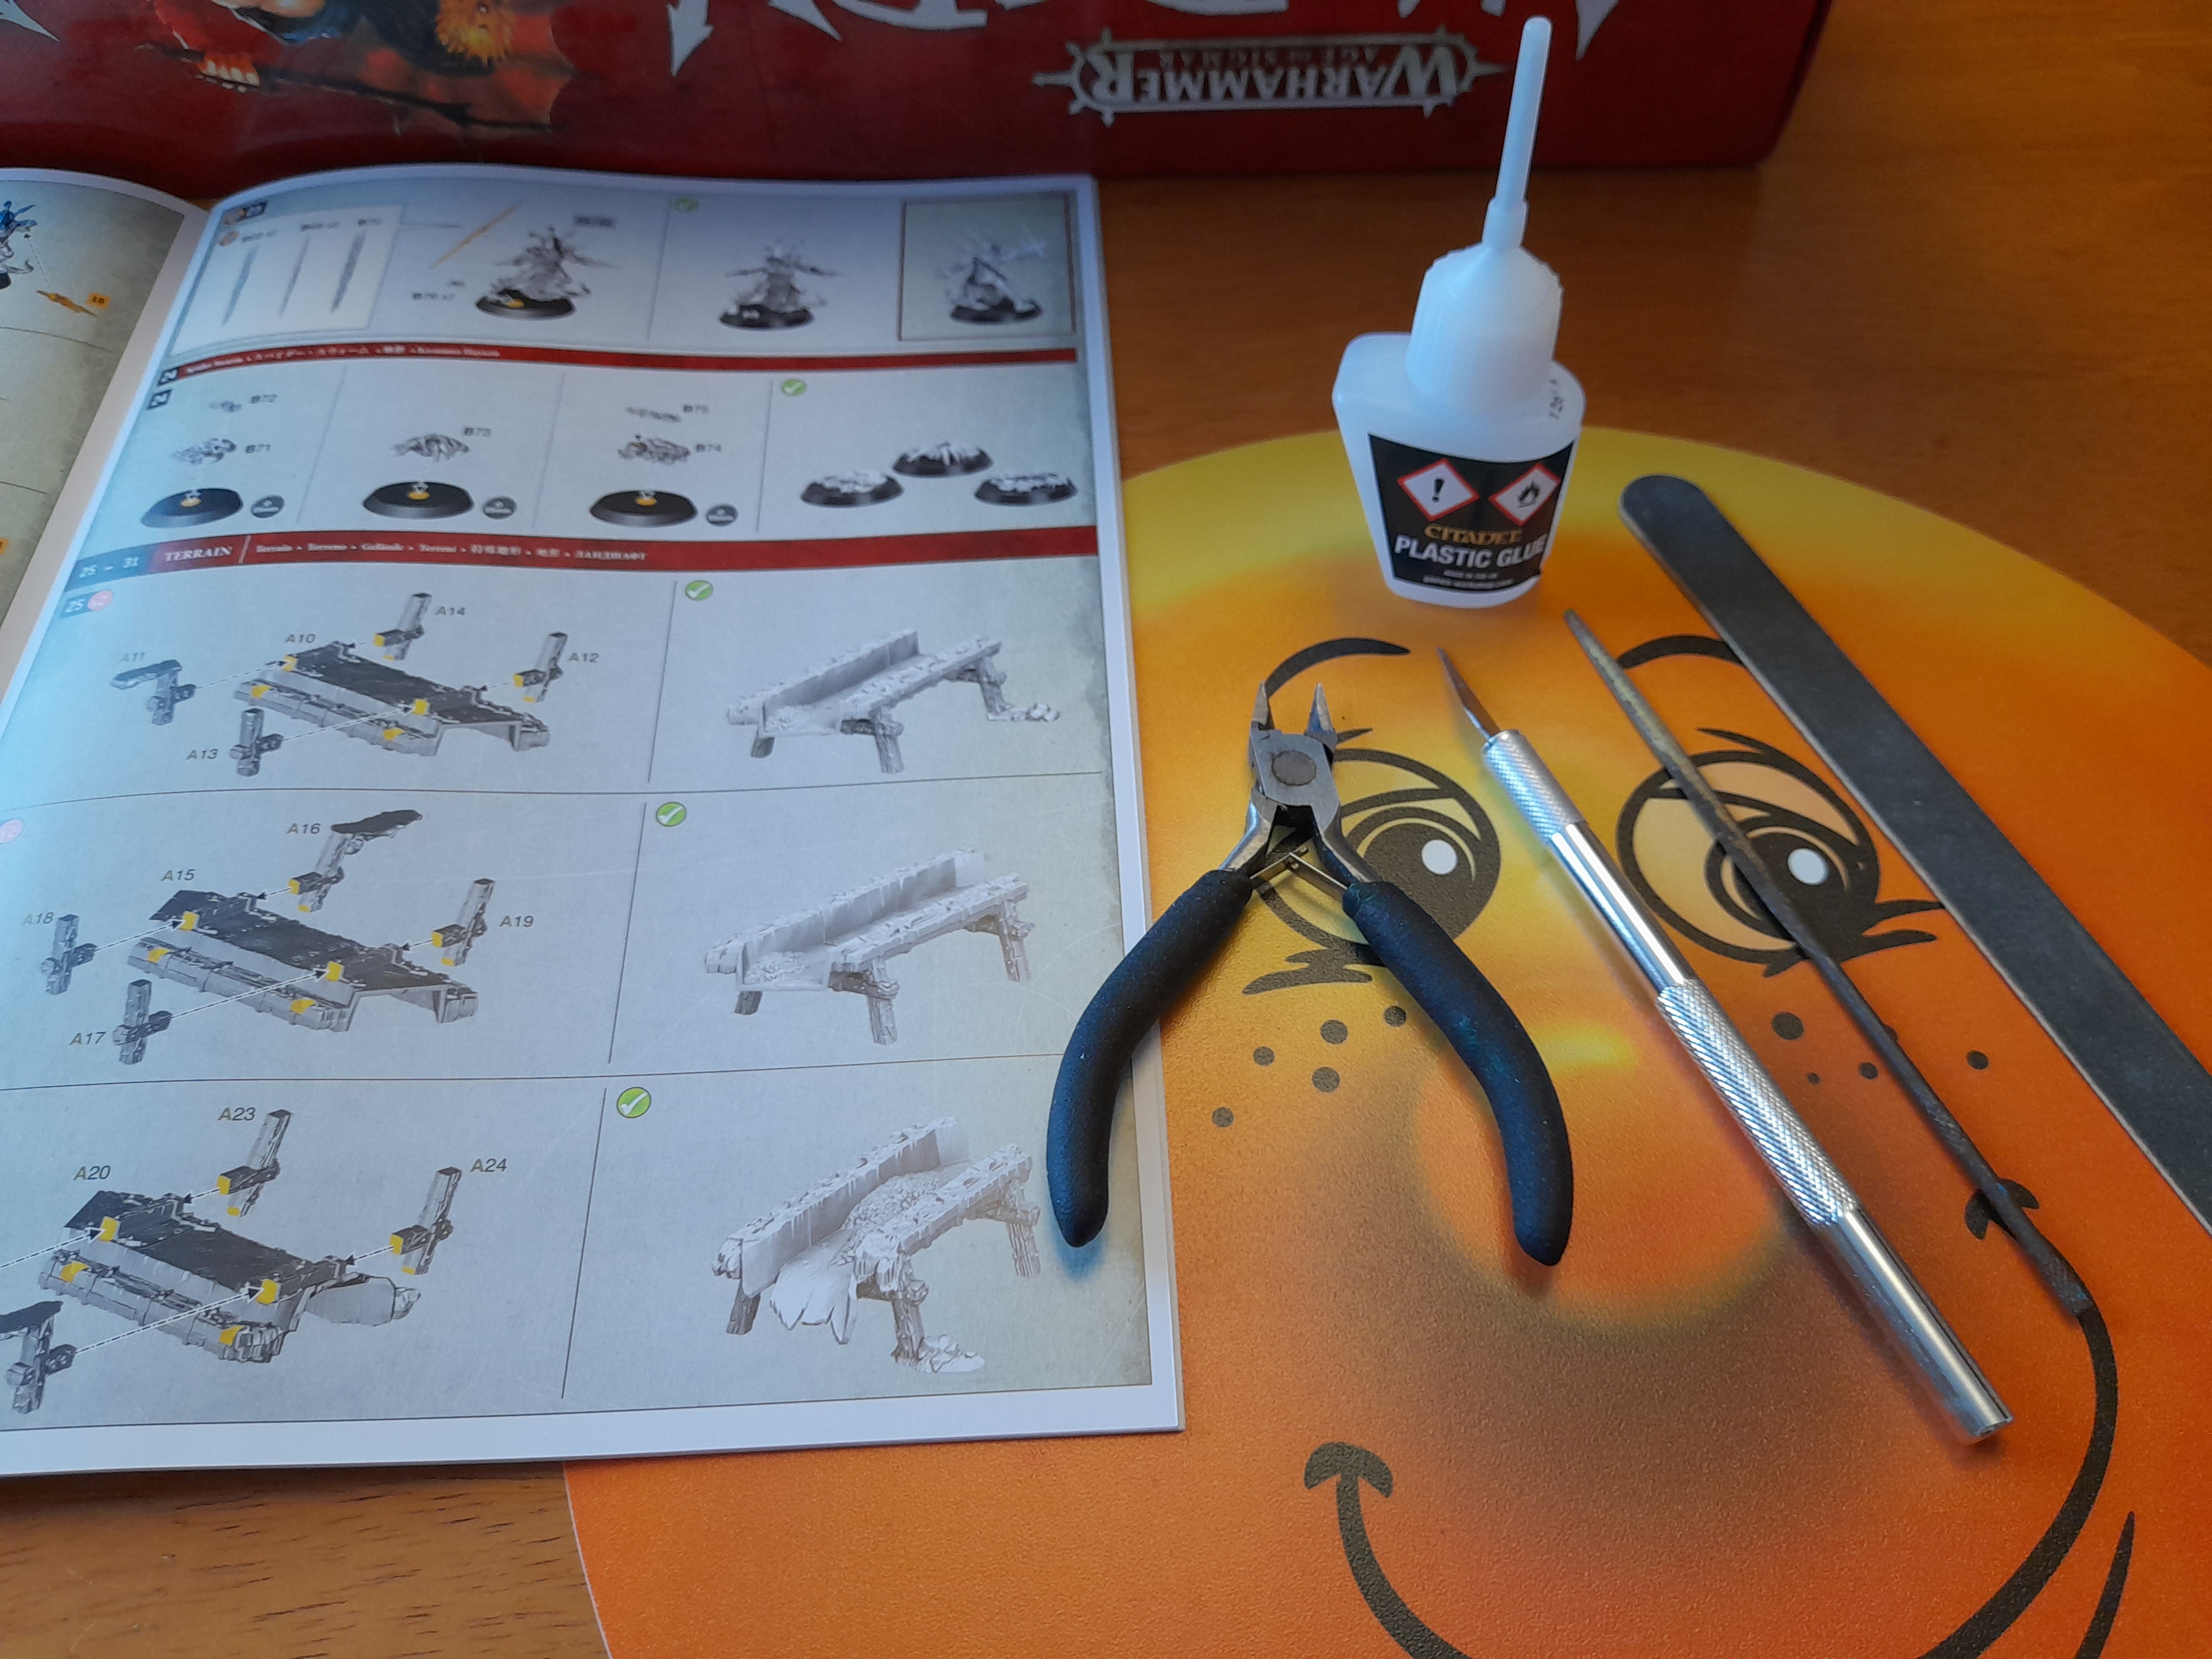
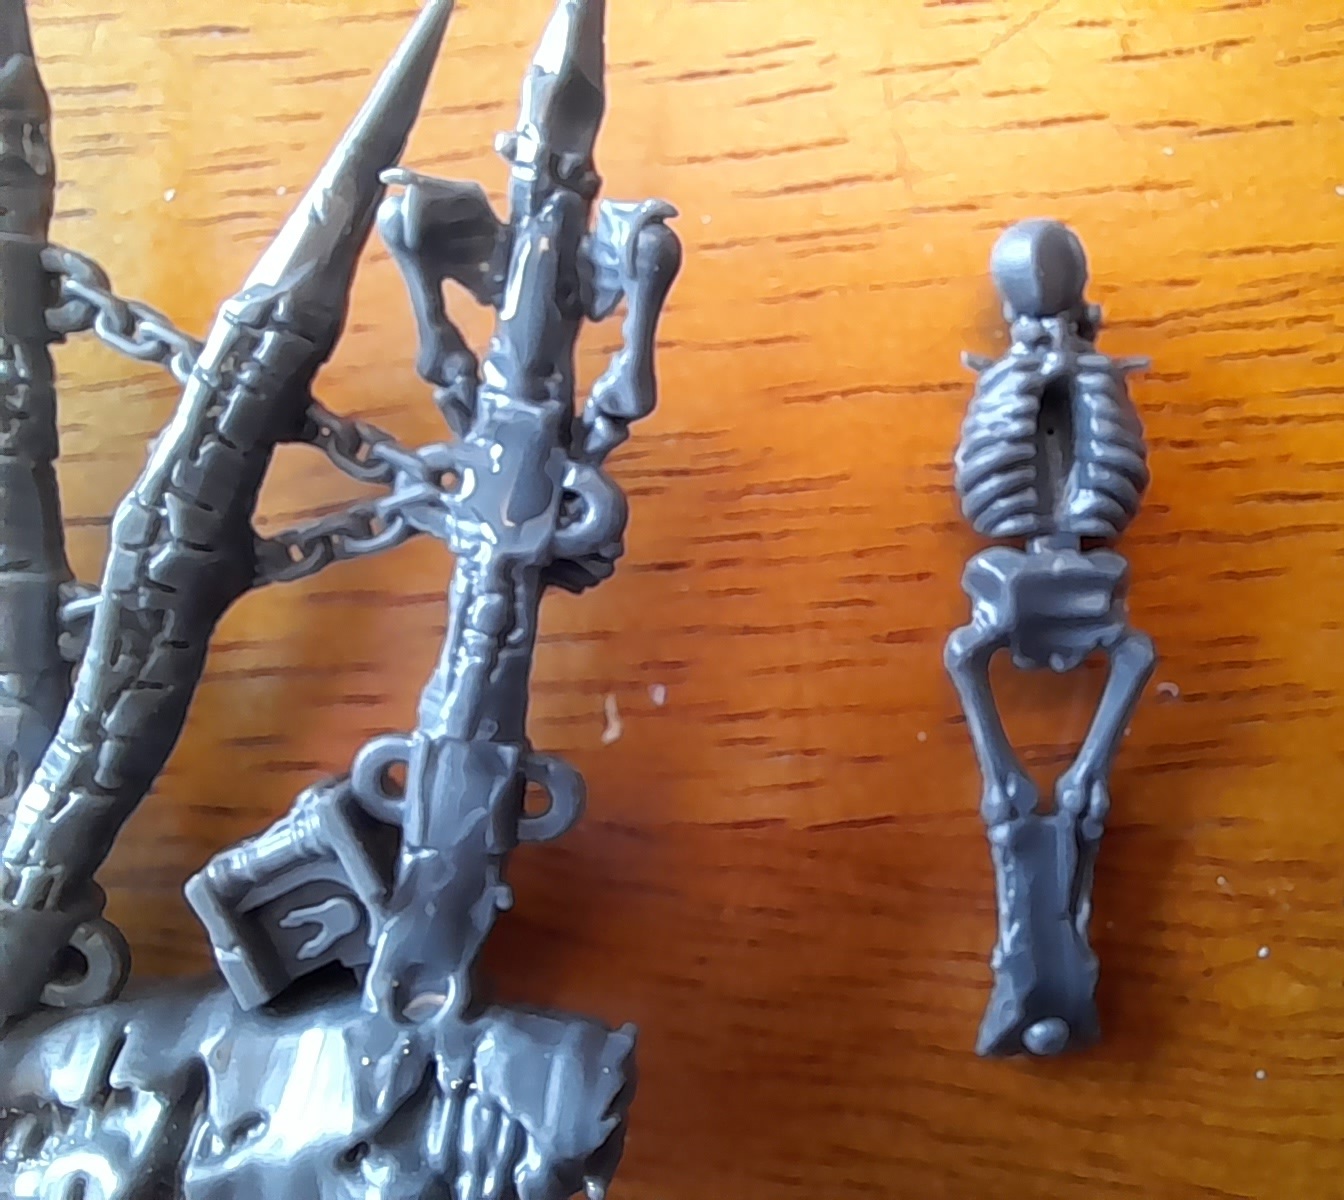
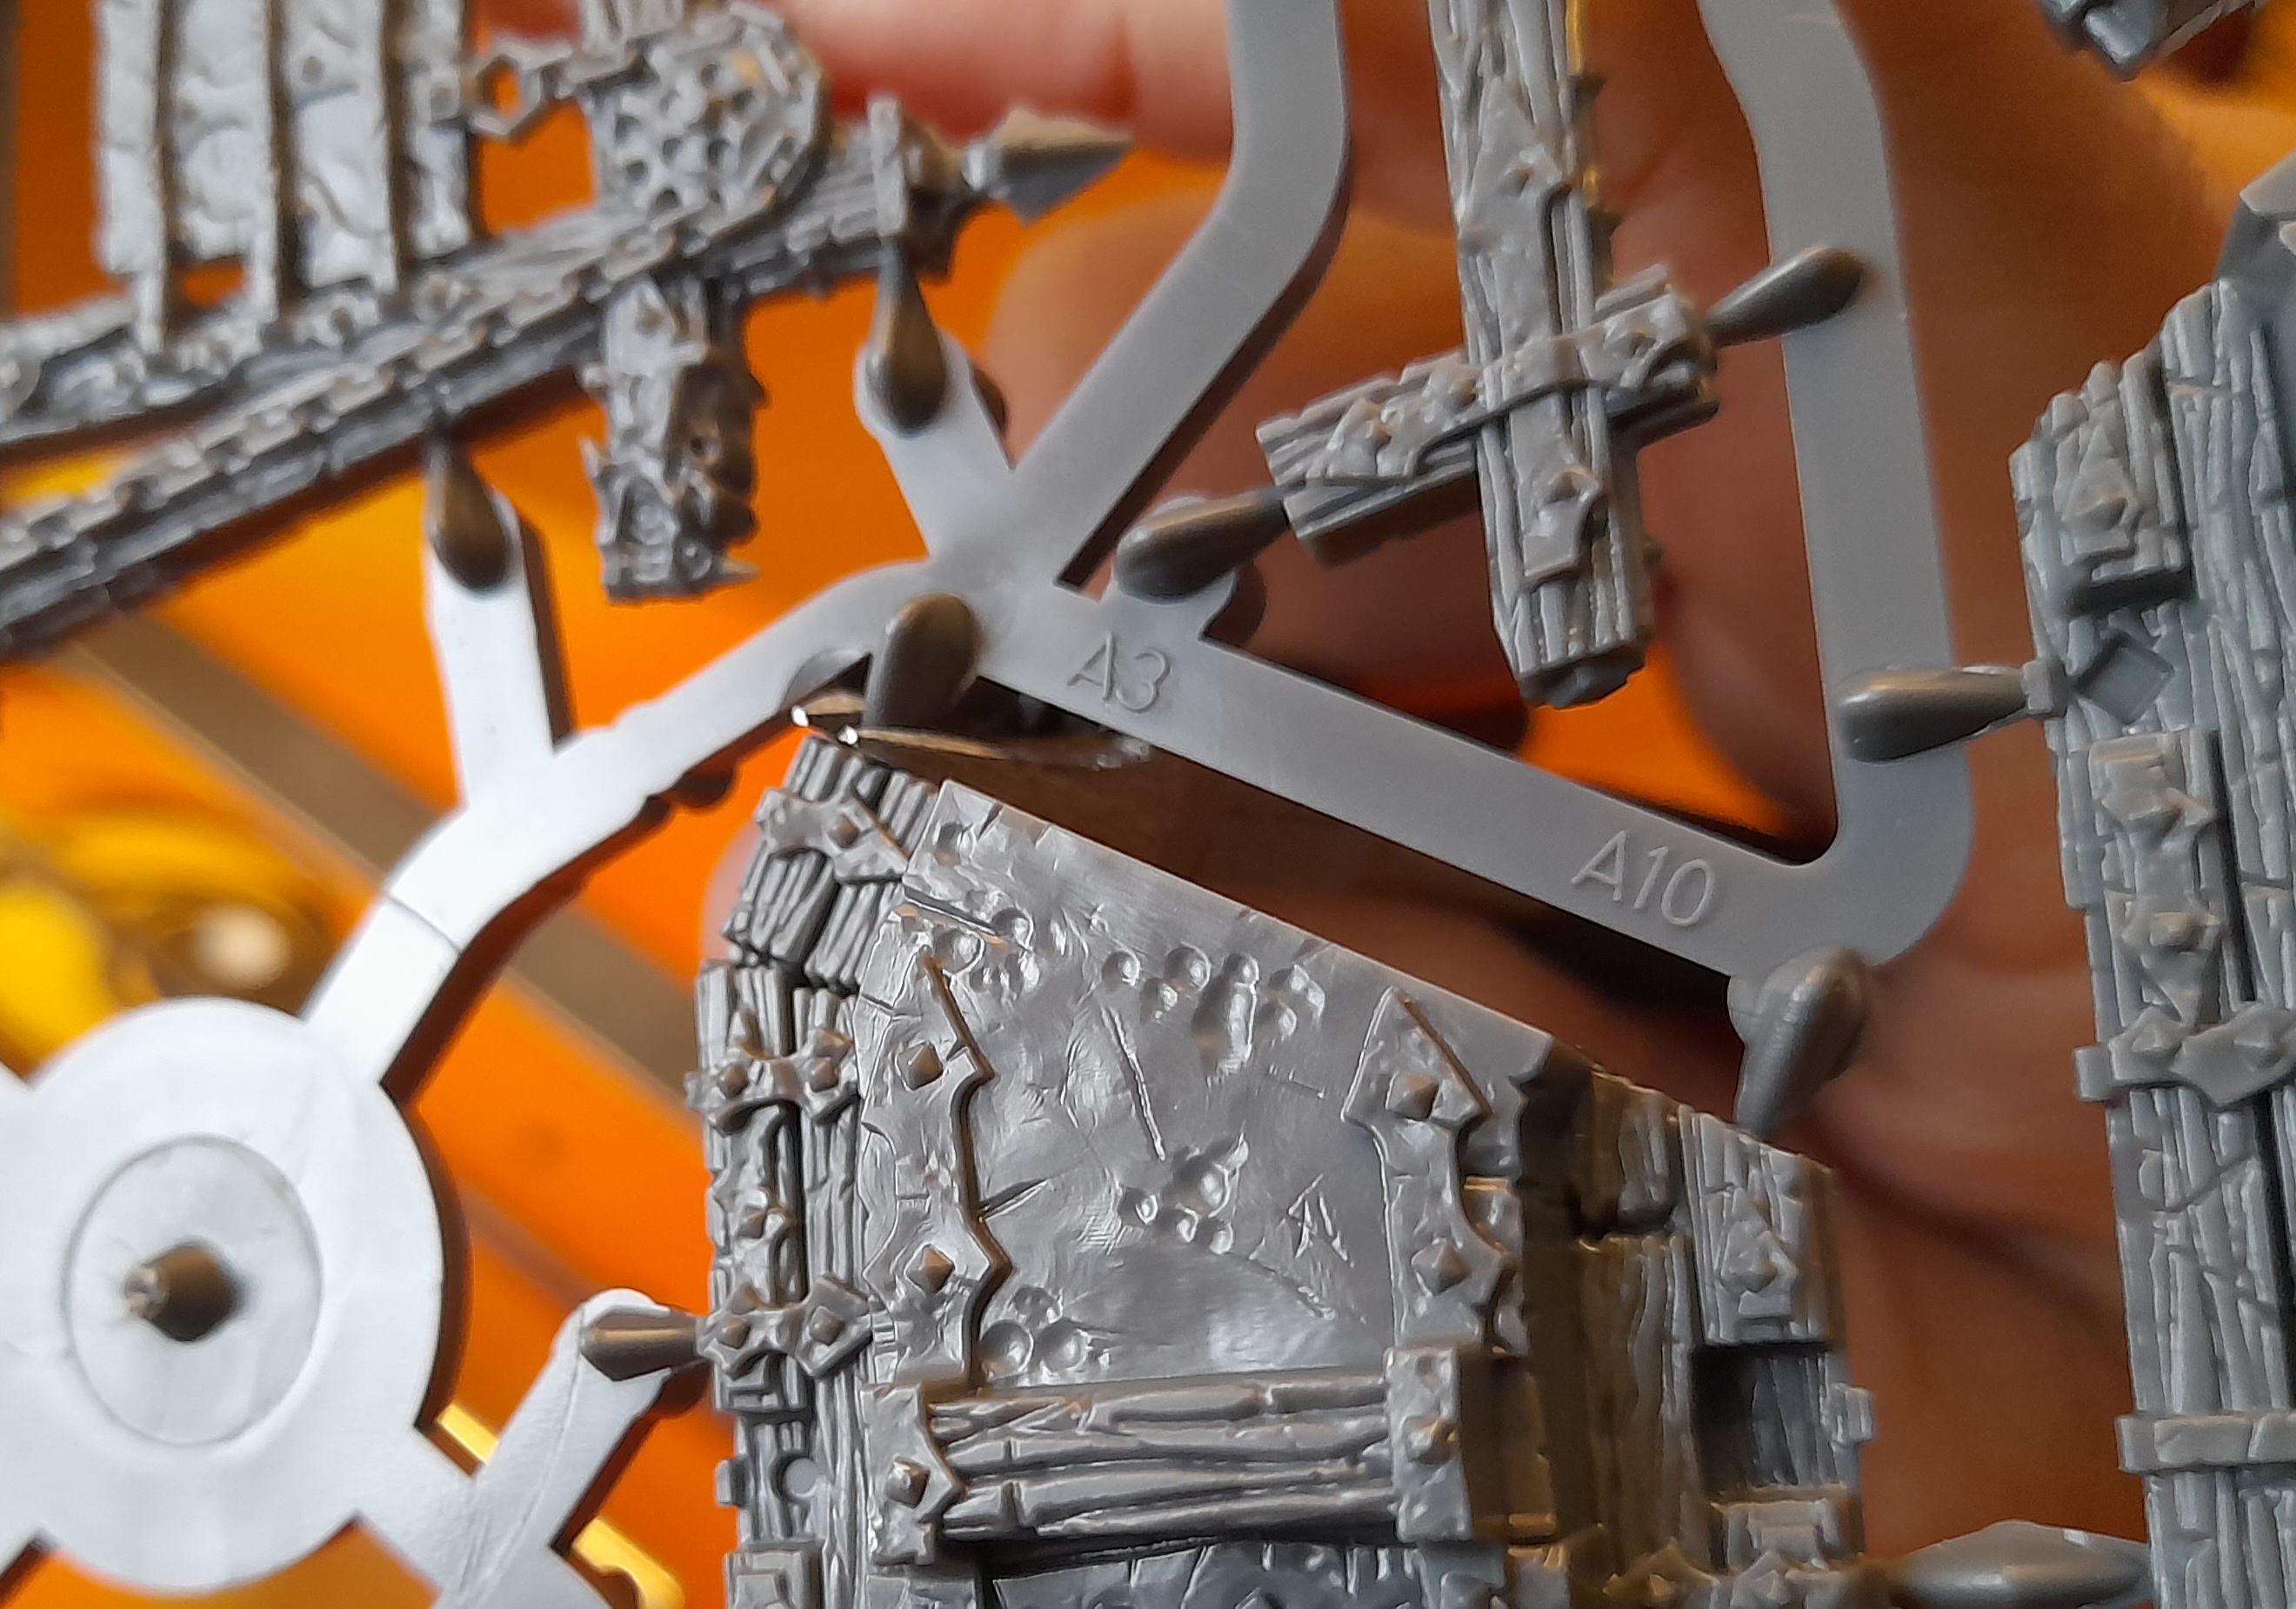 The first cut, keeping the flat edge to the mini in order to get a cleaner cut
19 snips later, and after sanding down and gluing, the first small terrain piece is assembled.
I forgot how long these stages can take, but I know I will get faster as I build more.

For some of the flat base pieces I like to use the sanding board, to ensure a consistent flat surface over the larger area. Sometimes when using a file on a larger flat surface you can end up not getting a truly flat finish. Although, for terrain pieces it is likely not as important.
Since this set has a number of similar terrain pieces, made up of quite a few very similar components, I prefer to work on just one terrain piece at a time.
Snipping out just those parts needed for this specific piece, and laying them out as per the build diagram to avoid mixing them up when cleaning and assembling.
Some time later.....
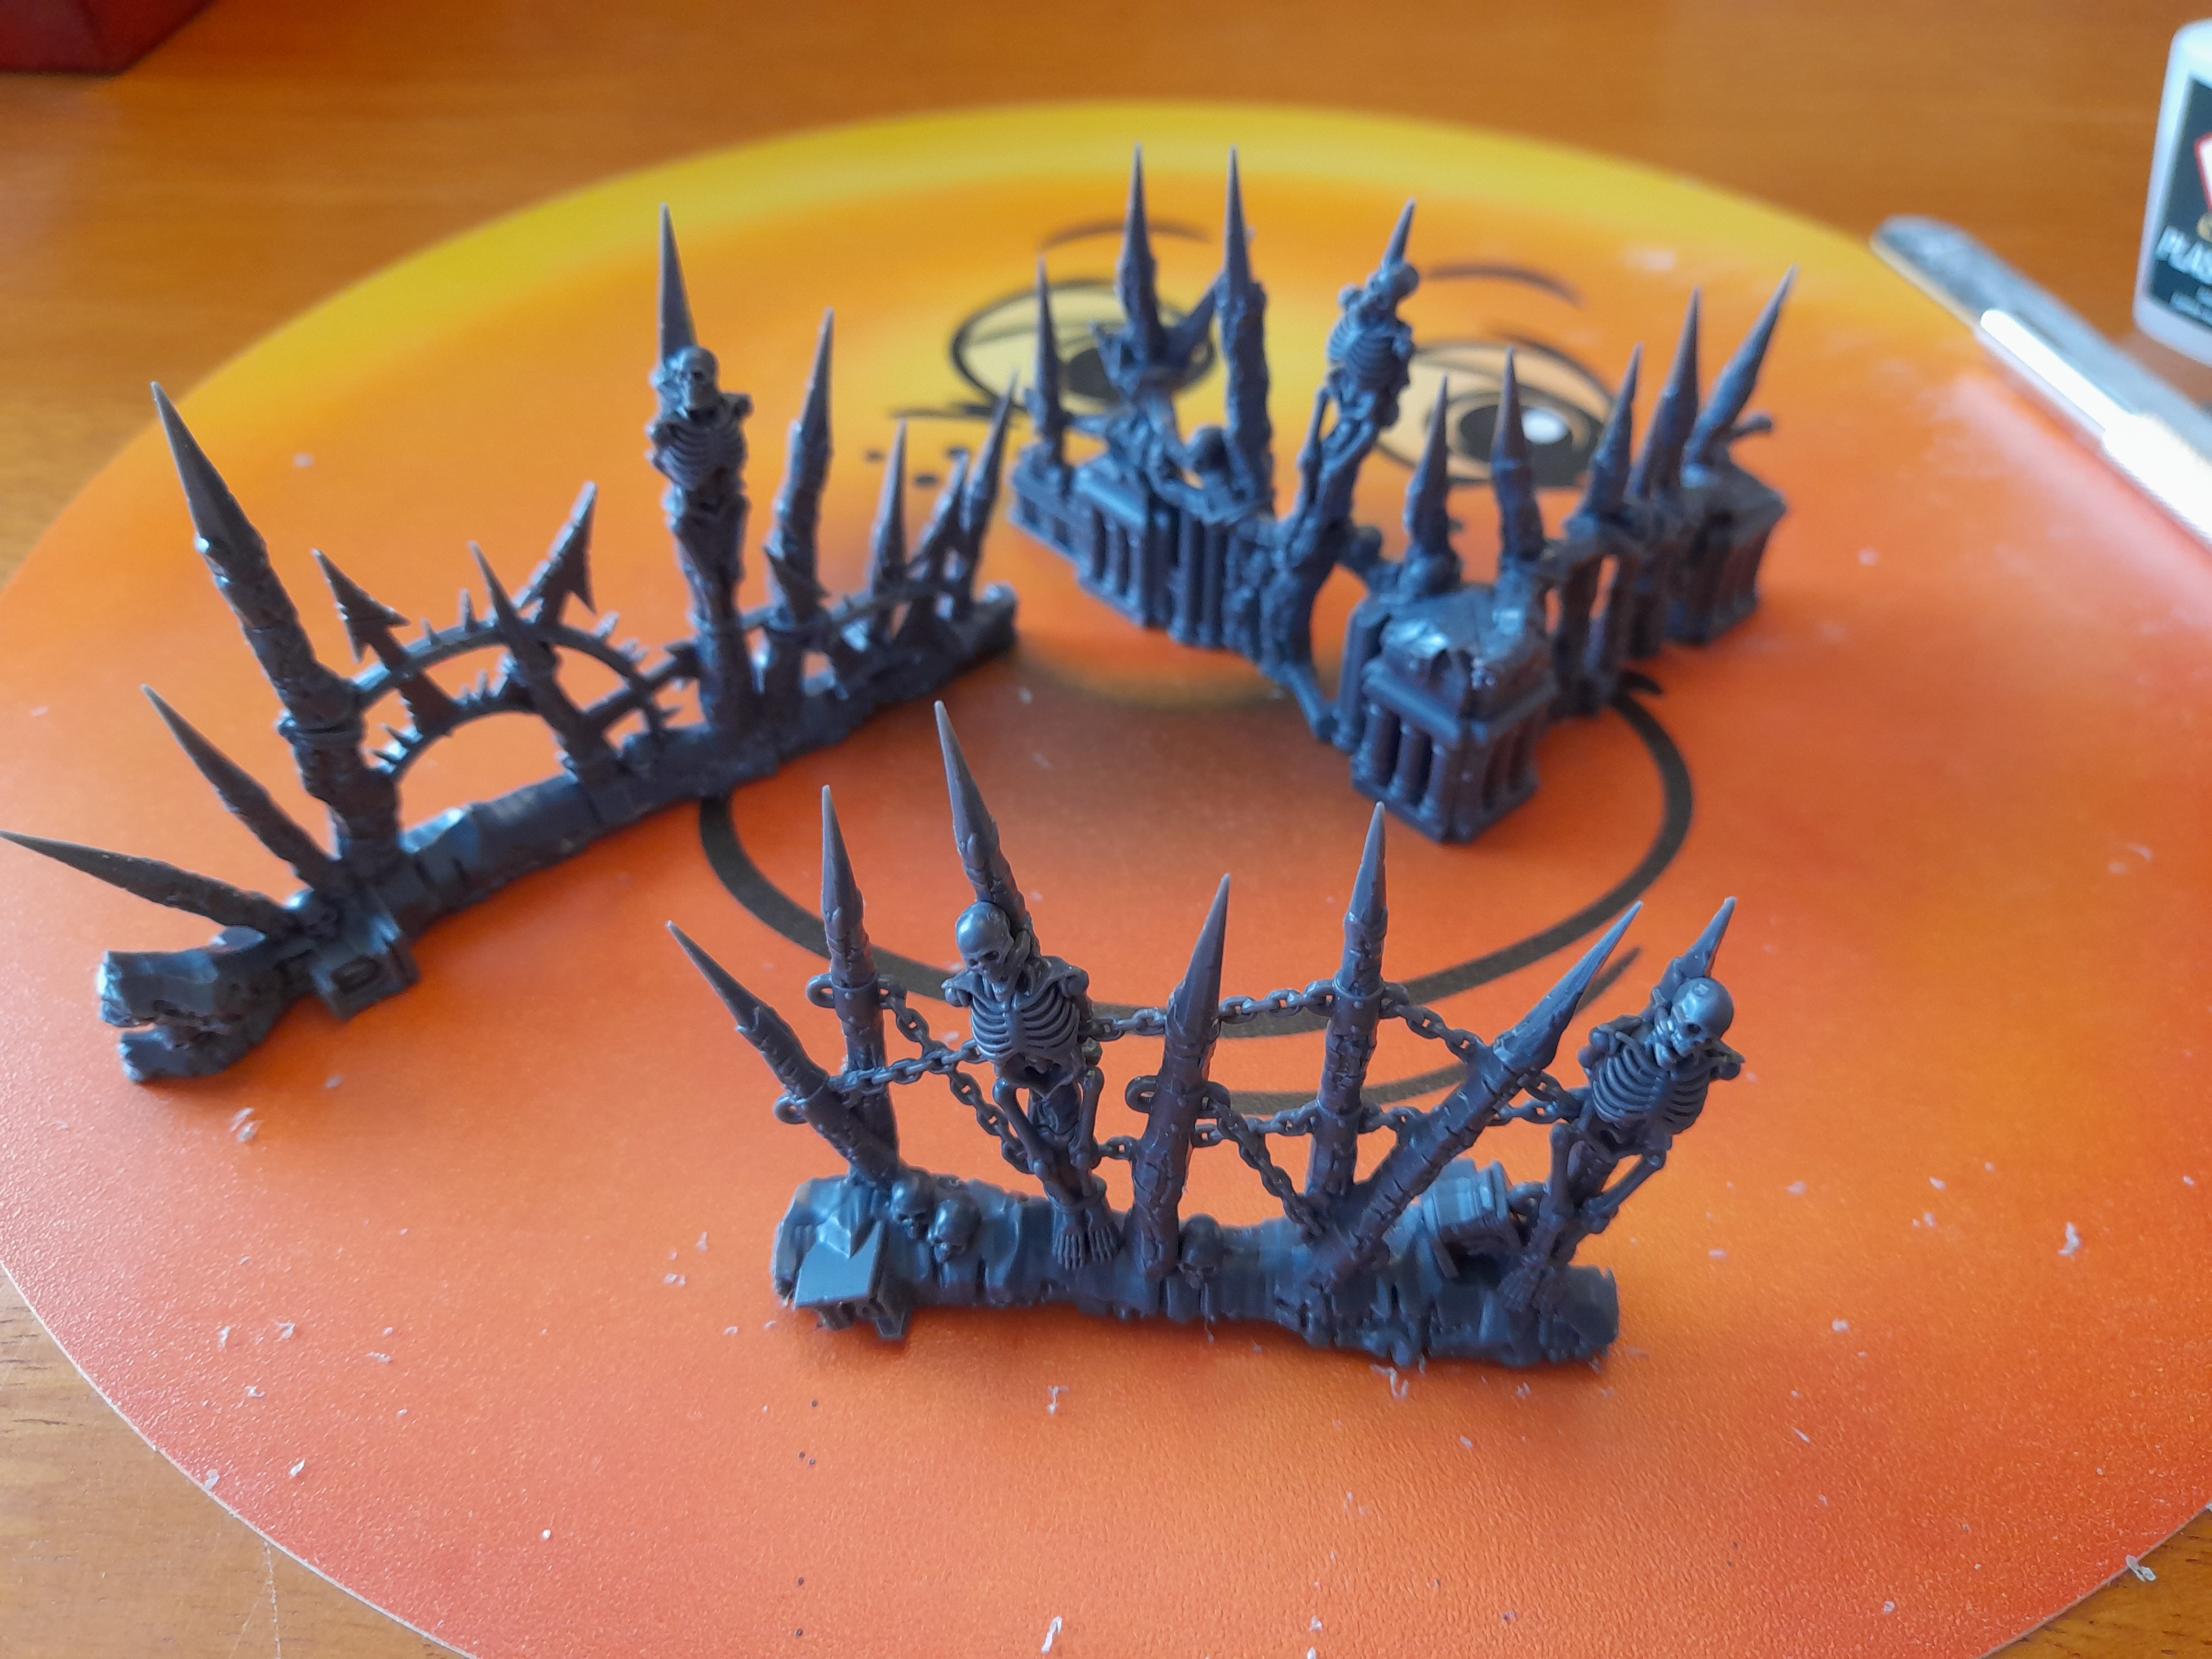
After a seemingly not insignificant period, my alloted hobby time is at an end (and the dining table needs clearing up).
It’s only some basic terrain pieces put together, but it is six more pieces than I had at the start ?
Progress is progress…..
 With that, I'll see you next time - whenever that may be ?
 Progress continues
Well, its been a pretty good start, considering how little hobby progress I have made recently.
Short update today – another six terrain pieces snipped, cleaned and assembled.
Two terrain sprues down 🙂
Another day, another post
To be honest, I am surprised that I have been able to carry out some hobby each day since starting this blog – I guess that means that, so far, it is achieving the objective.
Based on this, I recommend that if you are someone also struggling with achieving hobby progress, consider starting a blog to aid motivation. Or at least consider setting yourself some small, and more importantly achievable, goals.
Perhaps break down a larger project into smaller chunks to make them both physically and mentally easier to cope with.
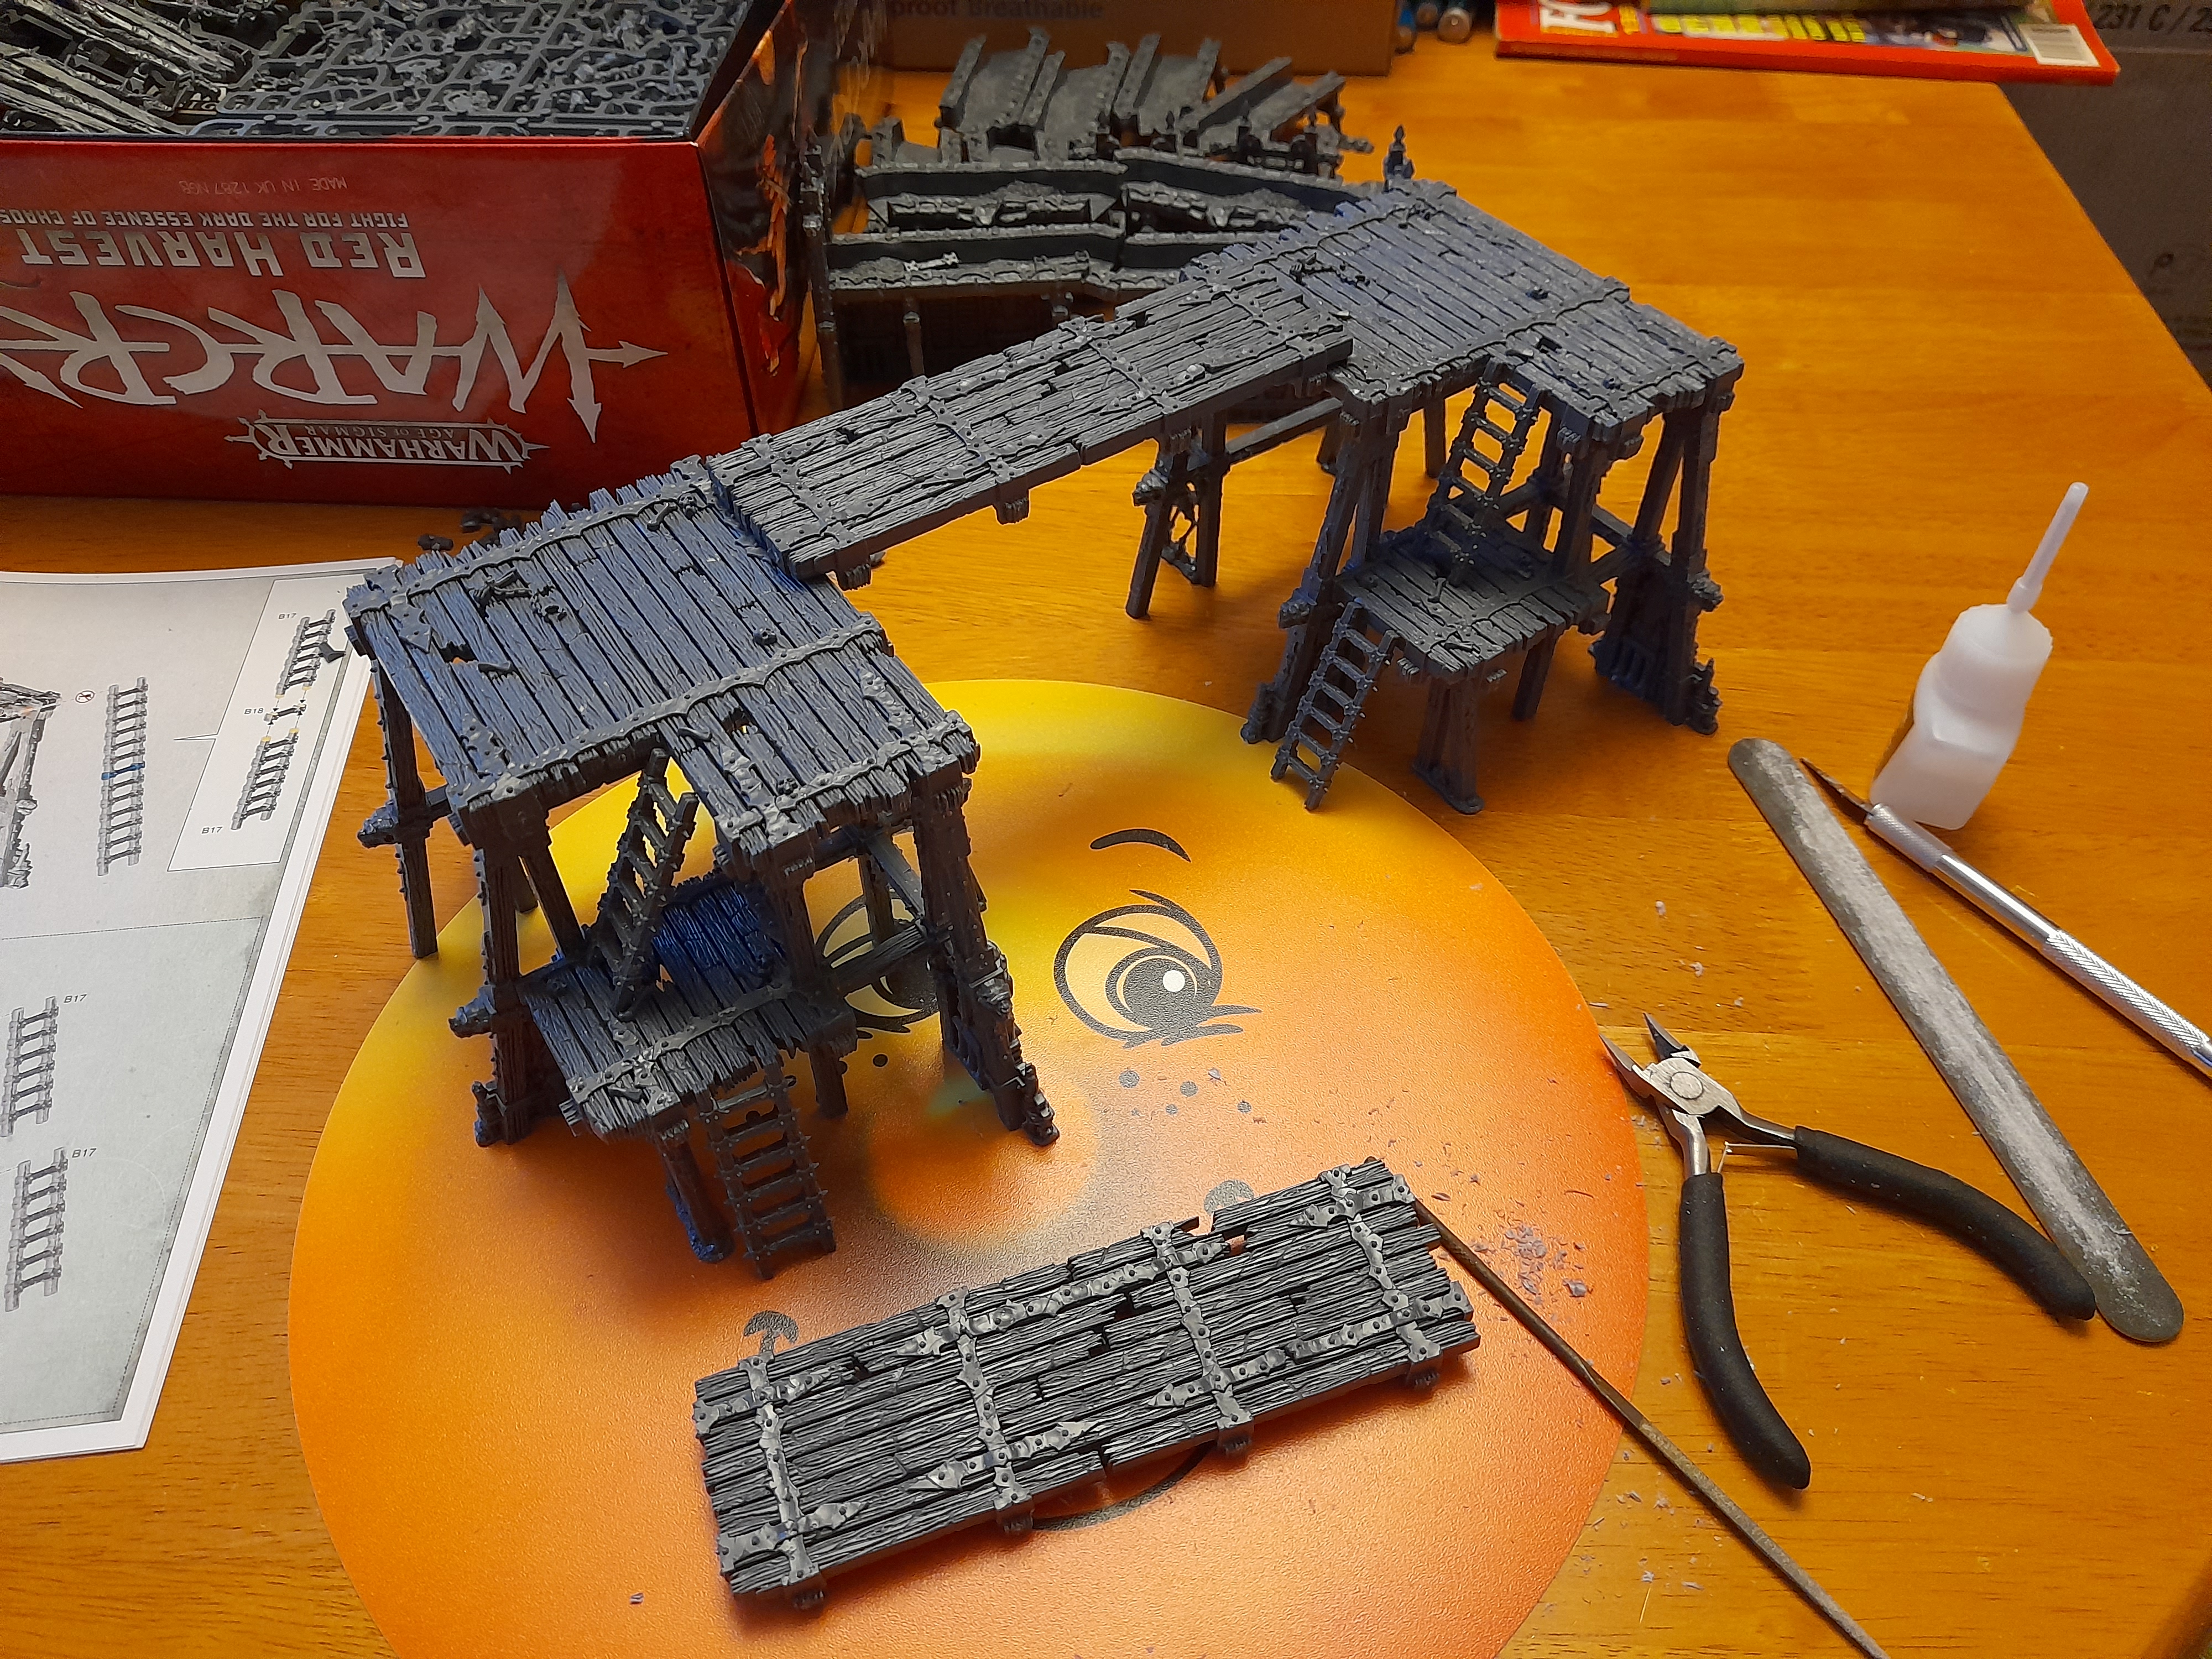
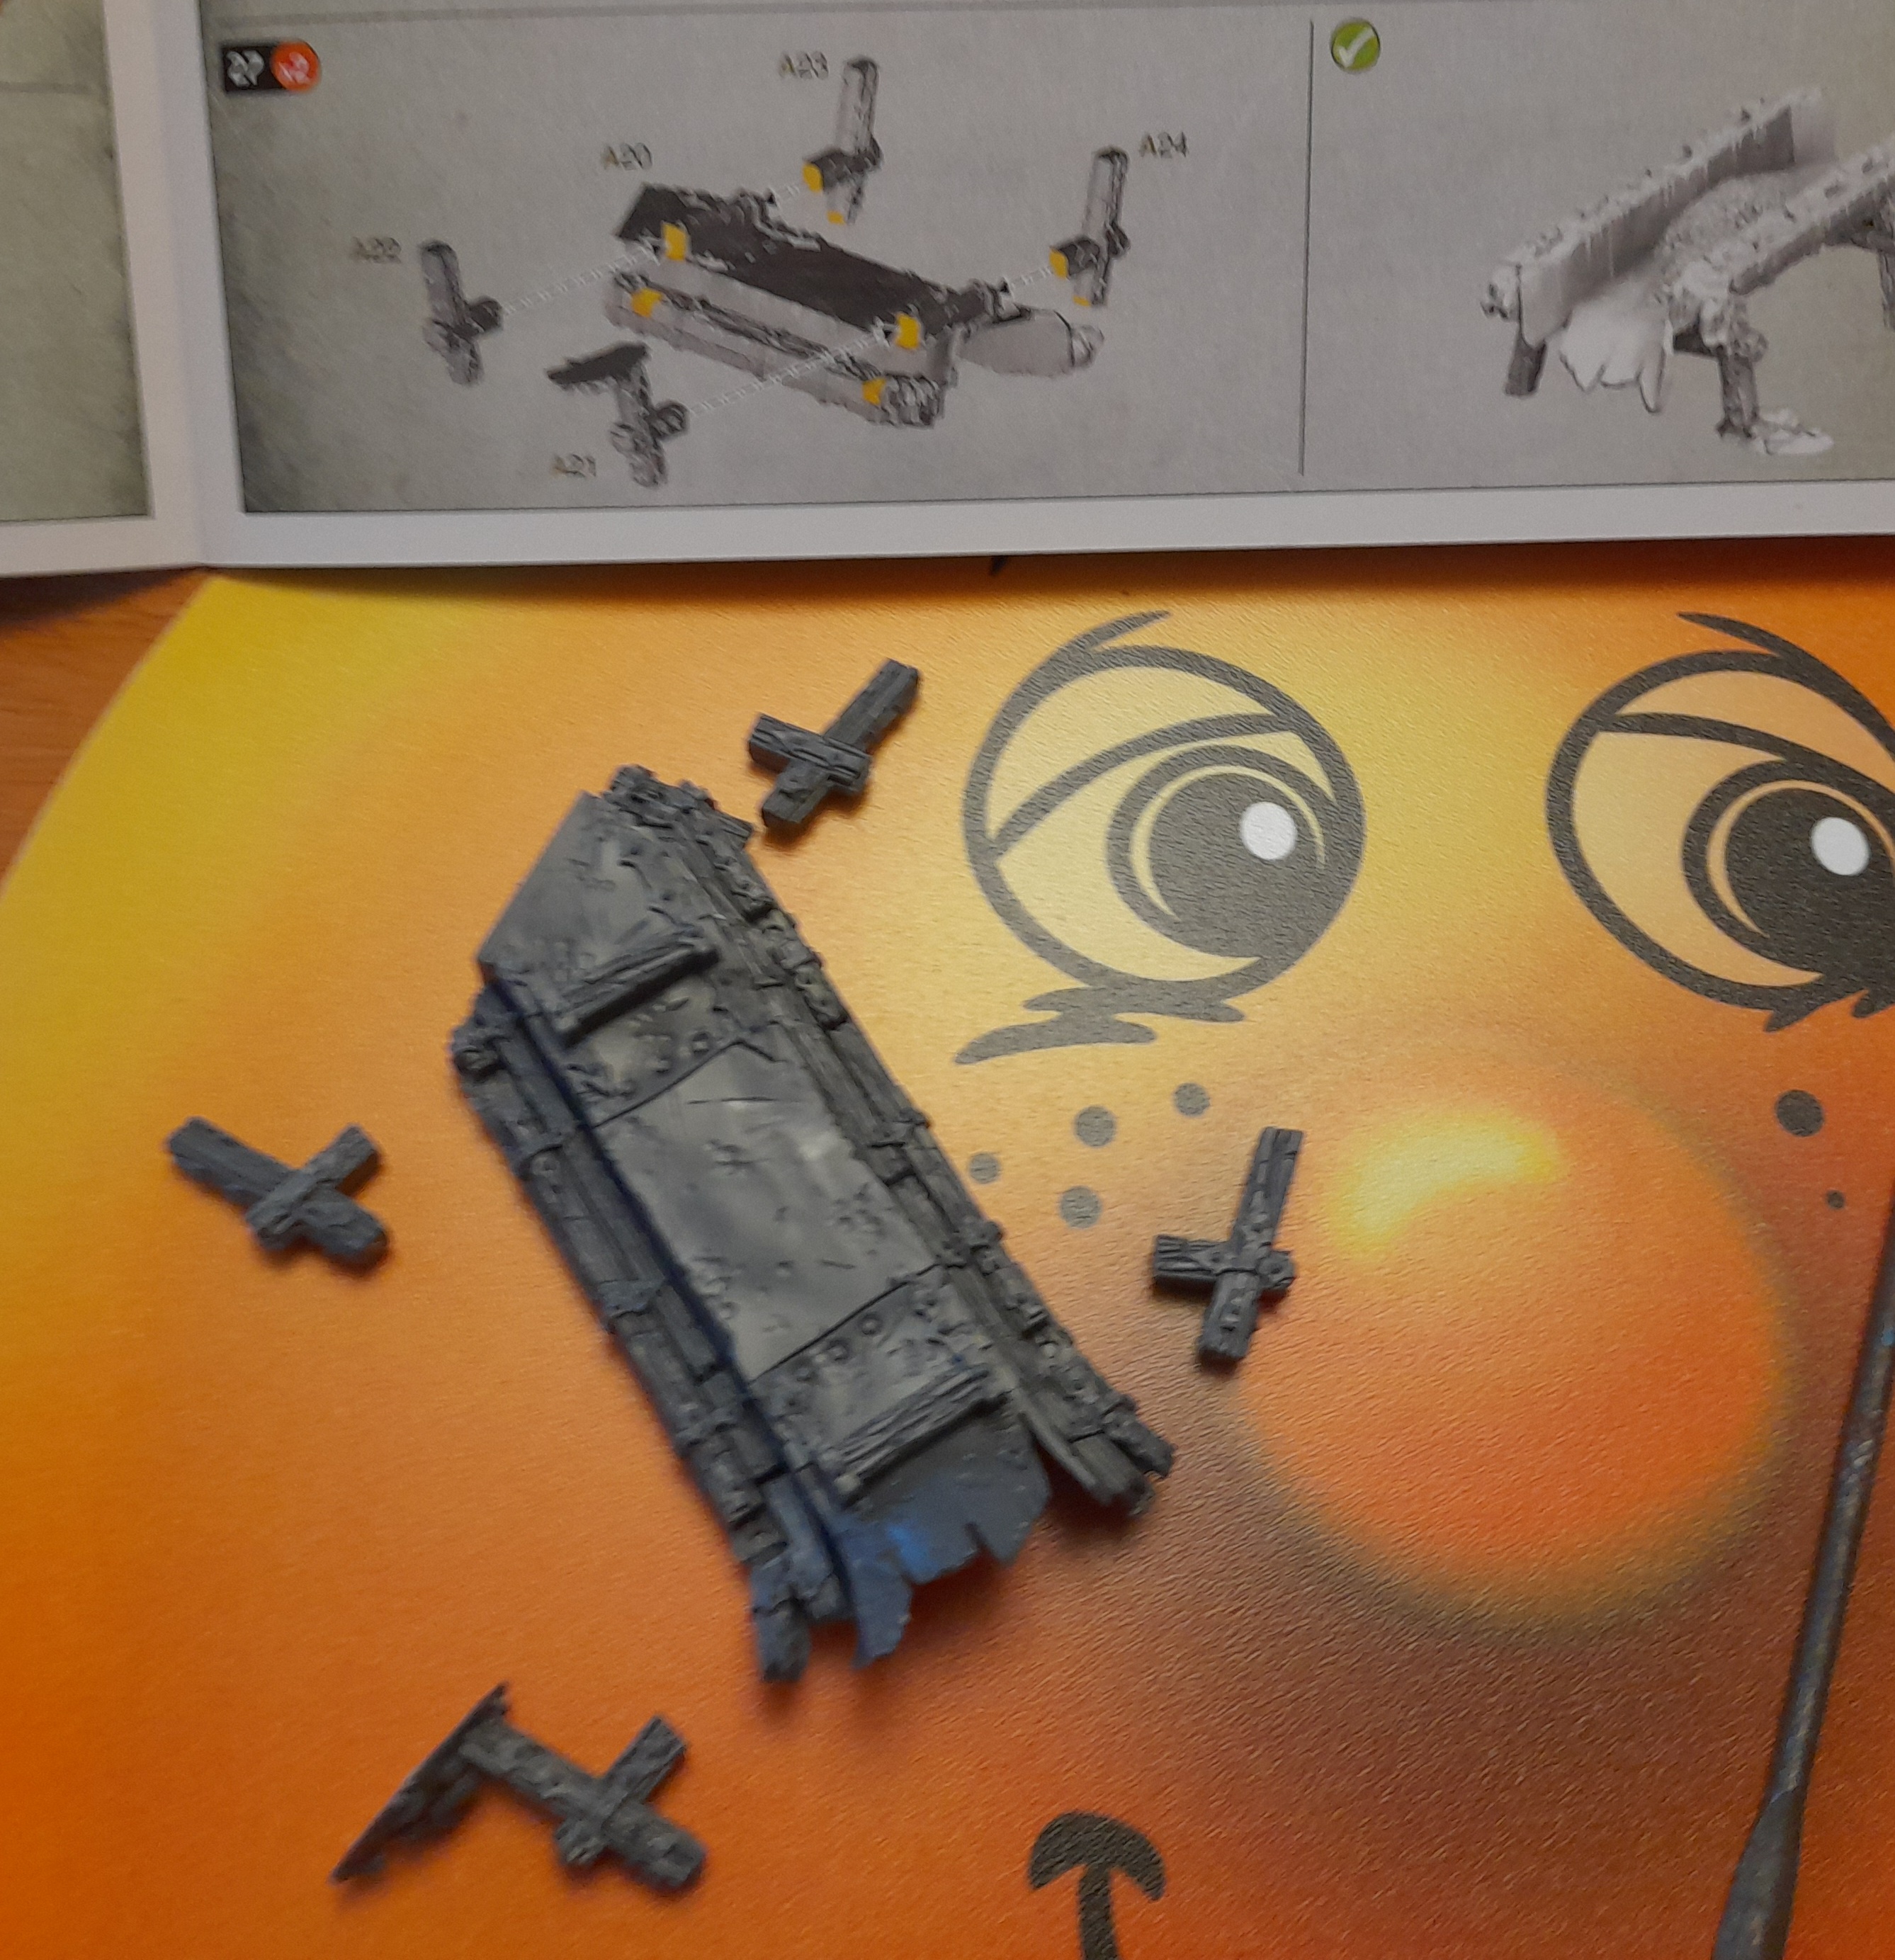
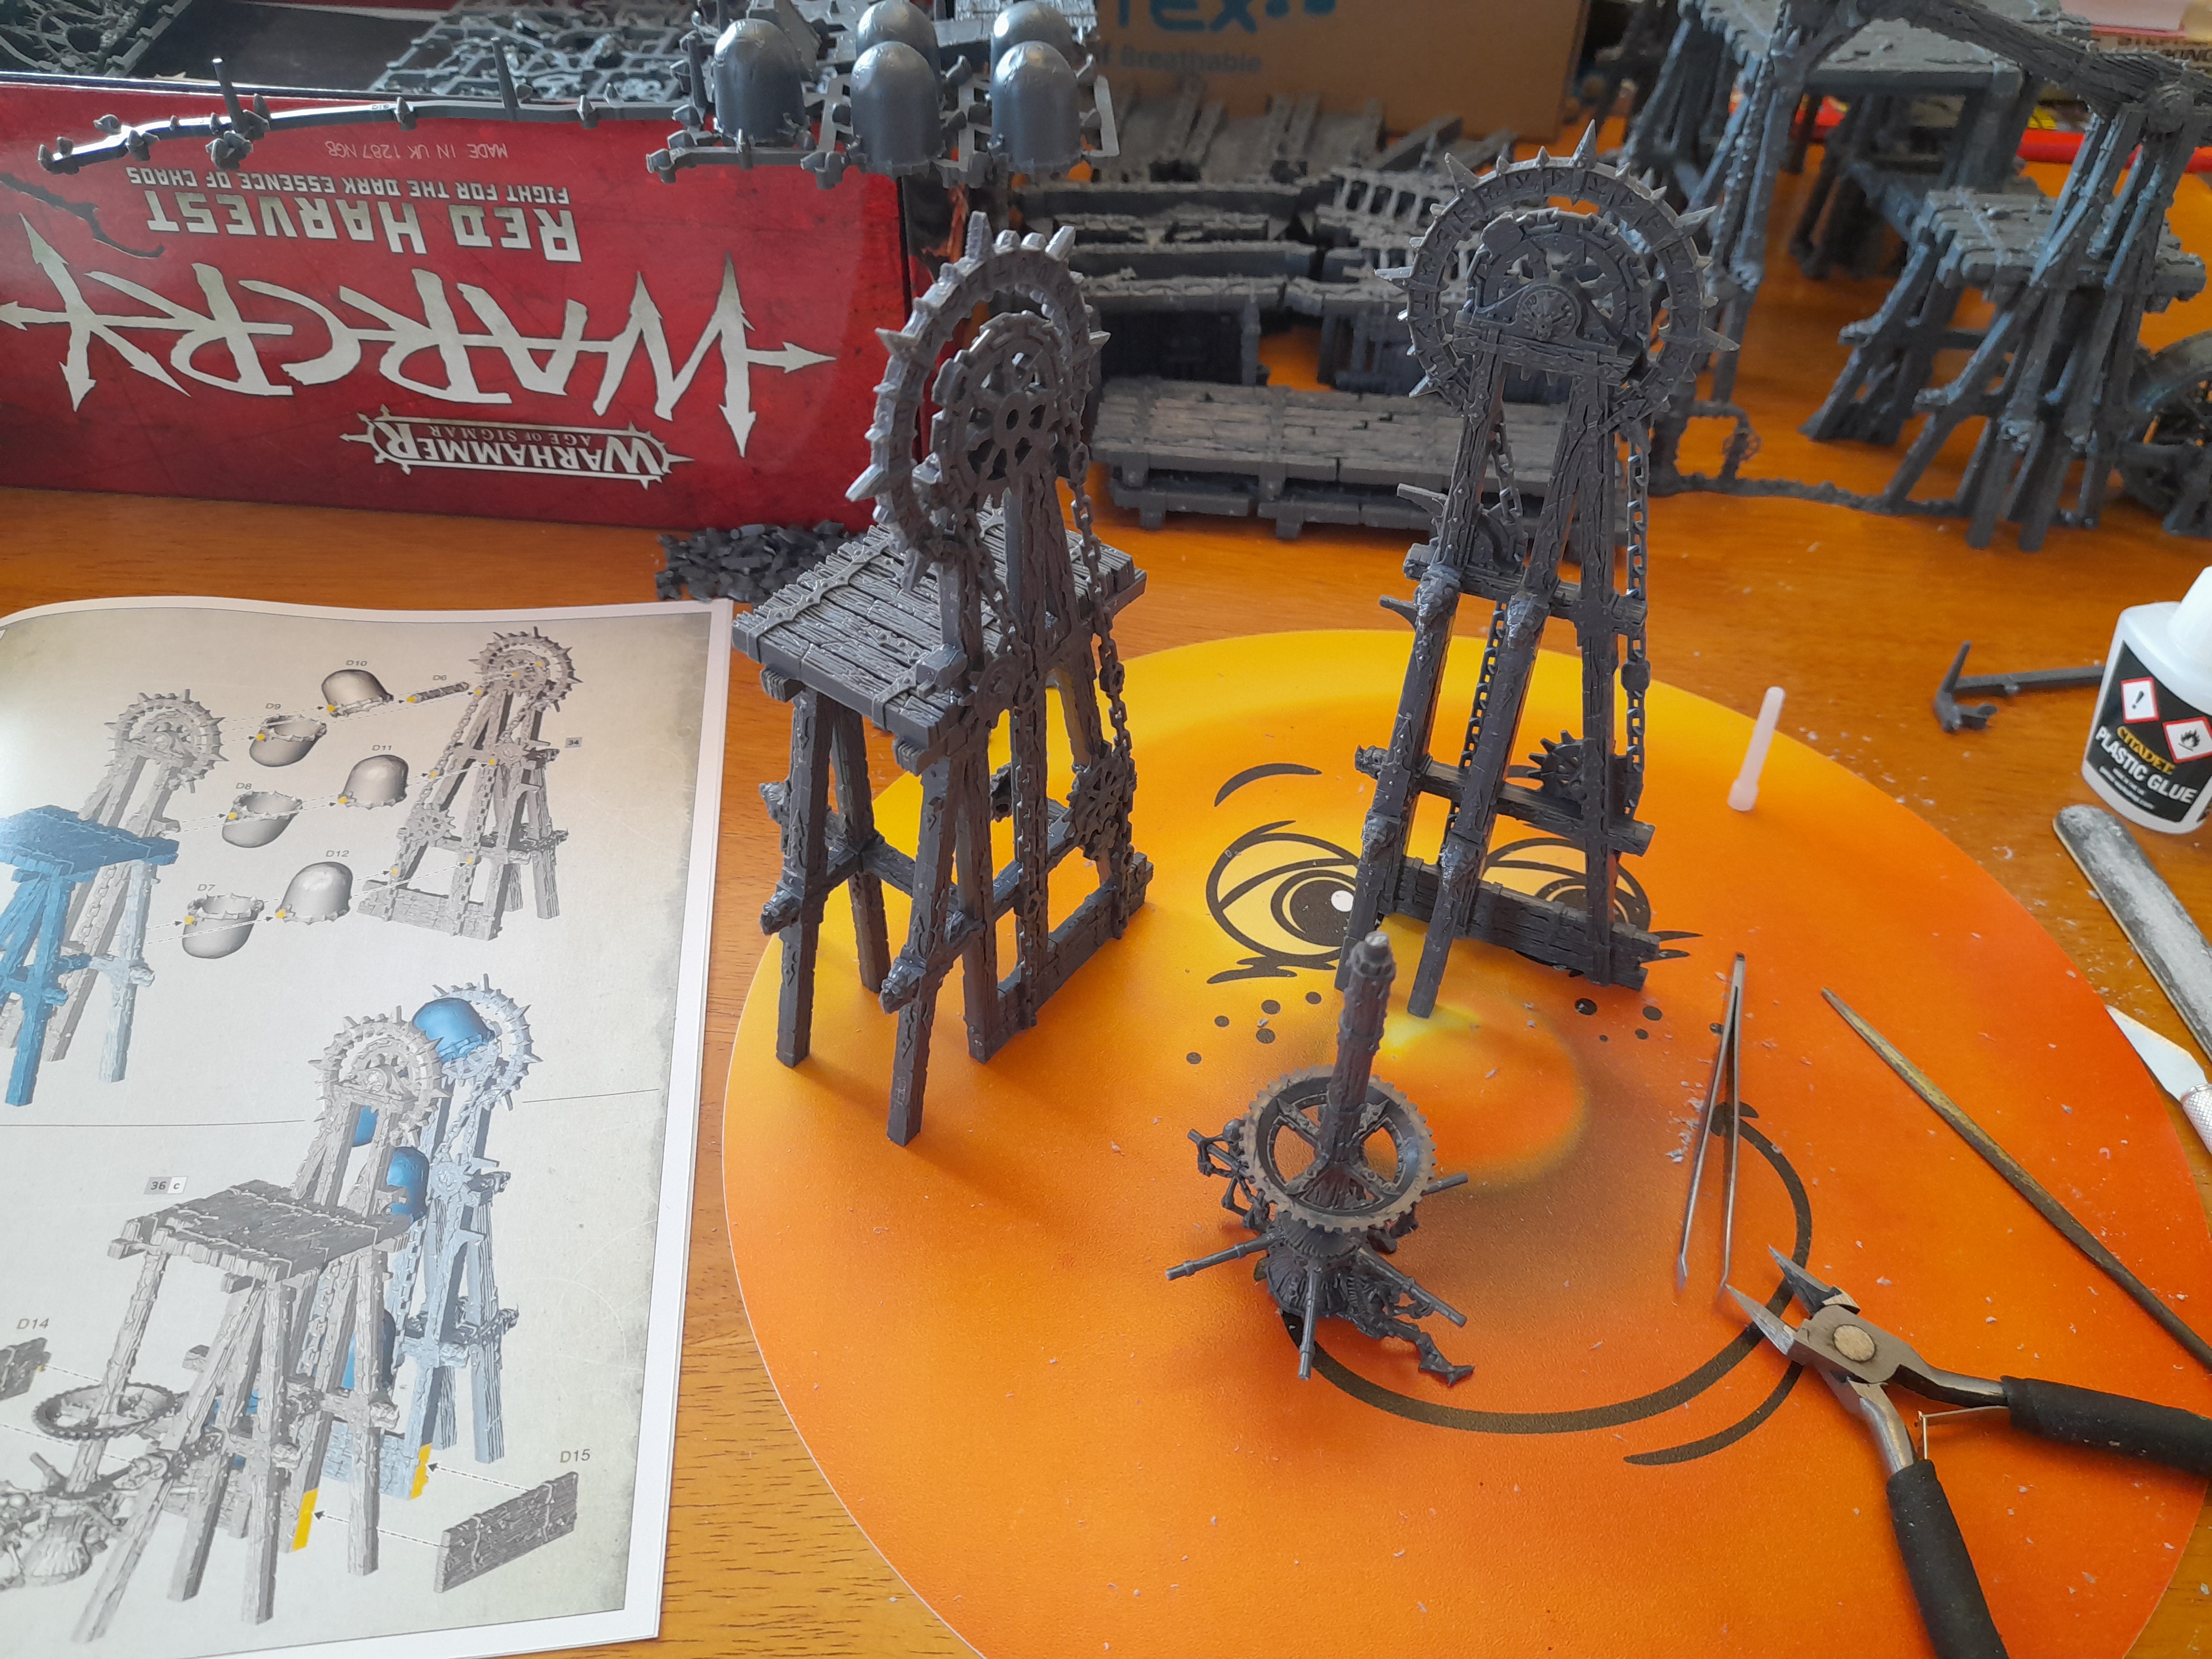
This evenings progress is two more structures.
These ones however were a lot more elaborate than those I had put together up to this point.
And certainly more impressive.
They also came with somewhat more prominent mold lines. Application of the back edge of the craft knife soon saw most of them reduced to an acceptable level
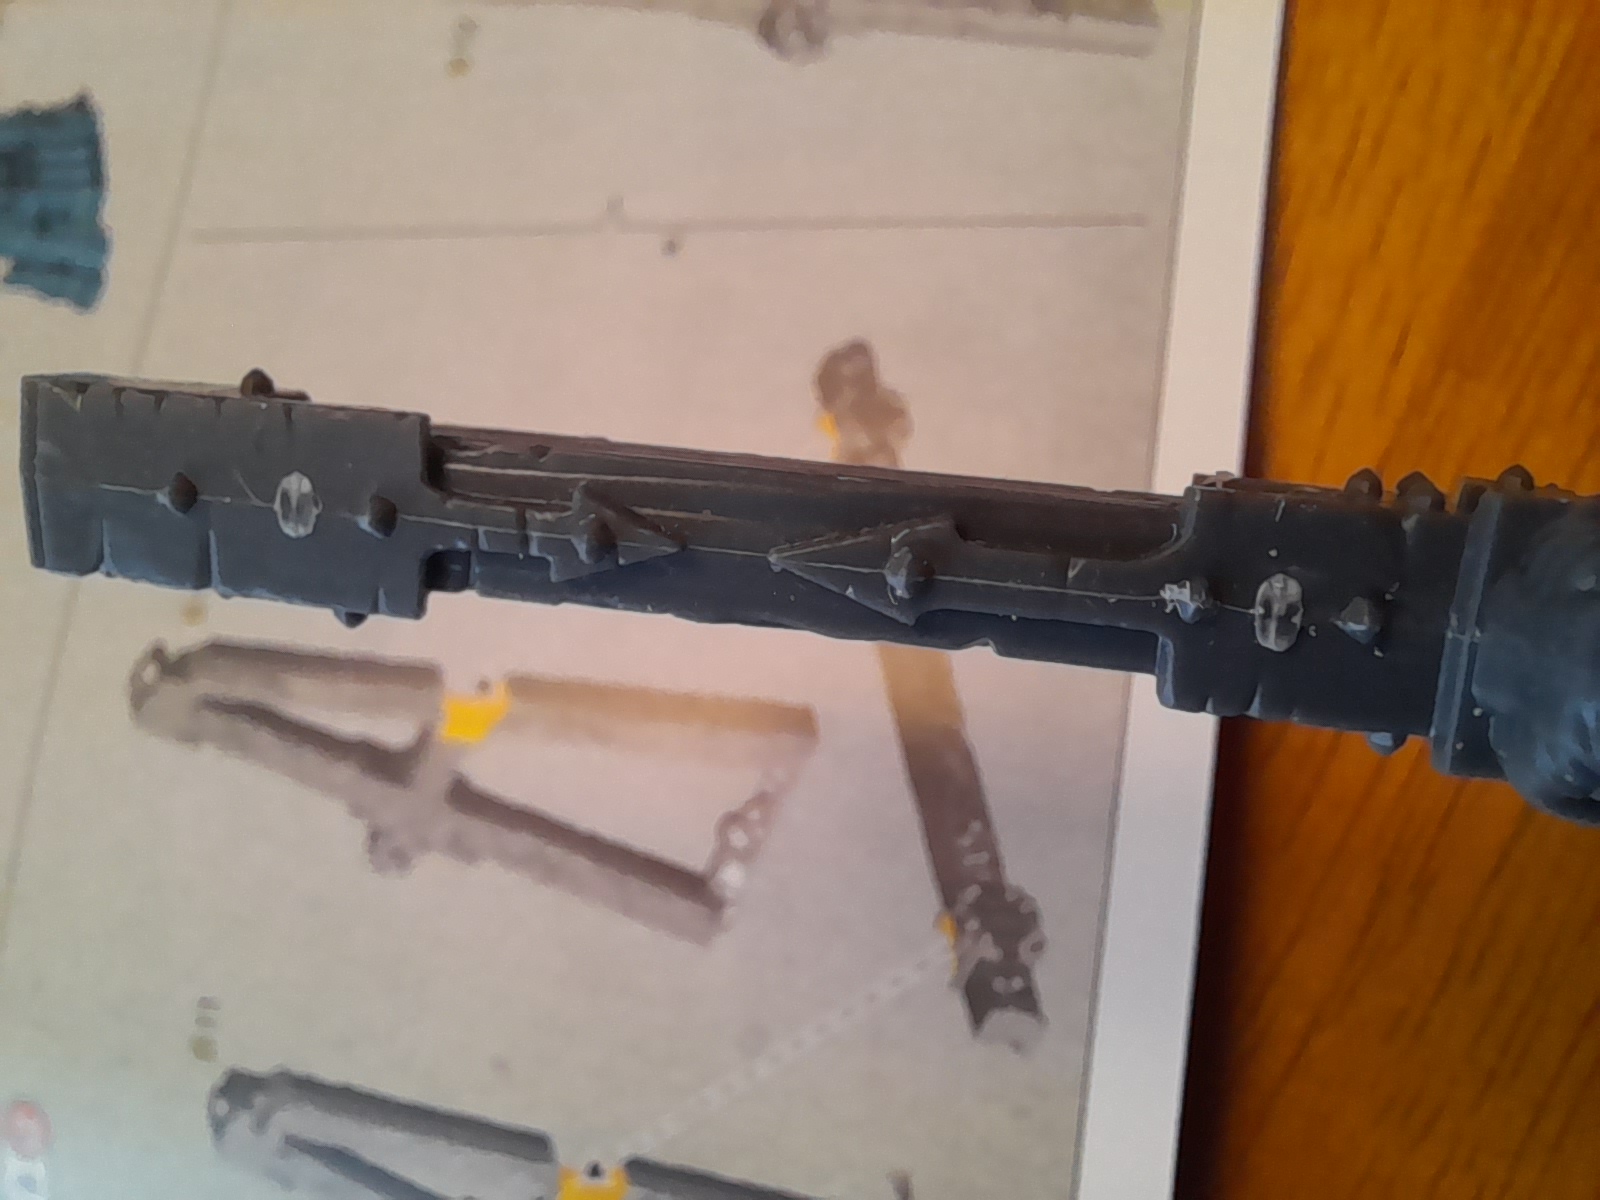 Mold line prior to cleaning
 Another two scenery sprues down, three to go.
The weekend approaches.....
…..and it’s almost time for the weekender!
I thought I would try to tackle just one sprue during my hobby time after work today.
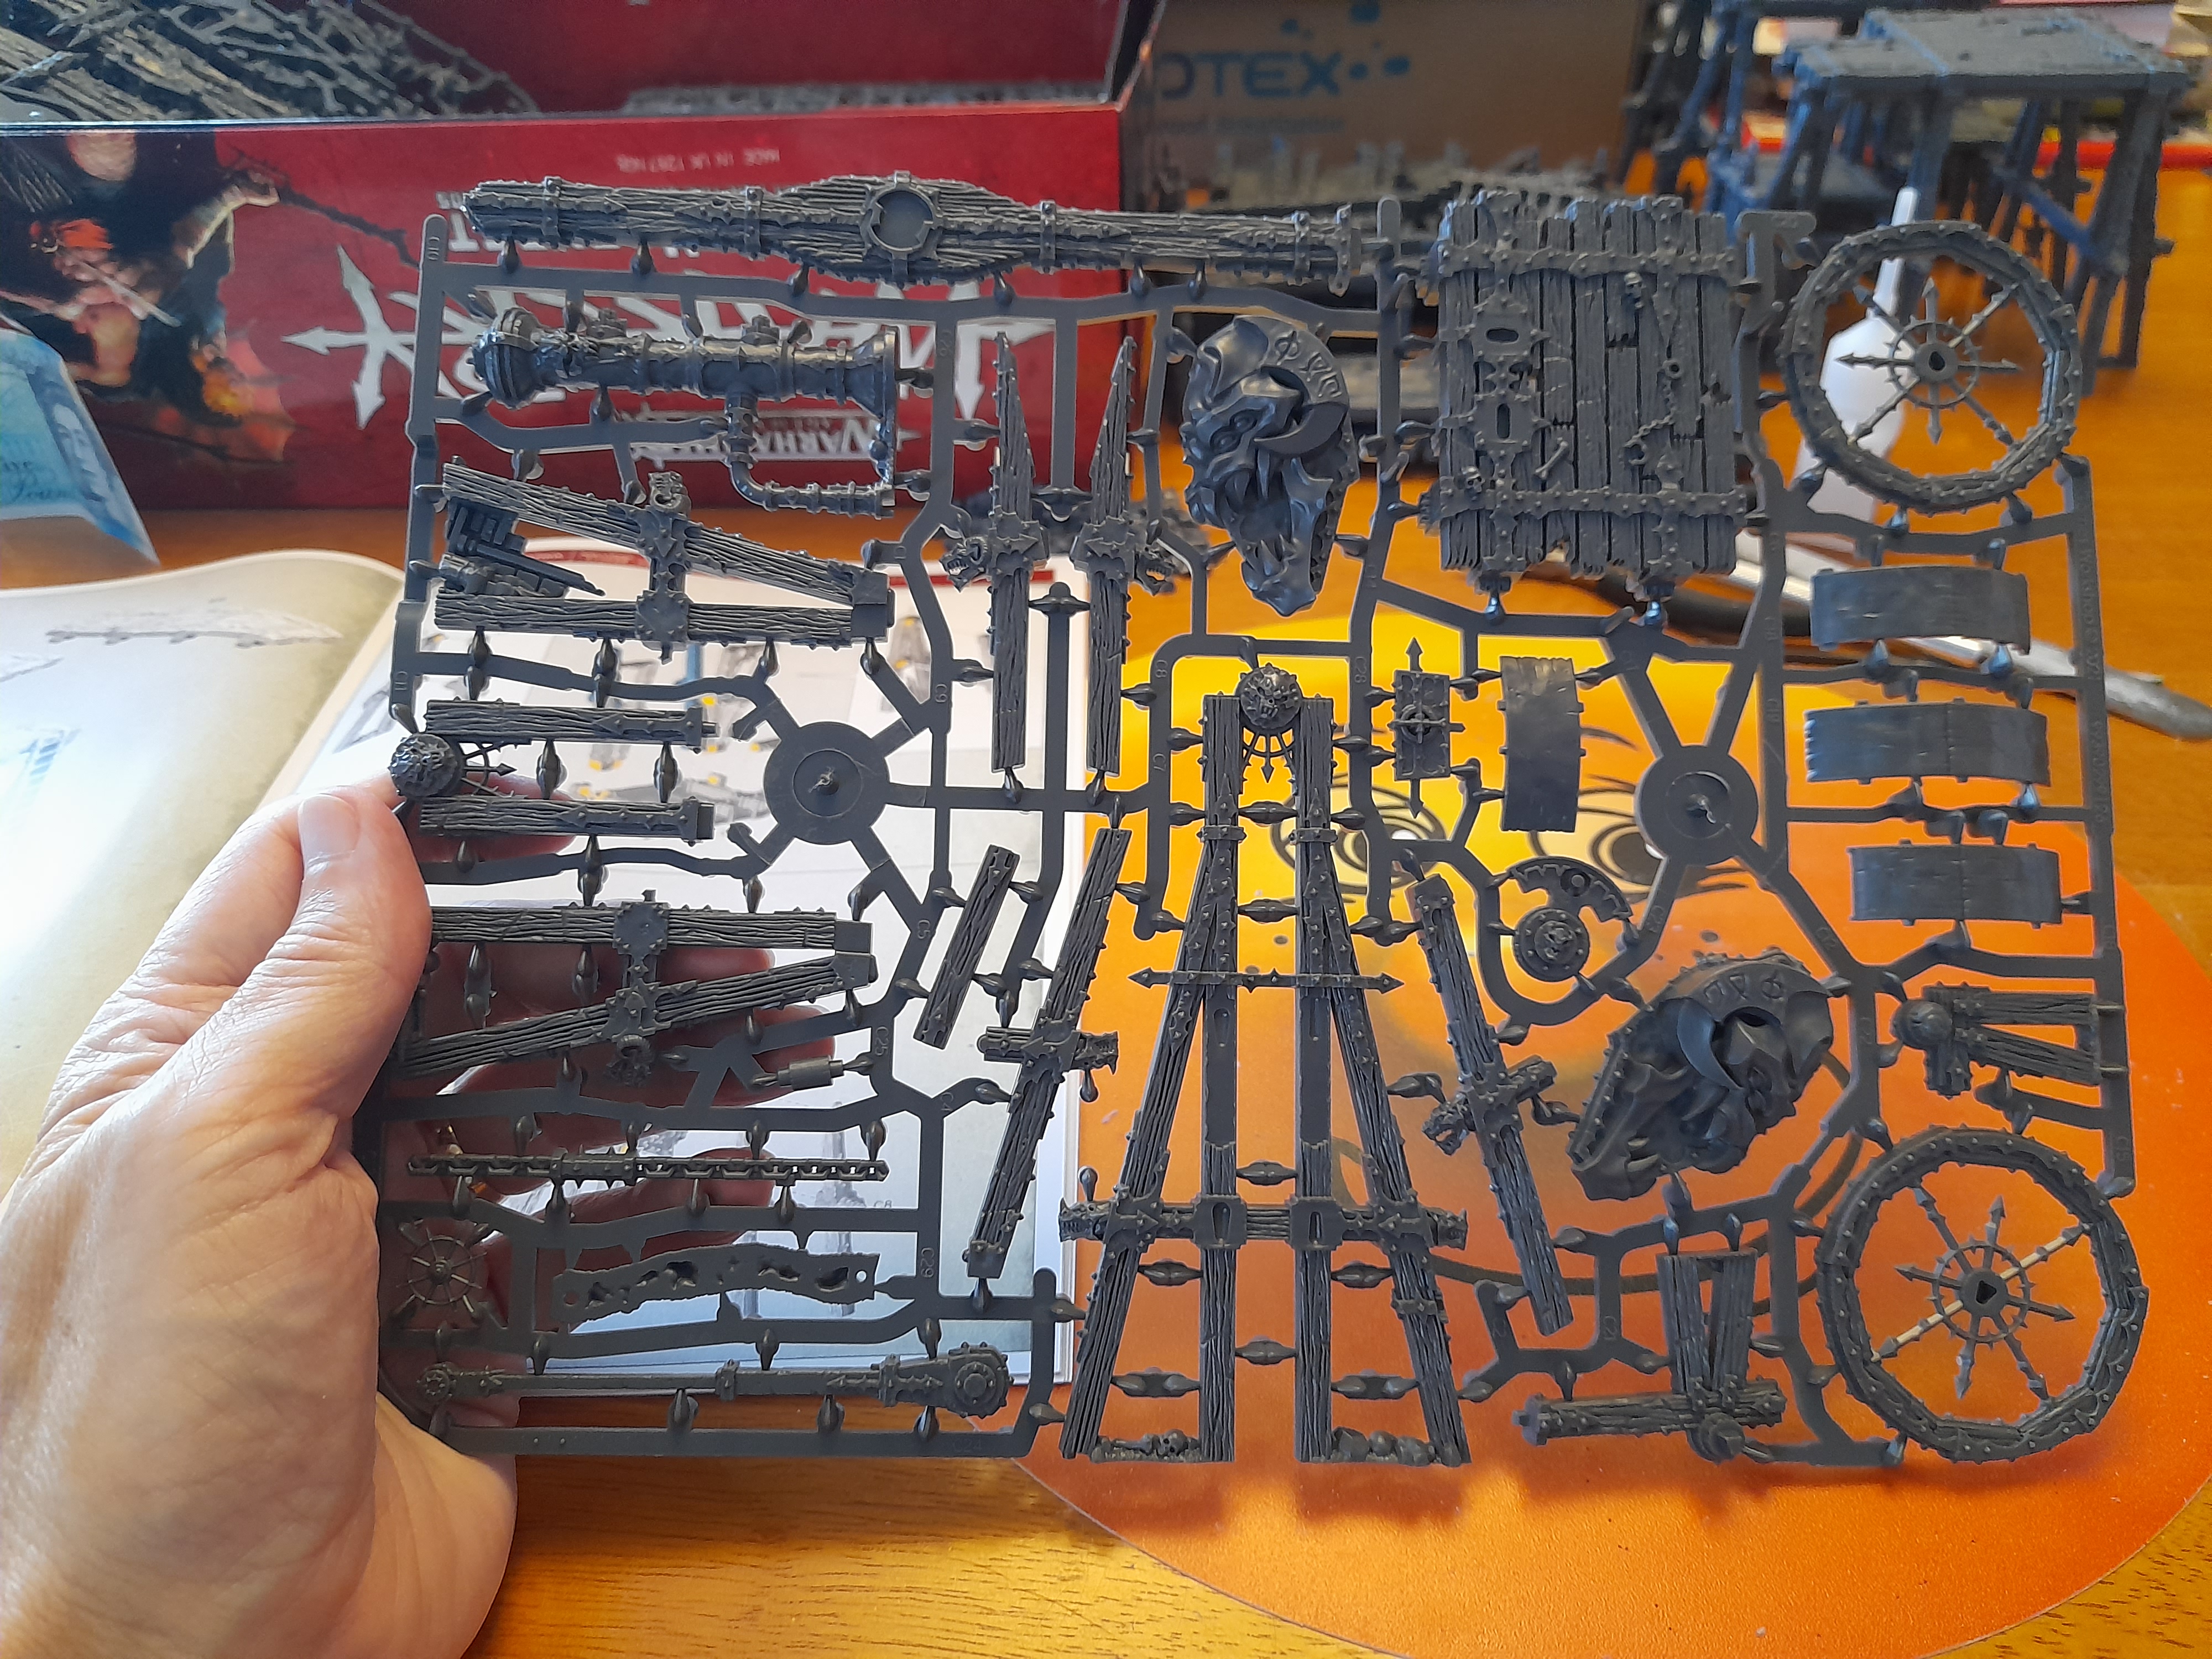
Turns out this was to be a somewhat more fiddly build.
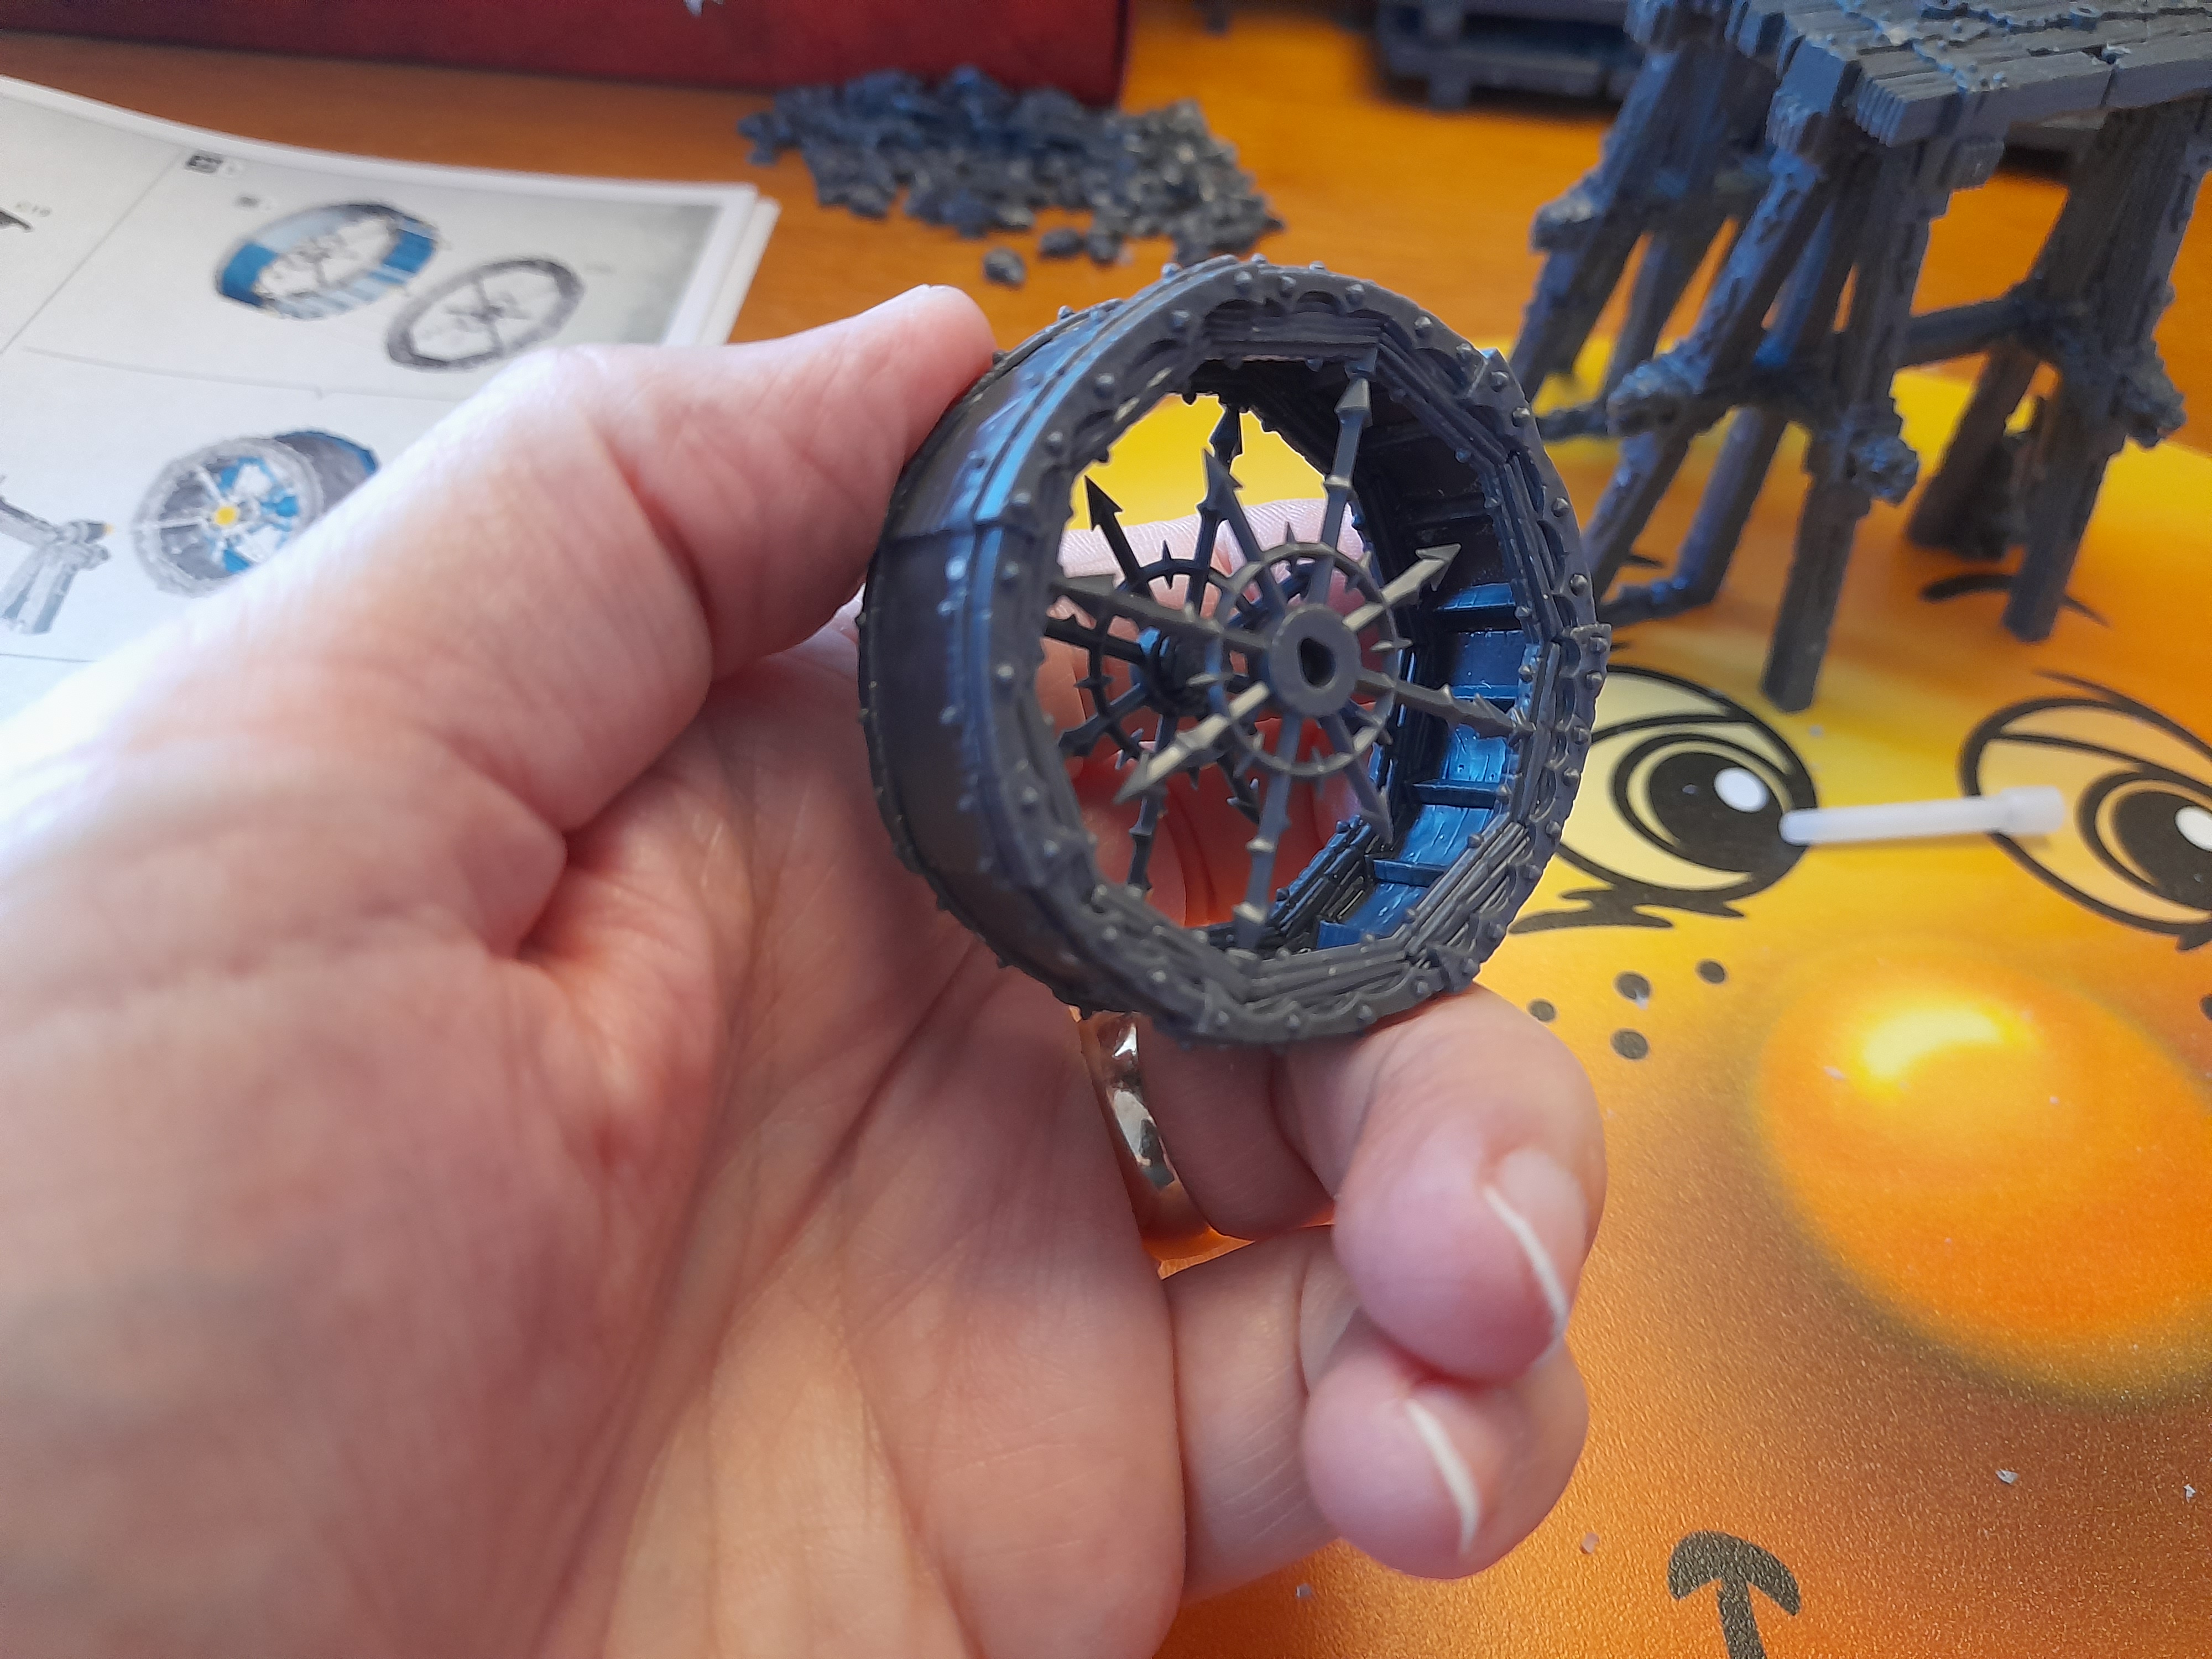
The Varanite Syphon
Still a few prominent mold lines, but cleaning was required on all parts, so it is all part of the build.
 Around an hour in to the build
The wheel, although seemingly simple was rather deceptive.
I laid all the pieces out, but during cleaning I inverted some….
After a few minutes, checking the connection lugs etc the dry fit worked – and I then glued the pieces in sequence.

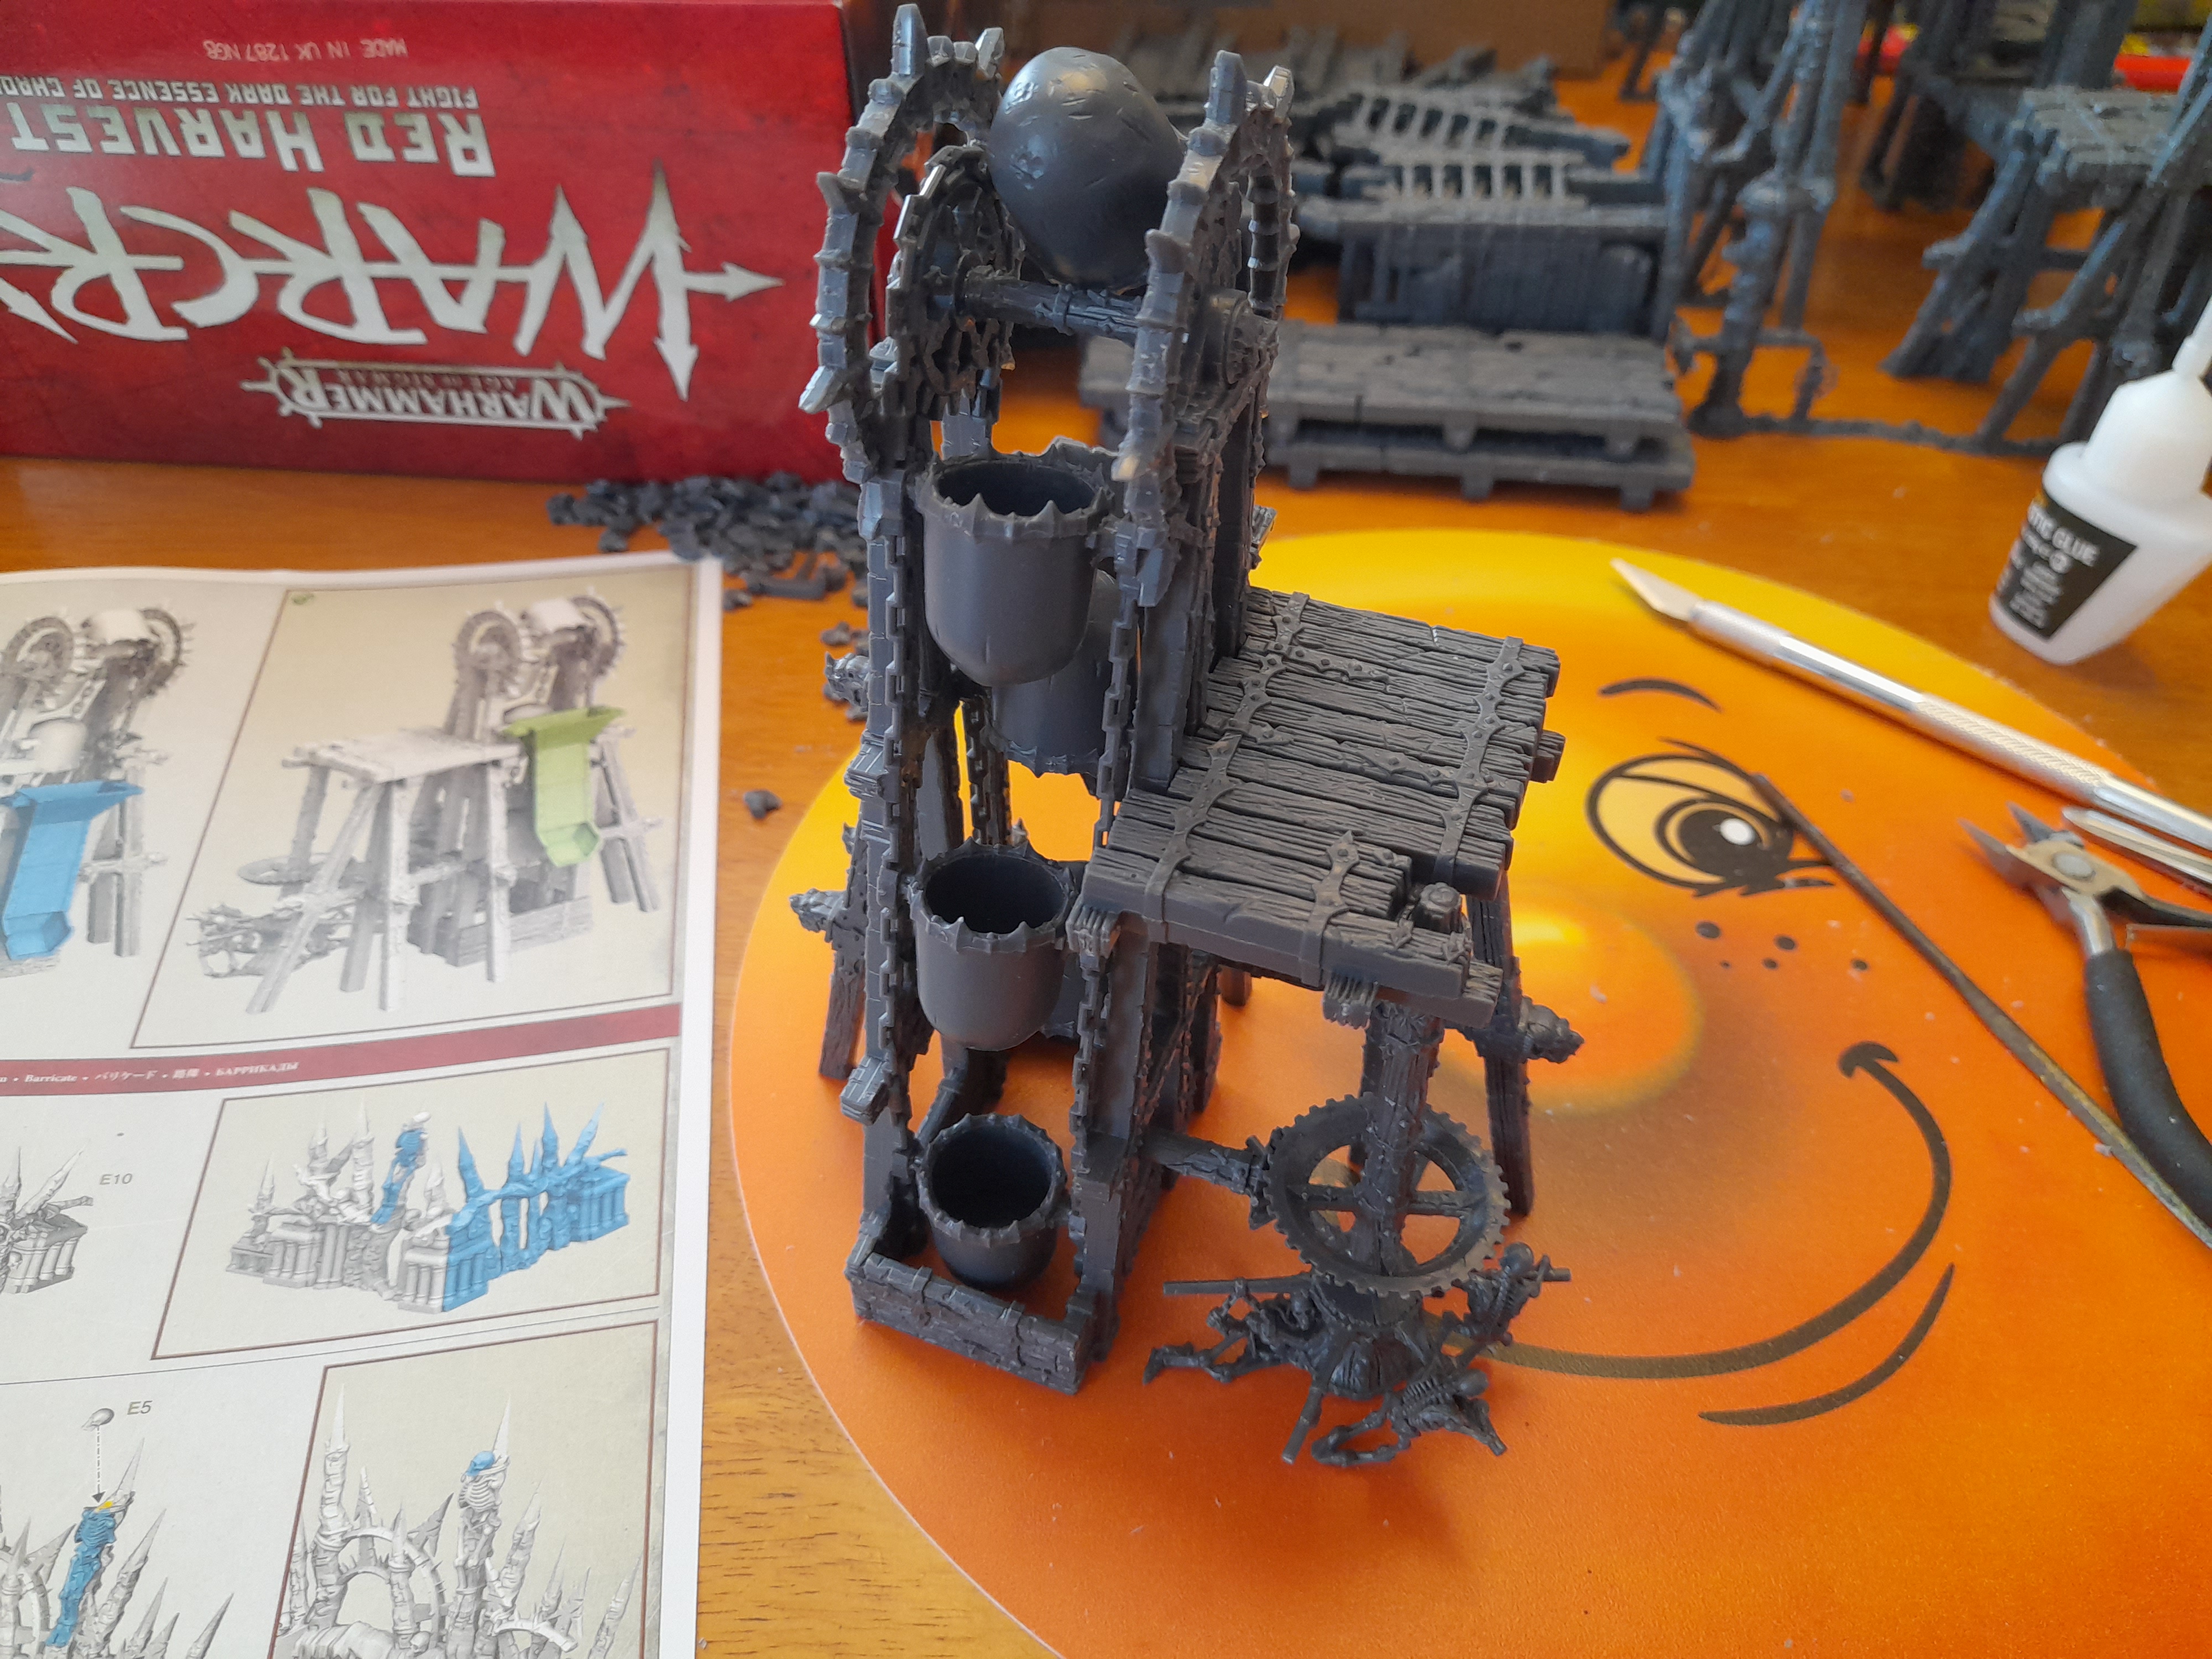
After adding some more components the syphon neared completion.
I must say that Games Workshop have done a very good job of designing the connection points and jointing areas on these kits. The instructions are pretty basic, but diagrams are clear. With the connections only working one way it really helps.
So, after 1hr 45 mins, and some delicate connection areas (that chain!) the Varanite Syphon is done.


Saturday 20th August
We are looking after our nephew and niece this afternoon and evening – but since motivation is still high I thought I would sneak in some more terrain construction in the morning.
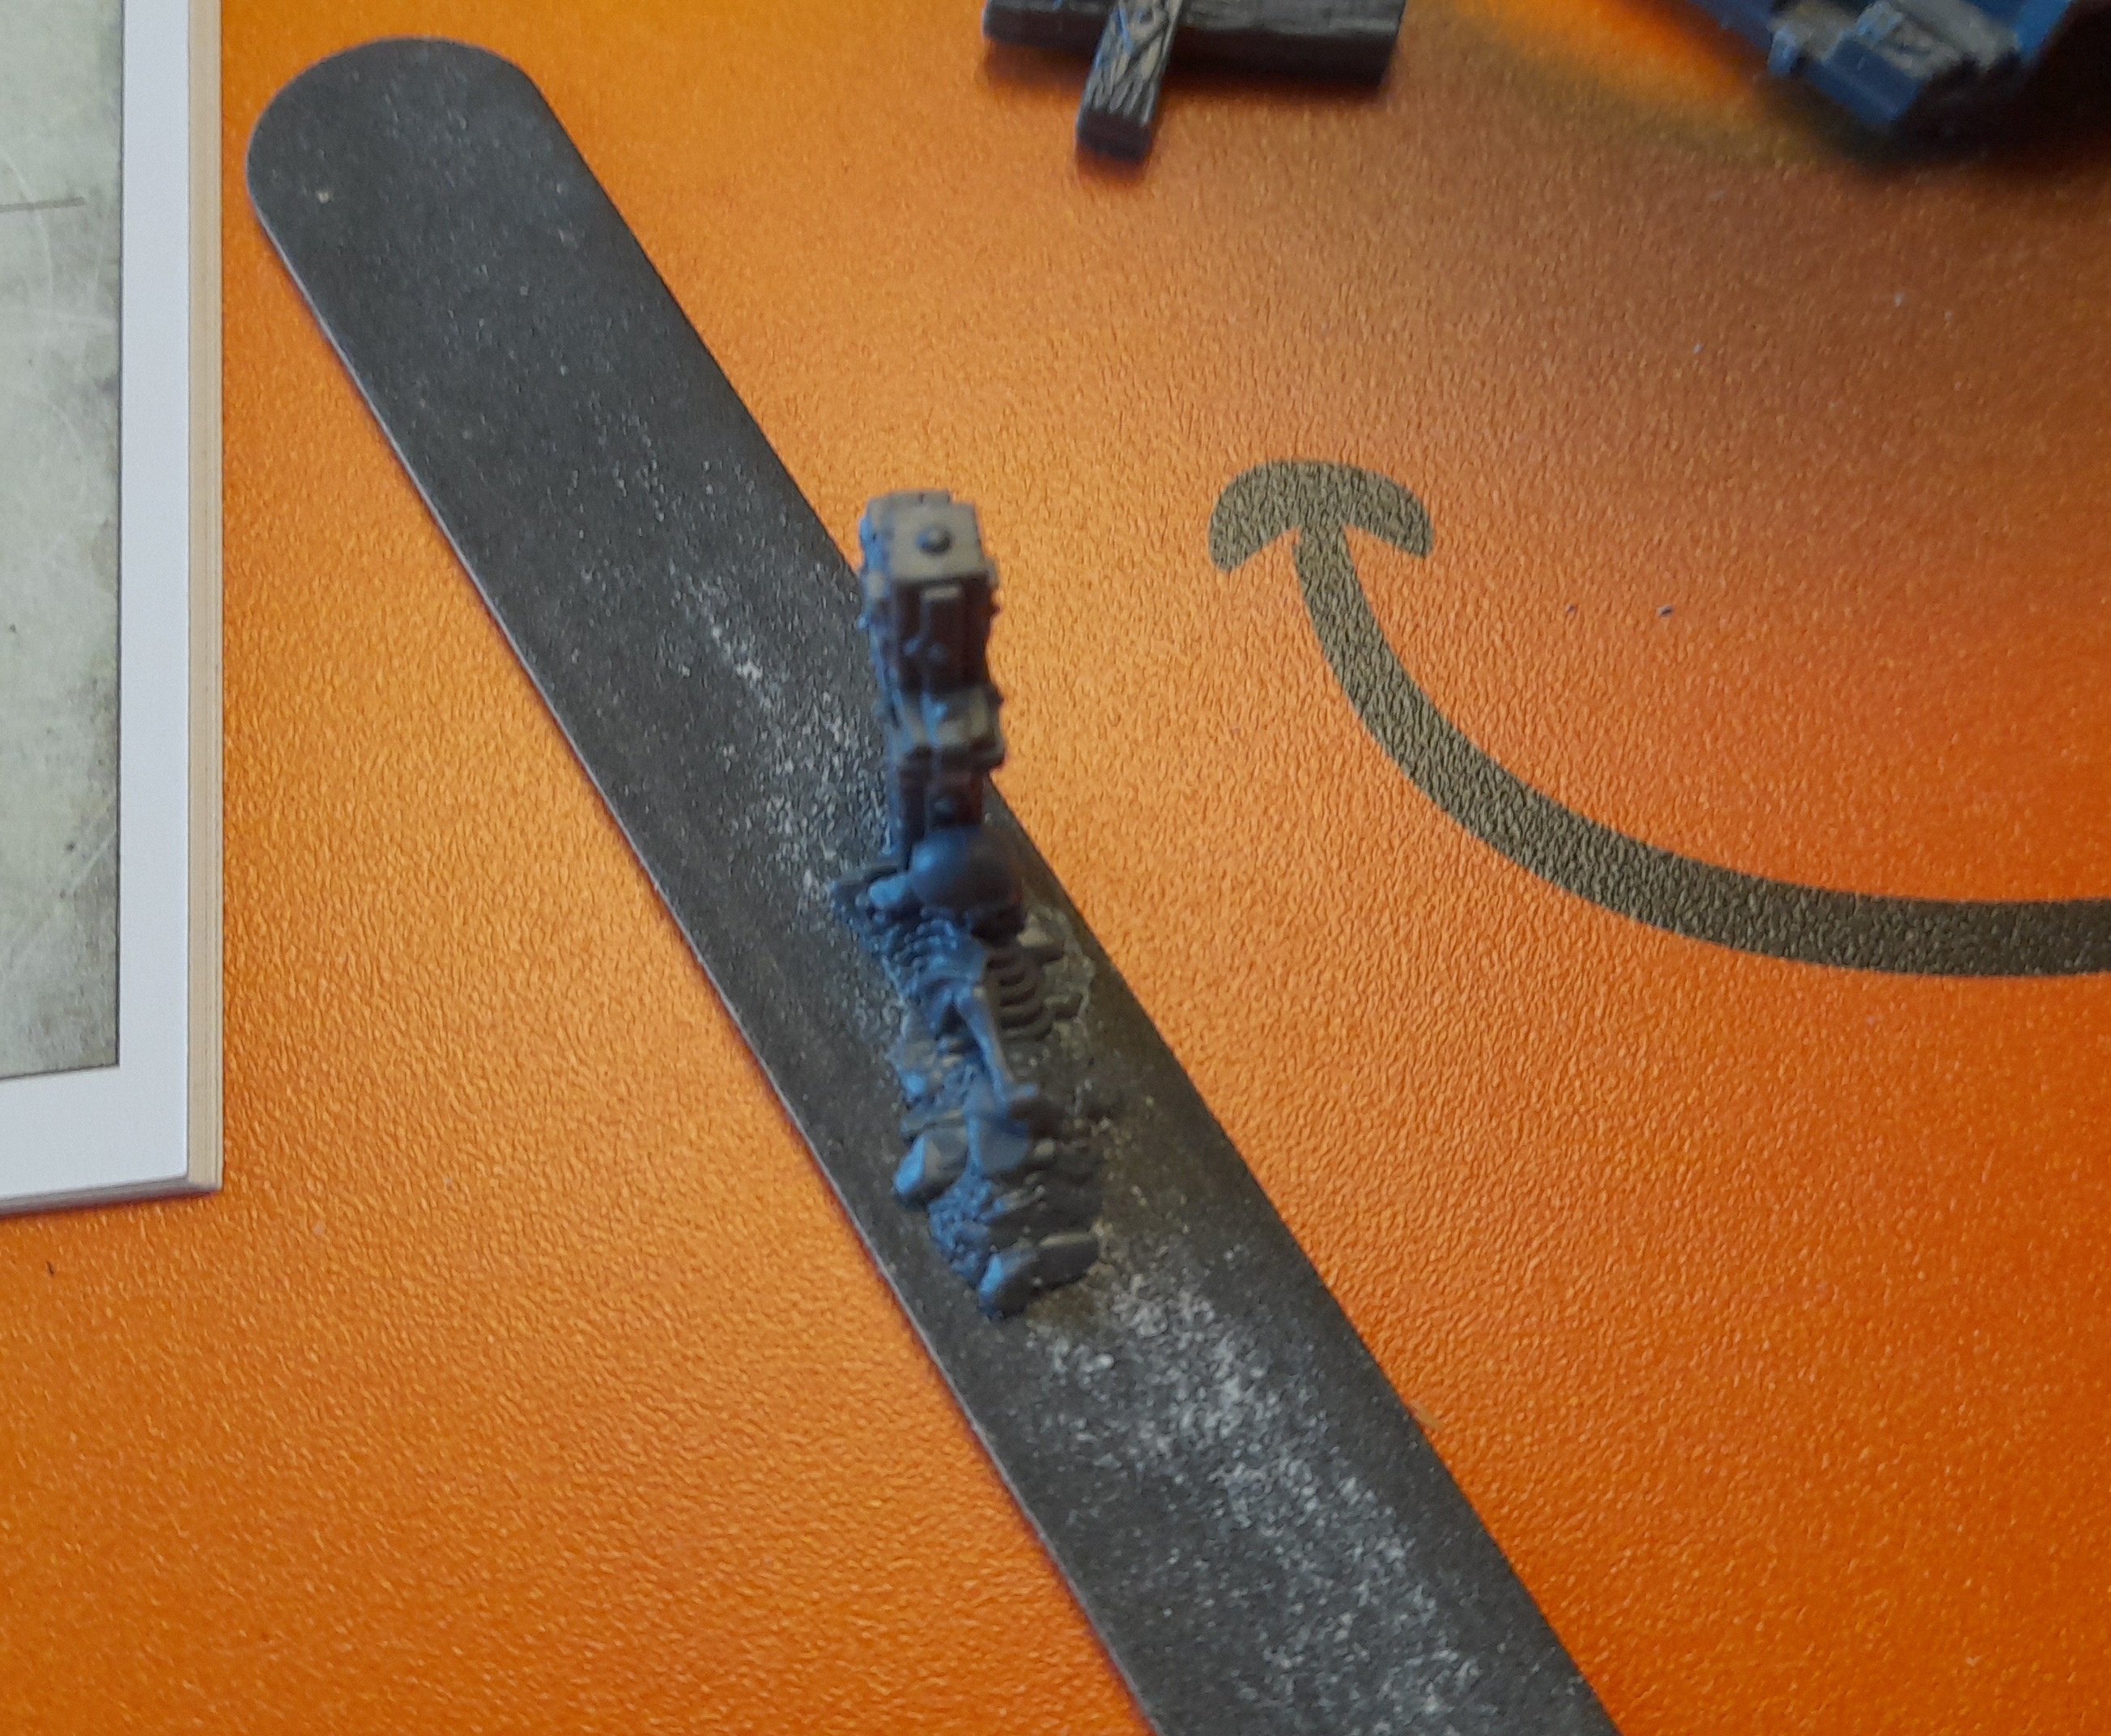
This time it’s the Pit Dredger
Due to time constraints, I forgot to get any early pics.
The initial stages went pretty smoothly, continuing to clean all the cut points and mold lines.
Attaching some of the skeleton parts to the ‘work wheel’ got a bit tight for my old fingers, so out came the tweezers to help place some components.
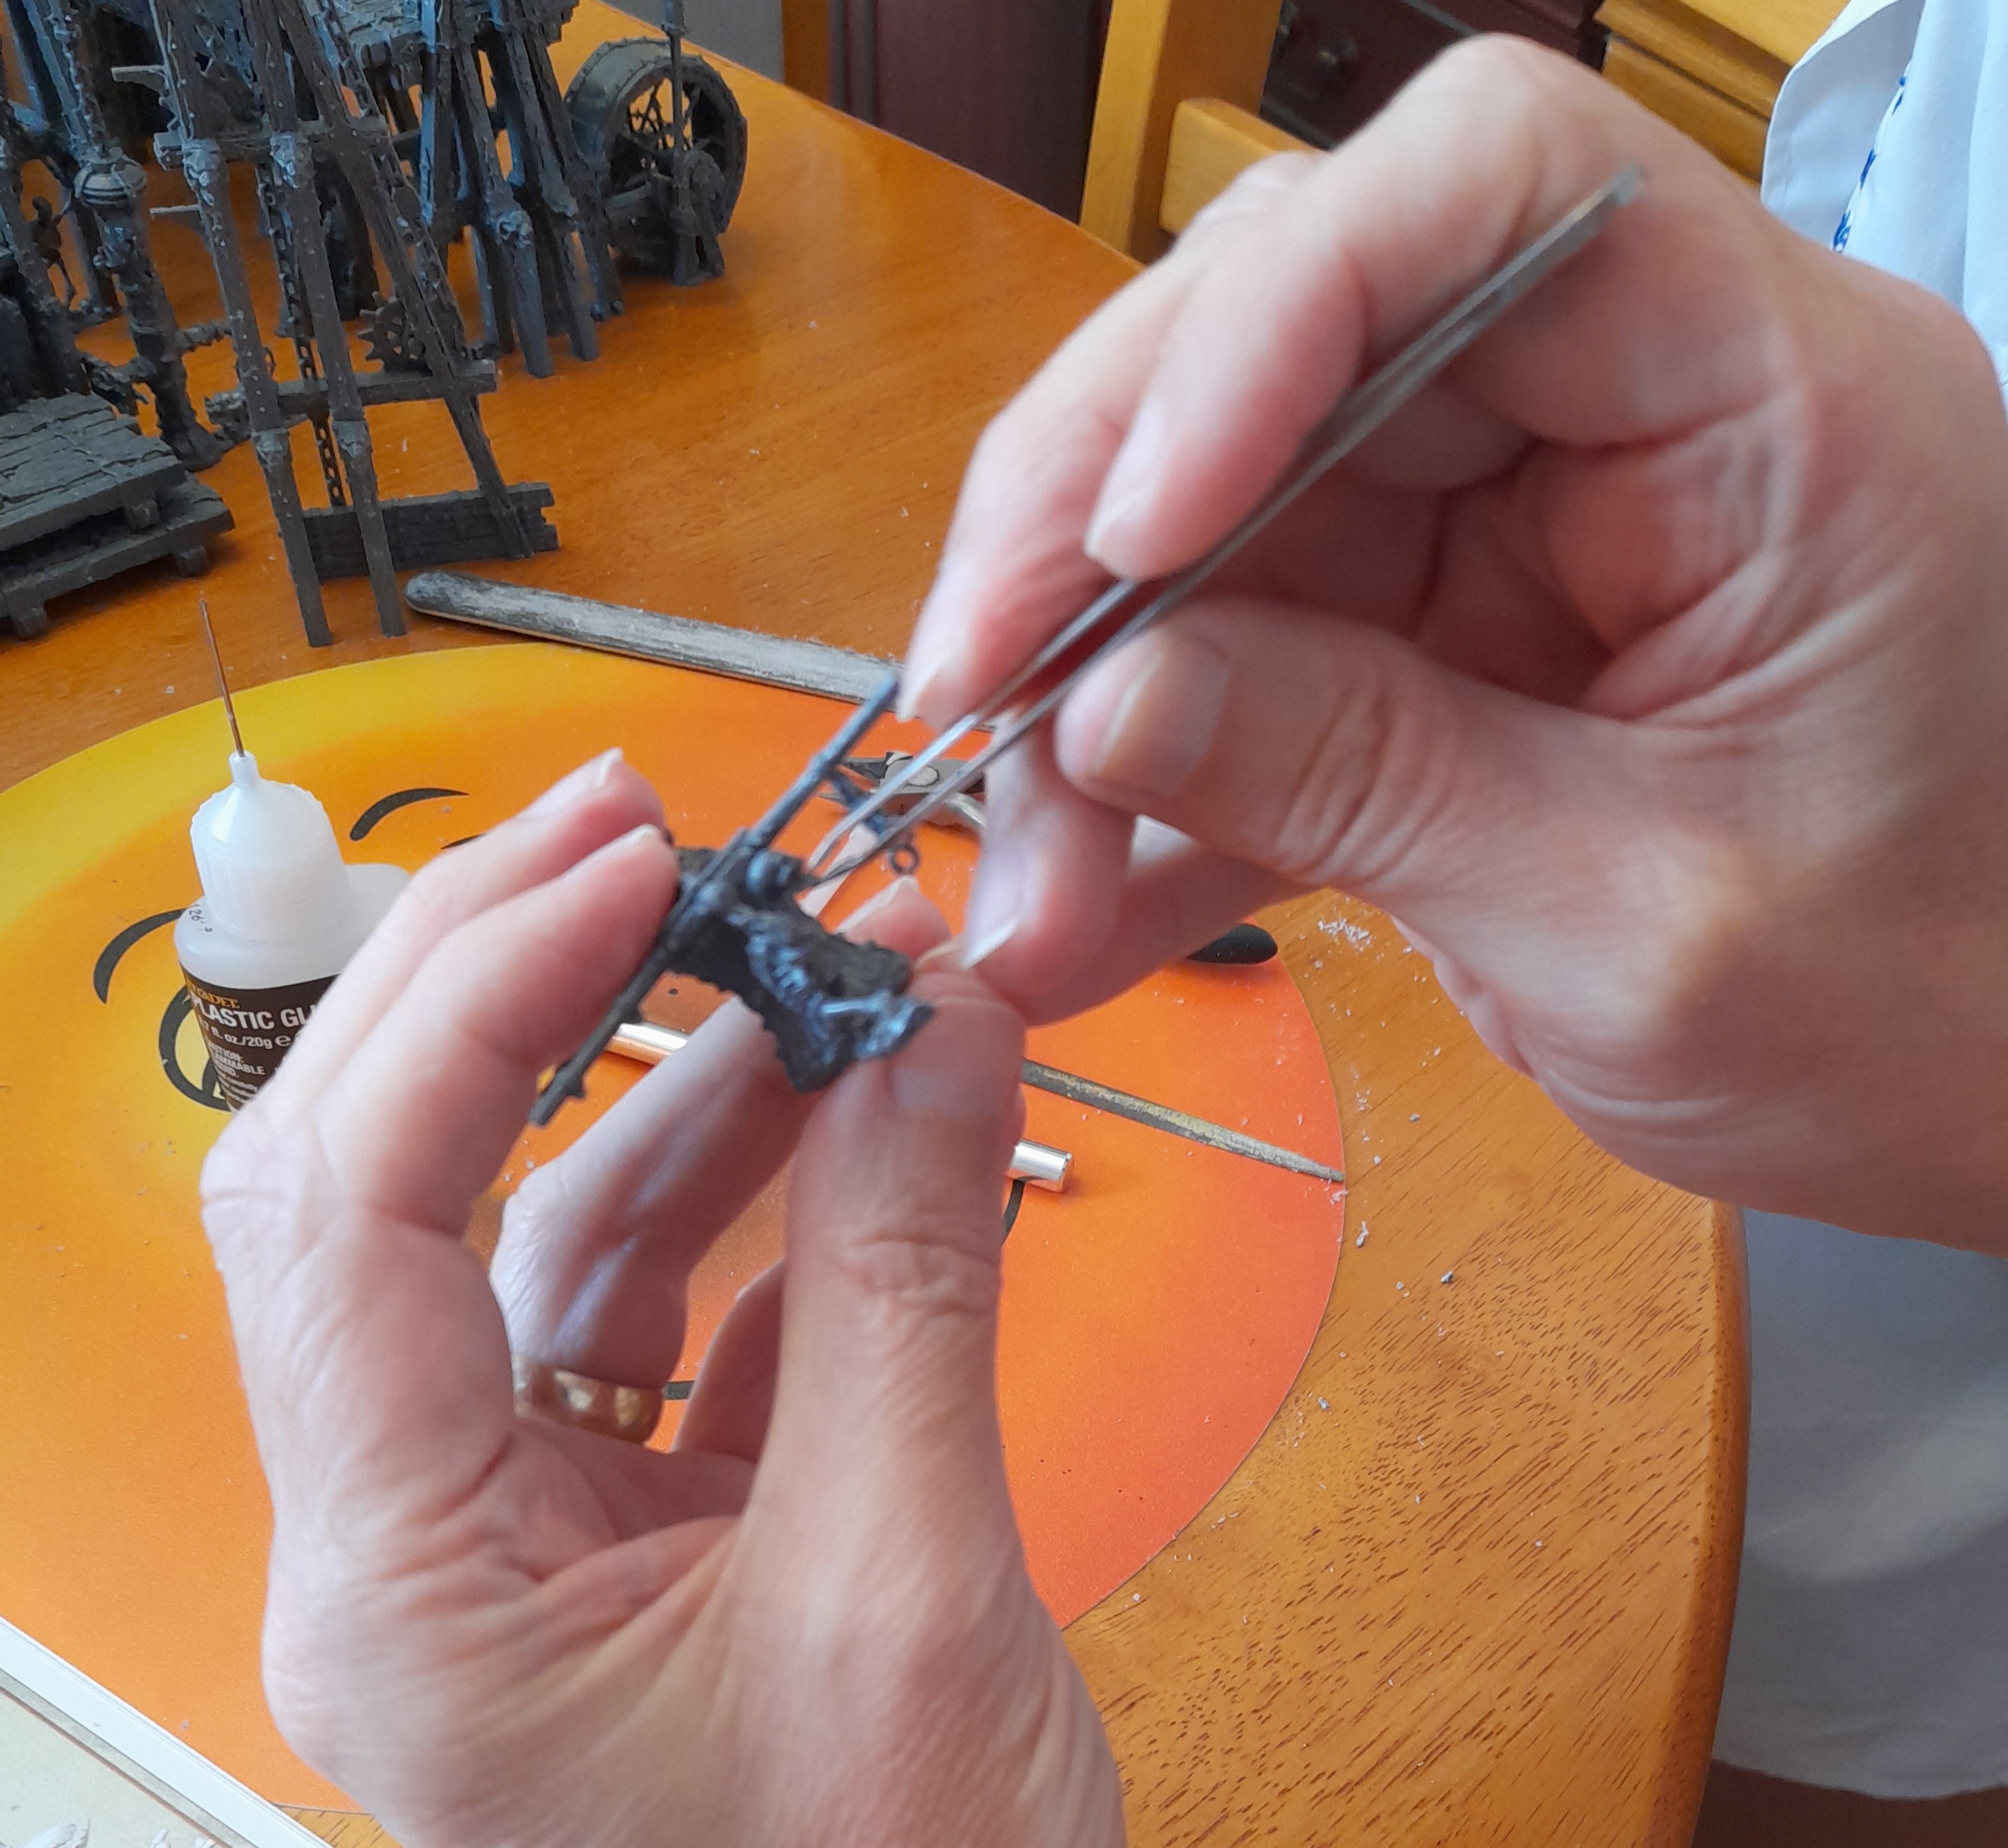
But, I got there ?

Then came some more easy bits….
But….. I next encountered the bucket chain.
It seems easy enough on the diagrams, however – I don’t have four hands, and I think that is what’s needed here ?
I found that the buckets that go on the chains have a little ‘play’ due to the flexibility of the chains. So I concentrated on getting the others in place first.

That gave me the ability to then fit the remaining ones without having to hold all six at the same time.
A few more basic bits, and the Pit Dredger is done ?

Just one terrain sprue to go…..
(Plus all the painting too, of course)
Six in a row....
Six days straight with hobby carried out – don’t know the last time that happened!
I know I won’t be able to do the same in the future, and I don’t want to put pressure on myself to do so, as that would likely have a negative impact – but its still been good progress, from my perspective.
I could probably have gotten through the scenery quicker if I hadn’t cleaned the cut points and mold lines. But I knew they would frustrate me when I come to drybrush them.
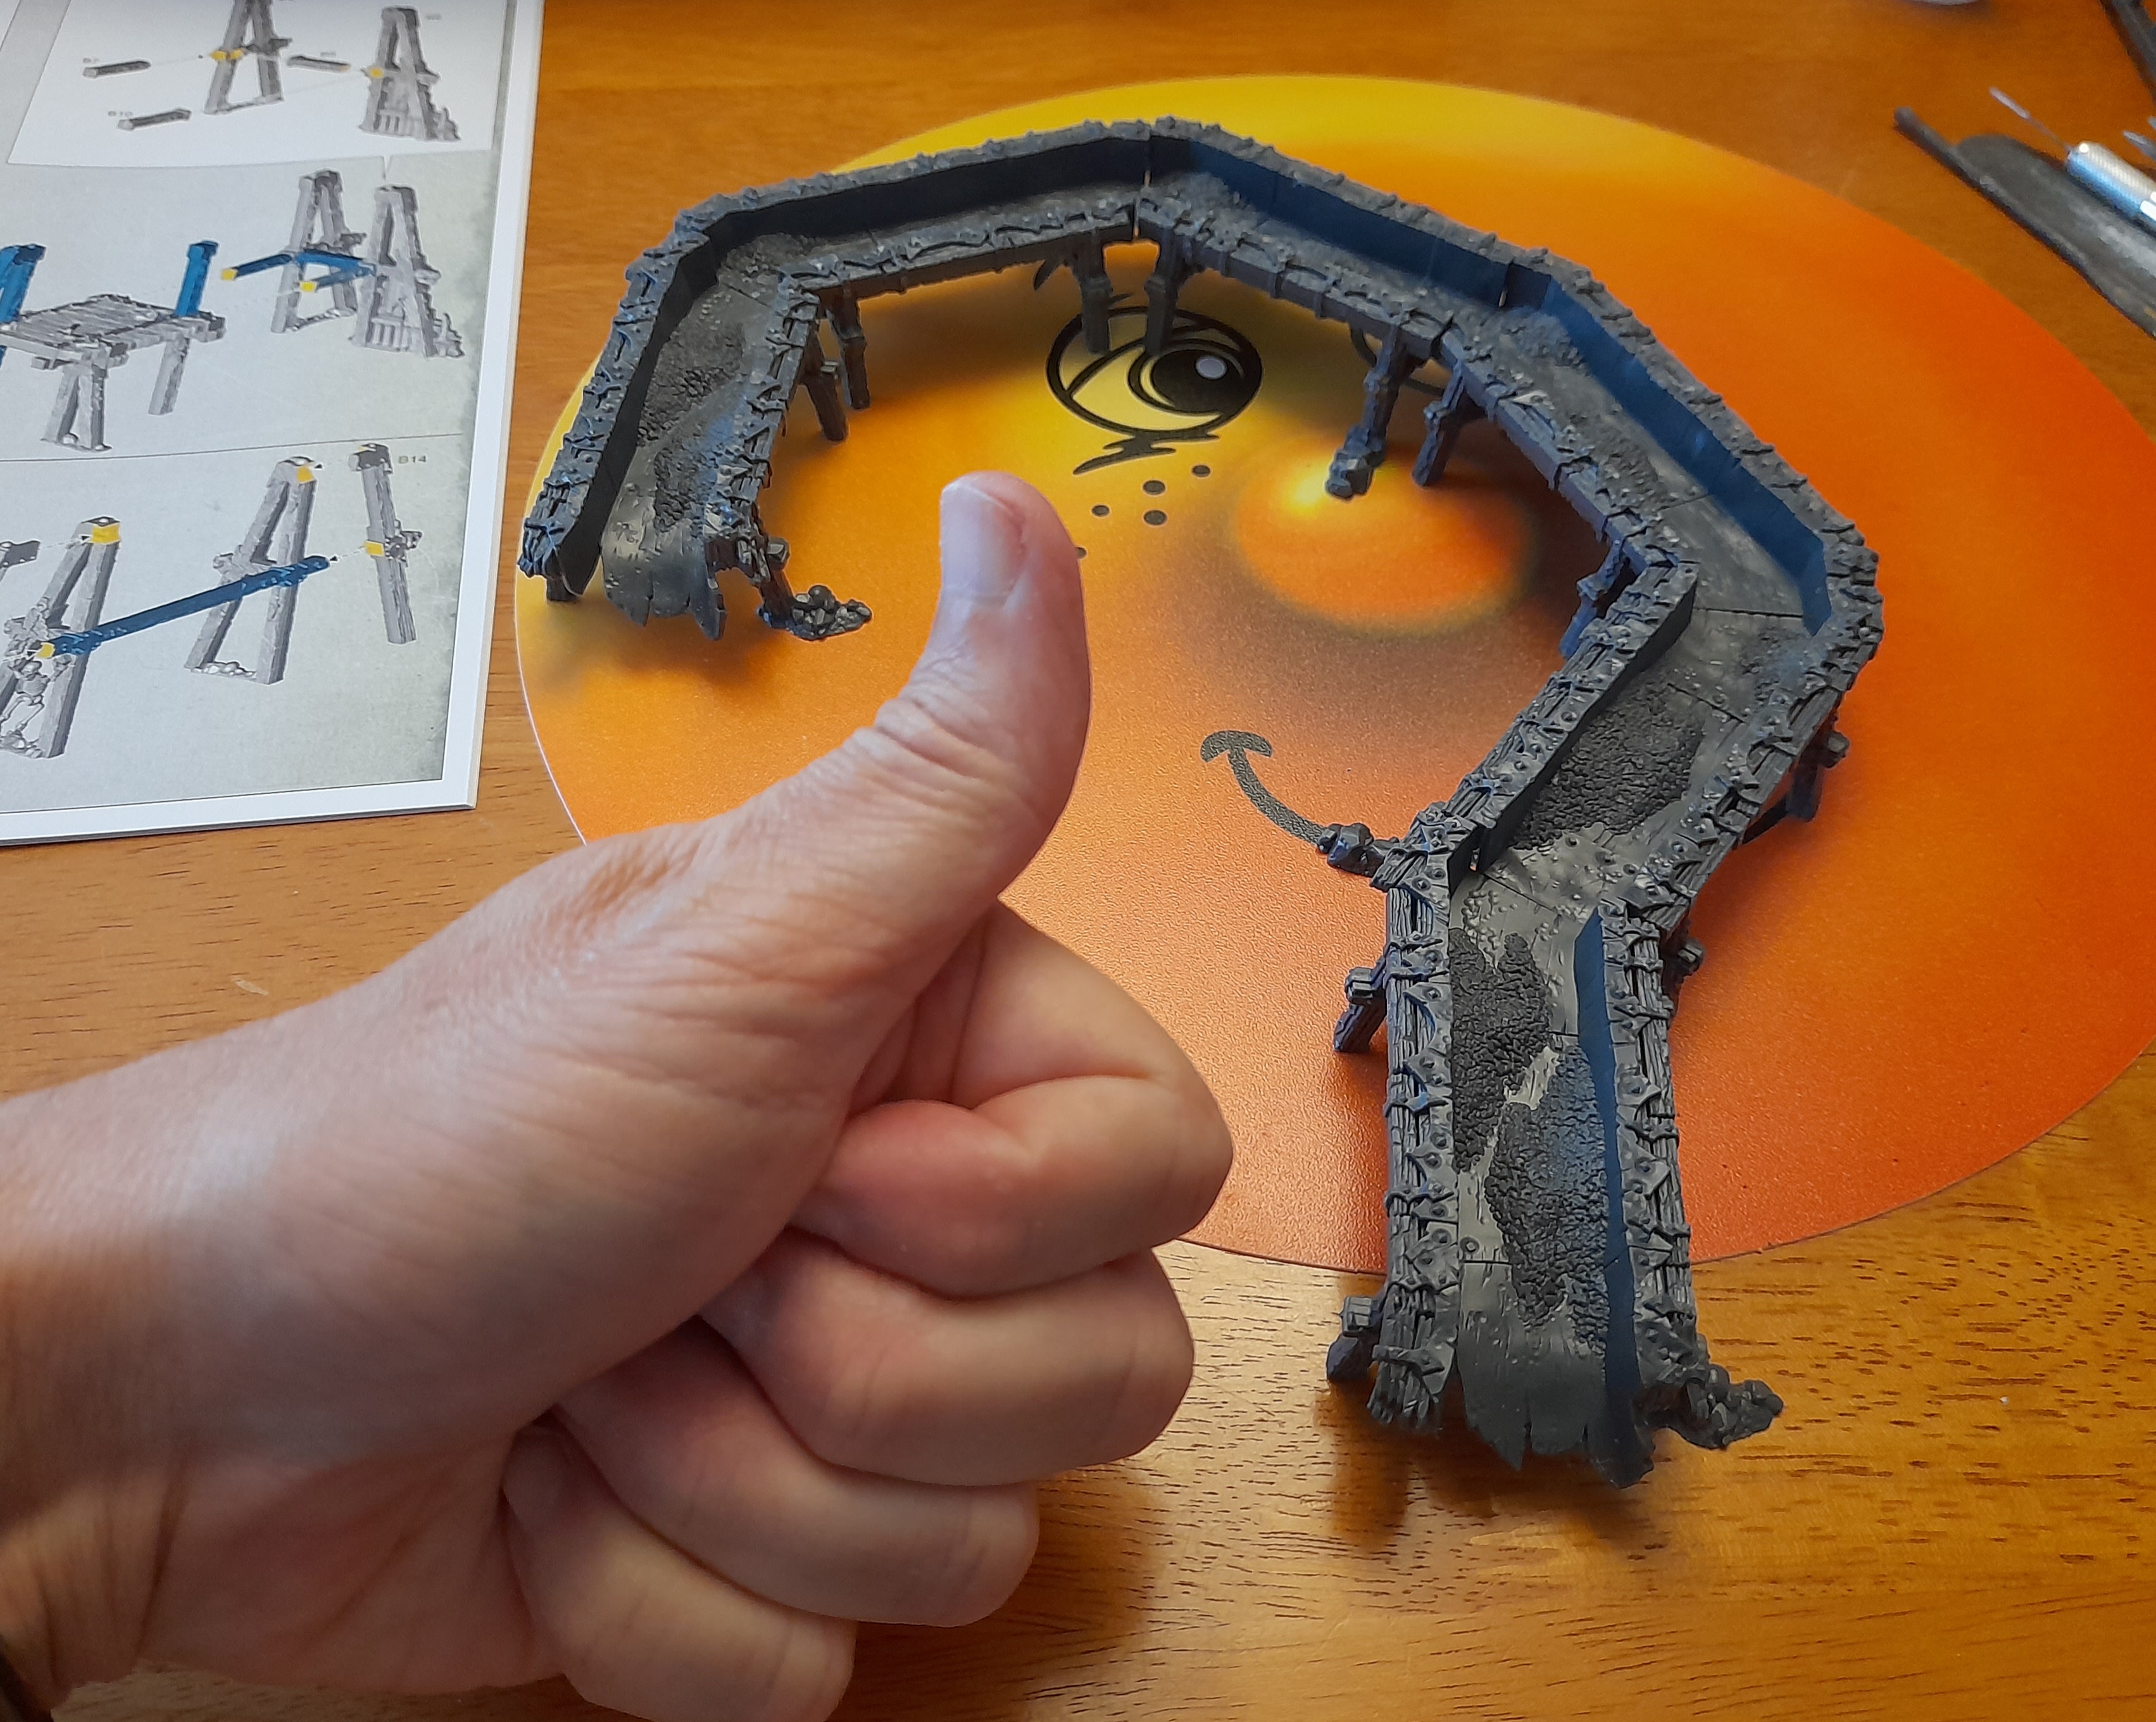
 The final sprue!
Onto the final scenery sprue.
I have been following the order in the guide booklet. This final sprue is actually the easiest of the lot.
Still scraping those mold lines though ?

Only three of the terrain pieces on this last sprue needed any assembly, and it was mainly just attaching skeletons to the barricades.
Soon they were complete.
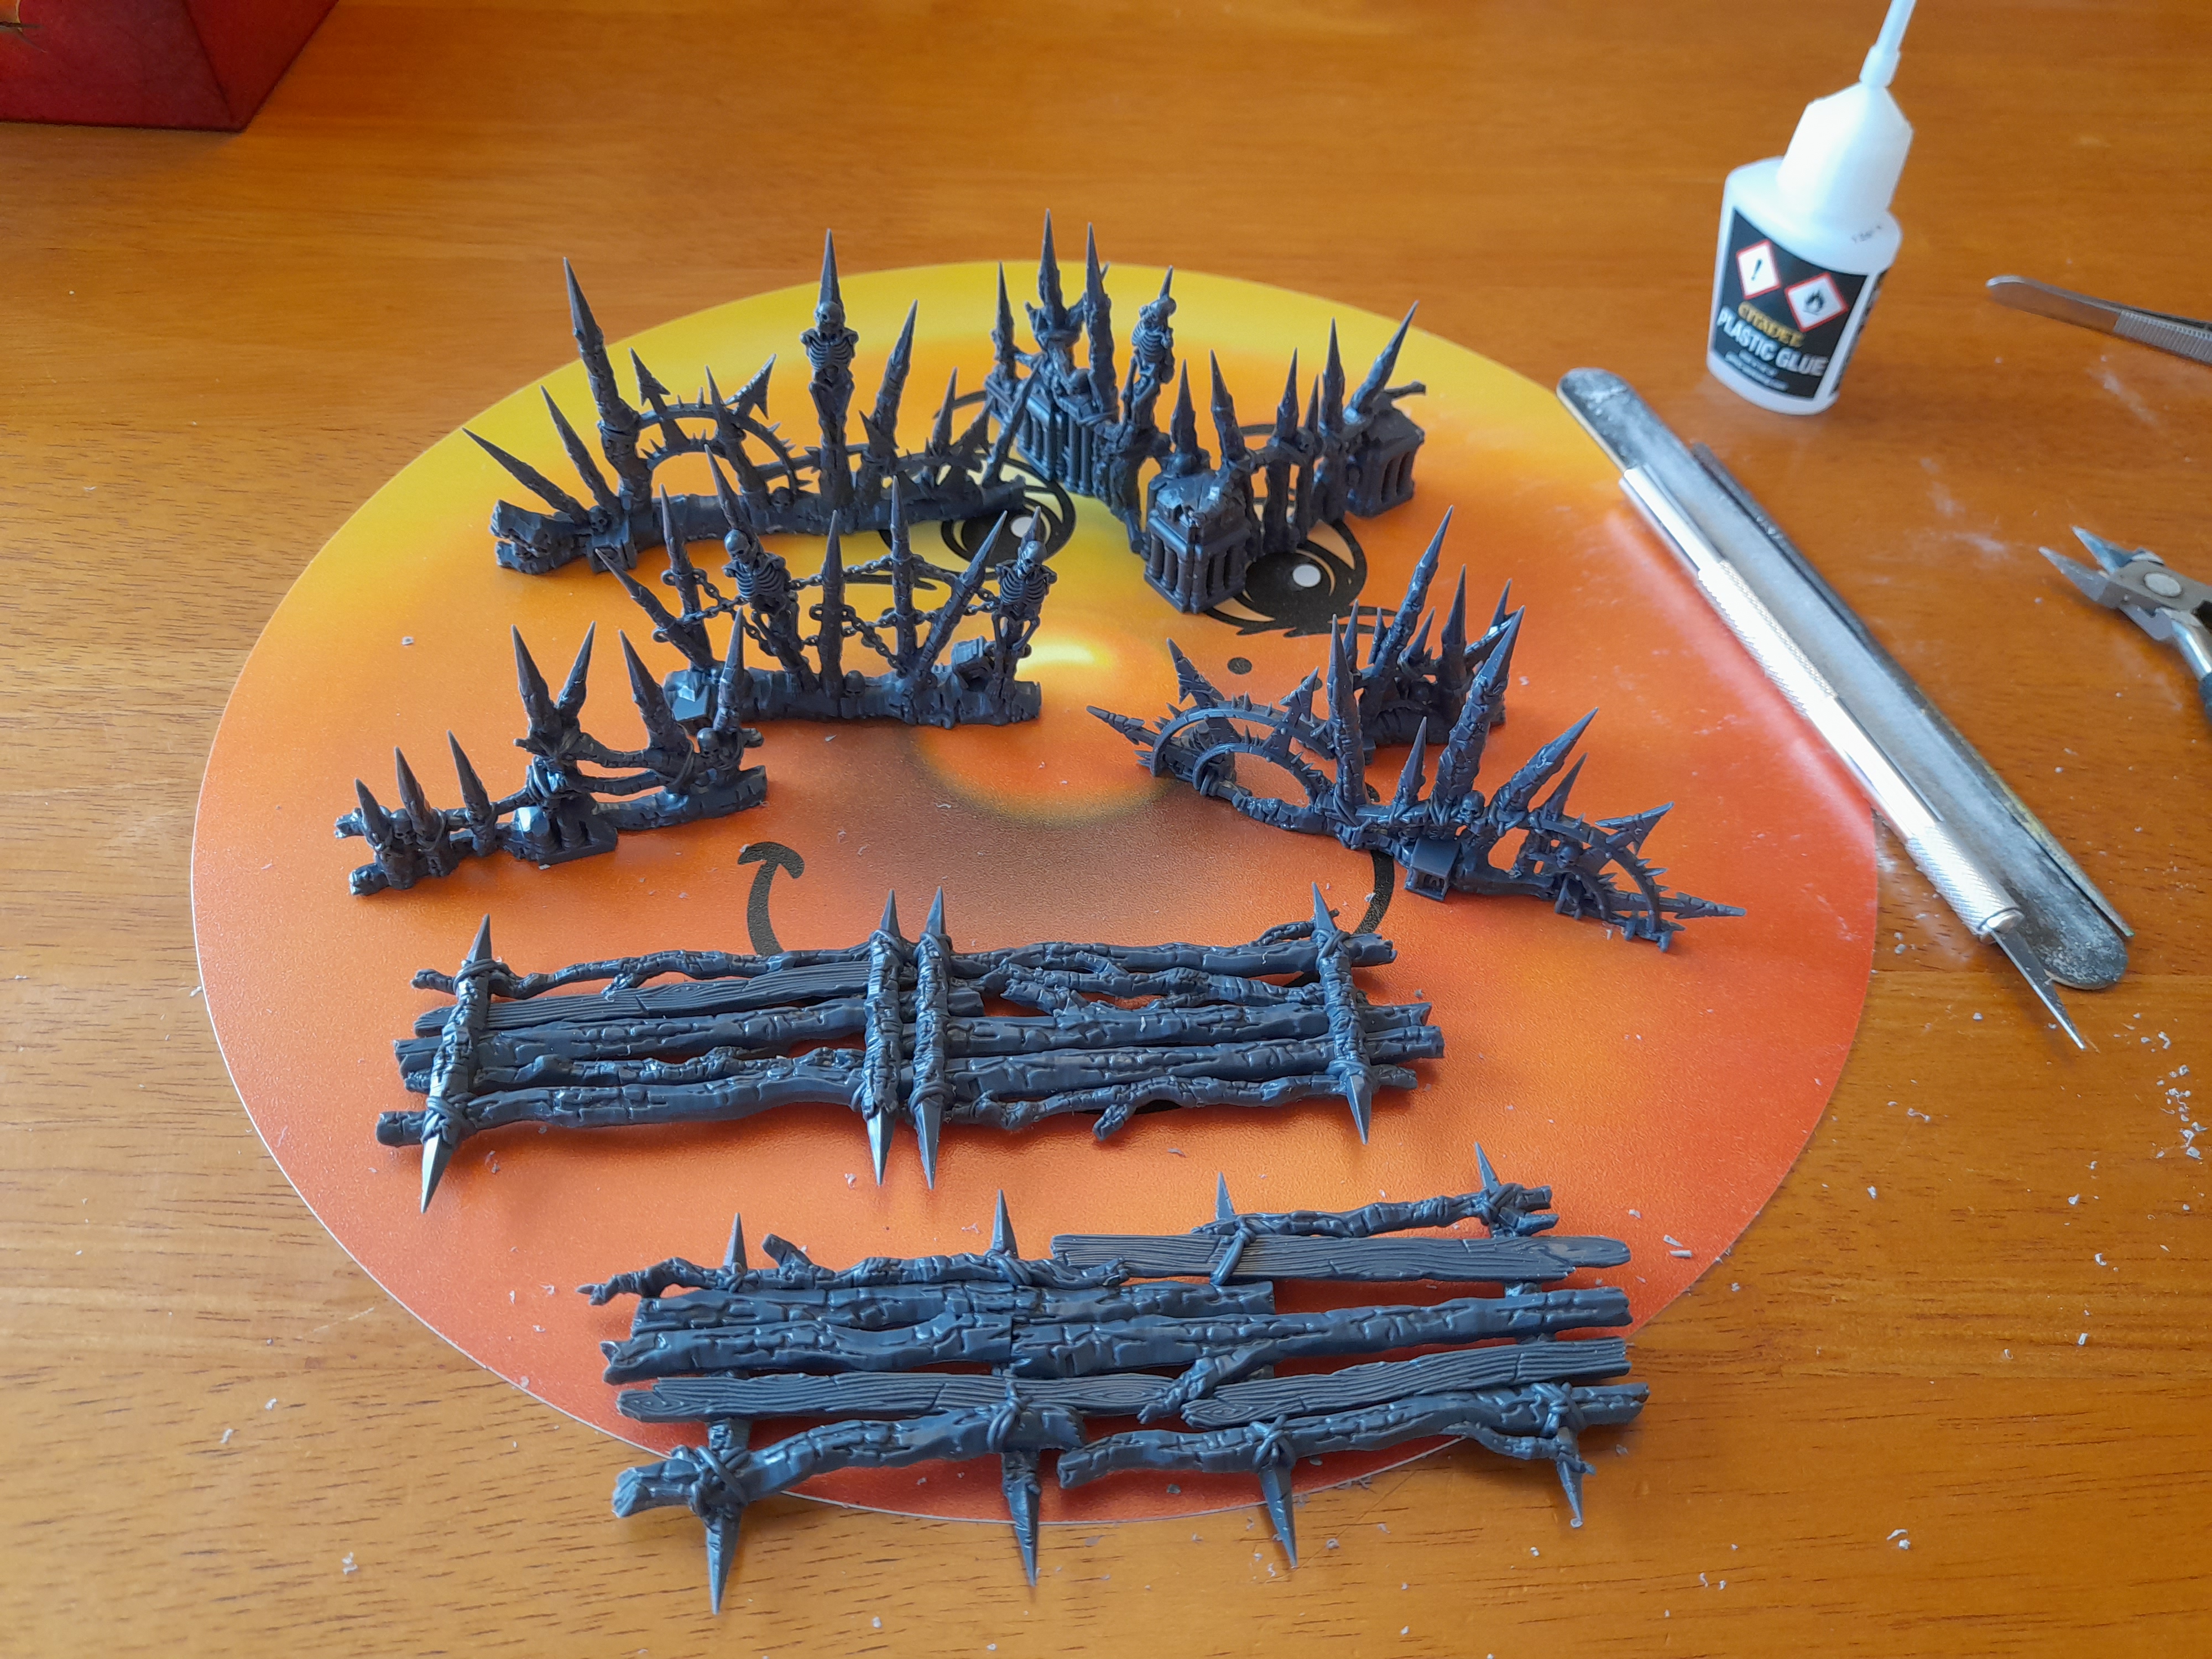
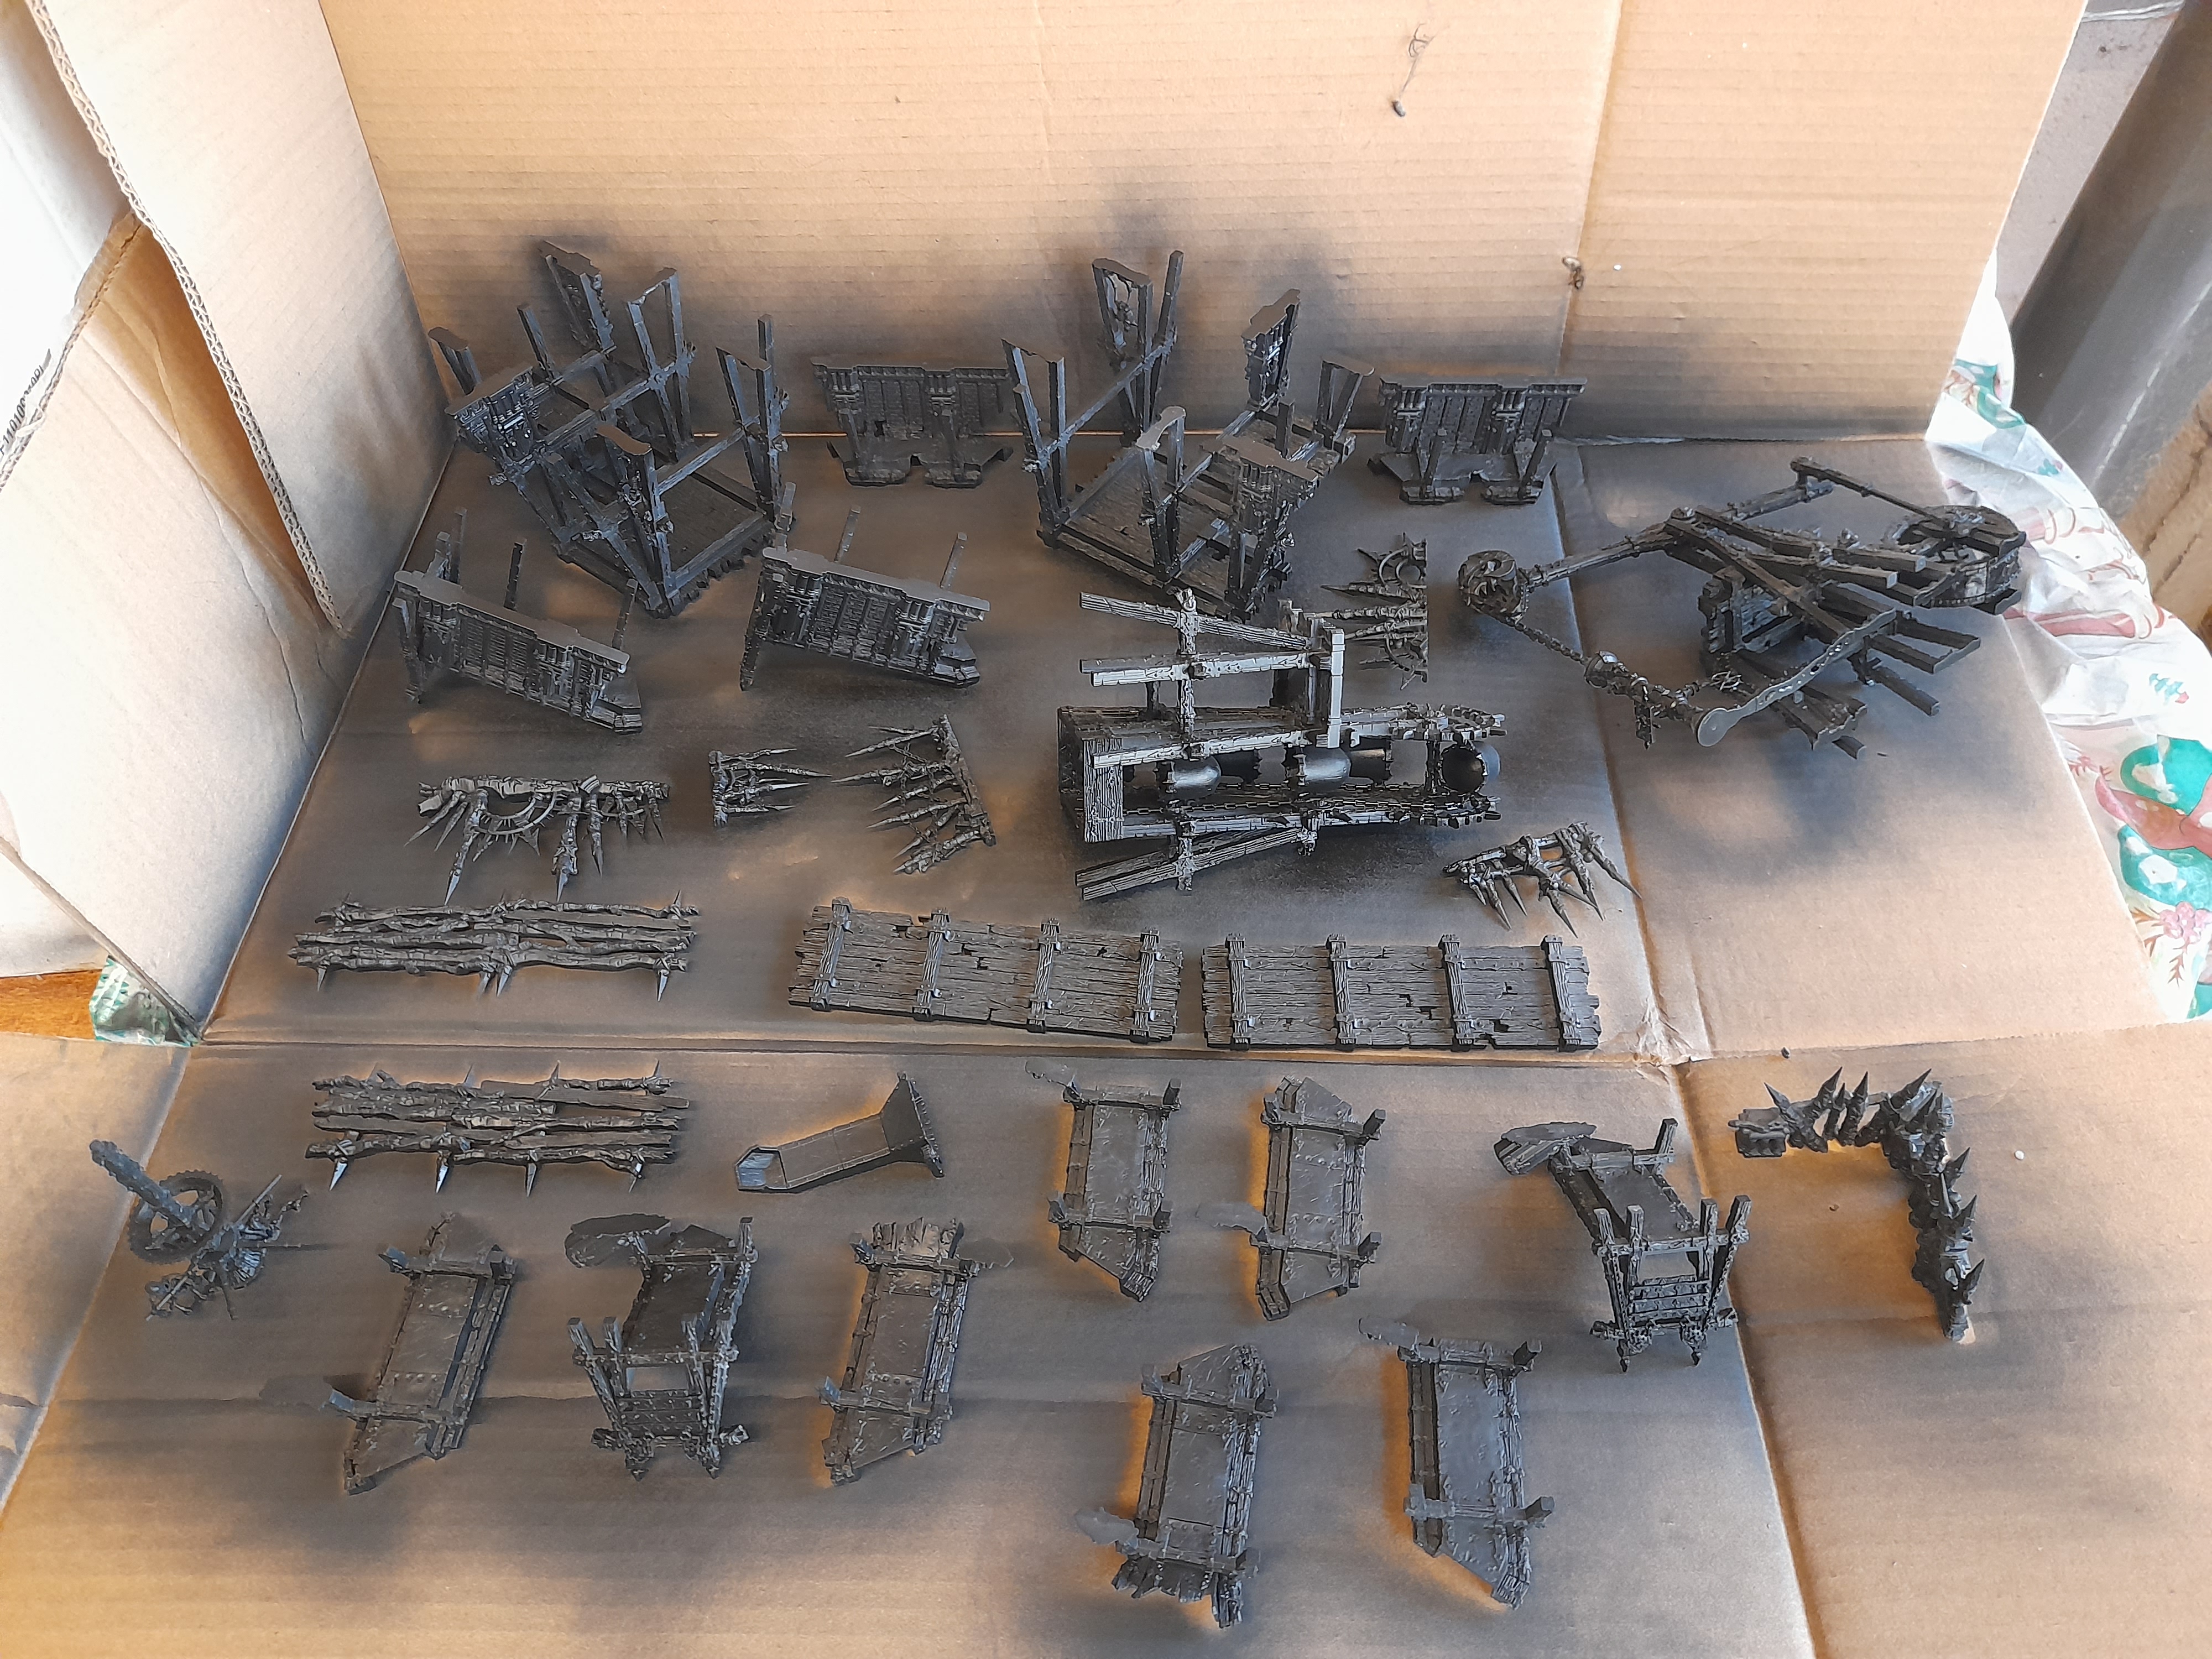
The complete scenery set built
As it says above, the scenery set is finished ?
I spent a bit of time debating whether to assemble the warbands next, or paint the scenery.
With the (much needed) drizzle ending I decided I would make a start on priming the scenery.
Busy week next week, but hoping to squeeze in what hobby I can.
Not sure when my next post will be, or whether it will be scenery or warband stuff, just have to see what time will allow.
A short one
Not much of an update today.
Just had enough time to apply some brown to the scenery.
I wanted to keep some of the black there as shade, so applied a dusting of army painter brown at an angle, to hopefully maintain the black prime in the recesses.
The spray went a little ‘spitty’ part way through (can see it on the parts front middle).
Once that happened I inverted the can, sprayed to clear and wiped the nozzle clean. This allowed me to continue – and i also found that if I depressed the nozzle about 3/4 it gave a more even spray.

That’s it for now though.
Next step here will be some washes to bring back the shade in those places where a little too much brown went down.
A friend also recommended using slightly different shades on some of the planks to add variety – this reminded me of what fx artists do on space ship models, so I think I’ll try it out ?


![StarCraft Tabletop Miniatures Game Pre-Orders Live Now [Updated]](https://images.beastsofwar.com/2026/03/starcraft-tmg-news-cover-600-338.jpg)


