![NO Weekender Or Cult Of Games XLBS This Weekend [Updated]](https://images.beastsofwar.com/2026/03/No_Weekender_and_XLBS_this_Weekend-225-127.jpg)


Heer, there and everywhere : Adventures in Bolt Action


Recommendations: 646
About the Project
Historical gaming? I avoid it like the plague mate. All those gatekeepers in the community, no thank you. Army painting? Takes me long enough to do a Stargrave crew, let alone an army. So why do I keep eyeing up those Bolt Action miniatures? I wonder if you can kit bash them with Stargrave... I could pick up a sprue on ebay, better get an army box to be sure, oh and that box with half tracks, might as well get a tank too, and some of those guys , oh and a support group whatever that is. That's how it started...goodness knows when it will finish.
Related Game: Bolt Action
Related Genre: Historical
Related Contest: Bolt Action: Western Desert Boot Camp
This Project is Active
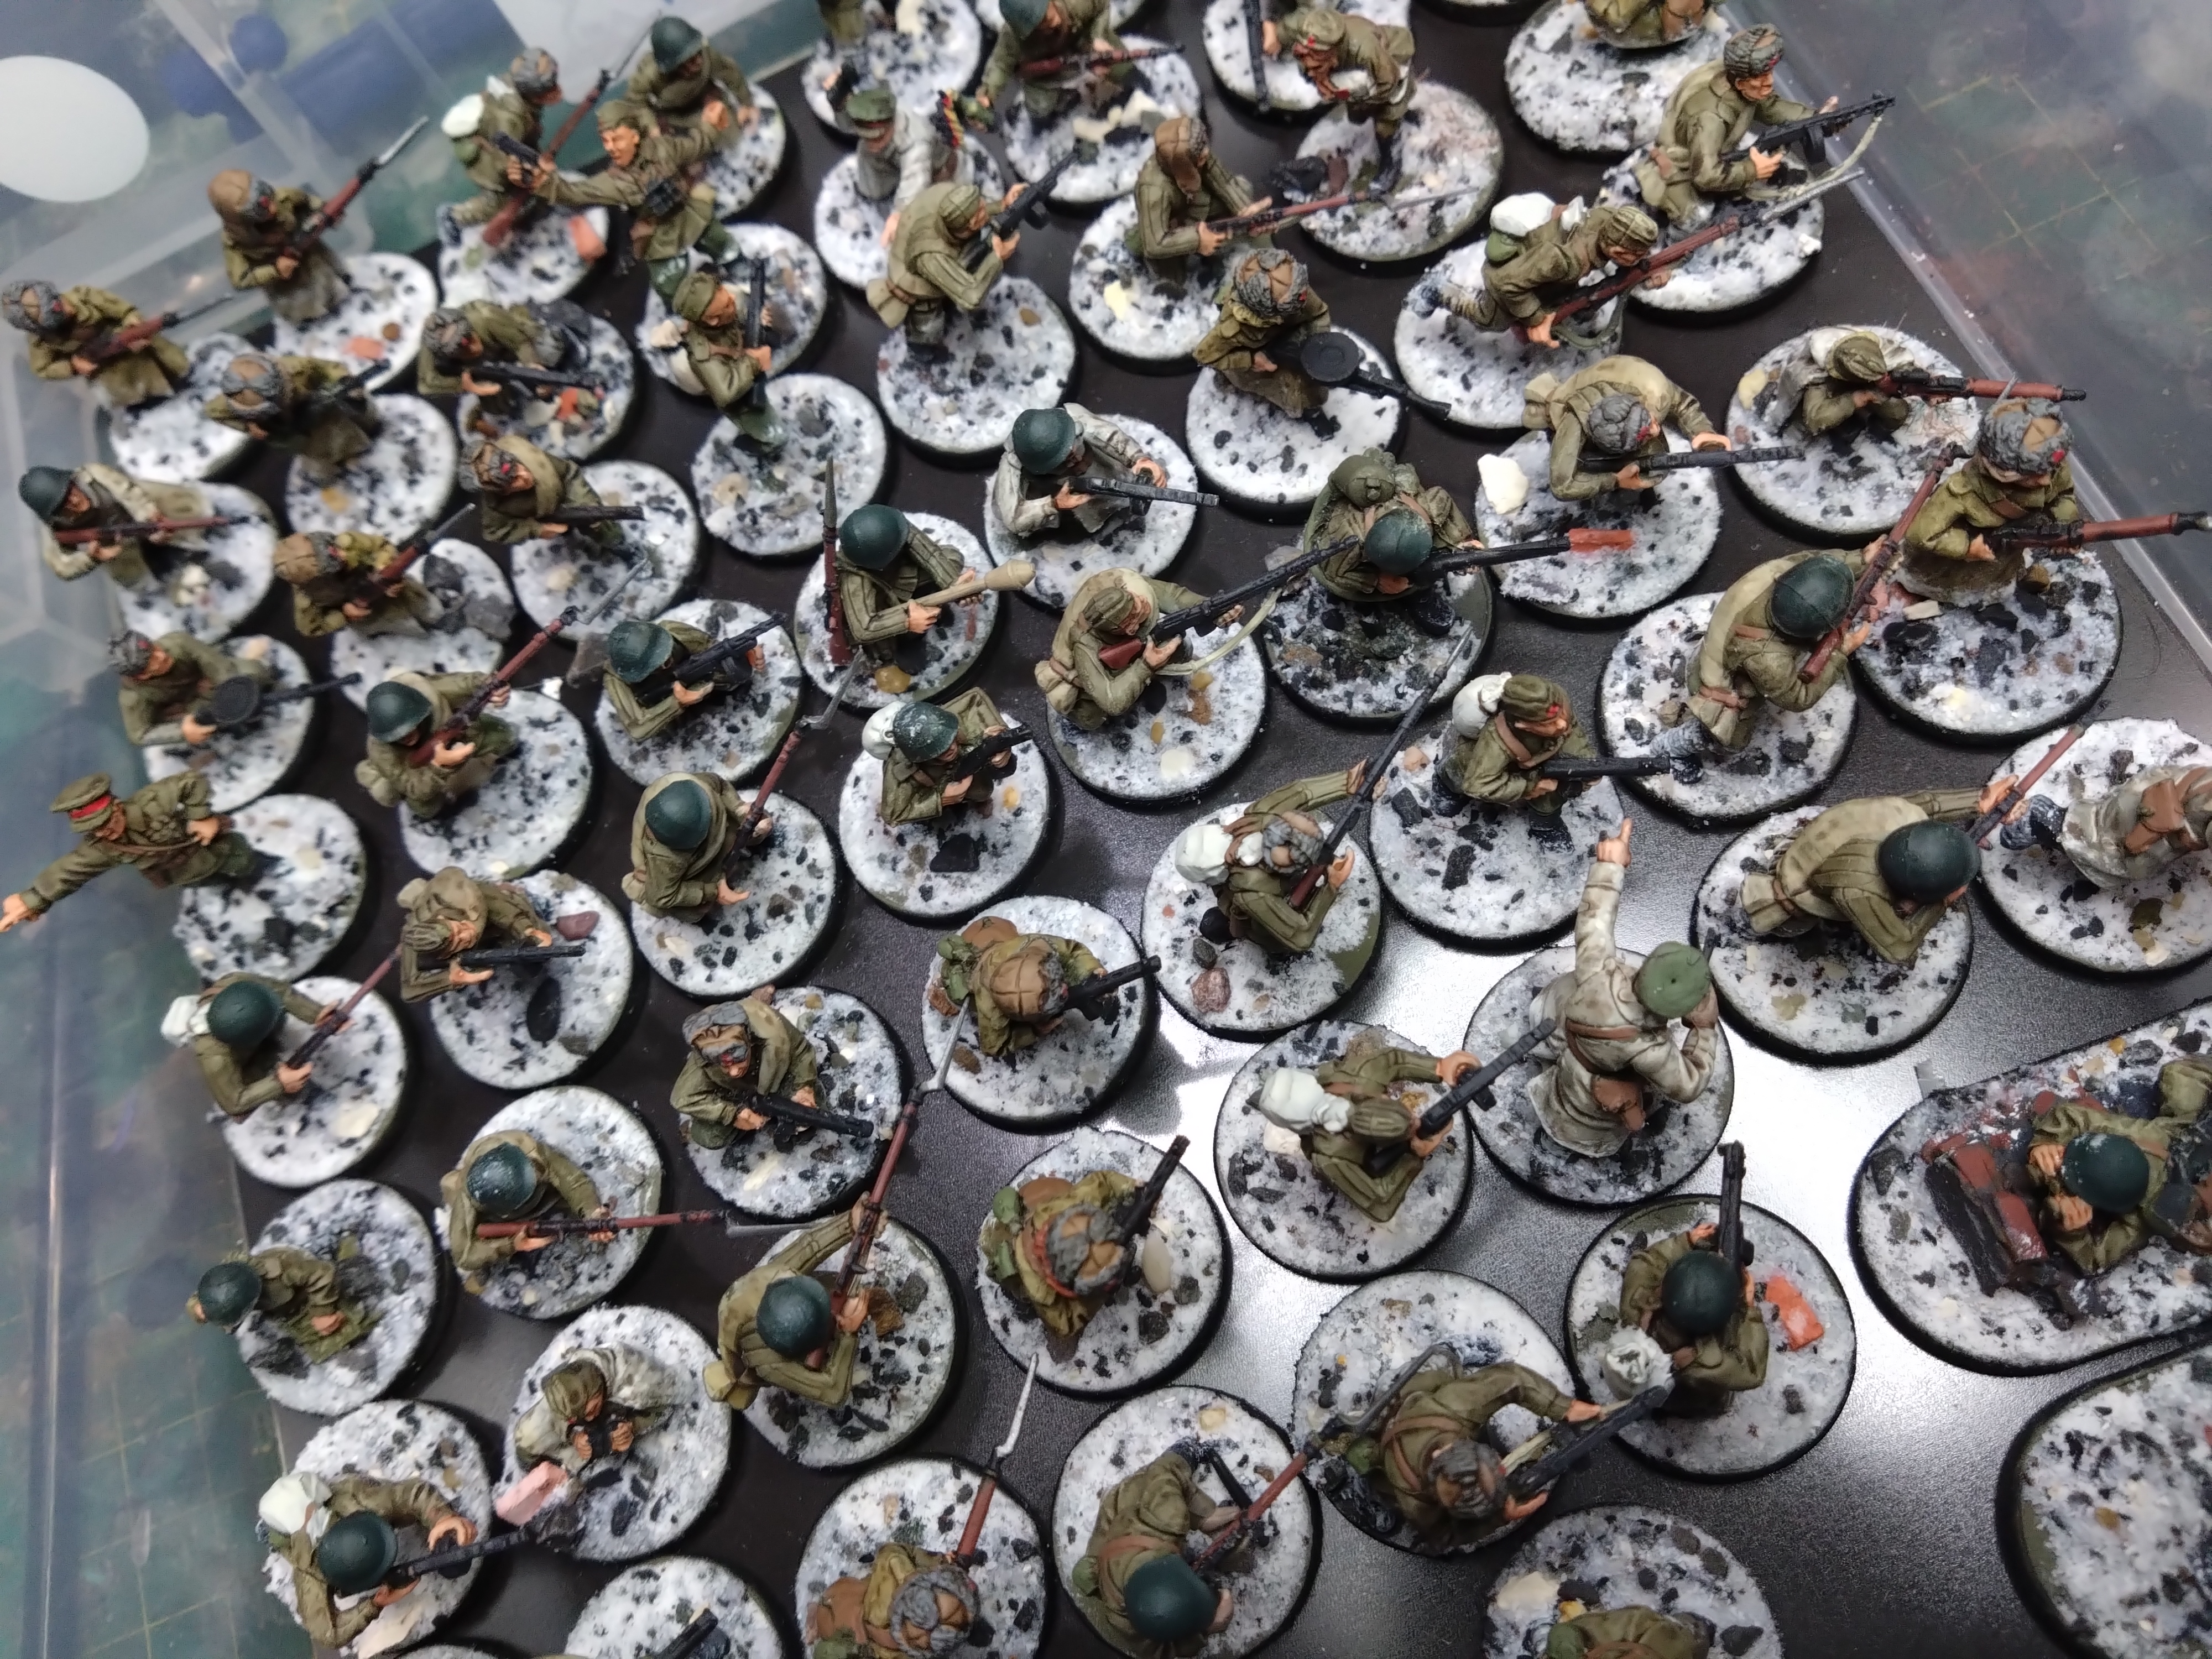
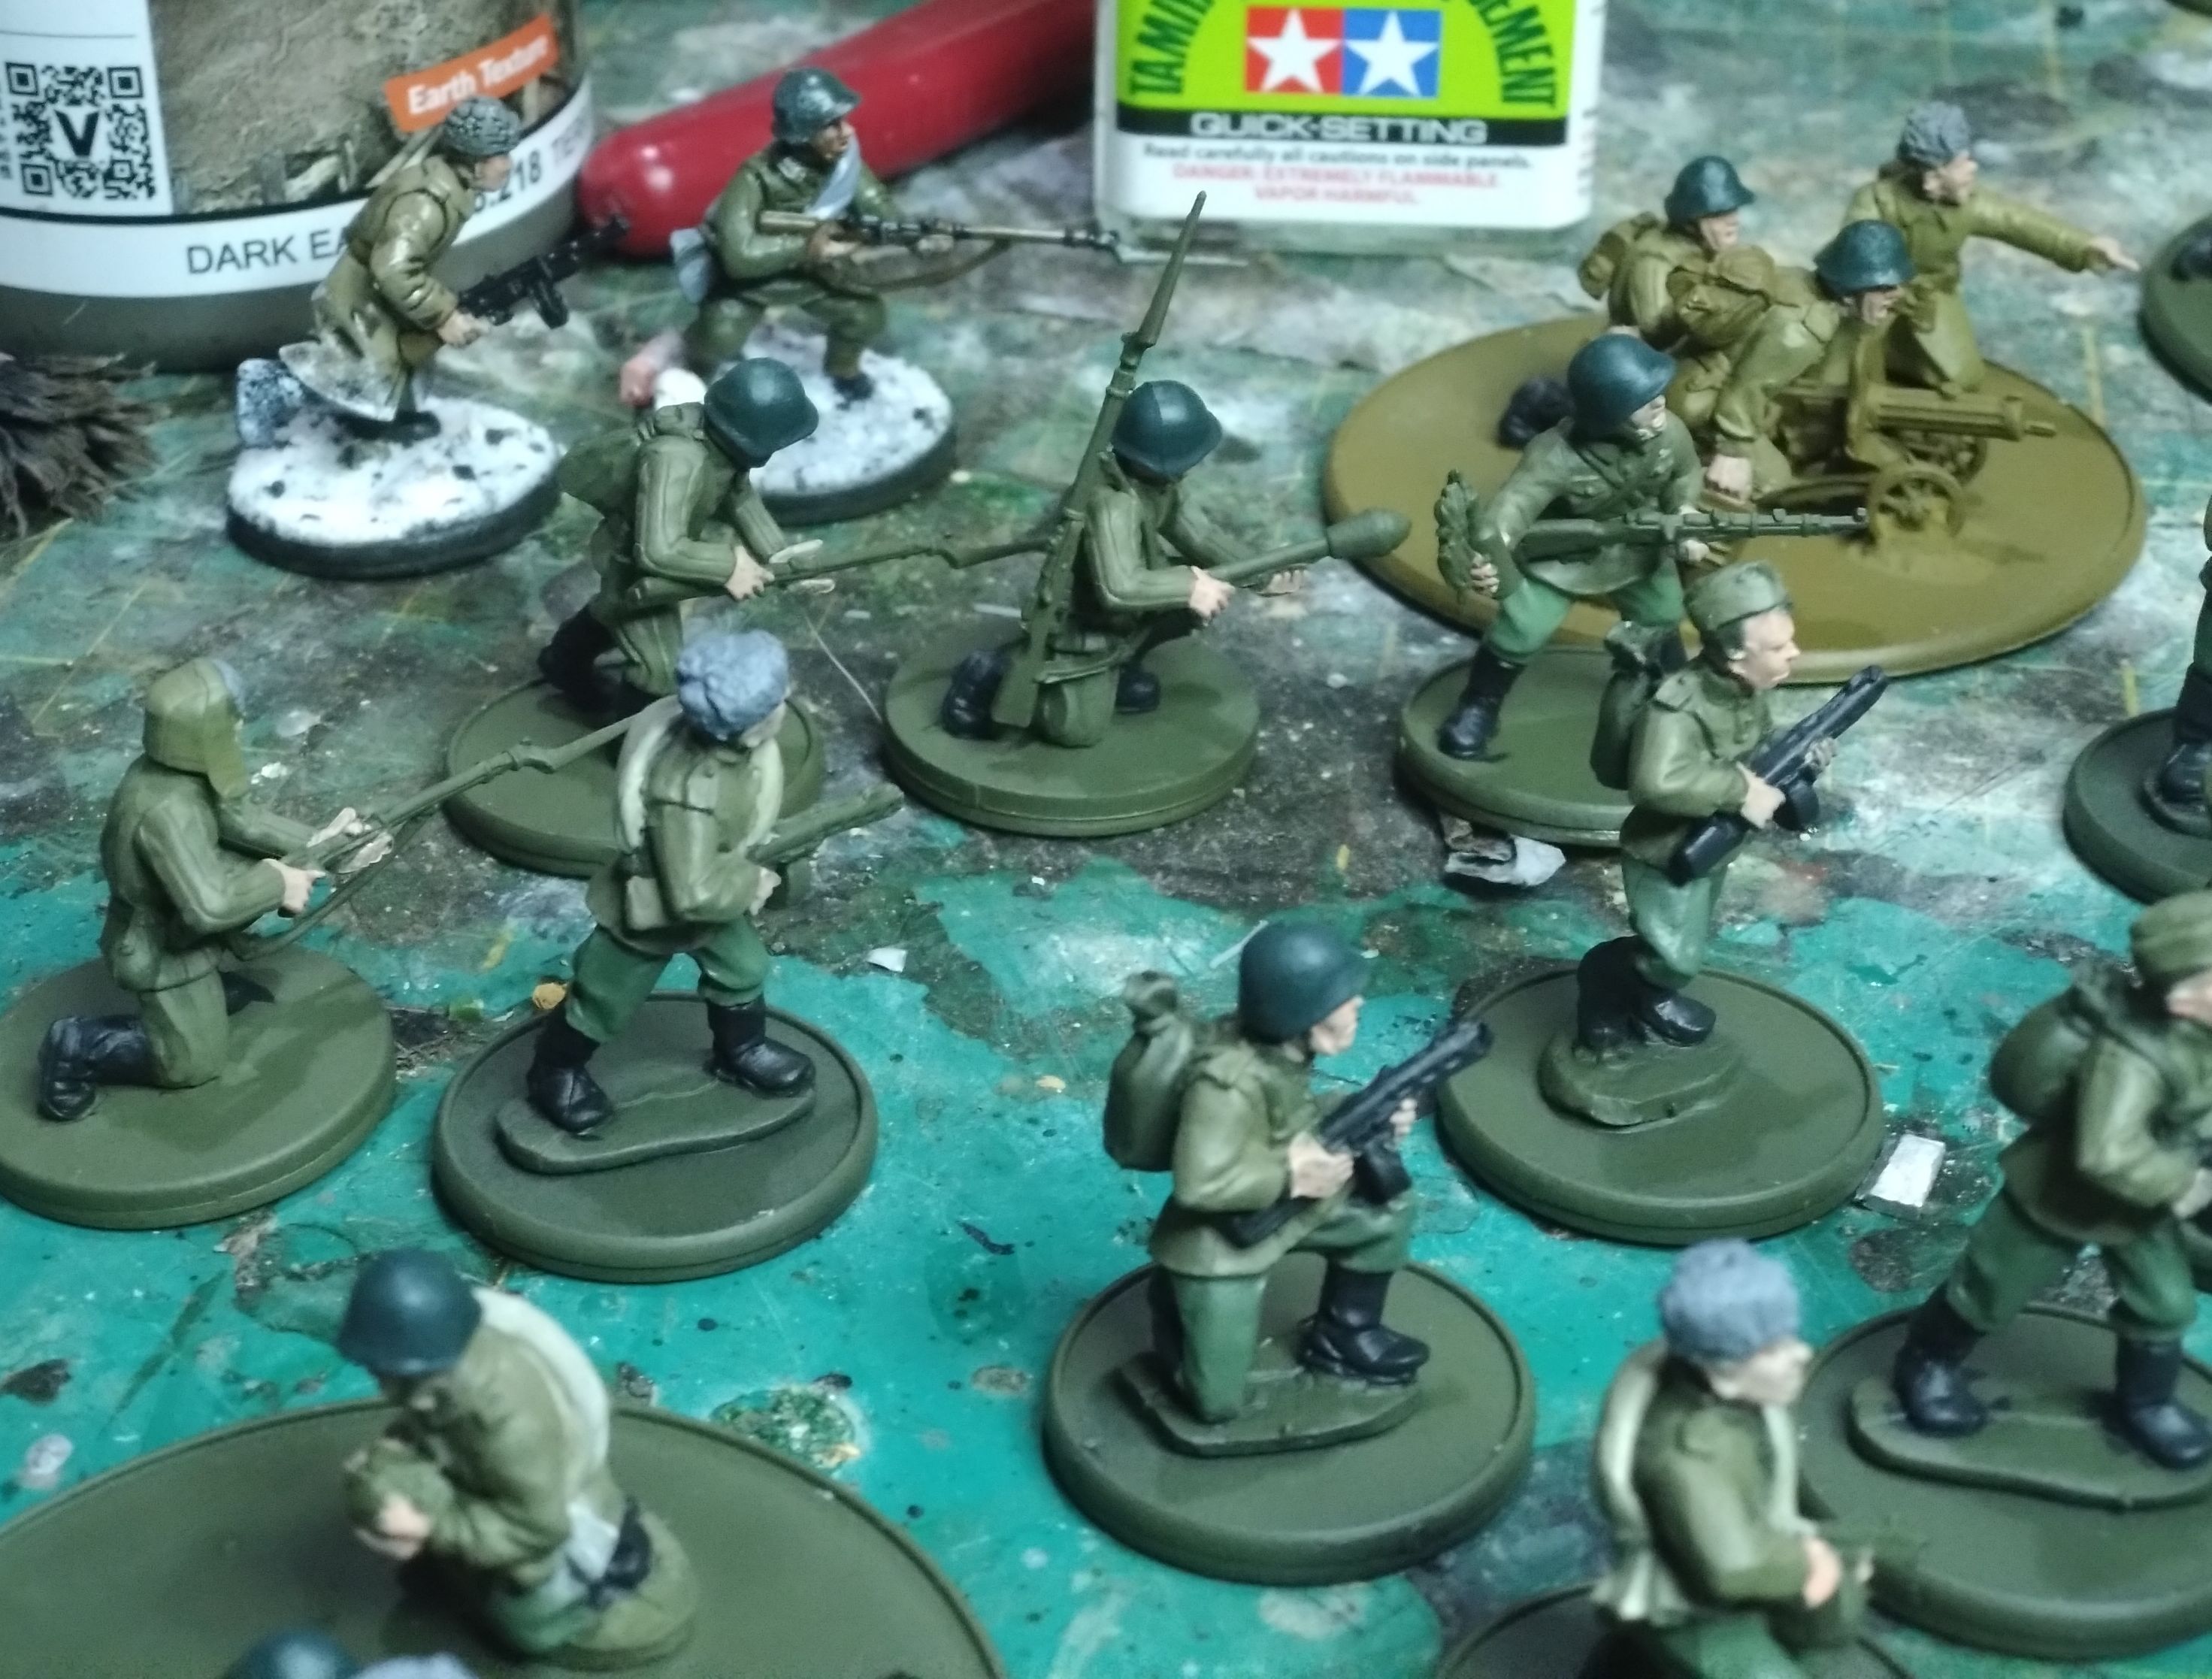
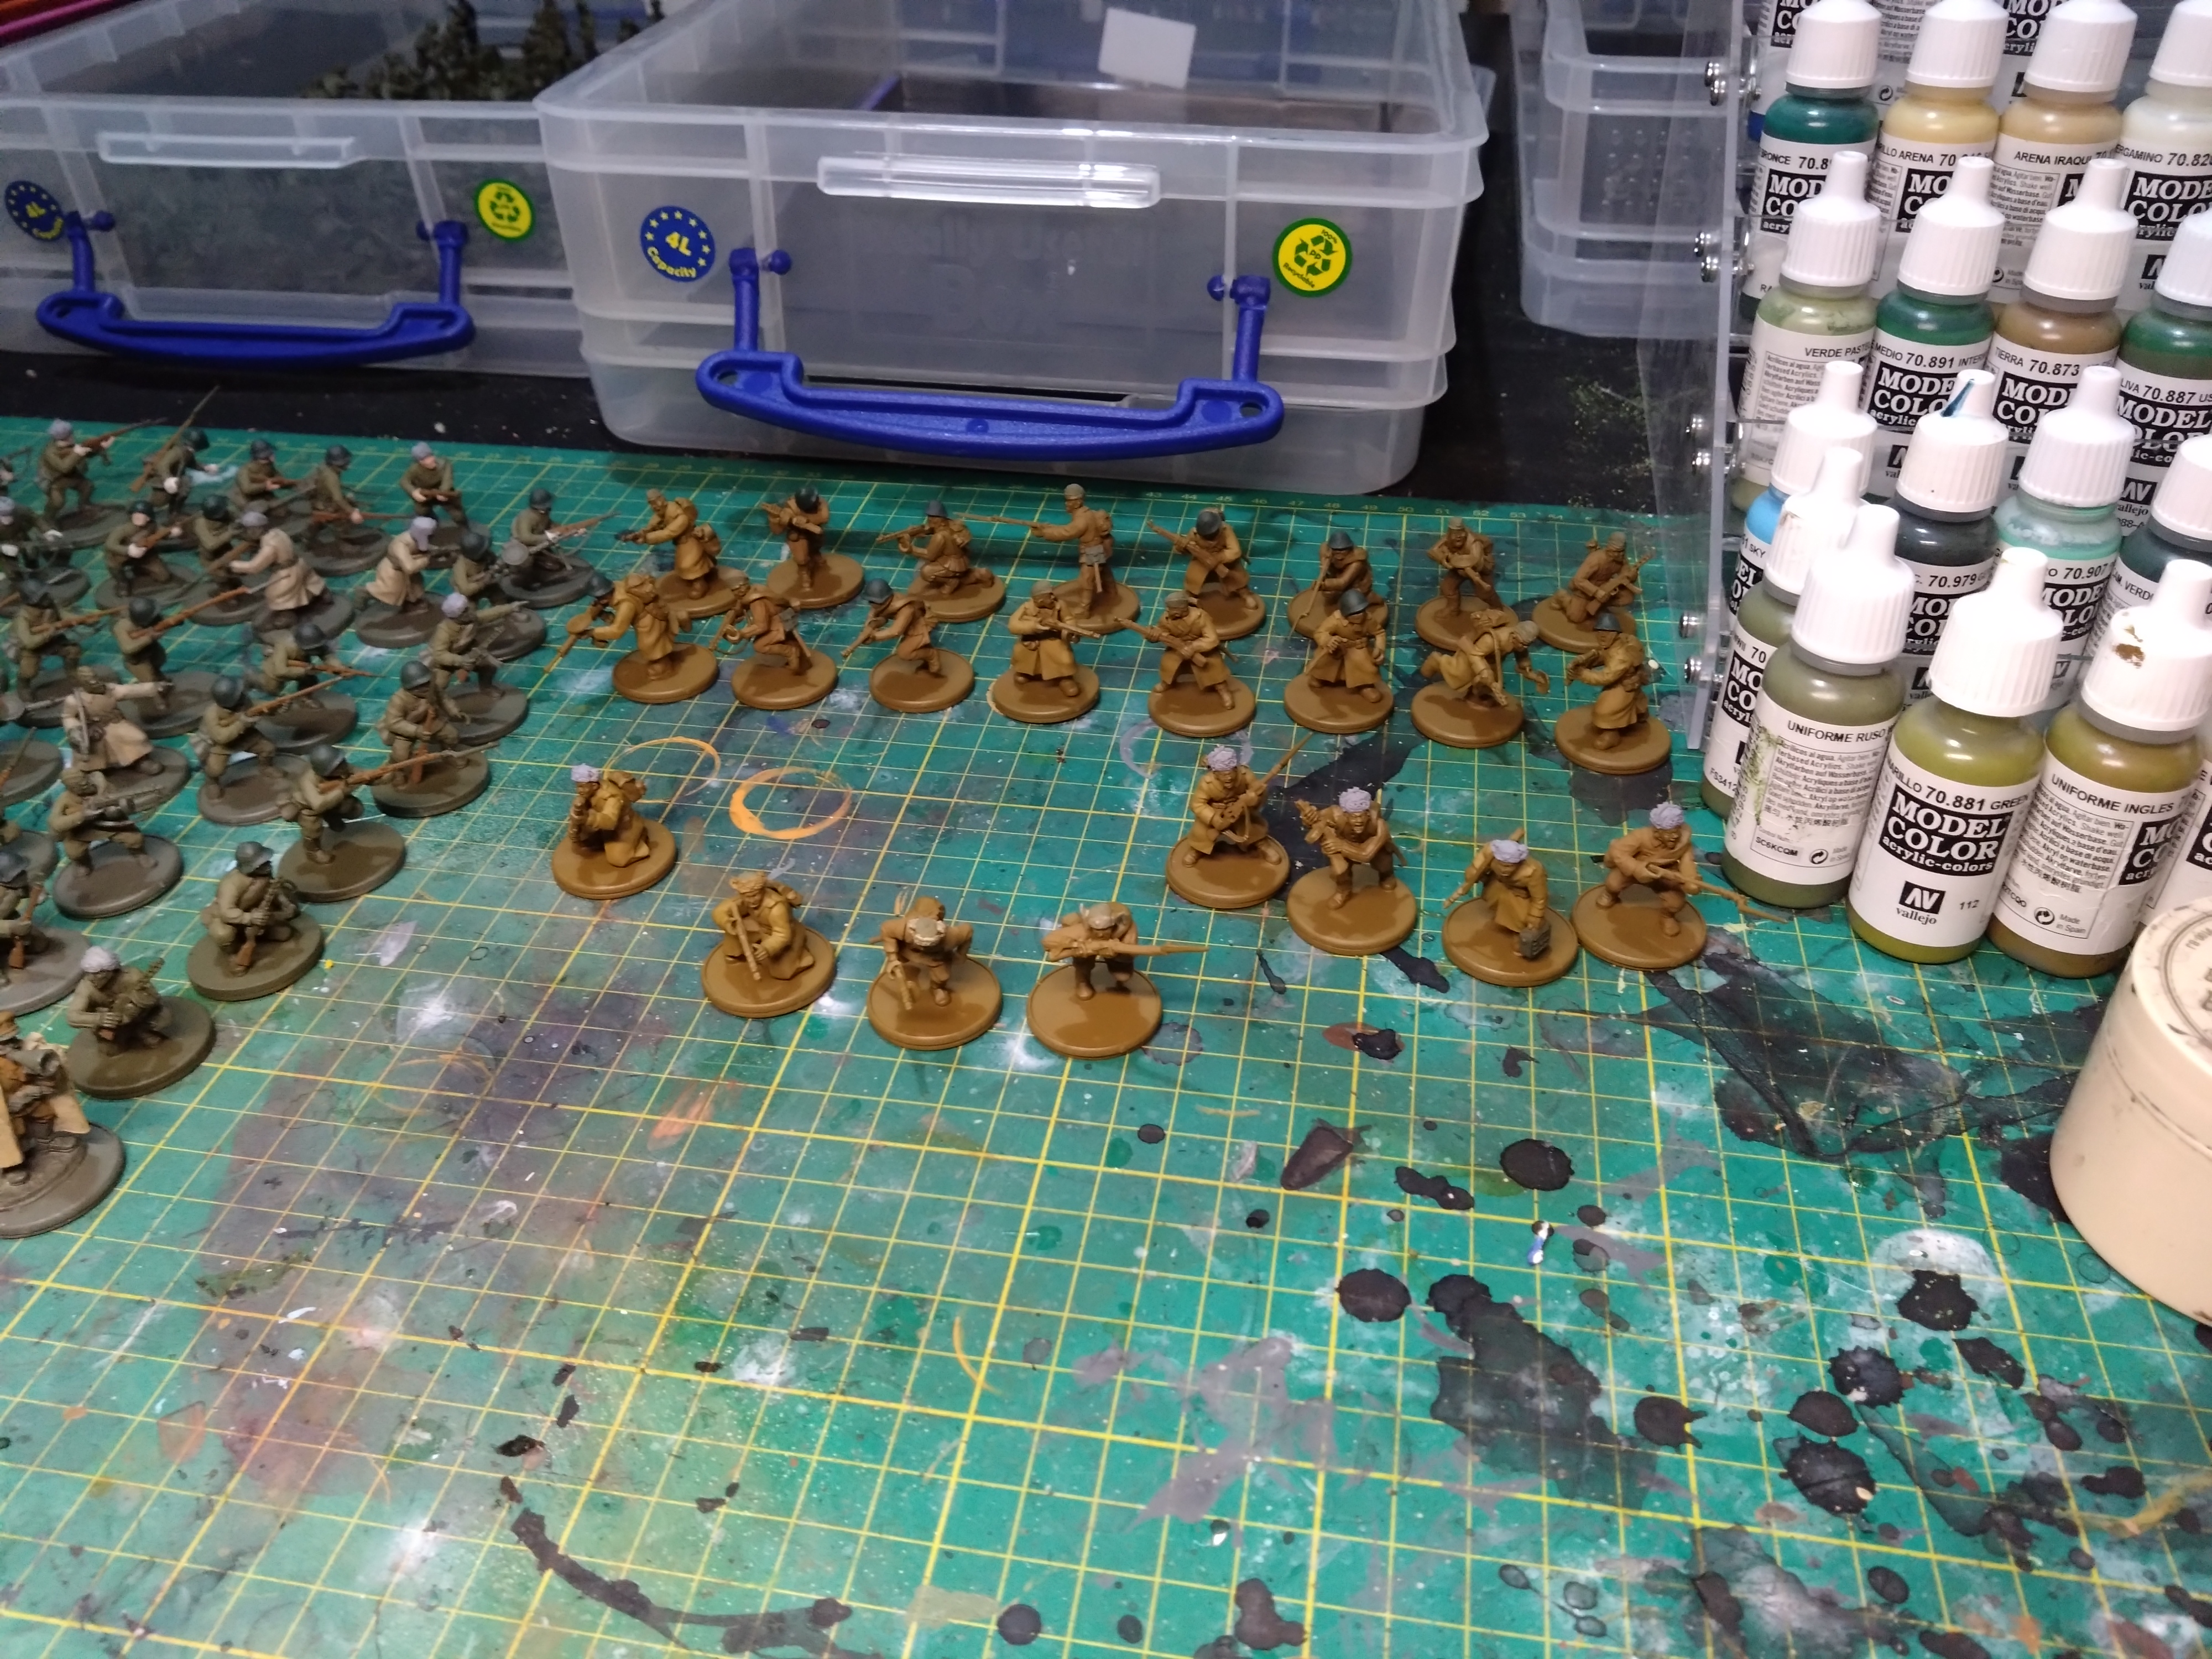
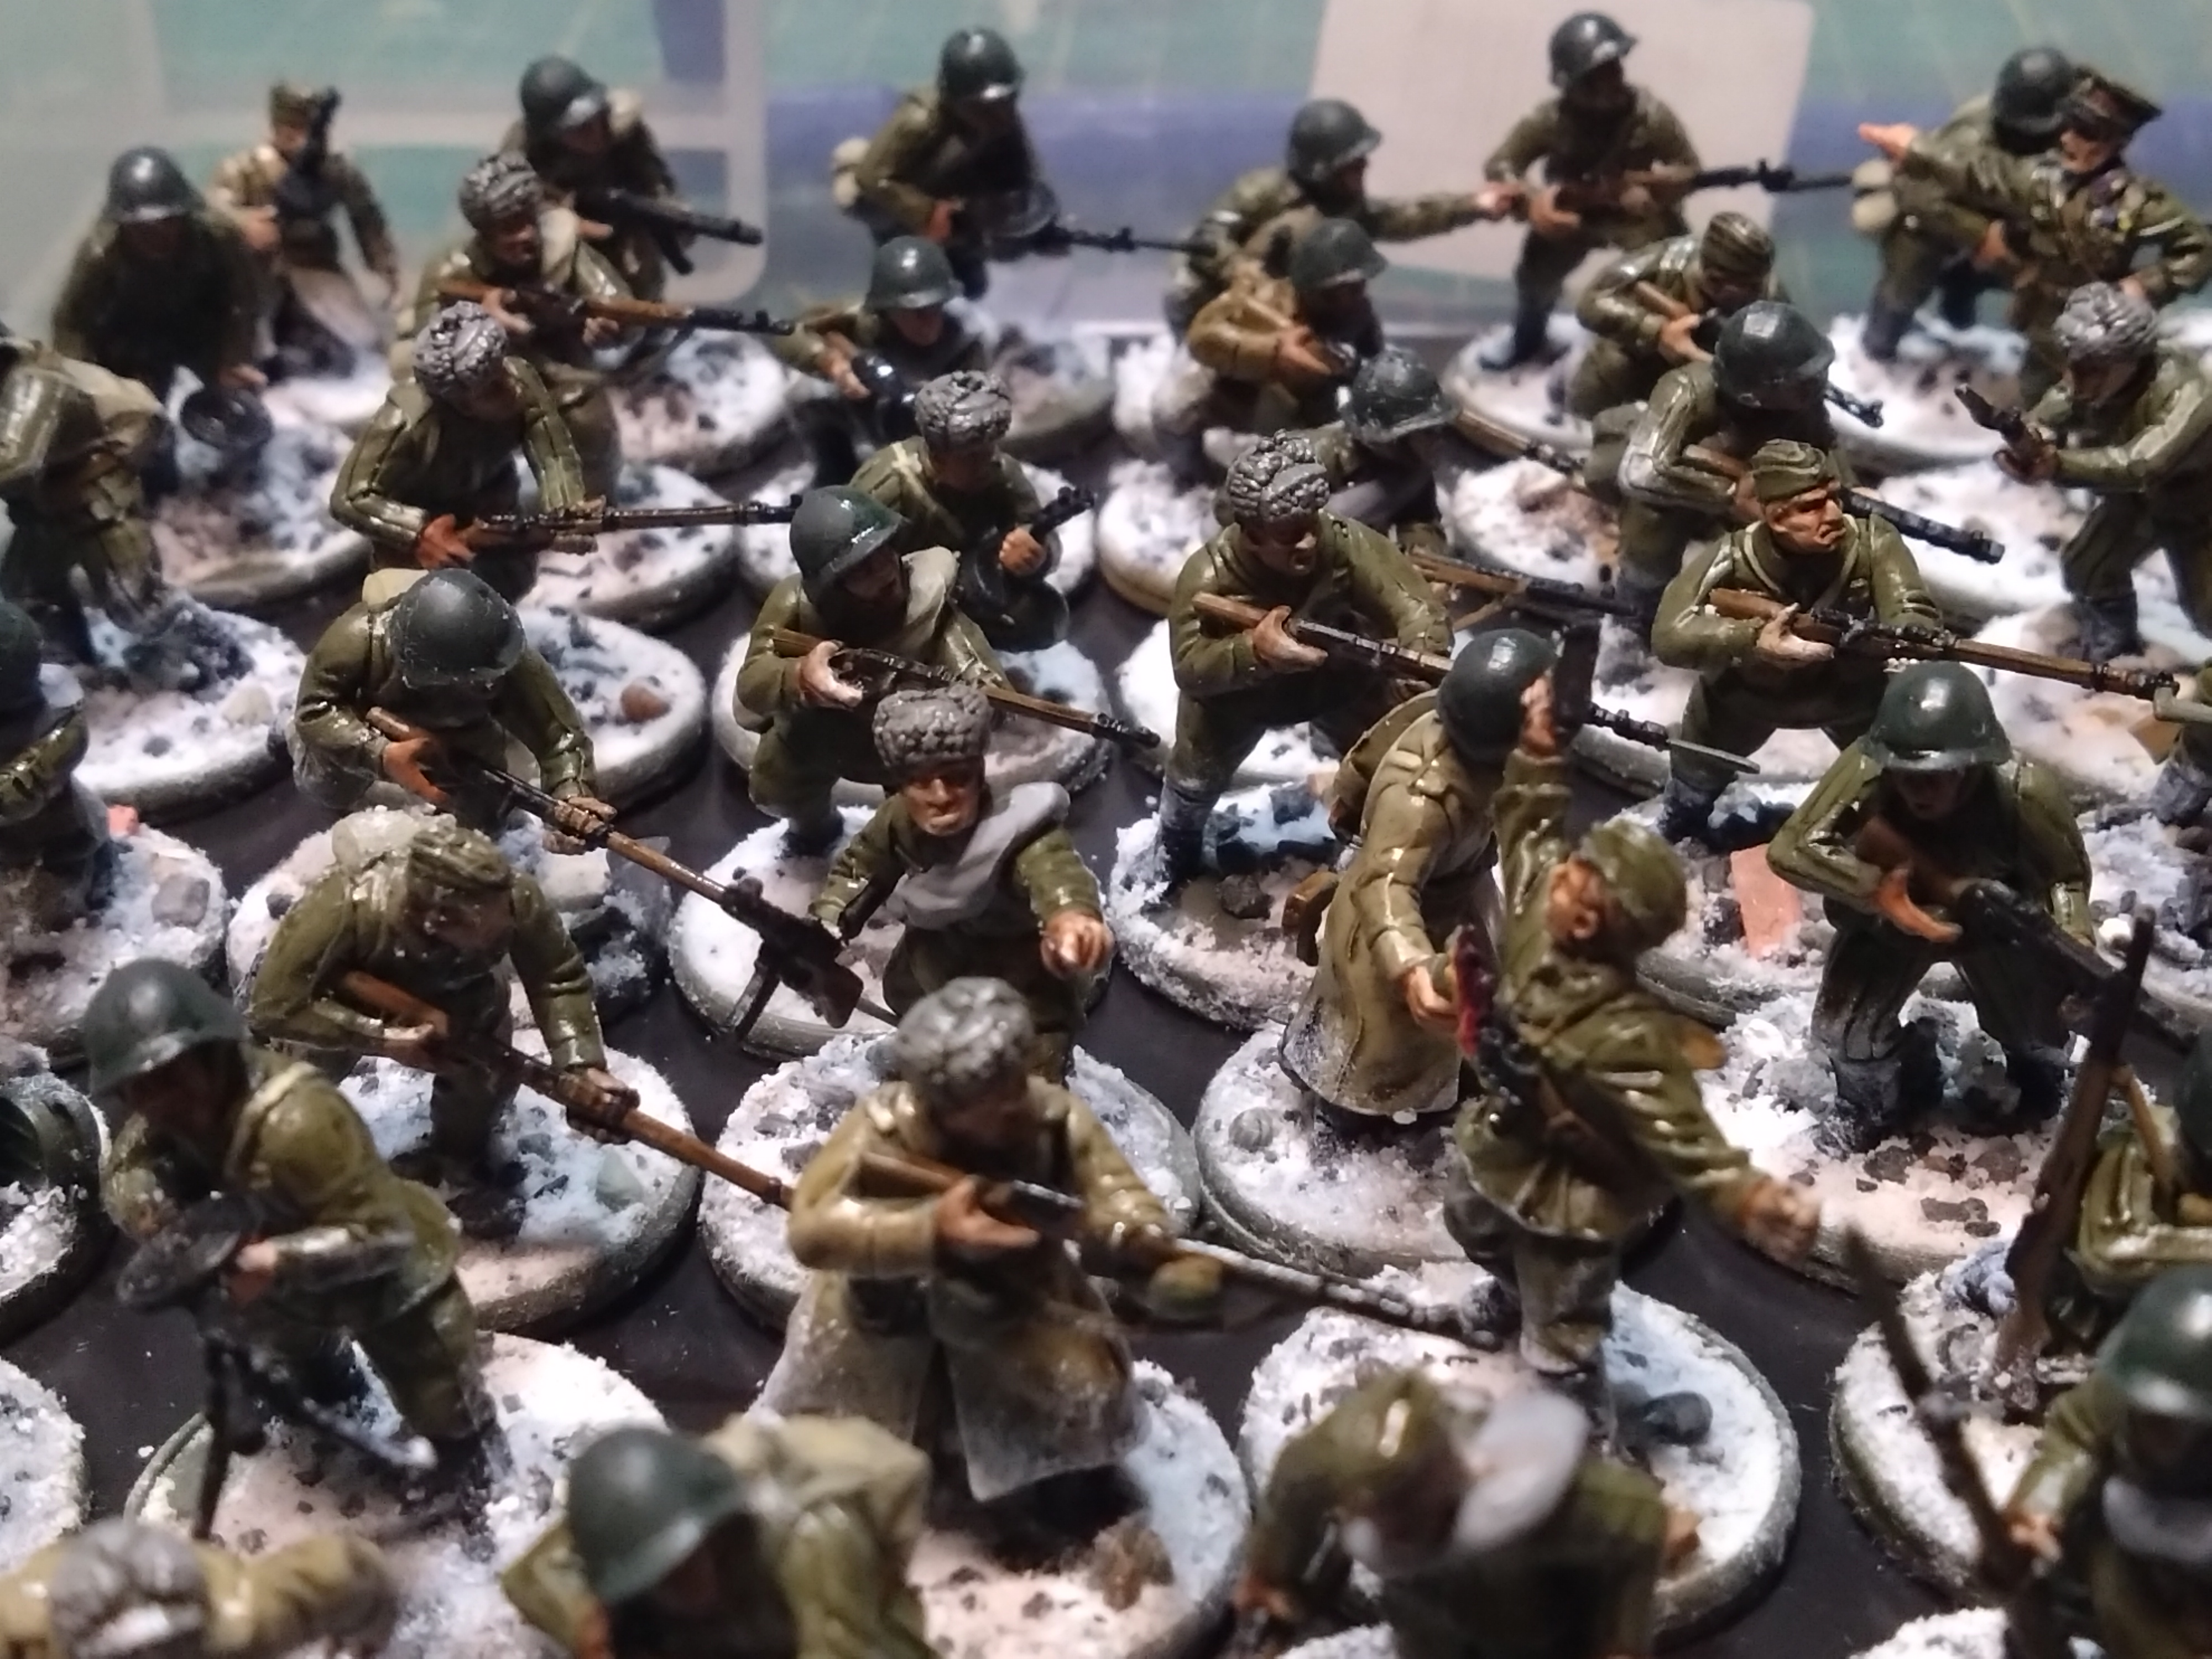
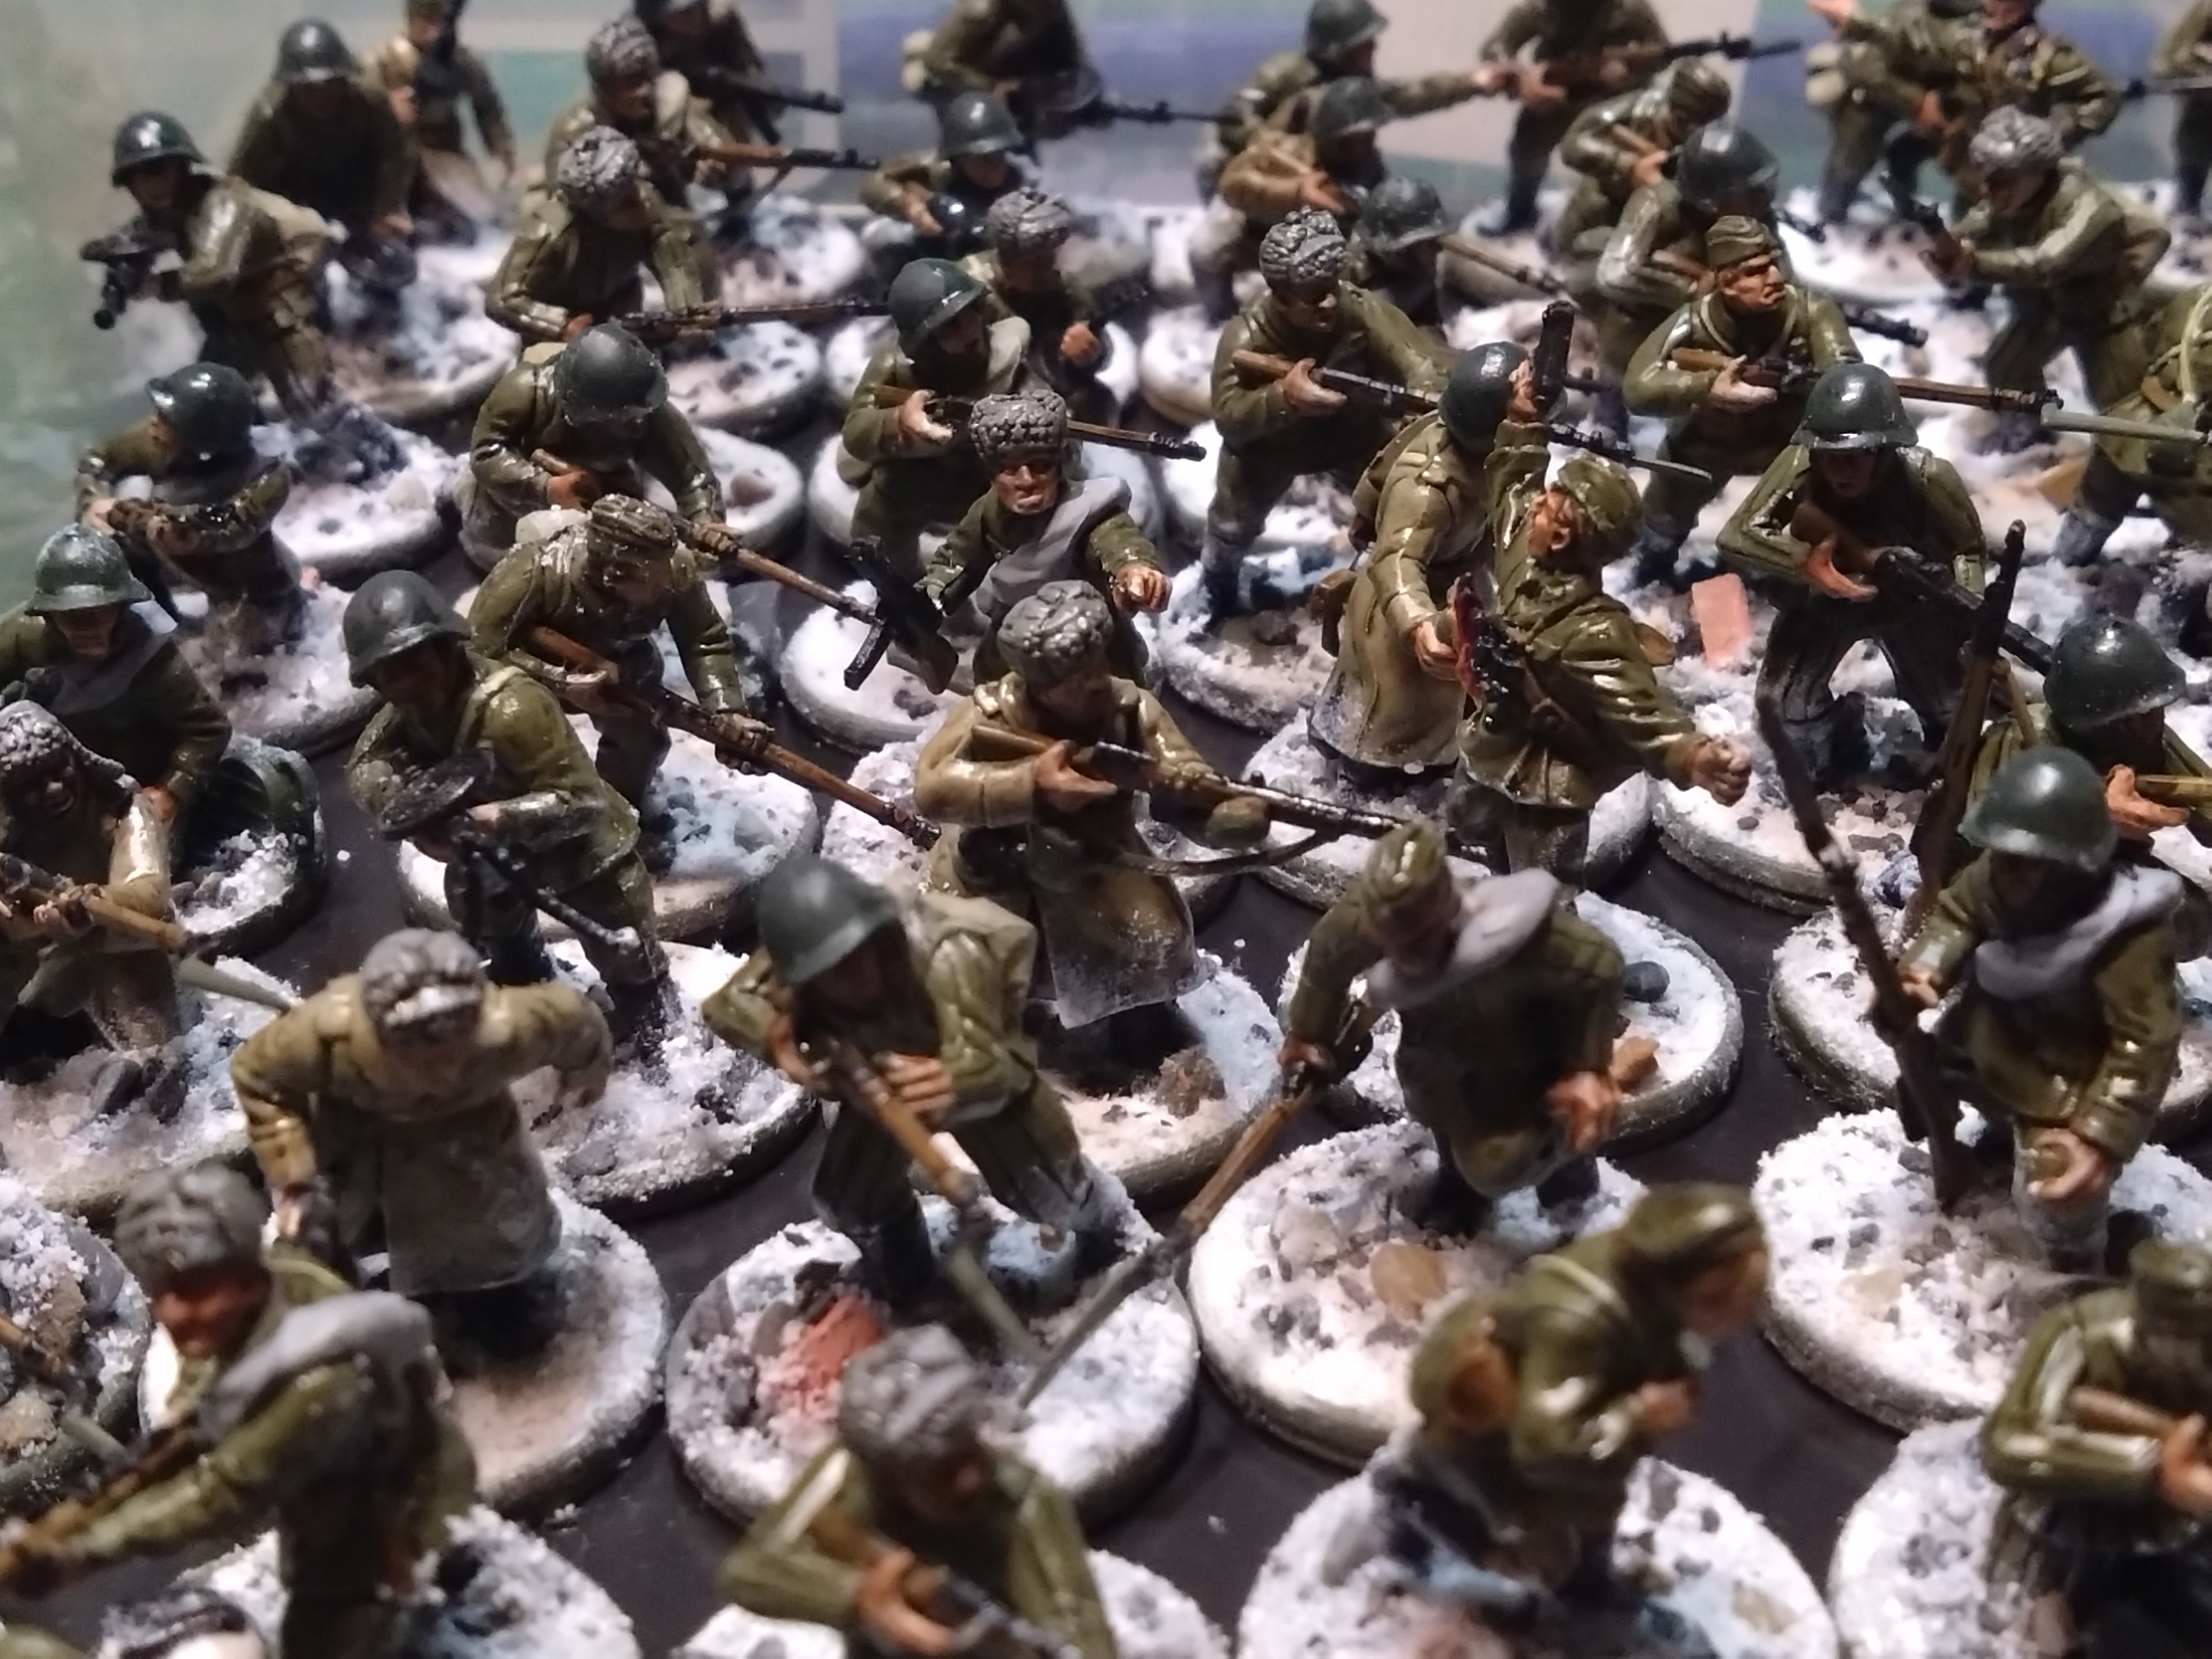
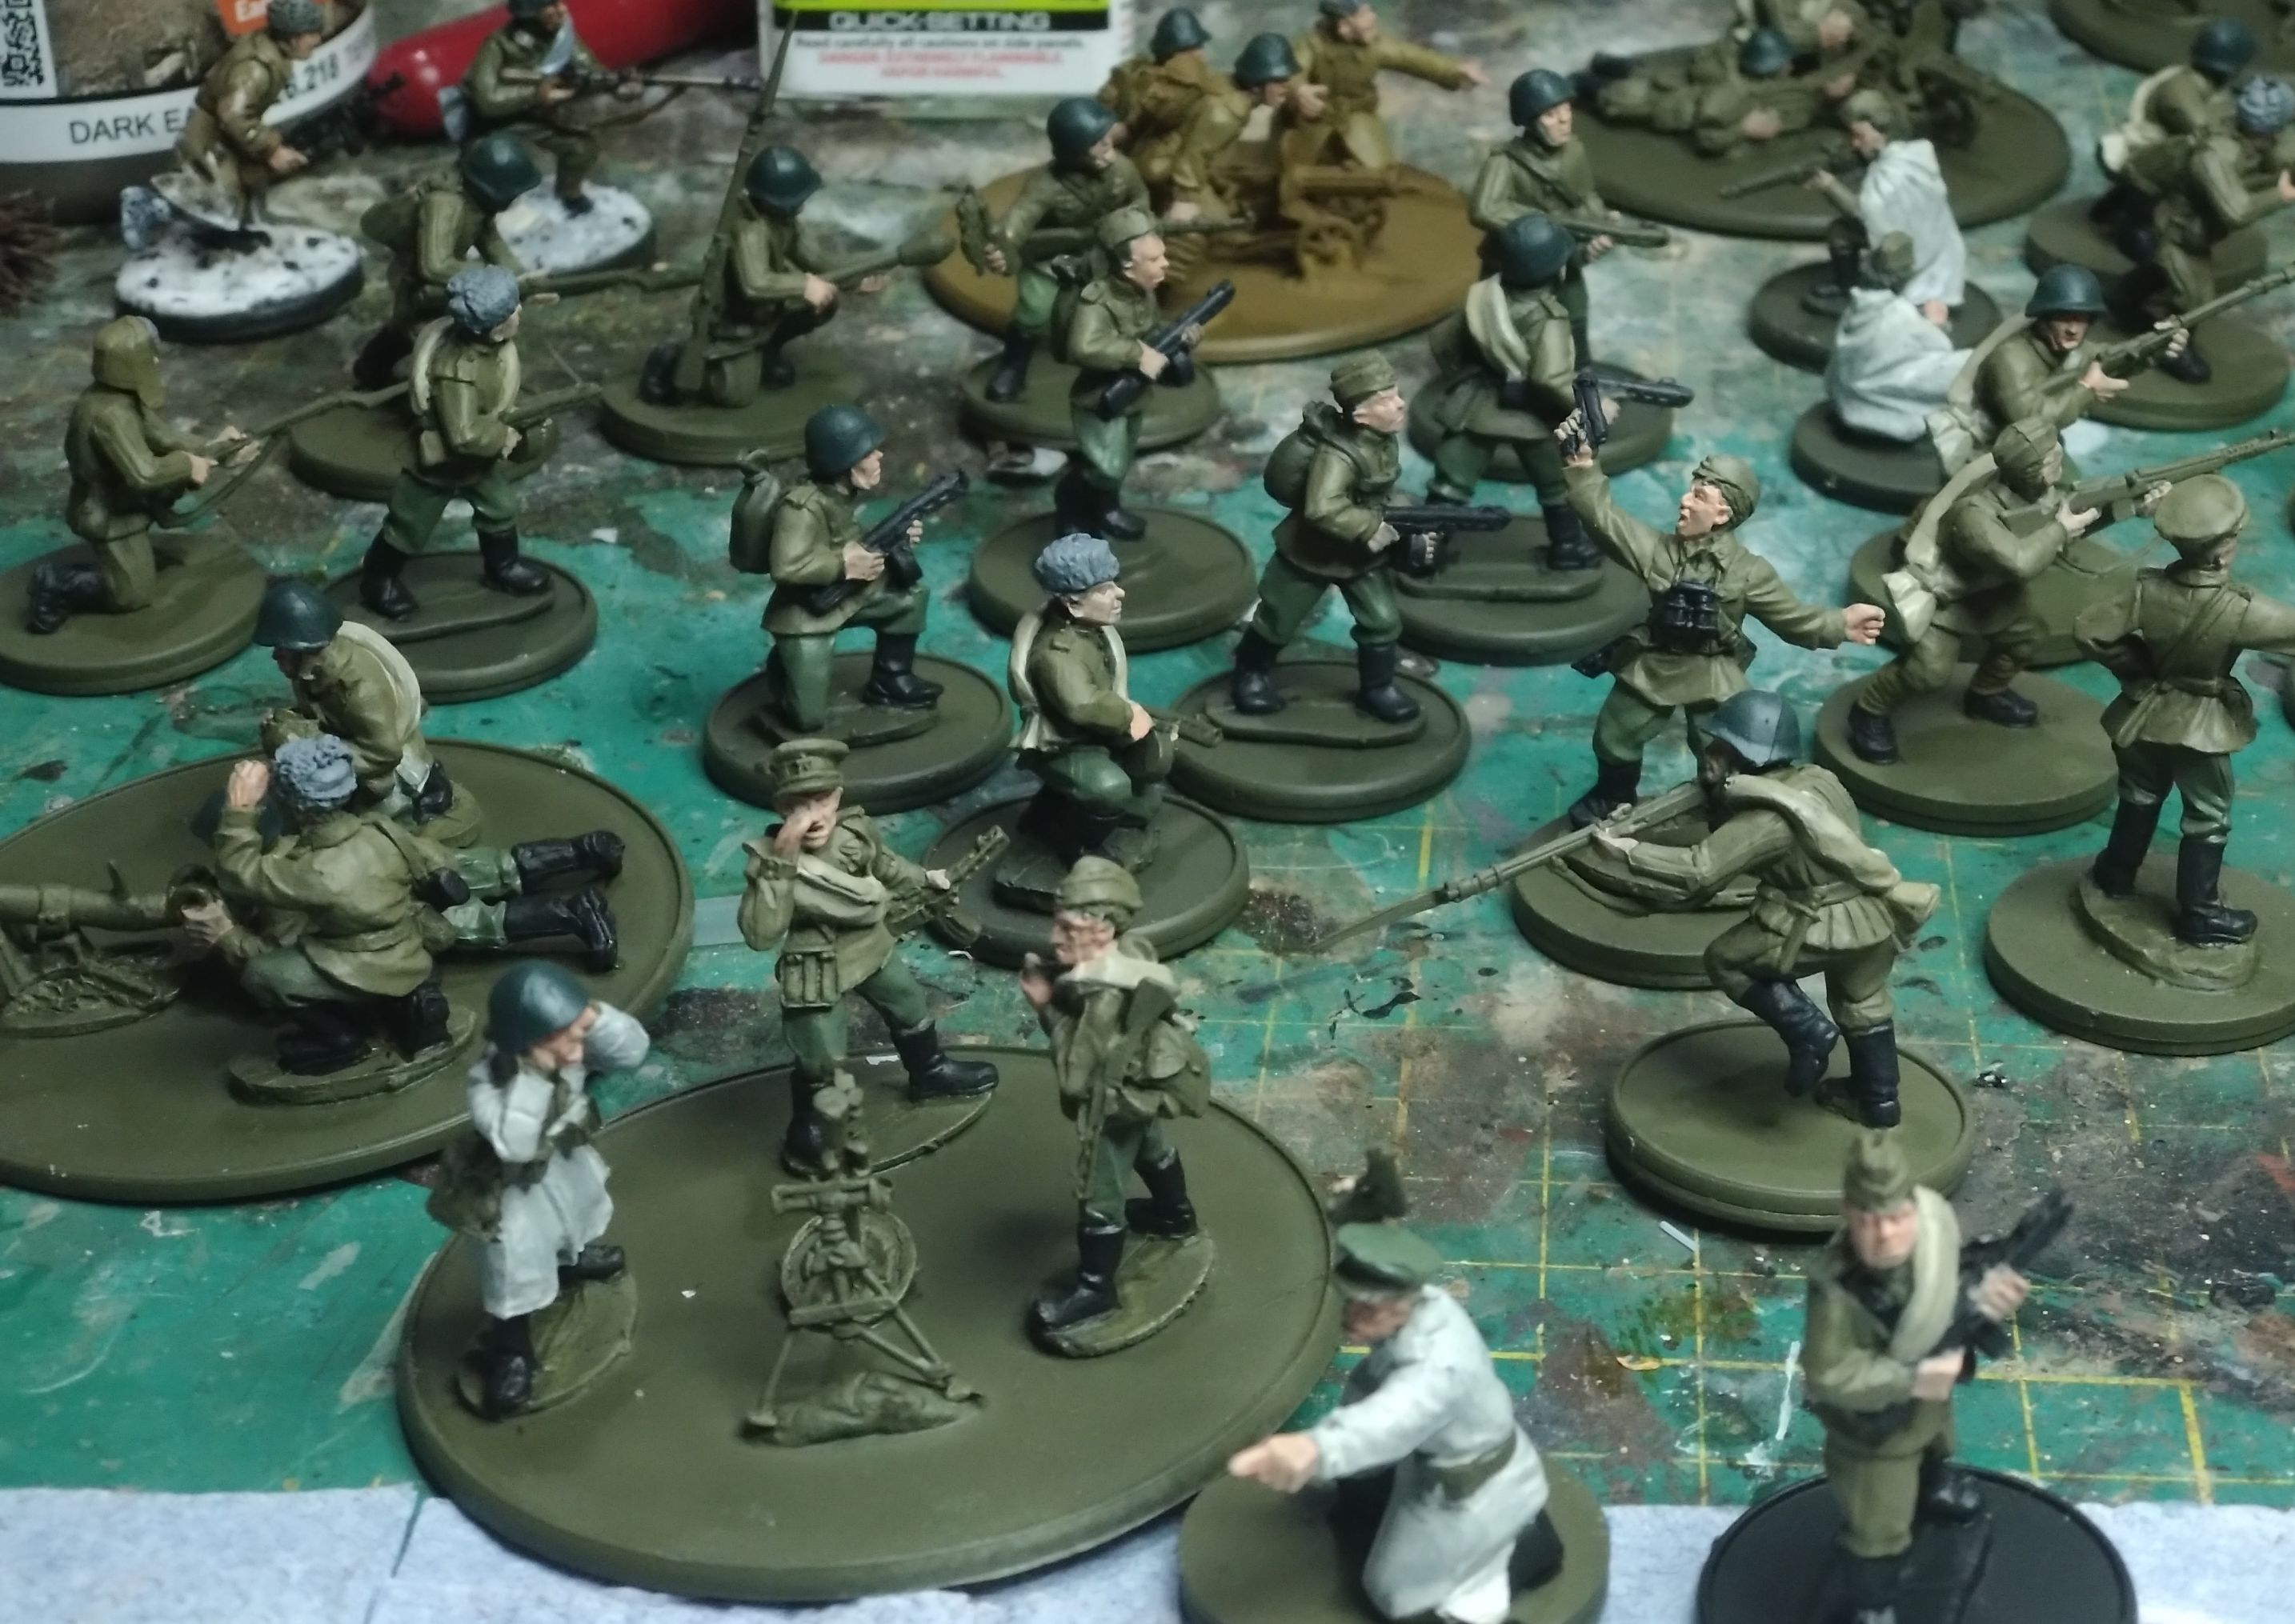
Second box of Russians done!
Having painted one box and actually bothered to write down what paints I used. Naturally, I started the second box using a completely different paint brand.
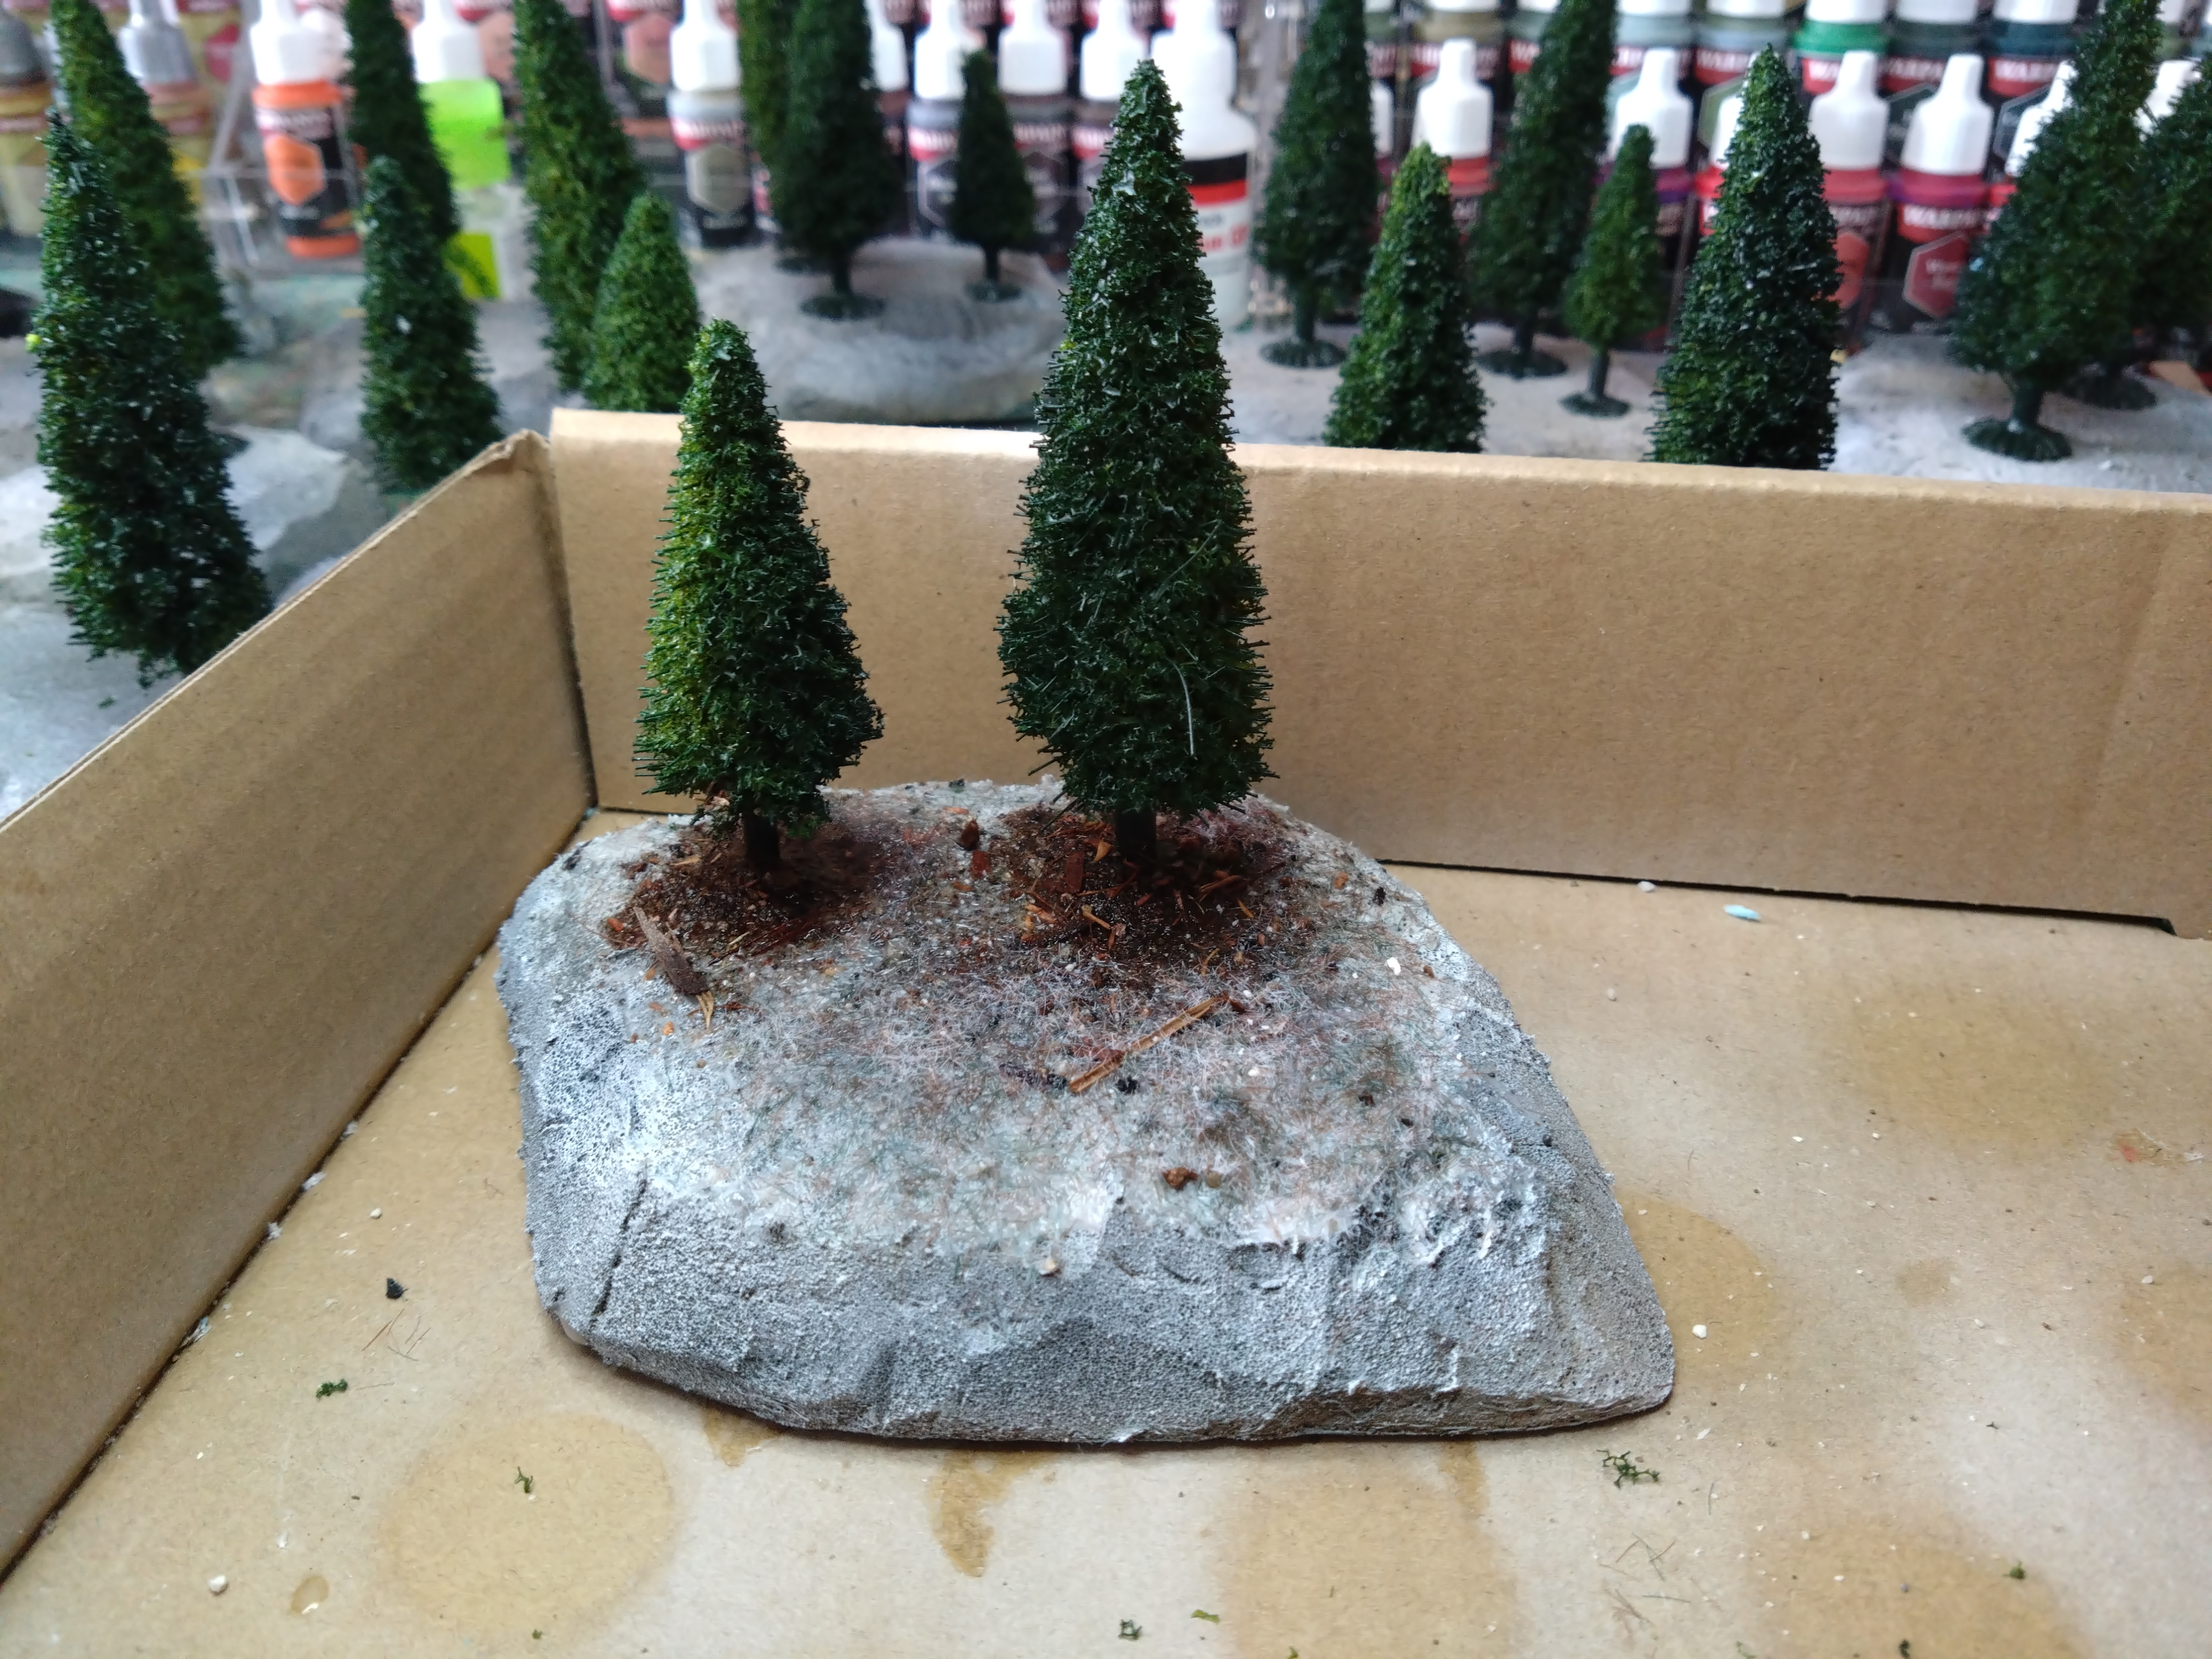
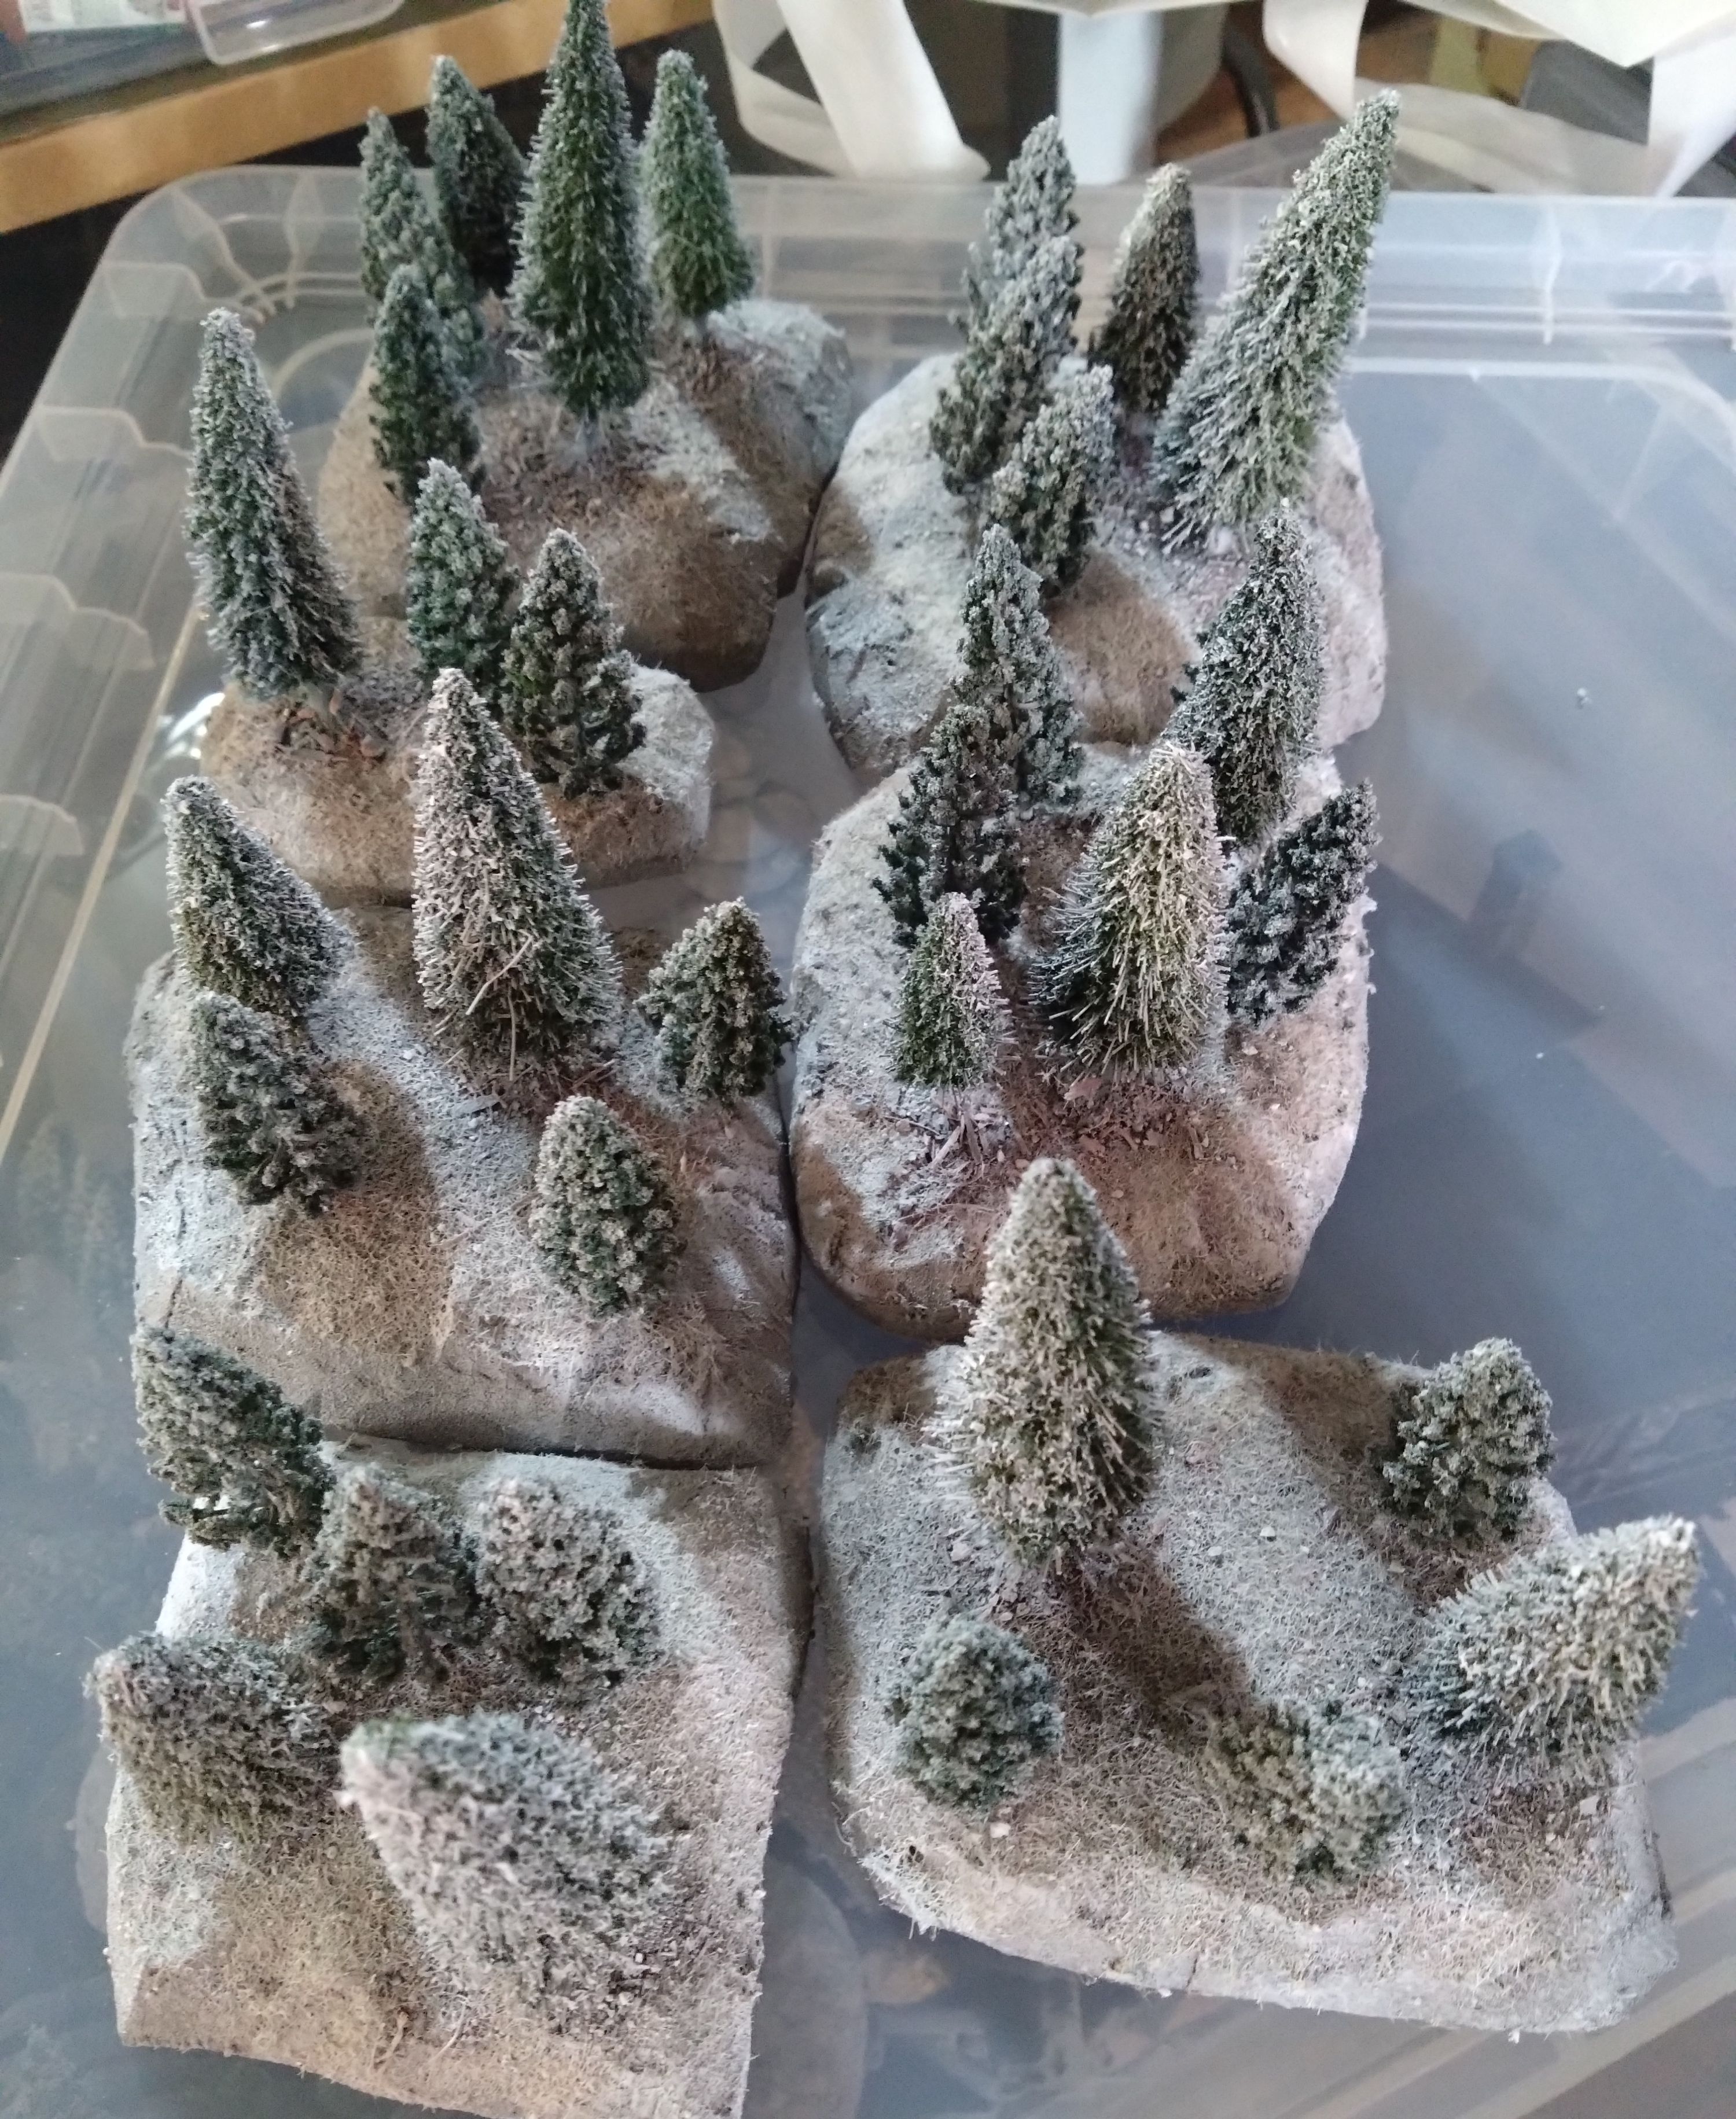
In addition I managed to throw a bit of terrain together. I built some forest blocks using XPS foam and some cheap trees and a white rattlecan
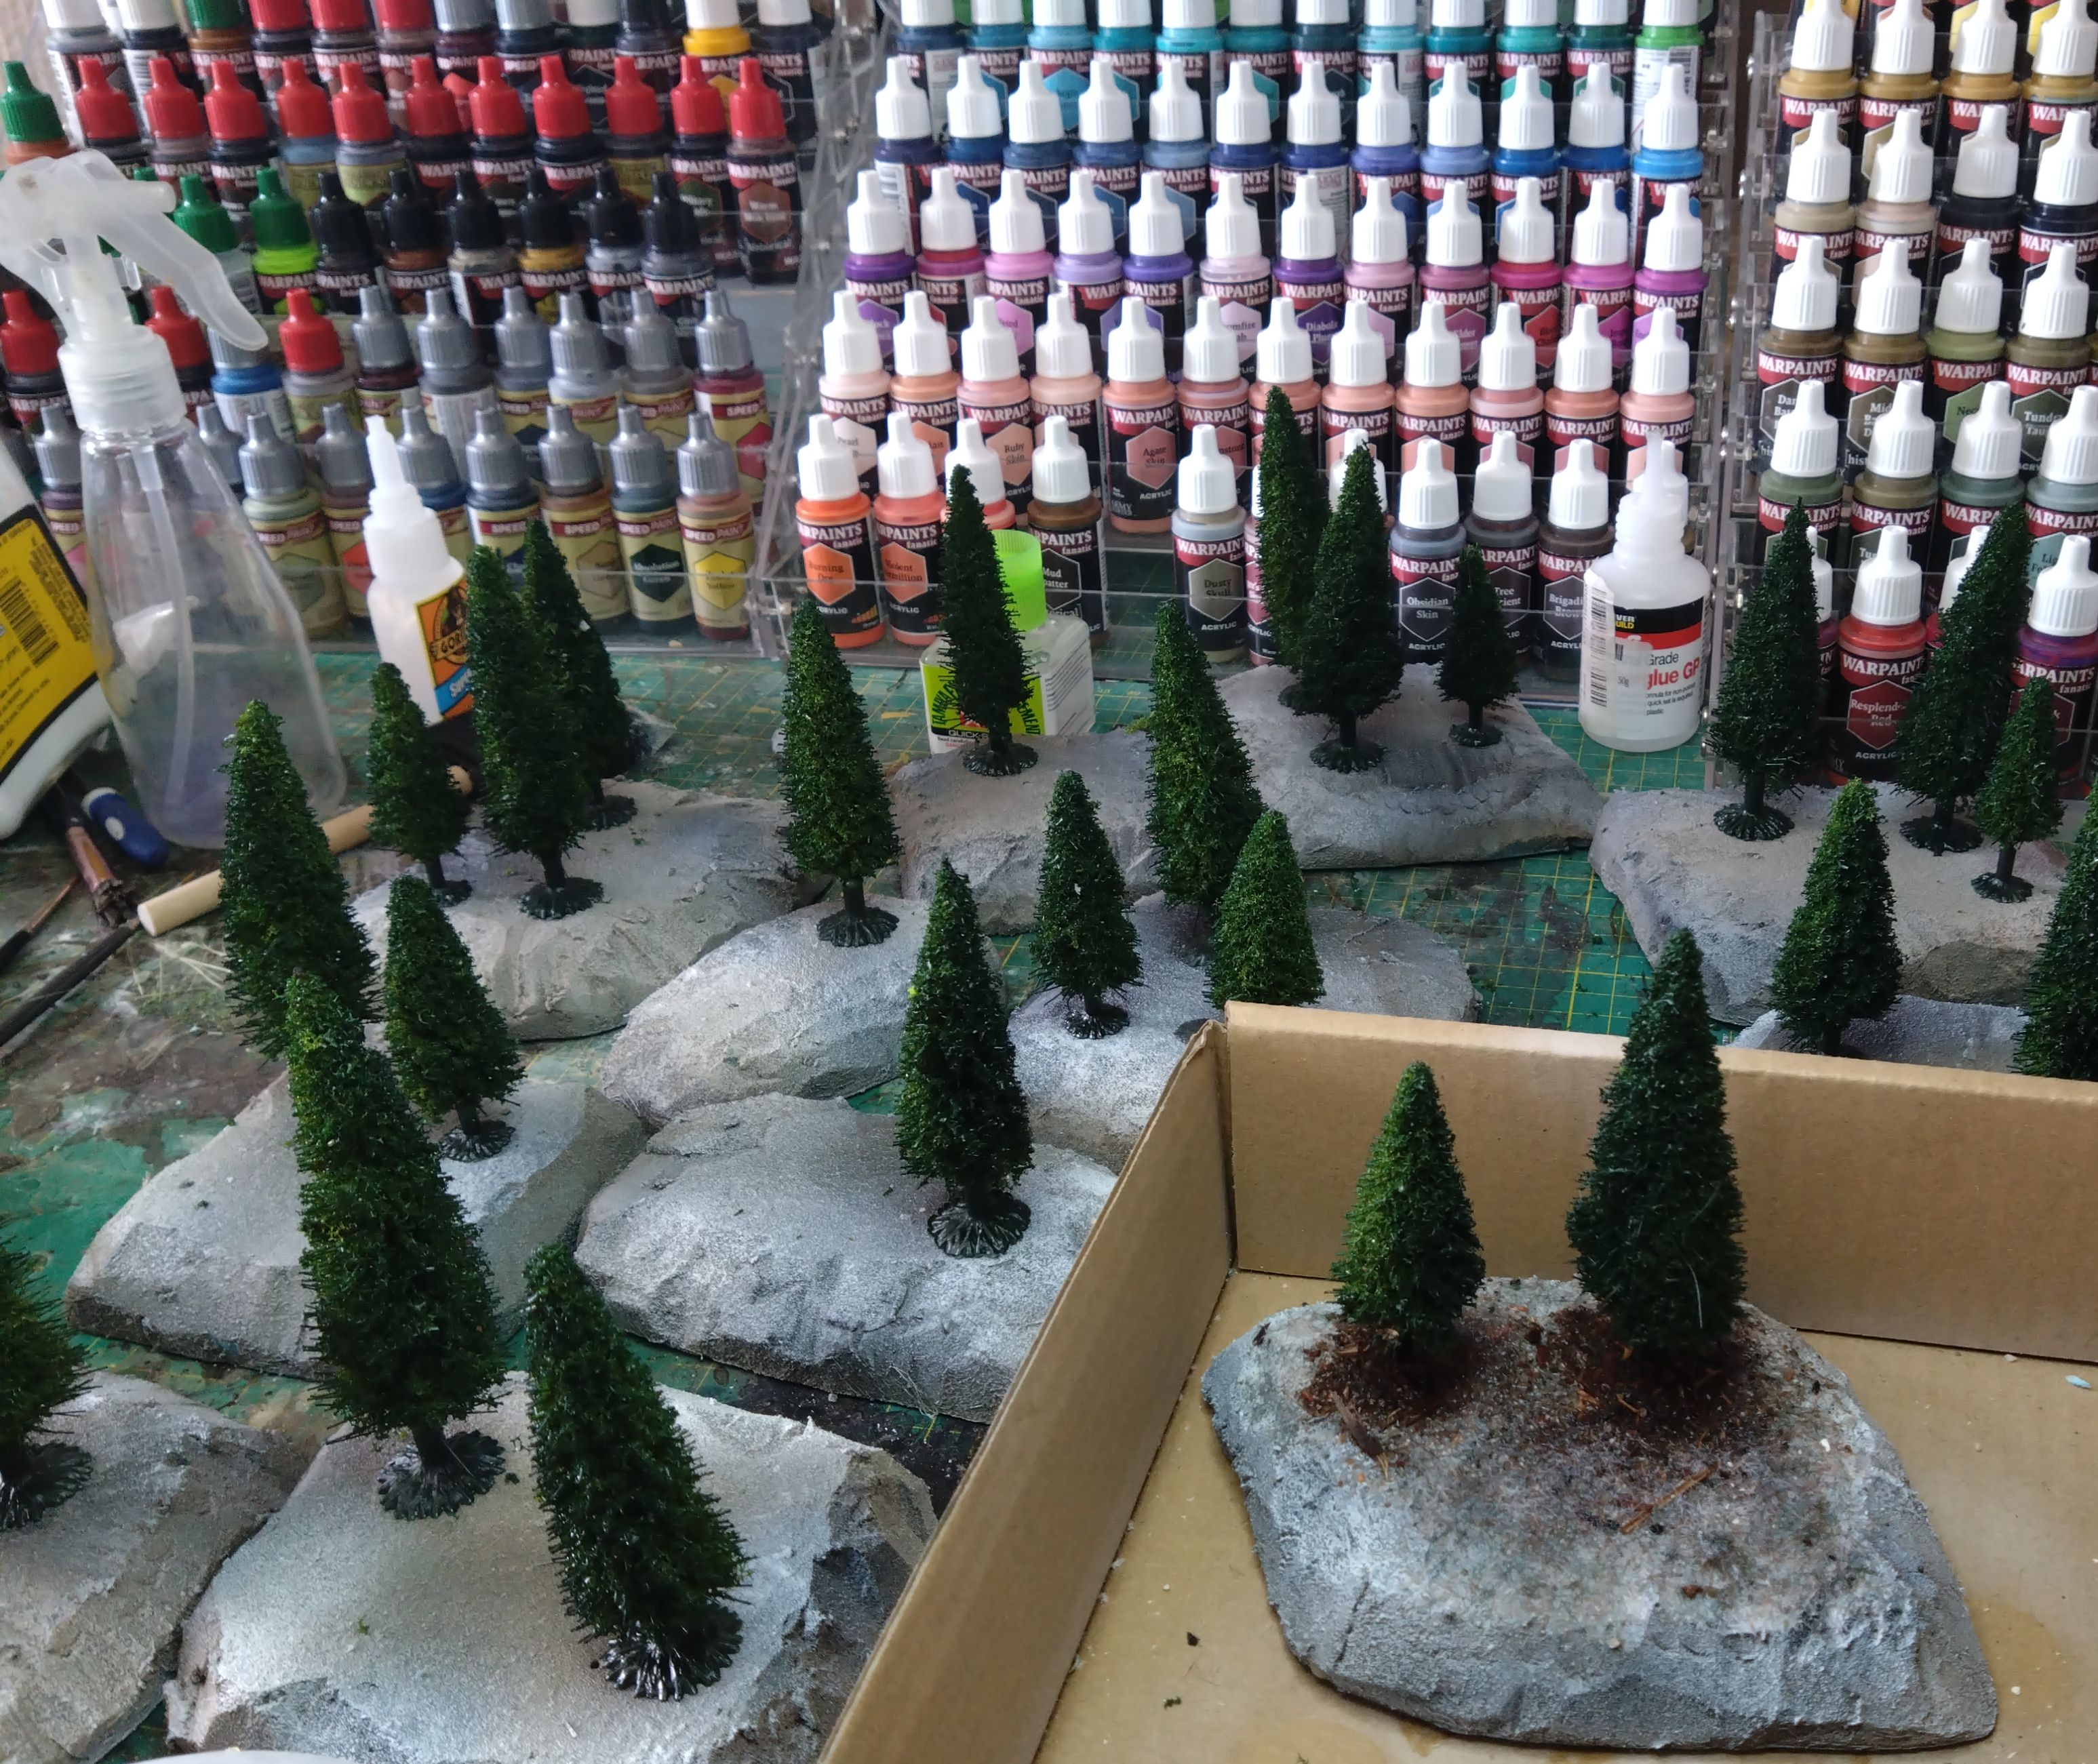
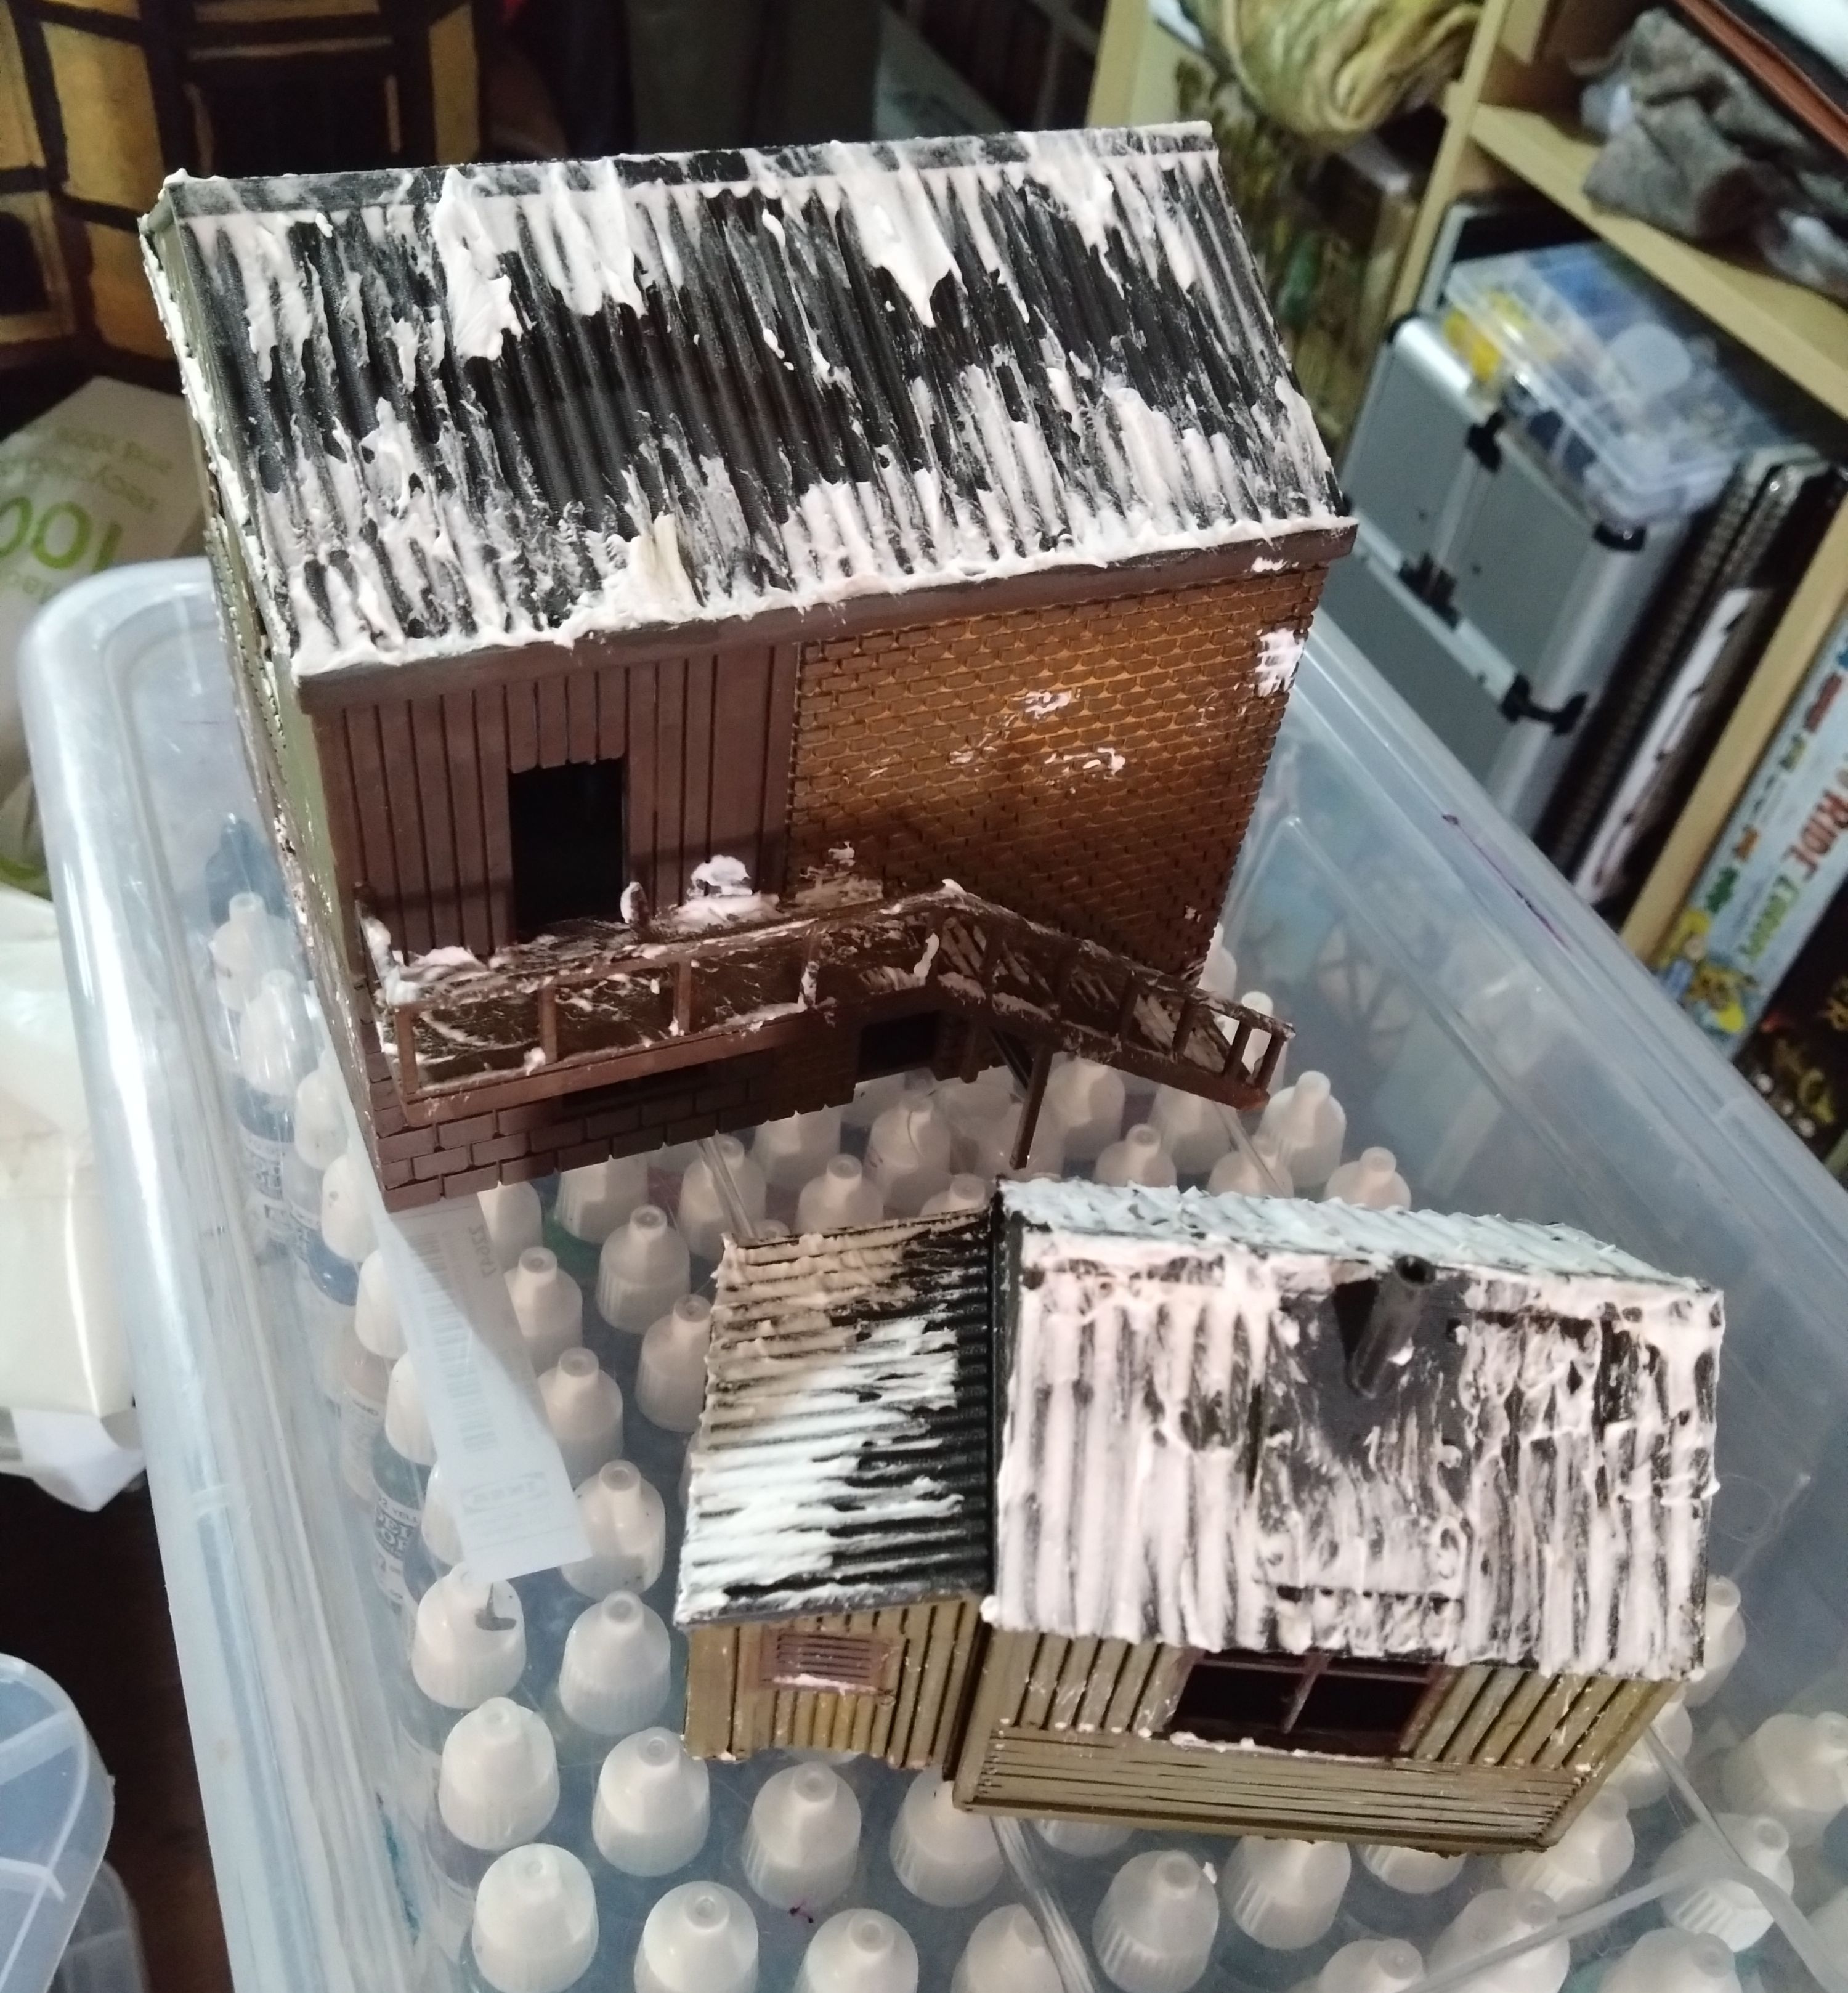
I also threw a bit of paint over a couple of buildings I had printed. I should have enough bits to put a table together now
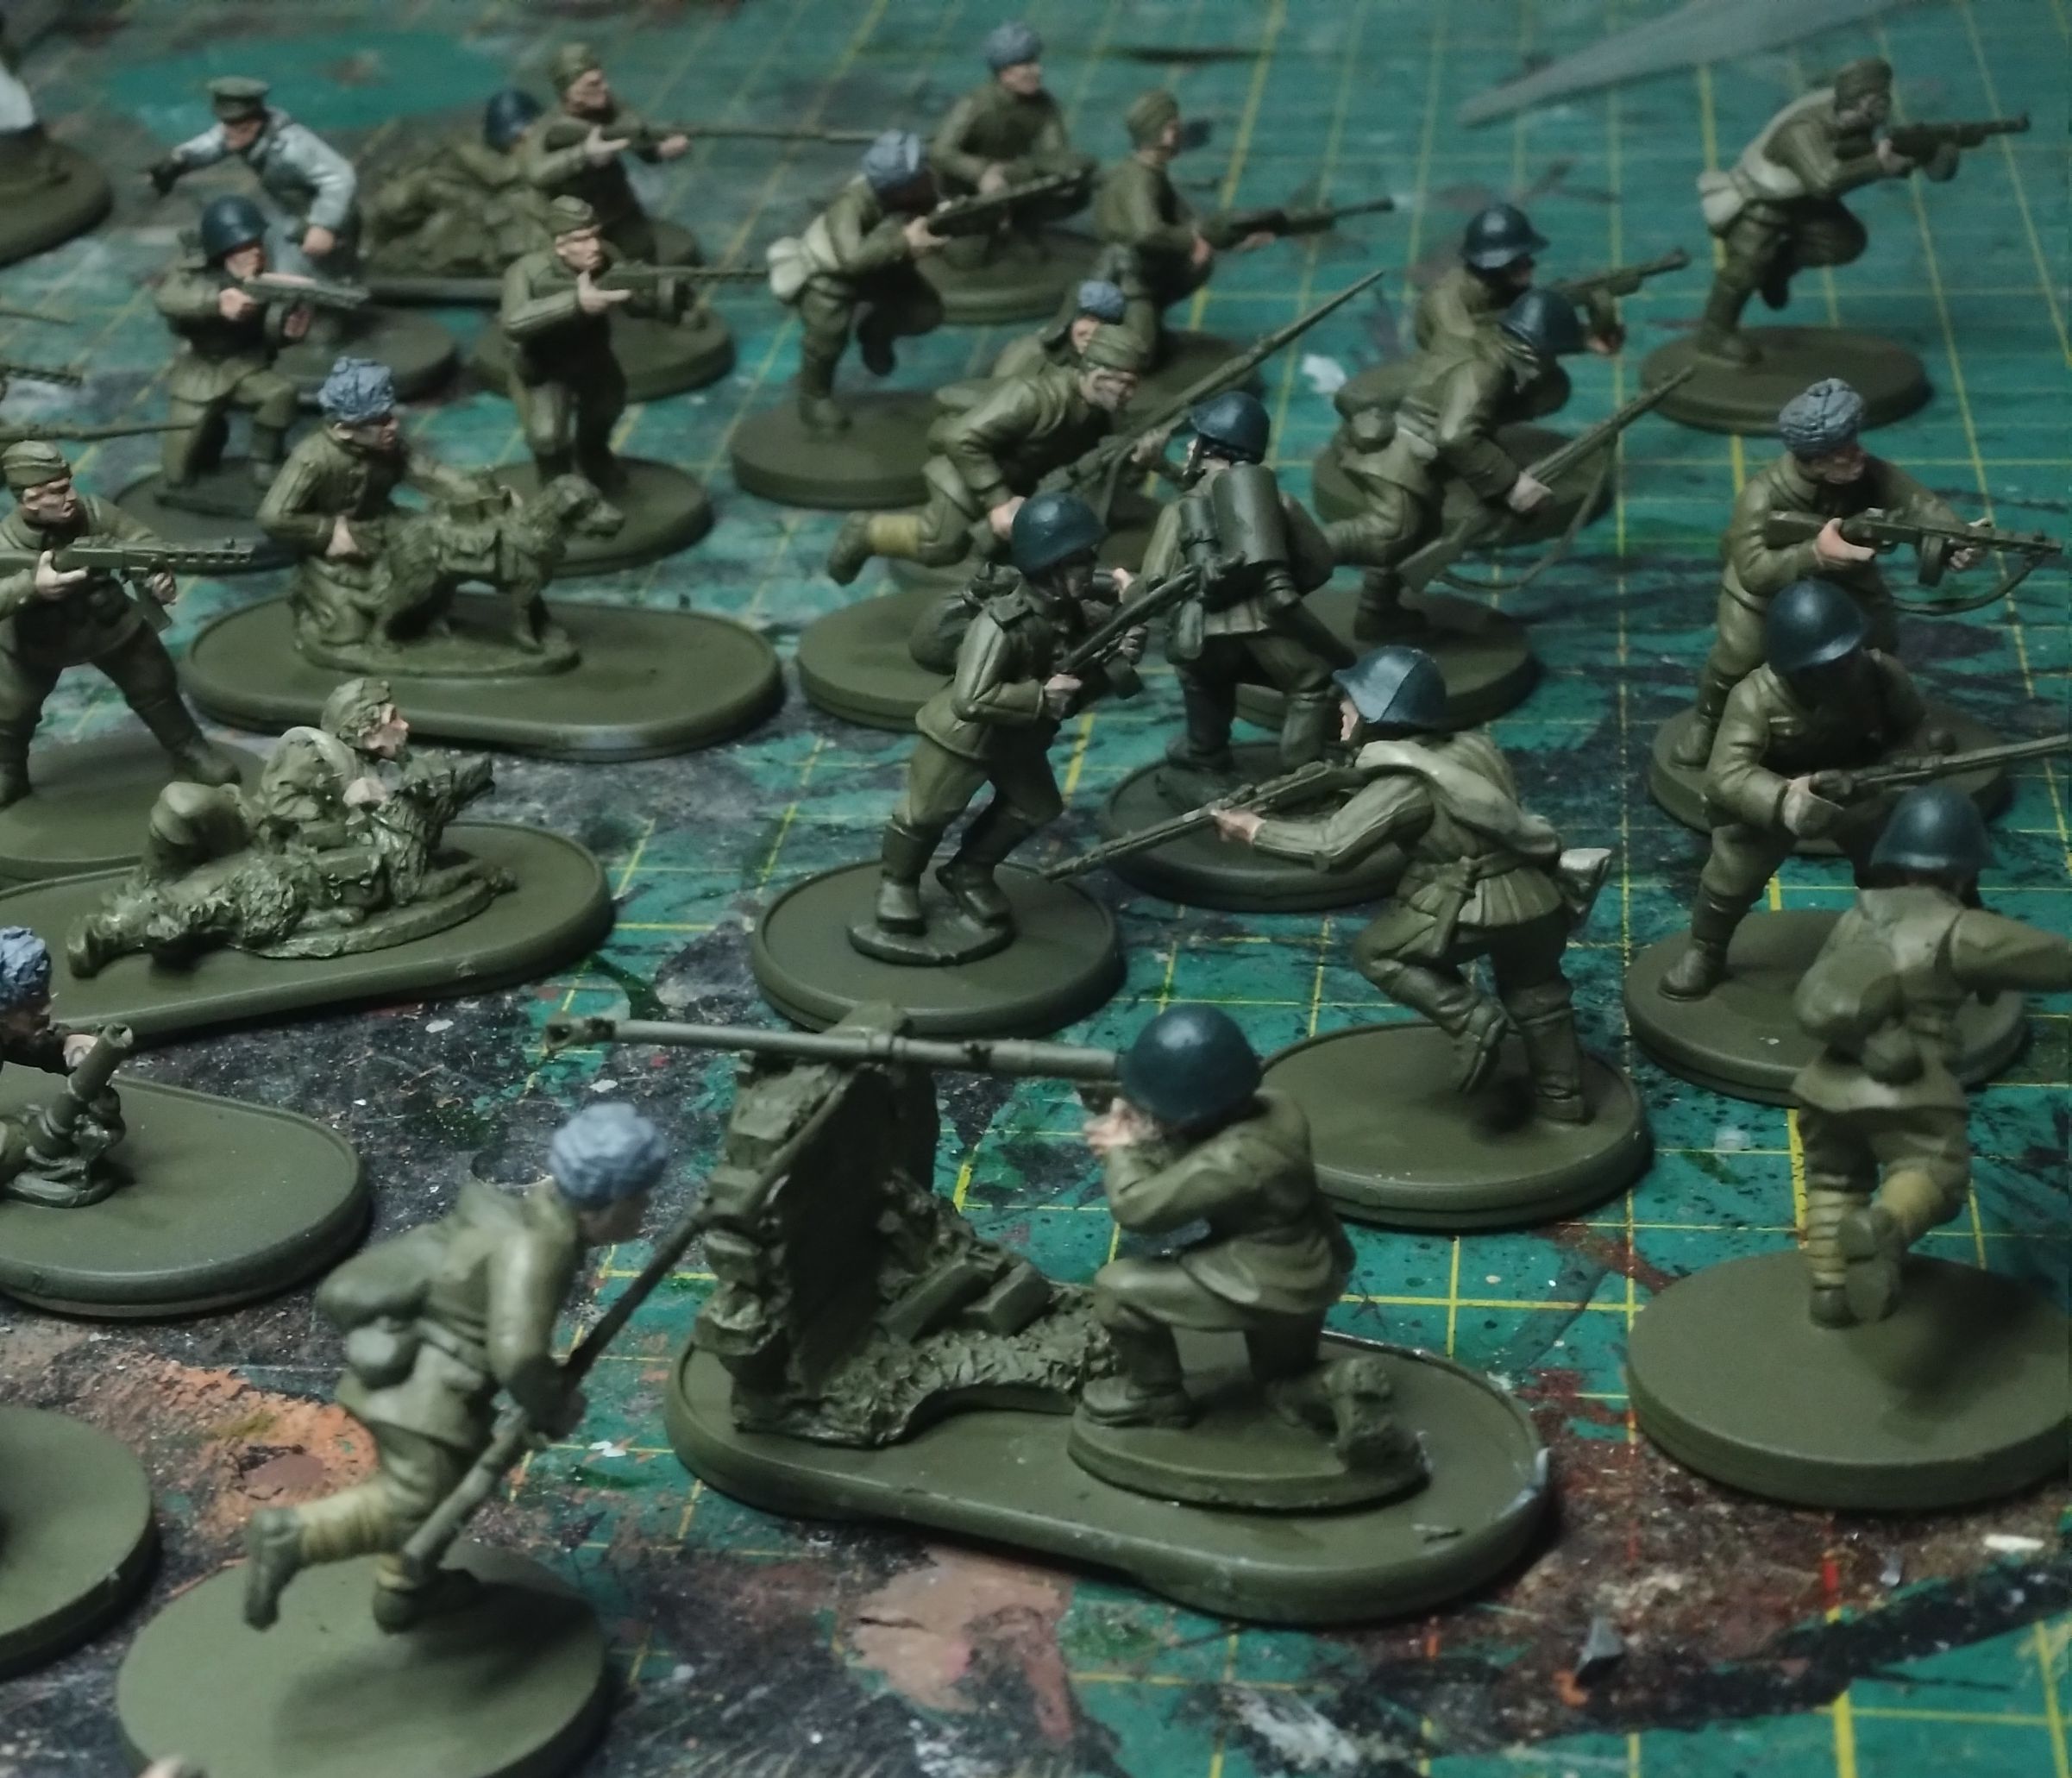
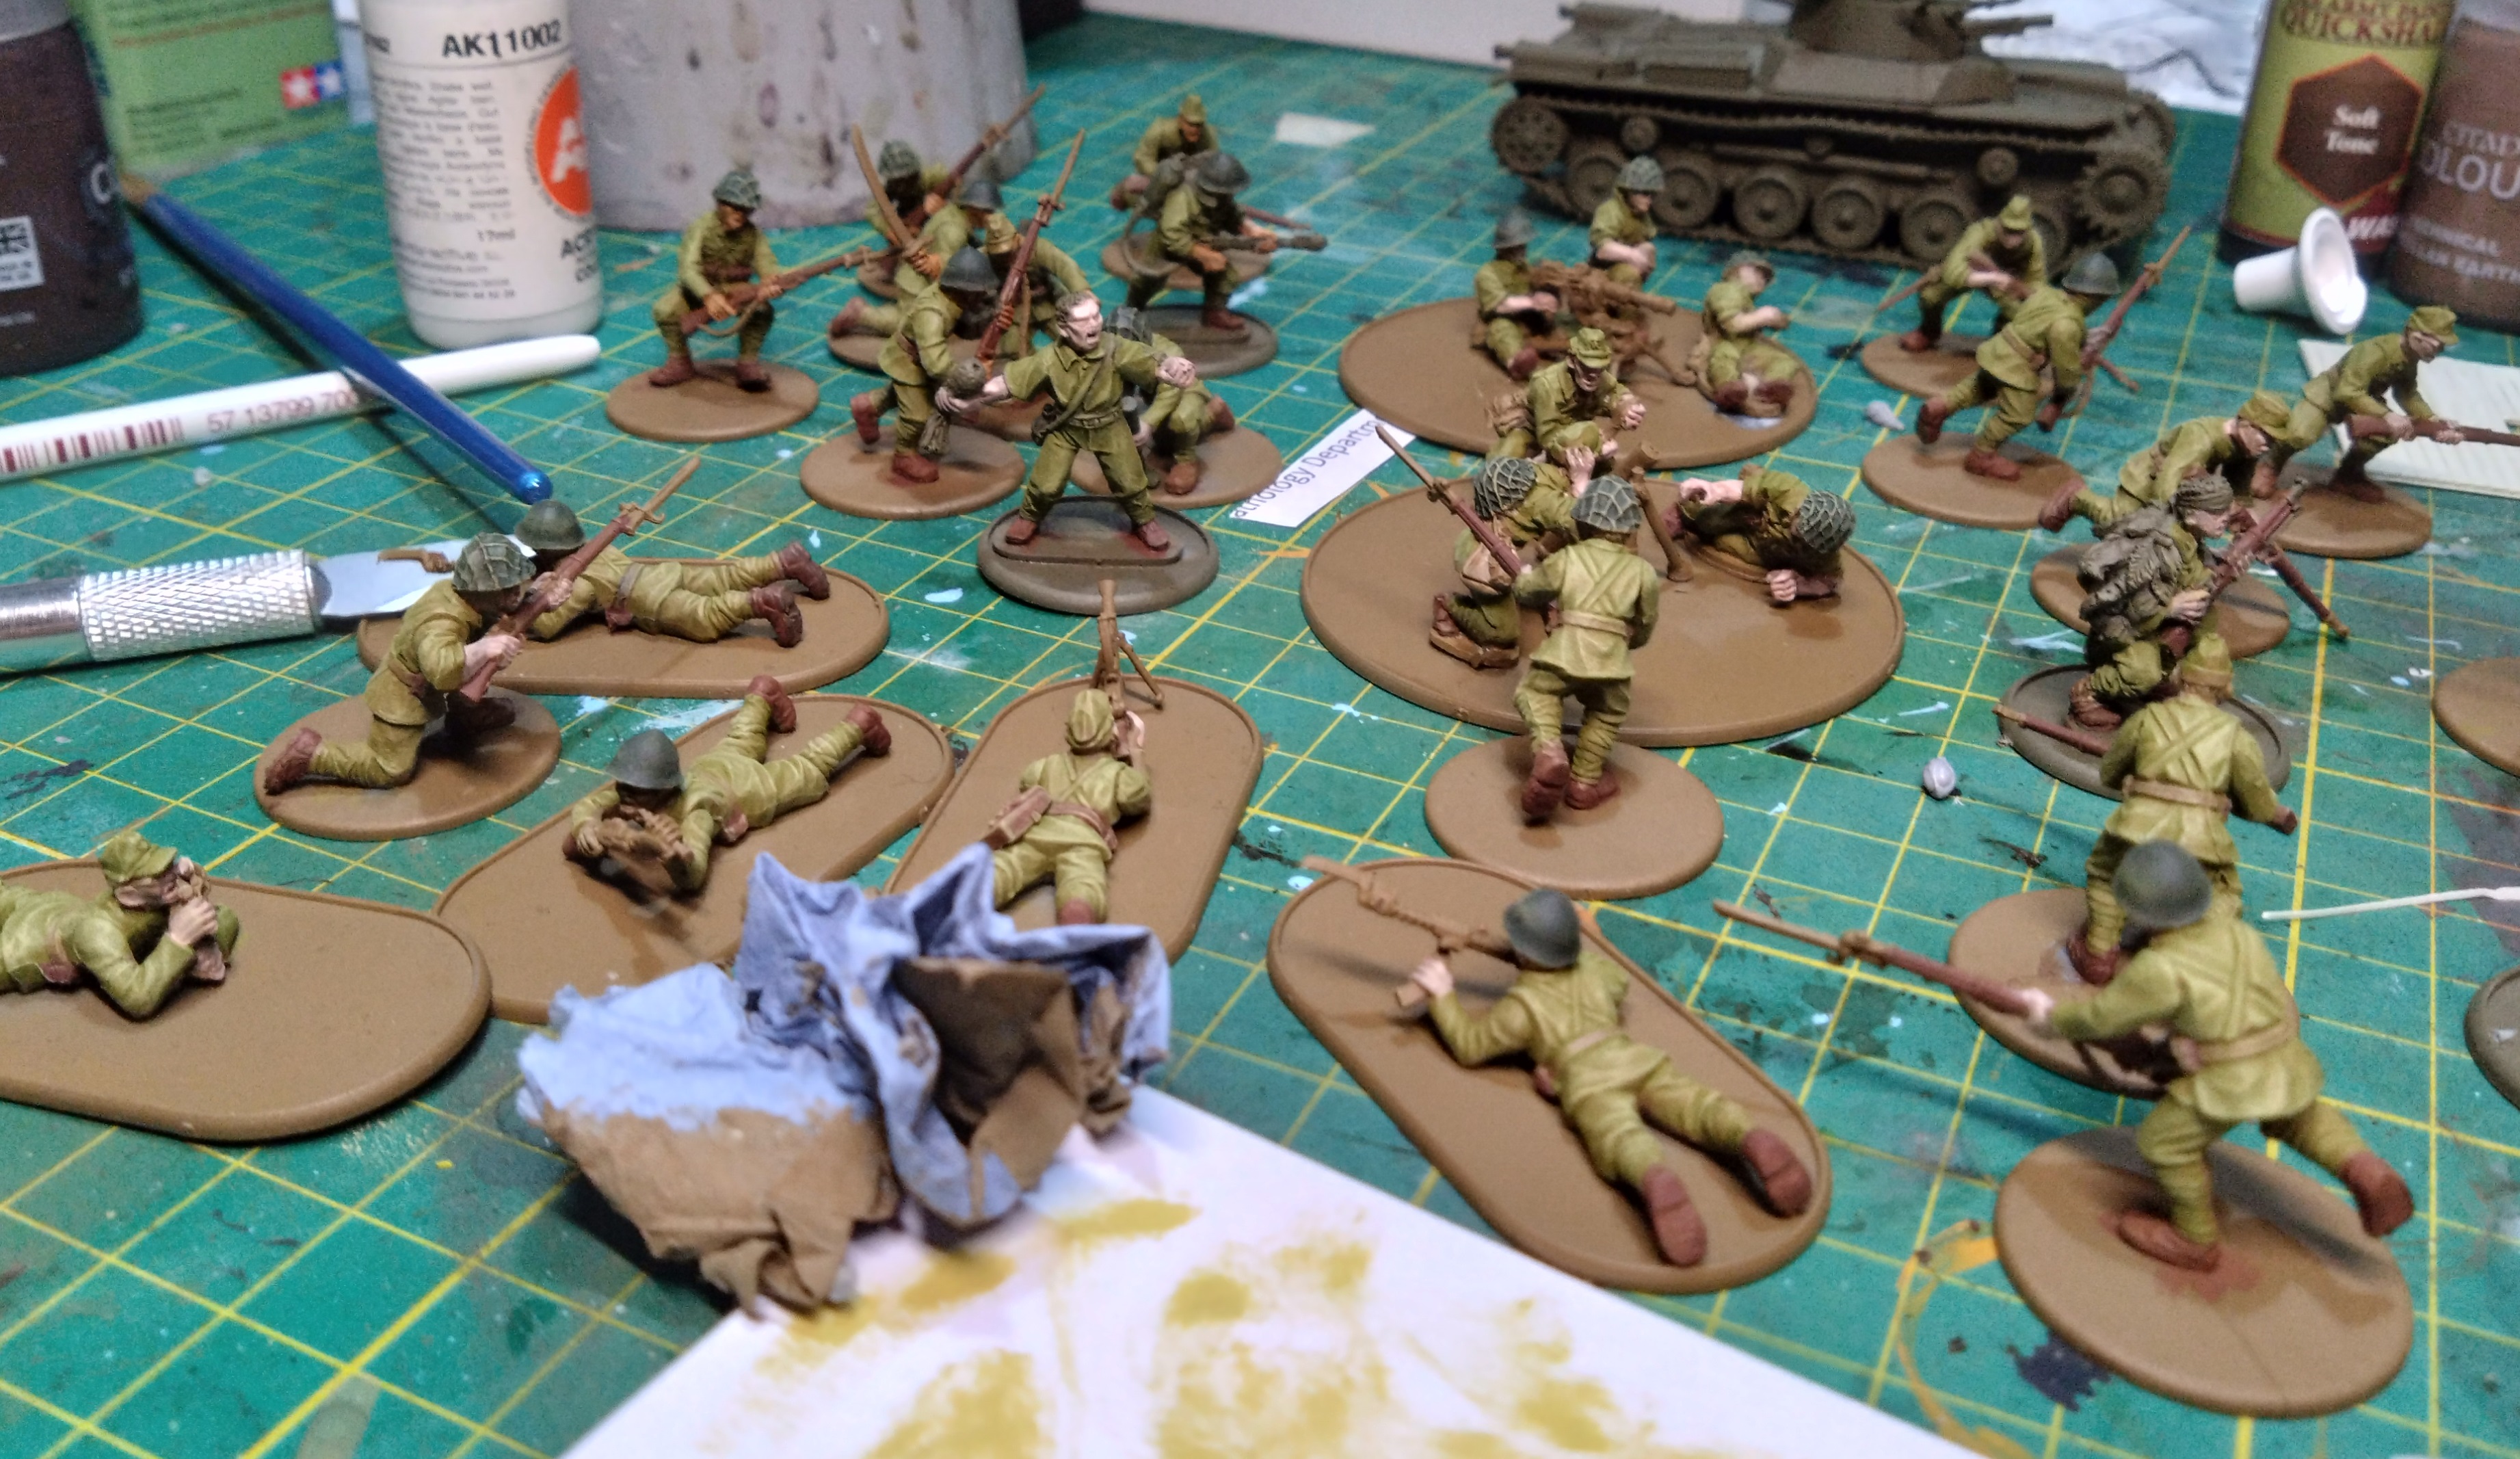
The Russians are coming ( along quite nicely)
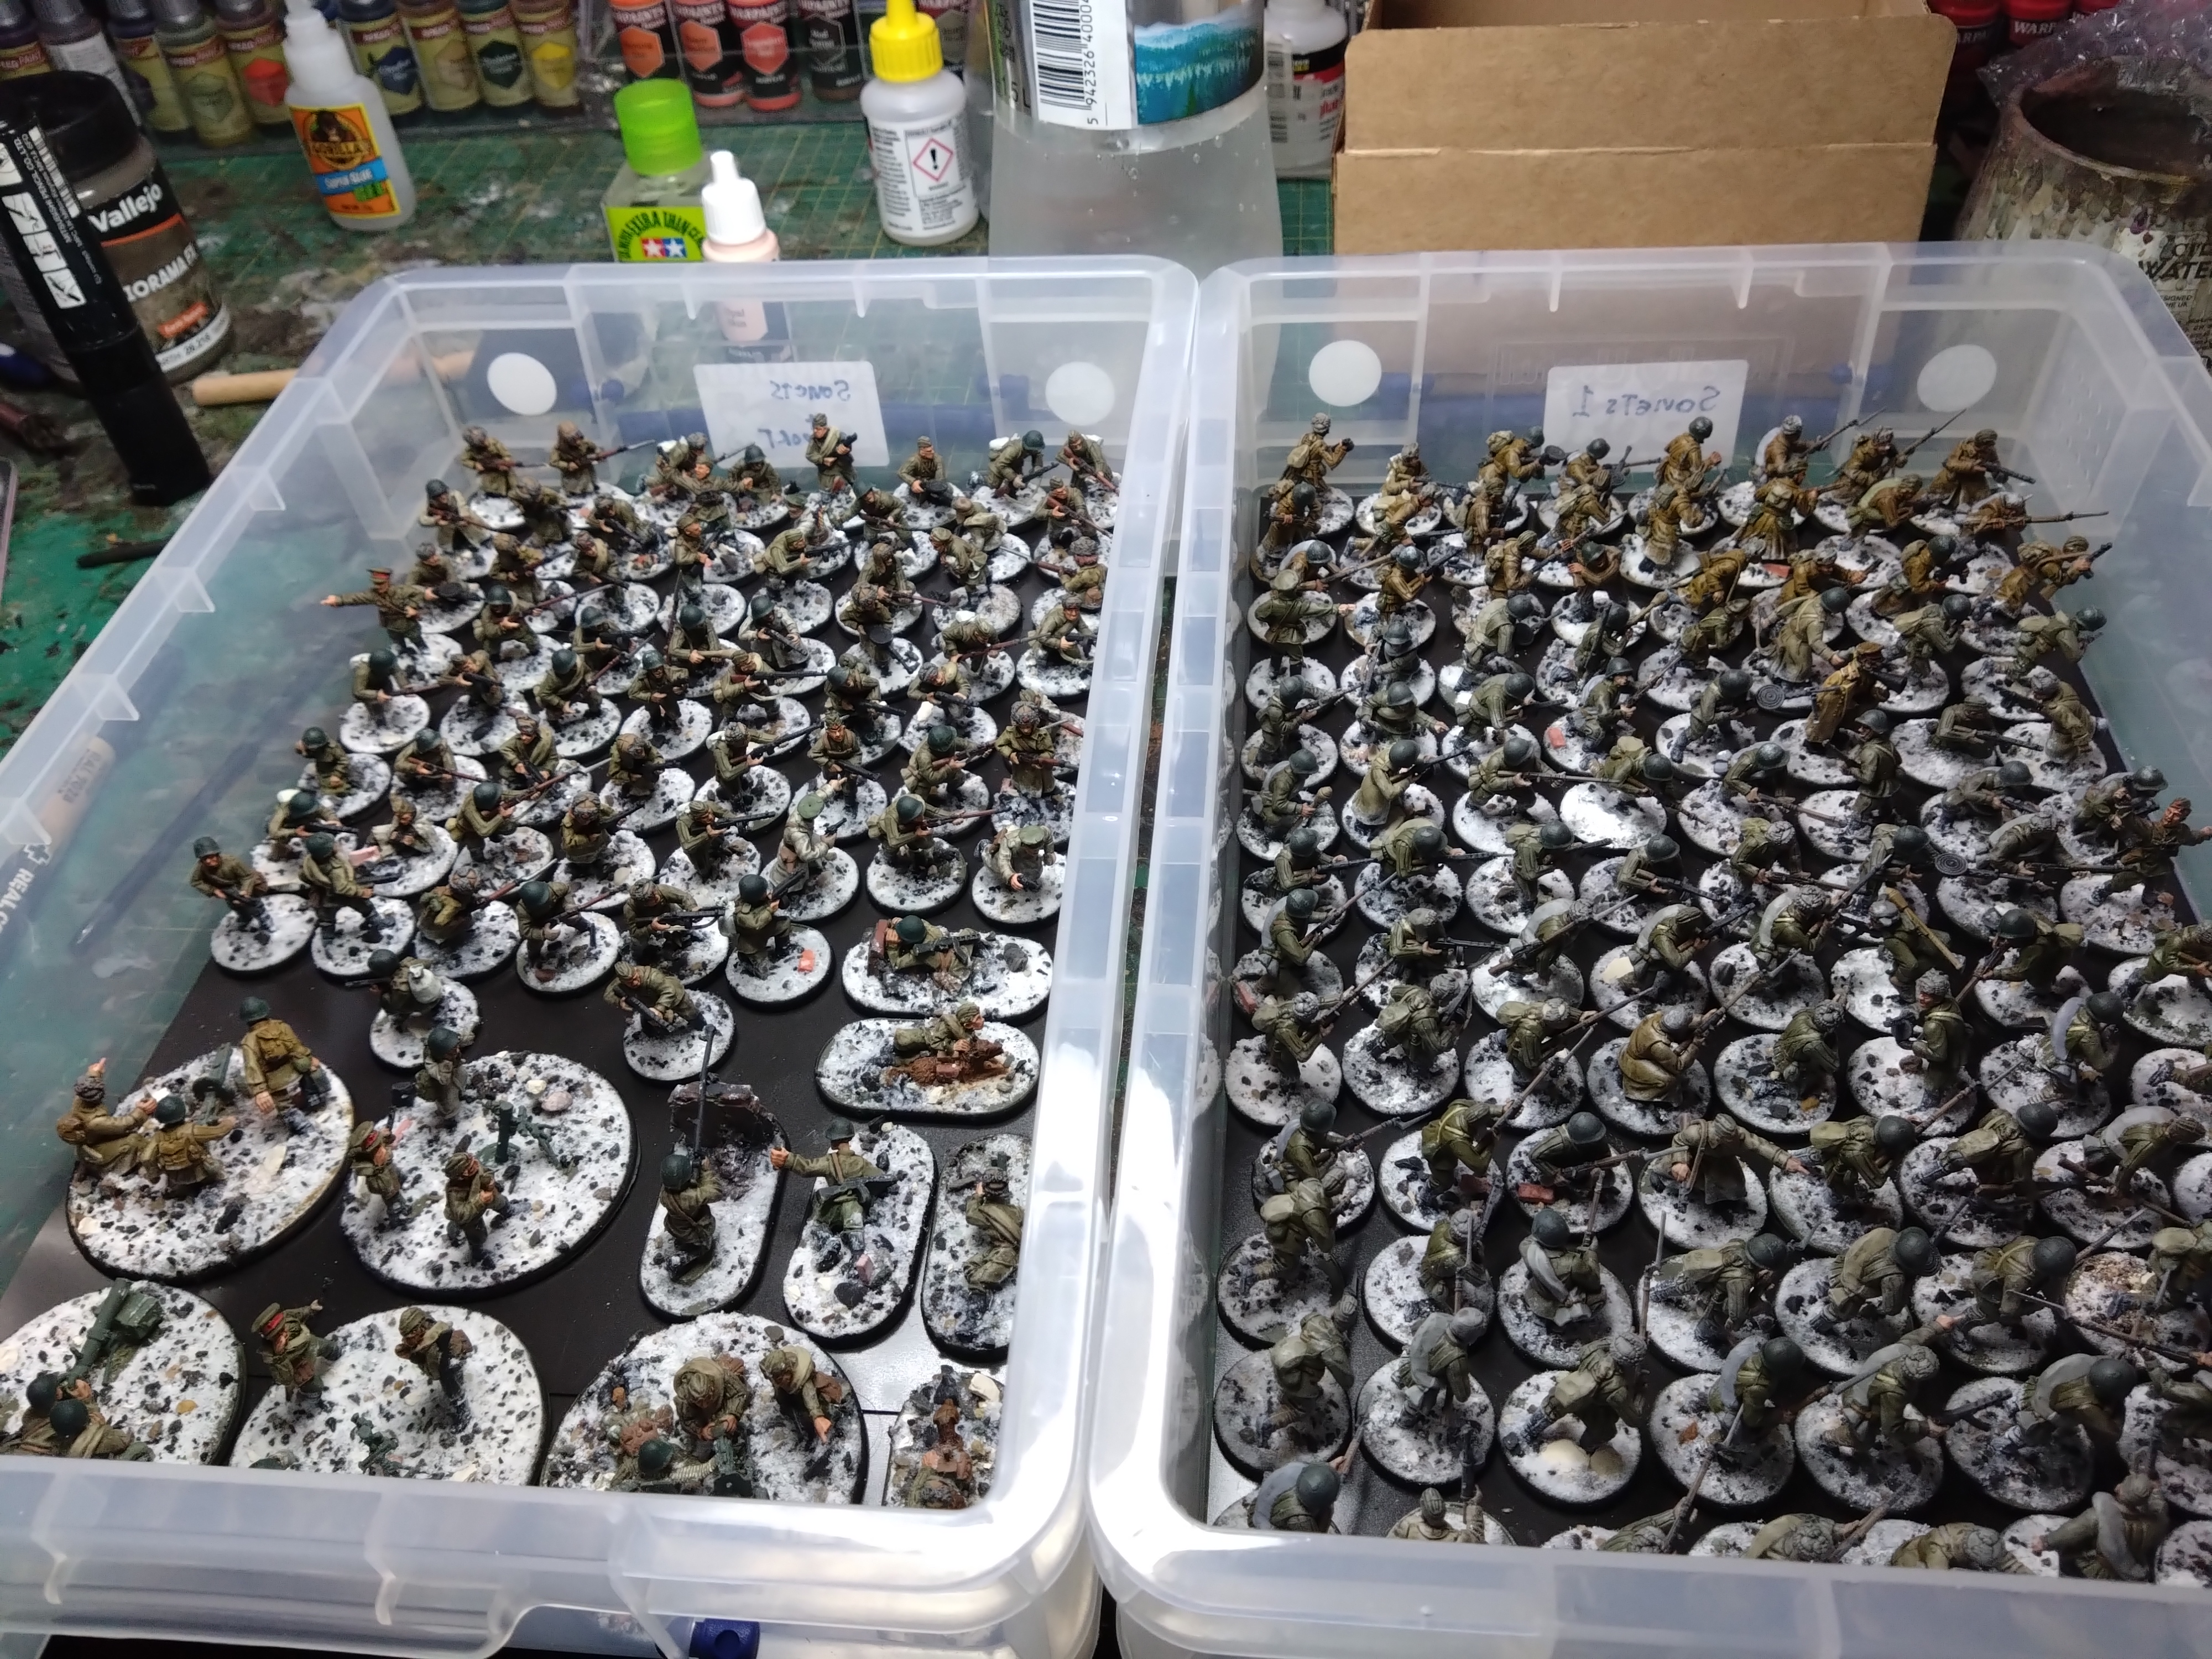
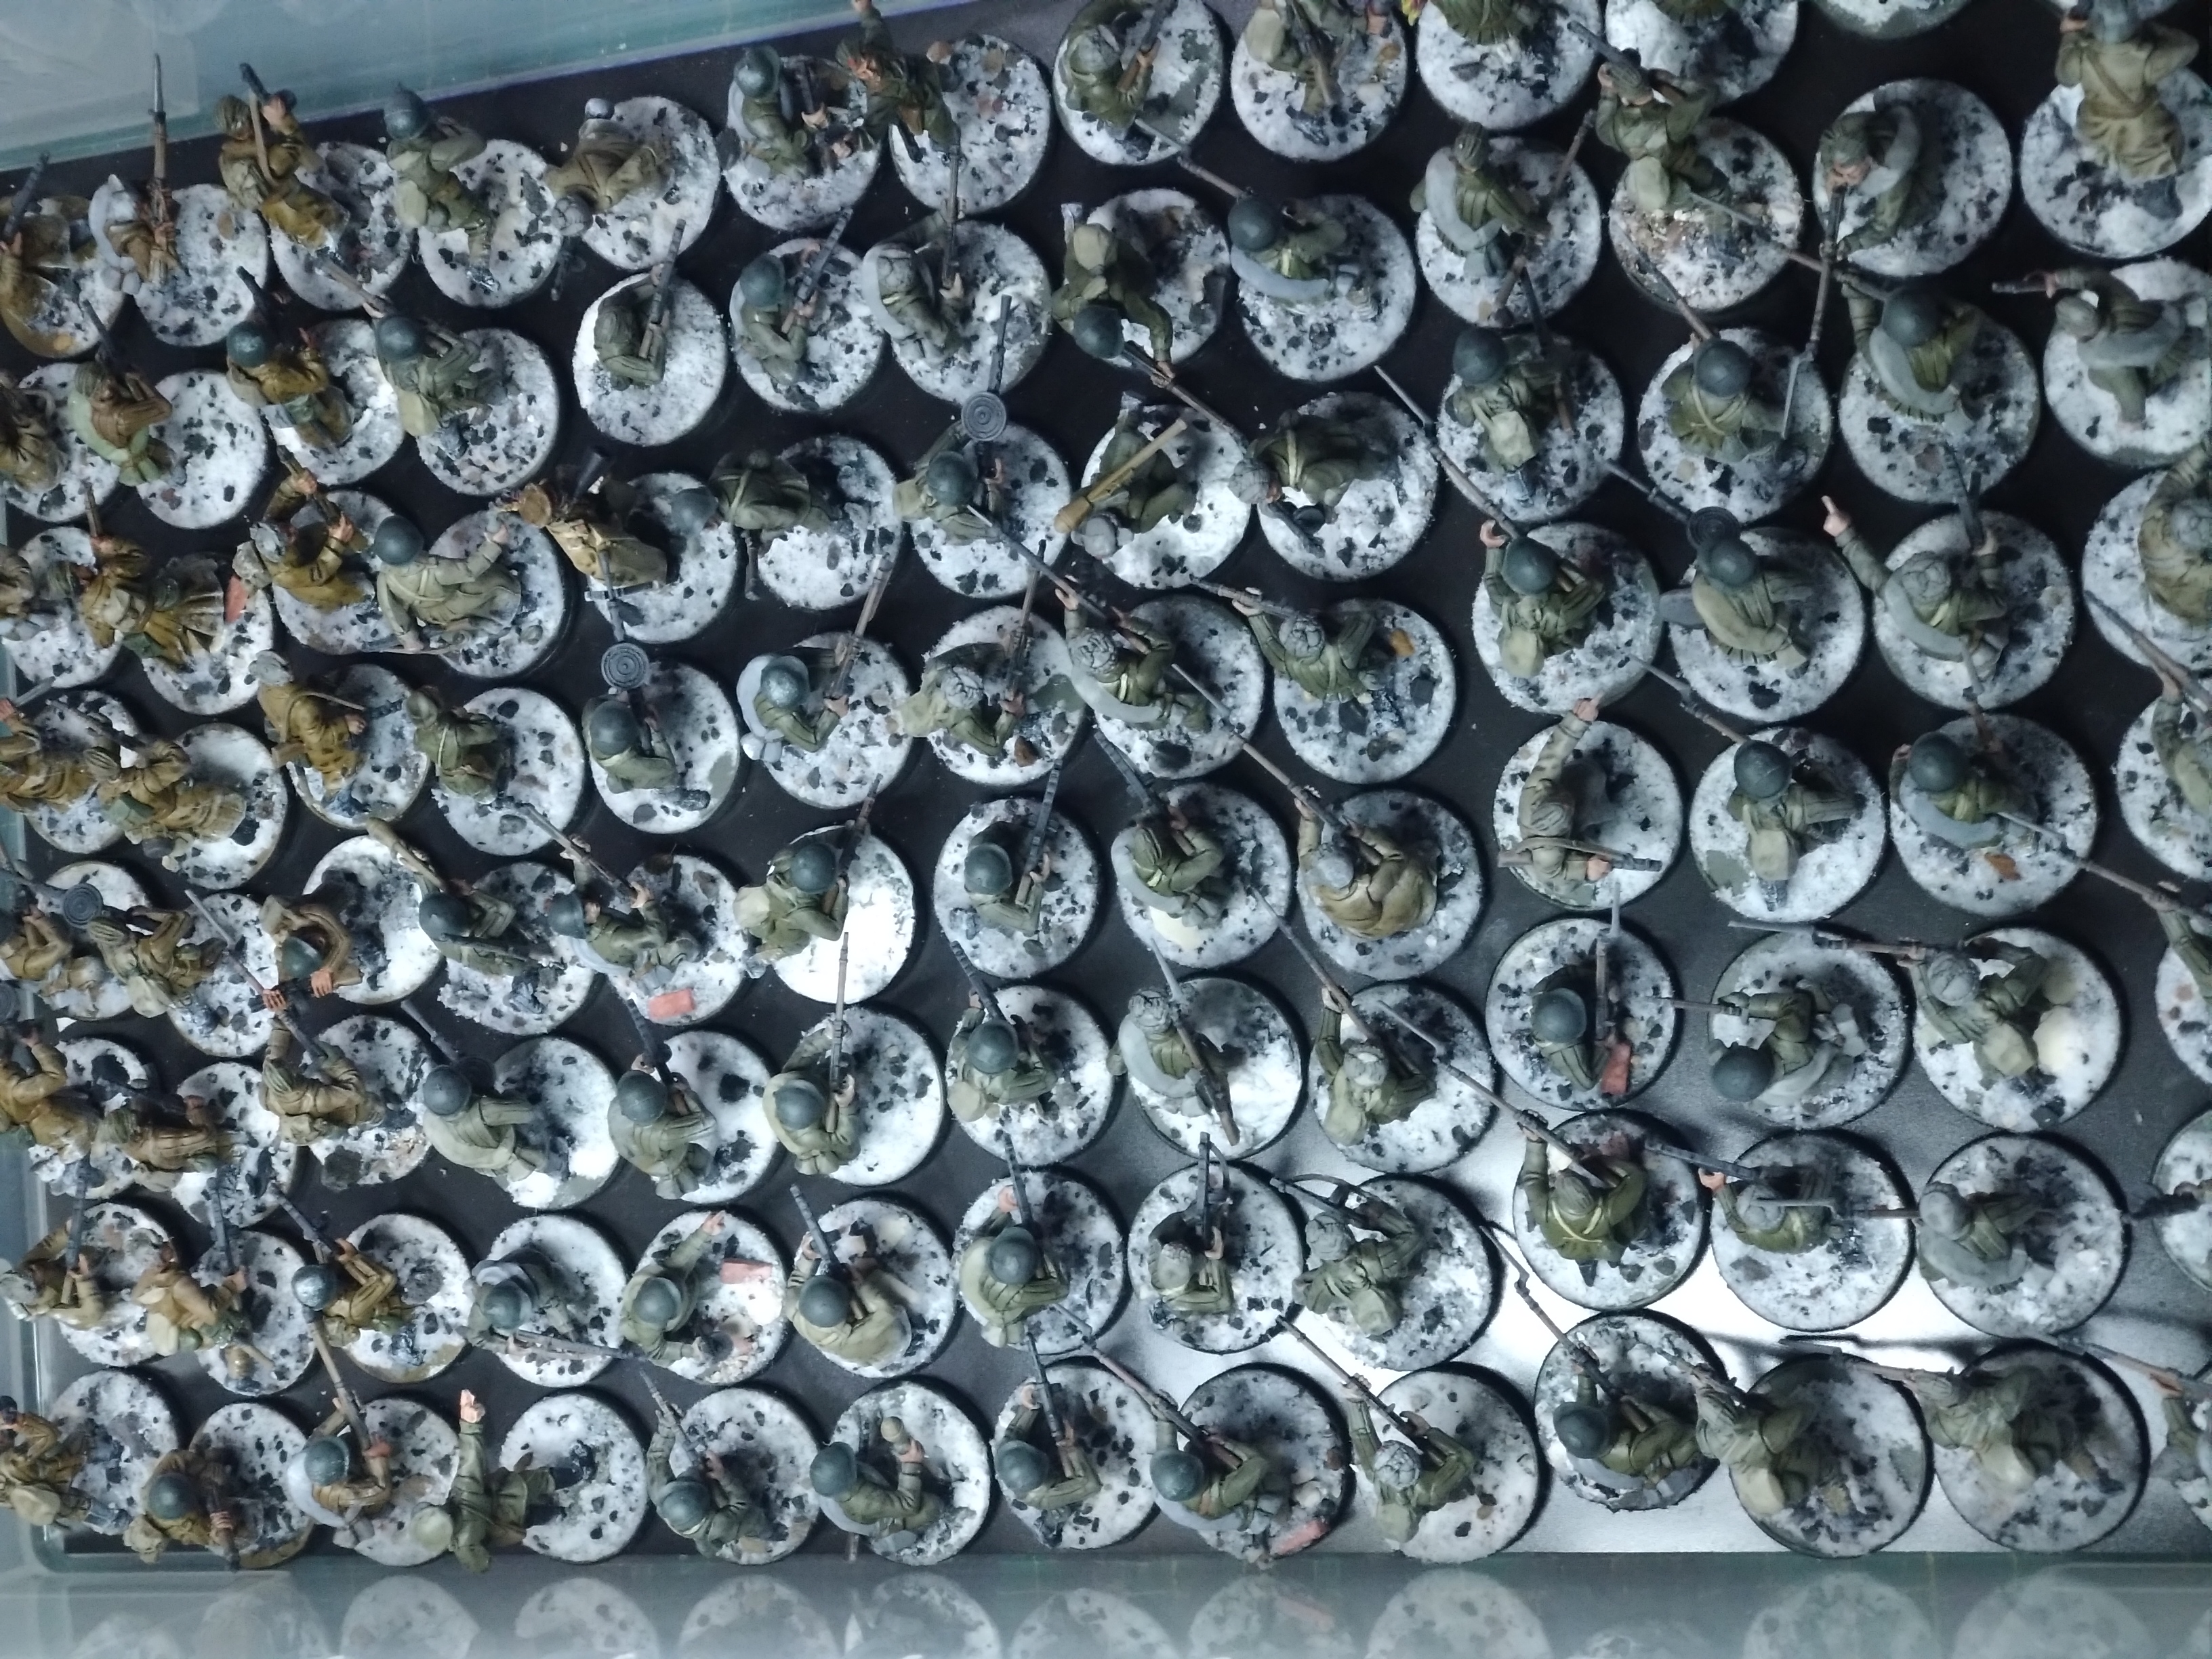
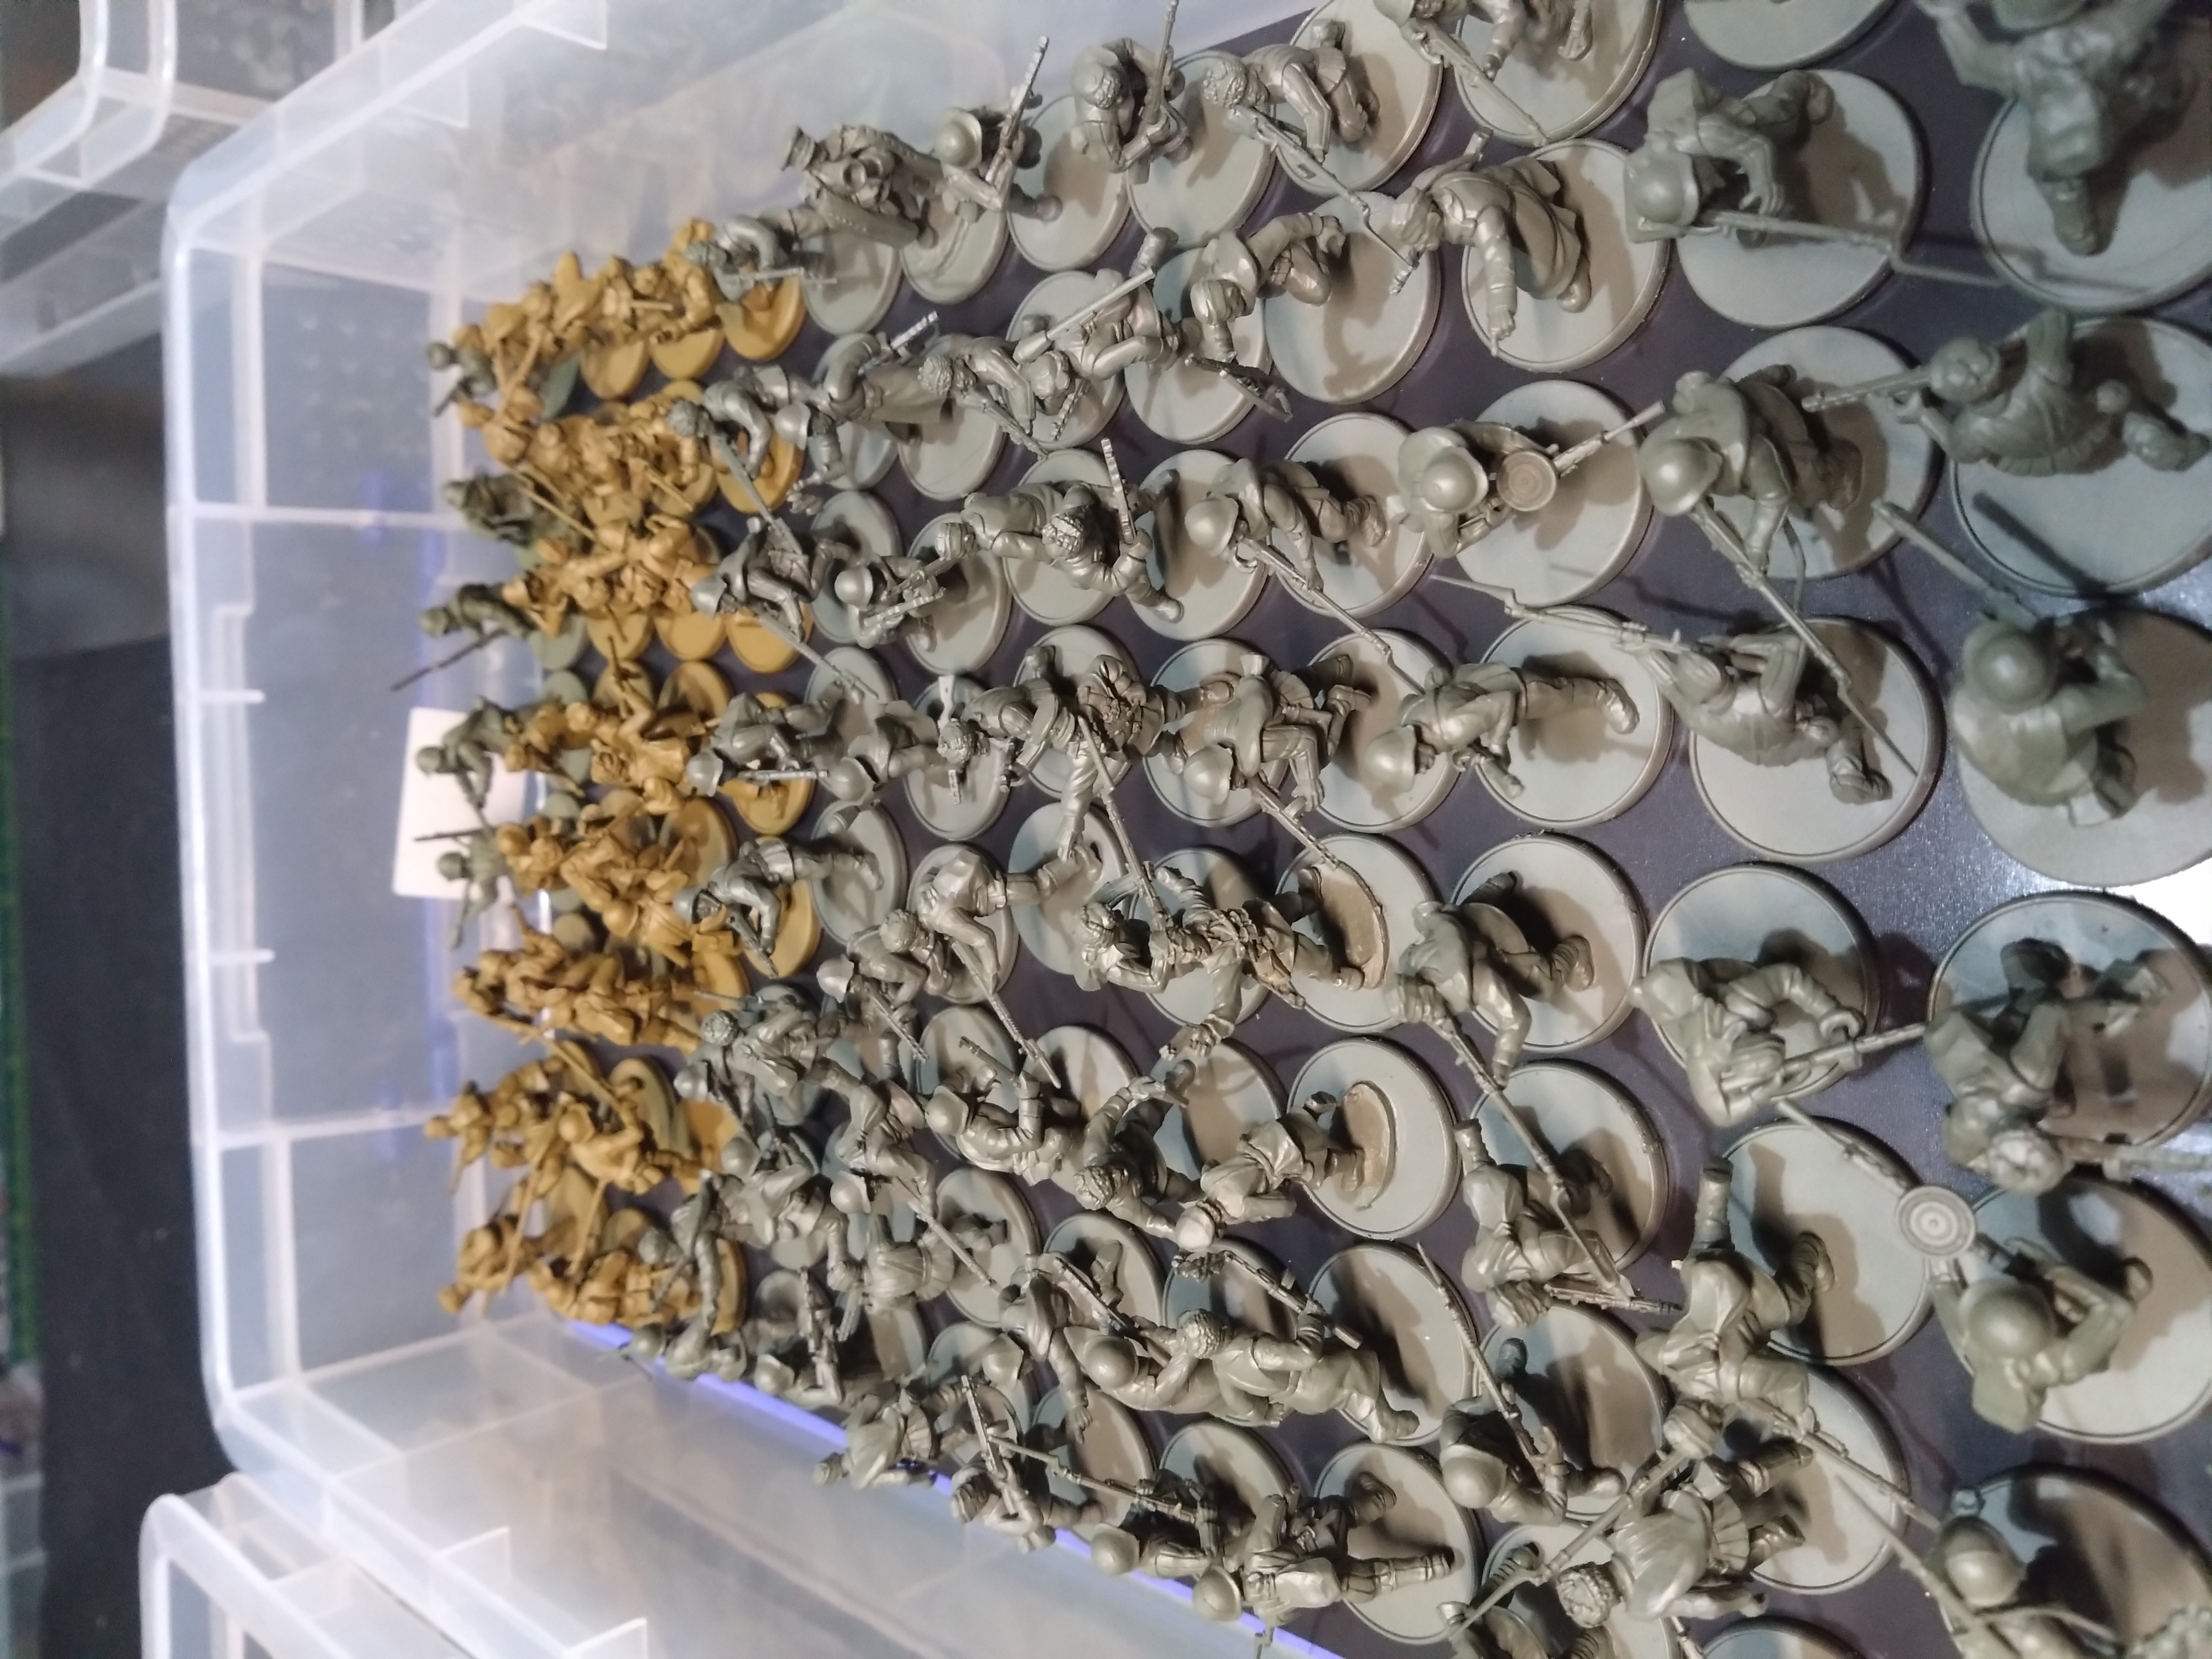
Having managed to close two projects in a week I decided it was time to have a hobby break. I had previously assembled and primed around 90 Soviet infantry.
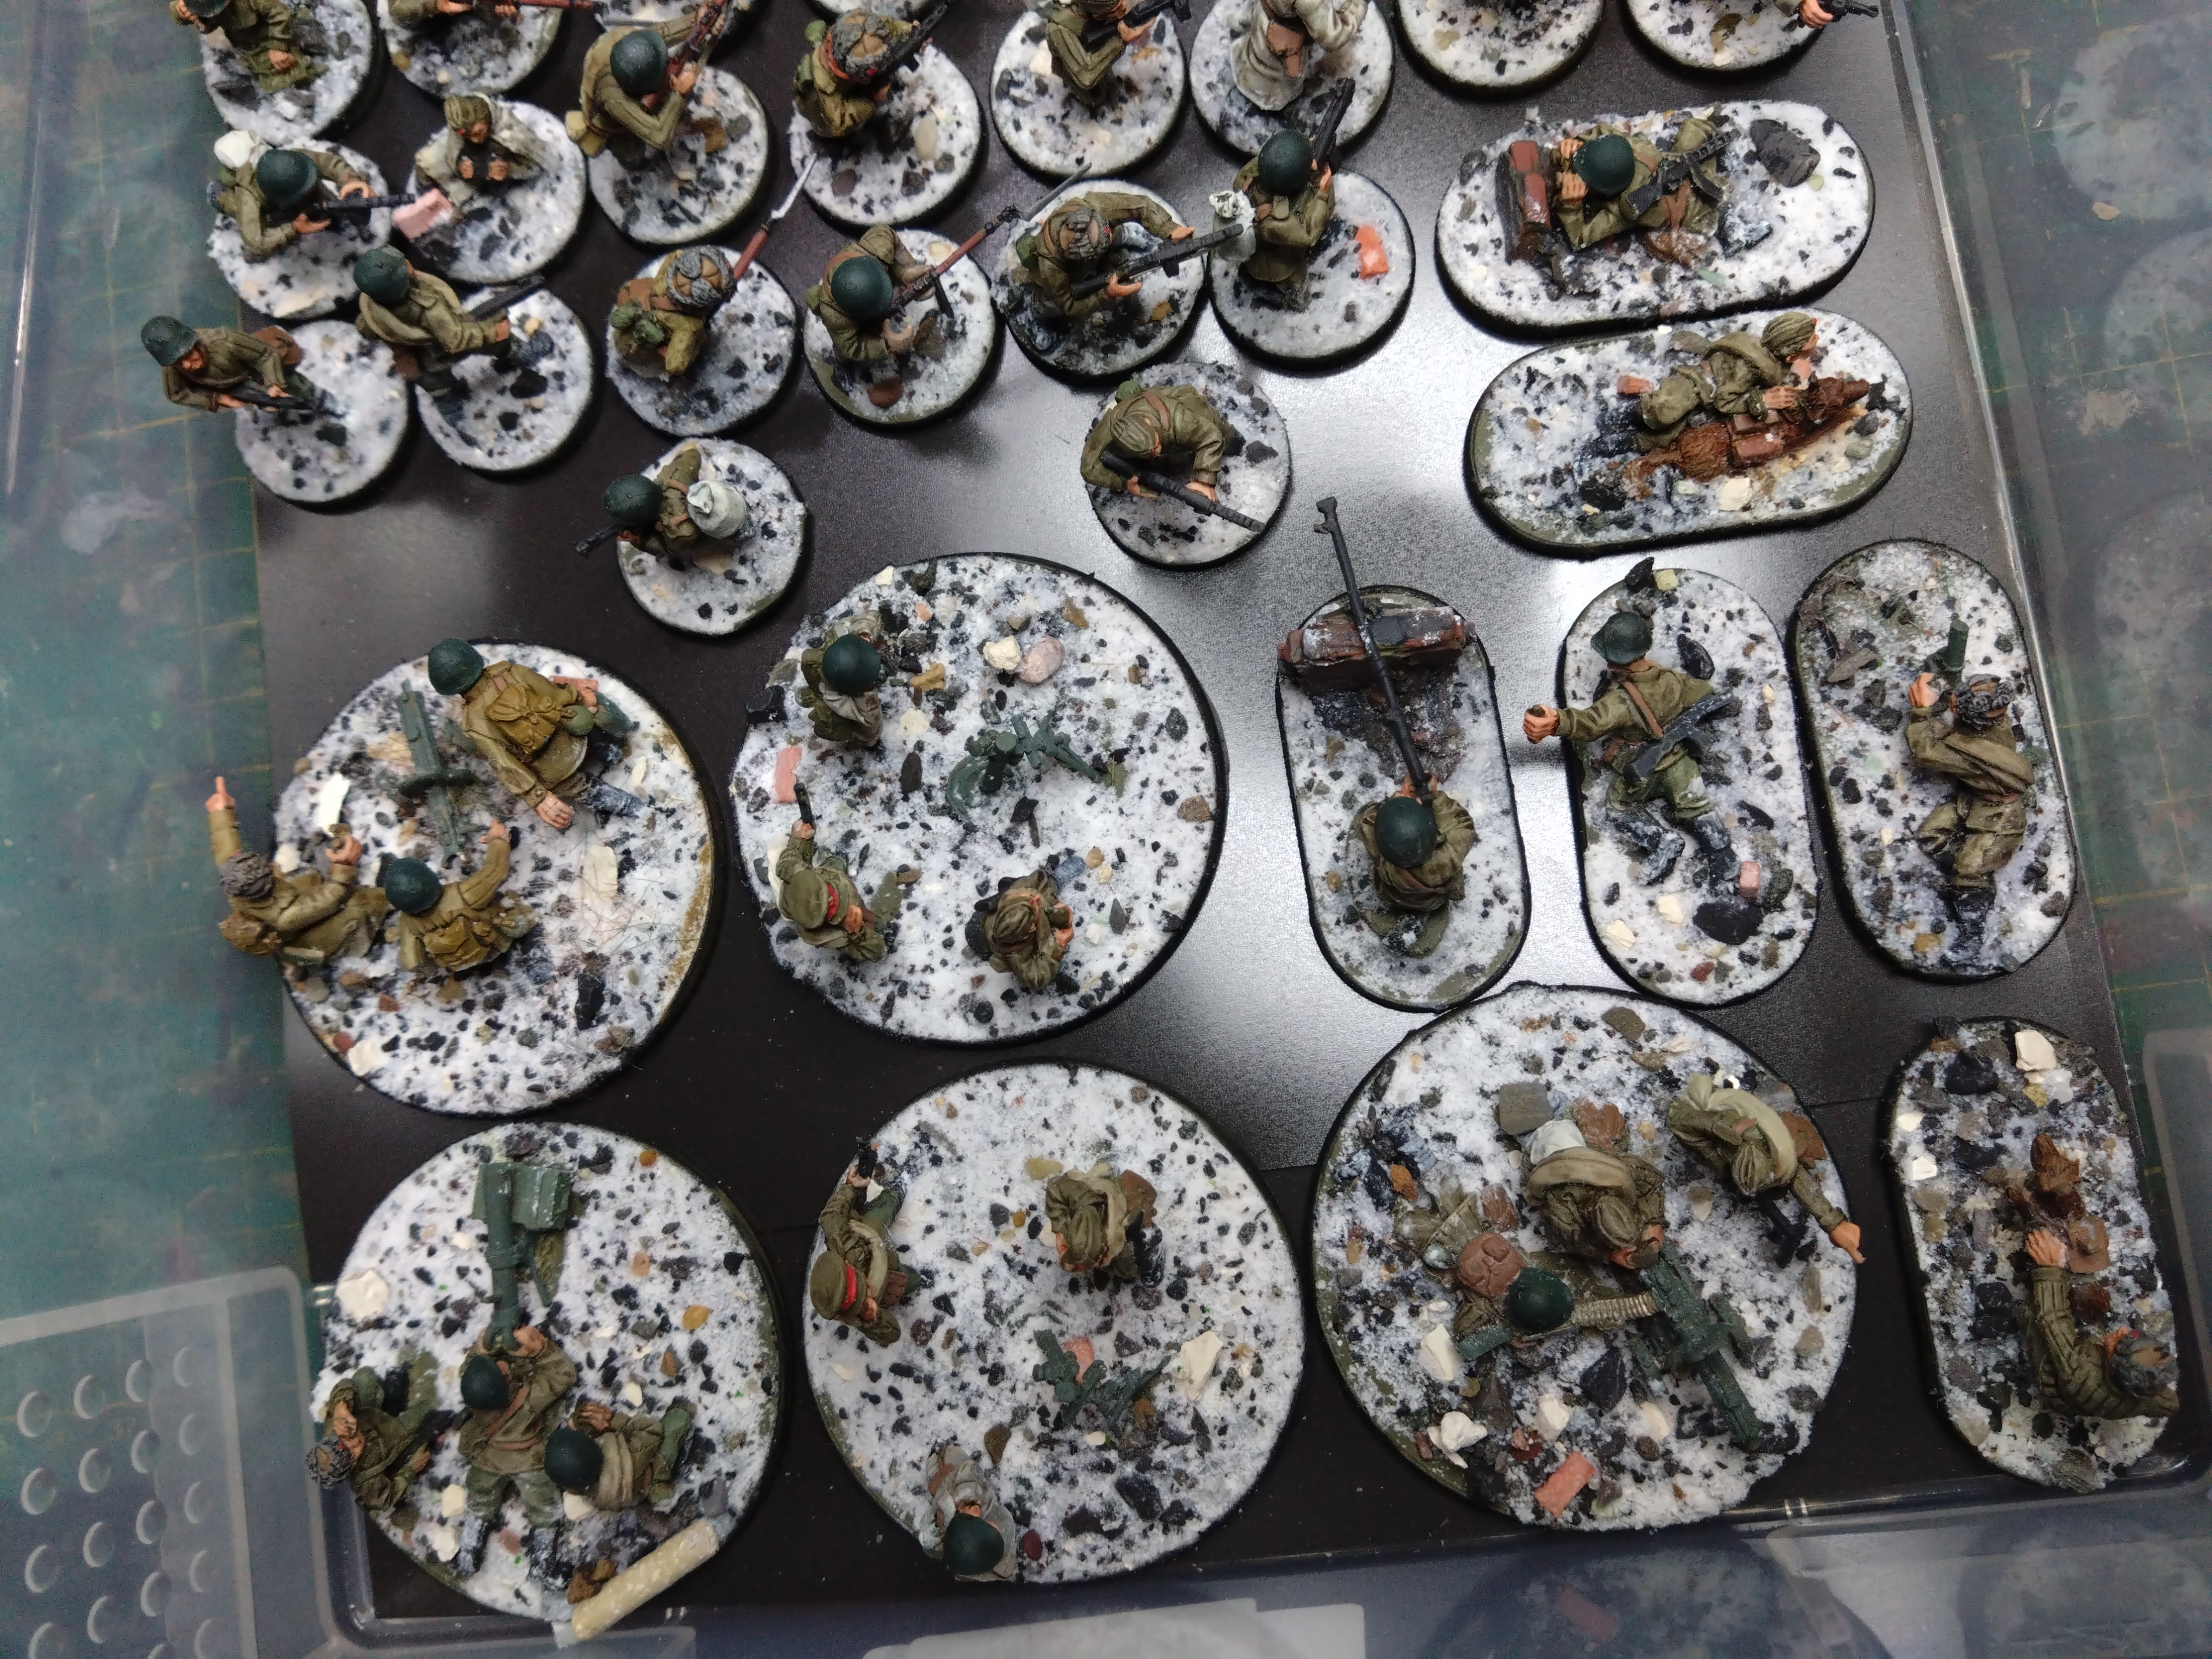
I decided to have another build session and put together 56 more and some MNGs and Mortars
I decided not to bother with the laying down pose which leaves 12 sprues to go or 84 minis to assemble.
I have a lot of Soviets.

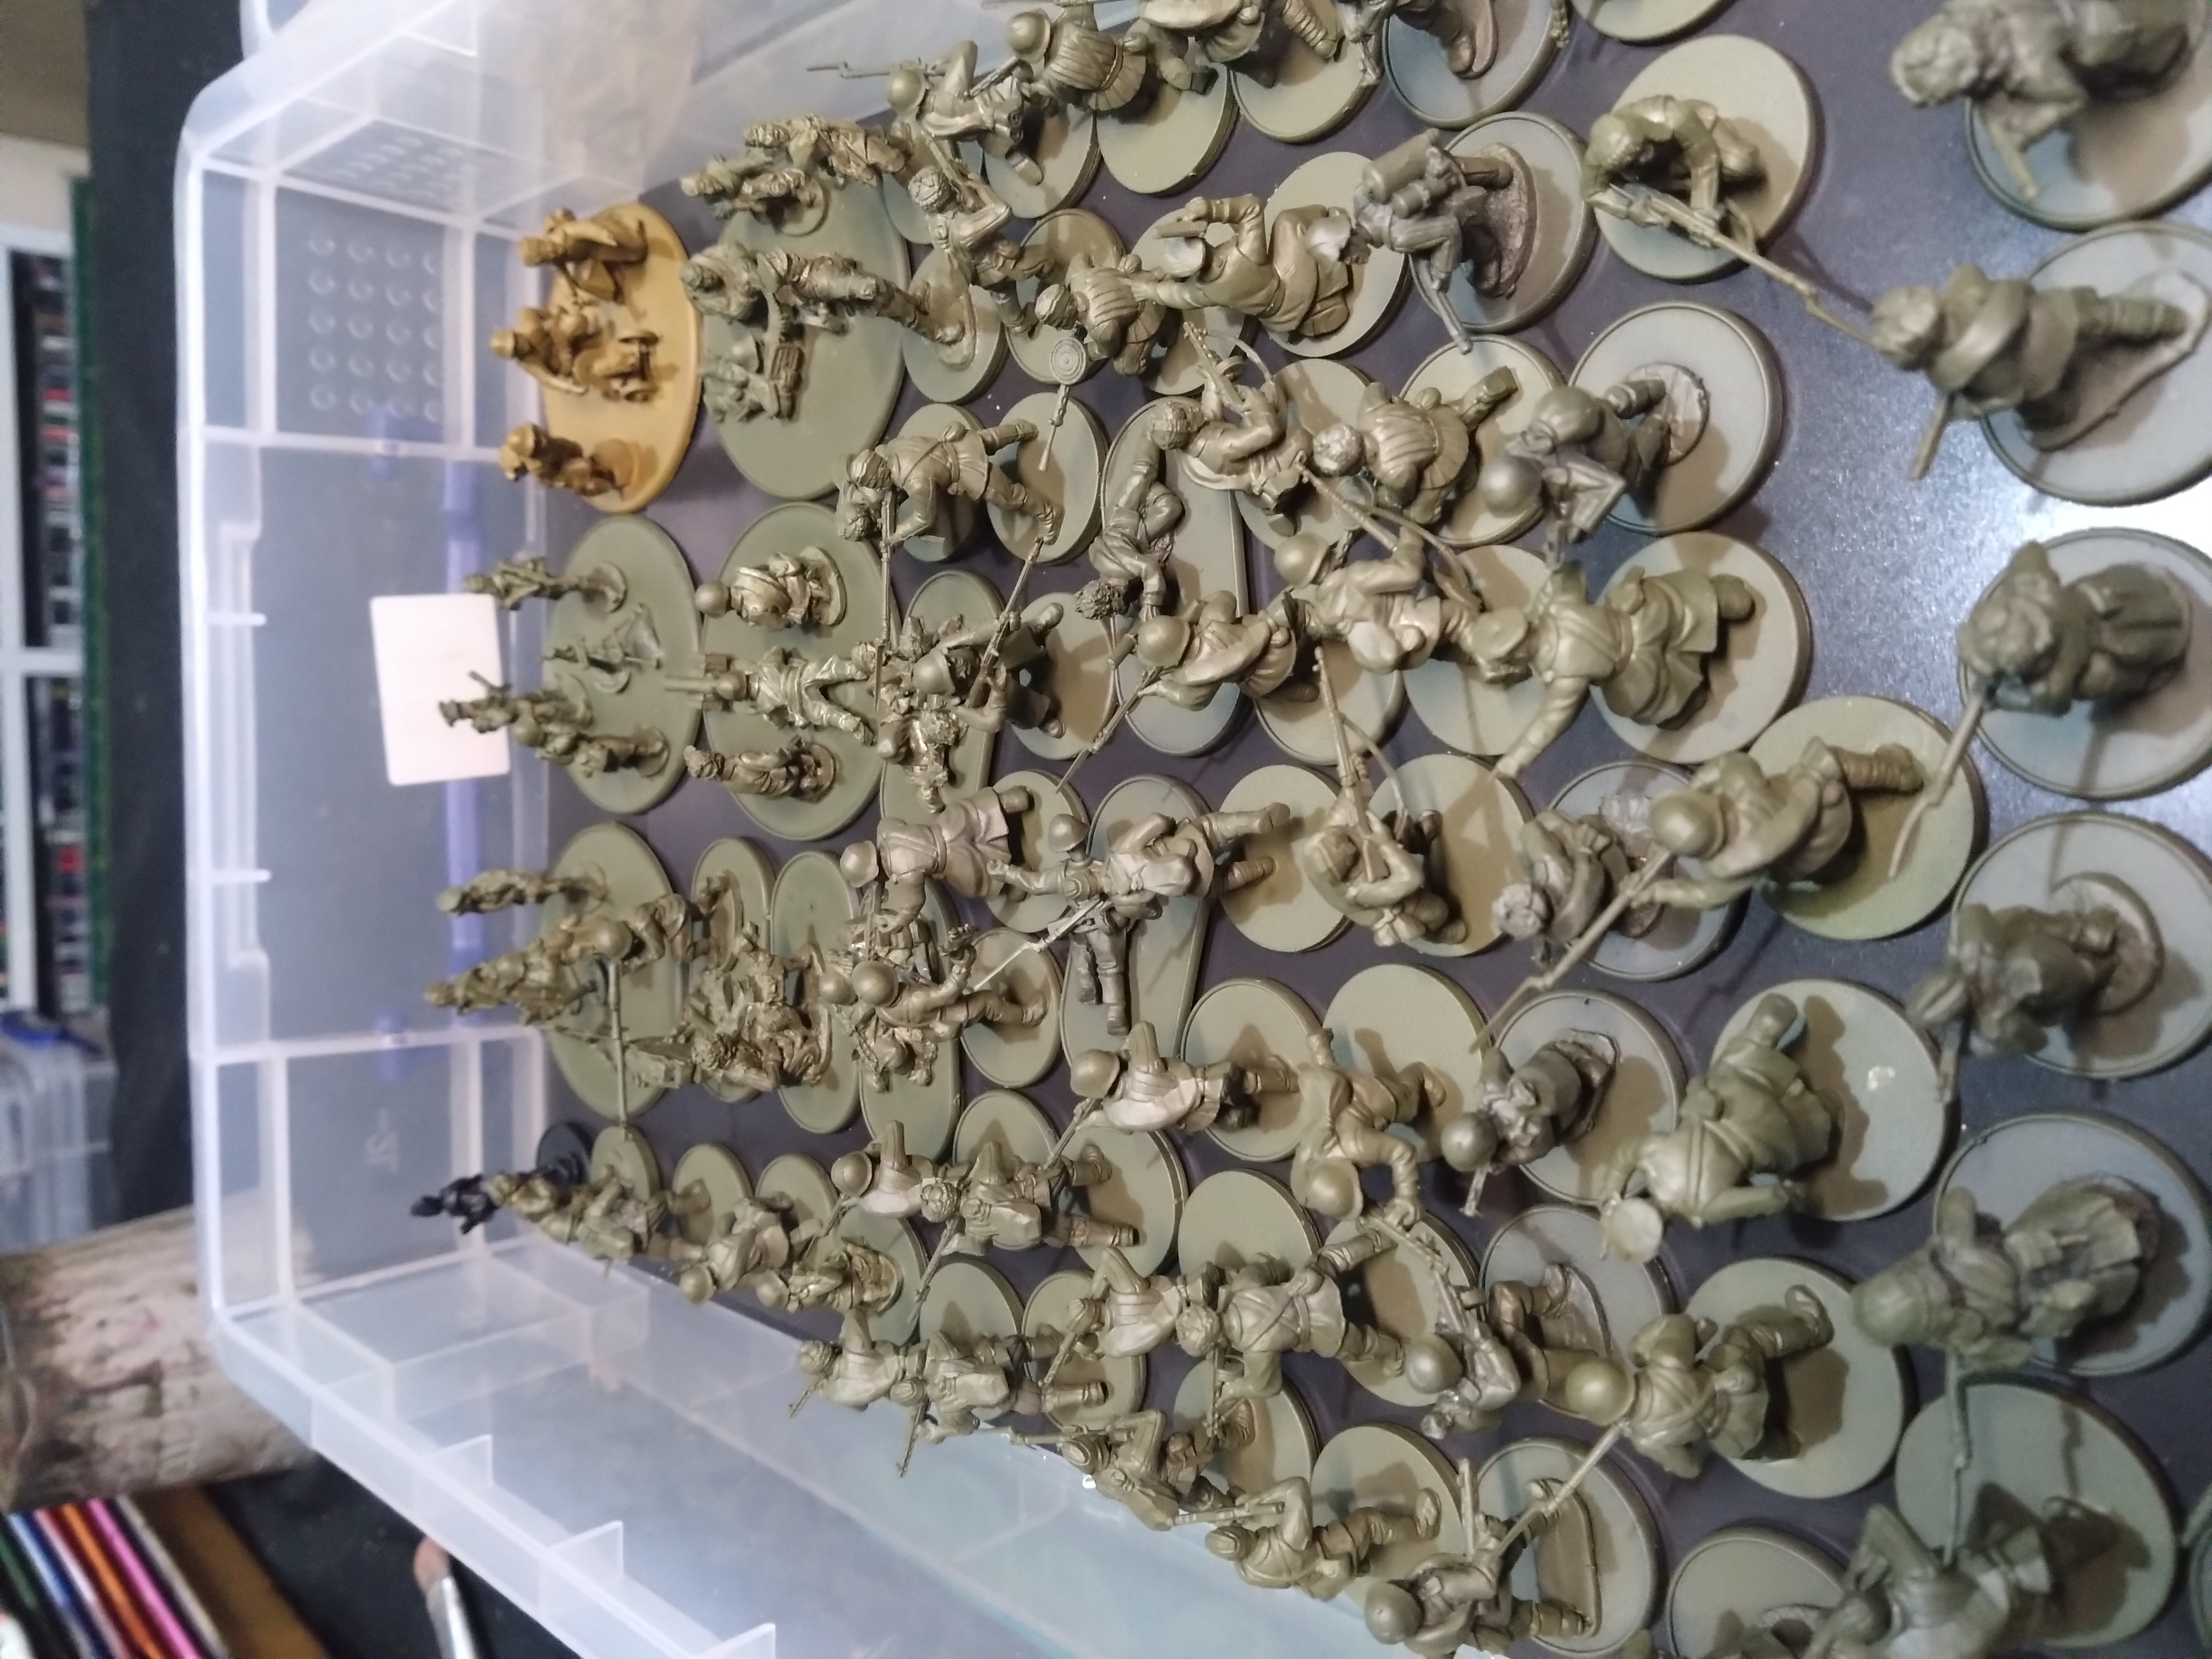
I have been plugging away at these over the last couple of weeks. Real life getting in the way in a distinctly unpleasant way.
But I got the first box over the line. Need a breather before the next one!
Just need to paint the rims and we are done!
Always a good feeling to be on the home straight of a big painting project.

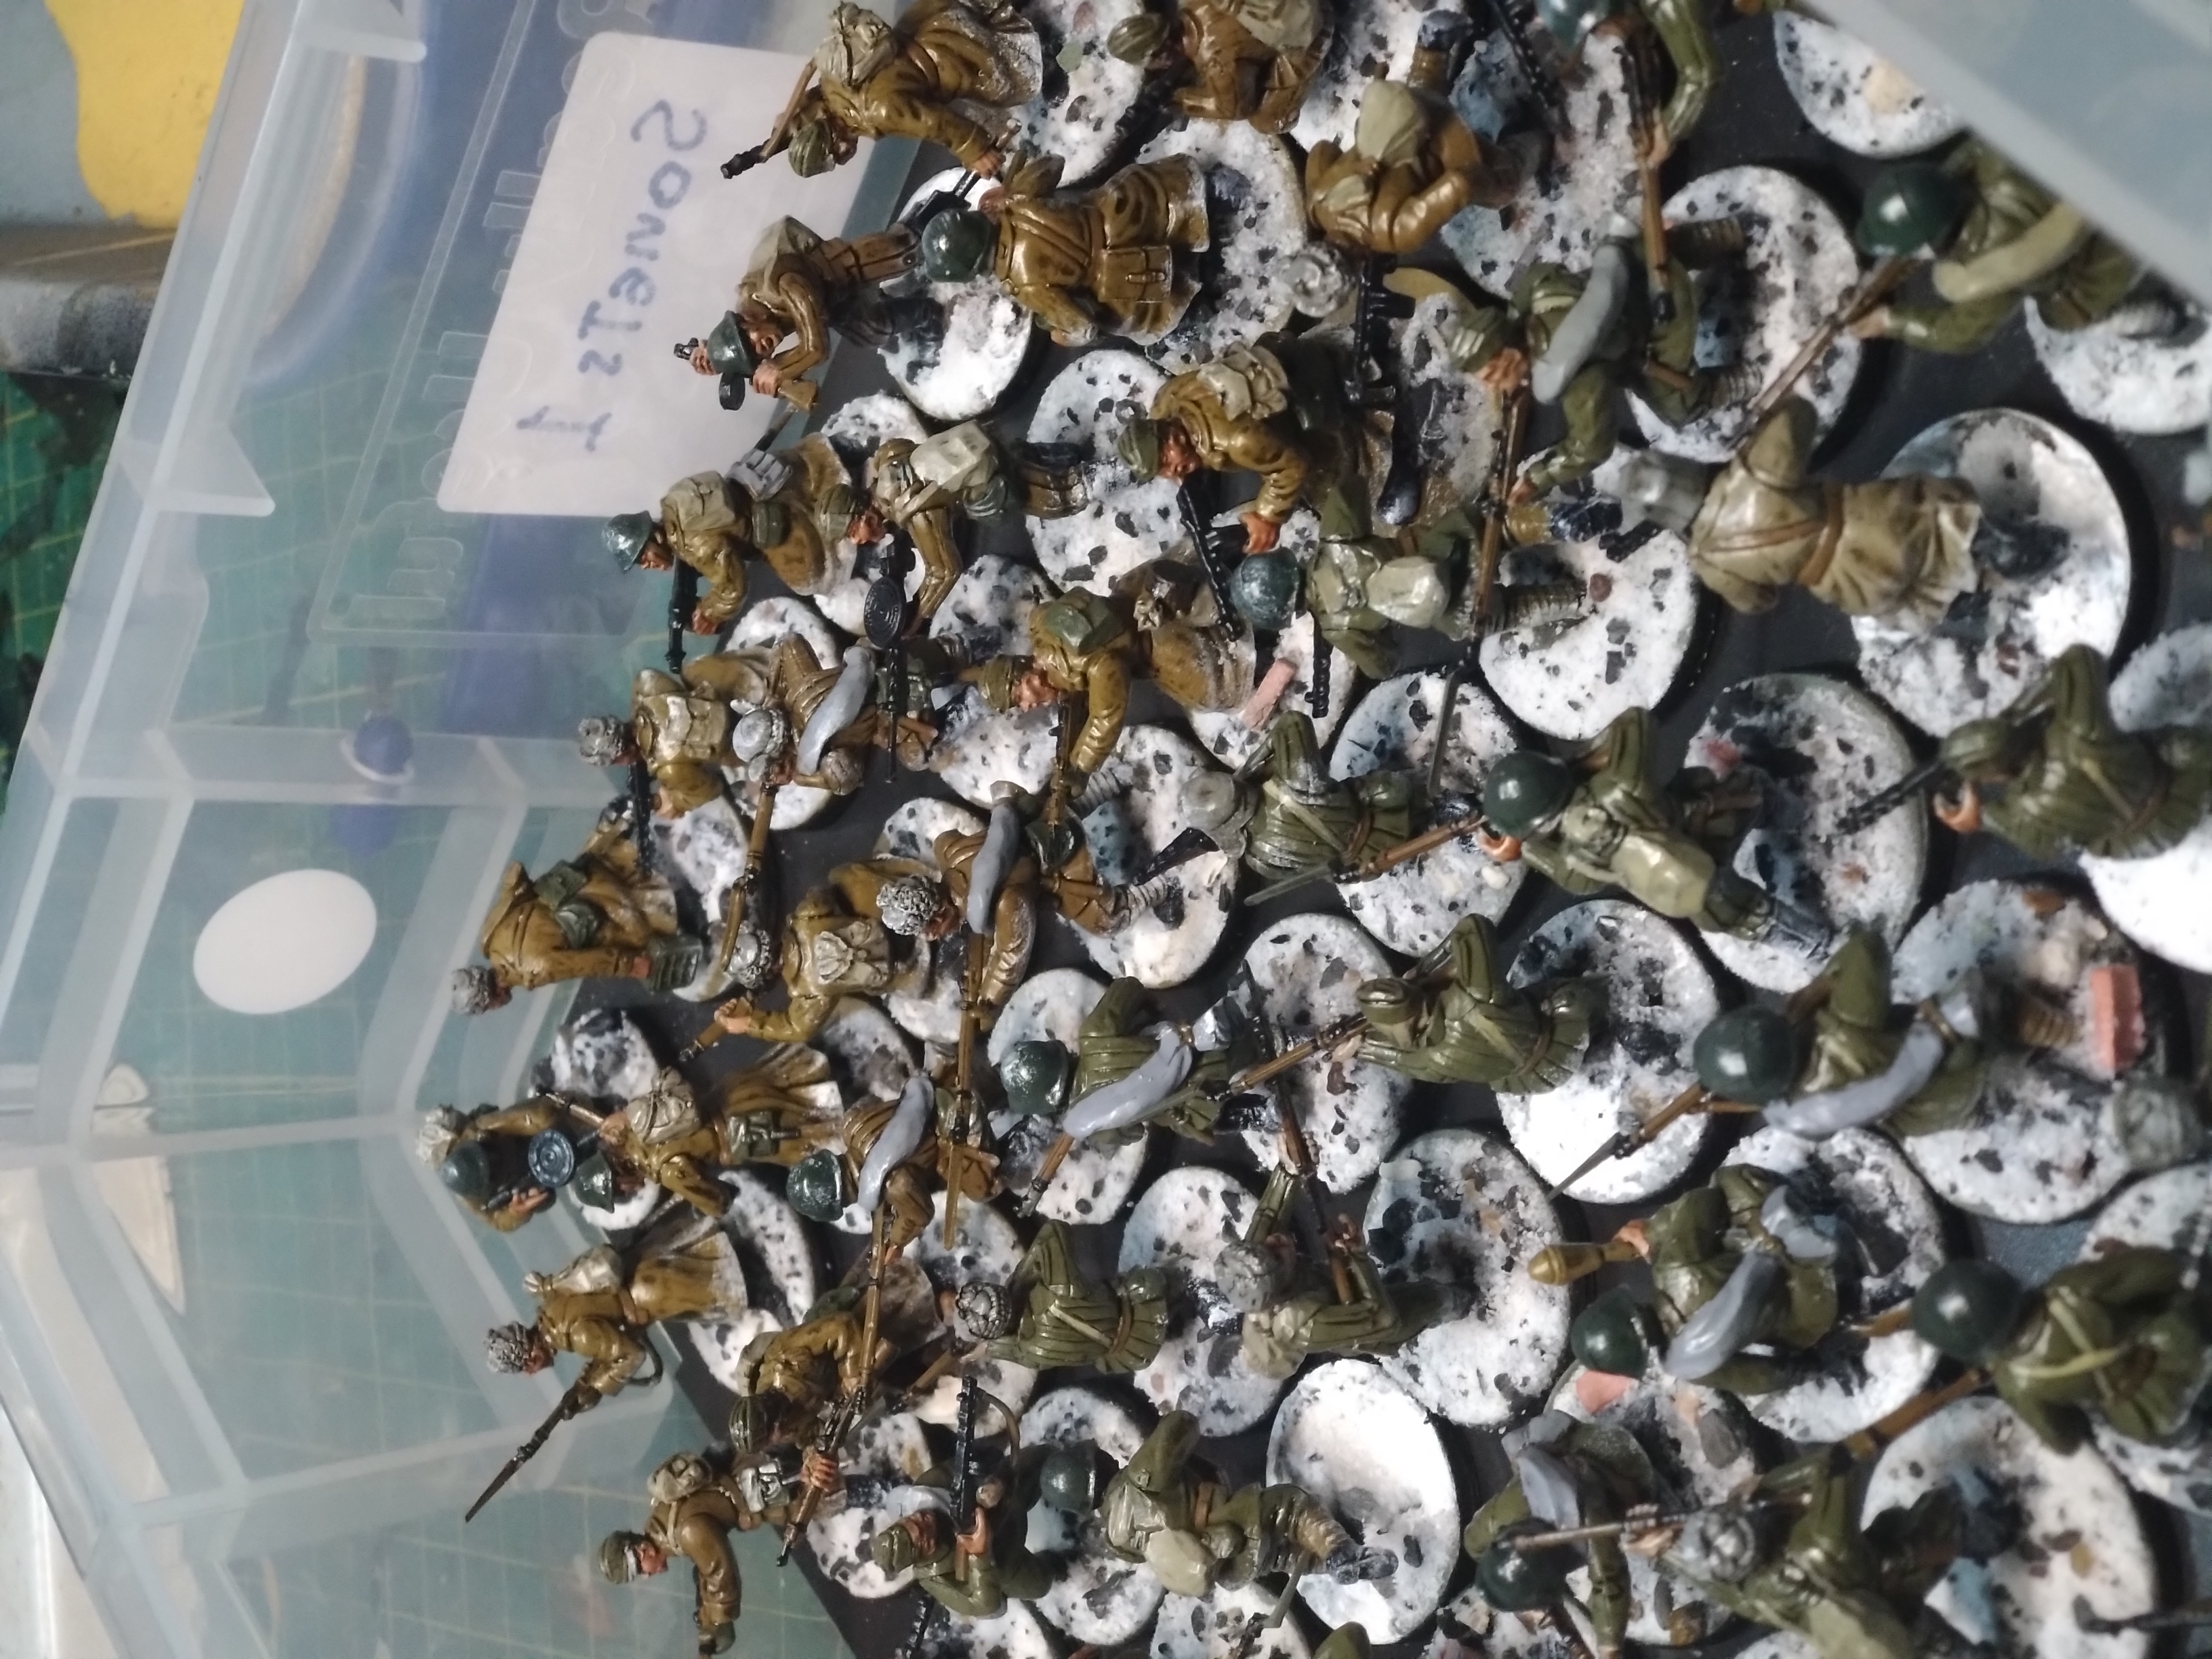
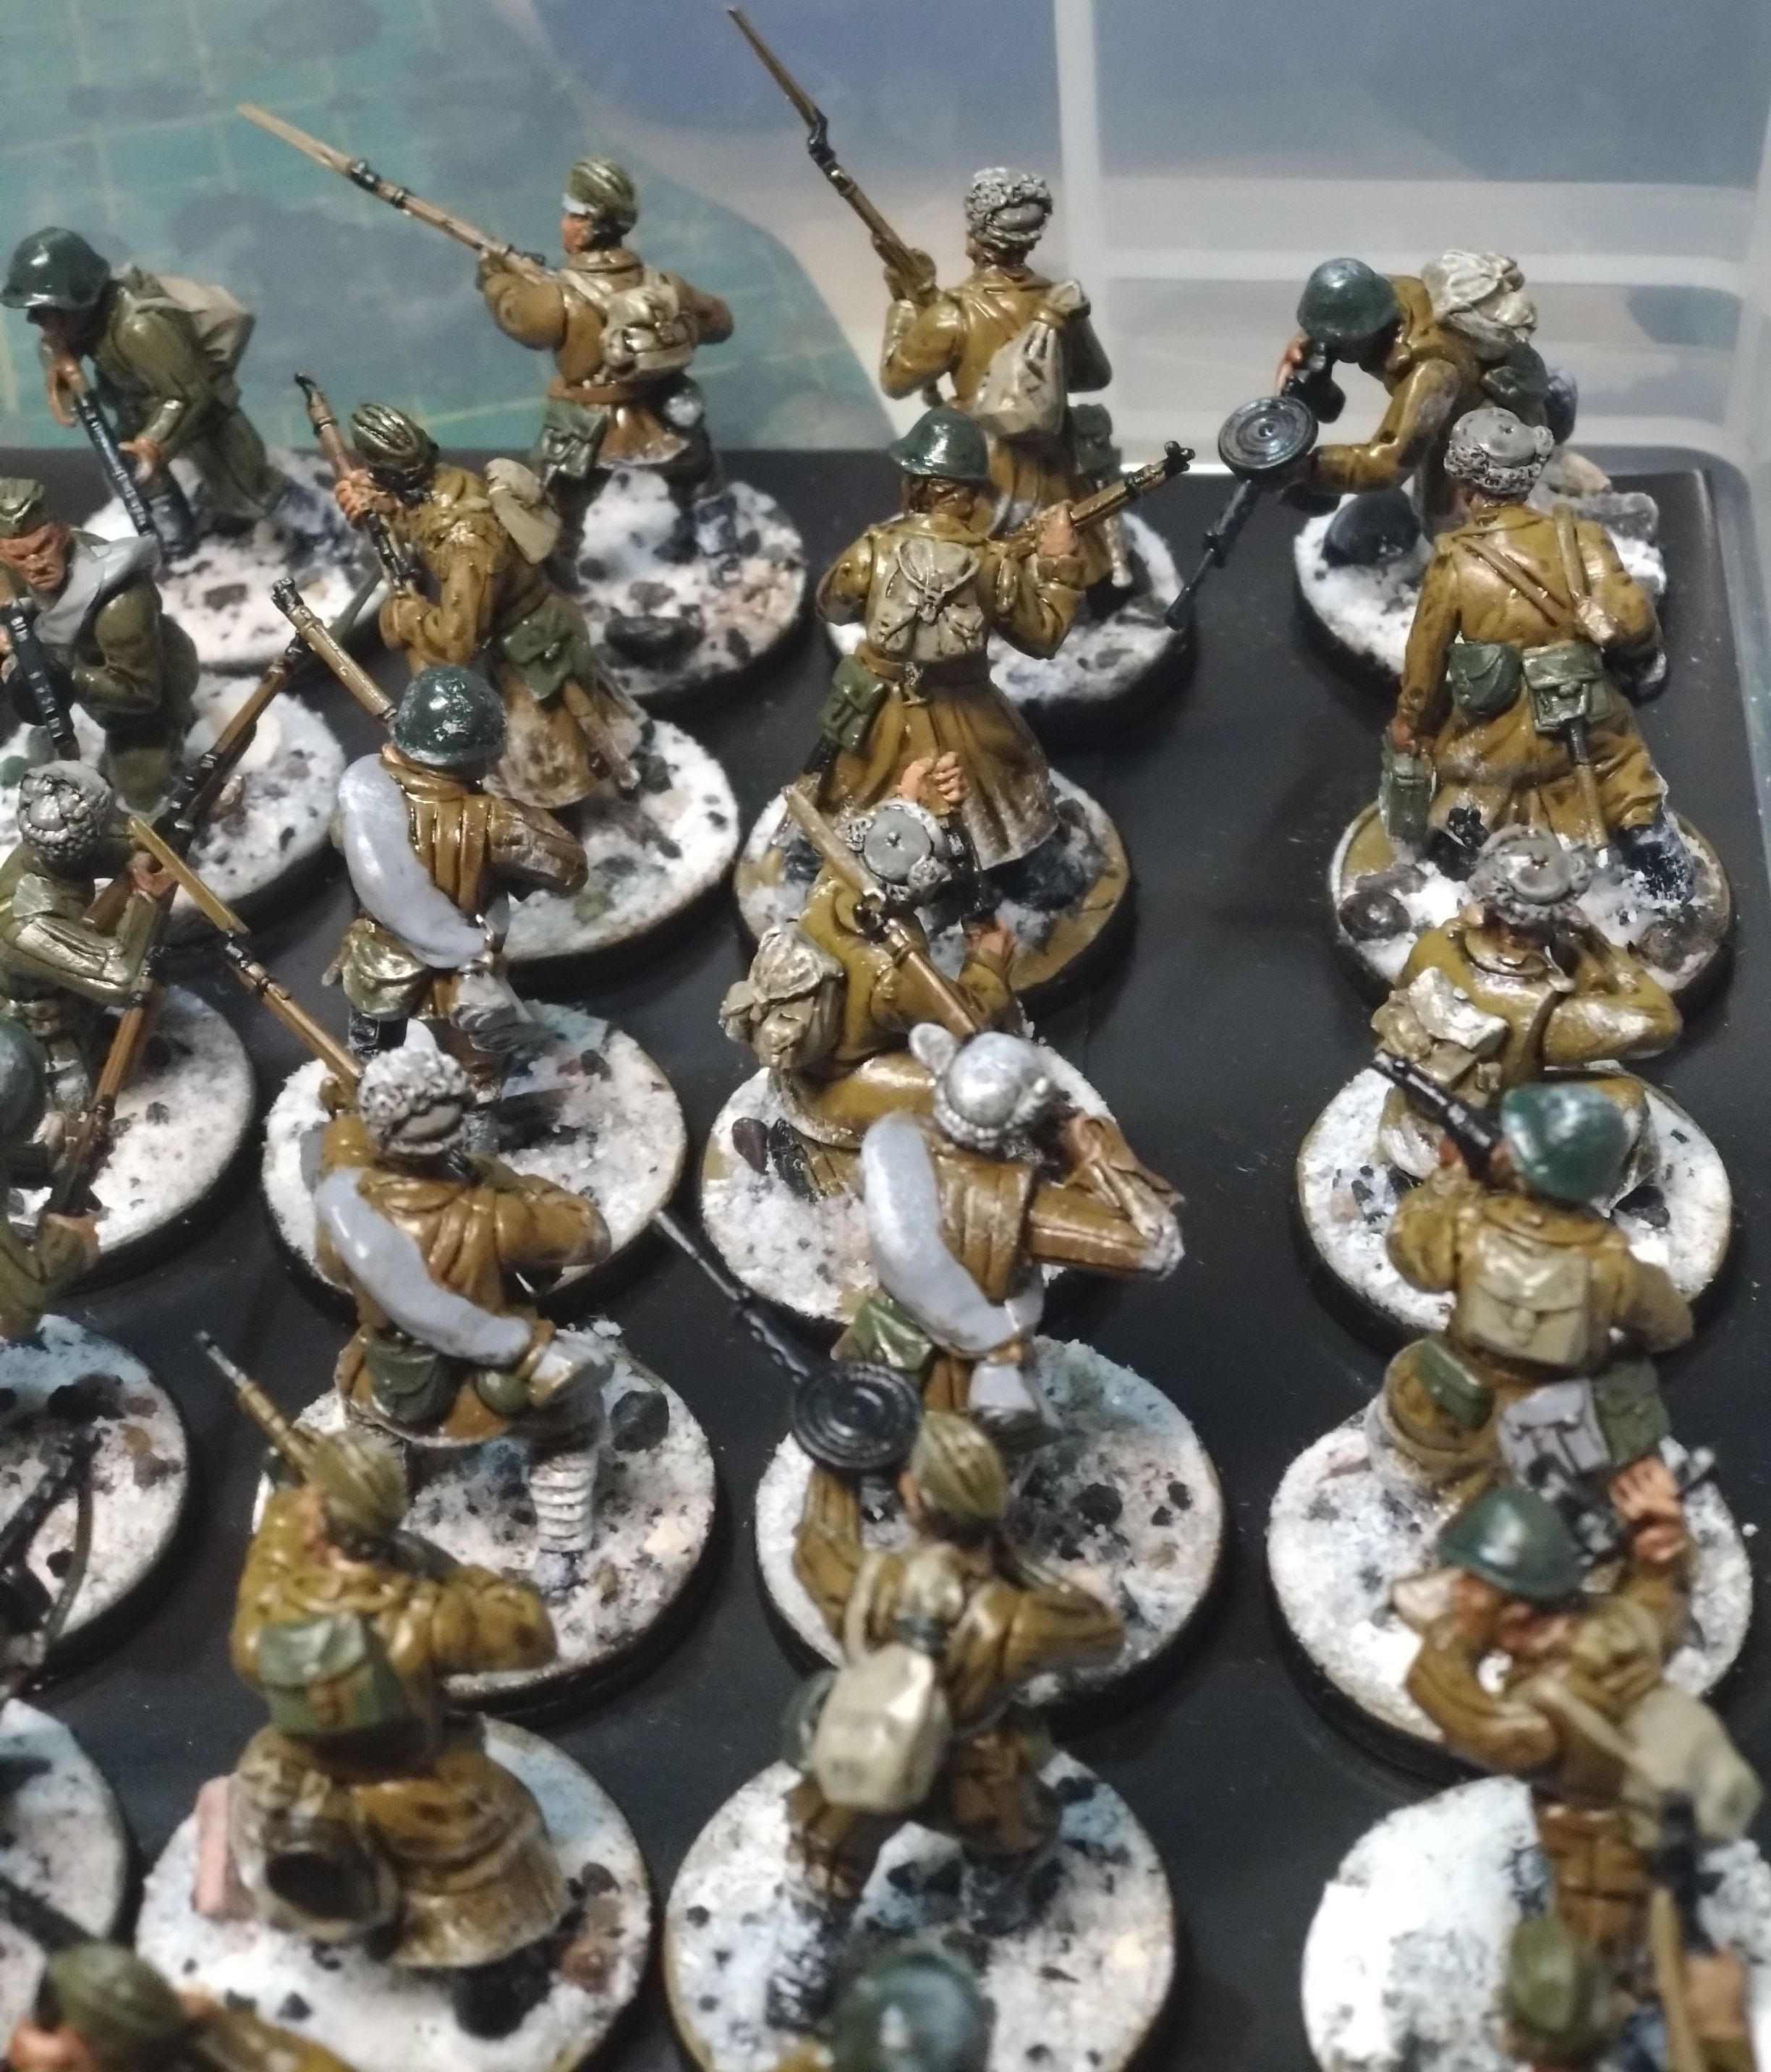
The Russians are coming ( along quite nicely) part 2
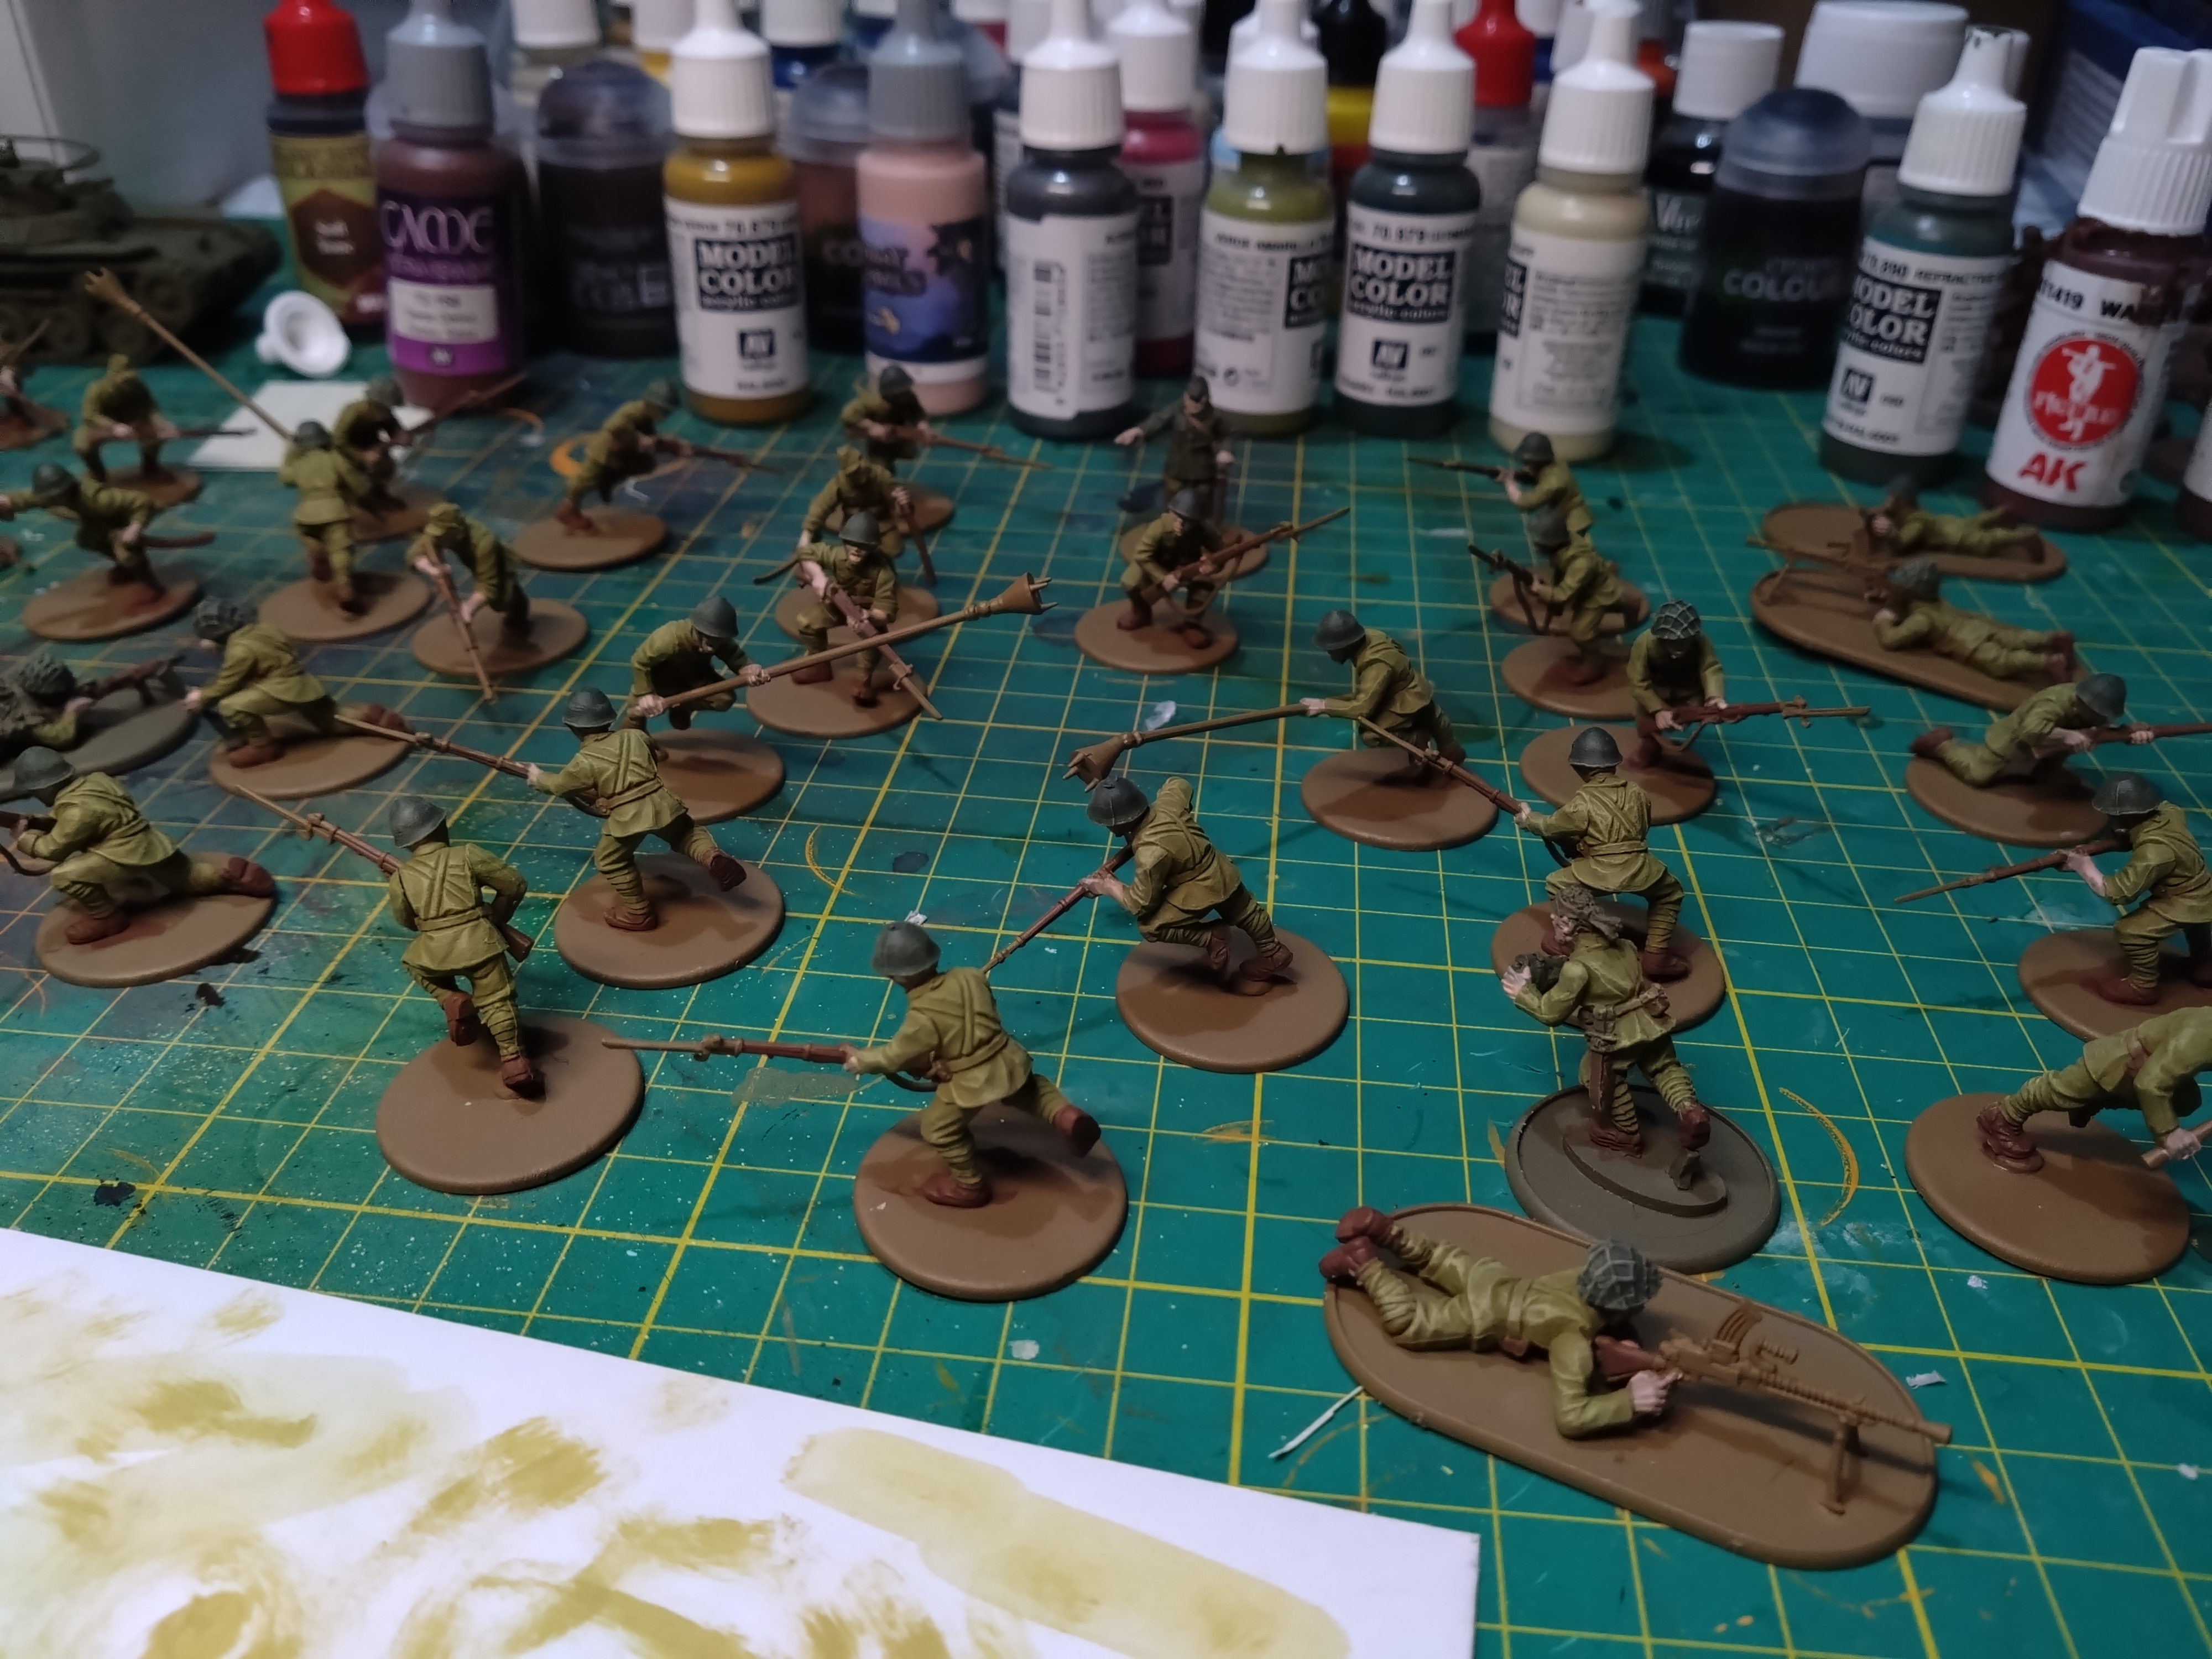
Having finished a full box of infantry, I decided to make a start on the second box which has all the MMG’s and mortar units.
This would prove to be challenging as sticking to one project has proved nigh impossible, I put this down to all the things happening in my non hobby life. But every brush stroke counts, right?
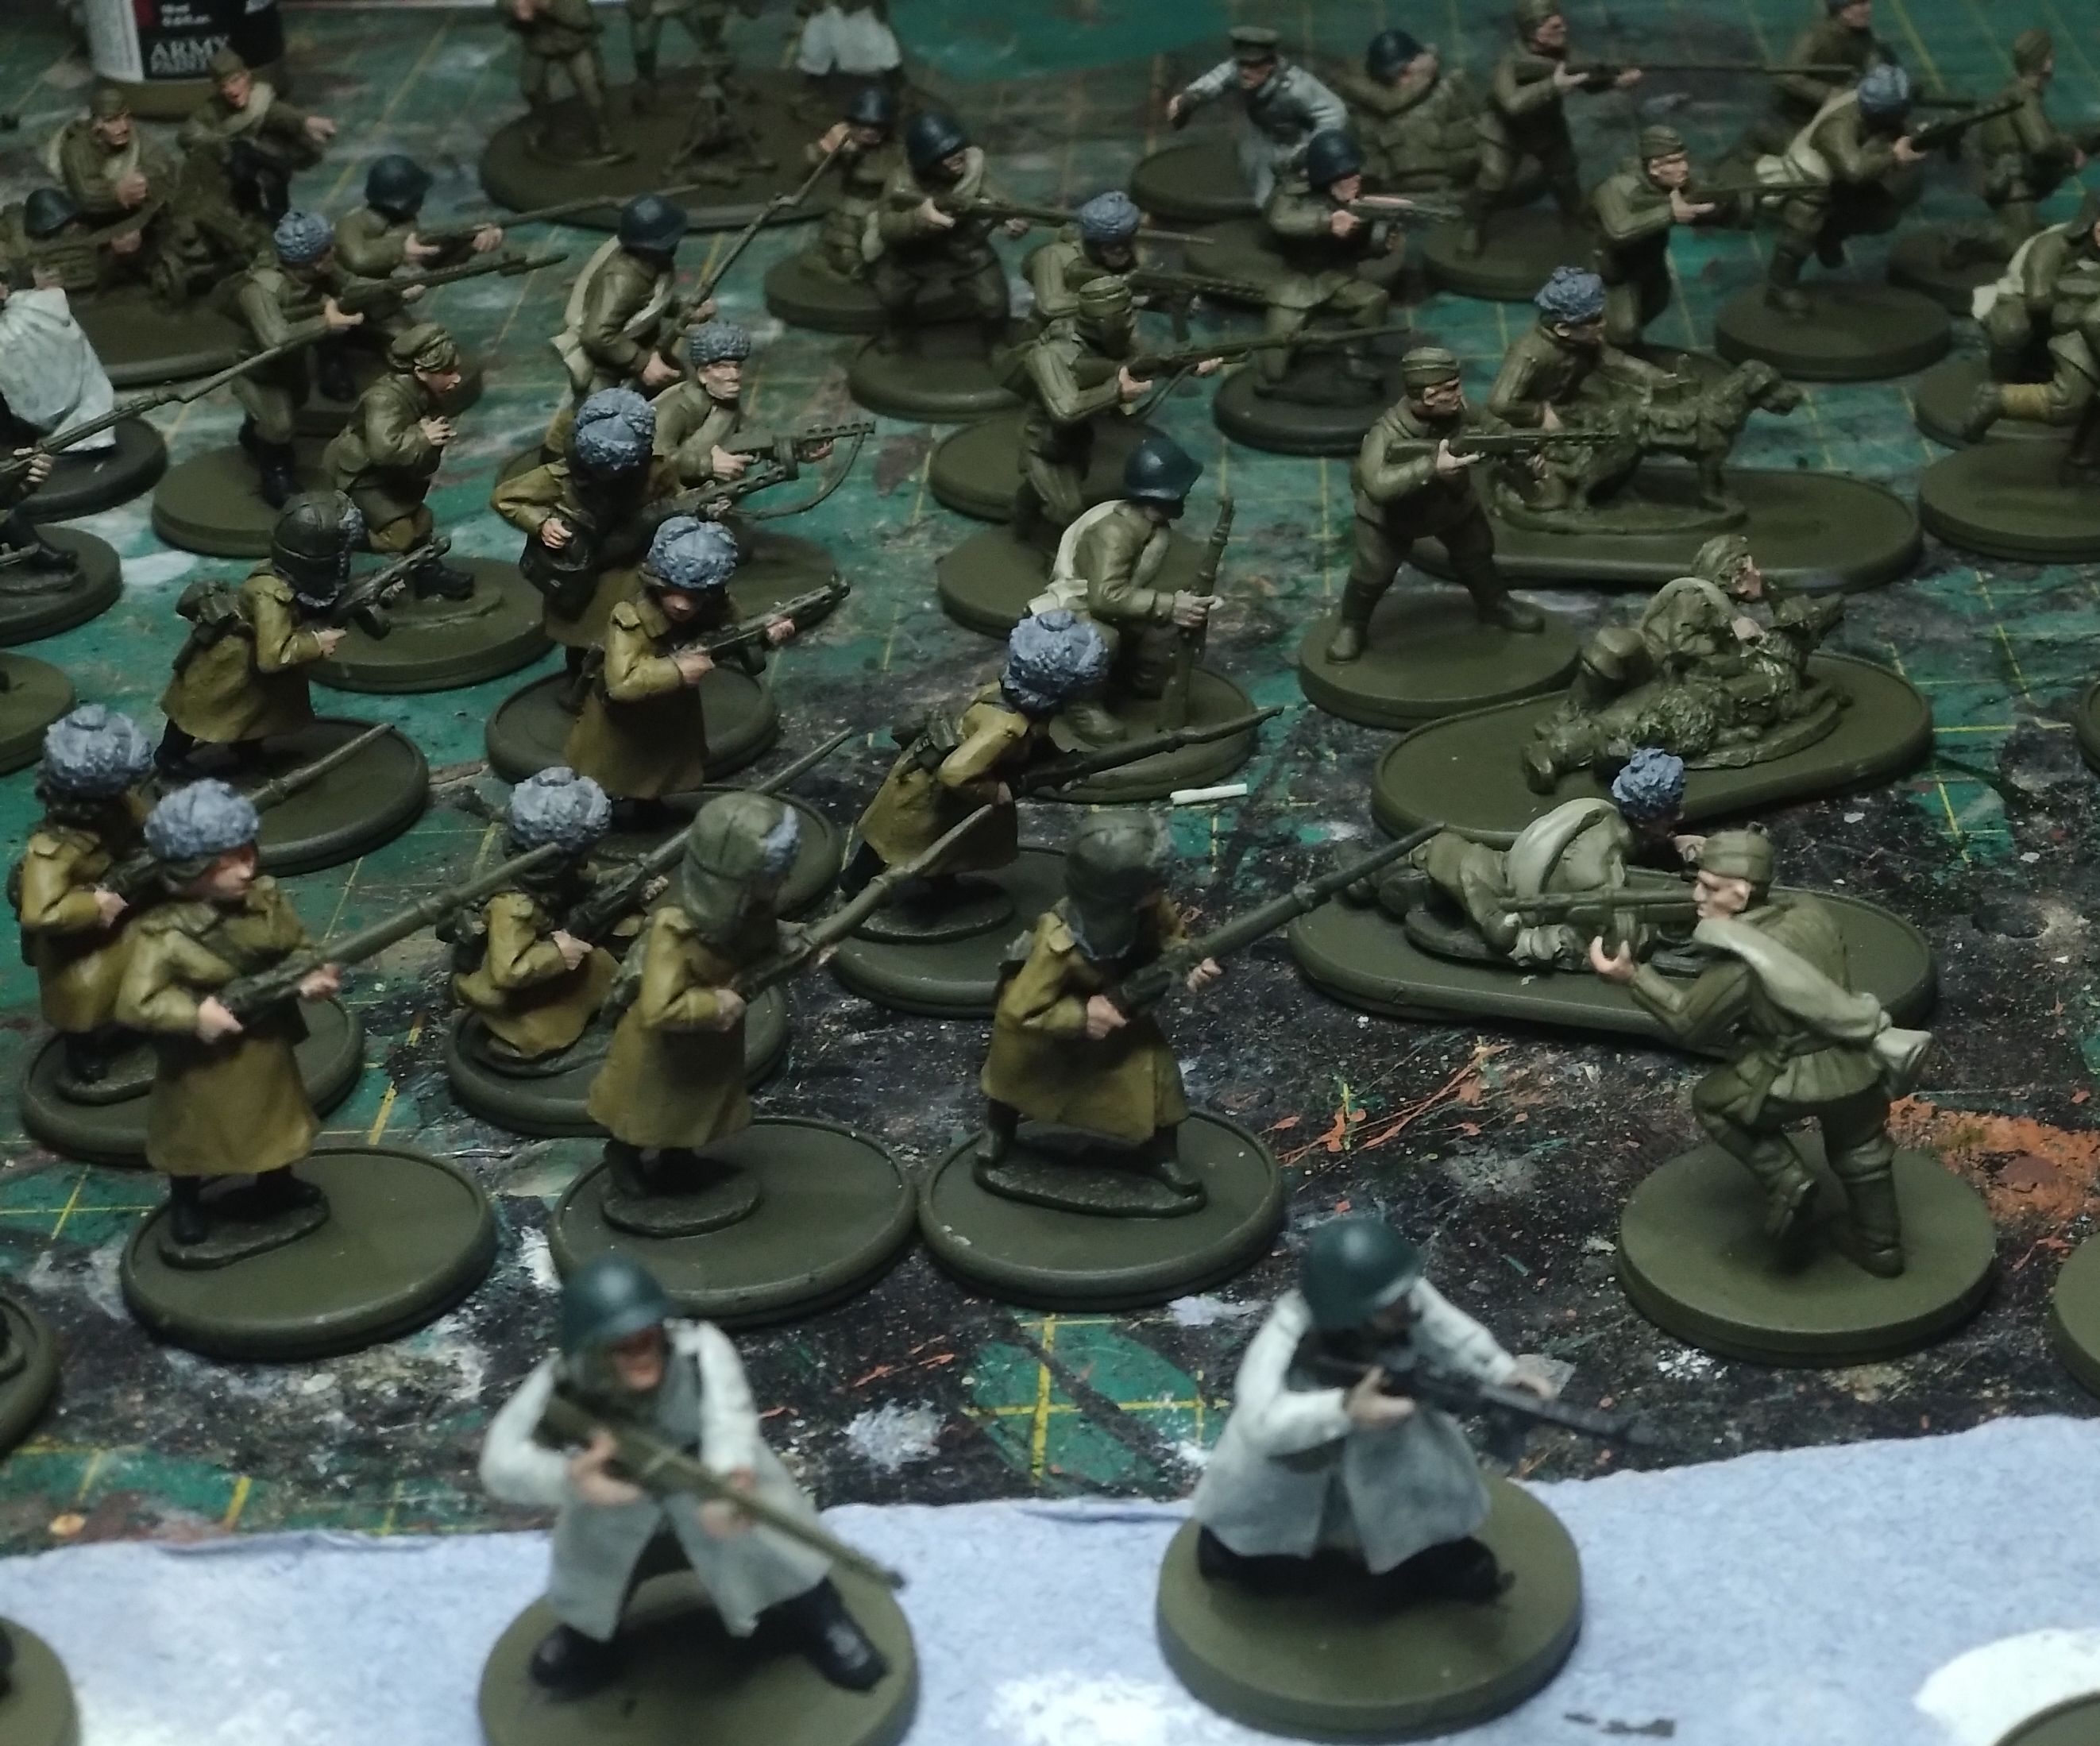
Nothing too spectacular to see being the first pass on an army paint. I decided to use different paints on this set, when mixed in with the first batch it will give a subtle variation in uniforms across the units
The Russians are coming ( along quite nicely)
Having managed to close two projects in a week I decided it was time to have a hobby break. I had previously assembled and primed around 90 Soviet infantry.
I decided to have another build session and put together 56 more and some MNGs and Mortars
I decided not to bother with the laying down pose which leaves 12 sprues to go or 84 minis to assemble.
I have a lot of Soviets.
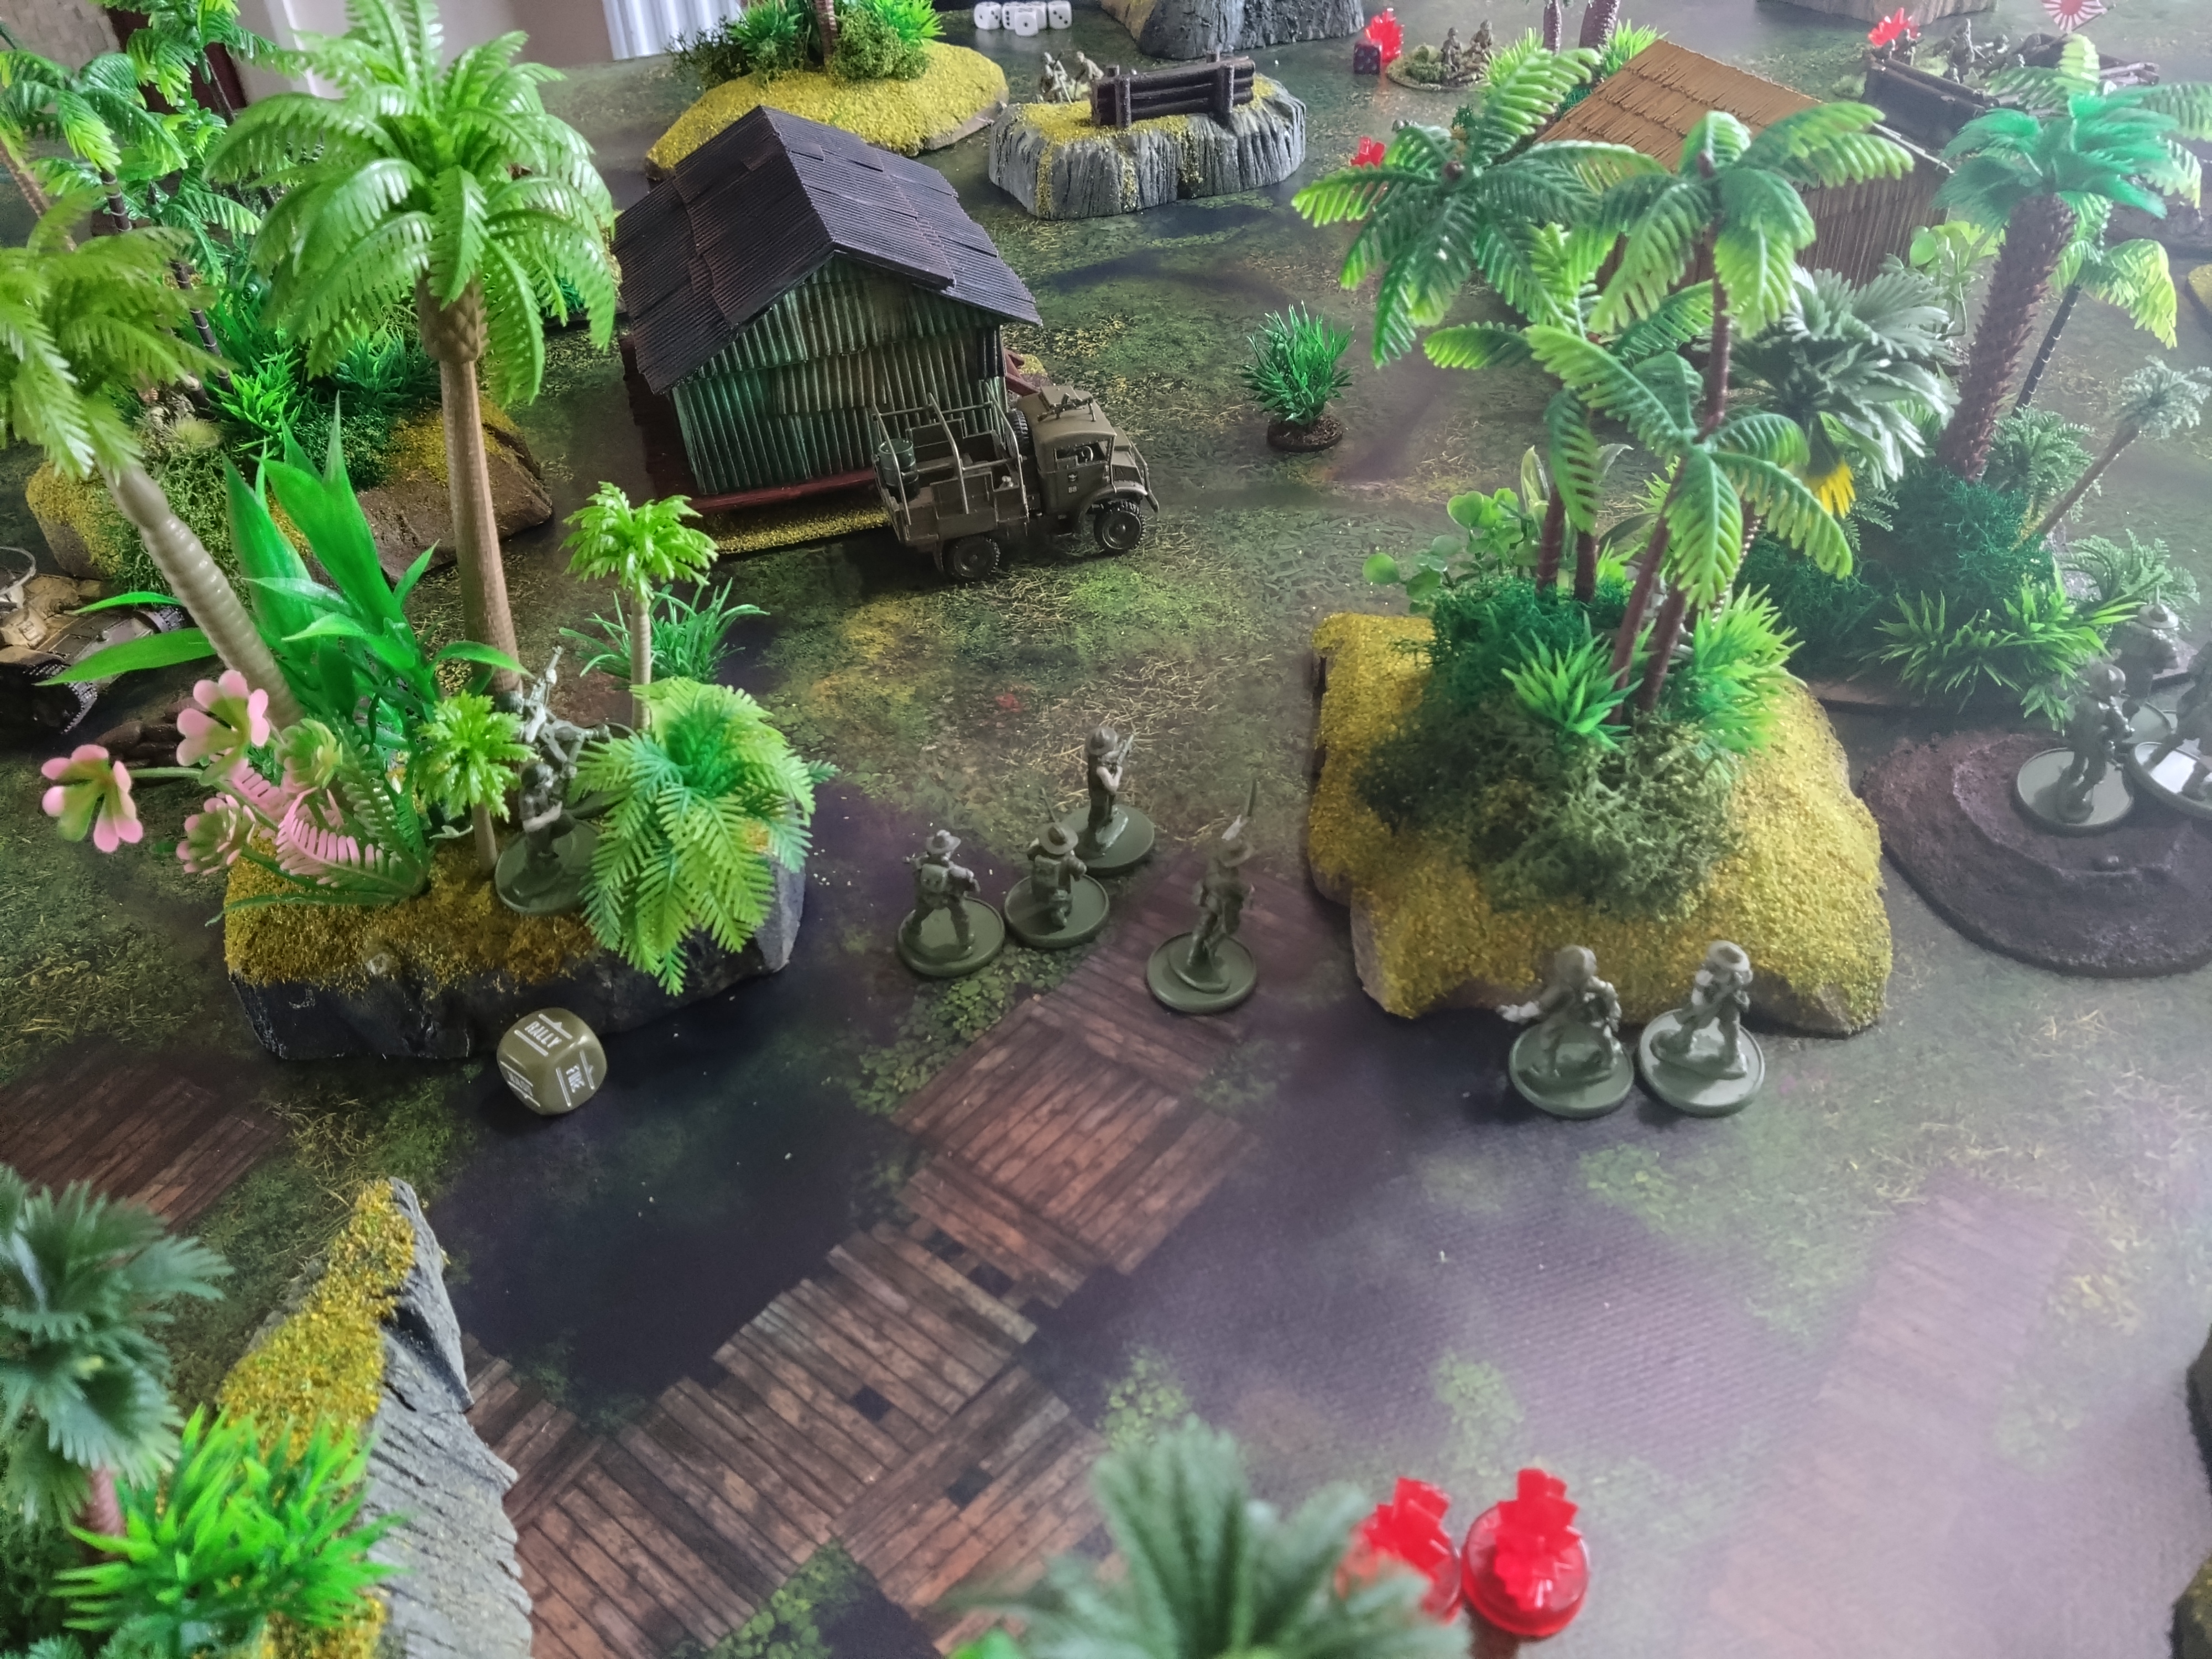
Rumble in the jungle.
So, having painted my friends army, we were keen to put them to the test. We agreed 750 points and then threw in a tank each (he wanted to try his anti tank nutters).
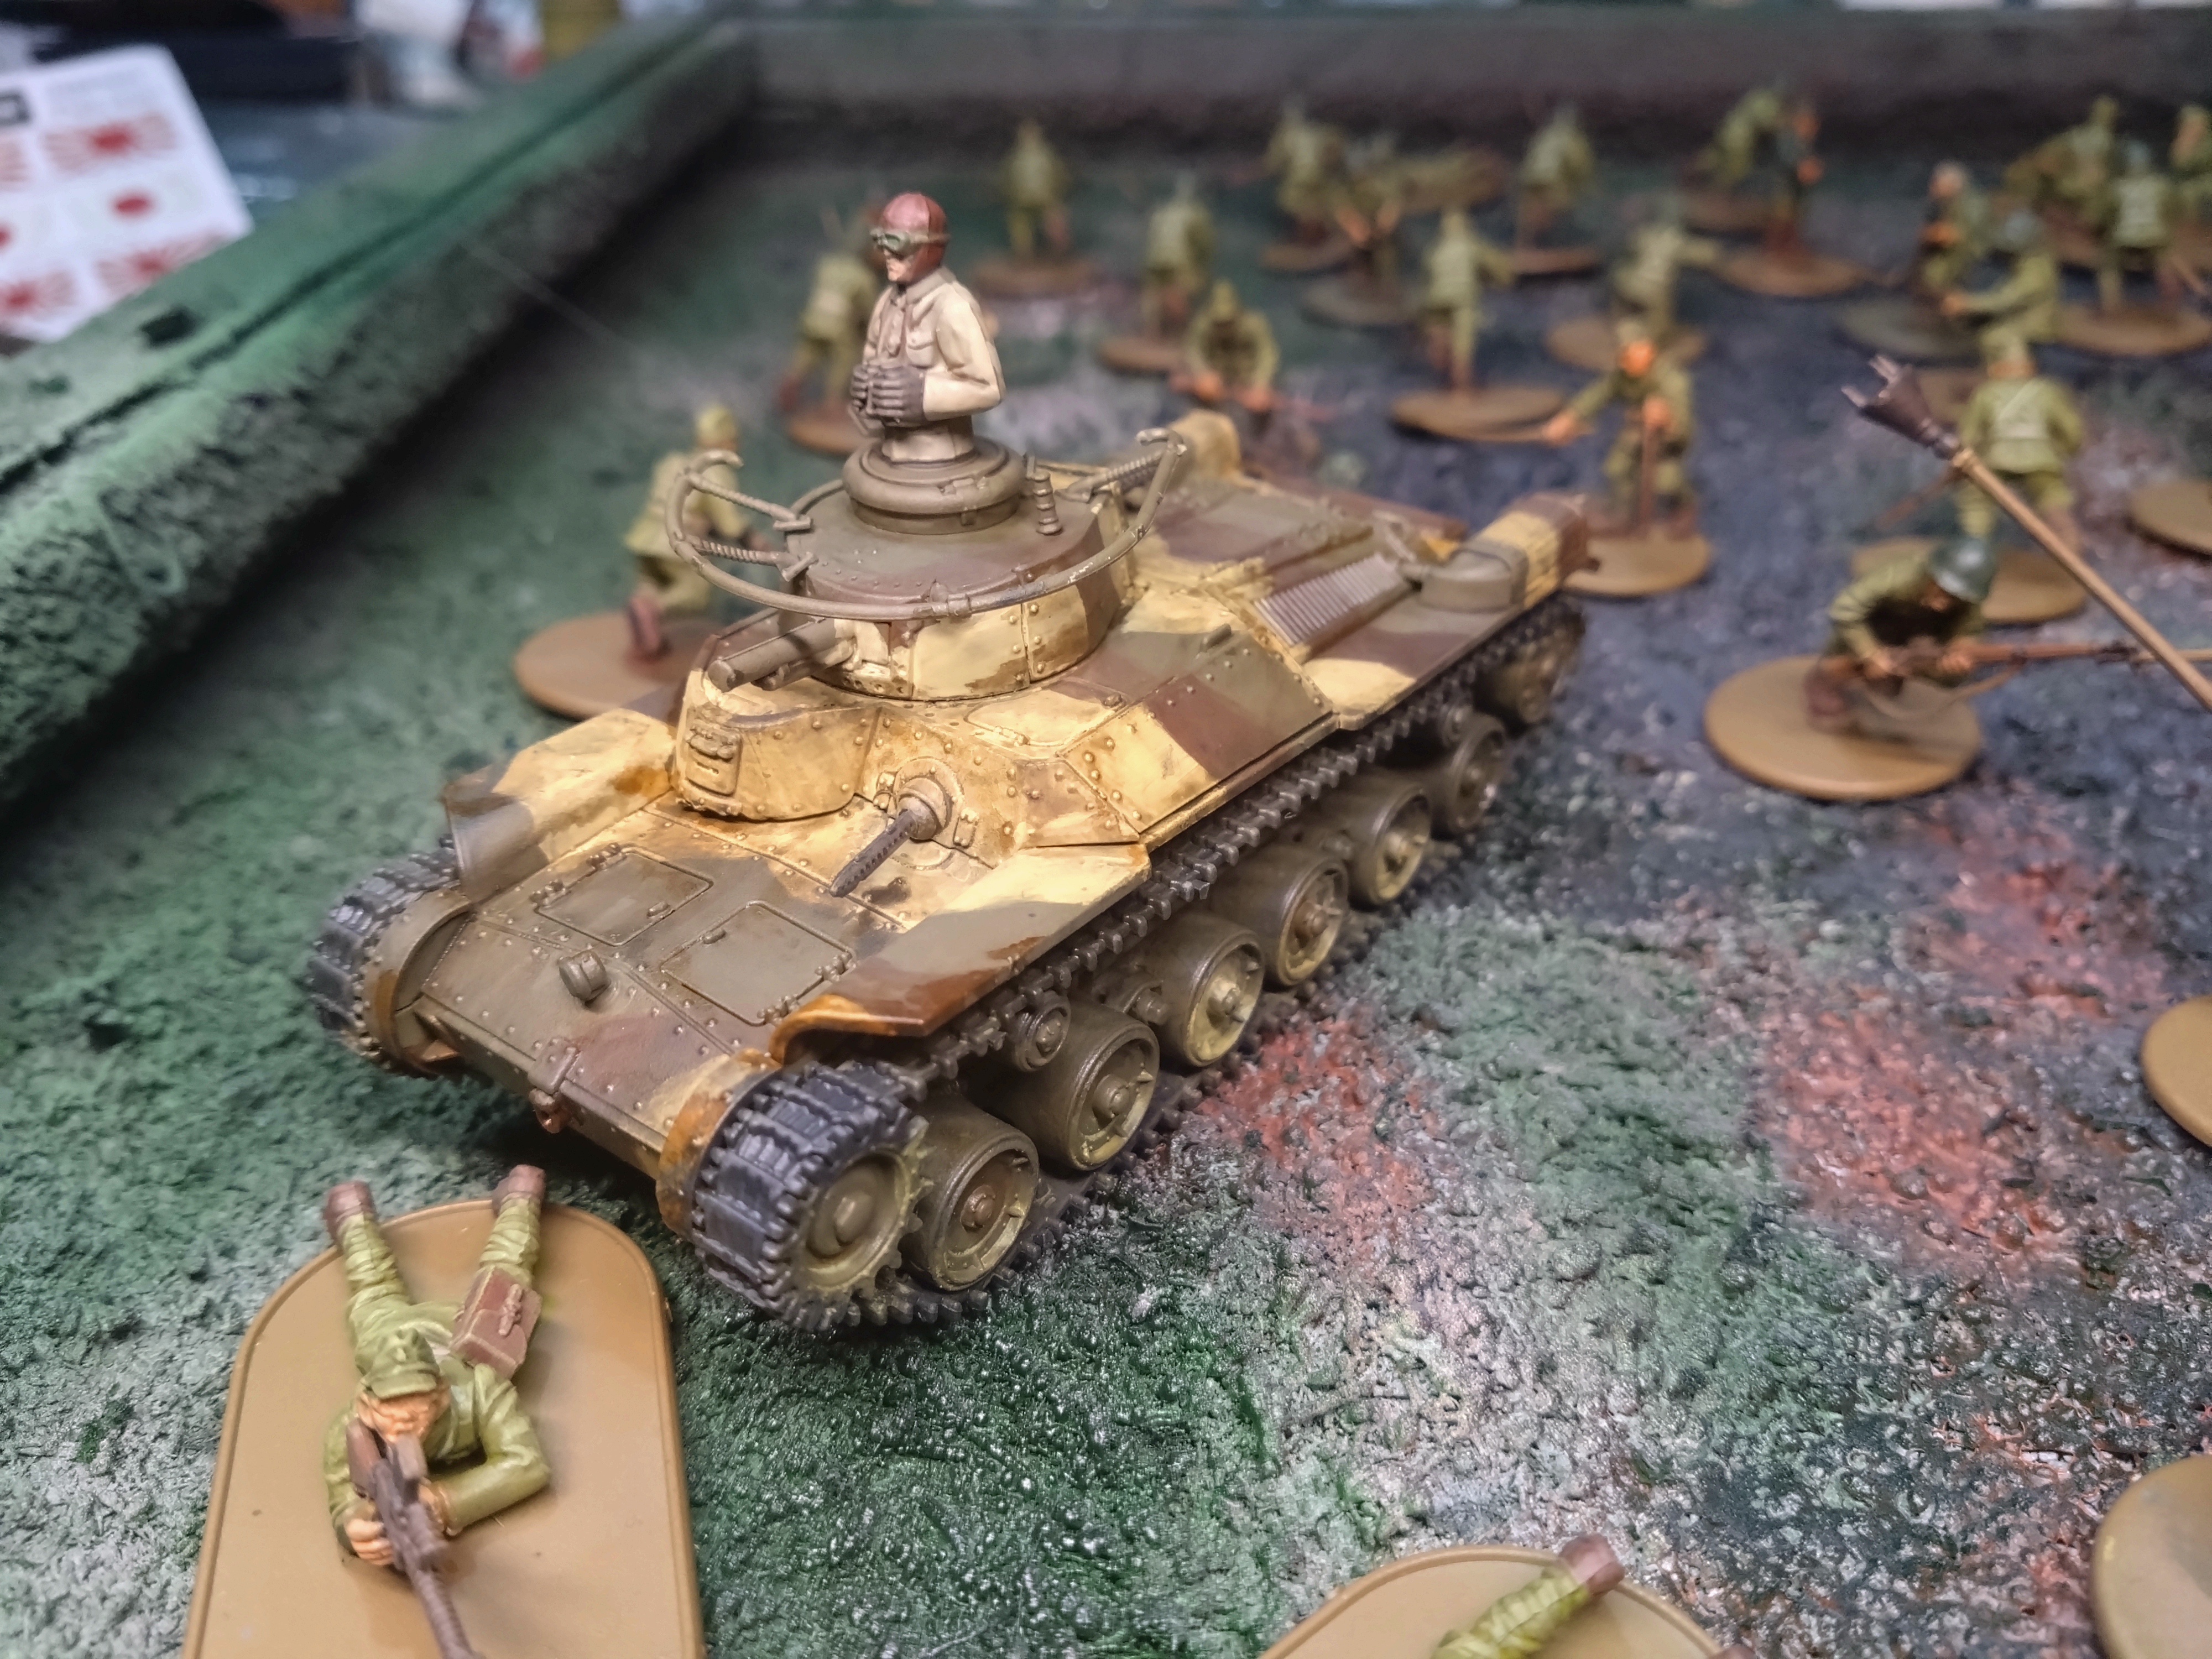
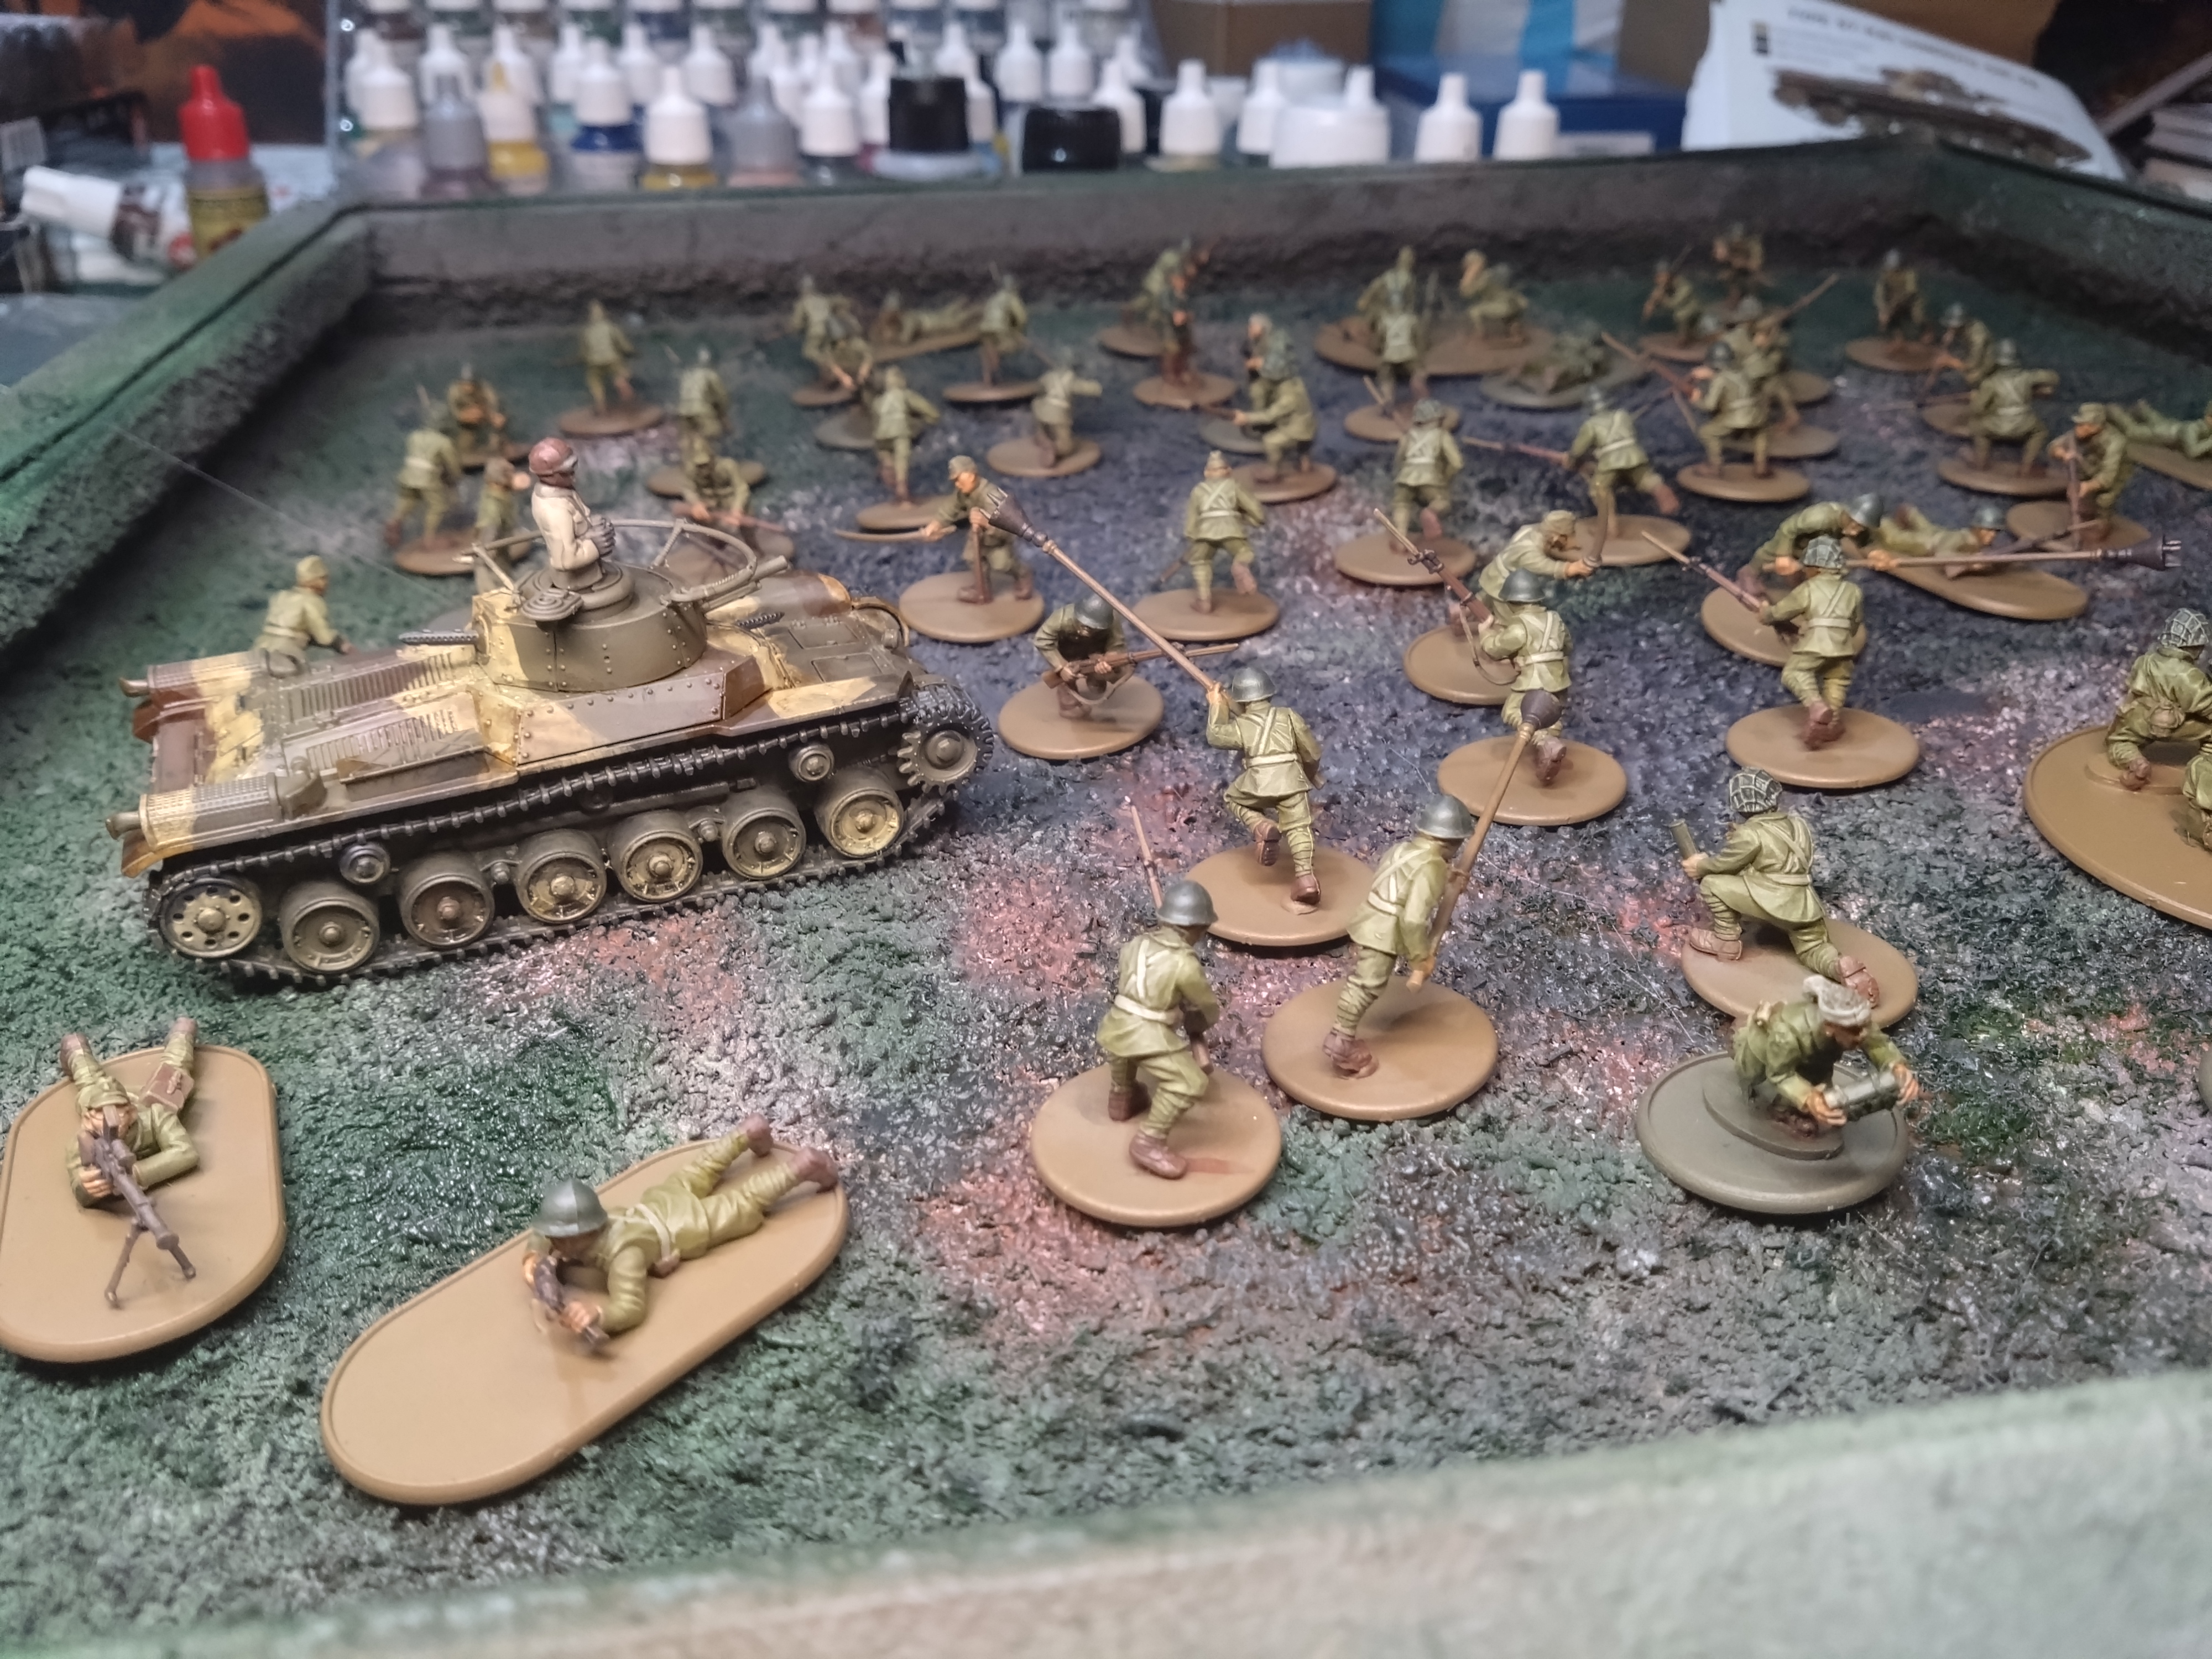
I took a Matilda, he brought his Chi Ha.
This was a lot more complex than the handful of European games as both sides had lots of special rules.
A lot of tricks were missed.
Also the first game on a 4×4 layout, which made it quite an intense game (good though)
 The remnants of an Australian infantry unit push towards the outpost in the middle of the map
I failed to exploit some key Australian strengths with deployment, you really need to go through the book and create a bit of a checklist.
Australian forward units have aggressive patrolling, which create exclusion zones around them, this can impact opposition spotters and snipers. So I recommend placing them nice and early, maybe making a ‘safe’ corridor for vehicles.
Place your armour next to infantry and their detection of hidden units doubles in range, I would try to place them late on in deployment to foil the suicide AT units that can hide.
Remembering these can help put your opponent on the back foot, or at least in a sub optimal deployment.
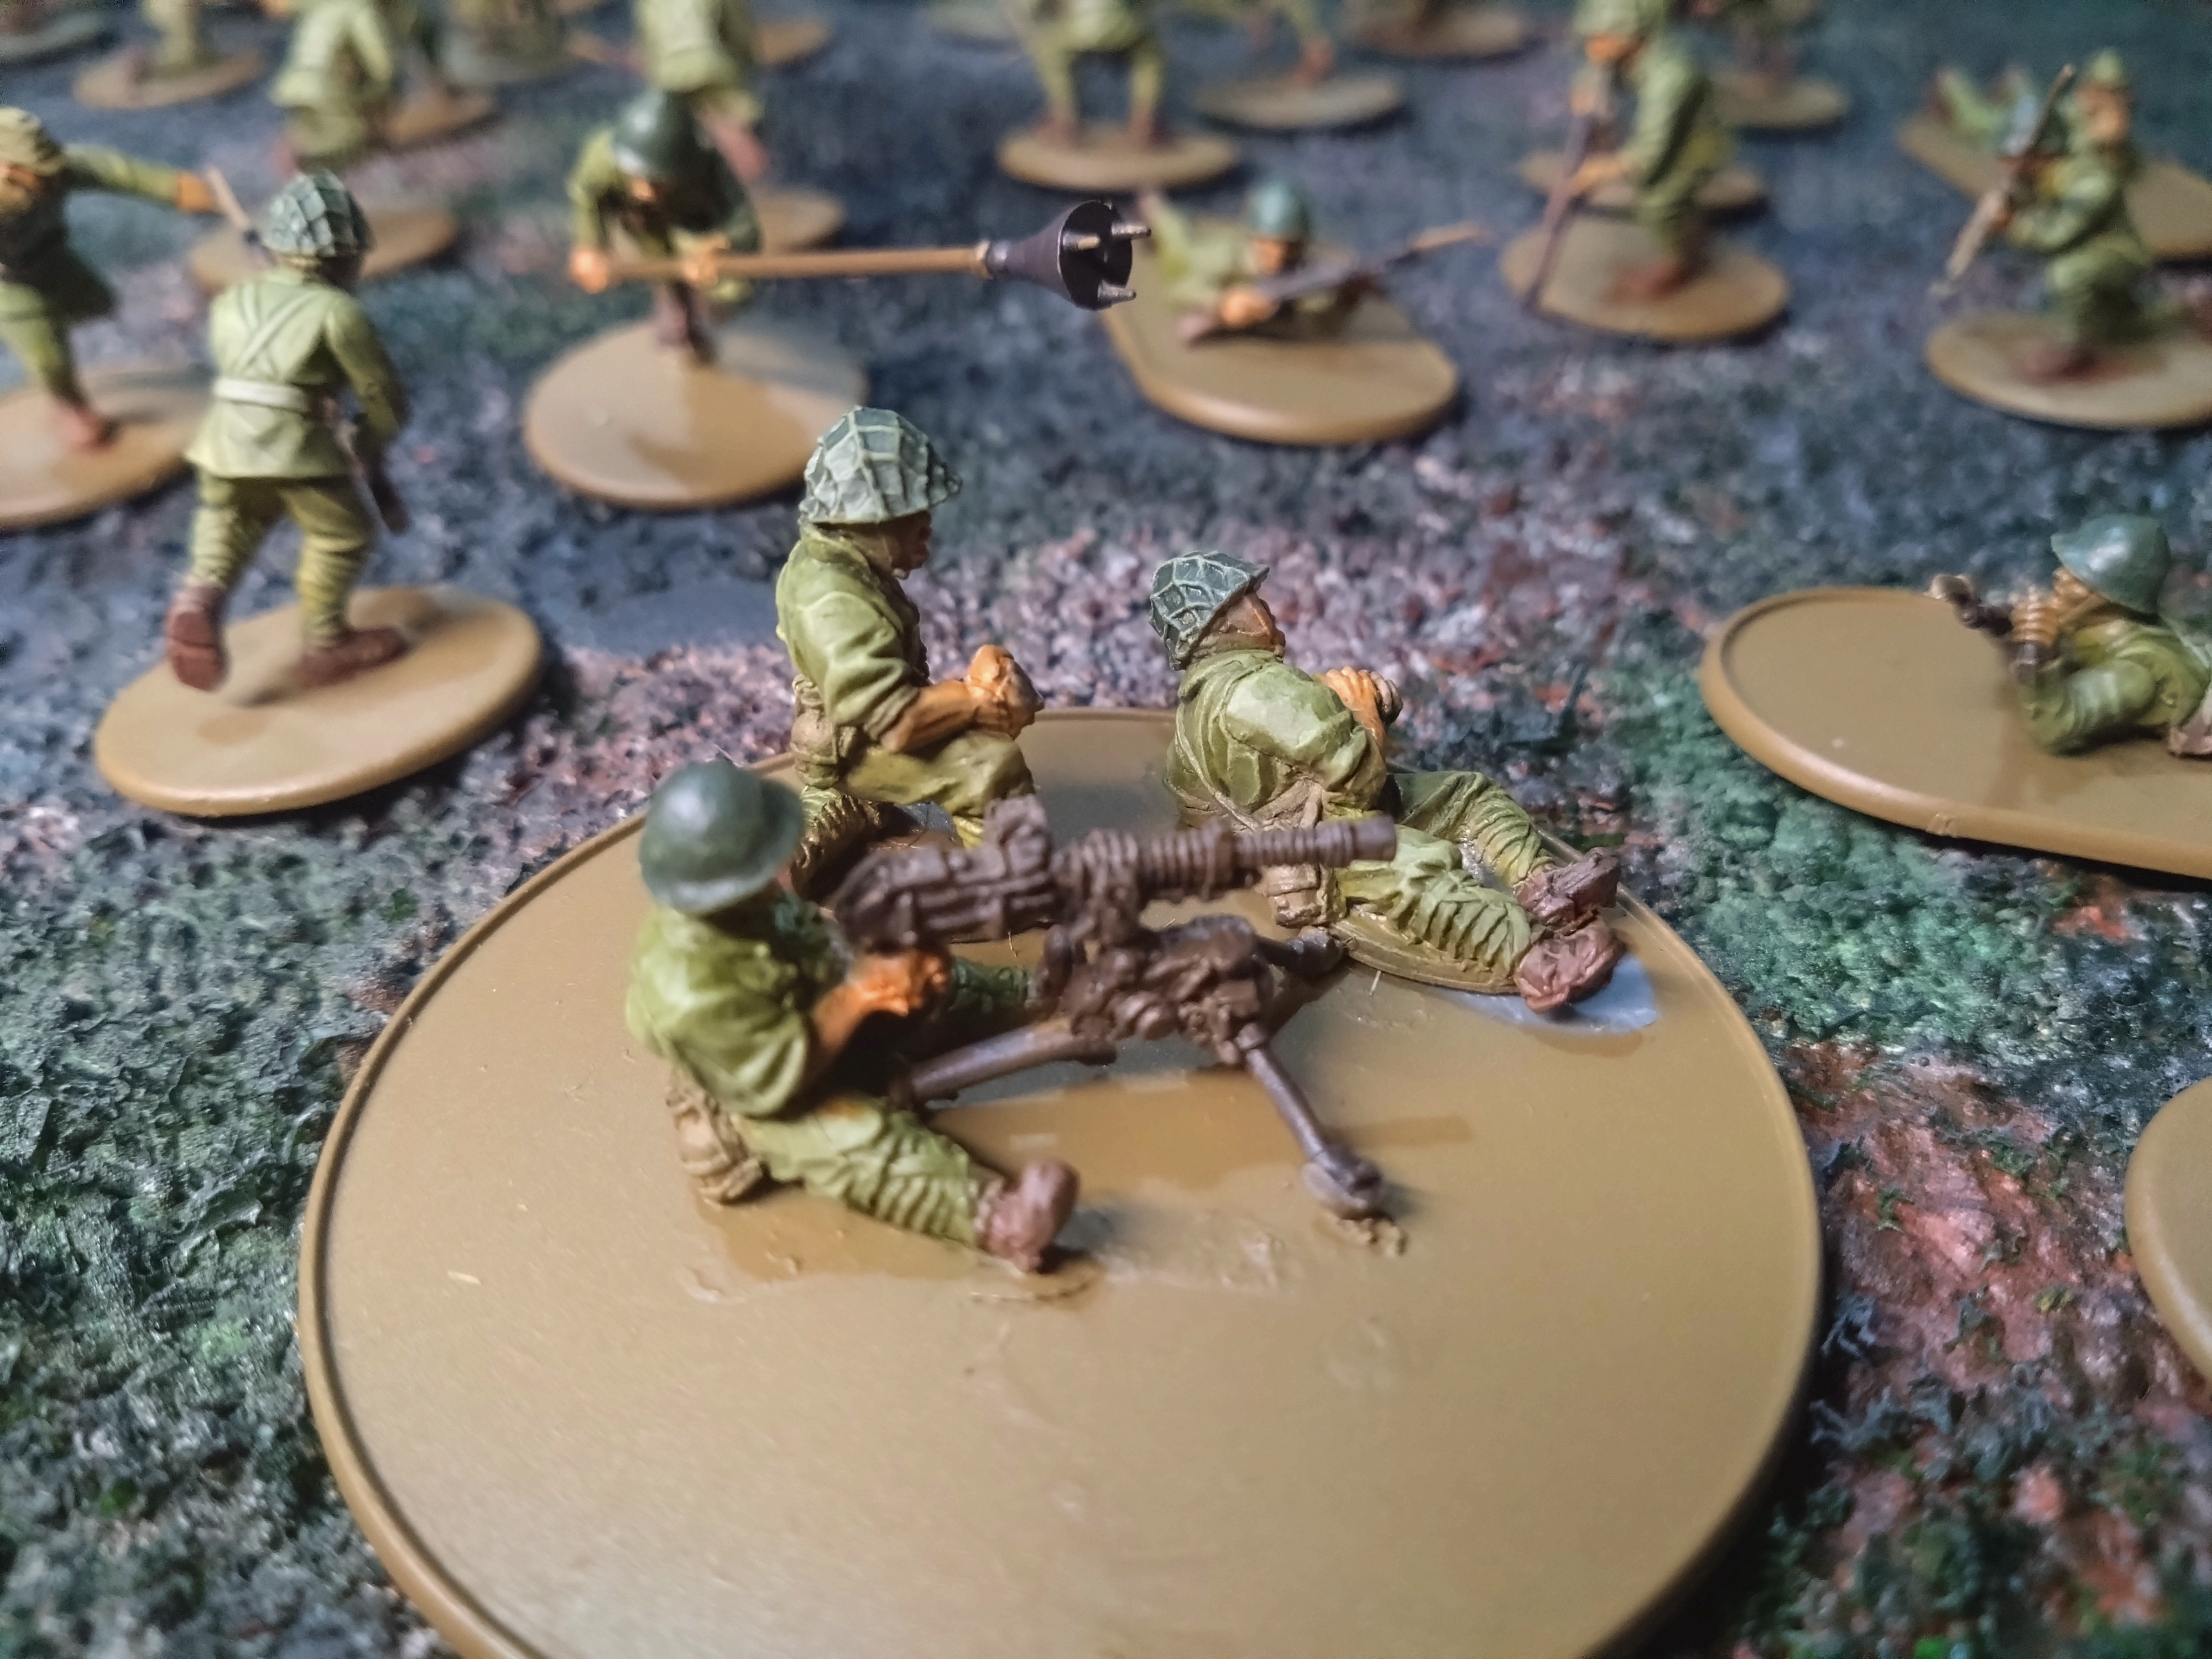
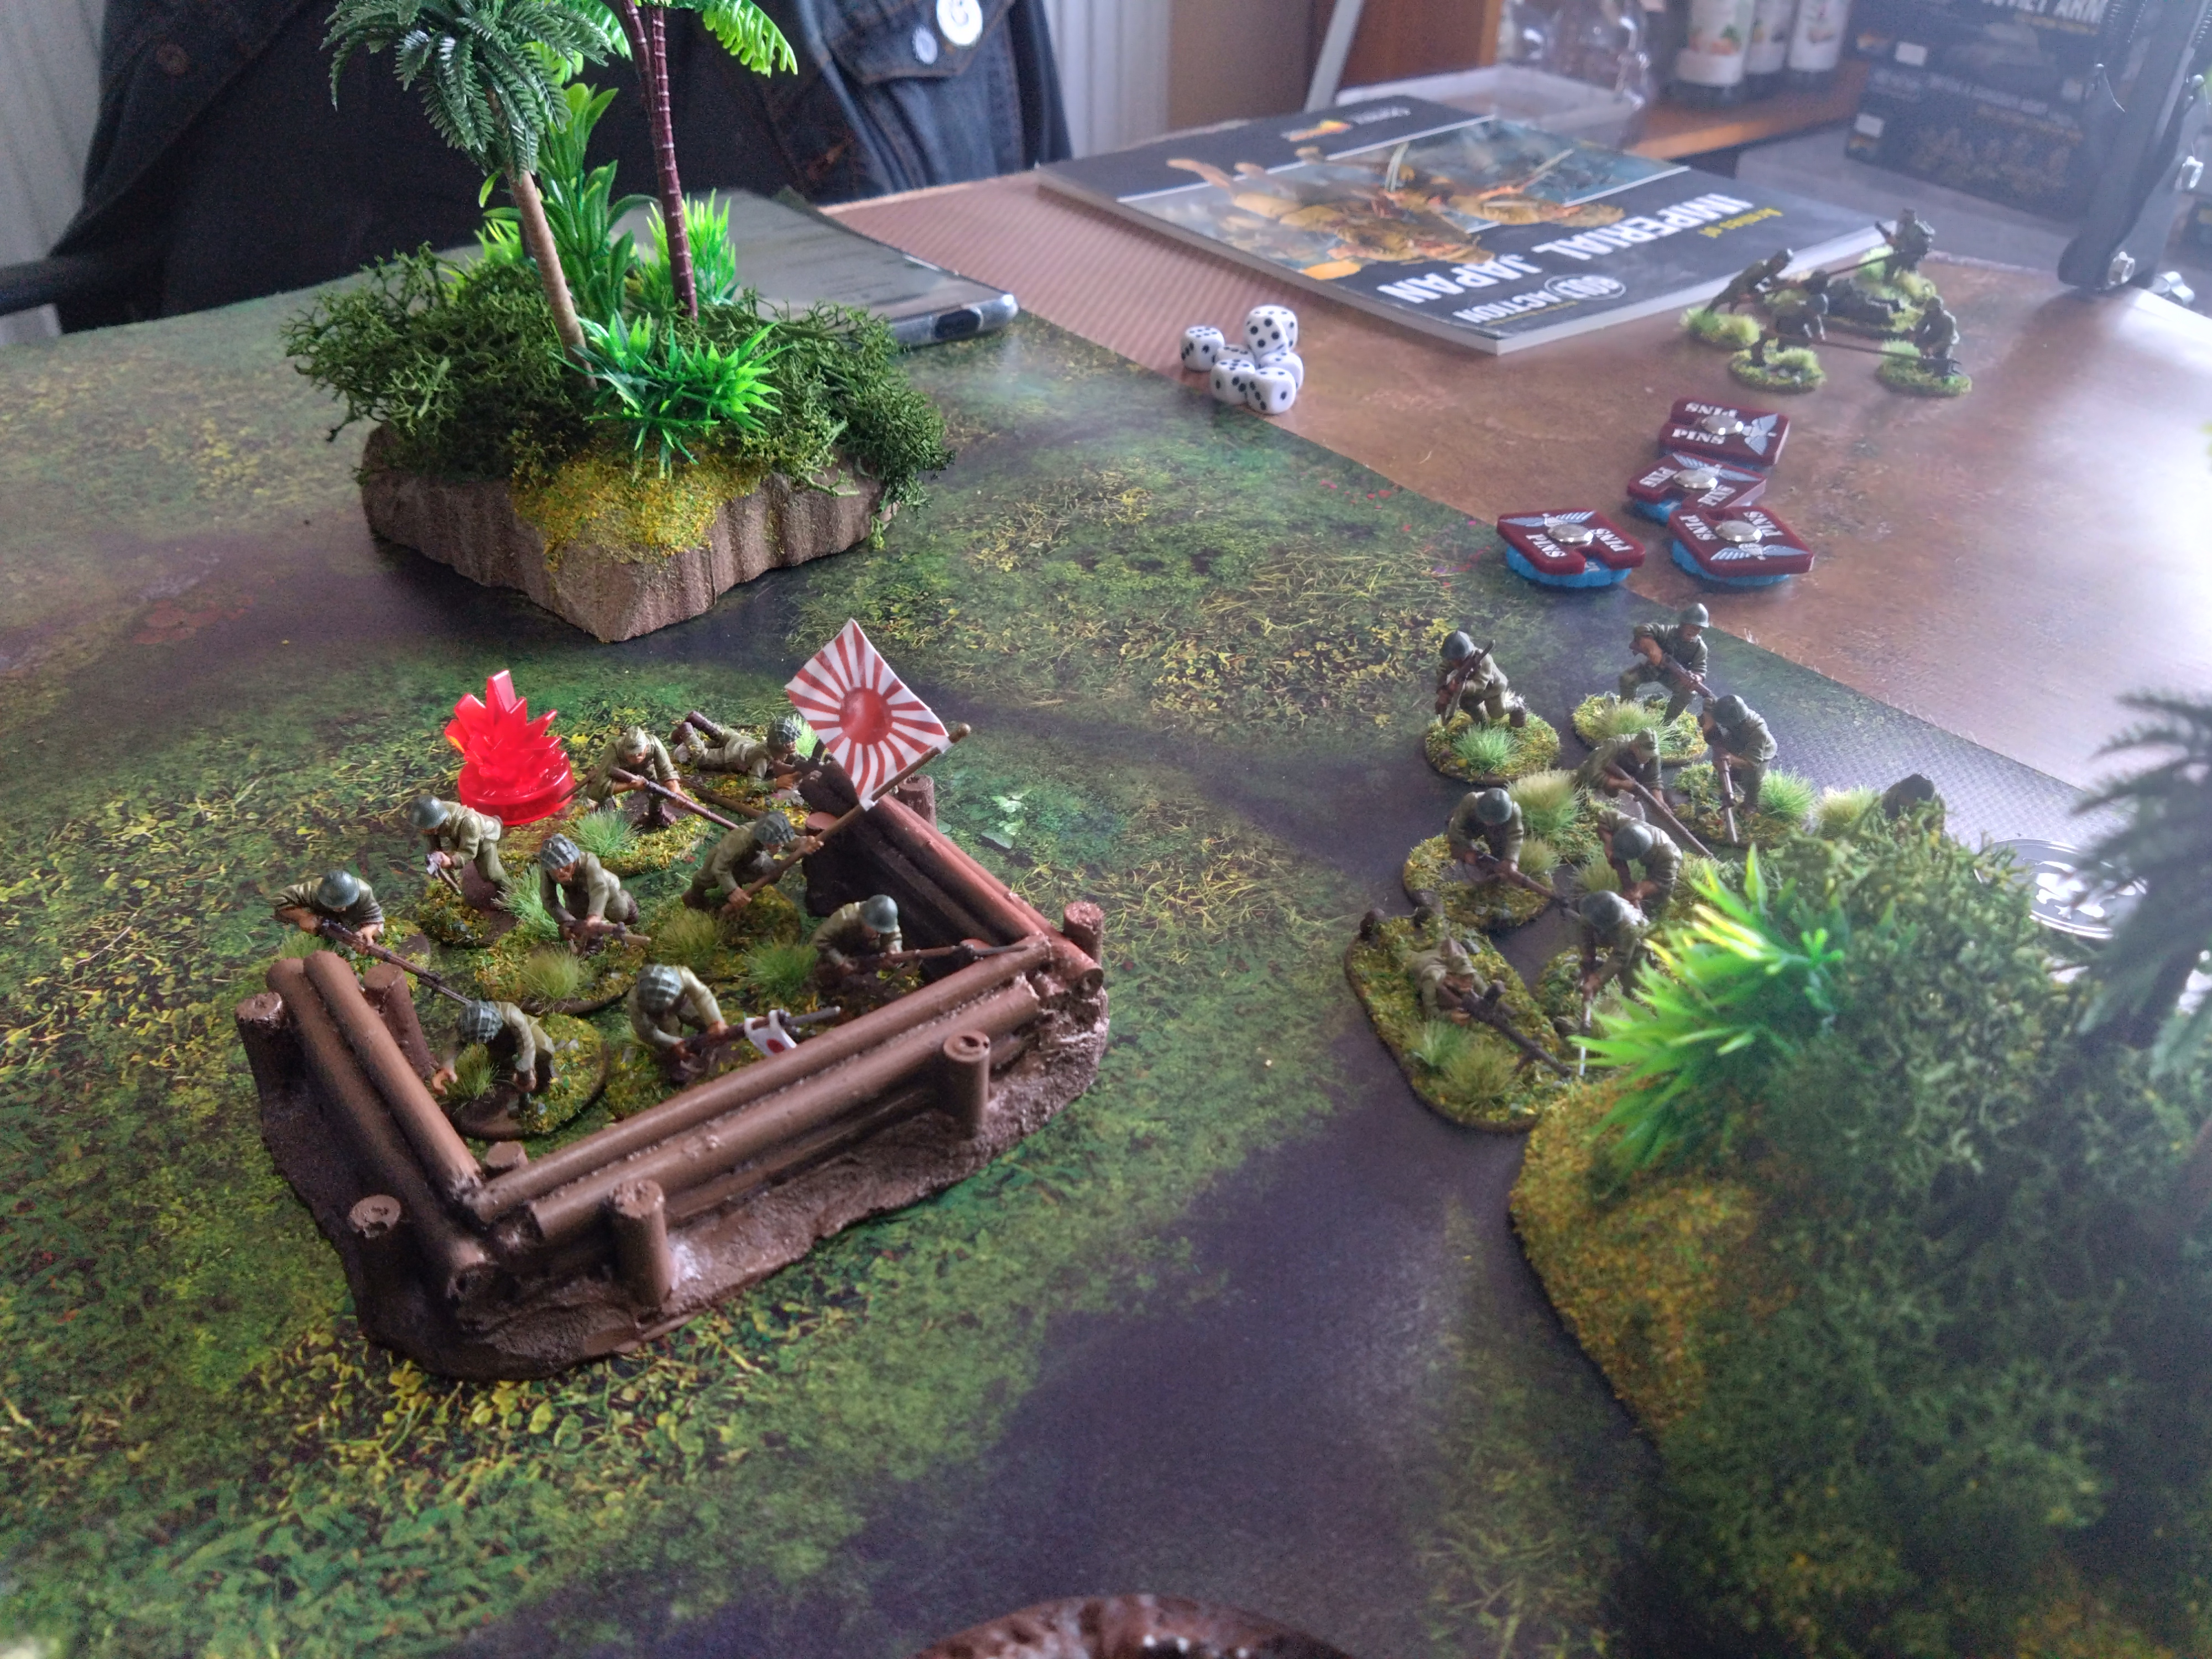 Some Japanese troops bravely hiding
The dice gods decided to punish me all through the game, my first action was my sniper missing, I believe he was firing nerf rounds as he later hit the Jaopanese commander three times and he didn’t die.
Conversely my opponents first mortar short was a hit and killed 4 out of 5 soldiers hit , oh and maximum pins. even my opponent was wincing at my die rolls.
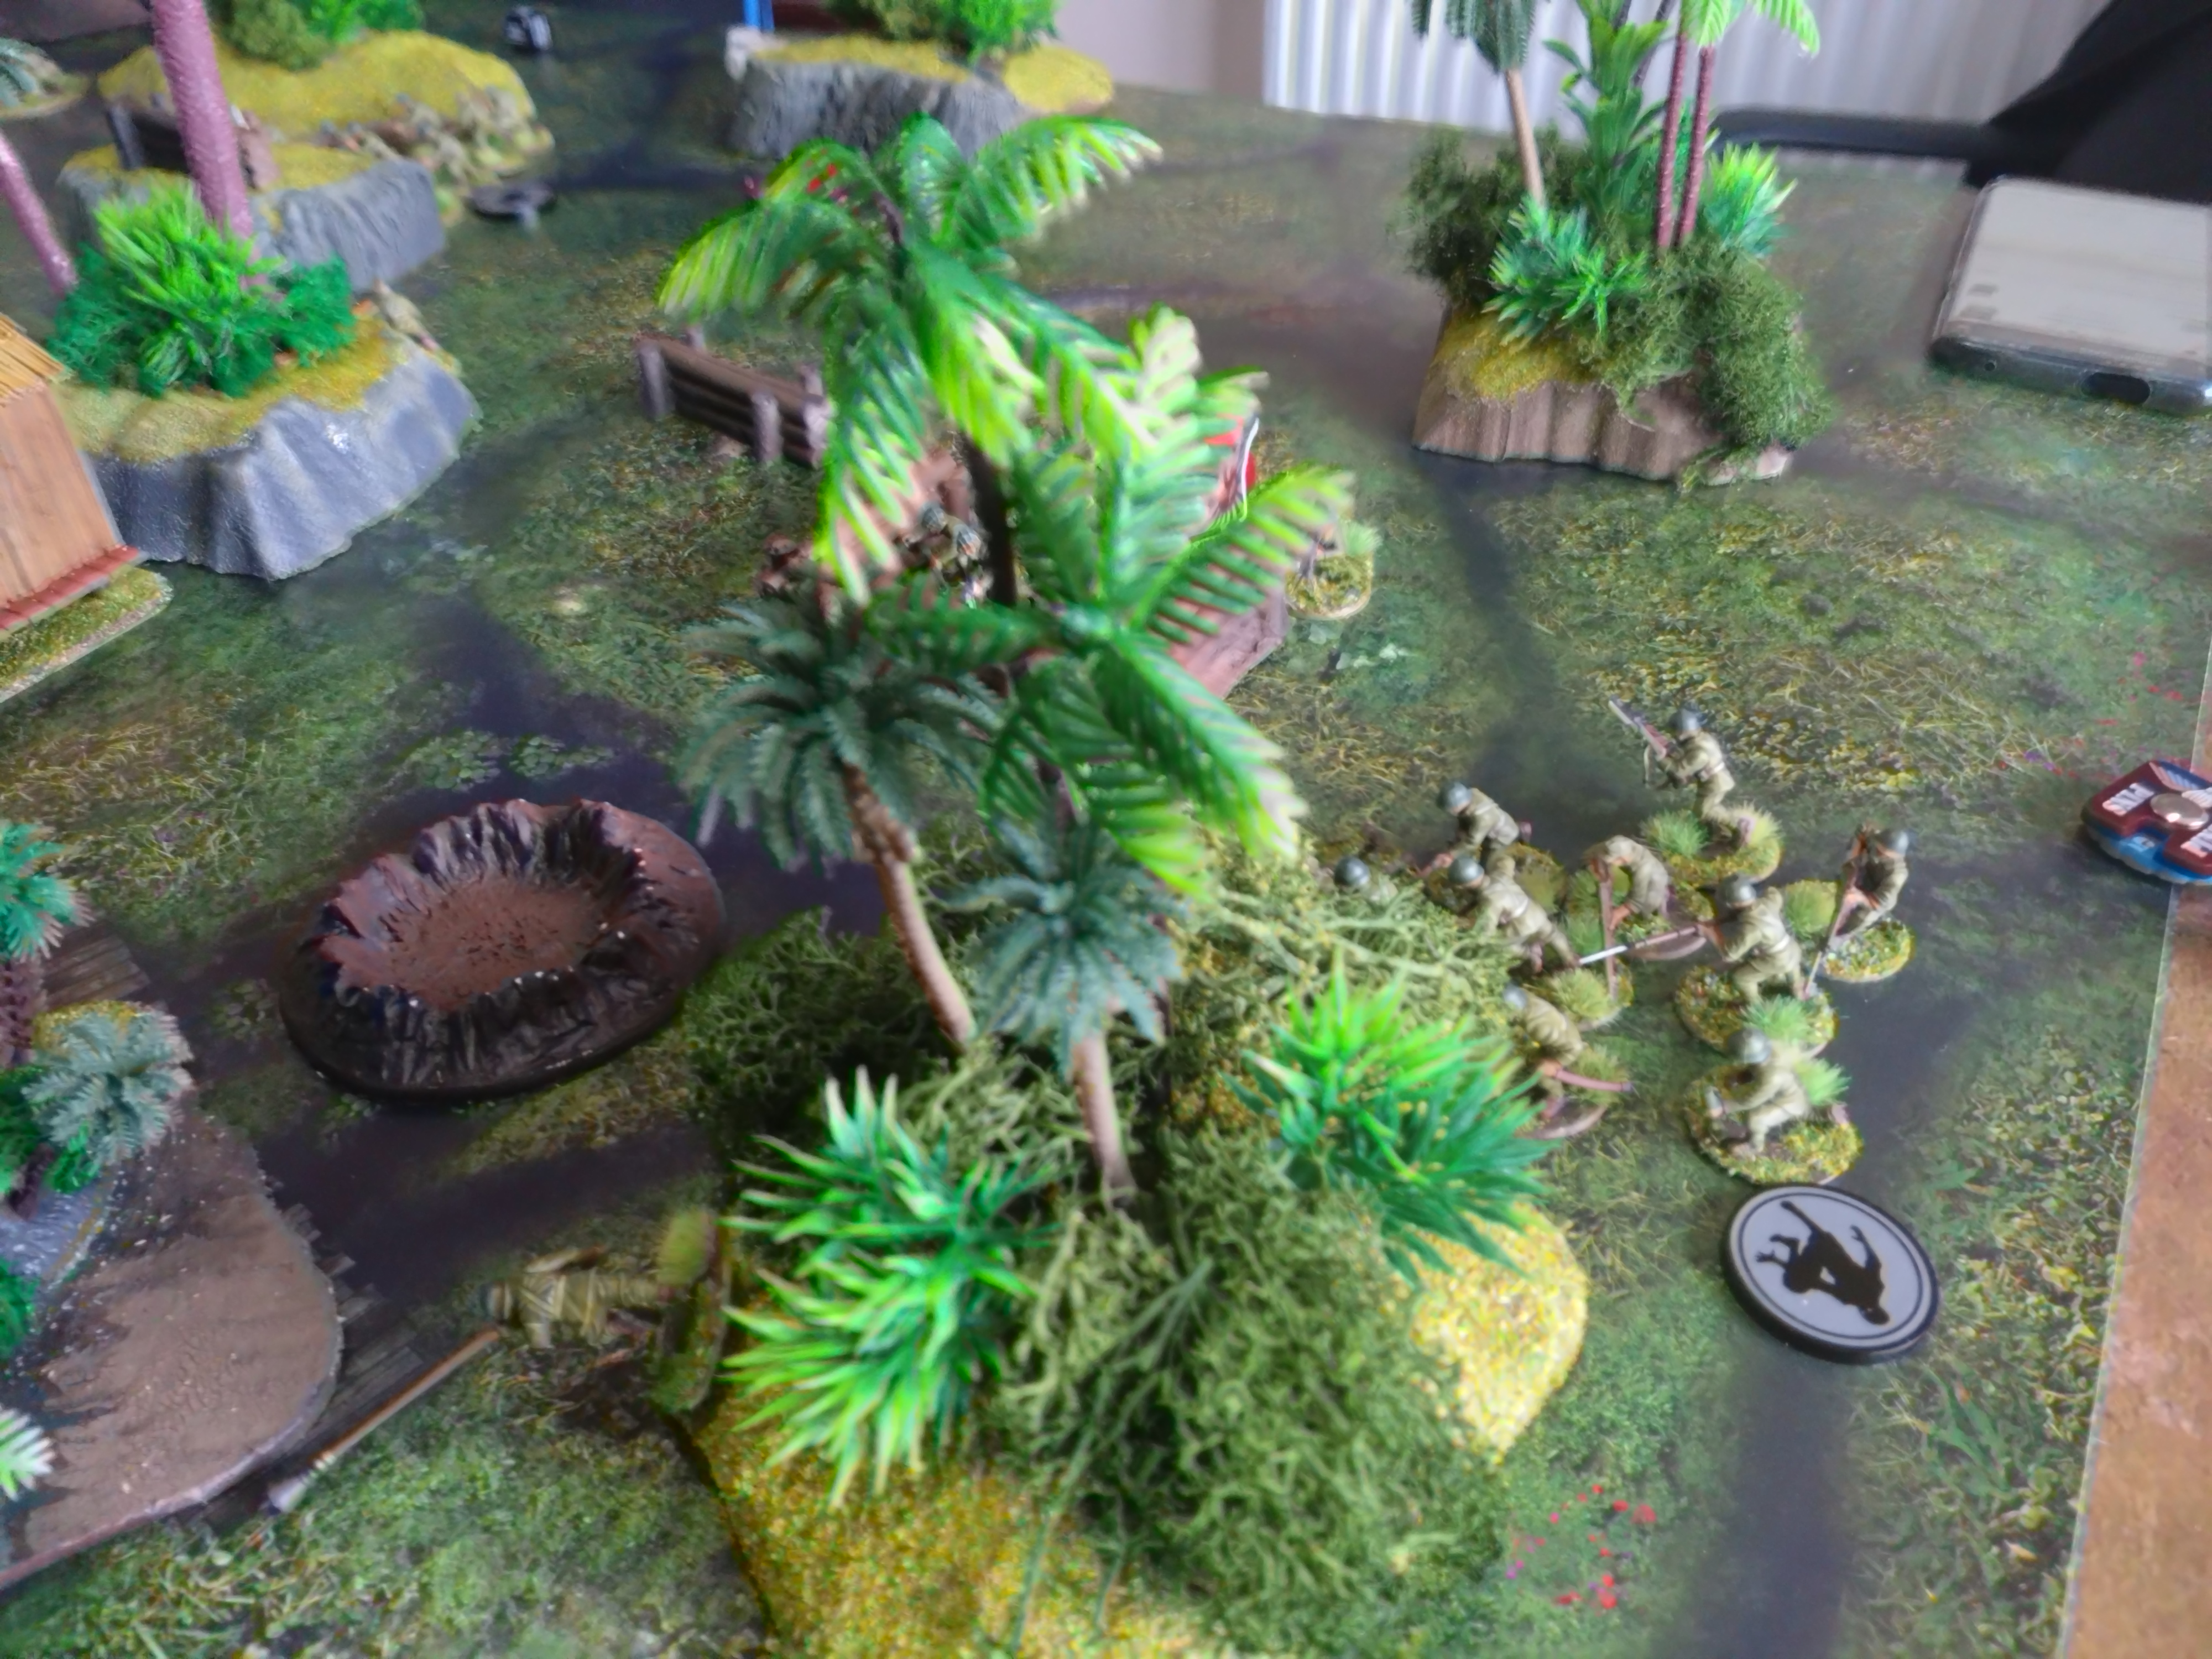 More hiding Japanese
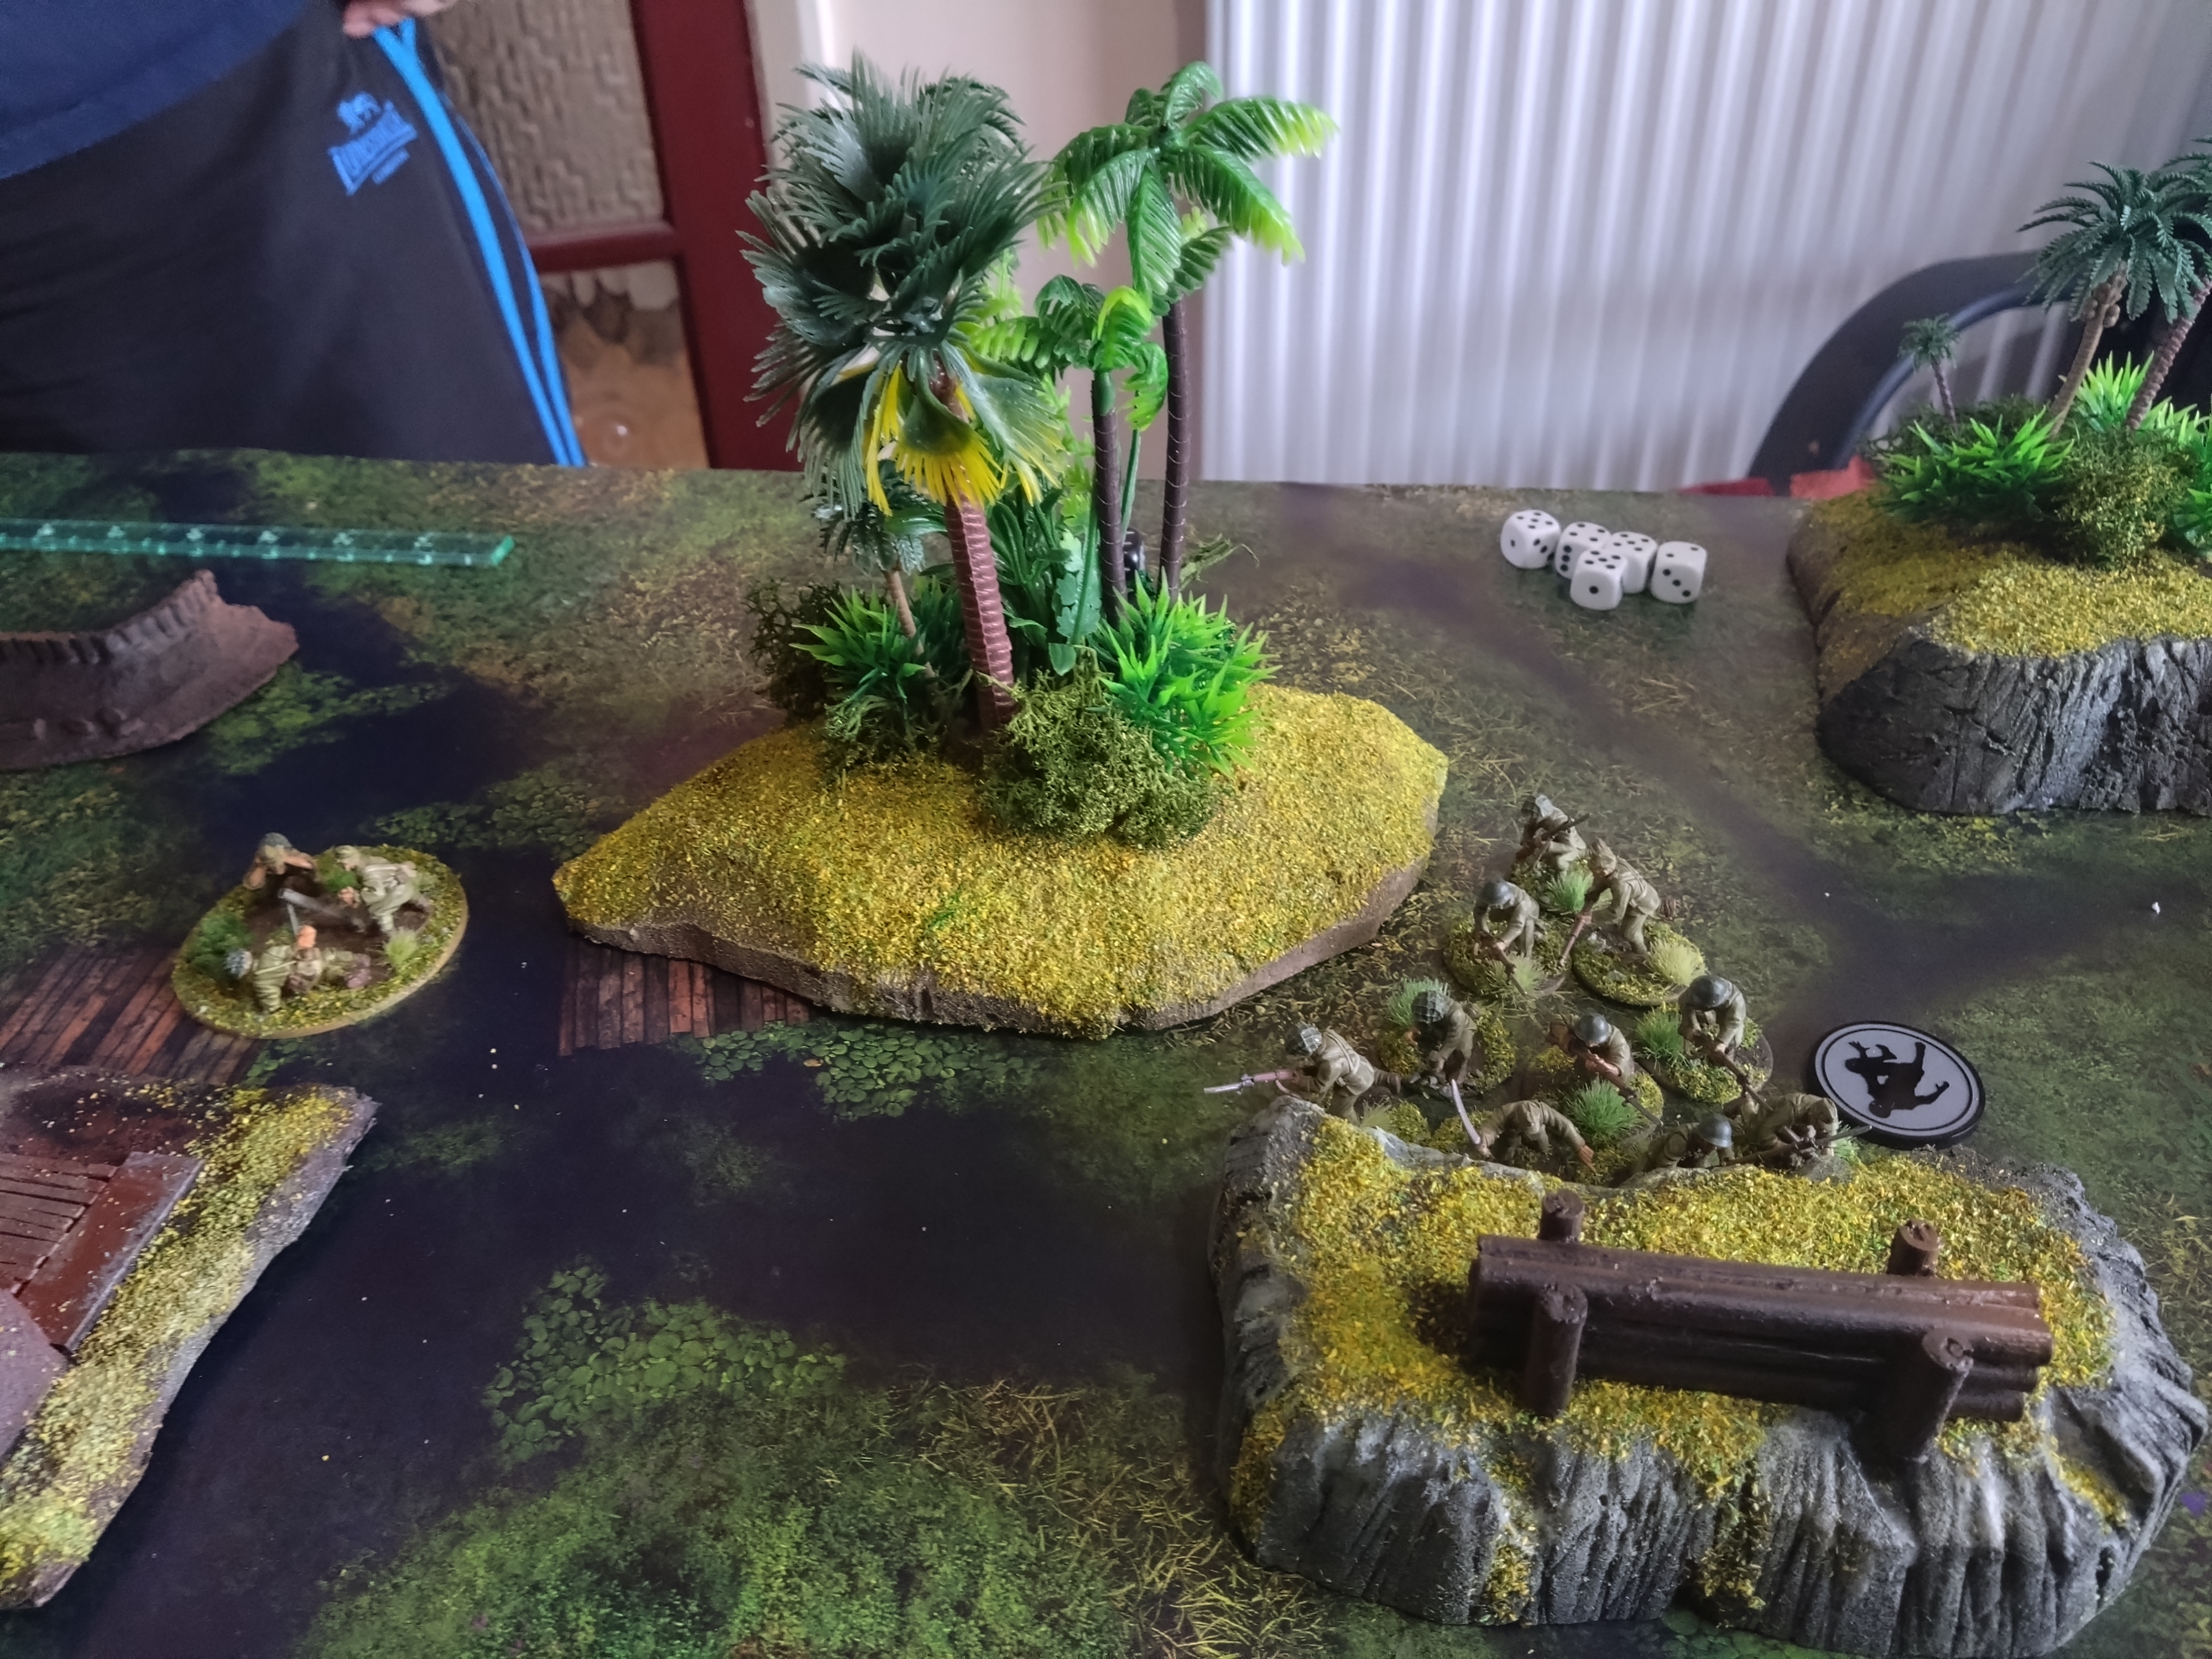 Guess what these Japanese are doing...
I made a couple of mistakes that cost me heavily, when assaulting make sure you are too close for your opponent to get a free shot in first. I paid heavily with my engineers and commandos, mostly due to my opponents spectacular dice rolls. How often do you see seven riflemen take out four veteran fighters in one roll! With hindsight I should have got into point blank range and shot, rather than getting into hand to hand straight away.
Lots of assaults happened, it was a tense ,claustrophobic game, which seemed apt for a dense jungle skirmish.
Overall, it was a close fought game, overall I think the Japanese shaded it, but my mate claimed a draw
You want to fight where? Be more Pacific
Having banged out my mates’ Japanese army in a week, the next item on the agenda was filling the table. I spent Saturday afternoon and Sunday morning throwing together some tropical terrain, there’s a tutorial on my ‘Scattering of Terrain’ project.
I decided to put all the elements together to see how a table shaped up. So here’s a mini gallery.
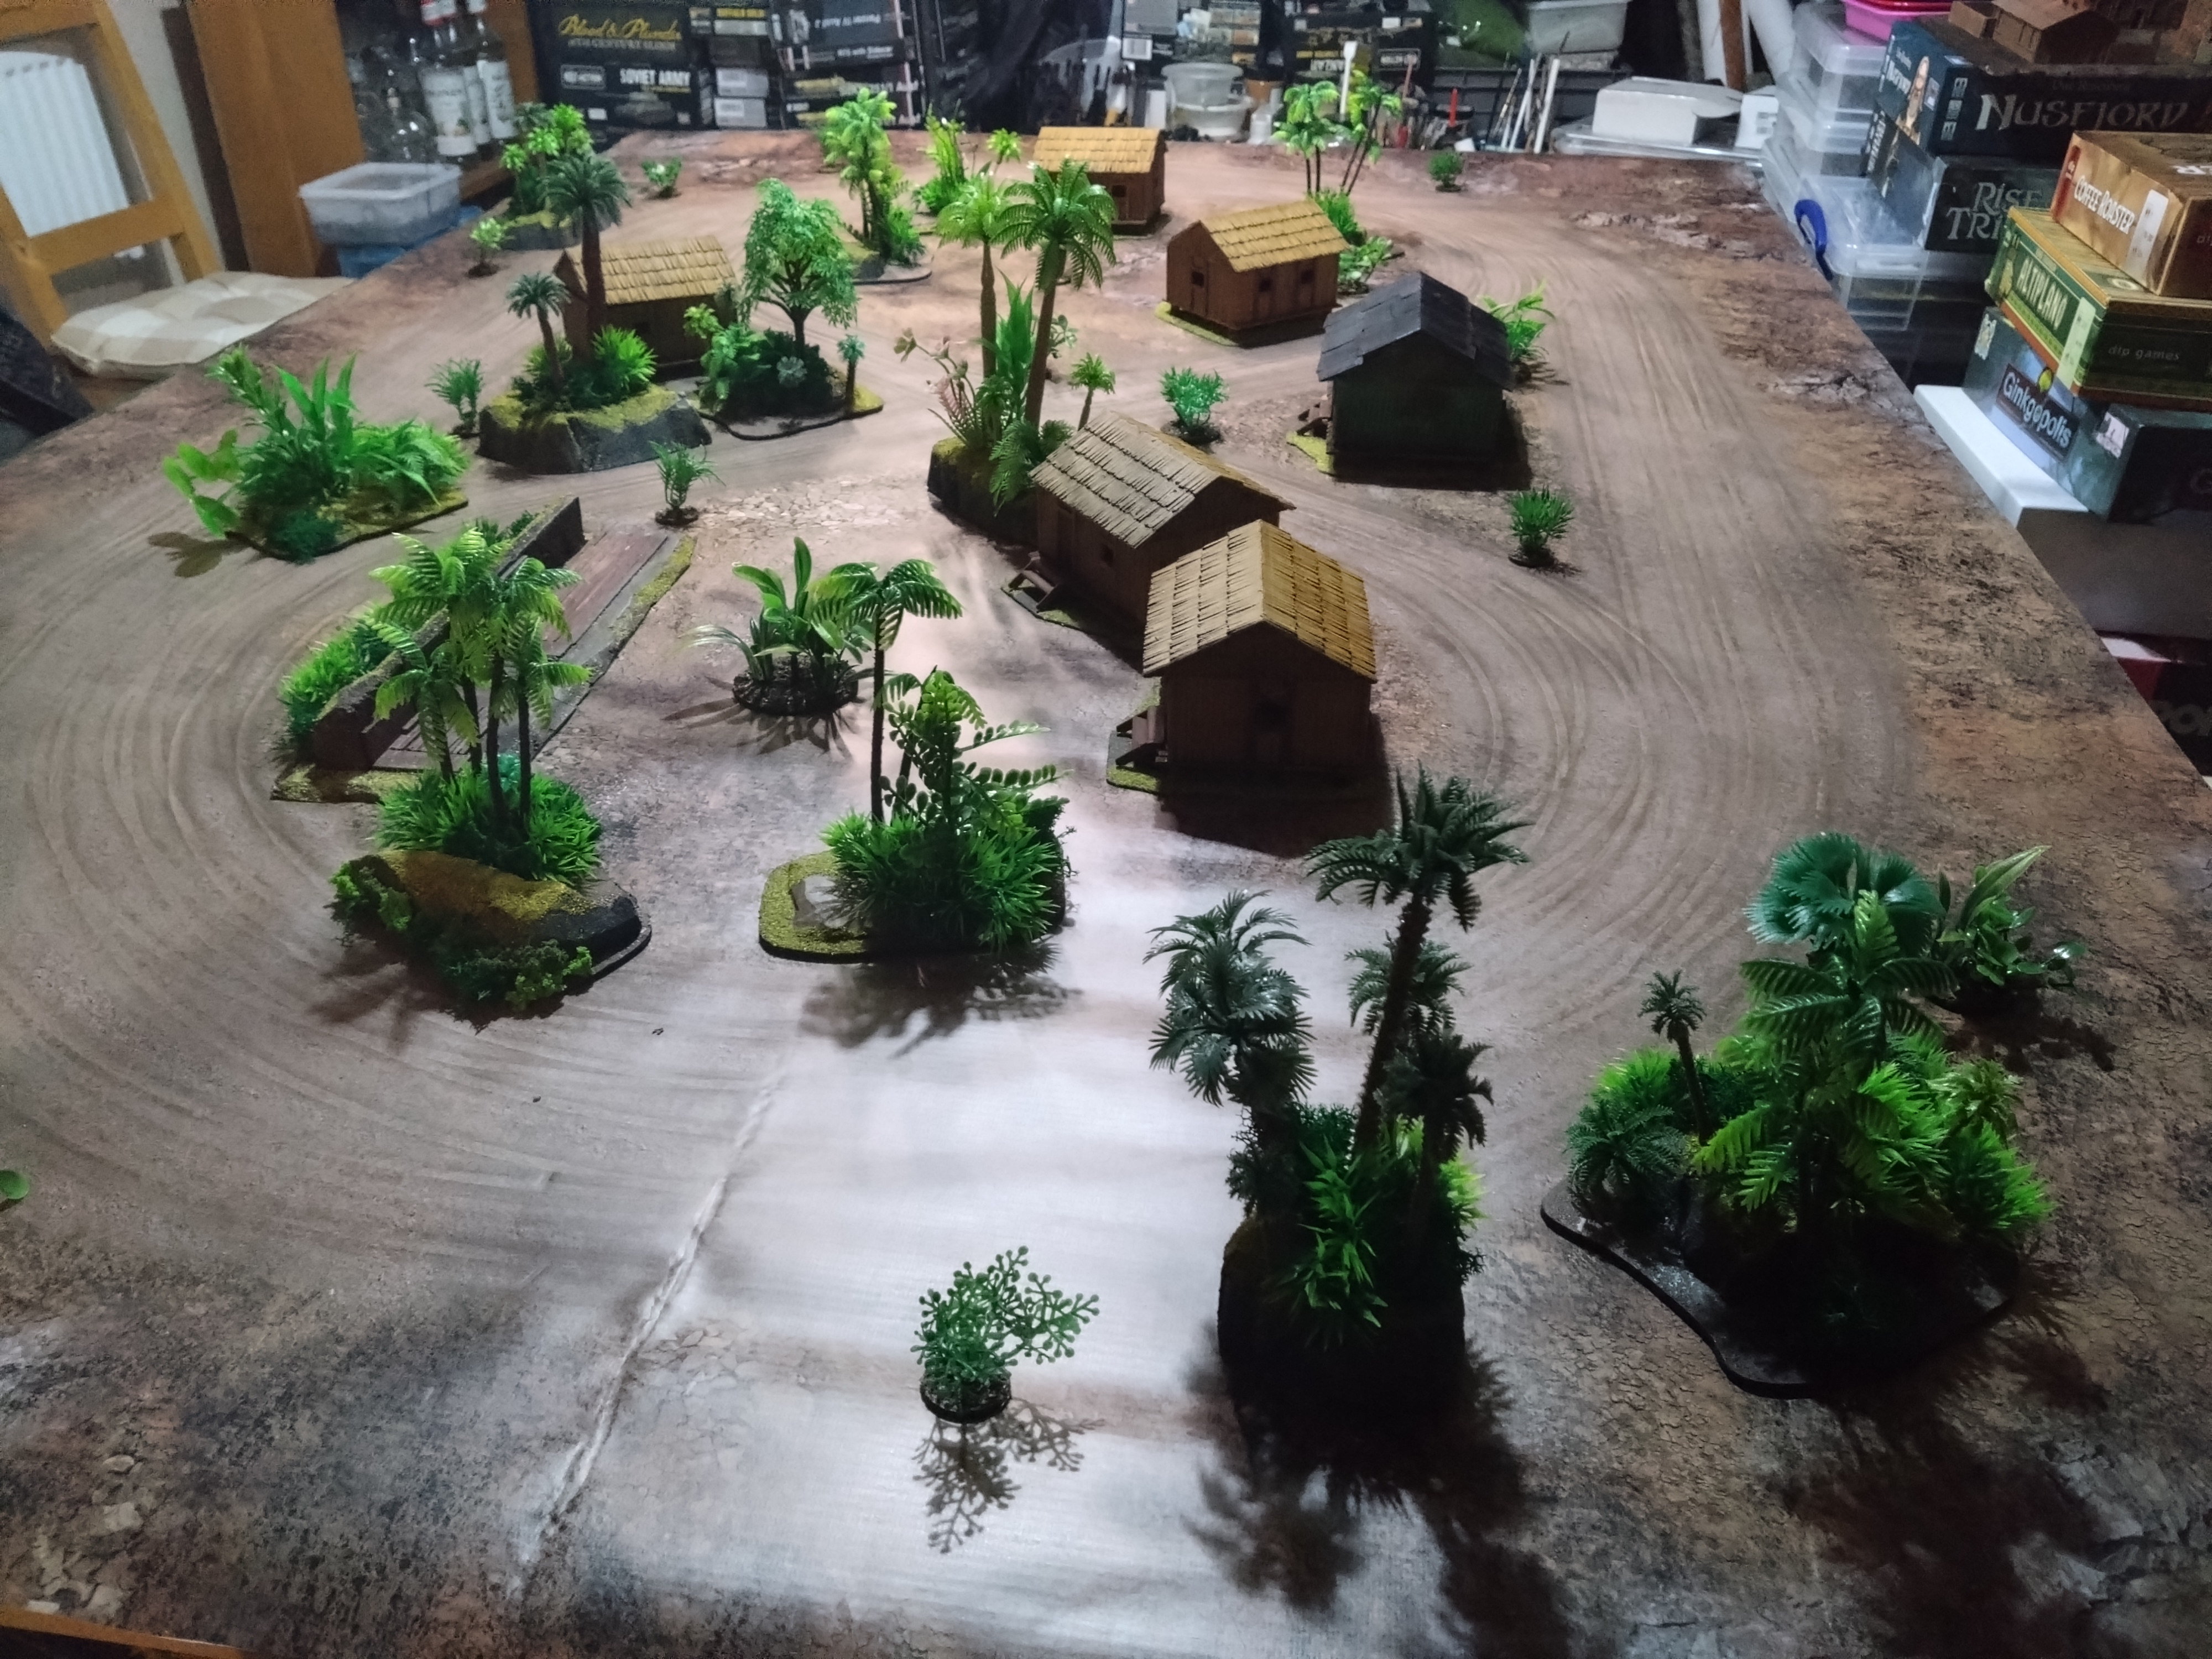
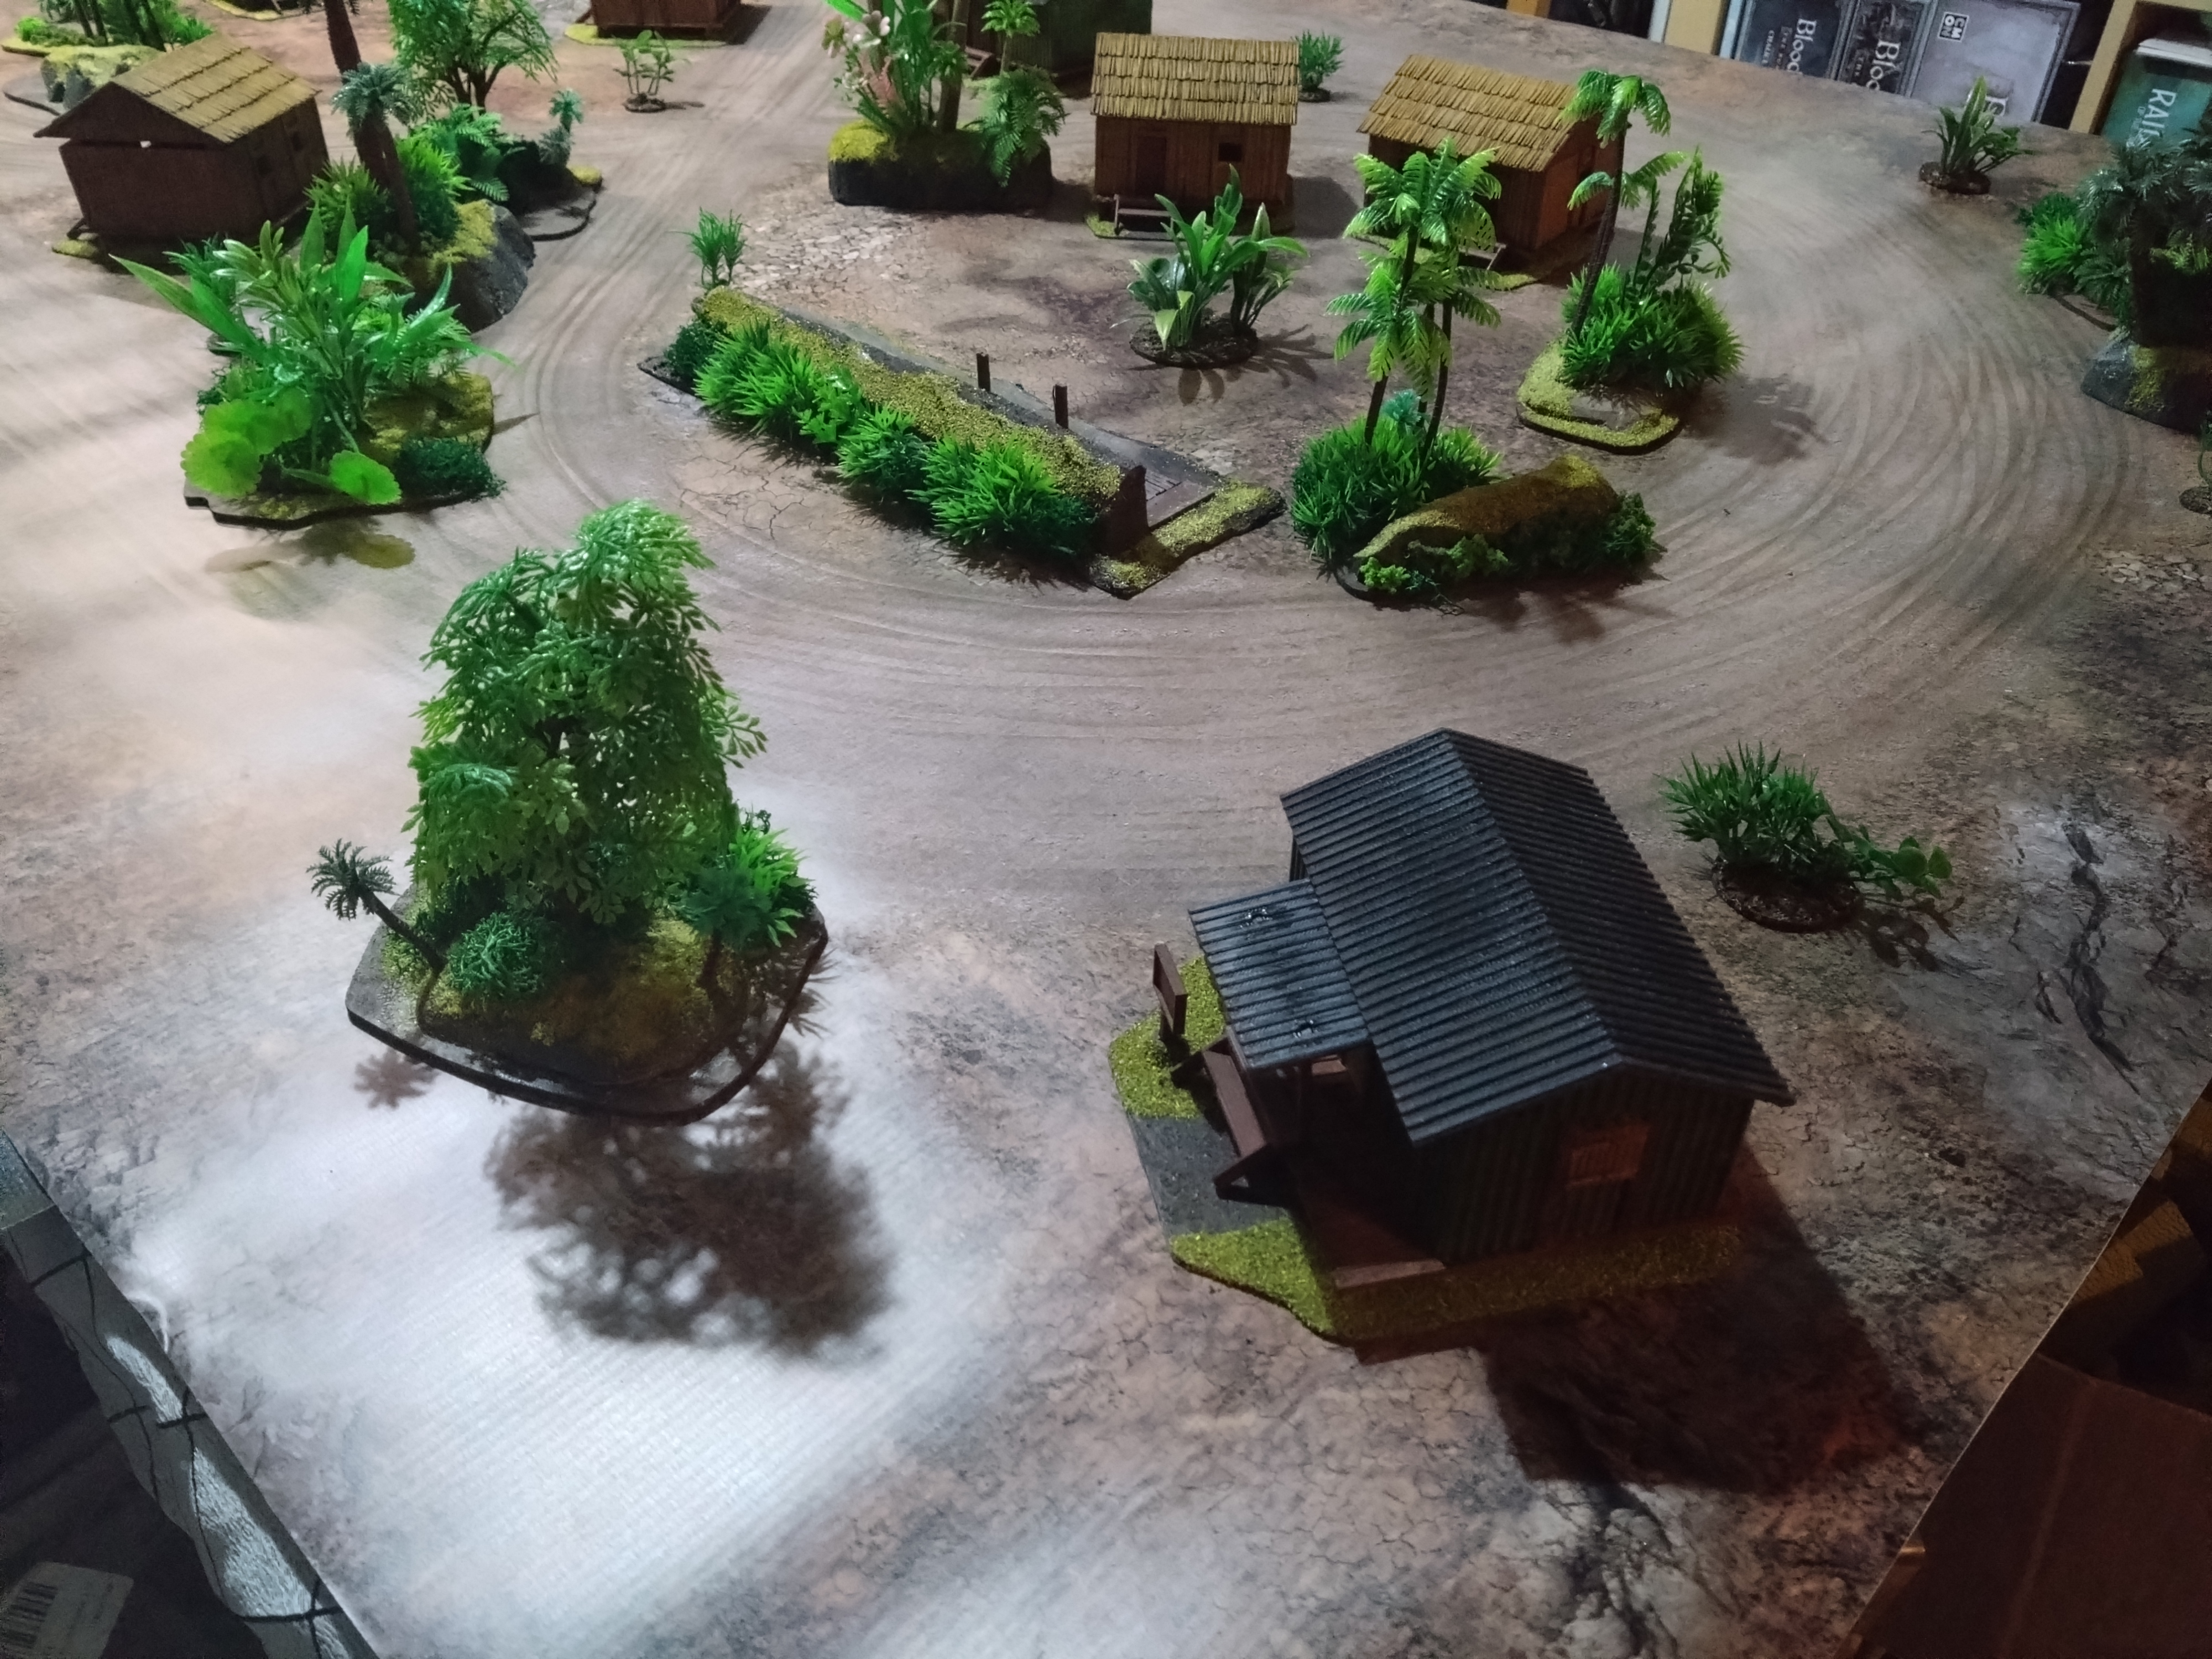
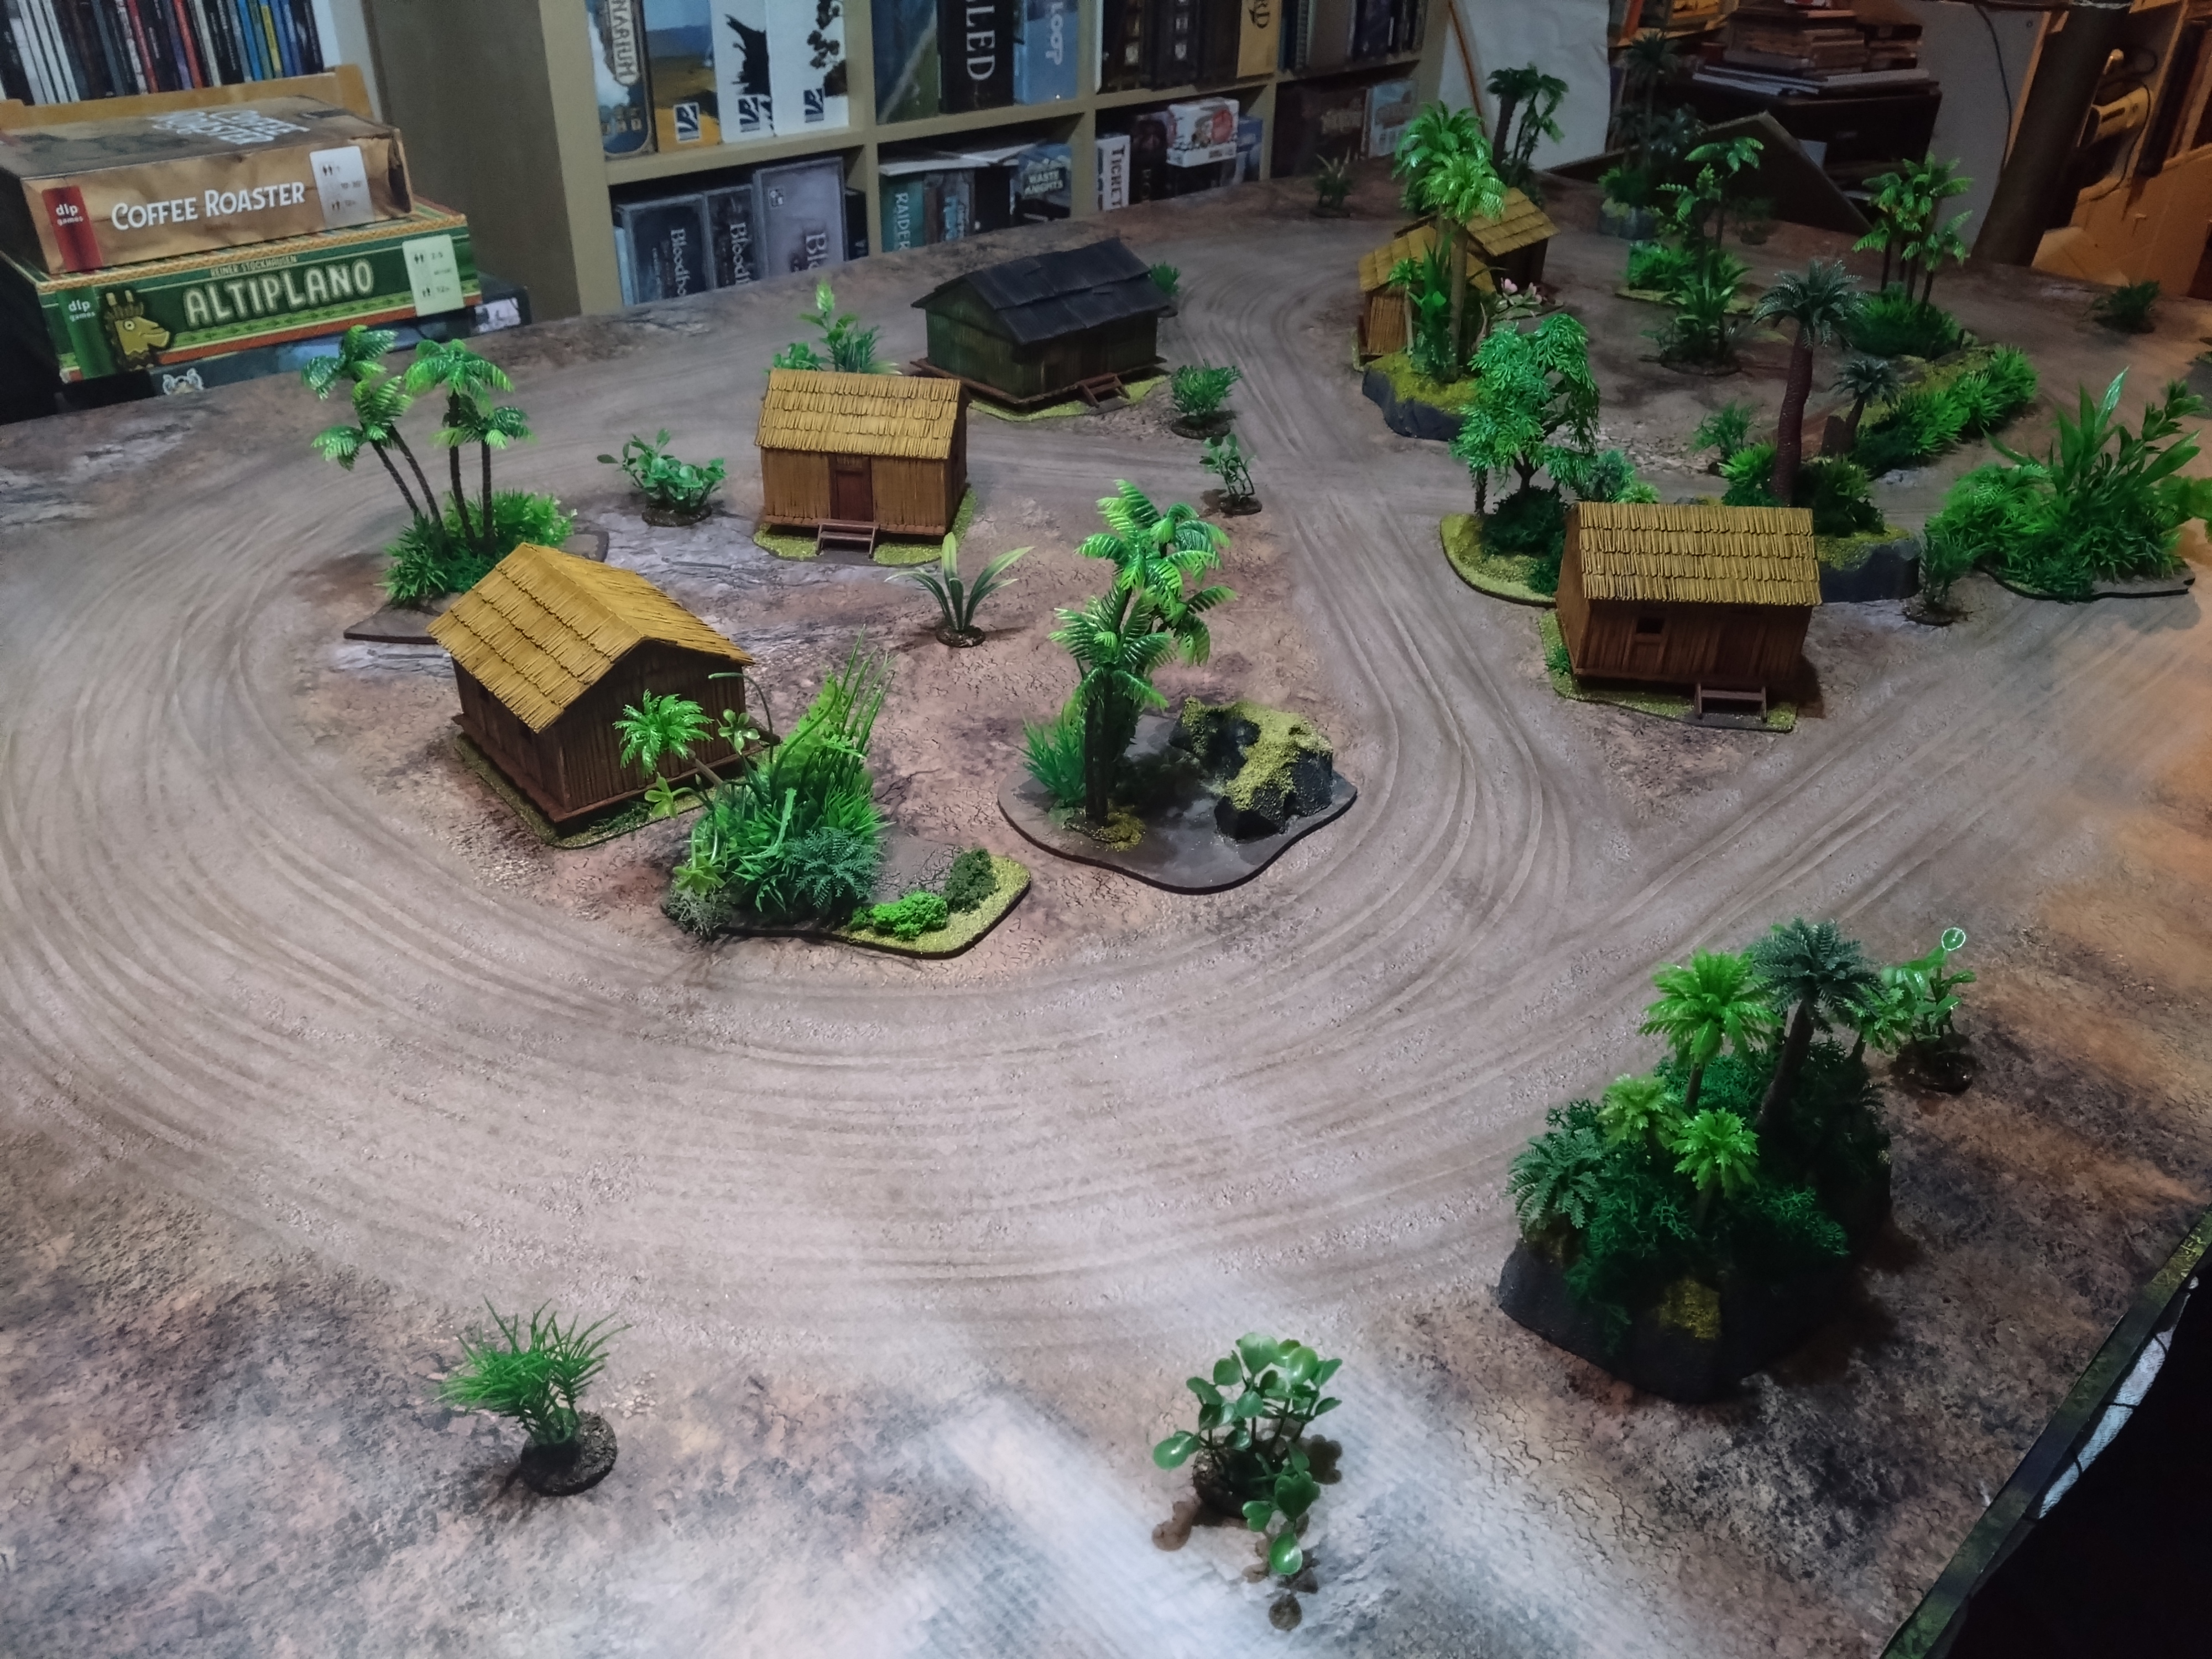
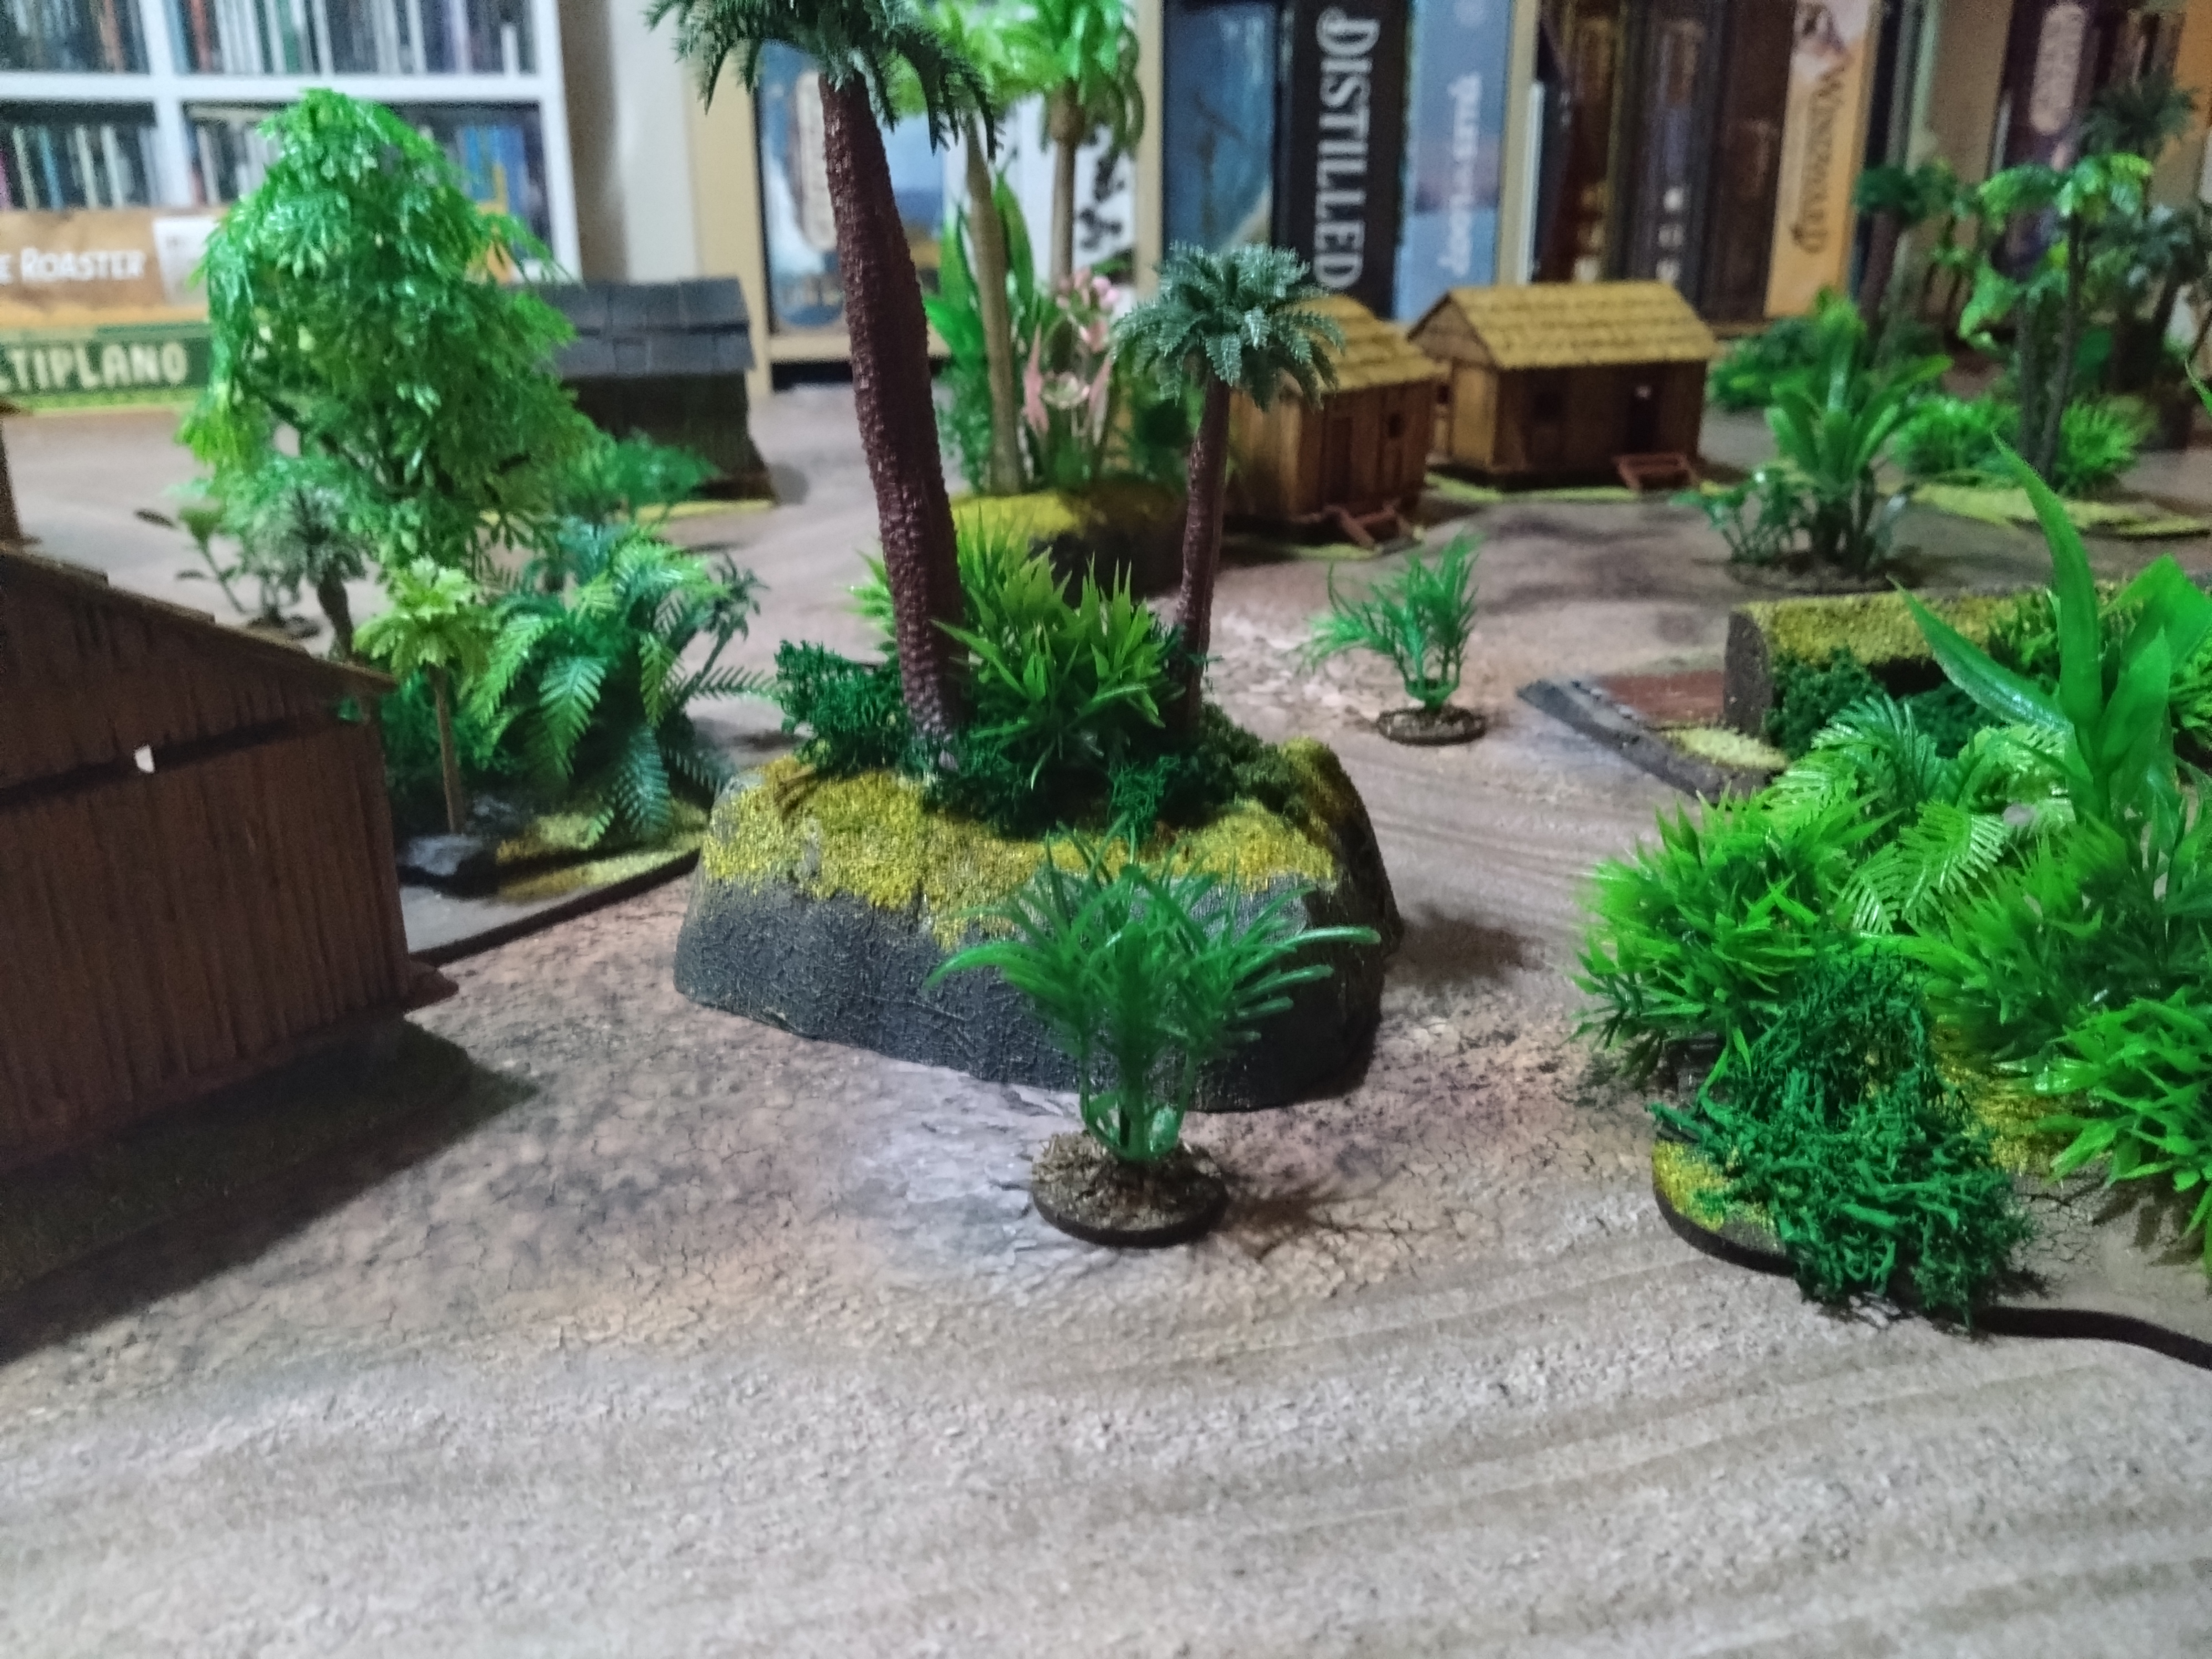
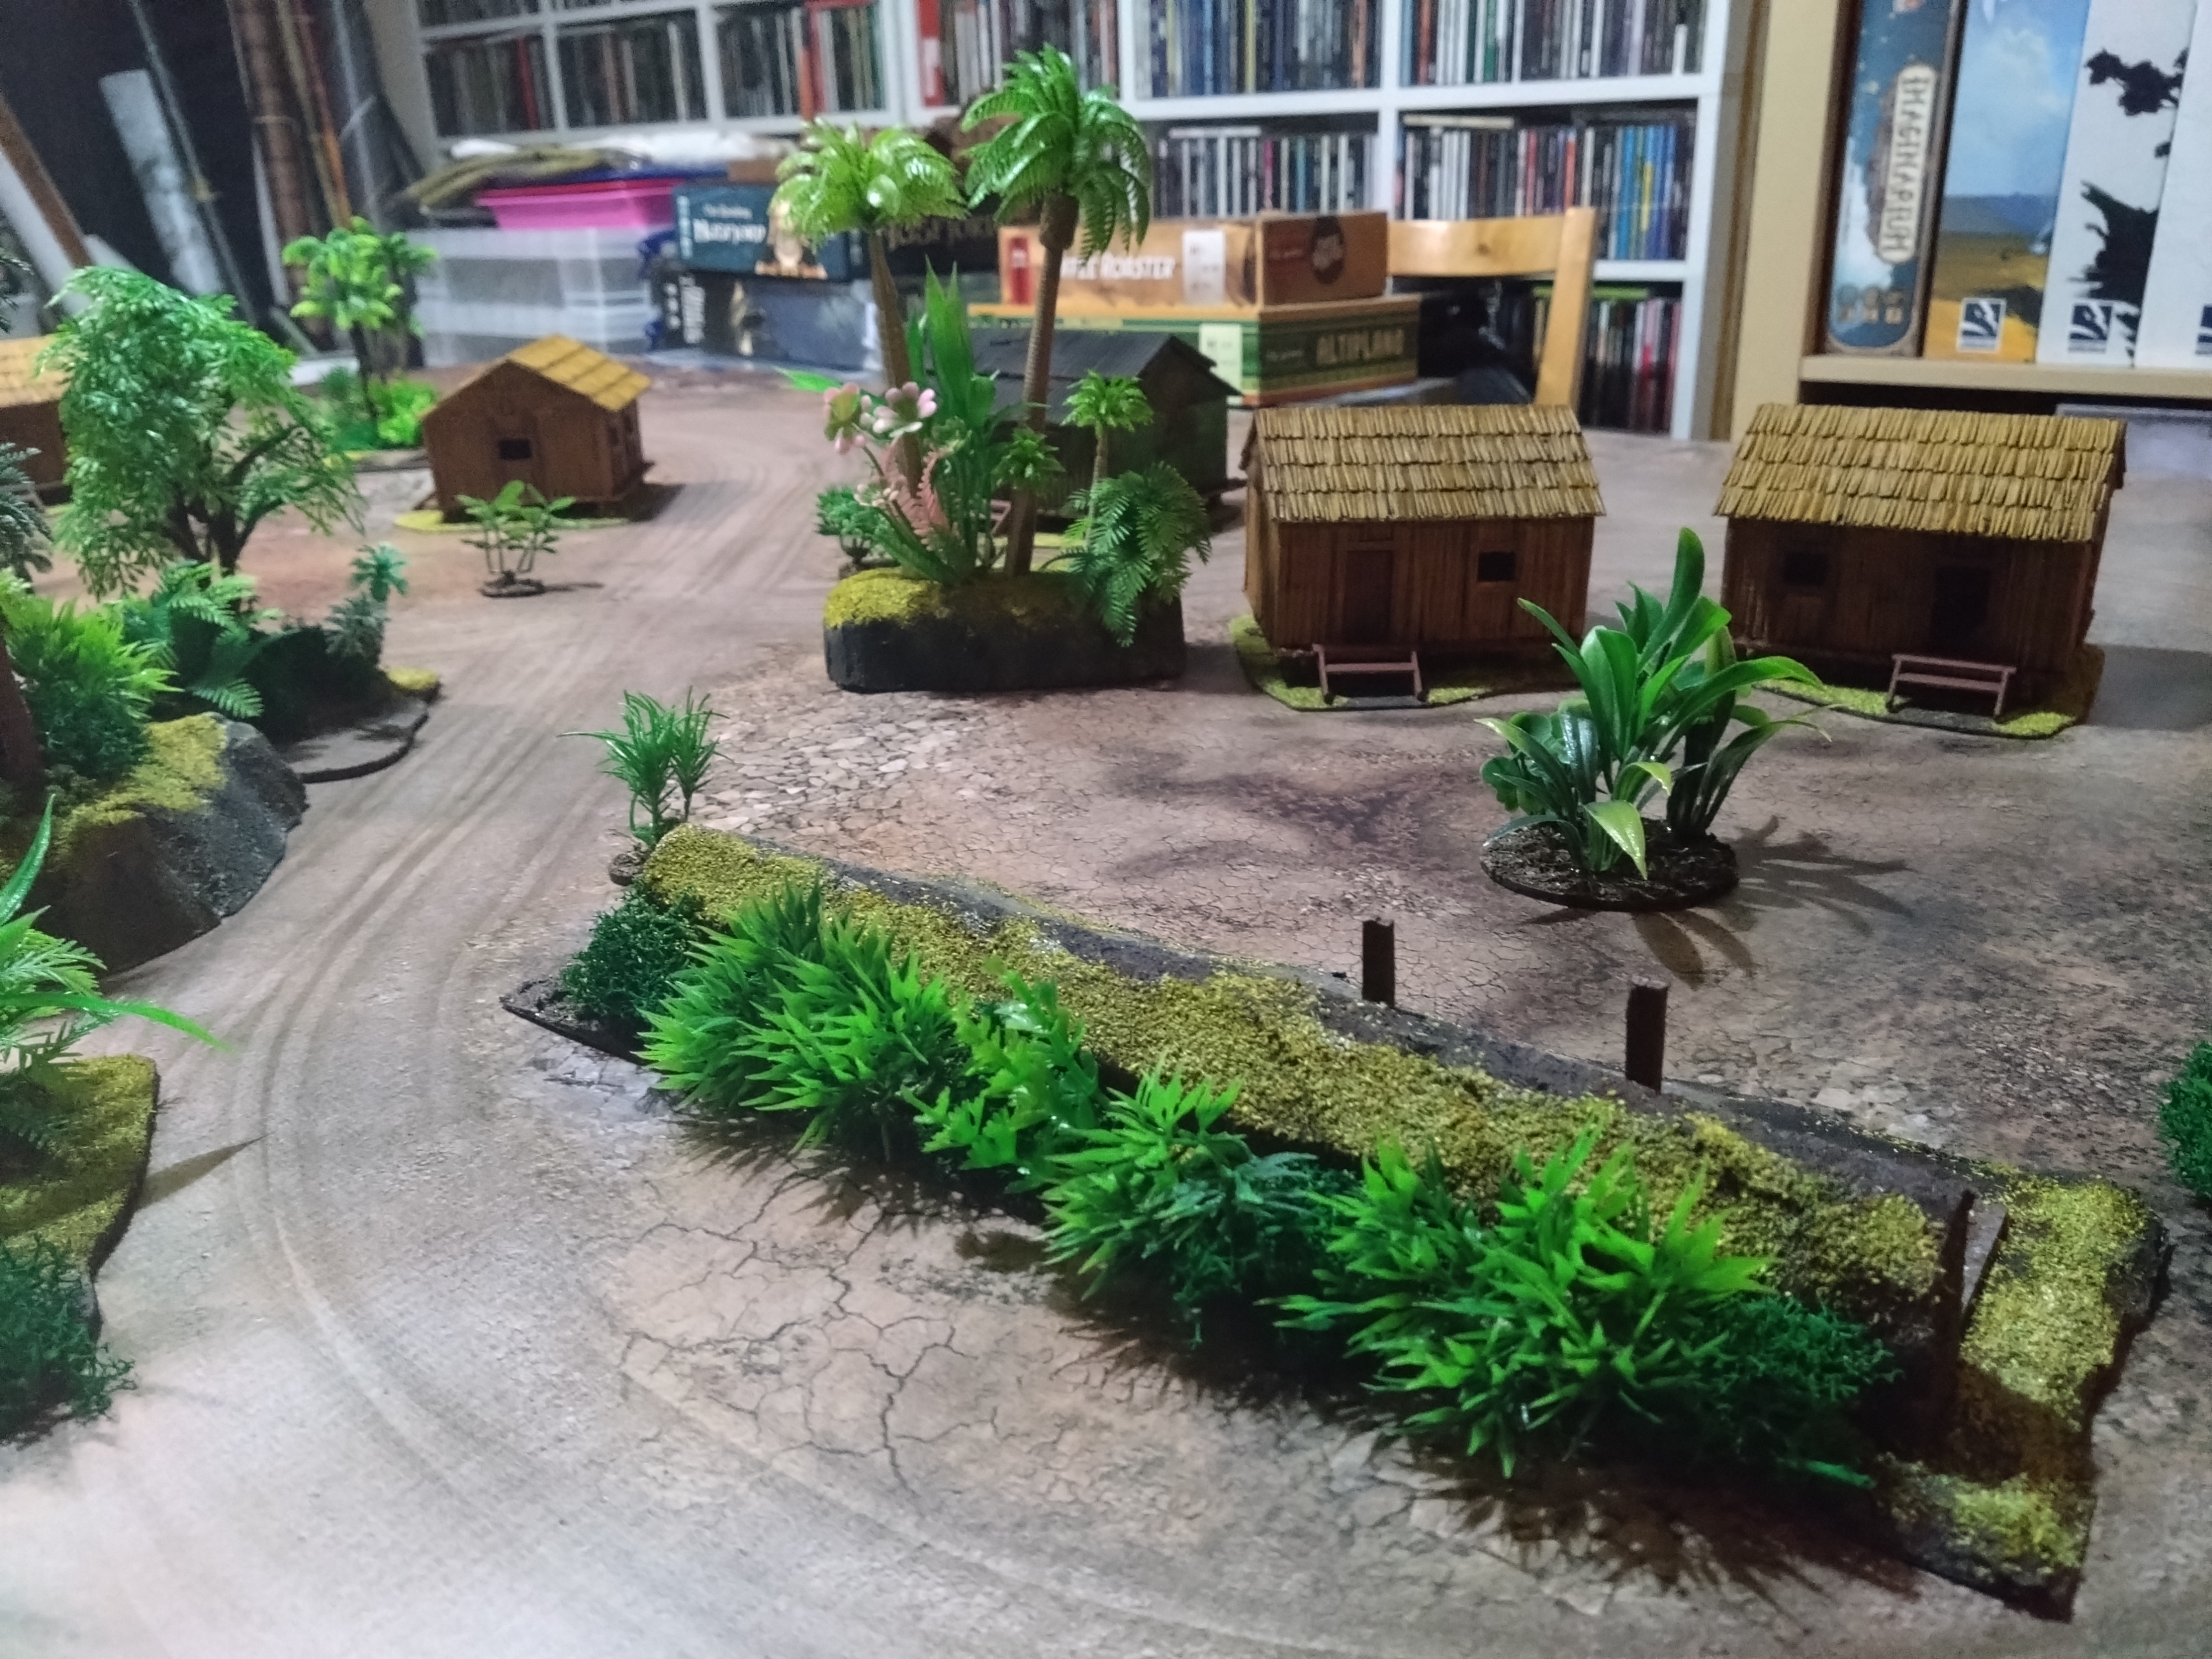
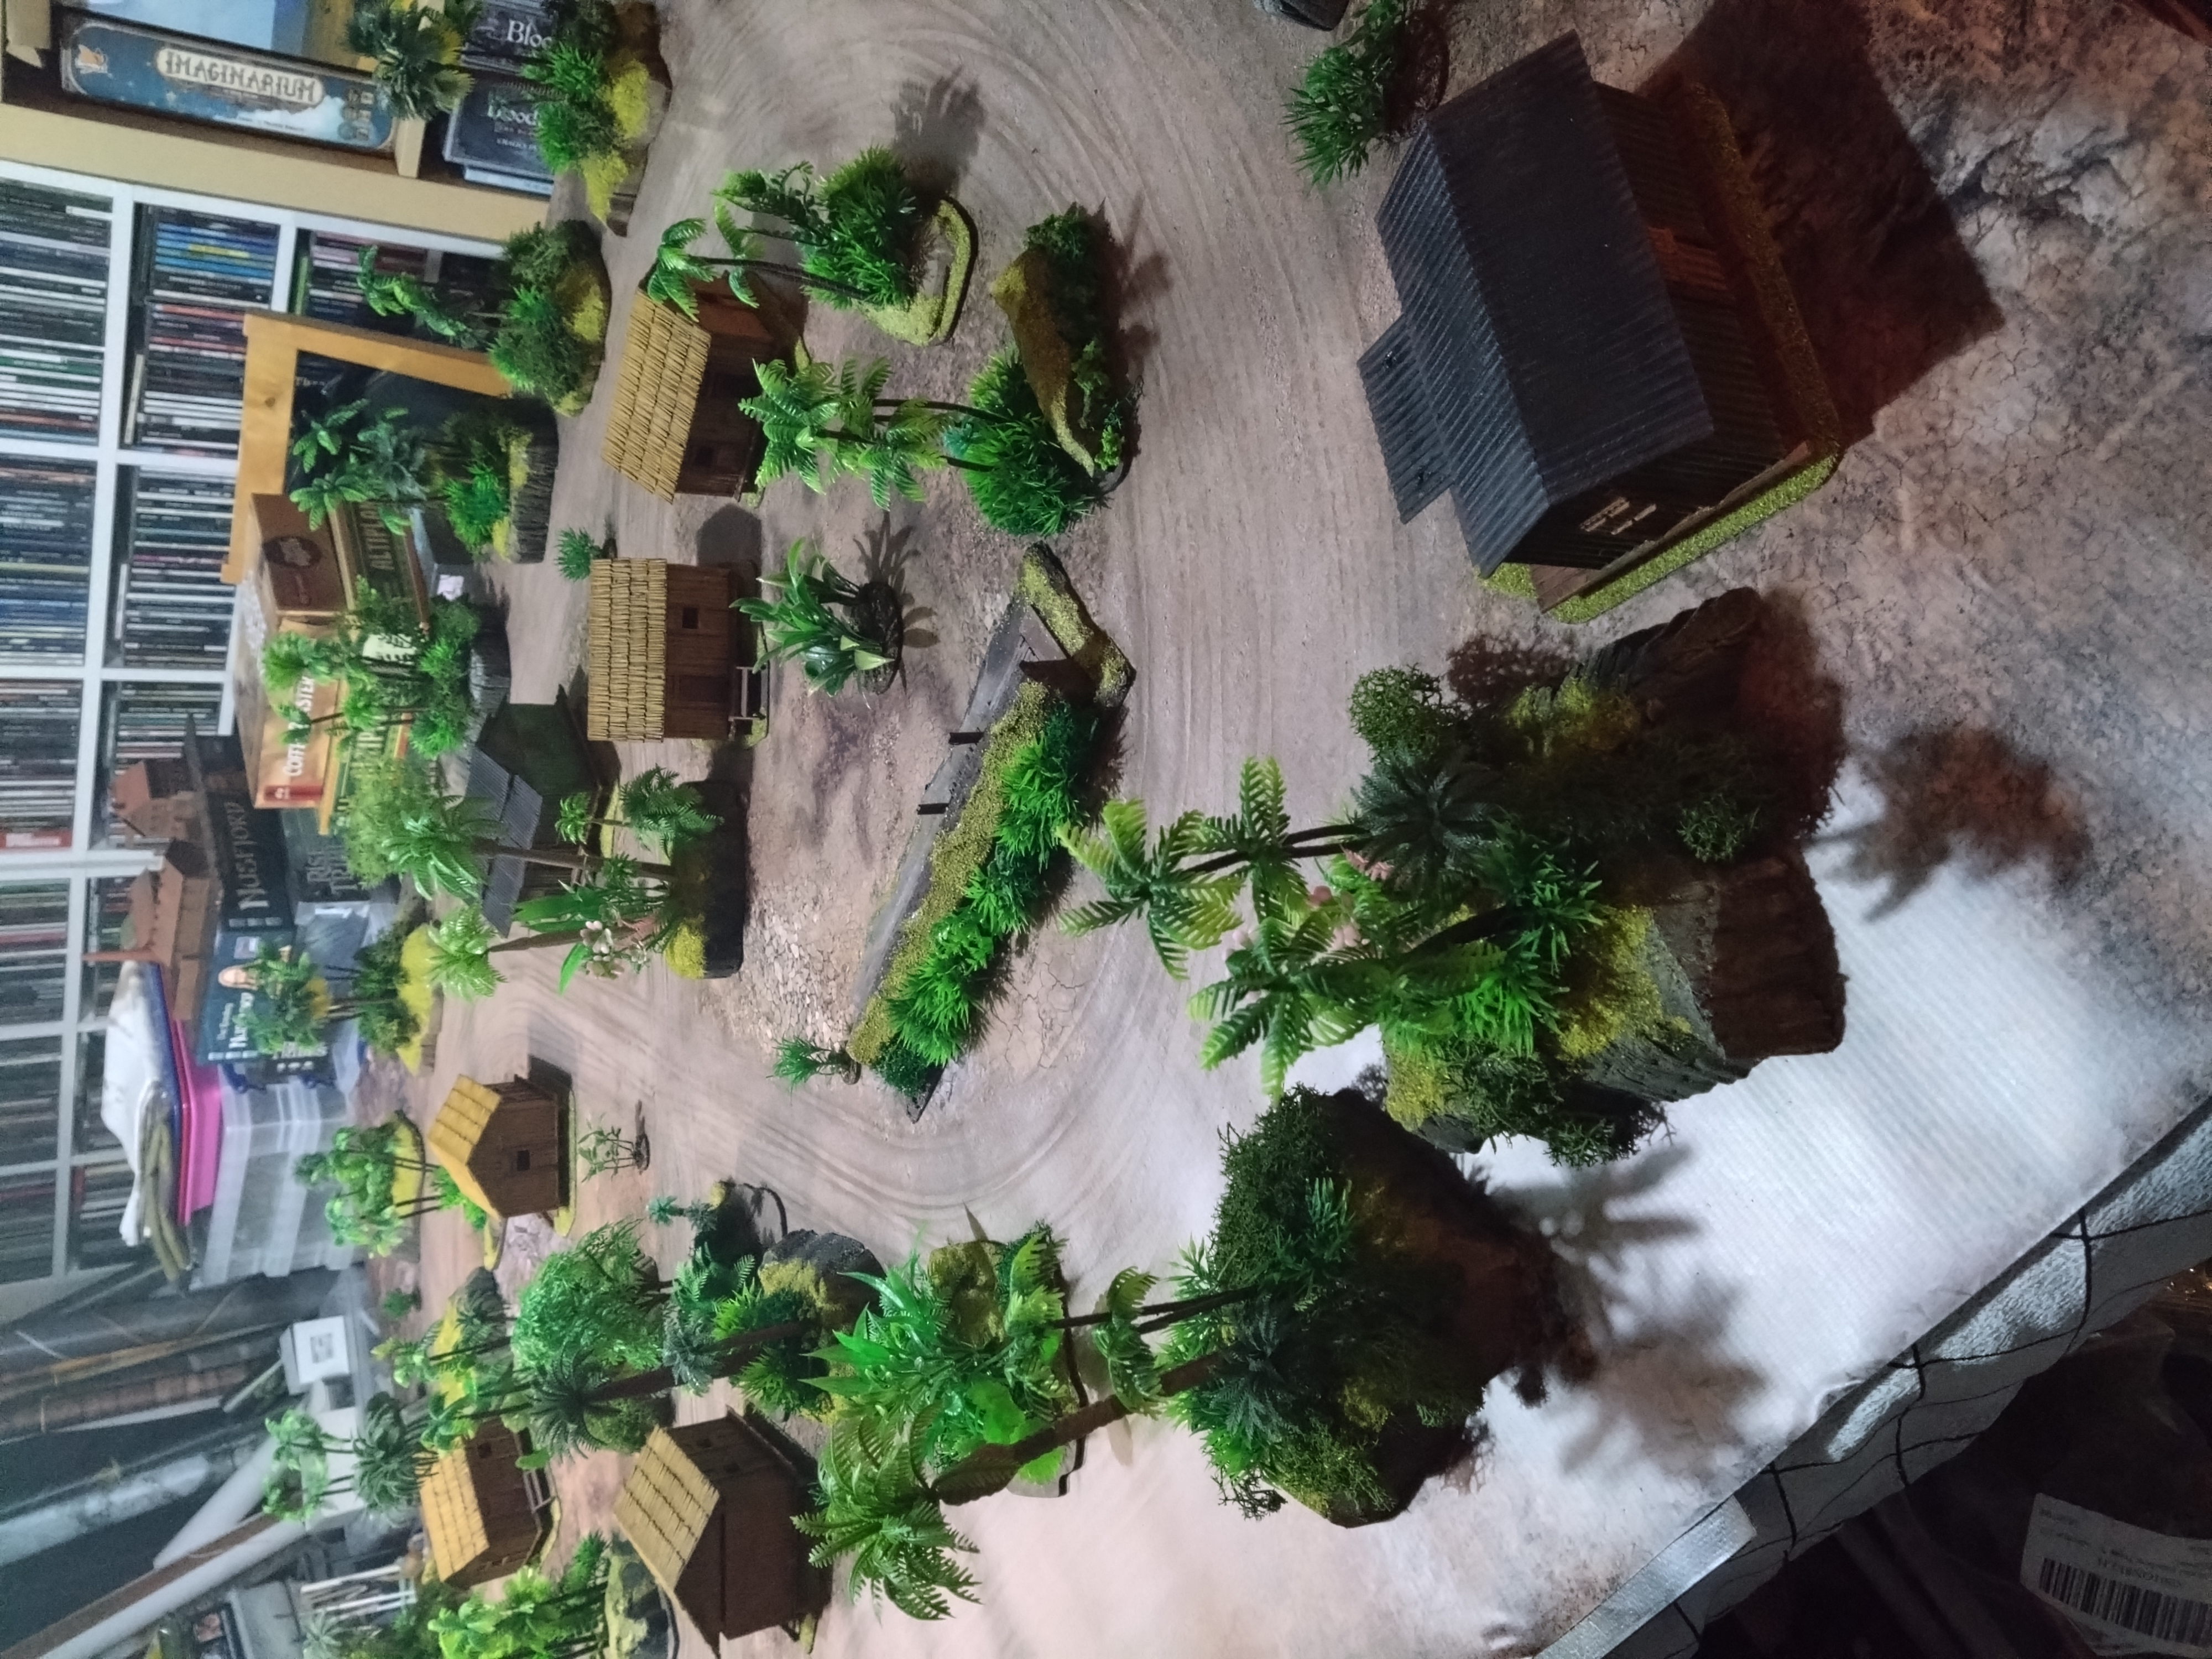
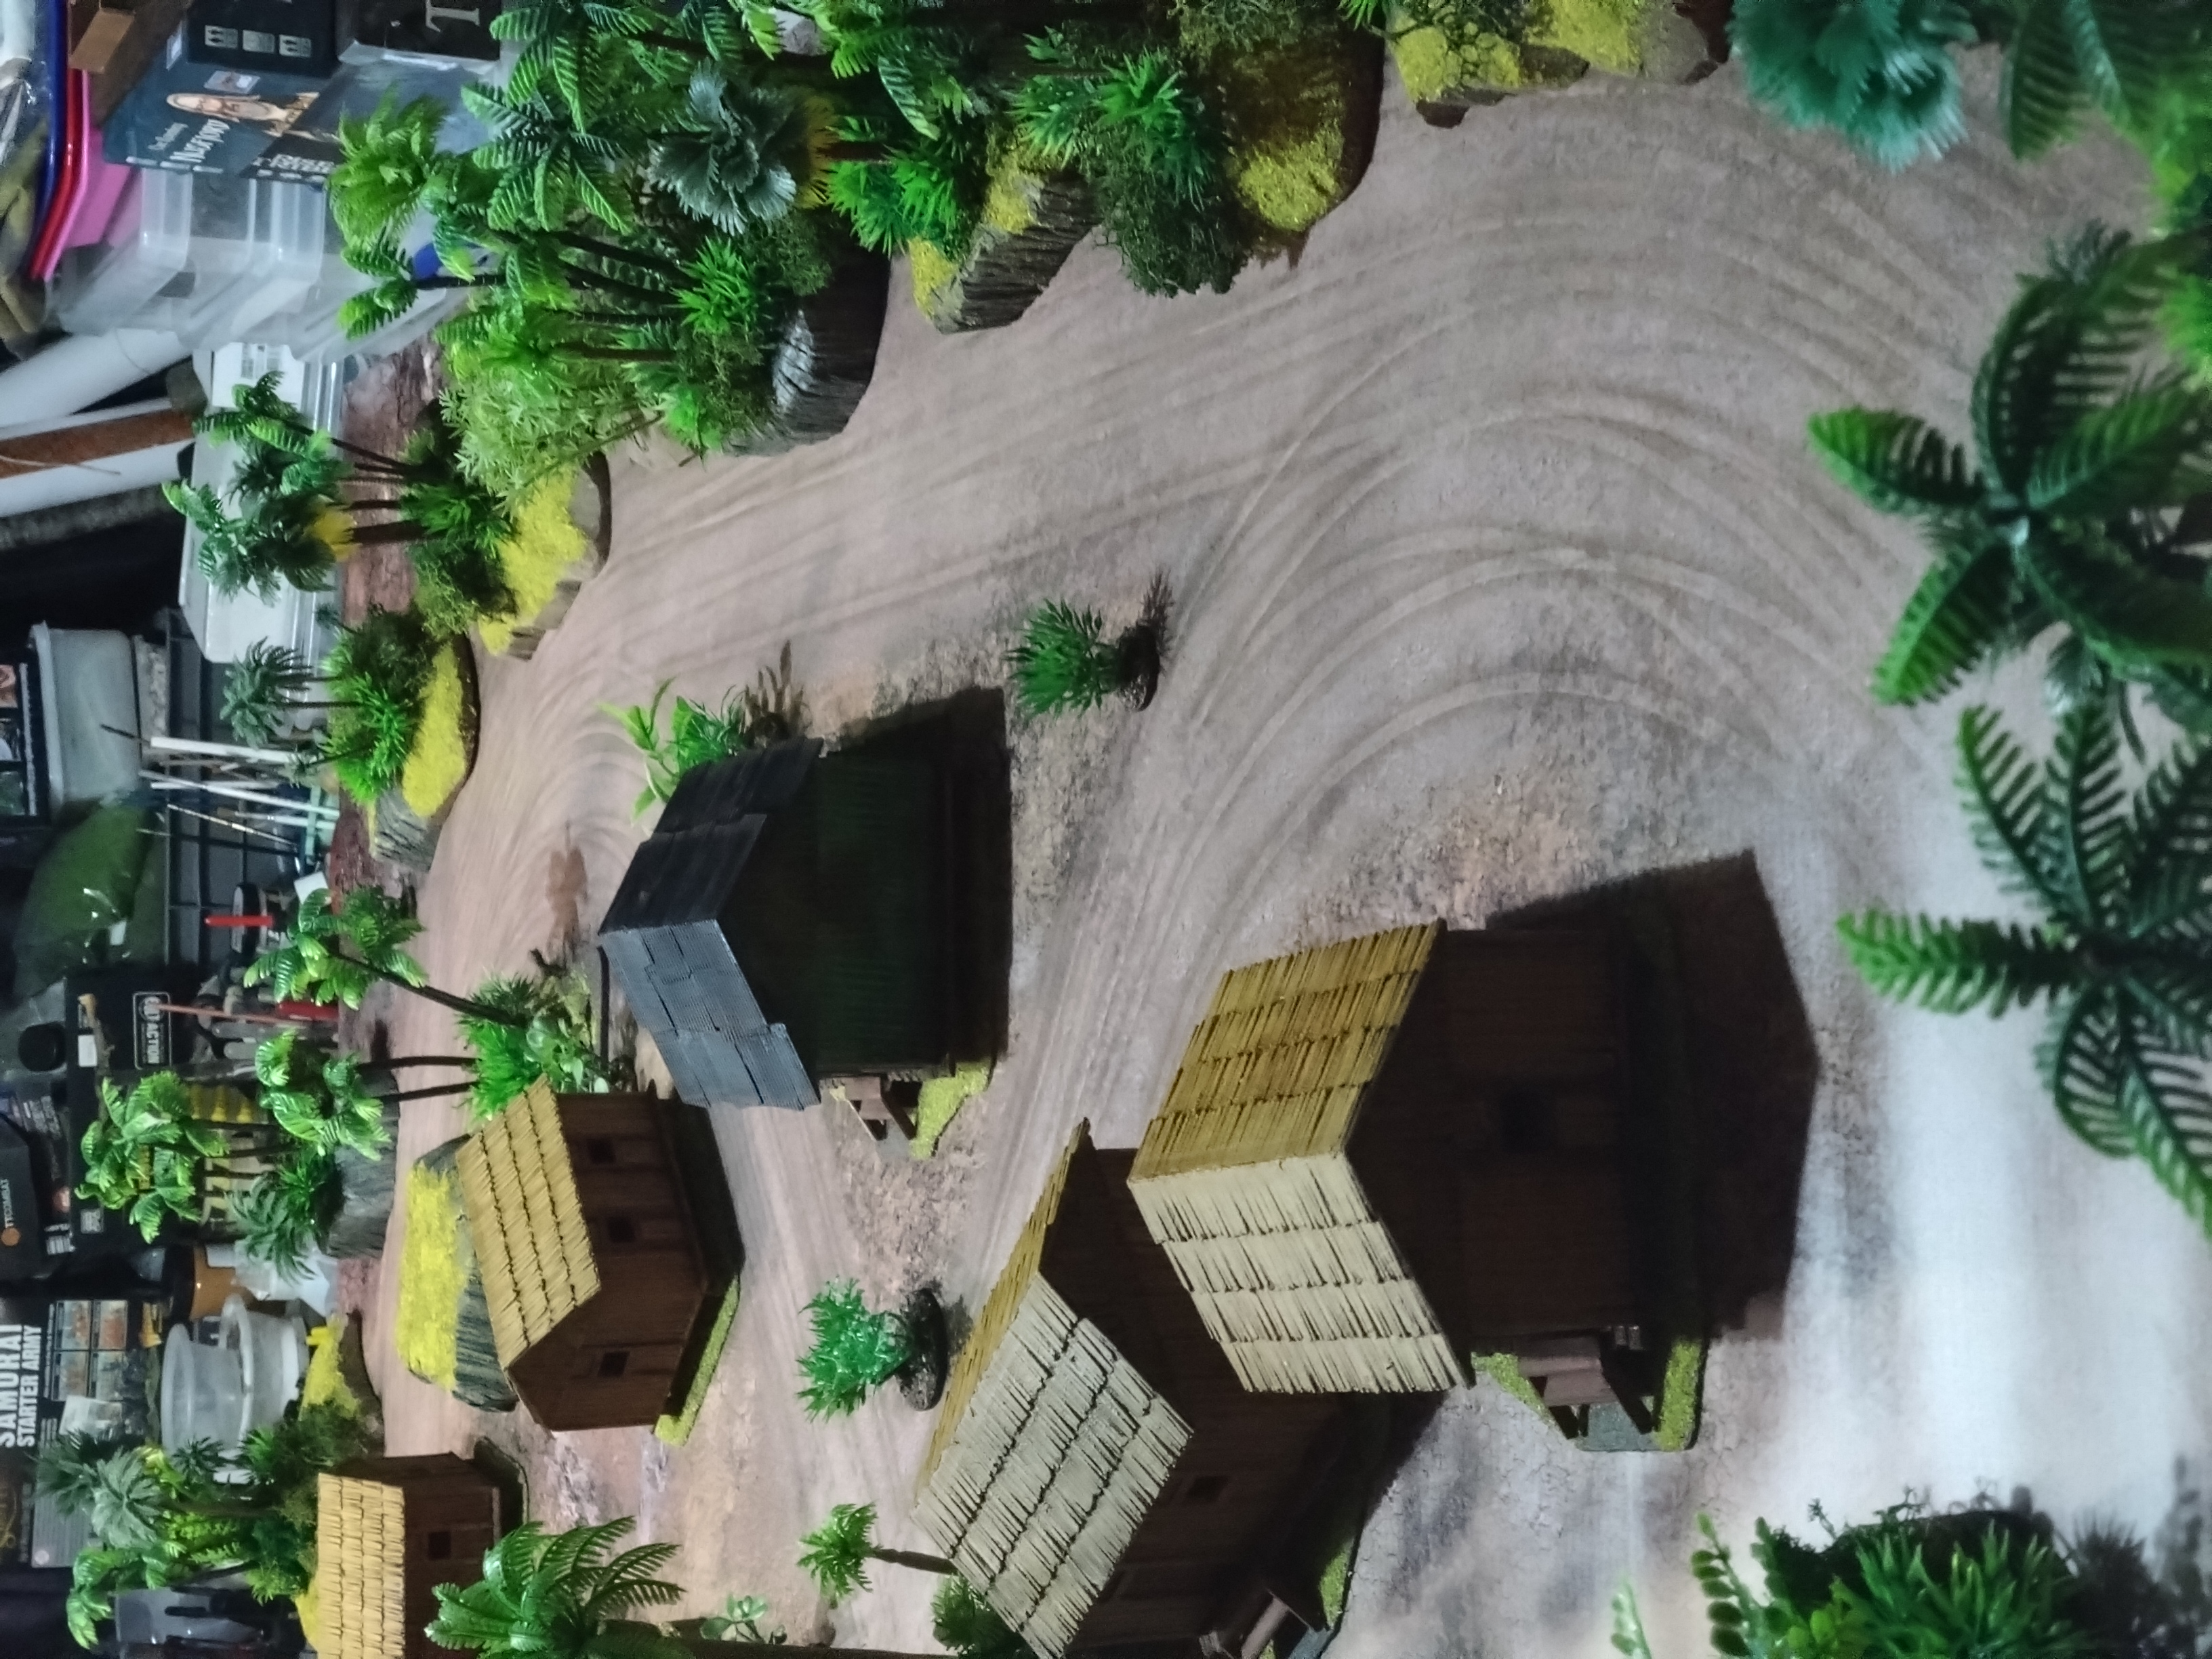
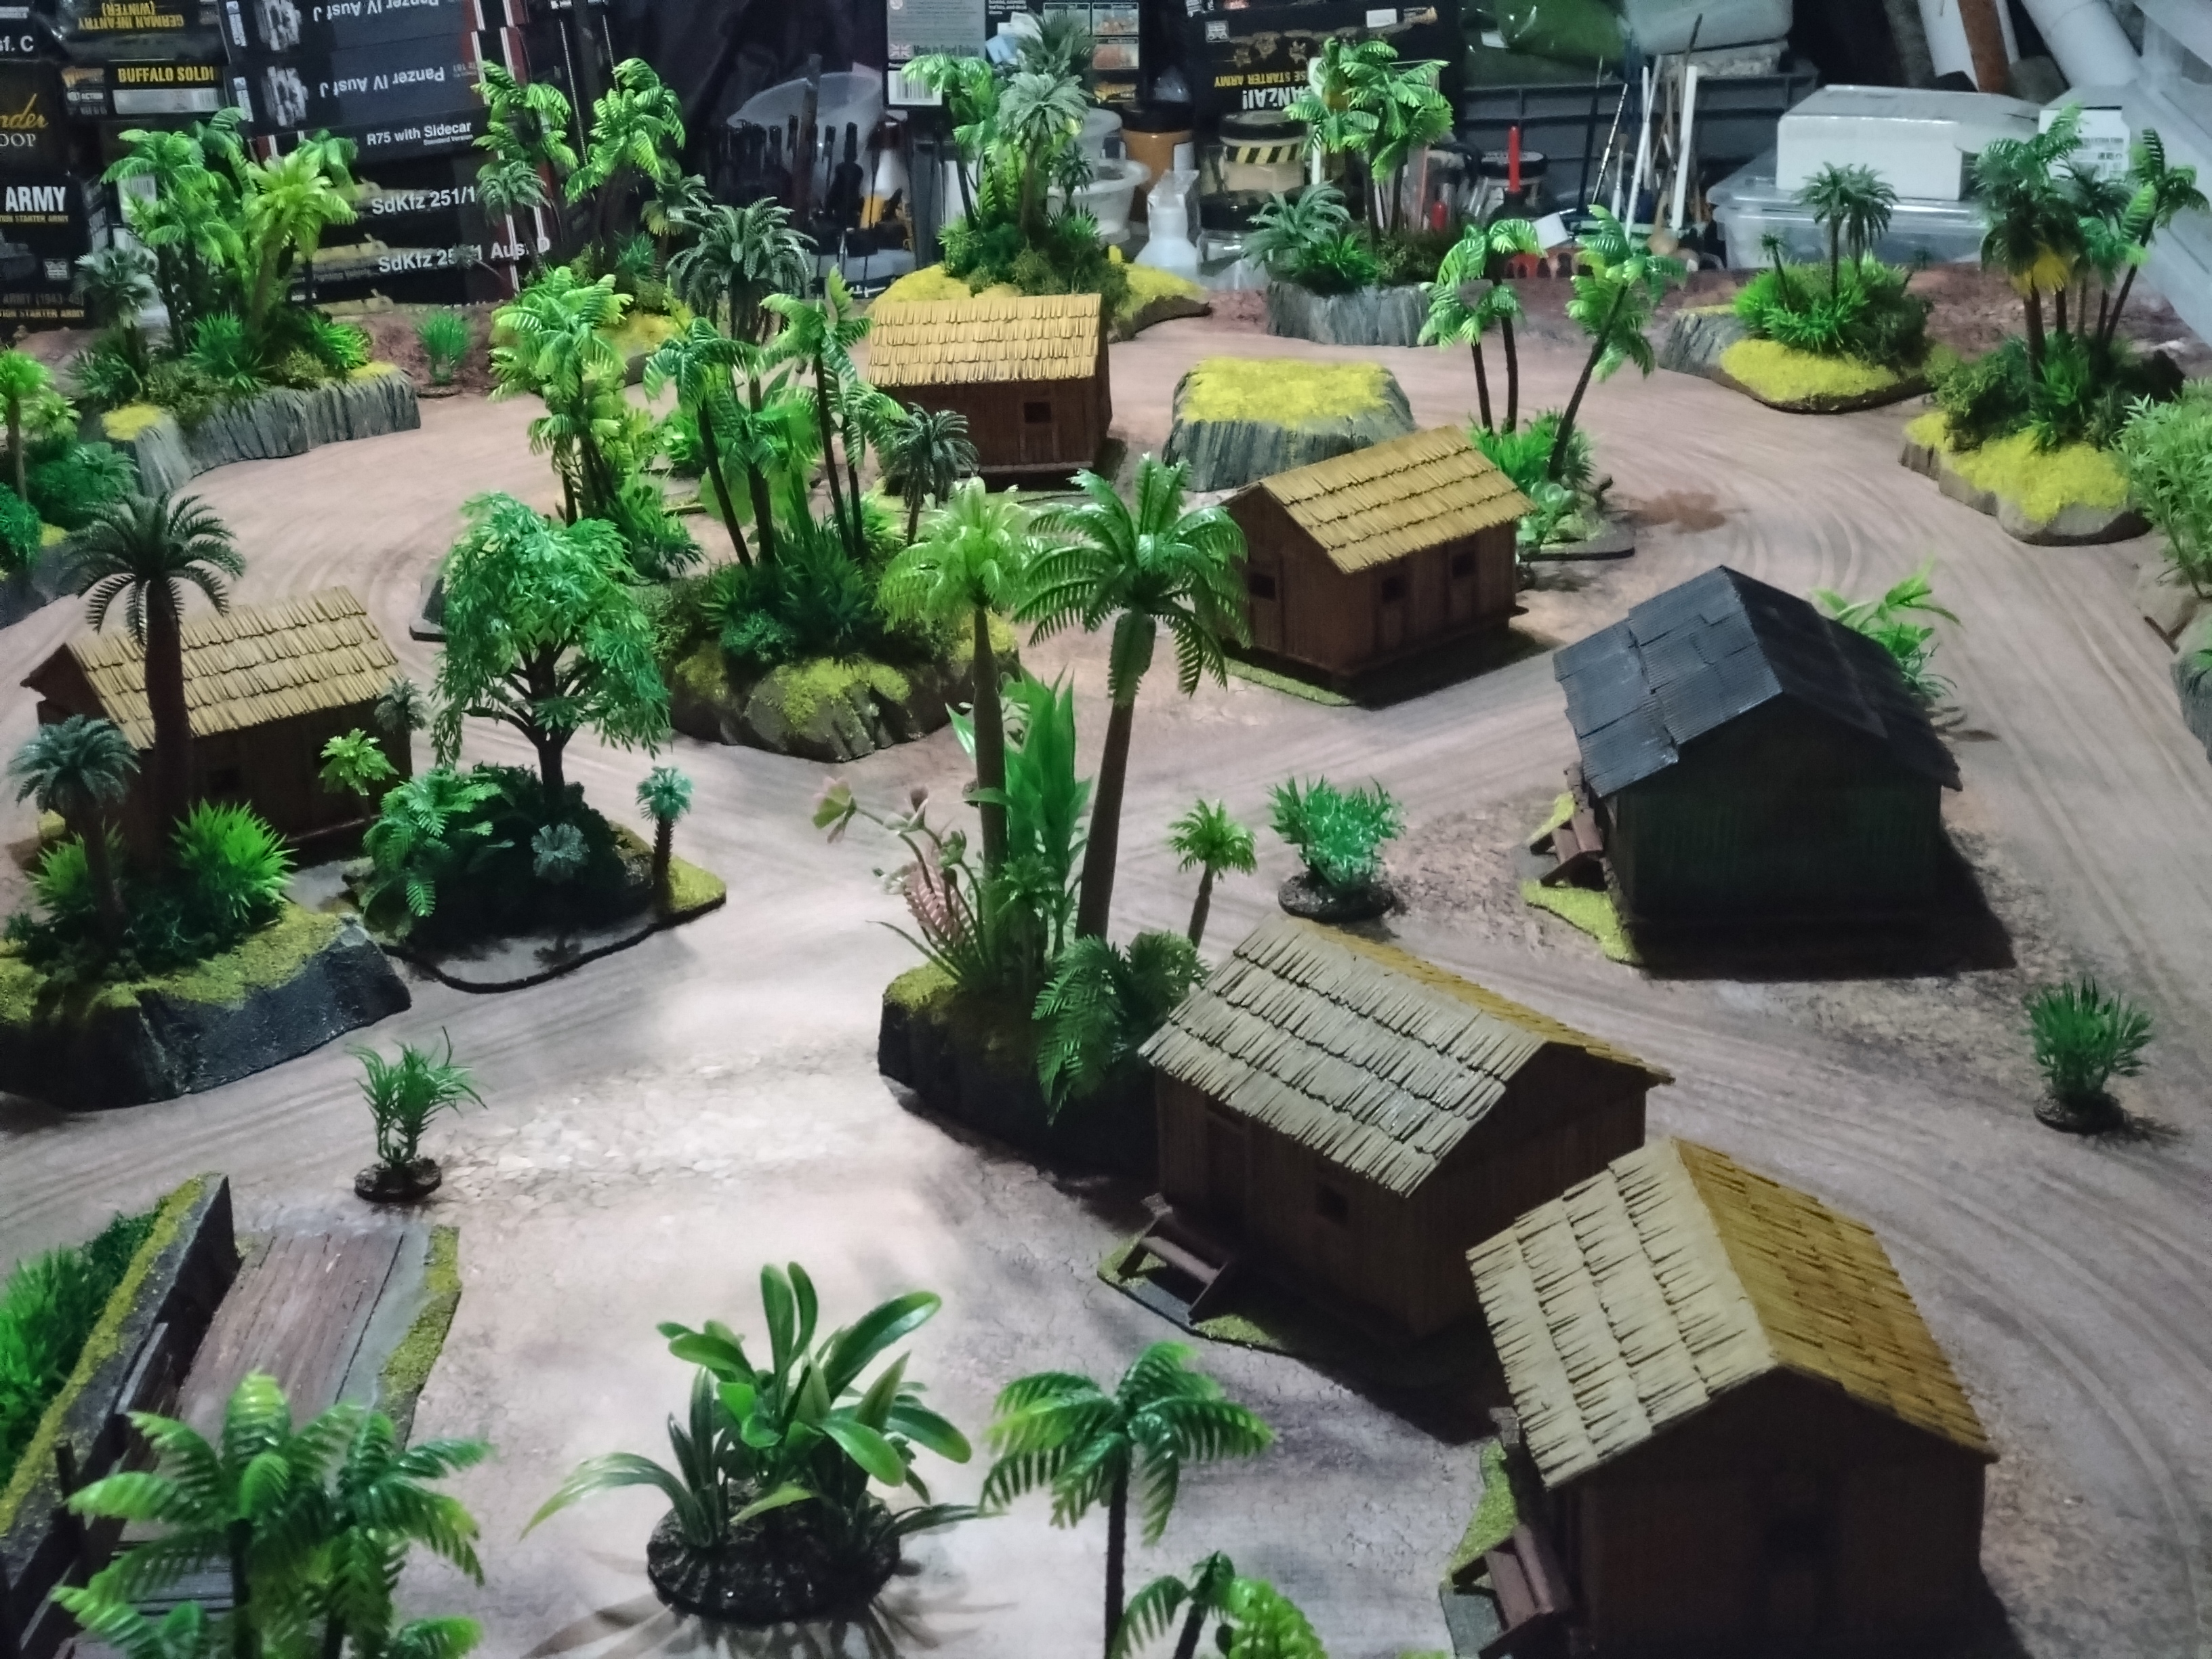
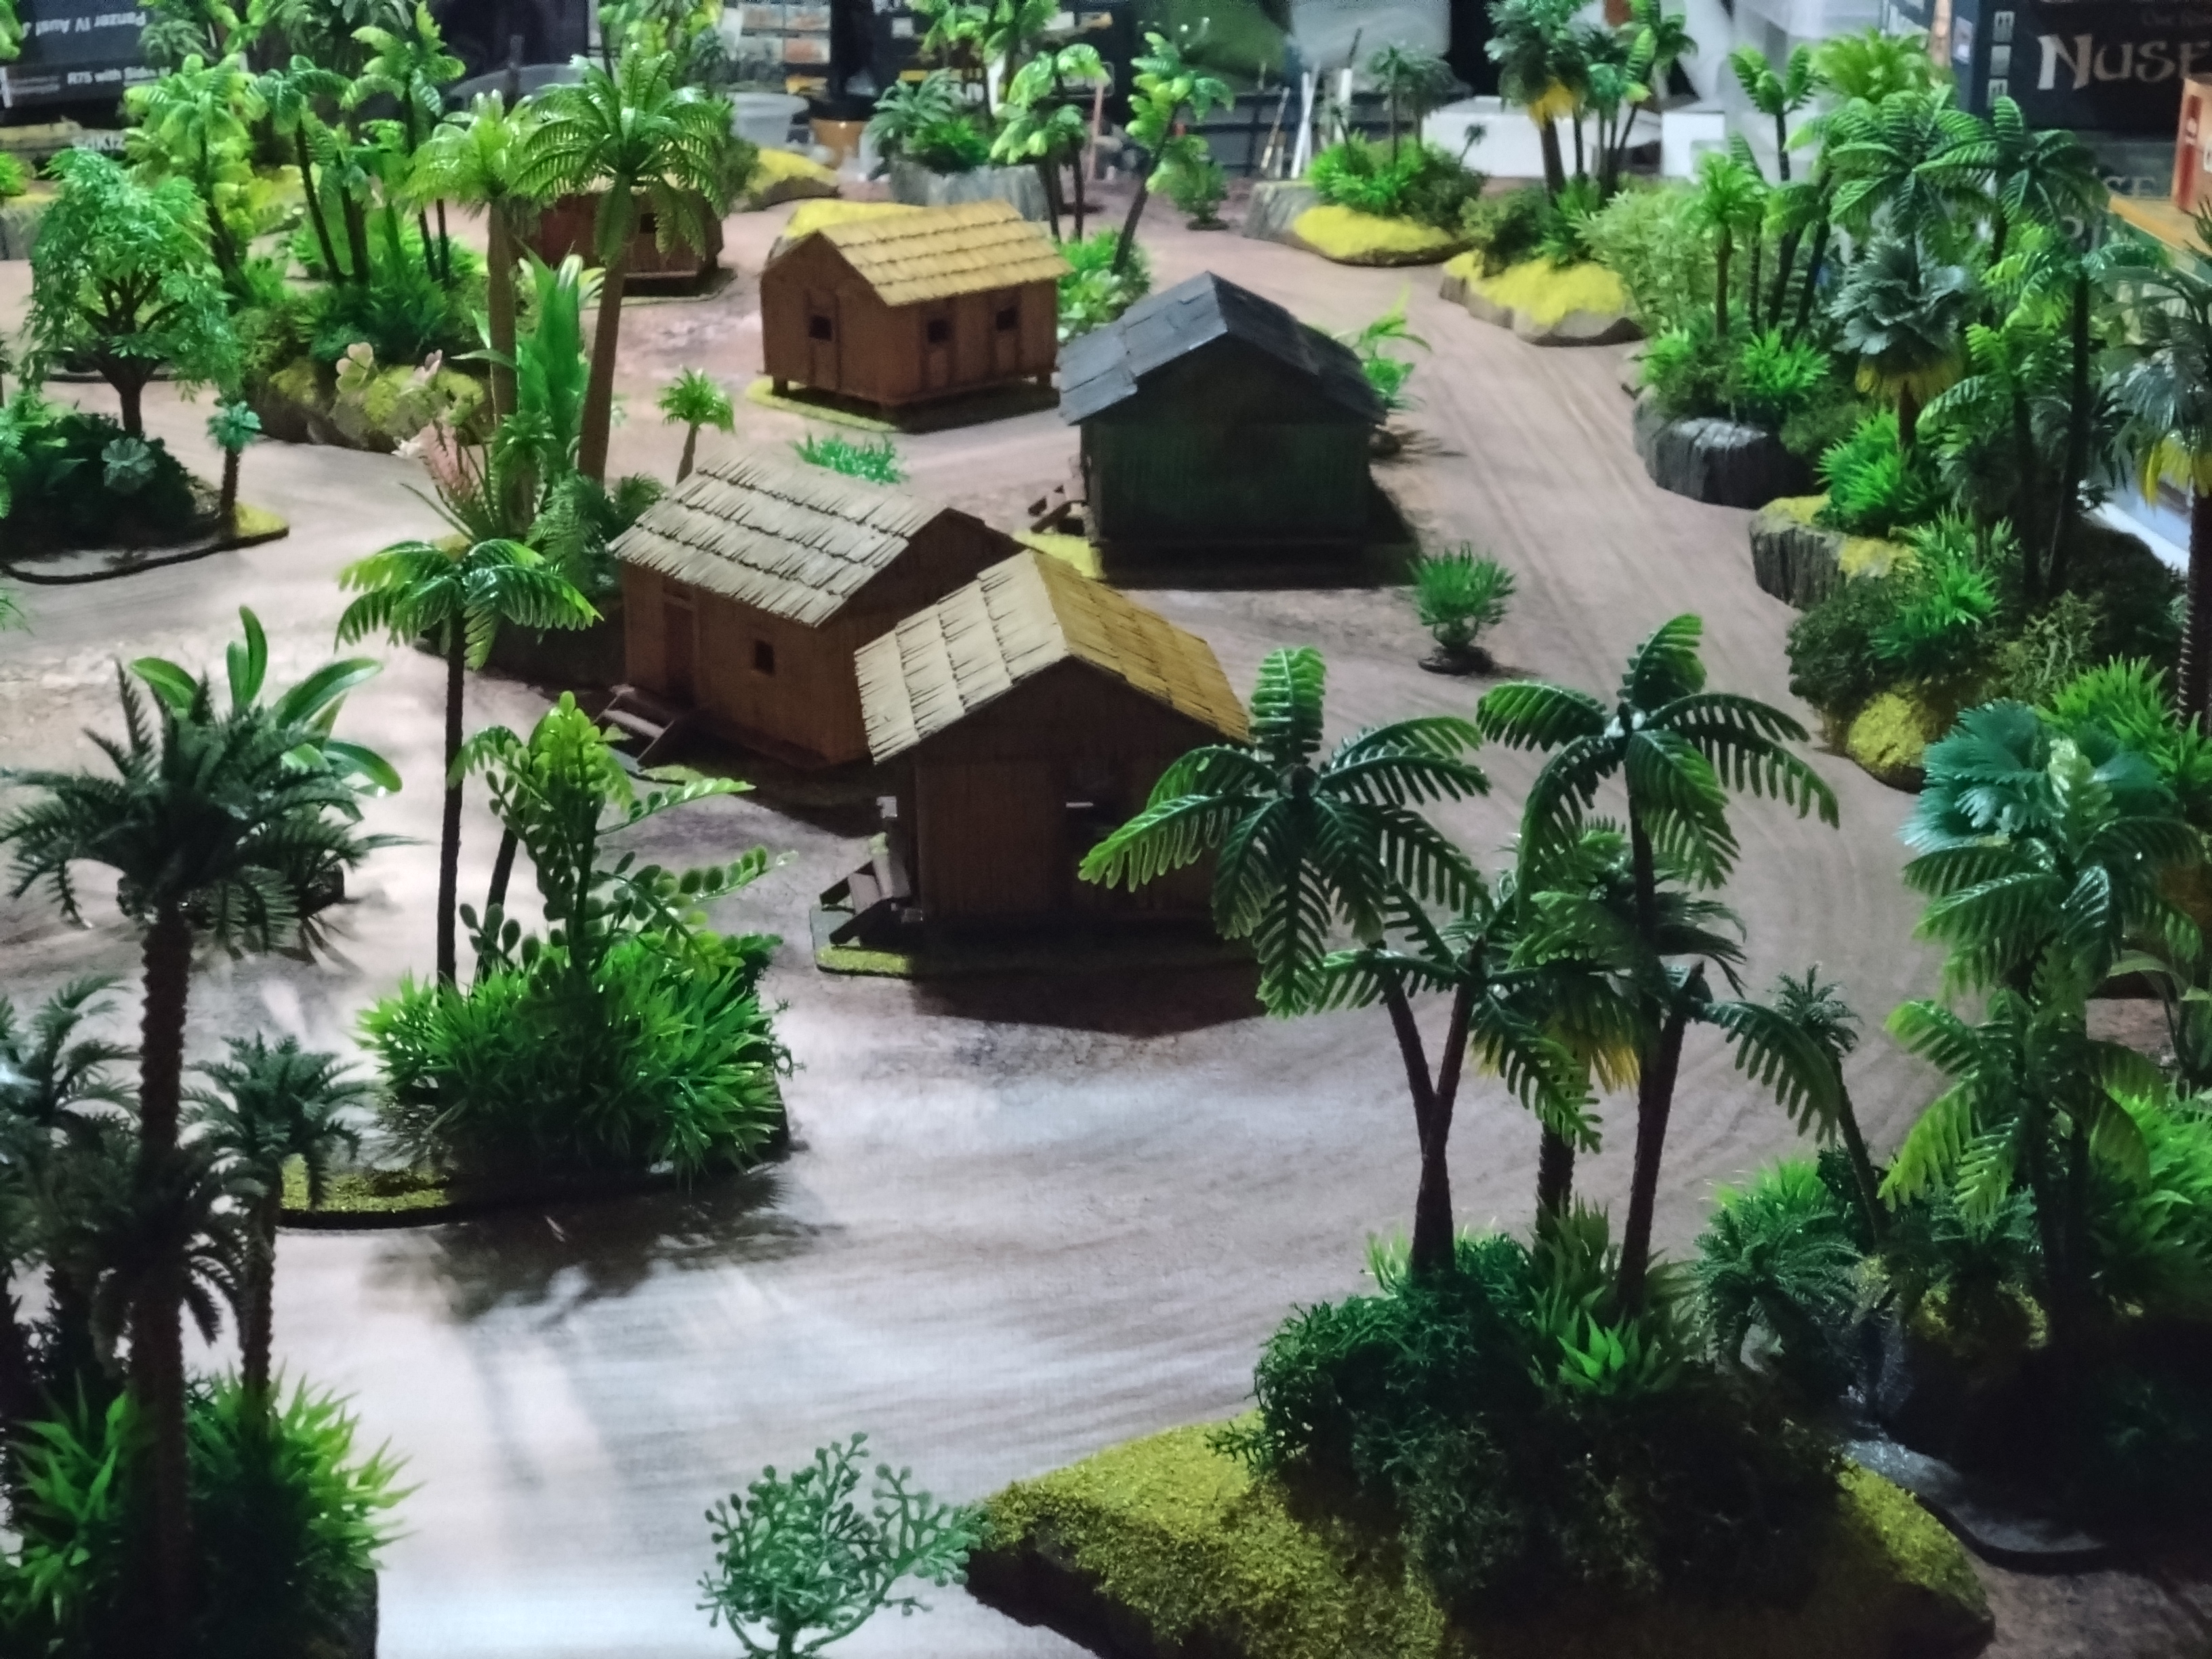
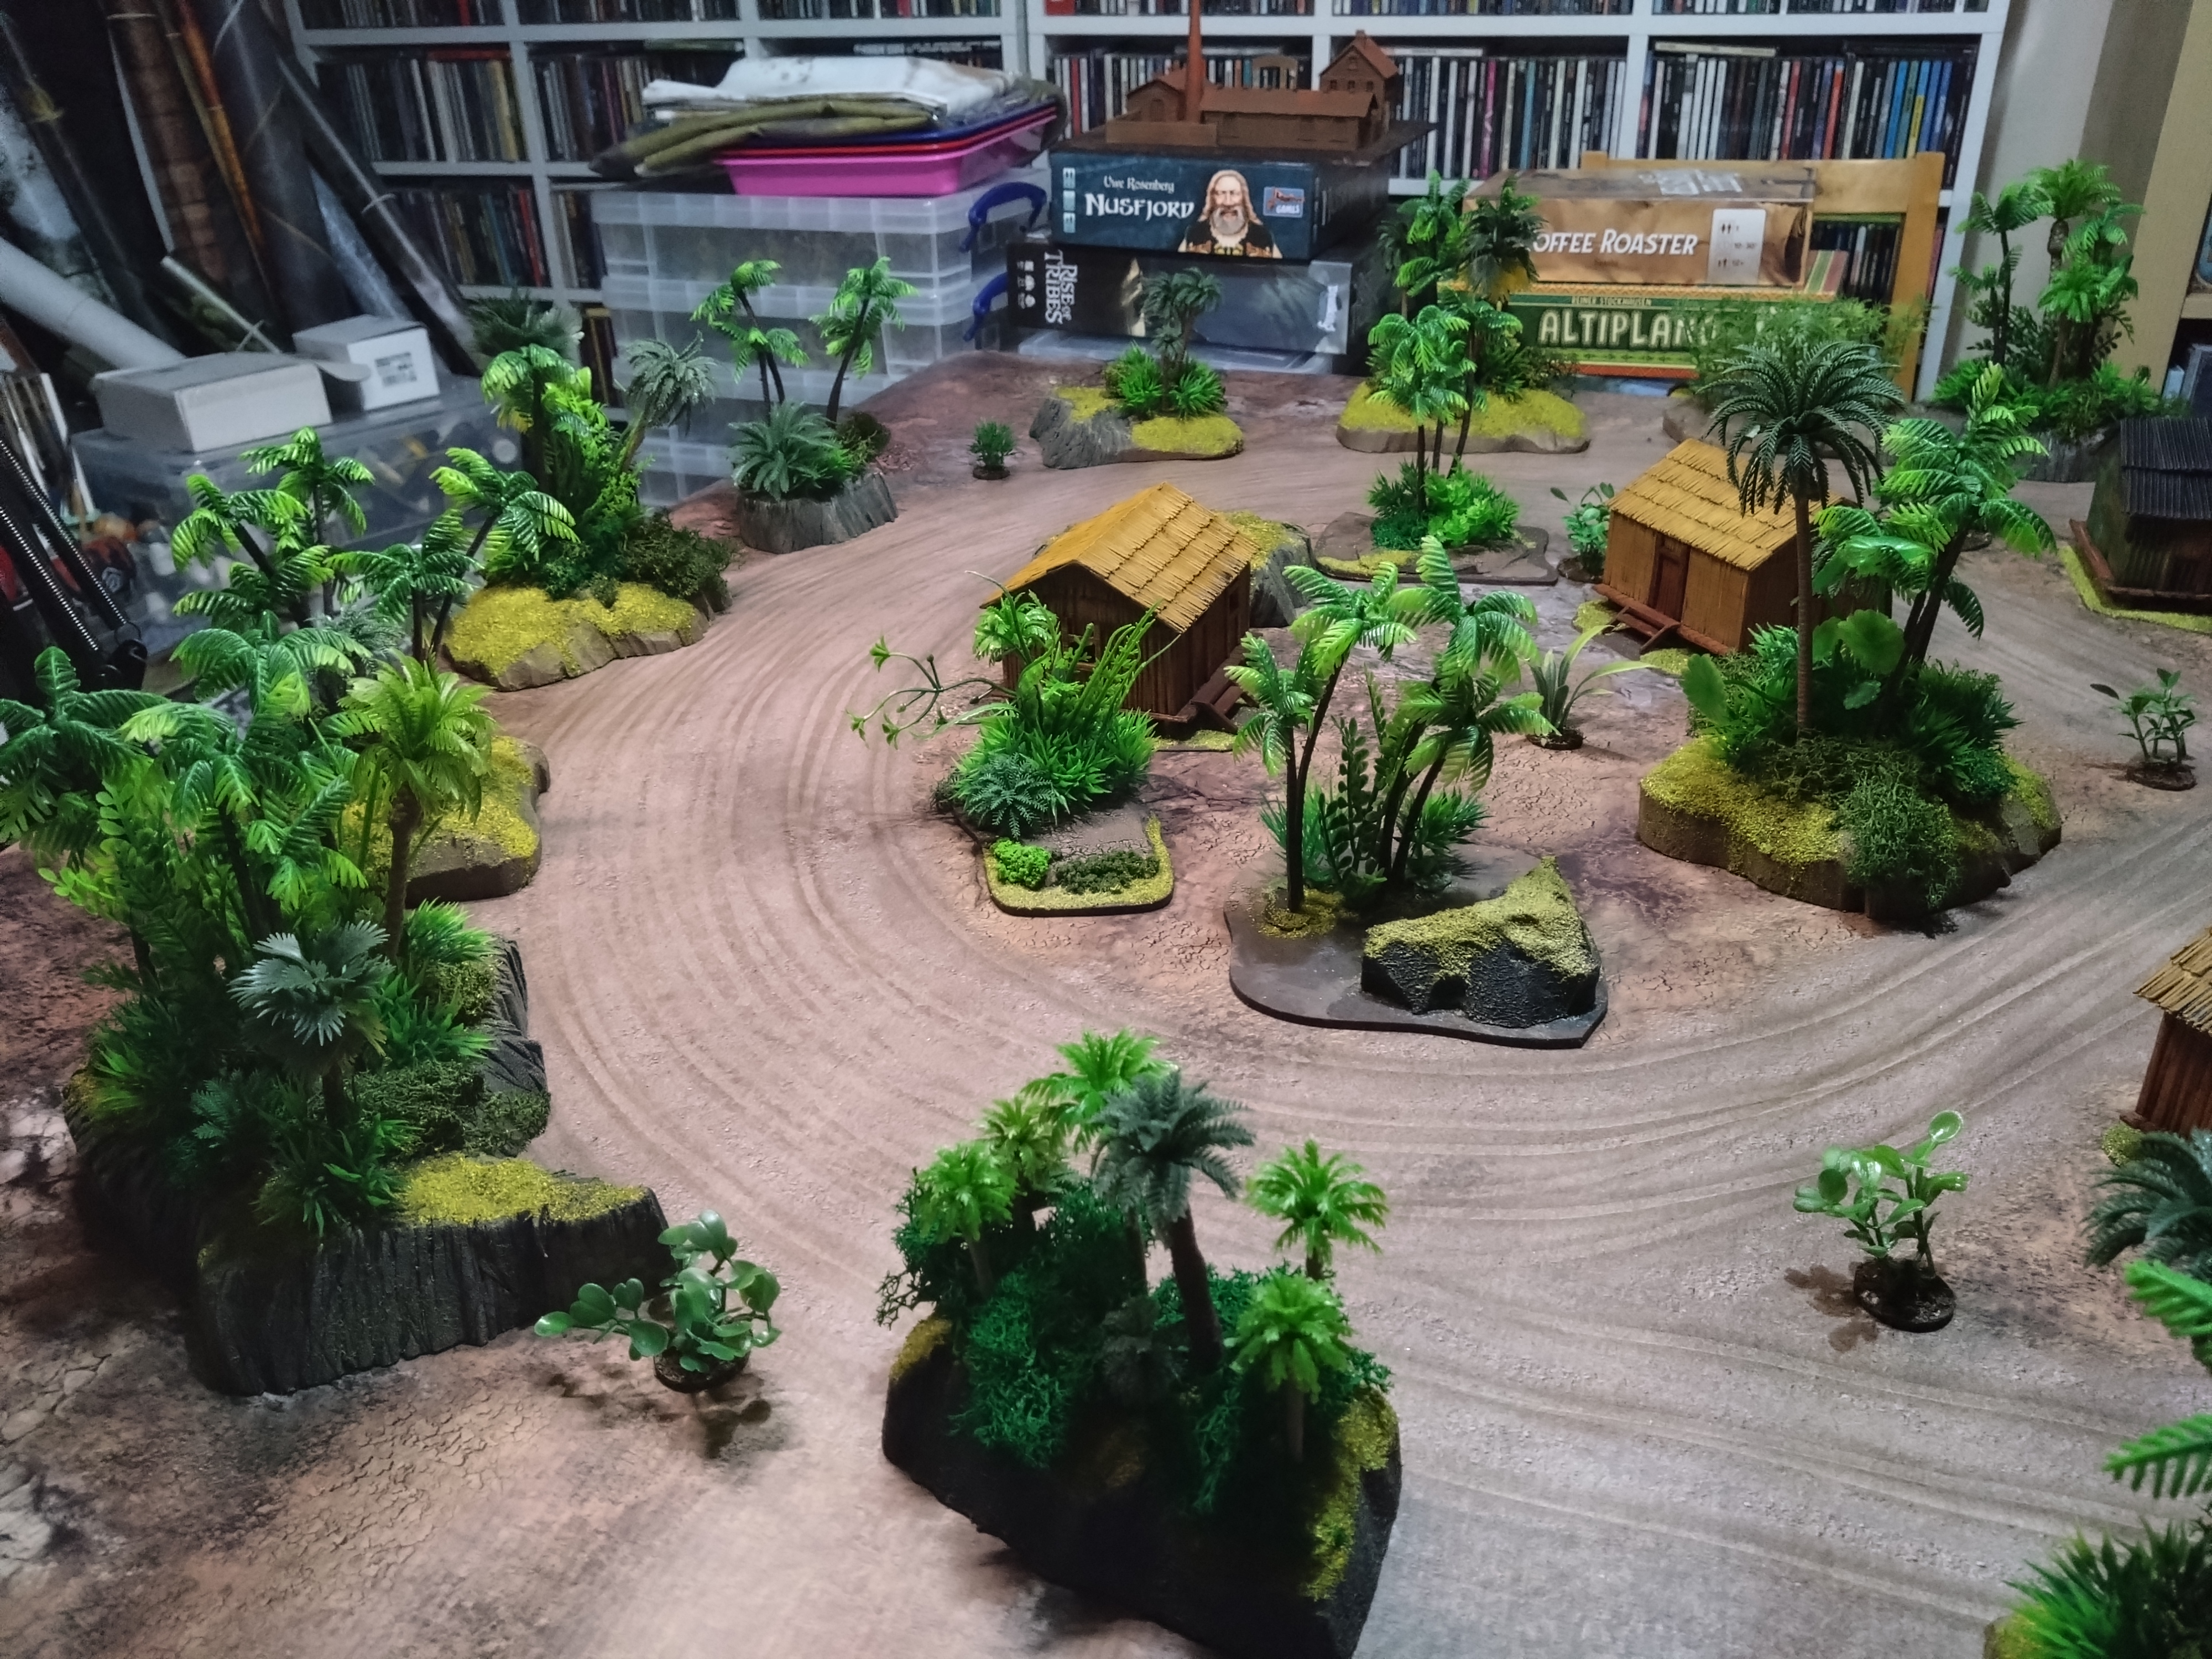
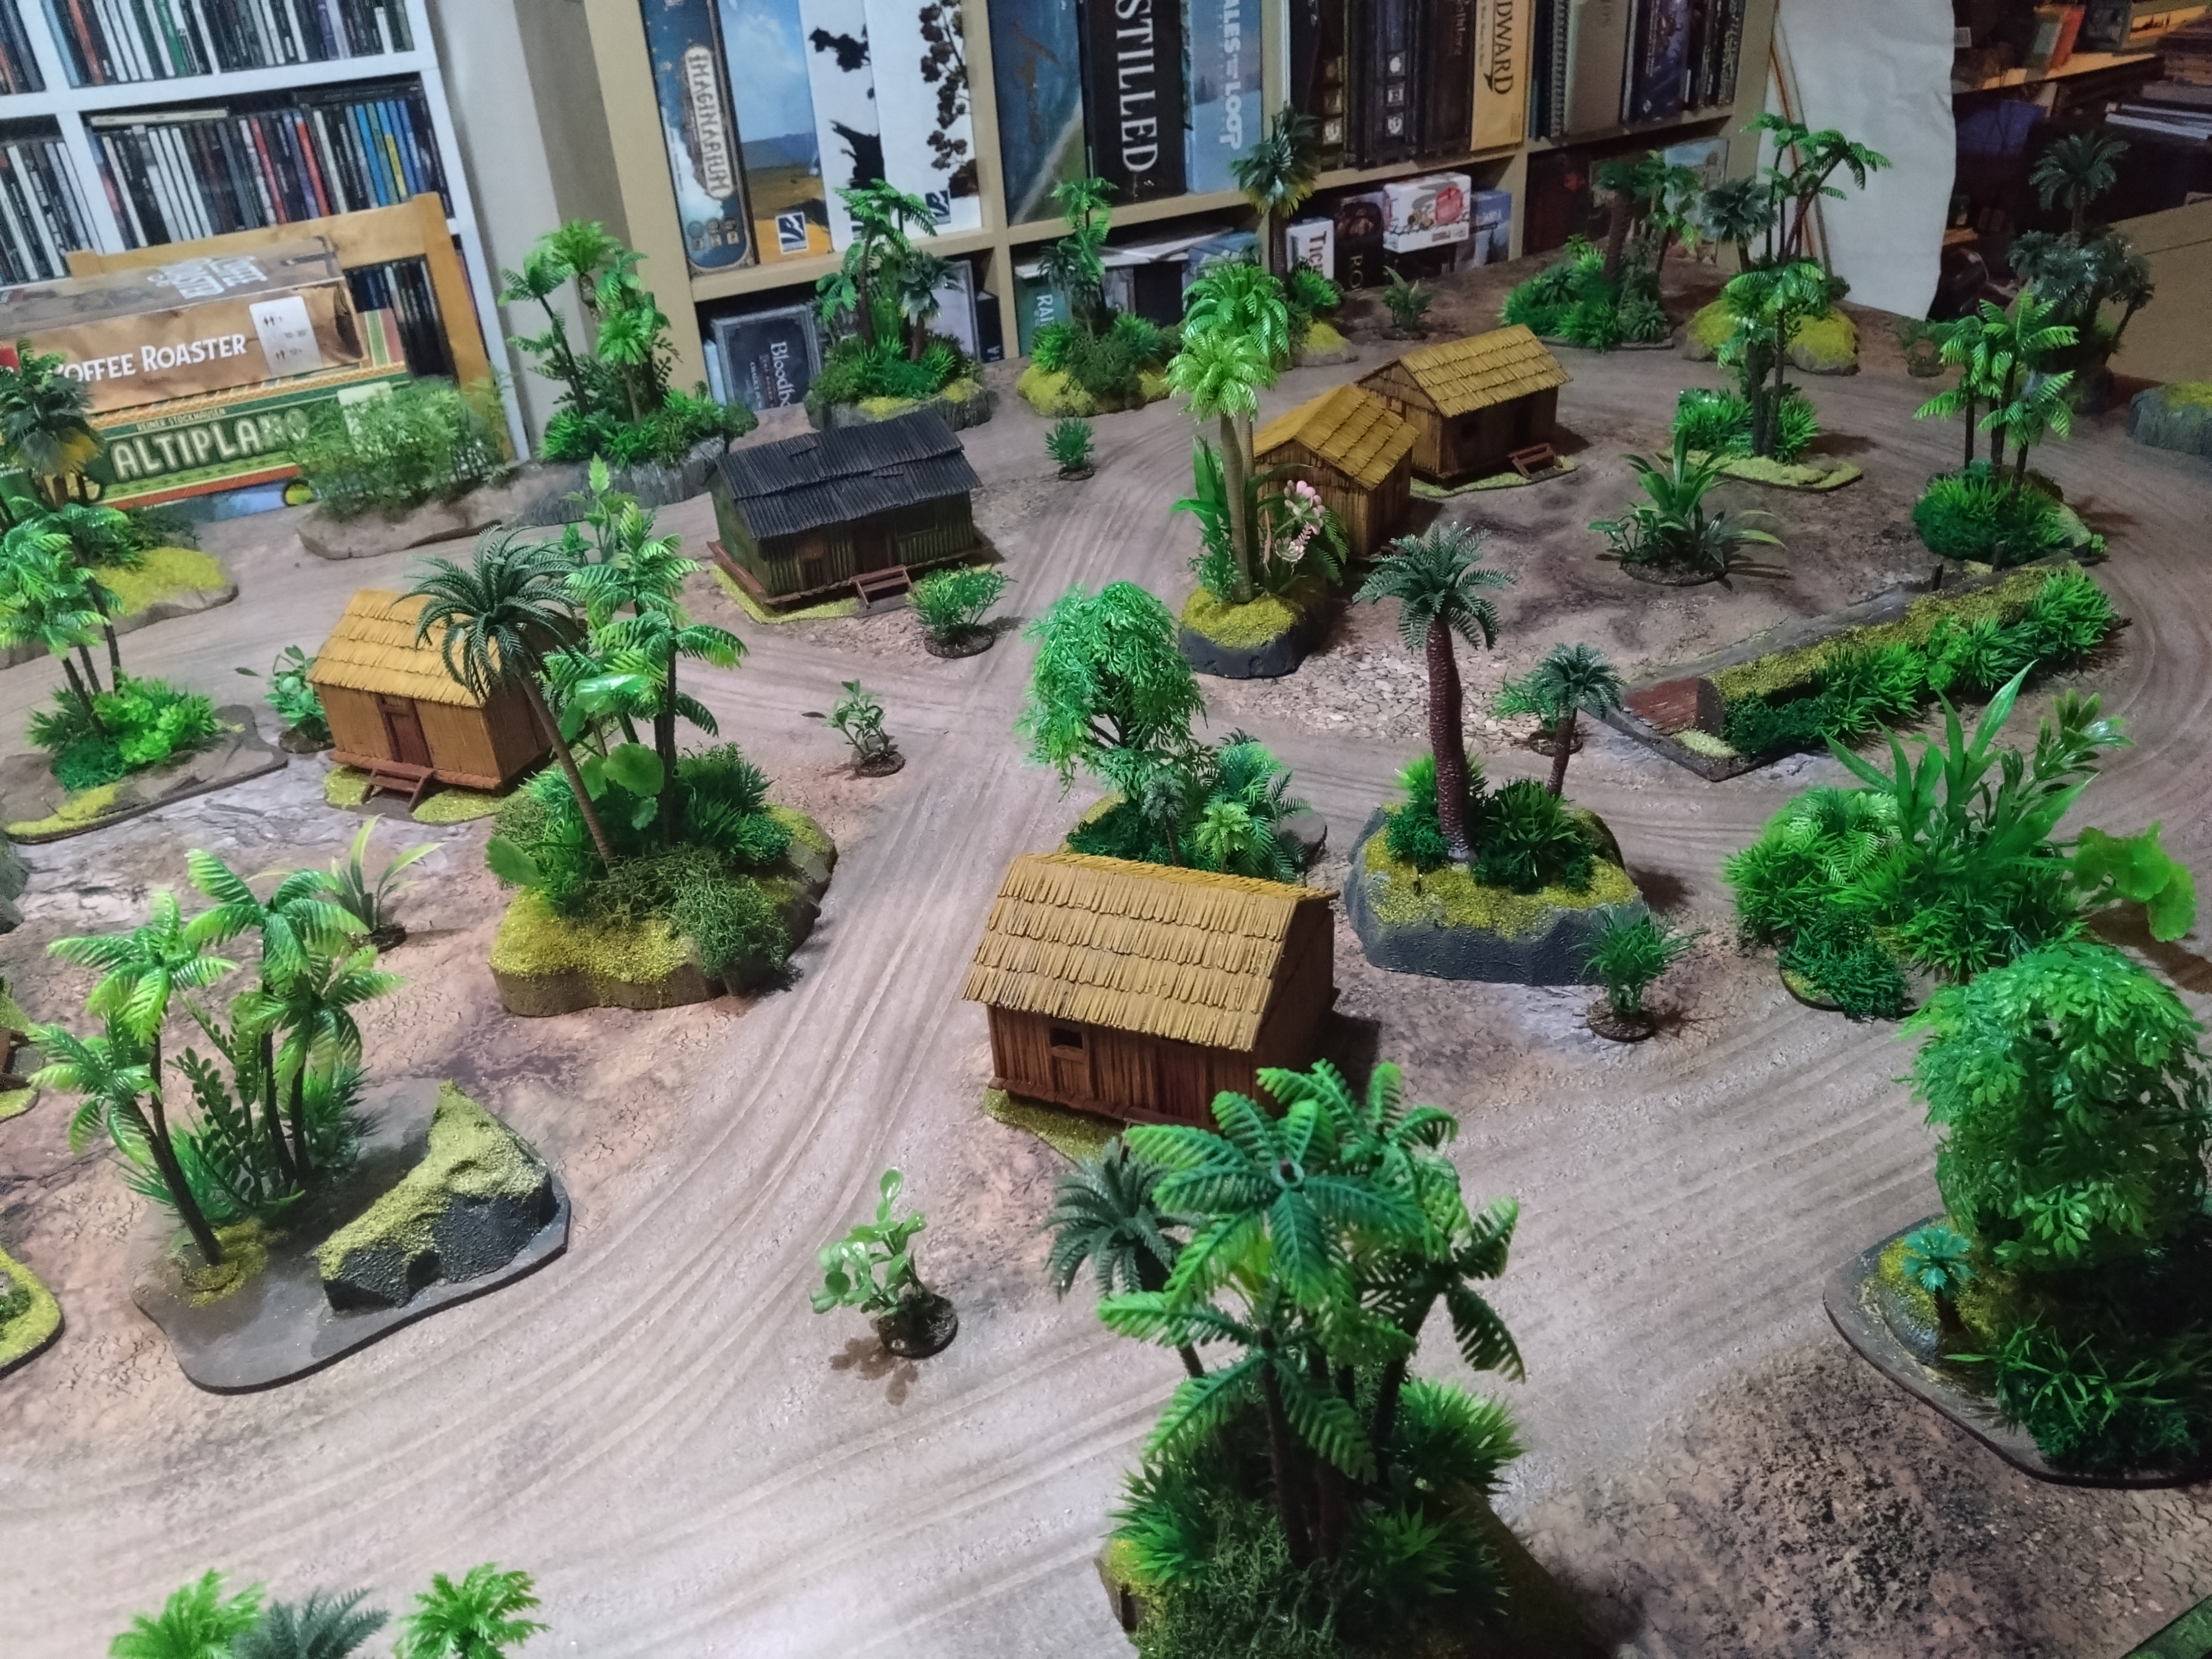
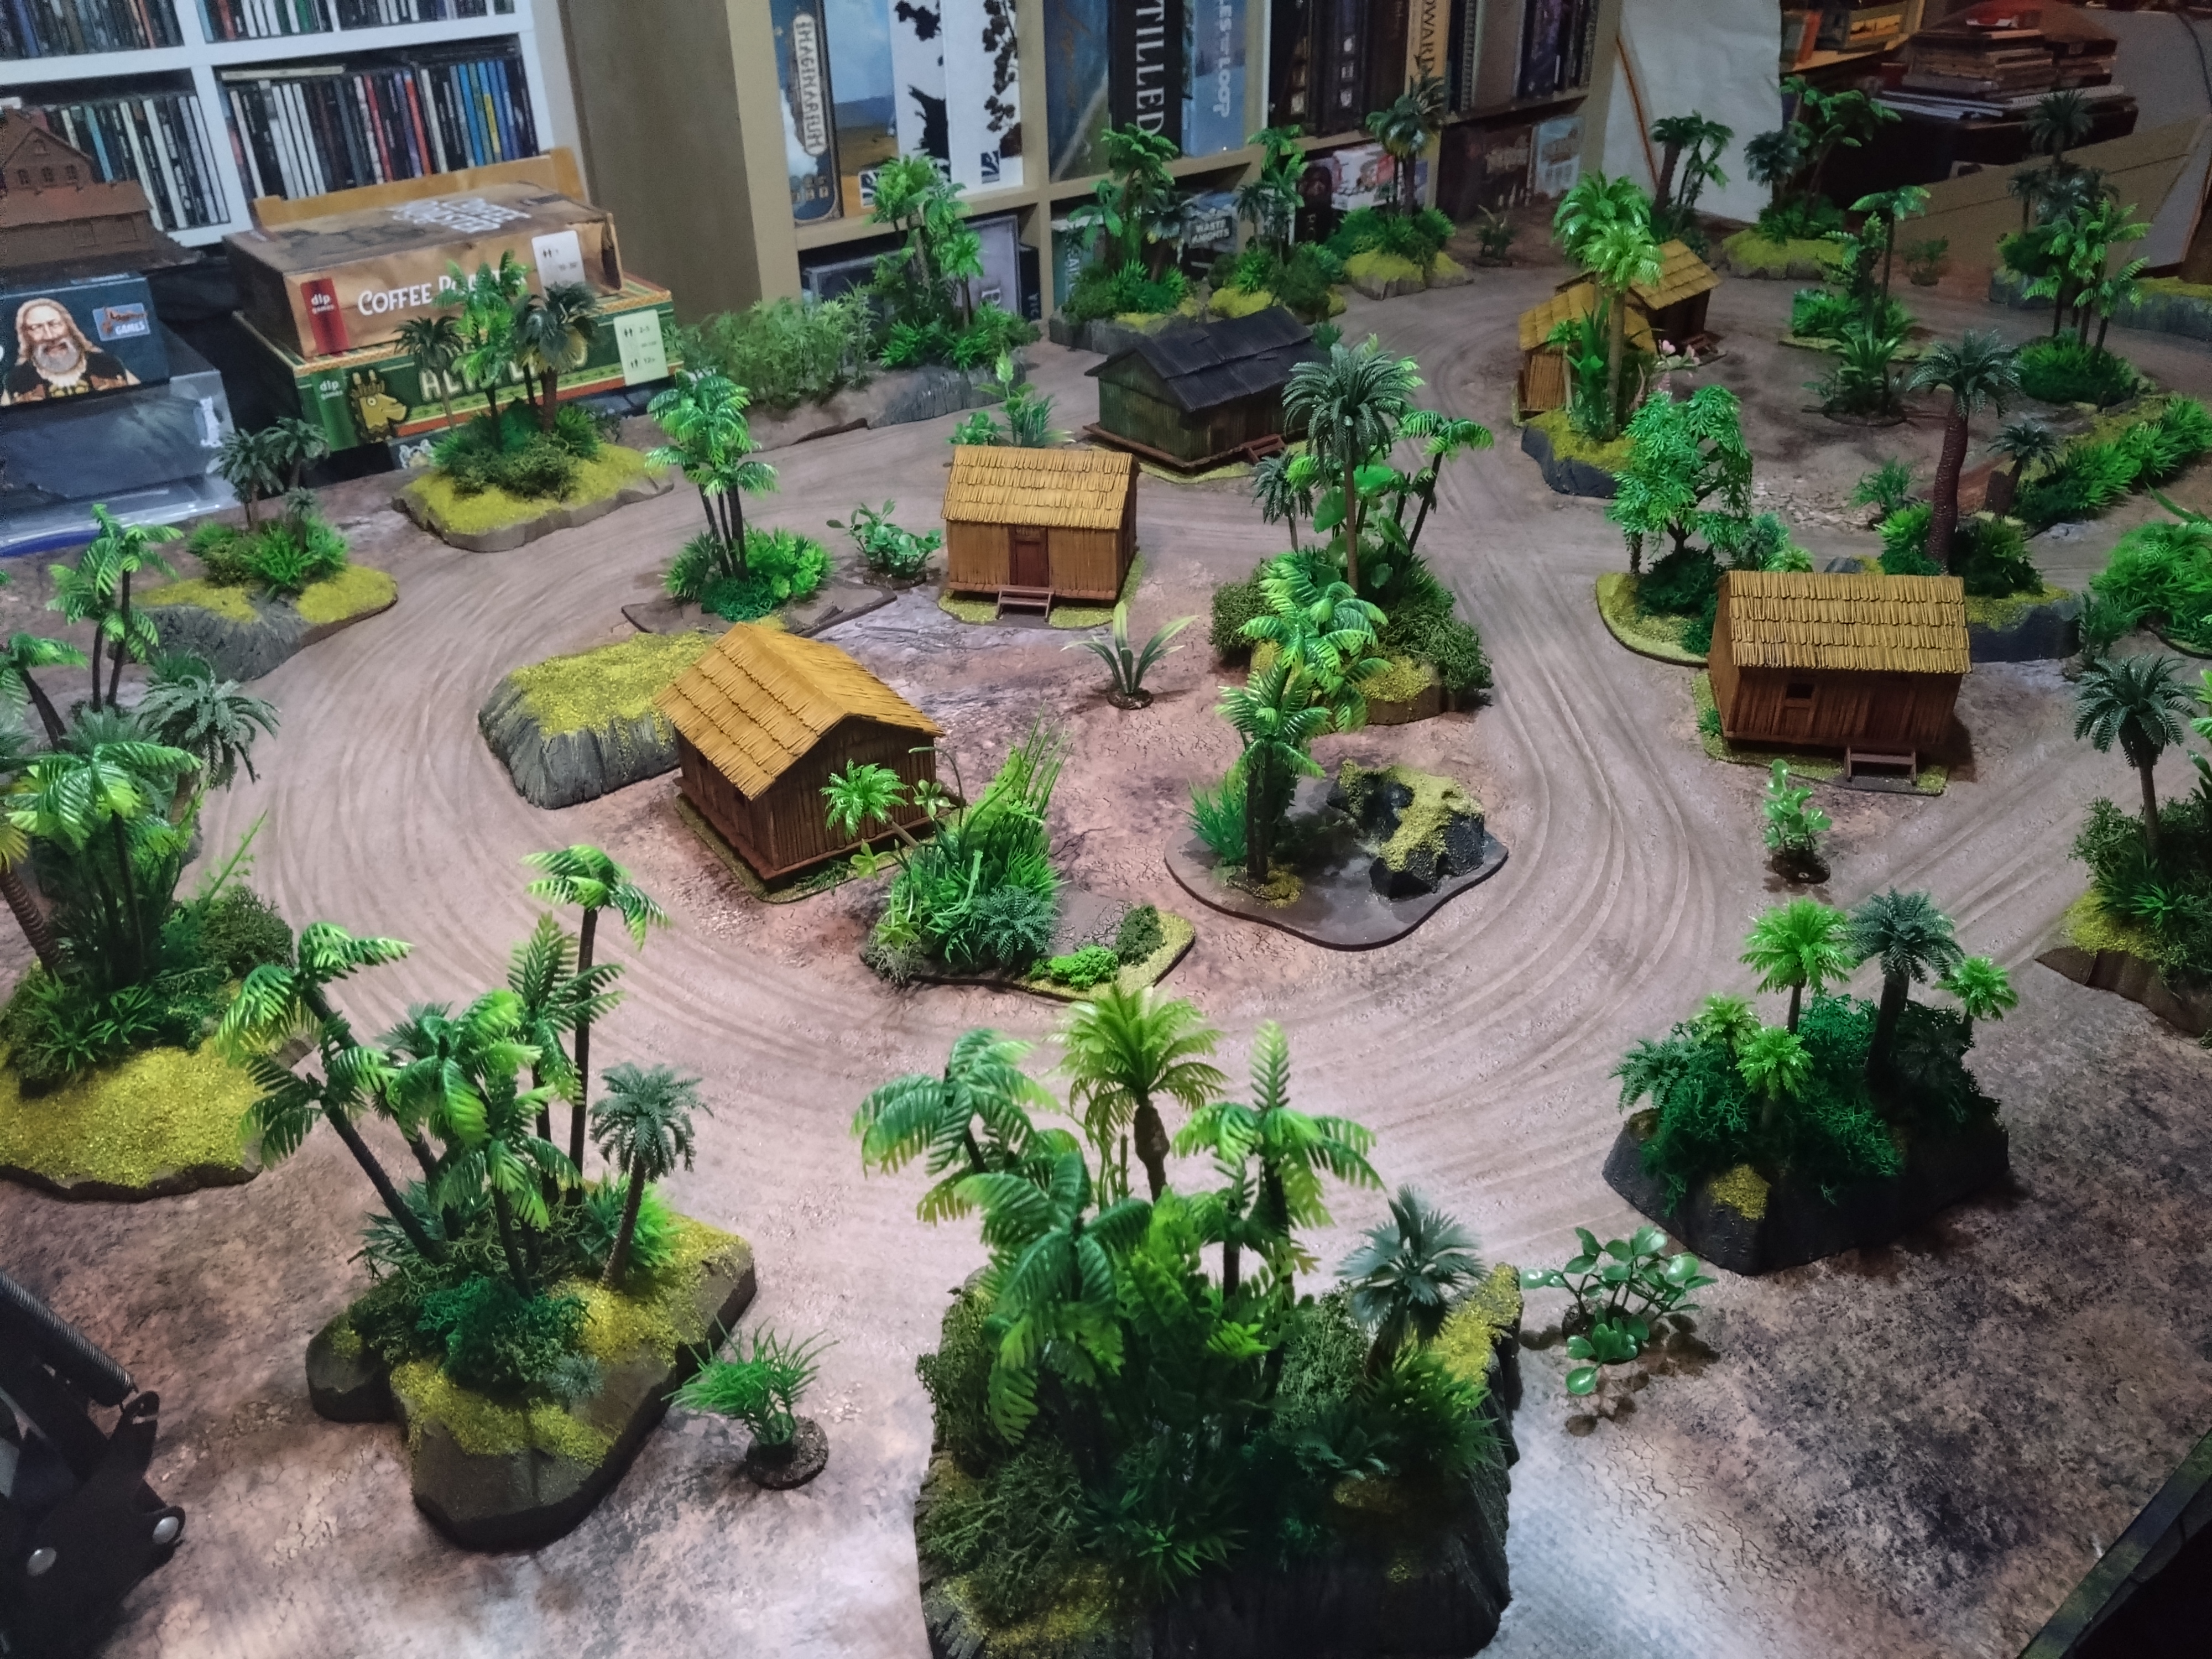
Came together quite well, hoping to have a game on it in the next few weeks. Battle report to follow.
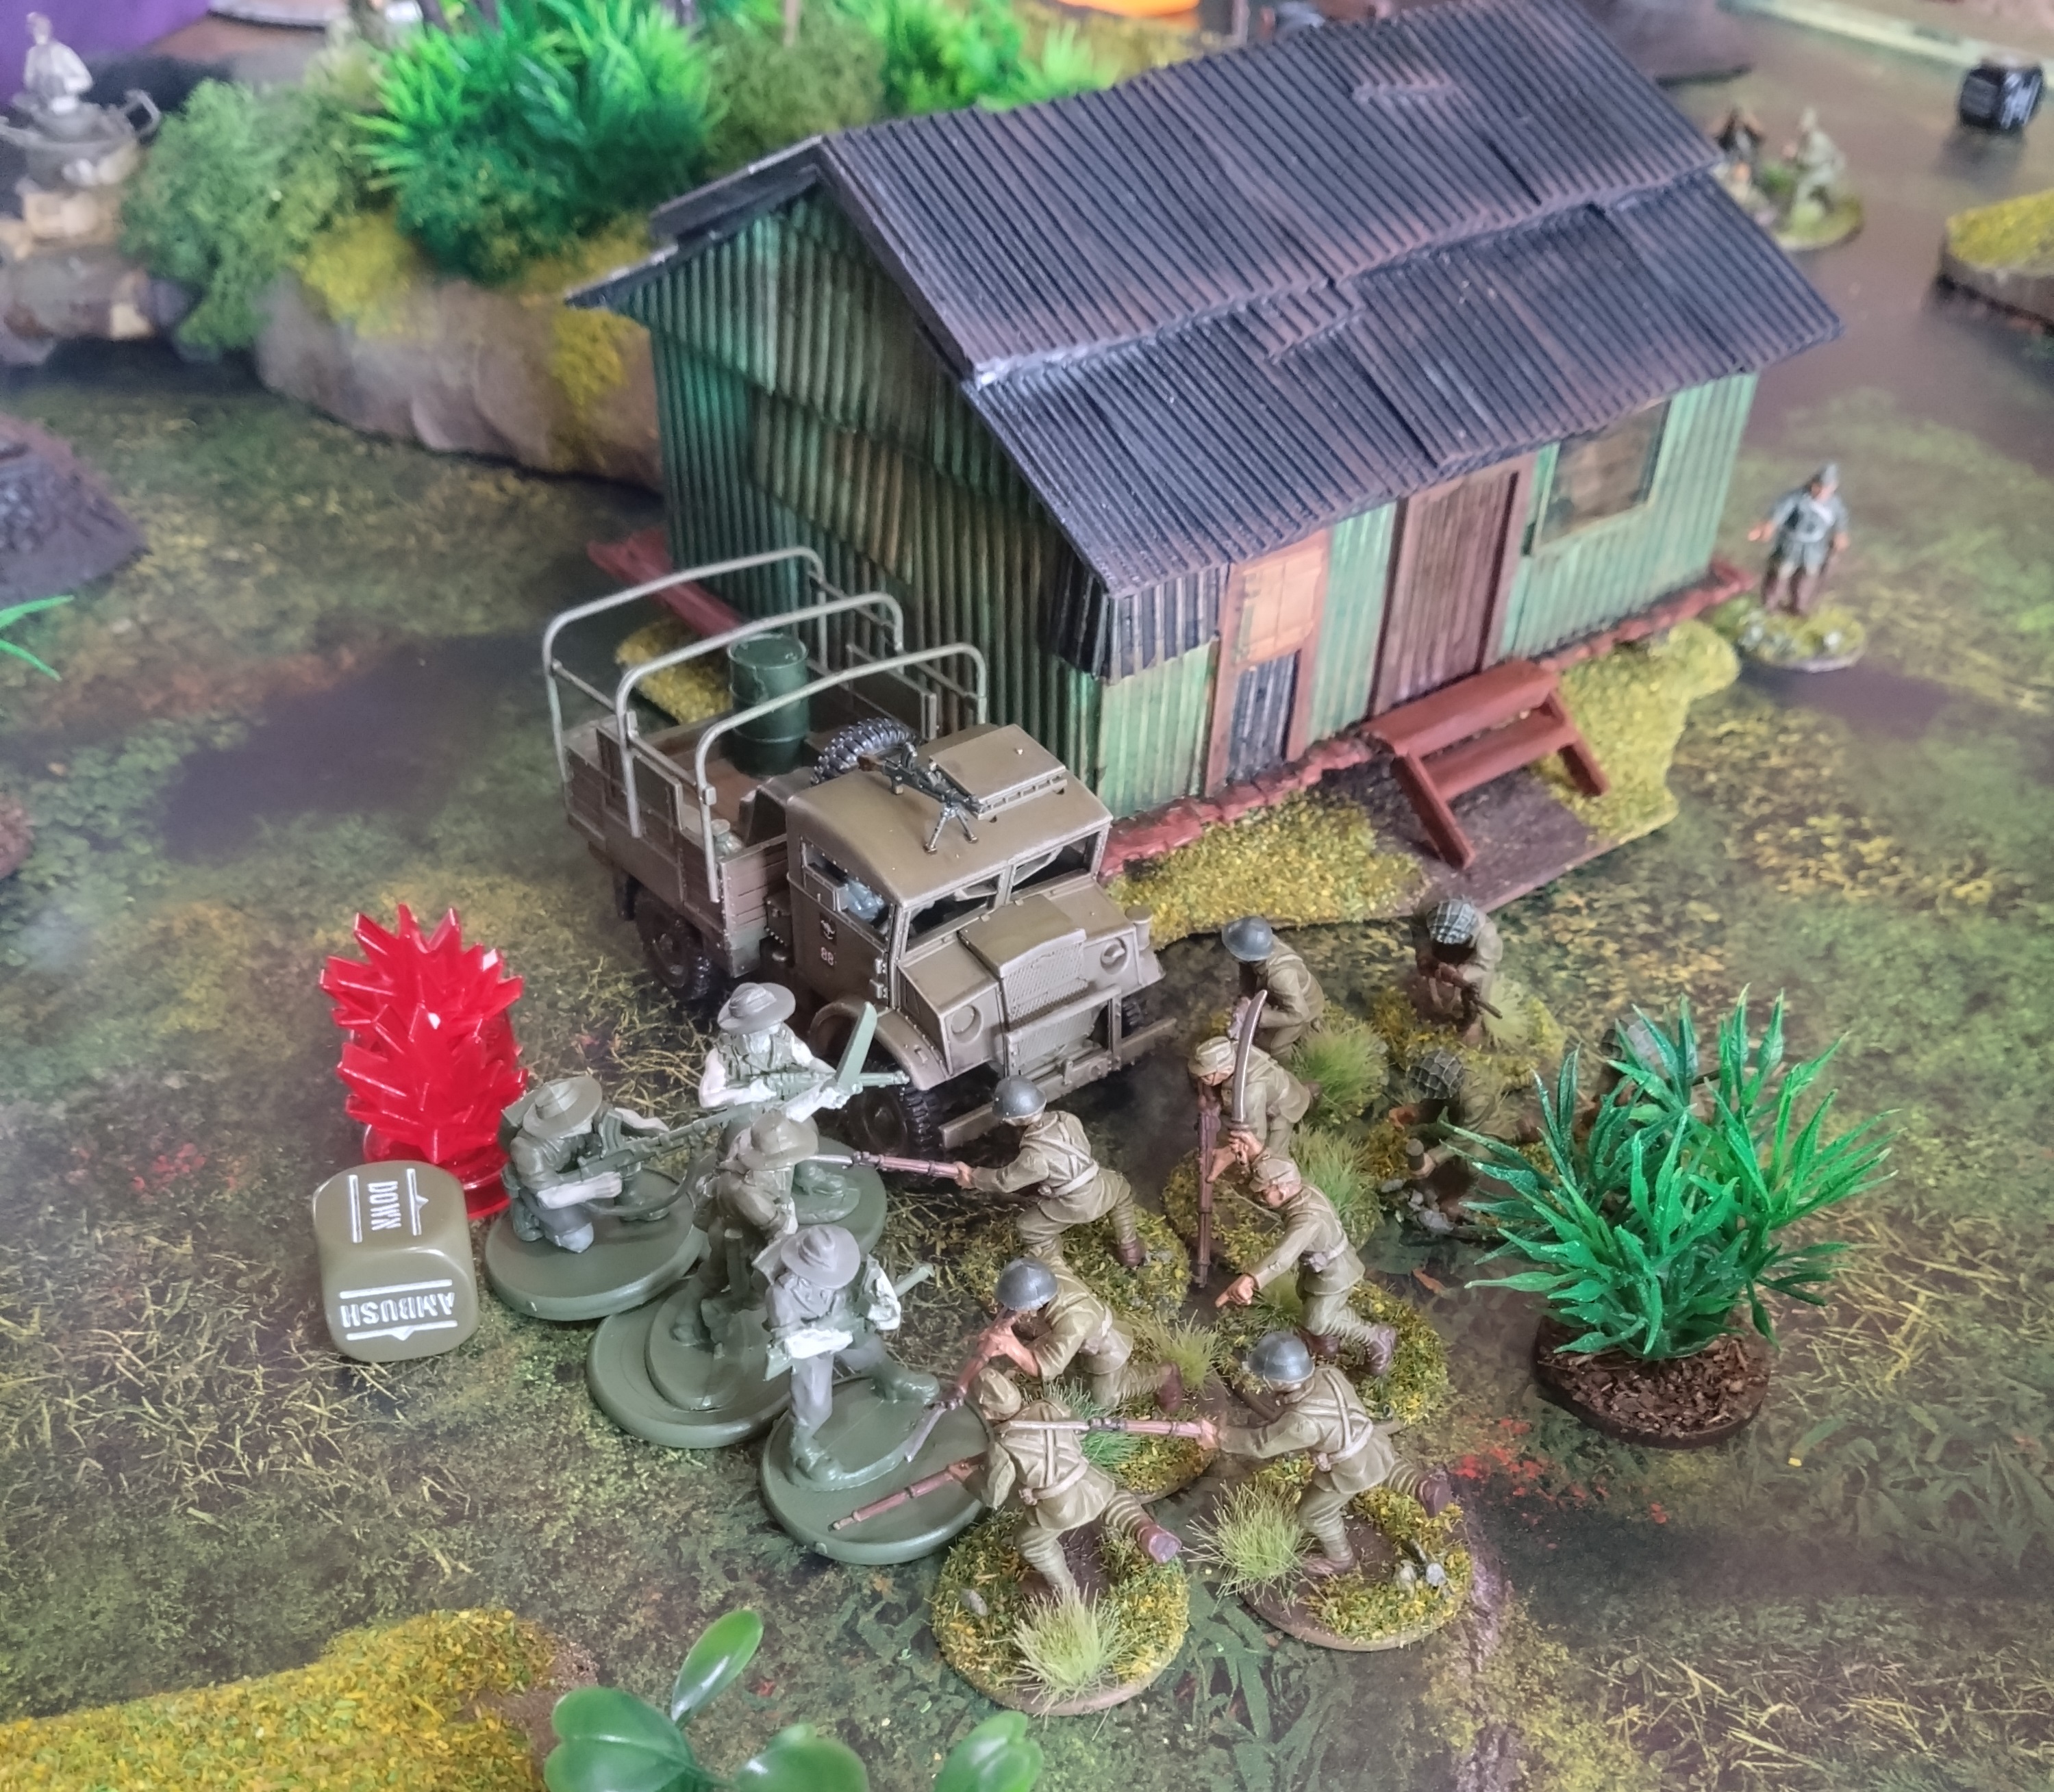
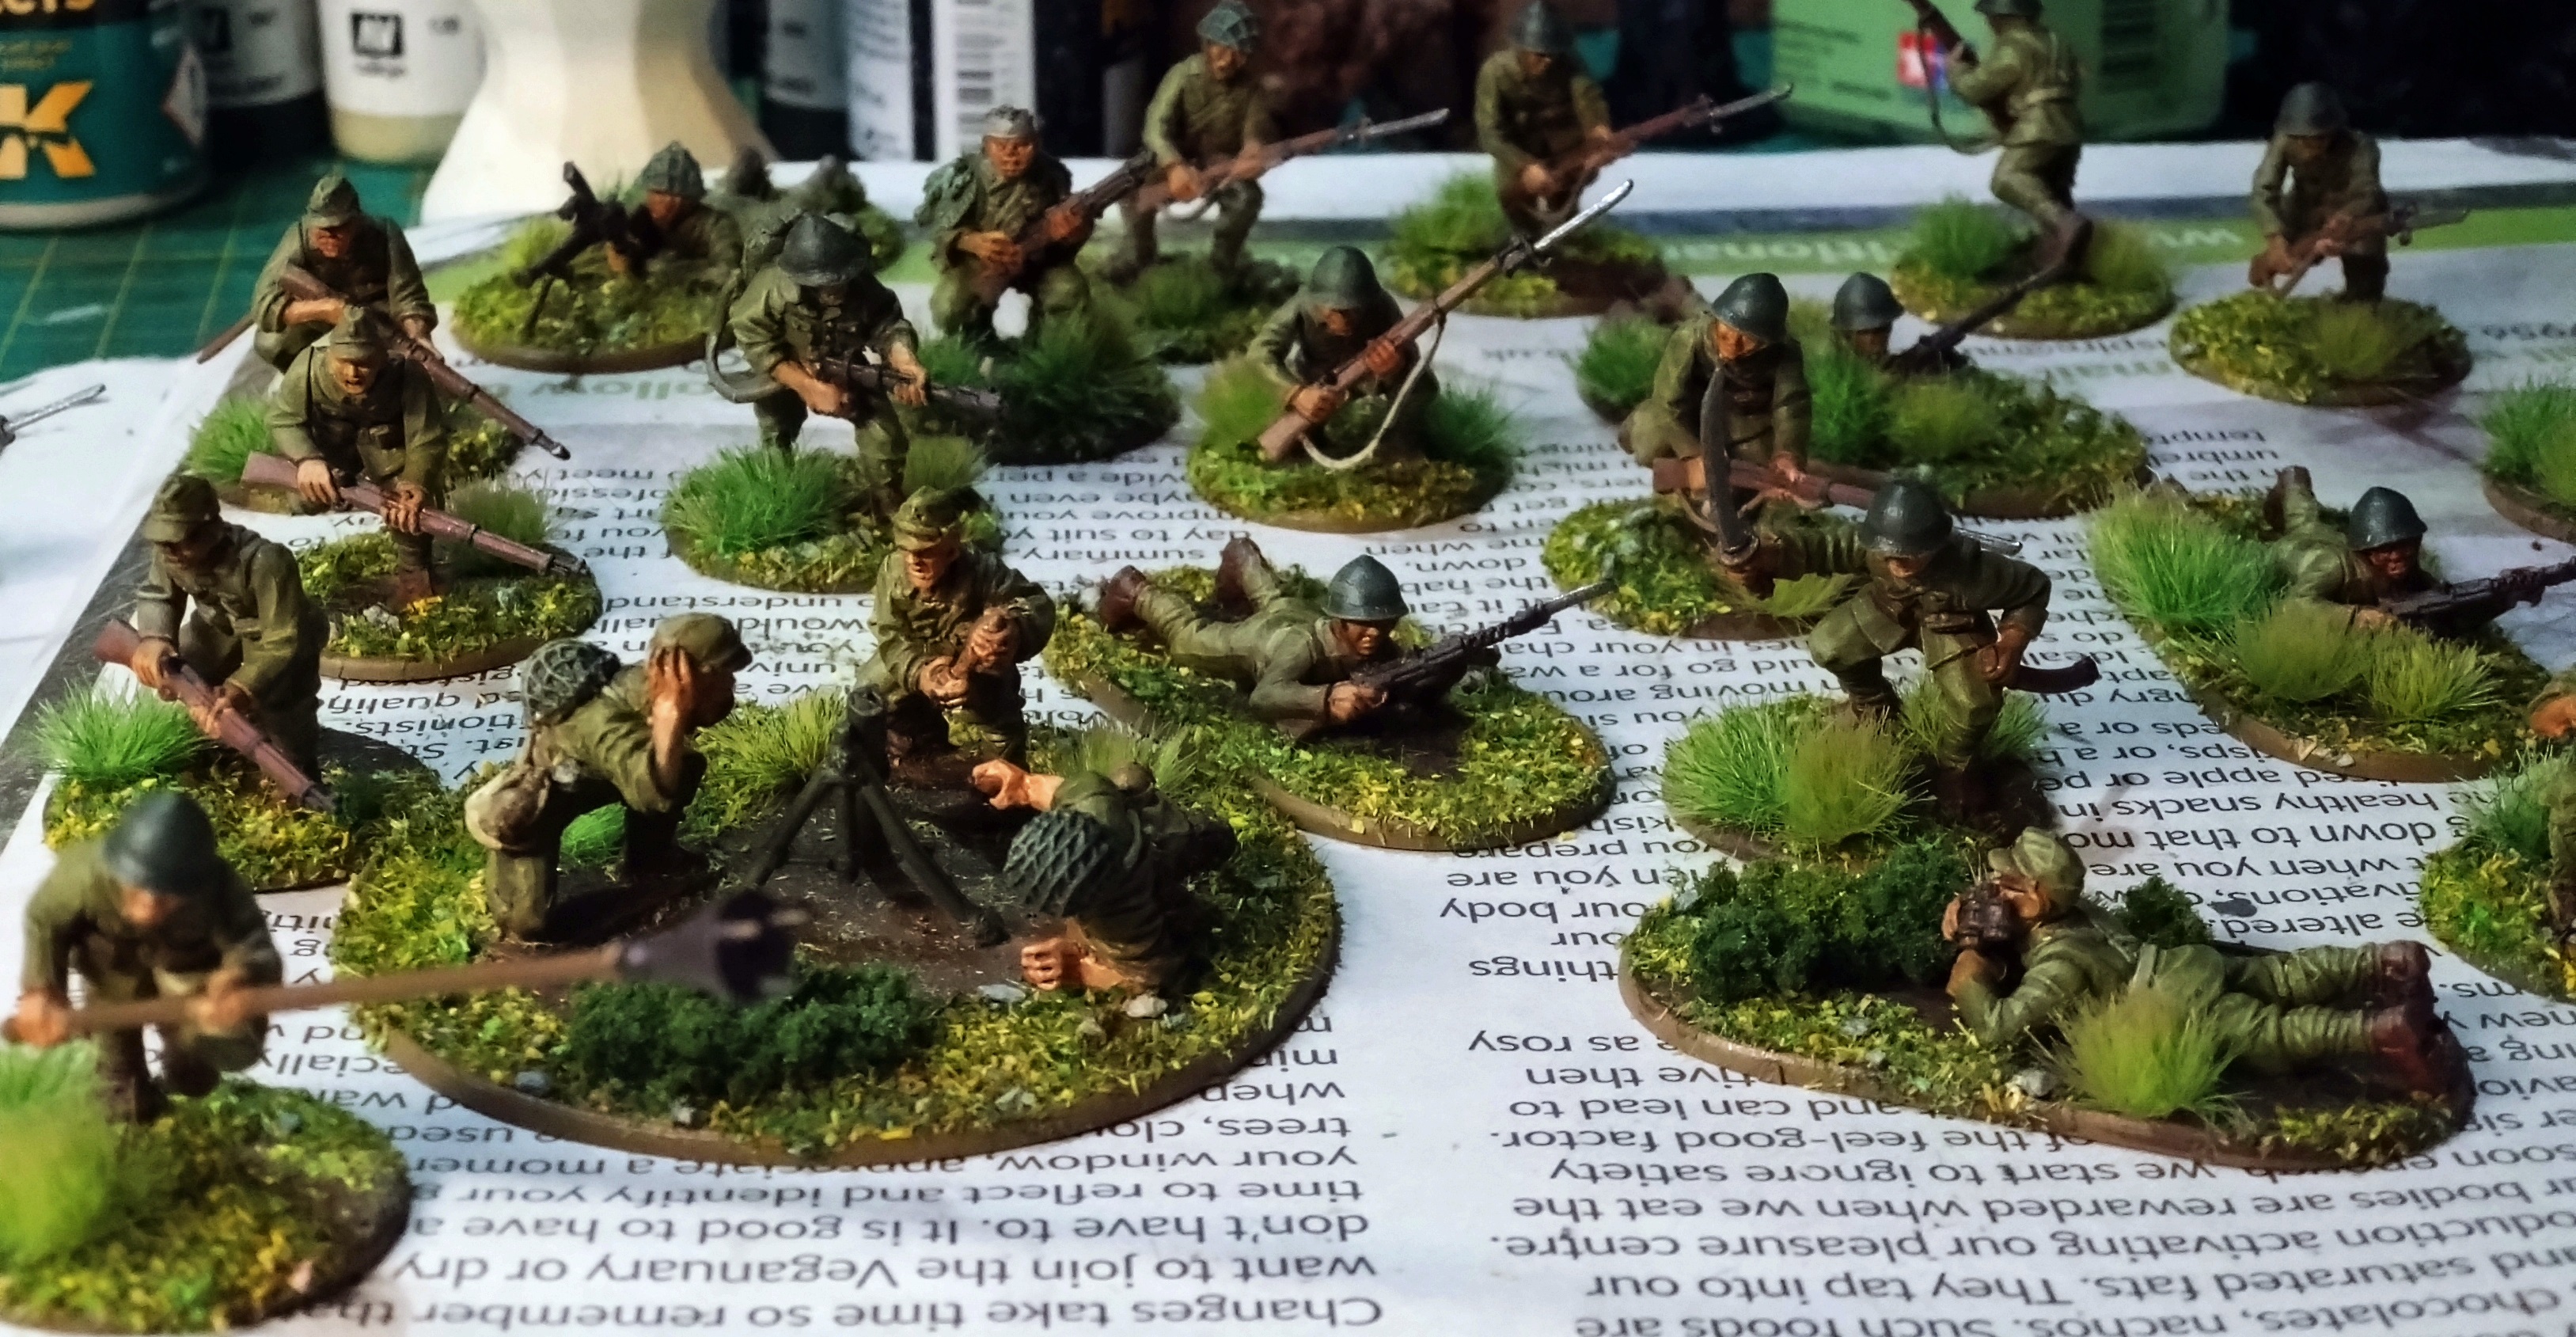
One Week Japanese Army part 3
Day 7
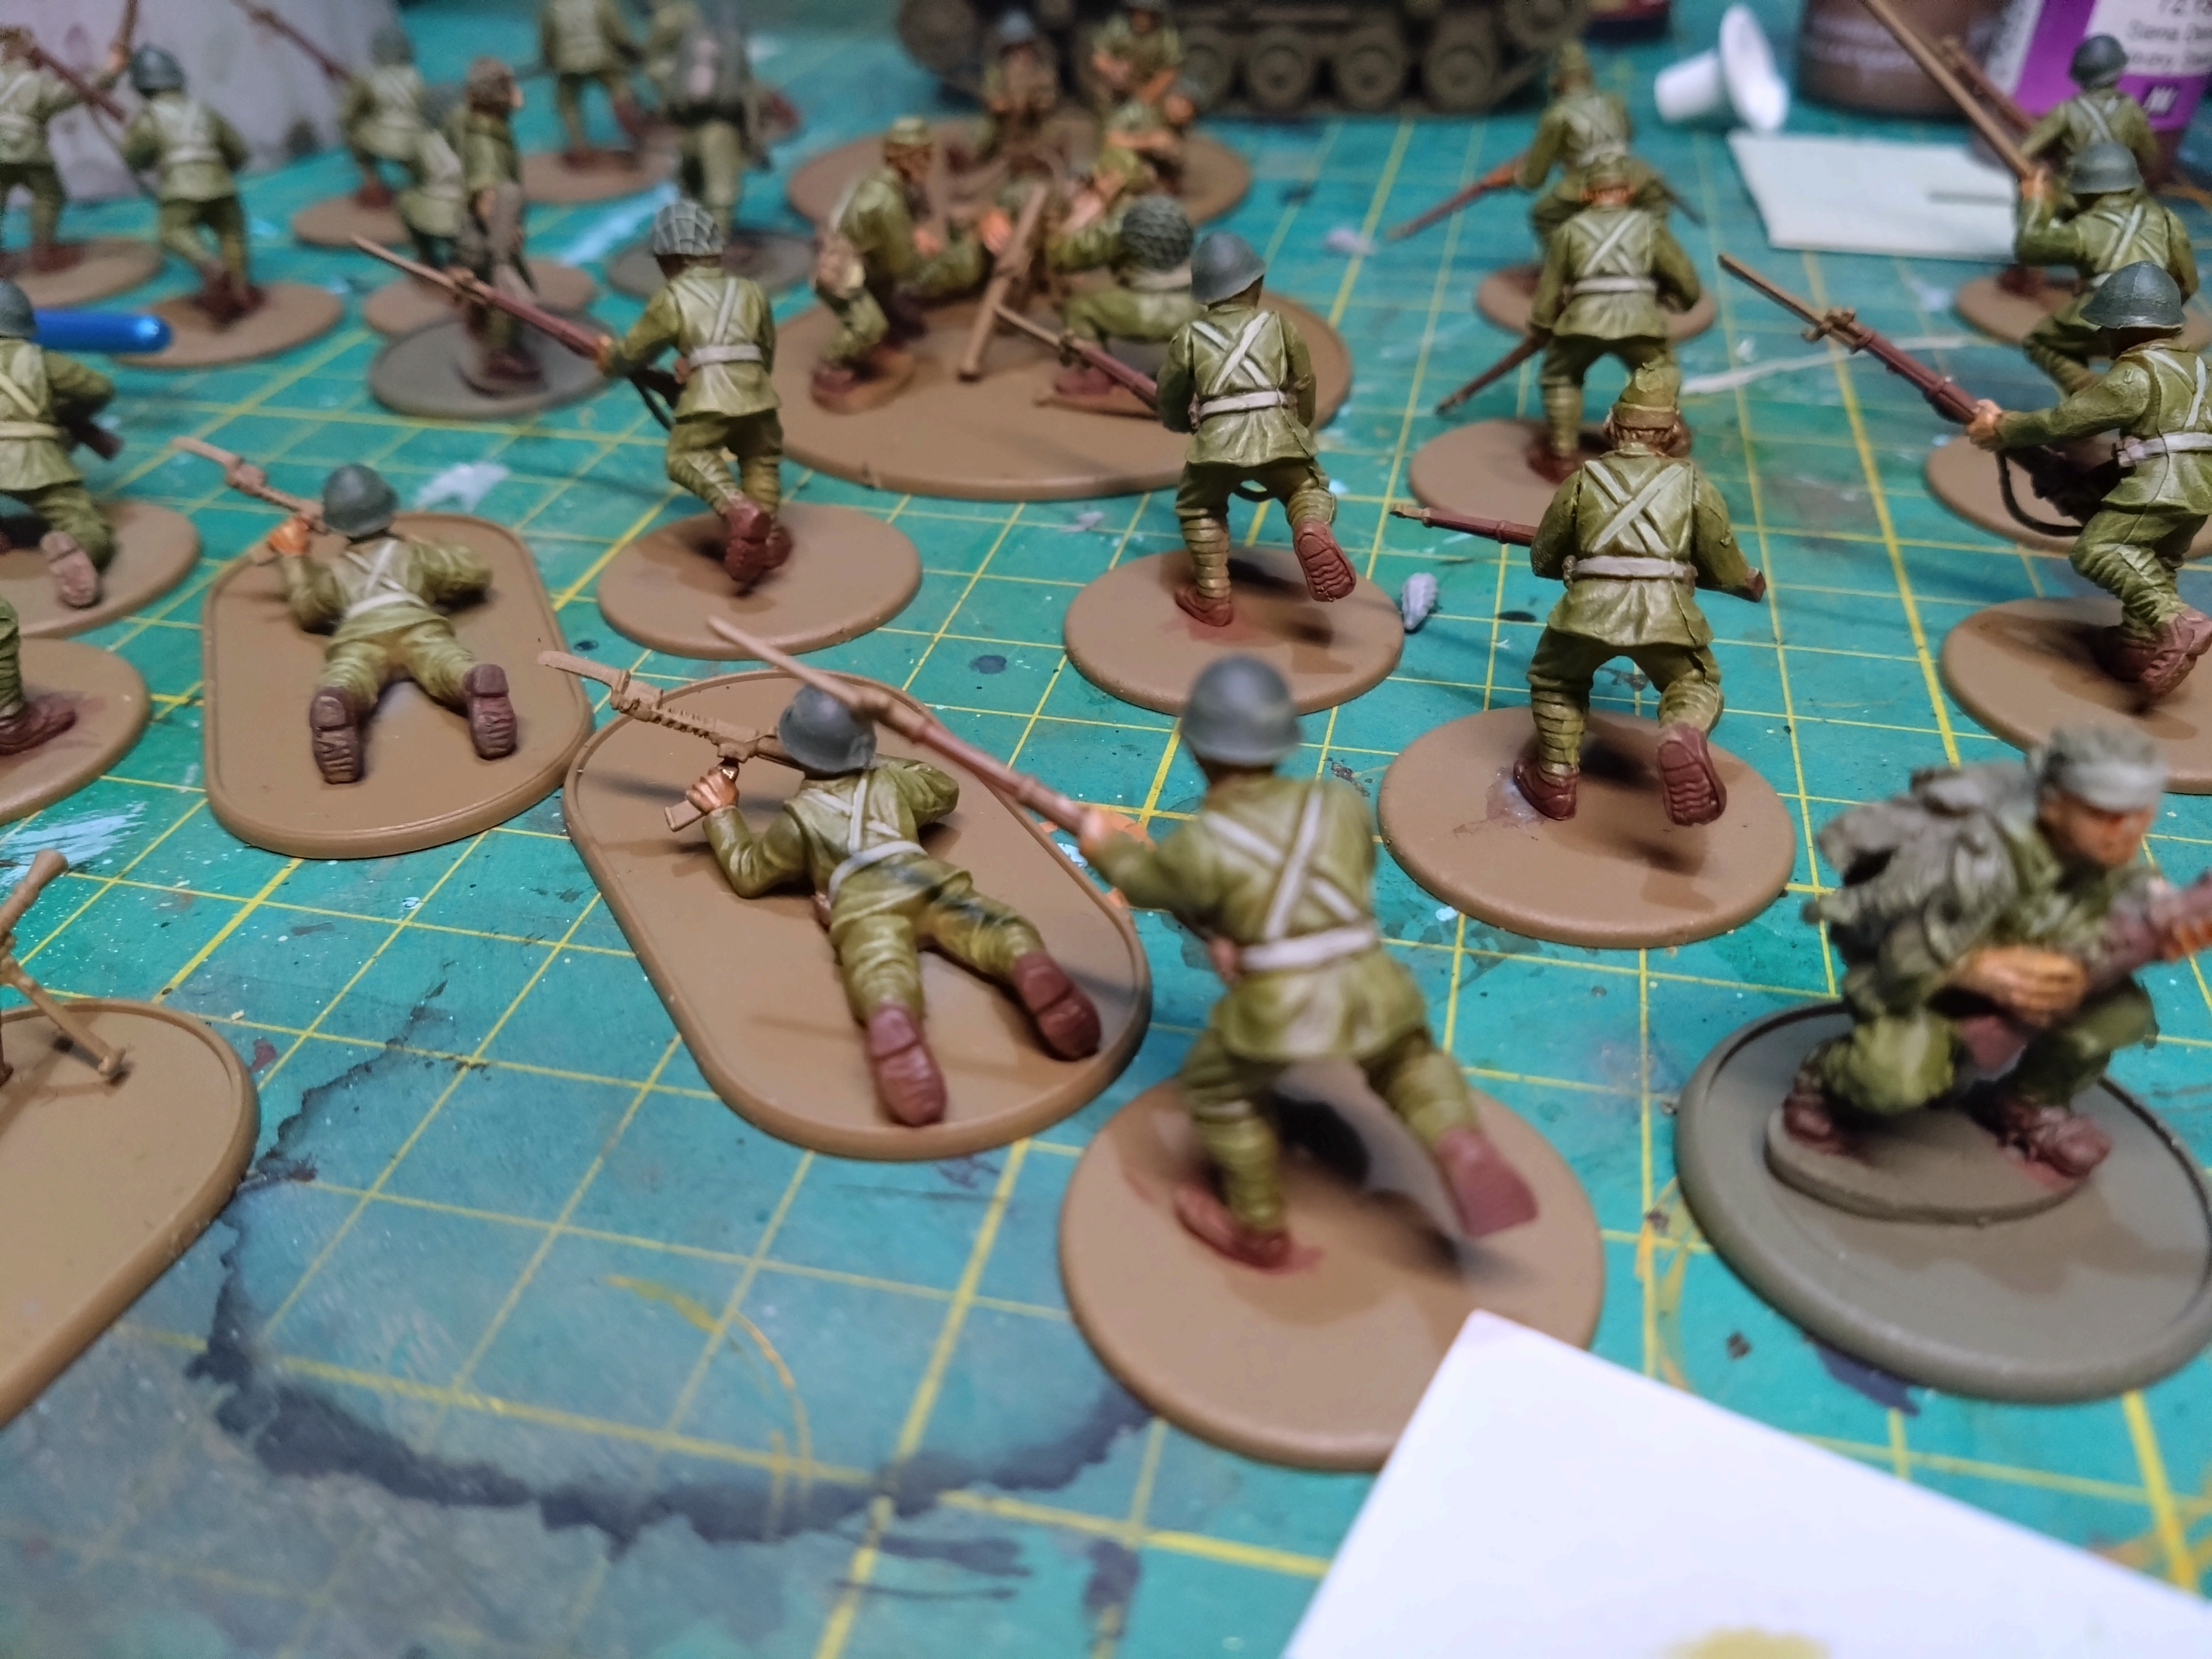
The final day, just bayonets and bases to go.
For the bases I covered 50% in Stirland mud , the other half I used basing glue to which I added a blend of small rocks, a pinch of 2mm static grass and fine green flock. I wanted a pretty flat finish as I planned on tufting.
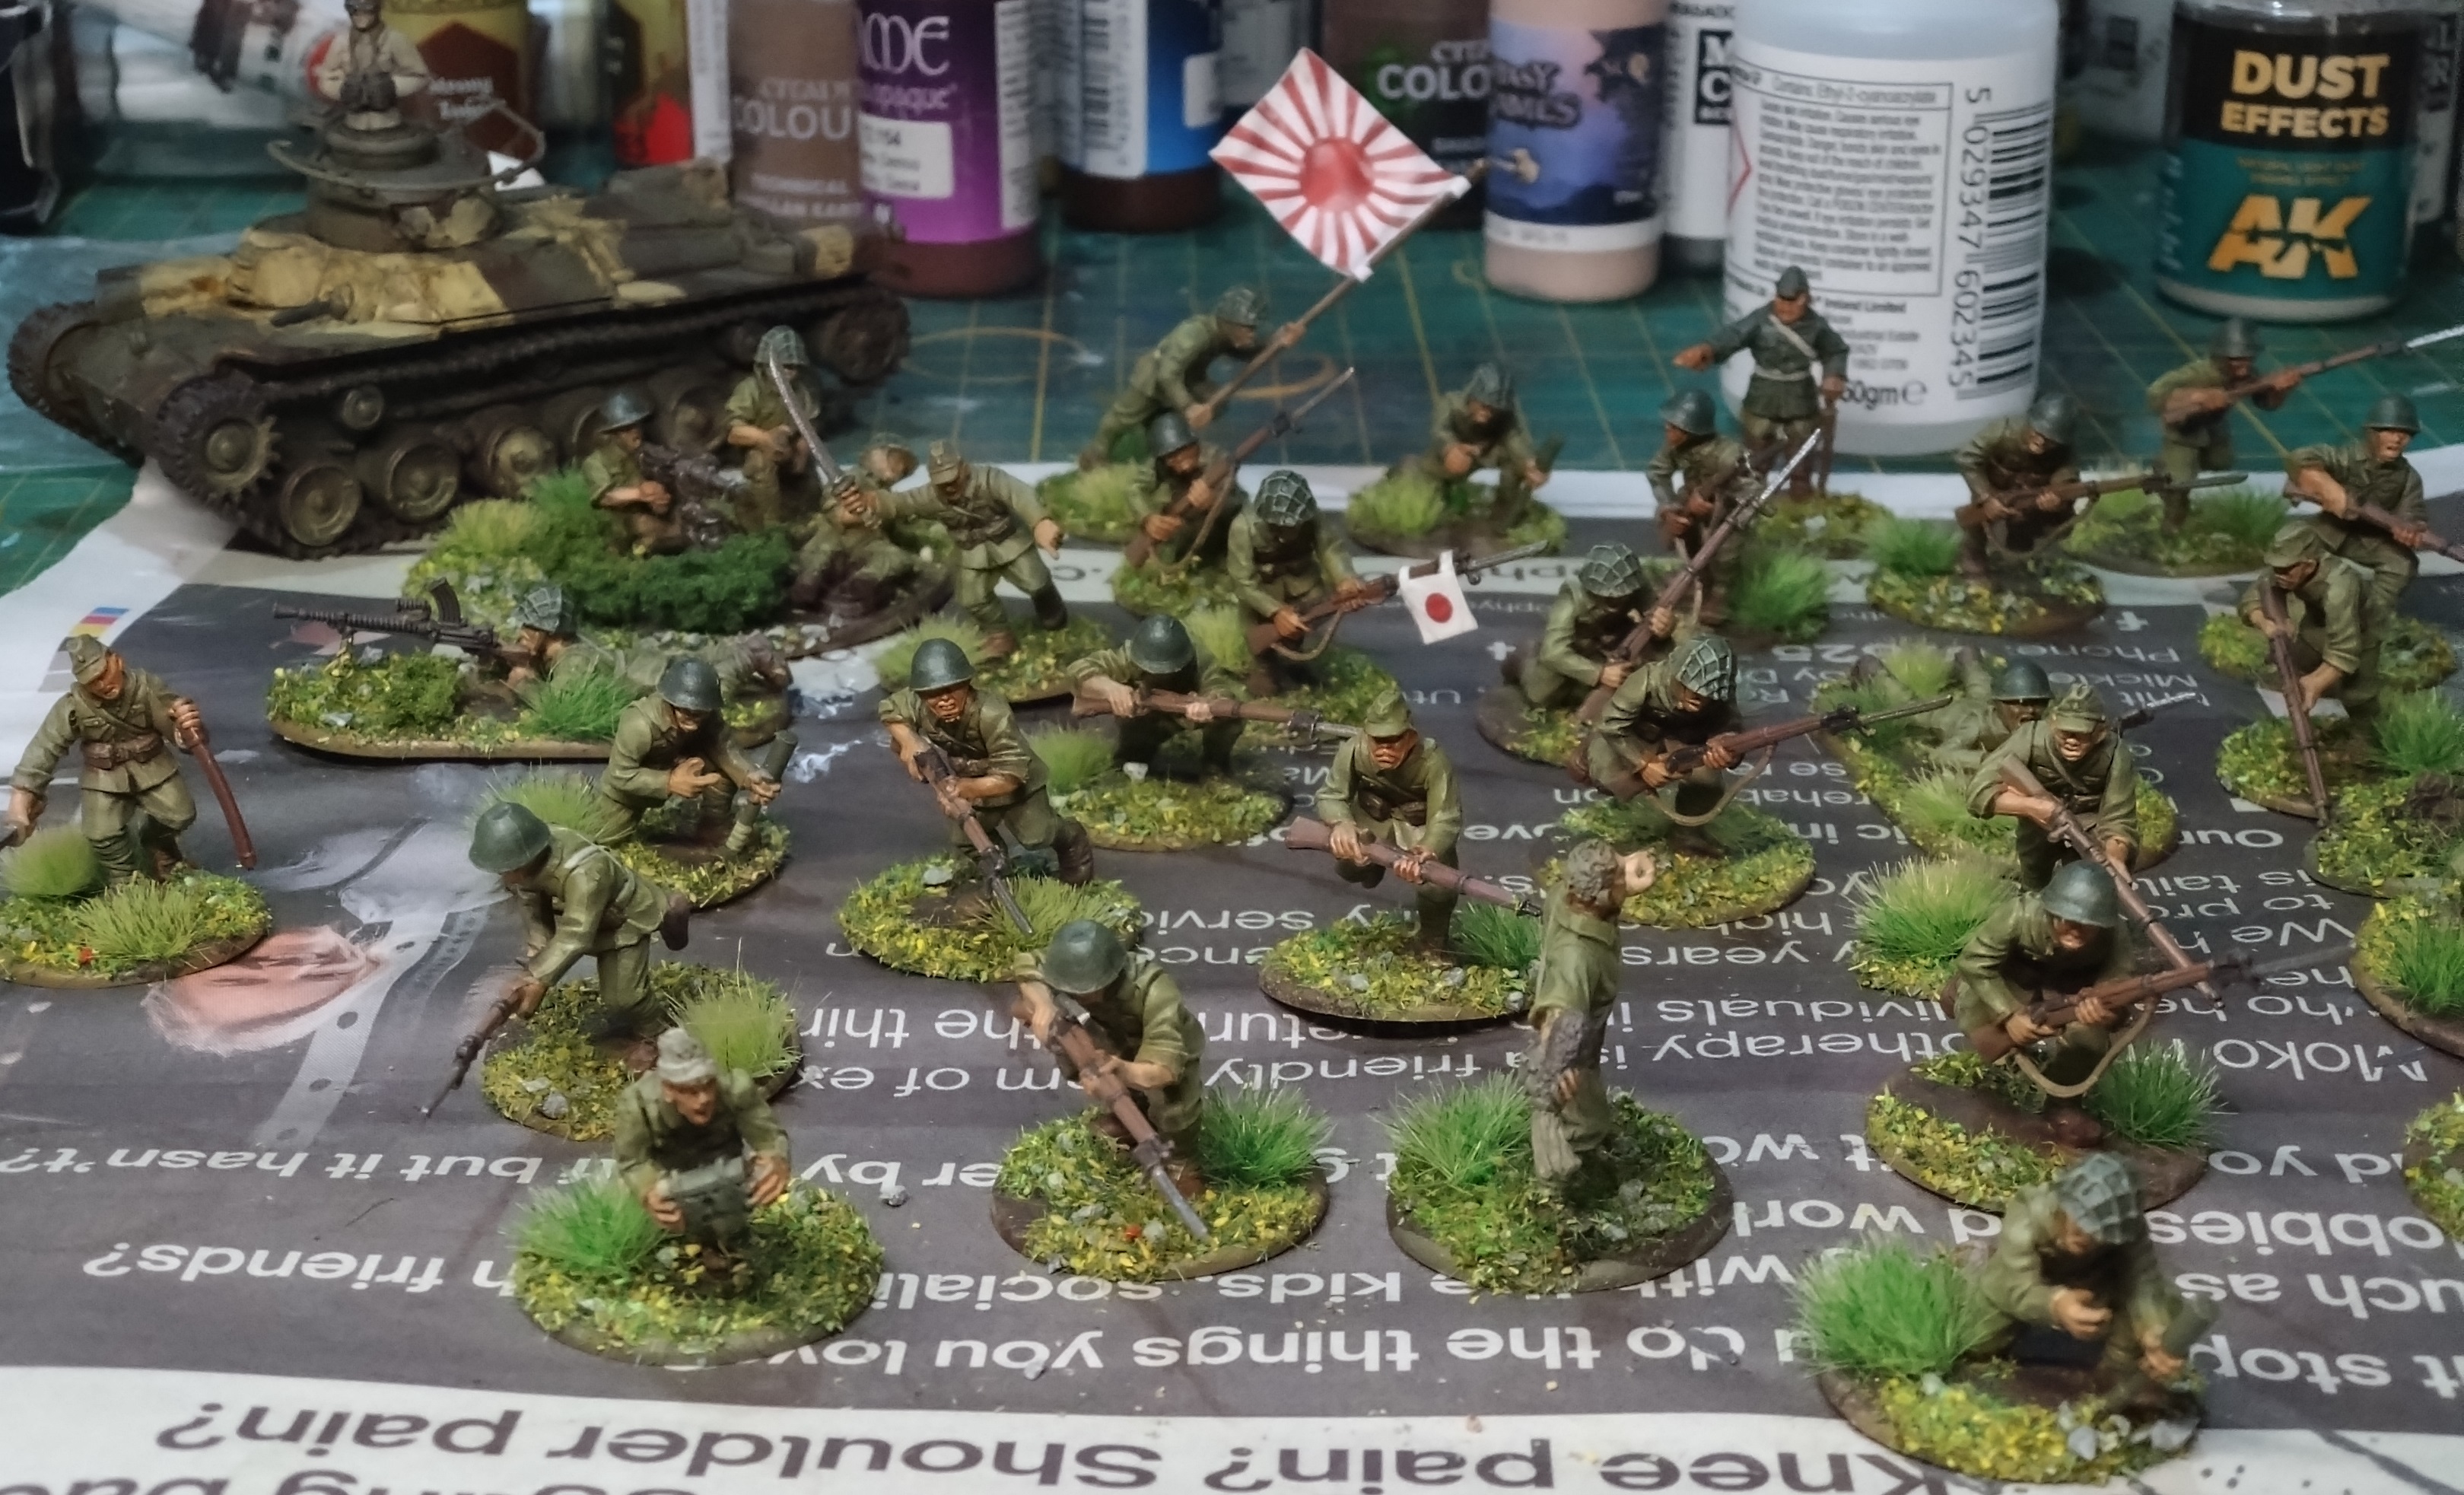
And that’s it, one table ready bolt action army in seven days…just need to paint my Aussies and Gurkhas now
One Week Japanese Army part 2
Day 4 continued
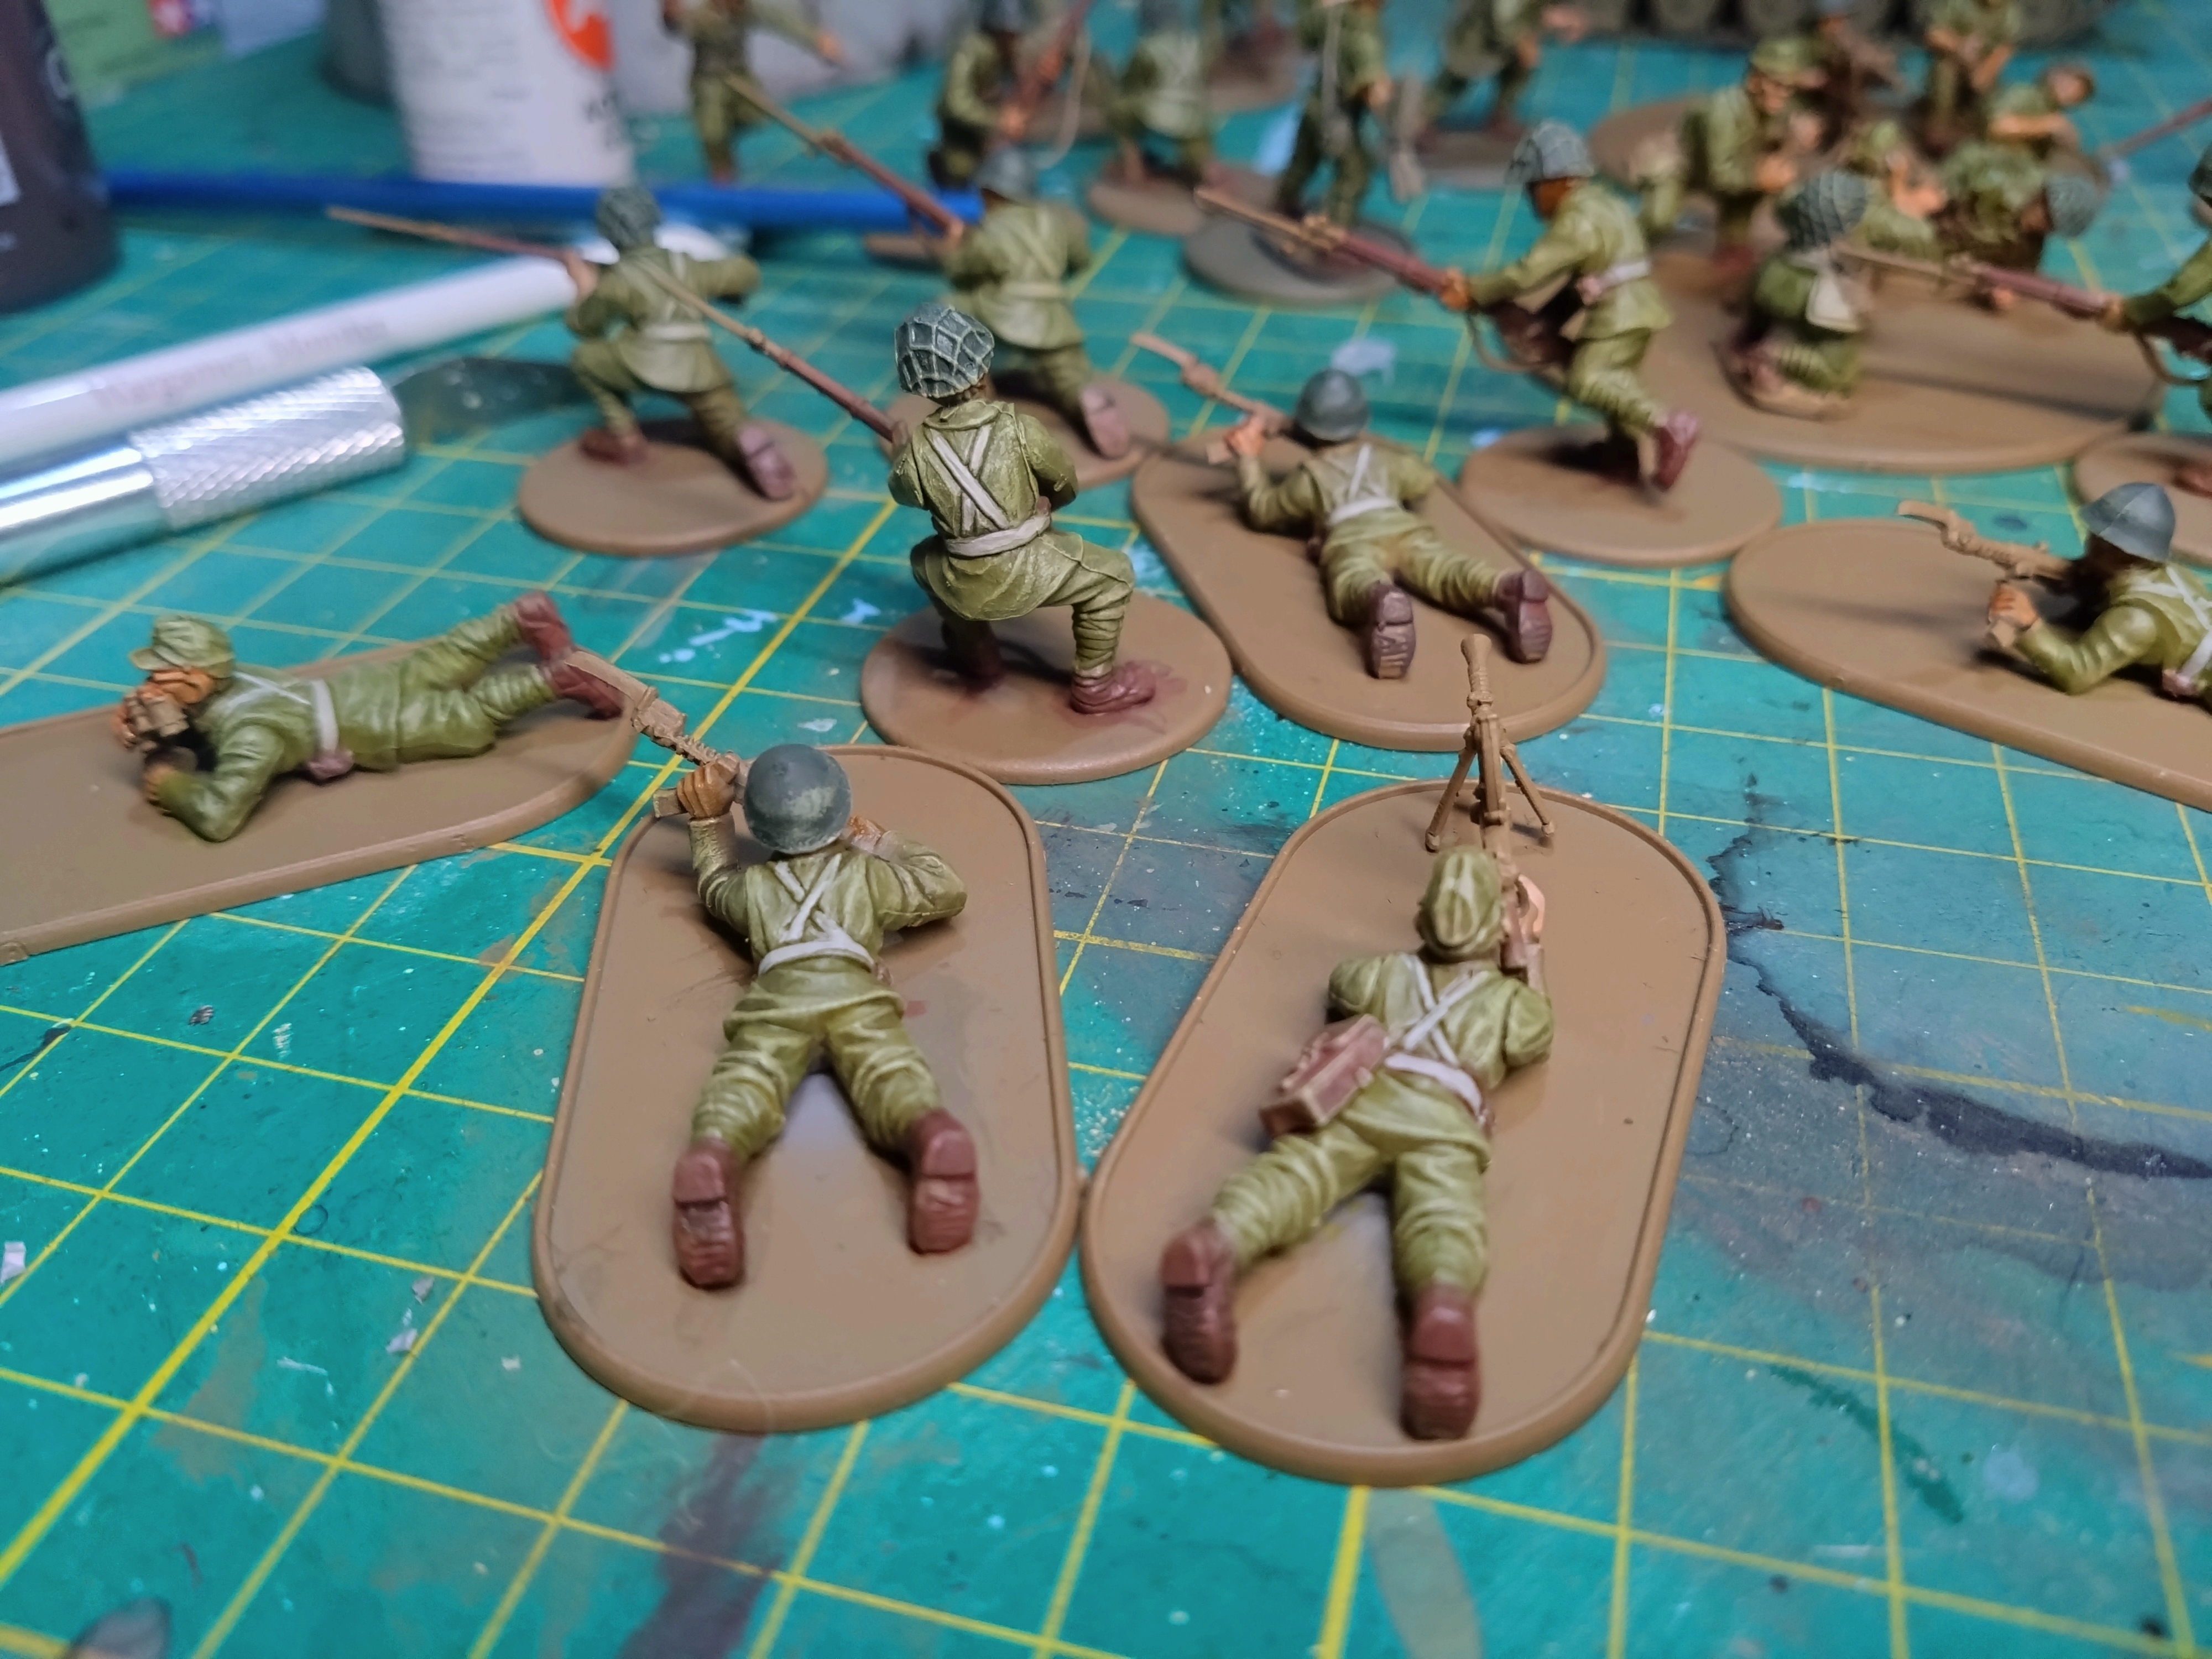
I finished the dry-brushing in short order and then it was onto the washes, I used a military green from Army painter on the uniforms and Vallejo skin wash on the faces.
Day 5
No getting round it, time for the straps, I’d been fortunate my friend built them lightly equipped or else this phase would have taken longer
Day 6
Day 6 I was pleased and surprised how well the the troops had come together. I used a black brown from Vallejo on all the metal gun parts
It was time to take on the tank, The rattle can primer was the right shade of green already so I went with it. The yellow and browns were brushwork. I found Johns’ tutorial on painting a Chi Ha very helpful here.