
![Perfect Call Of Duty-Style Miniatures? Wargames Atlantic’s Operators Review [7 Days Early Access]](https://images.beastsofwar.com/2026/02/unboxing-wargames-atlantic-operators-coverimage-225-127.jpg)


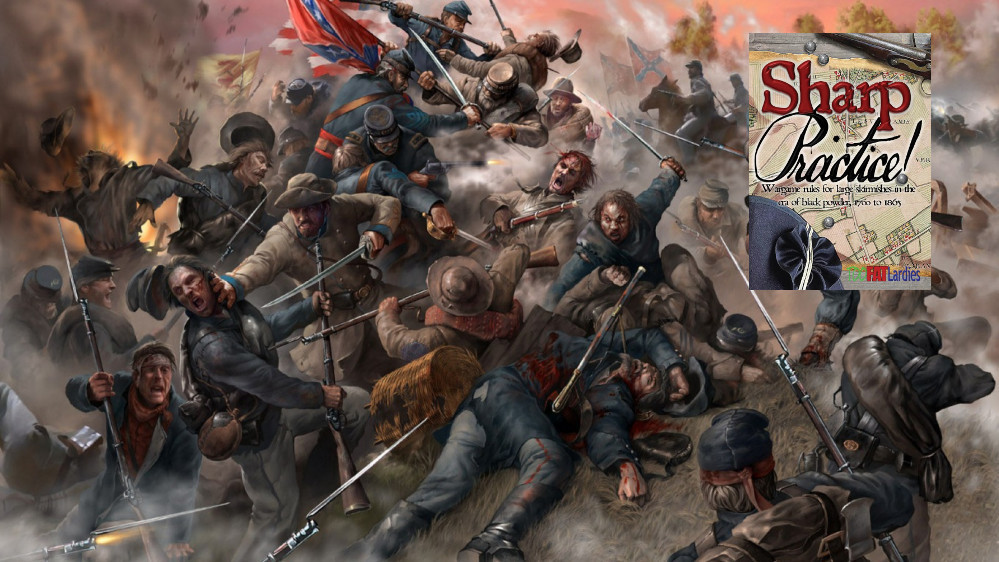
Sharp Practice – ACW for Pennies on the Dollar.


Recommendations: 807
About the Project
This is a 1/72 scale American Civil War project for Sharp Practice. I will be building two small forces, one for the Union and the other for the Confederates using Italieri and Hat models I bought several years ago at a car boot sale. I have managed to find six boxes, but I know I have a few more stored up somewhere. Nonetheless, I have enough to build up two playable forces.
Related Genre: Historical
This Project is Completed
Some Haystacks
Hi everyone,
This week work was a nightmare, and I have been basically sleeping and working, but I did manage to find an hour here and there, before or after work to sit down and try to do some hobby.
Instead of painting, I just went with building some haystacks. These are simple and straight forward and offer some diversity on the gaming tabletop.
They are made of styrofoam, flock and thick sewing string. All it takes is cutting up the styrofoam into blocks, then cover the blocks with PVA glue and dab into the flock. You might need to do two applications, then trim down the the whole thing with a pair scissors.
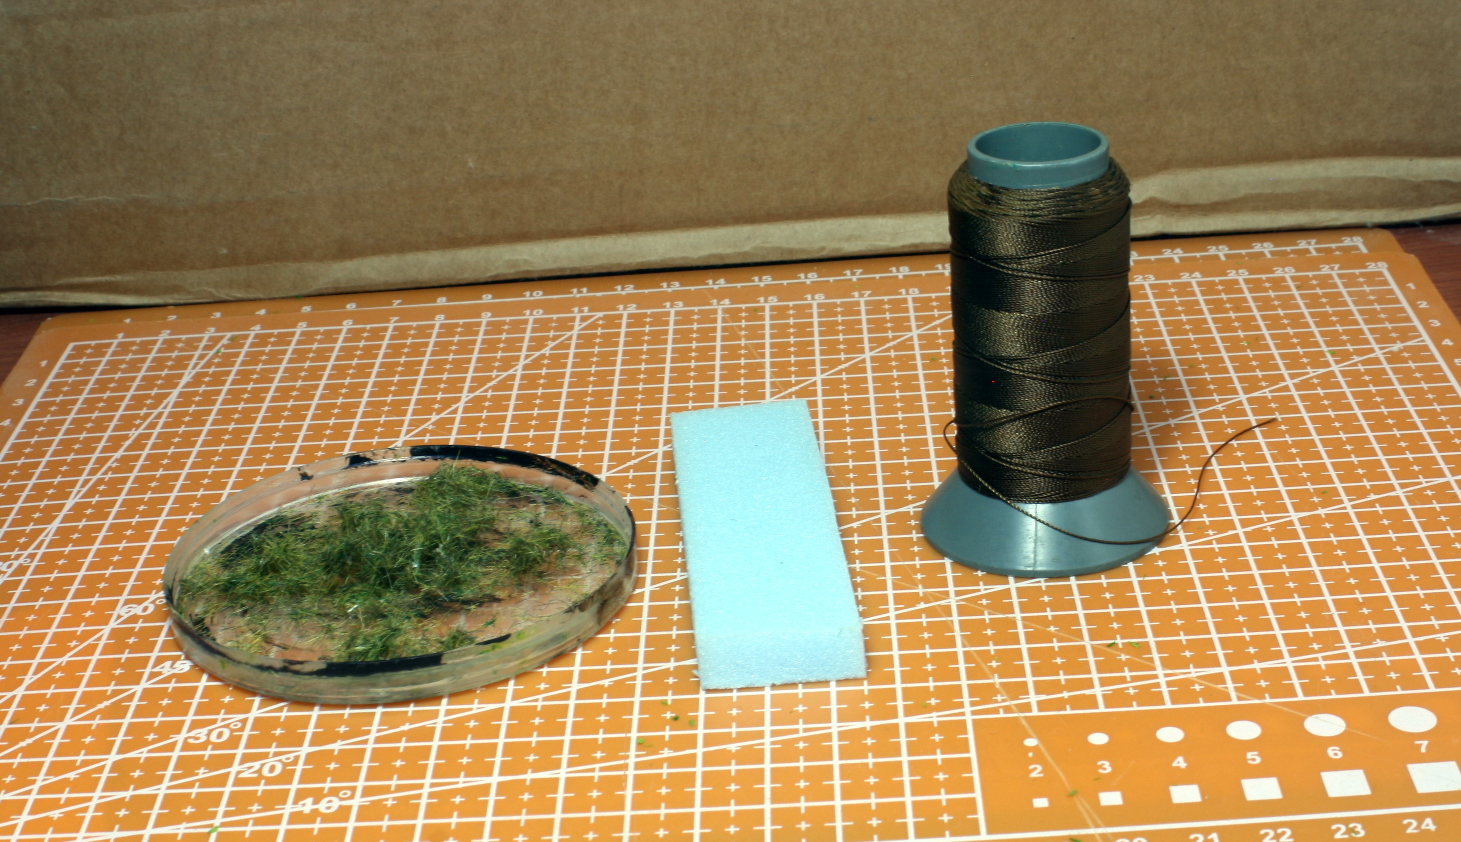 The basic materials.
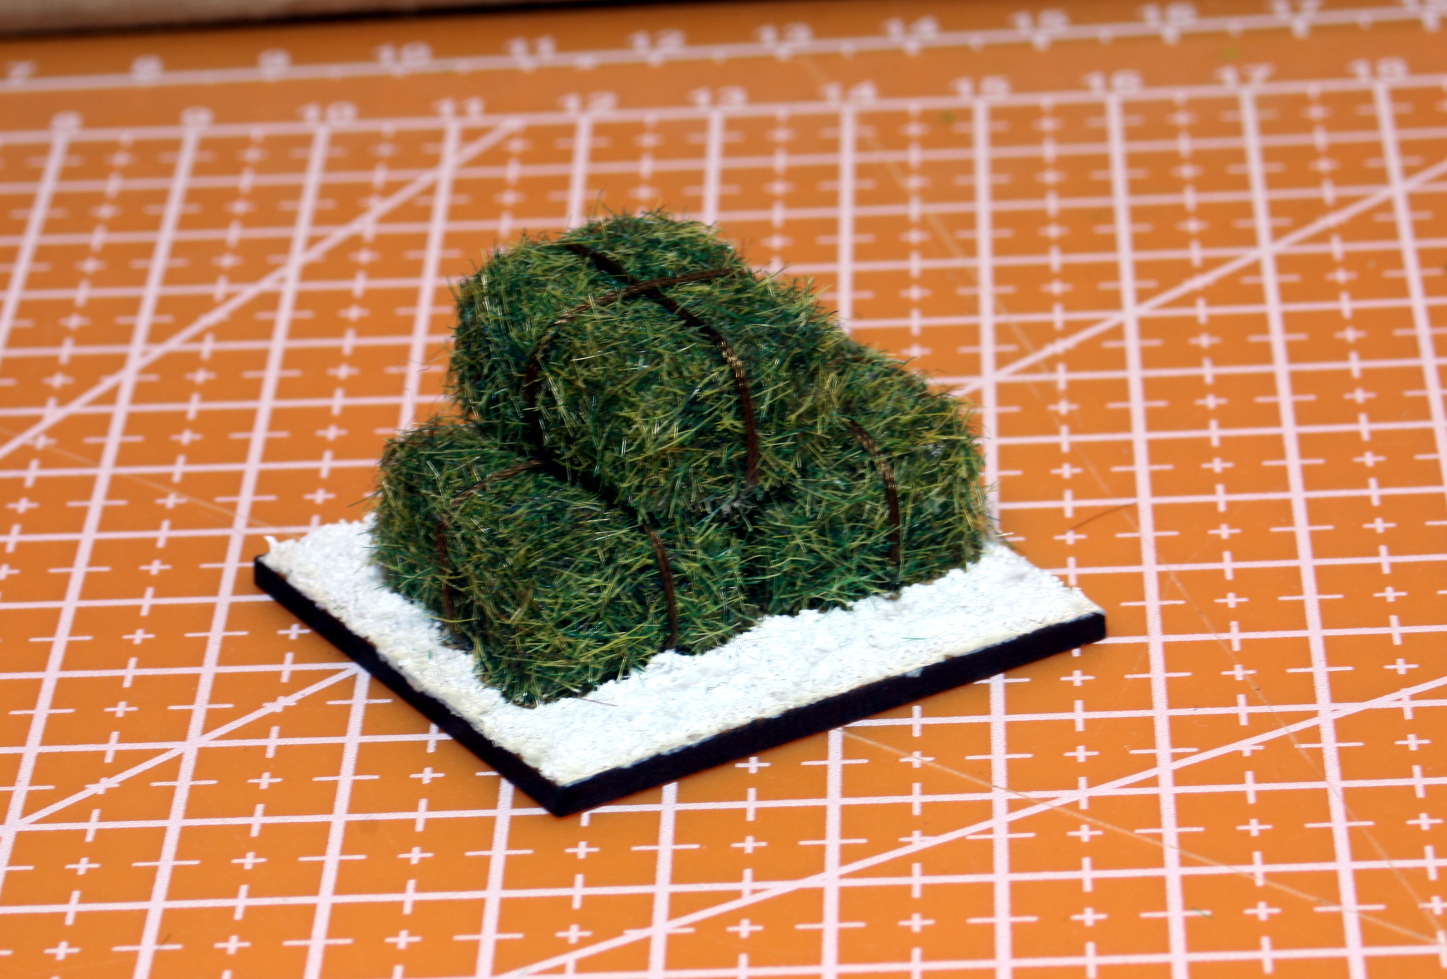 The haystack put together.
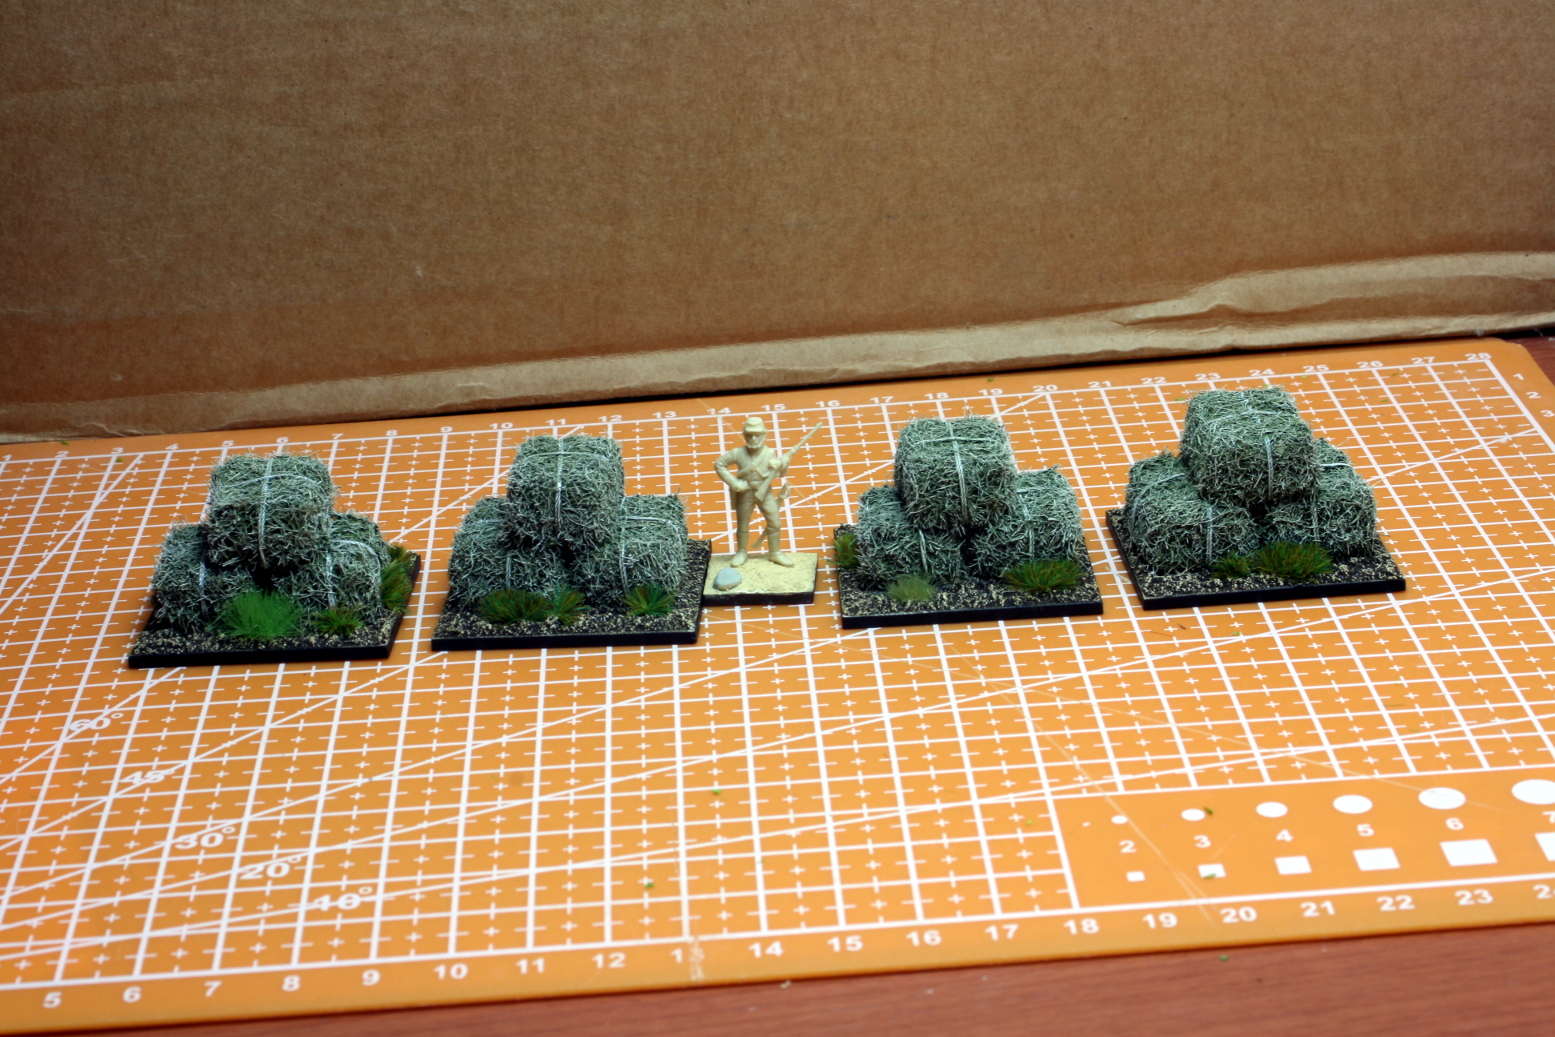 Painted up ad to scale.
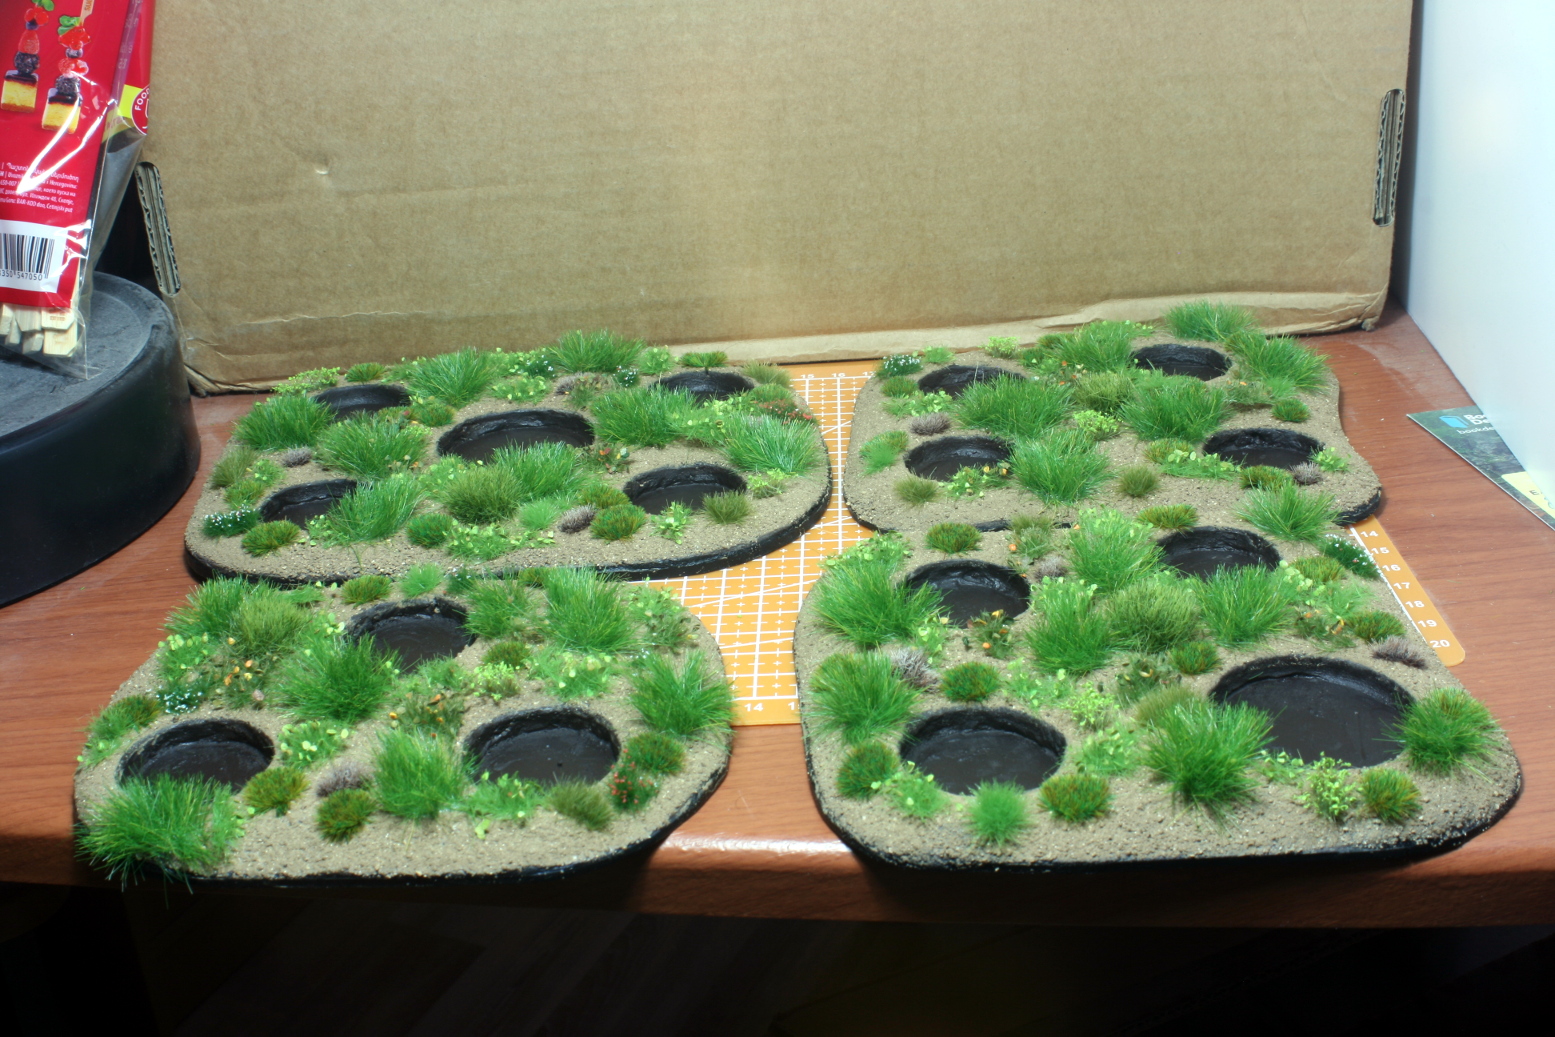
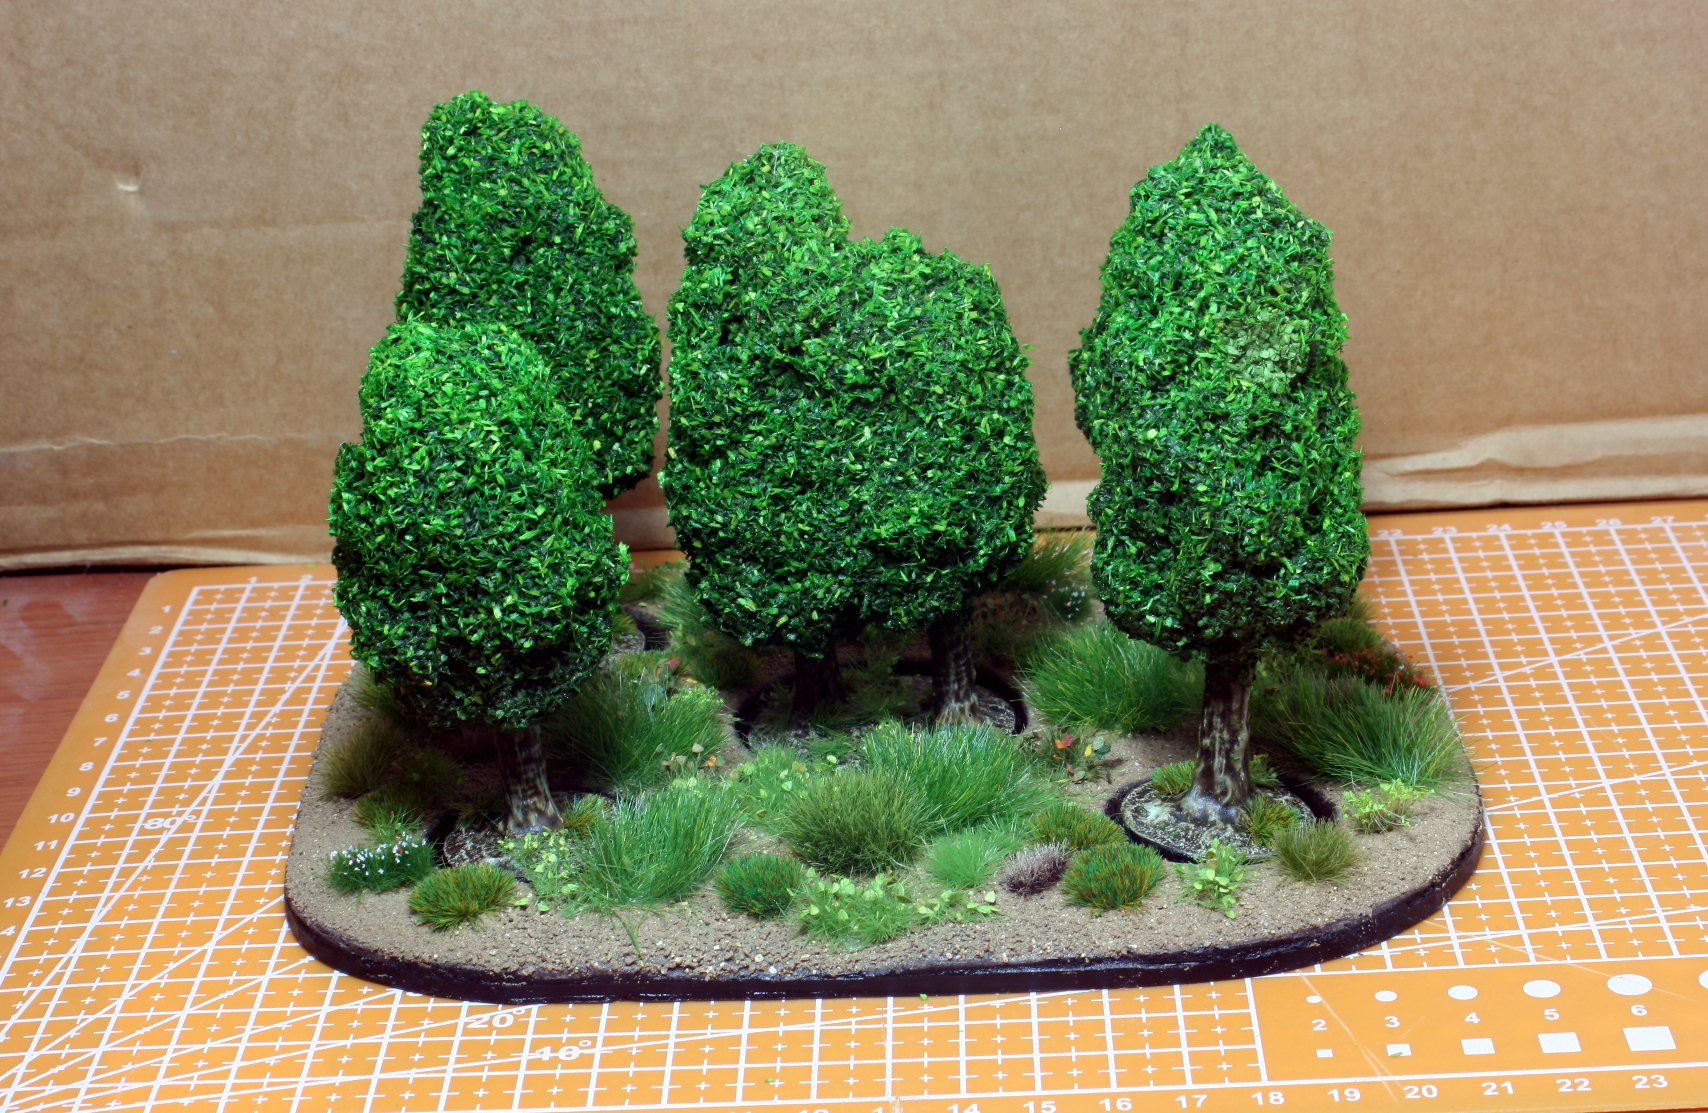
I also found some time to make several collective bases for my foam trees. I build these the same way as the skirmish bases in previous posts.
That is all this week. Hopefully the work will slow down a bit next week and allow me to do some more work on this project.
Until next post, stay safe and have fun.
NR
Stage 2 is now ready! or The Heat Wave didn't Kill the Dream!
Hi everyone,
As you might have heard, the central Mediterranean has been hit by a burdensome heat-wave that literally crippled everyday life, for the past month. With temperatures reaching 45 degrees, it was just impossible to paint anything or do any hobby whatsoever.
Over the weekend, though, the temperatures went down, and I found the strength to get back on the saddle and paint again.
I went back to this project, because the painting is simple and straight forward and doesn’t require a lot of thought.
I painted up the leaders of the Confederates and the last 9 miniatures to complete Stage 2 of this project. I also painted up a wagon from Warbases.co.uk.

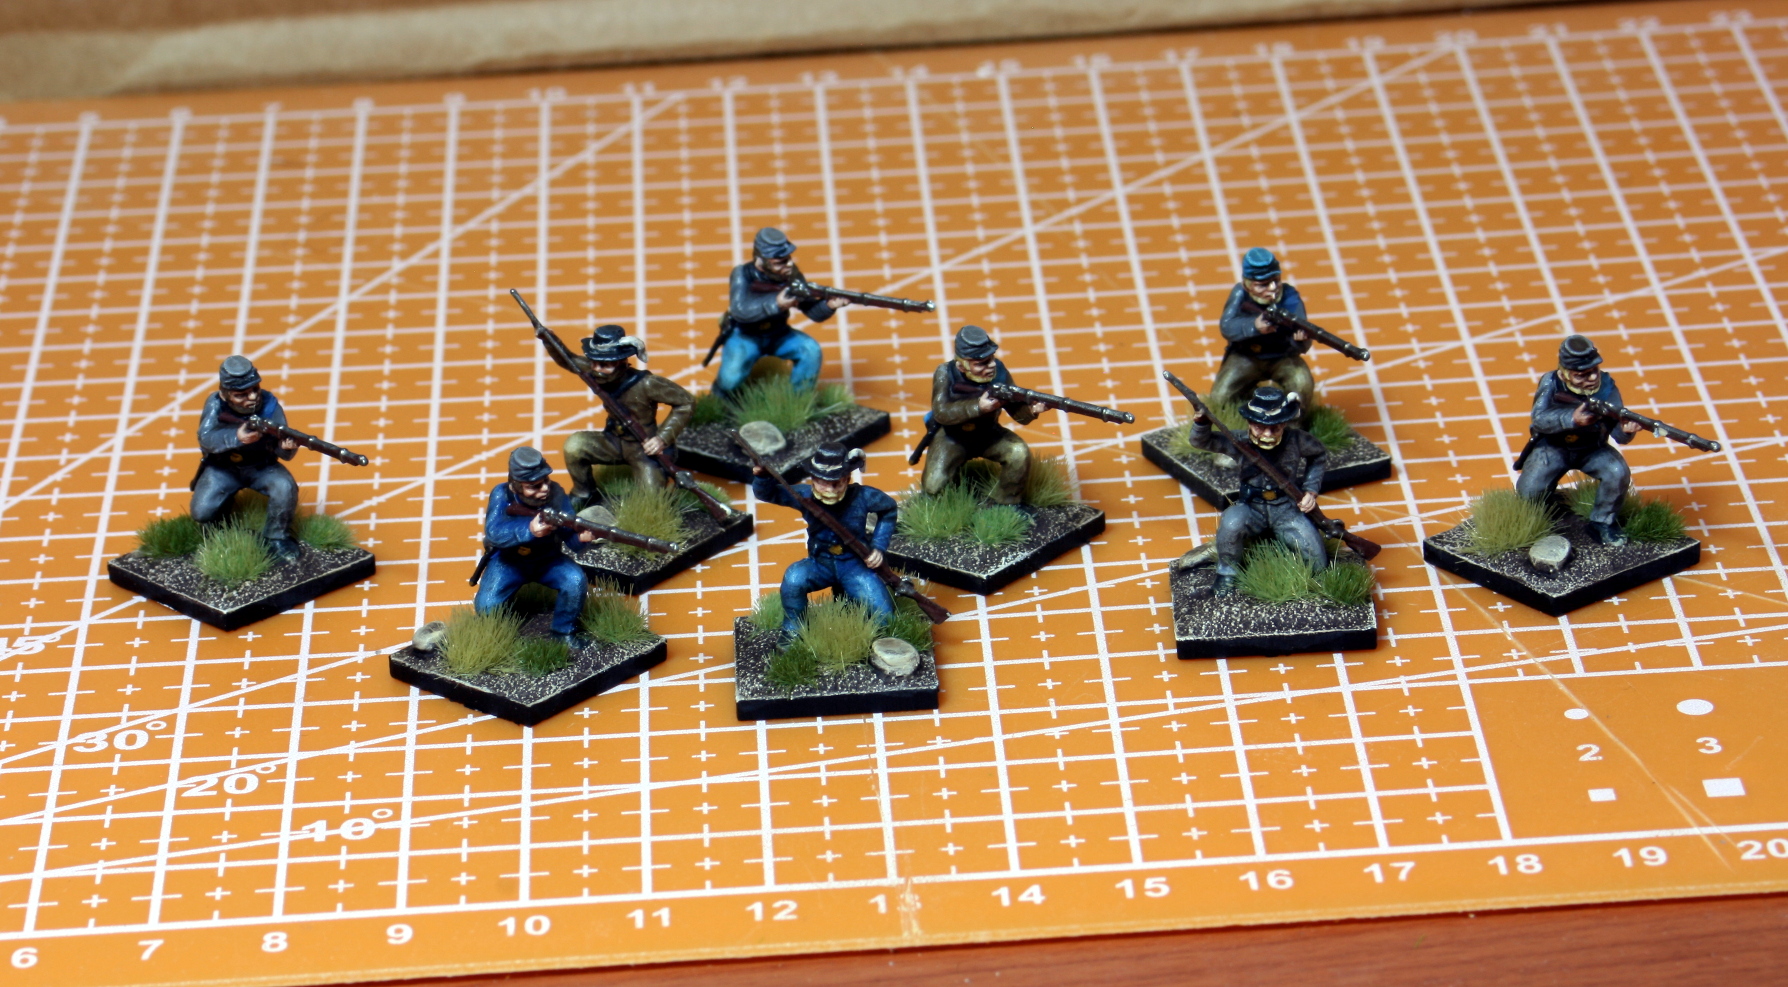
 Stage 2 is now complete.
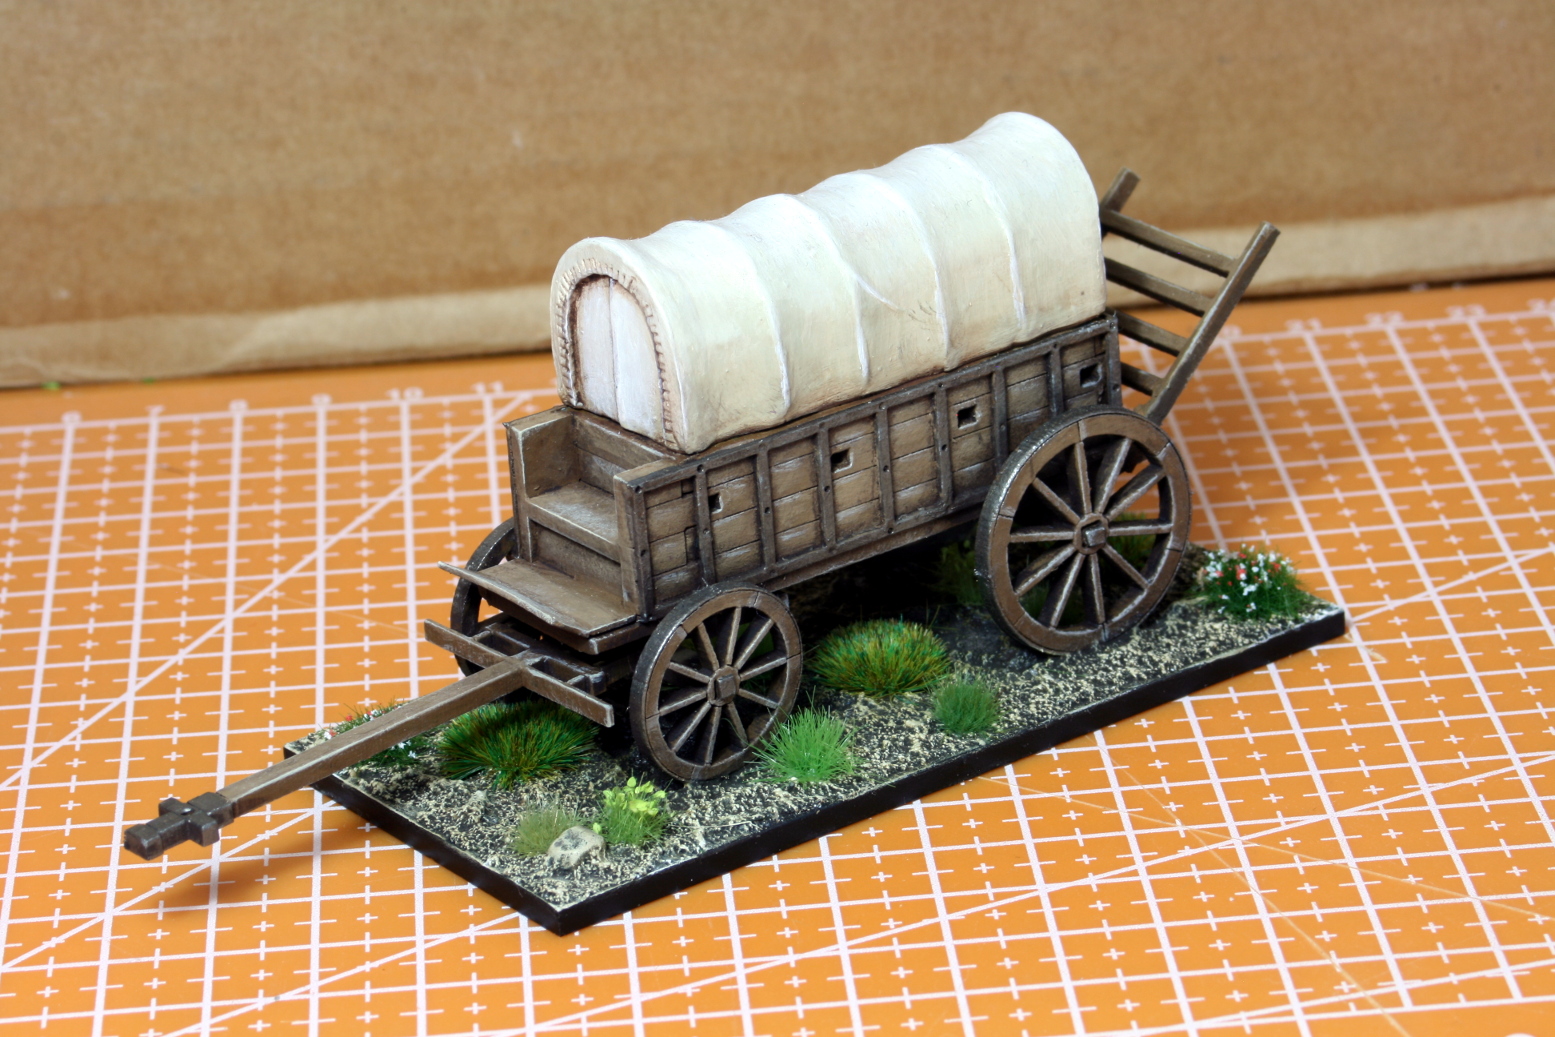 A great little wagon from Warbases.co.uk.
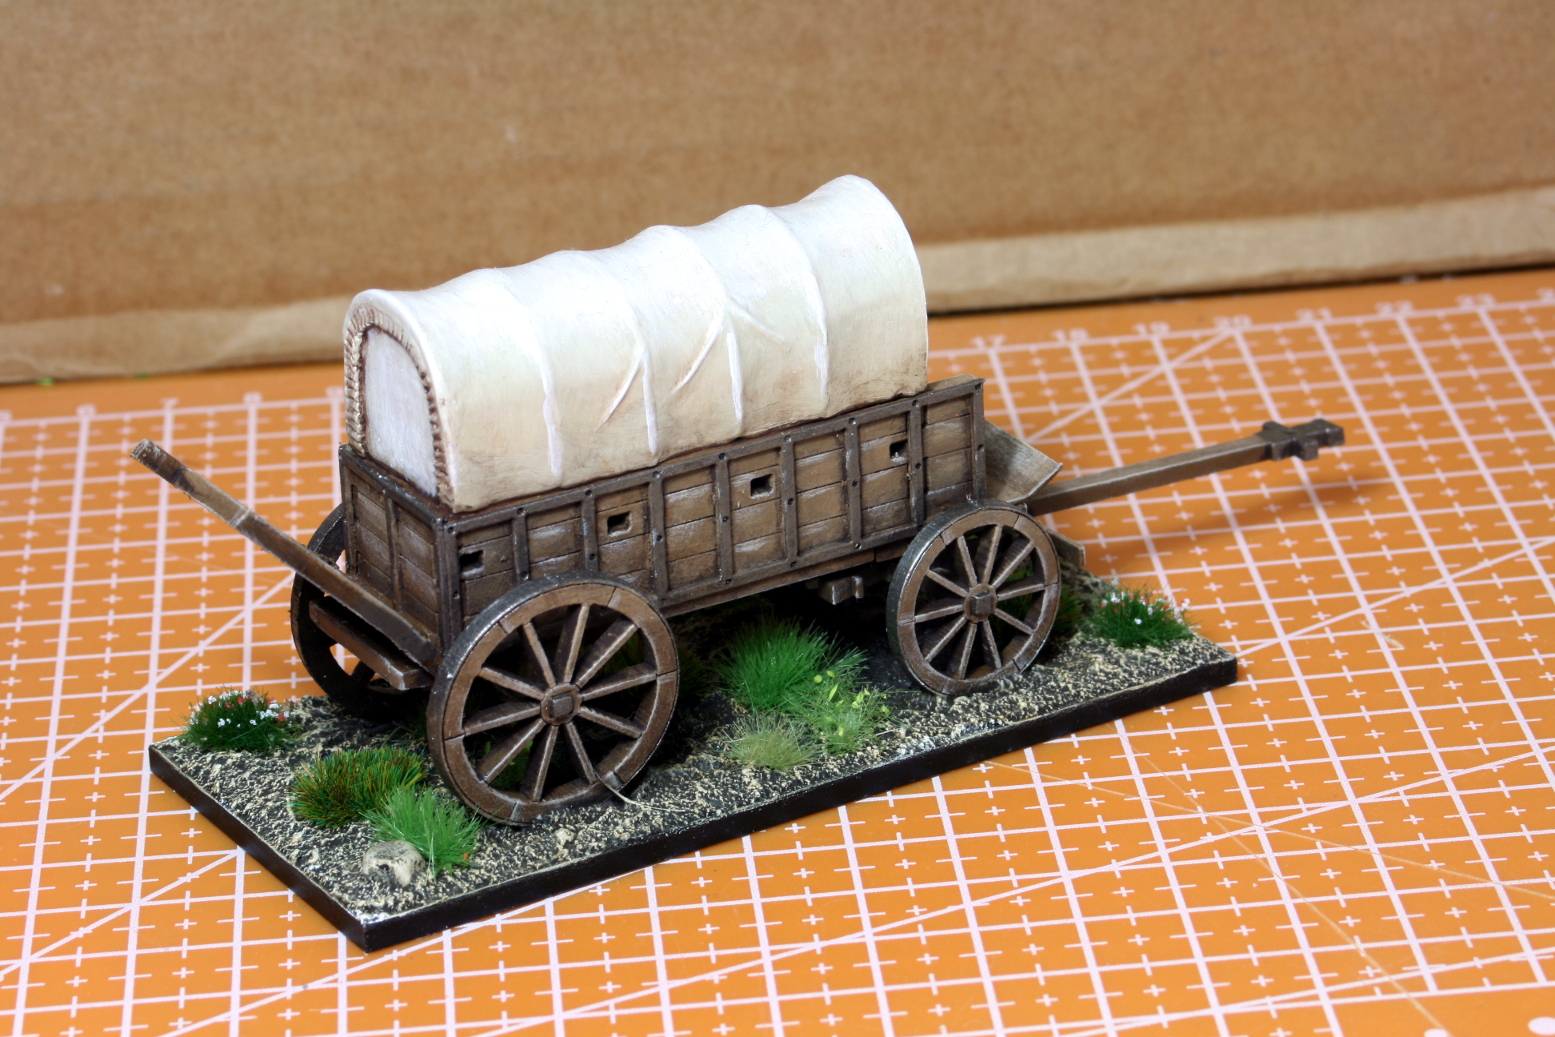
The next stage is painting up the Union cavalry. I have two units of eight models each (and I am not looking forward to painting them). In between, I will build some more terrain.
So until then stay safe and have fun.
NR
Houses and Outhouses.
Hi everyone,
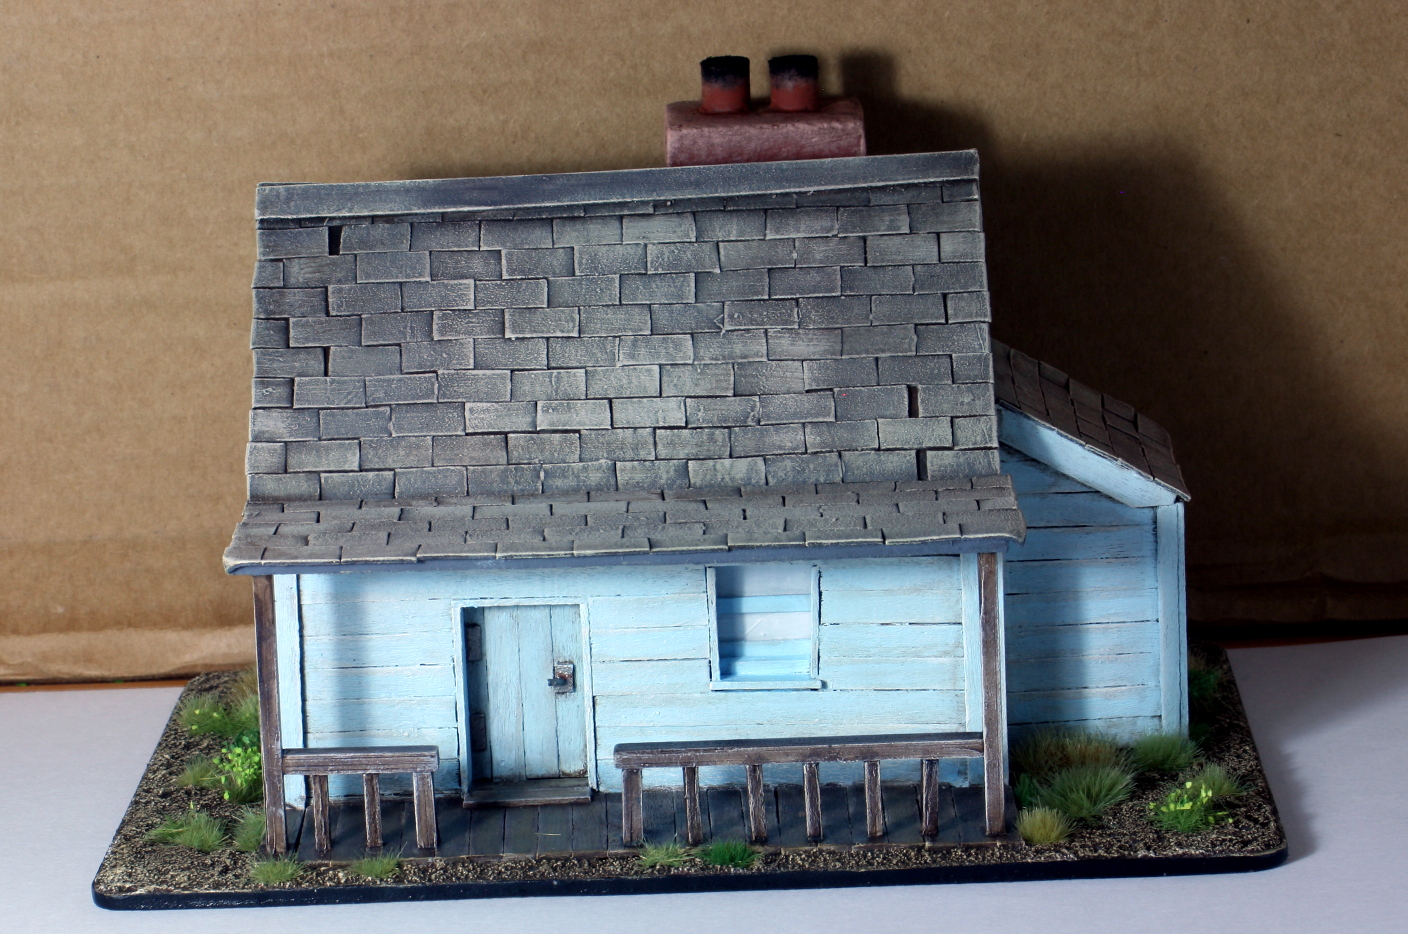
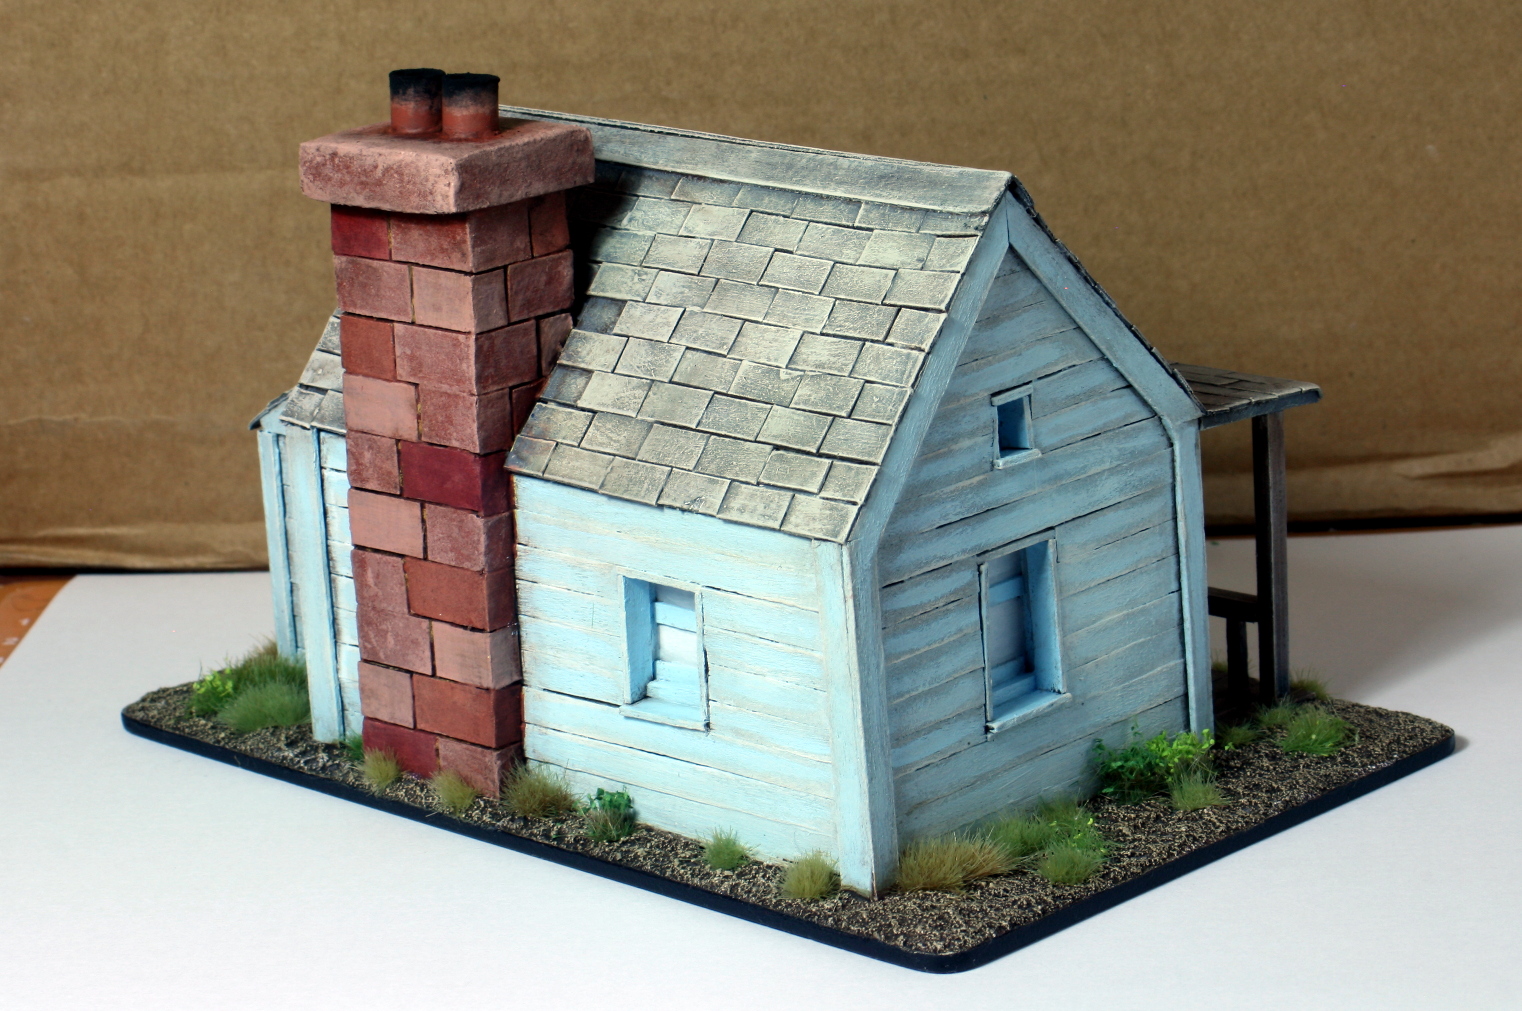
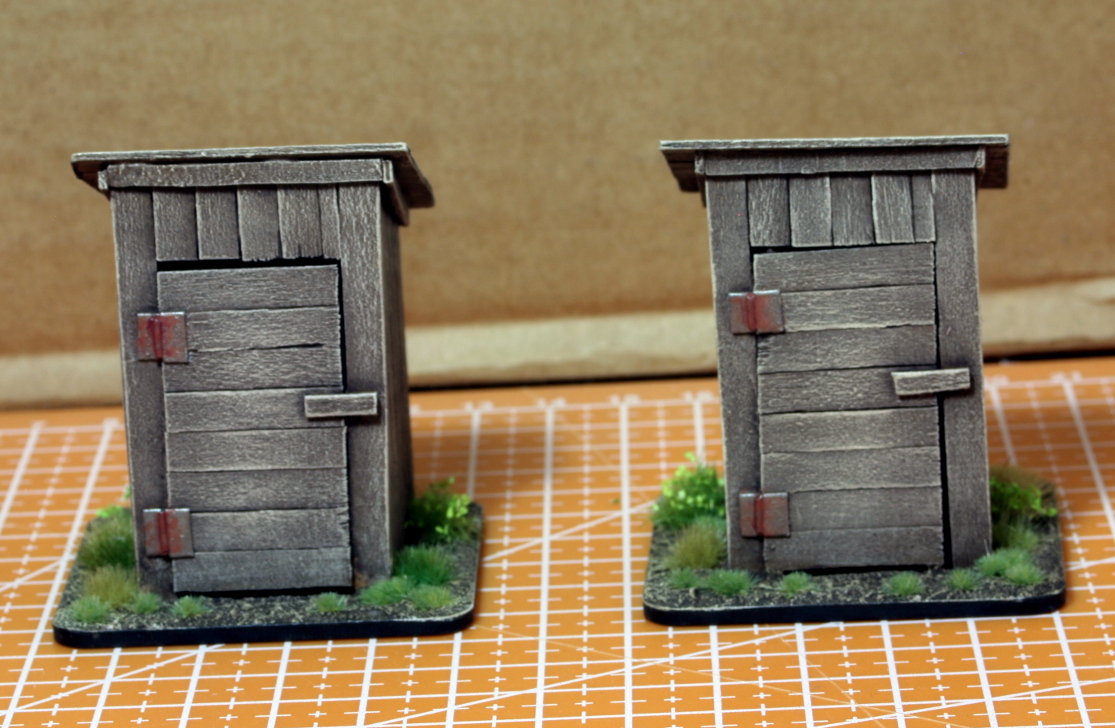
I am pushing on with this project again as the temperatures decline and my stamina rises. The next things I did are two outhouses and I finished painting the house I started several posts ago.
To be honest, the house was the first model of this kind I ever did and for my first attempt, it is not bad – but not really good either. Especially the bricks of the chimney that did not come out to scale. In fact, I might try and fix the chimney if it bothers me too much.

The next post will be the the Union Cavalry. I never enjoyed painting cavalry, but I don’t wont to play this game without them.
So until then, stay safe and have fun.
NR
Stage 3 - The Union Cavalry
There are not enough Indians in the world to defeat the Seventh Cavalry – George Armstrong Custer.
Hi everyone,
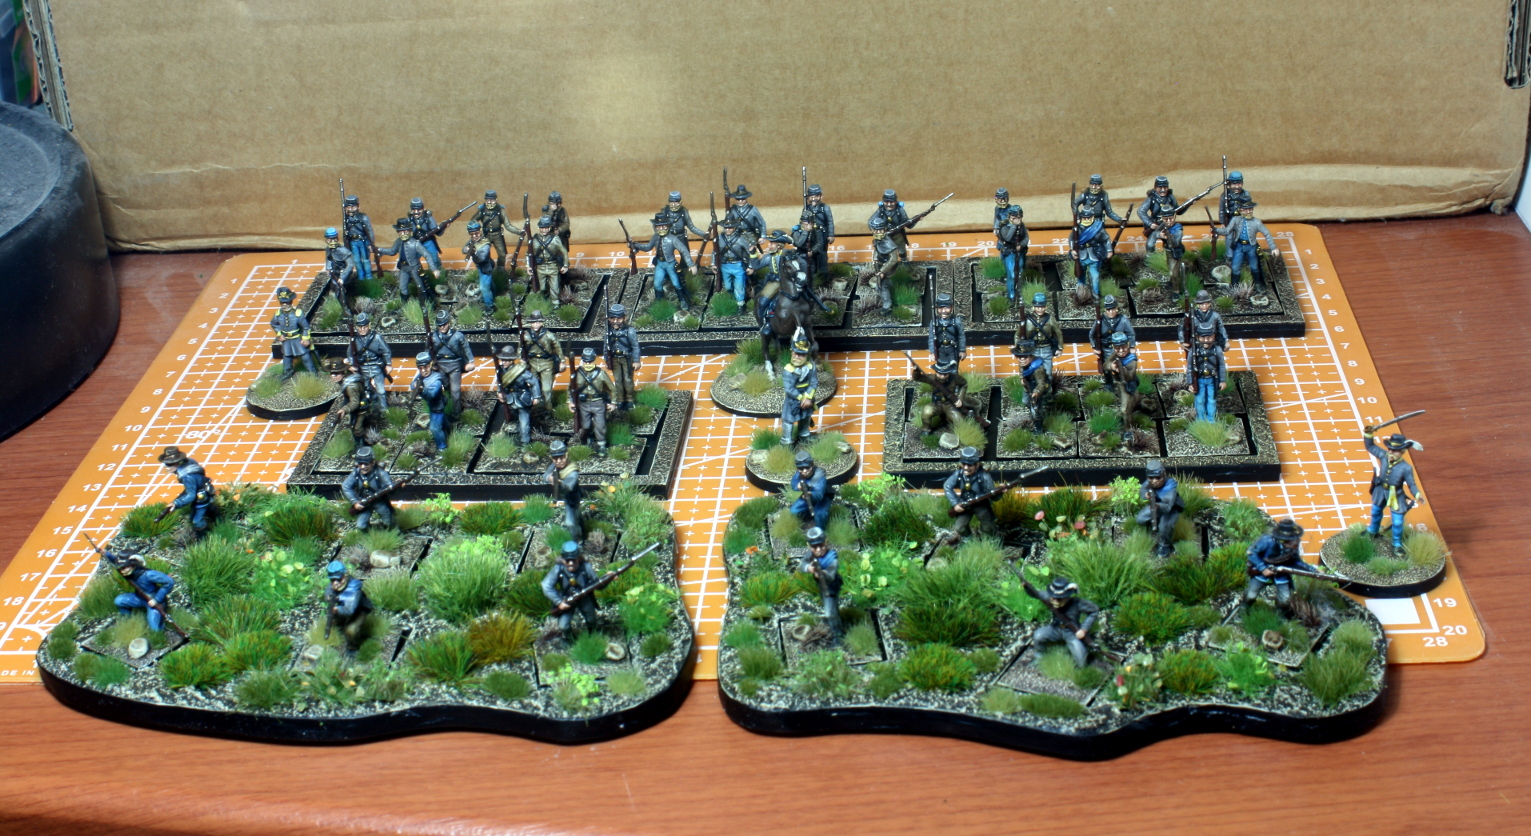
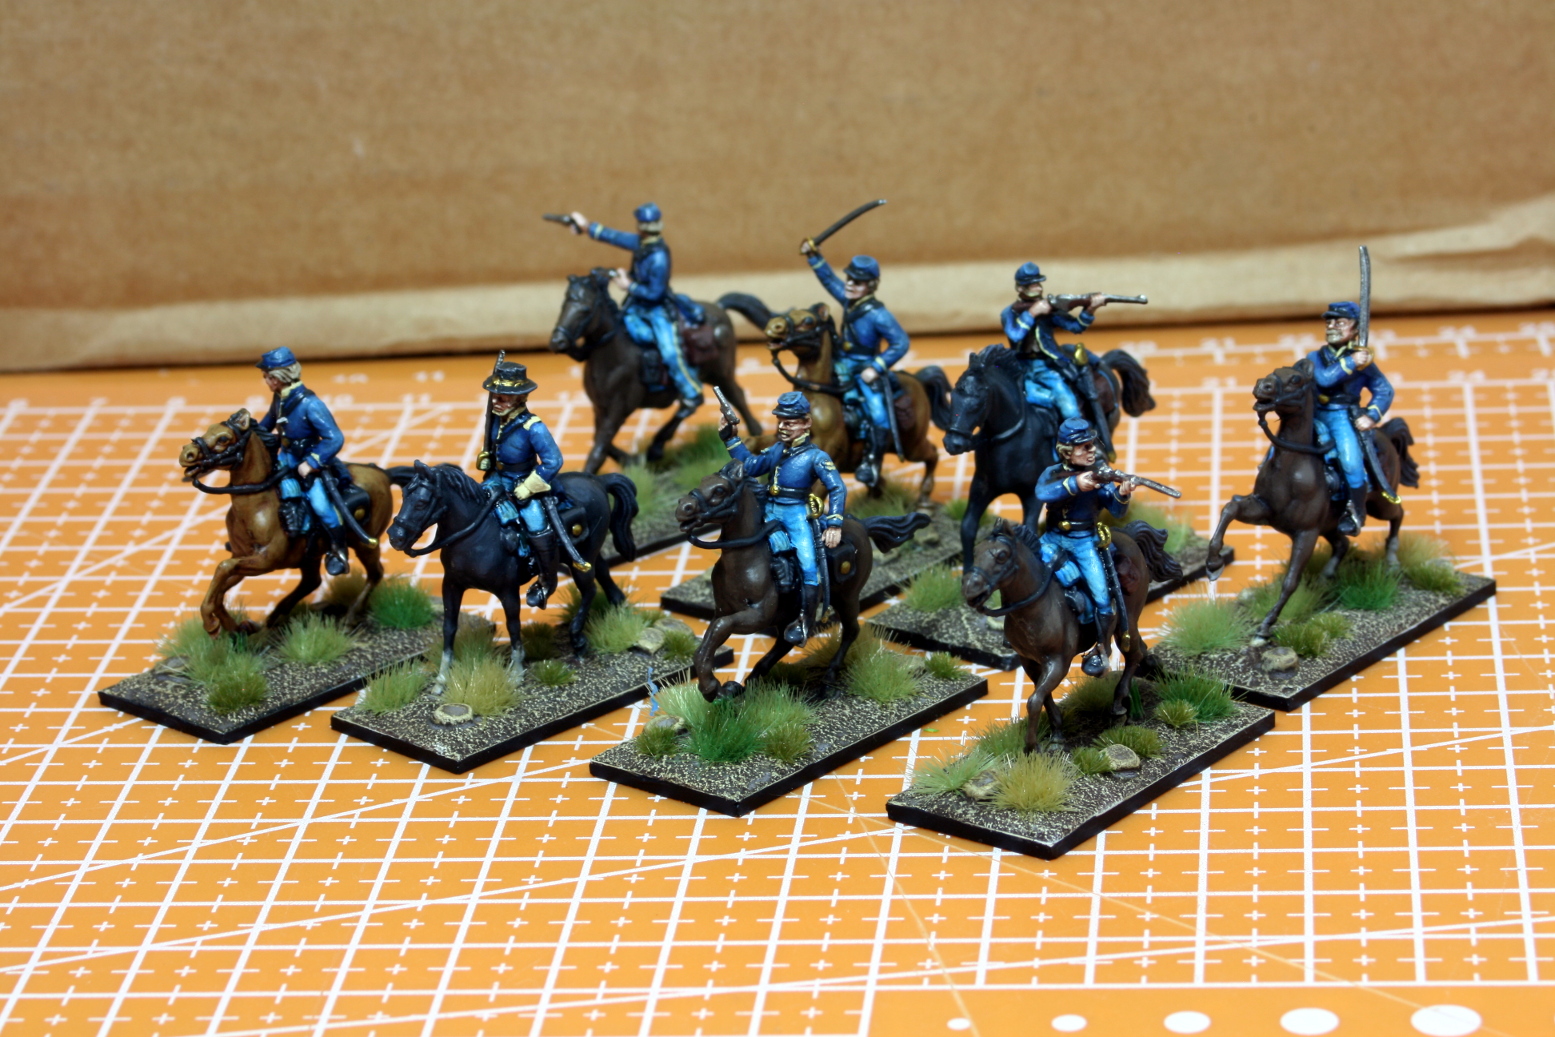
Today I finished up half of the Union cavalry. It is like painting two units of infantry – so it takes twice as long. In the end I think I have achieved the same standard.
I also managed to finish up a mounted leader, since I did not have a mounted leader for the Union.
I also just watched the XLBS before posting this and this project won a golden button, so thanks to the OTT team for their time and kind words.
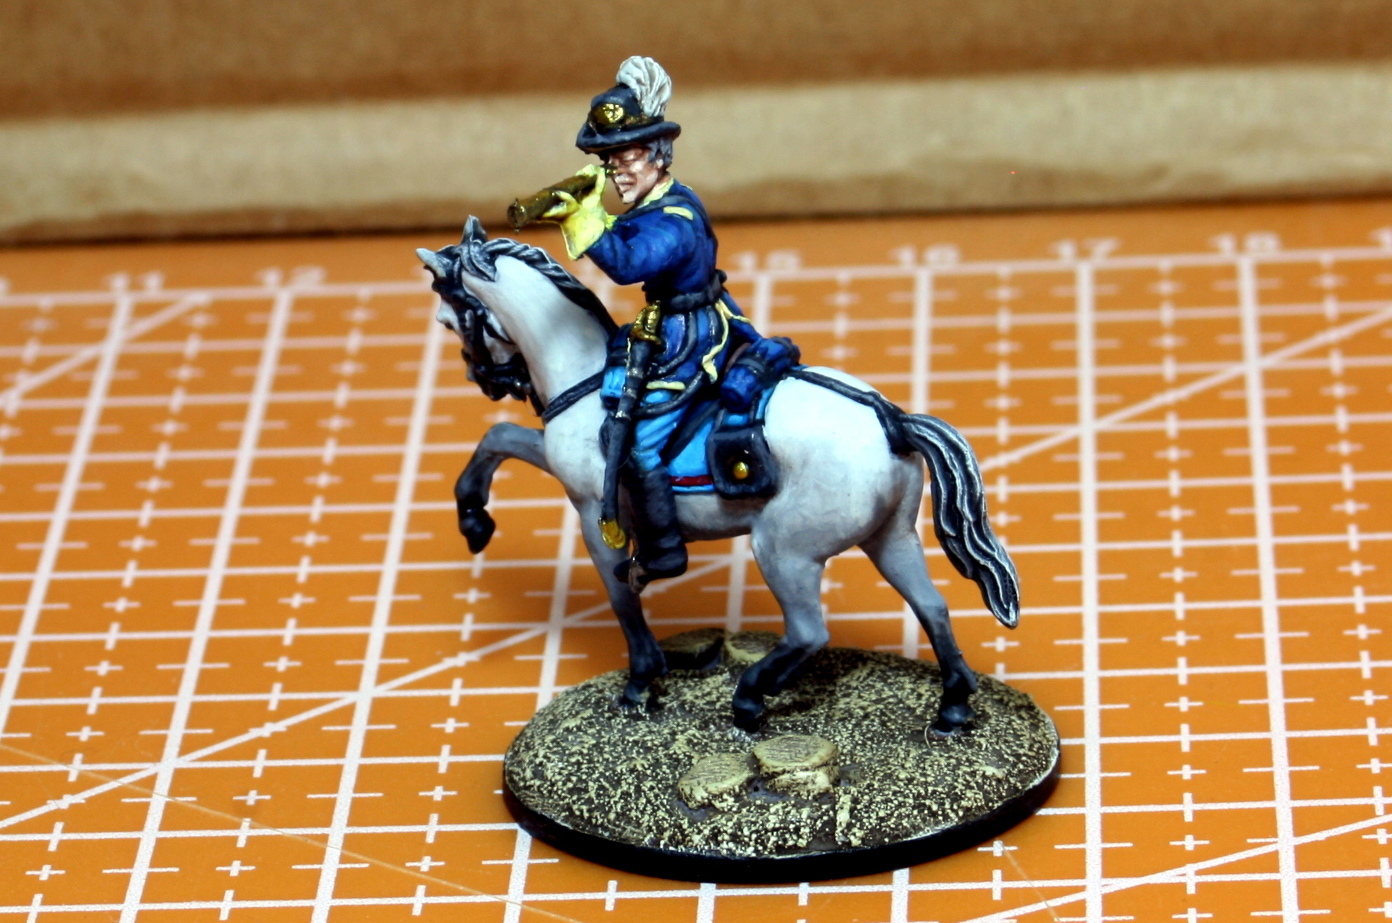 This mounted leader is actually a conversion.
 A mix of Italieri and Imex miniatures
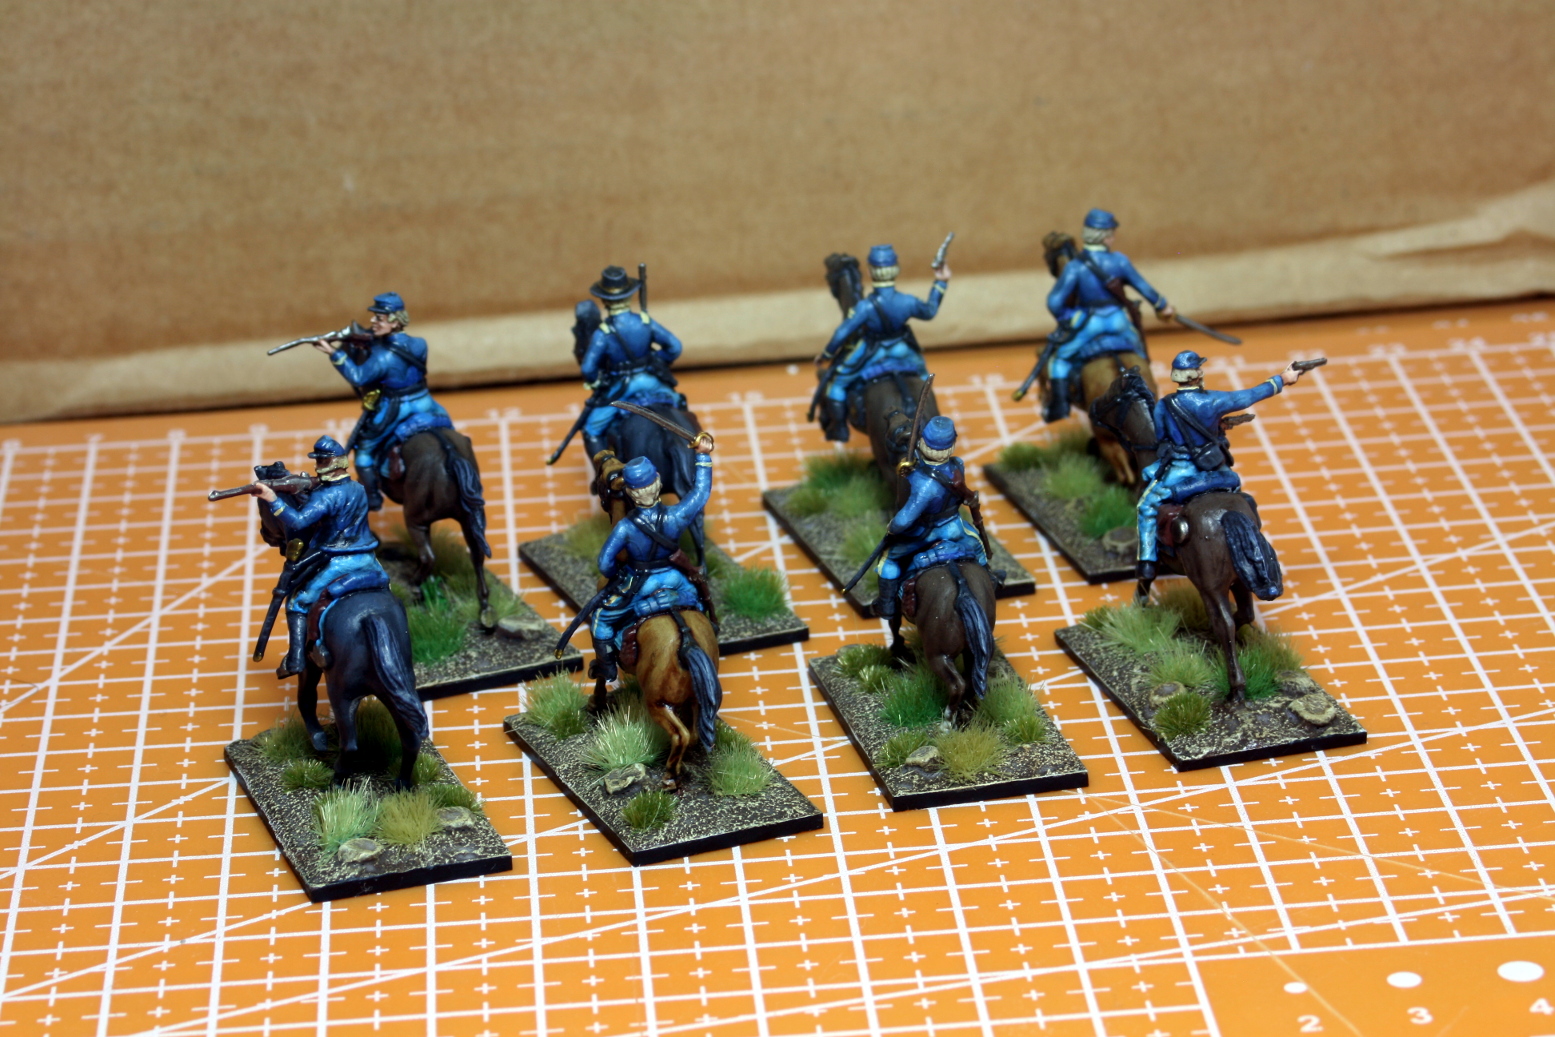
That is all for this week. Next week I will continue work on the second Union cavalry unit, before I start the Confederate cavalry. Italieri have nice cavalry miniatures but there is not a lot of diversity in the range. This means that the next unit will basically be a replicate of this one.
Until next time, stay safe and have fun.
NR
A Barn & Revisting the House (and trying to improve it!)
Hi everyone,
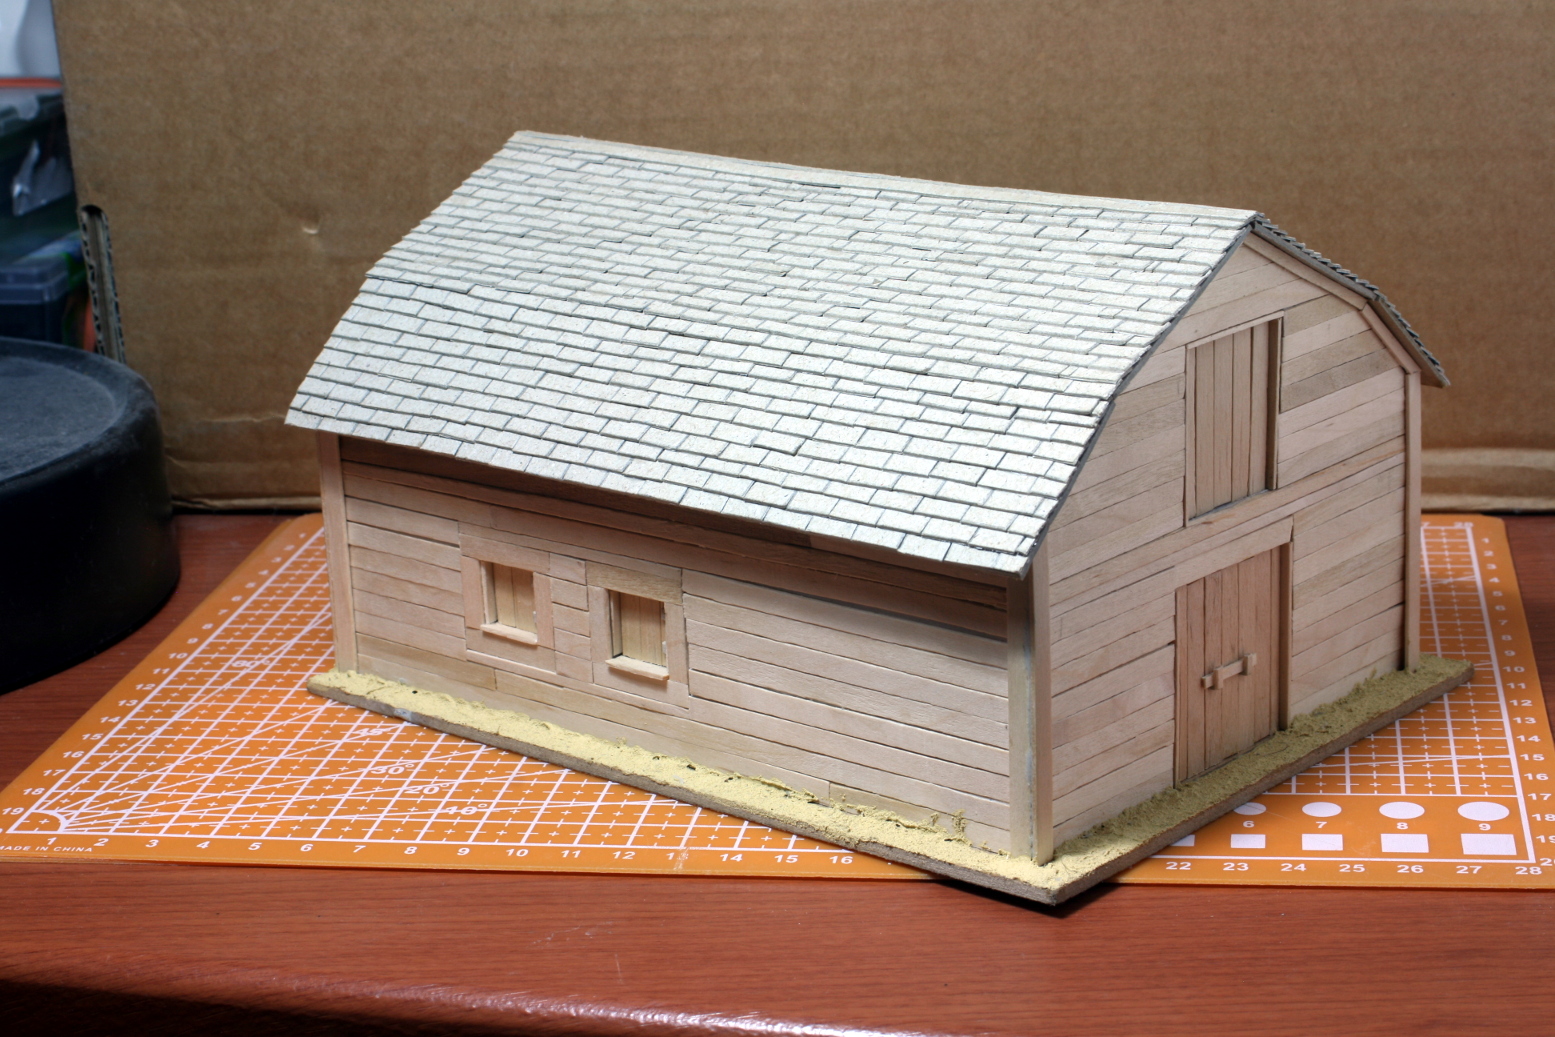
In between the two units of Union Cavalry, I decided to focus some of my free time on another piece of scenery – a barn.
The build is the same as the house, with an interior structure made of foam board cut-outs and coffee stirrers. The pictures below should exchange well than a thousand words.
I have not finished the barn as yet, but it will be ready by next week – as far as the building is concerned.
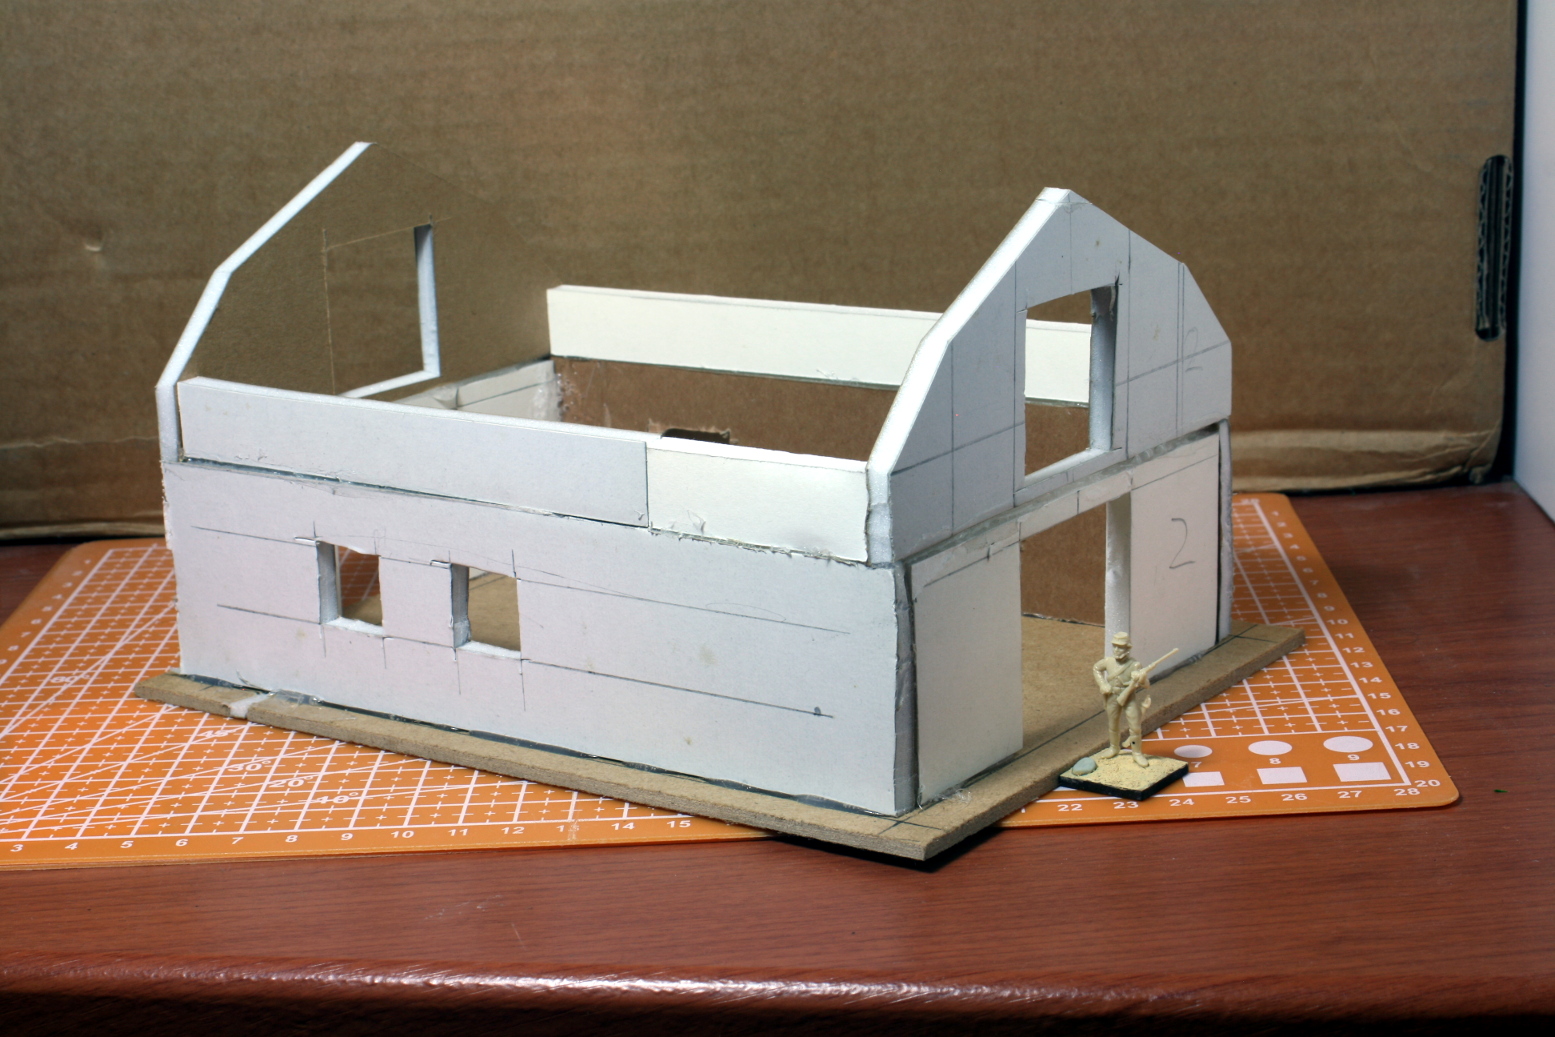 The interior structure made out of foam-board cutouts.
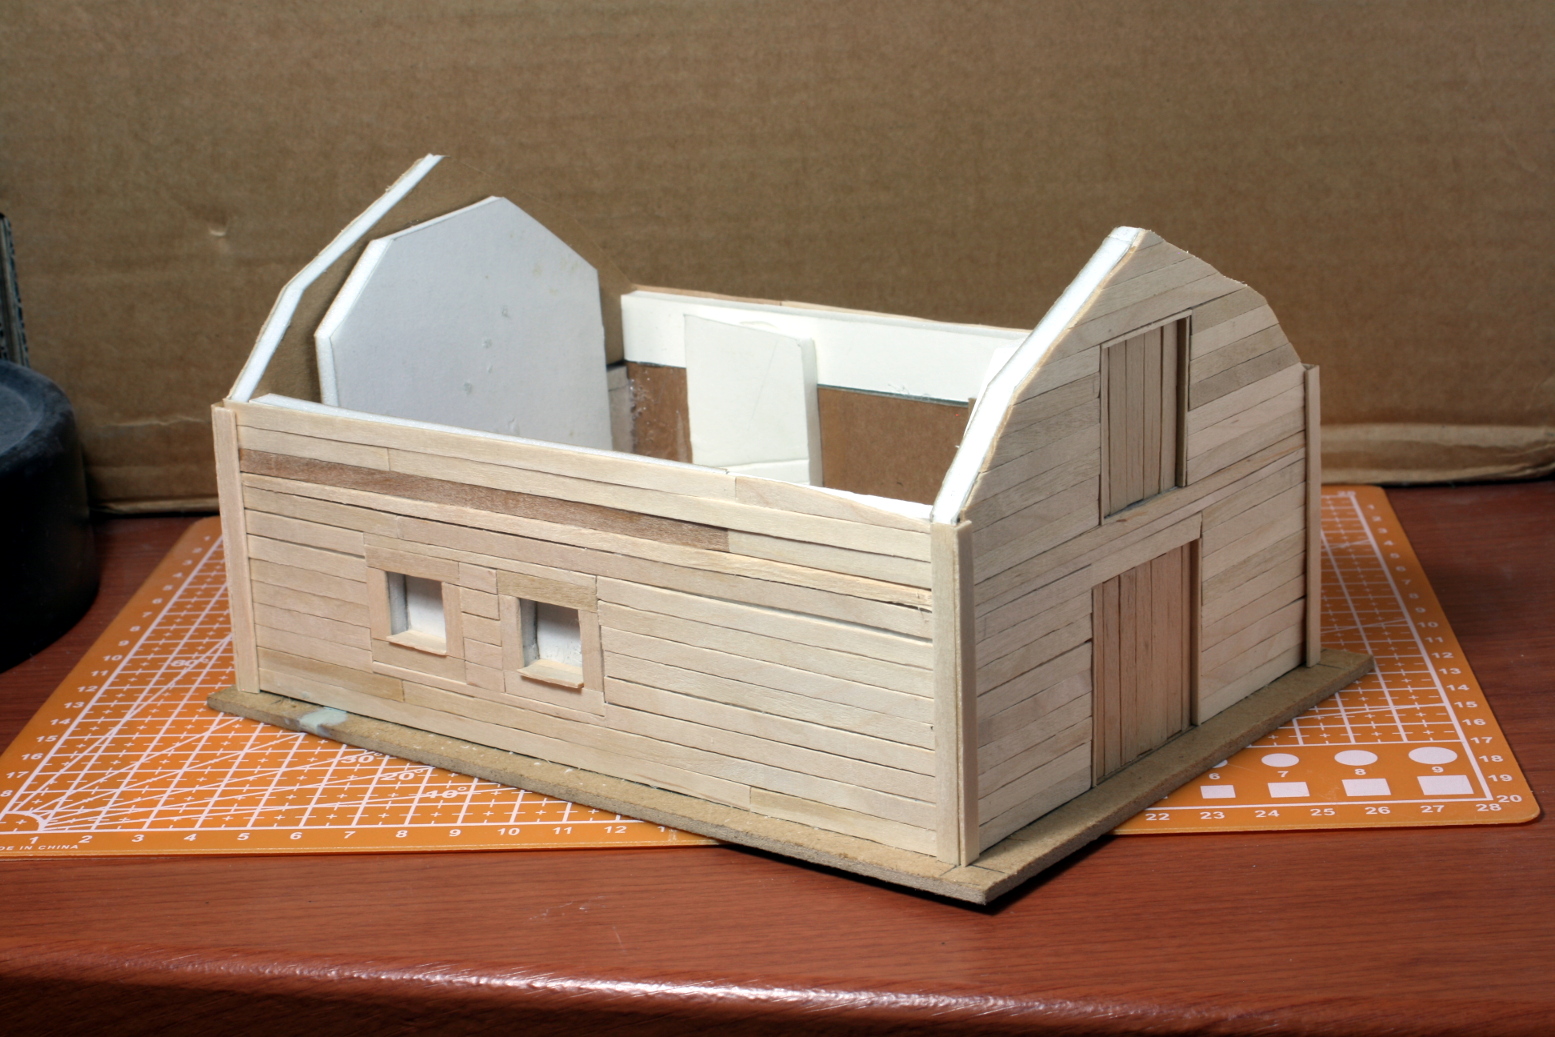 The outer structure is done with cheap coffee stirrers.
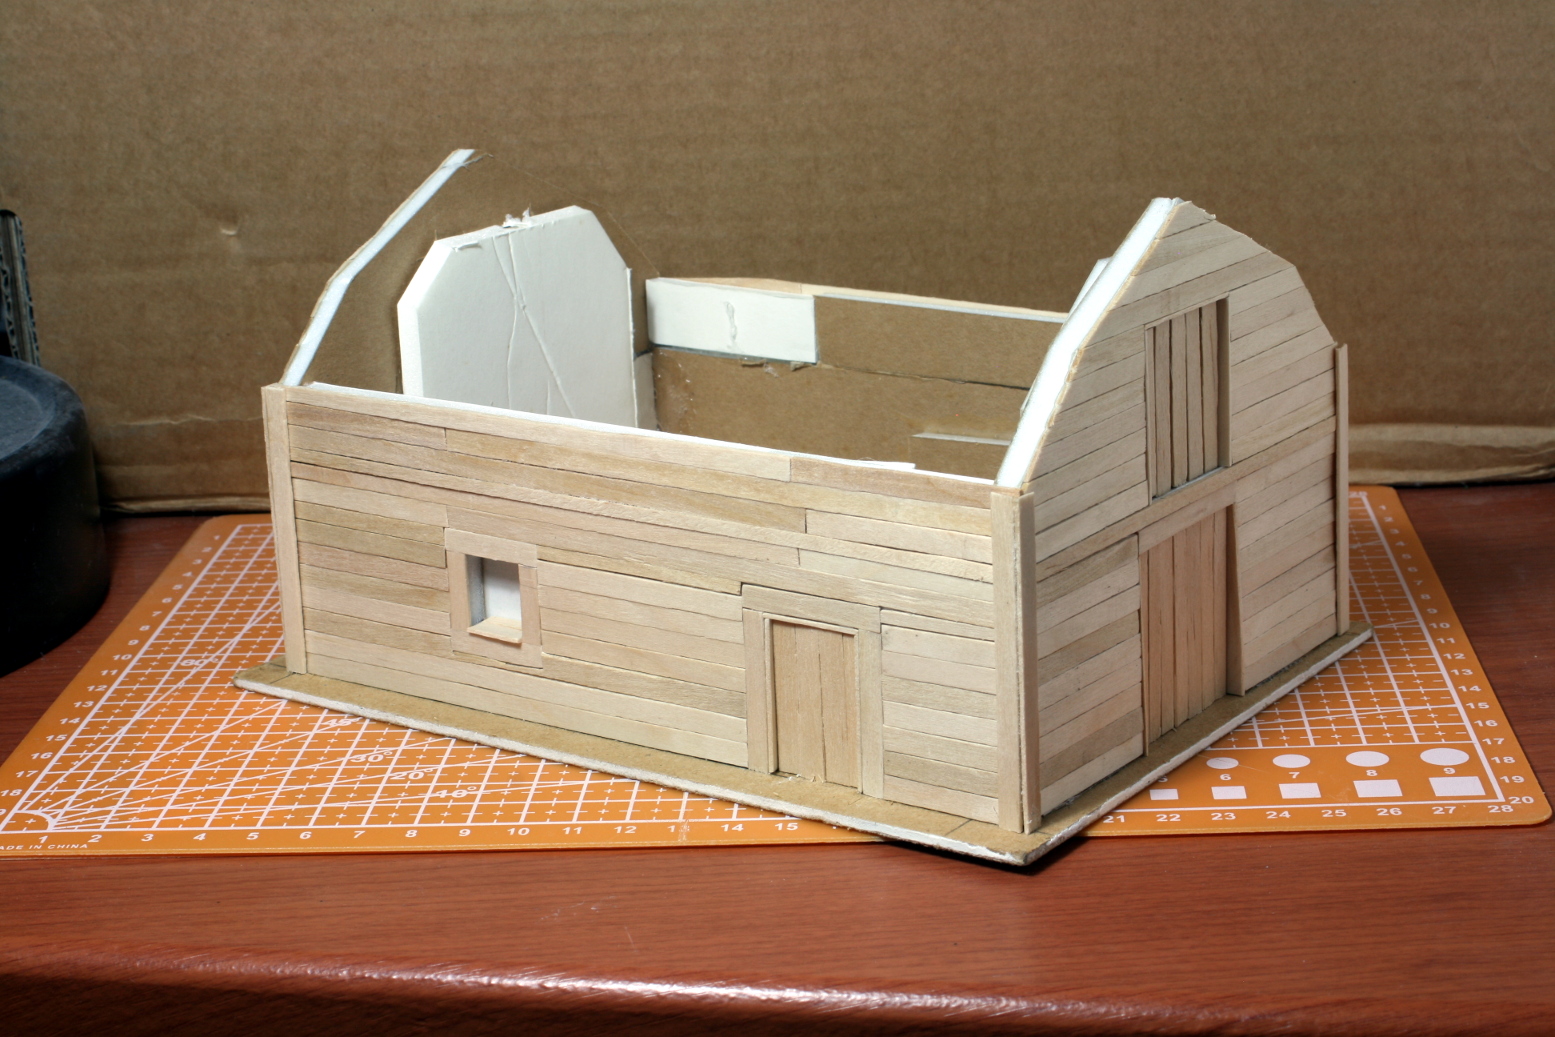
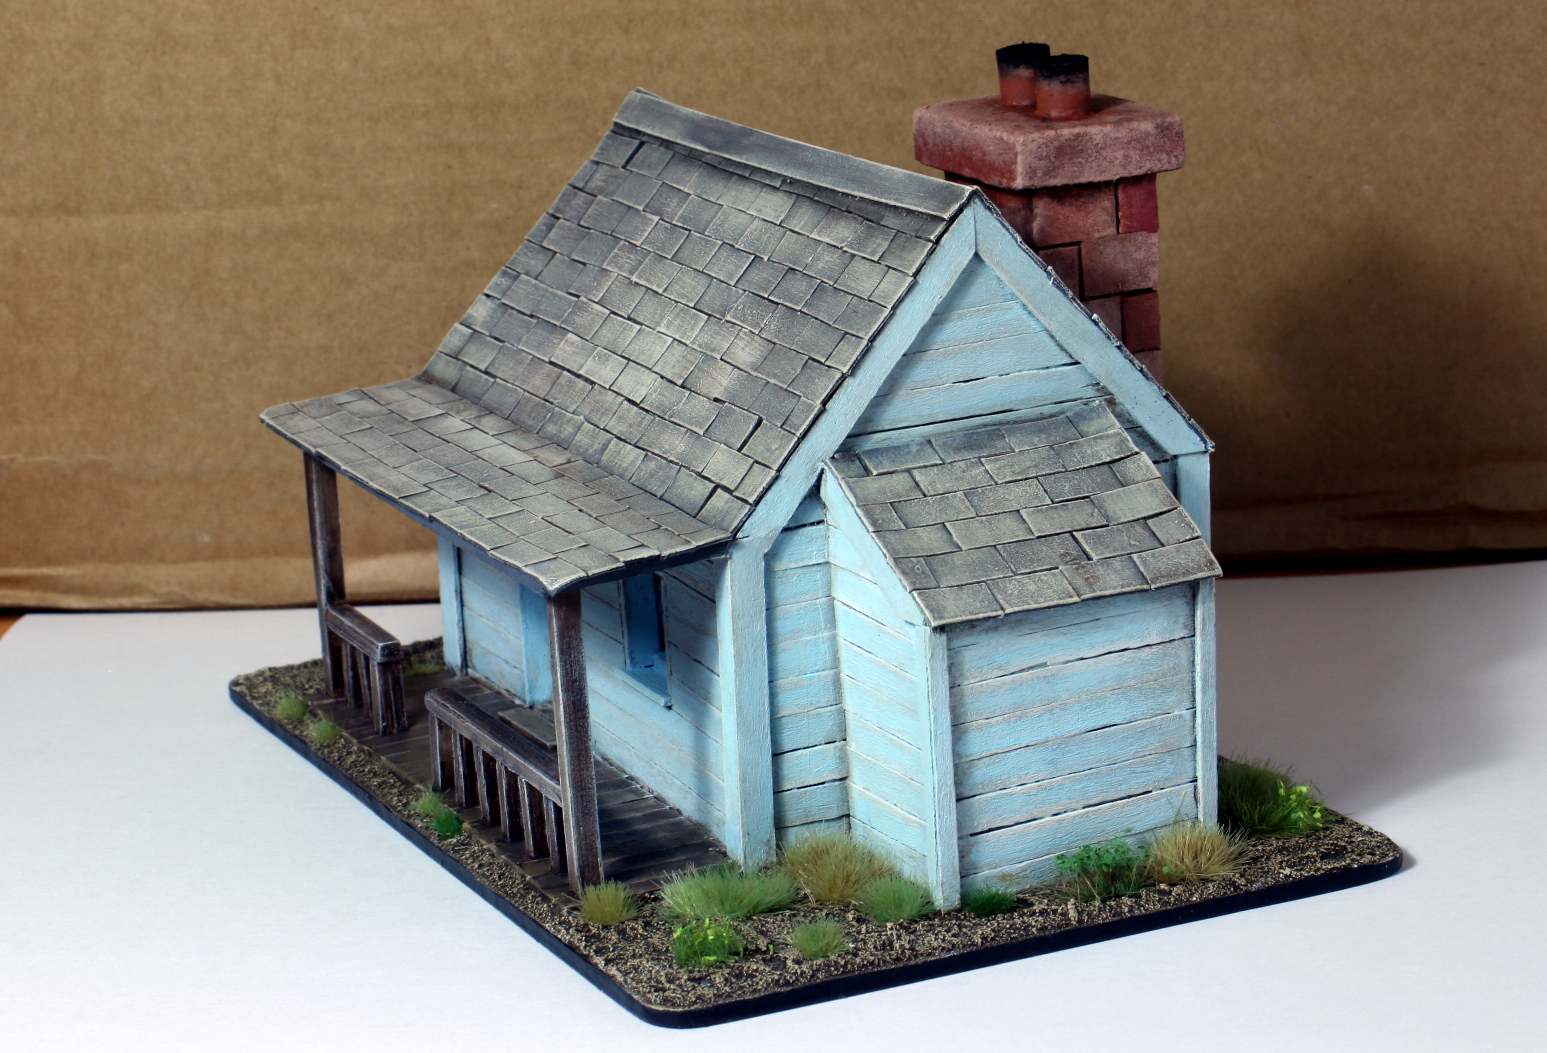
I also revisited the first house I built. I was really unhappy with it, even though it was the first time I built something like this. I went back and redid the chimney with smaller bricks that are more in scale with the 1/72 figures. I also repainted the door and windows white to give the structure some variety. I also painted the windows black instead of white. This helps them stand out better – just pretend the house is empty!
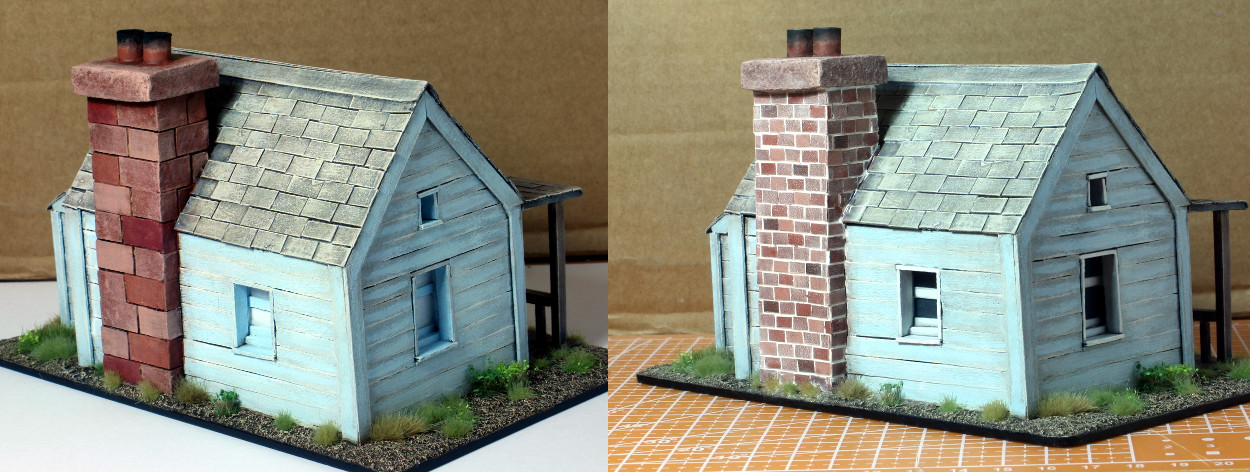 Re-scaled the chimney.
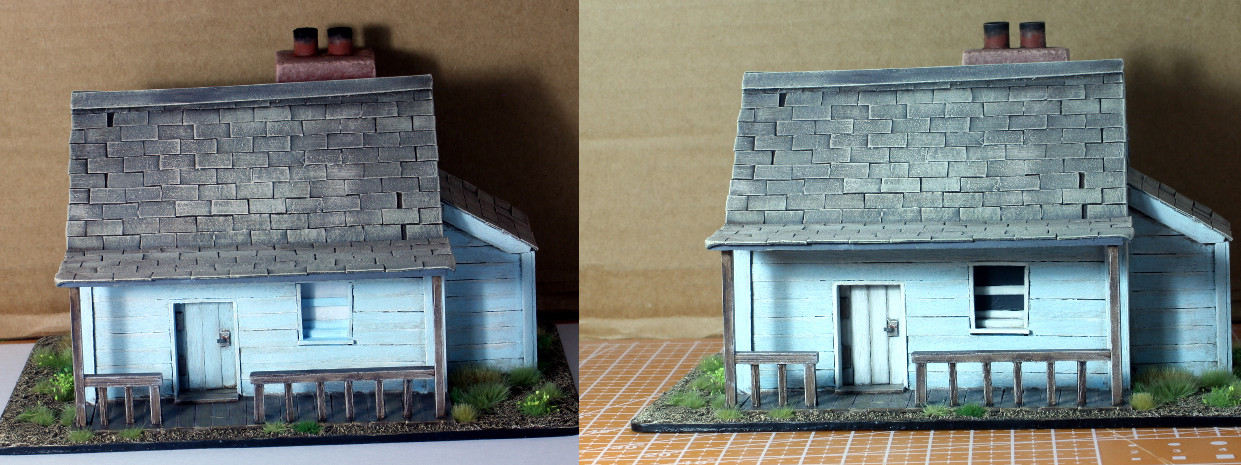 Painted up the door and windows white.
That is all for this week. From tomorrow I will continue with the barn and start the second Union cavalry unit.
Until then, stay safe and have fun.
NR
The Barn is Done
Hi everyone,
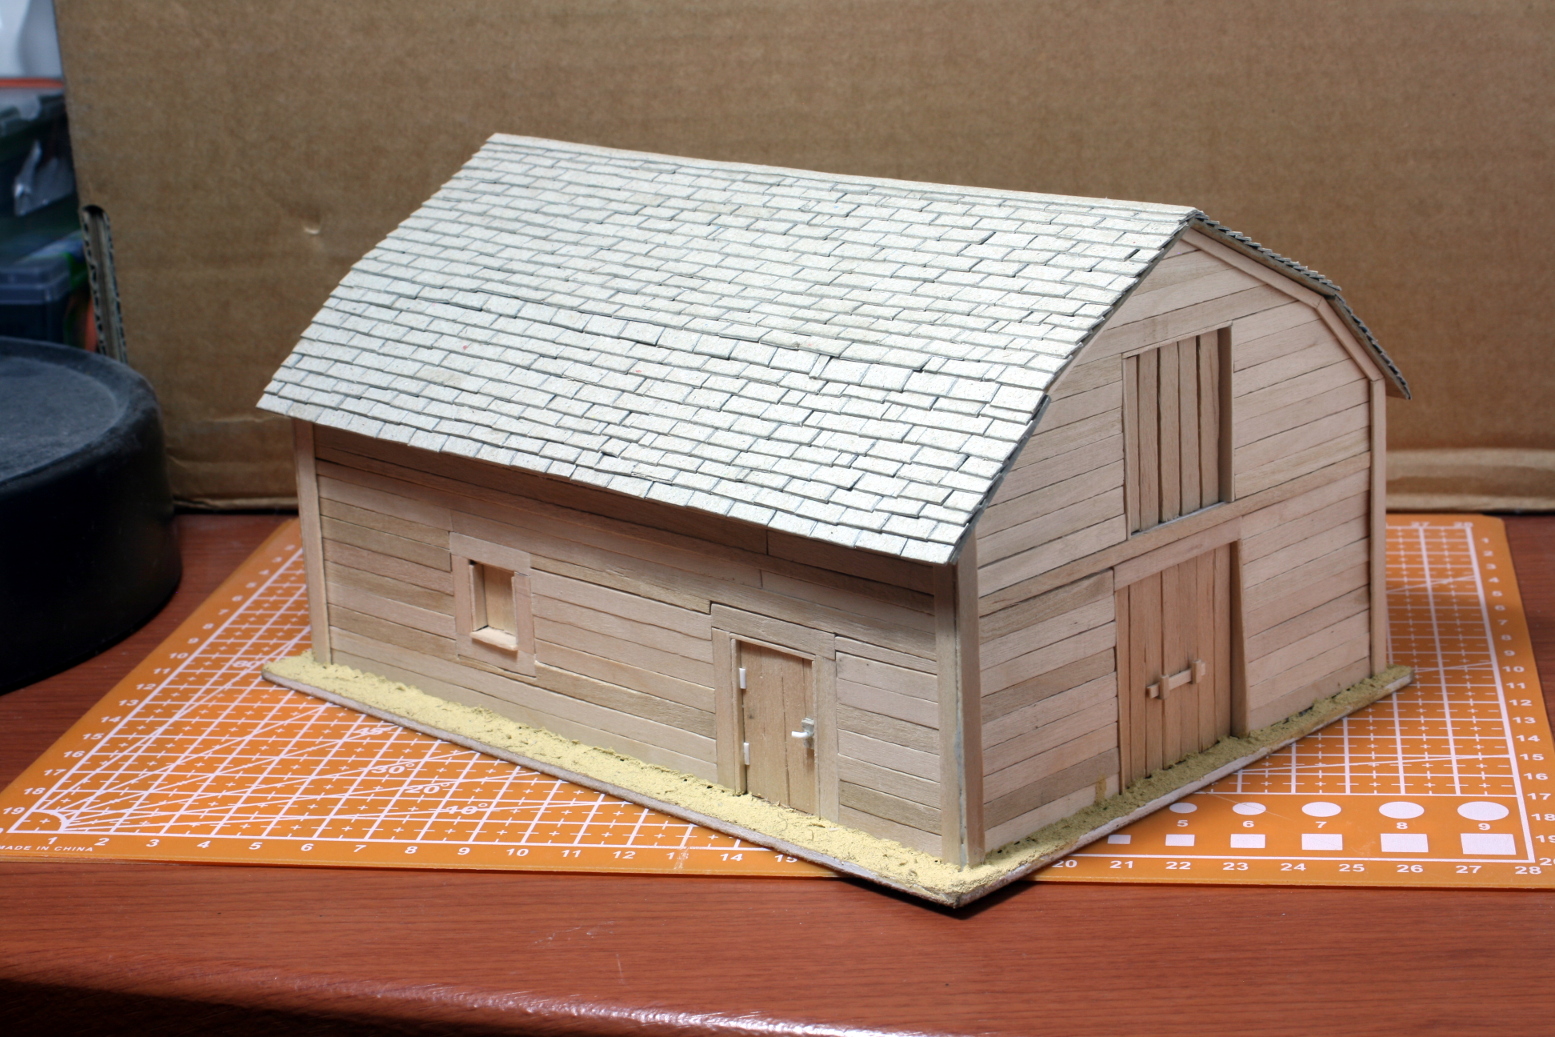
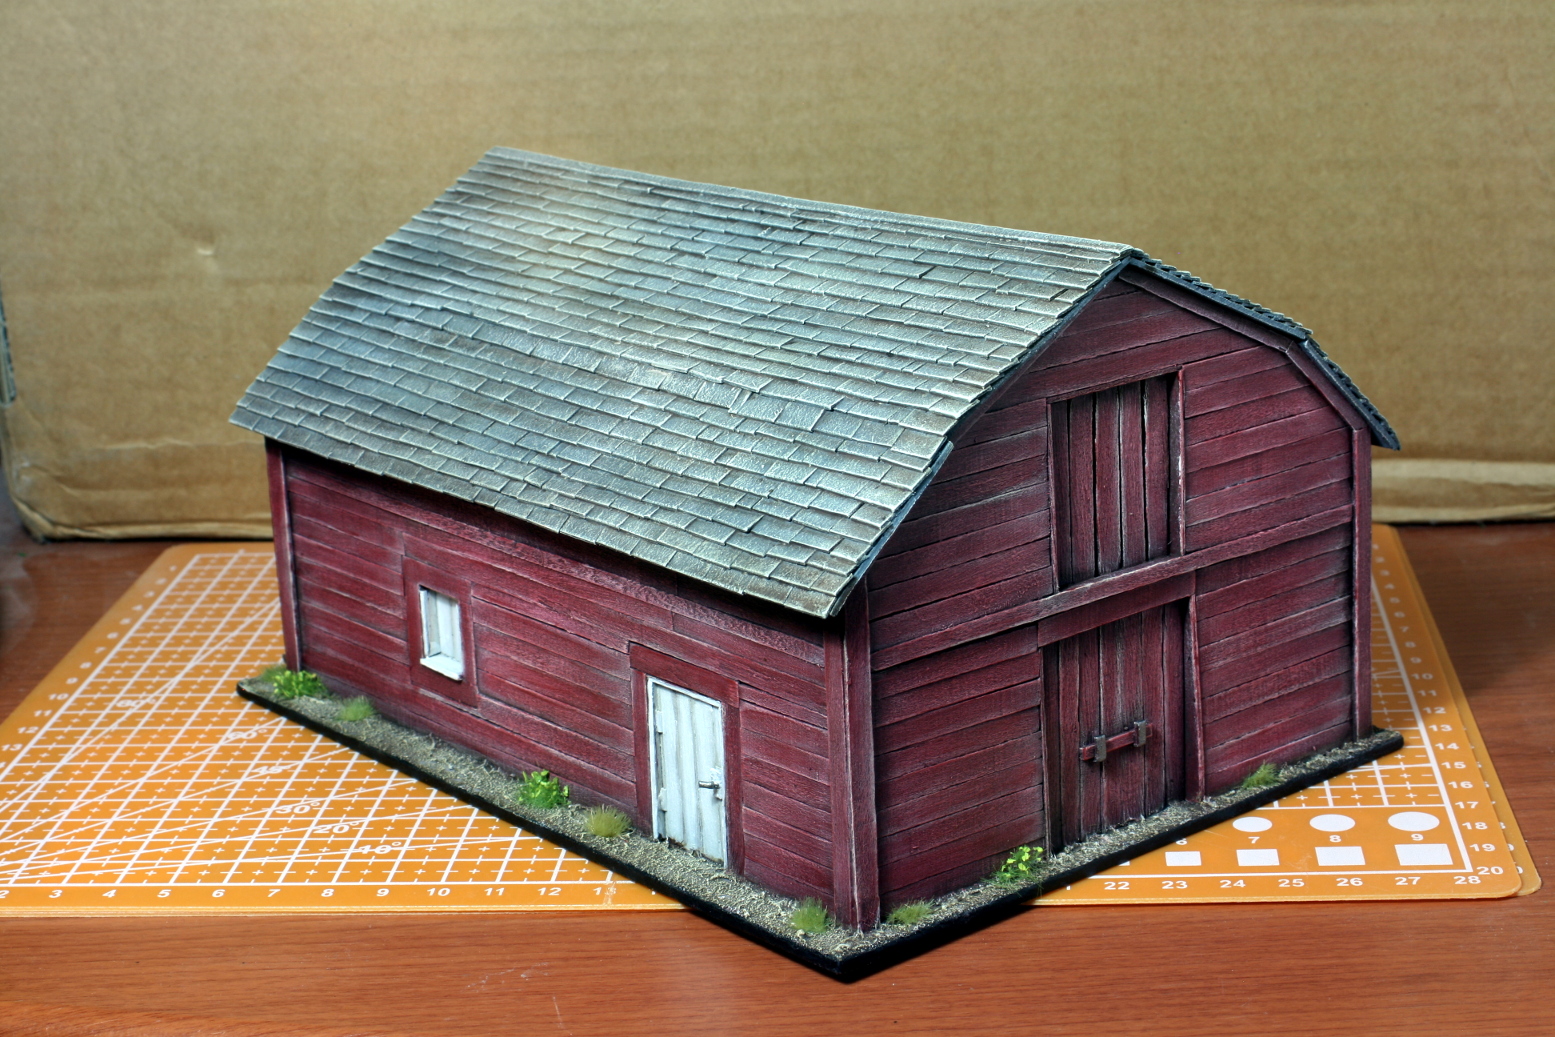
Another quick post. I just finished the barn a couple of hours ago. I painted it up red because most of the barns I have seen on the internet within or close to the period are all red? Don’t ask me why.
This was a quick and easy build. The most time consuming element was the tiles that I laid down one by one. Other than that I doubt I spent more than eight hours on the whole build and paint up.

That is all for now. I have to get back to painting and finishing up the Union Cavalry.
So until next time, stay safe and have fun.
NR
Stage 3 Union Cavalry is done and starting some Fields.
Hi everyone,
I have just finished the Union Cavalry and I am quite happy with them. For such a quick paint job they are a good standard.
Now I will start the Confederate Cavalry, but before that, I want to take a small break and make some fields for the game.
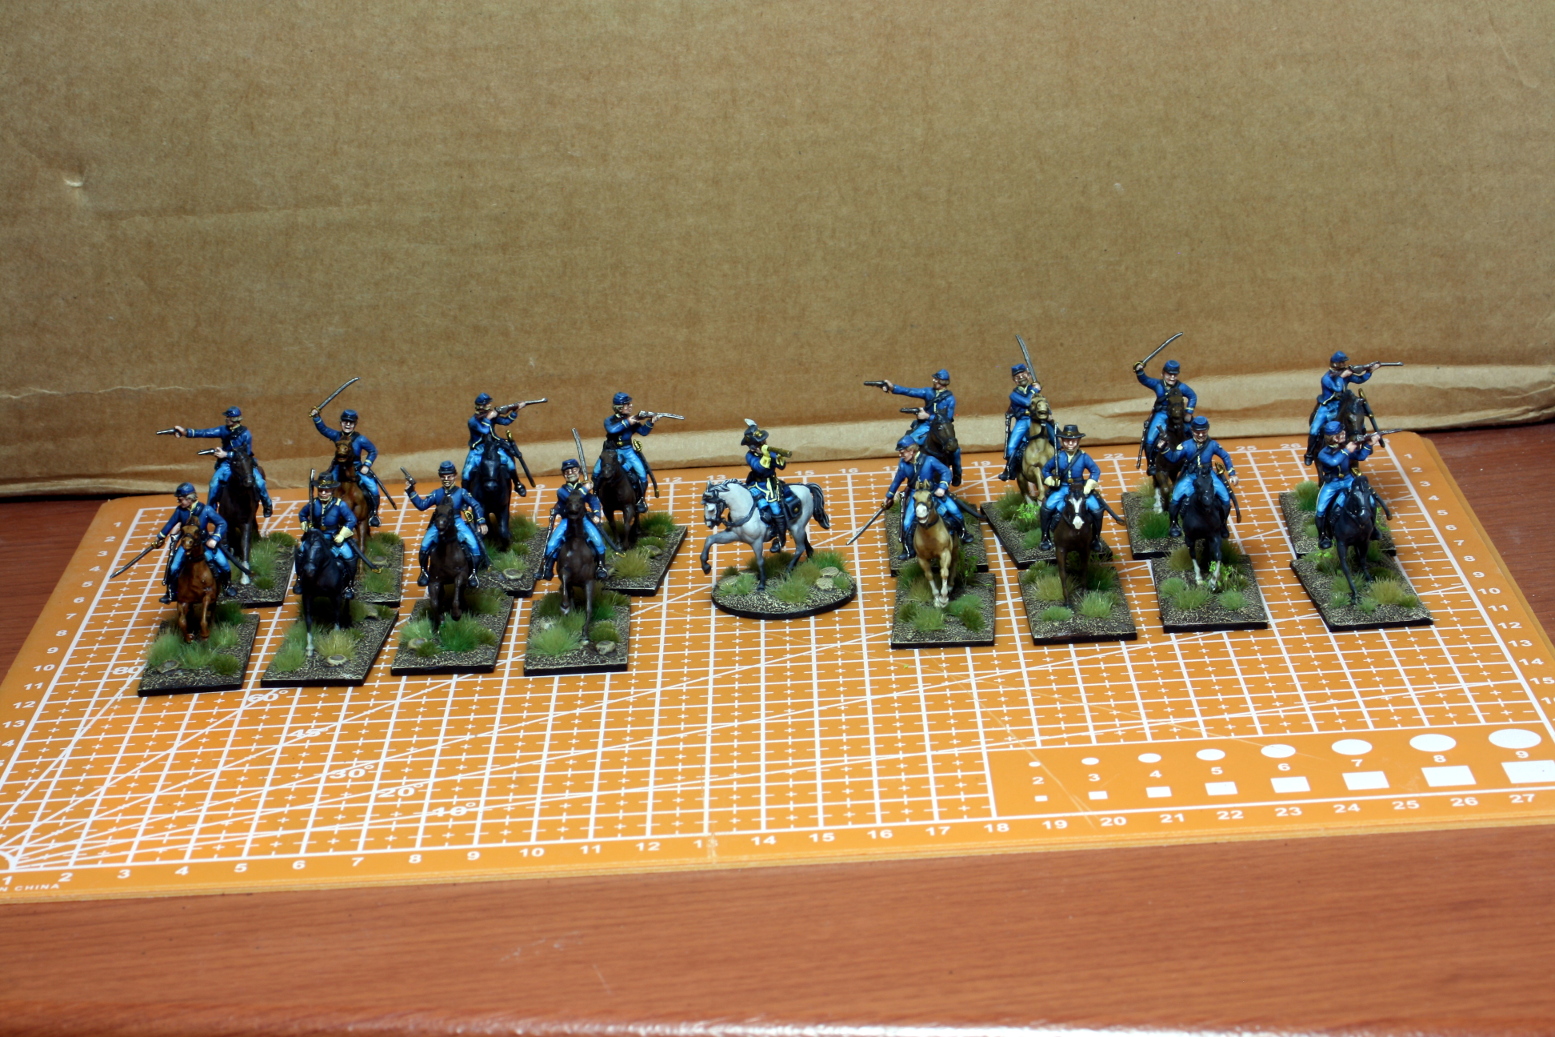 Two units of cavalry
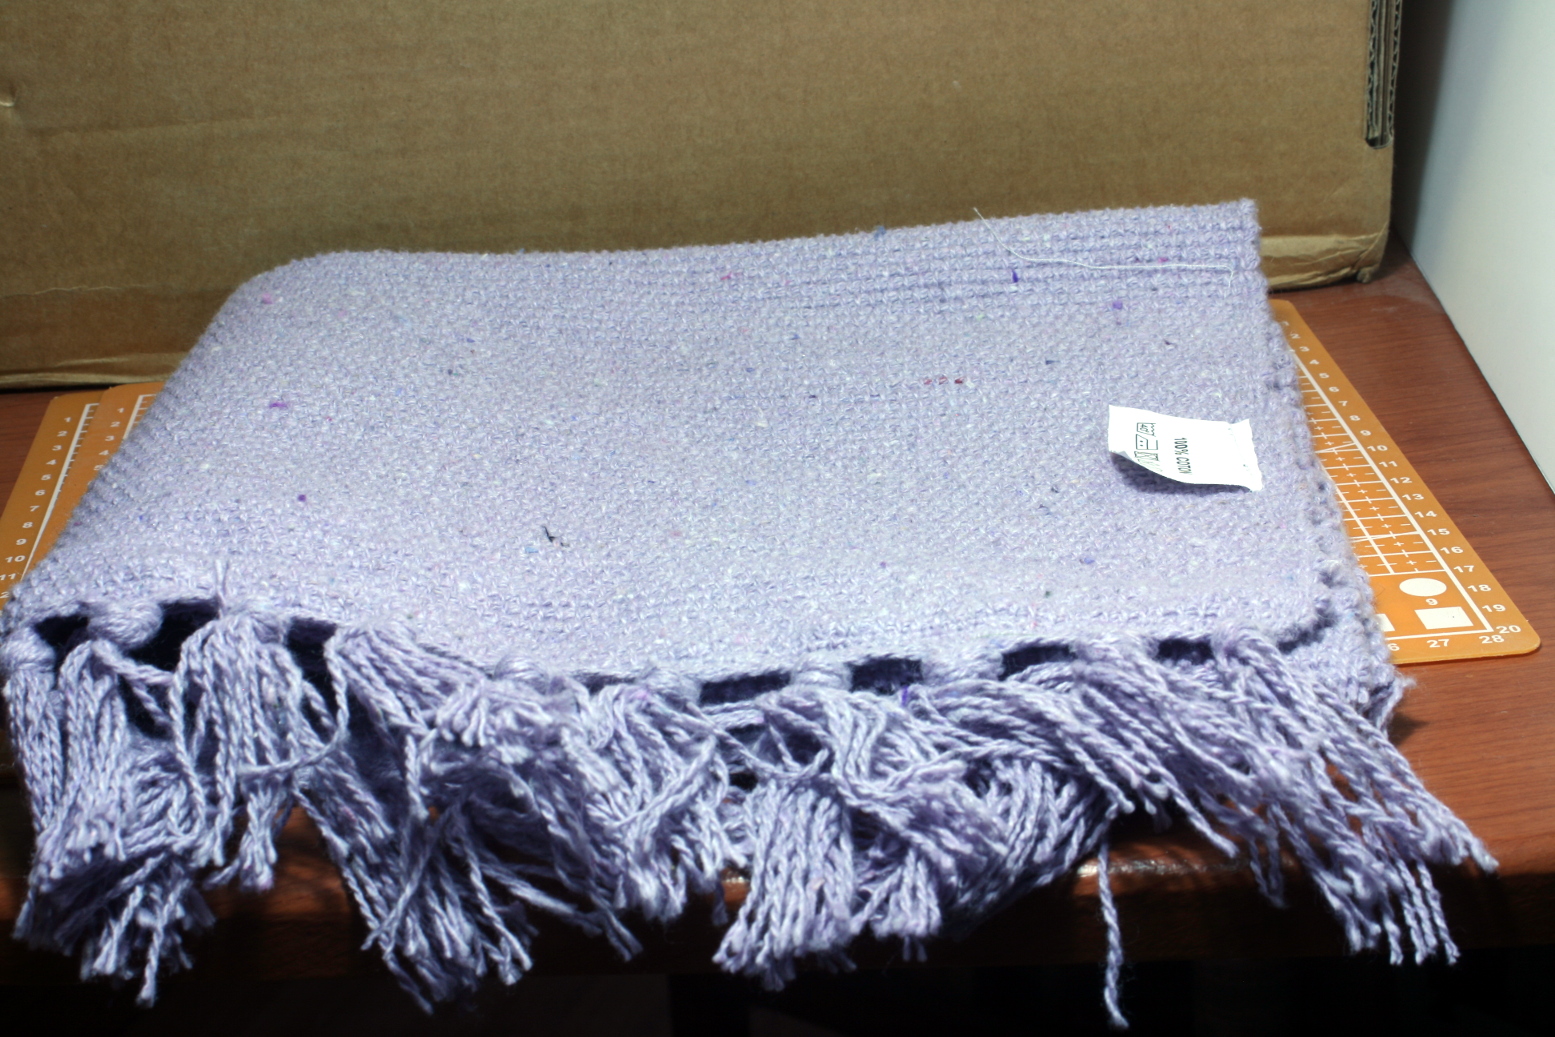 The fields are made out of a cheap cotton mat.
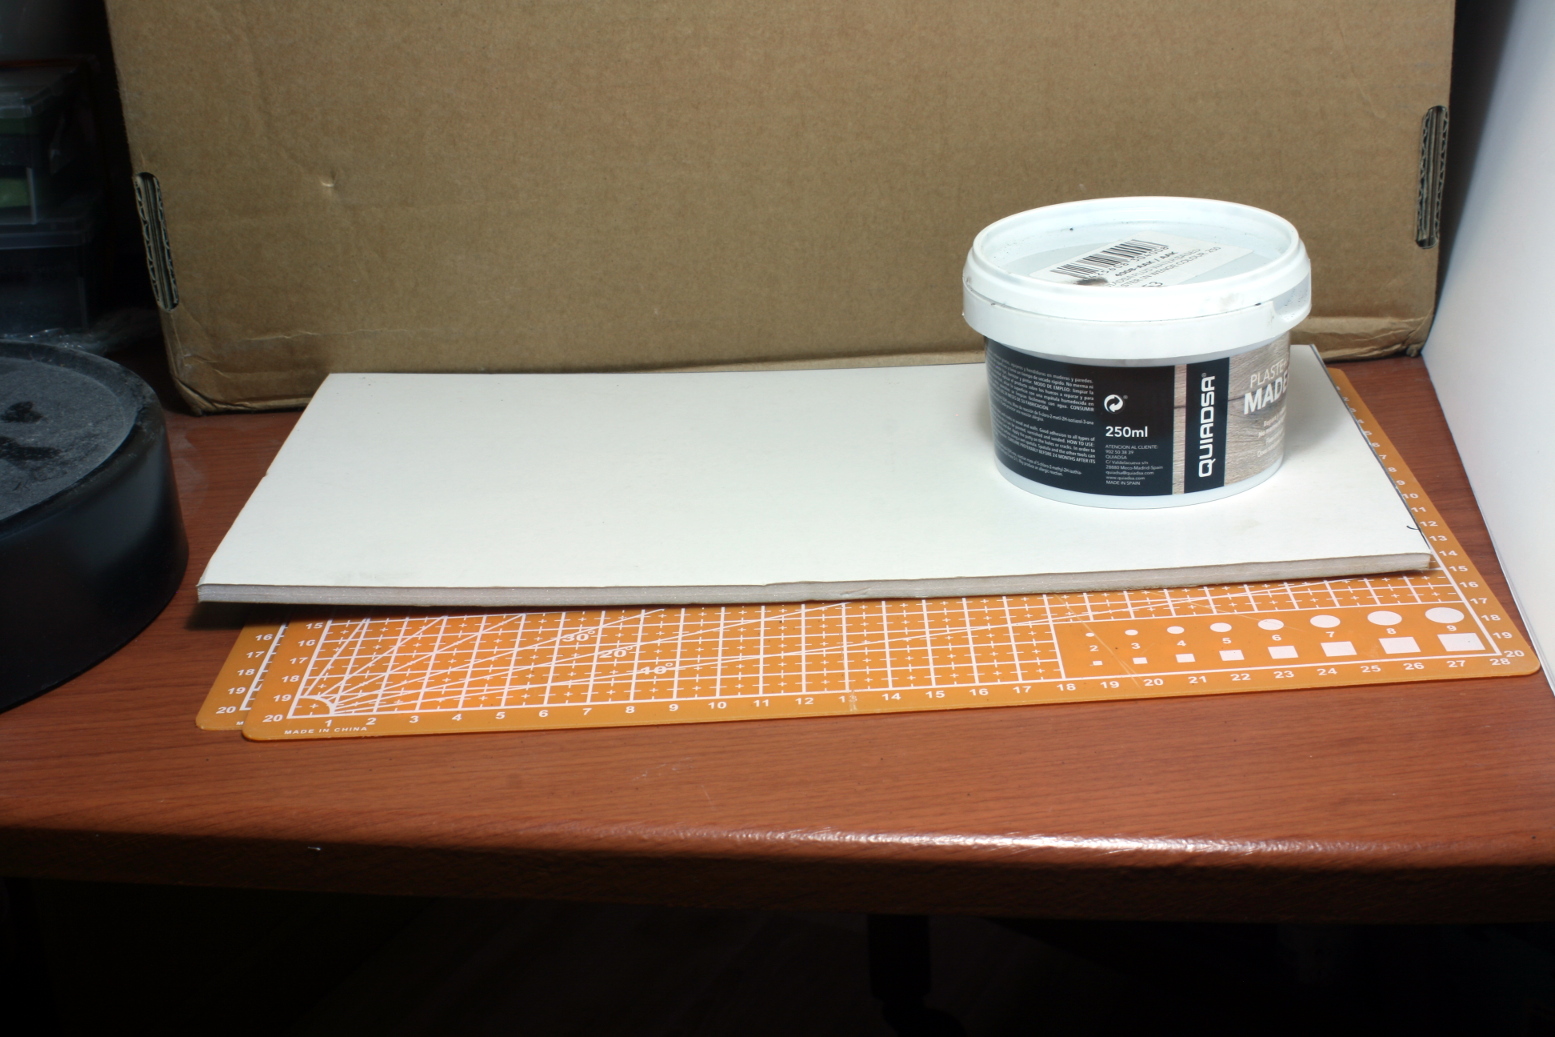 I also used some foam-board that I sliced in half and some putty.
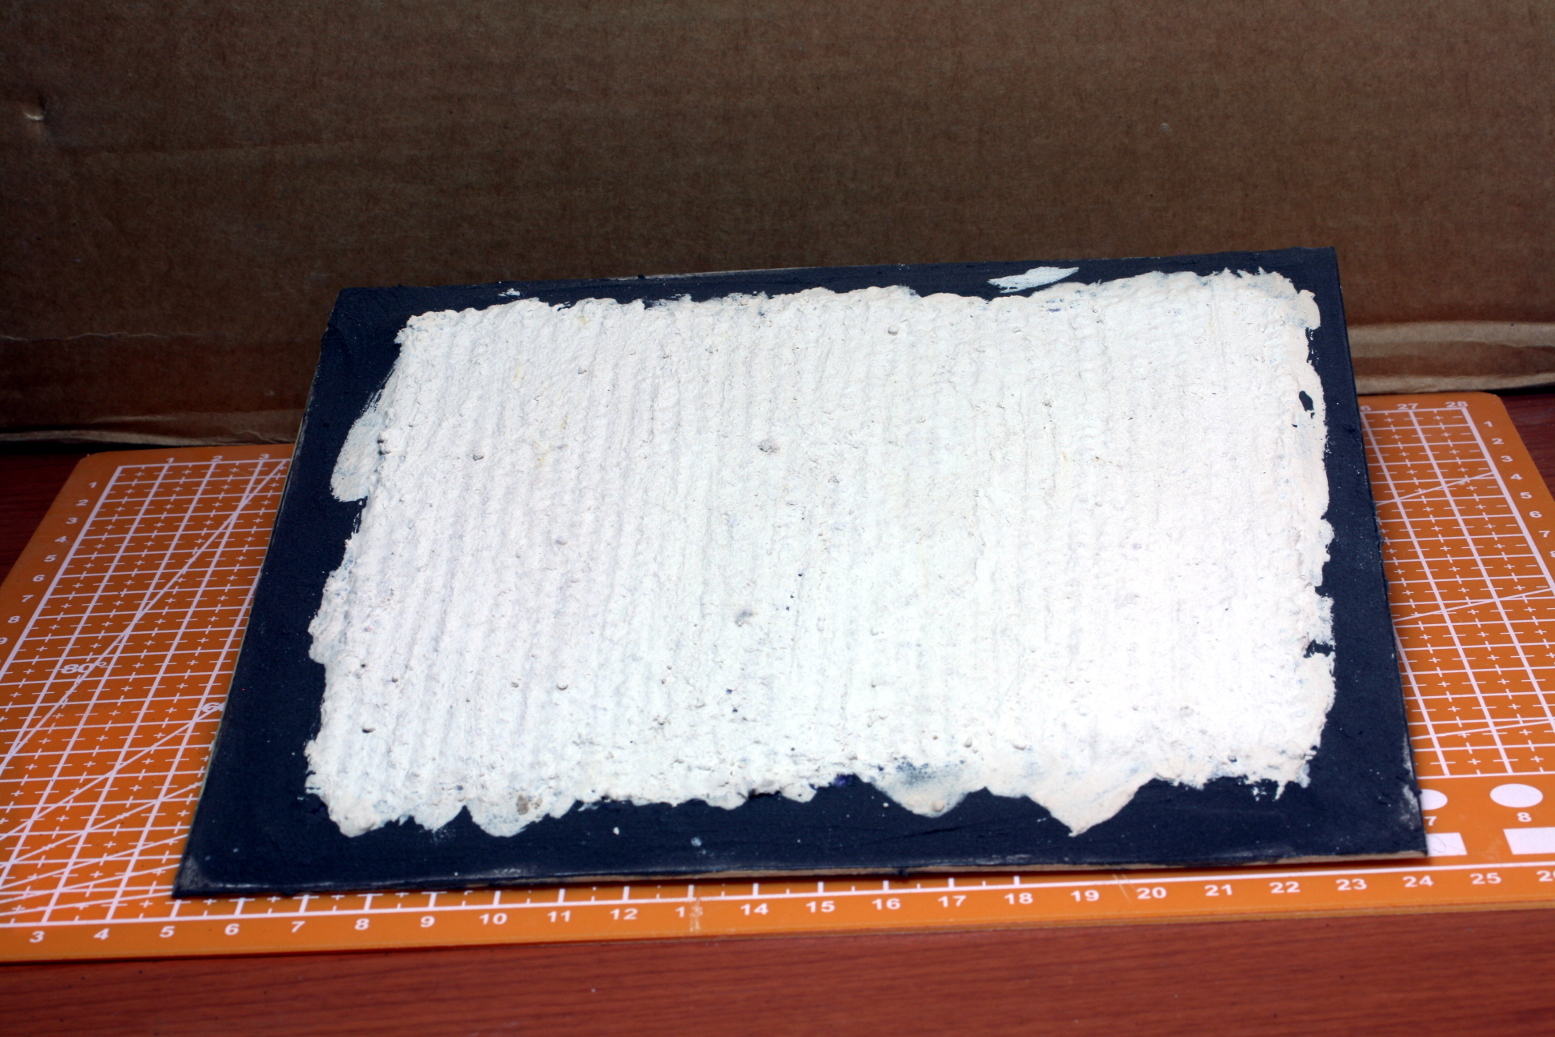 I glued down a piece of the cloth, added the filler around the edges and covered the mat with some grout.
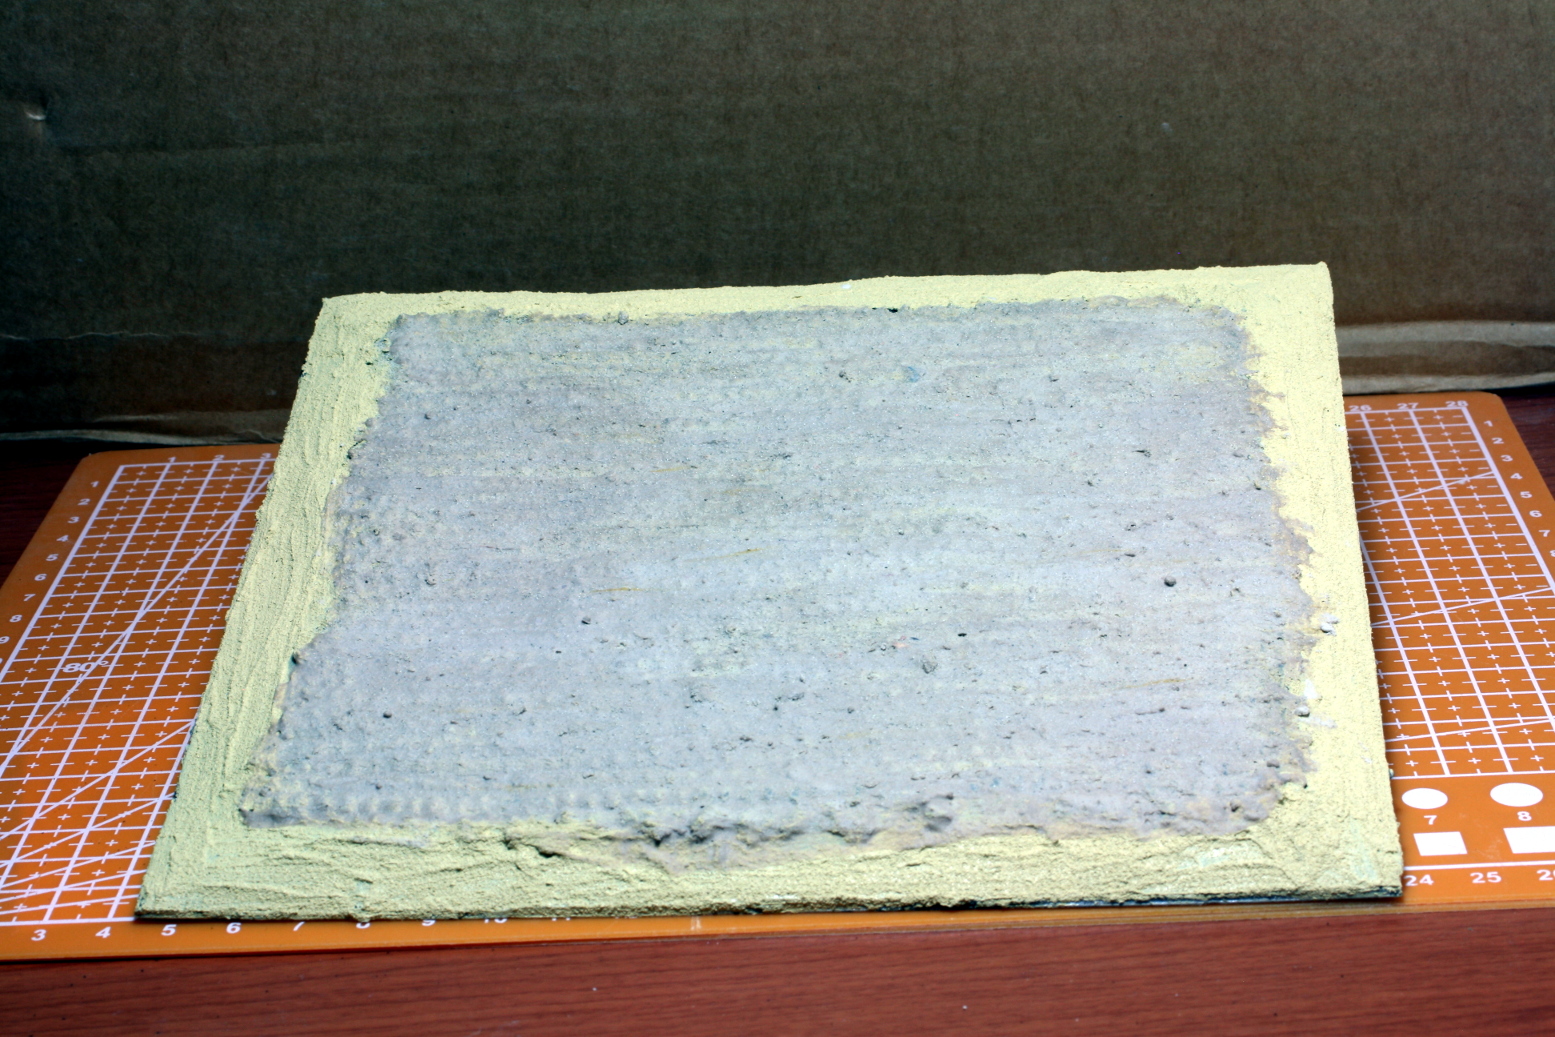 When the putty and grout dried, I added some Vallejo sand around the edge.
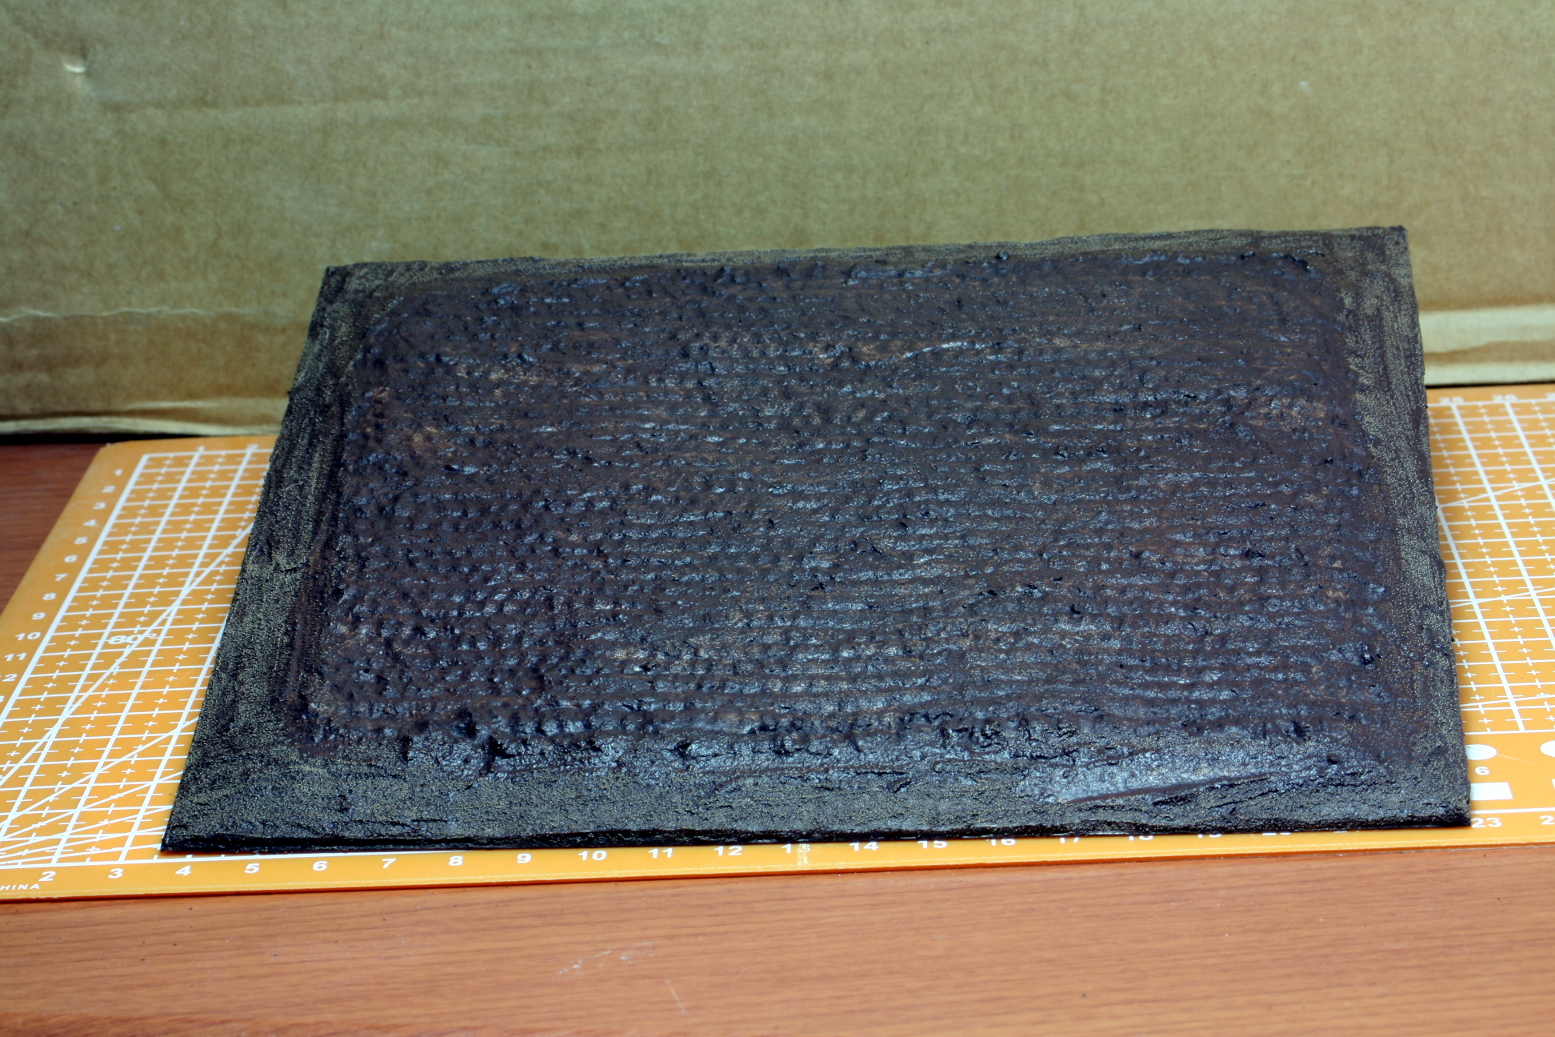 Finally I painted the base colour and left to dry.
That finishes the first part of making the fields. The next step will be to give the fields colour texture and vegetation. Altogether I have six of them to do!
That is all for now, stay safe and have fun as always.
Until next time.
NR
The First Field is Ready
Hi everyone,
I just finished making the first of six fields of this type, so I decided to post a quick one with the second part of the process.
I will be making two more fields of a different type, but similar in several ways, but that is for another post.
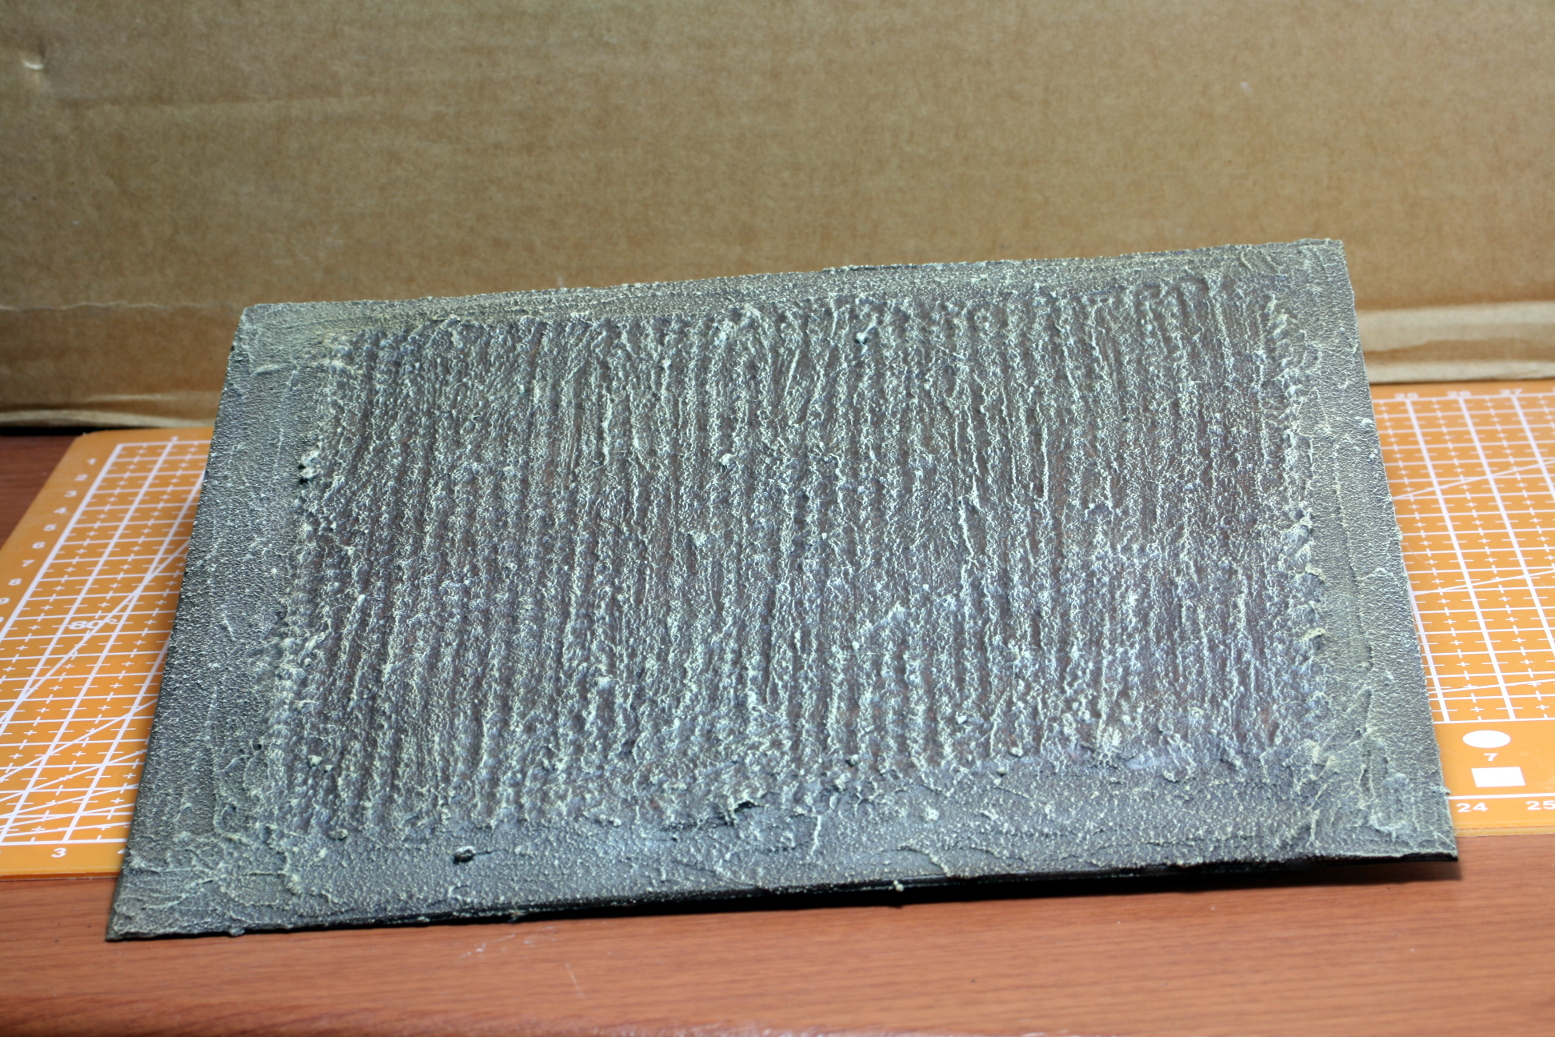 The field is drybrushed with several lighter tones up to a white drybrush.
 The field is given a brown wash to give back tone, but keeping the definition of the drybrushing.
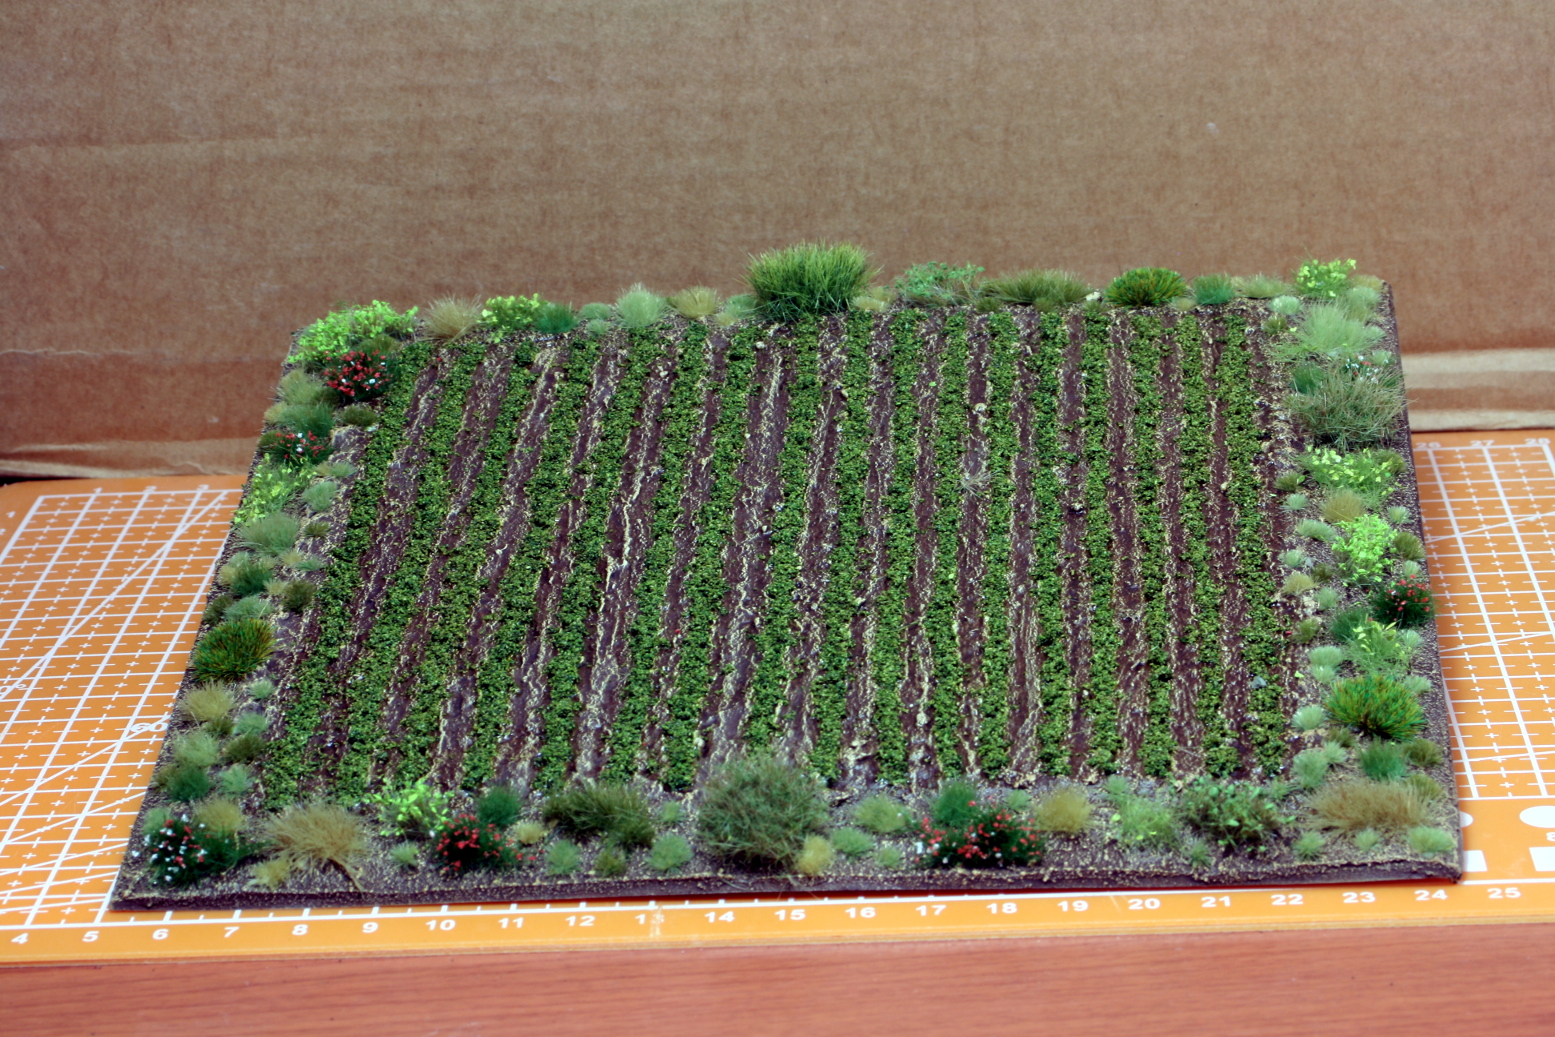 The last step is to add flock.
The tufts around the edges are normal tufts from several different companies, but the central foliage (done in lines) is coarse grass from Jarvis Countryside Scenics. The central lines were the most time-consuming part of this process. I used three different colours.
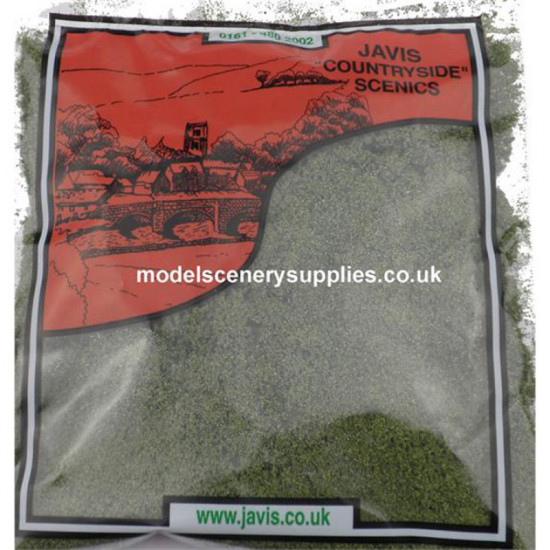 This stuff was used to make the central foliage lines.
That is all for today. The next post will probably be the fist unit of Confederate Cavalry.
Until then, stay safe and have fun.
NR


![Zenit Miniatures’ Samurai Warlords Now Live On Kickstarter [Updated]](https://images.beastsofwar.com/2026/02/samurai-warlords-launch-main-600-338.jpg)


