


![1918 Spring Offensive Wargame | Full Rules Overview with John & Gerry (WW1 Tabletop Game) [7 Days Early Access]](https://images.beastsofwar.com/2026/03/unboxing-warfulcrum-games-1918-spring-offensive-review-coverimage1-225-127.jpeg)


From the Vaulted Realm of Pluto


Recommendations: 830
About the Project
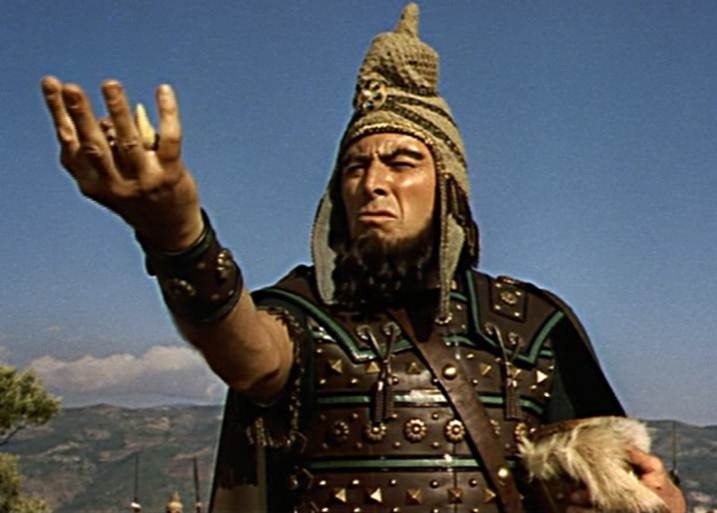
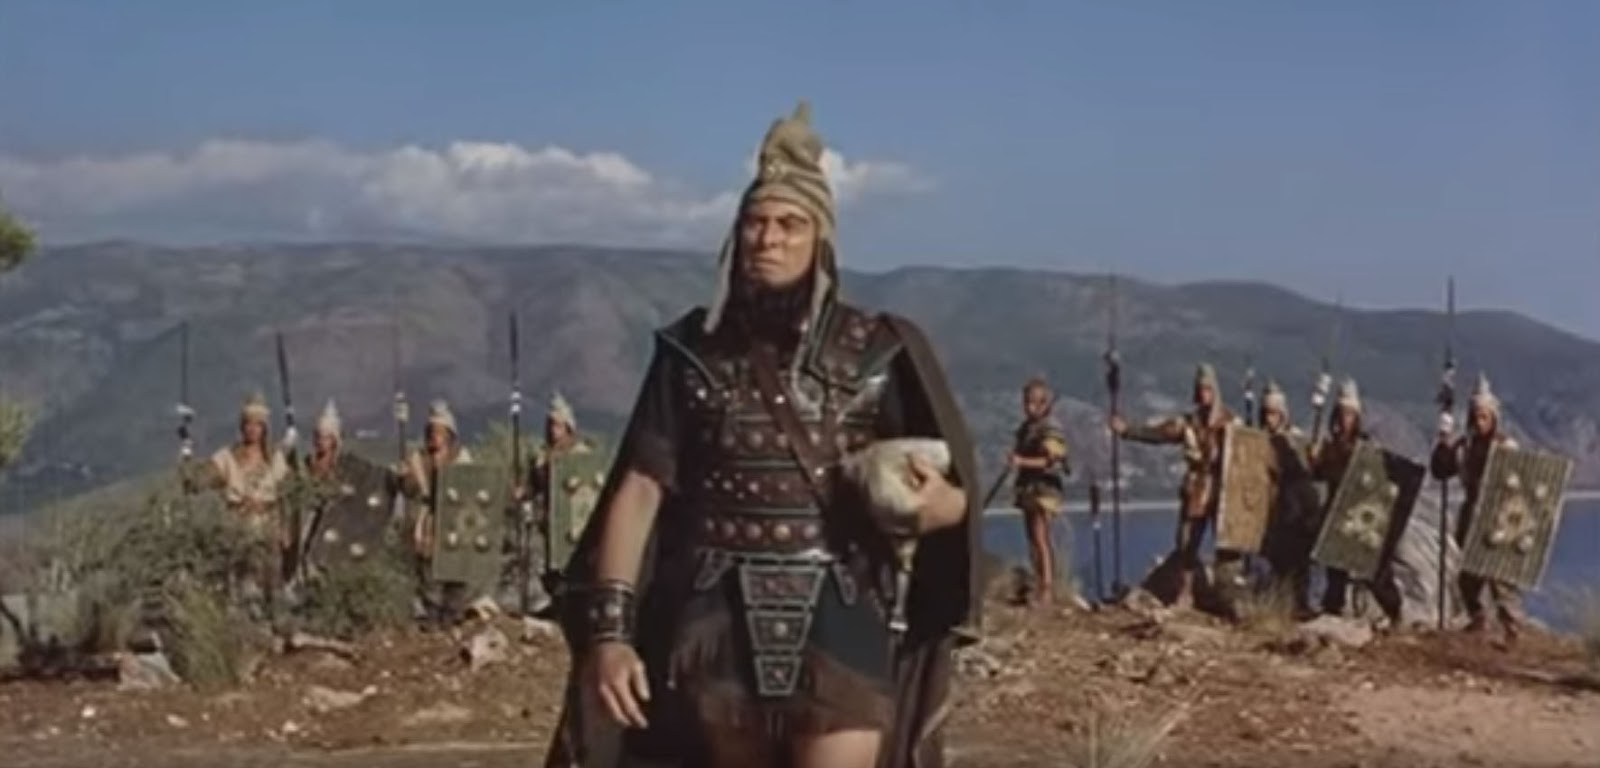
Yet another army build that might be a brain child possibly of more trouble than anticipated. This time its using more of the Harryhausen inspiration from the 1963 film "Jason and the Argonauts" ... and then the 1981 original of "Clash of the Titans" for an ancient Greek force
Related Game: SAGA
Related Genre: Fantasy
This Project is Completed
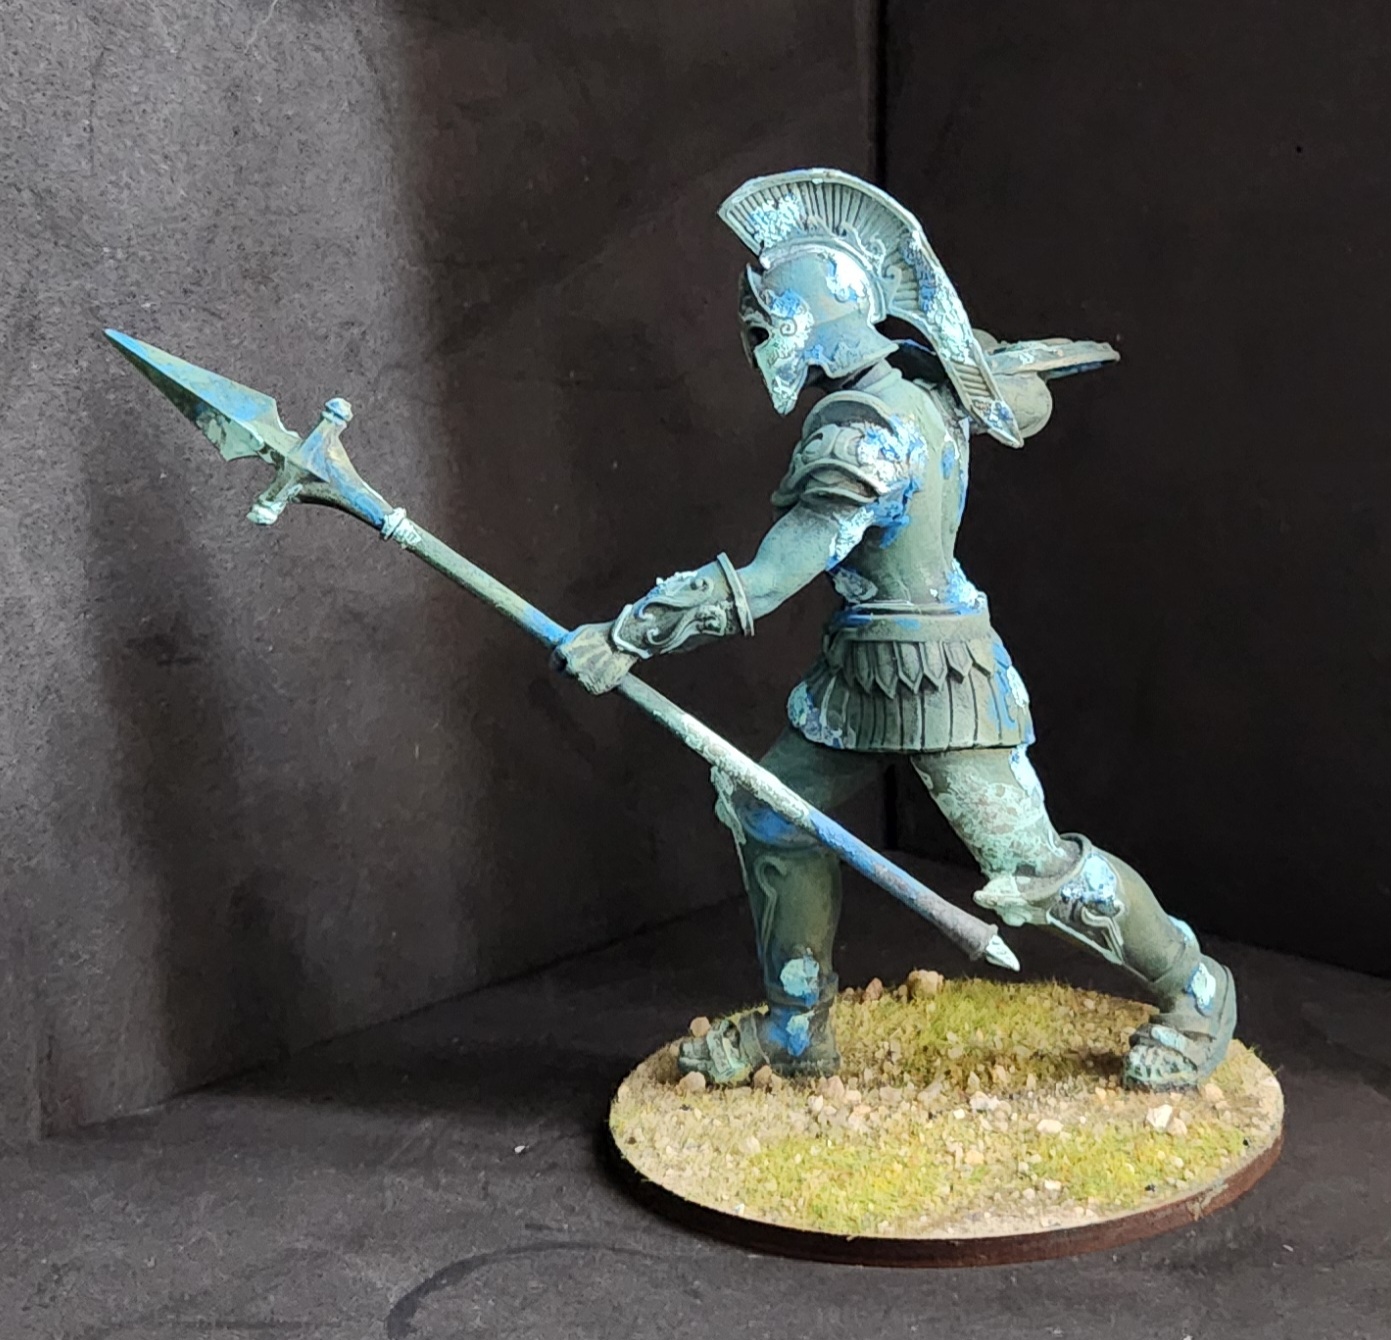
Not exactly Mighty Mite
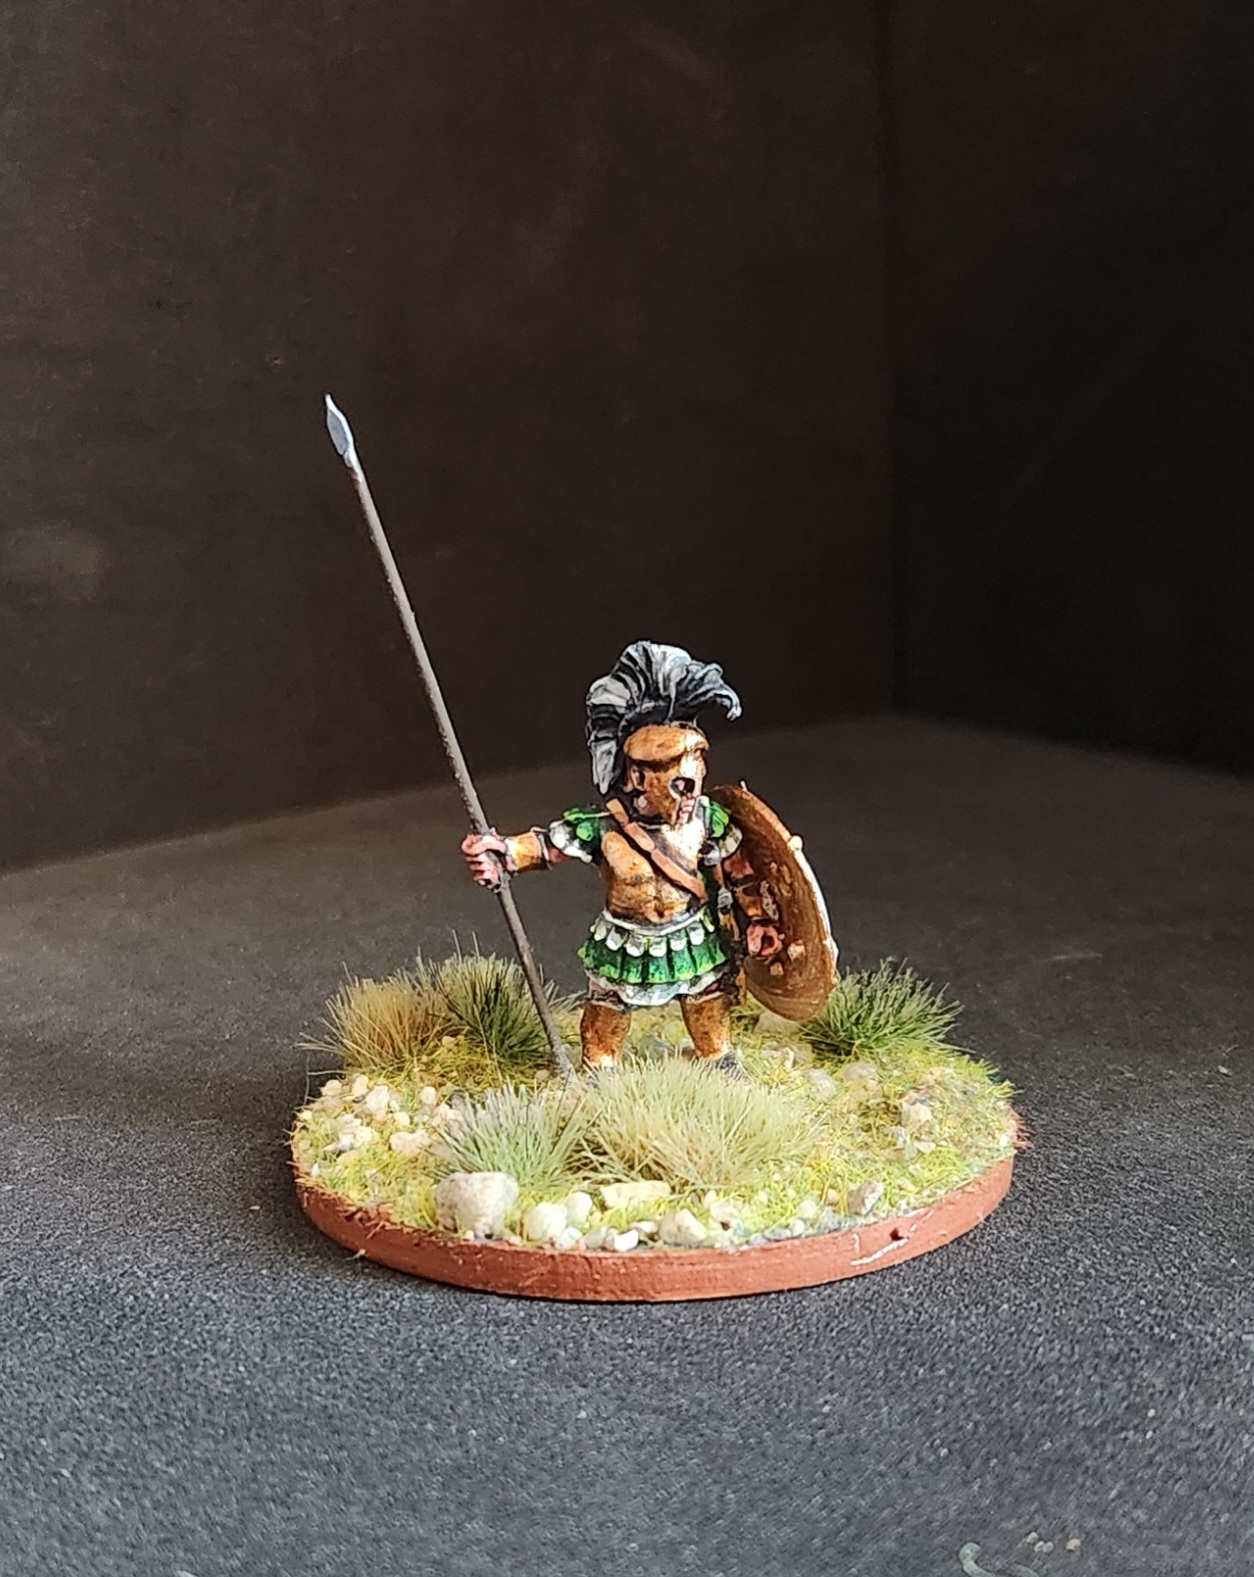
I picked up Cranos Cranekiller from Lucid Eye Publications and once more I’ve got what might be taken as an undersized individual. This is a great 25mm scale figure that barely reaches the 28 mark with the crest of his helmet. It comes off as a grand Hellenic halfling when I put it up against some others. I’m OK with the figure now that its done. The painting was easy enough and I thought that the transfer from the skeleton box set was just right to add some interest.
This all said and done this is a Warlord on Foot for this SAGA army.
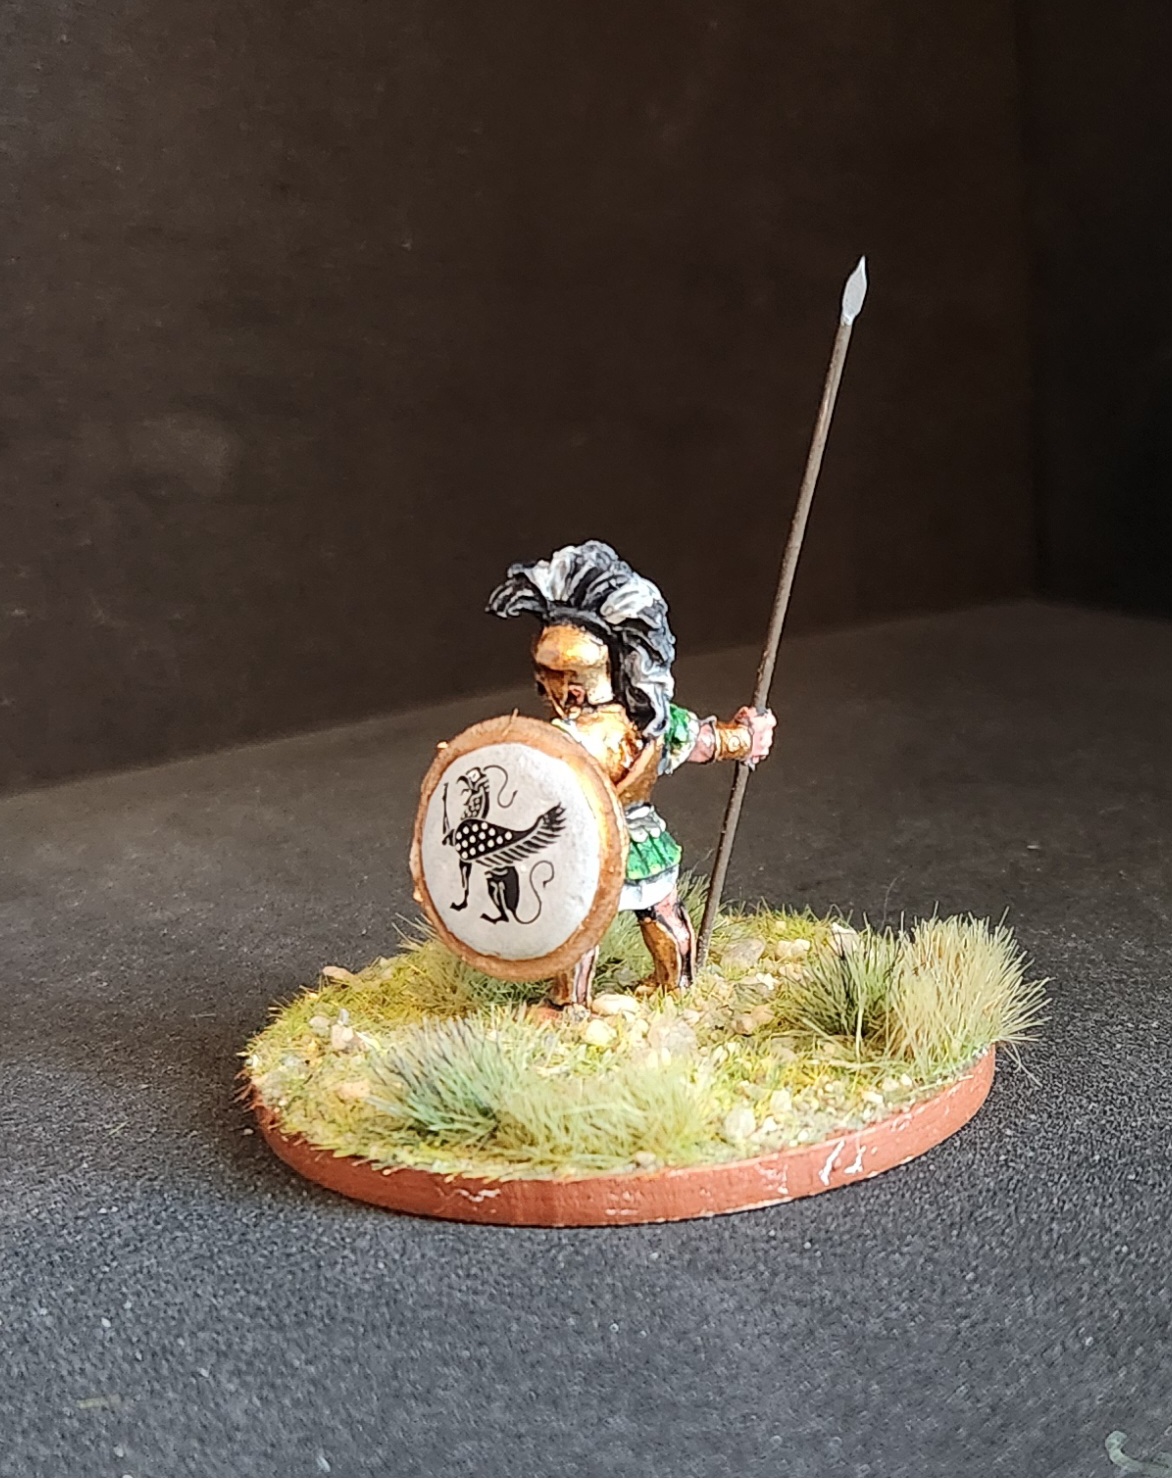
Not your friendly neighborhood necromancer
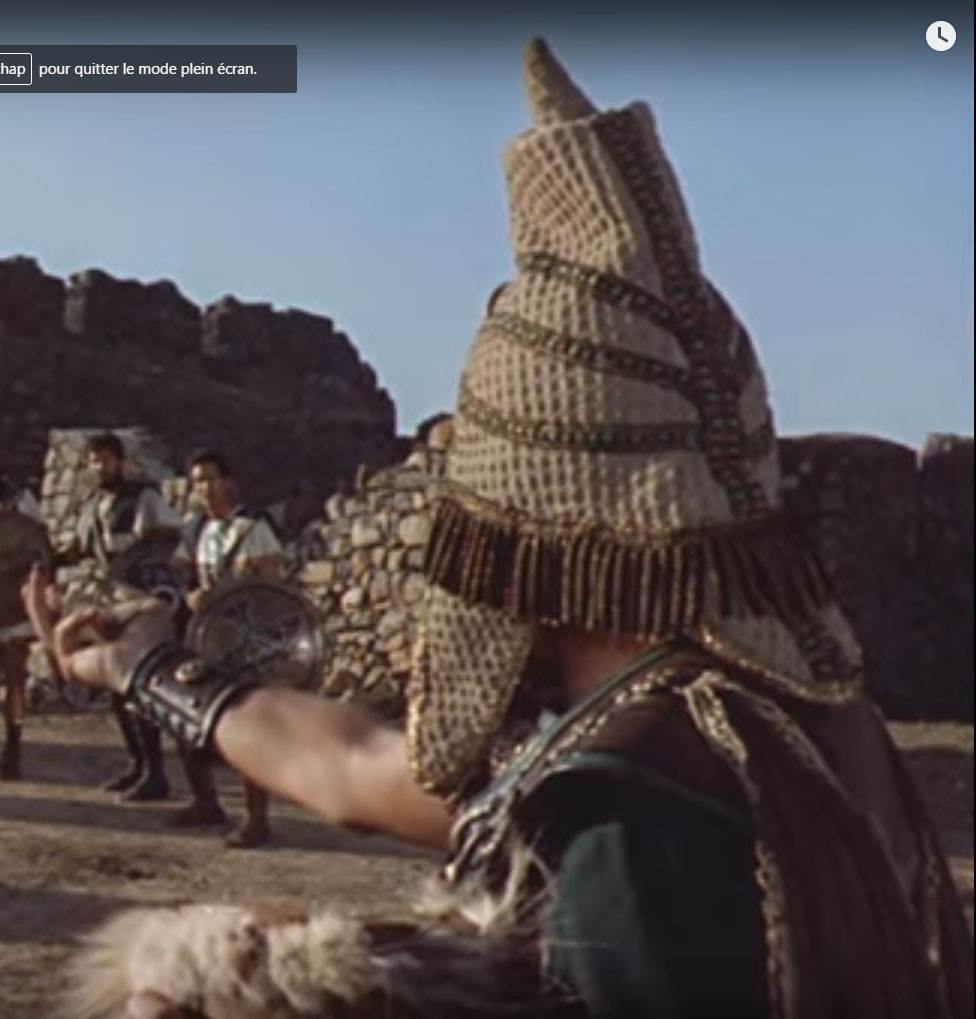
The Children of the Hydra’s Teeth boxed set included King Aeëtes of Colchis who sowed the teeth which became the skeletons. Knowing the background of the movie I dug a bit and found some images to use as reference and paint it as best I could to be screen accurate.
Not in my right mind?
*He said in a high questioning voice*

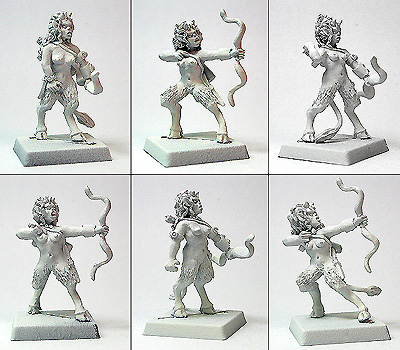
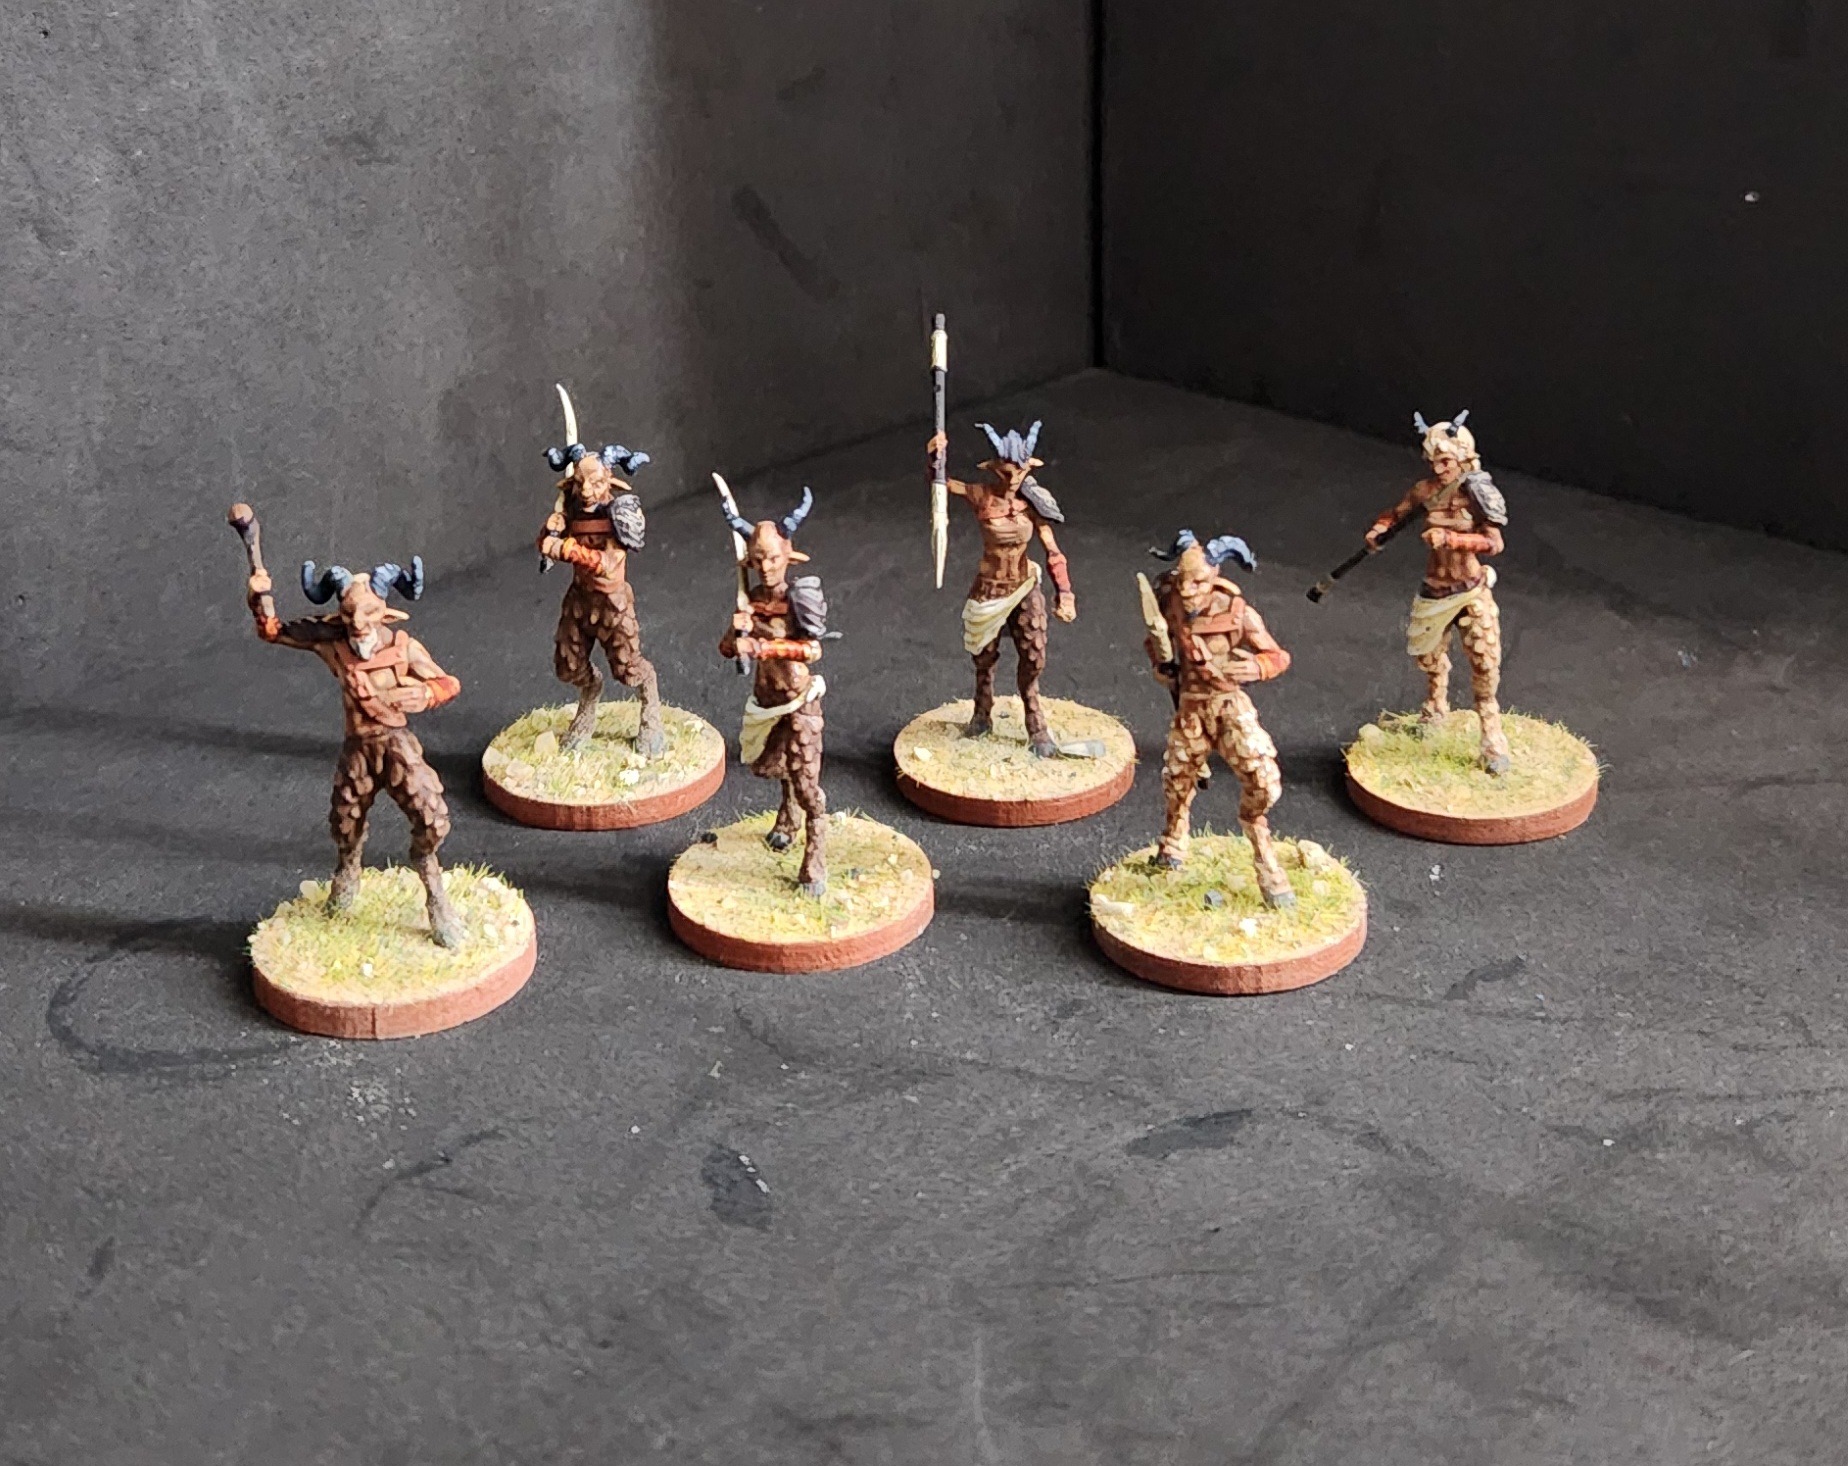
I’ve decided to keep up with the notion of whittling and refining the Greek mythology army collection. I’ve given away half of the skeletal archers/swordmen, all the skeletal spearmen/centaurs as well as the Cerberus. I’ll be scrapping the half dozen fauns after I get done with them as I really am not a fan of the sculpts.
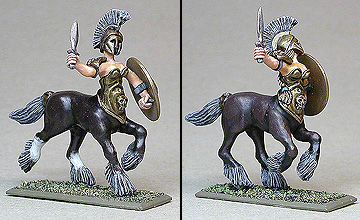
In the place of these losses I’ll be getting figures sculpted from Shadowforge Miniatures courtesy of Eureka Miniatures. A set of Dionesian Maenads as Hearthguard sits just right by me. That, with a unit of Dionesian Sythyr (likely archers) and command will be great for theme. For my fast attack/mobility I went back to the half cav and I have an order of Dark Temple Centaur on the way. I’m debating on whether or not to get a second as this first will be melee weapons. Archers “on the bounce” (a Starship Troopers ref, you apes) could be useful for area control.
Meh *shrug*. Like I said this has been a refining process to the army build.
Not a single minded monster
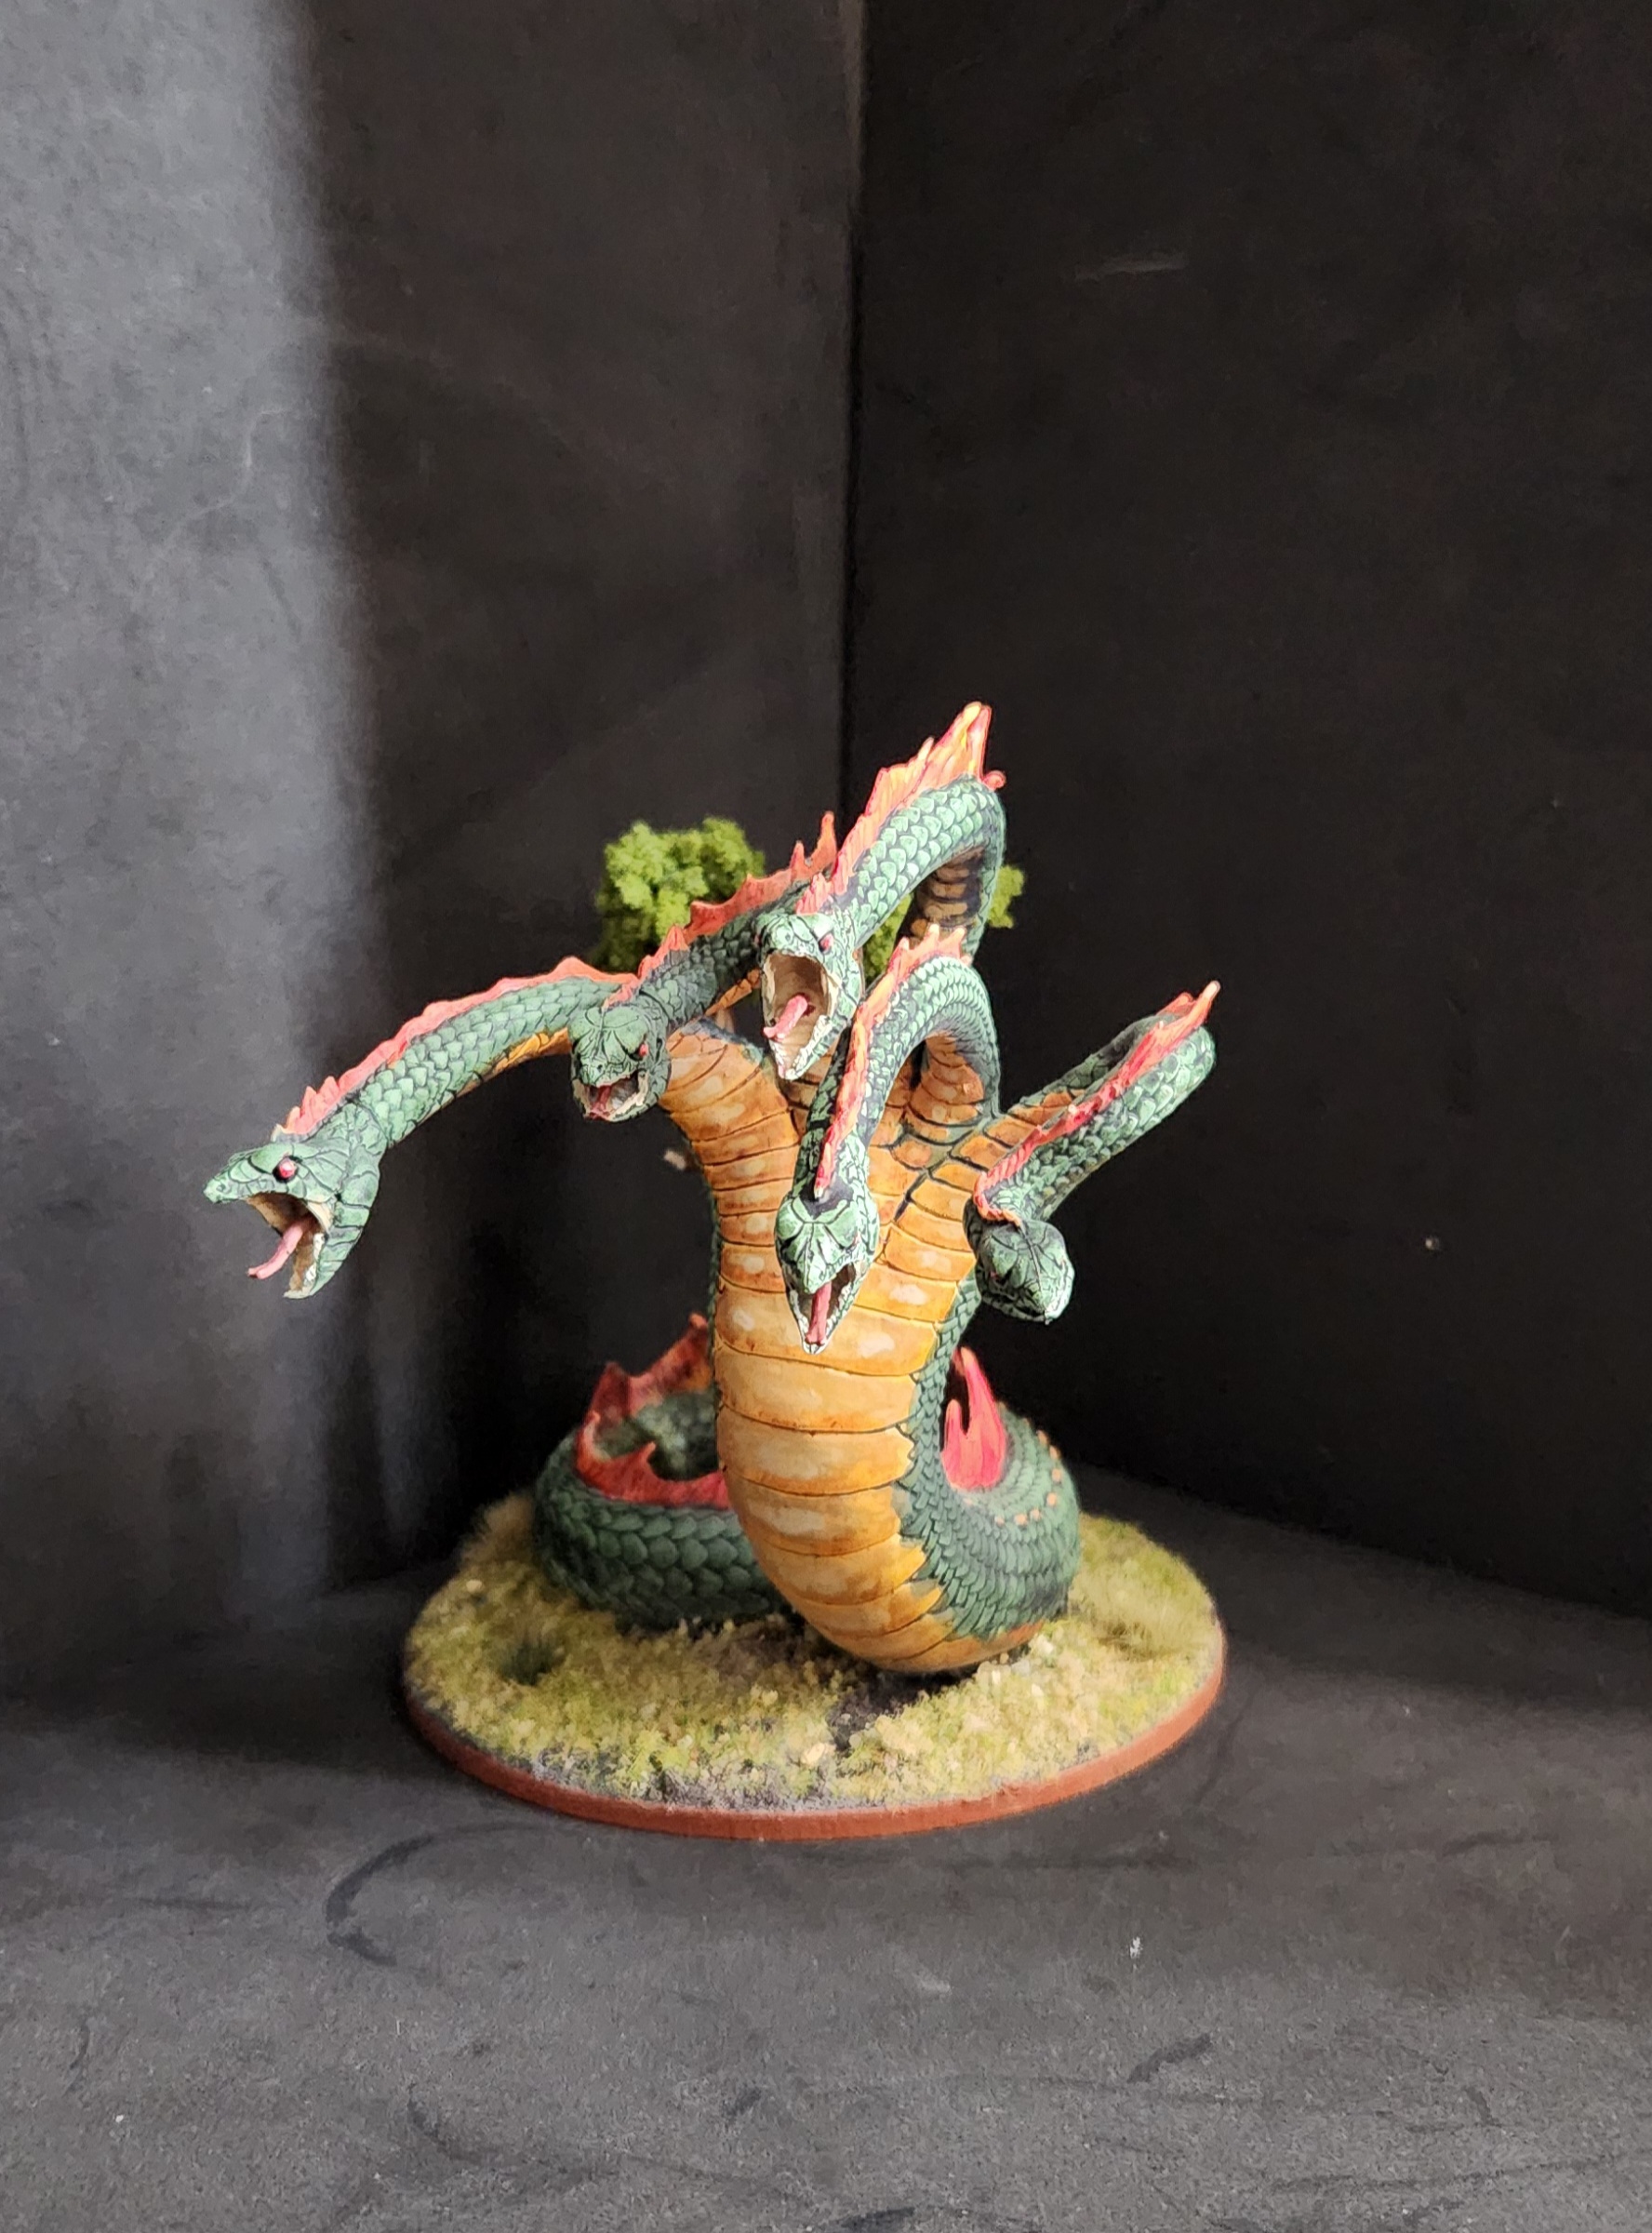
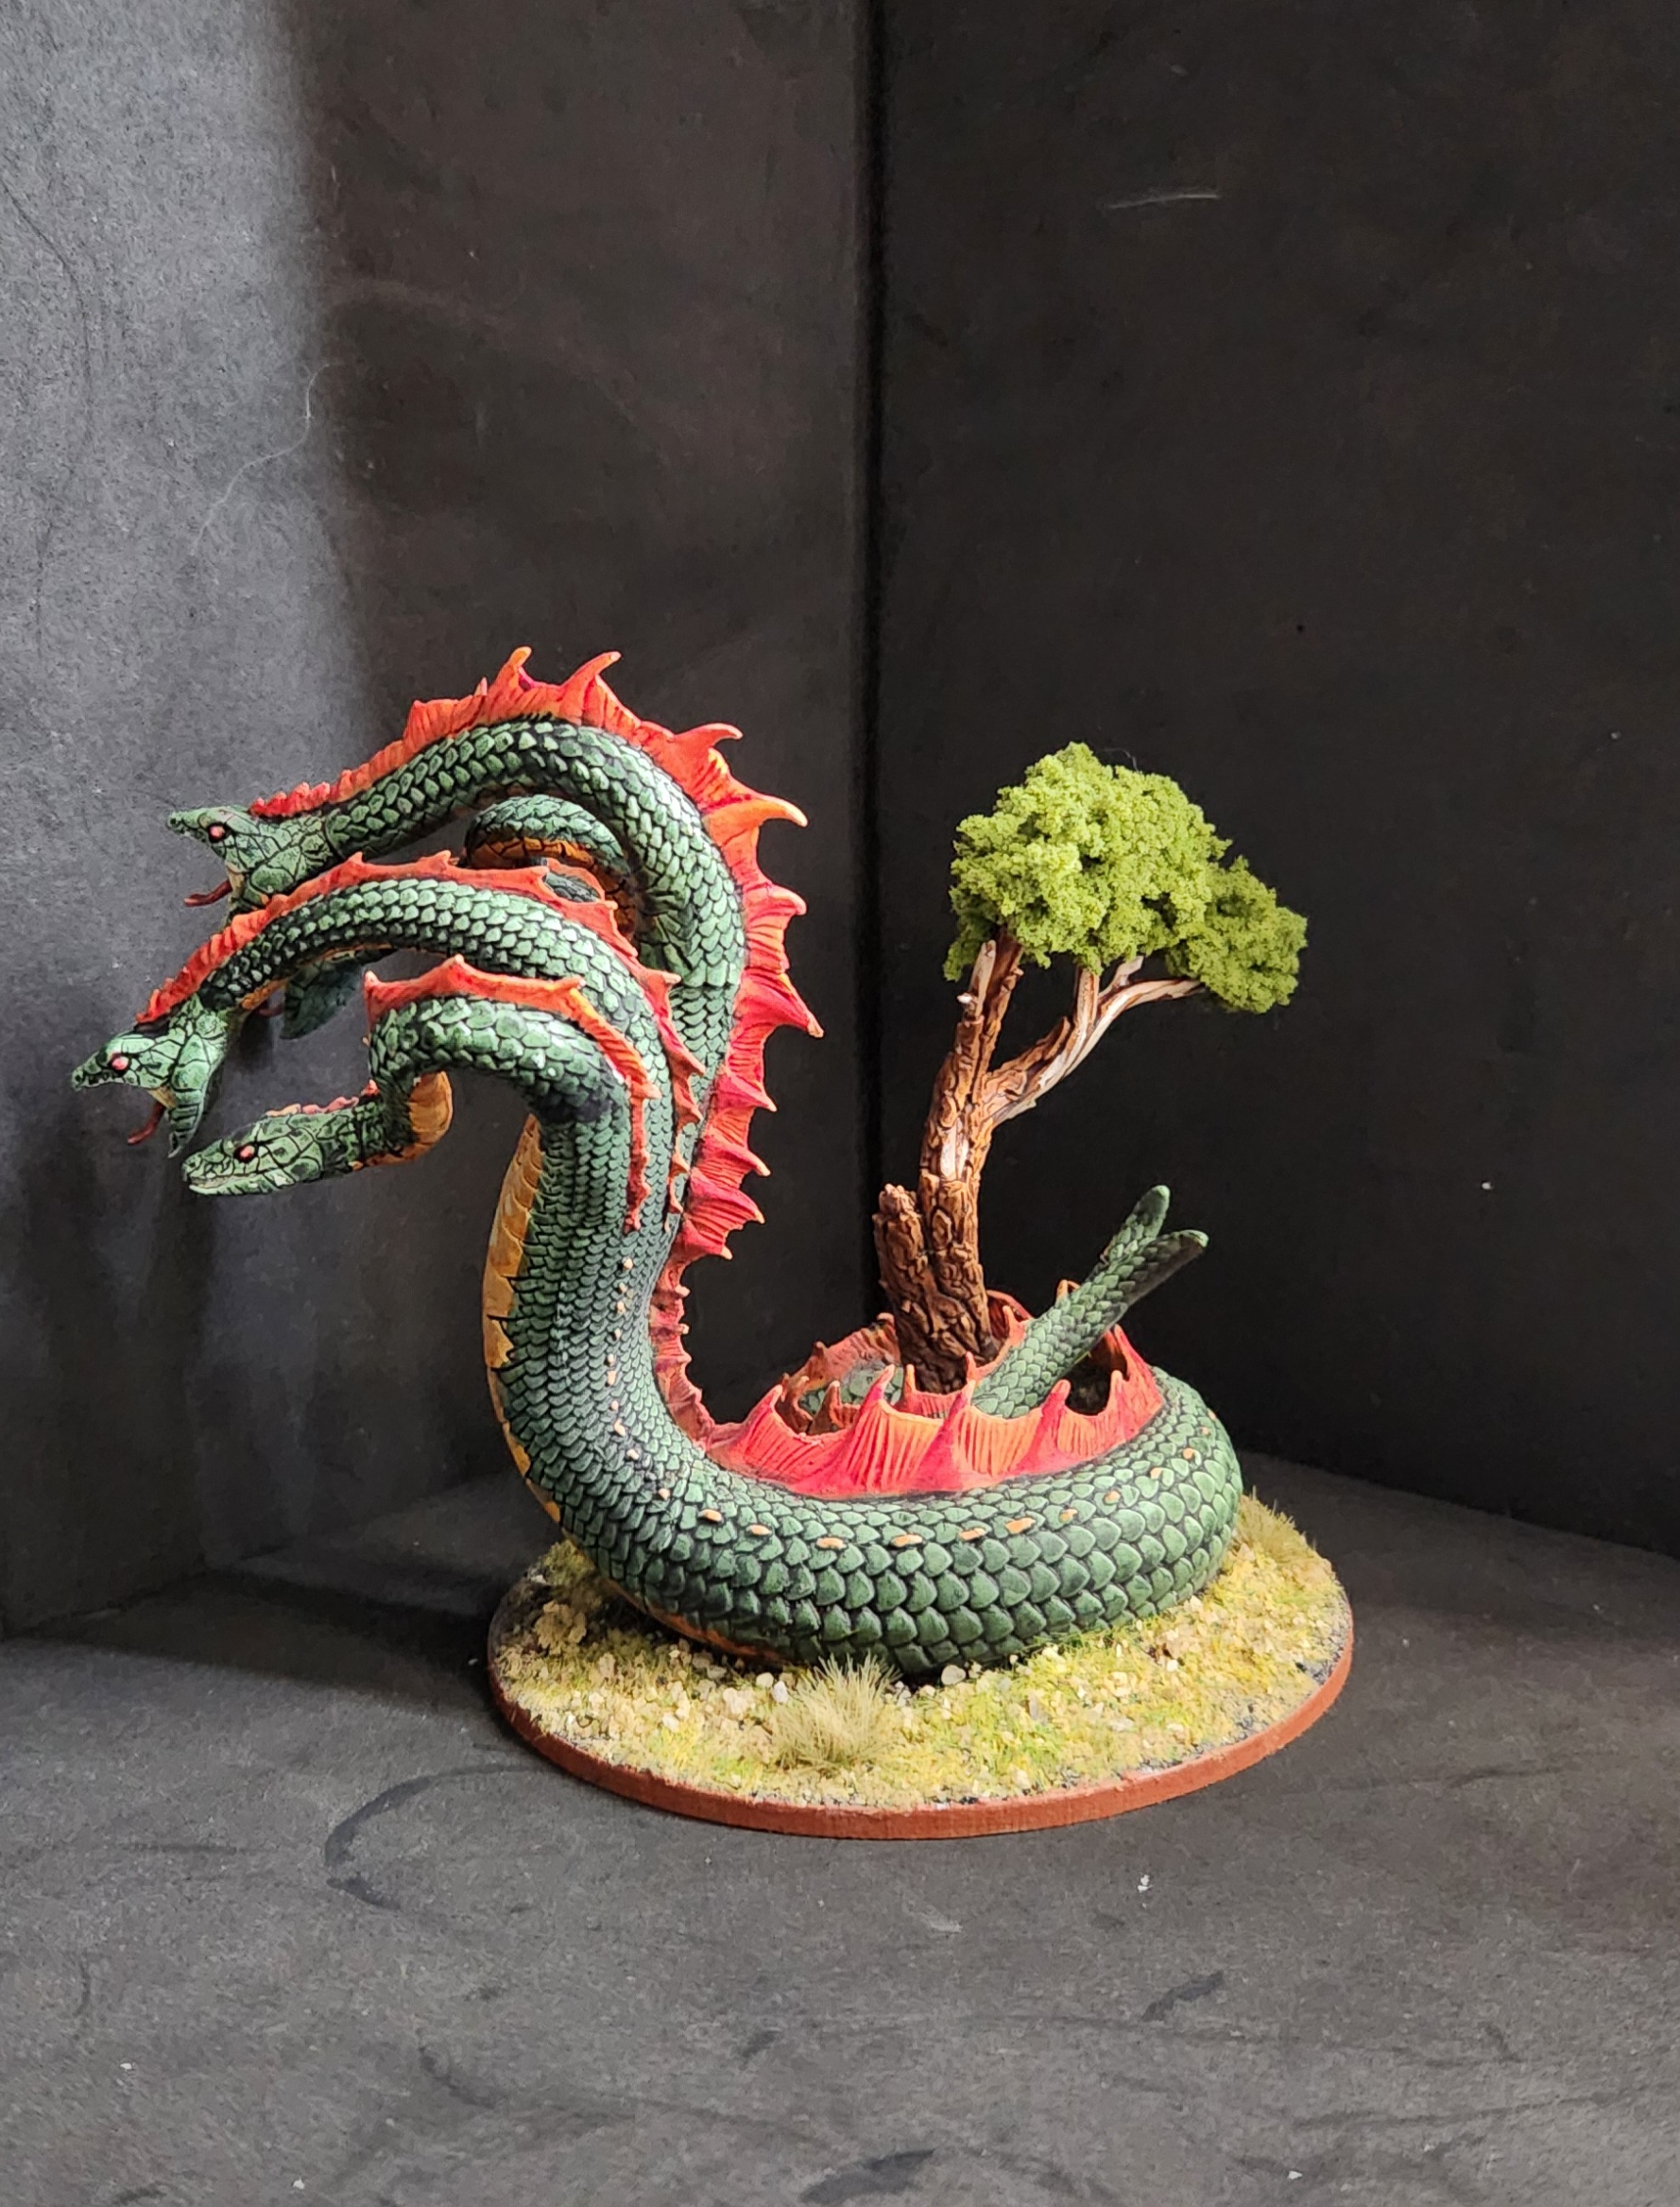
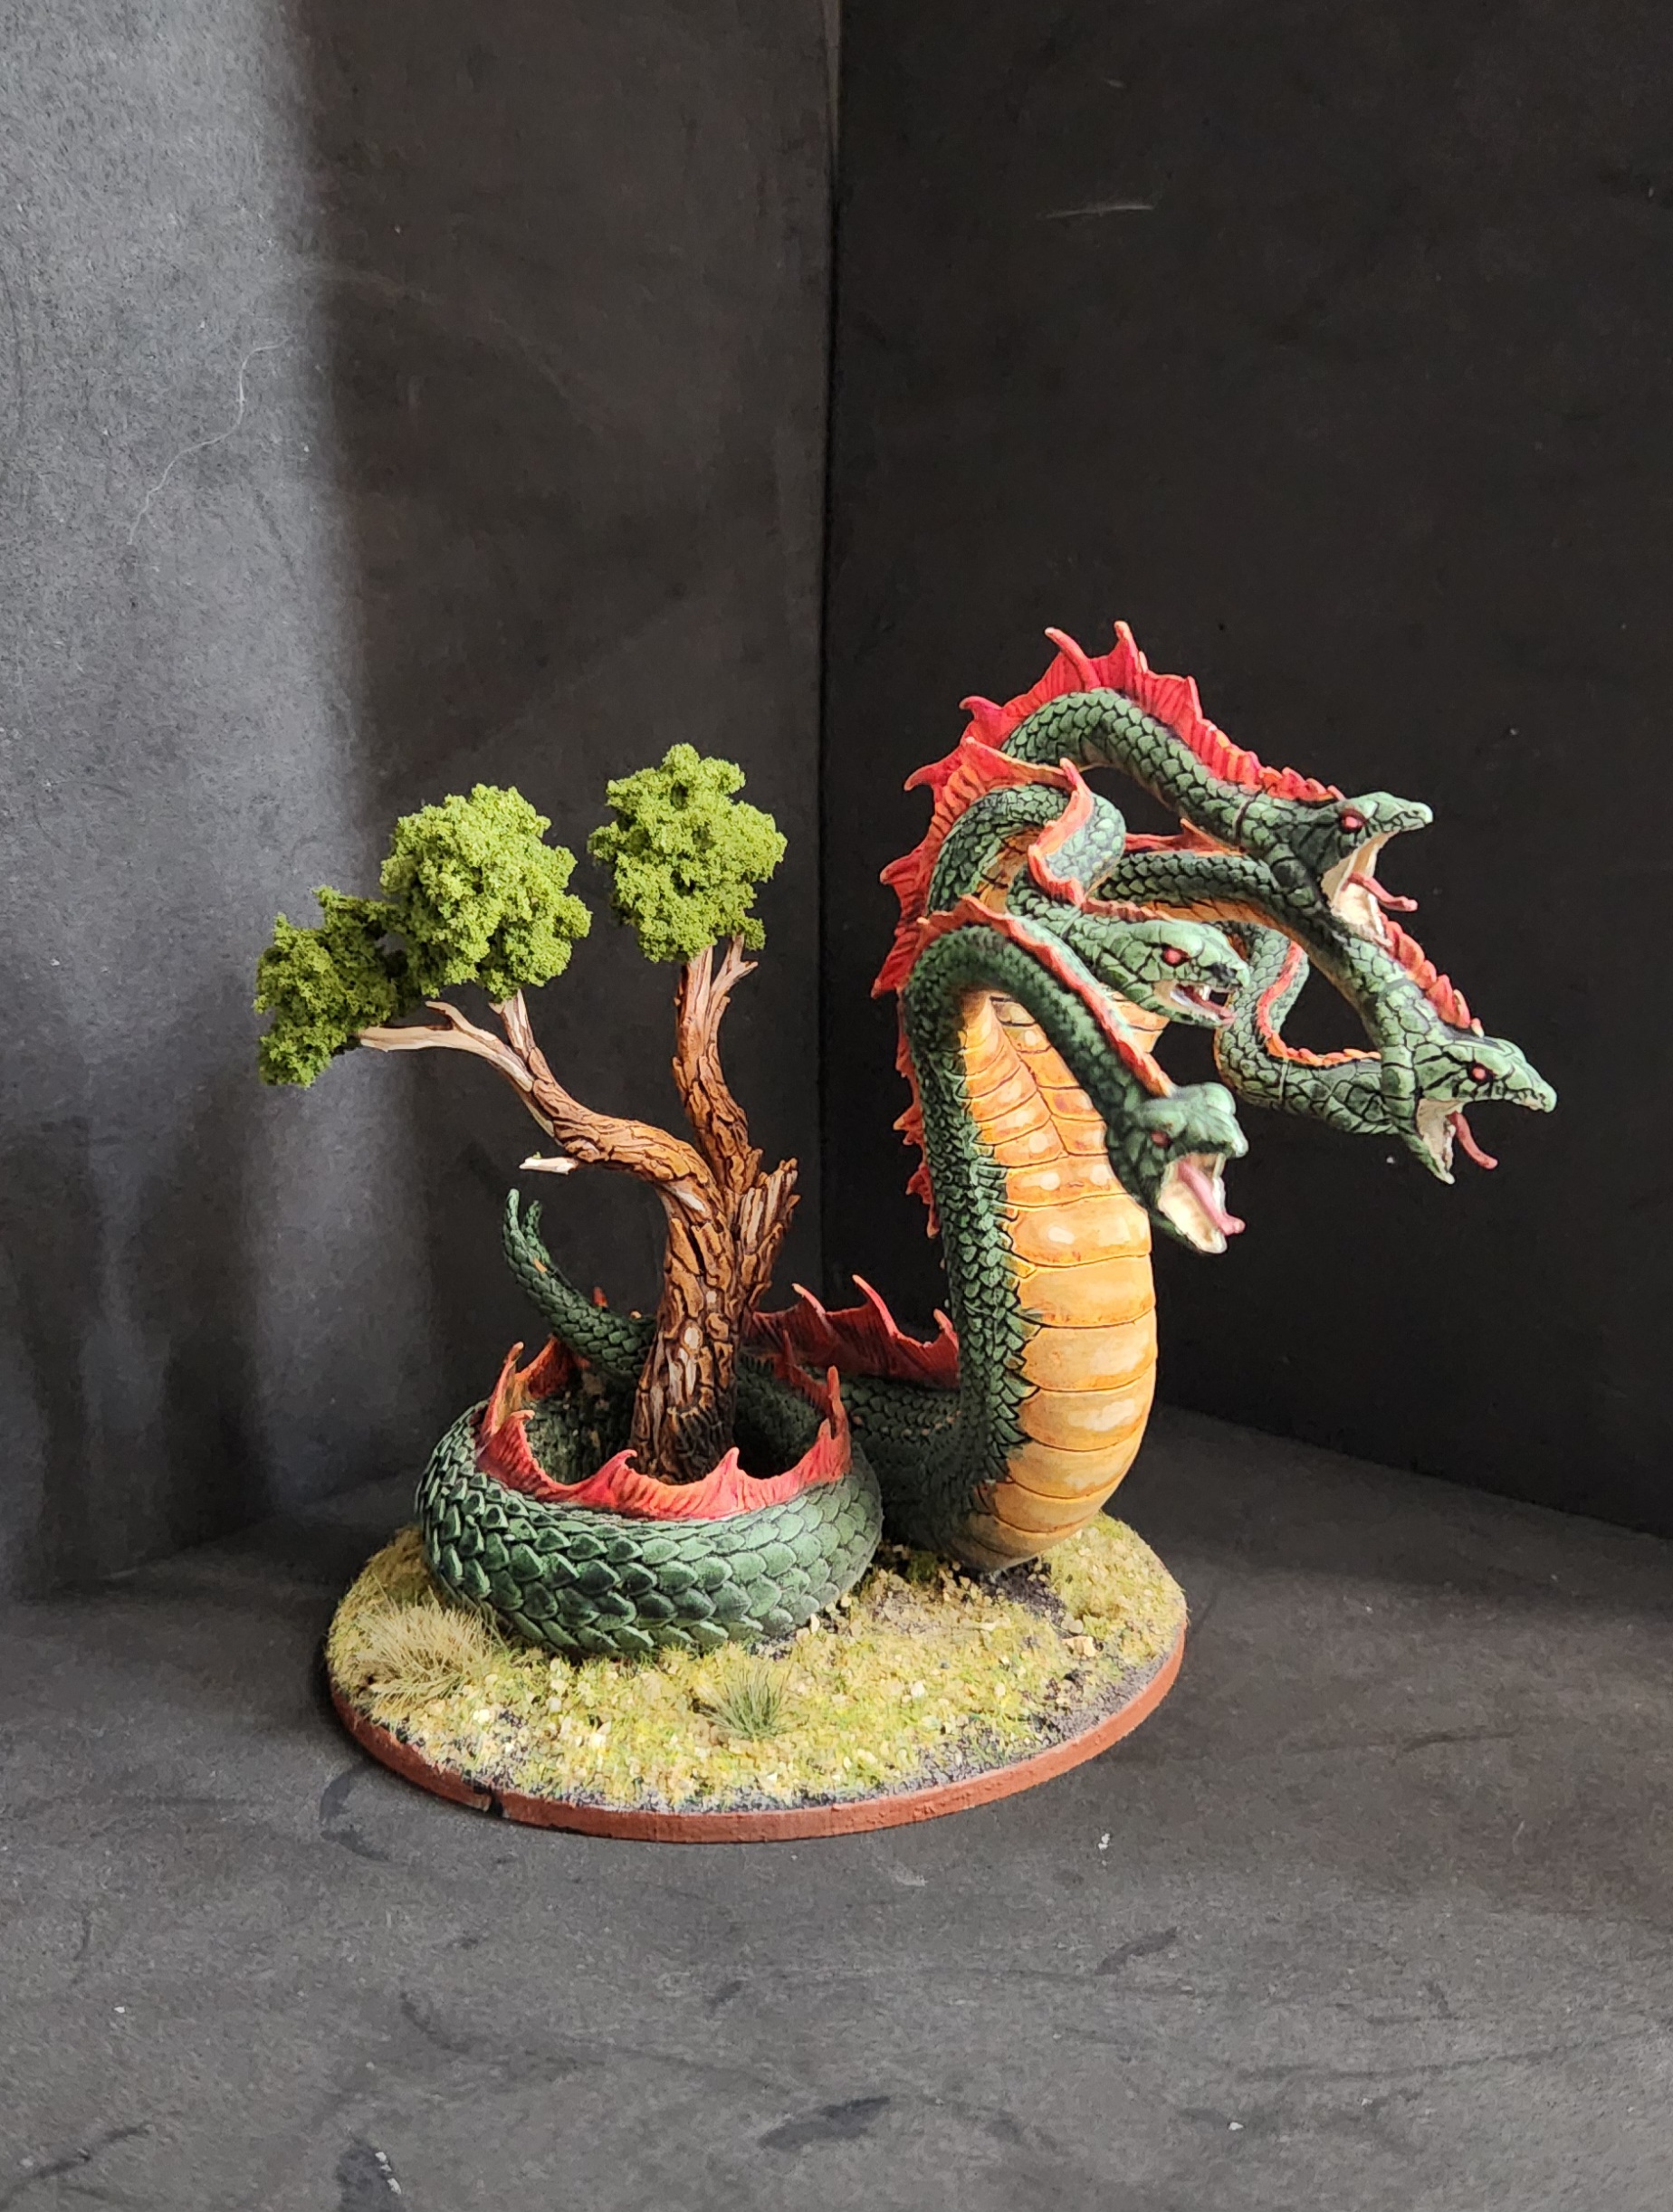
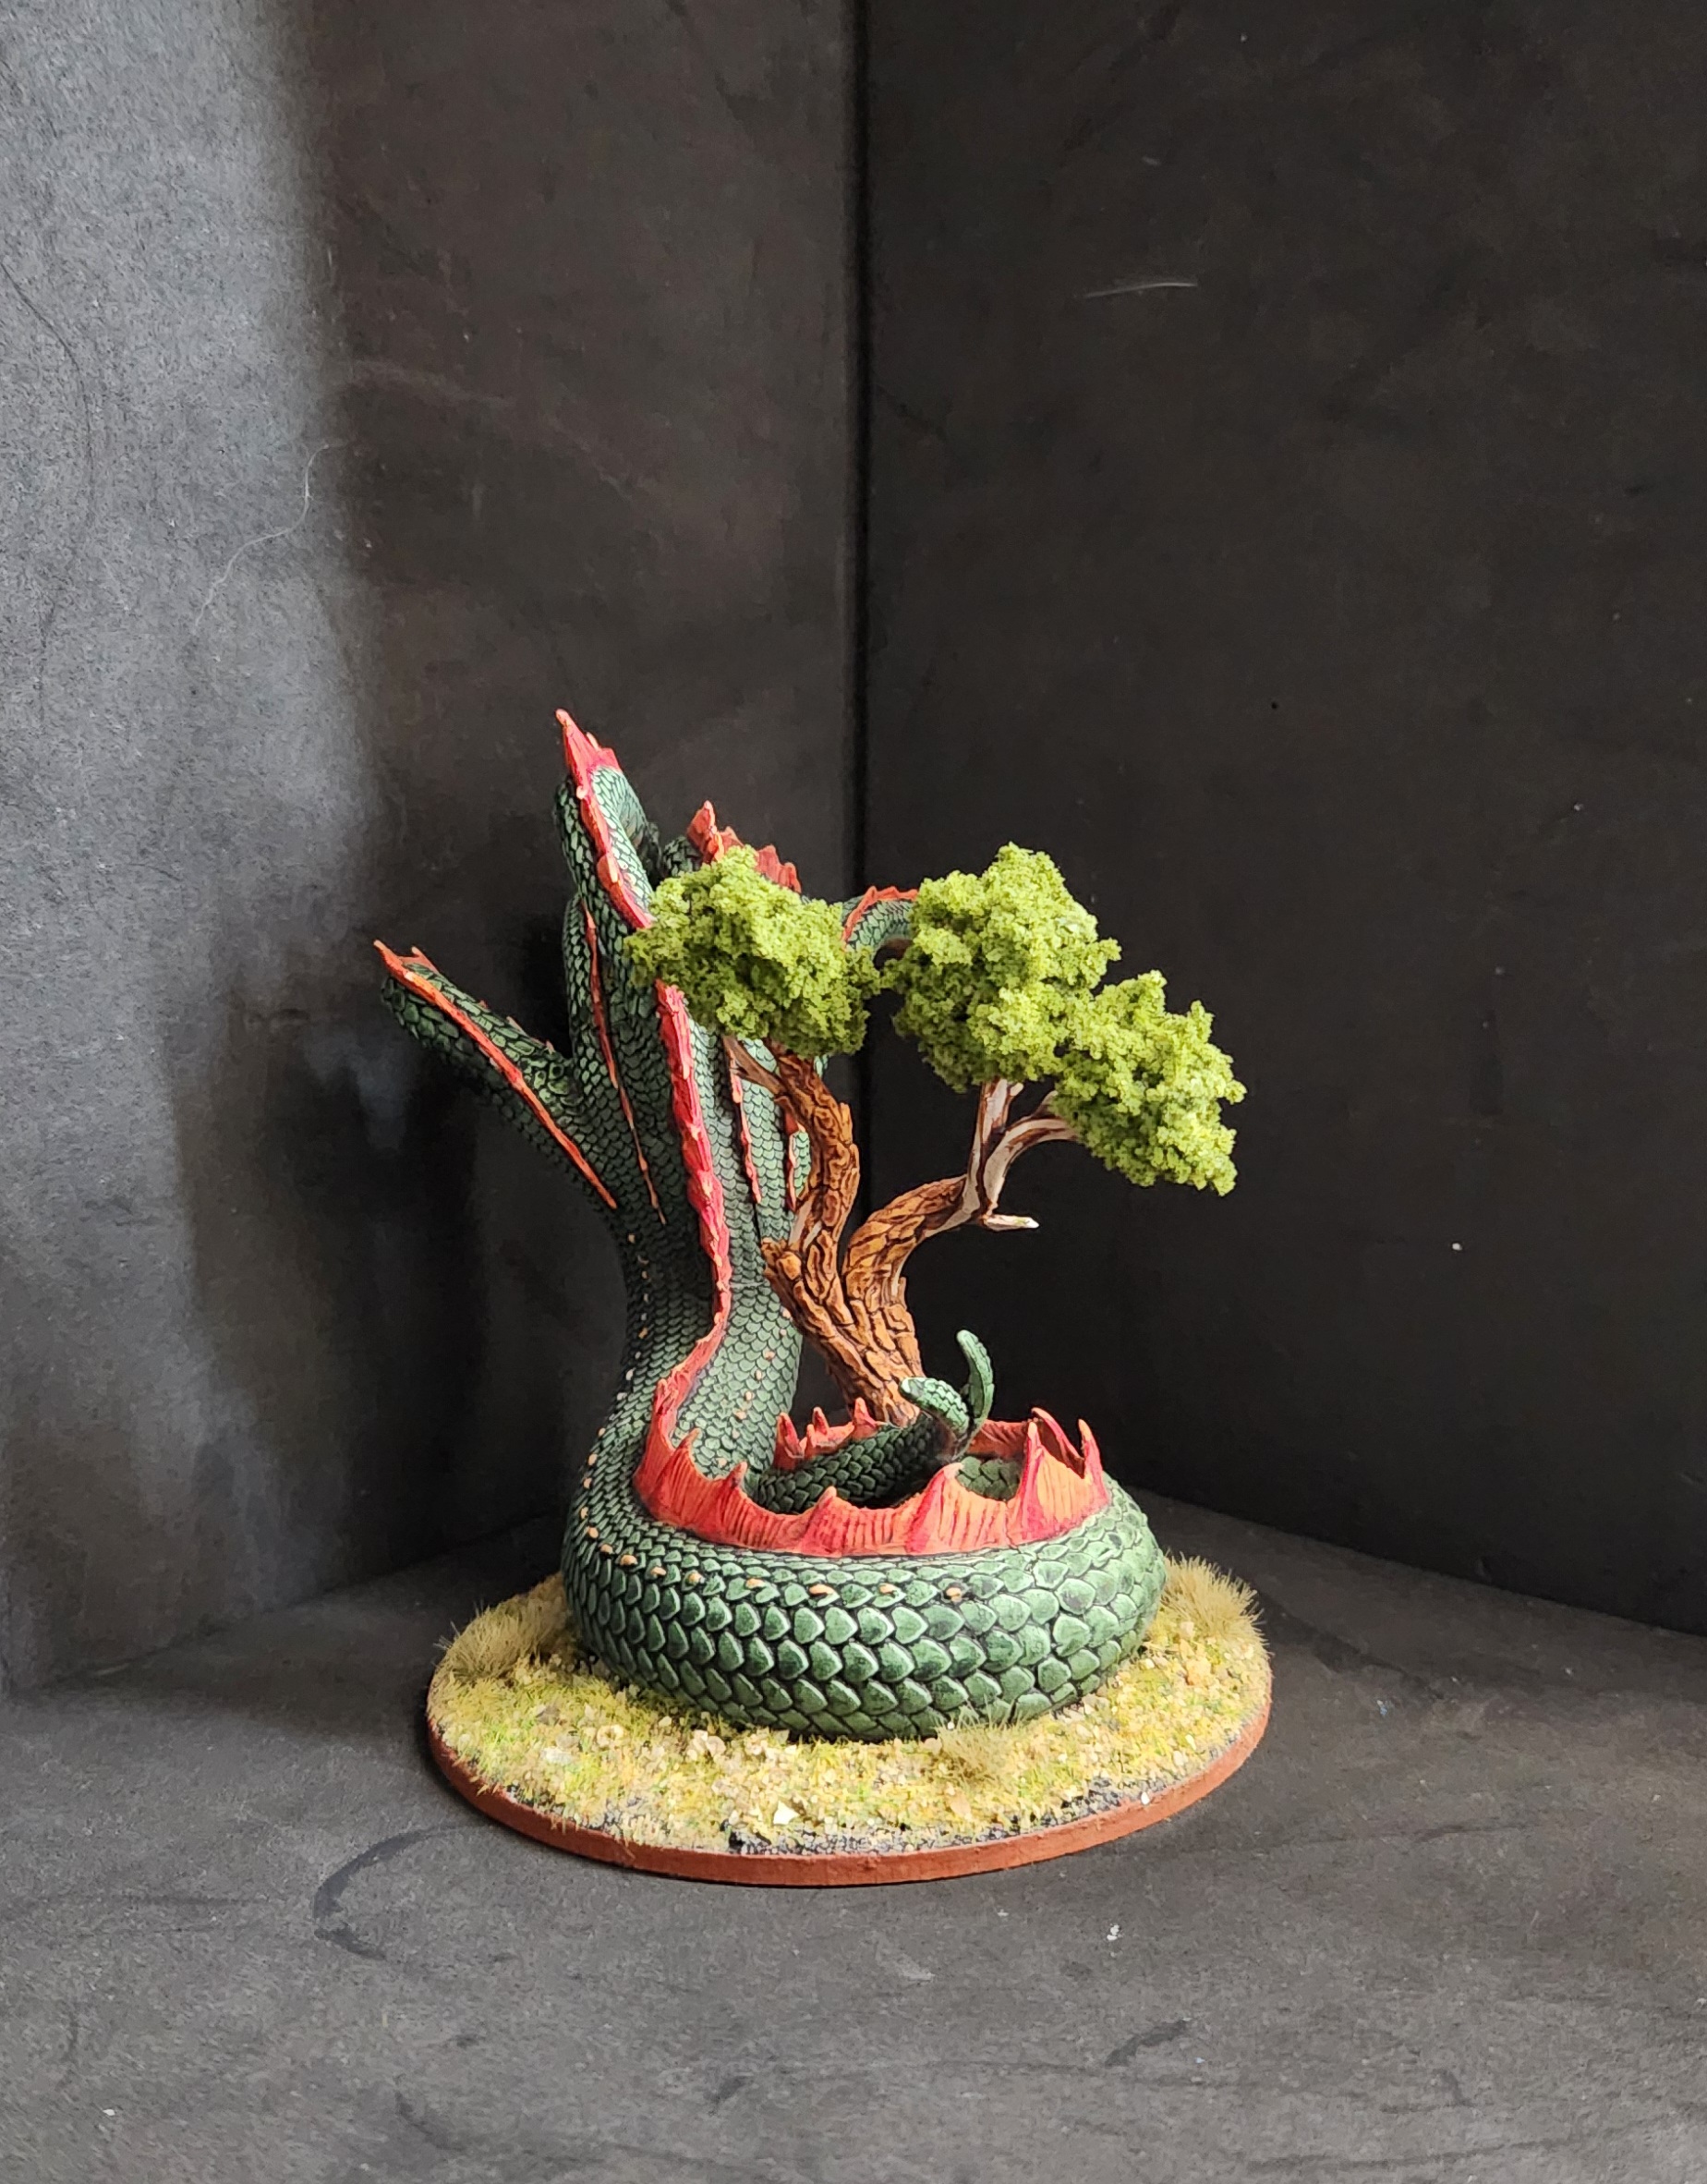
The hydra is a WizKids Deepcuts model I initially didn’t have much thrill for but the options for heads made me rethink it. Hydras can be gauged like beer. The more head the worse they are. There was potential for the five headed version and it felt right visually over the version with ten heads. It also had a base barely around the bottom from the model which was really plain.
Putting it on a 100mm round MDF base it was still in need of something more than flat terrain and tufts. I turned back to the Persephone model I did and added a great looking resin tree that got a foam foliage treatment. Having the monster coiled around the tree made more sense than just a plain monster on its own without other elements. I like the way this all came out.
Not to be confused for an Iron Lady
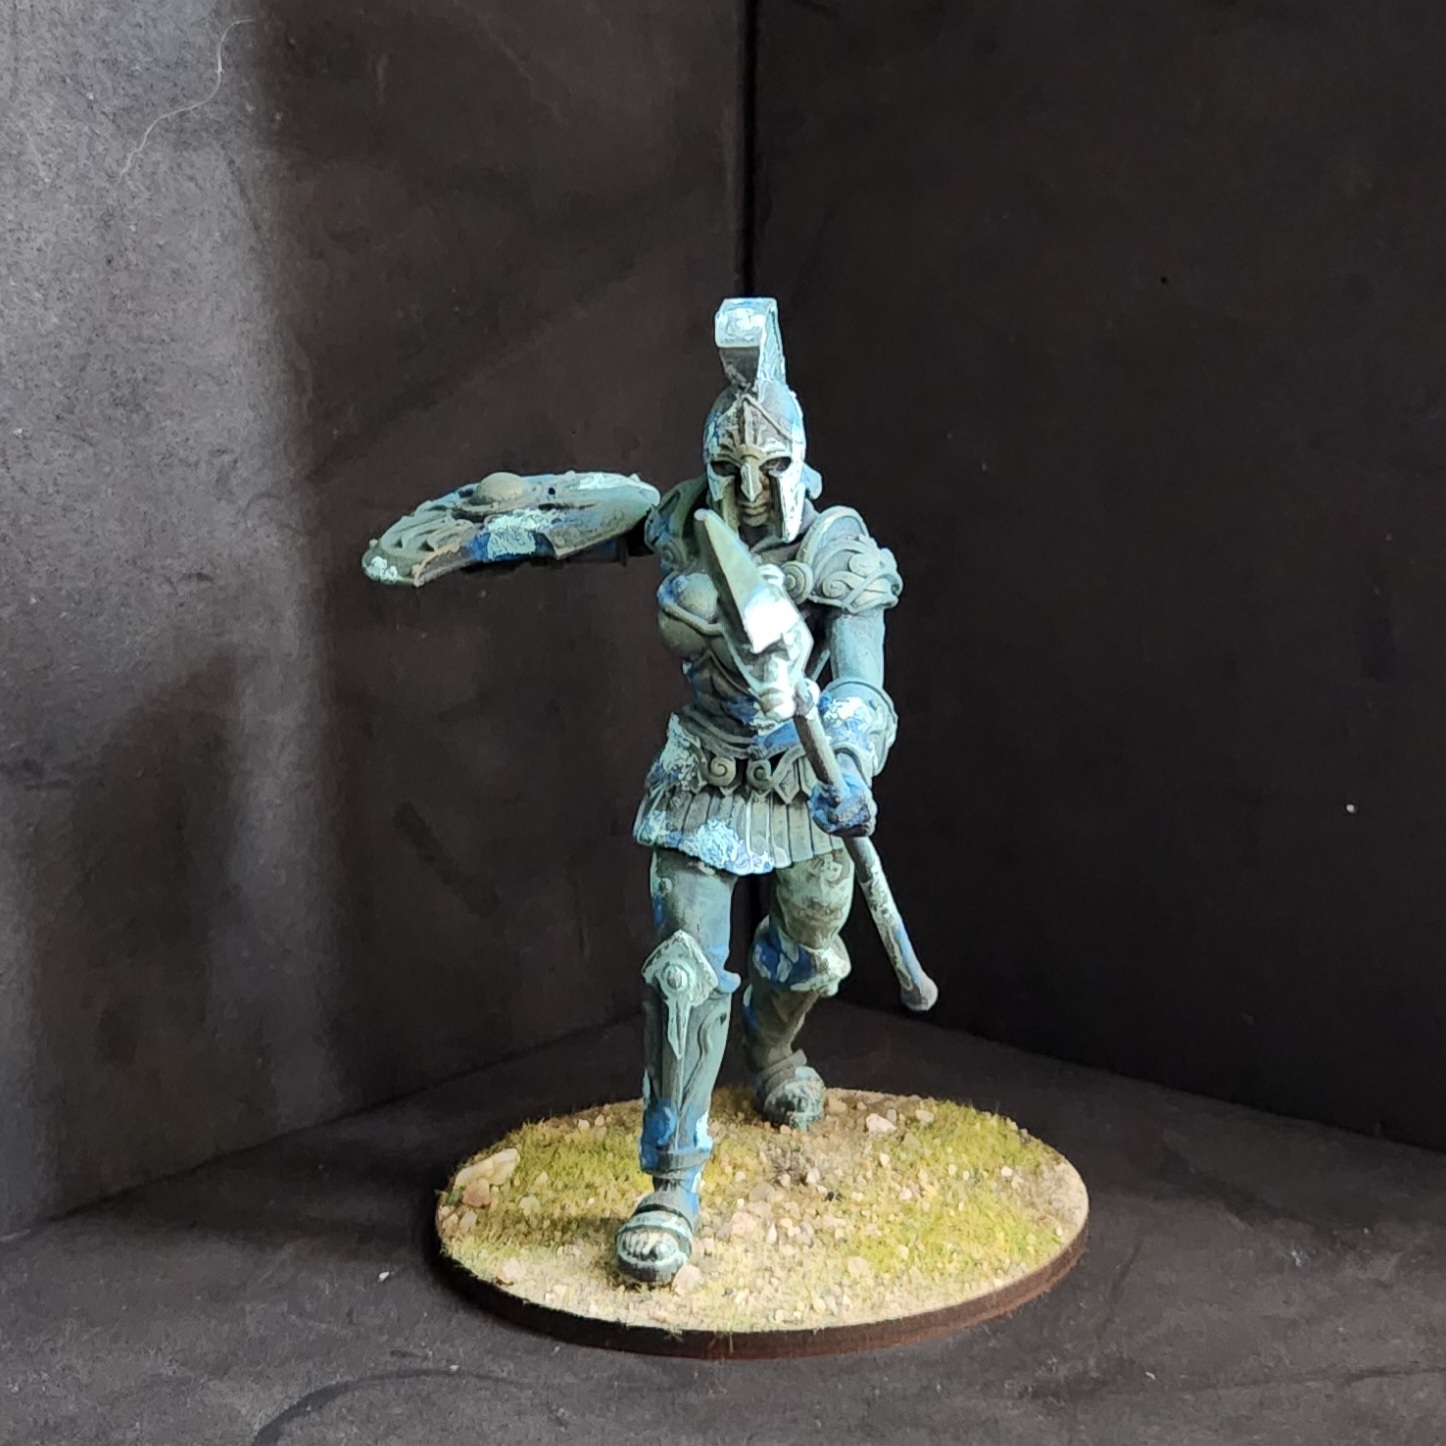
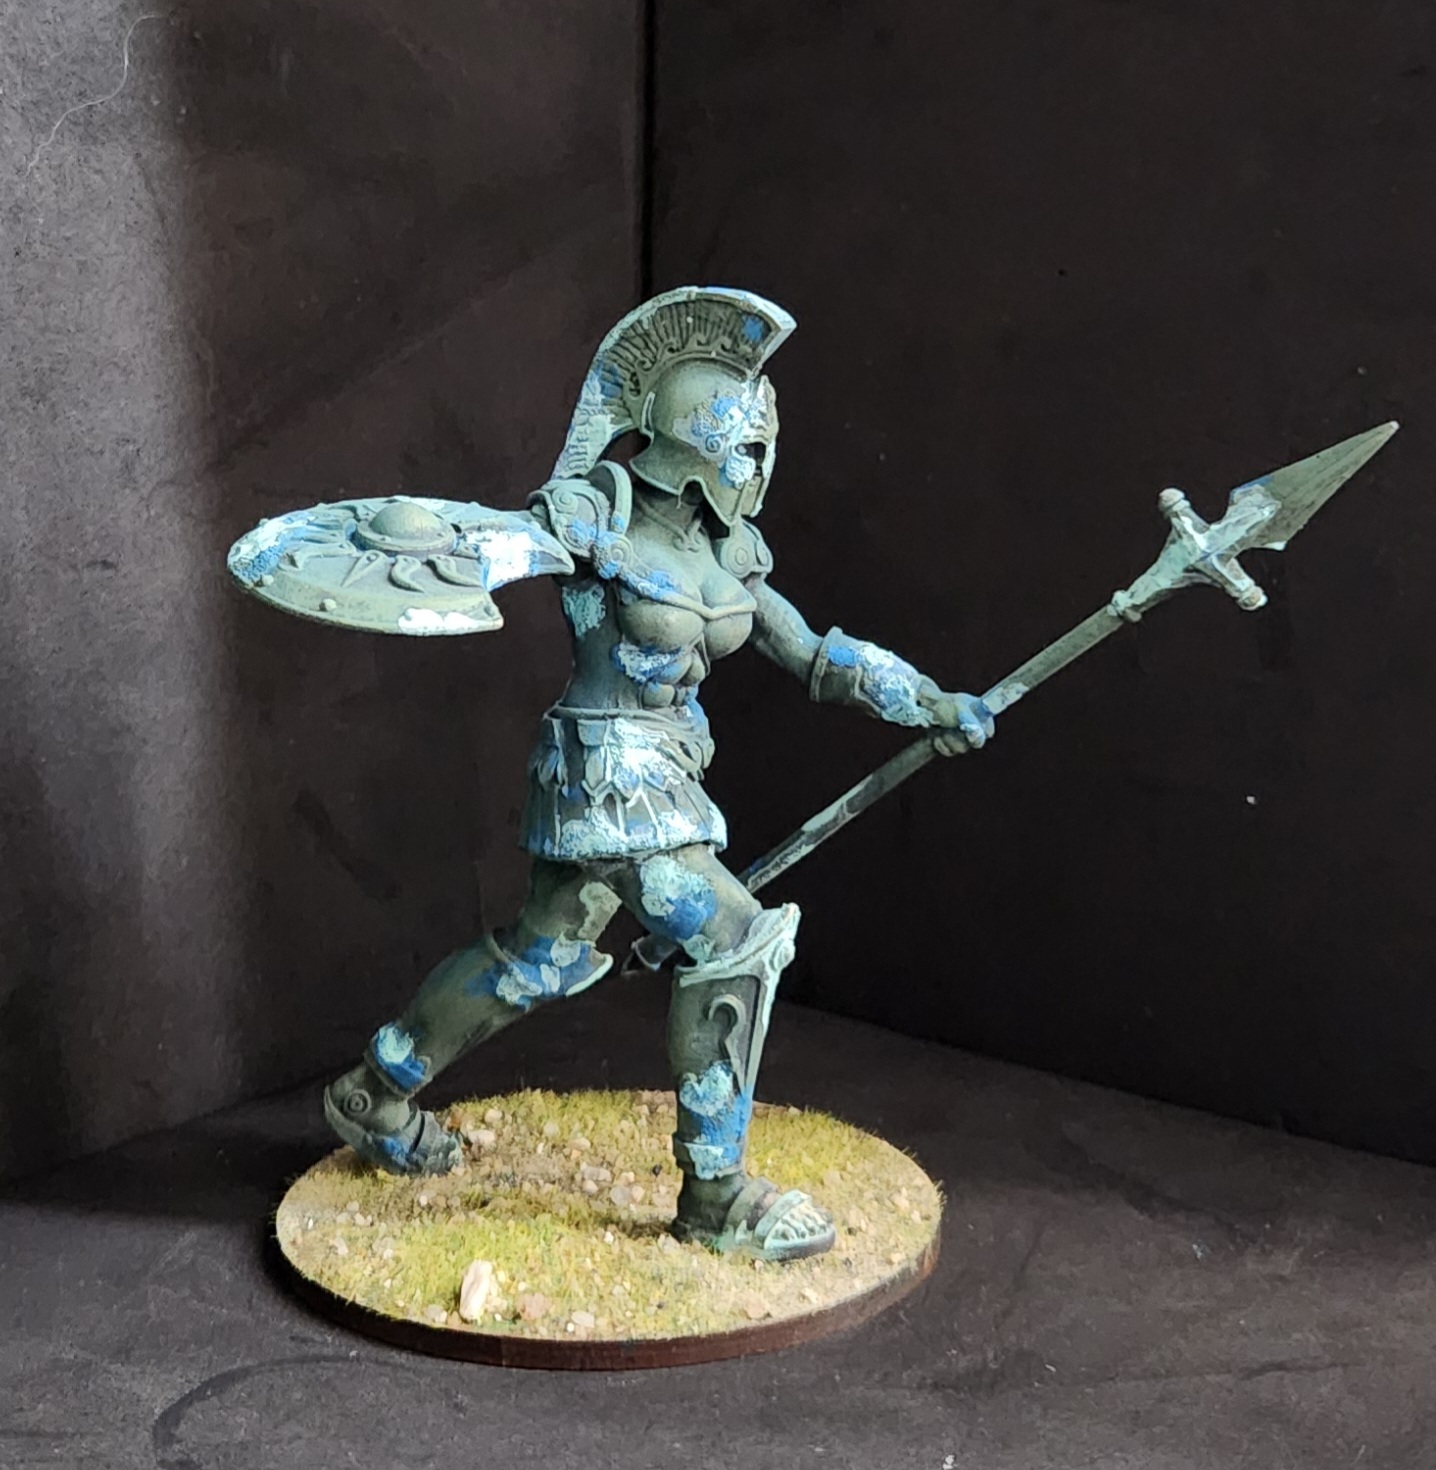
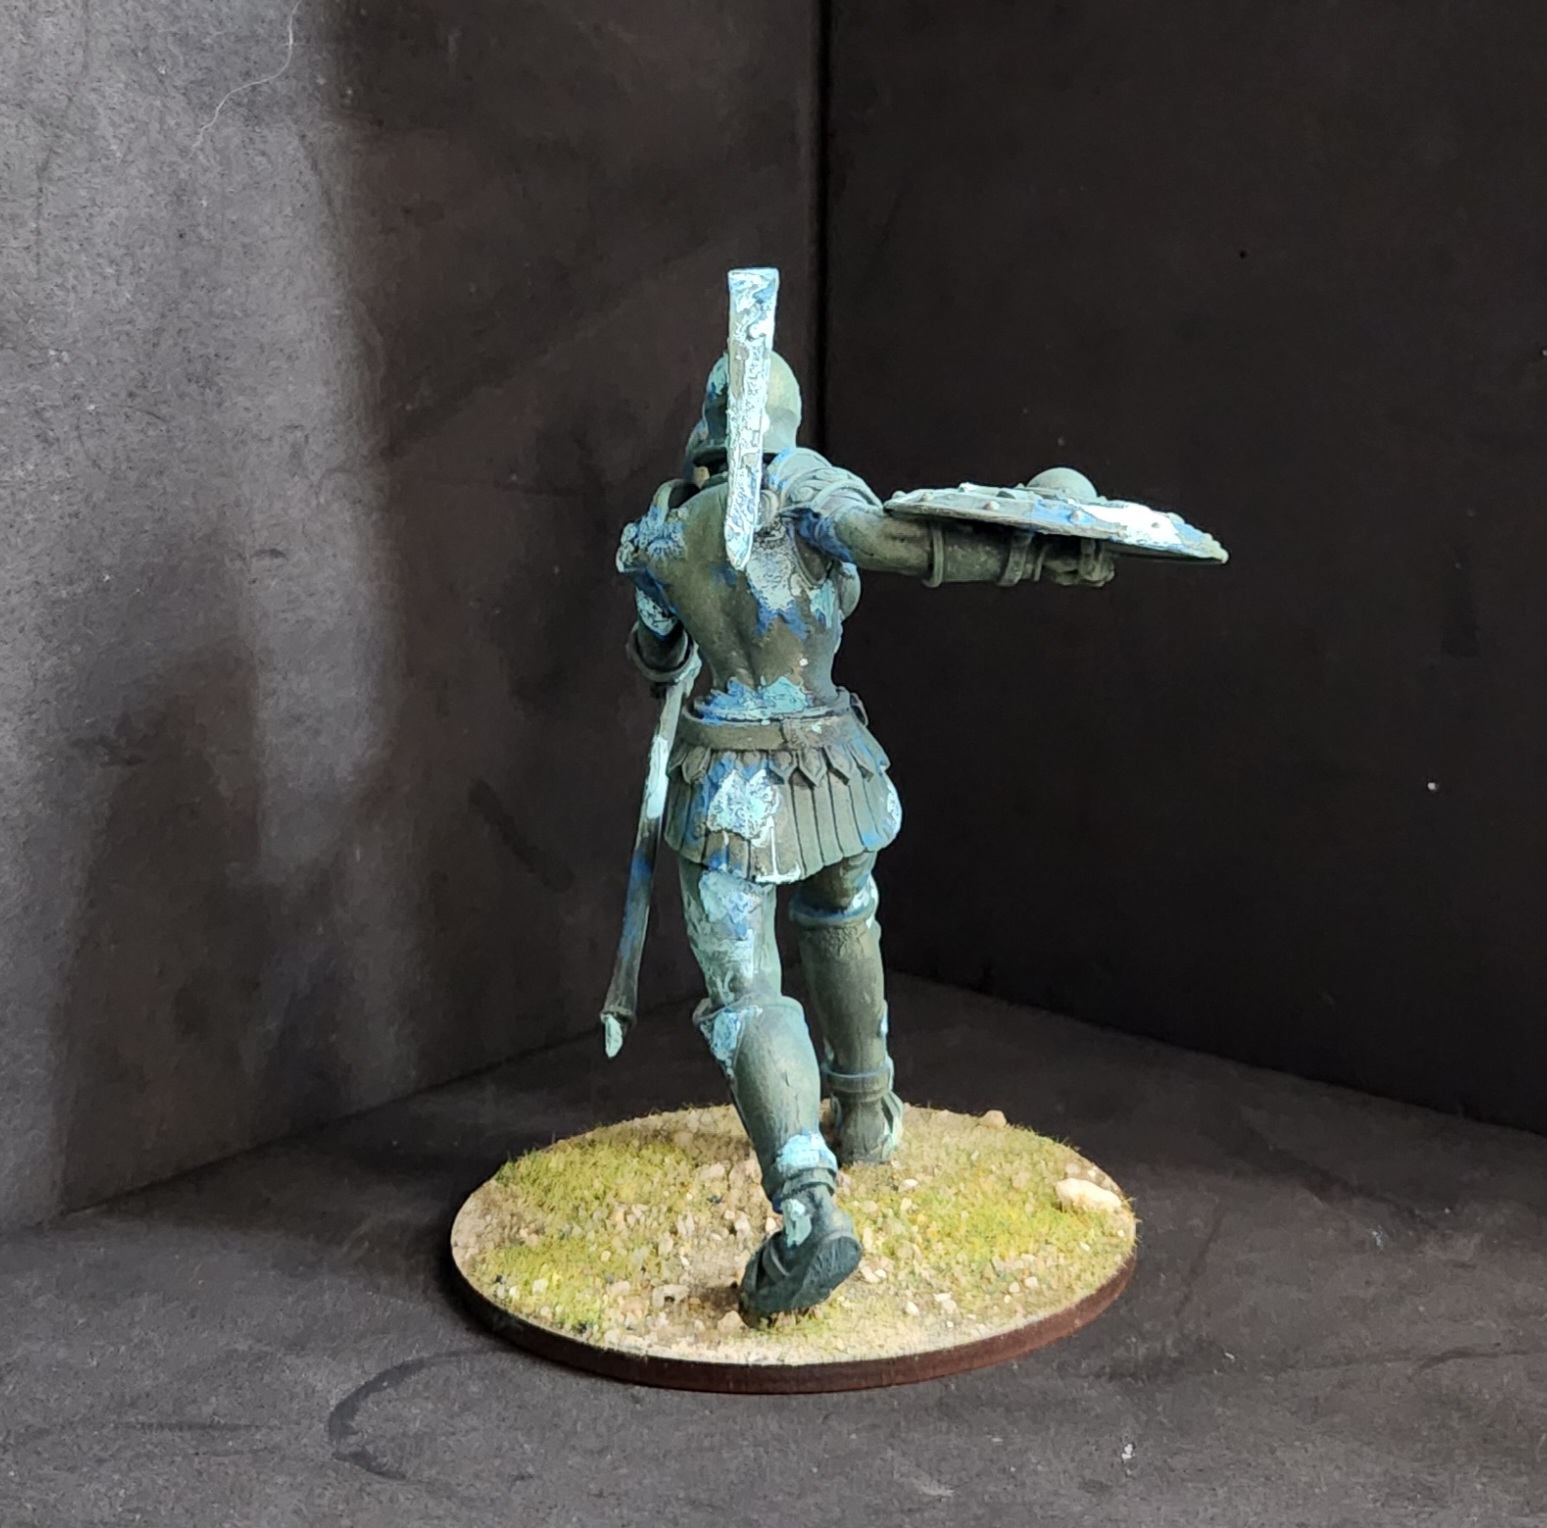
Working over the female collosus has been good for my sense of accomplishment. It’s smaller on the 80mm base than the previous one but no less impressive when compared to the 28mm standard of the army.
As it is different from the other I decided to distinguish it with more blue in the patina. Using less pigment this time around I utilized straight rubbing alcohol as my carrier. Essentially going over the model with a dusting of pigment as if I were rubbing chalk on it the color settled where I sprayed. The “highlight” spots were purposeful and accidents. This model had corrosion sculpted onto areas that I touched up with dark and light blue. There were a few spots that the pigment fixer flowed and ended up carrying color where it was just too much for my taste.
Overall it’s done and I can only warn others to use dry pigment in moderation. I’ll also add that pigment fixer acts as a flow agent that will wick the dry pigment into areas you might not have wanted them. It works the same way as if you added a glaze over a matte varnish finish because of the surface tooth.
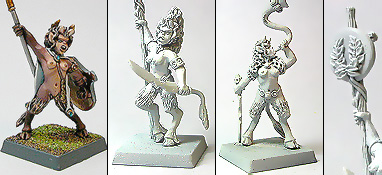
Not for petting
 All horned up for somewhere else to go
The fauns from the plastic centaurs box are done. I’m glad to be finished but I feel as if they’re just too scrawny for my tastes and will work better as an addition to the army I gave to one of my friends. To these minis I say goodbye and good riddance.
Not as initially intended
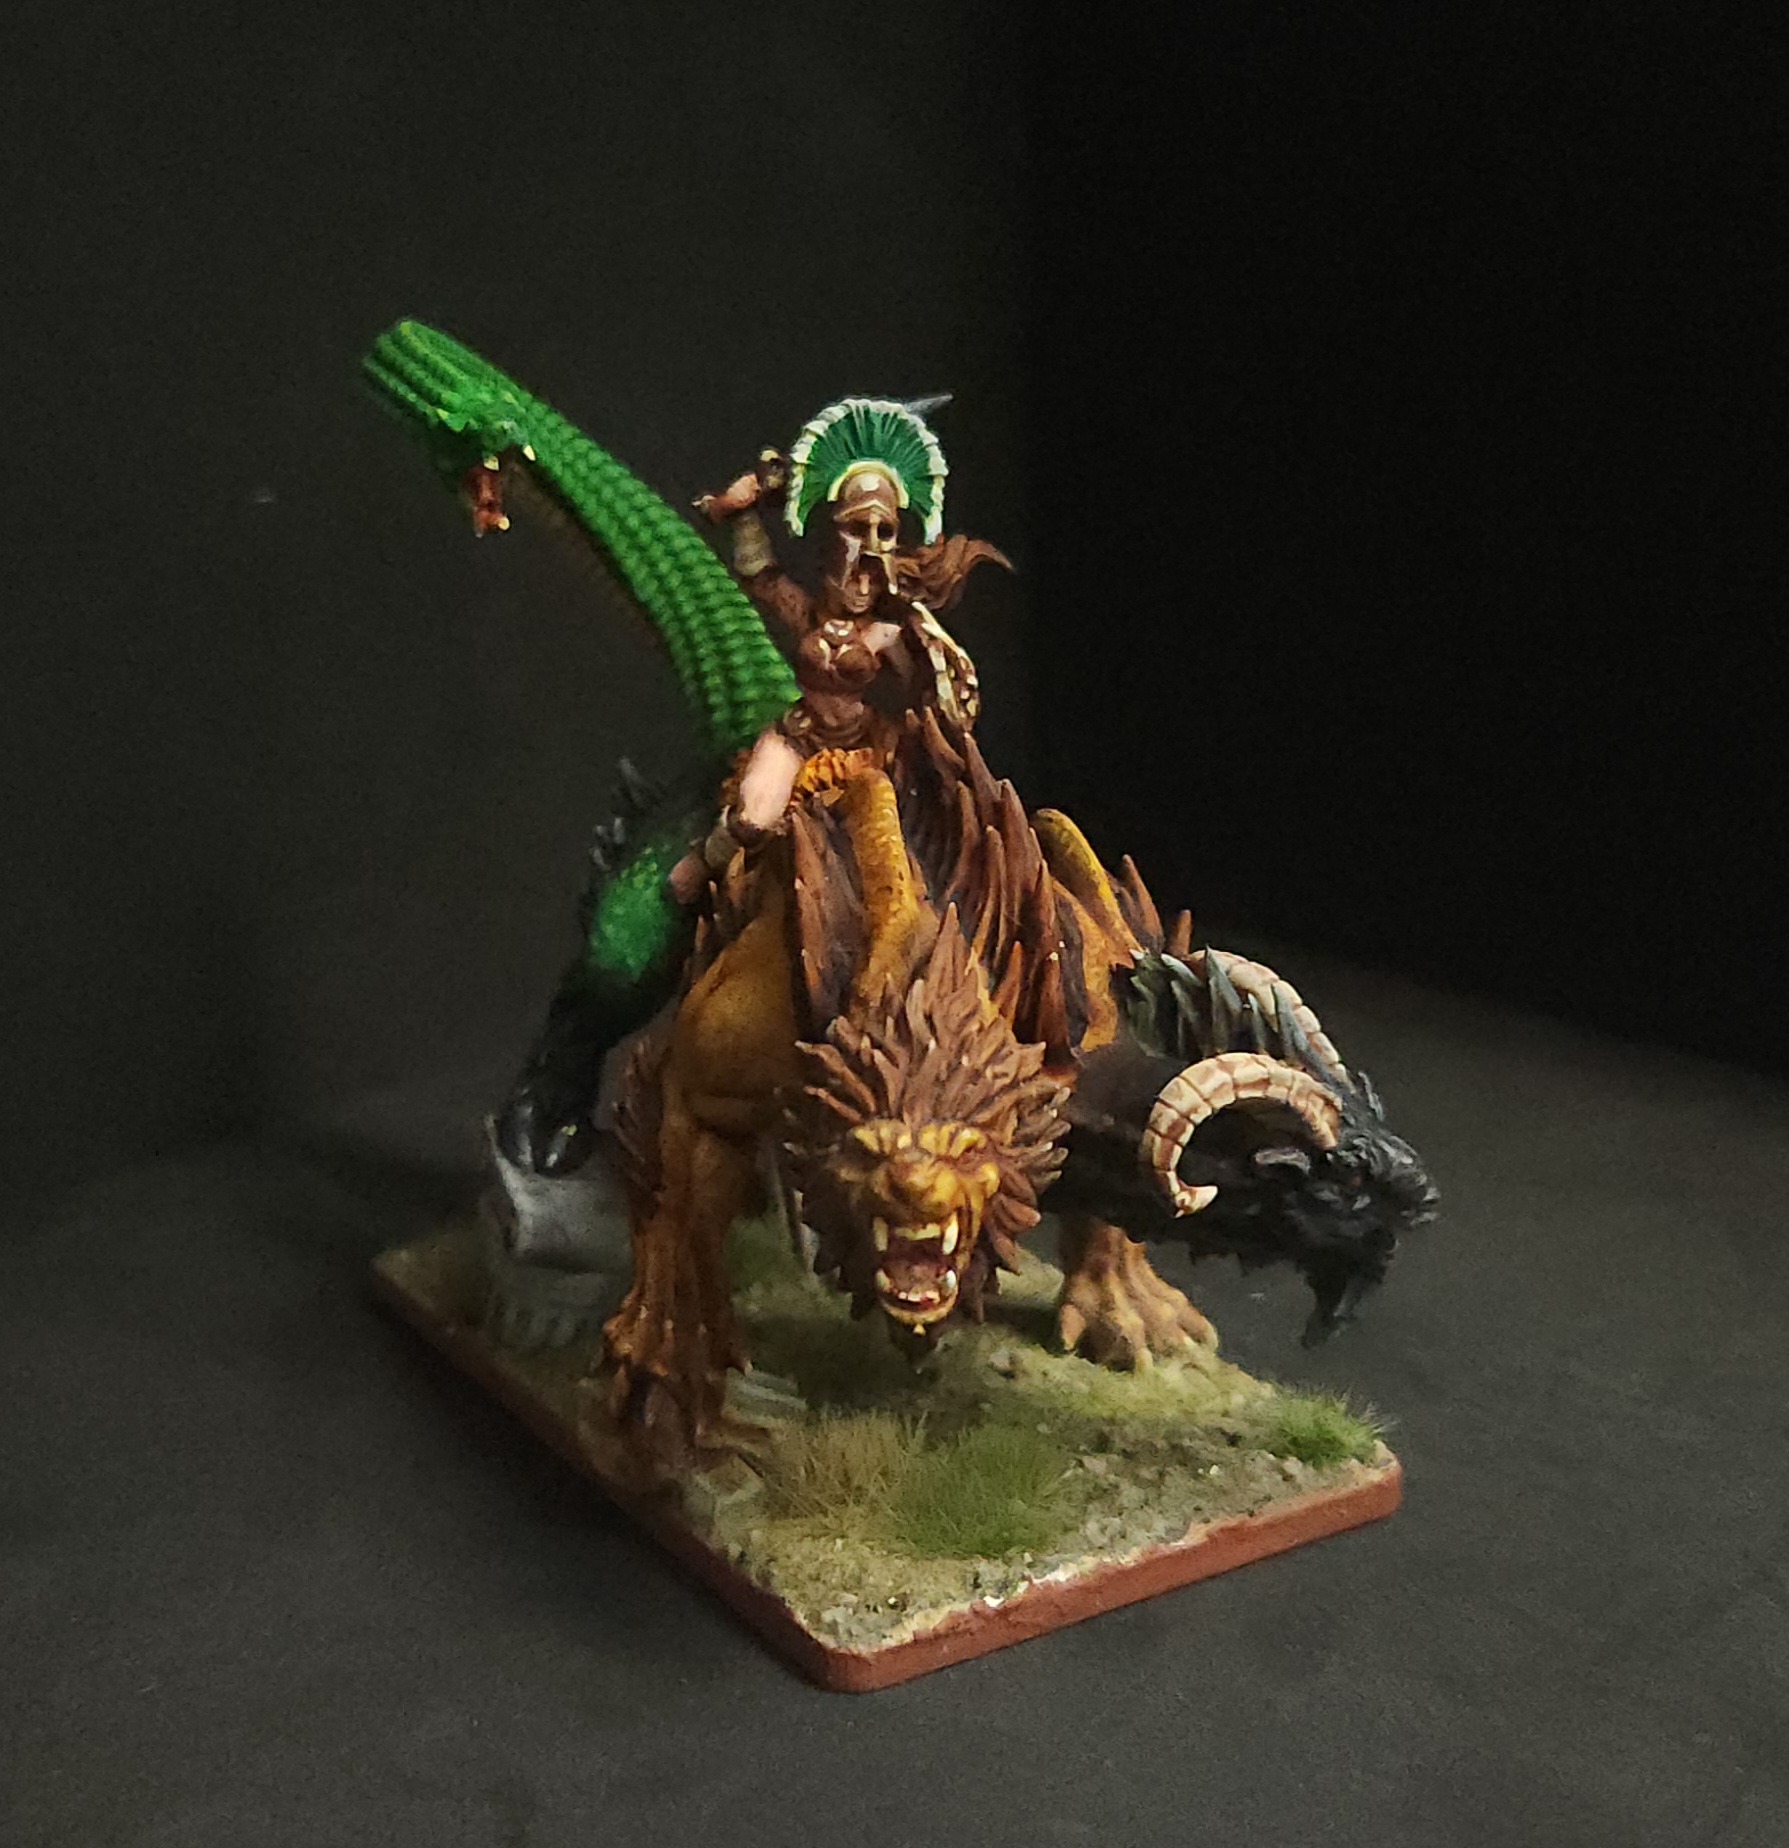
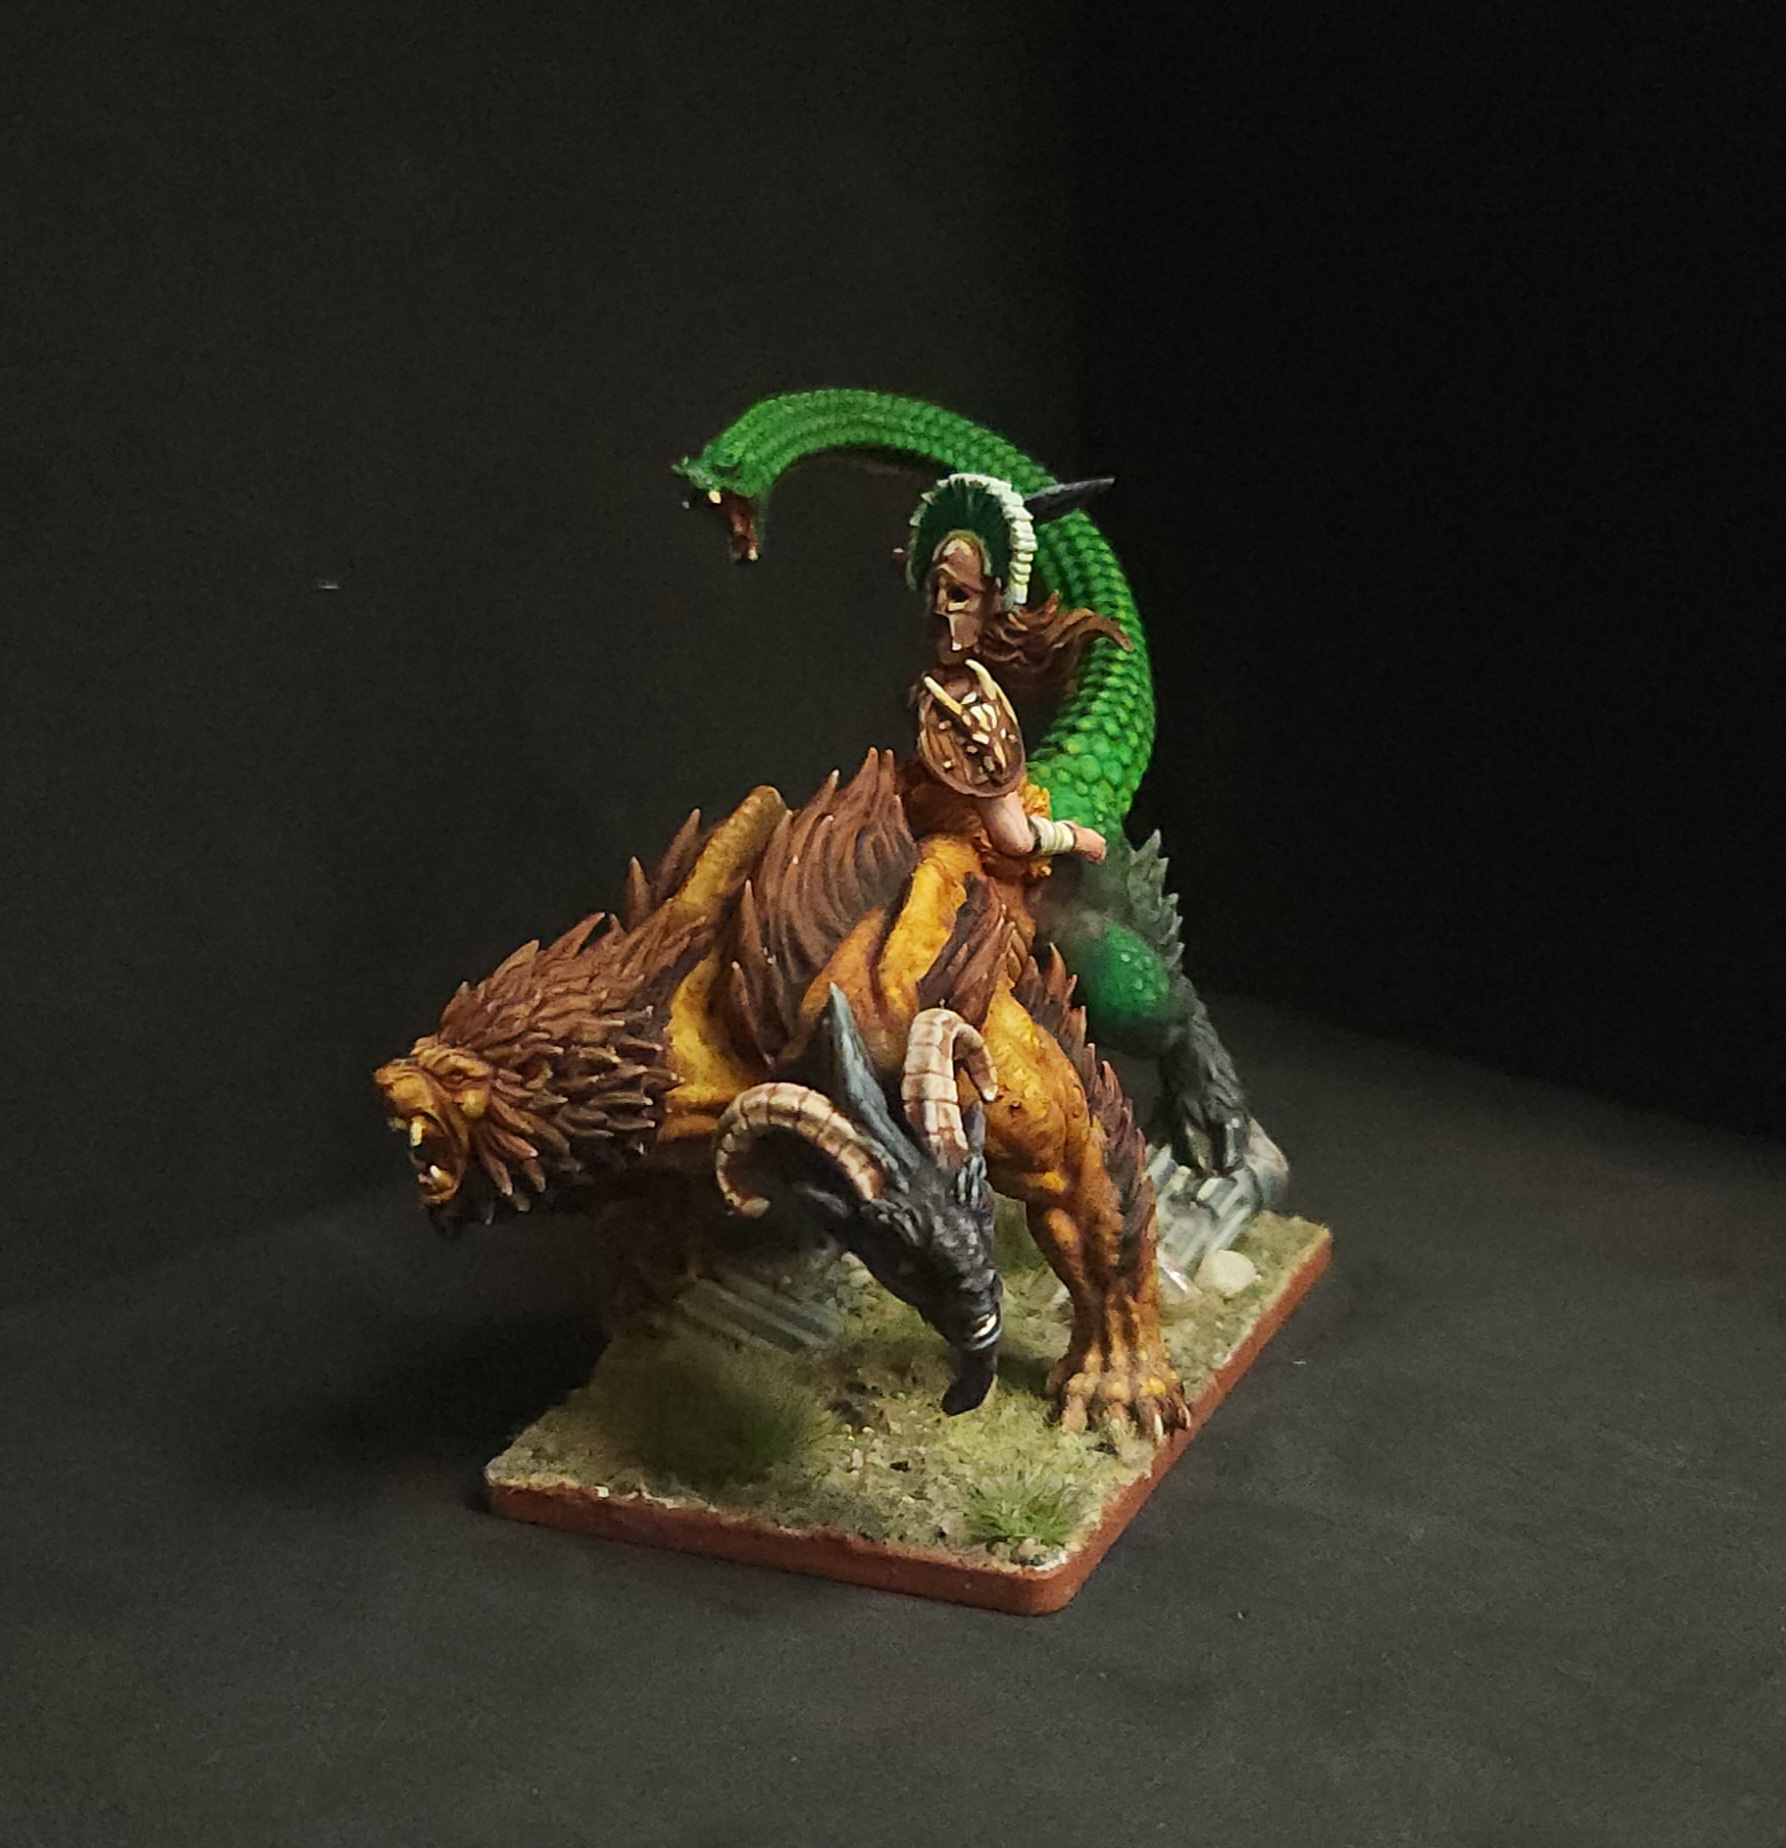

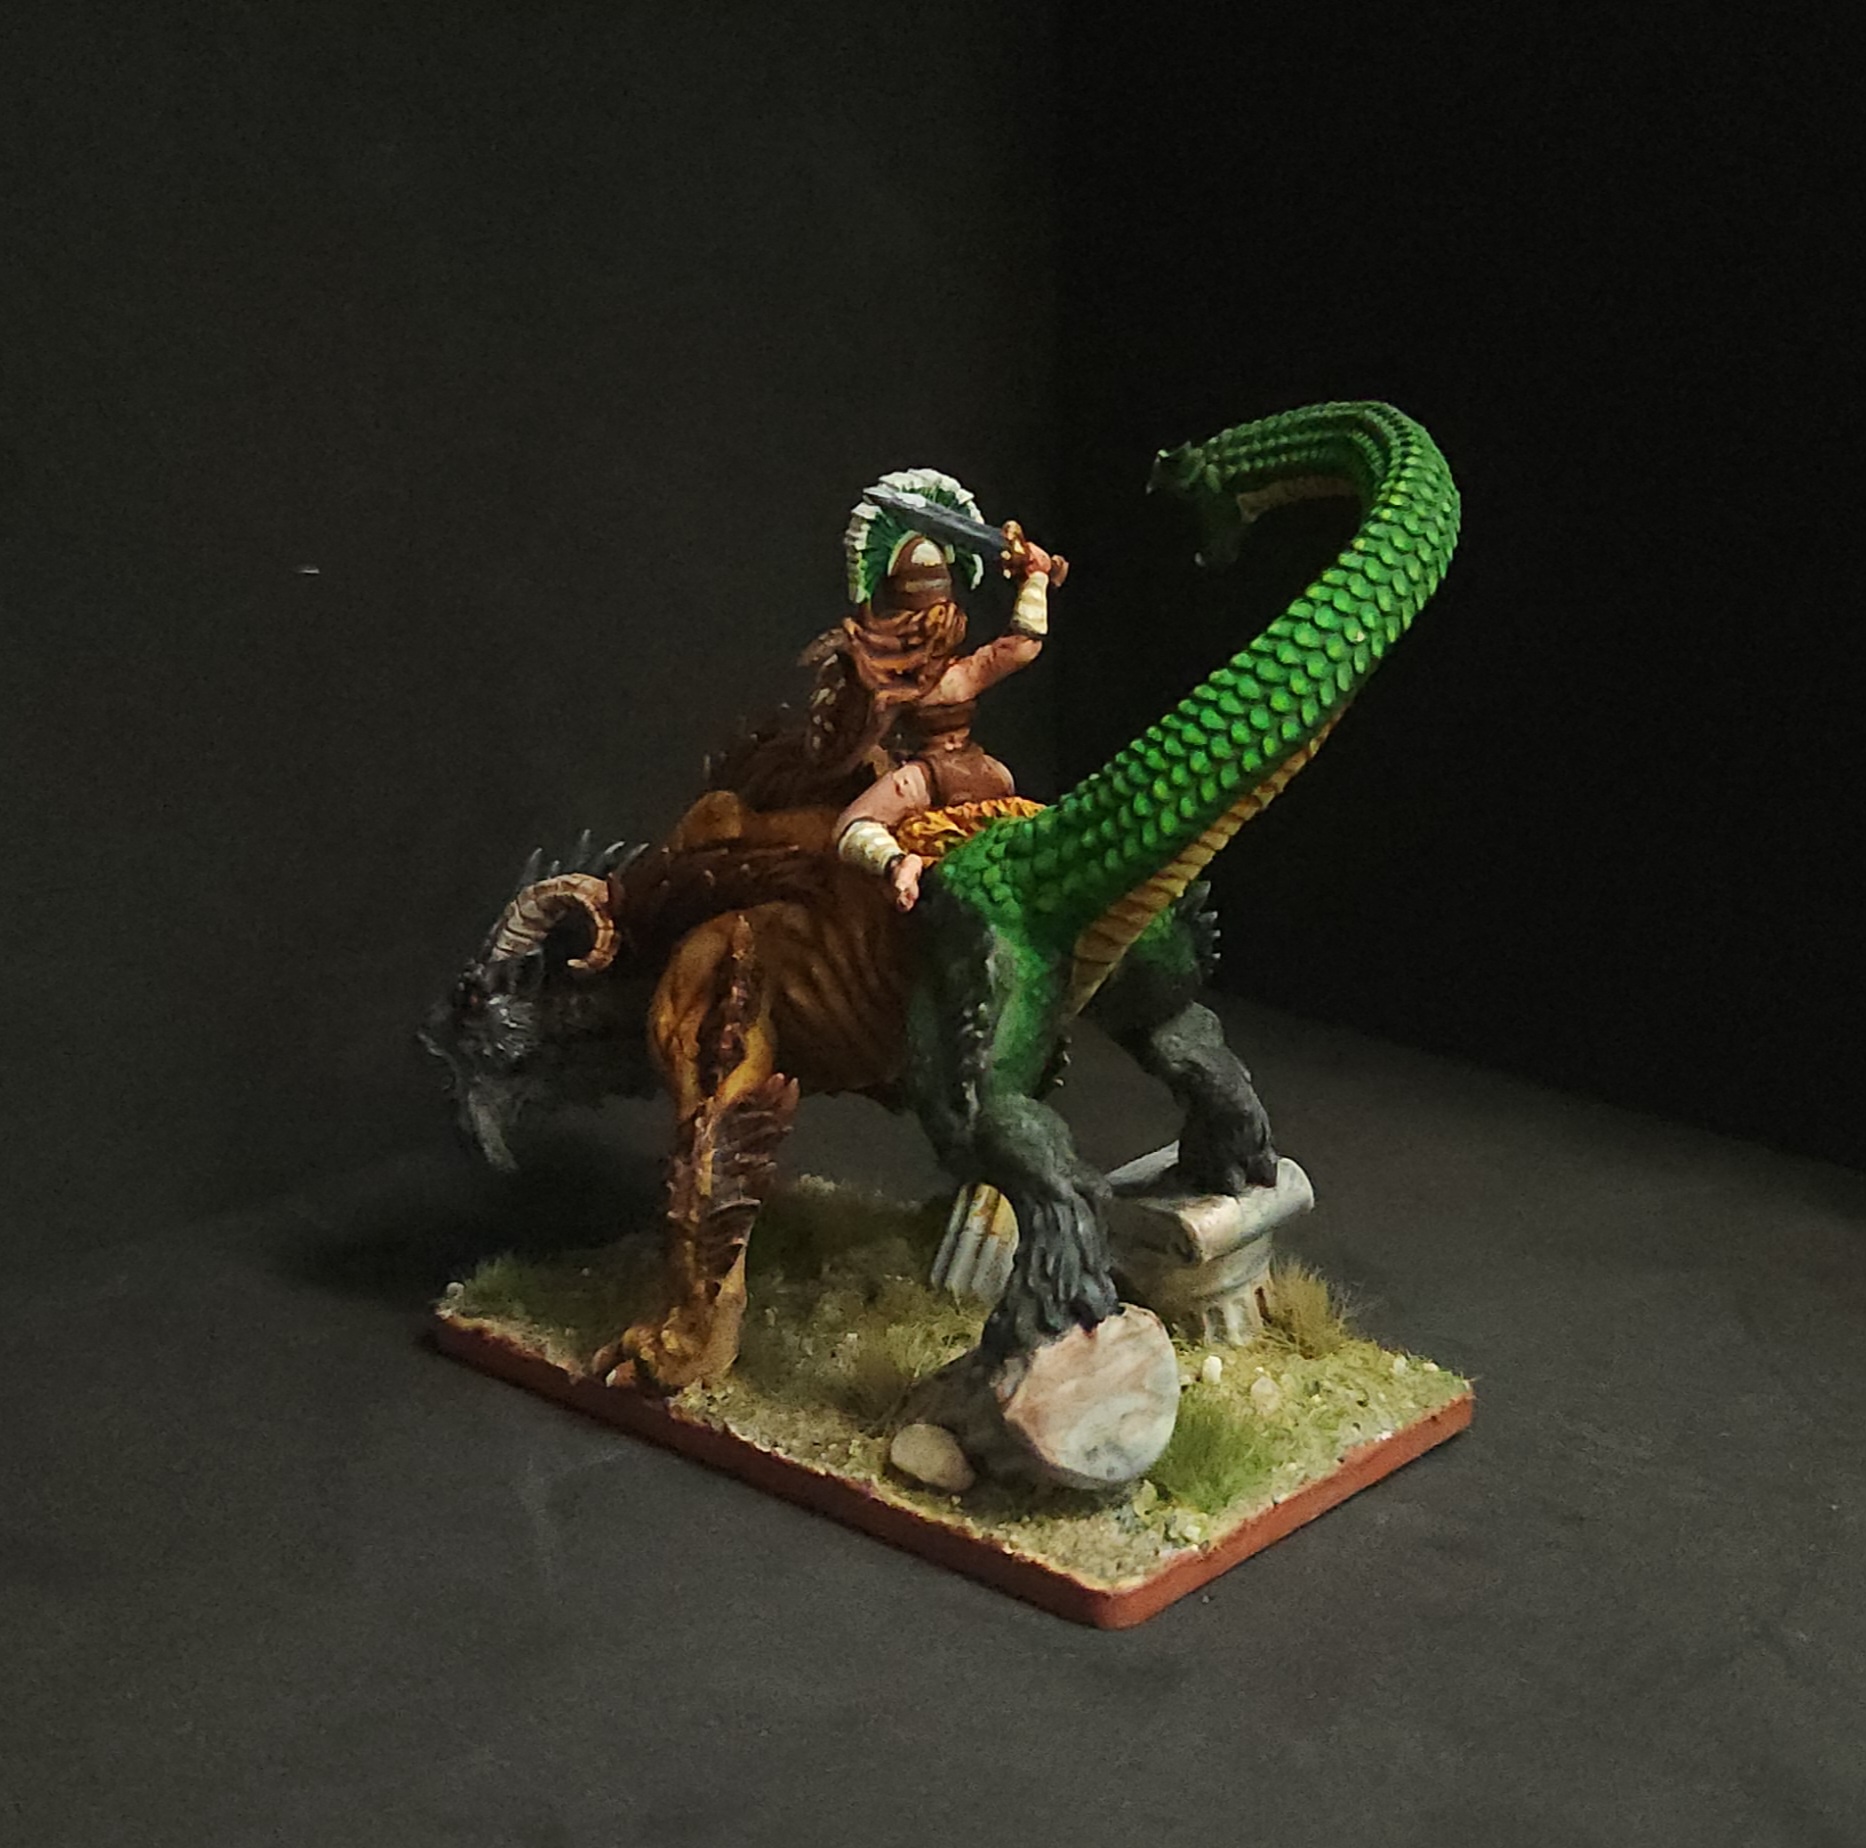
The leader of these Amazons is perched atop a chimera with a golden fleece saddle (it seems that there is more than one out there and may be a Chinese knockoff, who knows). A minor modification using a spare plastic head from the Wargames Atlantic undead chariots was done by cutting out the skull. Her sword arm was repositioned to be more dramatic and avoid the helmet. Her legs were cut near her hips and pinned to accommodate the width of the chimera. Overall, a good figure with little needed done to it to work better.
As far as paint, Speedpaint is a helpful tool for basecoating. Sand Golem for the lion bits, Orc Skin for the snake and Gravelord Grey for the goat parts made the beast easy to start feeling less daunting. From the overall mass, it felt good for the detail work to be done which made the mini pop. I feel happy about the end result and think there is understanding by some 3D sculptors that Death by Detail can hurt your models.
I must hate myself
The downside to this is I now have to run NMM for my foot troops to match the bronze helmet of the Warlord *sigh*. In happy little accident fashion the winning colors are as follows:
Vallejo Model Color
Saddle Brown 70940
Buff 70.976
Pale sand 70.837
Not at all cute or cuddly
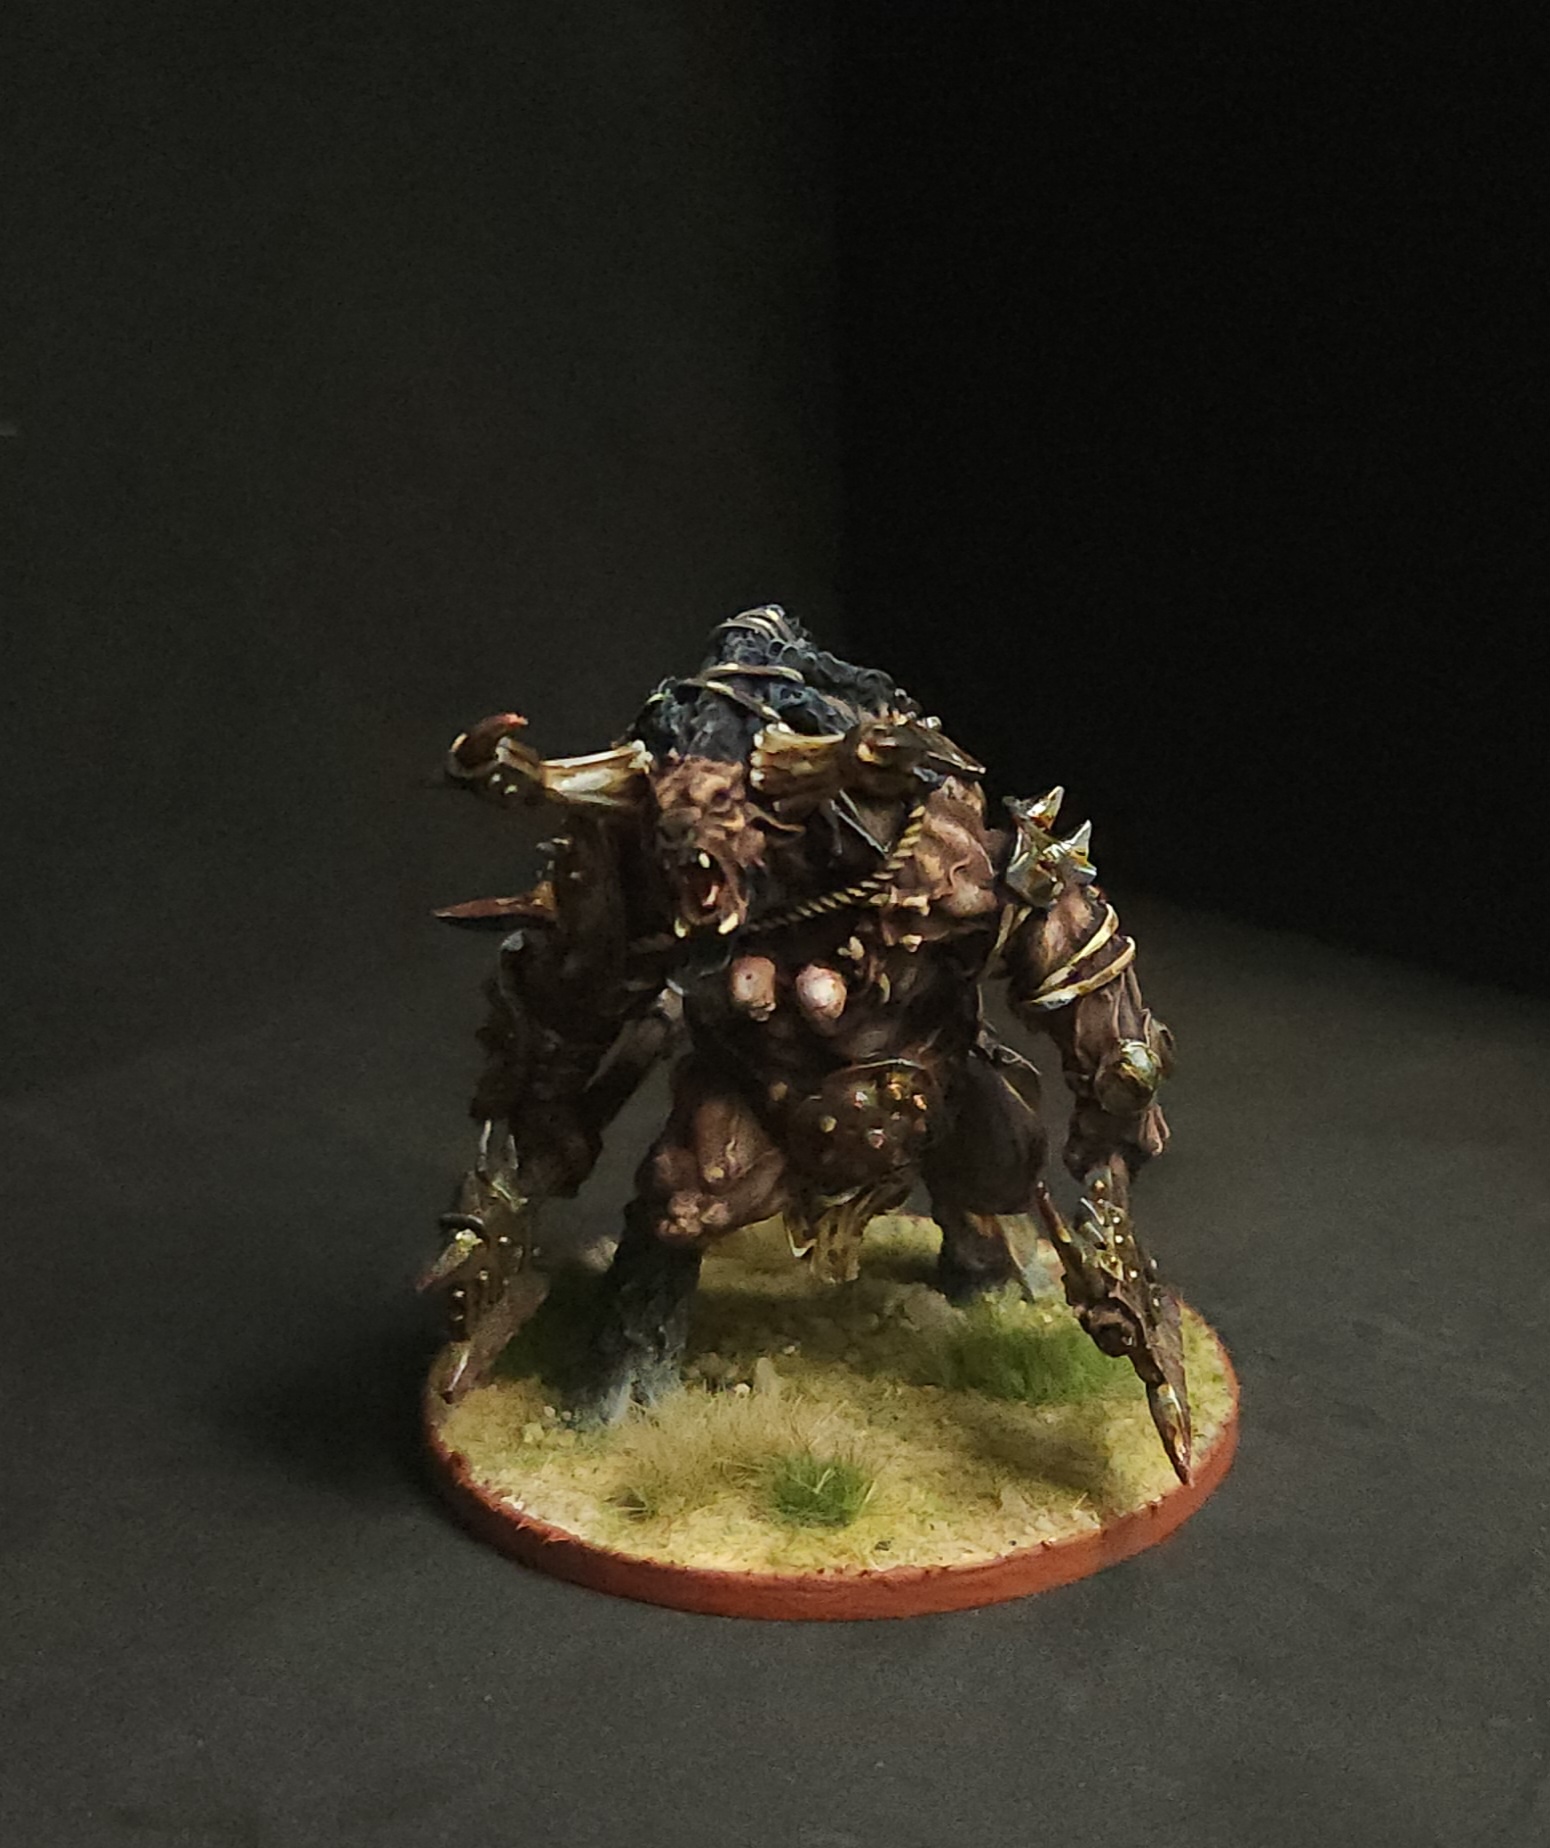
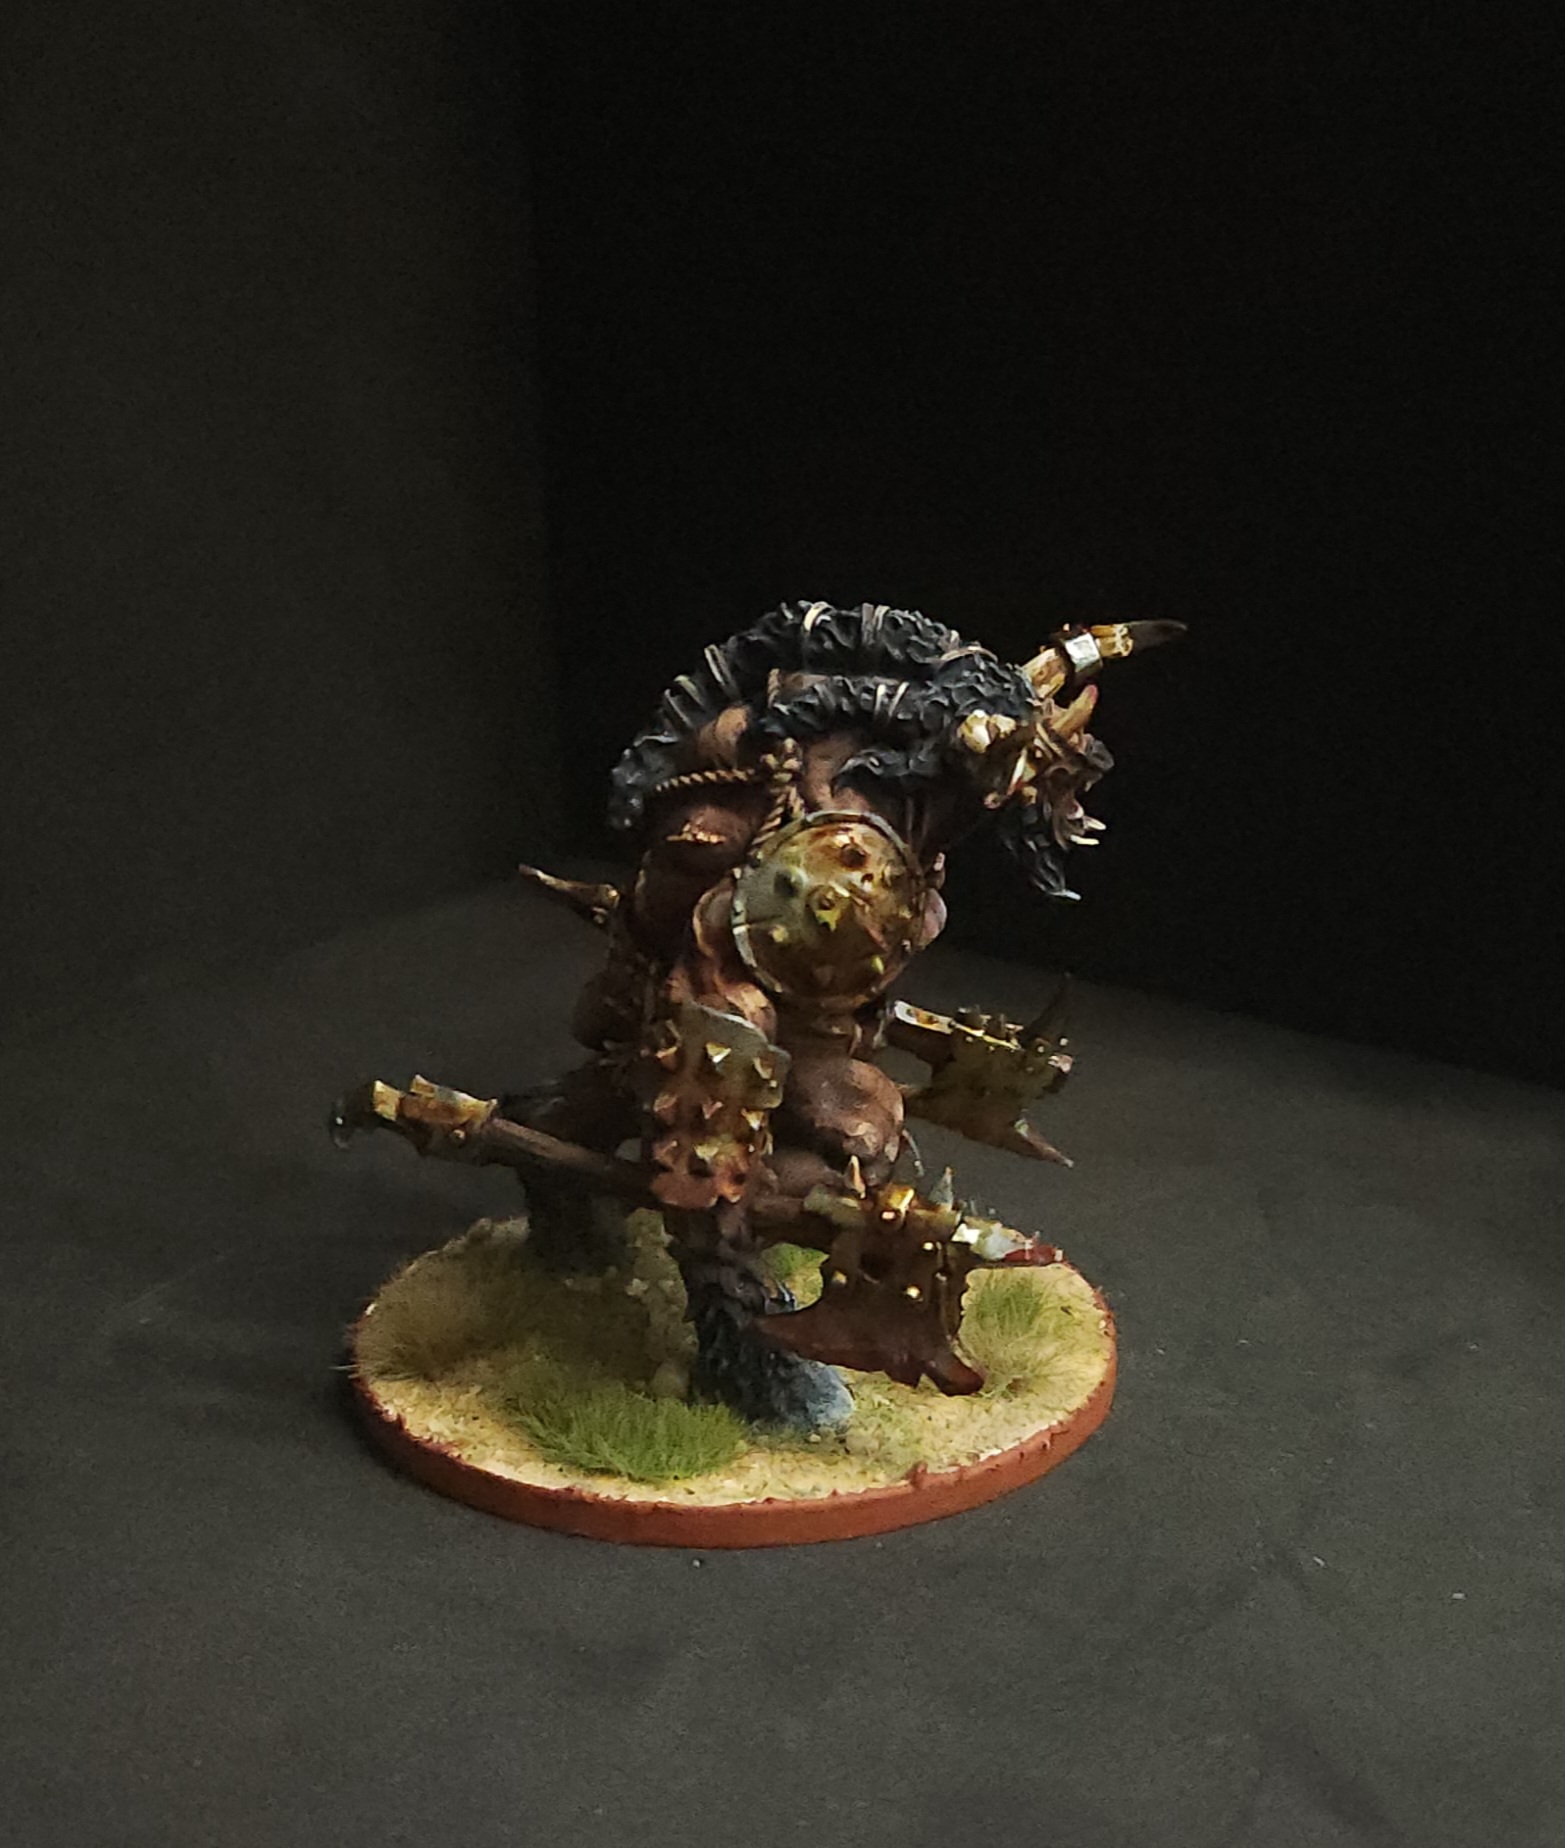
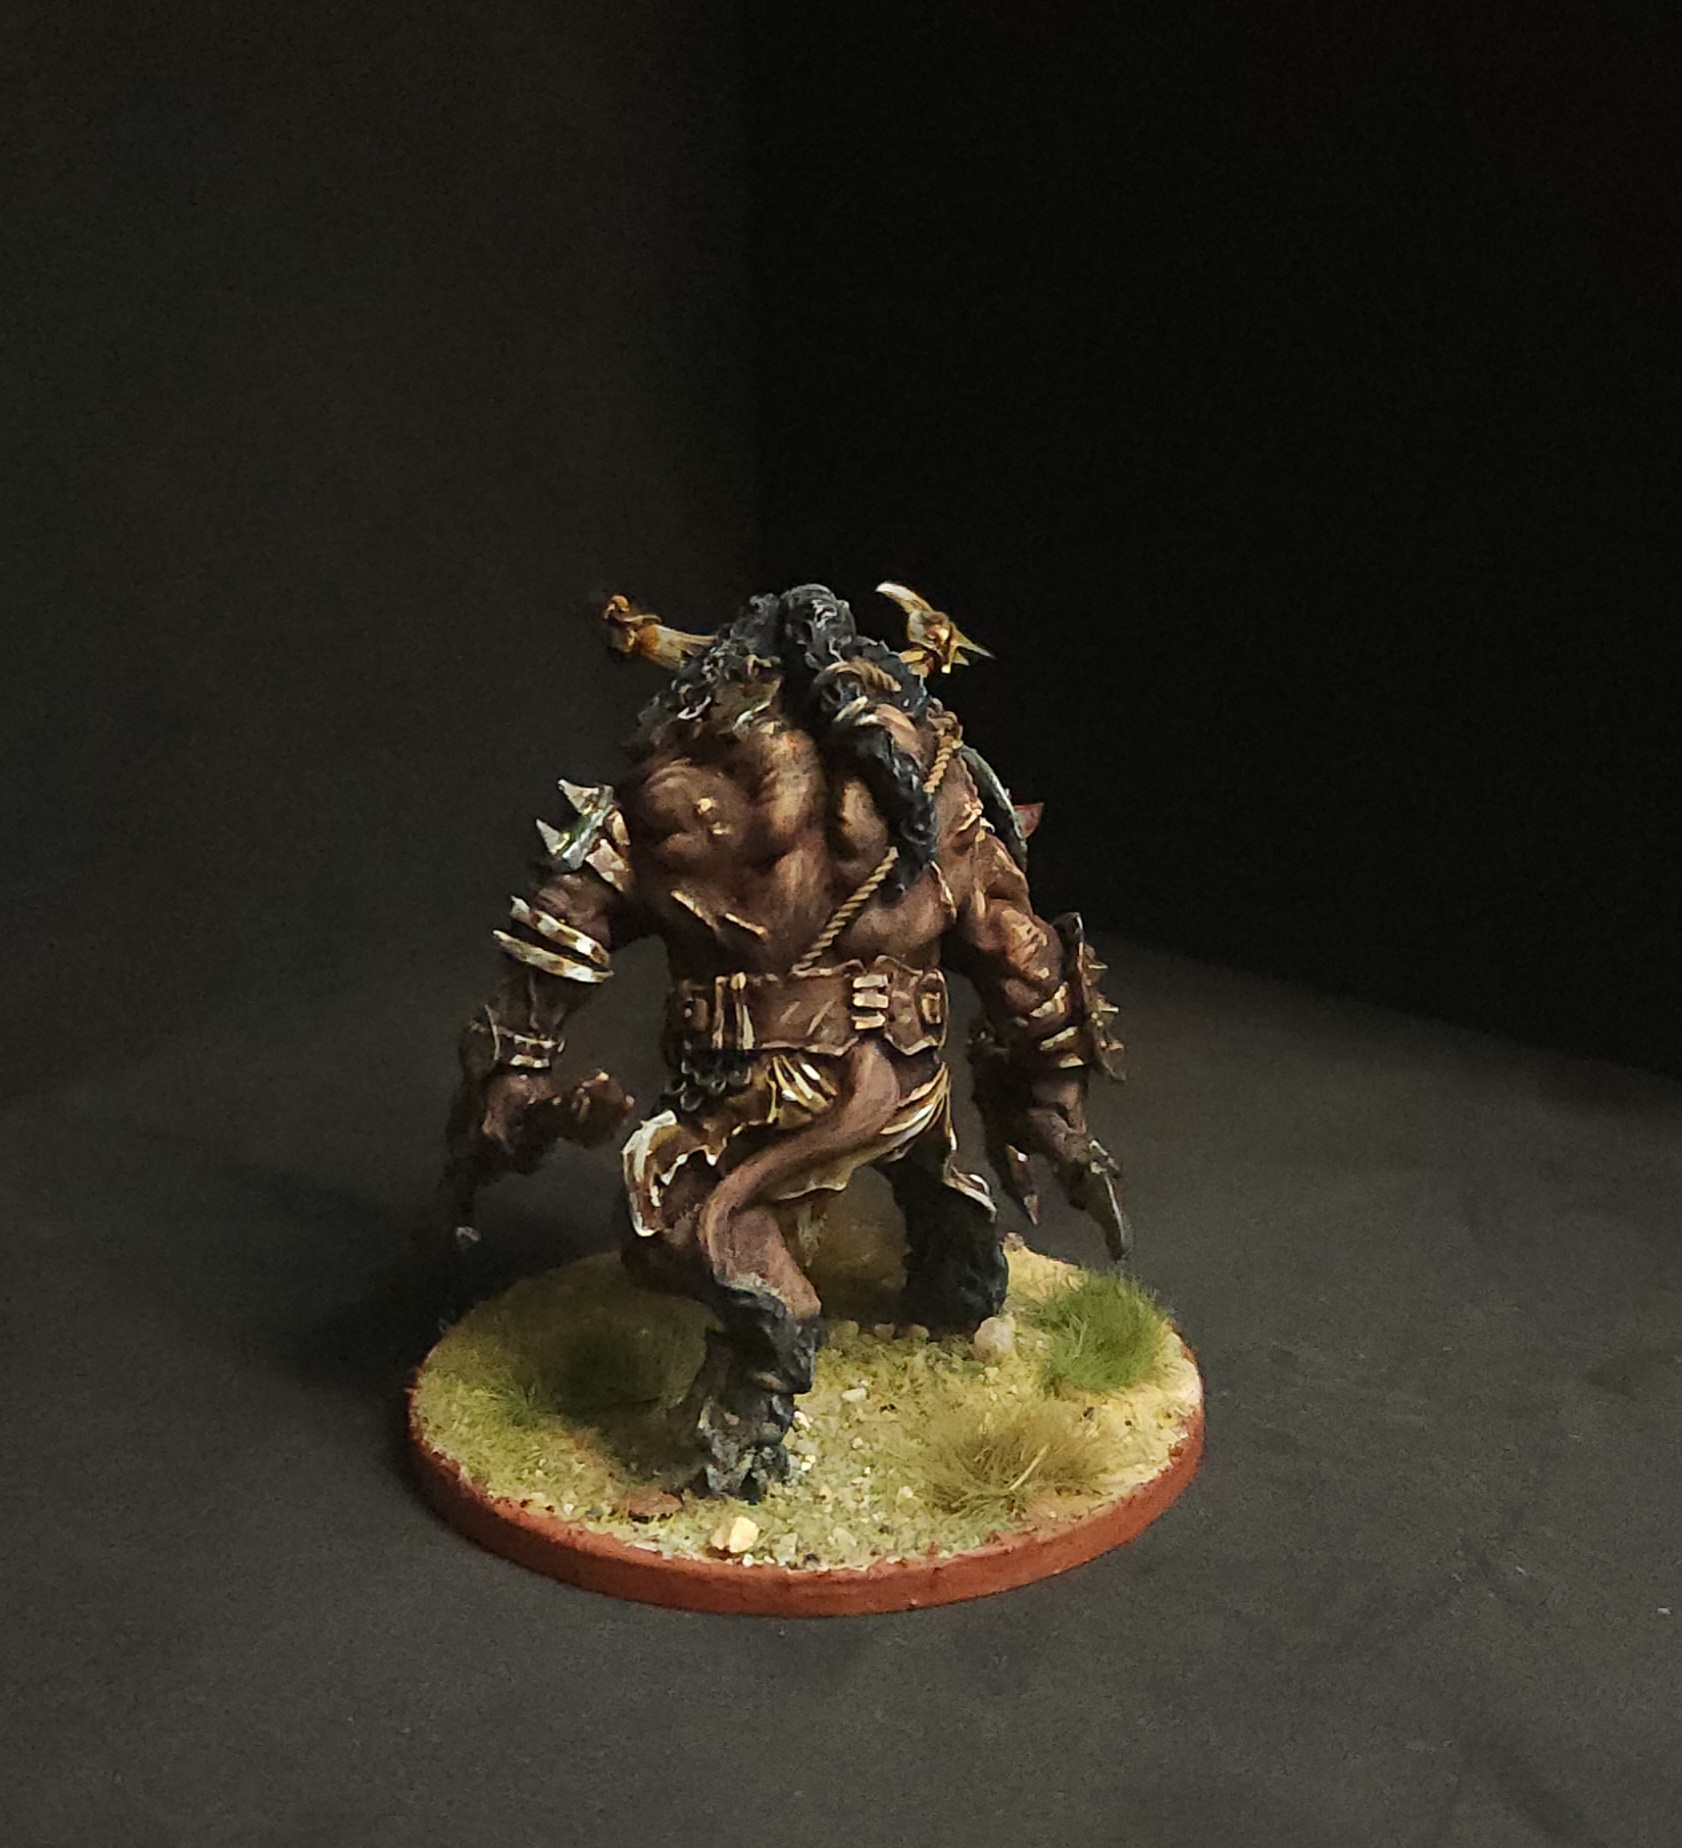
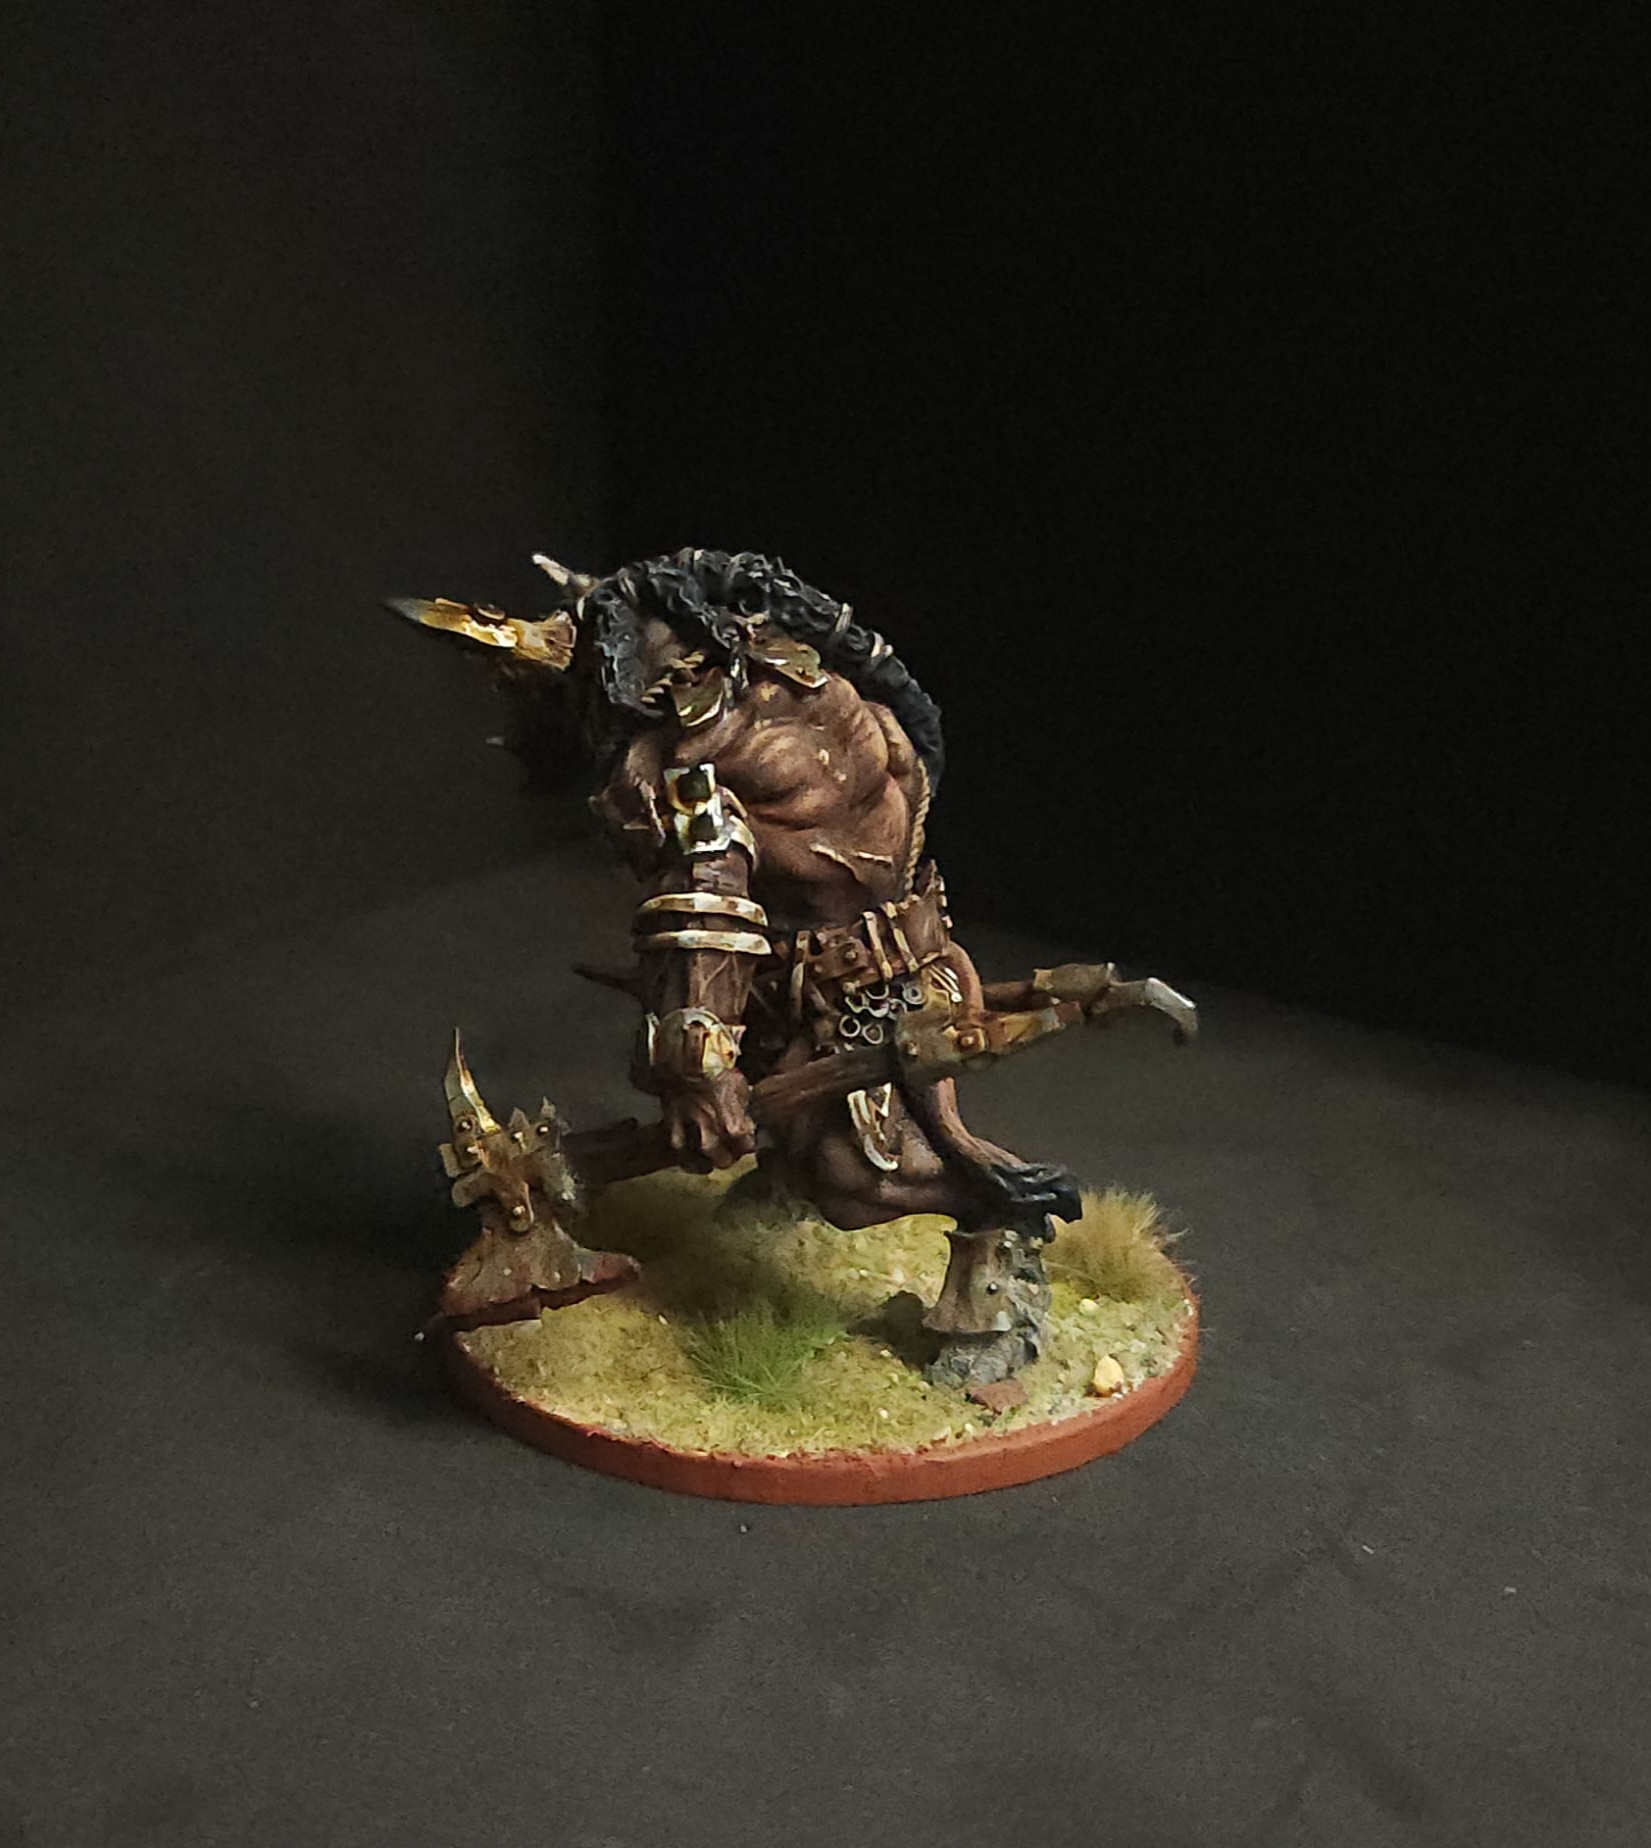
The minotaur has been completed. It’s not a great painted piece but it works for what I need. I can say that having it done is better than what it was before so I’m happy. I did what I could to avoid NMM where I could. I’ll keep at this and feed myself aspirin for the rest of the painting.
I’ll complain about more 3D models and sculpting in future as I found things to add to the army. Creativity is a double edged sword


![StarCraft Tabletop Miniatures Game Pre-Orders Live Now [Updated]](https://images.beastsofwar.com/2026/03/starcraft-tmg-news-cover-600-338.jpg)


