


Manda’s (Amachan) ‘Oiling Up’ Project


Recommendations: 1021
About the Project
In this project I will go through some experimentation with painting in the Grimdark style and using those lessons learned to develop my own, more gritty paint style. I will be using oil paints for the first time in combination with acrylics, enamels and some wax paints, hence the title...
Related Genre: General
This Project is Active
Chronic Illnesses Suck....
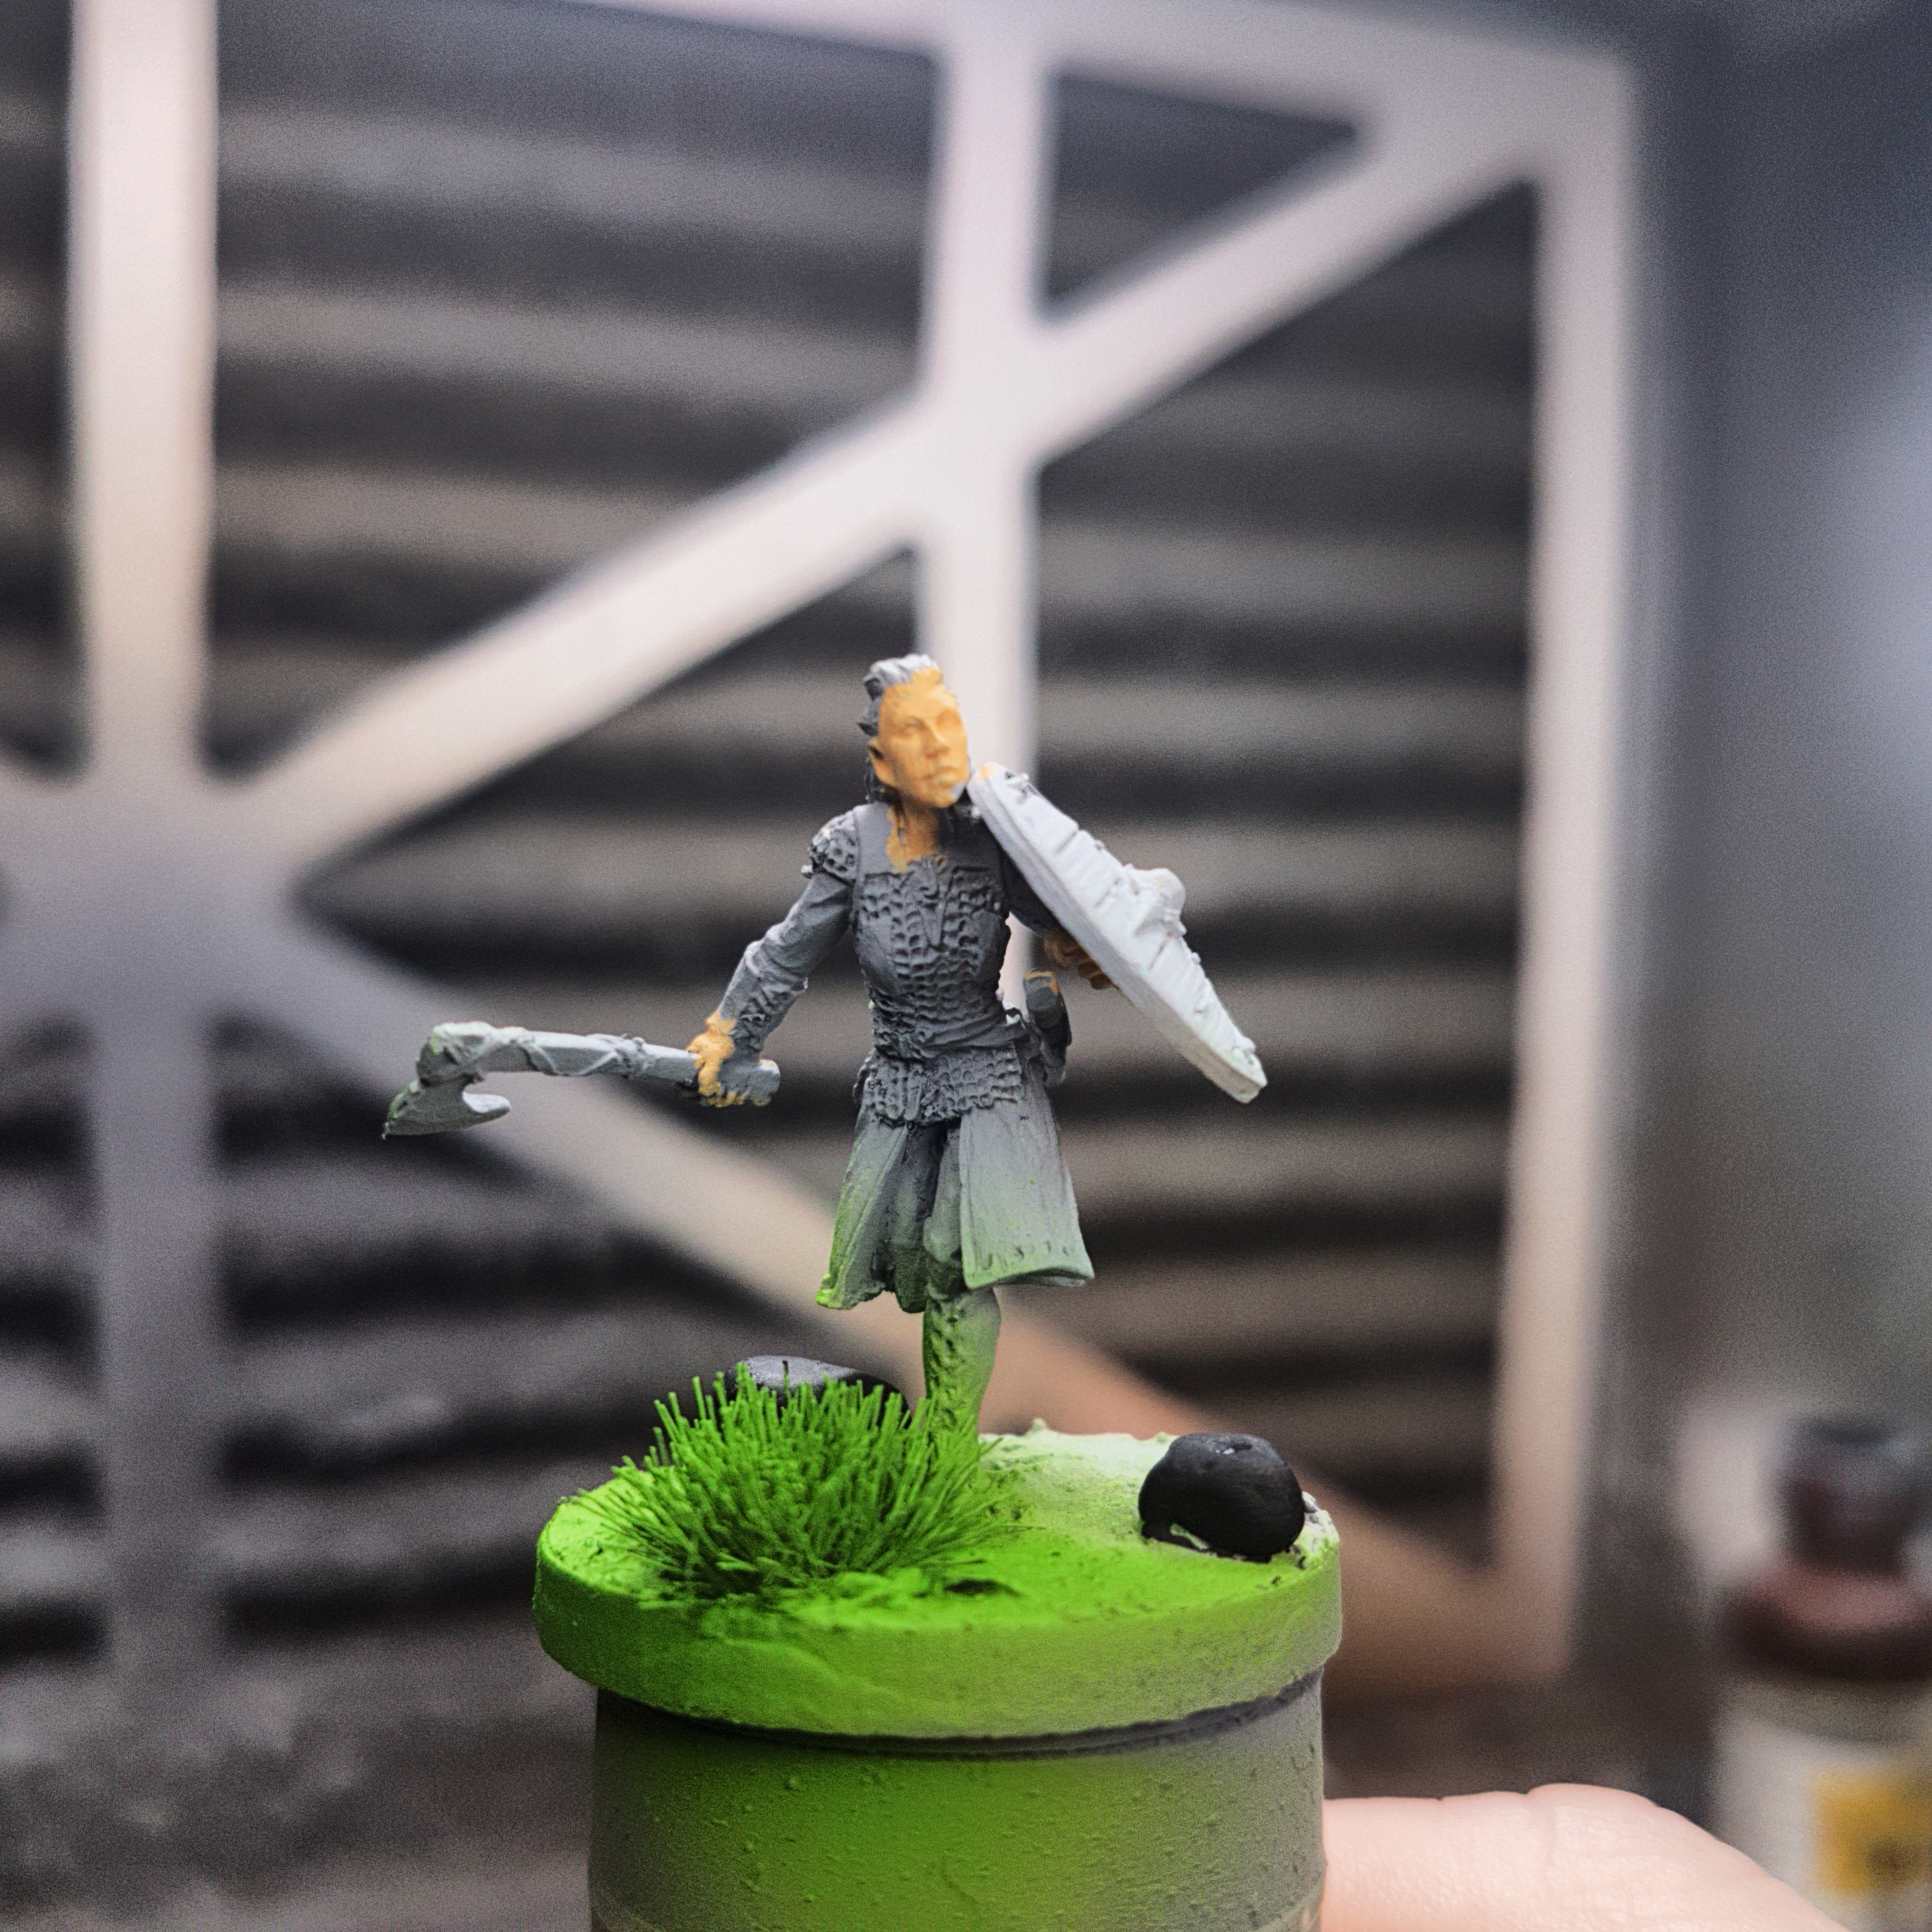
I tried doing a little bit of painting and this is all I got done in half an hour. 😩 Chronic illnesses suck…..
Stupid Duplicate Post..... 😩
Stupid Duplicate Post….. 😩
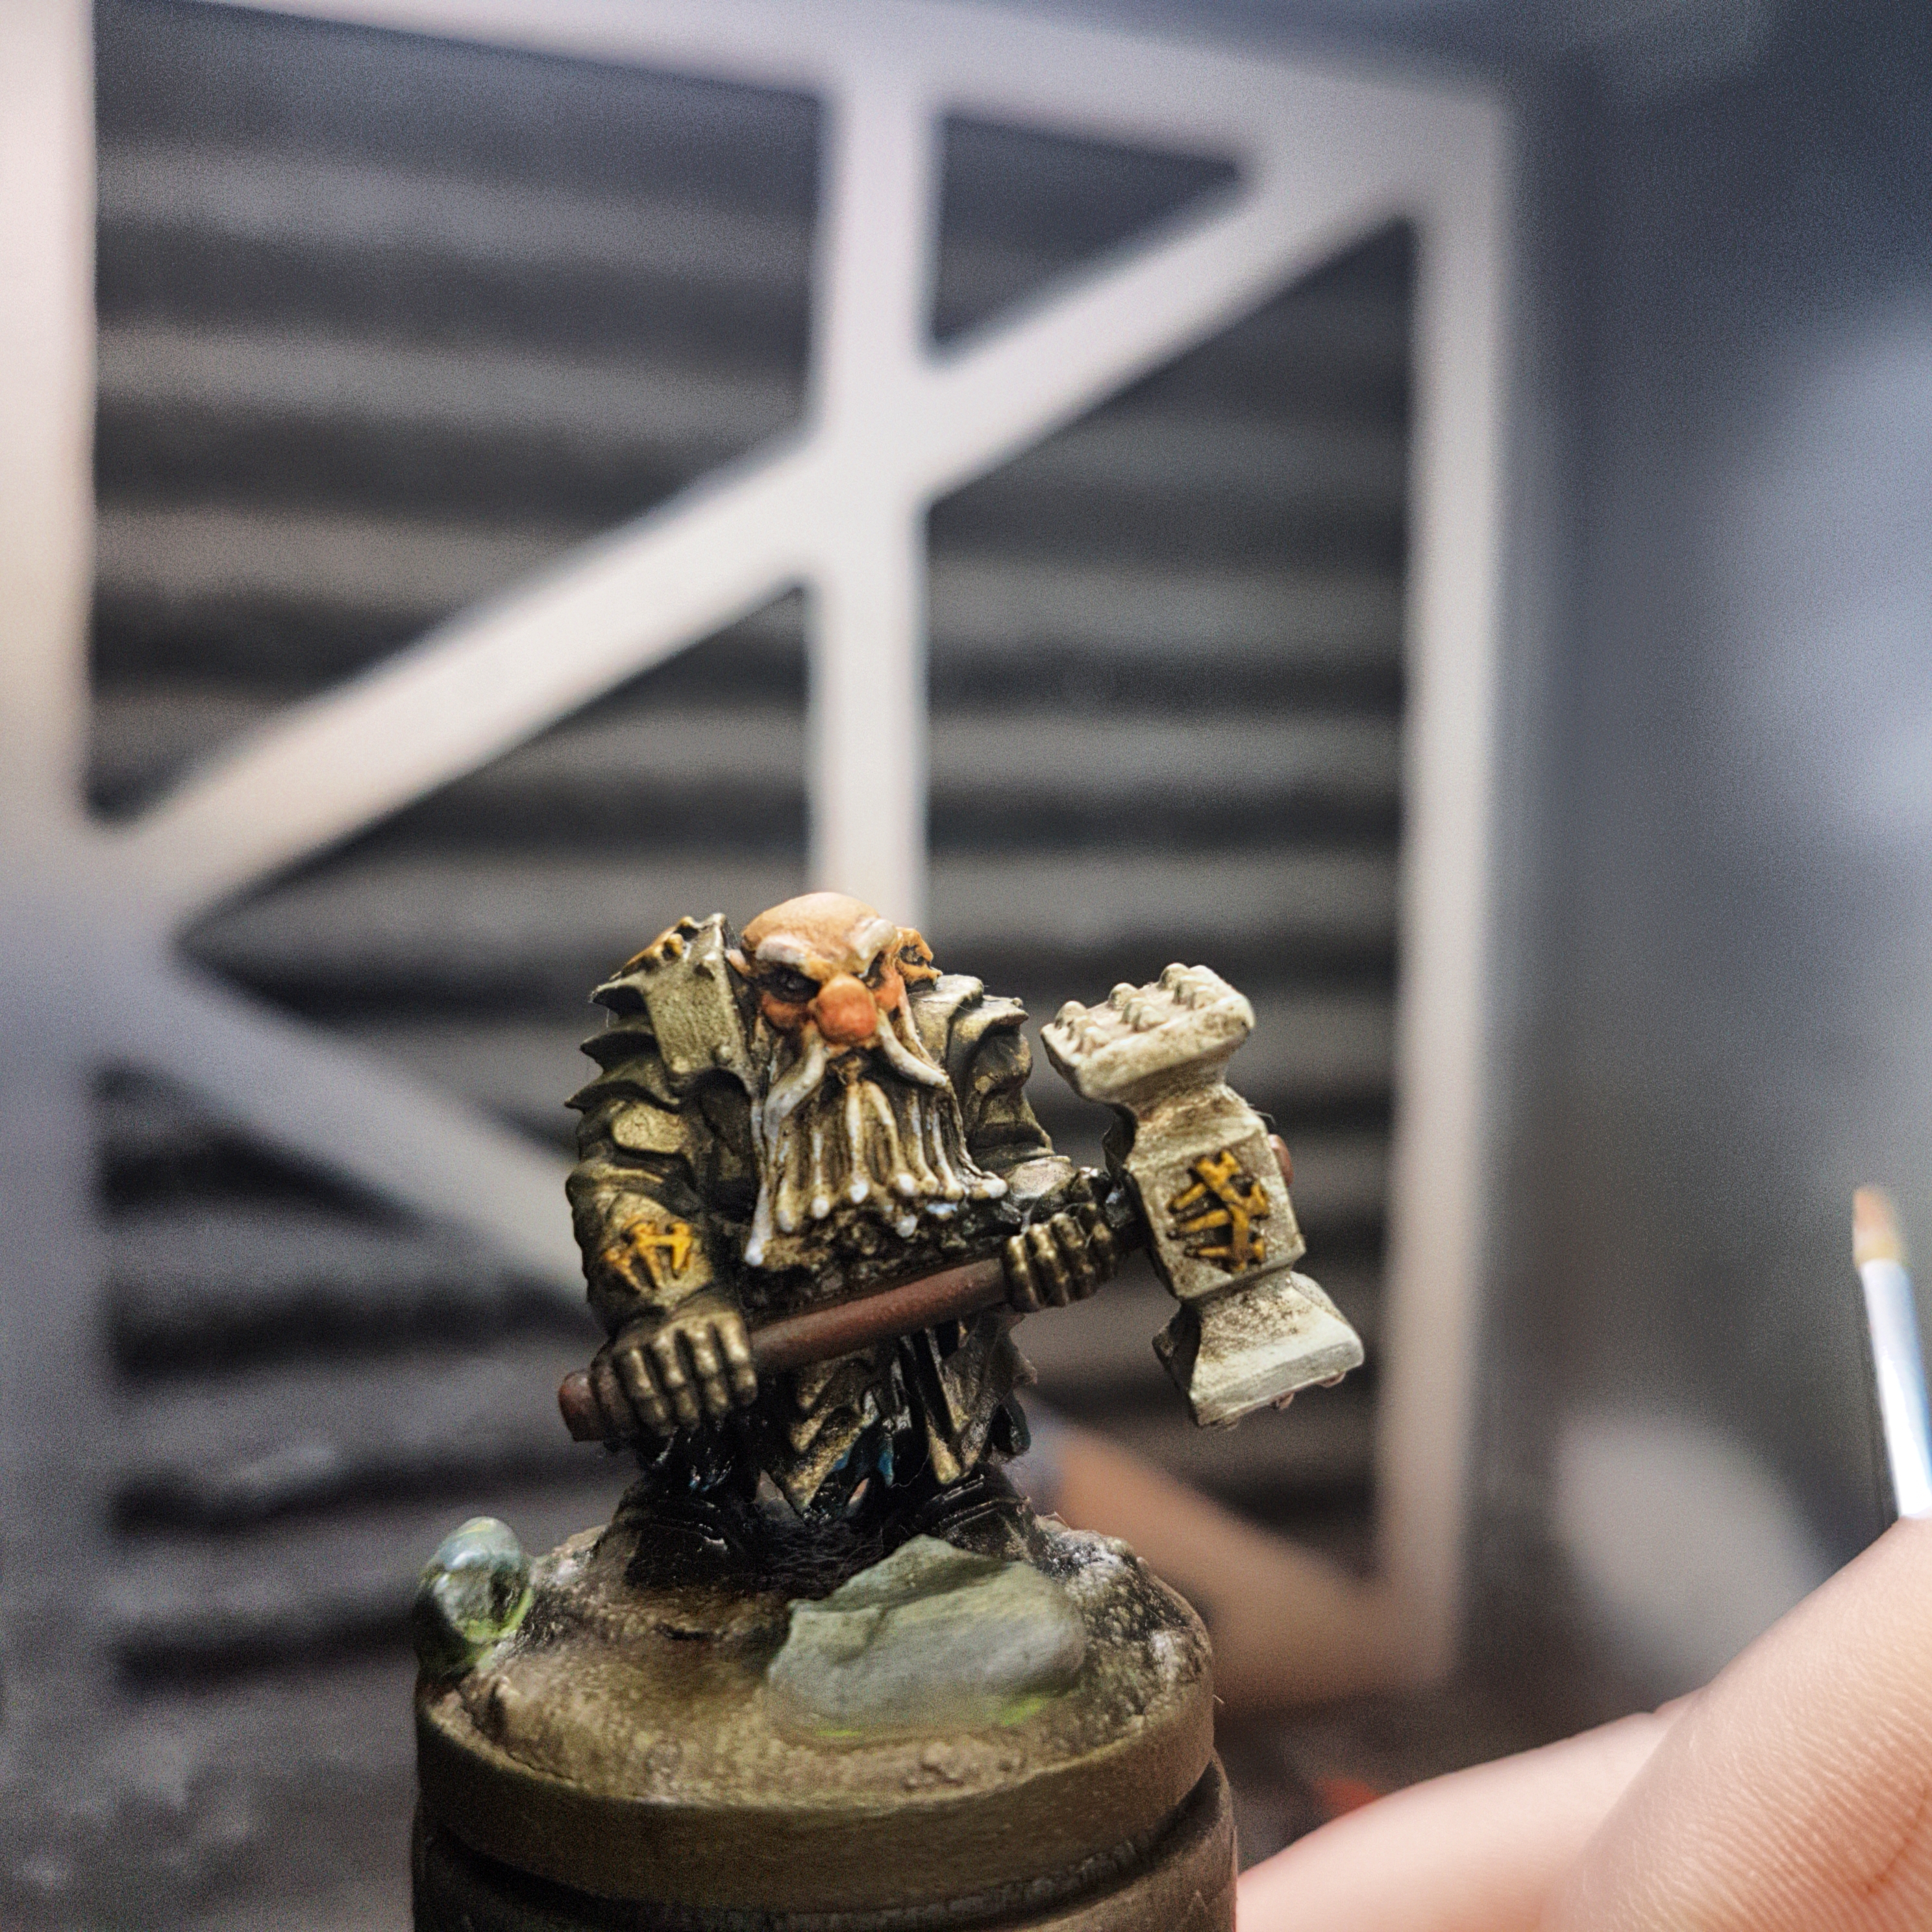
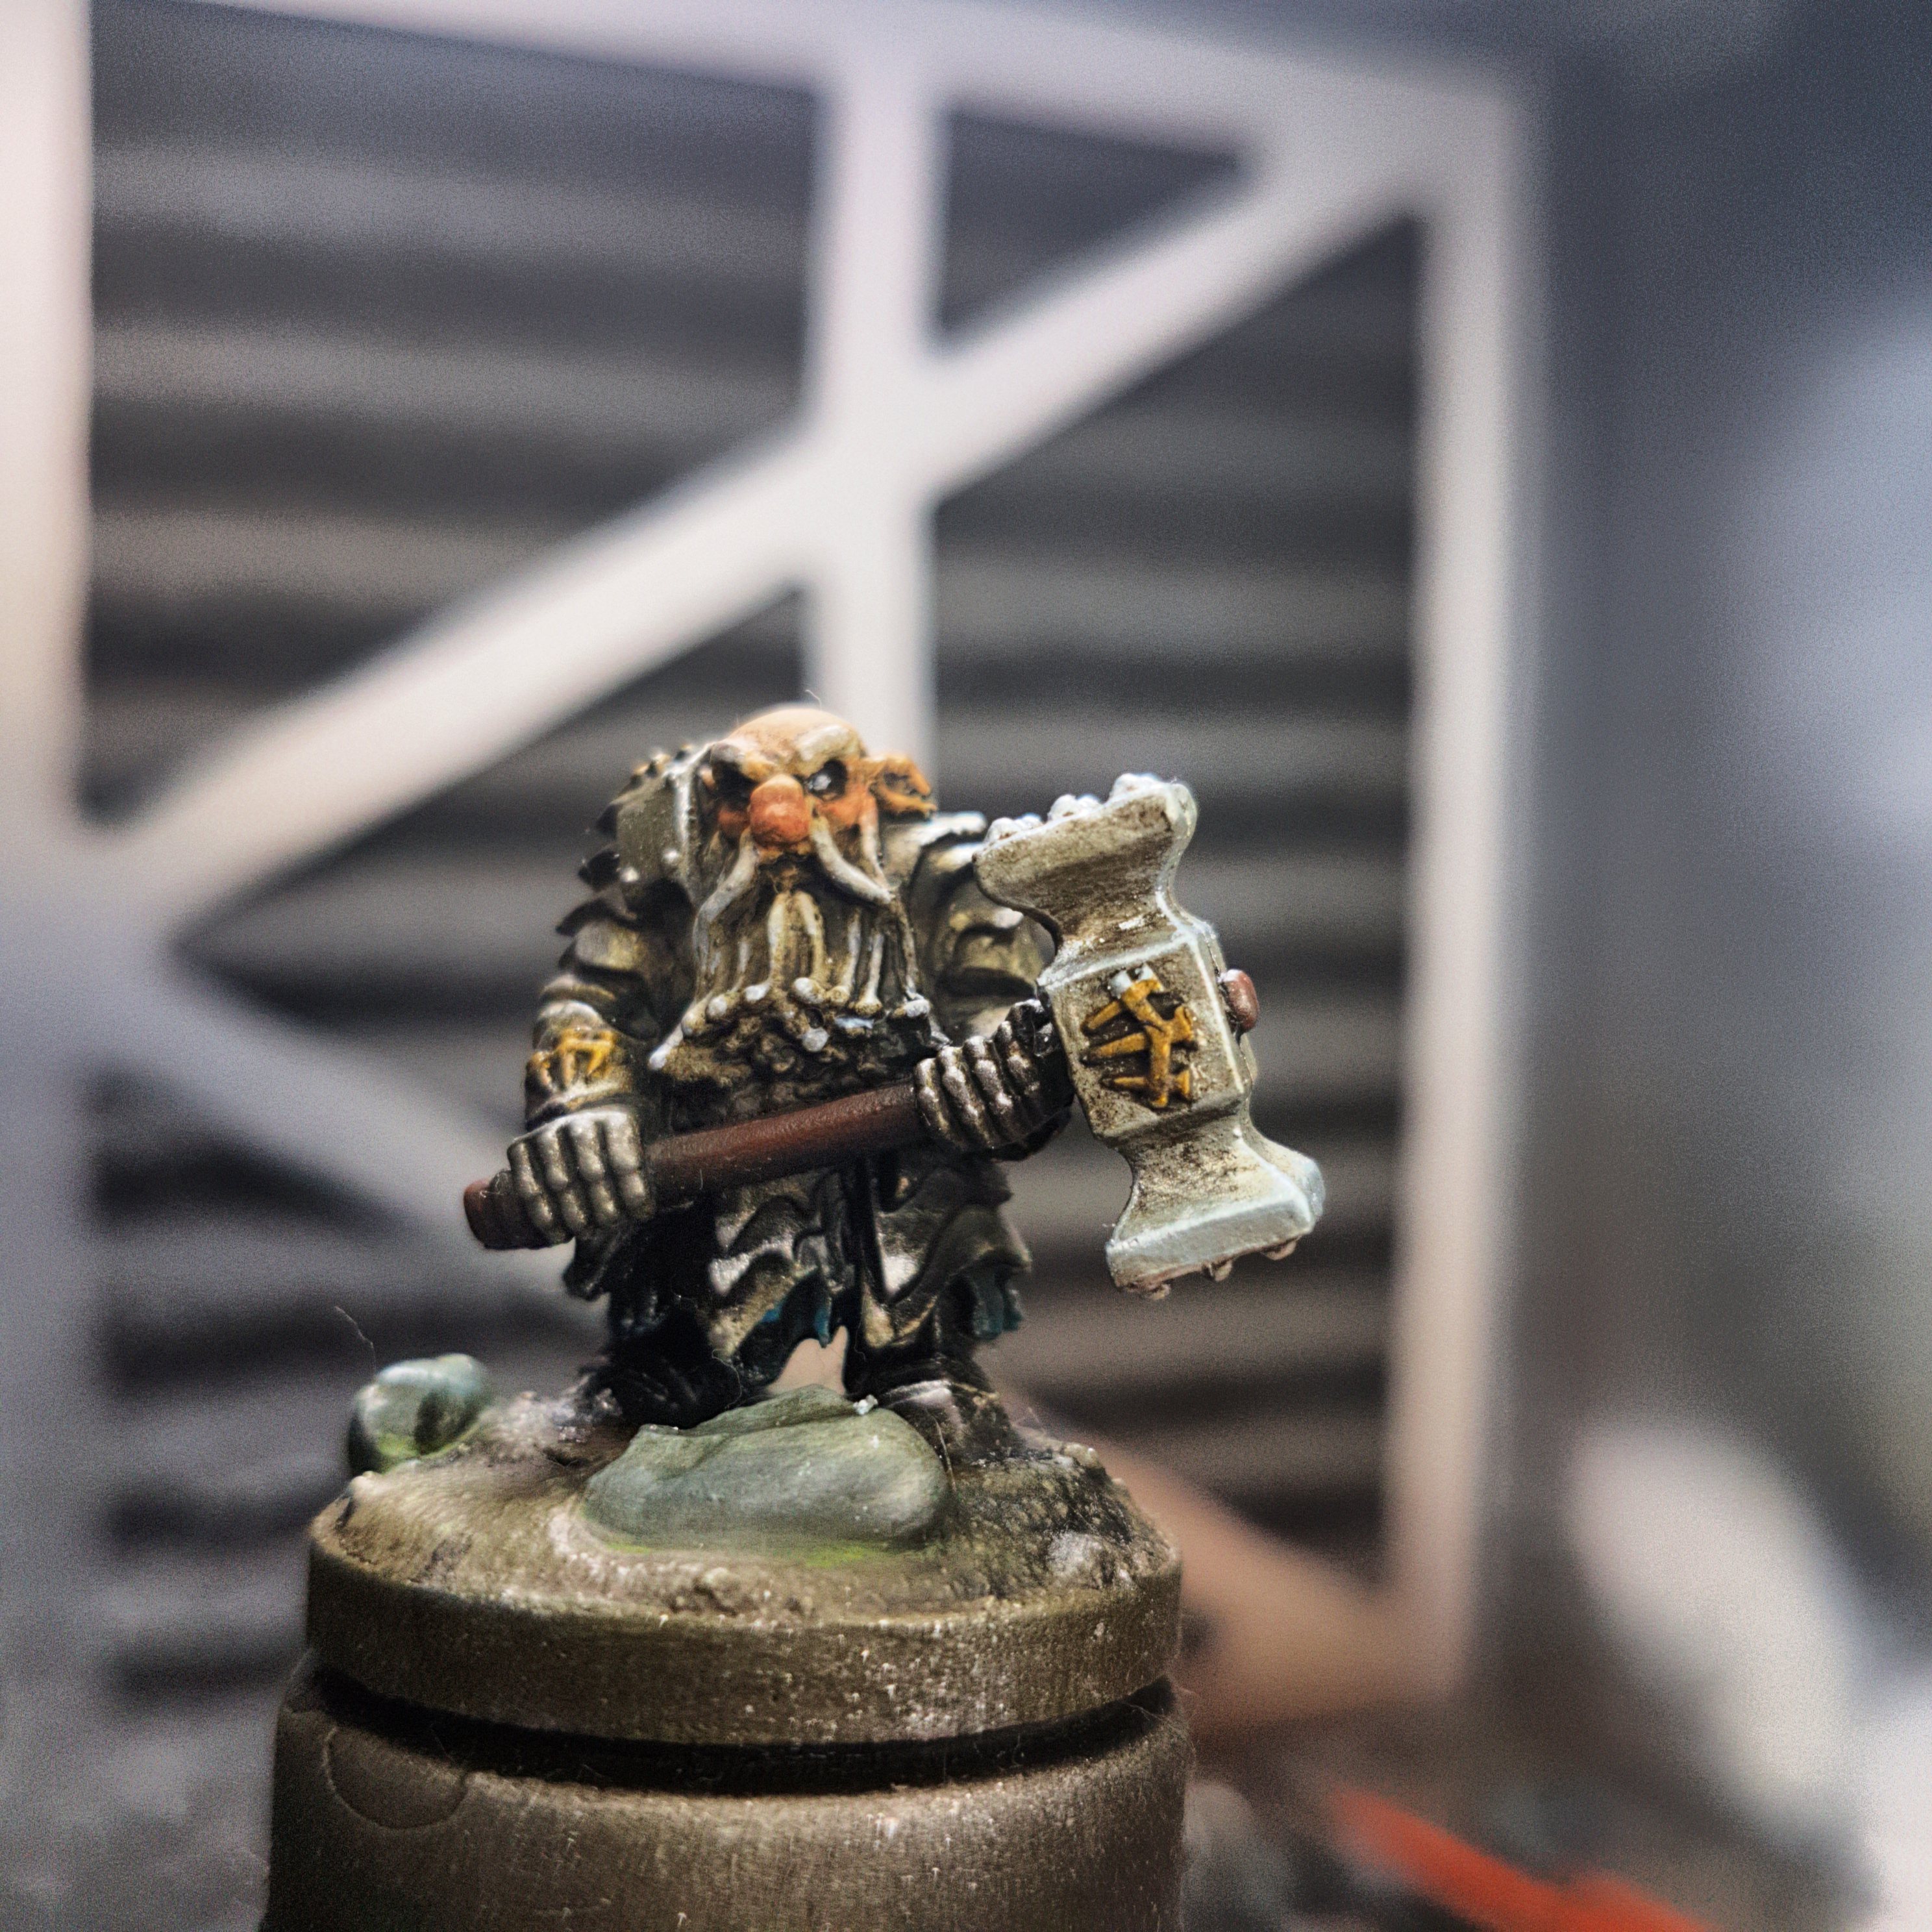
Dark Dwarf Pounder
The Dark Dwarf Pounder from Reaper Miniatures is done.
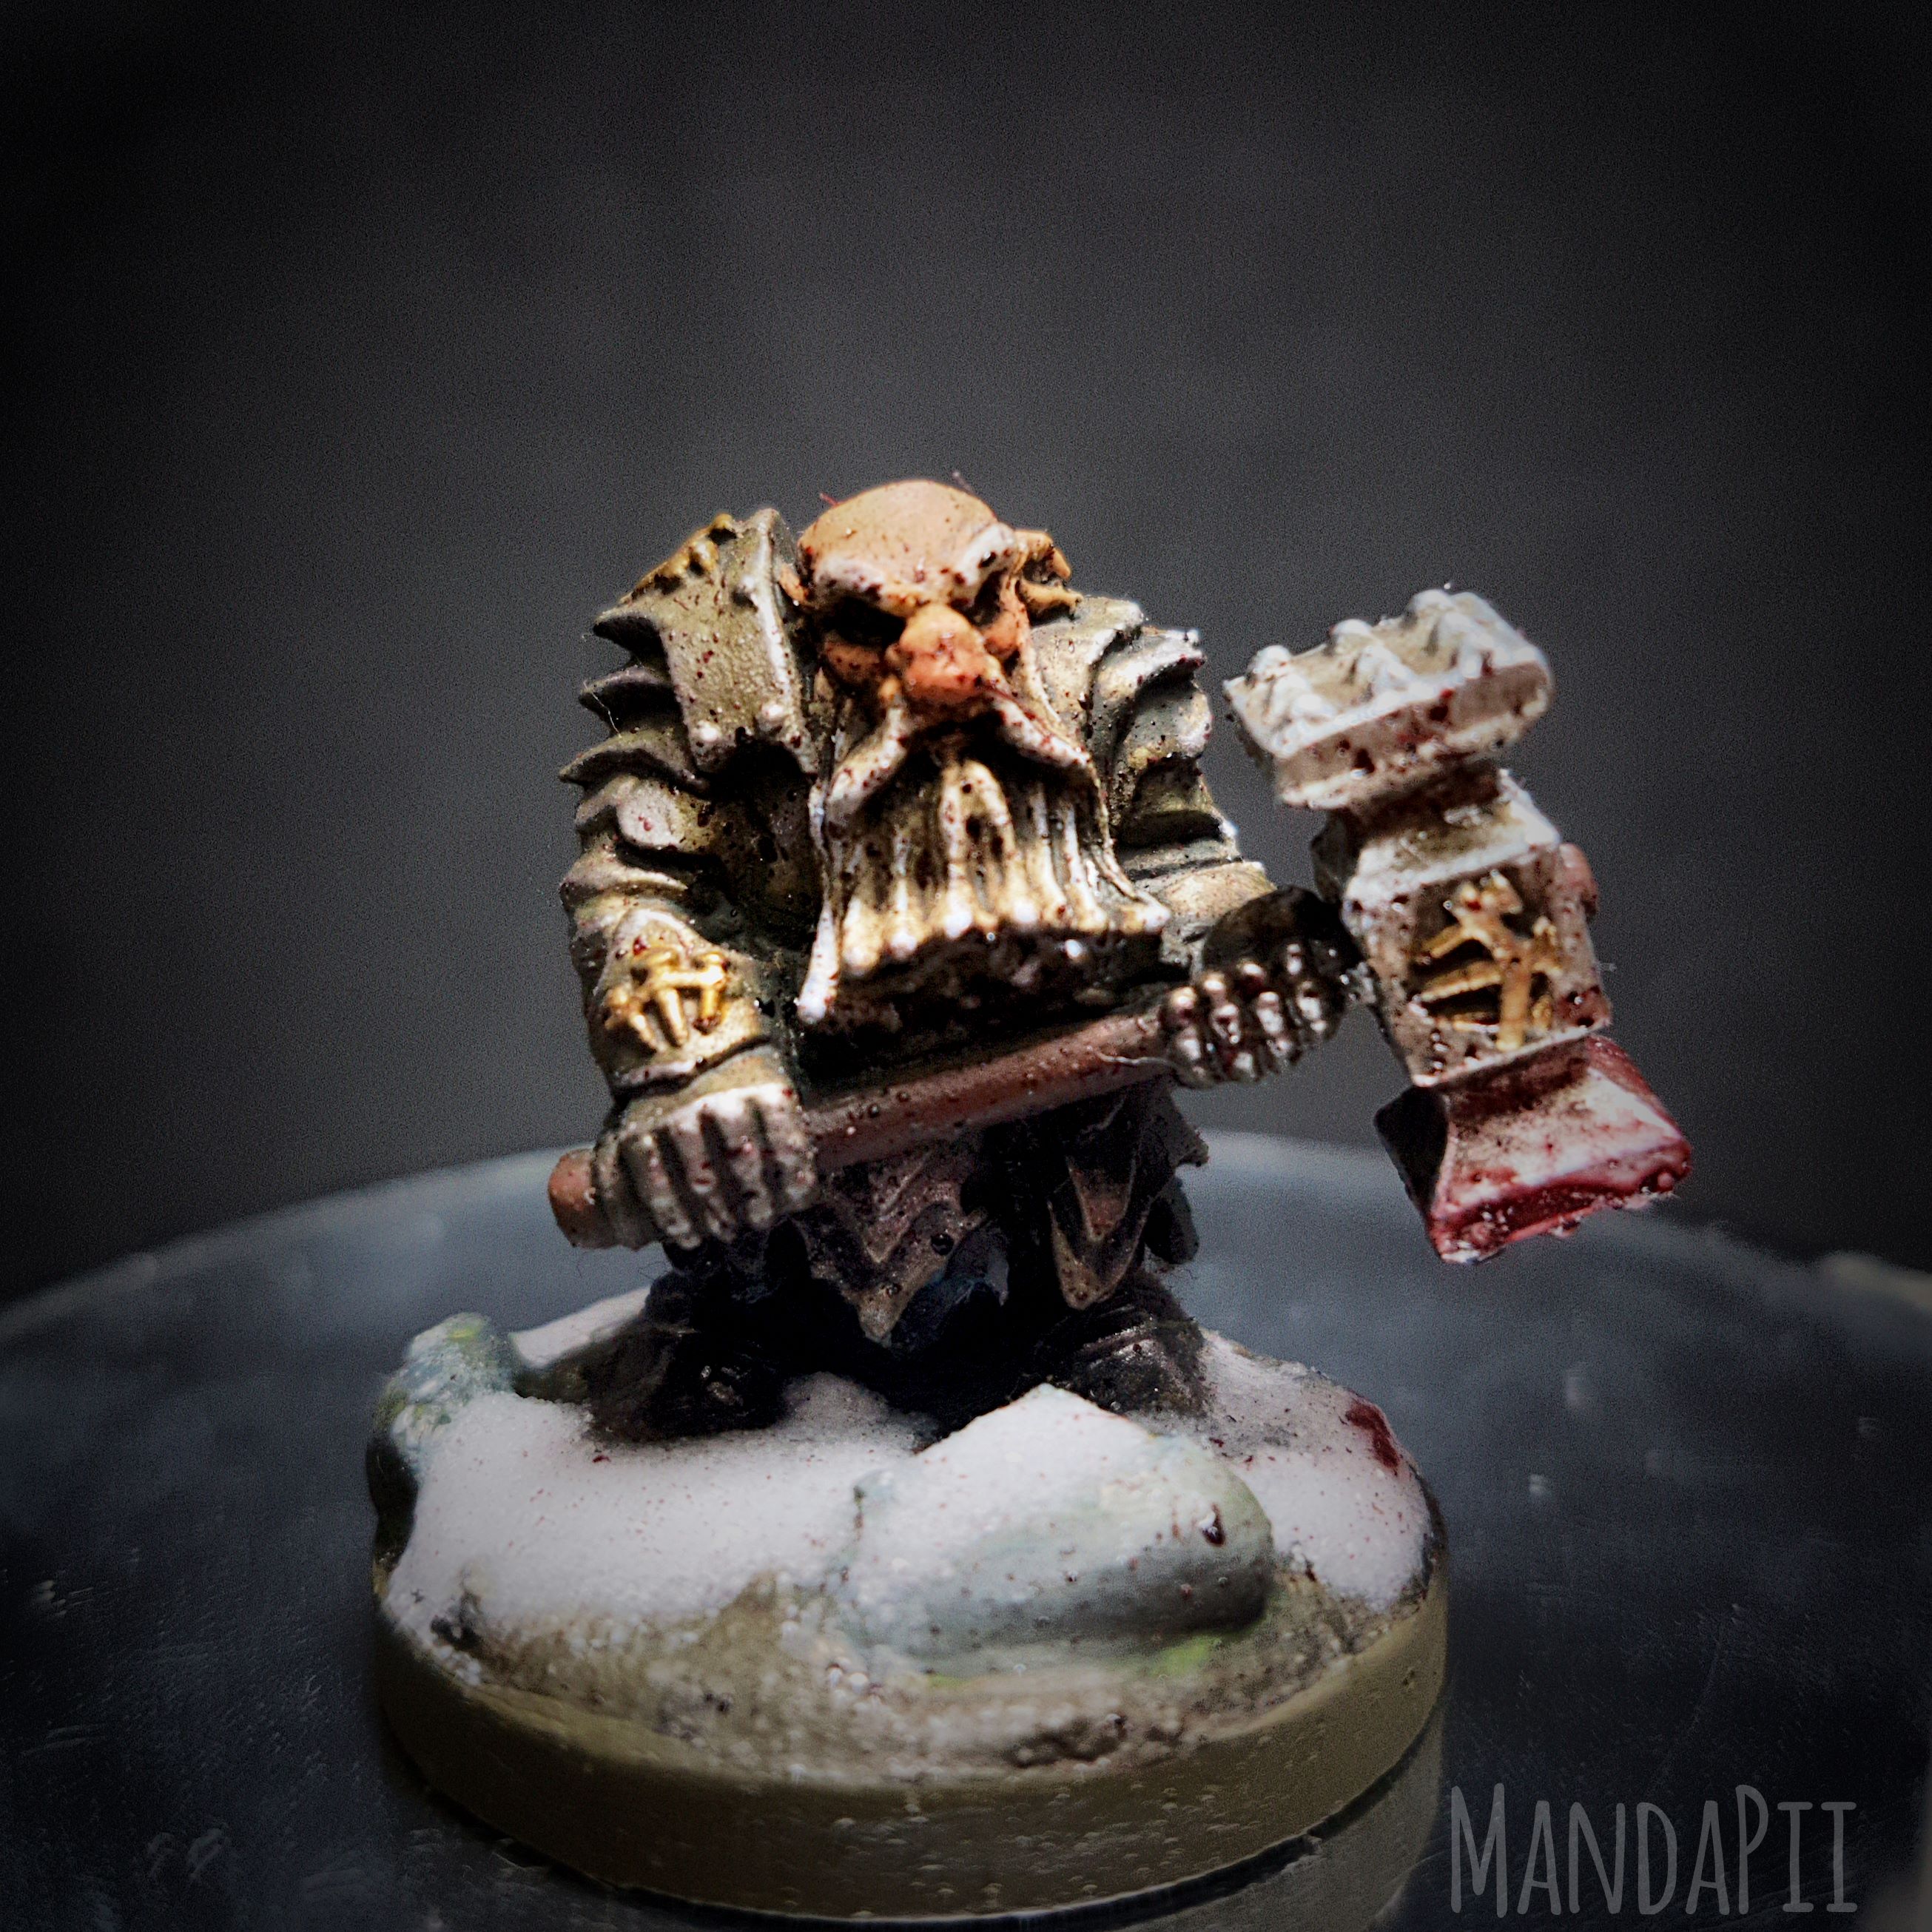
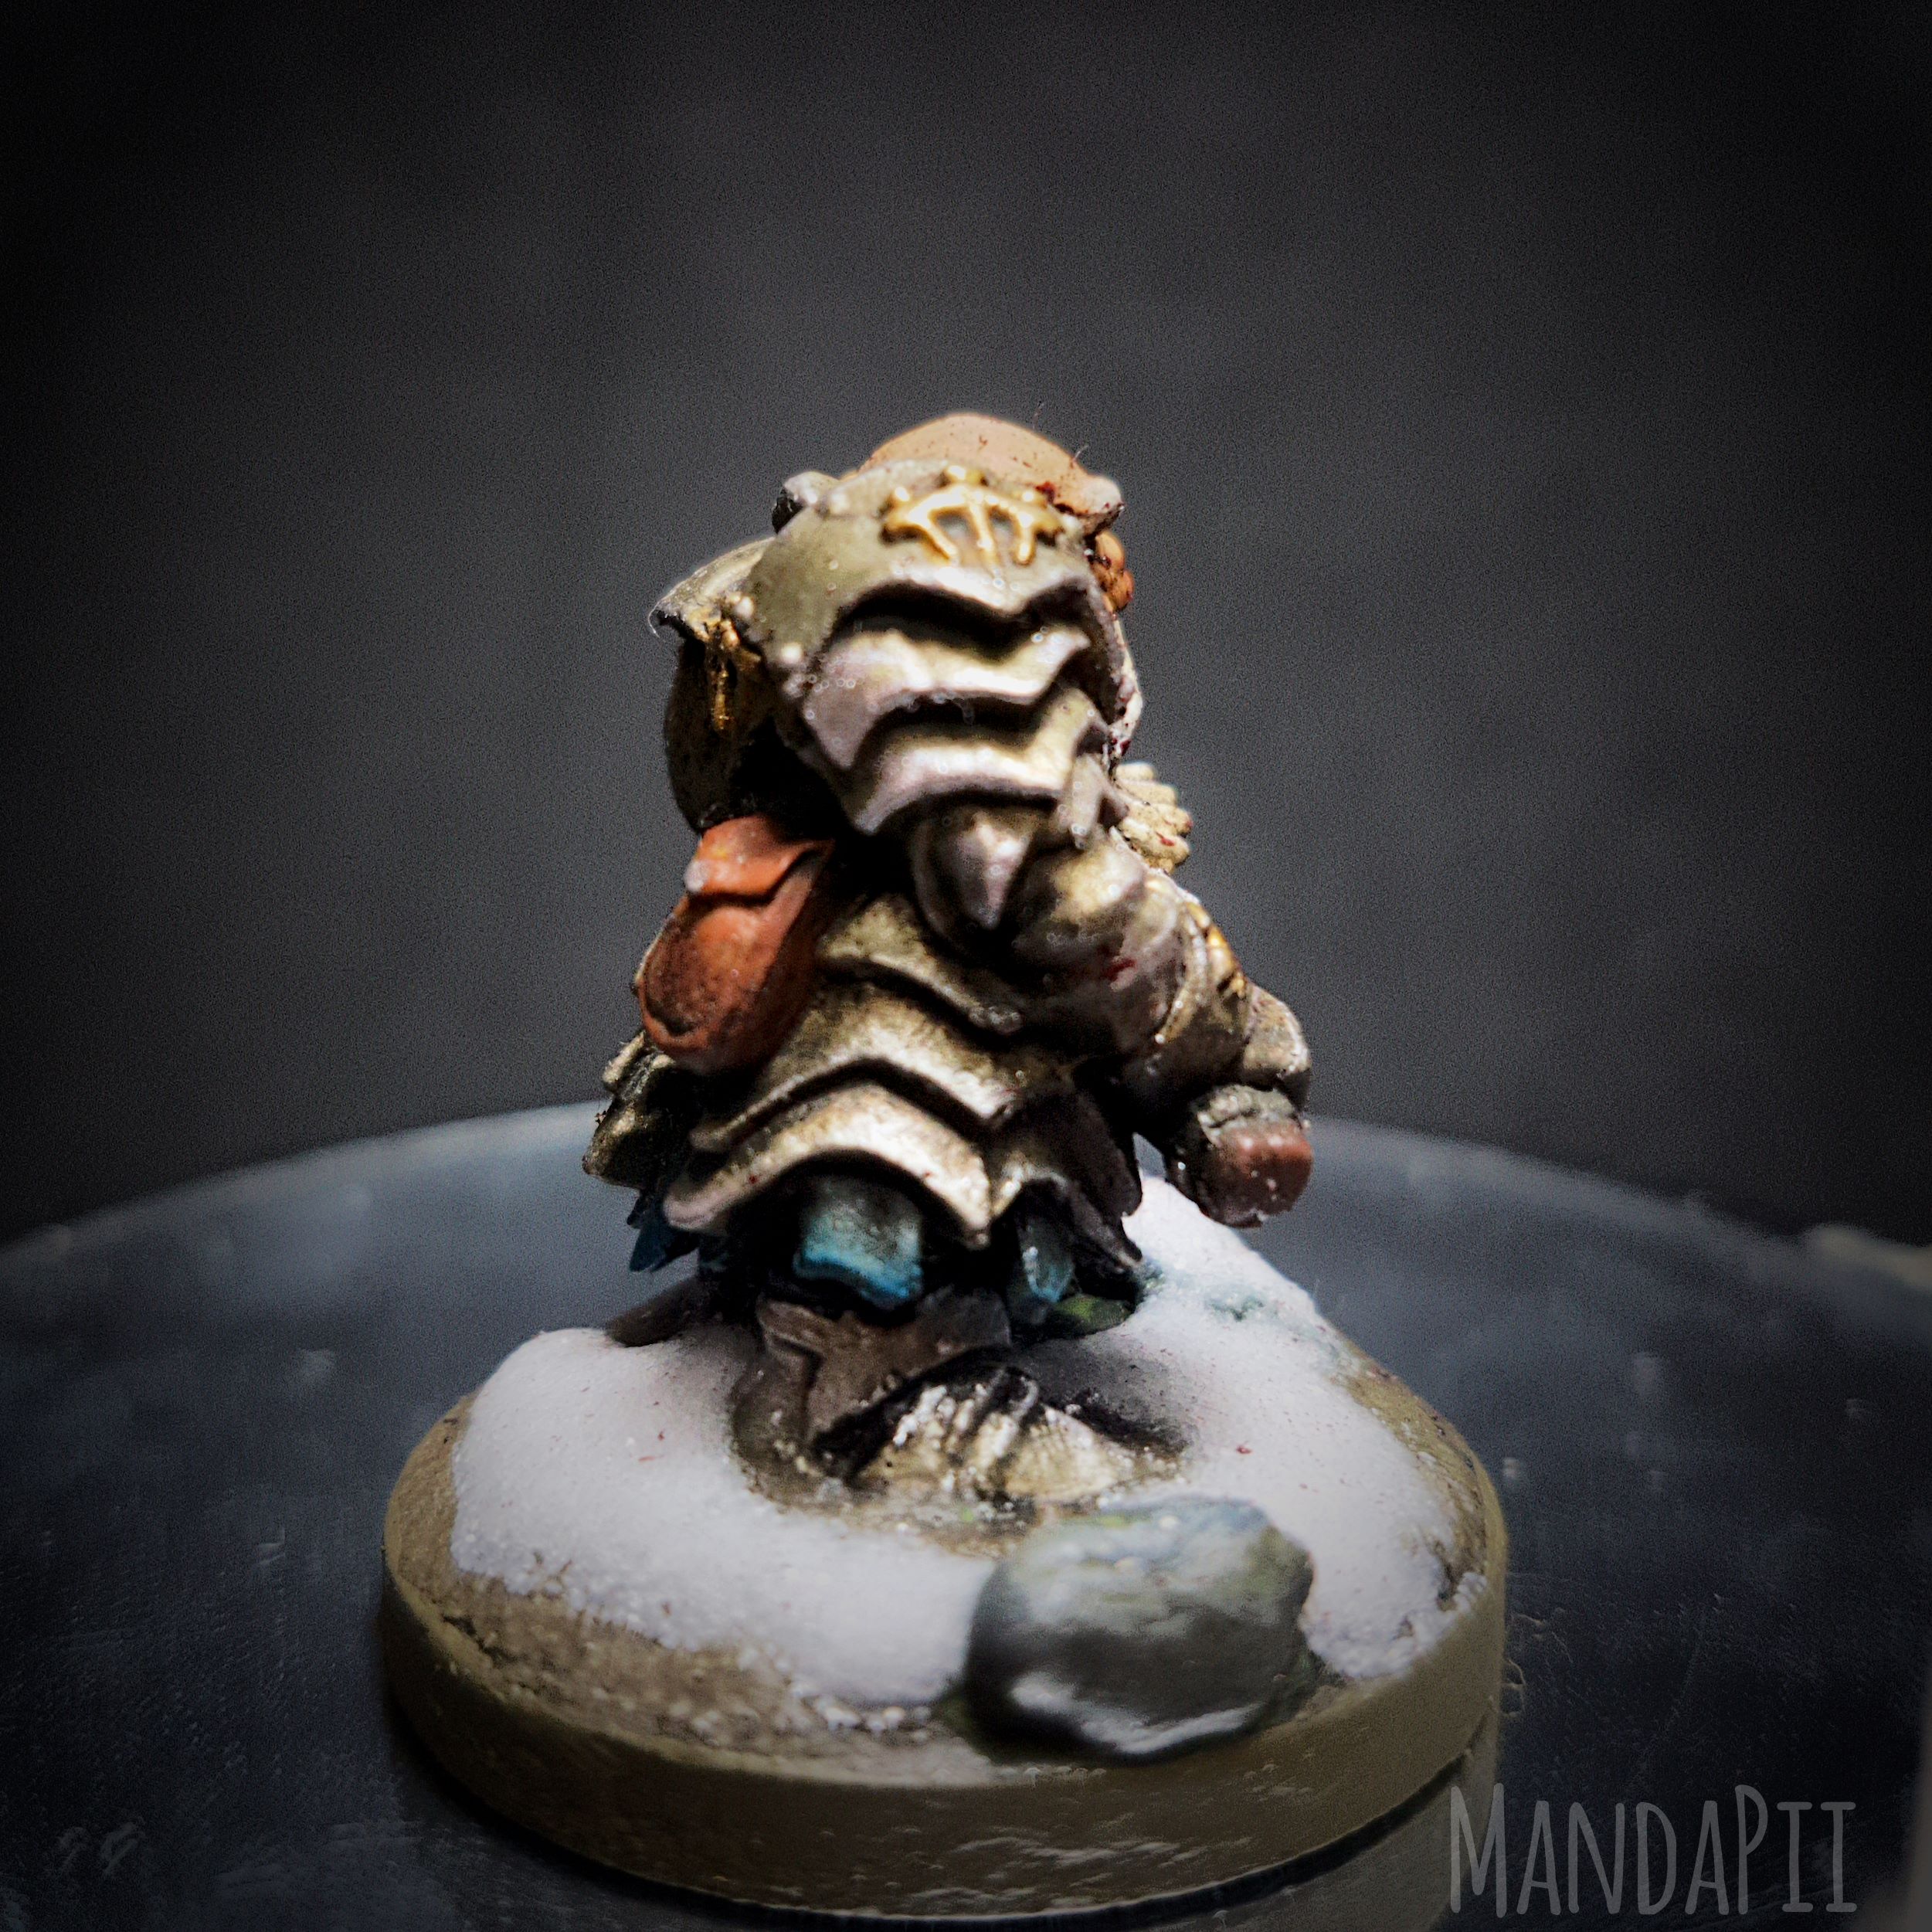
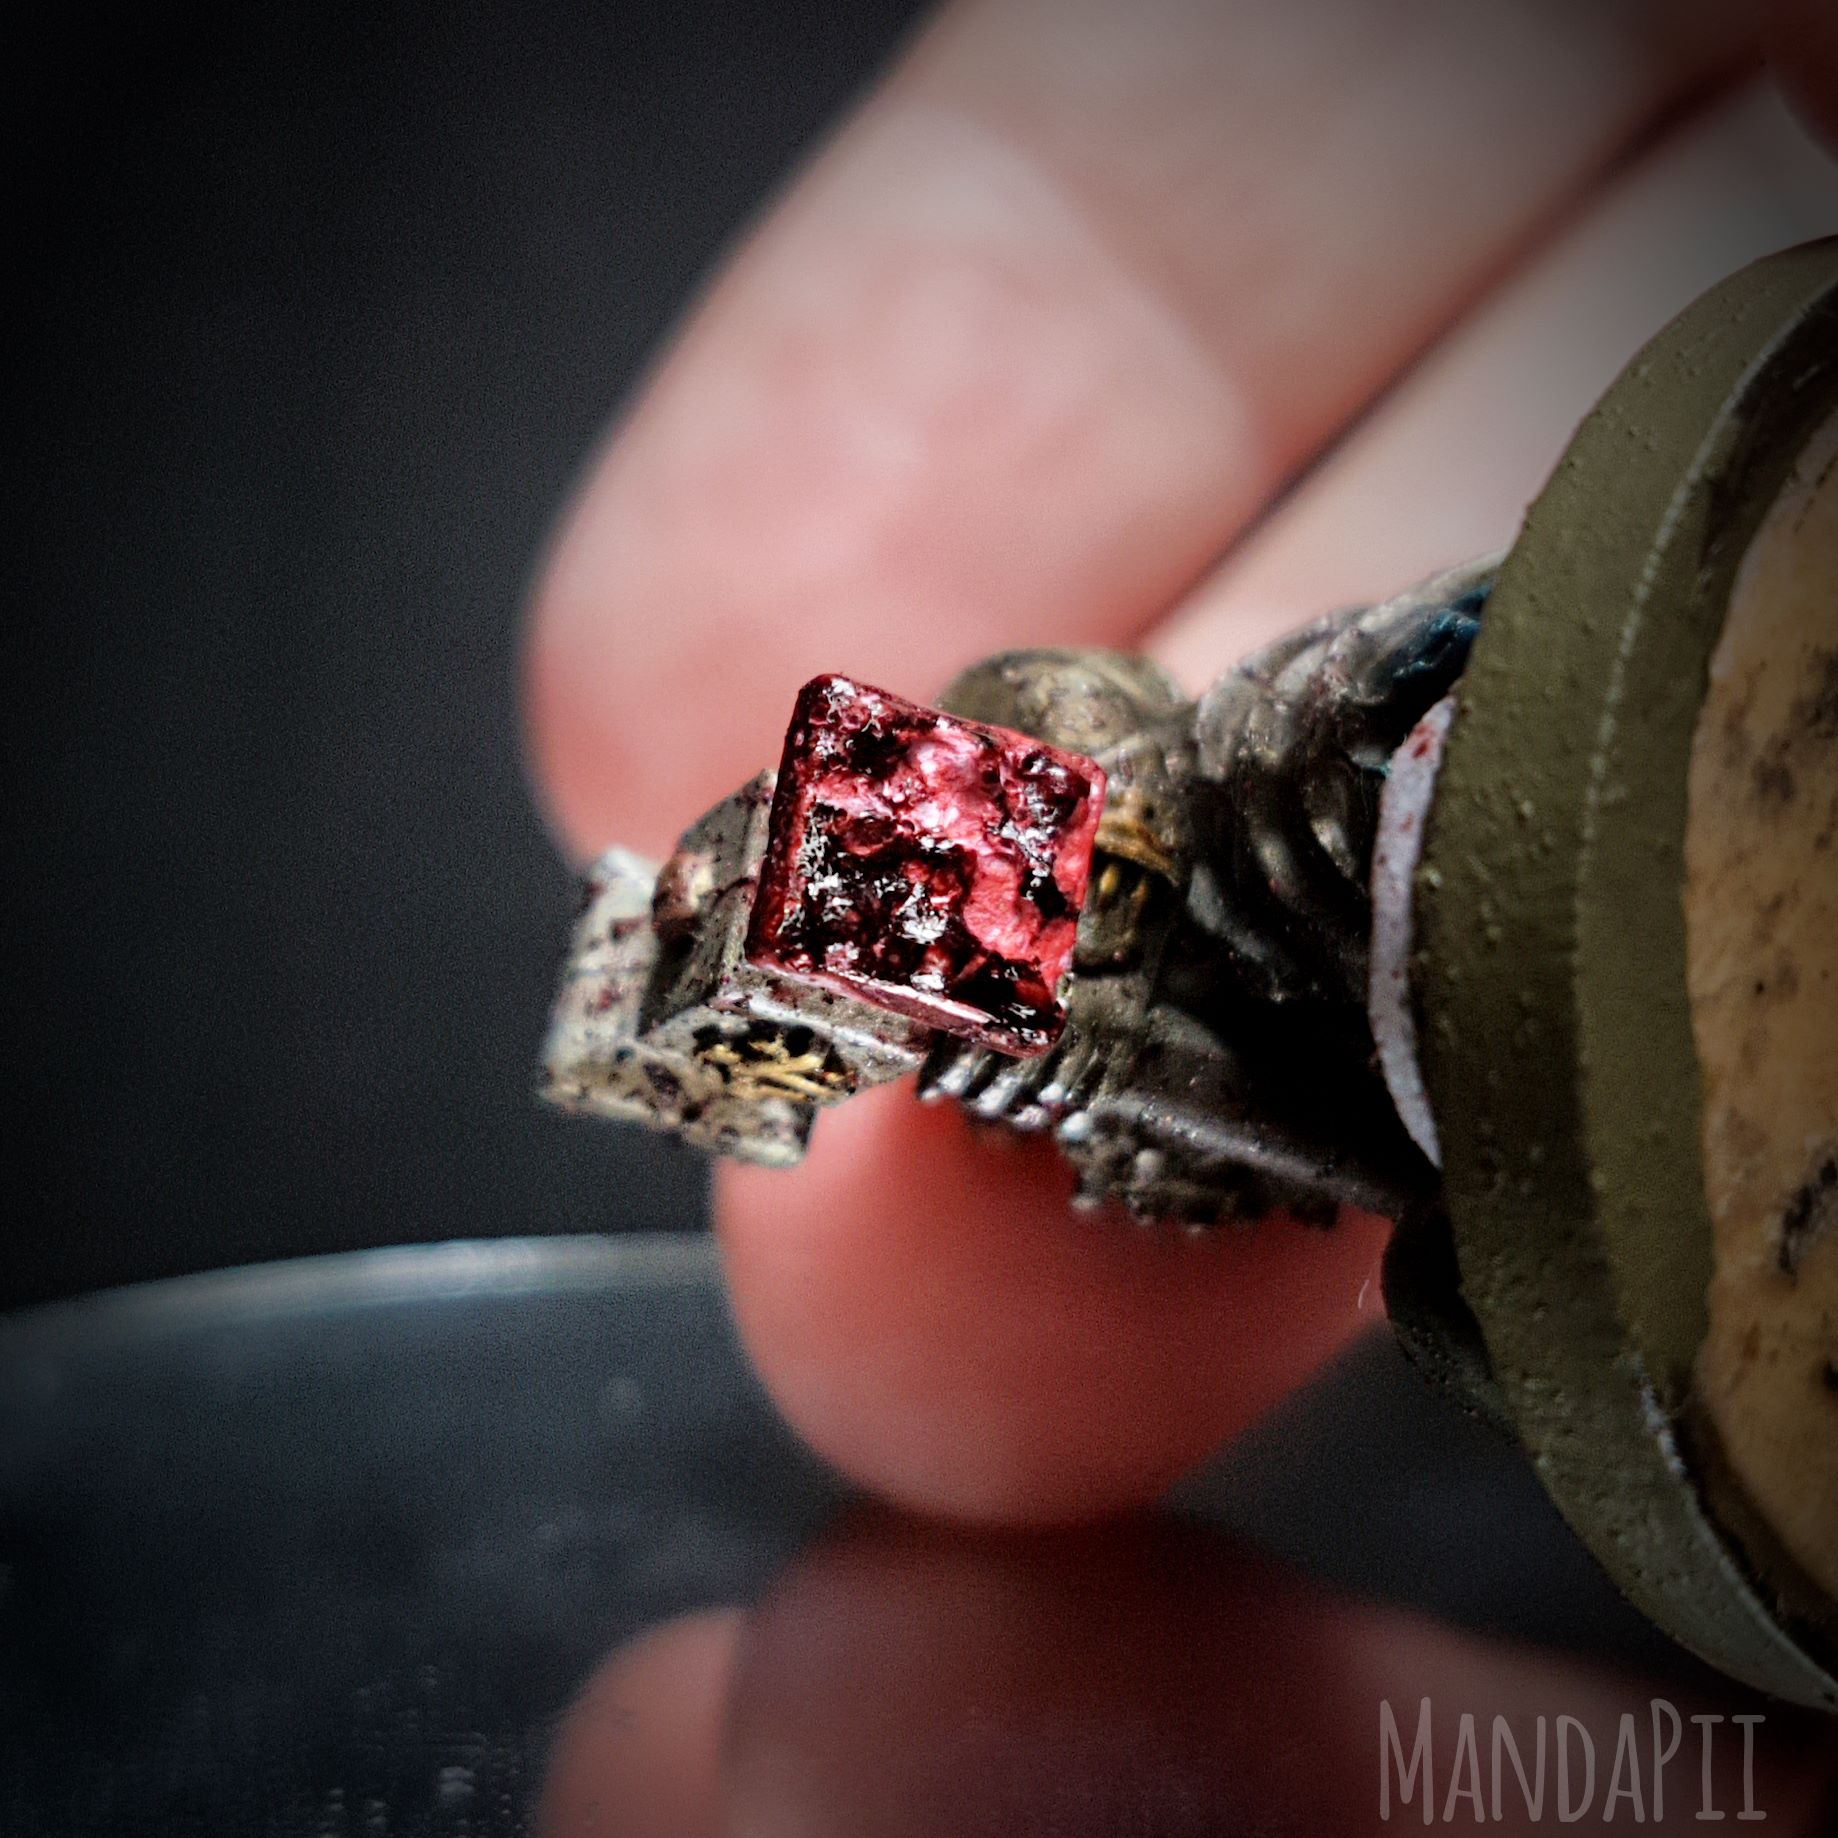
I have even included a picture of the mess on the bottom of his hammer.
And I am also trying something new with a 360 video.
Which for some odd reason Youtube decided to put in the shorts thingy and not as a video like I was intending….. 🤦♀️ I blame Google….
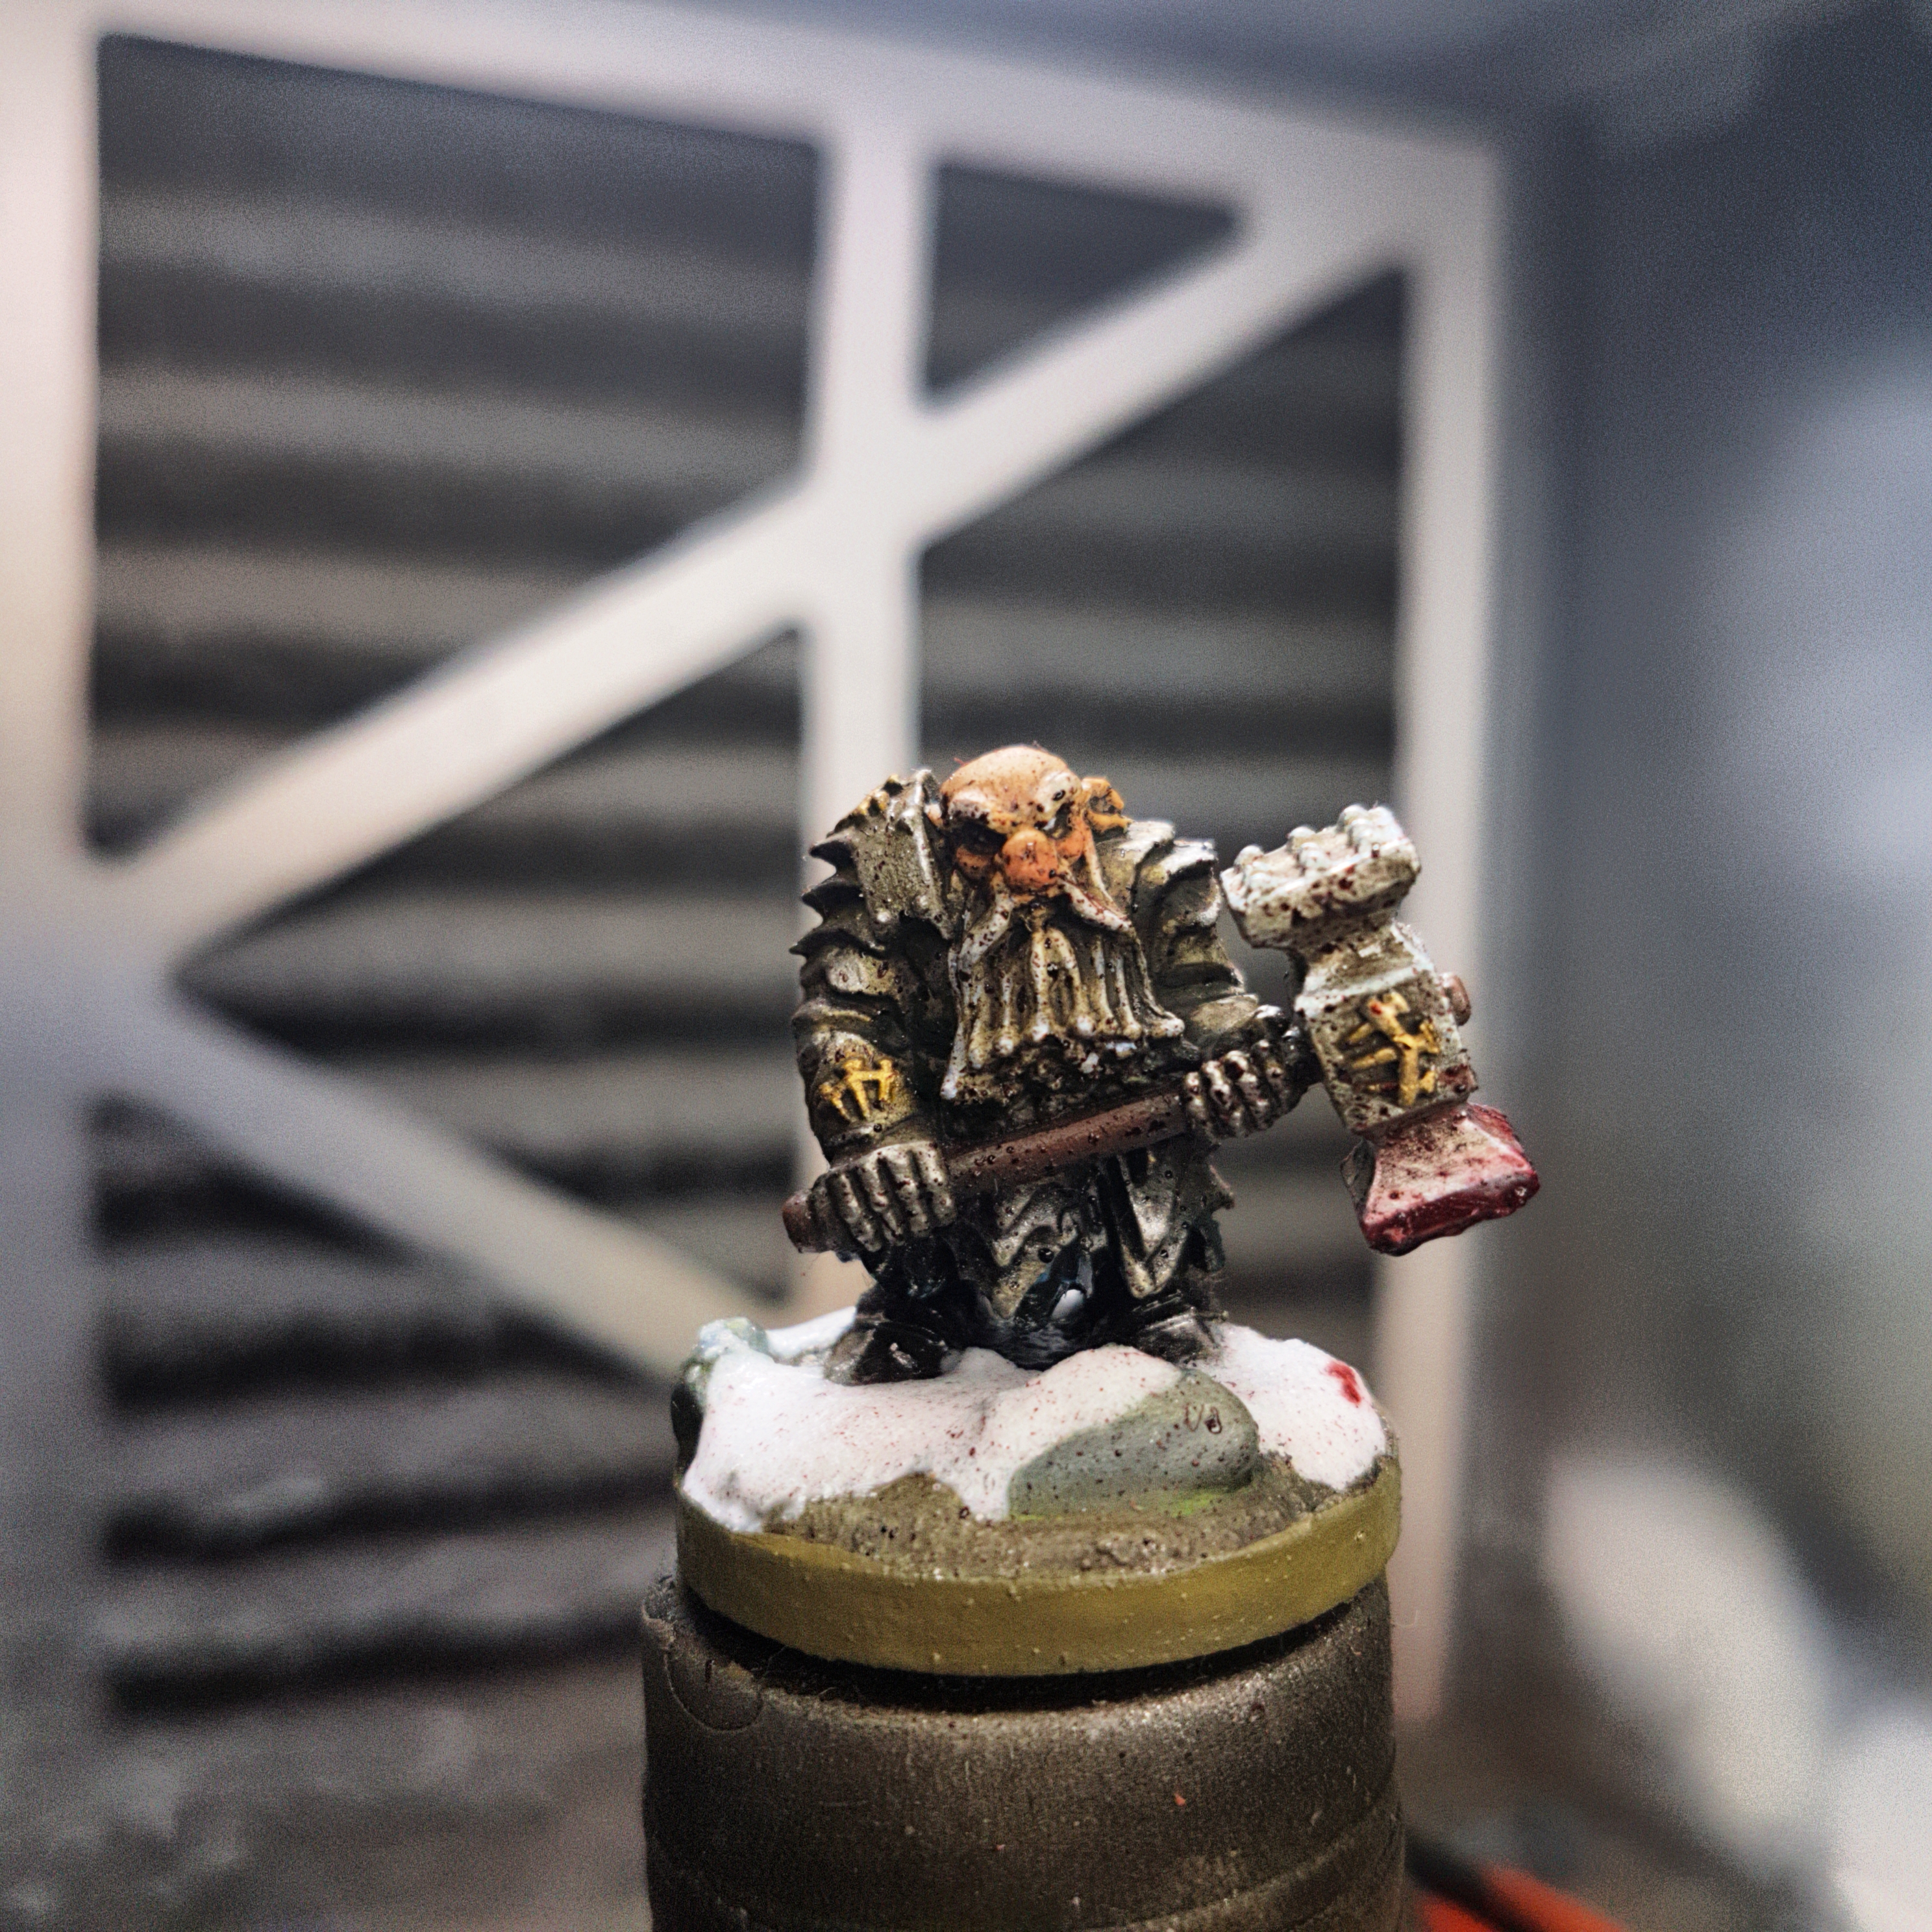
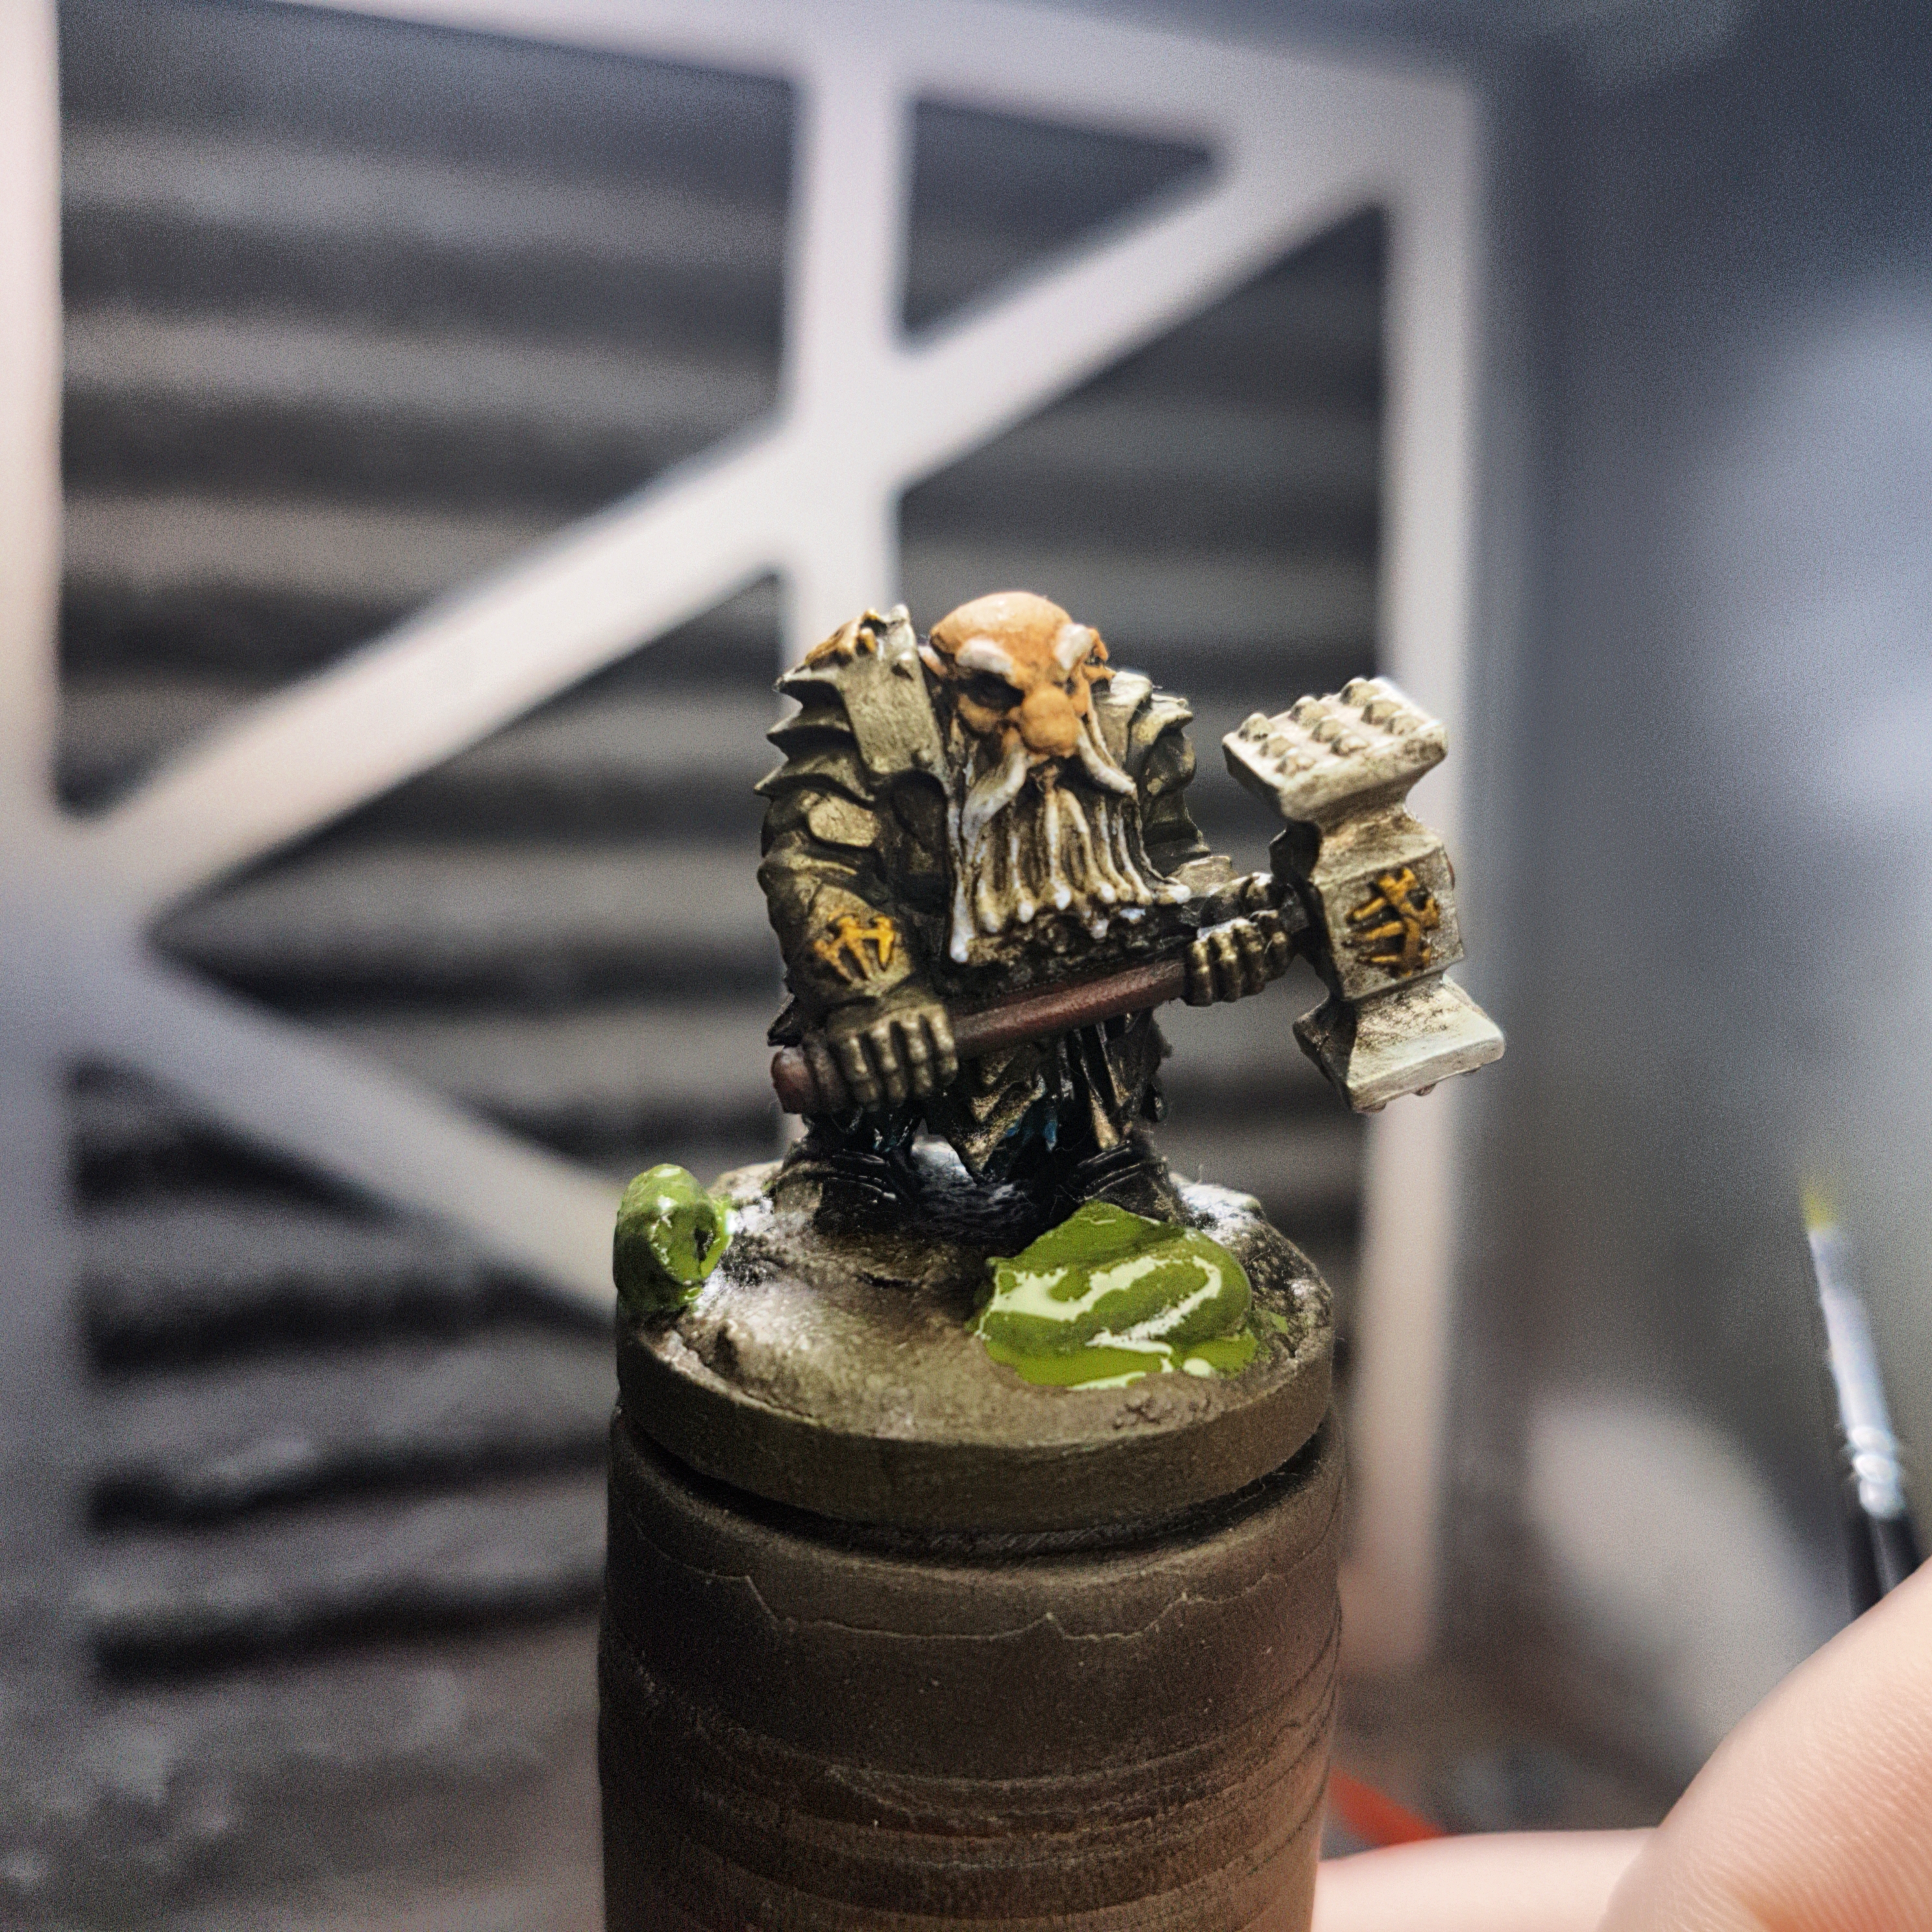
Bloody Hammer!
I finally managed to get the final steps done for the dwarf from Reaper Miniatures.
I completely forgot to take pictures of what I was doing as I was doing the final steps. Too be honest, I haven’t been very well after the funeral for my aunt last week. So here is how I did all of this.
First of to do the snow I made a mix with Greenstuff World Terrain Series Snow Powder Realistic (11190), PVA glue and some water. I have literally been puzzling to get a right mixture so I don’t really have any ratios for that mixture right now, but it was quite runny with some solid bits in it. I used a silicone brush to gently apply it to bits of the base. I then splattered on some AK Interactive Blood Effect (AK11260) and put a blob of AK Interactive Viscera Effect (AK11261) on the bottom of the hammer. With a brush and a bit of AK Interactive Blood Effect (AK11260) I darkened it and blended it in with the hammer using some water as well. I then blobbed some of AK Interactive Blood Effect (AK11260) on the snow on the base as well. Finally I finished of the rim with Vallejo Panzer Aces Dark Mud (70.316) and this is where we are.
More pictures to follow when everything has cured and dried.
The Copy Cat Catastrophe
When Dave spilled coffee on his new “Smart Copier 3000,” it began duplicating everything in sight. First, his cat, Mr. Whiskers, multiplied into two, then four, then eight identical furballs—all equally annoyed at Dave’s existence.
Panicked, Dave tried to unplug the machine, but it had already scanned him. Seconds later, two Daves stared at each other in horror.
“Uh… hi?” said Dave 2.
“Great,” sighed Dave 1. “Now I have to share my snacks.”
As they argued over who was the original, the copier went berserk, creating Daves and Mr. Whiskers by the dozen. Soon, the entire neighborhood was flooded with sarcastic Daves and judgmental cats.
The chaos ended when Dave 57 tripped on Mr. Whiskers 114, knocking over the copier and breaking it.
Dave 1 sighed in relief—until Mr. Whiskers 72 glared at him. “Feed me. All of me.”
Dave never touched another copier again.
Written by ChatGPT to fill in a duplicate post…..
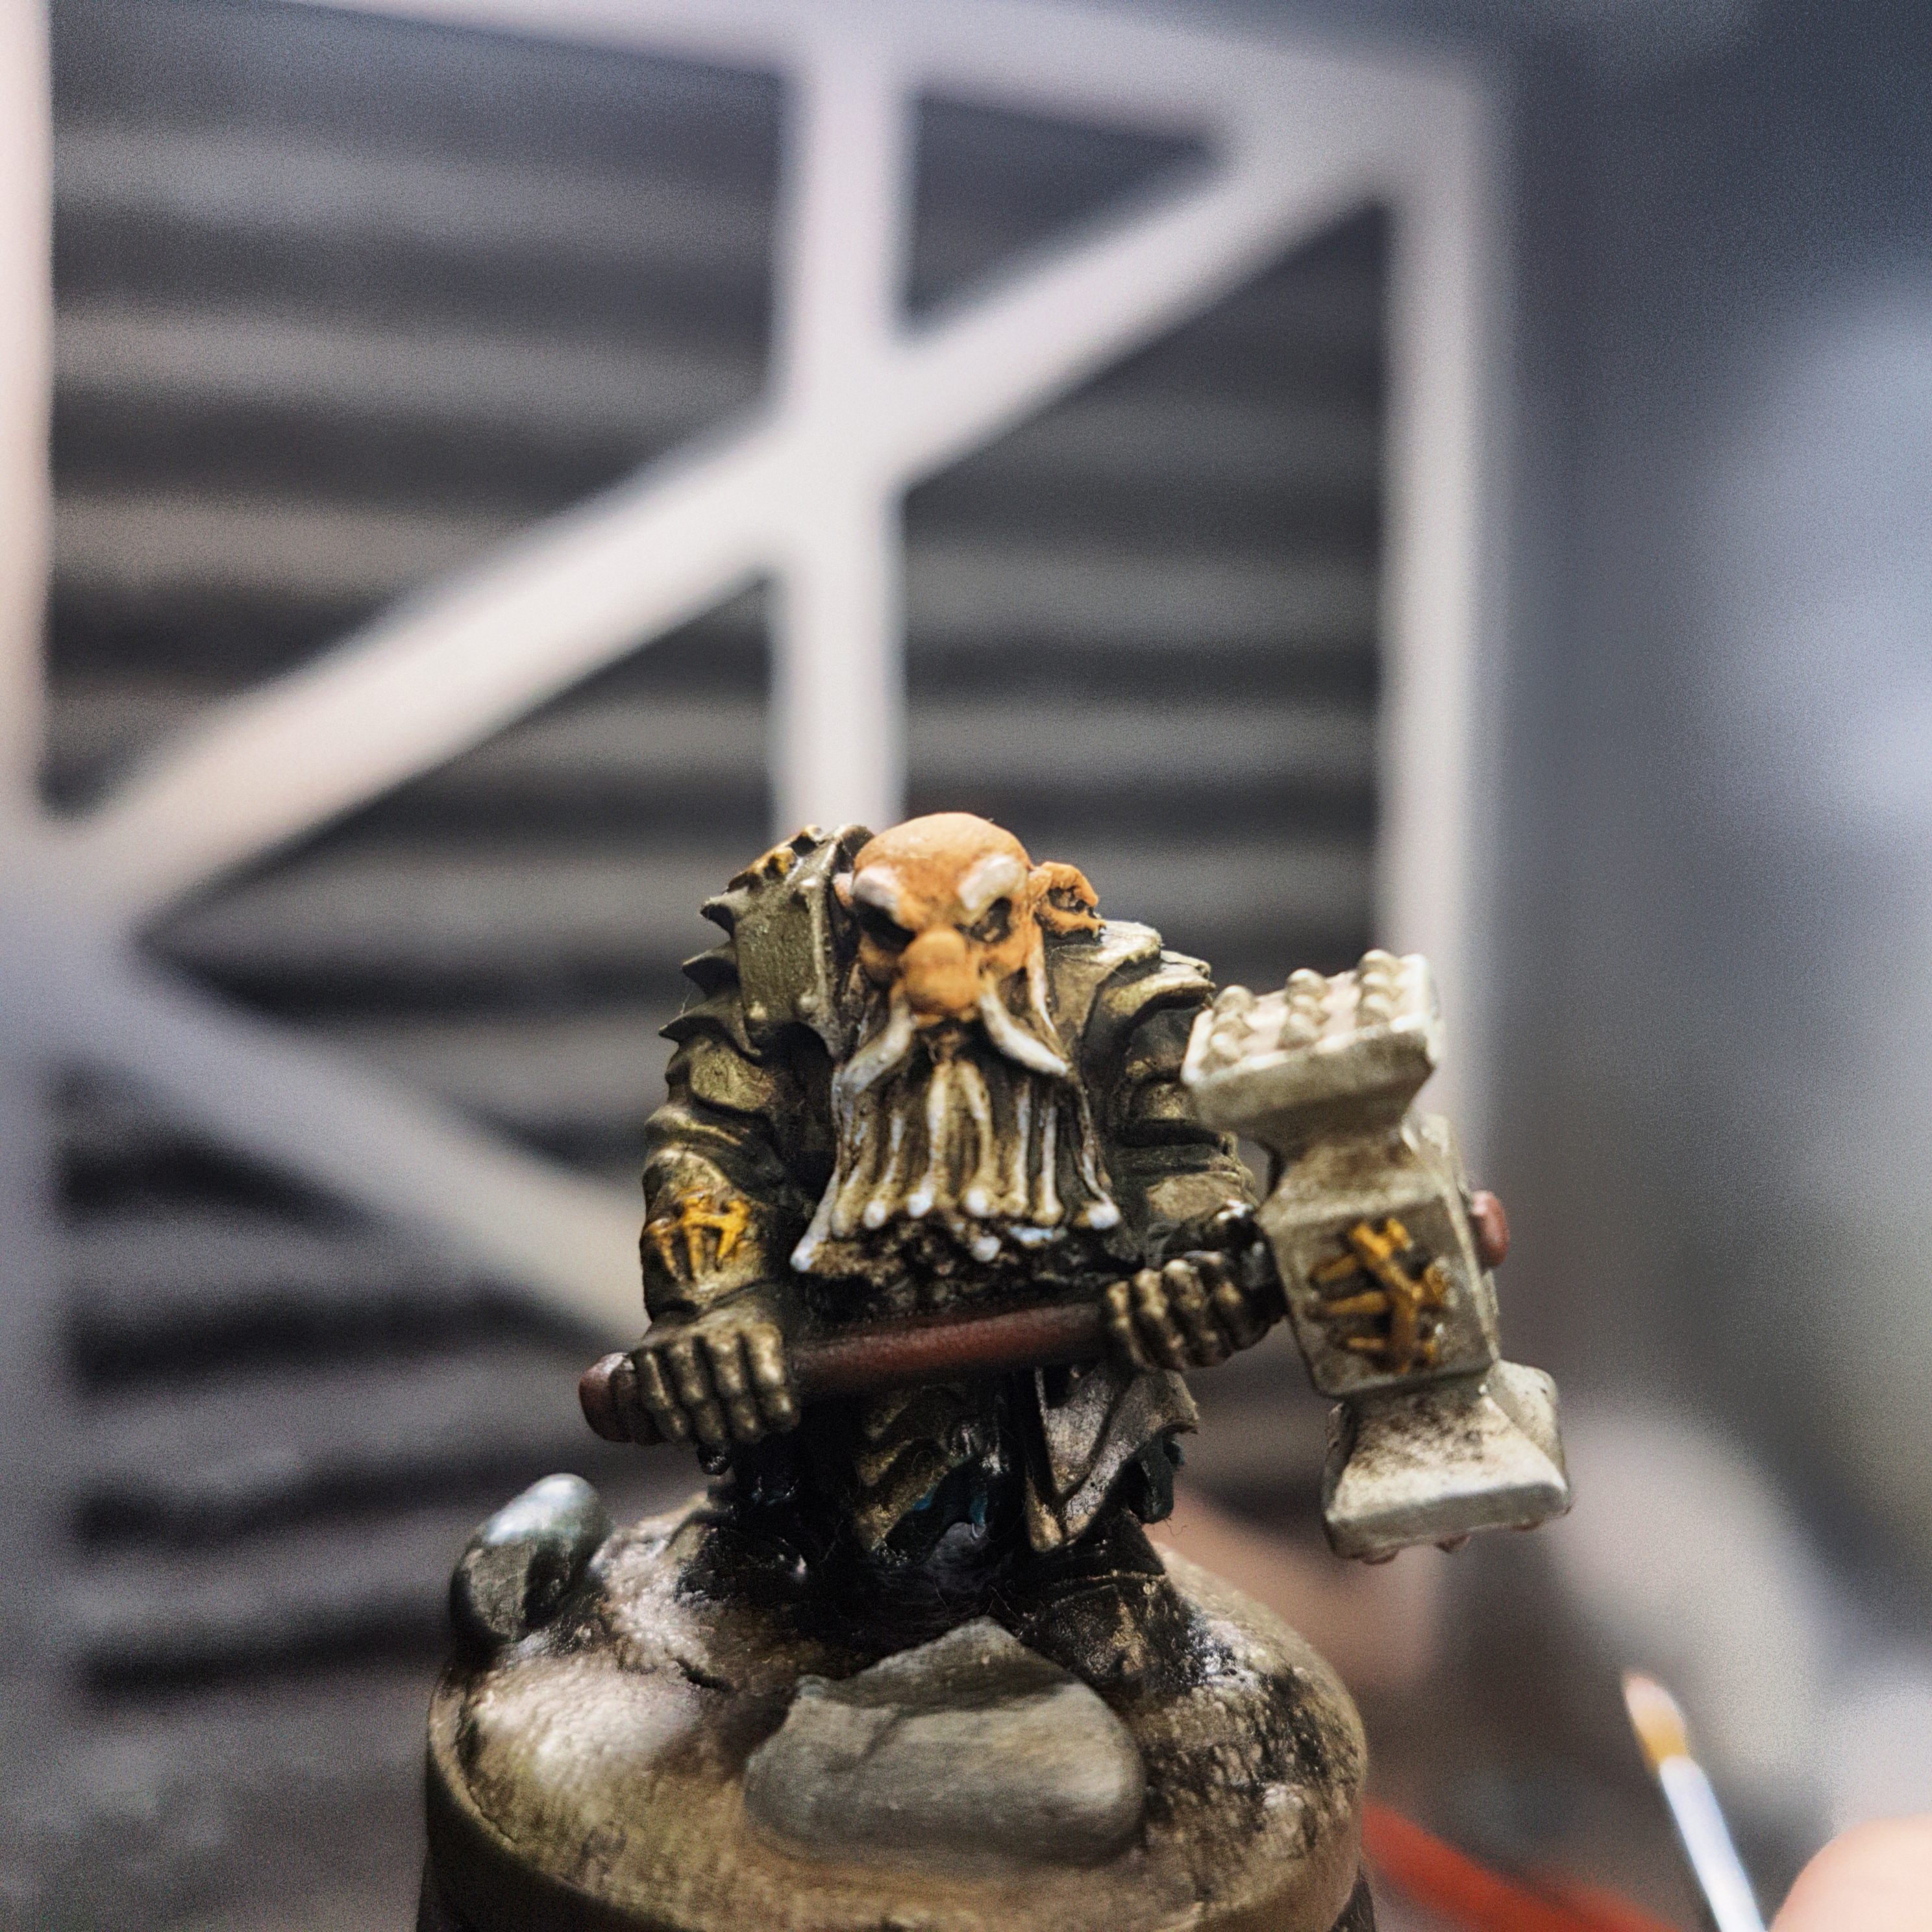
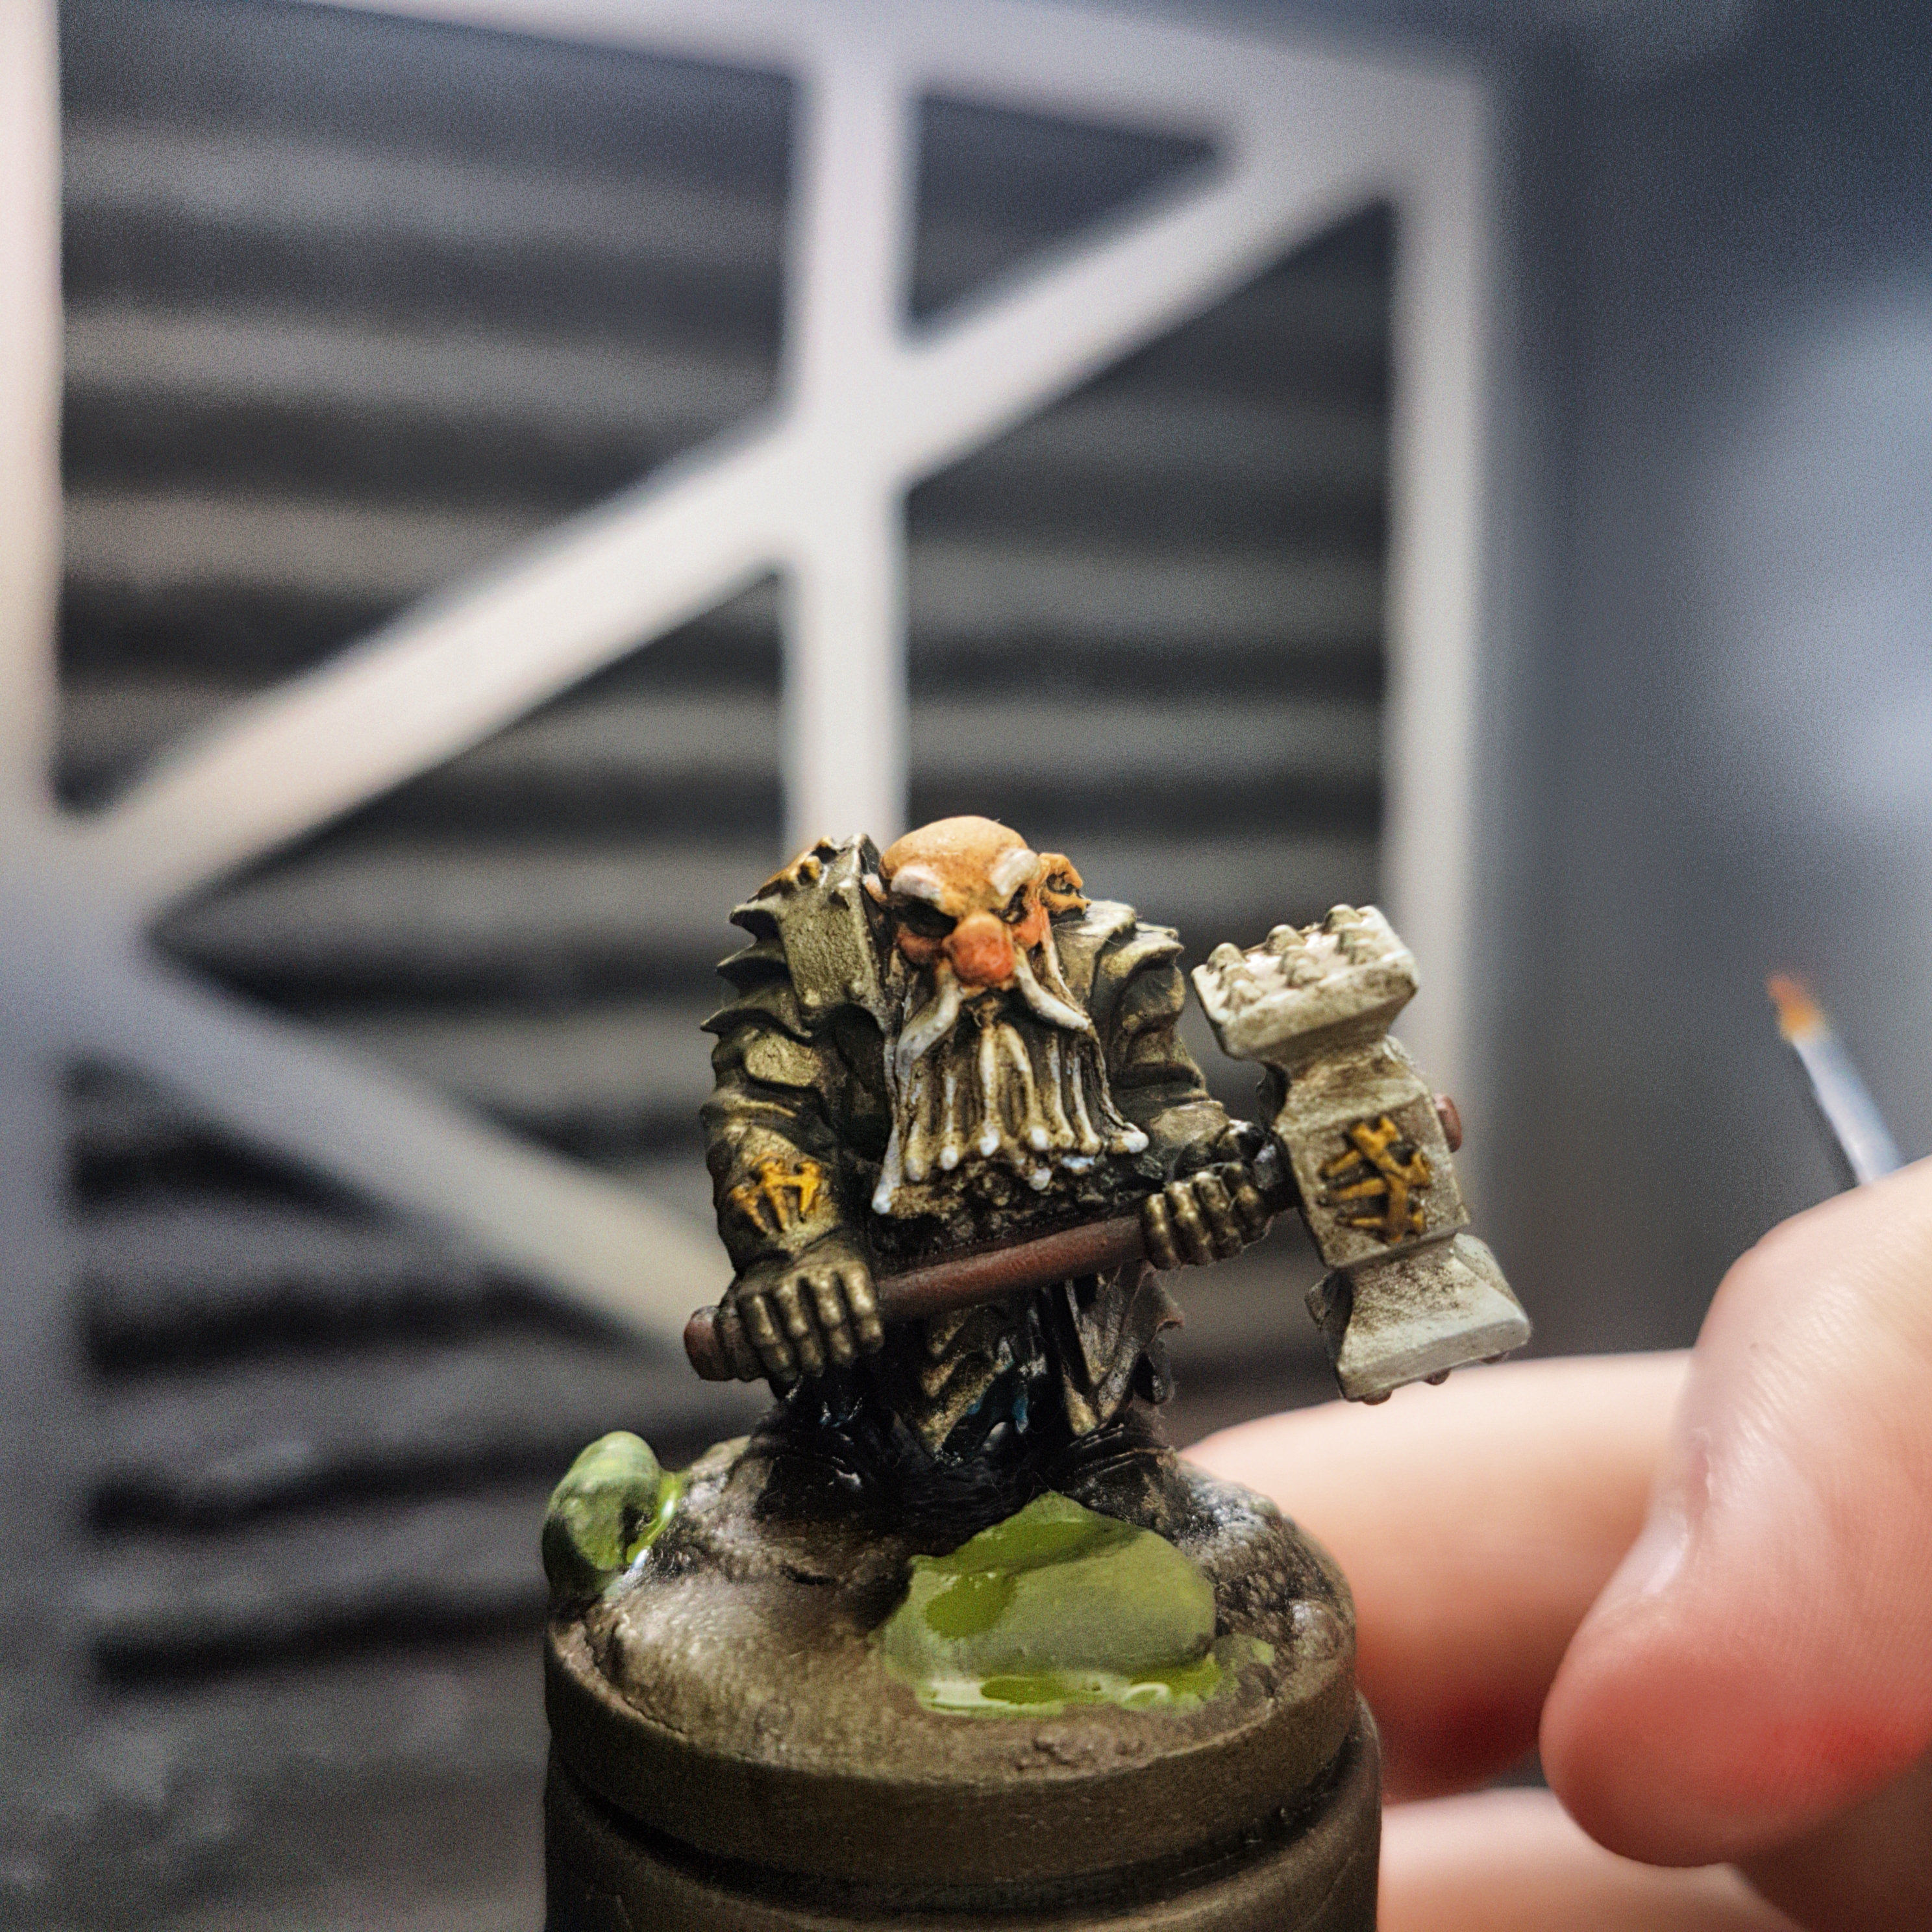
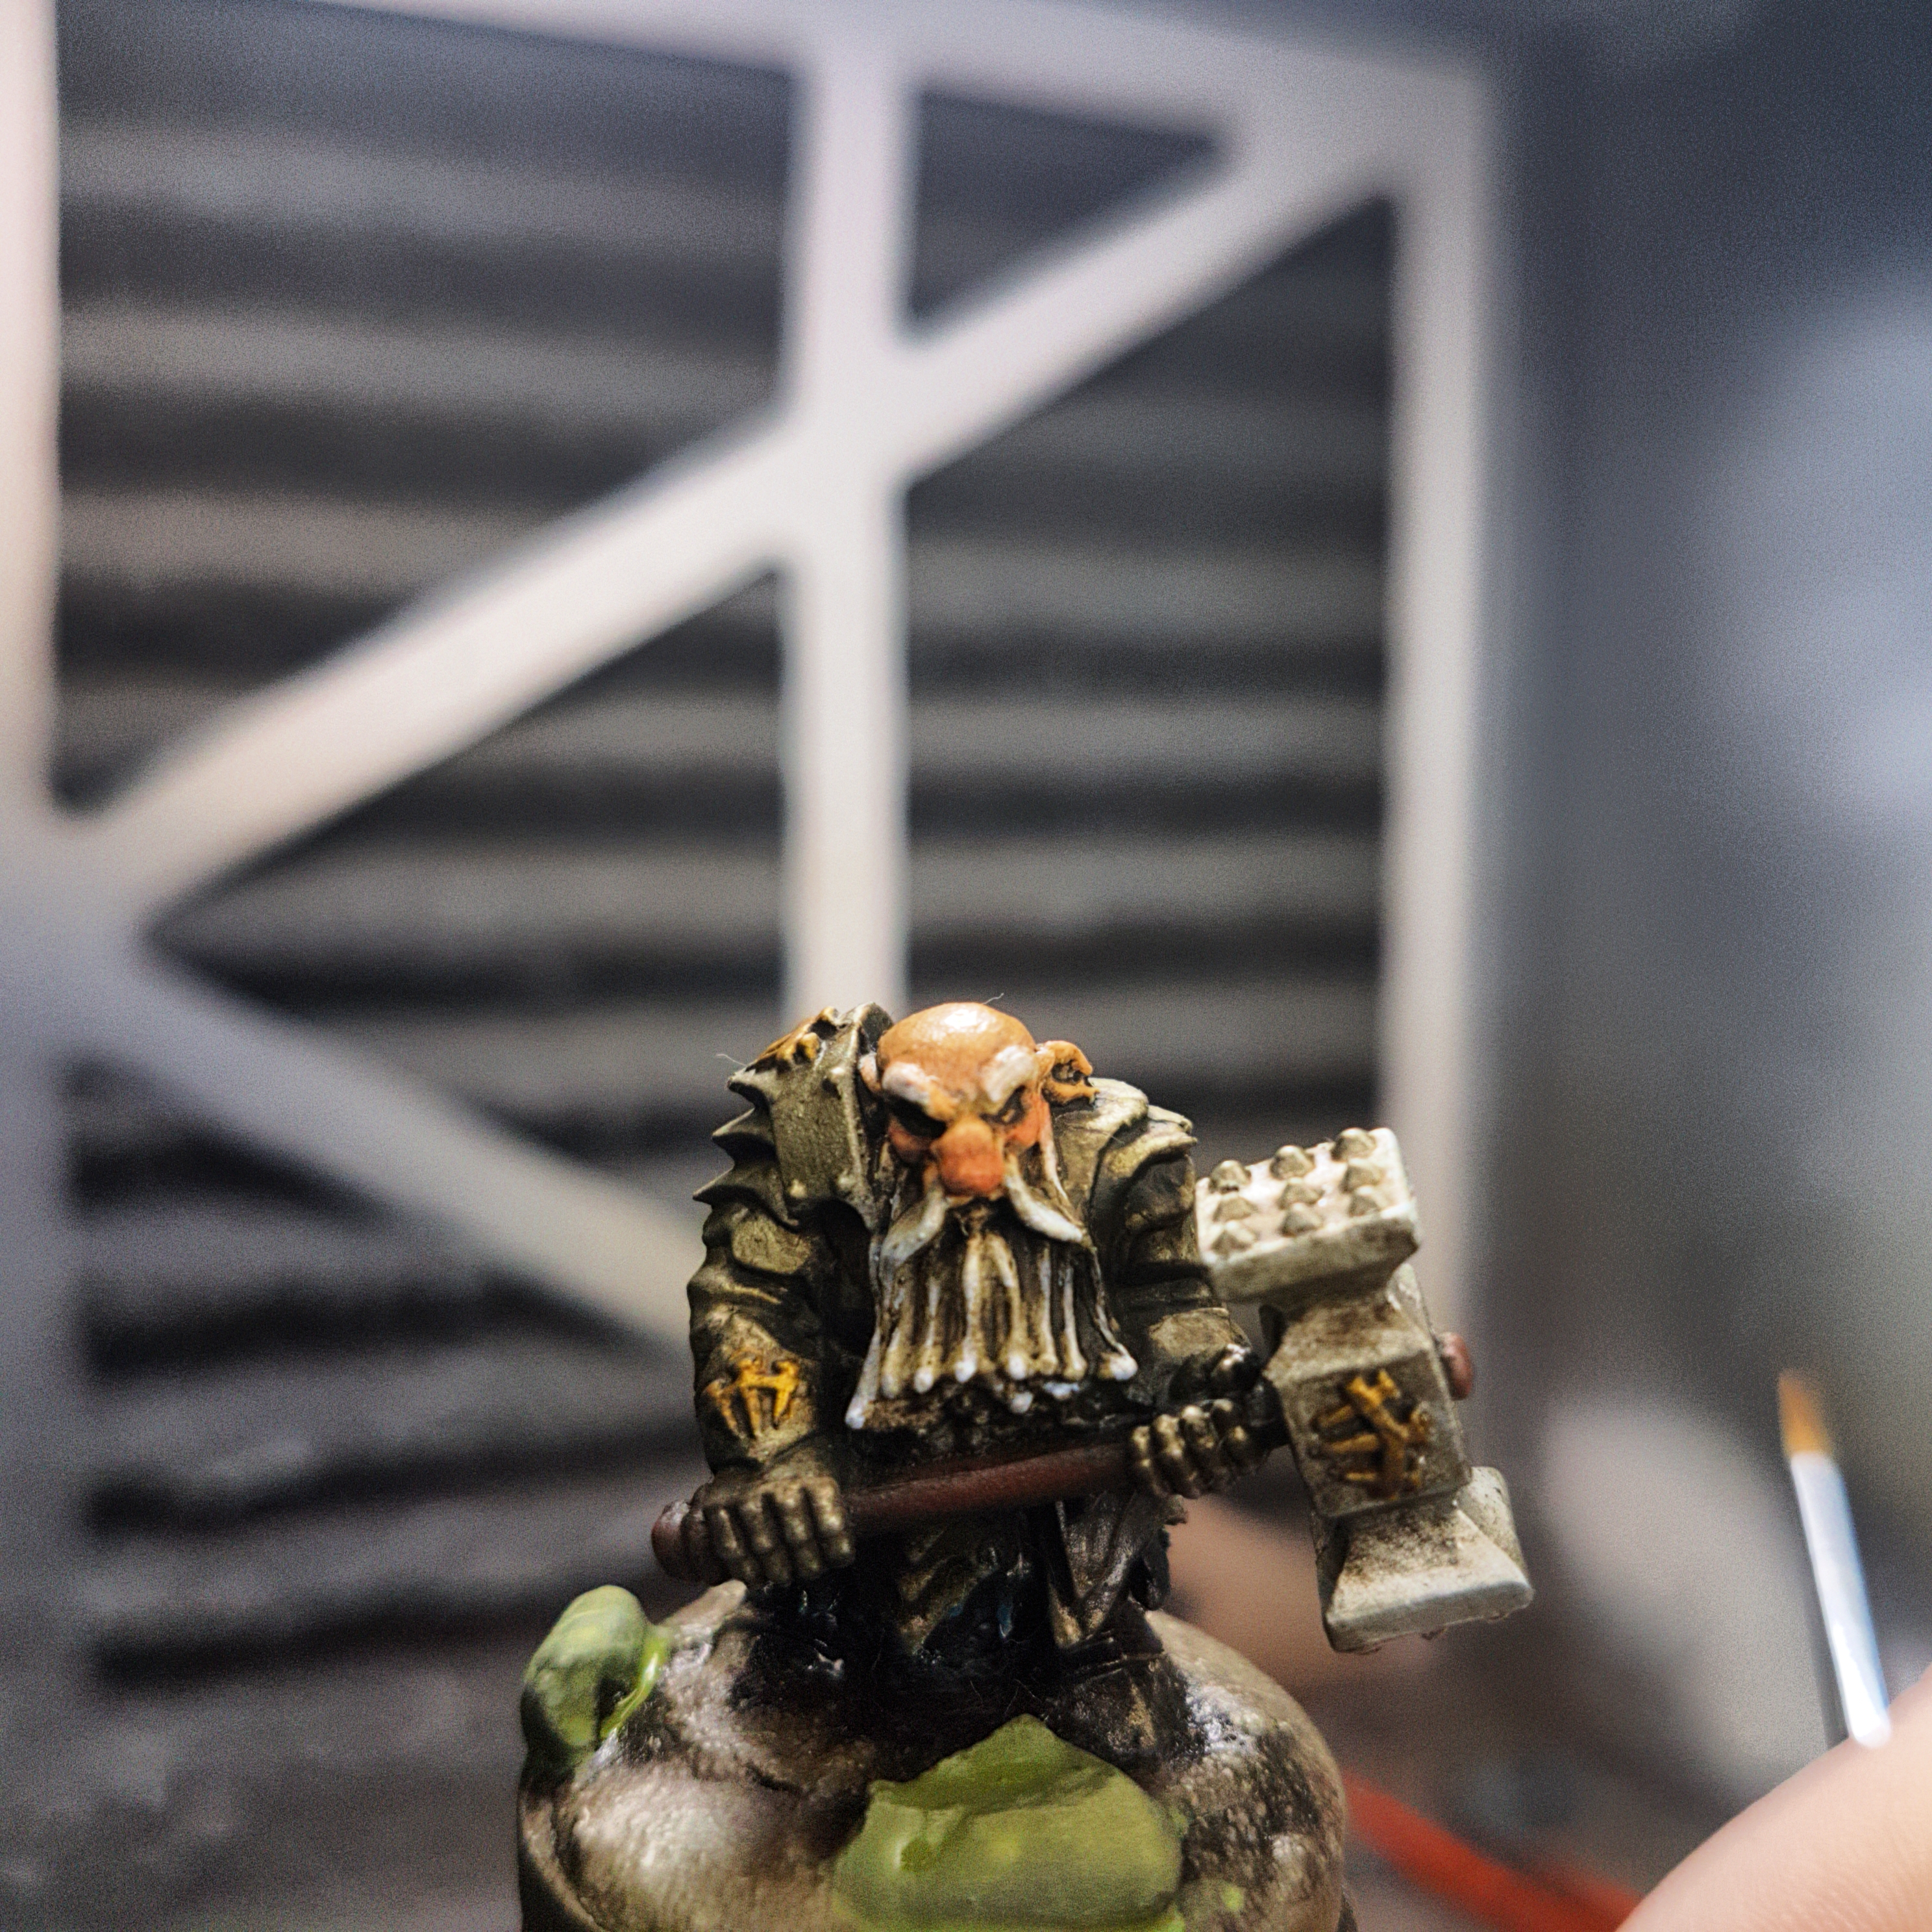
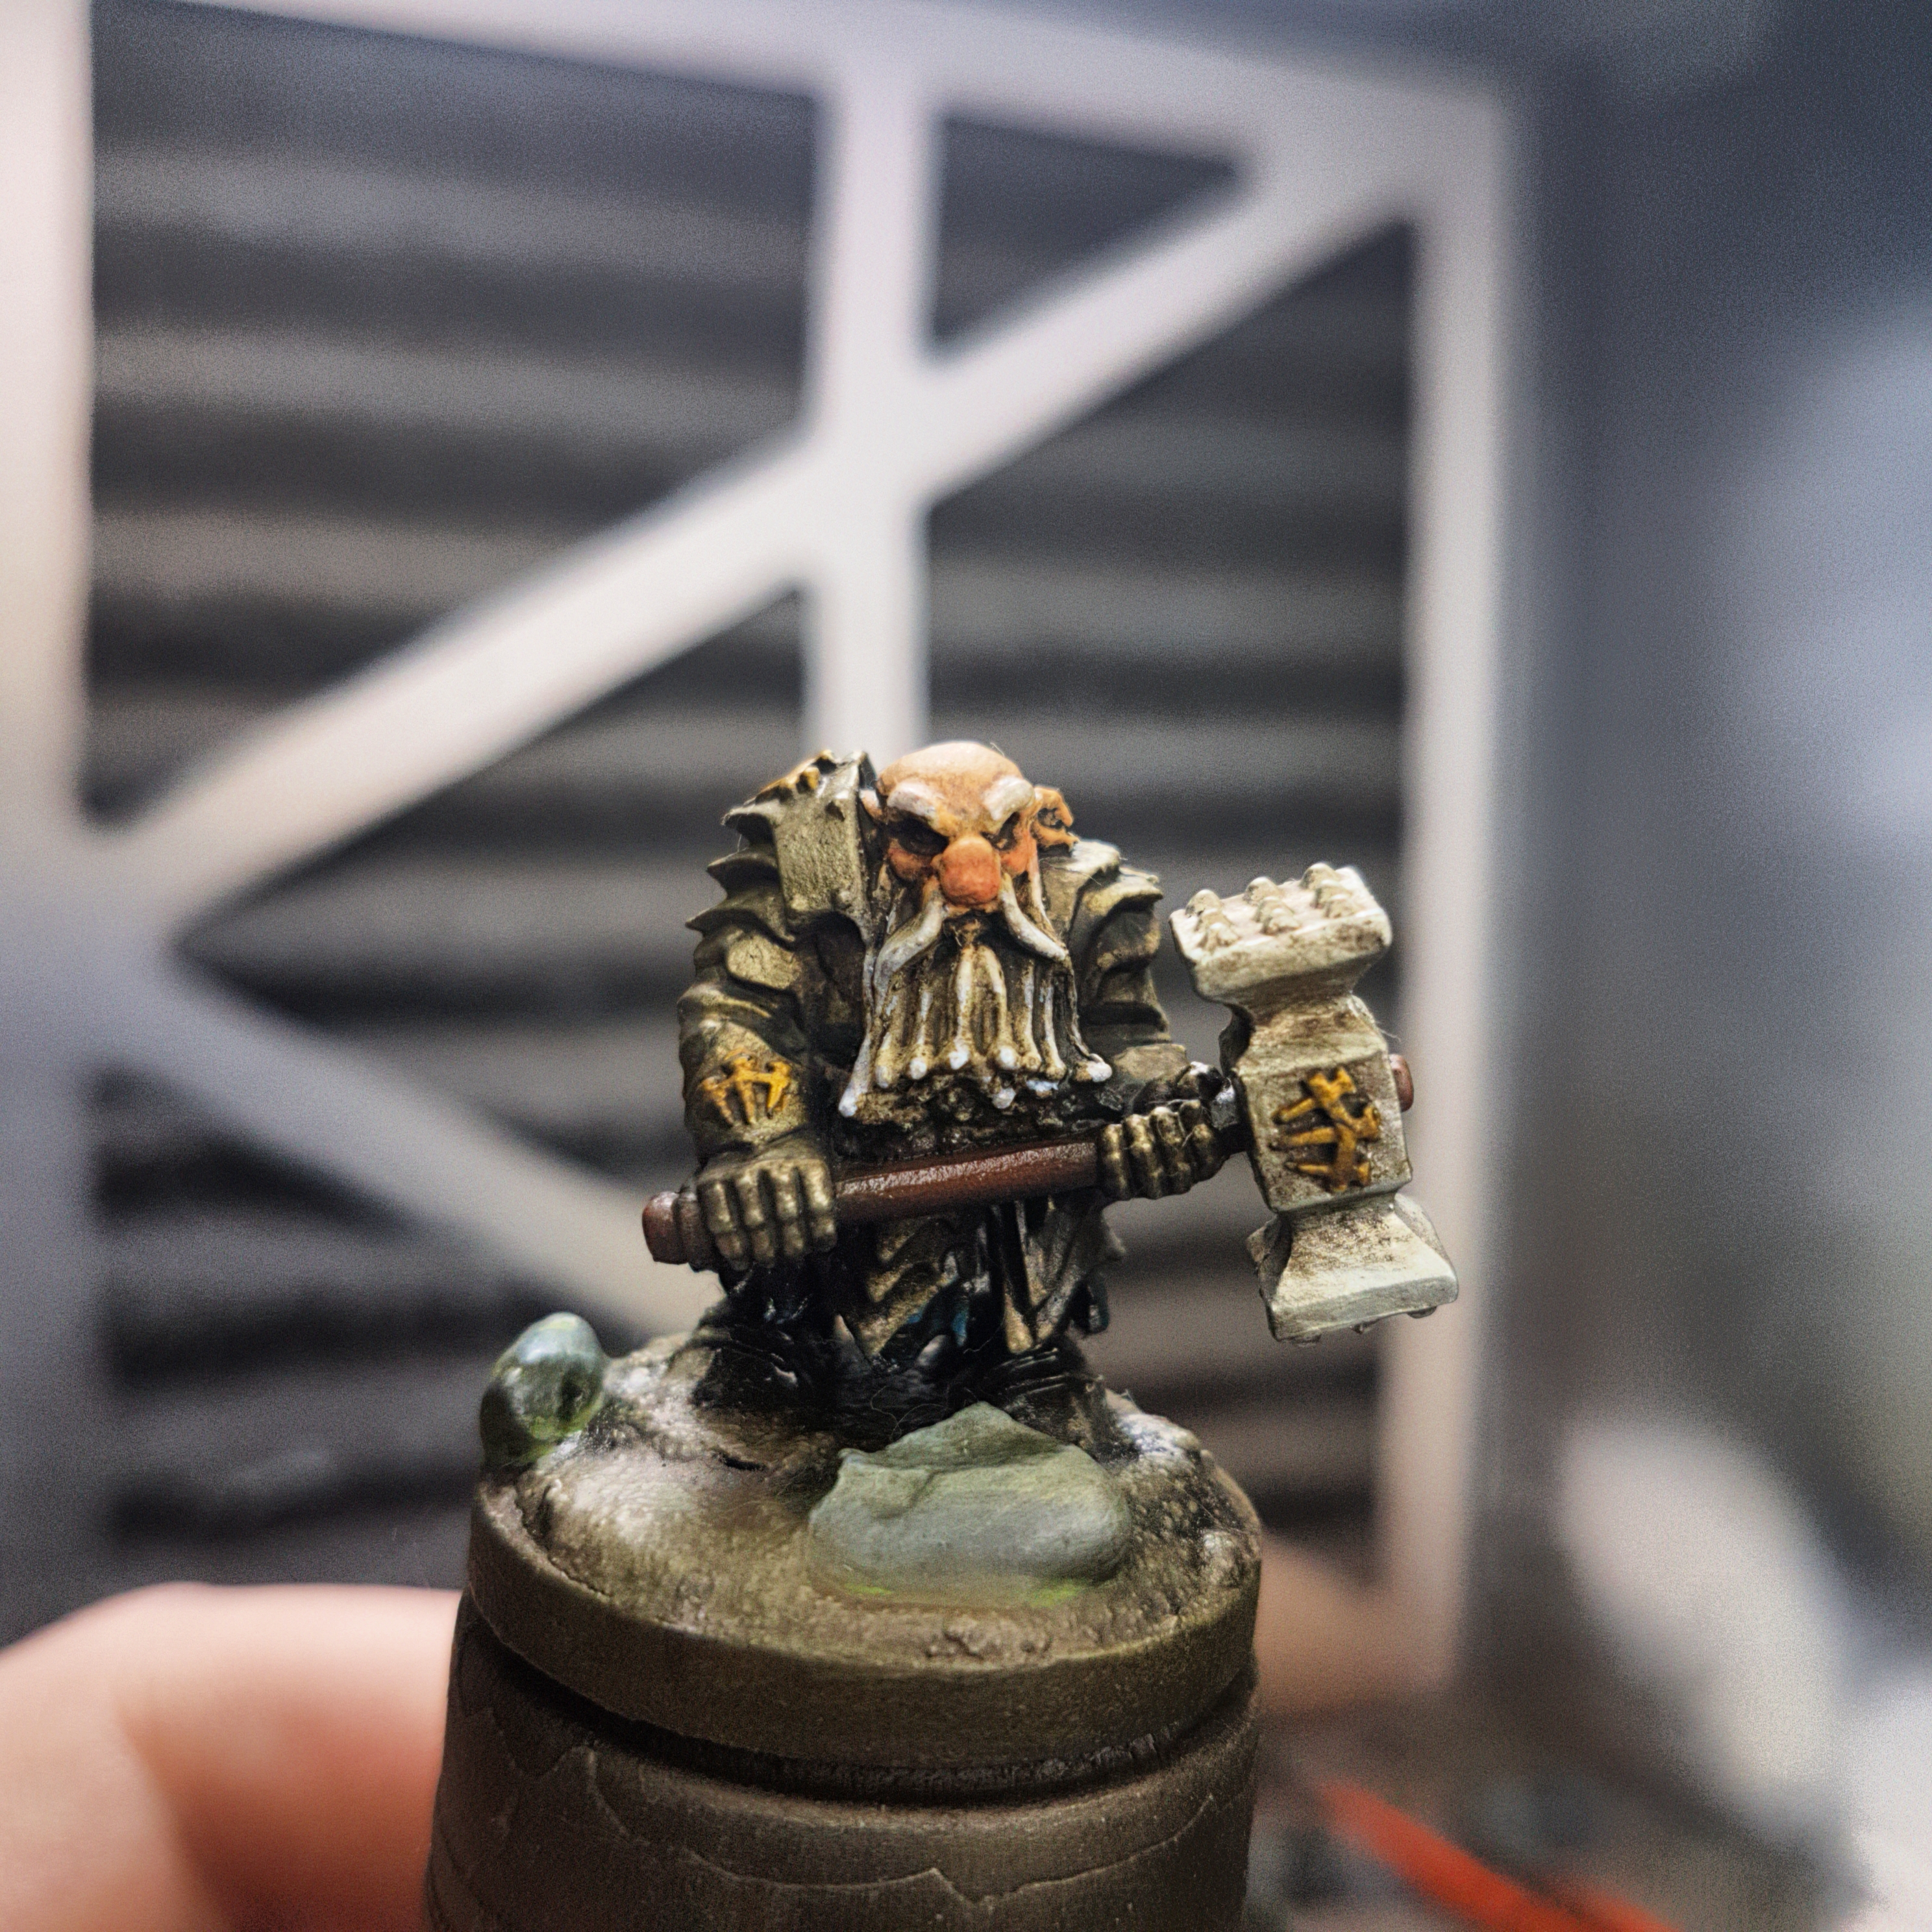
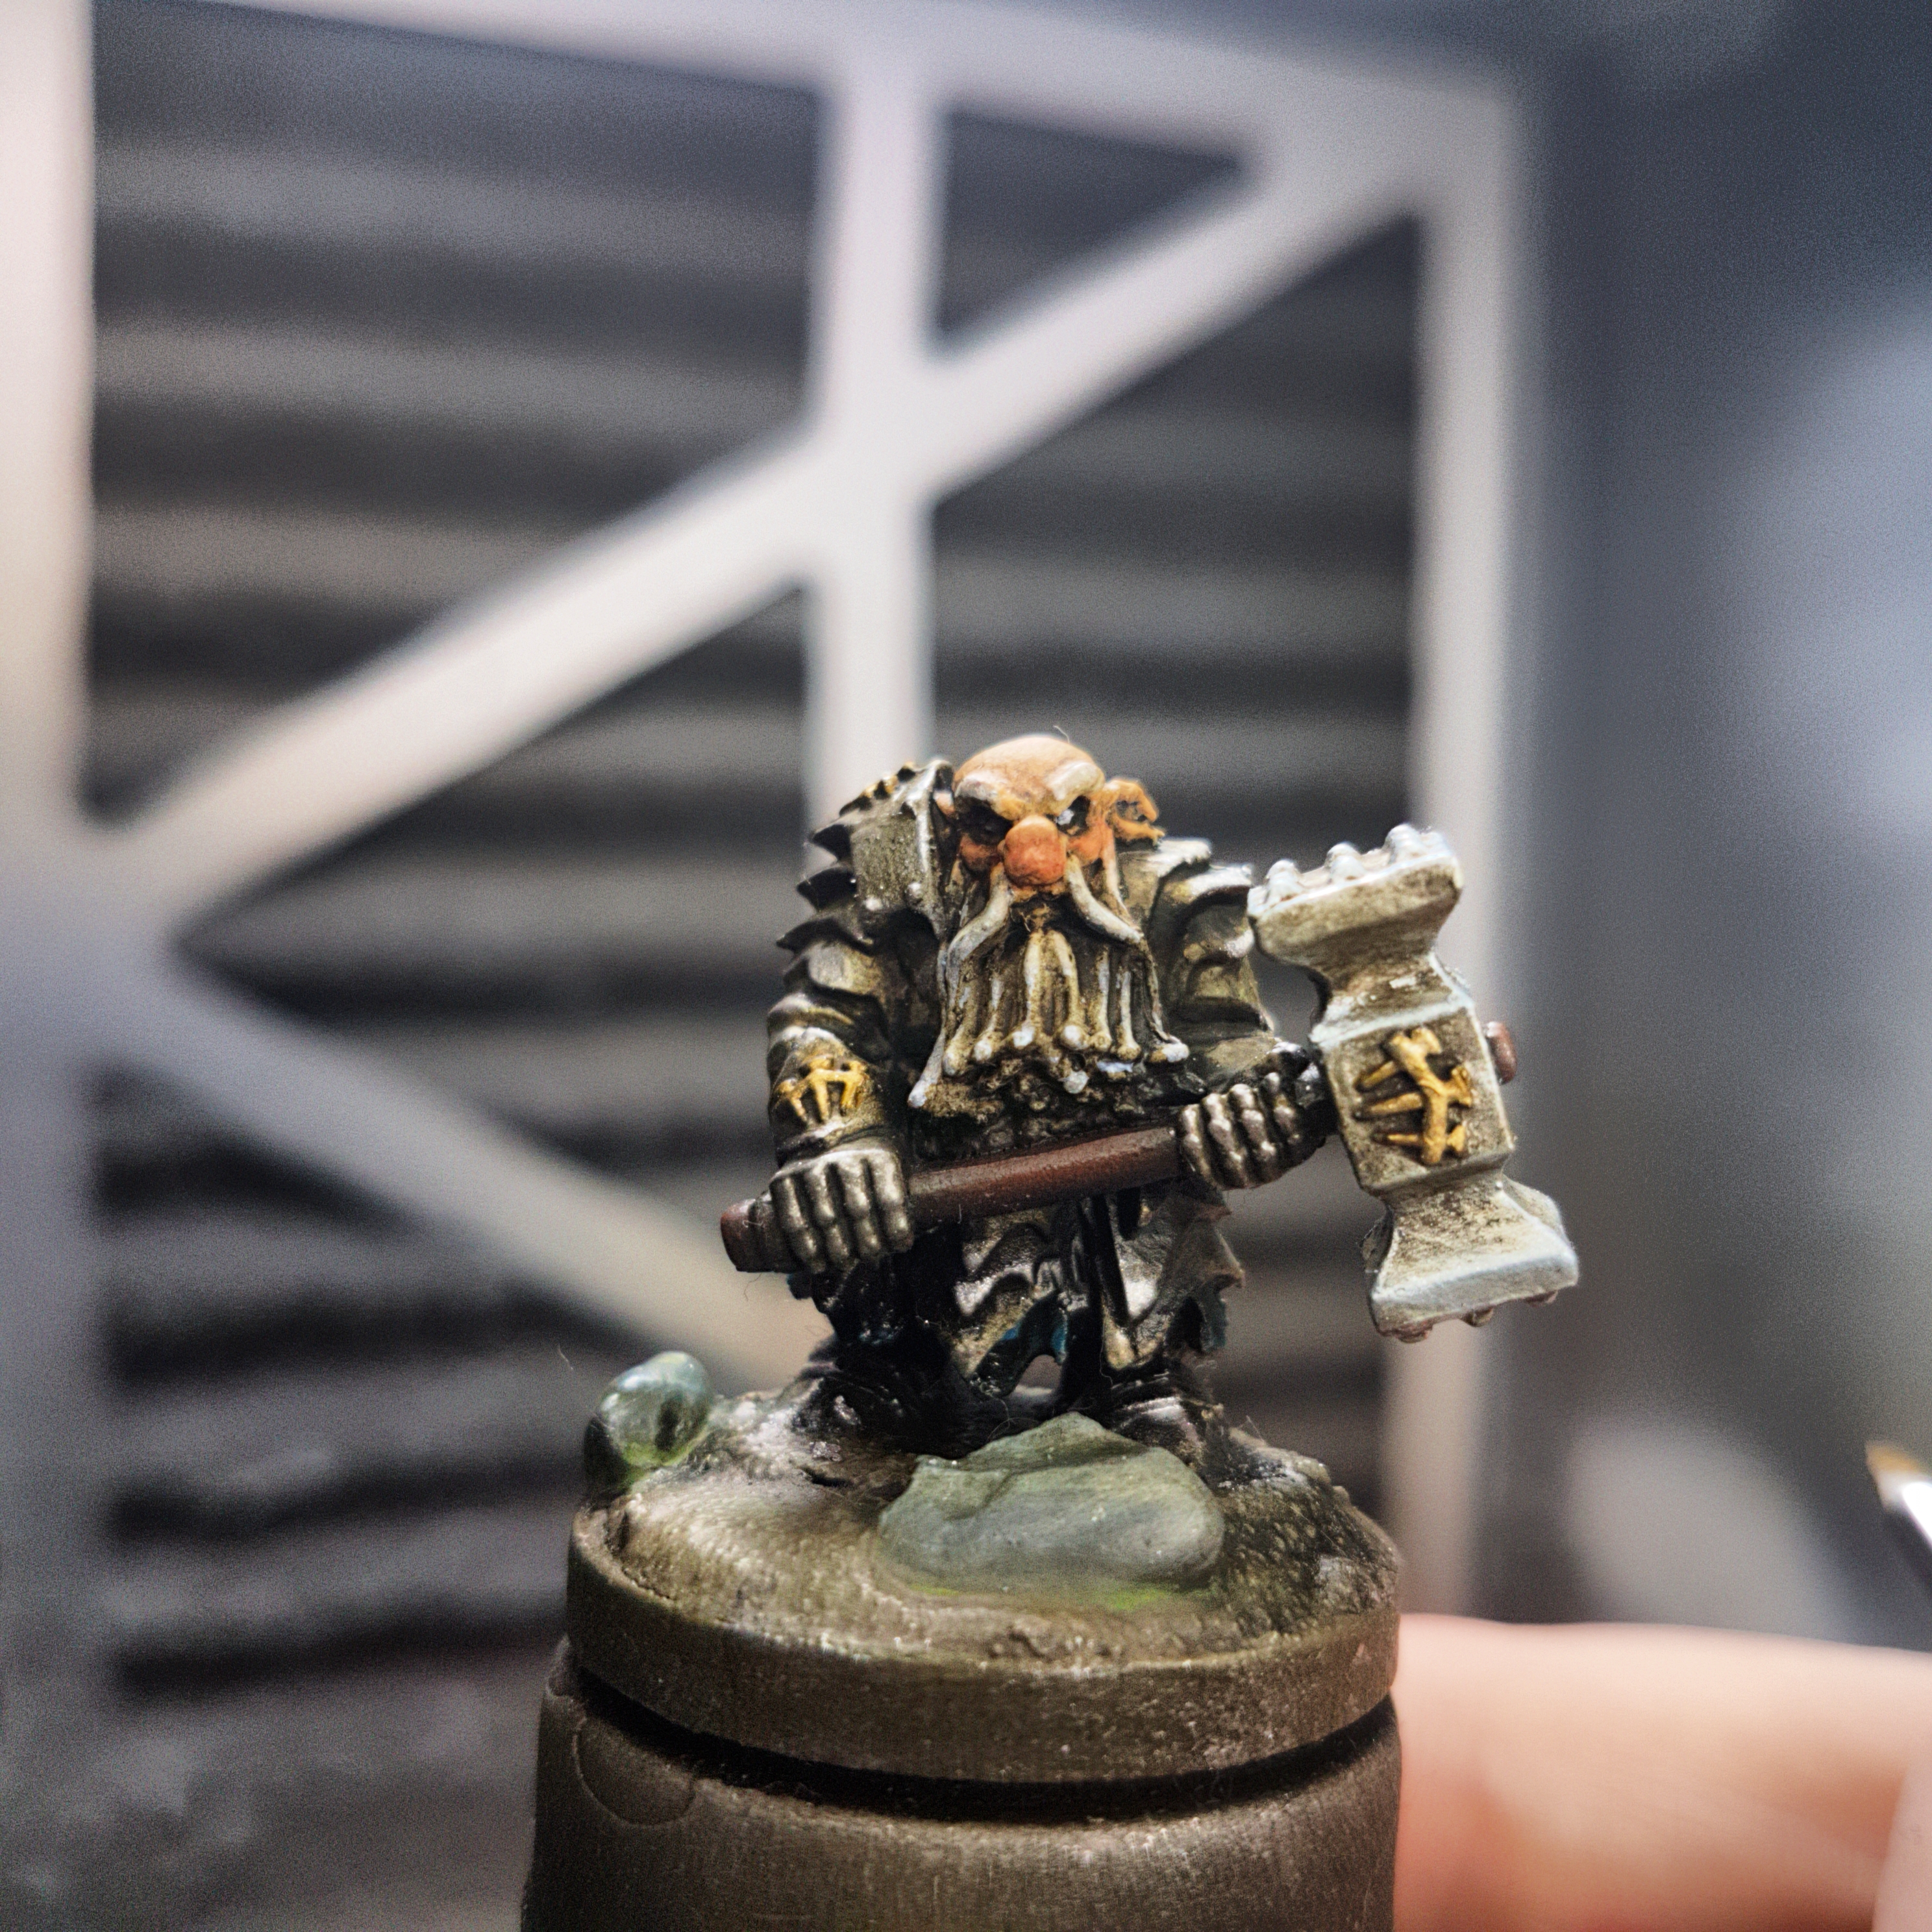
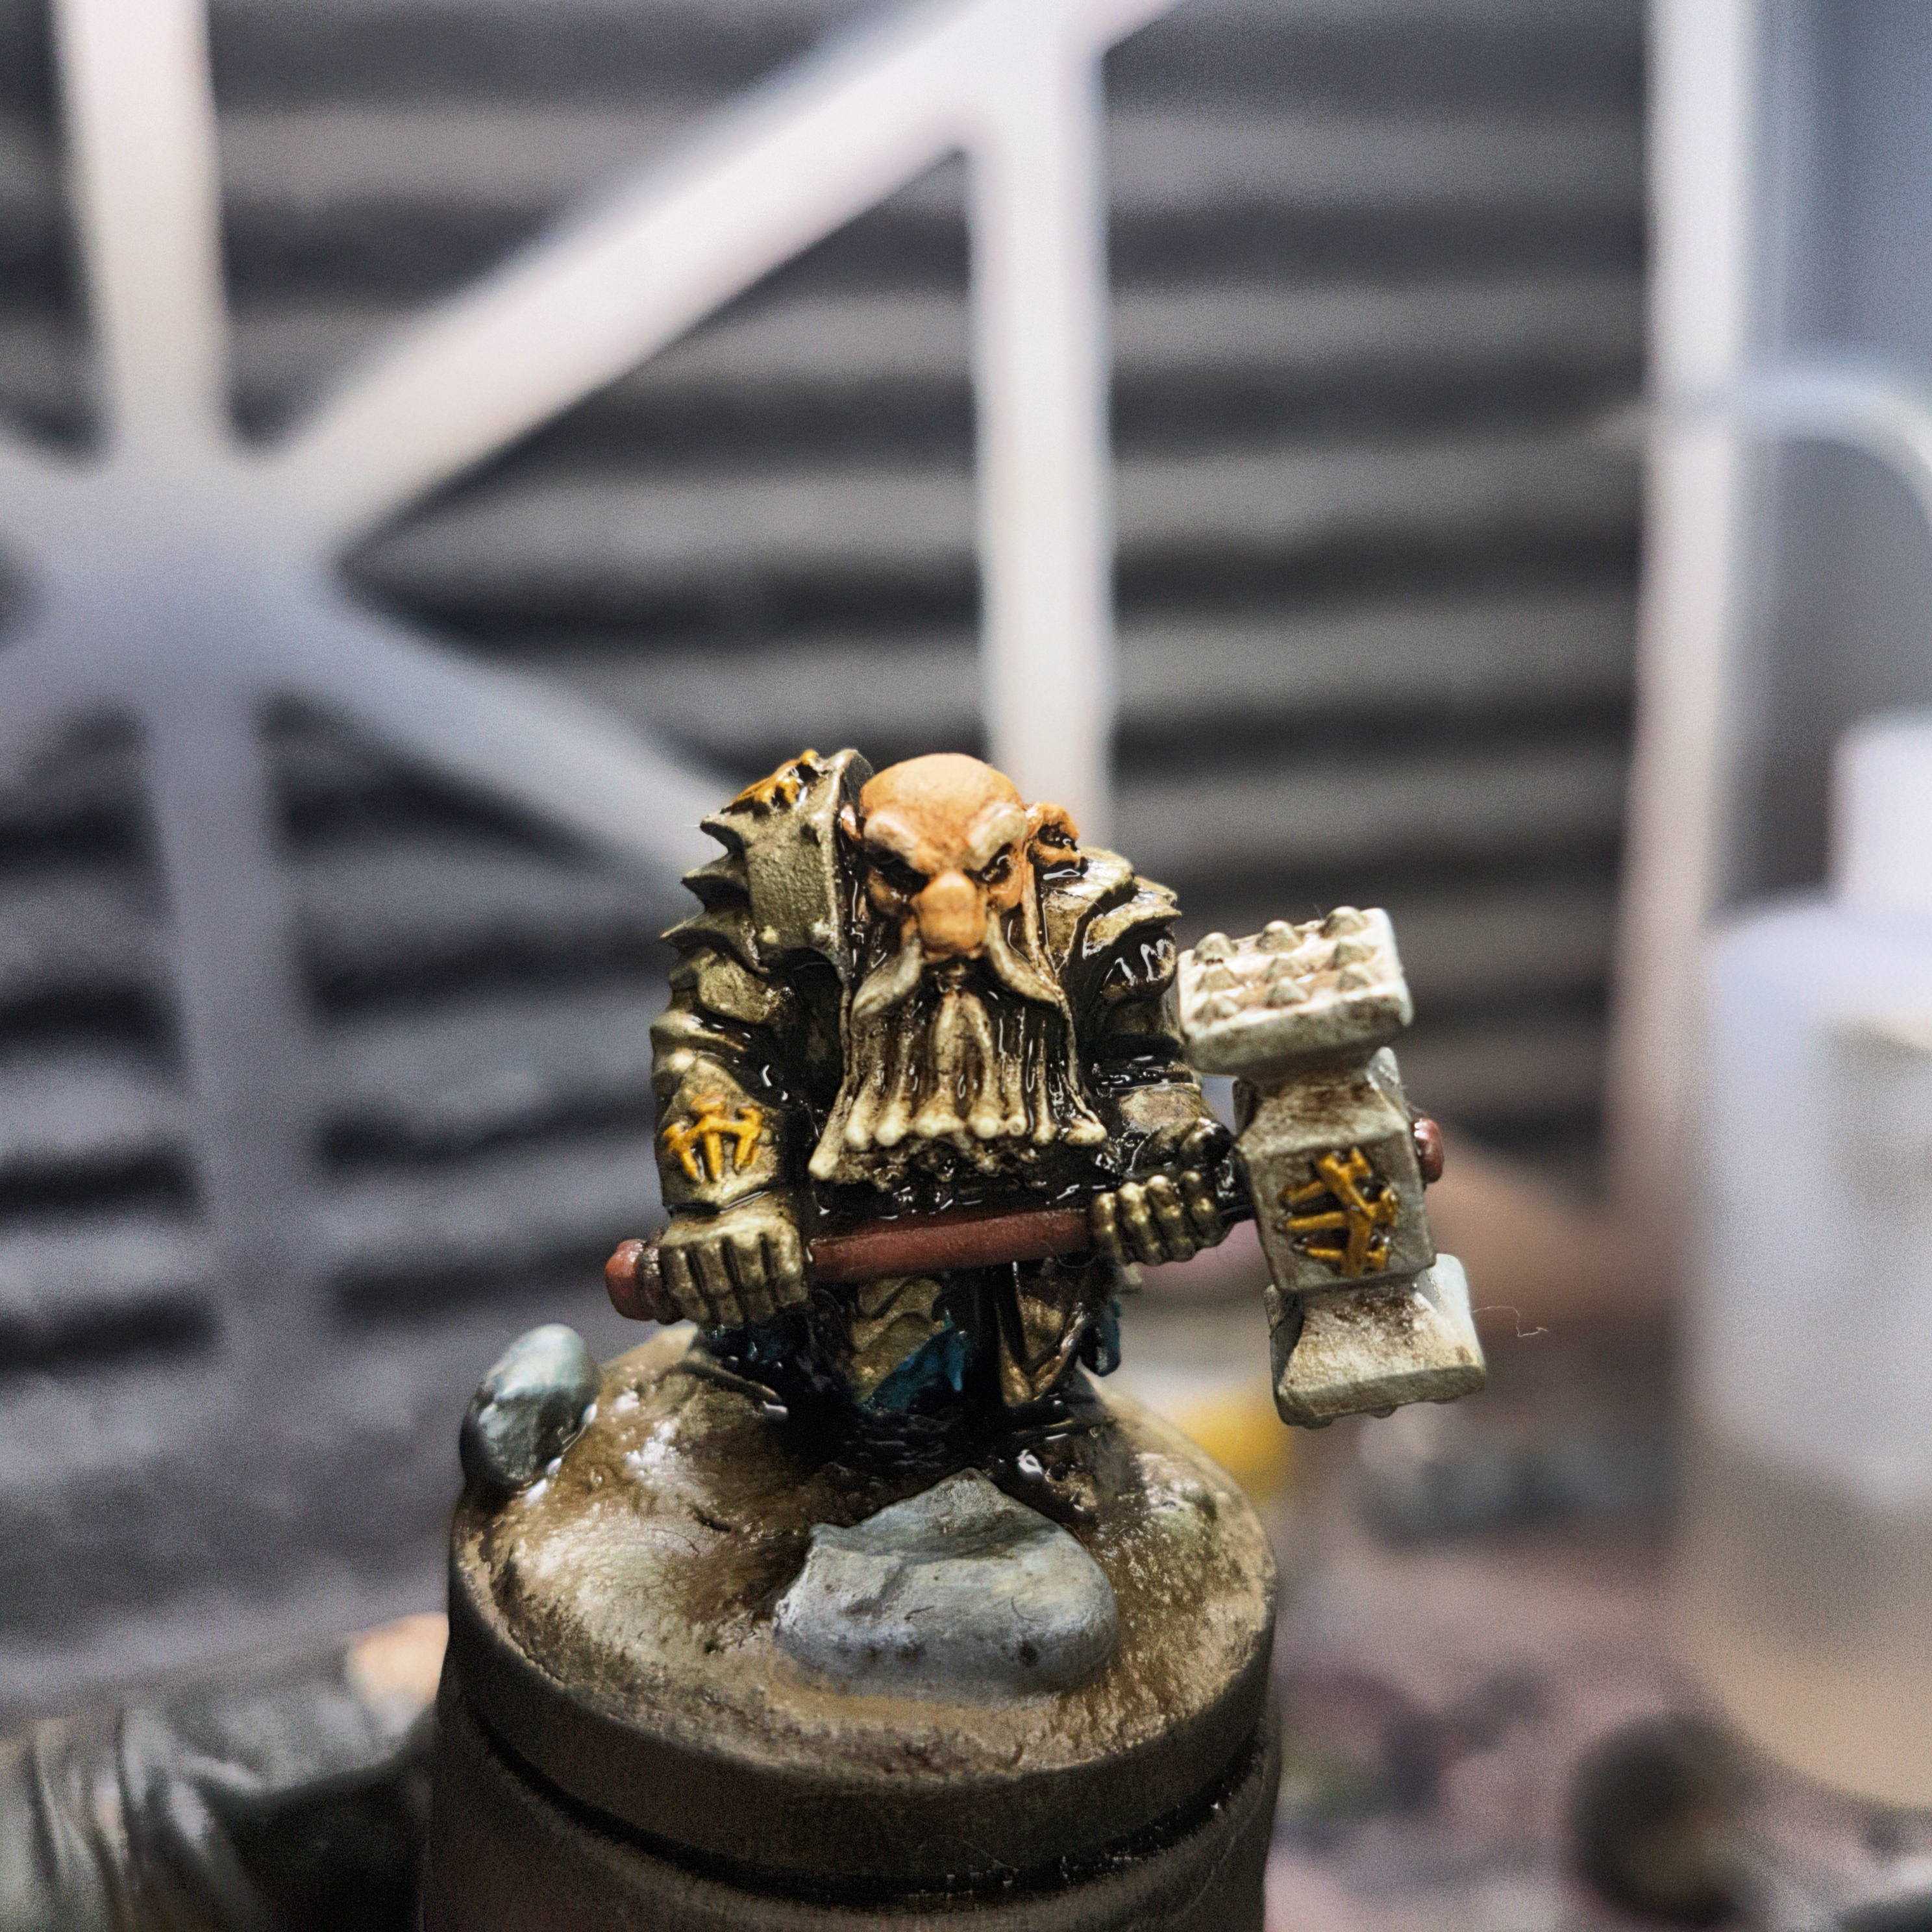
DWARF!!!
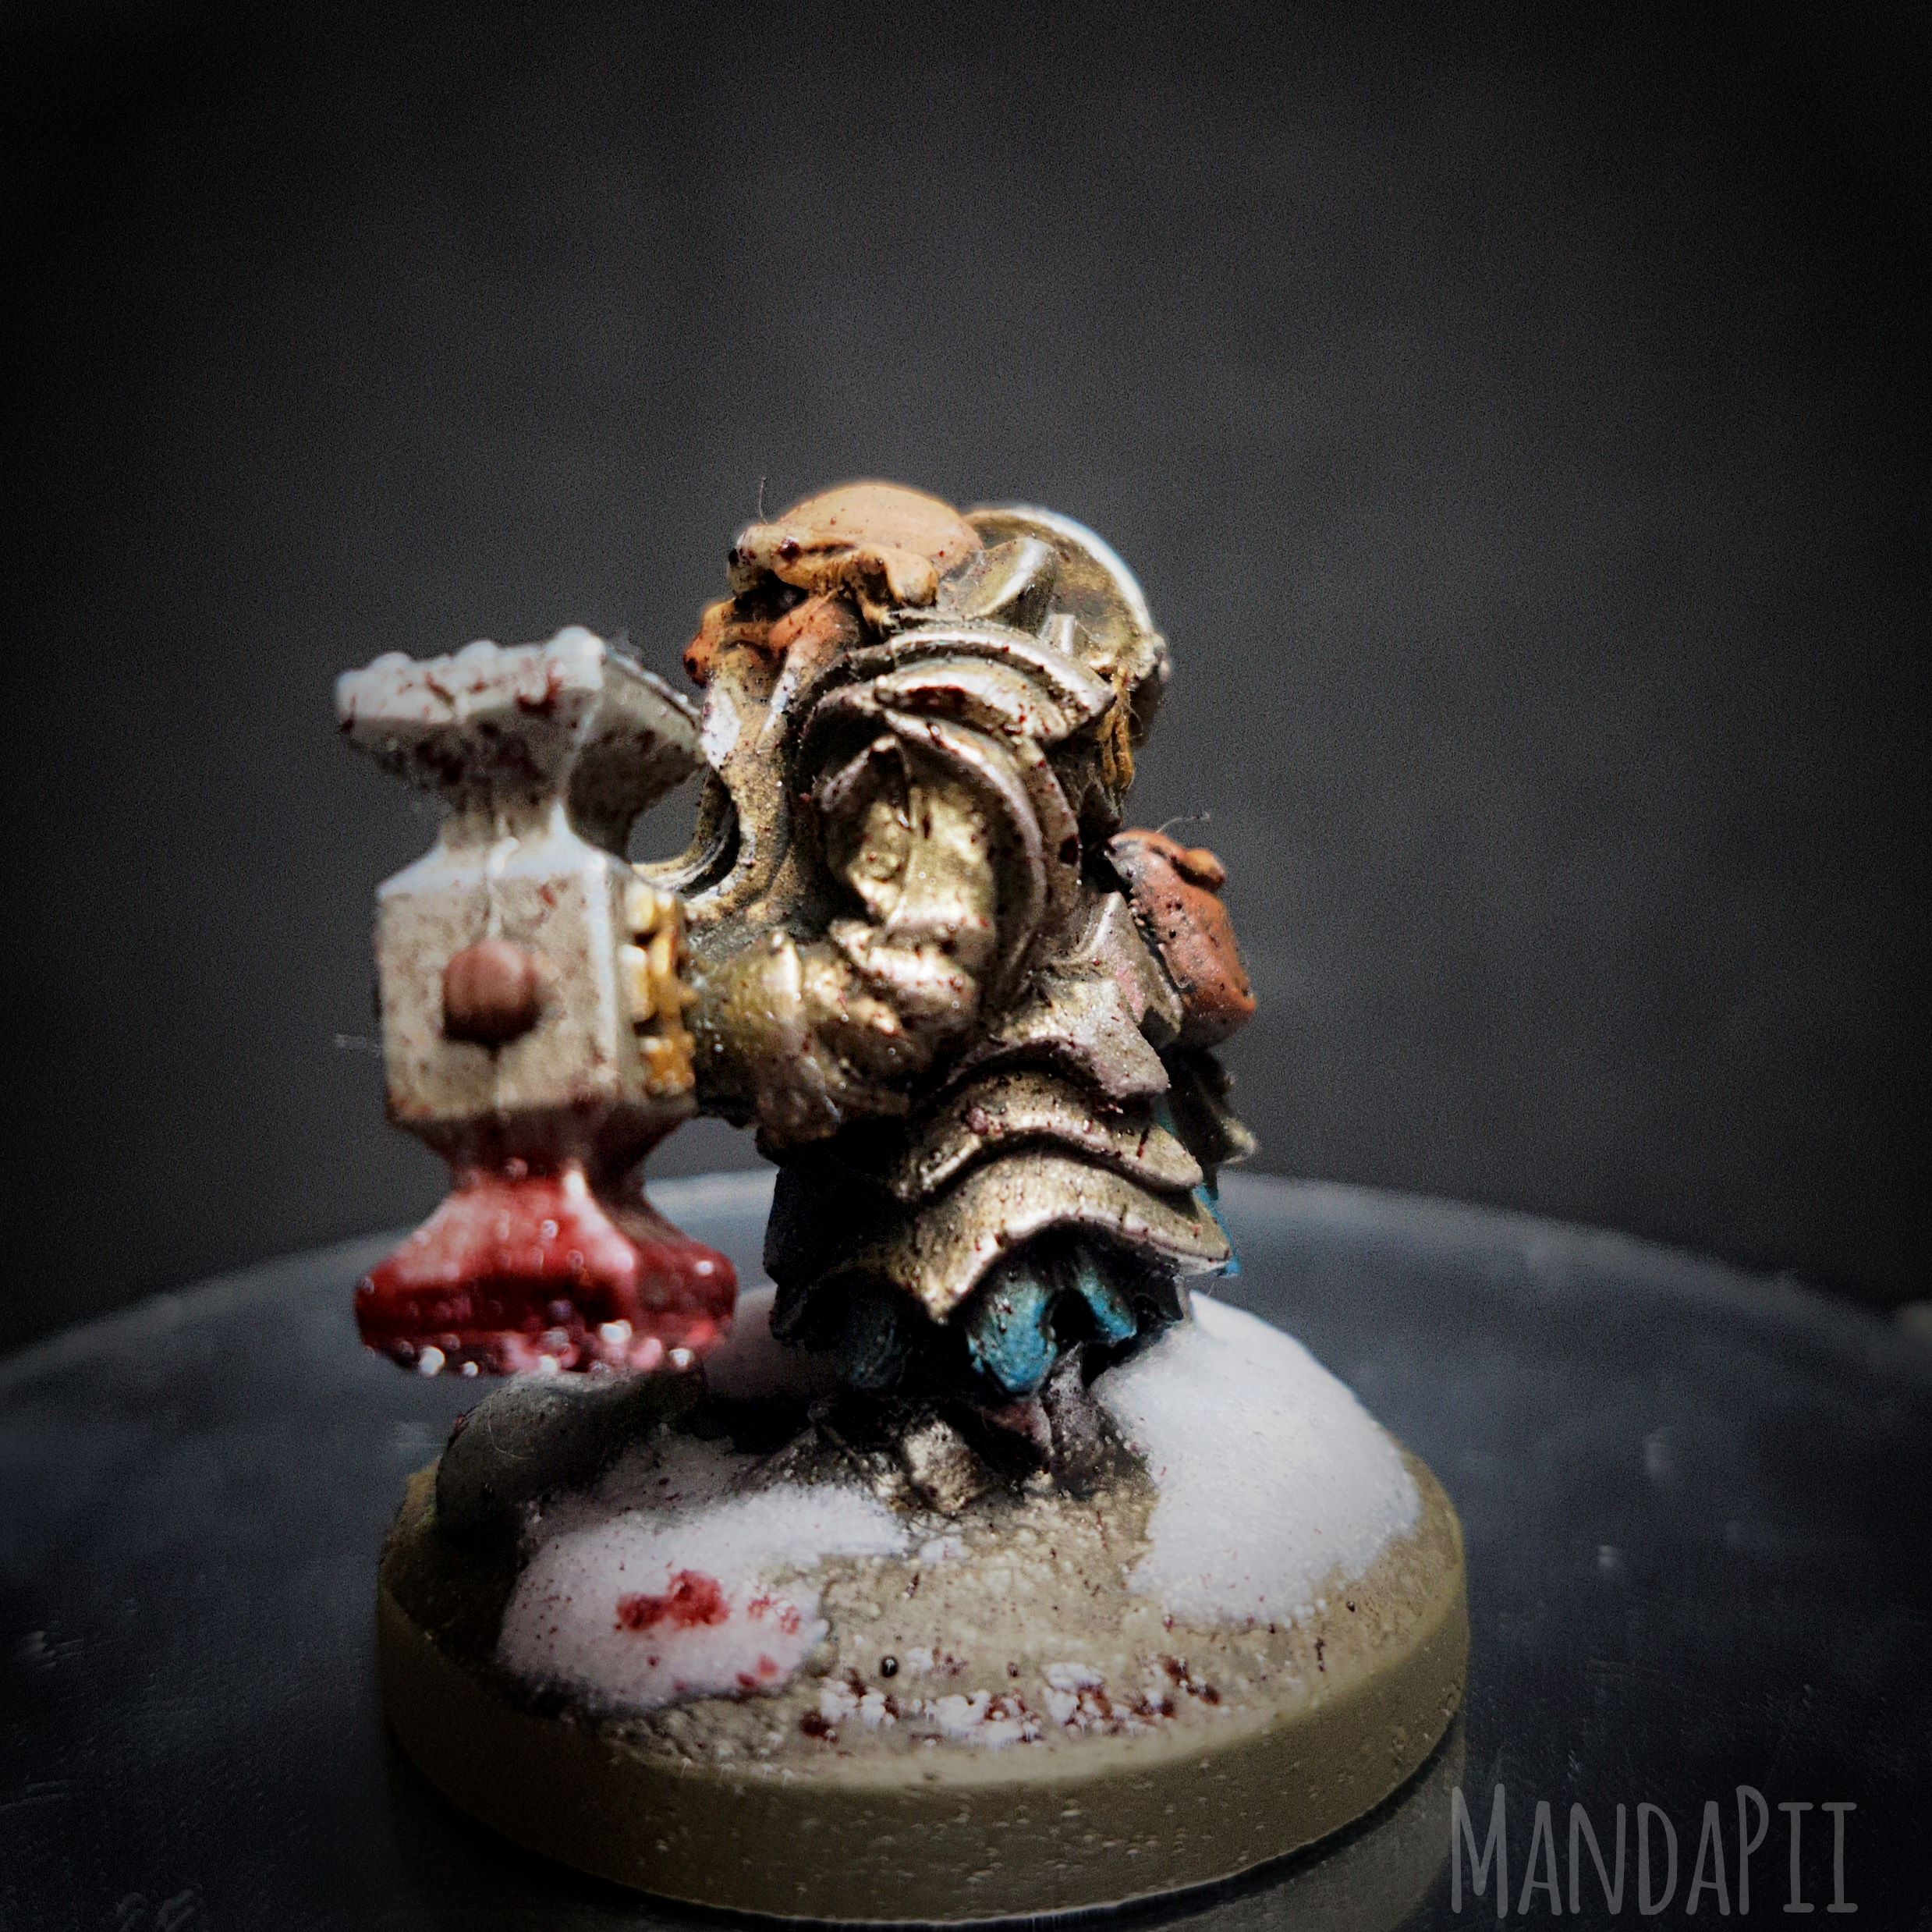
I got quite a bit of weathering work done on the dwarf from Reaper Miniatures today.
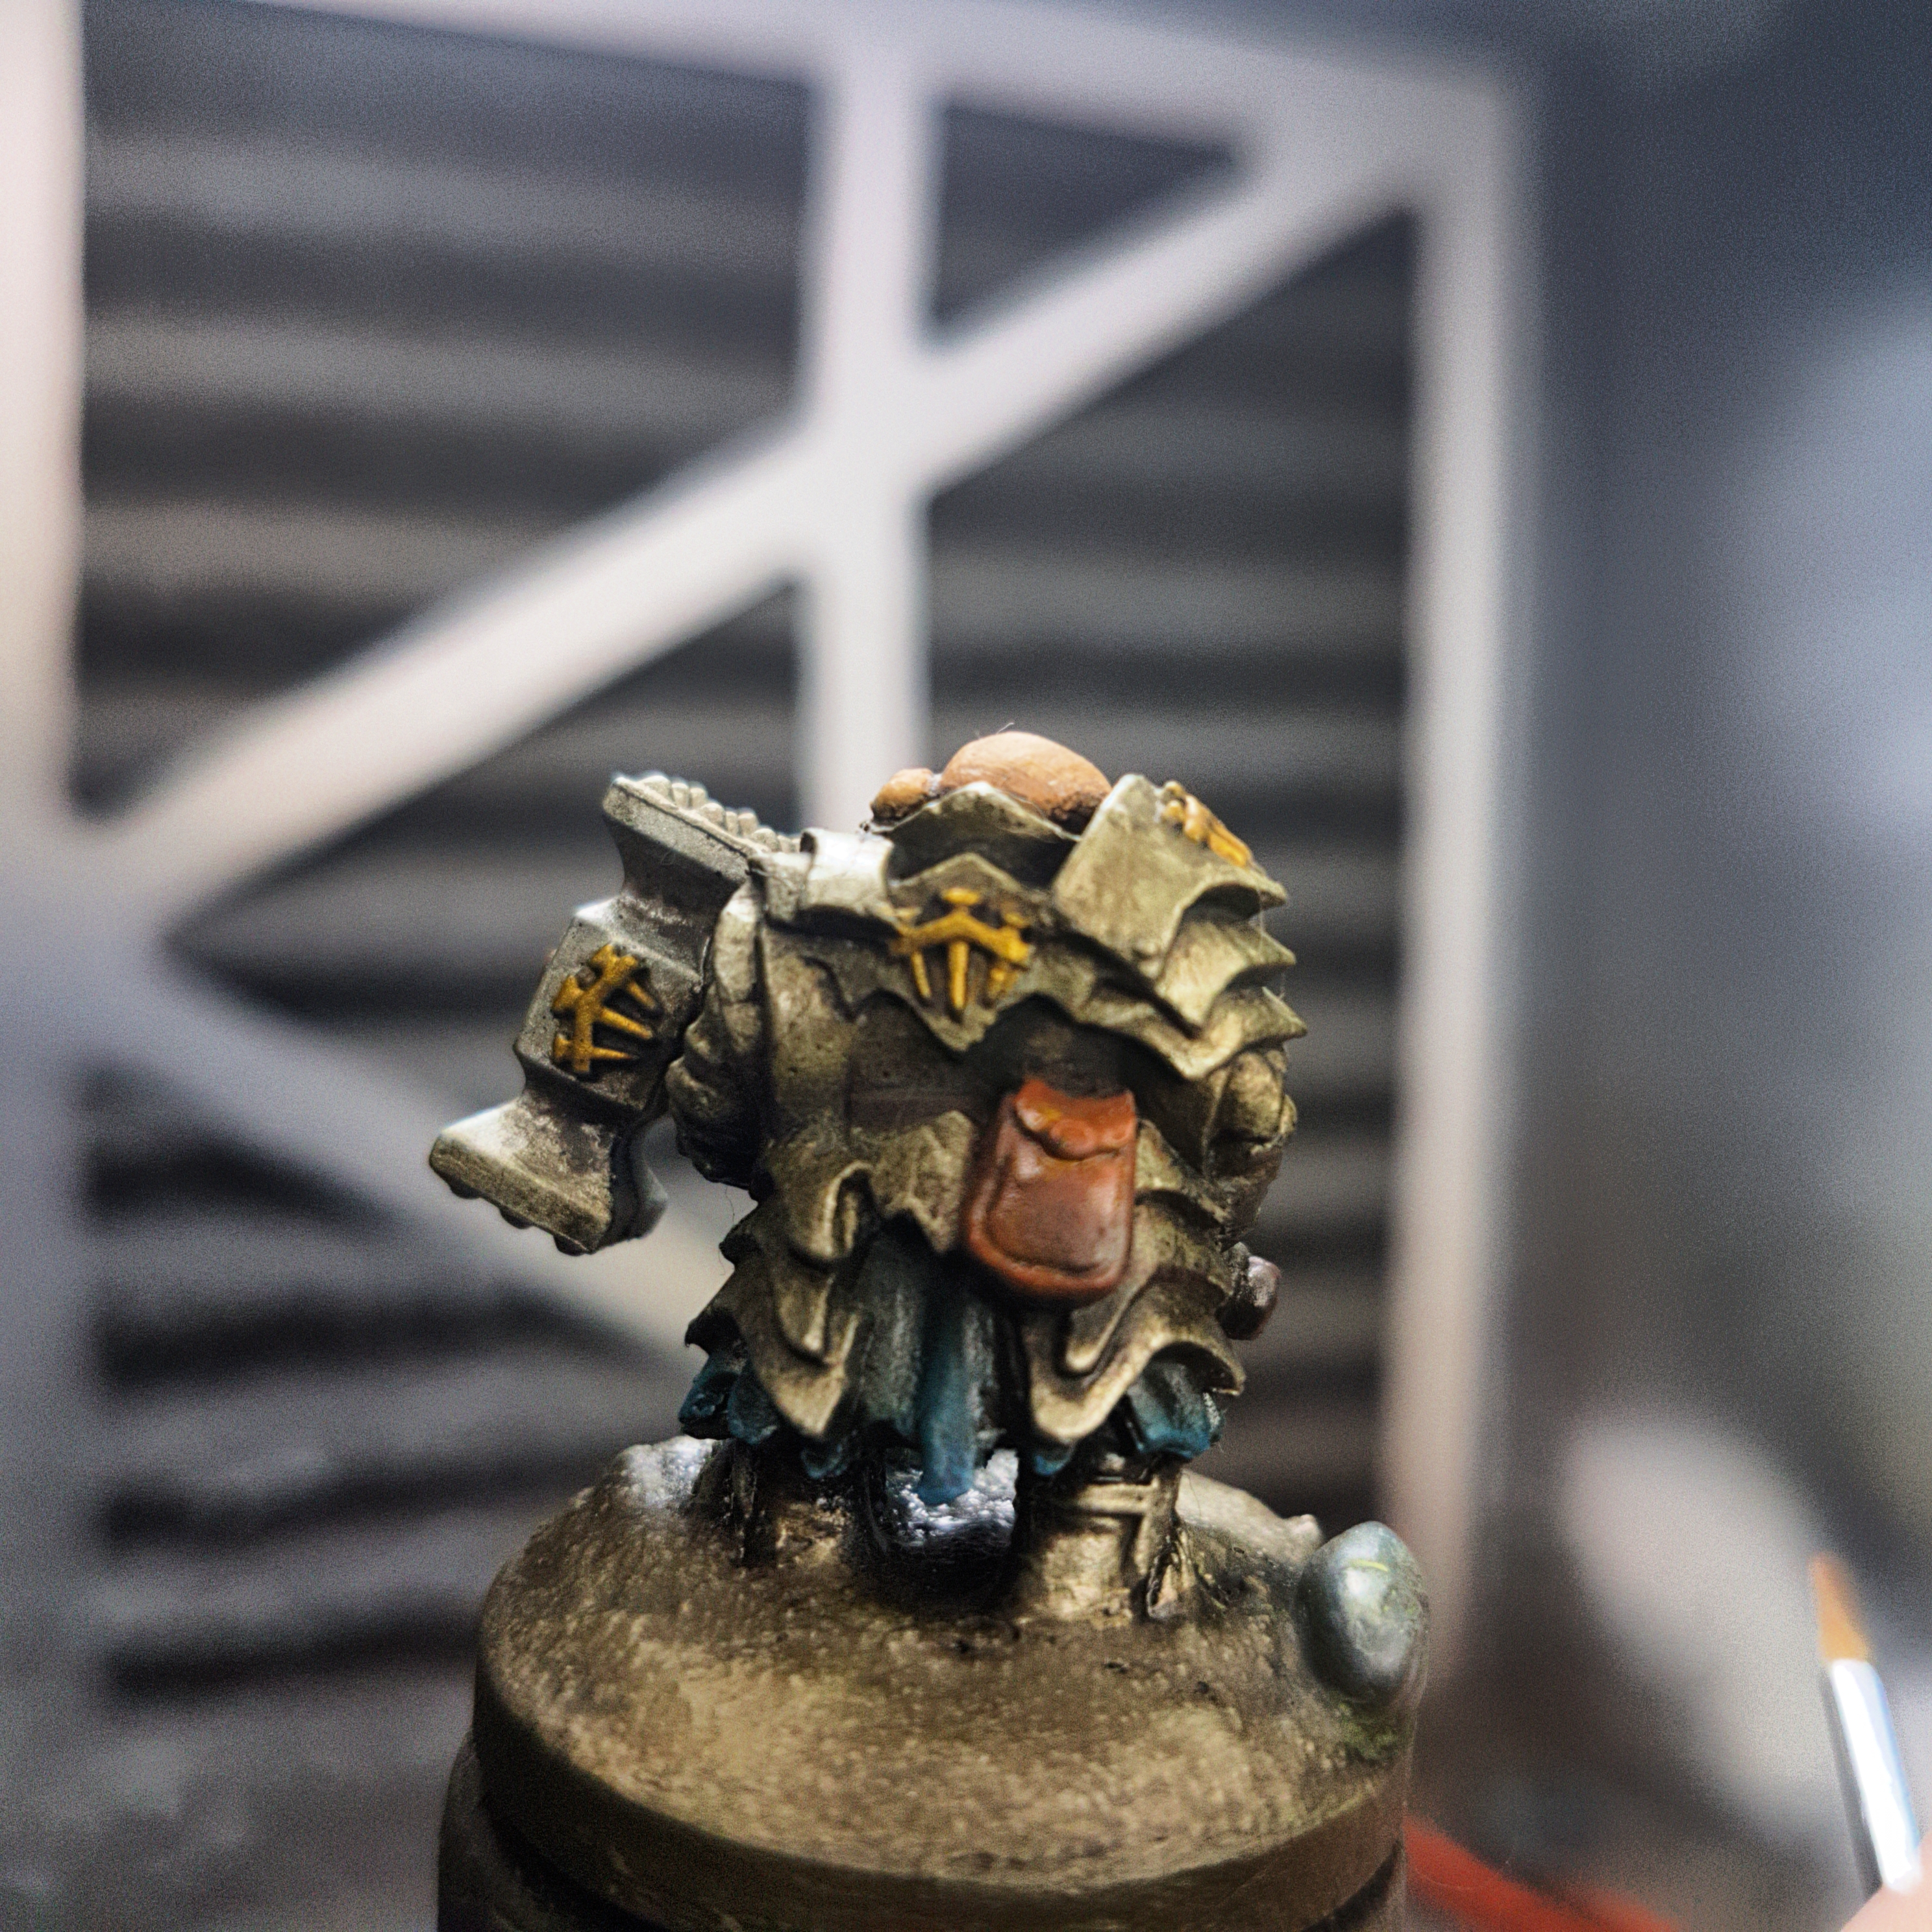
I started with the oils. For all of these I thinned the oil paint significantly with mineral spirits, applied it with a brush. Then cleaned off the brush and brushed the oil paint in for a soft blend. First off I did some highlights of the eyebrows and beard with AK Interactive ABT 502 Oils Titanium White/Snow White (AKABT001). I then really wanted to get a bit of a rosy nose and cheek kind of feel and used Abteilung 502 Modelling Oil Color Warm Red (ABT025) to achieve that. Then to add a little bit of a lighter tone on top of the head and the ear I used Abteilung 502 Modelling Oil Color Sunny Flesh Tone (ABT145). I did a bit of a highlight on the pouch on the back with Abteilung 502 Modelling Oil Color Faded Dark Yellow (ABT020) and the wooden handle of the hammer with Abteilung 502 Modelling Oil Color Burnt Umber (ABT006). I then put a little bit of the AK Interactive ABT 502 Oils Titanium White/Snow White (AKABT001) on the eyeballs.
In between that I applied a coat of AK Interactive Moss Deposits (AK676) over the rocks on the base and when that was dry to the touch removed the excess with a cotton bud without mineral spirits.
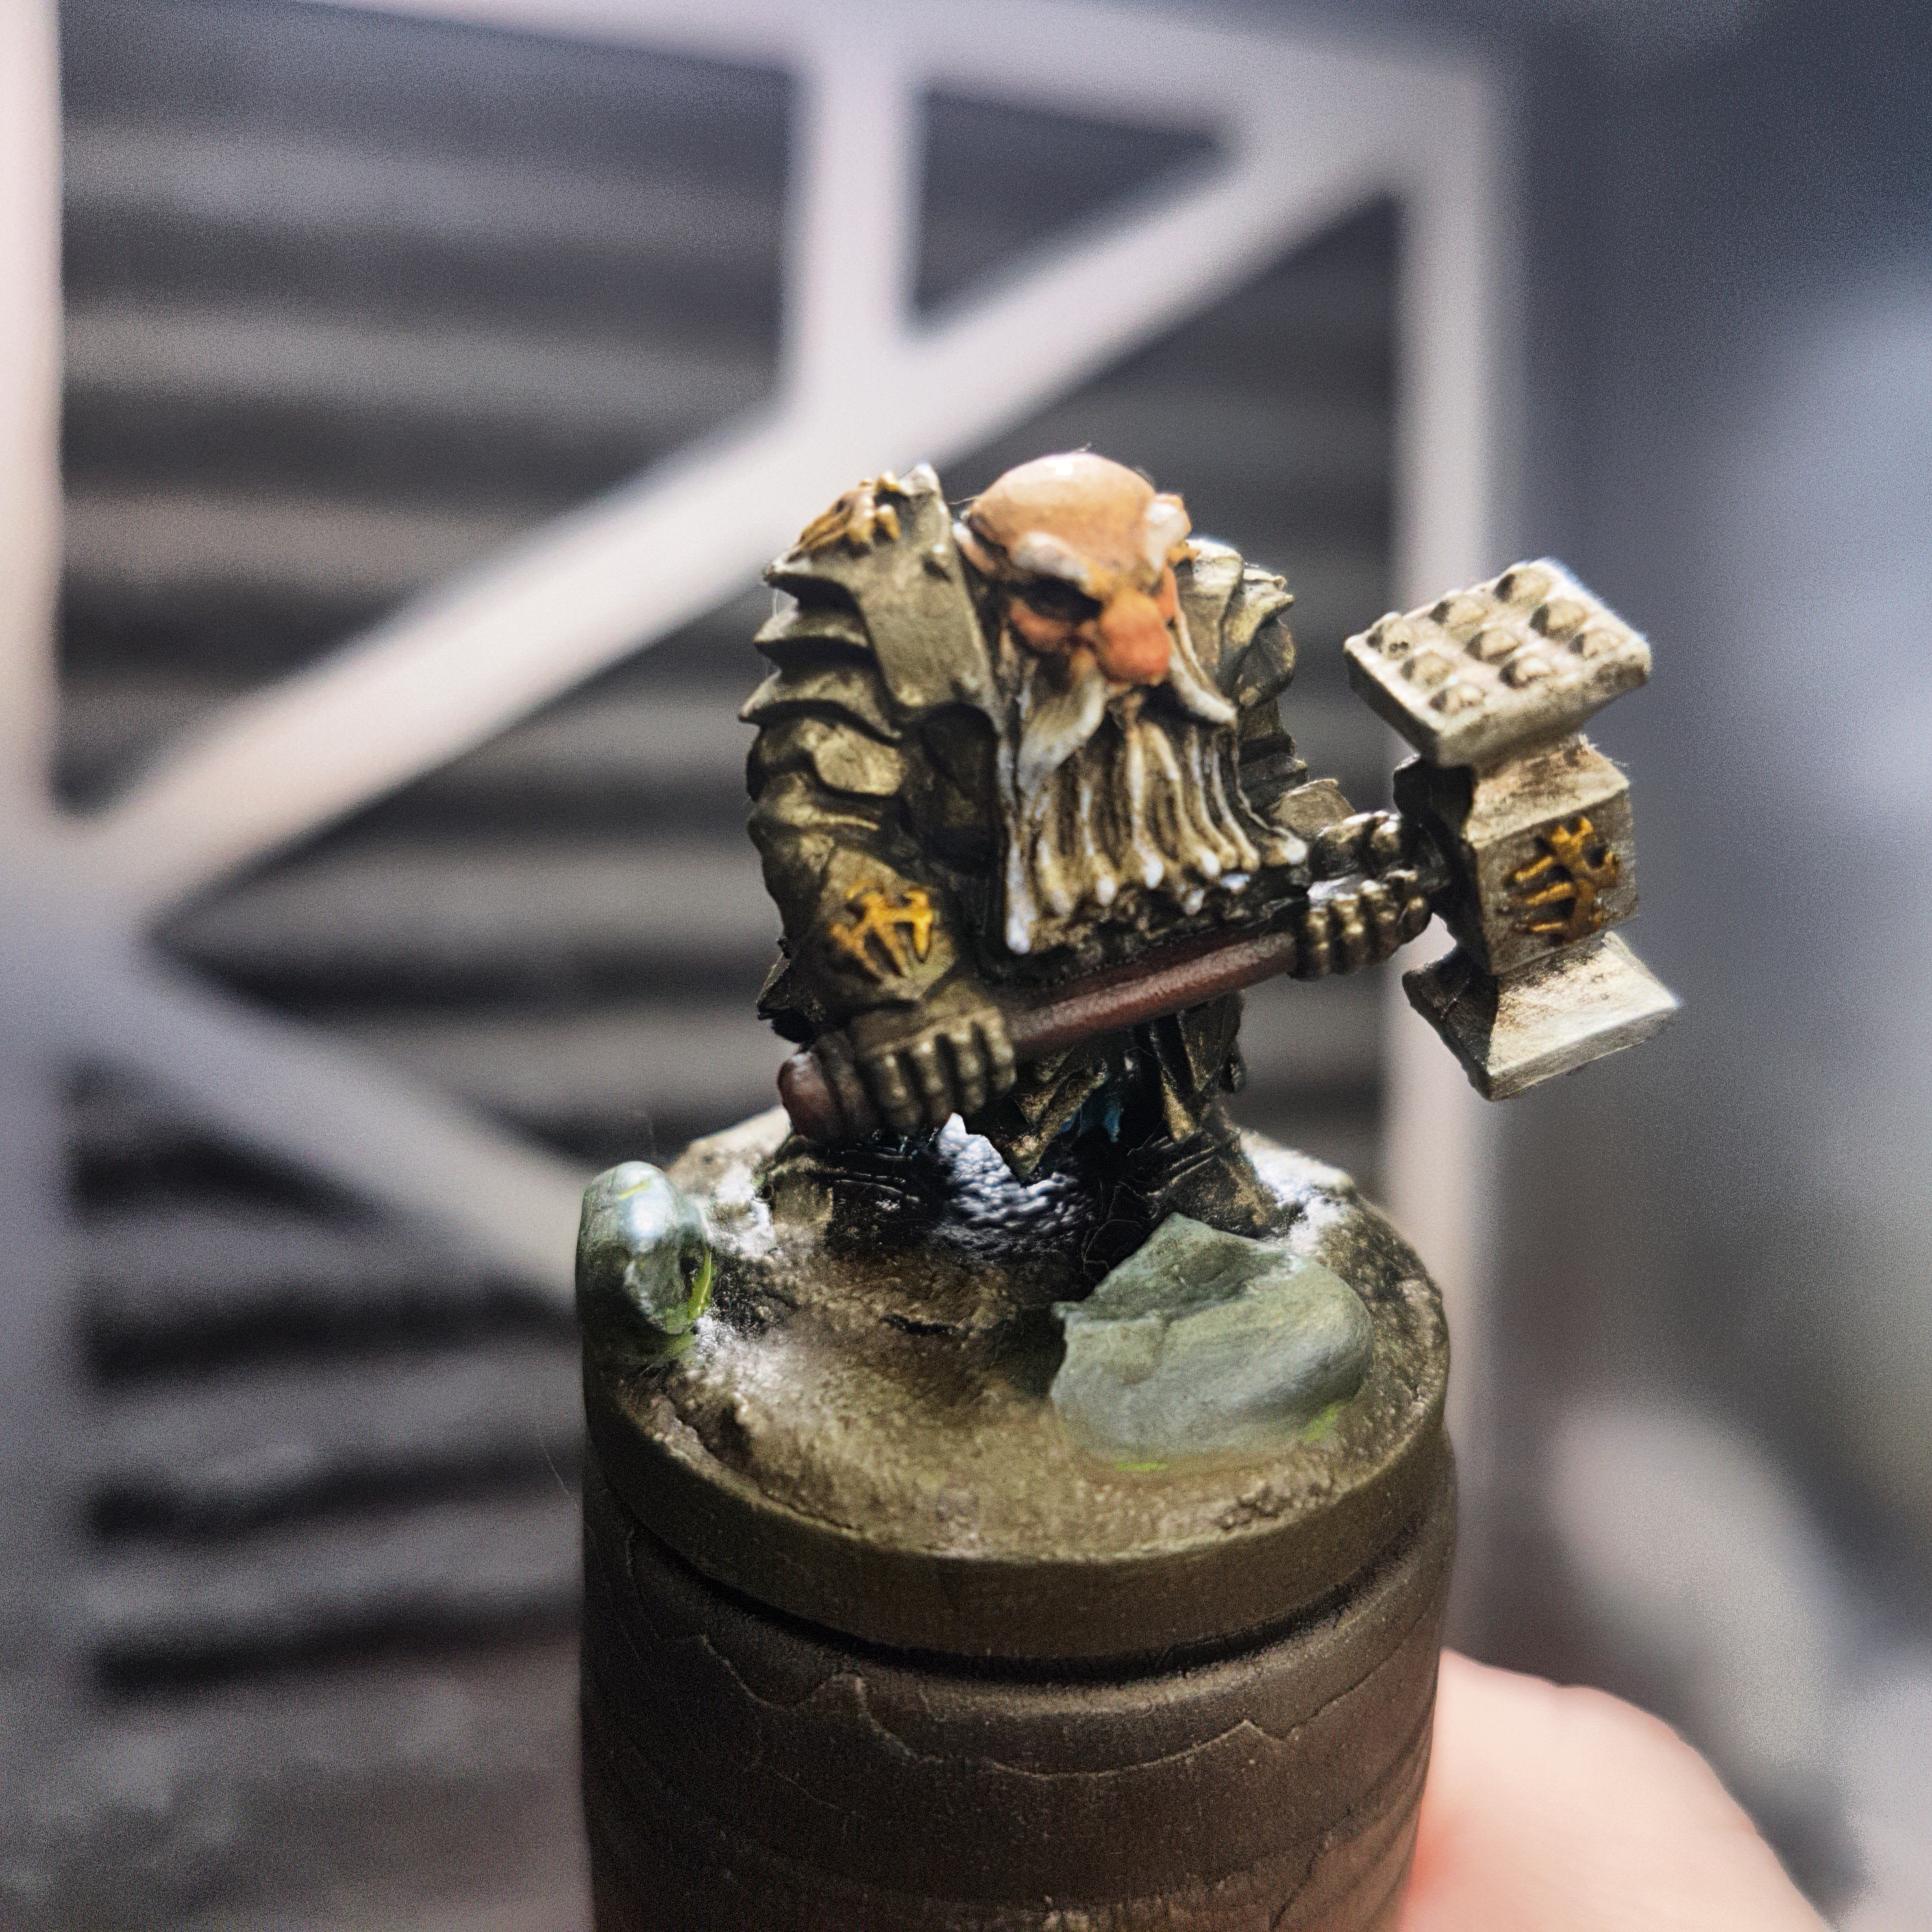
Then I grabbed my silicone sculpting brushes for highlighting the edges of all the metallics. For the armour I used AK Interactive True Metal Iron (AK459), the hammerhead was done with AK Interactive True Metal Steel (AK457) and all the gold details were done with AK Interactive True Metal Gold (AK450).
And that’s it for today.
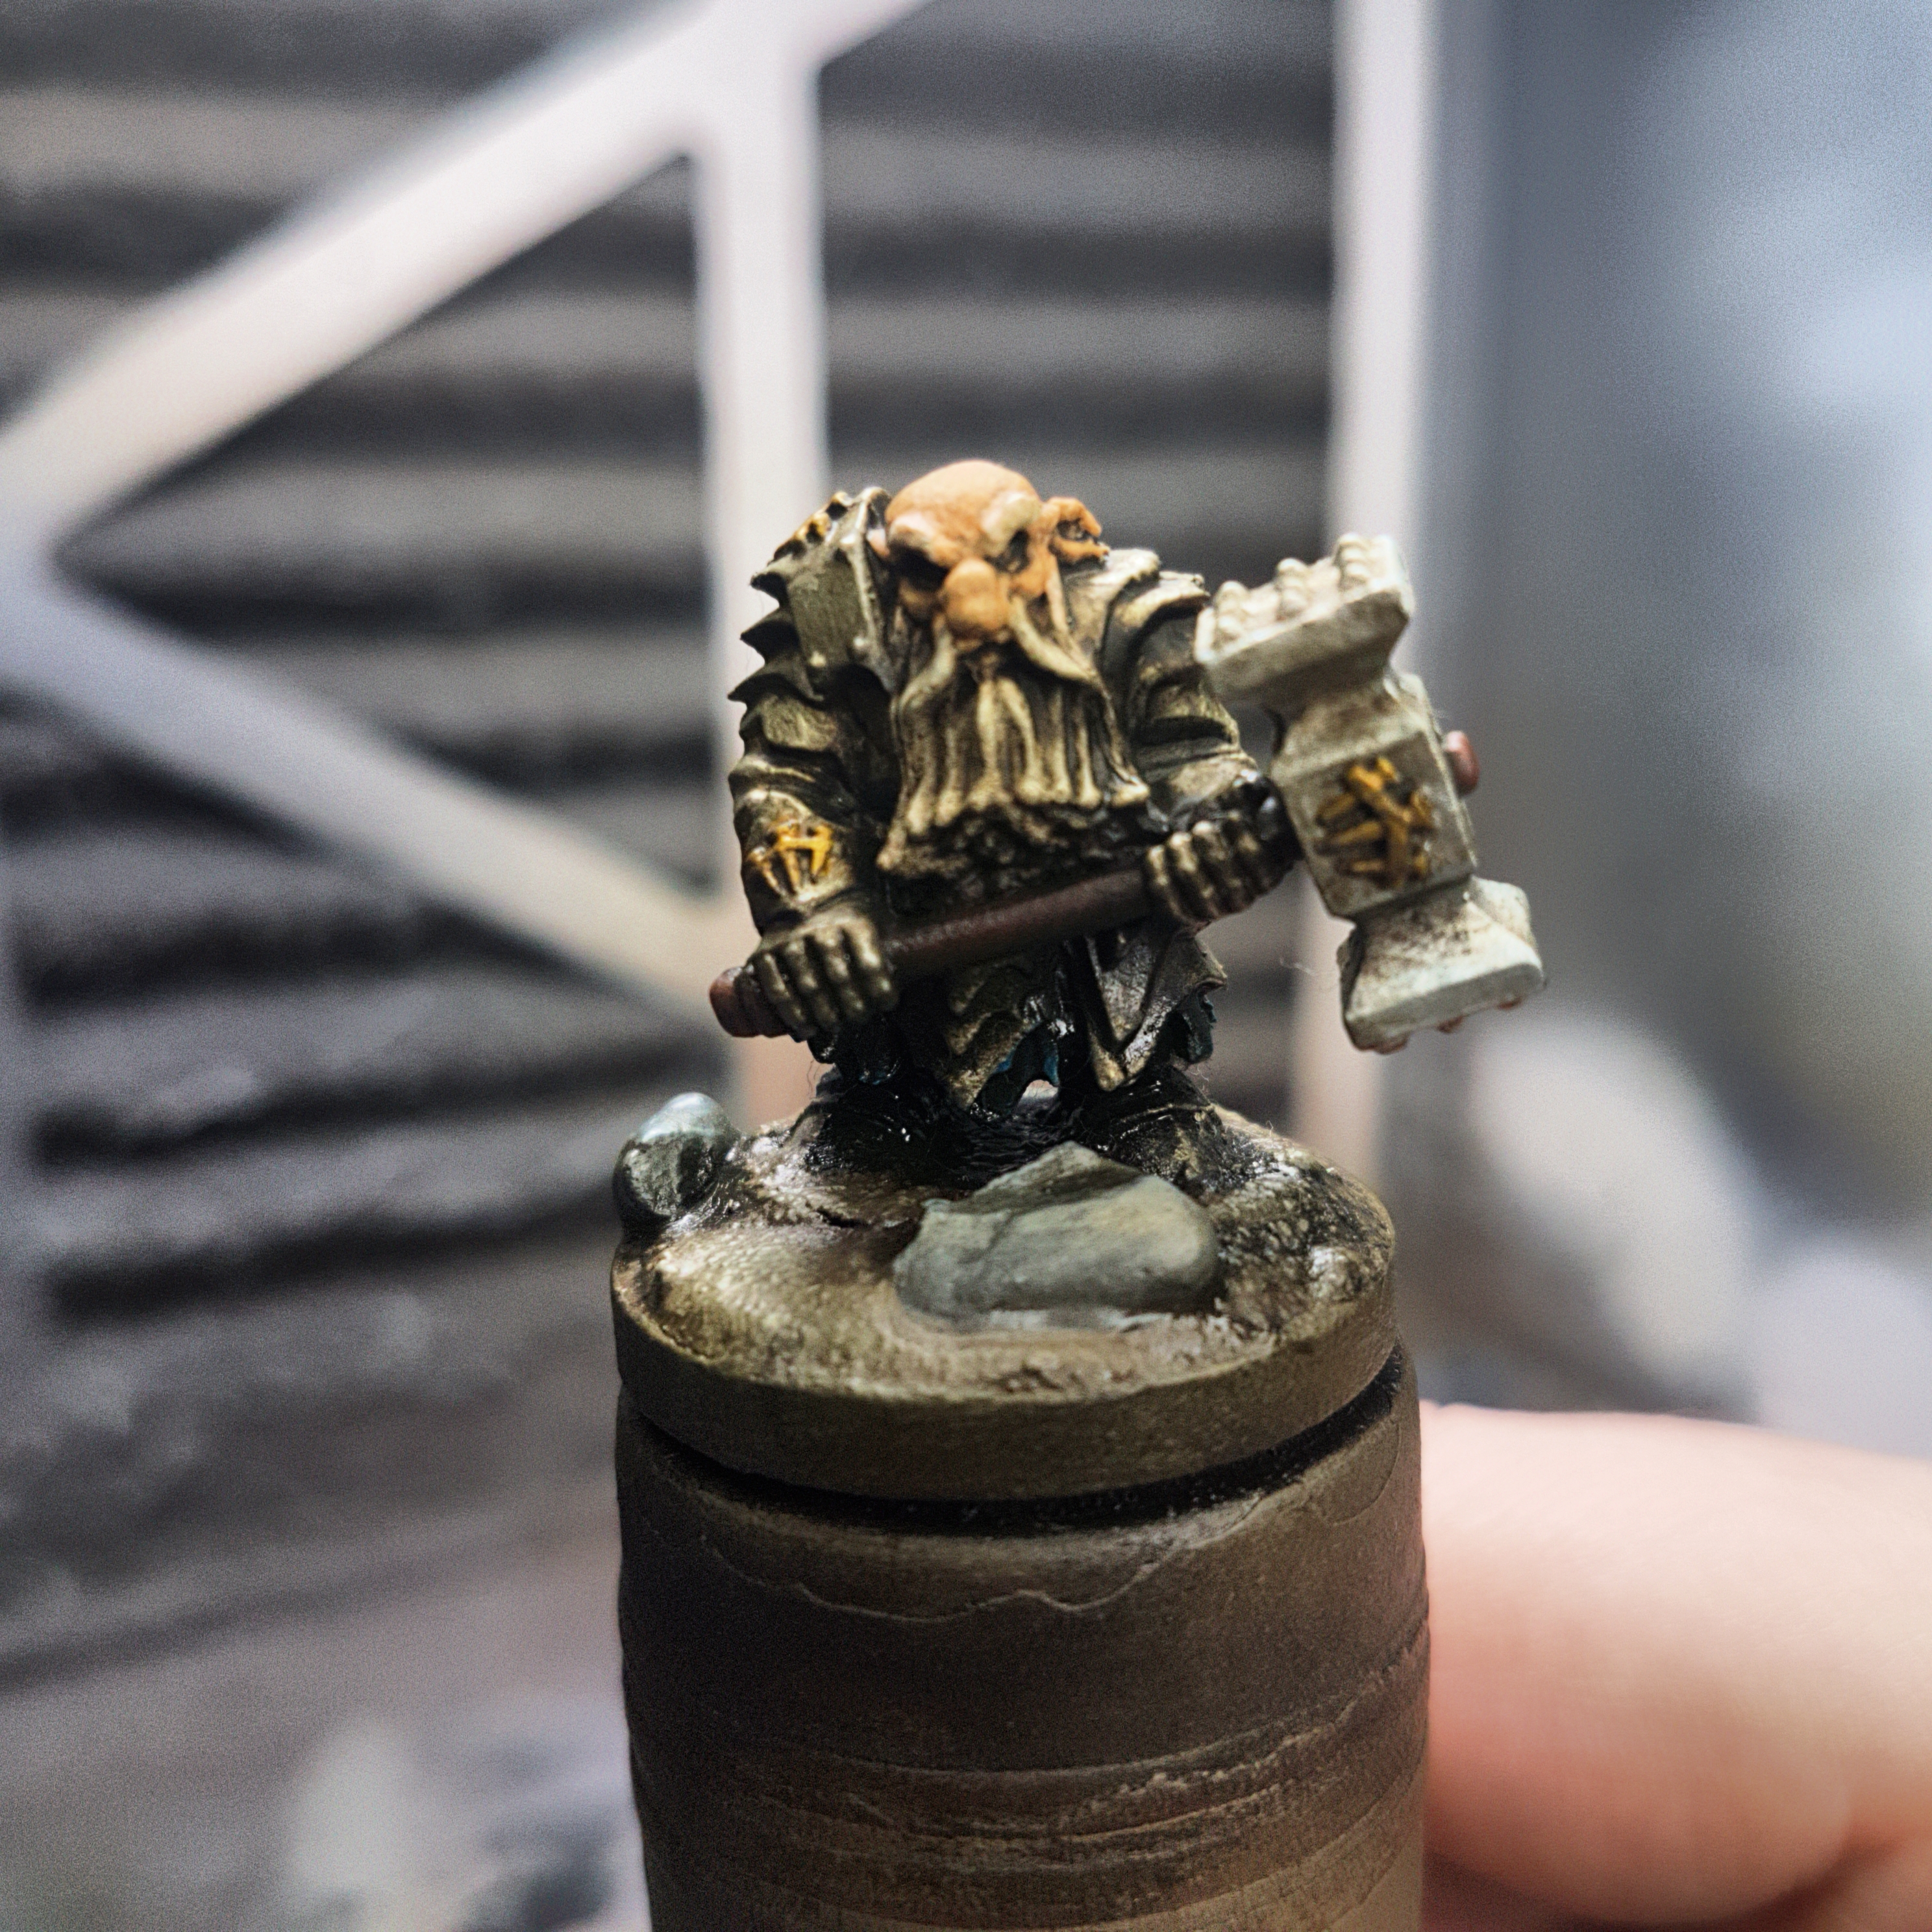
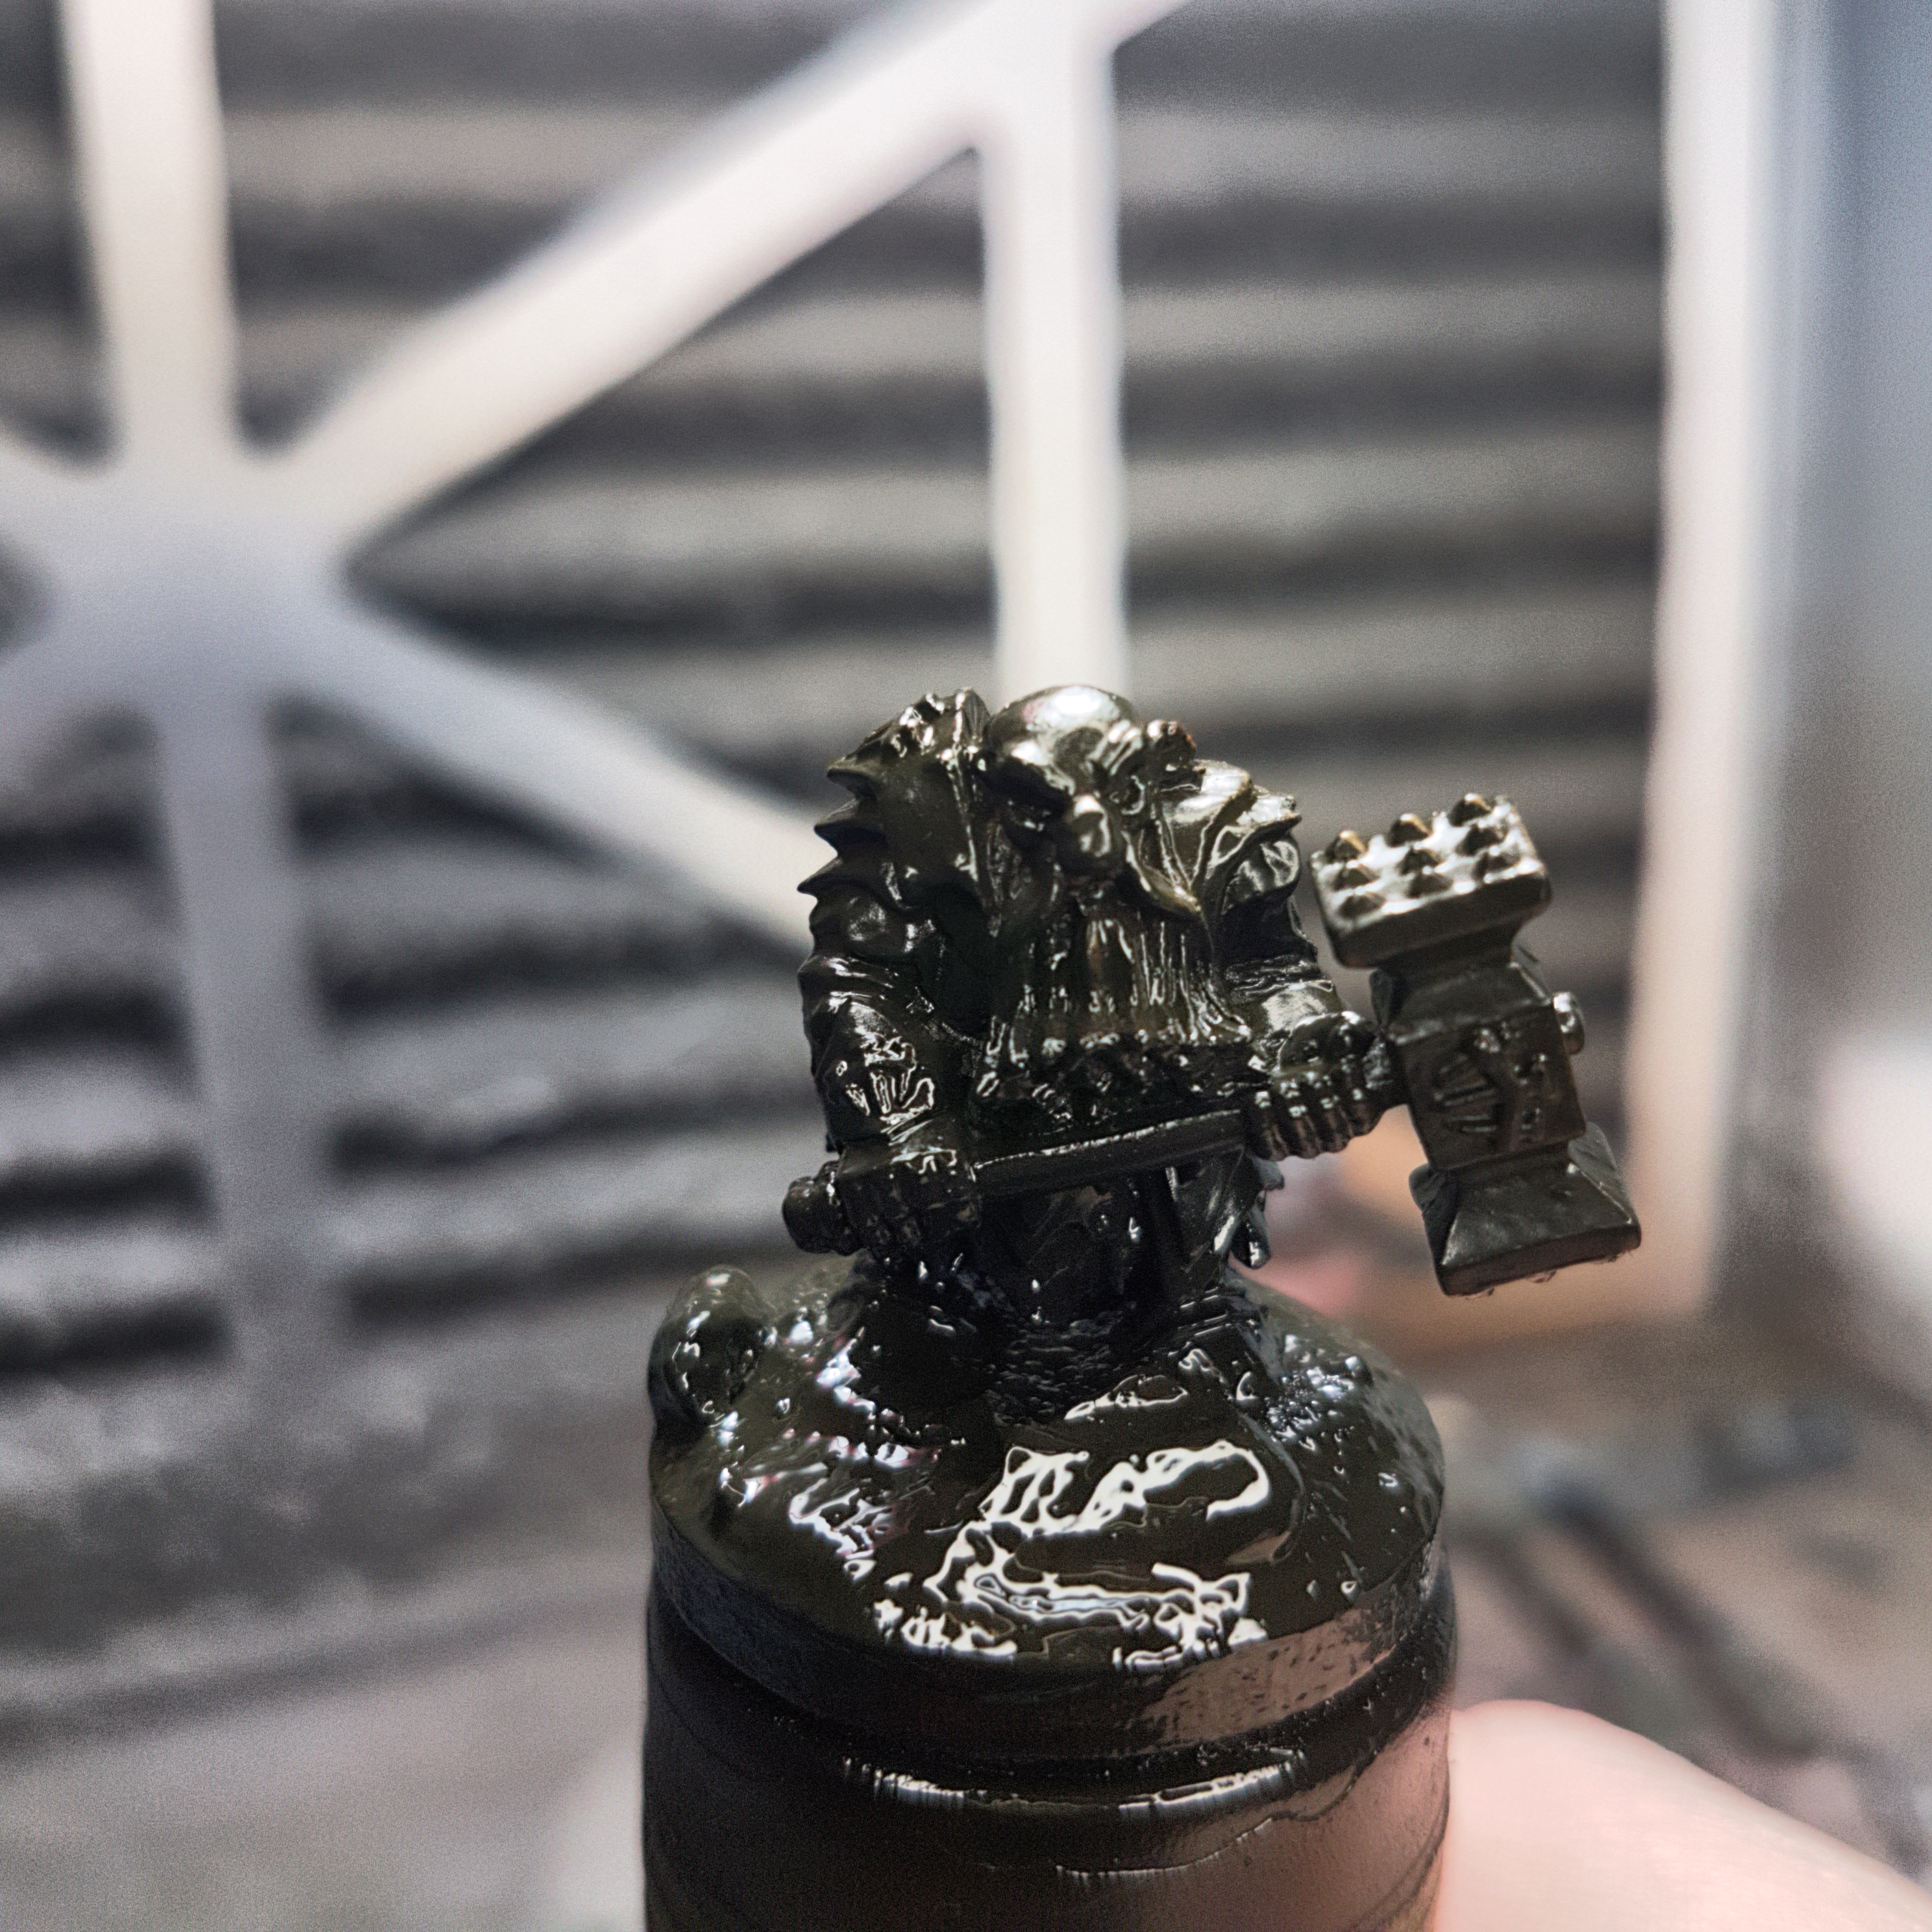
A Little Muddy Update.
Just a little bit of work done on blending the model in with the base and the base itself for the dwarf from Reaper Miniatures.
To do this I started with my airbrush and applied a coat of AK Interactive Fresh Mud (AK016) over the base and the legs.
And then first used a woollen dauber and then some cotton buds, both without any mineral spirits to remove the excess.
The effect from not using mineral spirits is different to when you do. In the future I will not be doing the AK Interactive Fresh Mud (AK016) coat with the AK Interactive Streaking Grime (AK012). The AK Interactive Streaking Grime (AK012) will be done in 2 coats with mineral spirits, then I will let that cure. And then do a coat of AK Interactive Fresh Mud (AK016) like I did in this post without mineral spirits.
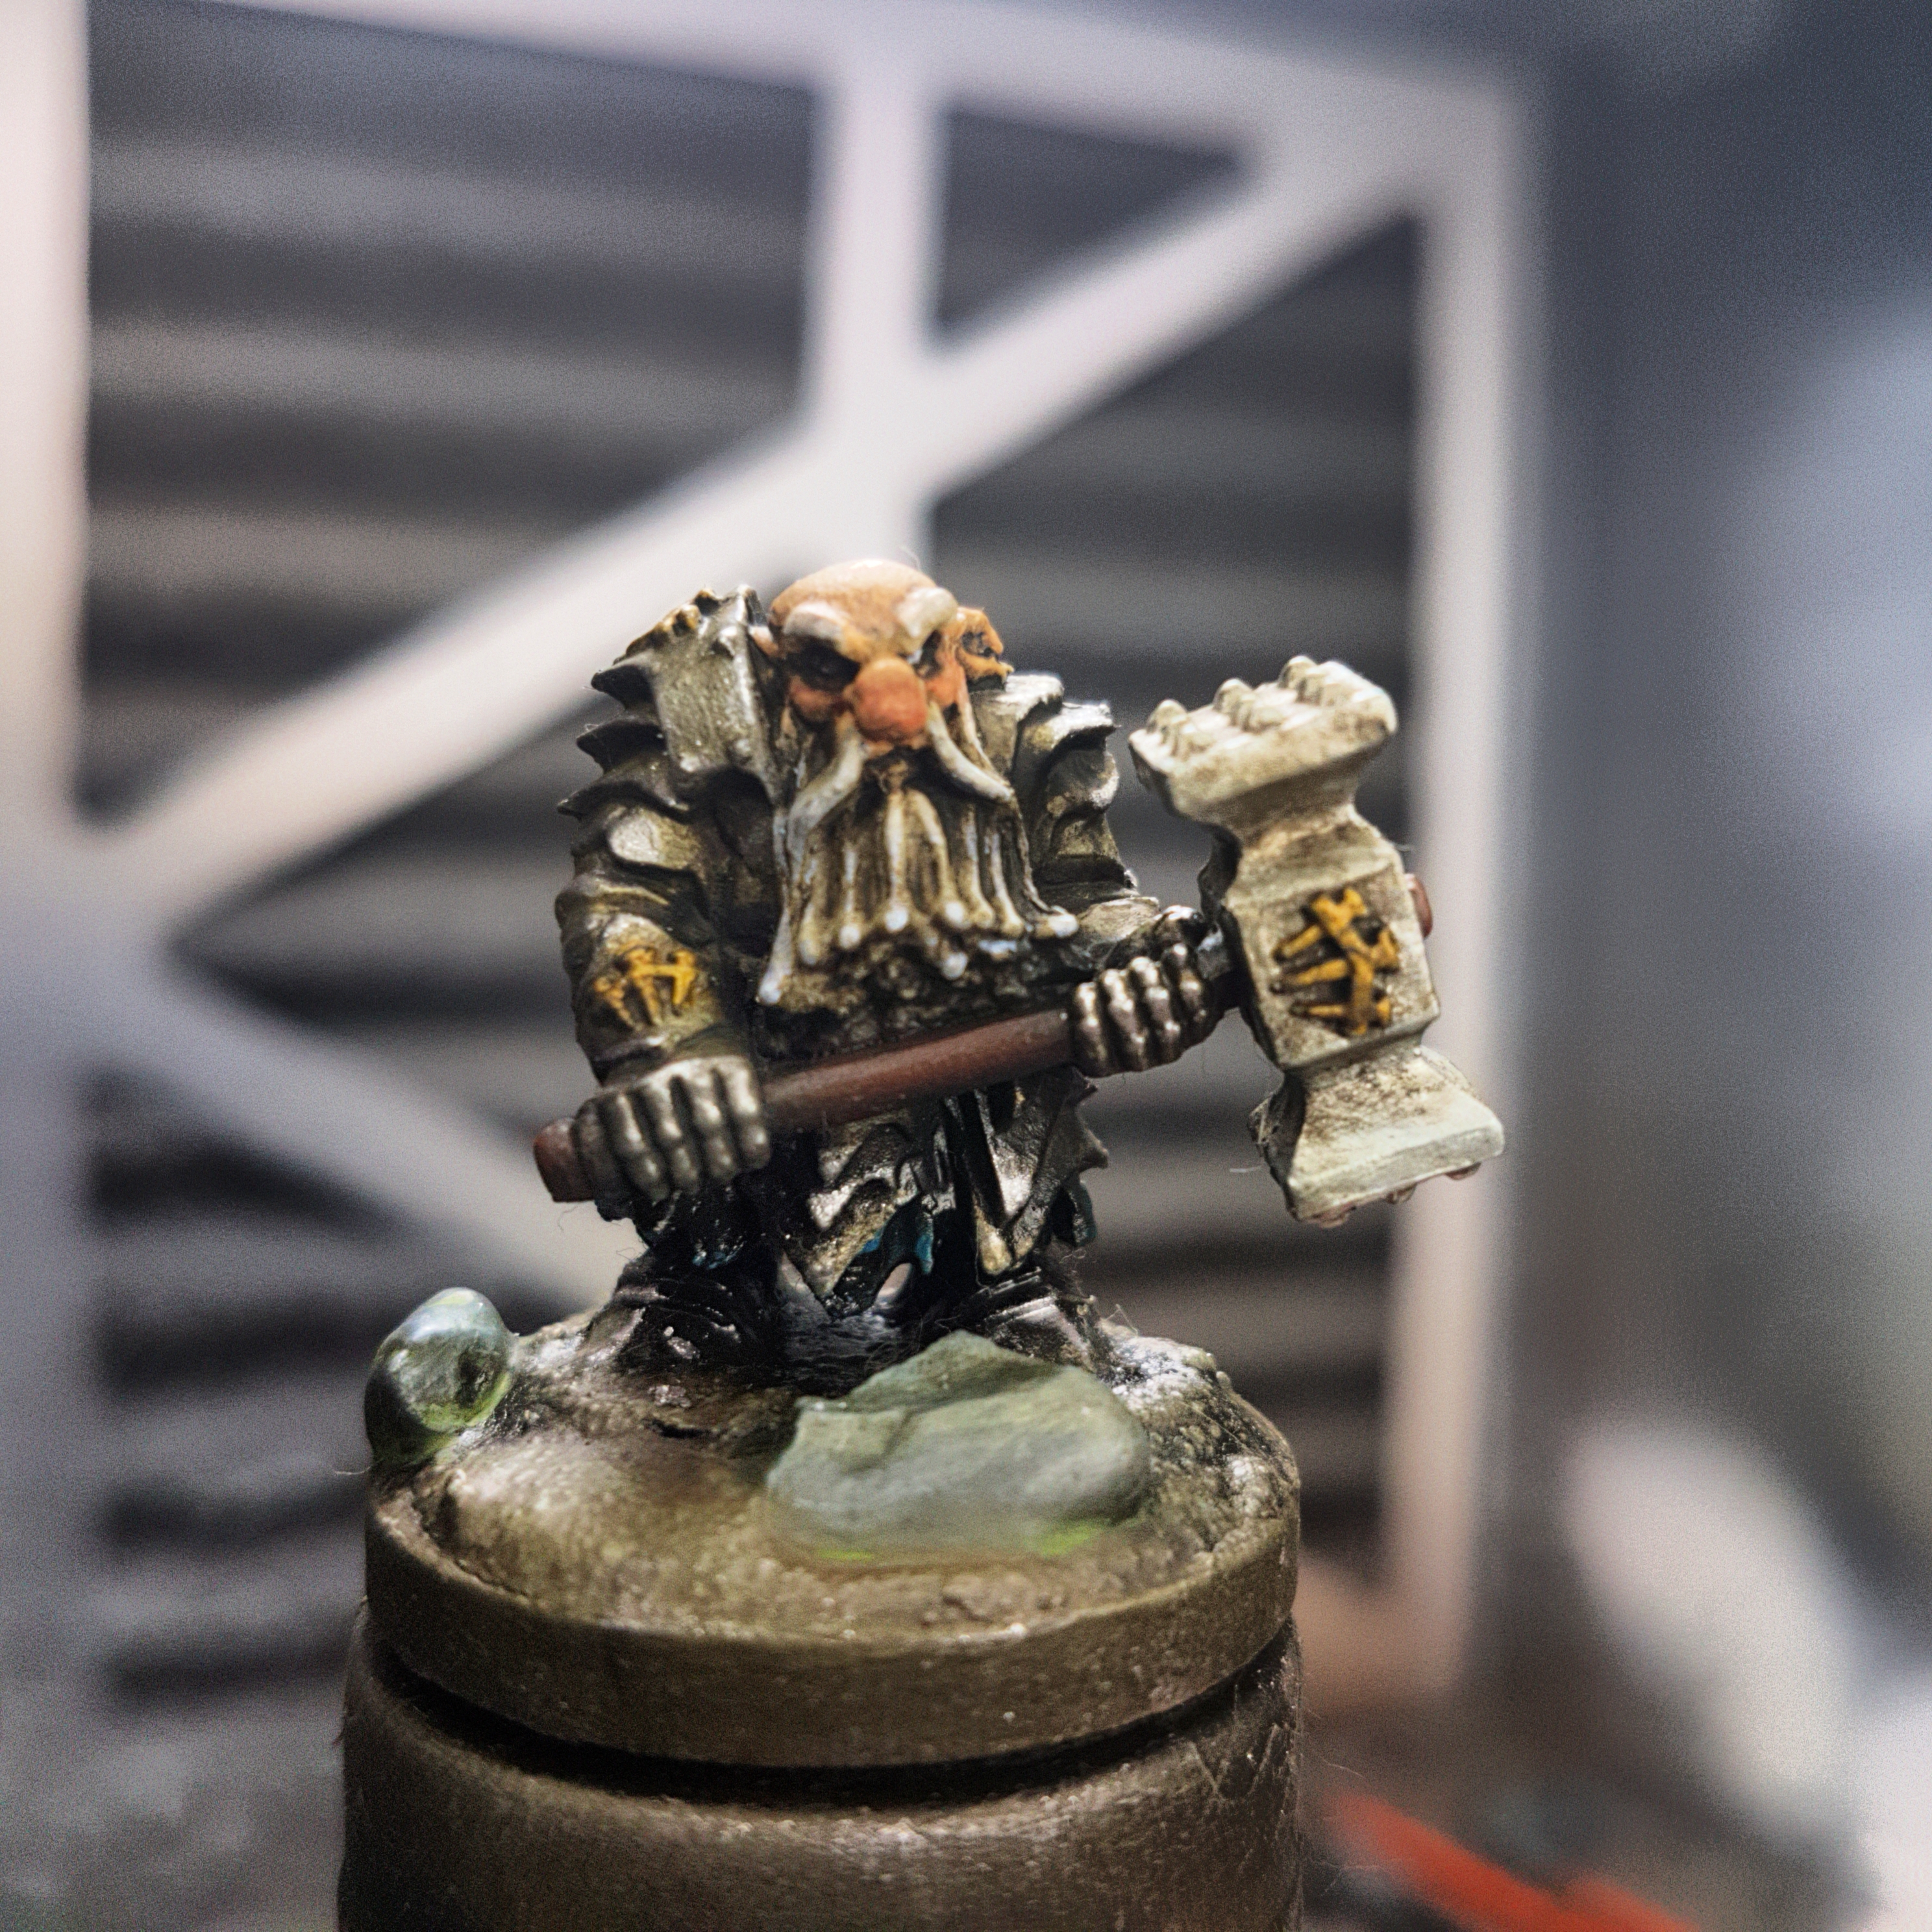
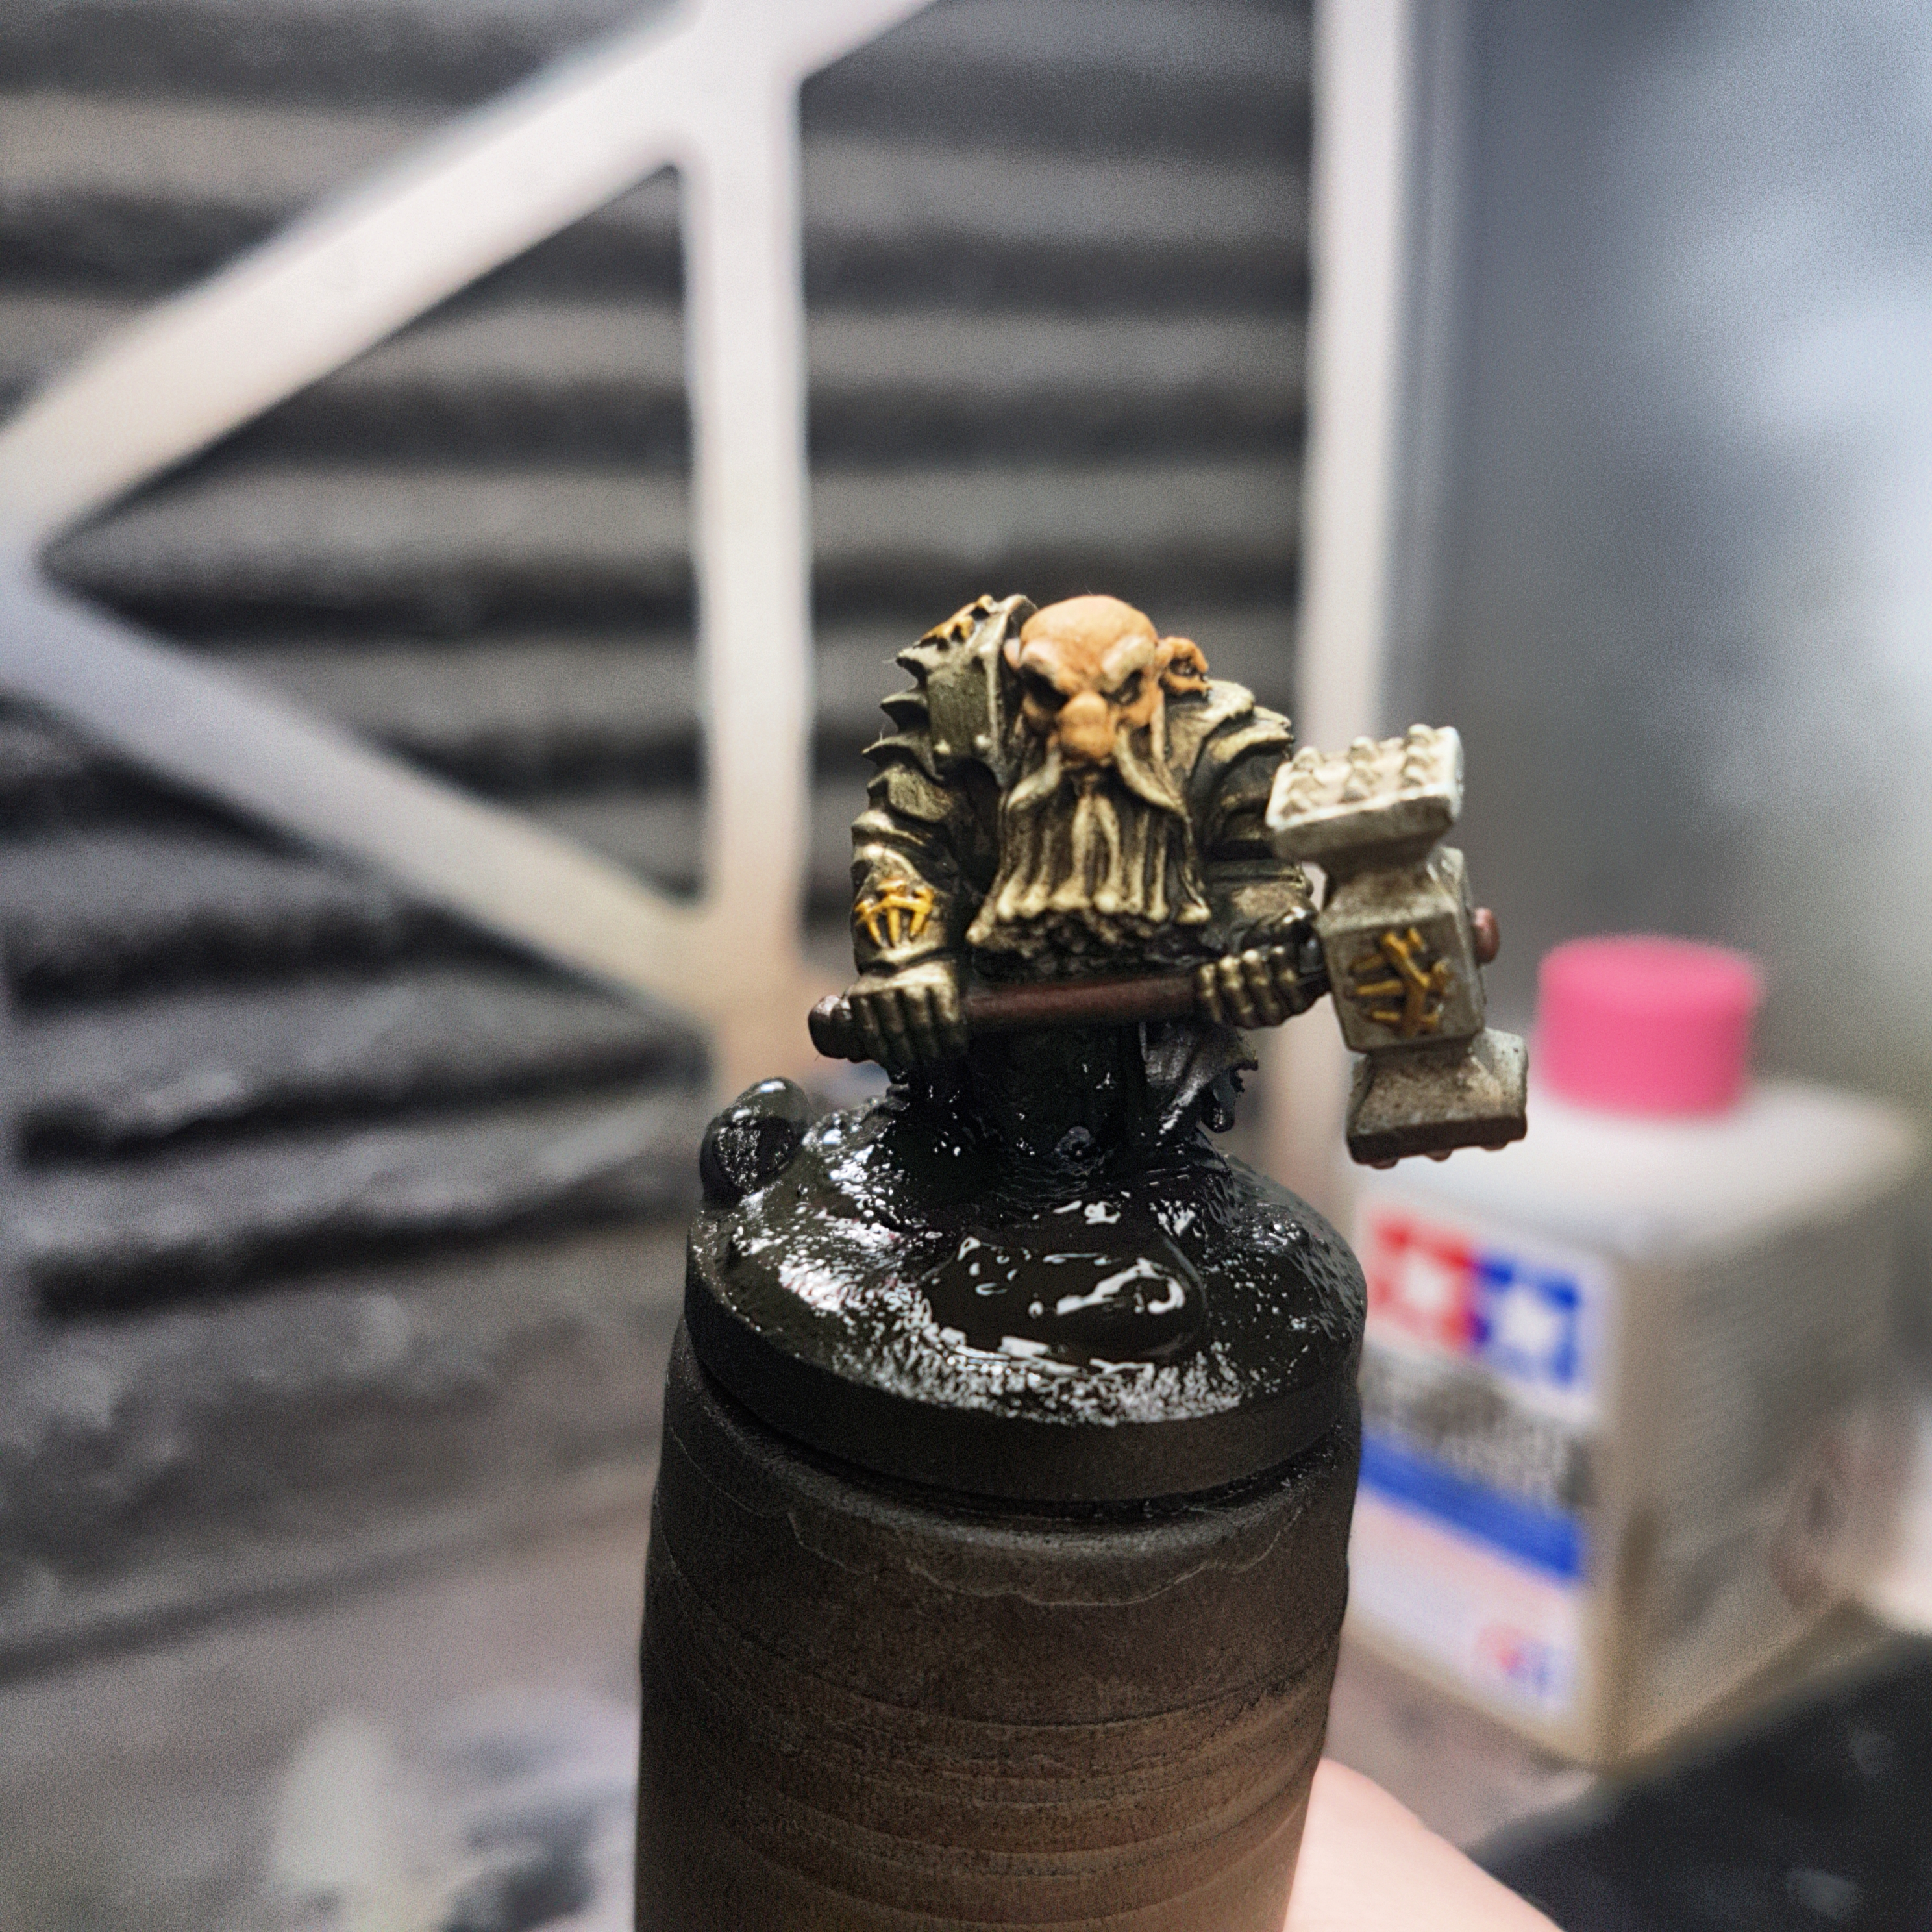
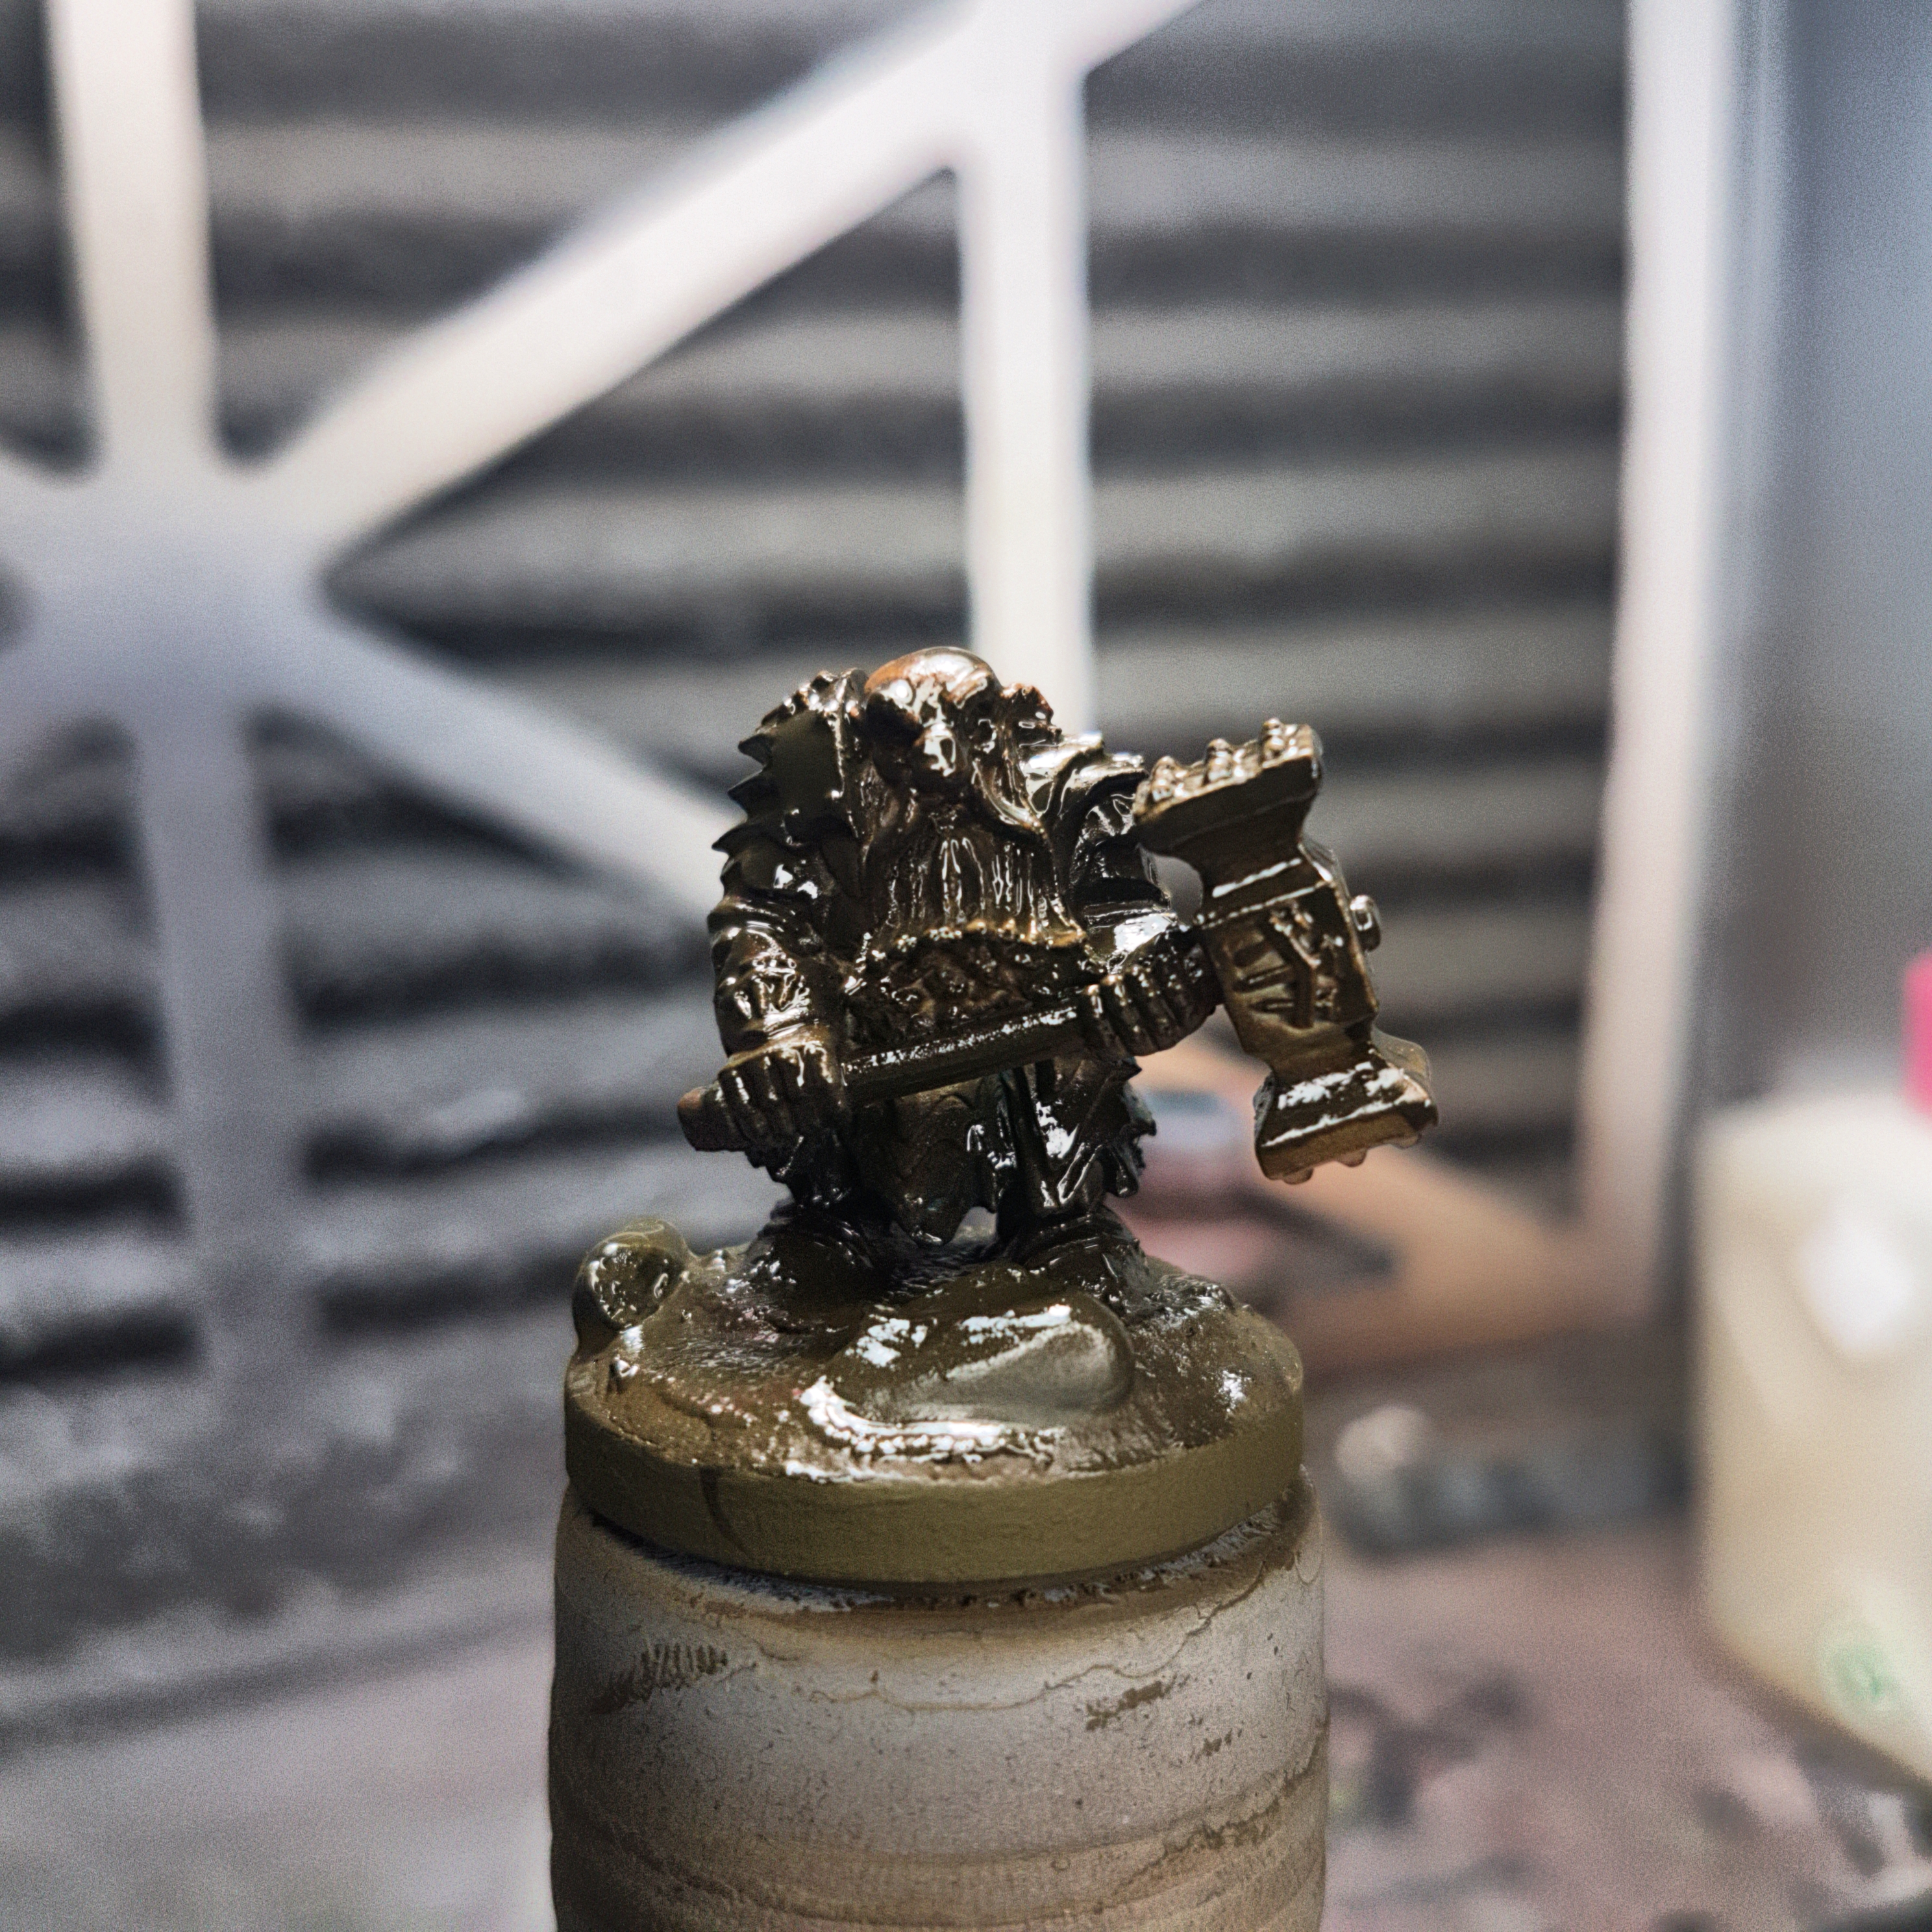
New Hose, Dirty Dwarf.
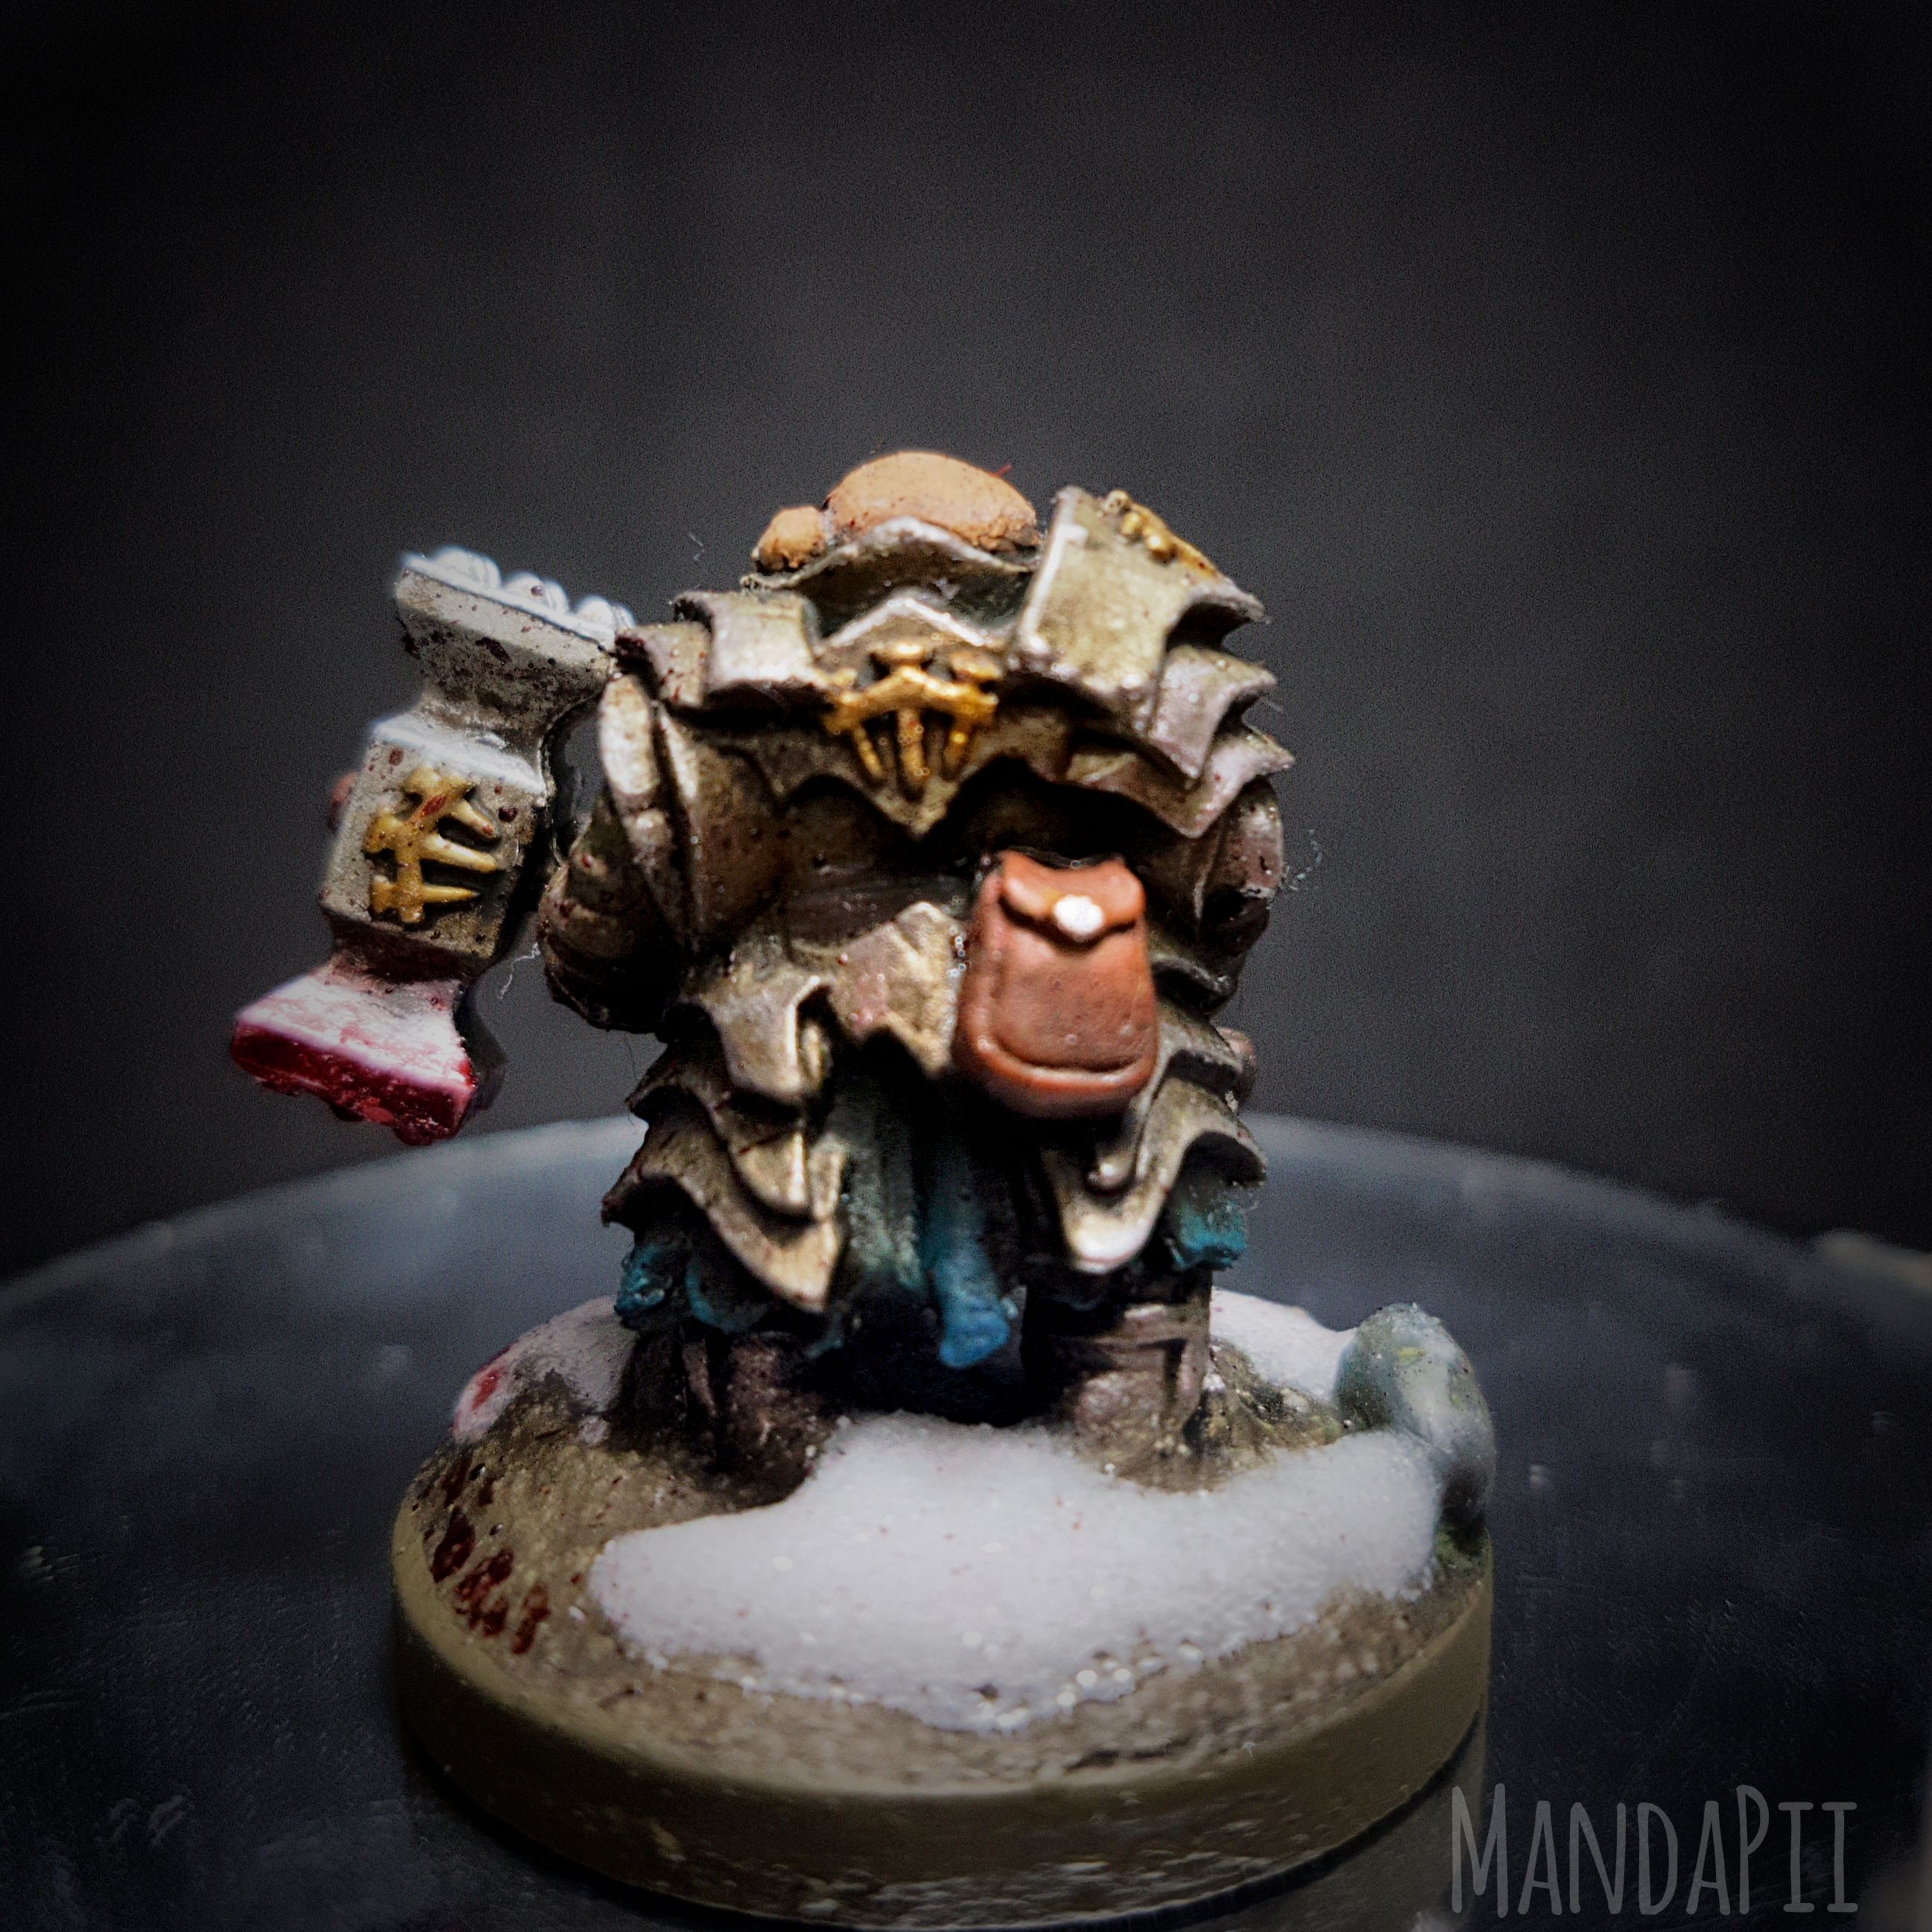
The new airbrush hose is here! So that means the first layer of shading/weathering has gone on the Dwarf from Reaper Miniatures.
Trying something a little bit different to see if it makes any difference in the end. I put on 1 layer of AK Interactive Streaking Grime (AK012) with my airbrush.
And then when that was dry to the touch I put on a second layer of AK Interactive Streaking Grime (AK012).
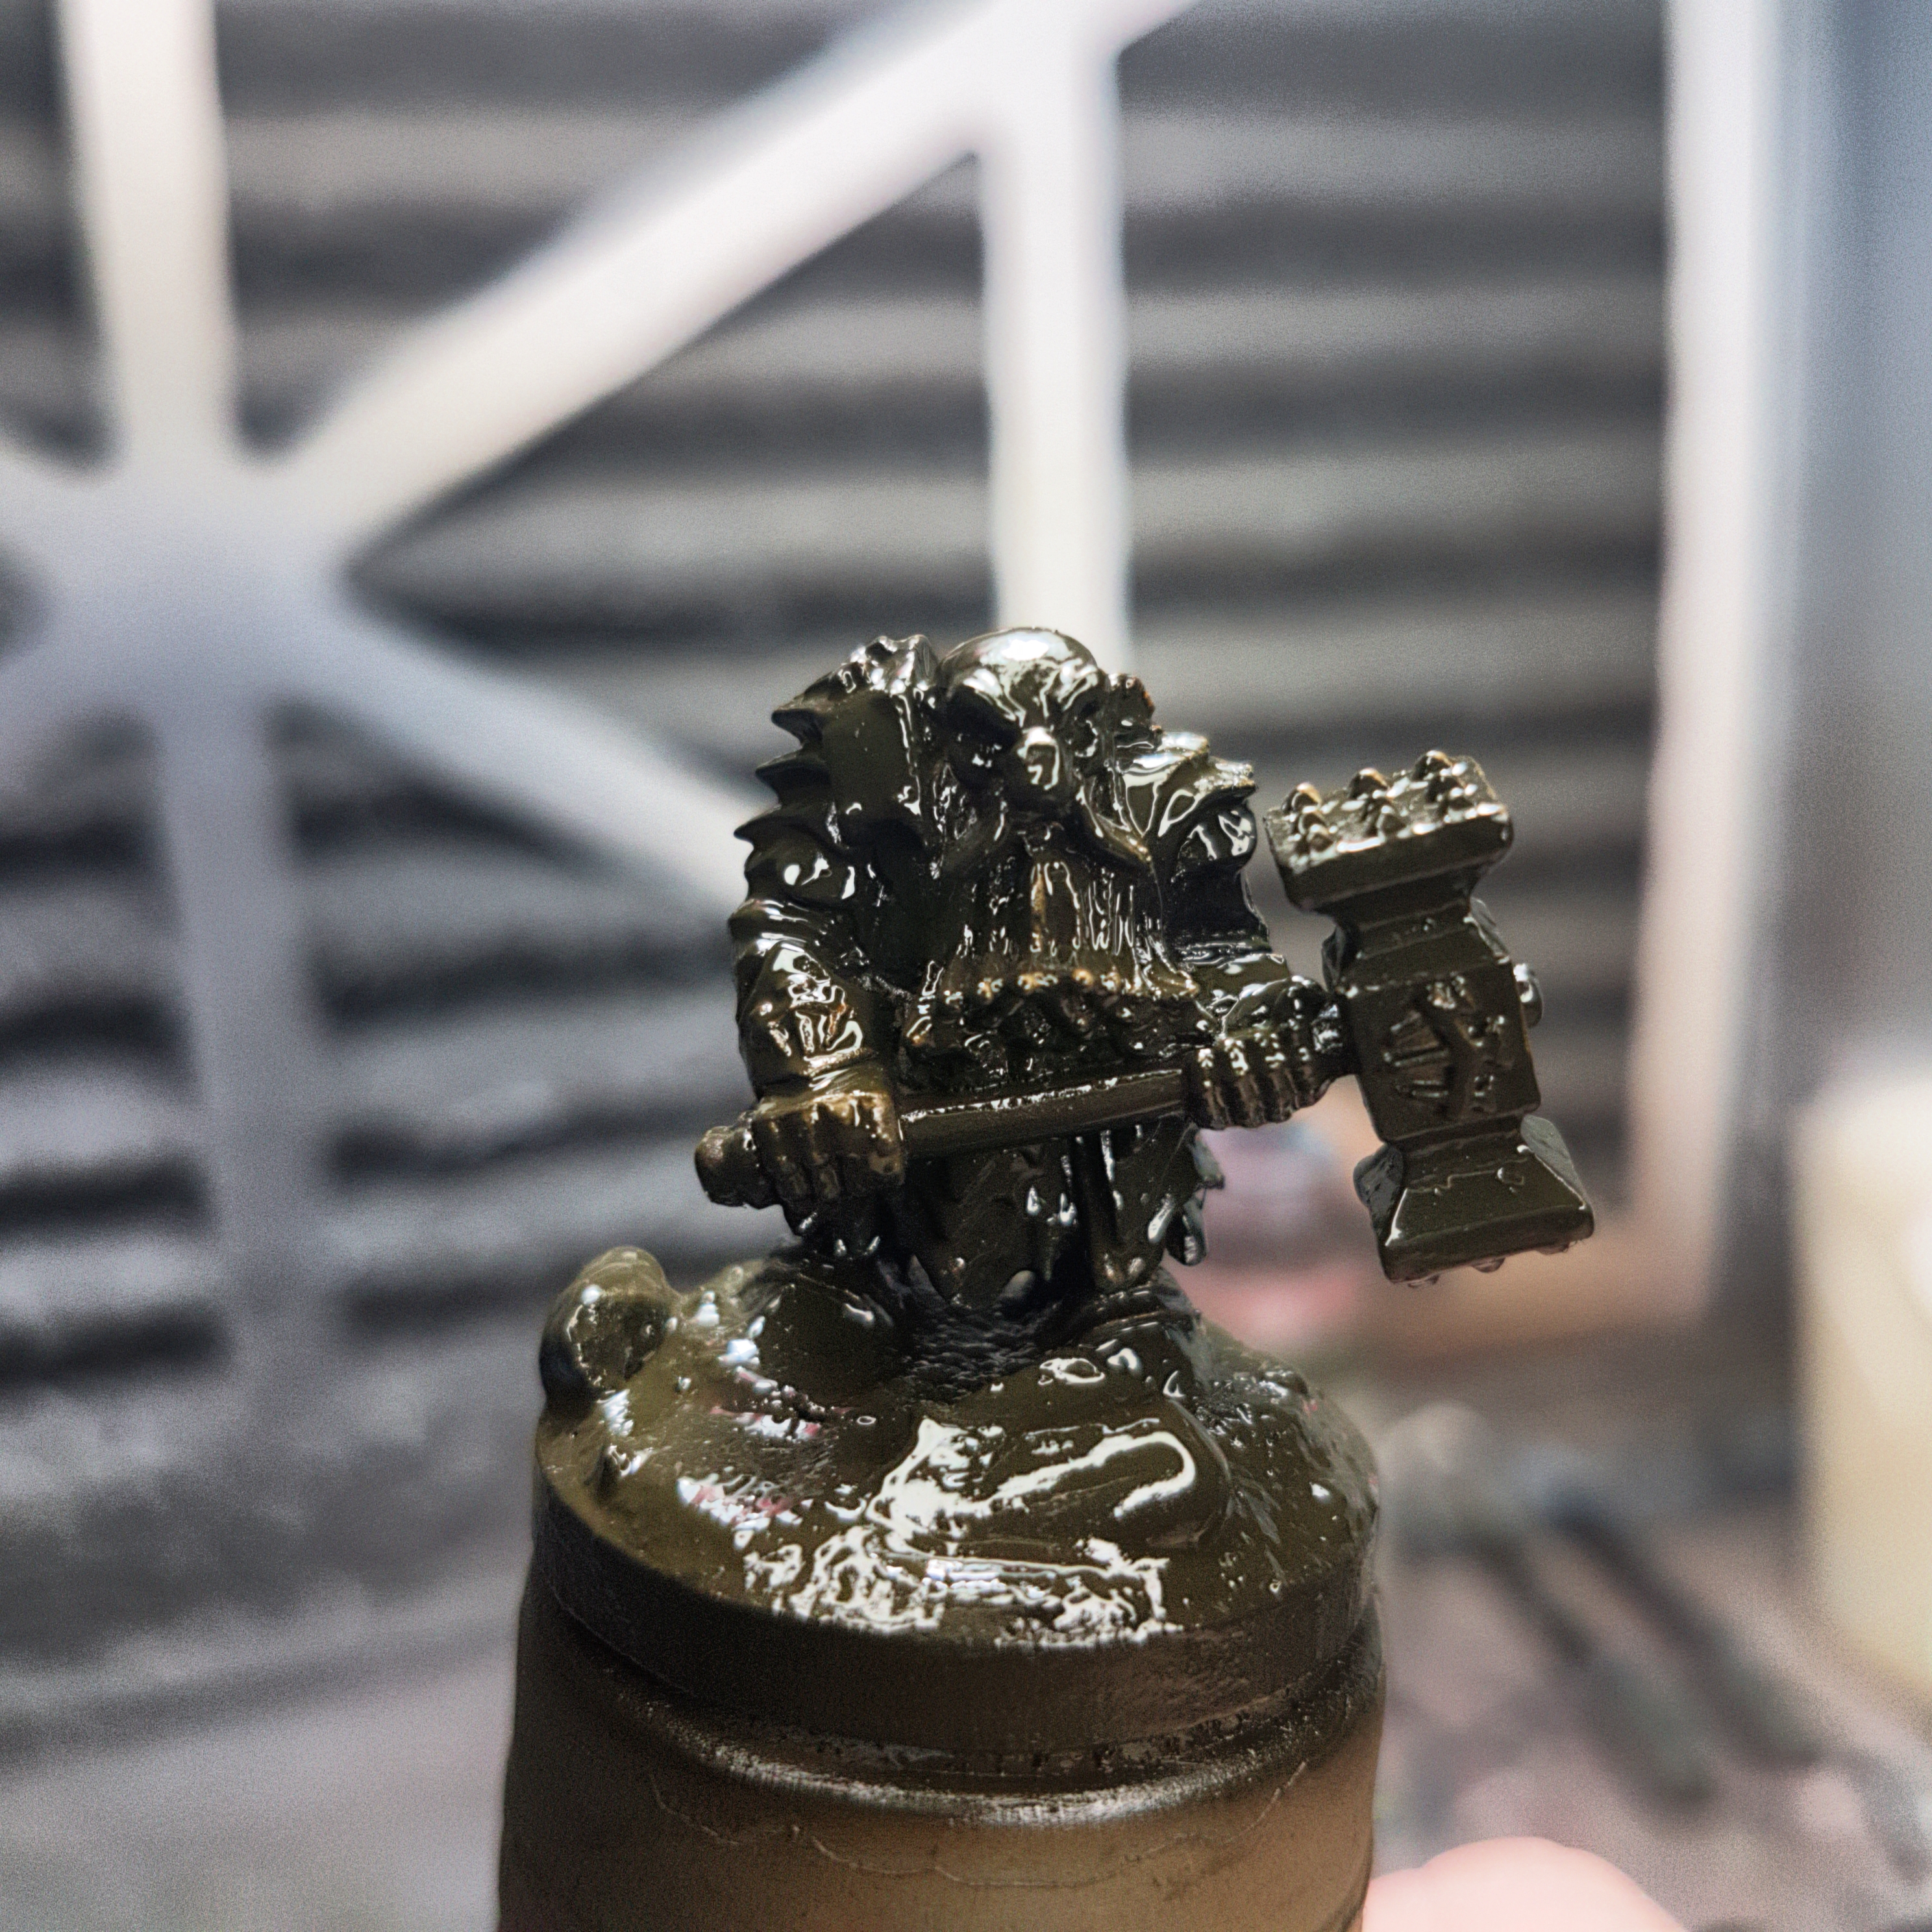
Before the second layer dried I put on a layer of AK Interactive Fresh Mud (AK016) around the base and legs.
Once that was dry to the touch I first went in with a woollen dauber with some mineral spirits to remove the majority. Then cotton buds with some mineral spirits for the harder to reach areas and then finally with dry cotton buds to finalize this stage of weathering.
Now this is going to have to dry properly for a bit.
With this miniature I am testing a basing scheme for a more Nordic scheme instead of the Mediterranean style I have done with previous models.


