


Legions Imperialis


Recommendations: 108
About the Project
Building some Terrain ready for the release of Legions Imperialis
Related Game: Warhammer: The Horus Heresy - Legions Imperialis
Related Company: Games Workshop
Related Genre: Science Fiction
This Project is Active
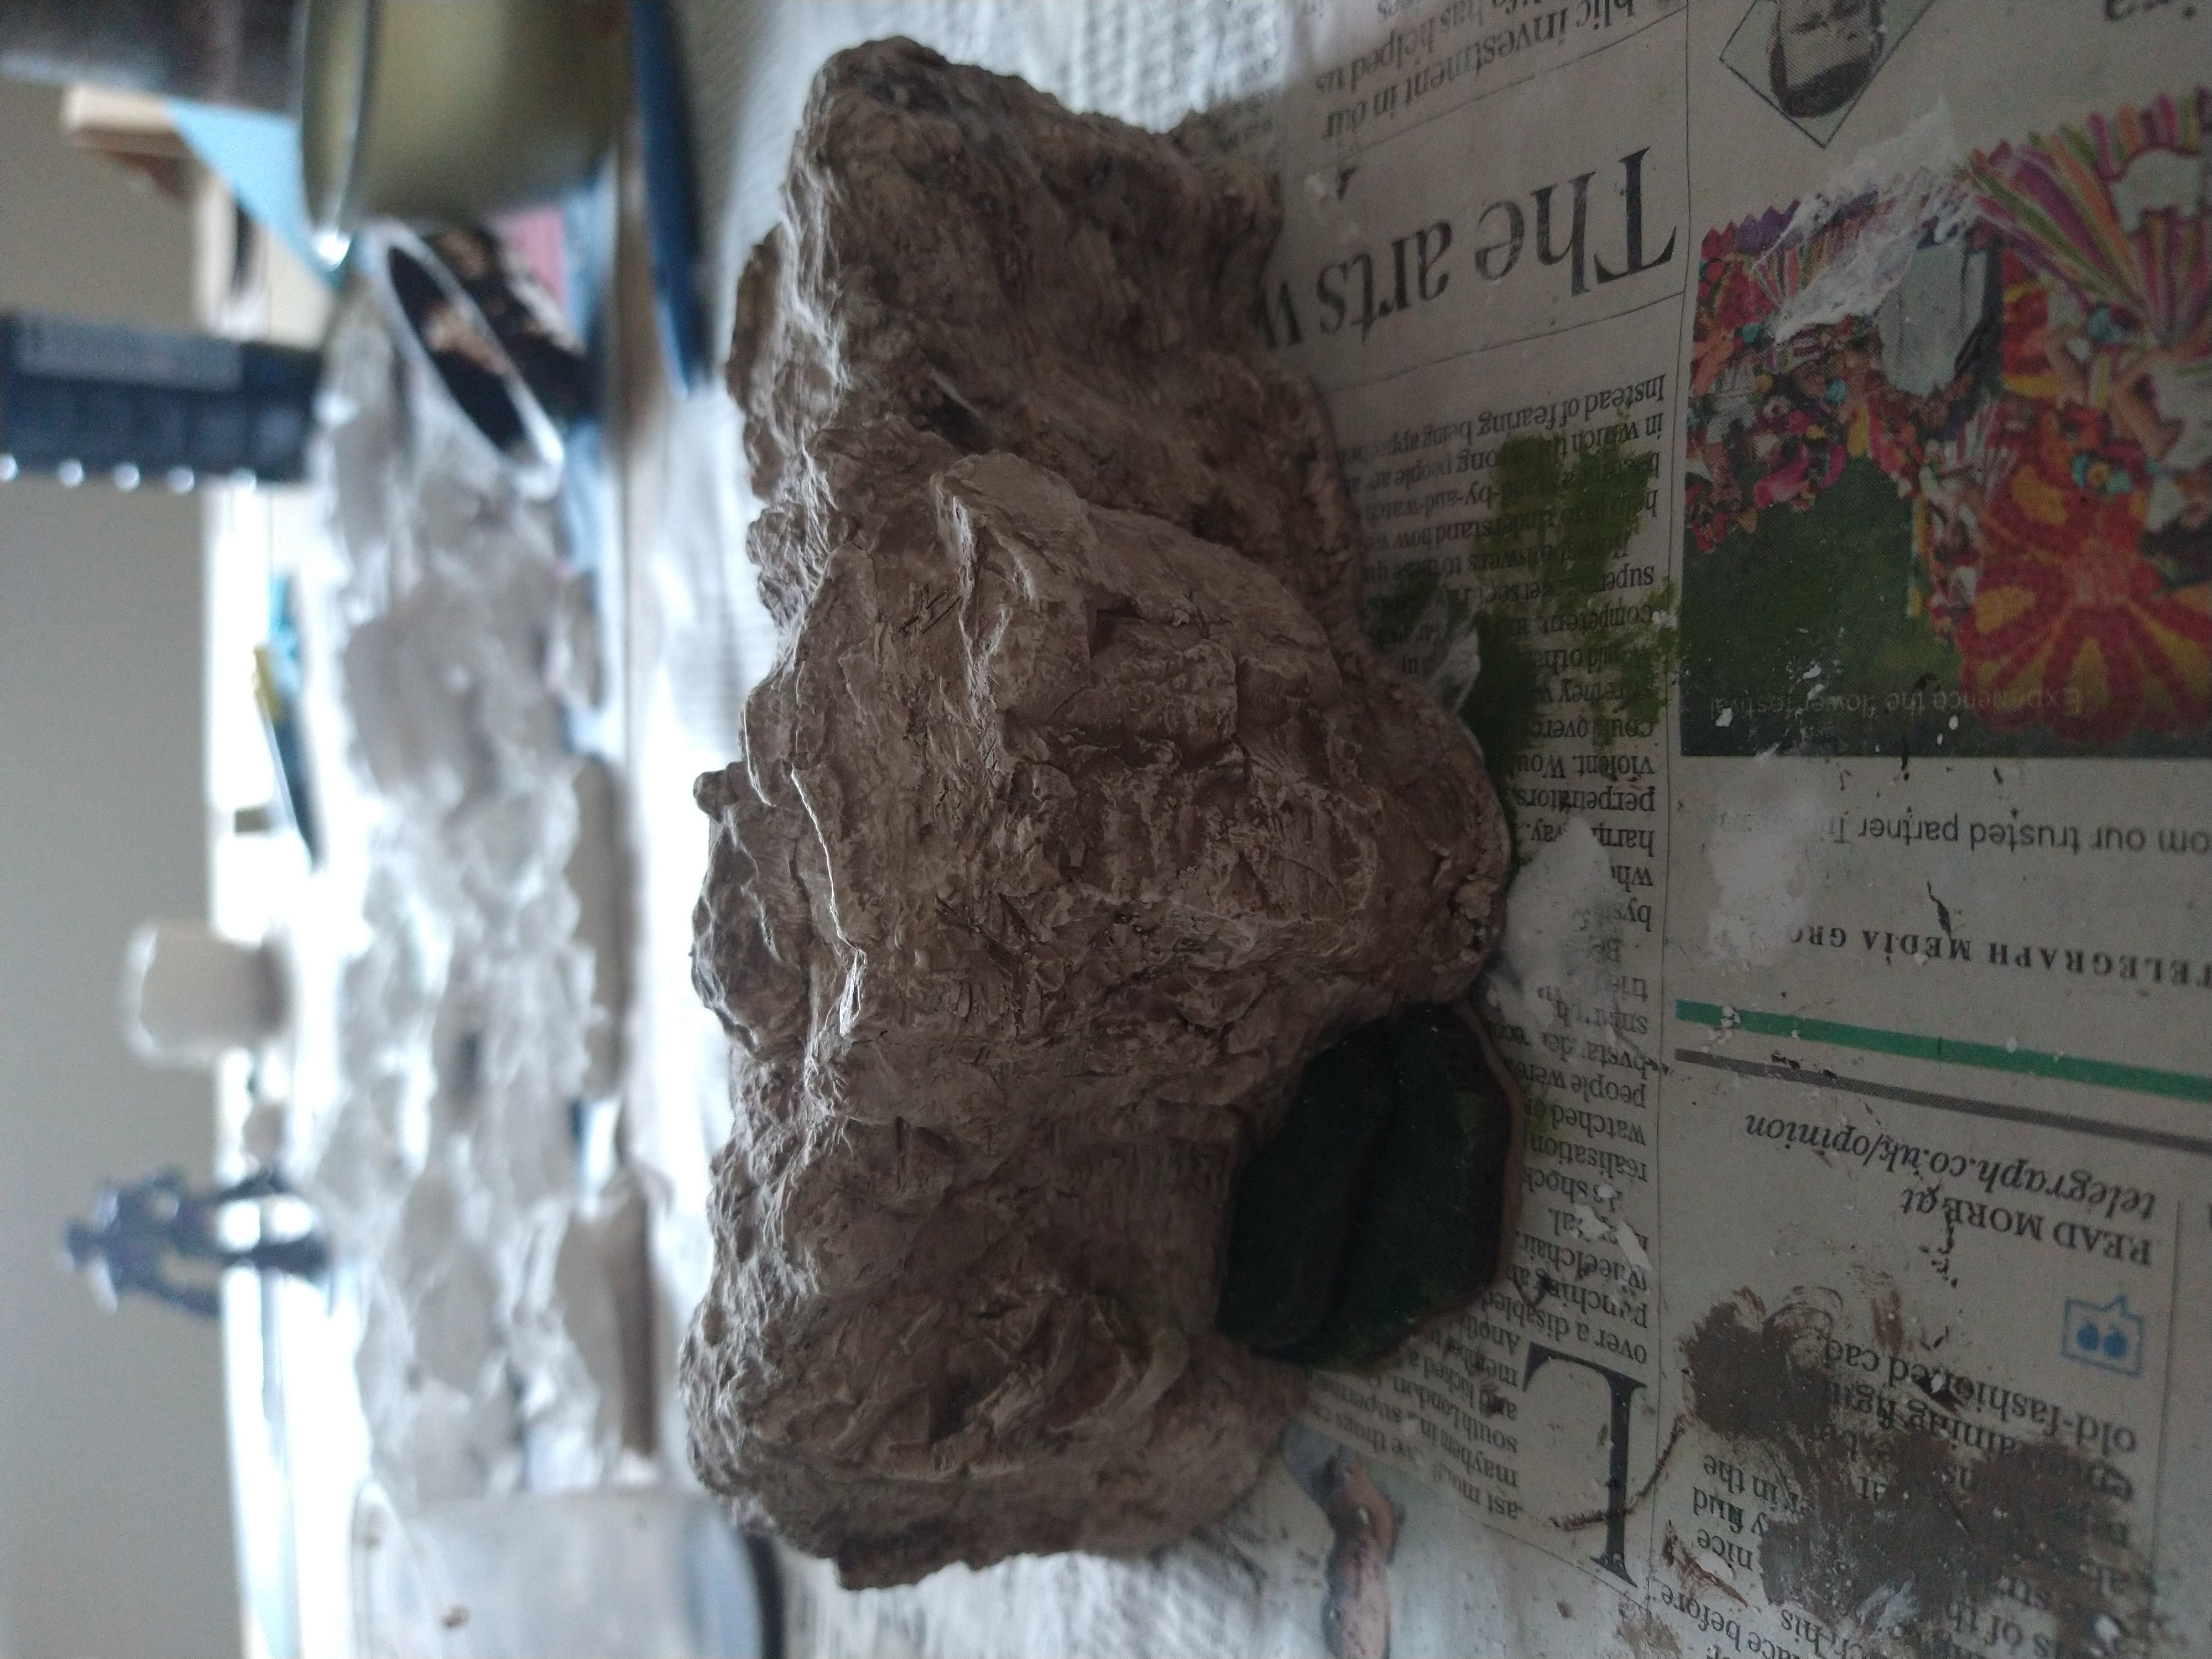
This weeks Progress
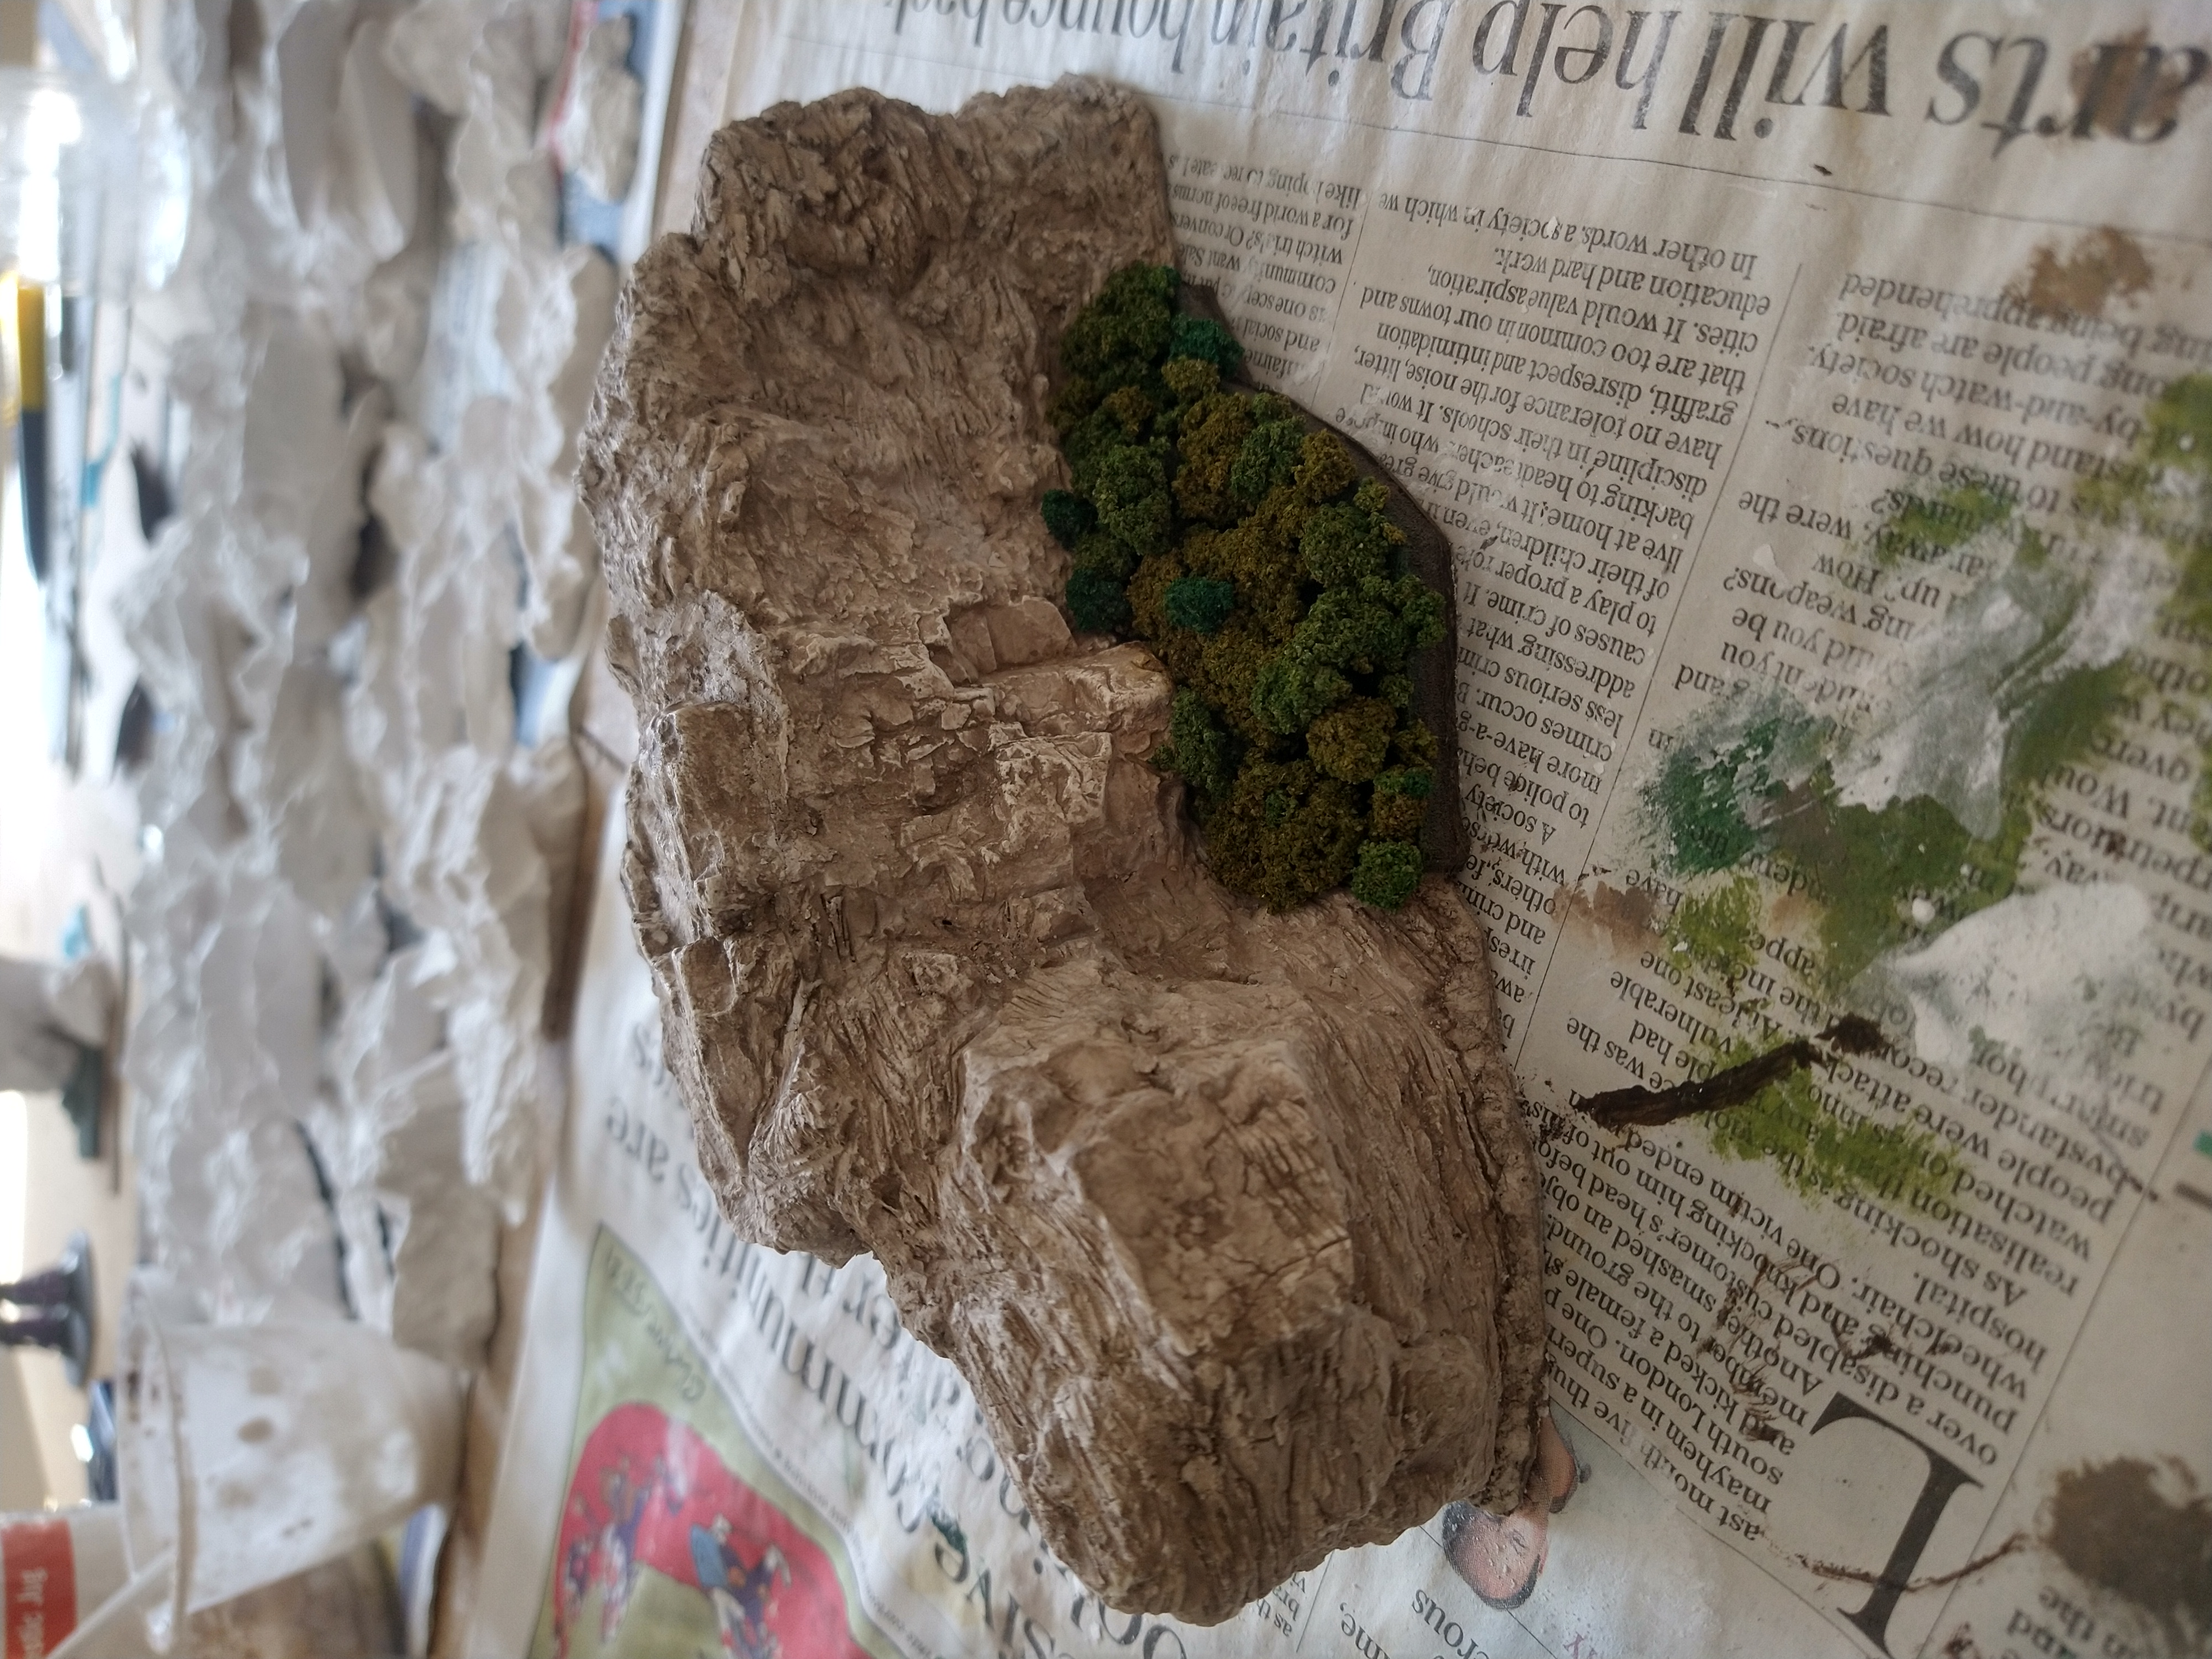
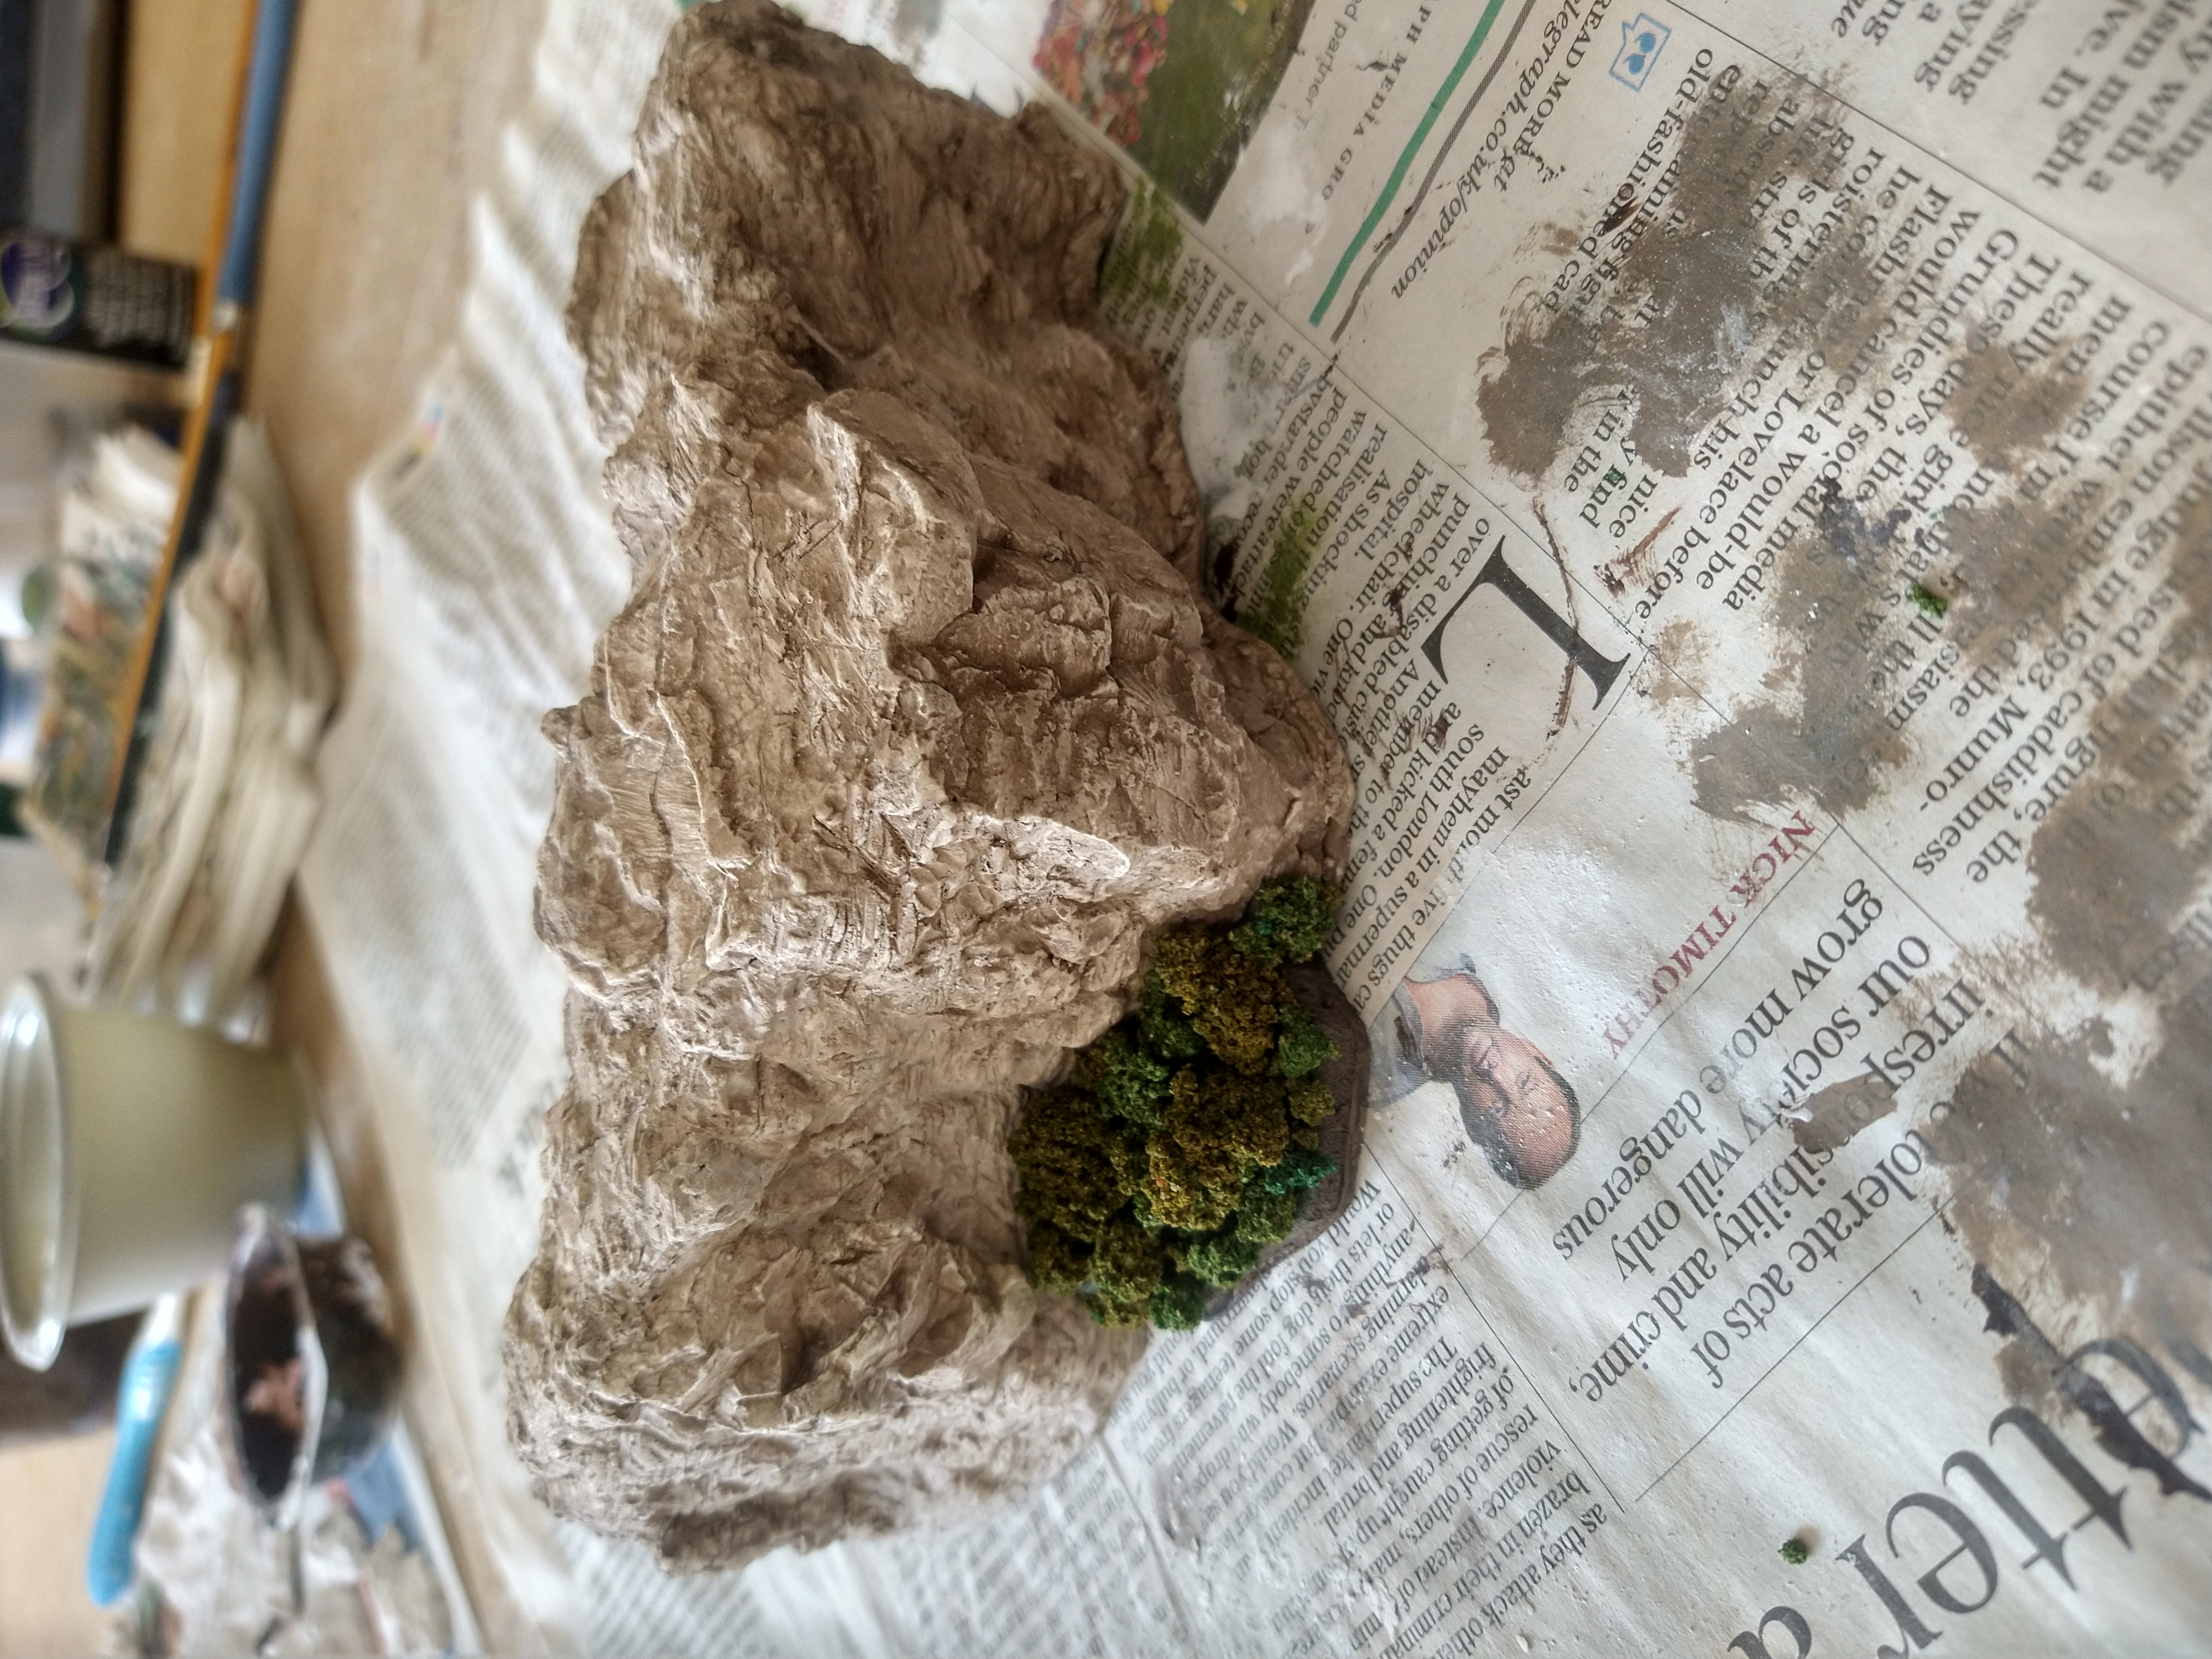
Most of this week has been spent working on the big table edge piece.
Its taken quite alot of time as I tend to mix my plaster with a higher water content, which while making the final piece alot lighter, does increase drying time quite significantly, both for the castings and also when you attach them to the piece (they reabsorb water and have to dry through again).
Below are some in progress shots


A Distraction
It didnt take long!
If you saw/followed my previous project – a Necromunda build, I built a huge wall to line the edge of my gaming area to add some atmosphere to the table and to really bed the terrain down.
And well …. not as grand (but far more time consuming) ….. but ……… a hint of whats coming …..

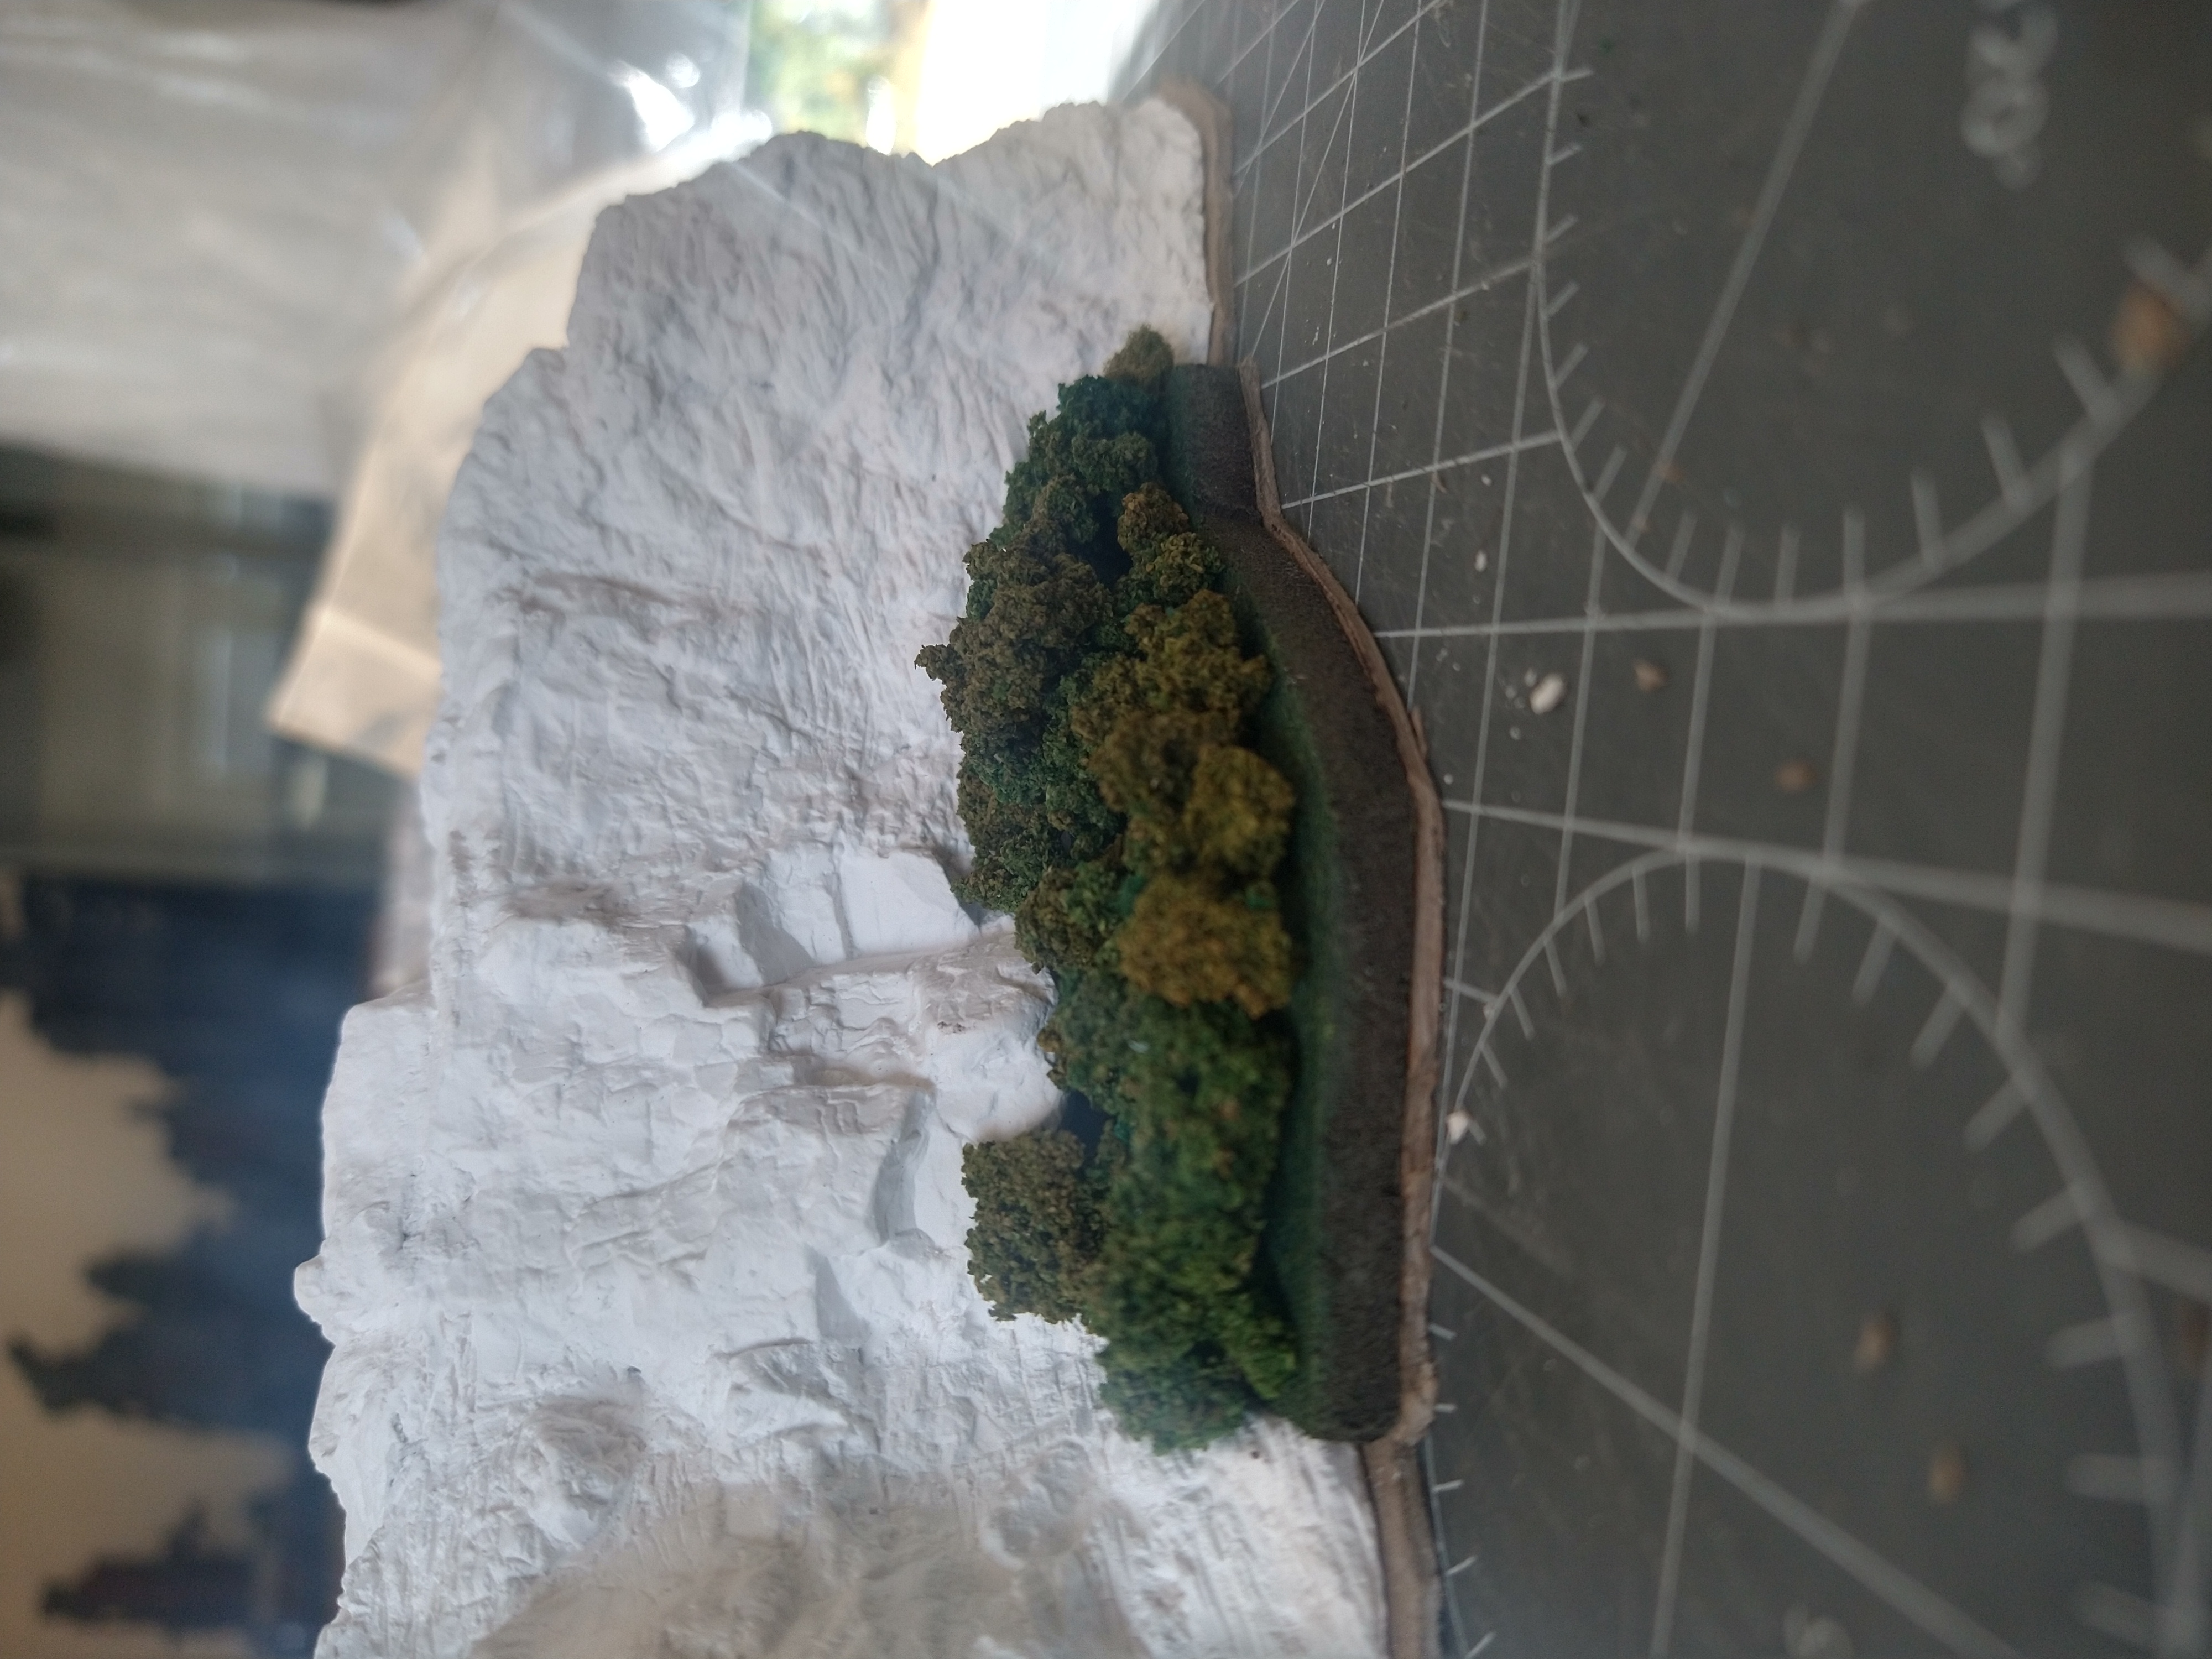
Initial learnings to take forward ...
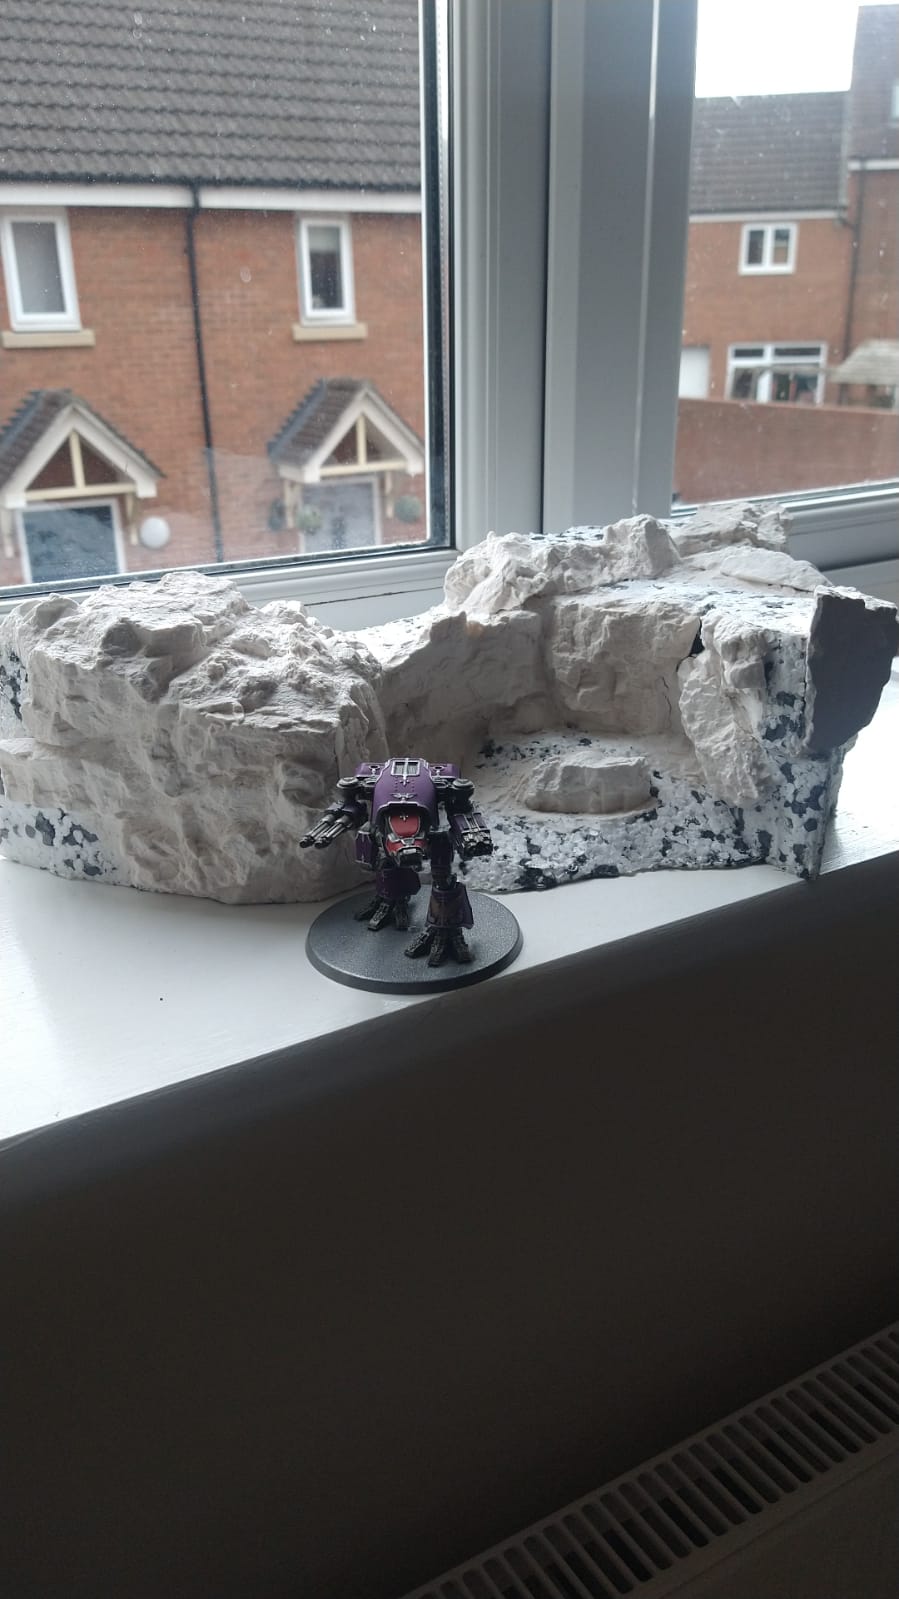
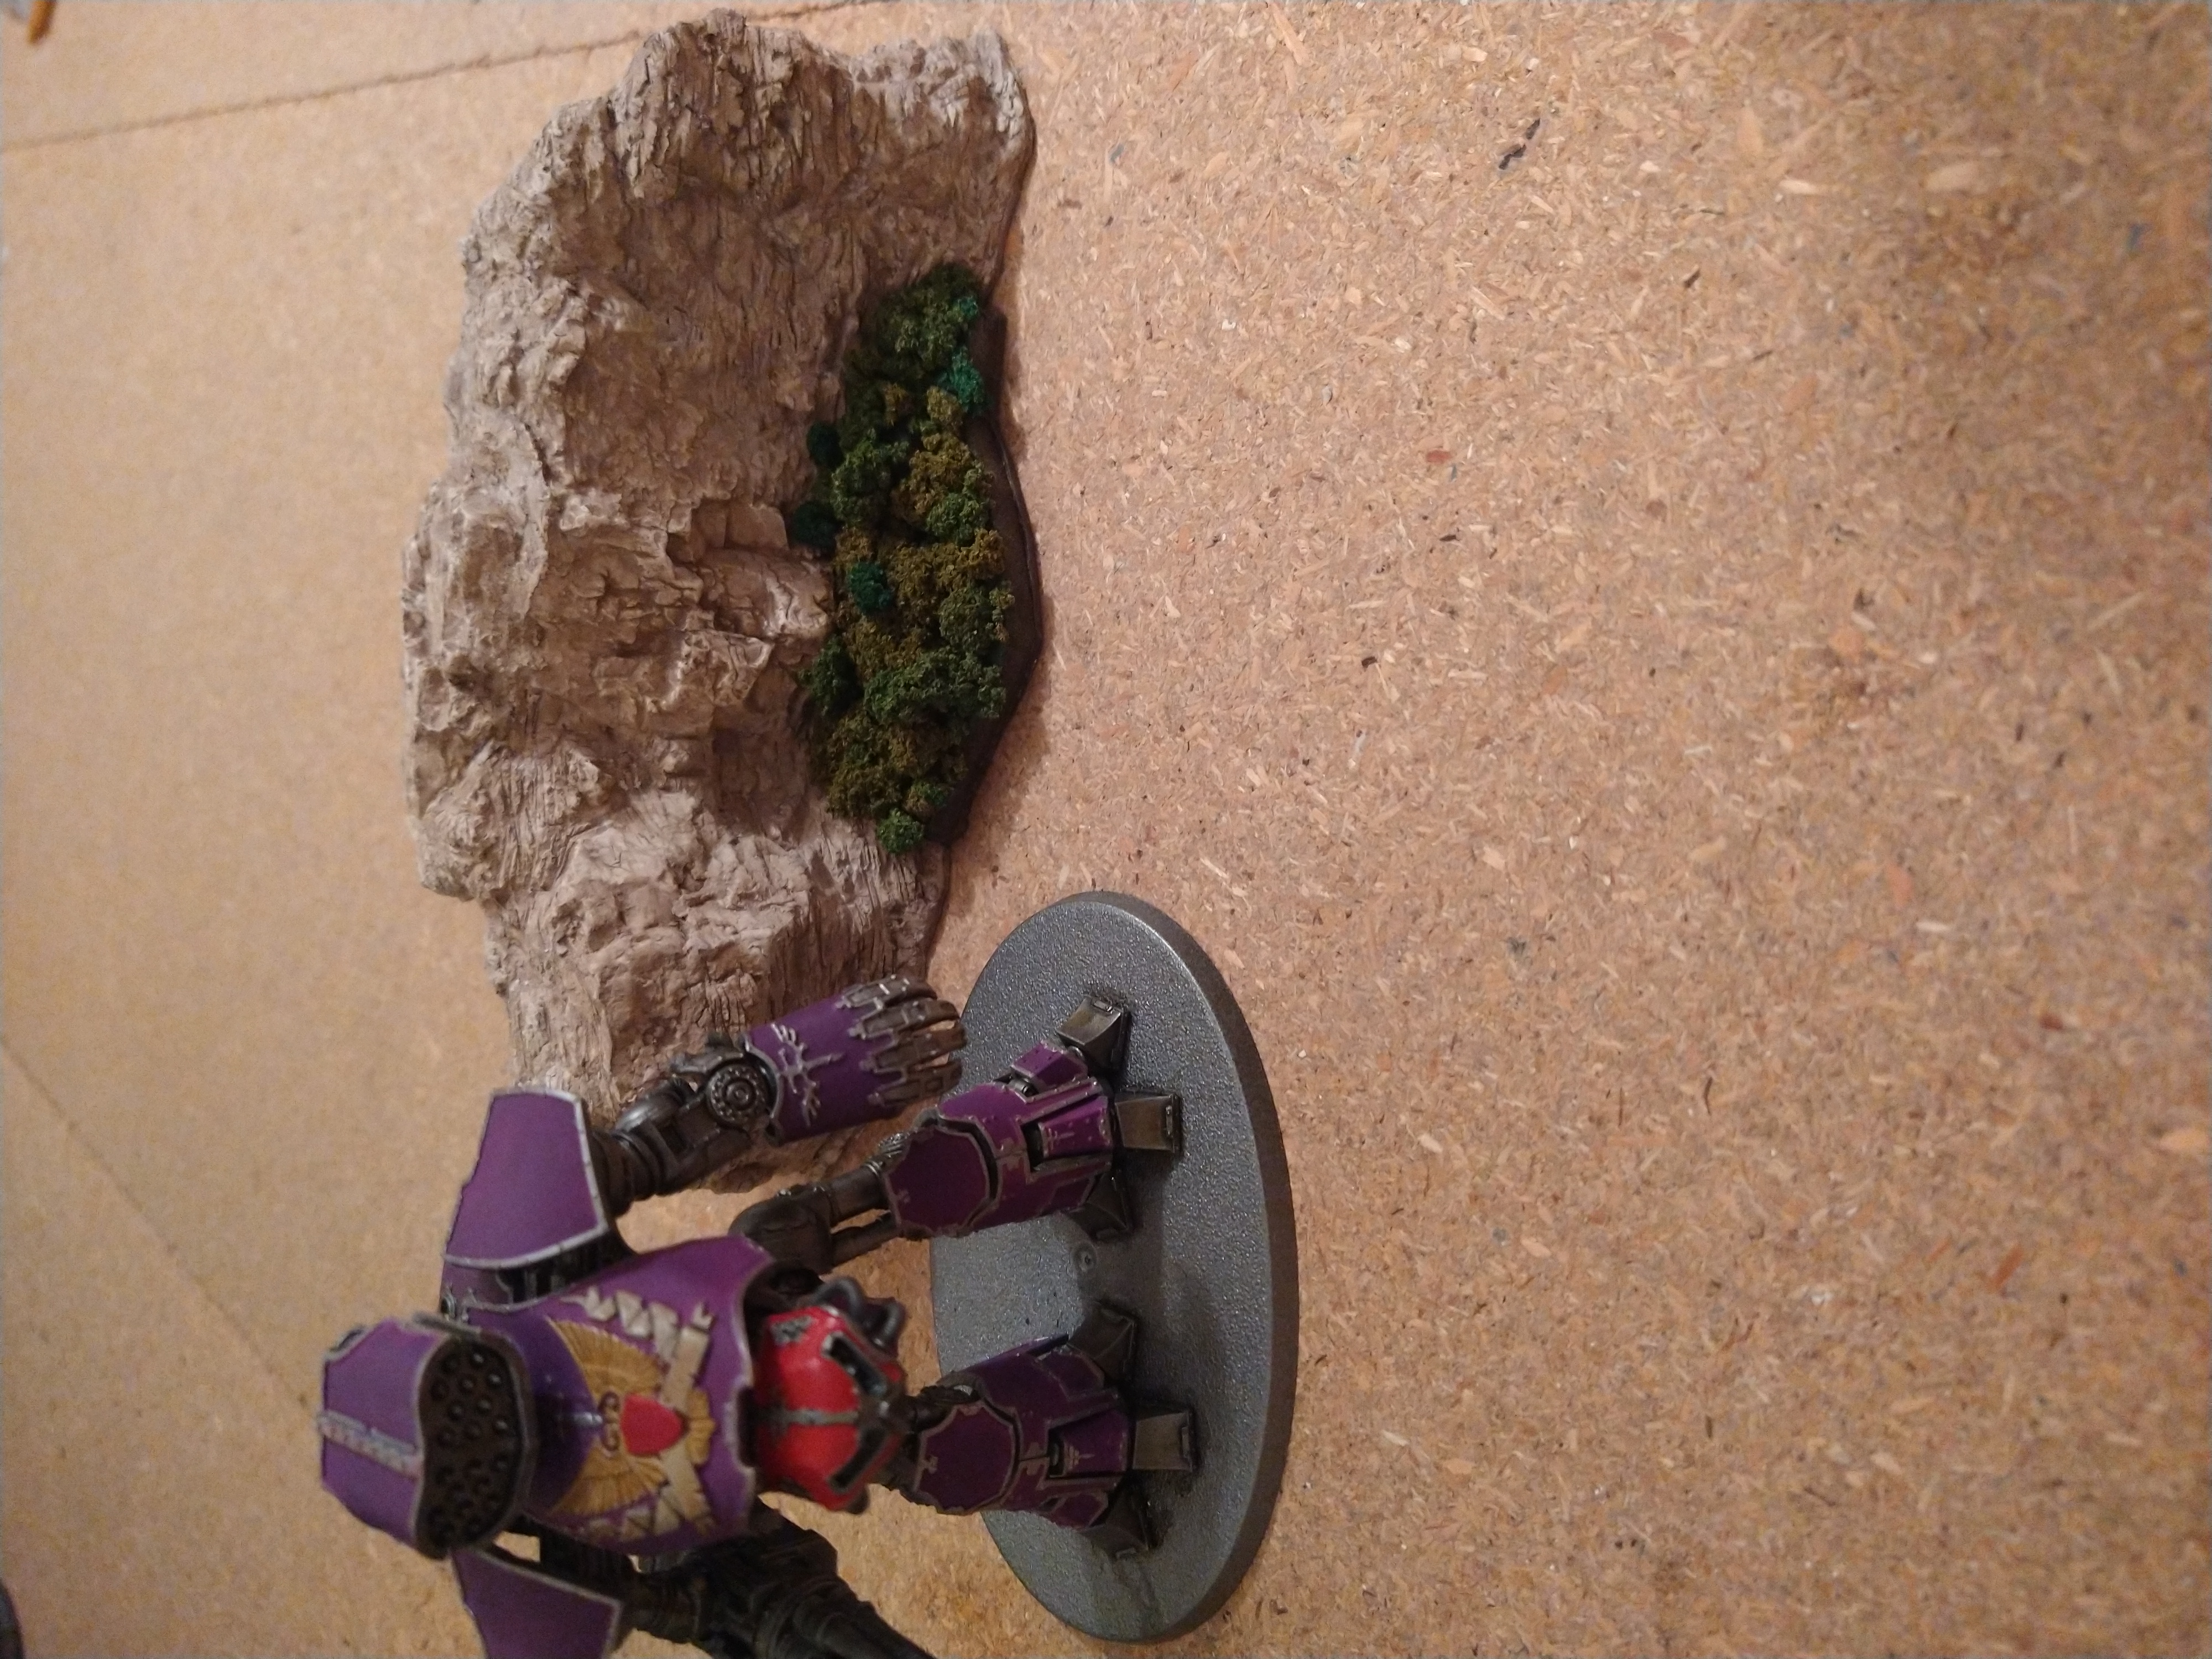
So, after this first piece has been completed, the only bit im not 100% happy with is the harshness of the edge of the forest.
Its too straight. From ground level it doesnt look right, but its fine from a gaming position.
For the next pieces, the edges will be sloped downwards. Ill loose a little bit of height on the foilage, but think overall it will give a much better look and feel as more will be hidden by the foilage.
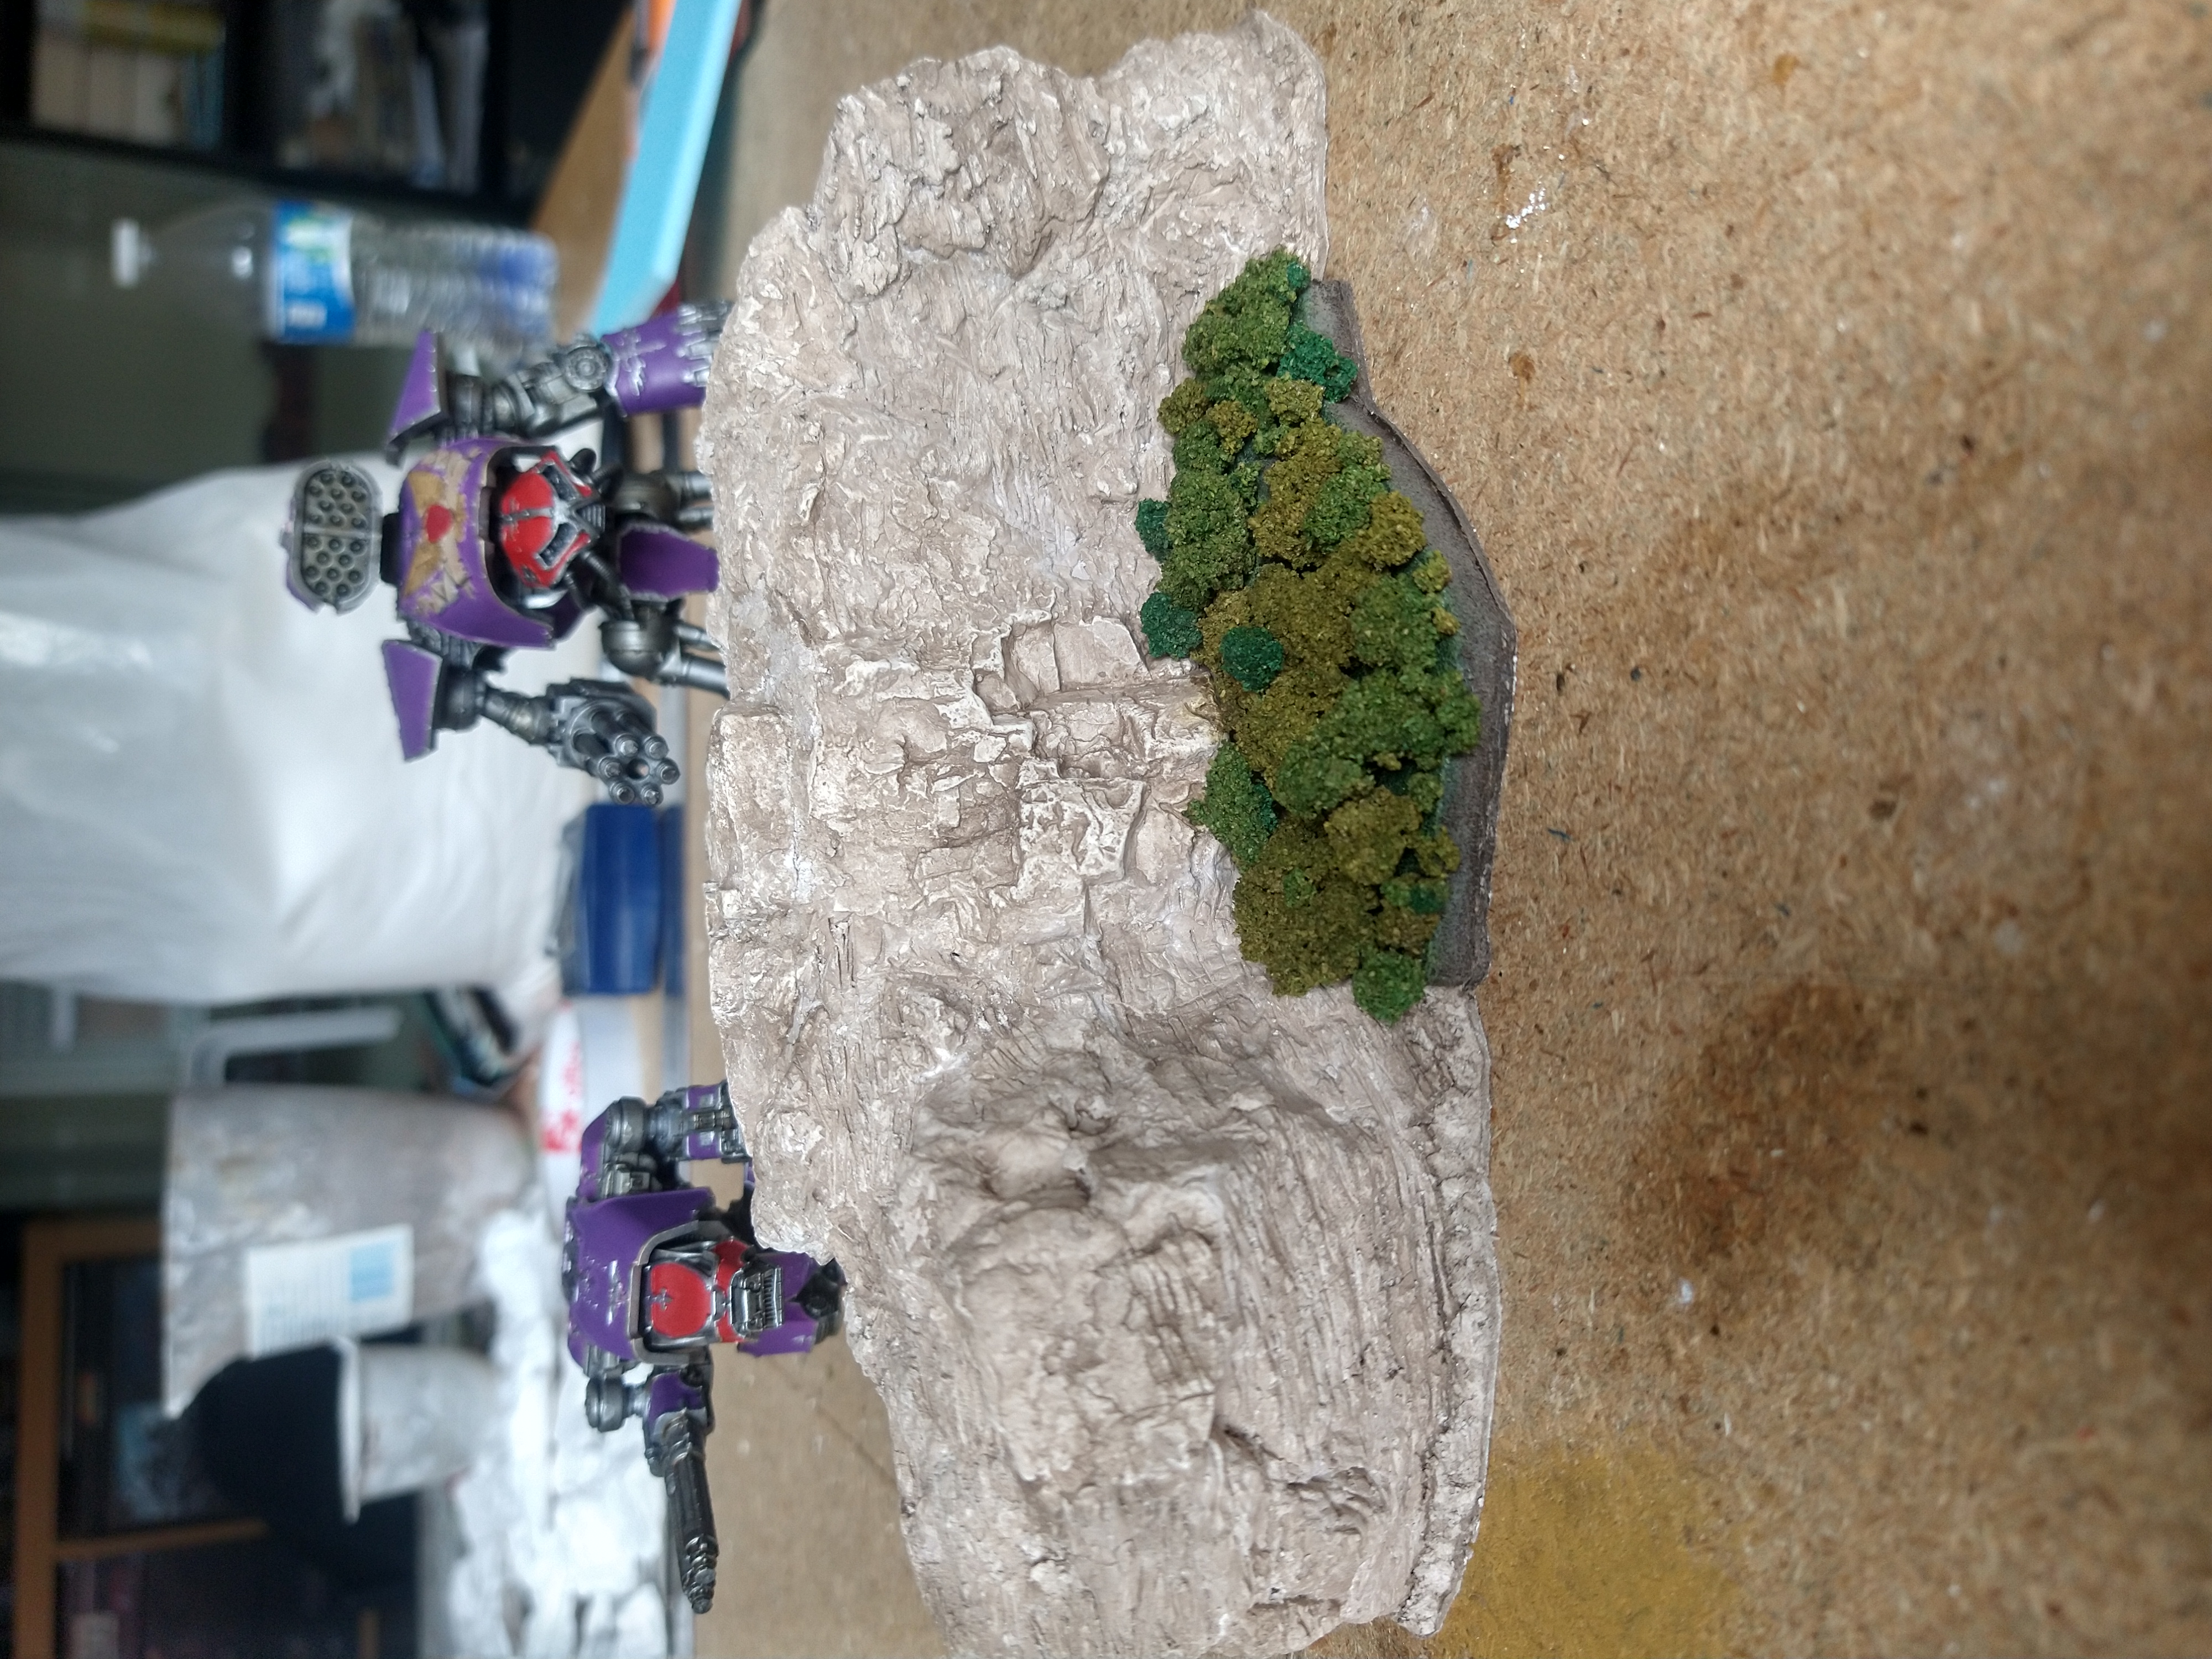
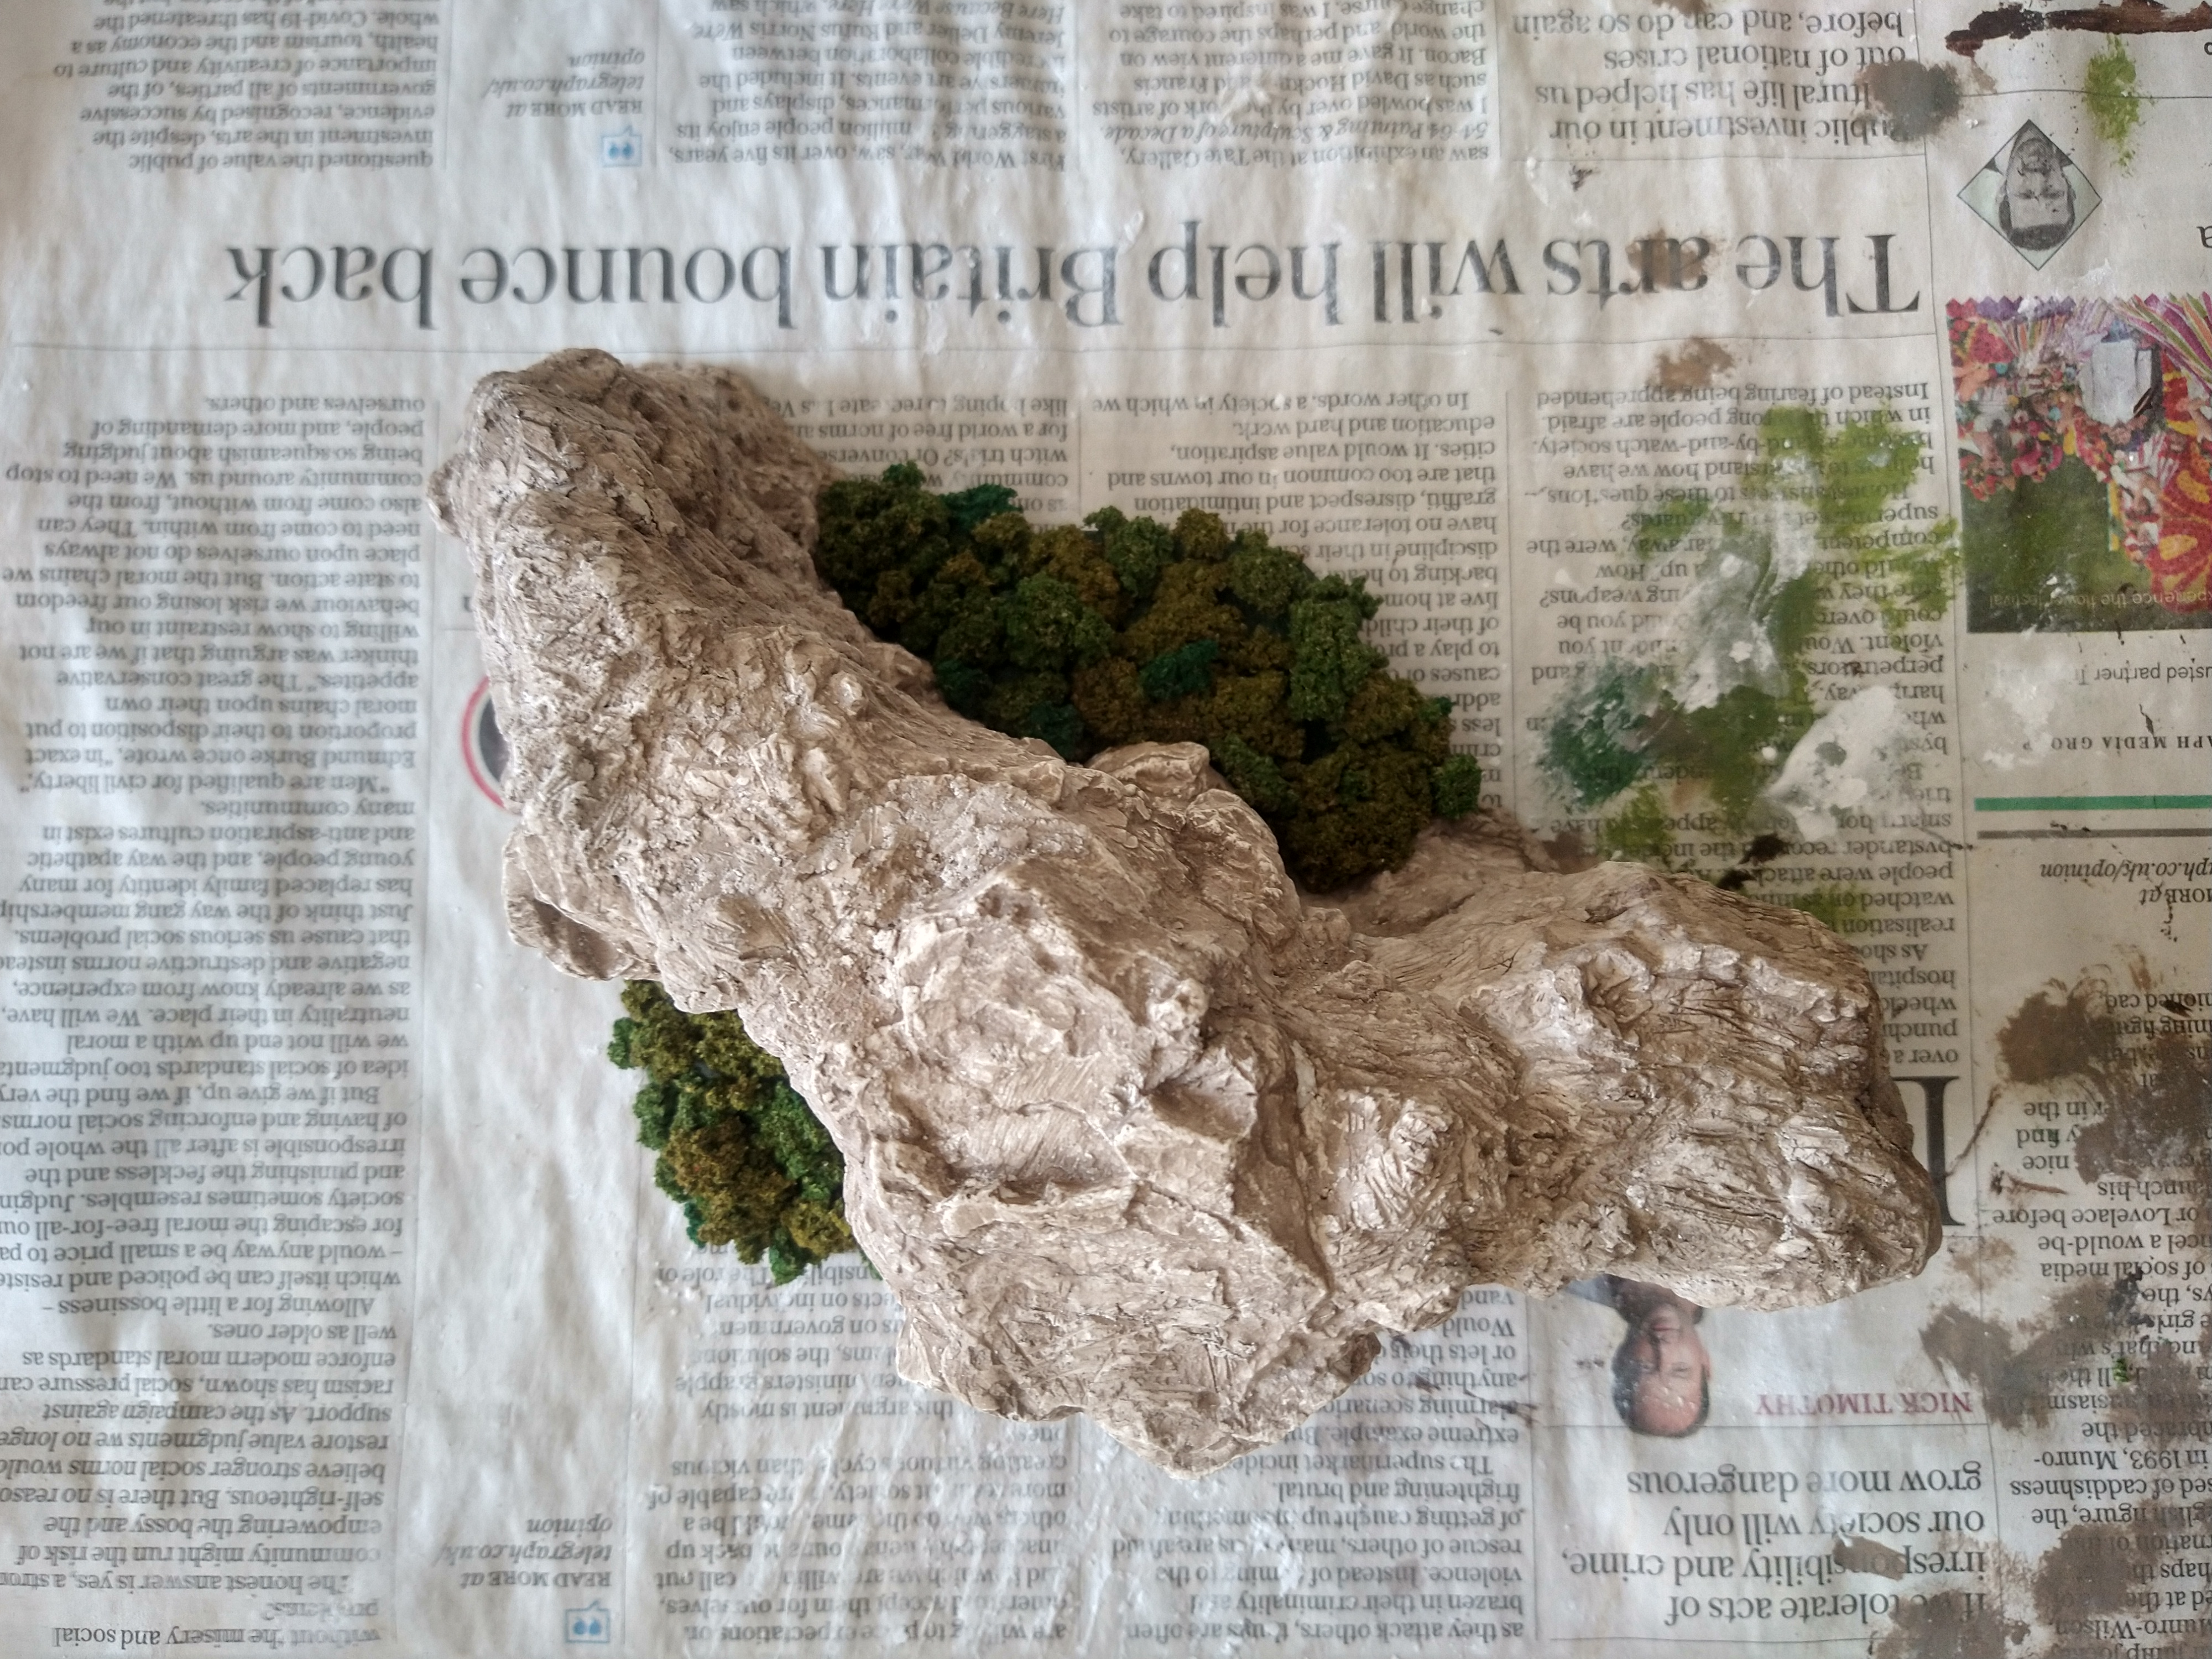
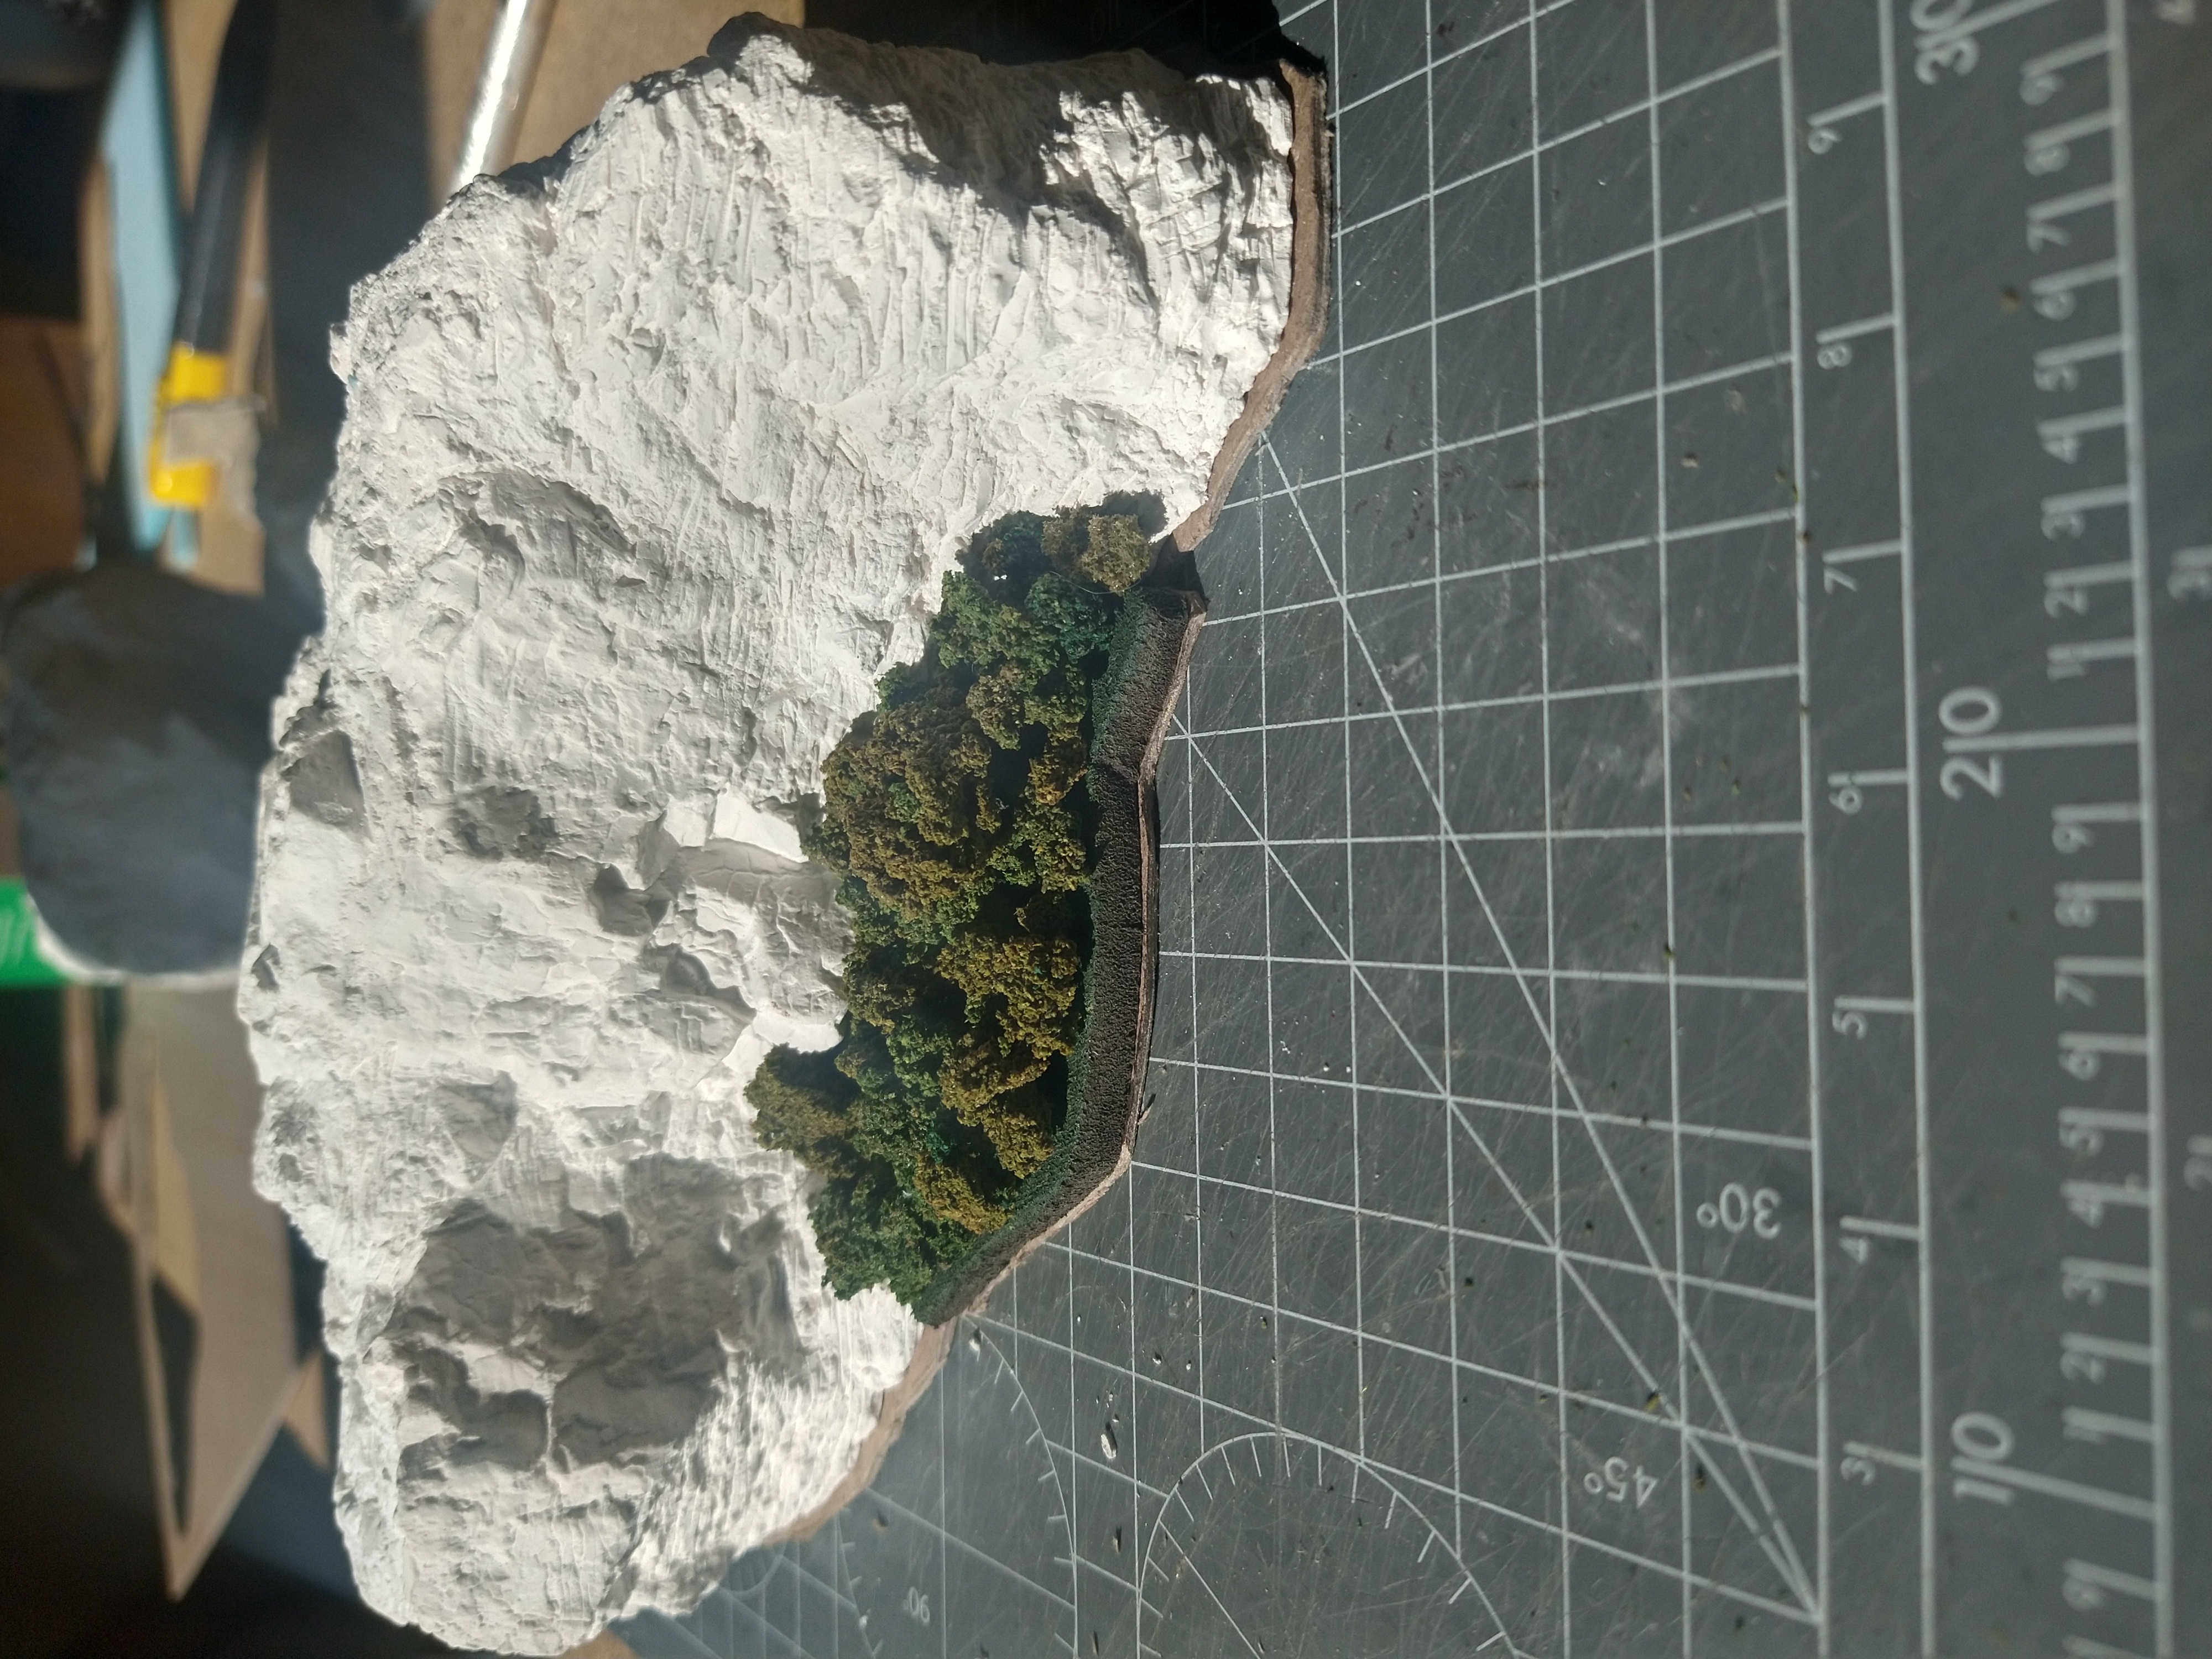
Bringing it all together
Now each element had been tested, the final results of the intial piece.
Once the wash on the rocks was dry and the clump foilage had been glued into place, the whole piece was given a spray of heavily diluted PVA to try to seal in the could and help to hold the foilage in place.
If you do this – be aware the dye in the clump foilage will bleed so could be an idea to try and cover the rock face where possible.
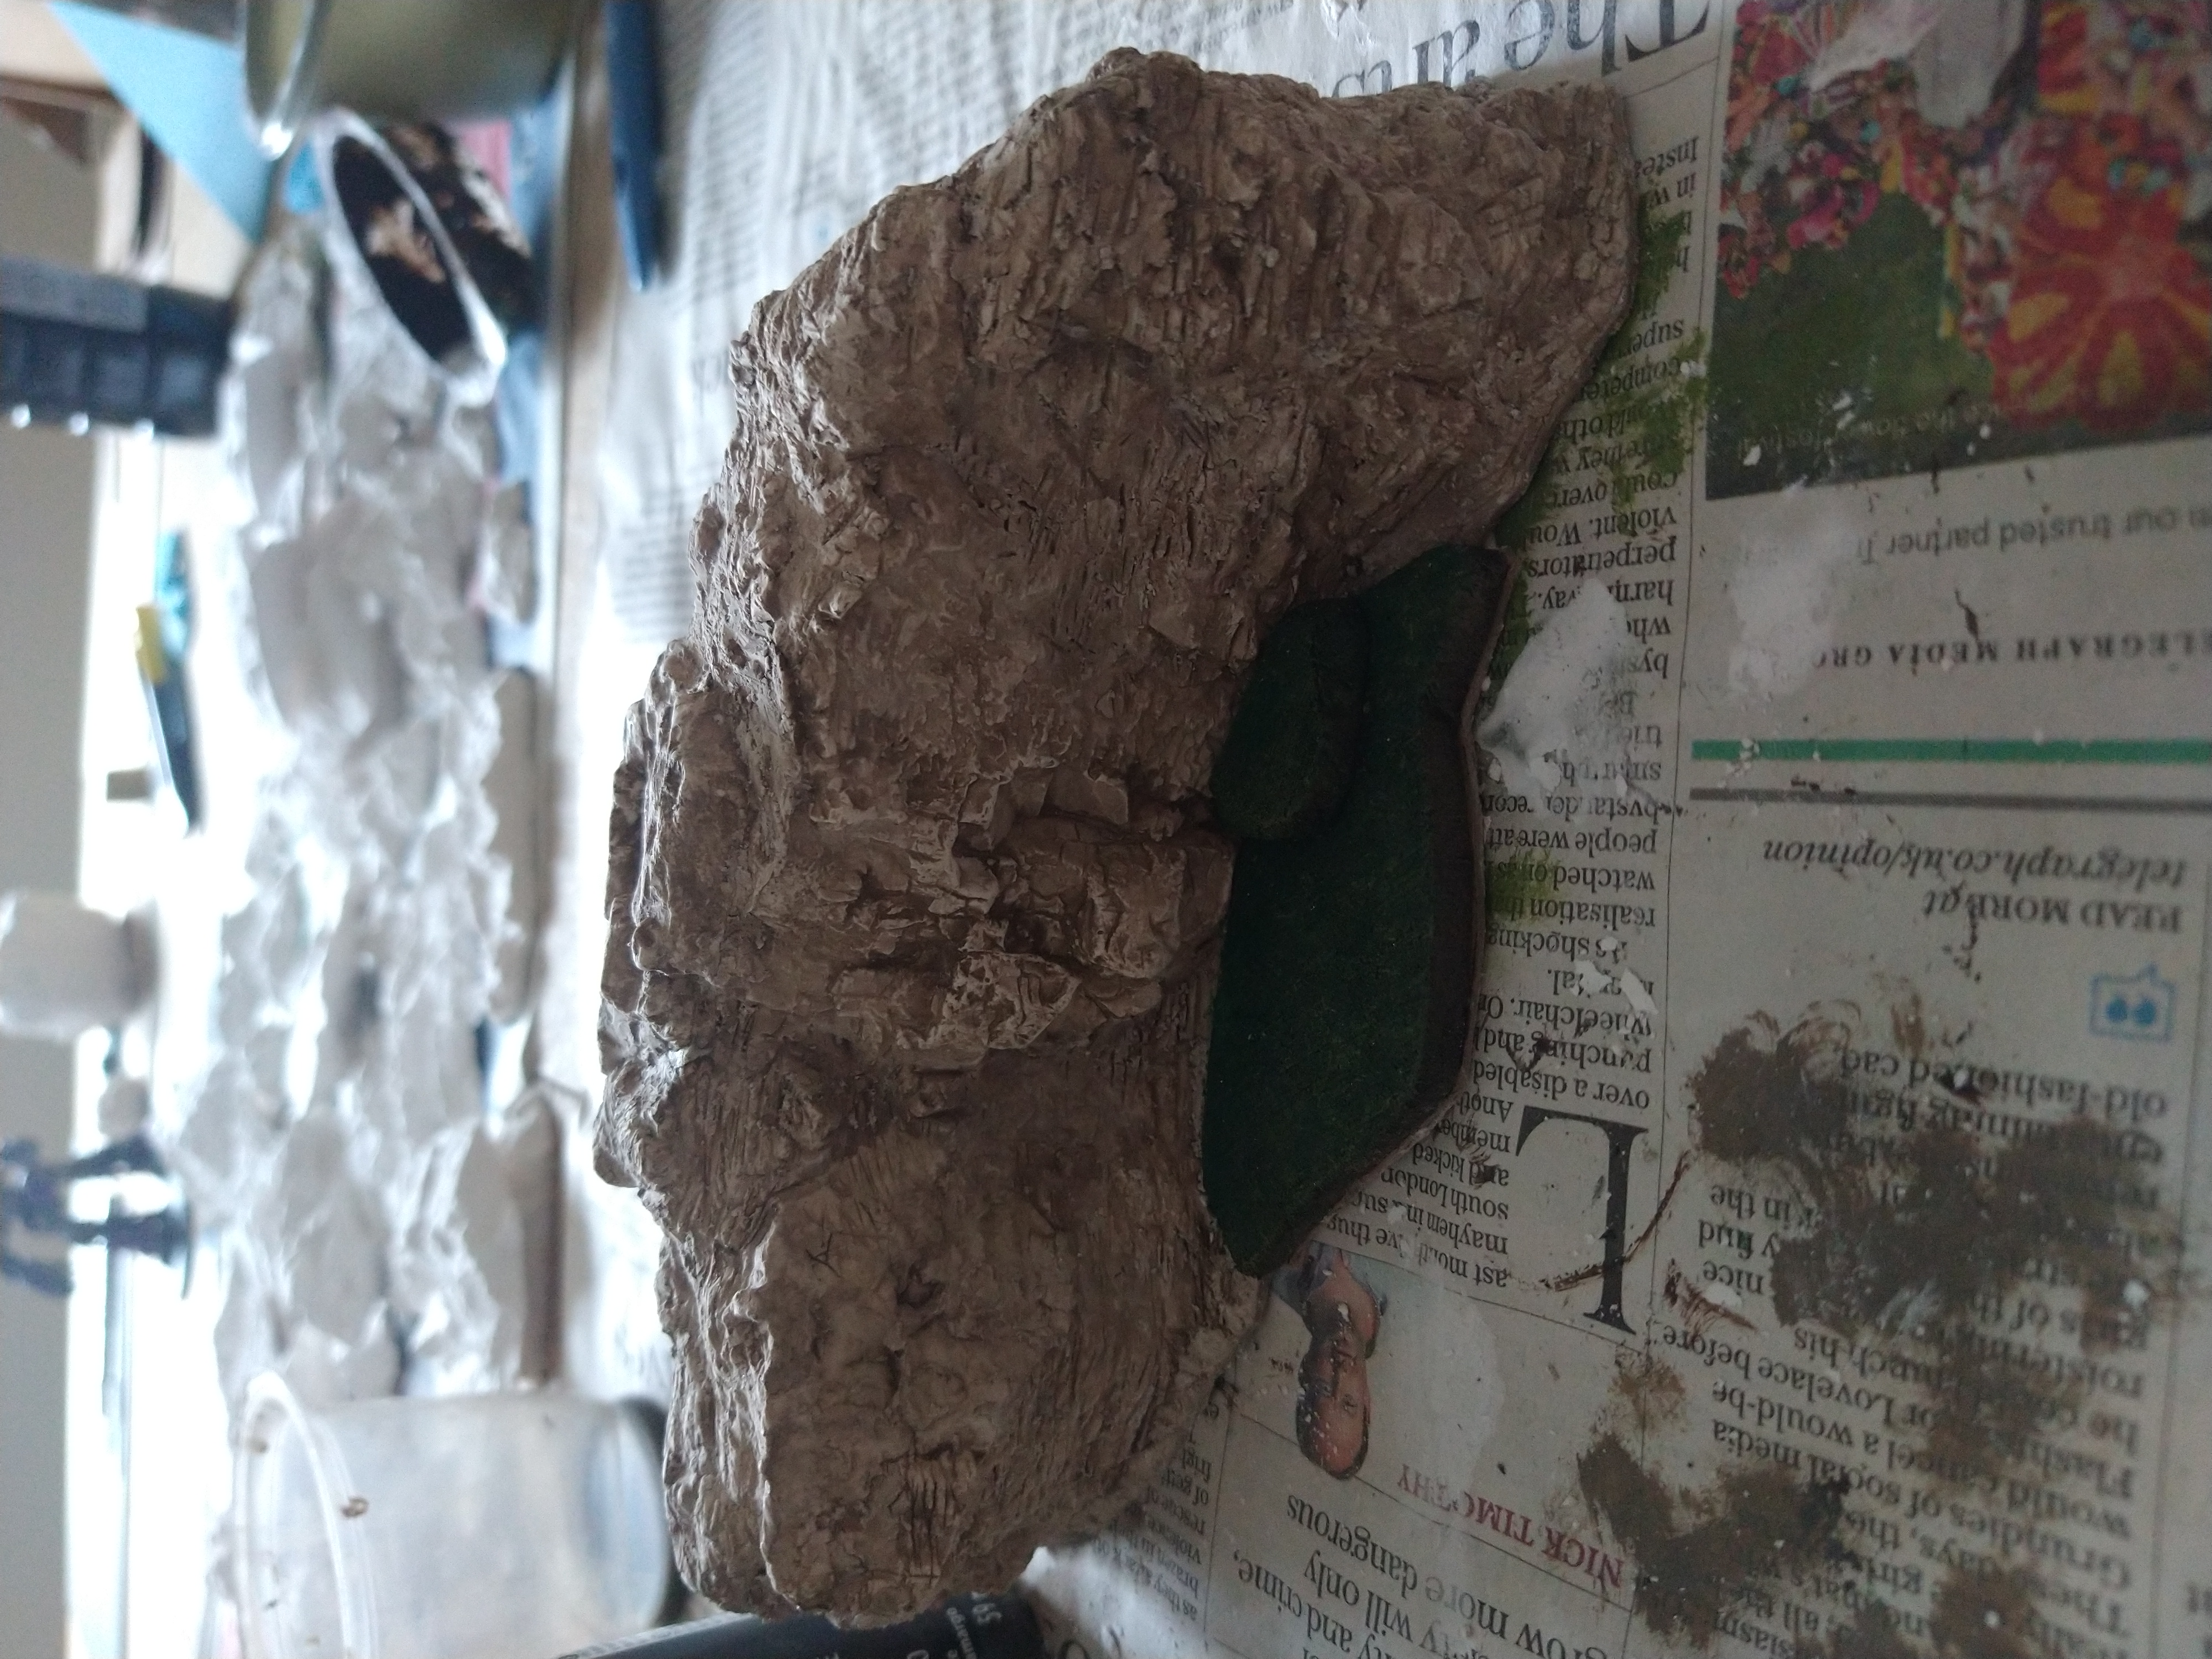
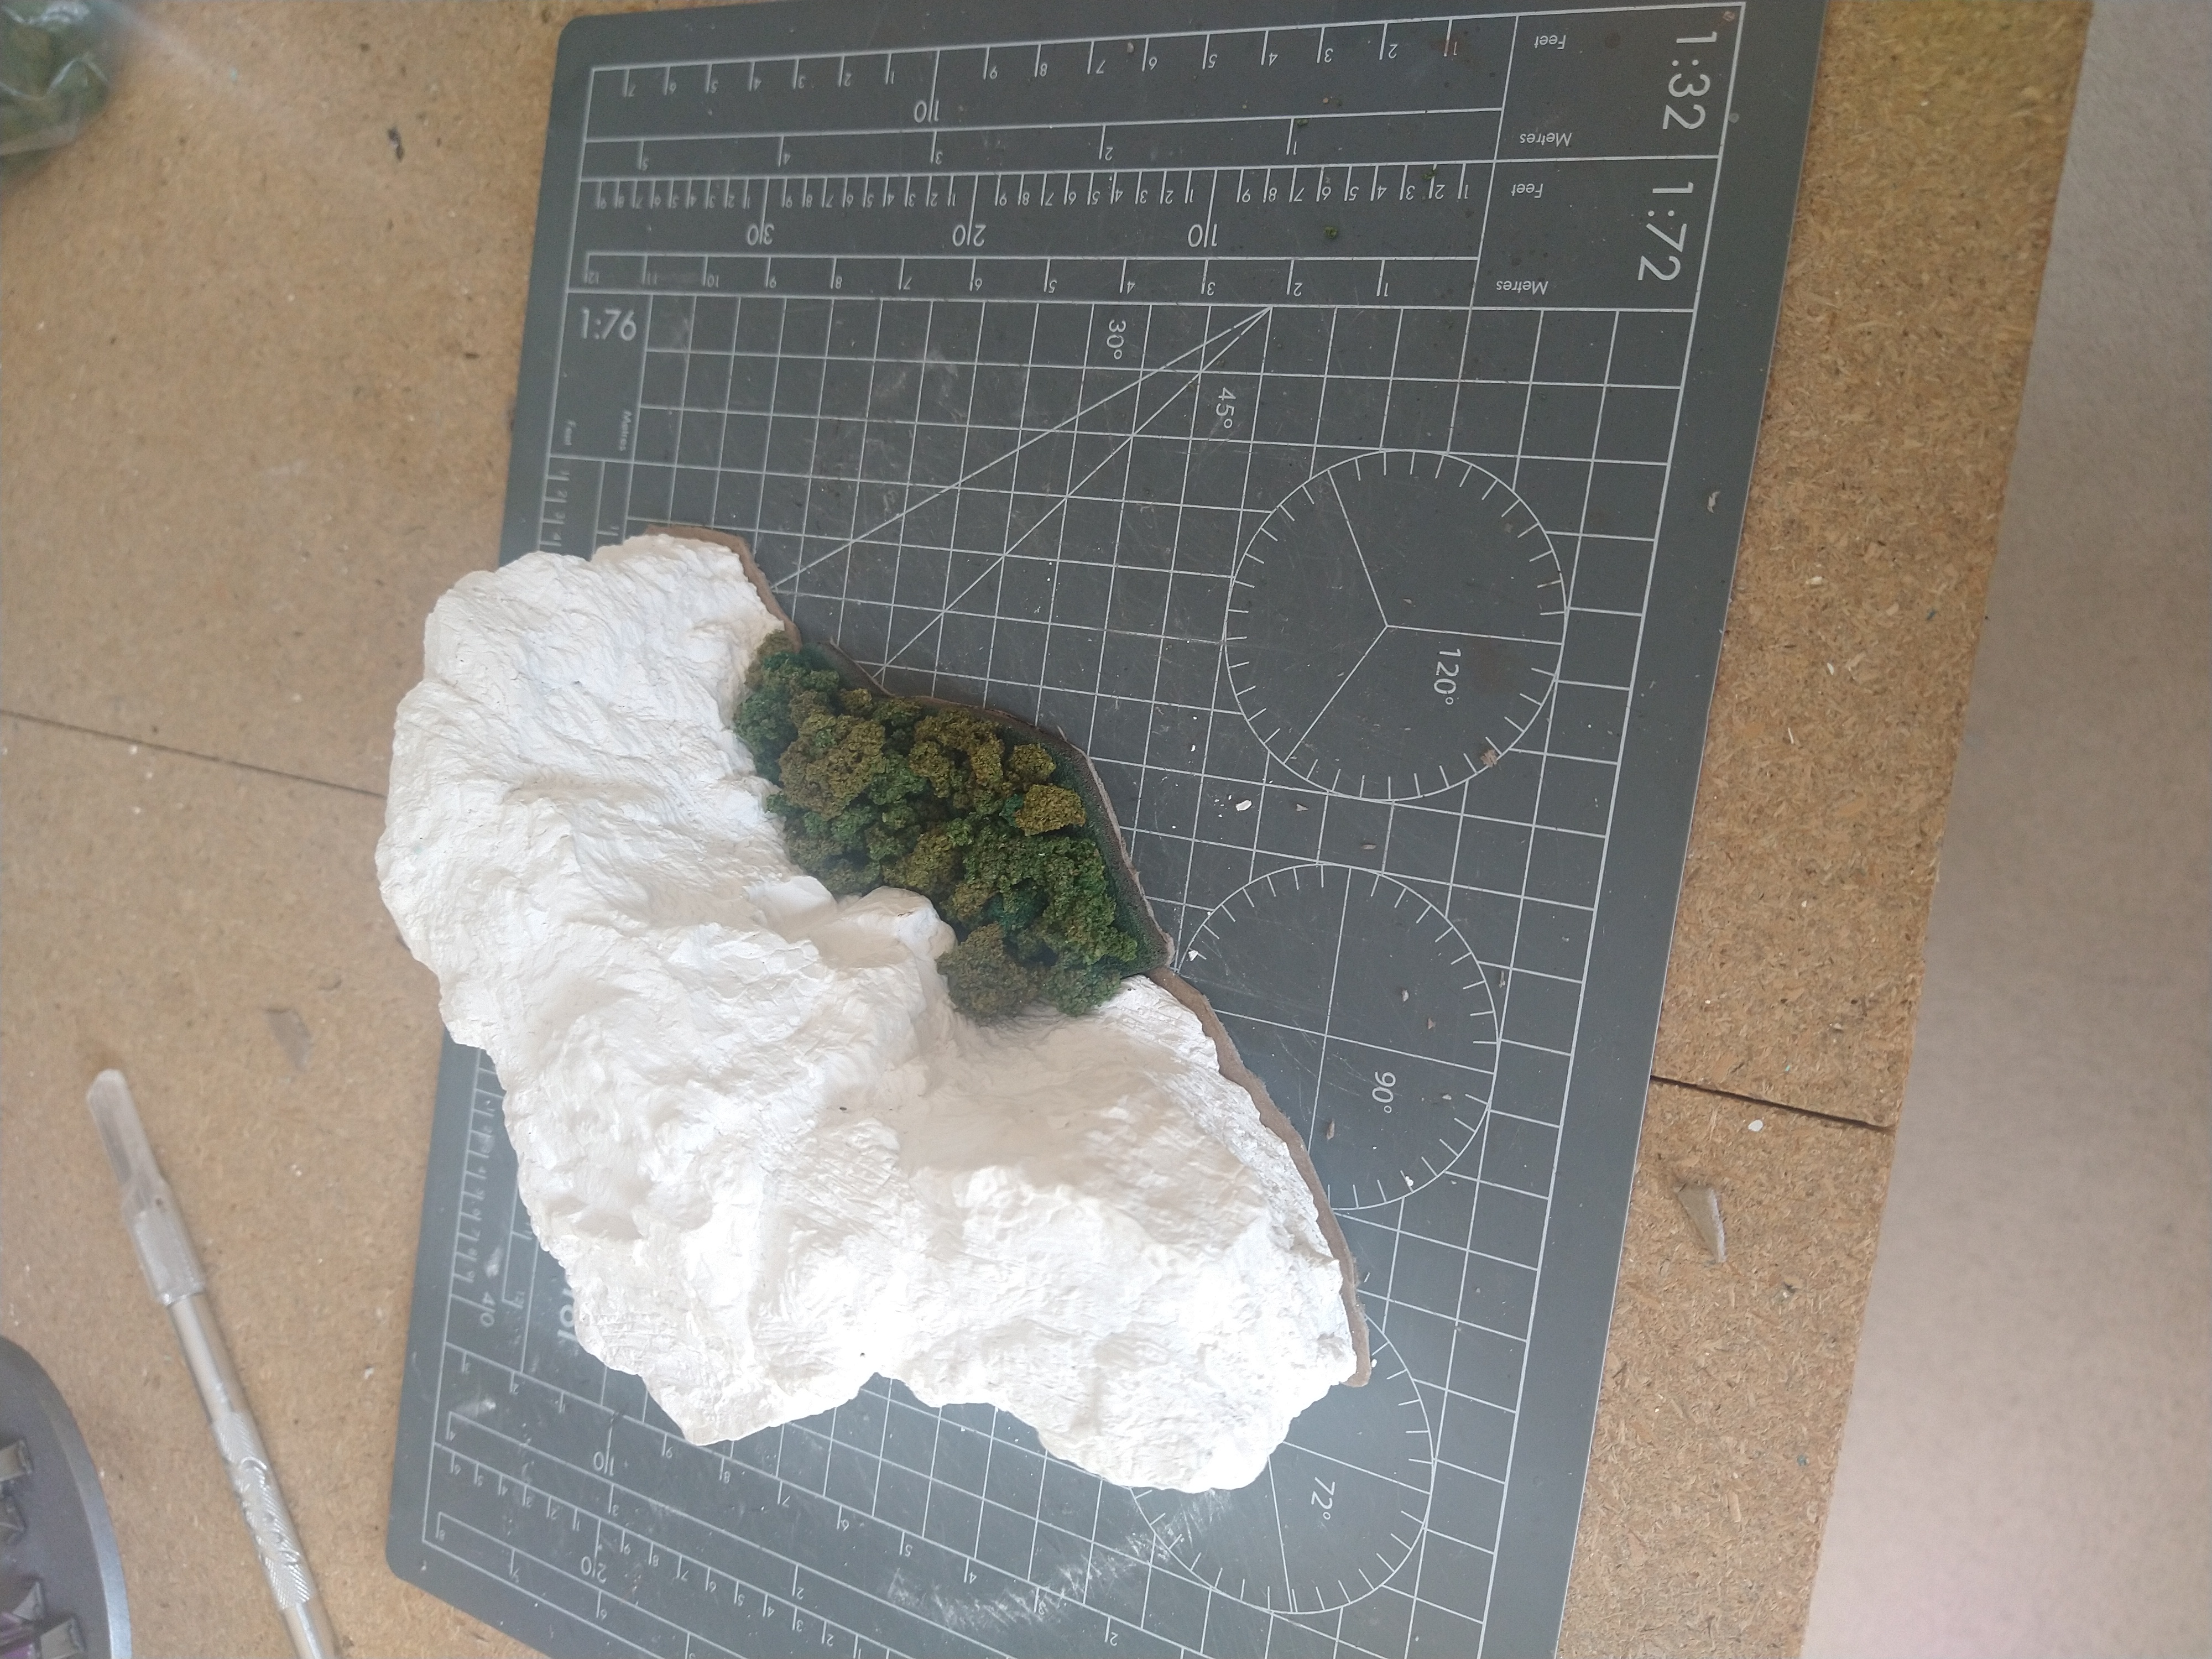
Trees! Test fitting
Once the base of the tree line had been done, I just wanted to check how much height I would then get when adding on the clump foilage to represent the tree canopy.
Now scale wise these would have needed to have been 32mm odd high (8mm scale. A marine being 7ft tall and a realistic expectation of a tree being 28+ft tall) but when looking at the piece from a standing position 4ft away, I think the plan will give the right portrayal of trees.
Below are some photos of the “test fit” with nothing glued.
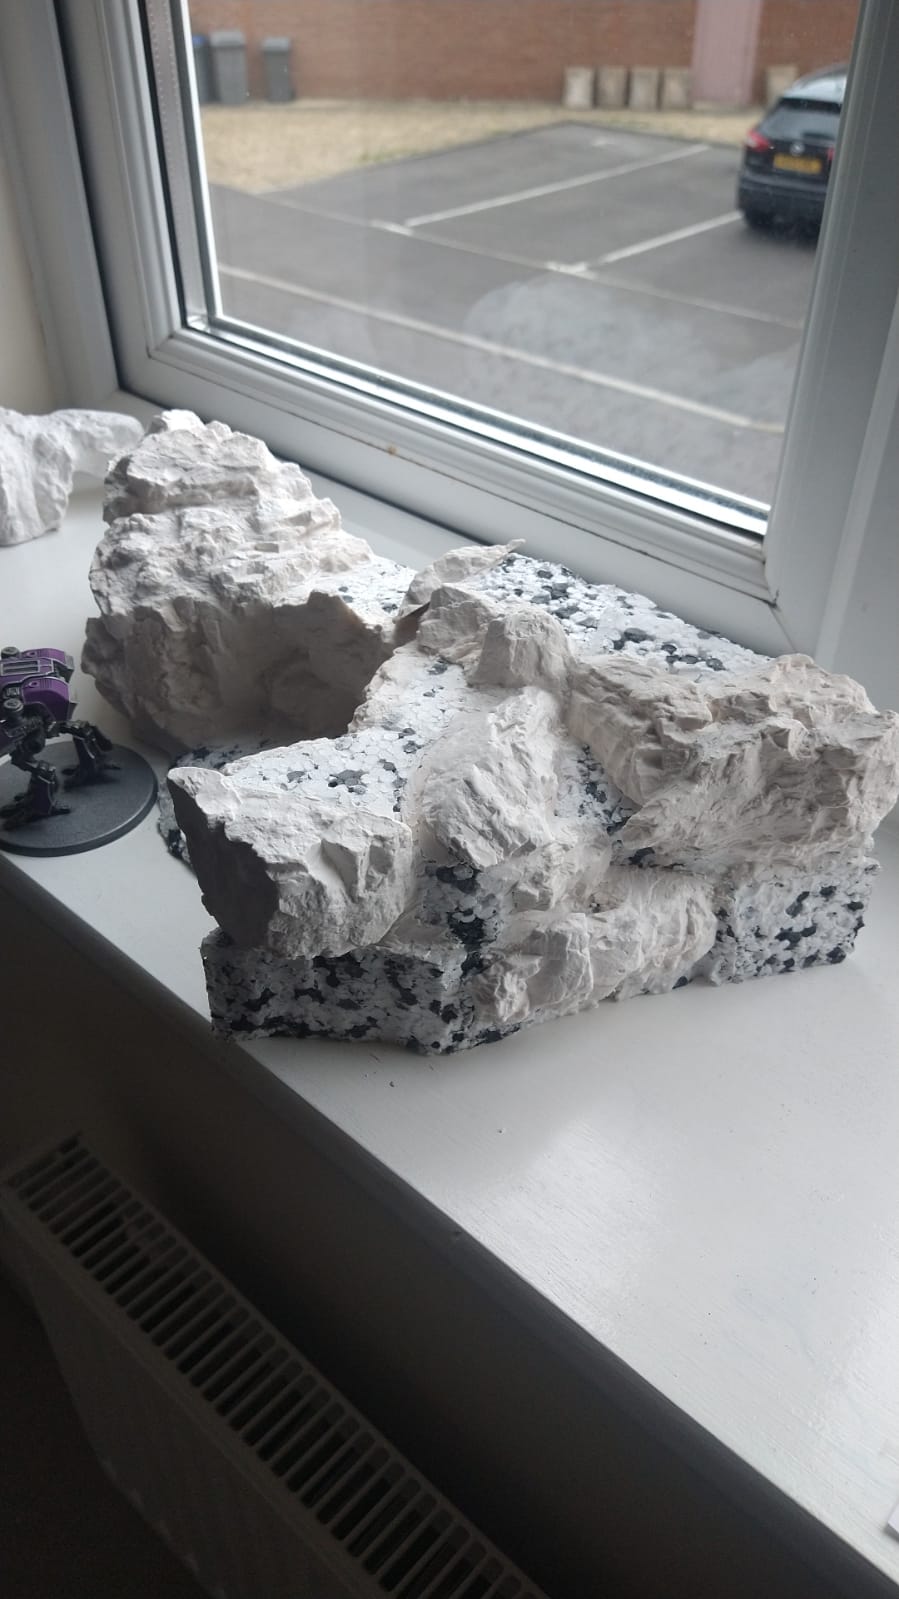
Its worth noting how tight the base has been cut to the shape of the rock face – about a 1-1.5mm.
This is so I can blend the rock face onto the base with some additional carving of some plaster and also to minimise the chance of warping as the plaster dries.
From close in at eye level, the tree base looks a little …. iffy, but again, from a playing position / standing height I think it looks ok.
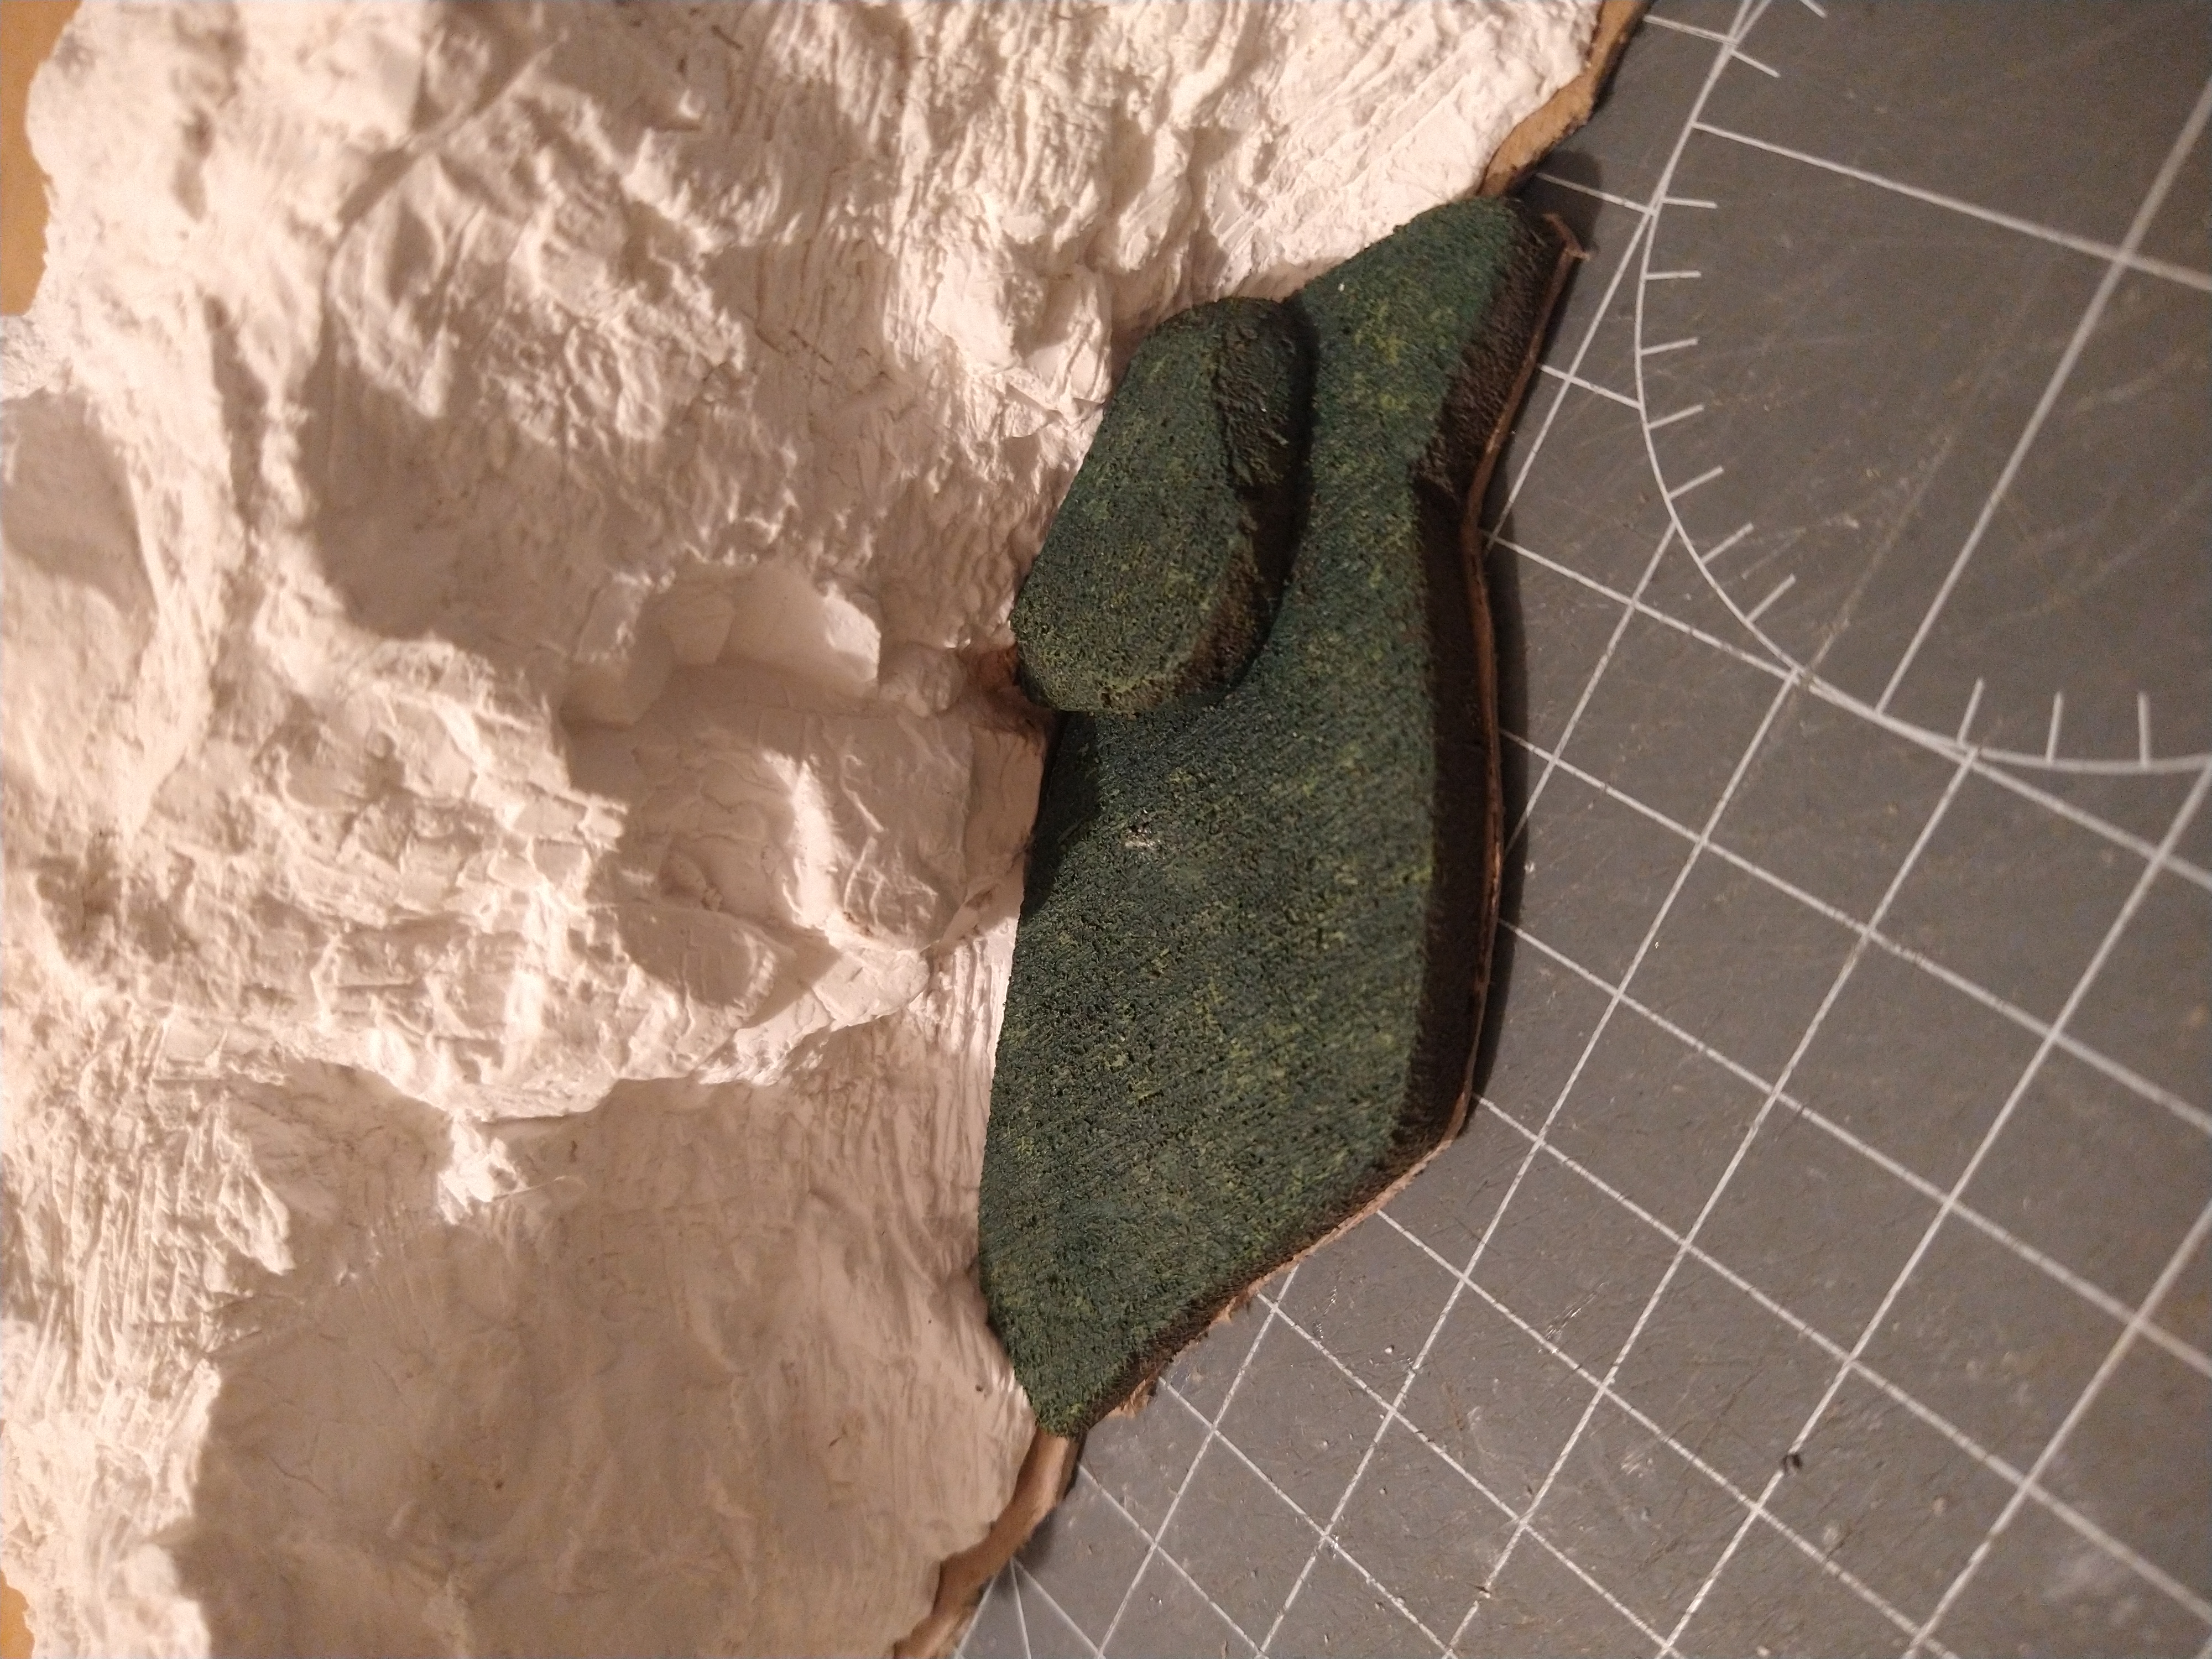
Trees!
Now I had a colour scheme for the rock face, I needed to work out how I wanted to give a foresty feel to the pieces.
I planned on using a few different colours of clump foilage (mine were from Woodland Scenics – mainly as I already had a couple of packs kicking around) but knew I needed to add some height without wasting material.
For this I used 5mm thick Styrofoam. I need to keep the surface area small to avoid warping as the bases were going to be 1mm thick chipboard sheets (basically extra thick cardboard).
Once the basic shape was cut, and the edges sanded, the were given a coat of cheap brown paint (from B&M).
Once dry, the edges were given a dry brush of Baneblade Brown from GW
The tops were then painted with a dark green (again from B&M)
And then finally a stippling or sponging of Orruk flesh from GW.

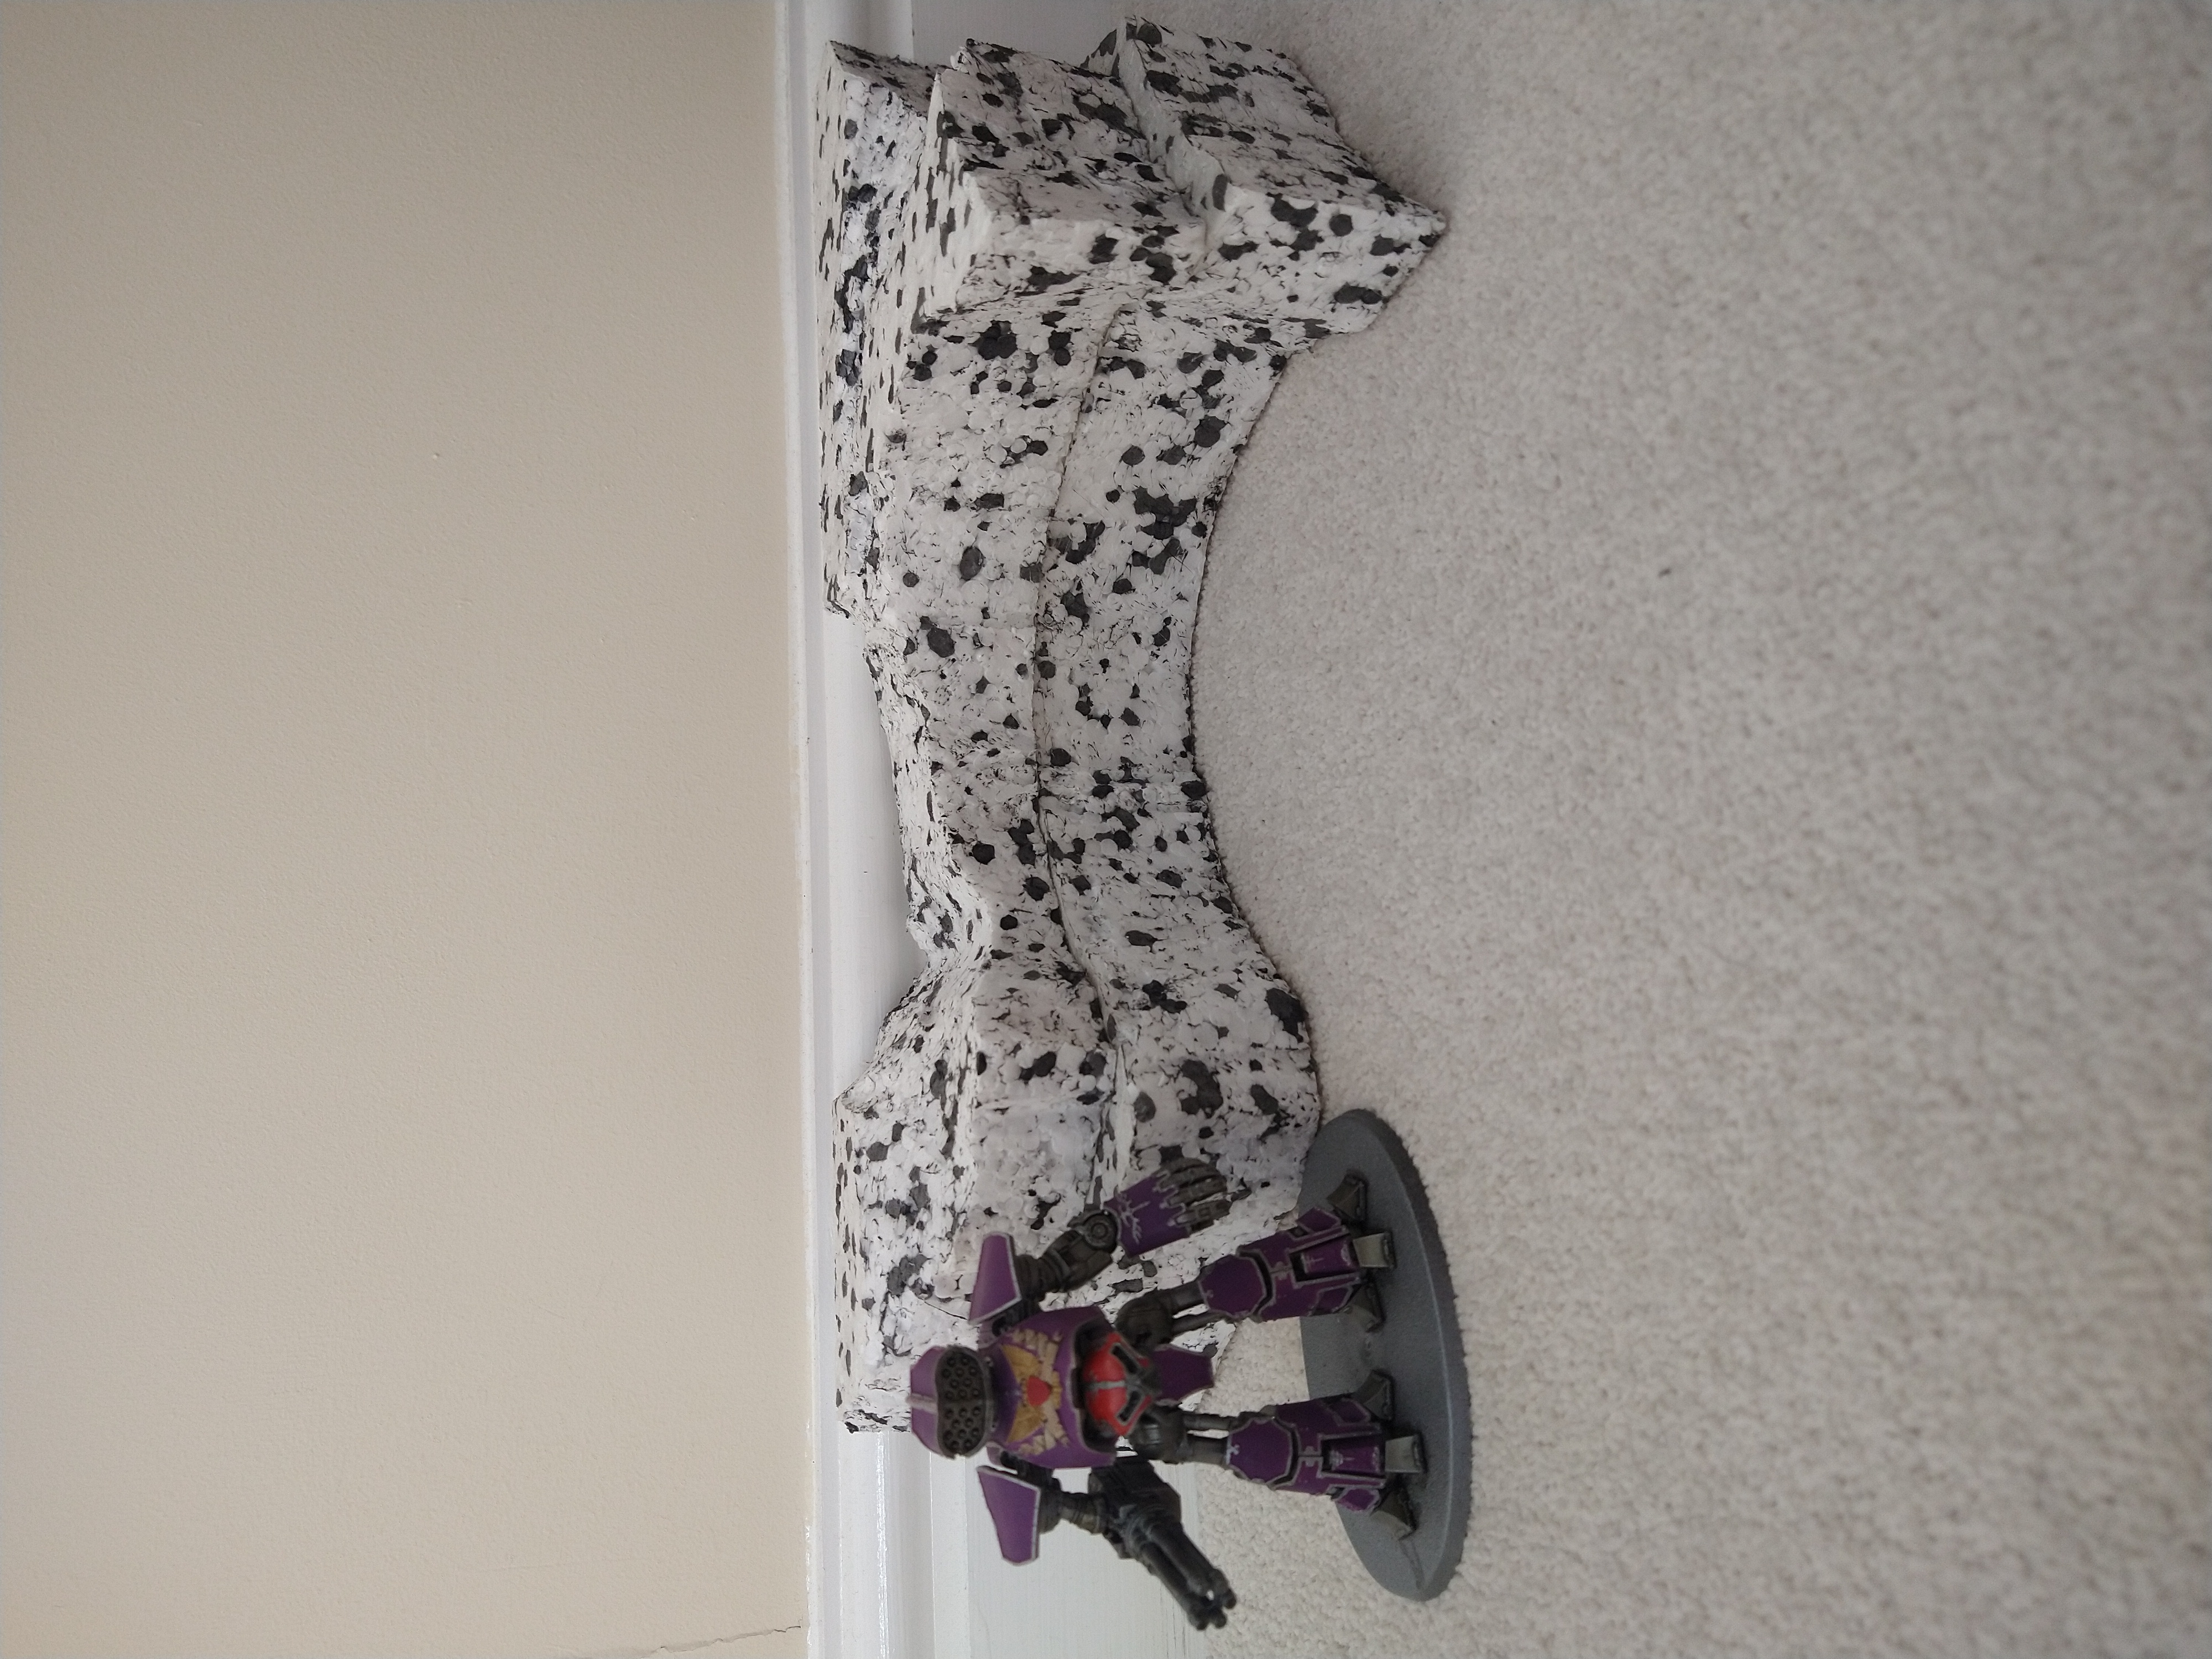
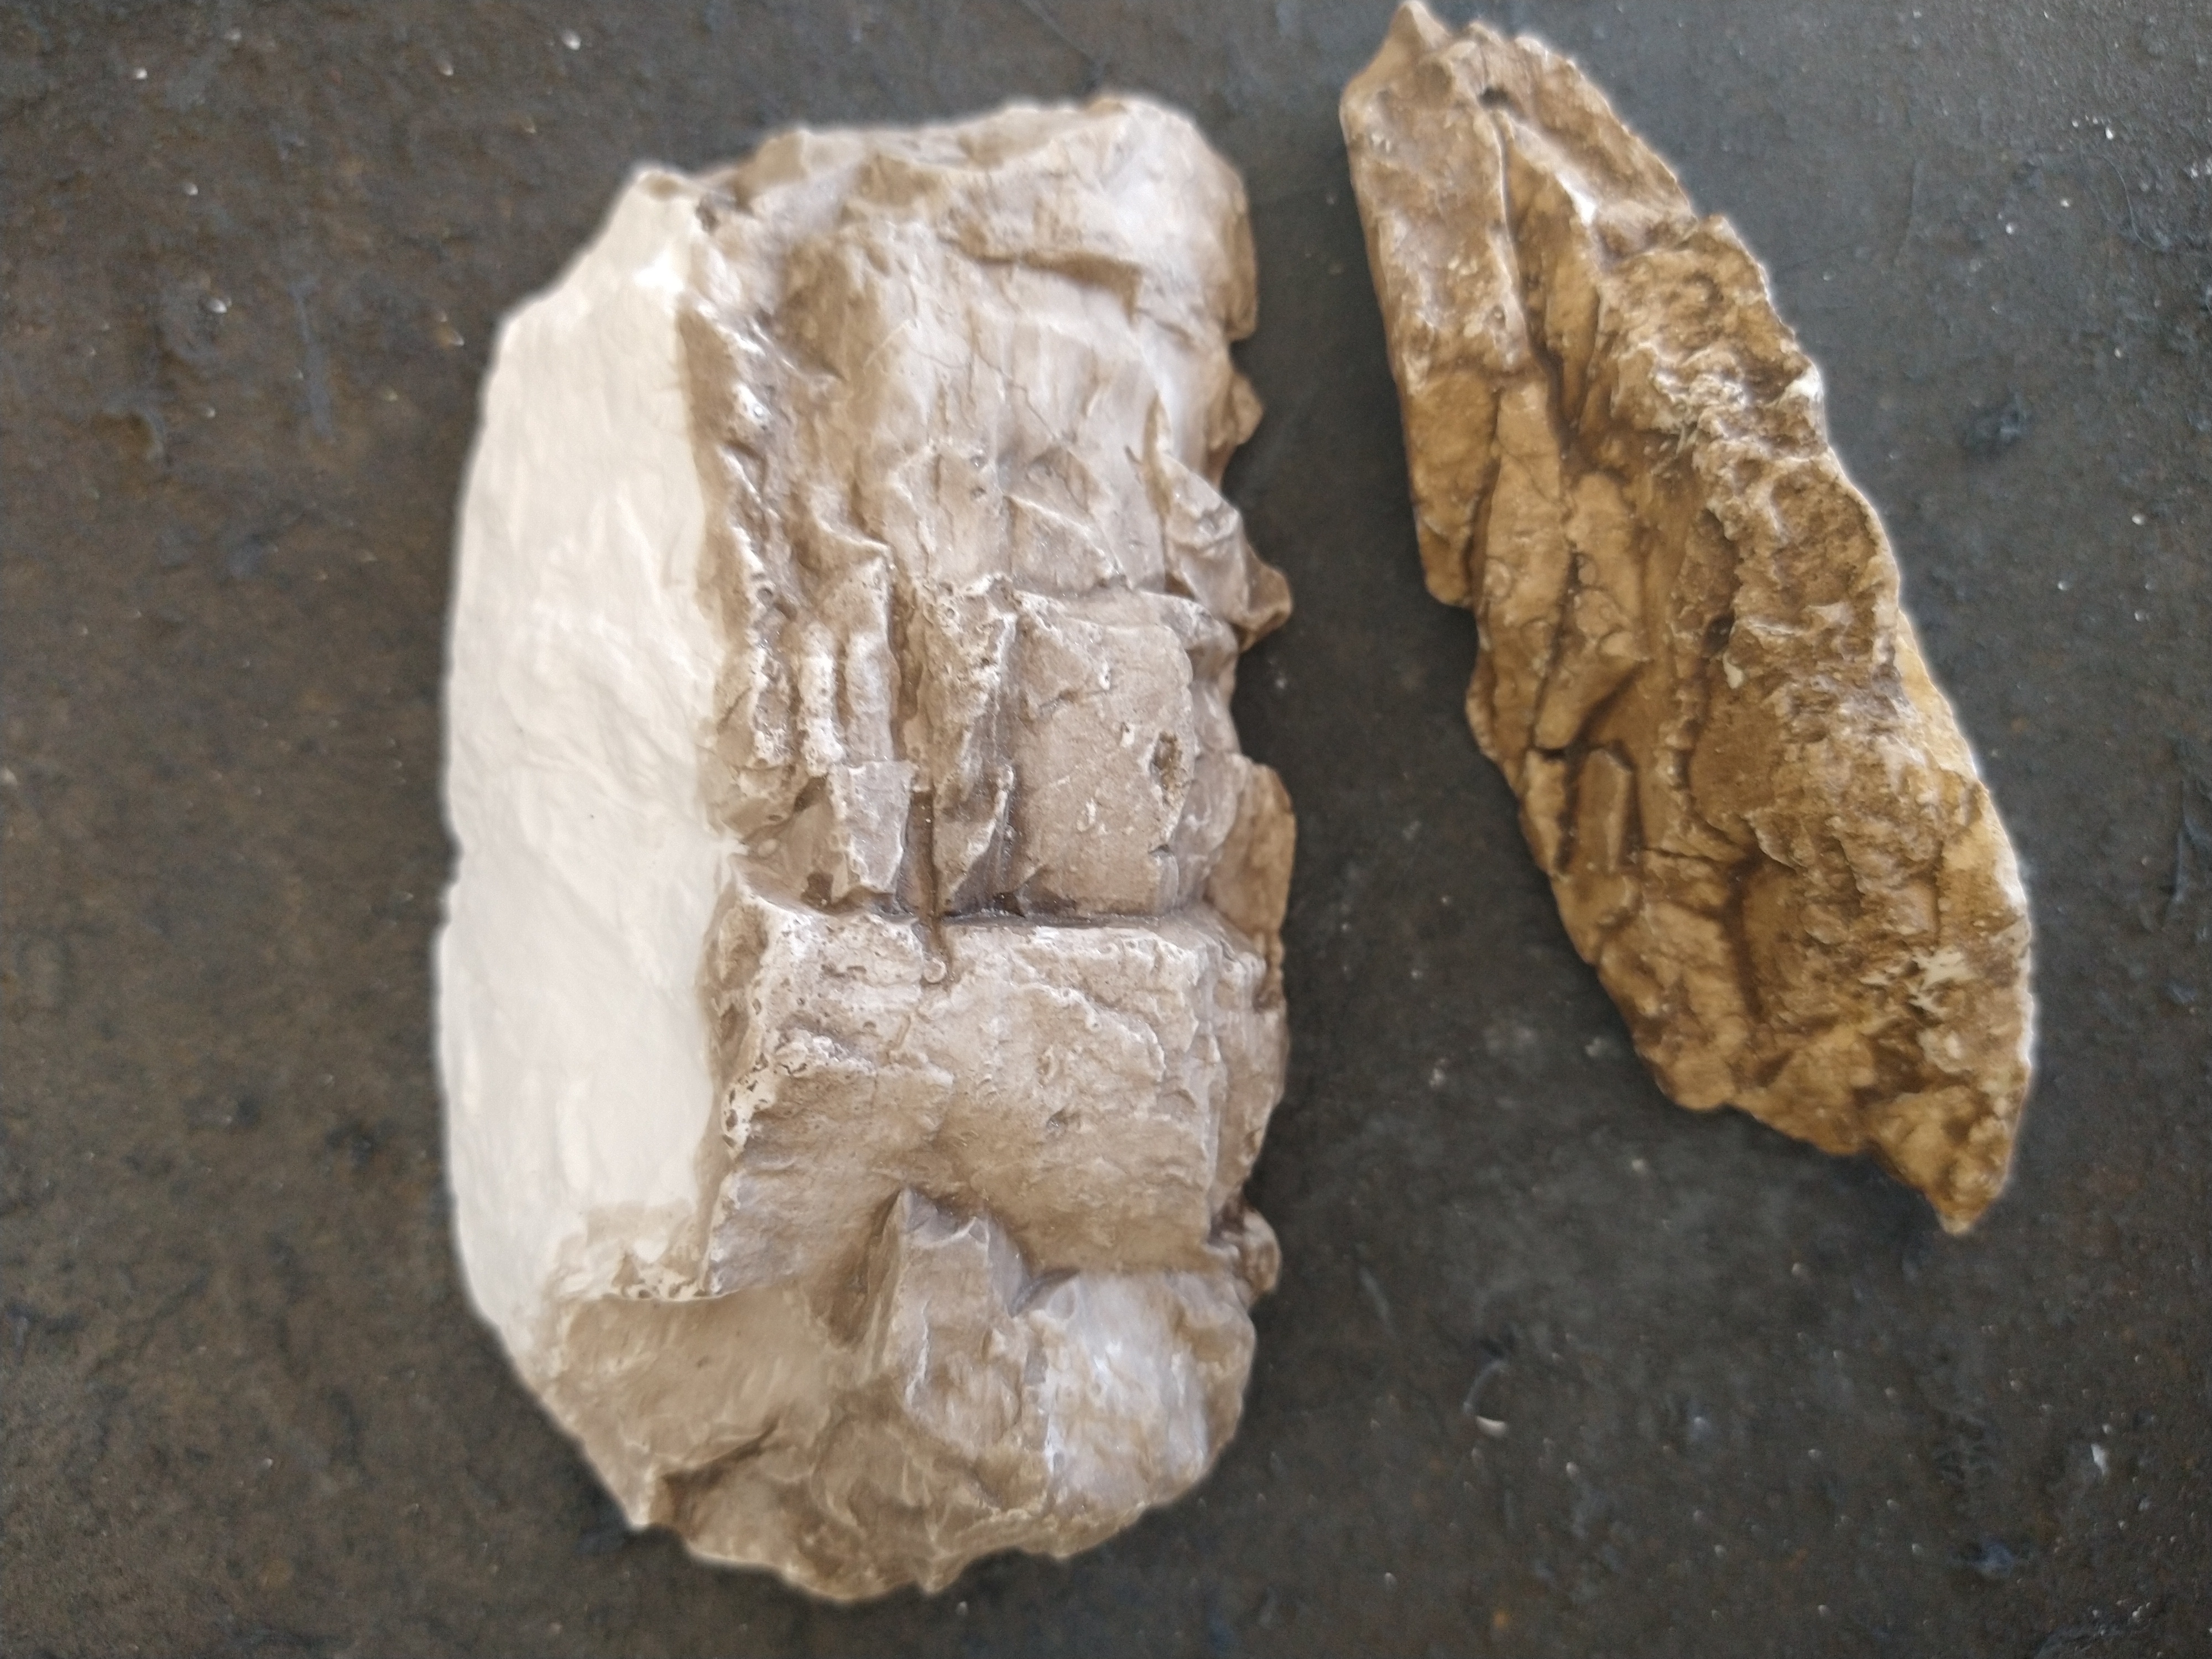
Colour Scheme test
Now that I had completed the model, I had to make the decision on what method I was going to use to paint the rock faces.
When Ive tried previously to do the leapod spot technique its never came out looking quite the way I want and always looks blotchy, so decided I wanted to try and avoid this.
So I decided to go with a more earthy brown coloured approach.
From the 2 schemes I decided to go with the left approach (top option if you open the actual photo) which I found was a bit more sutble and subdued.
This was simply a “bitersweet chocolate” from Art Deco simply watered down.
The other option was a “earth brown” from Vallejo but found it a bit to bright and poppy for what I wanted.


![Play WW2 Commando Operations With Butcher & Bolt [Updated]](https://images.beastsofwar.com/2026/03/relaunch-600-338.jpg)


