![1918 Spring Offensive Wargame | Full Rules Overview with John & Gerry (WW1 Tabletop Game) [7 Days Early Access]](https://images.beastsofwar.com/2026/03/unboxing-warfulcrum-games-1918-spring-offensive-review-coverimage1-225-127.jpeg)


The Nice Inn – Bringing DnD to the Tabletop


Recommendations: 169
About the Project
So this is the start of a month long terrain build. I have recently been building terrain to play in primarily The Barons War, but also stuff I can use in my DnD campaign. So this event was the perfect opportunity to add more terrain to my existing collection. In My DnD world there is a place that goes by the name of the "Nice Inn". There is a Nice Inn in every major settlement, however the strange thing is they always are identical and they are always run by the same individual called Toria. Who is a mysterious and enigmatic female of indeterminate race or background? Who knows, maybe we will discover more about her as this project unfolds, on the other hand why spoil the mystery and the excitement of wondering who the enigmatic Toria really is.
Related Game: Dungeons & Dragons
Related Company: Wizards of the Coast
Related Genre: Fantasy
Related Contest: TerrainFest 2023
This Project is Active
The Second Floor
So the final level ( not counting the roof) is to create the second floor. To do this I have used pretty much the same process as the lower floors. However this floor will cover the entire top level including over the side archway.
 This section is where the chimney stack goes up. It is also where the side of the building joins so the double chimney adds robustness of joining the two floor sections together.
 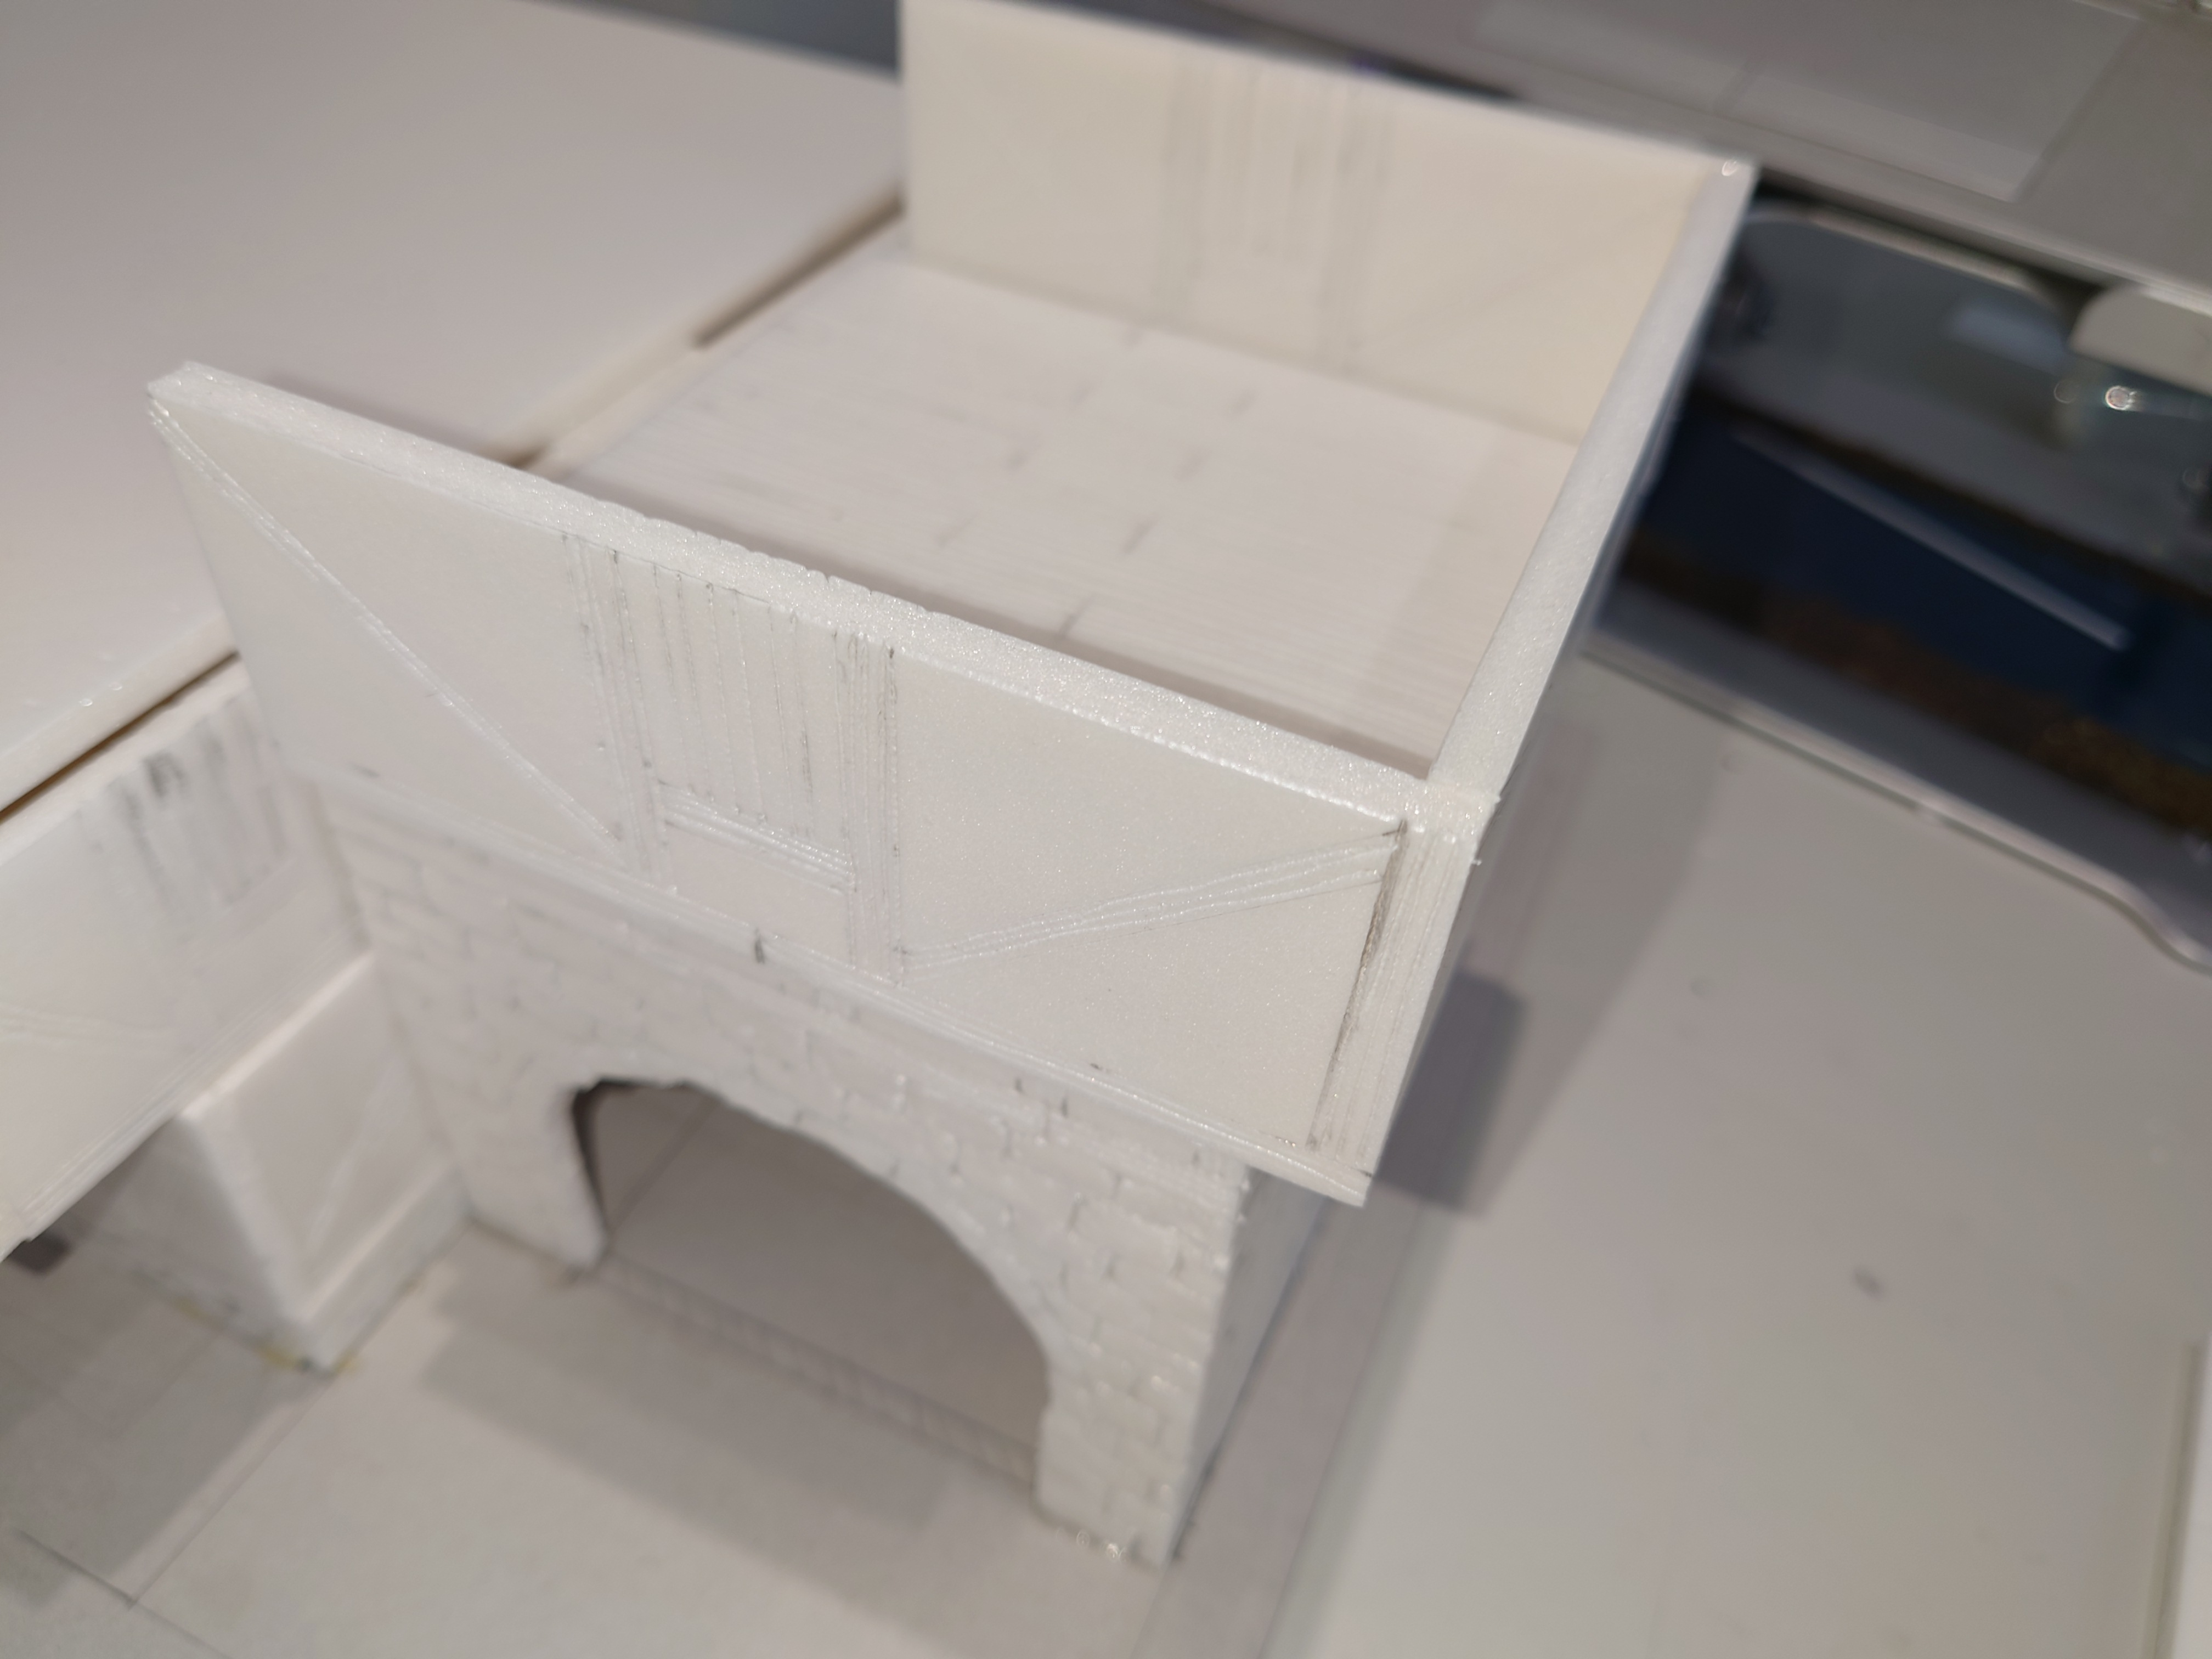 The side section.
 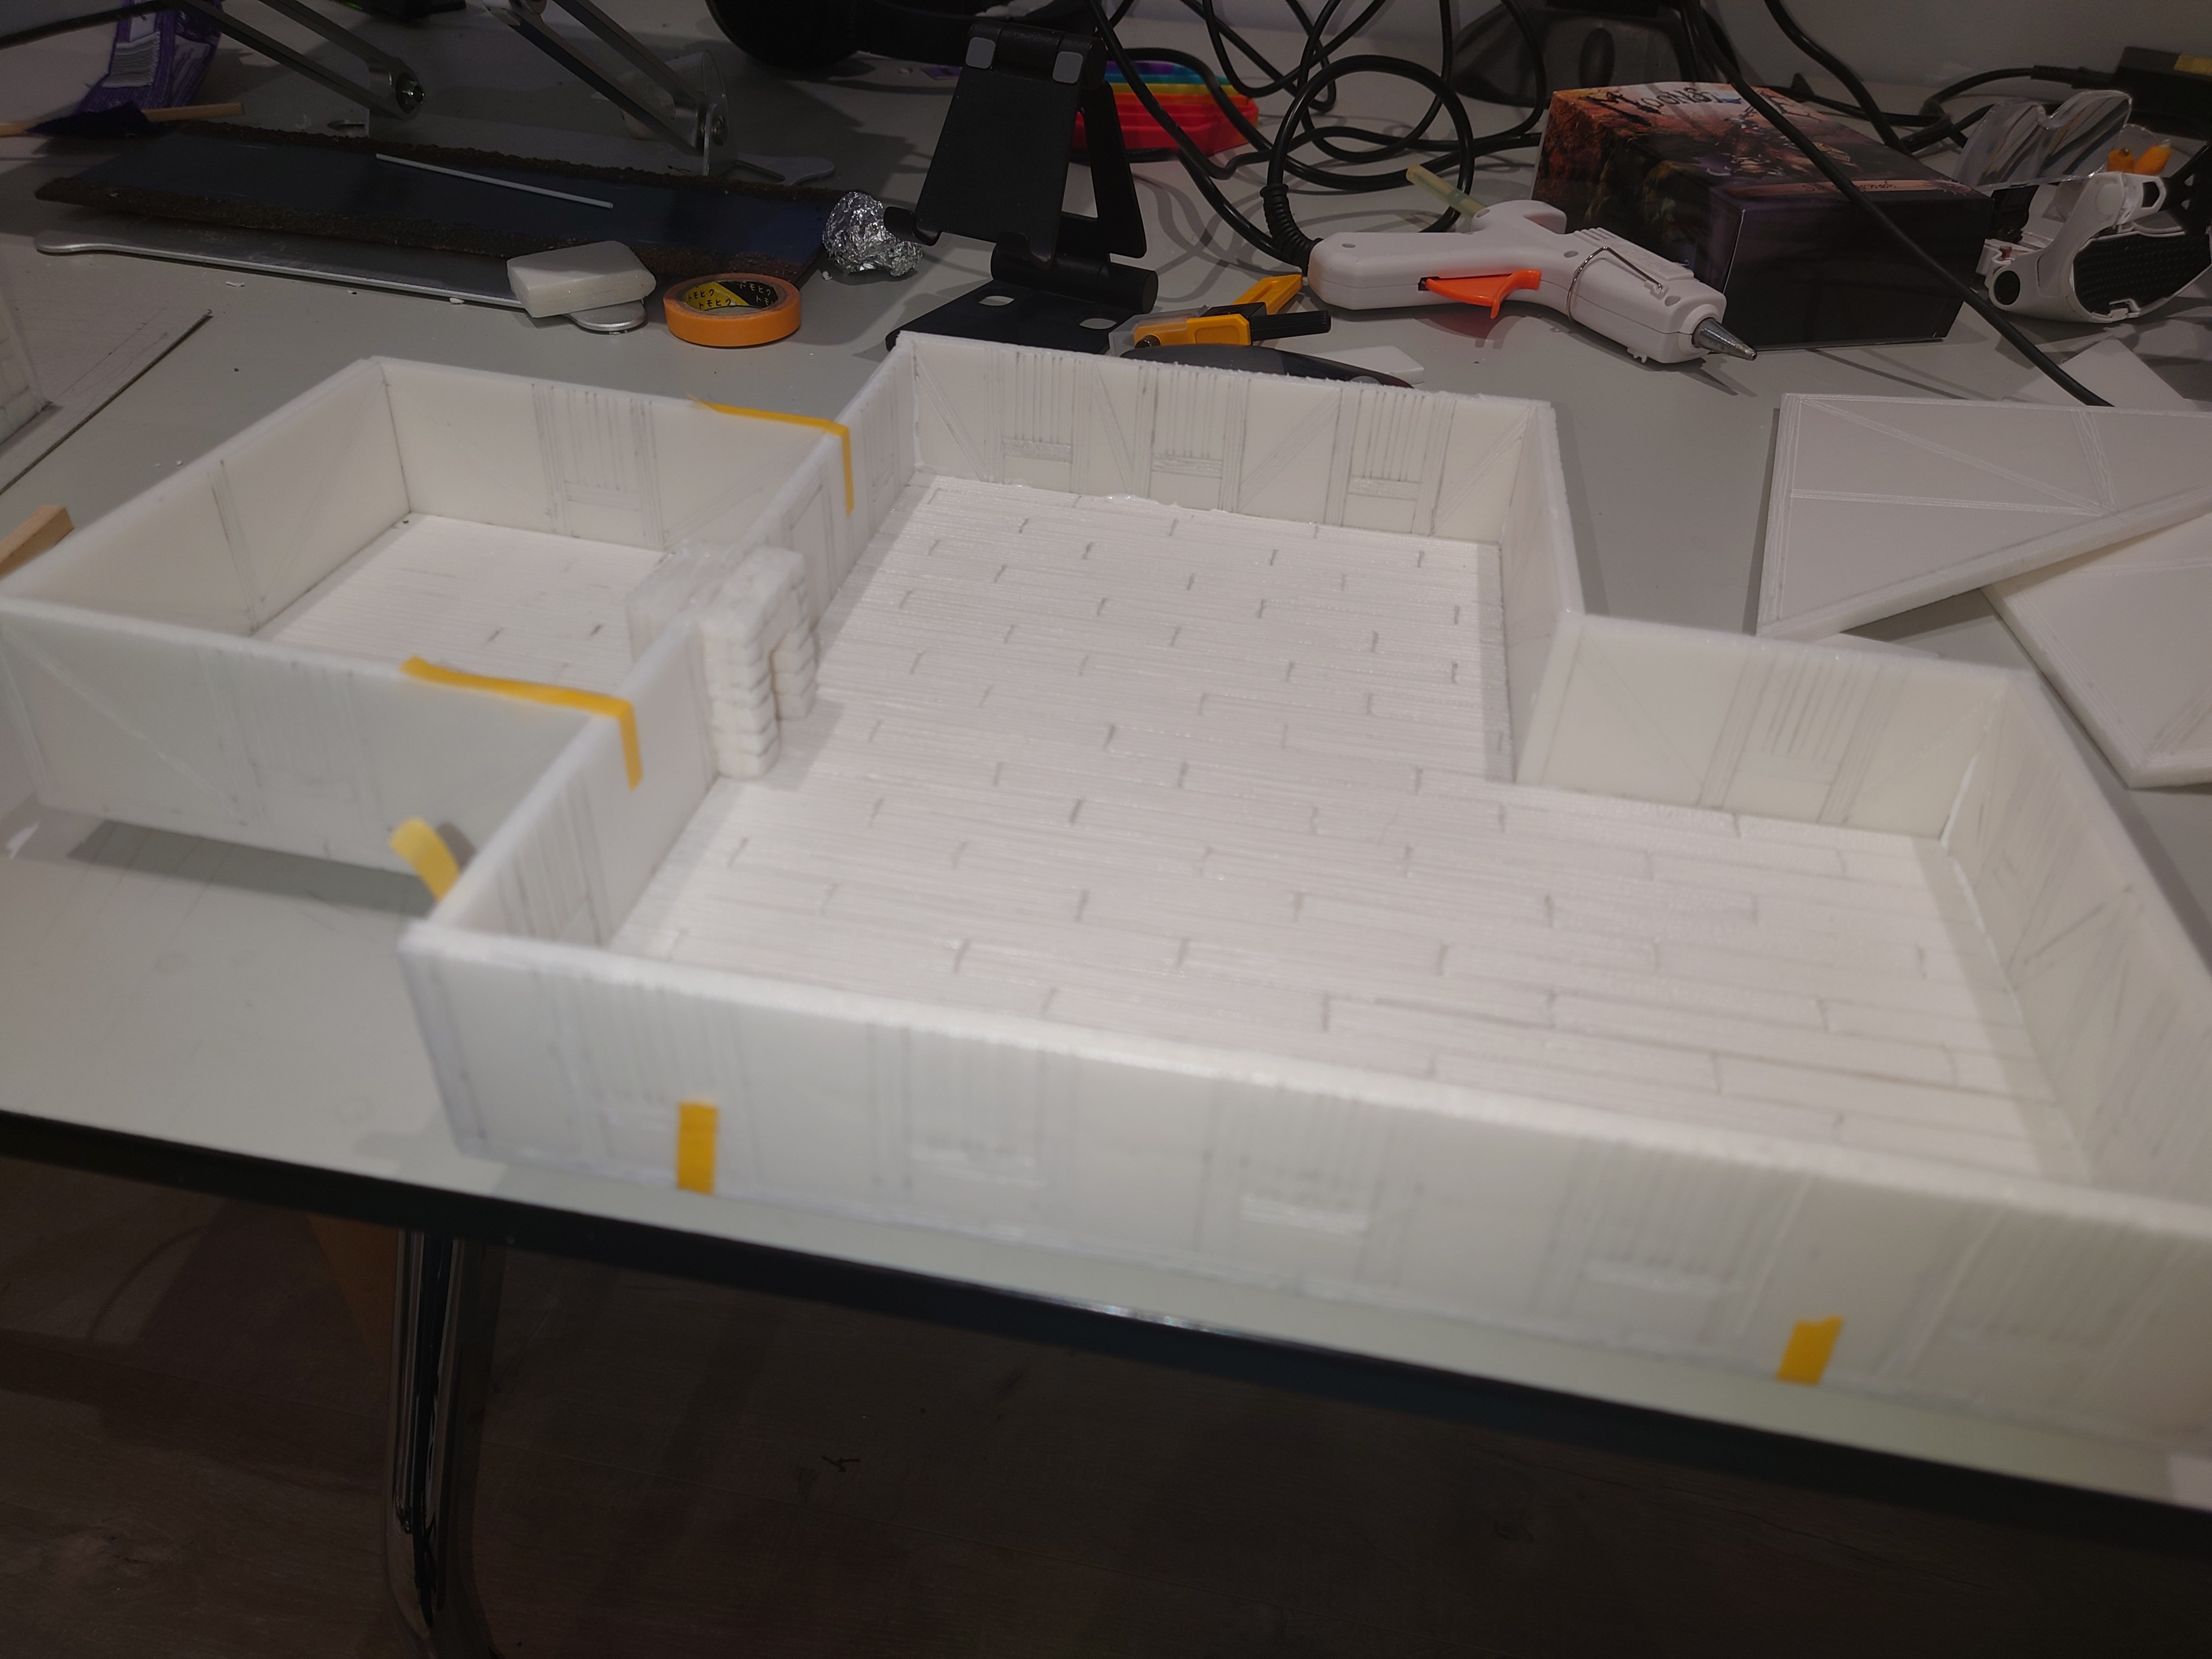 The constructed floor section
 The side
So after building two levels of the Inn, it was time to work on the right side if the building.
The aim of this was to provide an archway through which horses can be taken to the stables ( stables not included in this build).
My mind was that there would be a stone archway that would then integrate into the main building at the third level.
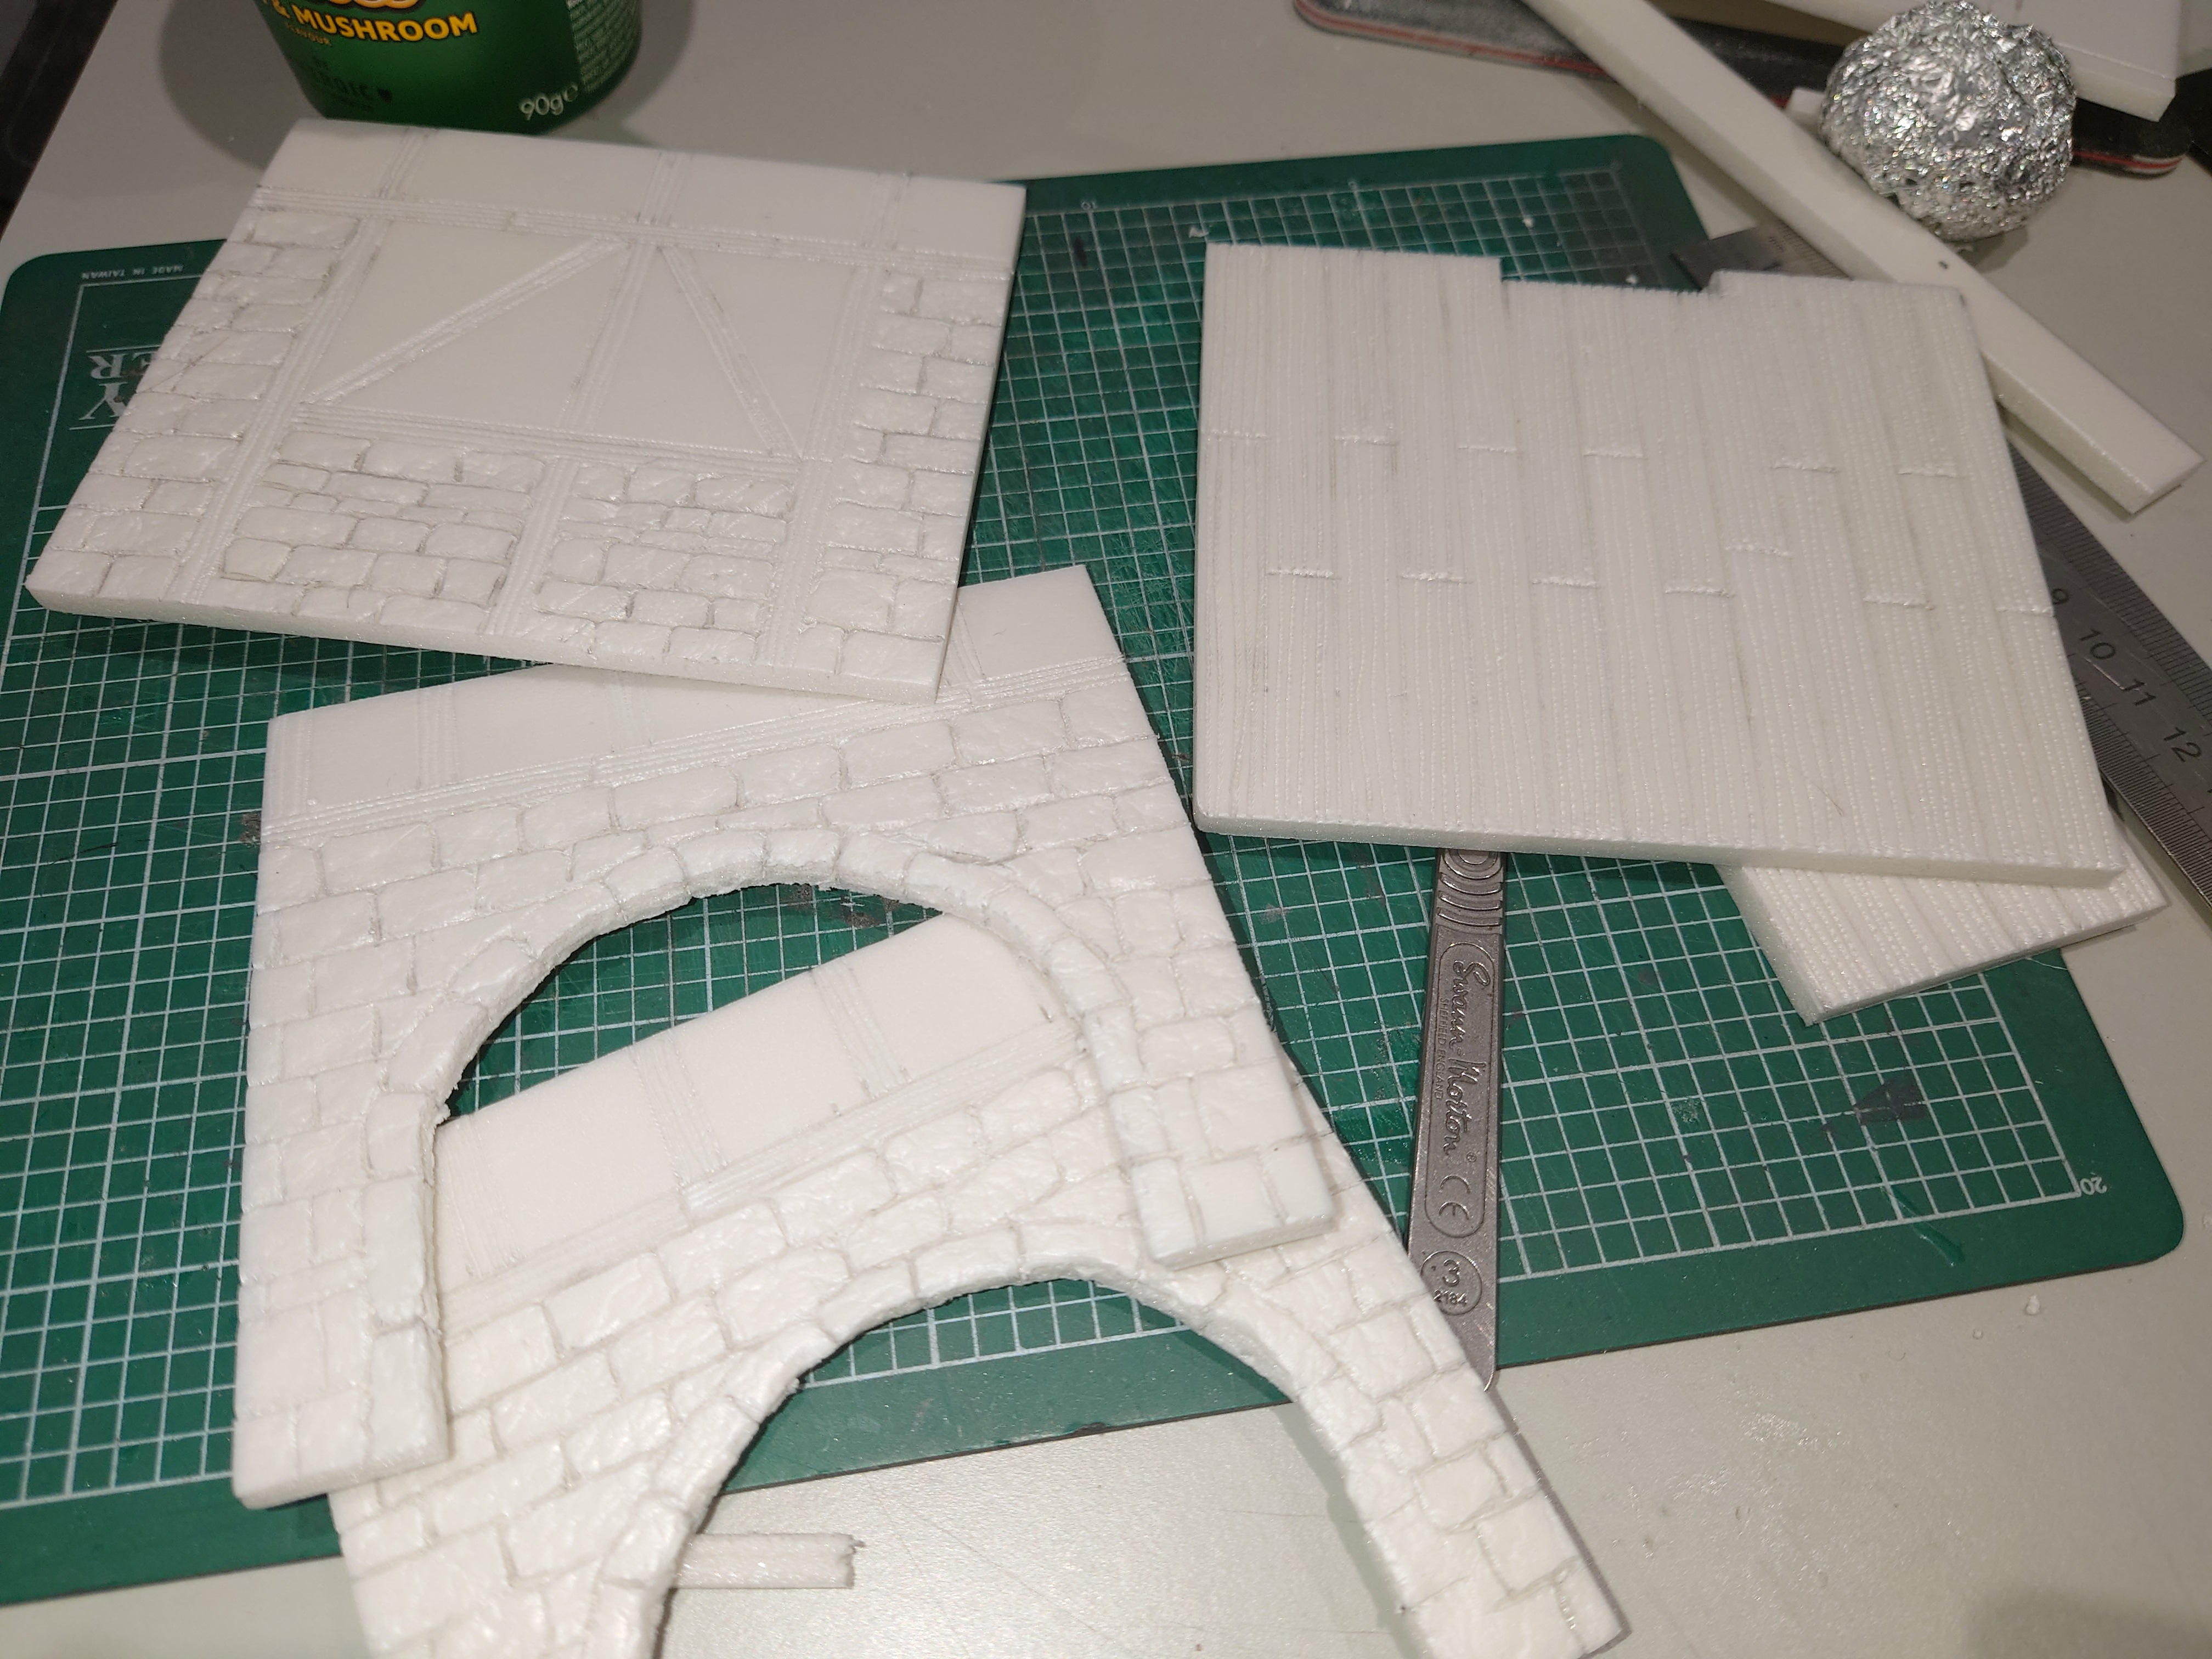 The sides and floor created for the side of the building.
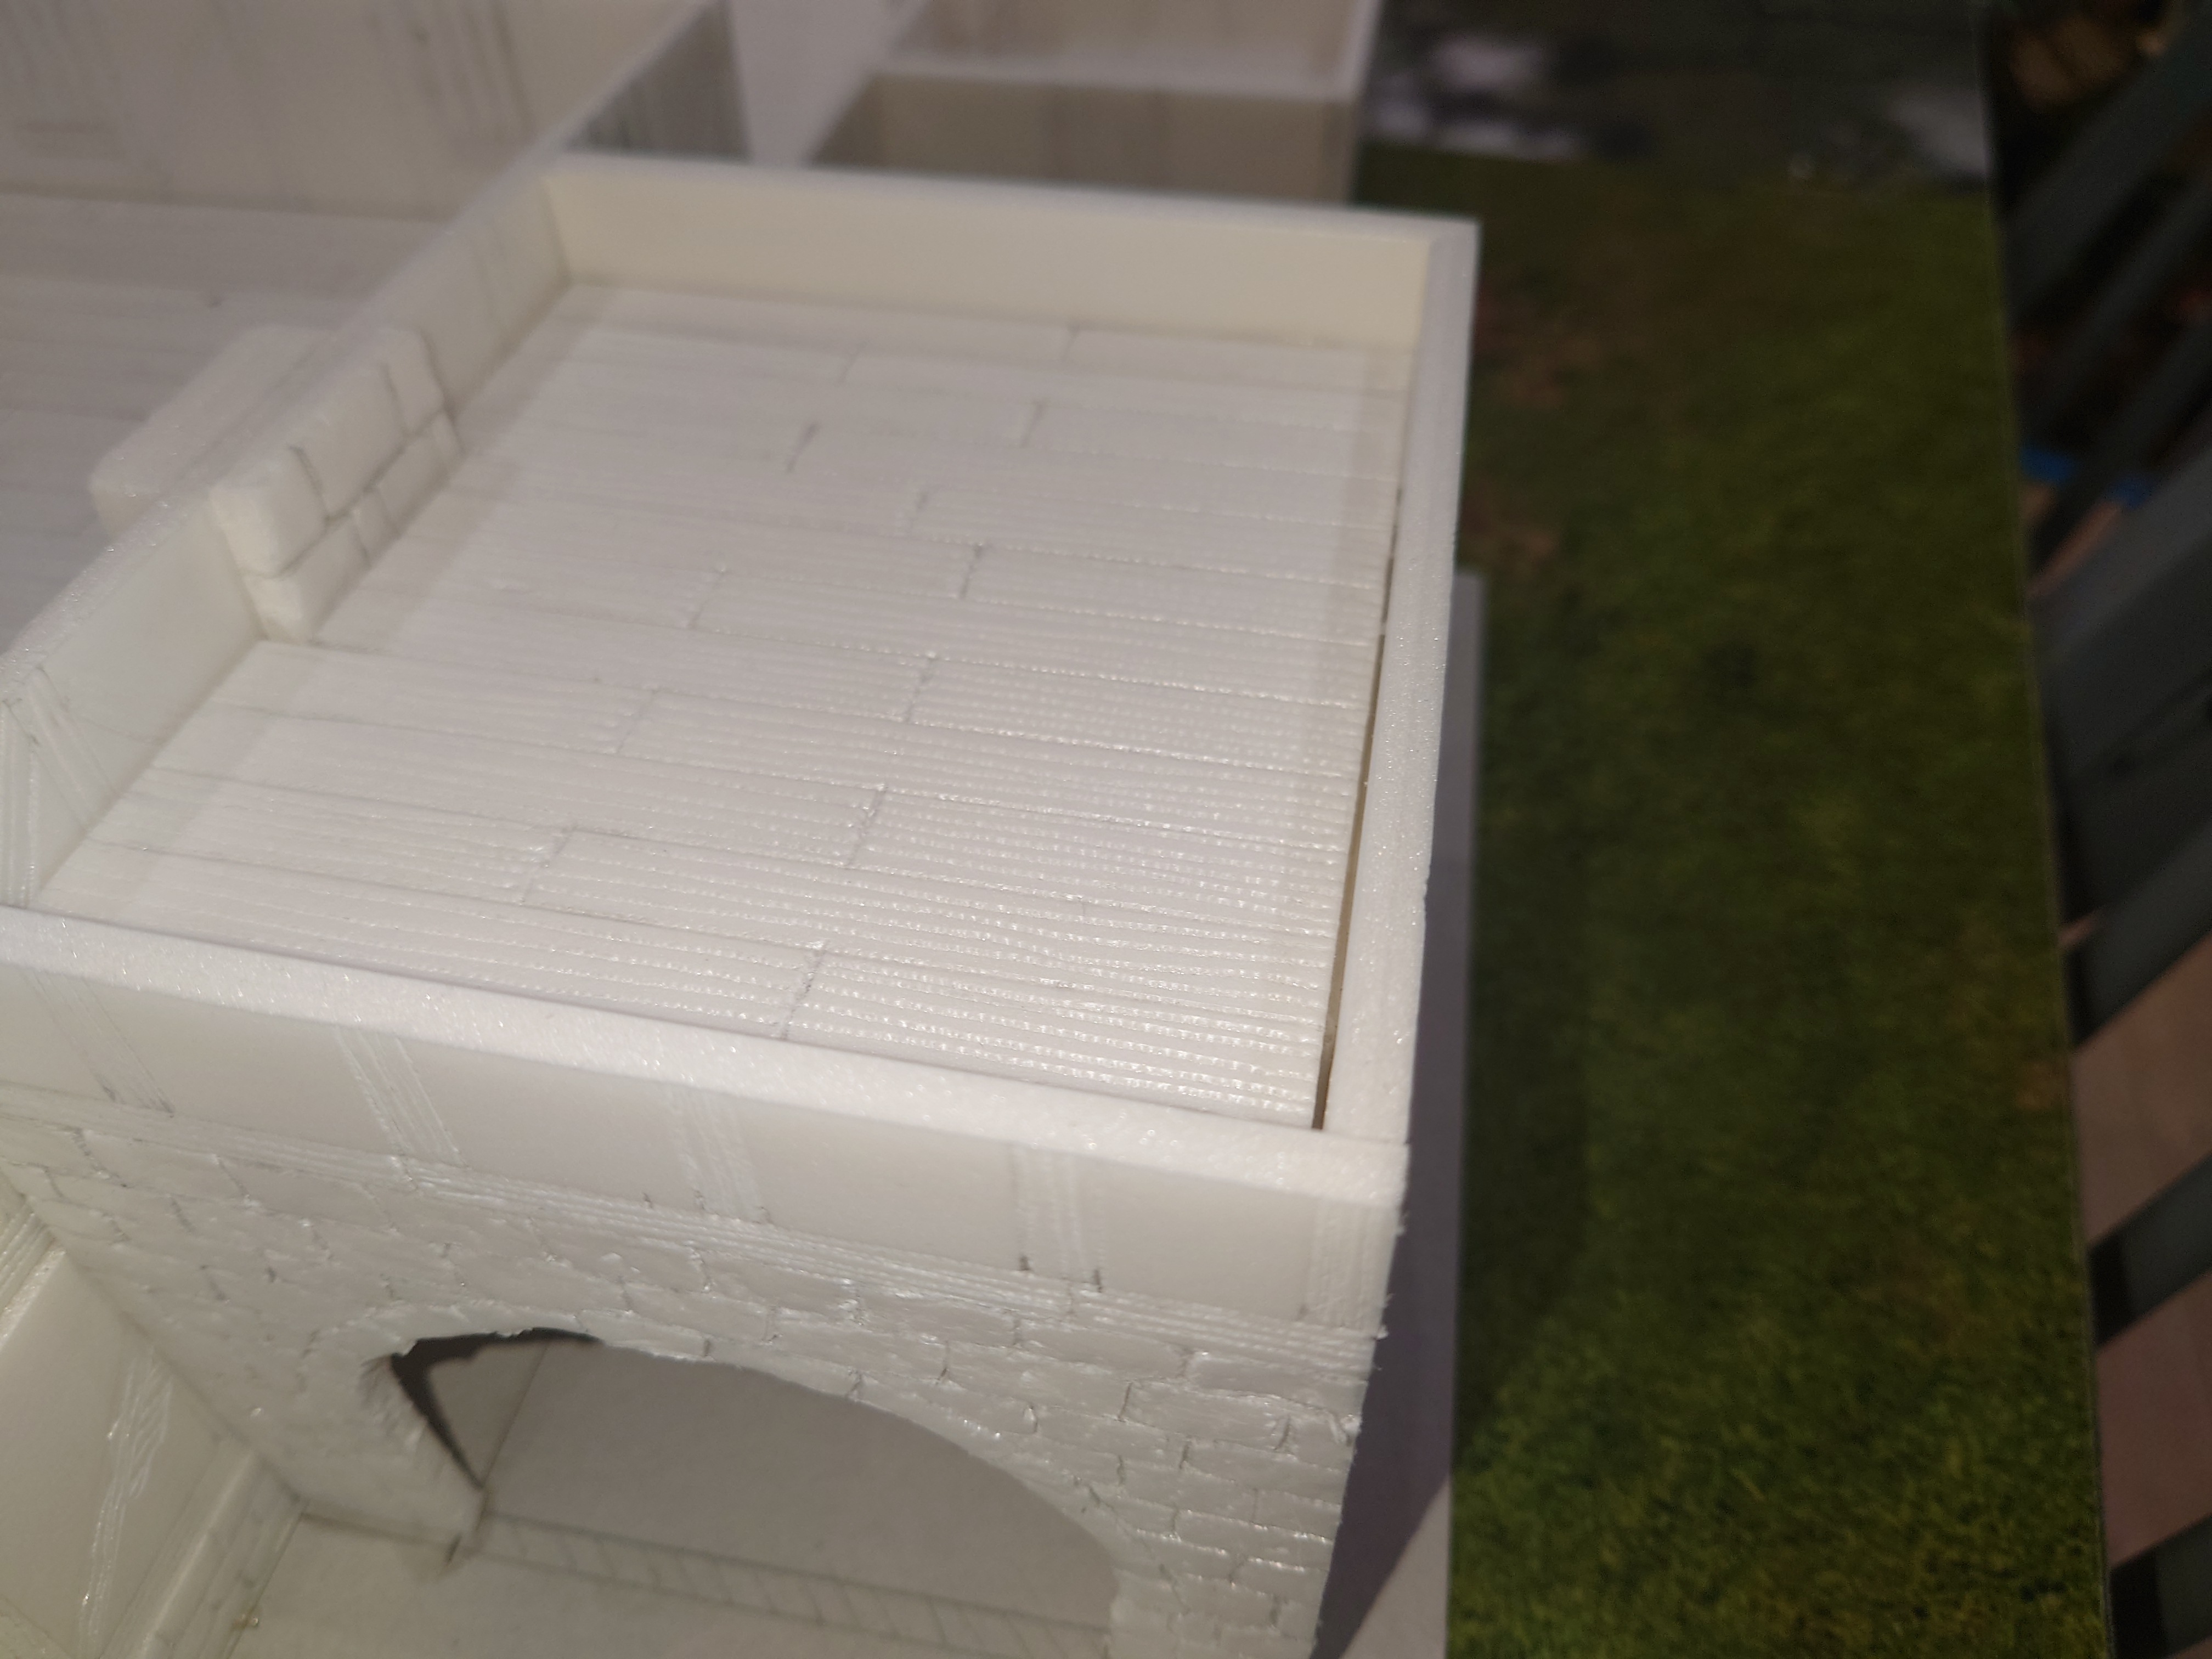 The way this worked out is that there was a bit of a short level to bring it up to the top of the first floor. This could be used as a hay loft or a secret treasure room.
 Build continued
With the floor made for the ground floor, it was onto construction of the walls. This I did by cutting my pre prepared strips of foam core into appropriate lengths of wall section.
 Each section of wall ( in this case 6 sections) cut to size
Detailing
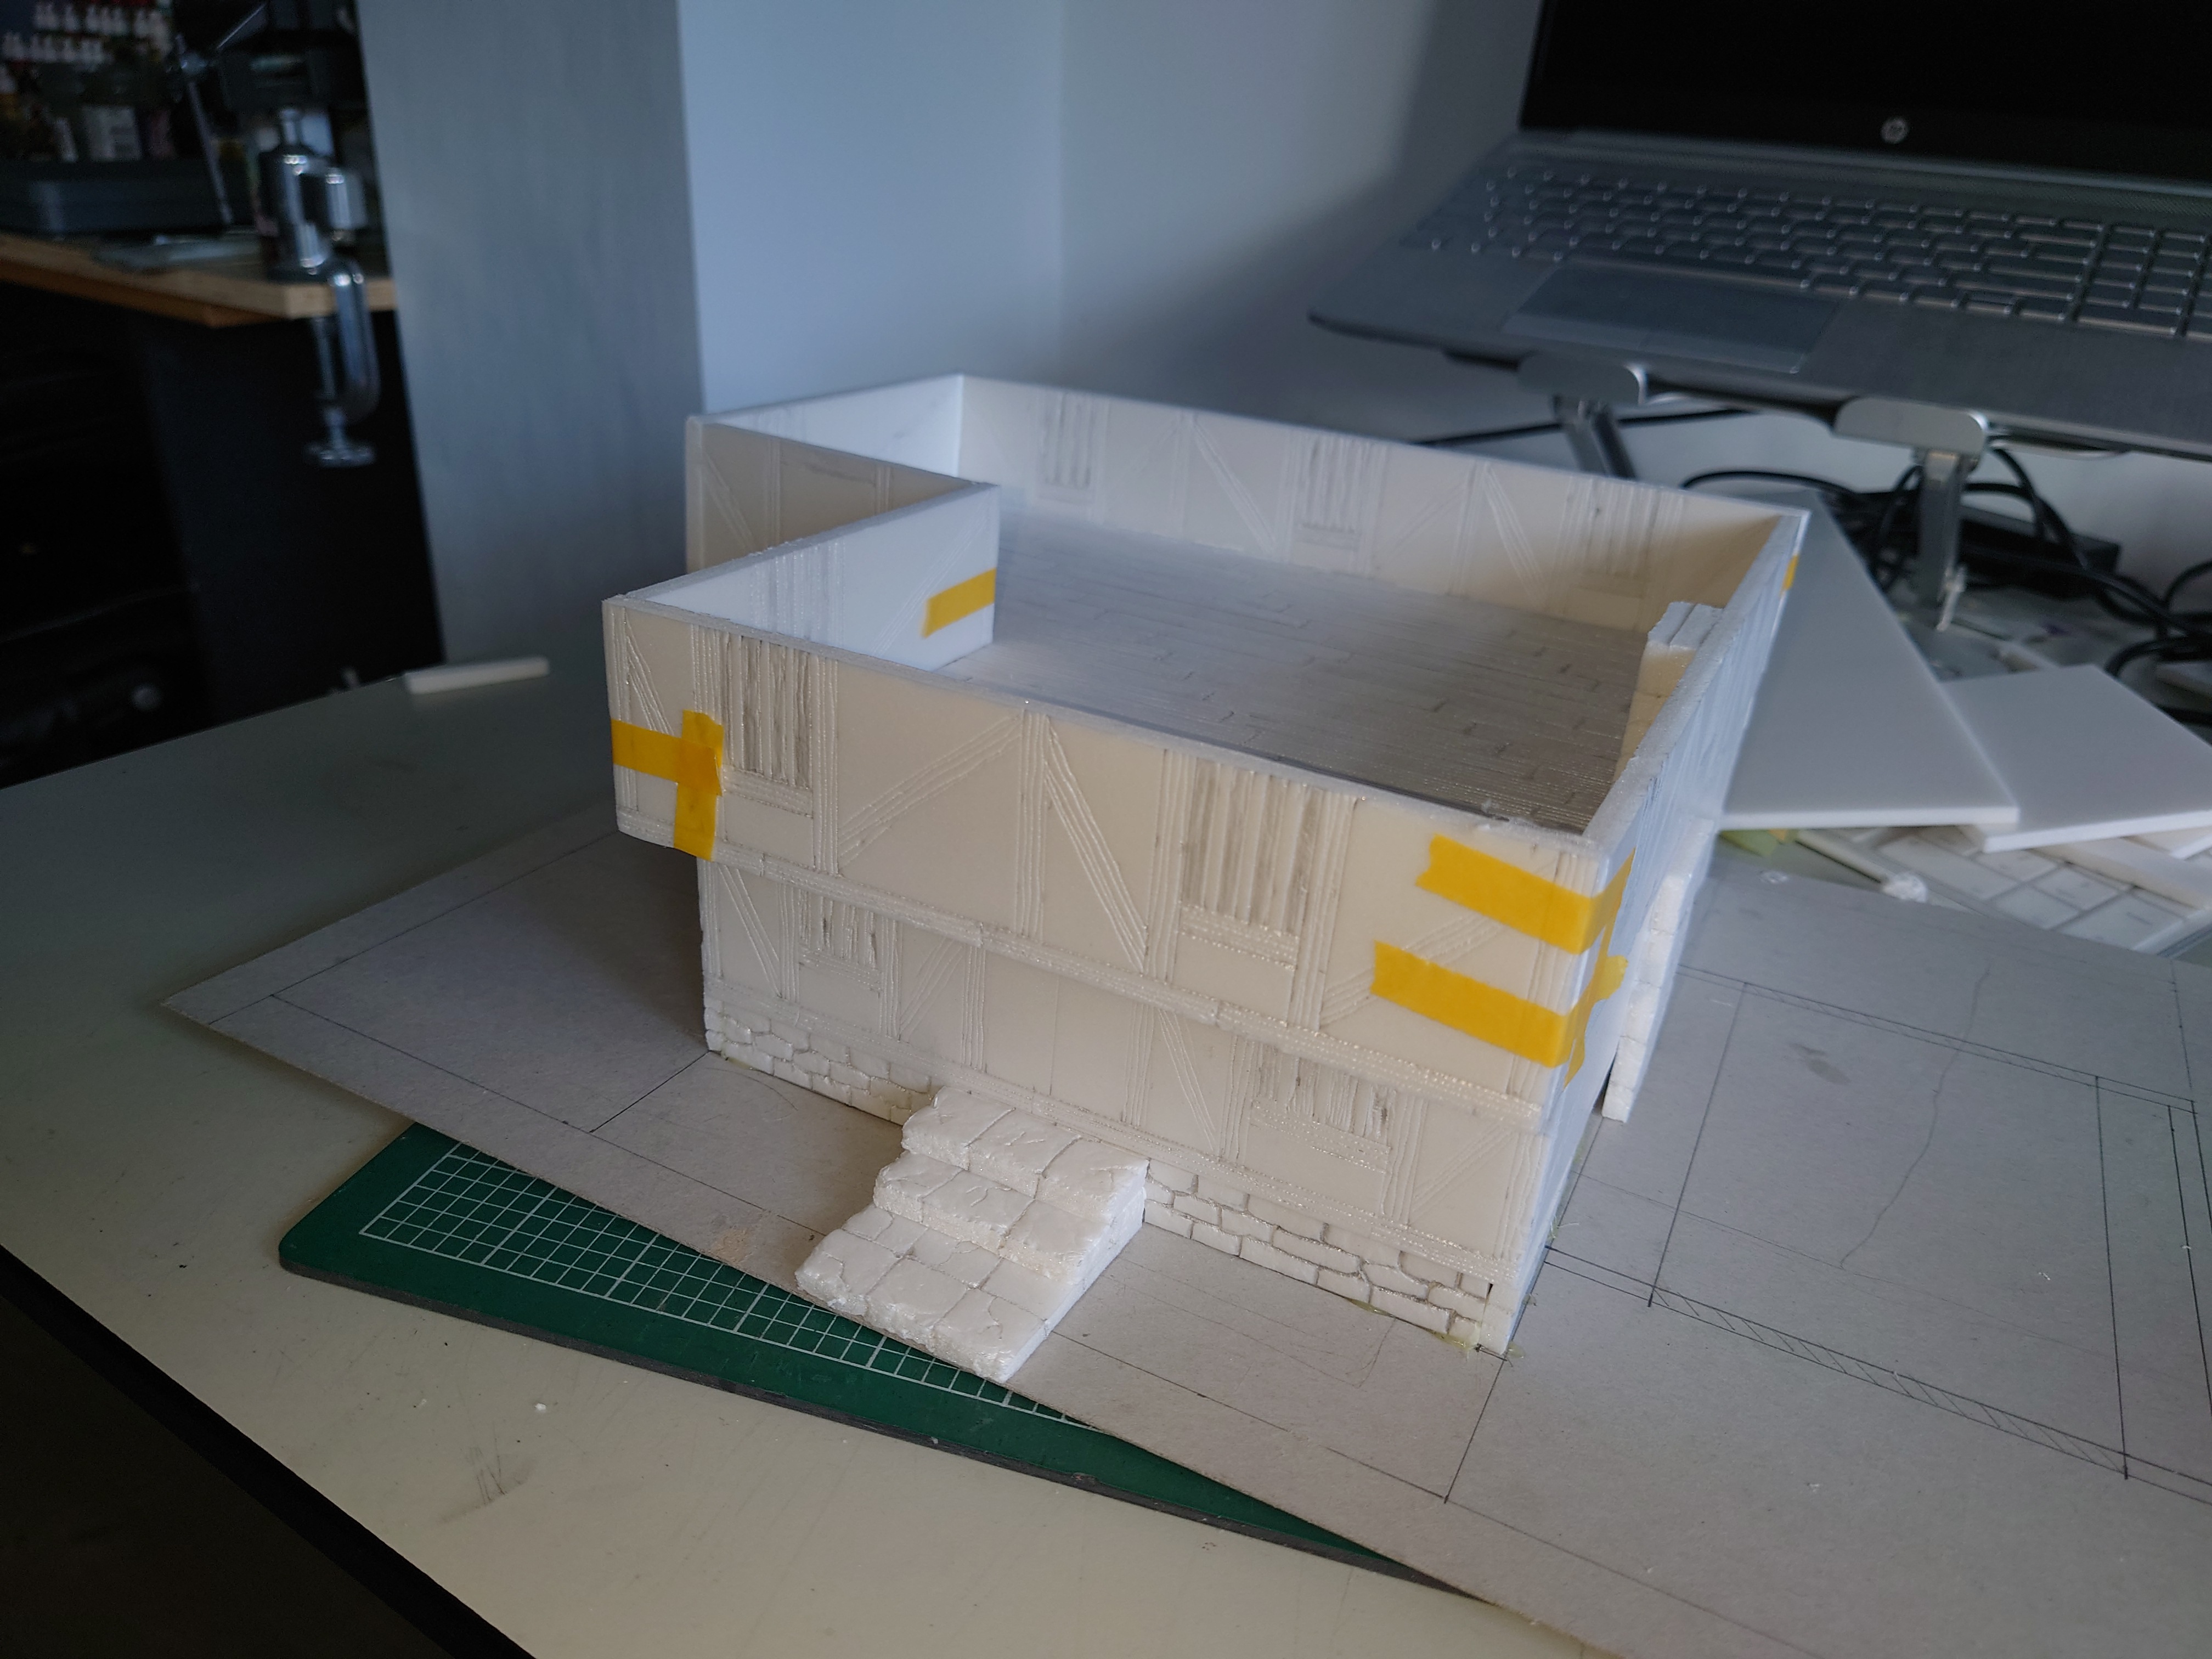
Just like the floor each section of wall needs to be detailed. Both inside and out.
For this I again use a sharp pencil. First if all I draw a line along the bottom edge of each piece on both sides. This line is 5mm from the edge of the section. This is is my guide point for the outside for detailing the wooden beams of the building frame. On the inside it shows the floor level.
Next stage is to draw in the uprights of the timber frame. Then where the windows and doors go.
When all the parts are marked out, I creat the wood grain as I did with the floor.
When the frames are complete I then add some character to the walls by showing where the dorb has come away from the wattle of the house.
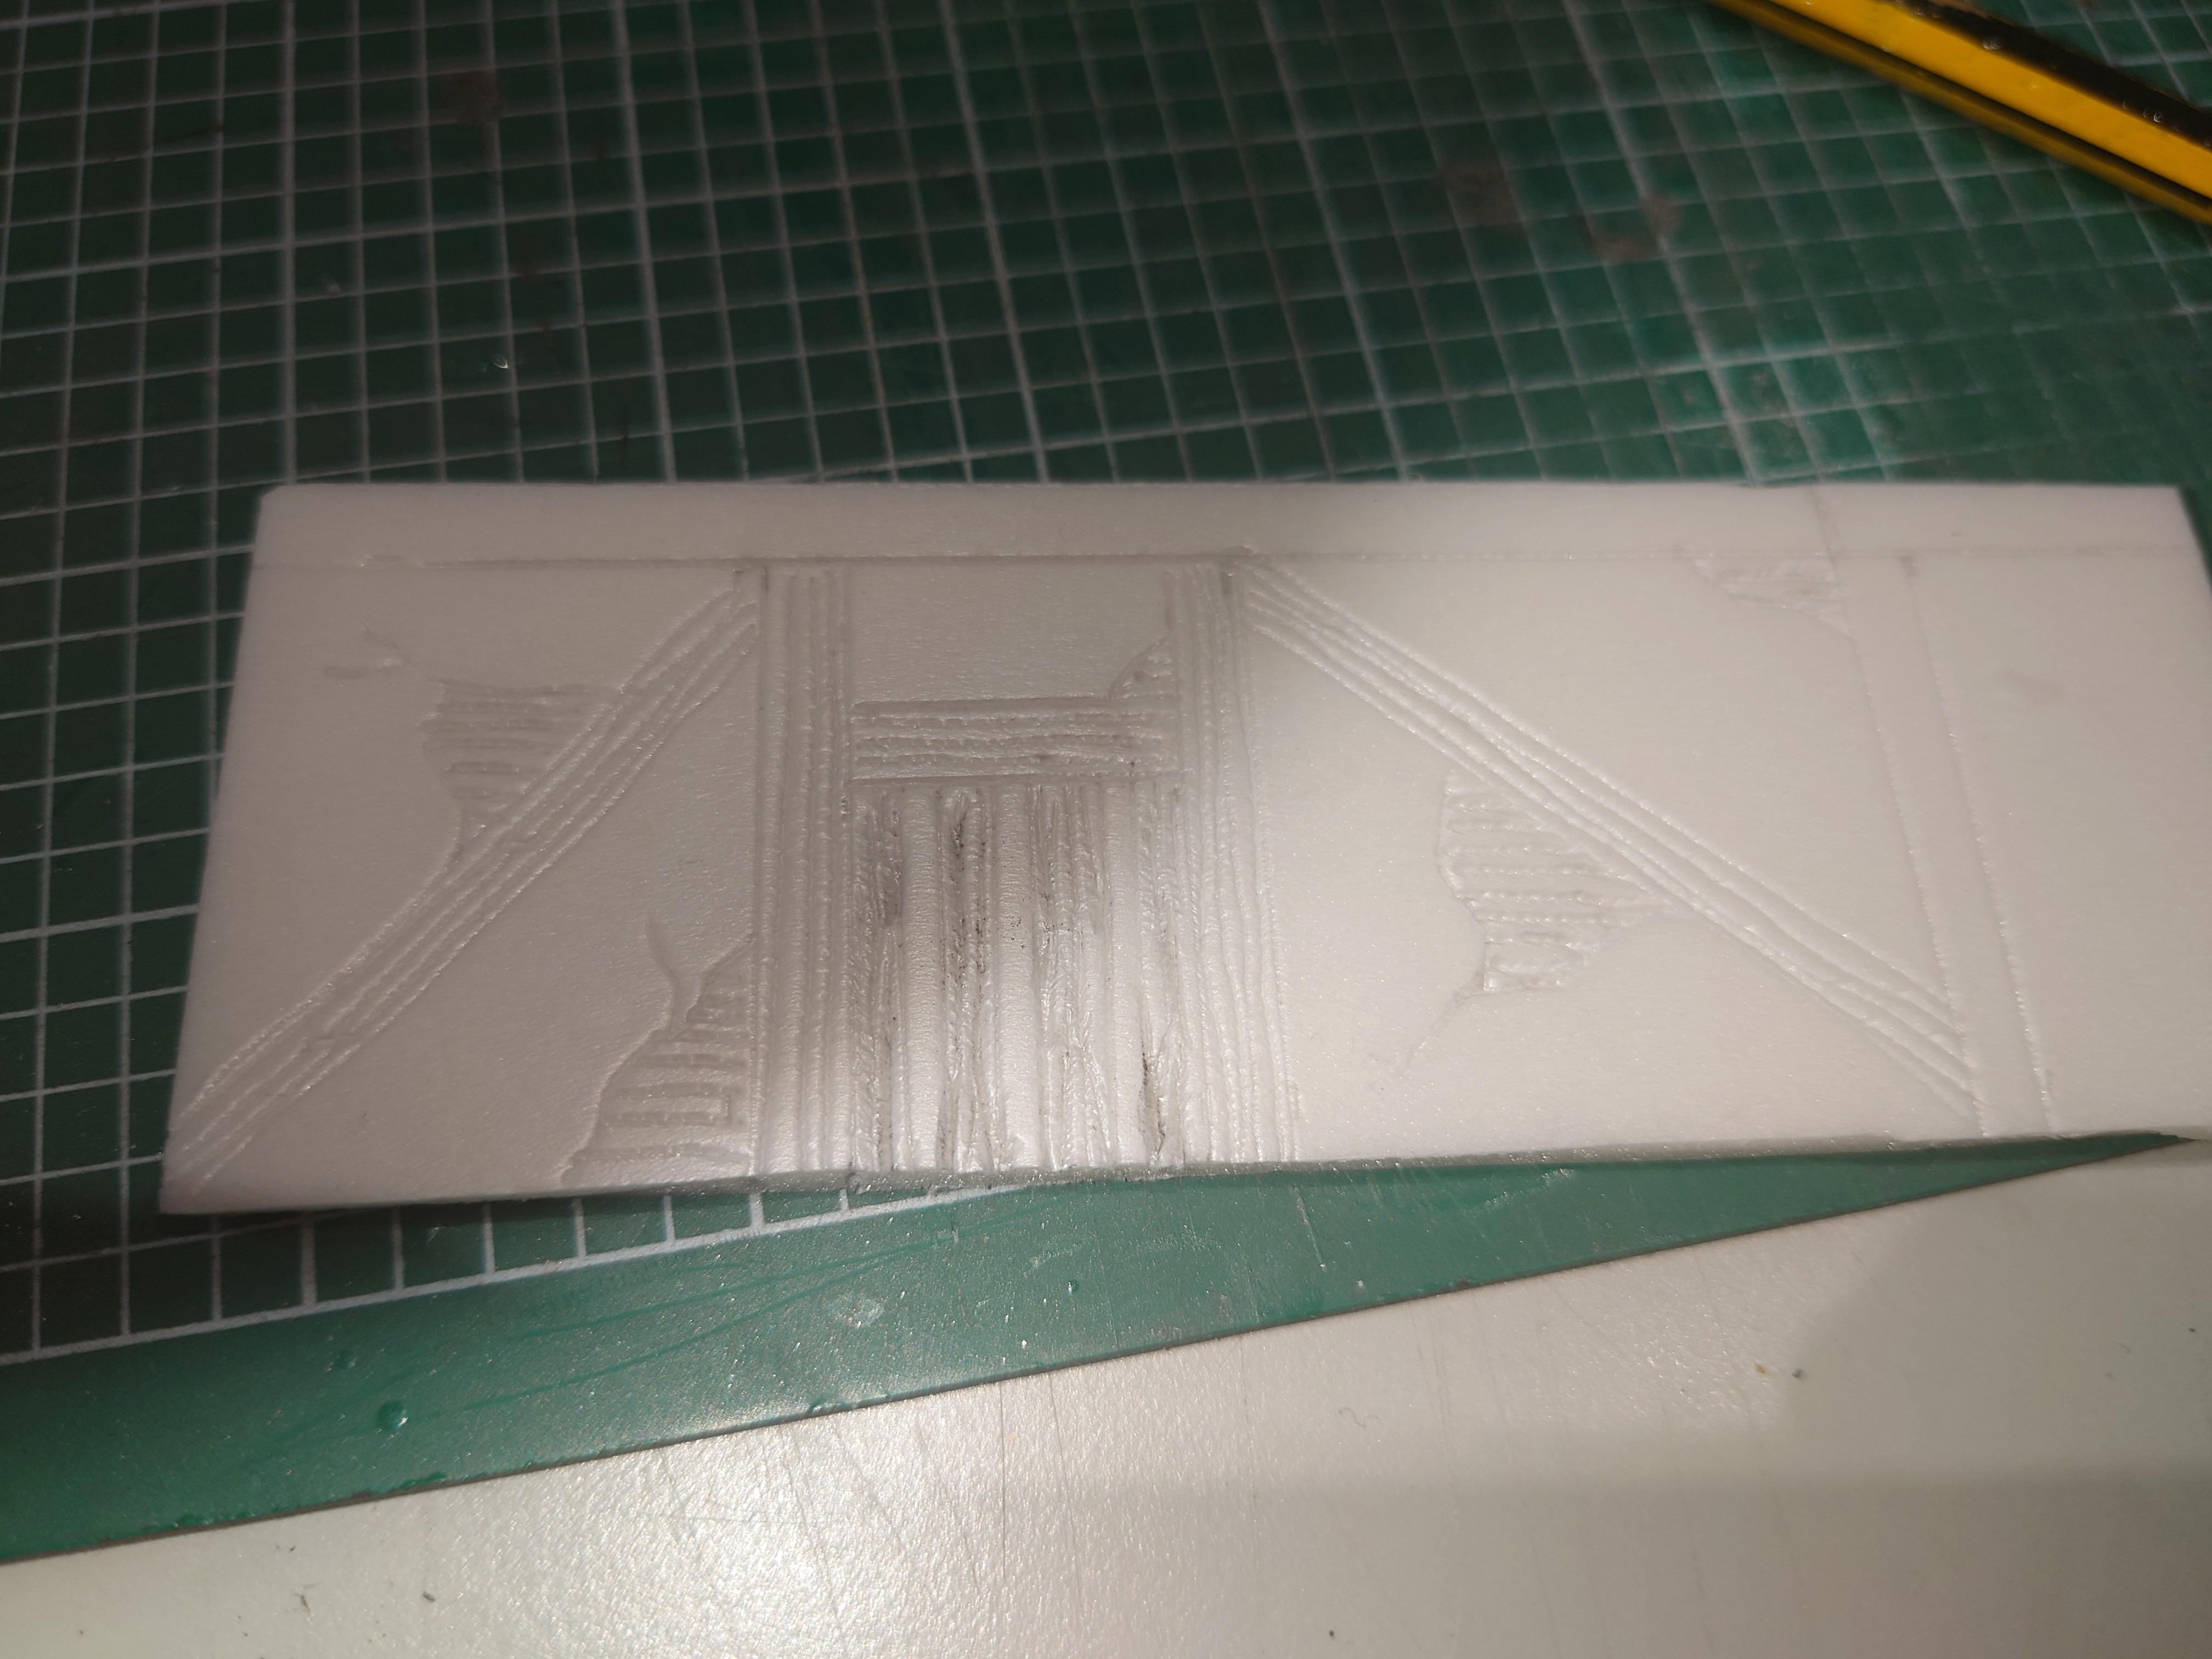 Detailed wall section.
 Prefab
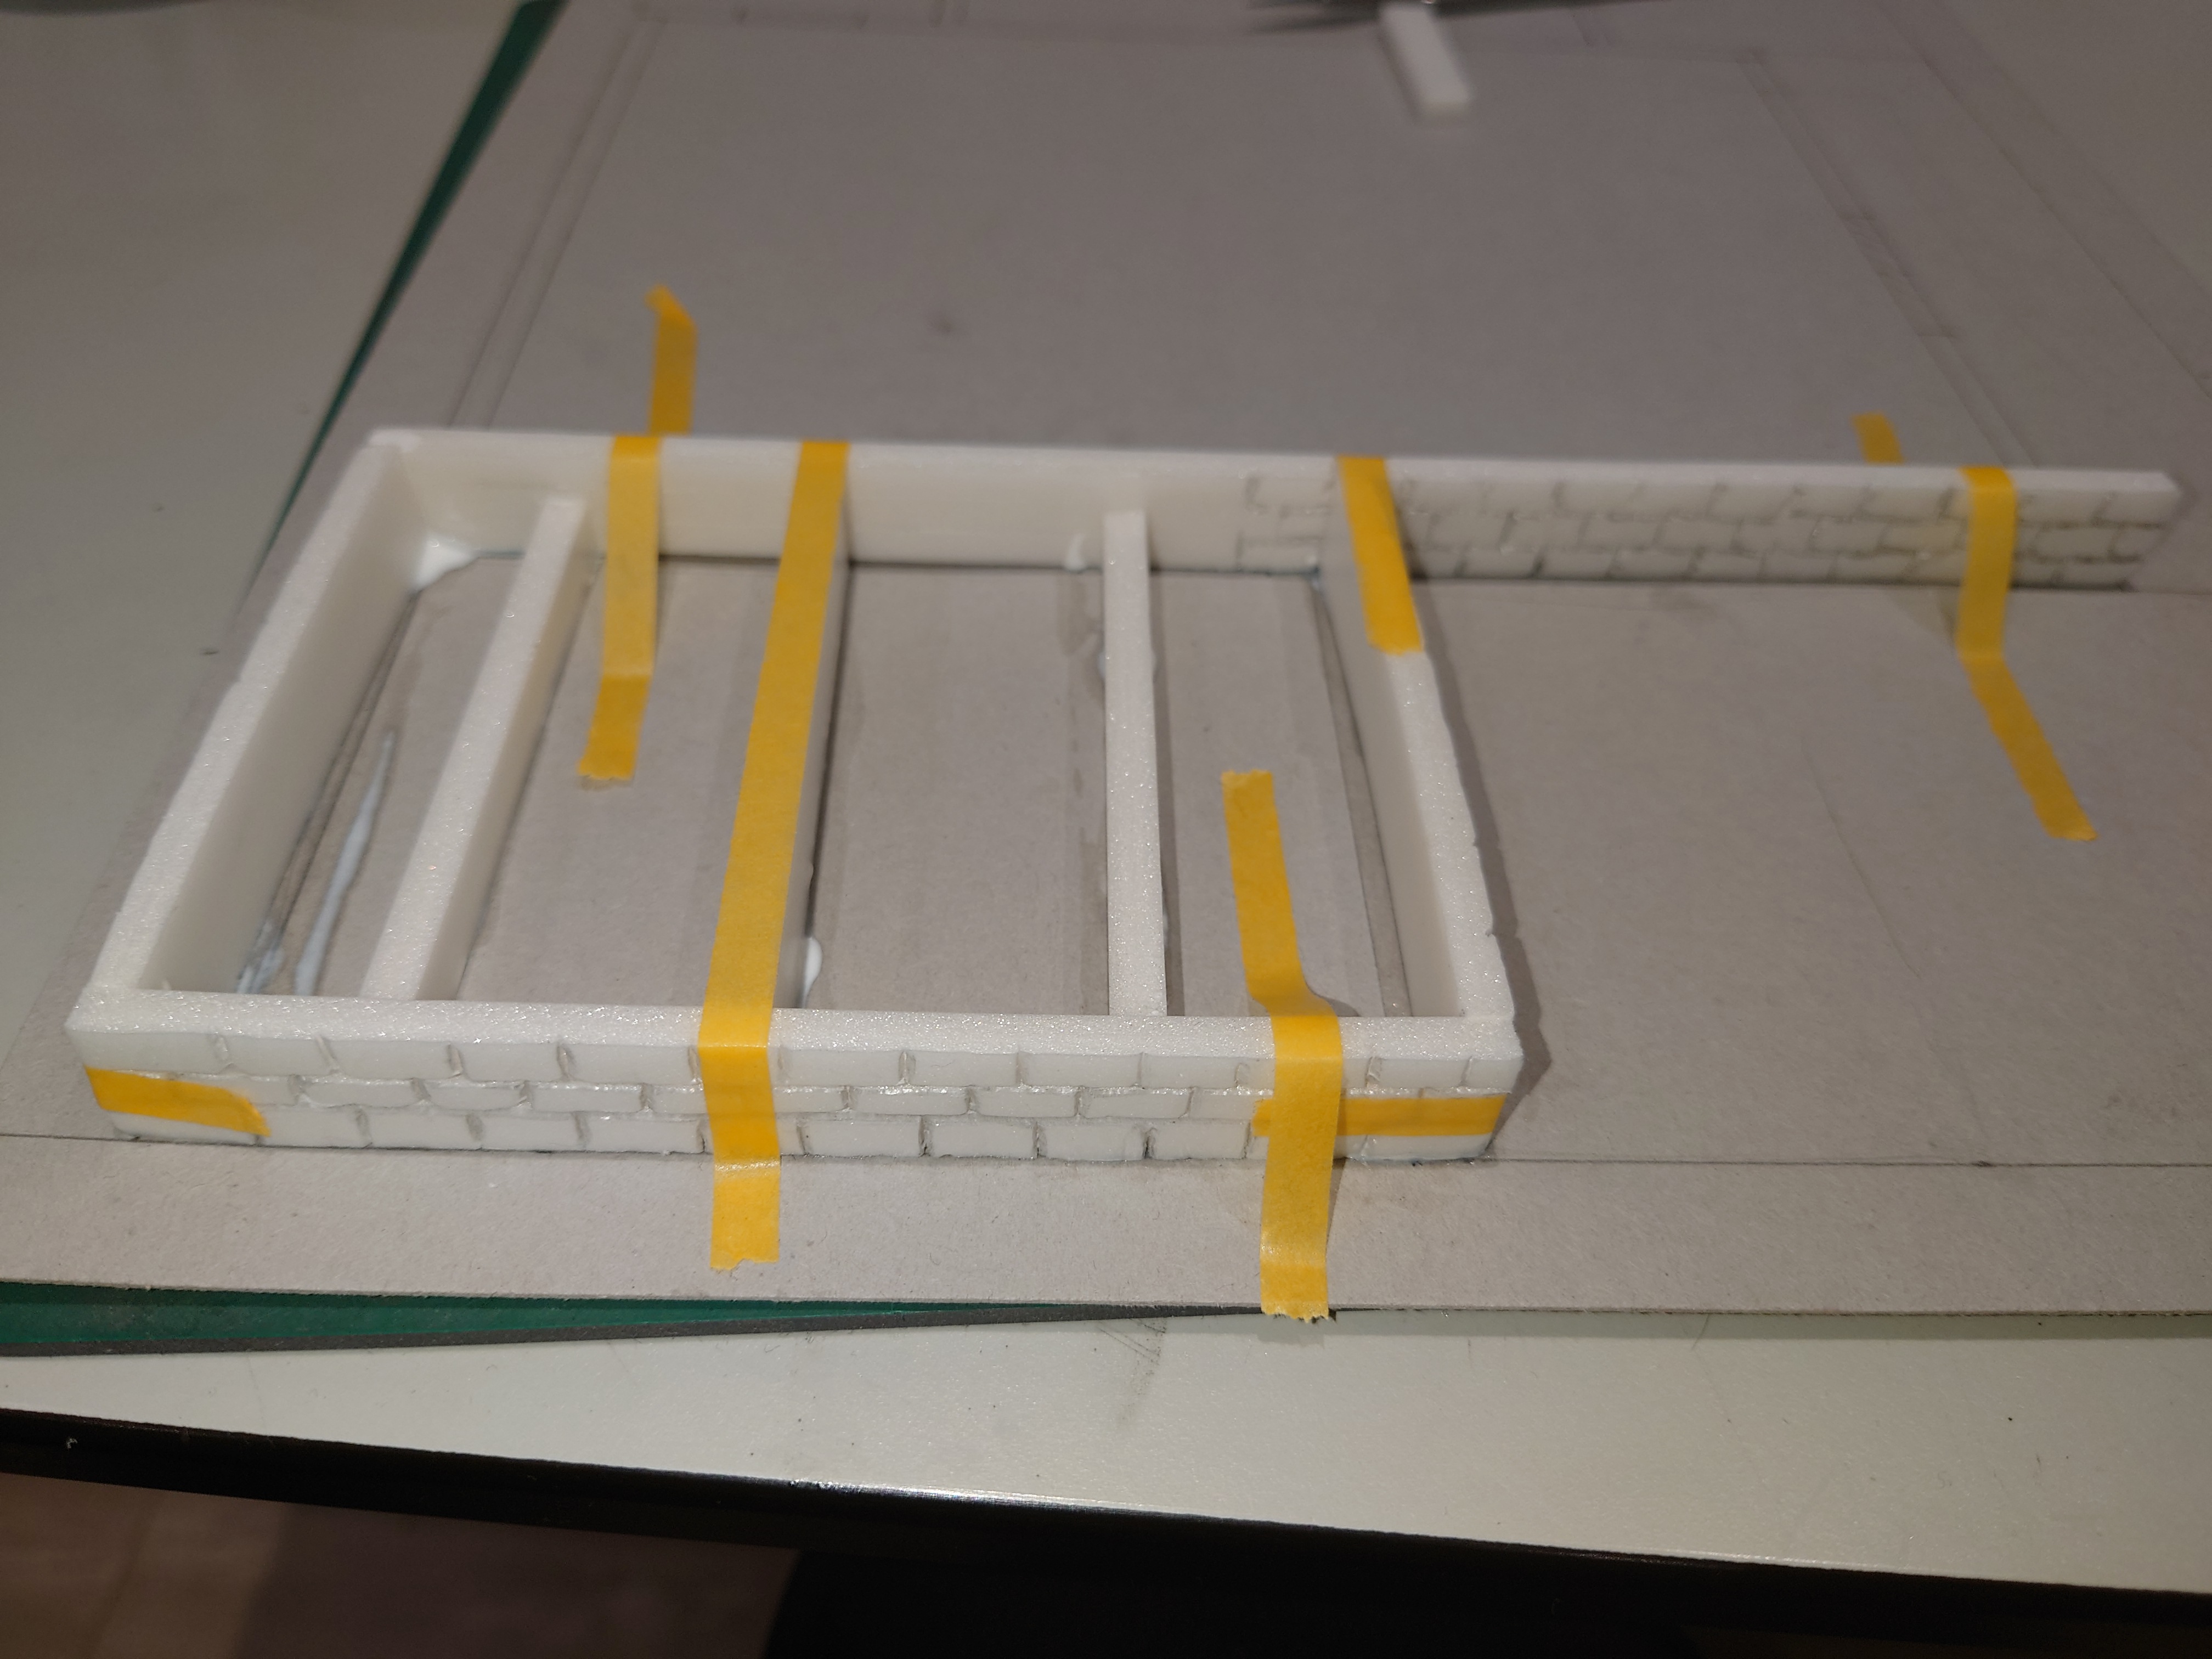
The next step is to attach the walls to the floor and the ground floor to the basement section.
This is done using PVA glue and masking tape to hold the sections in place.
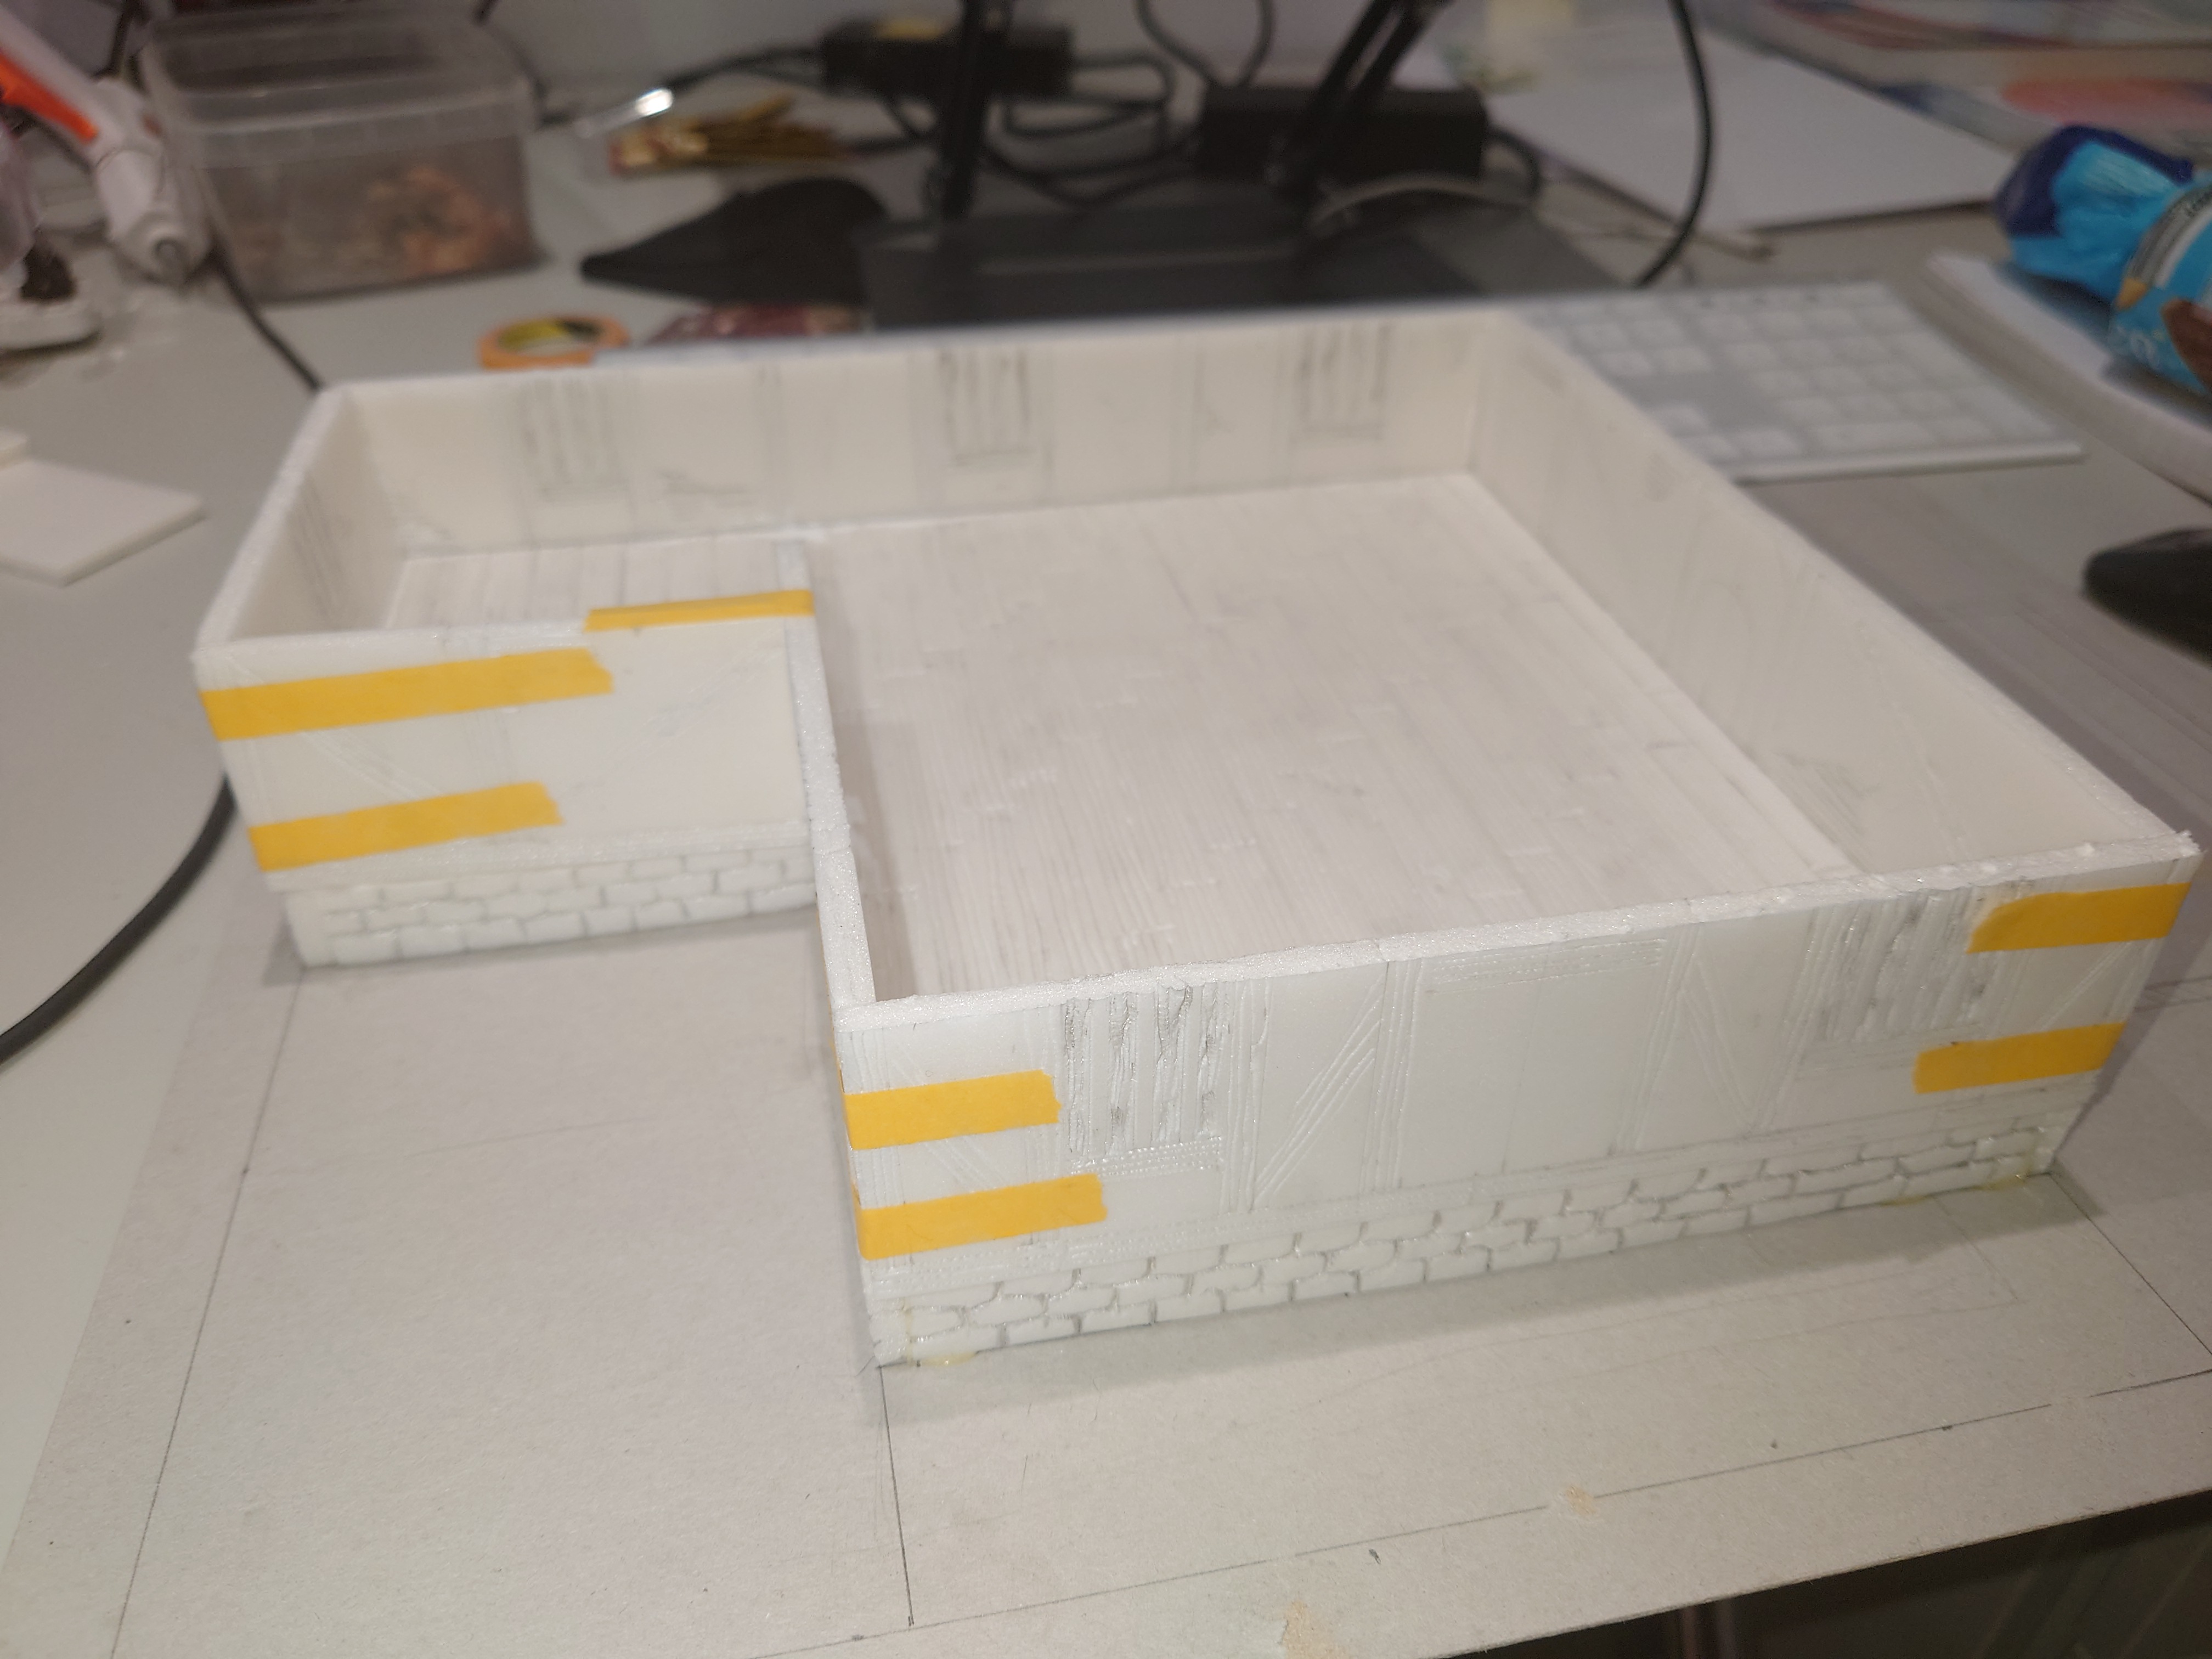 The glued sections.
First Floor
Once the main part of the ground floor is complete it was on to the first floor.pretty much the same process as the ground floor.
The main thing is to create an over hang which gives more space. I am only going to the main box with the intention to add more interior detail later.
The Floor
Once the supports have been created it was time to commence building the floor.
This I do in two stages. The first is what I call underfloor. This essentially is filling in the space between the foundation walls.
This may seem to be a bit of an excess task, however, it adds additional strength to the building and more surface to attach the main floor.
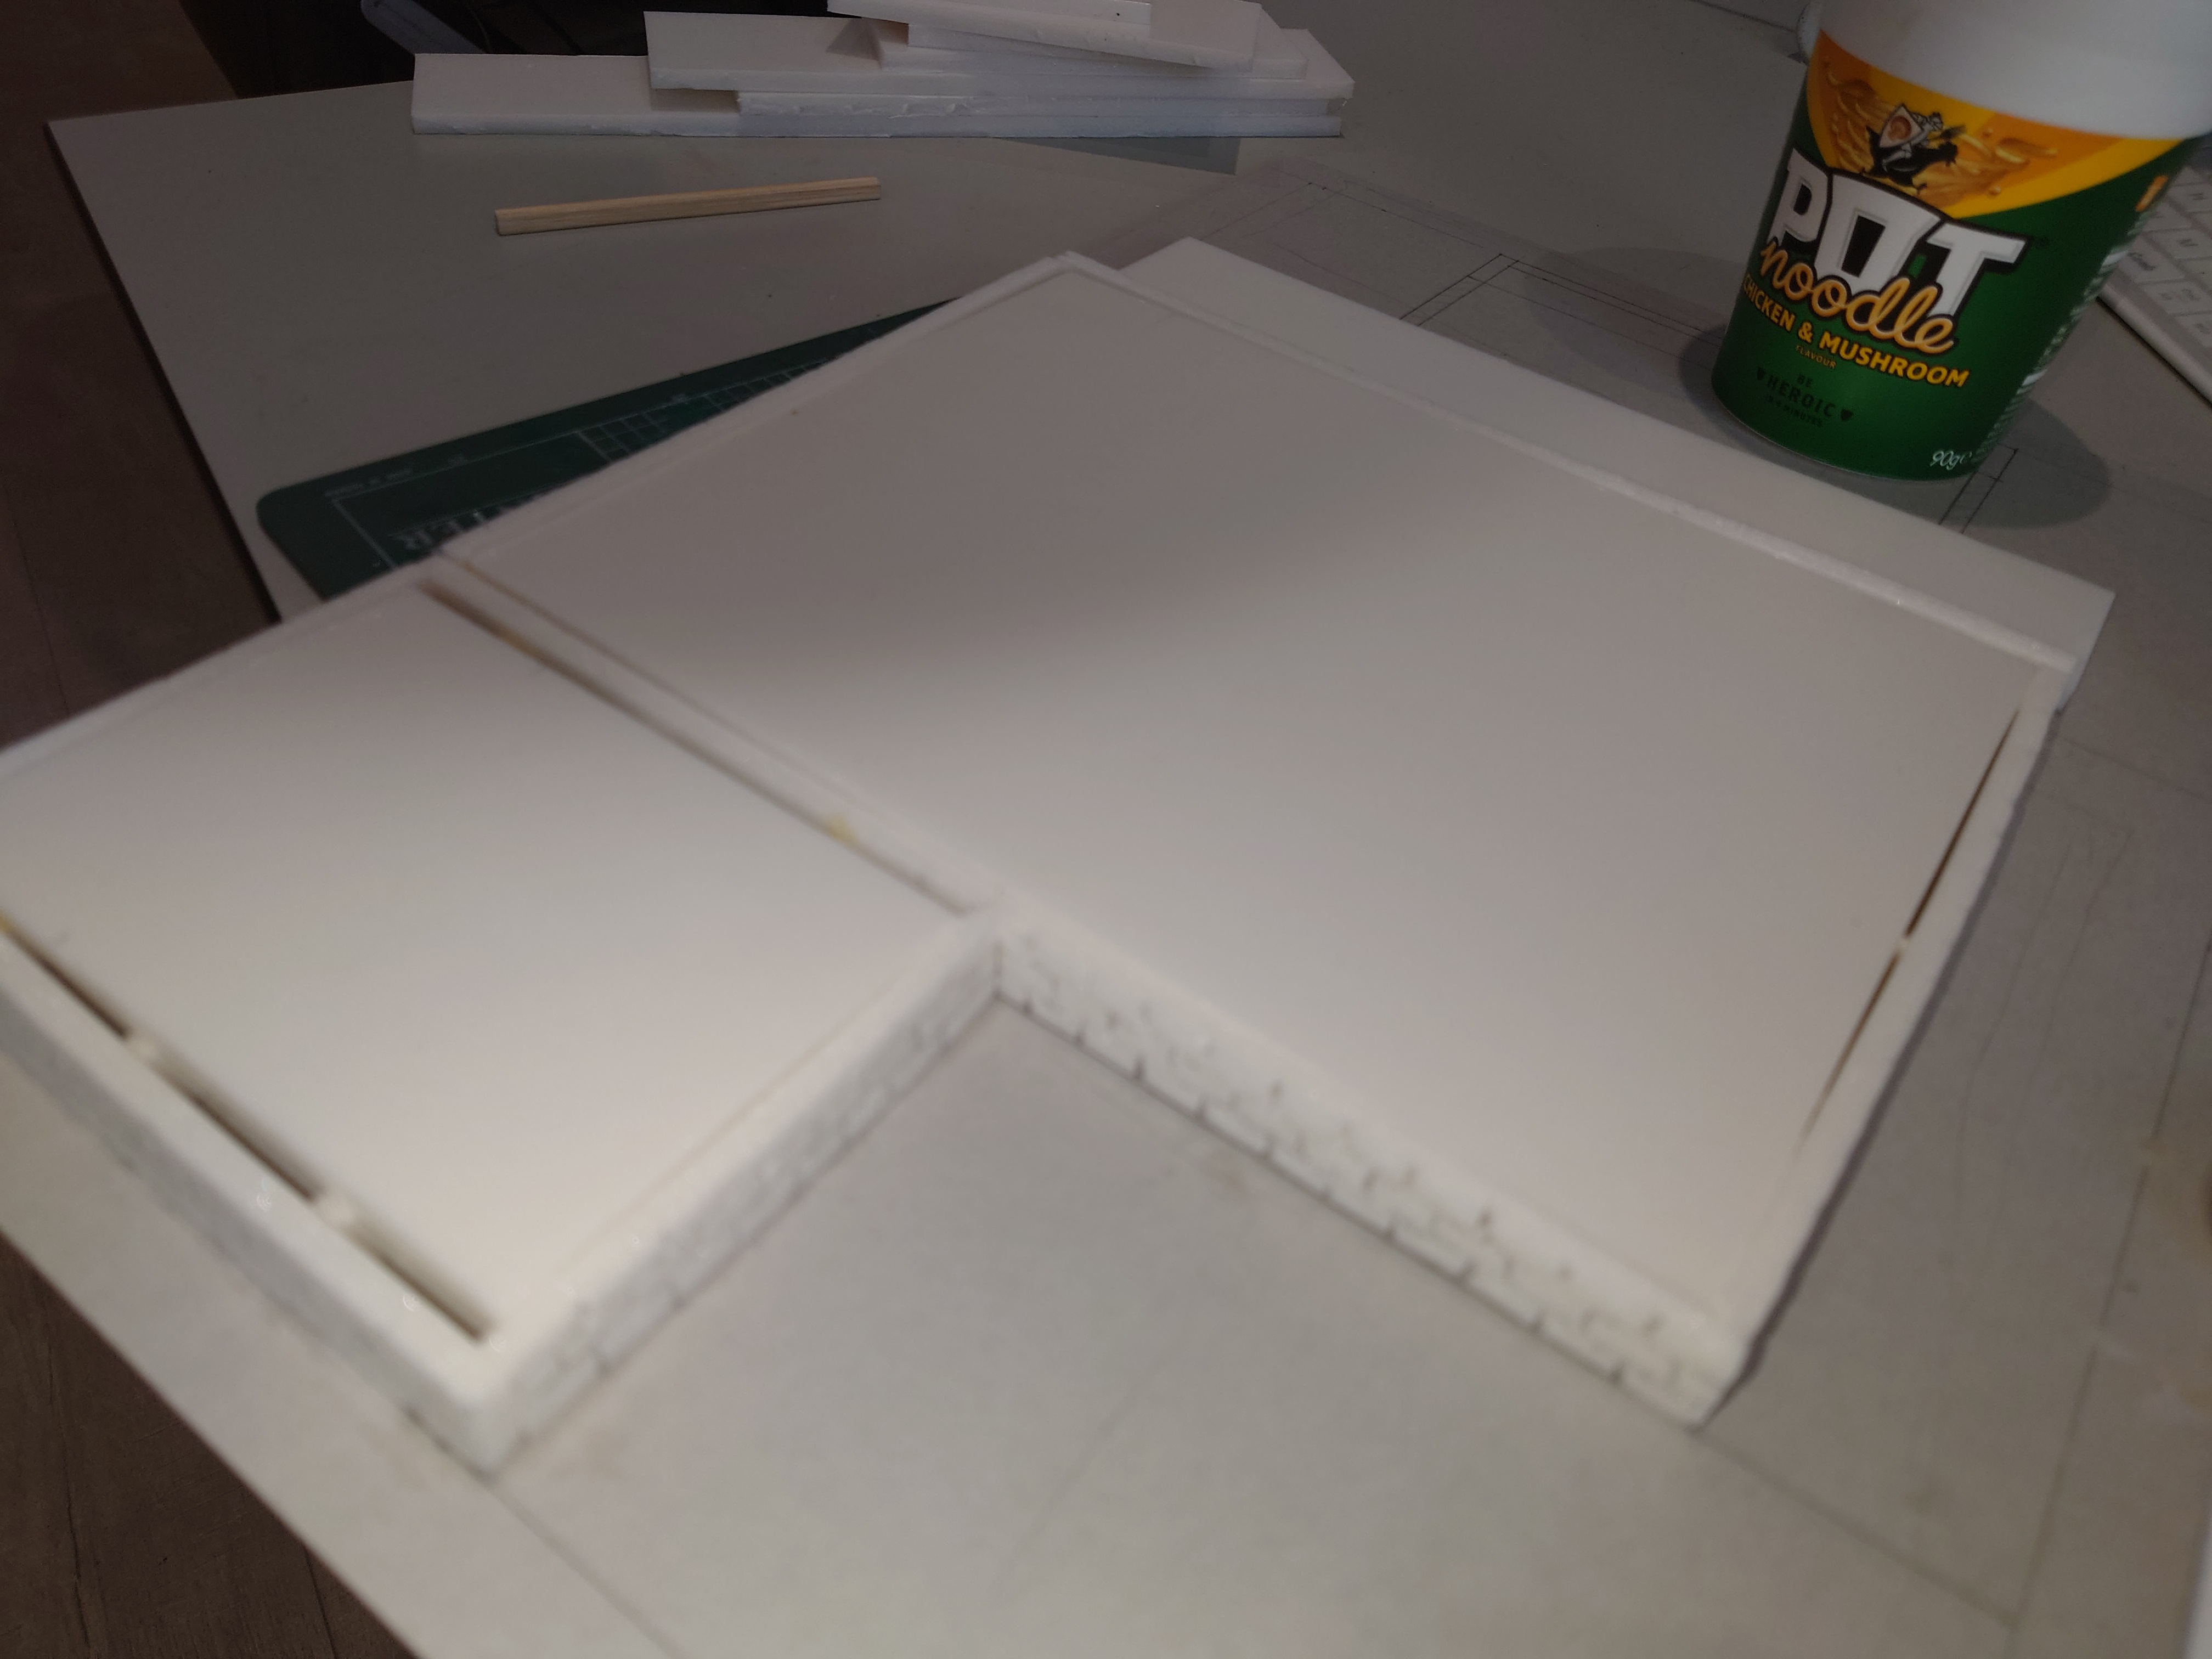 The underfloor floor.
The main floor
After the underfloor is complete I cut out the section for the main floor. This is a single piece of foam core.
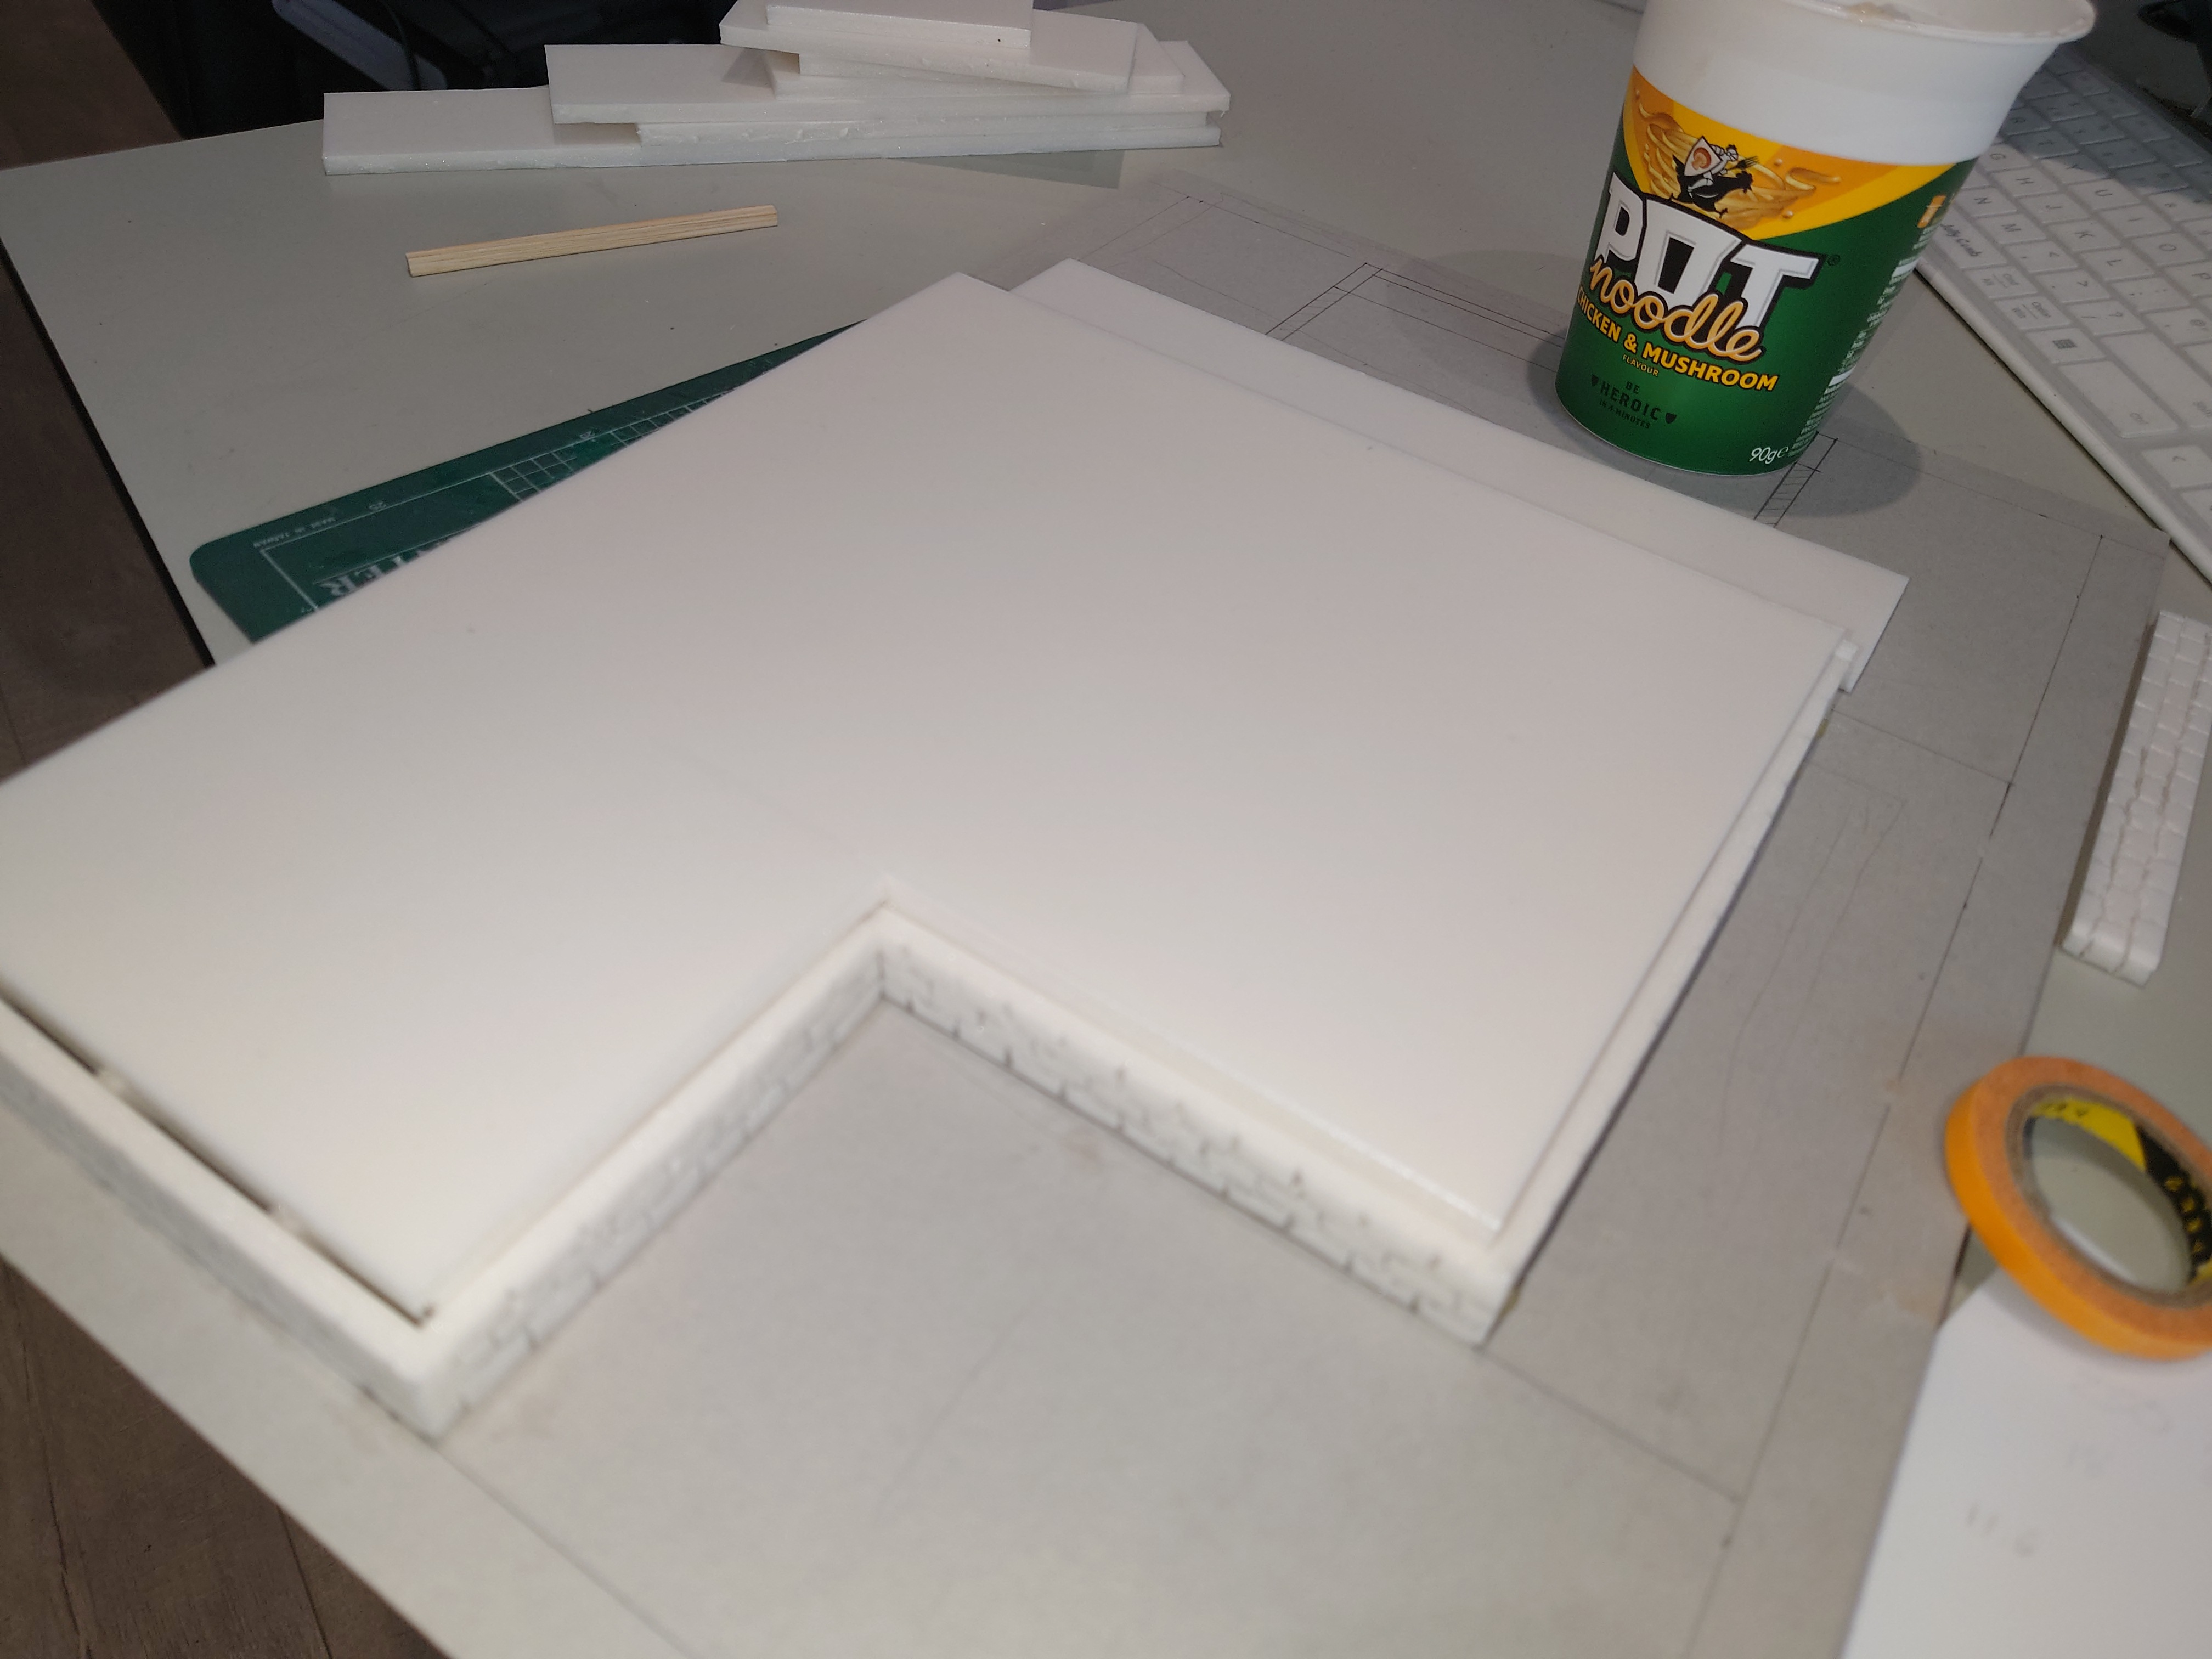 The single main floor on the base.
Details
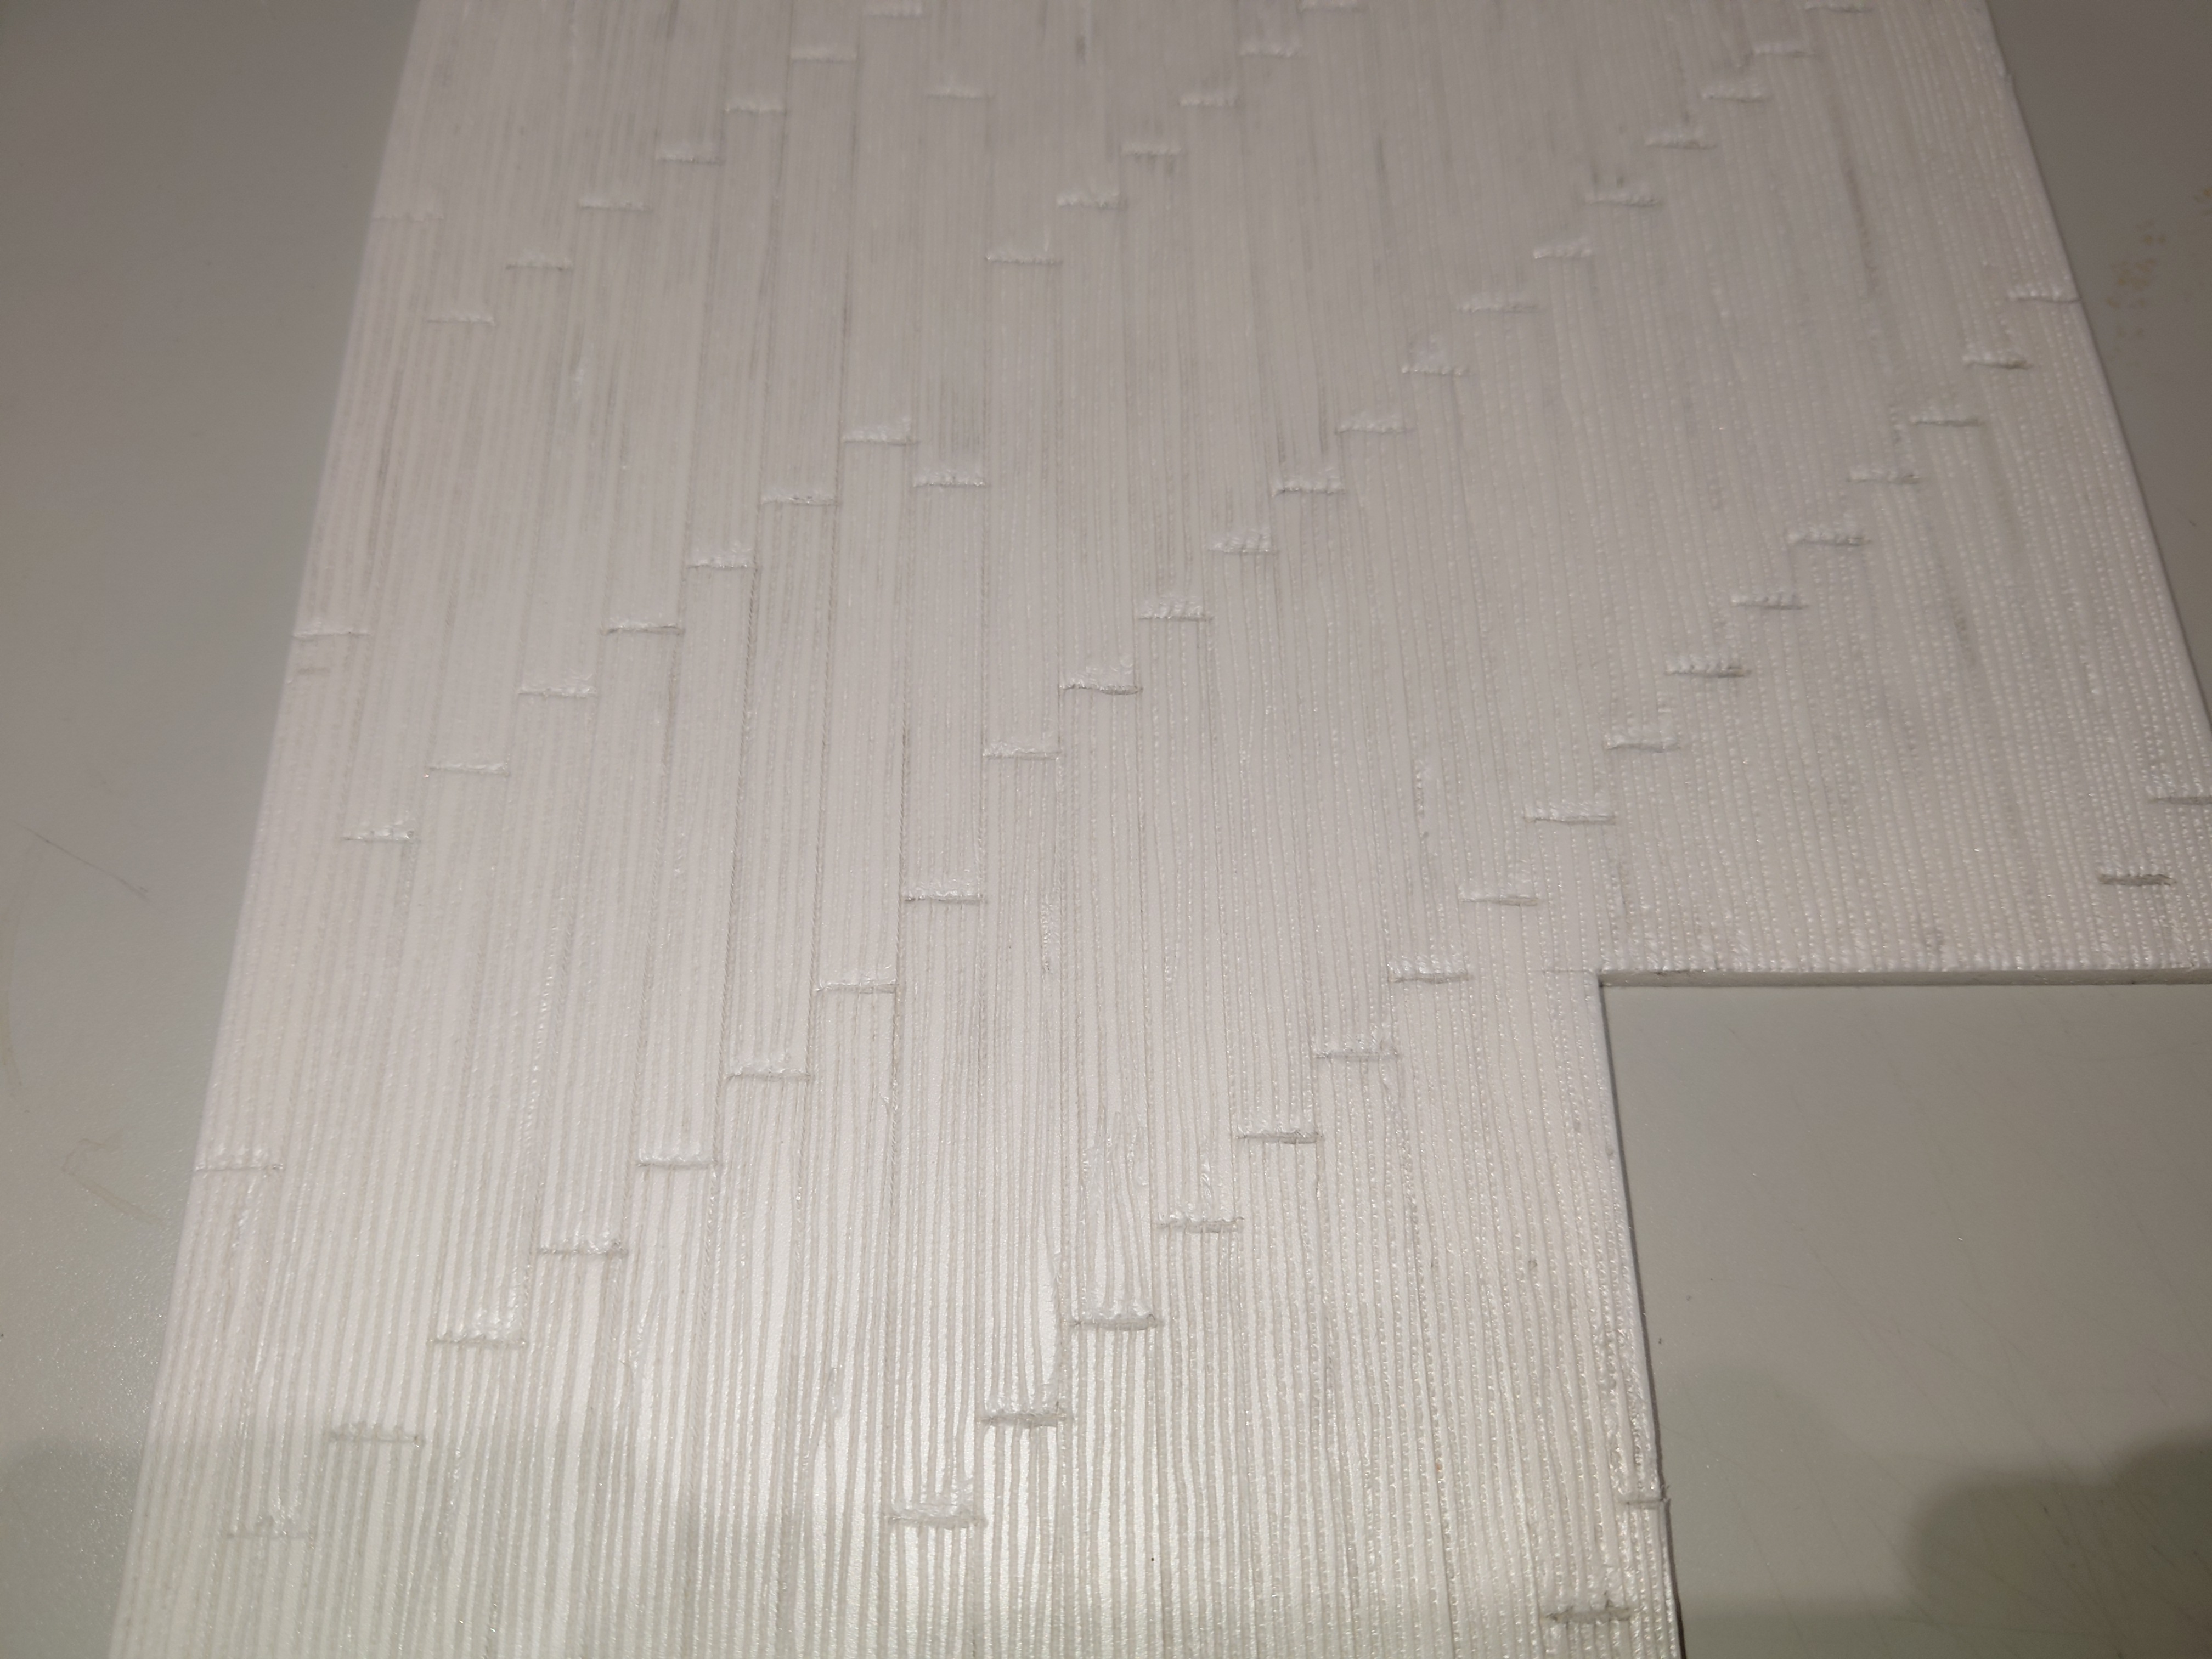
As I build this building I will be adding details as I go. The first of such details is the texture of the floor. This floor is made up of wooden floor boards.
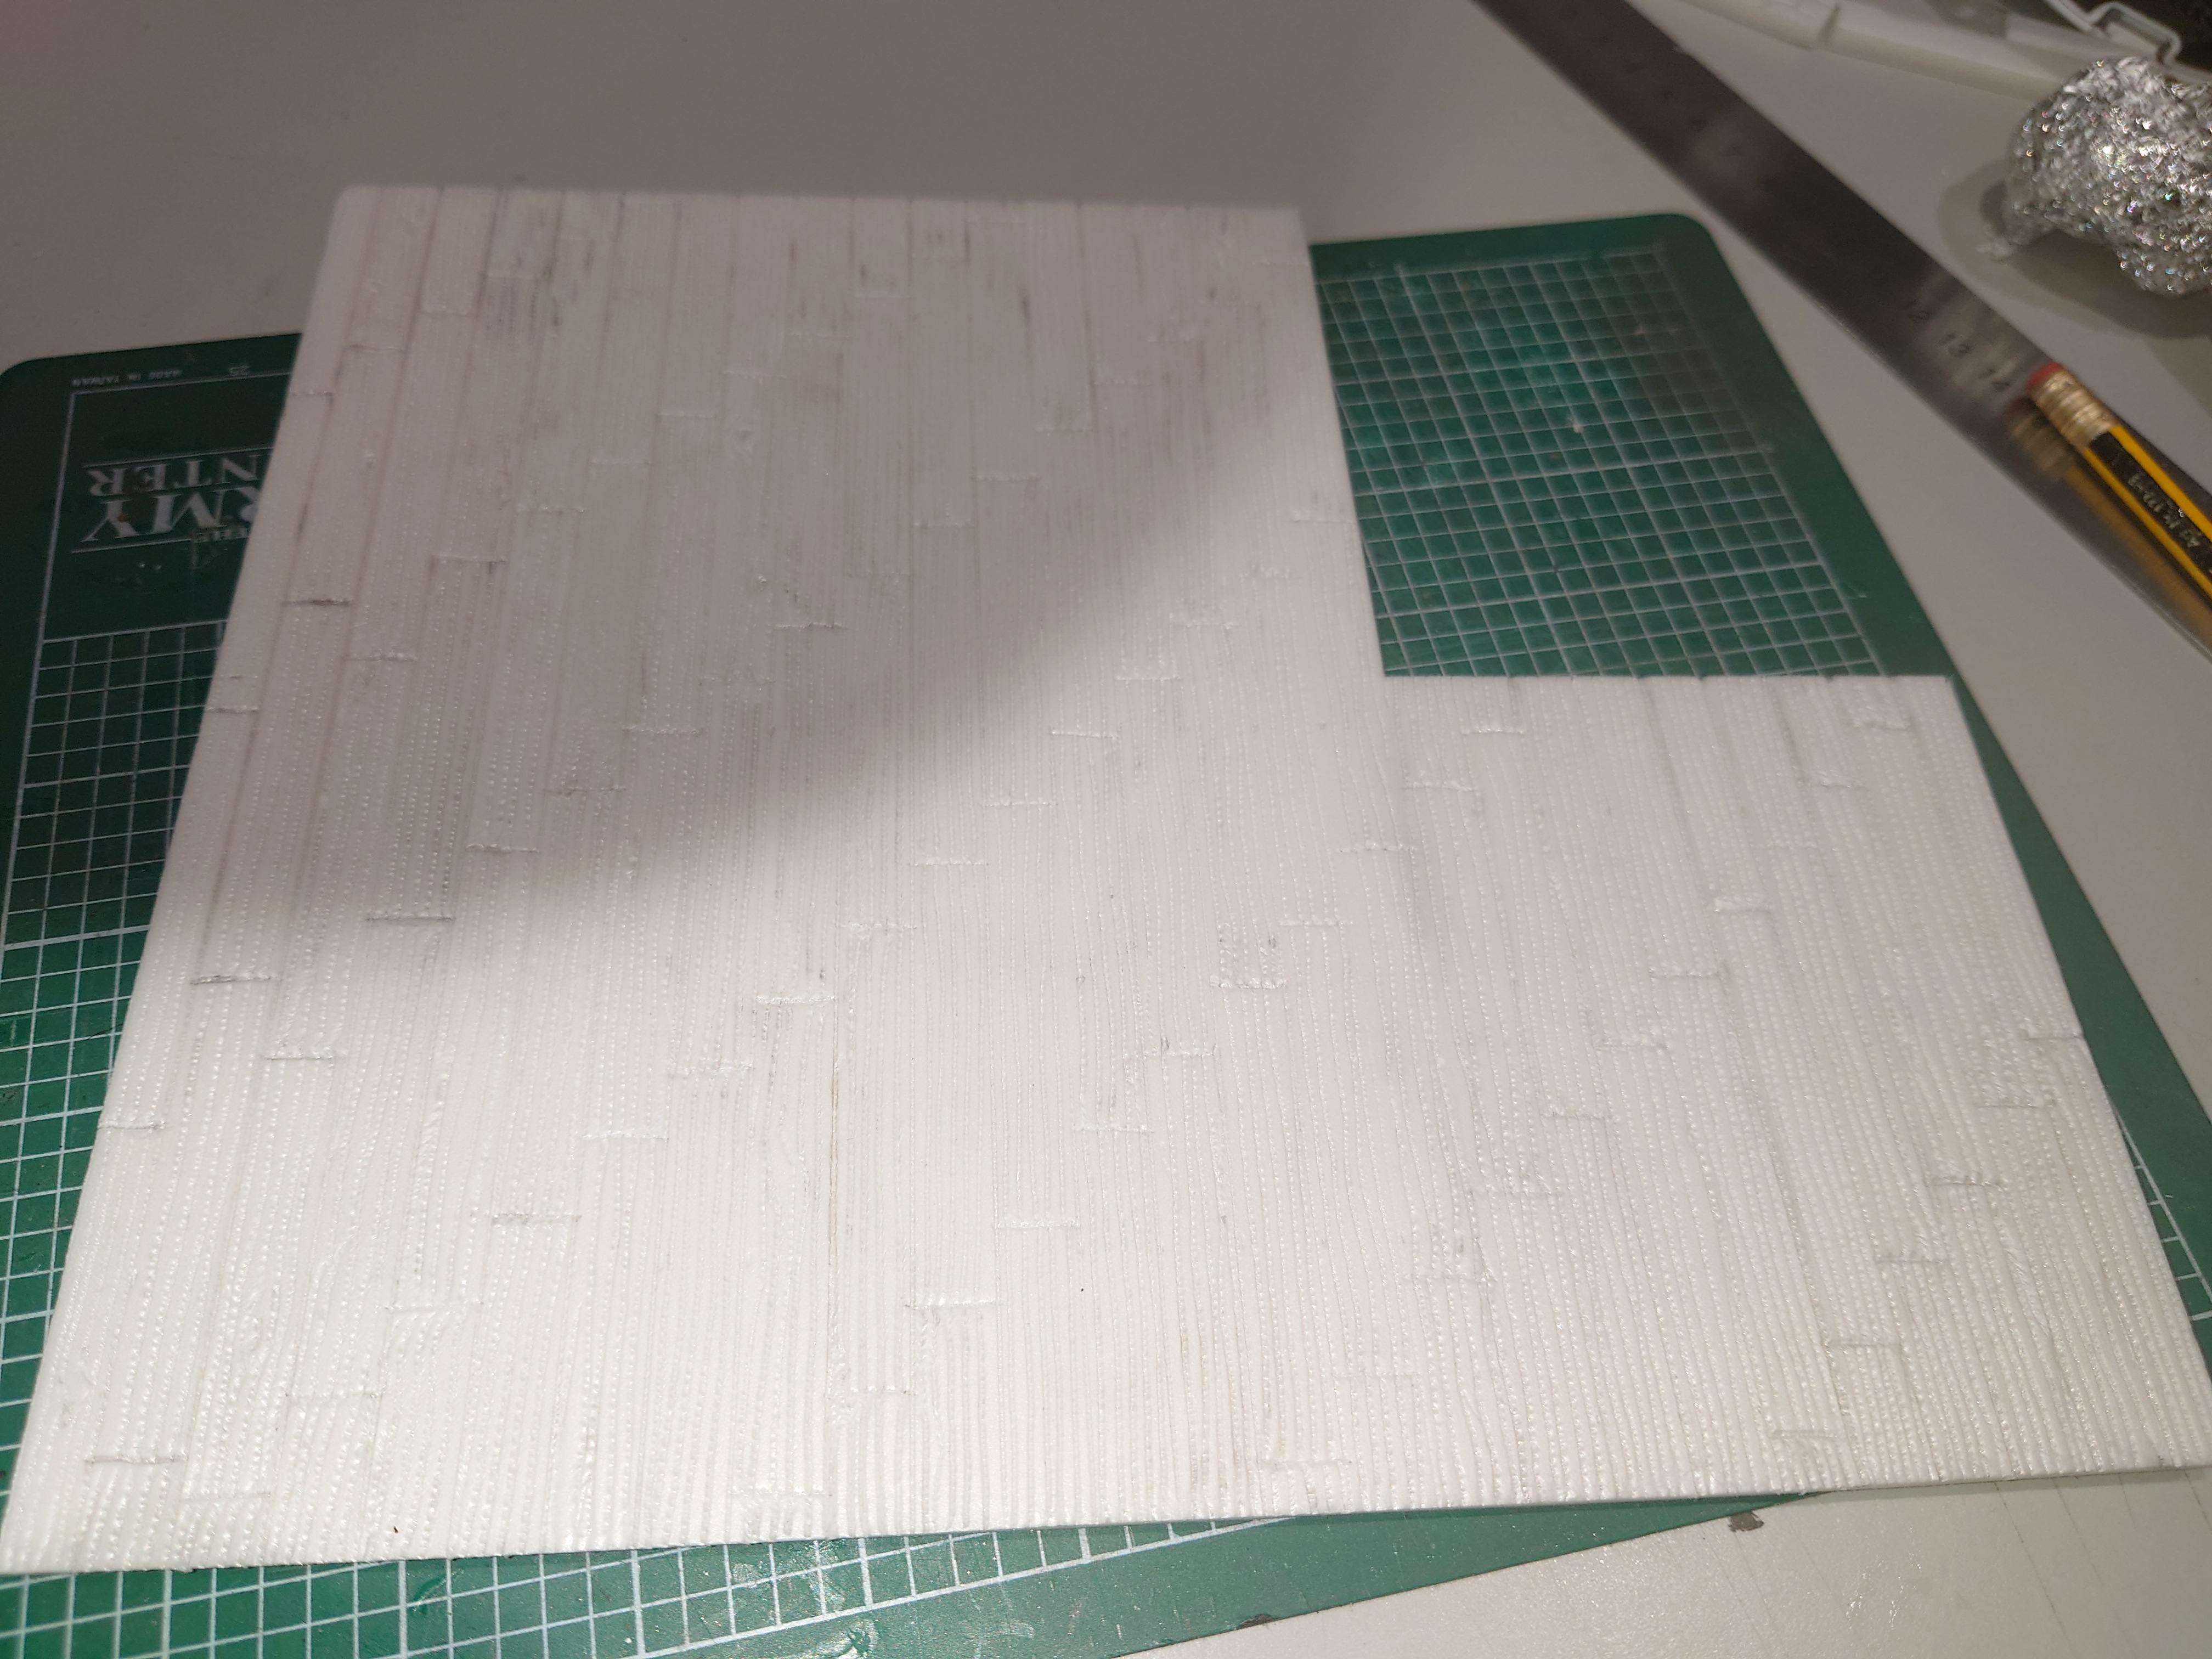
To create the floor I draw parallel lines with a steel ruler, at 10mm spacing. Next I then insert lines between the parallel lines at 60mm separation.
I then proceed to free hand the wood grain using a pencil. And in no time I had a wooden floor.
The Build
The Building Process
Although I have a rough idea if what I will be building, much of it is guided by intuition. I don’t have a strict design idea, but I do start with a rough plan.
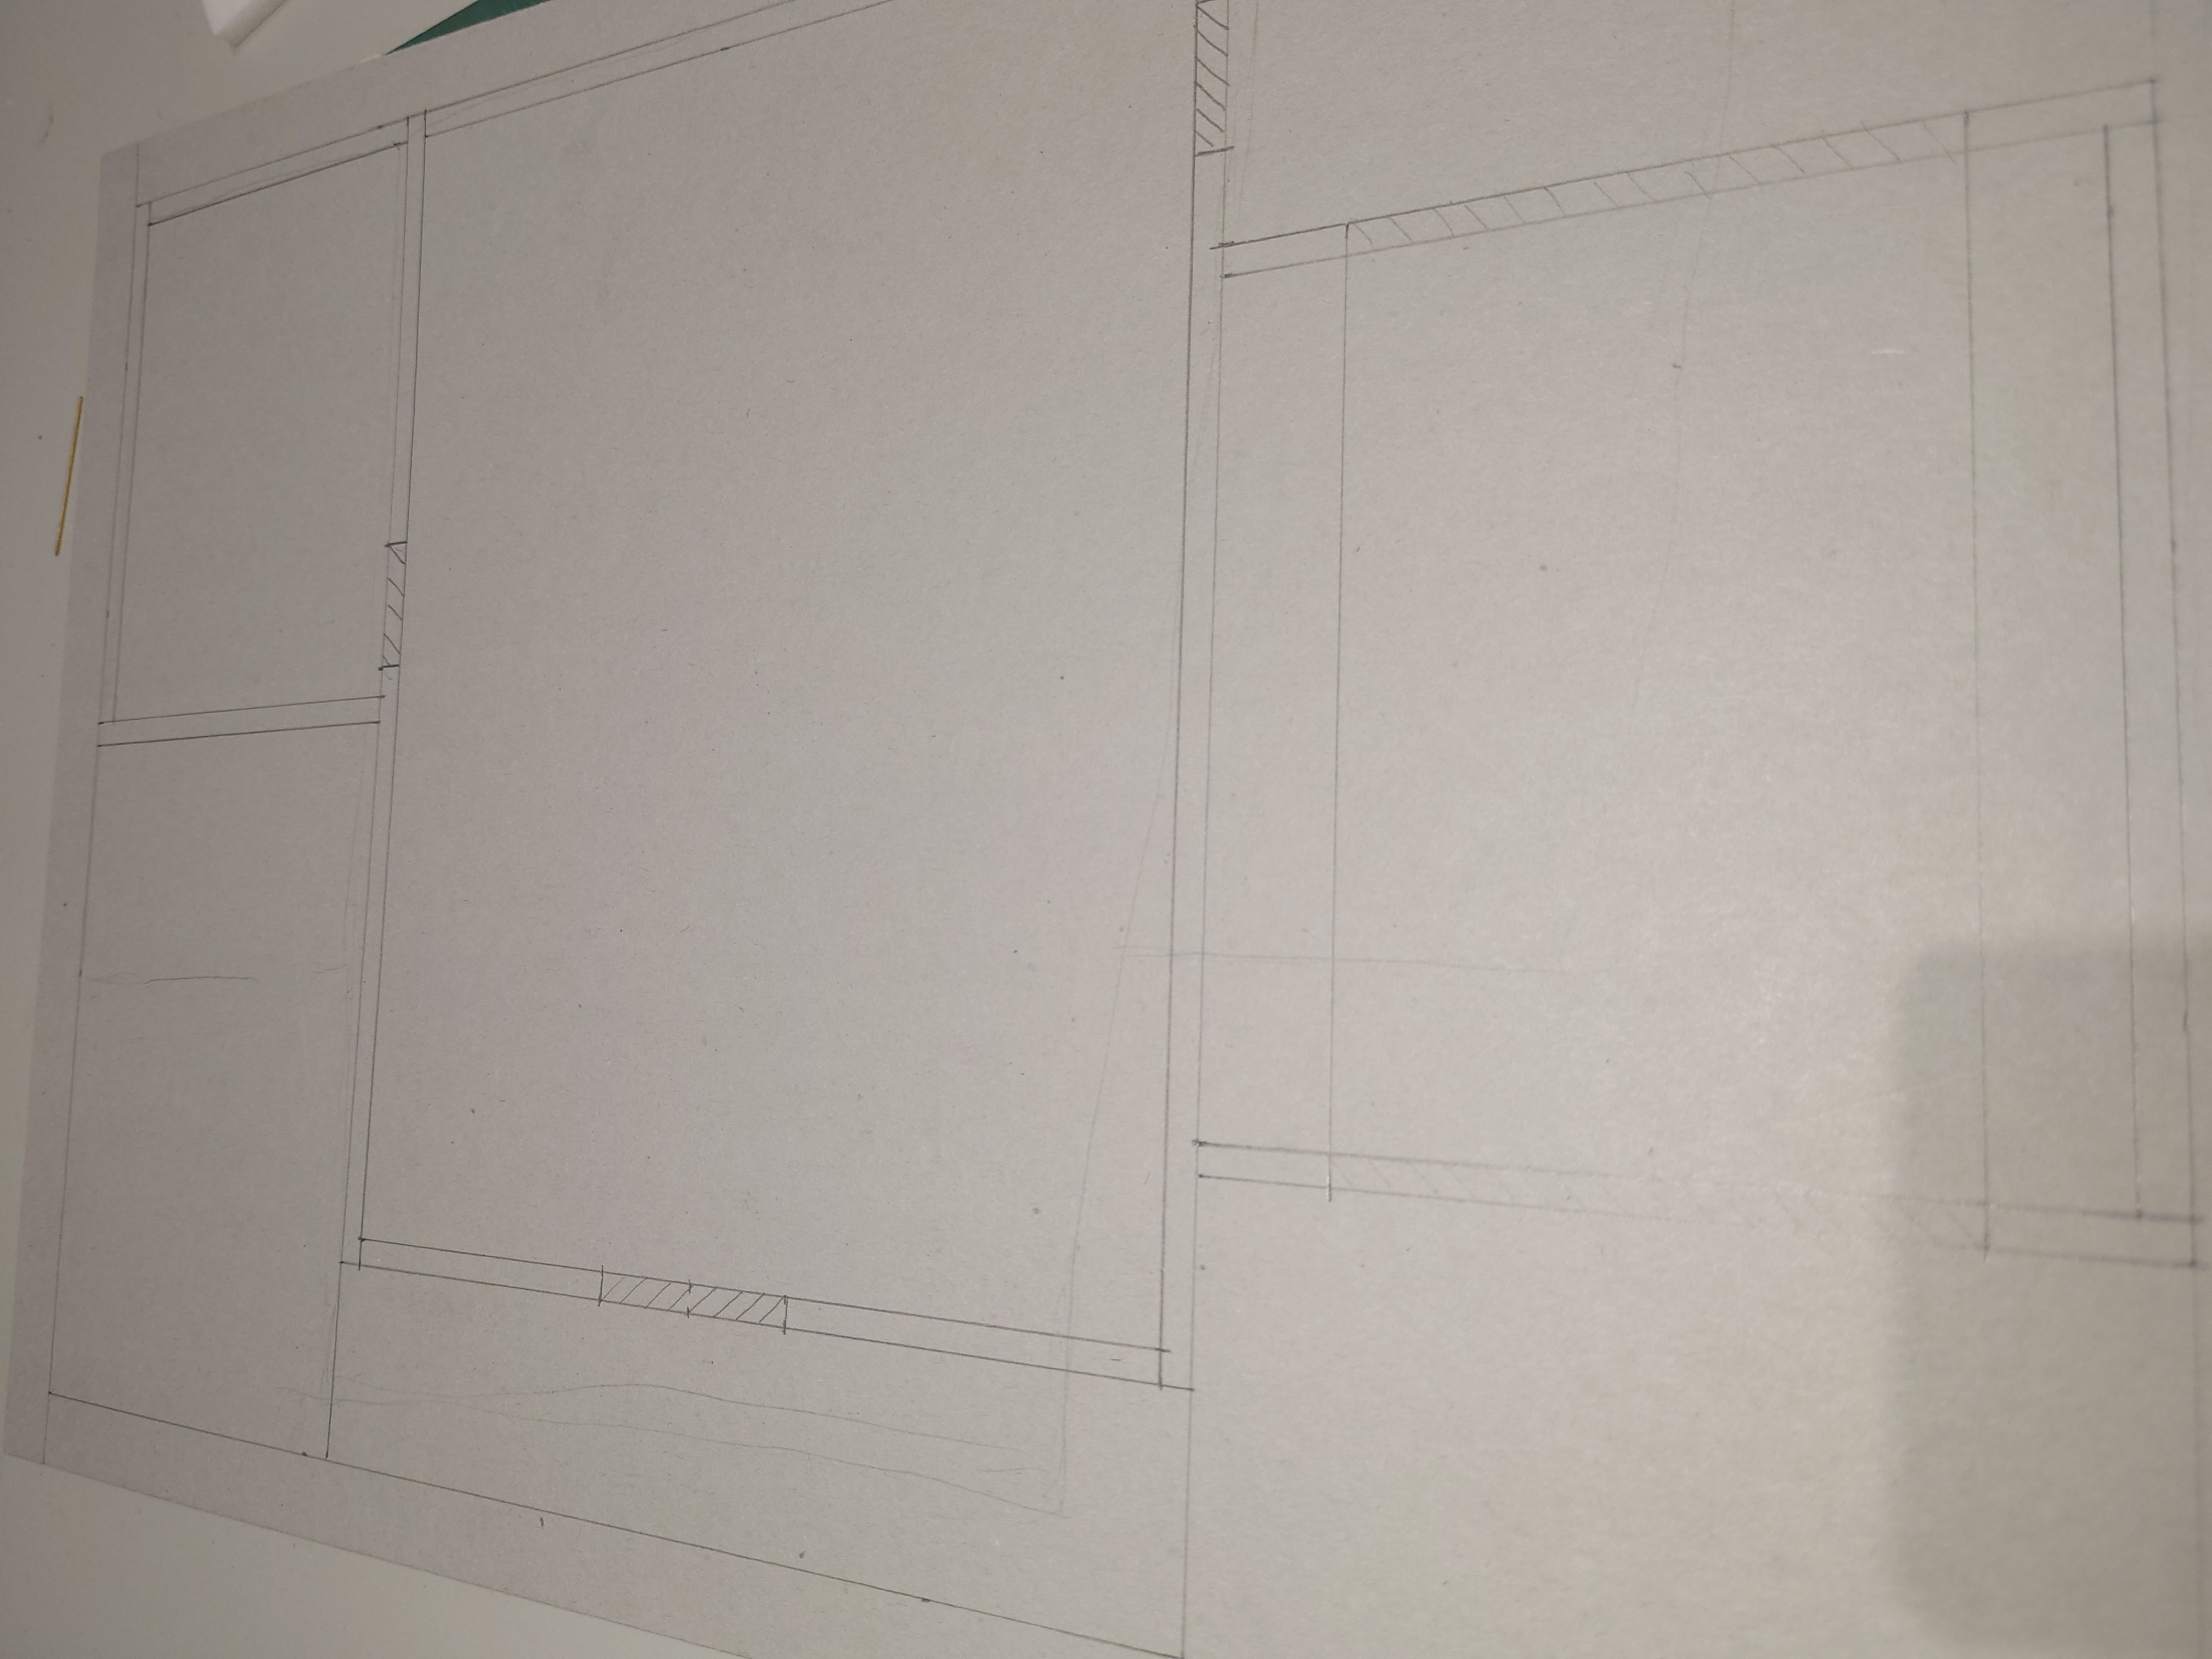 The A3 cardstock base with the plan of the building drawn out.
The first step is to construct the basement level of the building. But before I start this I ensure I have cut up some strips of foam core board. This provides me with a base of material I can use for construction if the walls.
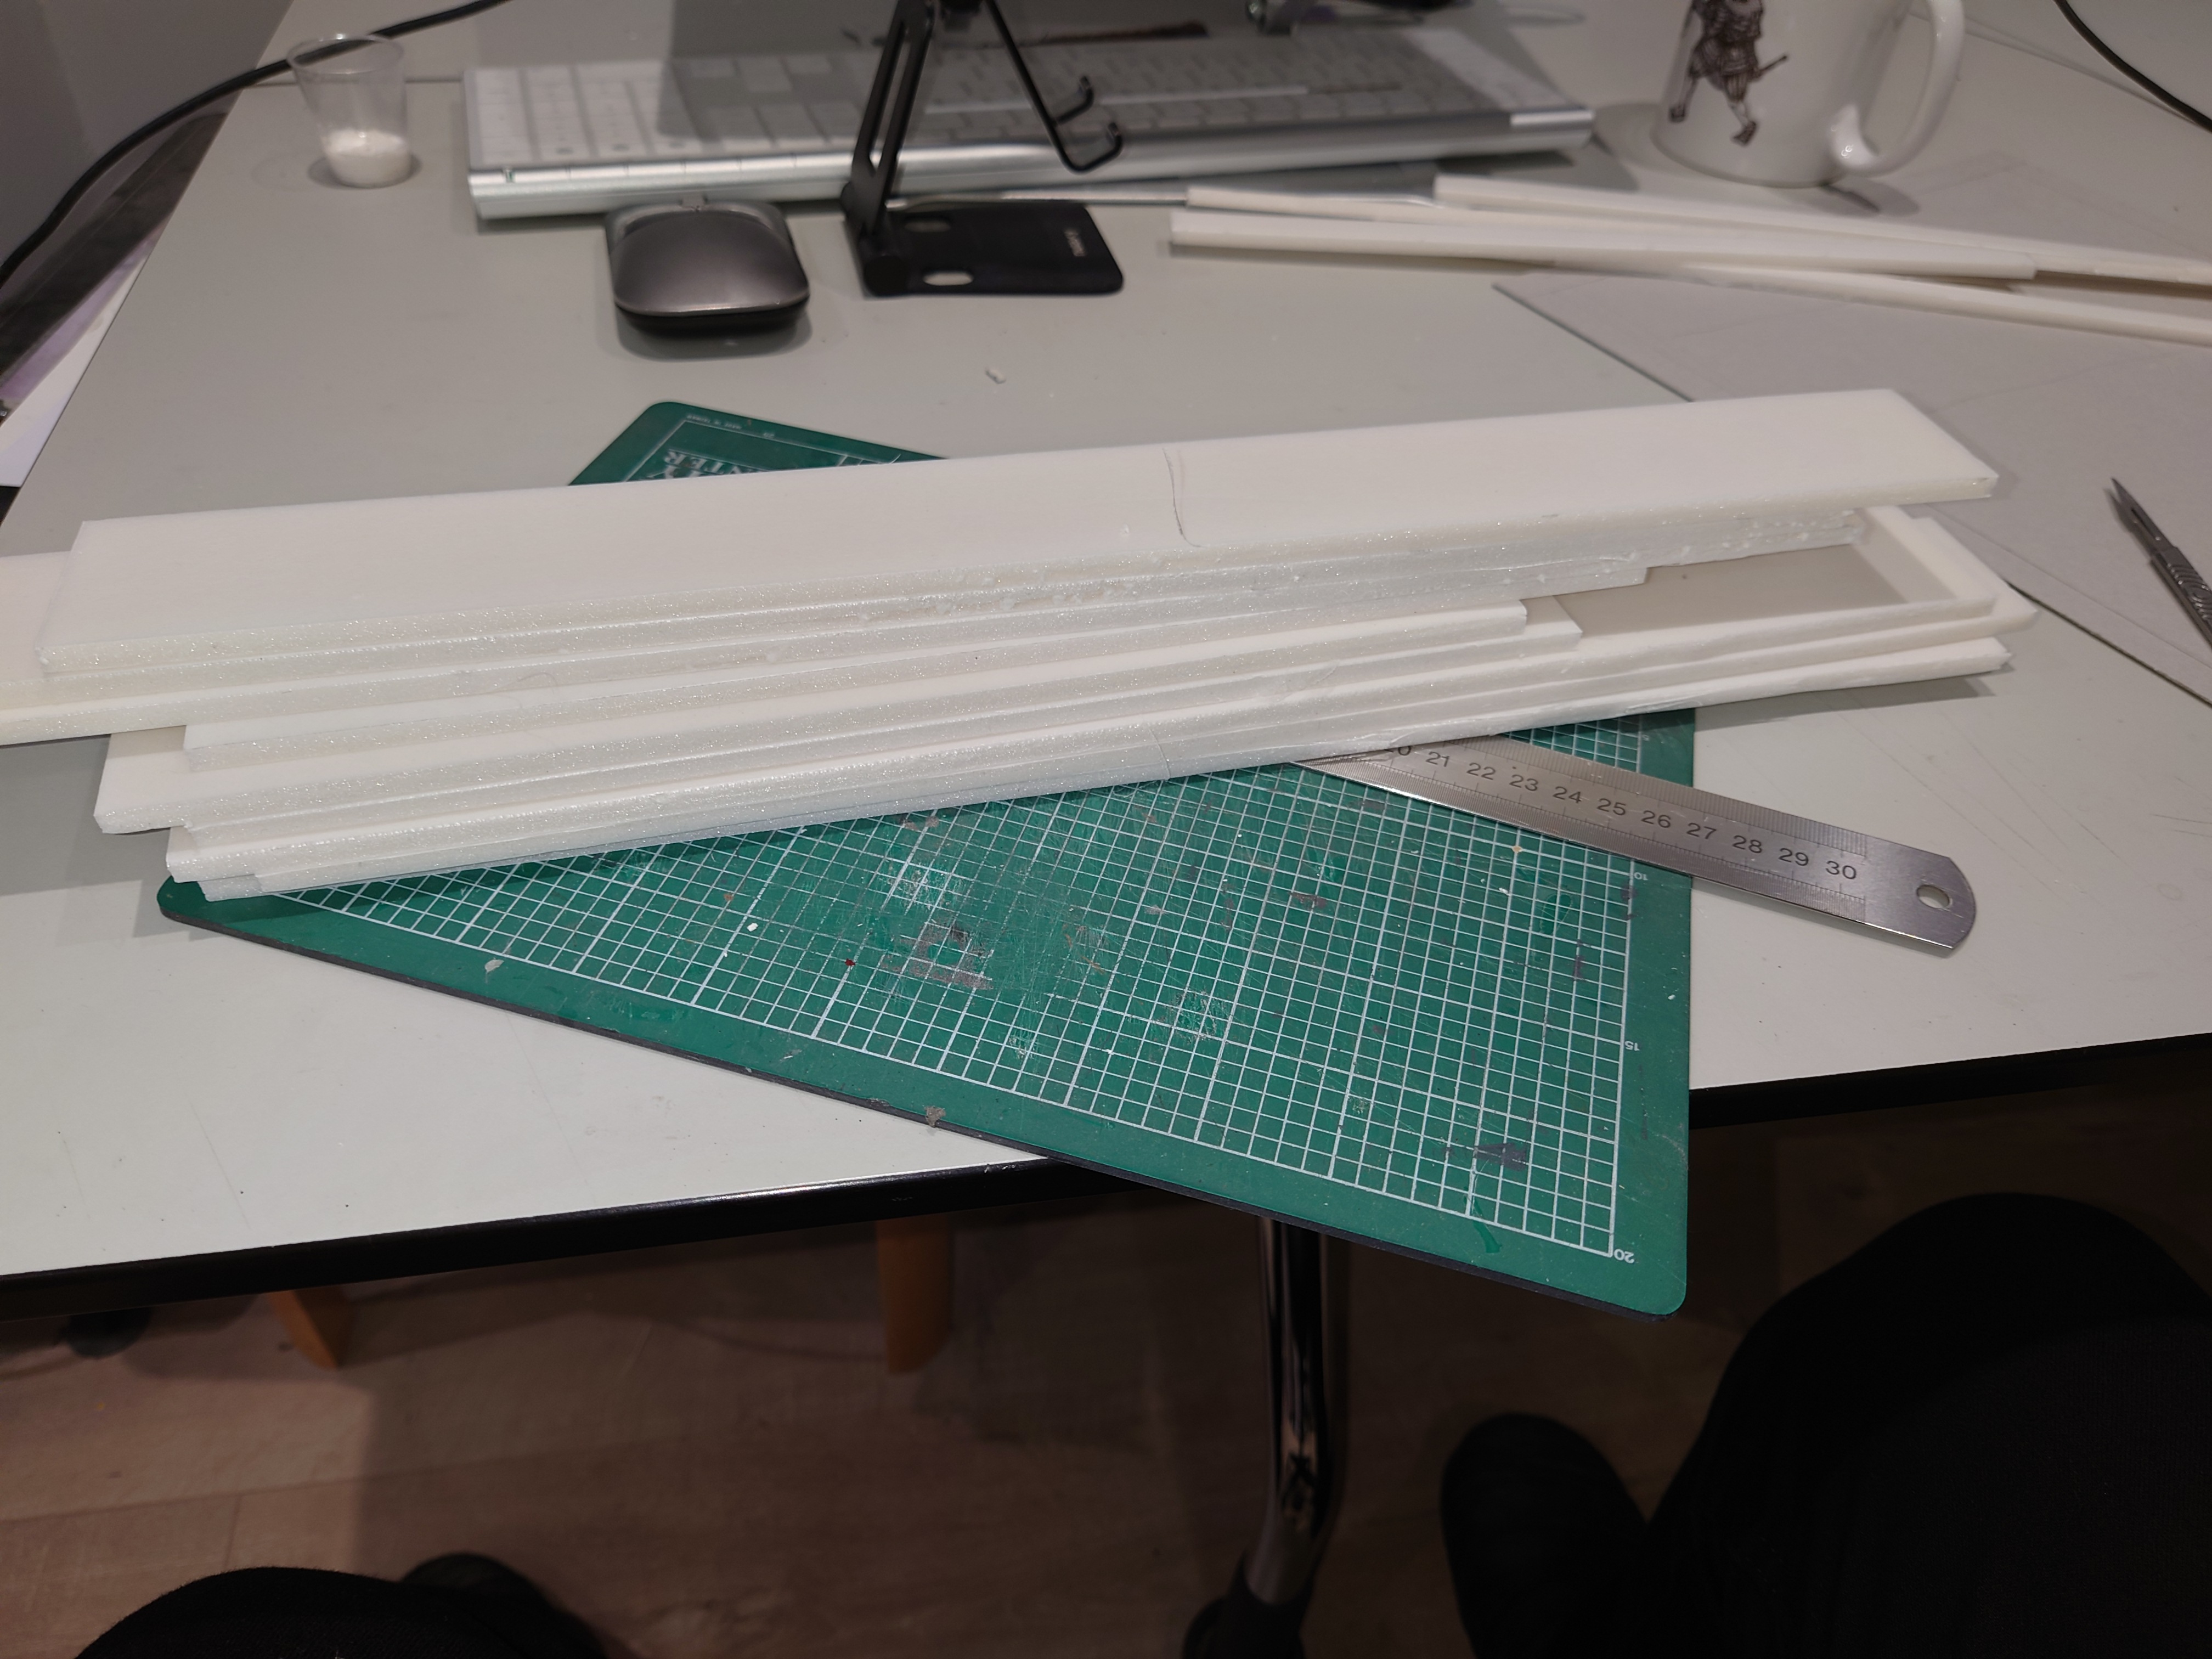 Strips of foam core 45mm wide
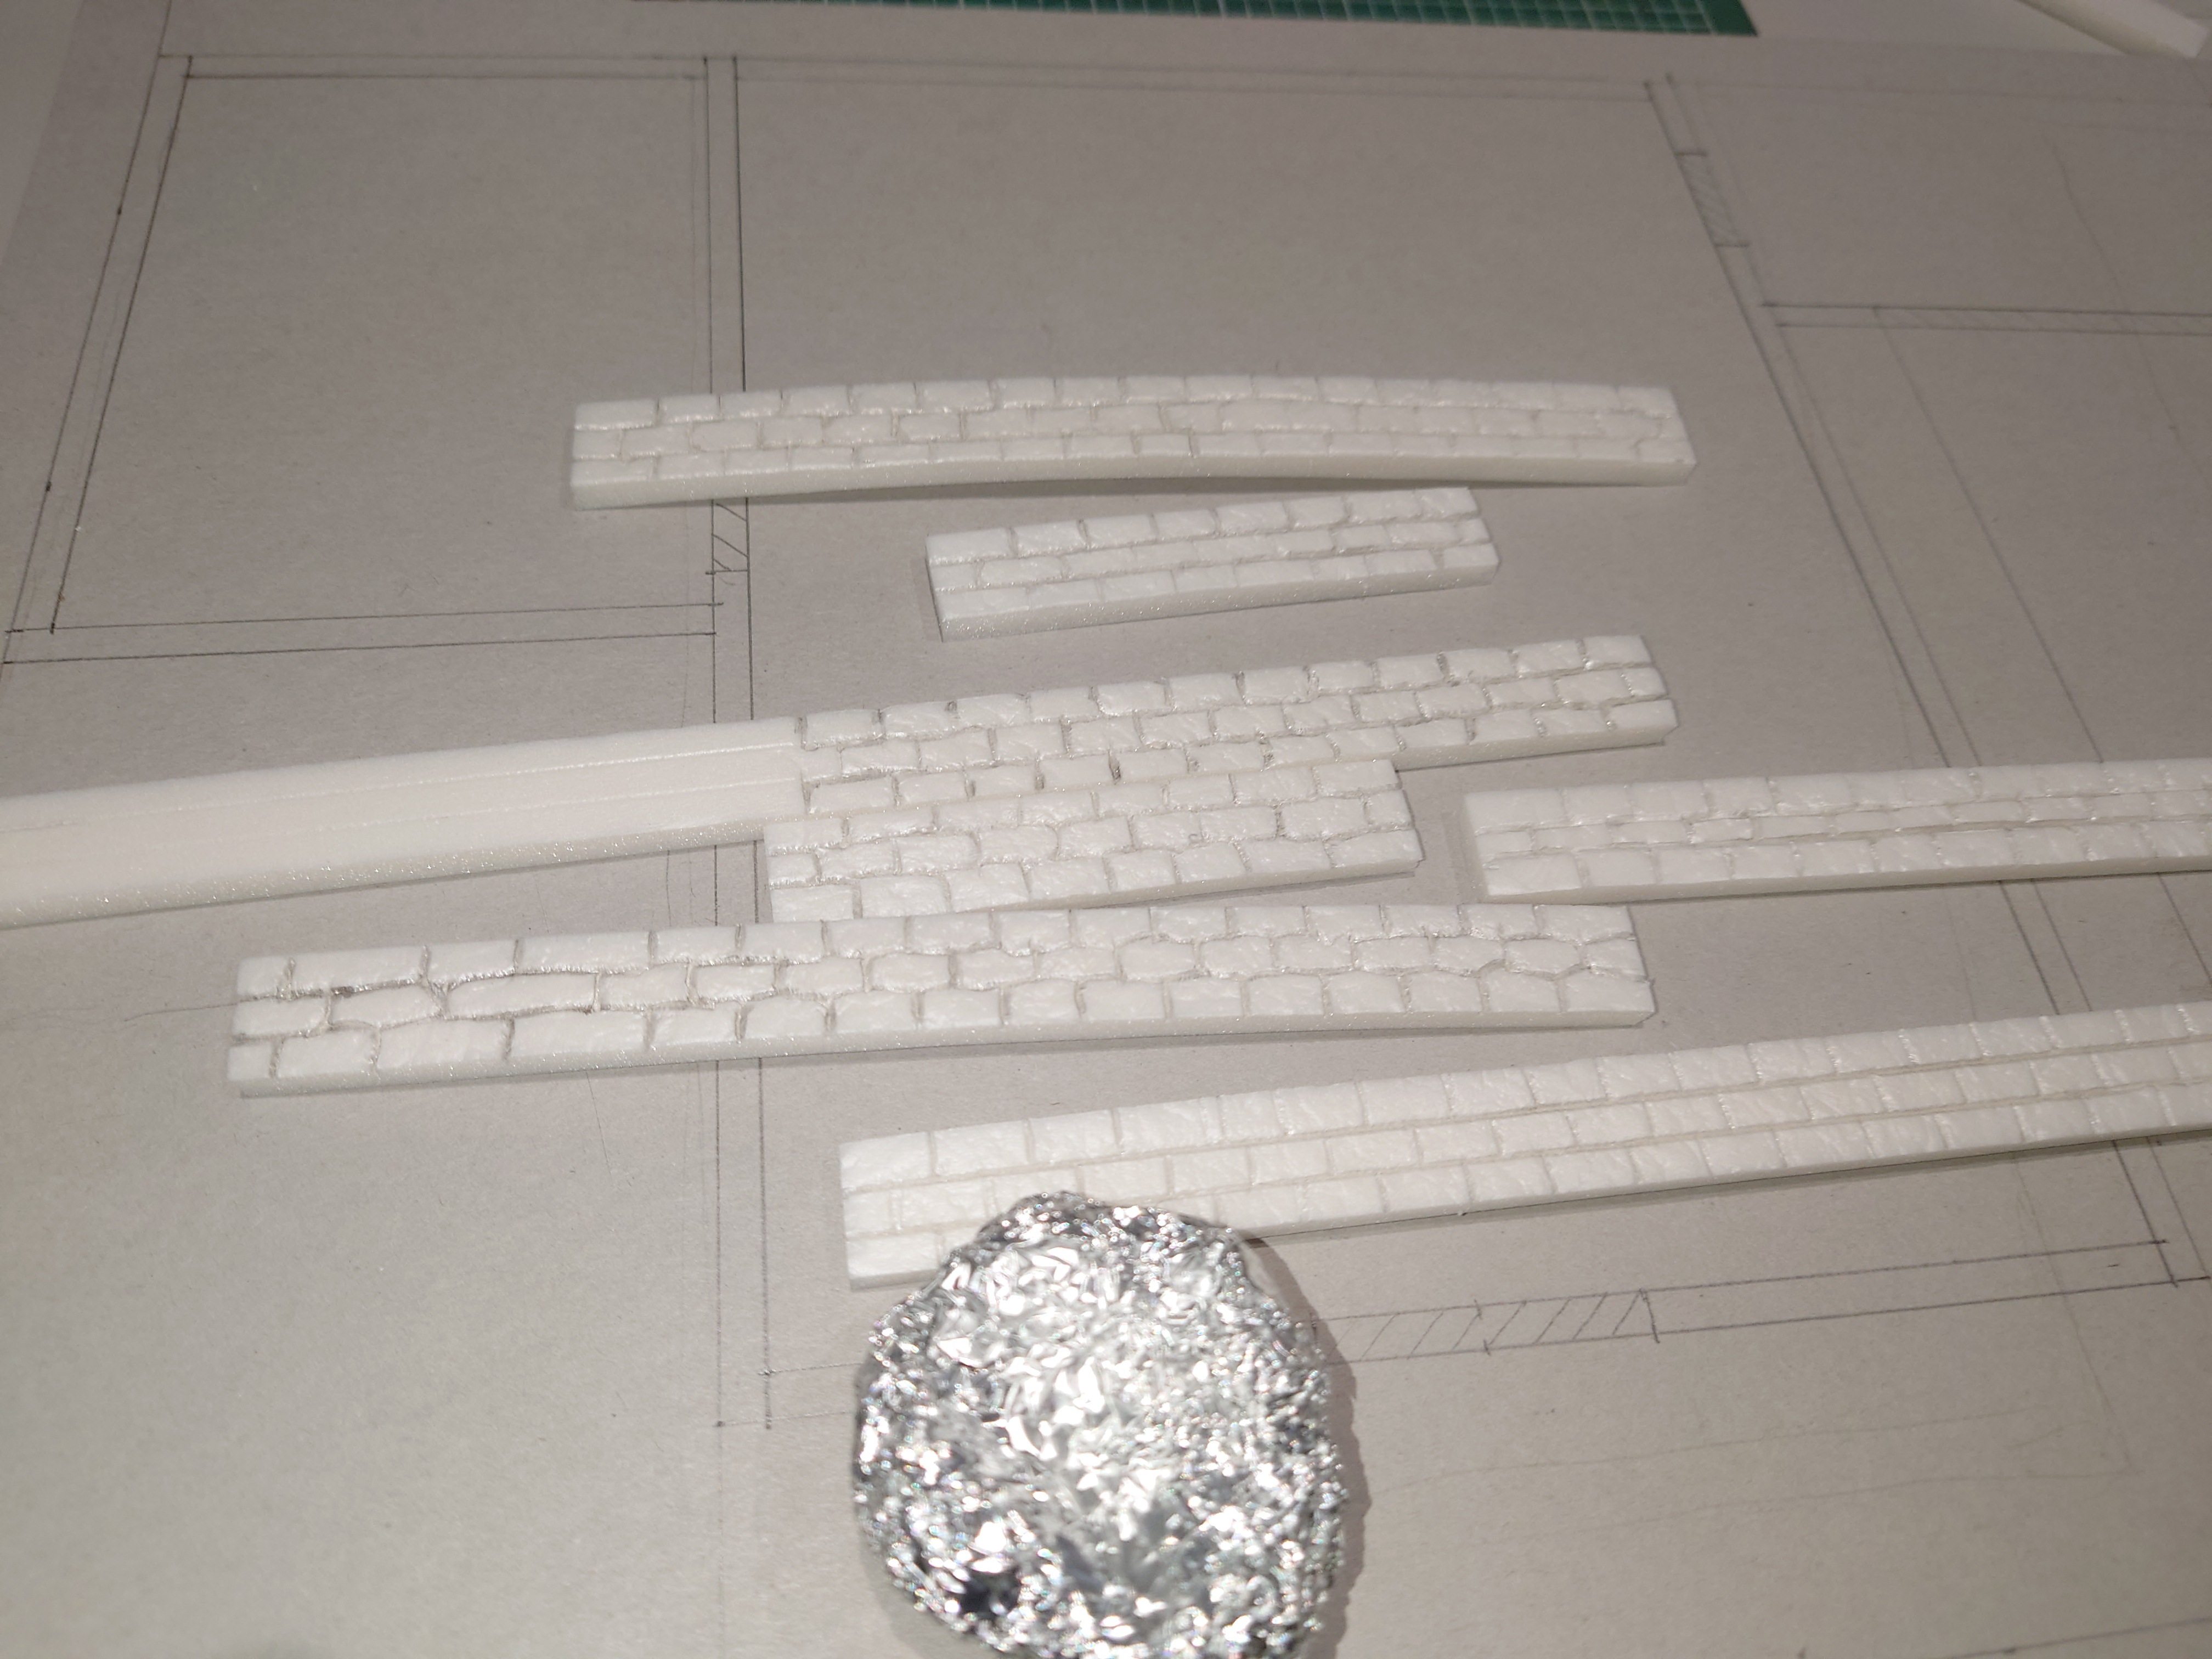
After cutting the strips I decided that I needed a stone base for the building but I didn’t want it to be too deep so I created some 15mm strips of foam core
Creating texture
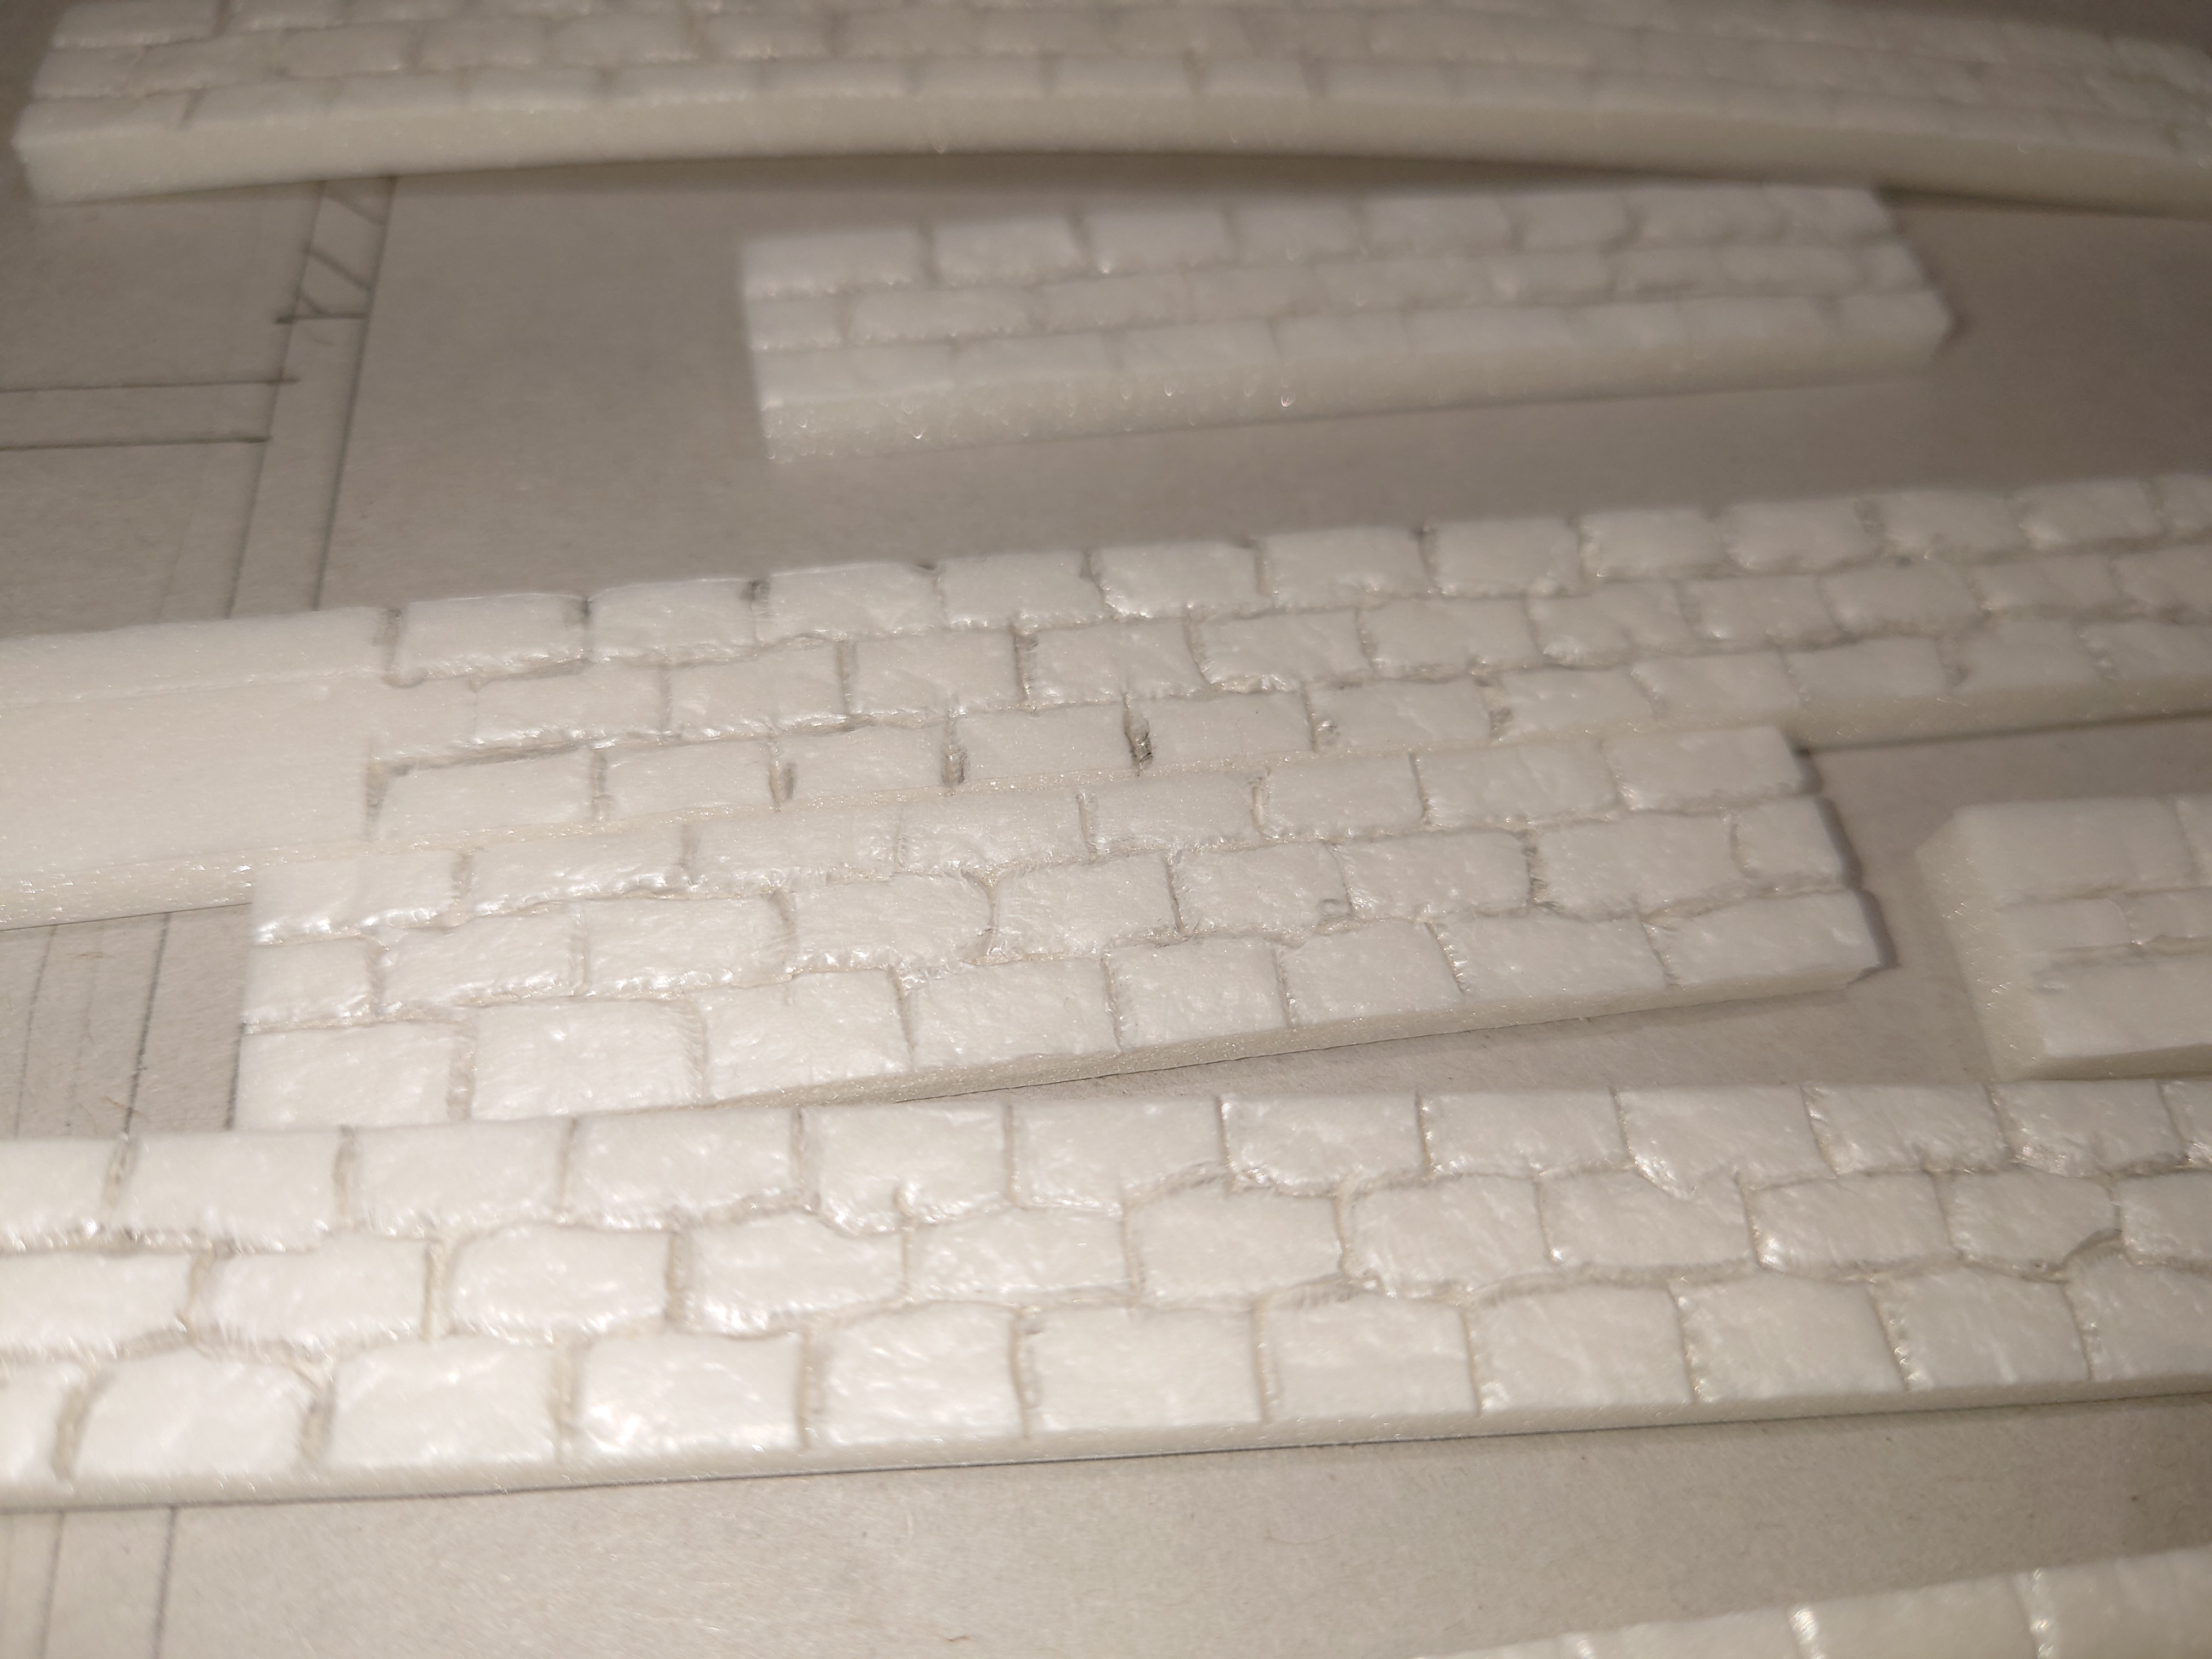
To create the brick texture I use the traditional method. Which is to draw a thought brick pattern on the surface. Then lightly score it will my modelling knife. I then traced it over with a pencil.
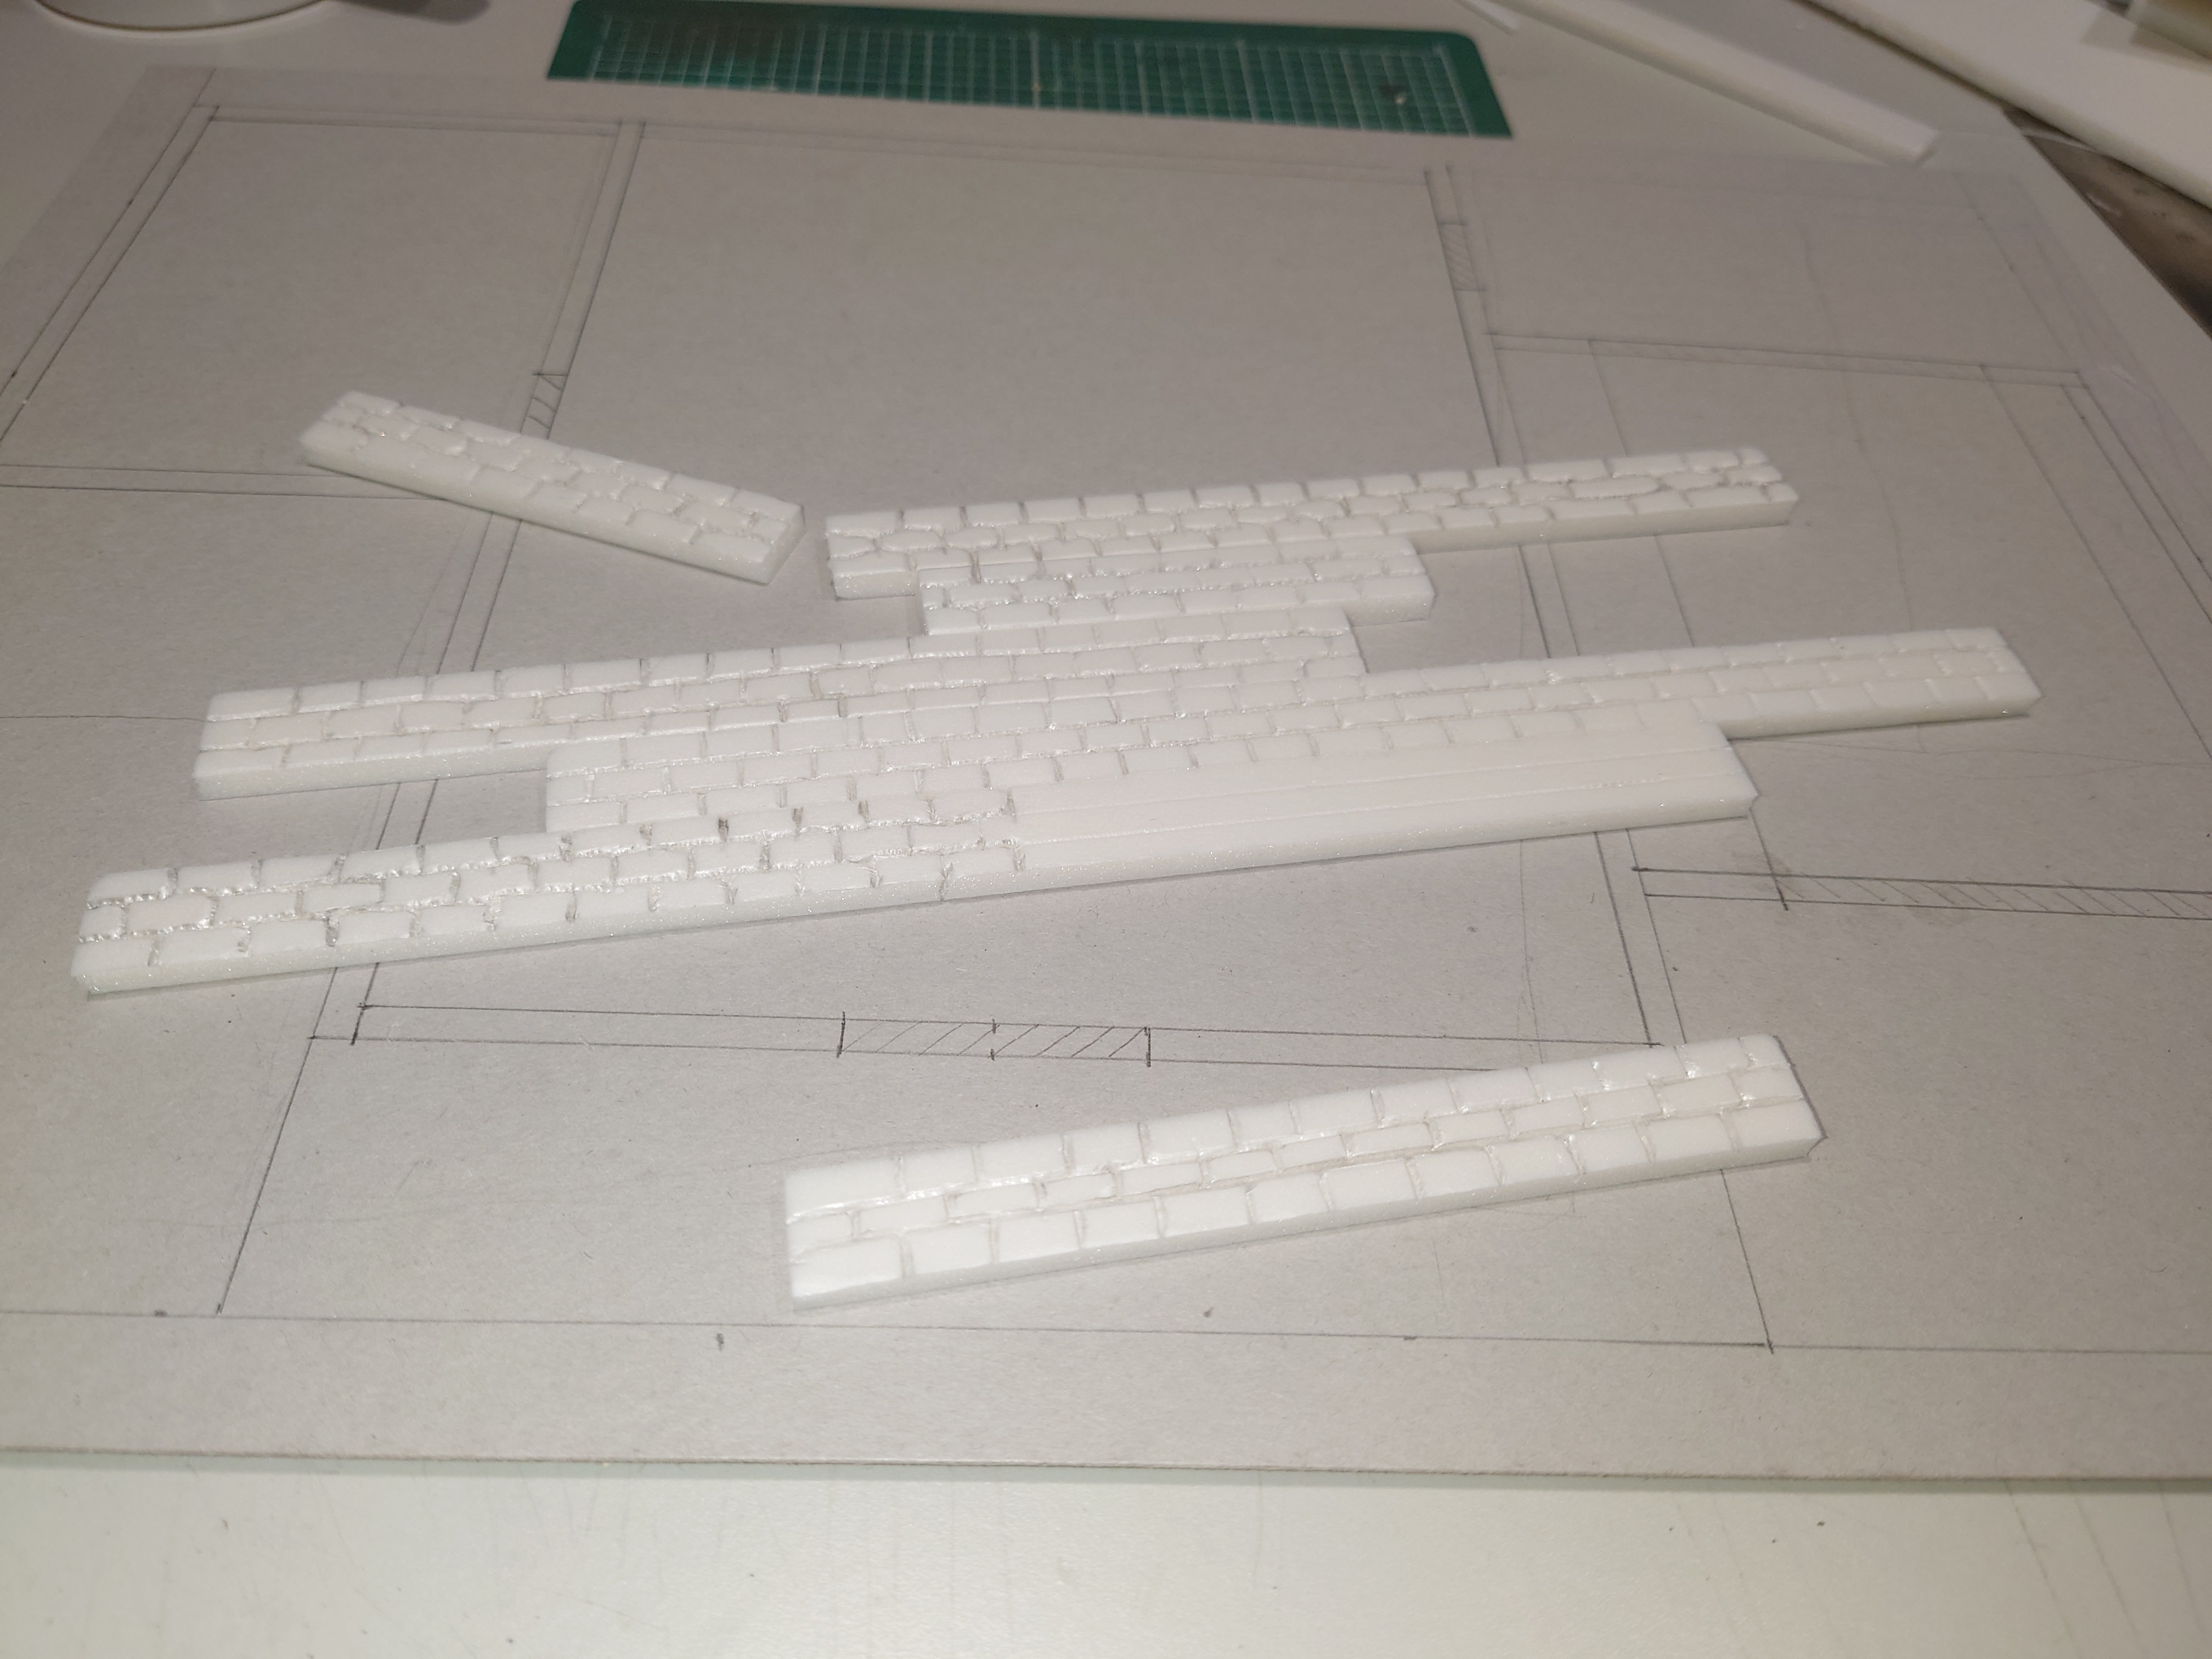 The brick work on the strips
 After creating the pattern, it requires texturing and for this I use the ball if Tim foil method to create the texture. You can see this in the pictures below.
Laying the foundations
Next job was to start gluing the walls to the base card.
I initially started with doing this with PVA, but this has the drawback of taking a while to cure, and needing masking tape to hold it down and in shape.
 The initial walls, glued with PVA
 After pondering this I decided to go for broke and grabbed my hot glue gun, not sure if it would work I tested it on a piece of scrap. Fortunately it worked well. So it was time to try out it on the walls. The only caveat is that hot glue doesn’t have a lot of curing time so I had to work at speed. But it worked ( see below).
Floor supports
The other challenge is supporting the floor of the building. But to do this I used 10mm strips of foam core as supports in between the walls. These I added using just PVA as they will be hidden under the floor and don’t need to be perfect.
 The complete layer of the main building. There will be another section to the side, but as you will see later there is a reason I have left this off.
Planning
So where to start I have the tools and materials ready to go. However I need to figure out the design of what I want to build so that I can break it down into logical steps.
Requirements
All my scratch built items of terrain items in 25/28mm are based on two sizes of foot print. Either A4 or A3. This is so they can fit onto the table and are not too difficult to store or move around.
I have an idea of what the Inn looks like, as I drew this out for my DnD adventuring.
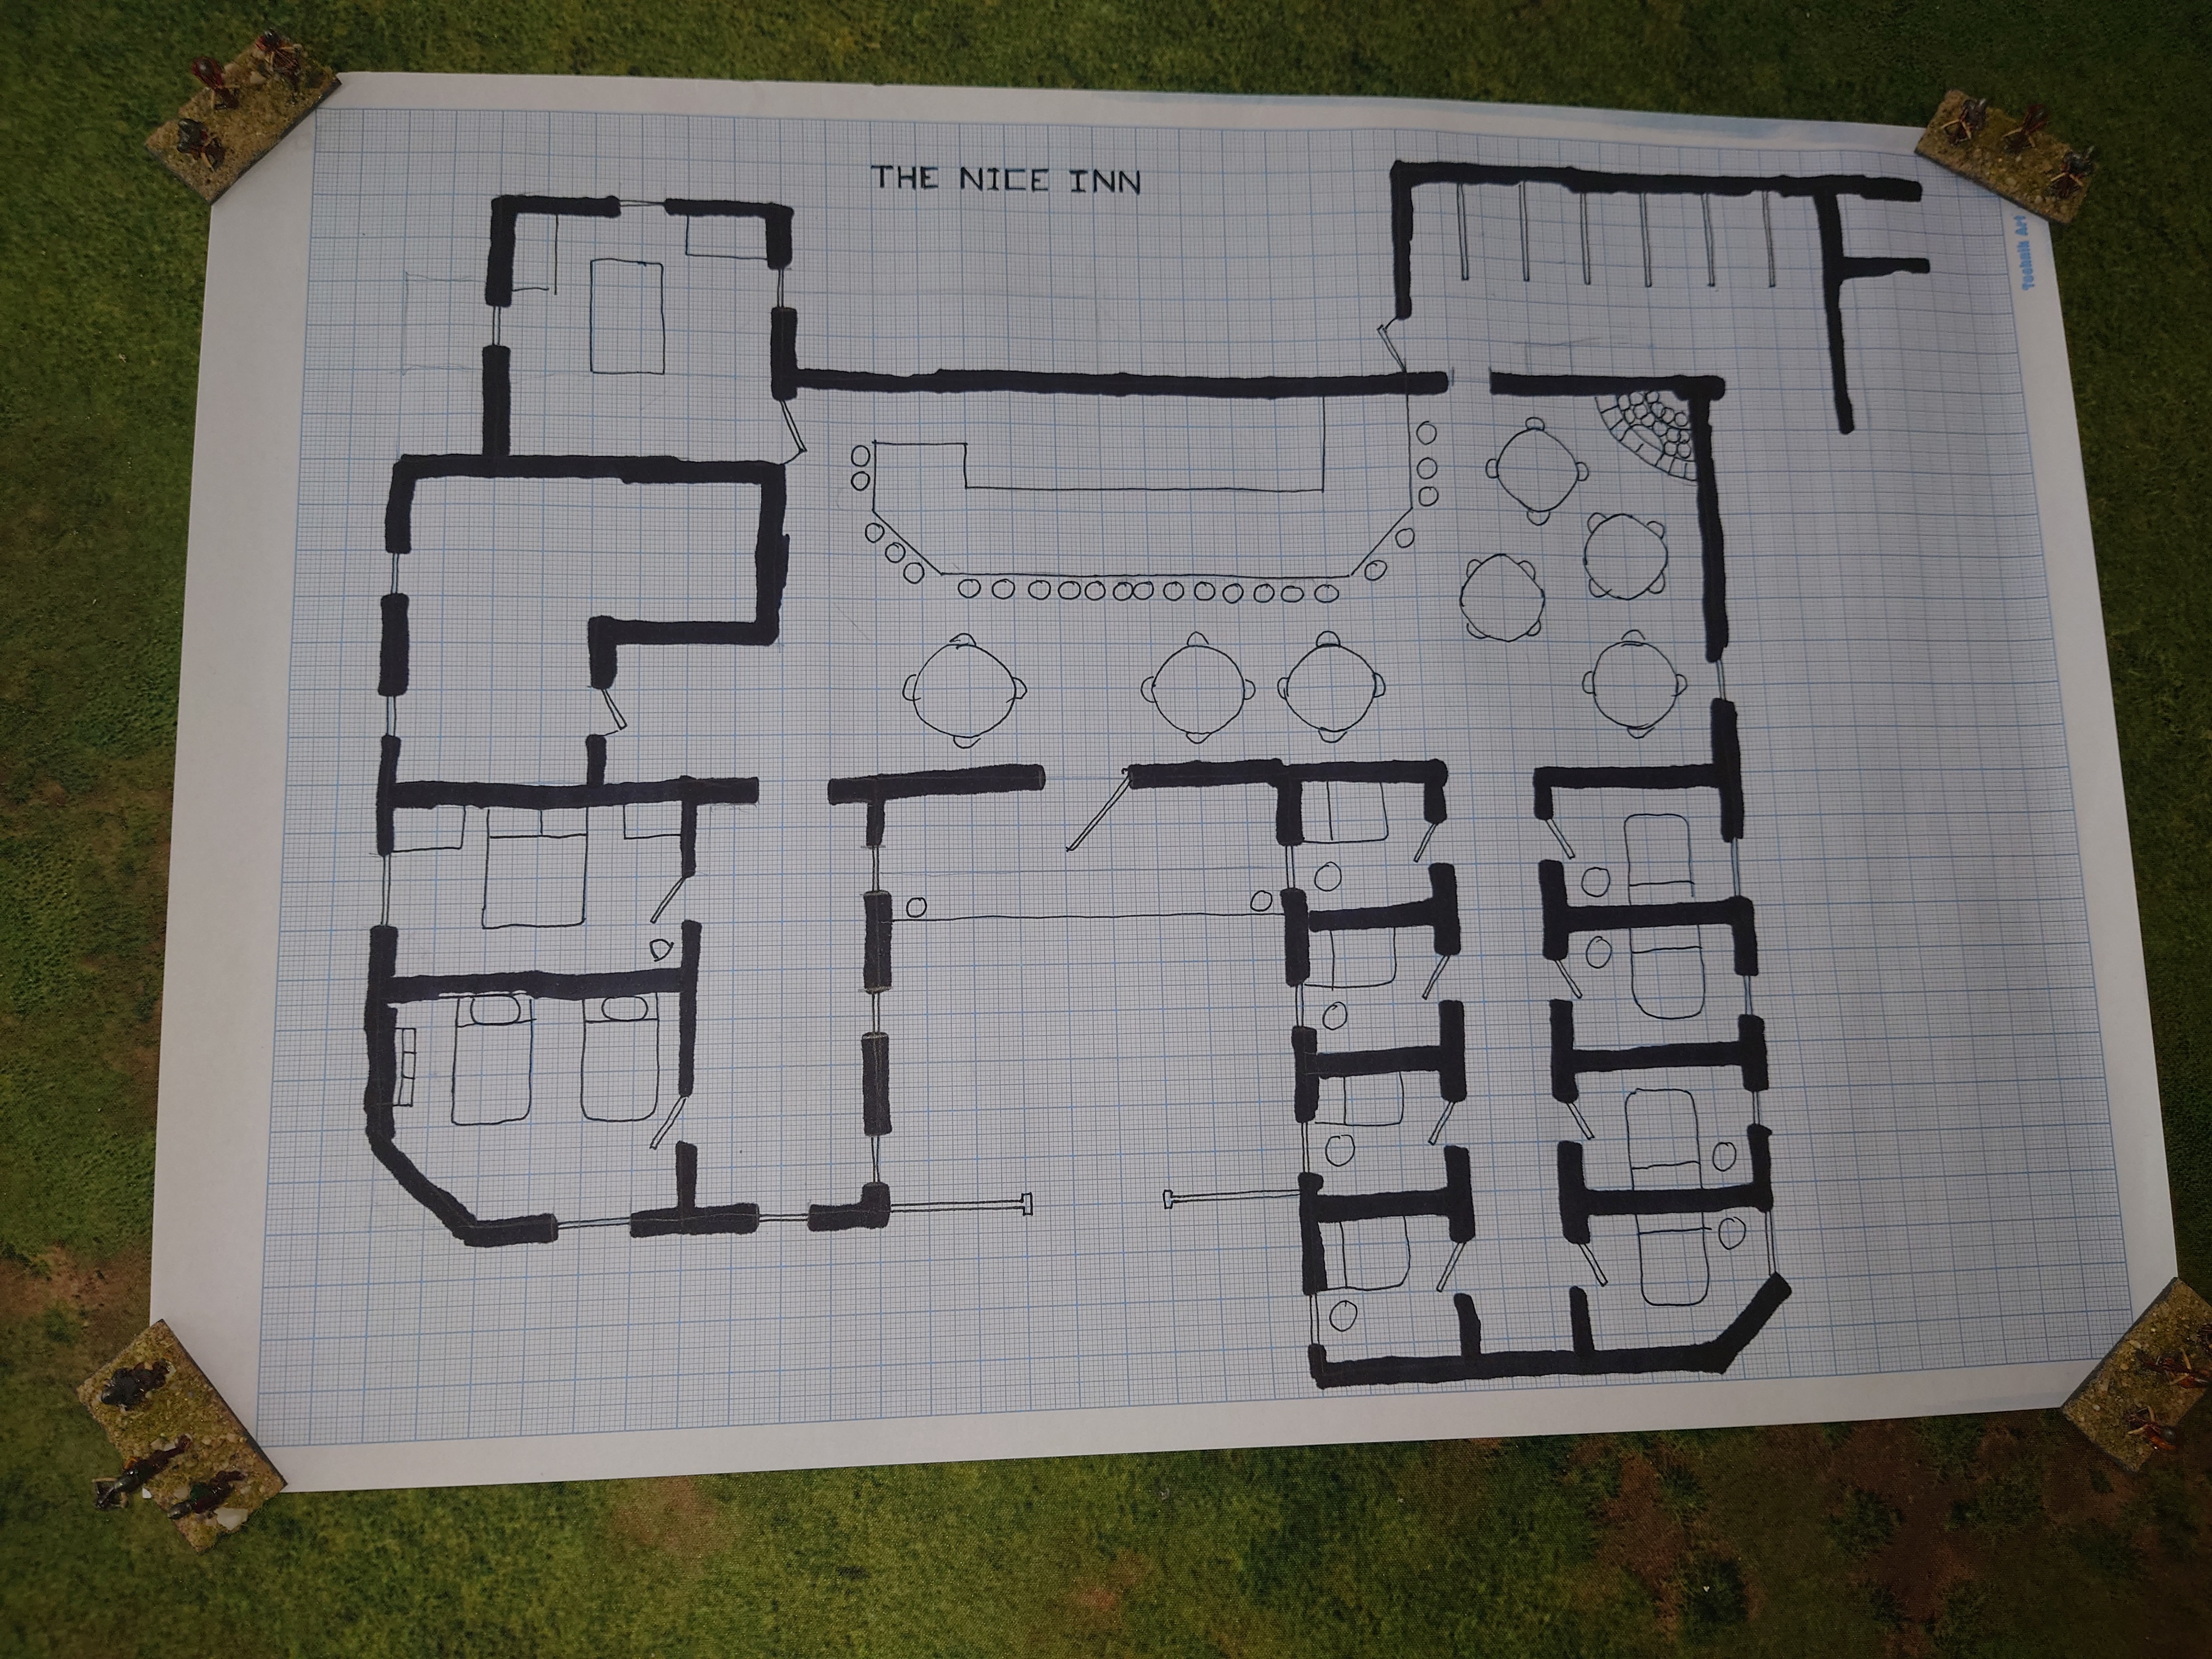 The plan of the inn as designed for the DnD campaign I am running.
 Although the drawing is well within the A3 template, it is not to scale, and if I scaled it up to 28 mm it would probably be far to big.
The other issue is I only have a single floor, my building will need to be across at least 2 if not 3 floors.
Requirements
- Design a new Inn, Toria has been considering a new look anyway
- Fit within an A3 layout
- Scale to be usable for 25/28mm figures
- At least 2 floors
Style
So whilst this is first and foremost a building for DnD, I also want to use it for multiple game systems. So the look and feel if the building is important. This means styling it to an Historical period. As the earliest I will be using it will be medieval I will be going with that period.
Requirements continued.
- Medieval style building.
Tools and Materials - Stuff I will need for the project.
The first thing to explain is that this build is going to be scratch built. No pre purchased MDF kits, no 3D printing, this is Old Skool baby!!!
So how do I start any project like this, well it’s all about preparation and ensuring I have the right materials and equipment for the build.
Tools
So first things first here are the list if tools I generally use in my builds.
- 30cm Steel ruler
- Pencil
- Eraser
- Craft knife
- Scissors
- Hot glue gun
- Pots to put glue and paint in
- Largish paint brushes
- Cutting Matt
Optional tools
Because I am visually impaired, I also use the following Tools:
- Bright lamp
- Magnifying glasses
Materials
So that the tools sorted out now for the materials.
- A3 Grey card stock about 1mm thick
- A3 Foam core board about 5mm thick
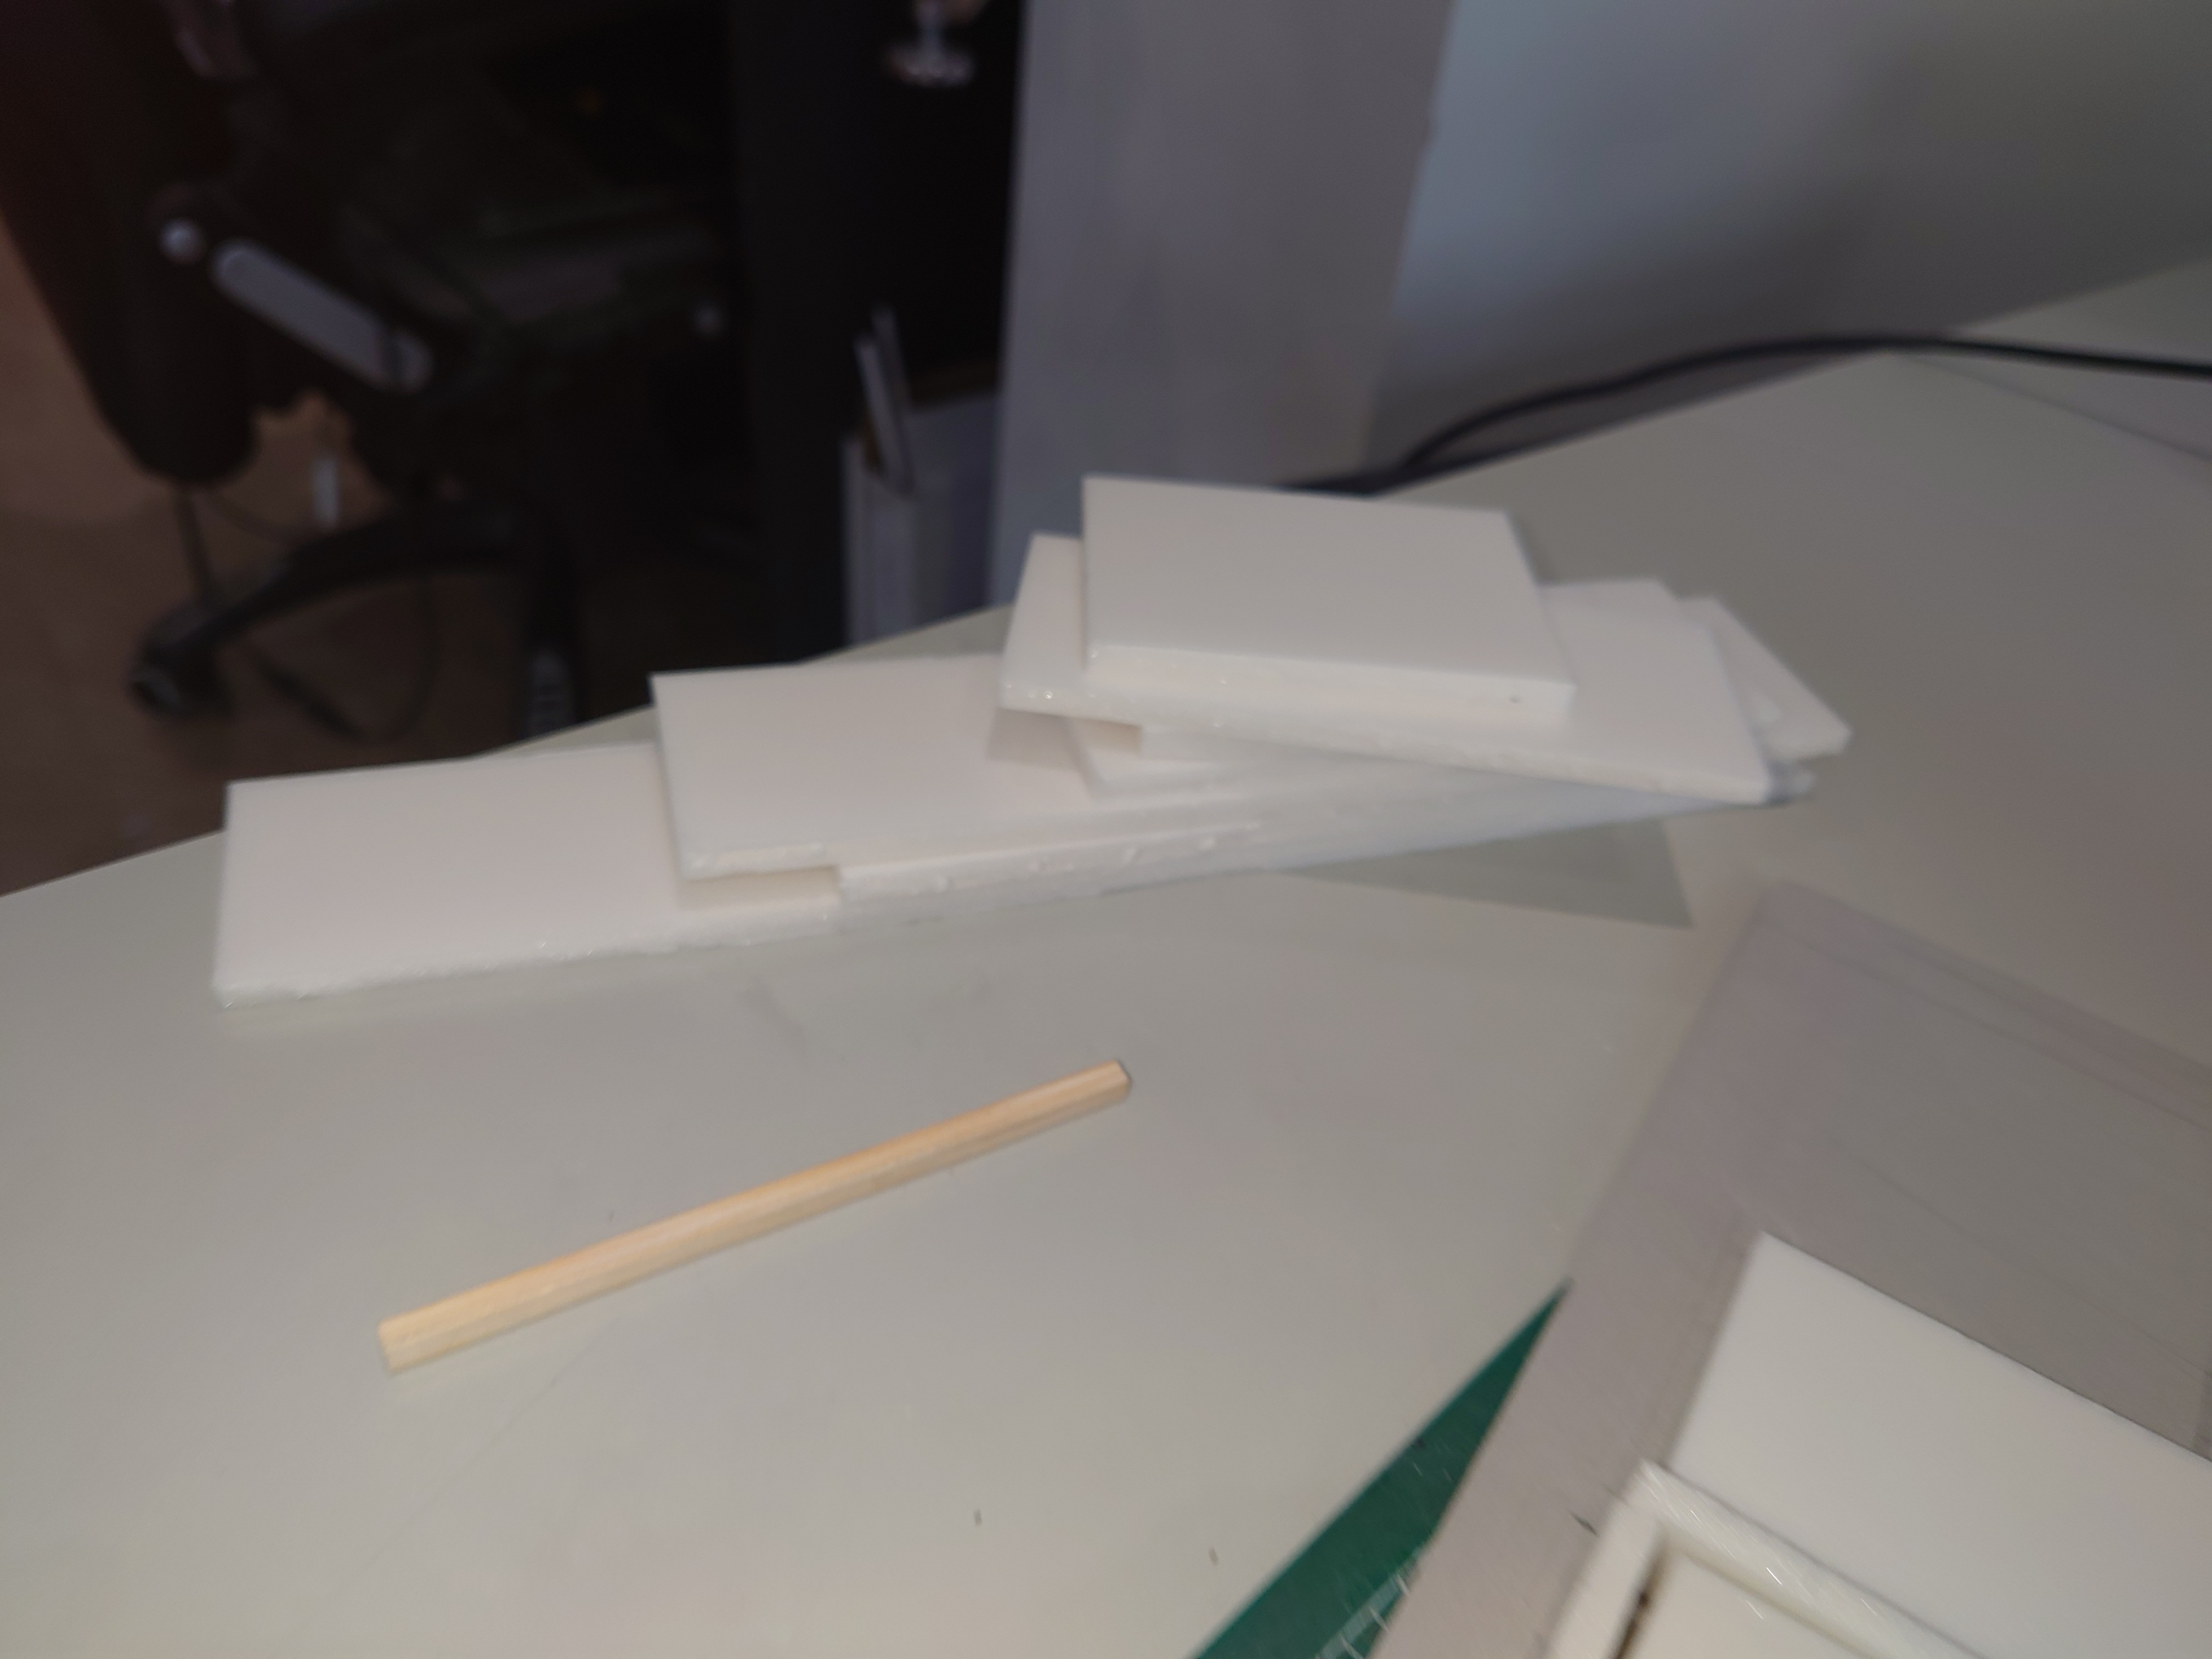
- Balsa wood strips 6mmx6mmx30mm
- PVA Glue
- Masking tape
- Tin foil
- Hot glue sticks
- Water
- Paints
- Basing materials
- Kitchen tissue
The good thing about scratch building is that it is relatively cheap and easy to do.
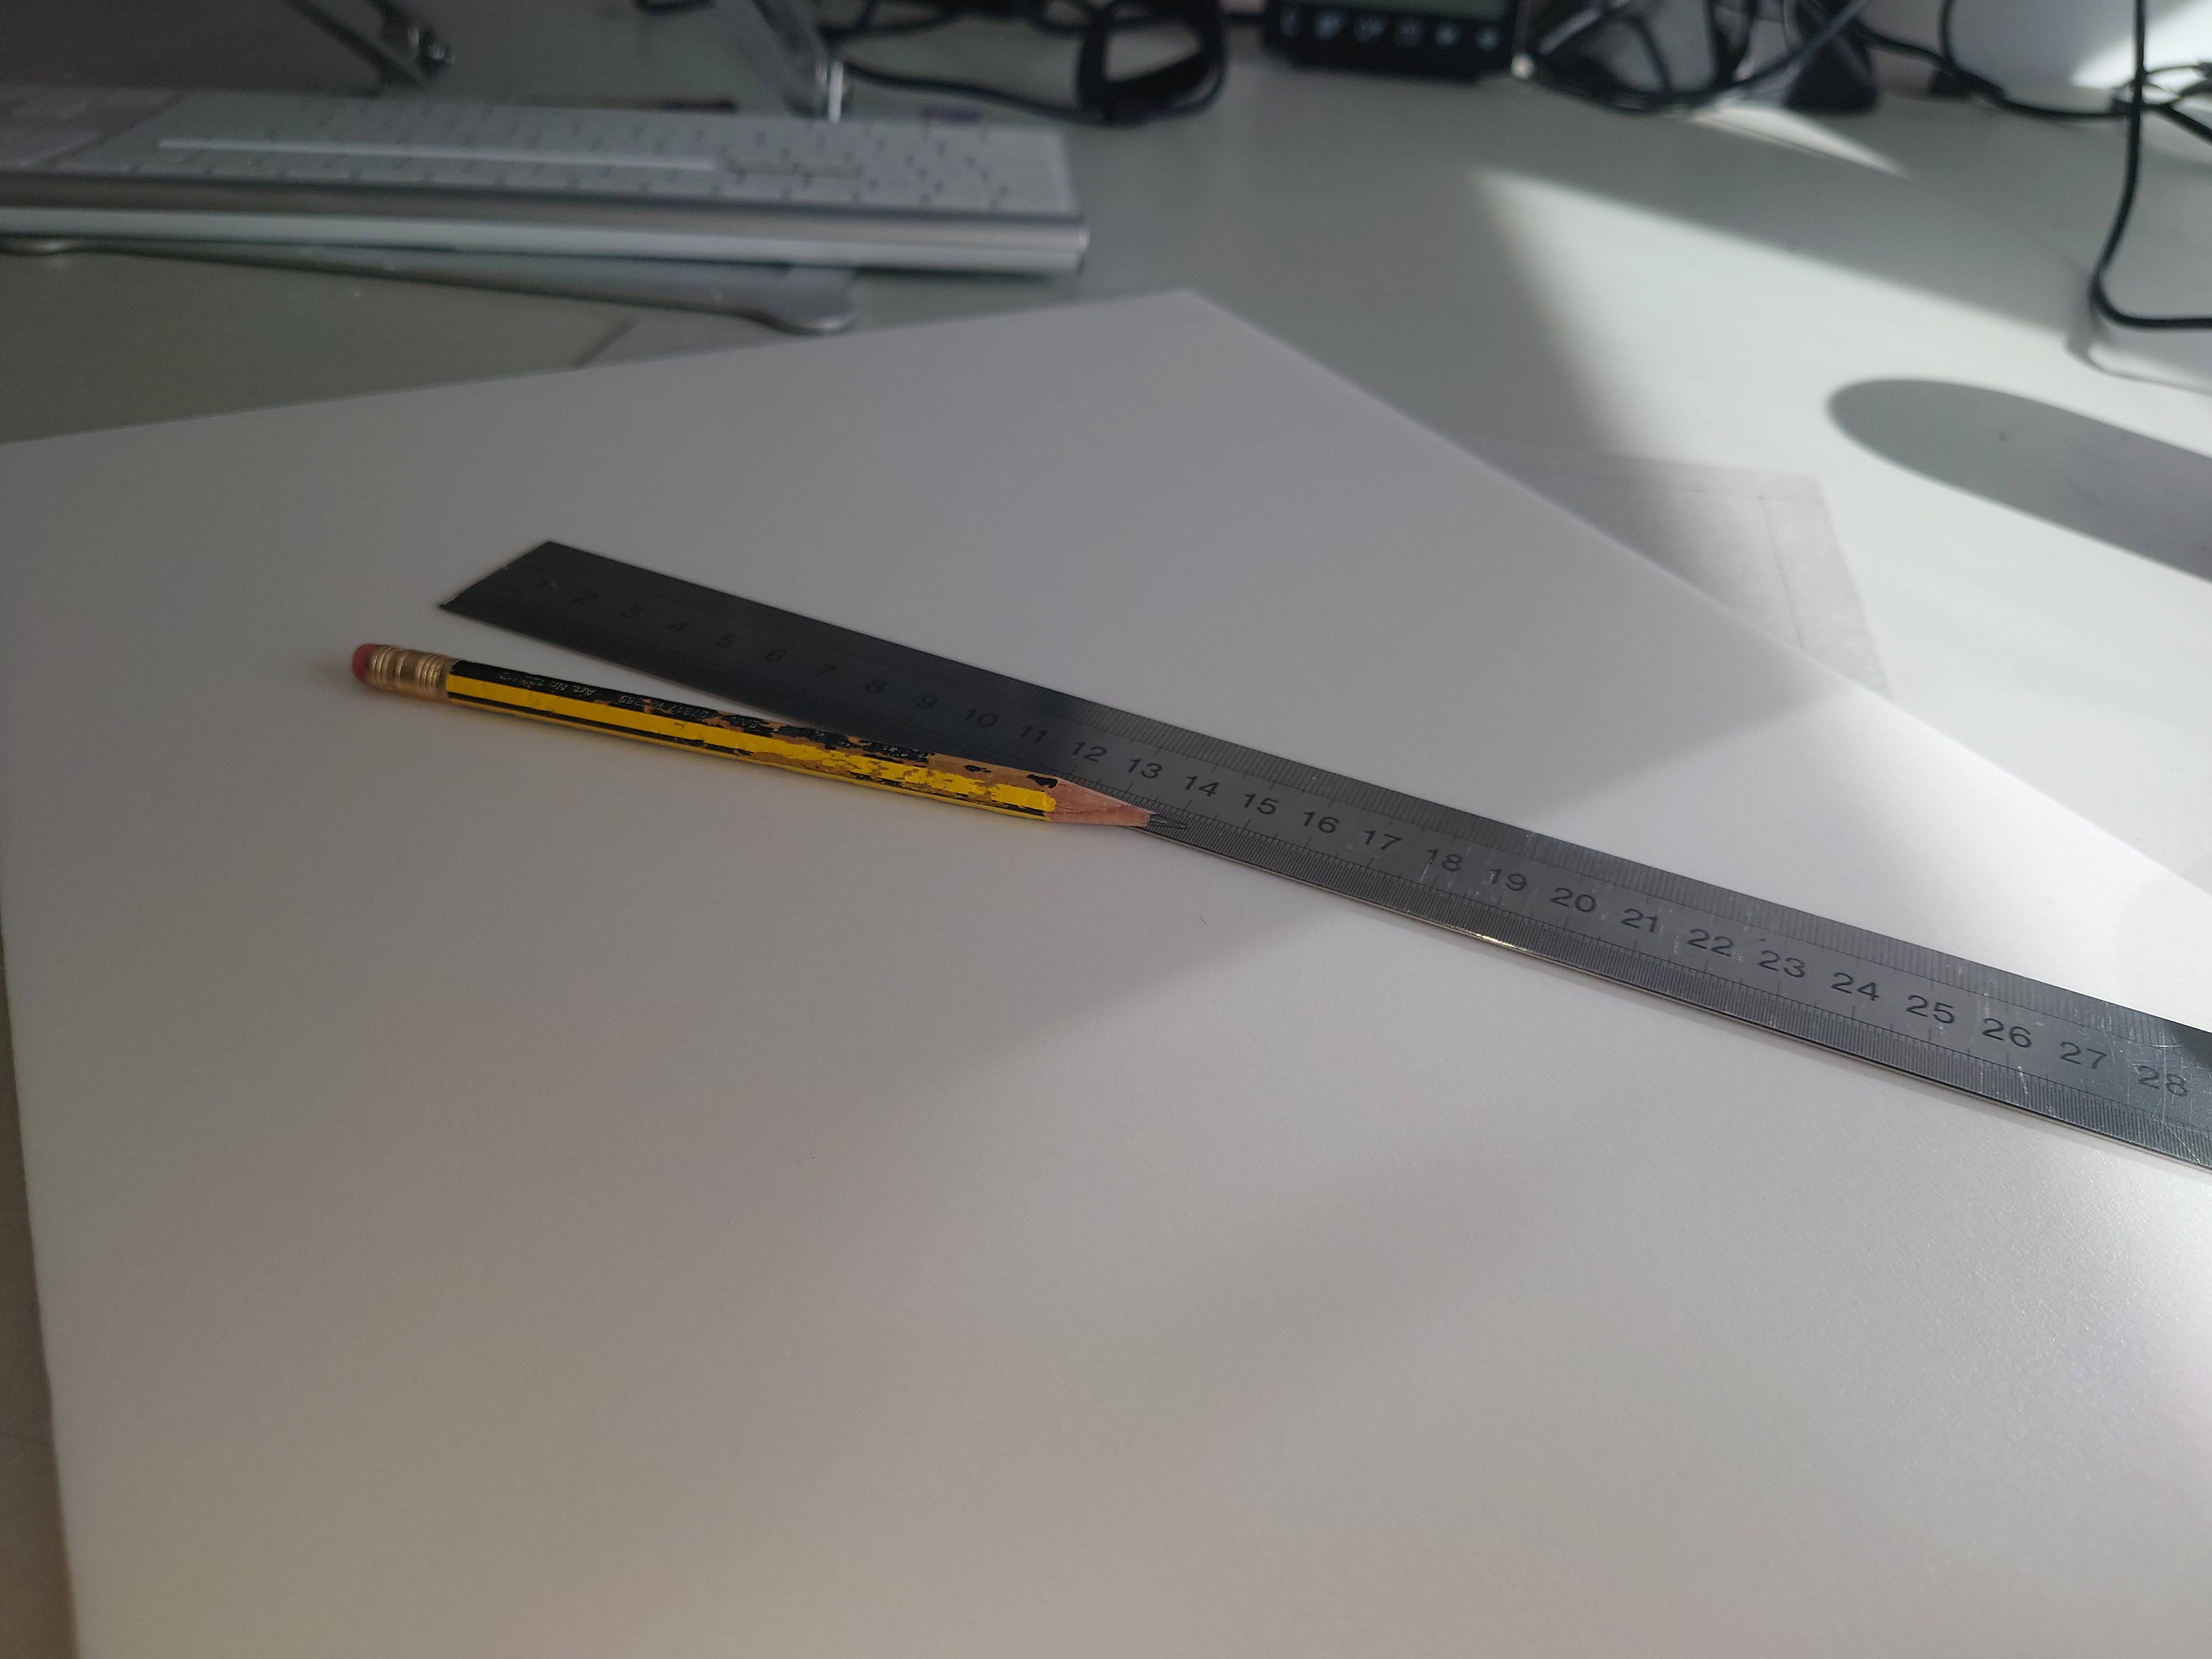 Example of card stock, foam core a pencil and ruler the most important items of the build
![StarCraft Tabletop Miniatures Game Pre-Orders Live Now [Updated]](https://images.beastsofwar.com/2026/03/starcraft-tmg-news-cover-600-338.jpg)


![Mounted US Cavalry On Kickstarter For Dead Man’s Hand! [Updated]](https://images.beastsofwar.com/2026/03/us-cavalry-main-600-338.jpg)


![Play WW2 Commando Operations With Butcher & Bolt [Updated]](https://images.beastsofwar.com/2026/03/relaunch-600-338.jpg)


