


Building the Old West


Recommendations: 1292
About the Project
I attempt to make an Old West town to play Fistful of Lead, Reloaded.
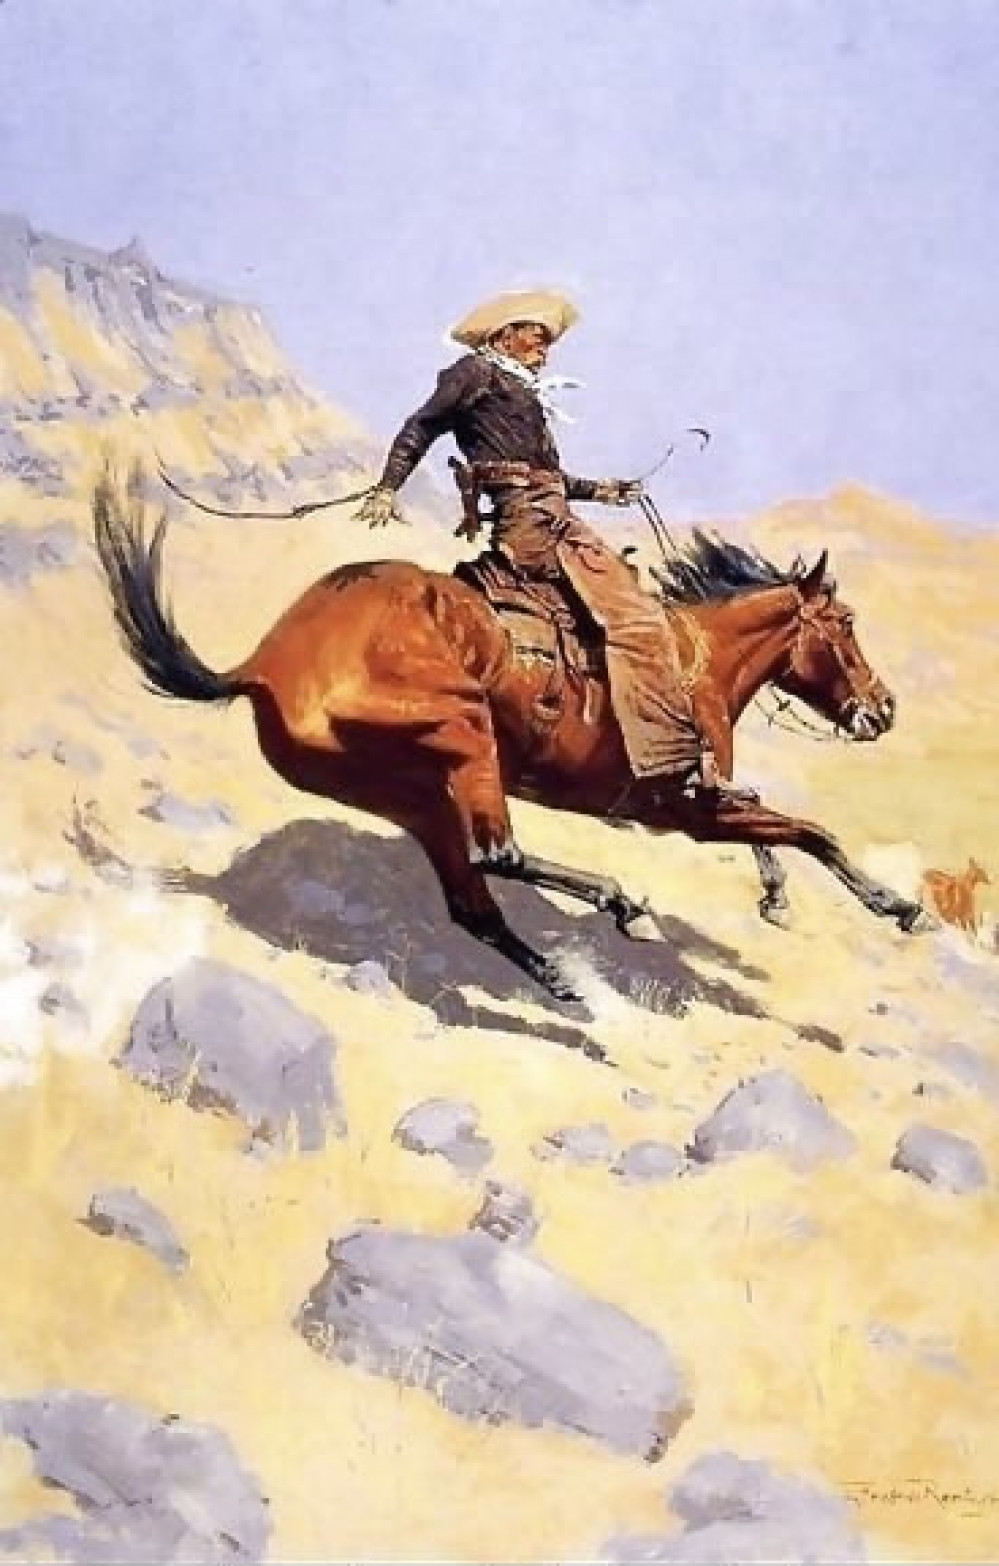
Related Genre: Western
Related Contest: TerrainFest 2023
This Project is Active
Saloon Pt 7
Legend has it that the proprietor of the Palace Saloon was one of the first gold miners to strike it rich and he cashed in and built the Palace. Some say it was just a shrewd business move others say he just wanted a drink. Either way it’s the single biggest cash cow in town.
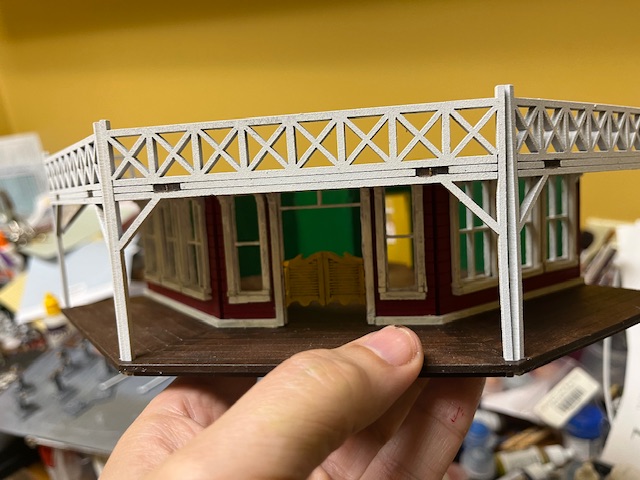
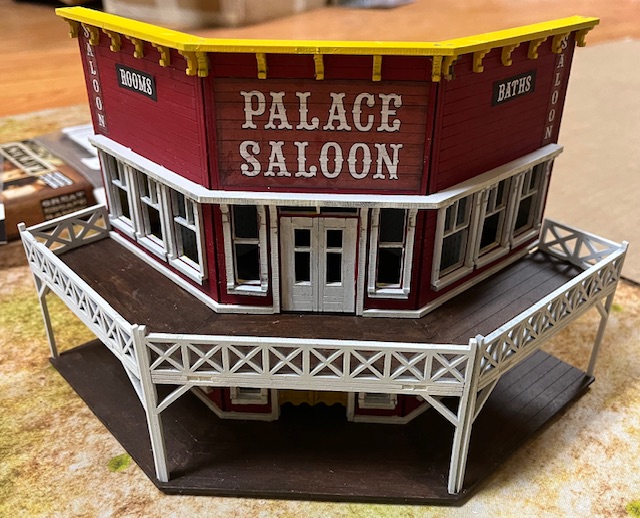 Mostly done. There are a few spots that need some touch ups.
 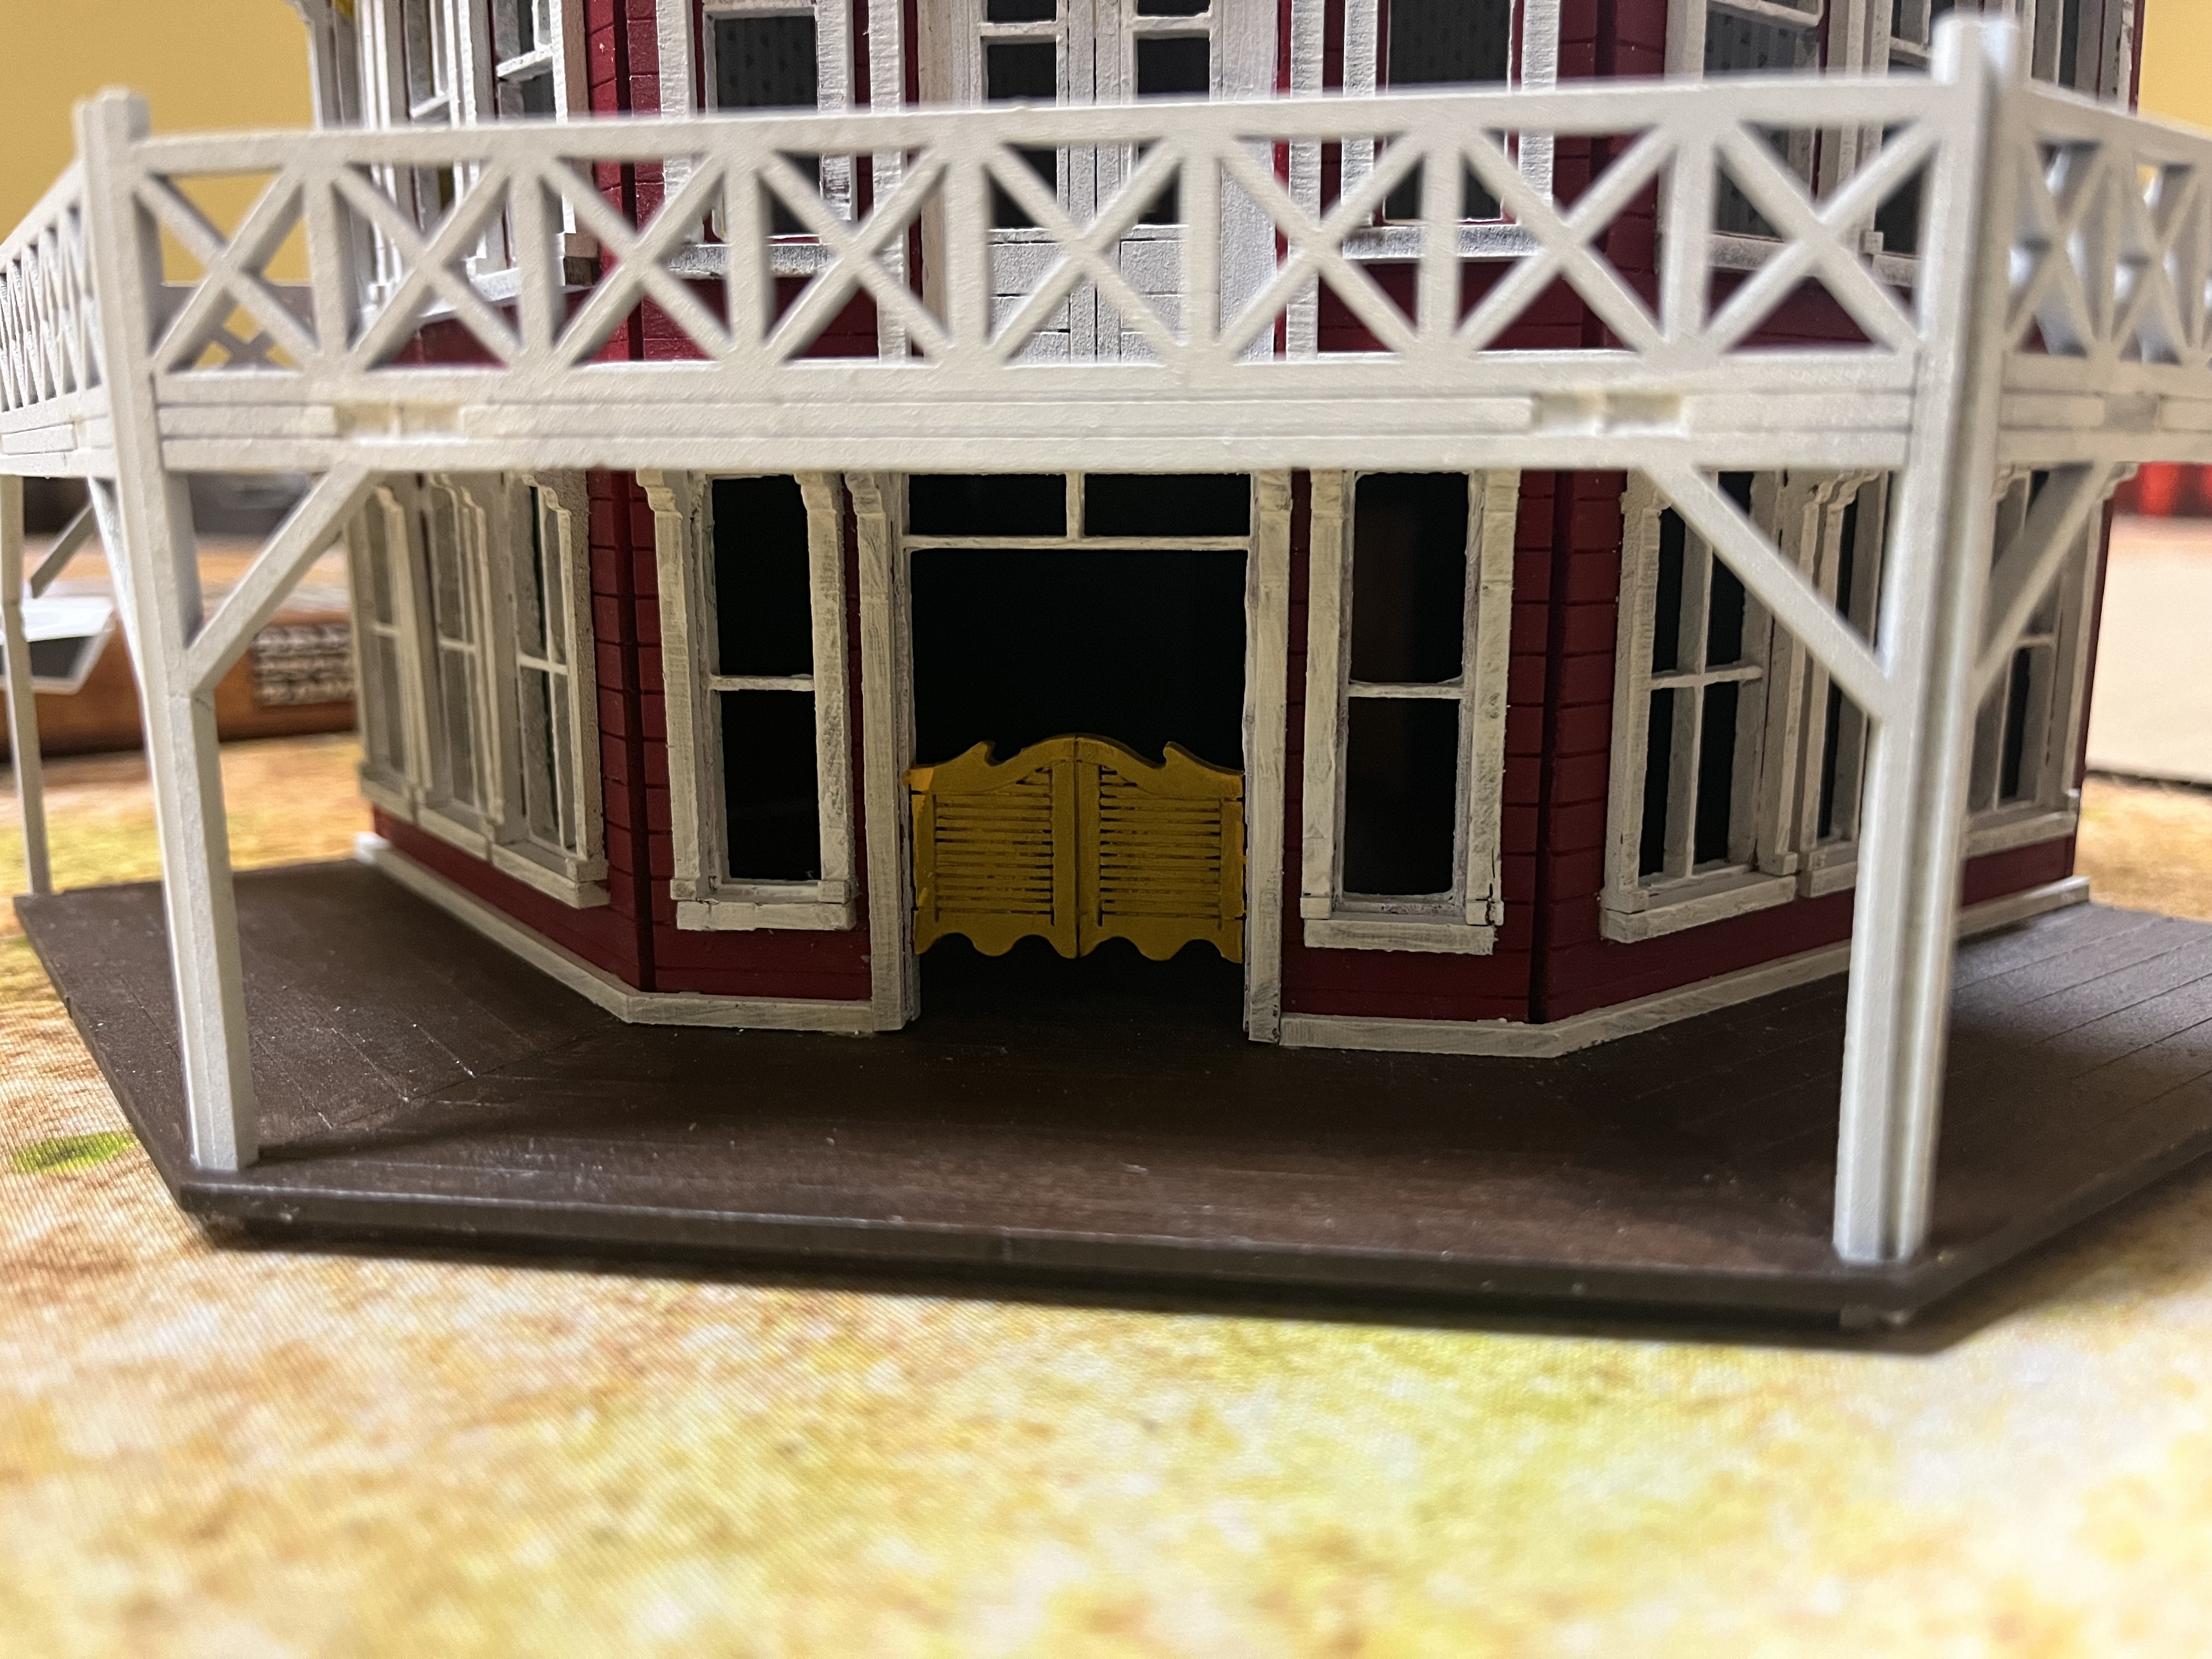 Ground level view.
 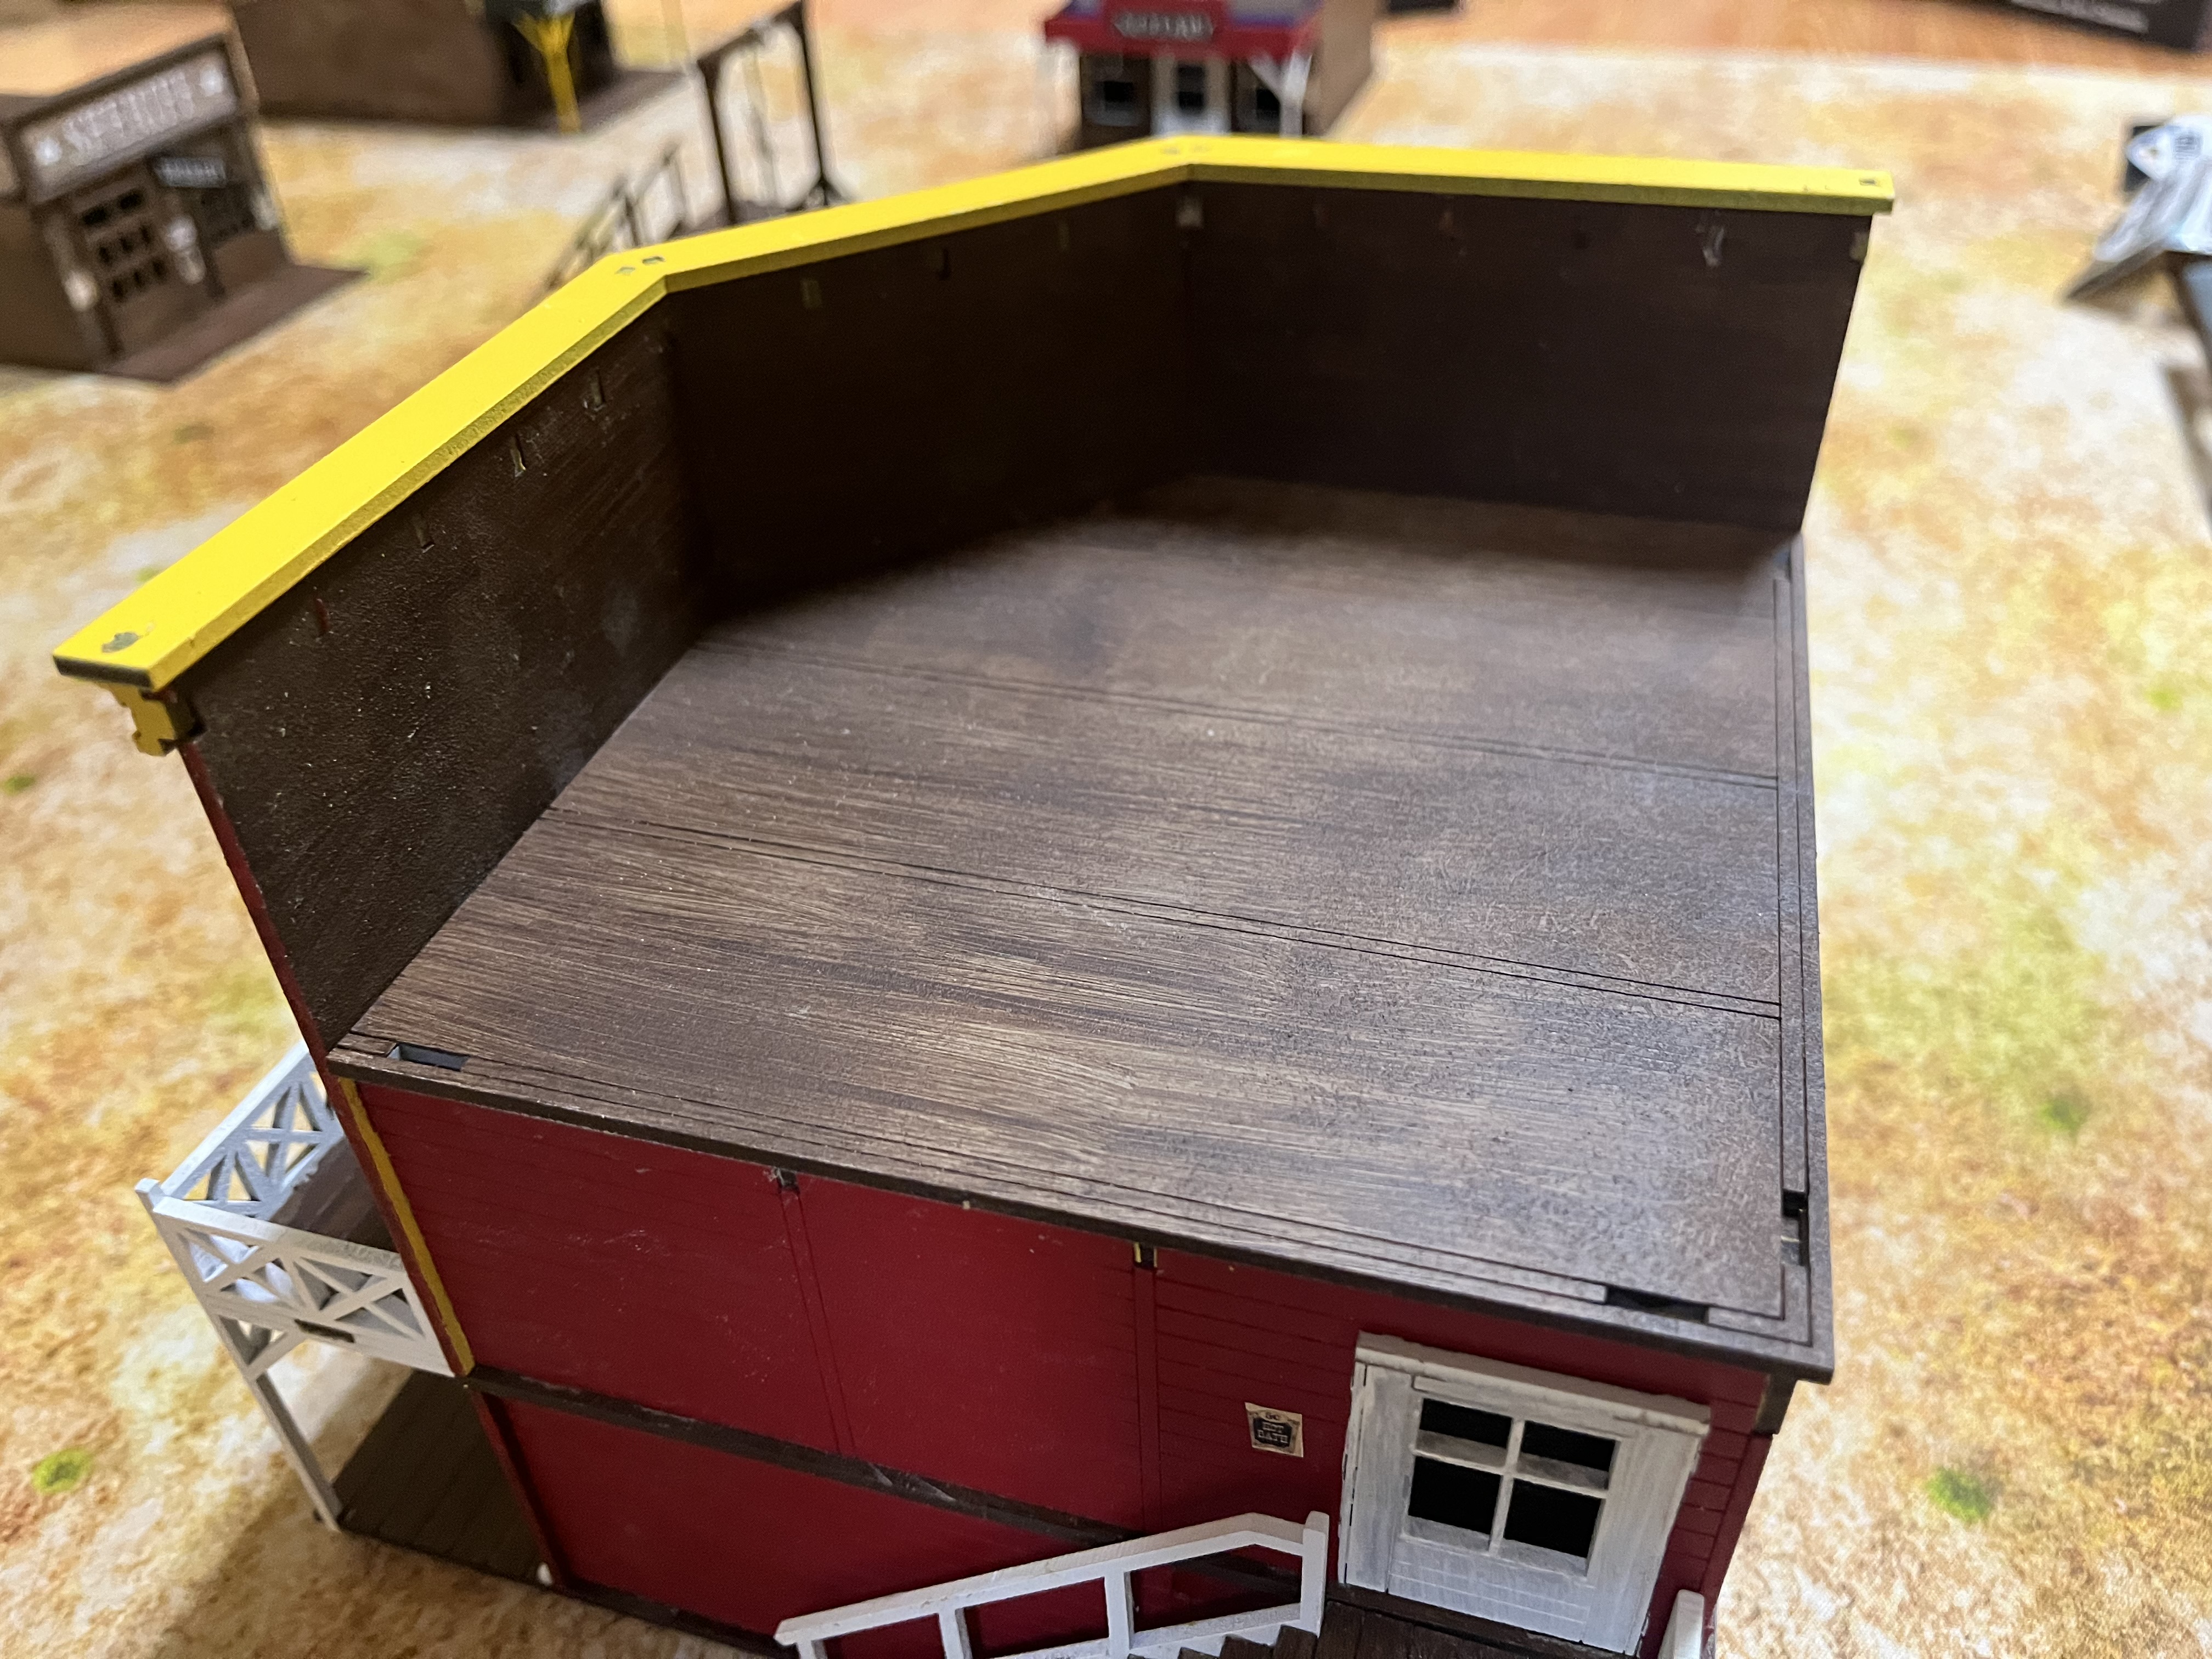 Aerial view with roof in place.
 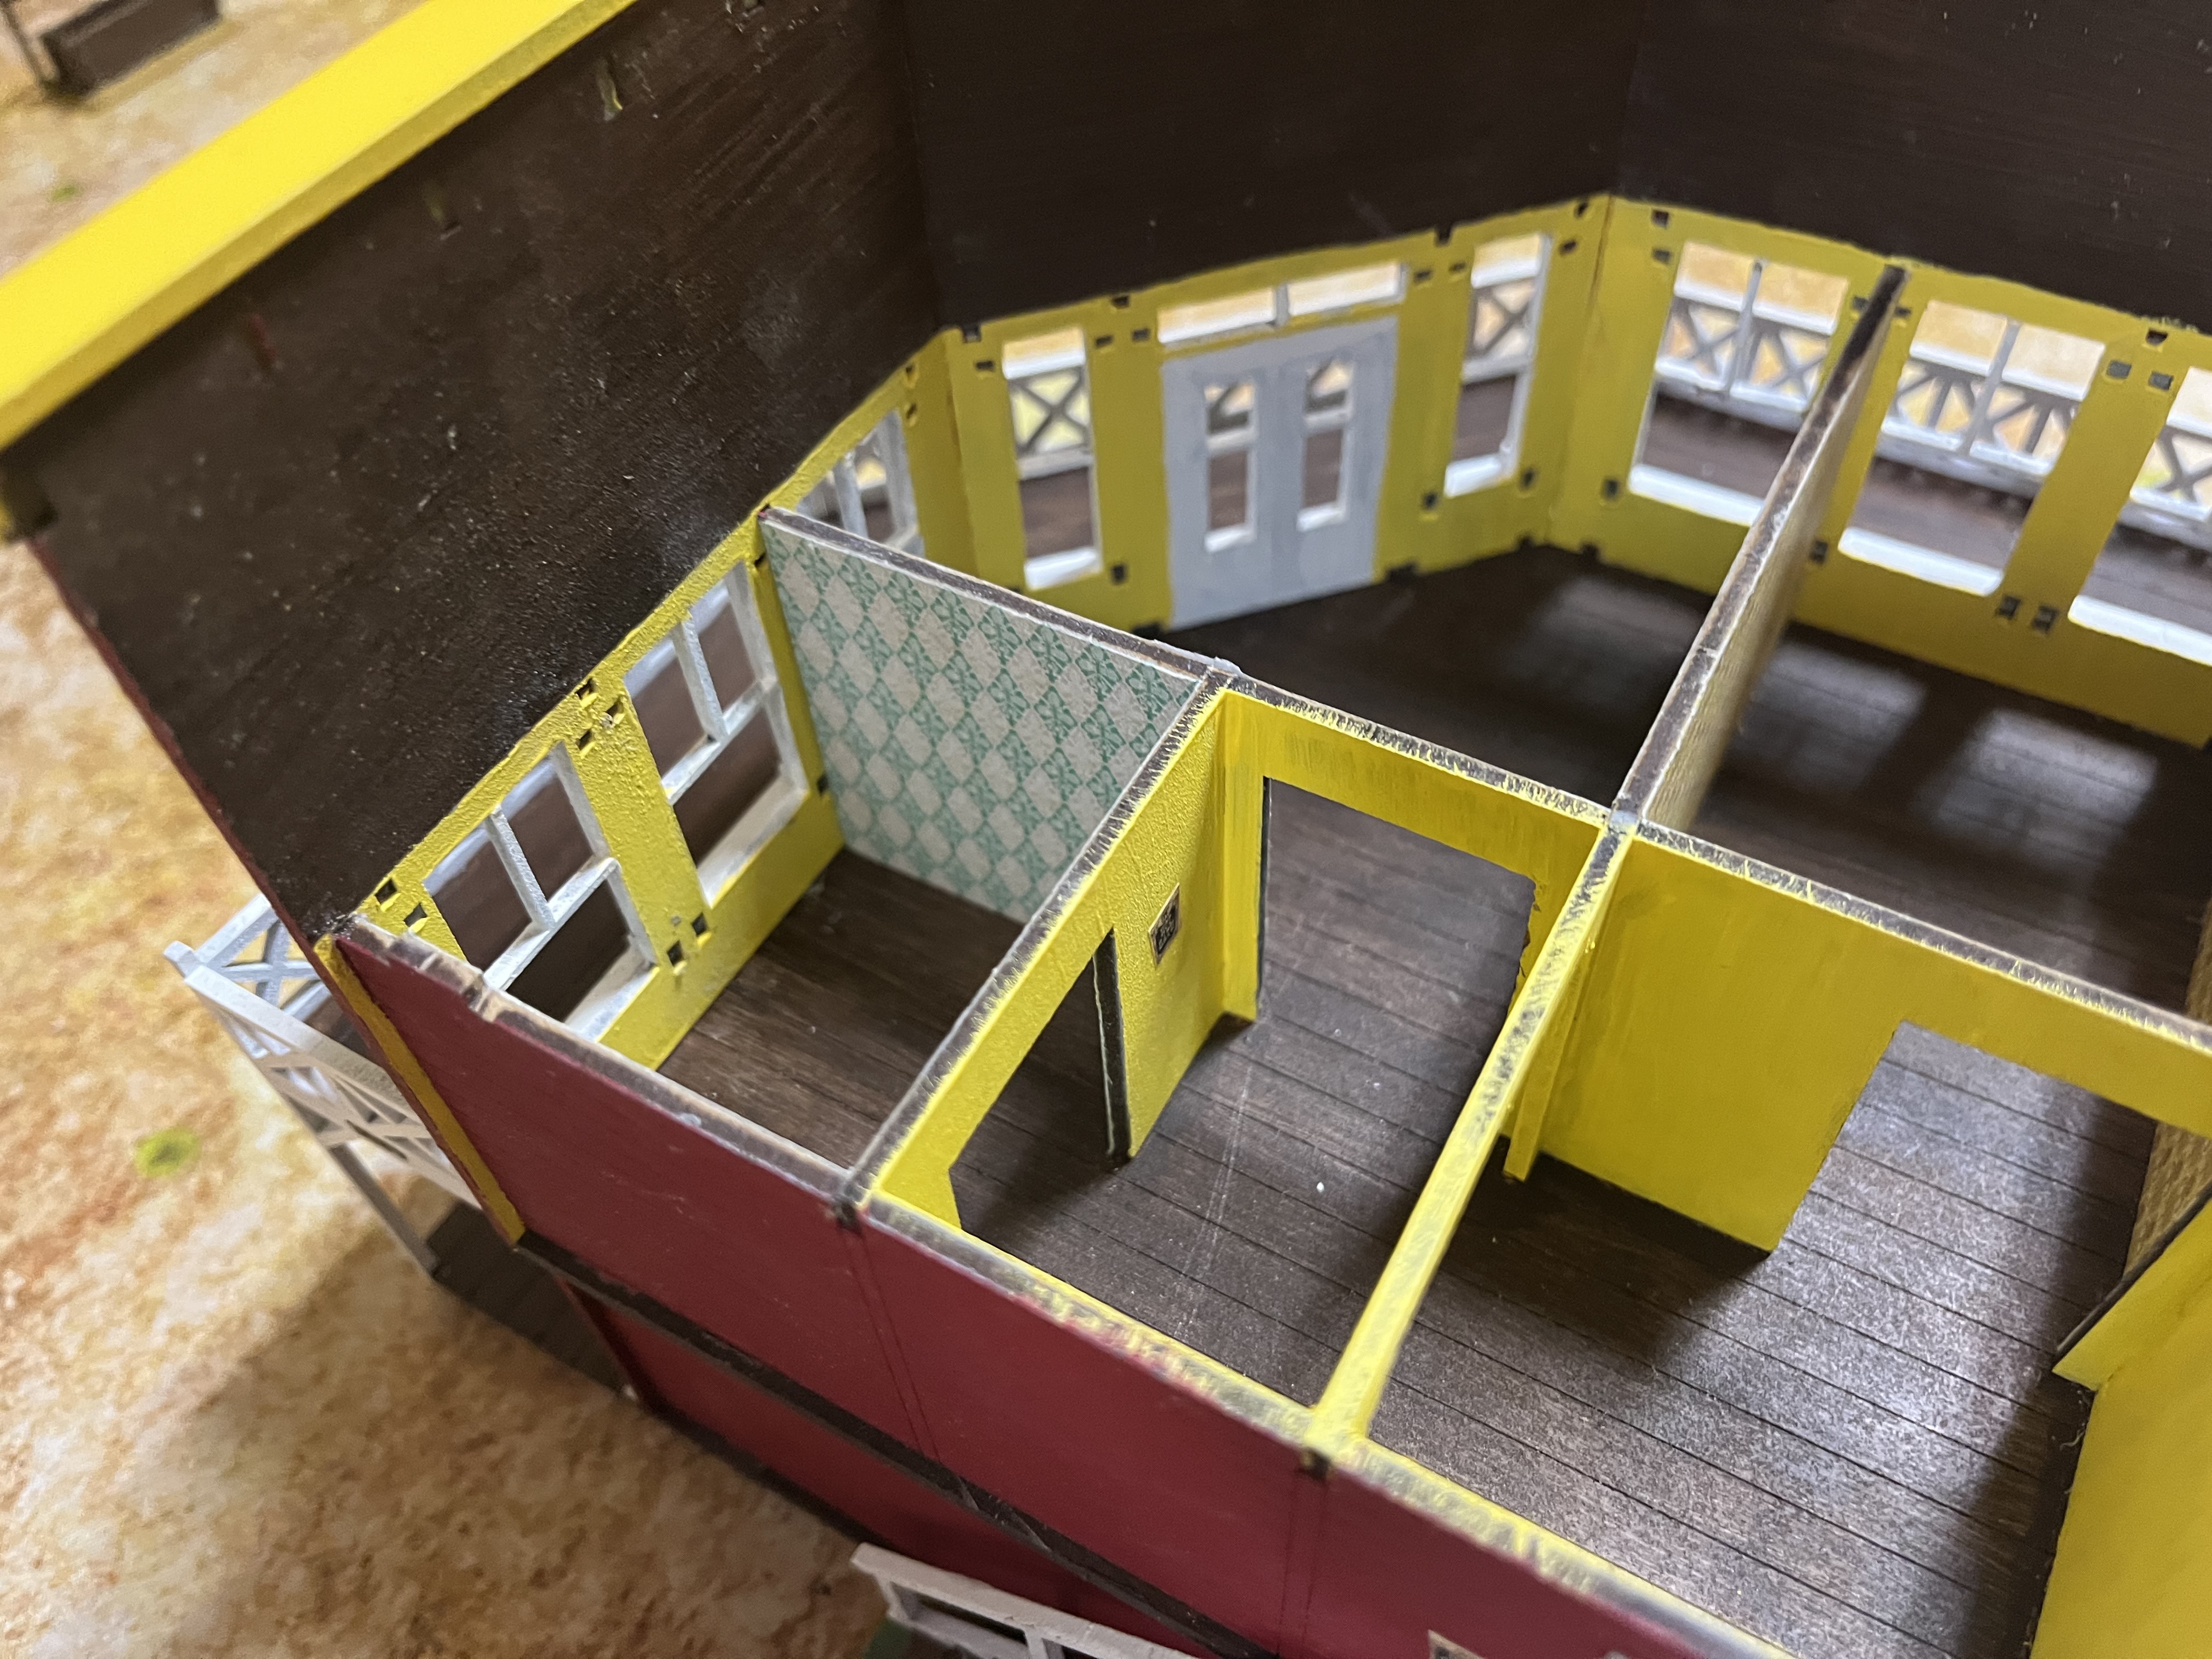 Roof removed showing the interior view of the second floor.
 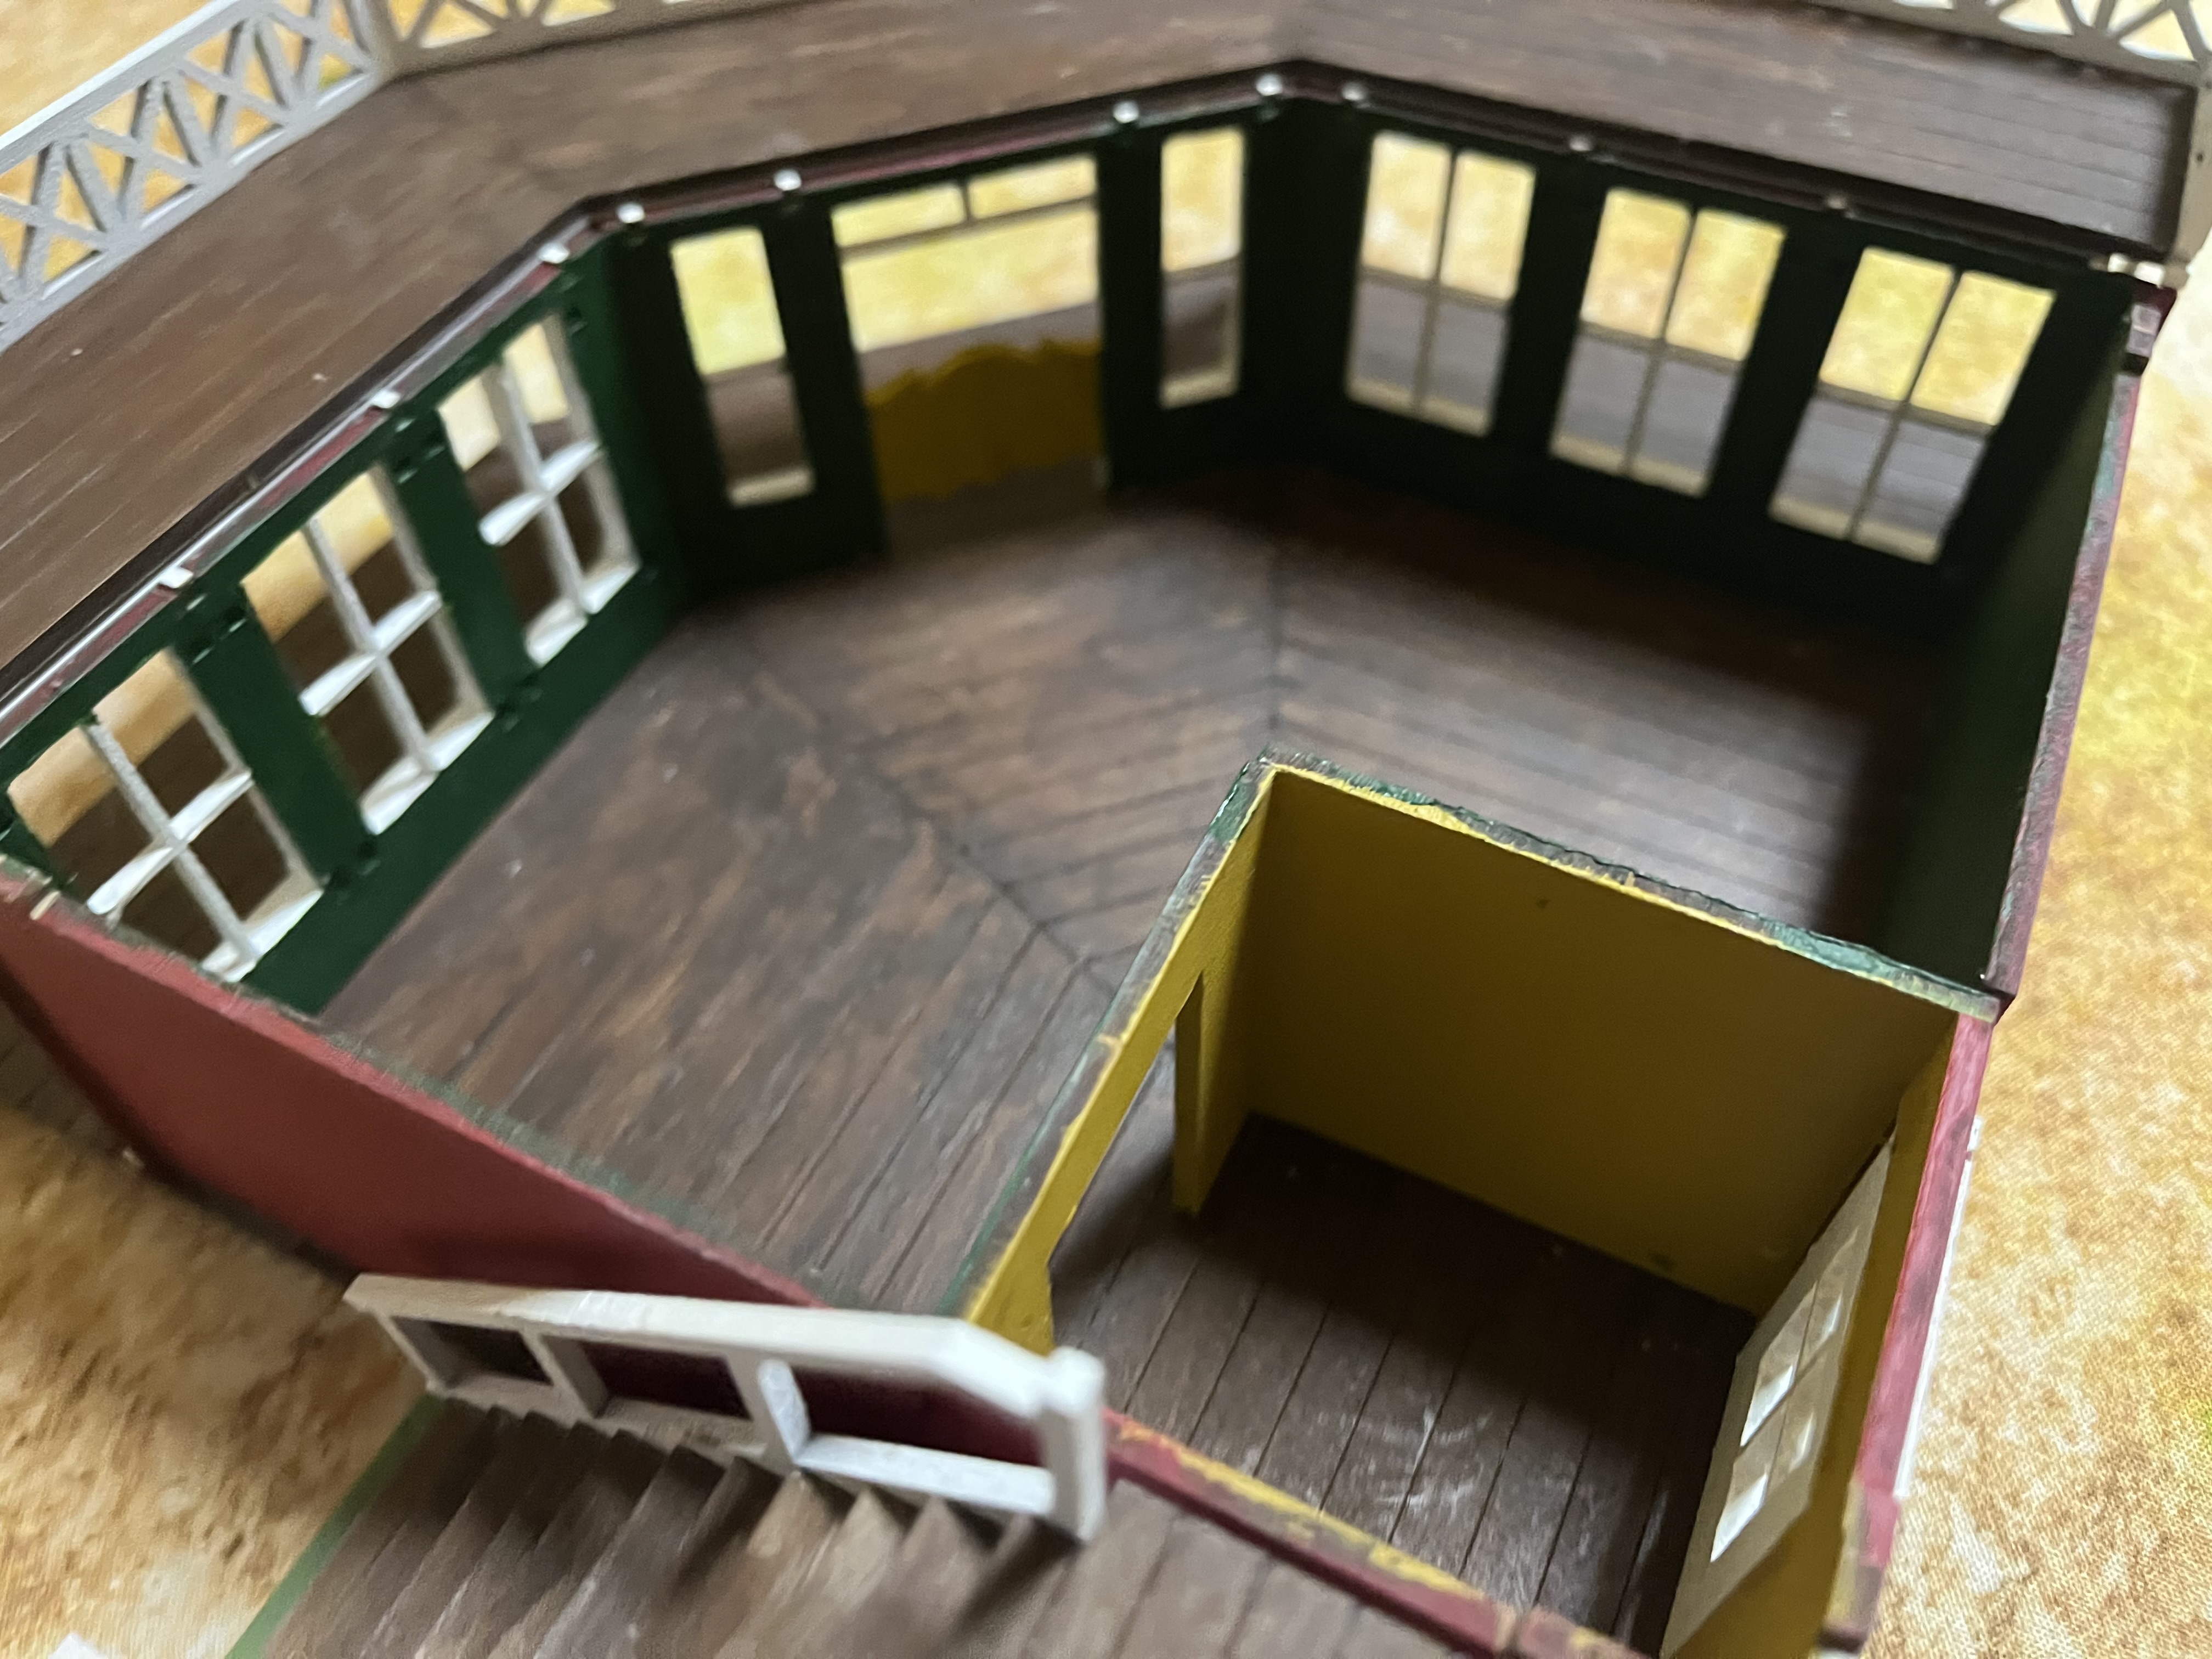 Second floor removed, with stairs left in place, showing the interior of the first floor.
 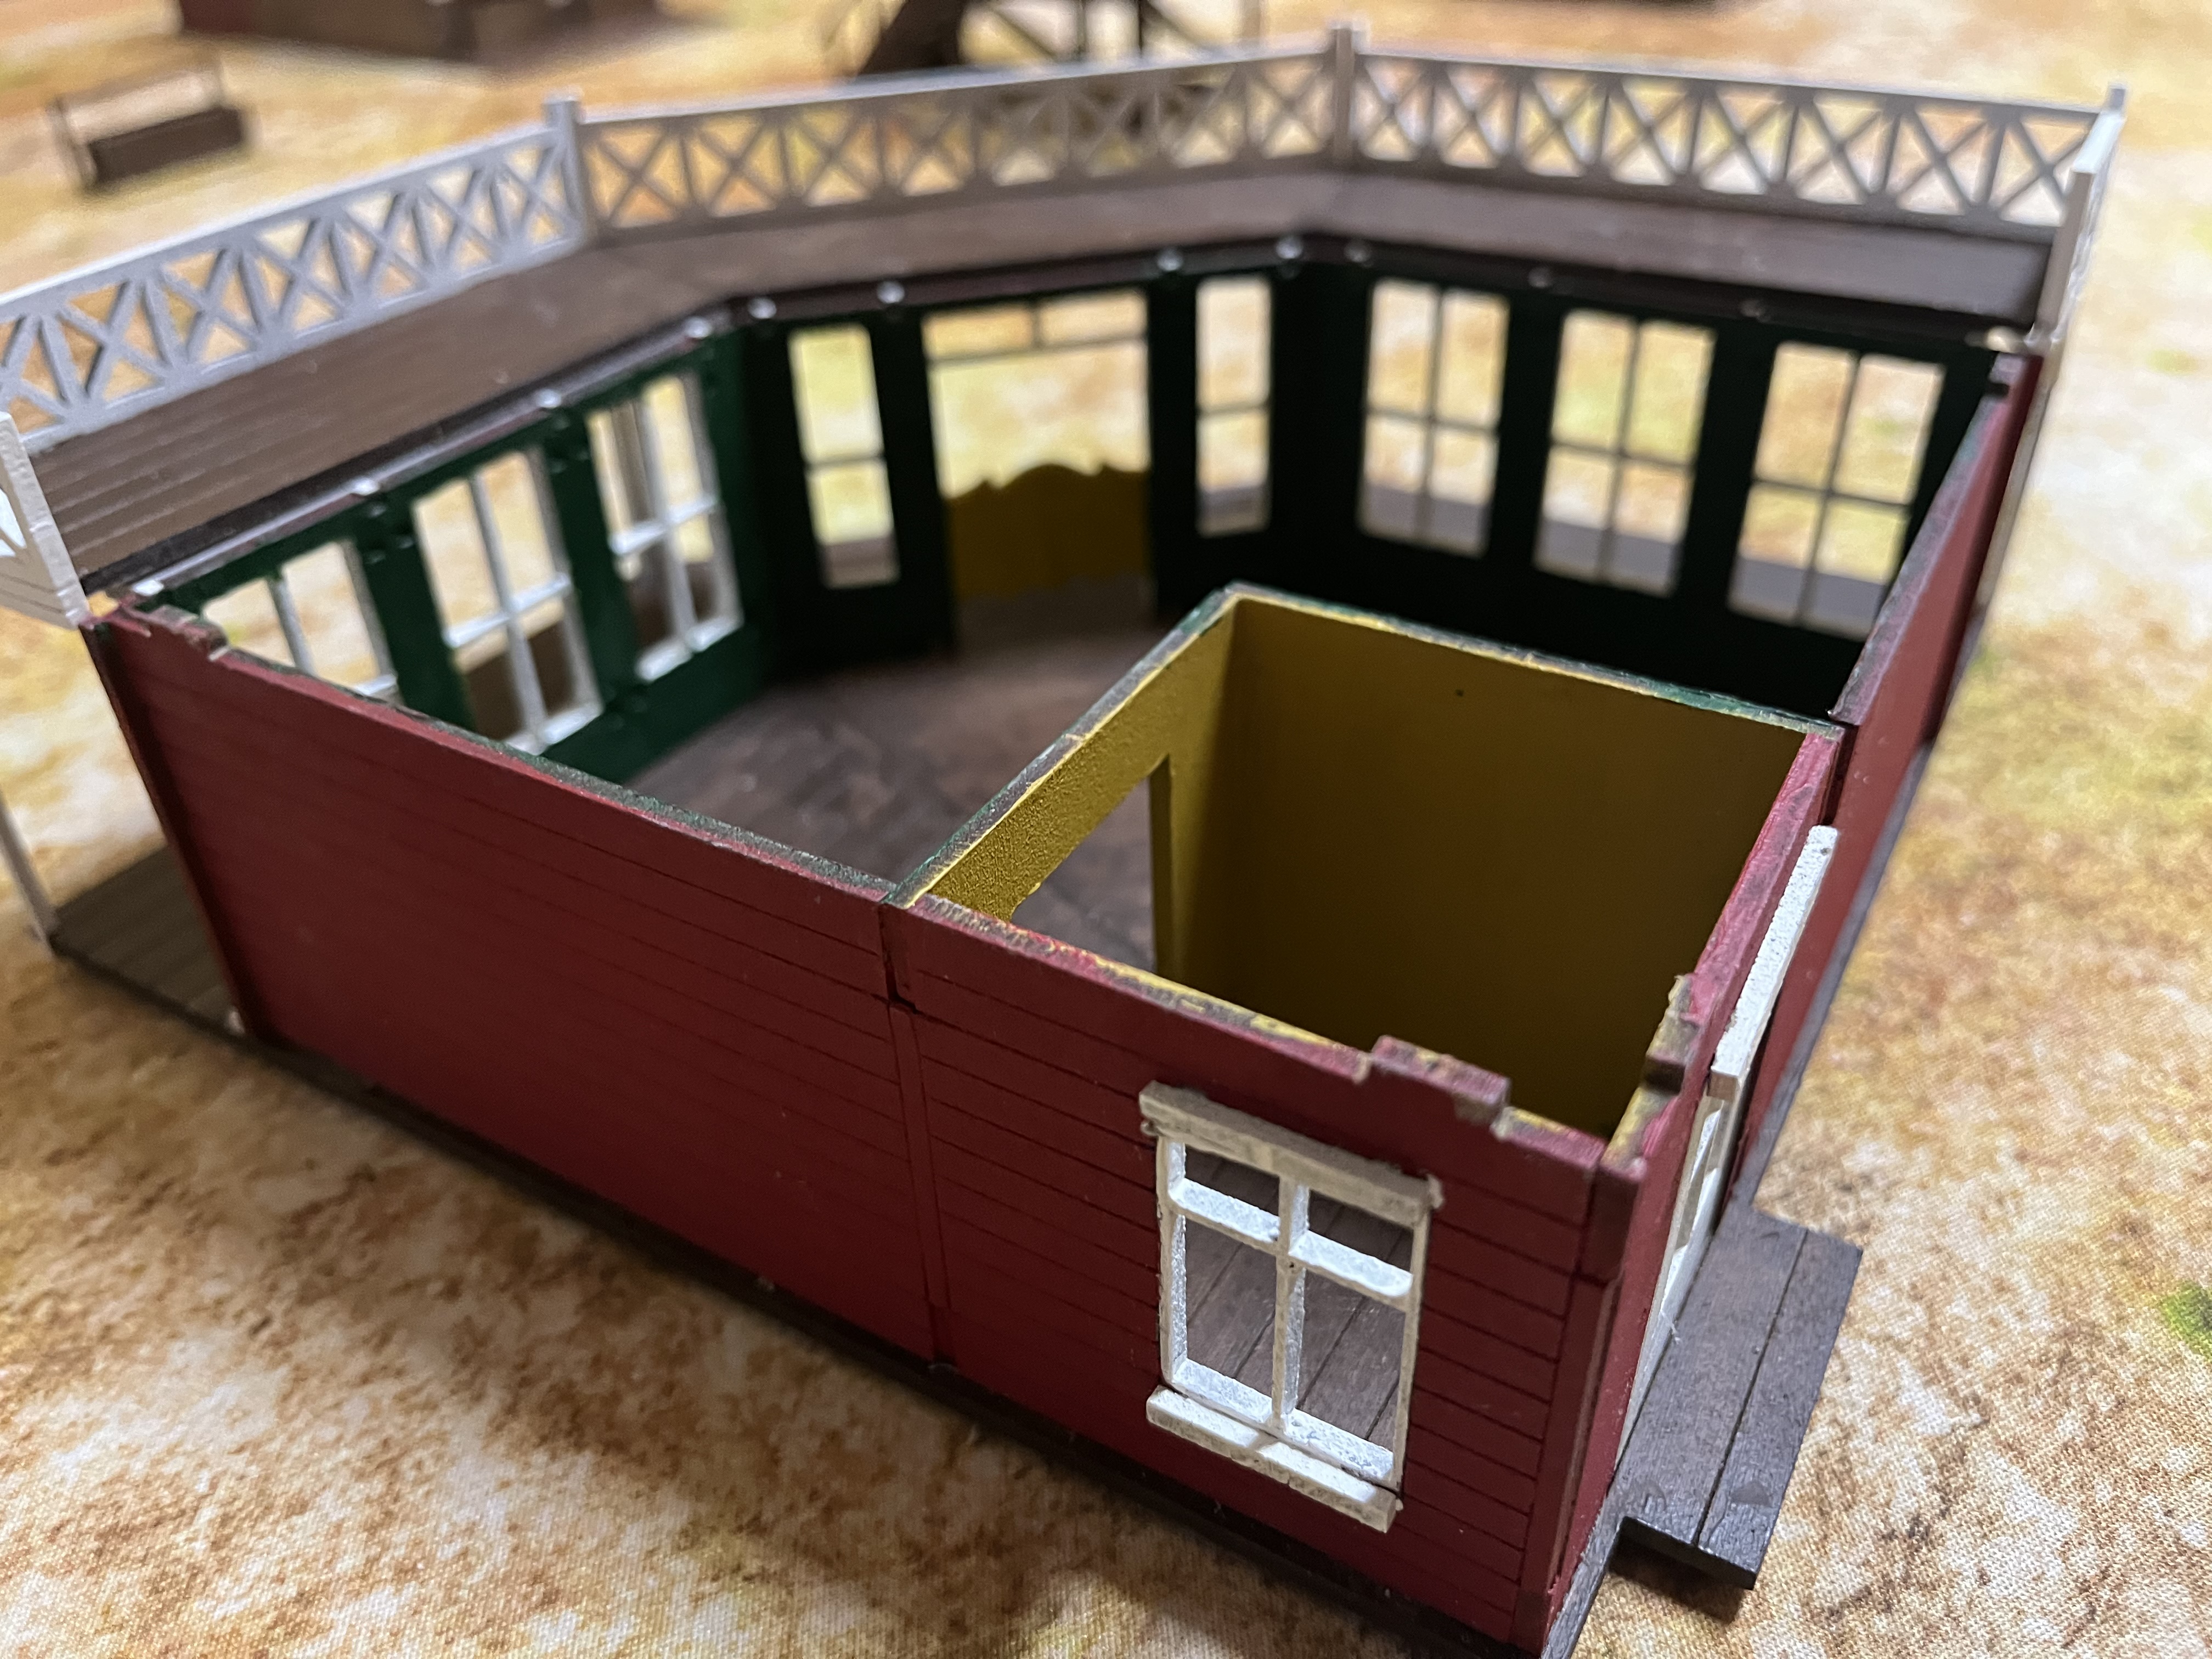 View with stairs removed.
 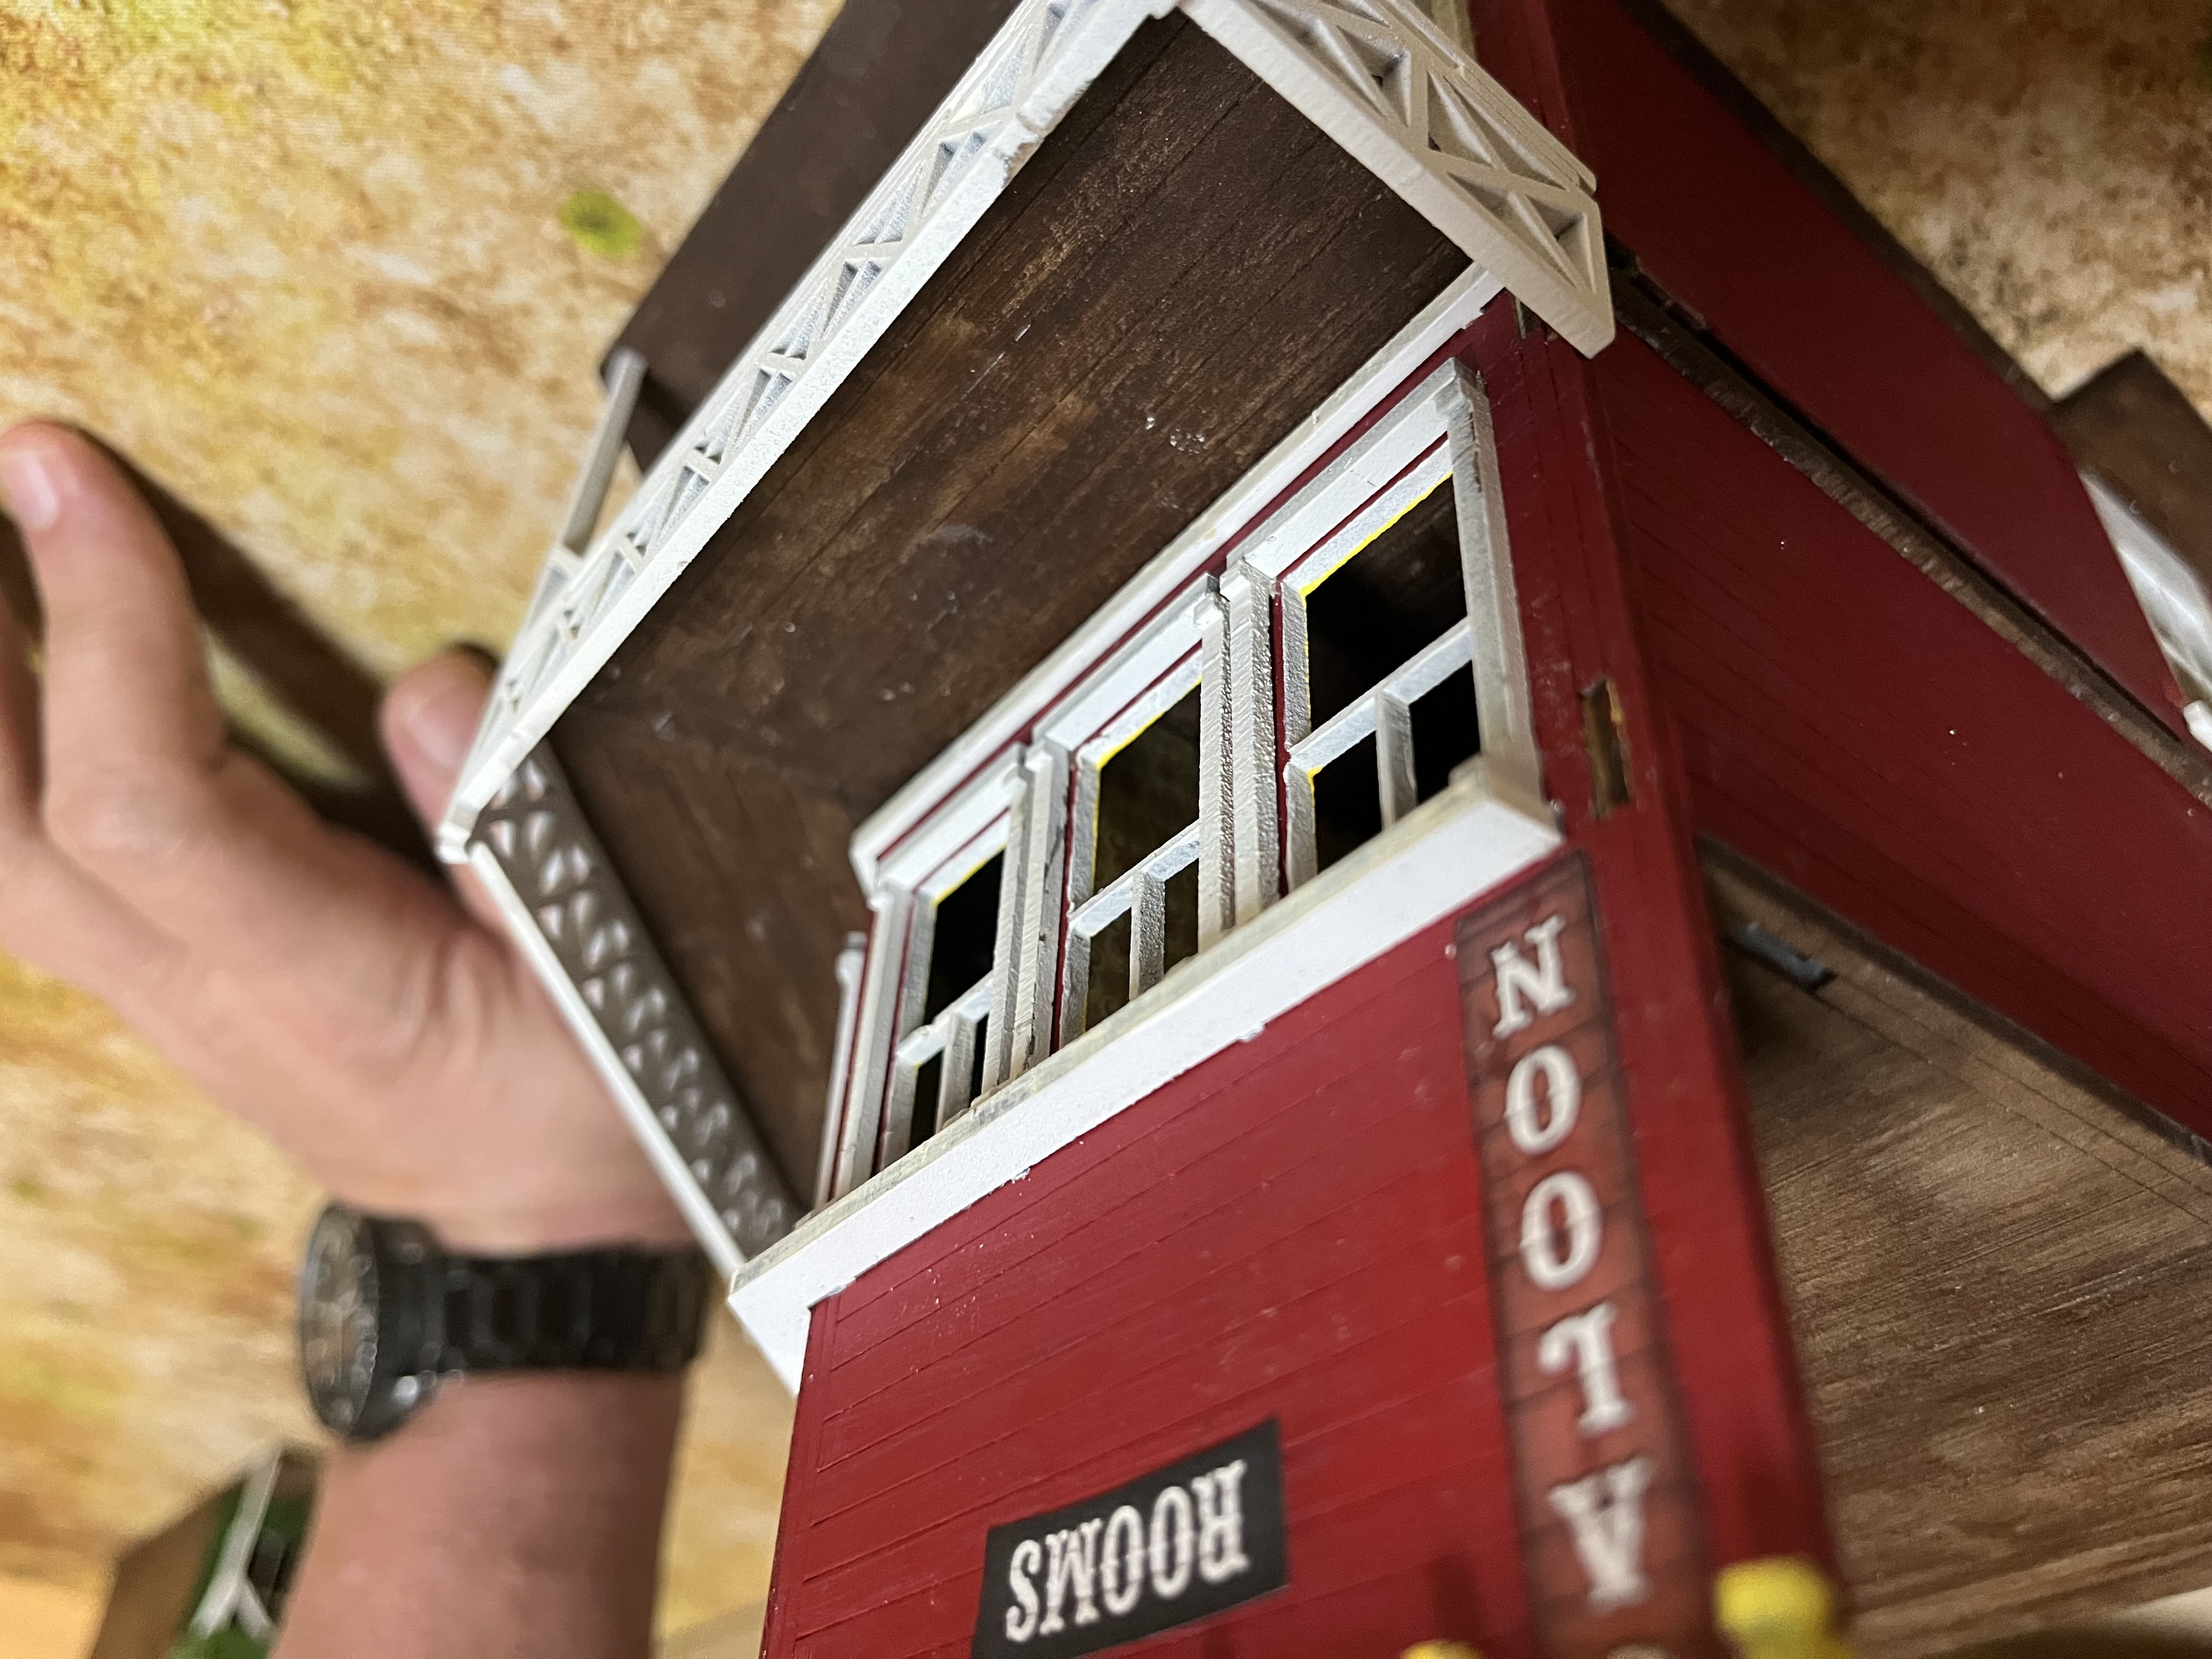 Another view of the balcony.
 Saloon Pt 6
 Balcony and railings glued in.
 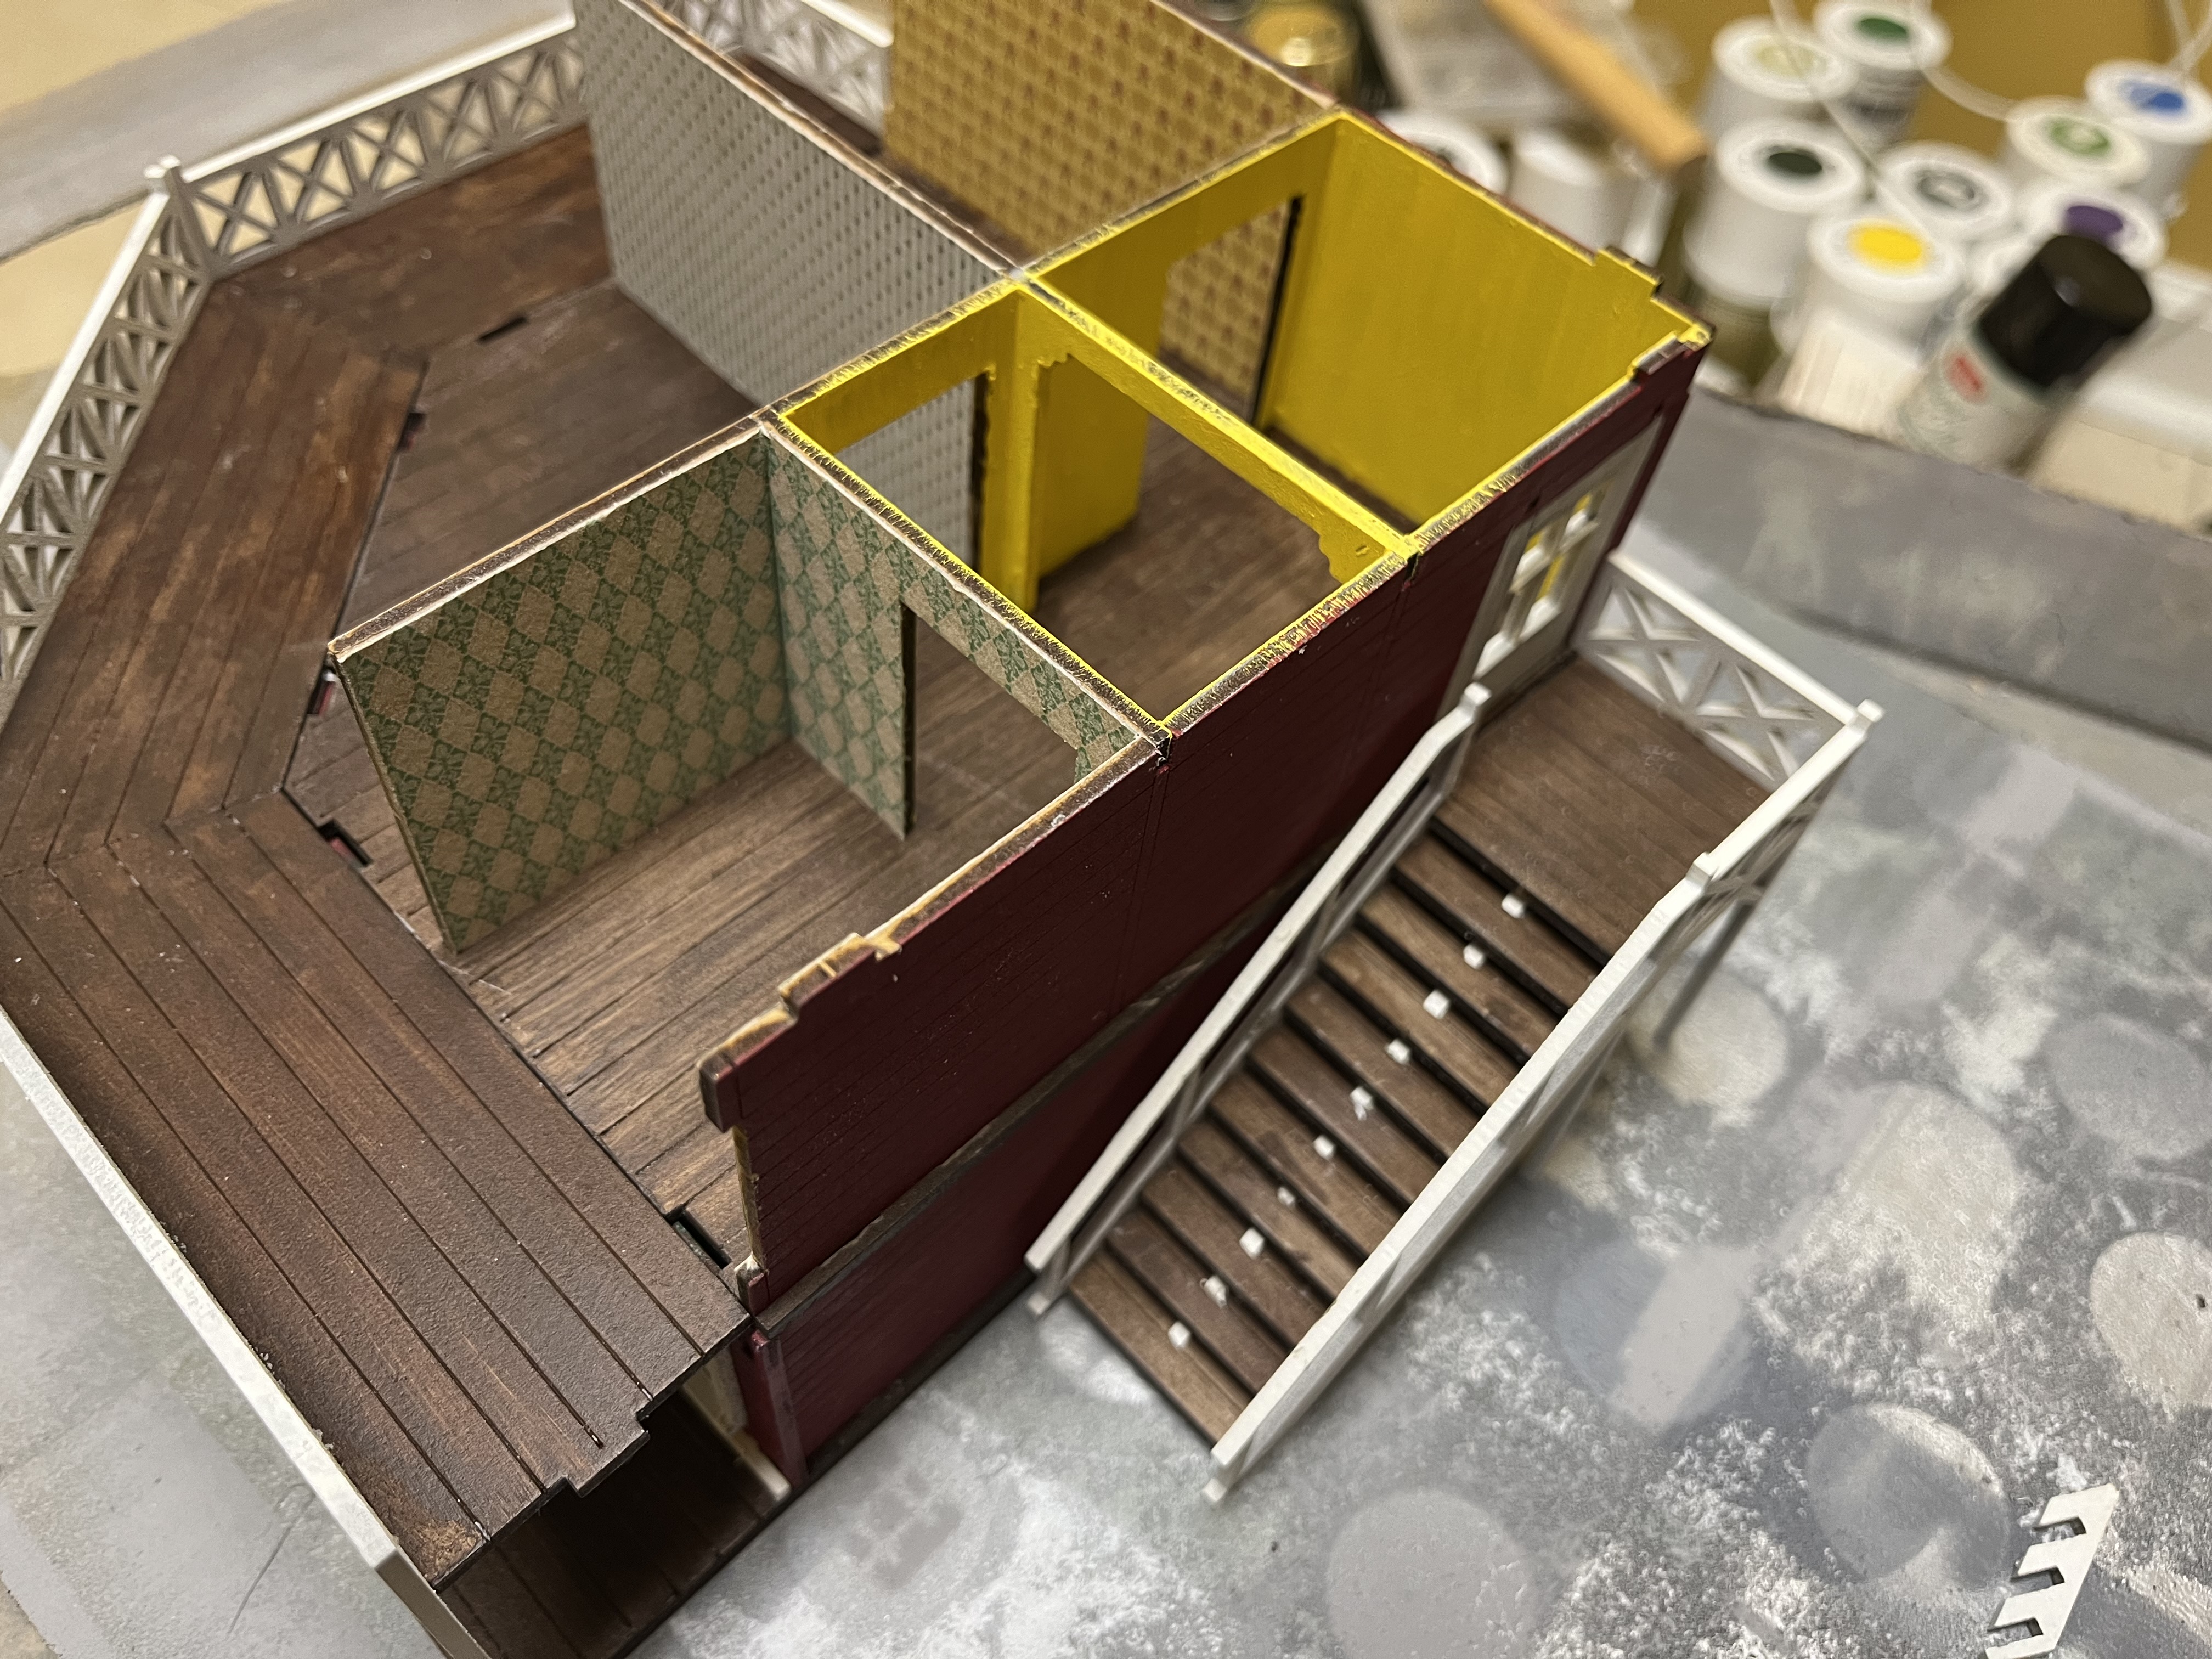 Second floor and stairs dry fitted into place. Still need to finish the balcony rail.
 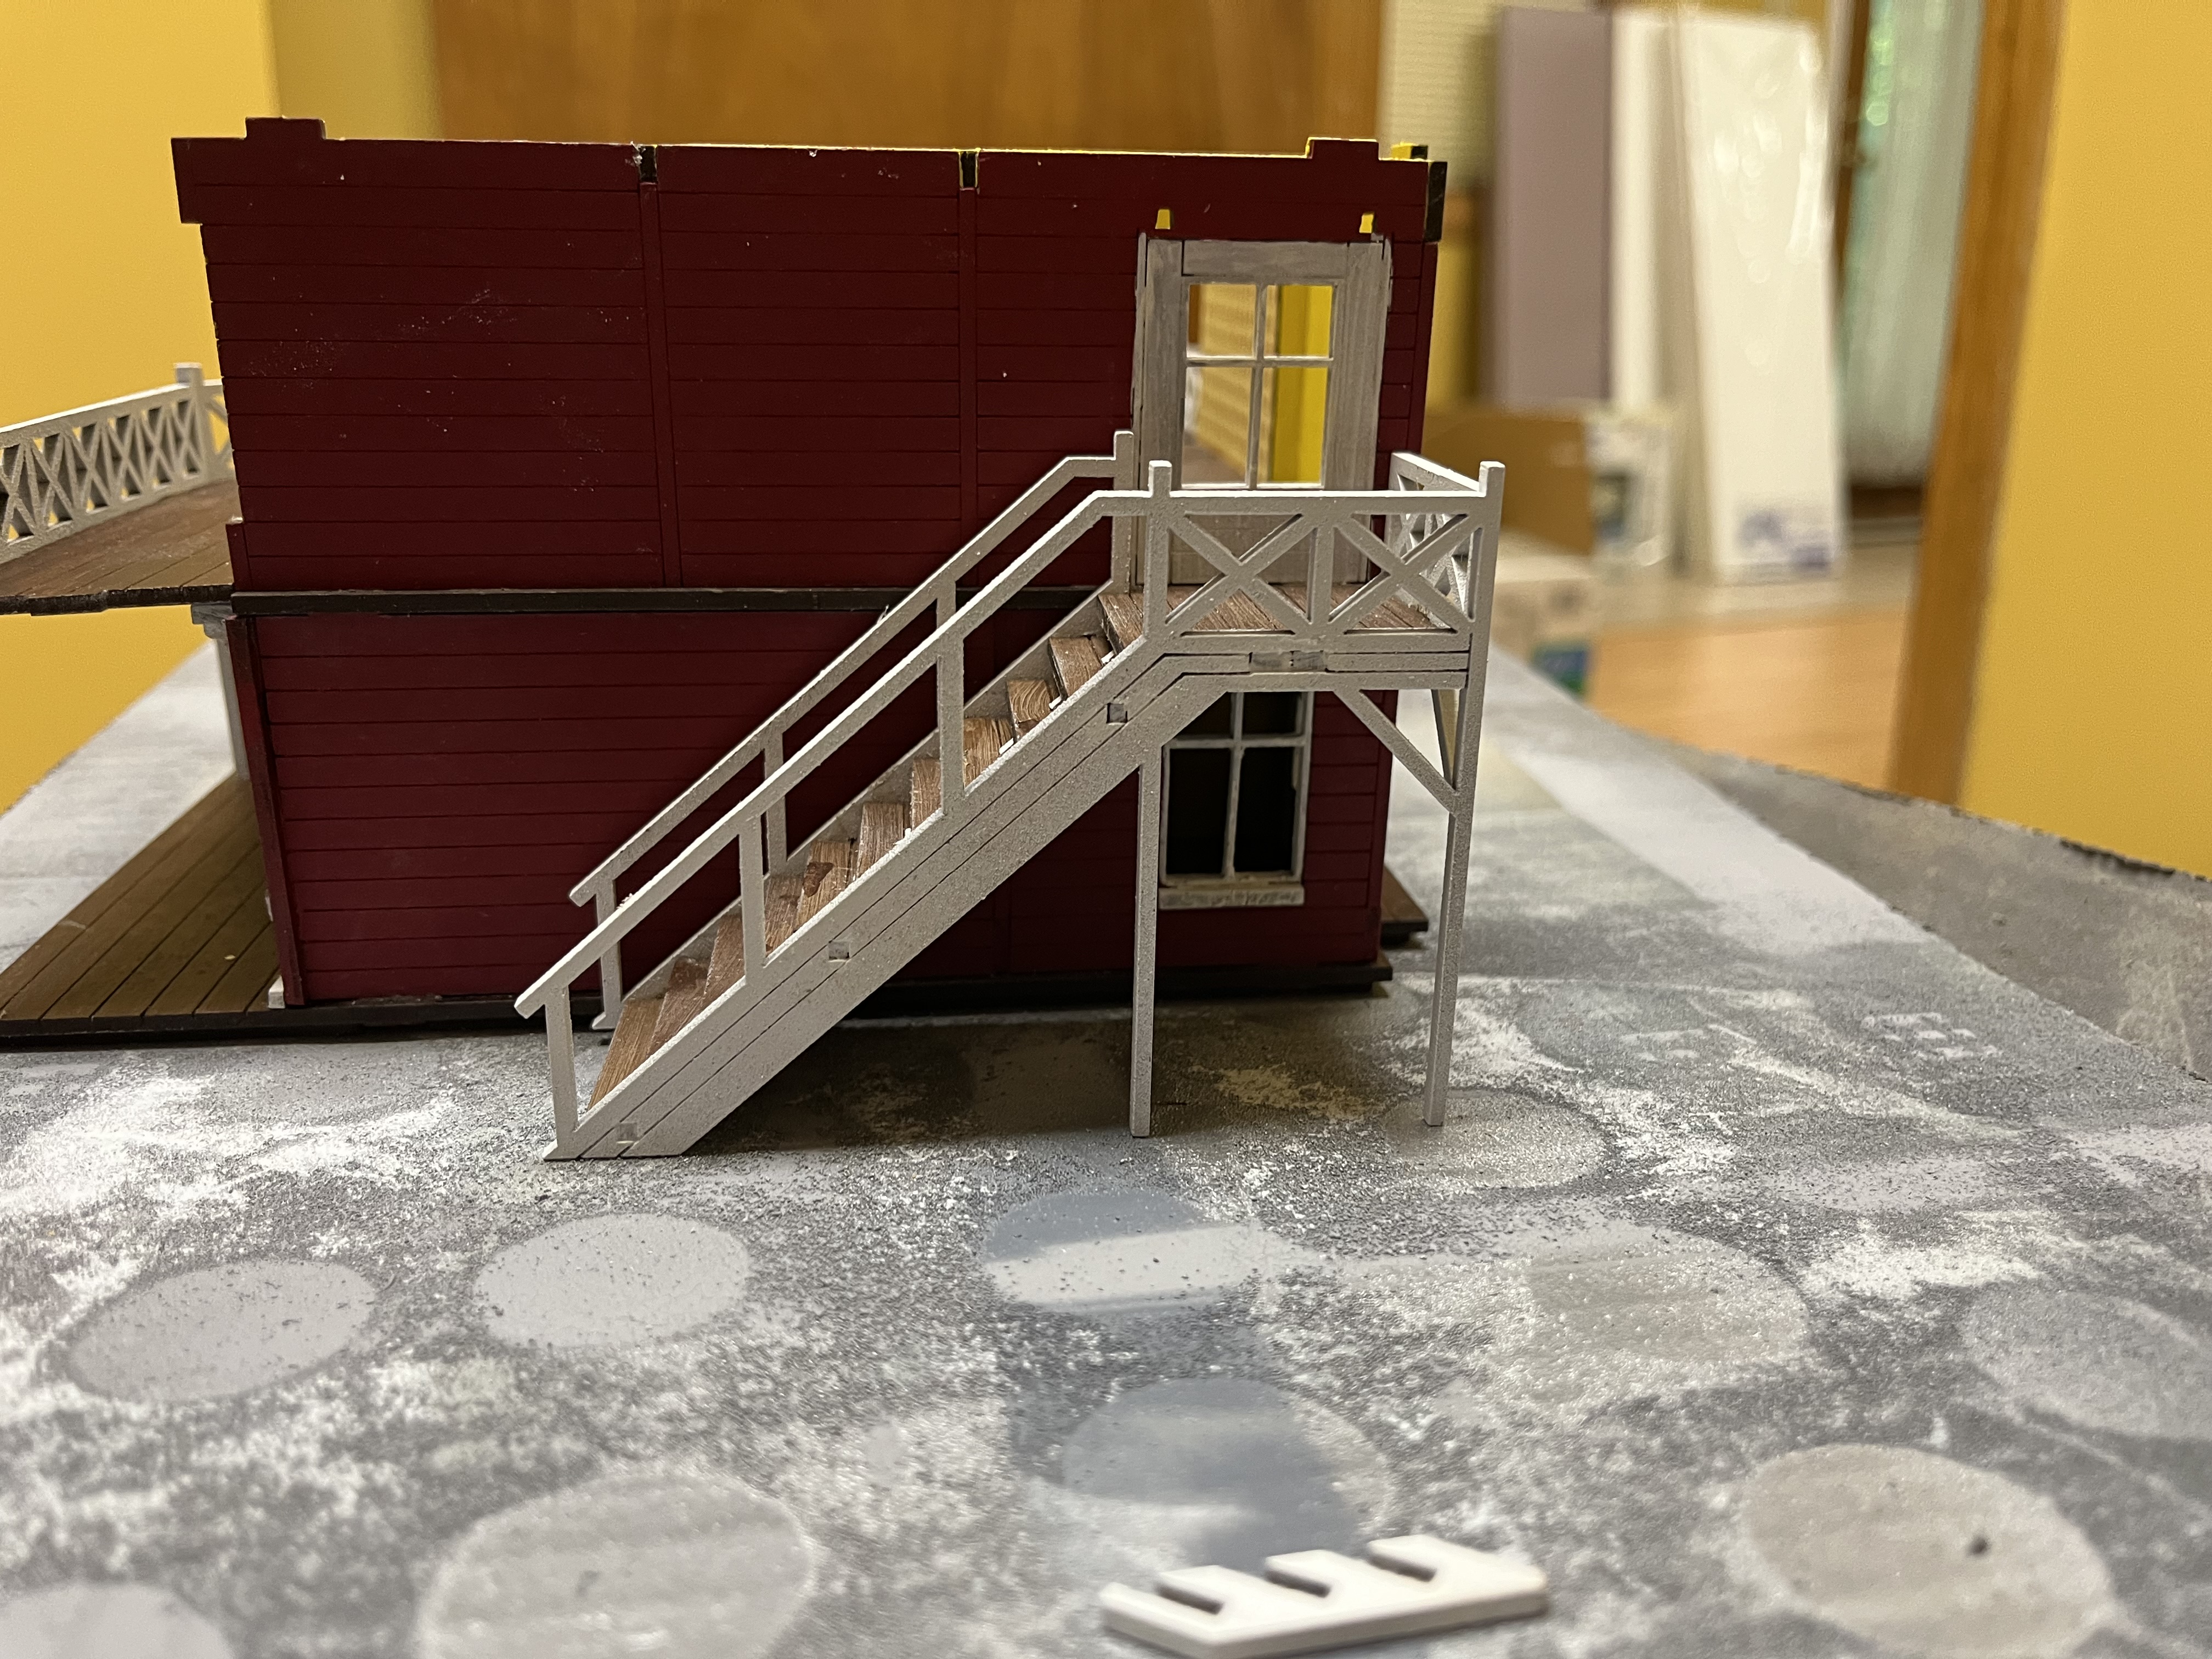 A different view of the stairs. As designed, the only contact point for the stairs will be to the floor of the second story. If glued into place the stairs would come off when you remove the second story. That’s not tenable so the stairs will have to be a separate assembly.
 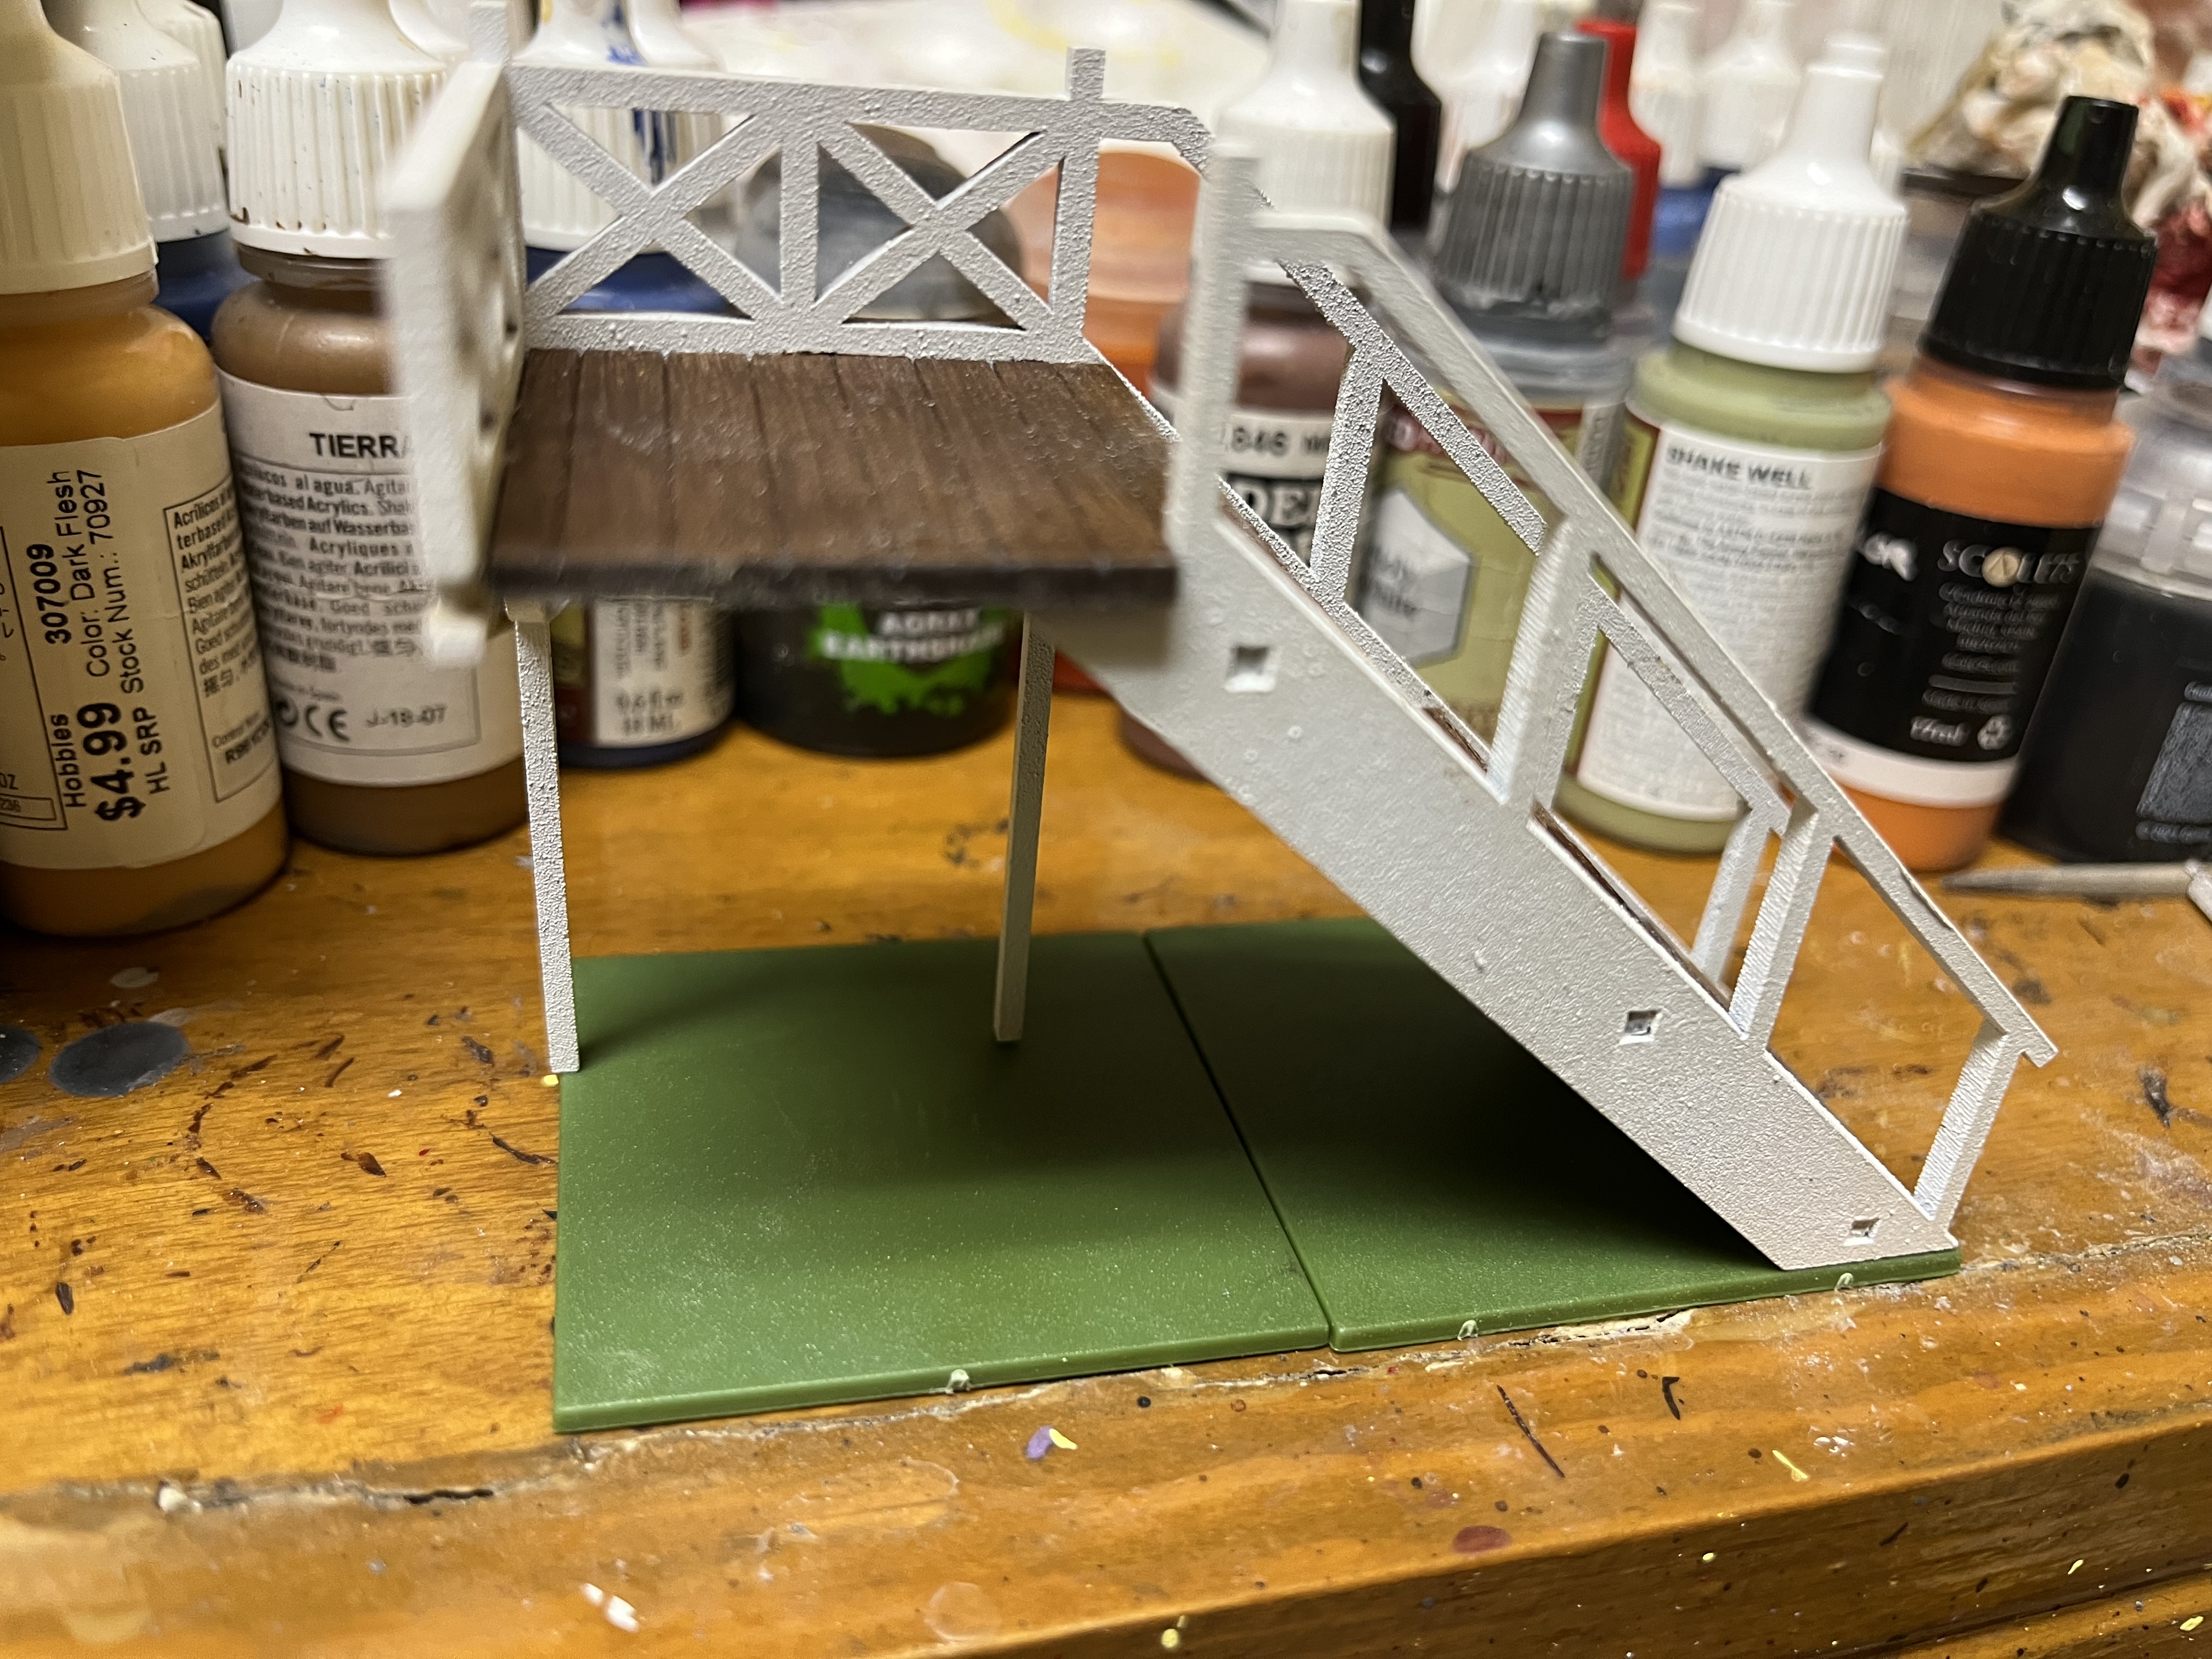 Just a mock up for now but I’m thinking something like this for the stairs.
 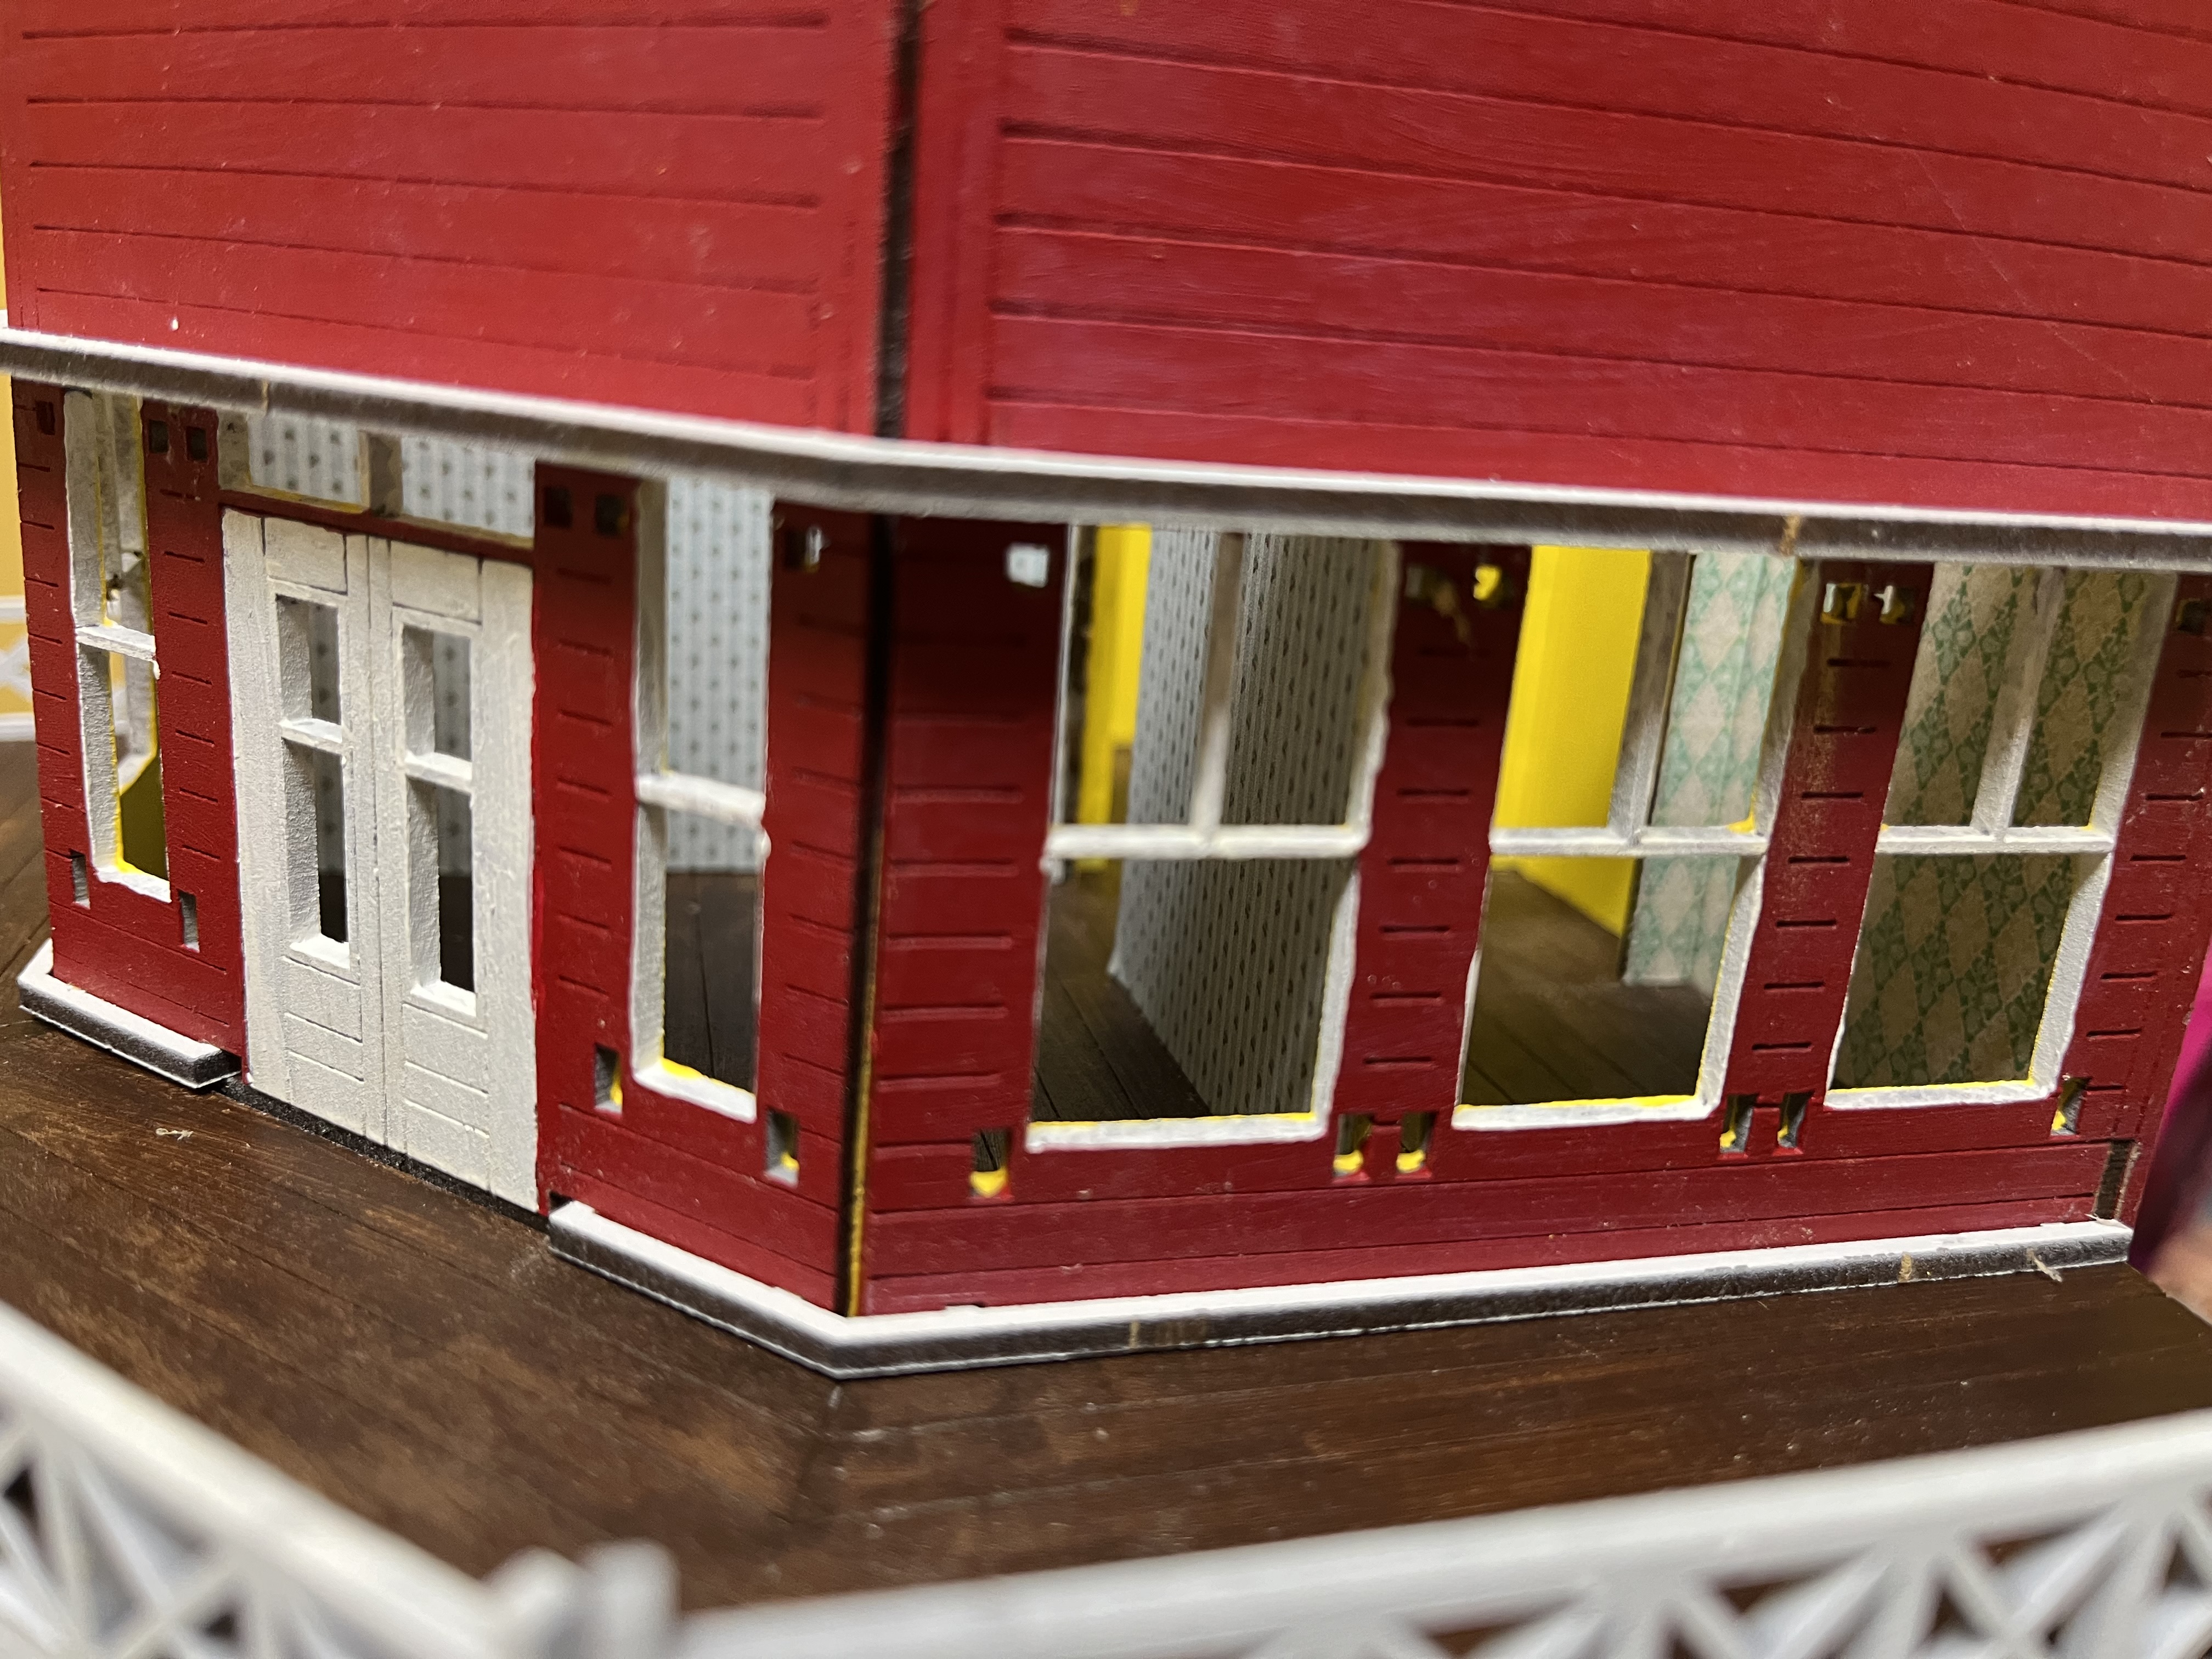 Glued the walls into place and the support pieces to help align them.
 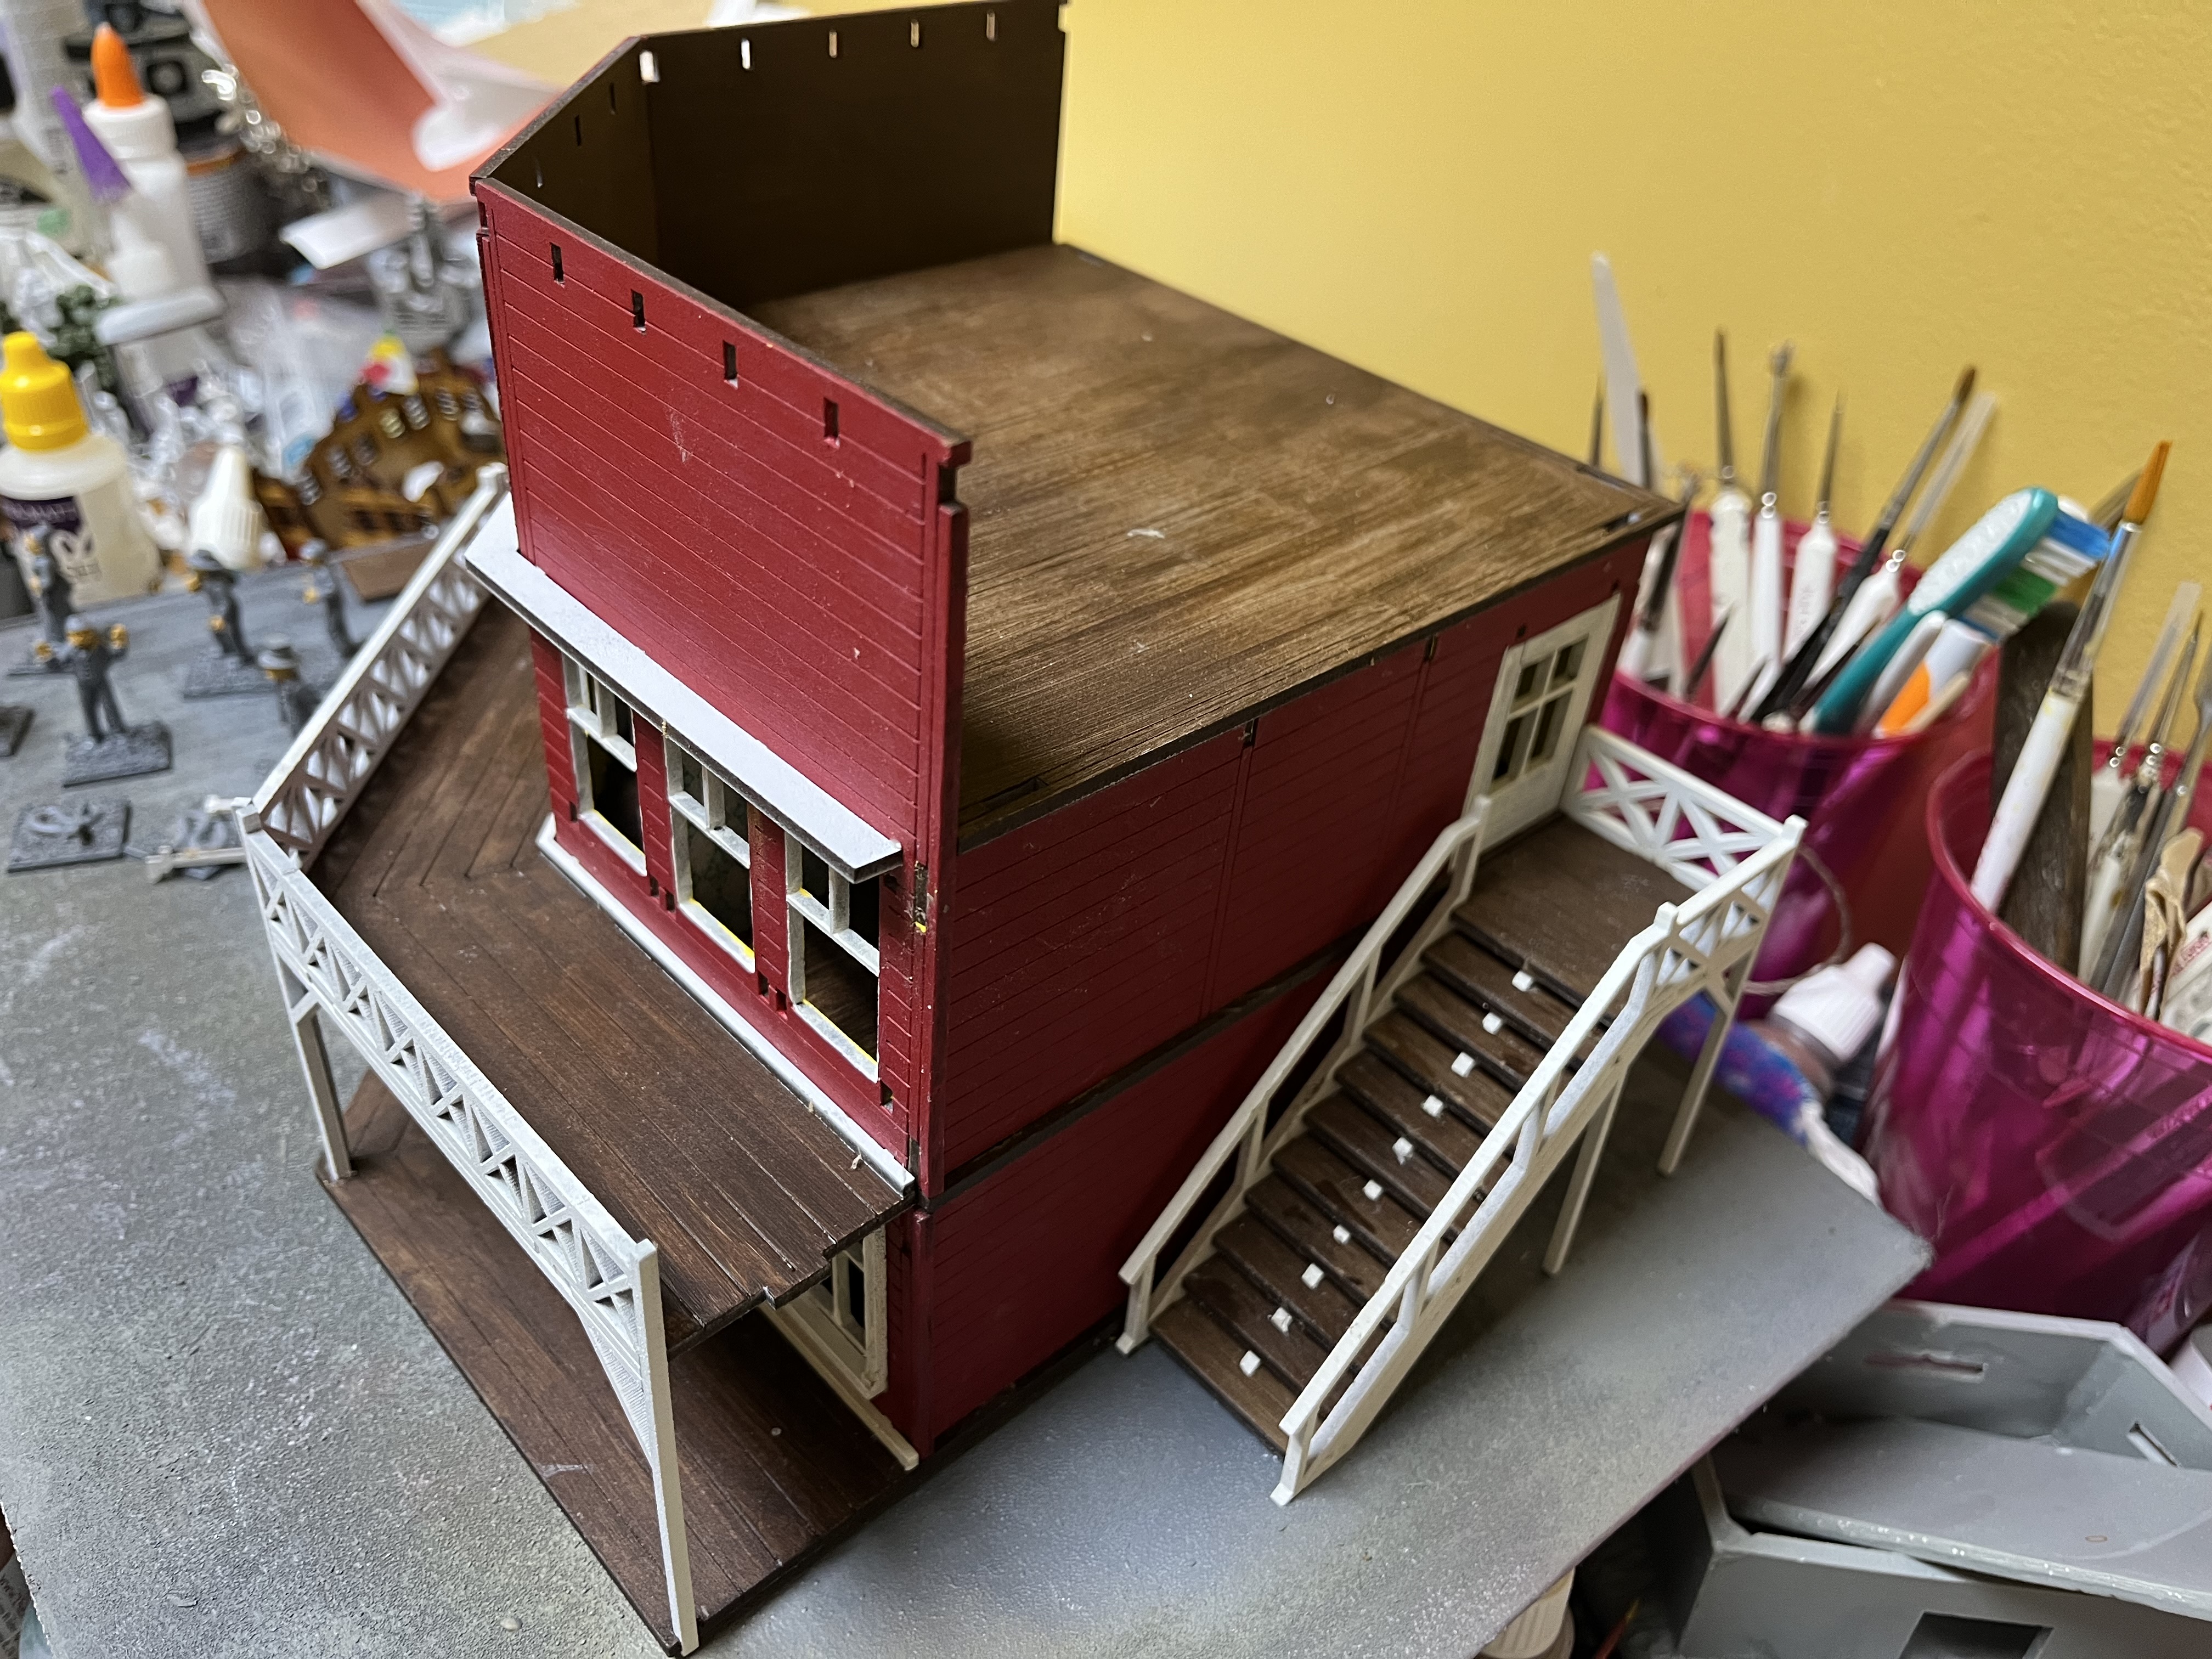 View showing roof and stairs in place and the false front.
 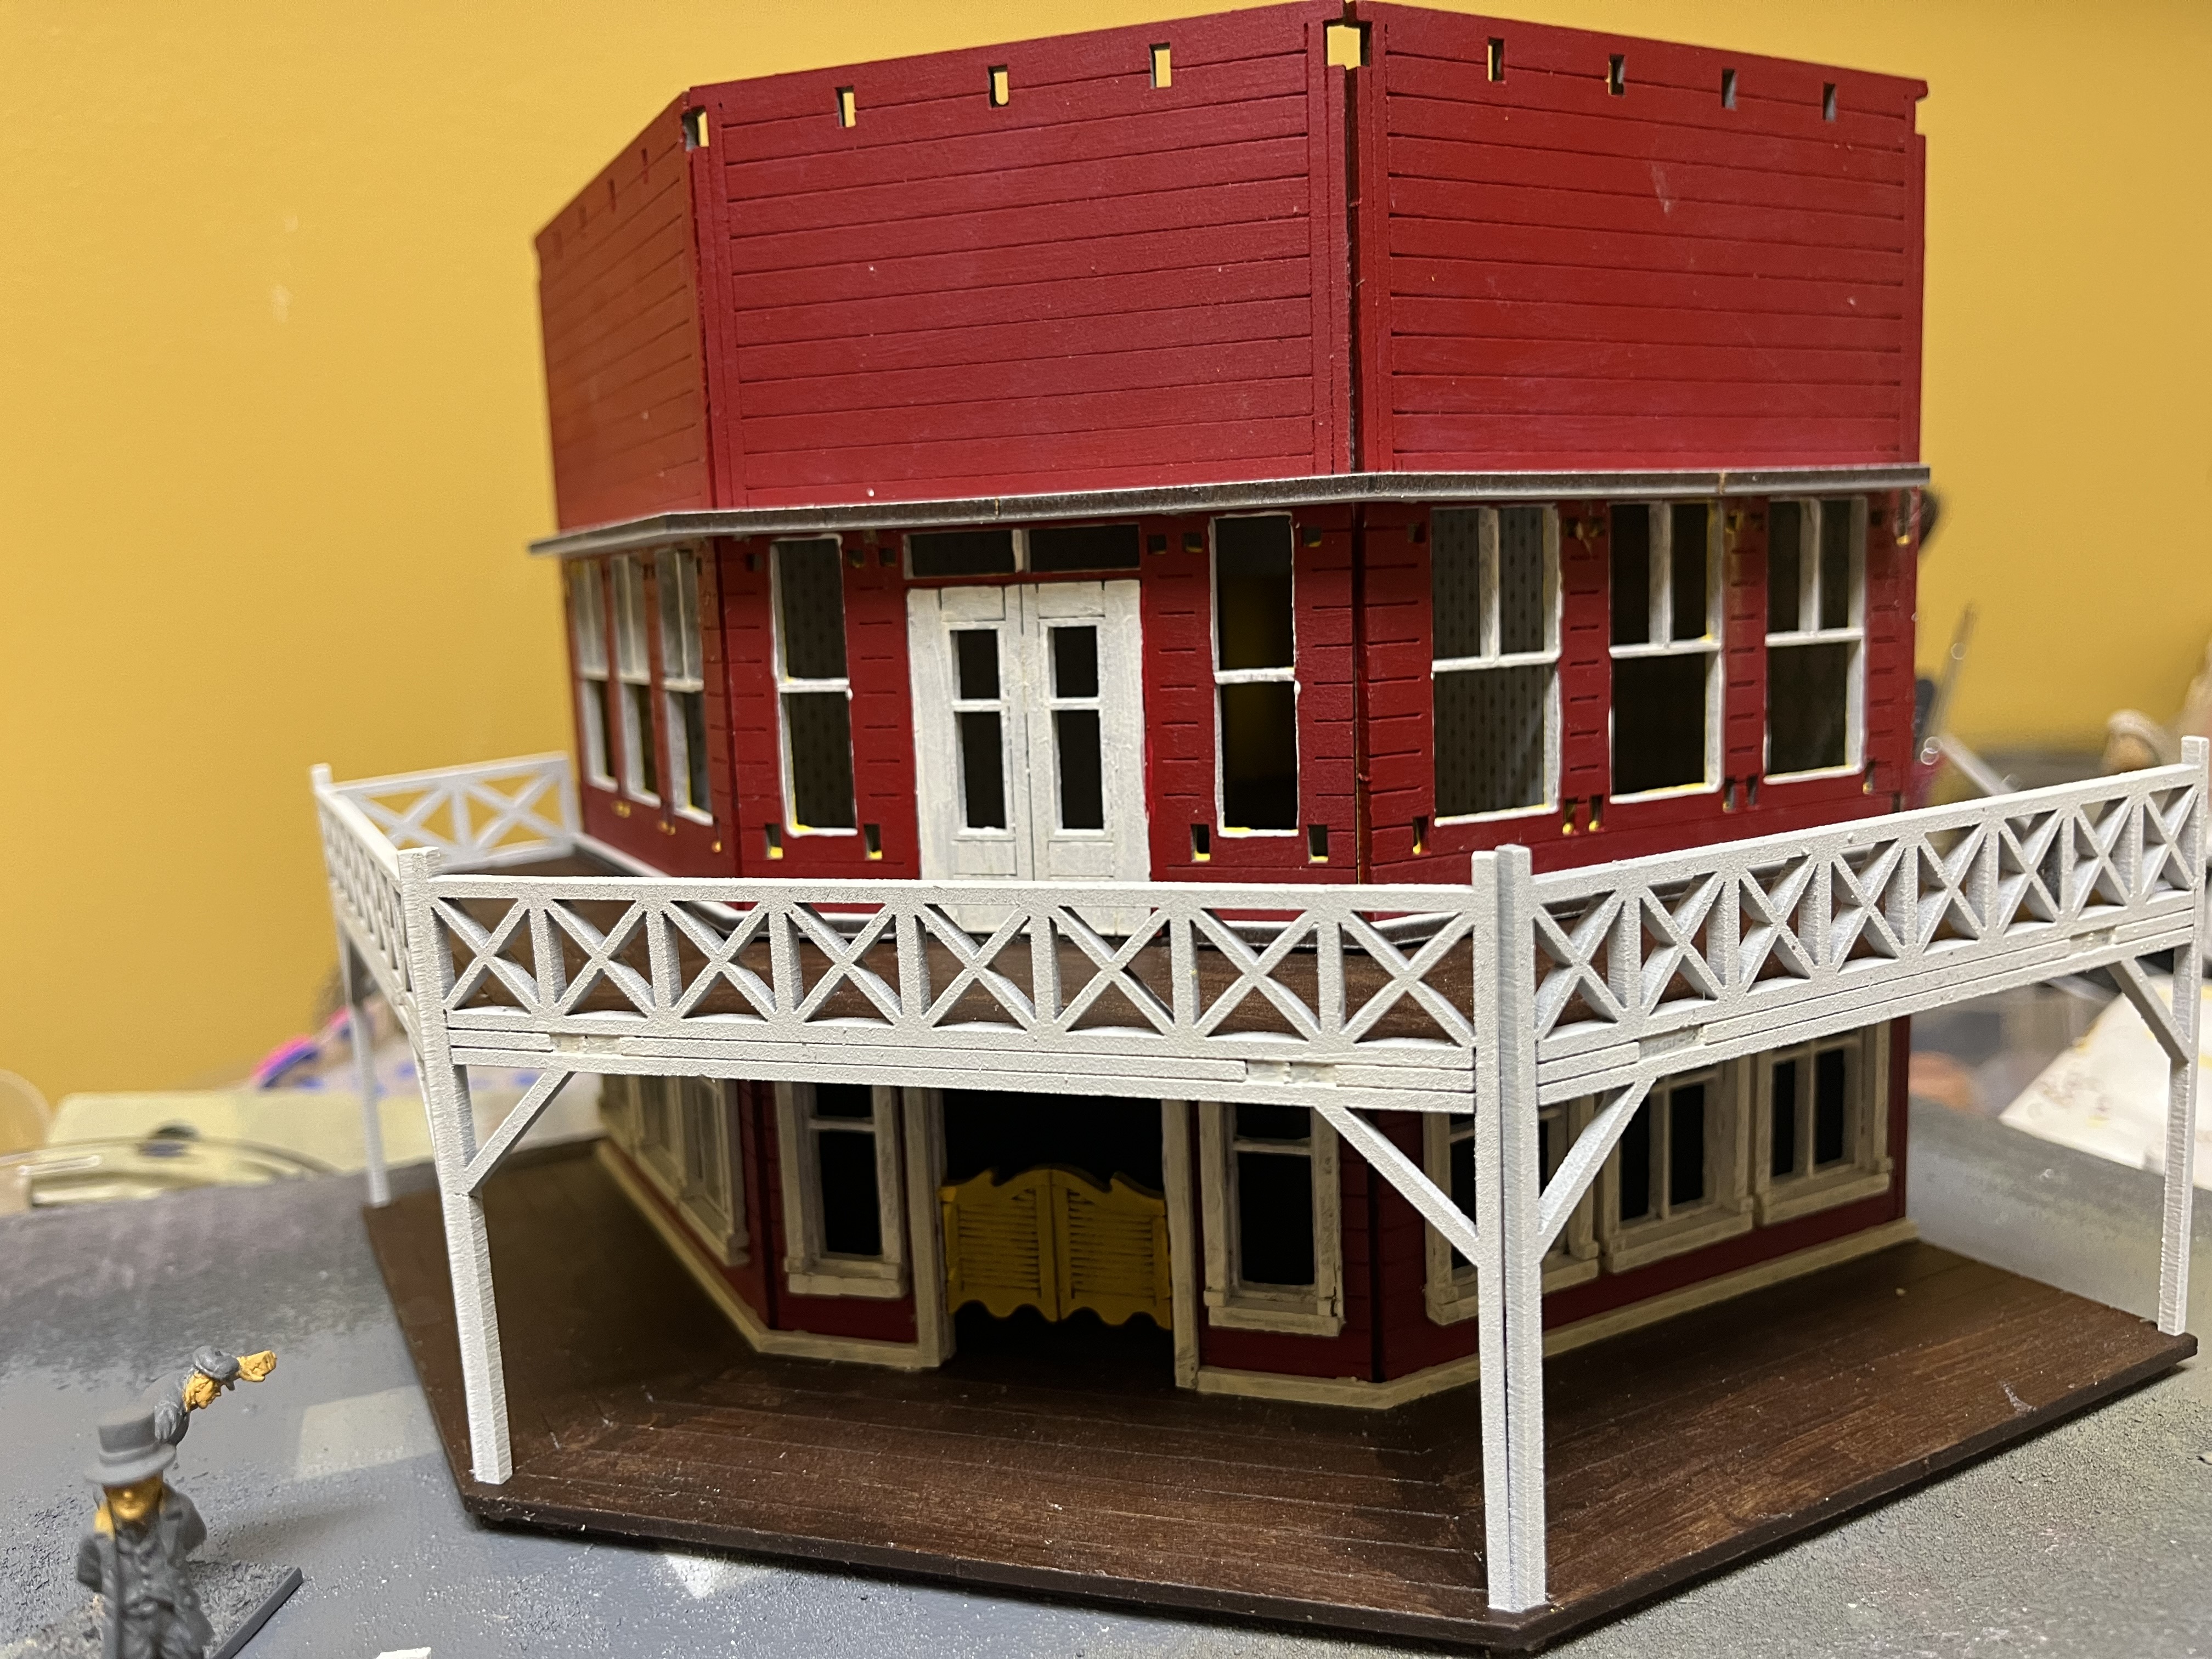 Still have a lot of window details to finish but this is a pretty good representation of what the final form will be.
 Saloon Pt 5
Did an oops while building the staircase. The illustration on where to place the thingamabob that the steps slot into, wasn’t exactly clear and while trying to slide the stairs in, I broke one. So instead of having one string (I think that’s the correct term) on each side, I just used the one survivor and centered it.
 Saloon staircase after having to fix a mistake on the fly.
  See that white thing that’s mostly running up the middle of the steps? I think it would’ve been better to glue those up against the opposite sides as indicated by the green arrows. Unfortunately I broke one so this’ll have to do.
 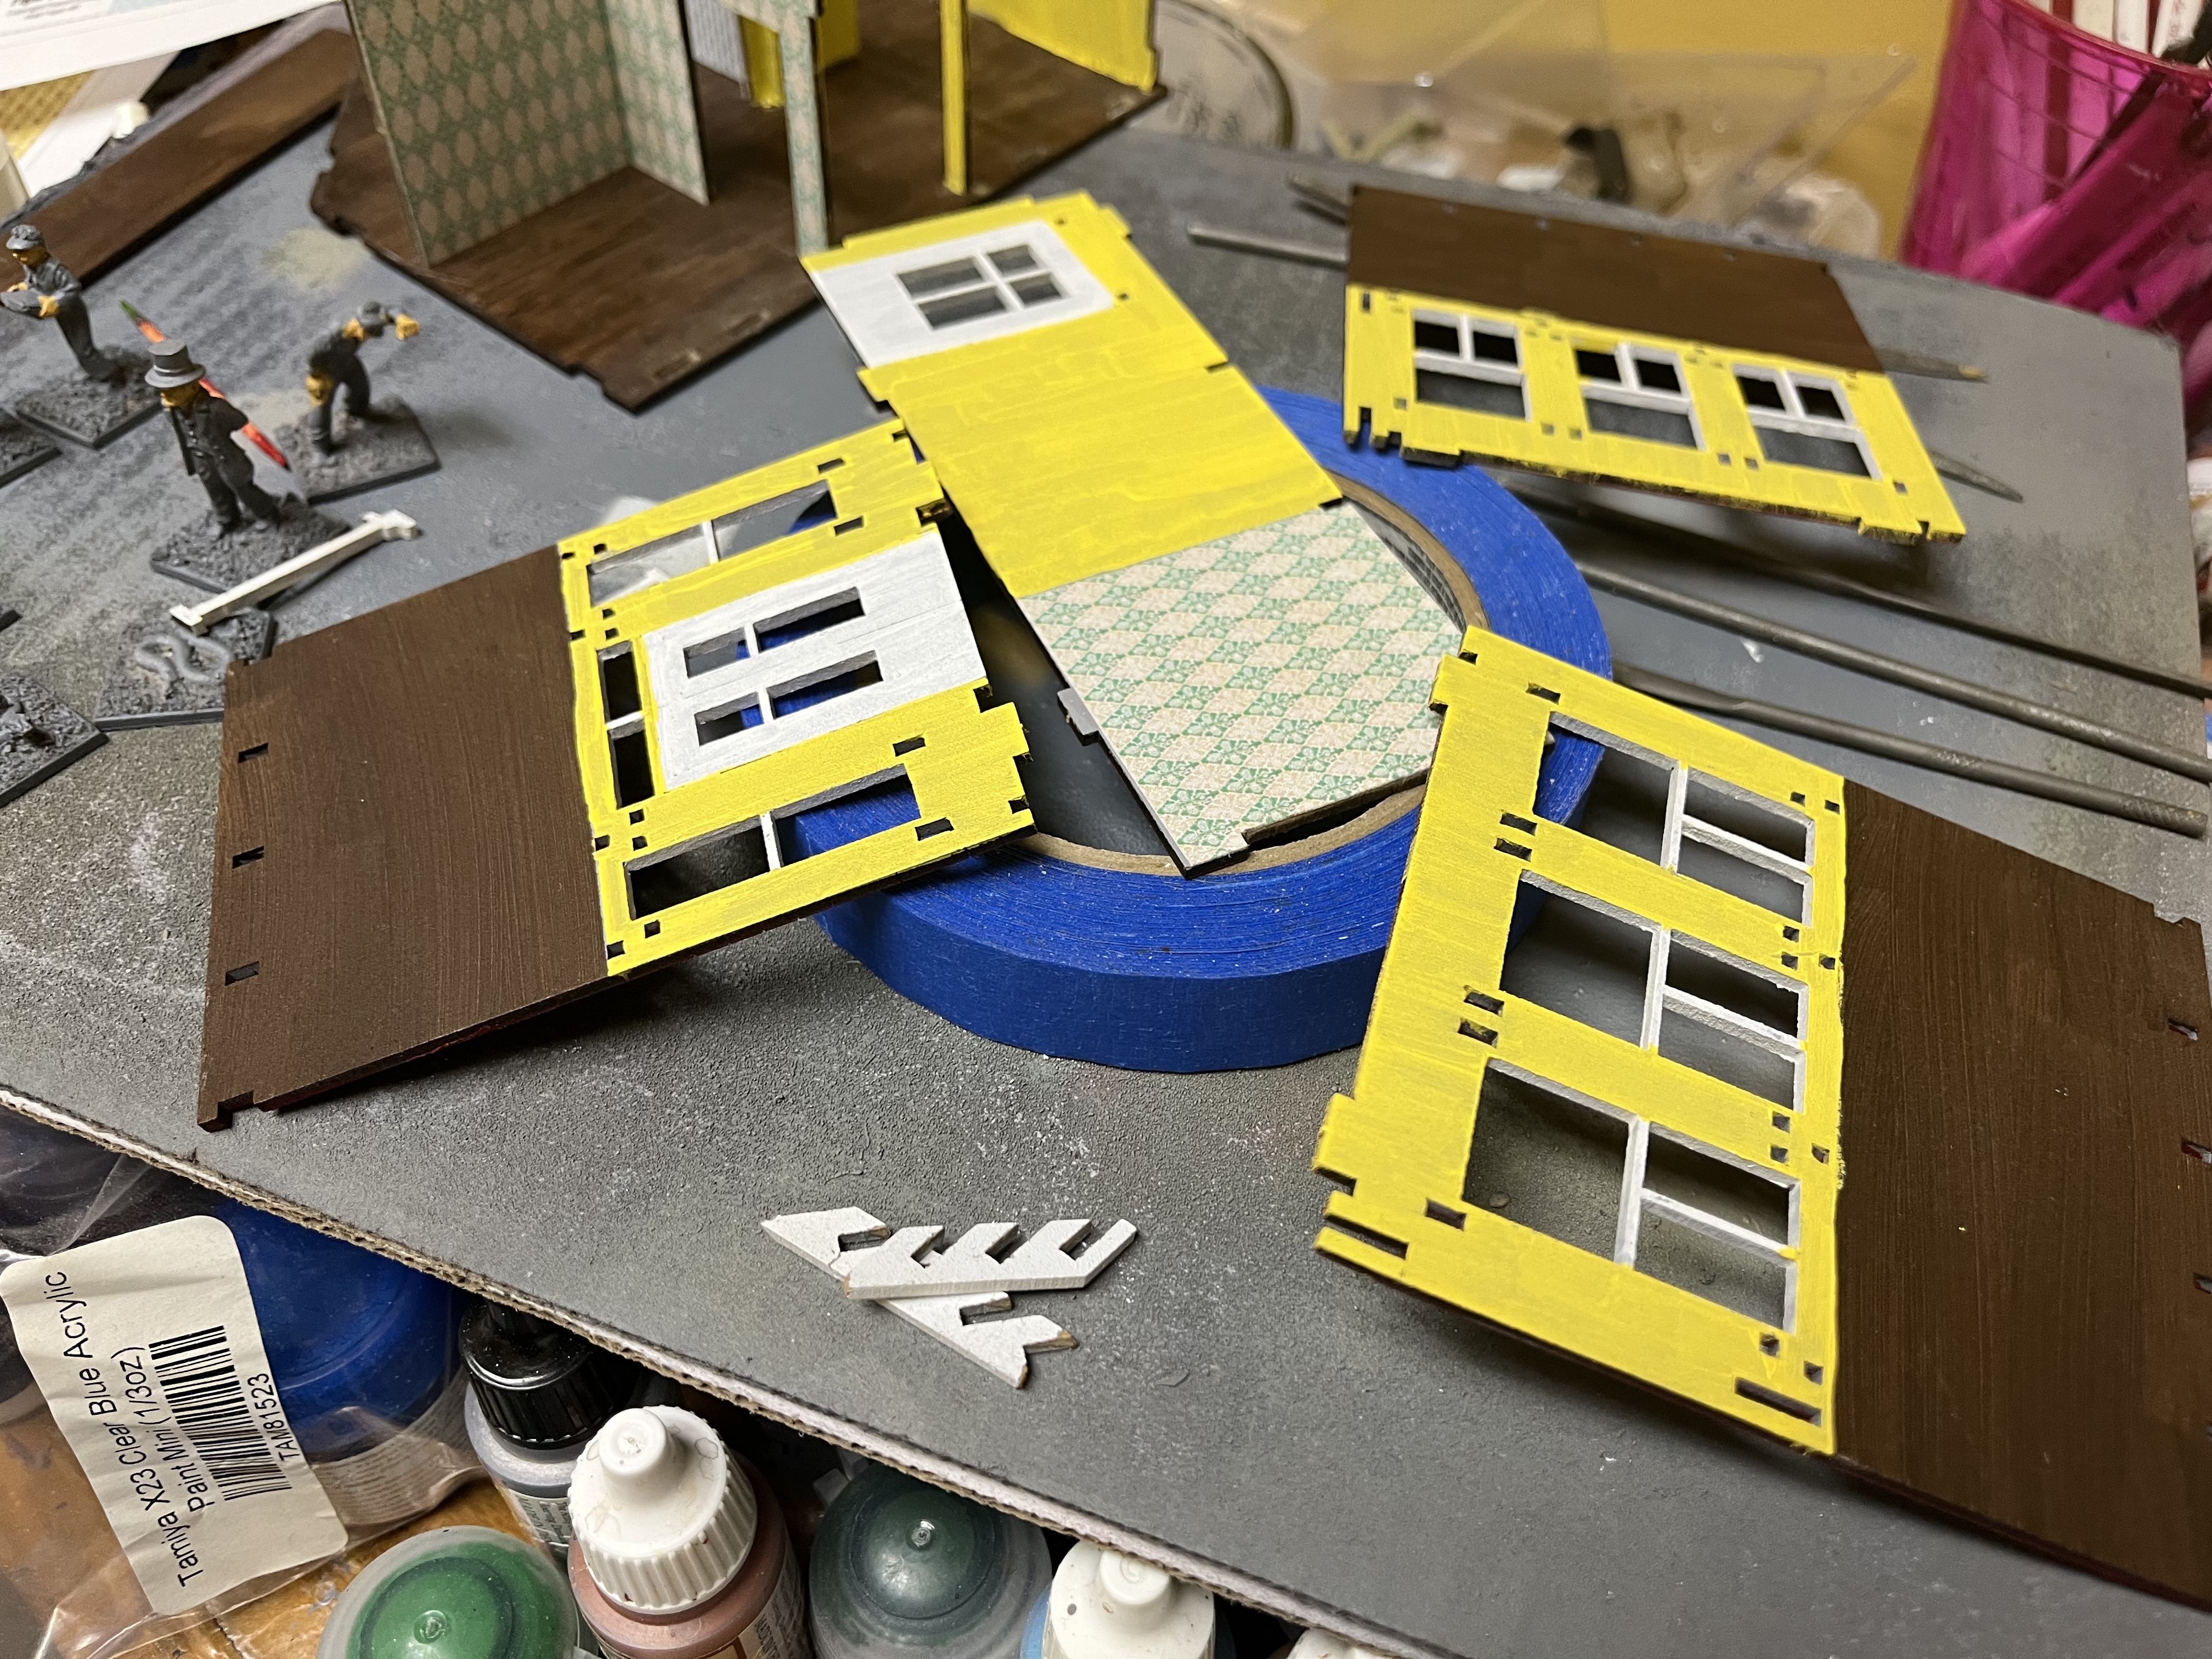 Painted the first coat of a pale yellow color for some of the interior walls. On the theory that no one’s paying for the hallway, it just gets a simple coat of paint instead of wallpaper.
 Pro Tip
Forgot to mention this but I did find that allowing the PVA glue to dry throughly makes it easier to cut out the doorway openings. The paper doesn’t shift when you pierce it with an X-acto knife and once pierced,it s easier to fold back and file/sand down.
In other news, two more buildings and a stagecoach arrived from Sarissa. Not sure if they’ll get done by the end of the contest but we’ll see.
Saloon Pt 4
I’m a glutton for punishment. I’ve decided to wallpaper the three rooms on the second floor.
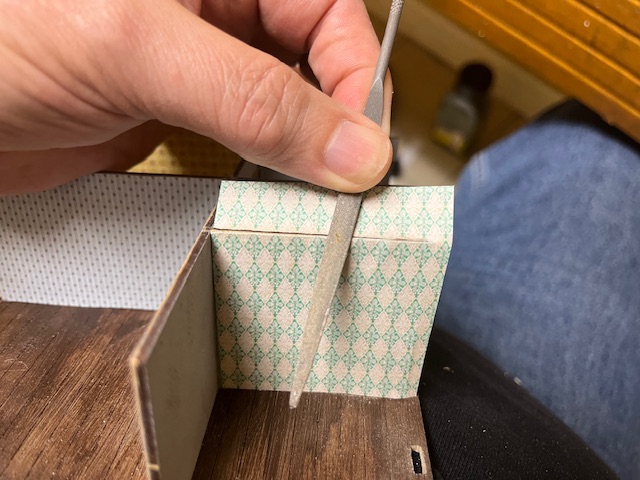 After cutting the paper roughly to shape and gluing it place, I trimmed it by using a file.
 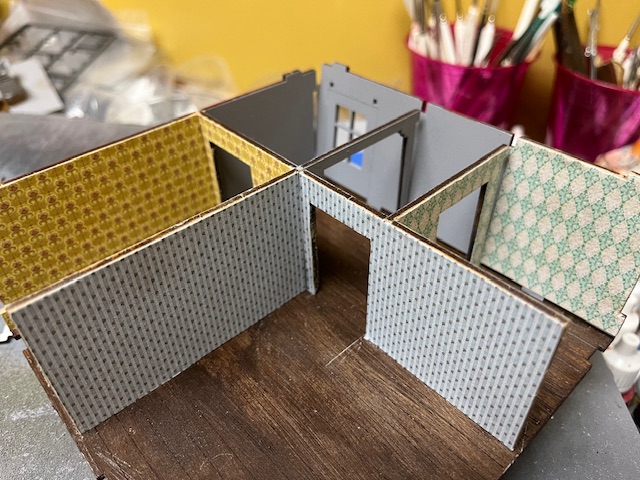 Three rooms, three different wallpapers. The back wall on the riight will also get painted the same color as the rest of the hallway.
 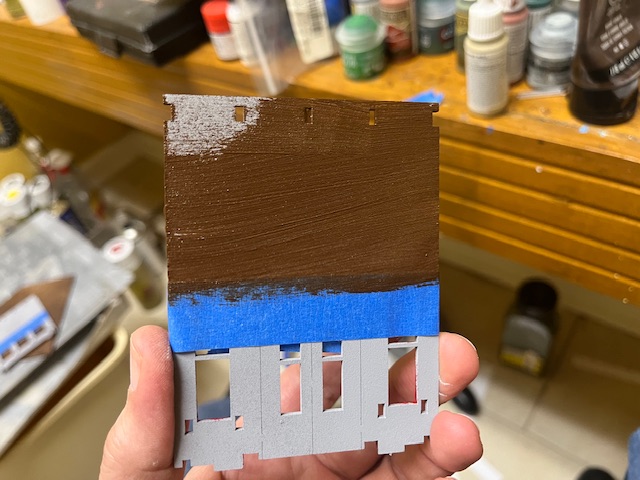 I masked the front walls to get a nice straight line and then painted the upper part of the false front the standard wood color I’ve used throughout the project.
 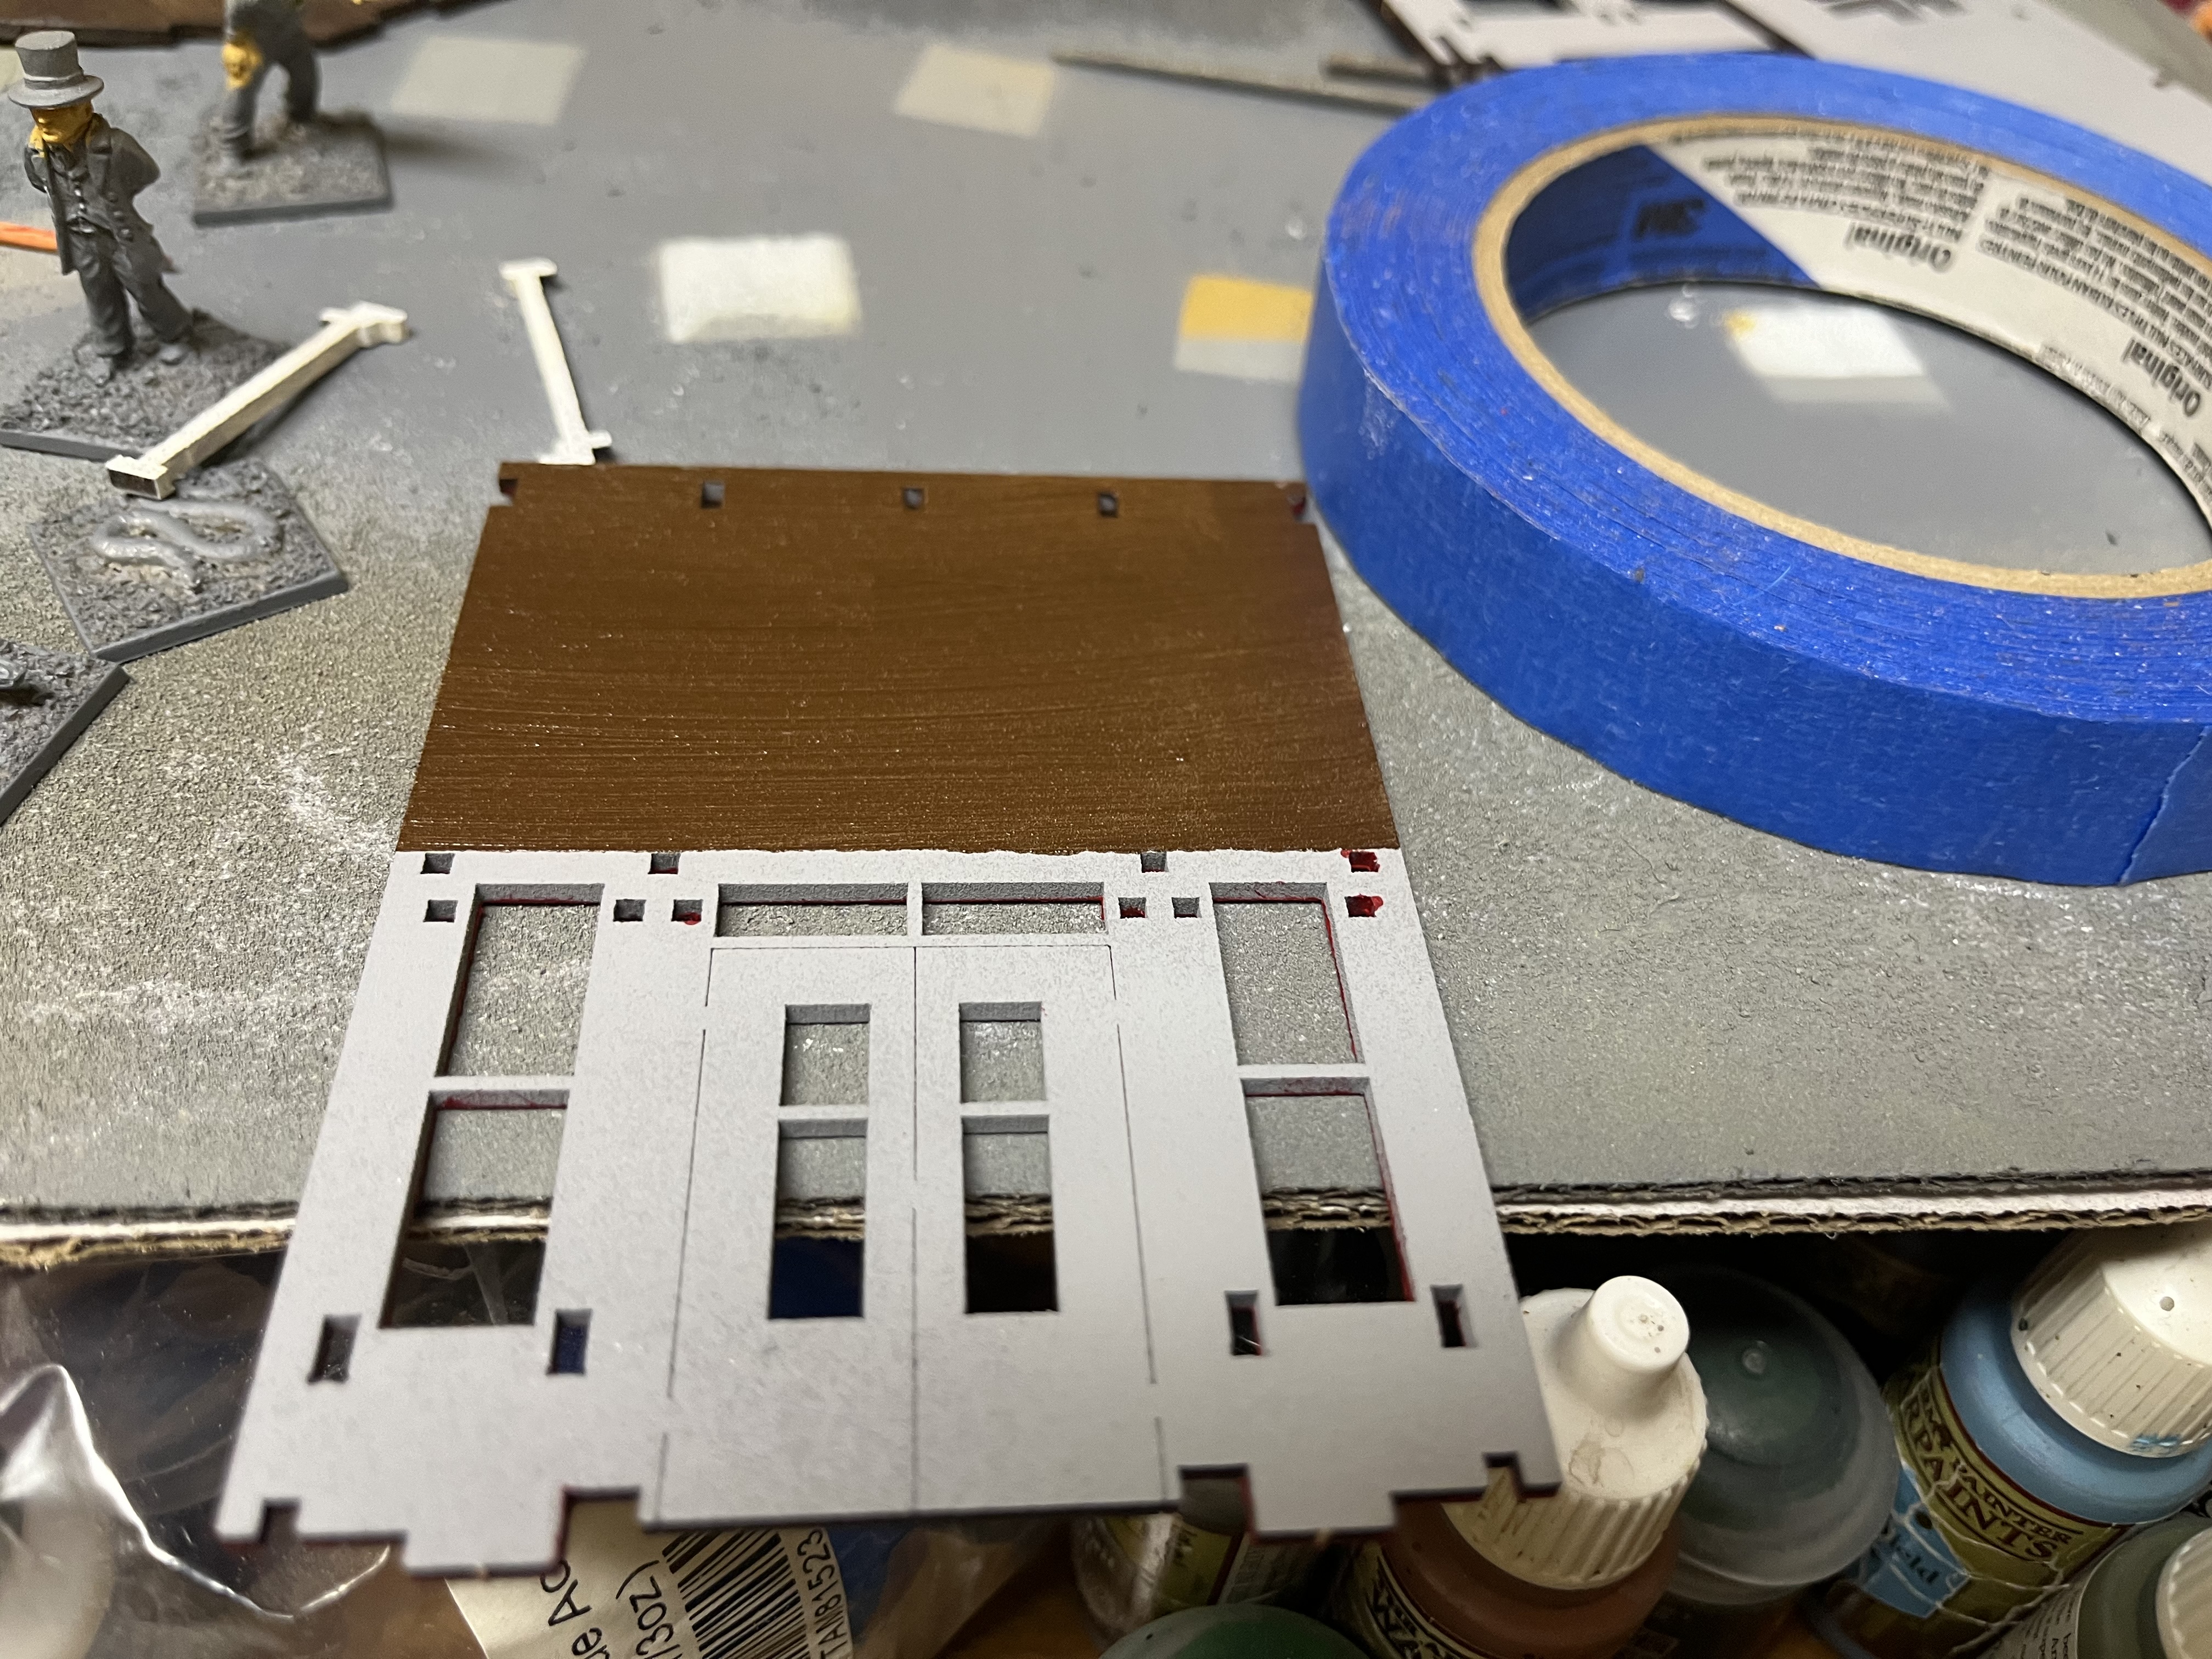 Not being completely insane, I’m going to paint the lower wall rather than try to wallpaper them.
 Saloon Pt 3
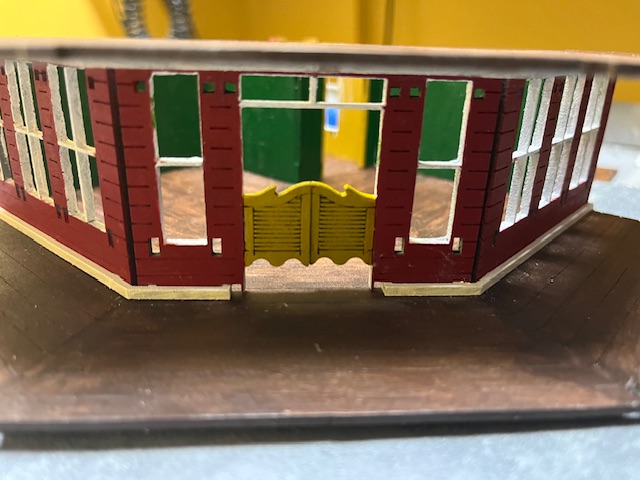
 Windows all finished. I’ll need to do a few touch ups on the paint but the first floor is done.
  Just a quick mock up showing the second floor balcony relative to the exterior walls of the second floor.
 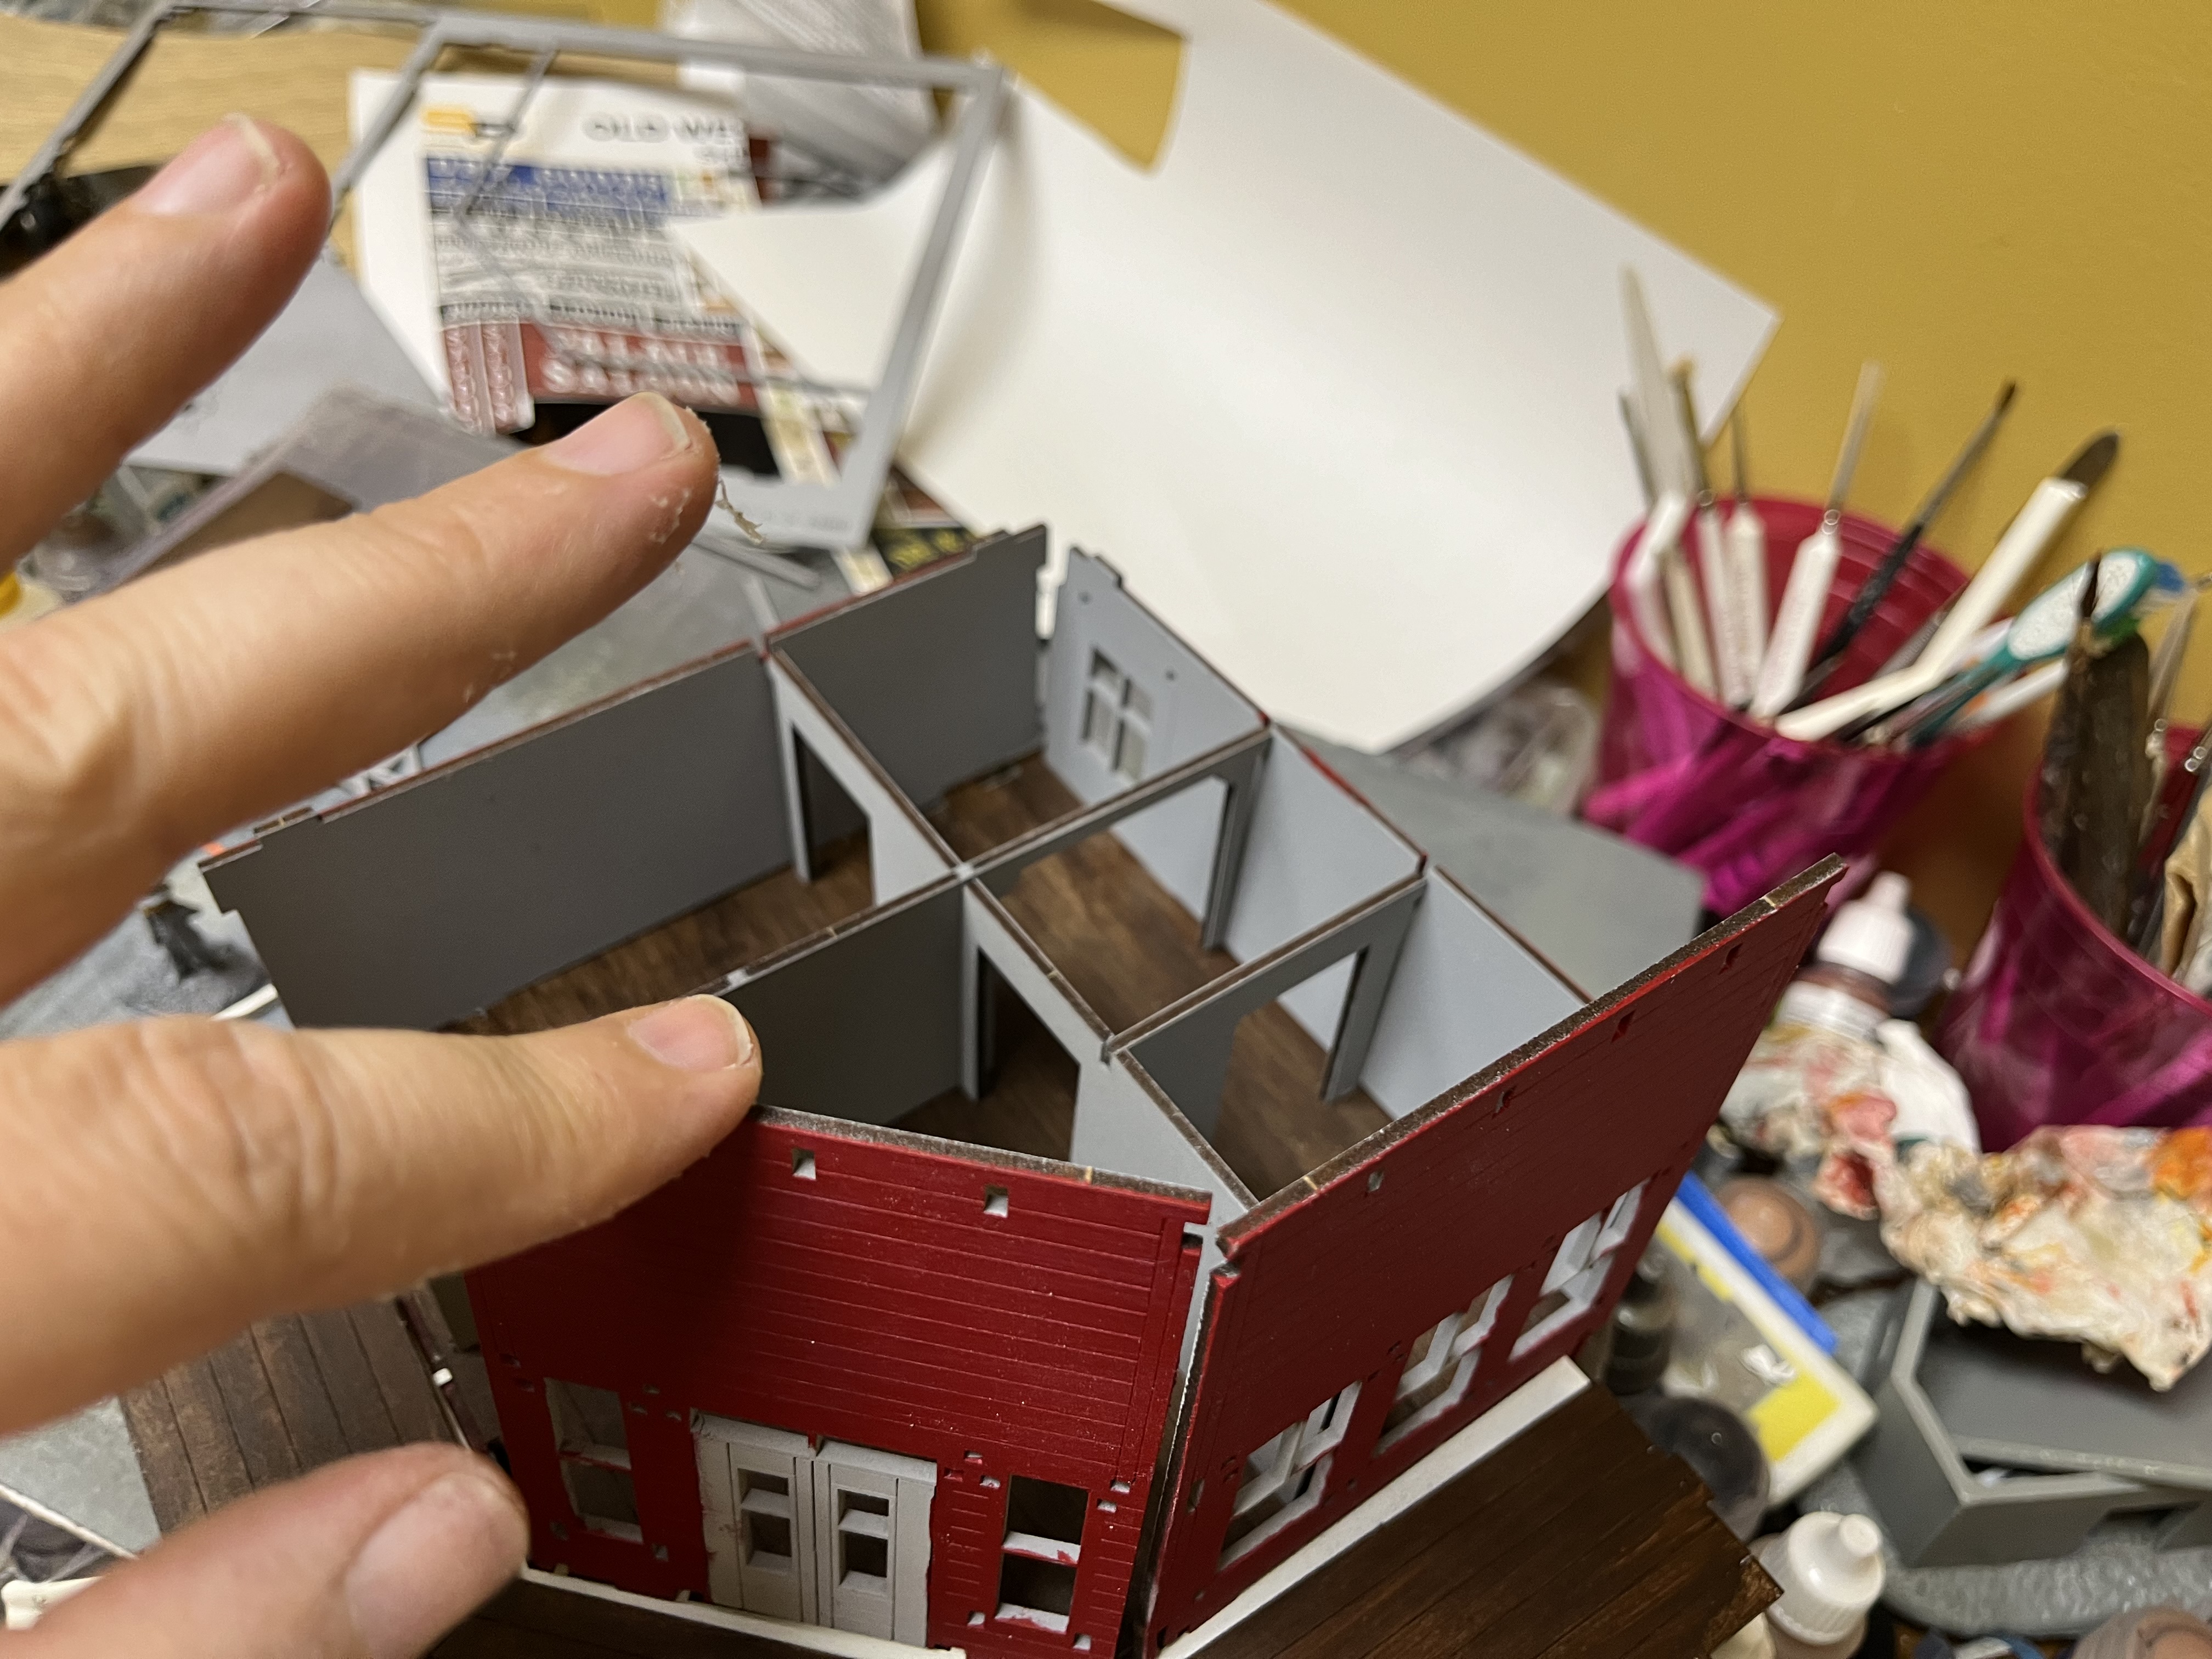 Interior detail of the second floor with the roof removed.
  This angle shows the roof in place and the false frontage making the building look like it has a third floor.
 Saloon Pt 2
 The walls are in place and now I need to frame out all the windows.
 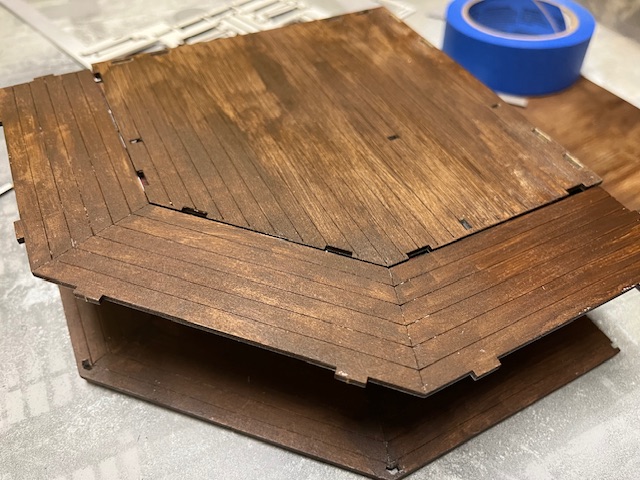 Second floor and balcony mocked up to show the next stage
 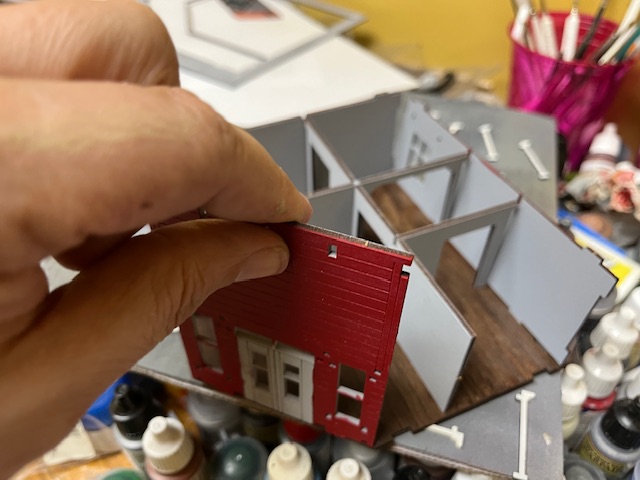 Rough mockup of second floor bedrooms and hallway. One room will have doors opening directly onto the balcony.
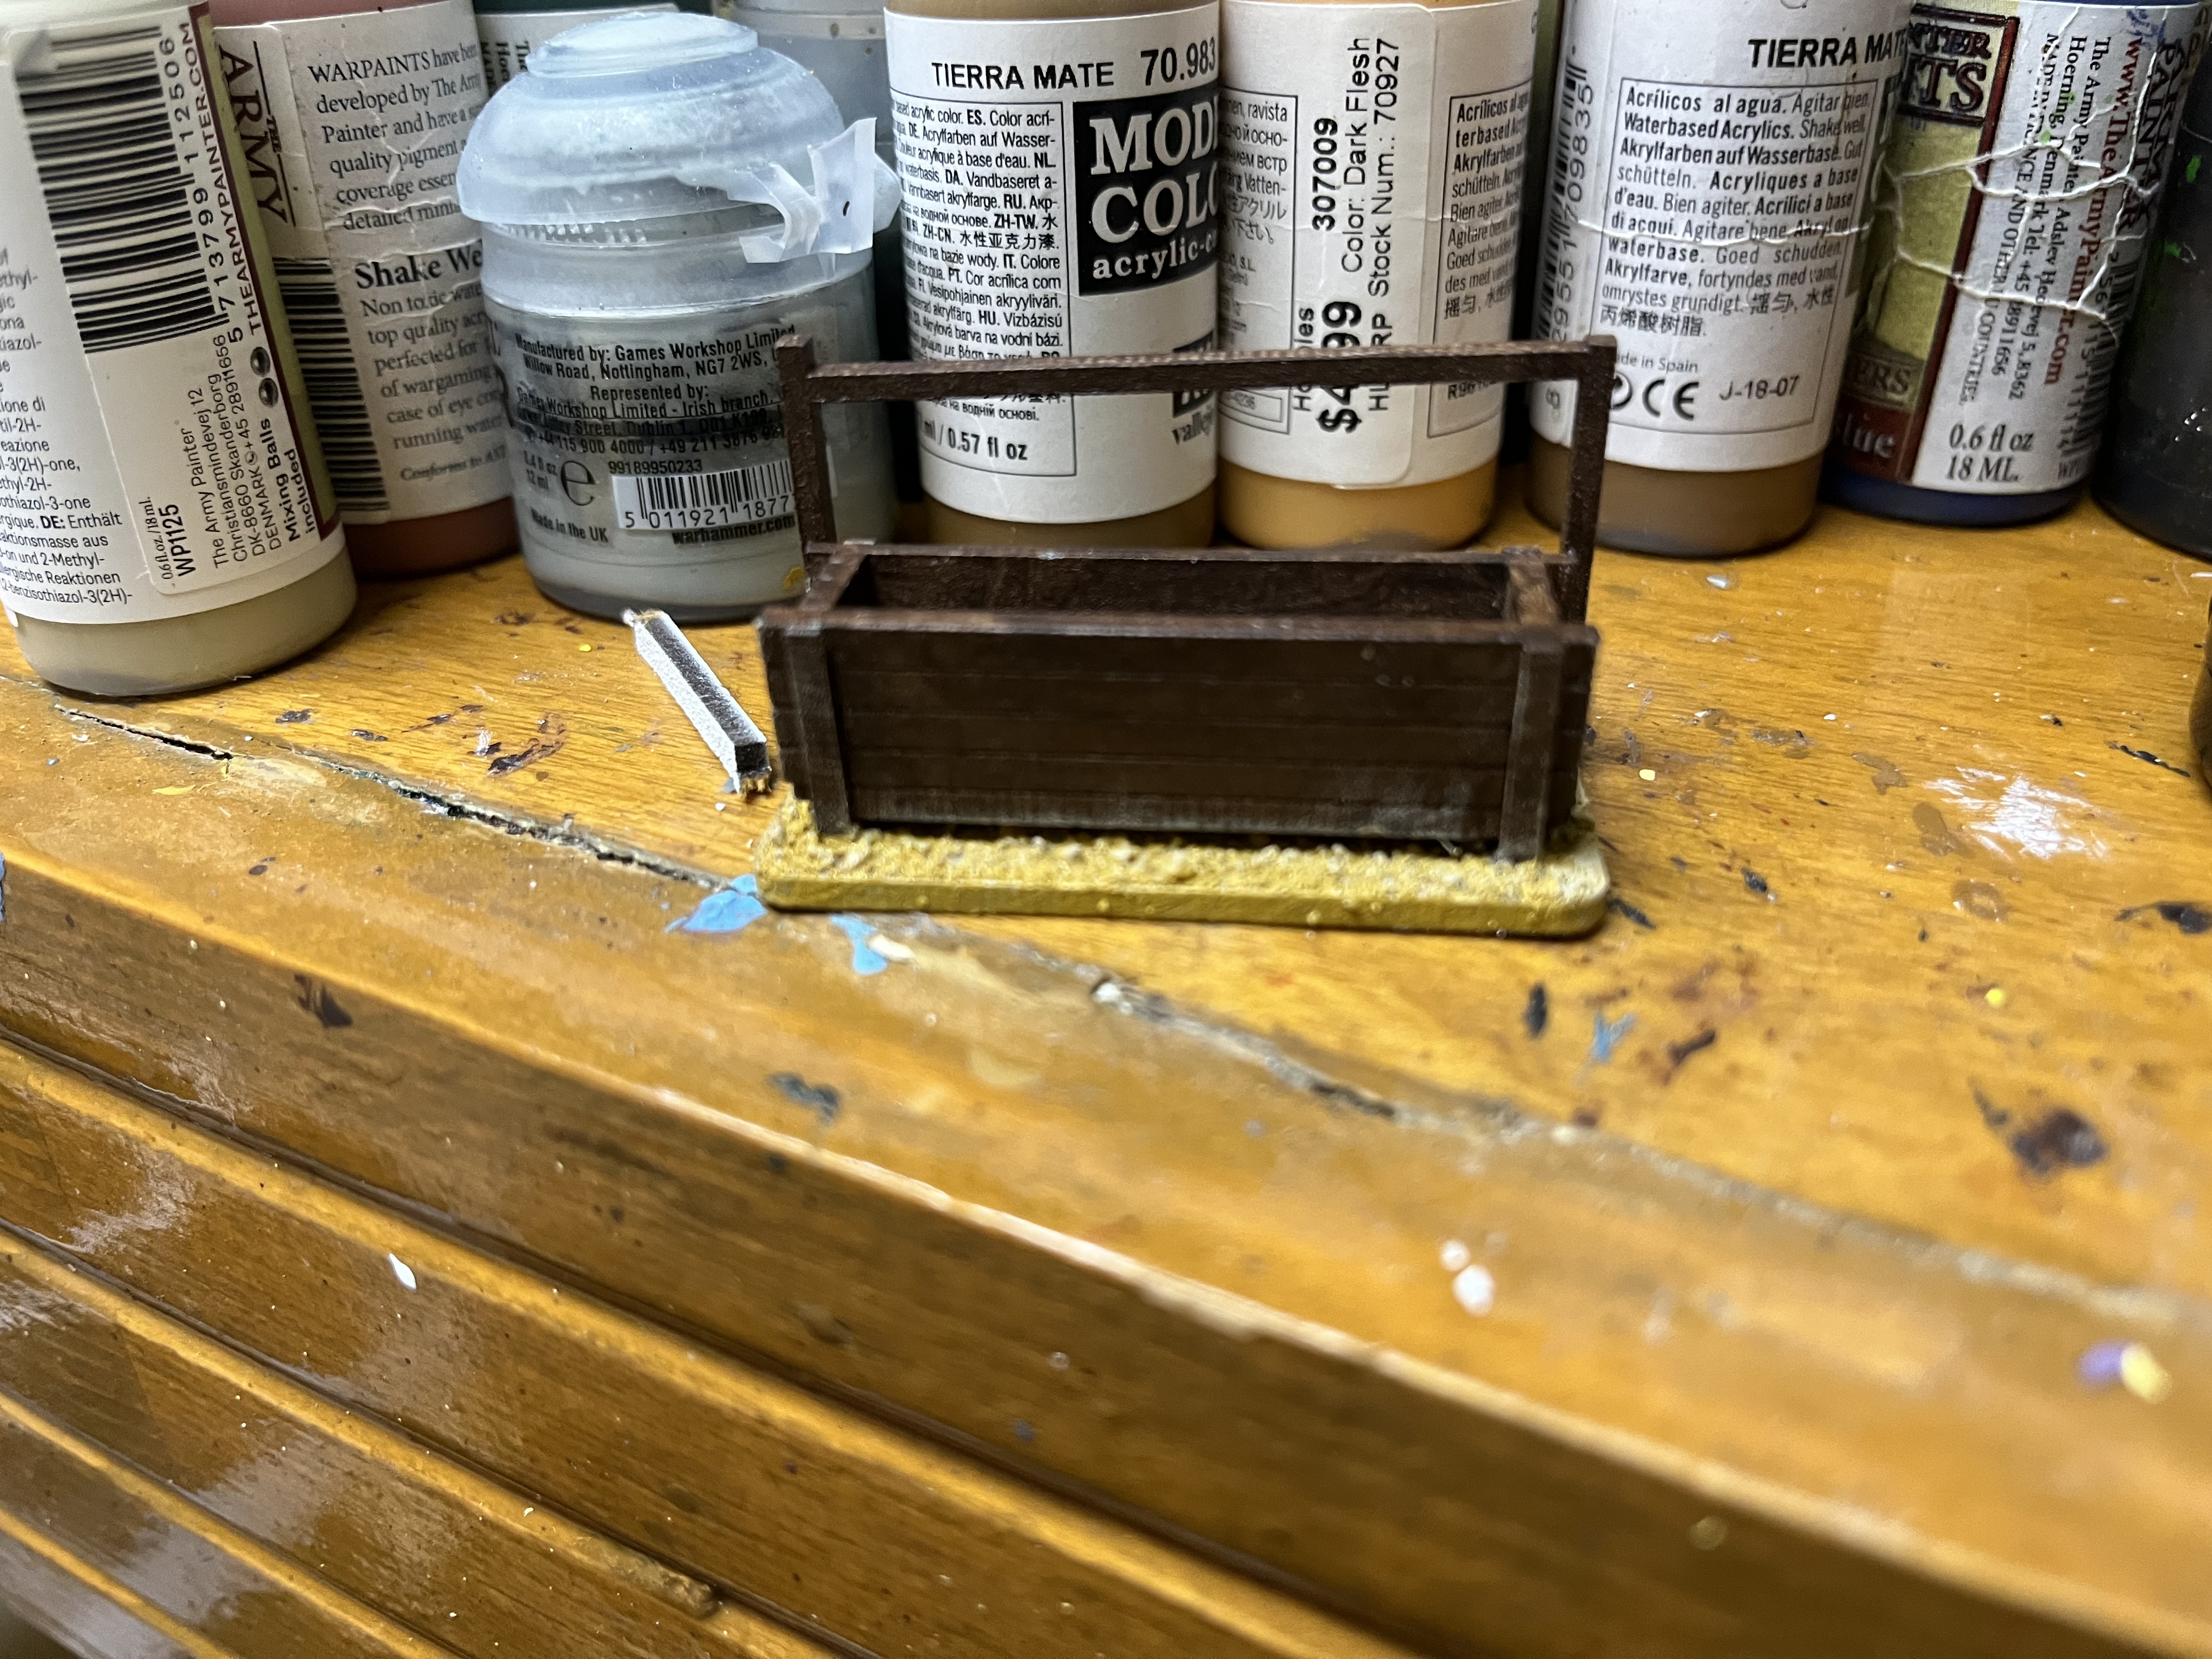
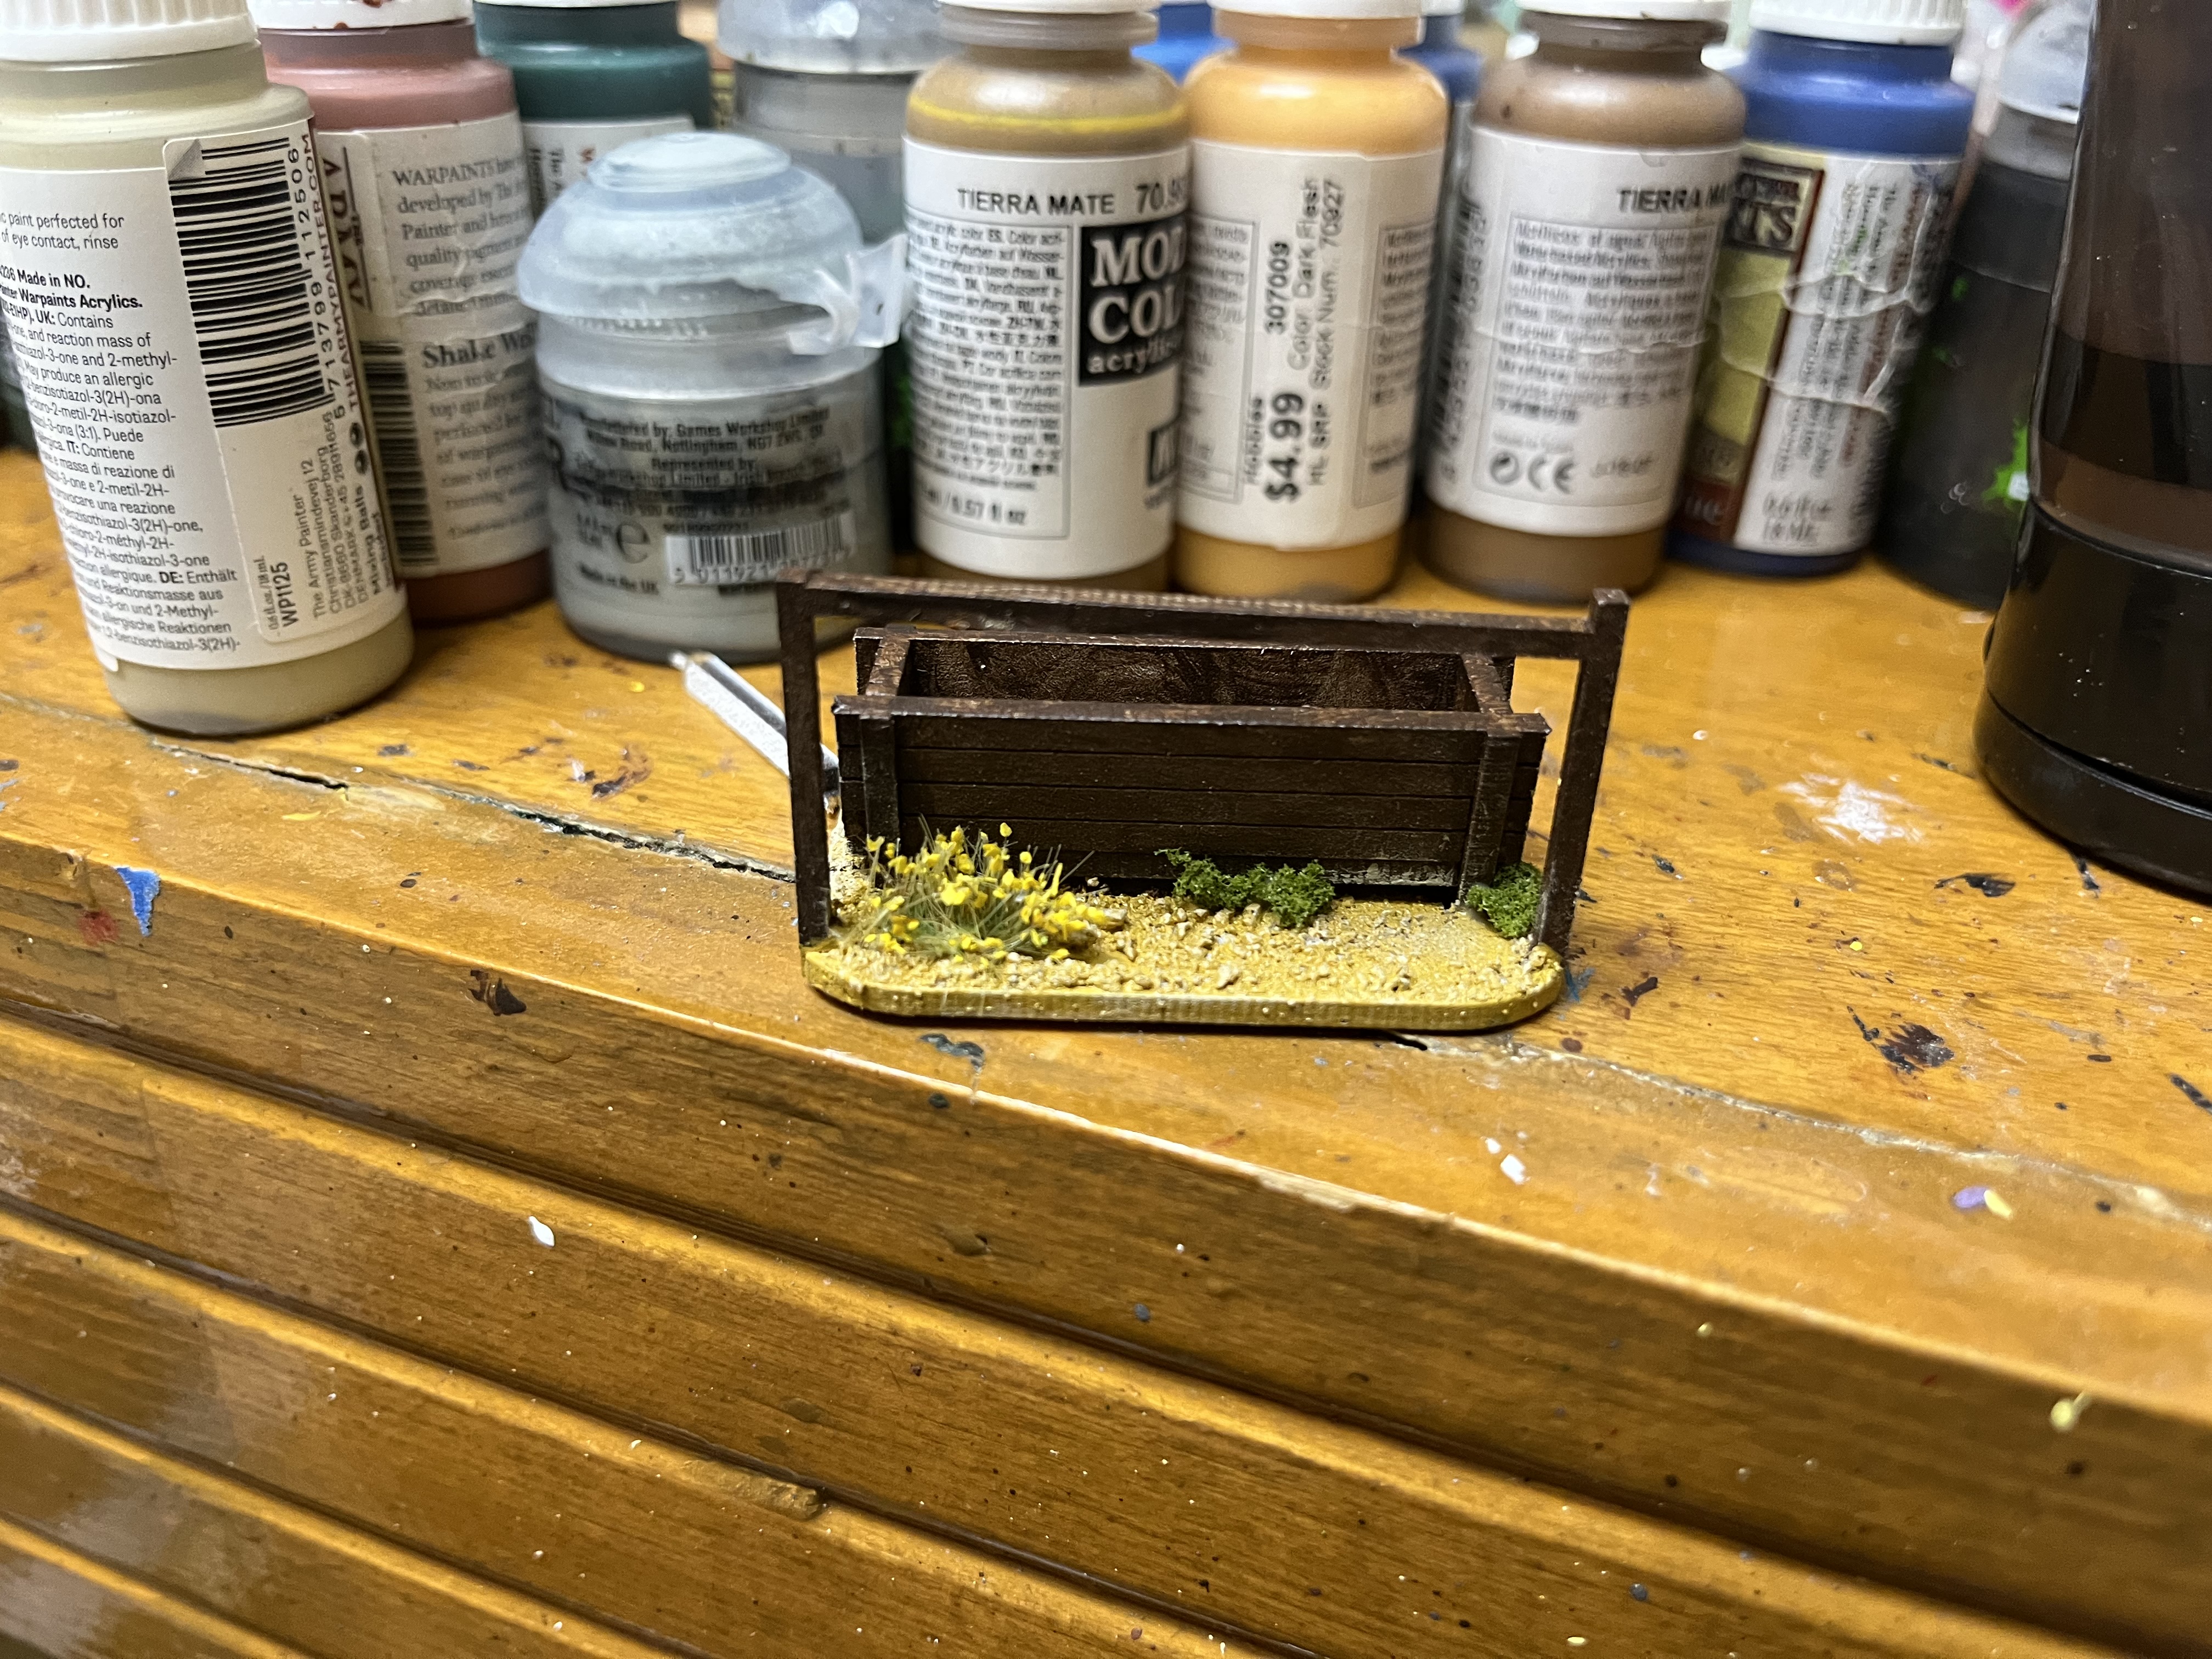
I finished up the water trough by using some Army Painter Desert Yellow on the sand then dry brushed it with Skeleton Bone.
Working on the theory that water would encourage plants to grow but that horses would eat anything they could reach I had to figure out where they’d survive. I figured the horses would be hitched so they could drink the water. Based on that, it seems logical that the hitching post would be behind the trough. This would still allow the horses to drink but it would be difficult for the hoses to eat any of the vegetation on the far side of the trough.
In our little frontier town, it would probably be one of the Sheriff’s responsibilities to ensure the town’s water troughs were full.
Might need to get a hand pump for this.
Saloon Pt 1
The saloon has a larger foot print, is two stories and has more details than all the other buildings combined. It’s going to be the center piece building for our town. I want it to look a little more upscale so I complicated my life by going for a more complicated paint scheme.
 The floors and balcony were painted in the more or less standard scheme of burnt umber
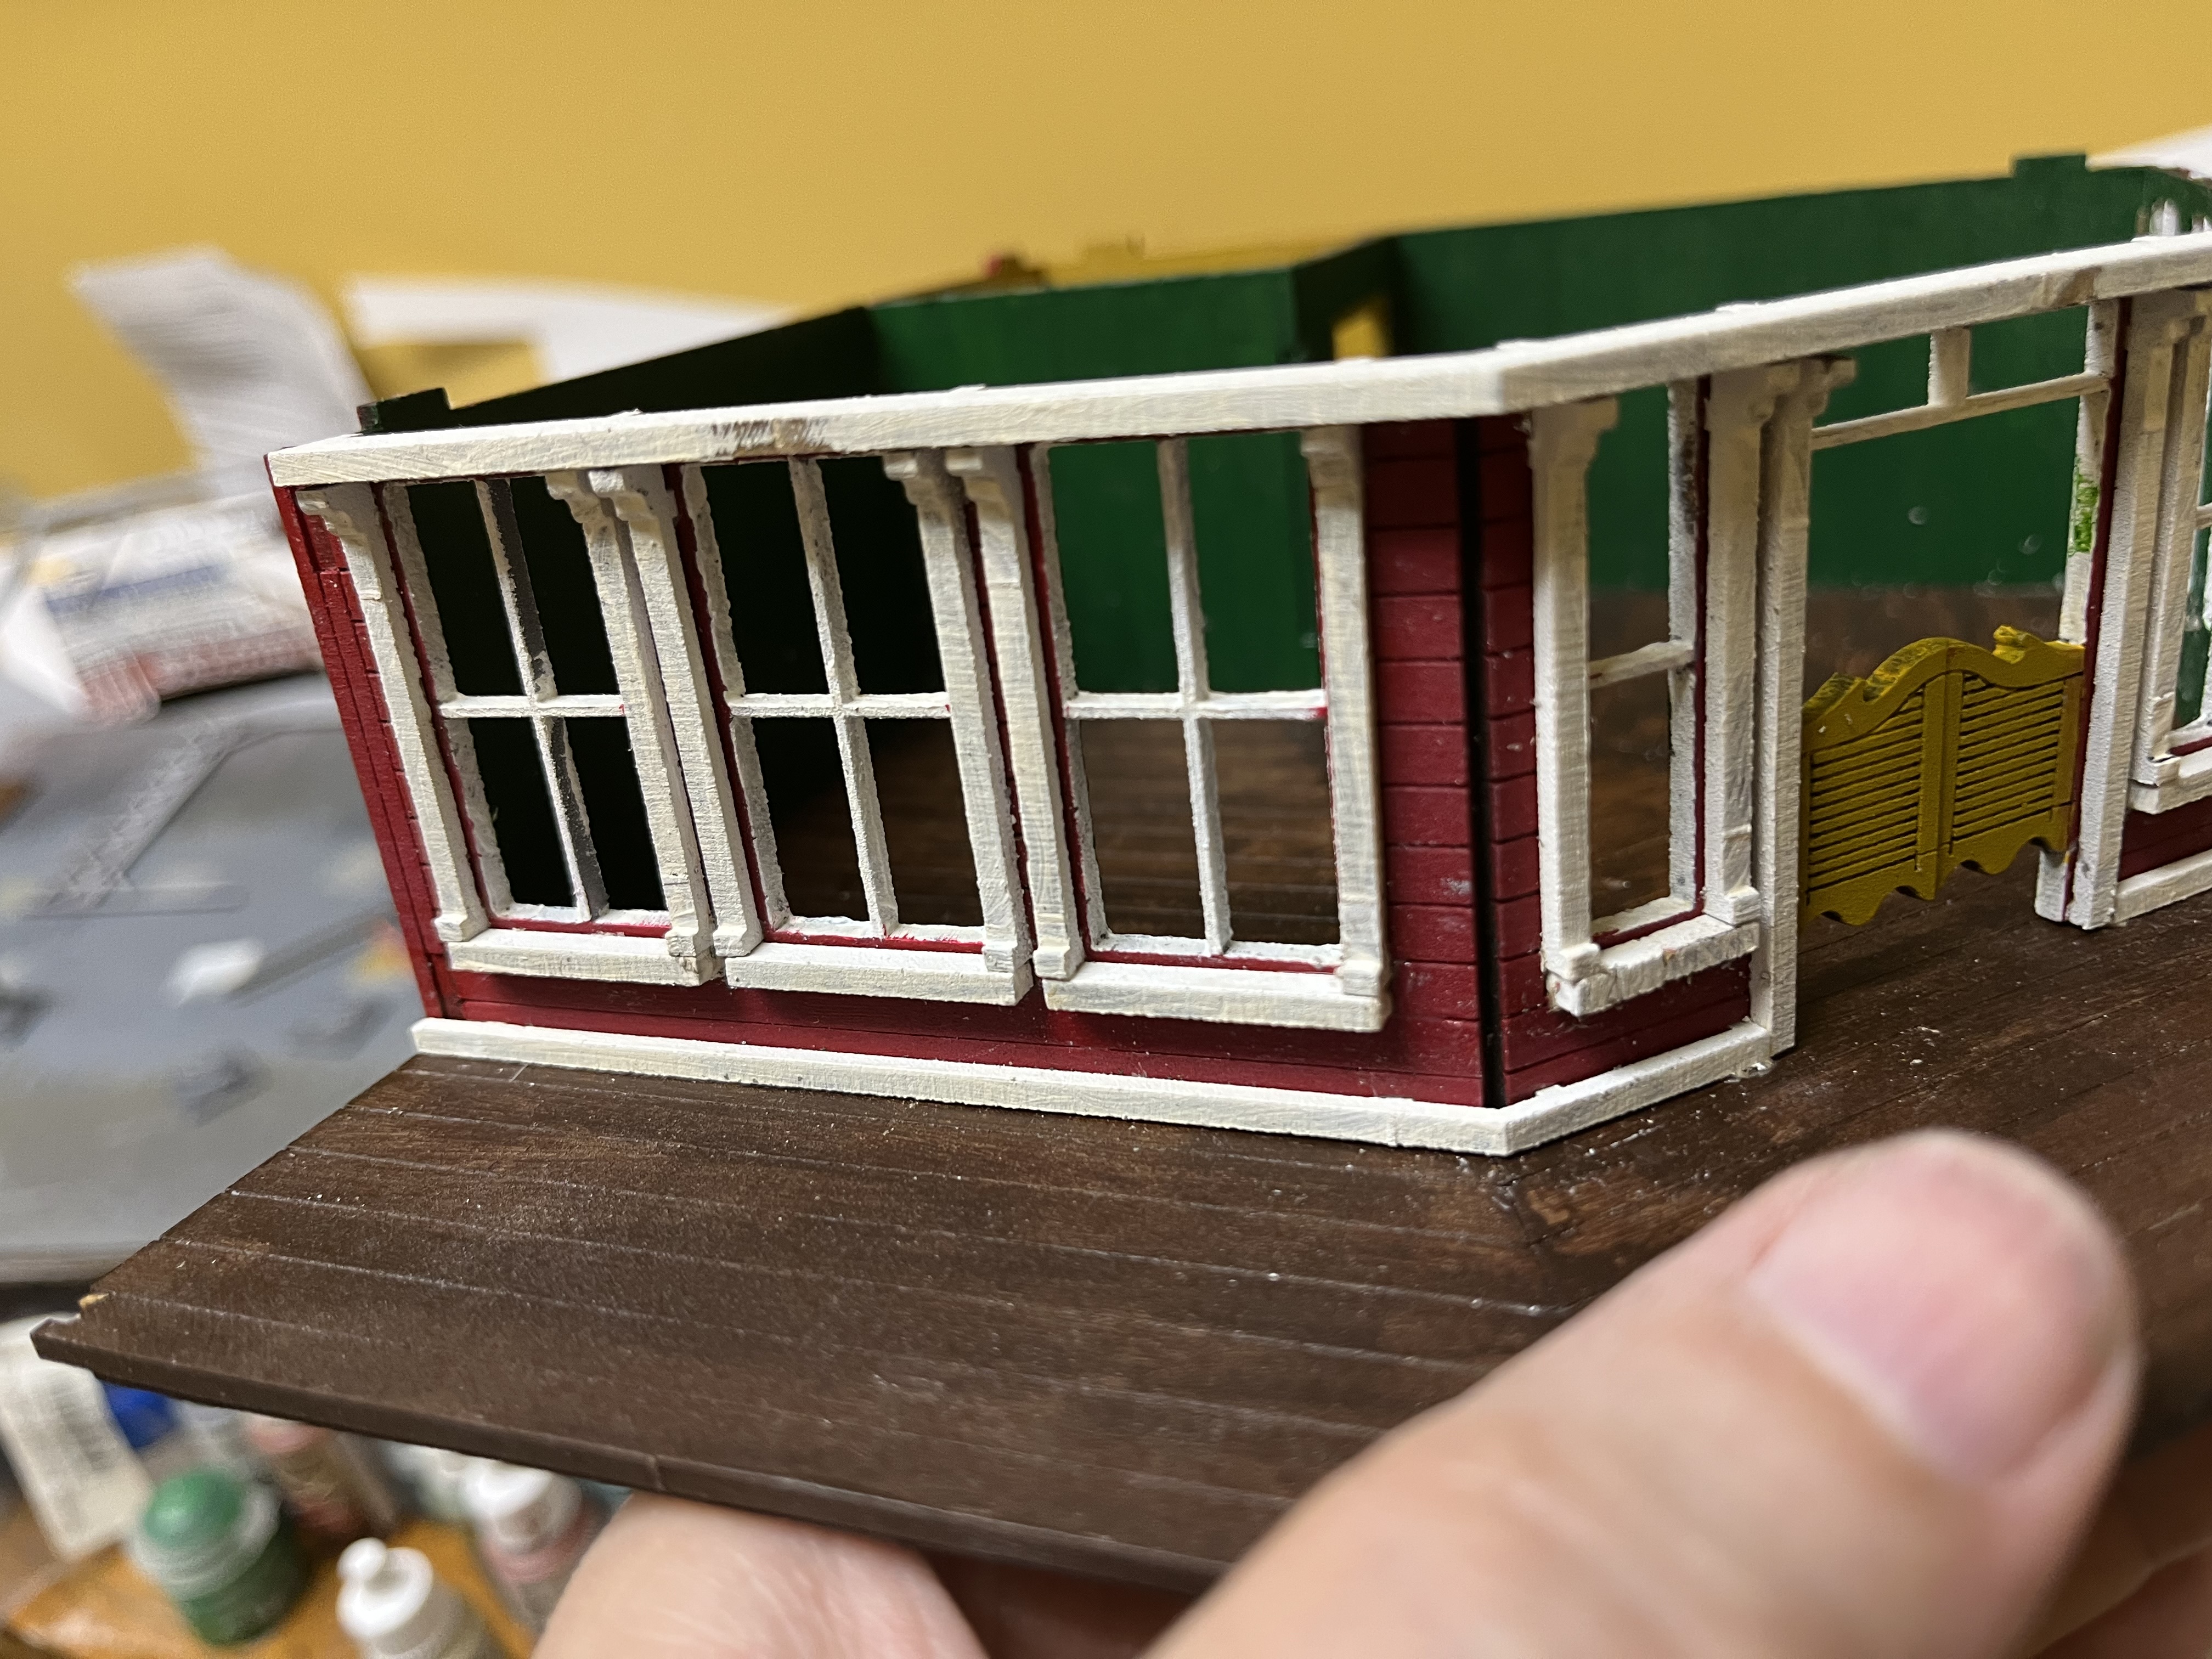
  Exterior walls are painted red and the window panes will be white
 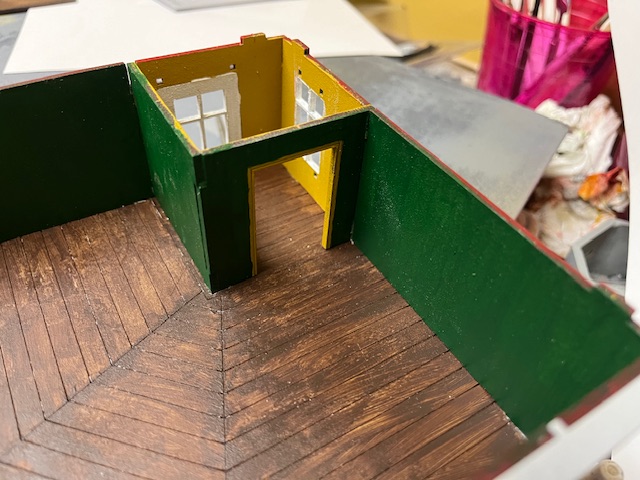 Interior walls are painted green with the cloak room painted a mustard yellow color. I mixed Burnt umber, white and yellow until I got the color I wanted.
  Just to make life easier, I gave these a coat of white from a rattle can. Once punched out I’ll still have to paint the edges
  Once everything dried, I started gluing everything into place. Note the upper and lower lintels in white need their edges painted. I glued the upper lintel in place to help align the walls while the glue was drying. It’s fairly accessible so I’ll paint the edge after the glue dries. The lower lintel is just dry fitted to help with alignment. Once the glue dries I’ll pull it out, paint the edge and then glue it back in place.


