


![1918 Spring Offensive Wargame | Full Rules Overview with John & Gerry (WW1 Tabletop Game) [7 Days Early Access]](https://images.beastsofwar.com/2026/03/unboxing-warfulcrum-games-1918-spring-offensive-review-coverimage1-225-127.jpeg)


For Whom the Bell Tolls (and some wood!)


Recommendations: 587
About the Project
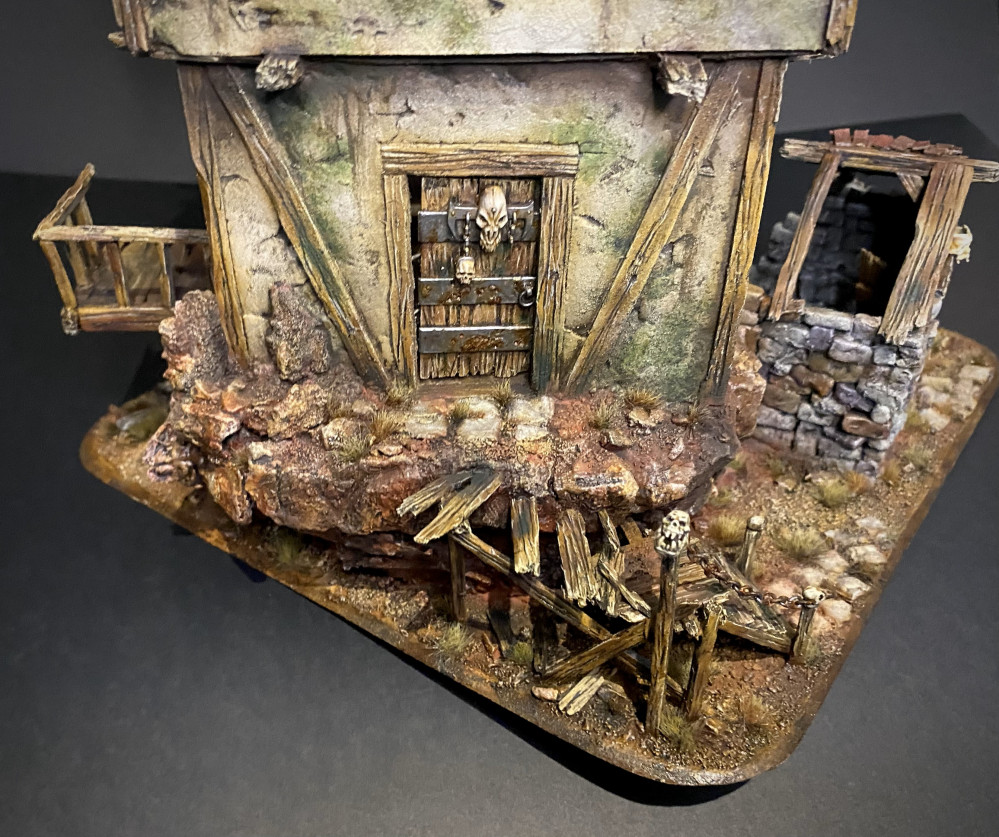
A dark and ancient ruined tower. Going for a grim dark fantasy vibe that would fit right in with Mordheim. As for the title, I do intend to involve a bell at some point.. For crafting, I did not use any fancy or expensive tool (no proxon hot wire cutter) and no 3D printer. Almost everything came from the Dollar store (Poundland in the UK?) or nature (rocks, sands, bark). I did use a few bits from my bits box.
Related Game: Warhammer: The Old World
Related Company: Games Workshop
Related Genre: Fantasy
Related Contest: TerrainFest 2024
This Project is Completed
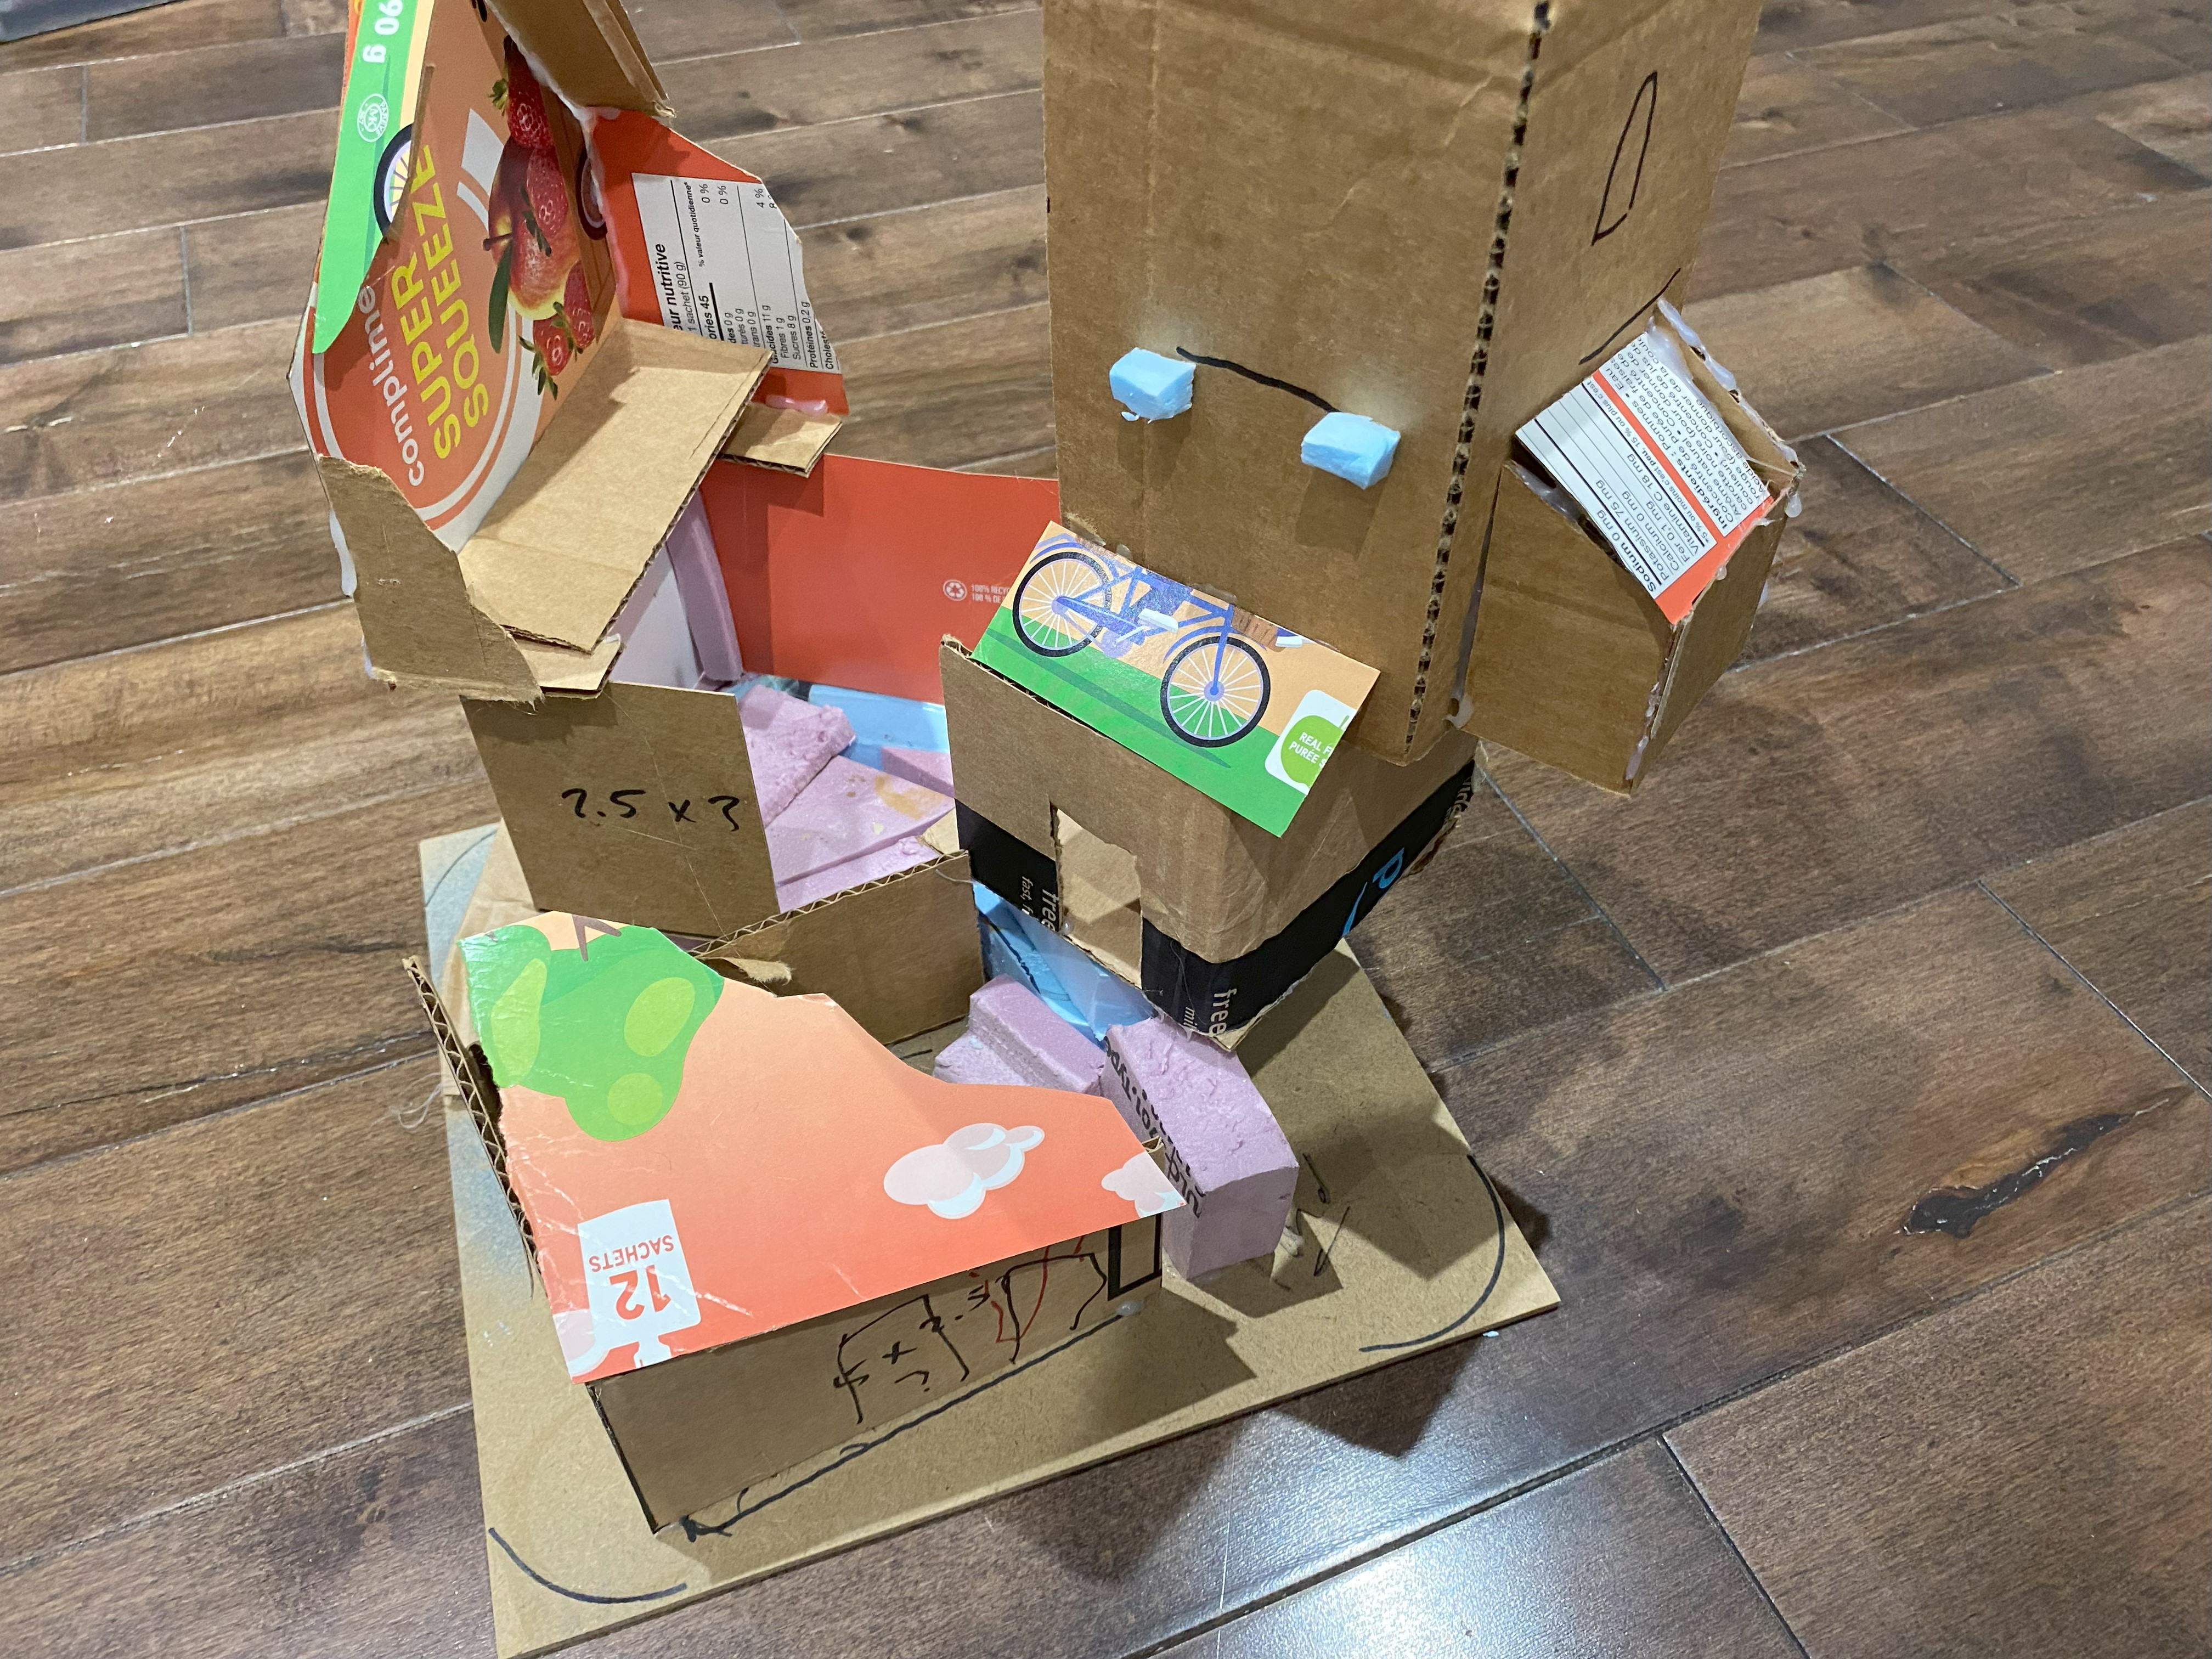
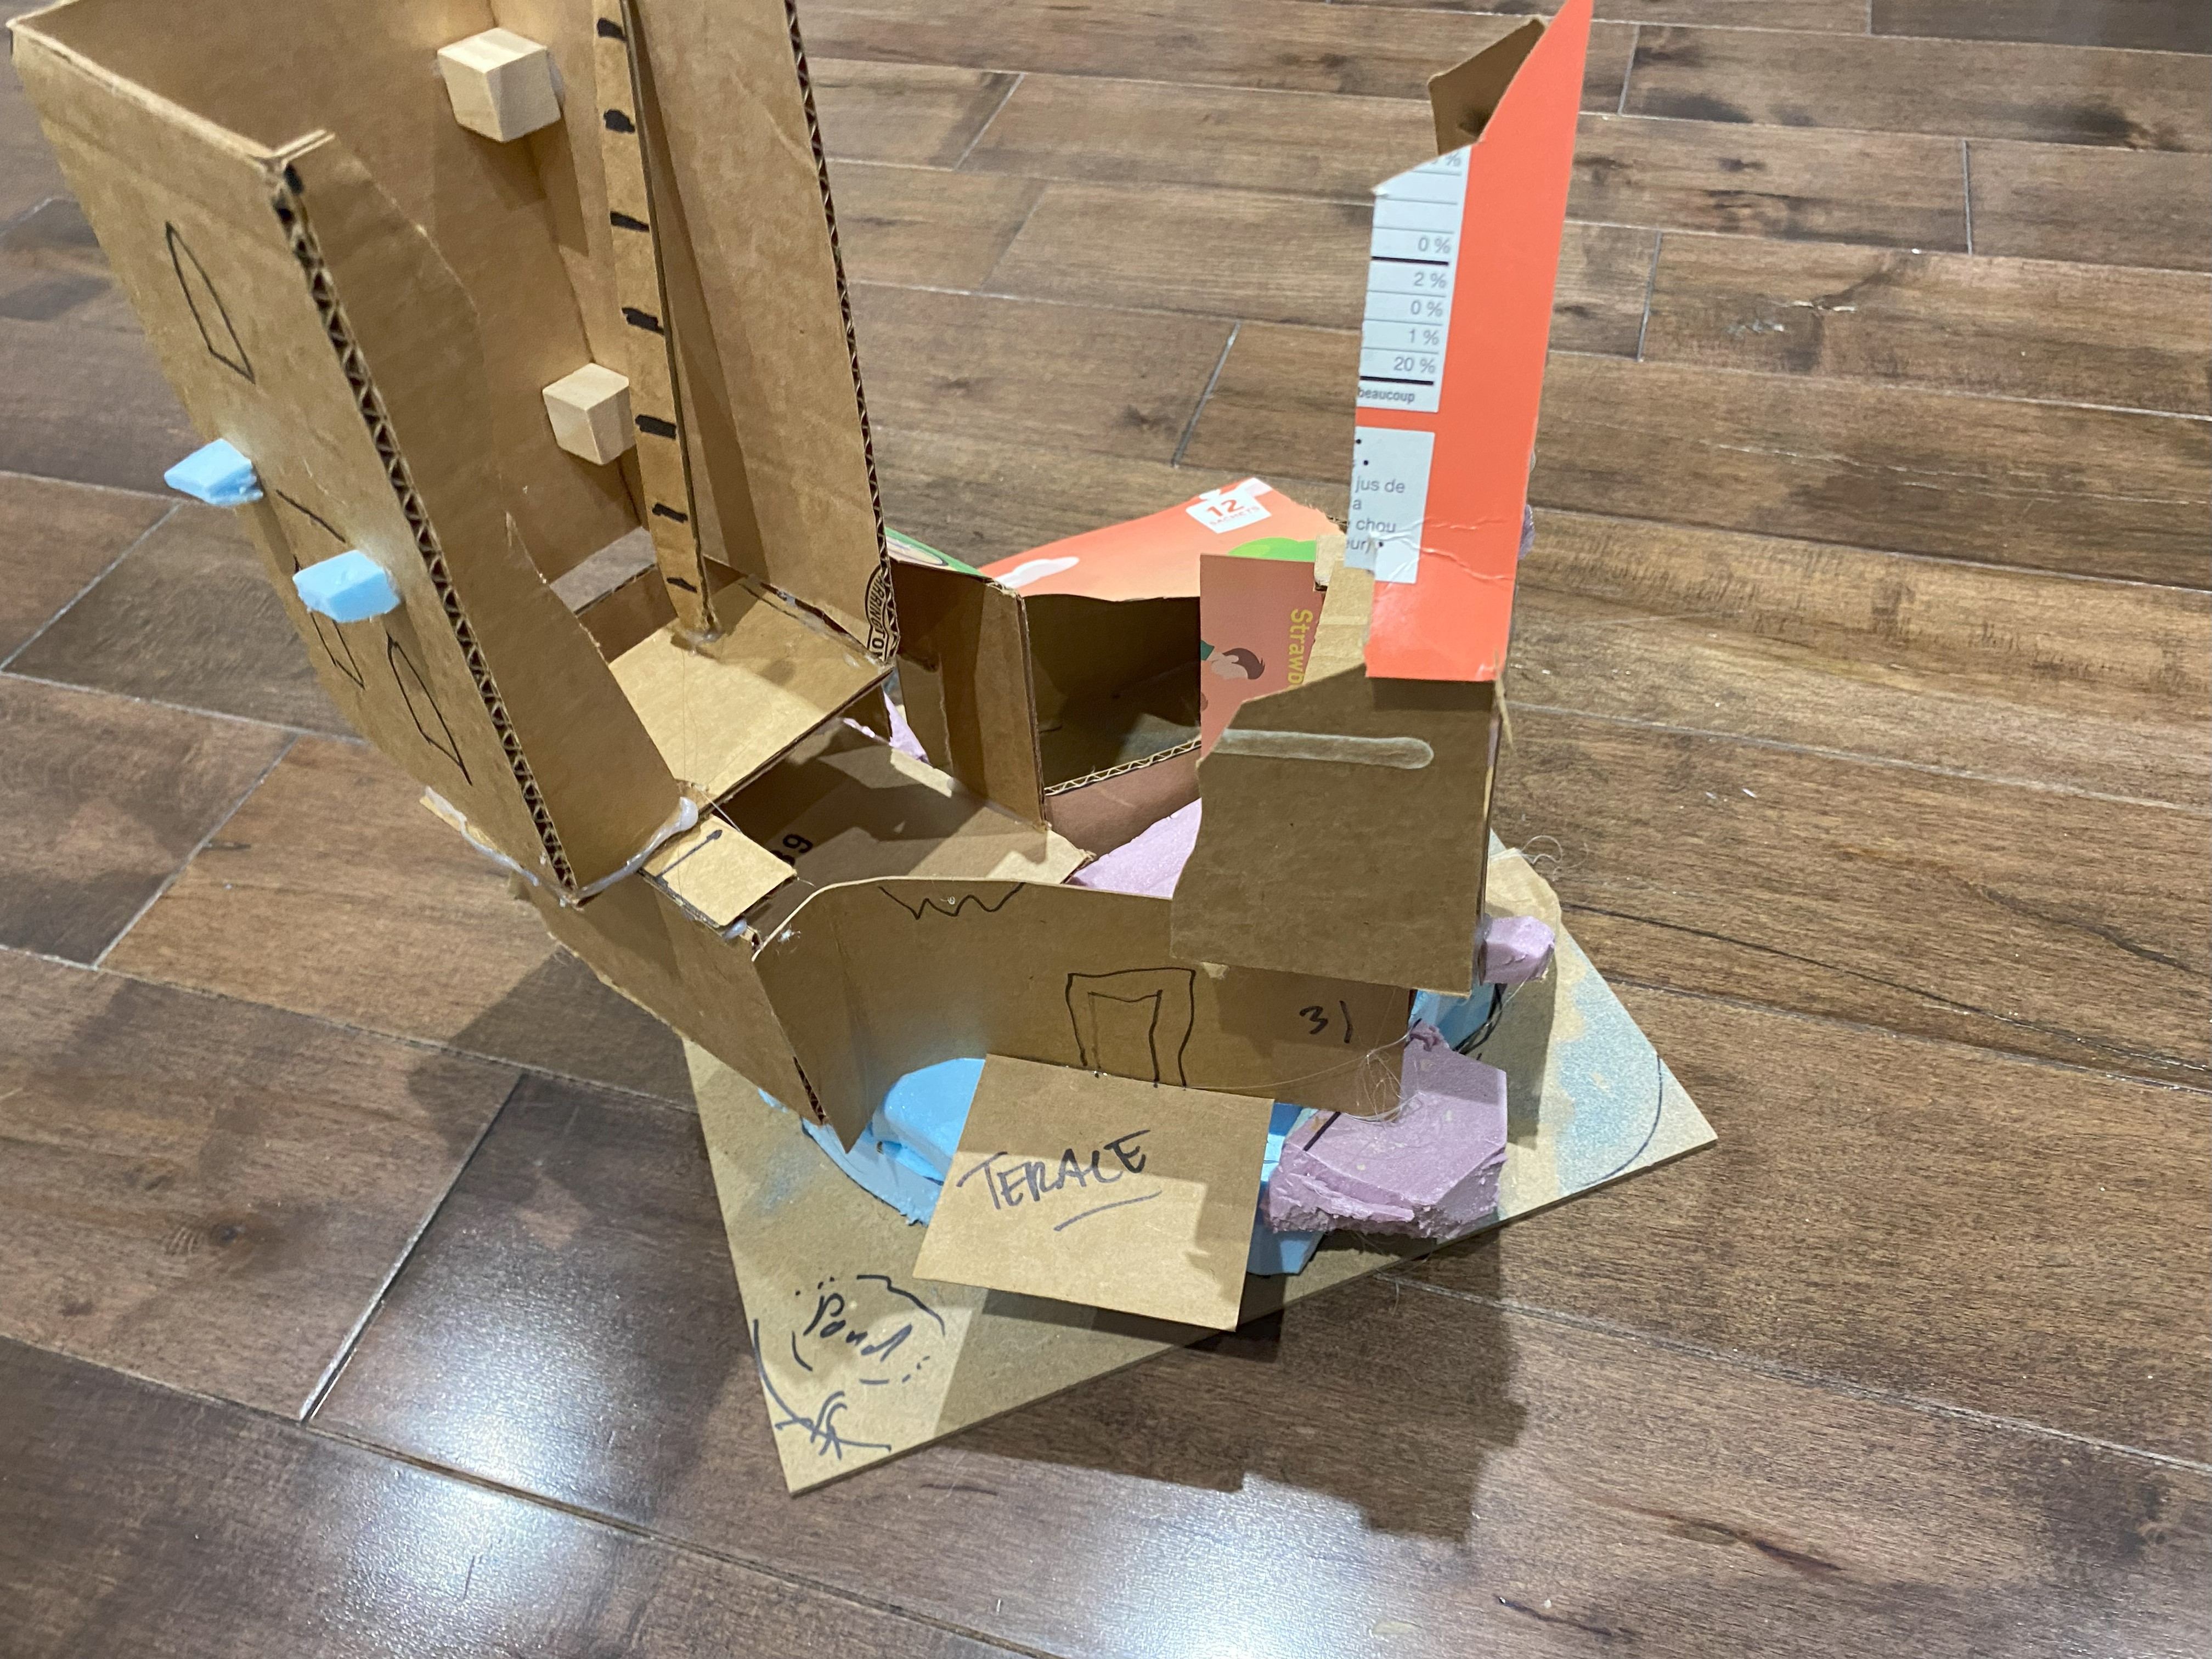
The Prototype
This is a prototype I built last year for Terrain Fest. Unfortunately, life got in the way and I never got around to build the actual thing.
Then I was busy painting two armies for the Old World (Vampire Count and Orcs & Goblins).
The prototype just sat in the closet for a year and now it’s time to do some actual crafting!
I don’t normally build prototype when crafting terrain, but since this piece was bigger with strange angles and different materials, I thought it would be useful.
I did change the architecture a few times, cut a few walls and so on when assembling the prototype.
It’s not a precise plan, it’s more like a rough sketch that will help with sizes and proportions.
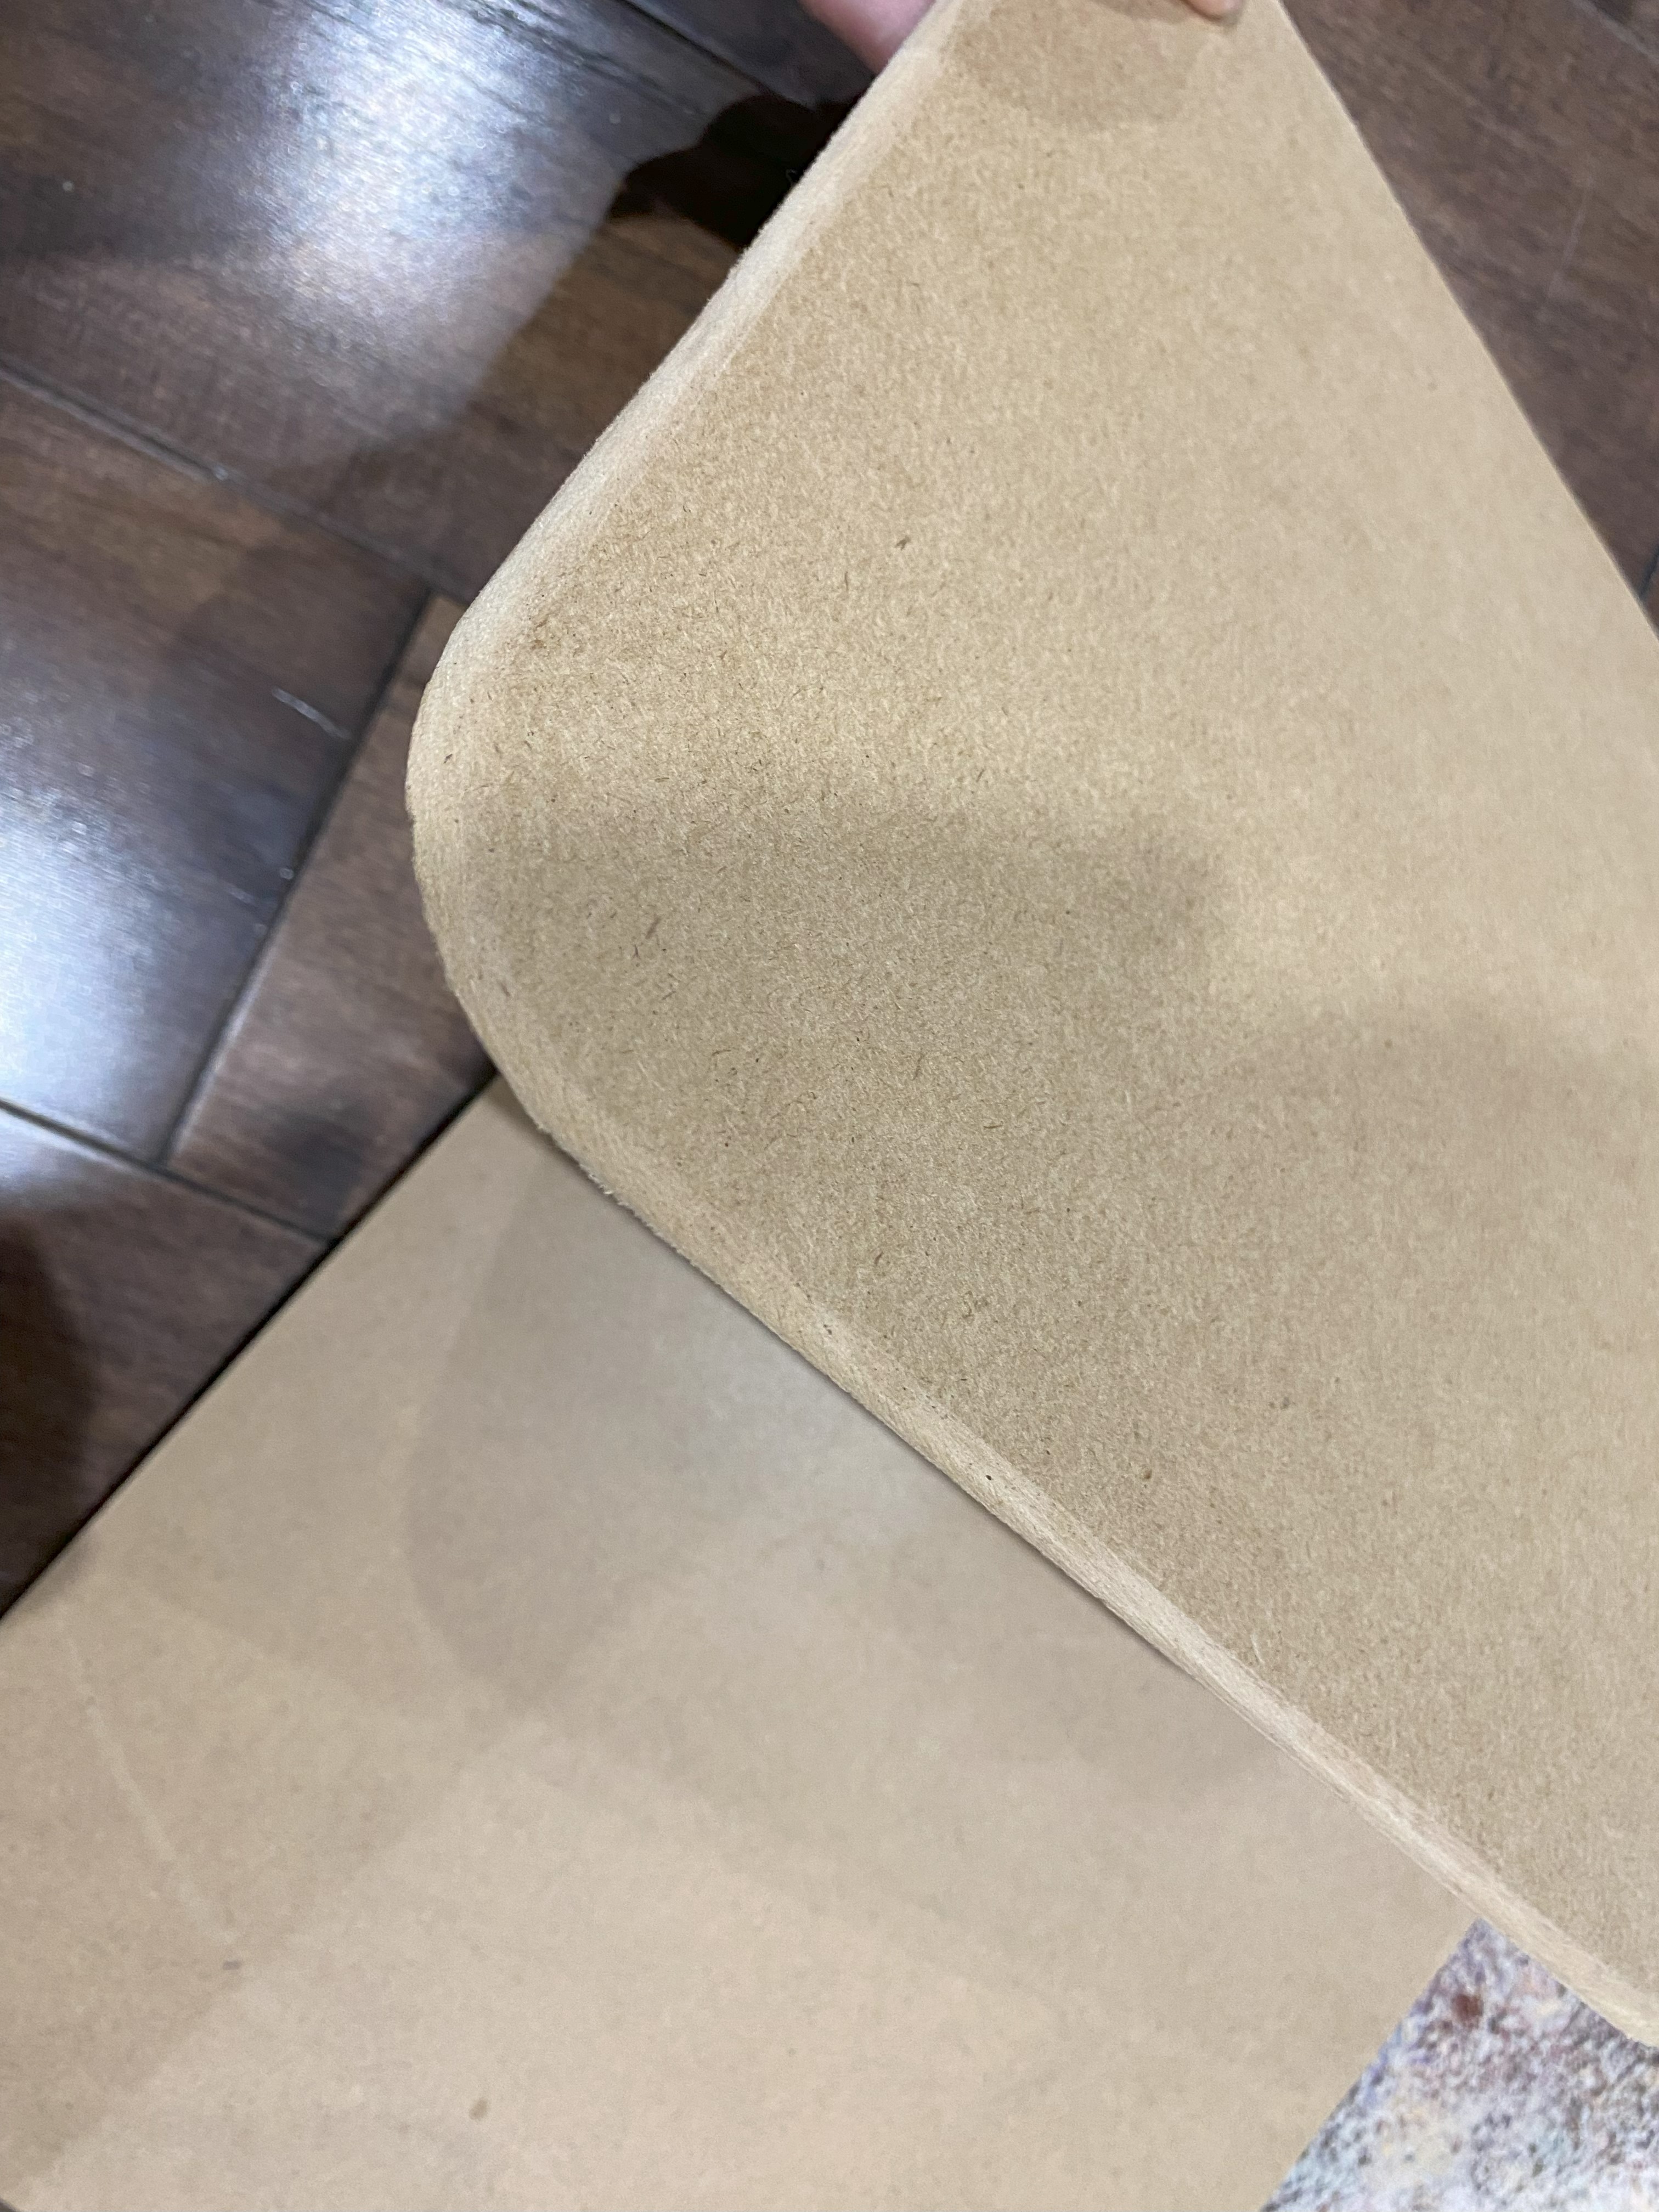
The Base
The base is made up of 12 x 12 inches MDF board from the Dollar Store.
They sell those in packs of 4 planks.
It’s cheap, thick enough (it won’t bend or warp with paint) and it’s easy to cut.
The only downside is the limited size: they don’t sell larger MDF sheets at the Dollar Store, but it is plenty of space for most buildings/ruins.
Bevel the edges and smooth out the corners with an Xacto knife, then I used sandpaper to file.
Sanding with sandpaper (any sandpaper you have laying around) is super fast (like less than two minutes), but the base looks more professional.
 Cheap MDF :)
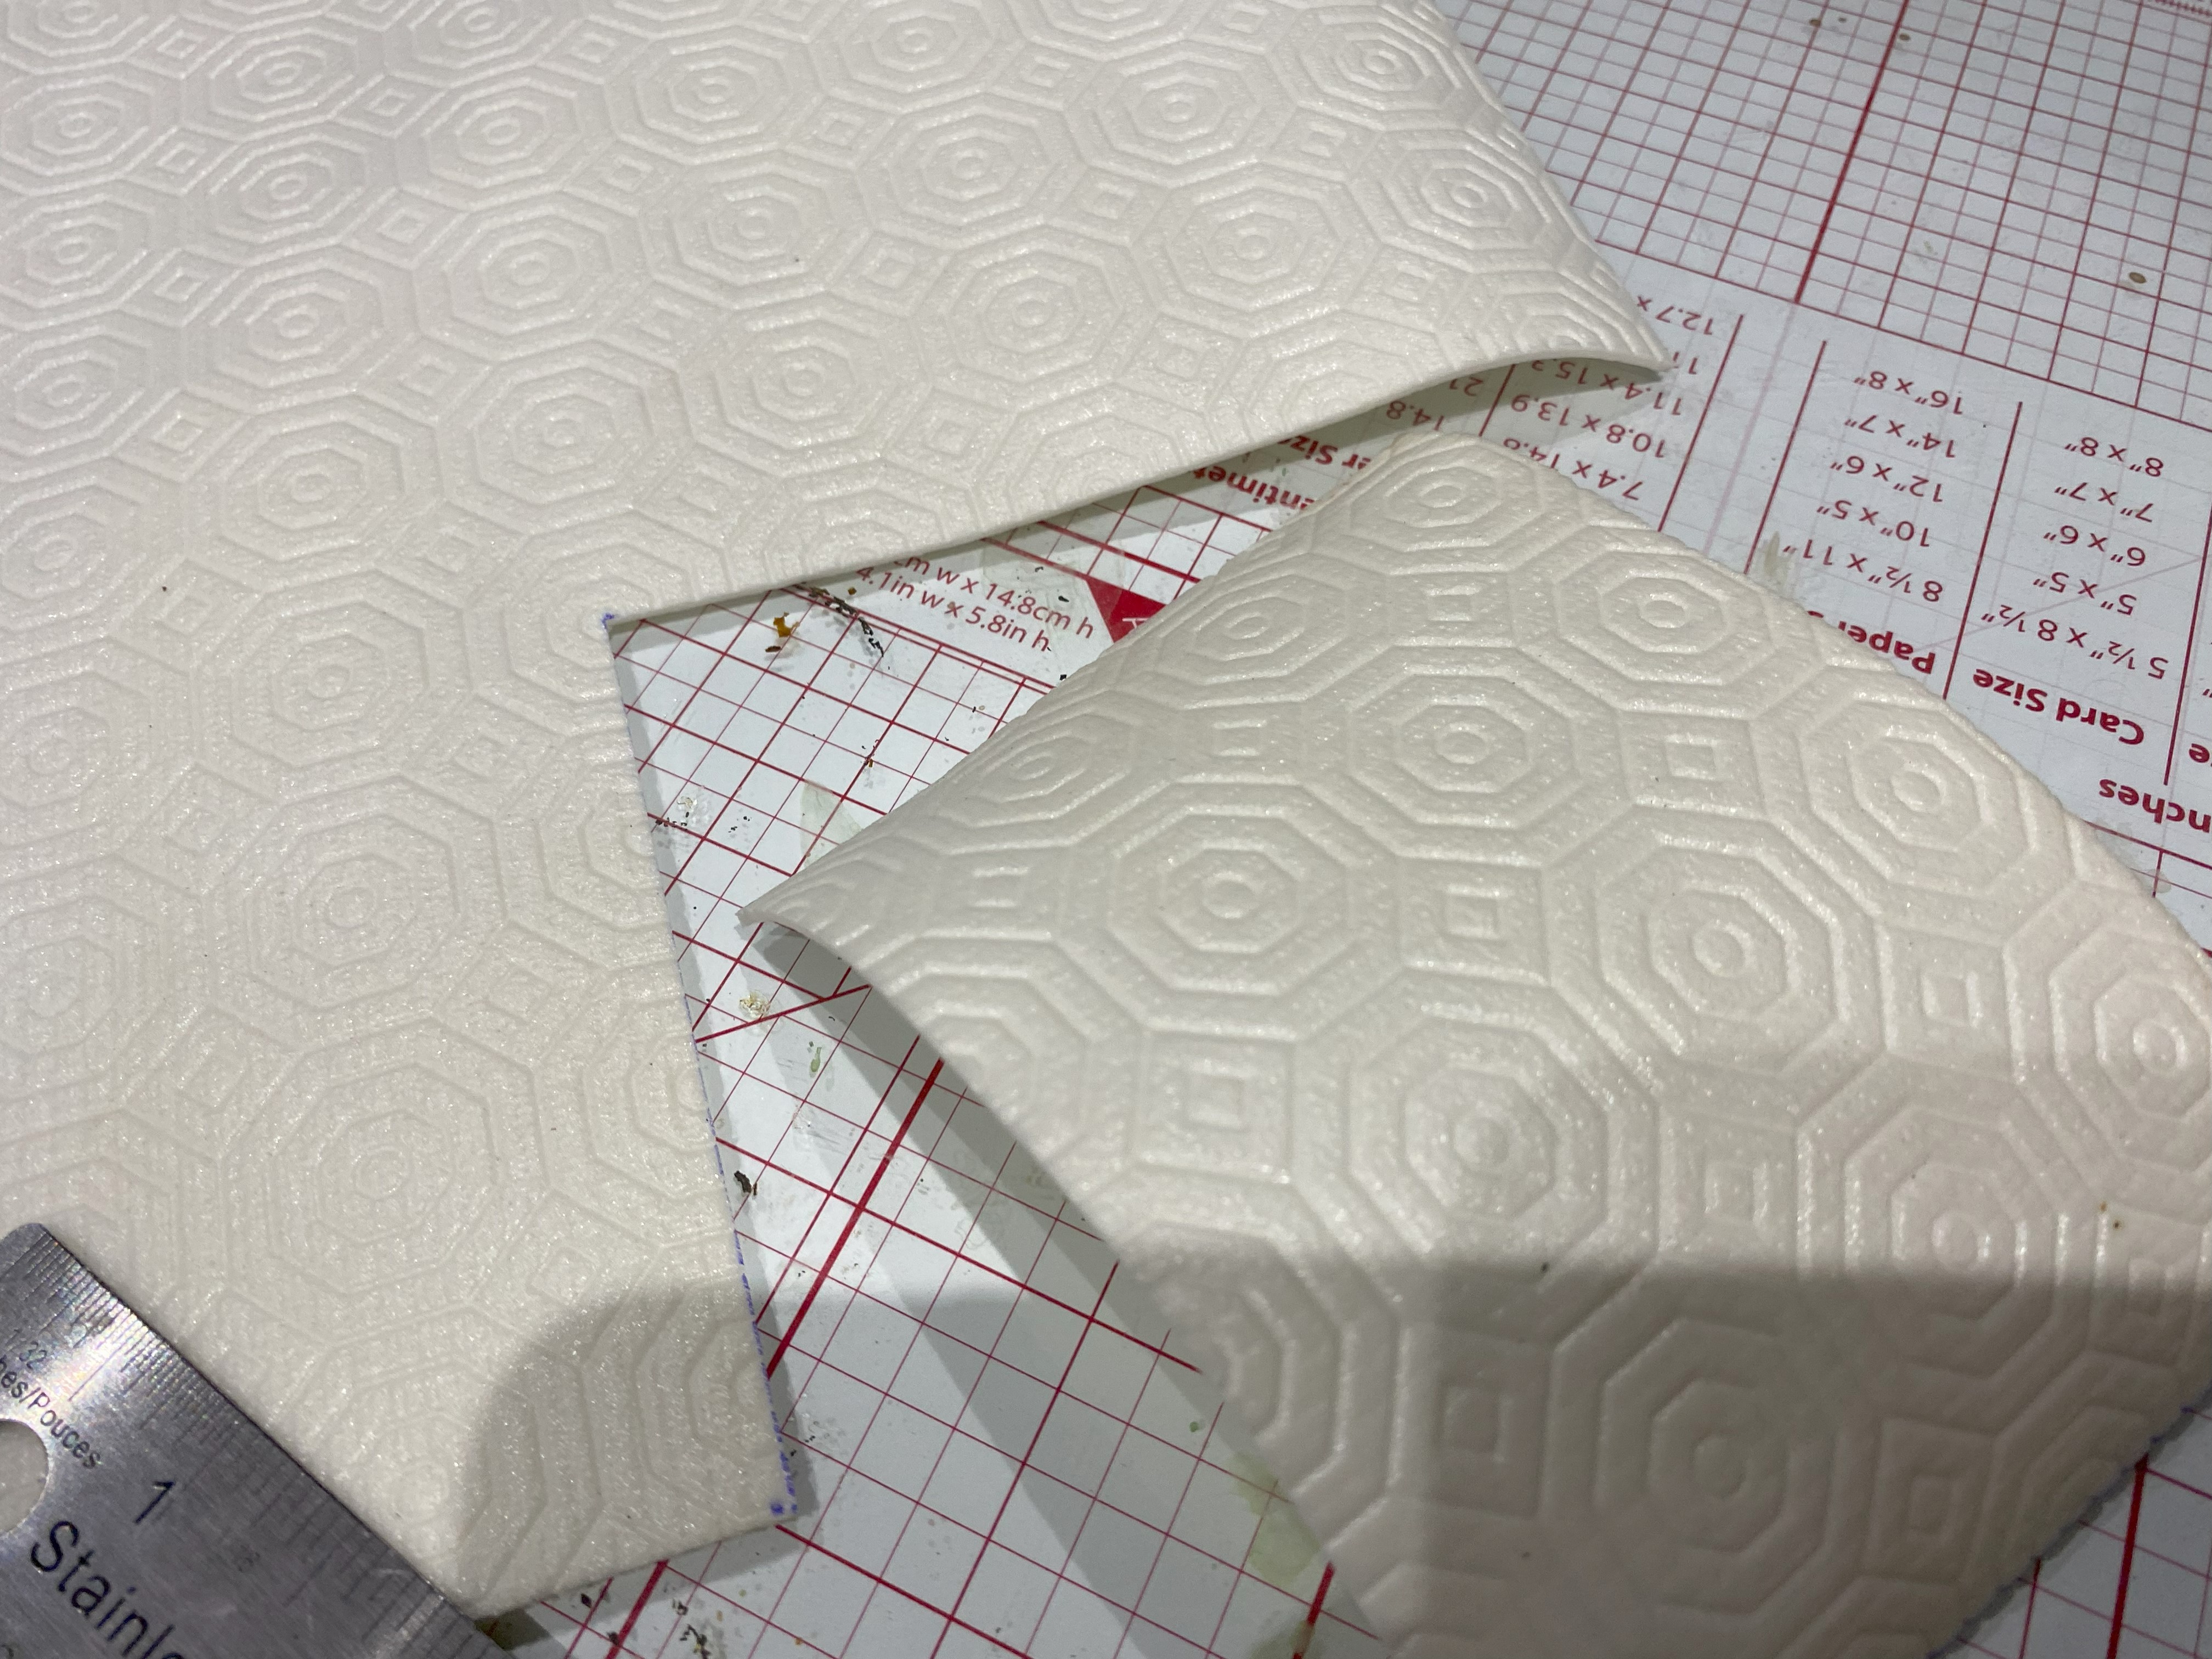
 The basement floor is a textured shelf & drawer liner that I found (also) at the Dollar Store for two bucks.
First time using it: it has a nice texture to it and it is super easy to cut.
(I imagine it could also be used to make an exterior plaza or courtyard with a fountain or even for dungeon tiles.)
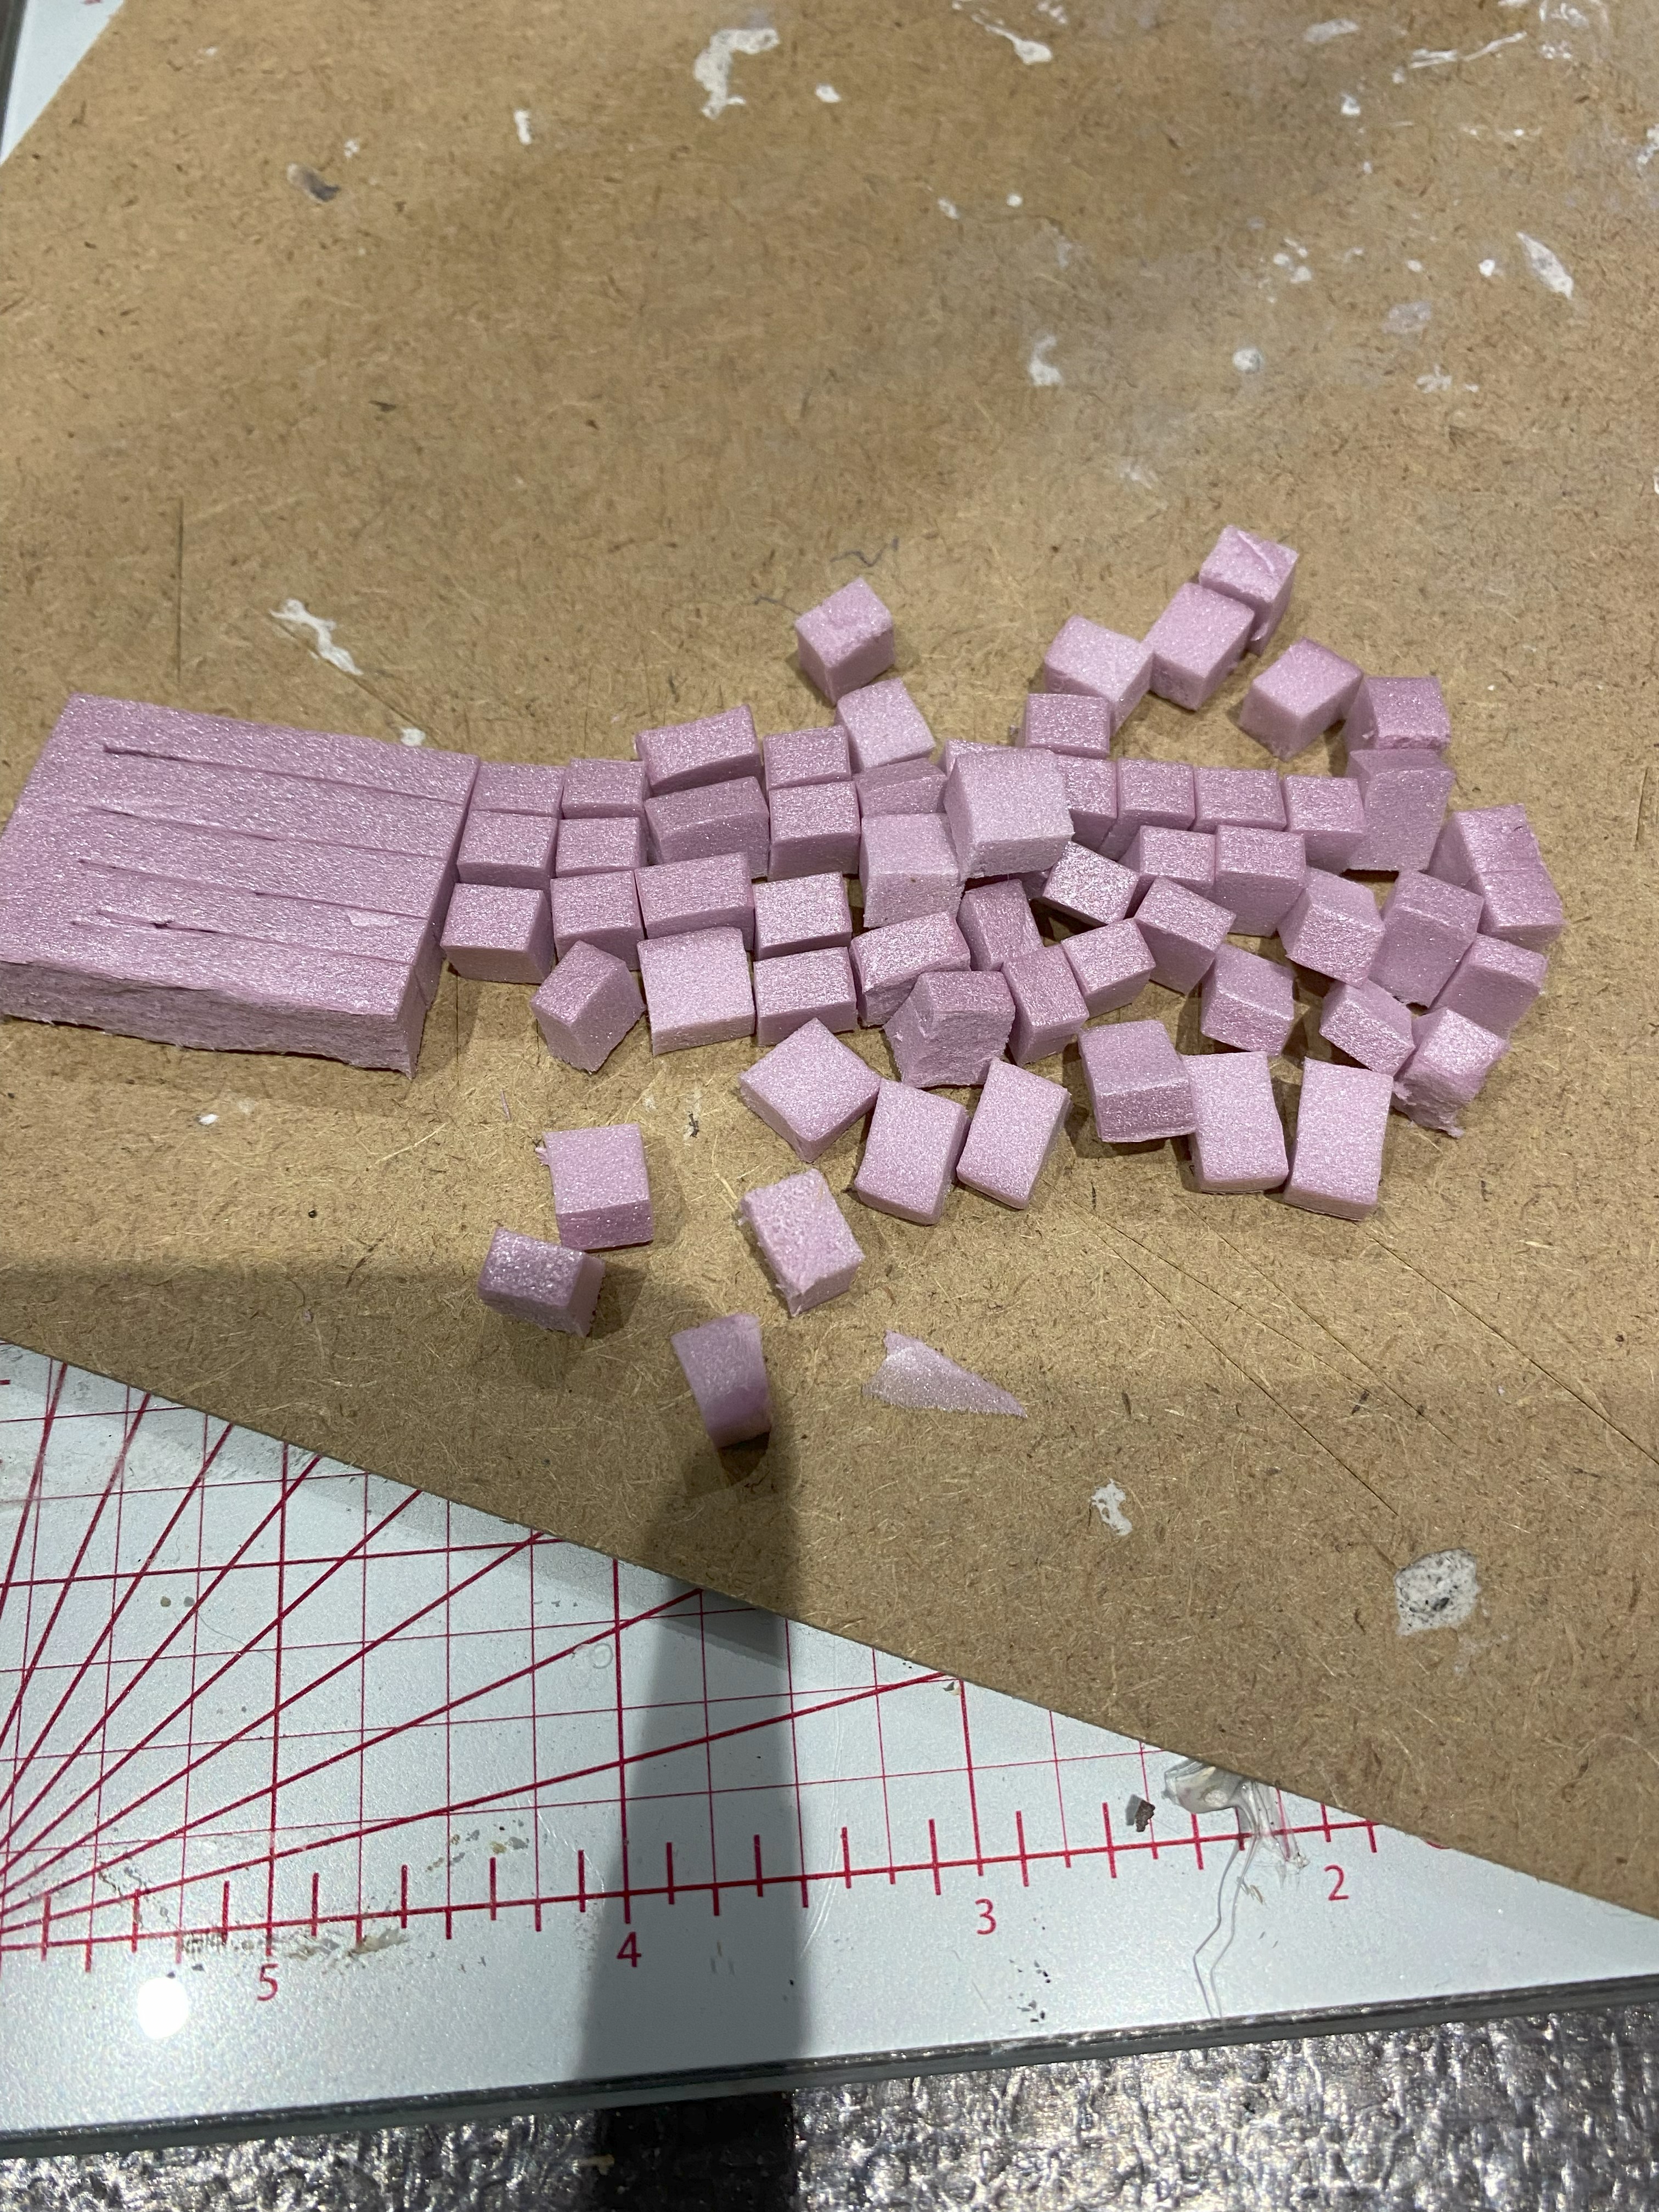
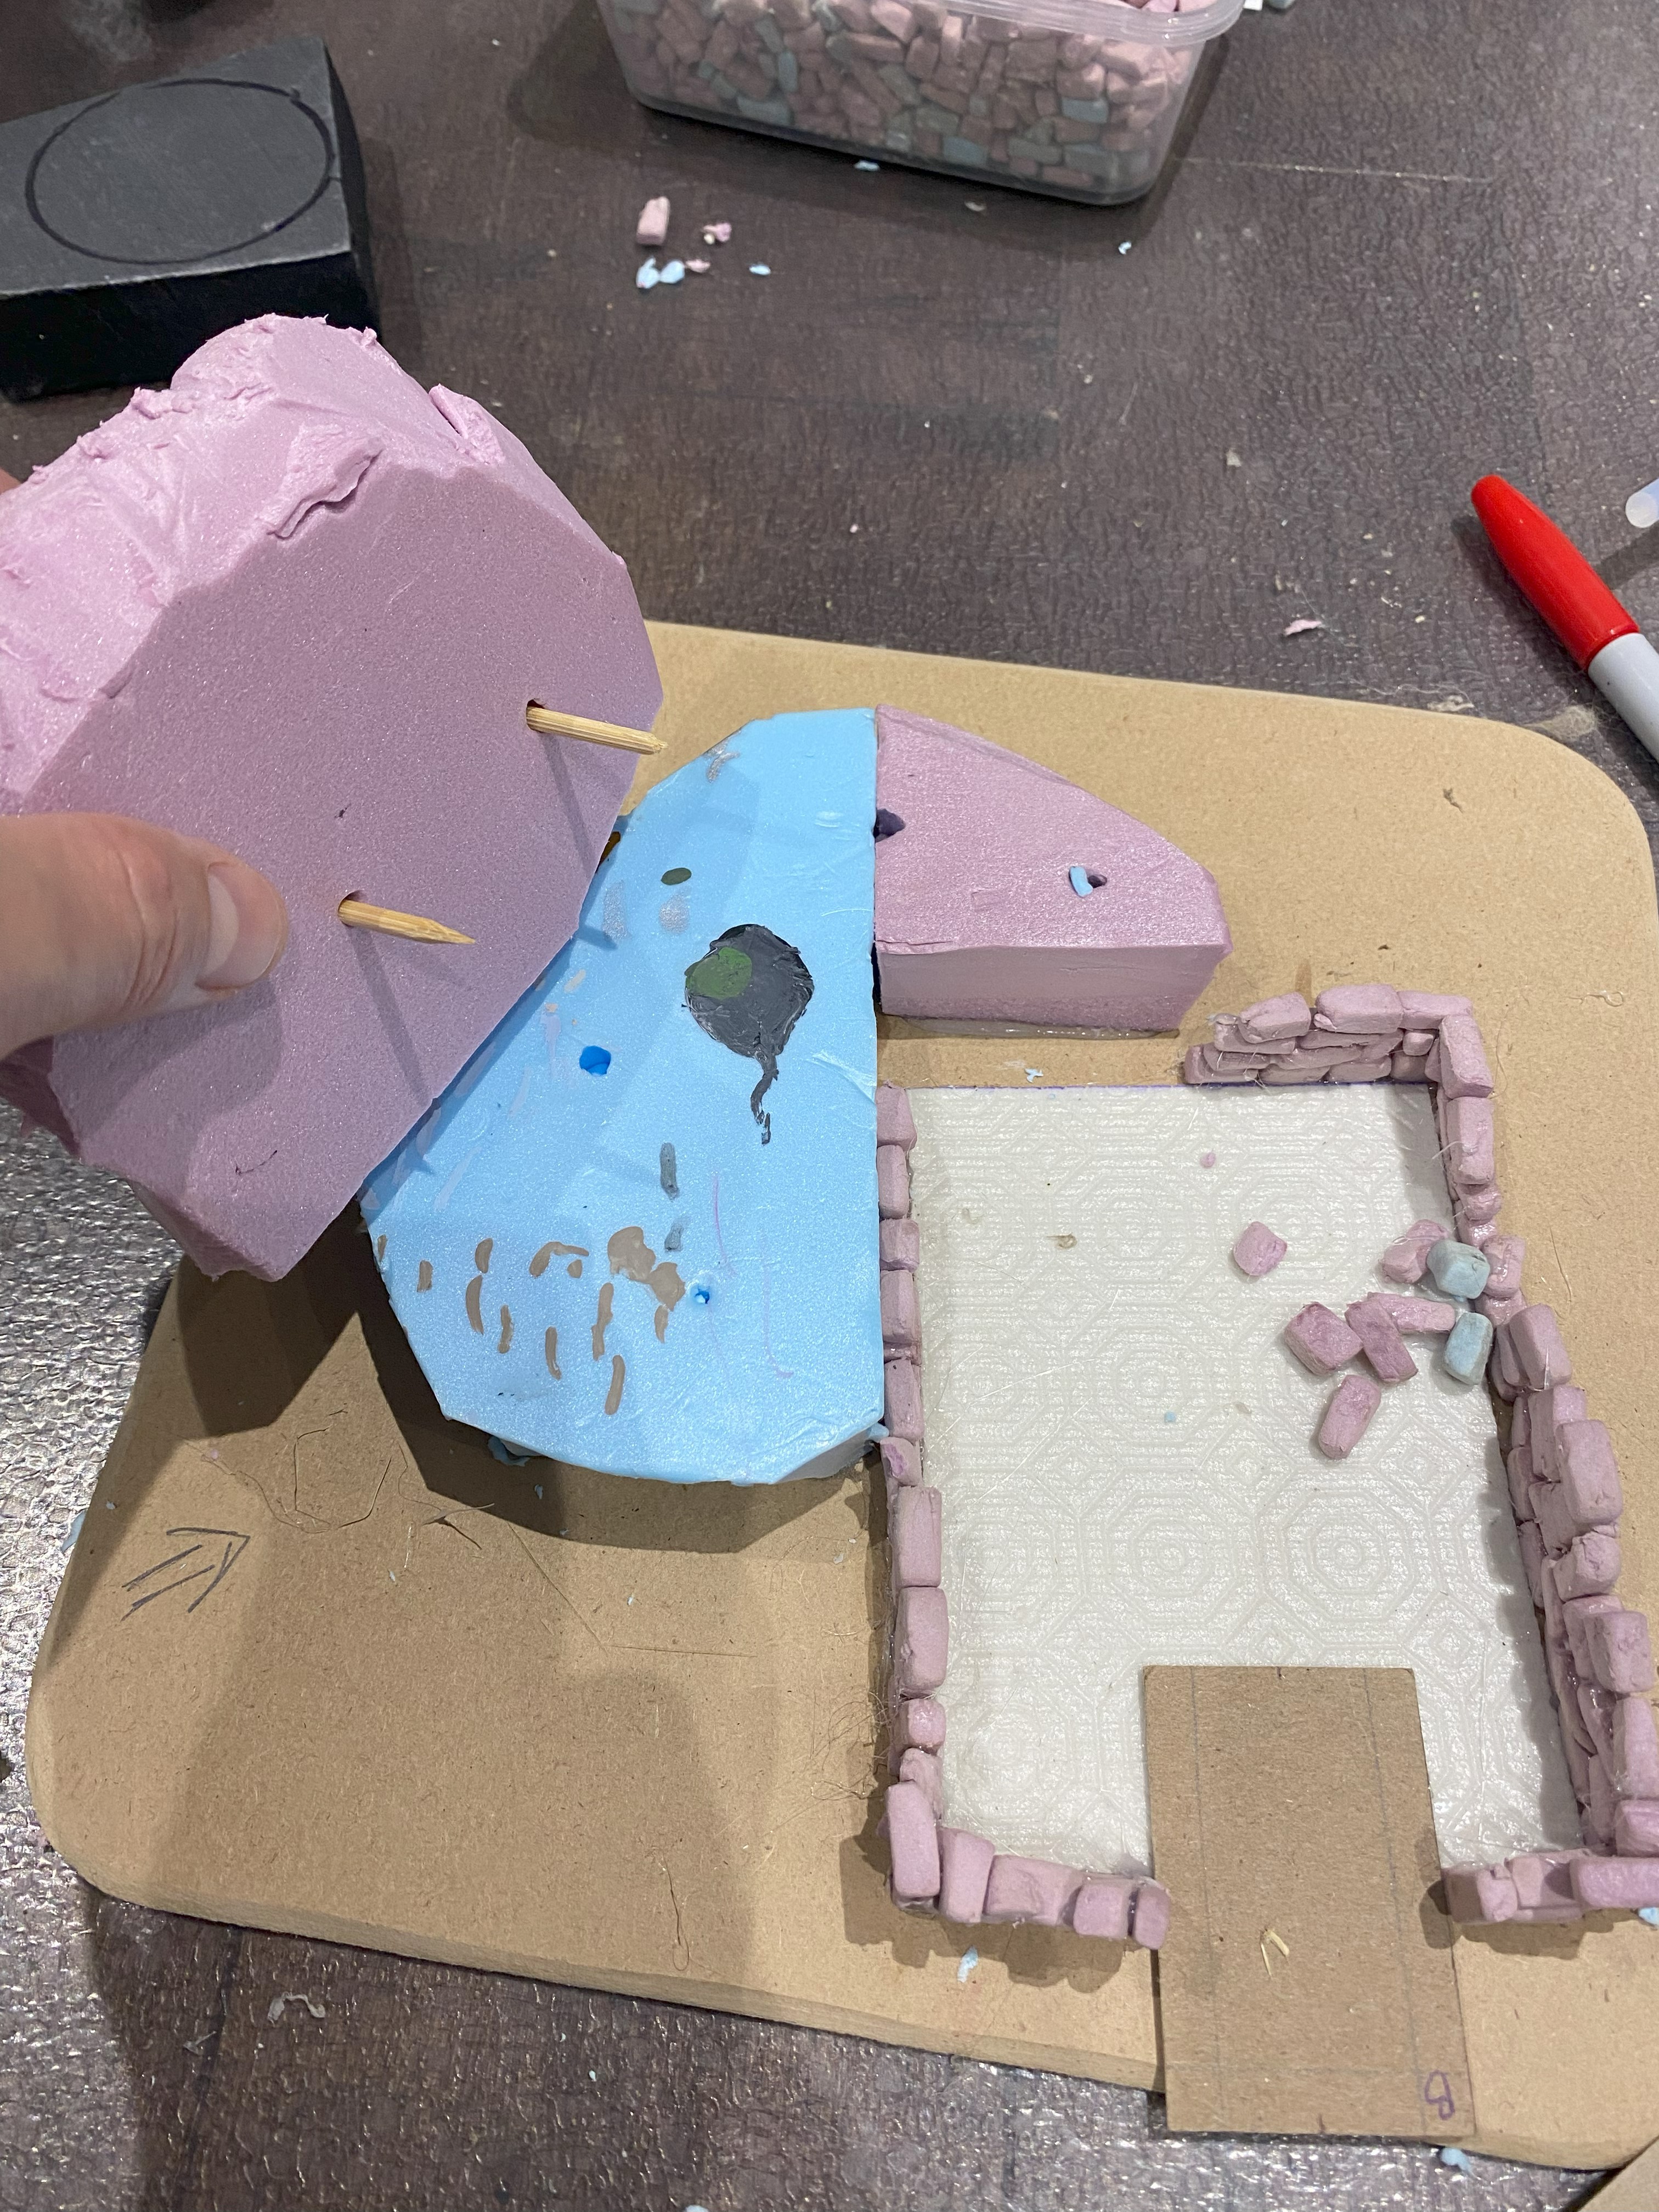 It needs more bricks
Bricks! (A ton of bricks...)
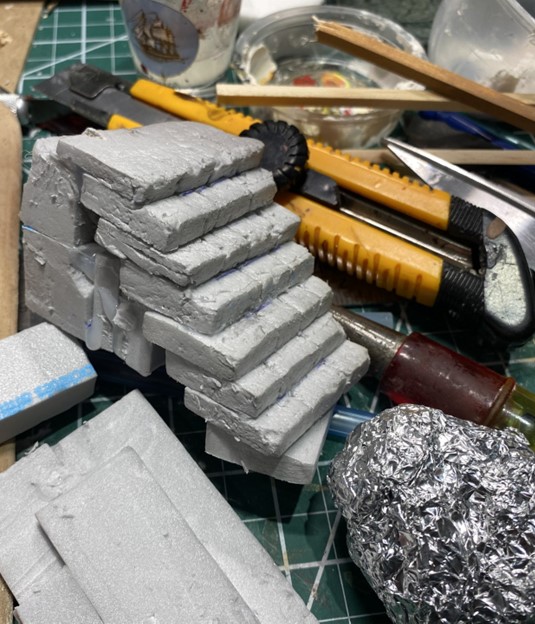
The bricks are made out of XPS foam (insulation foam).
I cut them to a size of about 5mm x 5mm x 10mm, but I didn’t use a ruler.
I eyeballed the size when batch cutting/crafting them.
I ended up with bricks of varying sizes which is perfect to give a ramshackle appearance to the brick building.
I think smaller bricks look better/more realistic than bigger bricks, but they do take more time to glue.
 Bricks!
  Random pieces of XPS foam
 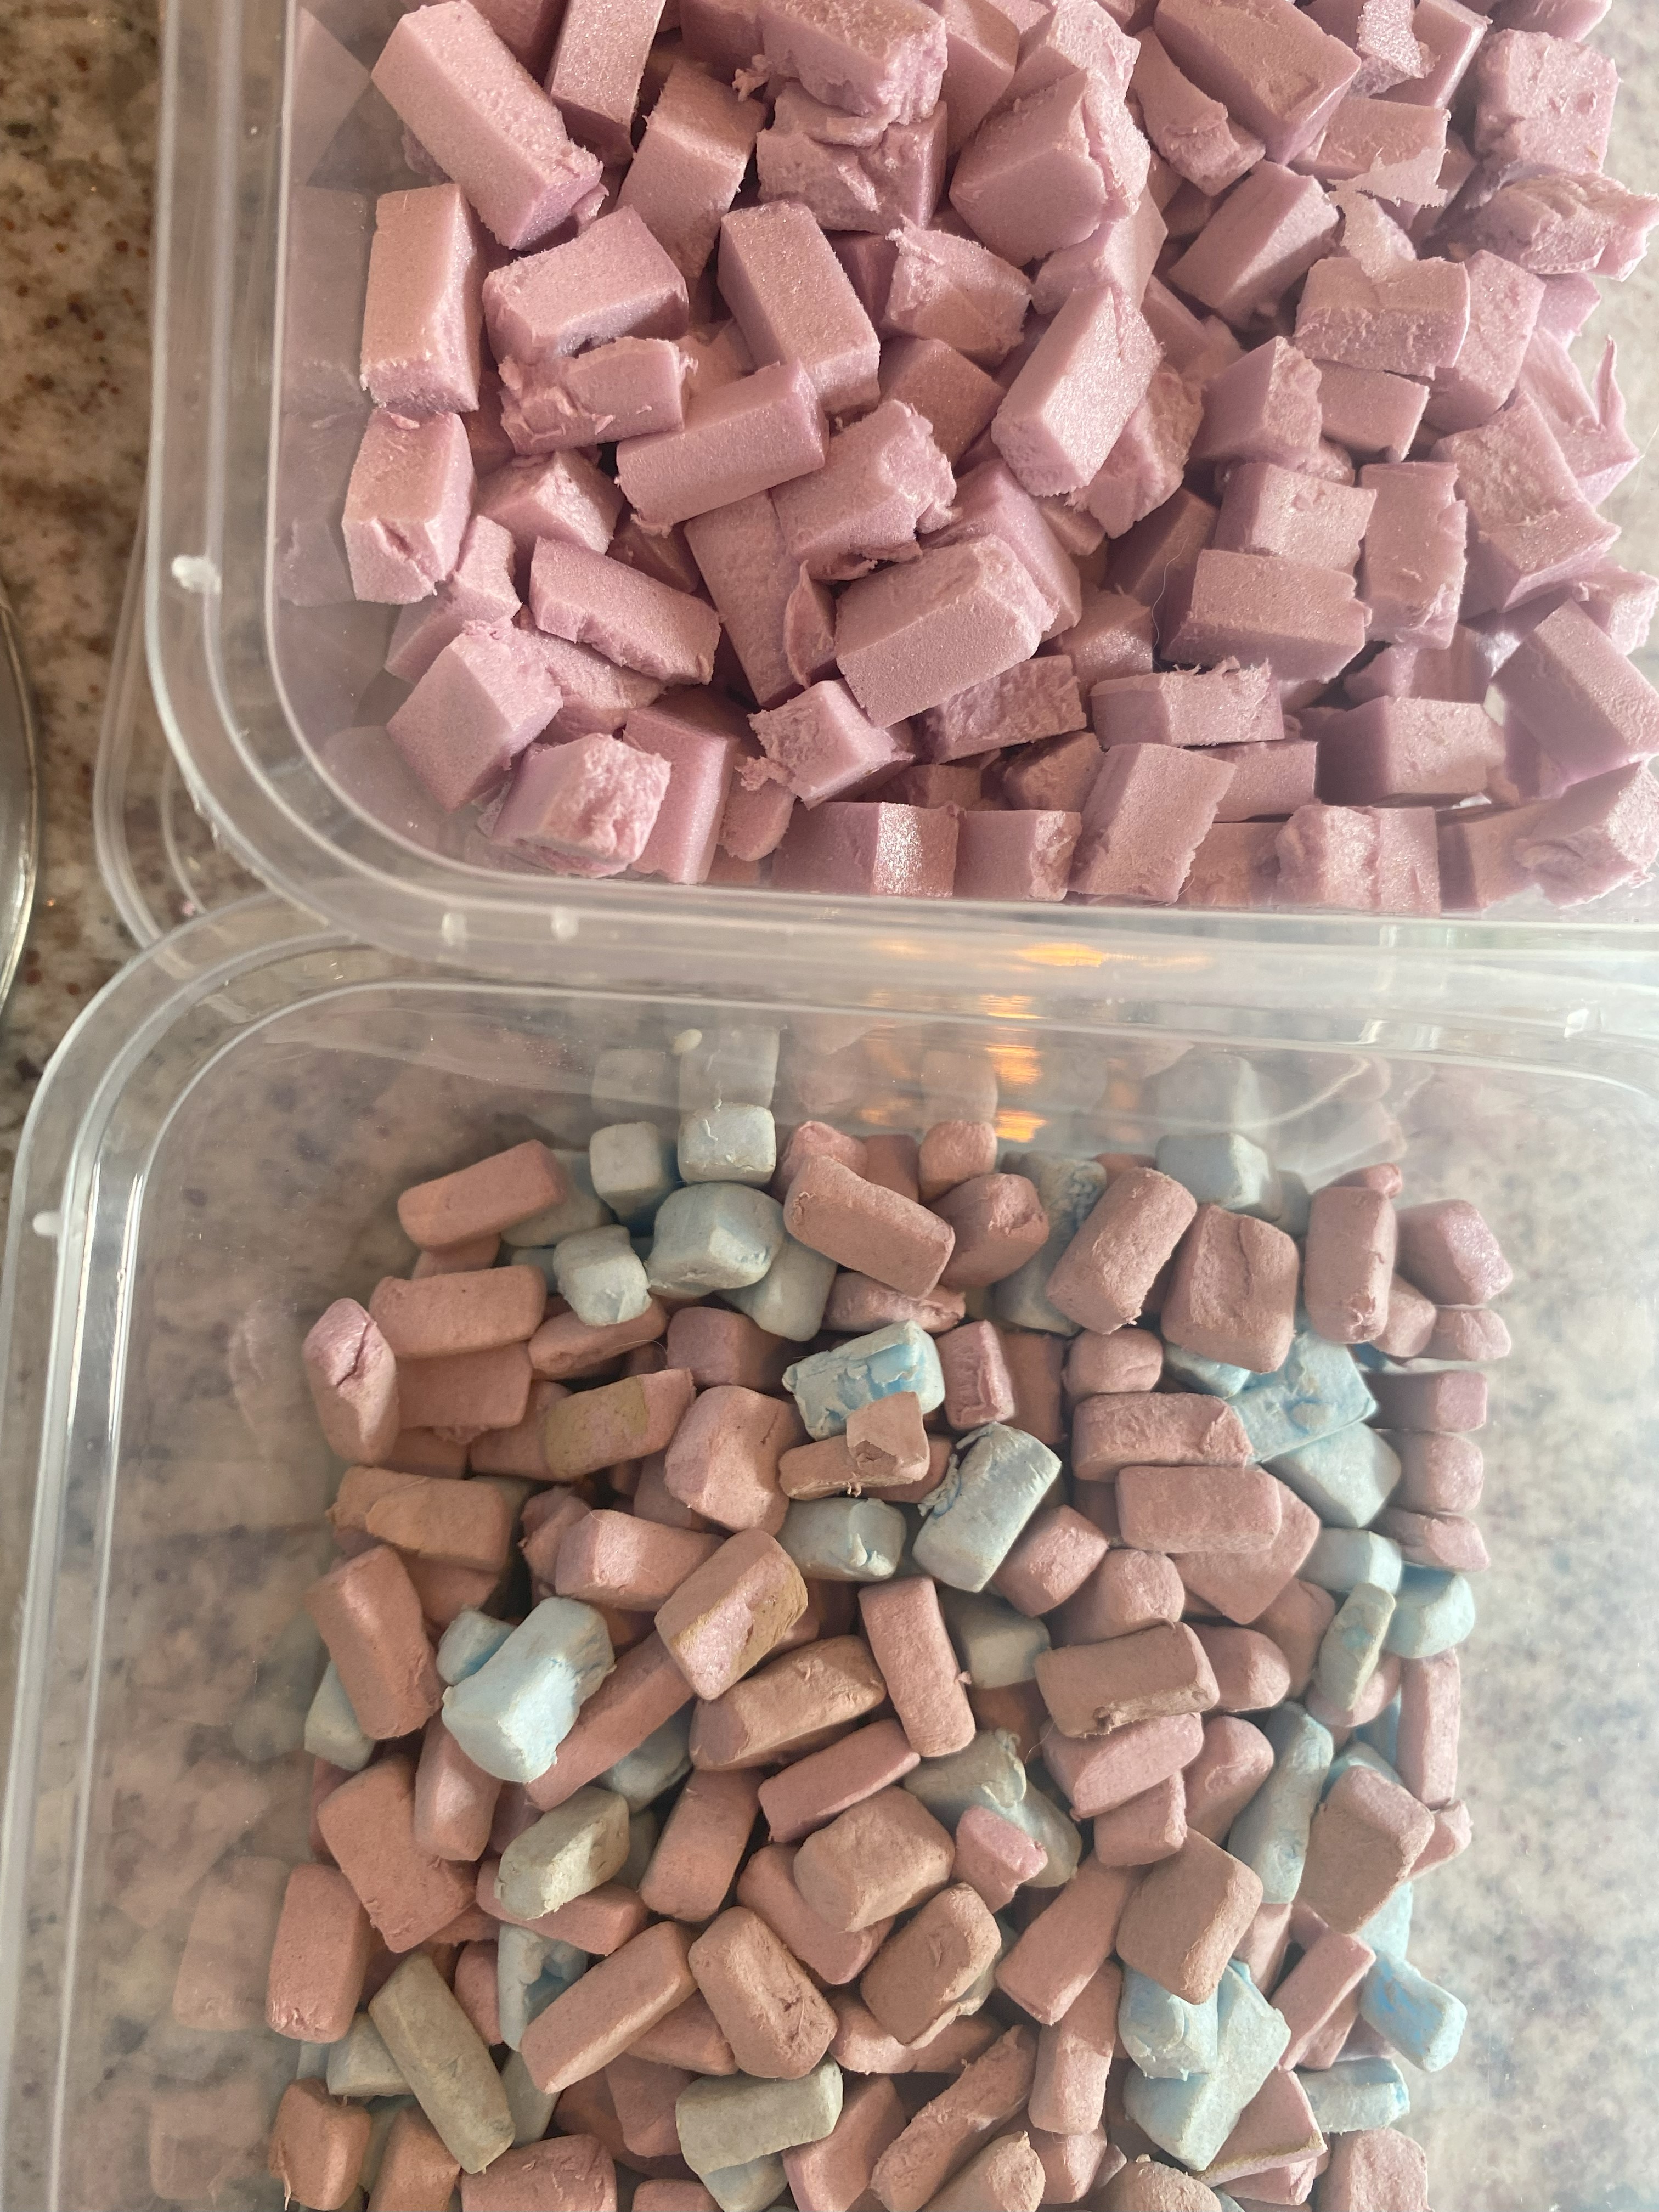 Bricks before and after going through "the Tumbler"
 I used the tried-and-true method of placing the XPS foam bricks in a container with a bunch of jagged rocks, then shaking the can for a few minutes.
It helps to roughen the bricks, give them a bit of texture and it gets rid of the perfect square corner.
I cover the bricks with a mix of black paint + mod podge.
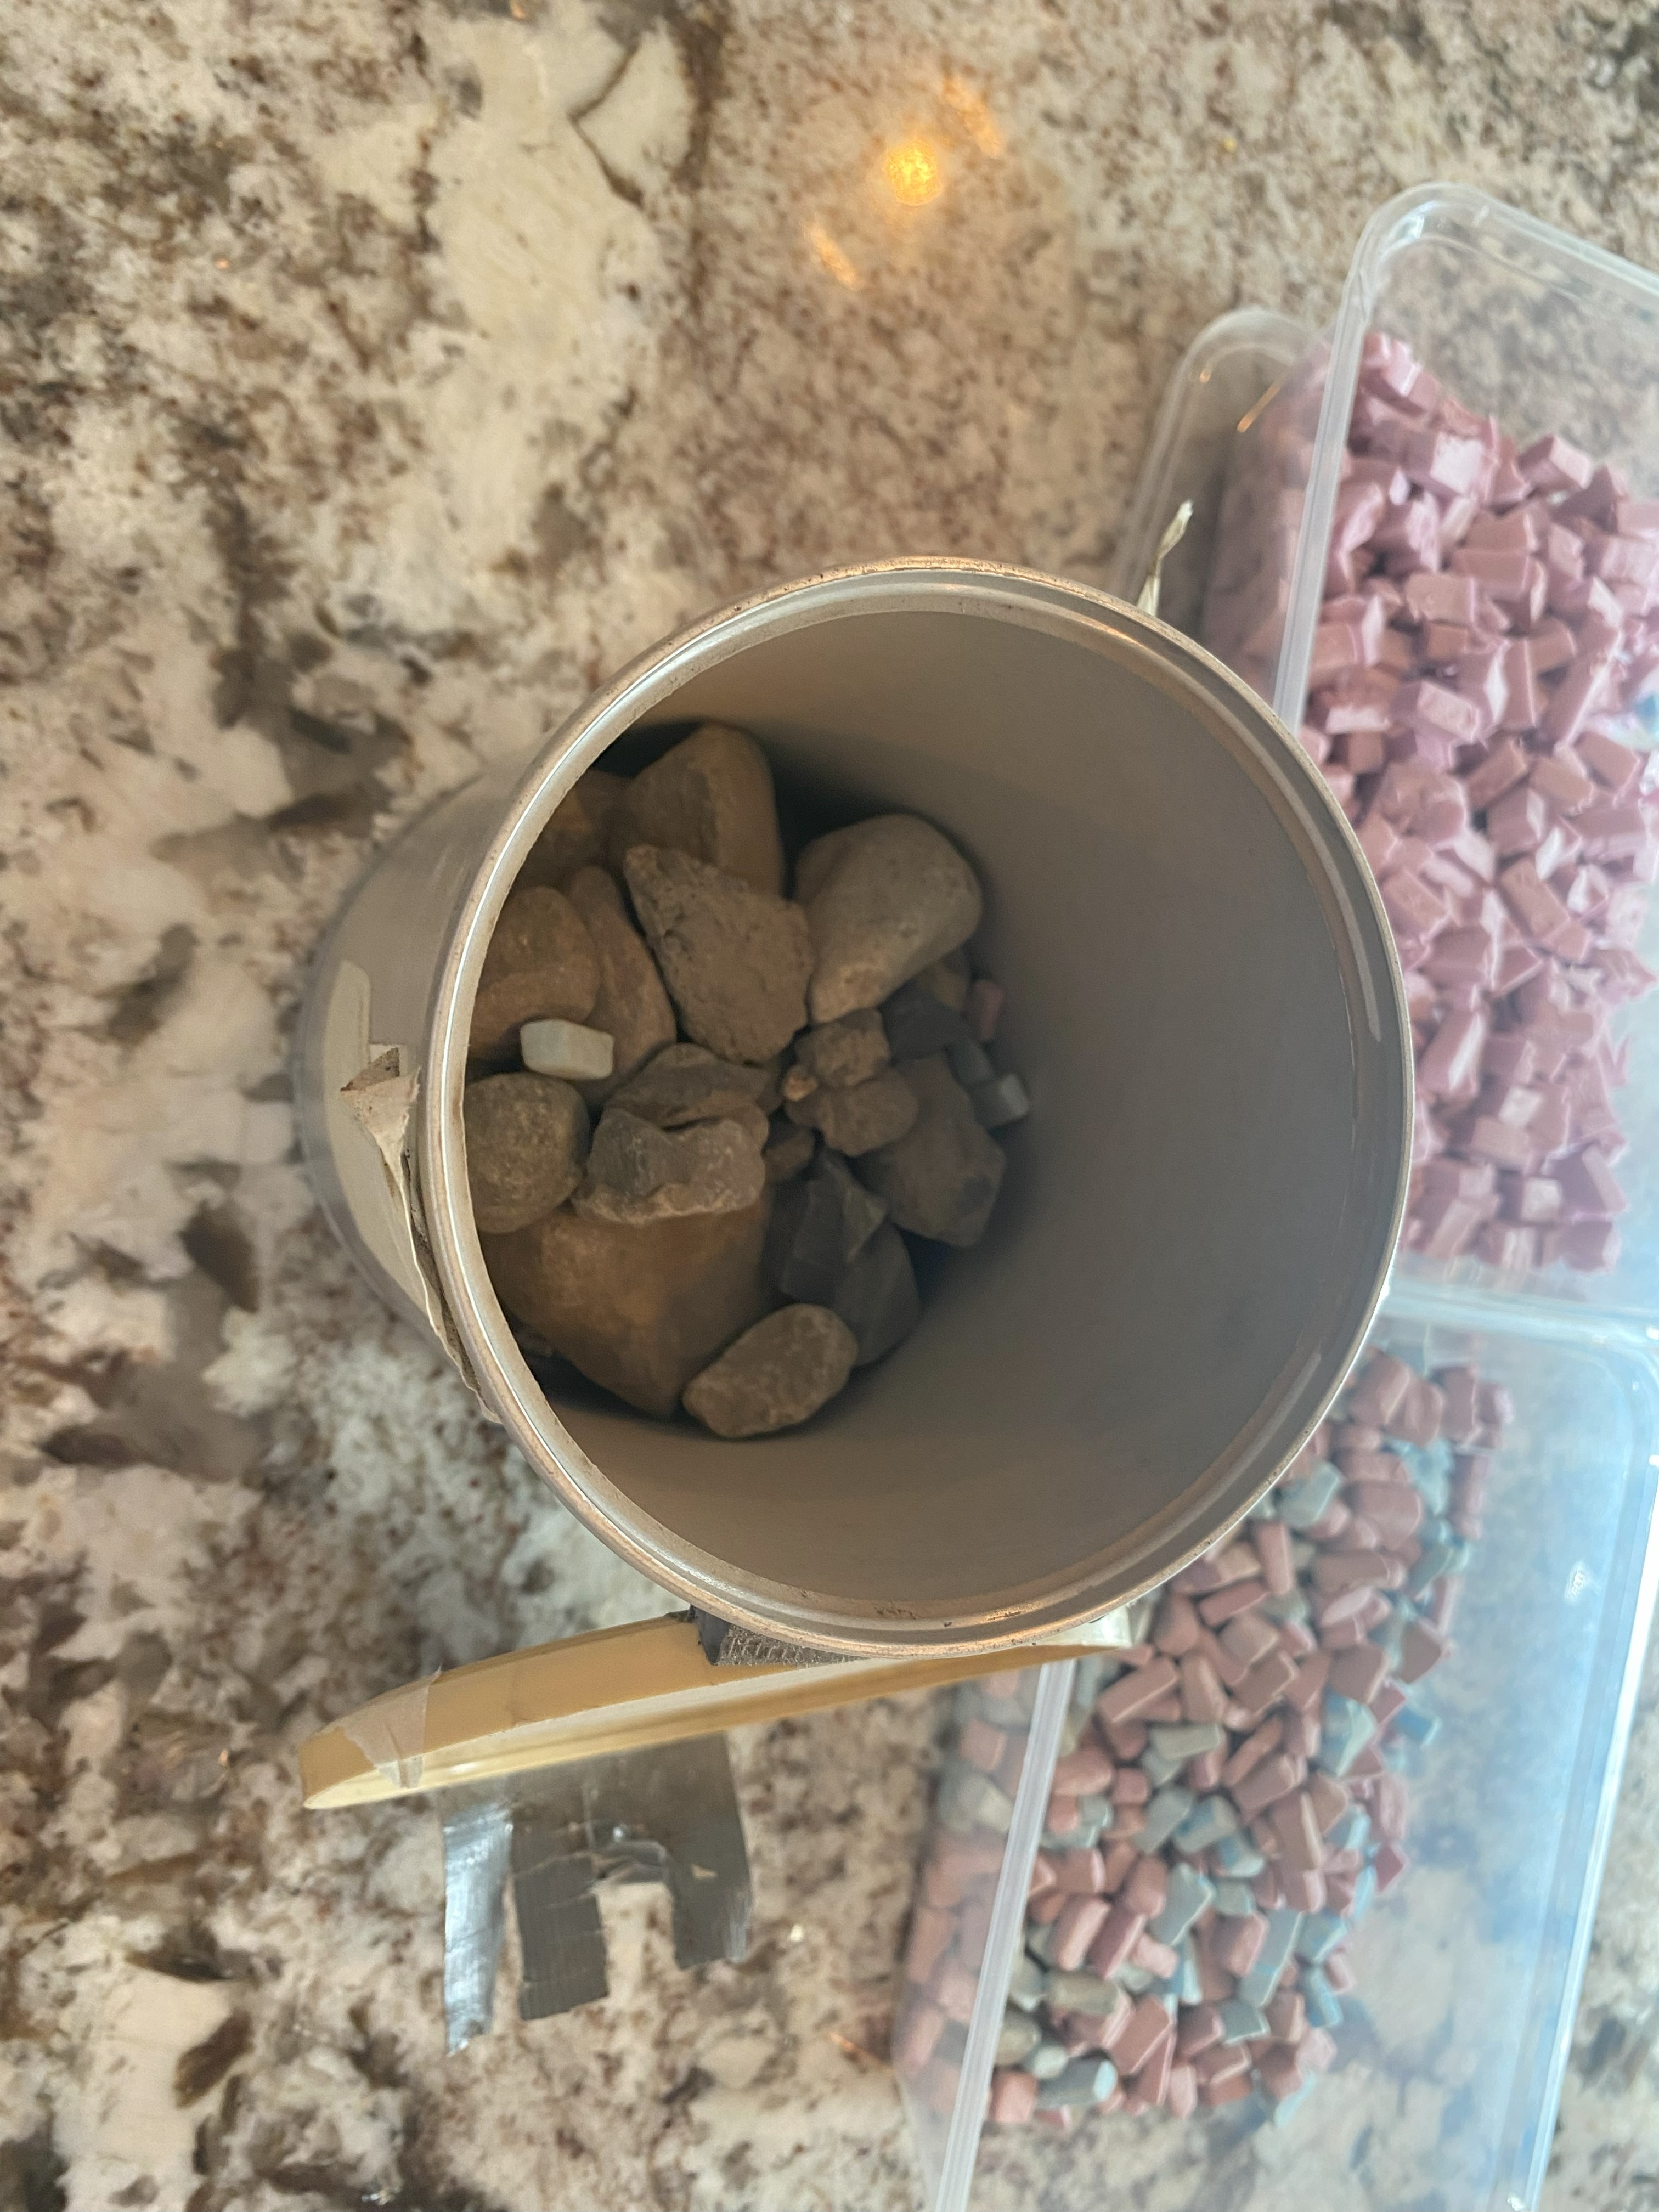 Just a can with some sharp rocks
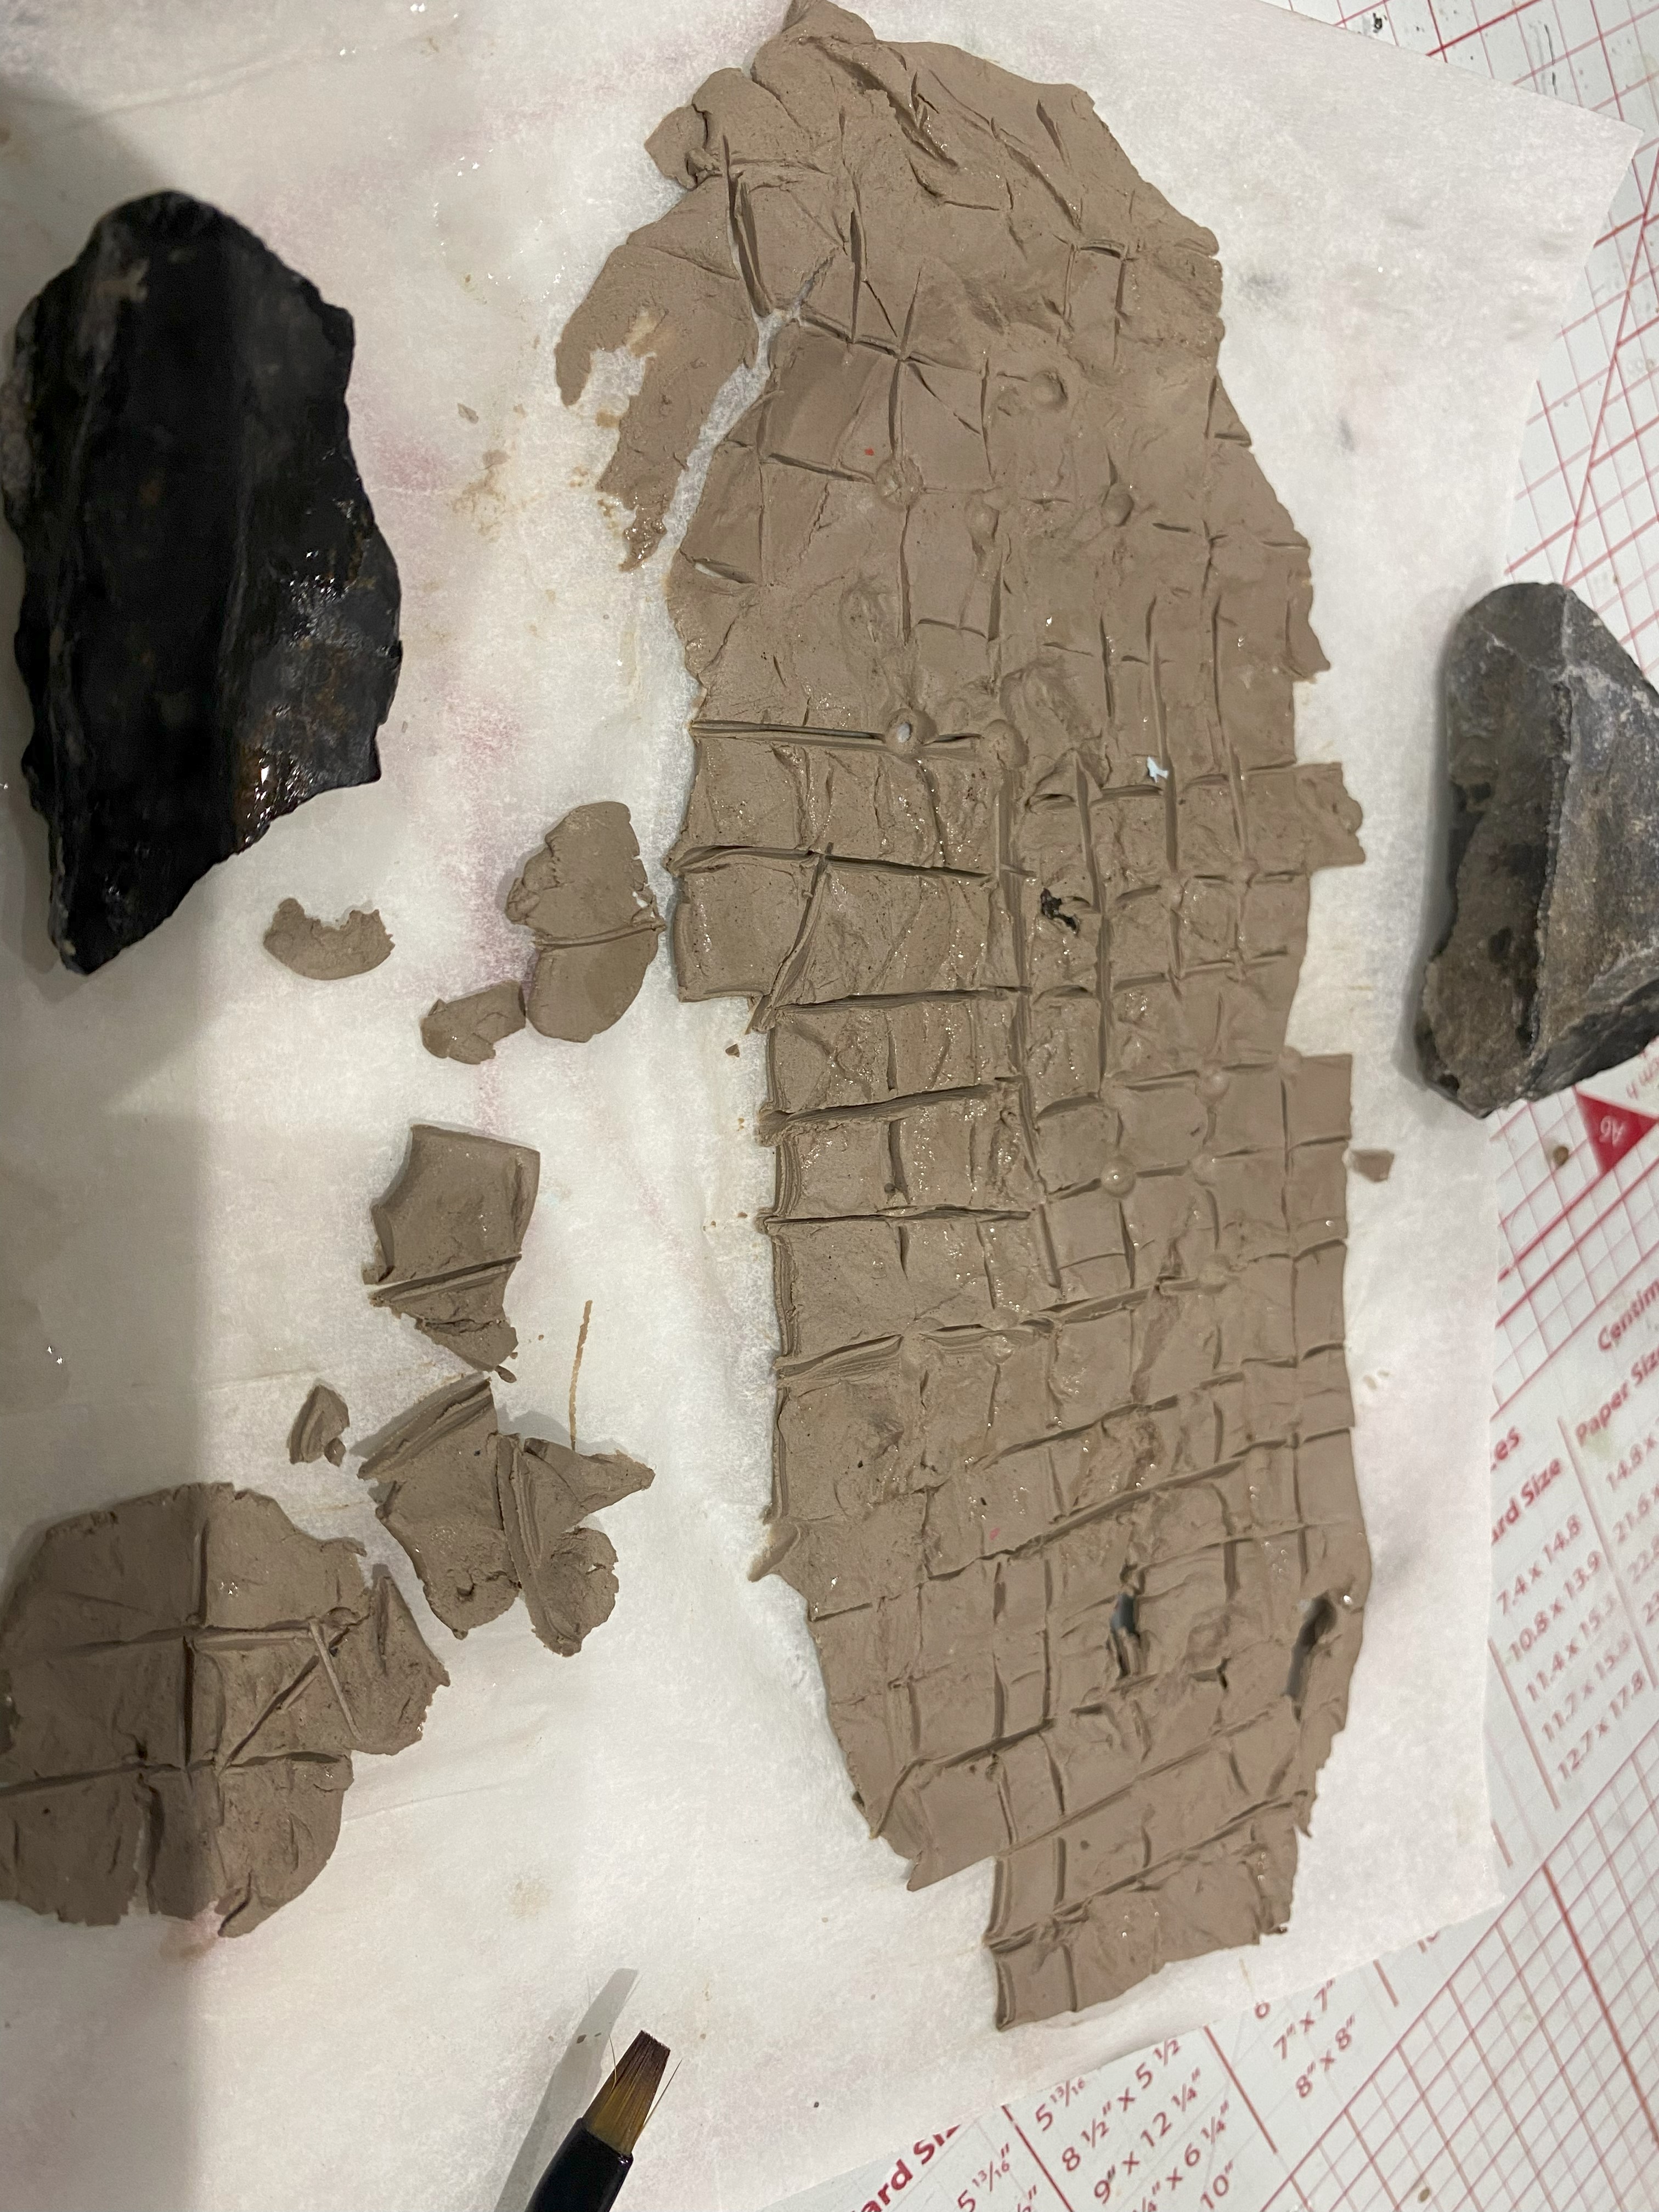
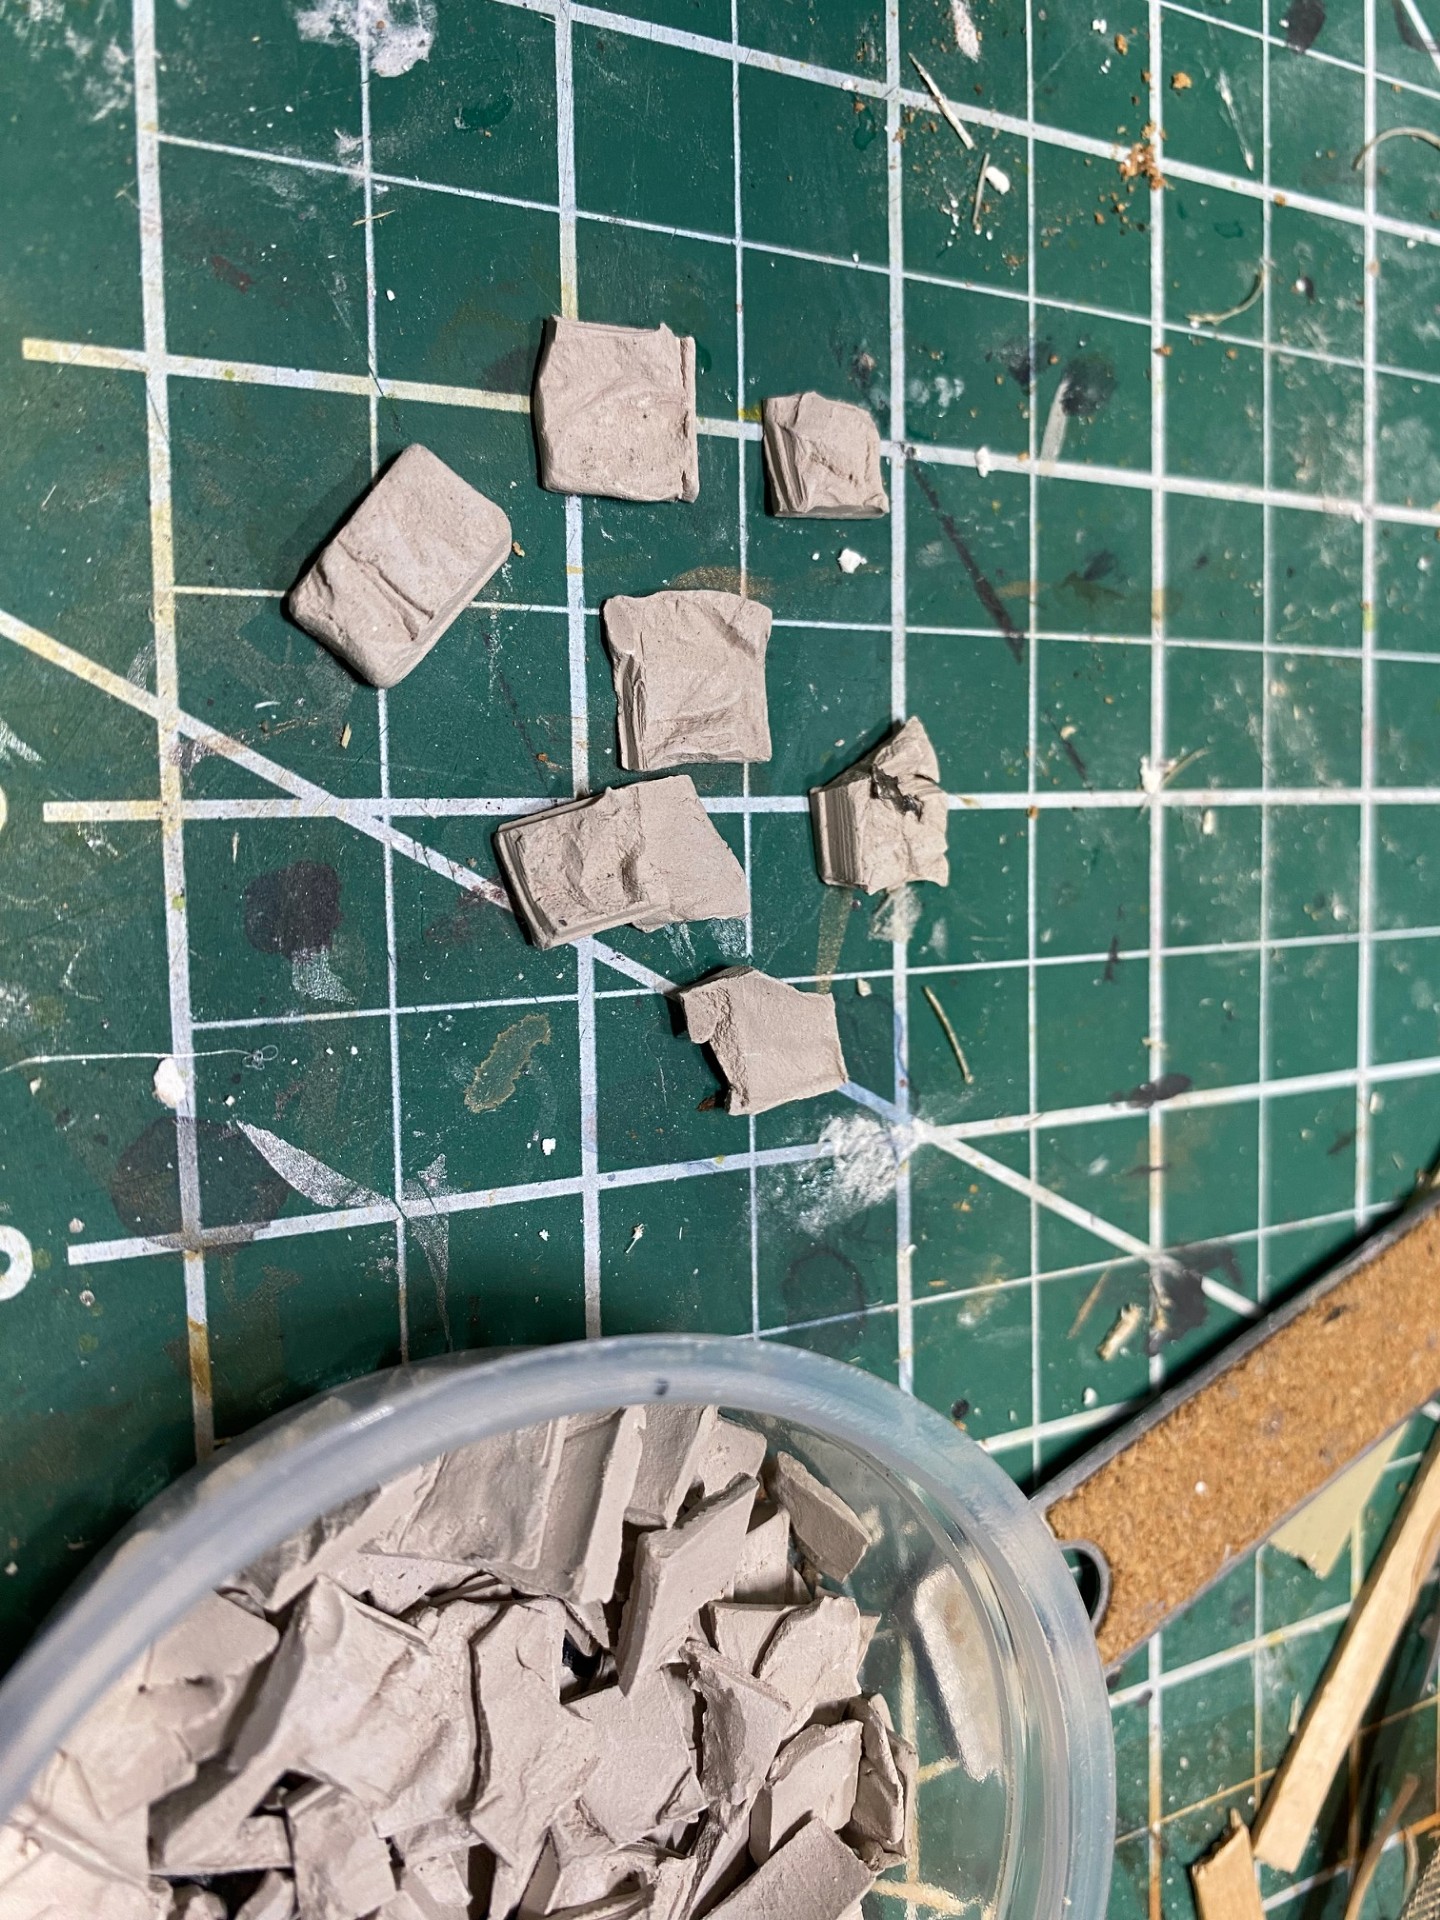
Clay and Pavement Tiles
The main building is elevated with two layers of XPS foam.
For the rock faces, I used bark from my backyard.
I “baked“ the bark in the oven at 225 Fahrenheit for about 15 minutes to get rid of any organic organism. To be honest, I was a bit worried about the process, but it went fine and I didn’t burn down the kitchen.
The bark was glued with hot glue initially, then a copious amount of watered-down PVA glue was applied.
I used a mixture of wall spackling plus PVA glue to fill in the gap between the bark pieces.
 And it is starting to look like an actual structure
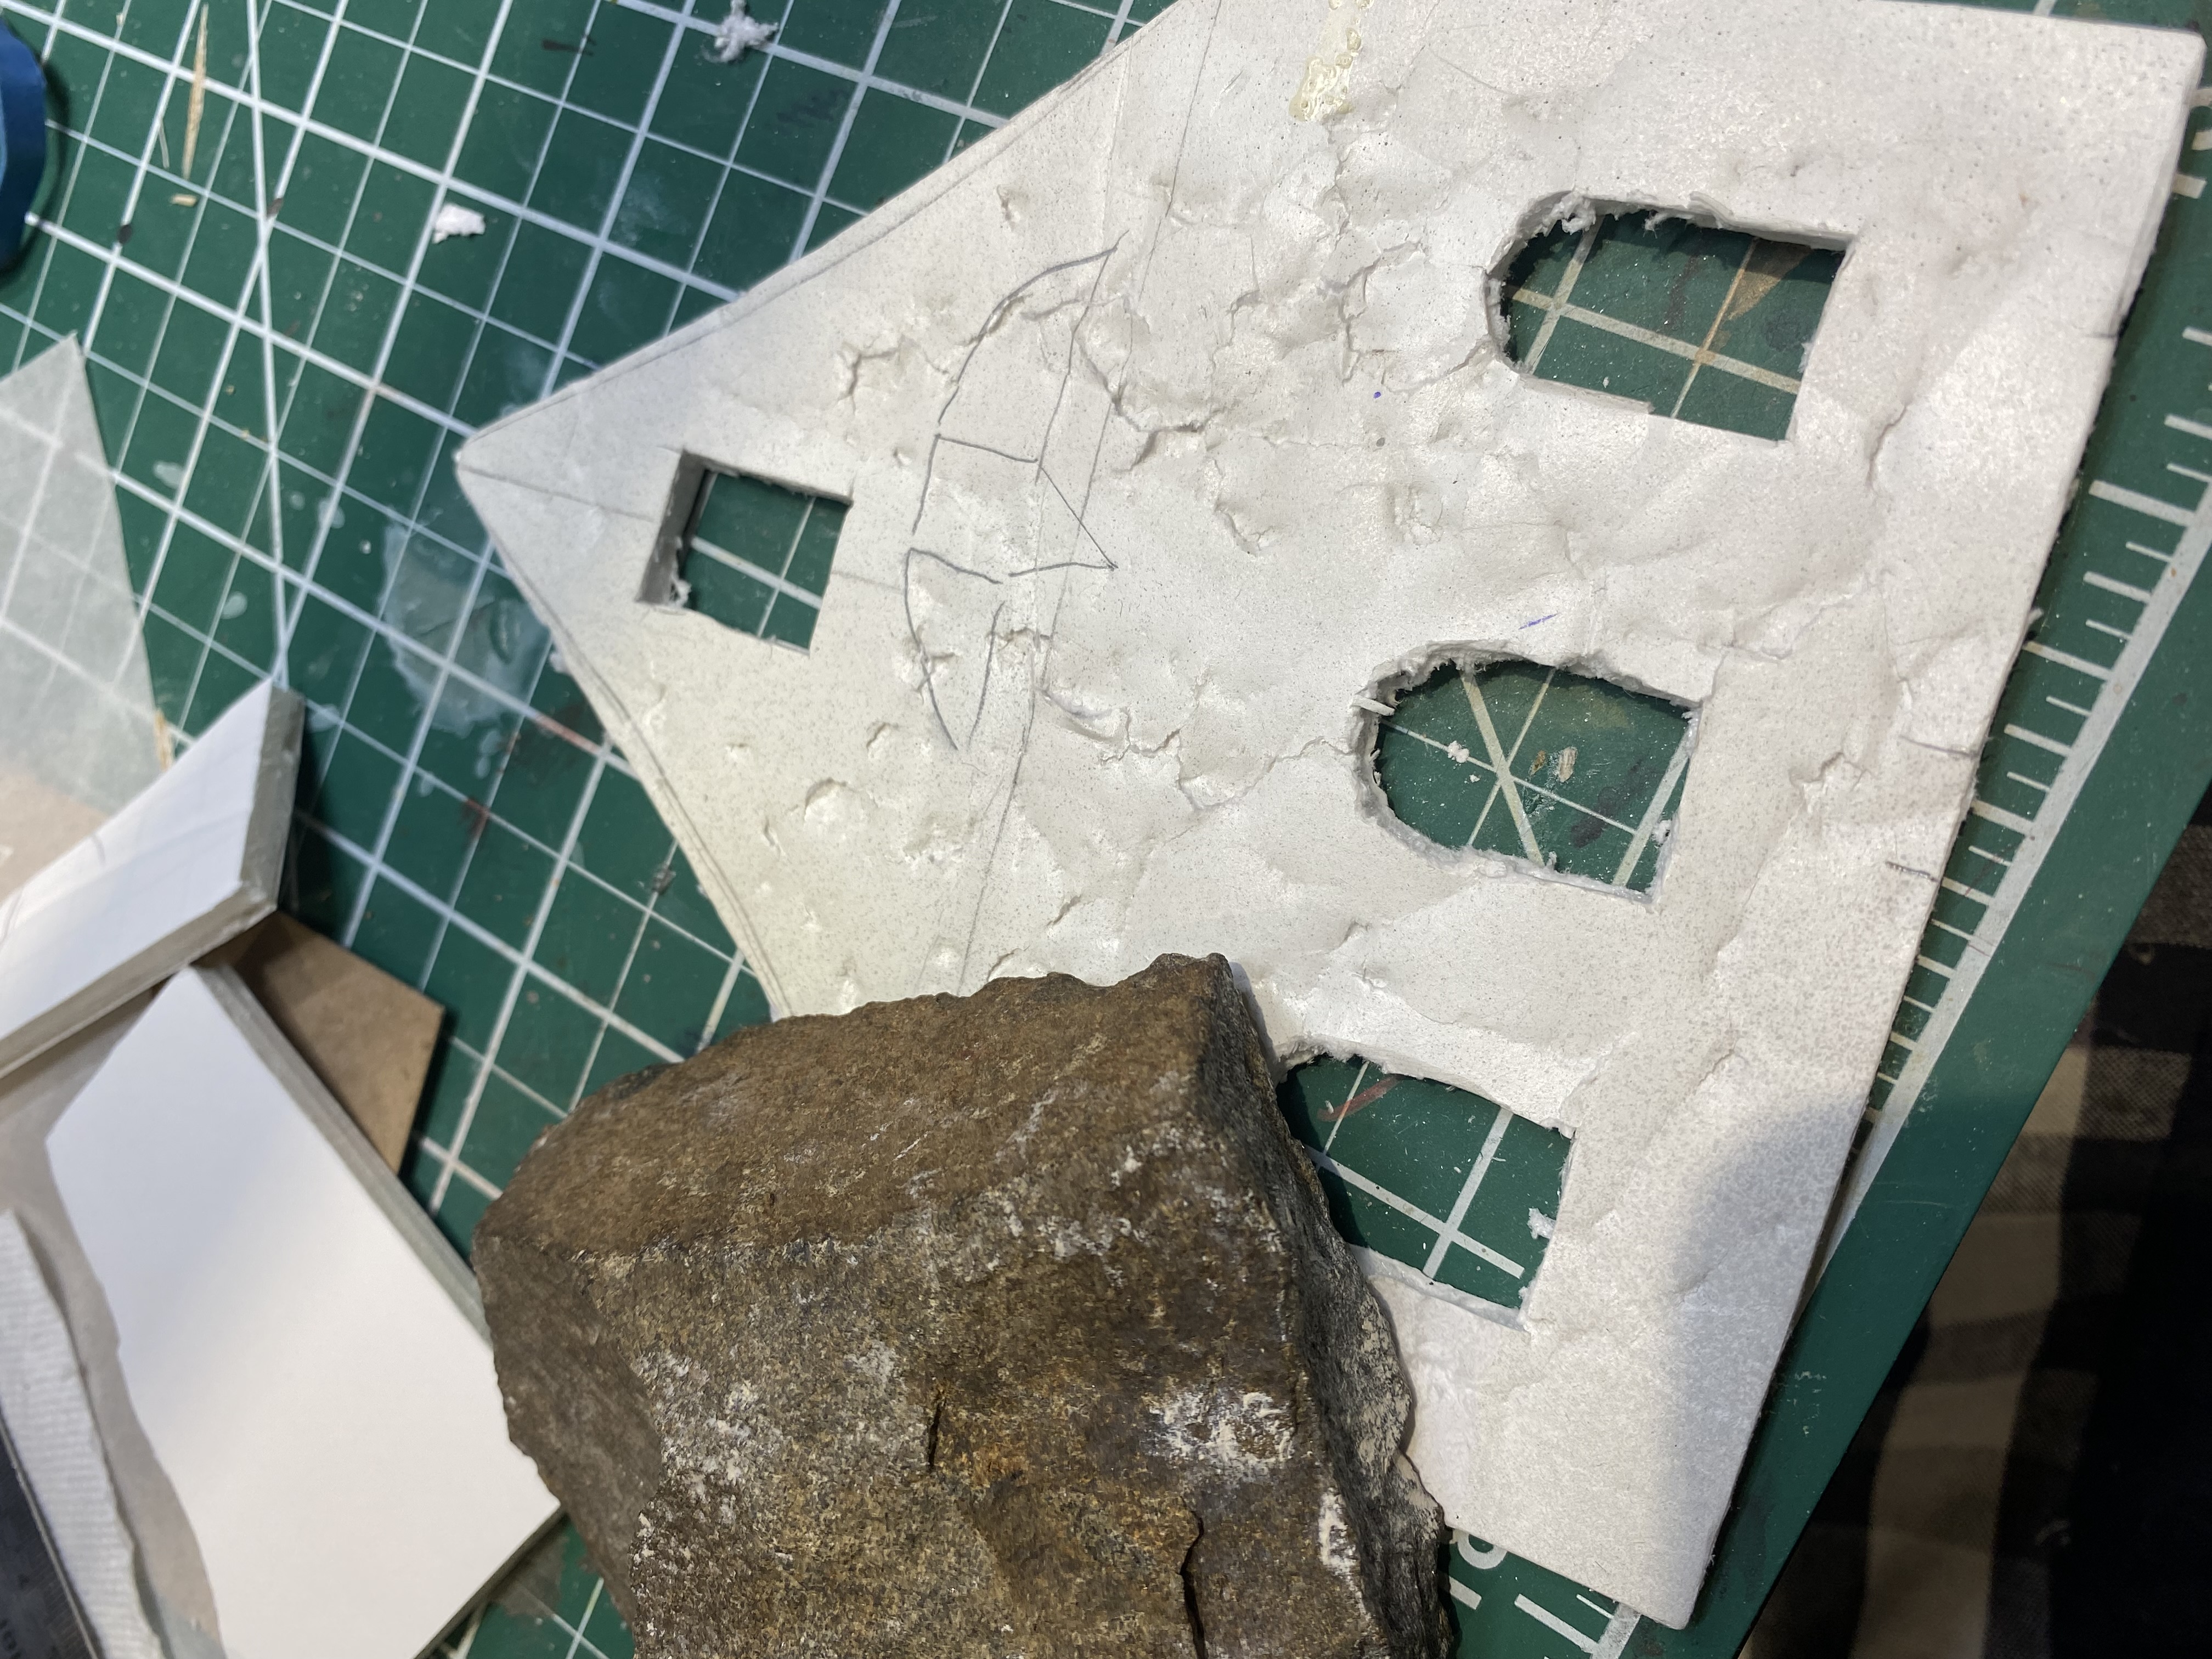
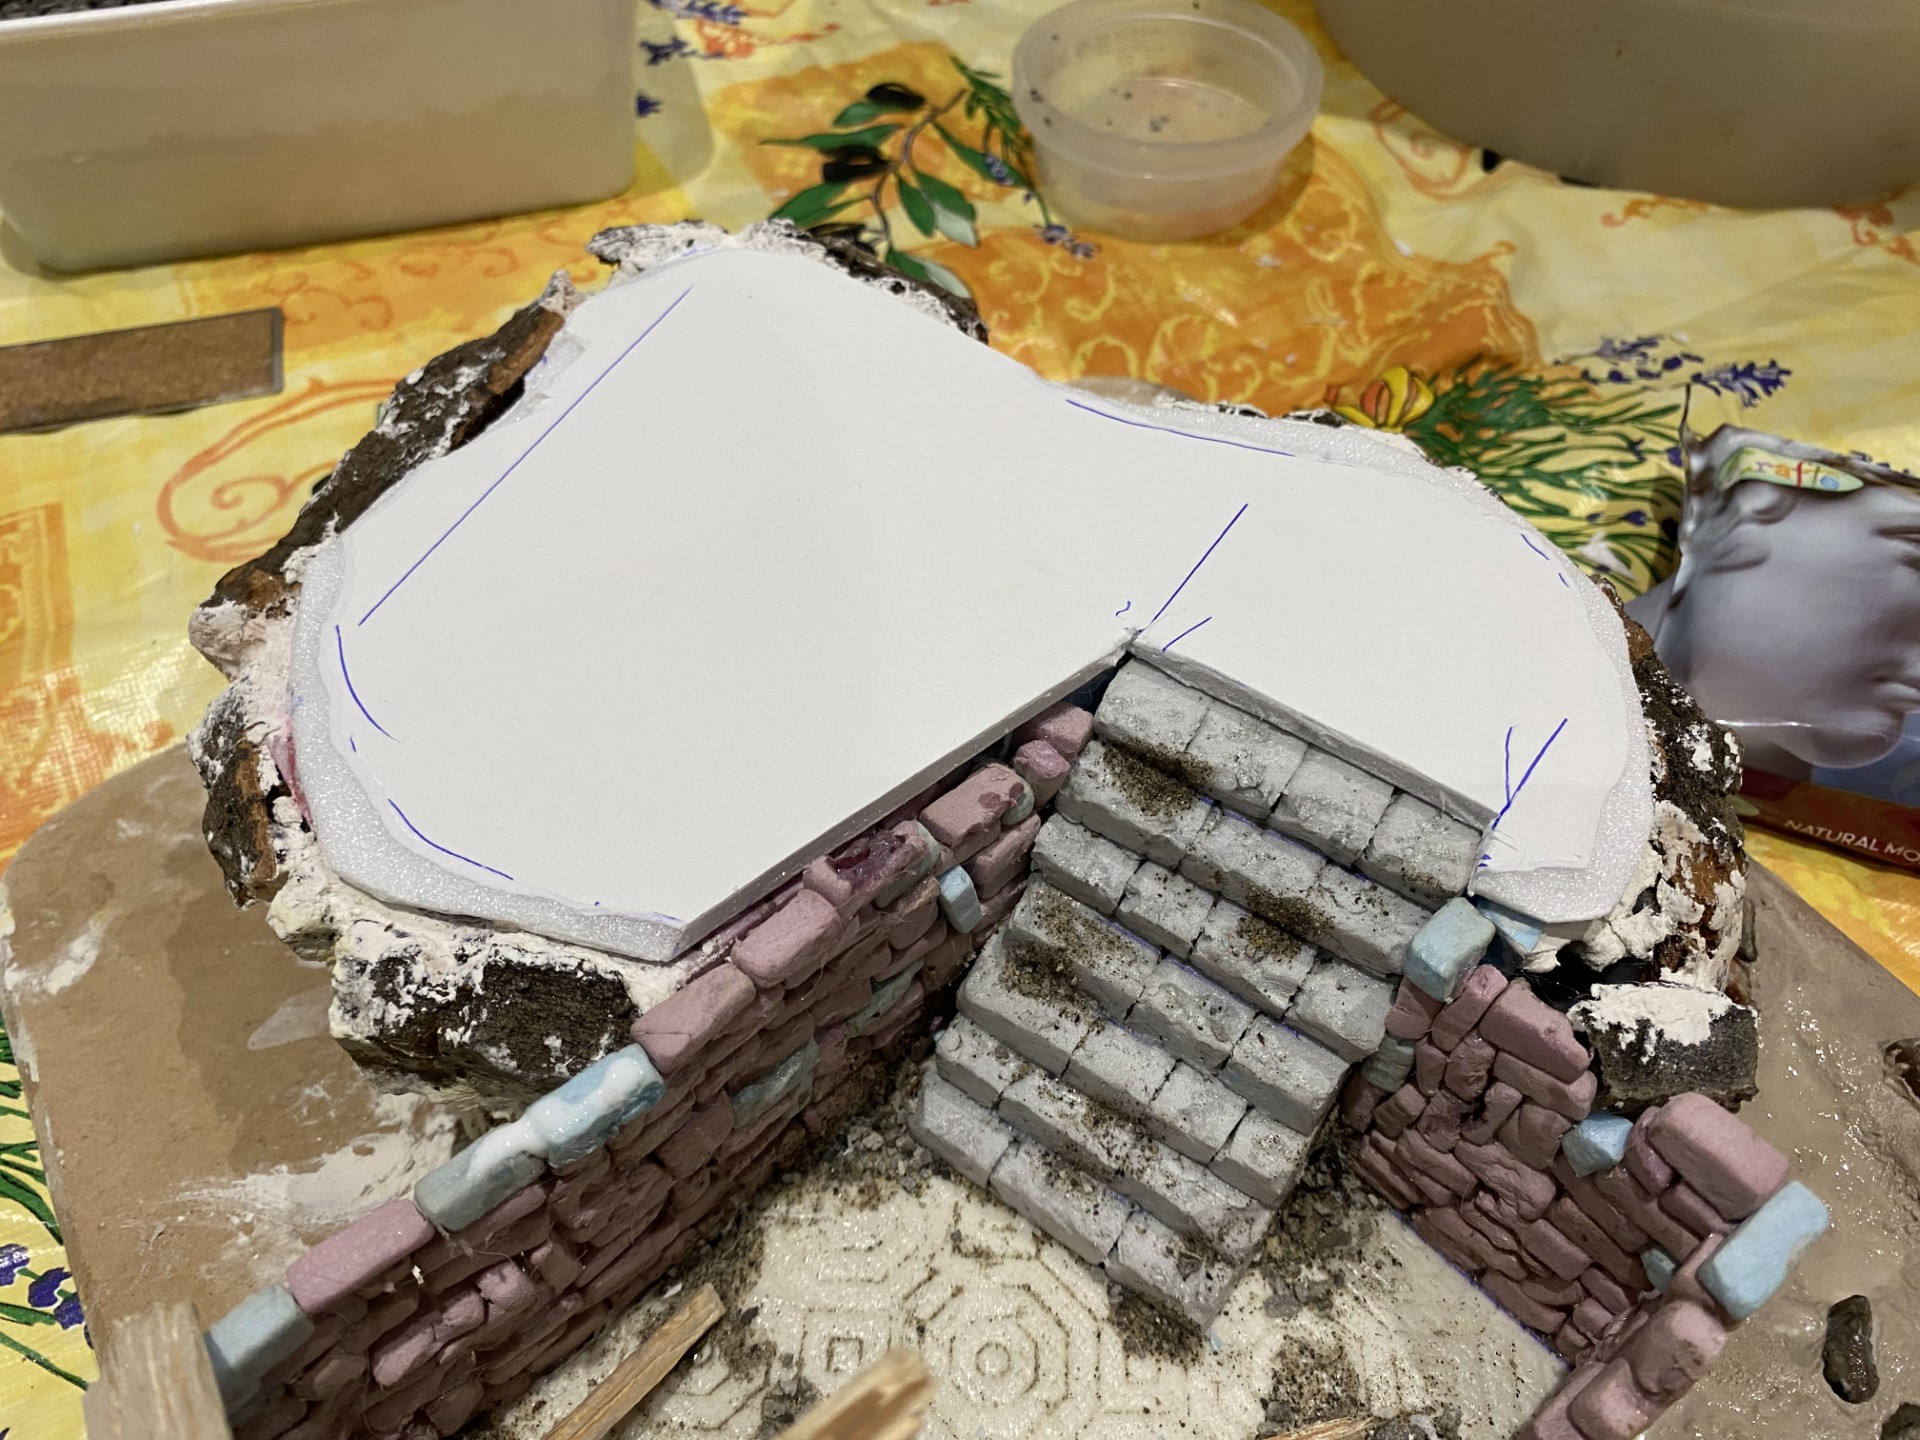 Glued a sheet of foam core over the XPS foam because the surface was bit uneven with a lot of gaps
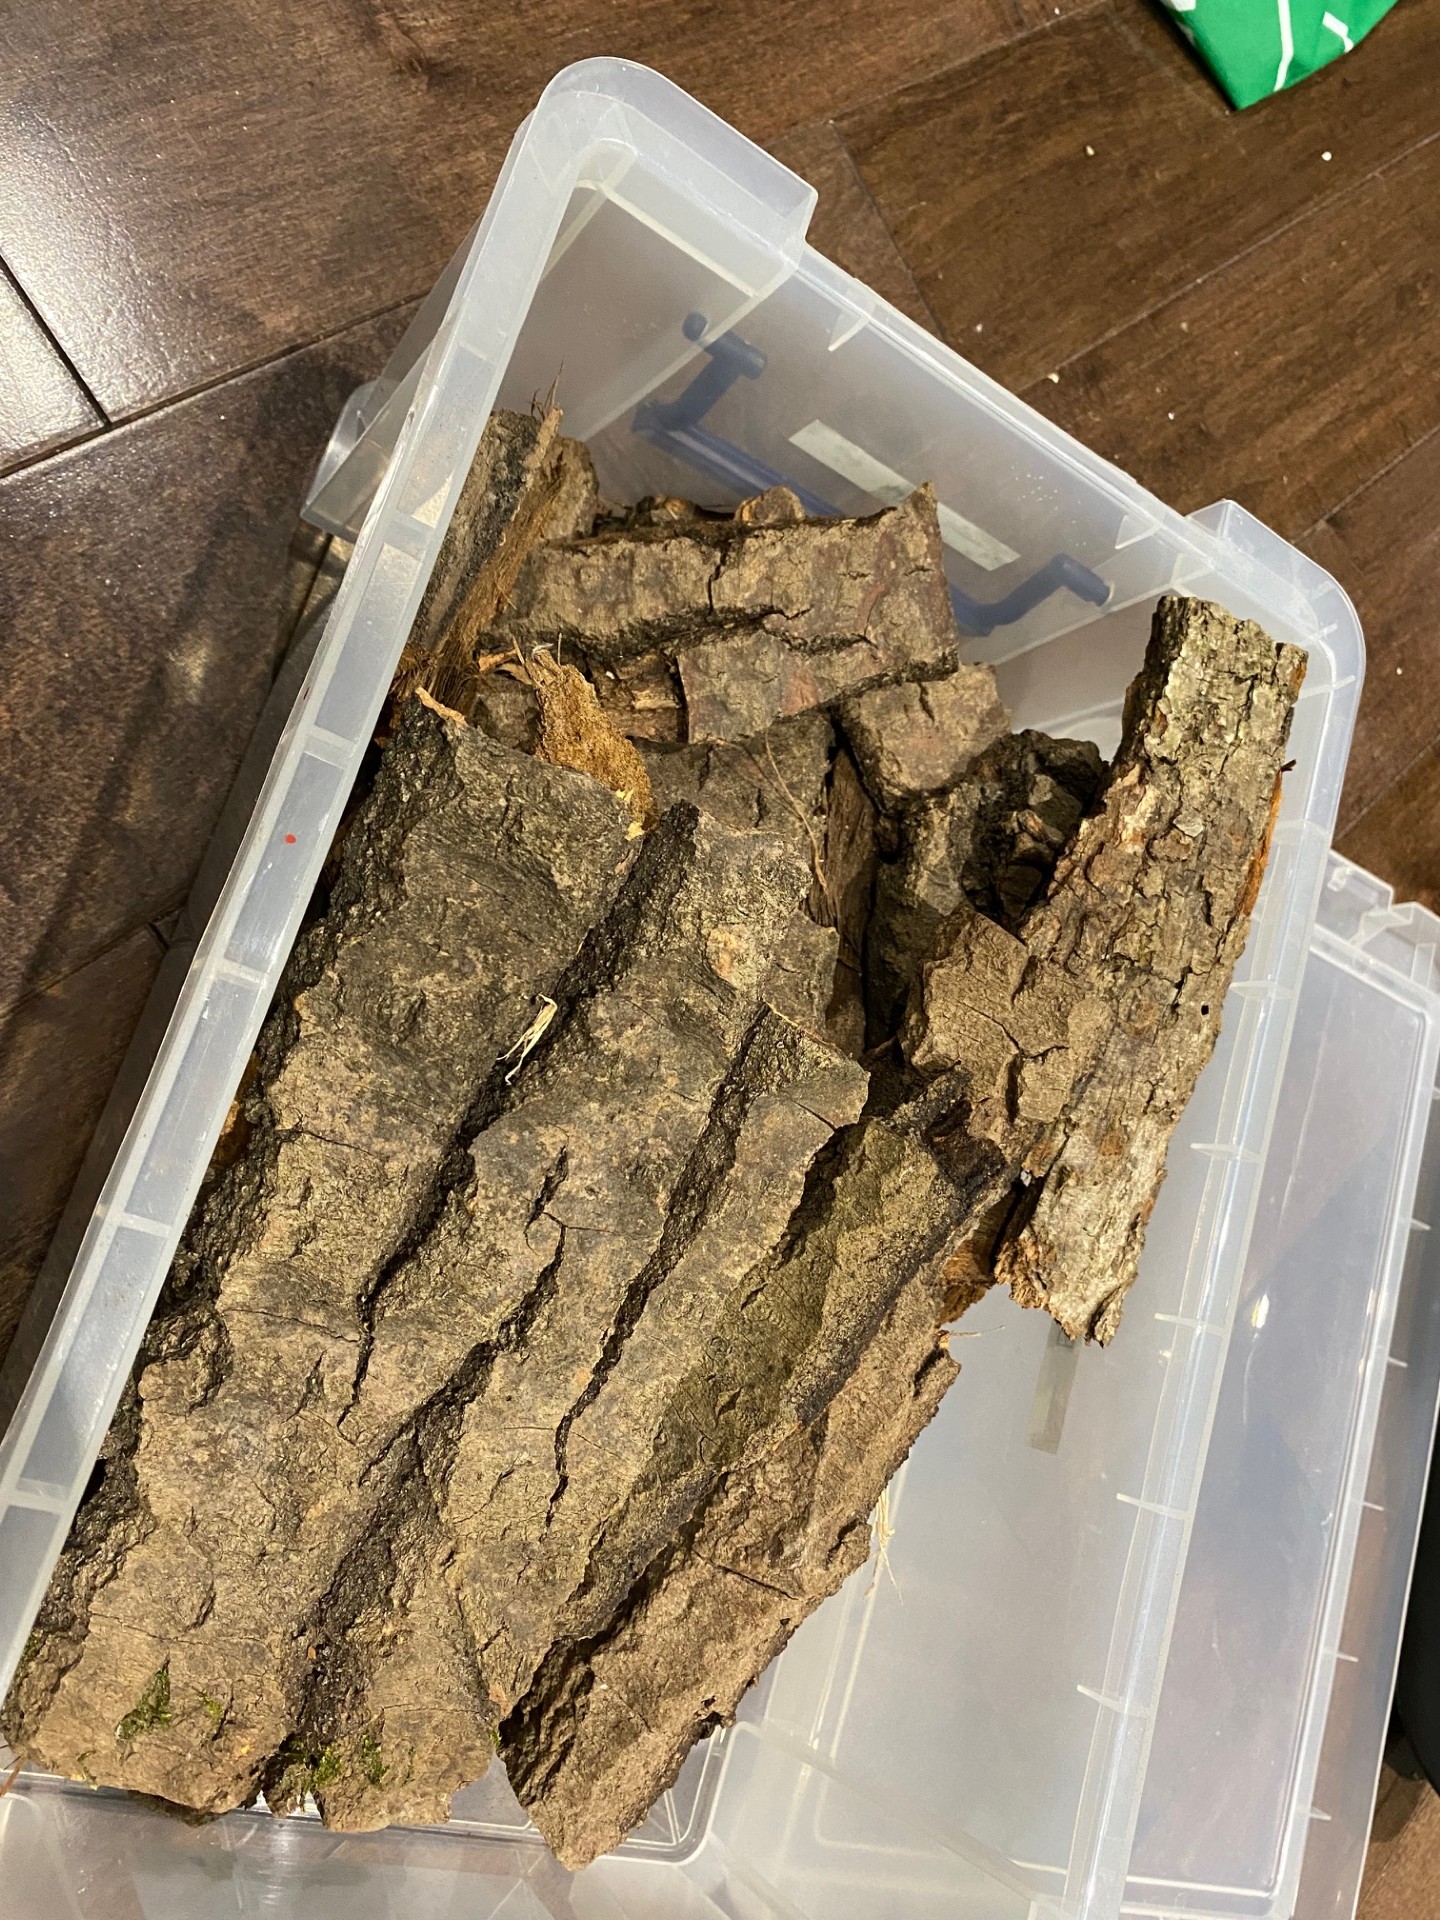 Free Rock Texture!
The pavement tiles are made up of simple clay from the Dollar store (again).
Once flattened out, I use actual rocks to add to some texture.
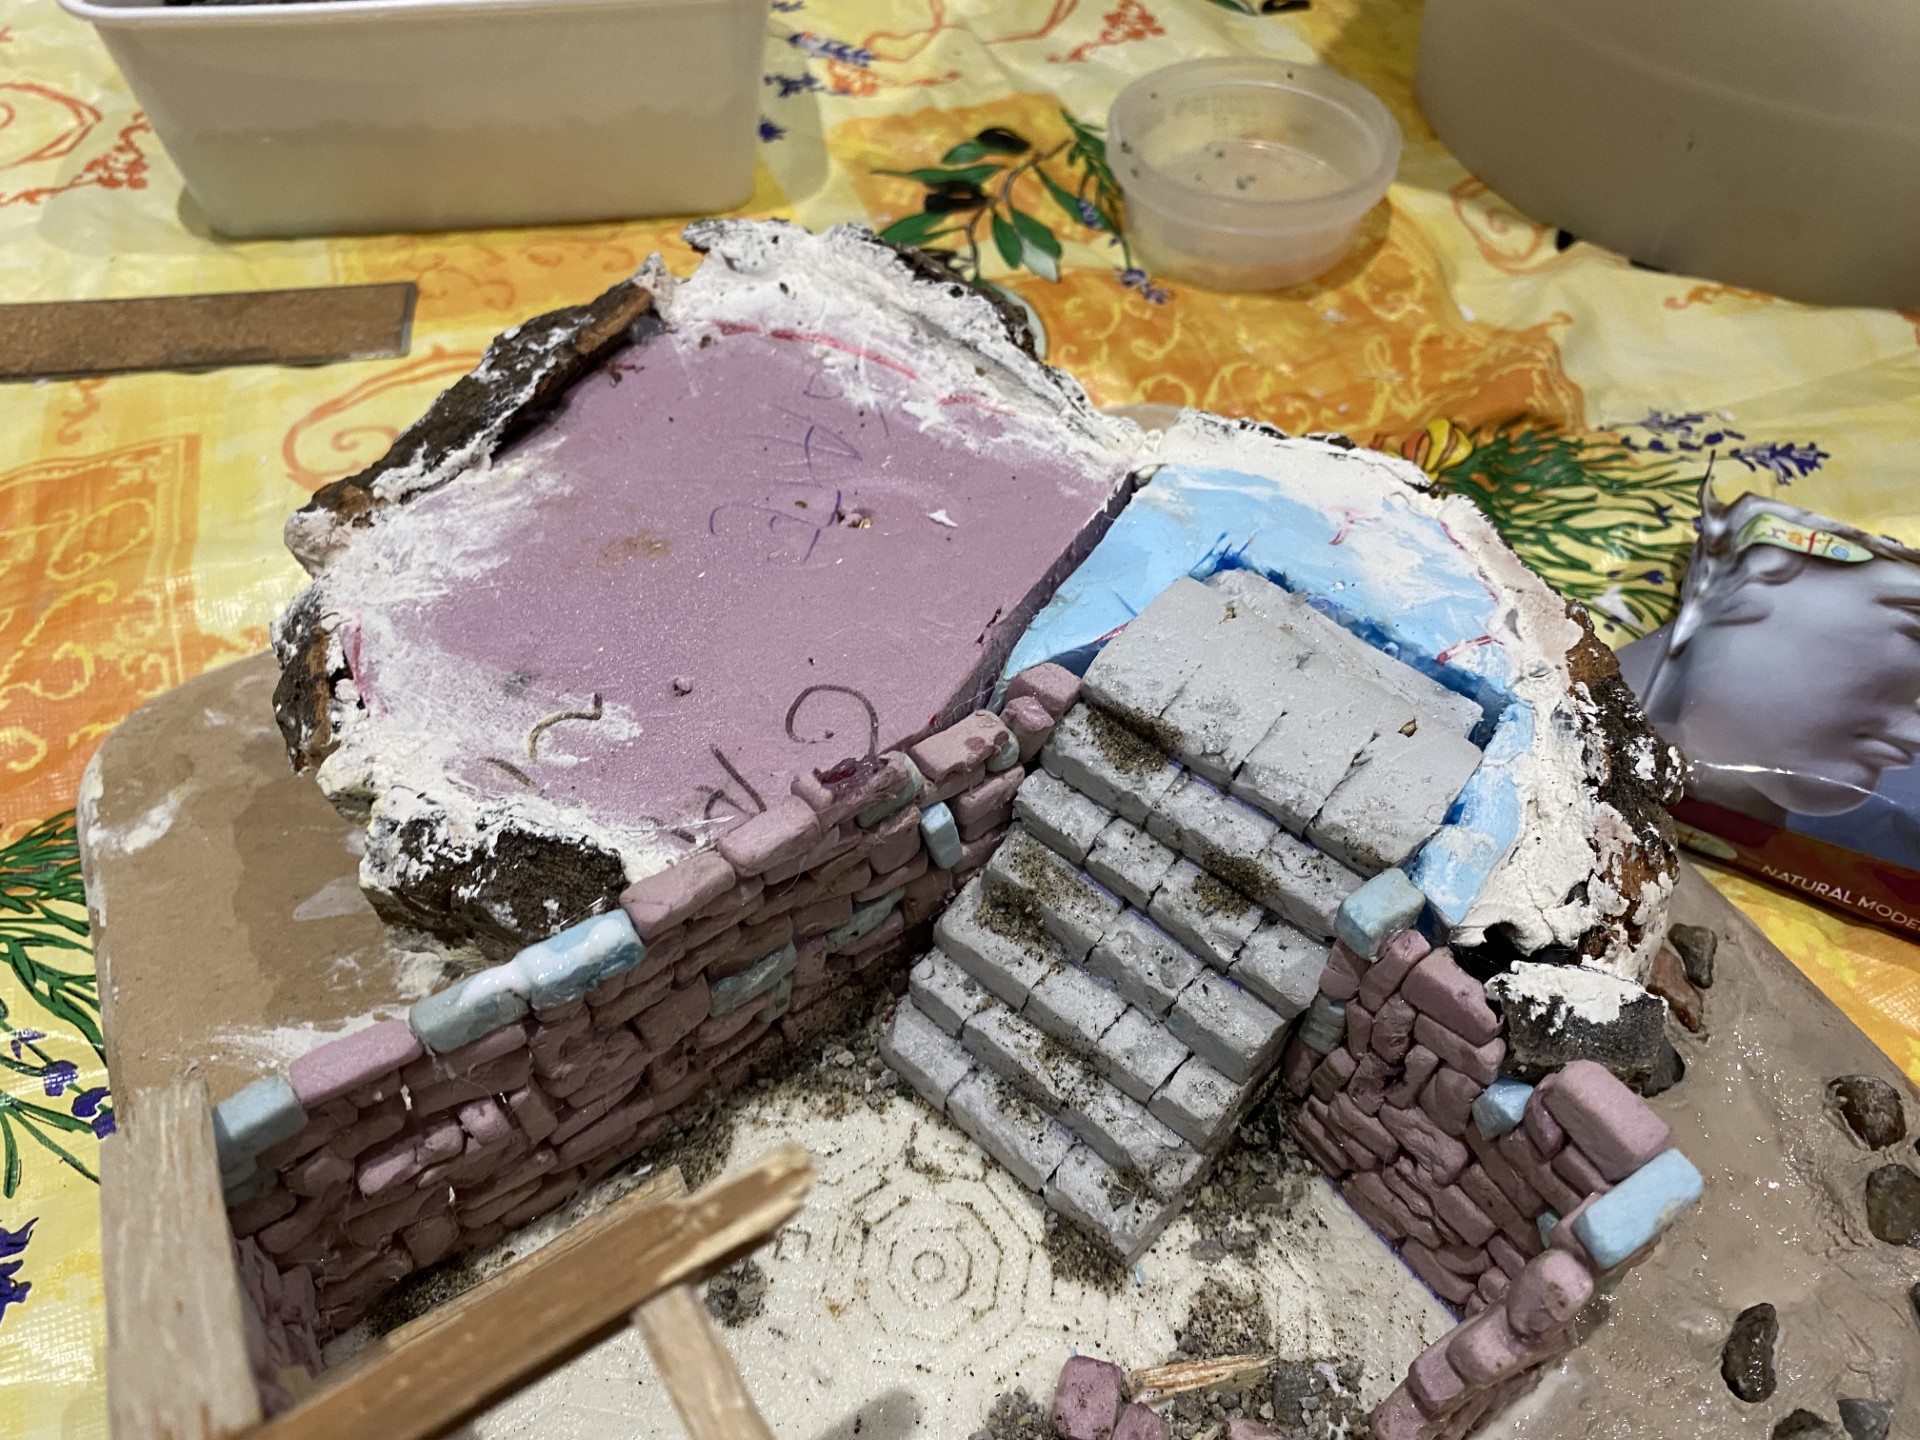
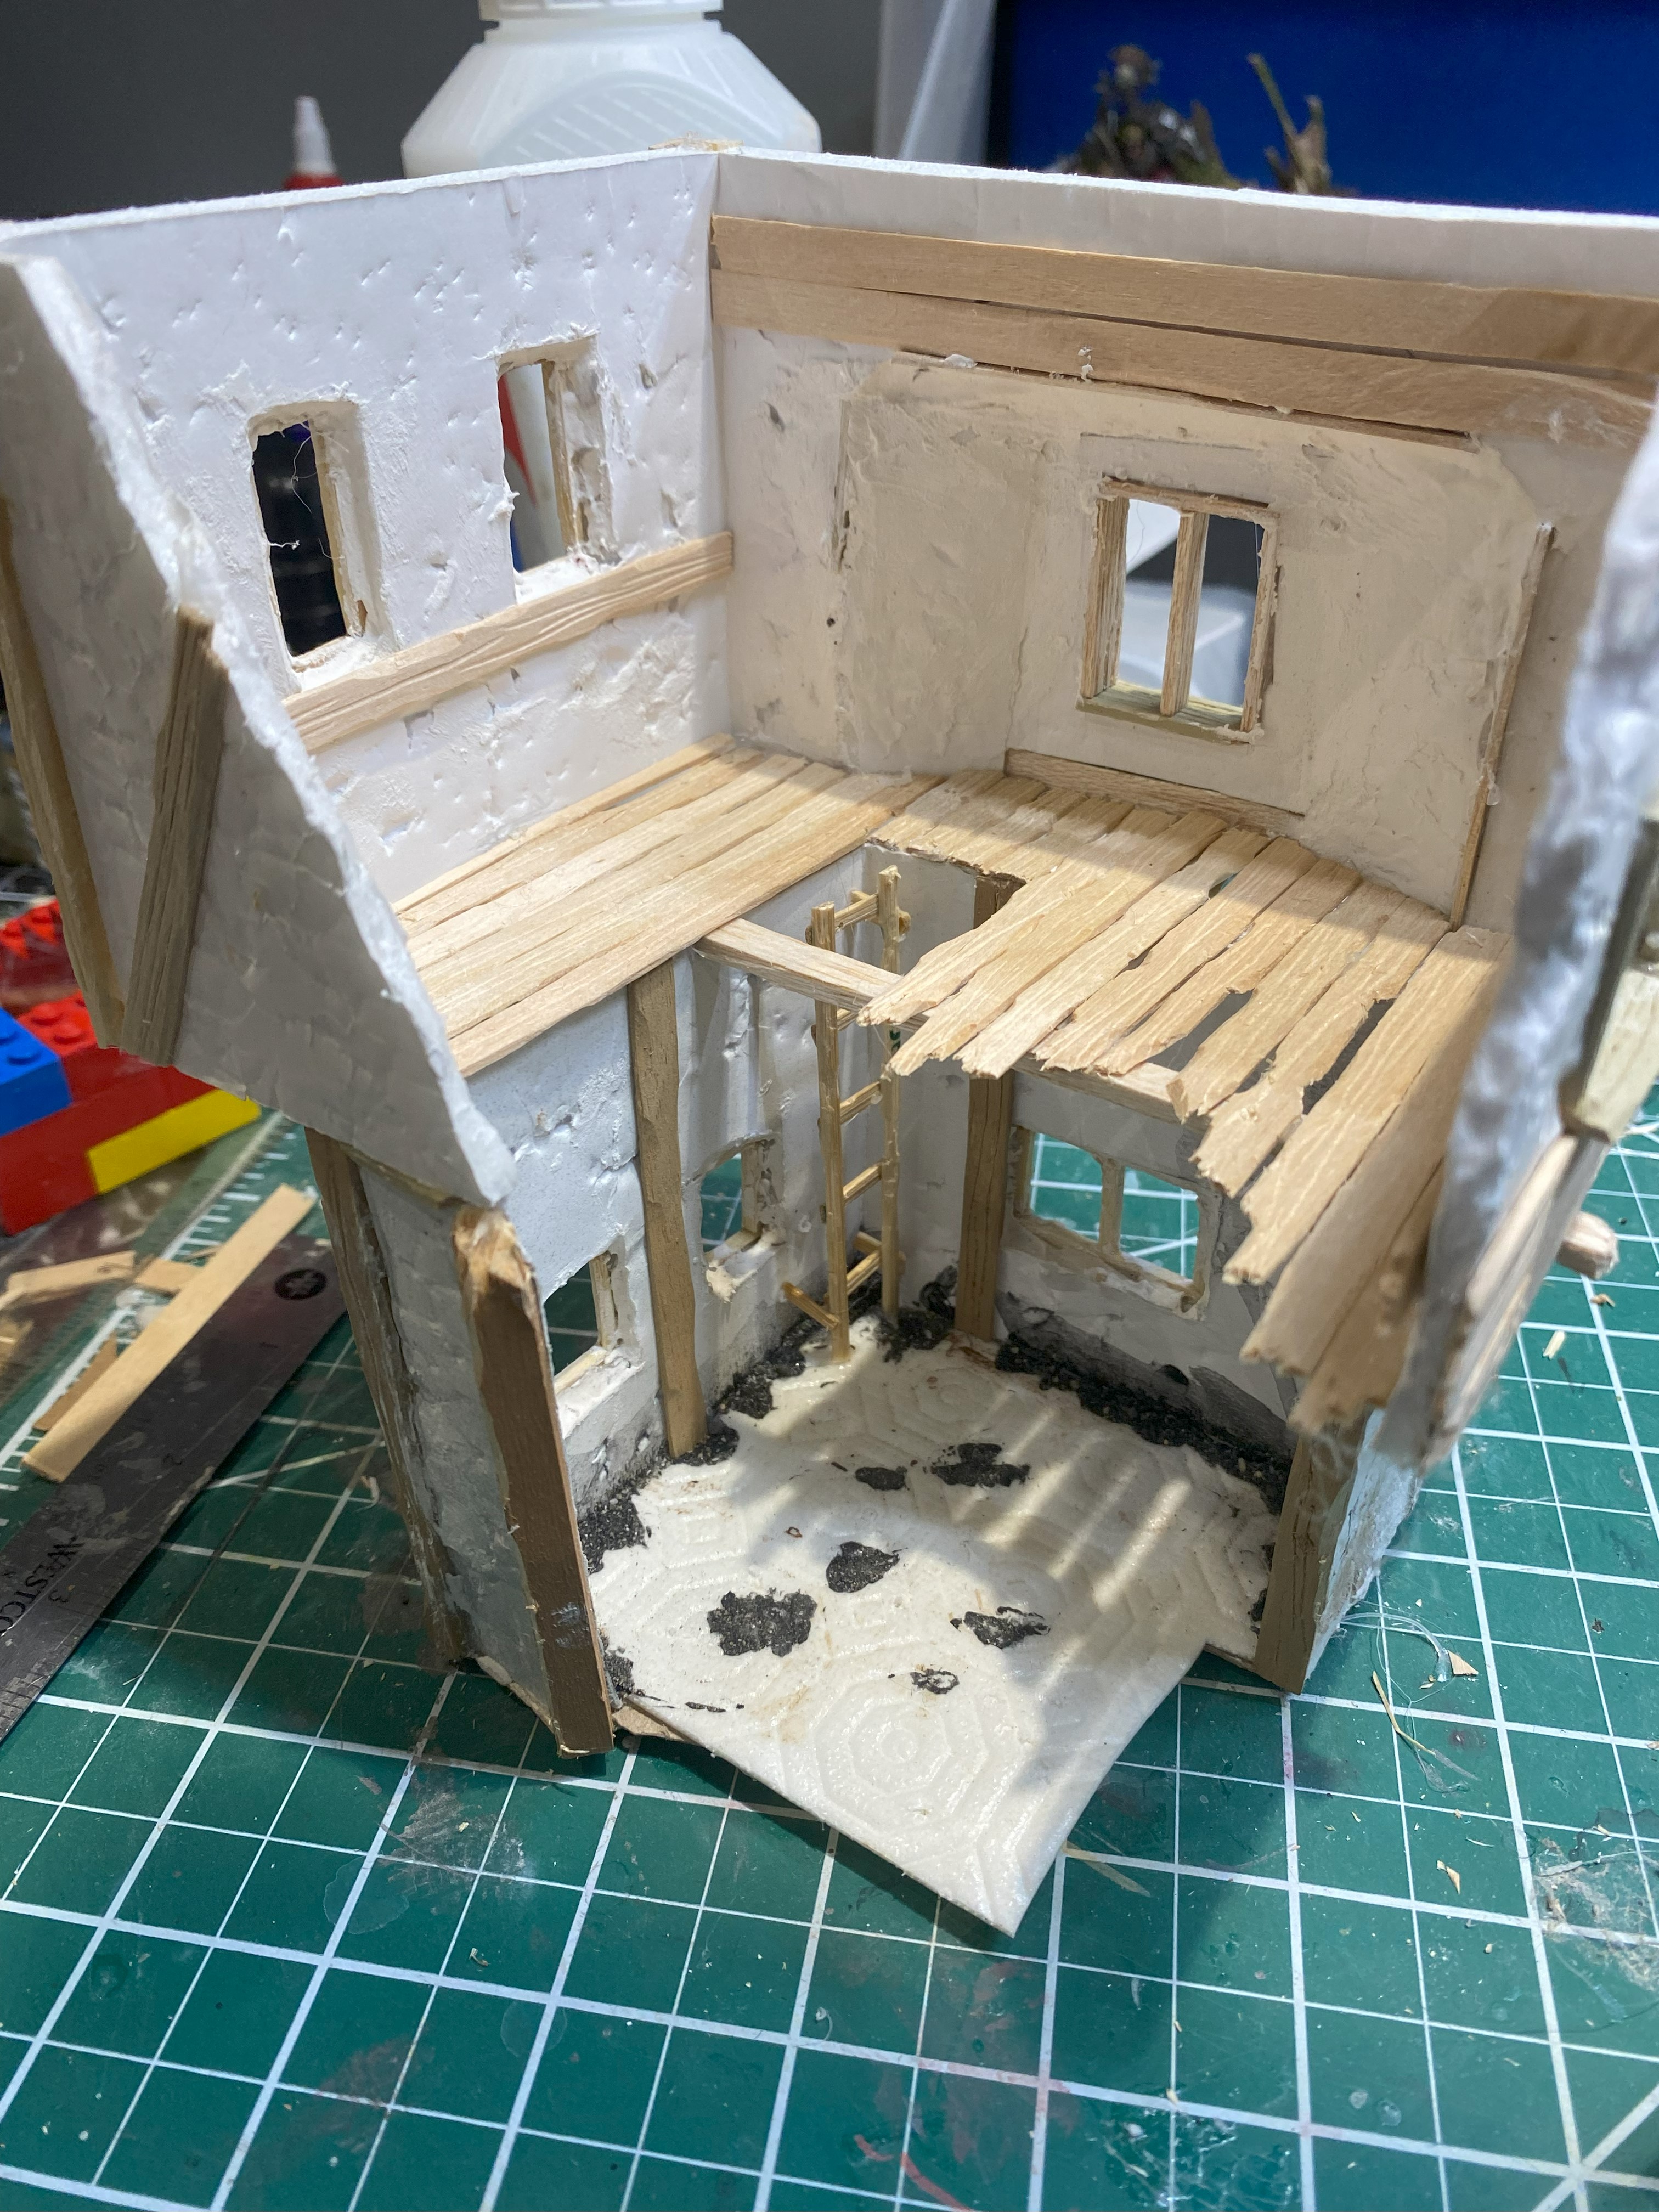
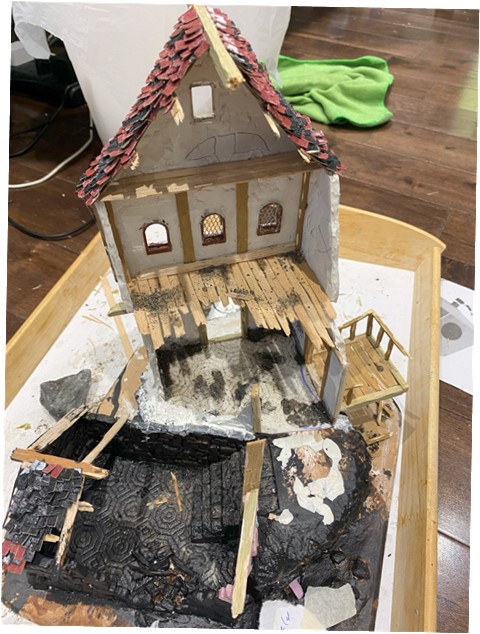
Stairs and doors and other stuff :)
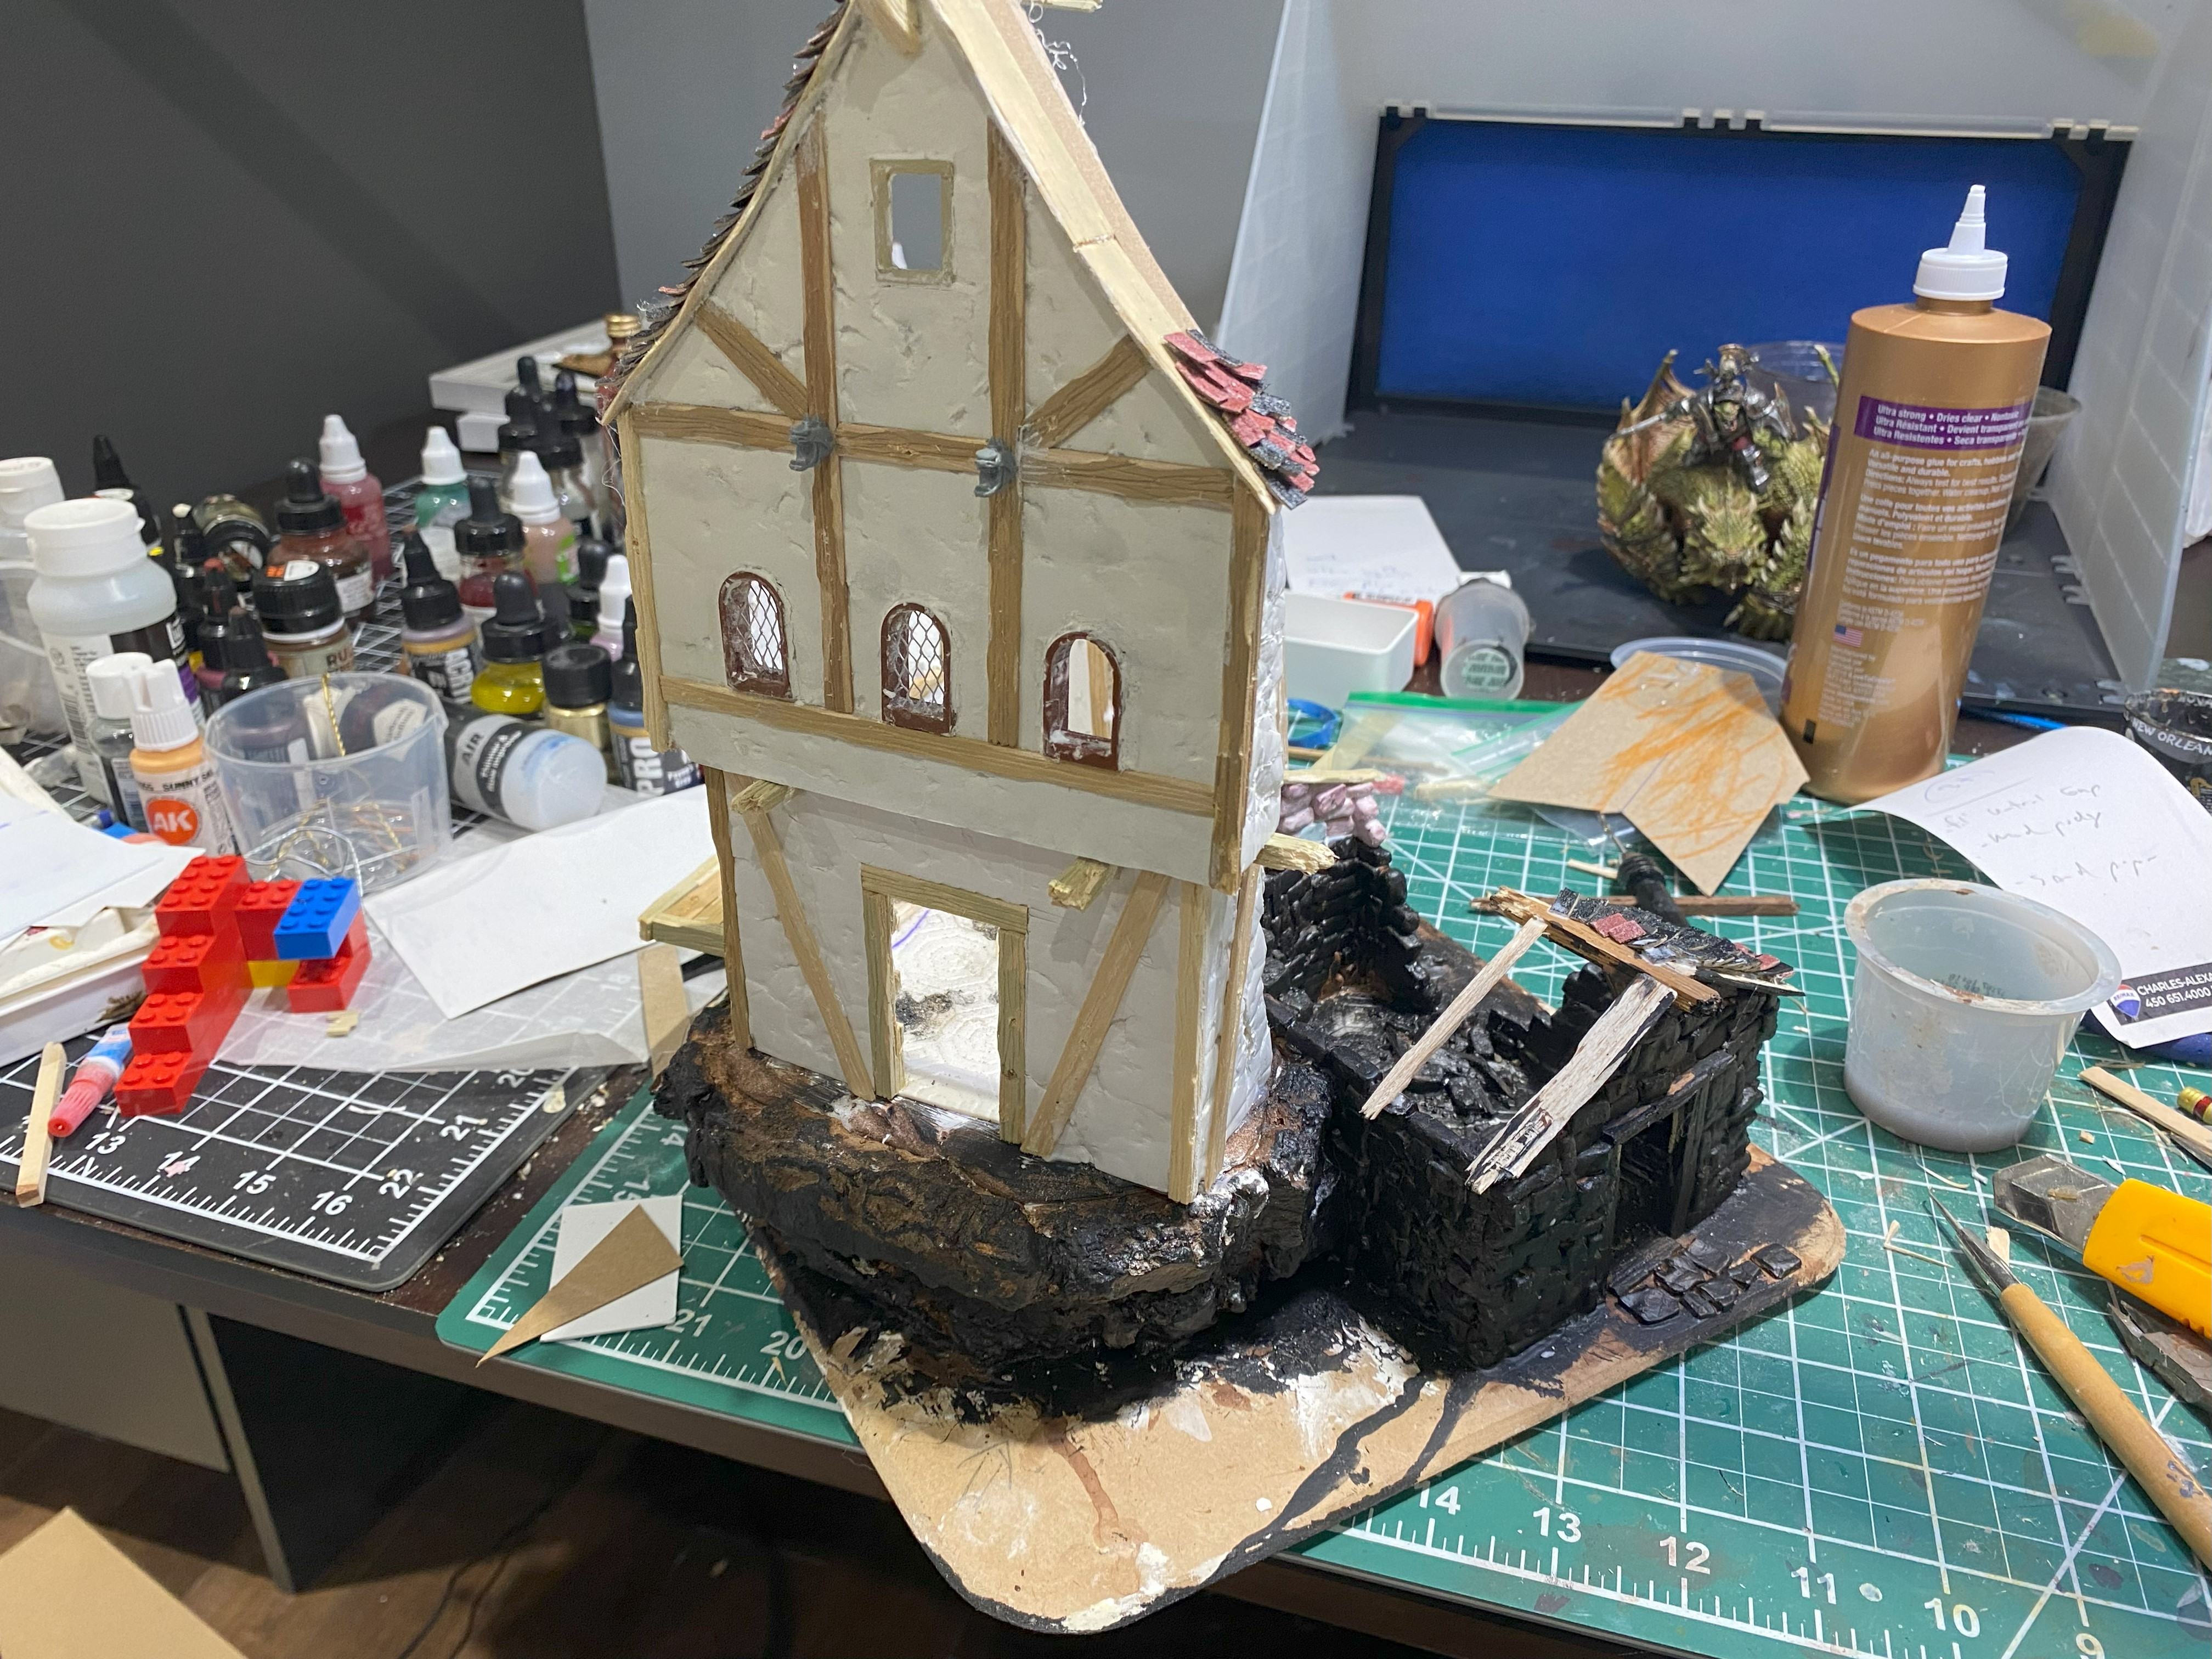 The main building is slowly taking shape!
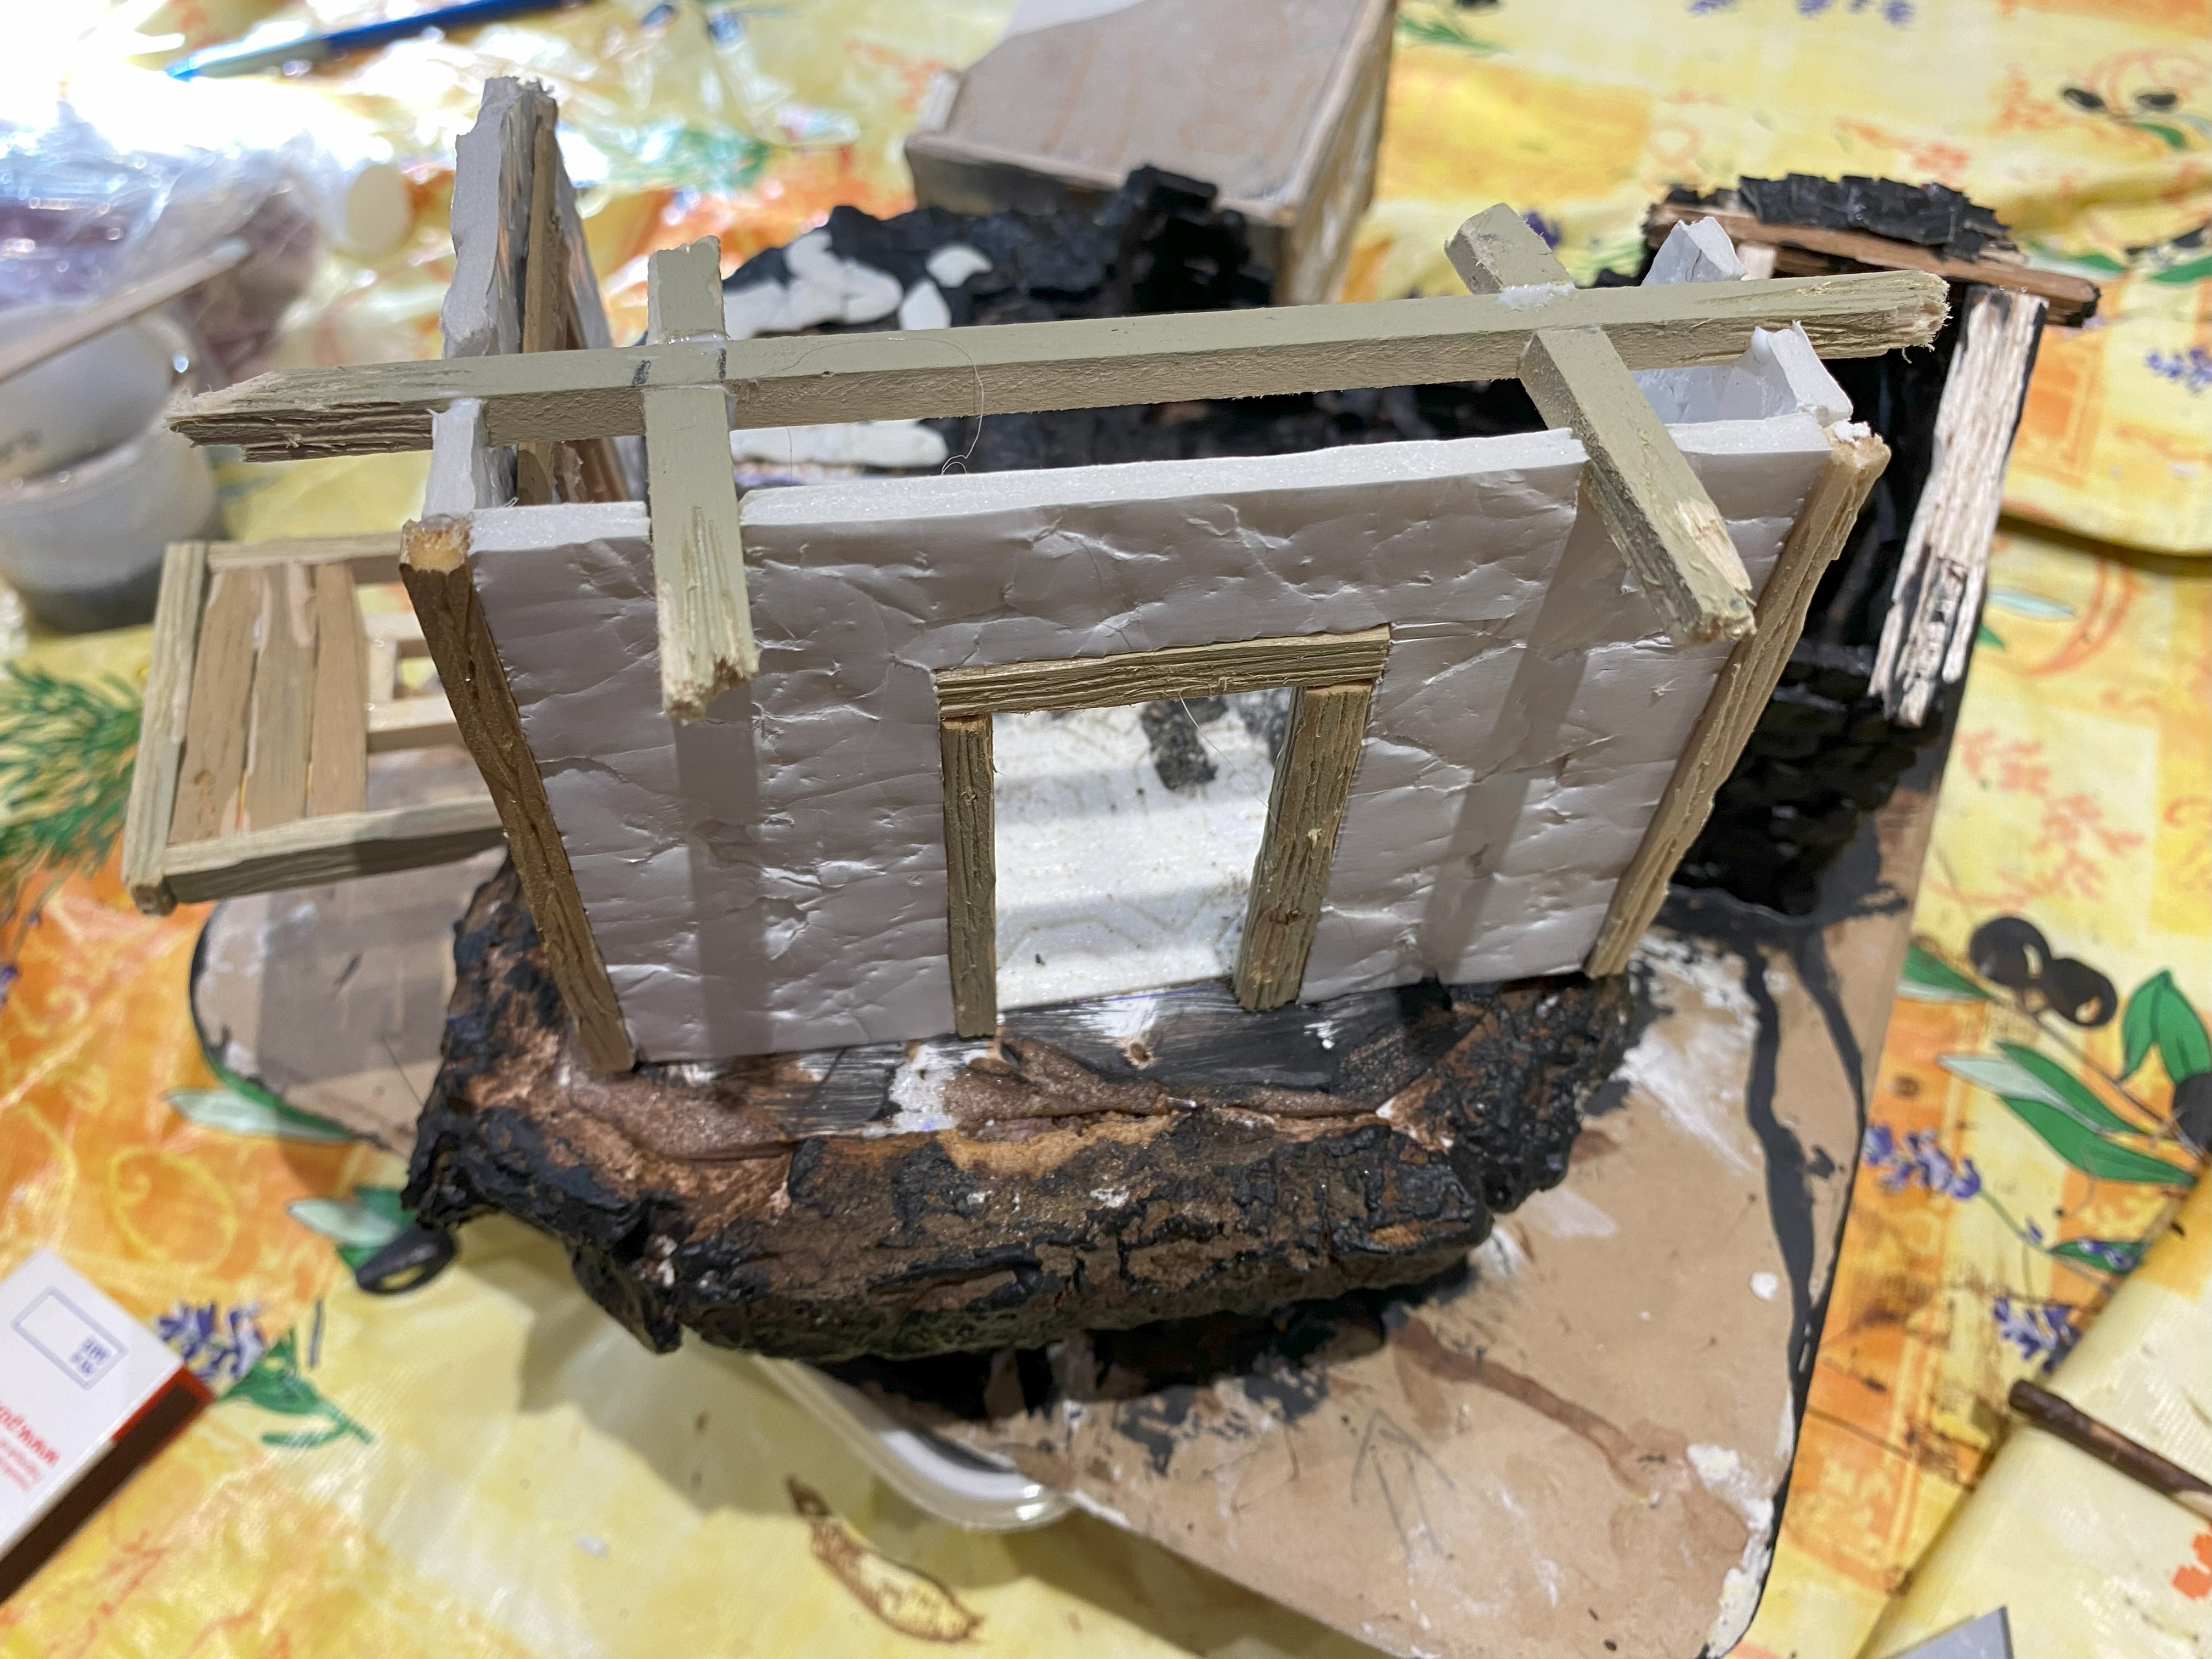
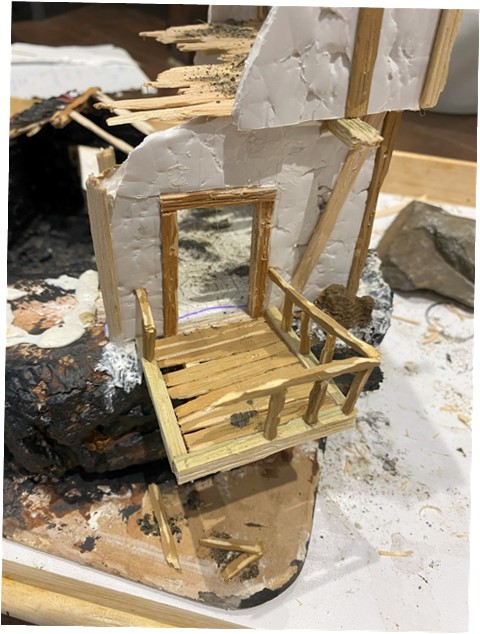
Like the bricks, the stairs are made up of XPS foam.
I don’t have a Proxxon Hotwire Cutter, so this part was a bit finicky, but I think it came out looking good.
There is no reason for the different colours of XPS foam (grey, blue, rose). I just used any leftovers XPS from other hobby projects or construction projects.
The doors are made up of coffee stir sticks heavily textured.
The only annoying part was gluing some small wires and working a mechanism with the door frame so you can swing the doors open and close.
 Bit of plasticard for a reinforced door
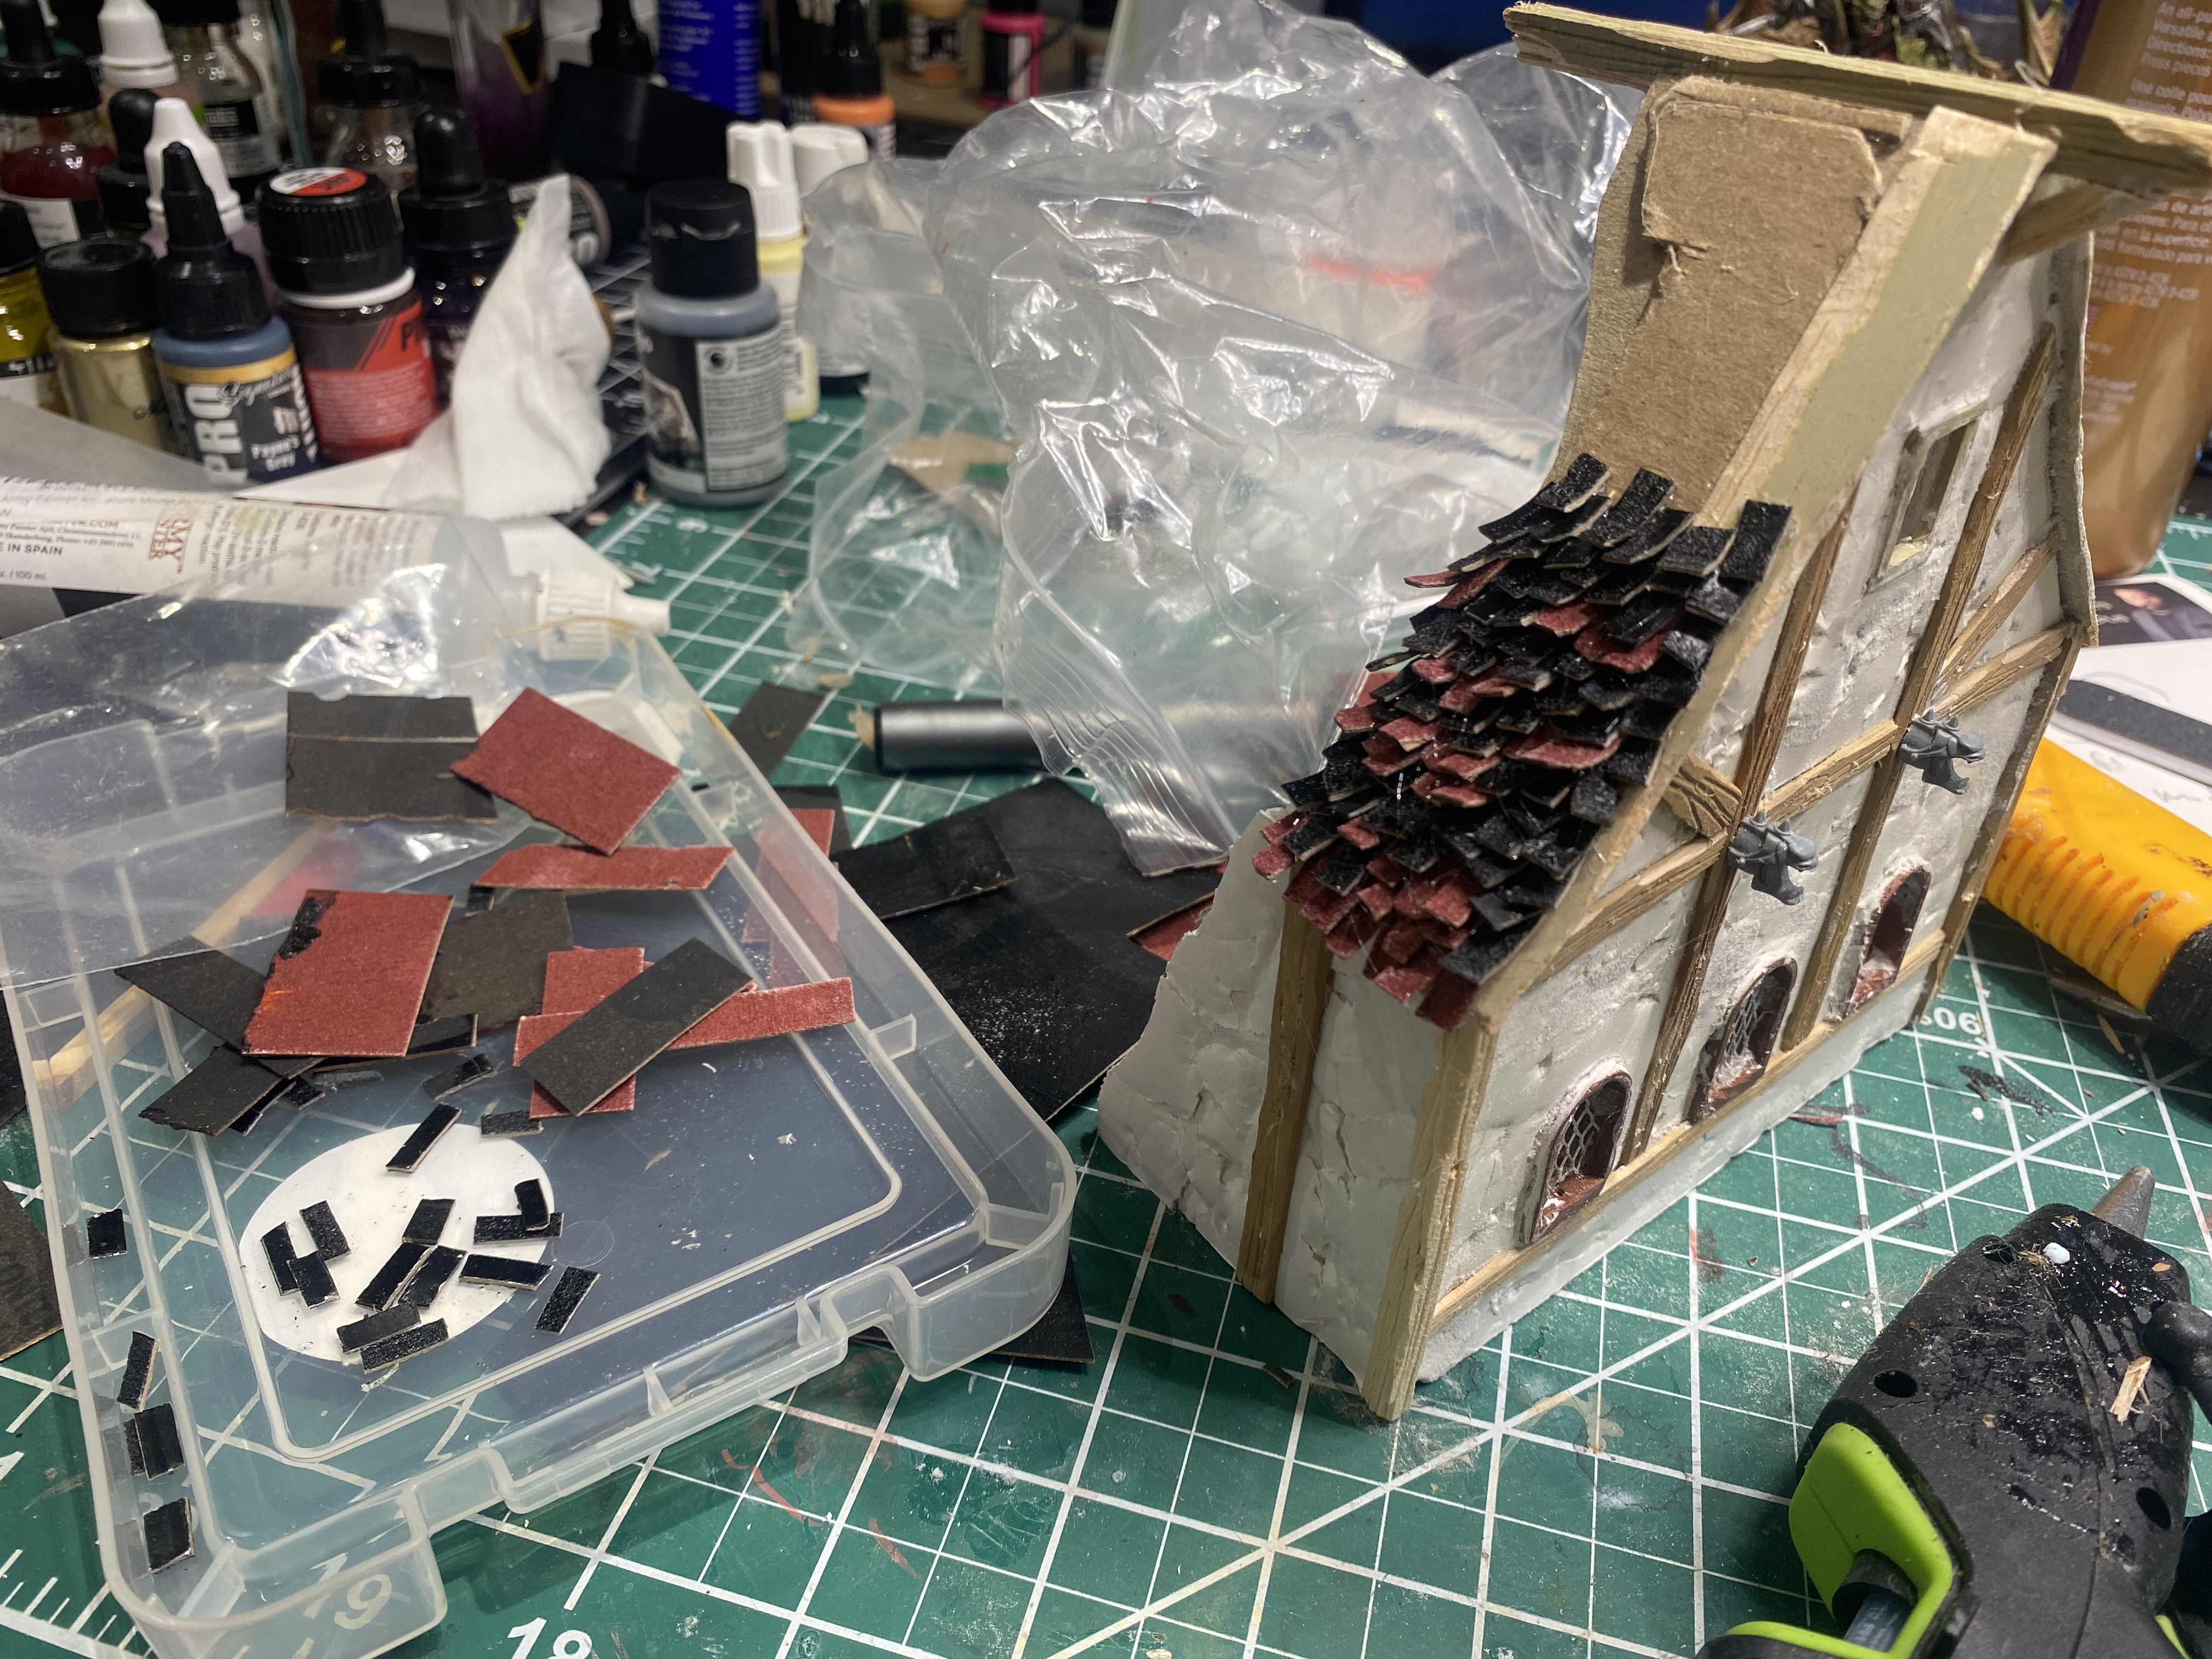
 Shingles
The shingles are made out of cheap cardstock.
I covered it with a mixture of mod podge and baking soda for added texture and thickness before cutting it in smaller pieces.
Like the bricks, smaller shingles look better / more realistic, but they take a lot more time to glue.
 Shingling in progress..
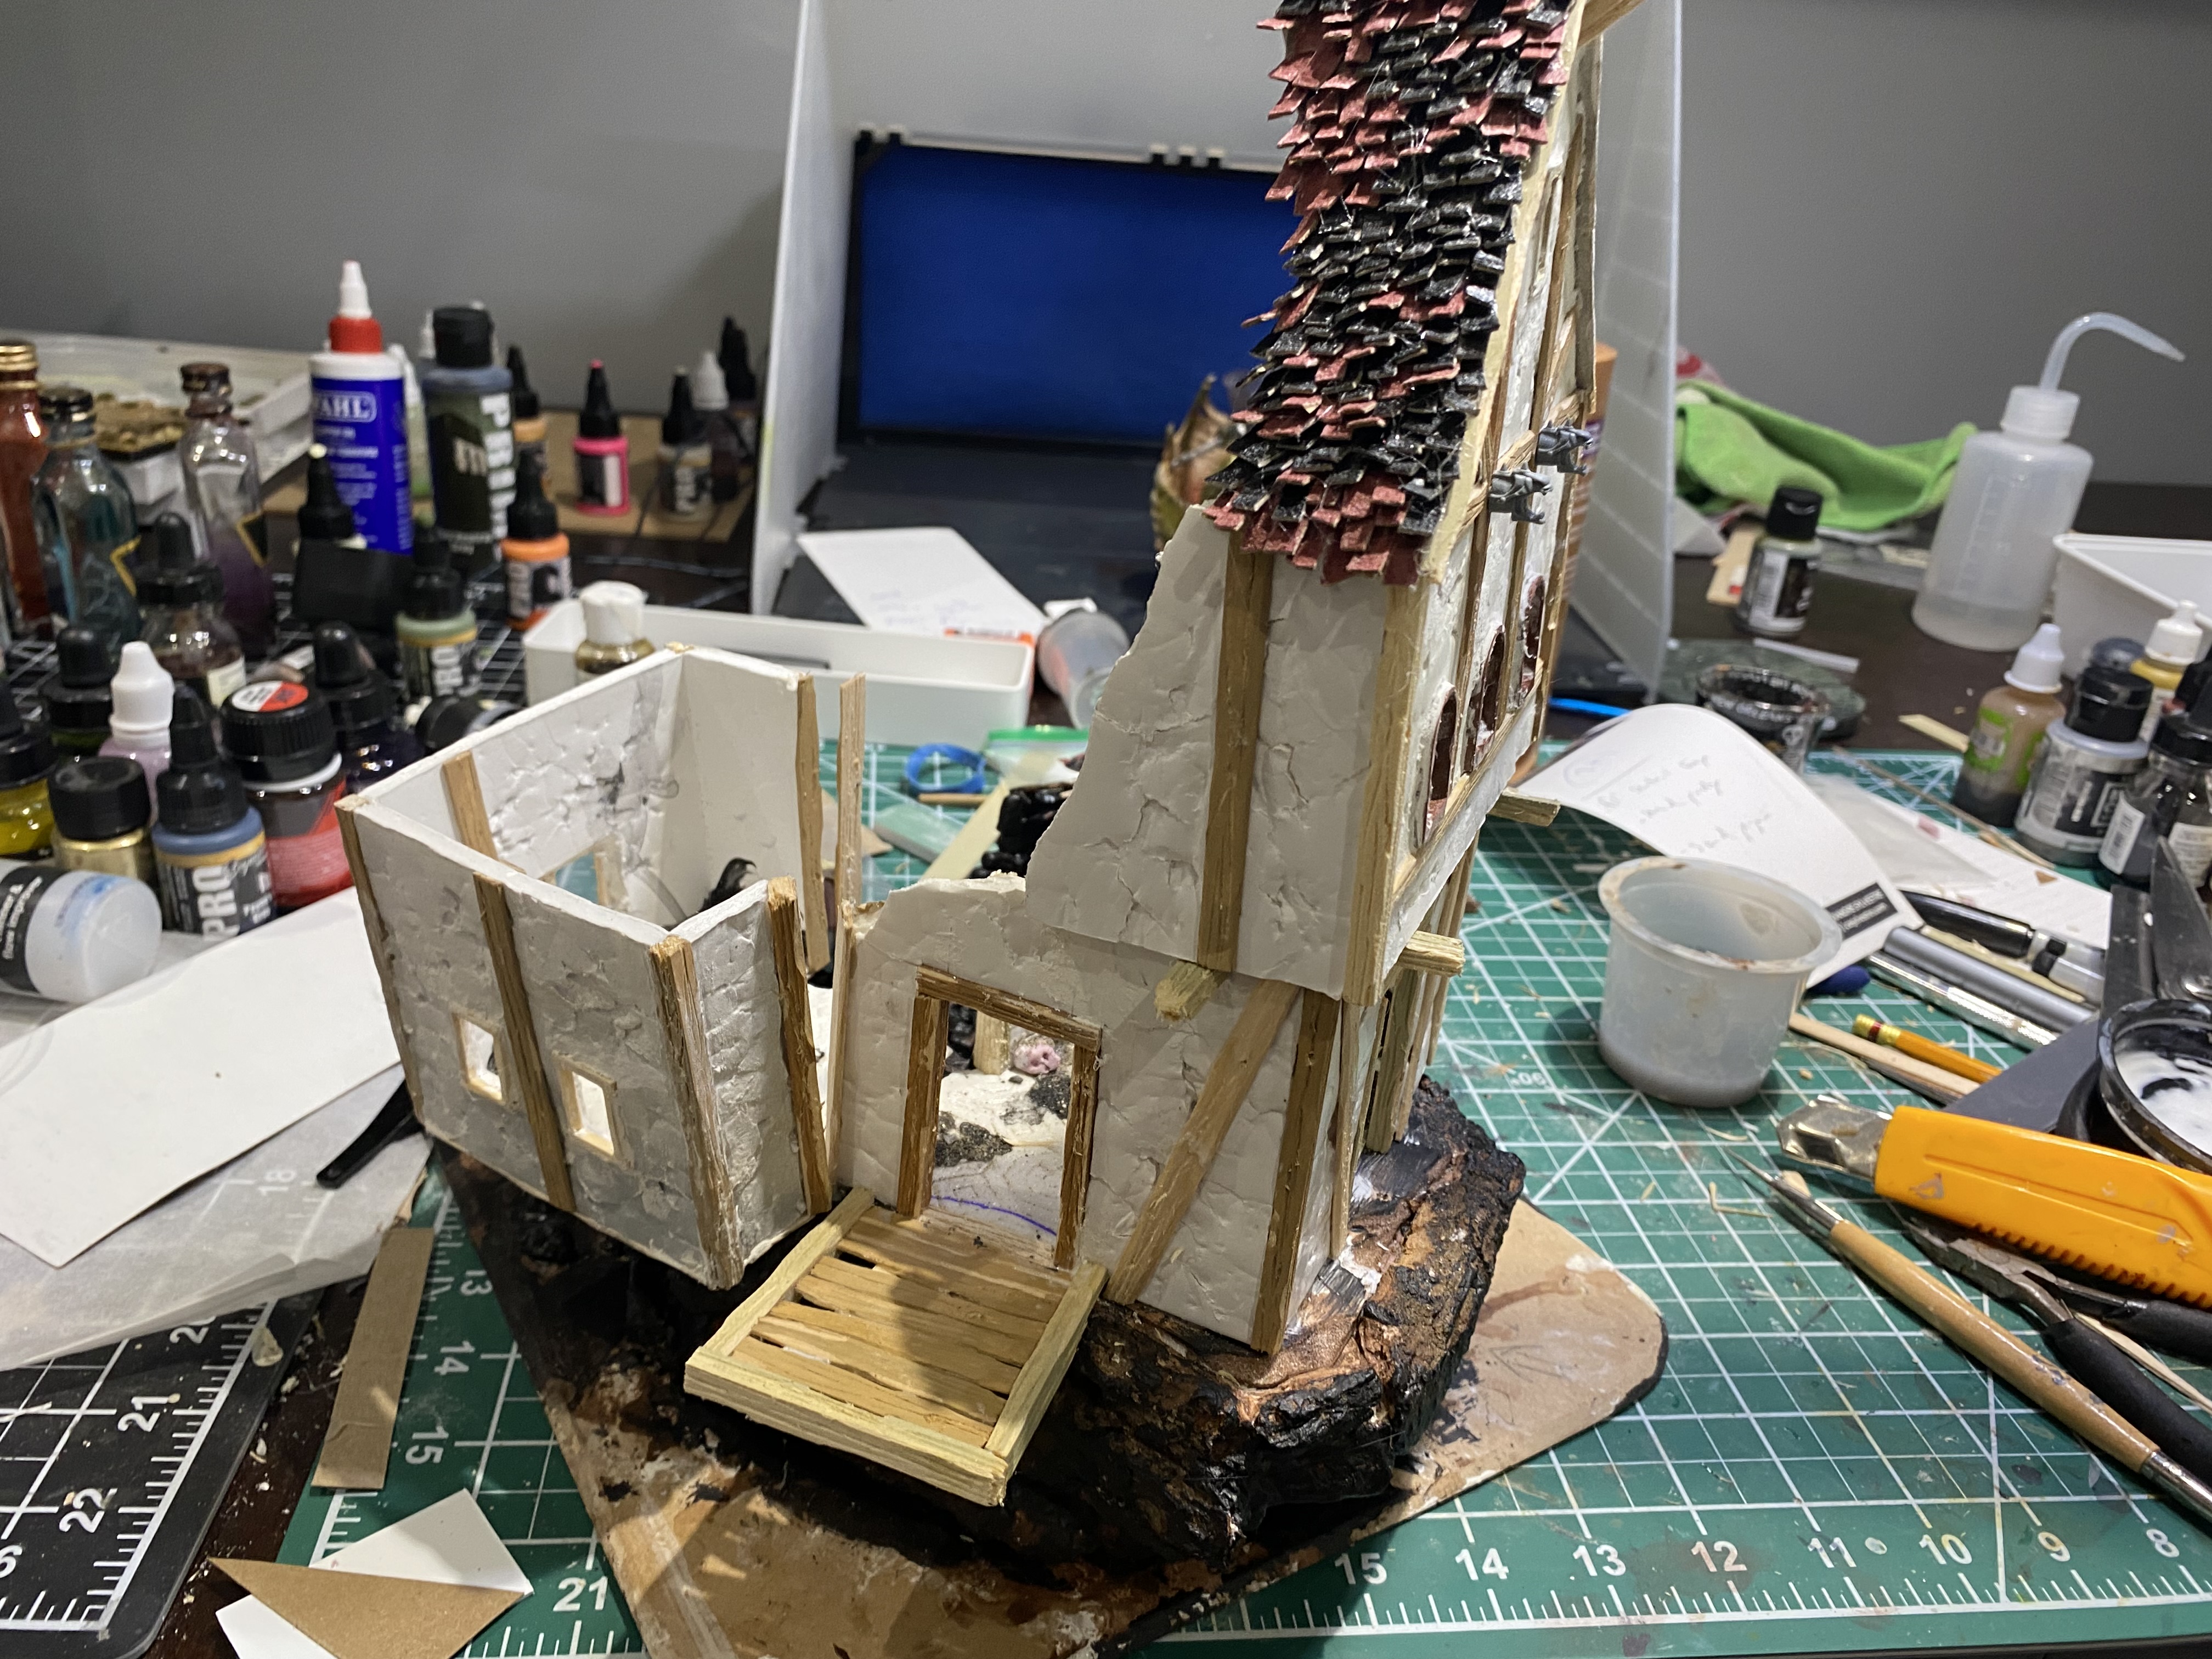
 Just smashing a rock repeatedly against the foamcore for texture
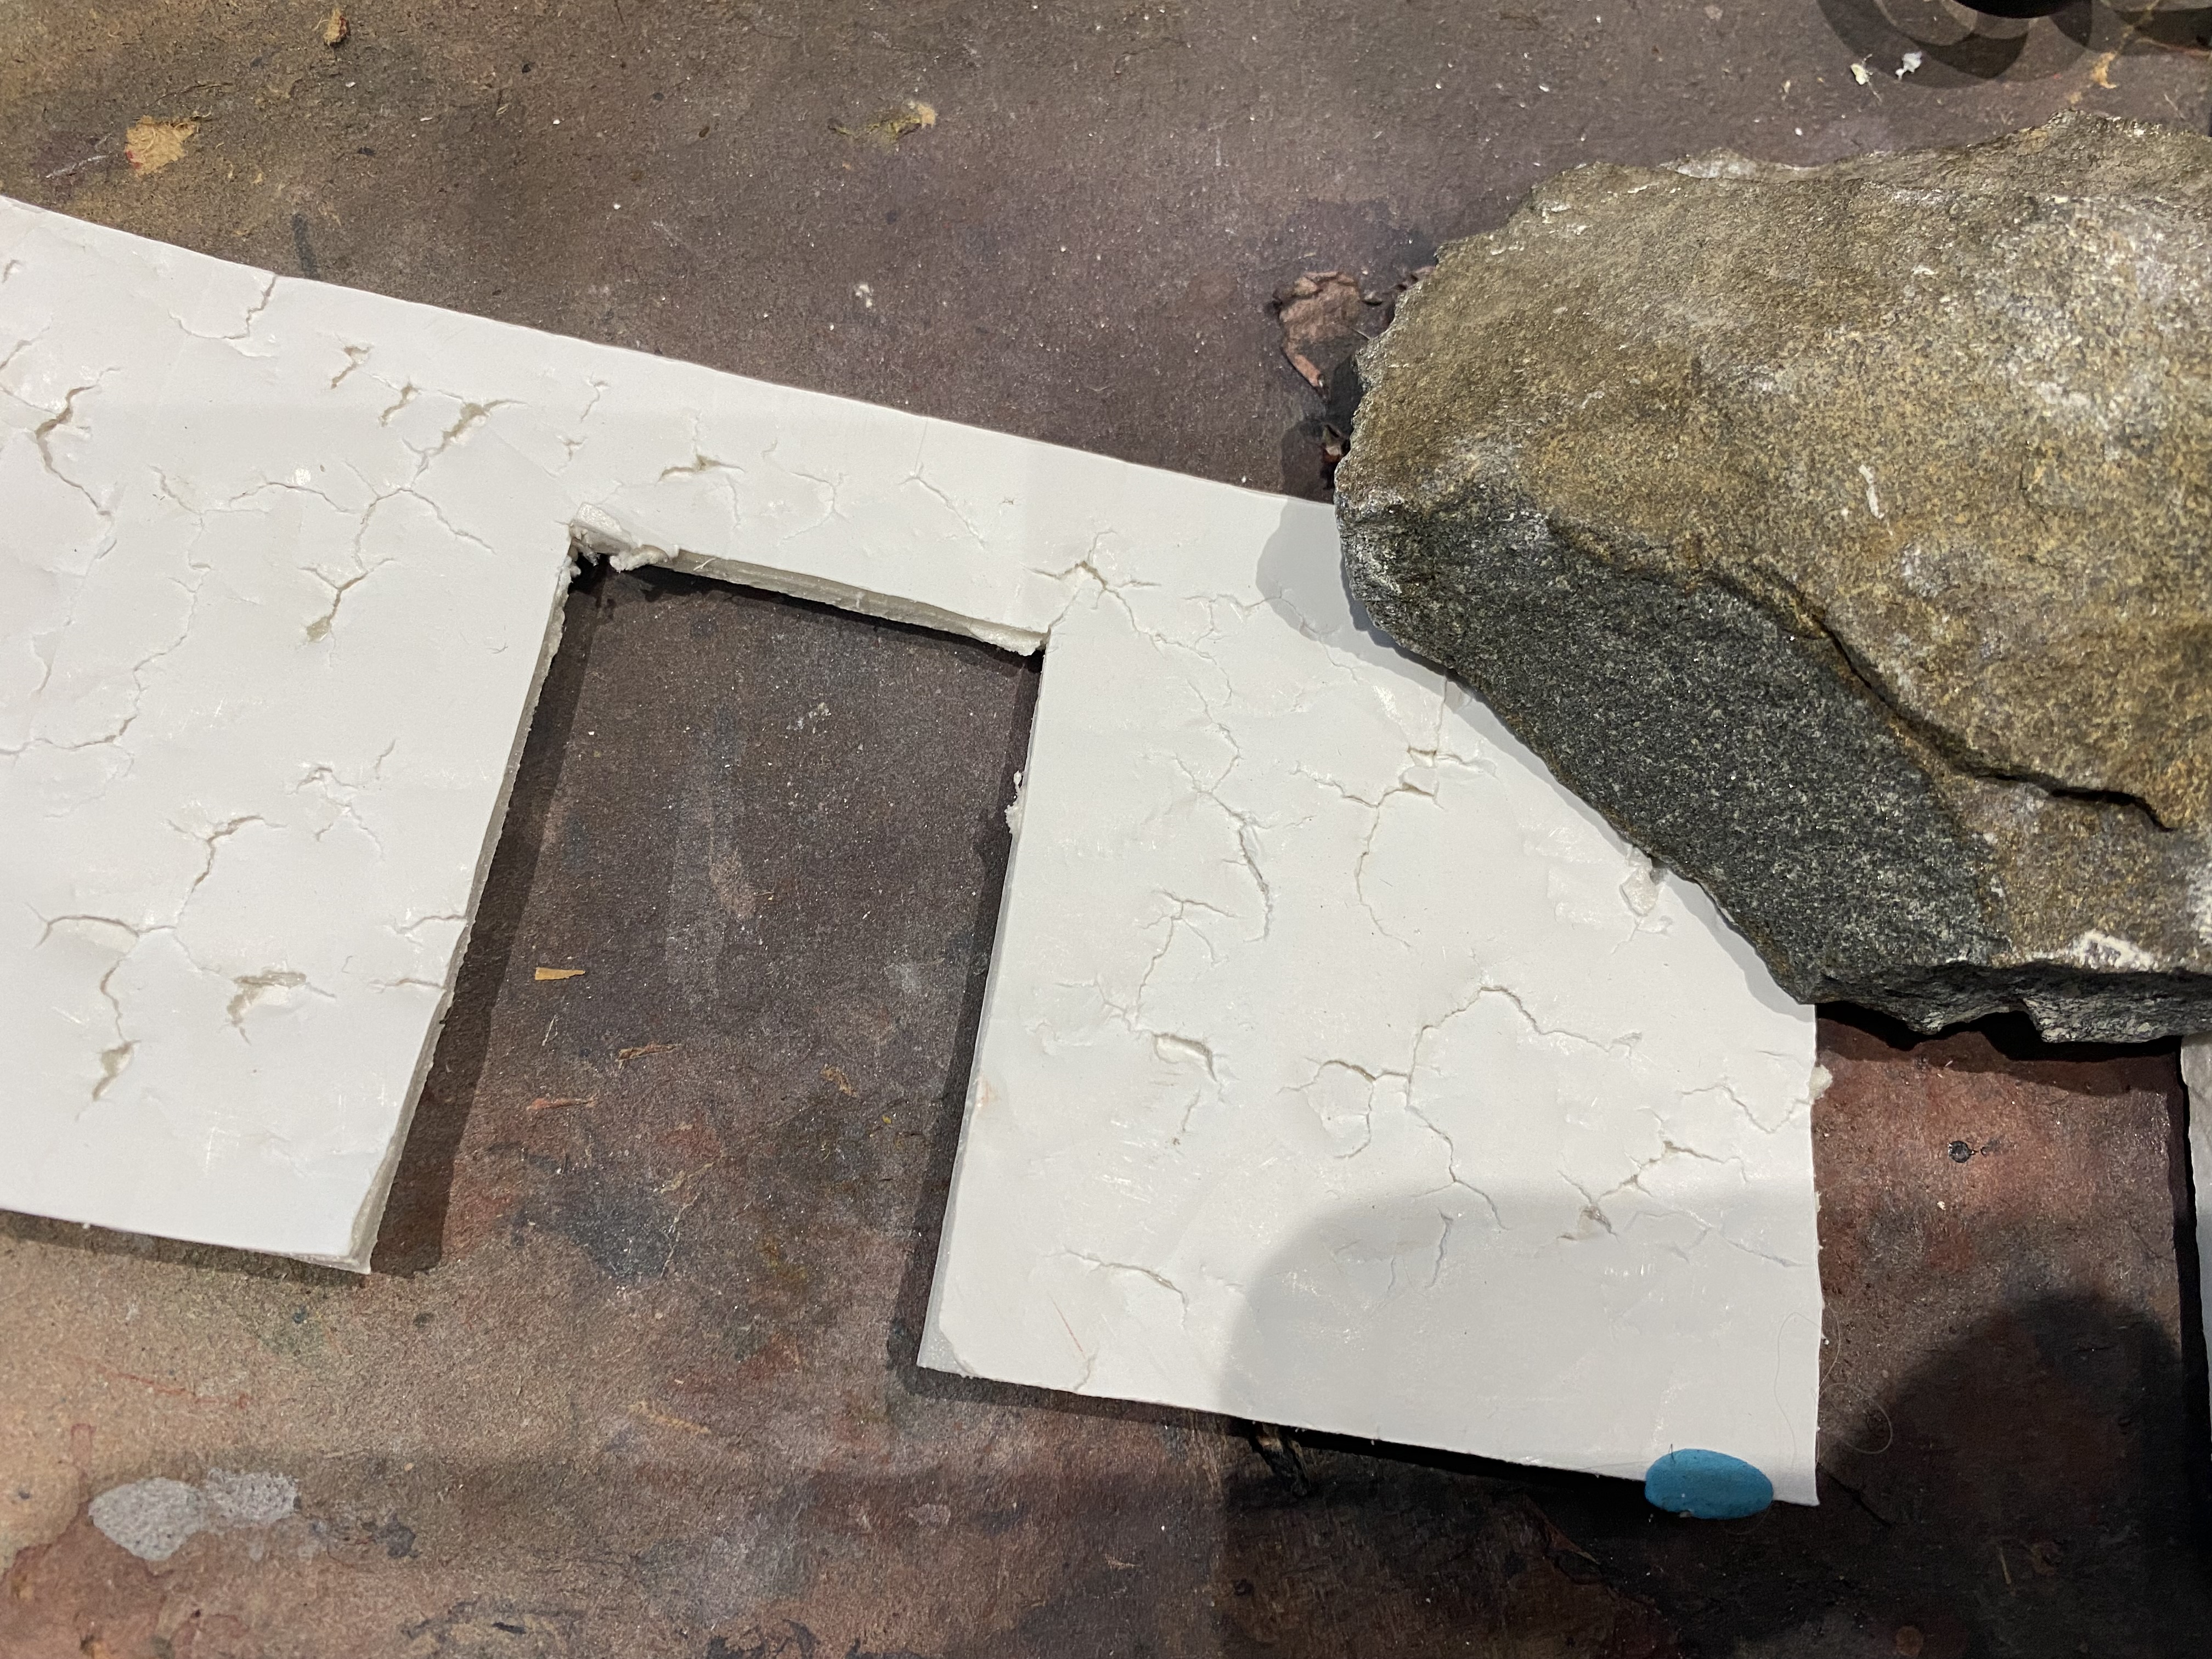
Wood Beams and Planks (and a lot of coffee stir sticks!!)
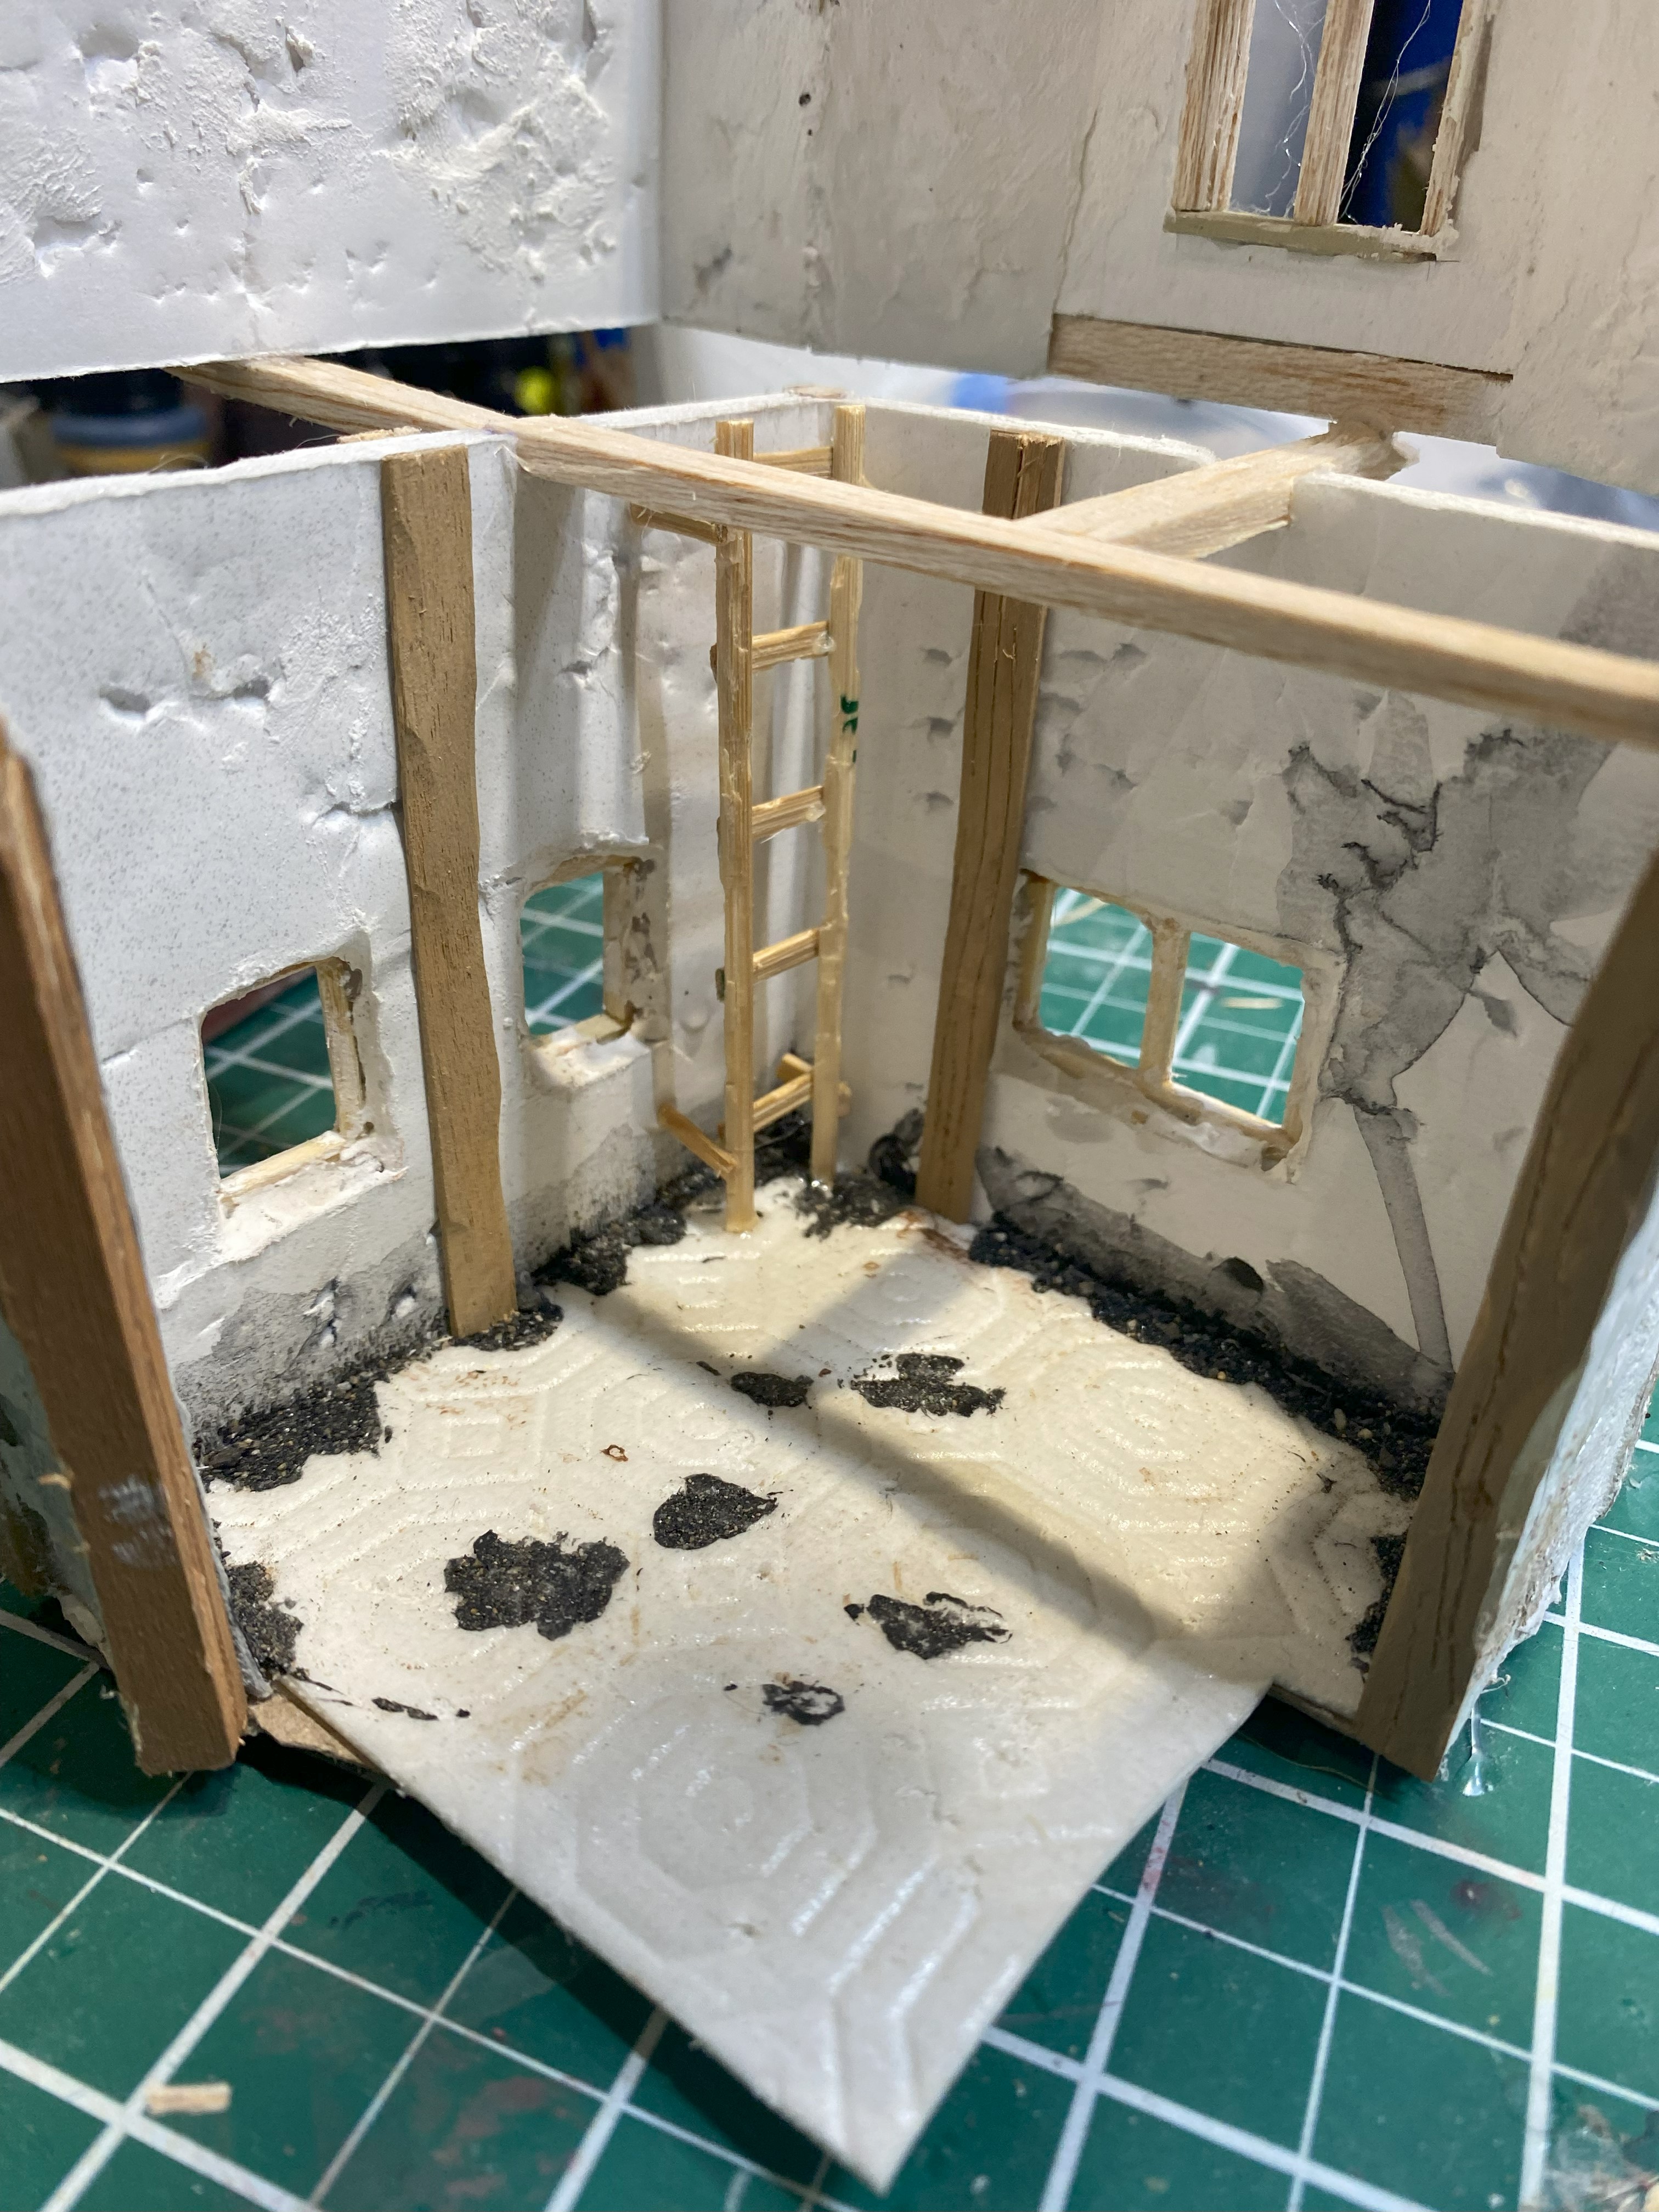
Most of the larger beams are balsa wood.
I bought some at a craft store, but I was also lucky enough to find some at the Dollar store!
I did bought all the balsa available at the Dollar store, so I am sorry if you are the unlucky person would came afterwards 🙁
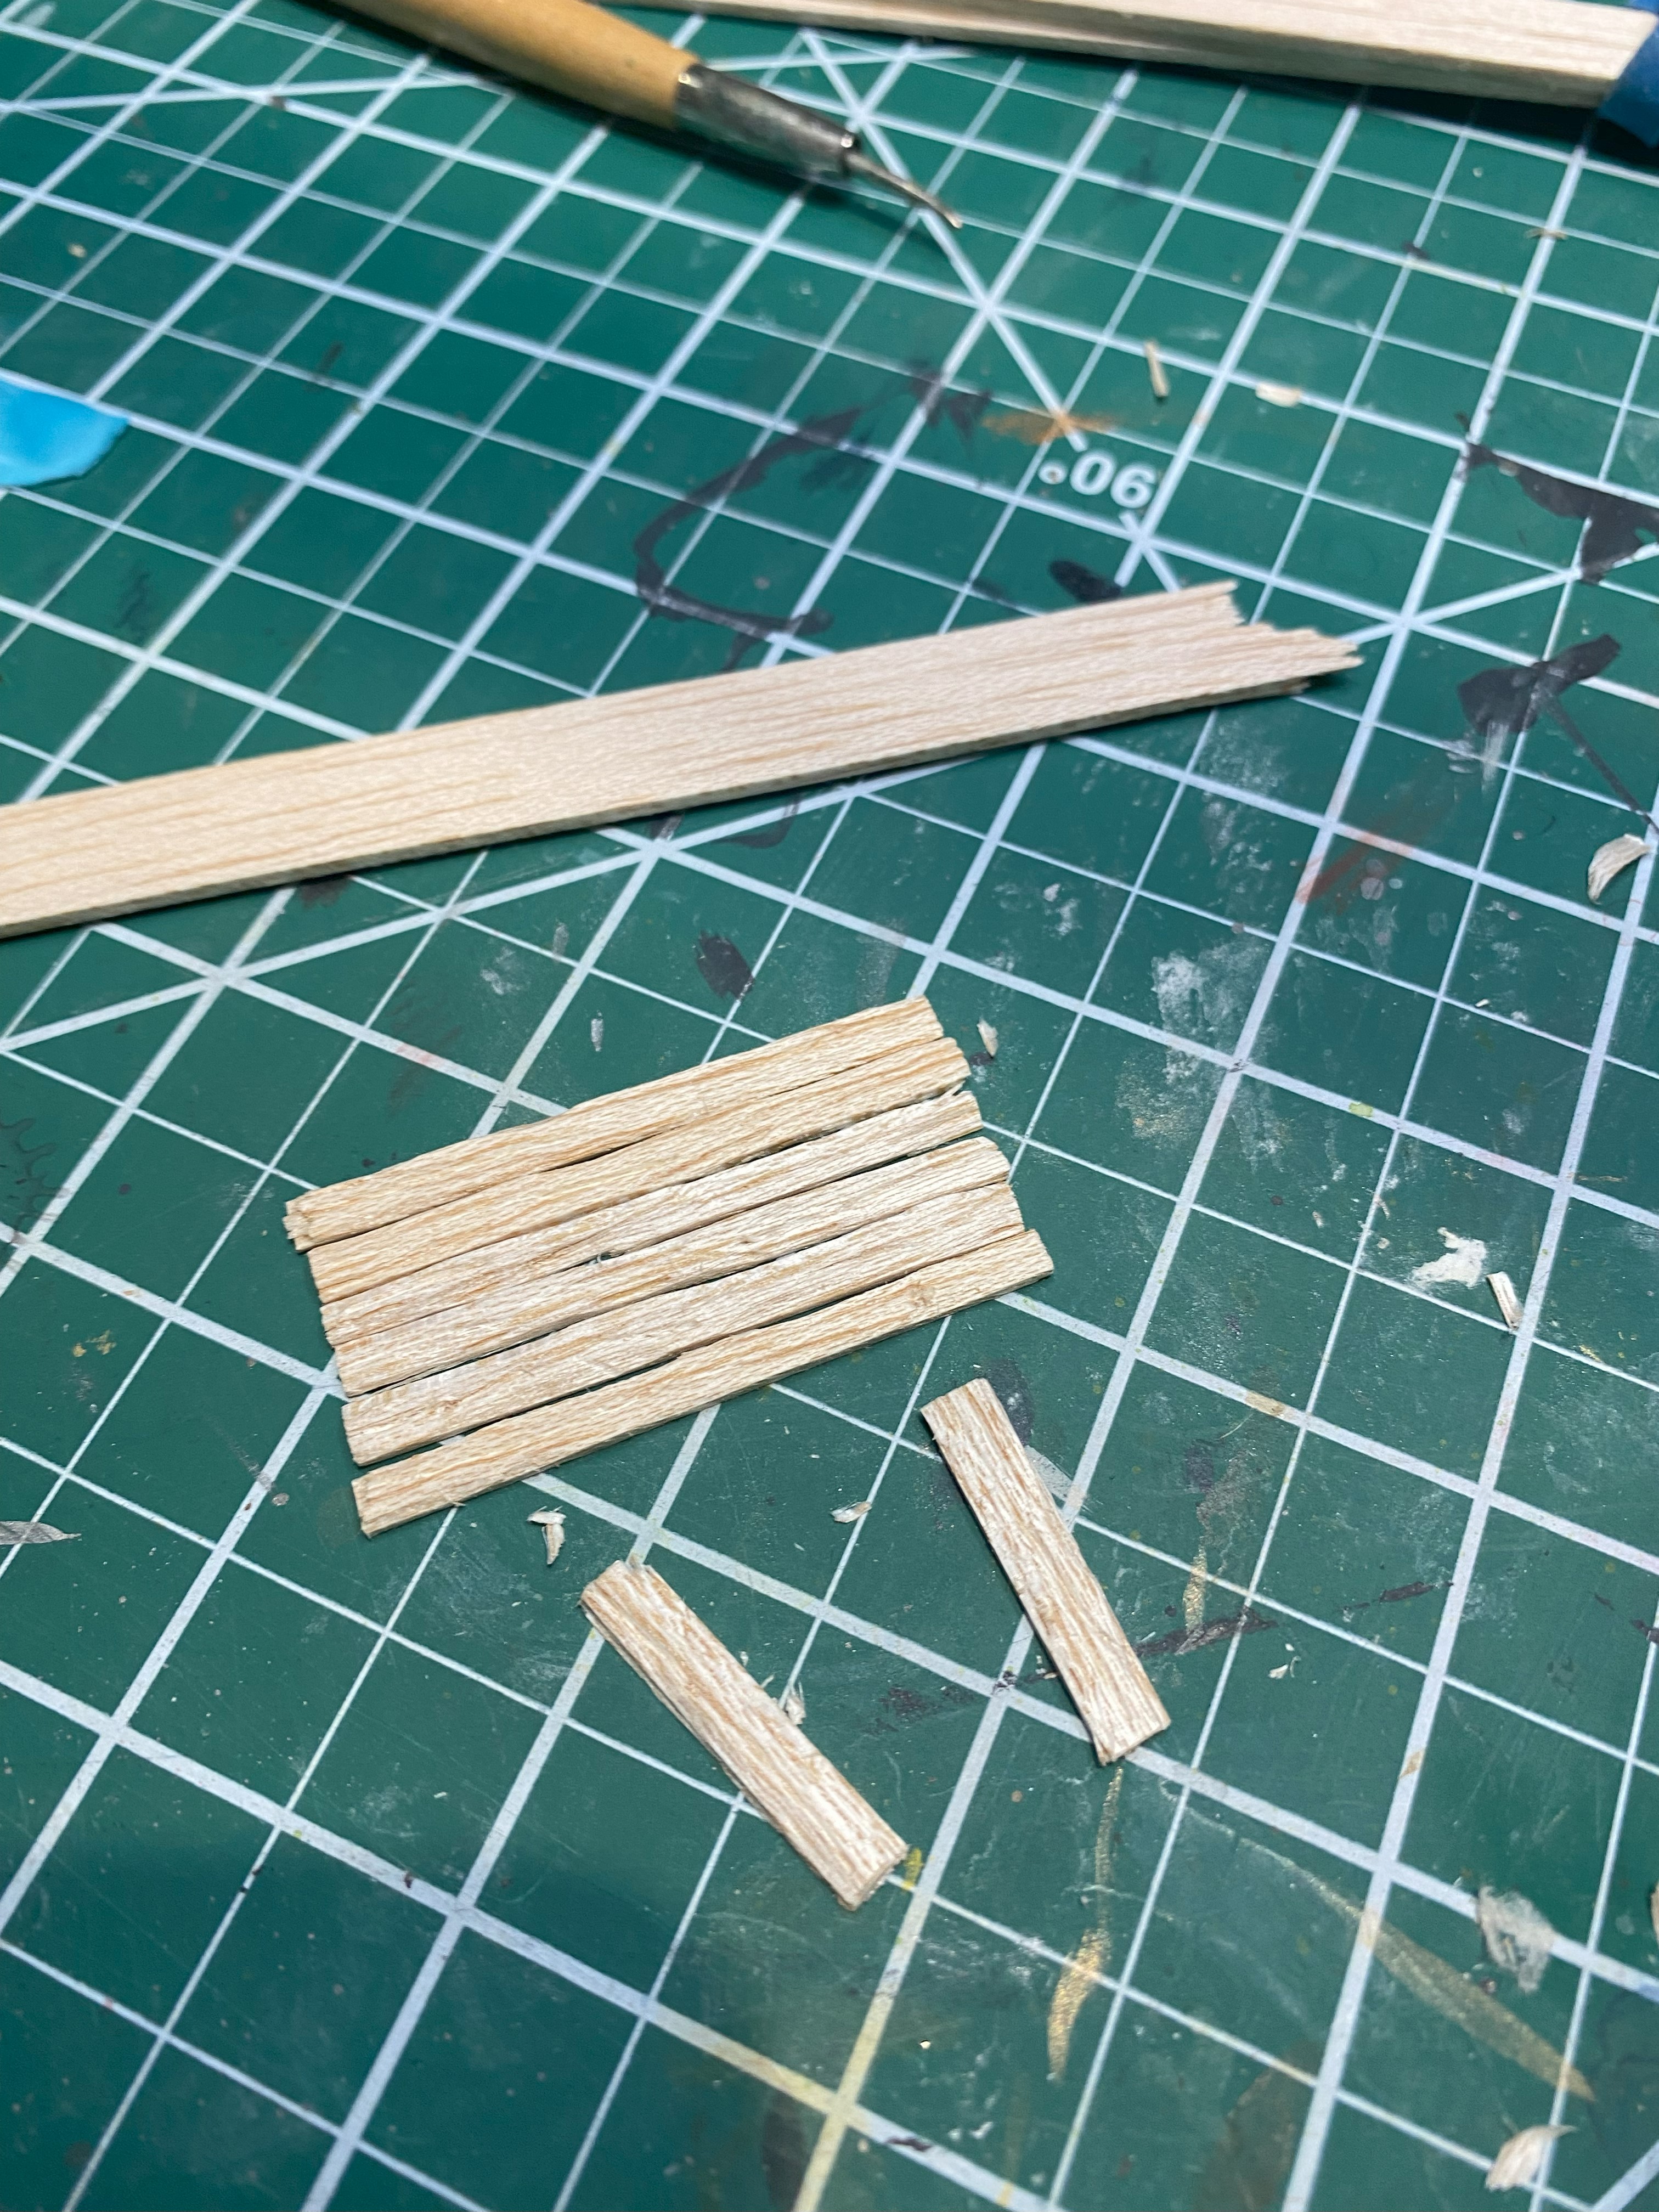
The planks on the walls and the floor are coffee stir sticks.
When bought in bulk, they cost about a penny per stick.
They look better than popsicle sticks.
Some people use a metal wirebrush to texture wood, but I had limited success with that technique.
I use a somehow blunt eyebrow tweezer to indent the wood. (Maybe it came from the Dollar store or my girlfriend’s stash, I honestly can’t remember).
I also found the tip of a somehow blunt scissors was good for indent the wood.
 Tweezer, blunt scissors or the tip of a sculpting tool to indent/carve the wood
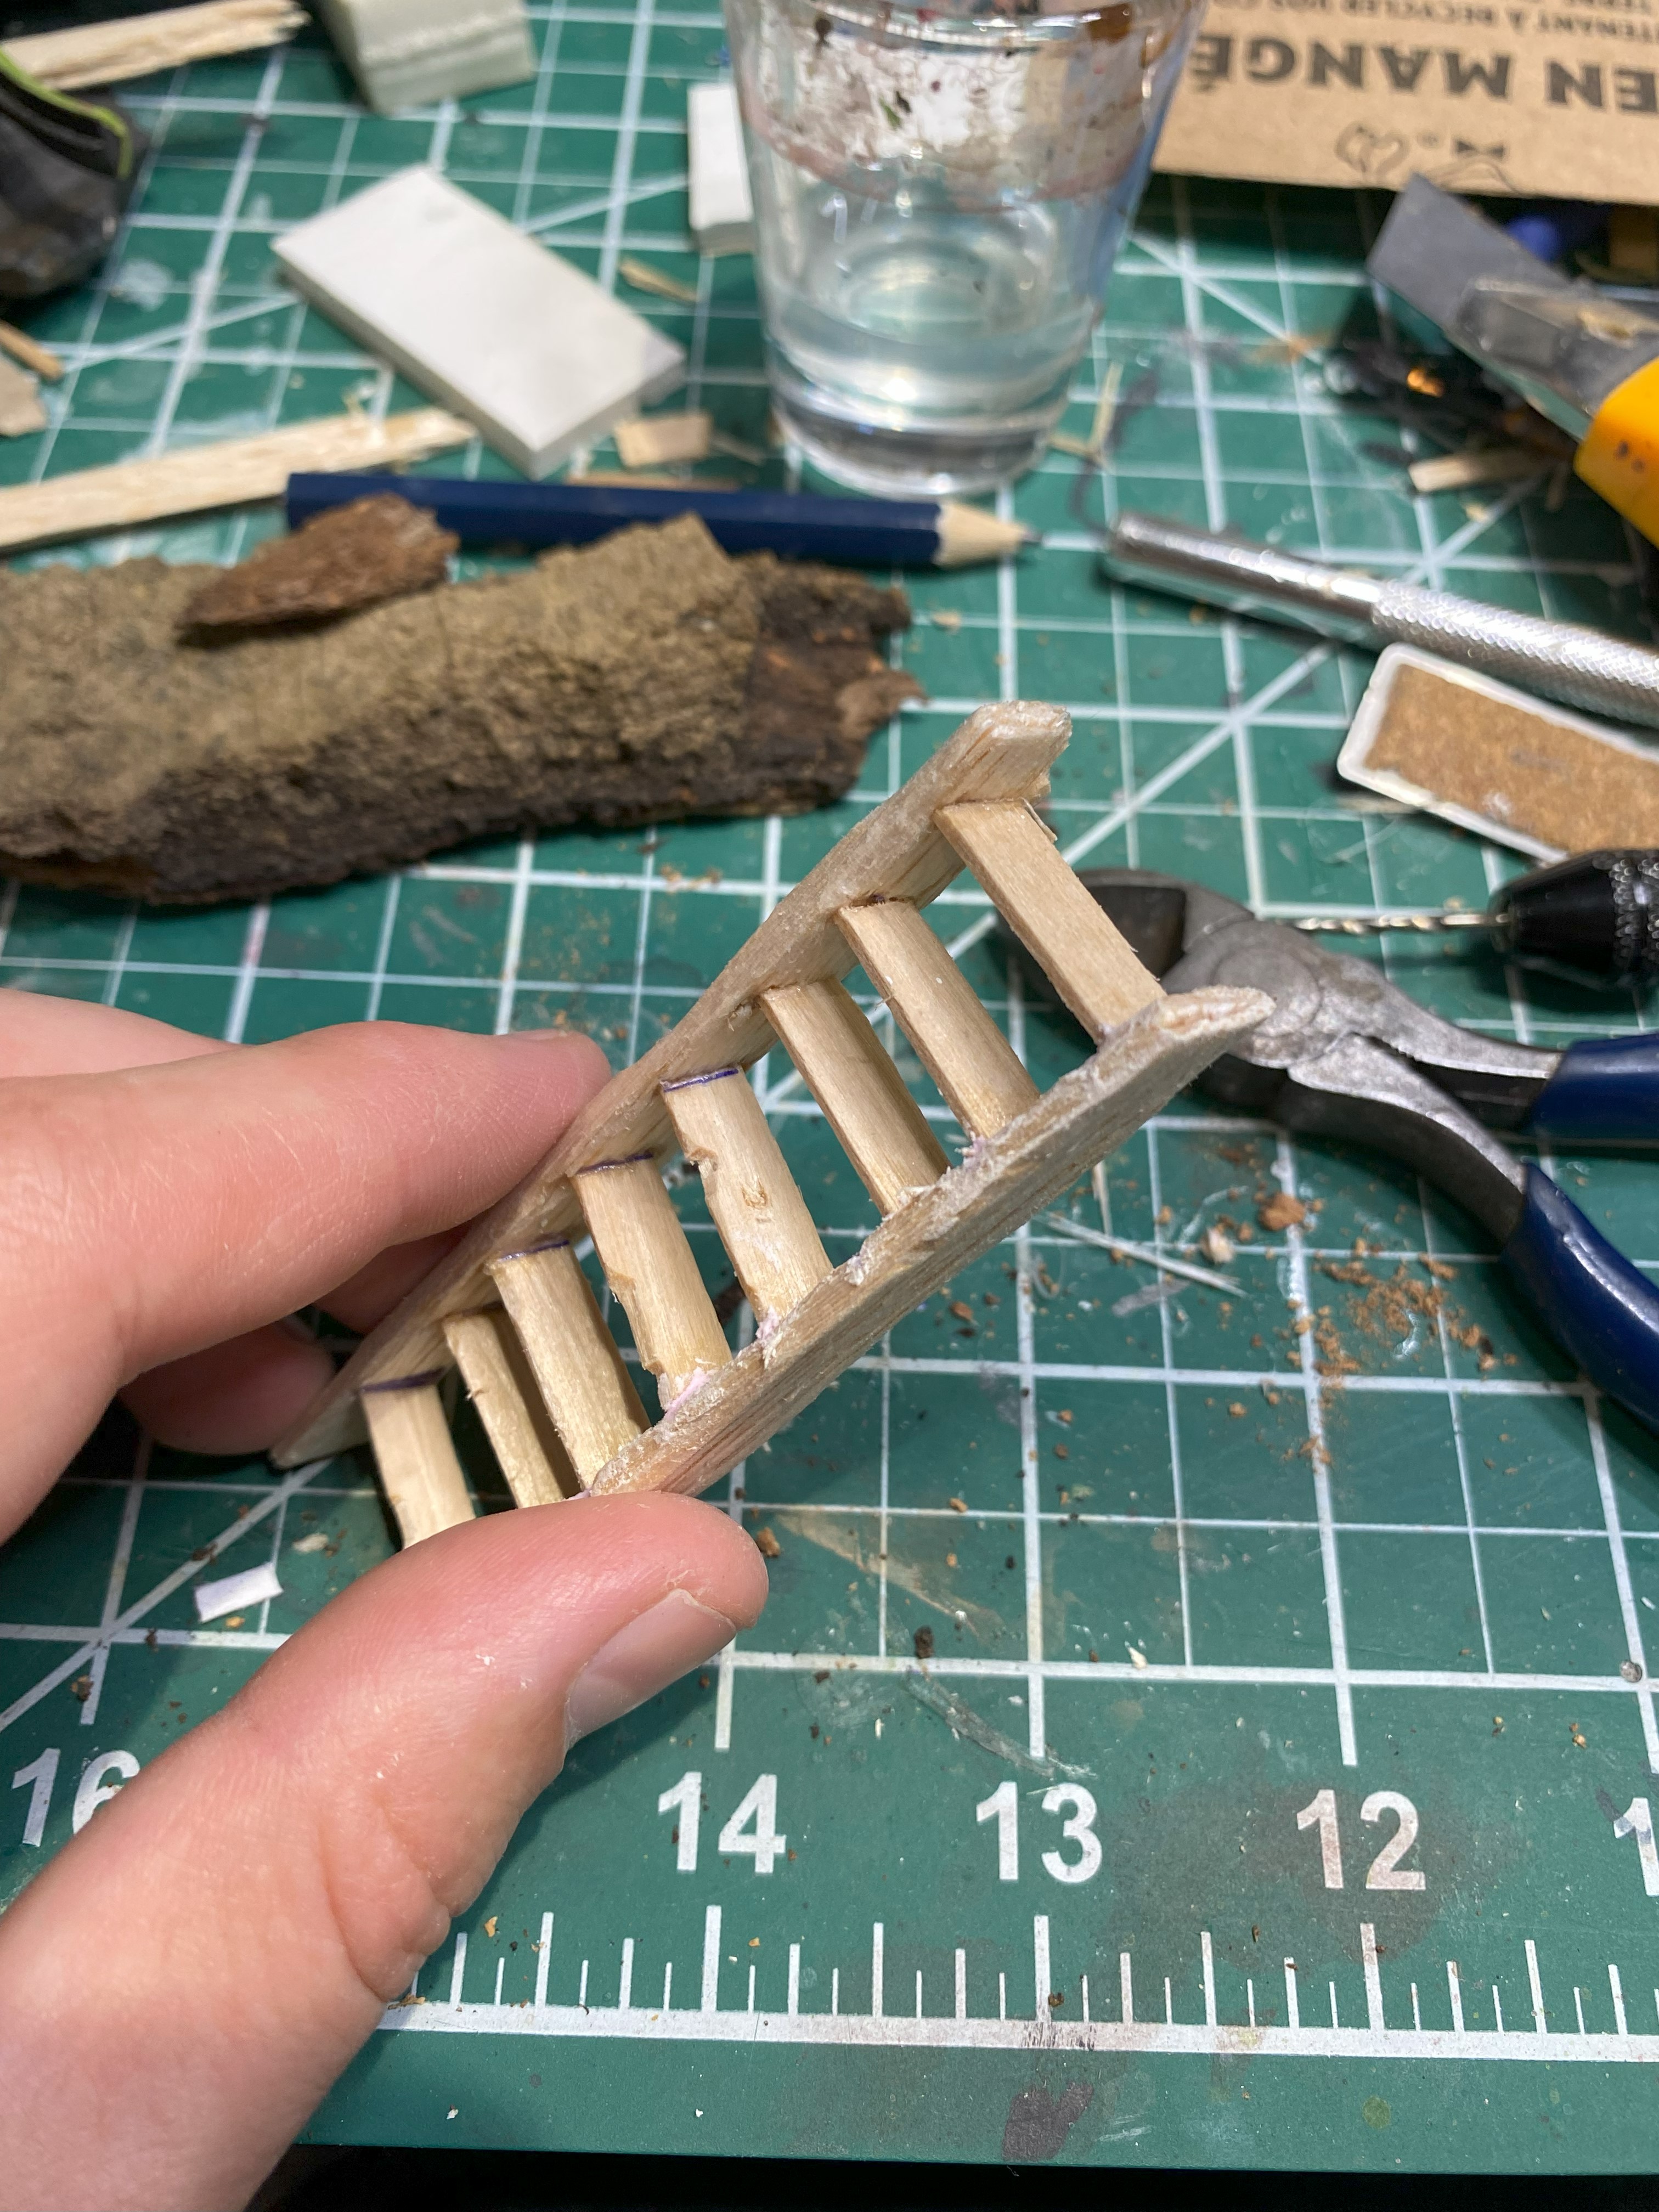 Wood stairs
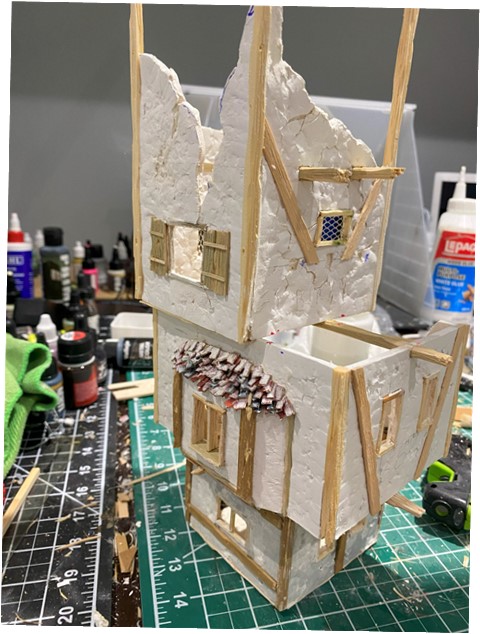
 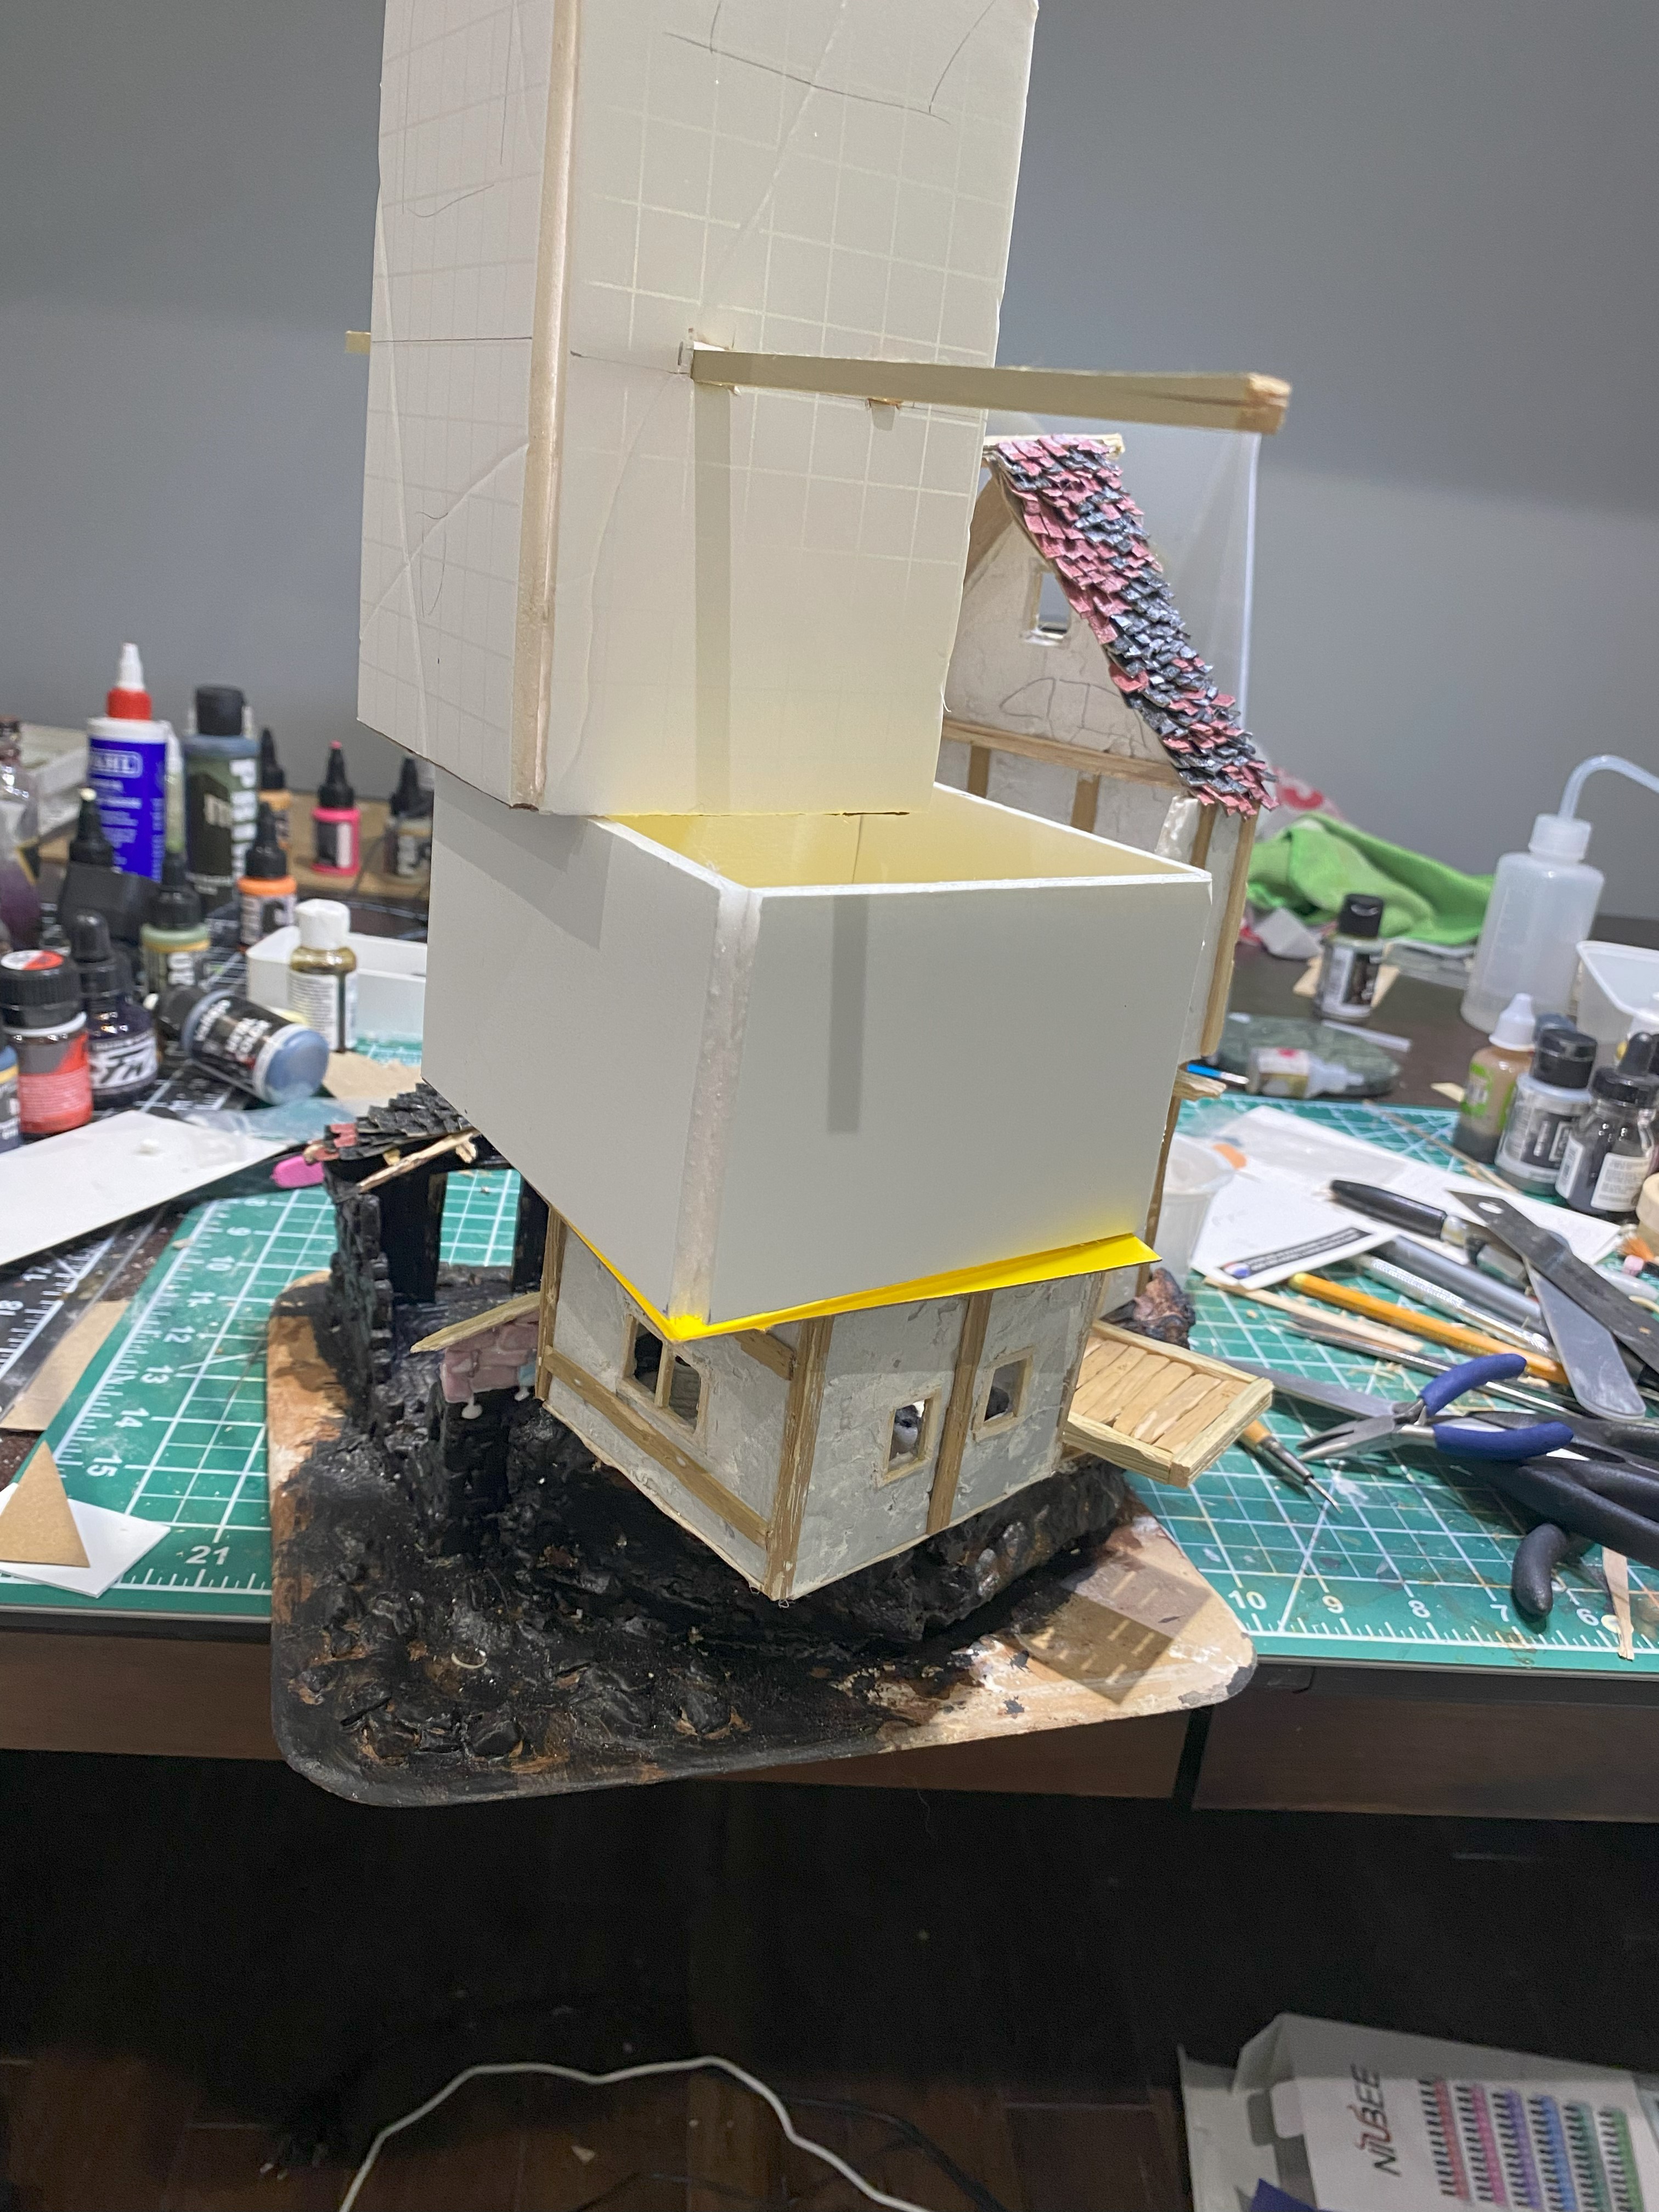 "dry fitting" the back part of the building with the main base (it's going to be a tall building..)
Slowly getting things done..

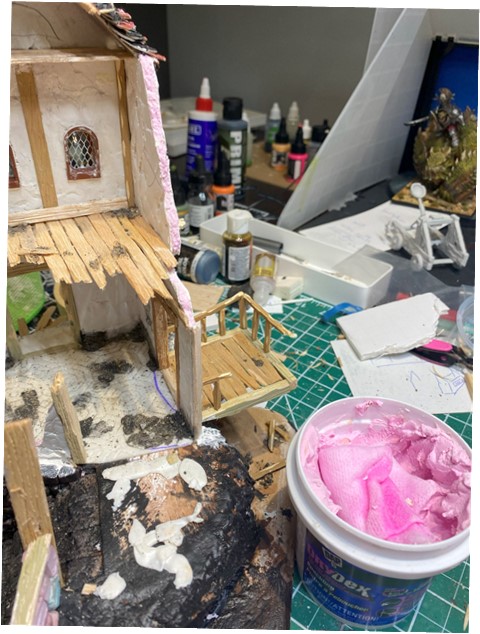 Adding some dry wall compound to fill in some gaps
What whatever reason, the dry wall compound I had was pink, but it turns white when it’s dry 🤷♂️


![StarCraft Tabletop Miniatures Game Pre-Orders Live Now [Updated]](https://images.beastsofwar.com/2026/03/starcraft-tmg-news-cover-600-338.jpg)


![Mounted US Cavalry On Kickstarter For Dead Man’s Hand! [Updated]](https://images.beastsofwar.com/2026/03/us-cavalry-main-600-338.jpg)


