For Whom the Bell Tolls (and some wood!)


Recommendations: 587
About the Project
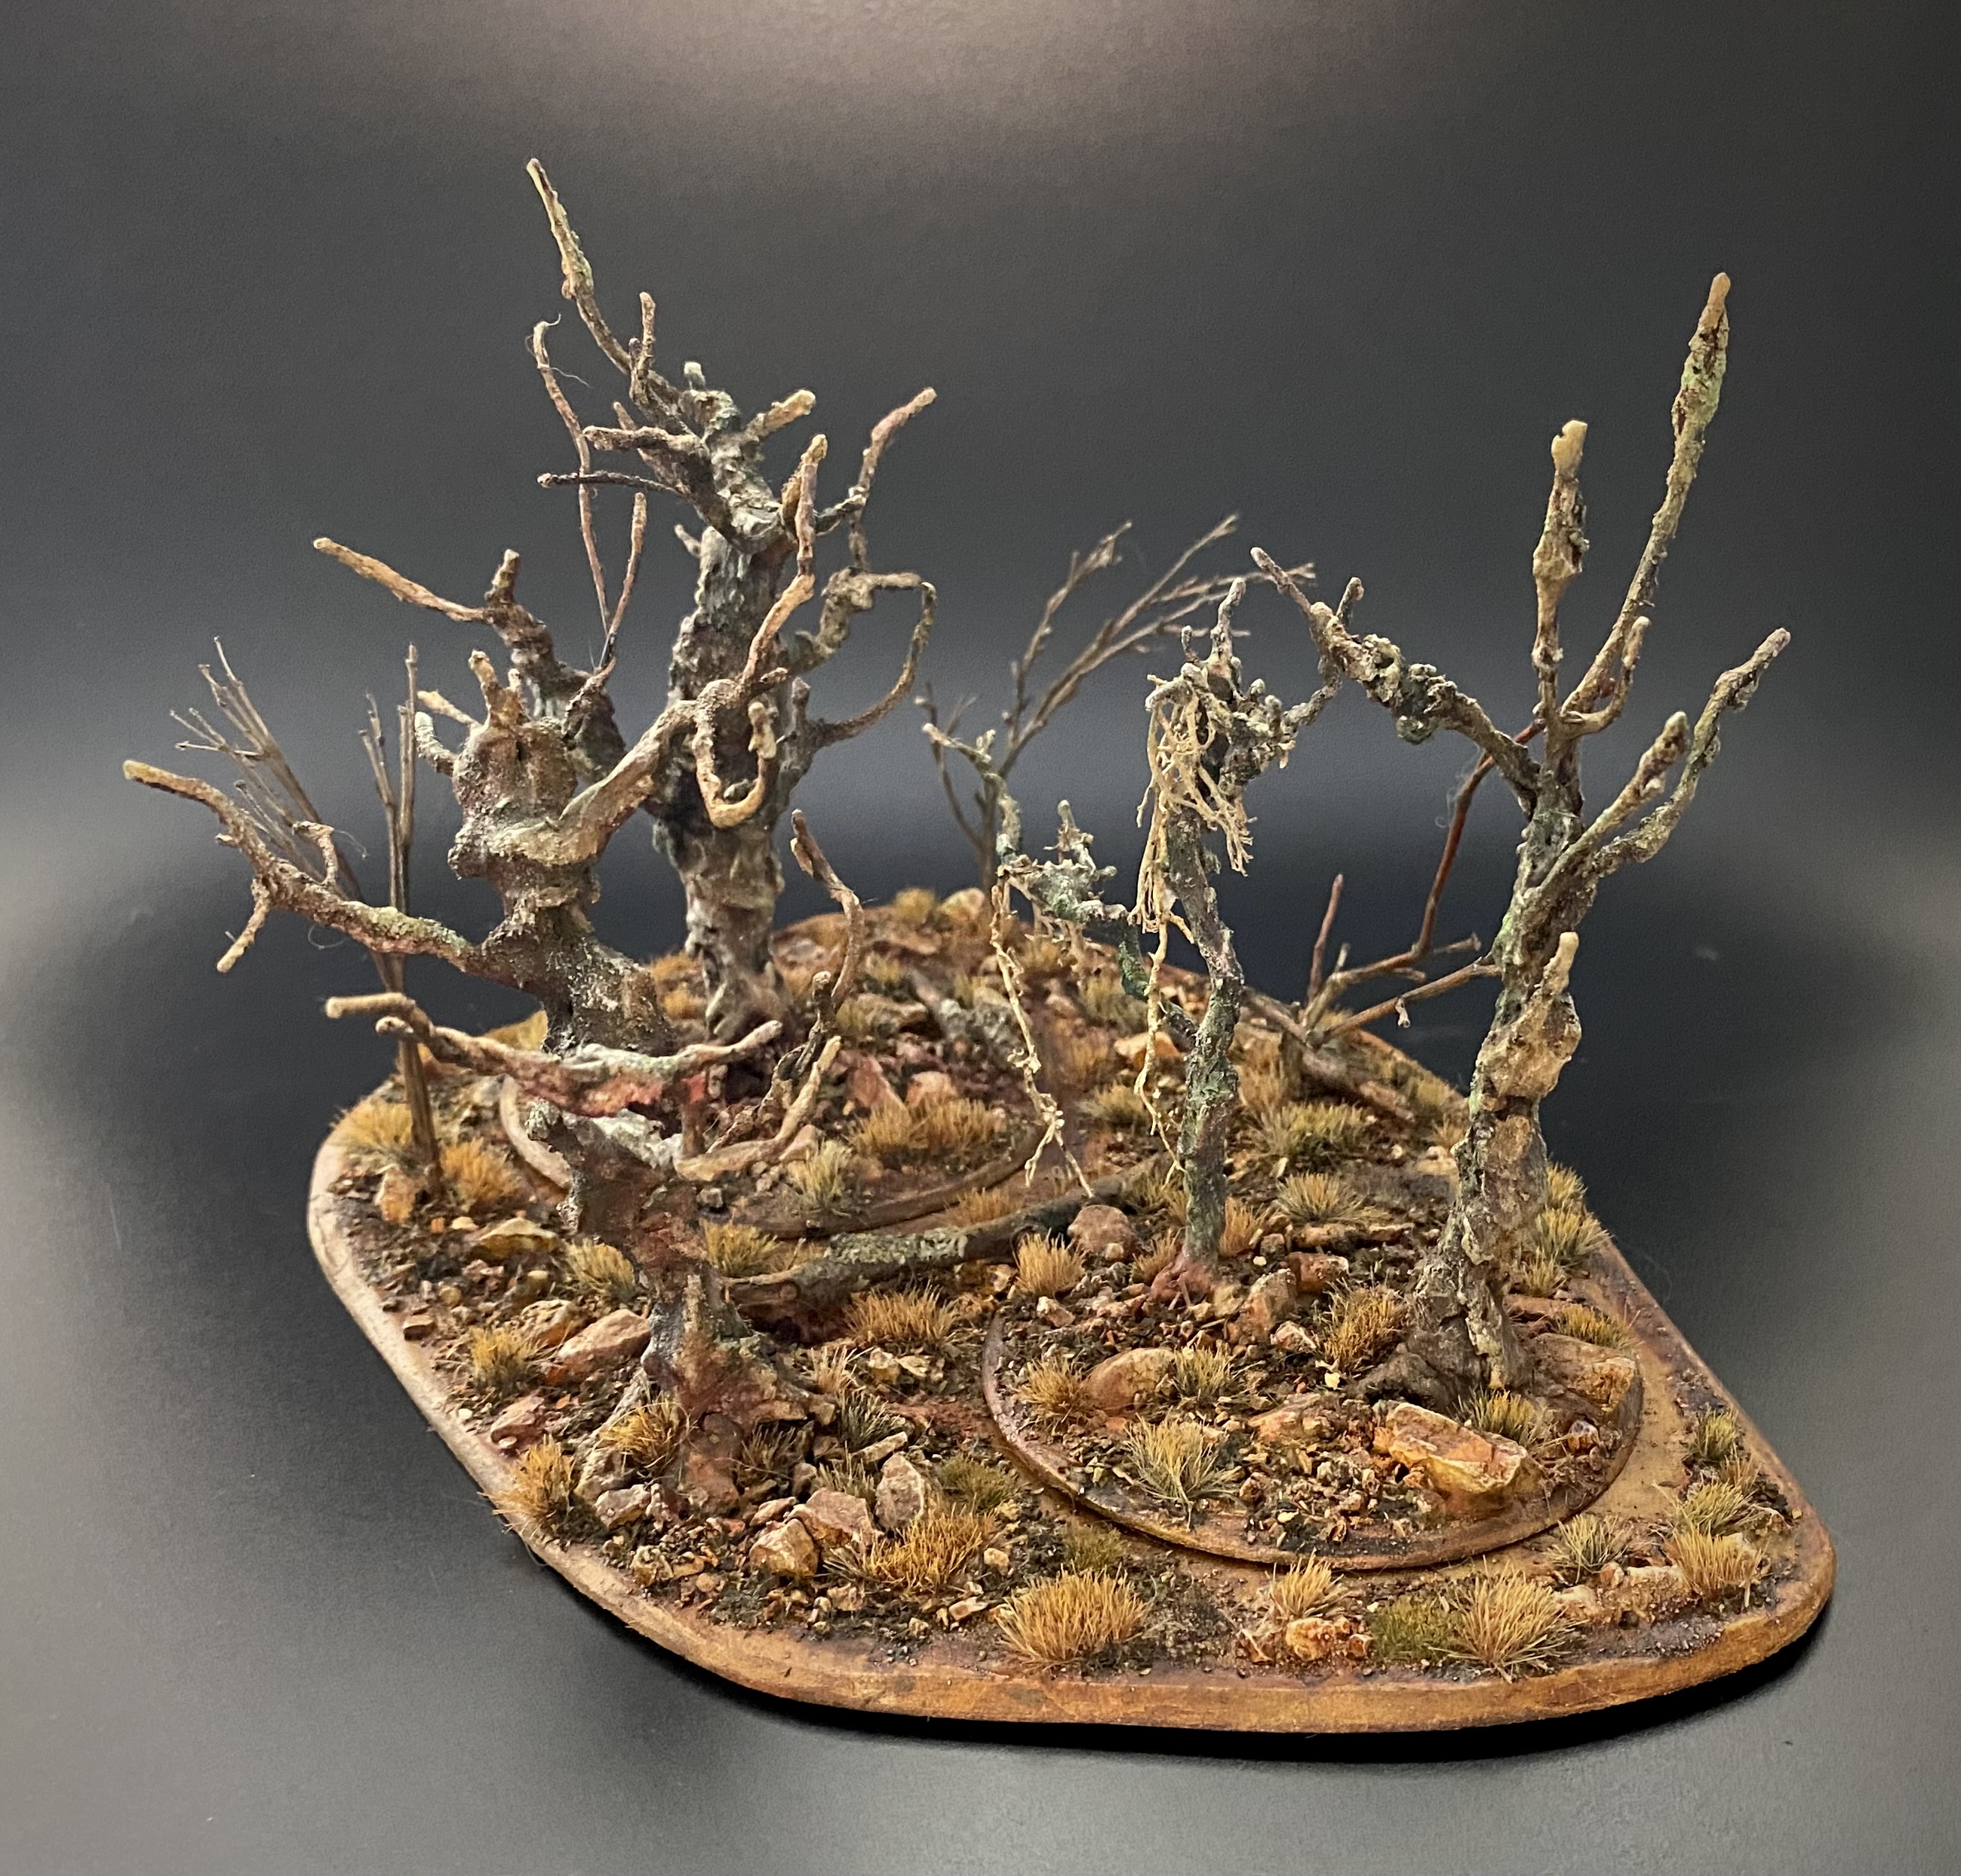
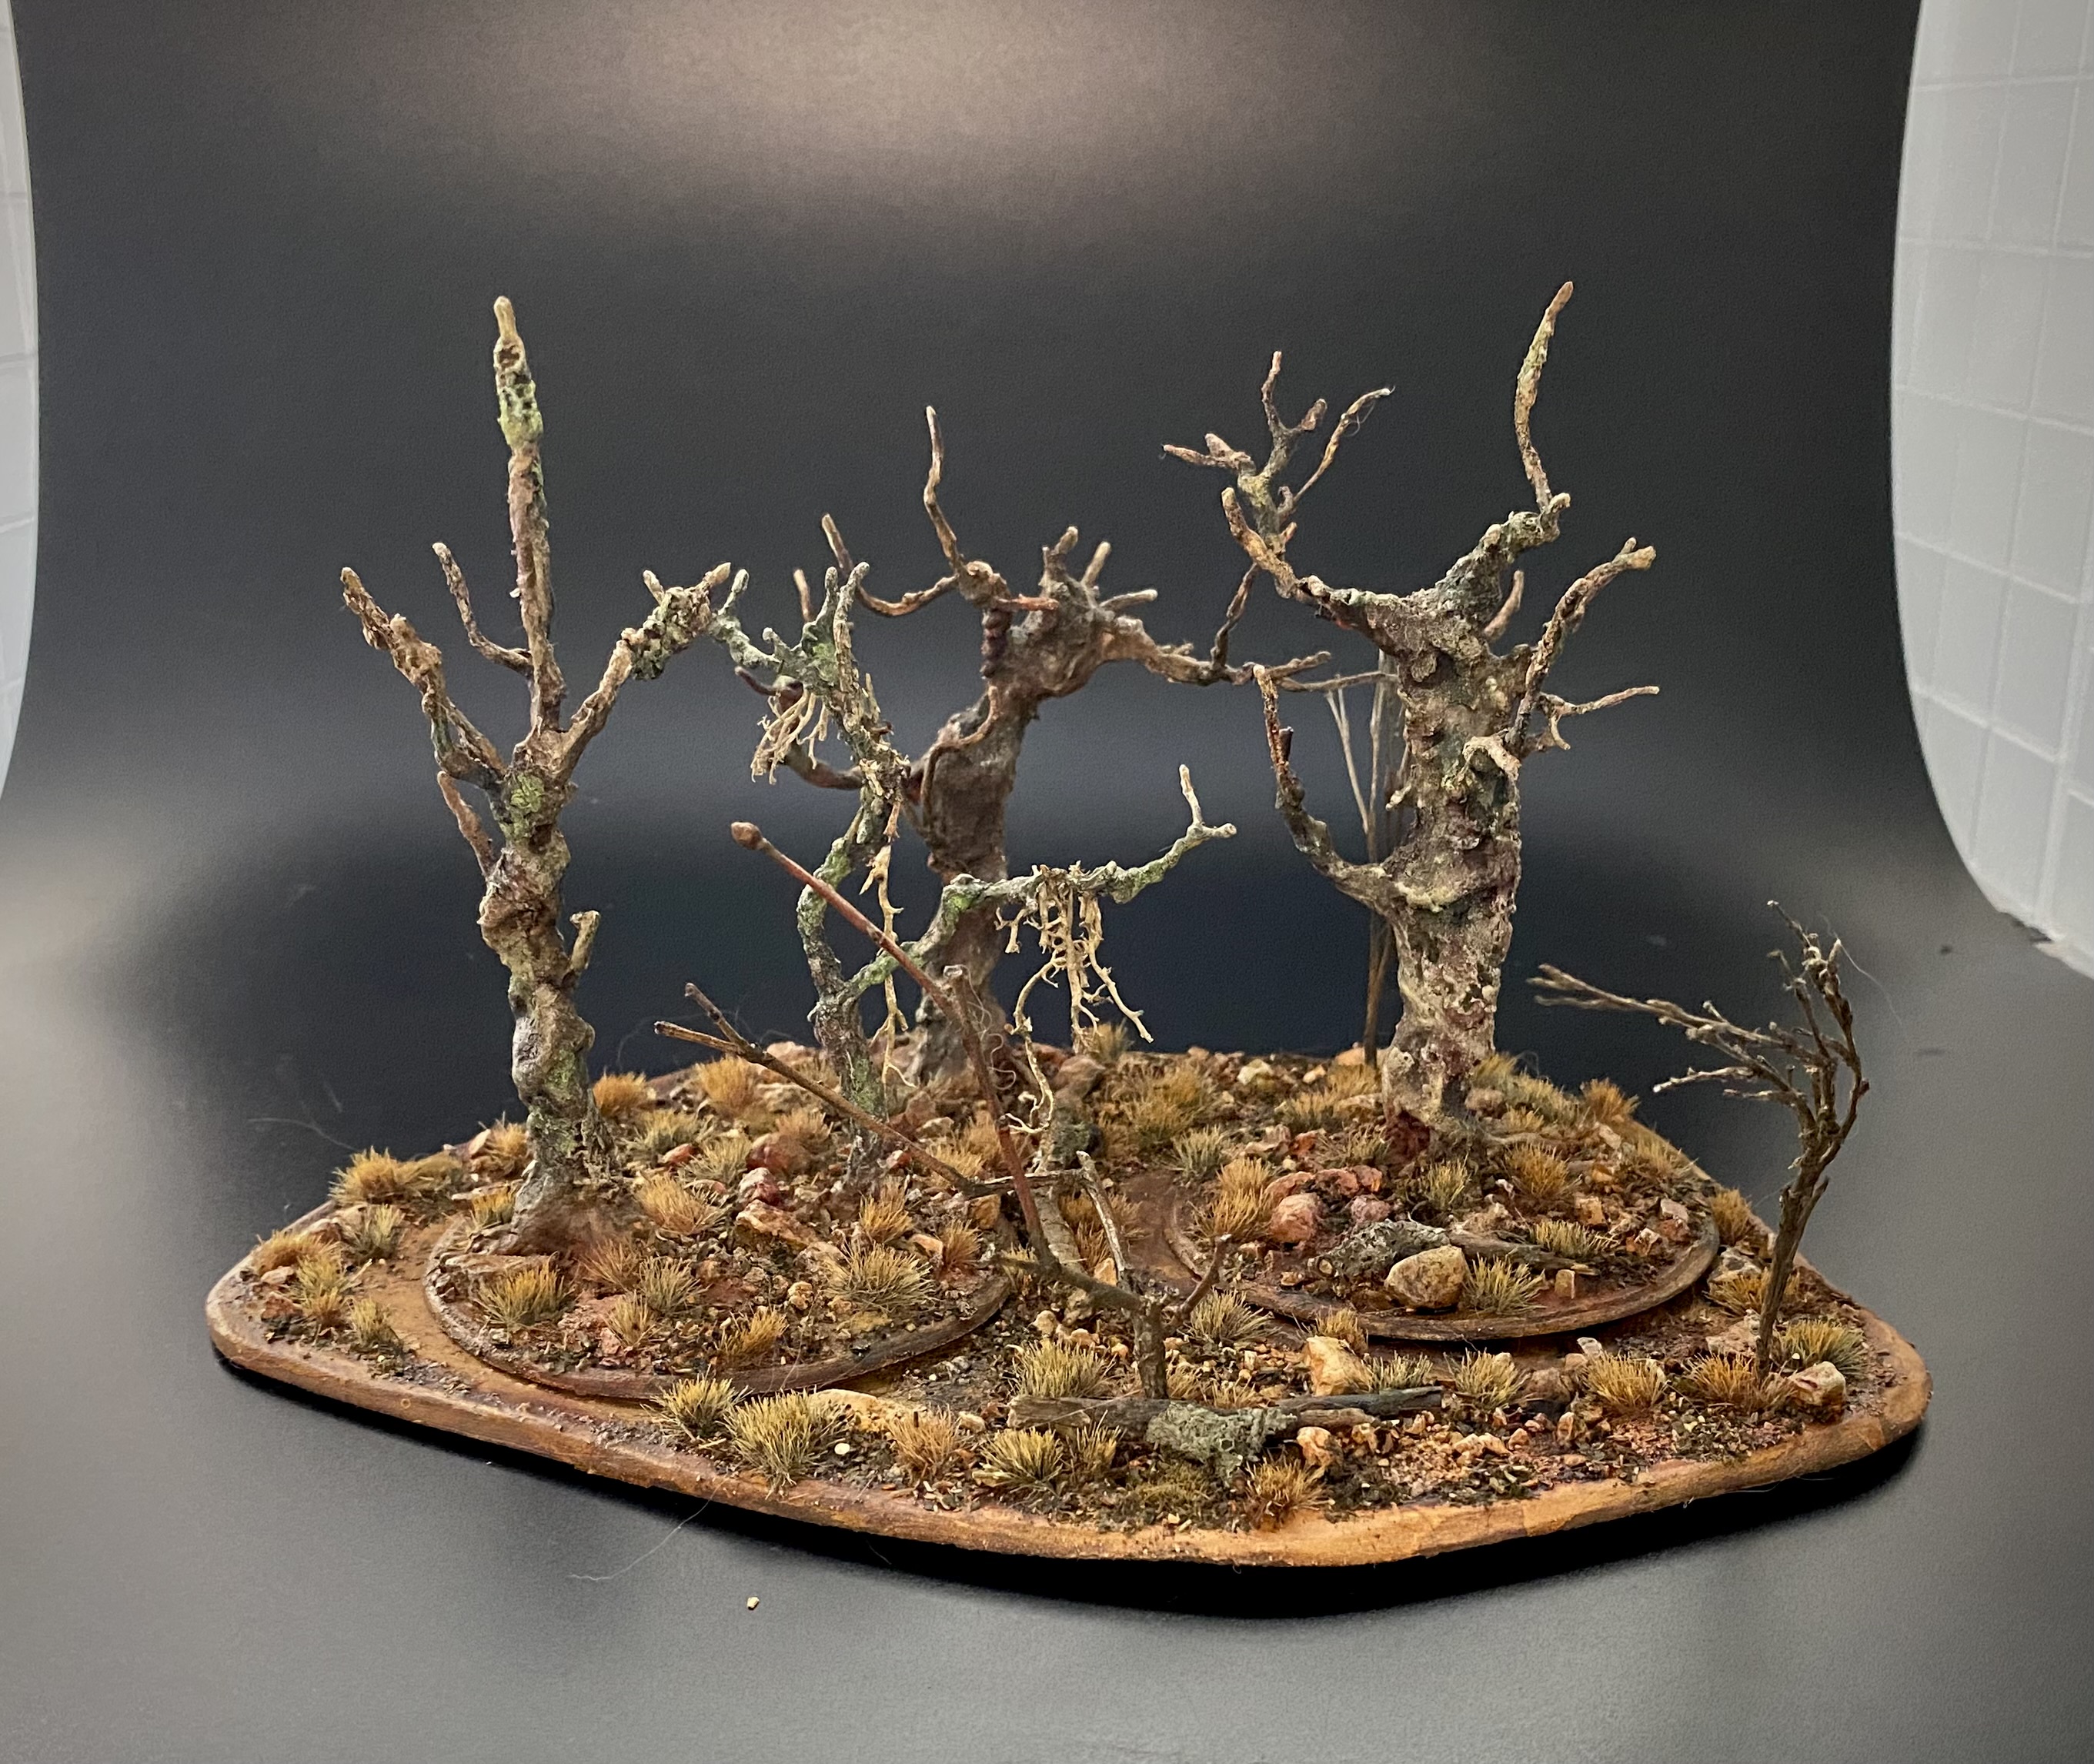
A dark and ancient ruined tower. Going for a grim dark fantasy vibe that would fit right in with Mordheim. As for the title, I do intend to involve a bell at some point.. For crafting, I did not use any fancy or expensive tool (no proxon hot wire cutter) and no 3D printer. Almost everything came from the Dollar store (Poundland in the UK?) or nature (rocks, sands, bark). I did use a few bits from my bits box.
Related Game: Warhammer: The Old World
Related Company: Games Workshop
Related Genre: Fantasy
Related Contest: TerrainFest 2024
This Project is Completed
Time to twist some wire!
I made some grimdark wood terrain last year, but this time I want to improve the crafting a bit. Also, I was not totally happy with the paint job, so I want to try something a bit different.
The base will be painted similarly to the ruined tower (I will provide a bit more information about the painting process.)
As usual, it’s a cheap scratch build:
- mdf from the dollar store for the base
- some round circular wood disk for the wood base (also dollar)
- cheap wire and florist wire to twist and bend into shape
- pebbles, rocks and sand from the backyard
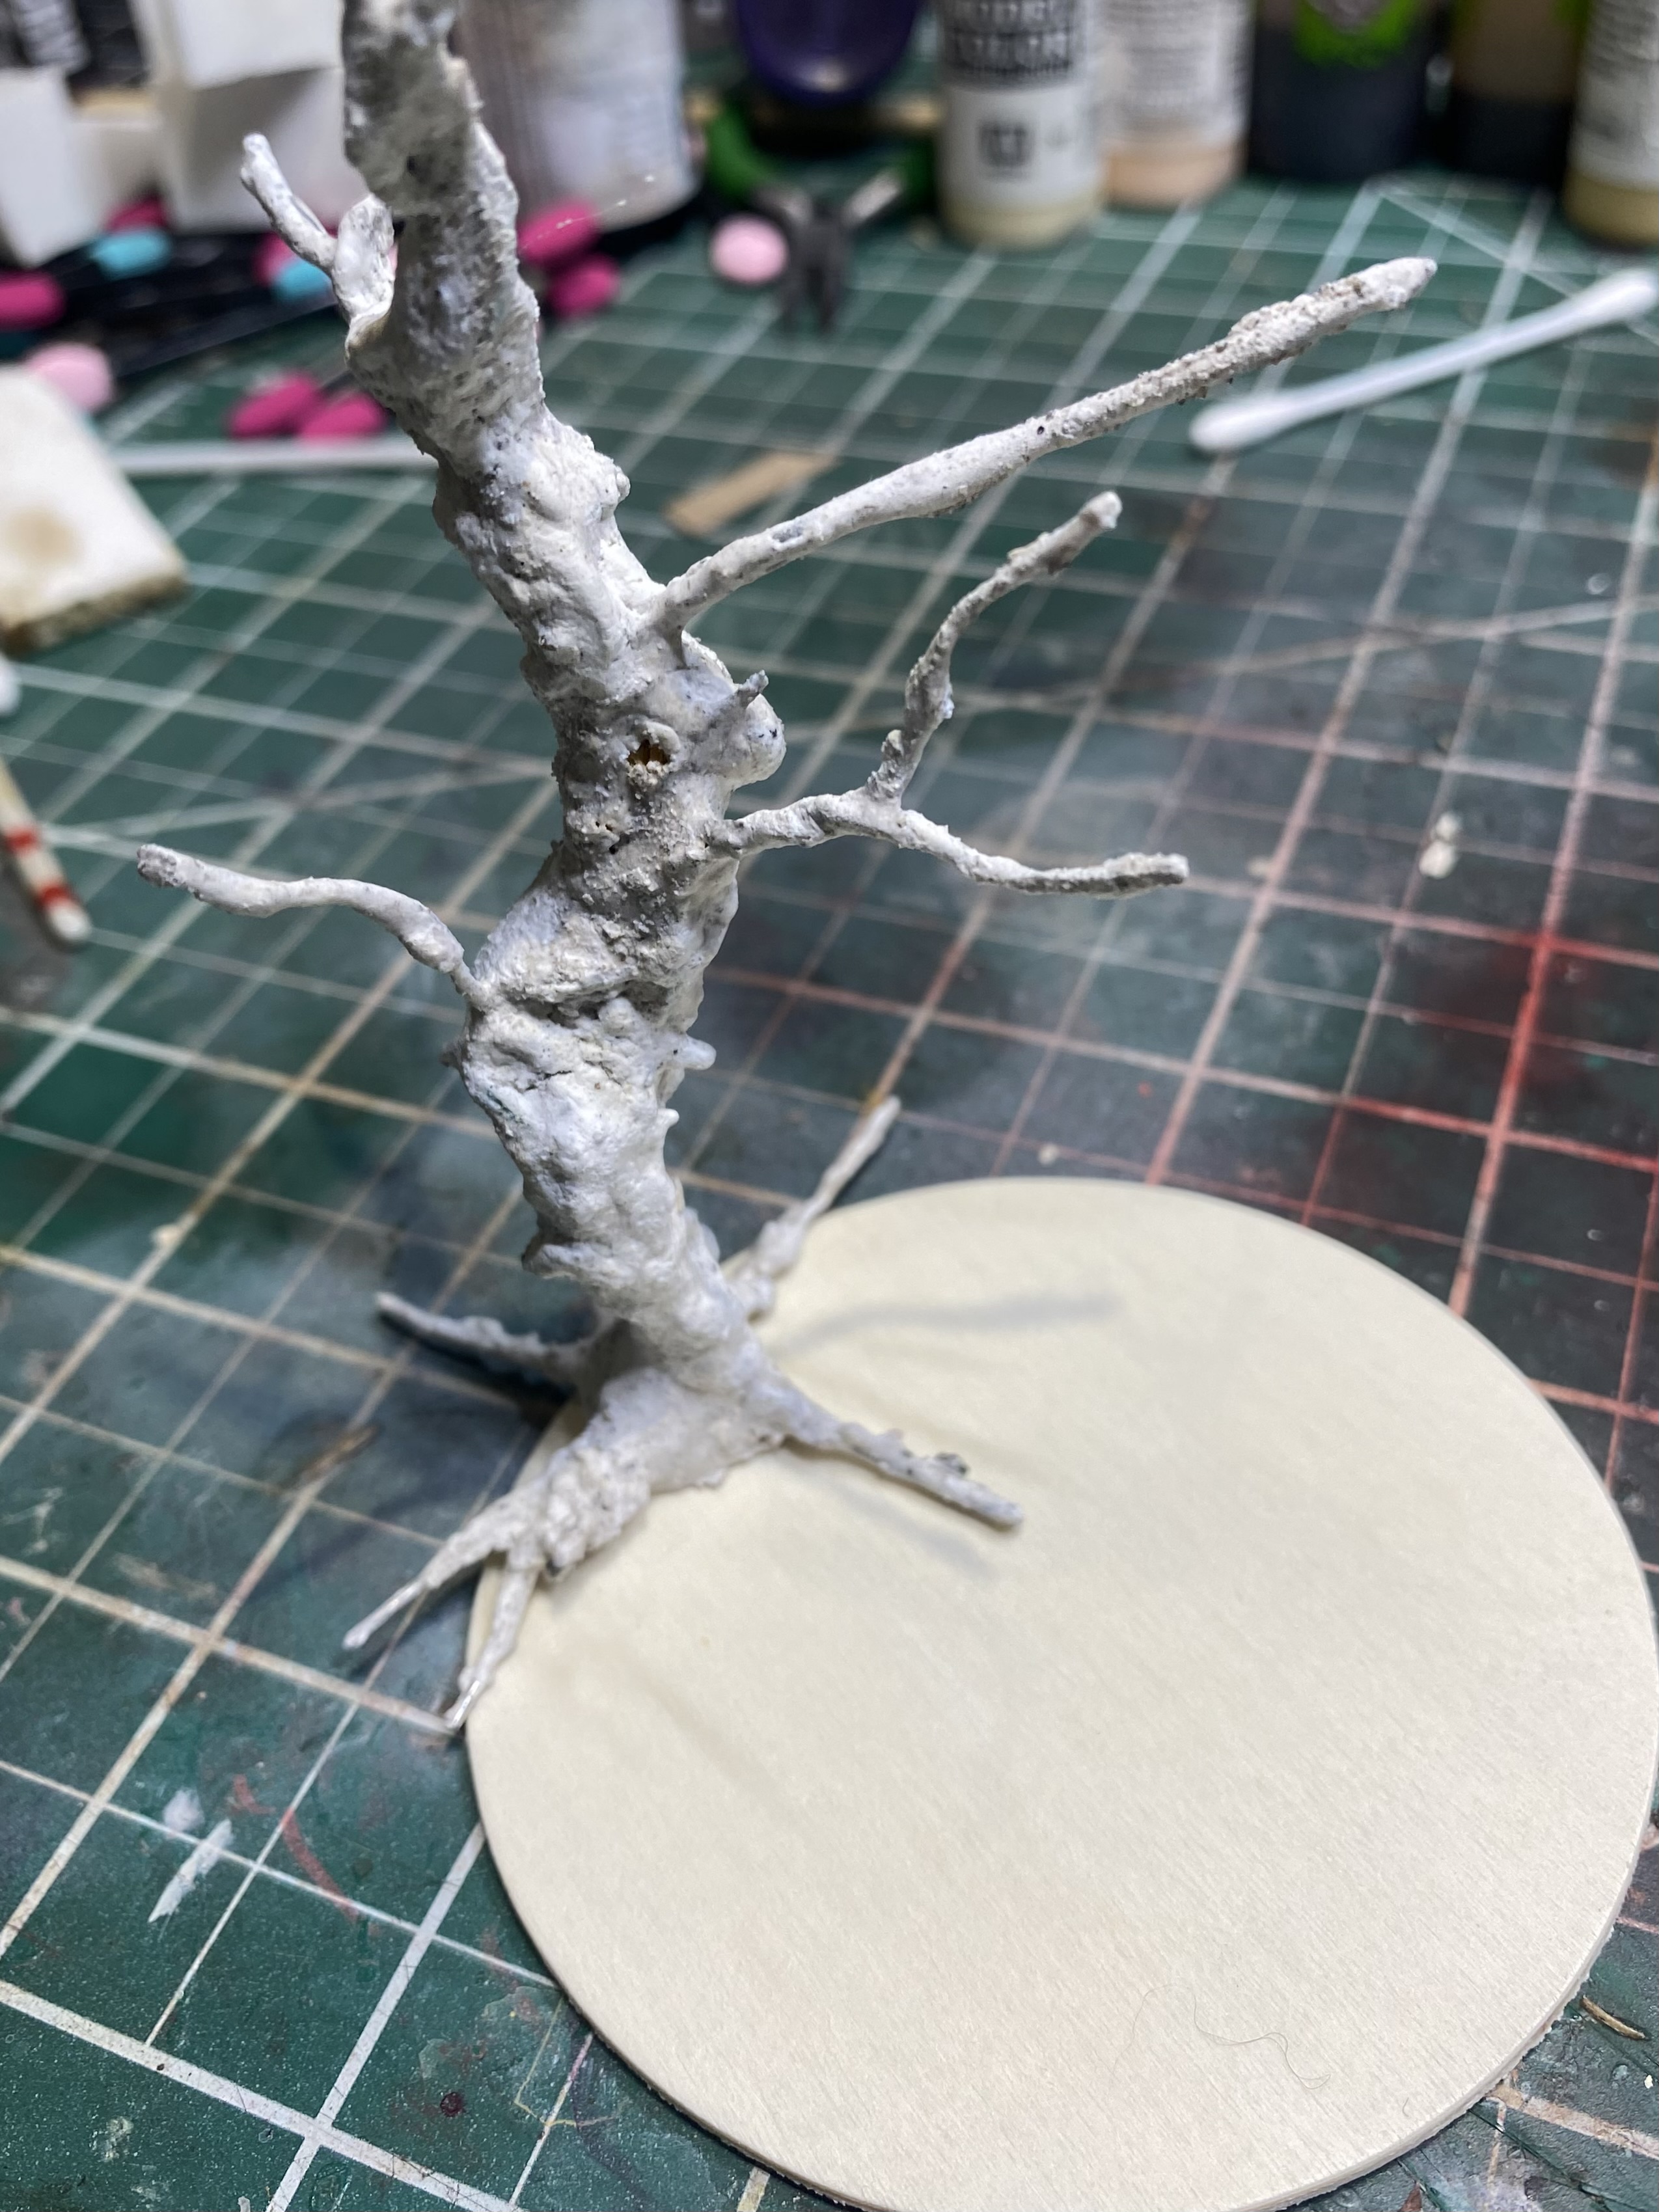
 Twisting some wire around
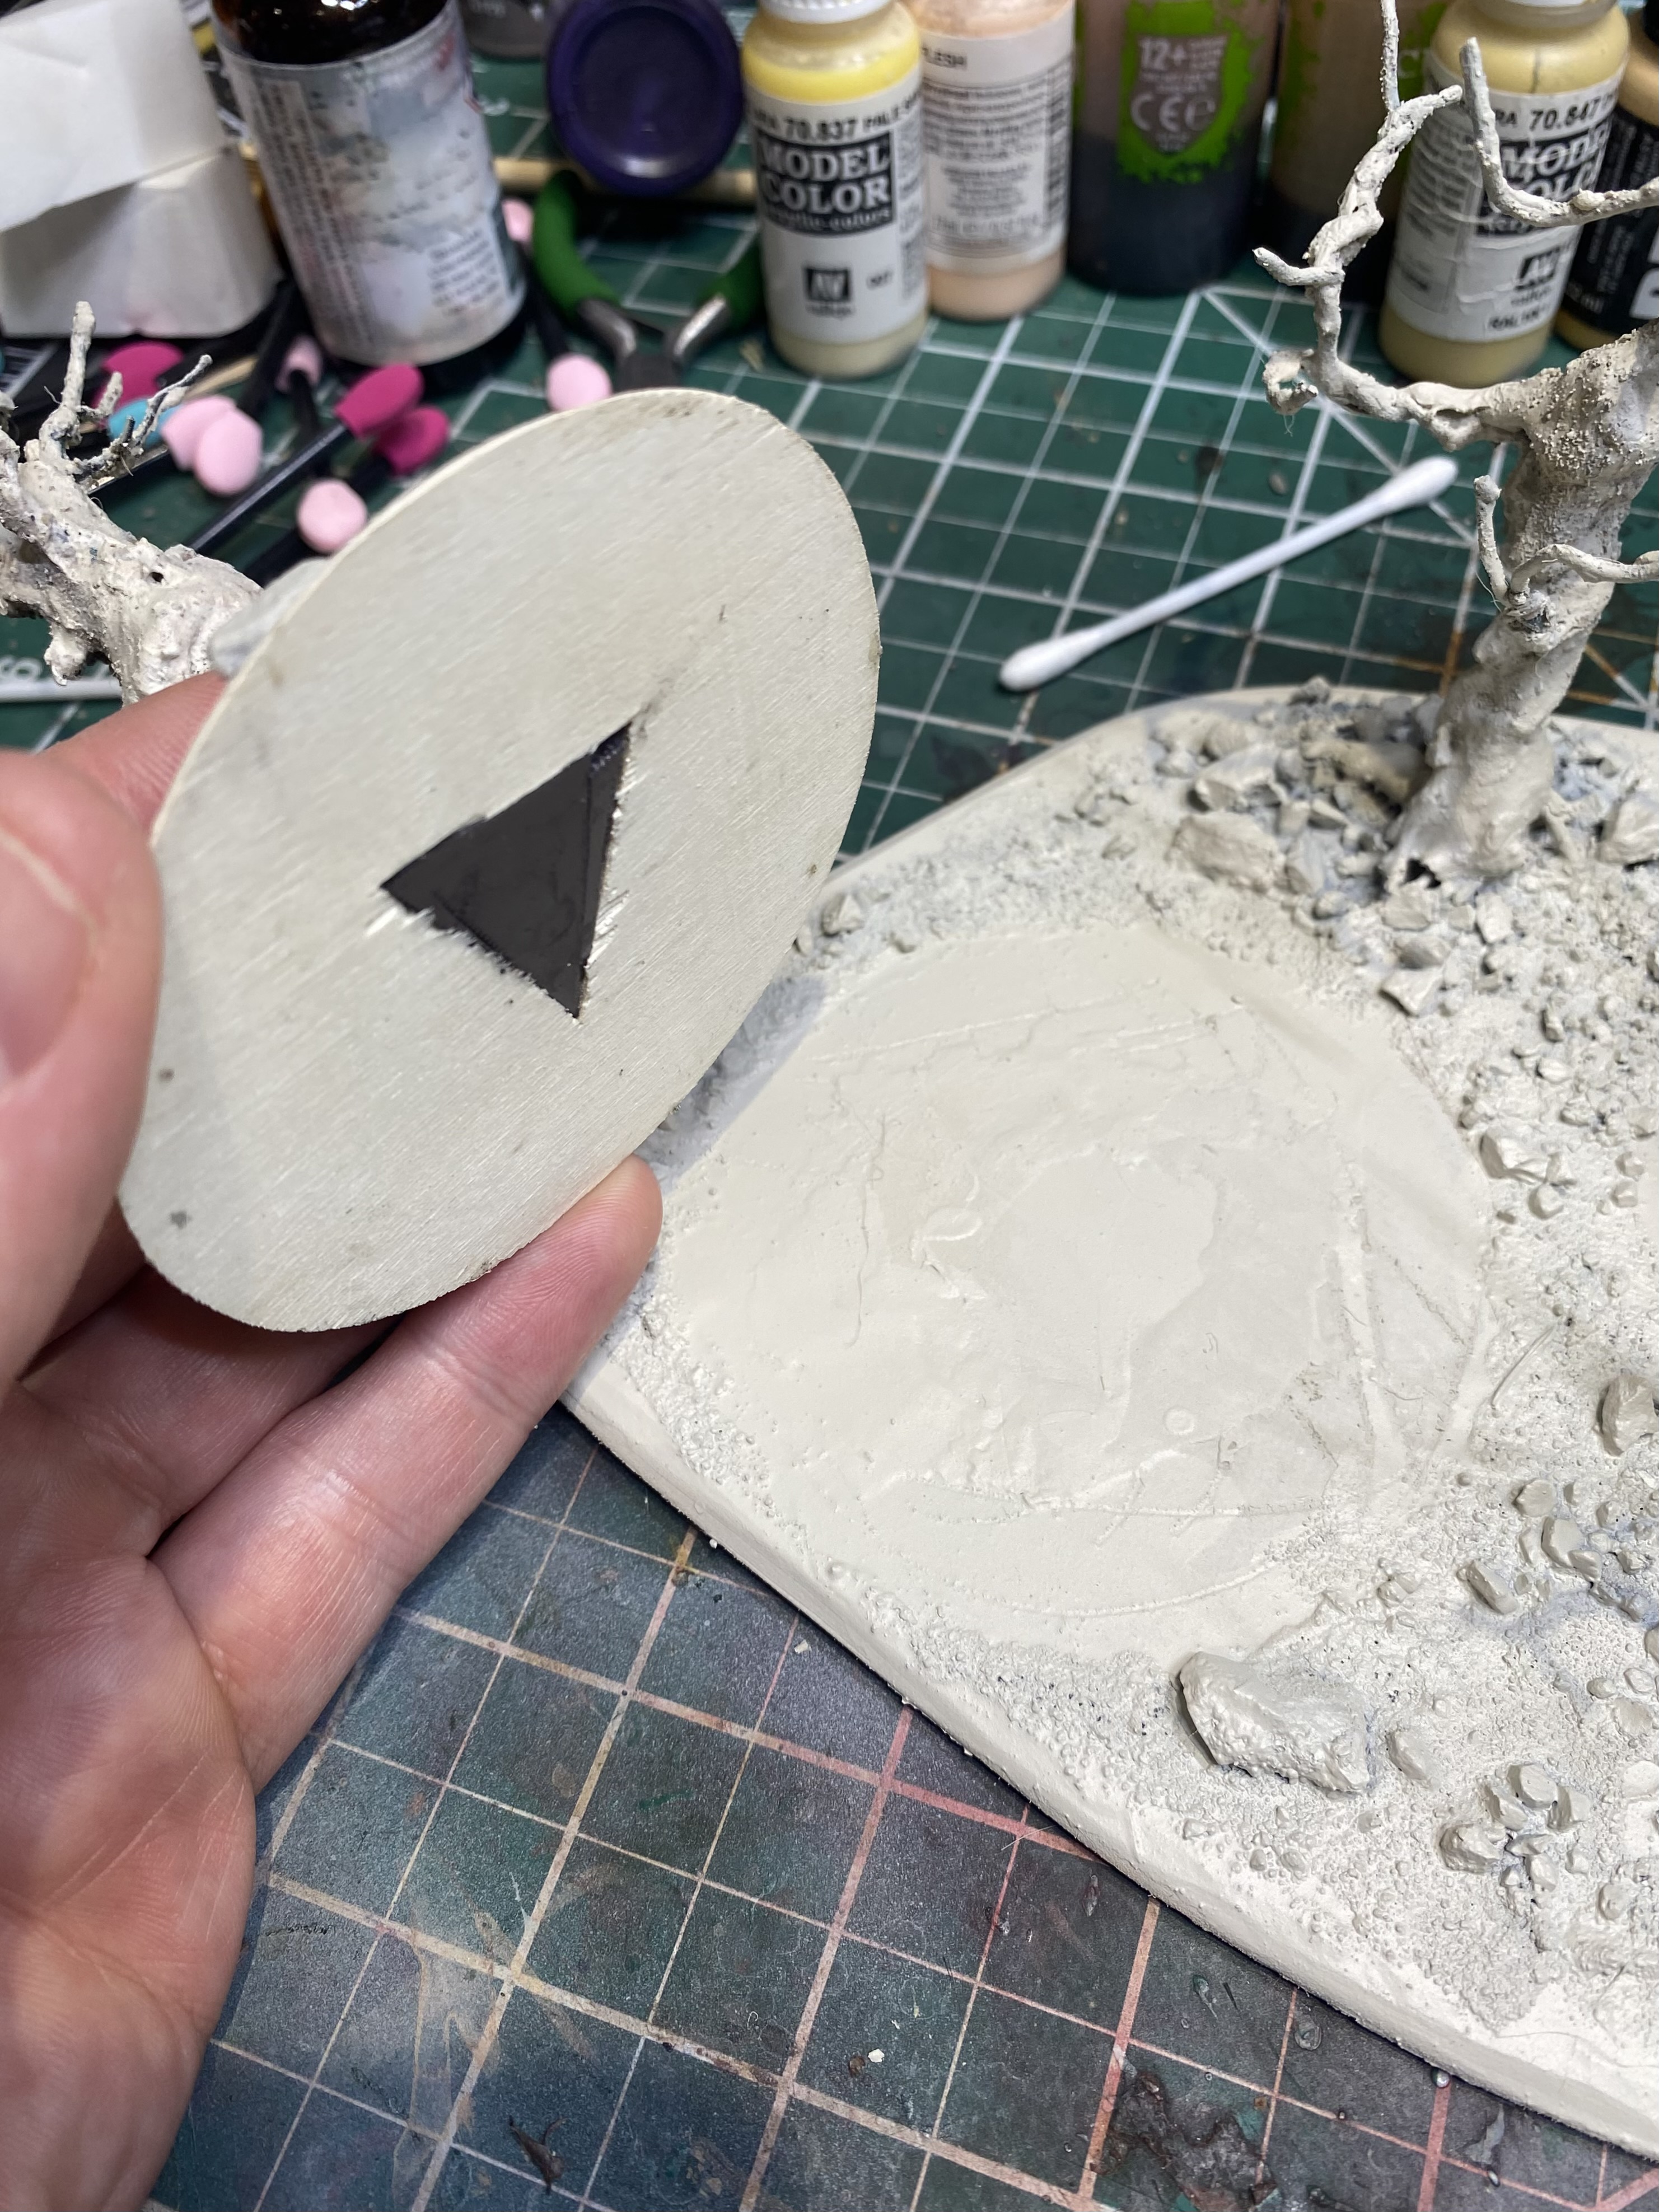 Small magnet underneath so it sticks better to the larger main base
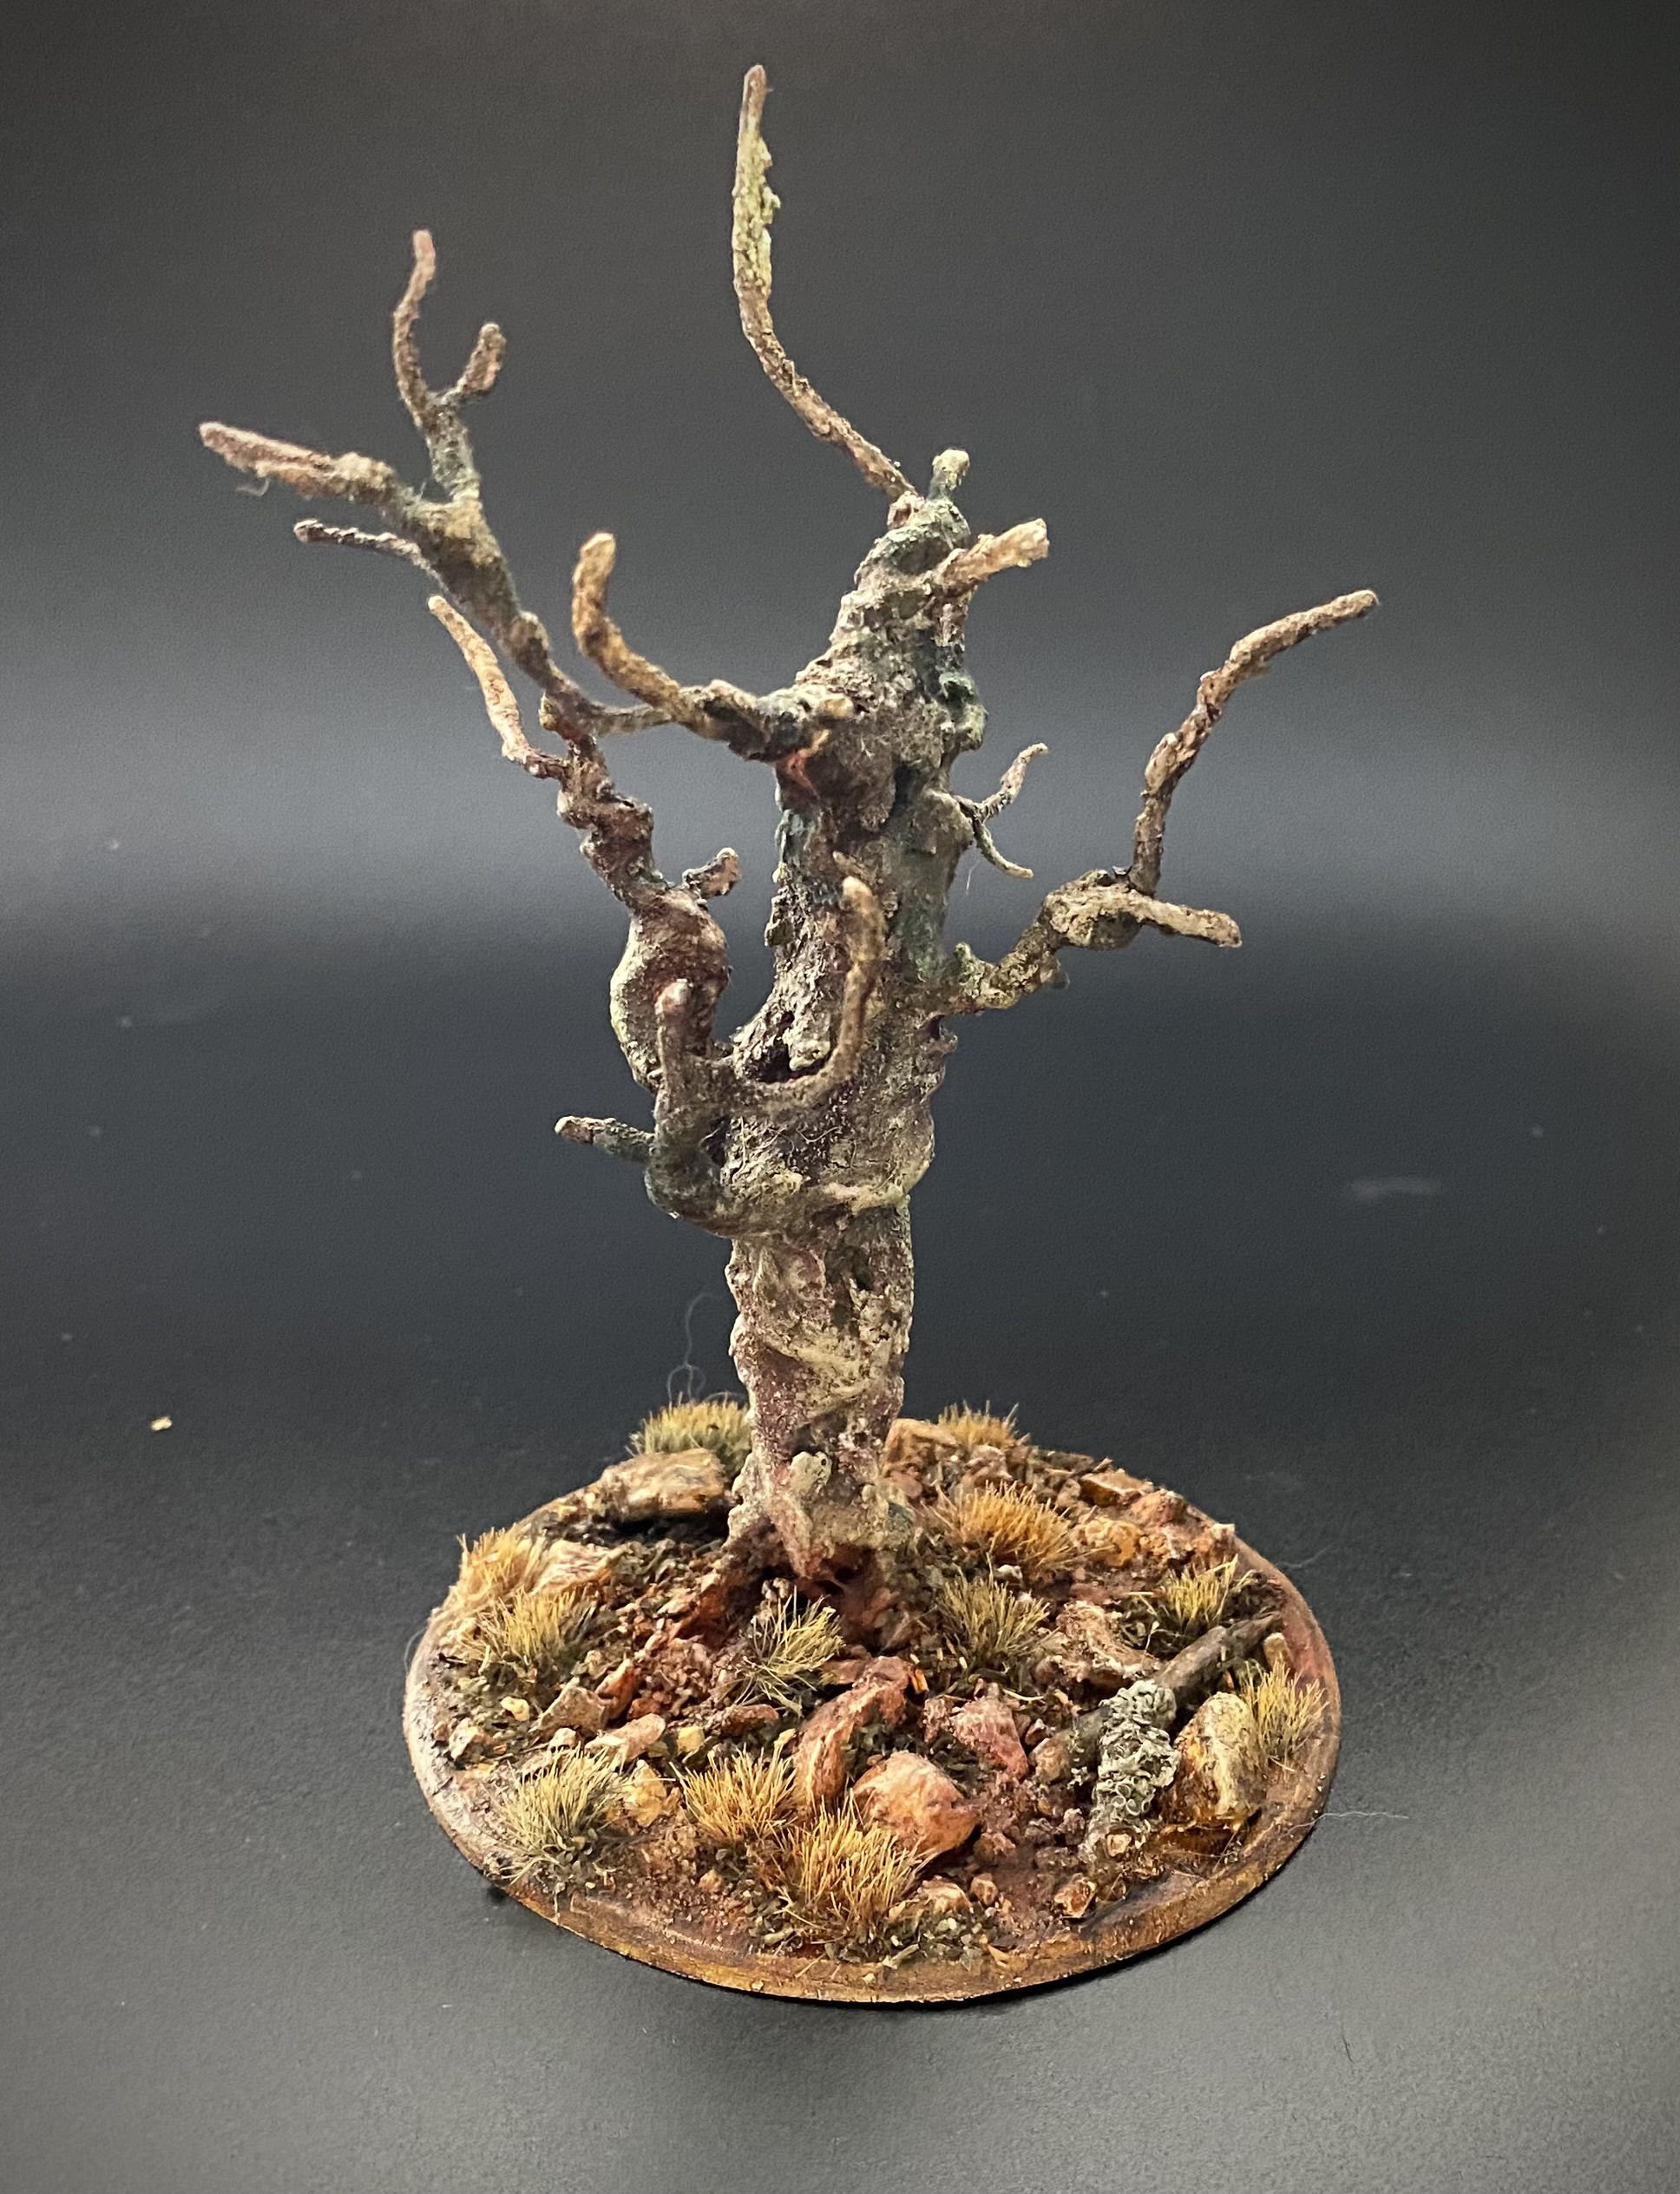
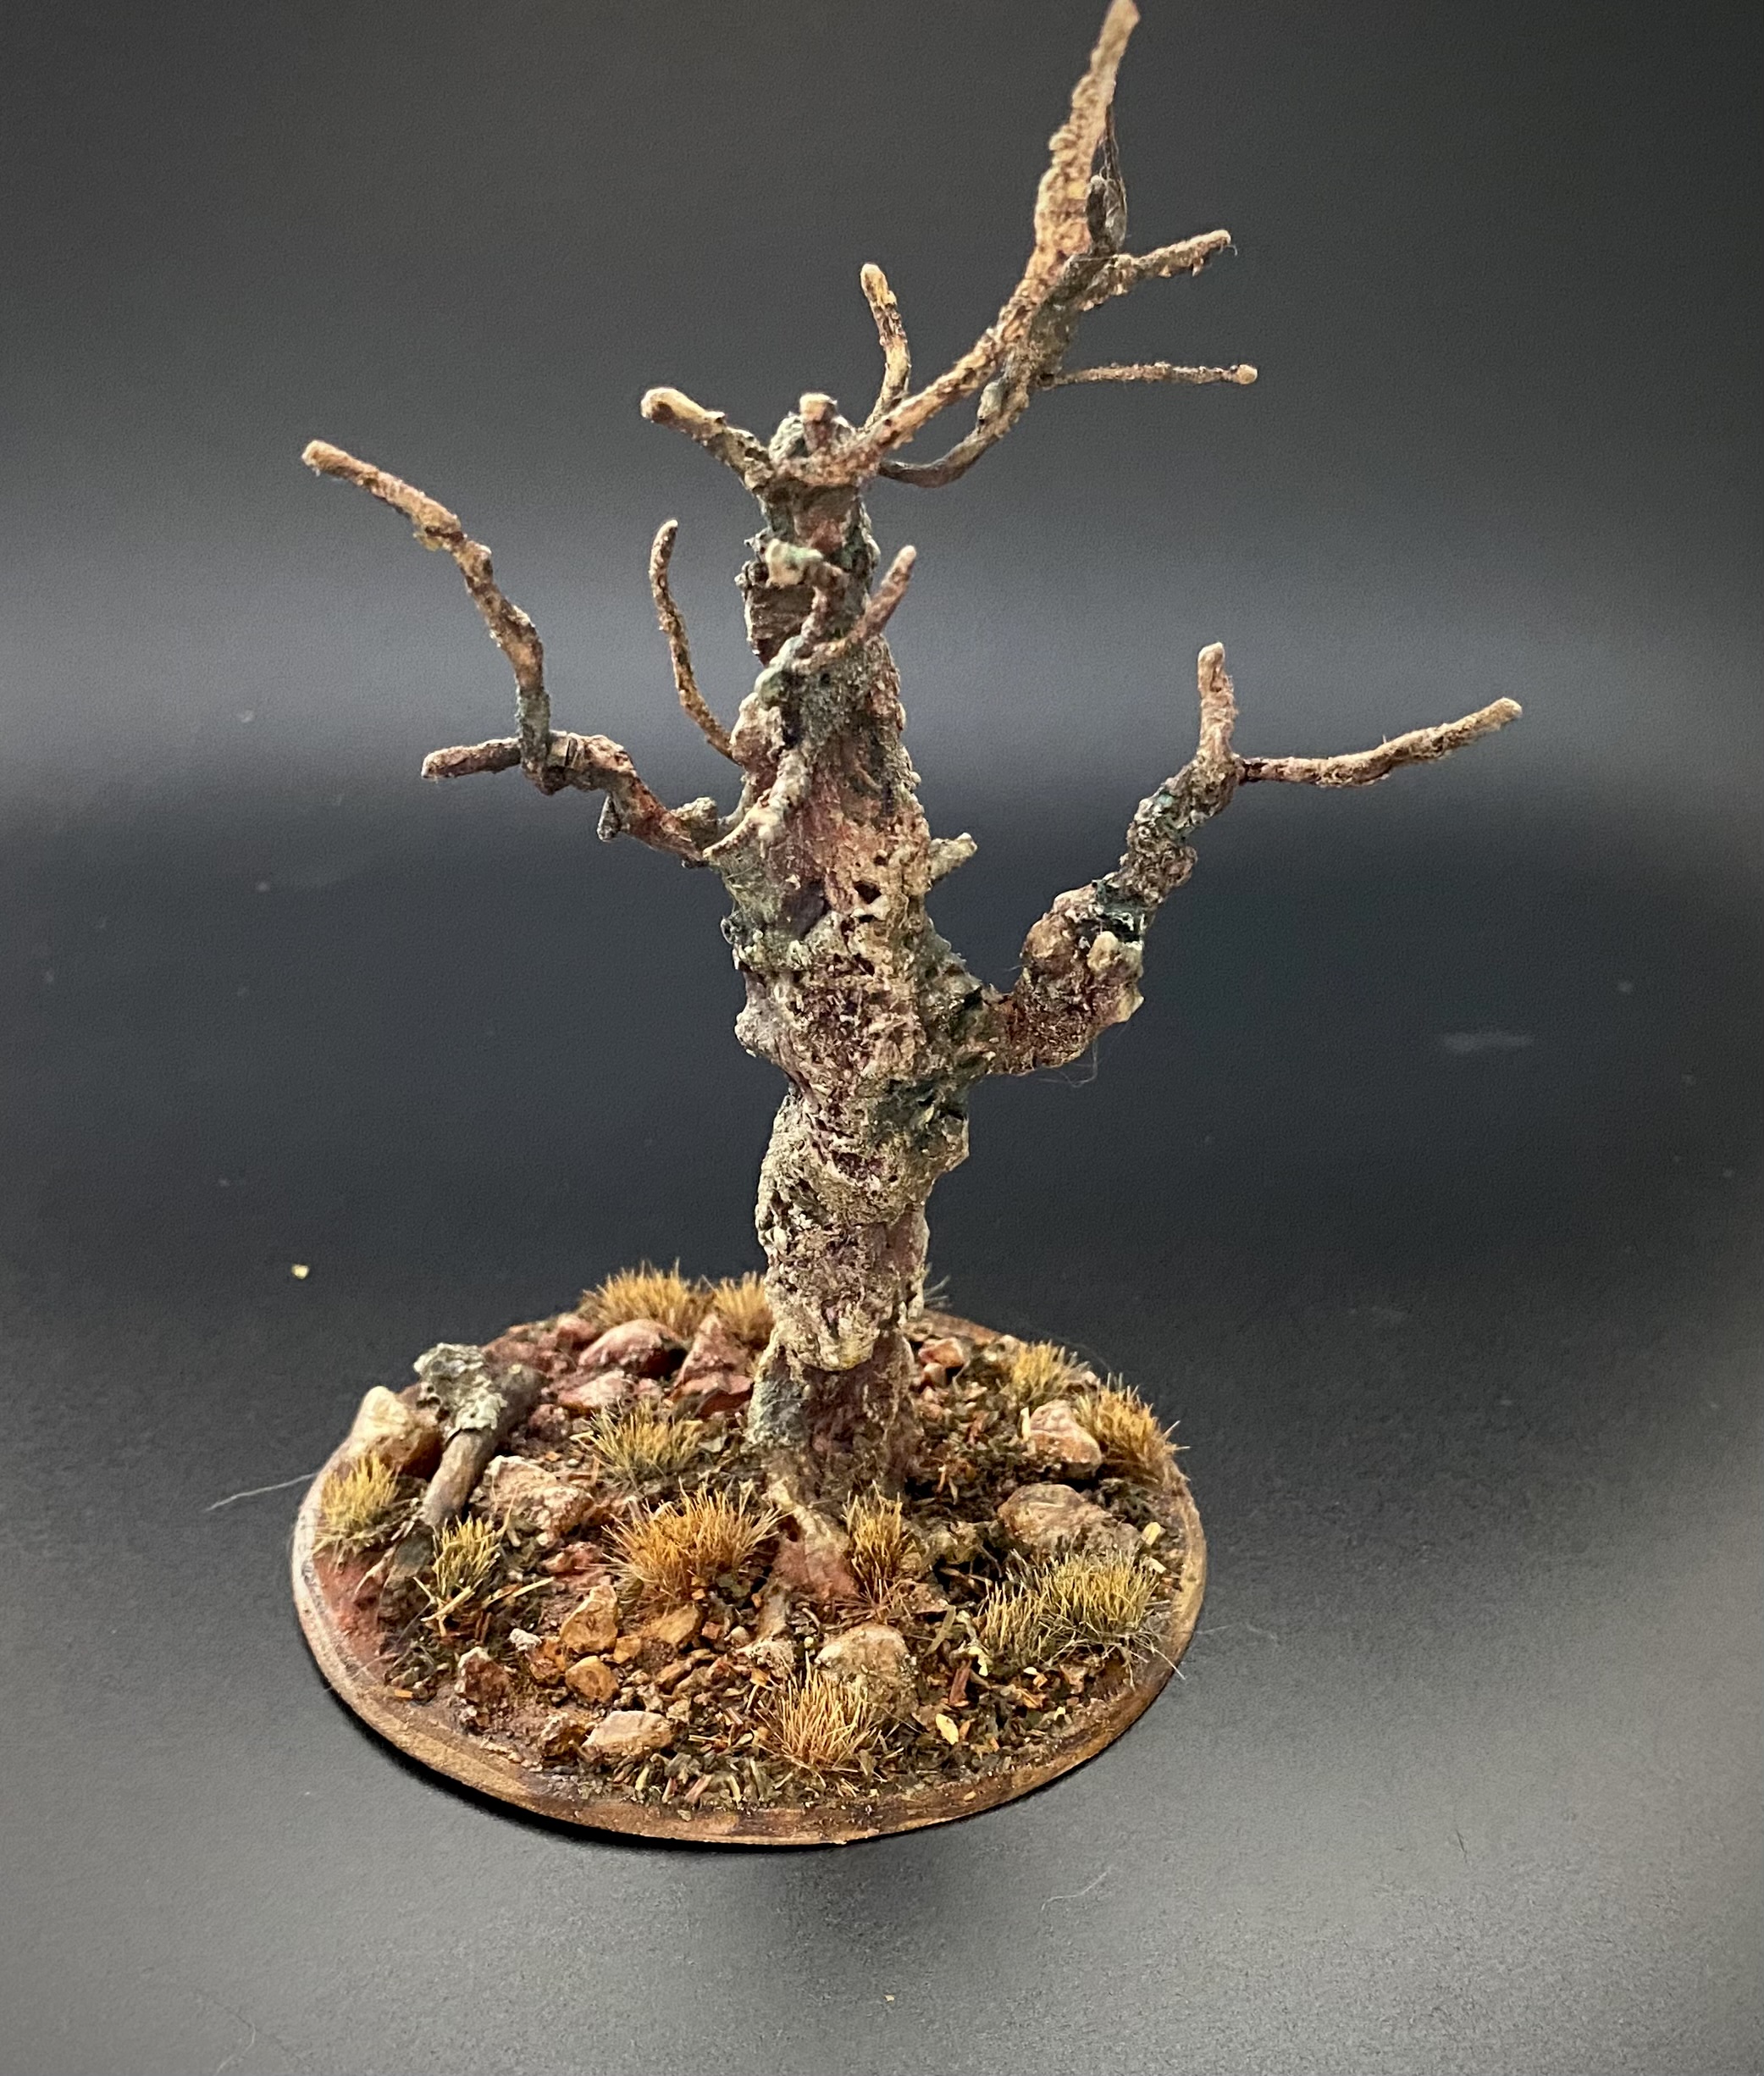
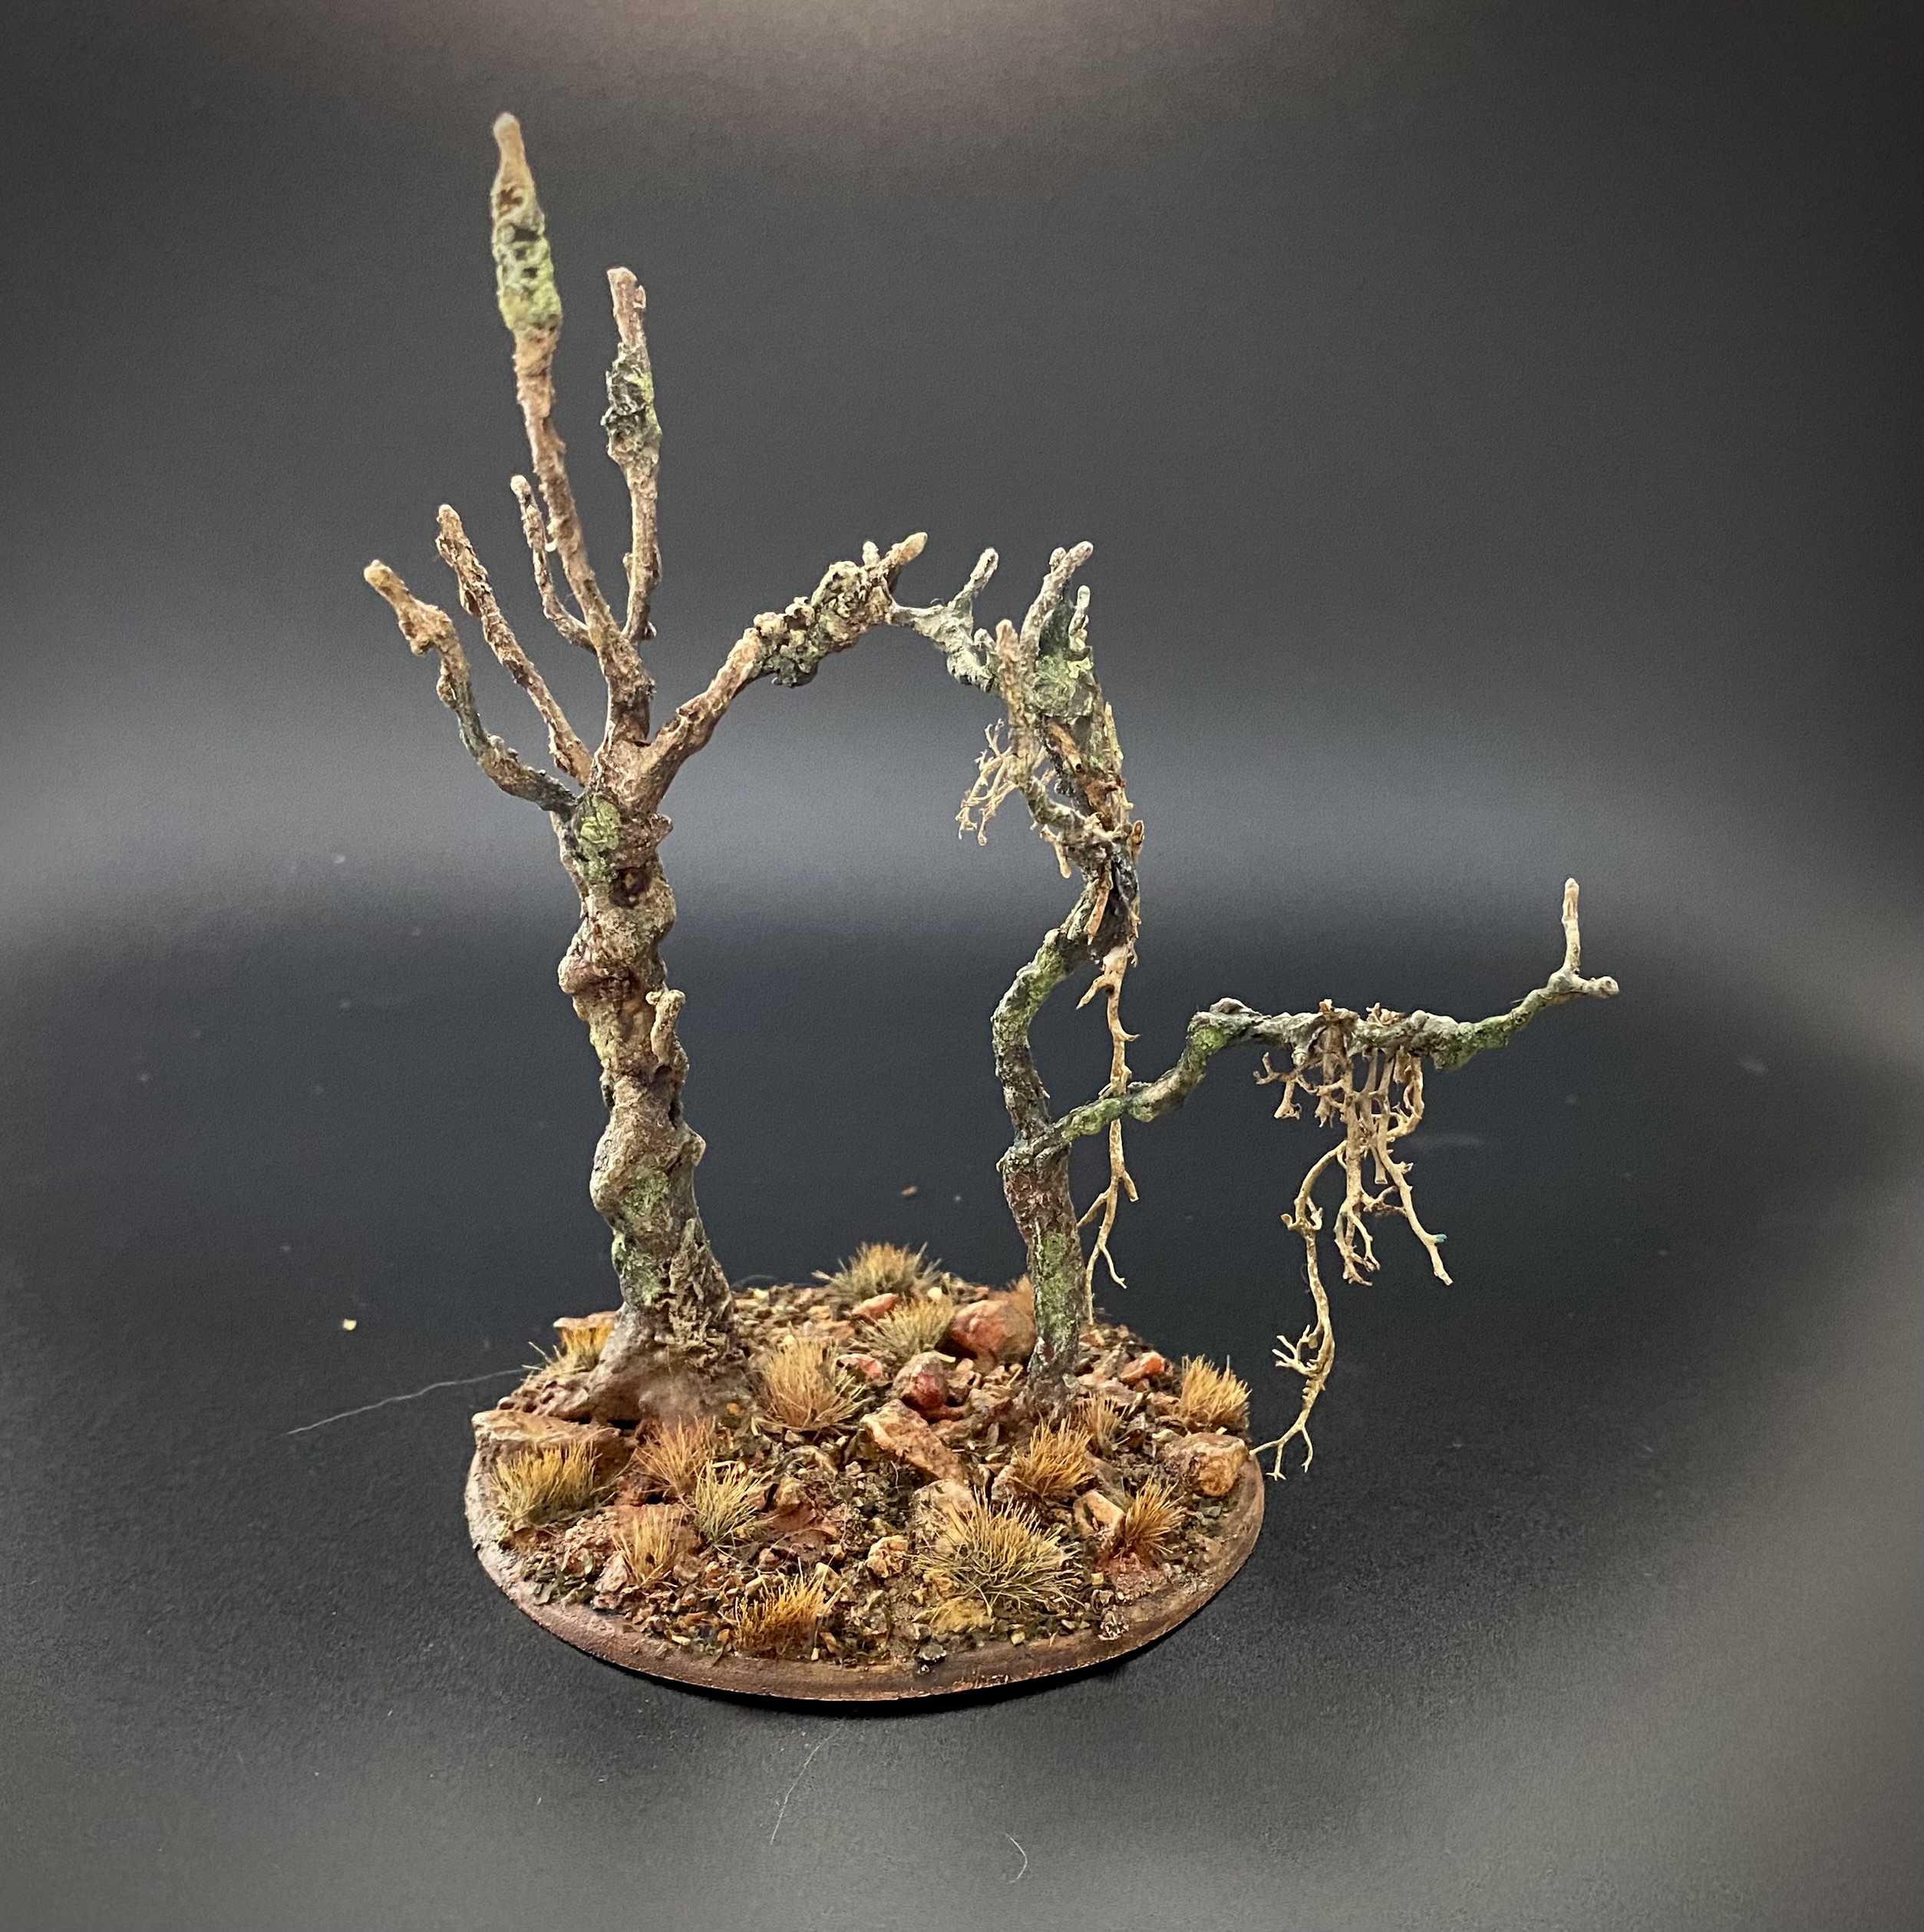
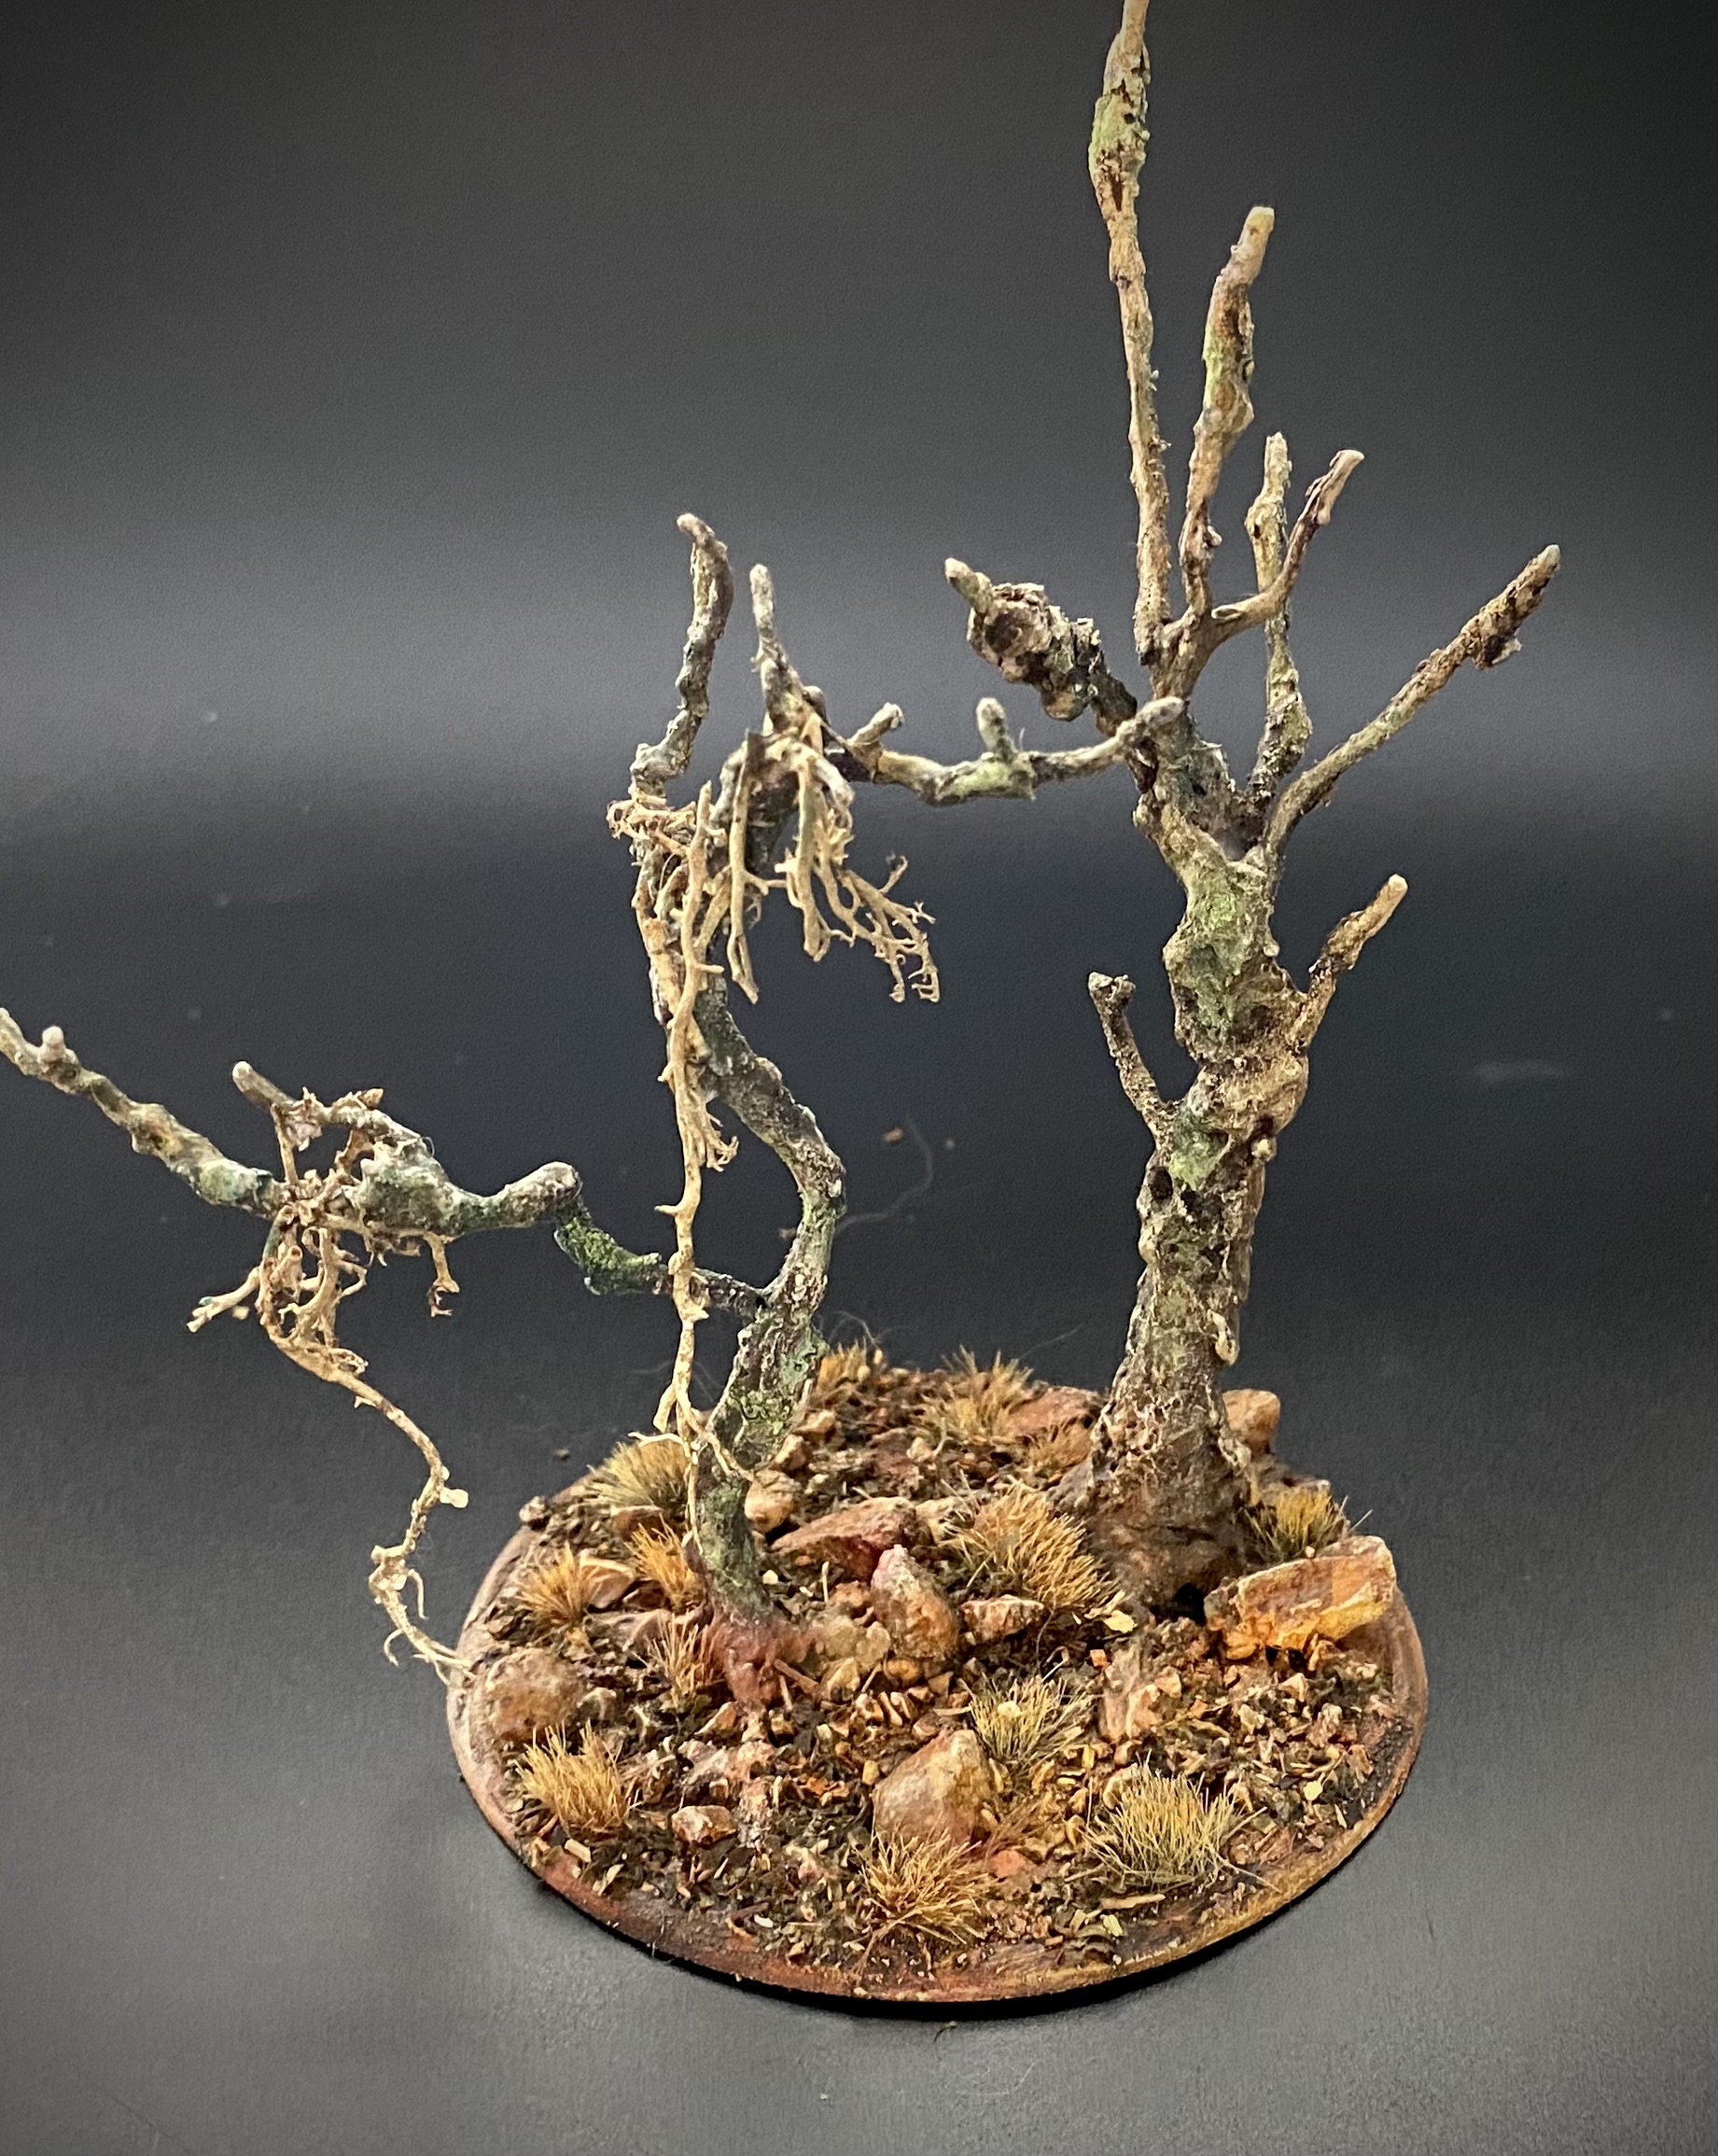
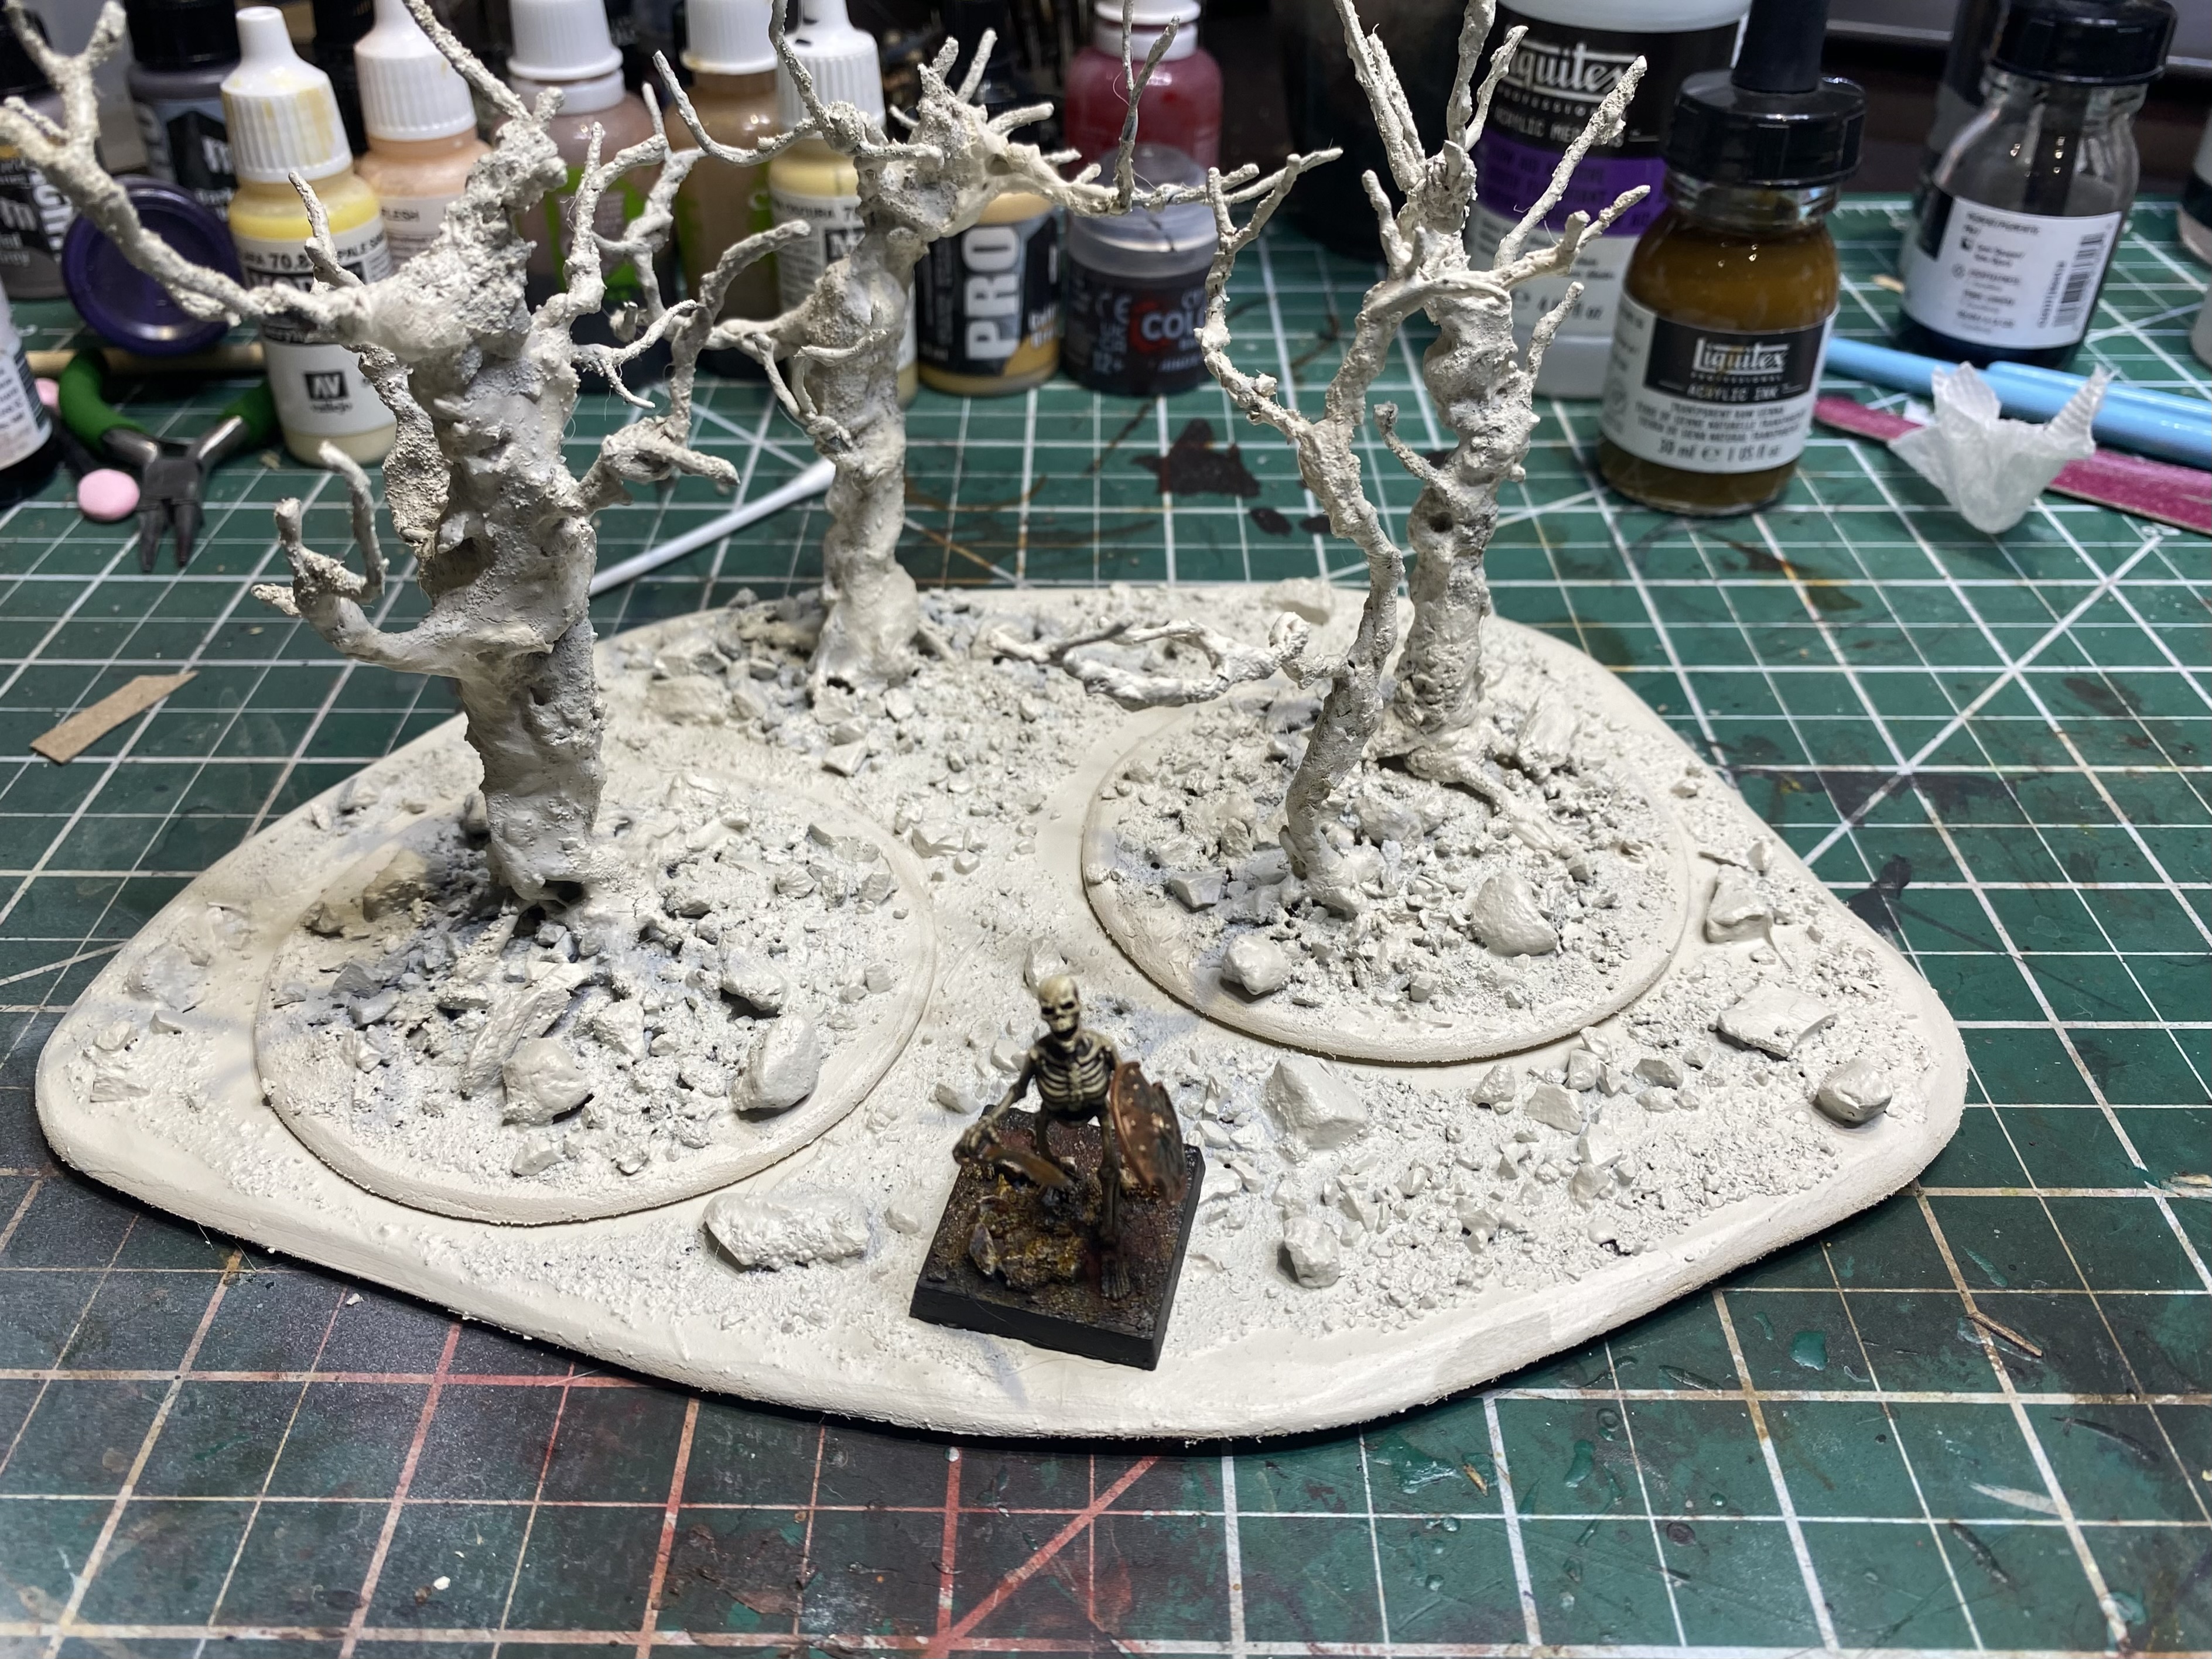
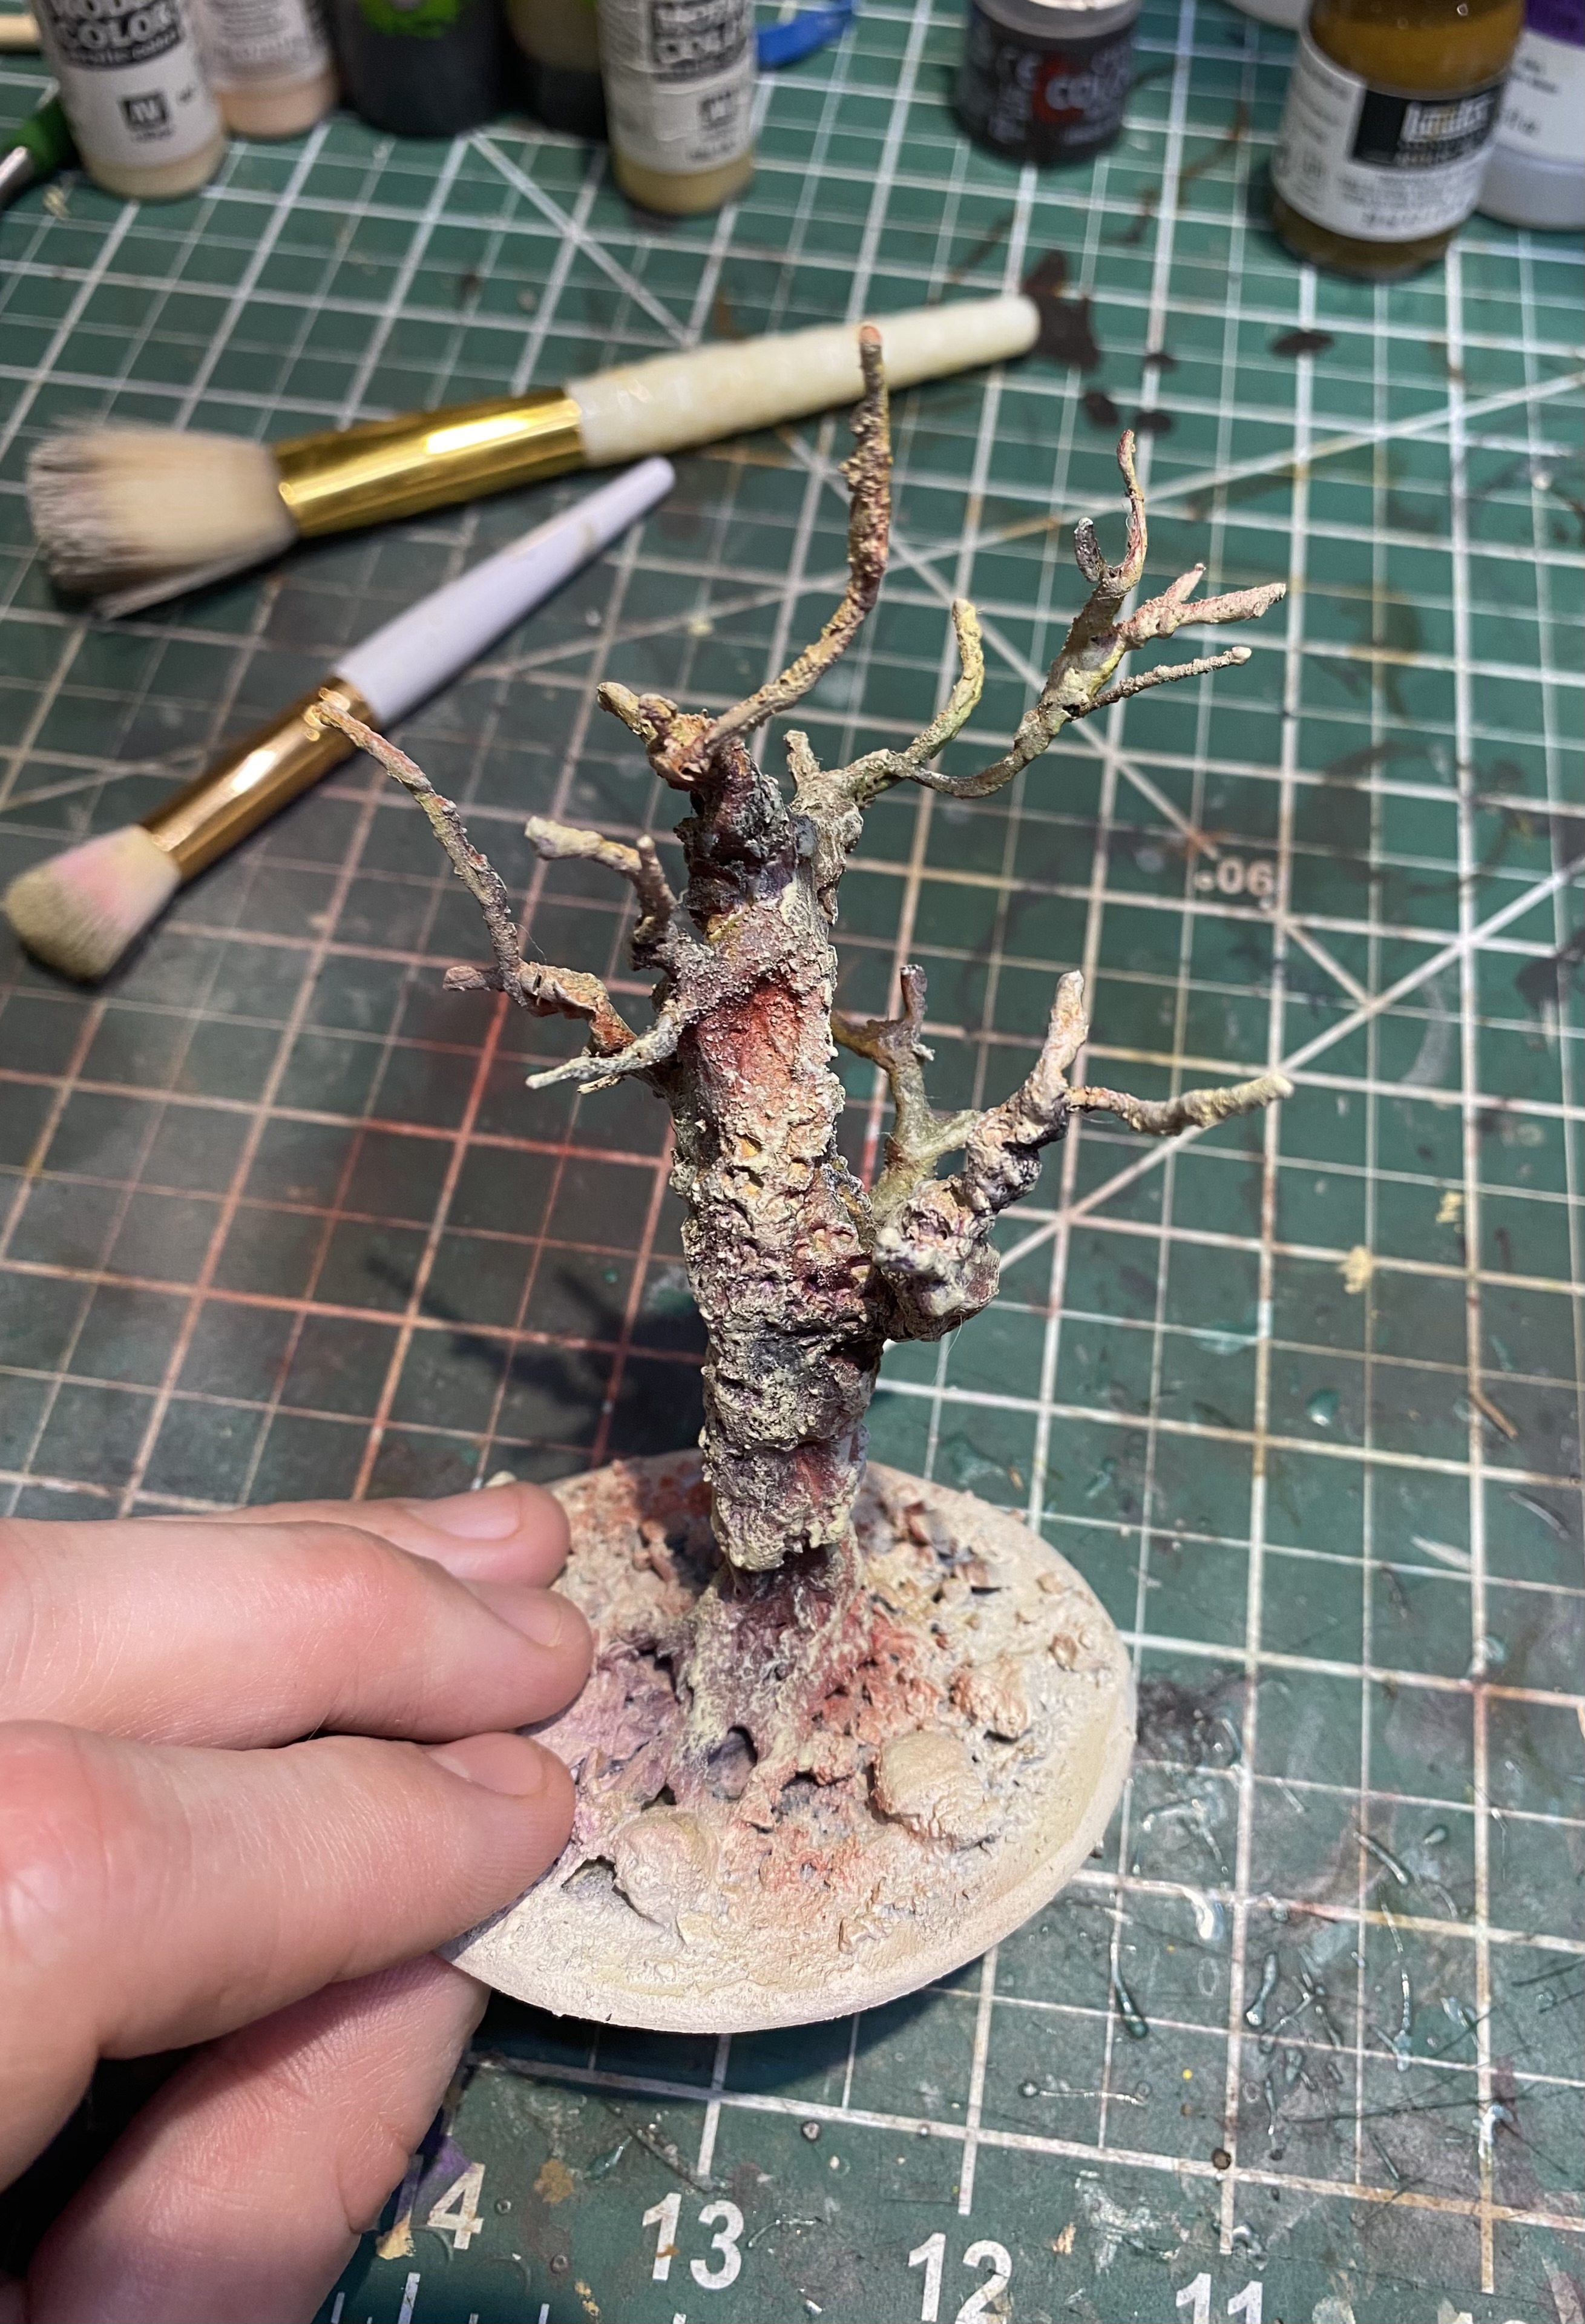
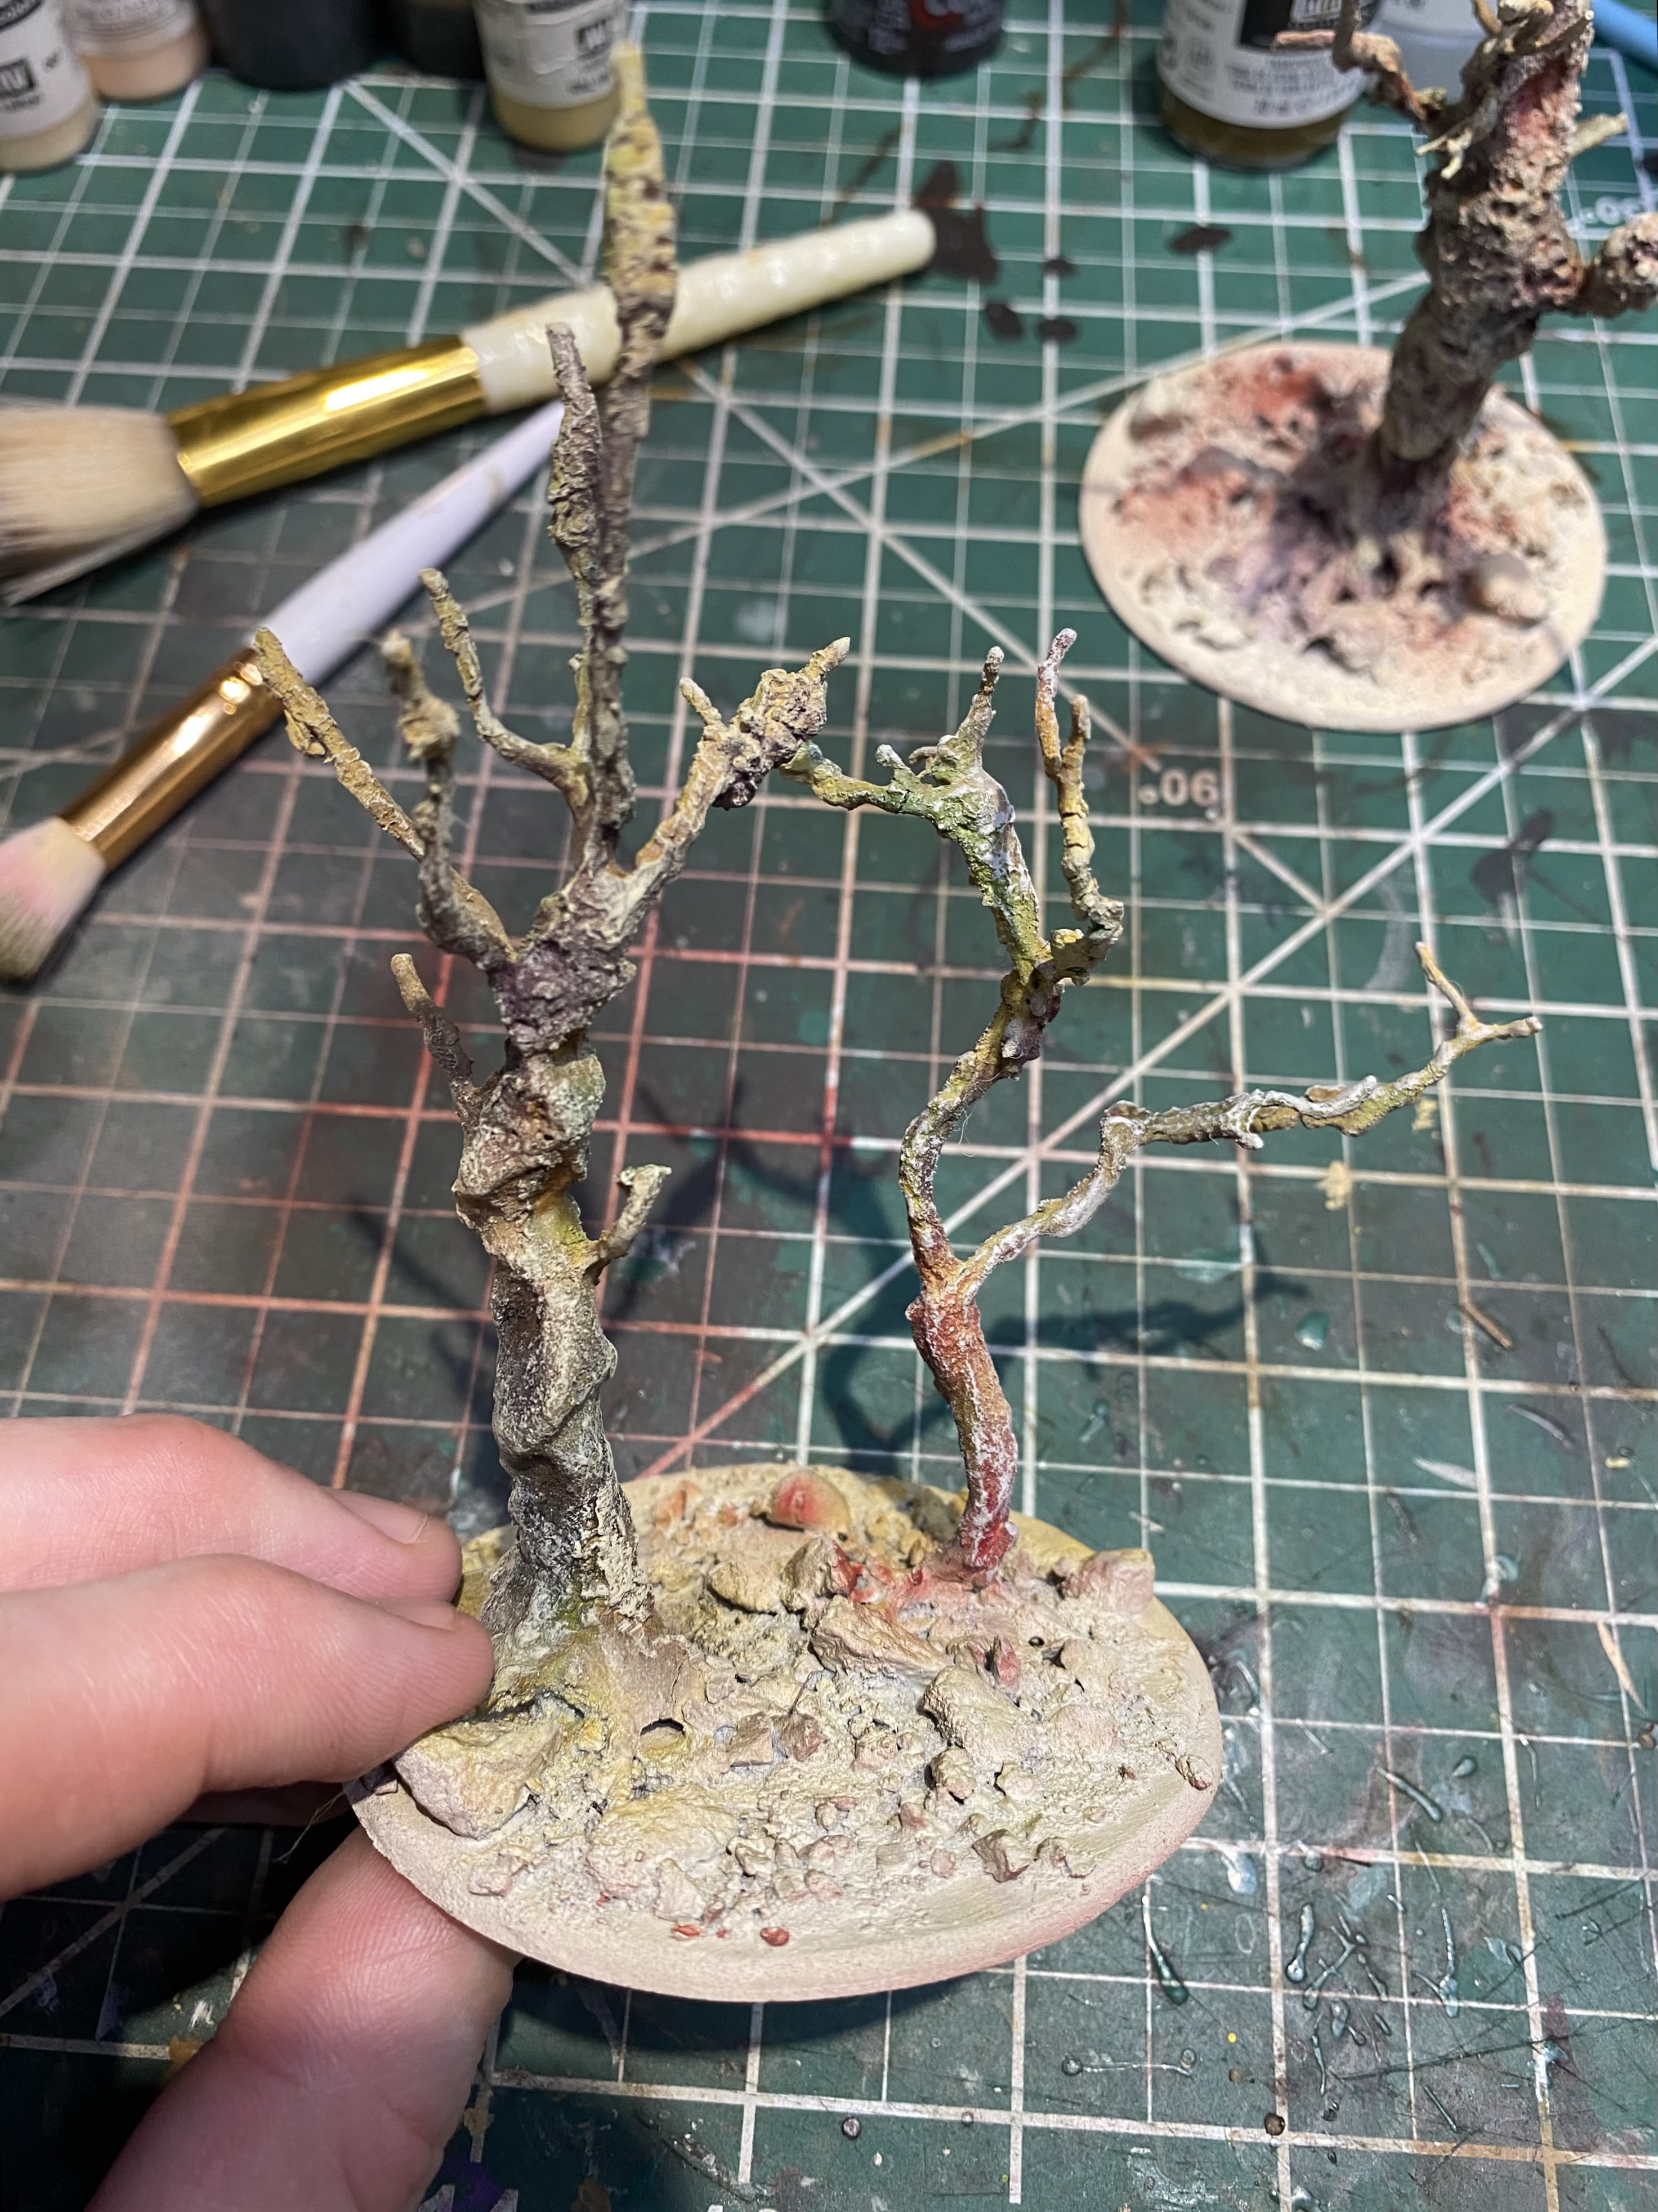
I am looking for a grimdark vibe, so I want my trees to look old, gnarly and twisted.
I use different materials for texturing the trees:
- cheap clay to bulk up the wire frame
- tile grout and sand for texture
 Nice texture :)
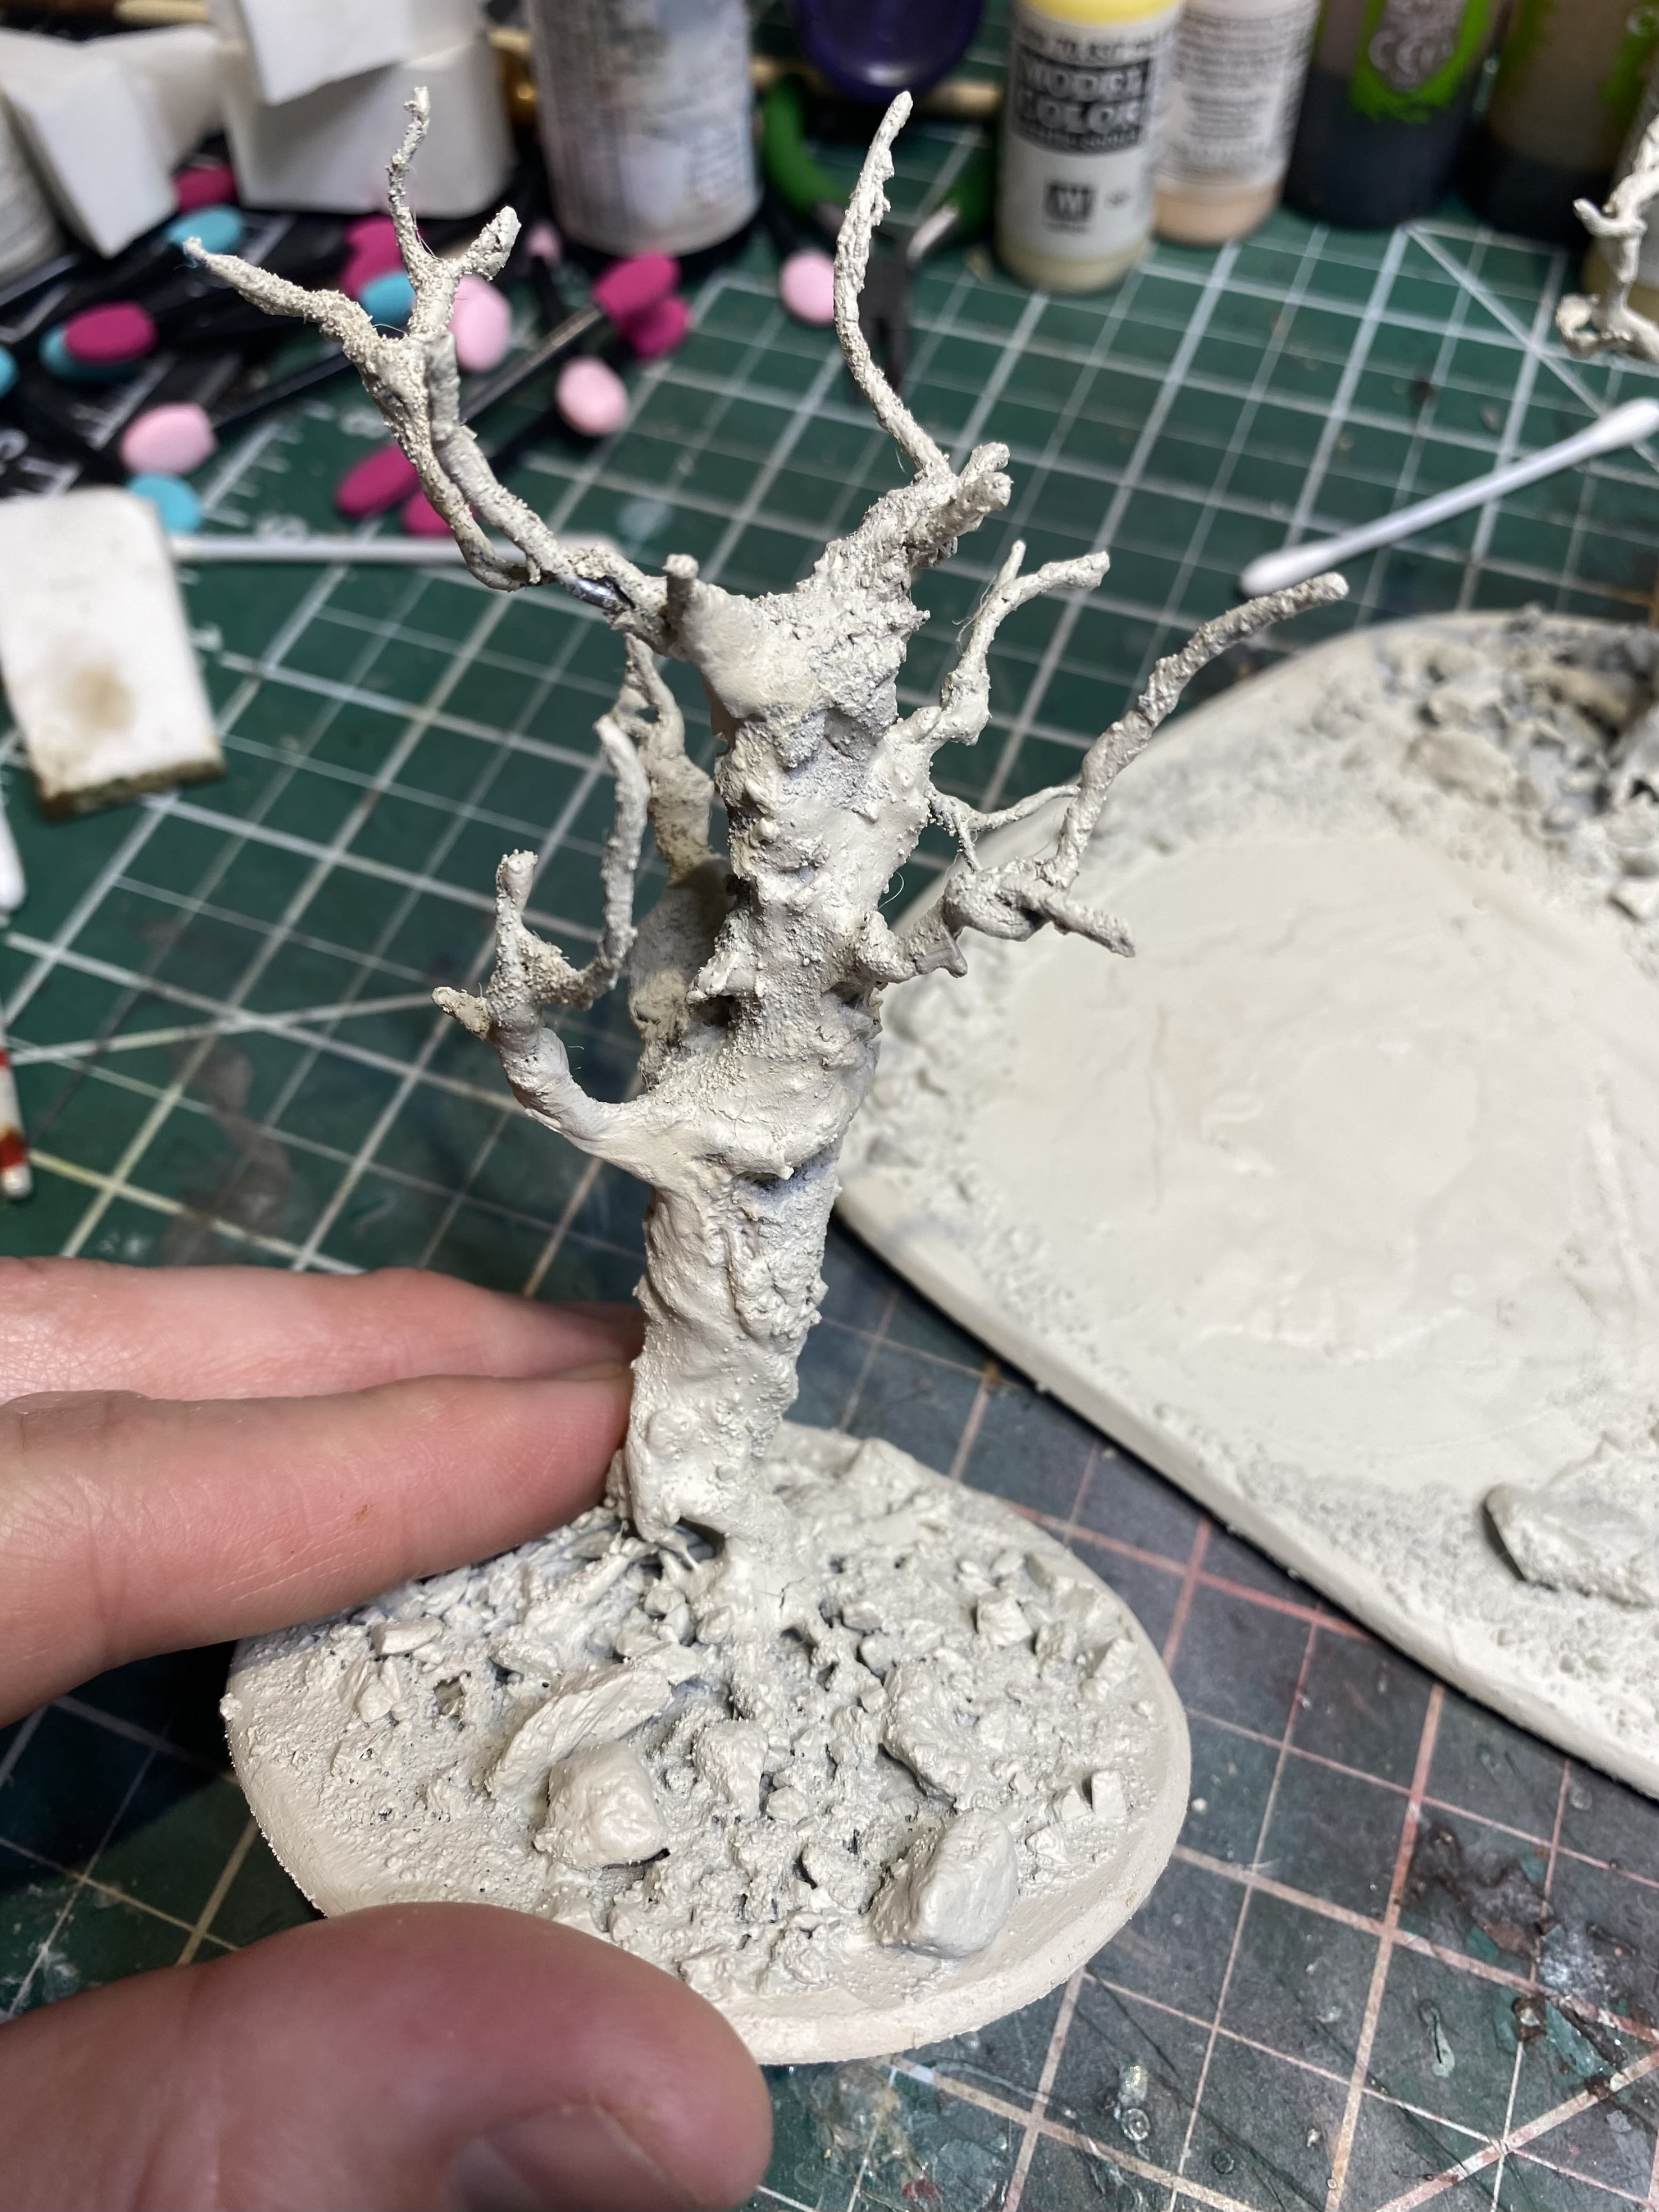 More texture!
Some wood and a clown fiesta!
Family life and work is a bit hectic right now, so I don’t have time to do a binge crafting/painting session. Instead, I intend to paint a bit each day. Slow but steady 🙂
The whole build was basecoated with GW Wraithbone.
I quickly airbrushed some GW contrast paint over the trees:
some red, purple, yellow and green.
(If you don’t have an airbrush, you could quickly splatter some contrast paint with a bit brush for a similar result).
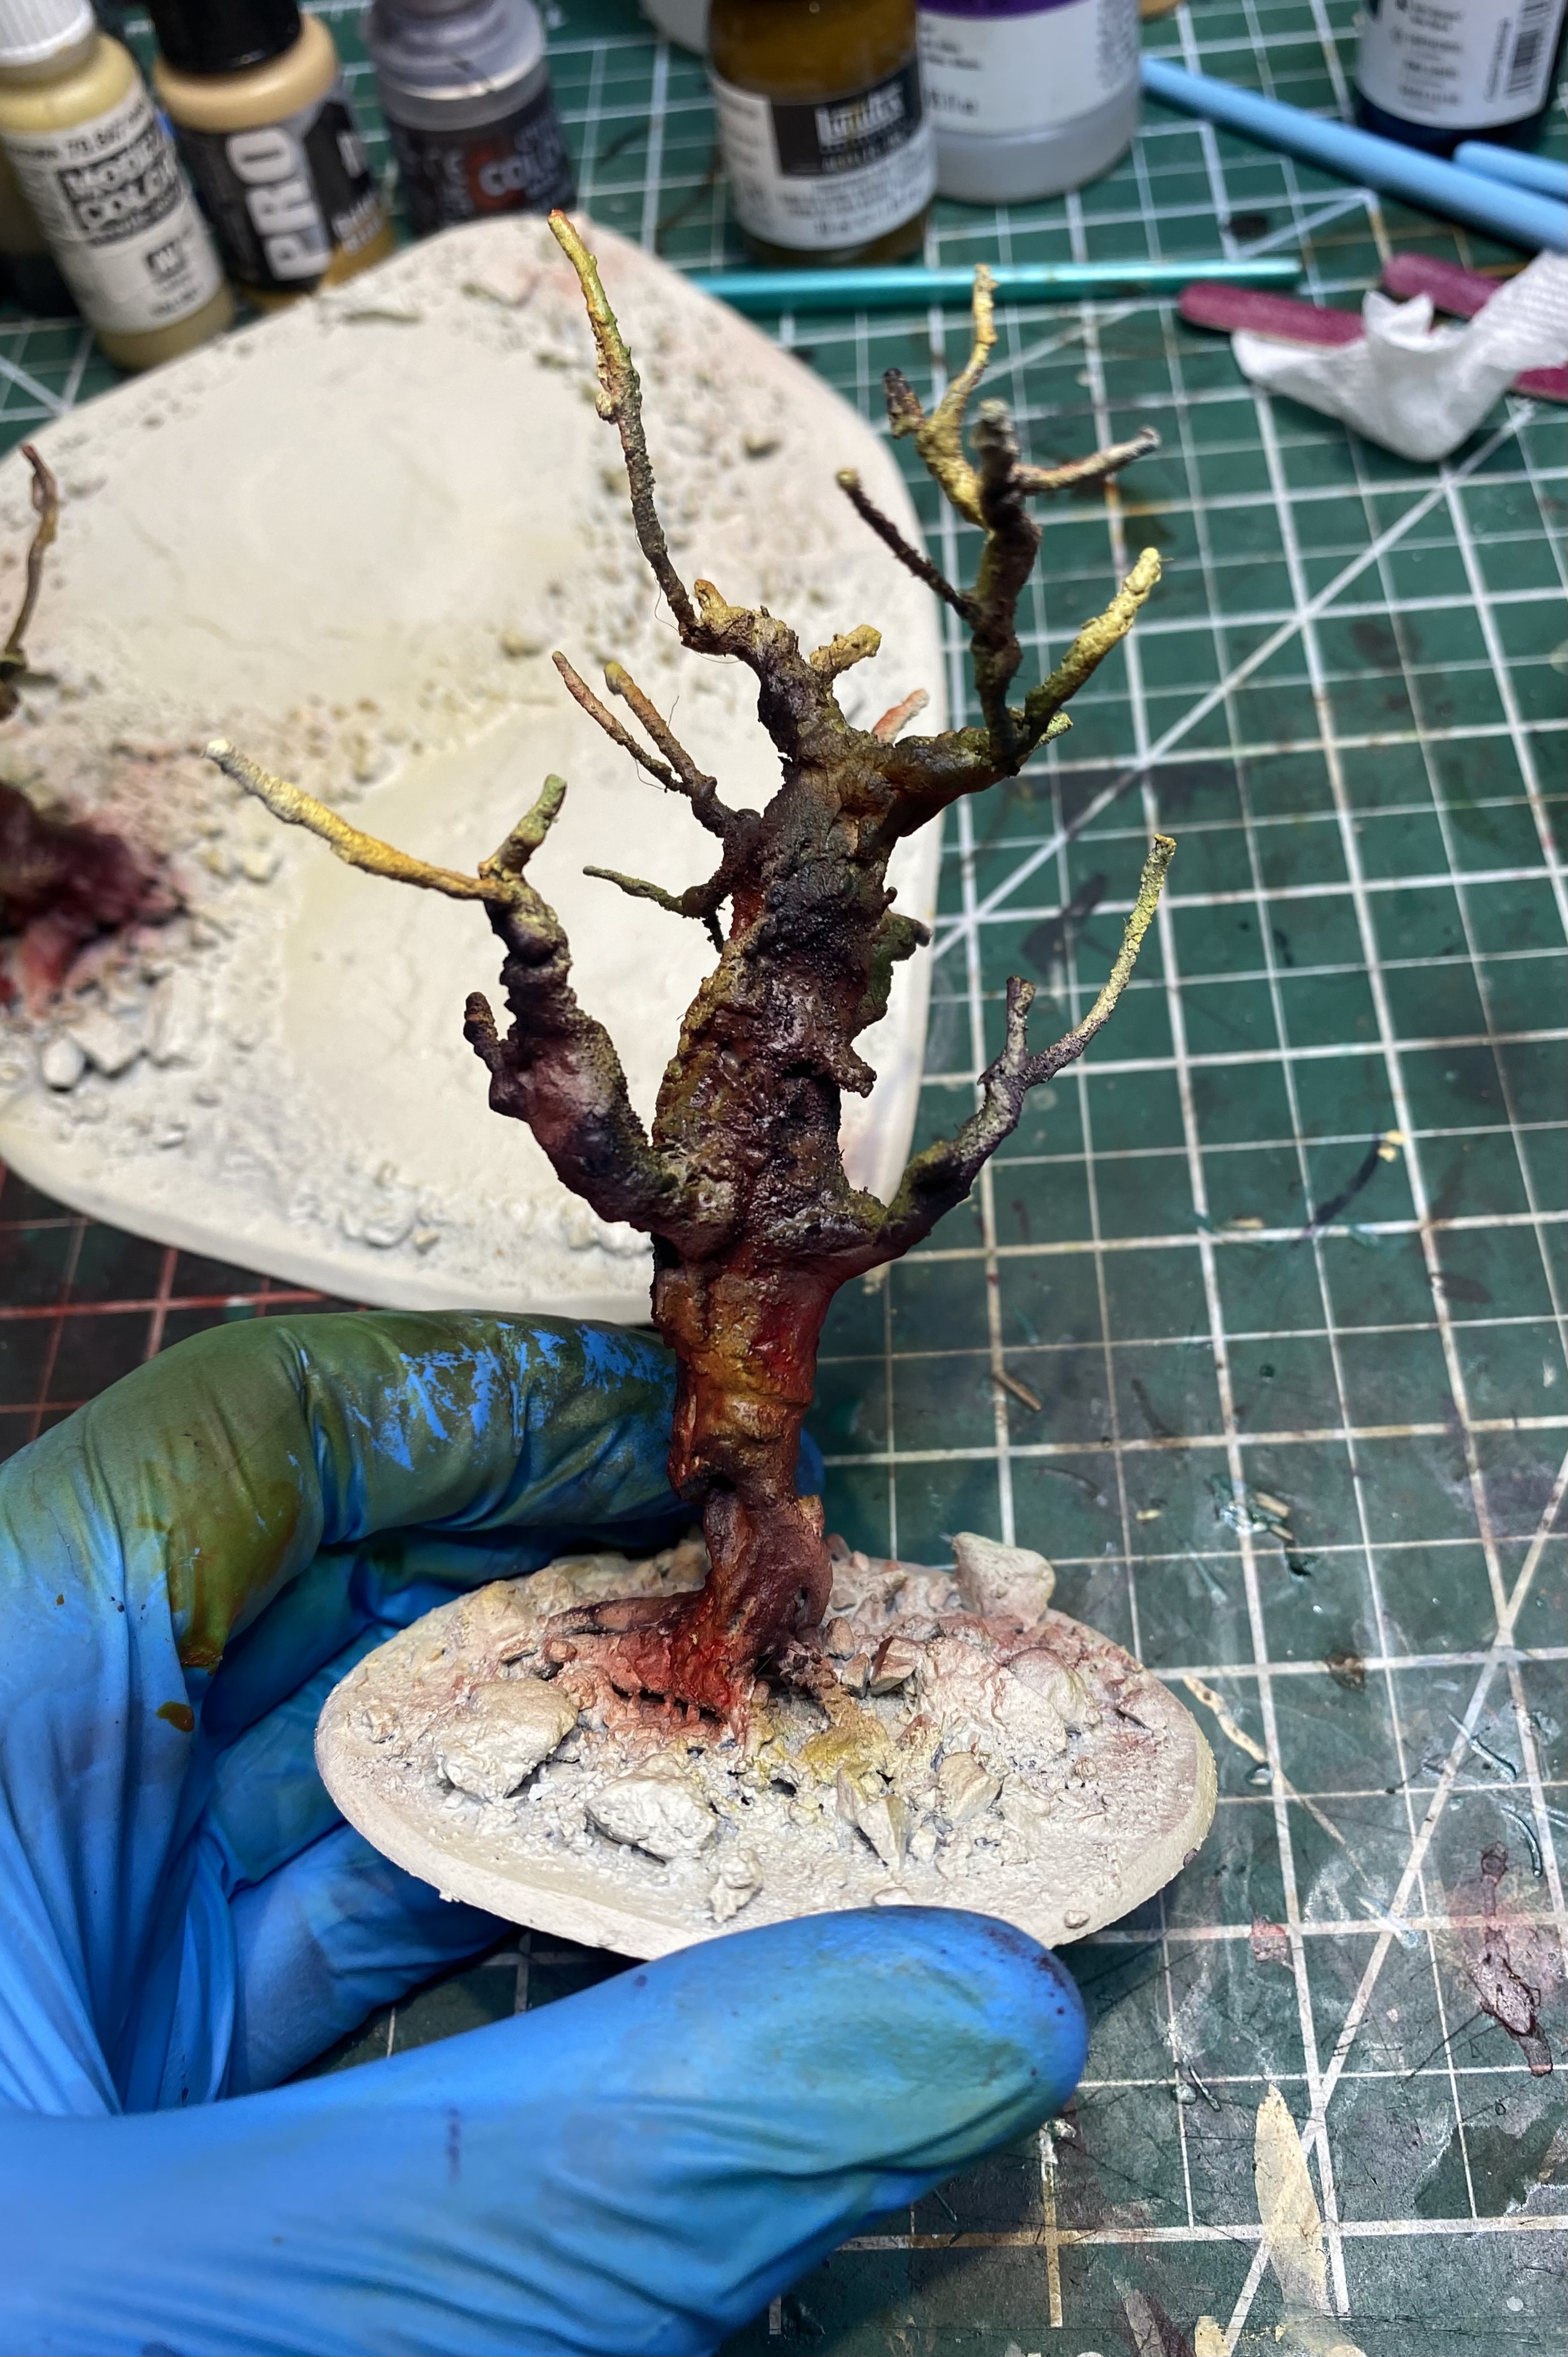
Yes, it looks horrible at this point, but most of the colors will be removed in the following steps.
This is a just a quick “undershading” or undercoating (not sure what is the technical term) that will add some color depth later on.
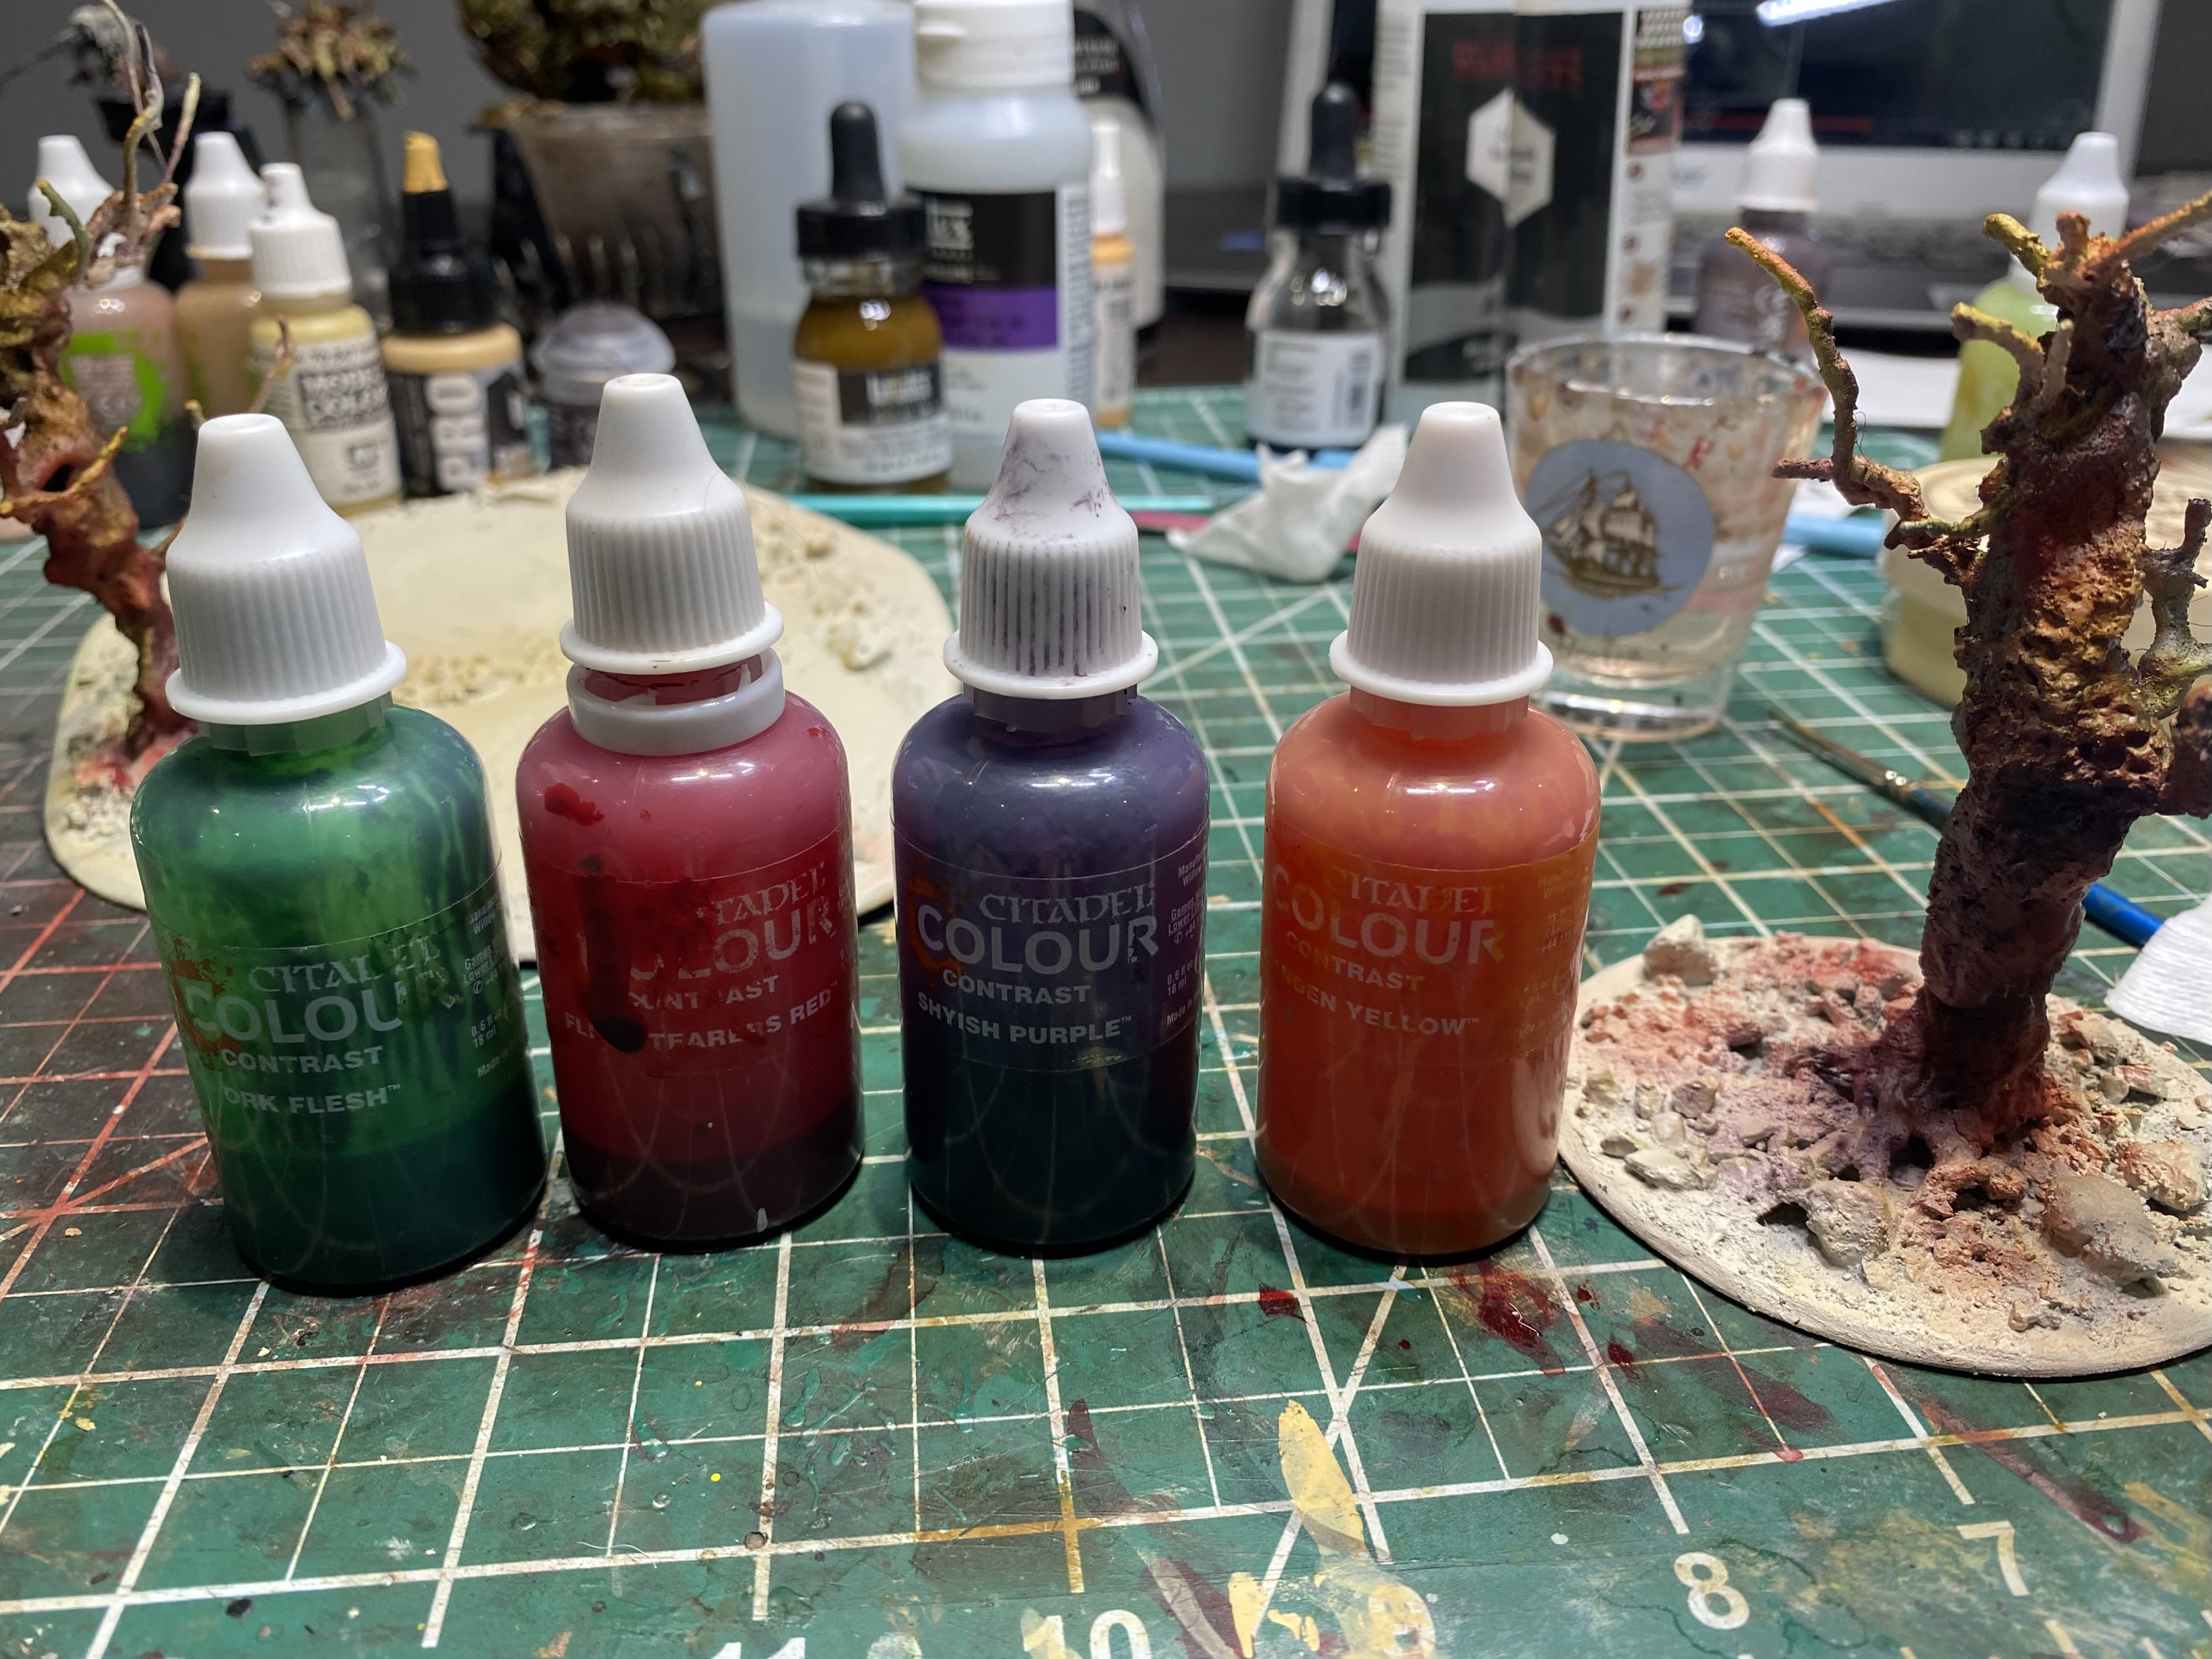 GW contrast paints
It looks a bit like a painting mess right now. We are deep into the “ugly phase” 🙂
Don’t worry, there is a plan for this madness 🙂 (although I am not 100% sure it will work out..)
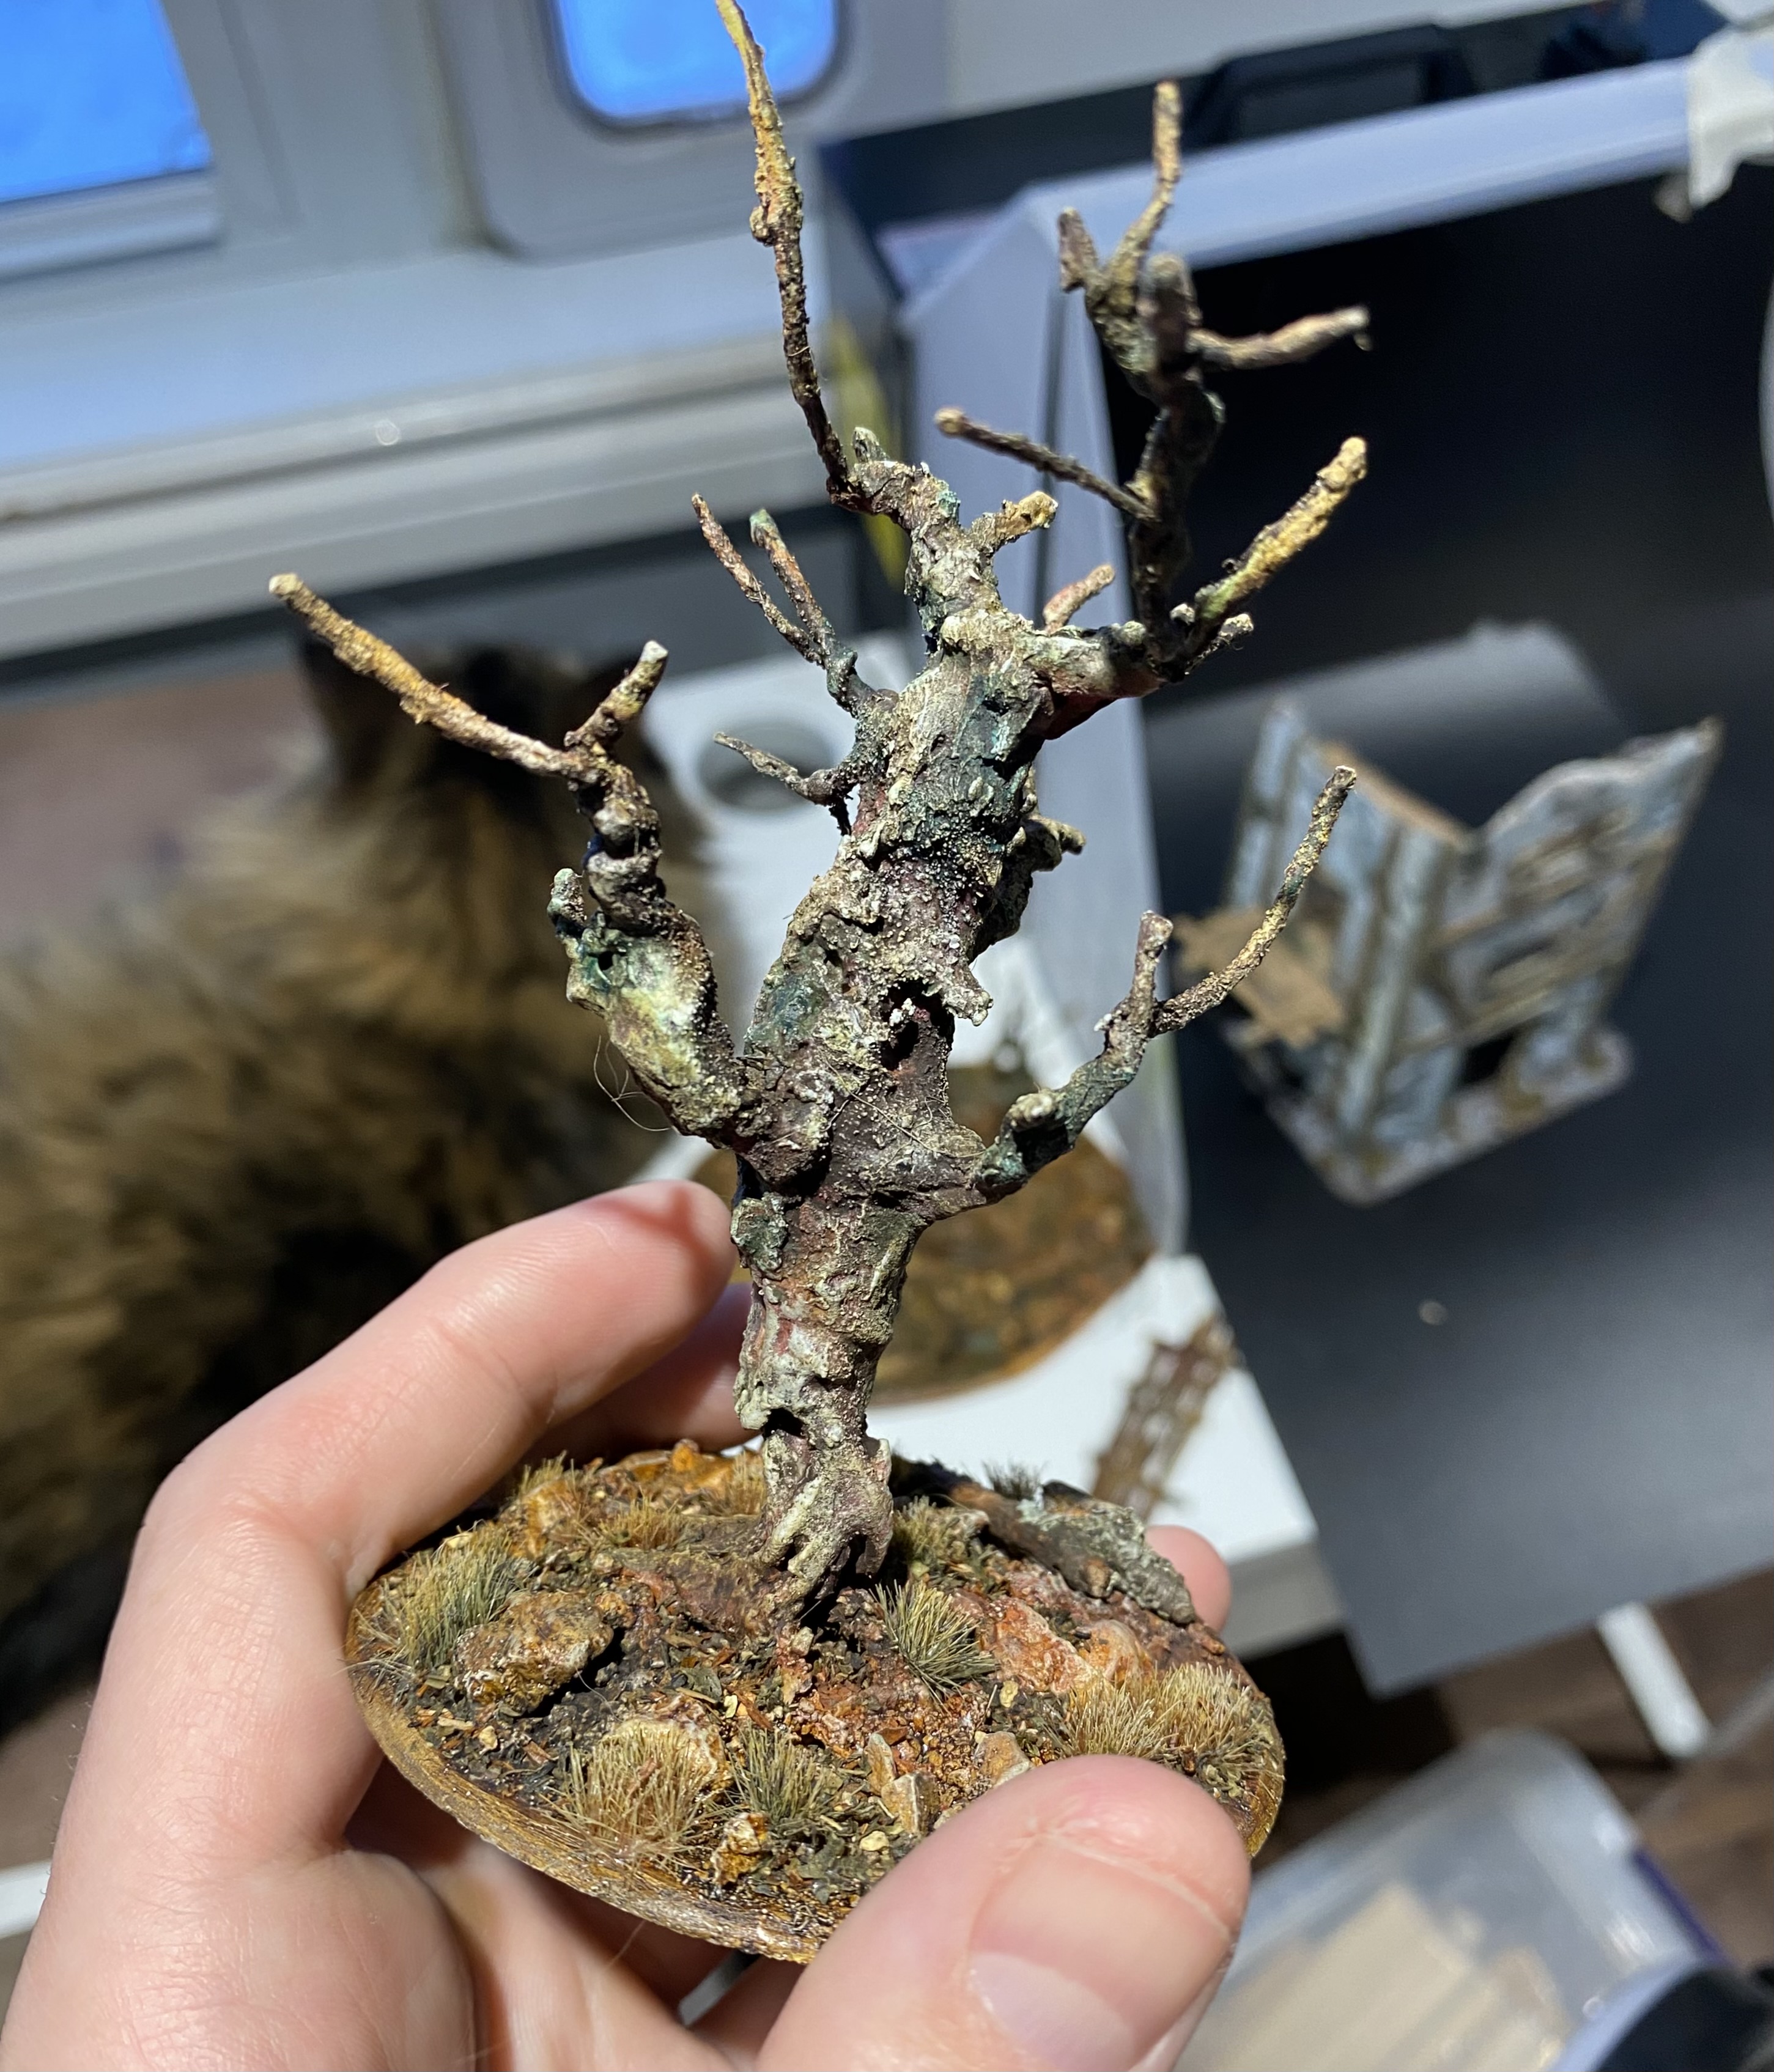
Drybrush Time!
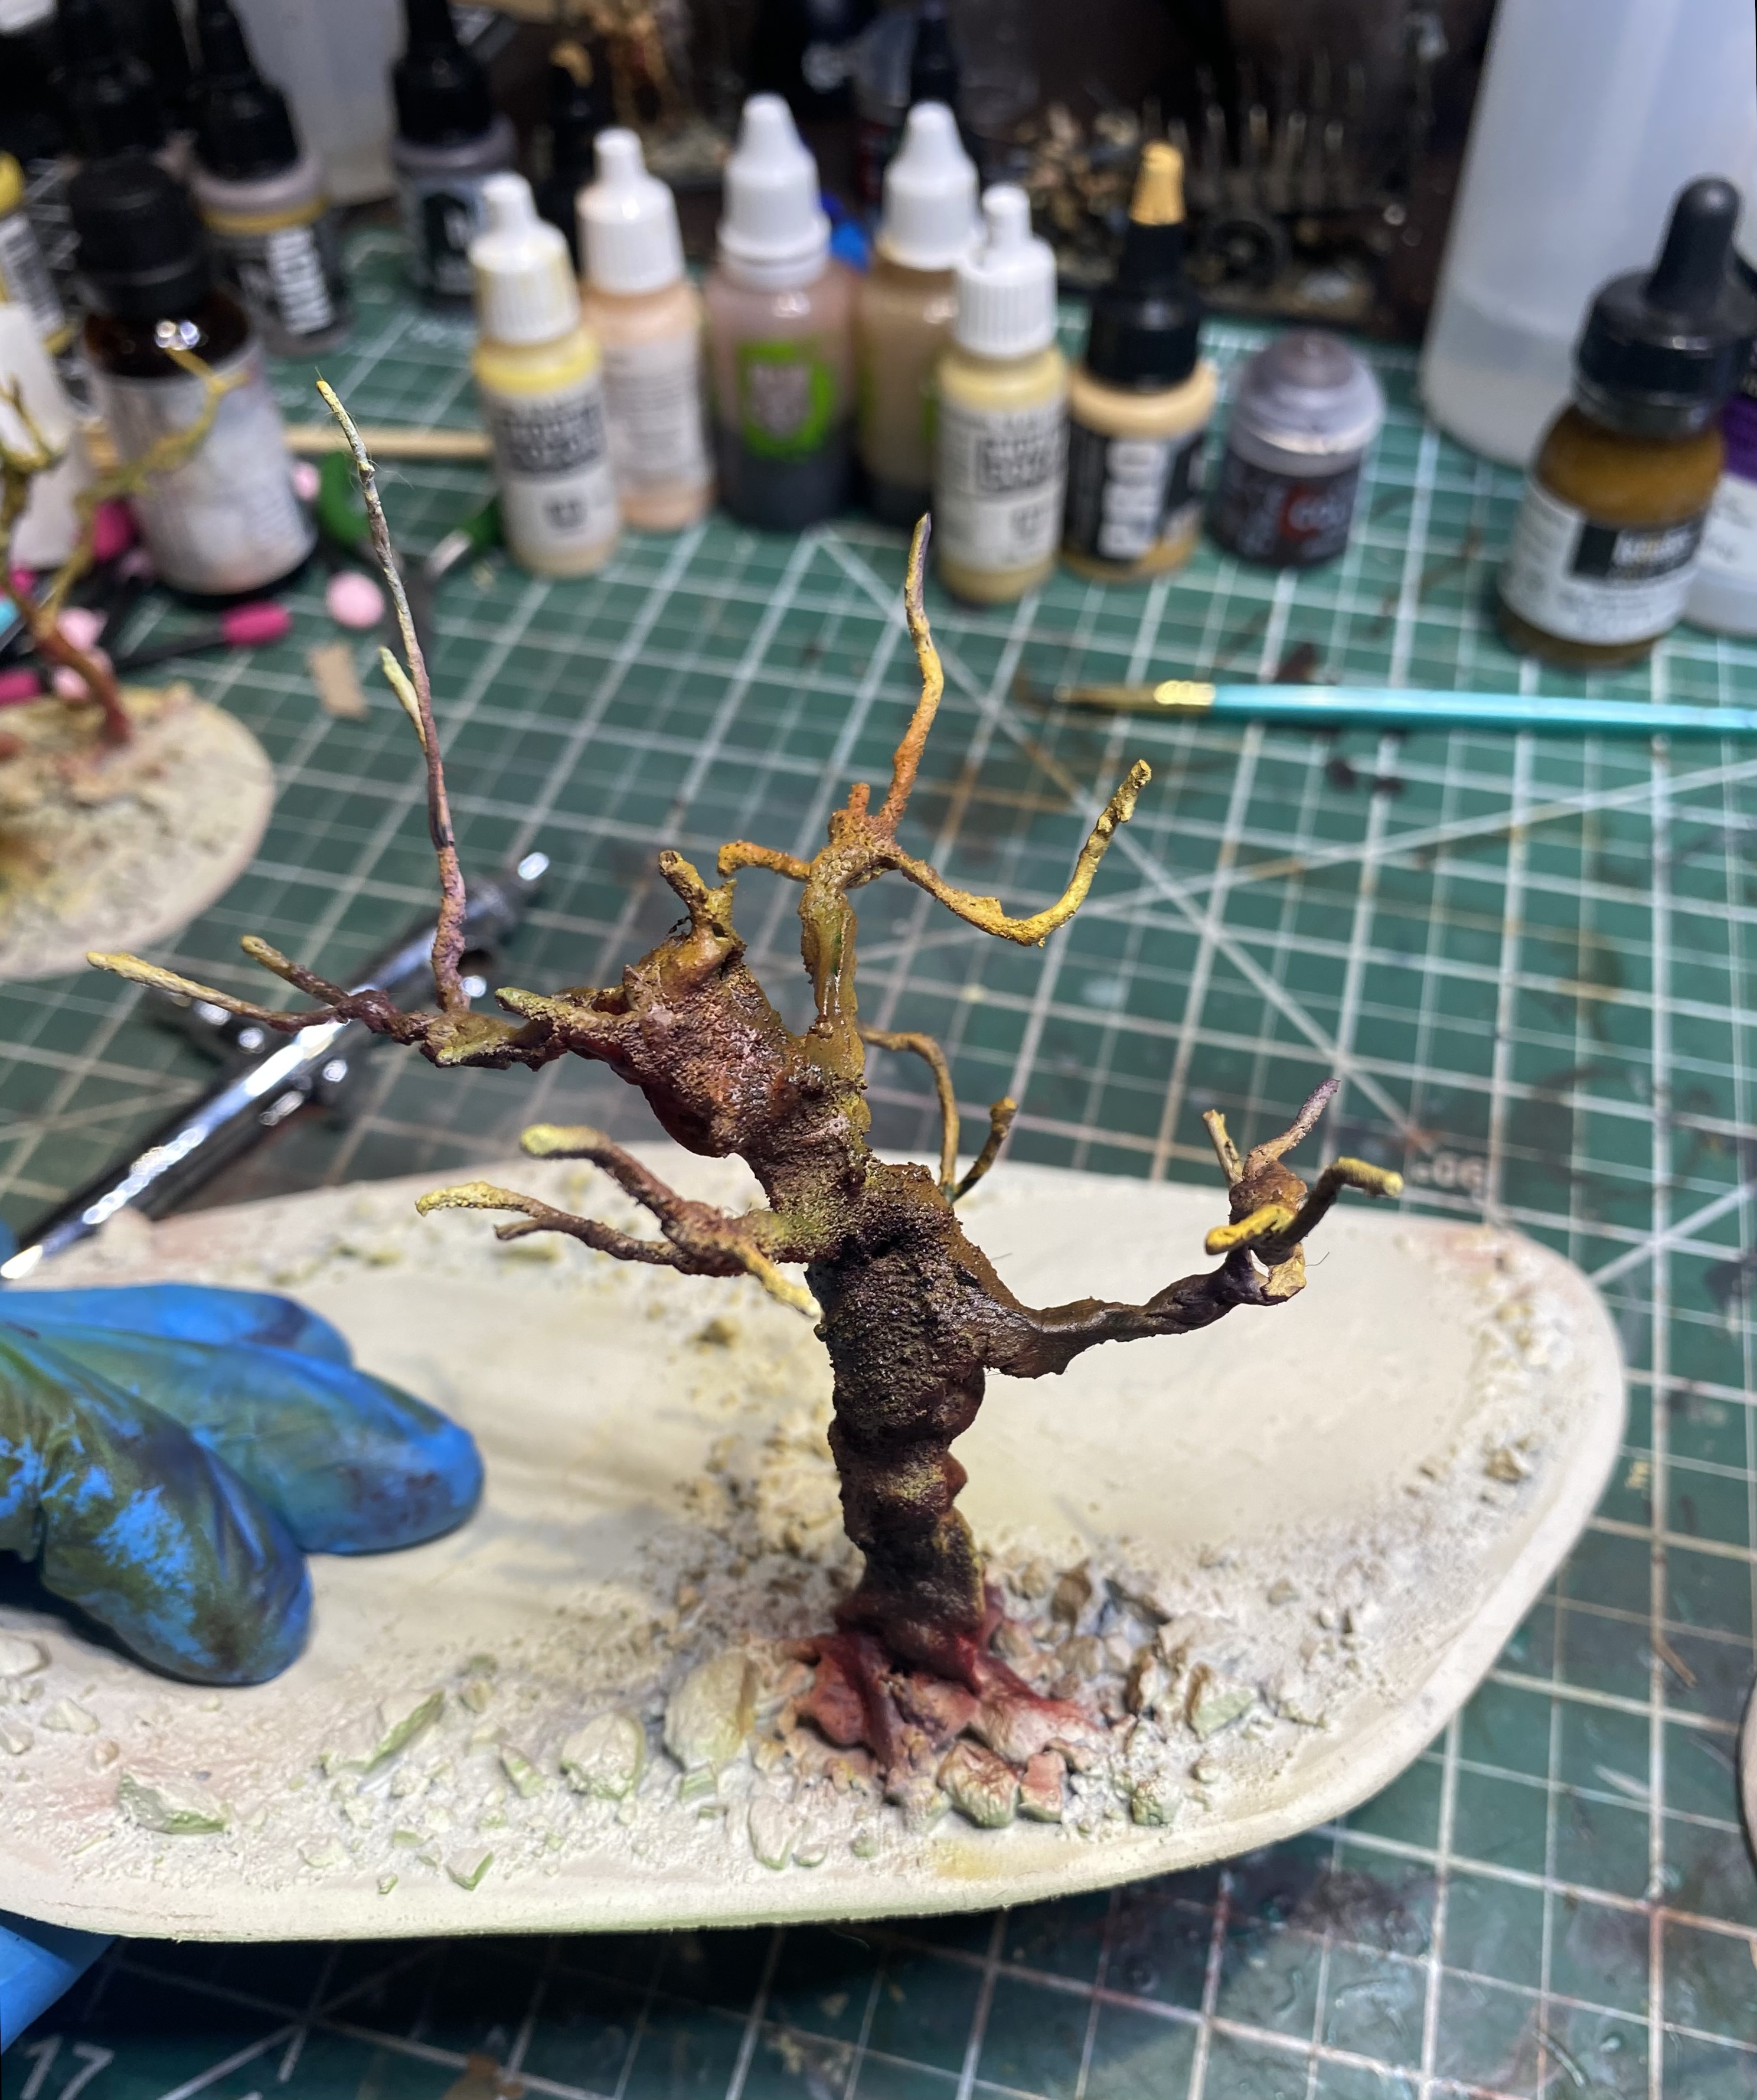
I drybrushed the trees with Deck Tan or Golden Brown. I want the trees to look similar, but not exactly the same.
Drybrushing is a must for these types of terrain pieces as it will “reveal” the nice texture.
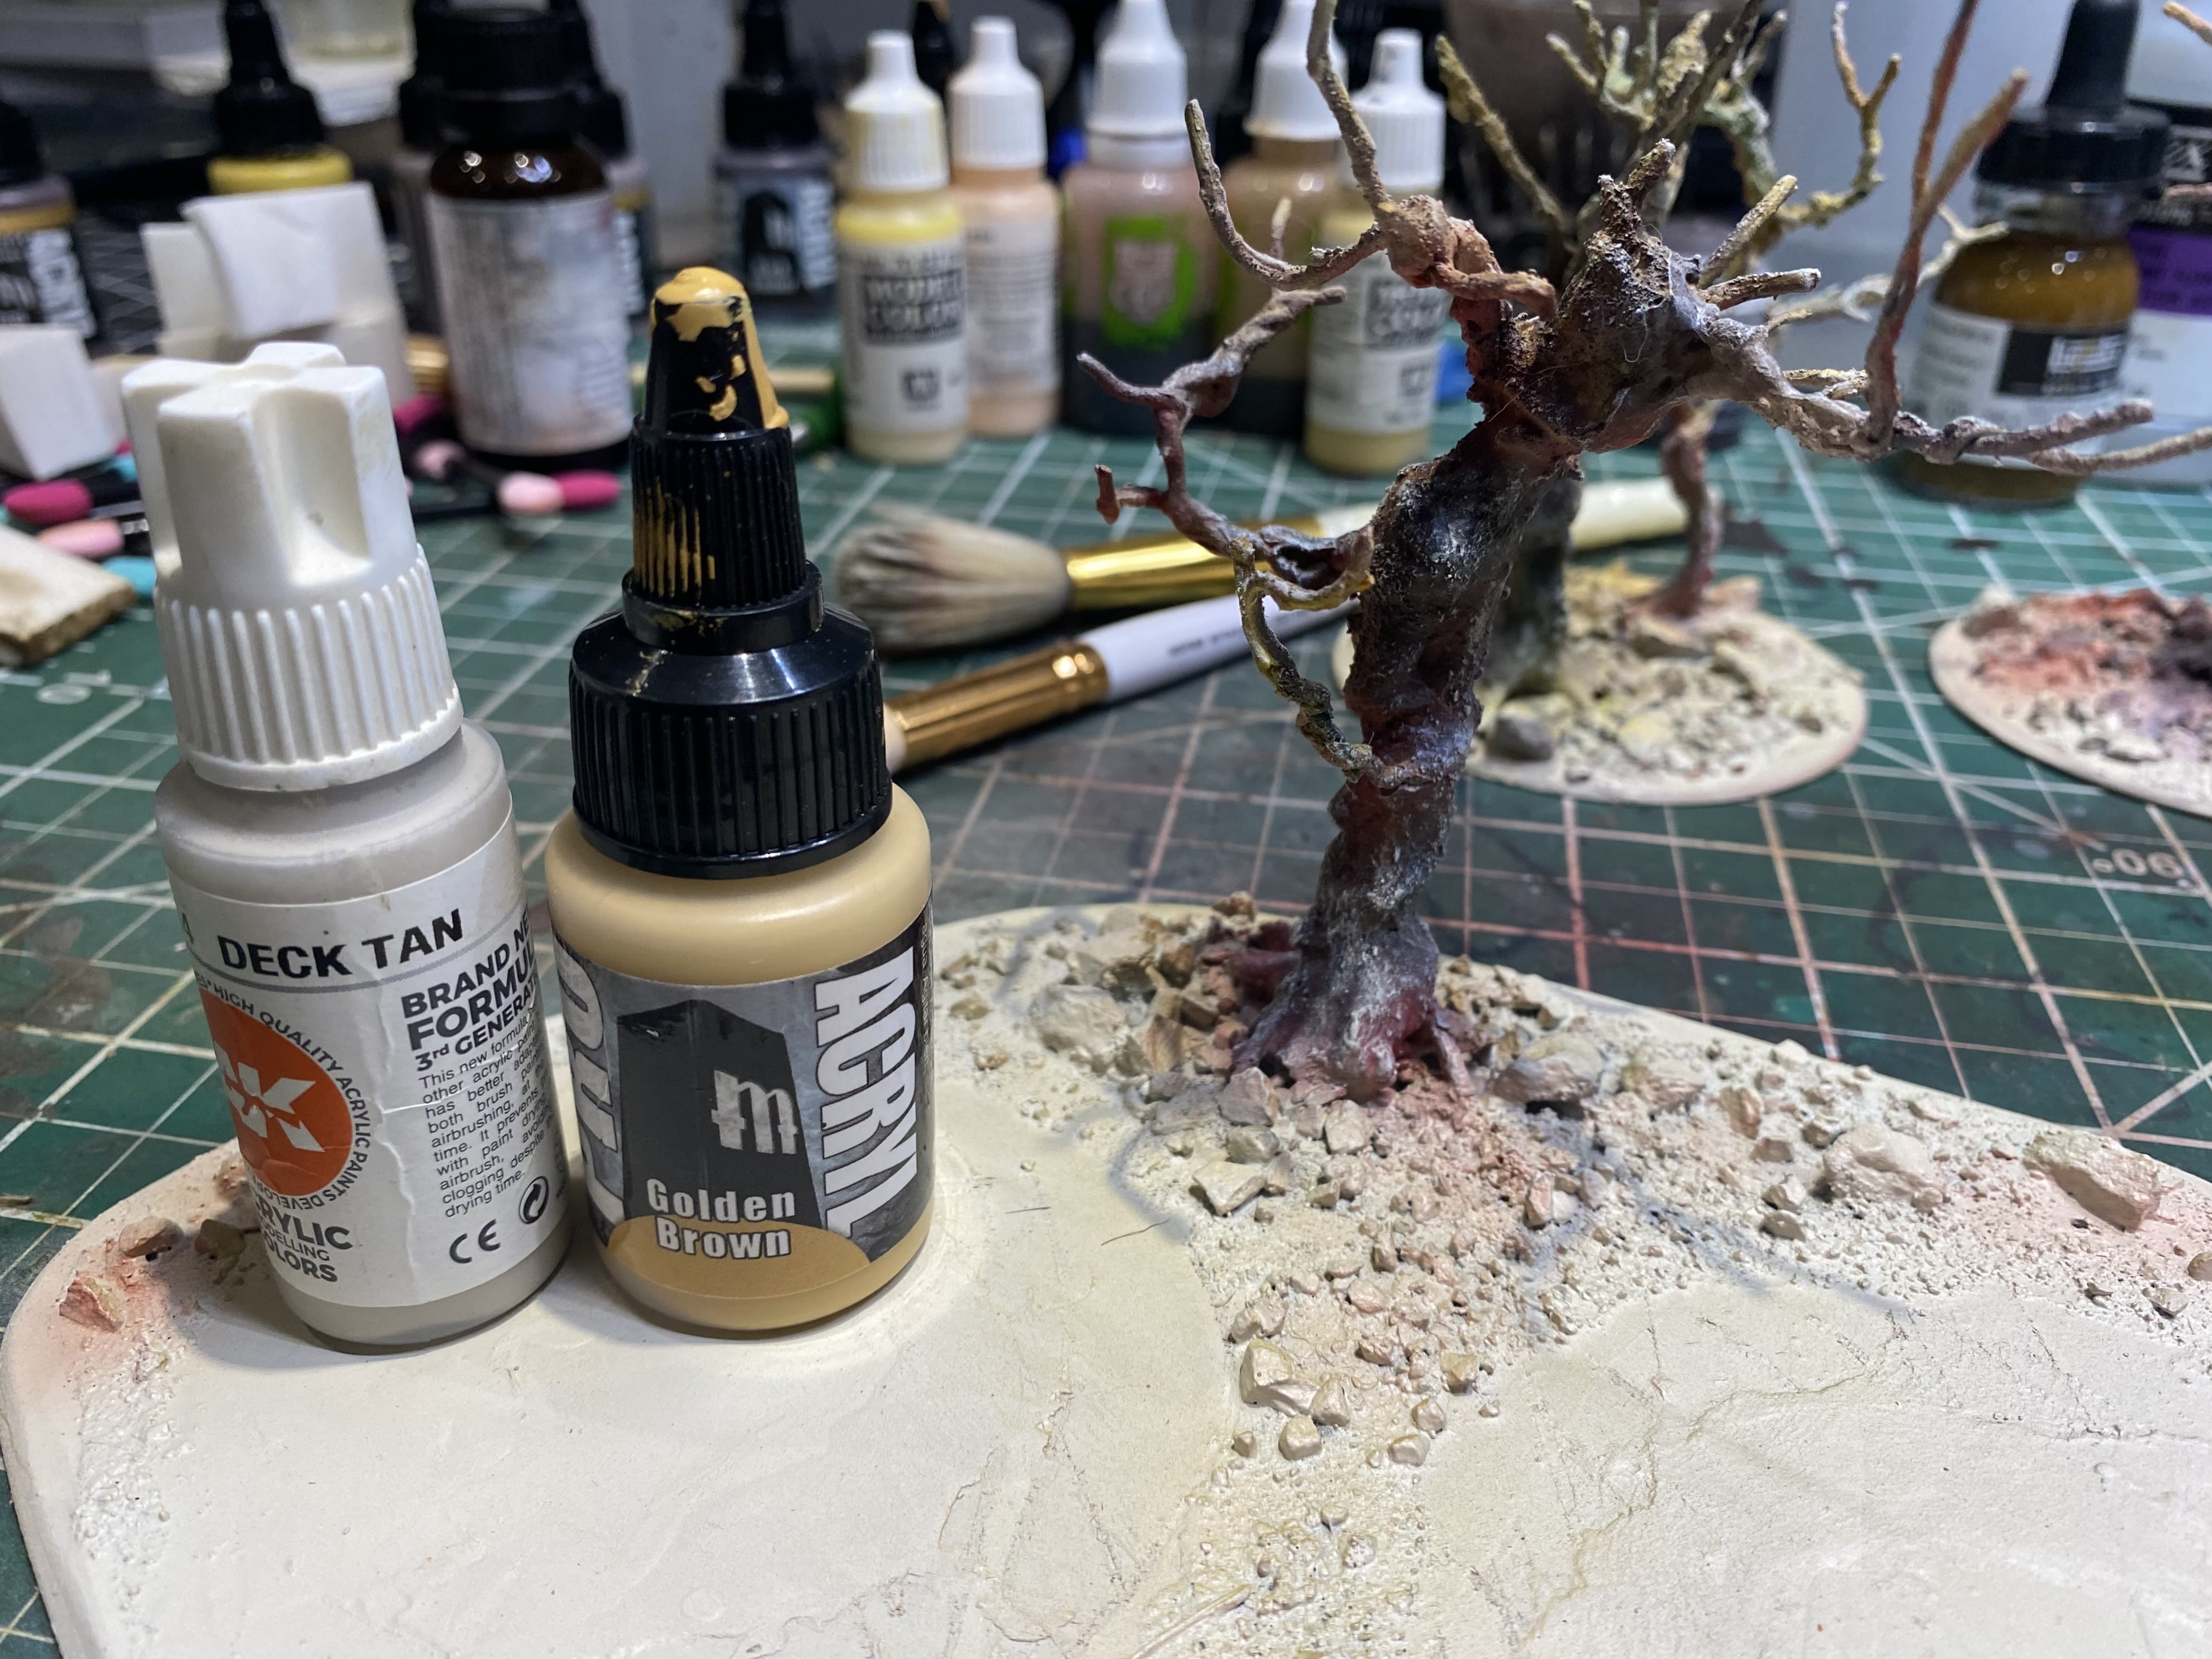
 Homemade dry textured palette for drybrushing
I varnished the pieces with a satin varnish.
Next step: oil and enamel wash tomorrow!
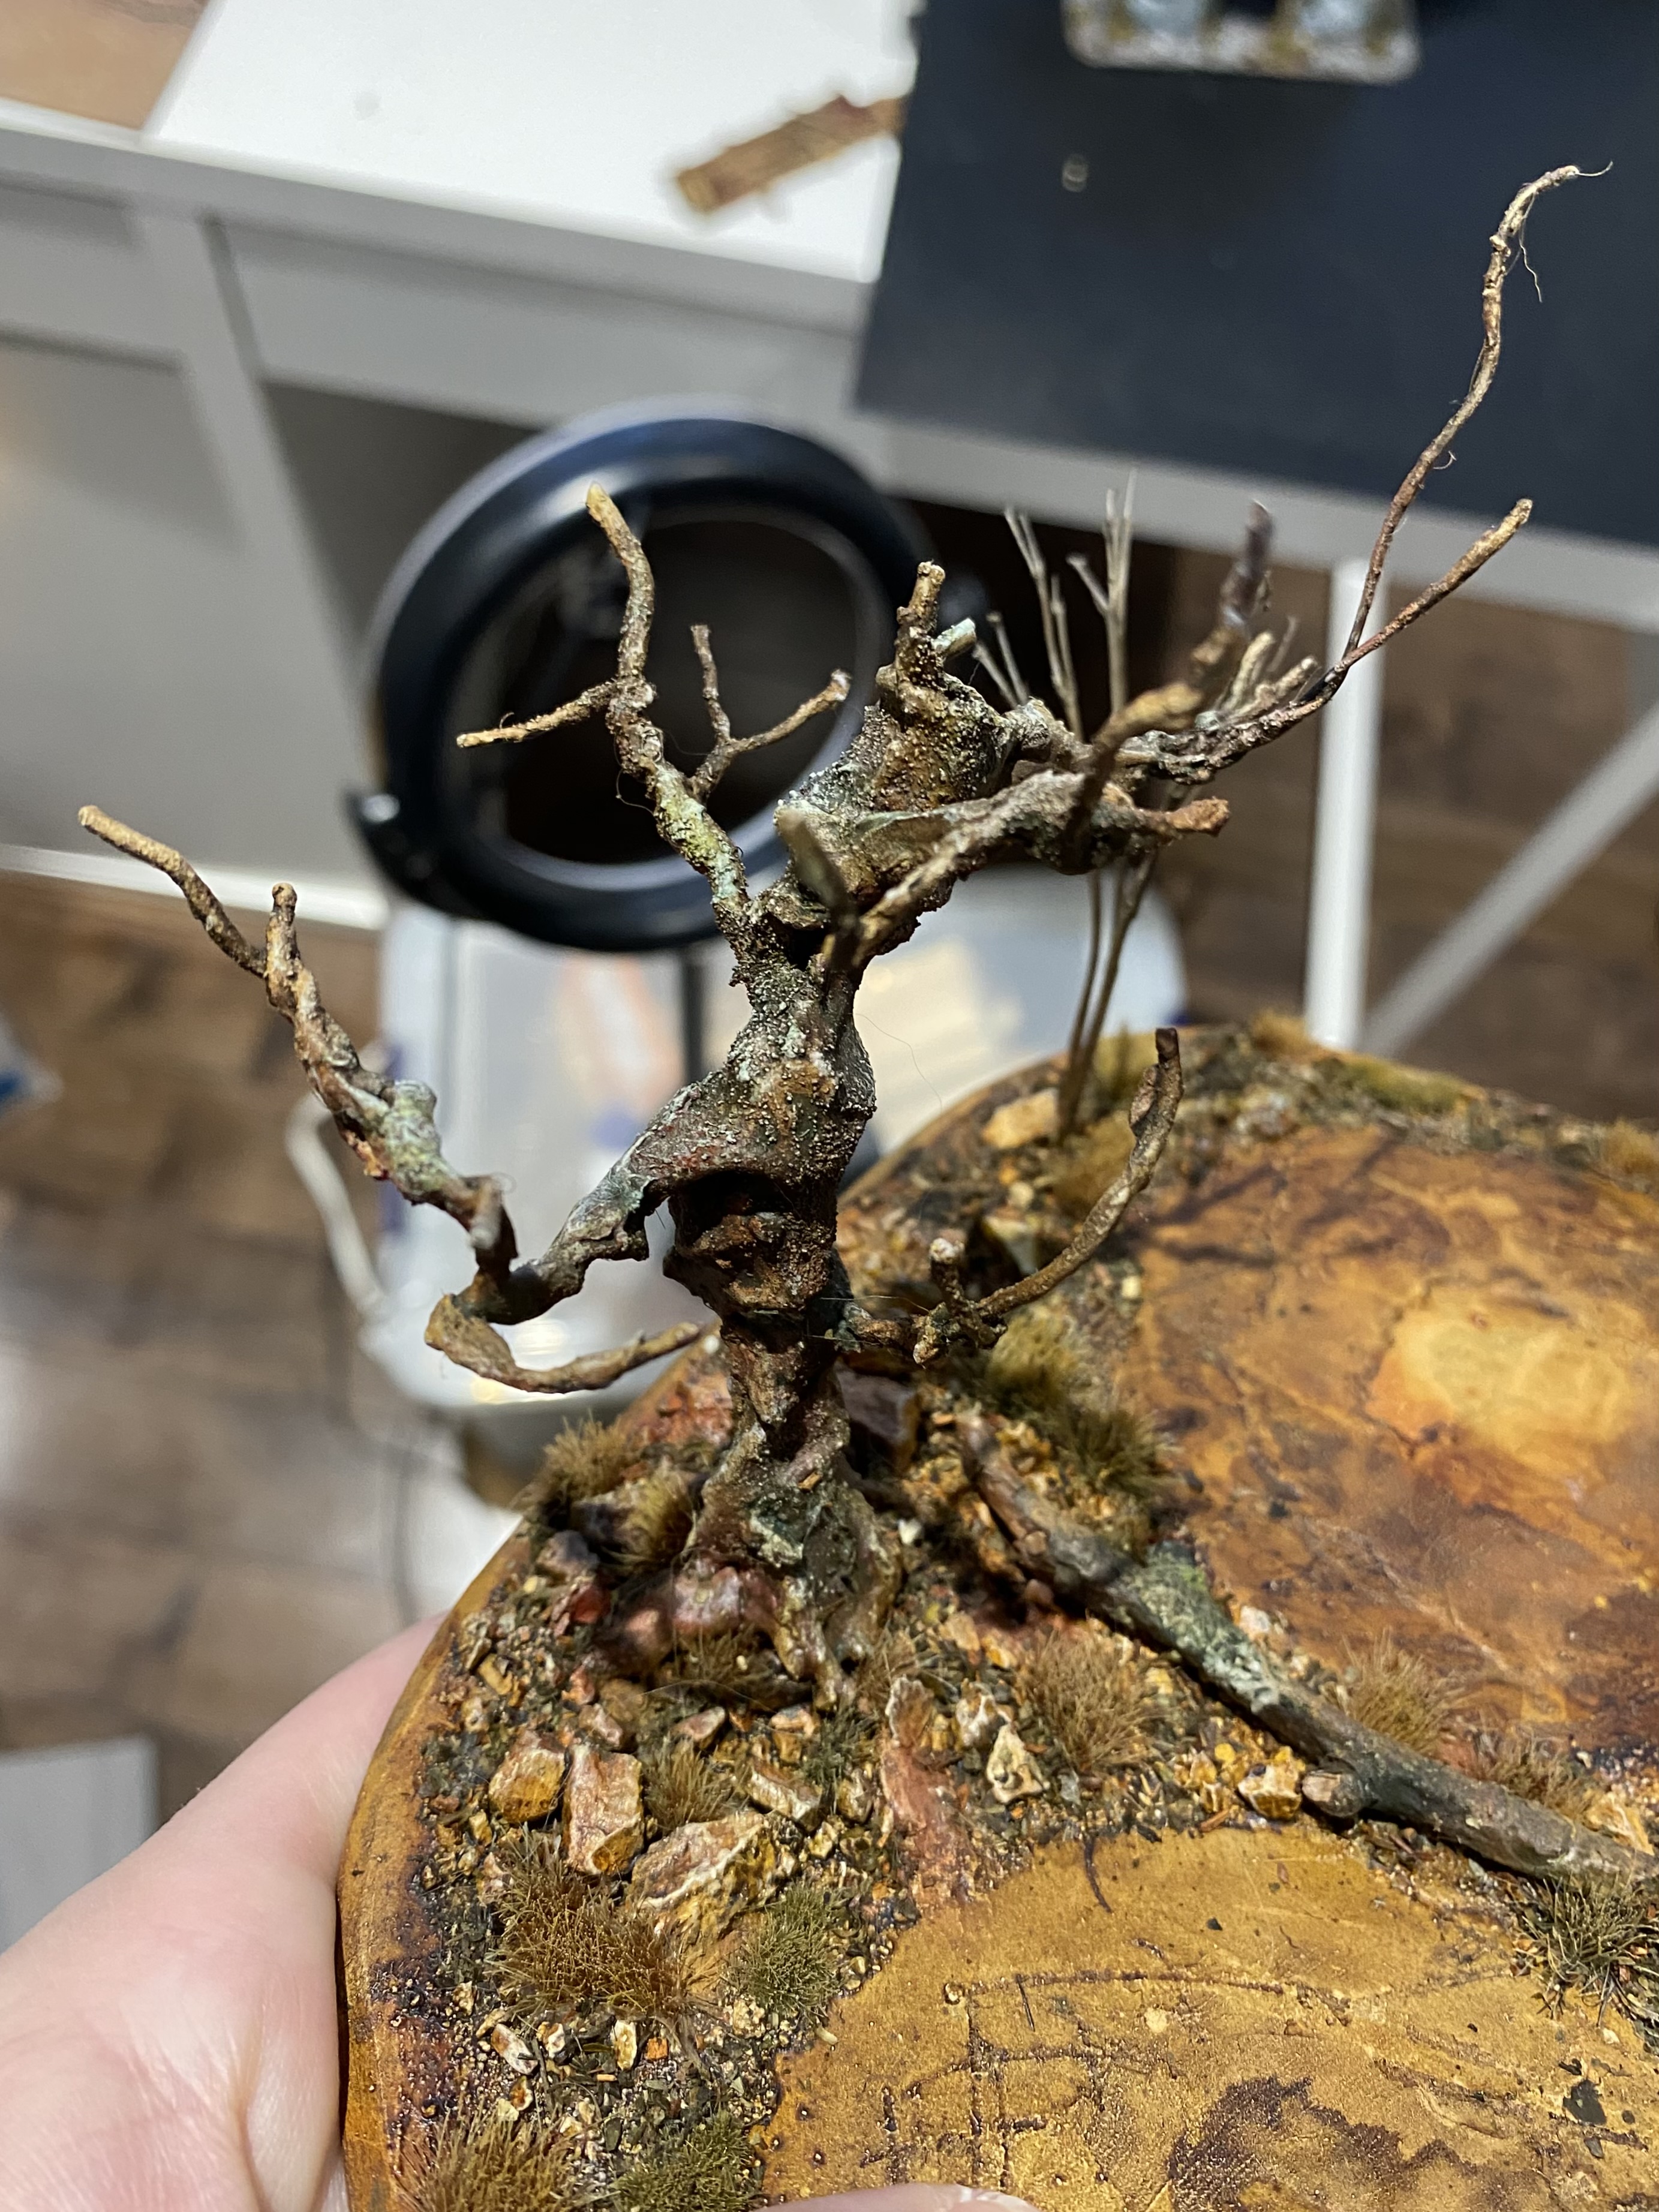
Oil and Enamel Wash
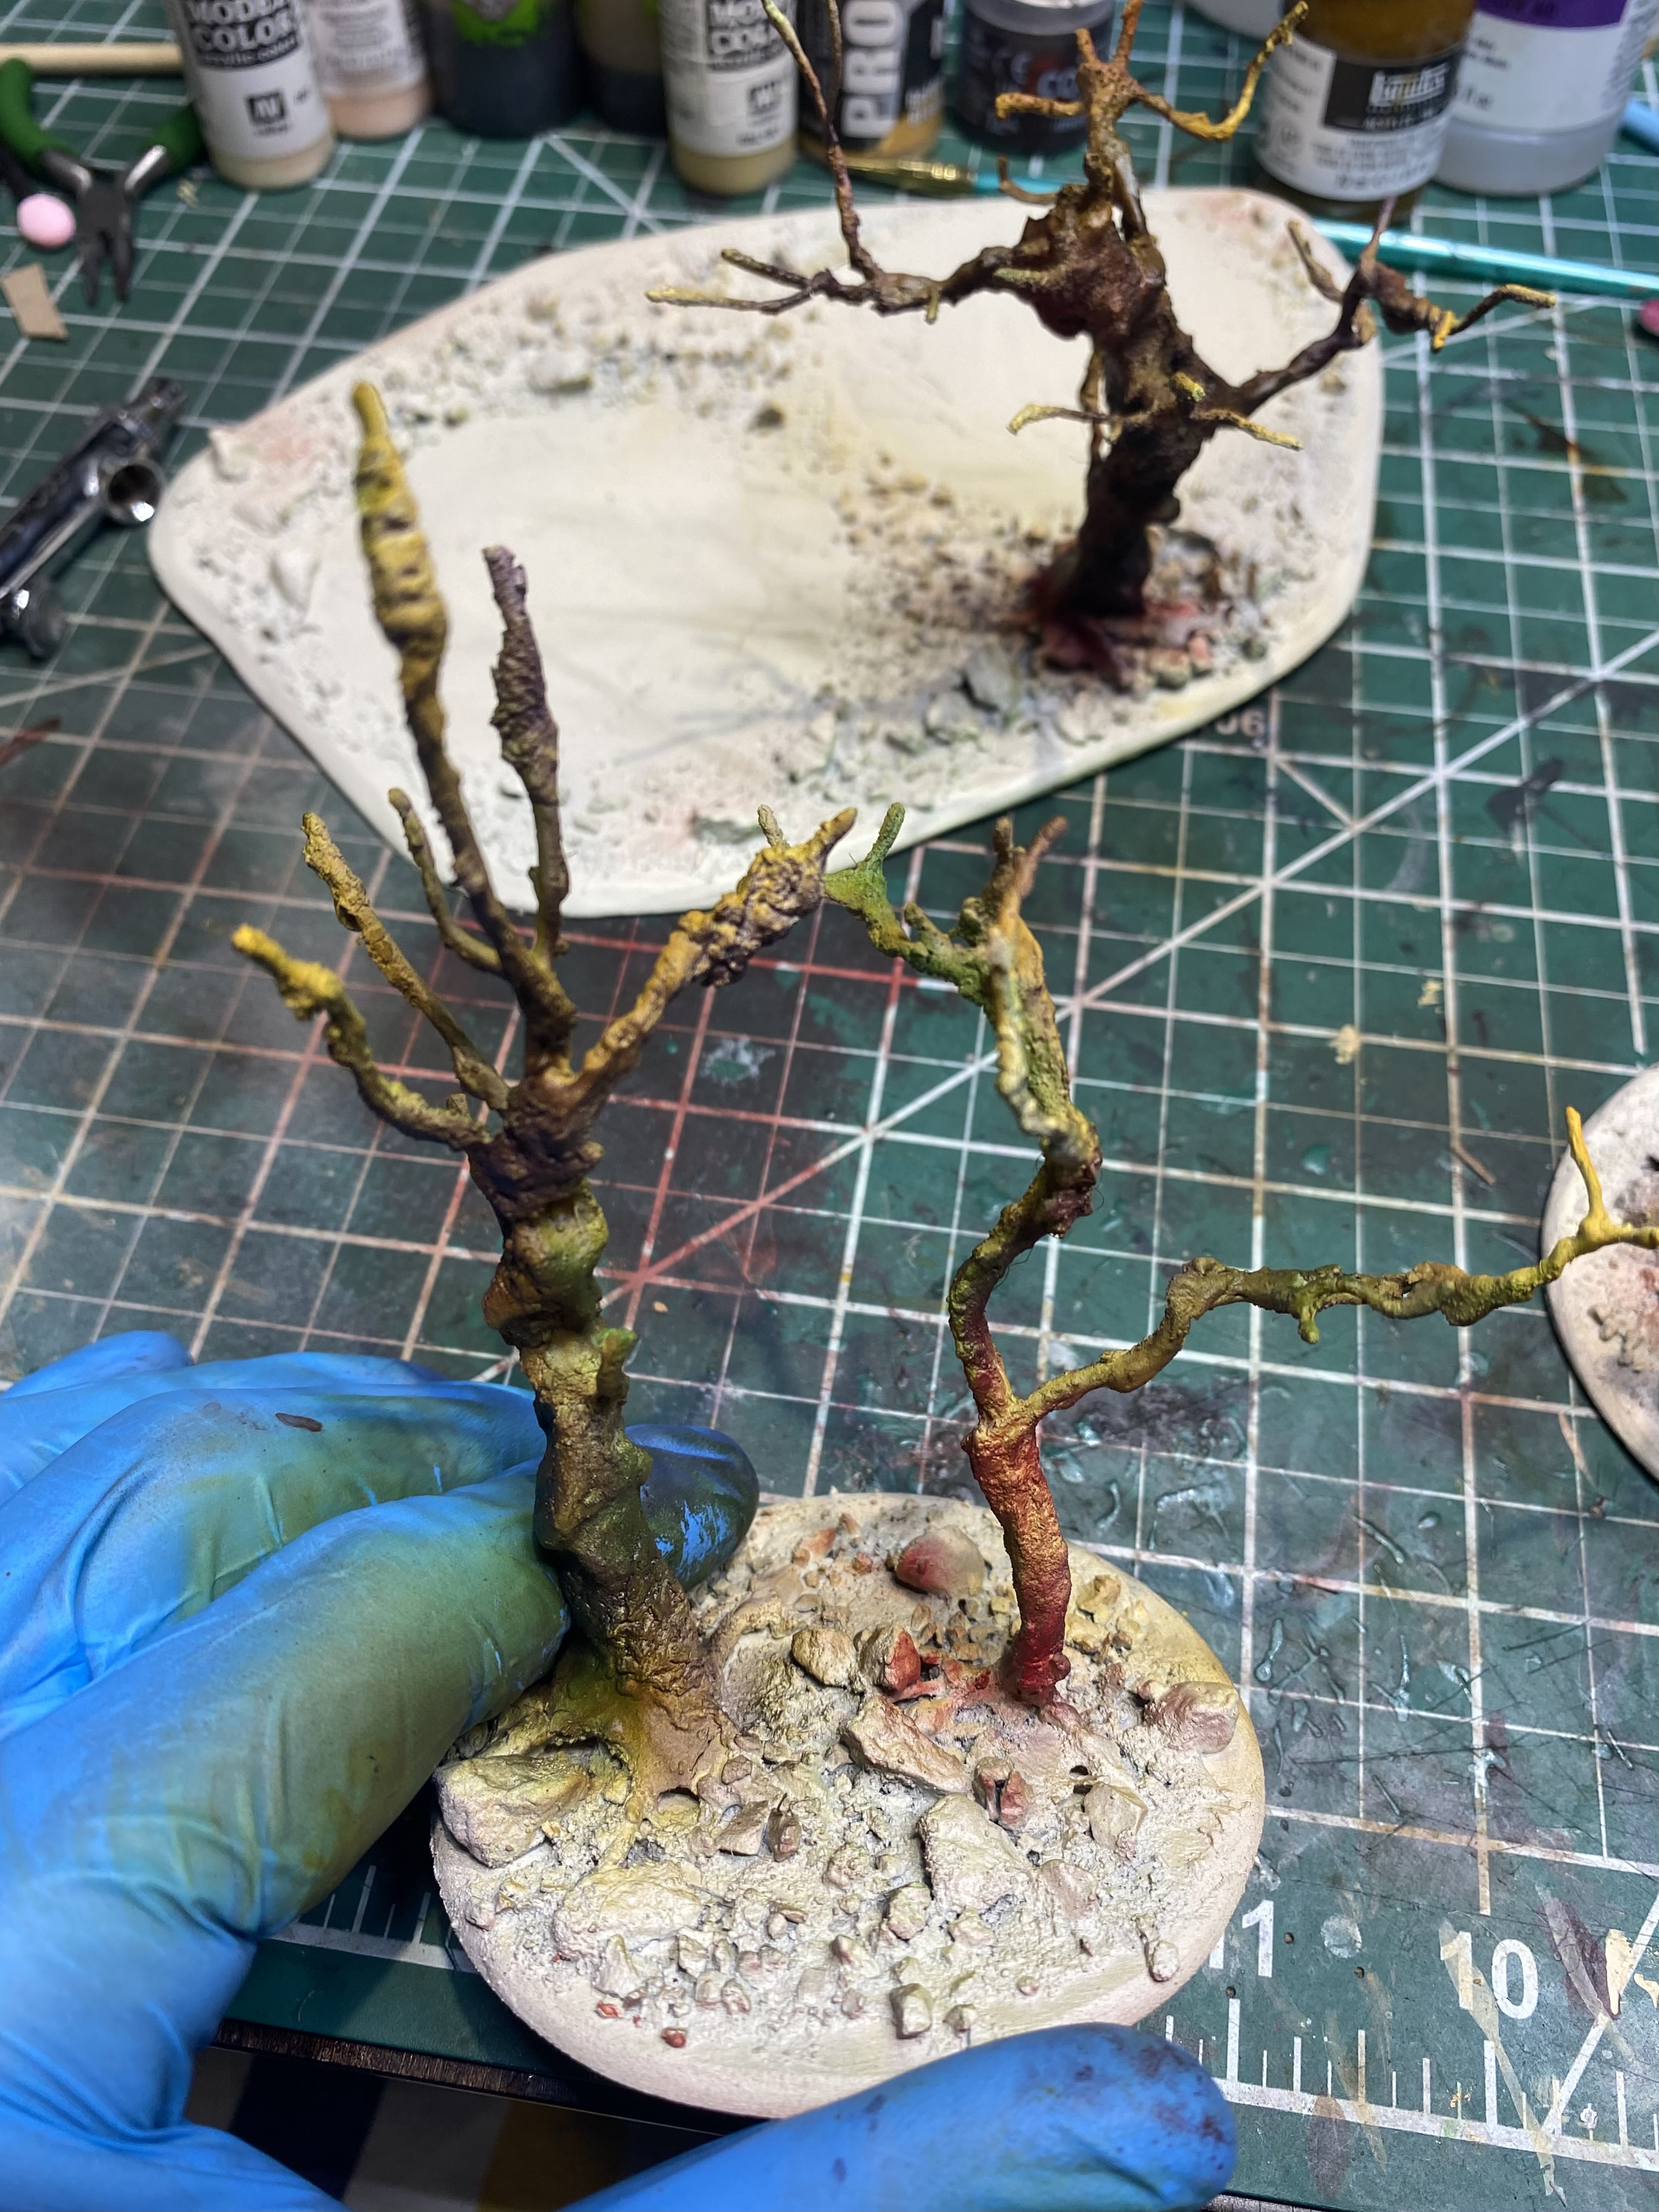
I used a green enamel wash and a brown wash over the trees.
The varnish coat will help the wash to flow over it and will not stain the surface as much.
The enamel wash dries quickly, but I have to wait a bit more for the oil wash to settle.
I then use makeup sponges and q-tips to remove some of the wash.
It’s starting to look like trees, but it’s a bit too dark at the moment.
 Bit too dark at the moment..
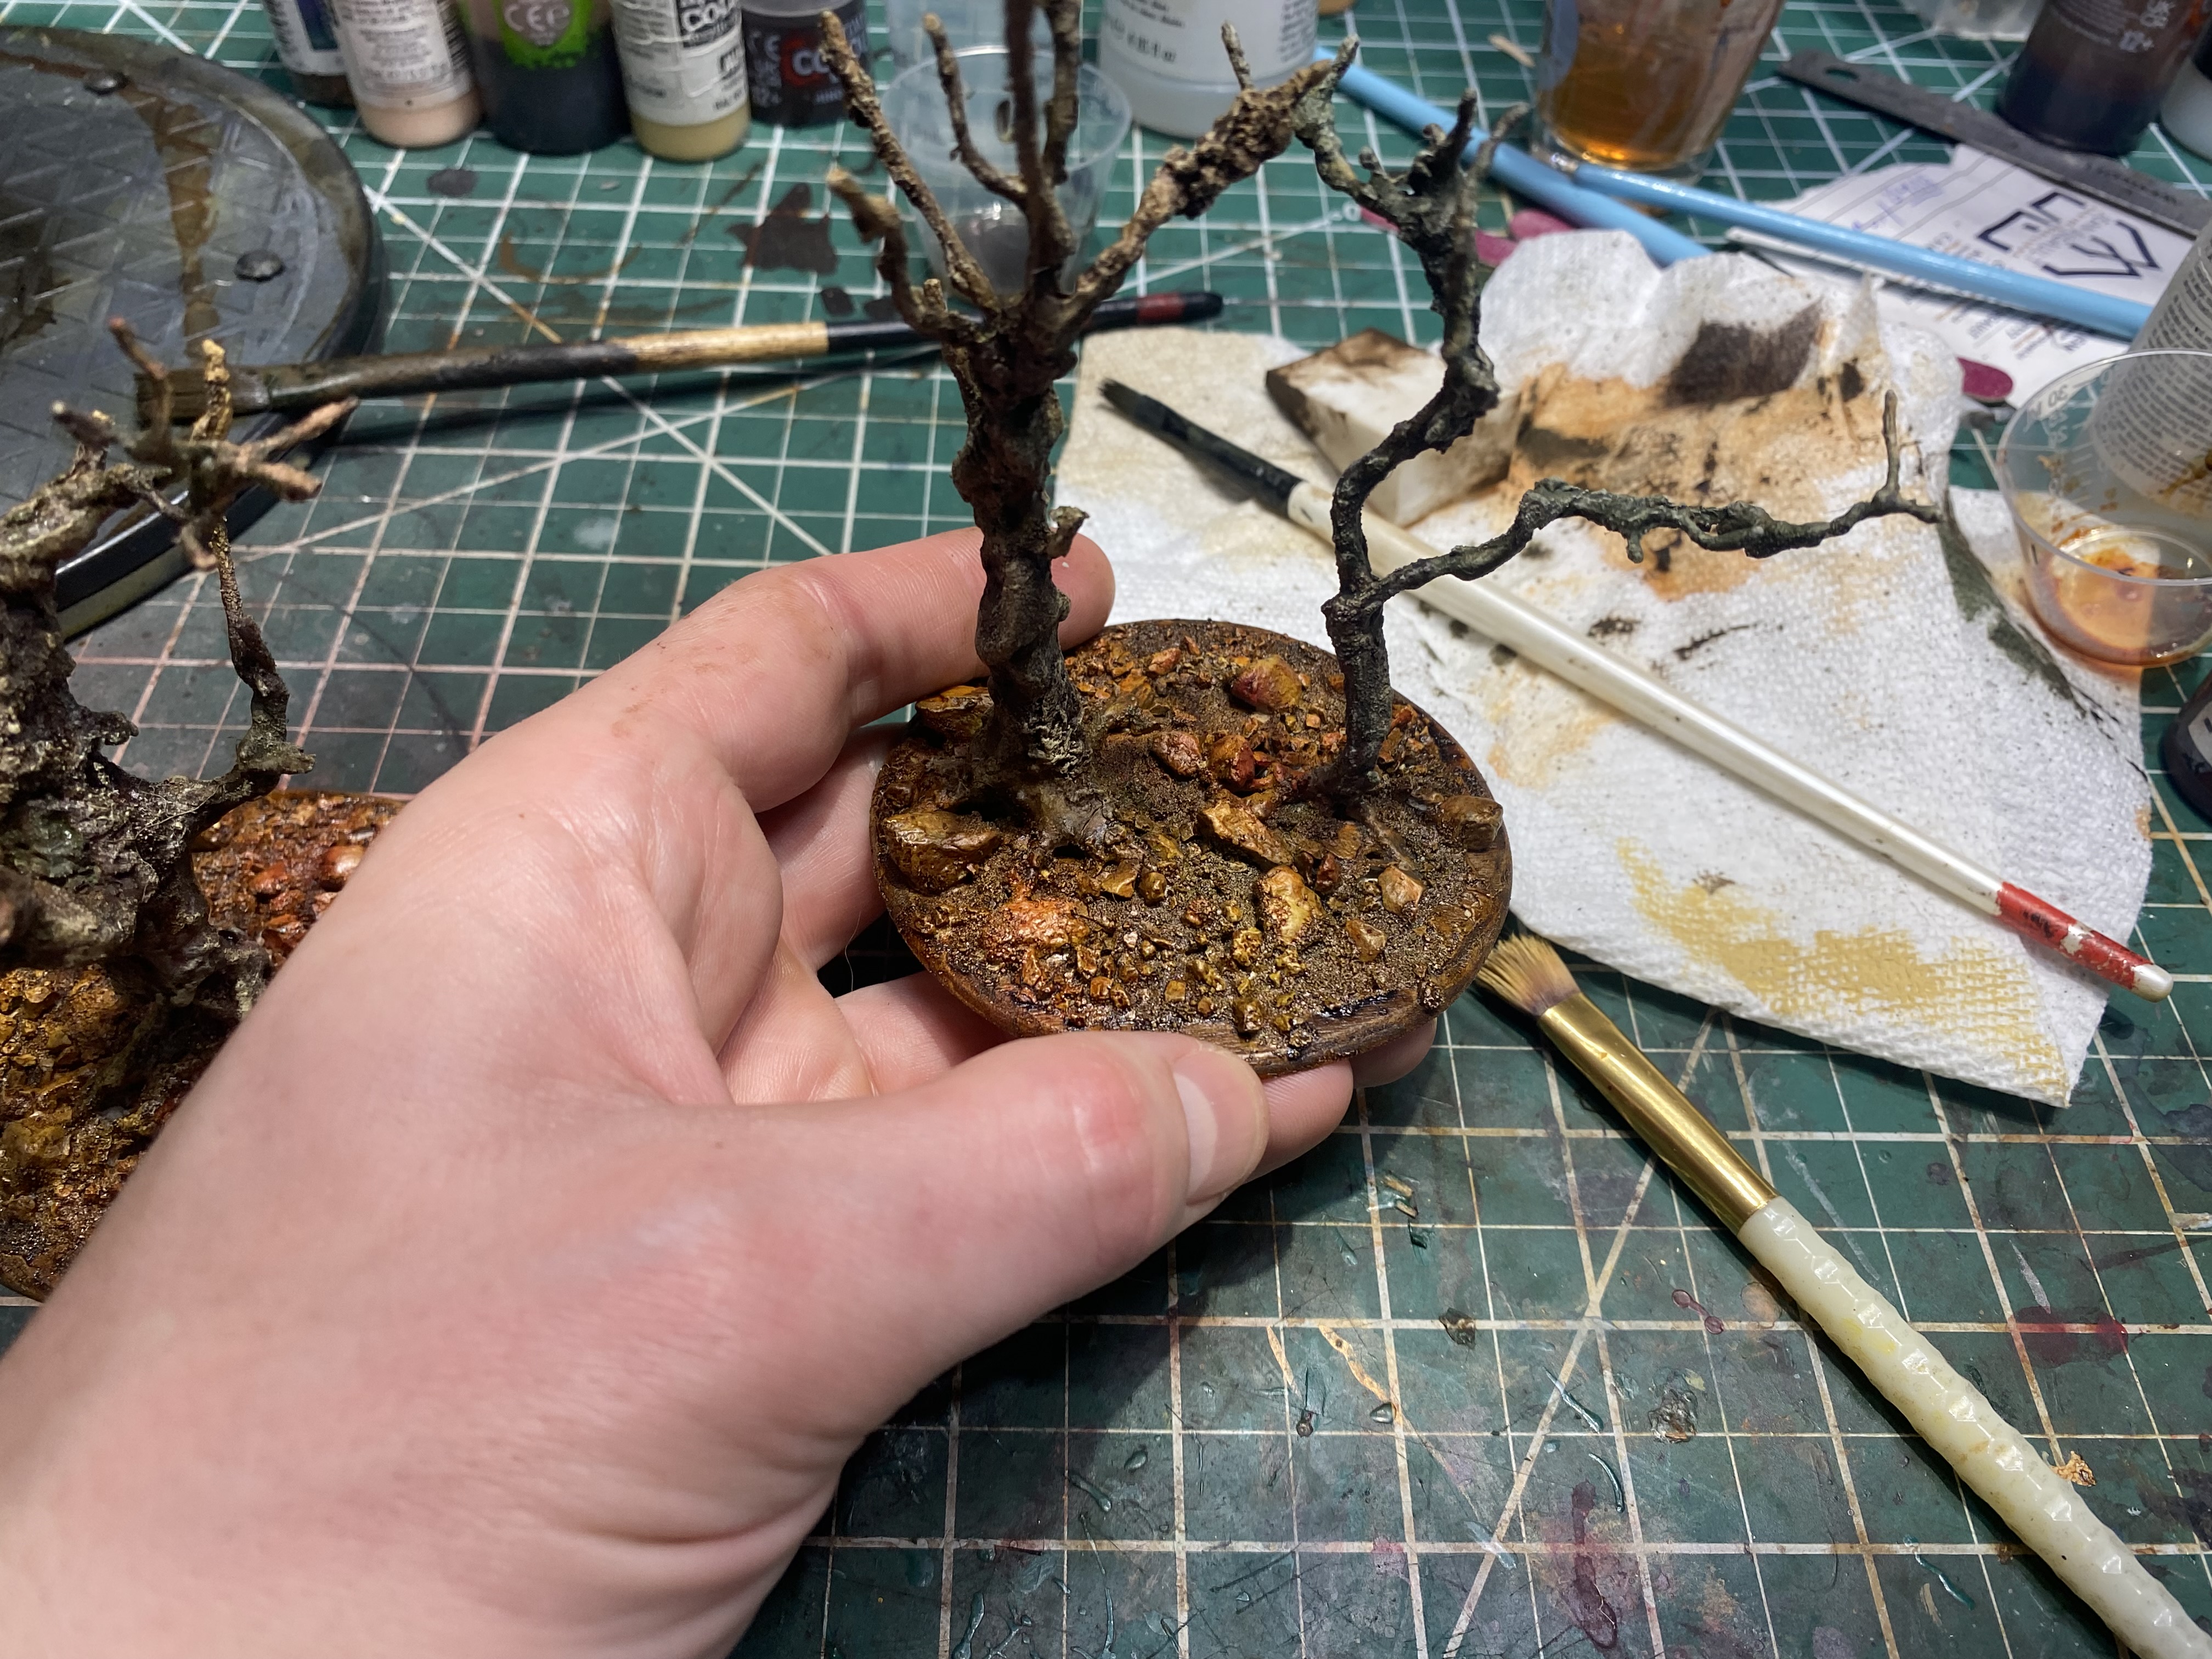
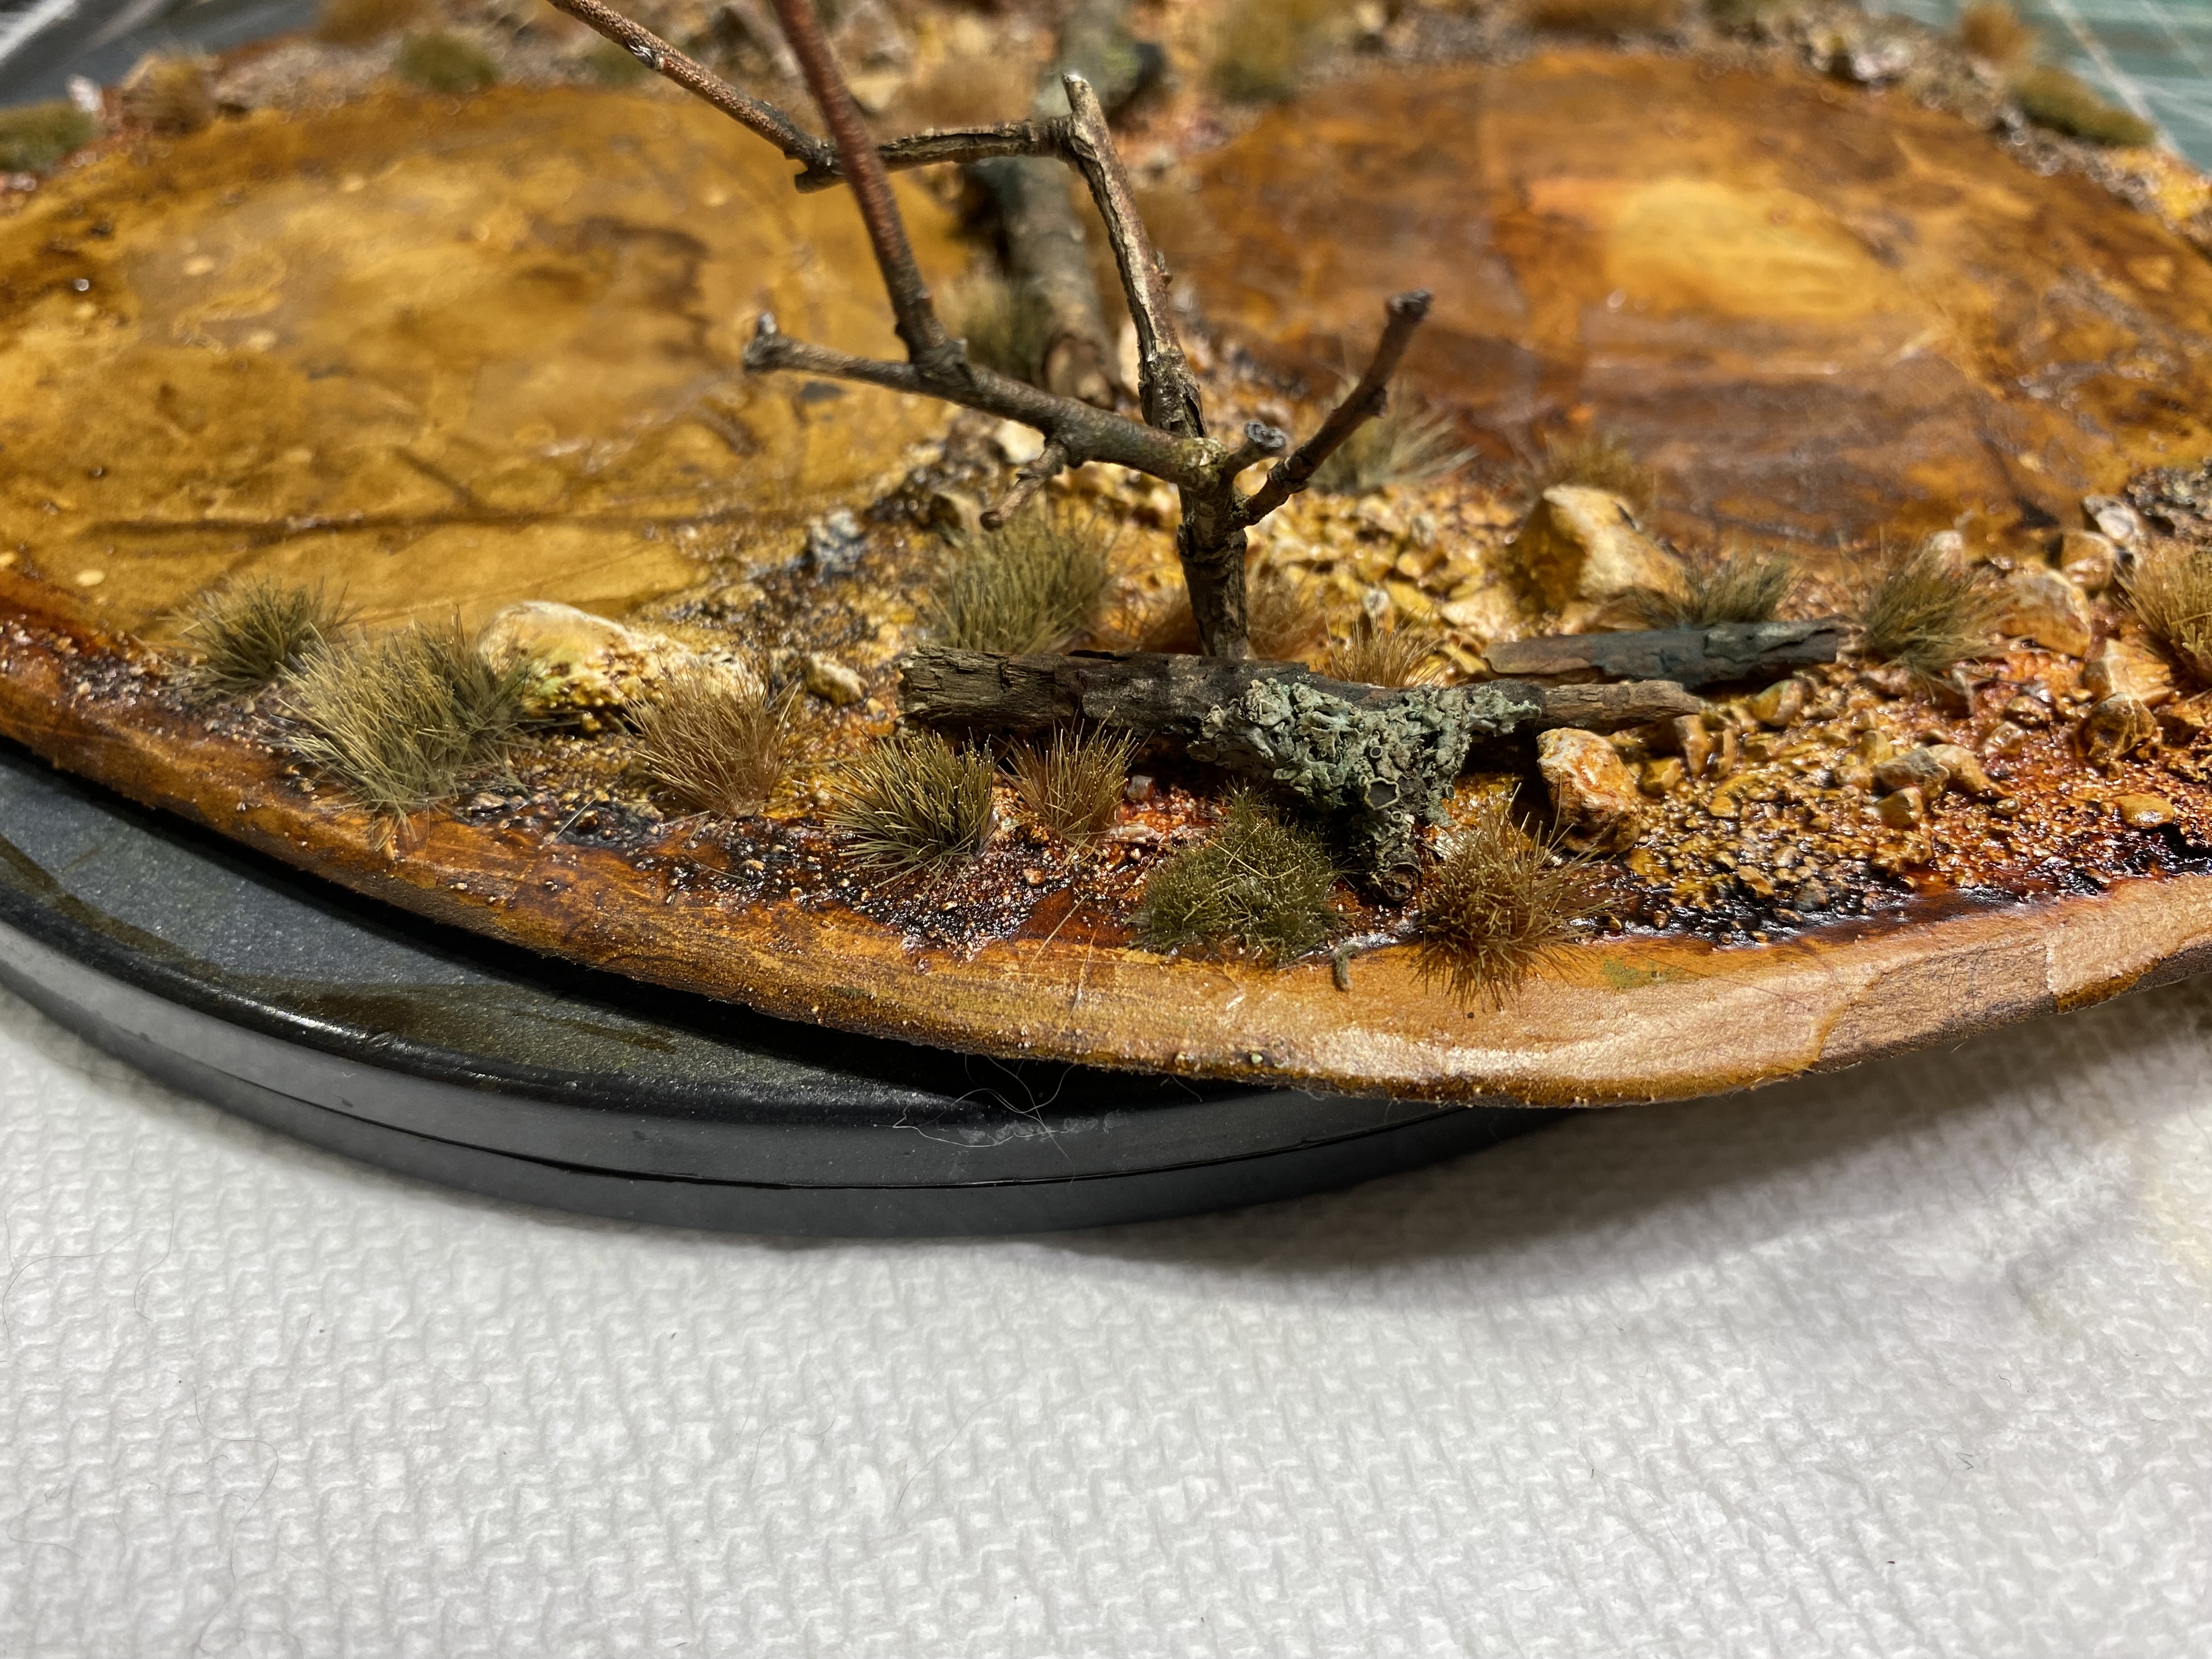
 Initial "basecoating" of the ground
The ground was painted with three different inks:
- Transparent sepia ink
- Transparent raw umber ink
- Transparent raw sienna
Inks act a bit like a wash over the sand/pebbles, and they mixed well.
The same painting scheme was used for the base of the huge tower.

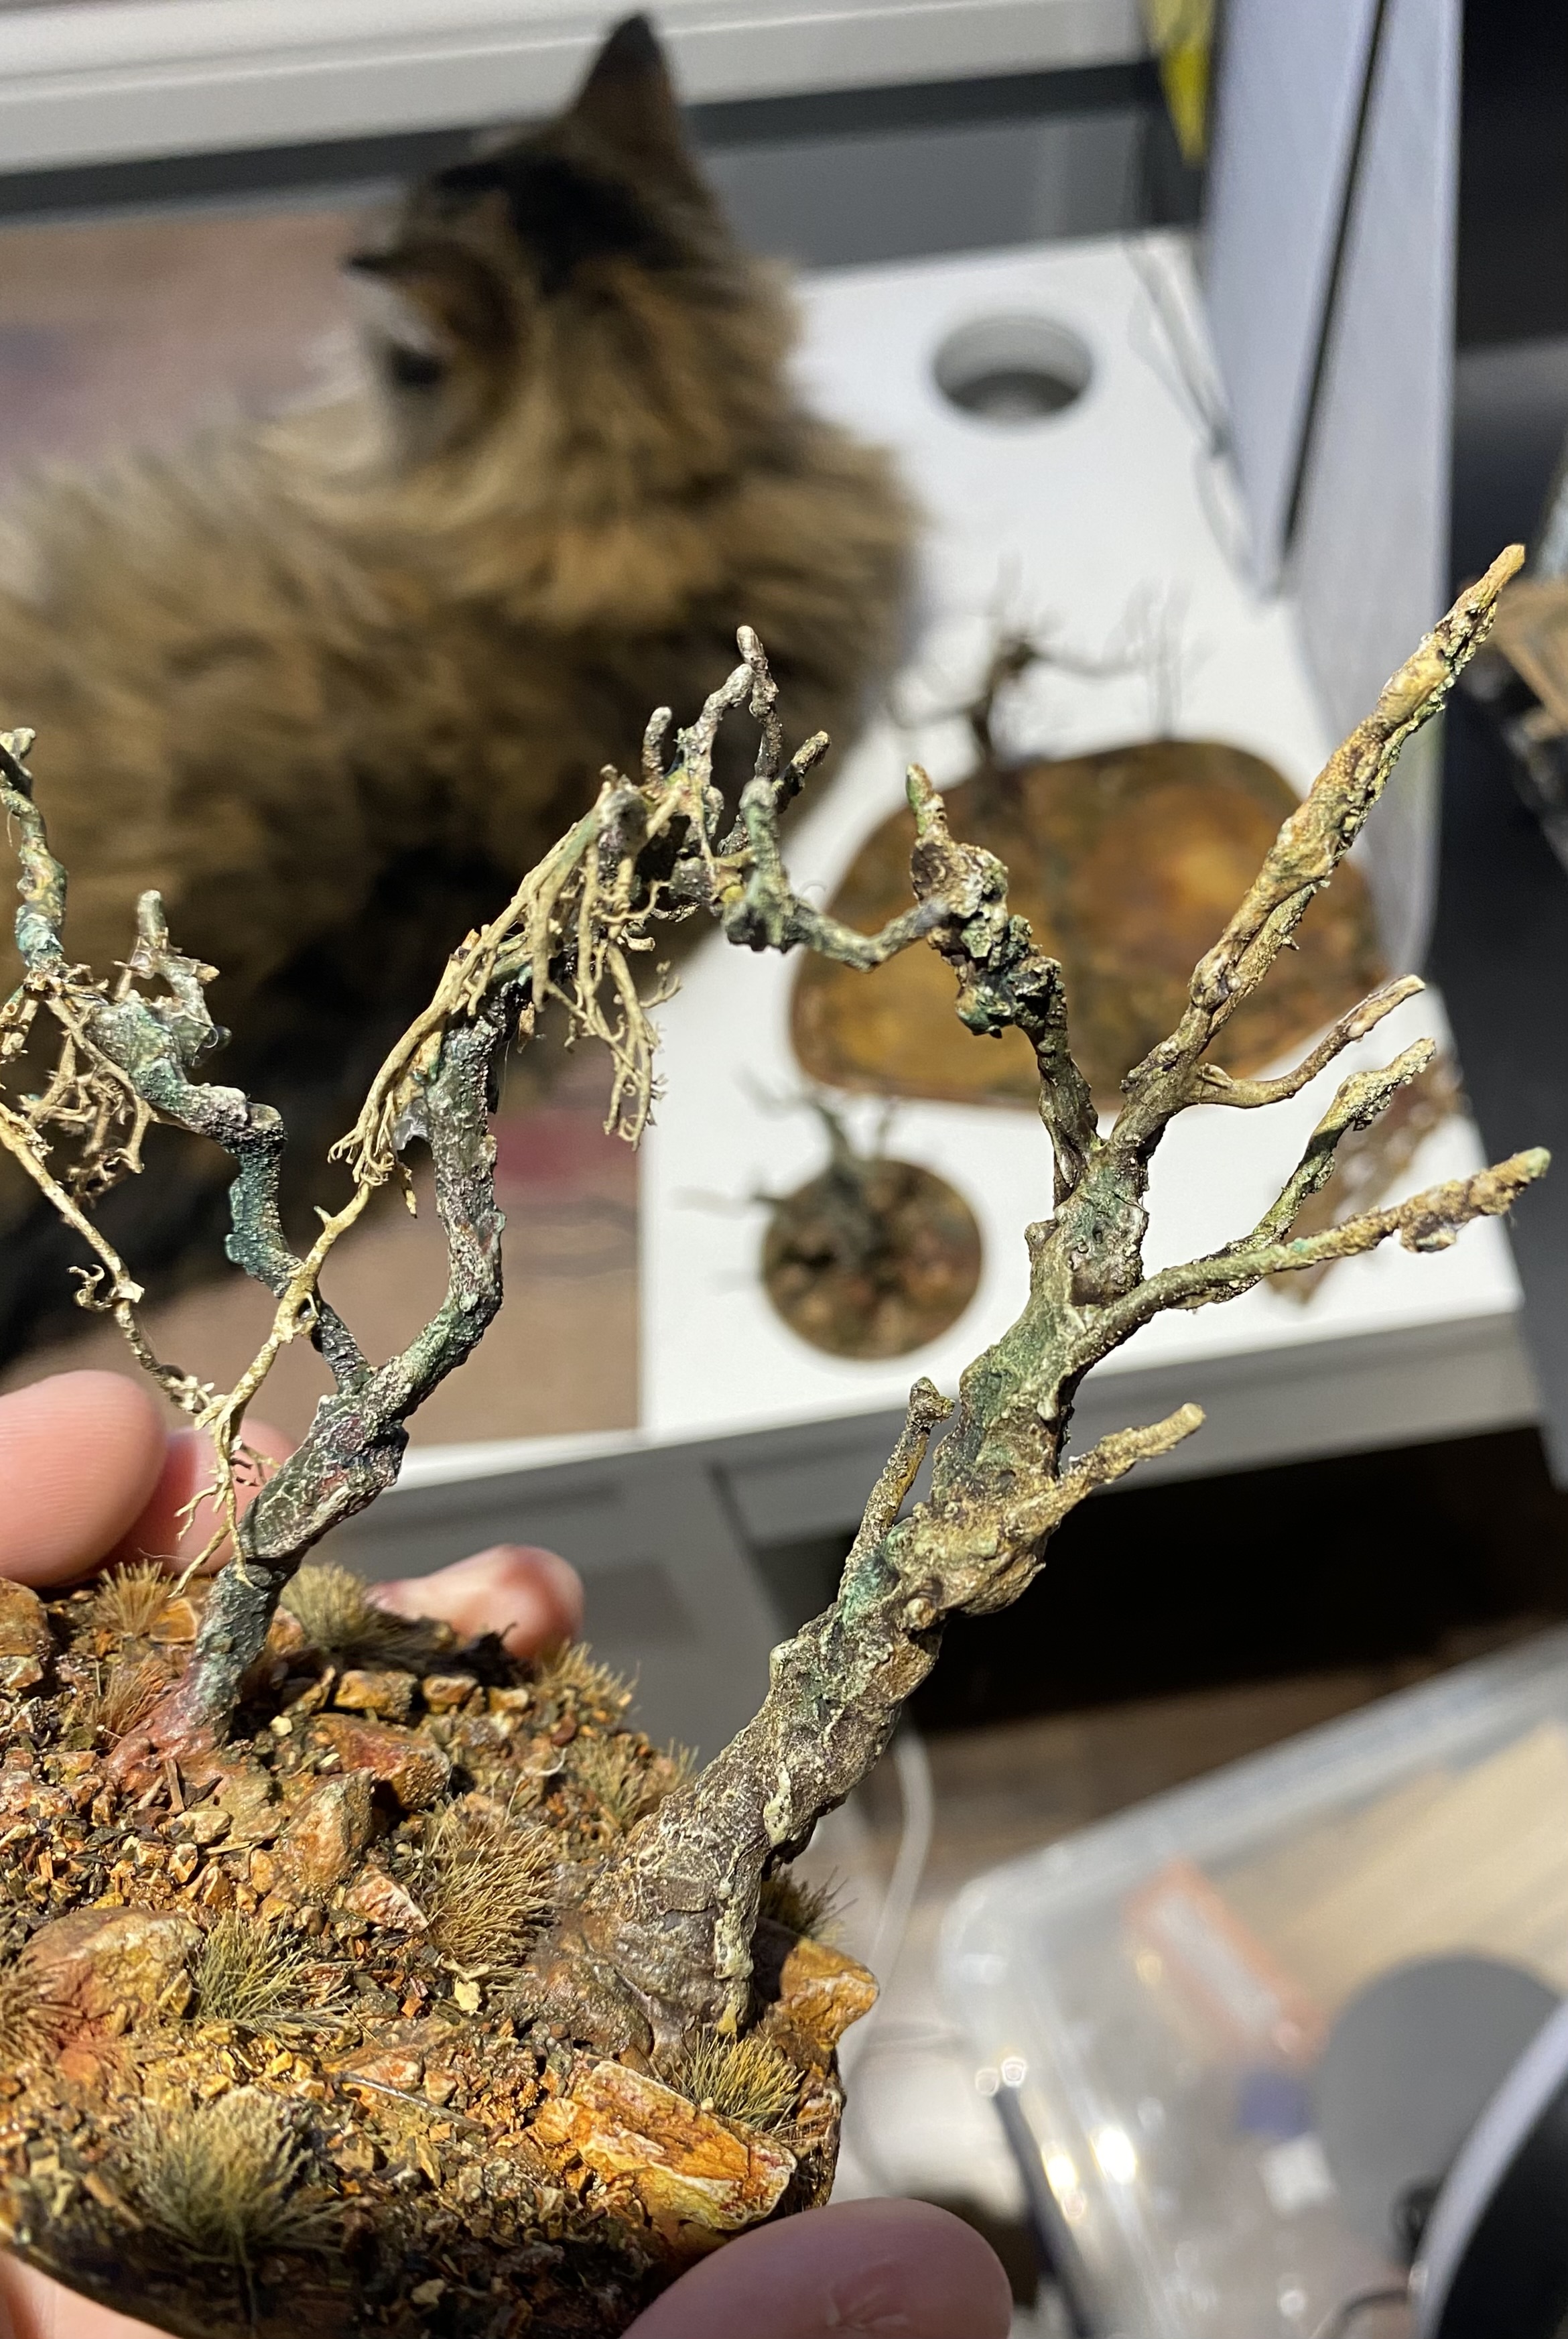
Quick Update: Natural Elements
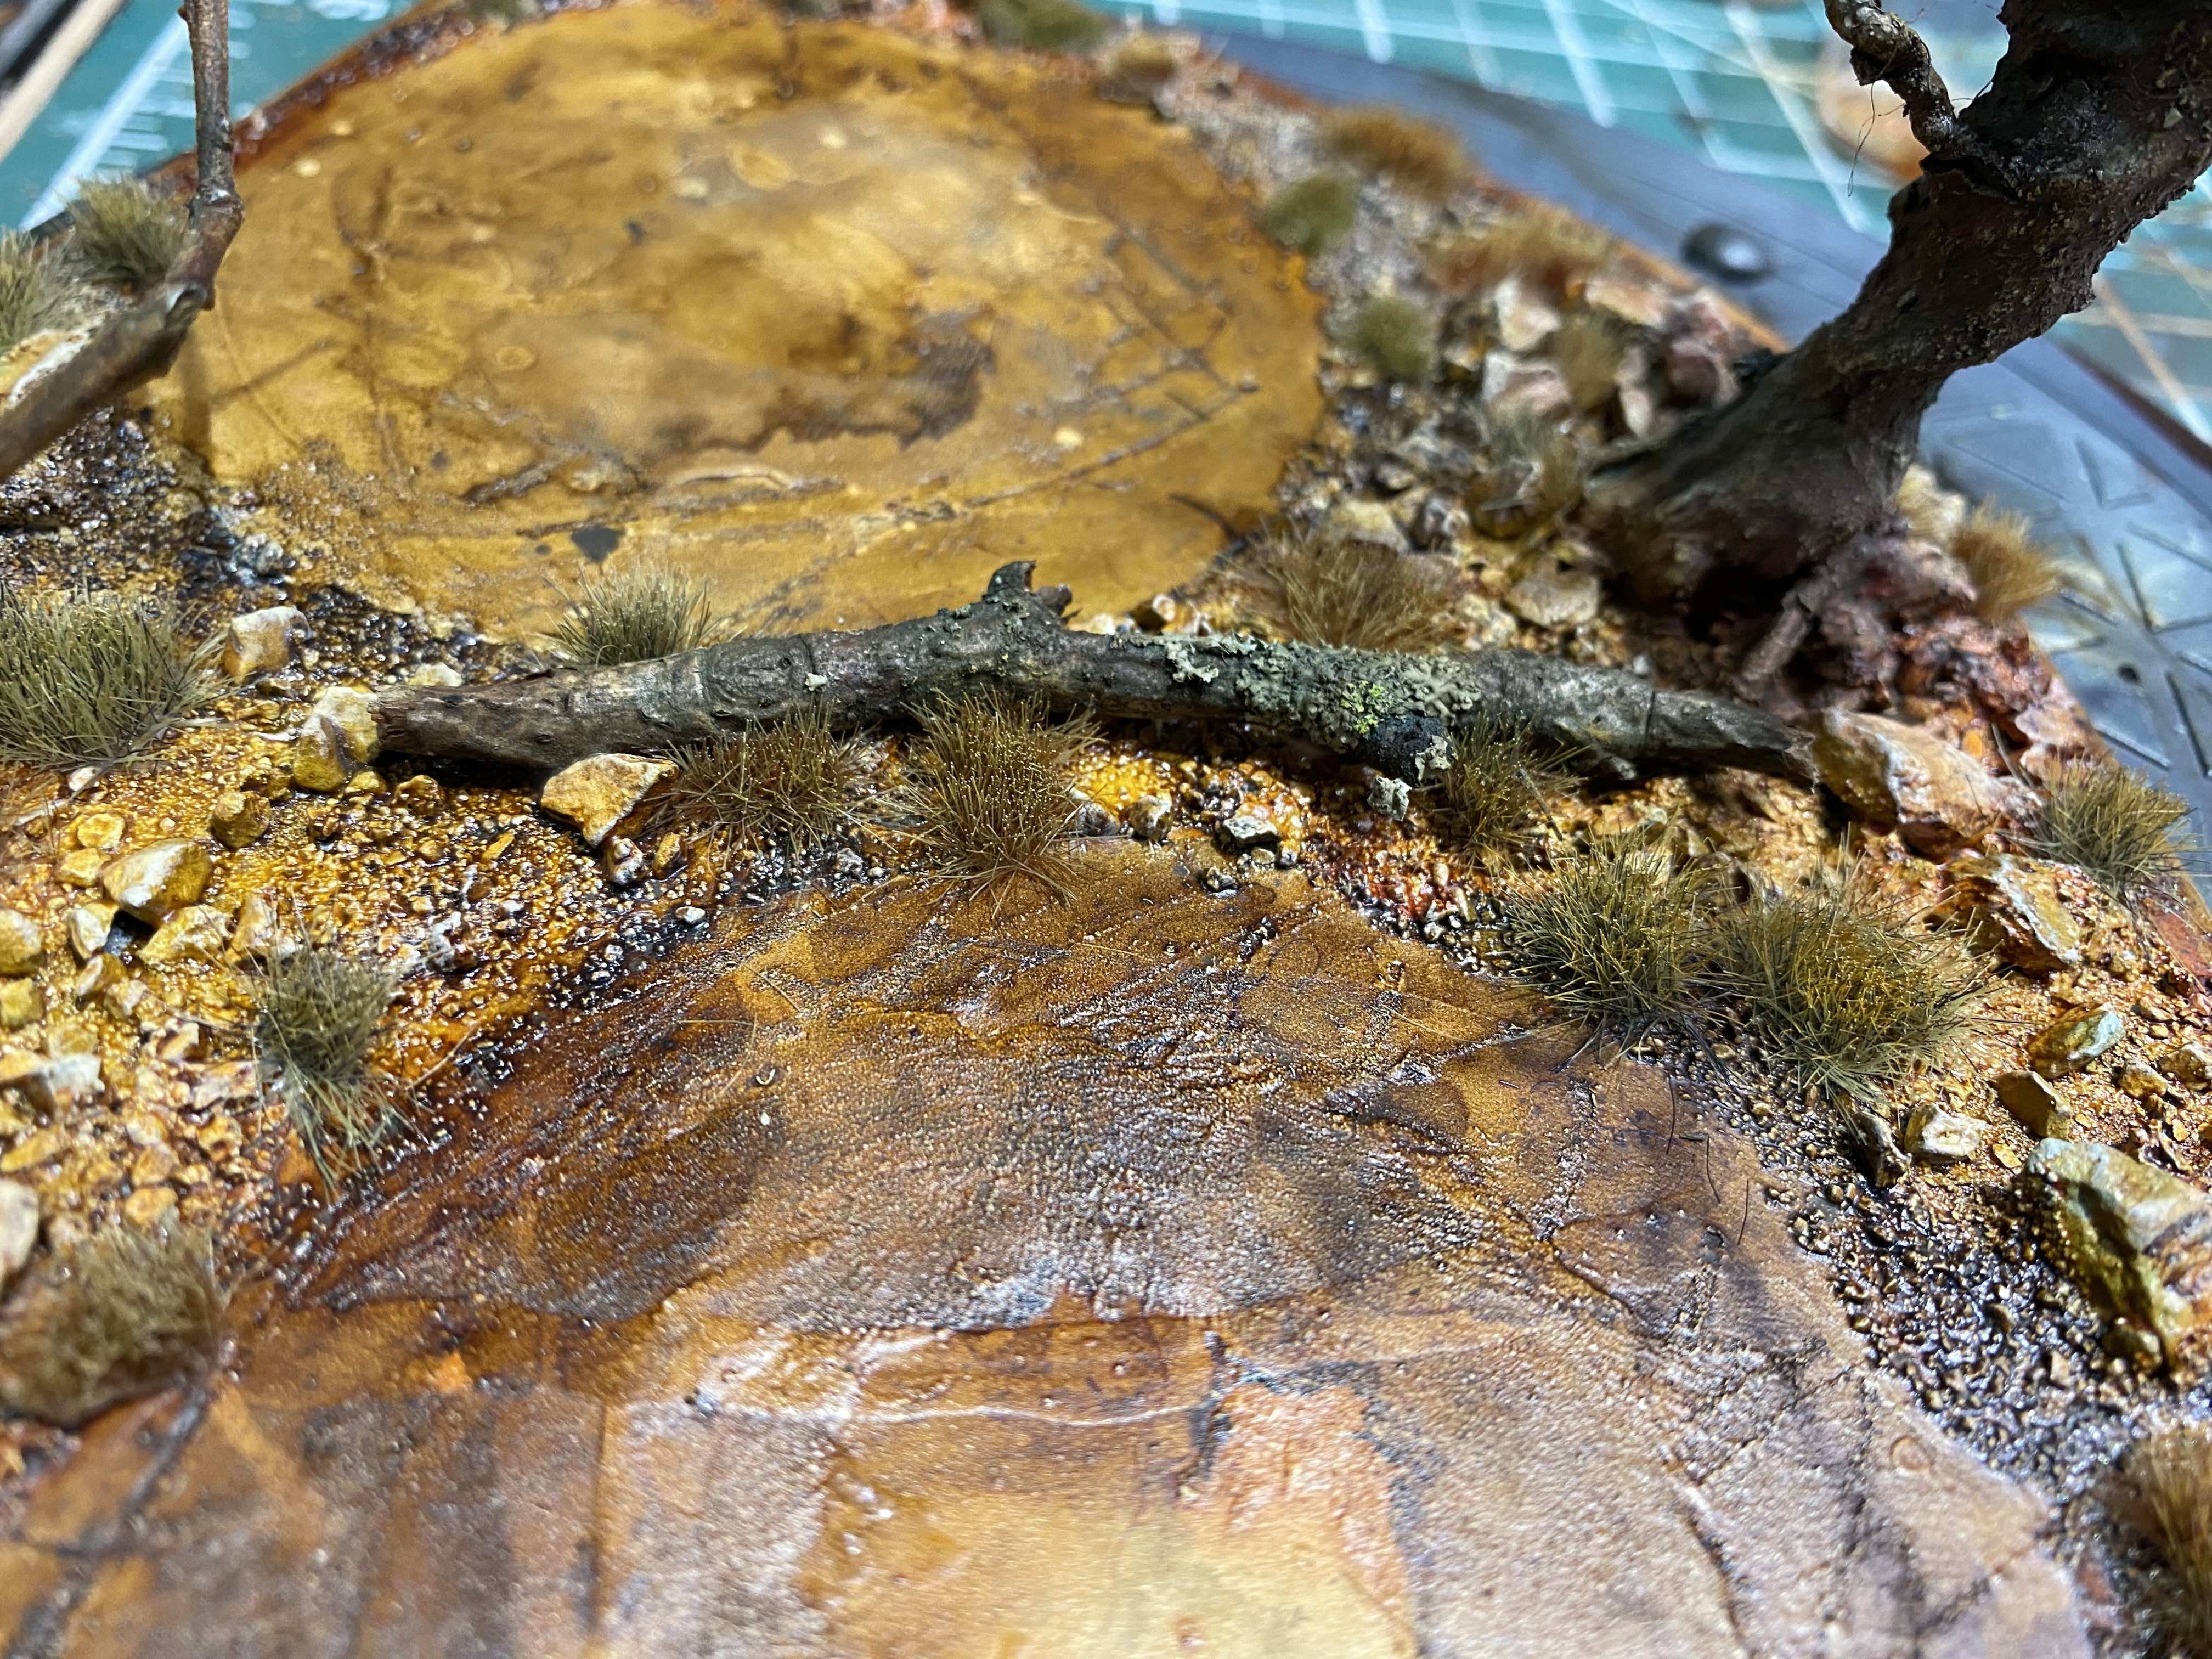
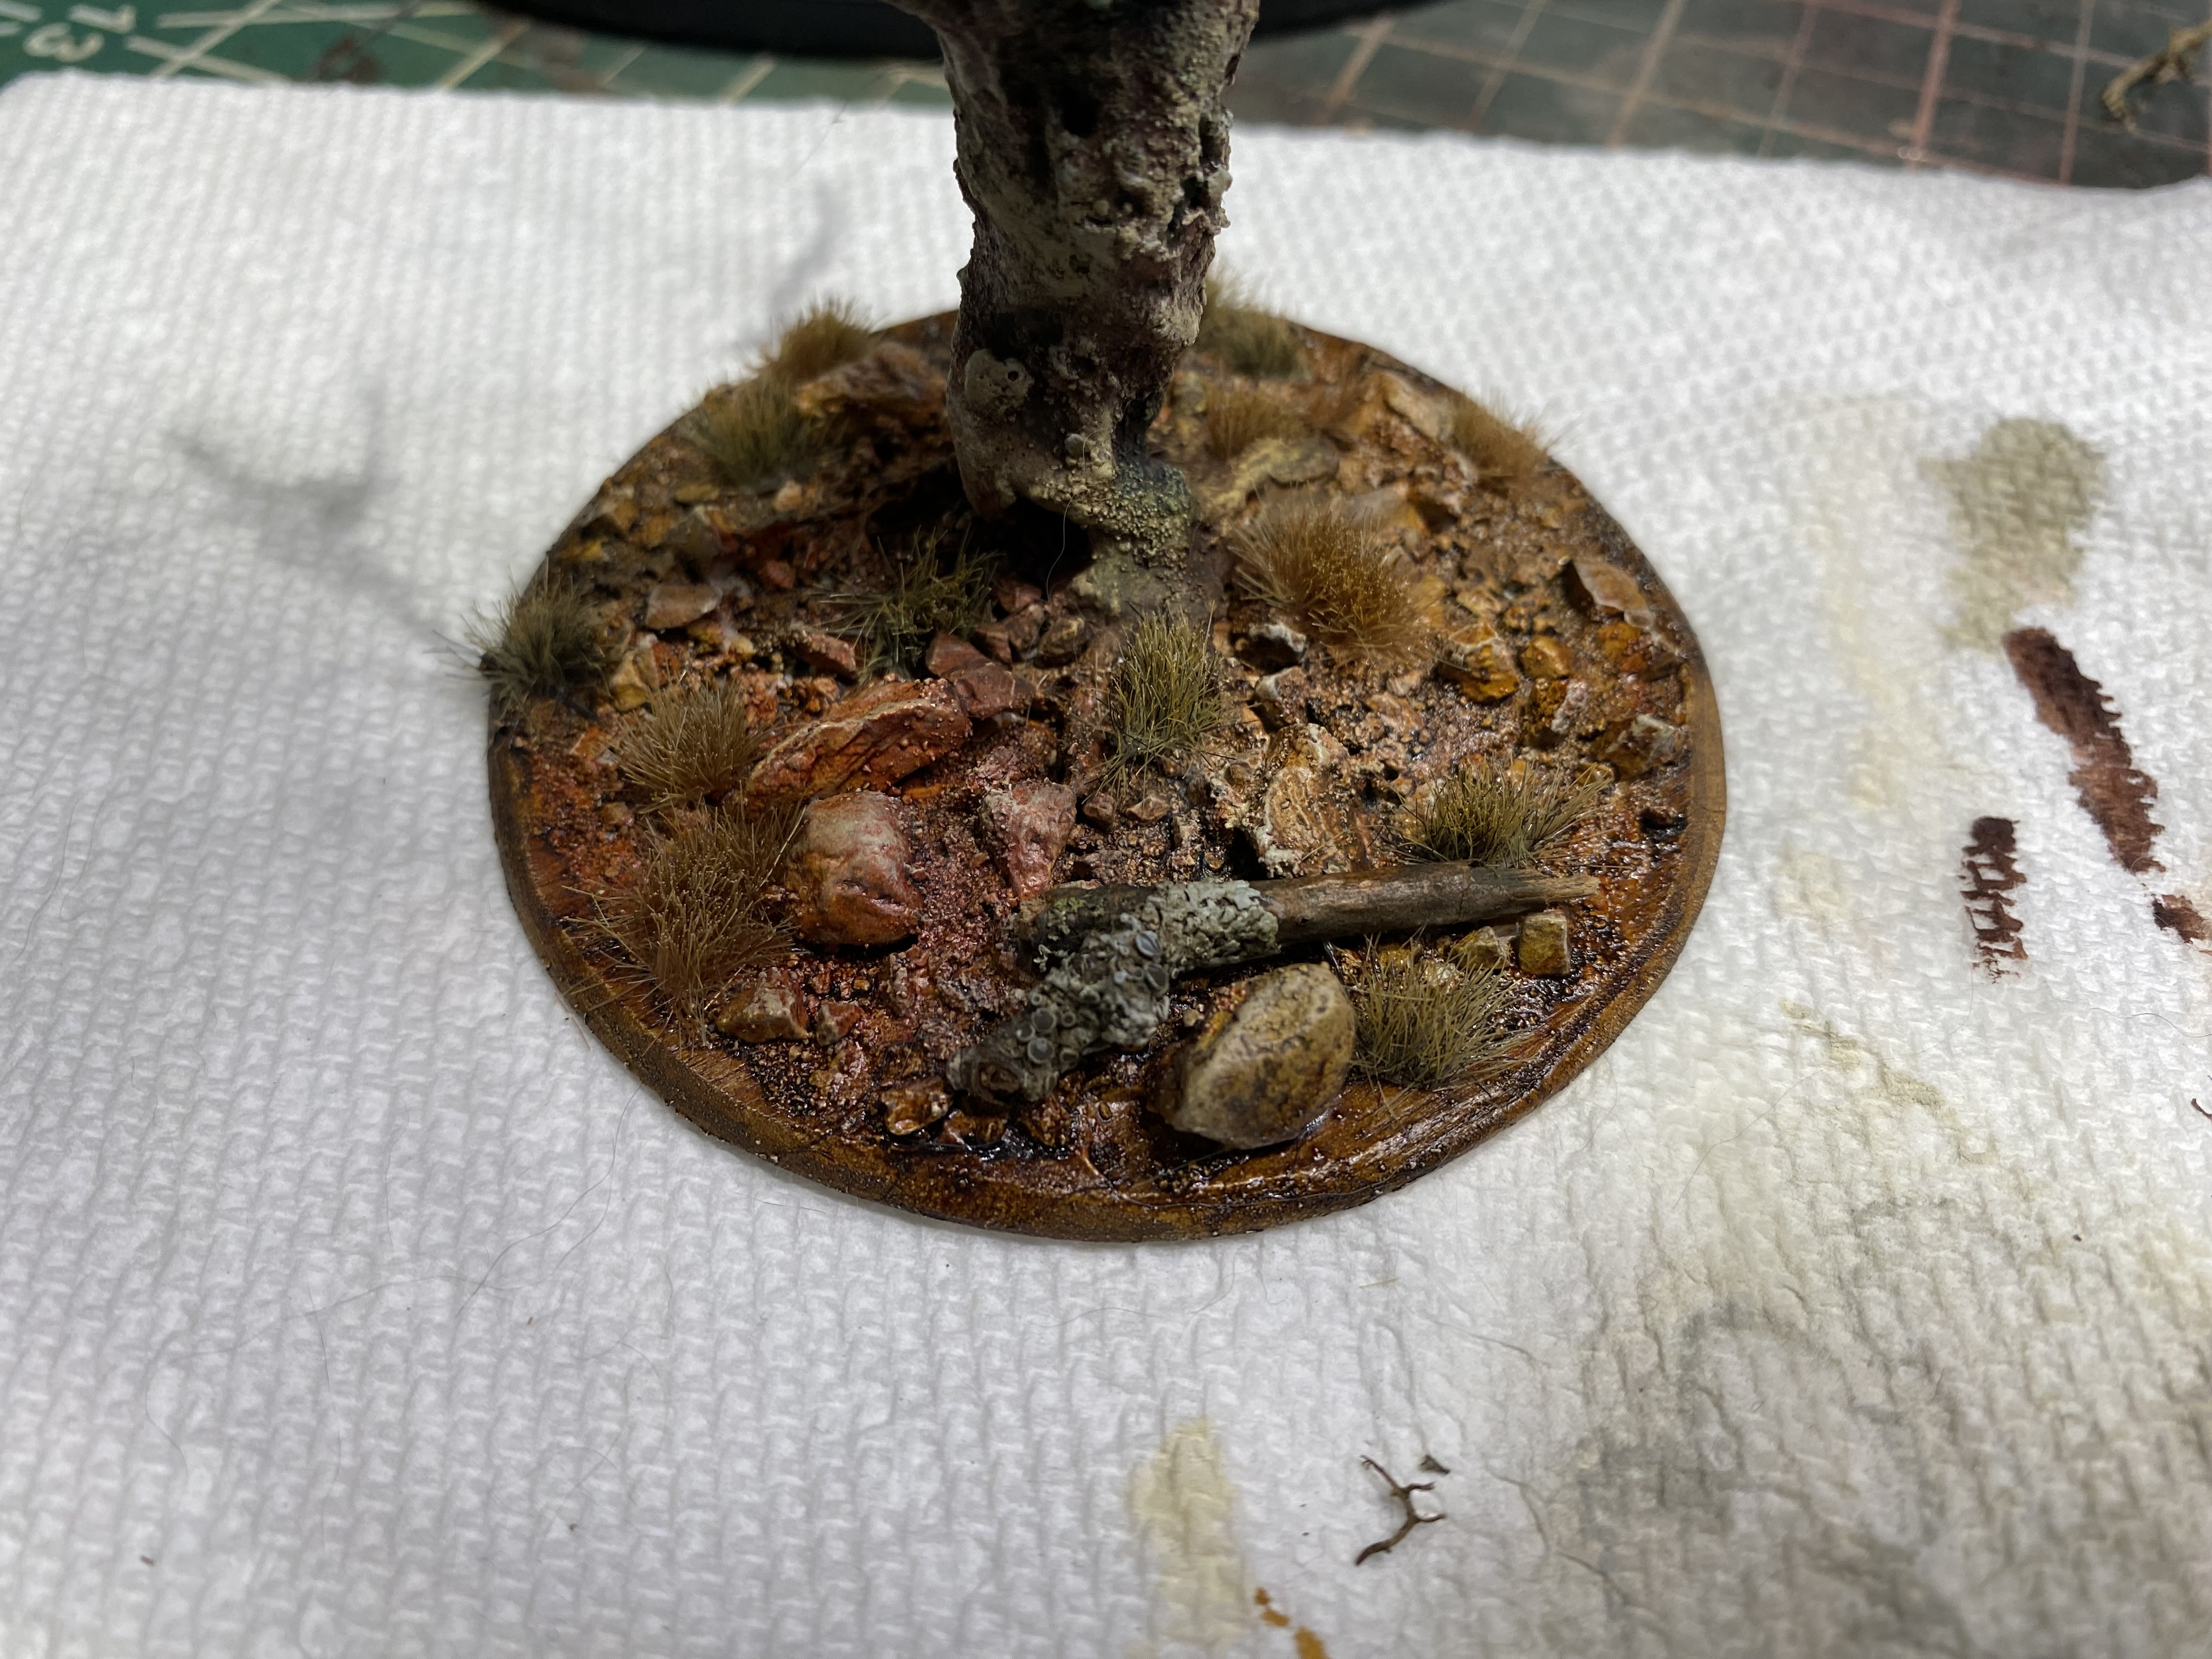
A few small branches were added to the build as smaller trees or as fallen logs. (The branches were disinfected in the oven first.)
When adding these natural elements, you have to make sure they fit with the overall painting scheme. You can either paint over them entirely.
Or instead, I opted to use the same green/brown wash from the tree over the branches. Also, I applied a bit of the same ivory highlight.
Adding similar colors help the natural elements fit with the overall scheme.
Crafting with a Cat (and painting grim dark)
Painting Grimdark
A tip for painting grimdark: don’t go too dark as it will only read as a dark brown mess from a tabletop perspective.
Instead, it can be pretty dark, but with some lighter highlights. The lighter highlight helps to differentiate the different elements in the piece.
The base was overbrushed with two coats of ivory.
The trees were carefully highlighted with a water-down ivory color (pro-acryl).
Highlighting the trees with a brush is a bit more time consuming than plain old drybrush, but I wanted more control. And drybrush can leave a sort of a dusty look.
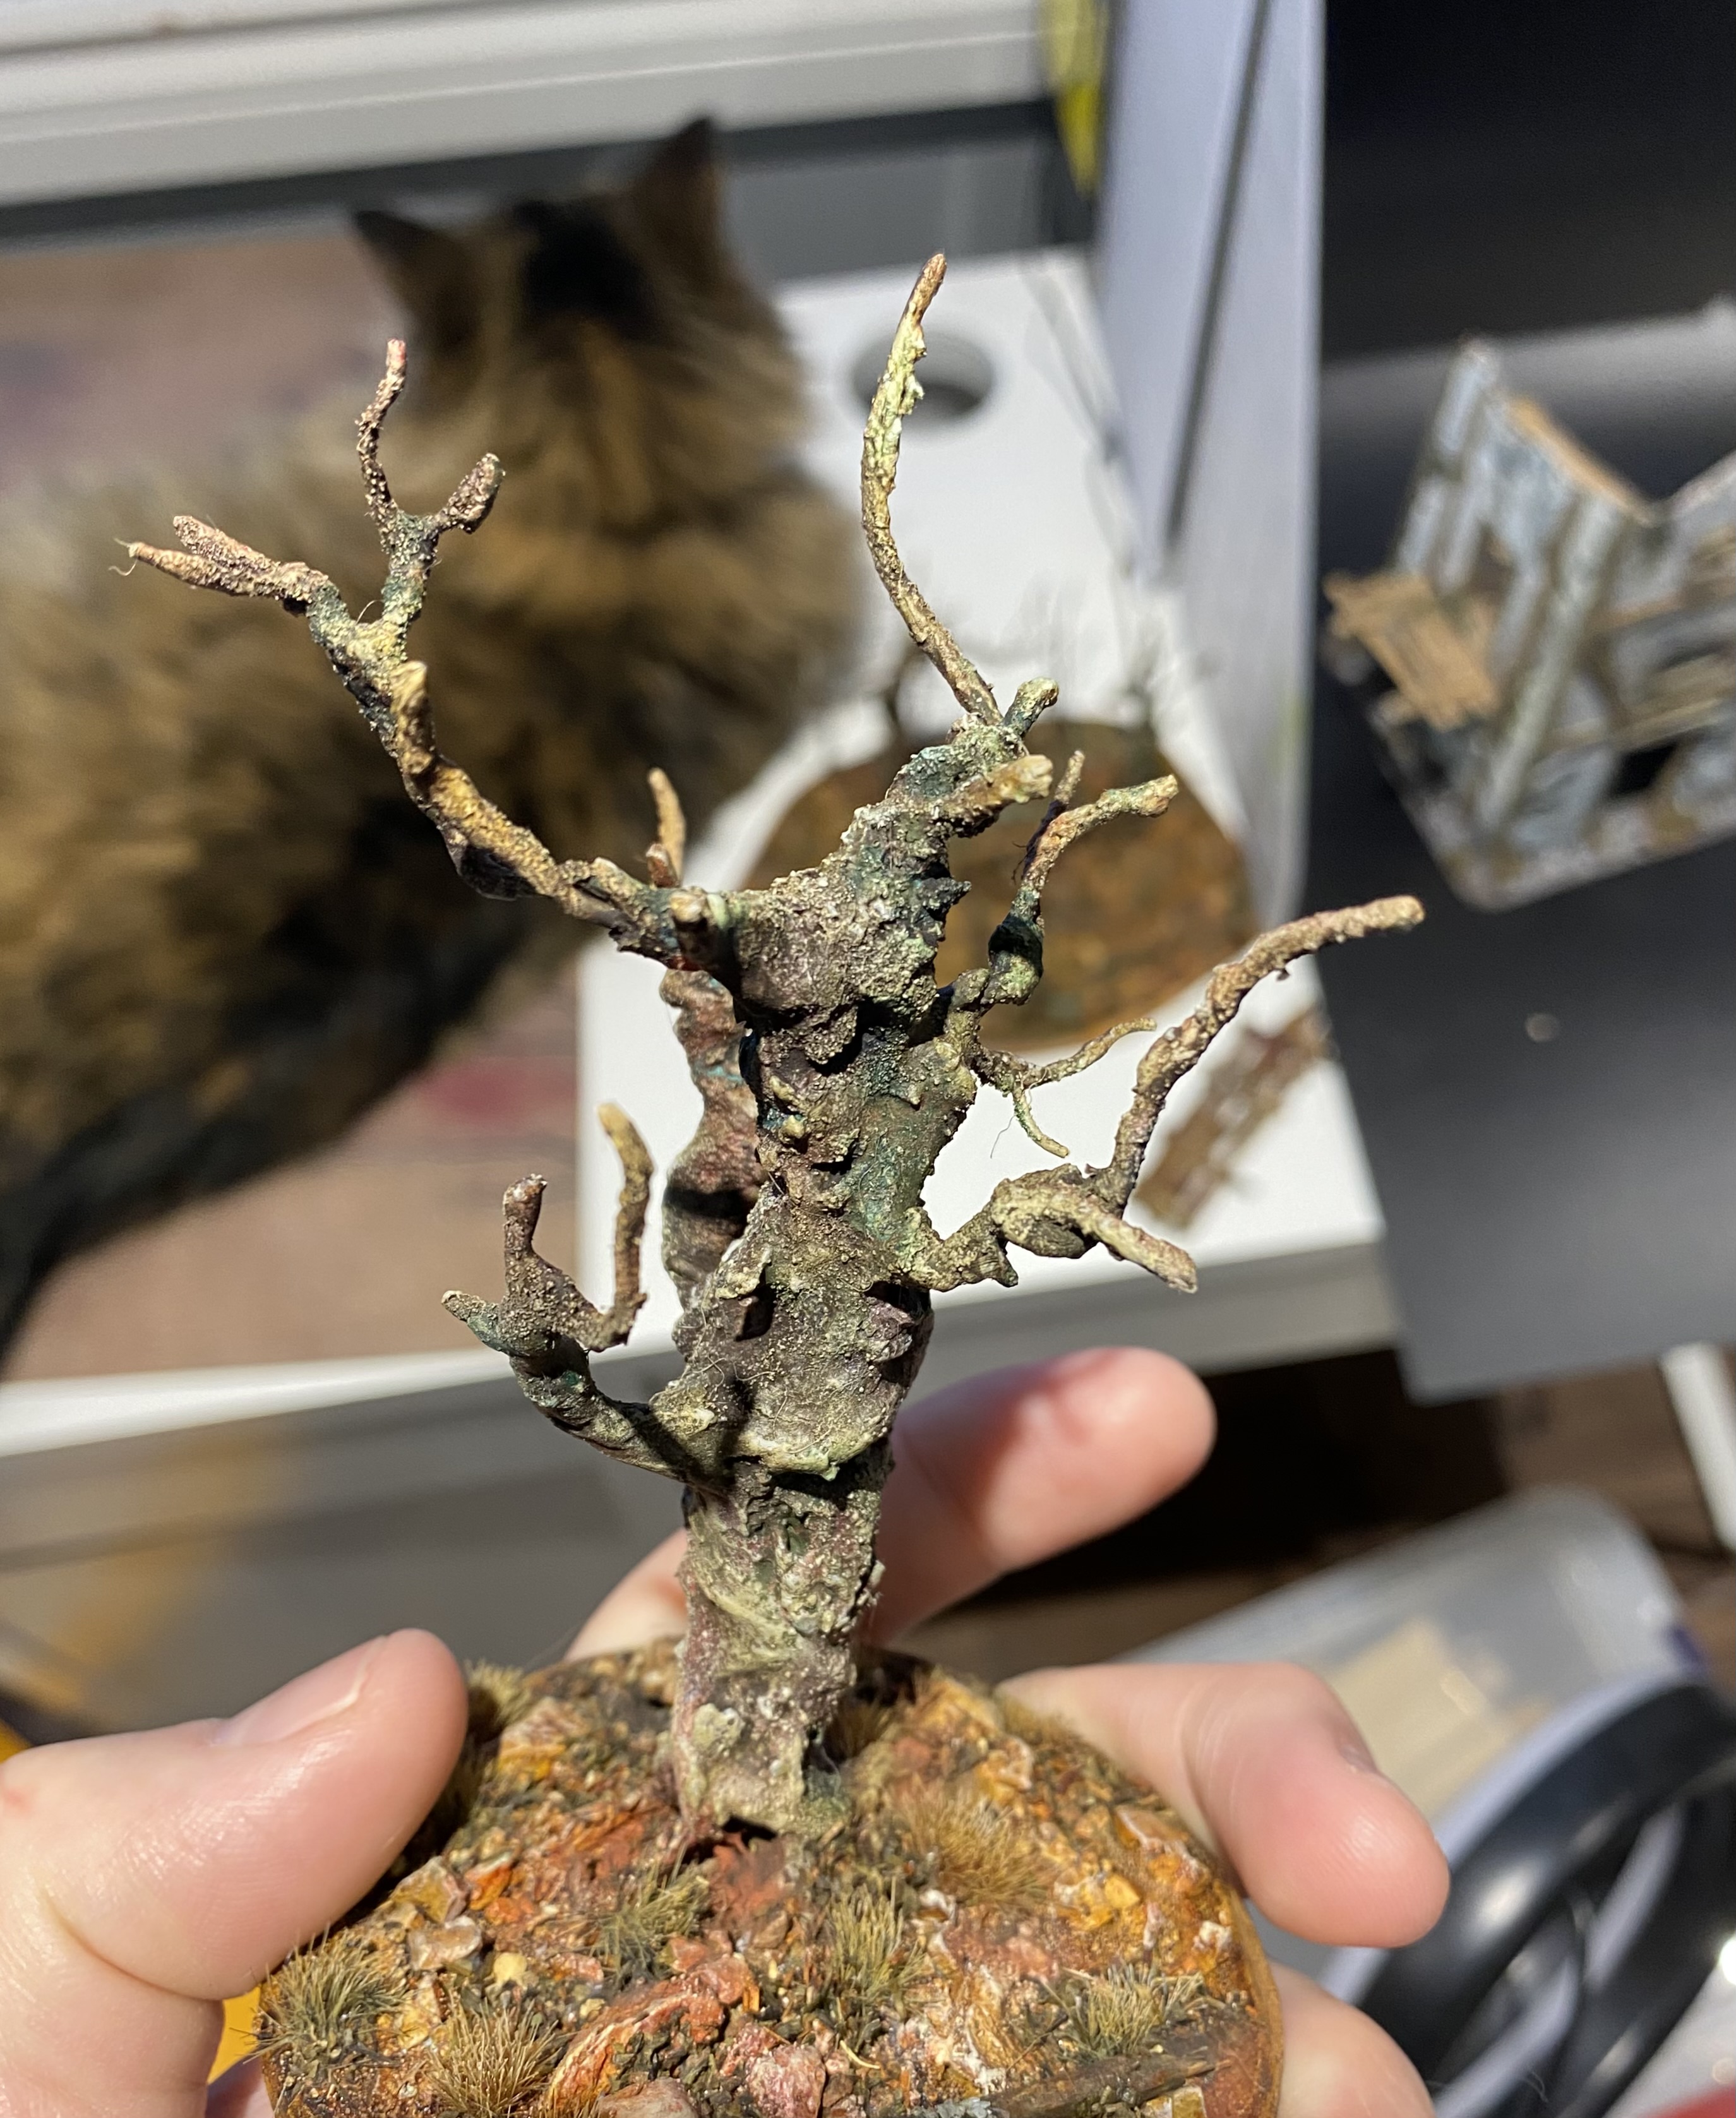 And the cat is just chilling in the background..
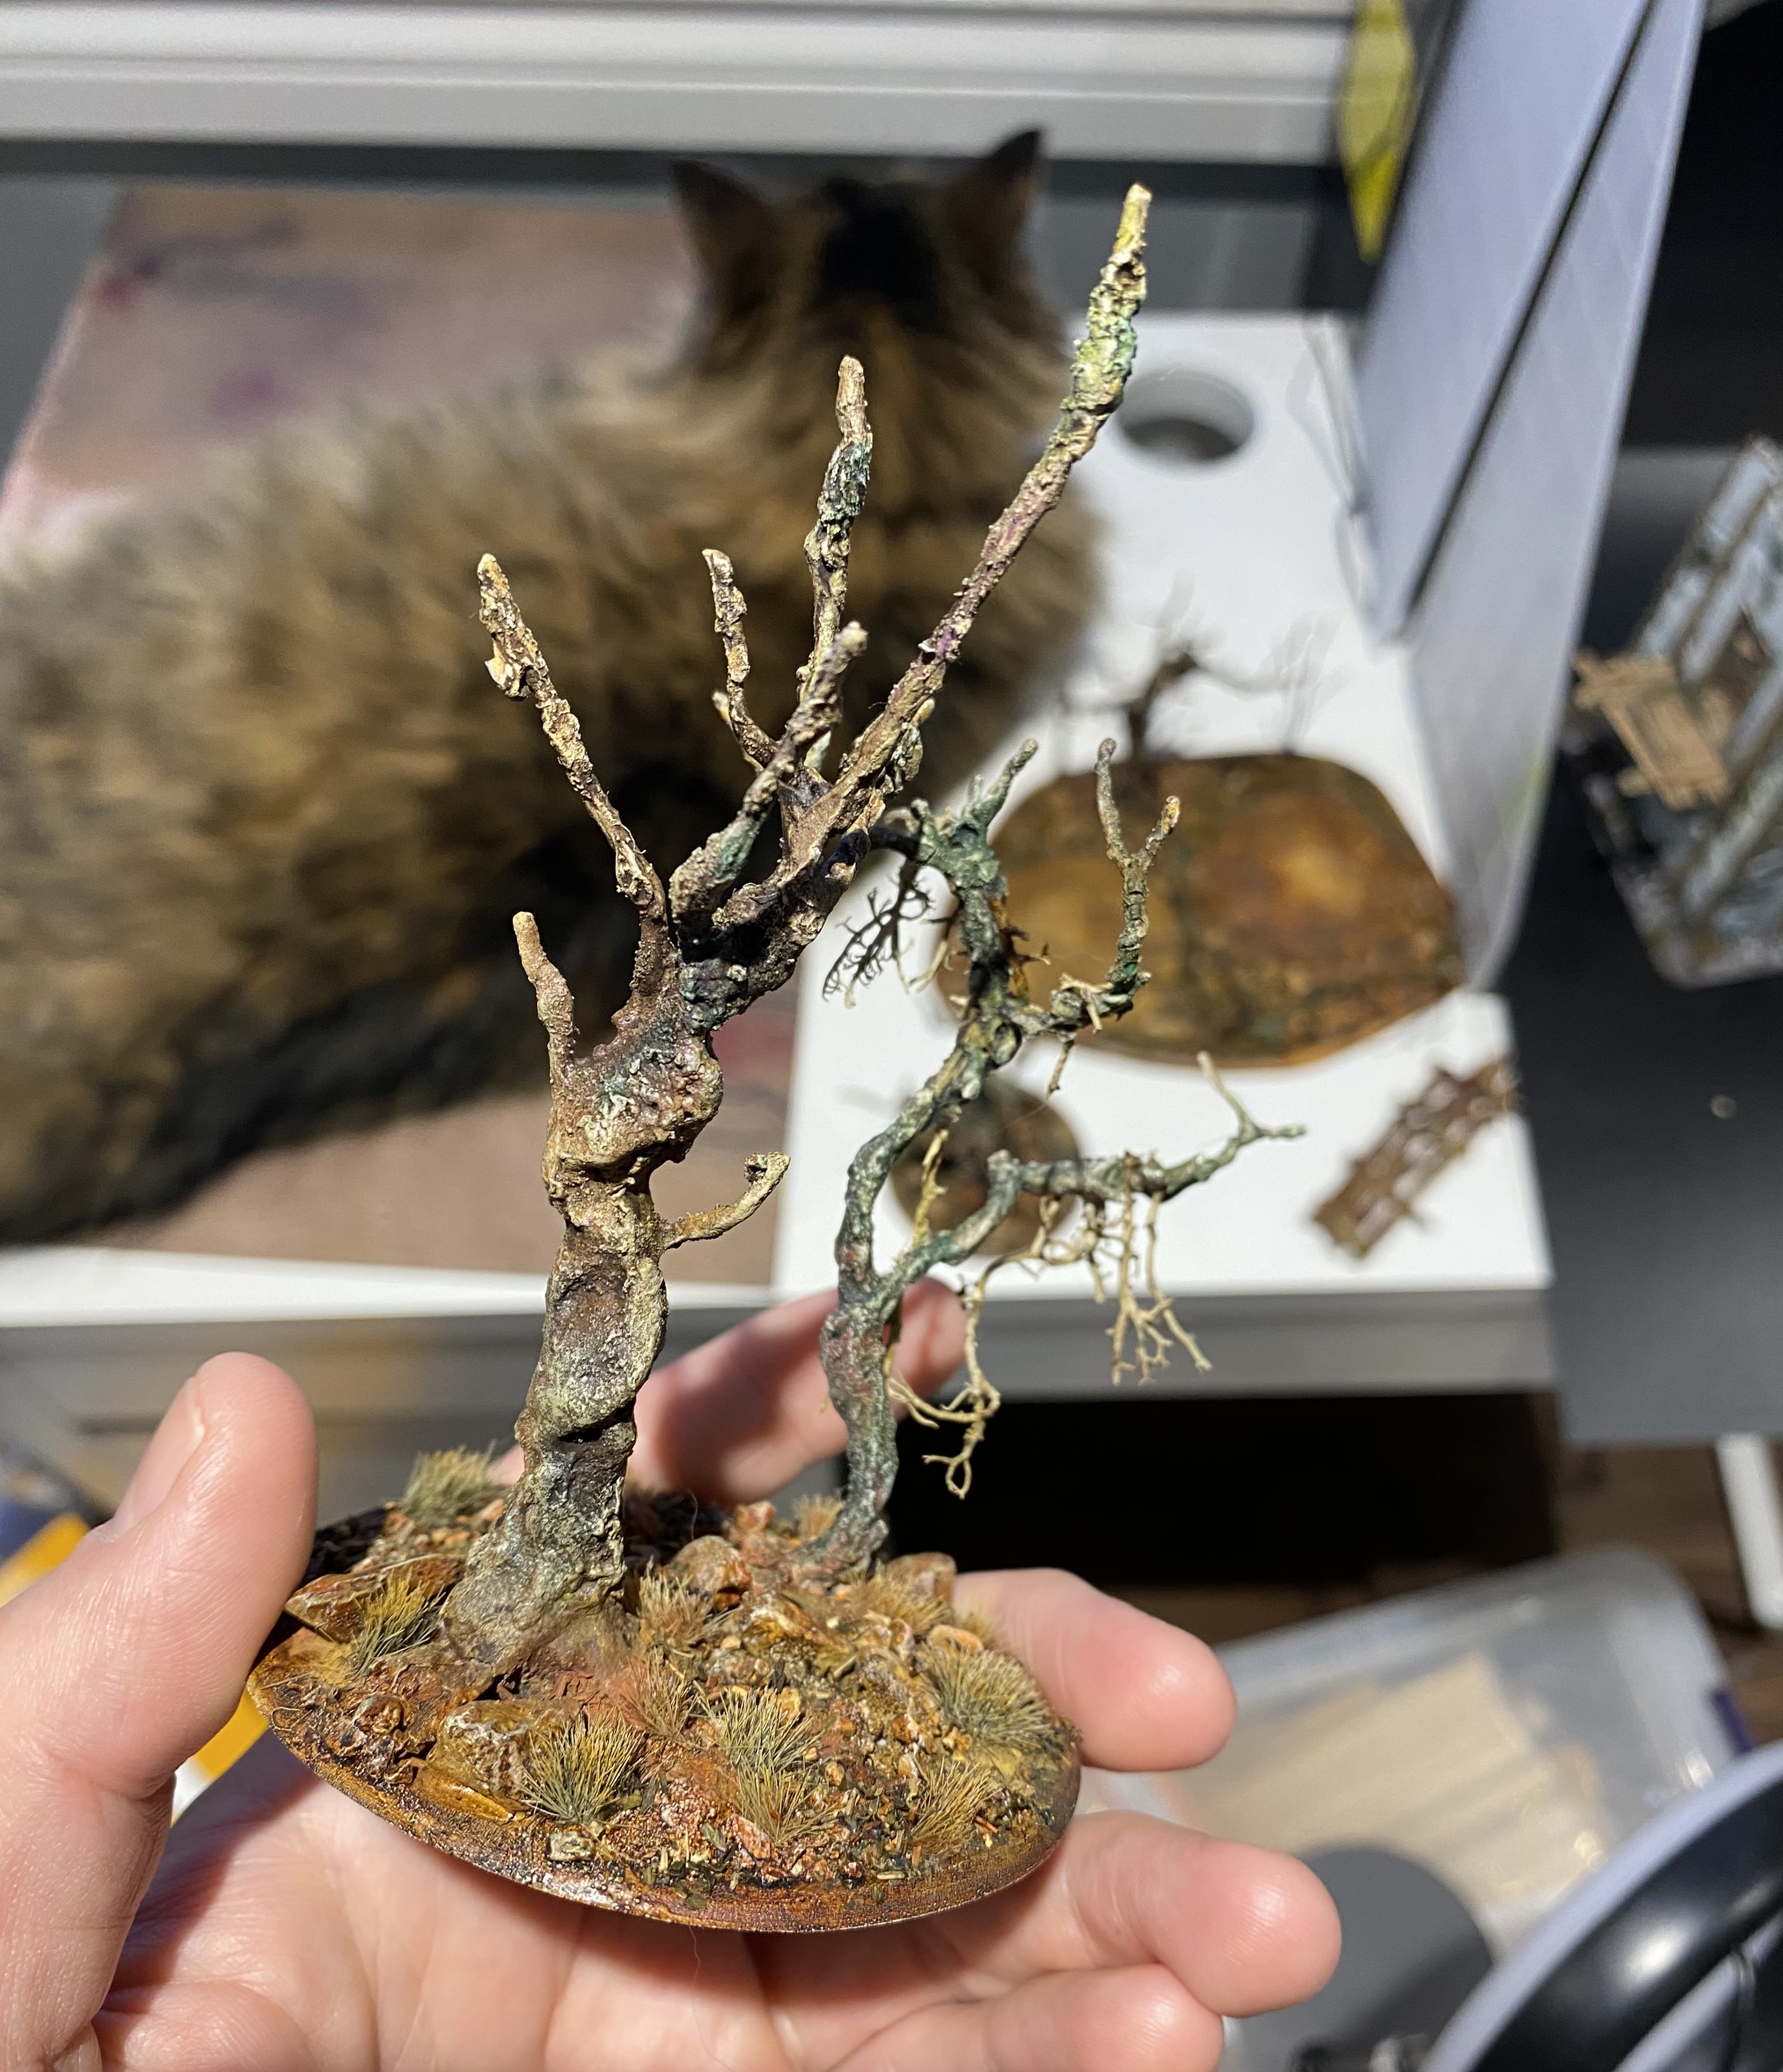
A few touches and I should be able to finish the wood by Monday (and take some proper pictures..)