


Draconis Does….. TerrainFest 2024


Recommendations: 301
About the Project
I hadn’t planned to do a project for Terrainfest this year, as I didn’t really have any good ideas for a terrain project. However, as my Silver Bayonet project has progressed I do need to work on some terrain for it. So, even though it is a bit late to the party, in order to show a bit of support for the terrainfest I decided that I would create a mini project for my Silver Bayonet terrain.
Related Game: The Silver Bayonet
Related Genre: Fantasy
Related Contest: TerrainFest 2024
This Project is Completed
So, what do I need?
To begin with I focused just on the first book, and checked what terrain I needed for the four cooperative scenarios there.
It consists of:
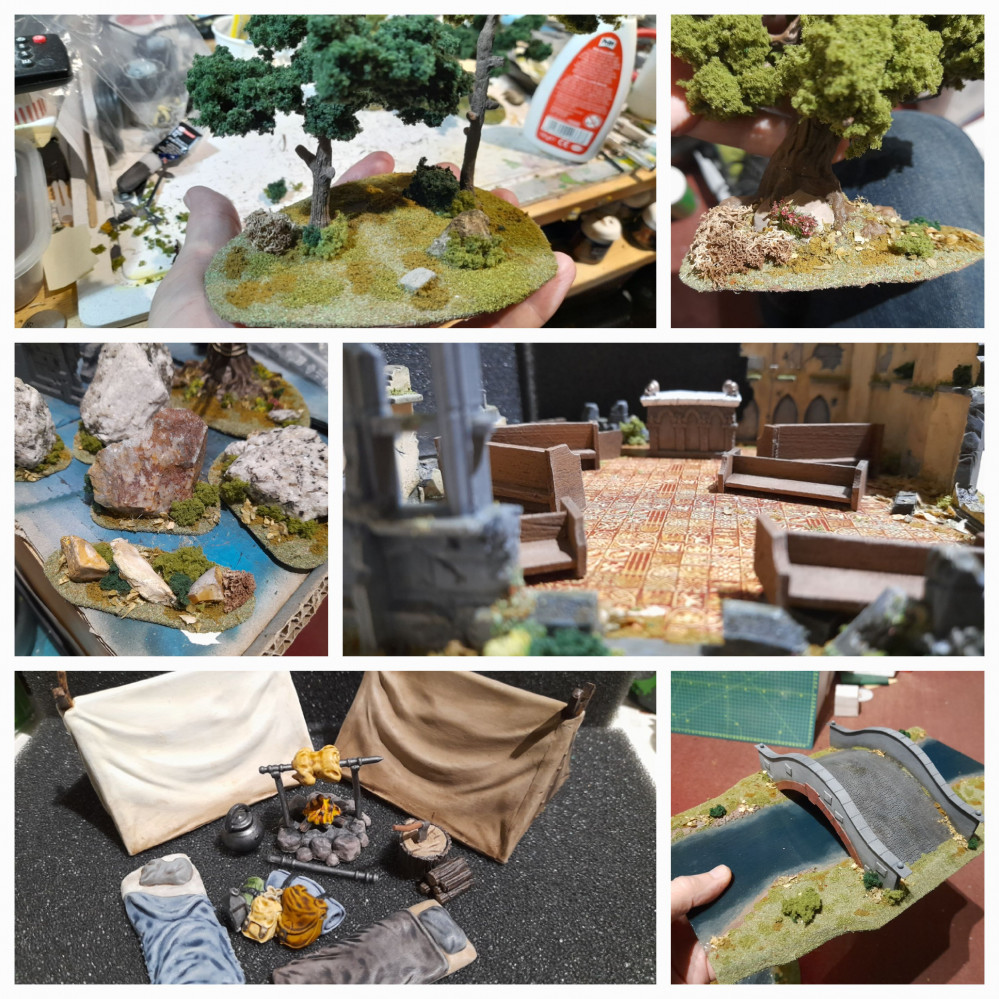
Trees, rocks, underbrush, a campfire, a ruined chapel (approx. 6” x 6”), a bridge, a river, some boggy pools, some hills.
I don’t have a lot of generic fantasy terrain currently, but I do have some basic trees and hills. However, I know that I will need some more trees – so that will be my first focus.
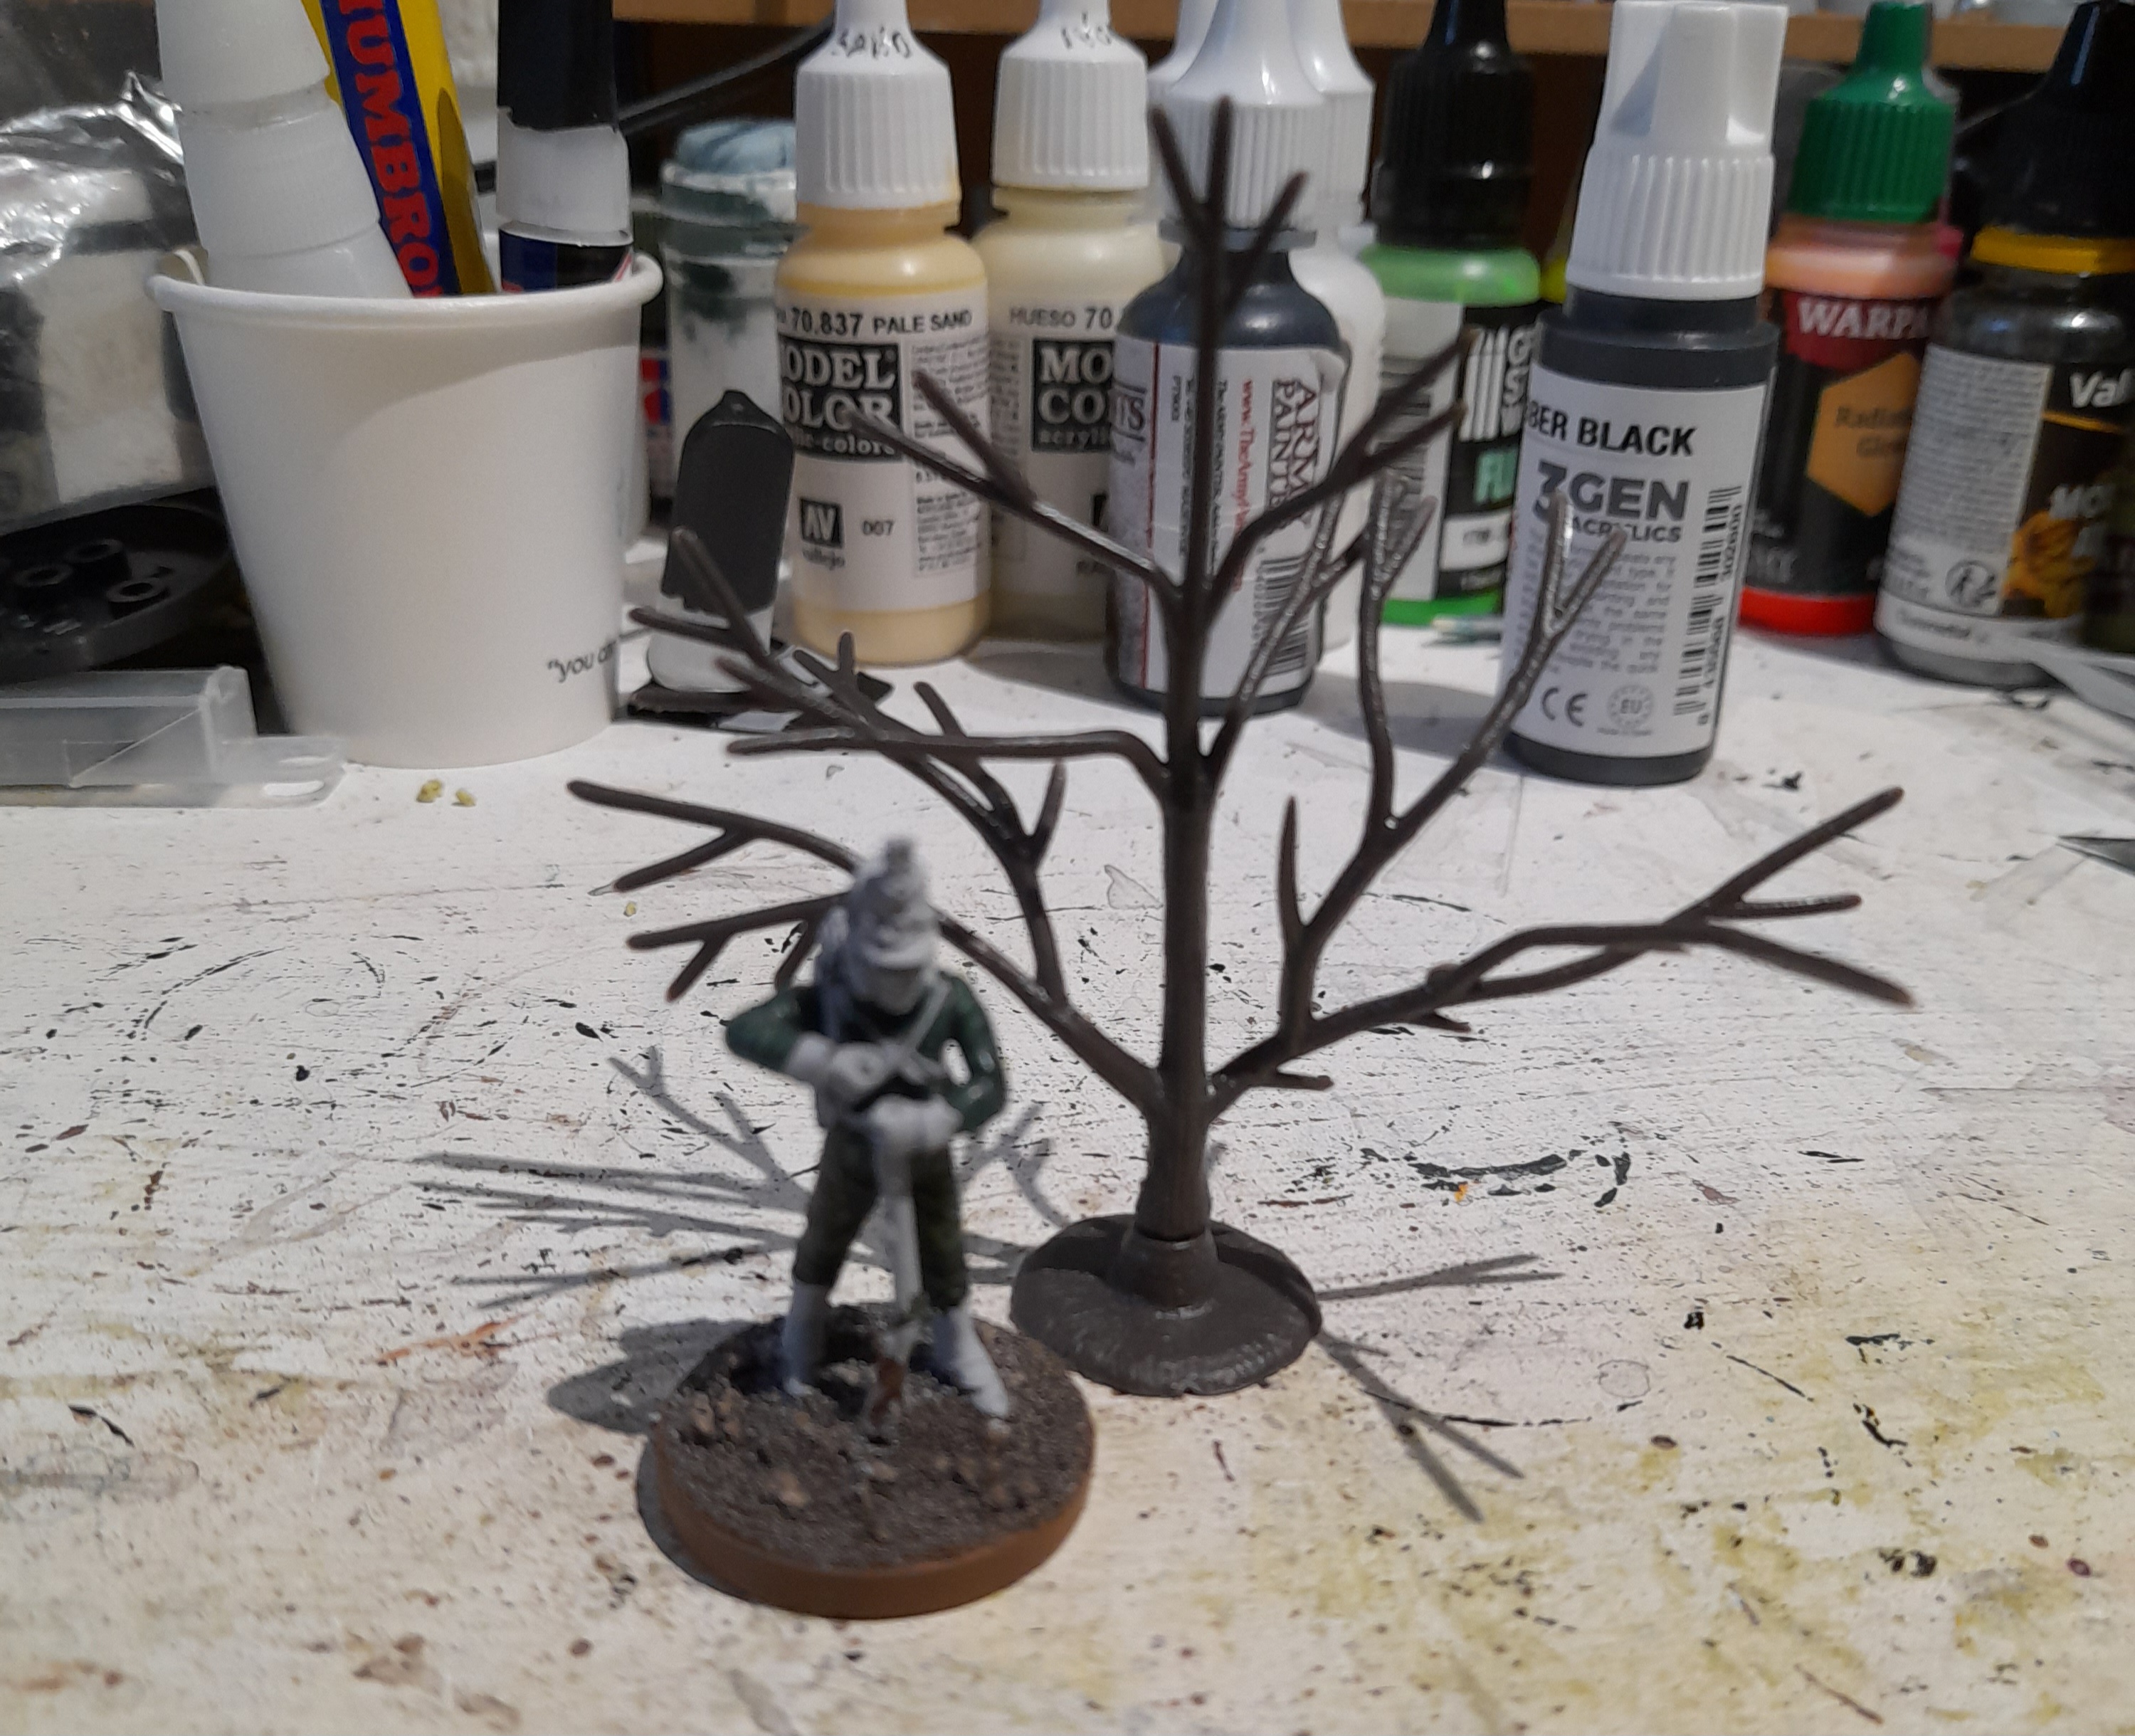
Tree armature test
8th November 2024
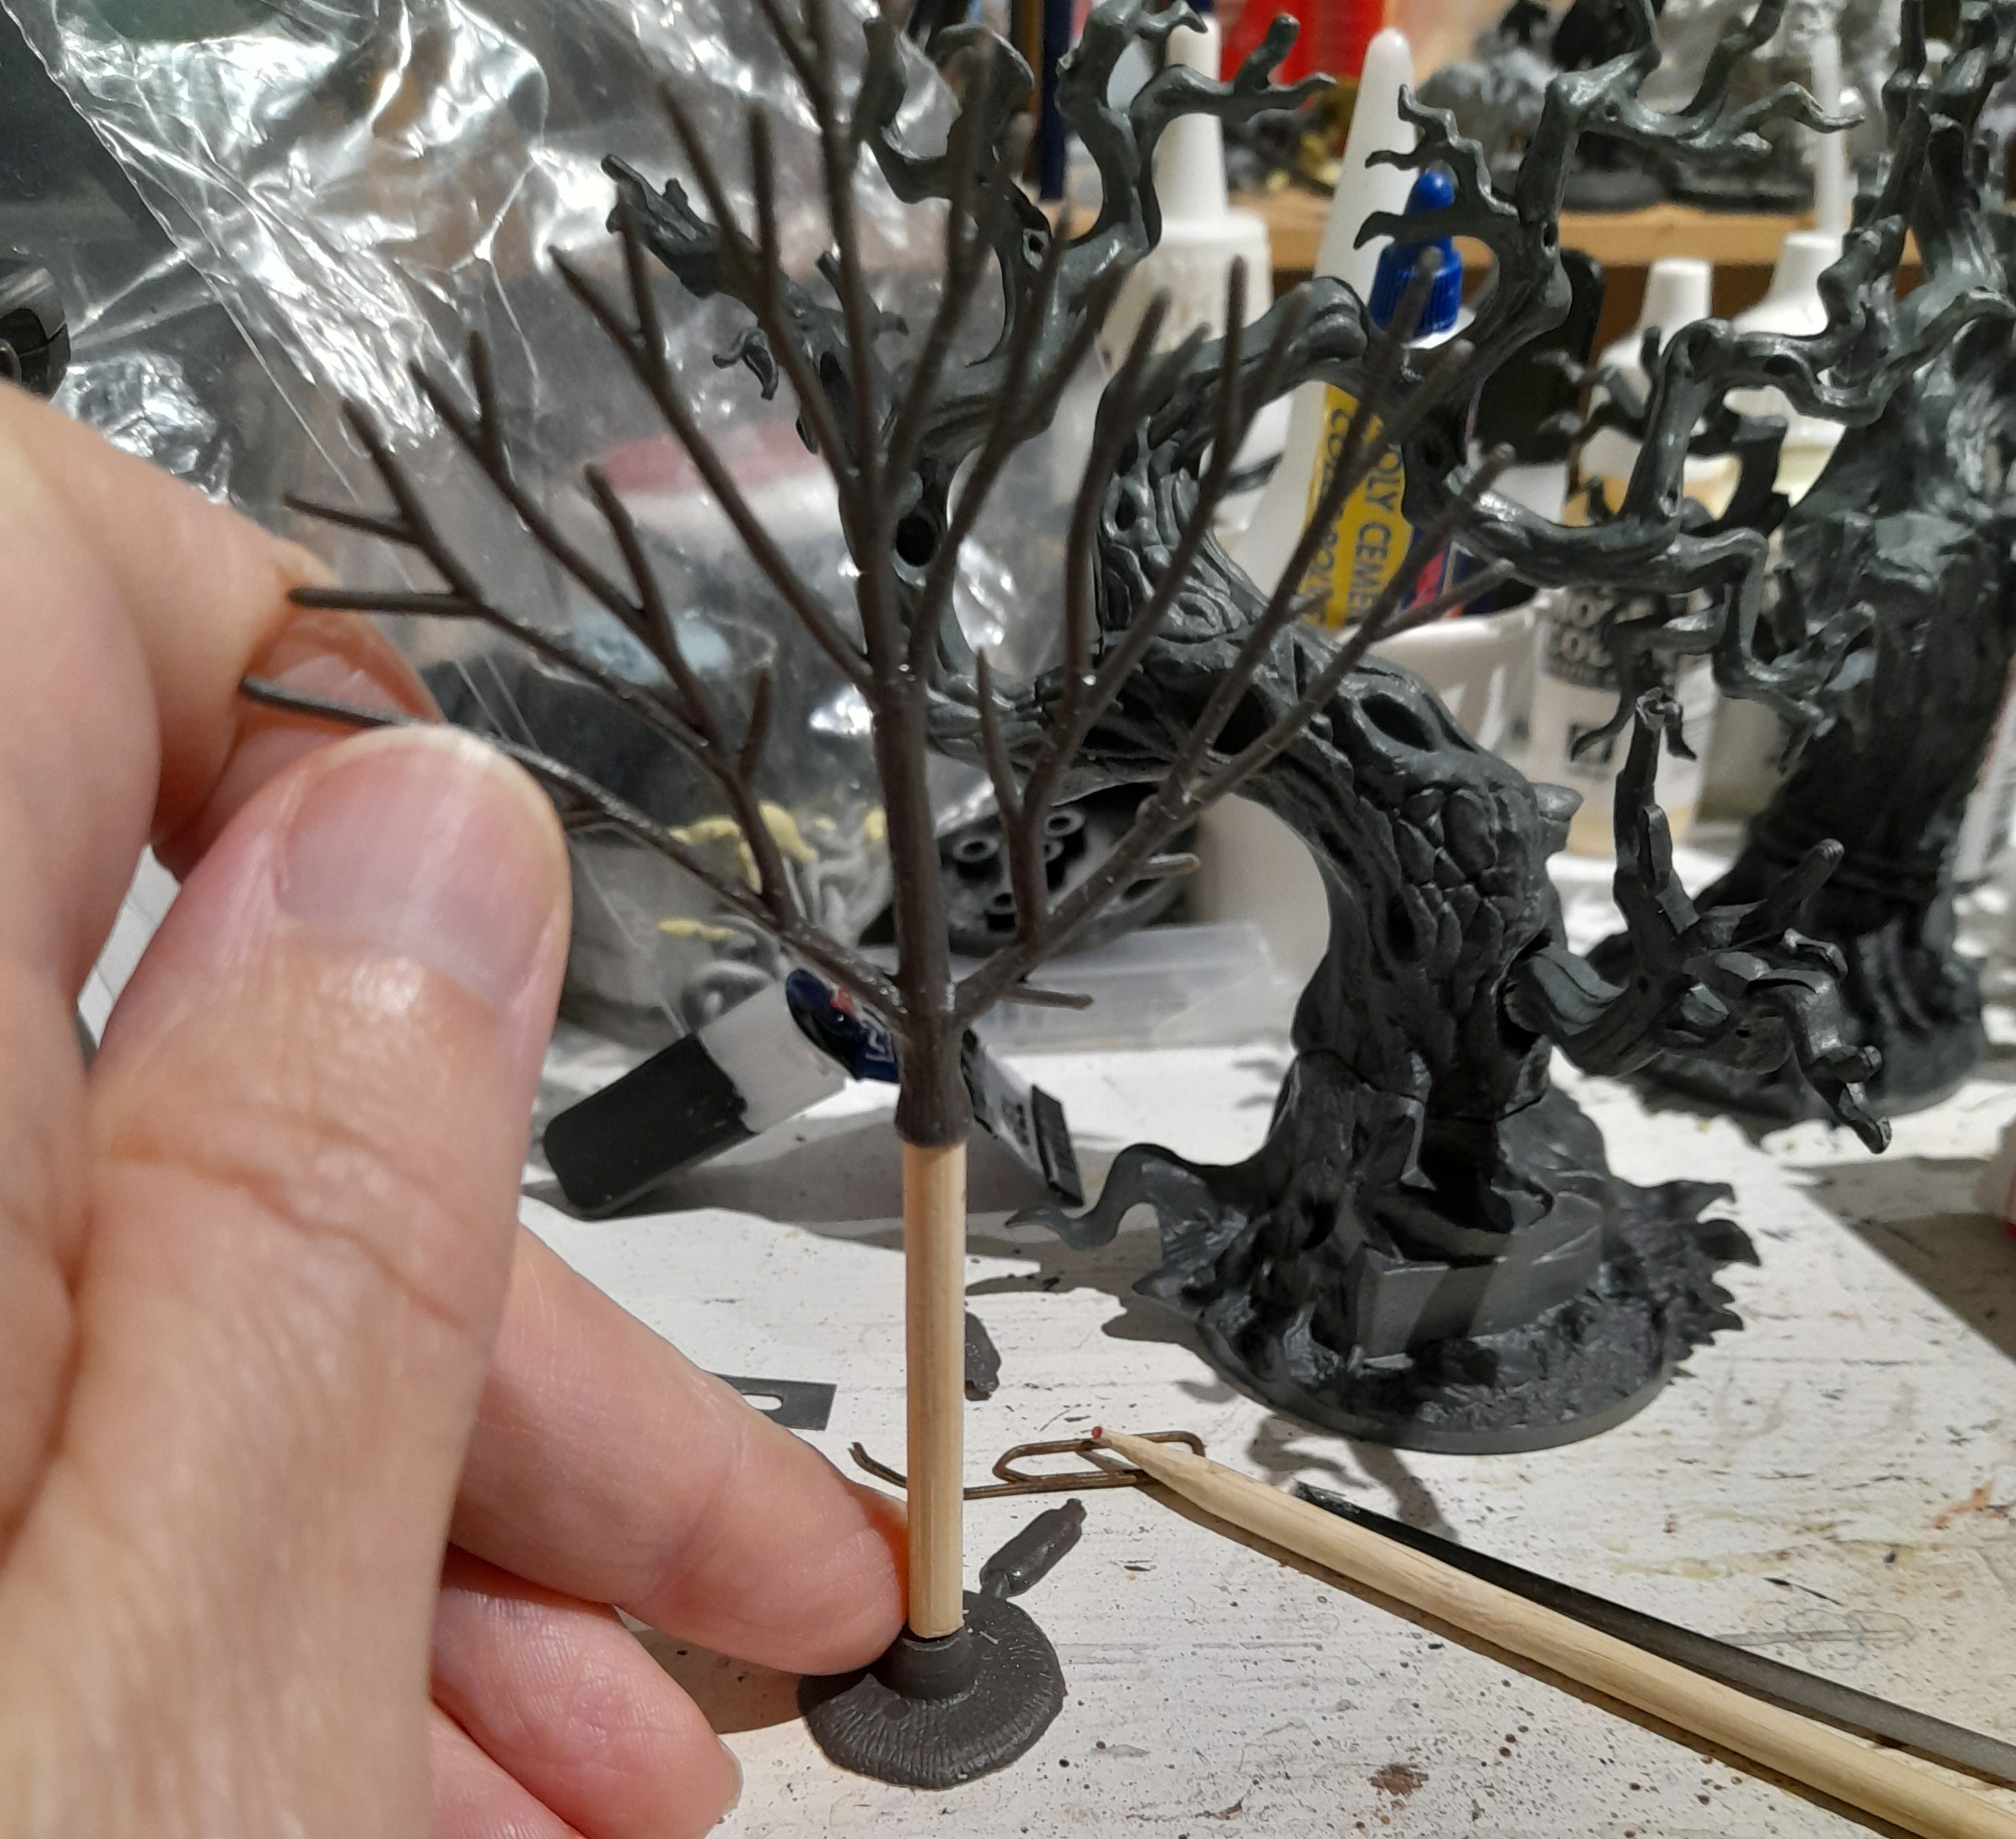
I have had a bag of Woodland Scenics small tree armatures for probably two decades now, unopened. So, I knew that I wanted to actually try to use some of them for this terrain project.
Went for one of the largest of them. Cleaned up the sprue gates and stuck it onto its base. Then I bent the various branches into a rough tree shape.
Next up it was applying the Woodland Scenics Clump Foliage (that has also sat here for years). I dug out some old superglue that had gone too thick, and using a plastic rod I wrapped threads of it around the various branches. Then I applied clumps to the glue.
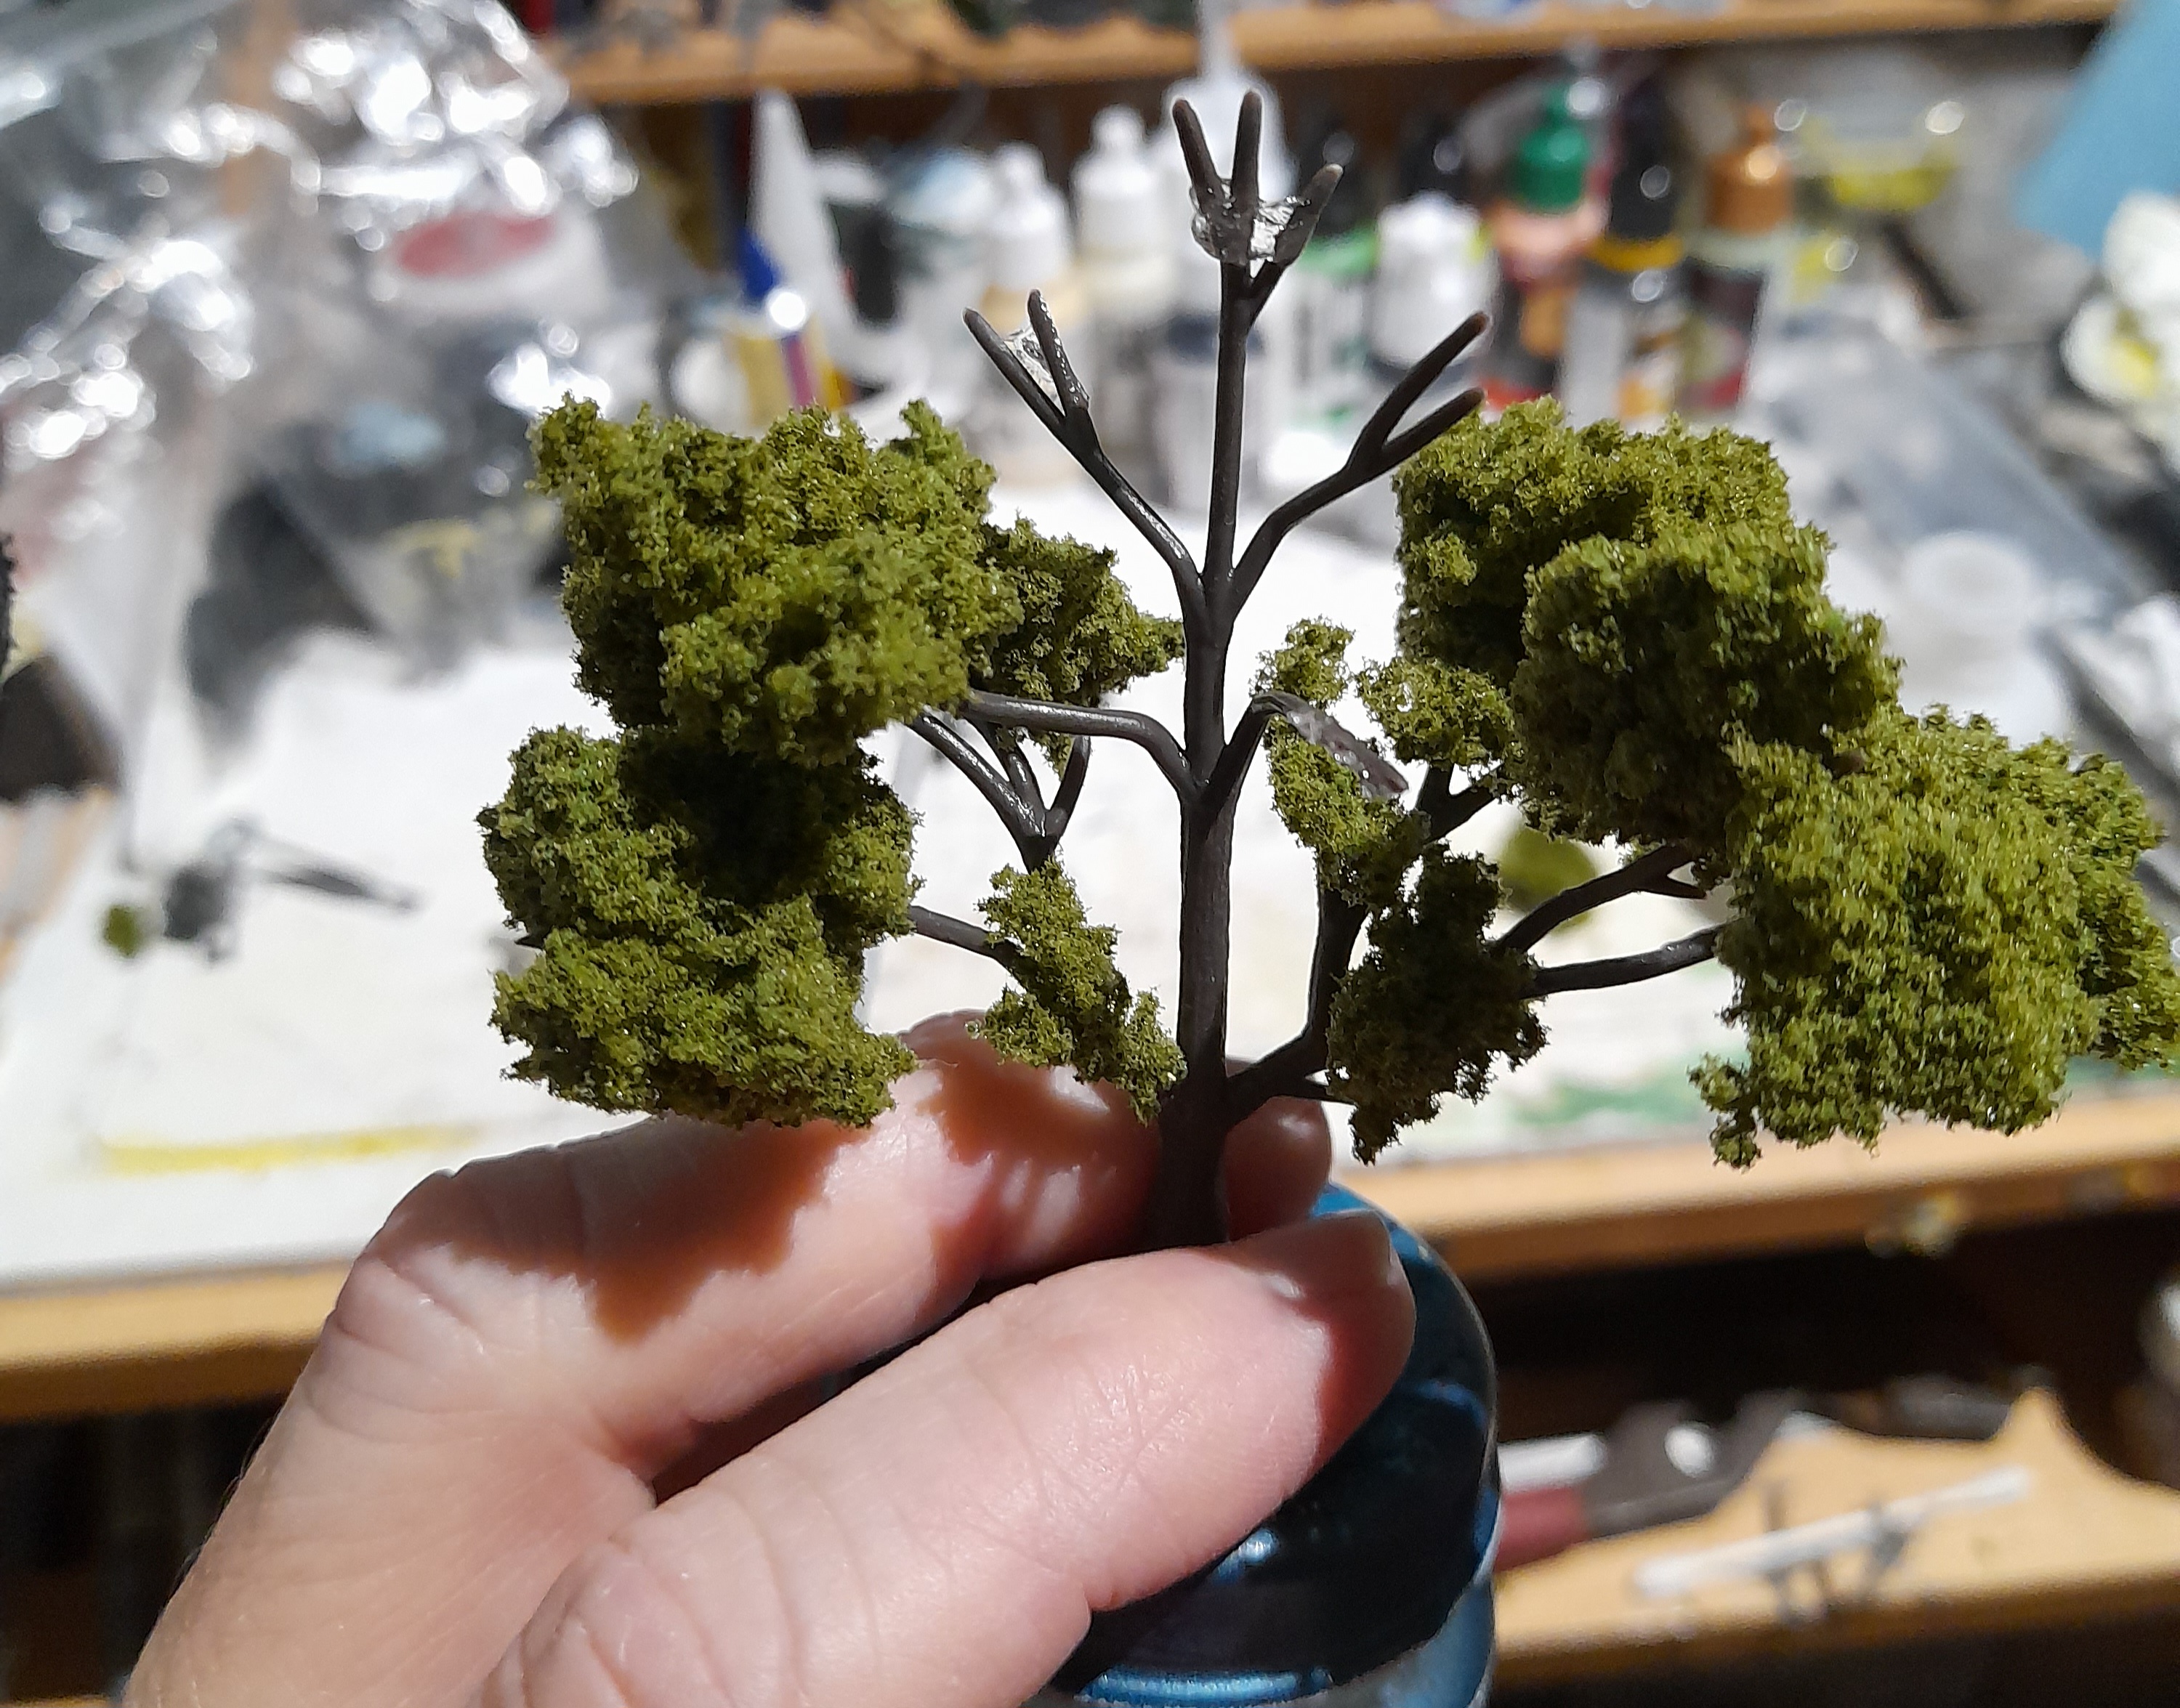
The finished result looks ok.
However, there are some things I will look to change or add.
1 – Paint the armature before adding the clump foliage.
2 – Get a more suitable glue
3 – Make some larger trees somehow
4 – Consider dusting over with some slightly different coloured flock
5 – Spray the whole thing with watered down PVA to seal it.
Tree Extensions
11th November 2024
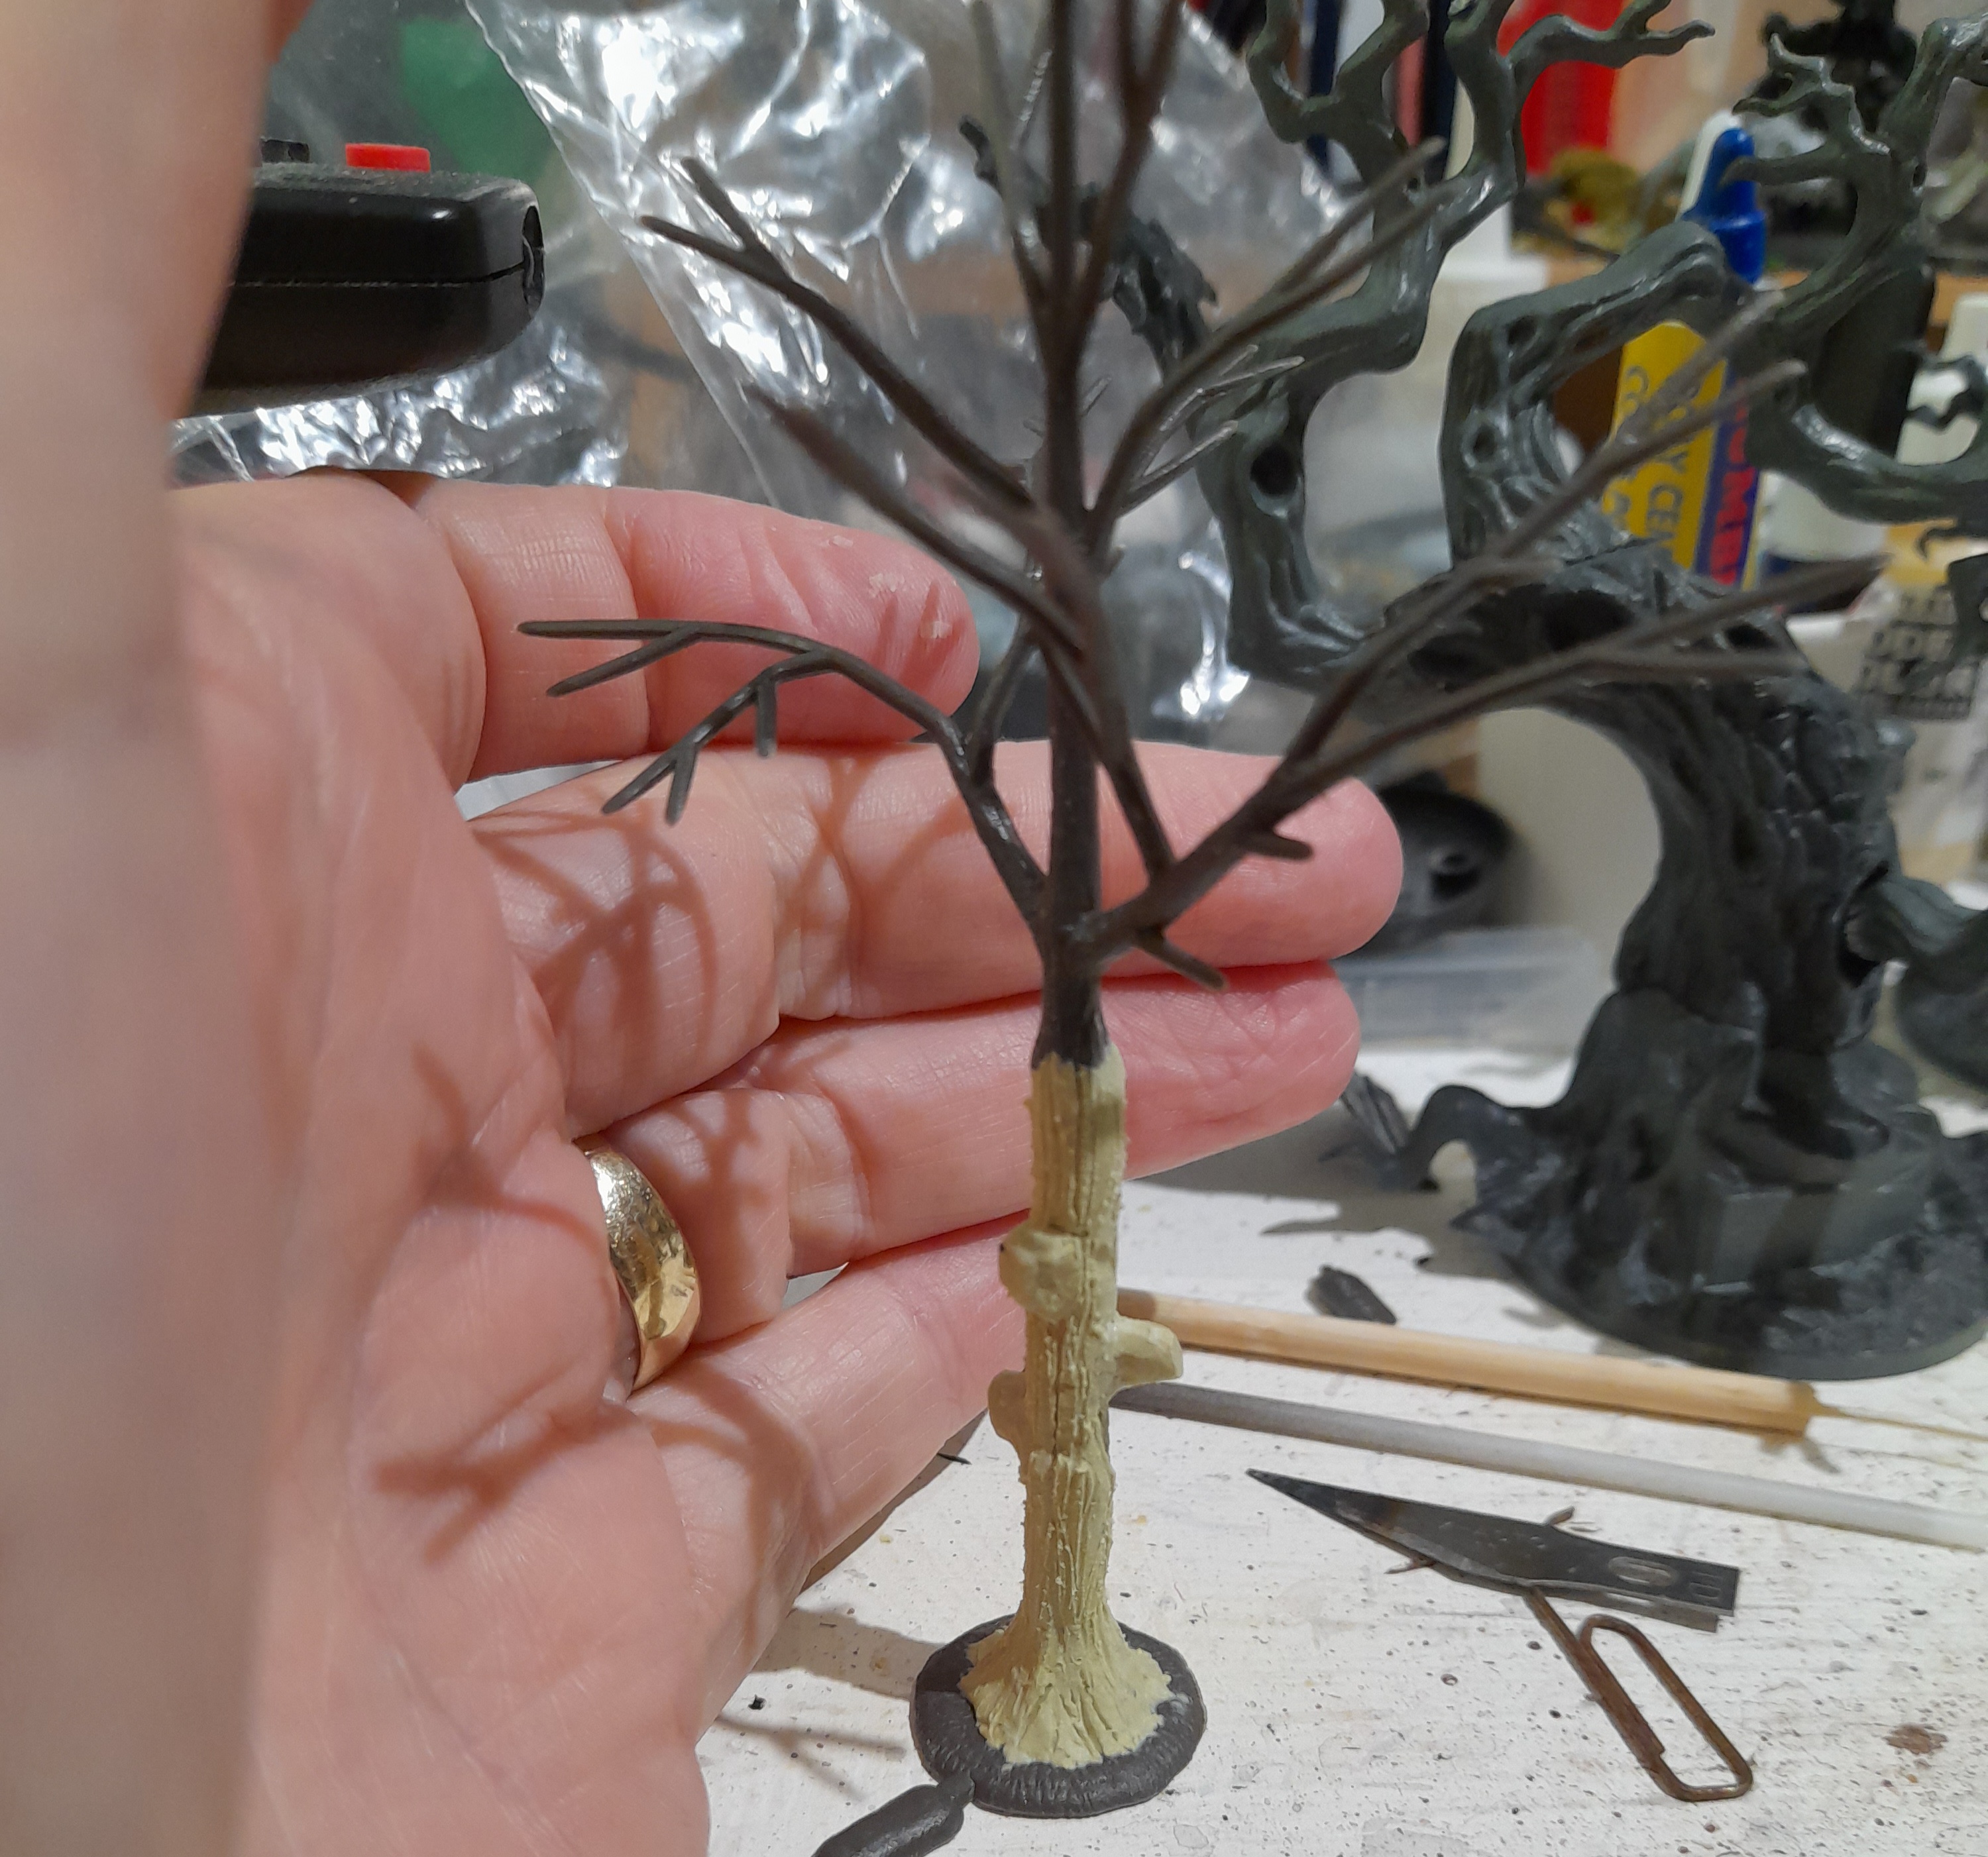
Having carried out the test of the armature and clump foliage, one of the things I wanted to do was have some taller trees. As the basic armature is only 3” height.
I did debate just buying larger armatures, but I am still in the mind set of trying to make use of what I have already.
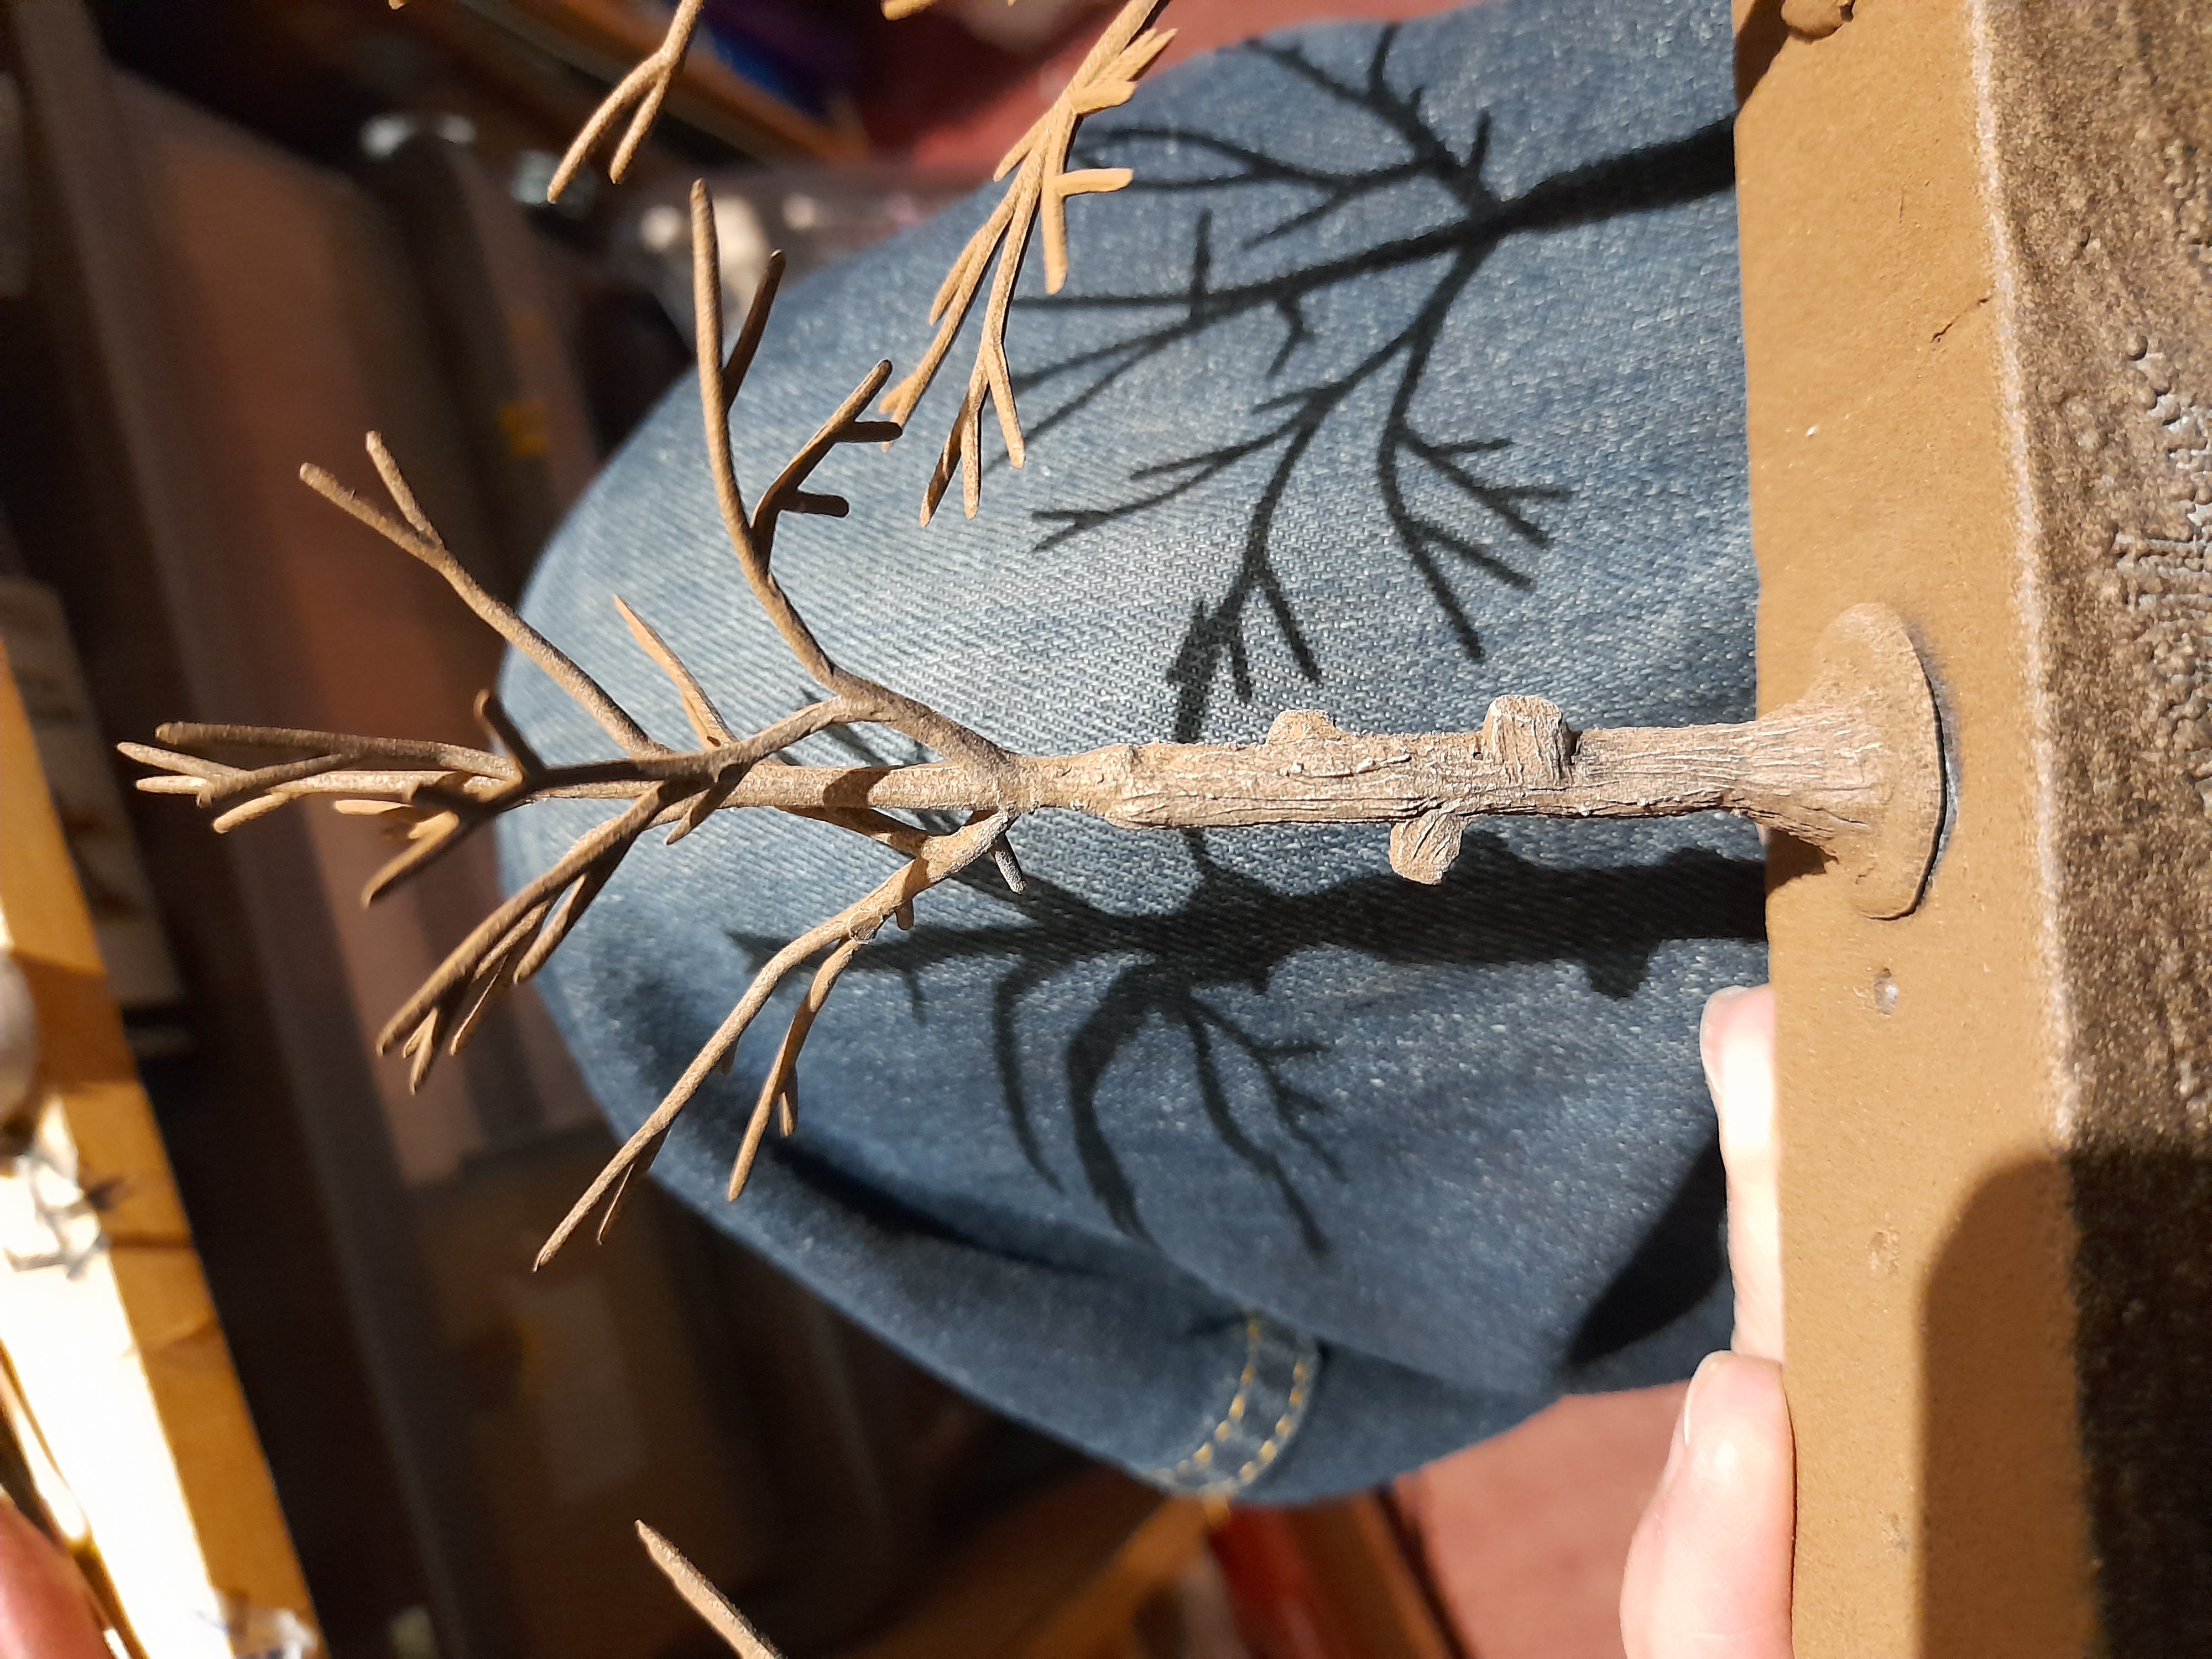
Searching around I found some wooden skewers. These were close in diameter to the base of the tree armatures. I cut one down then drilled a hole into each end. The armature piece pushed into the top hole, and for the bottom I used a piece of paper clip as a pin.
This gave it some good height, so I did the same for 5 other trees, using different lengths of wooden skewer for each.
Next up I mixed up some milliput for covering the skewers. This was to strengthen the connection at the bottom as well as to give it a more natural look.
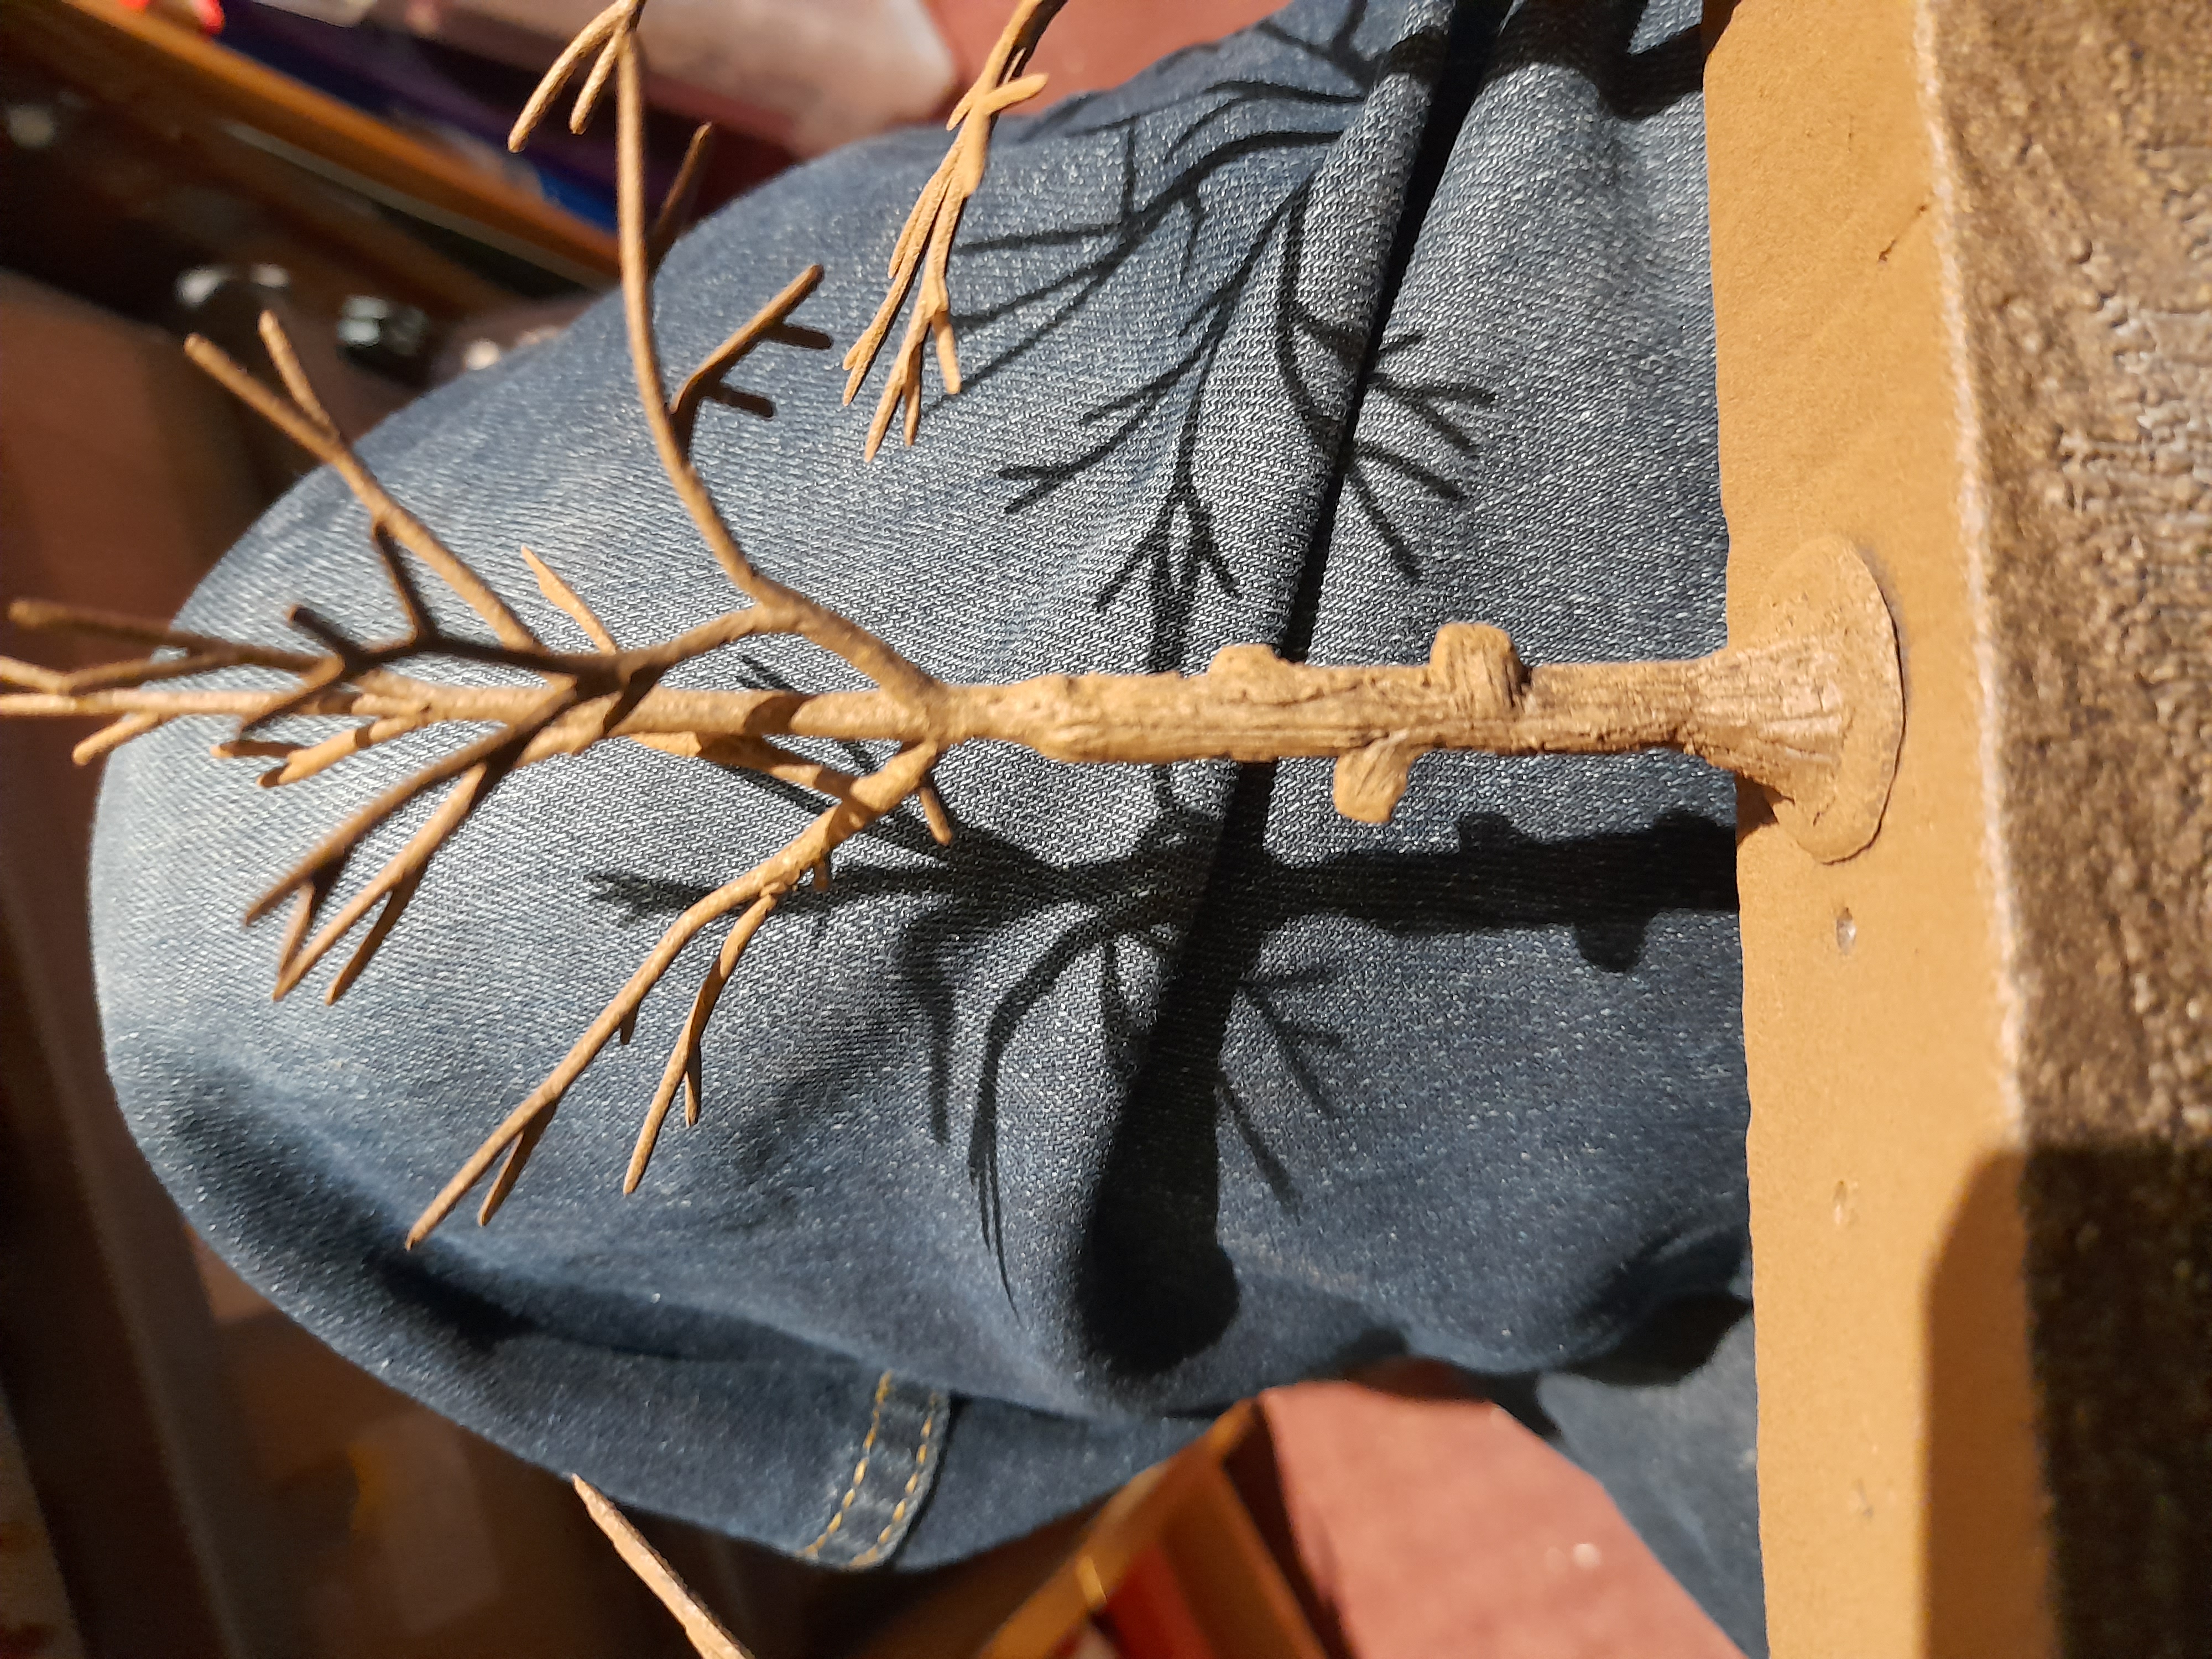
At this stage I also made some rough stumps of side branches up the trunk, to give some more visual interest and to look like limbs that had been cut off. This was rolled out to all the trees.
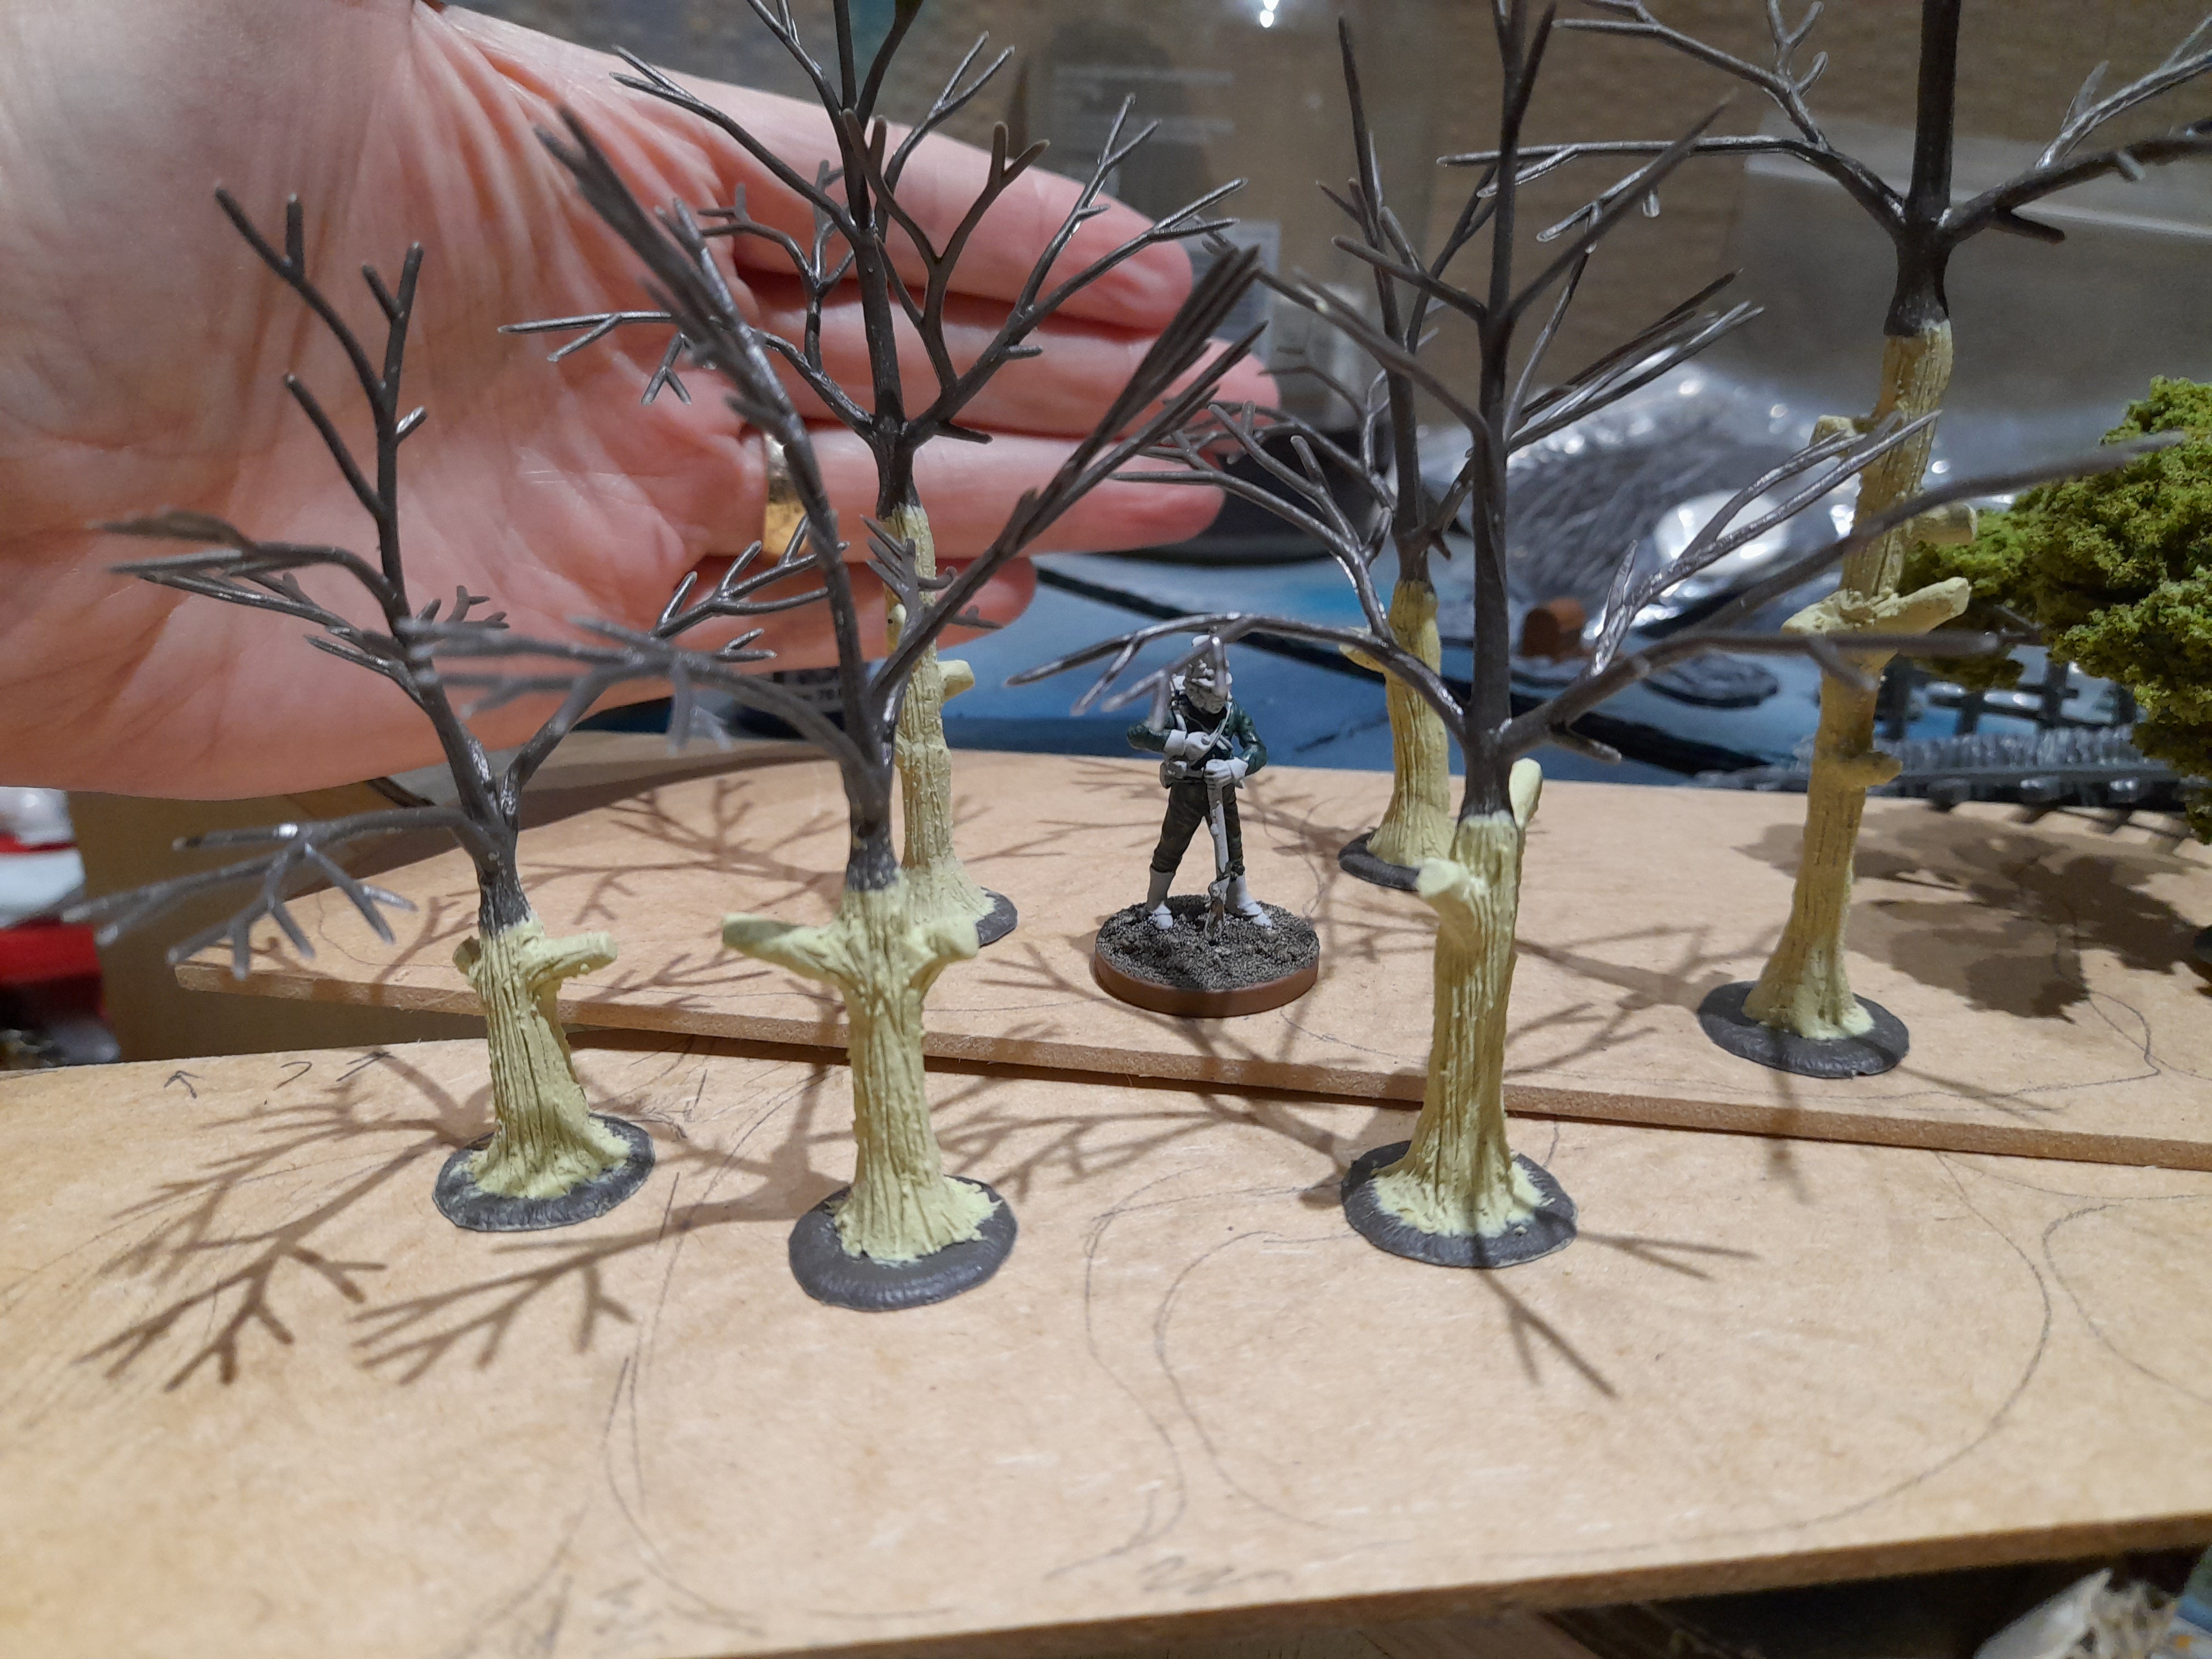
Then I sprayed them black, followed by brown. The result at that point was too brown, so I then went in and drybrushed them over with Deneb Stone (an old foundation paint). This did improve the appearance I feel.
Finally it was the time consuming part of adding the clump foliage to them all 😊
GW Spooky Trees
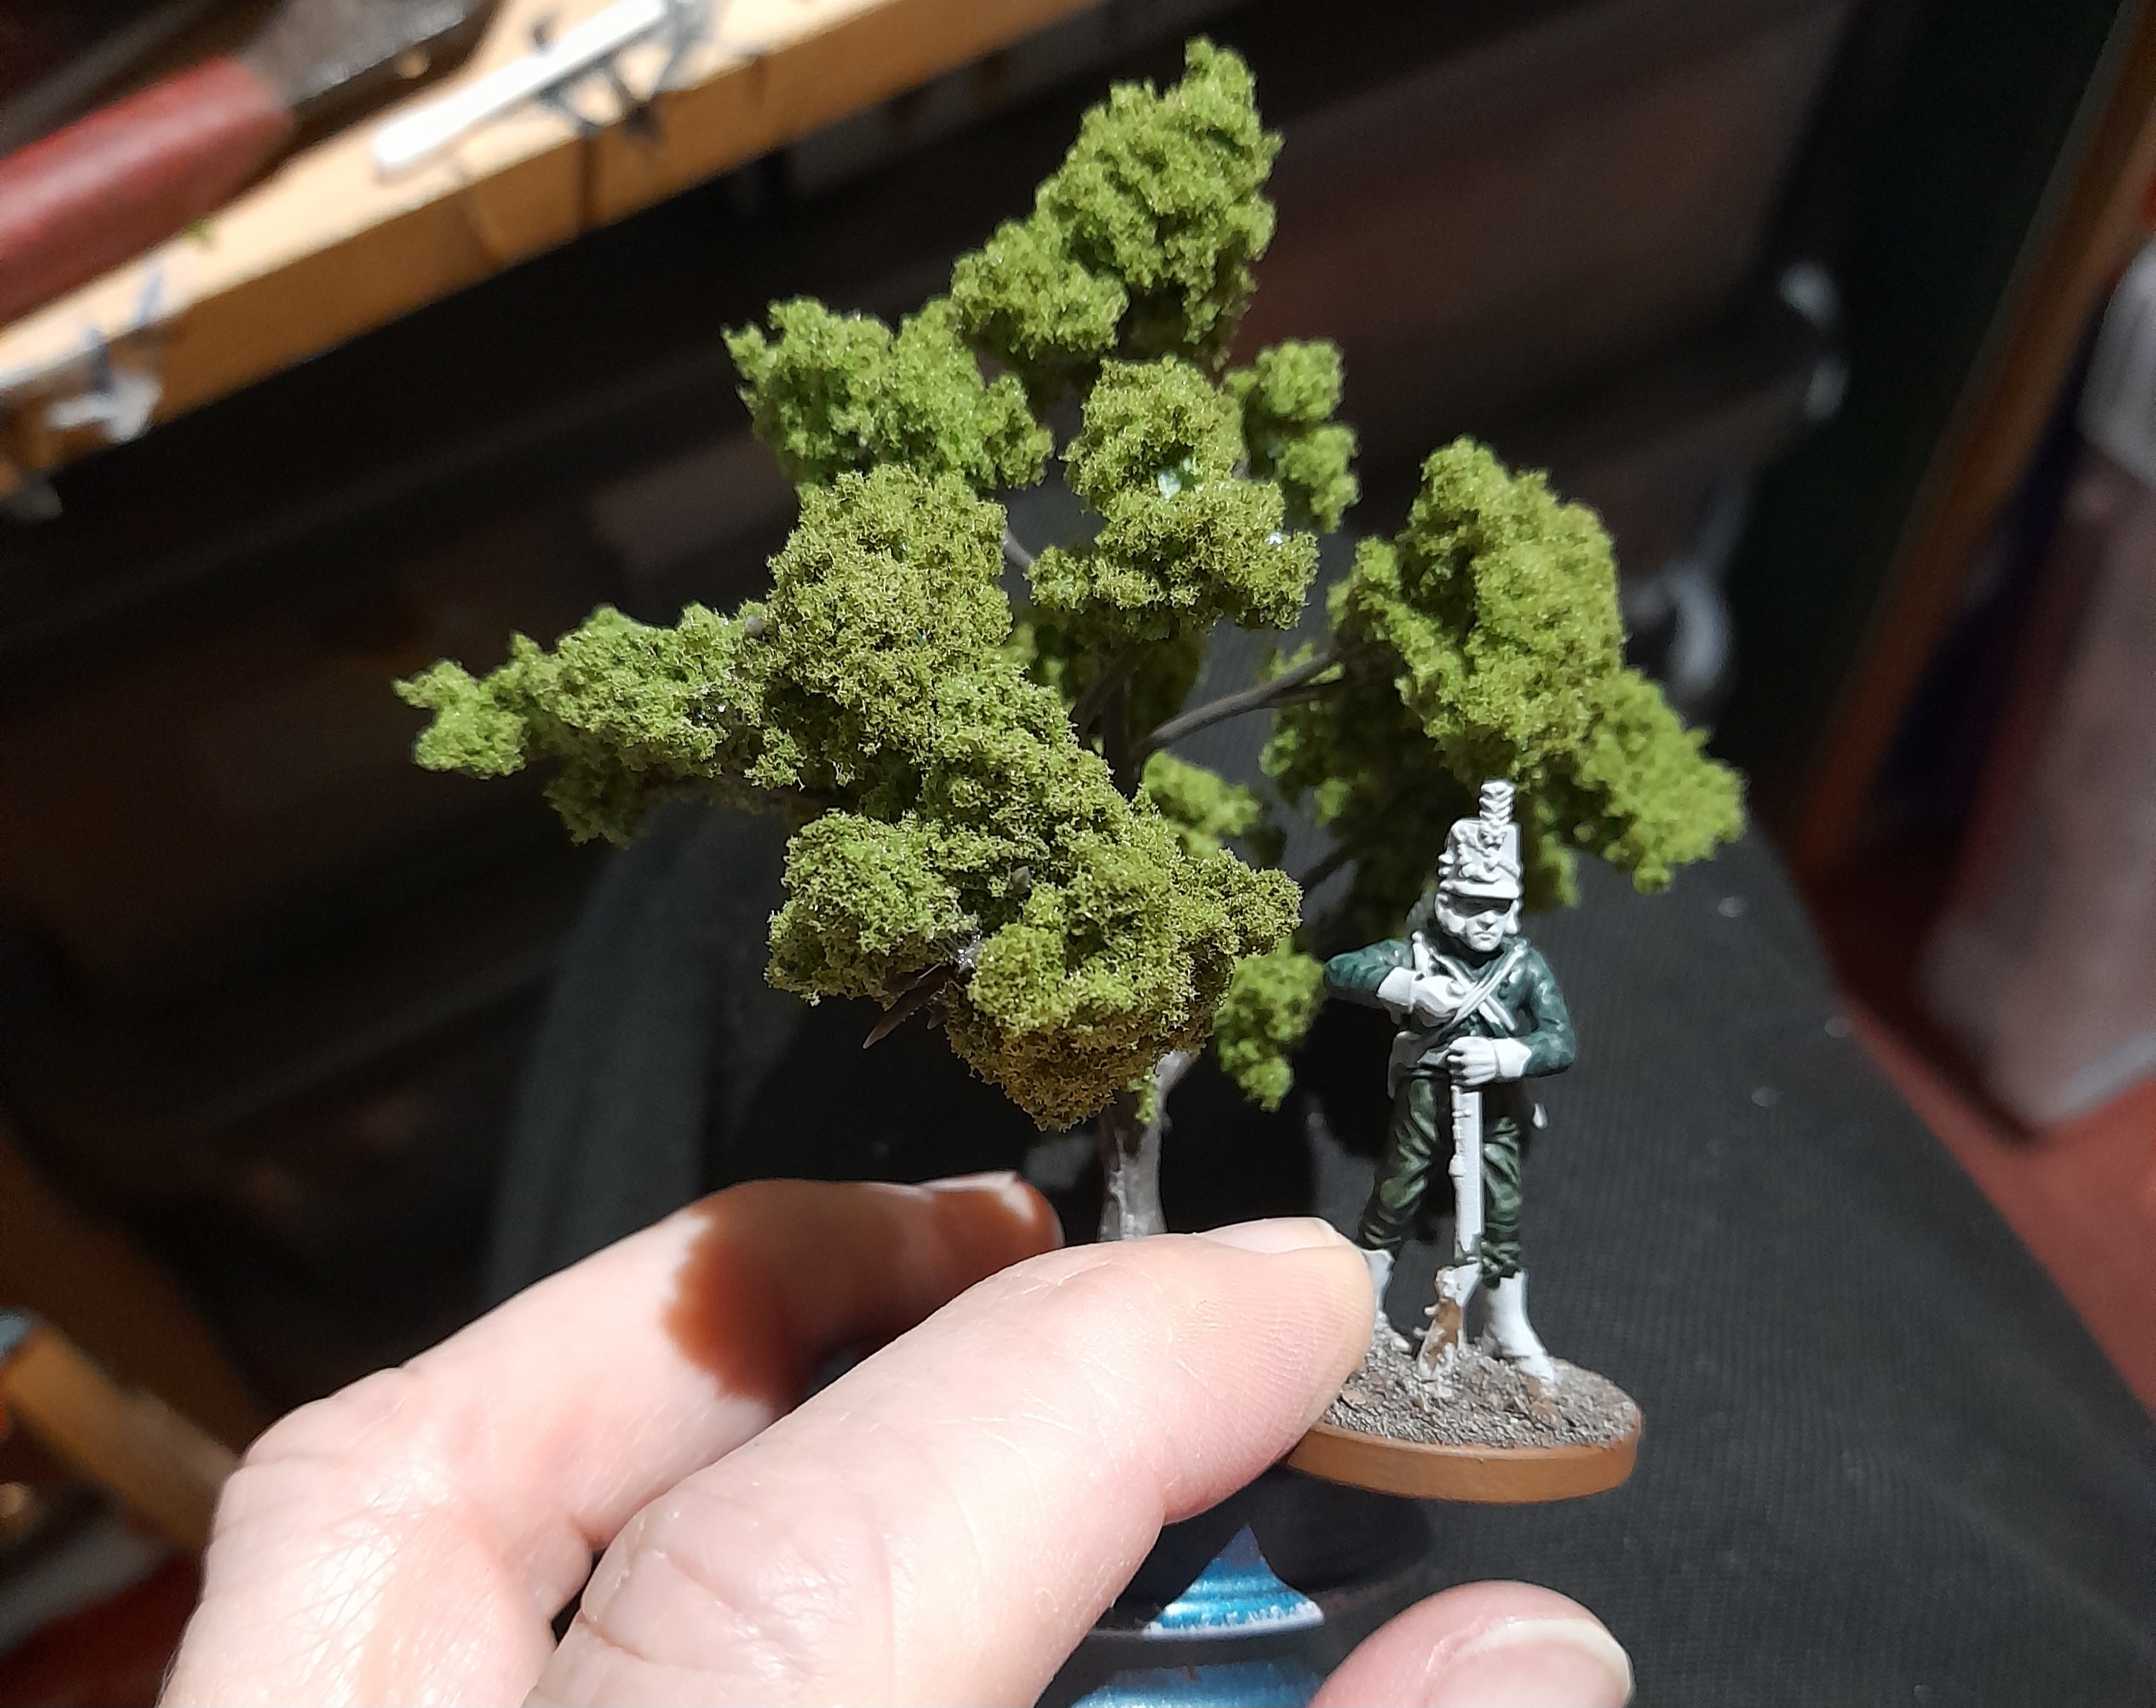
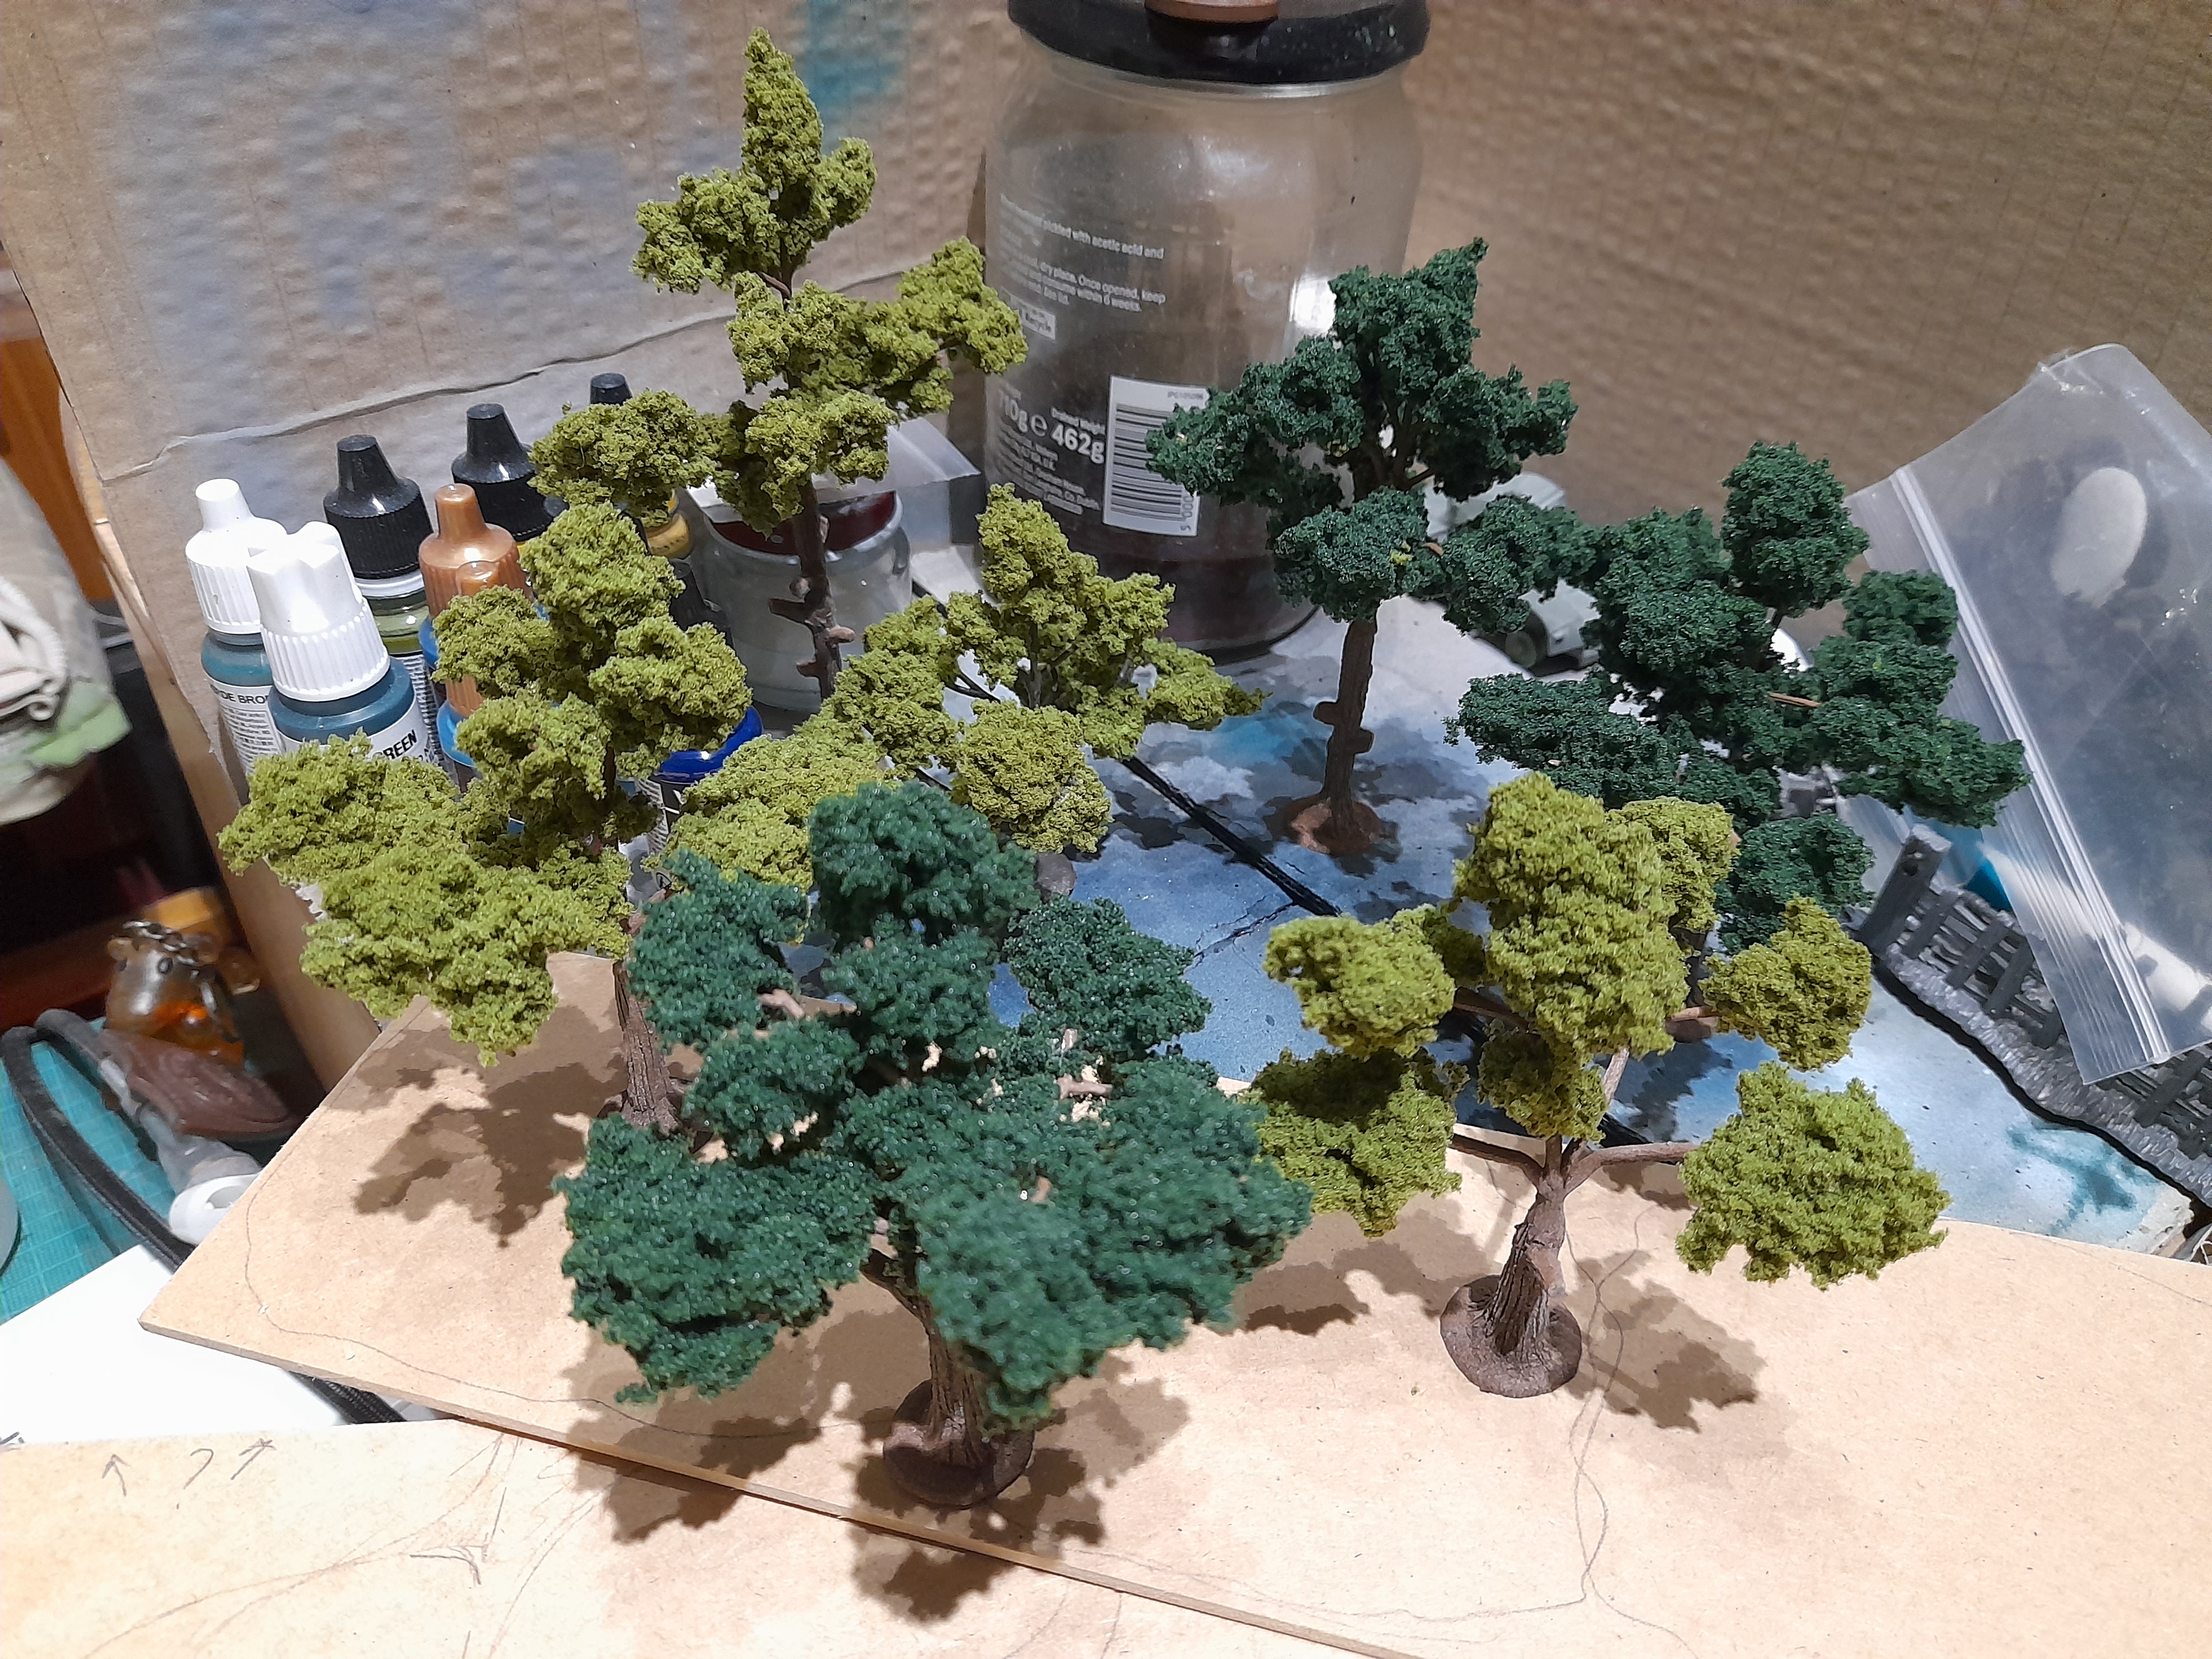
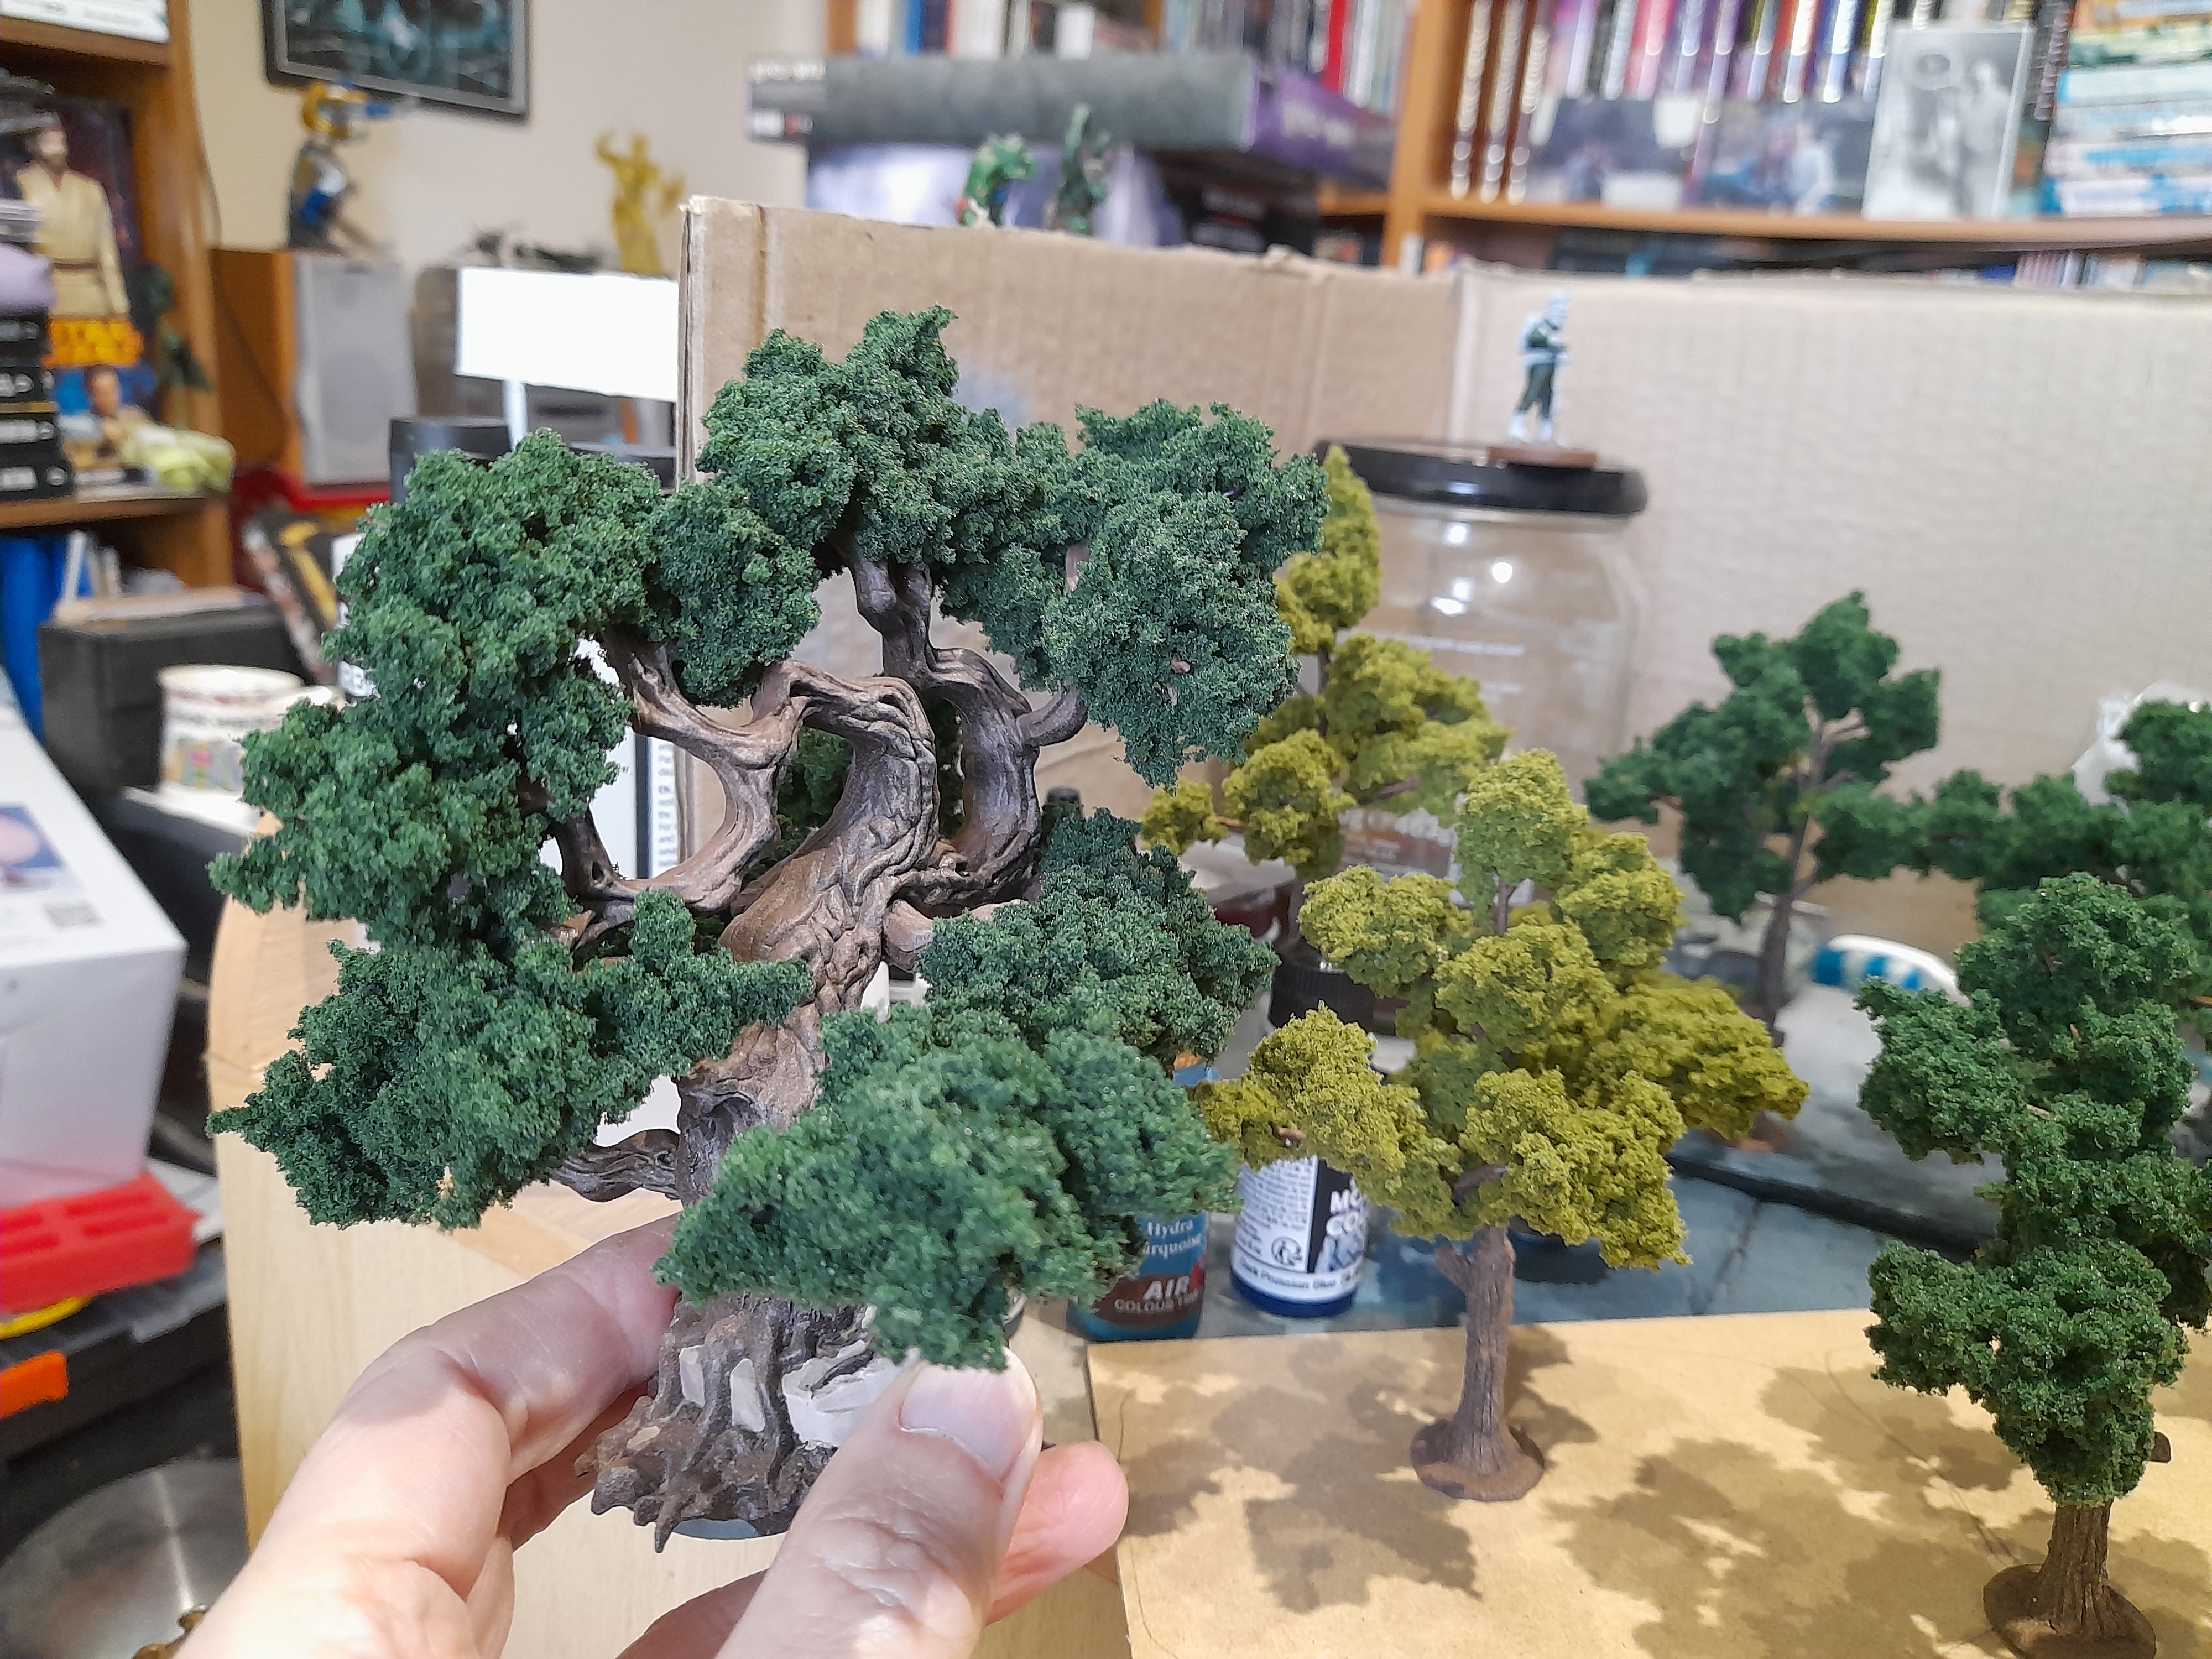
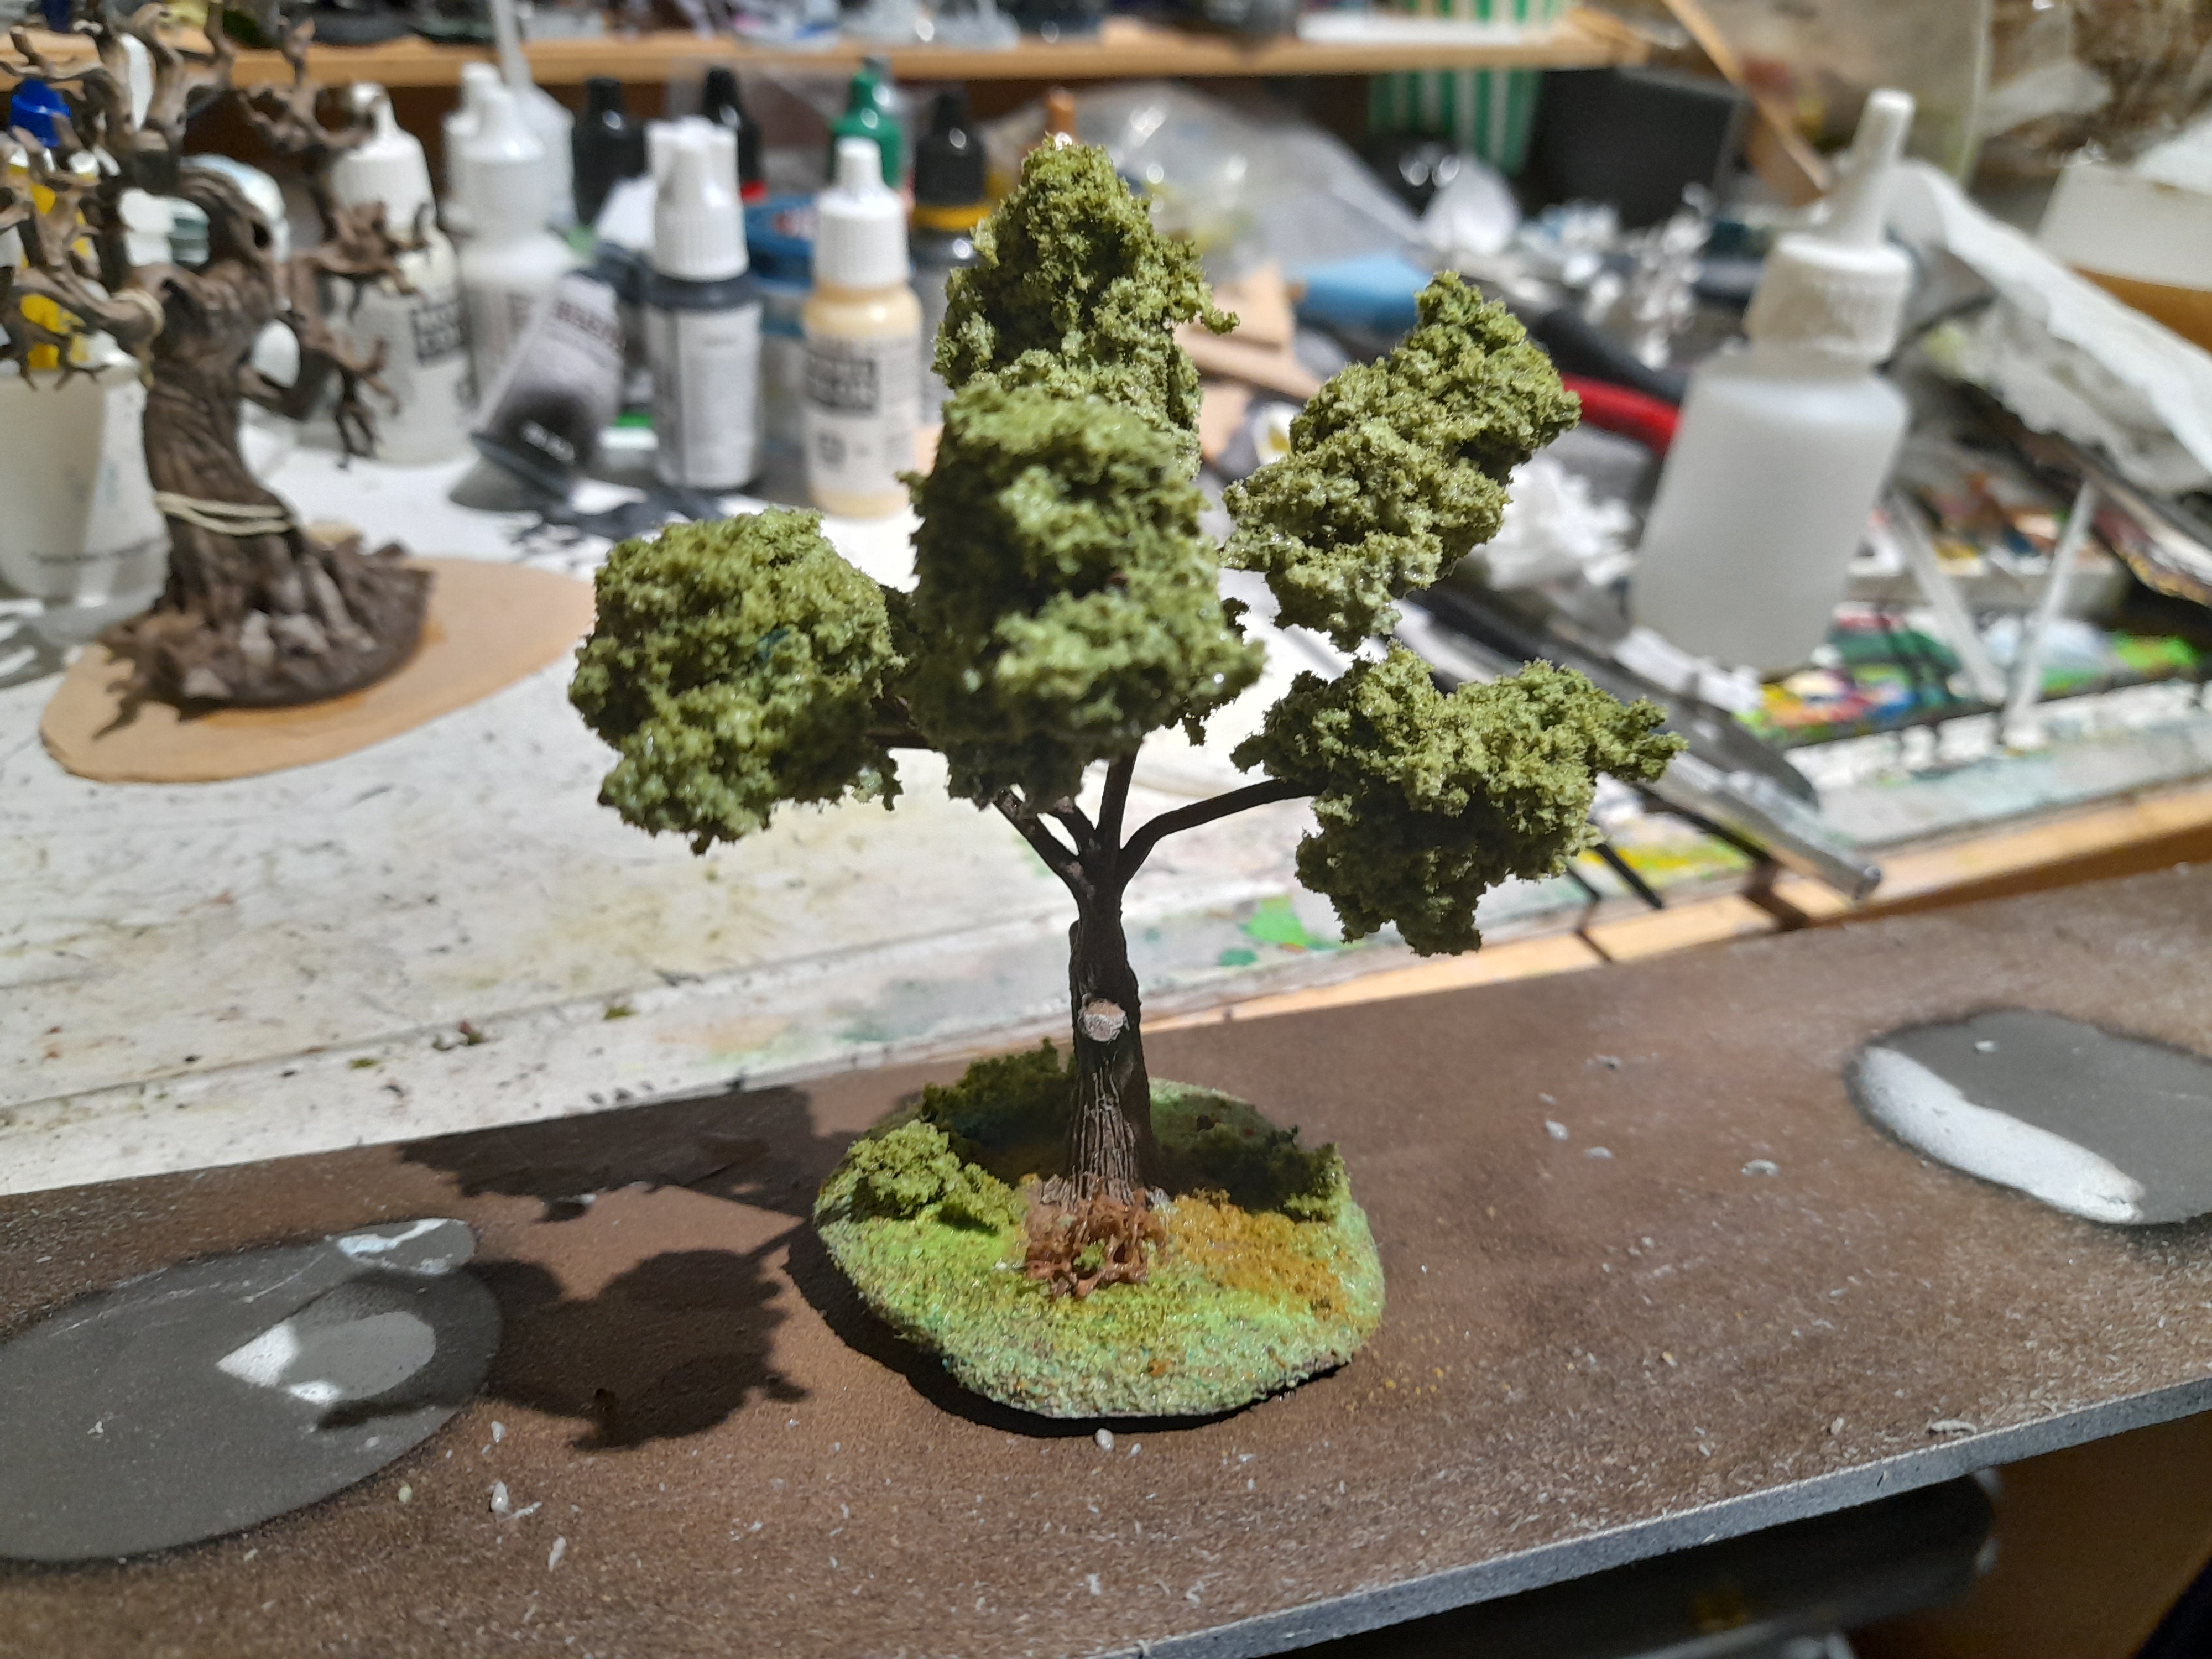
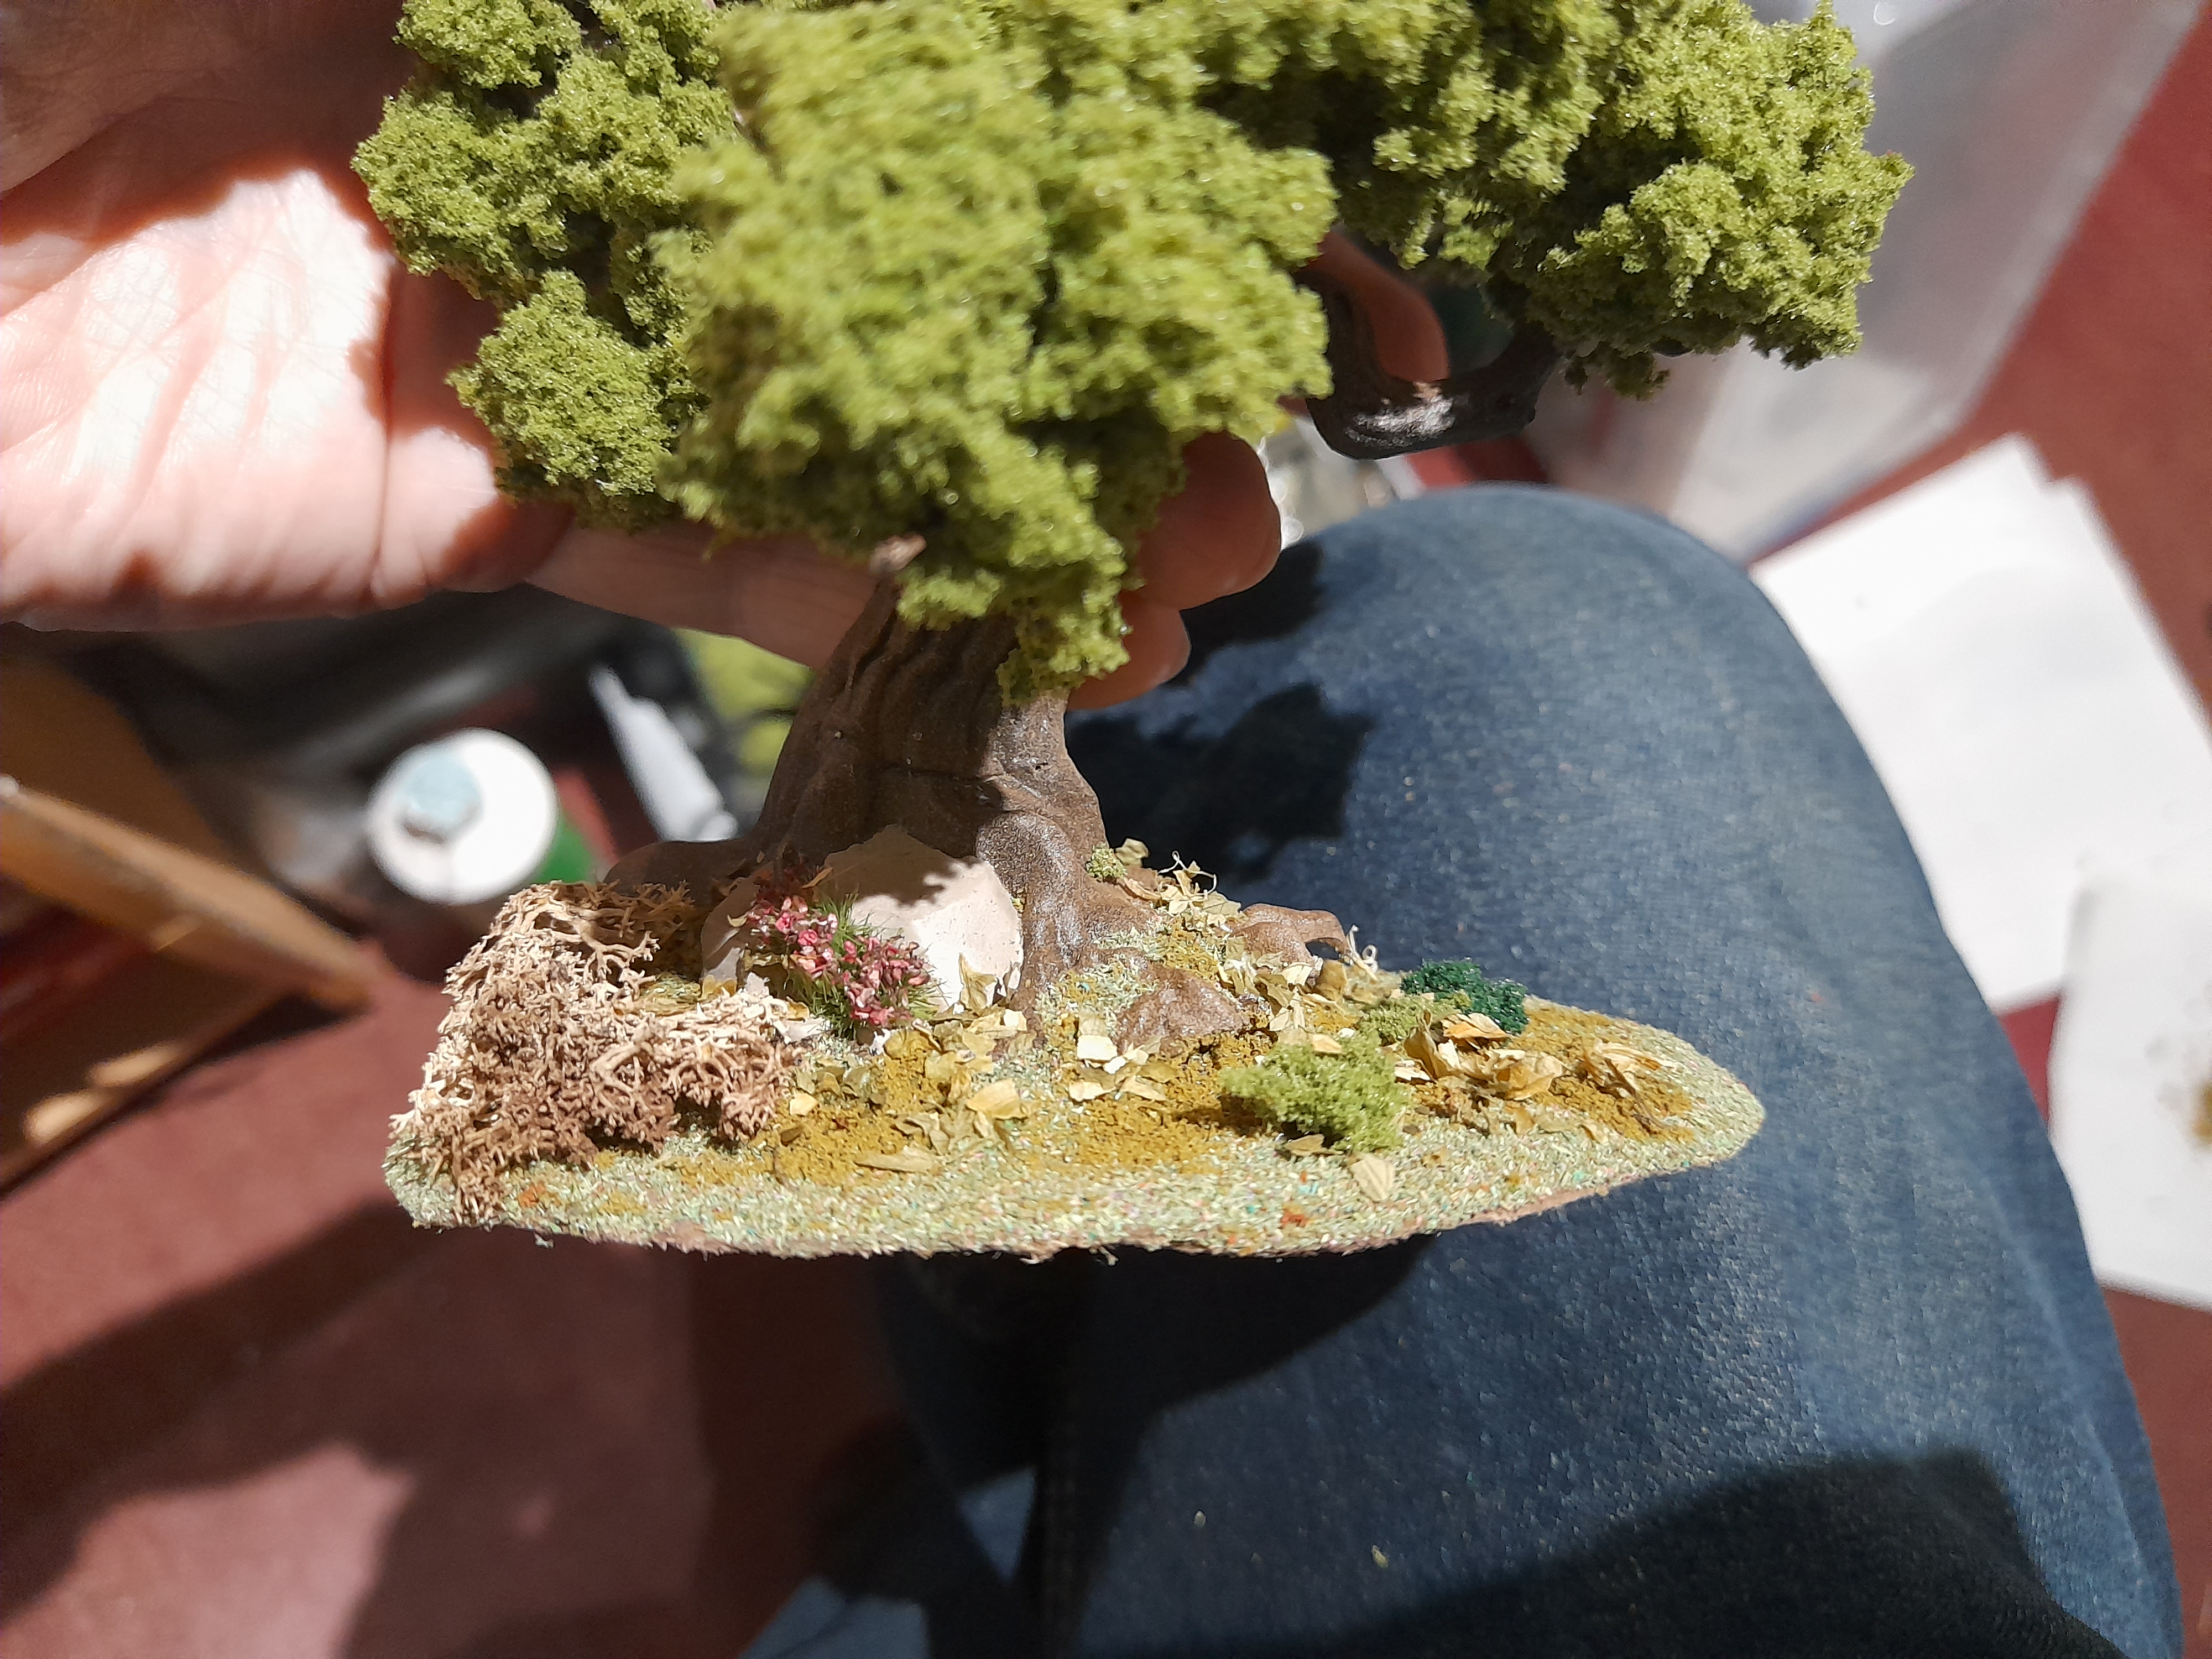
So, alongside the thin armature trees I planned to use some of my old GW ‘spooky’ trees.
They are much thicker than the armature ones, but I am hoping that using the same clump foliage (rather than the flat plastic leaves) on them will tie them all together.
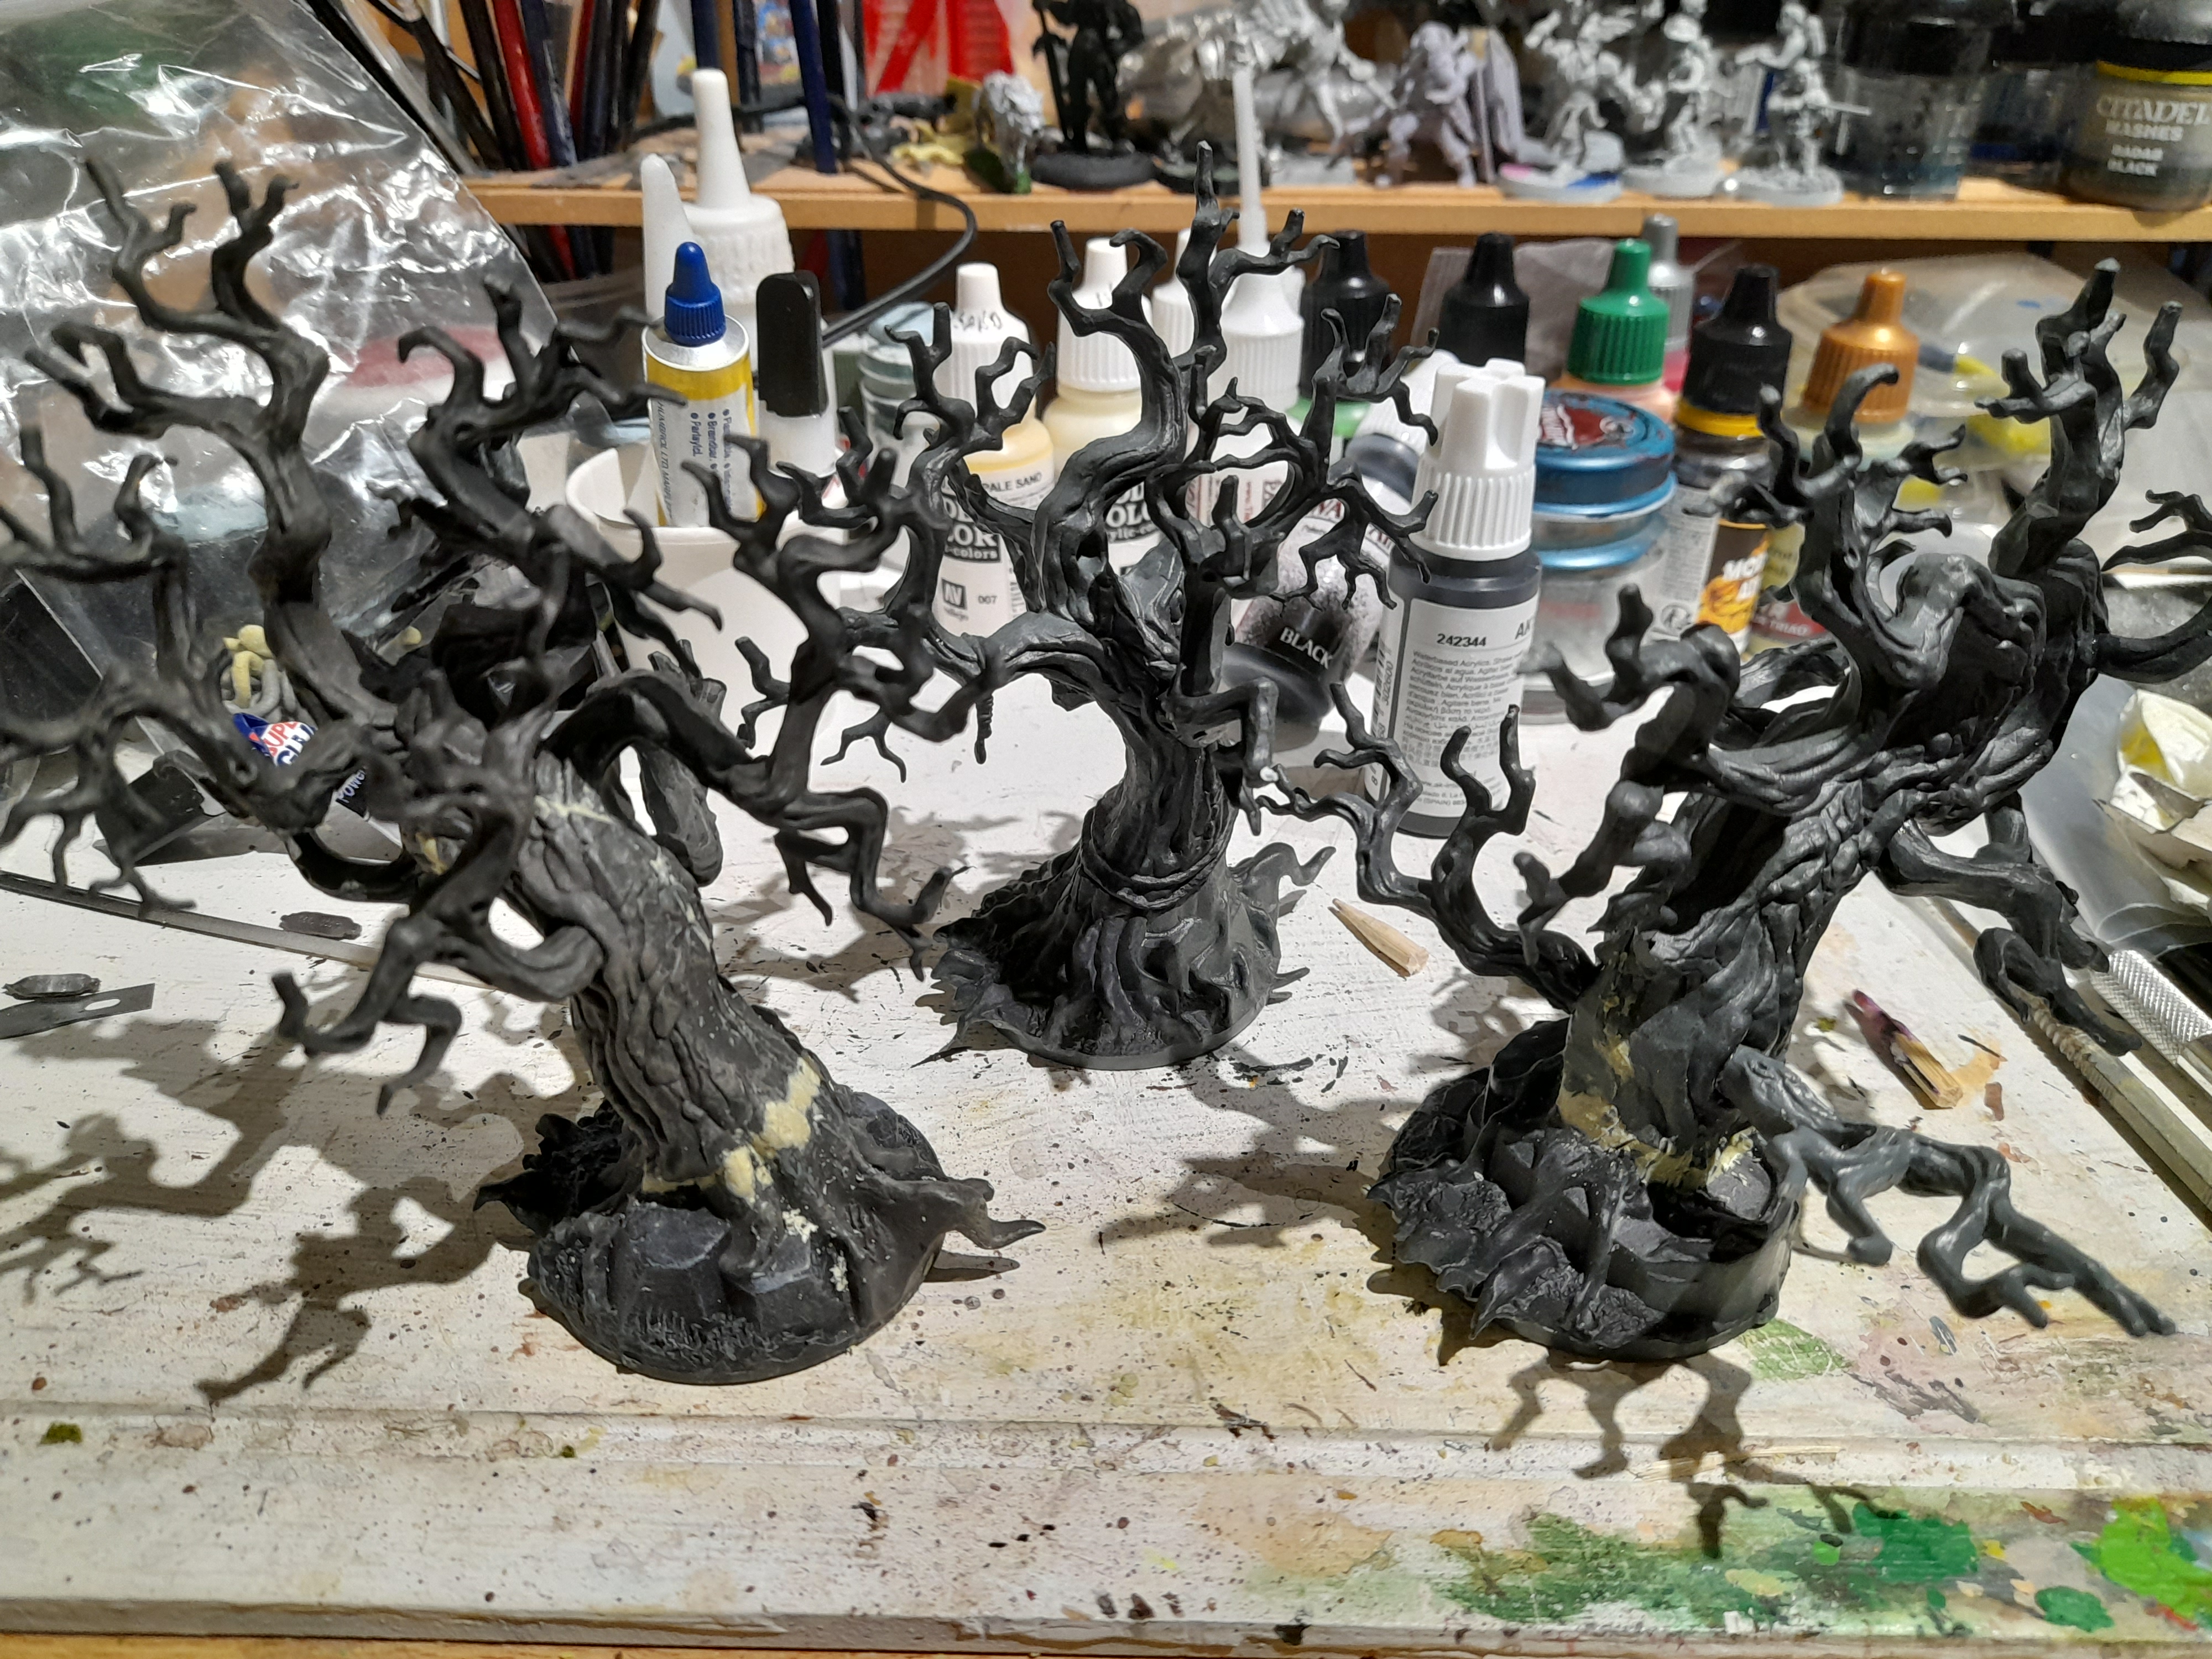
After filling some of the larger gaps with milliput they were given the same black followed by brown overspray, and a drybrush of Deneb Stone. They also had a thinned wash of ‘strong tone’.
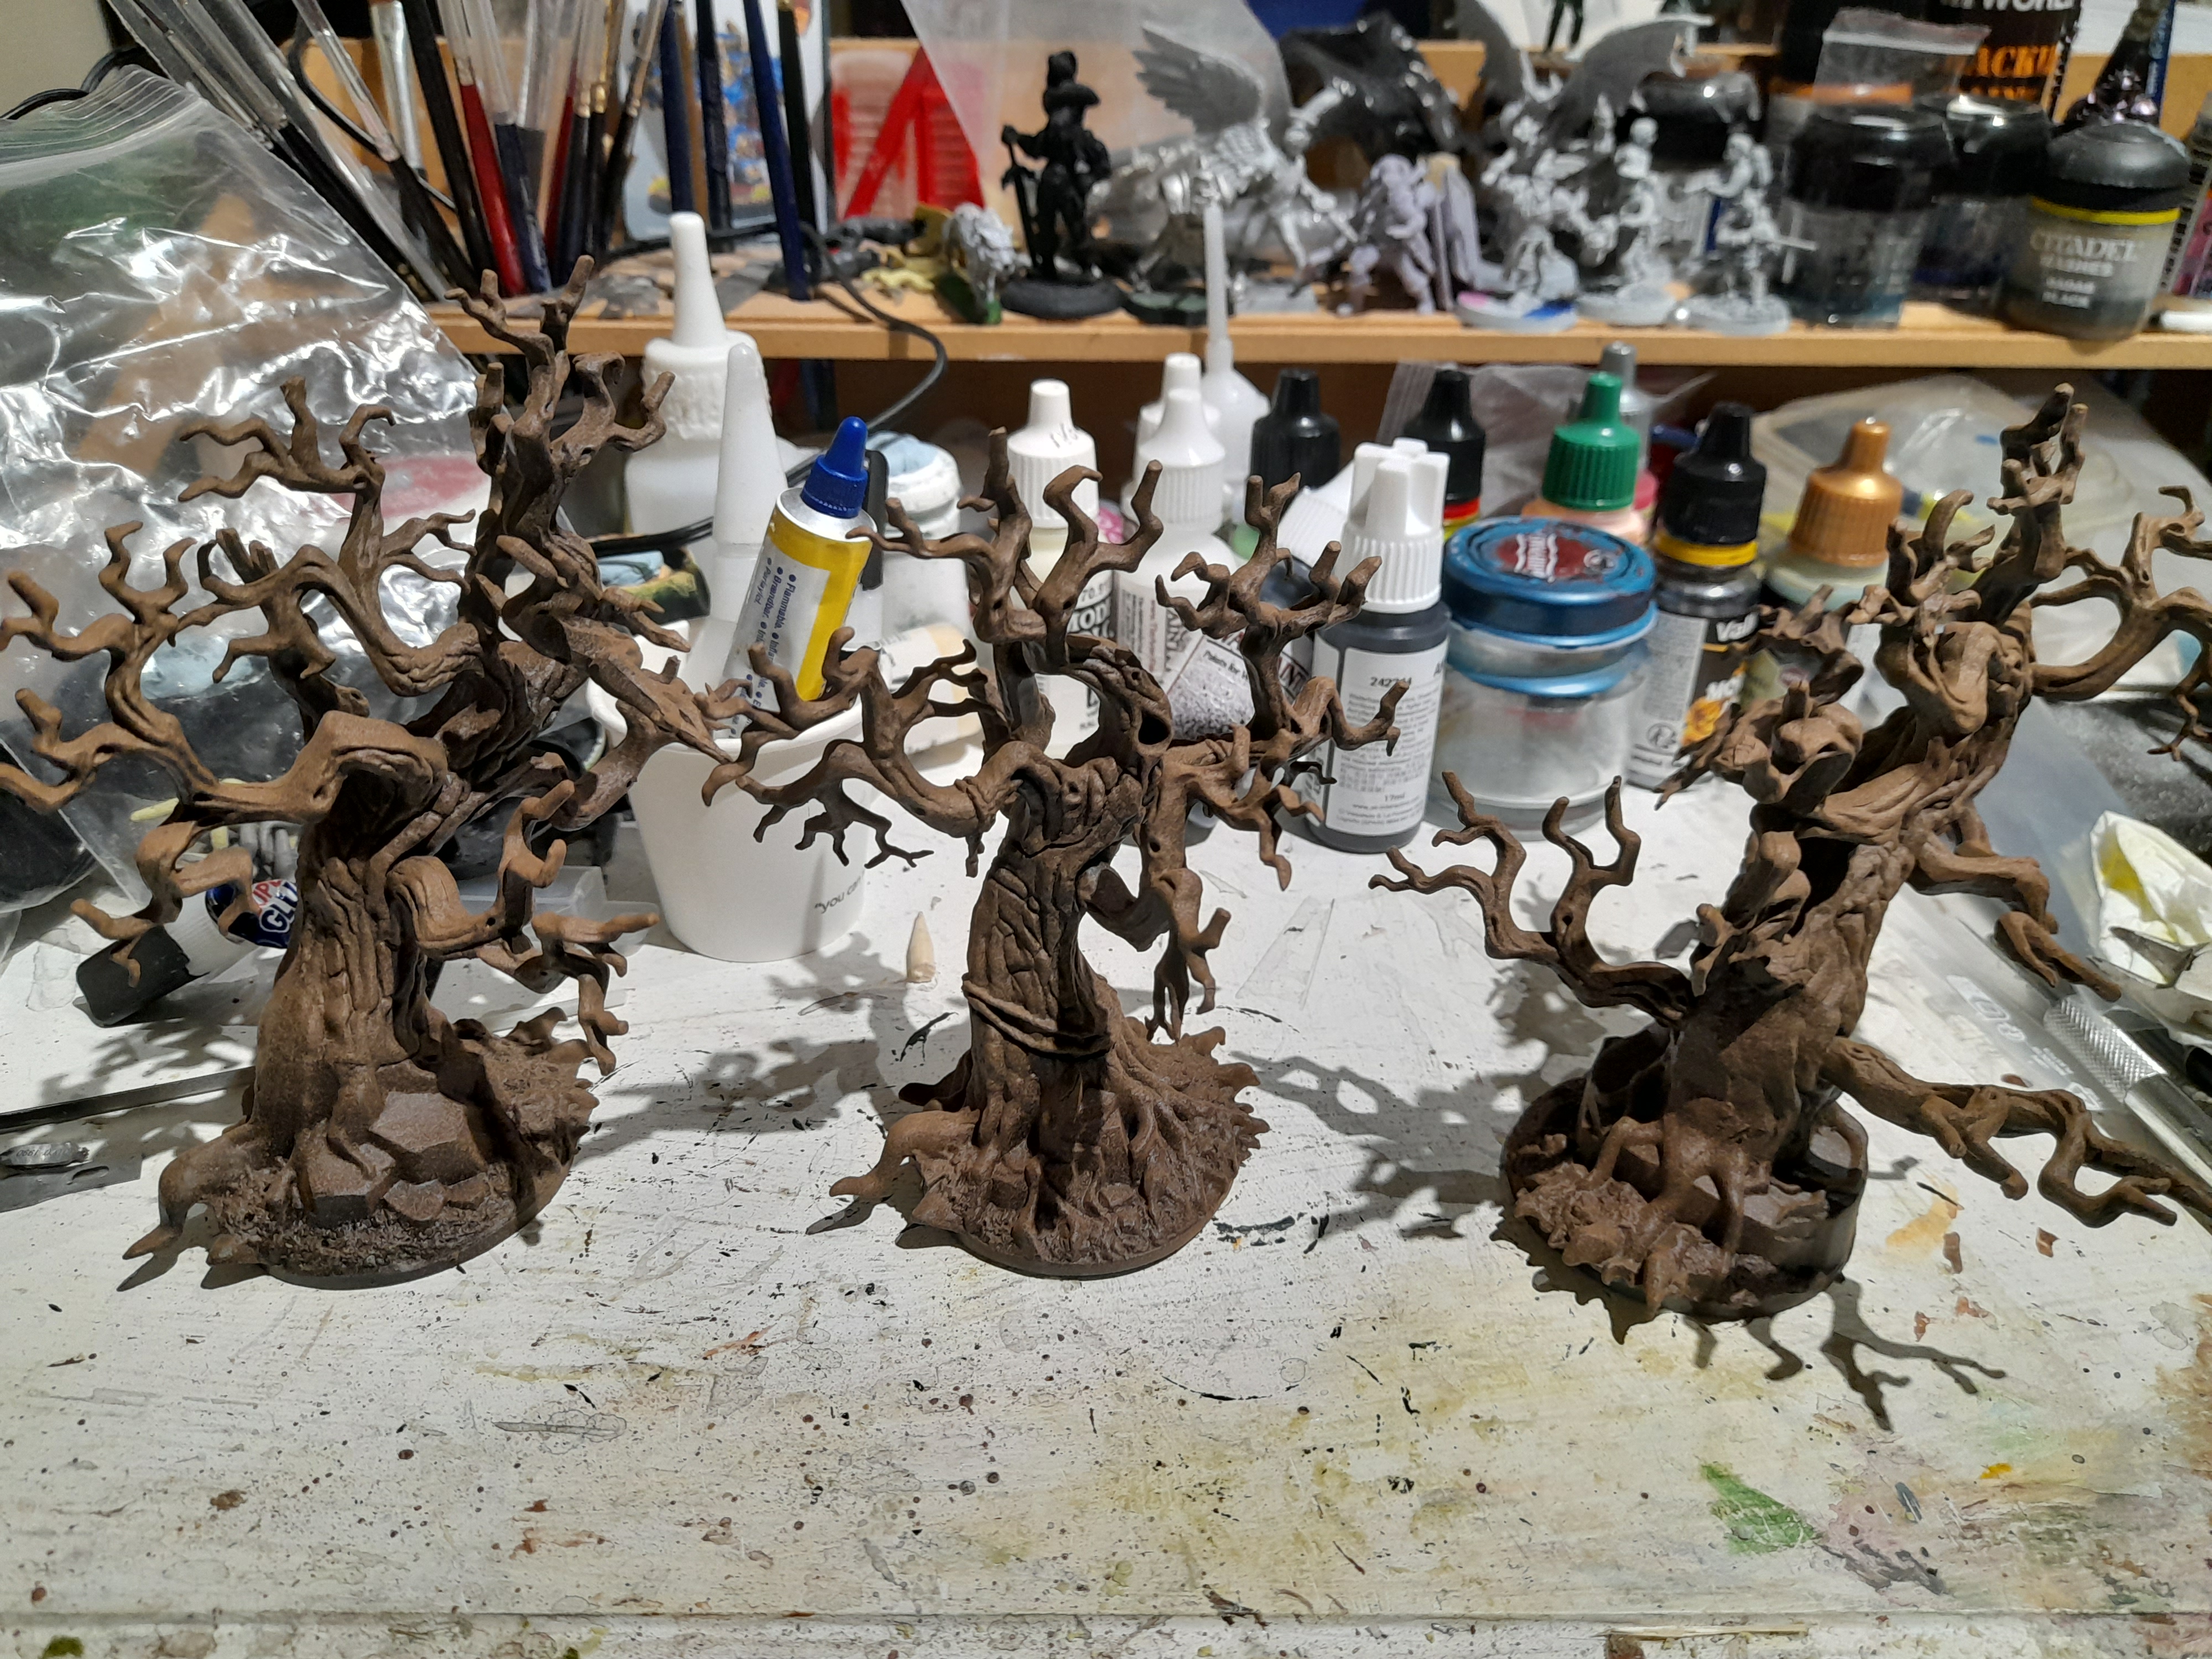
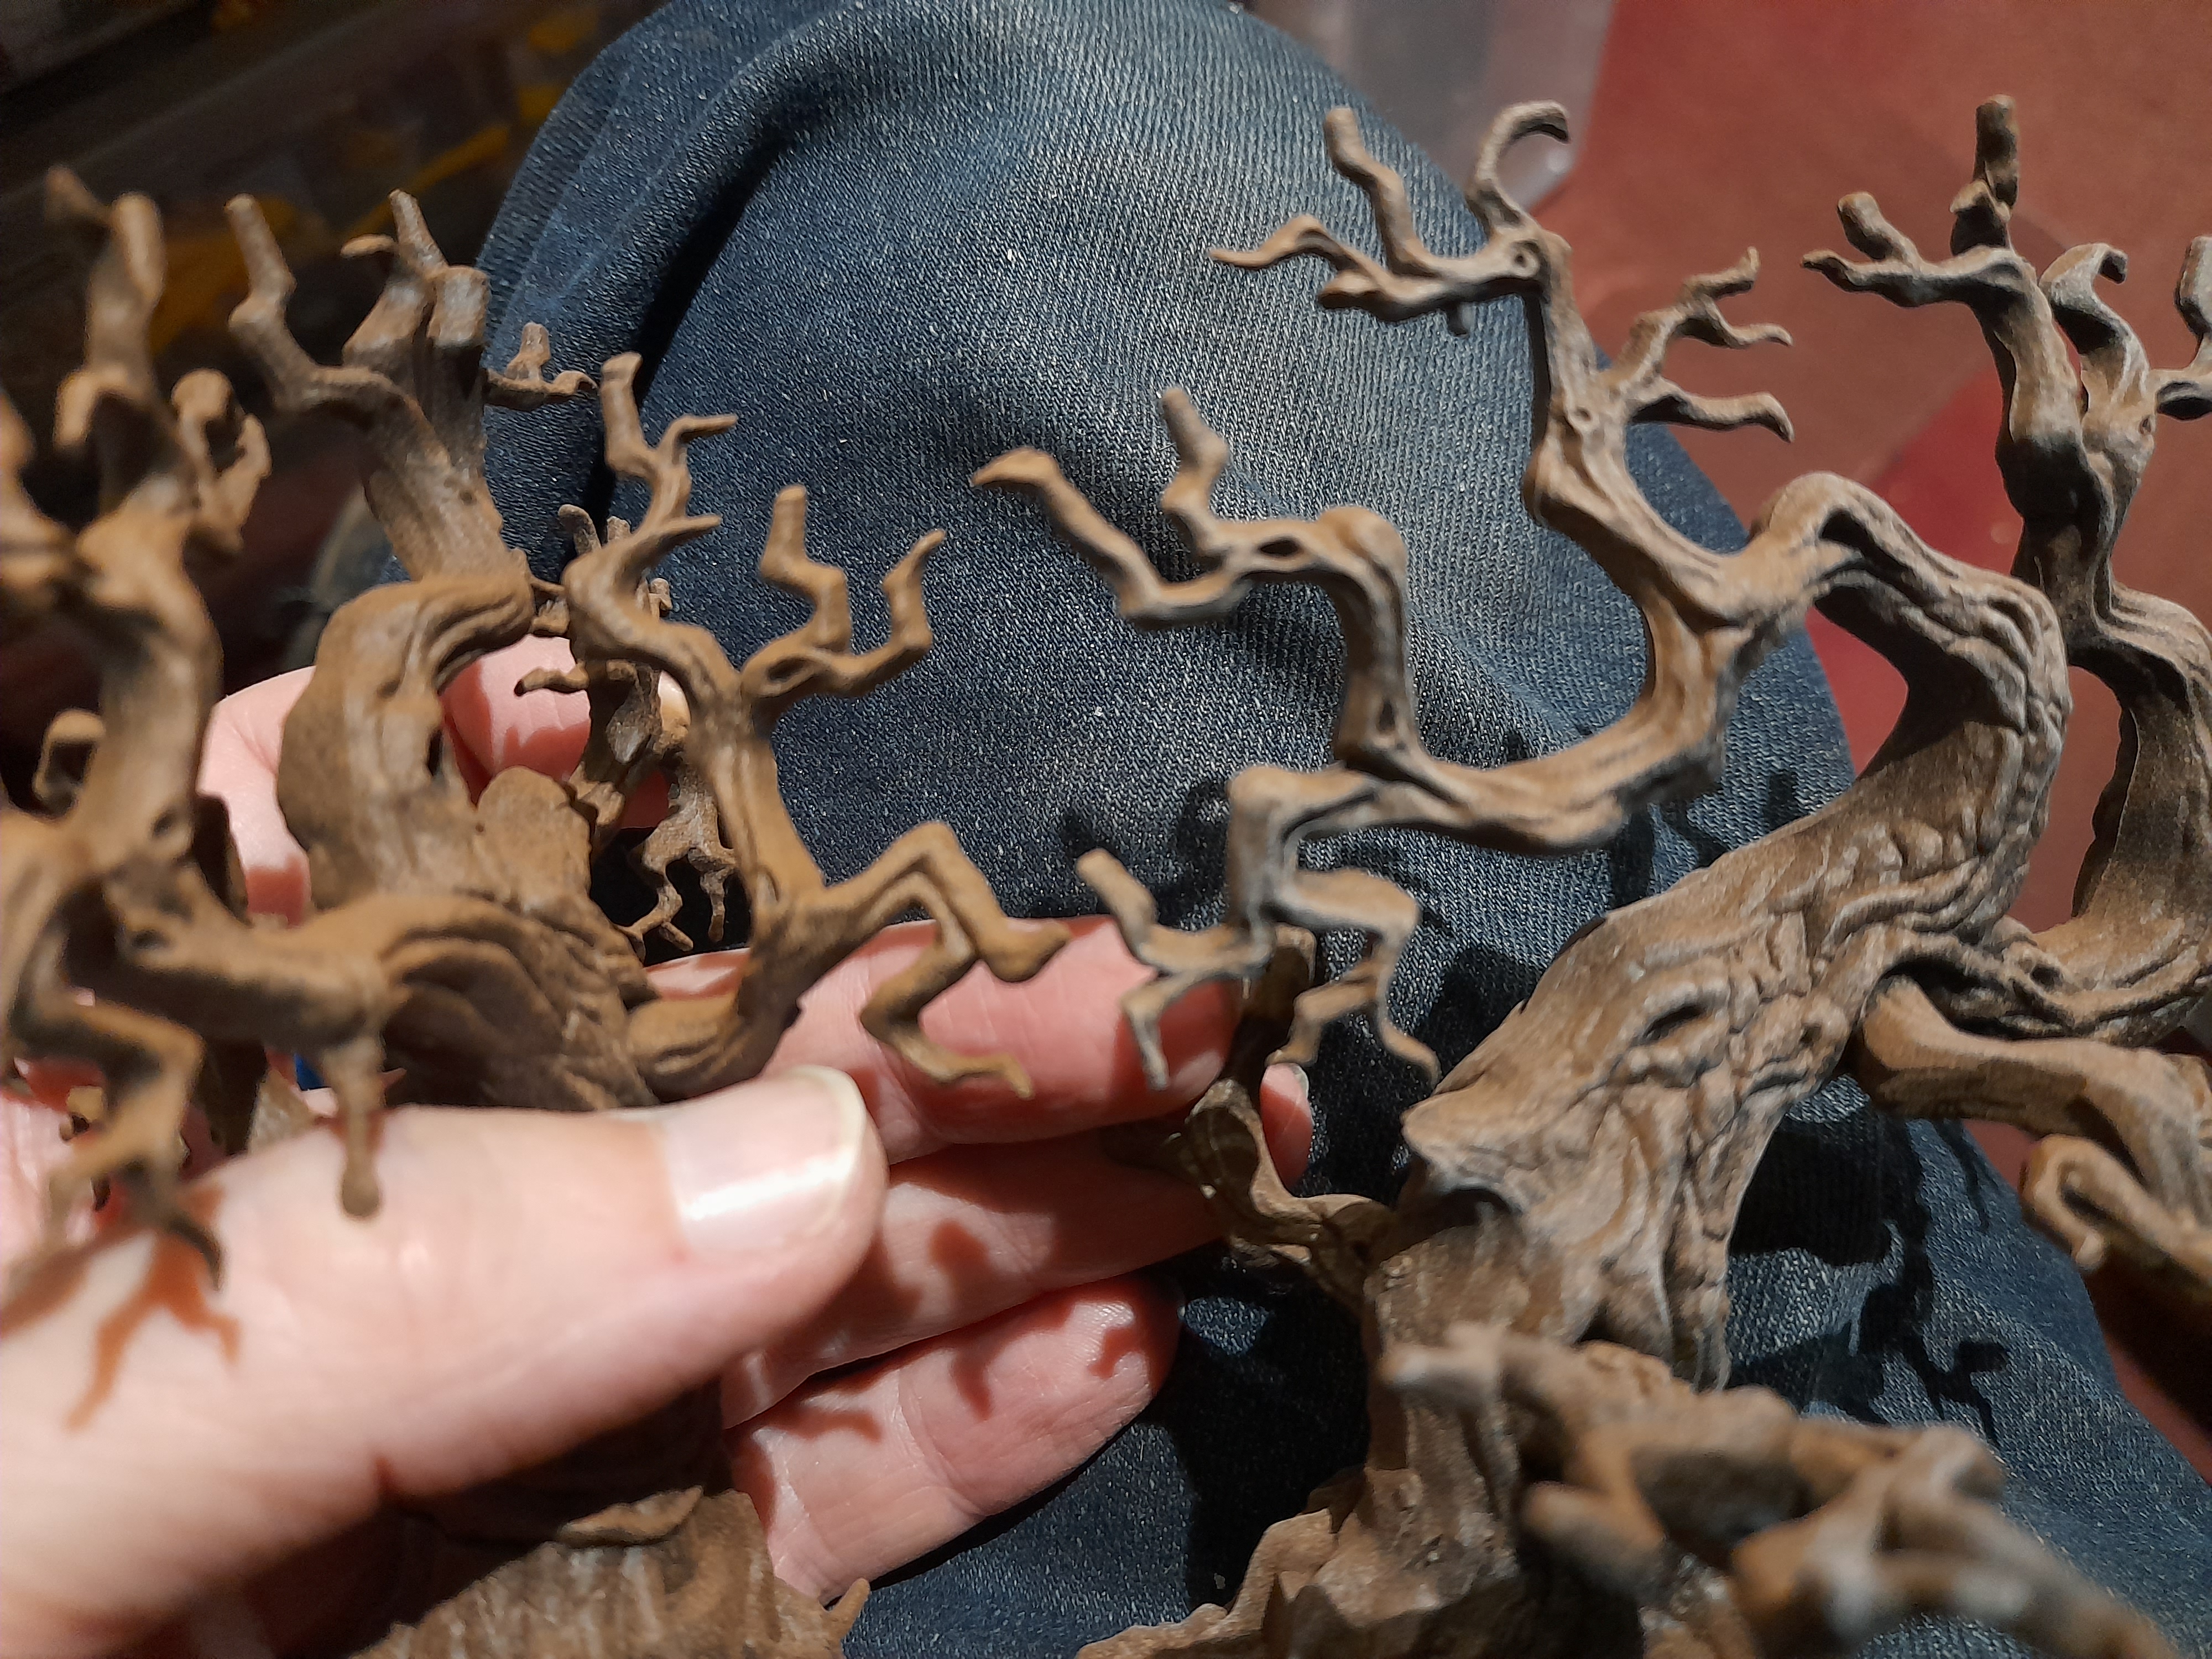
Then I picked out the stones on the base (Deneb stone again) and started with the clump foliage. I had purchased some contact glue, but did go back to my almost set super glue, to make stringy connections between branches.
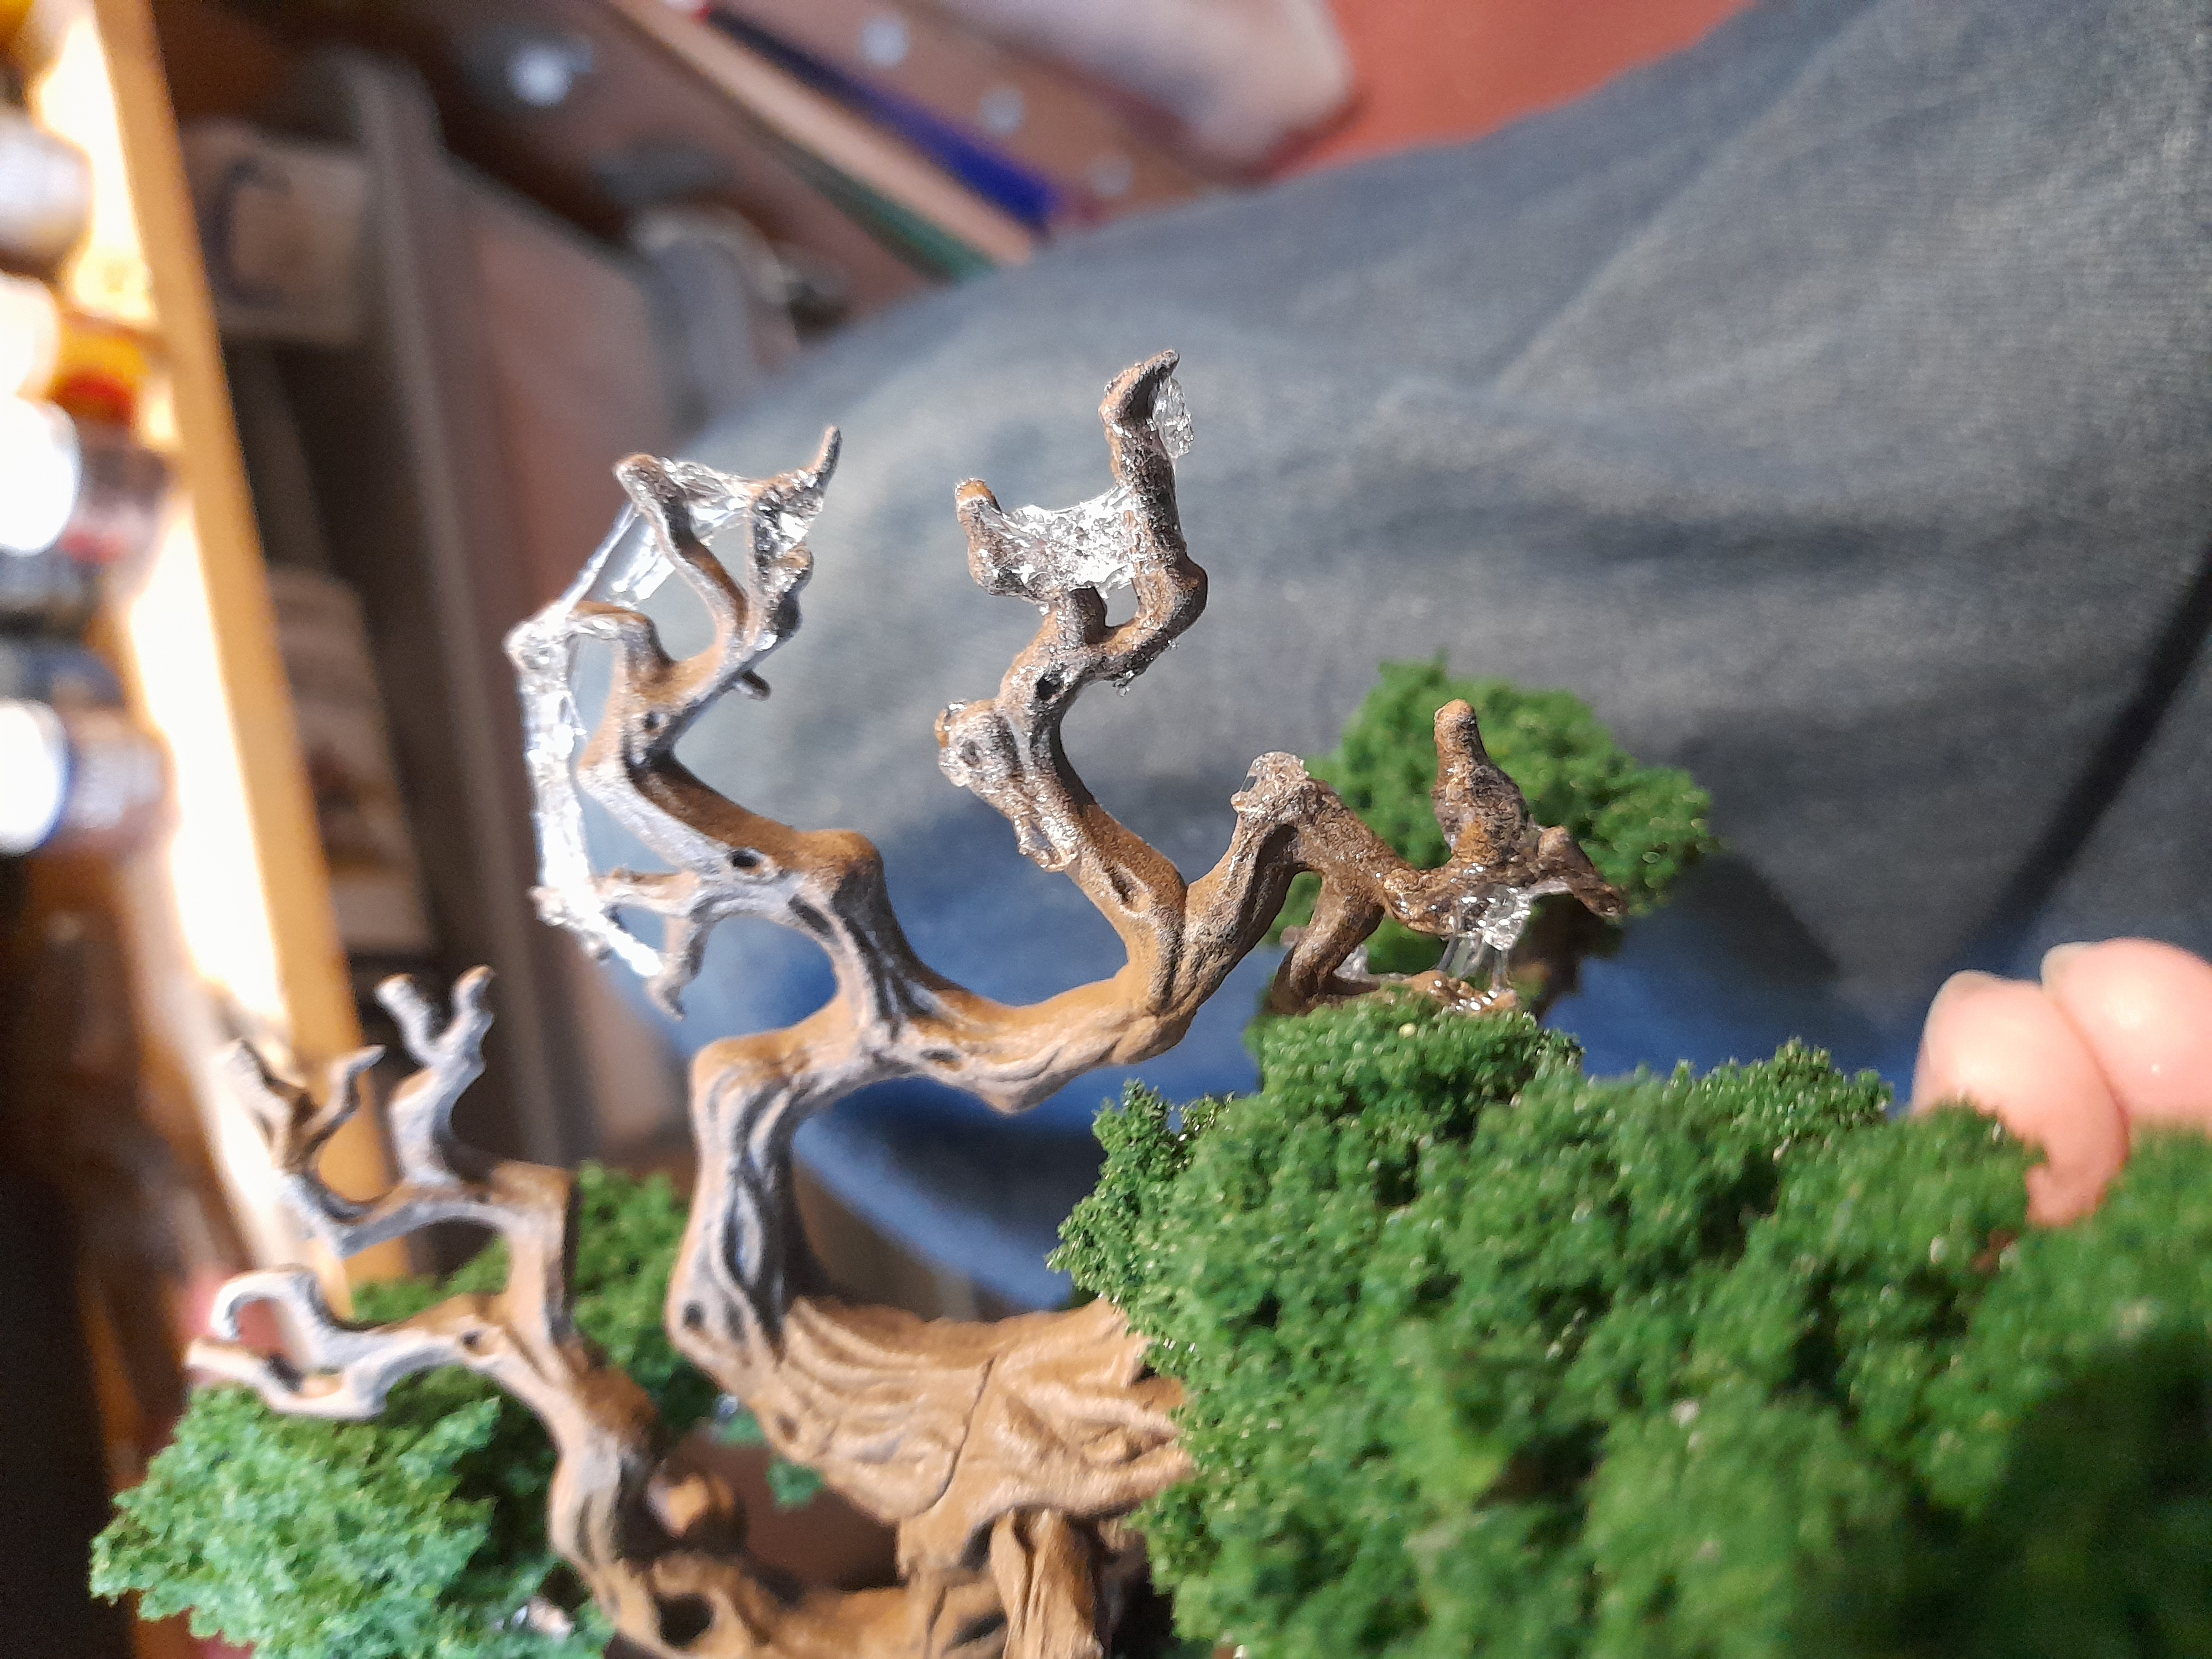
When finished they sort of look like Bonsai trees 😊
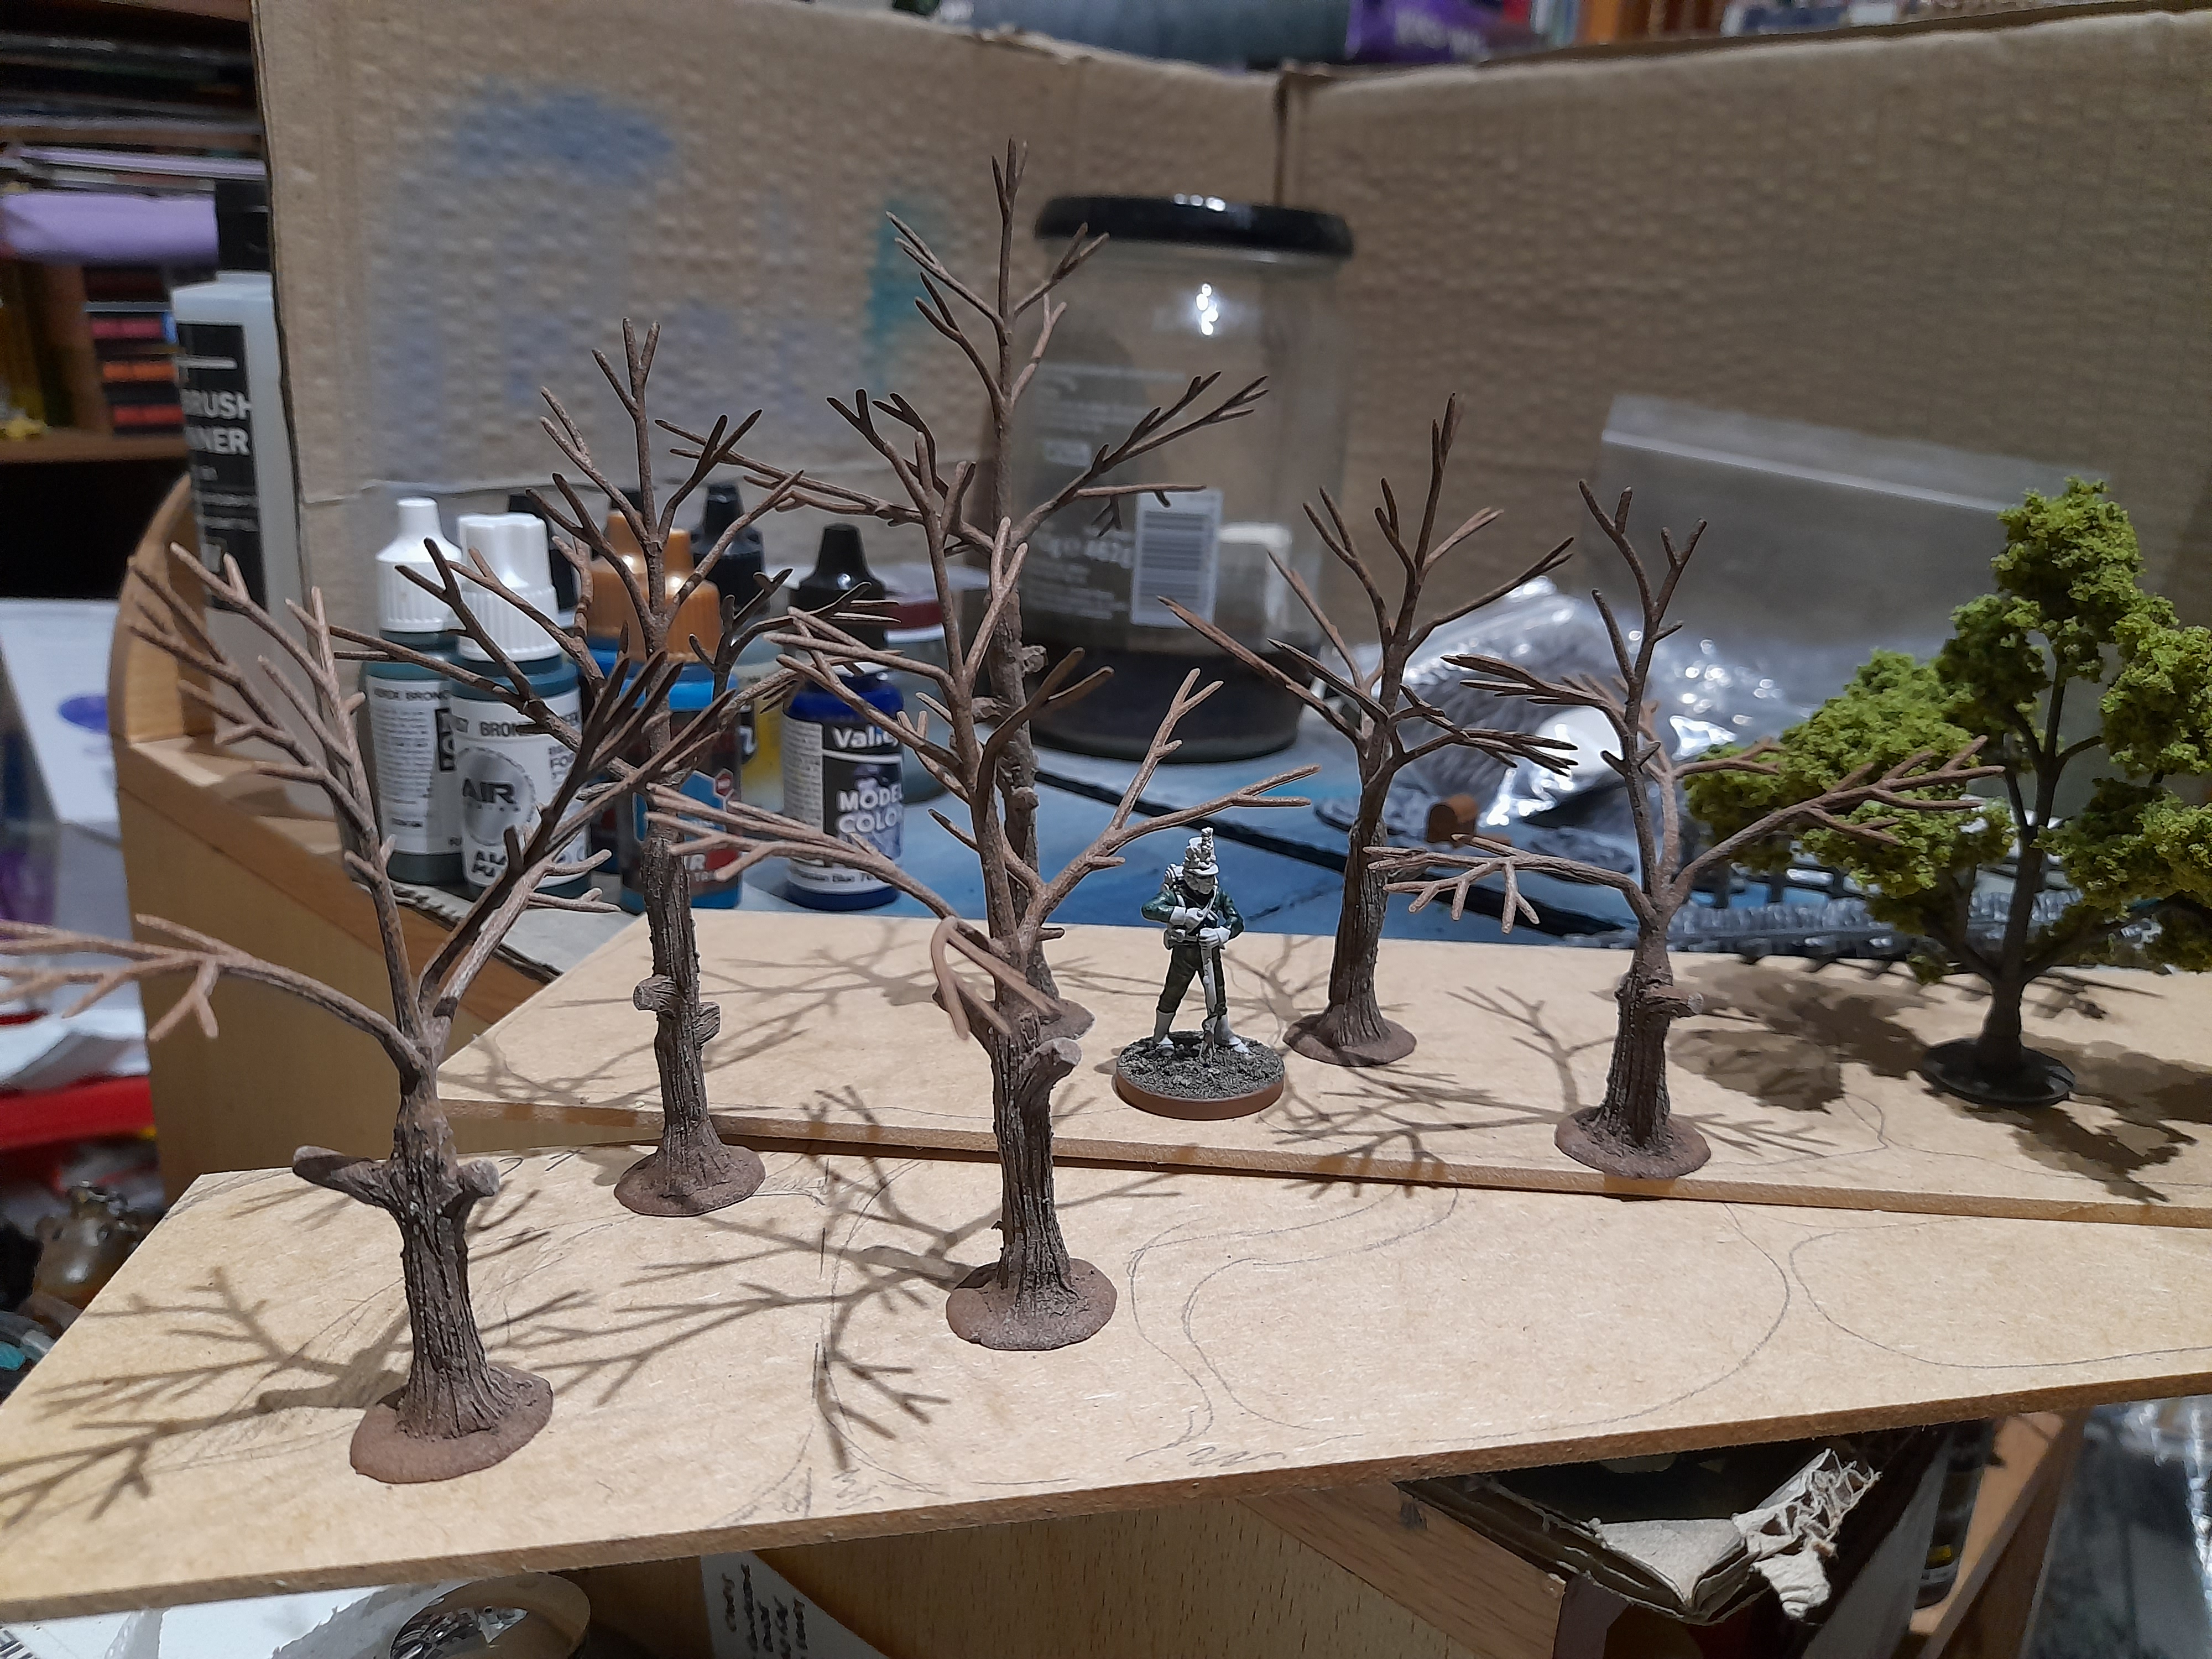
Test basing for the trees
15th November 2024
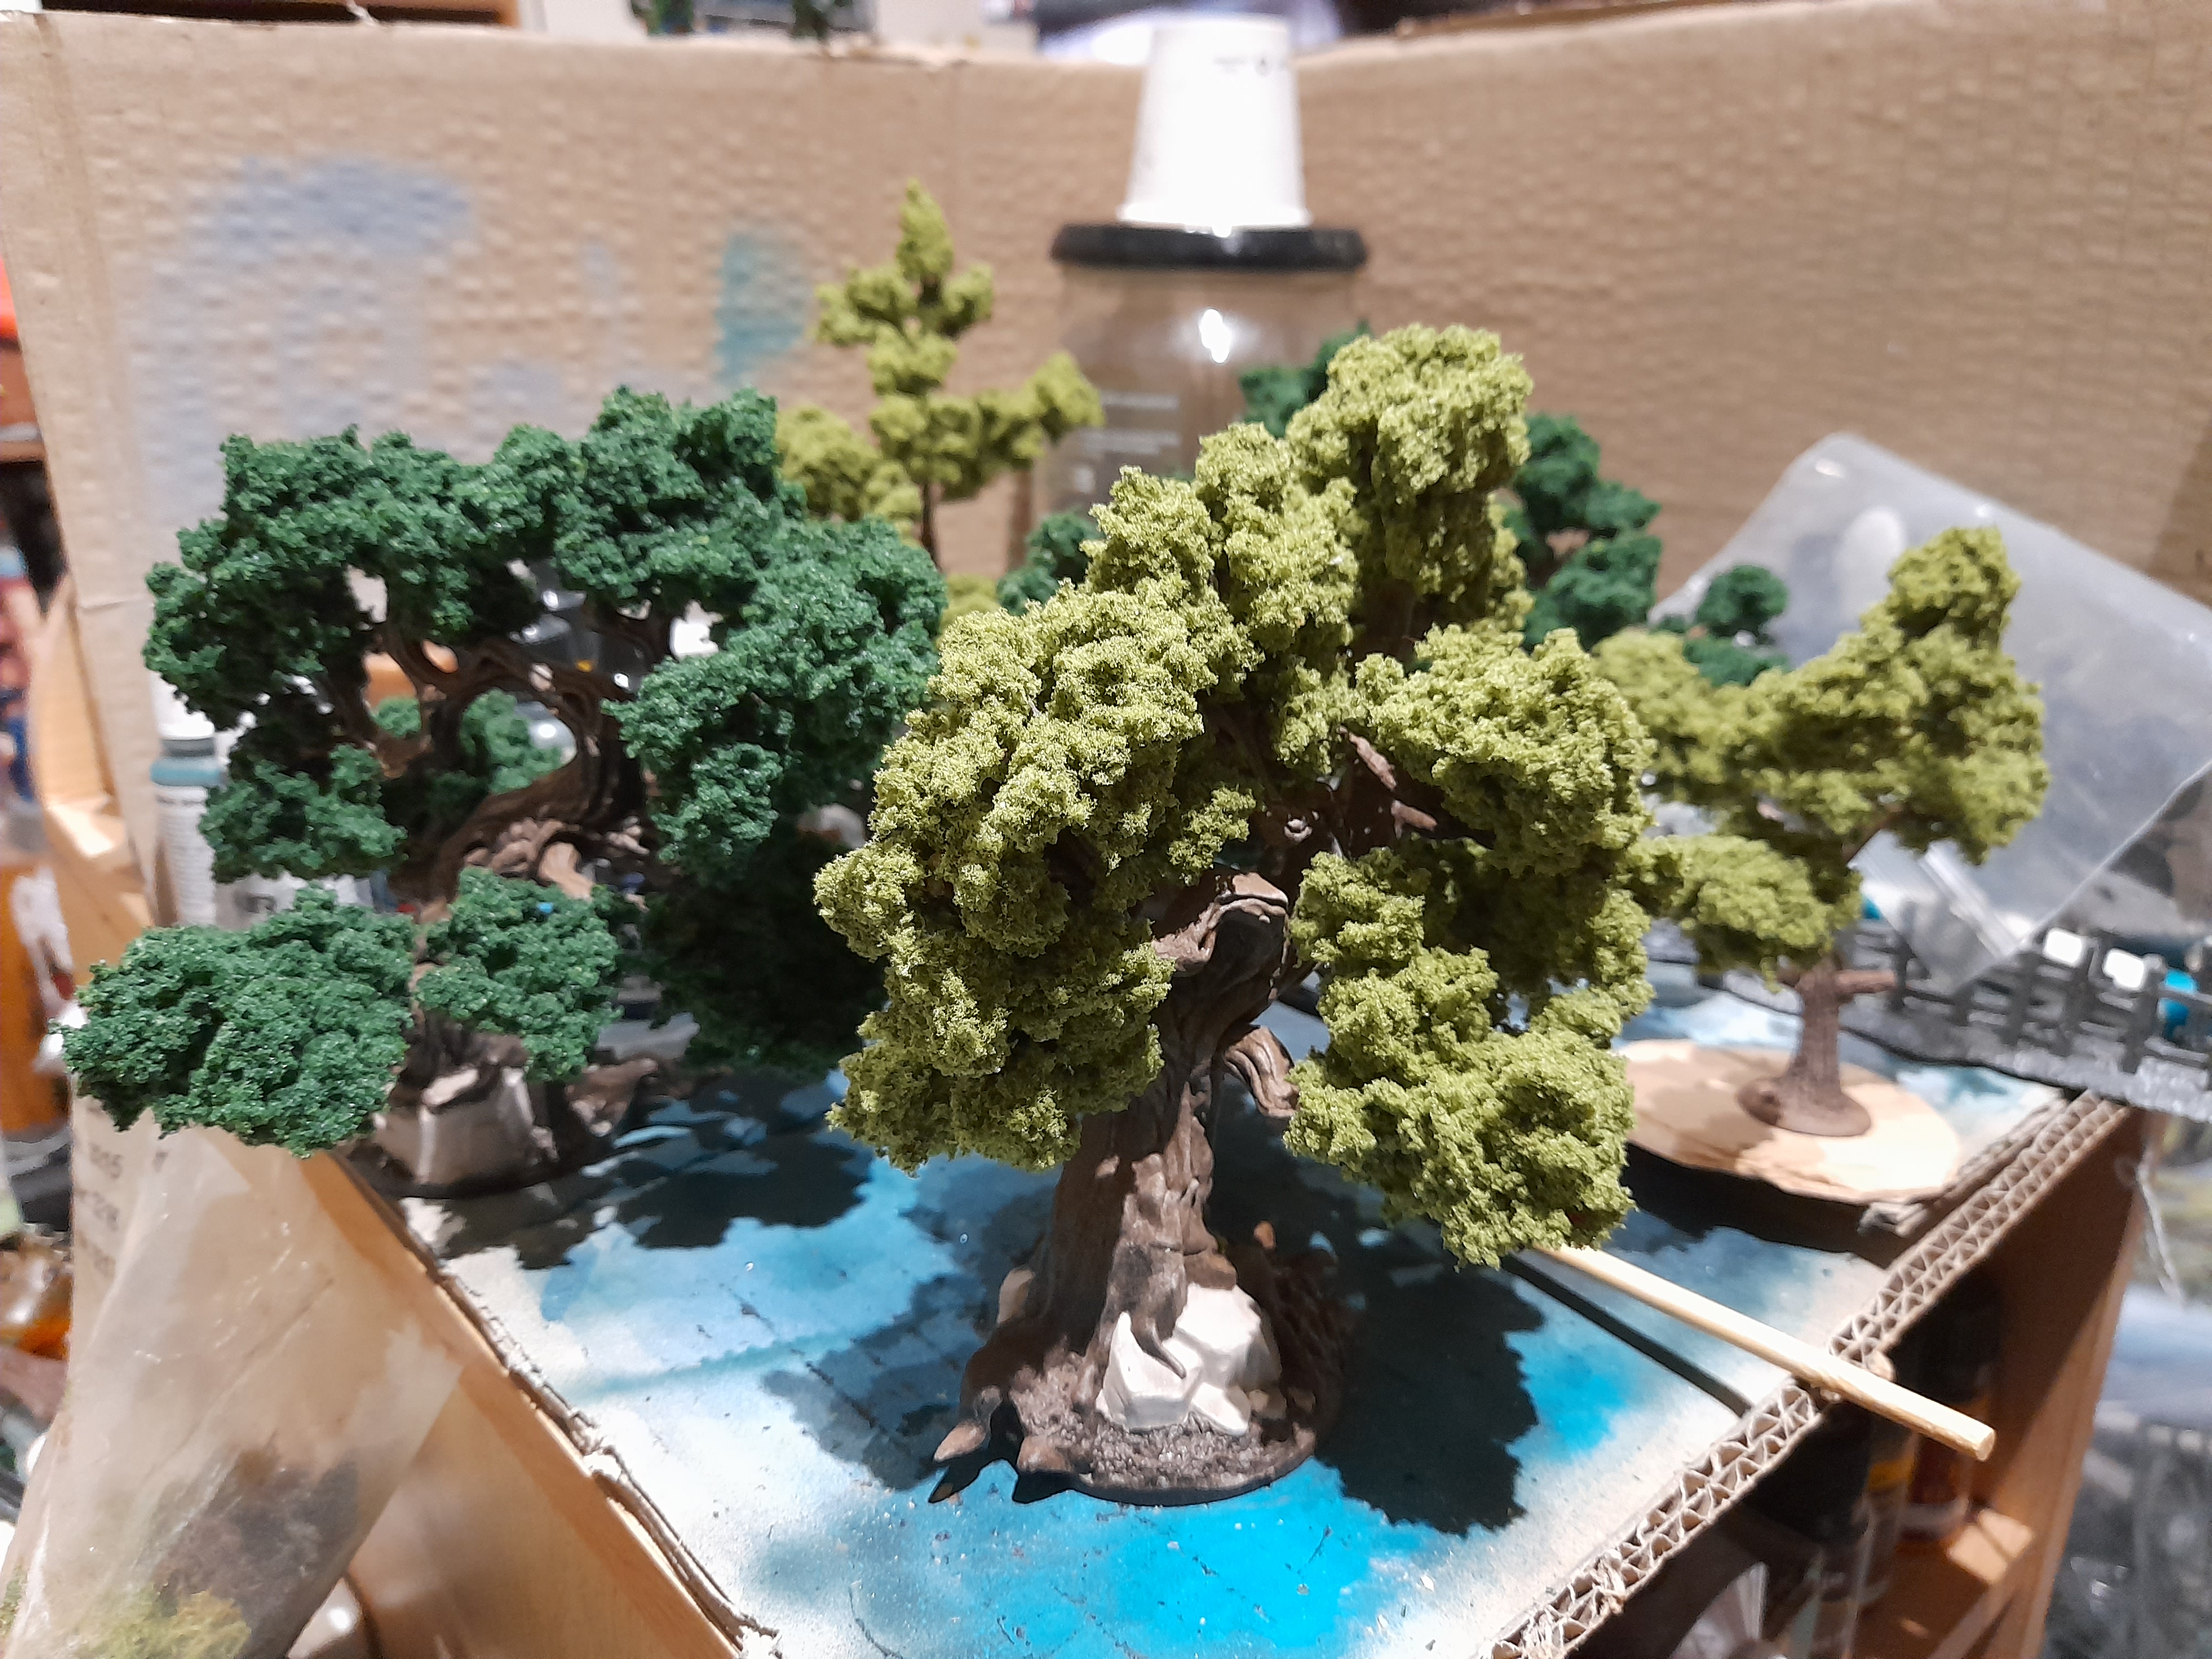
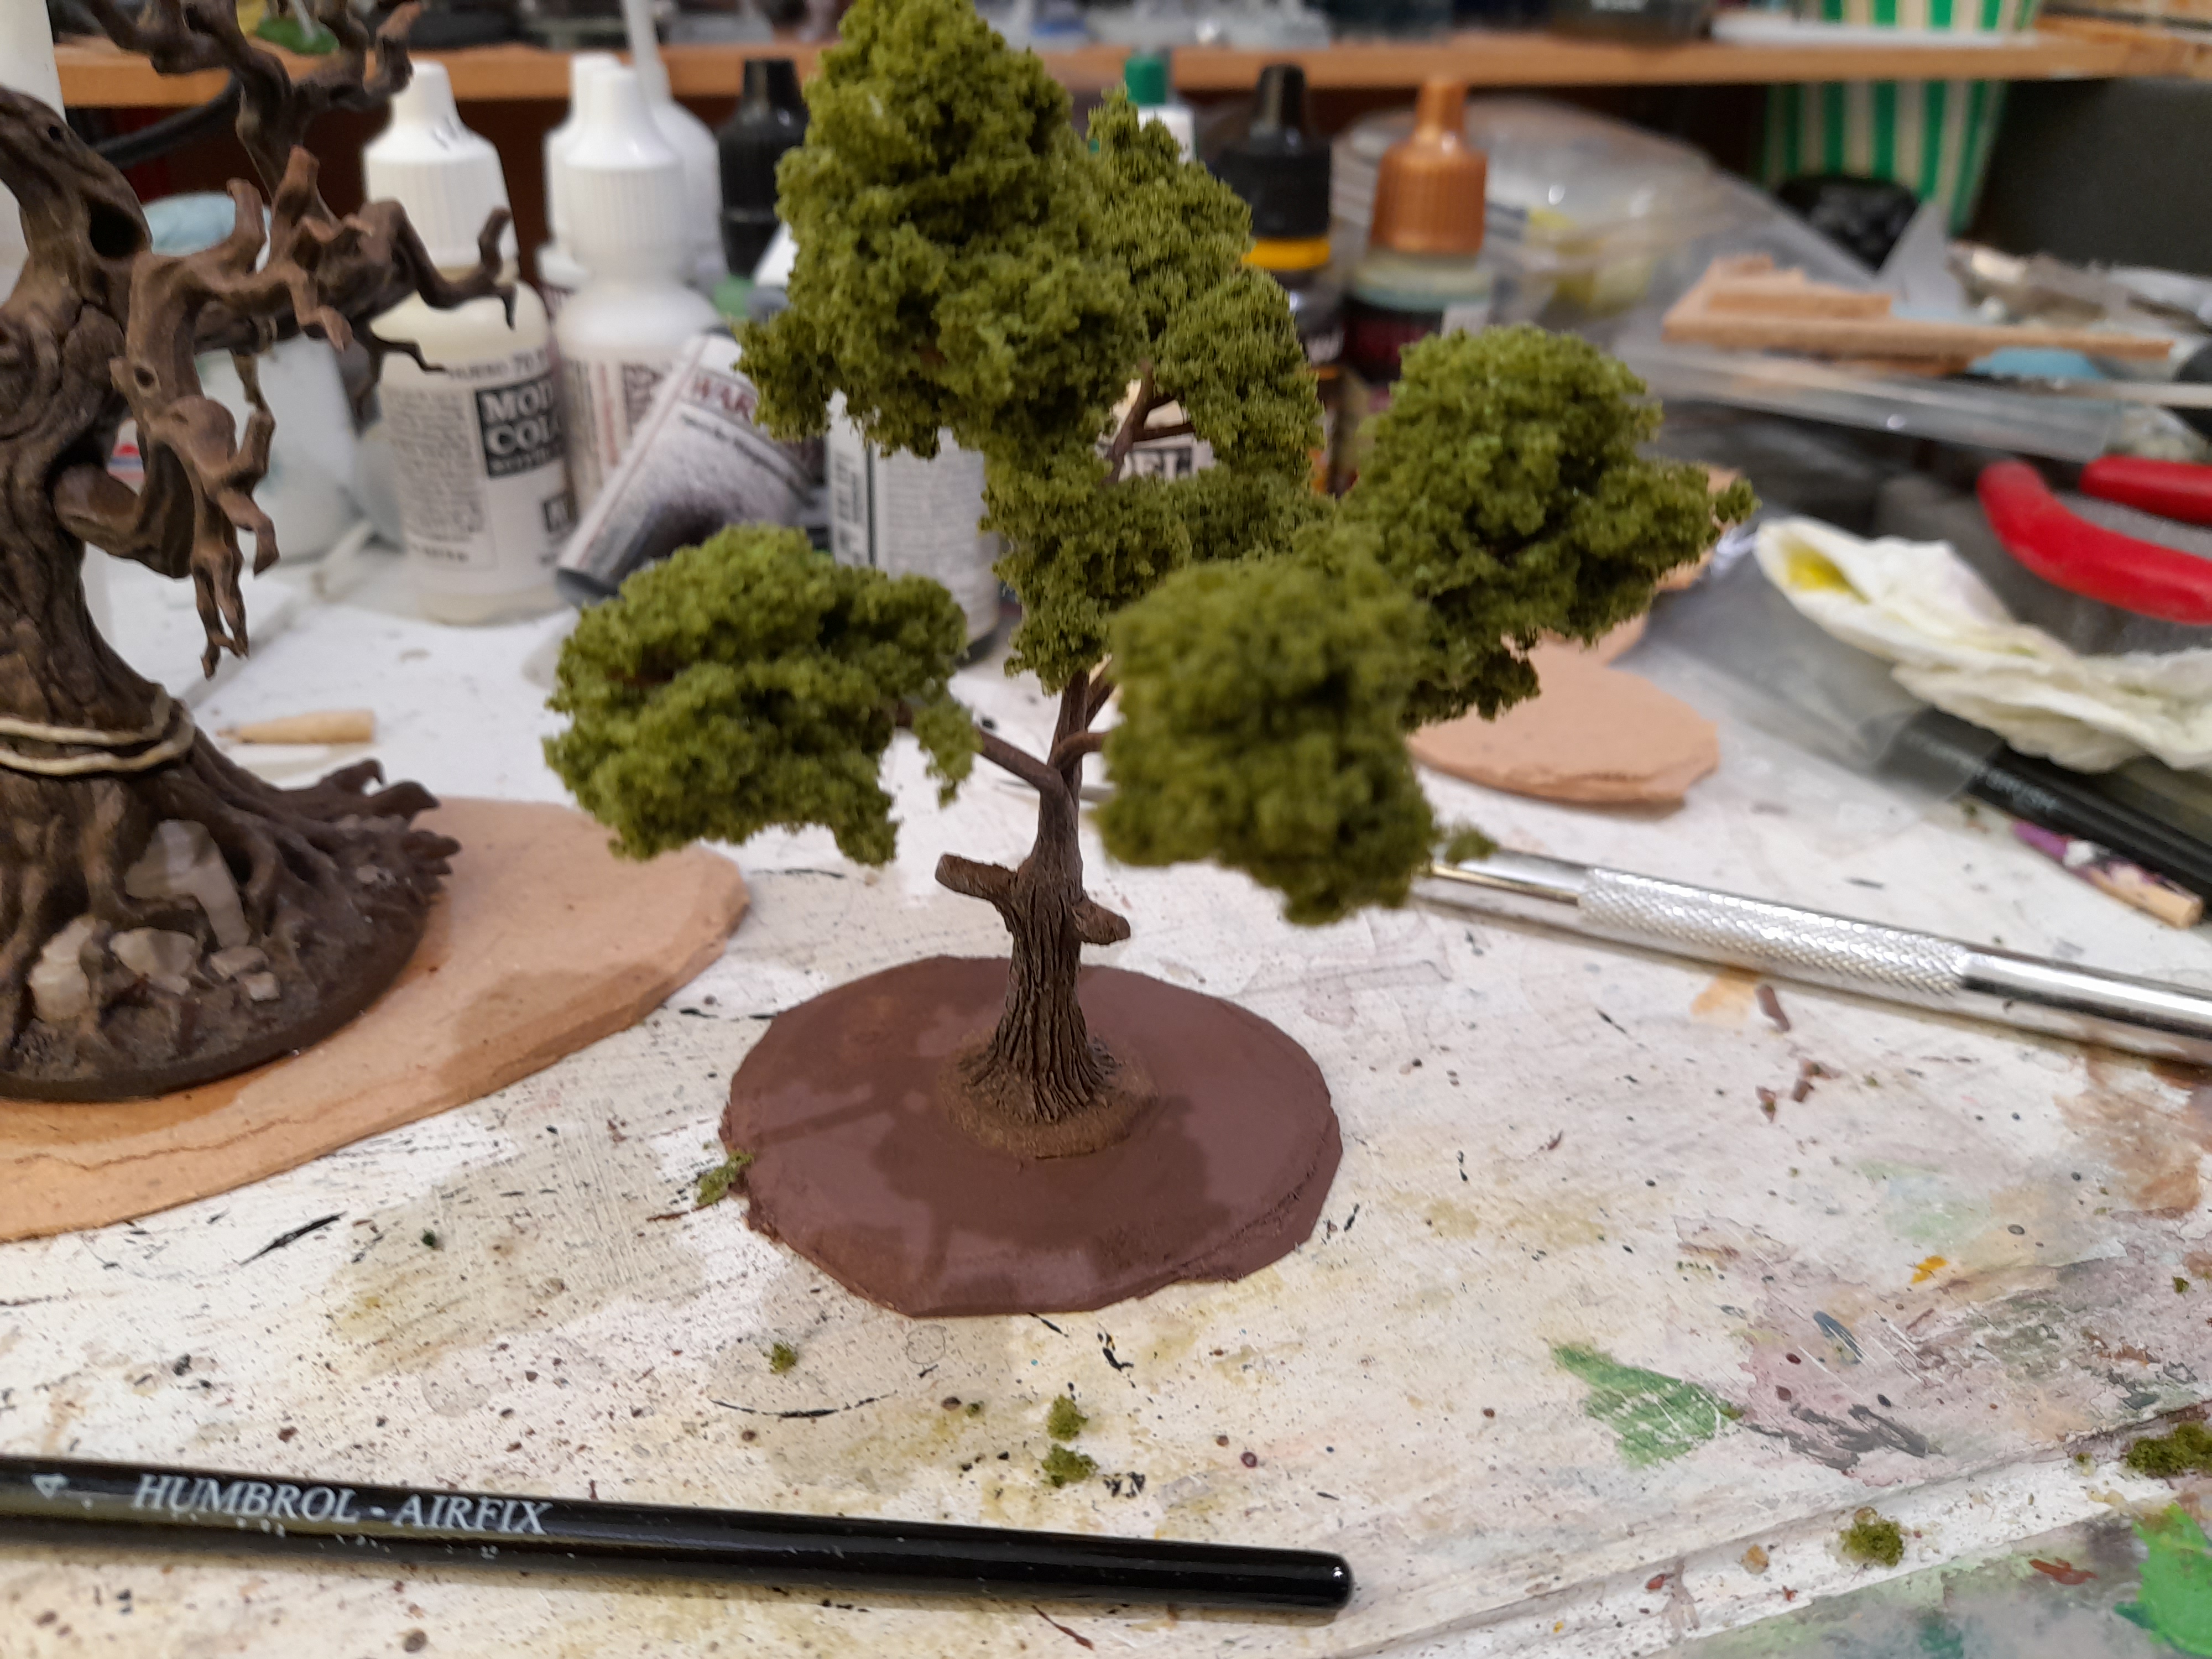
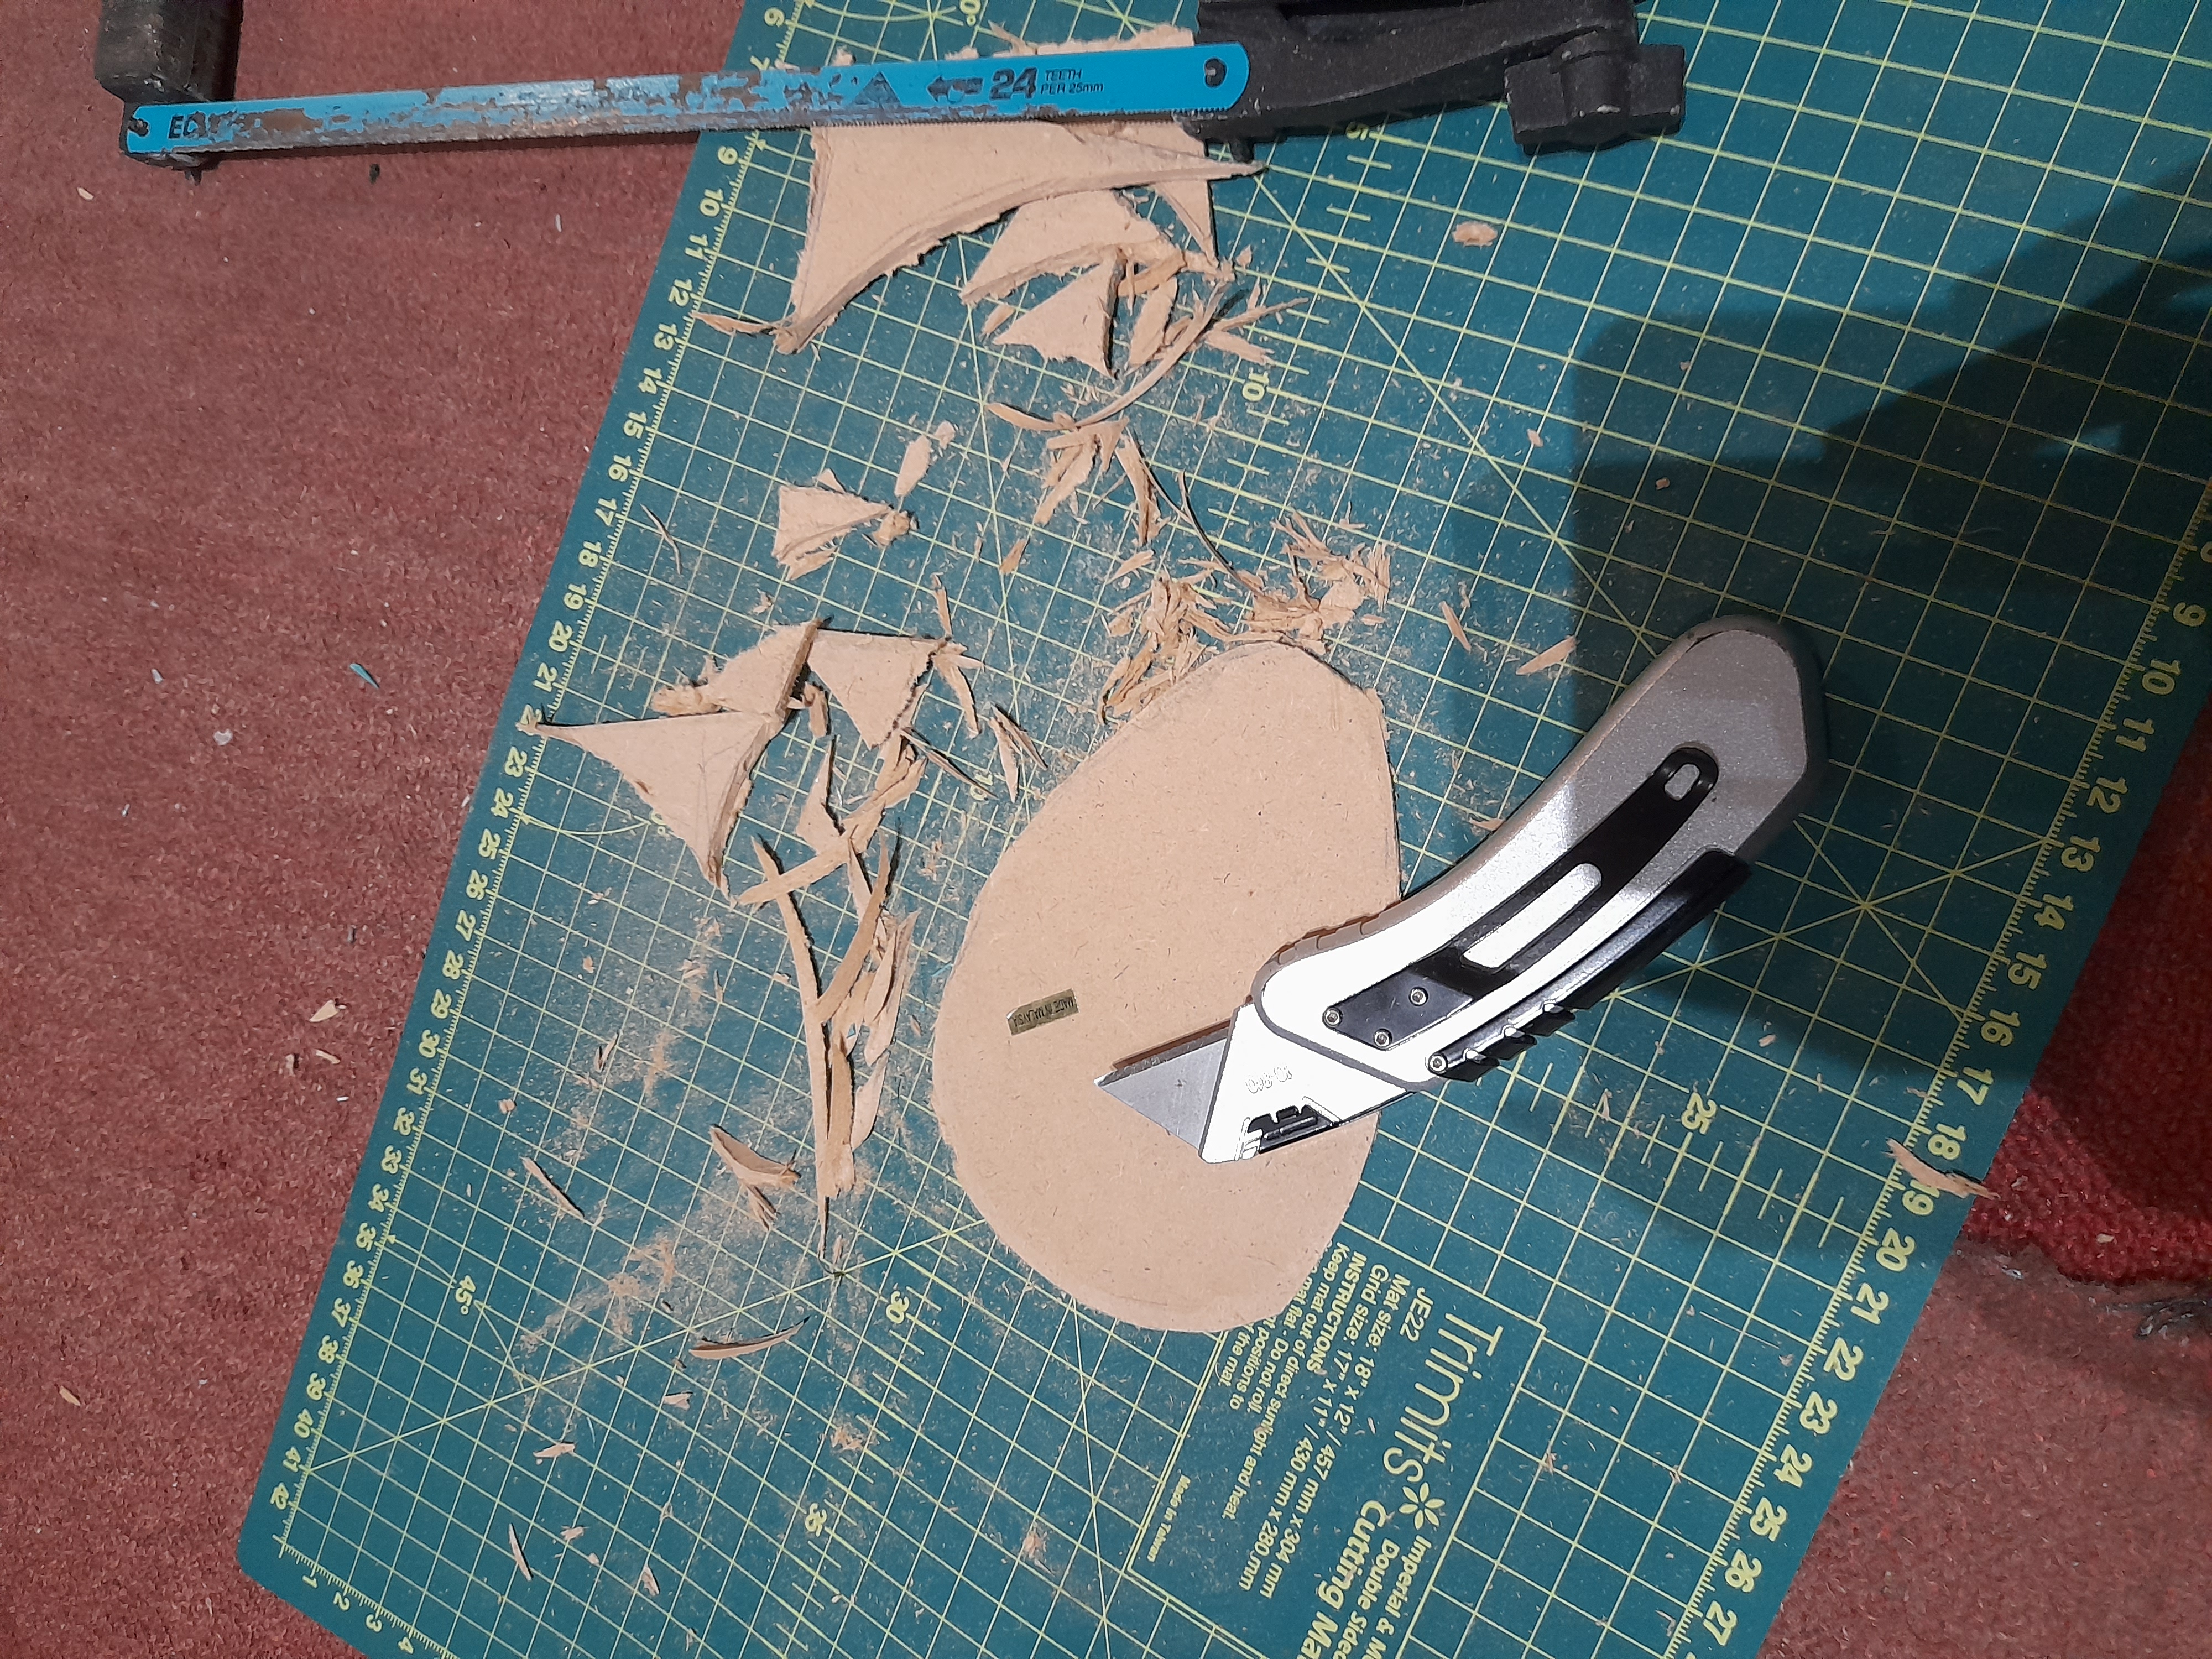
This past week I also worked on basing and finishing a test tree, to see what I want to roll out for the rest. I cut up some thin mdf off cuts using a stanley knife, stuck the tree on, and painted it in an earthy brown.
Then I needed to decide on what flock to try. I have a variety of flocks and static grass, so rolled out the gaming mat I plan to use and then laid out the bags and tubs on that.
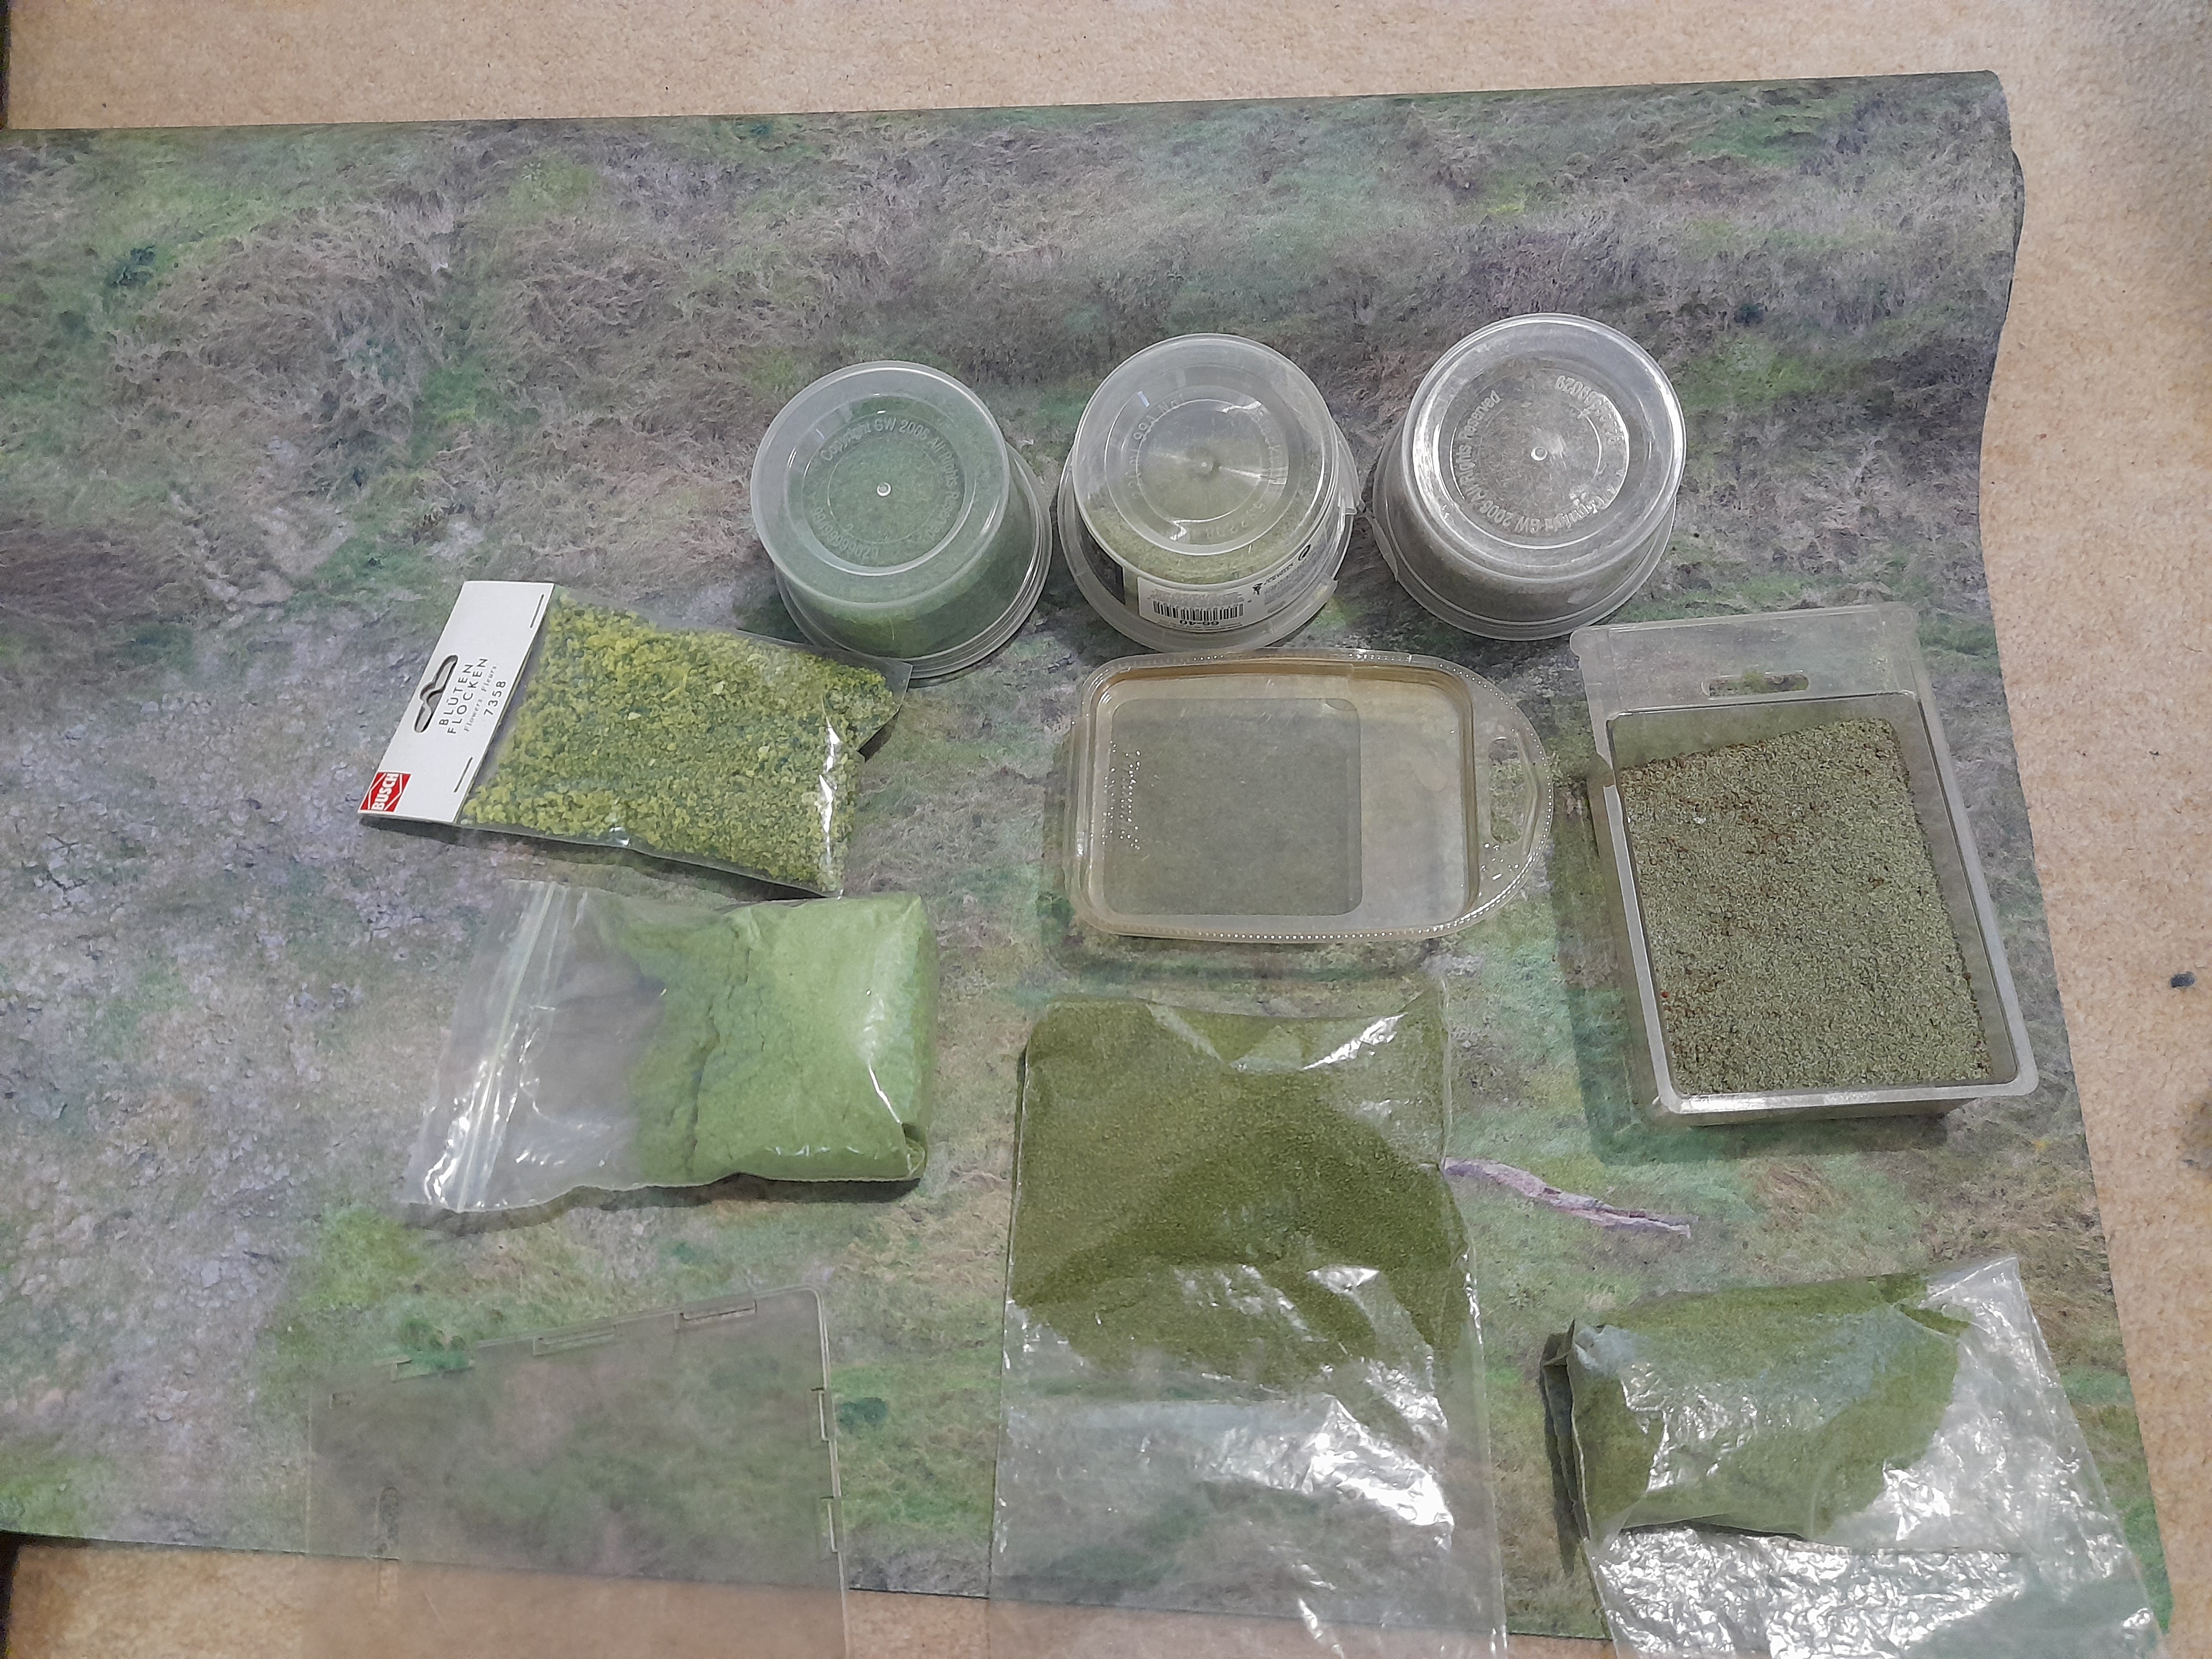
I chose a pale flock as the main colour, and planned to use a brighter green in places, and a green brown in other patches. Then I would add pieces of clump foliage etc for added decoration.
Finally I mixed up a watered down PVA and used a spray bottle to spray the whole tree….. this stage will need to be worked on, due to the nature of the spray pattern – but overall it finally got a full covering.
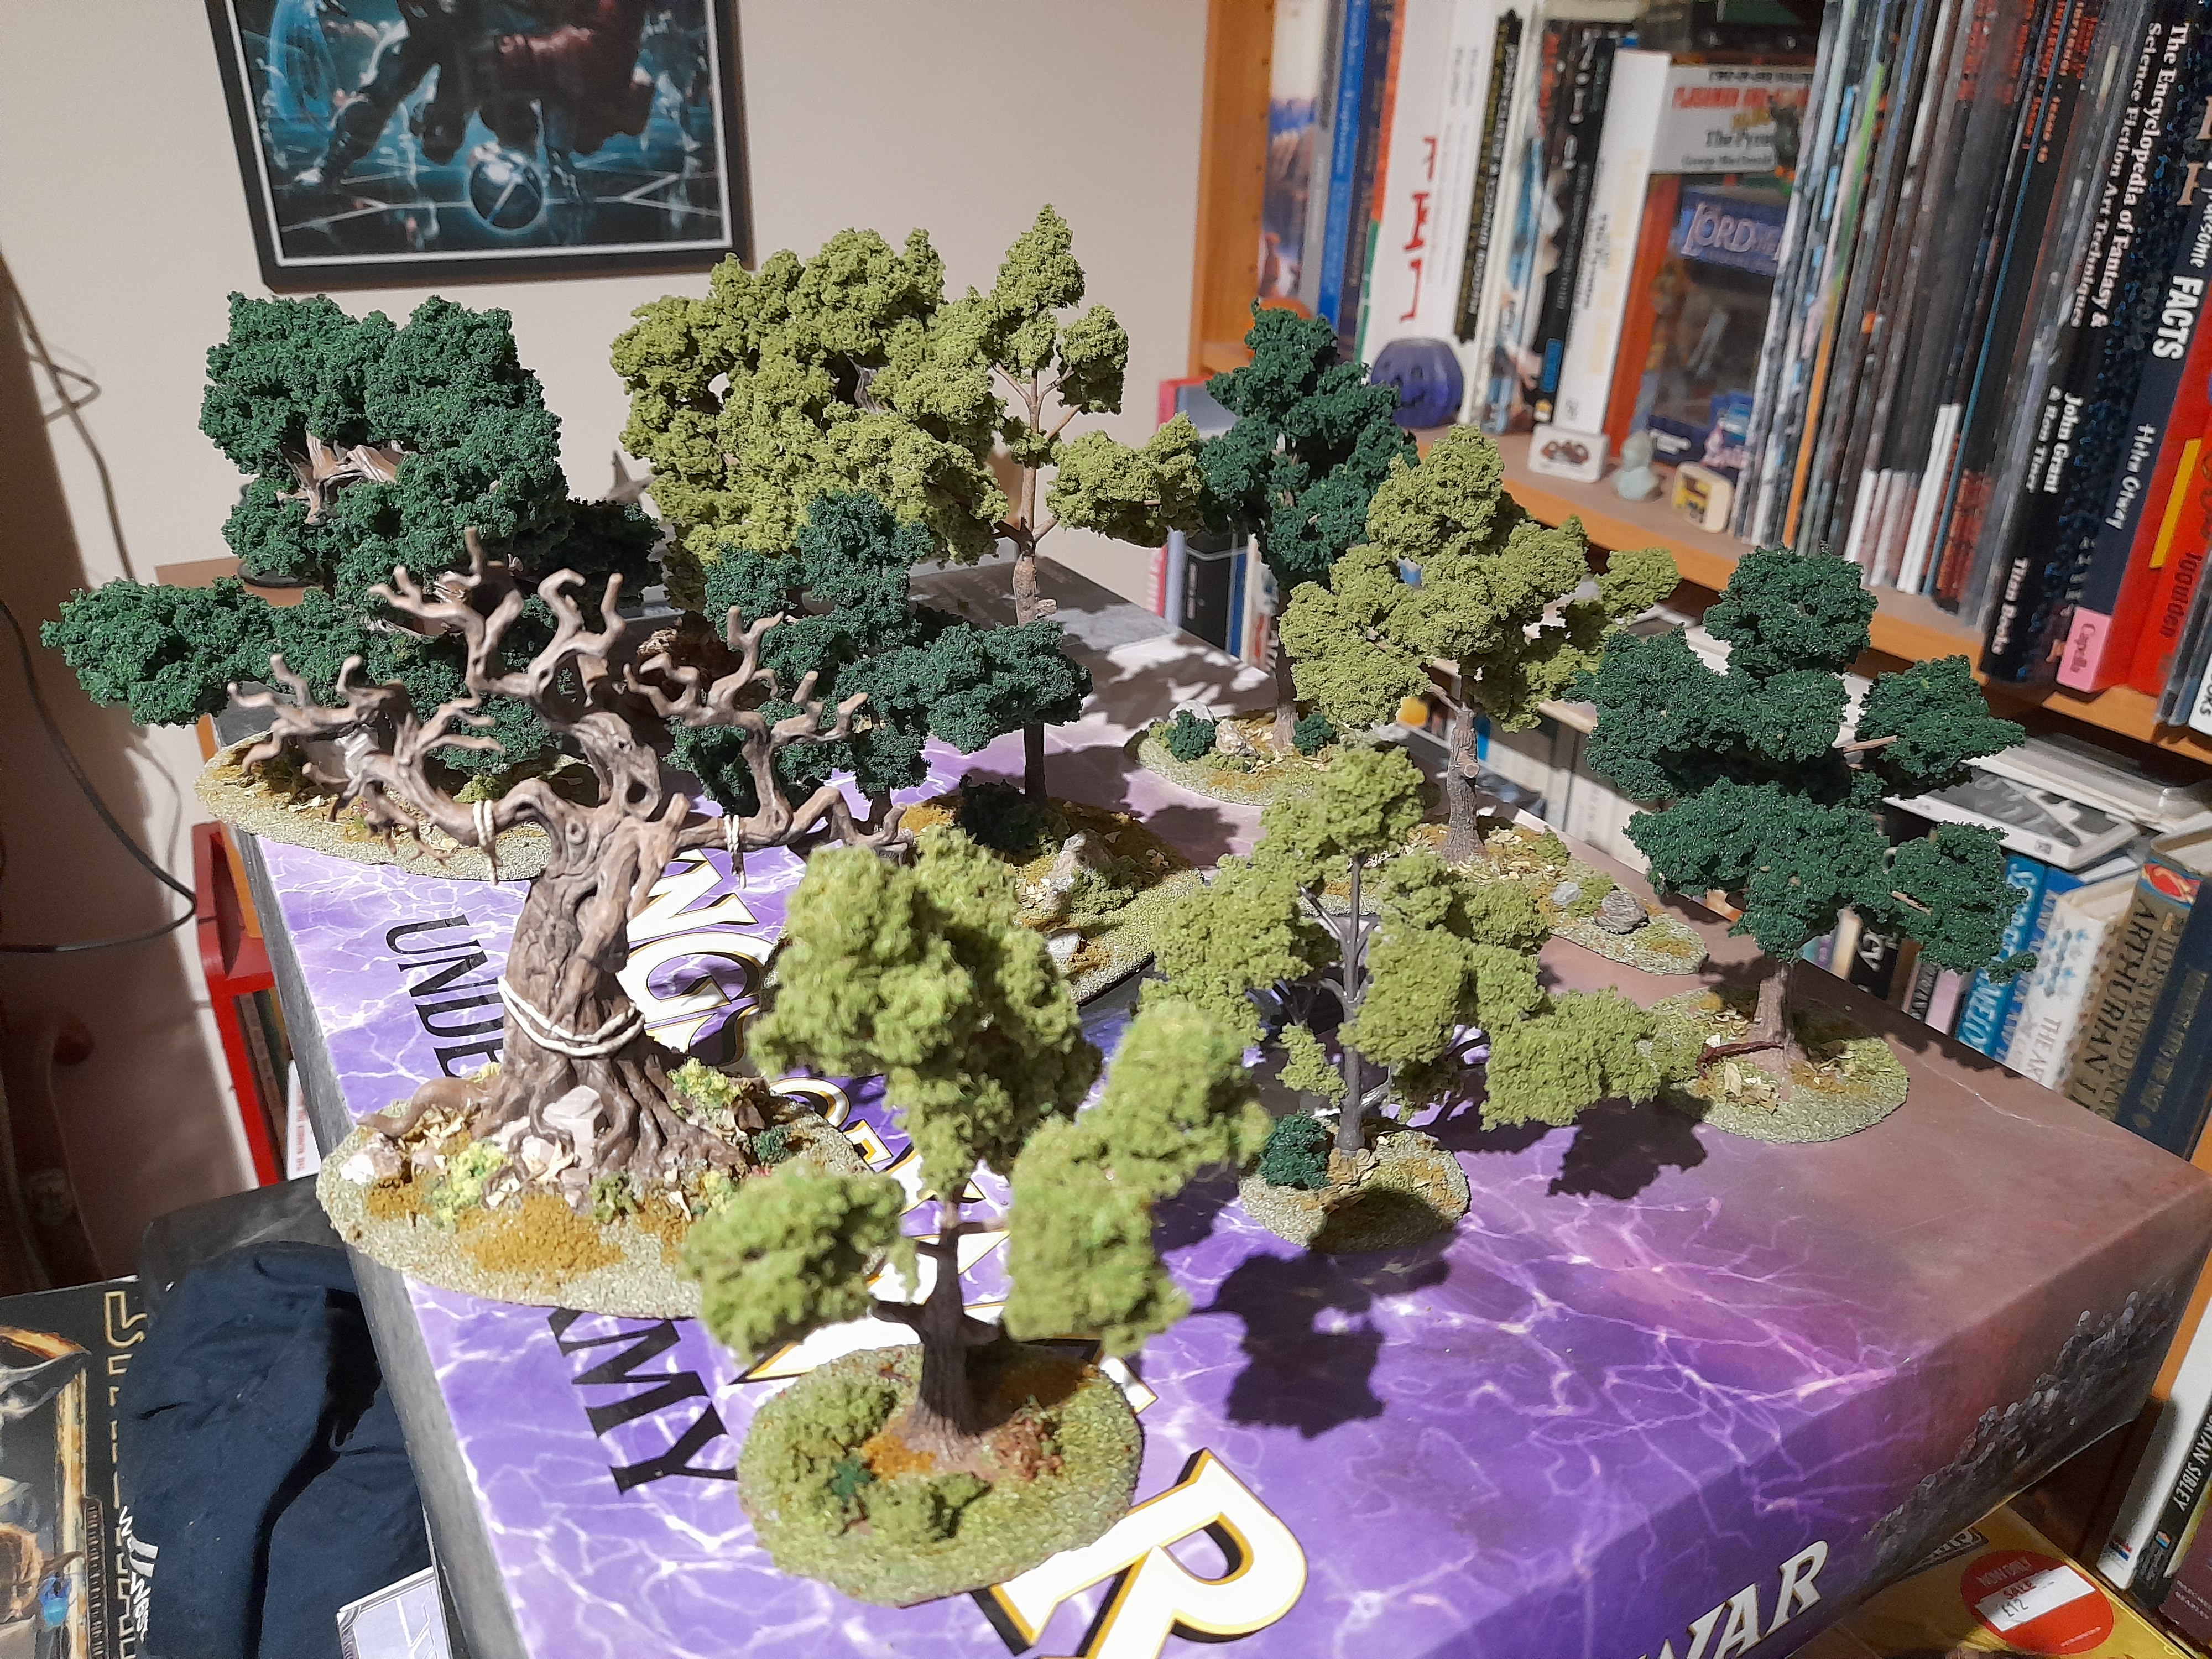
Basing the rest of the trees
19th November 2024
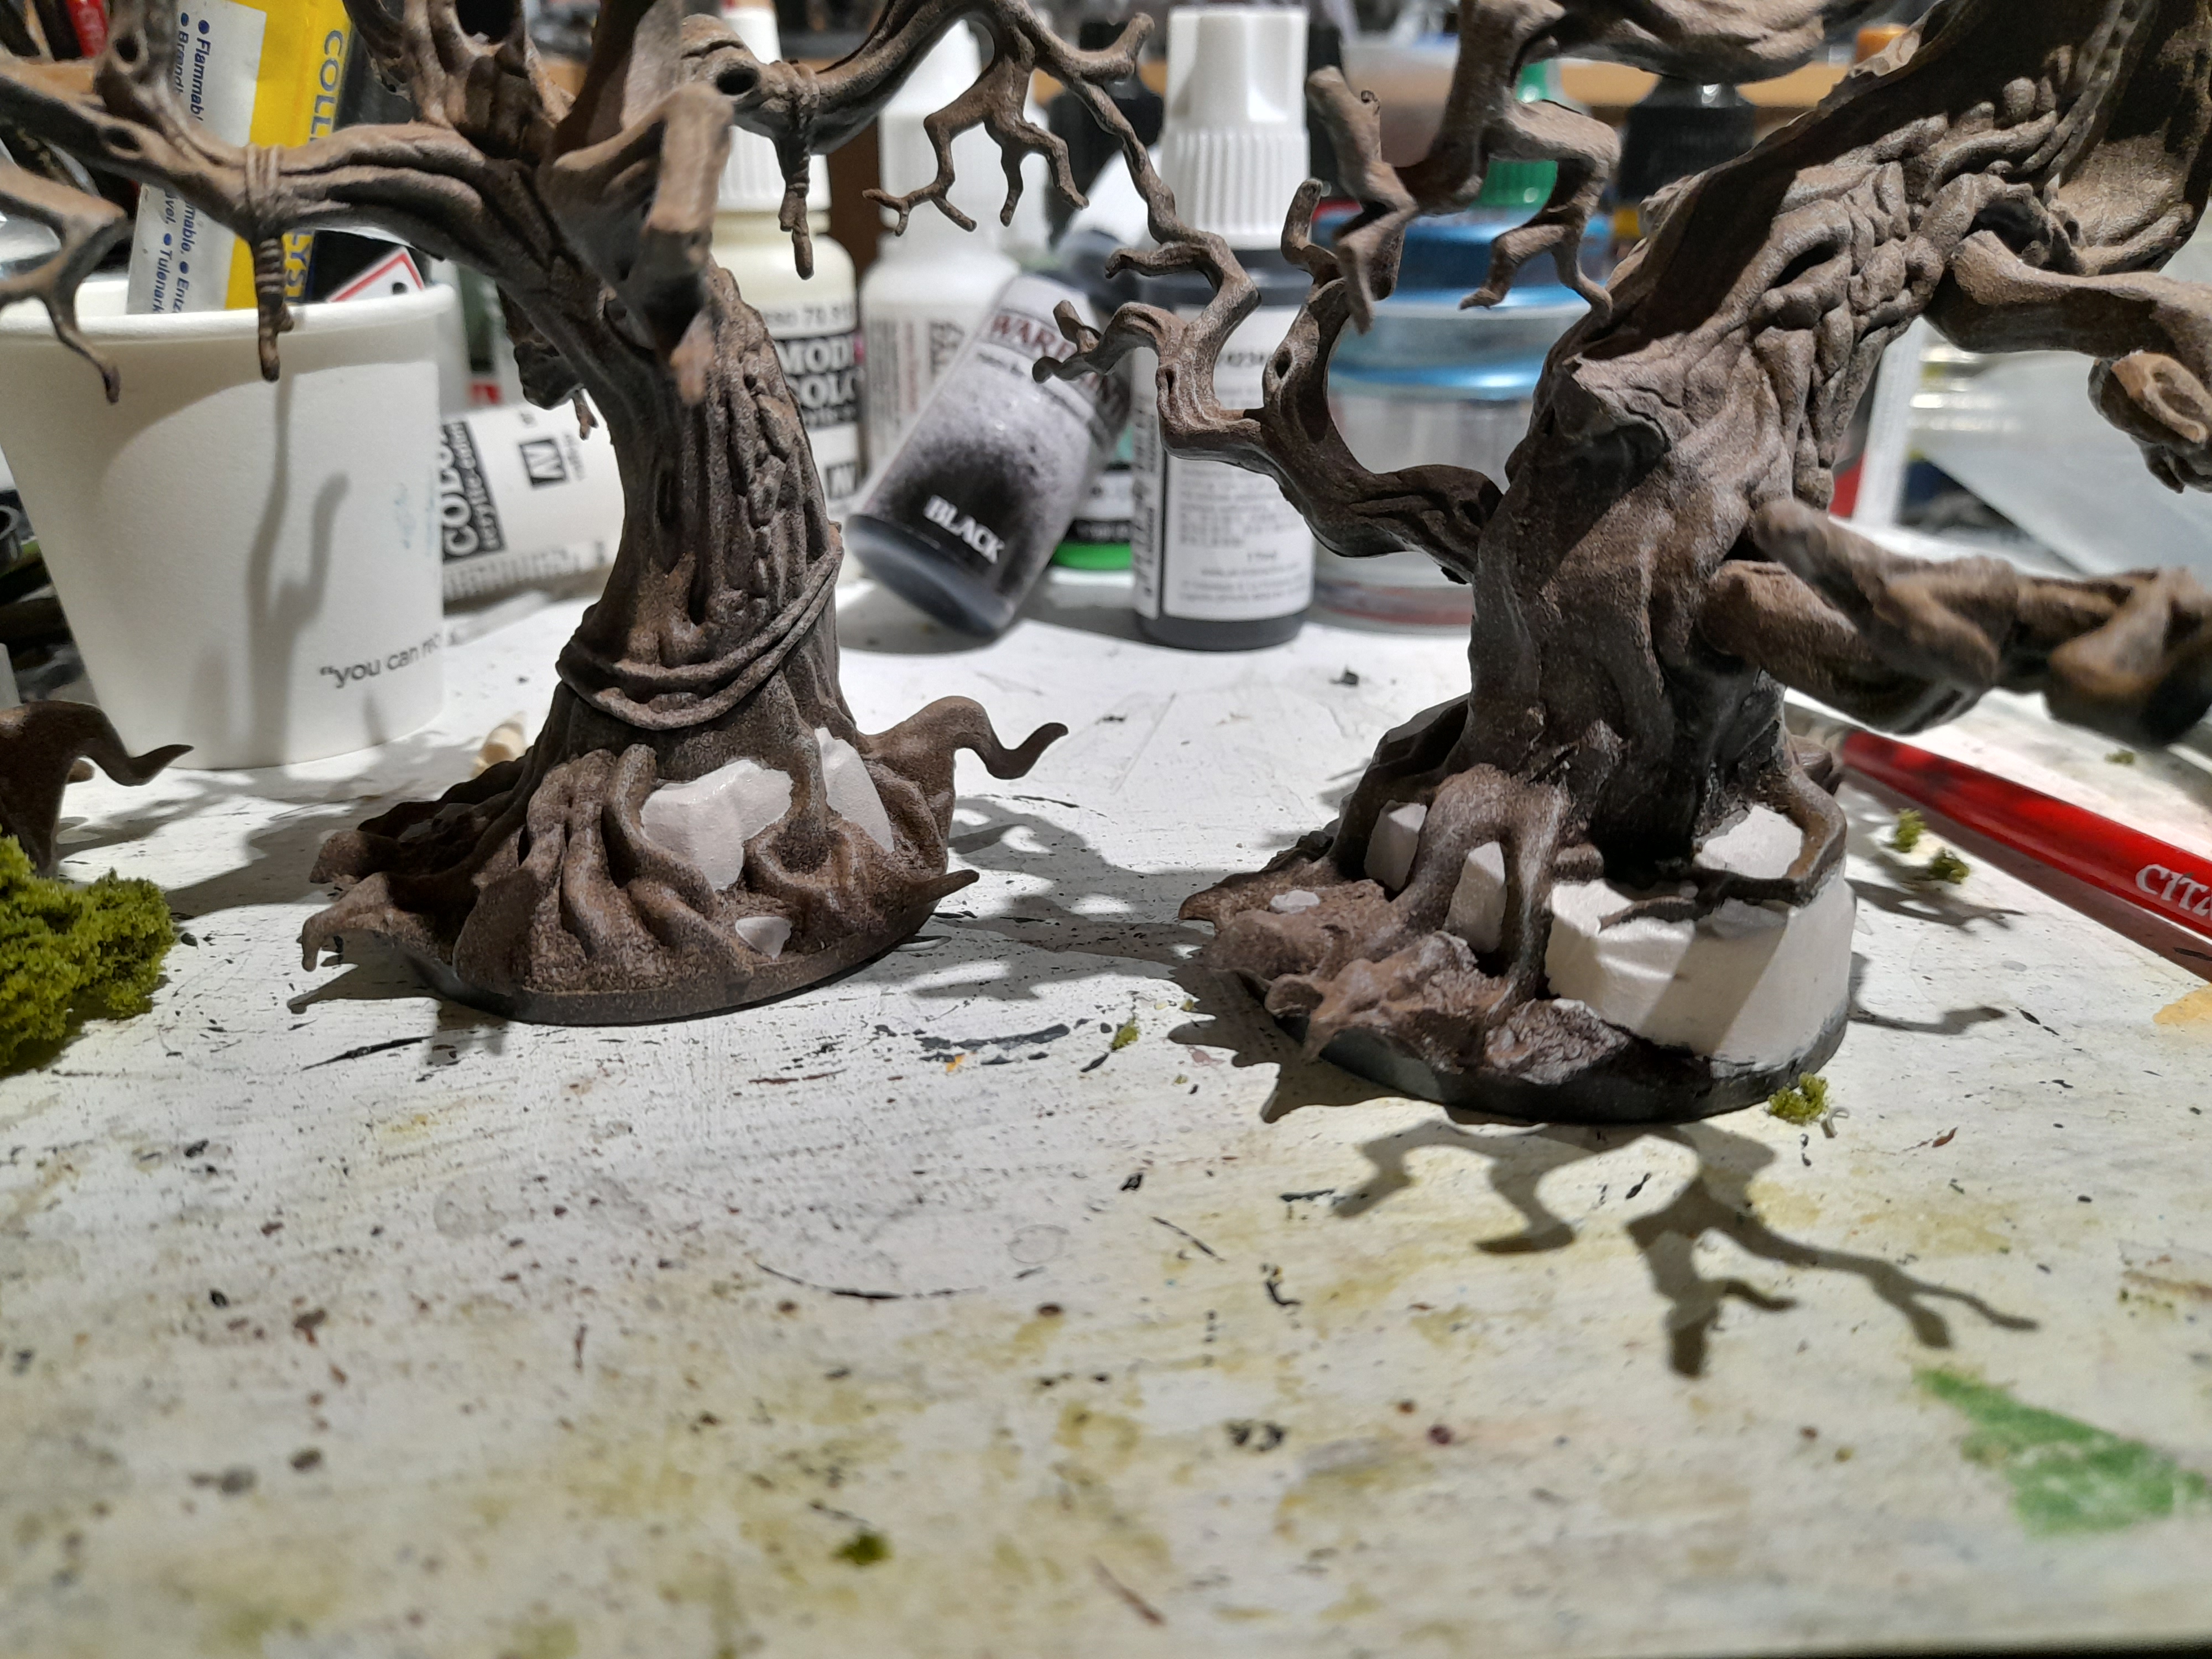
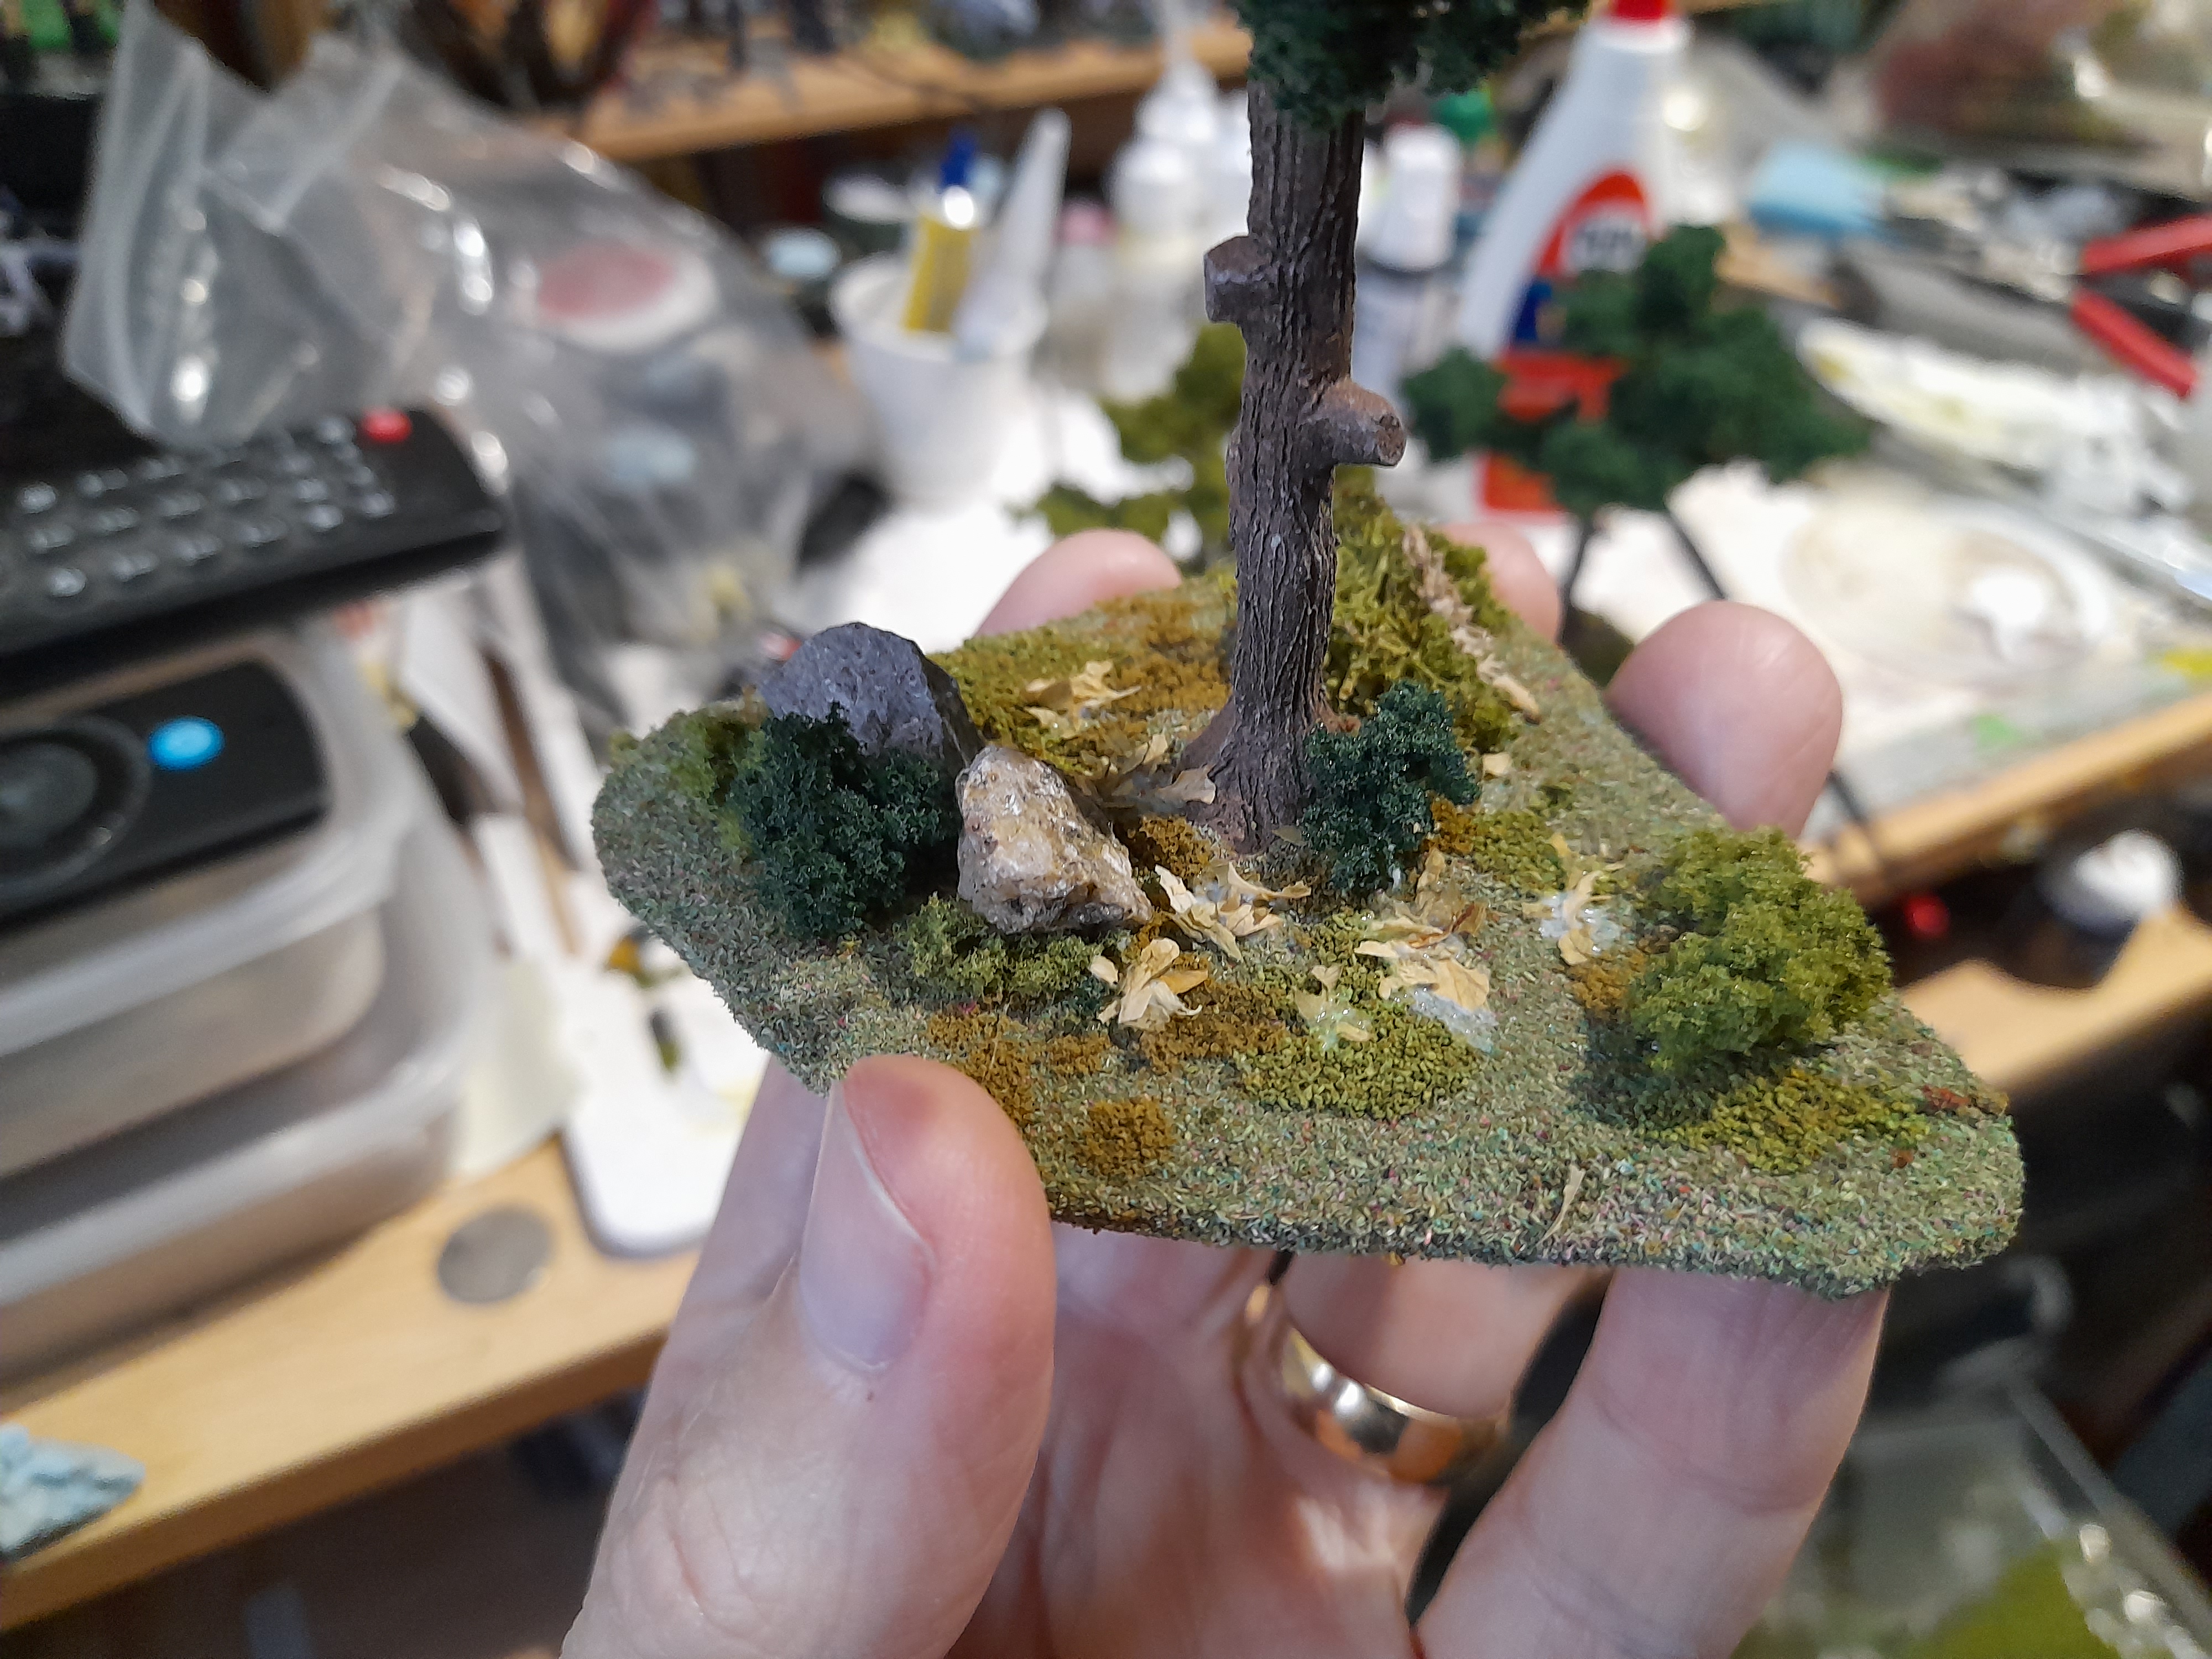
Among other things this past week I have rolled out the basing style onto the rest of the trees (armature and GW Spooky).
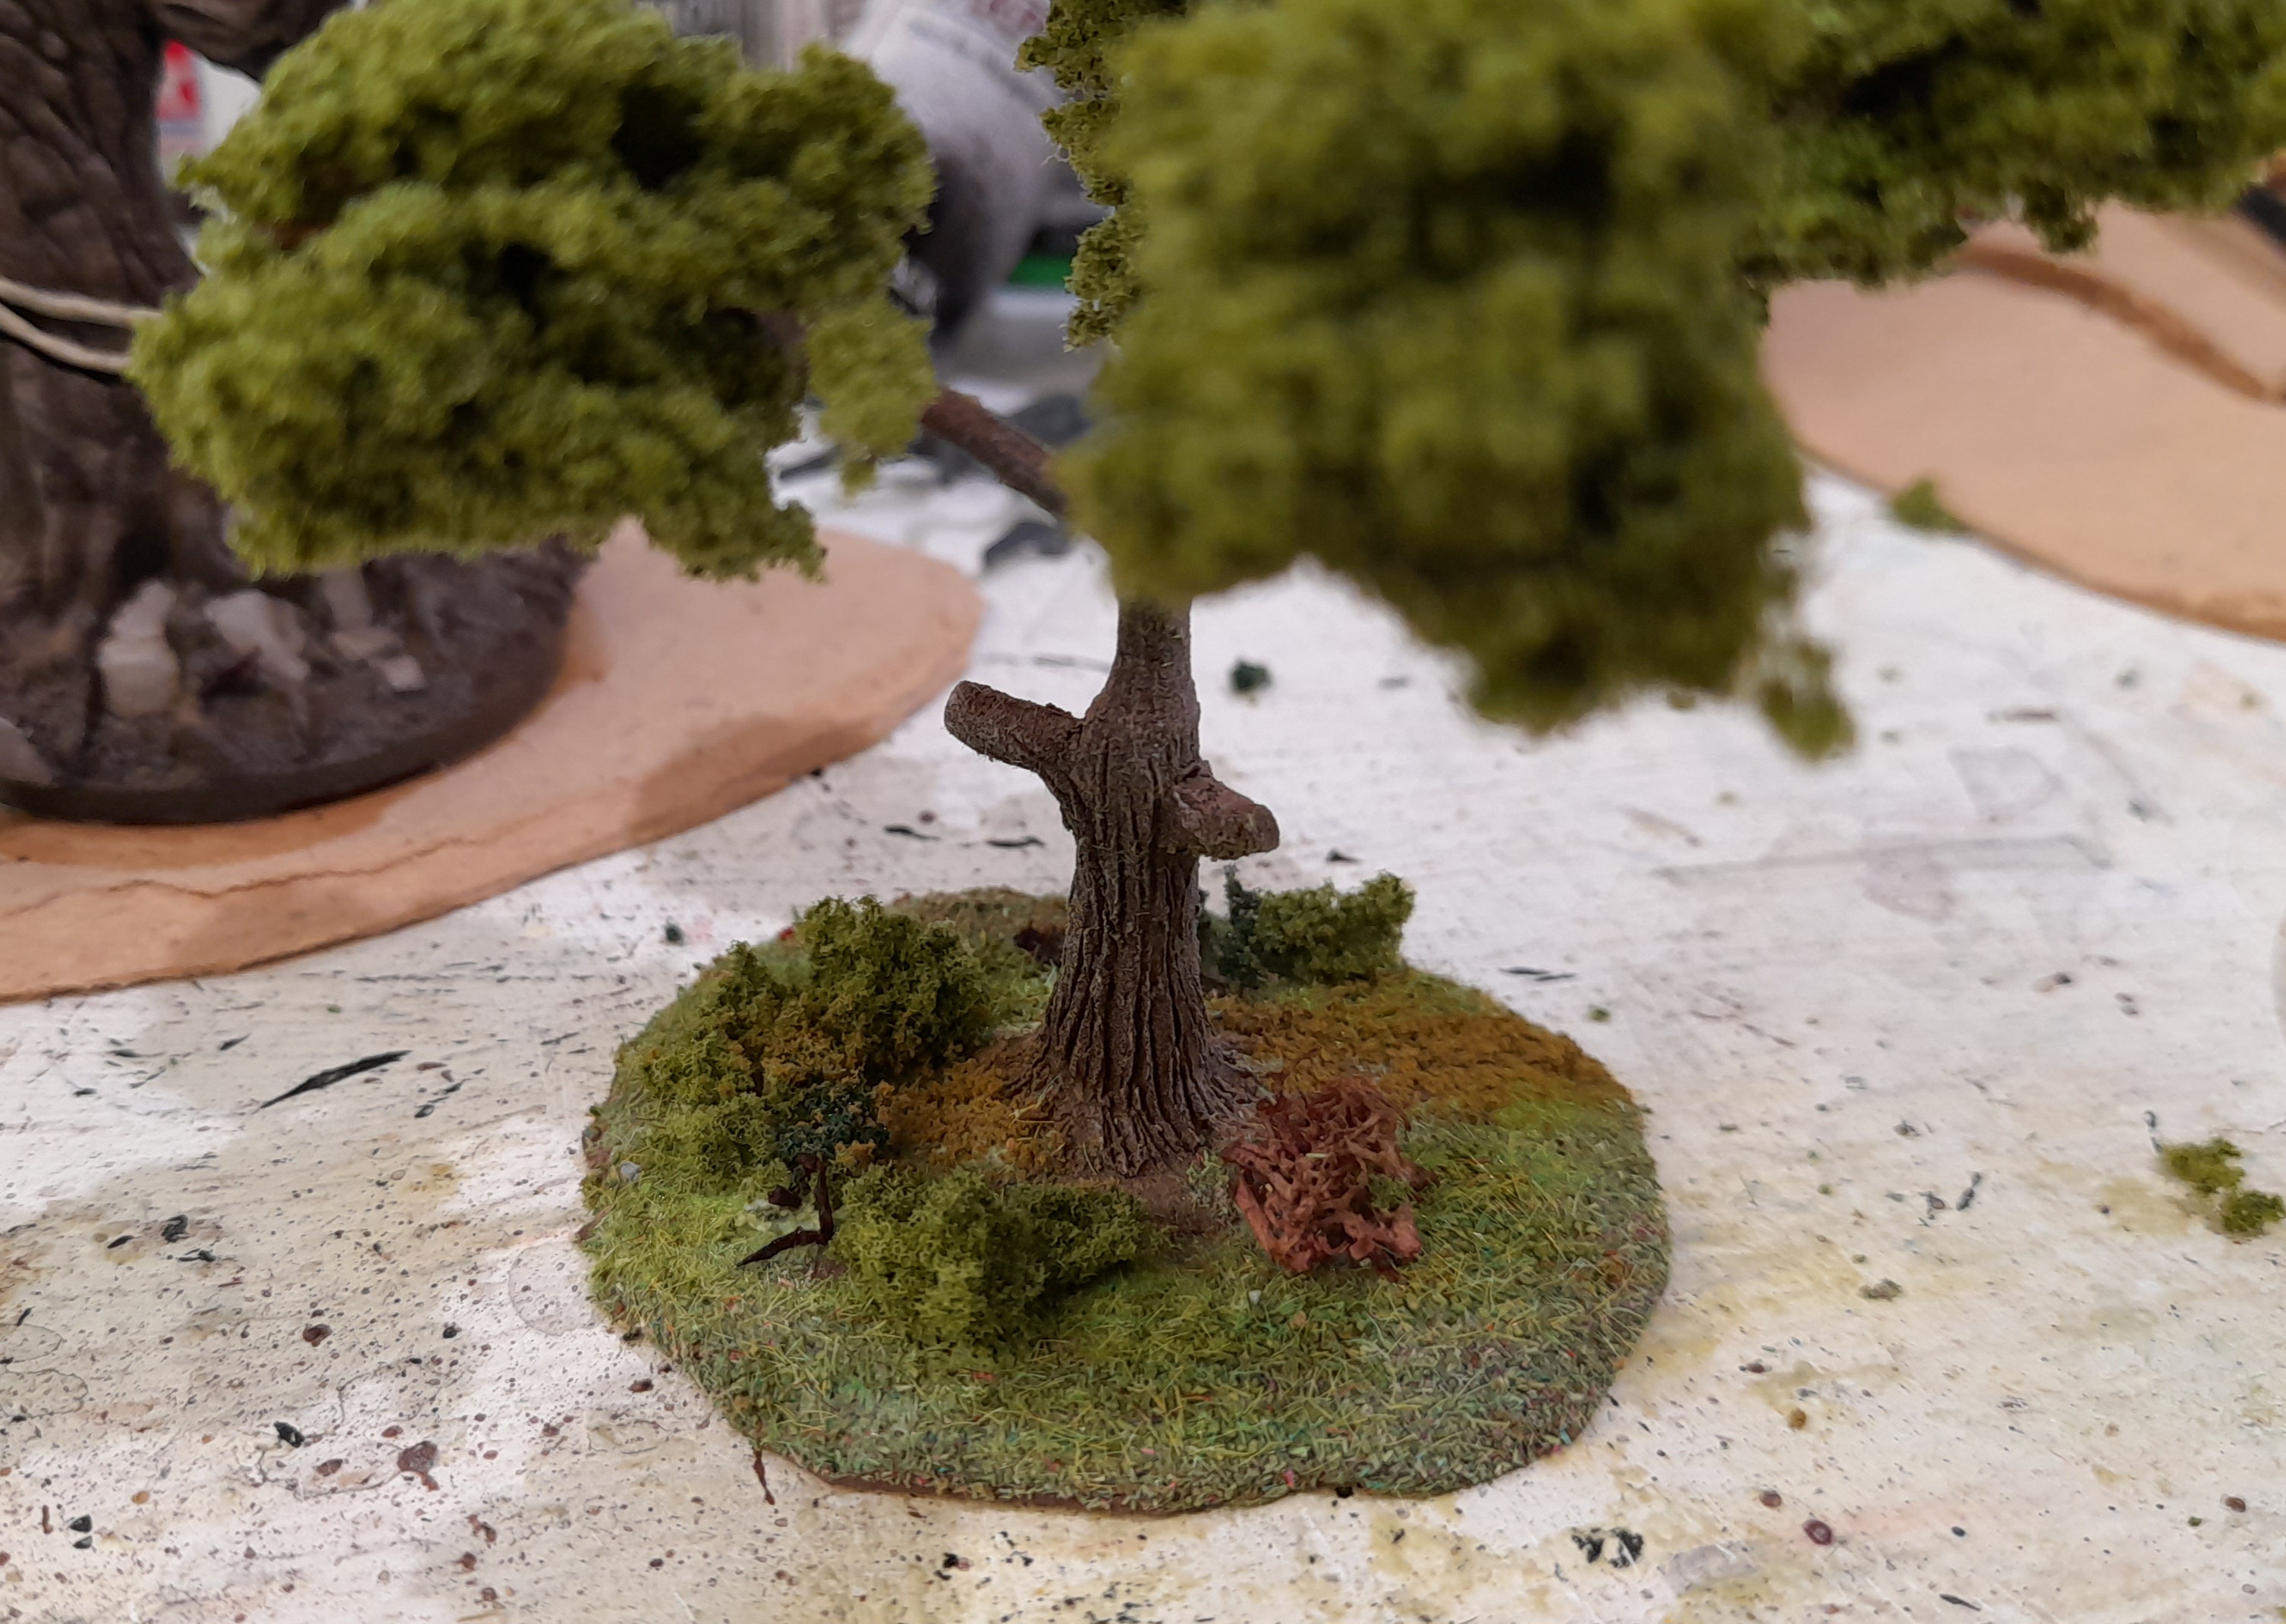
I cut out further pieces of thin MDF, stuck the trees down and for some of them added some small rocks or a small raised area.
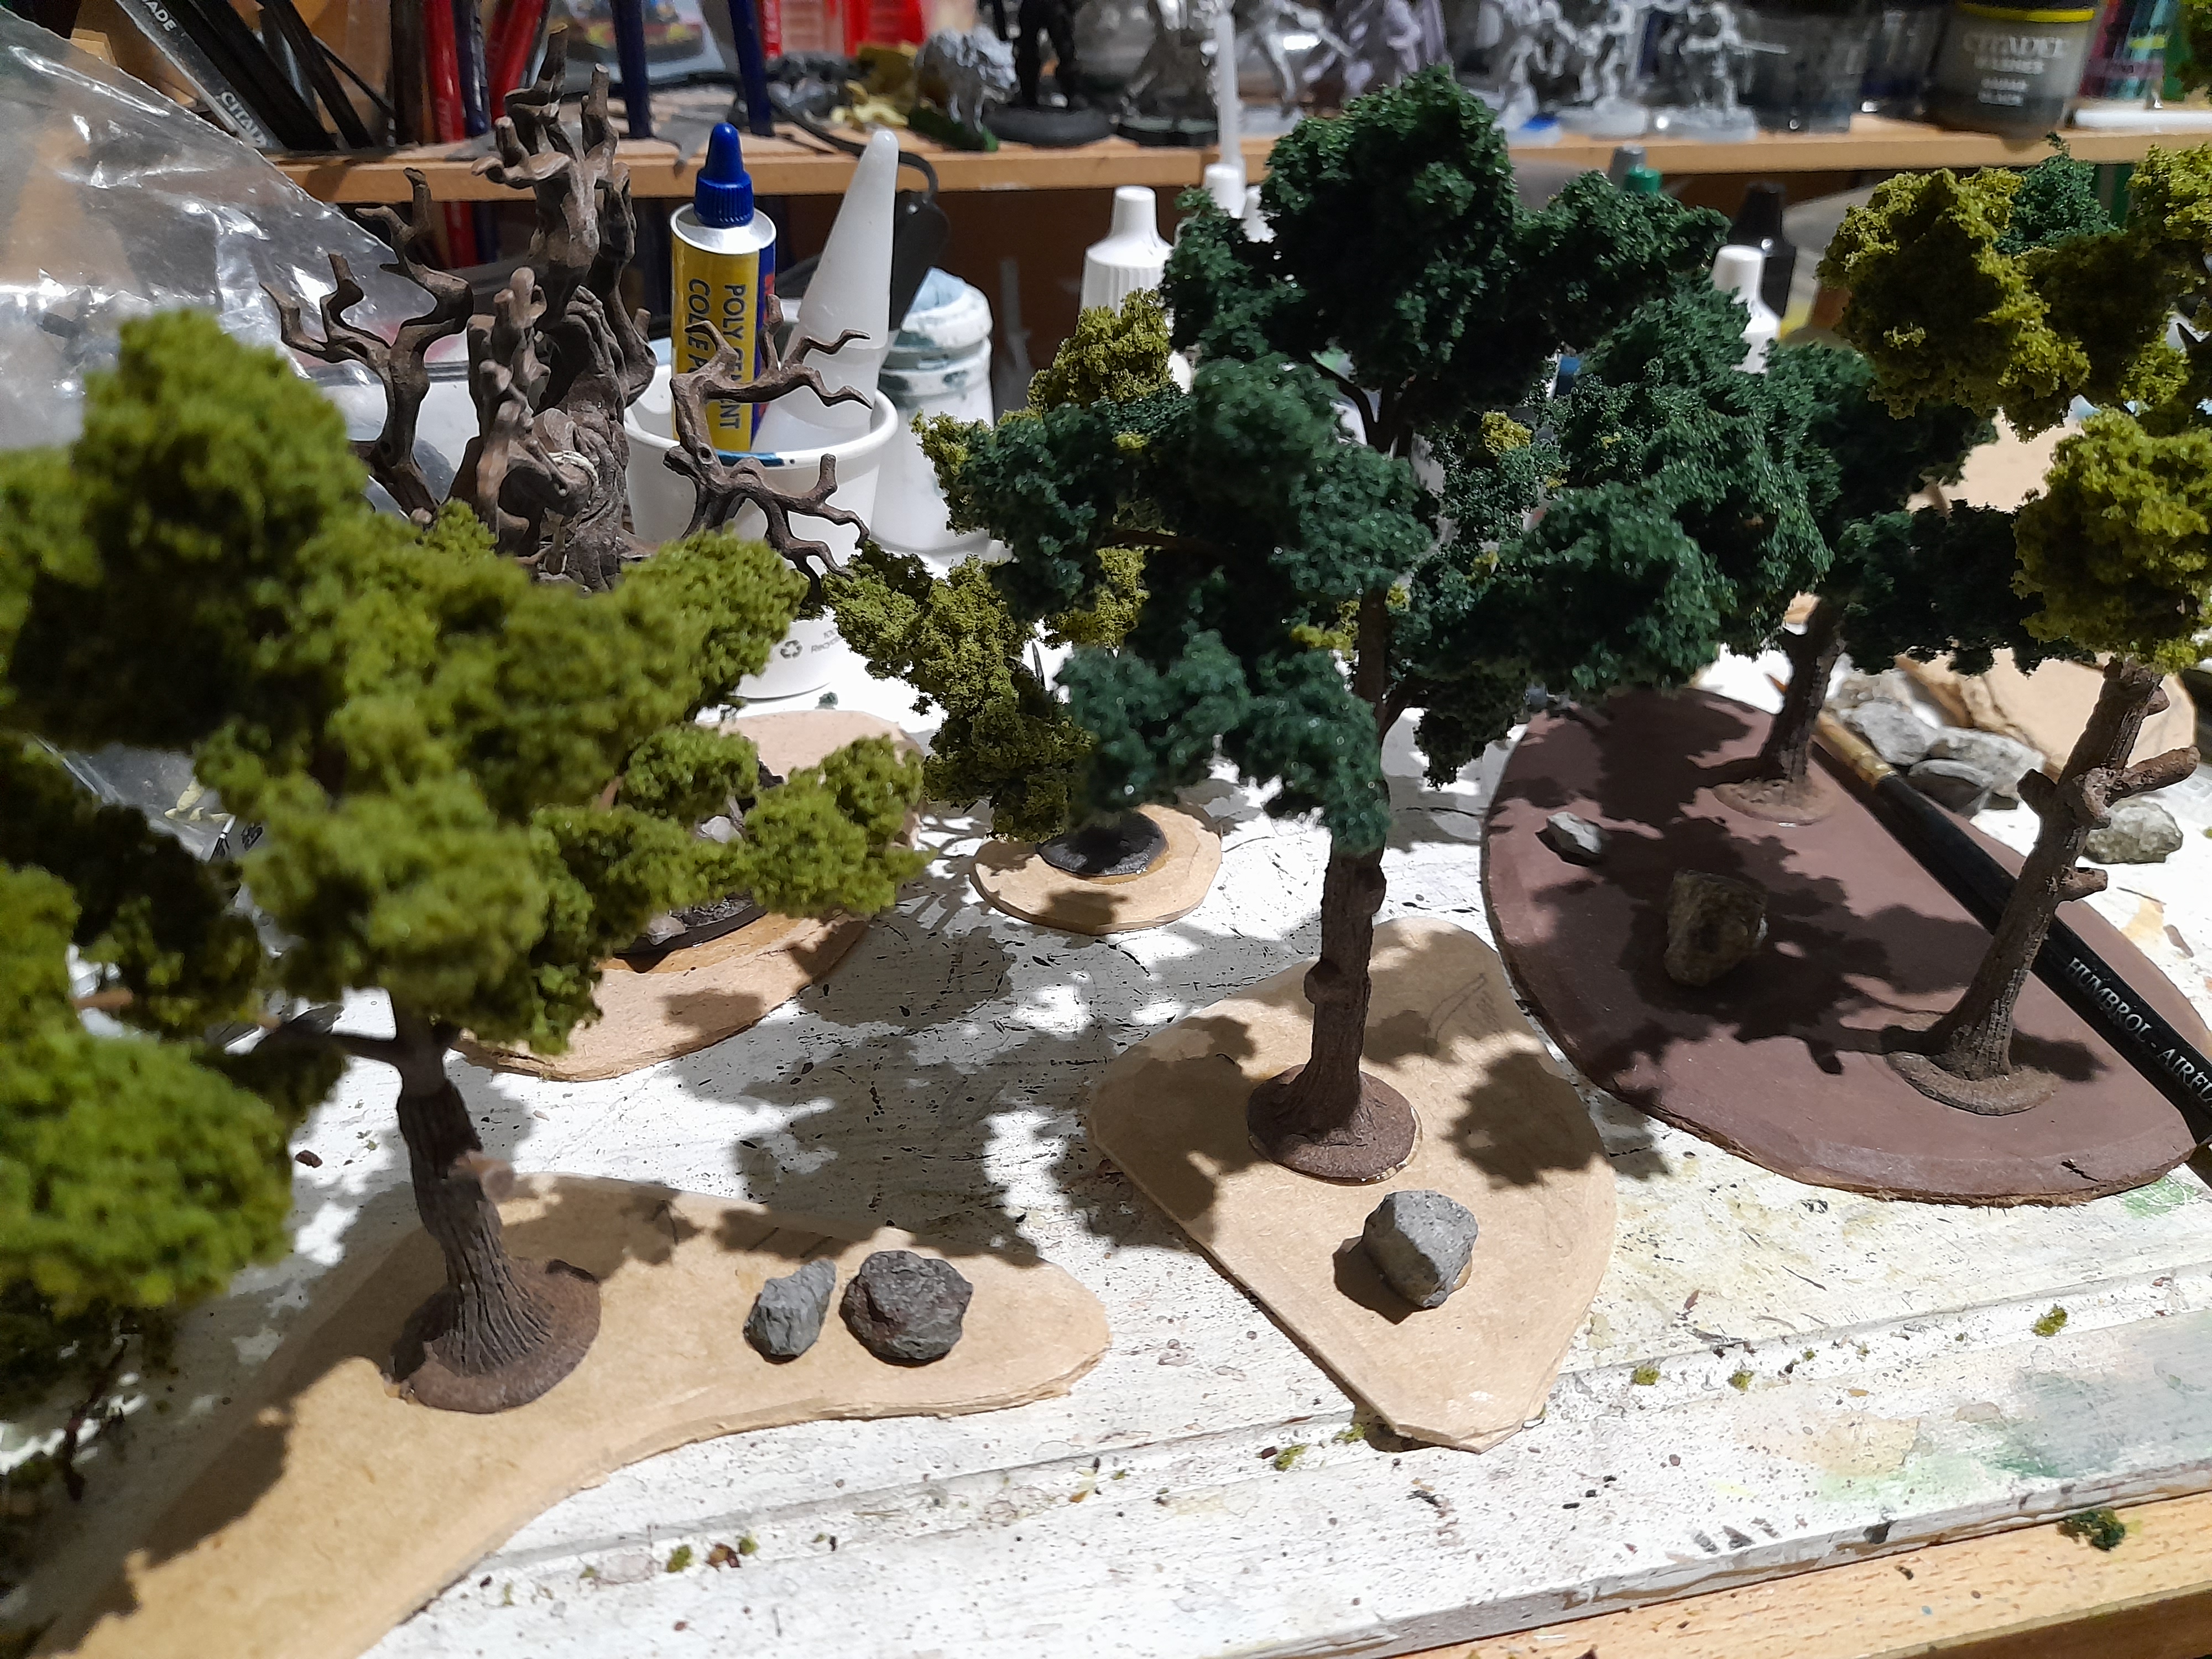
These were then painted brown, had two types of green flock added followed by the brown(ish) flock. Then various small pieces of clump foliage were added, and some lichen.

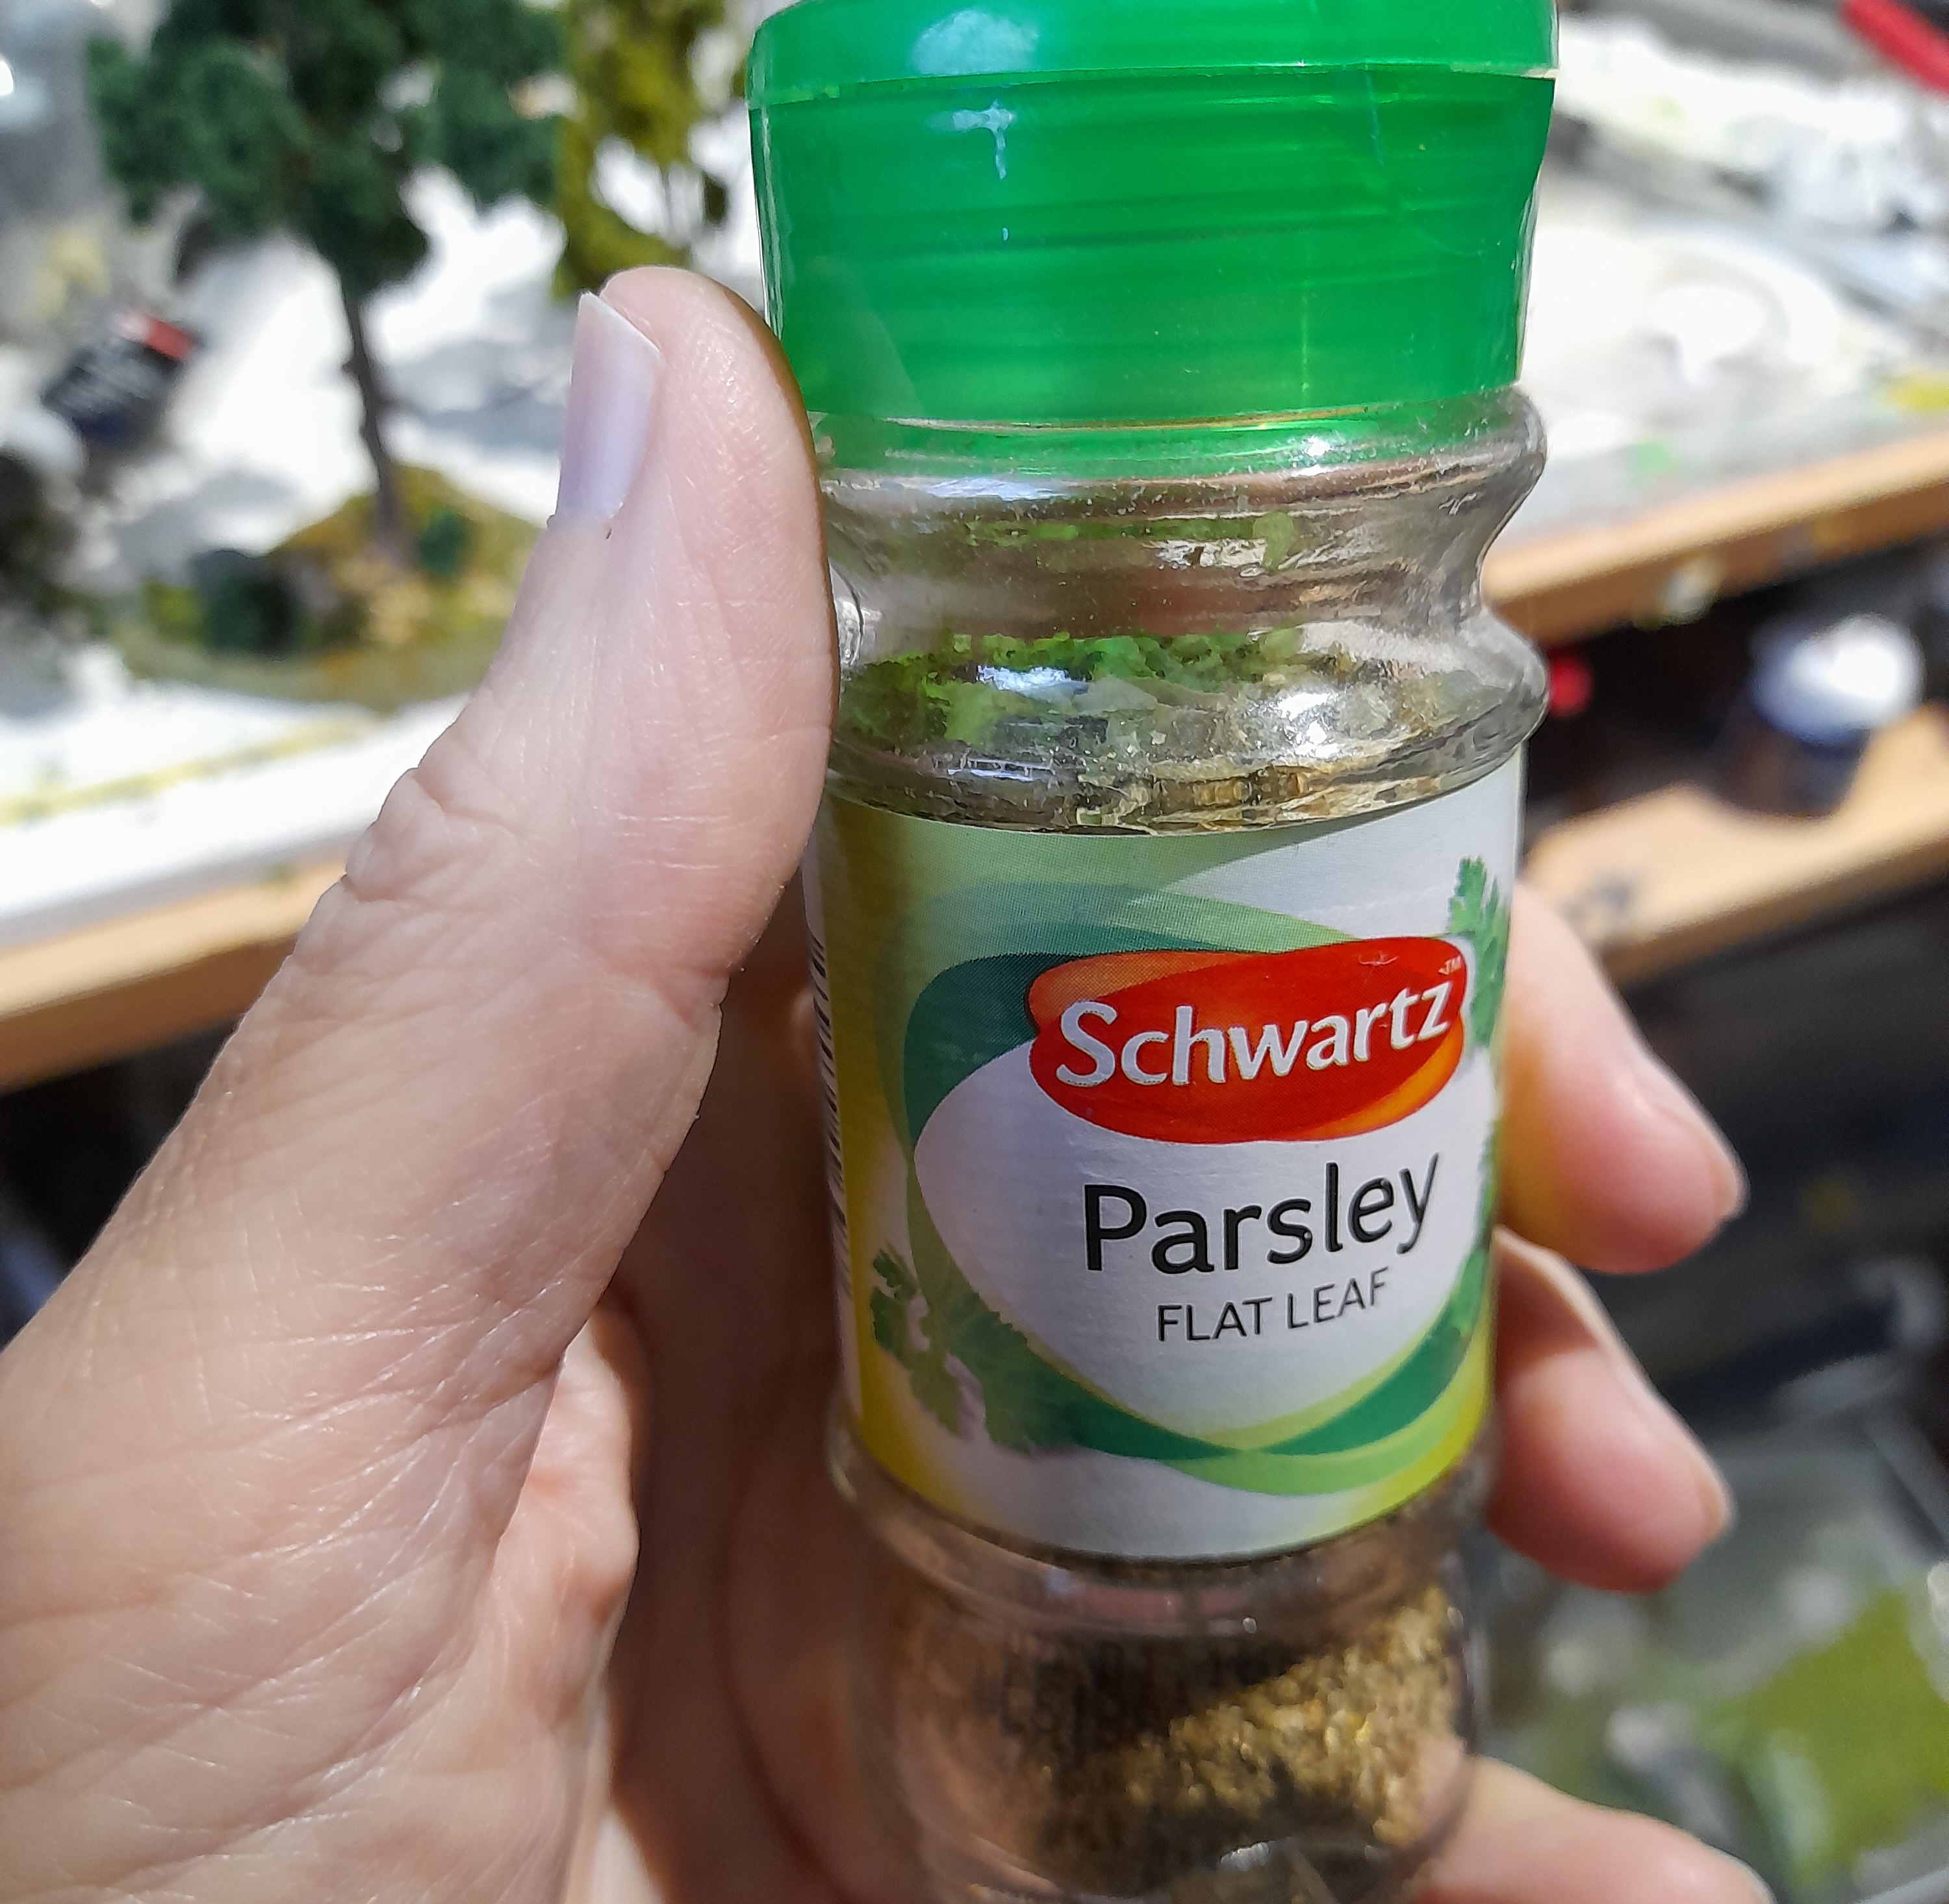
At this point I decided to try something a little extra. I had some old parsley that had dried out. So I added some PVA to the base and then sprinkled on the parsley. I think it works 😊
For some of the spooky trees I also added some ‘flower’ tufts for a bit of extra decoration.
They all still need the watered down pva coating, but here they are :
Rocks!
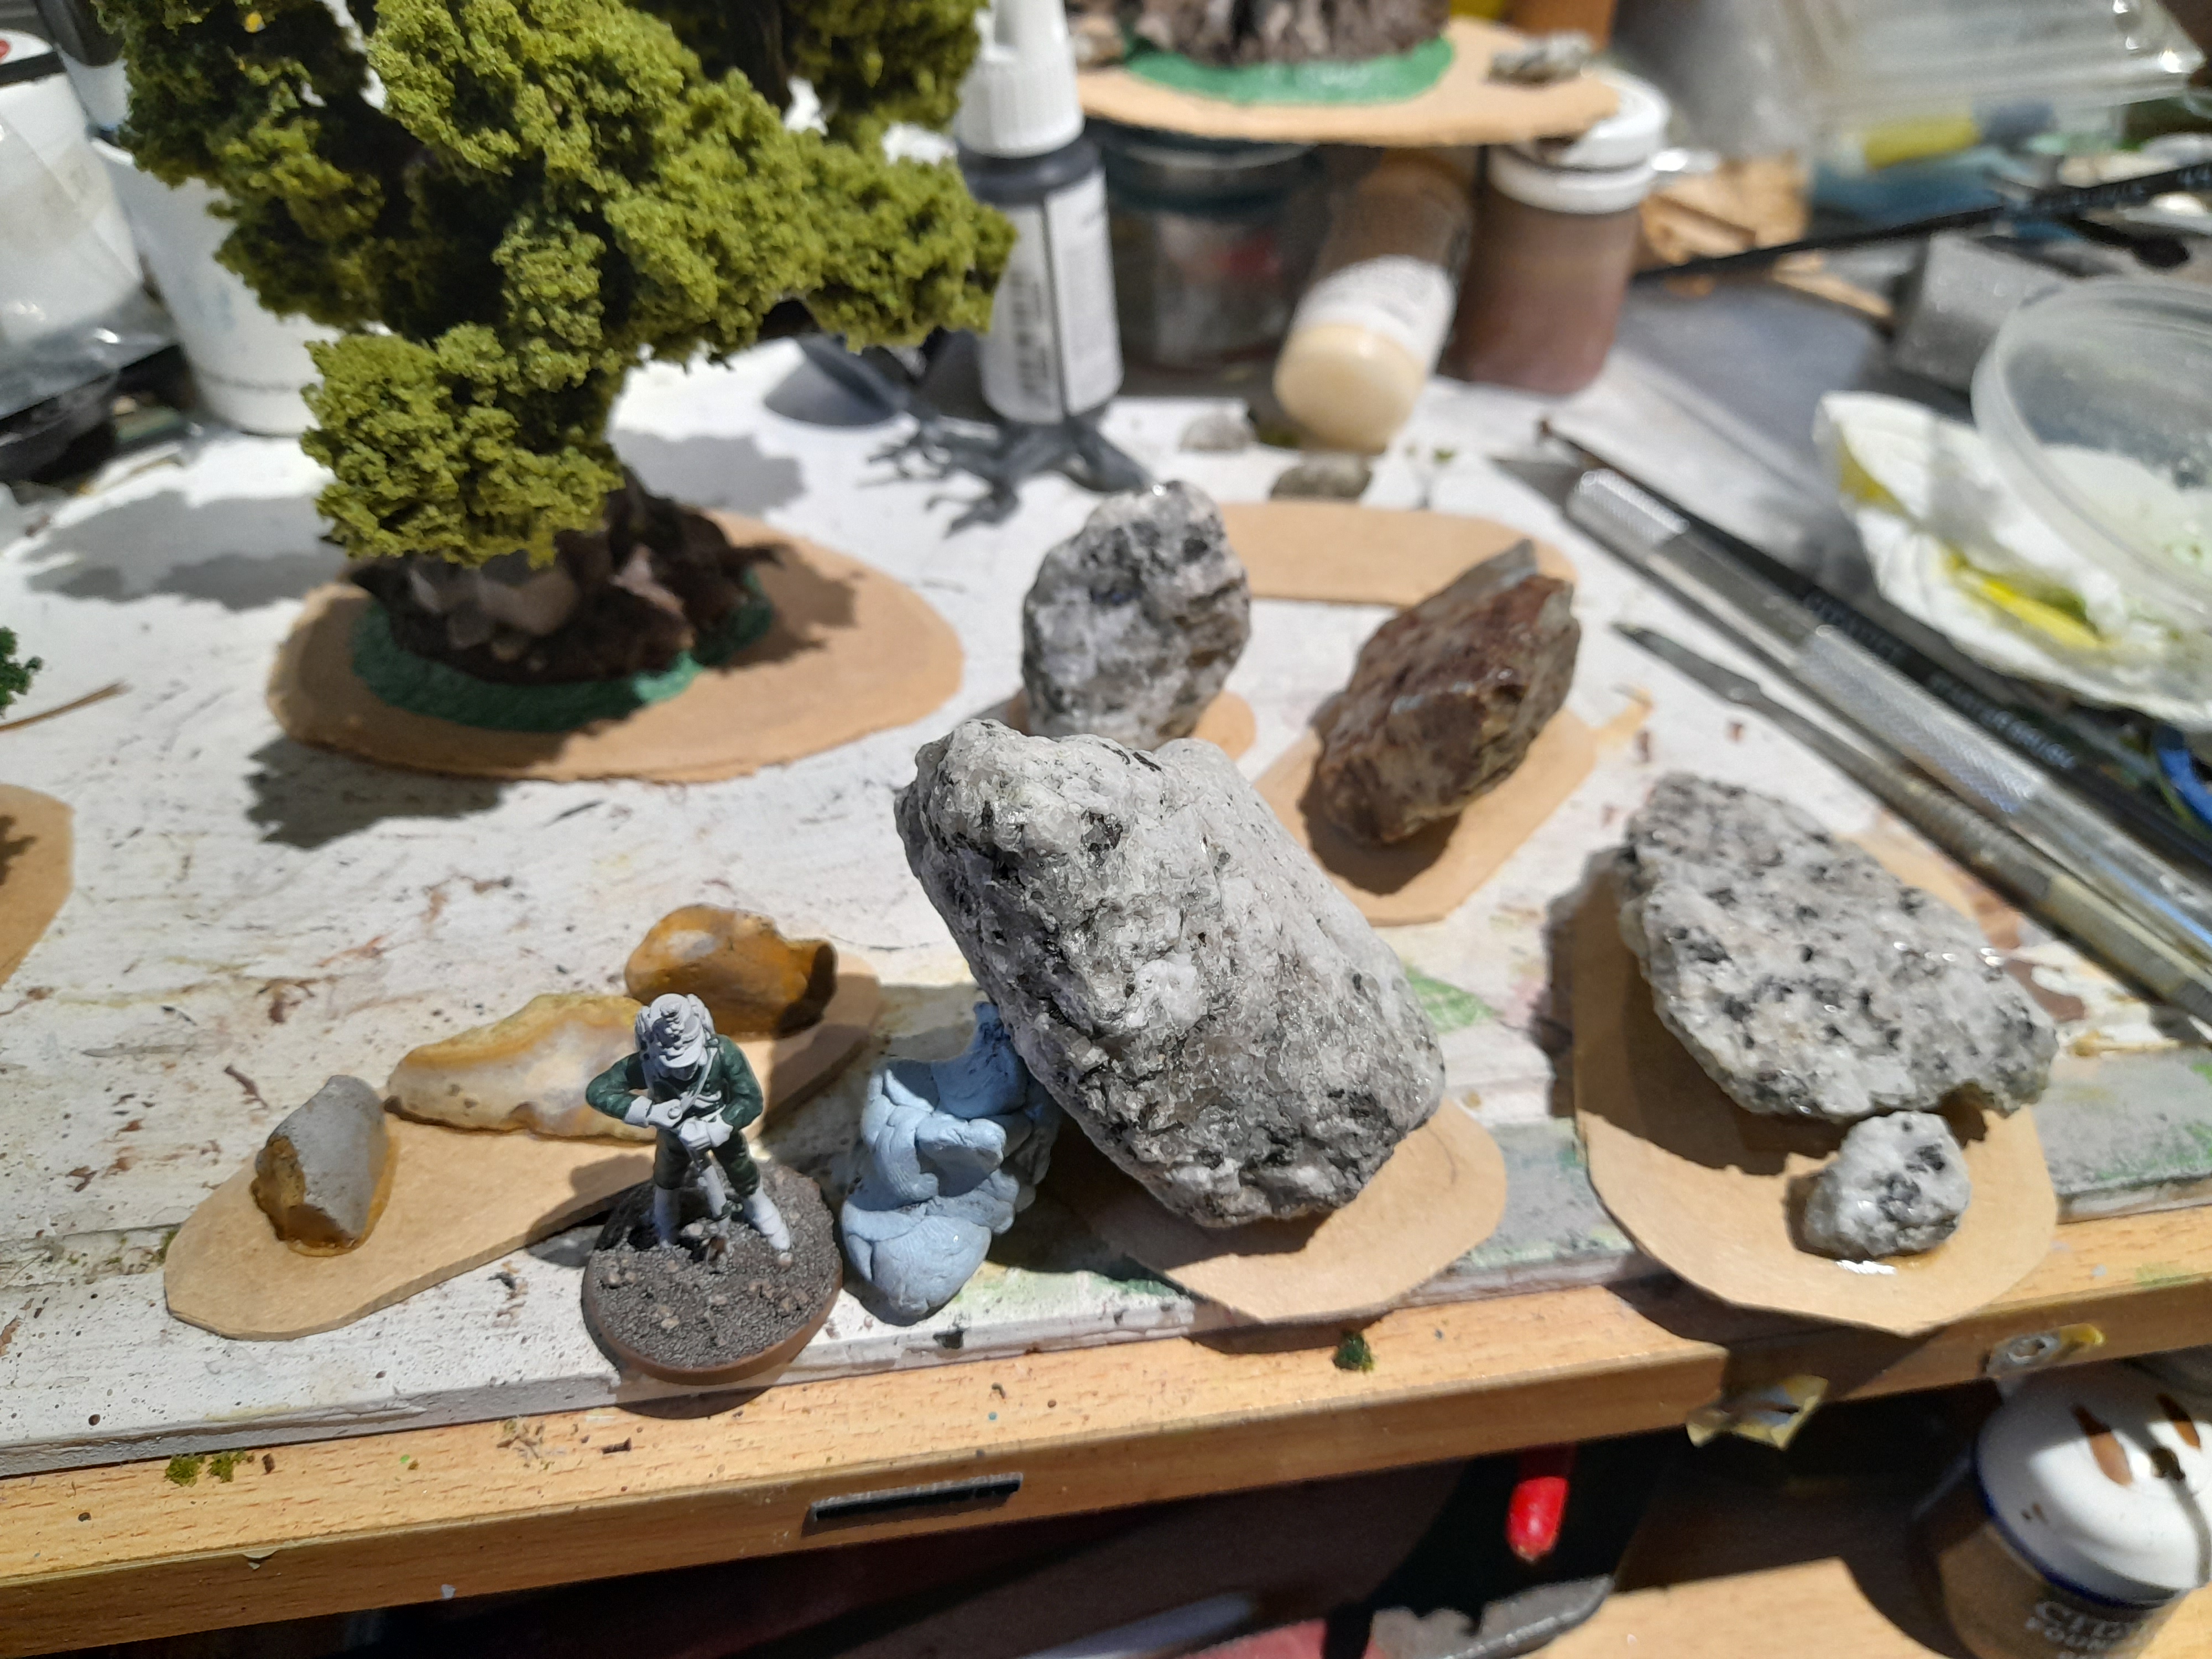
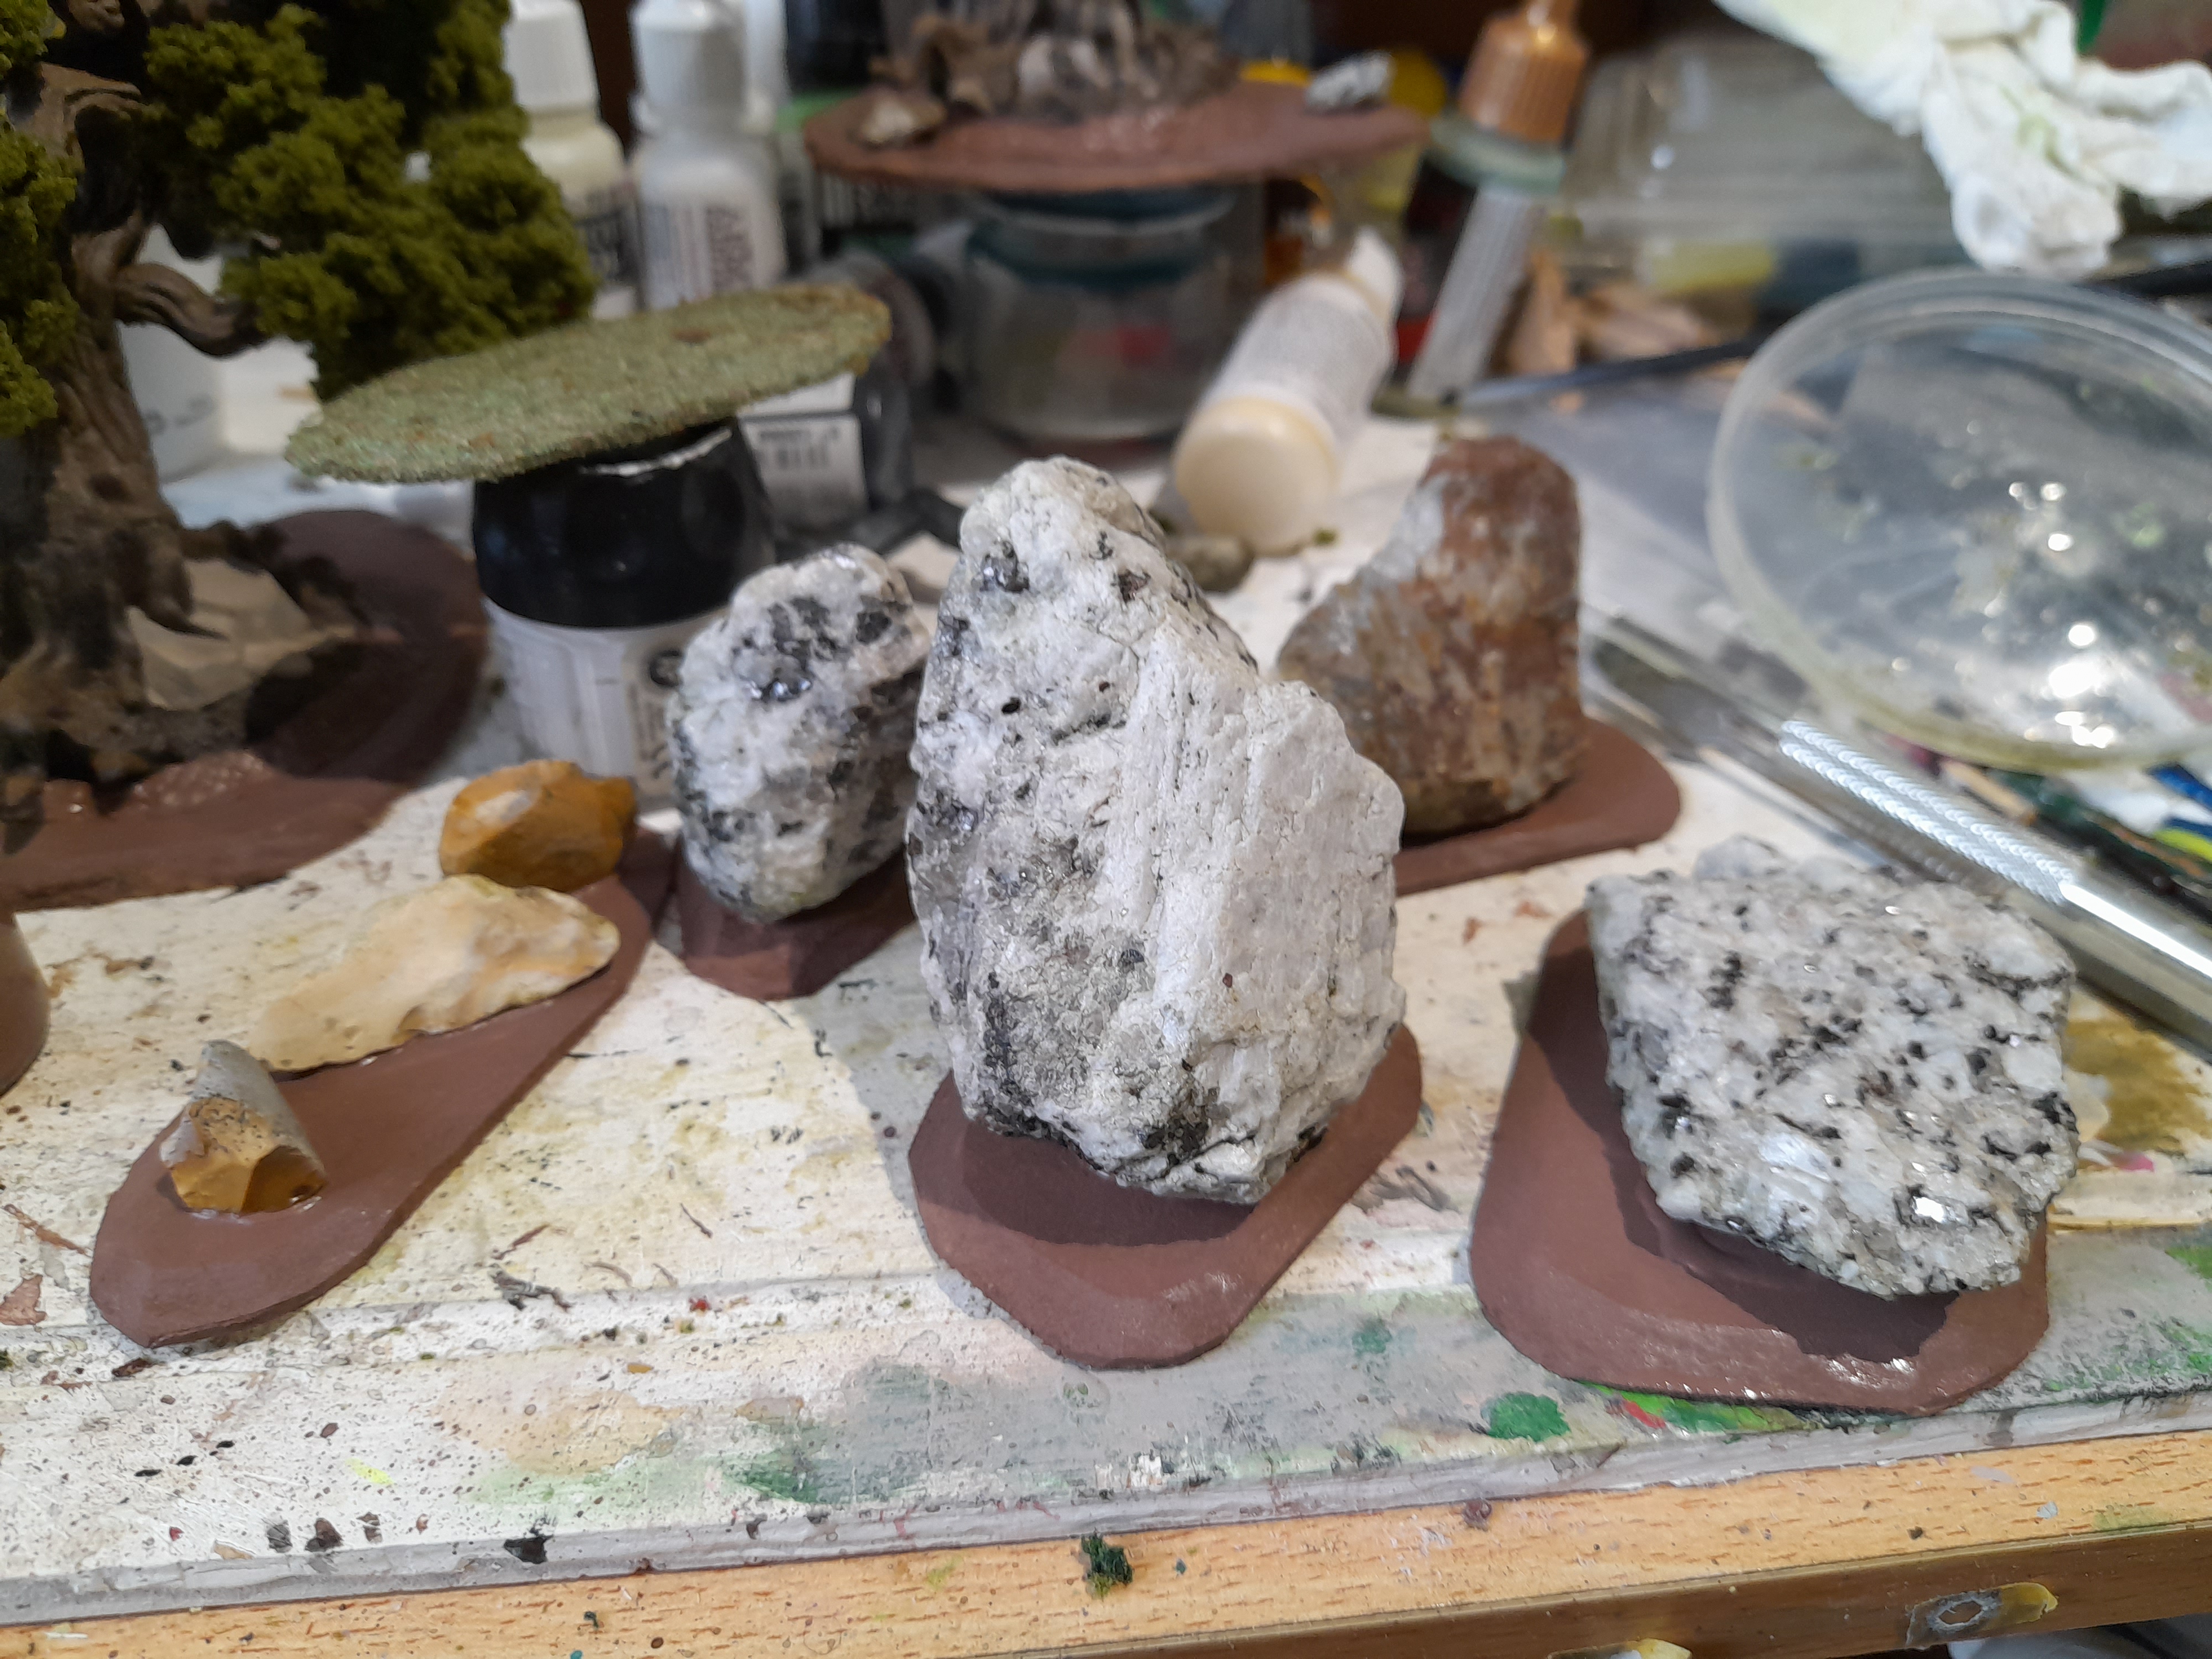
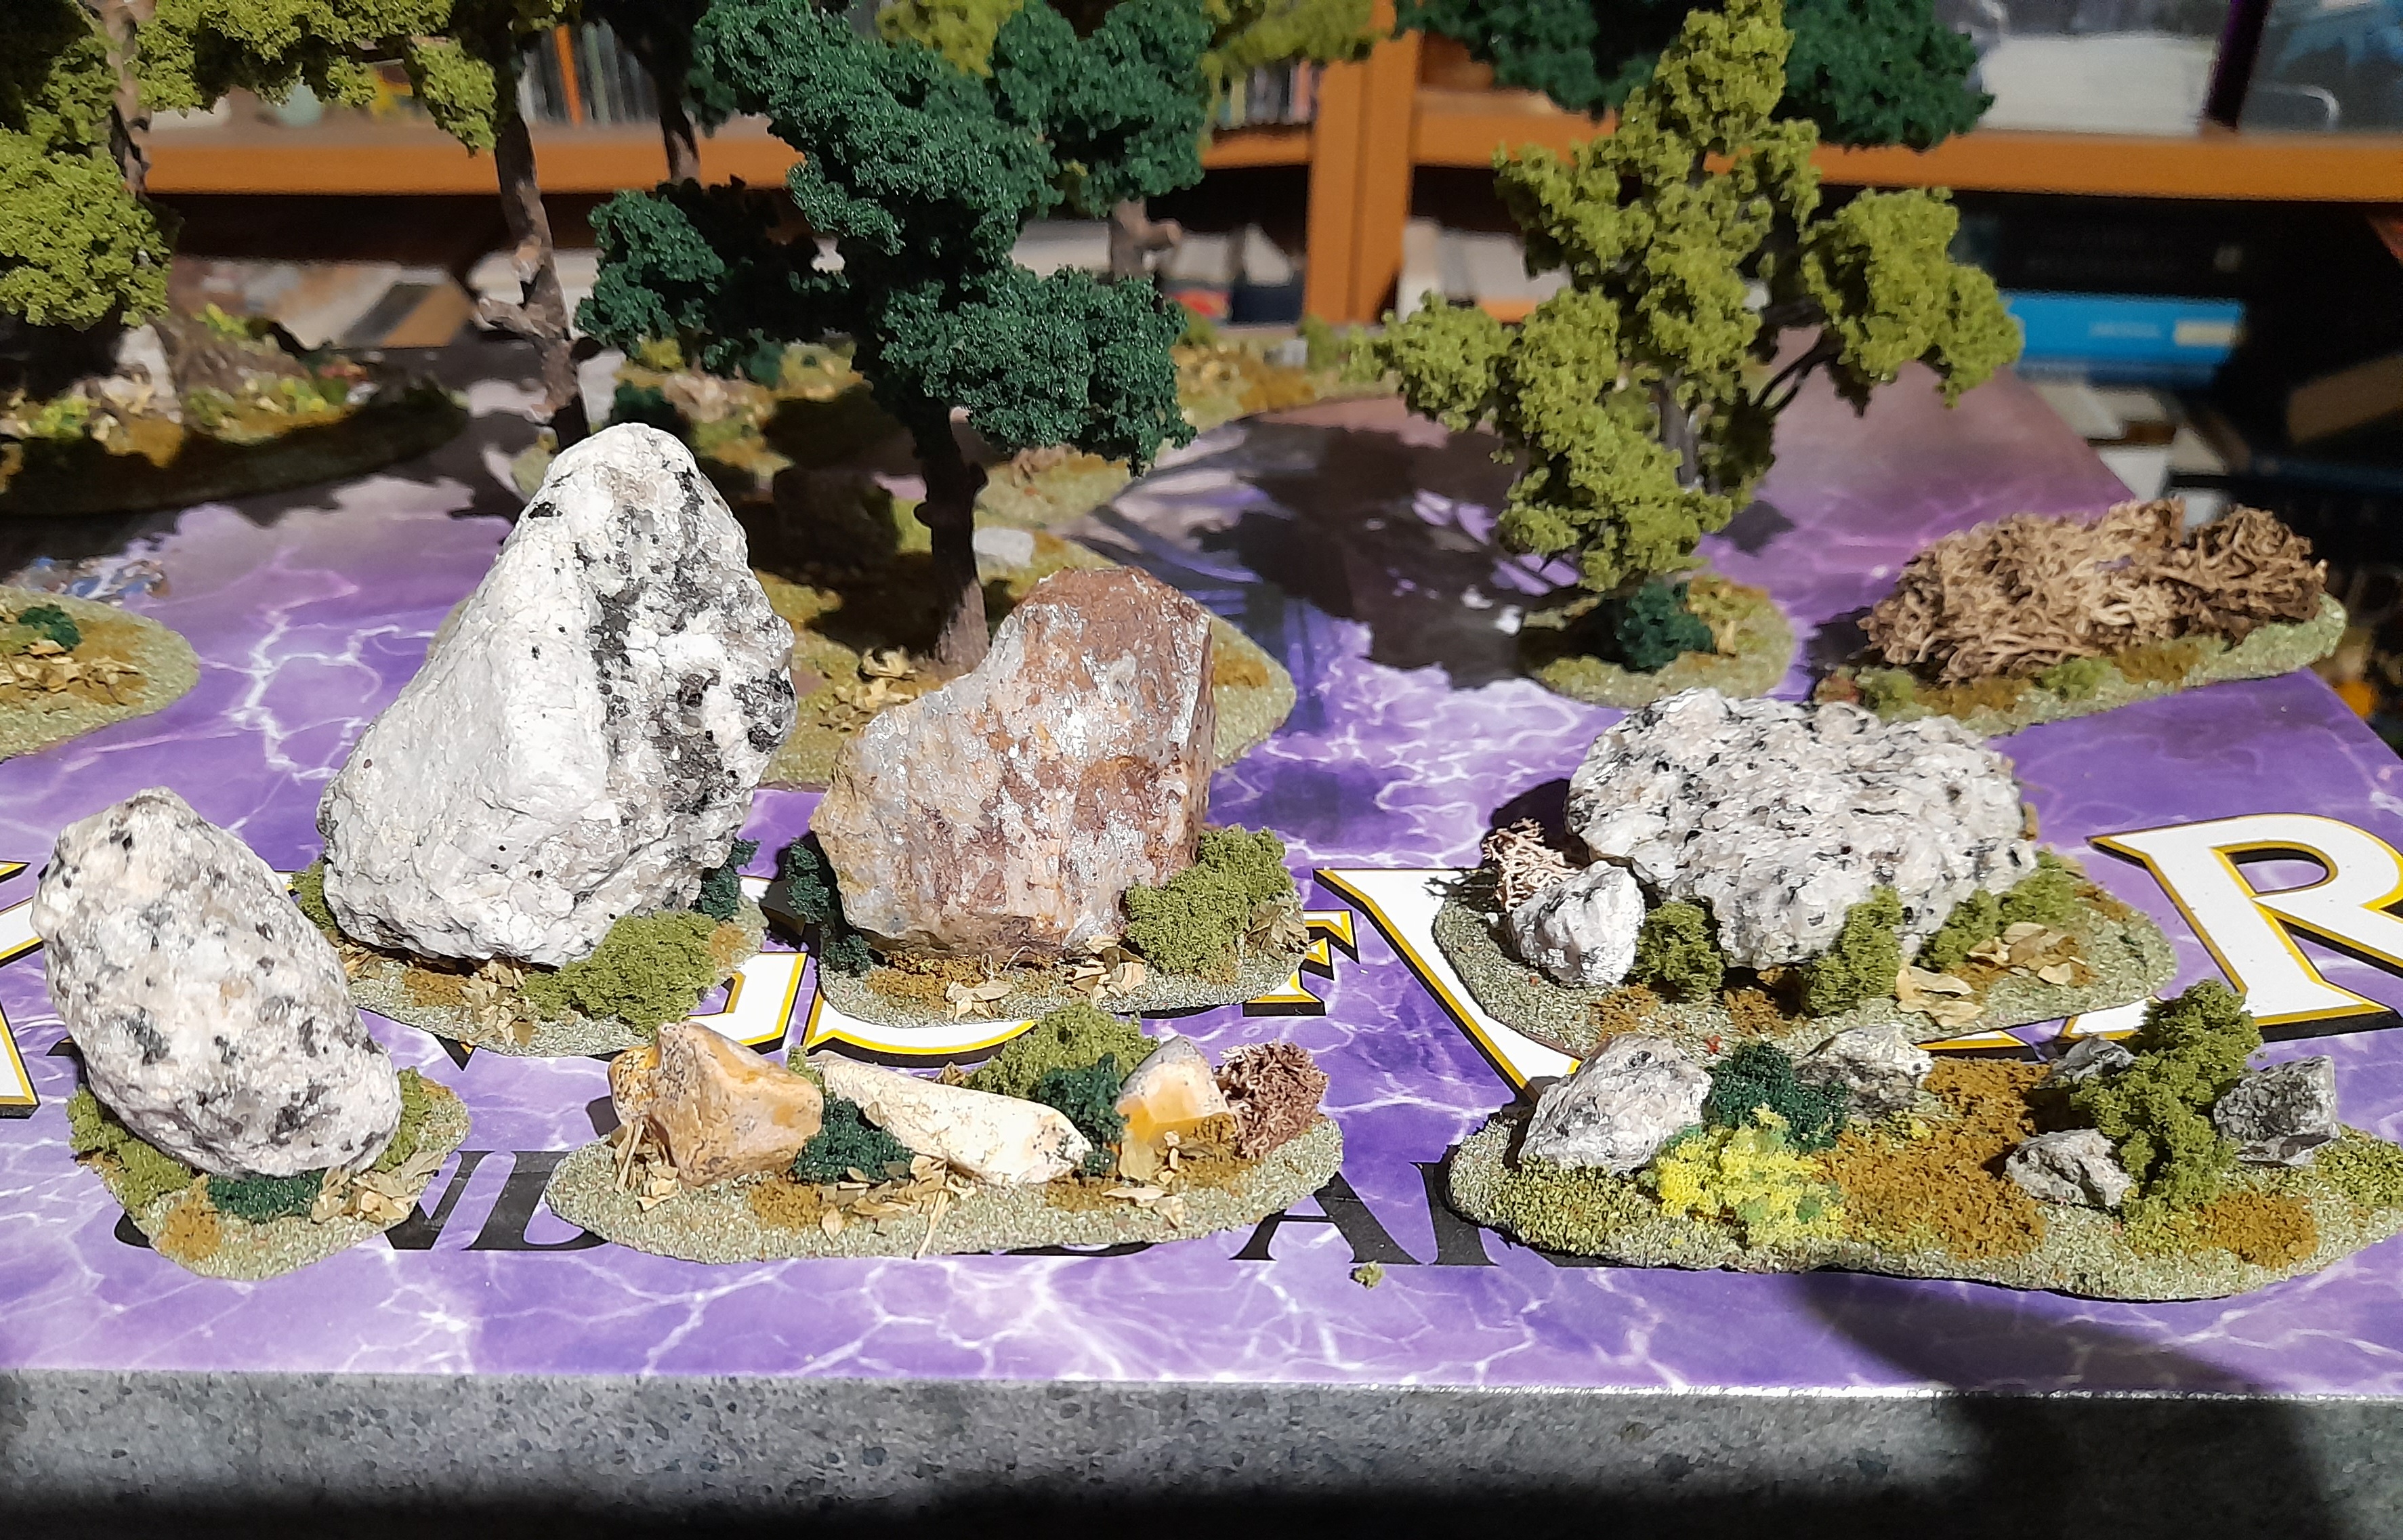
19th November 2024
I have also been working on rocks….
I made a test piece alongside working on trees.
Just some stones from the garden glued onto the mdf. Then based the same way as the trees.
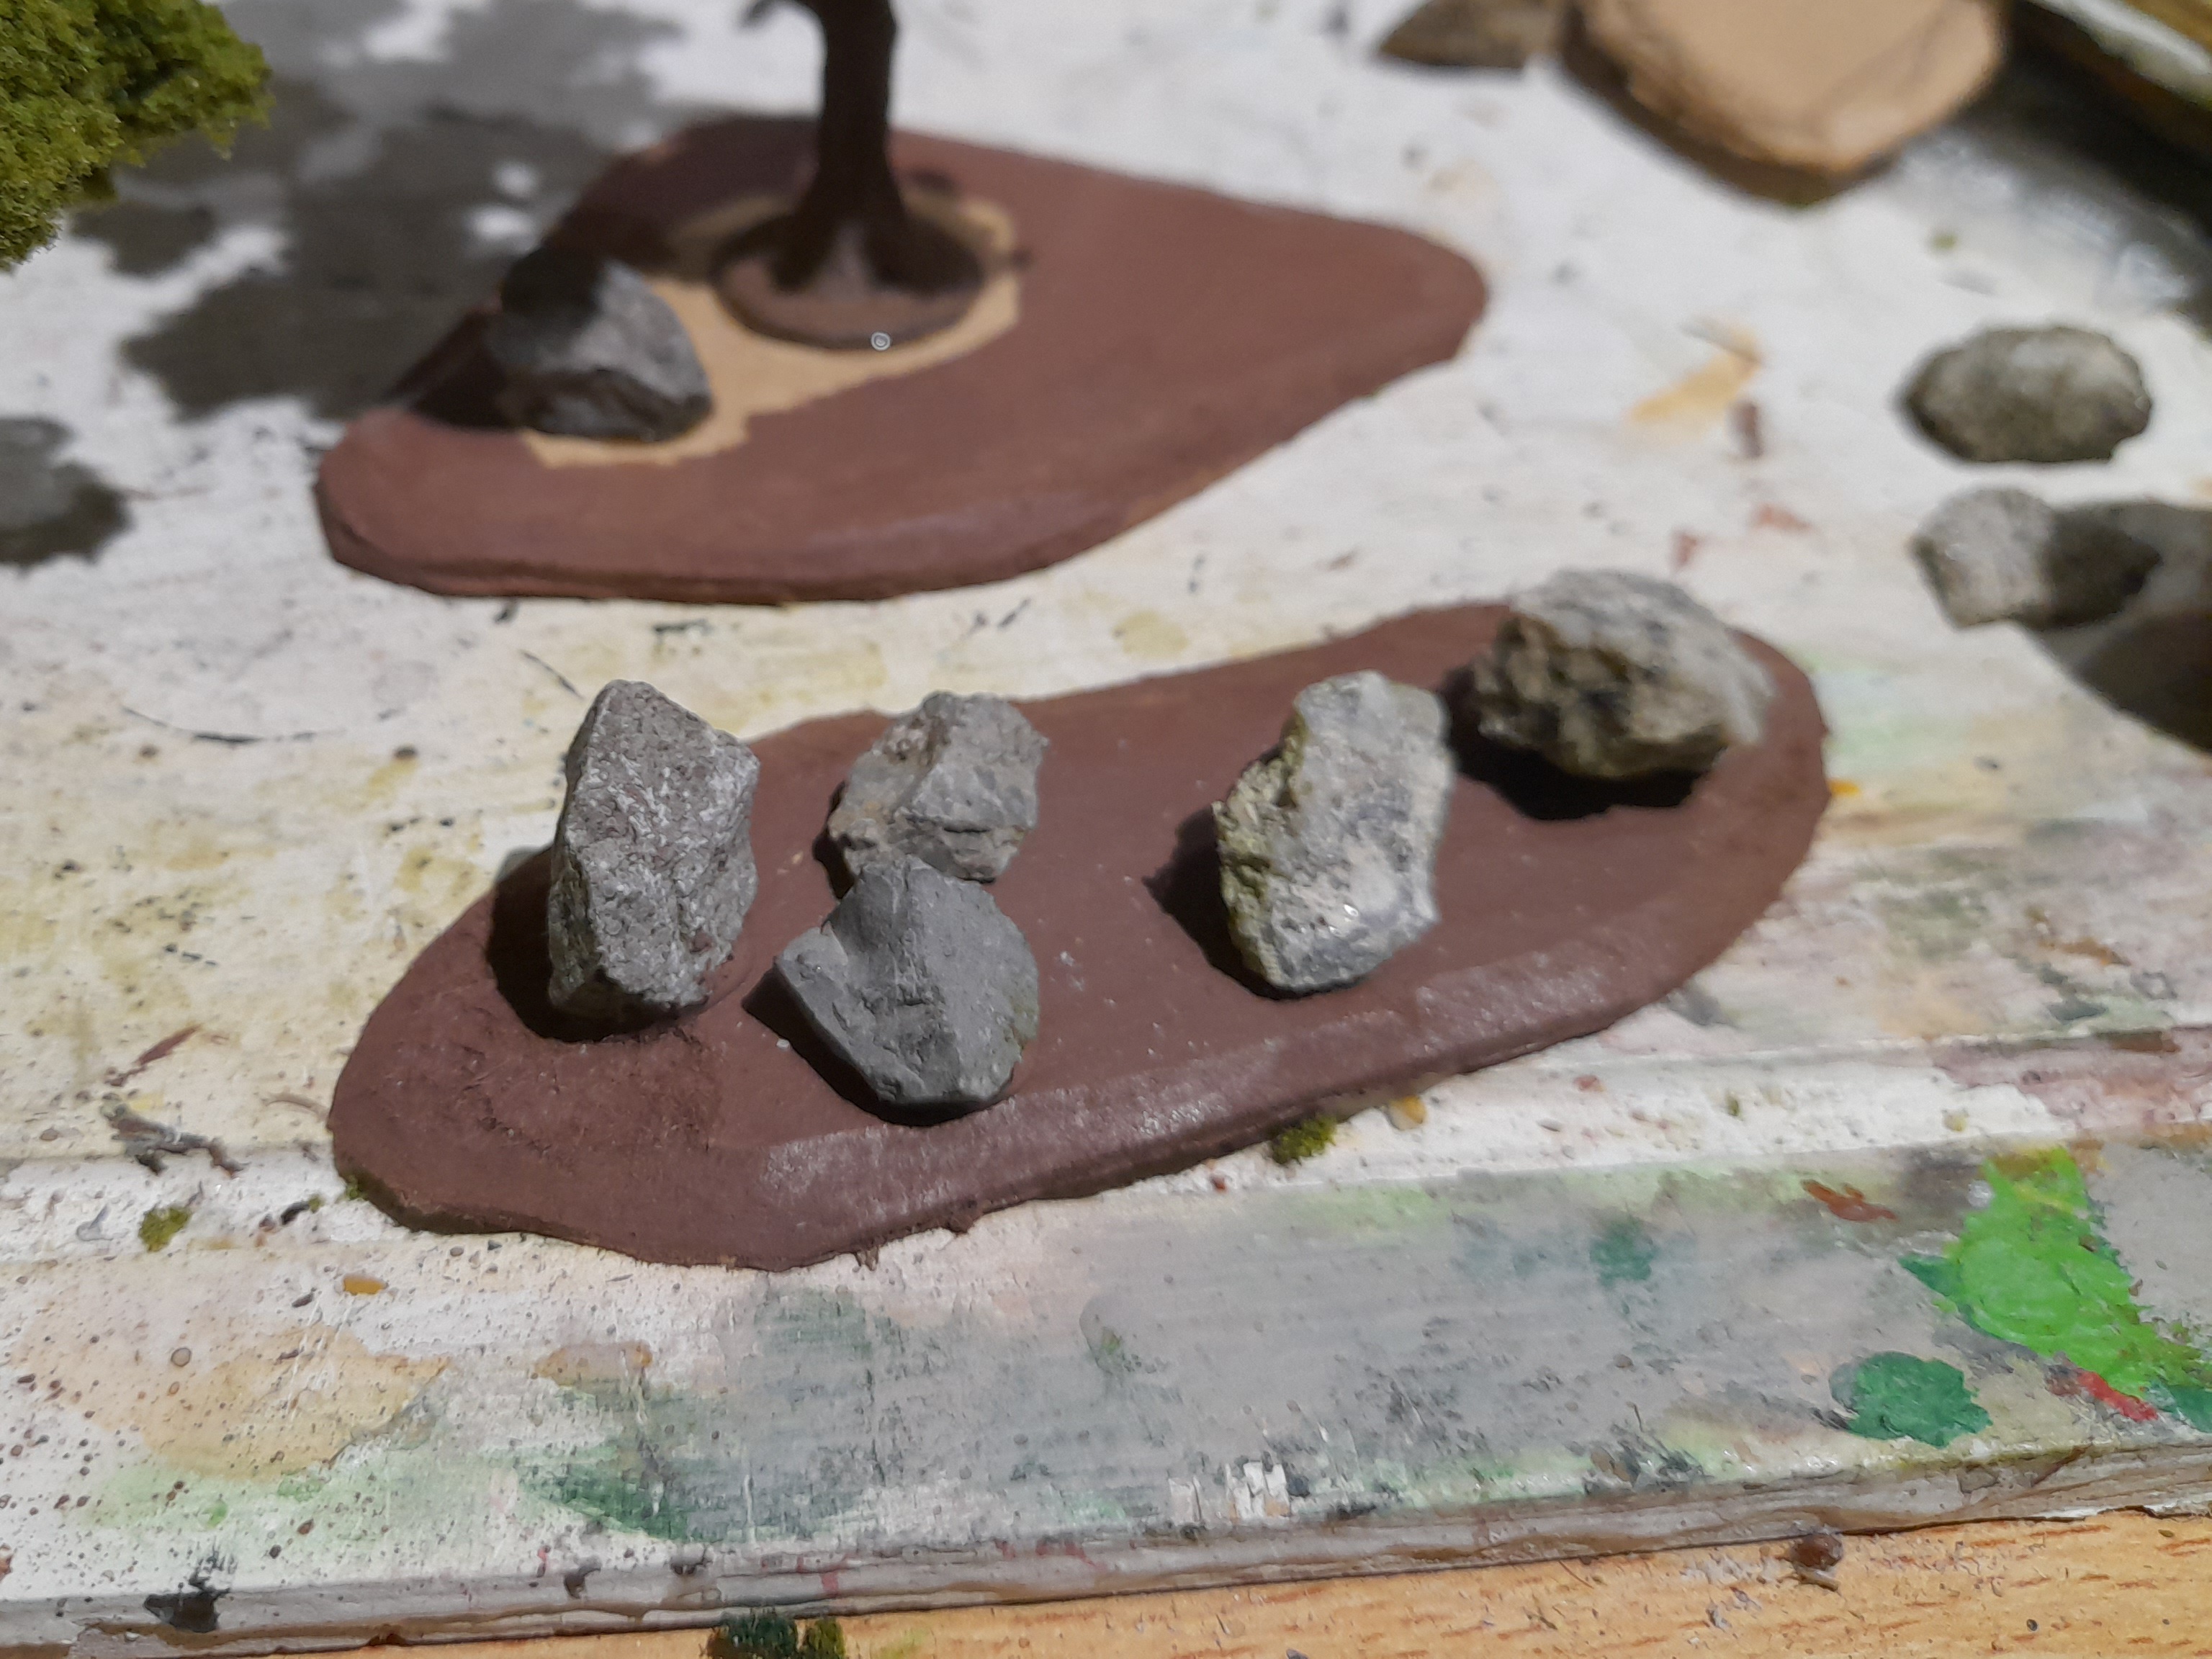
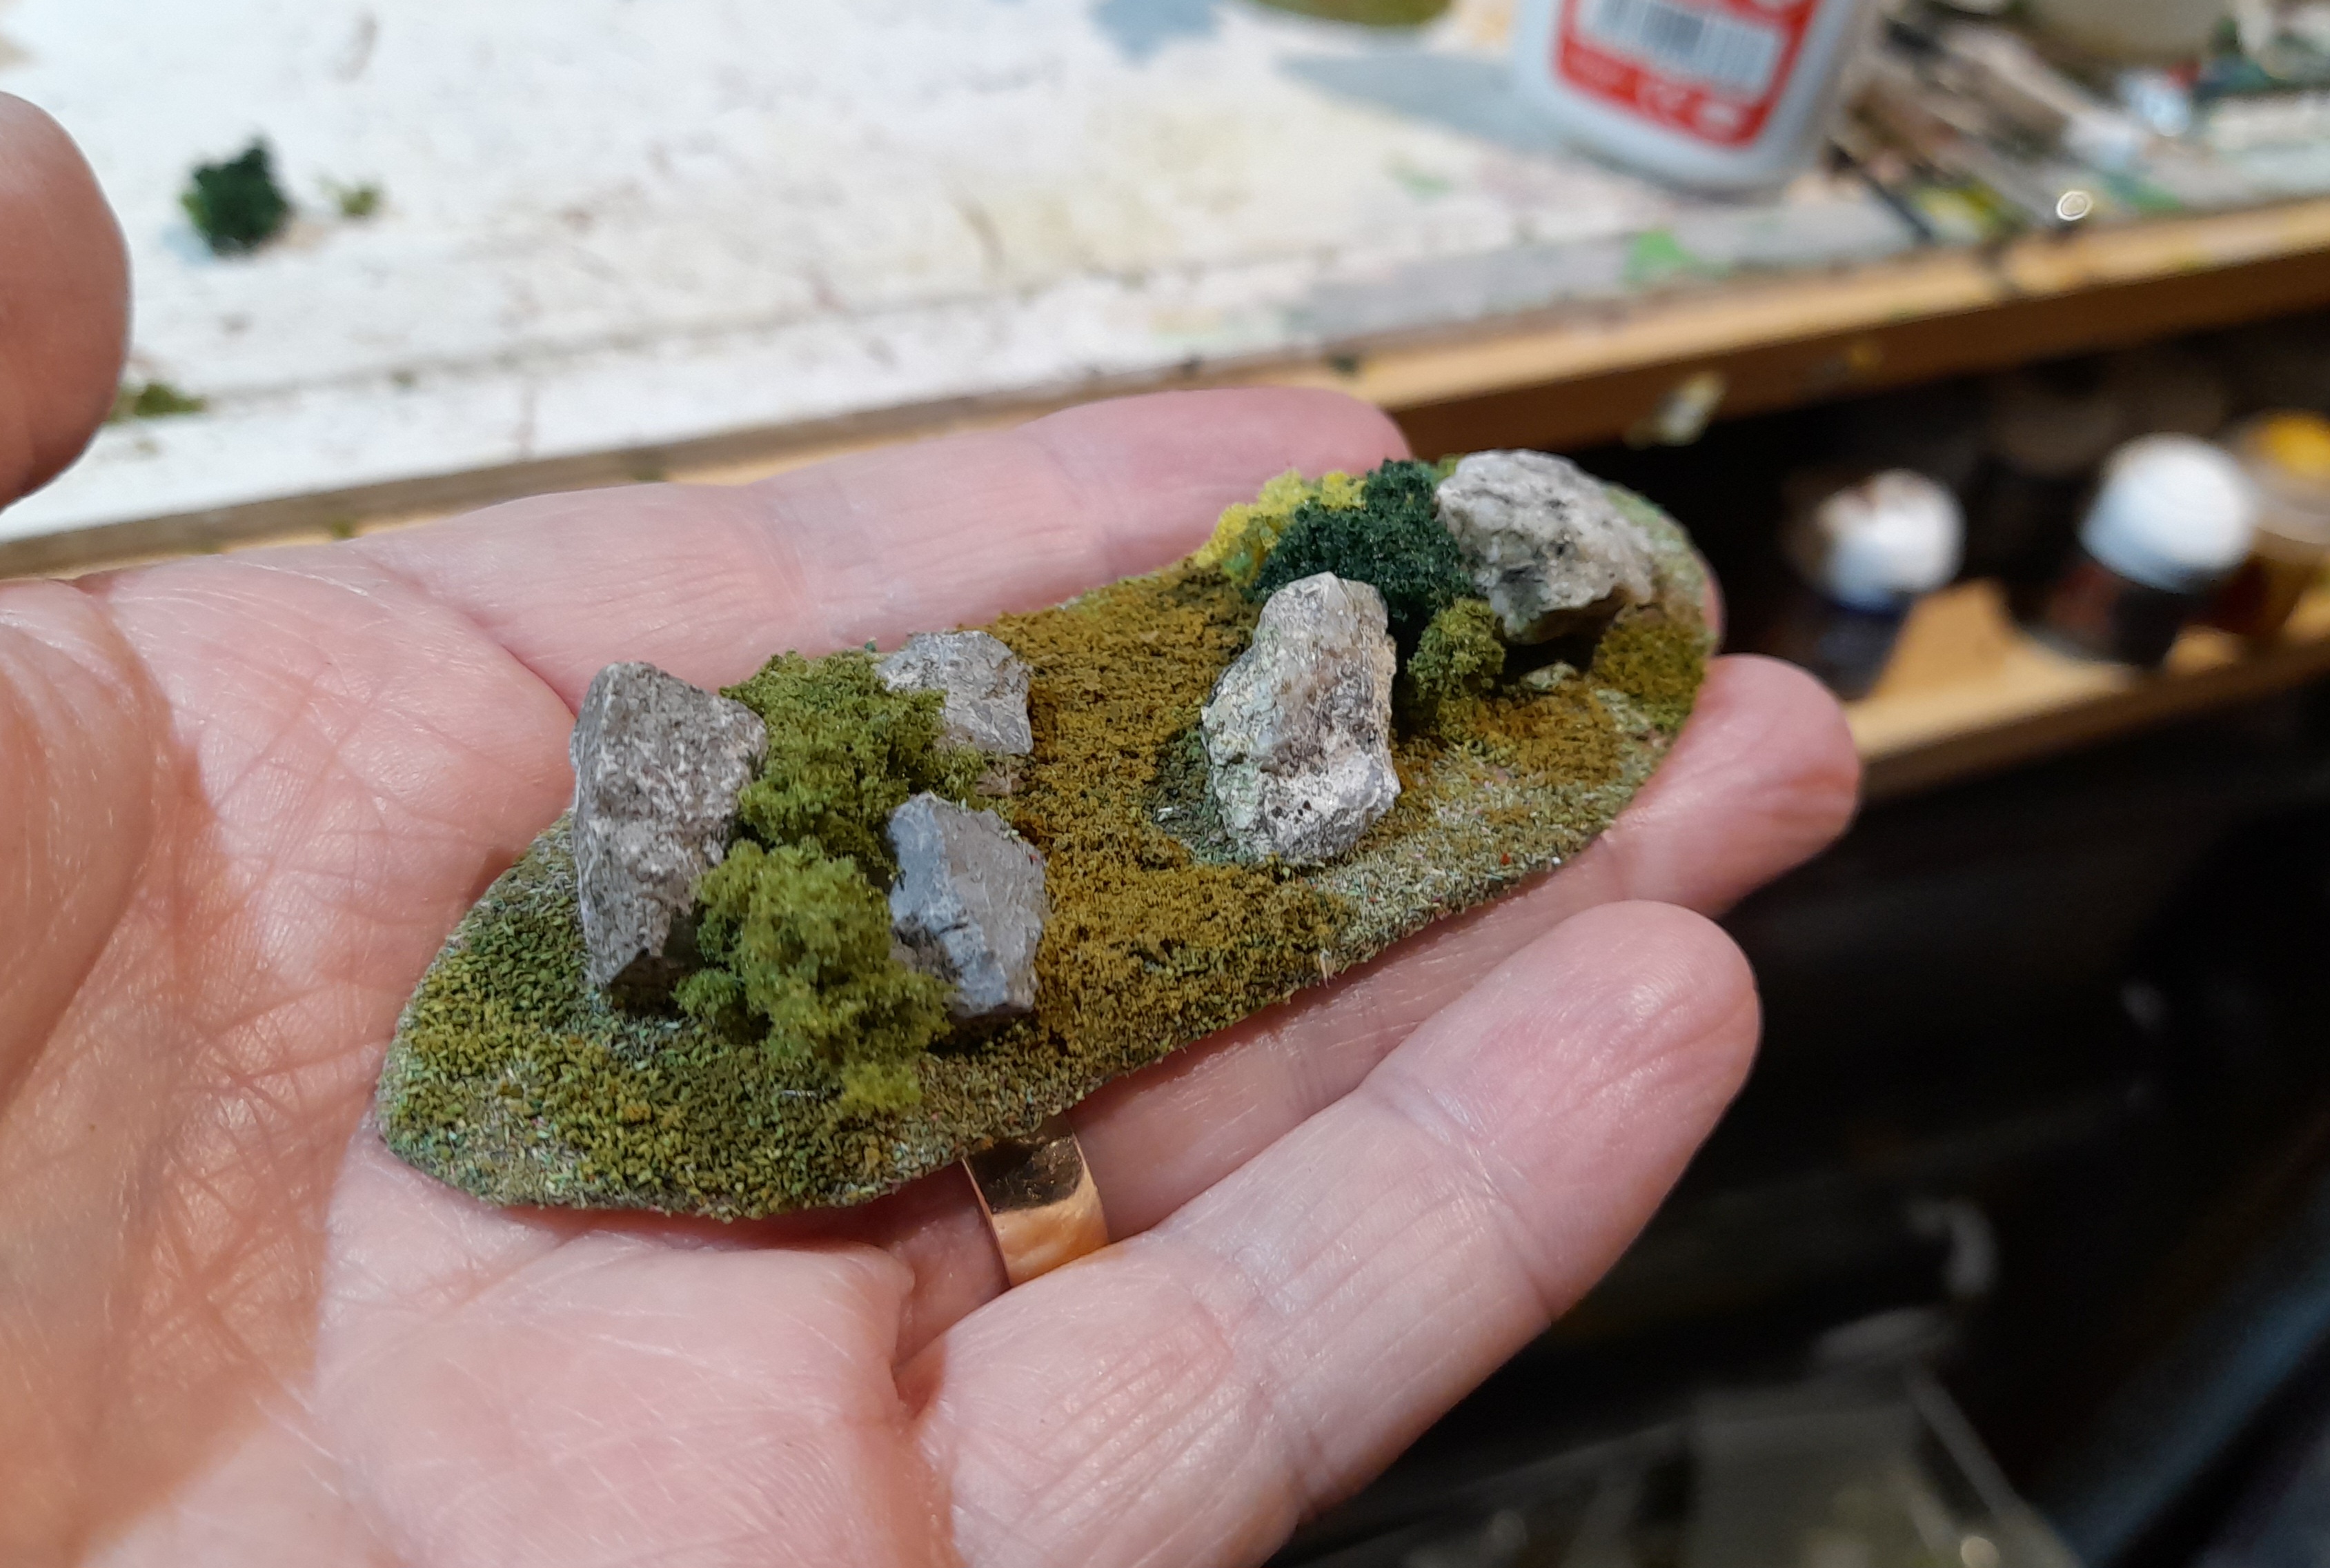
Happy with that result I went out and got some more rocks. This time I also grabbed some larger ones, that could better act as blocking terrain. These were washed, ready to be based up.
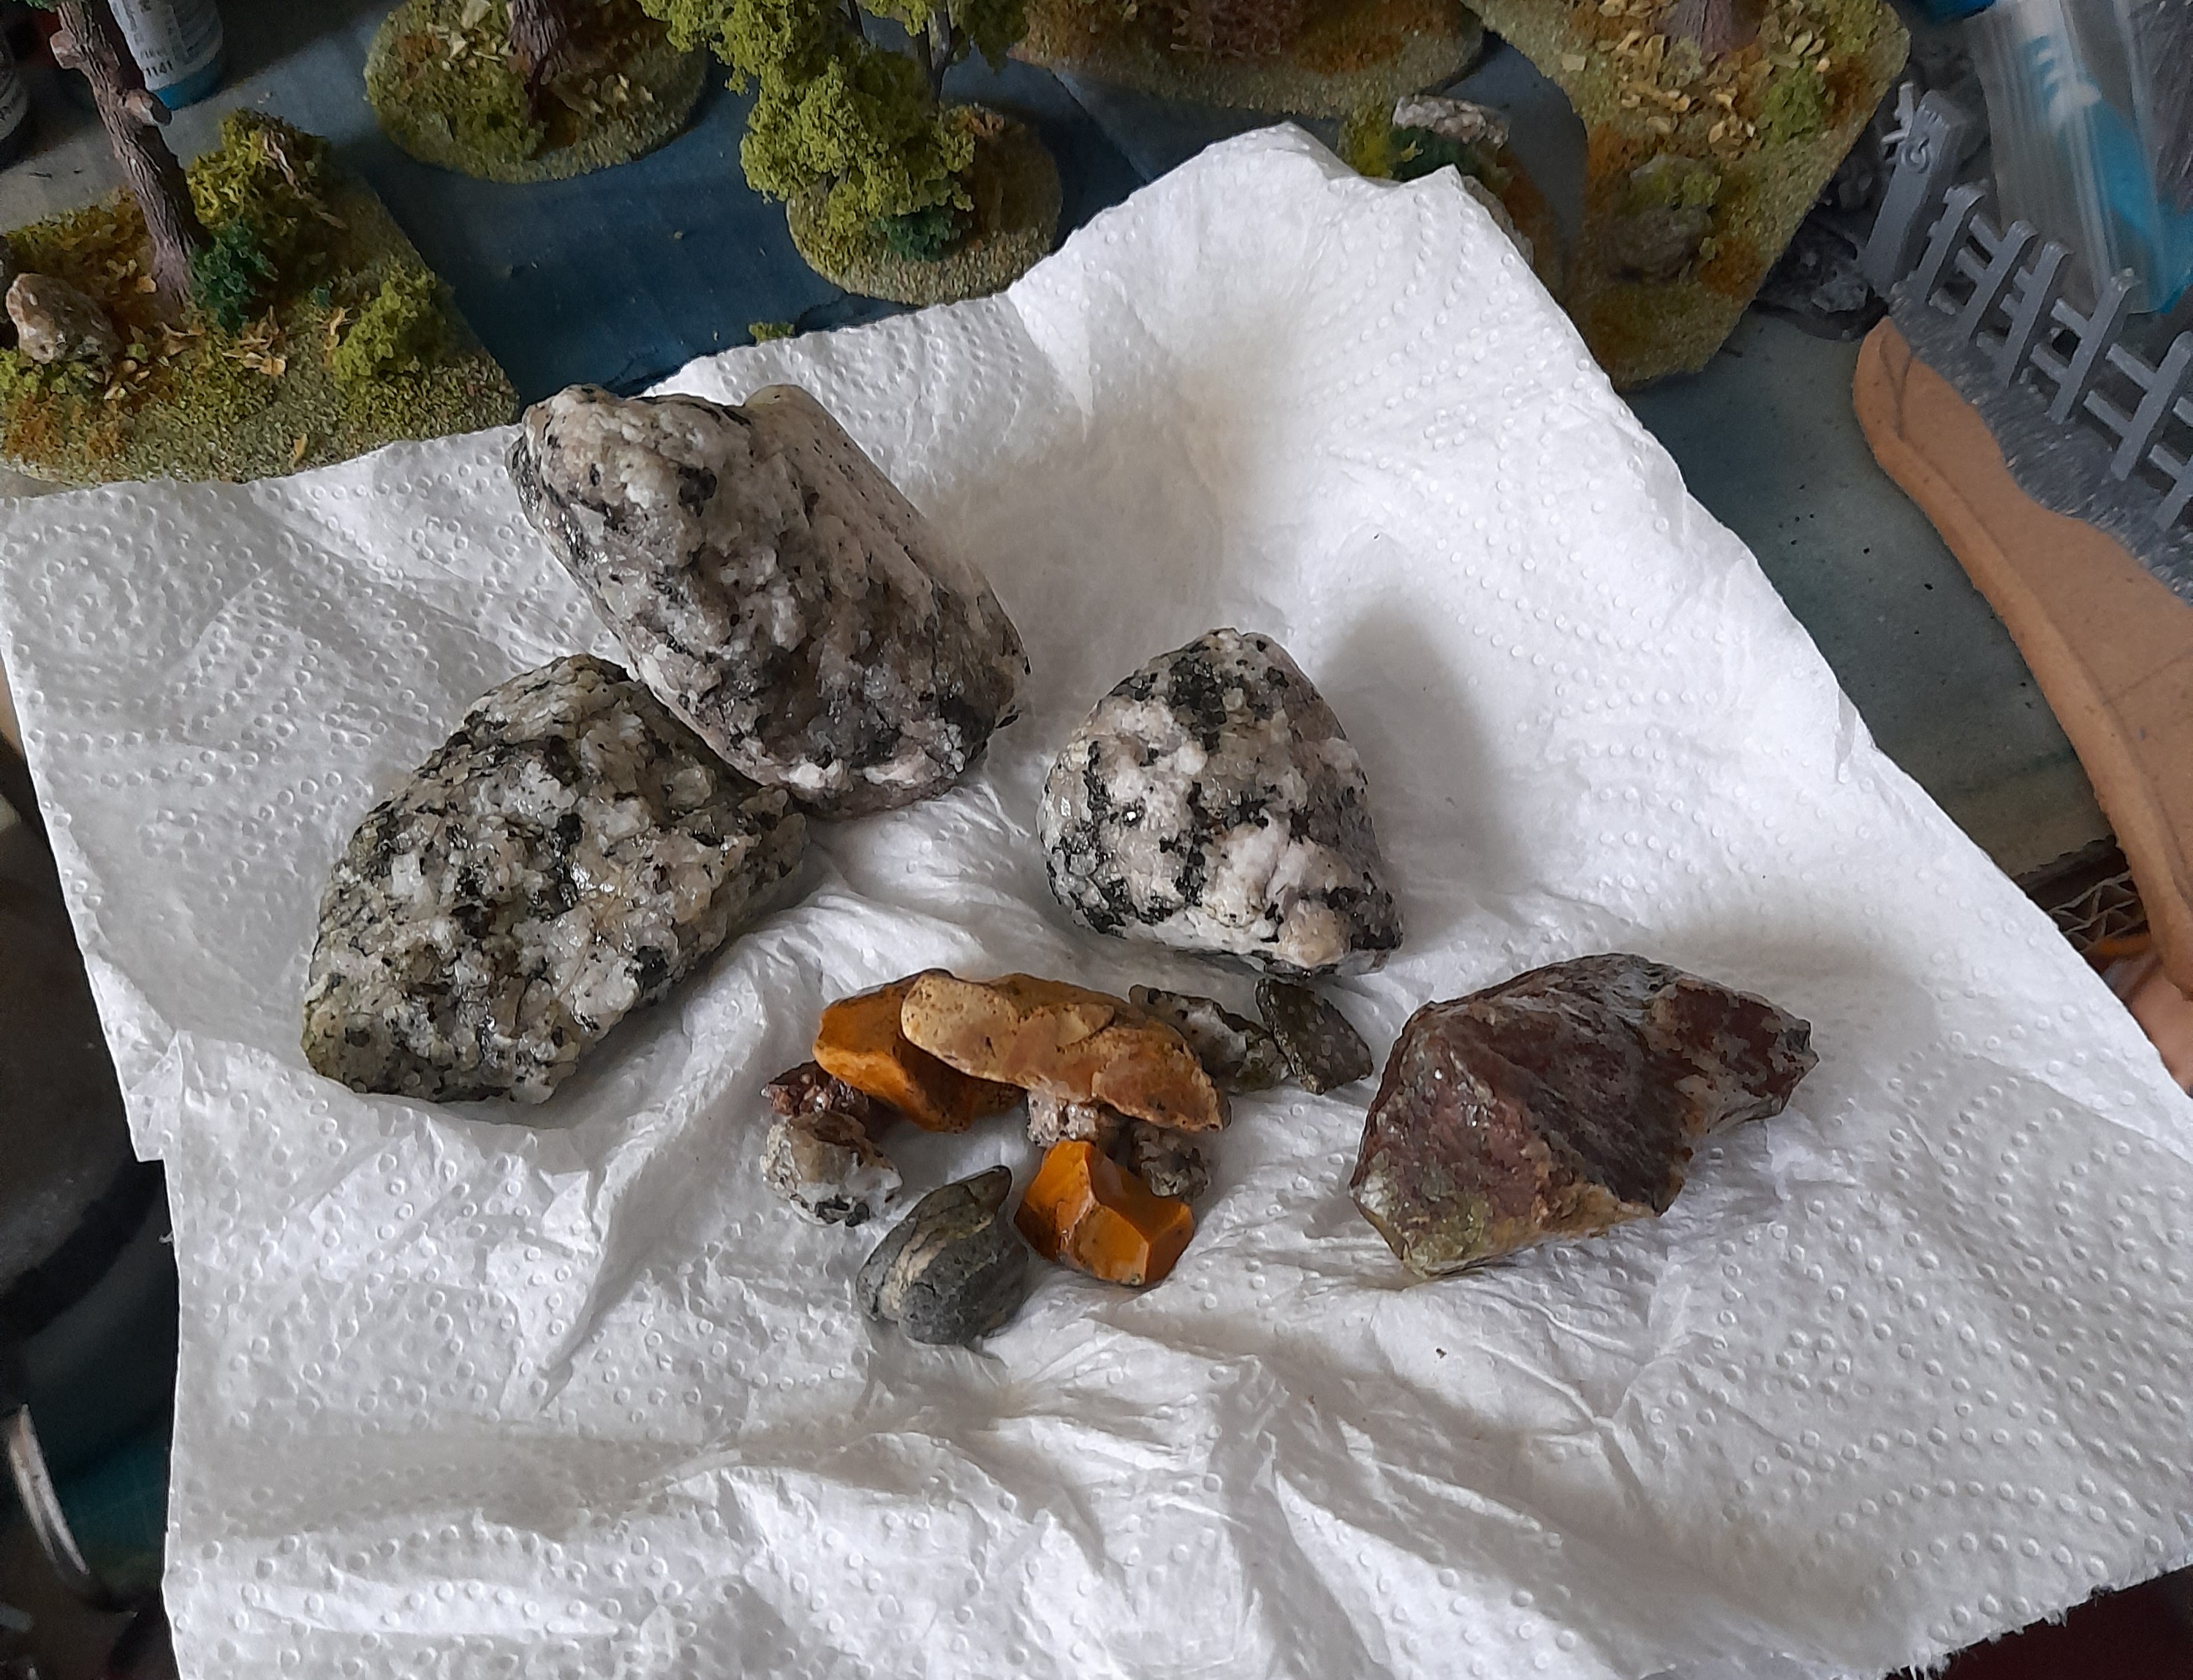
I glued these on, trying to keep the positions in a reasonably realistic way, then based them in the manner I have used for the rest so far.
I may make some more in the future. Have to see how much coverage I get once I finish the other pieces I am working on for this.
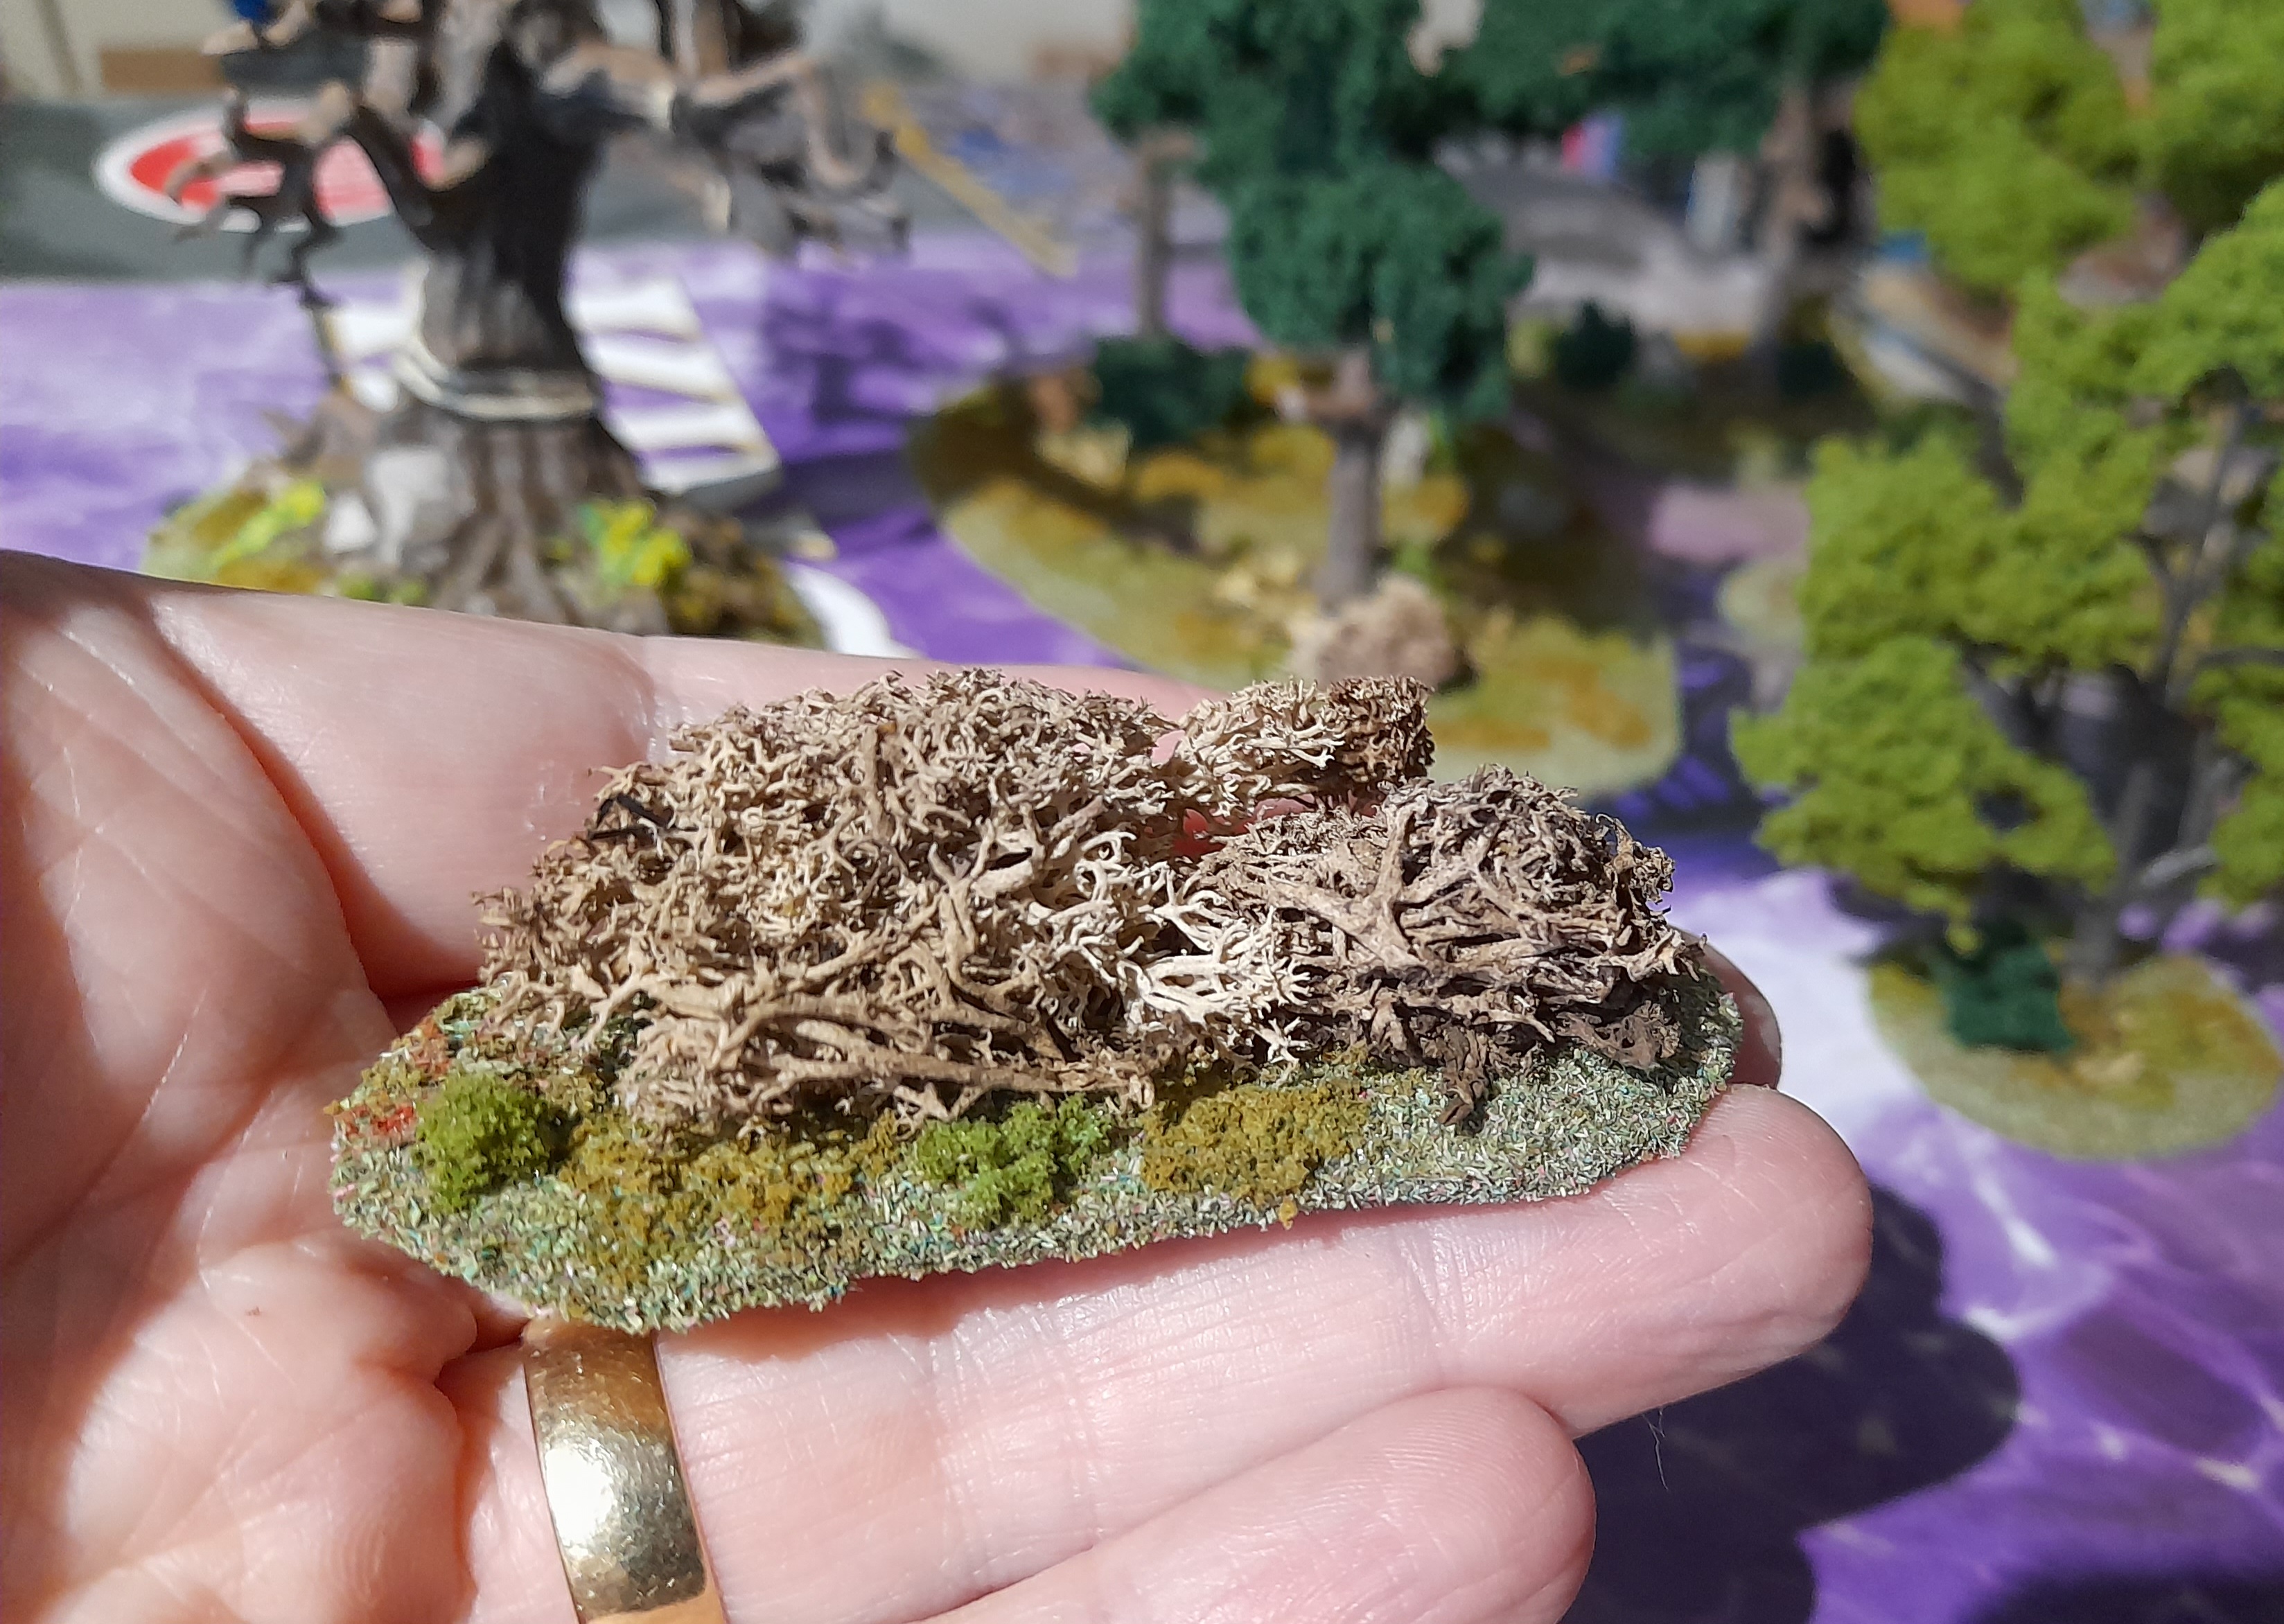
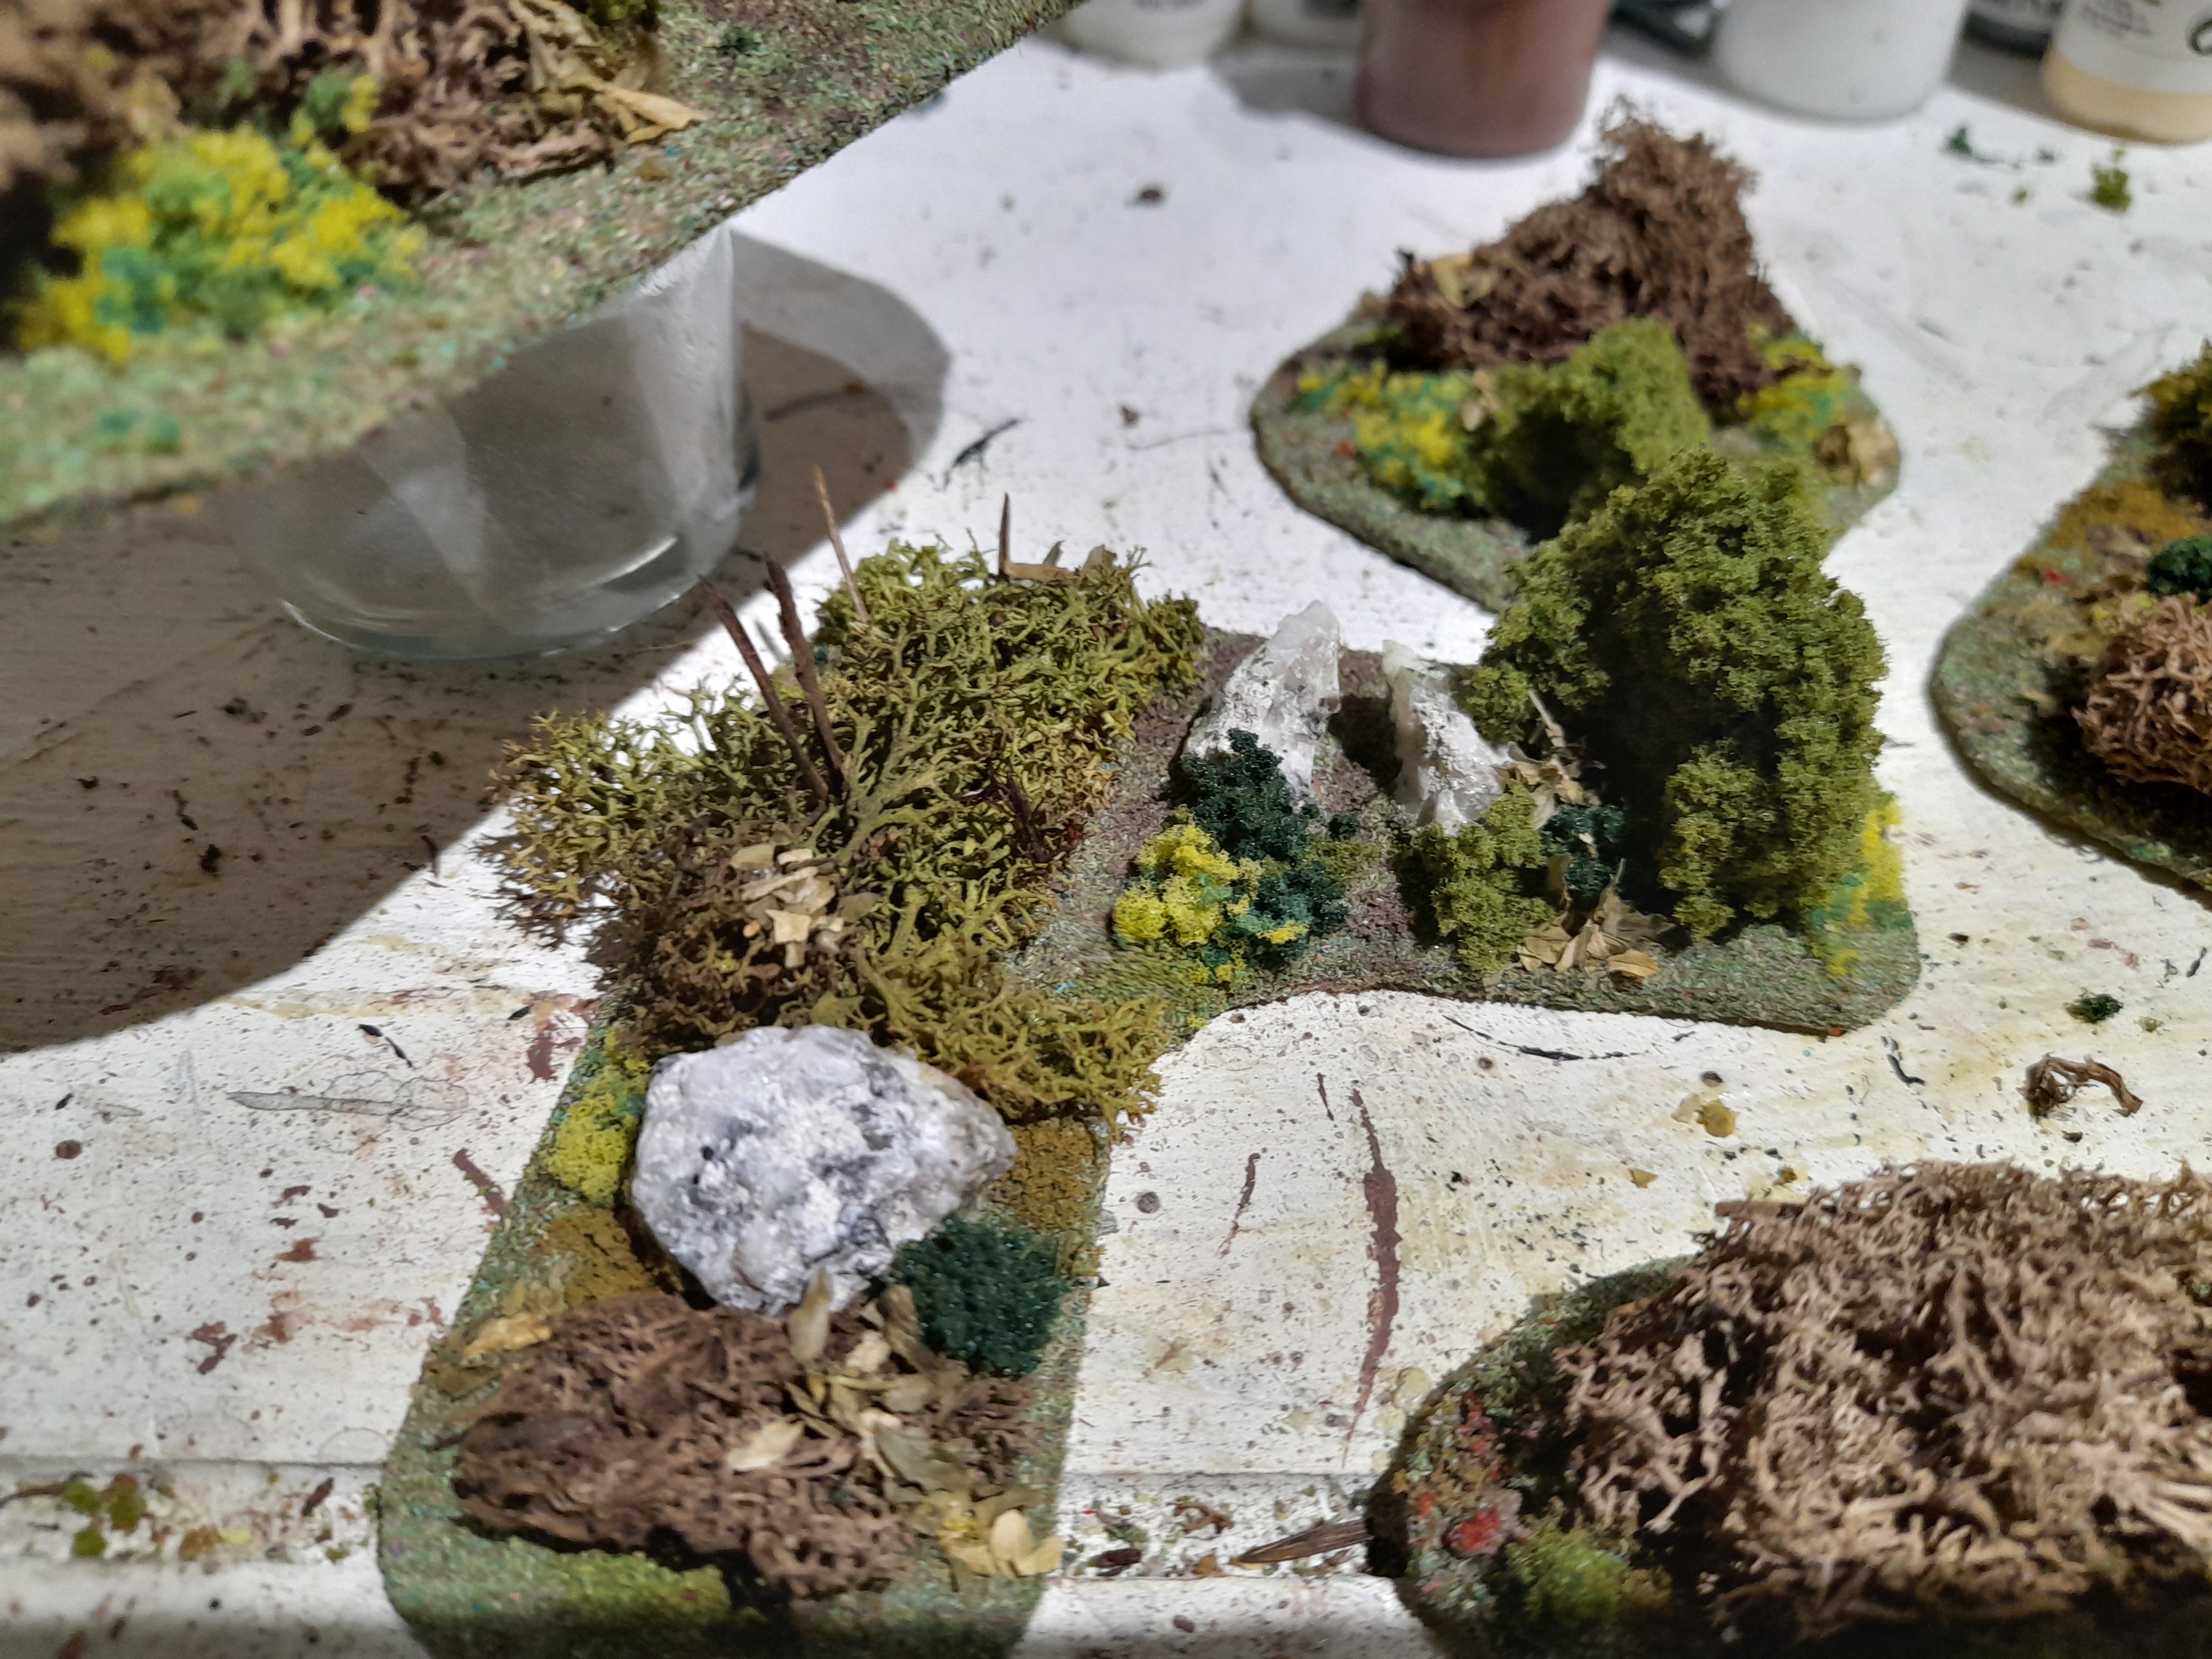
Underbrush
23rd November 2024
Onto the ‘Underbrush.’
This was put together in very much the same way as the rocks. The main exception being that I used lichen product as the underbrush 😊
So, it was:
Create a test piece.
Cut out bases
Glue on any rocks (for one I did try to add some height by adding a second layer of mdf in places)
Paint it brown
Add flock.
Add different flock
Add lichen and clump foliage
Add brown flock
Add parsley
 Test piece
  Bases cut out
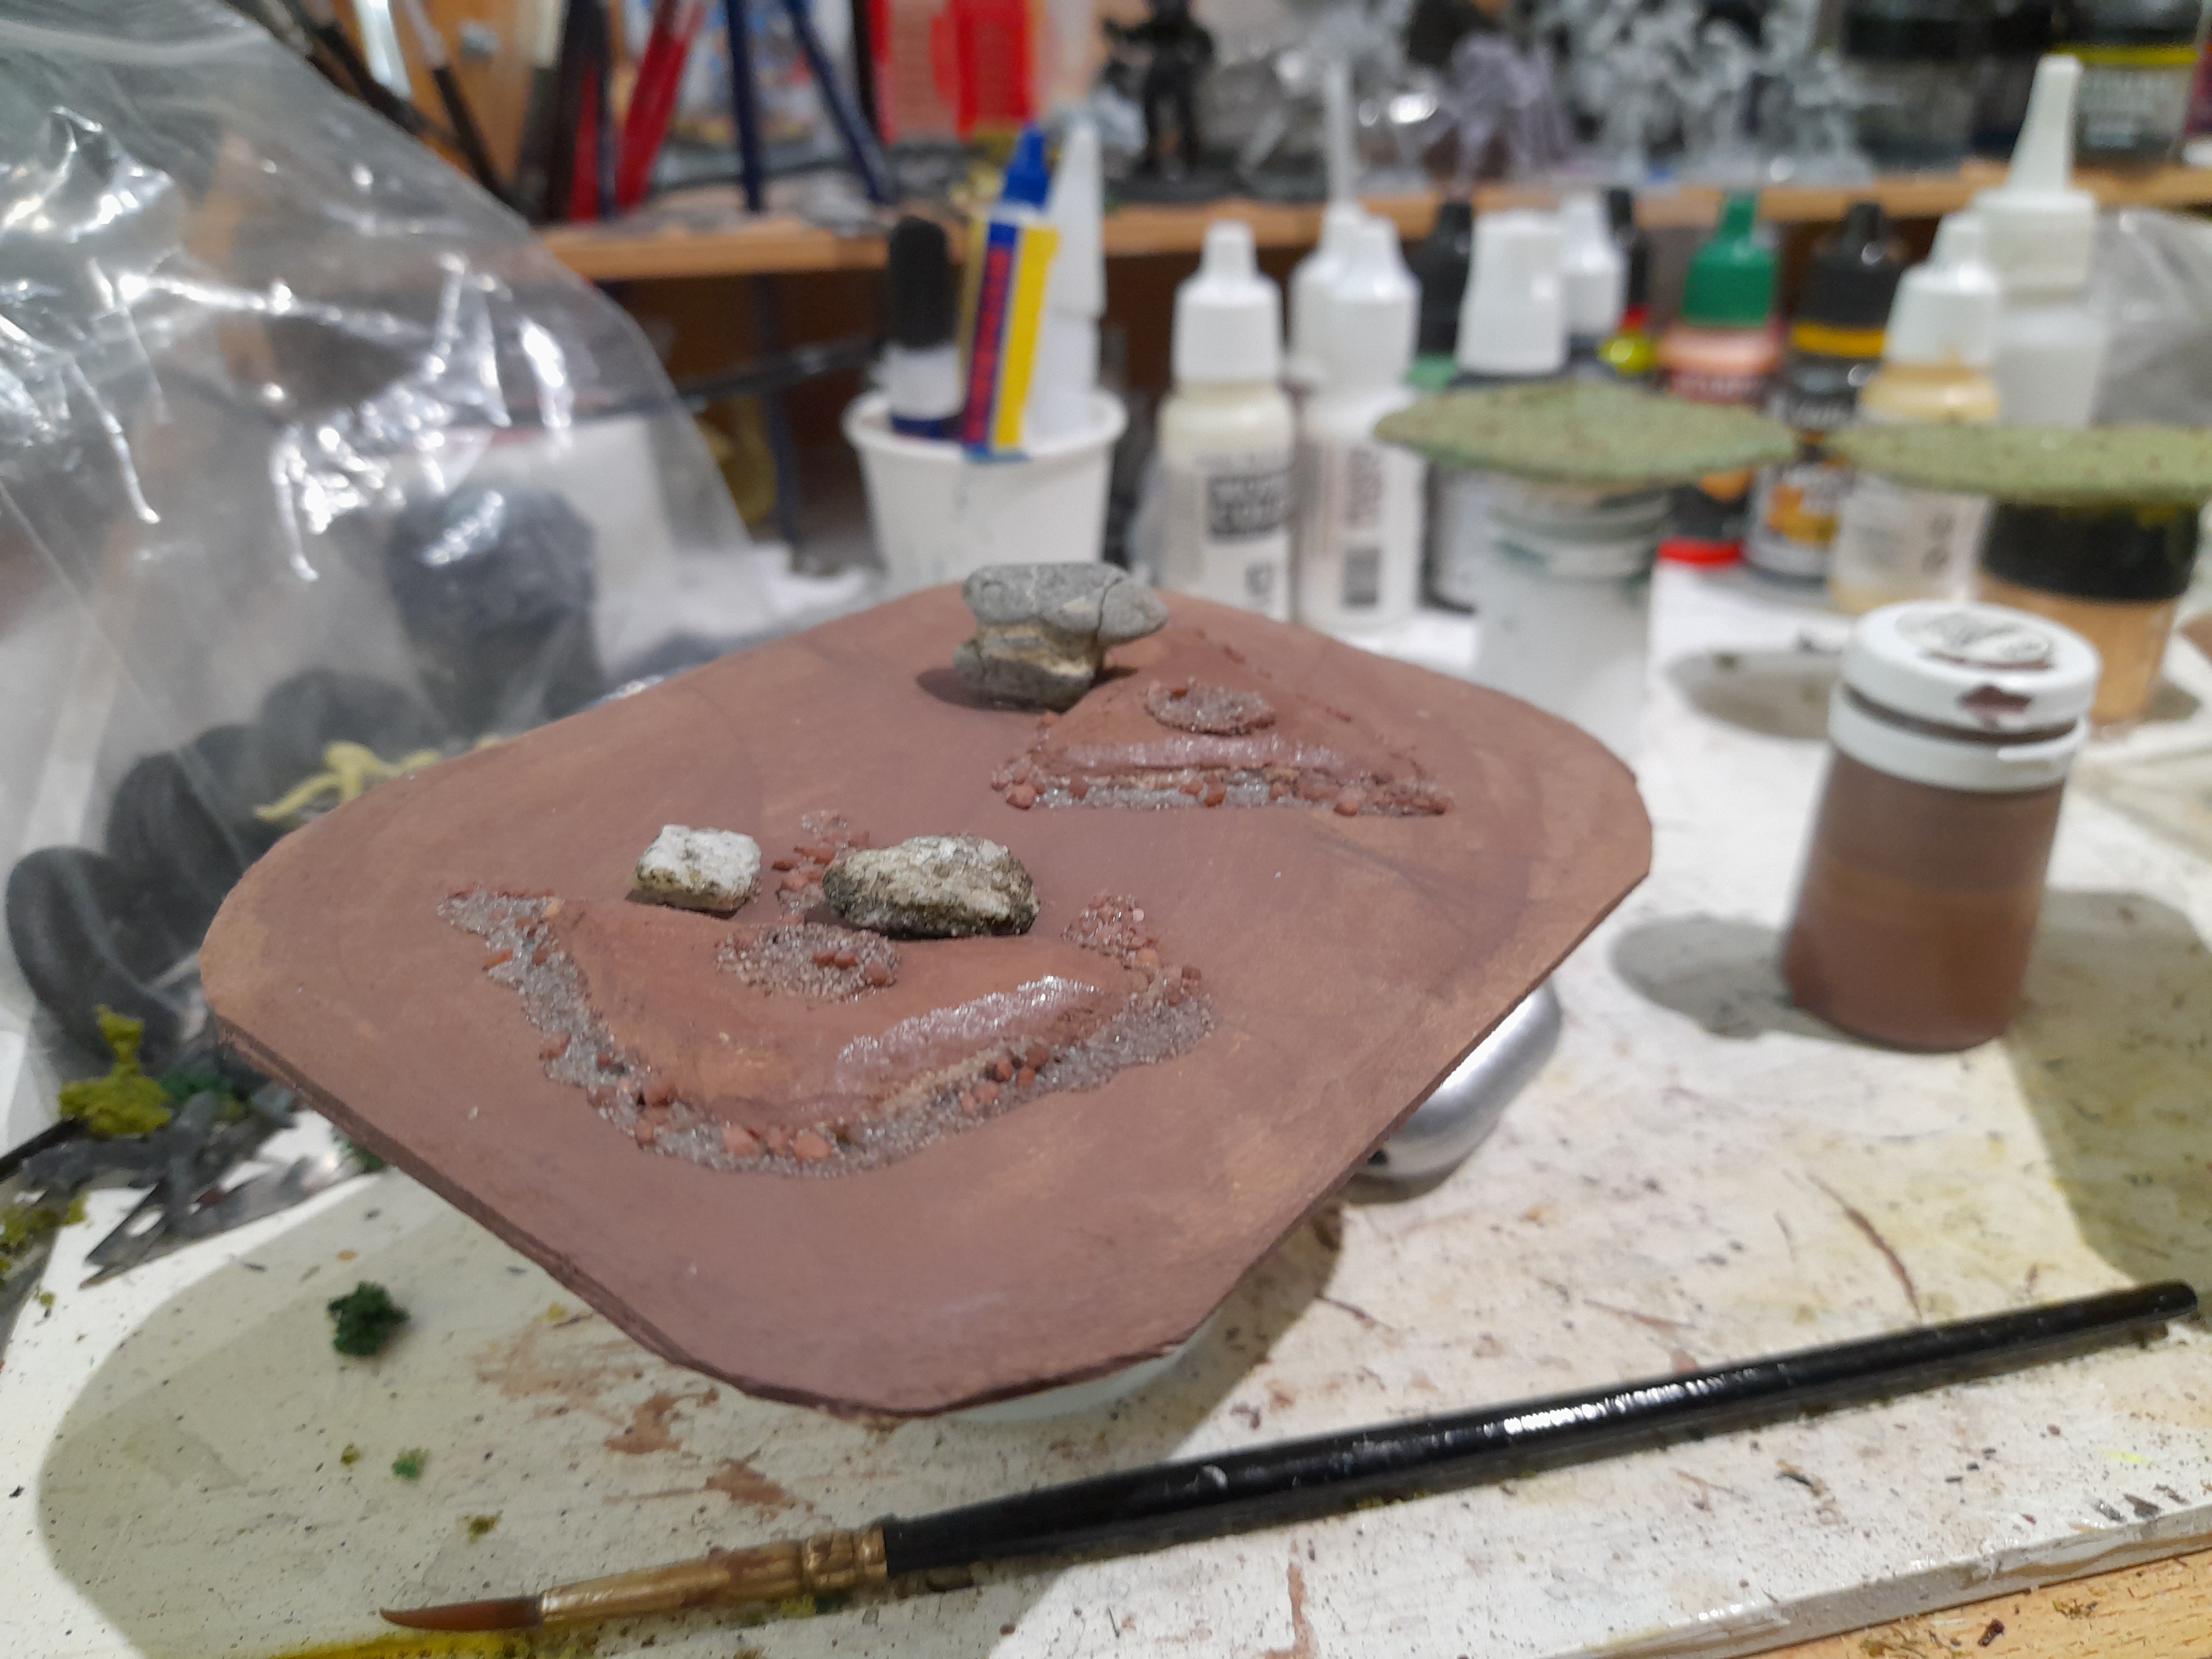 Adding a touch of elevation
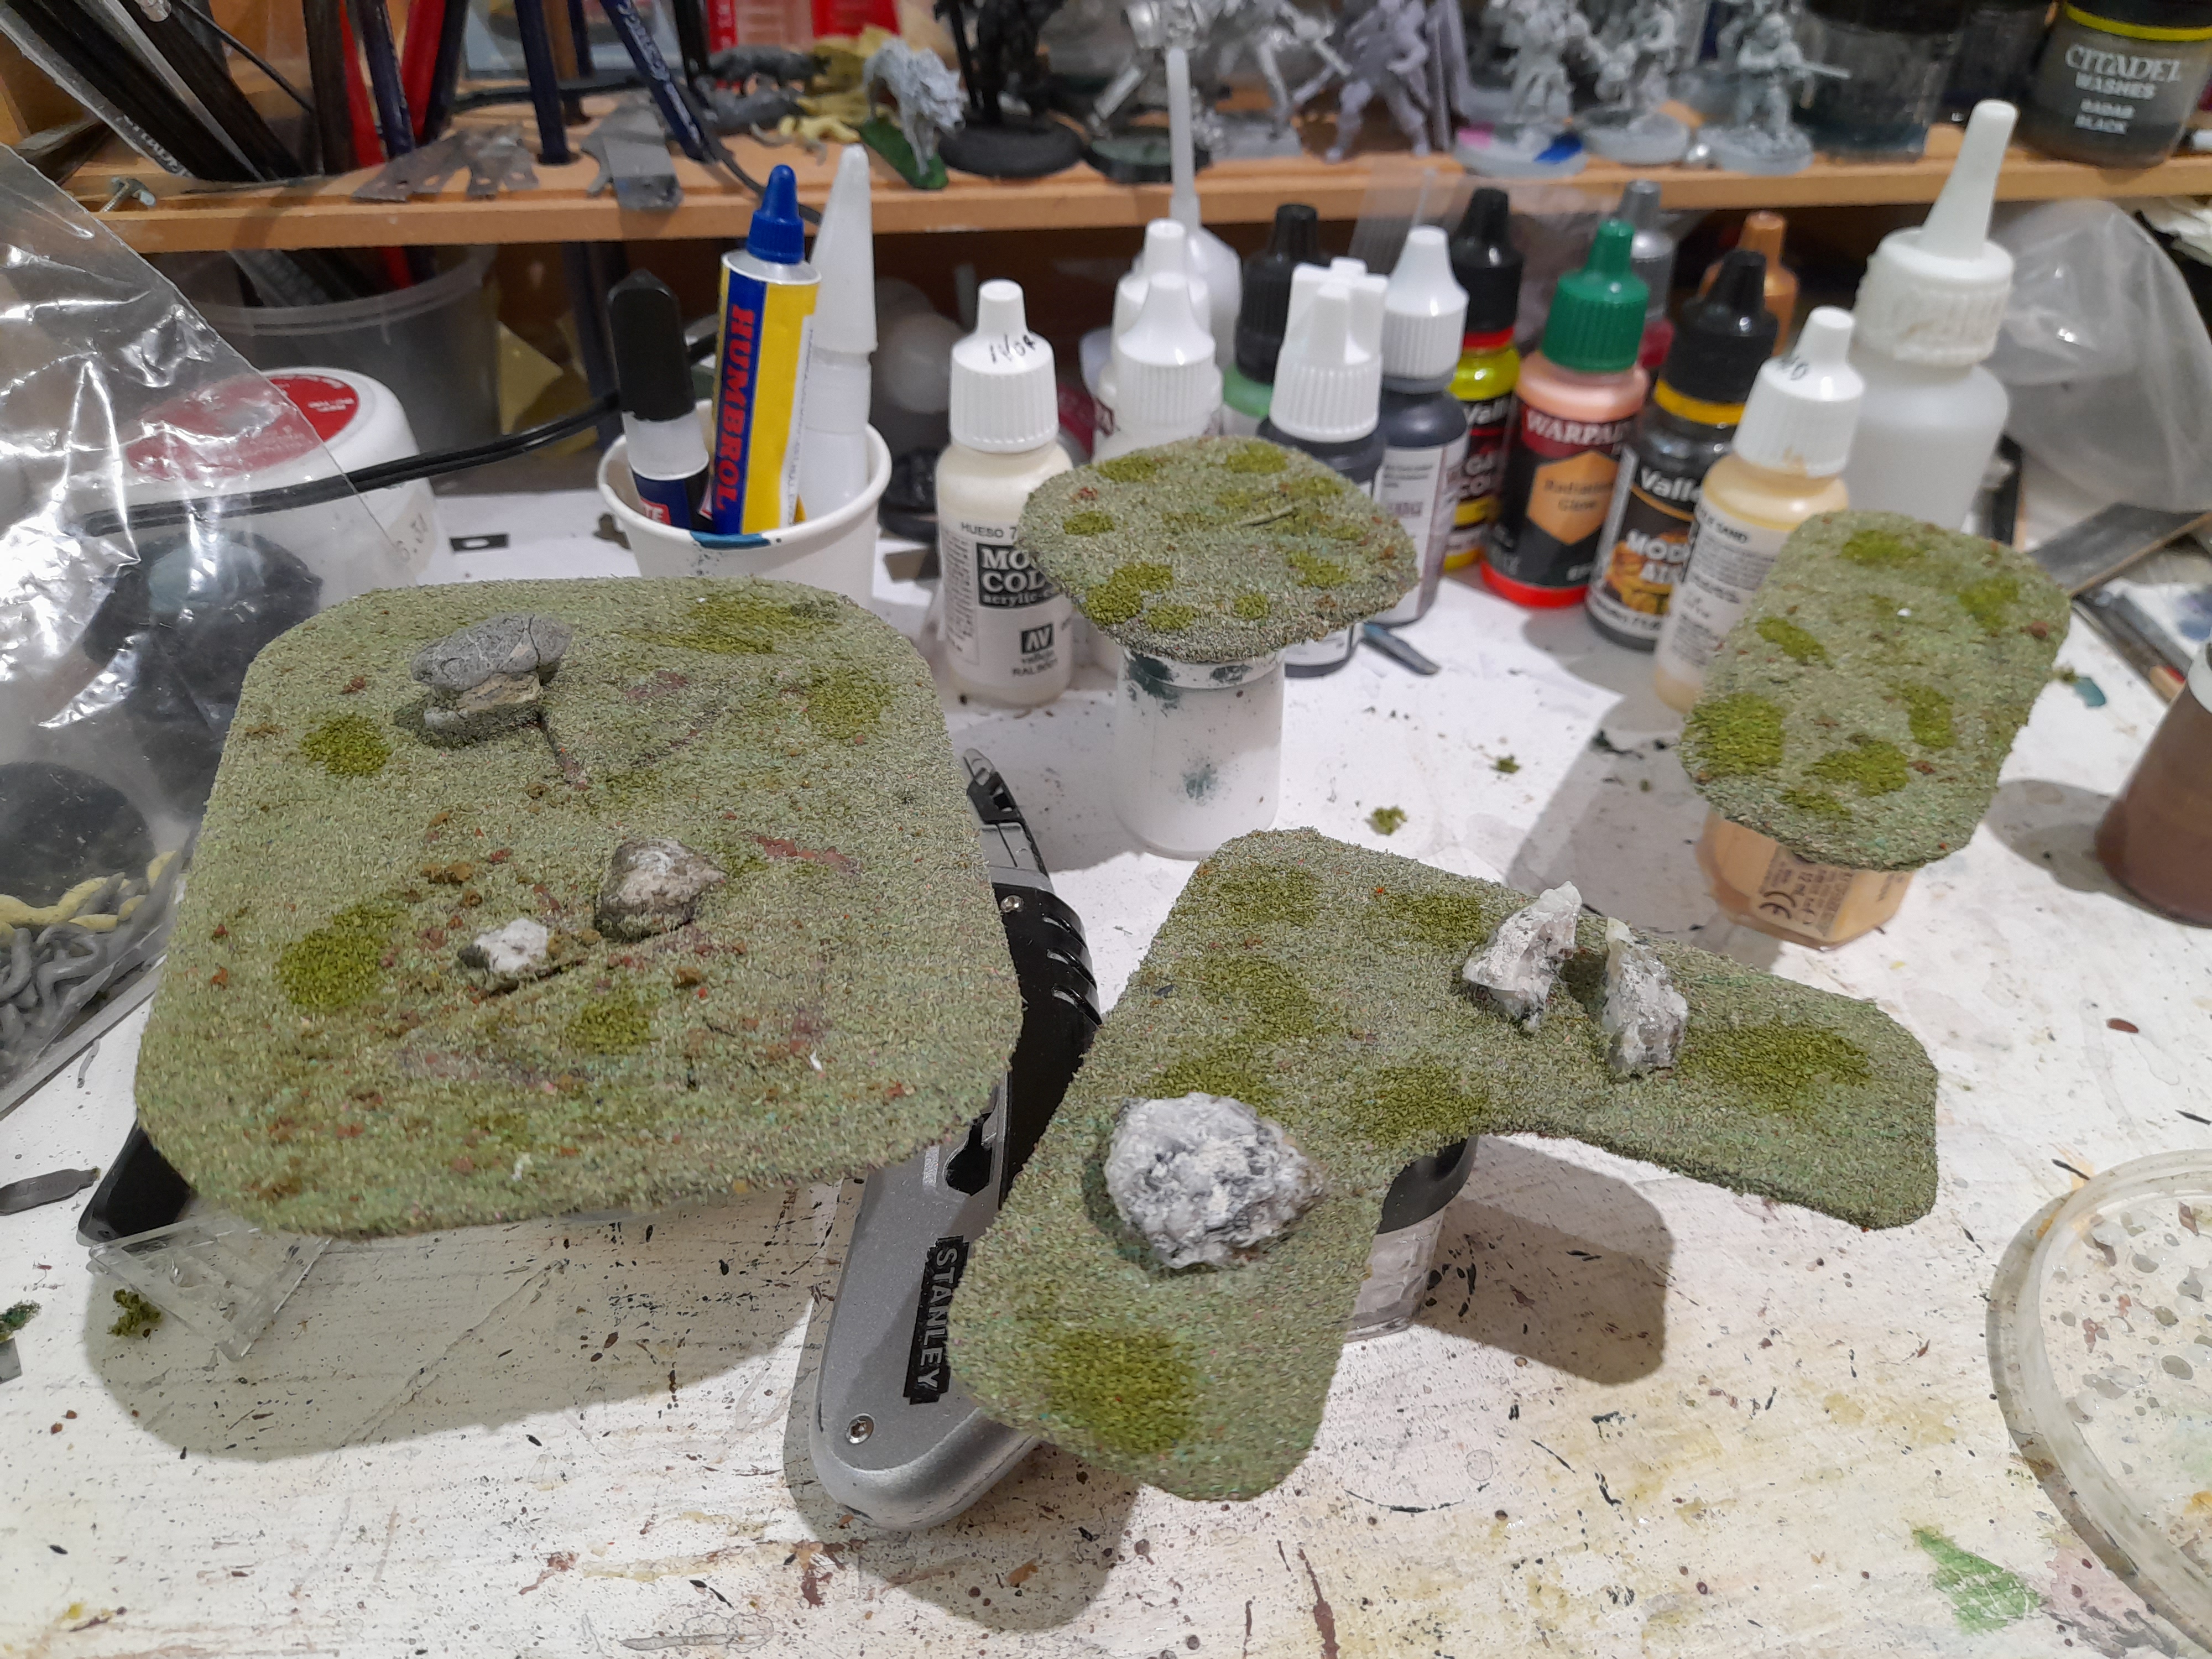 Flock stages
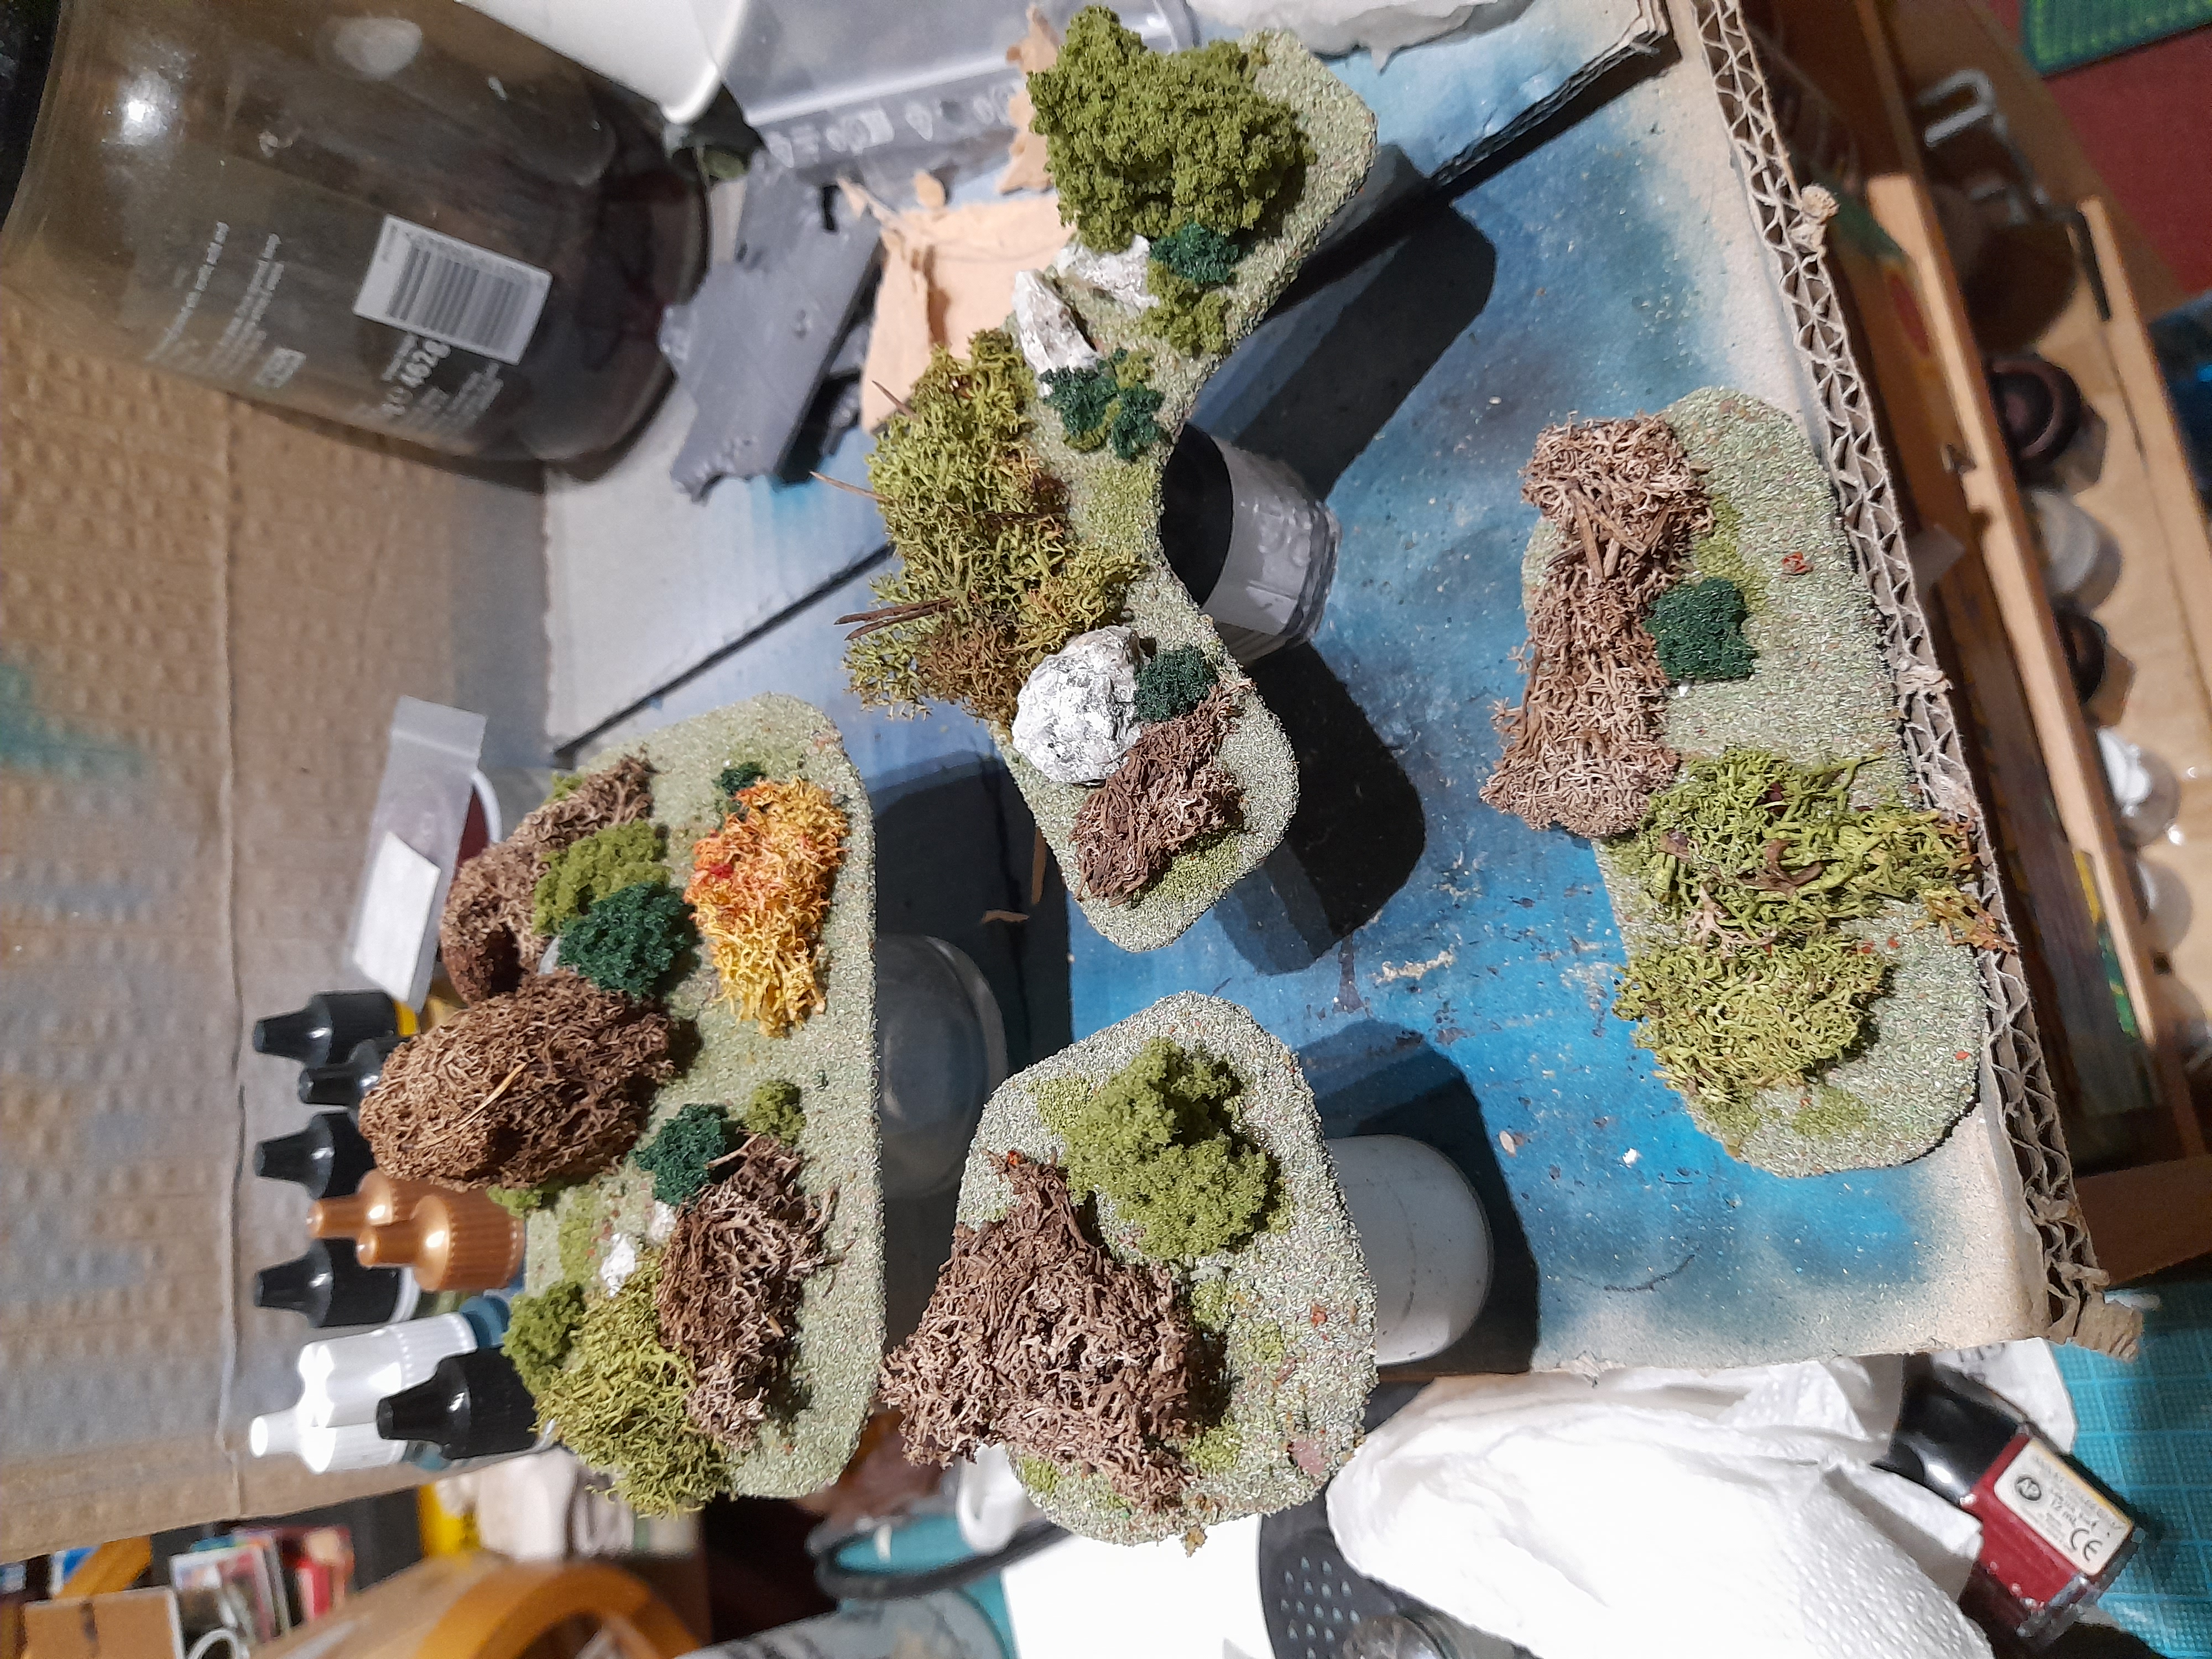 Lichen and foliage
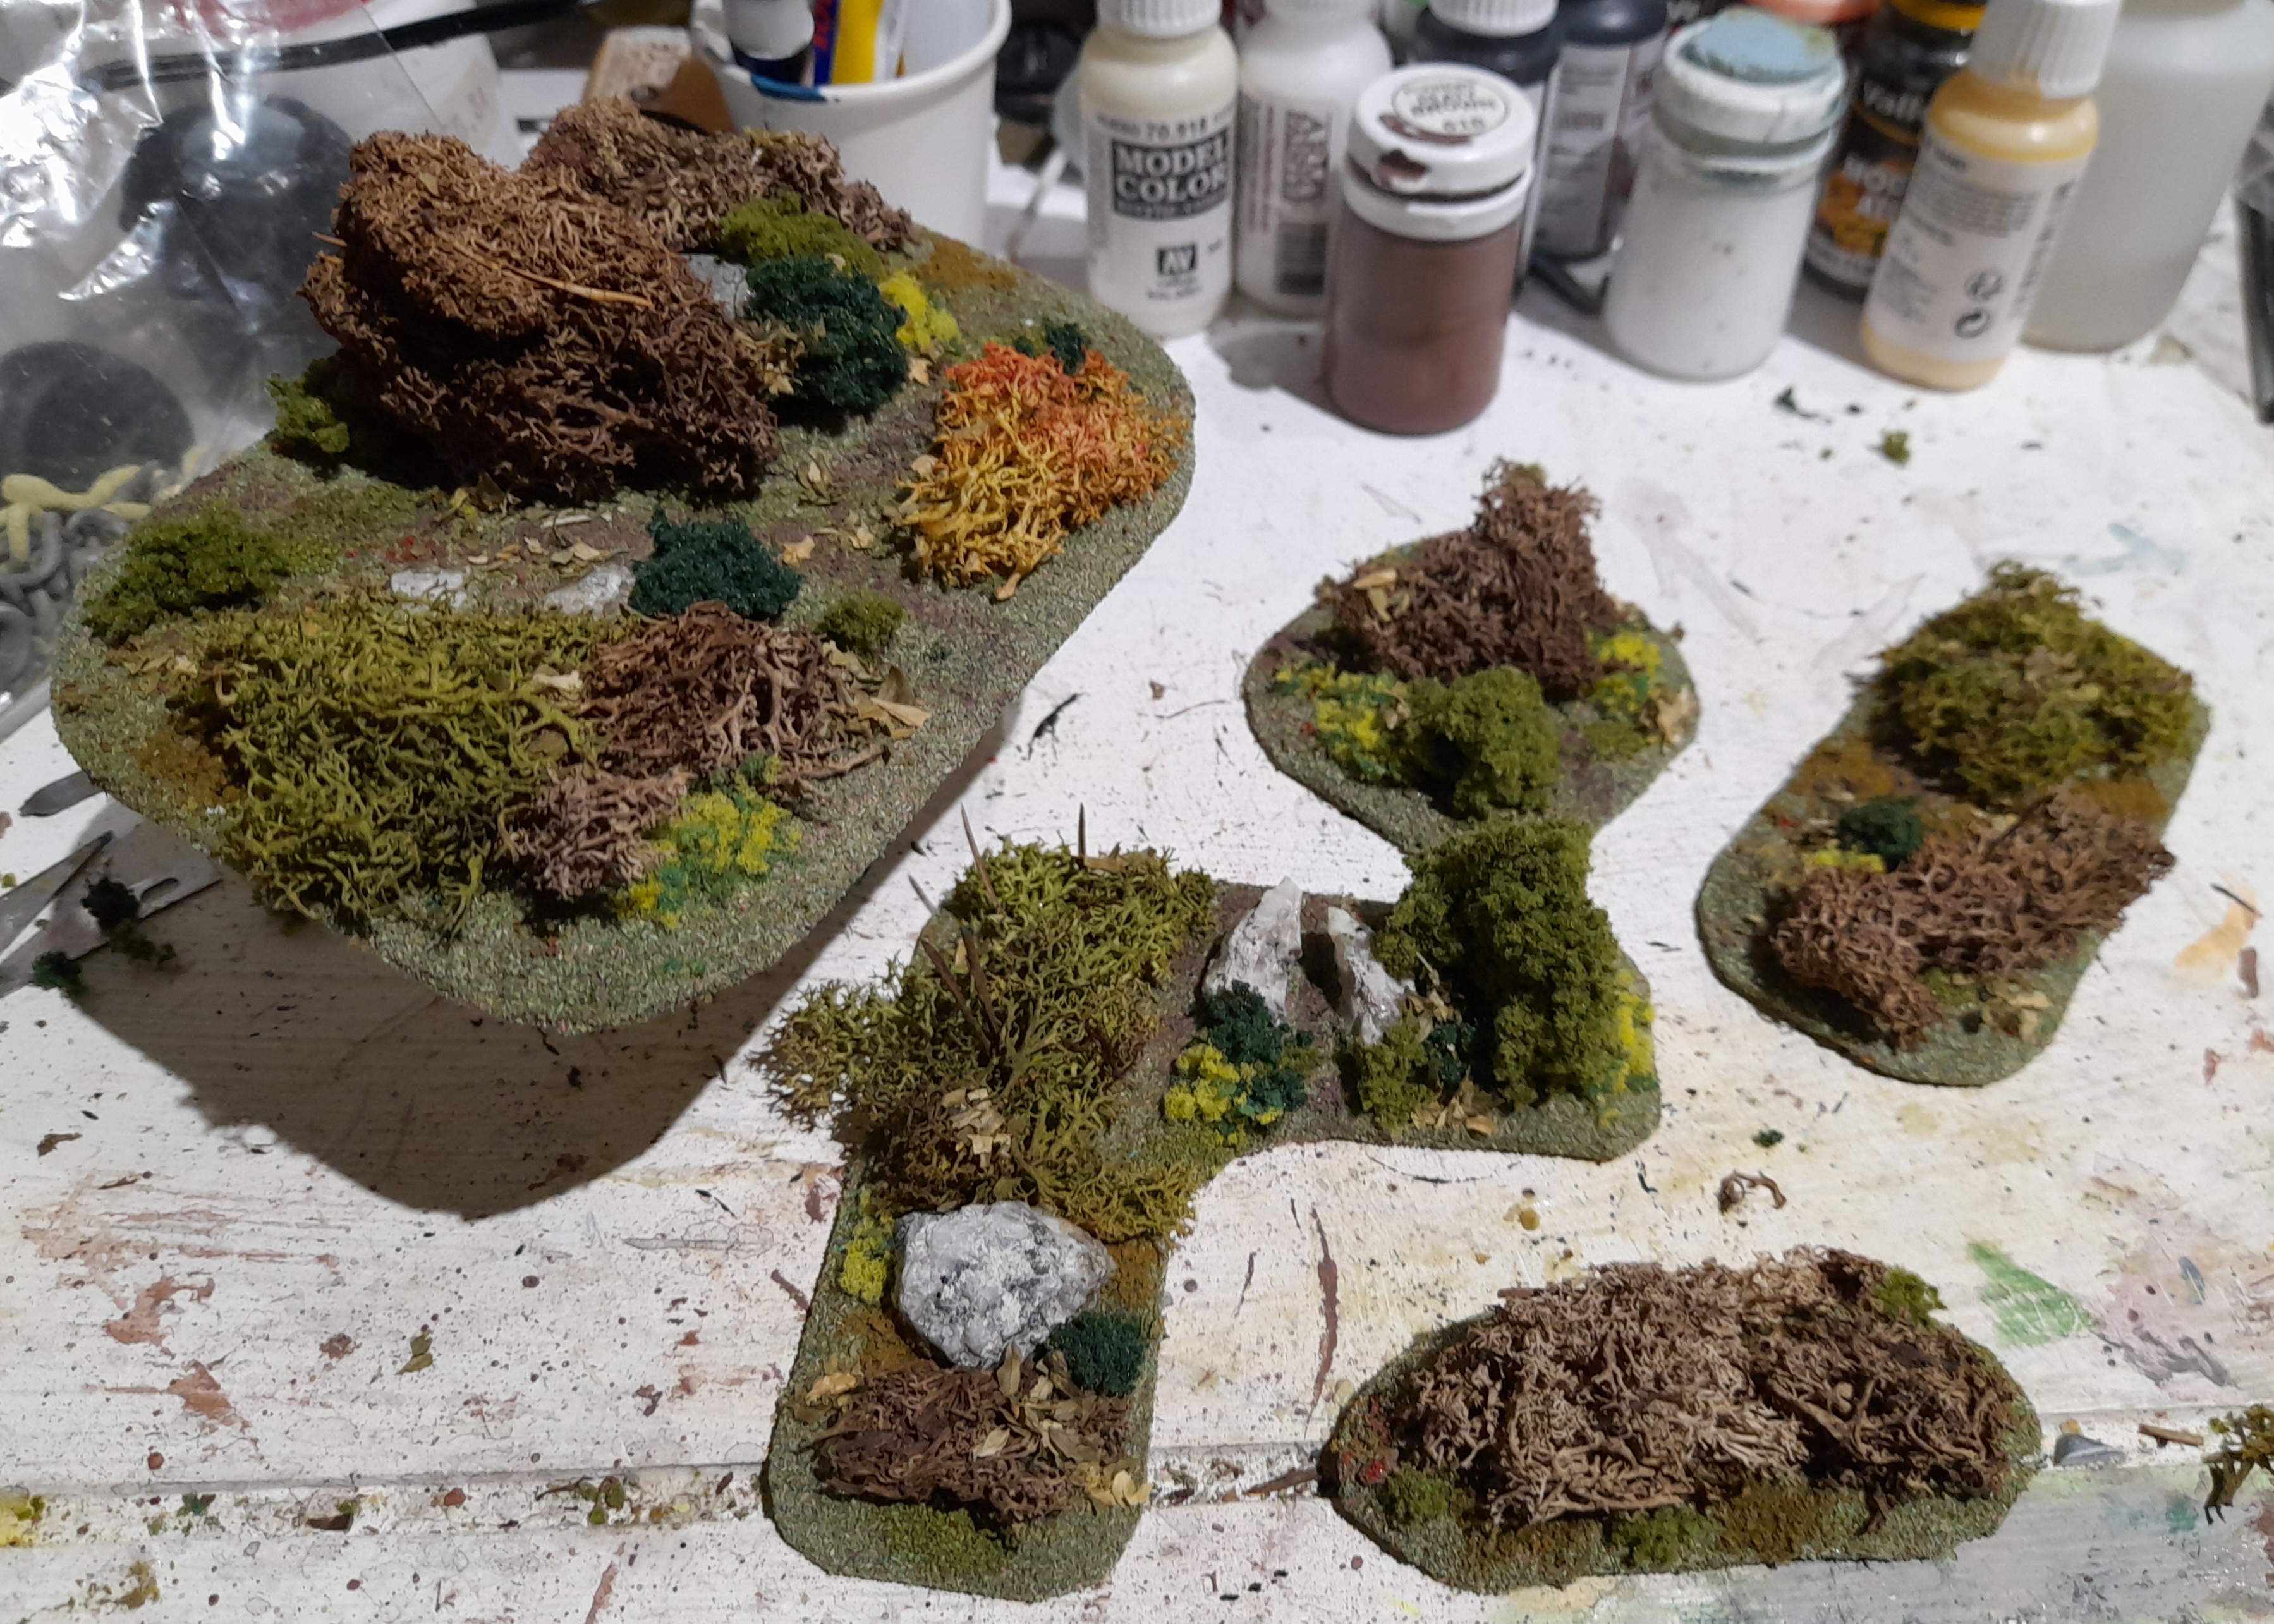 Finished
I also painted on some brown areas to represent places where the grass had been worn by animal tracks and such.
Some bits may have gone a little over the top, but relatively pleased overall.
 Animal tracks
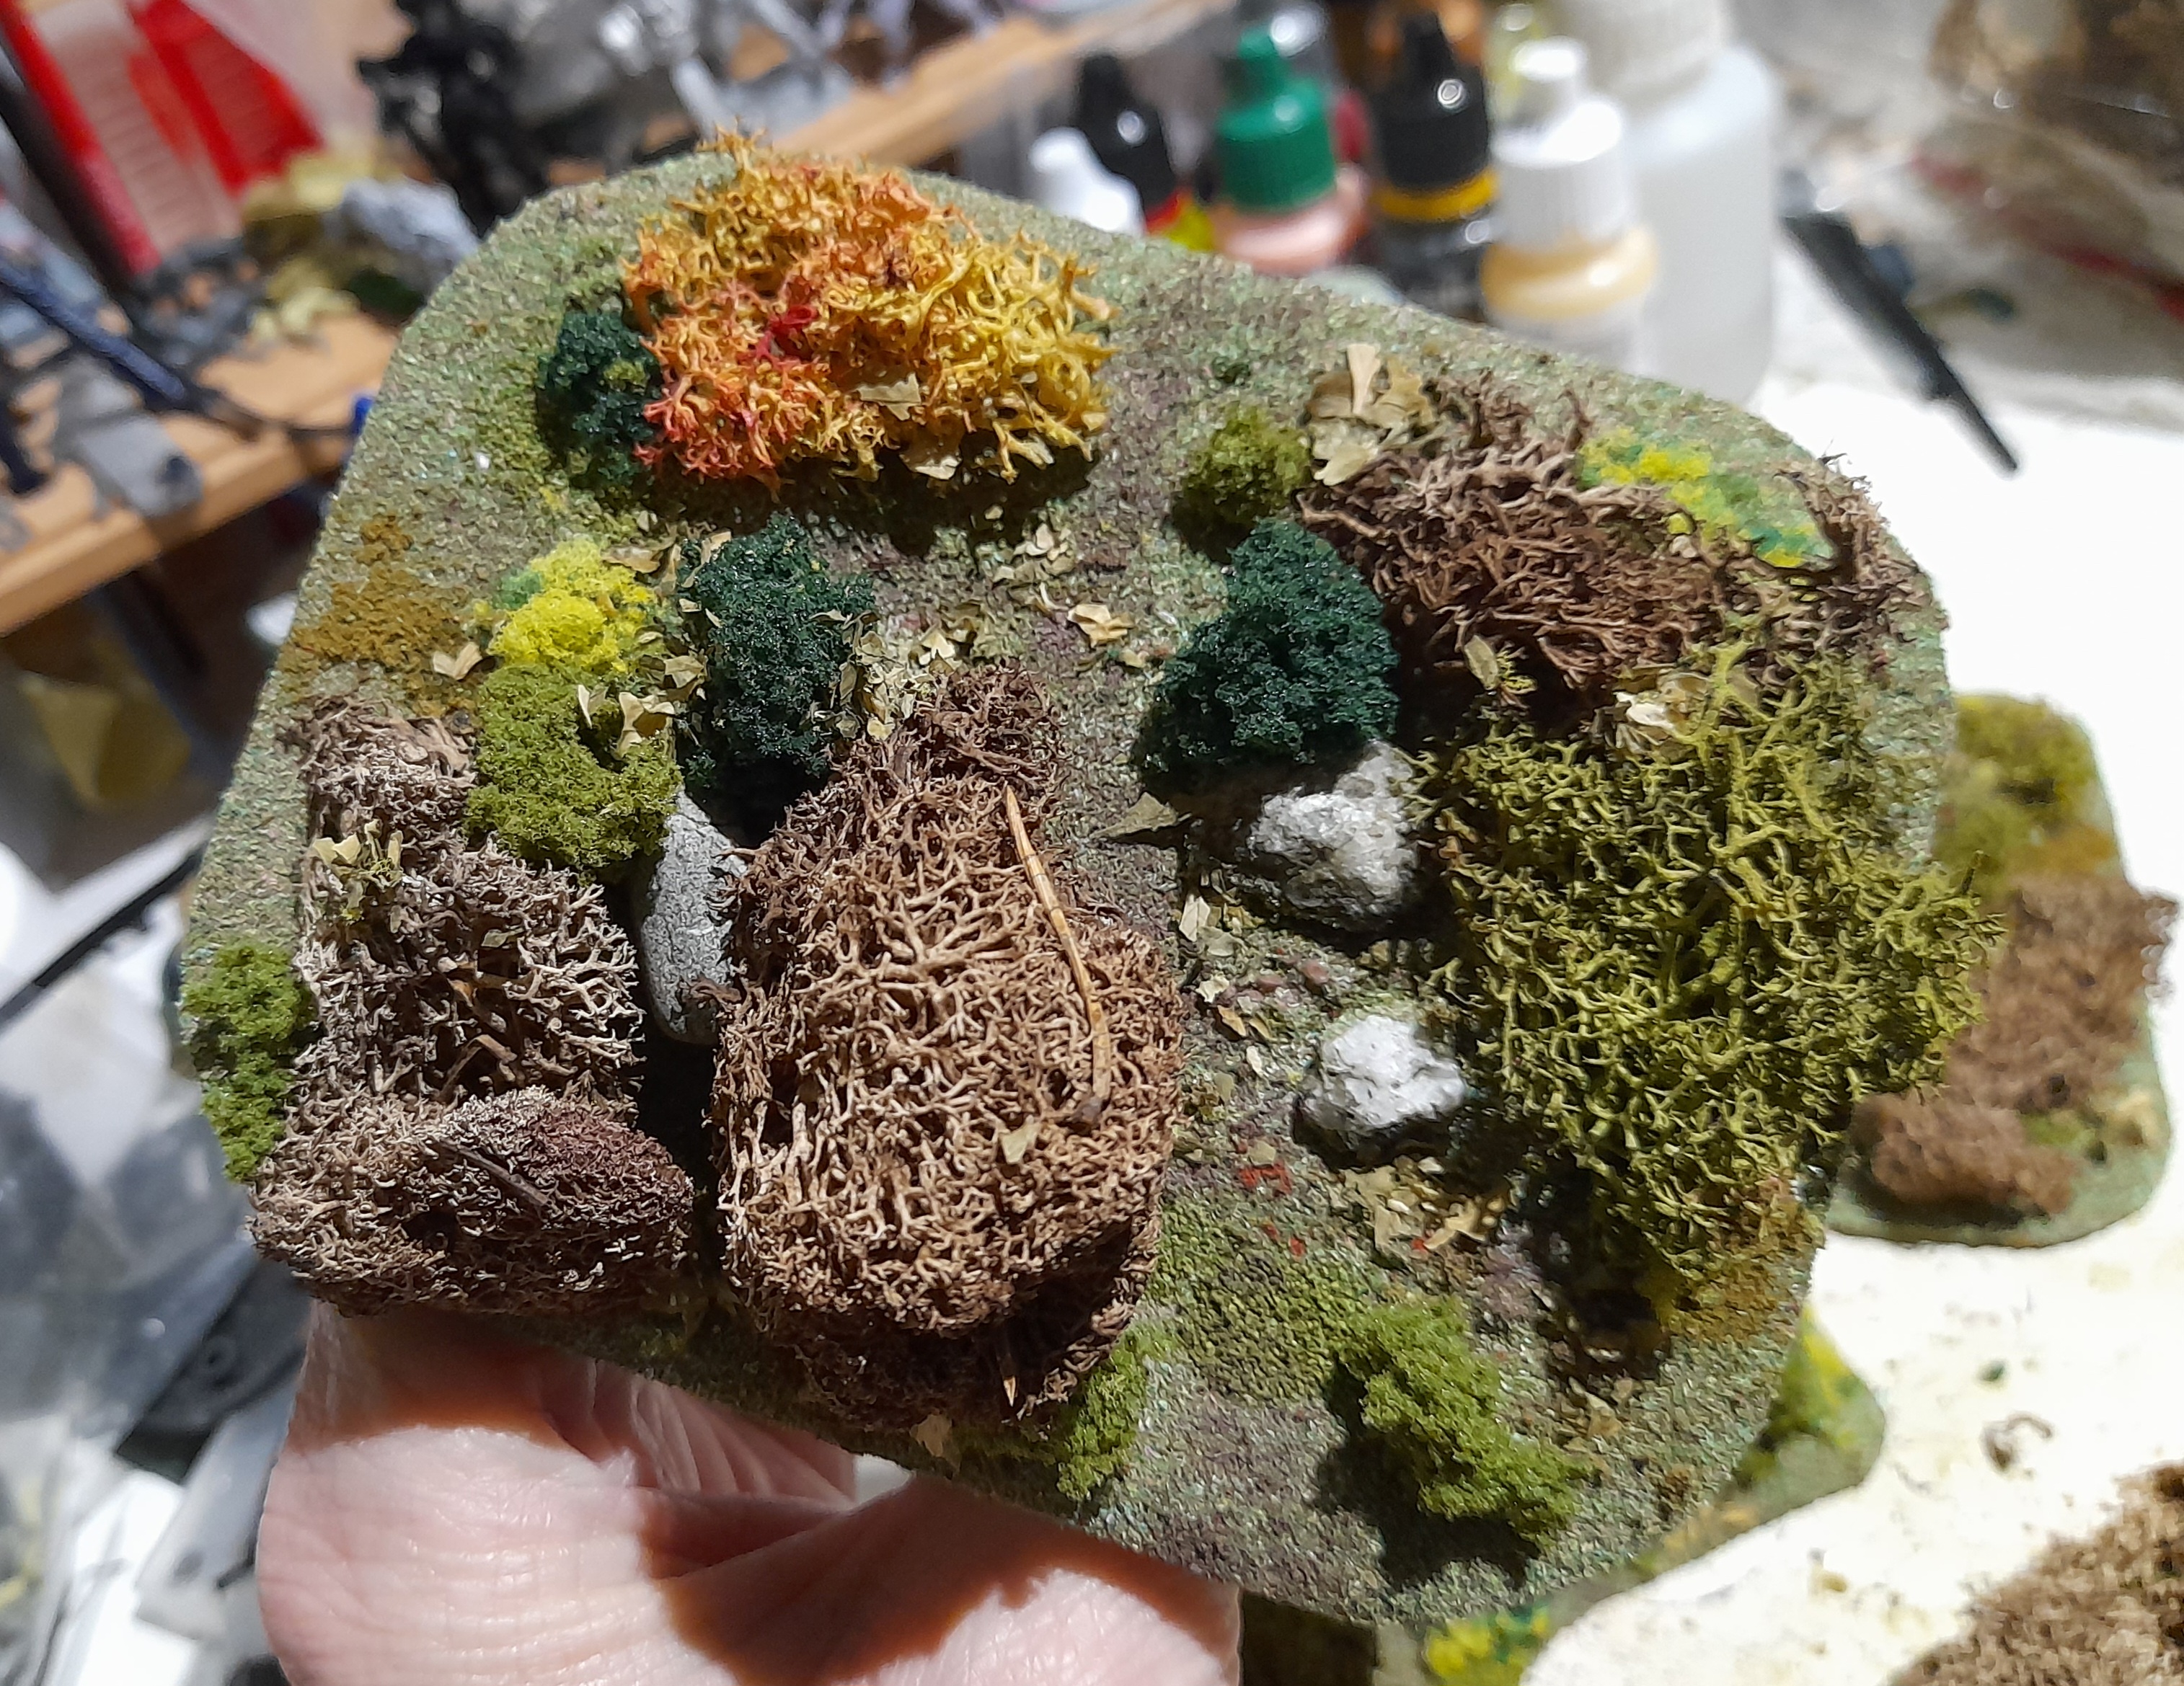 ....the kitchen sink thrown at it


