


![NO Weekender Or Cult Of Games XLBS This Weekend [Updated]](https://images.beastsofwar.com/2026/03/No_Weekender_and_XLBS_this_Weekend-225-127.jpg)


The Log of the E.C.V. Achilles


Recommendations: 22
About the Project
This will be a log of my Star Schlock games played throughout the year. Hopefully there will be many.
Related Game: Star Schlock
Related Company: Wunkay
Related Genre: Science Fiction
This Project is Completed
Space Apes vs. Sleazoids
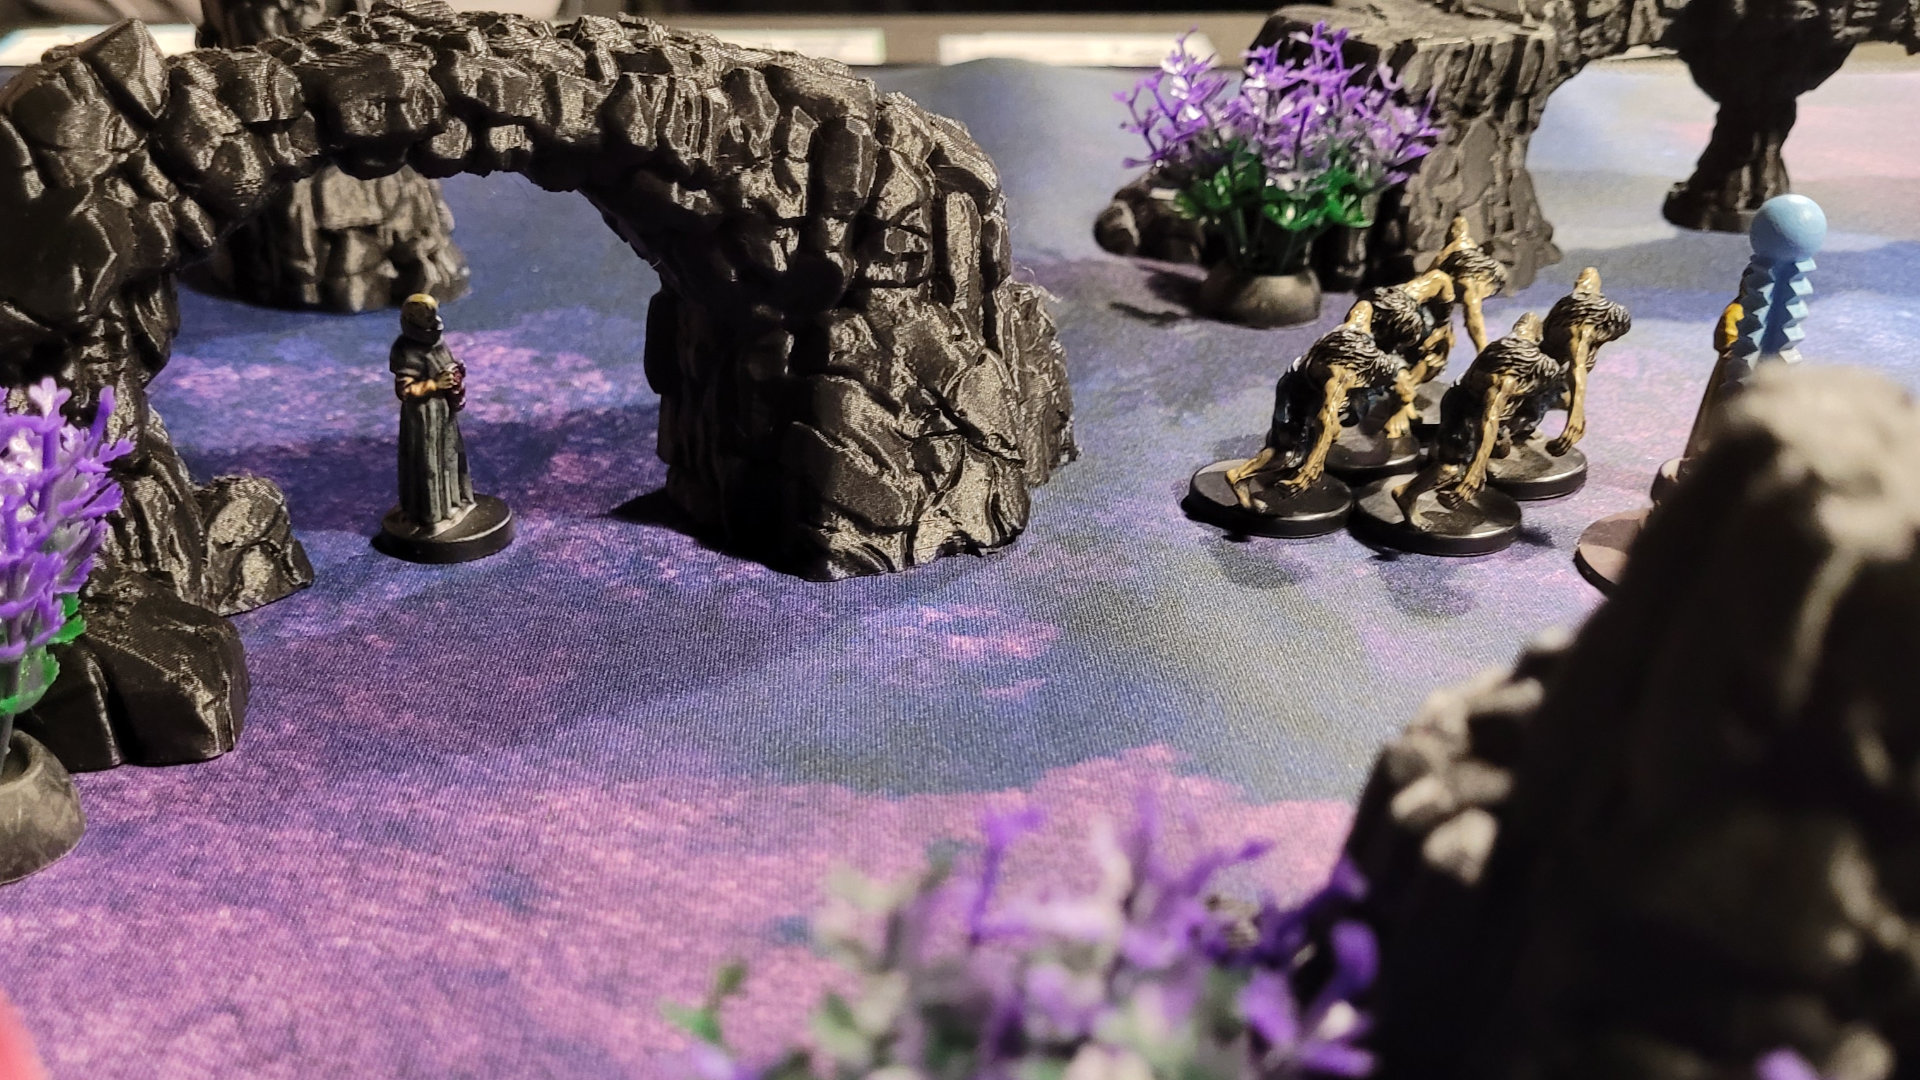
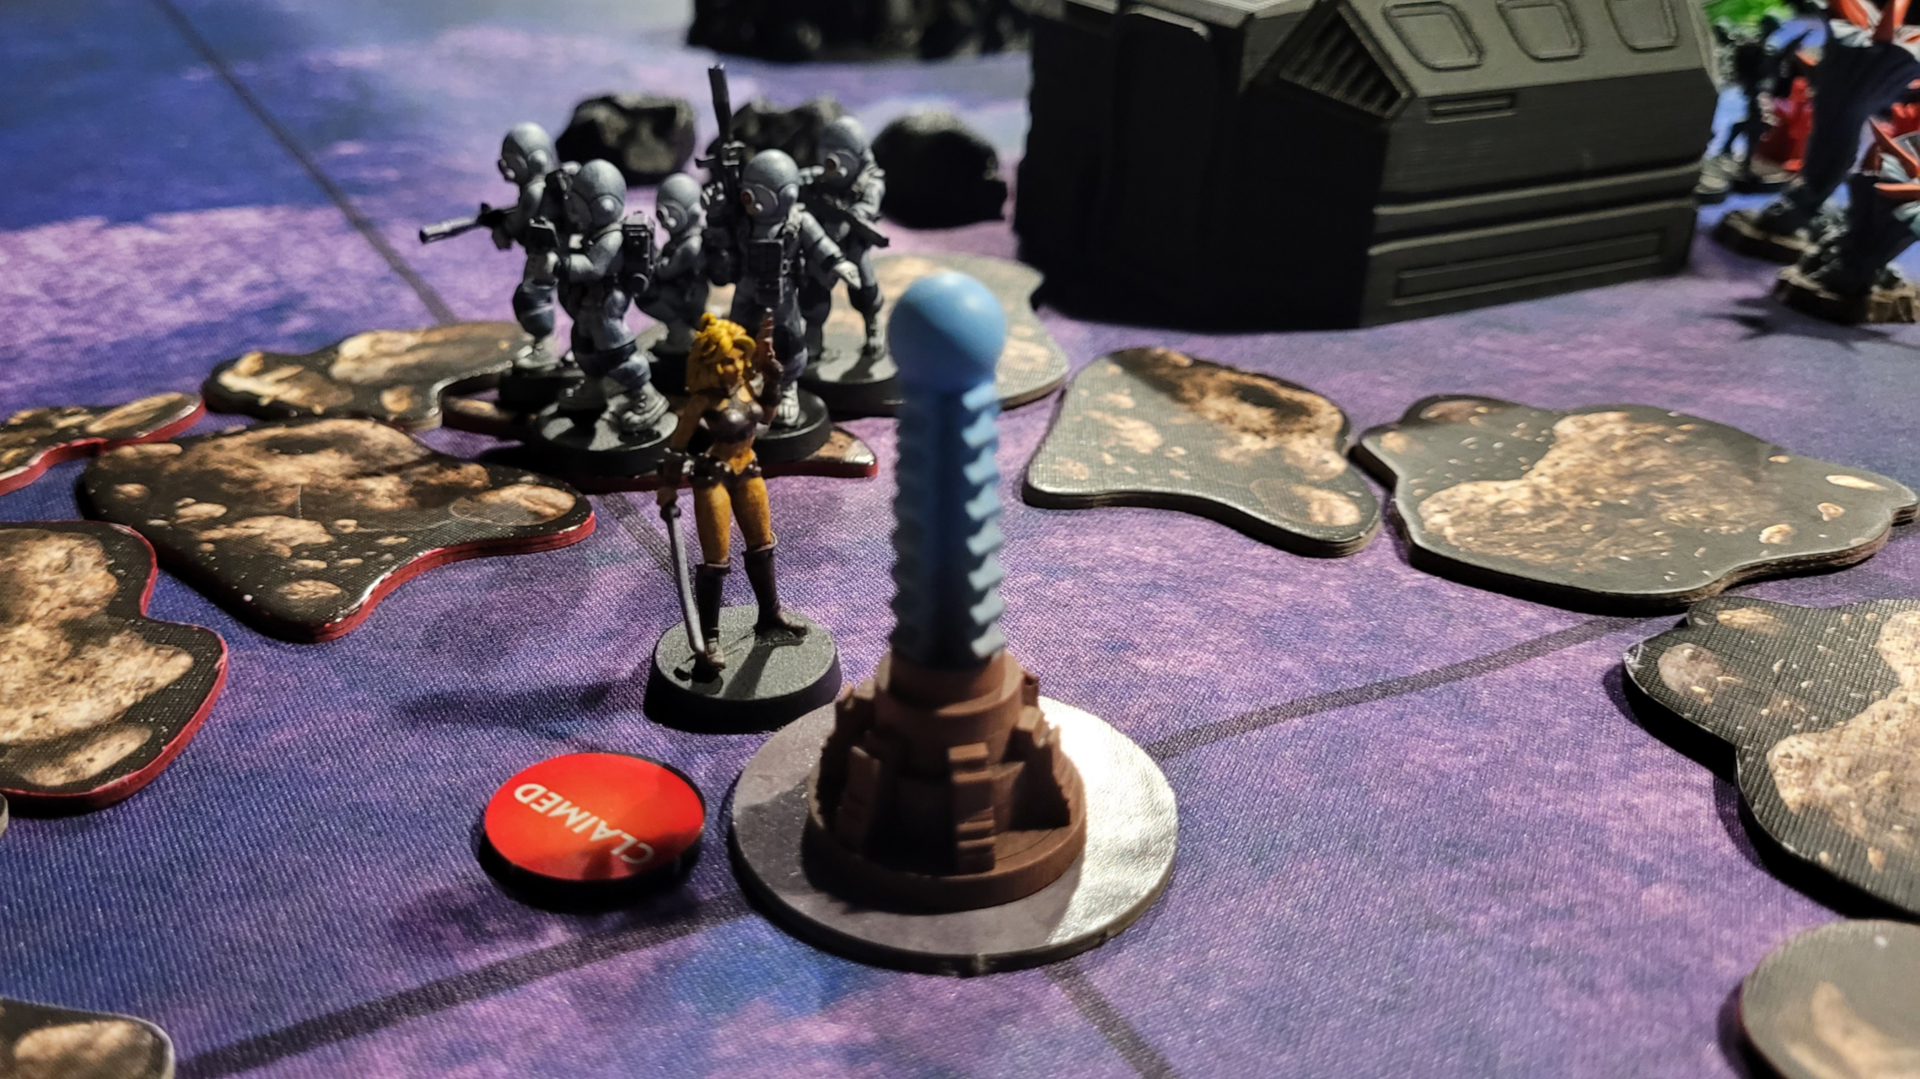
 Dr. Zayse bravely takes on a group of Sleazoid Marauders.
For our first game of the year we’ll be playing the Pitched Battle scenario, with the Space Apes acting as the defenders and the Sleazoids as the raiders. Apparently the Sleazoids need apes for their zoo…
Star Schlock is played over four rounds, with victory points awarded throughout the game based on how many objectives you control, plus points for destroyed and routed units at the end of the game. Additionally, in this scenario the defenders get an extra victory point for all of their non-routed units still in play at the end of the game, and the raiders get +2 victory points for each unit they have captured.
For this scenario, all the units on the raider’s side are given the ability to capture any unit they destroy or rout. The risk is that the captive has to be escorted for the rest of the game — the captor’s movement is limited, and if the captor is destroyed, the captive unit goes free and re-enters the battle.
We’ve arbitrarily decided to play a 600 point game (a starter game is 500 points). I’ll be playing the Space Apes force from the starter set (Ape Officer, Gorilla Grunts, Doctor Zayce, and MONGO-RILLA), plus the BABOOMS! because why would you not use a rabble of lower primates armed with high explosives, given the chance?
Since these units come up a little short of 600 points, I’ll be using a few strategy cards, which provide either one-time or ongoing game effects: King of the Mountain, Reinforcements, and Strafe.
My opponent’s force consists of the Sleazoid Marauders and Overseer, along with some hired help in the form of The Man Hunter and Star Raider Nilo. In addition, she’ll have a few strategy cards of her own: Inspirational Speech (probably more of a scathing tirade in this case) and King of the Mountain.
We’ve set up a 3×3 desert planet using some of the terrain I put together for TerrainFest. Star Schlock divides the board into four sectors and has fairly specific rules for where to place the three objective markers (we’ll be using power generators for those). The rest of the table is a good mix of desert rock formations and weird alien plants.
Round One
As with most wargames, the first round is mainly positional. We both have the King of the Mountain strategy card, which allows the player with a unit in the highest elevated position to draw an extra card at the end of each round — drawing extra cards is vital in this game — so my opponent rushes the Man Hunter and Nilo to the nearest rock formation in order to seize the high ground. Since she’s got such a head start, I decide not to worry about it and just rush as many objectives as I can, which also award extra card draws. I take control of one with my Ape Officer and another with my group unit of Gorilla Grunts.
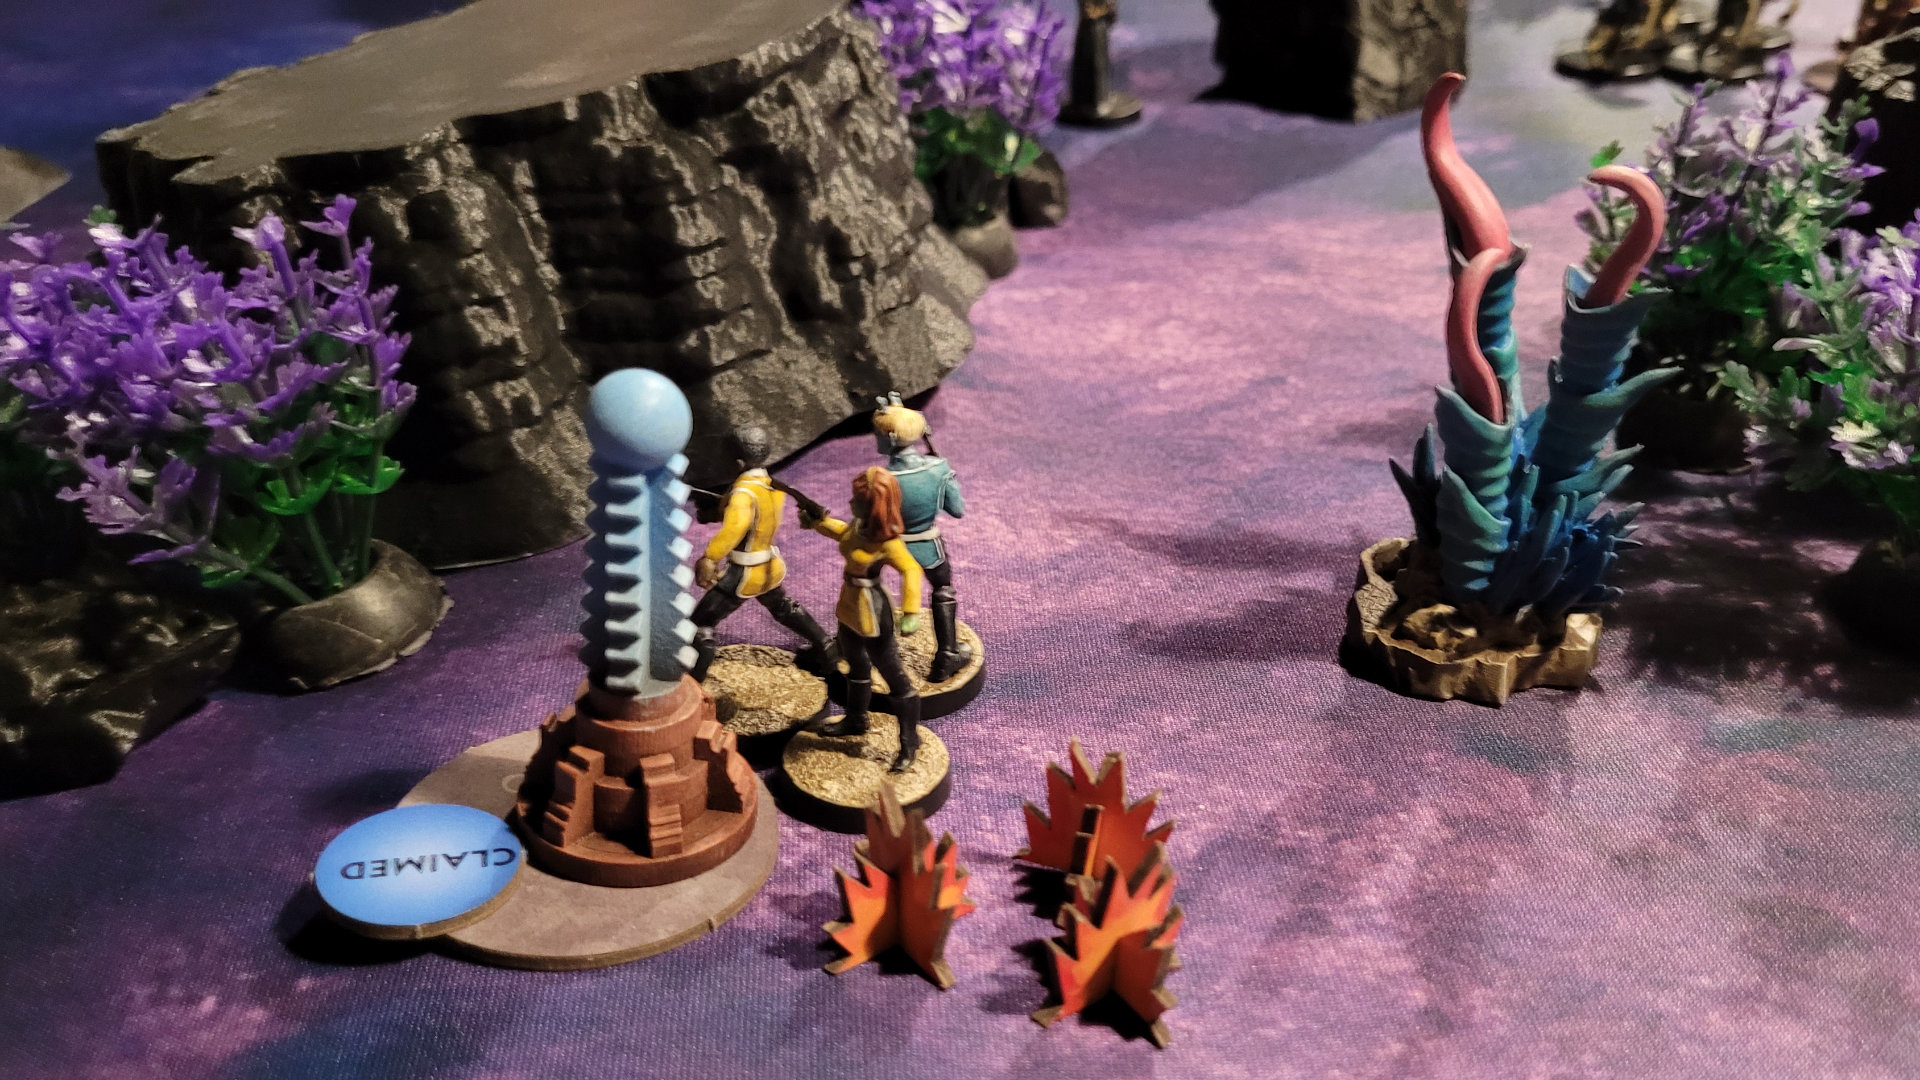
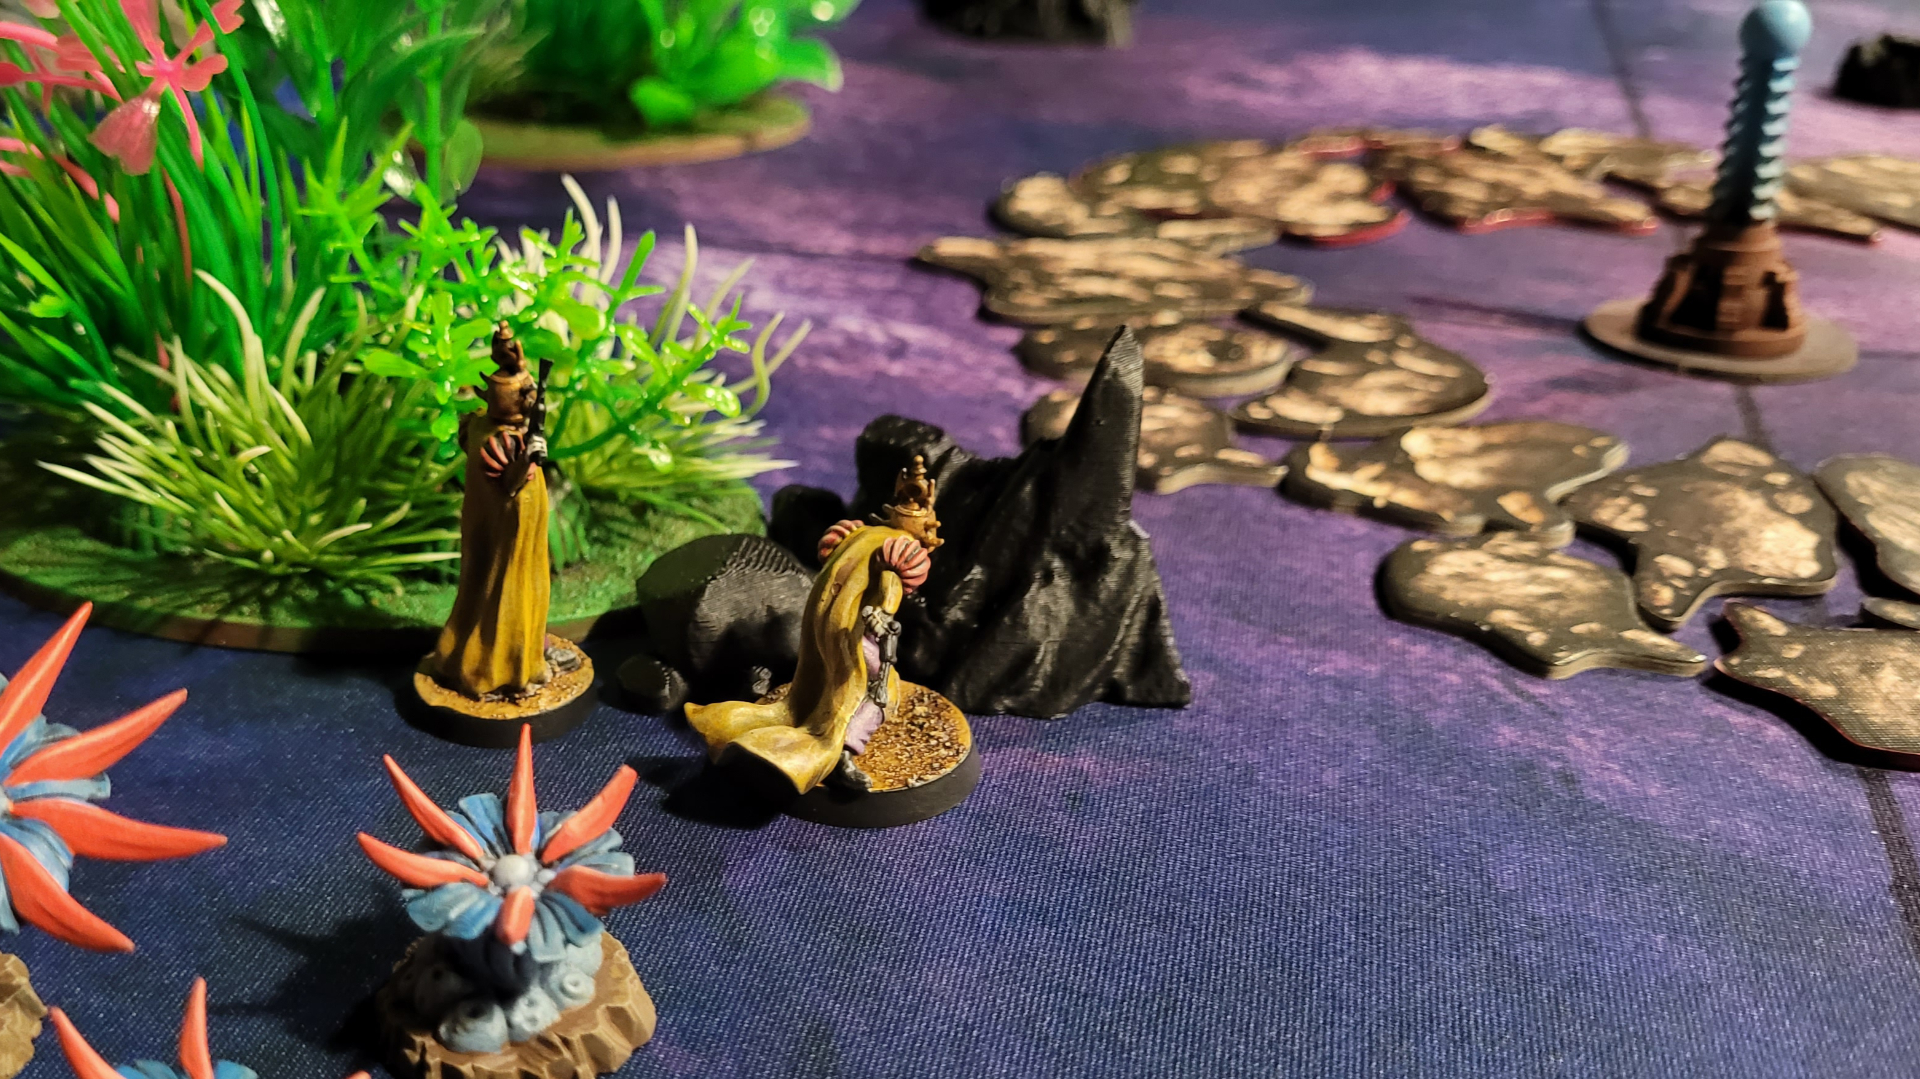
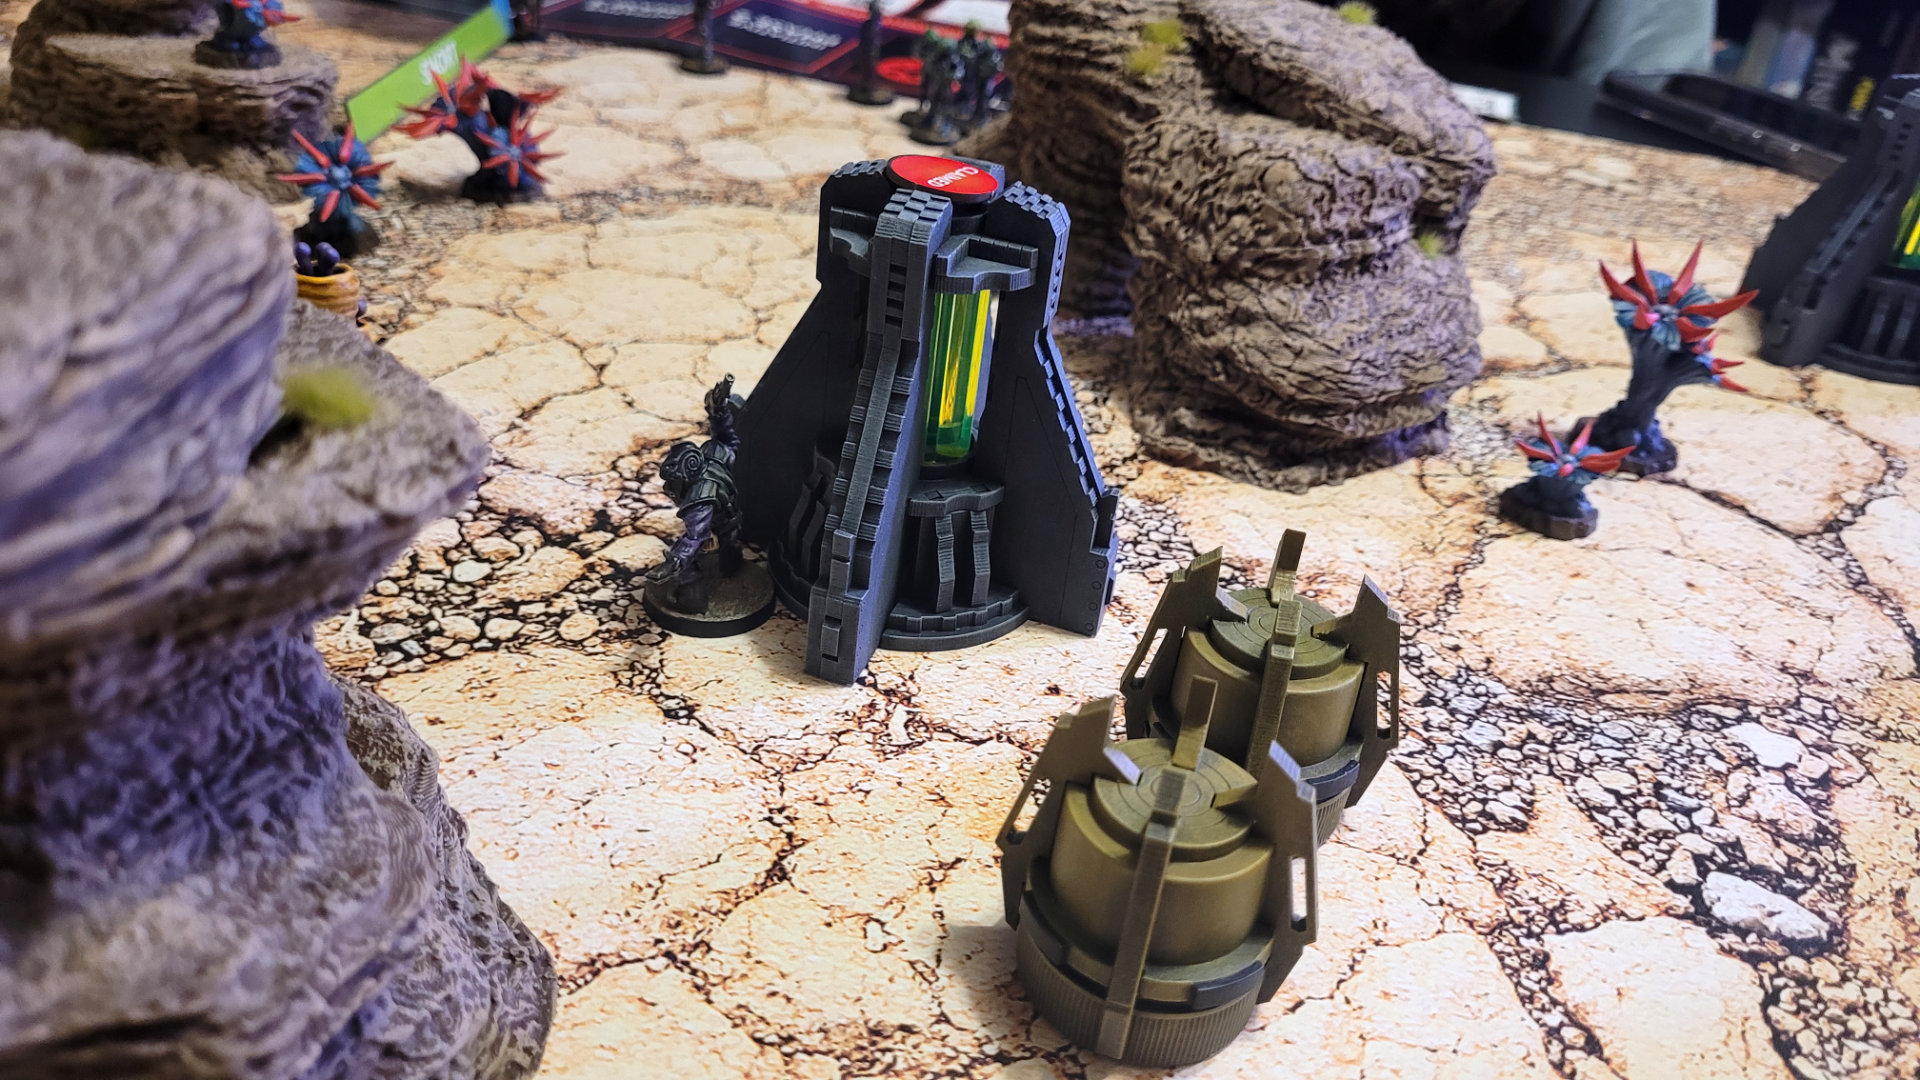 The Ape Officer claims the center objective for the glory of the Simian Empire.
My opponent is able to take control of the third objective with her Sleazoid Marauders, so I start moving Dr. Zayce in to see what he can do about it. She then moves the Sleazoid Overseer to the center objective to try to wrest control of it away from my Ape Officer. Meanwhile I send the Babooms! to try to knock Nilo and the Man Hunter off of their perch, and Mongo-rilla to back up the Ape Officer.
At the end of the round I score 5 points for my two objectives, and my opponent scores 2 points for her one.
Round Two
Things really escalate in round 2, and we start to see how the card economy works in this game.
Each player starts with a hand of three cards. Each turn you choose one card to play — cards have a level, either 2, 3 or 4) and a type of command. Then you choose a level of unit, activating all of your units of that level. If the card you played matches the level you are activating, each unit gets three actions. If it doesn’t match, the units only get two actions each. If the unit has already activated in this round, they can activate again, but they only get one action. After you play a card you draw one to replace it, so in theory you always have three cards in your hand, except…
When one of your group units is hit by an attack, they take a casualty, which means they lose one of the models in the unit. No problem, each group unit starts with five models. But when a character unit takes a casualty, they die UNLESS you play a card from your hand as Plot Armor. This saves the character from dying, and also gives them +2 dice for all subsequent attack rolls and stat tests (used for things like scaling walls or rallying after being routed), but never for defense rolls. Each character can only have as many Plot Armor cards as their level, so it won’t keep them on the table indefinitely, but it certainly helps, and the bonus to attacks and tests keeps the game moving.
Here’s the catch: when you play a card as Plot Armor, you don’t draw a replacement, which means your hand size starts dwindling. If your hand is empty when it’s your turn to play a card to activate your units, you blindly play the top card of your deck, which of course limits your tactical choices. Plus if you don’t have any cards in your hand, you can’t play them as Plot Armor. So you really need to control the objectives in order to keep a healthy supply of cards.
The Ape Officer and the Sleazoid Overseer get into a melee scuffle which results in the Overseer being routed — he has to move towards my opponents edge of the map until he makes a successful Will test. He manages to shake it off and turns around, so I have Mongo-rilla give chase. Unfortunately I’ve stumbled into a kill-zone.
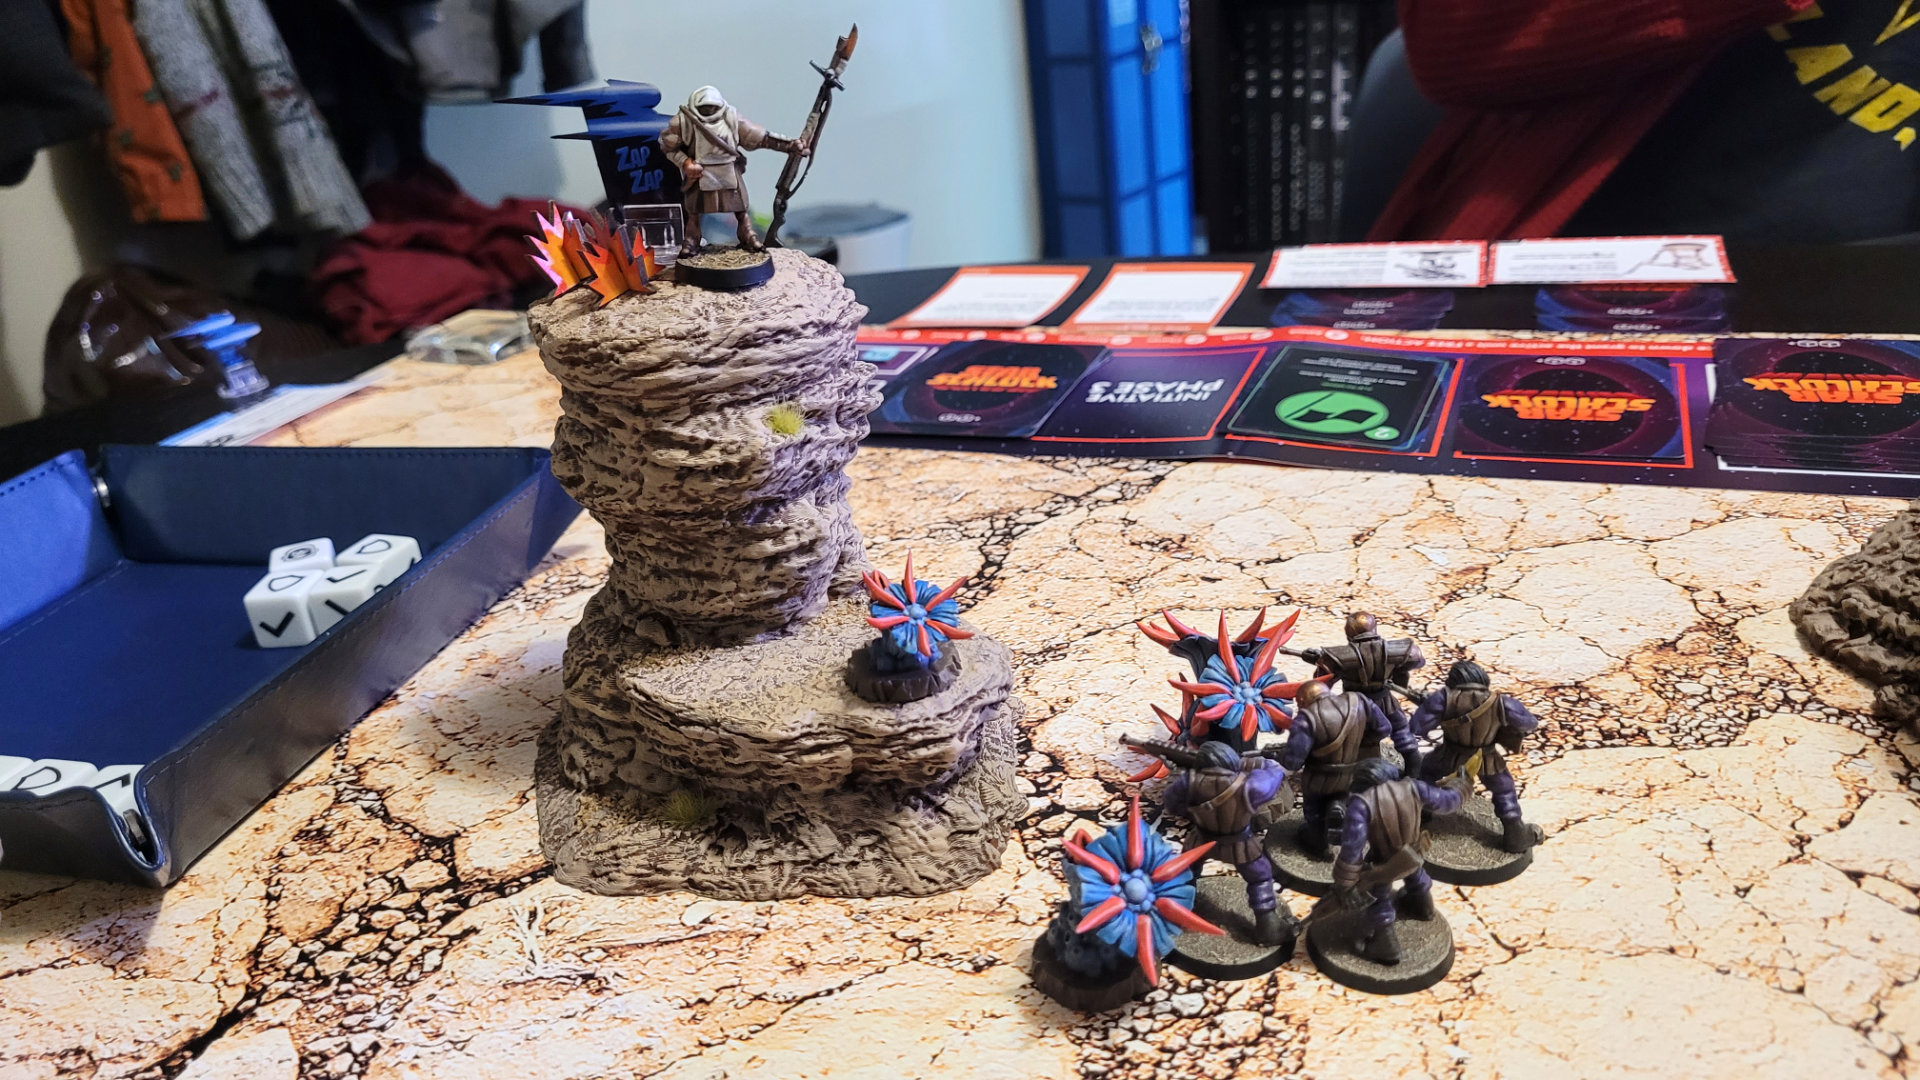
 Star Raider Nilo and The Man Hunter have the high ground, but for how much longer?
Star Raider Nilo has a high position, and to make matters worse, he gets a damage bonus when attacking at long range. I have very foolishly moved Mongo-rilla right into his line of fire. I am able to take out the Overseer, but my opponent retaliates by killing Mongo-rilla — both are level 2 and can only carry two Plot Armor cards, after which they’re toast.
The Babooms! are able to keep Nilo and the Man Hunter pinned (a sort of temporary damage that limits the unit’s effectiveness) with the help of my Strafe strategy card, which targets all the models in two entire sectors of the board. and the Man Hunter has some Plot Armor on him.
Once you spend an action to take control of an objective, you retain that control until your opponent takes it away from you. Since the action is nowhere near the objective they’re guarding, I move my Gorilla Grunts across the board to back up Dr. Zayce. After some back-and-forth fire, the Sleazoid Marauders are routed and make tracks for their deployment zone.
Round Three
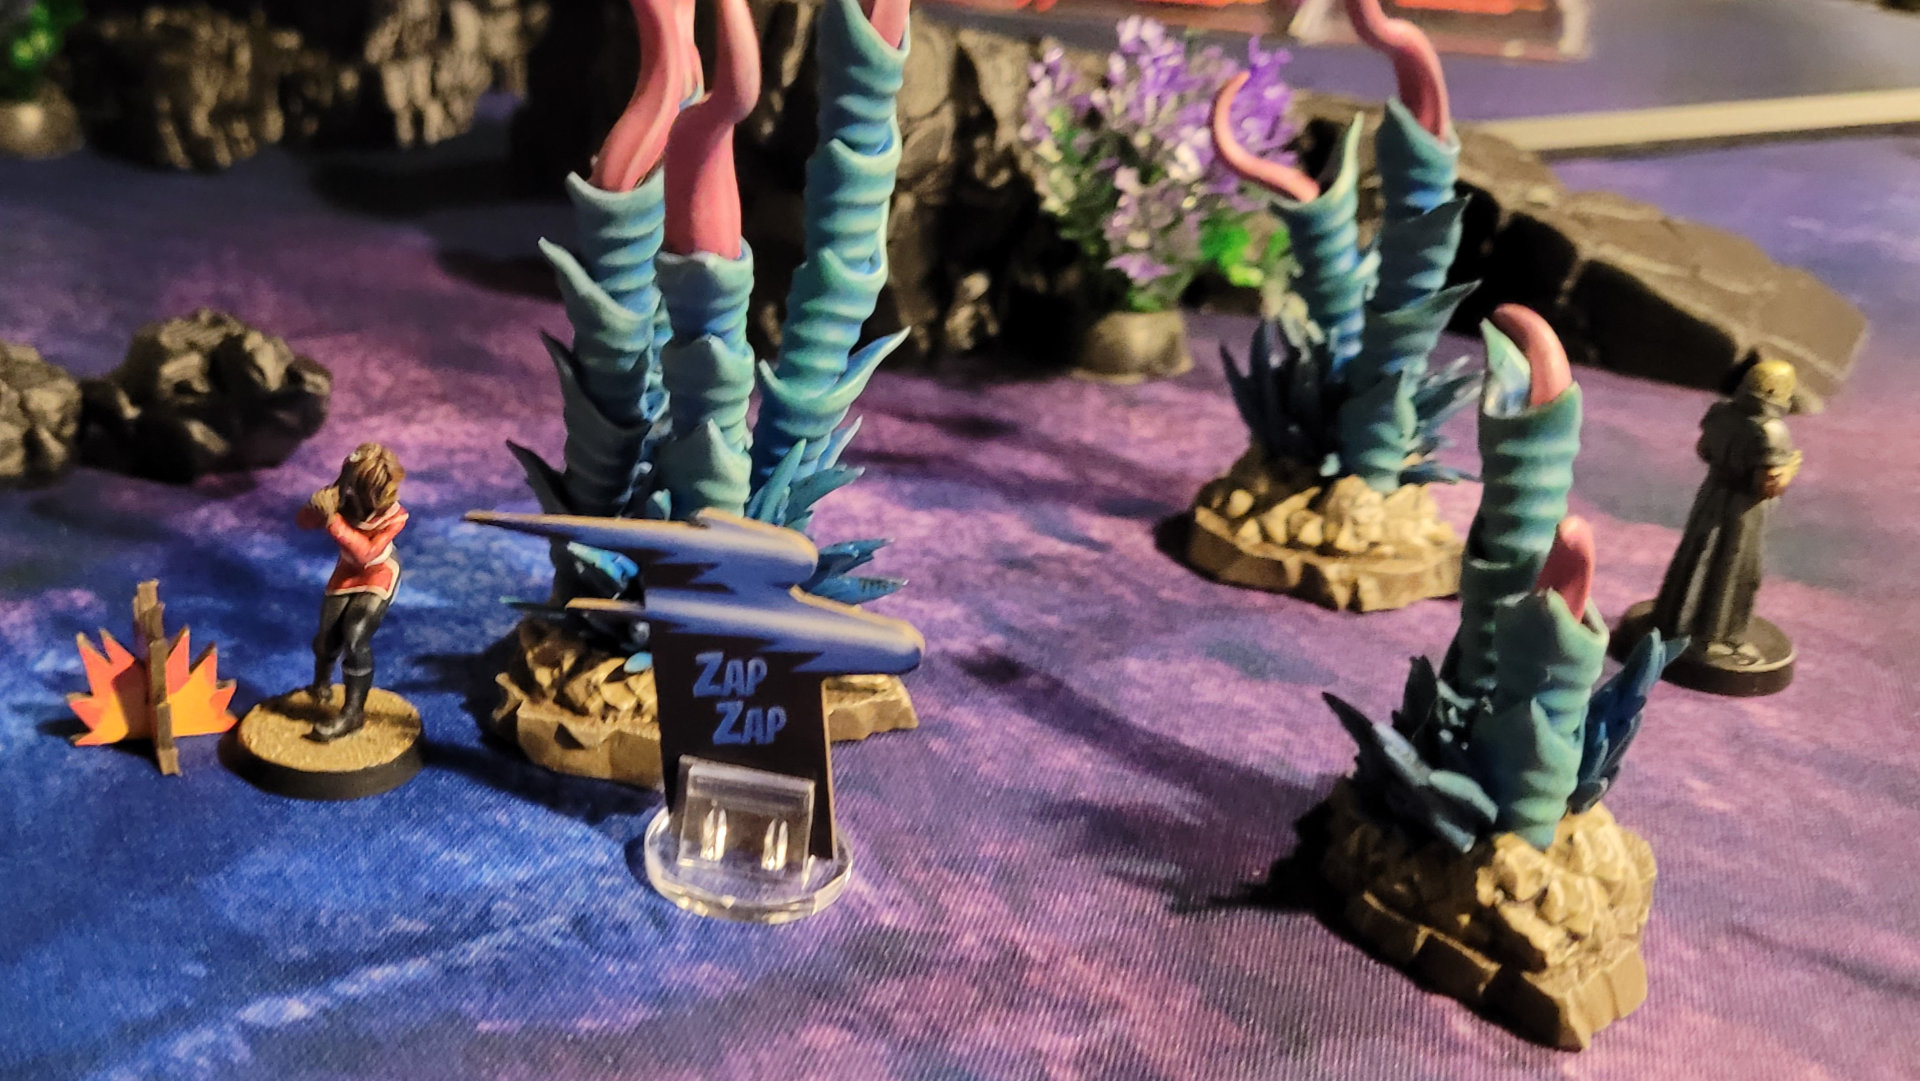
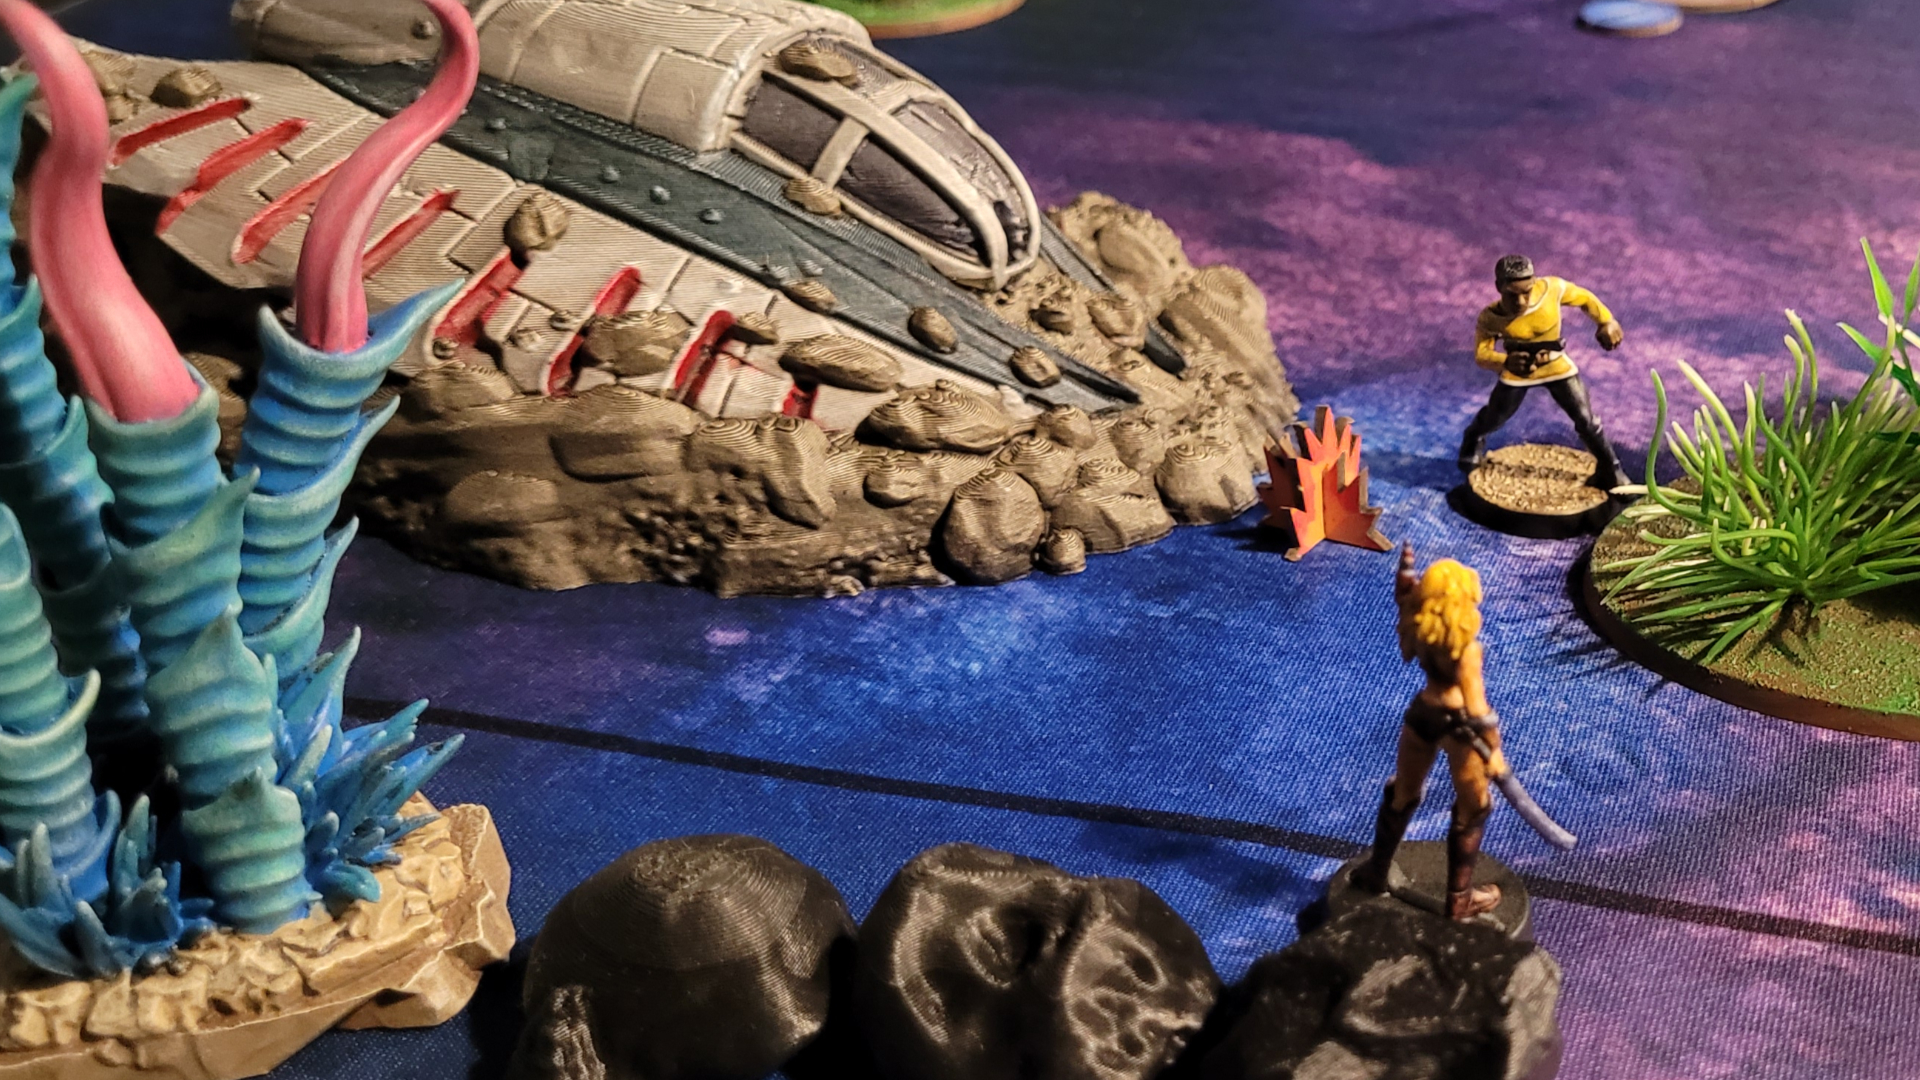
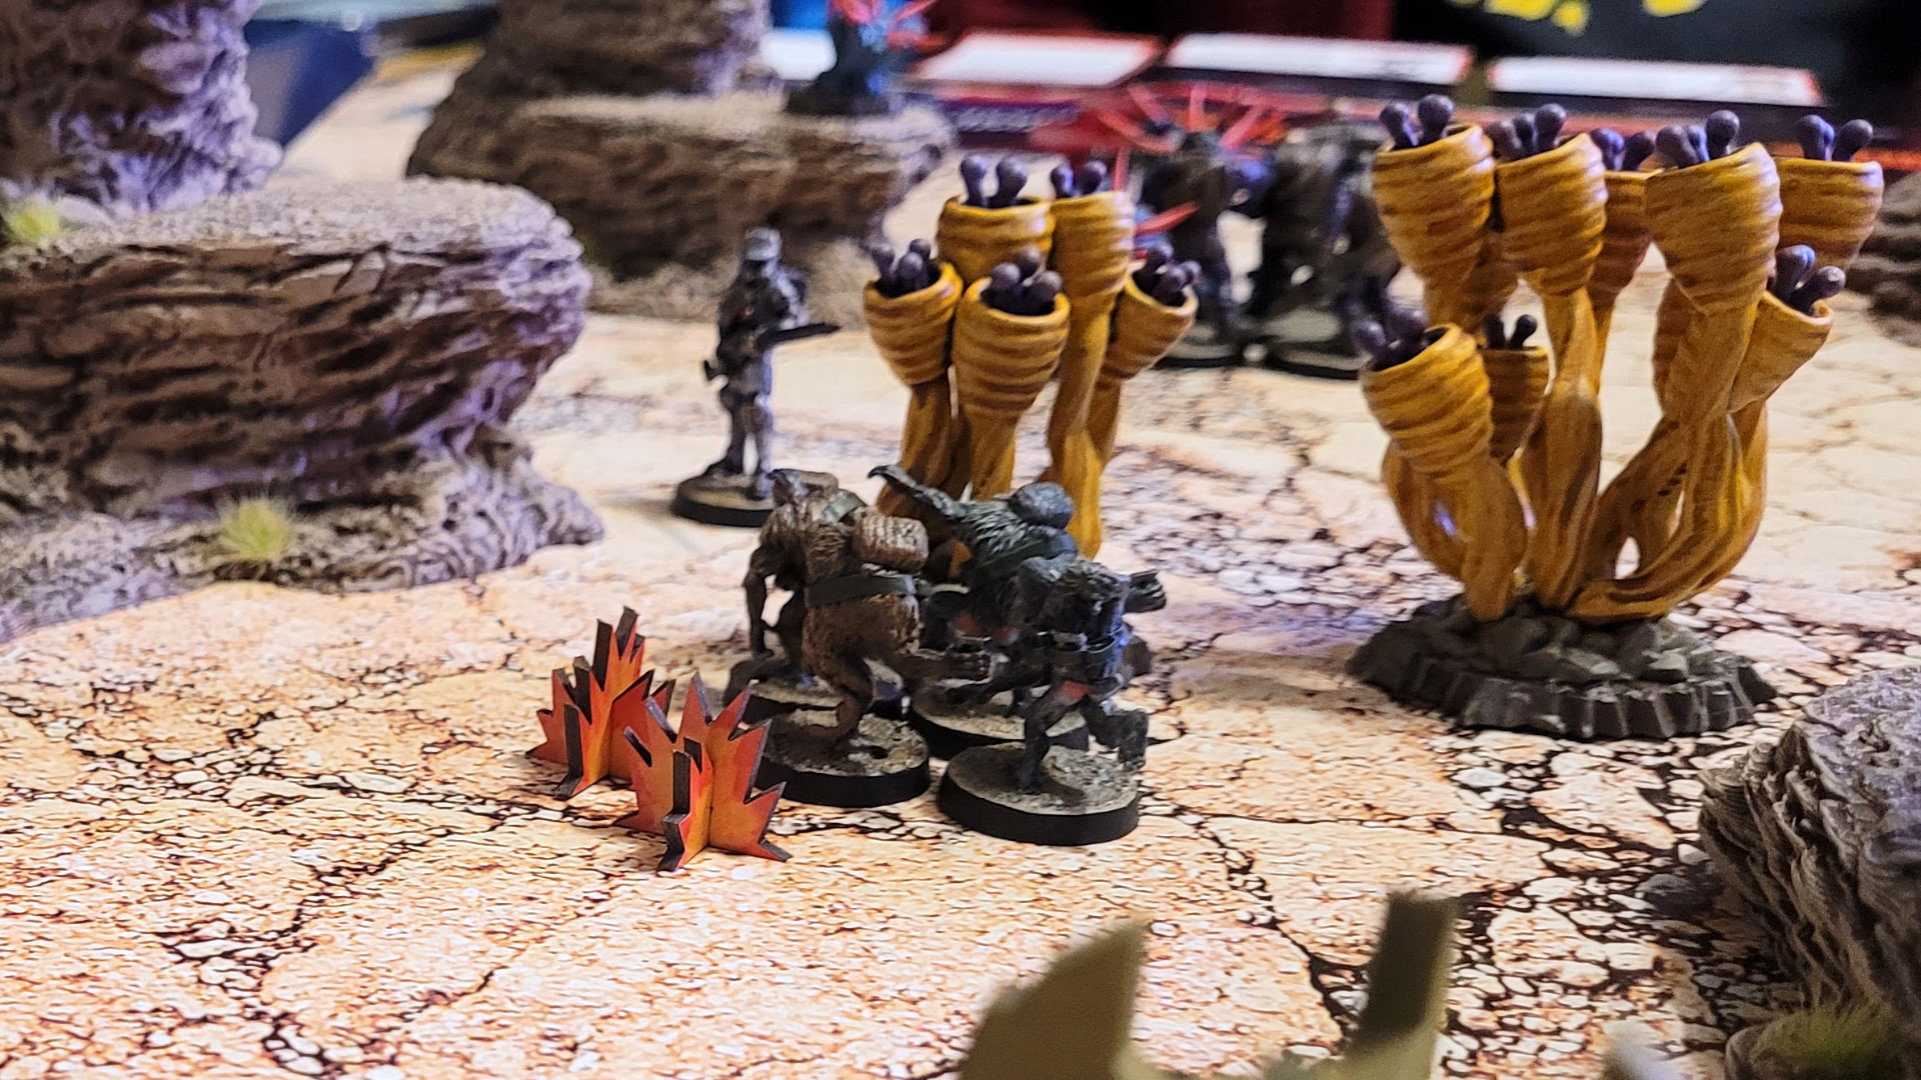 The BABOOMS! just can't wait to start blowing stuff up.
The Babooms! are hiding in a cluster of alien plants, well hidden and maddeningly too close for the Man Hunter to make good use of his free reroll on long ranged attacks. Their bonus from cover is better than his bonus for the high ground, so my opponent reluctantly moves the Man Hunter down from his desert rock to get a better shot. He moves in close and is able to rout the Babooms! — they’ve got several pin tokens affecting them, and that combined with the Man Hunter’s multiple Plot Armor cards means he’s rolling a 14 dice attack! However, when the Babooms! are routed, they instead explode, dealing damage to everyone within close range. The damage takes out the Man Hunter in a fiery conflagration.
But Star Raider Nilo hasn’t been idle. With a series of devastating long range attacks he manages to take out the Ape Officer.
On the other side of the board, the Sleazoid Marauders haven’t managed to rally from their rout, and they’re inching closer to the edge of the board. Dr. Zayce and the Gorilla Grunts take control of the third objective. Will all three under my control, I’ll score ten victory points and draw three extra cards.
Round Four
Things are not looking good for my opponent. I’ve used my Reinforcements strategy card to bring a destroyed soldier unit back into play, in this case, the Ape Officer. I get to choose which battlefield edge he deploys on, and he’s able to reappear very close to Nilo’s position. The Sleazoid Marauders have routed their way off the battlefield, leaving my opponent with only one unit remaining. Since I’ve got the first turn this round, there’s not much hope for Nilo…
 Star Raider Nilo is regretting his life choices.
The game ends with a final score of 43 points for the Space Apes and 16 for the Sleazoids. I think the critical turn of the battle was when the Sleazoid Marauders were routed and never managed to rally. Plus most of my opponent’s characters had an advantage at long range, which meant she tended to keep her distance and wasn’t able to capture any of my characters for the extra points.
Explorer Corps vs. Mutants
 Commander Nico makes an early run at an objective.
I connected with another local Star Schlock player thanks to the official Facebook group, and we scheduled time for a game at my extremely friendly local game store, Battle Grounds Gaming Cafe in Portland, Oregon. We arranged to play a 500 point game, with me playing an Explorer Corps force, and my opponent fielding a horde of mutants.
Wunkay (the game’s publisher) just released a slew of printable stat cards covering most of the currently available models plus alternates for several of the group units. I want to try out as many new units as possible, so I’ve settled on Dr. Zex, Chief Berenger, and a Science Team, rounded out with Commander Nico from the starter set. I’ve got a few points left over so I’ve also included Explorers, a strategy card that will get me extra card draws if I can get my scientists (all but one of my units) out of my home sector – in Star Schlock, the battlefield is divided evenly into 4 square sectors, with each player starting at opposite corners.
My opponent (let’s call him Derrick, for it is his name) has brought a force of mutants, which will be especially interesting for me as I don’t have any of these models. He’s got two Mutant Overlords, a group of Mutaga Mutants, a group of feral Deep Mutants, all led by Tarkhan. Derrick has chosen a few risky units: the Deep Mutants have a low point value, but every time they activate, there’s a chance they’ll switch sides. Similarly, when the Mutant Overlords are targeted by a ranged attack, there’s a 5 in 6 chance they’ll cancel the attack, but they’re instantly destroyed otherwise. I guess we’ll see how unlucky my new opponent is…
Derrick brought a lovely 4×4 gaming mat, which is a bit larger than the 3×4 I’ve been playing on, but between the two of us we were able to fill it up with a fair variety of terrain, including a lot of rock formations and weird plants. The lighting at the store is quite a bit more sharp and dramatic than my usual dining room window, but unfortunately I was so caught up in the game that I didn’t get nearly as many photos as I would have liked.
 The Mutant Overlord has secured the obedience of the feral Deep Mutants...for now...
Round One
We’ve decided on just a straight-up game with no extra scenario conditions, which means we’ll score points for controlling objectives and eliminating opposing units, but nothing else. I’m going first, so I start out by activating Commander Nico and moving her as far as I can towards one of the objective points. Unfortunately I’m not quite able to make it to within control range.
We continue to spend the first round moving our units into position, with Derrick sending the Mutaga Mutants towards the objective closer to my side of the board. I send the Science Team to the center objective – they’re able to get control of it, but Derrick sends Tarkhan and the Deep Mutants to intercept, and two of the five models in the squad get taken out right away.
Meanwhile, Commander Nico is face to face with a group of Mutaga Mutants, so I send Chief Berenger in to help. He has a really interesting ability where he can use an action target an ally in line of sight and place them off the board in reserve. At the start of a future turn, he can redeploy them anywhere in his line of sight. It sounds great, but if Berenger is eliminated before he gets a chance to redeploy the reserve unit, they’re out for the rest of the game unless I have another way to deploy reserve units (which I don’t). Not wanting to see Nico get vaporized by the Mutaga Mutants, I decide to risk it.
At the end of round one we’ve each taken control of one objective, and no units have been eliminated, so that’s 2 points each. I’ve got two units outside my home sector, both of them scientists, so I do score some extra card draws thanks to my Explorers strategy card. Star Schlock uses a card-based system for activating units, and the cards you play also determine initiative and give you extra actions, so the more you start each round with, the better.
 Science Team under heavy fire!
Round Two
Derrick goes first this round, and he wants to try to get rid of Chief Berenger before I can activate him and put Commander Nico back on the board. The Mutaga Mutants make a valiant attempt, inflicting 3 casualties via multiple attacks, but fortunately I am able to take advantage of one of my favorite game mechanics in Star Schlock: Plot Armor.
When an individual character (but not a group unit like the Science Team or Mutaga Mutants) takes a casualty, they are dead unless you discard a card from your hand to give them Plot Armor. This prevents them from dying, and also gives them +2 dice on all attacks and skill tests (but NOT defense) for the rest of the game. A character can take plot armor equal to their level before they’re gone for good, with cumulative benefits for each. In practical terms, this means that, at level 3 with 3 plot armor, Chief Berenger is most certainly doomed, but he’ll go out in a blaze of glory, adding +6 dice to all his attacks. He activates on my next turn, returning Commander Nico to the board just in time, and completely vaporizing the Mutaga Mutants with a series of devastating 12 dice attacks, and he’s even able to seize control of a nearby objective.
In a clear act of vengeance, Derrick wastes no time finishing off my Science Team with his Deep Mutants and a Mutant Overlord. The Overlords are especially formidable – they have a Mind Barrage attack that ignores cover and adds dice for every ally with the Madness ability, which is, of course, all the other mutants.
Commander Nico gets off a few shots at Tarkhan, but doesn’t stop him from wiping out the doomed Chief Berenger. Dr. Zex hasn’t done much more than hide in the bushes, but she does do some damage to the Mutant Overlord that helped murder her Science Team.
At the end of the round, I control 2 objectives, which nets me 5 points, plus 3 more for eliminating the Mutaga Mutants, bringing my total up to 10. Derrick only controls one objective for 2 points, but he managed to take out both my Science Team and Chief Berenger, for which he scores another 5. This brings his score up to 9 – it’s still anyone’s game.
 Nico takes a shot at a Mutant Overlord, but he seems to have eyes in the back of his head...
Round Three
Star Schlock features a Tiebreaker token that gets passed each round, which is a simple and ingenious way to both determine which side breaks ties, and it also affects some character special abilities. For round 3, I am the tiebreaker, which will have a profound impact on the game shortly.
At the start of this round, things aren’t looking very good for me. I’ve only got two individual characters left, Commander Nico and Dr. Zex, and Nico is in rough shape. Derrick turns his attention to Dr. Zex, activating his nearby Deep Mutants unit. But alas, the feral beasts aren’t to be trusted…
As I mentioned earlier, the Deep Mutants come at a discount in point cost, but with one major drawback: every time they activate, there is a 1 in 6 chance that the player with the tiebreaker token gets to take control of them. This isn’t a problem during rounds when their controller is the tiebreaker, but this time my opponent’s luck doesn’t hold out, and I get to take control. Of course, I immediately have them turn on a nearby Mutant Overlord, damaging him past the point where plot armor will do him any good.
Derrick understandably retaliates by using a later turn to attack Dr. Zex with the Deep Mutants (in Star Schlock, units can activate on multiple turns, but they only get one action for each activation after their first). While he’s not able to damage Dr. Zex, he scores enough hits to make her rout, which means she has to make a successful Will test or spend all her actions moving back to my starting sector, and eventually off the board.
Almost as an afterthought, Tarkhan and the remaining Mutant Overlord eliminate Commander Nico. At least before she left, Nico managed to put quite a few Pinned markers on opposing units, which they’ll have to spend actions clearing before they can move.
At the end of round 3, I still control two objectives, so I score 5 points, plus another 2 for taking out one of the Mutant Overlords. This brings my total score up to 17. Derrick gets 4 points for eliminating Commander Nico, and 2 for the objective he controls, so he finishes the round with 15 points. I’ve got a marginal lead, but I also only have one remaining model on the board.
Round Four
My position at the start of this round is both good and bad. I’ve only got one character left, which is terrible, but I have a full hand of cards to spend on her, which is…well, less terrible anyway. My other advantage is that most of my opponent’s units are nowhere near mine.
In Star Schlock, the cards have two elements: a number (2, 3 or 4) and a type of action, either move, attack, or command. Each turn you play a card face down, flipping it over simultaneously with your opponent. Whoever played the higher number gets to go first that round, and if you choose to activate a unit whose level matches your card’s number, they get 3 actions instead of 2. Additionally, once a card has been played it becomes a resource, which can be flipped over to give the activating unit an extra action of the type pictured on the card. Finally, you can gain extra dice for attacks or tests for characters (but not multi-model units) by discarding cards from your hand (they get extra dice equal to the number on the card).
I know my only hope is to move Dr. Zex across the board as fast as I can, take control of the only objective I don’t already have, and then hide behind some terrain, hoping Derrick can’t get to me before the end of the game. Luckily I’m able to do exactly that, first playing a 4 card that gives me the initiative and gives me an extra move action. It doesn’t match Dr. Zex’s level of 2, but since it’s her first activation she still gets 2 actions plus the free move, which allows me to recover from being routed and take two moves, getting me about halfway across the board.
Derrick, meanwhile, has fewer cards to work with and has to spend actions getting rid of his Pinned markers, so he’s not in a great position. He makes chase with everything he still has on the board, and takes control of the center objective, but for my final two turns I’m able to play cards that grant me extra command and move actions, allowing me to take control of the far objective. By this point, Dr. Zex is just too far away for any opposing units to get to, so I manage to stay in the game, still controlling two objectives.
For the final round I score 5 points for the two objectives I control (it would have been 10 if I’d been able to hold on to all three), giving me a grand total of 22. Derrick gets 2 points for his one objective, leaving him with 17 points at the end of the game.
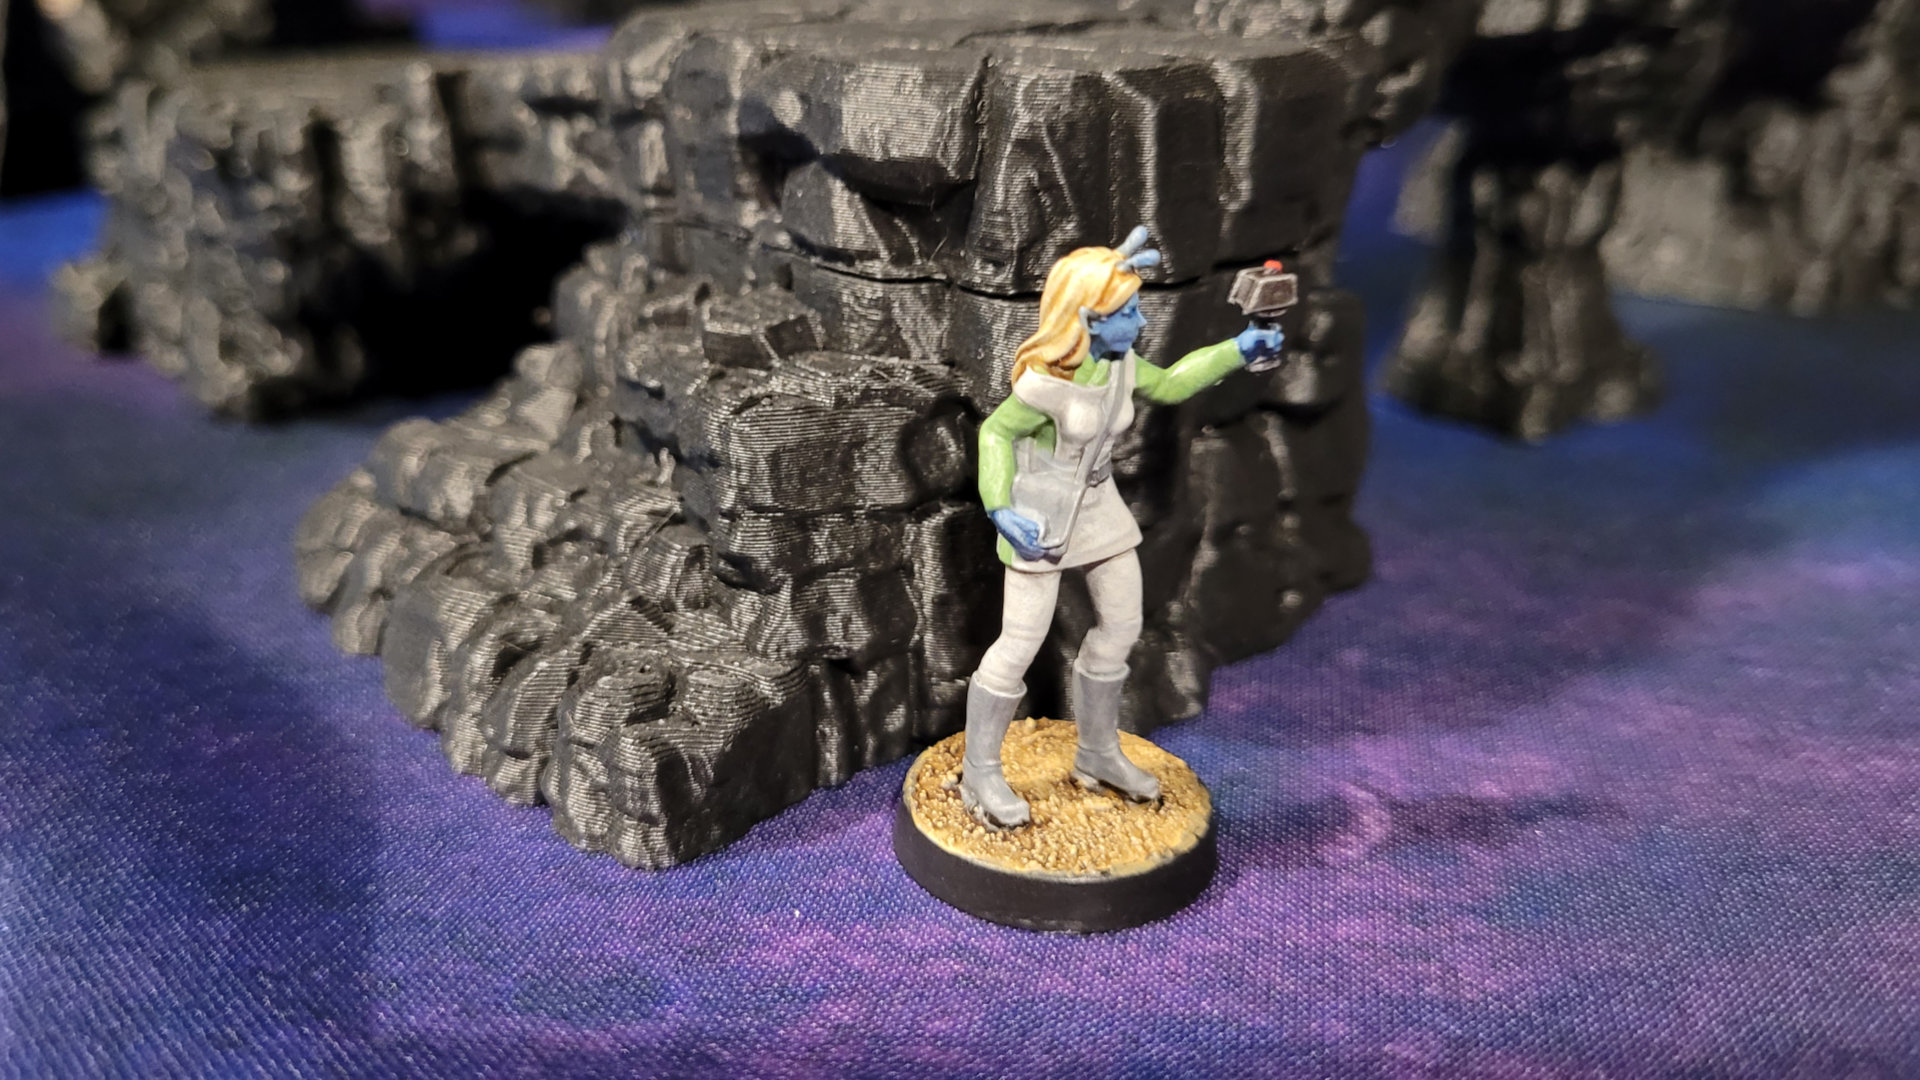 Dr. Zex takes a break after securing control of the planet and victory for the Explorer Corps.
Aftermath
Everything about this game was really interesting. A new opponent, models I hadn’t played before, and a new venue with a much larger battlefield than I’m used to. I don’t really feel like this last made a lot of difference – even with the somewhat larger 4×4 board, It didn’t seem like it was any more difficult to get around the board or get to the objectives.
It was also interesting to note that I tended to focus primarily on controlling objectives (too much Shatterpoint, I guess), while Derrick seemed more interested in attacking my units. Our final scores were pretty close, demonstrating that either strategy is certainly viable. I’m looking forward to playing again.
Insect Coalition vs Human Mercenaries
For my next game with my new friend and opponent, I wanted to try out the Insect Coalition. Derrick wanted to play 600 points, but I could only muster 435 with the Coalition models I have: a Monarch, two Viceroys, and a group unit of Coalition Guards. They would need a little hired help, which would come from the Explorer Corps in the form of the Science Officer and the Tactical Officer, two character profiles that were recently released for Star Schlock as a way to use the models in the Landing Party group unit as individual characters. That still only got me to 585 points, so I also added a couple of strategy cards: King of the Mountain, which I’ve used before, and Student of the Classics, a 5 point strategy that gives you a one-time free reroll and requires you to quote “an appropriate line from a famous pre-20th century text.” With a list of Sun Tzu quotes pulled up on my phone, I was ready to go.
Derrick had assembled a motley crew consisting of Colonial Conscripts, Lost Formicans (both group units), Rod Roebuck (the game’s Flash Gordon stand-in), The Man Hunter, and one that I thought was a surprising choice: Barella.
Barella is a great looking model with a solid profile card, except for one glaring weakness that has prevented me from using her in a game. Her Mercenary ability gives her player’s opponent the option to discard a card from their hand and roll a die, and if they roll a skull (a 1 in 6 chance), they take control of her. Now, it may not be as bad as it initially appears. Cards in hand are and extremely precious resource in Star Schlock, and it is only a 1 in 6 chance of her switching sides. But it still seems like a huge liability, although her relatively high stats and attack might be worth the risk.
 Barella leads her Colonial Conscripts to victory.
The Insect Coalition has an interesting schtick to them. Their leader, the Monarch, begins the game in reserve (off the battlefield). Any time his player claims an objective, all models in reserve must immediately deploy near that objective. Once the Monarch is on the board, he doesn’t have any attacks but he does have an incredibly useful ability: all of his player’s units get three actions every time they are activated.
Star Schlock is played over four rounds, each of which is divided into three phases. You play a card from your hand at the start of each phase, and then choose a level from among your units in play (either 2, 3 or 4). All the units of that level activate, and if their level matches the number on the card you played, they get three actions. Otherwise they only get two. And if the unit has activated on a previous phase in the current round, they only get one action, regardless of whether or not their level matches the card you played.
When he’s deployed on the battlefield, the Coalition Monarch allows you to supersede these rules: your units always get three actions, even if they’ve already activated earlier in the round, or if their level doesn’t match the card you played. It’s a tremendously useful ability, but beyond that the Monarch is a very weak character, with no attacks, a poor defense, and a limited ability to take damage. And if he leaves the battlefield (once he’s arrived), all your other units Rout, a game effect that causes them to move straight for your starting area unless they can pass a Will test.
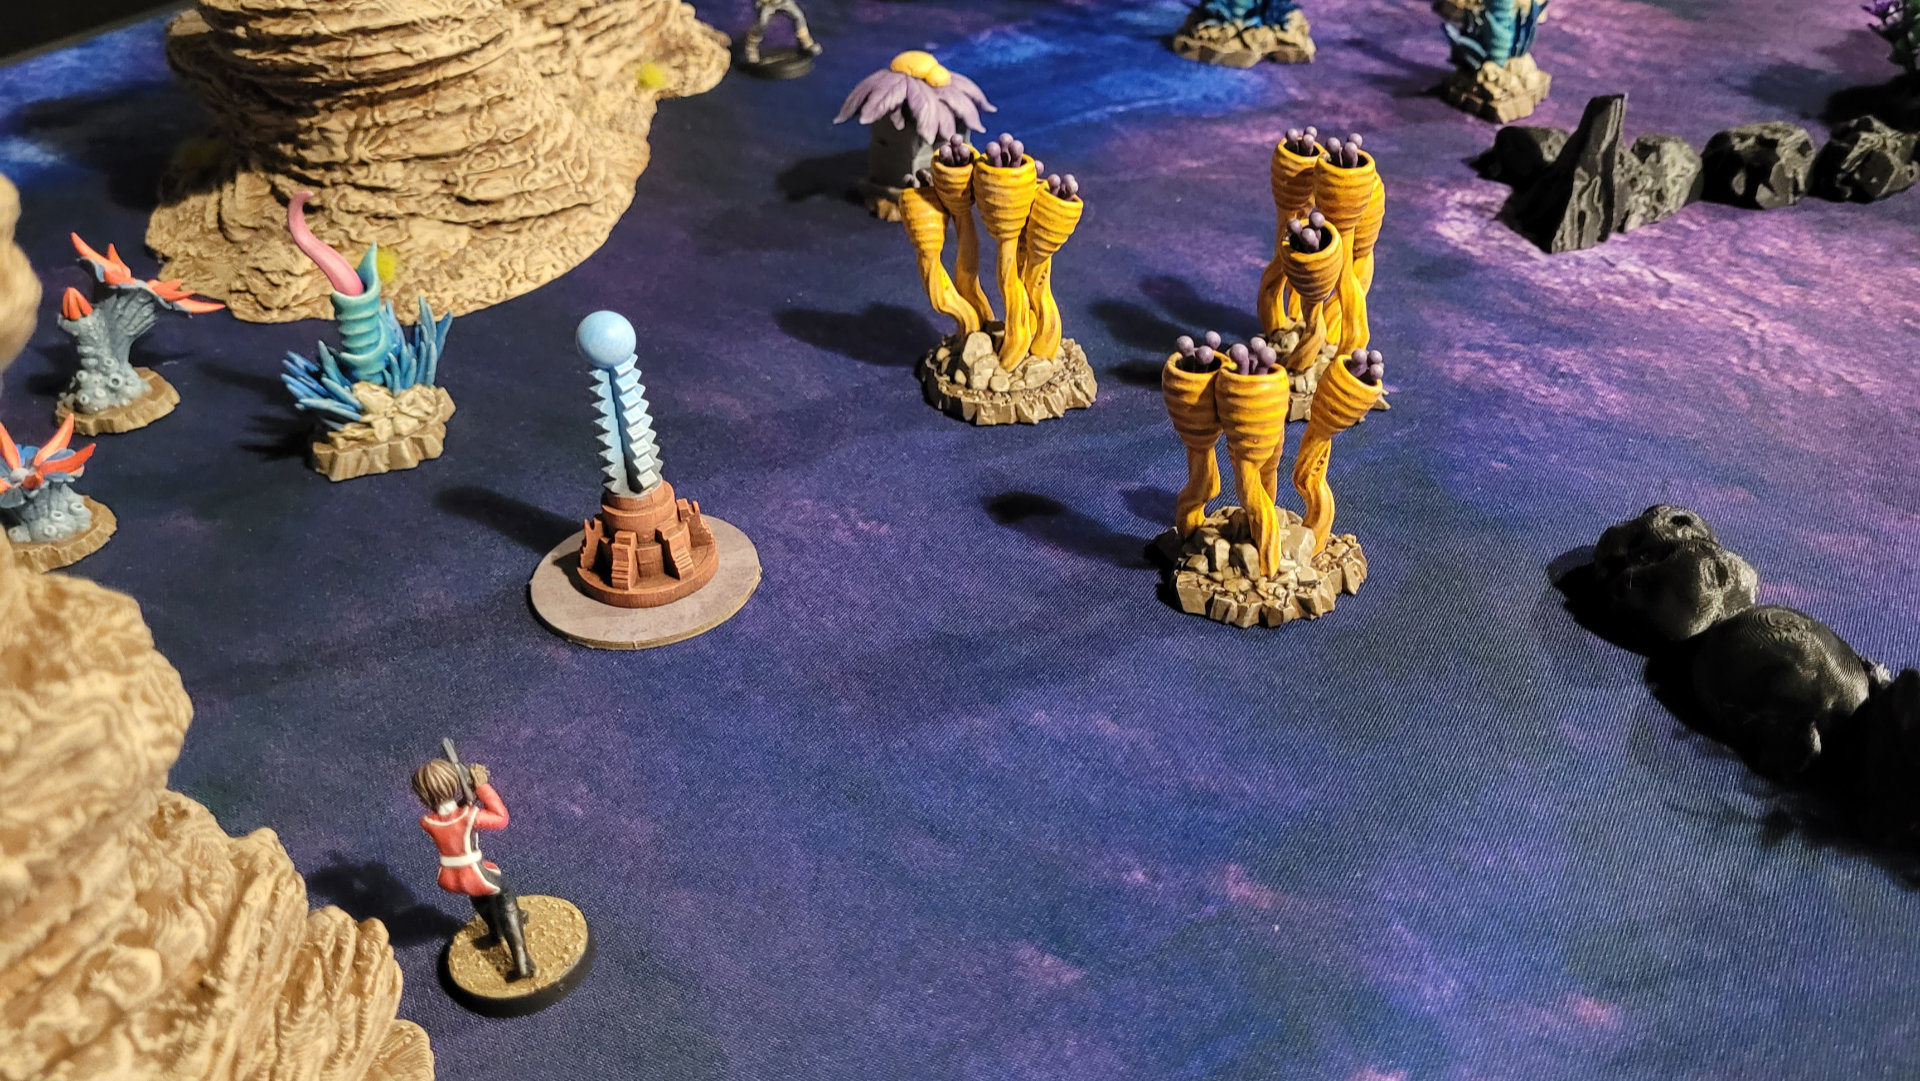
 Coalition Viceroys skulking in the bushes.
The Coalition Viceroys are the Monarch’s bodyguards. They have the ability to move into reserve from the battlefield, and their attacks are more effective if you have units in reserve. So you really want to carefully plan when you start taking control of objectives, keeping the Monarch and even a Viceroy or two in reserve until you’ve had a chance to take advantage of their abilities. The Coalition has a complex strategy to it, requiring a great deal of finesse…
…which I totally failed to employ.
In Star Schlock, you score points at the end of each round (a round consisting of three activation phases) based on the number of objectives you control. So the natural inclination is to try to grab the nearest objective right away, then fight over the other two on rounds two and three. Having not really familiarized myself with my units, this is the strategy I employed, which meant that the Monarch was in play and vulnerable from the middle of the first round, and I never got to take advantage of the Viceroys’ abilities.
 The Coalition Monarch tries desperately not to be noticed.
Honestly, the only thing I did right in this game was including the two Explorer Corps characters. The Science Officer isn’t a combat unit, but he gets to draw a card any time he takes a free action (these are enabled by flipping over the cards you play at the start of each phase), and I managed to get him to high ground, which got me another free card draw as long as he was in a higher position than any enemy characters (thanks to the King of the Mountain strategy card). Card access is critical in Star Schlock — not only do you need as wide a choice as possible to play at the start of each activation phase, but you spend them to keep your non-group characters alive when they take damage. Plus I would need extra cards to try to turn my opponent’s Barella to my side…
The Tactical Officer was really my only effective character. He managed to eliminate Rod Roebuck, take control of an objective, and keep Barella and The Man Hunter busy for most of the game, and I think almost all the points I scored were directly due to him.
 The Explorer Corps Tactical Officer faces off against Barella, who has stubbornly refused to switch sides.
 The Man Hunter takes the high ground, the one place you really don't want him to be.
My forces quickly started dropping like flies to my opponent’s superior firepower, especially as embodied by The Man Hunter, a character I’ve played against before and should have been more wary of. He gets to reroll his attacks when attacking from long range, so it’s critical to get up close to him. Naturally, Derrick knew that and placed him on top of a building as soon as he could, which also put a stop to the extra cards I was getting from my Science Officer.
I managed to keep the score fairly even for the first two rounds. In addition to controlling objectives, the other way to score points in Star Schlock is to take out enemy units, and by round 3 the game had completely gotten away from me. I was so desperate that I even tried discarding cards to get Barella to switch sides, but the dice were never in my favor. At least, having seen the unlikelihood of that in action, I’ll be less wary of using her on my own forces in future games.
Part way into the final round I was down to just the Science Officer, and rather than making Derrick chase him around the board I did the honorable thing and conceded the game.
I’m not too crazy about the Coalition Monarch and Viceroy models anyway, but if I do play them again I’ll definitely look for more ways to get characters into and out of reserve, to better take advantage of what seems to be a fairly tricky strategy. But it’s more likely that I’ll move on to other factions. Many of the models in Star Schlock have more than one profile card they can be used with, so for example I can play the Coalition Guard group unit as the Lost Formicans, a non-aligned alien unit that has more leeway as far as what other models they can work with.
Still, even with this crushing defeat I am having an absolute blast with this game, and I’ve just ordered another round of models so I should have some more options soon…
The Eternal Empire vs the Necronauts
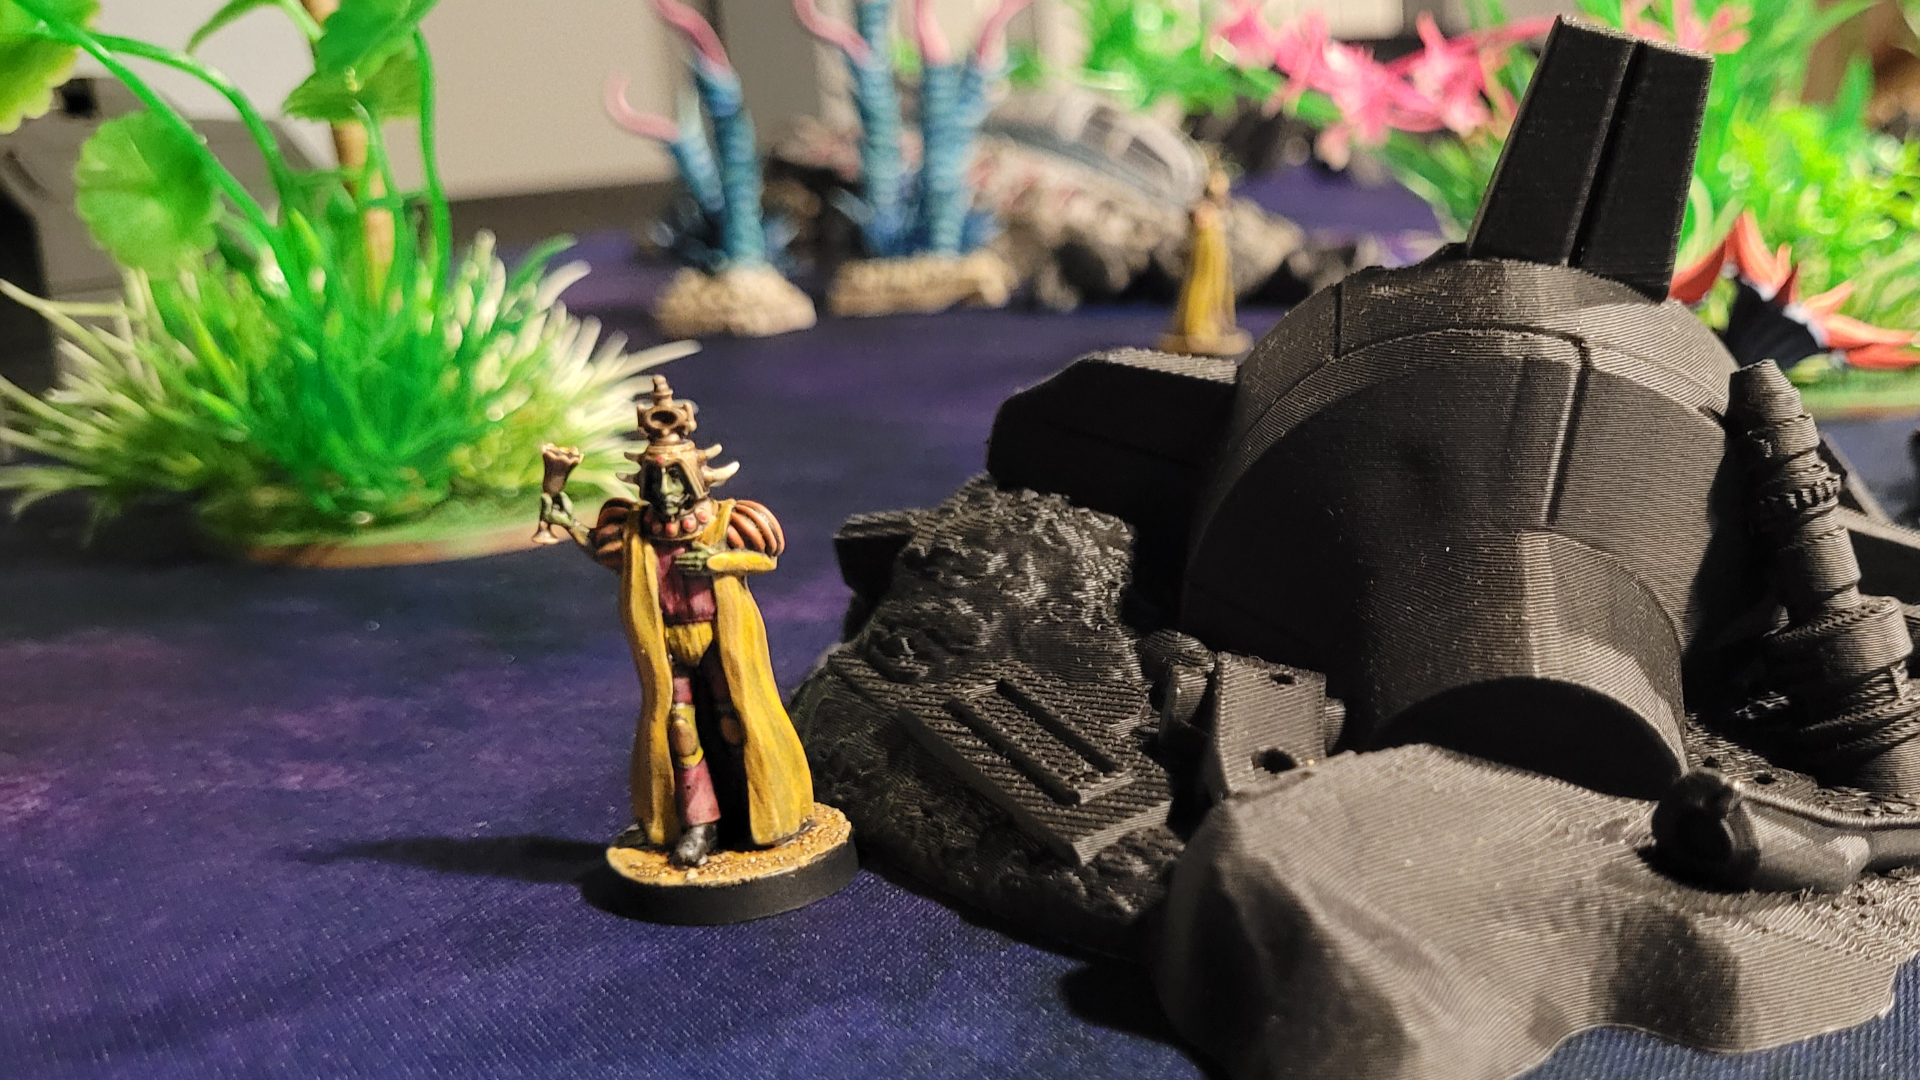
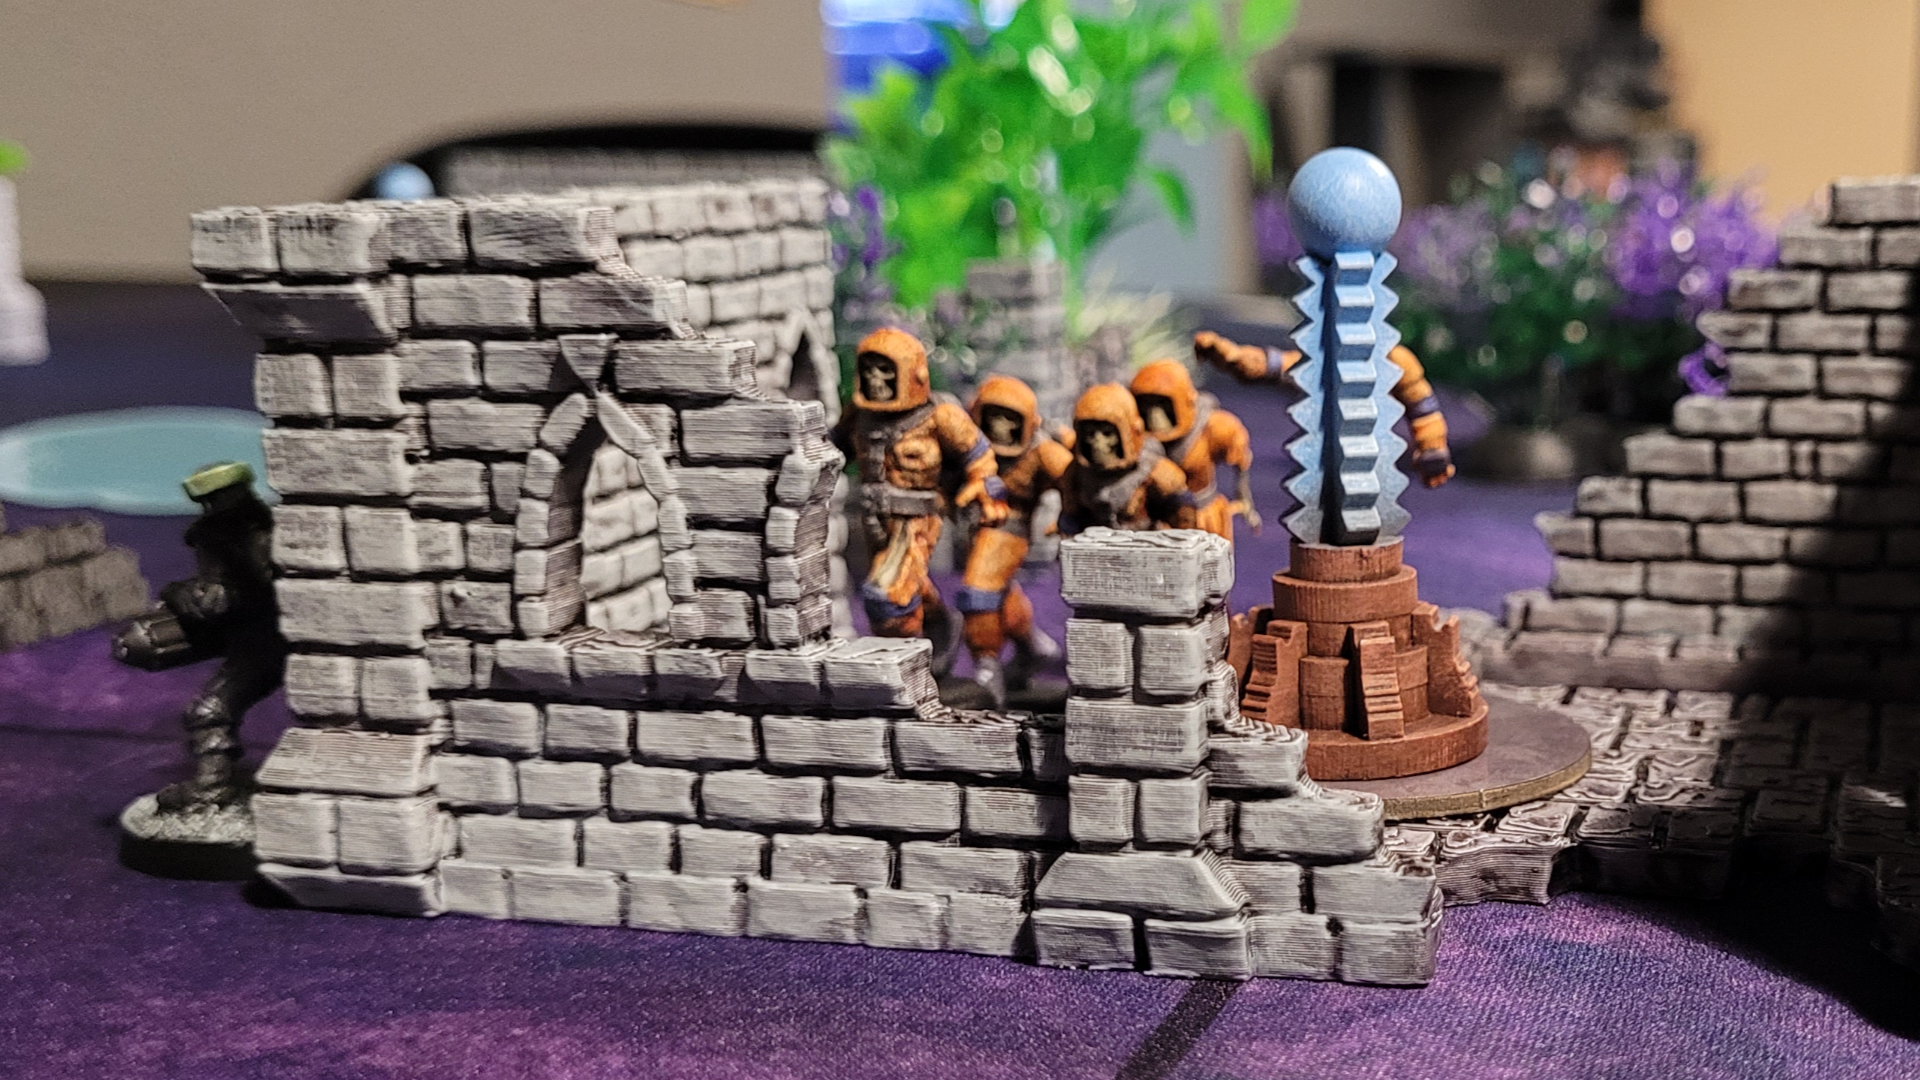 Here come the Necronauts.
For our next Star Schlock game, my opponent wanted to try out the new Dreaded Dead faction. I just bought these models as well, but my opponent managed to get his painted first, so he’ll get the first try at using them.
One tricky thing about playing the Dreaded Dead is that they introduce level one units into the game. Up until now, all of the units in Star Schlock have been either level 2, 3 or 4 – these levels correspond with the initiative cards players use to activate units, with a matching card giving the unit more actions the first time they activate. Since there are no level 1 cards, the two Dreaded Dead group units will never be able to take advantage of that, meaning they’ll never get more that two actions in a turn.
Another thing for the Dreaded Dead player to consider is that they will want to limit their force to no more than three different levels of units. In Star Schlock, a round is divided into three initiative phases, during which each player chooses a level and activates all their units of that level. This means that if a player has 4 different levels of units, they’re not all going to be able to activate each round, and it’s likely they’ll be activating fewer units each turn. Luckily, so far all the Dreaded Dead units are either level 1, 2, or 3, and they aren’t allowed any non-Dreade Dead units in their force, so the point is moot for now.
My opponent’s Necro-force consists of a group unit of Necronauts, a group unit of Necroguards (slightly tougher with a ranged attack), three individual Ghoul-rillas, and the Puppeteer, a weird little support piece that doesn’t have any direct attacks, but can take free actions with other units (friend or foe) and replenish group units if they have the Dead keyword. This all adds up to a staggering 700 points, our largest game so far.
I decided to try out the Eternal Empire, Star Schlock’s answer to a certain oppressive regime operating in a galaxy far, far away. Since there aren’t “official” miniatures for all the Eternal Empire units yet (sorry Ben!), I’ll have to get a little creative.
One of the central conceits of Star Schlock is that all the fluff treats it as though it were a real TV show that frequently used stock footage from other sources, hence the mash-up of familiar sci-fi properties. Keeping in this vein, I’ve decided that there was a short-lived transatlantic co-production deal, resulting in re-use of some costumes that might be familiar to fans of British 1970s sci-fi.
To put it another way, my Eternal Empire force consists of models from Harlequin’s old Doctor Who range, and Beast in the Broch’s excellent Future Freedom Fighters who may or not be based on characters from Blake’s 7. I used Sea Devils for the Gillcreeps, FedSec Troopers for the Dronetroopers and Dreadbot, and Star Commander Travers for Count Baculum, who will hopefully be my force’s MVP considering his formidable 270 point cost. These models had been sitting in a box for many years, so if nothing else it was fun to get them to the table again after far too long.
In the spirit of all games being miniatures agnostic, I’ve also borrowed a few tentacles from the Monolith Conan board game to use with the Lurking Horror strategy card, which will turn seemingly innocent pools of water into deadly traps. Hopefully.
Round 1
We both made the usual dash for the objectives that were closest to our own starting areas and farthest away from each other’s, my opponent with all three of his Ghoul-rillas (remember, these are three separate units, not a single group, so they could split up if he wanted them to), and me with my Gillcreeps. As is often the case, the bulk of the action would revolve around the center objective, which my opponent managed to take control of by getting his Necronauts into position before I could move my Dronetroopers. Rather than rush the objective, I chose to make use of my ranged advantage by firing at the Necronauts from a distance. Unfortunately, the center objective was surrounded by cover so my shots weren’t all that effective.
 Keep firing! Keep firing!
I moved Count Baculum, who is a beast of a character, in to help, but that cover was just too much – I would need to move into melee range to get rid of the Necronauts and take control of the objective.
At the end of the round I got to place my first Lurking Horror, a token placed in water terrain that inflicts a casualty on the next unit that activates near it. I had also played the Jungle Warfare strategy card, which allowed me to place three extra pieces of water terrain on the board. I made sure to put two of them close objective points, keeping in mind that my Gillcreeps were immune to the Lurking Horror, but also that my other units were not so I didn’t want to fall victim to my own tentacles.
I placed the first Lurking Horror near the objective that my opponent’s Ghoul-rillas were sitting on, hoping to trap them there or at least force my opponent to spend extra resources on them – when a non-group unit takes a casualty, they’re dead unless their player chooses to give them plot armor, a card from hand that gives them a bonus to attacks and skill tests (but never defense). The catch is that a character can’t have more plot armor cards than their level, so there is a limit to how many times each character can avoid death, plus each plot armor takes a card out of the player’s hand that doesn’t get replaced.
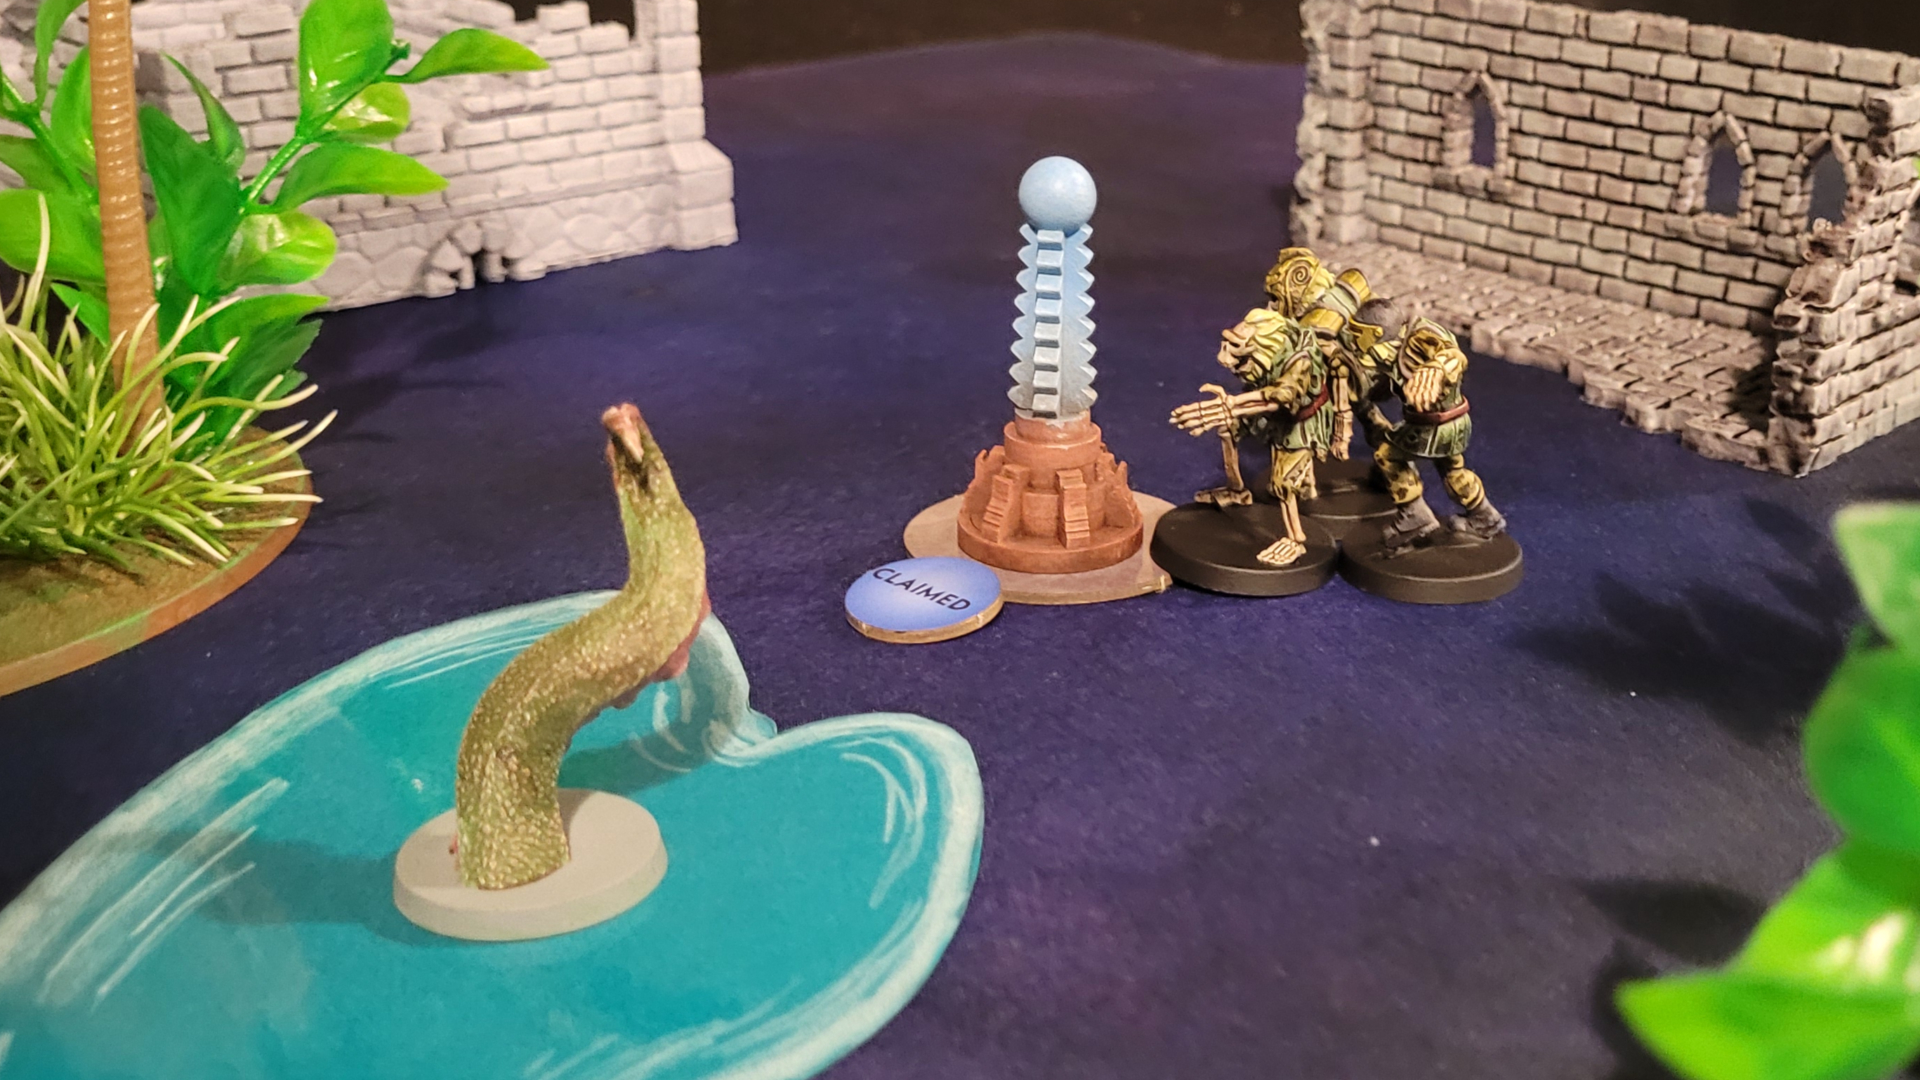 Do not disturb the water...
Round Two
With two objectives under his control, my opponent scored more points than I did at the end of round one, but I was able to bounce back a bit in round two. In a scene not unlike Darth Vader’s massacre of the crew of the Profundity at the end of Rogue One, Count Baculum moved in and made short work of the Necronauts. His melee attack rolls five dice, with each skull (6) result counting as two additional hits. Couple that with his Unlimited Power ability that lets him reroll any of his dice, and he is definitely a character you want to stay away from.
My opponent had a unit of Necroguards waiting in the wings, plus the Puppeteer to give them extra actions. Judging that the objective they were guarding was far enough away from the action to be relatively safe, I moved the Gillcreeps in to attack the Necroguards, but the battle didn’t go that well. The Gillcreeps took out a good chunk of the Necroguard unit, but on my opponent’t turn the Puppeteer managed to replenish them thanks to his Necromancy ability, and their counterattack caused my Gillcreeps to rout.
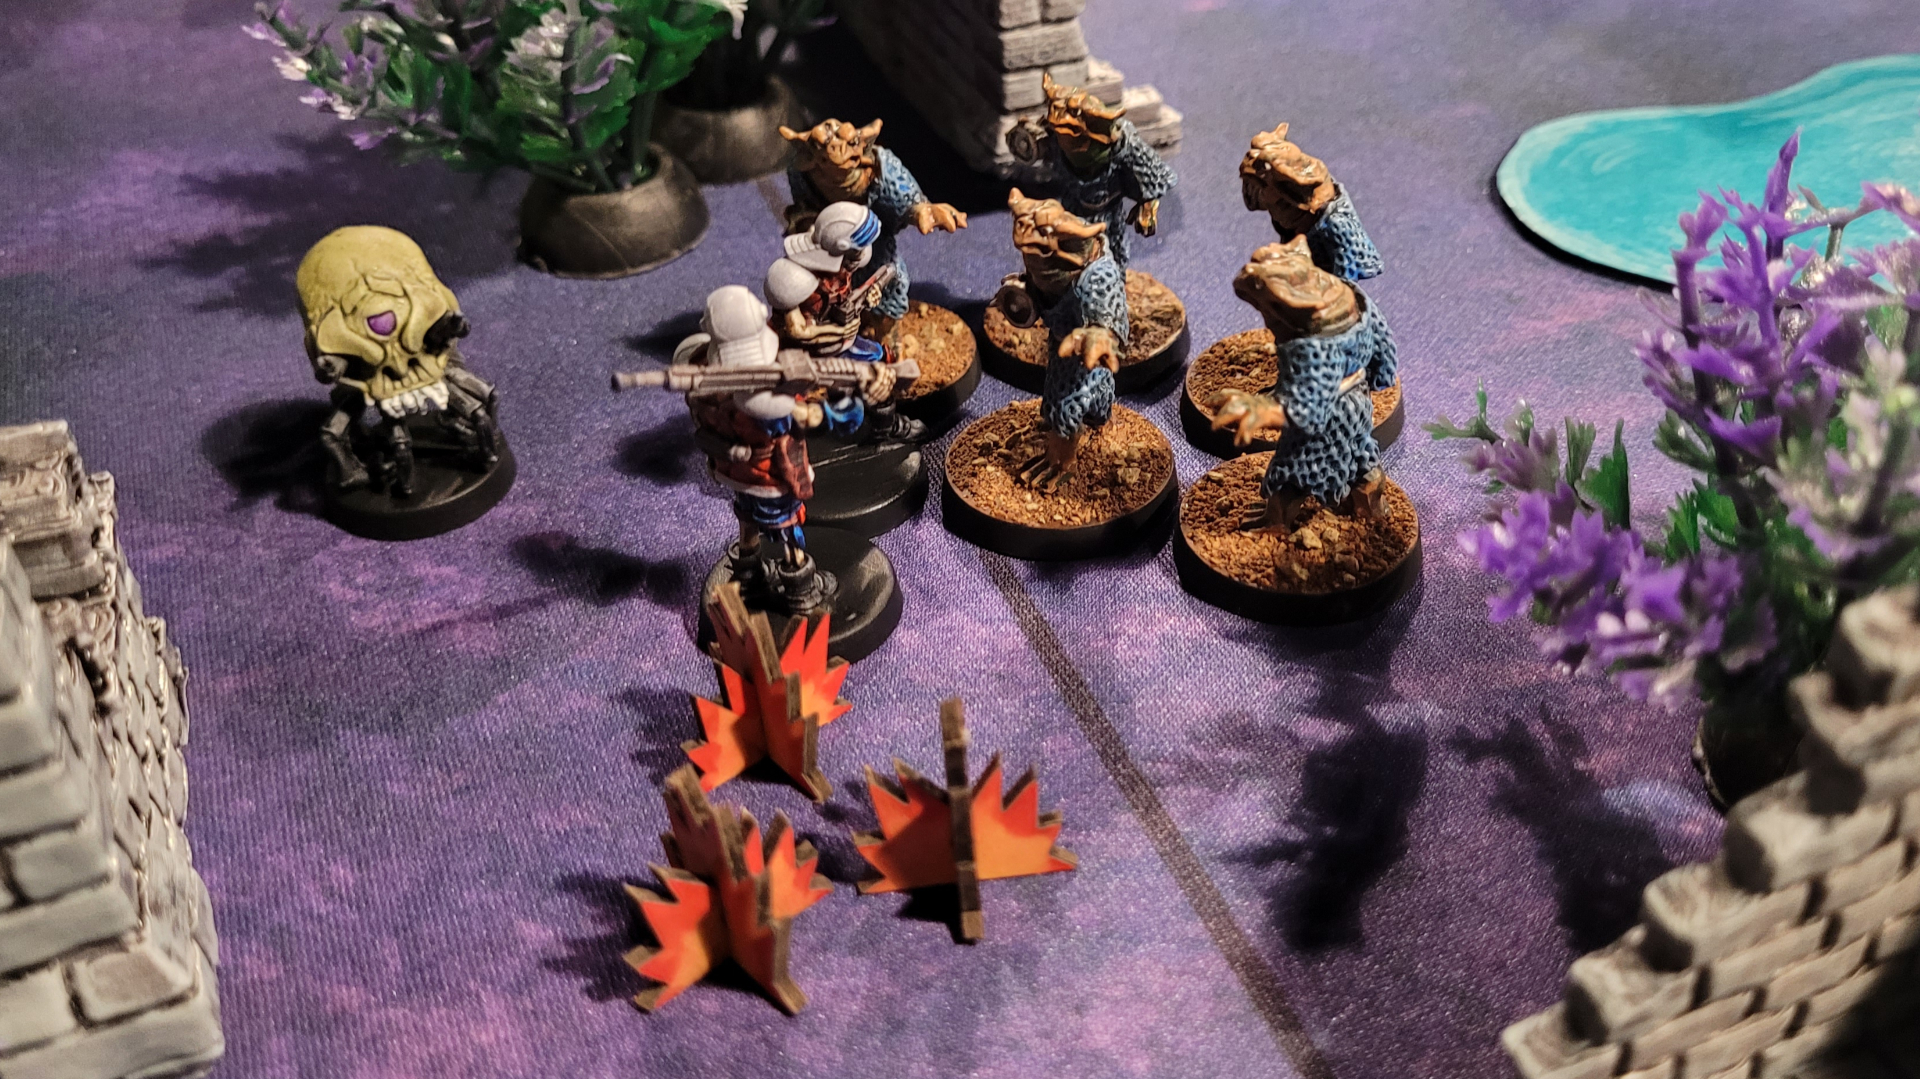 The march of the Sea Dev—er, Gillcreeps.
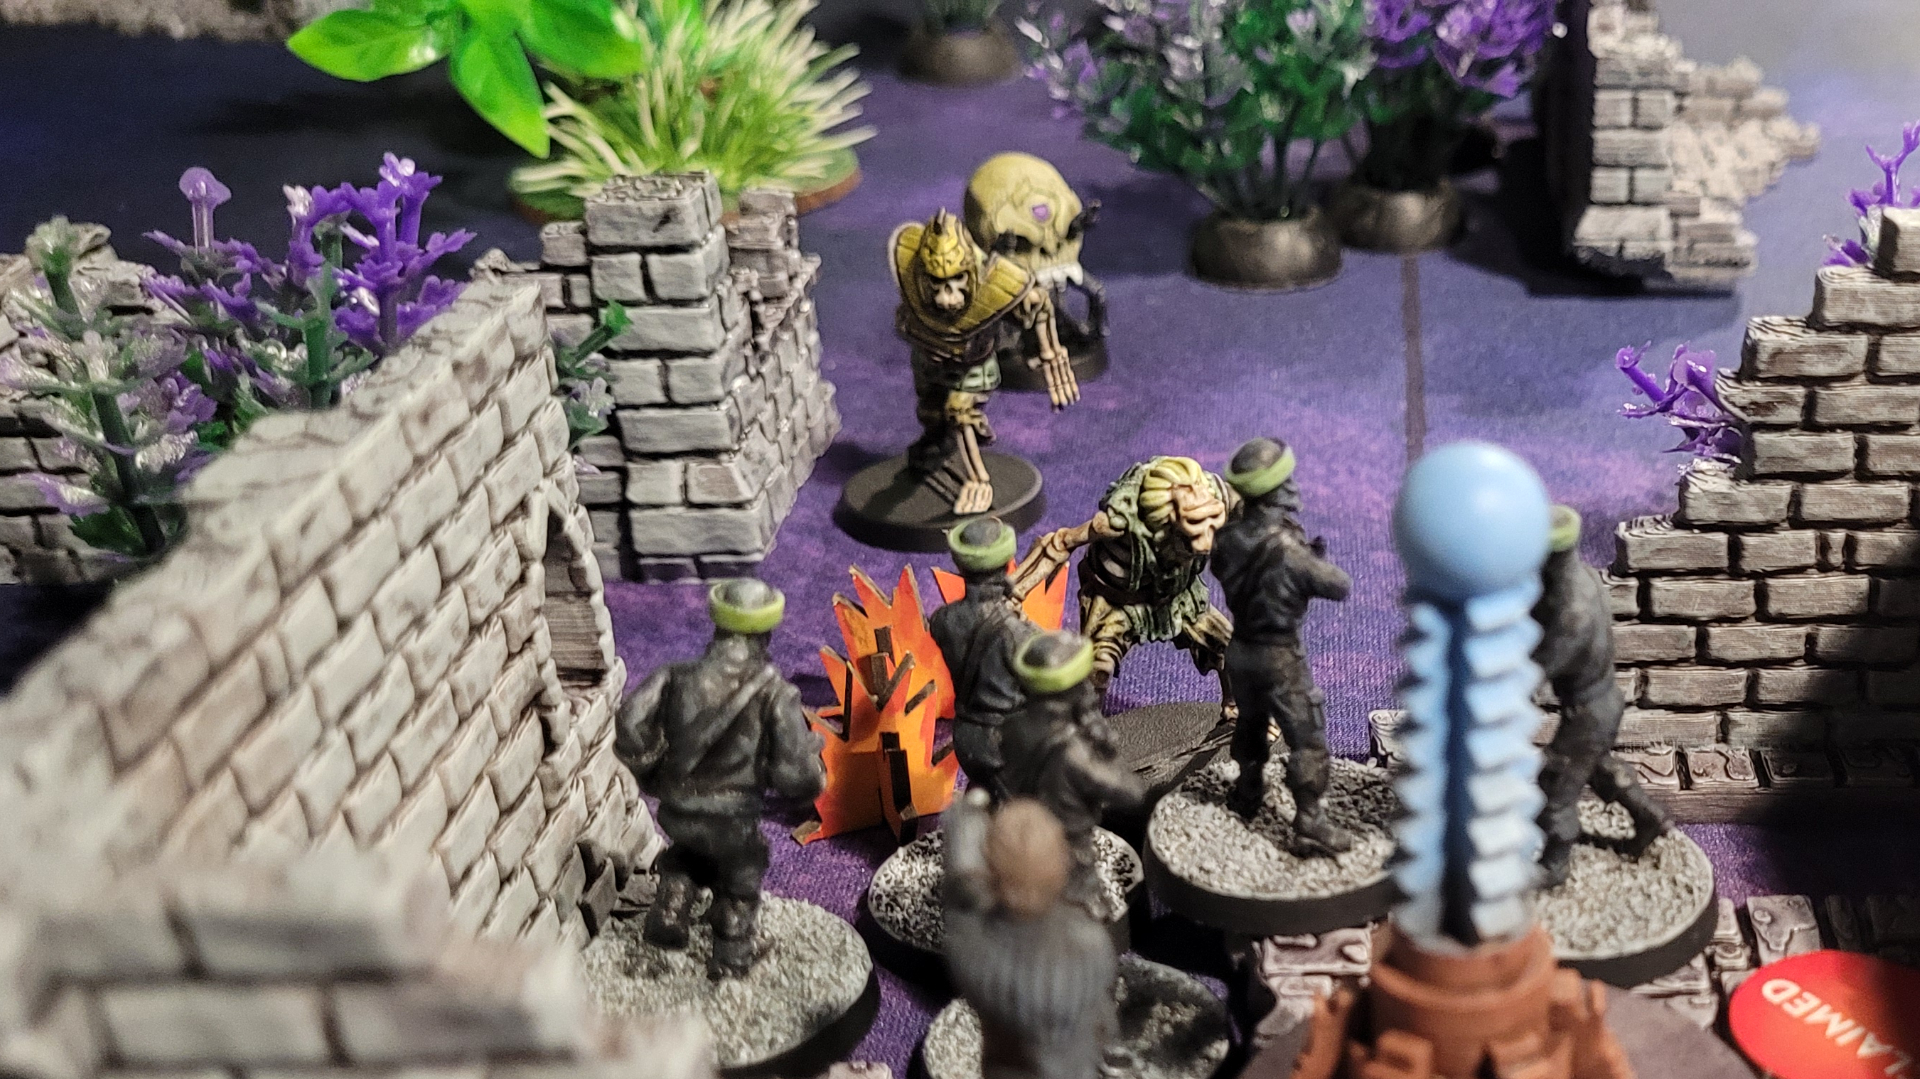 Wait, is that a zombie gorilla? We’re outta here...
In Star Schlock, successful attacks have two effects: pins and casualties. Casualties cause models to be lost from group units, and death for individual characters unless the player has cards to spare for plot armor. Pins are tokens that pile up around the unit, preventing them from moving until they spend an action to rally. If a defender ever has more pins than its Will, it routs, forcing it to move back to its starting area by the most direct route.
Routed units are more vulnerable attacks and can do nothing but run away until they make a successful rally roll as their next action. If they make it to a board edge, they are out of the game.
The round wasn’t a complete shambles for me though. My Dronetroopers managed to finish off my opponent’s Necroguards (this was good because once they’re completely gone, they can’t be replenished with the Puppetmaster’s Necromancy ability), and my Dreadbot (a character unit with a lot of firepower) kept the Ghoul-rillas pinned down and far from the action. I finished the round controlling two objectives and with a two point lead.
Round 3
At the start of round three he unthinkable happened. My opponent, having managed to get his Ghoul-rillas away from the Lurking Horror, moved on the center objective and routed not only the Dronetroopers (an error, as we noticed later that the Dronetroopers have an ability that causes them to take a casualty instead of routing), but also Count Baculum himself. With a Will of 5 it was easy enough for him to recover, but still embarrassing It meant I had to spend a lot of moves getting back into position, and the Dronetroopers got wiped out in the process.
My opponent then made what he would be the first to admit was a bit of a tactical blunder – he closed on Count Baculum with his Ghoulrillas and the Puppetmaster. The worst thing you could do was engage the Count in melee, where he doesn’t have to spend actions moving or reloading a ranged weapon, and he proved the point by taking out two of the Ghoulrillas.
Surprisingly, the round ended with a tied score since I hadn’t managed to regain control of the center objective and my opponent had knocked out my Dronetroopers, but round four would prove to be decisive.
Round 4
Critically, I won the initiative and took out the remaining Ghoul-rilla, leaving my opponent with only one unit in play – the Puppetmaster, who doesn’t have any attacks of his own. He might have tried using the Puppetmaster’s Dominate ability to force my units to start attacking each other, but it was a long shot, and it would have been pretty easy for me to just throw everything I had at him and then take control of the other two objectives. Rather than play it out, my opponent conceded the game.
Aftermath
It was an interesting game with a lot of twists and turns, and it could easily have gone very differently.
Overall the Eternal Empire was fun to play, embracing a very aggressive approach with heavy hitters like the Dreadbot and especially Count Baculum. The Gillcreeps weren’t all that impressive – their lack of a ranged attack made it difficult to keep them in jungle or aquatic terrain where they have an advantage – but it looks like there are some new strategy cards that will make use of their spy keyword so they might be worth revisiting in the future.
The new Dreaded Dead faction looked like they were tricky to play. Most of their units get fewer actions but better defense, and the Puppetmaster’s Dominate ability could be devastating if he was able to take control of an opposing unit at a critical time. I’m looking forward to trying them out myself.
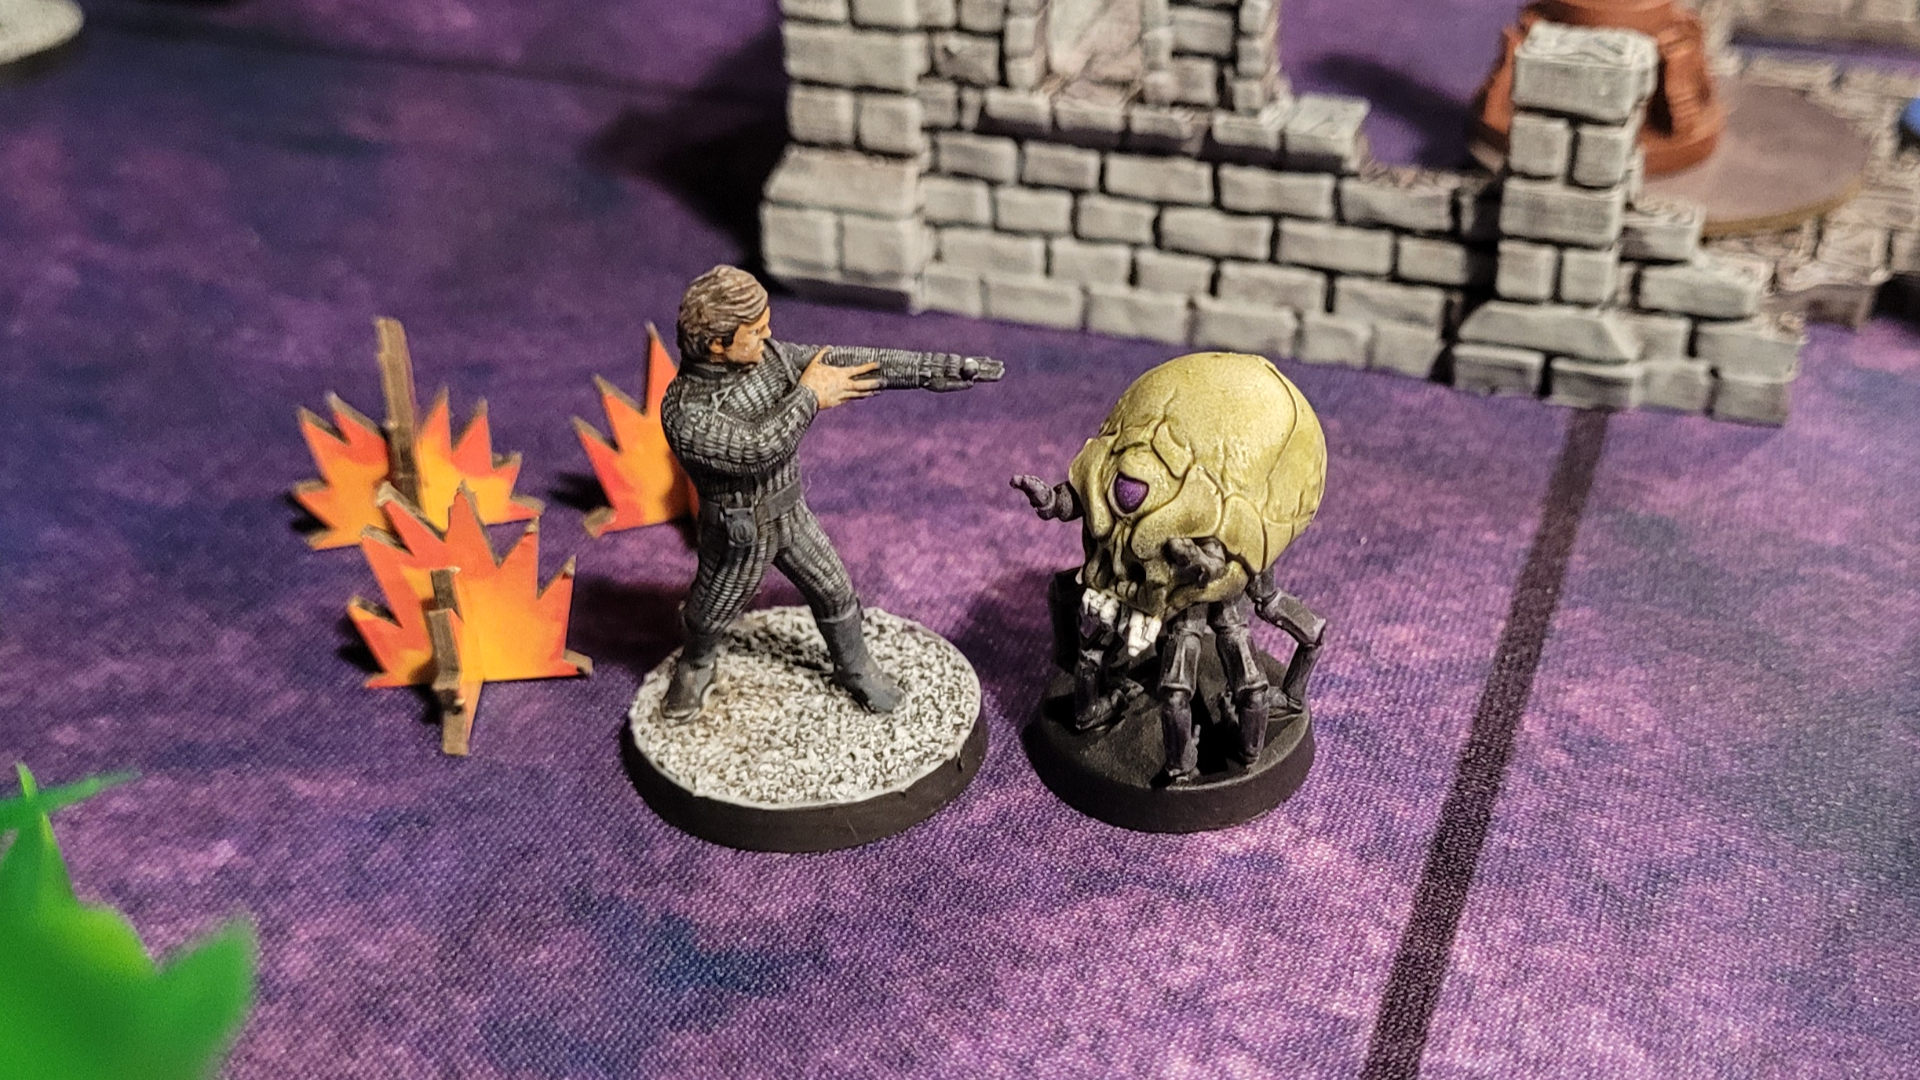 The final showdown, but only one of these guys has a weapon...


![StarCraft Tabletop Miniatures Game Pre-Orders Live Now [Updated]](https://images.beastsofwar.com/2026/03/starcraft-tmg-news-cover-600-338.jpg)


