


![NO Weekender Or Cult Of Games XLBS This Weekend [Updated]](https://images.beastsofwar.com/2026/03/No_Weekender_and_XLBS_this_Weekend-225-127.jpg)


Shatterpoint: A Star Wars Story


Recommendations: 90
About the Project
This is a log of all my Shatterpoint games throughout the year. I should preface this by stating that I am very much NOT a tournament-level player, and I only vaguely follow the game’s “meta” in passing. I play strictly for fun and I build lists based on characters I want to see on the tabletop. For me, Shatterpoint is an excuse for a grown man to keep playing with Star Wars toys...
Related Game: Star Wars: Shatterpoint
Related Company: Atomic Mass Games
Related Genre: Science Fiction
This Project is Completed
Lando and Hondo vs the Spectres
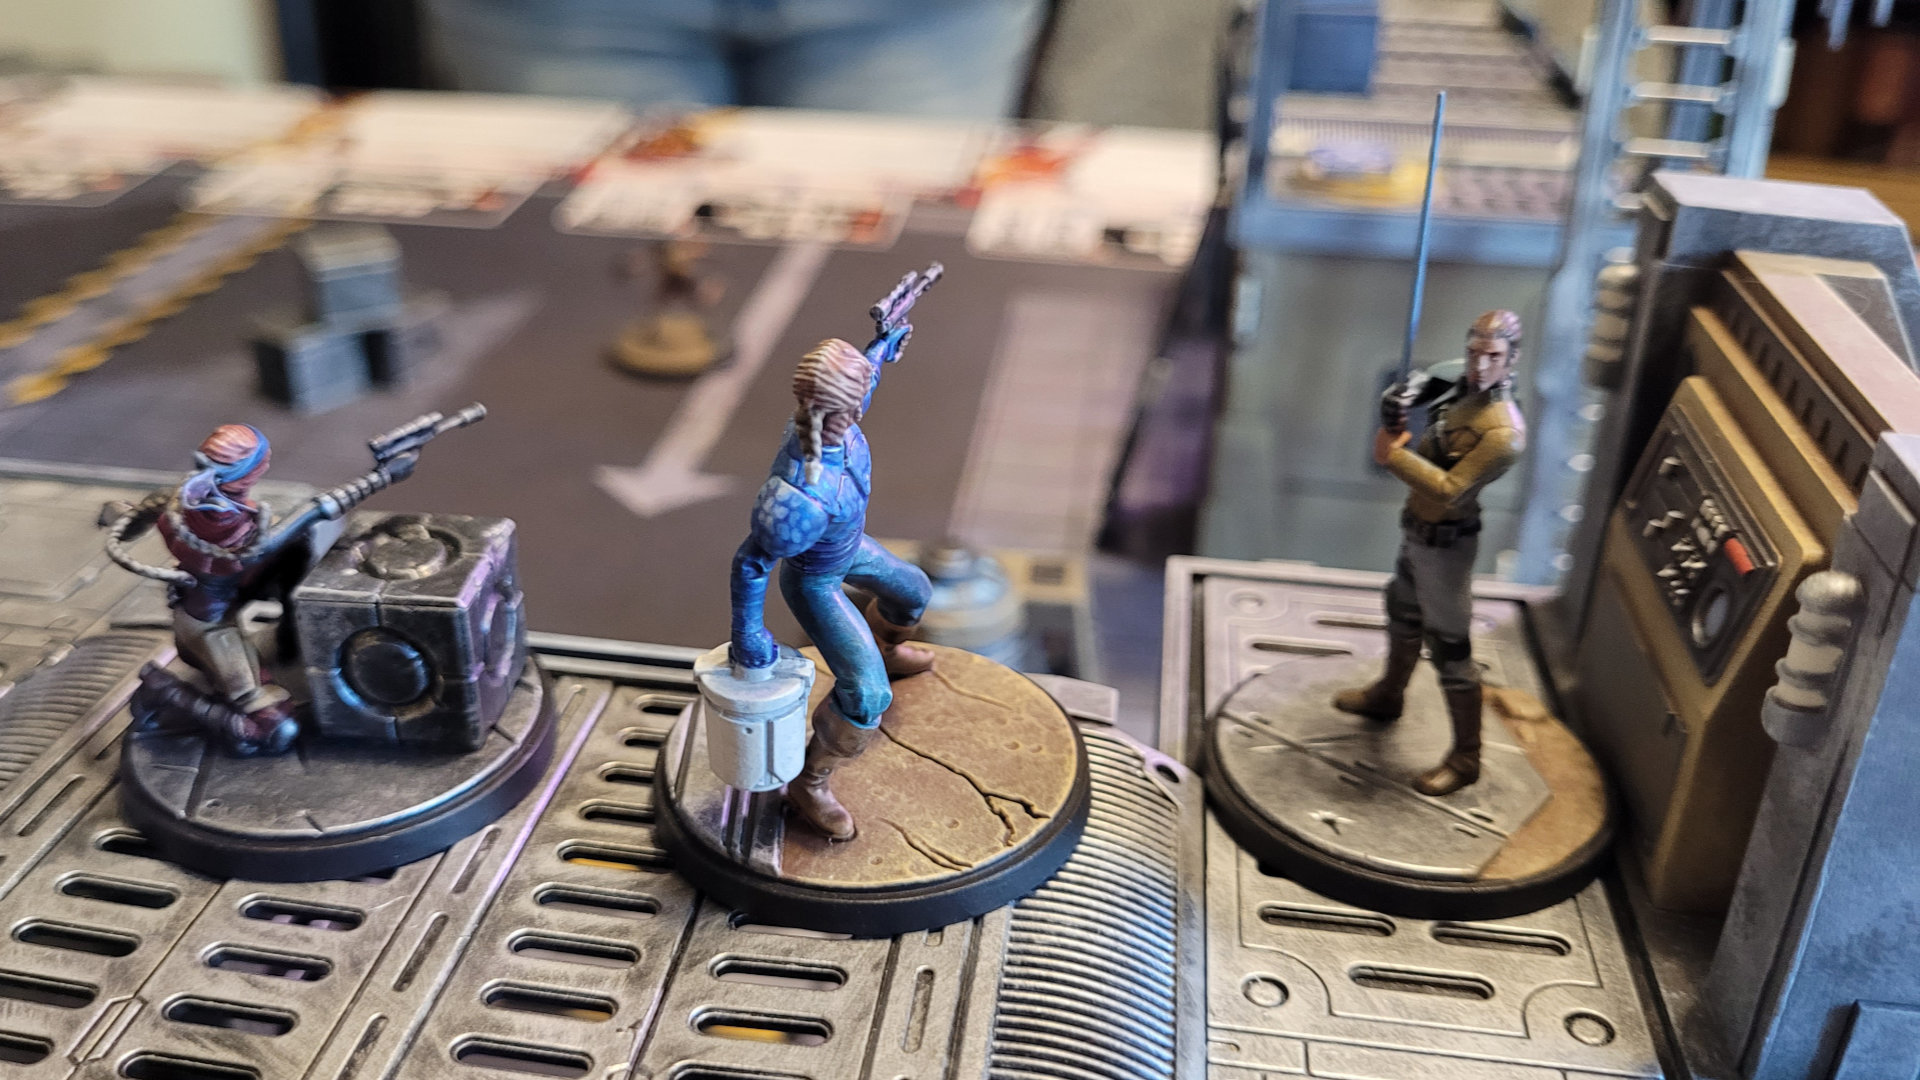
I just finished painting the What Have We Here? squad box featuring that ol’ smoothie Lando Calrissian and his stalwart assistant Lobot. I haven’t really gotten into mixing and matching characters from different squad packs yet, I normally just pick two and play them “out of the box.” Hondo Ohnaka seemed like a pretty good partner for Lando, in terms of both synergies between the squads and just being a fun combo.
My opponent has elected to play the two squad packs that make up the cast of Star Wars: Rebels, so she’ll have a dream team of Kanan Jarrus, Ezra Bridger, Zeb Orrelios, Hera Syndulla, Sabine Wren, and Chopper facing off against my criminal consortium of Hondo, his lieutenant Gwarm, some Weequay Pirates, Lando, Lobot, and the Cloud City Wing Guard.
It seems that Lando and Hondo are engaged in some petty crime that has run them afoul of the Spectre crew. I’m sure once the dust settles we’ll realize that it was all just a terrible misunderstanding…
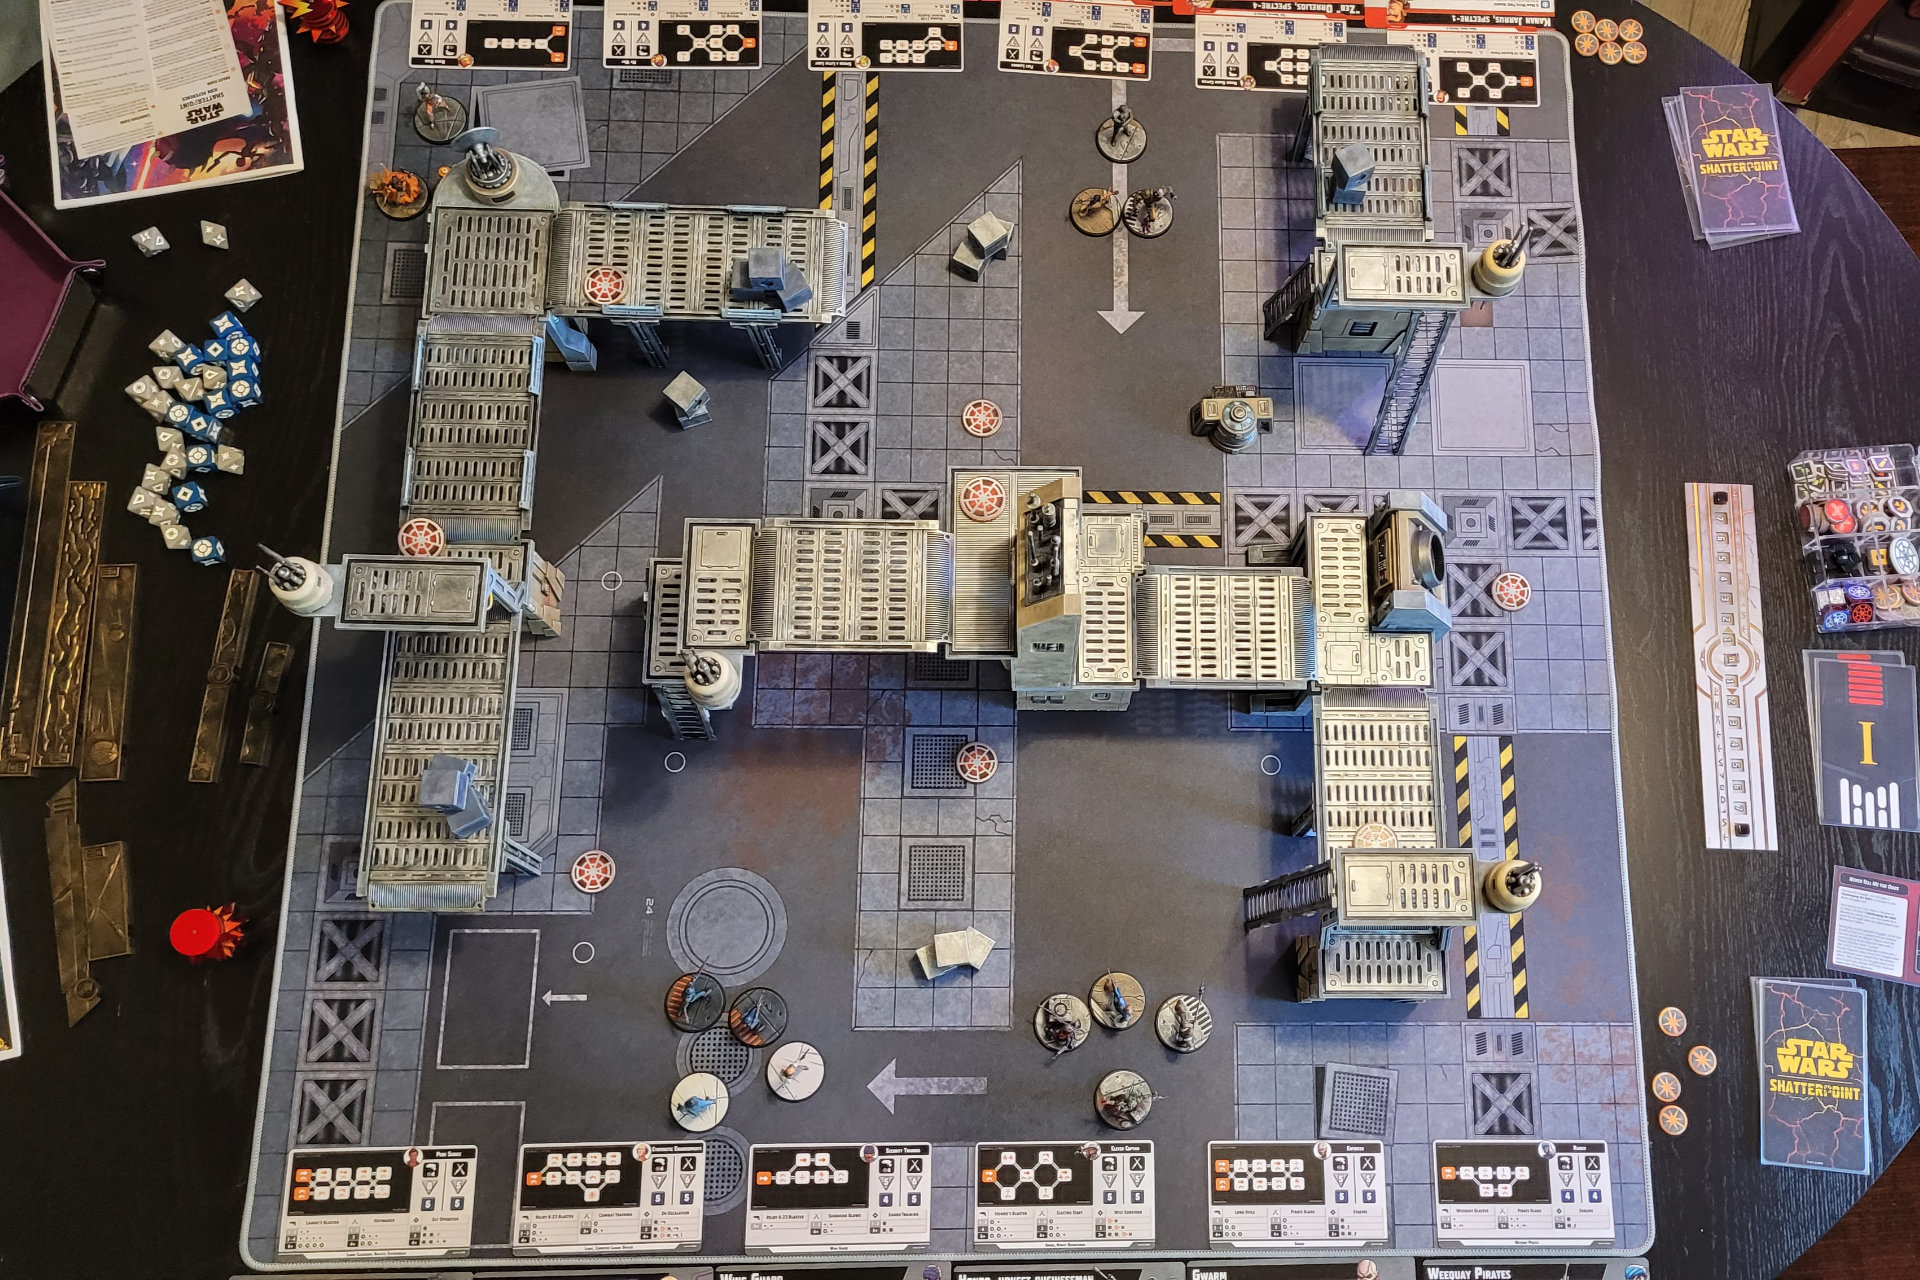
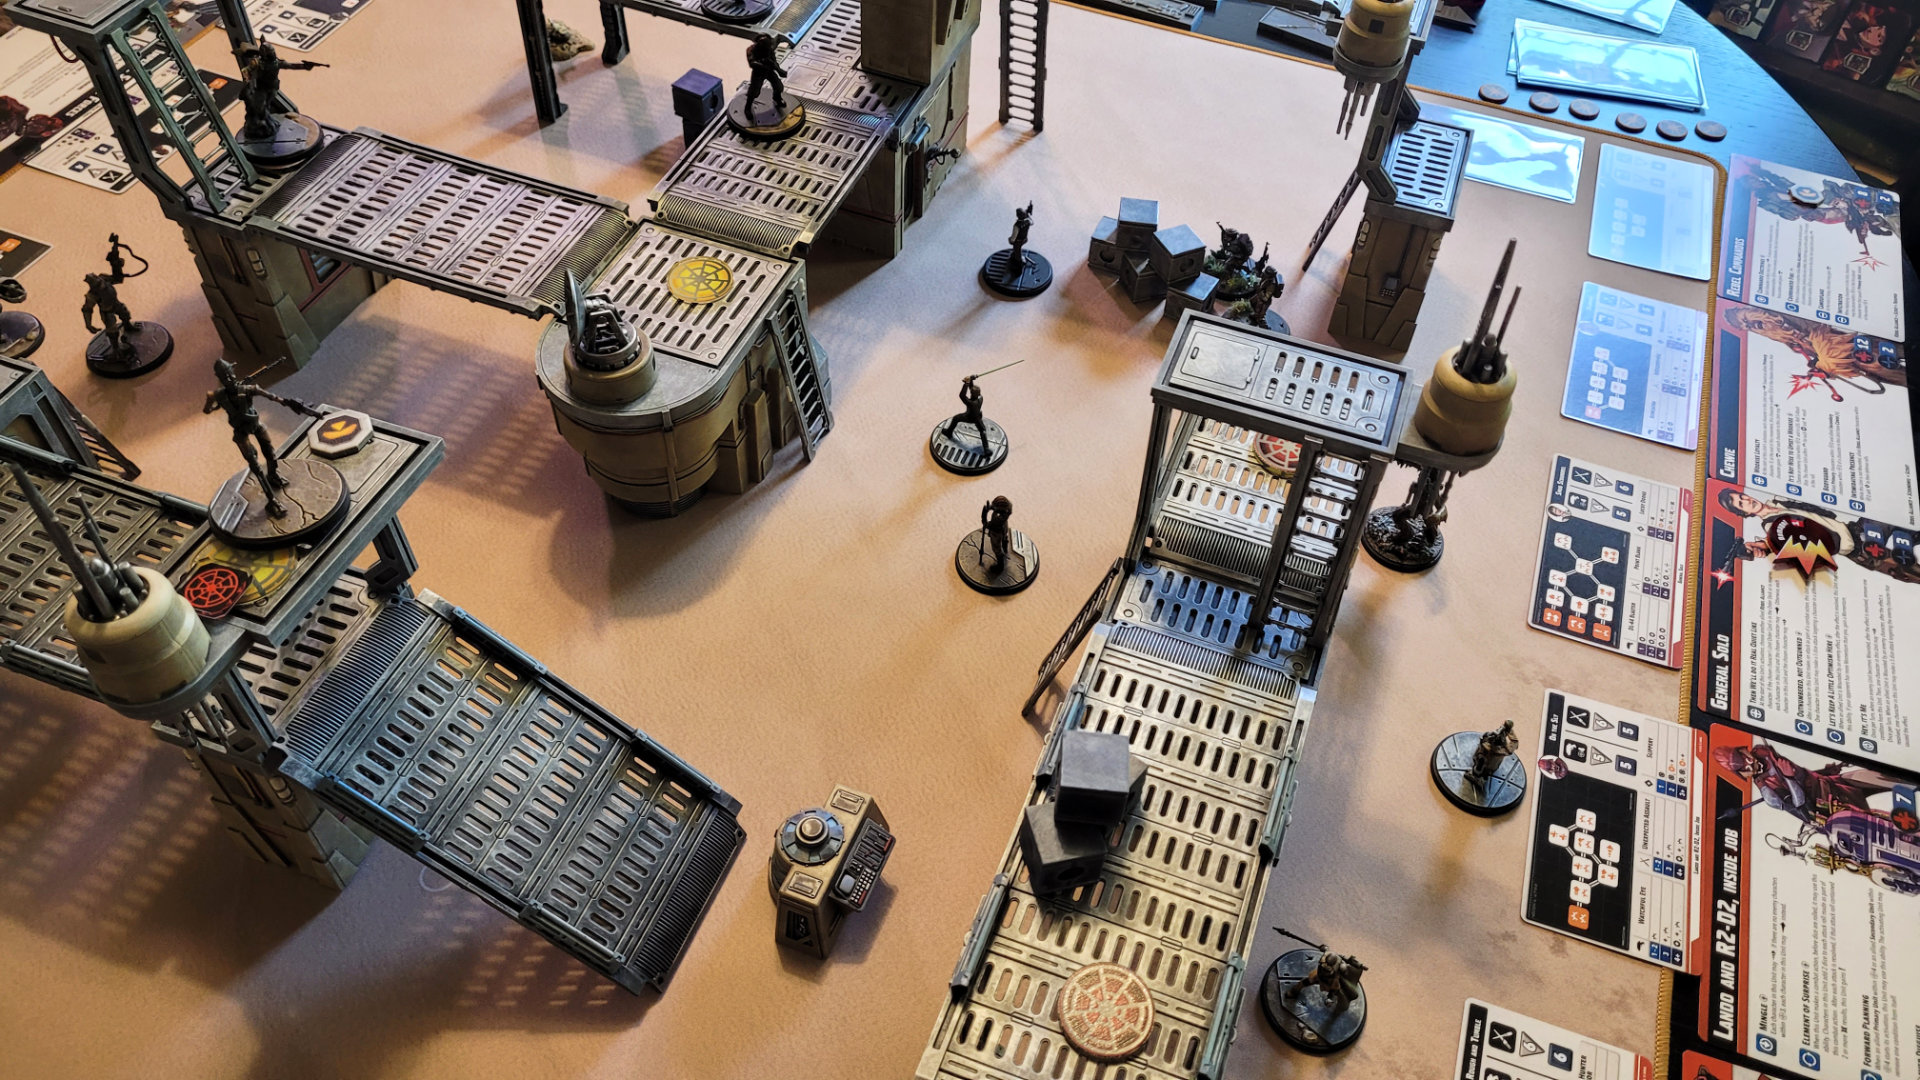
Table setup
Shatterpoint is all about controlling objective points, and it uses mission cards to determine where those are placed on the table. We decided on the Never Tell Me the Odds mission set, which gives us nine possible locations for objective points. I tried to set up the game’s multi-level terrain so that the possible objective points would be split up into different levels as much as possible, to make moving between objectives challenging and fun.
And Away We Go
We start by revealing the first mission card and flipping over the indicated objective markers. These will be the active objectives for the first struggle. The game is played over two or three struggles, during which players score points for controlling objectives. After a player scores enough to win a struggle, the points are reset and a new mission card is revealed, which changes the number and locations of the active objectives.
This mission set seems to encourage more direct confrontation, rather than just sitting on objectives – each during each struggle, a particular type of unit (either Primary, Secondary, or Support) can score an extra objective point when they wound an opposing unit (not as easy as it sounds). For the first struggle, Secondary units can score this bonus, which puts the spotlight on Ezra and Sabine for my opponent and Lobot and Gwarm for myself.
My opponent is the first player and draws Kanan Jarrus as her first activation card. Jarrus has a Tactic (start of turn) ability that allows another unit to make a dash move. In this case, She moves Zeb Orrelios, who is able to dash into control range of one of the active objectives. The same ability gives Kanan himself a free dash, which when combined with a regular move action, gets Kanan a good distance across the board and within range of another active objective. My opponent now controls two, but unfortunately for her, you don’t score objectives on the first turn of the game. Still, she’s off to a very strong start.
 Kanan and Zeb take an early lead
My first activation card is Lobot, which is great for me as he has a lot of abilities that support my other units. I start by using his Security Network ability, which gives another Secondary or Supporting unit a free dash followed by a 5-dice attack against an enemy that is contesting an objective. I move Gwarm into position and take a shot at Zeb, dealing him 5 damage and the Exposed condition, which will make his next defense roll less effective. Then Lobot continues his activation, moving to control a nearby objective and then hunkering down, and action that gives him a free short move and a hunker token, which will add to his defense until he next activates.
 Lobot is clearly running the show here
Meanwhile, over on the other side of the board…
My opponent’s next activation card is Sabine Wren. Like Kanan, Sabine has a Tactic ability that gives another unit a free dash; in this case, Hera moves into control range of an objective, and gets a free hunker as well. Sabine then moves up to the objective and hunkers as well, which will make it very difficult for me to wrest control away from them (I’ll need to have more units in control range in order to take control of it myself). My opponent now controls three objectives.
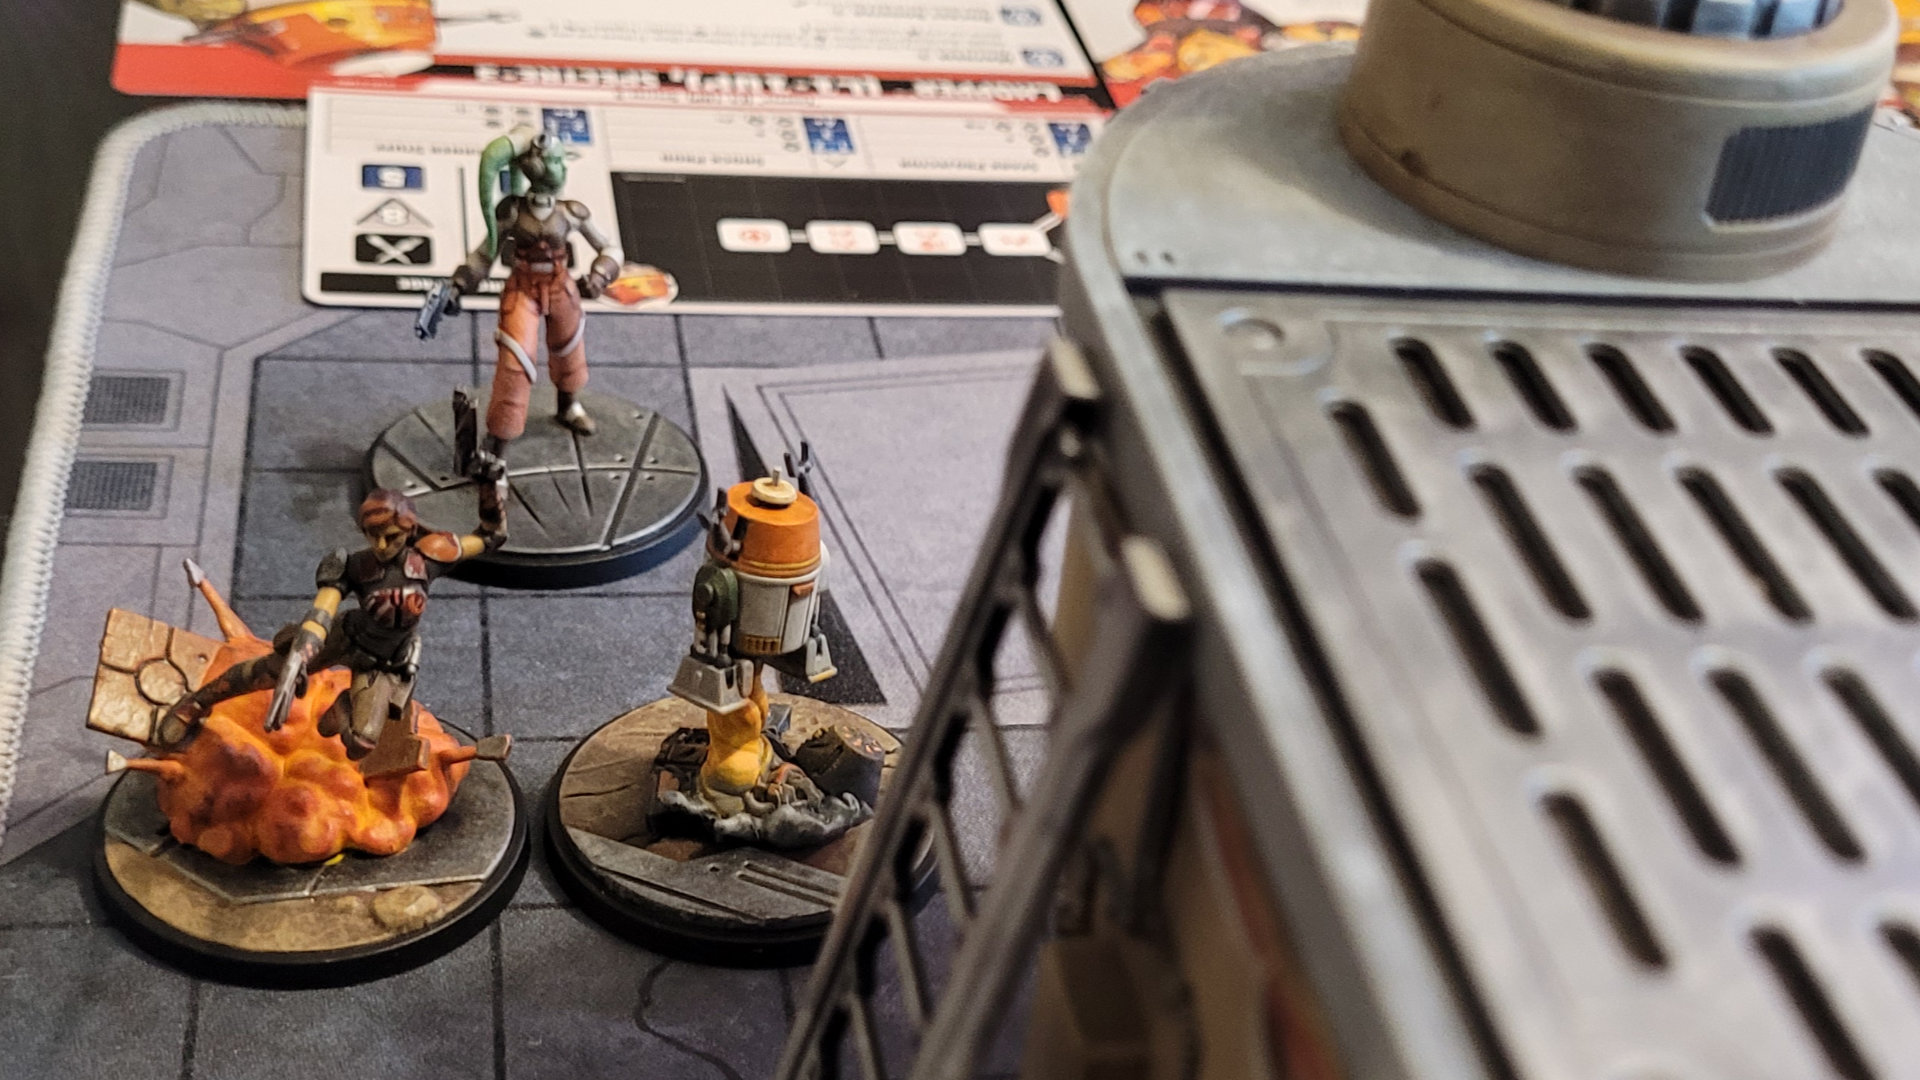 Hera and her squad discuss their strategy before moving in
I draw the Wing Guard next, and here is where I make my first of two major tactical blunders. Instead of activating the guards, I put them in reserve to use later. This is a huge mistake as they would have been able to take control of a currently uncontrolled objective, but I’m focused on wounding an enemy unit for the extra point, and Zeb is my target.
So I draw again and get the Weequay Pirates, who do at least make a somewhat effective move. They use their Raiding Party ability to jump up onto a gantry, then Lobot’s Battlefield Calculations reactive ability to gain a focus token, which will give them a bonus when they next attack. They move along the gantry to line up their shot, and then the first one launches a ranged attack against Zeb. The result is only 1 damage but also a shove, which pushes him off the platform he’s on and out of control range – unfortutately, my opponent retains control of the objective until I can move someone in to take over.
With Zeb now out of range, my other Pirate fires off a potshot at Kanan, which is my second tactical blunder. I deal him 2 damage, but Kanan’s defense roll includes a reposition, which allows him to jump up onto the gantry and into lightsaber range of my pirates. They shouldn’t have attracted his attention…
To add injury to insult, my opponent’s next activation card is Zeb, who uses one of his special abilities to get a free move towards Kanan, followed by a regular move action to climb up the gantry and into melee range of one of the Pirates, giving them a whomp. My opponent still controls three objectives to my one (with one still uncontrolled), so she’s scoring more objective points each turn and is much closer to winning the struggle.
To be continued…
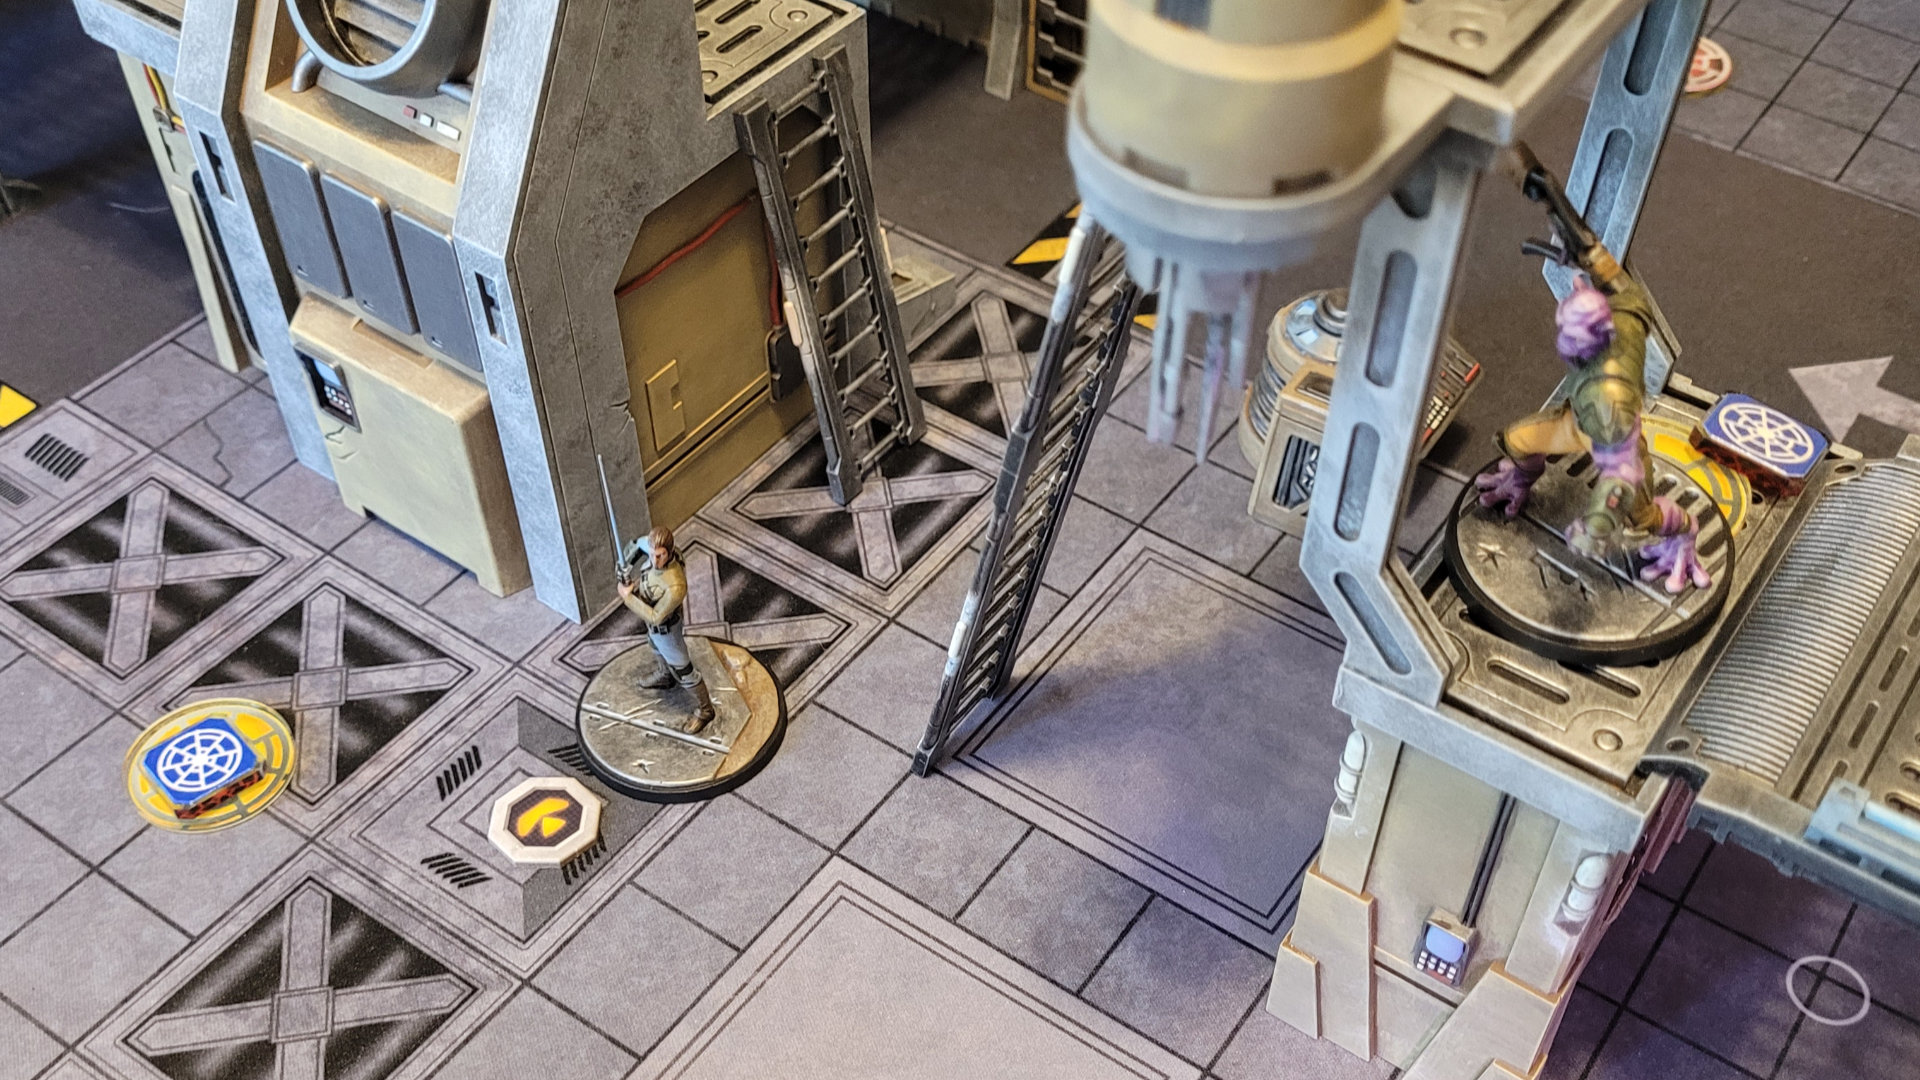
 Where in the @#$! did he come from?
Lando and Hondo vs the Spectres, part two
Too little, too late…
For my next turn I decide to activate the reserved Wing Guard, moving one of them into control range of the uncontrolled objective (which I should have done on my last turn). I move the other closer to the center of the board, where the bulk of the action is taking place. My opponent follows up by activating Chopper, moving him into range thanks to a Rocket Booster that gives him extra movement, and then firing off a shot at the Wing Guard who’s sitting on the objective. The attack does him 4 damage (halfway to being wounded) and shoves him, but not quite out of control range of the objective.
 Chopper moves in for the kill
Lando finally gets his turn to activate, but honestly it’s a little disappointing. His abilities are entirely focused on adding and removing conditions from other units. This would be generally useful, but my opponent has been using her attacks for damage and shoves wherever possible, so I don’t really have any units with conditions that need removing, so Lando does an anticlimactic move and hunker.
My opponent then draws her Shatterpoint card, a wild card that she uses to activate Zeb again. He makes a devastating melee attack on the Pirates and then moves to the top of the tower at the center of the board. As luck would have it, I draw my Shatterpoint card, which I use to activate Gwarm. He moves into range of Lobot’s Battlefield Calculations ability, which is especially good for Gwarm since he is a Sharpshooter, which gives him more extra dice from the free focus action. He then unleashes a massive eight dice ranged attack on Zeb, wounding him and knocking him off the tower. So at least I get the extra objective point for wounding a unit with one of my secondaries…
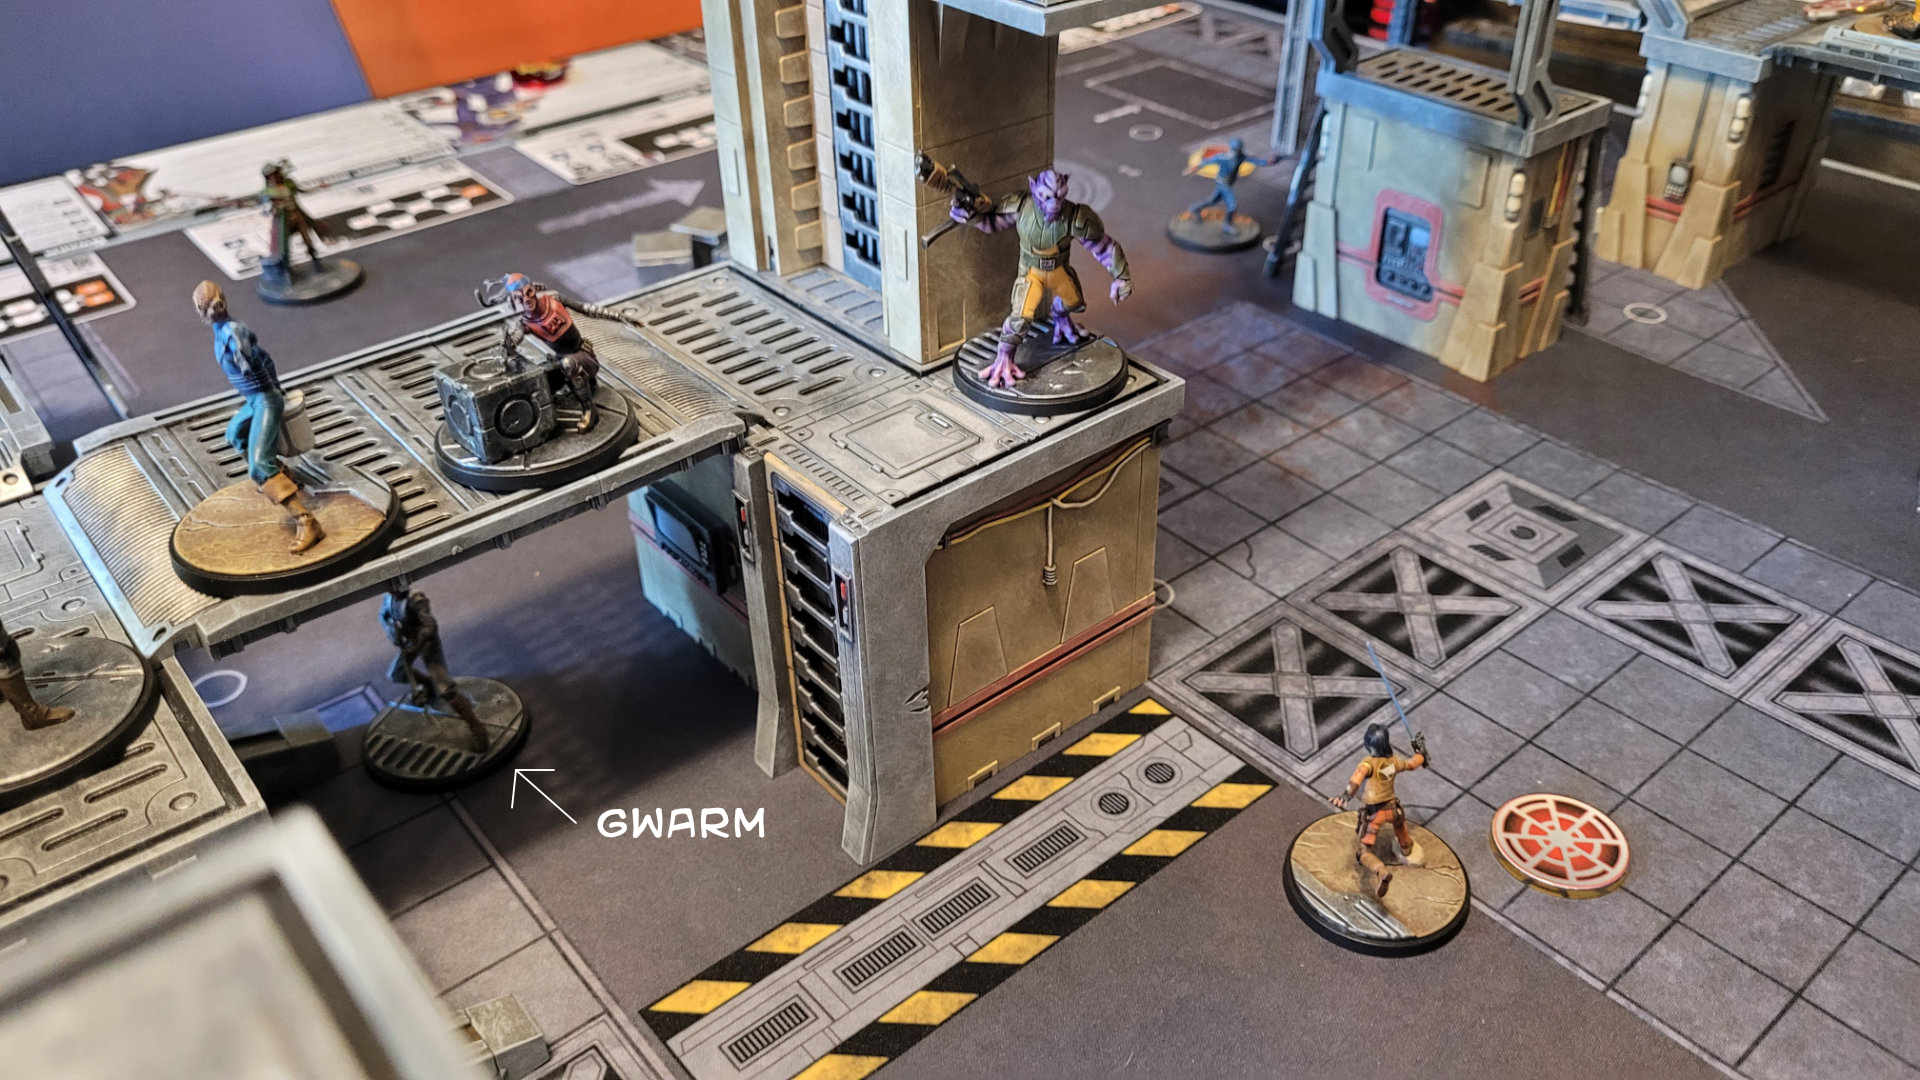 Look out Zeb, Gwarm is coming for you
My opponent then draws Hera’s activation card, using her Tactic ability to move Chopper closer to the objective he’s fighting with the Wing Guard over. Hera then moves close enough to make a ranged attack against the Wing Guard, wounding him so he can’t control the objective any longer. Chopper is close enough to take control of the objective, giving my opponent 4 objectives total, easily enough to win the first struggle.
 Where in the @#$! did he come from?
The second Struggle isn’t much of a struggle
At the start of the second struggle, we draw a new mission card that rearranges the active struggles. Since I lost the first struggle, I get to choose between two possible arrangements, both of which are terrible for me based on where my opponent’s units are positioned. I choose the option that seems like it will put more active objectives within easy movement range of my units, but my opponent’s units are much better spread out, so no matter what I do she’ll gain control of at least two of the objectives on her next turn.
My next activation card is Gwarm, who has been singularly focused on Zeb for the whole game. Earlier, when Zeb was wounded, he used one of his special abilities to recover from the wound more quickly, at the expense of losing some of his wound capacity. What this amounts to is that if I can wound Zeb again, He’ll be out of the game after his next activation, so I move Gwarm in for the kill, once again taking advantage of Lobot’s amazing support abilities. It’s a good shot, but not quite enough to inflict another wound.
My opponent and I each have one activation card remaining: her Ezra Bridger followed by my Hondo Ohnaka, amusing considering their oddly warm relationship on the Rebels TV show. Ezra moves into control range of the only objective my opponent doesn’t already control. In the second and third struggle, one randomly chosen objective is worth double points, and now my opponent controls all three objectives, giving her four points and putting her halfway to winning the second struggle (and the game). With a final Hail Mary, I move Hondo in to try to shove Ezra out of control range of his objective, but the attack completely backfires on me – I deal him a little damage, but his defense roll gives him a dash, moving him closer to the objective and into melee range of Hondo.
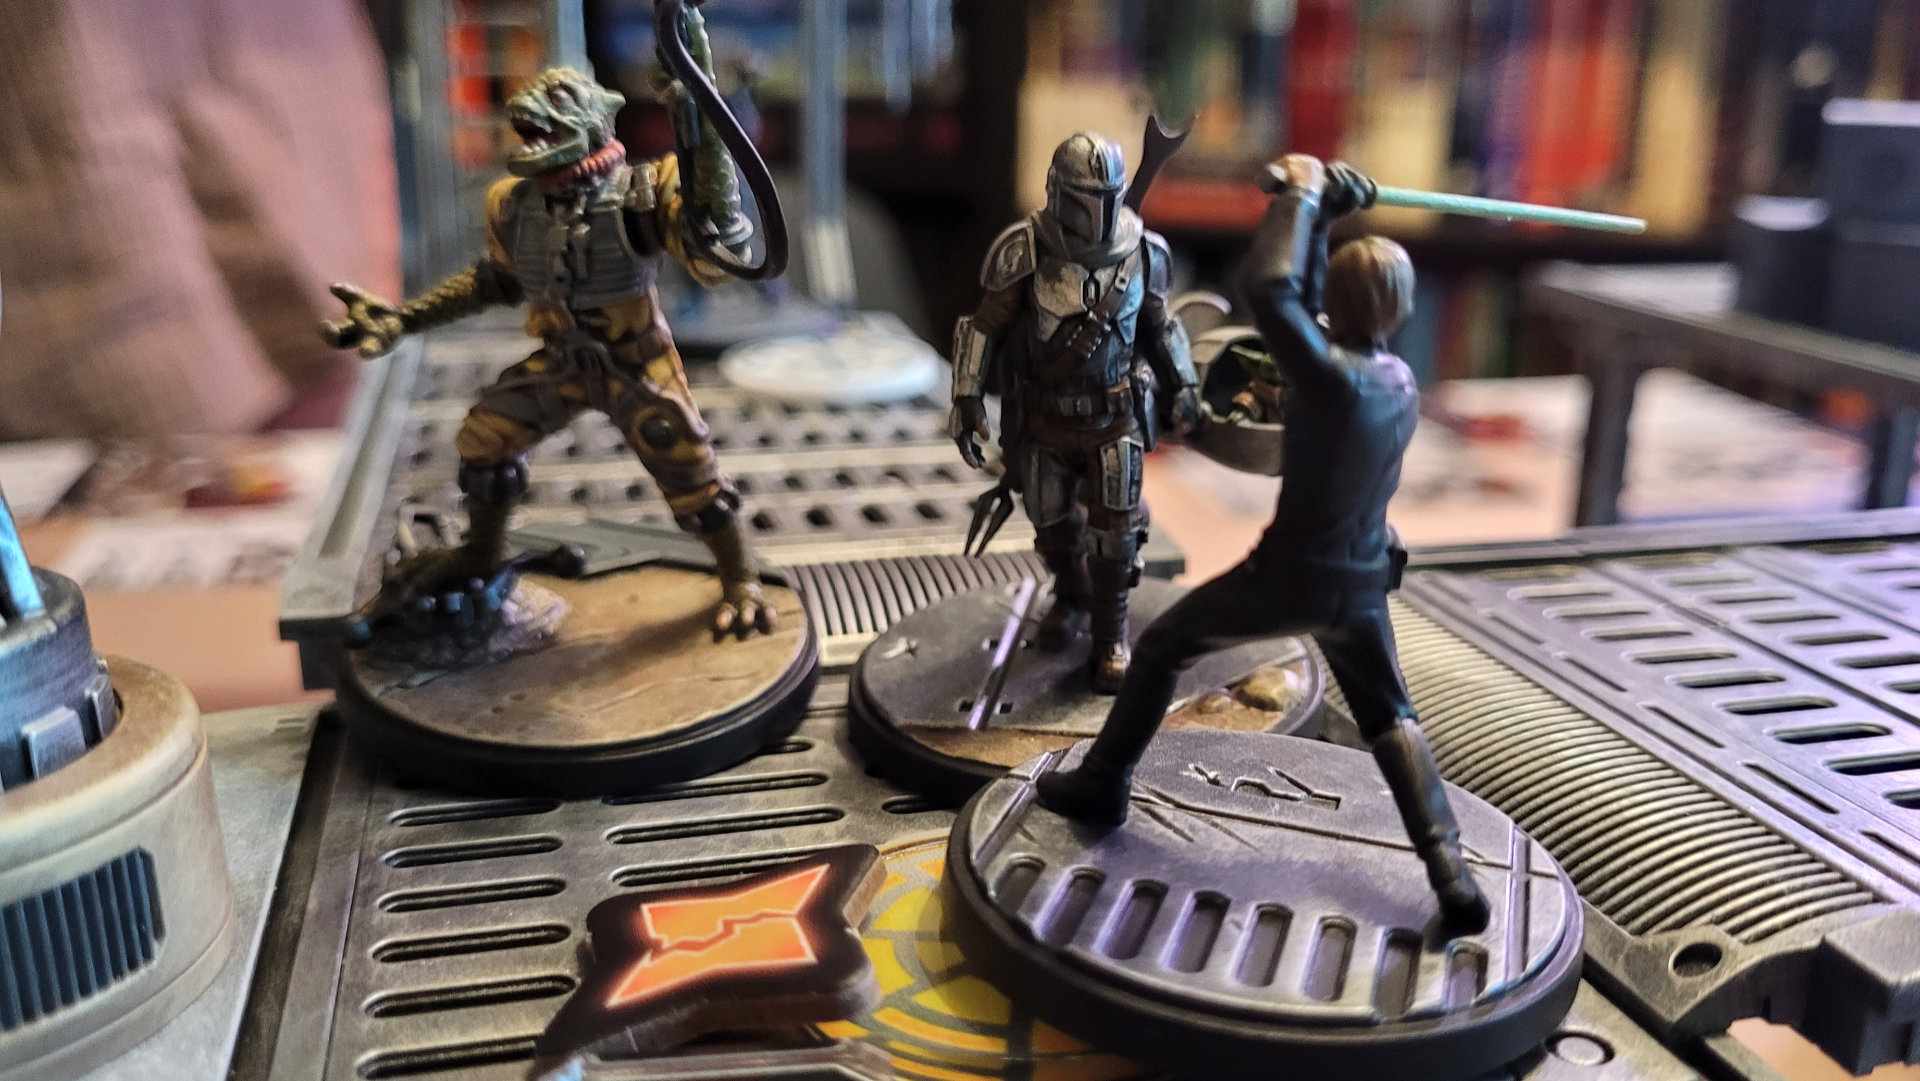
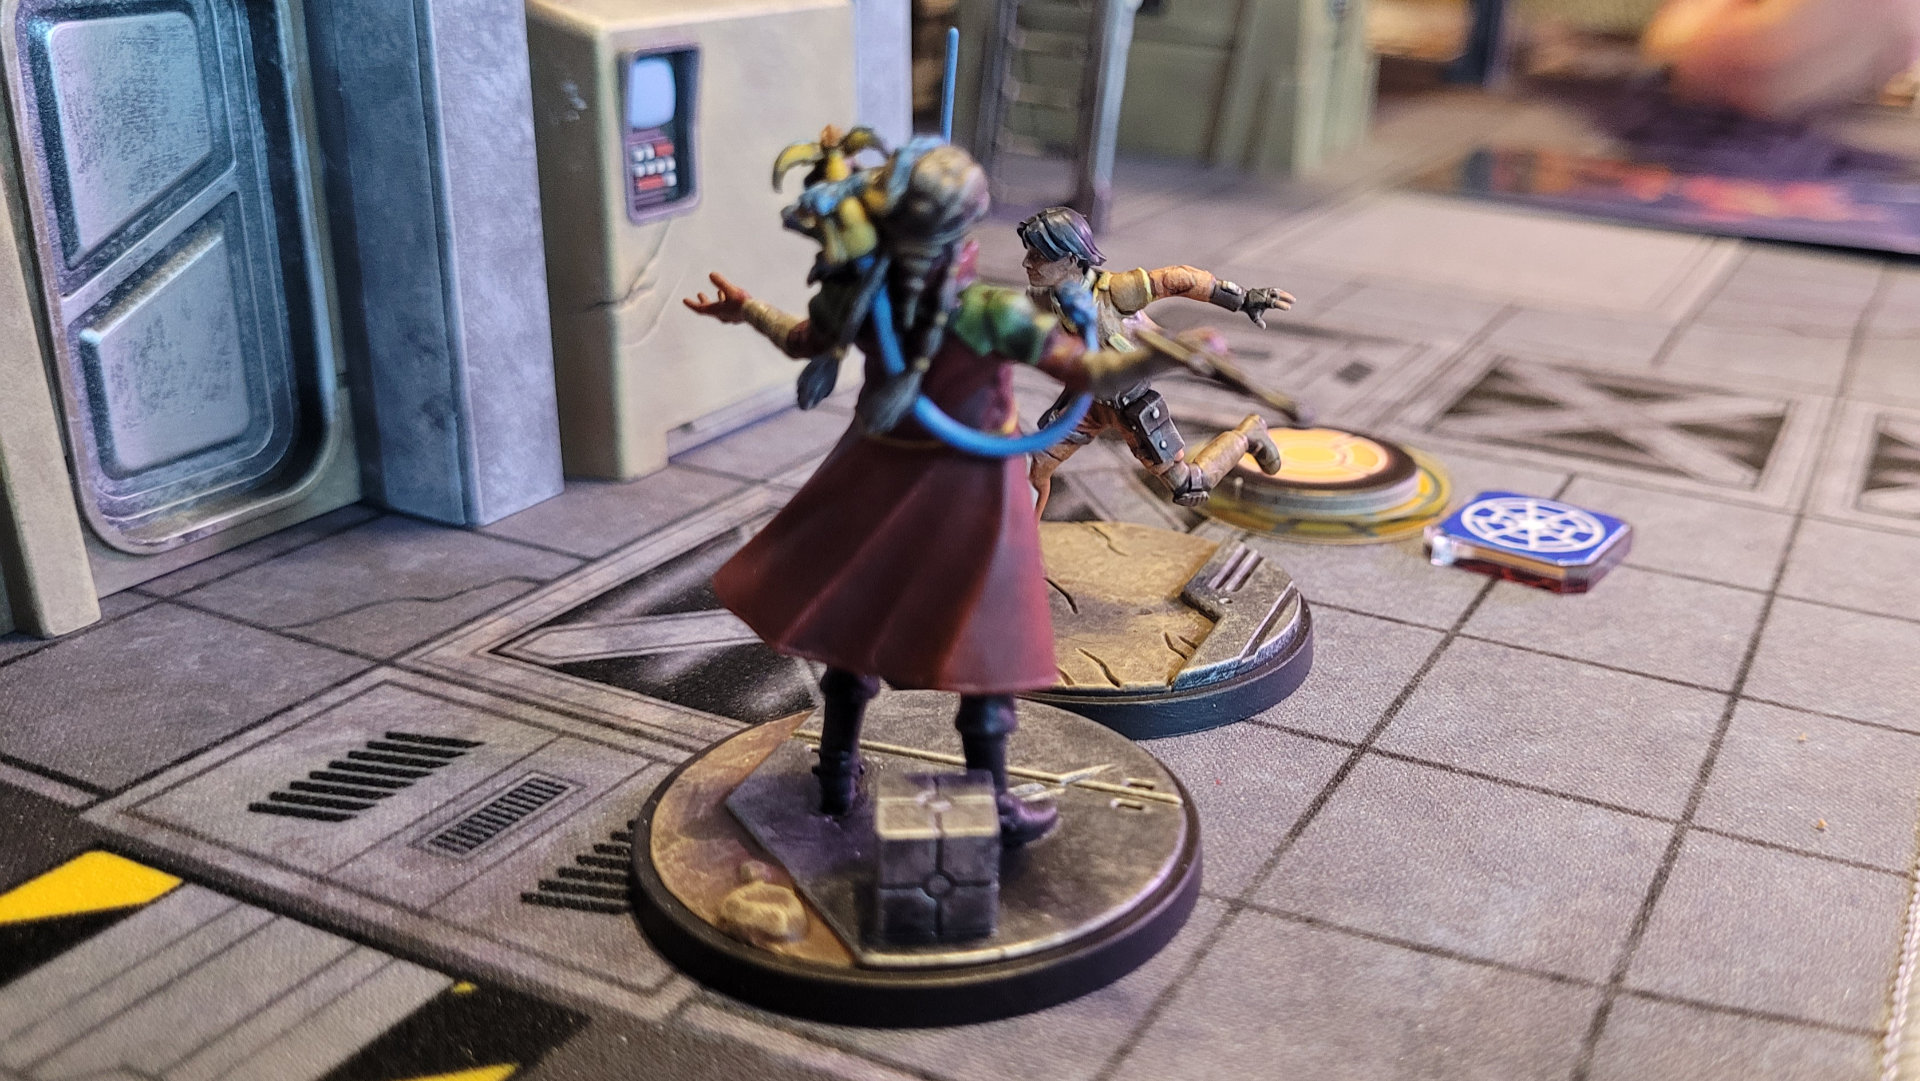 Hondo vs. Ezra: the final showdown
Since I didn’t gain control of any objectives, my opponent will score four more points on her turn and win the struggle. That will give her two, so we decide to call the game here.
Final Thoughts
One of the things that I find most interesting about Shatterpoint is the low number of activations each indivdual unit gets in an average game. You really are relying on units granting themselves and especially each other extra moves and attacks – synergy between the units in your strike team is critical. This game ended a few turns into the second Struggle, and by that time each of us had only just shuffled our activation decks, meaning that each unit had only activated once, with one unit having activated twice using the Shatterpoint card.
Lobot was without a doubt my MVP. His astoundingly useful support abilities only work on Scoundrels, but as you might imagine all of Hondo’s crew fit that bill. In particular, the free focus (which adds +1 die to the unit’s next attack) was useful again and again, especially for Gwarm, who as a Sharpshooter gains 3 extra dice instead of just one when focusing.
Lando, on the other hand, was kind of a disappointment, with abilities that seem a little too focused and specific. Lobot was clearly the brains behind the whole operation…
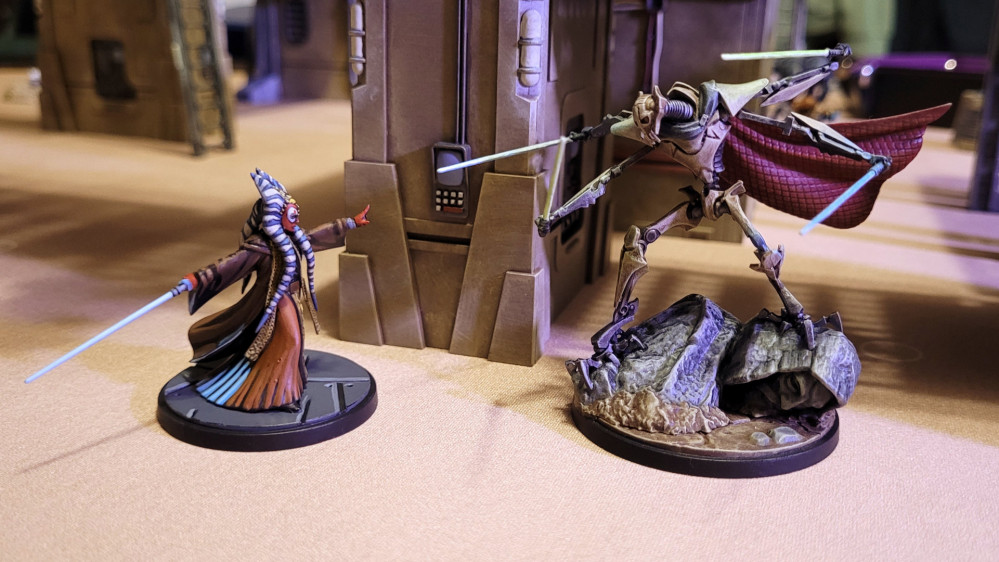
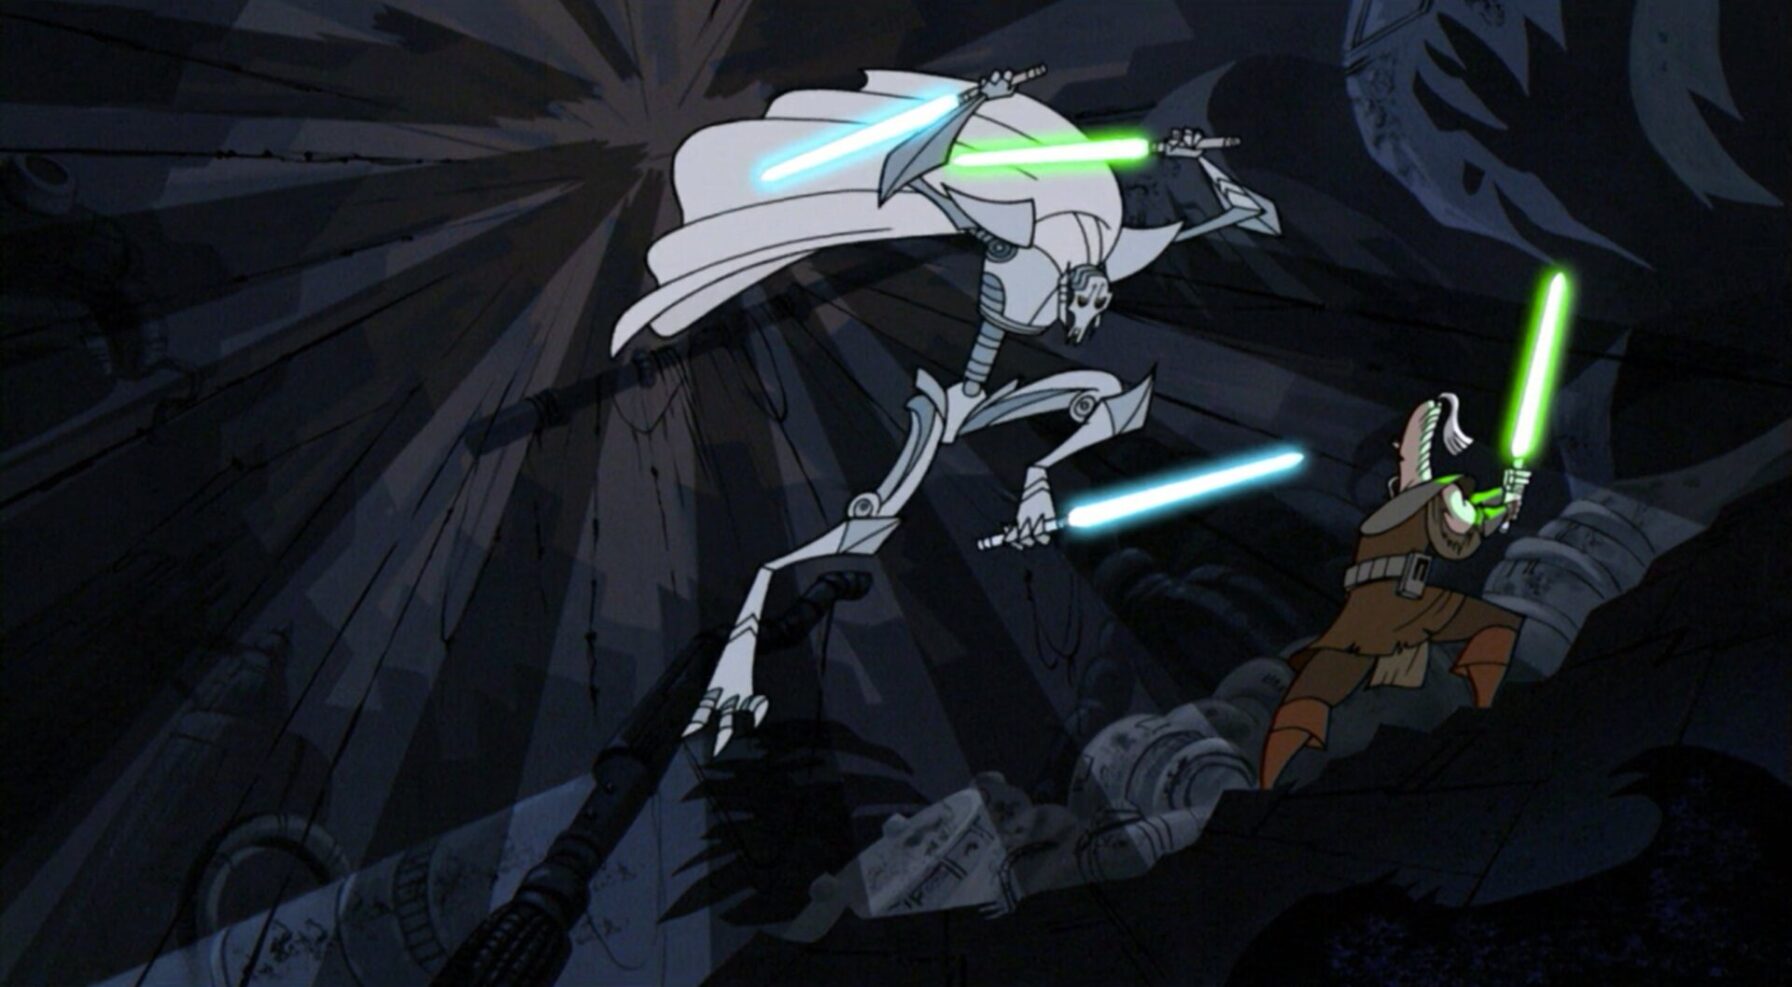
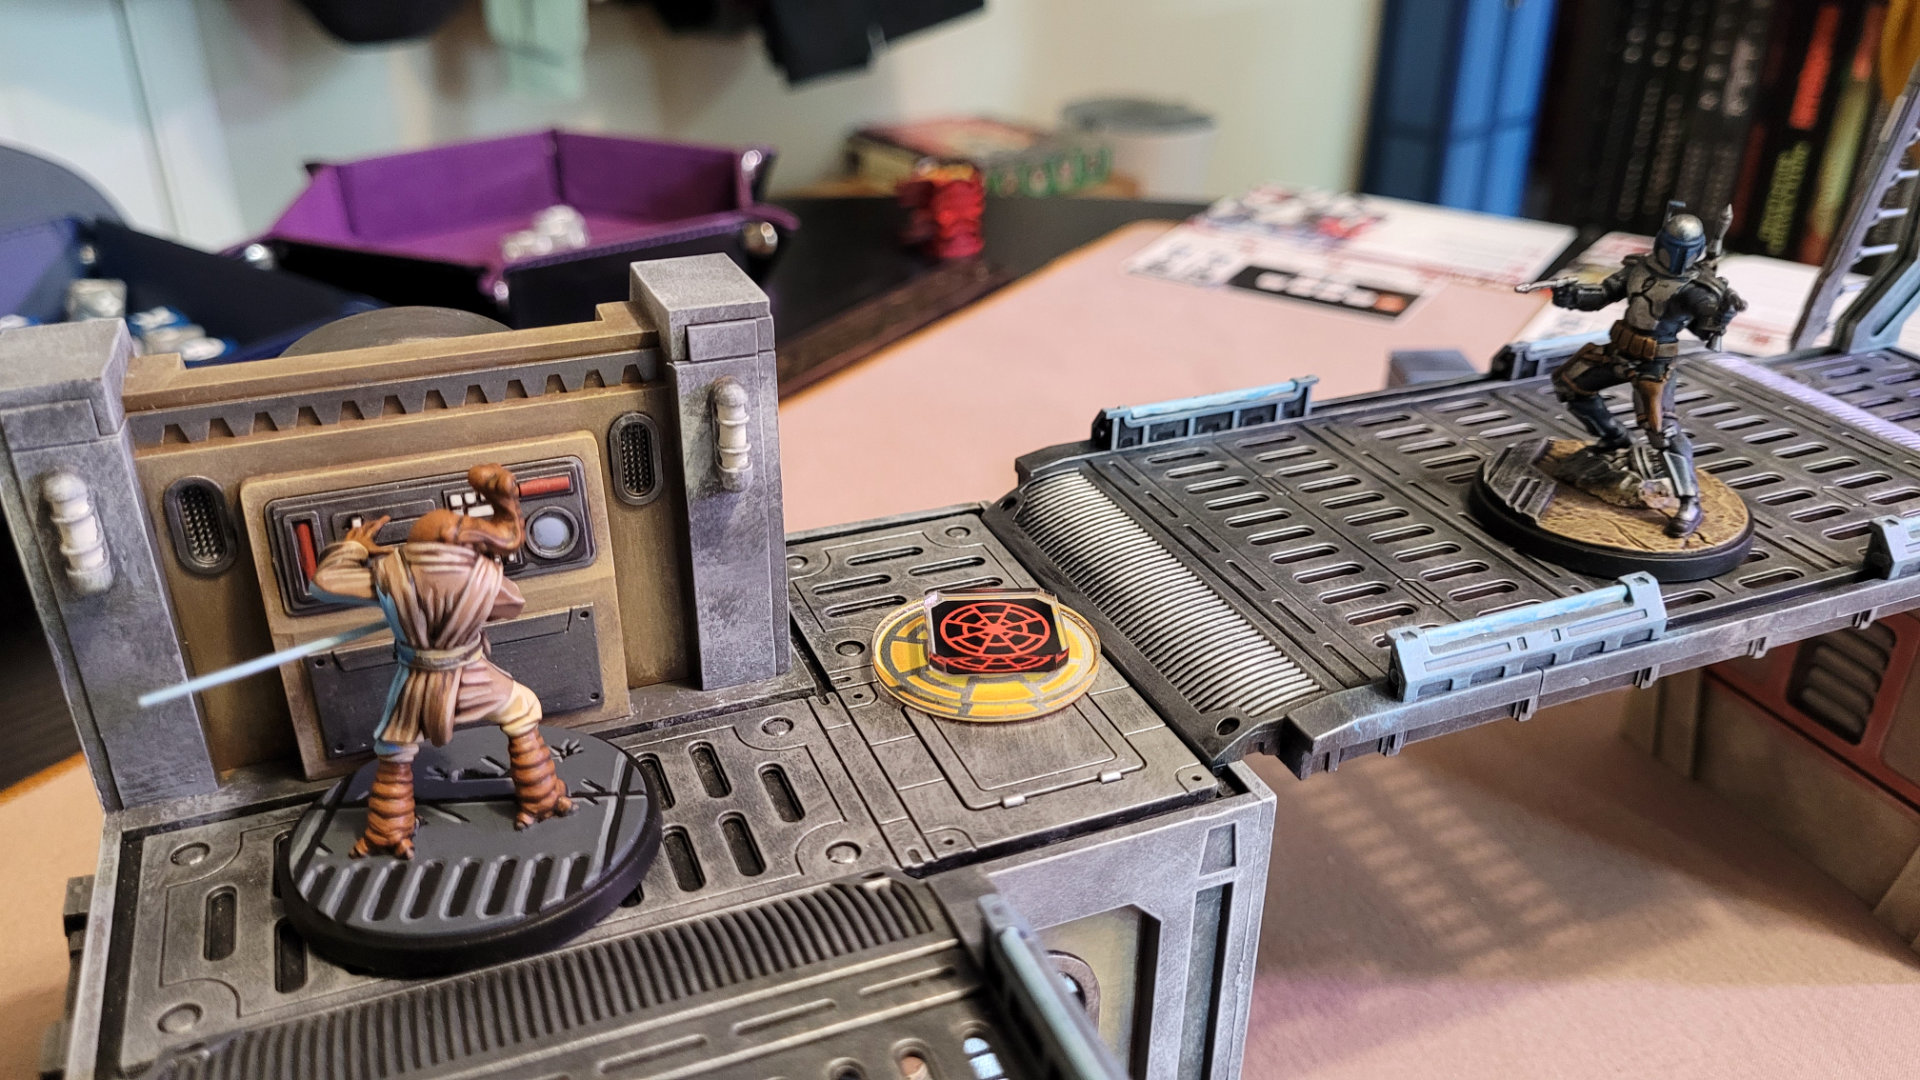
Dooku and Grievous vs. the Jedi Council
With the new Wisdom of the Council squad pack adding Ki-Adi-Mundi and Shaak Ti to the game, we have to do our own version of the battle at the end of the Genndy Tartakovsky Clone Wars micro-series. I’ll be fielding the new Jedi Masters along with their padawans, and supplementing my strike team with Plo Koon, Ahsoka Tano, and a supporting unit of Wolfpack Clone Troopers. My opponent has settled on General Grievous, who will be assisted by Count Dooku, Jango Fett, and a slew of B2 Battle Droids and MagnaGuards led by Kraken, Super Tactical Droid.
We’ve chosen to use the Sabotage Showdown mission pack, which arranges 7 potential objective points in a hexagonal pattern around the center of the board. I tried to arrange the terrain so that a majority of the objectives will be elevated, to keep the movement interesting and prevent too many units from clumping up in one area. It’s not as easy as it seems, but I managed to get all but the center objective up off the ground.

First struggle
After setup, we flipped Shut Down the Alarms as our first mission card, which activates all but the center objective point. With so many active objectives, our first few rounds were a mad scramble to secure as many of them as possible. My opponent went first, activating Jango Fett and taking advantage of his extra movement abilities to jump him to an objective in the center row of the board.
Normally you would be looking at the objectives that are closest to your starting area, so this is a bold move that will give my opponent a head start on controlling multiple objectives. What’s more, she is then able to use the MagnaGuards’ reactive ability to advance for free and out of turn, as long as they’re moving closer to an allied Separatist unit that’s just completed a move action. This allows my opponent to move the MagnaGuards close enough to both control another objective point, and also back up Jango if needed.
My opponent now controls two objectives, which is a strong start but unfortunately for her, you don’t get points on the first turn of the game.
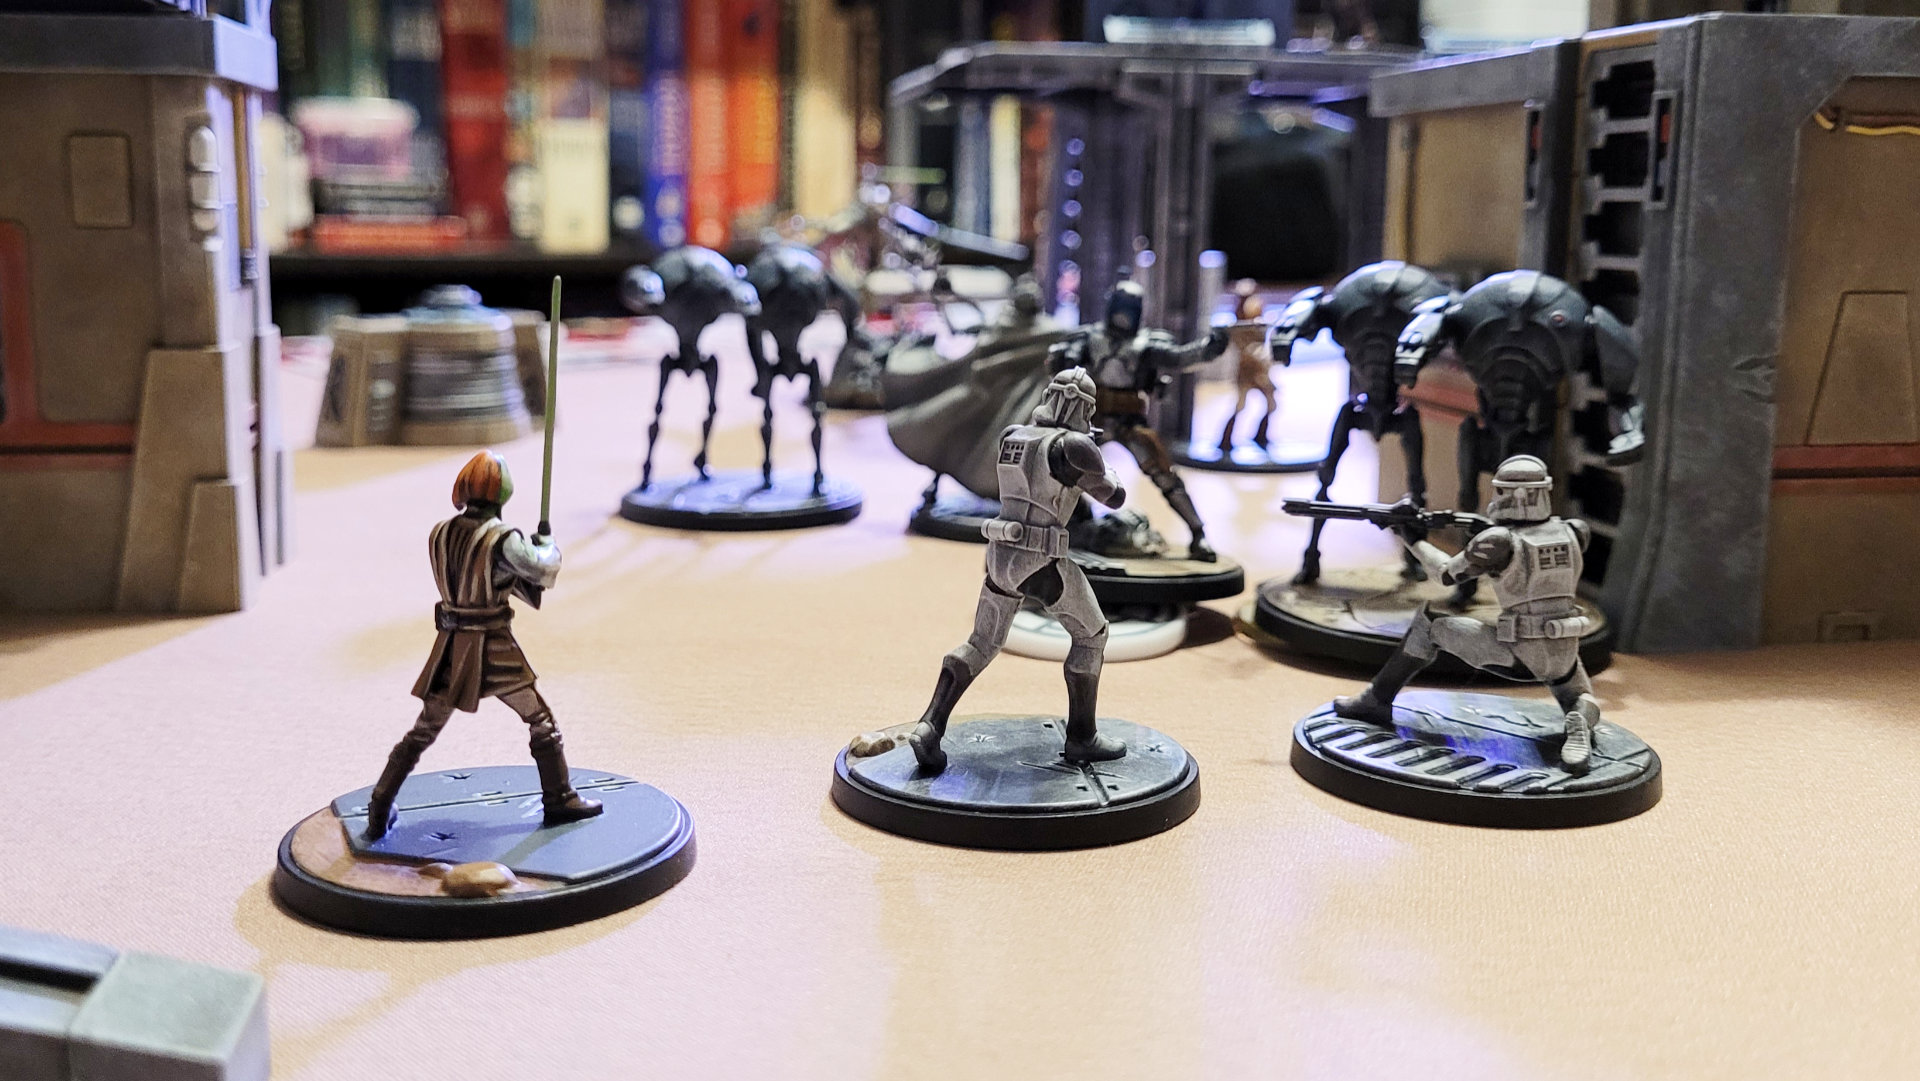
My first activation is the Jedi Padawans – not ideal but they are here for on-the-job training so let’s see what they can do. I’m able to move them so that one is controlling a nearby objective and the other is in position to challenge Jango. My hope is that I can move either Ki-Adi-Mundi or Shaak Ti in to help on a later turn. For now I control one objective, which moves the struggle marker closer to my side.
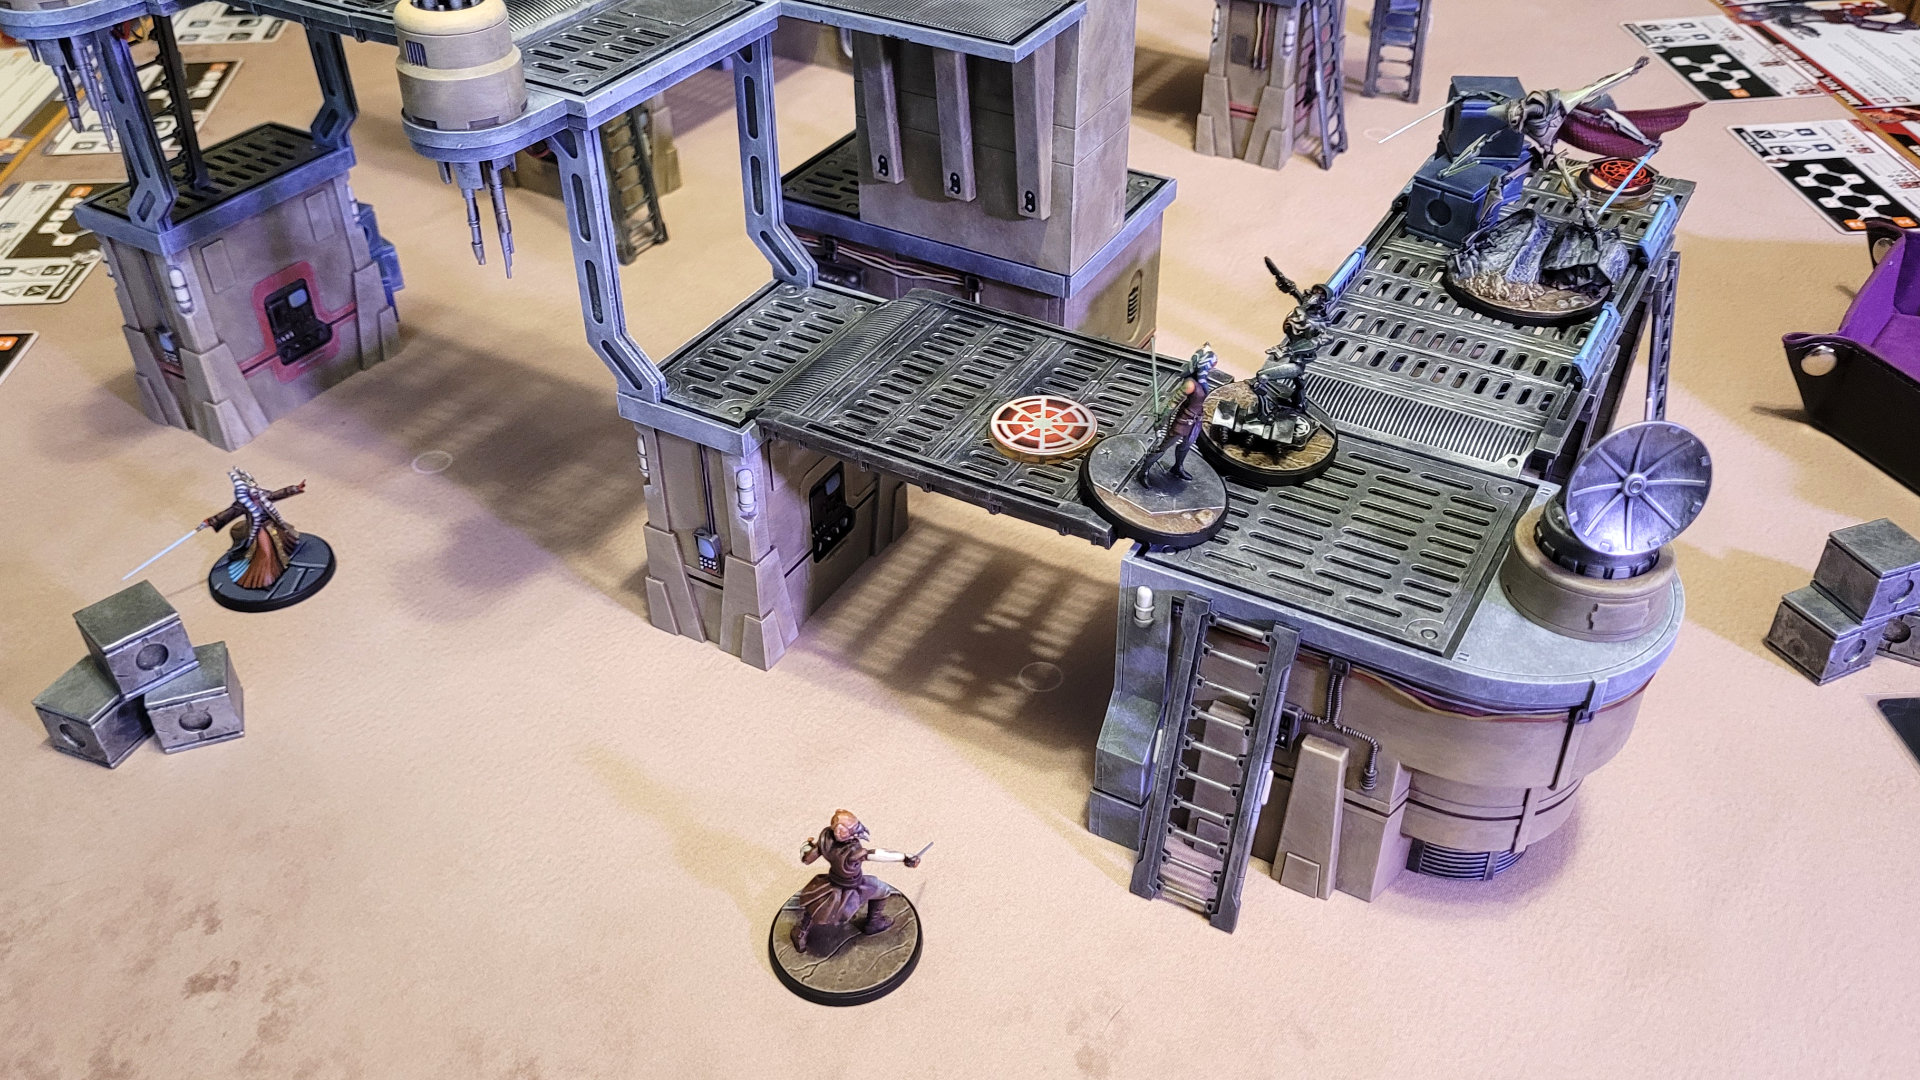
What follows is a lot of positioning from myself and my opponent, which demonstrates the real meat of this game: the synergies between the characters. Even though you won’t activate each individual unit more than two or three times over the course of an entire game, nearly all of your characters are going to have reactions that allow other units to do things like move and attack out of turn. On Ki-Adi-Mundi’s activation, for example, I’m able to move him into a better position where he’s closer to the action, and also move one of the Padawans in to snatch control of an objective away from Jango Fett.
We do get into a little bit of combat, with the Jedi Padawans taking some lumps from the MagnaGuards and later Count Dooku. Meanwhile, my opponent’s General Grievous and Kraken, Super Tactical Droid have the other side of the board fairly well locked down. I’m trying to move Ahsoka, Plo Koon and Shaak Ti in to respond, but they’re just not moving fast enough. Taking full advantage of her early lead, my opponent wins the first struggle.
Second Struggle
Our second mission card is Didn’t Expect a Welcome Party, which gives me (as the loser of the previous struggle) two different options for which three struggles will be active. I don’t really have a great option, so I go with the one that has objectives near my units, which isn’t as good as it sounds because my opponent has a lot of units near them as well.
The previous struggle went for five turns, so not all of my units have activated – by process of elimination I know that my remaining activation cards are the Wolfpack Troopers and the Shatterpoint card, which is wild. This means I could conceivably activate the Clone Troopers twice in a row, which I do in order to take the objective at the center of the board.
In the second and third struggles, one randomly chosen objective point is the Priority Objective, which is worth double and changes at the start of each unit activation. Neither of us has much luck with this, as it seems that on my turn it’s always the one my opponent has Grievous sitting on, and on my opponent’s turn it’s always the one she doesn’t have any units near. For some reason, we’ve both decided that the center objective is the one to fight over.
We end up with something that is relatively rare in Shatterpoint: a huge melee at the center of the board. This results in a lot of combat, with several units wounded including my Padawans and Clone Troopers and my opponent’s B2 Battle Droids. Dealing wounds adds Momentum to the struggle tracker, which makes it easier to win the struggle. We have a bit of a stalemate with regard to controlling objectives, so this struggle will almost certainly be won via momentum.
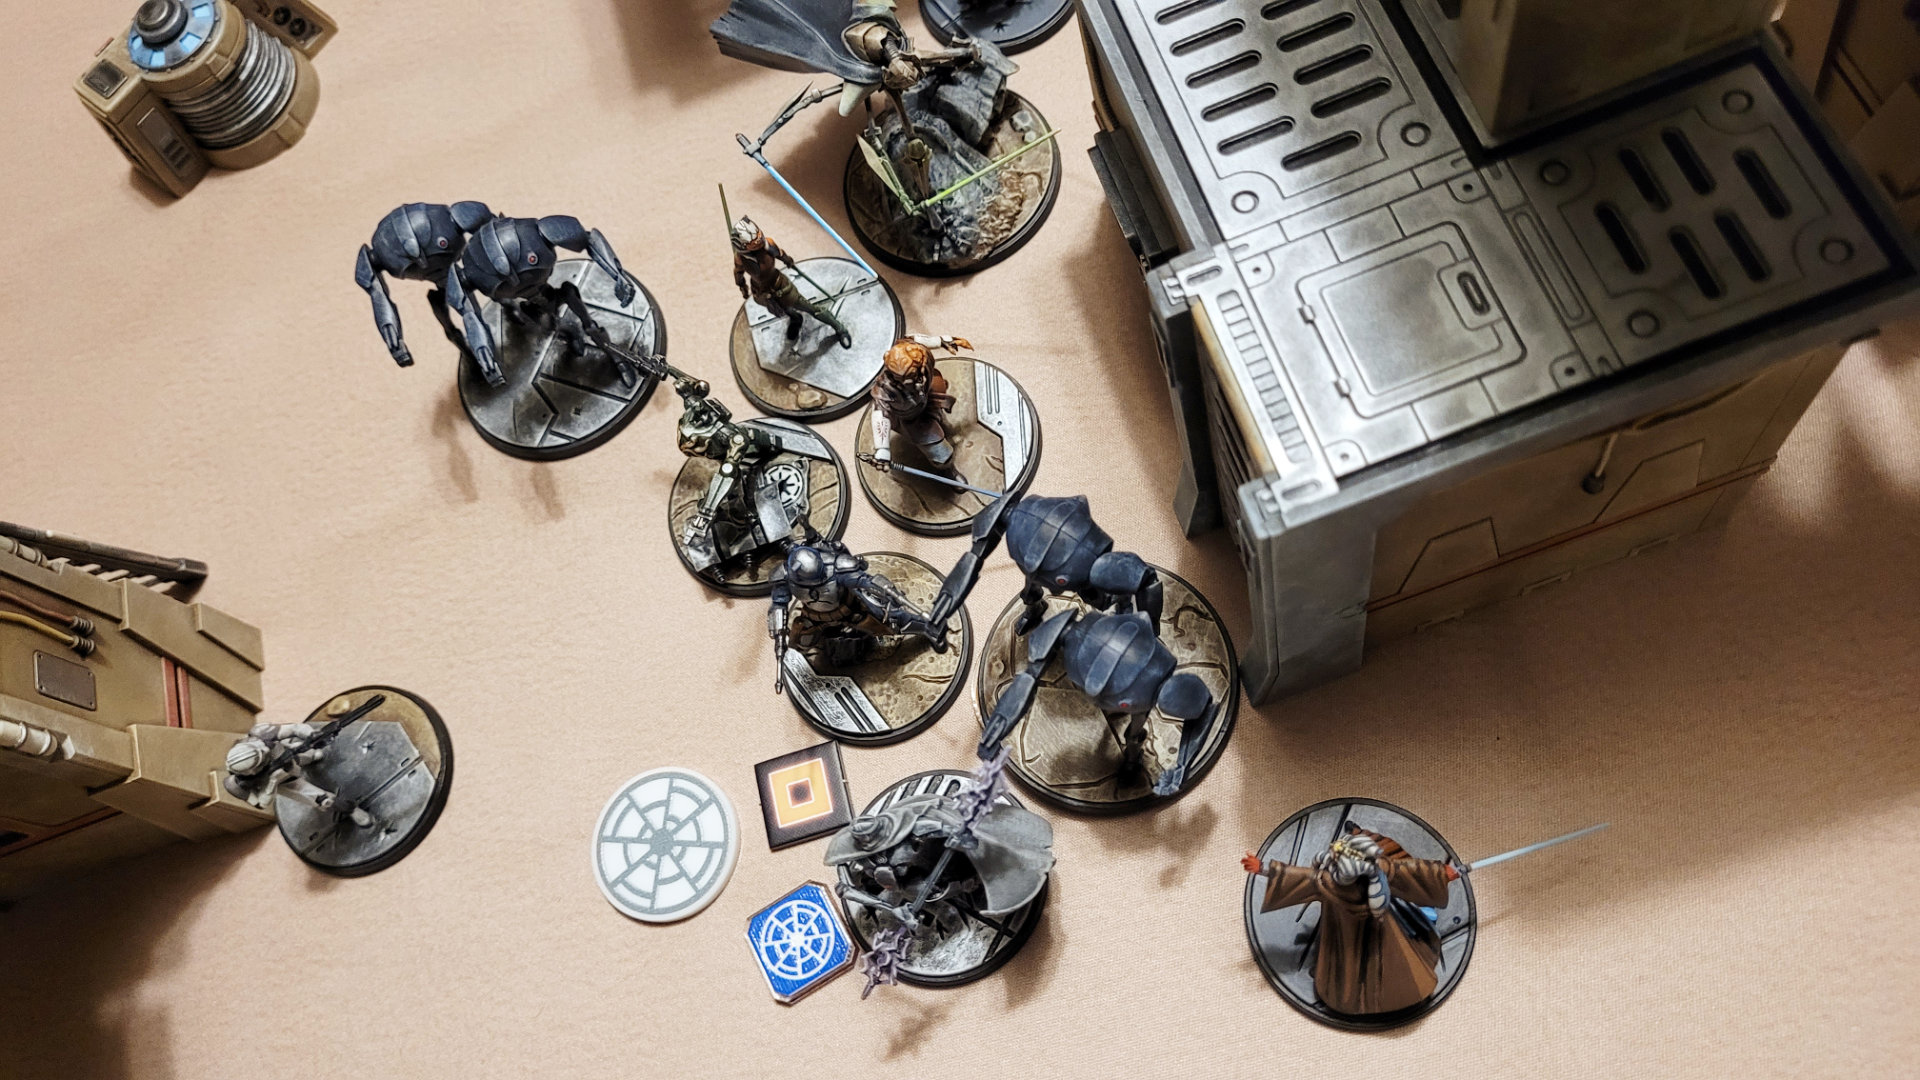
I just manage to win the struggle, but the scrum at the center has gotten pretty ridiculous – most of our units barely have any room to move, but no one wants to move away for fear of losing control of the objective. Wounded units don’t contribute to objective control, so one thing we both should have done differently is use reactive moves to get the wounded units (especially the B2 Battle Droids, whose large bases take up more space) out of the way.
Third Struggle
We’ve each won a struggle, so we’re on to the third. It’s also getting late and we’re a little tired – we even have a slight mishap with Kraken’s head, but it’s easy to imagine Grievous expressing dissatisfaction with his underling’s performance.

Our absurd melee at the center of the board continues, but the new positions of the other two objective points are in my favor. Plus I’m able to get some good wounds in on Jango Fett and the MagnaGuards, while keeping my own units relatively free from harm. As a result, I win the third struggle, largely thanks to the Momentum I gained from wounding enemy units.
Final Thoughts
The third struggle was a bit of a slog, but it was a slog of our own making. I think we both learned a lot about letting our forces get too clumped up – it’s important to remember that there are three objective points on the board in the second and third struggles, and it may not be a great idea to focus too much on just one of them.
We were both using squads right out of the box, and they seemed to work pretty well. Kraken and Grievous were great at getting the battle droids and MagnaGuards moving, and Grievous is pretty devastating in melee, making him a good opponent for the Jedi Knights.
I can see why early chatter has Ki-Adi-Mundi being one of the game’s better Primary units. He’s great at keeping the other Jedi and Clone Troopers moving, he has a great reactive ability that deals damage to his attackers, and his Force Push ability is very useful for pushing enemies away from objective points. Plo Koon and Ahsoka were less effective, but that could well be user error on my part.
All in all, this was another great game. We’re getting Shatterpoint to the table more regularly, which is helping to get the rules and rhythm of the game more ingrained. Our main issue now seems to be that we still have squad packs we haven’t played with – neither of us has ever played the same squad more than once, so we’re always on a steep learning curve as we learn each new unit’s abilities.
Heroes of the Rebel Alliance vs the Empire and Some Hired Thugs
I just finished painting the Real Quiet Like and Today the Rebellion Dies squad packs for Shatterpoint, so naturally we’ve got to try them out against each other.
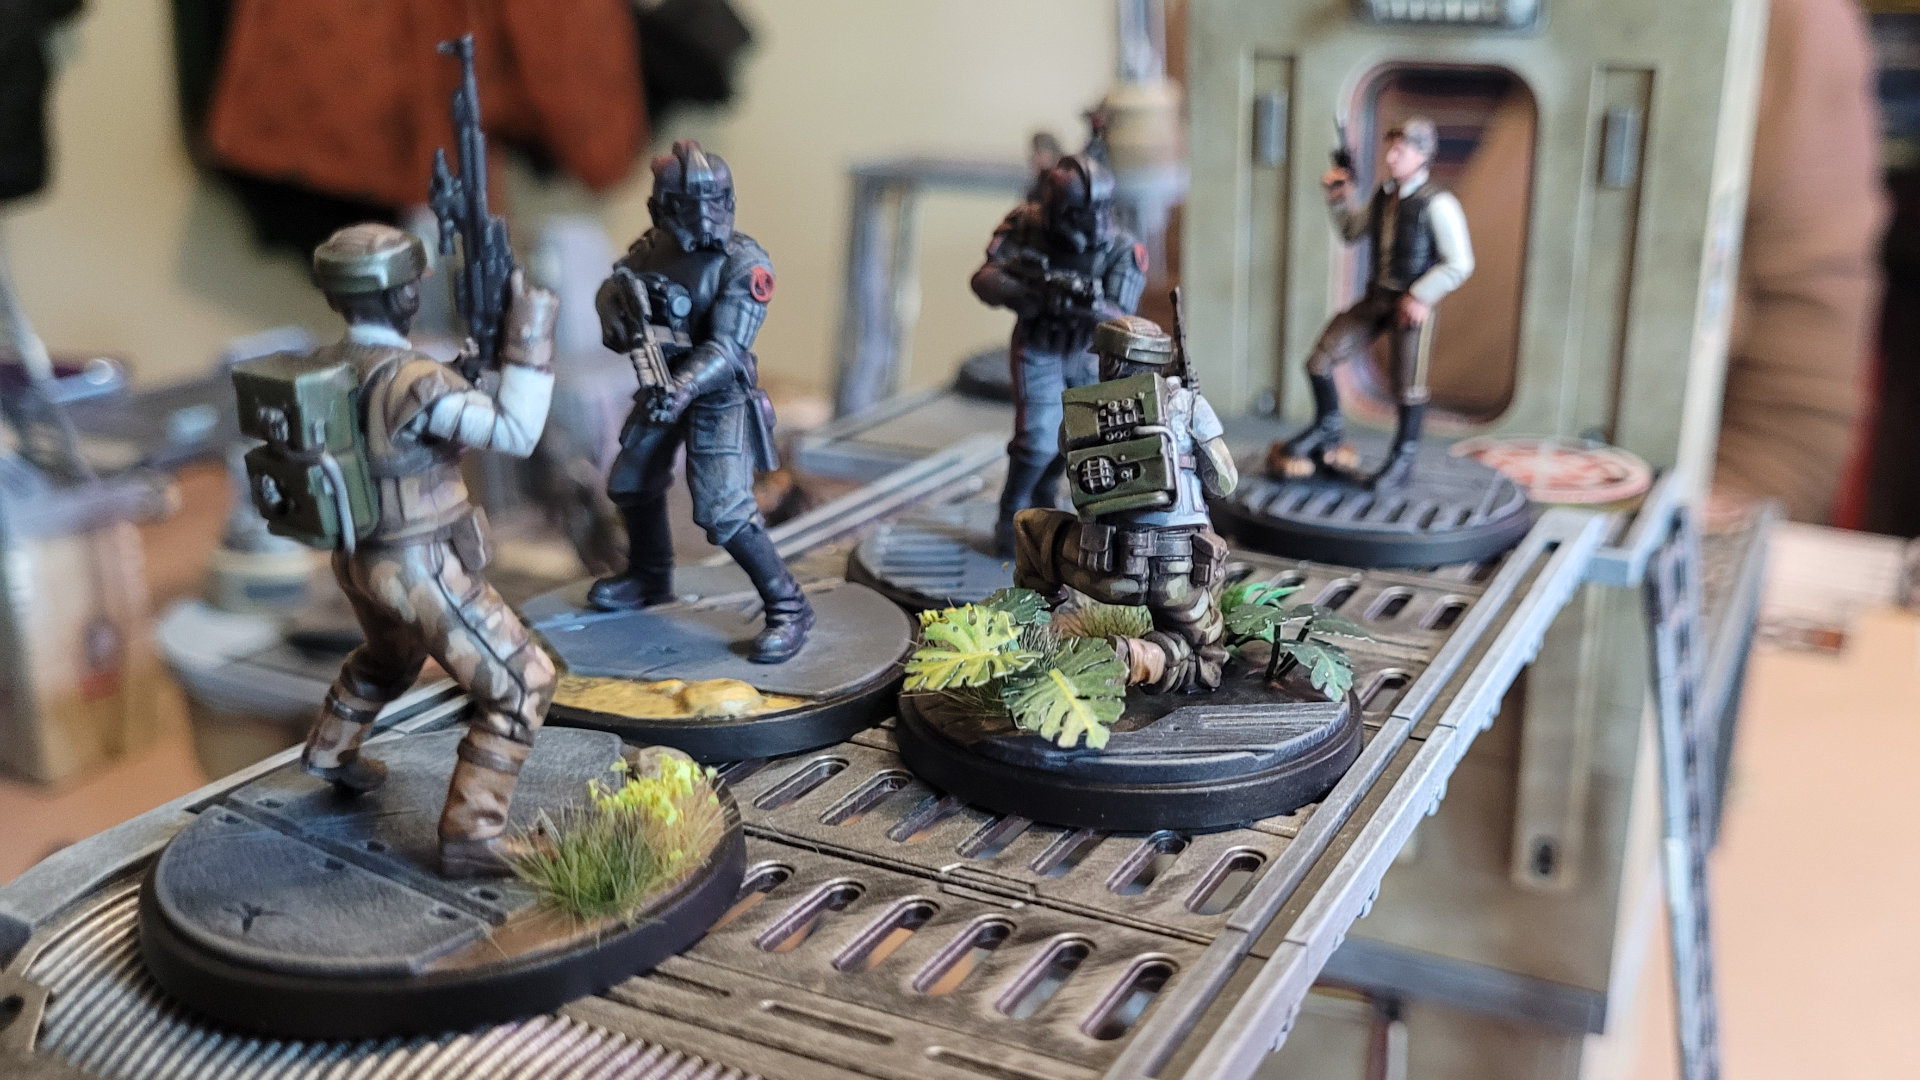
Wanting to take advantage of abilities that Han, Chewie and the Rebel Commandos have that rely on the Rebel Alliance tag, I decided to team them up with the Fearless and Inventive squad pack, consisting of Jedi Knight Luke Skywalker, Pricess Leia disguised as Boushh the bounty hunter, and Lando and R2-D2 rolled into one support unit.
My opponent opted to color outside the lines a bit, swapping in Boba Fett as her secondary unit to back up Iden Versio and the Imperial Special Forces, and taking The Mandalorian, Bossk and IG-11 as her second squad. Boba Fett and Bossk both have the ability to take on additional tags, so they’ll be able to sign up with the Galactic Empire to take advantage of Iden Versio’s The Empire Sends its Regards ability, which adds extra conditions and benefits when Galactic Empire units inflict wounds.
We’re playing with the original Shifting Priorities mission, which I like the best out of the three currently available mission packs. It arranges potential objective points in a 3×3 grid works well with the Shatterpoint terrain, and I like the focus on controlling objectives rather than wounding units.
First Struggle: Locate the Asset
My opponent won the roll for first player. The initial struggle card created a line of objective points across the middle of the board, plus one near each of our starting areas. This should have made it anyone’s game, but my opponent’s forces proved to be a lot more mobile than mine, and she was able to get a stranglehold on all three center objectives early on. Versio was able to move the Imperial Special Forces support unit into a good position early on, and Boba Fett has two different abilities that allow him to jump, which got him to the center of the board very quickly.
My units, on the other hand, seemed to consistently suffer from a first-turn problem of not being able to attack even after a move action. The Rebel Commandos are able to start the game farther than usual from the board edge, which has helpful in securing an objective right away, but it wasn’t quite enough to stop my opponent from winning the first struggle.
Second Struggle: We’re Going to Need a New Exit
The layout of objective points on the new struggle card was especially good for me, with two out of the three on my side of the board, and all of the objectives my opponent was controlling rendered inactive. In Shatterpoint, during the second and third struggles there are only three active objectives, but one of the three, which changes randomly every turn, is worth double points.
I was able to secure one objective very easily, with no opposing units anywhere near it, and I managed to get a pretty good lock on another, with Han and the Rebel Commandos successfully beating back Iden Versio and her Imperial Special Forces, thanks to a choke point on a bridge and a successful attack that shoved Versio off the platform. One of the things I really like about Shatterpoint is the variety of effects that successful attacks have. Rather than just whittling away at your opponent’s hit points, successful hits can push enemy characters away, inflict conditions like disarmed or exposed, or even allow the attacking unit to move or heal.
Between starting out with my units in good positions, and pure luck with the rolls for which objective was worth double points each turn, I managed to win the second struggle pretty quickly. We had each won one, so we would need to go to the third and final struggle.
Third Struggle: Hack the Security Network
As the loser of the previous struggle, my opponent got to choose the pattern of active objective points, with this card offering a choice of either straight across the middle of the board, or right down the center in a column. She chose the latter, which worked very well for her as she already had the center objective locked down and I didn’t have any units anywhere near the one closer to her side of the board. I had units nearer to the third objective, but not close enough to control it, and my opponent had Boba Fett, who has a rocket pack.
My opponent managed to move Iden Versio, who had been shoved off the tower in the previous struggle, over to the objective at the opposite end of the board, securing control of it. I managed to move Boushh, Lando and R2 within control range of the objective closer to my side of the board, but as predicted, Boba Fett jumped over to give them trouble.
Meanwhile, the Mandalorian and Bossk had secured the center objective. Luke was my most mobile unit so I moved him in to try to fight them off, with the Rebel Commandos jumping down from the tower to assist, but it wasn’t quite enough. I couldn’t get both commandos close enough to contest the objective, and to make matters worse, my opponent managed to wound Luke, Chewie, and Han (wounded units can’t help with controlling objectives).
Boushh might have given Boba Fett a run for his money, but the game ended before she had a chance to activate.
Conclusion
Iden Versio has a reputation among tournament players for being particularly good, and she did seem to be one of my opponent’s MVPs. Boba Fett was no slouch either, with his enhanced mobility enabling him to get wherever he needed to be. I don’t know if Mando or Bossk really got a fair shake either way, as they were pretty far from the action for most of the game.
As I mentioned earlier, my problem seemed to be in the early turns, when I just couldn’t seem to do much with the likes of Luke or Han. In a game where most units will only activate at most two or three times, you can’t afford to have any of those activations be ineffective.
The Great Ewok Hunt
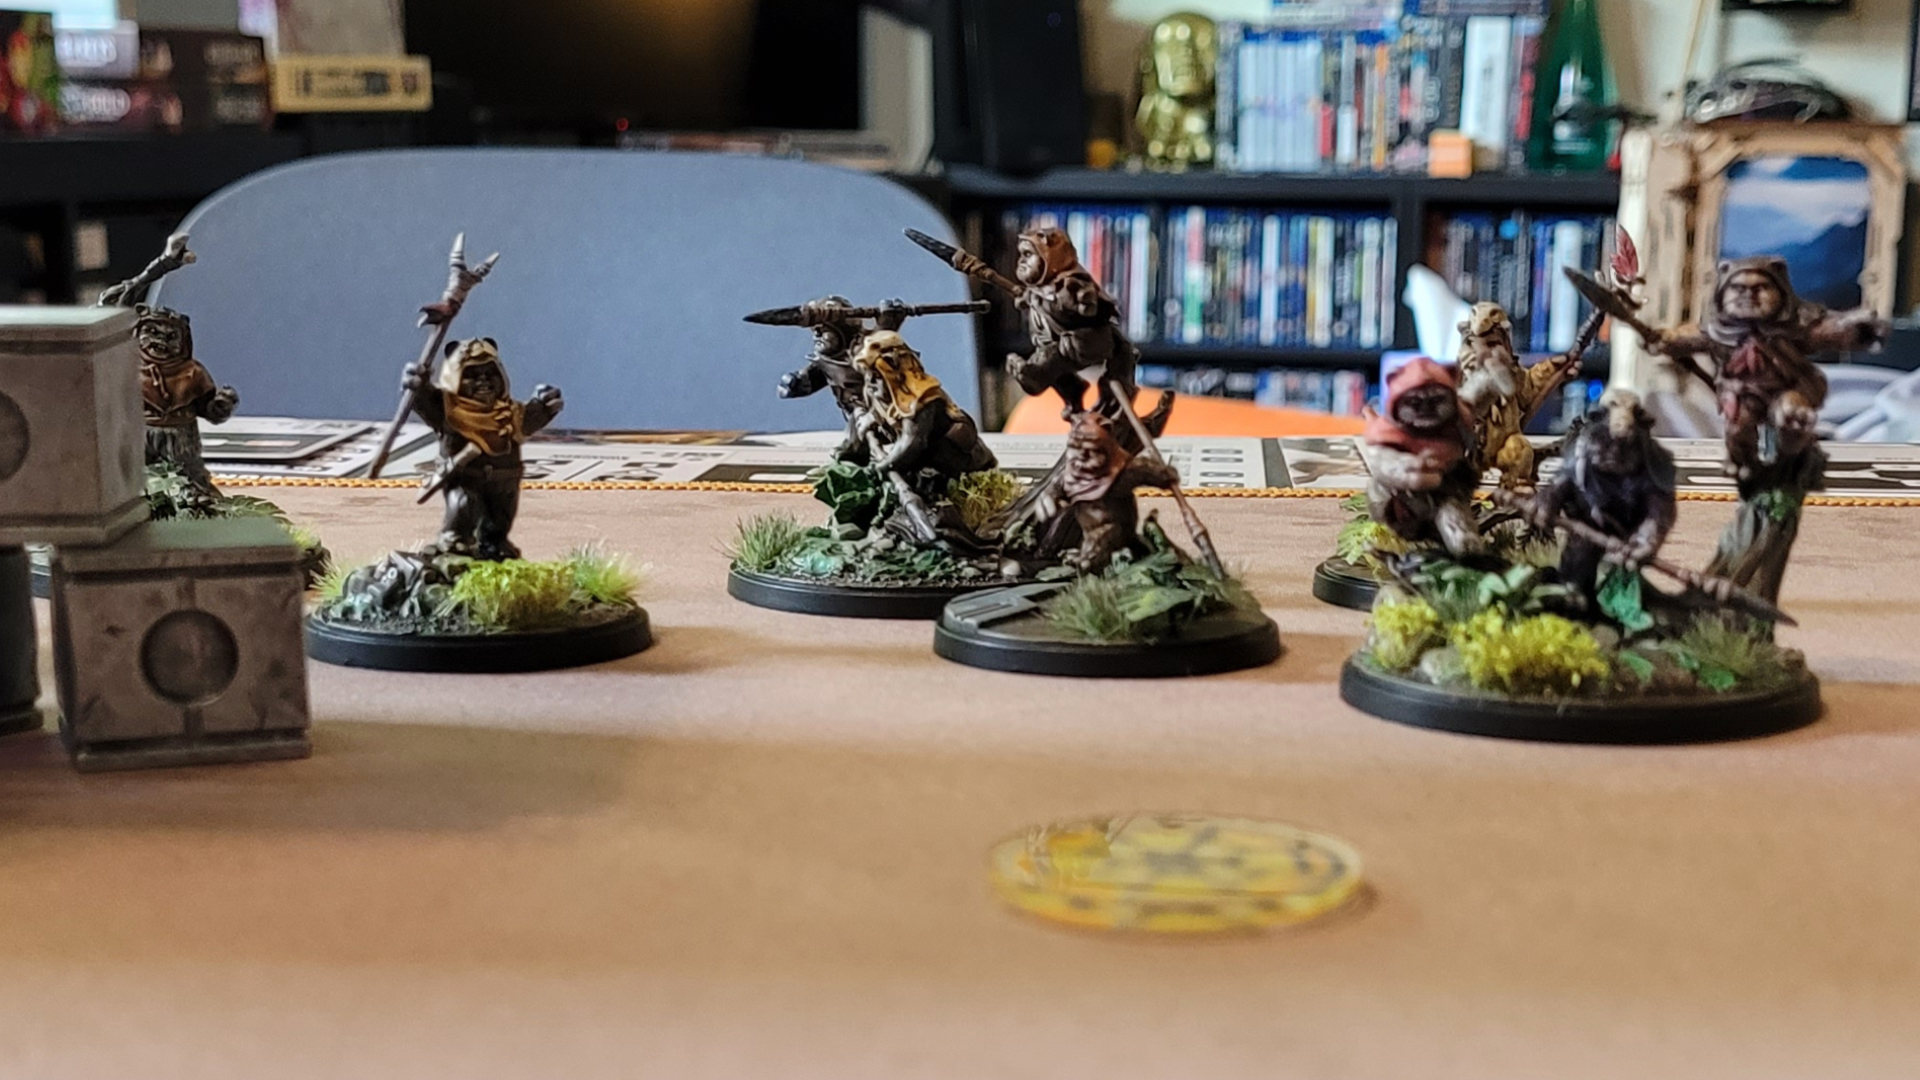 The Ewoks are here to discuss merchandising opportunities.
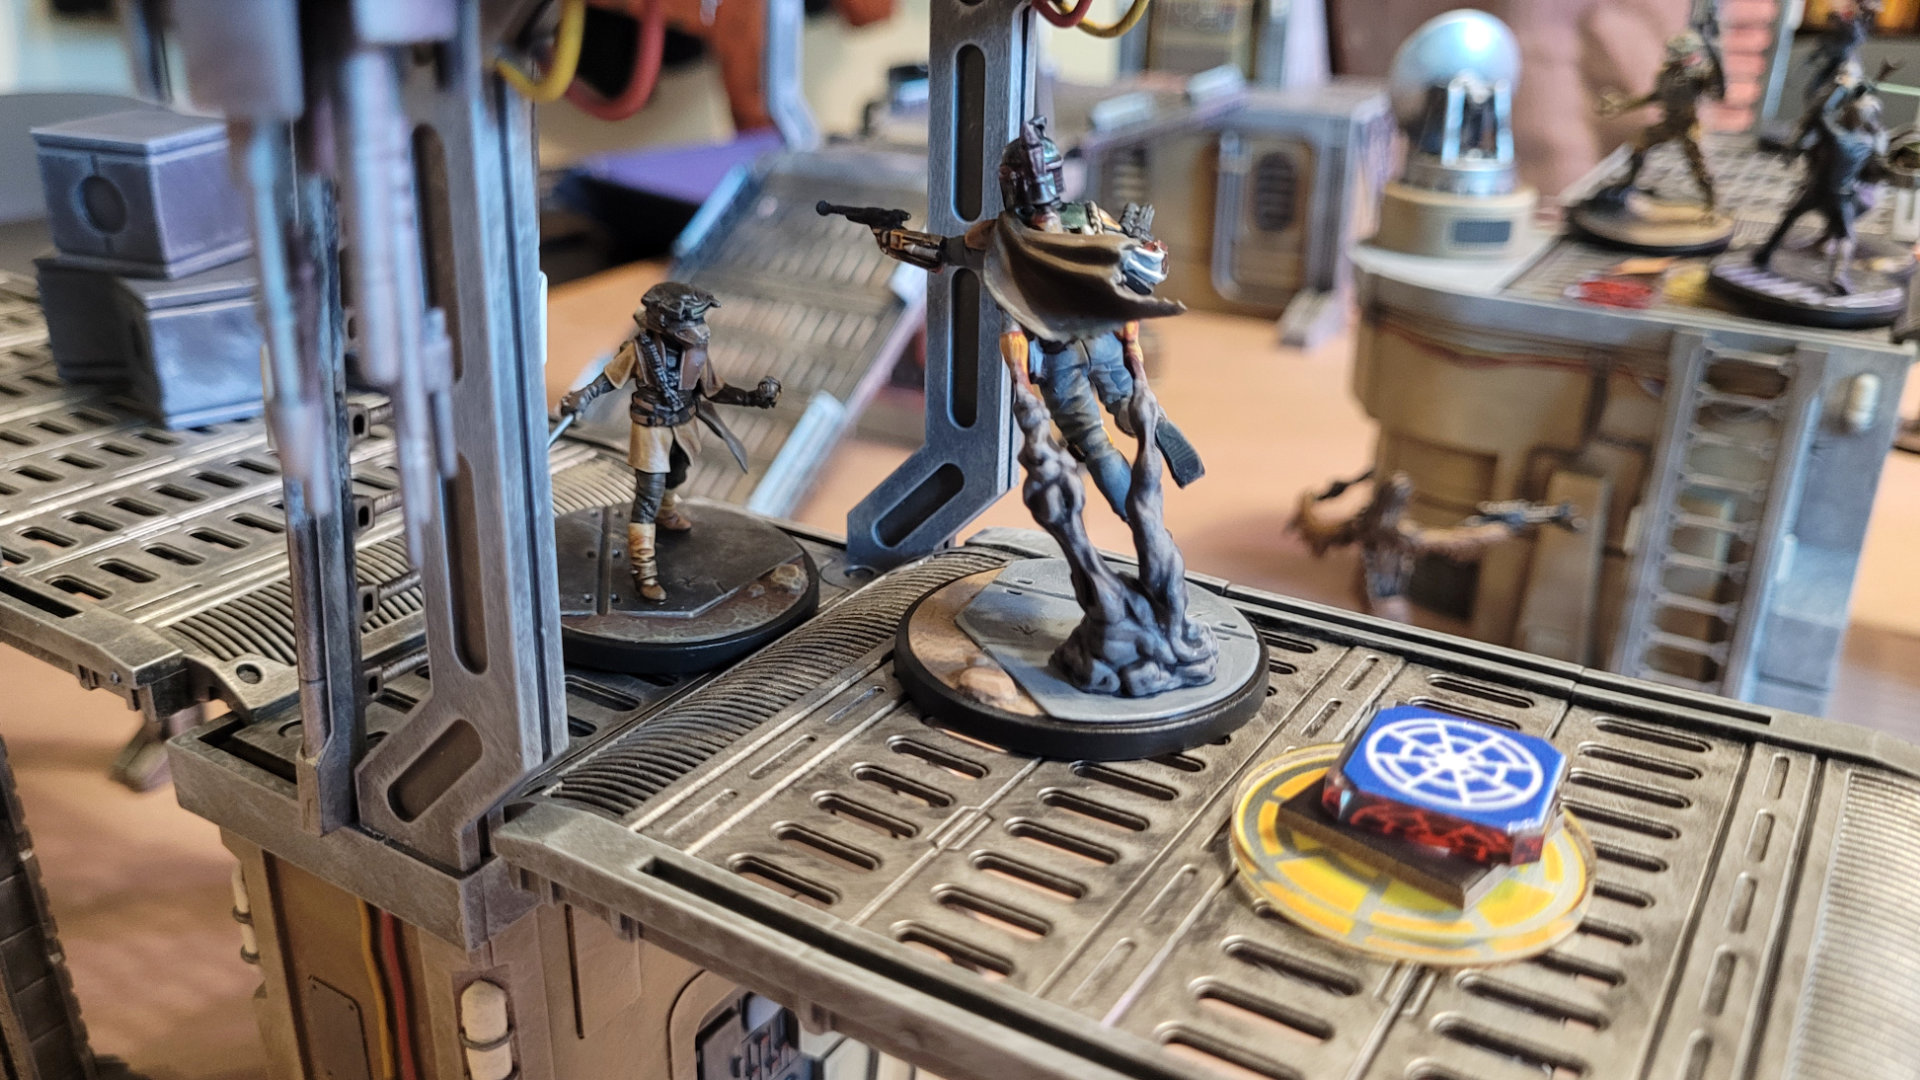
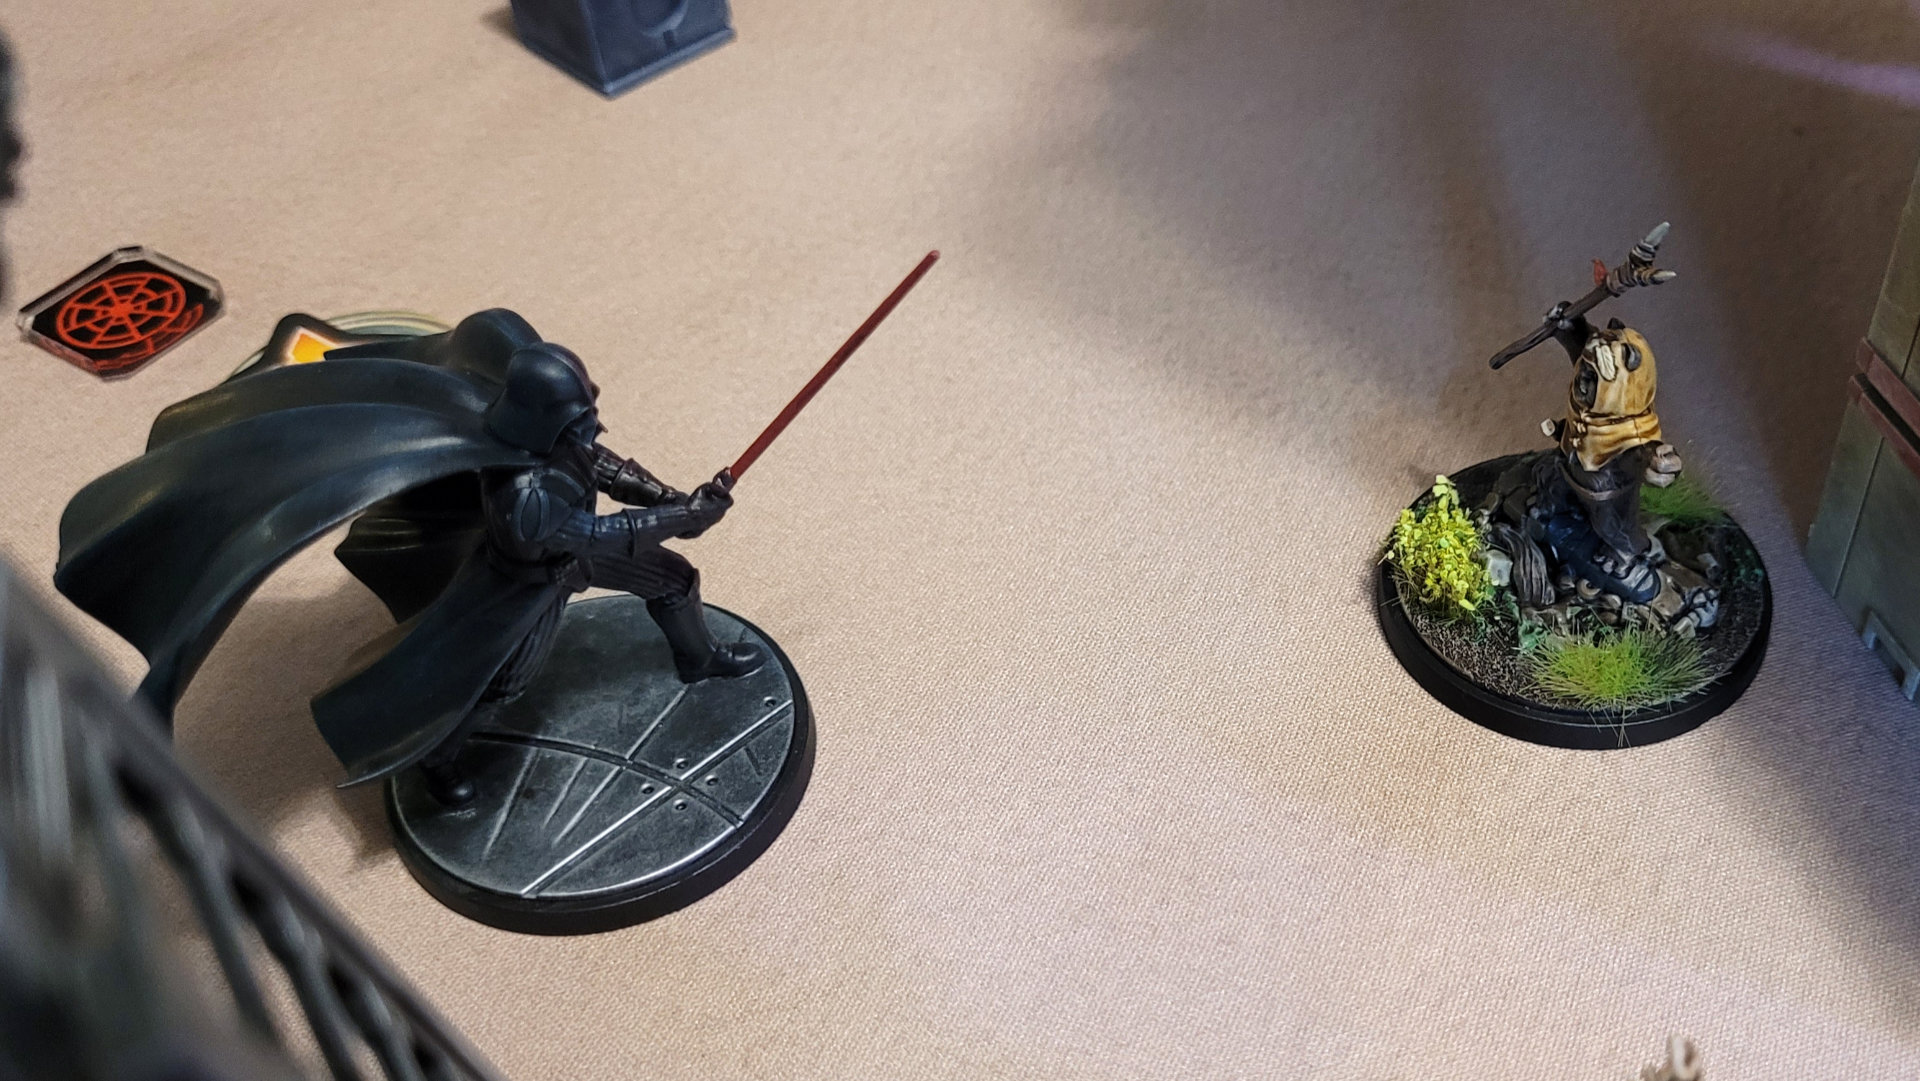
Our next Shatterpoint game posed the question “what if Orson Krennic had survived the events of Rogue One?” Sure, he would have been disgraced for letting the Death Star Plans fall into Rebel hands, but with most of the Imperial upper management killed when the battle station was destroyed, Krennic could have easily wormed his way into the bureaucracy surrounding the second Death Star. Krennic was pretty detail oriented, and he’s definitely a micro-manager, so it seems like he would have wanted to make sure the location of the shield bunker on Endor was free from potentially troublesome native life forms. He surely would have mentioned this to the Emperor, who of course would put his best man on the job.
With that in mind, my opponent assembled a strike team consisting of Darth Vader, the Stormtrooper Sergeant, the Shoretroopers, Director Krennic, the Death Trooper Specialist, and the Death Troopers. I took command of an all-Ewok force that included Chief Chirpa, Paploo, Ewok Hunters, Logray, Wicket, and Ewok Trappers. Star Wars fans of a certain age will remember that the only reason we know the names of any of these Ewok characters was thanks to the action figure packaging…
We used the Sabotage Showdown mission set, which places six potential objective points in a hexagonal pattern around the board, with a seventh point dead center in the middle. Additionally, each struggle in this mission will add a tactic ability that can be used by any unit who activates using a Shatterpoint card.
First Struggle: Secure the Exits
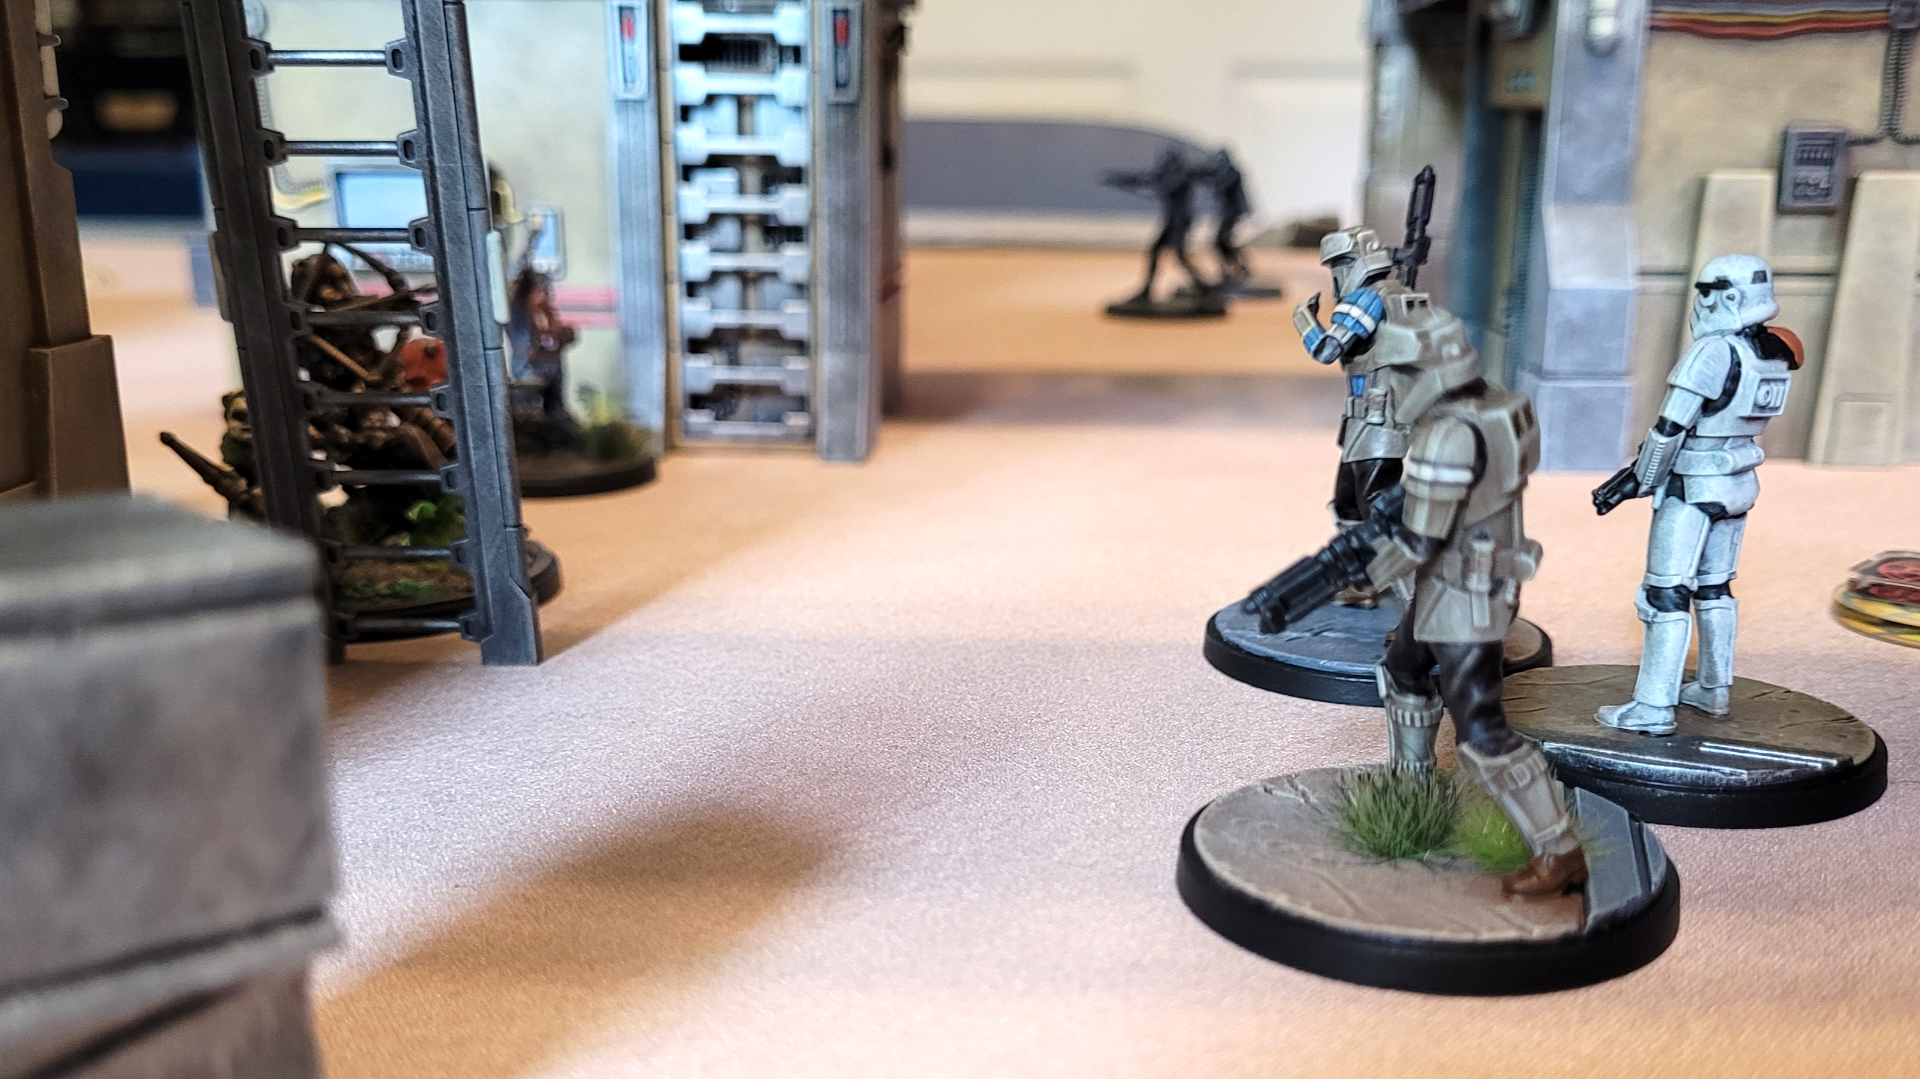 The Stormtrooper Sergeant uses his Inexorable Advance ability to advance...inexorably.
All six outer objectives would be active for the first struggle, making for quite the mad scramble to grab some early control points. Going first isn’t necessarily an advantage in Shatterpoint, as you don’t score any points on the first turn of the game, but my opponent used her Stormtrooper Sergeant to move himself and the Shoretoopers into a position between my units and one of the objectives. I caught a lucky break, however, drawing I drew Ewok Traps as my first activation card. It’s a battle tactic that has a random result determined by a die roll, and in this case I was able to deal two damage to each of the units my opponent just moved. Not bad for a bunch of little furballs…
We spent the next few turns moving units around the board, mainly just taking control of objectives. The mission card gave any unit activated with a Shatterpoint card the ability to heal at the start of its turn, but we both drew our Shatterpoint cards a little too early in the game for that to do much good. I managed to get an early lead, controlling 4 objectives, but my opponent managed to wound my Ewok Hunters pretty early on. The Ewoks have a lot of interesting synergy, but what the don’t have is the ability to take much damage, and I soon found myself with several wounded units.
In spite of their relative fragility, the Ewoks do have some fun advantages. The two primaries (Chirpa and Logray) increase attacks and defenses for all the other Ewoks on the board, and, there are a lot of ways to give Ewoks free hunker tokens, which increase defense against ranged attacks — I thought this was a clever way to reflect the idea that they’re all hidden in the forest until they’re right on top of you.
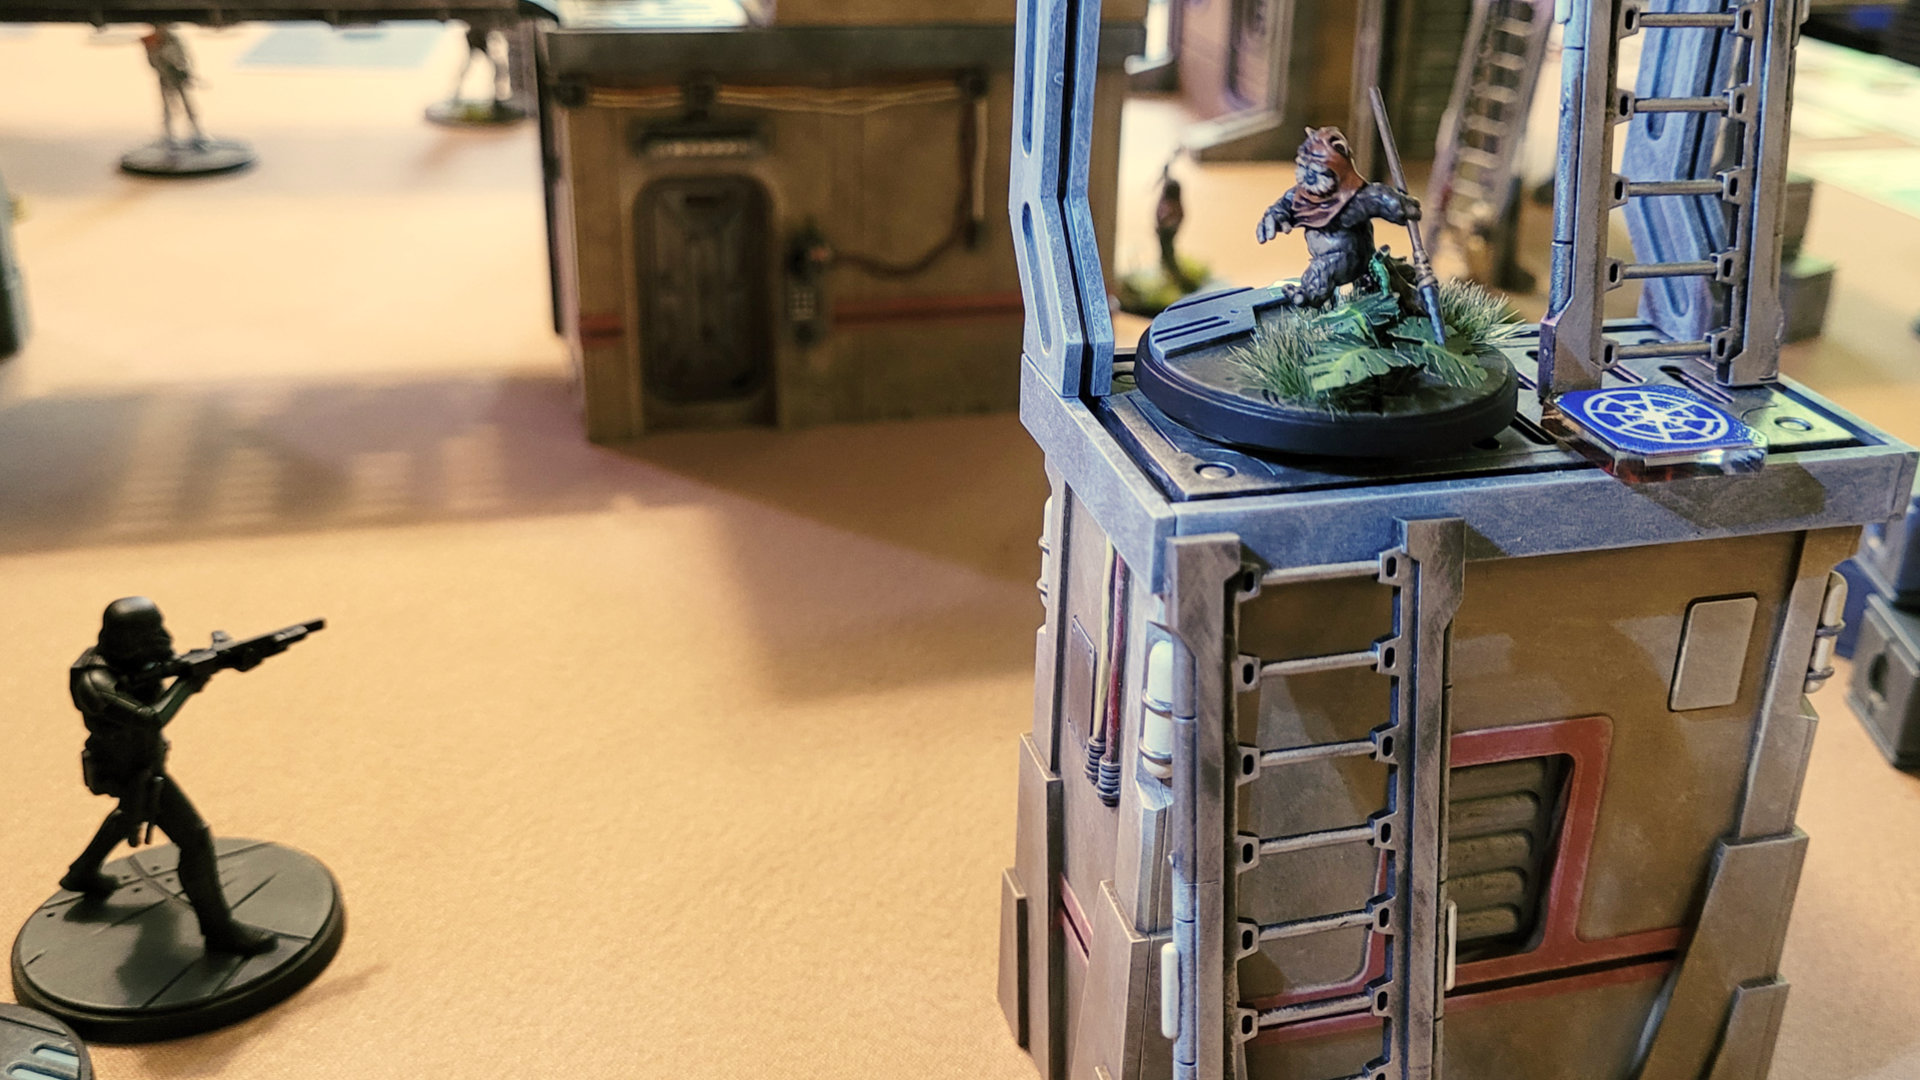 Where did that little furball go?
The terrain had formed a bit of a bowling alley along one side of the board, which proved to be absolutely terrifying when Darth Vader got his turn to activate. He barreled straight through and managed to deal a devastating 7 damage to Chief Chirpa, enough to wound him as he’d taken some minor damage earlier in the game. My opponent followed up by moving Krennic and the Death Troopers (sounds like a punk band) up the other side of the board, taking control of five objectives all together and winning the first struggle handily.
Second Struggle: We Need More Time
As the loser of the first struggle, I got to choose from two options for placement of the much more manageable three active objectives for this round. Luckily for me, there was a choice that placed two objectives under my control, and the third within fairly easy reach. The Shatterpoint tactic ability for this round gave a free Dash move at the start of the unit’s activation — if you’ve played much Shatterpoint you’ll know that movement is always good, and free movement is even better.
My first activation was Paploo, the troublesome Ewok who steals one of the speeder bikes and lures away the bunker guards in the film. He proved to be even more mischievous in our game, picking a fight with Darth Vader that allowed Logray to move out of a potentially deadly melee battle. Logray was definitely the better of the two Ewok primaries, so having him wounded would have been devastating. Thankfully, Paploo proved to be very distracting, keeping Vader busy for the rest of the game.
 Duel of the Fates.
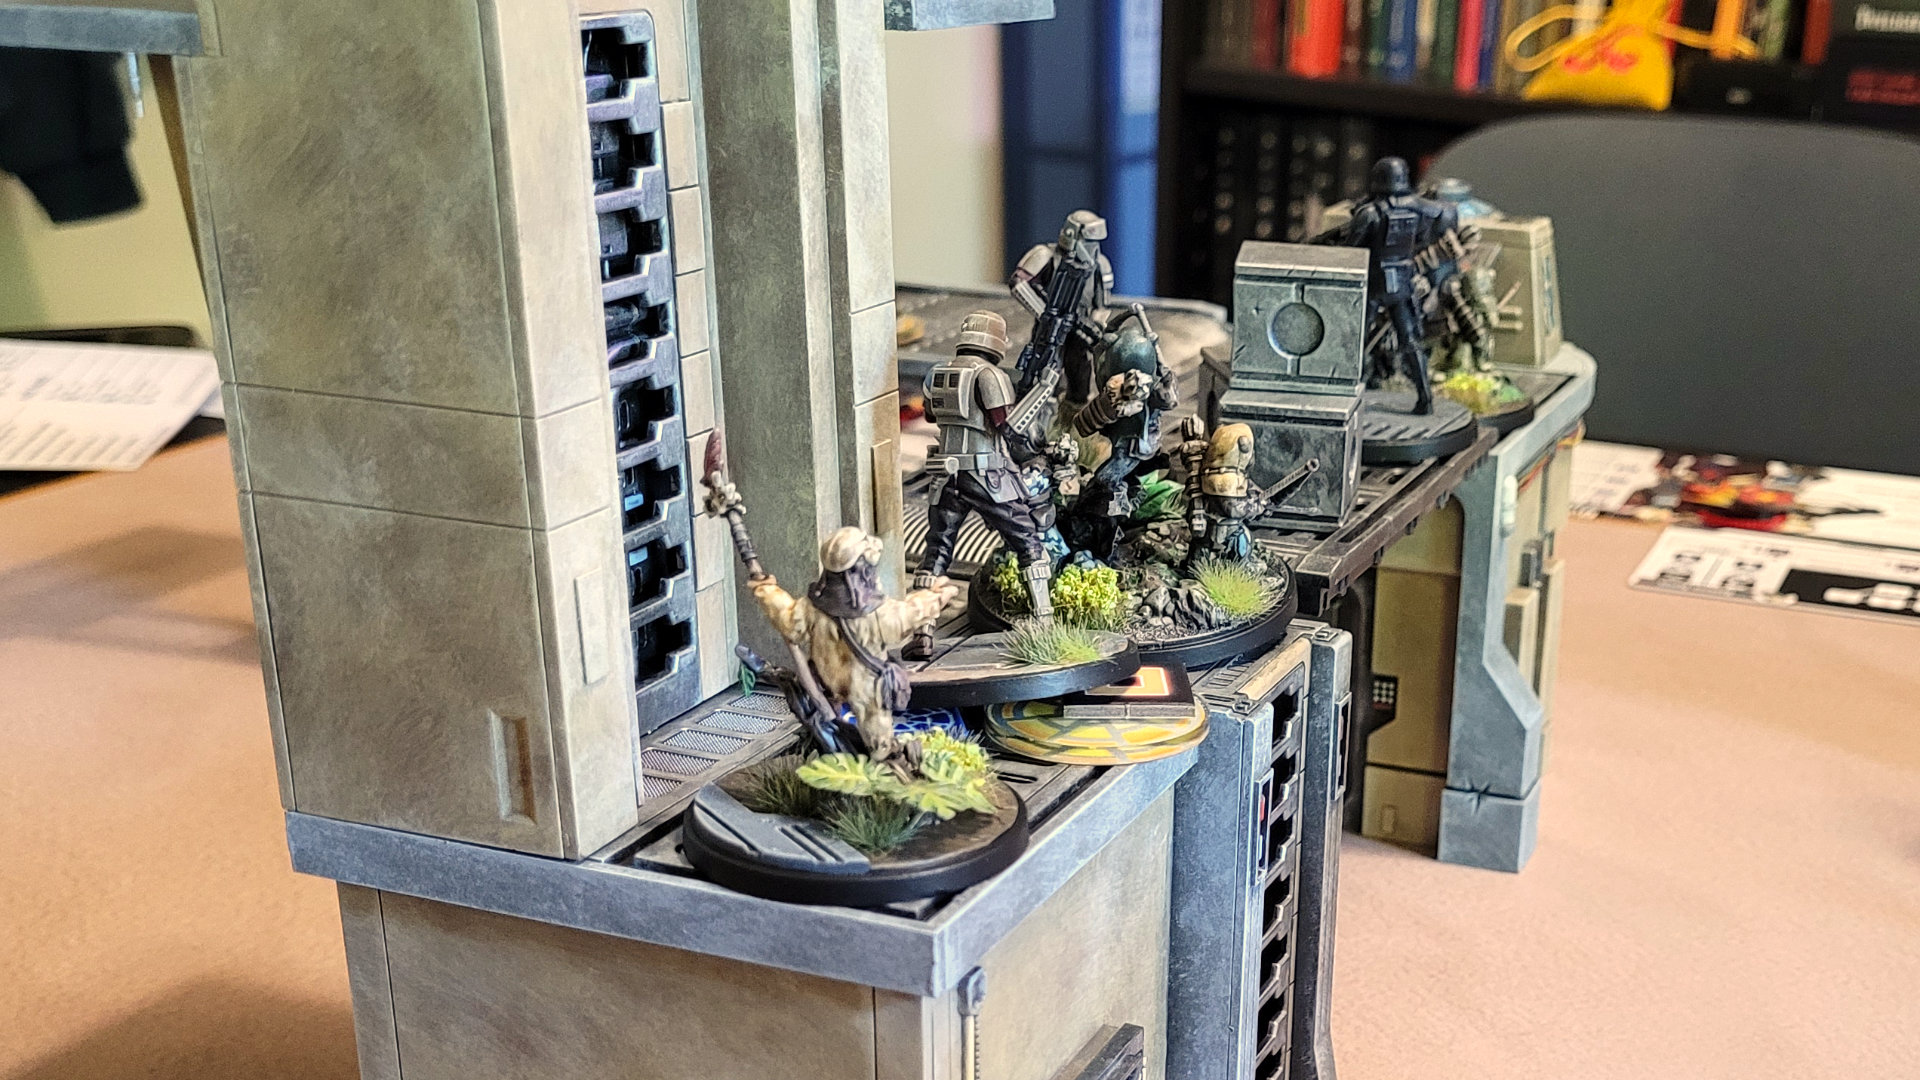 Why does it always end with a huge crowd at the center of the board?
I had Chief Chirpa leading the Ewok Hunters in a fairly good offensive against my opponent’s Shoretroopers at the center of the board. I had managed to would the Death Troopers during the last struggle, leaving my opponent’s forces spread a little thin, and with Logray making his escape from Vader’s clutches, he was able to move in and take over when Chirpa managed to get himself wounded.
Meanwhile, Wicket and the Ewok Hunters were able to walk right up to the relatively unguarded third objective point. All it took was one turn controlling all three active objectives for me to be able to win the second struggle. It was still anyone’s game…
Third Struggle: Signal the Transport
…except that it wasn’t. There was only one choice for objective placement for the final round, but it massively favored my opponent, with all three in easy reach of her forces. Additionally, you get momentum (which reduces how far you need to move the struggle tracker in order to win) for wounding opposing units, and my opponent started this round with a punishing use of the Death Trooper Specialist’s Unrelenting Assault ability, enabling him to make two attacks that both resulted in wounded Ewoks.
The end was near, but Paploo got in one great move before the end, attacking Vader in melee and actually managing to push him out of control range of the objective he was contesting. This gave me at least one struggle point, but my opponent lucked out and was able to activate Vader on her next turn. Needless to say, he was having none of this, and managed to get some terrible and decisive vengeance on poor little Paploo. This returned control of all three active objectives to my opponent, giving her an easy win.
Conclusions
Well, Darth Vader vs. a rabble of Ewoks…what did we think was going to happen. It was a little disappointing that we didn’t see Director Krennic do more, he only activated once and it was just to park on an objective after kicking Wicket out of the way. Still, the Ewoks were just as fun to play as I had been hoping. Each Ewok squad pack comes with an extra character: Princess Leia as a replacement primary, and Artoo & Threepio as a secondary unit that has (or so I’m told) been greatly improved by the recent character update released by Atomic Mass. I will definitely try them again.
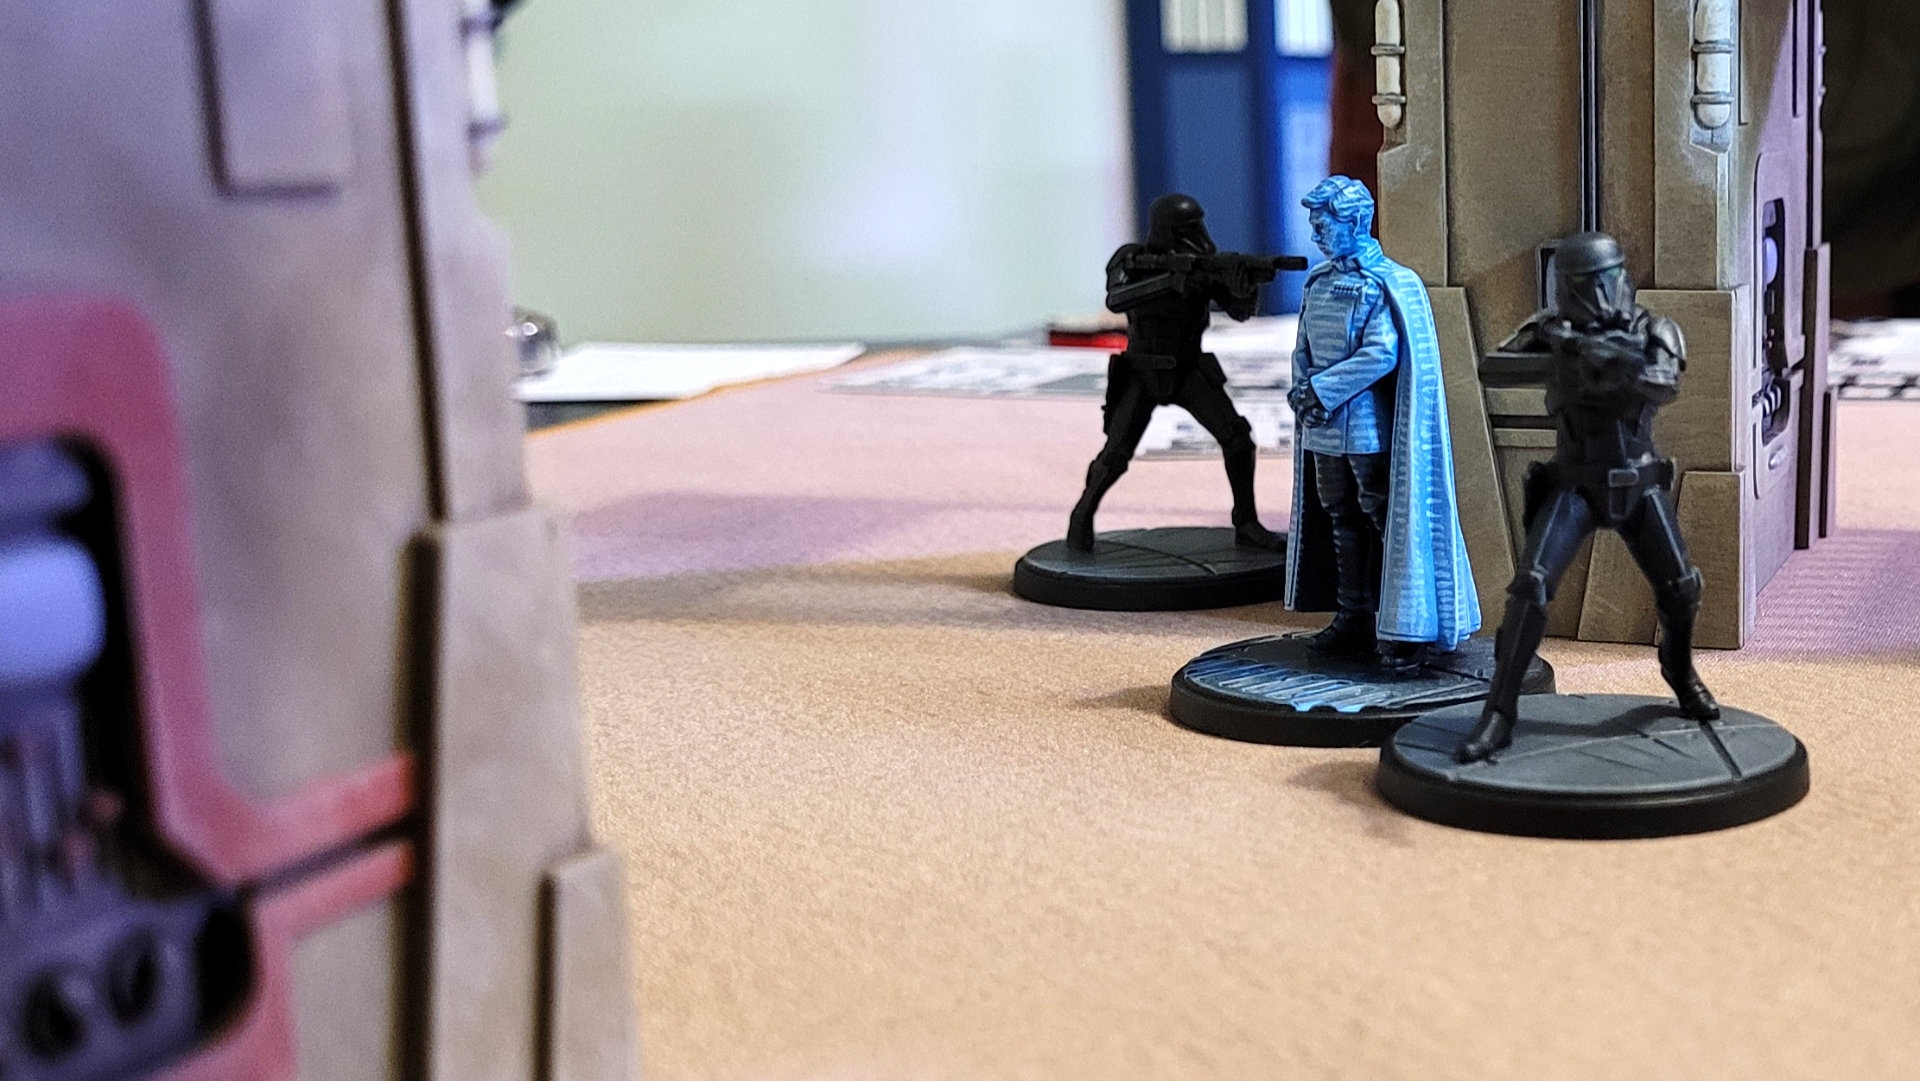 Krennic is working from home today, but his hologram knows what to do.
Catching Up
I’ve fallen a little behind on this project — it turns out that writing up battle reports is a fair amount of work, and I’m never really sure how much detail readers want to see. This game was from August and I didn’t take any notes during the game, so this will be more of a vague memory of what went on during the game.
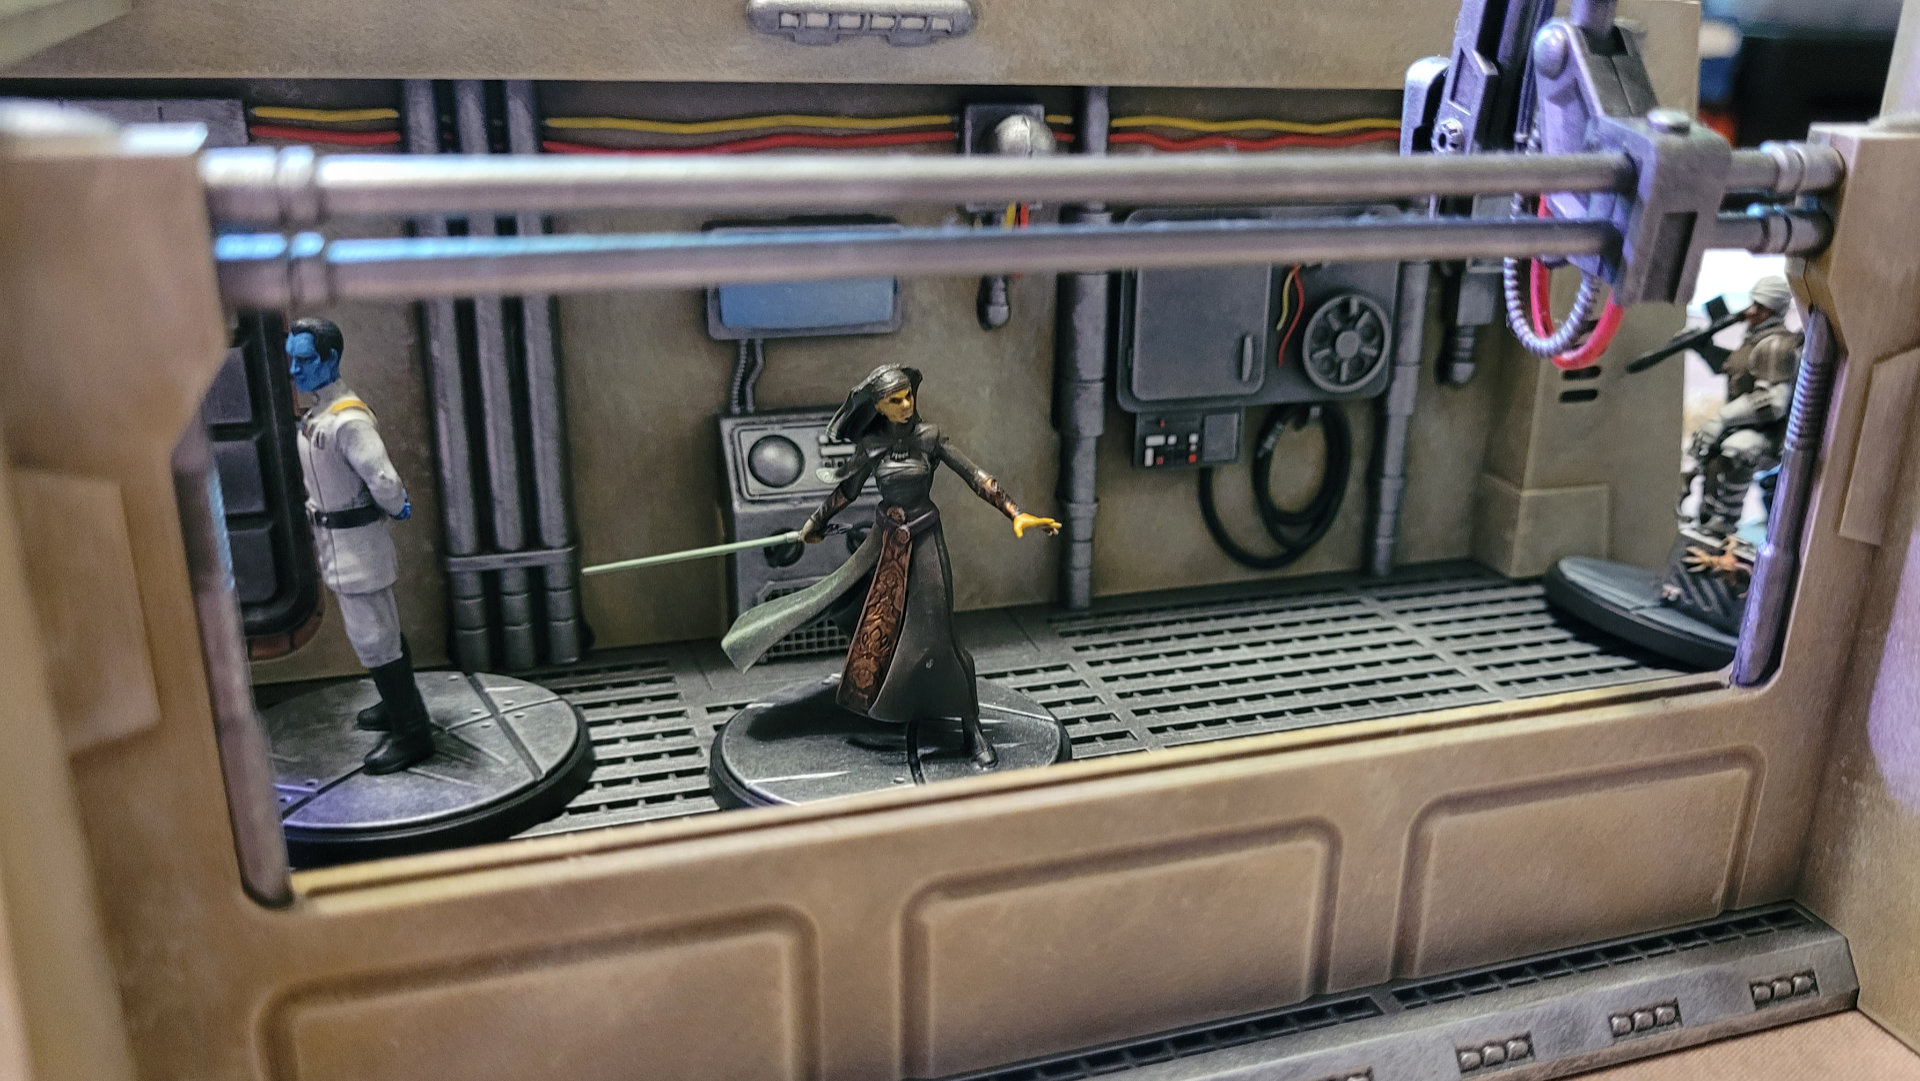
The only thing we had in mind when selecting our strike teams and mission set for this game was that we wanted to try out some recently painted characters that we hadn’t played with yet. I had just finished up General Veers and his Snowtroopers and wanted to give them a try. I decided to pair them up with Grand Admiral Thrawn, but to change things up I swapped out Agent Kallus for Dengar from the We Don’t Need Their Scum set — unlike most Shatterpoint squad packs which are playable right out of the box, this set consists of four Secondary Units, meaning that they have to be swapped into existing squads.
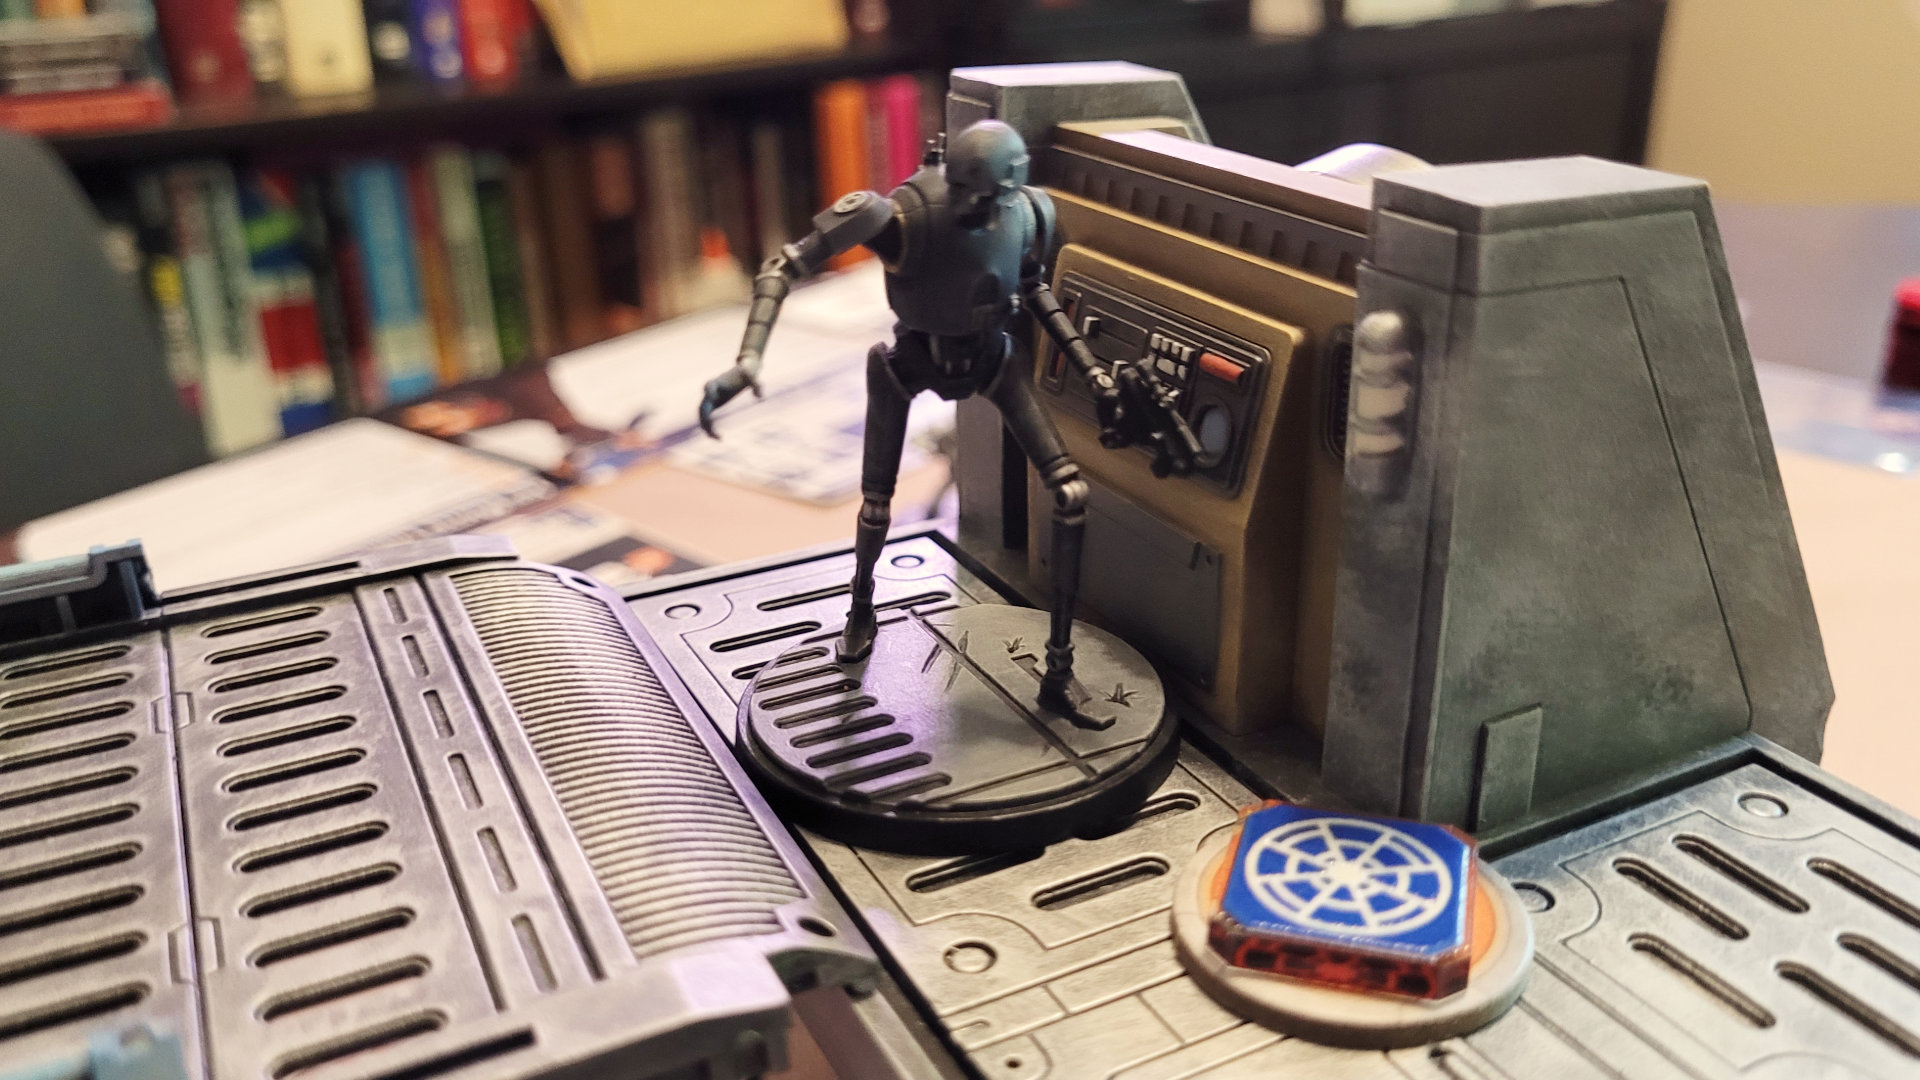
My opponent went with Cassian Andor, his loyal droid K2-S0, and some Rebel Pathfinders, and paired them up with…Luminara Unduli, Bariss Offee and some Clone Commandos. It’s an older squad pack that I hadn’t intended on picking up at all, but I found in on clearance at a low price, so why not. There’s not much synergy there, but we at least justified the oddball pairing by coming up with a back story involving Andor and his crew breaking the two Republic-era Jedi out of a prison where they had been locked away since the Clone Wars. I know it doesn’t fit with the established continuity for Luminara and Bariss, but what do you want from me? It’s a game with little plastic figures…
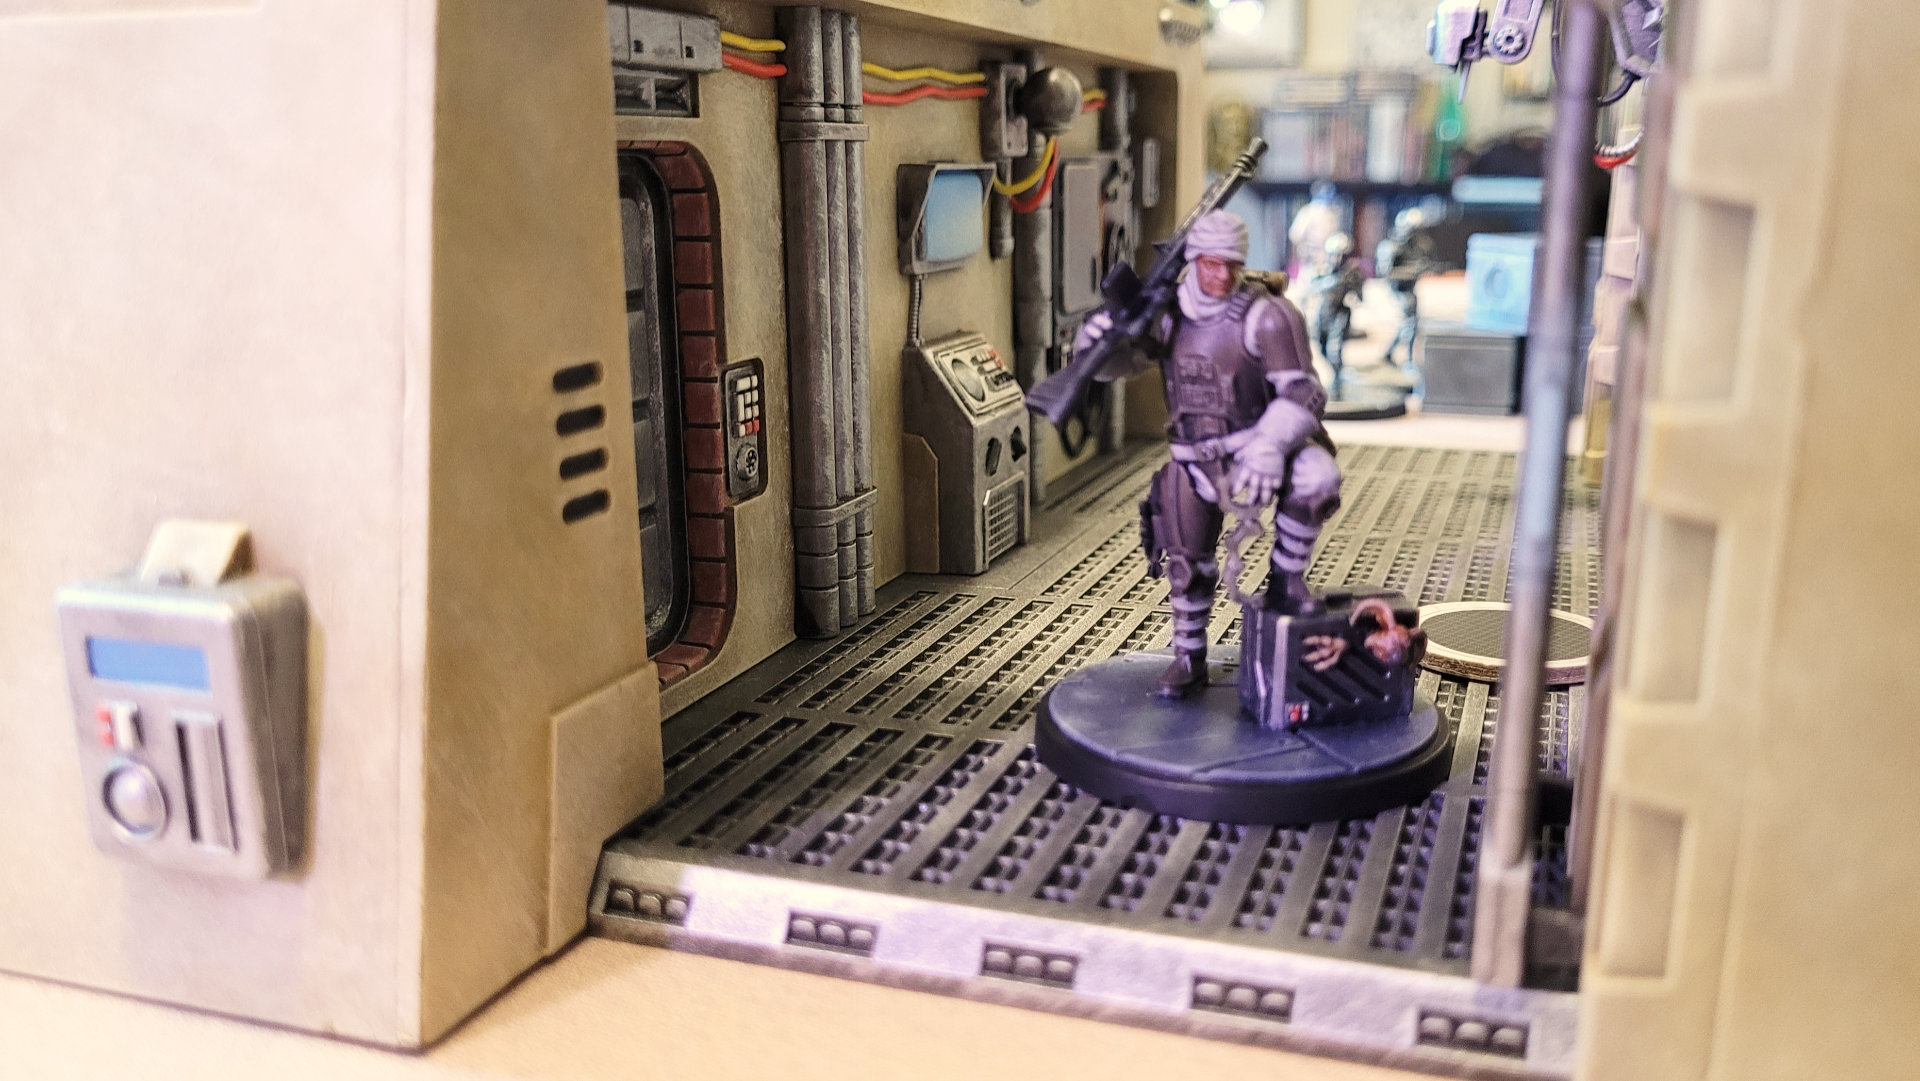
We were also using the Maintenance Bay terrain piece for the first time. It’s a chunky building with two levels to it, as well as grooves for attaching Shatterpoint’s ubiquitous gantries to it (which we did not end up doing). The shape of it creates a corridor that funnels the action into a narrow enclosed space, which did add an interesting wrinkle to a game that really emphasizes freedom of movement.
I have to admit that I can’t remember too many details from the game. Looking at the photos I took, it looks like Cassian and K2-S0 made an early grab for a couple of objective points at elevated positions, while Dengar led Thrawn’s ISB Agents into the Maintenance Bay to try to head off Luminara and the Clone Commandos.
We used the new(ish) First Contact mission set for this game, which we hadn’t used before. It’s got a lot more potential objective points, and an interesting catch-up mechanism for the second and third struggles in the game. With the other mission sets released so far, The second and third struggles consist of 3 fixed active objectives, one of which (chosen randomly at the start of each player’s turn) is the Priority objective and worth double points. It means that, while you’ll want to be somewhat nimble in chasing down the Priority objective each turn, there’s also value in just camping out on as many of the three as you can manage to.
With First Contact, there are four active objectives and no double-point Priority. At the start of the second and third struggles, the player who lost the previous struggle gets to choose the pattern of objective positions from two options on a randomly chosen card, but here’s where things get interesting. When a player scores 3 or more objectives at the end of their turn, the other player can pay either 1 Force or 1 Momentum to randomly choose a different struggle card and move the active objectives accordingly. It makes for a lot more movement, but also seems to drag the game out a bit, as the player who is presumably winning can potentially have their advantageous position snatched out from underneath them.
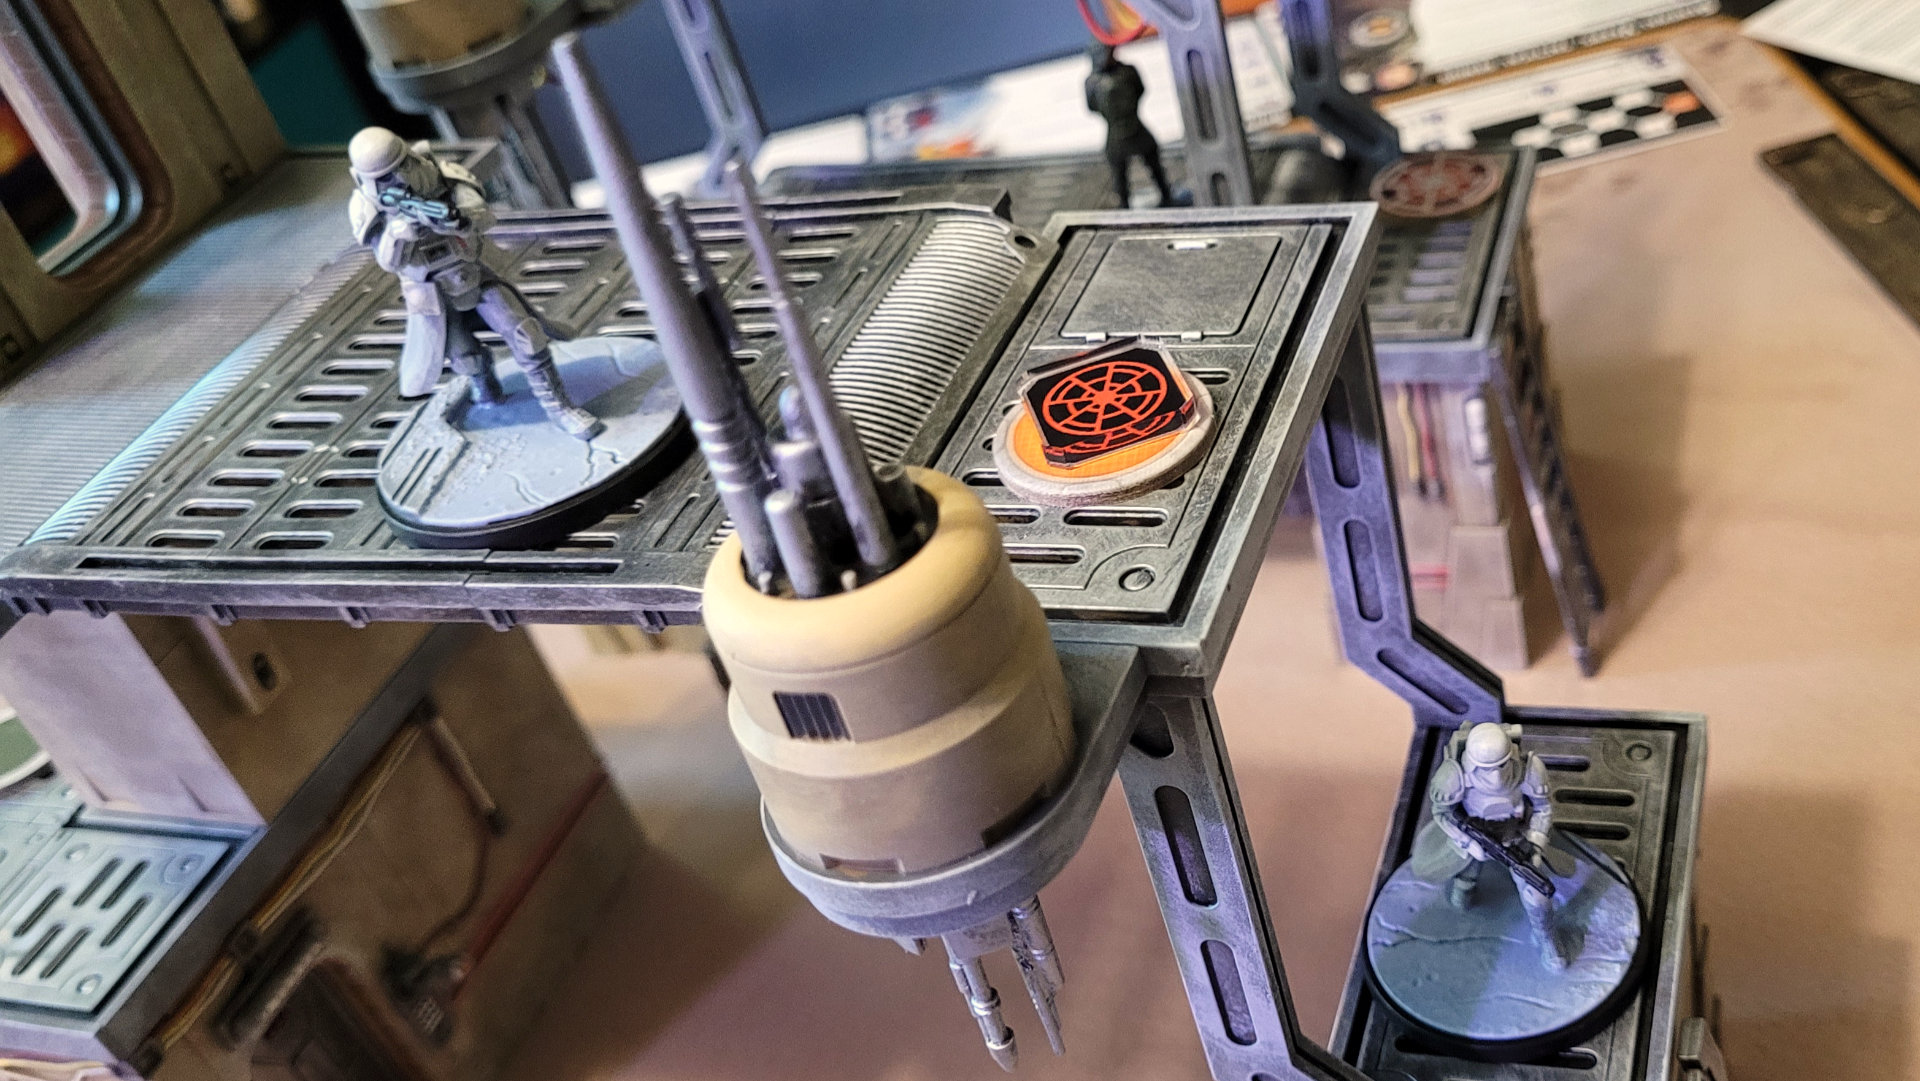
If memory serves, I had Veers and his Snowtroopers camped out at the opposite end of the board, controlling one objective but not really doing anything else terribly interesting. Meanwhile, the meat of the game came down to a battle at the Maintenance Bay between Thrawn, Dengar and Luminara. Thrawn isn’t what I would consider a front line unit, but he does have an ability that gives him extra movement if he ends up contesting an objective, which may help explain why he was within melee range of a Jedi (not normally where you want any of your units to be if you have a choice).
Dengar, on the other hand, is just who you want squaring off against a Jedi, thanks to his Explosive Regards ability, which deals damage to his attacker when he is wounded by a melee attack. Luminara can deal out a fair amount of damage, but her real strengths are in backing up nearby allies, so it was unfortunate that she wound up on her own against Dengar and Thrawn. In my opponent’s defense, the nature of Shatterpoint’s order deck mechanism means that it isn’t always possible to keep your units grouped how you’d like them to be — sometimes you just have to dive in and hope for the best.
Sadly, I can’t remember how this game ended, or what Andor and his squad did beyond their initial objective rush early in the game. Based on his position at the top of a tower, I imagine Andor spend the game sniping away at Imperial troops, something it’s very easy to picture him doing. So at least we got that part of the story right…
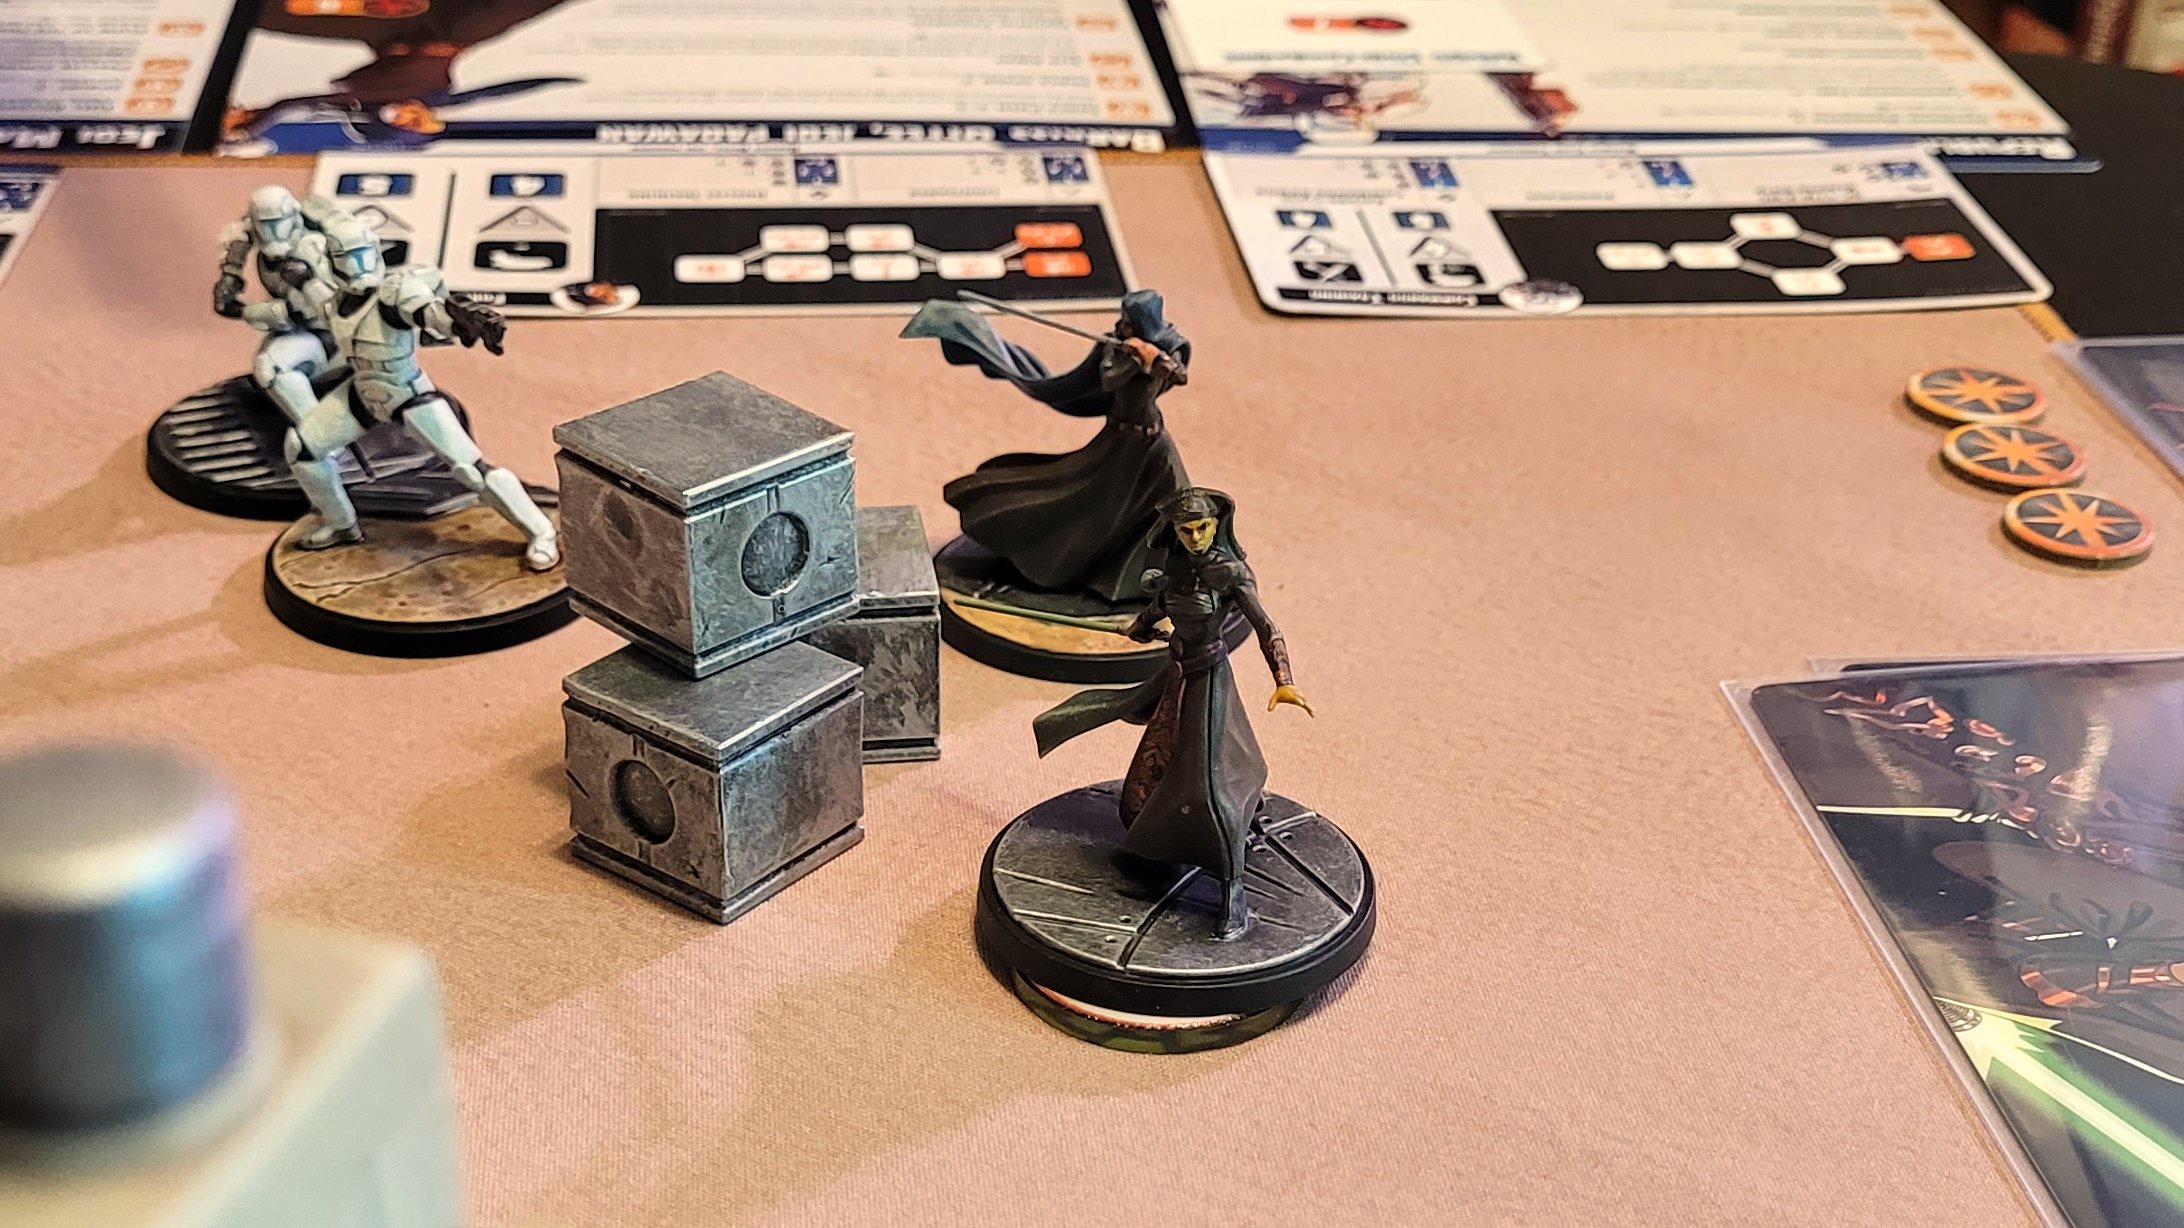
Dueling Generals
The point of this game was to play a match between the four poorest tournament performers: General Veers, CT-9904, General Grievous, and Asajj Ventress. We thought it might be nice to see how they do when they’re not up against high performers. I wrote up a detailed turn-by-turn battle report for this game over at Goonhammer, so I’ll just post some highlights here.
Even though this particular match up was decided by tournament data and a gimmicky idea, the confrontation between these characters could make sense if things had gone just a little differently story-wise. Imagine that General Grievous hadn’t been killed in his fight with Kenobi in Revenge of the Sith, that Ventress never left the Separatists, and that CT-9904 (aka Crosshair) stayed loyal to the Empire instead of rejoining his brothers in the Bad Batch. With the Clone Wars effectively over, a young up-and-coming General Veers (maybe he’s just a lieutenant or something at this point) is sent to mop up the last of the Separatists, with Ct-9904’s elite squad as backup.
I like the game to tell a story.
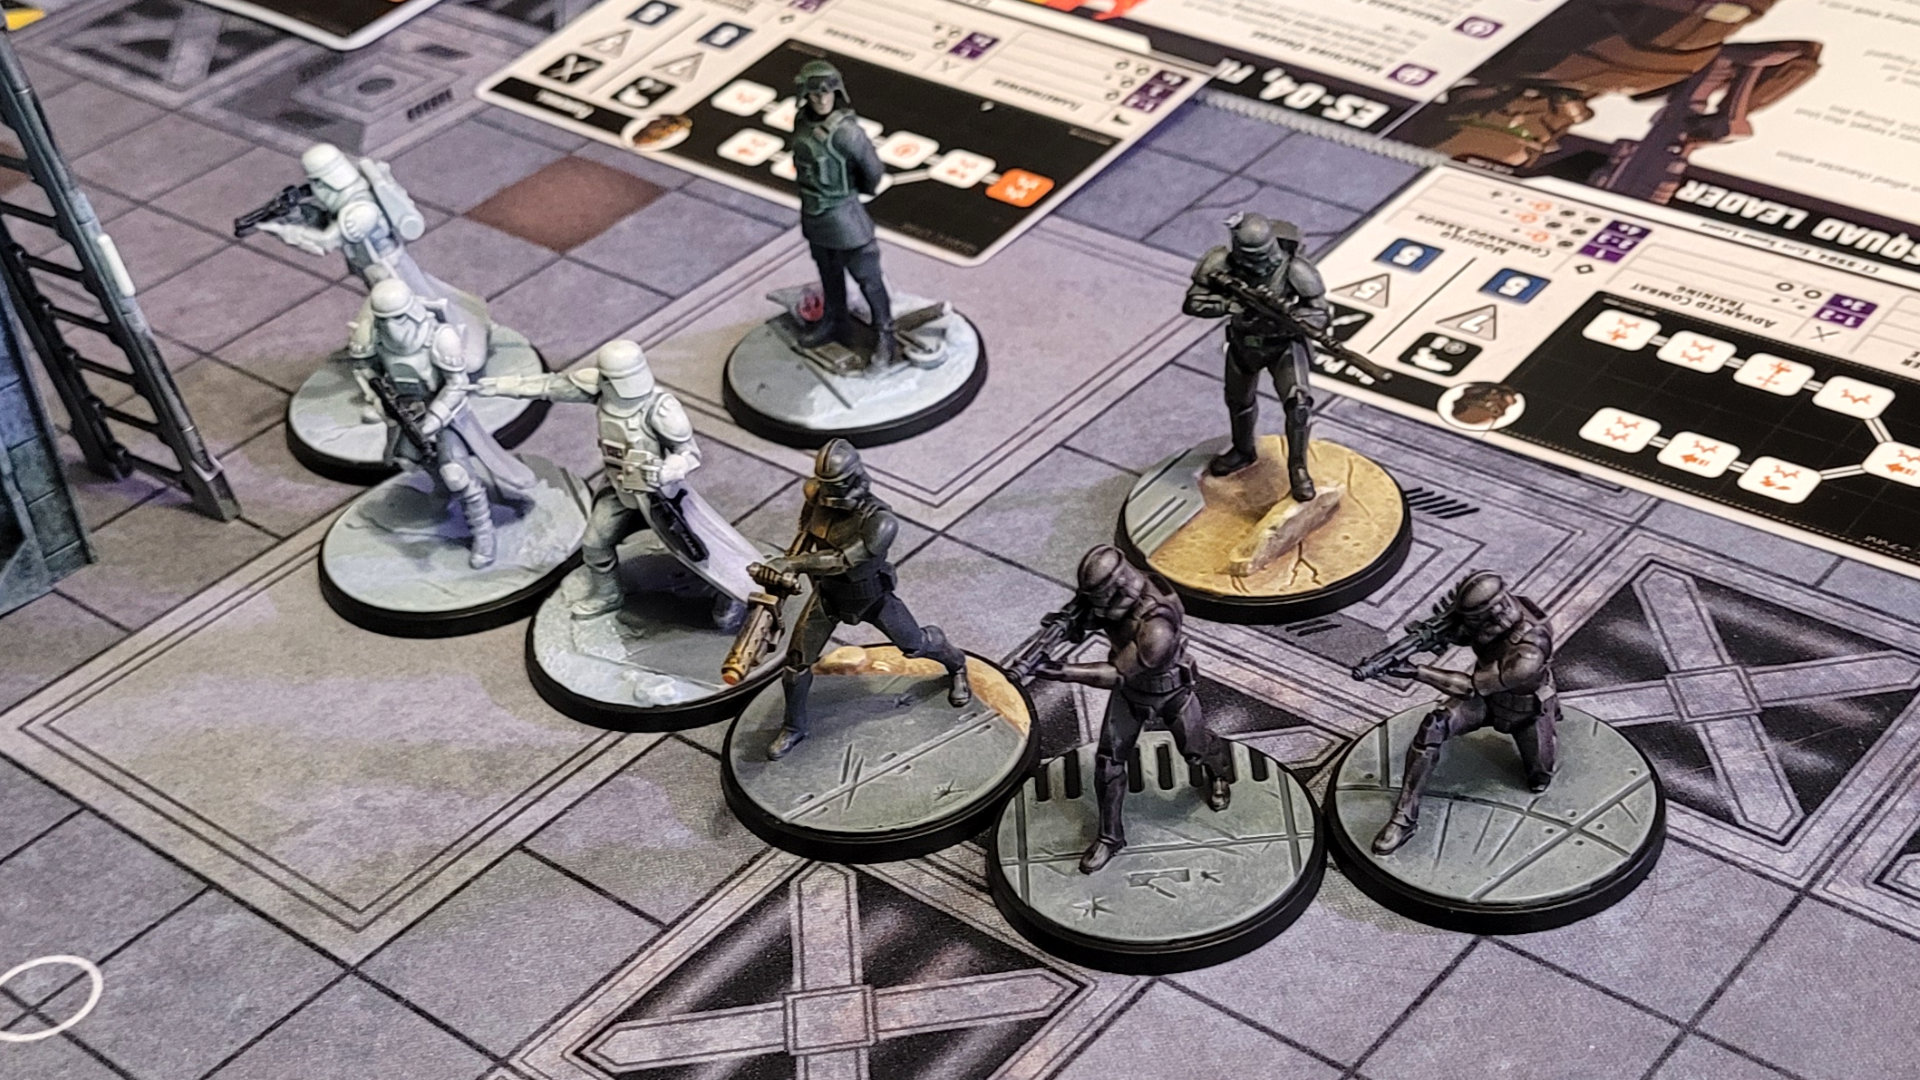 The Imperial forces actually look pretty good on paper. CT-9904 is a bit of a lone wolf, with only one ability that helps his squad-mates and three that make his own attacks more effective. Veers, on the other hand, definitely does not lead from the front, with almost all of his abilities designed to give Stormtroopers extra moves and attacks.
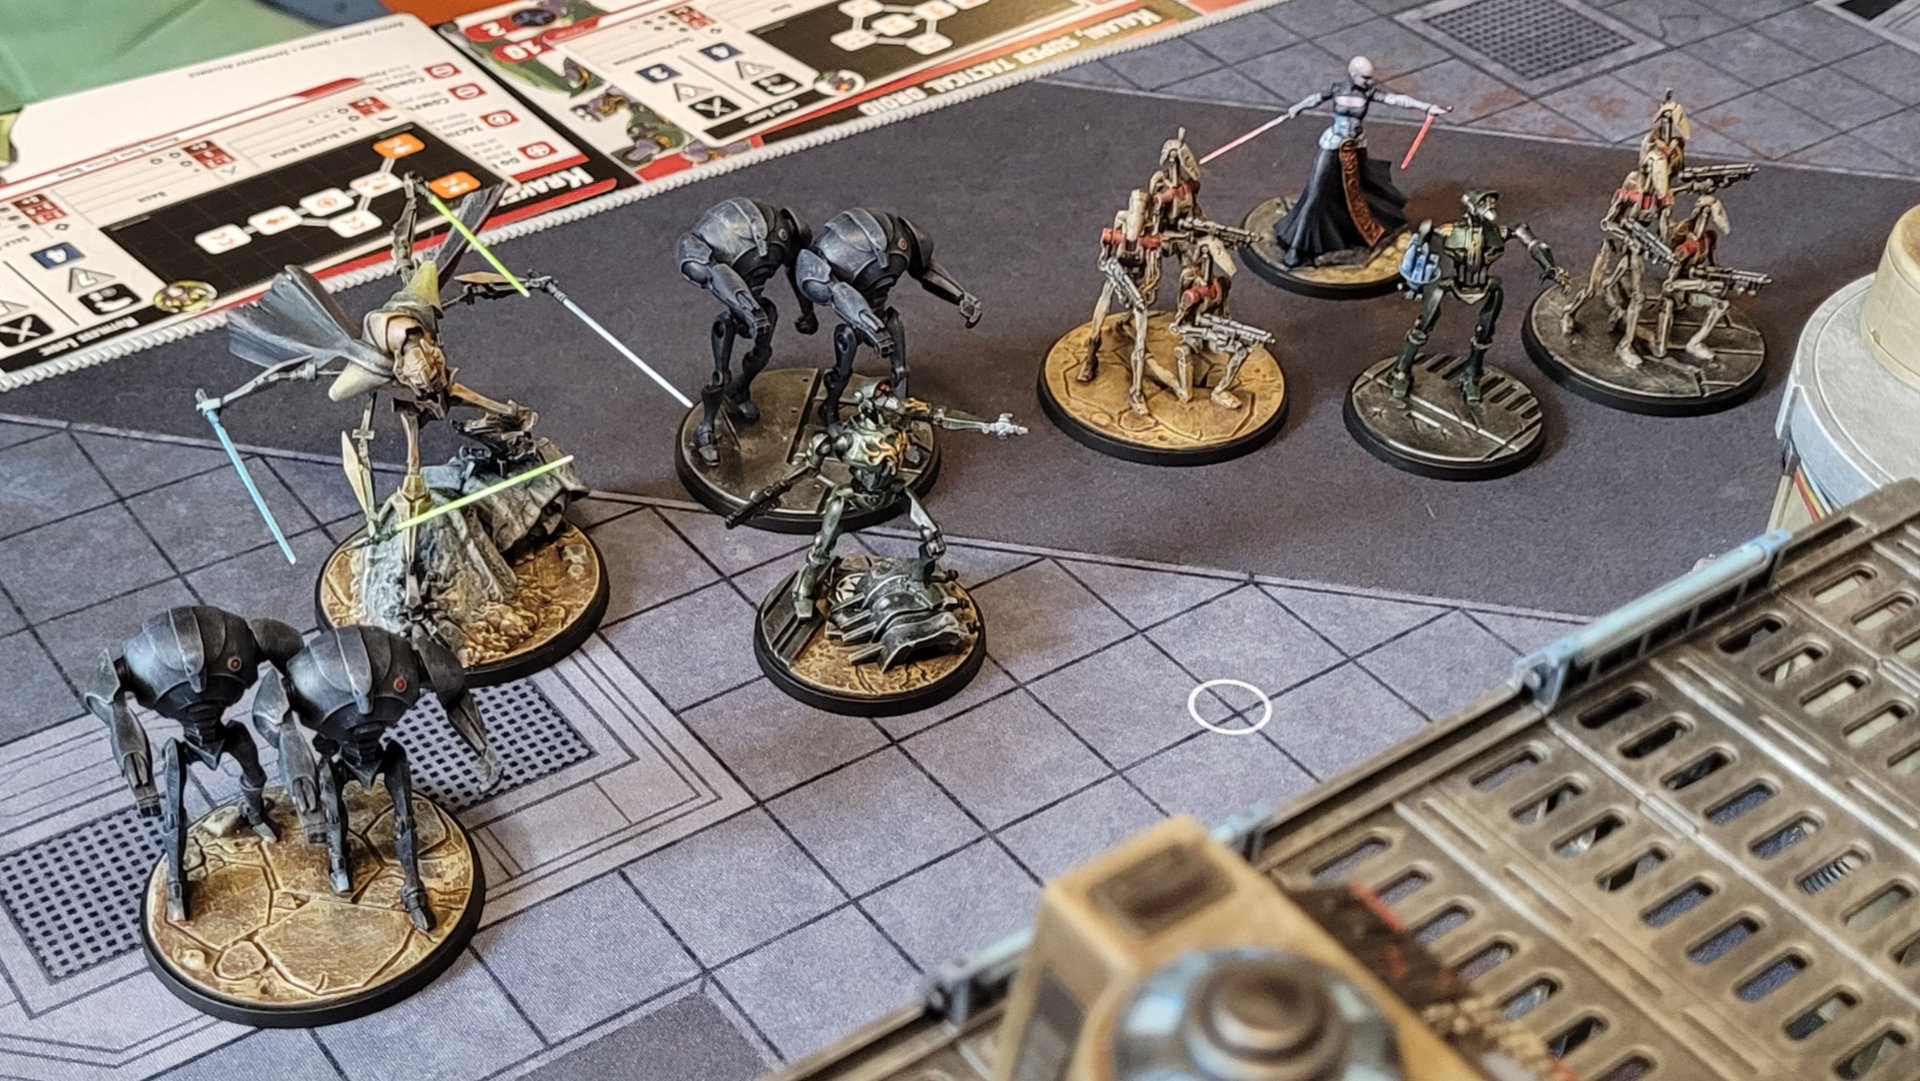 The Separatist leaders are a lot more action oriented -- Grievous has a few abilities to keep his Battle Droids moving, but is mostly focused on diving into the thick of battle. Ventress is even more of a lone wolf, with no abilities at all that help out her Battle Droid squad. They'll have to rely on their twin Tactical Droids, Kraken and Kalani, to keep the droids moving.
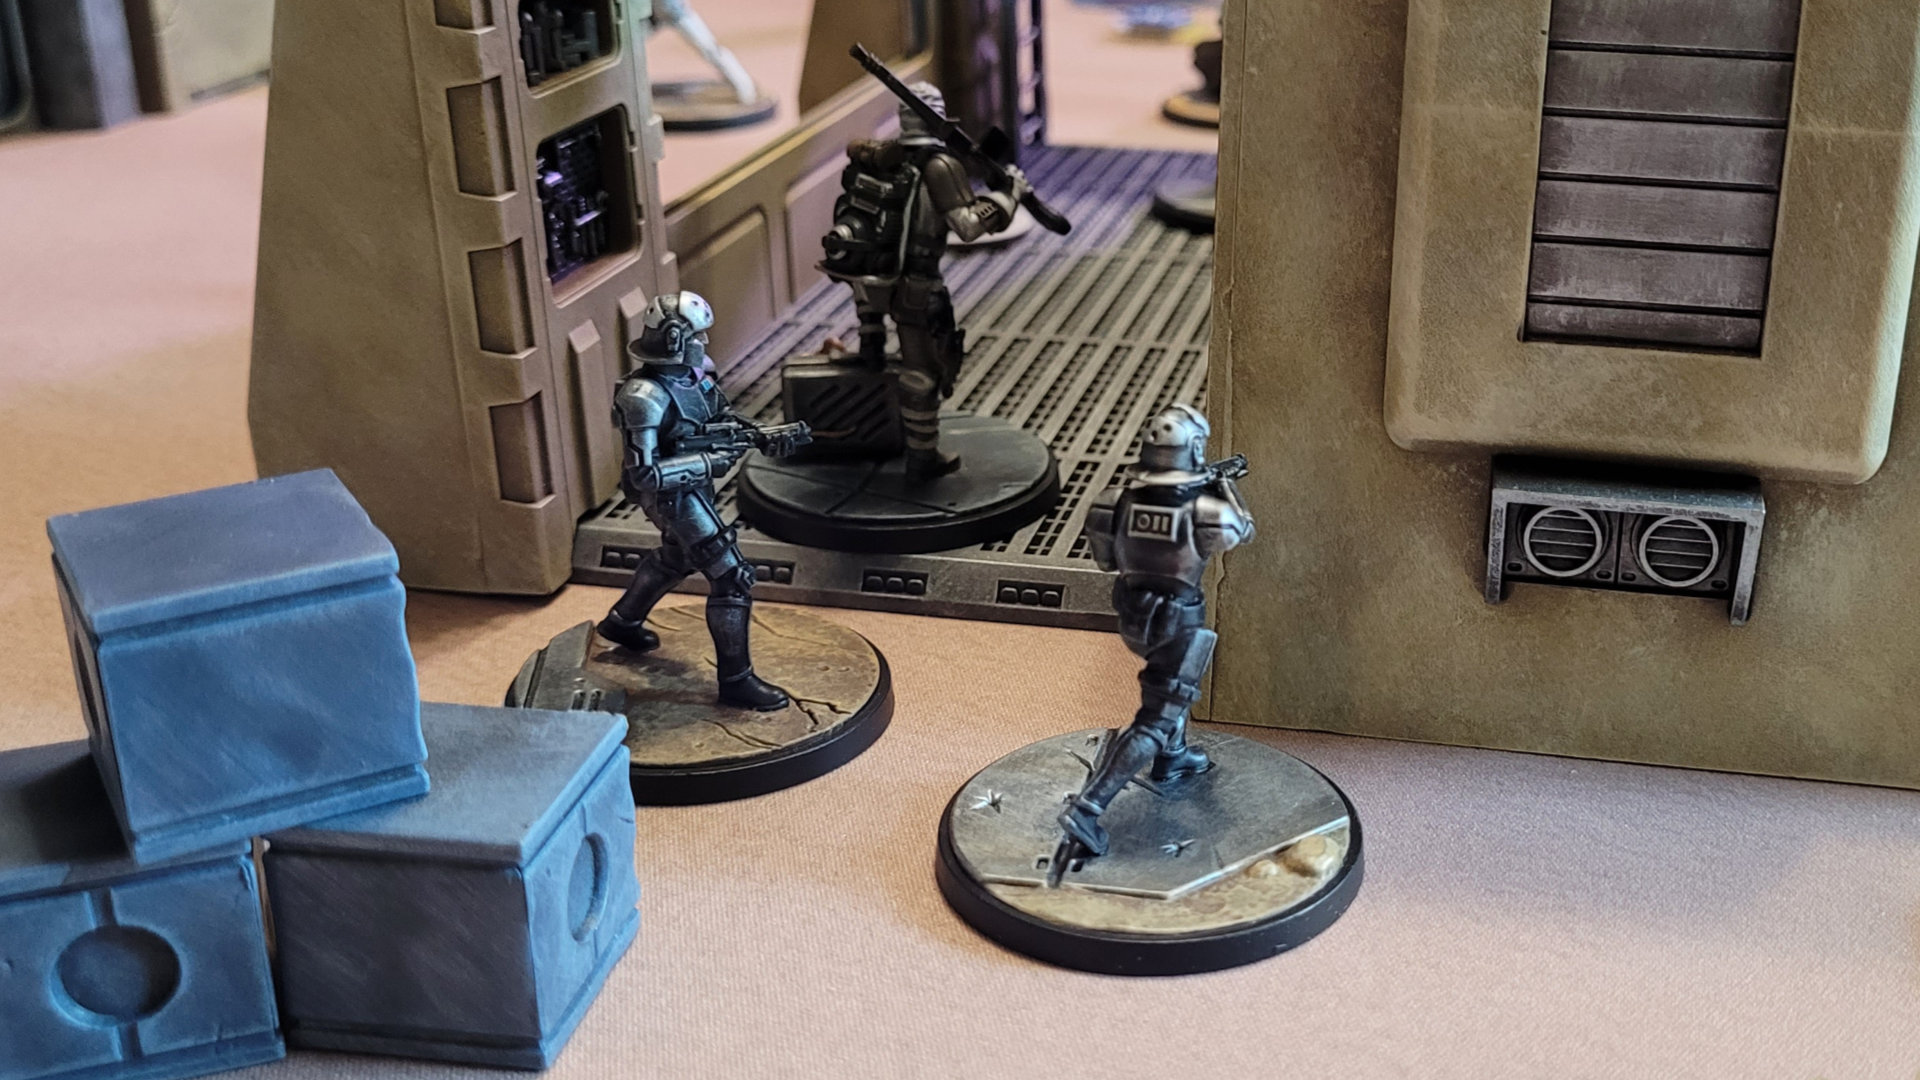
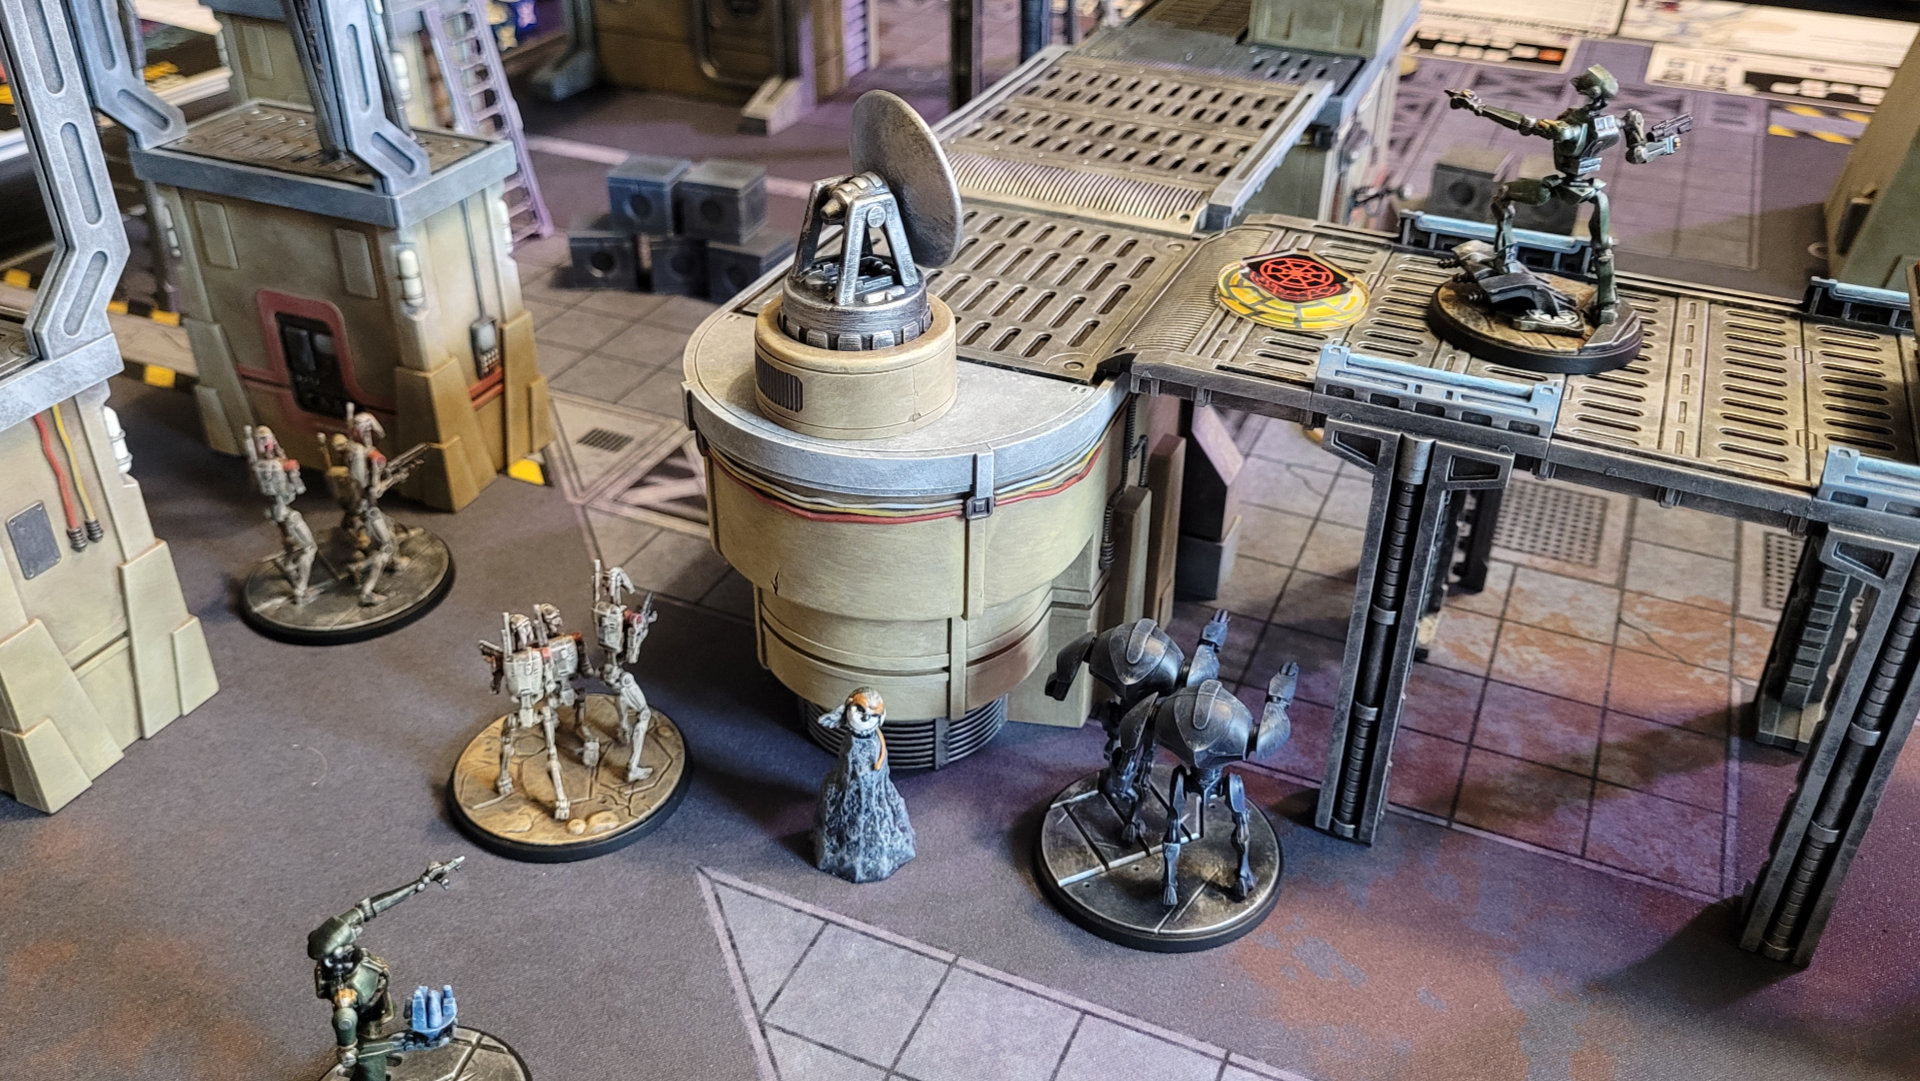 As predicted, Kraken and Kalani managed to get themselves and the Battle Droids into good positions fairly quickly, although Kraken did end up out in the open where he later got hammered by CT-9904 and Firebrand (the Elite Squad Trooper with the flamethrower).
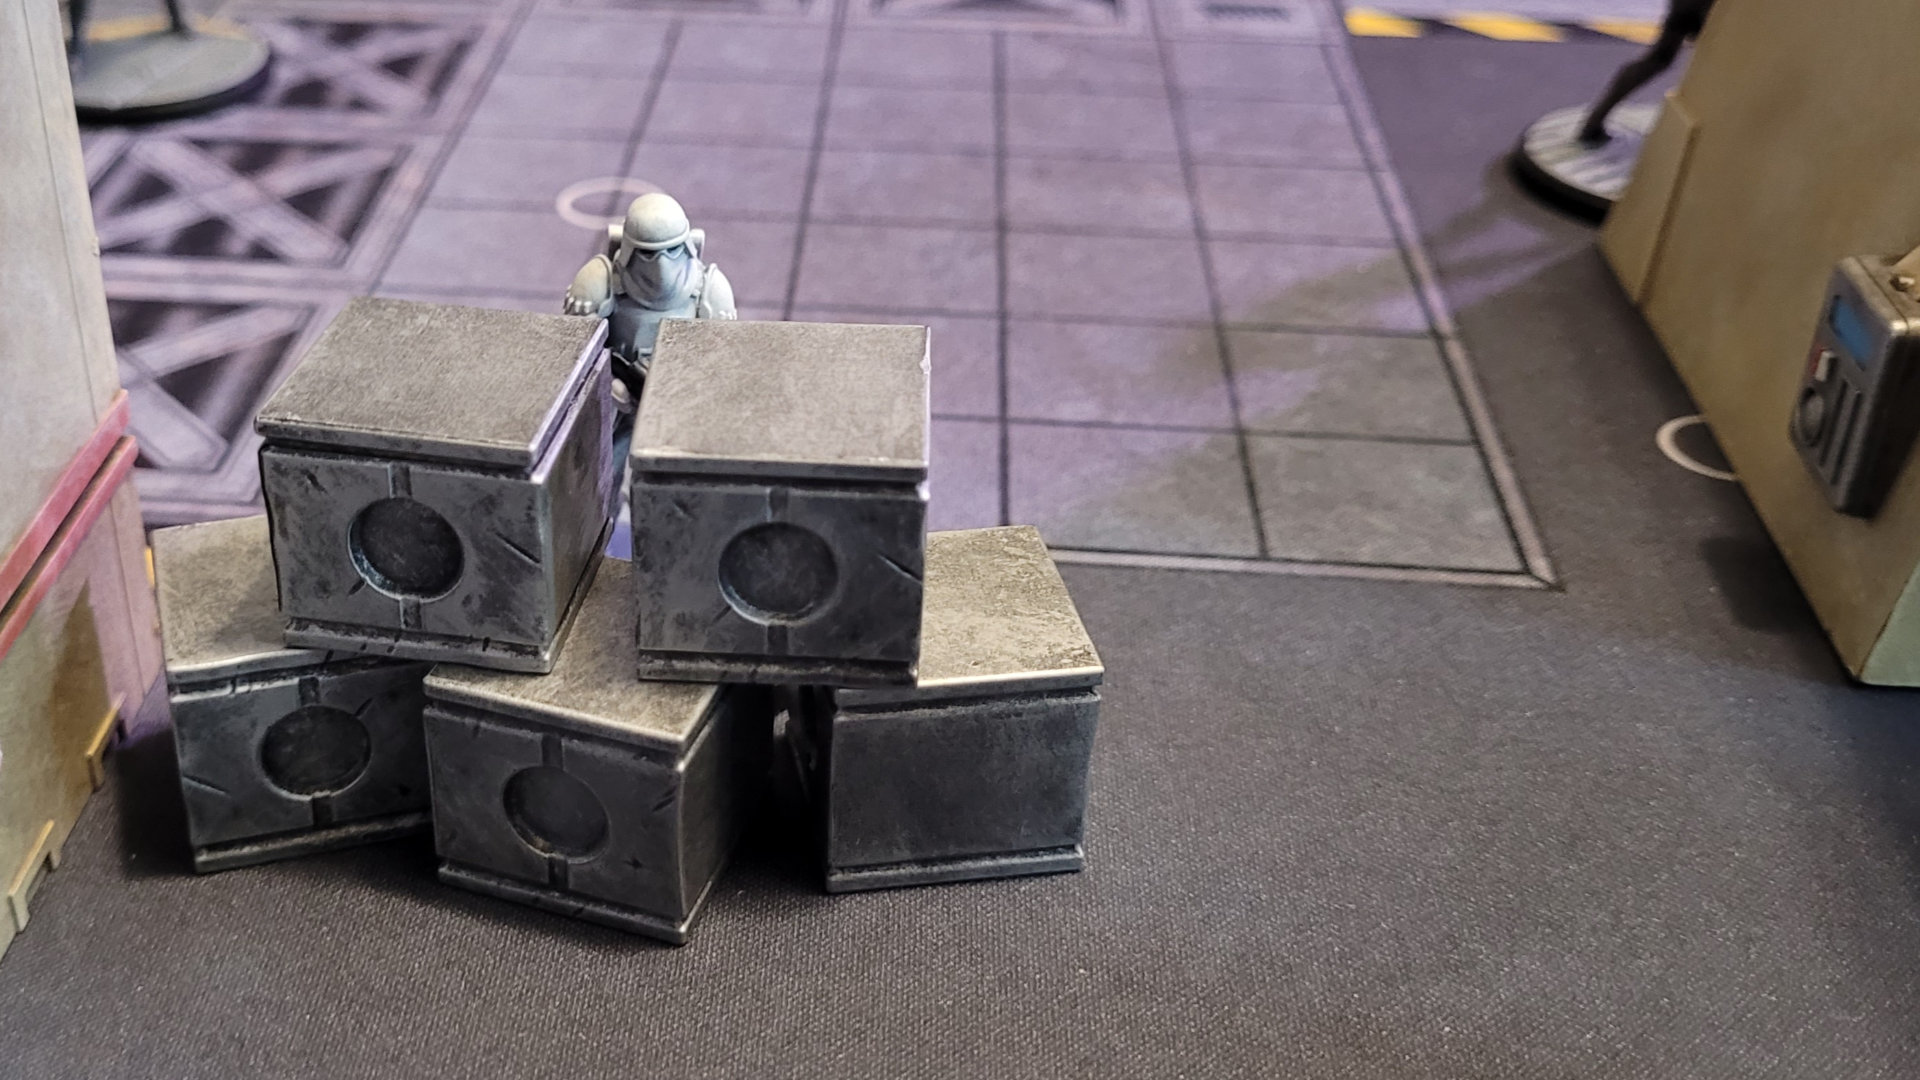 My opponent's Snowtroopers, on the other hand, were very good at using cover. They managed to creep through what should have been a kill corridor, eventually taking control of the left side of the board.
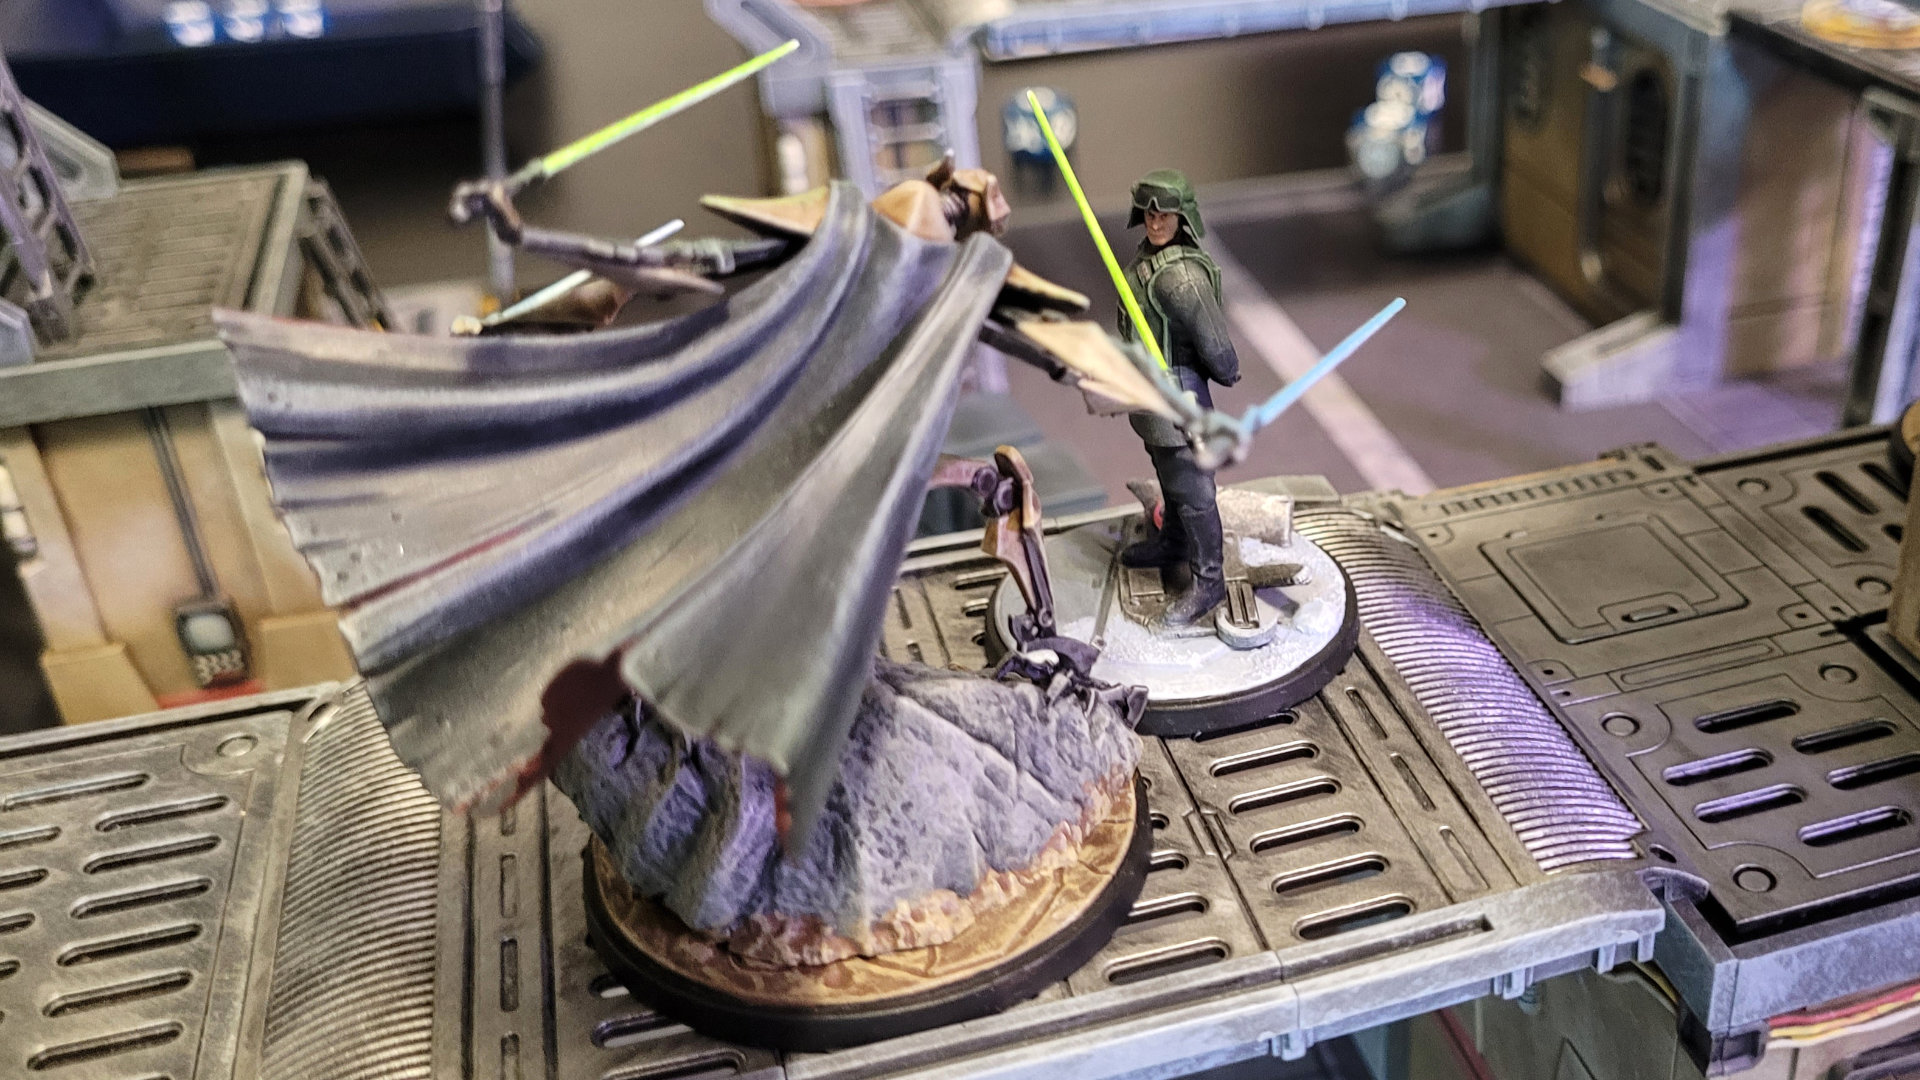 Thinking he was safe from Grievous, who had just activated, General Veers moved to the center of the board to take control of an objective. Alas, Grievous was able to activate again thanks to a Shatterpoint card, and delivered a devastating melee attack that left Veers wounded. It wasn't a fair fight at all -- Veers has low hit points and most of his abilities involve moving his troops around, whereas Grievous is a gigantic cyborg with four spinning lightsabers for arms...
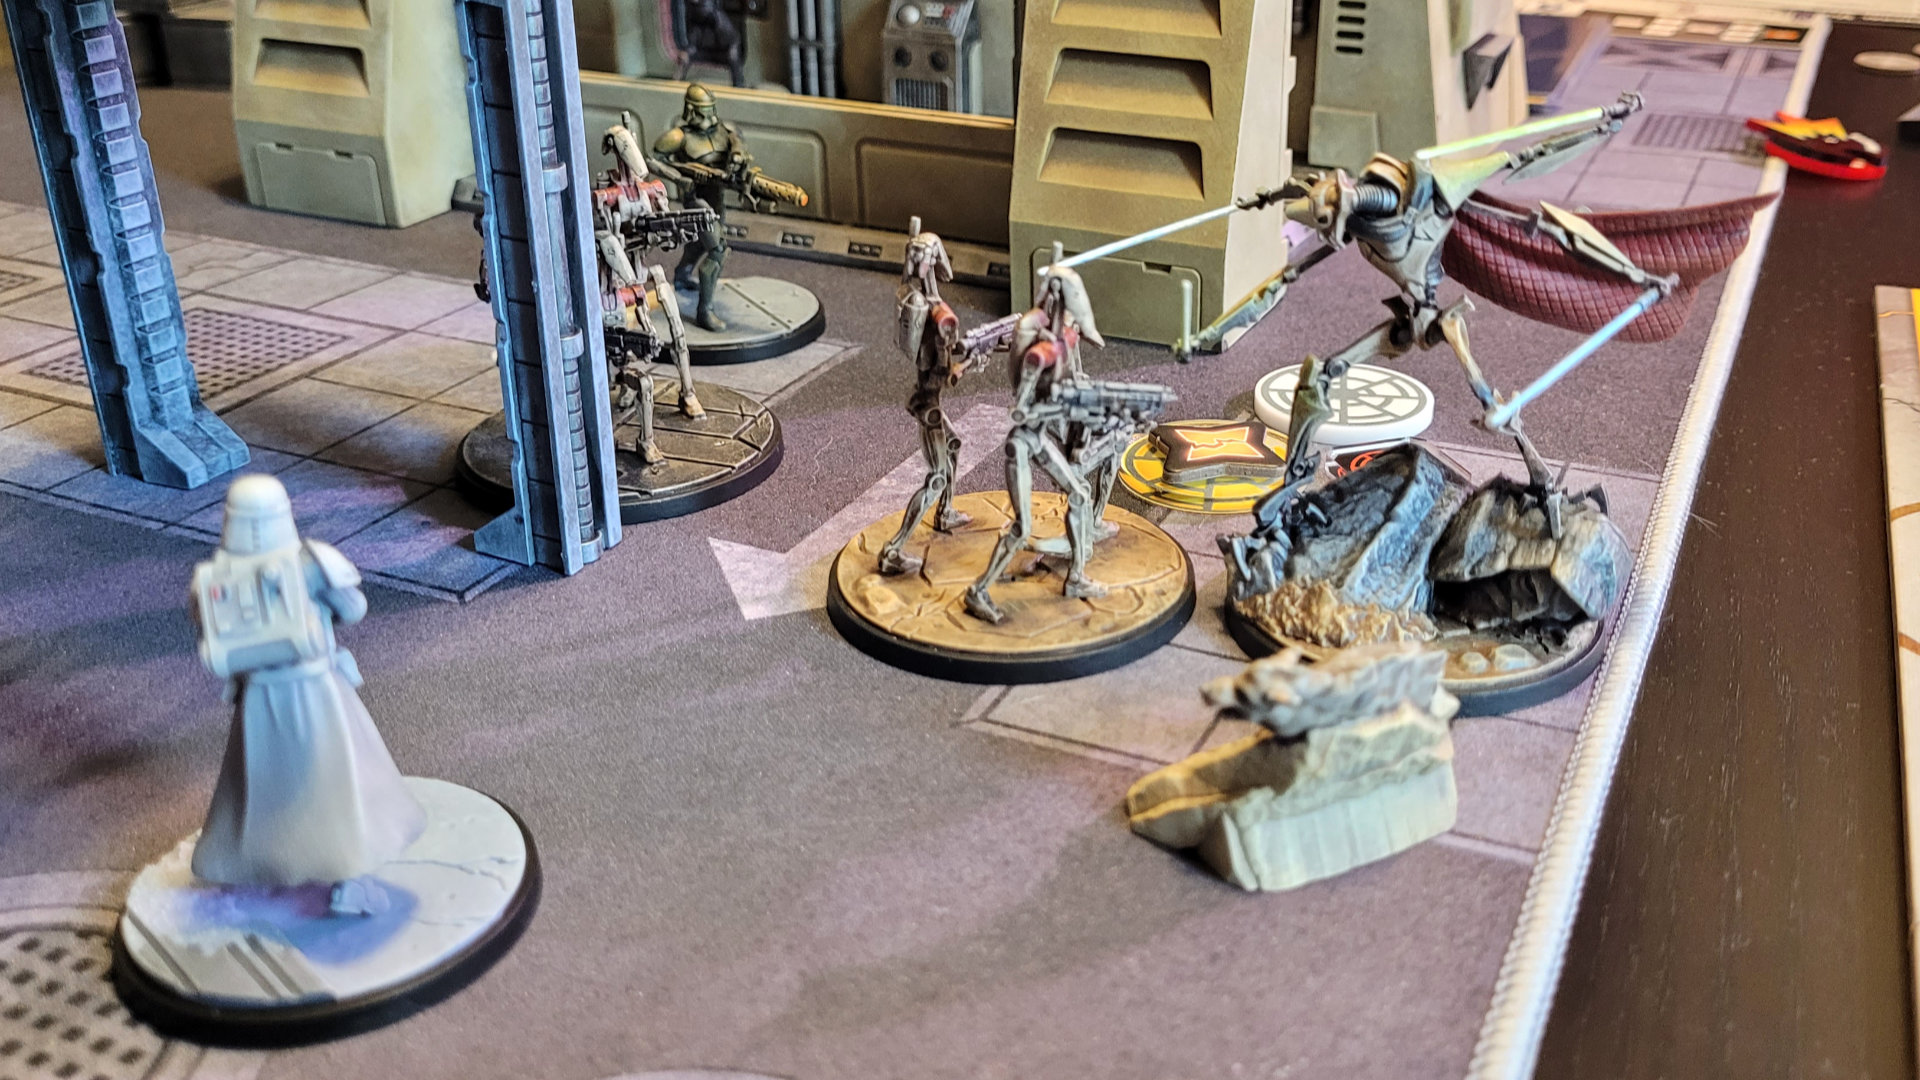 The B1s aren't that impressive on their own, but once their fearless leader drops into the mix they did a good job of controlling objectives while Grievous used his high mobility to go wherever he was most needed. By the end of the game they had a pretty good synergy going.
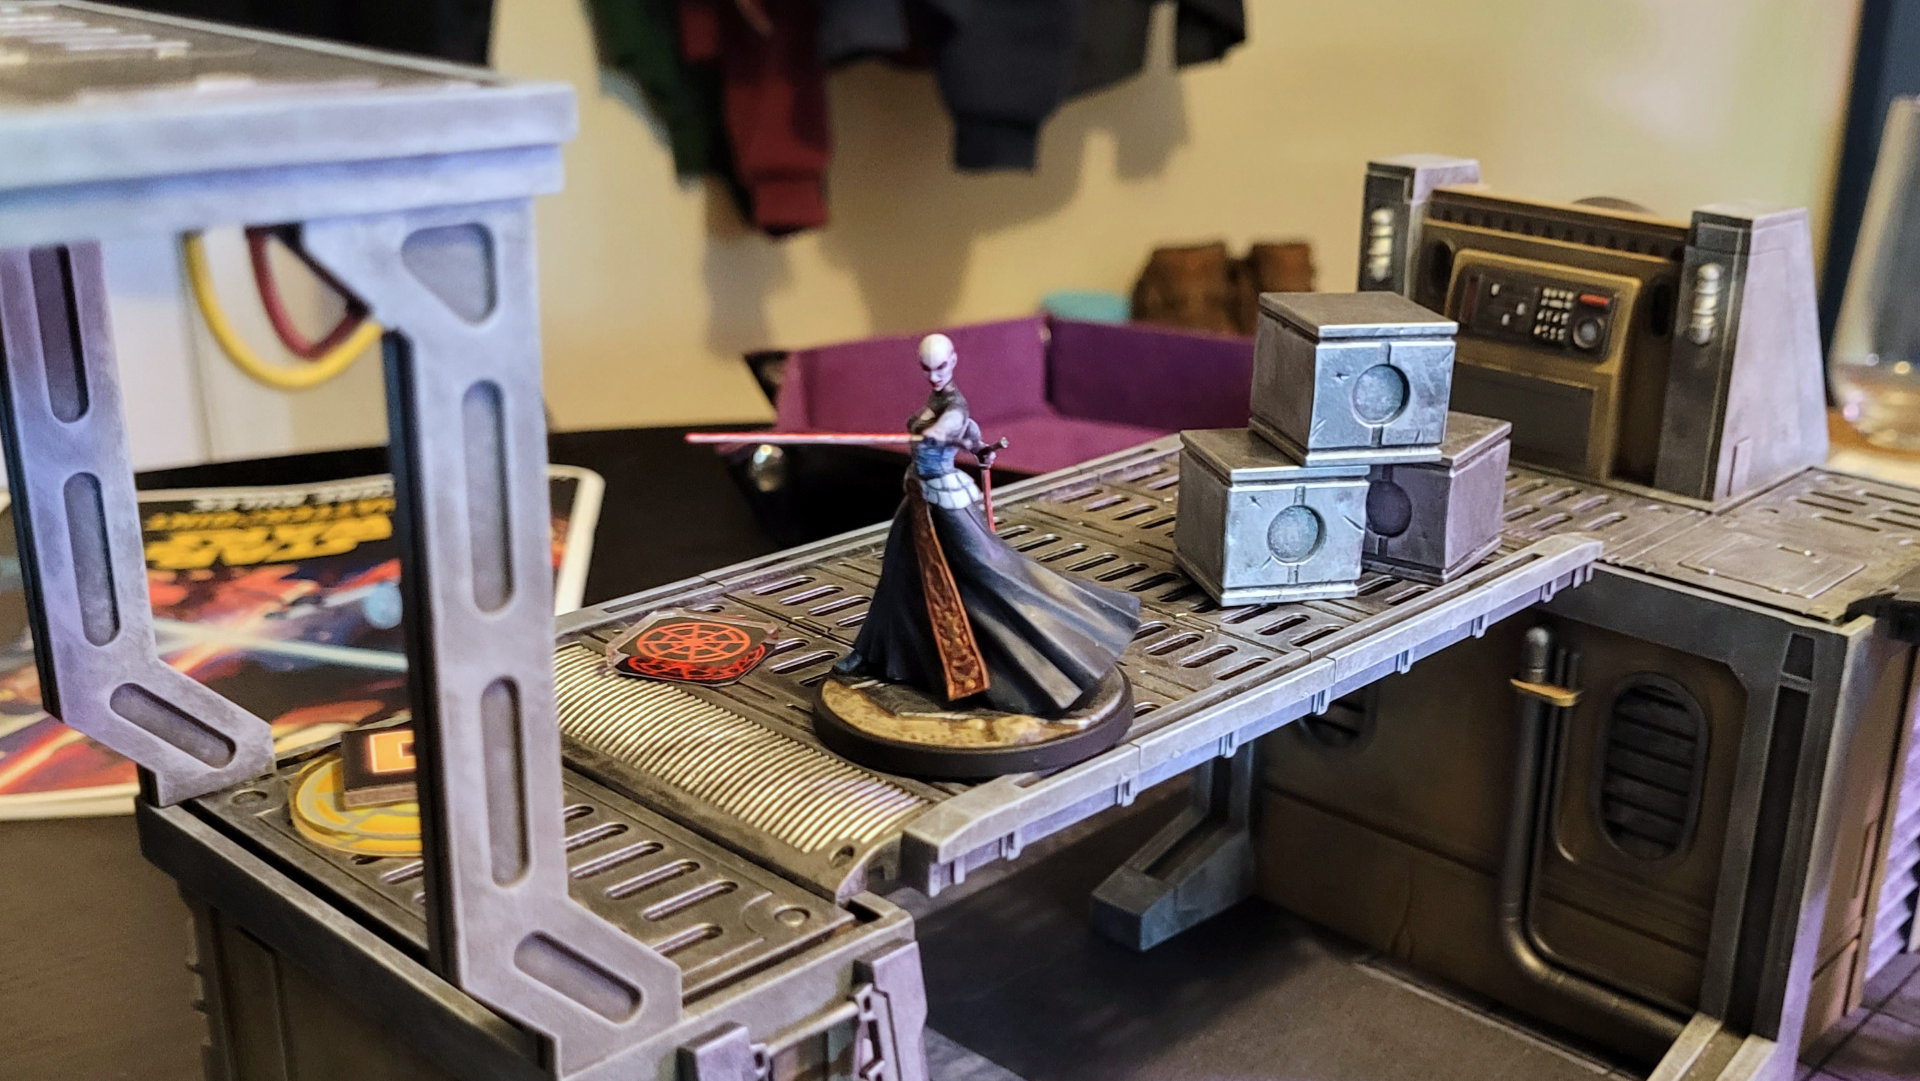 Ventress is definitely a lone wolf. To be fair, this tower was swarming with Snowtroopers a moment ago, and she managed to single-handedly clear them all out -- it was a very cinematic moment.
The Separatists won the game by way of the first and third struggle, I think mainly by virtue of their two leaders, Ventress and Grievous, who are a lot more melee combat oriented than Veers and CT-9904. Grievous seemed to strike a good balance between supporting his Battle Droids and being effective on his own, but his larger base made maneuvering him into tight spots a bit of a problem. Ventress did fine on her own as well, but didn’t work with her squad of Battle Droids at all — her low ranking could be down to not having a good squad to team up with.
My opponent managed to use the Snowtroopers and the Elite Squad Troopers pretty effectively, but Veers getting wounded early on (making his abilities more expensive to use) limited how much they could do. With his low hit point total making him so easy to wound, it’s not too hard to see why he’s not doing better in competitive play. I’m not really sure about CT-9904 yet, I don’t think he really got a chance to show us what he can do, at least not in this match.


![StarCraft Tabletop Miniatures Game Pre-Orders Live Now [Updated]](https://images.beastsofwar.com/2026/03/starcraft-tmg-news-cover-600-338.jpg)


