


![1918 Spring Offensive Wargame | Full Rules Overview with John & Gerry (WW1 Tabletop Game) [7 Days Early Access]](https://images.beastsofwar.com/2026/03/unboxing-warfulcrum-games-1918-spring-offensive-review-coverimage1-225-127.jpeg)


Demonsub Builds The Gundam Hi-Nu


Recommendations: 216
About the Project
A project to chronicle my building of the Real Grade Gundam Hi-Nu (RX-93-v2 Hi-v). It will show my general working approach from panel lining, parts cleanup, assembly and decals. I won’t be showing detailed assembly of every part but more a general progress, and maybe highlight cool things in the build.
Related Genre: Science Fiction
This Project is Completed
Introduction
This time last year I built my first Japanese mecha model kit, The Tsugumori from Knights of Sidonia. That model was a birthday present to myself and I built it off on my week off. A year later I bought another kit and I have the week off next week.
In the last year I’ve built several kits now and have learned a lot. I’ve also watched a good amount of Gundam anime. The Gundam kits I’ve built have mostly been High Grade kits (from the excellent Witch From Mercury series) and I wanted to try out a Real Grade Gundam kit. While both are of the same scale, 1/144, Real Grades have far more detail and range of motion. After scouting around Gunpla subreddit’s and watching YouTube videos many people suggest the Gundam Hi-Nu is a really fun and great real grade kit to build. I really liked the look of this so I ordered one.

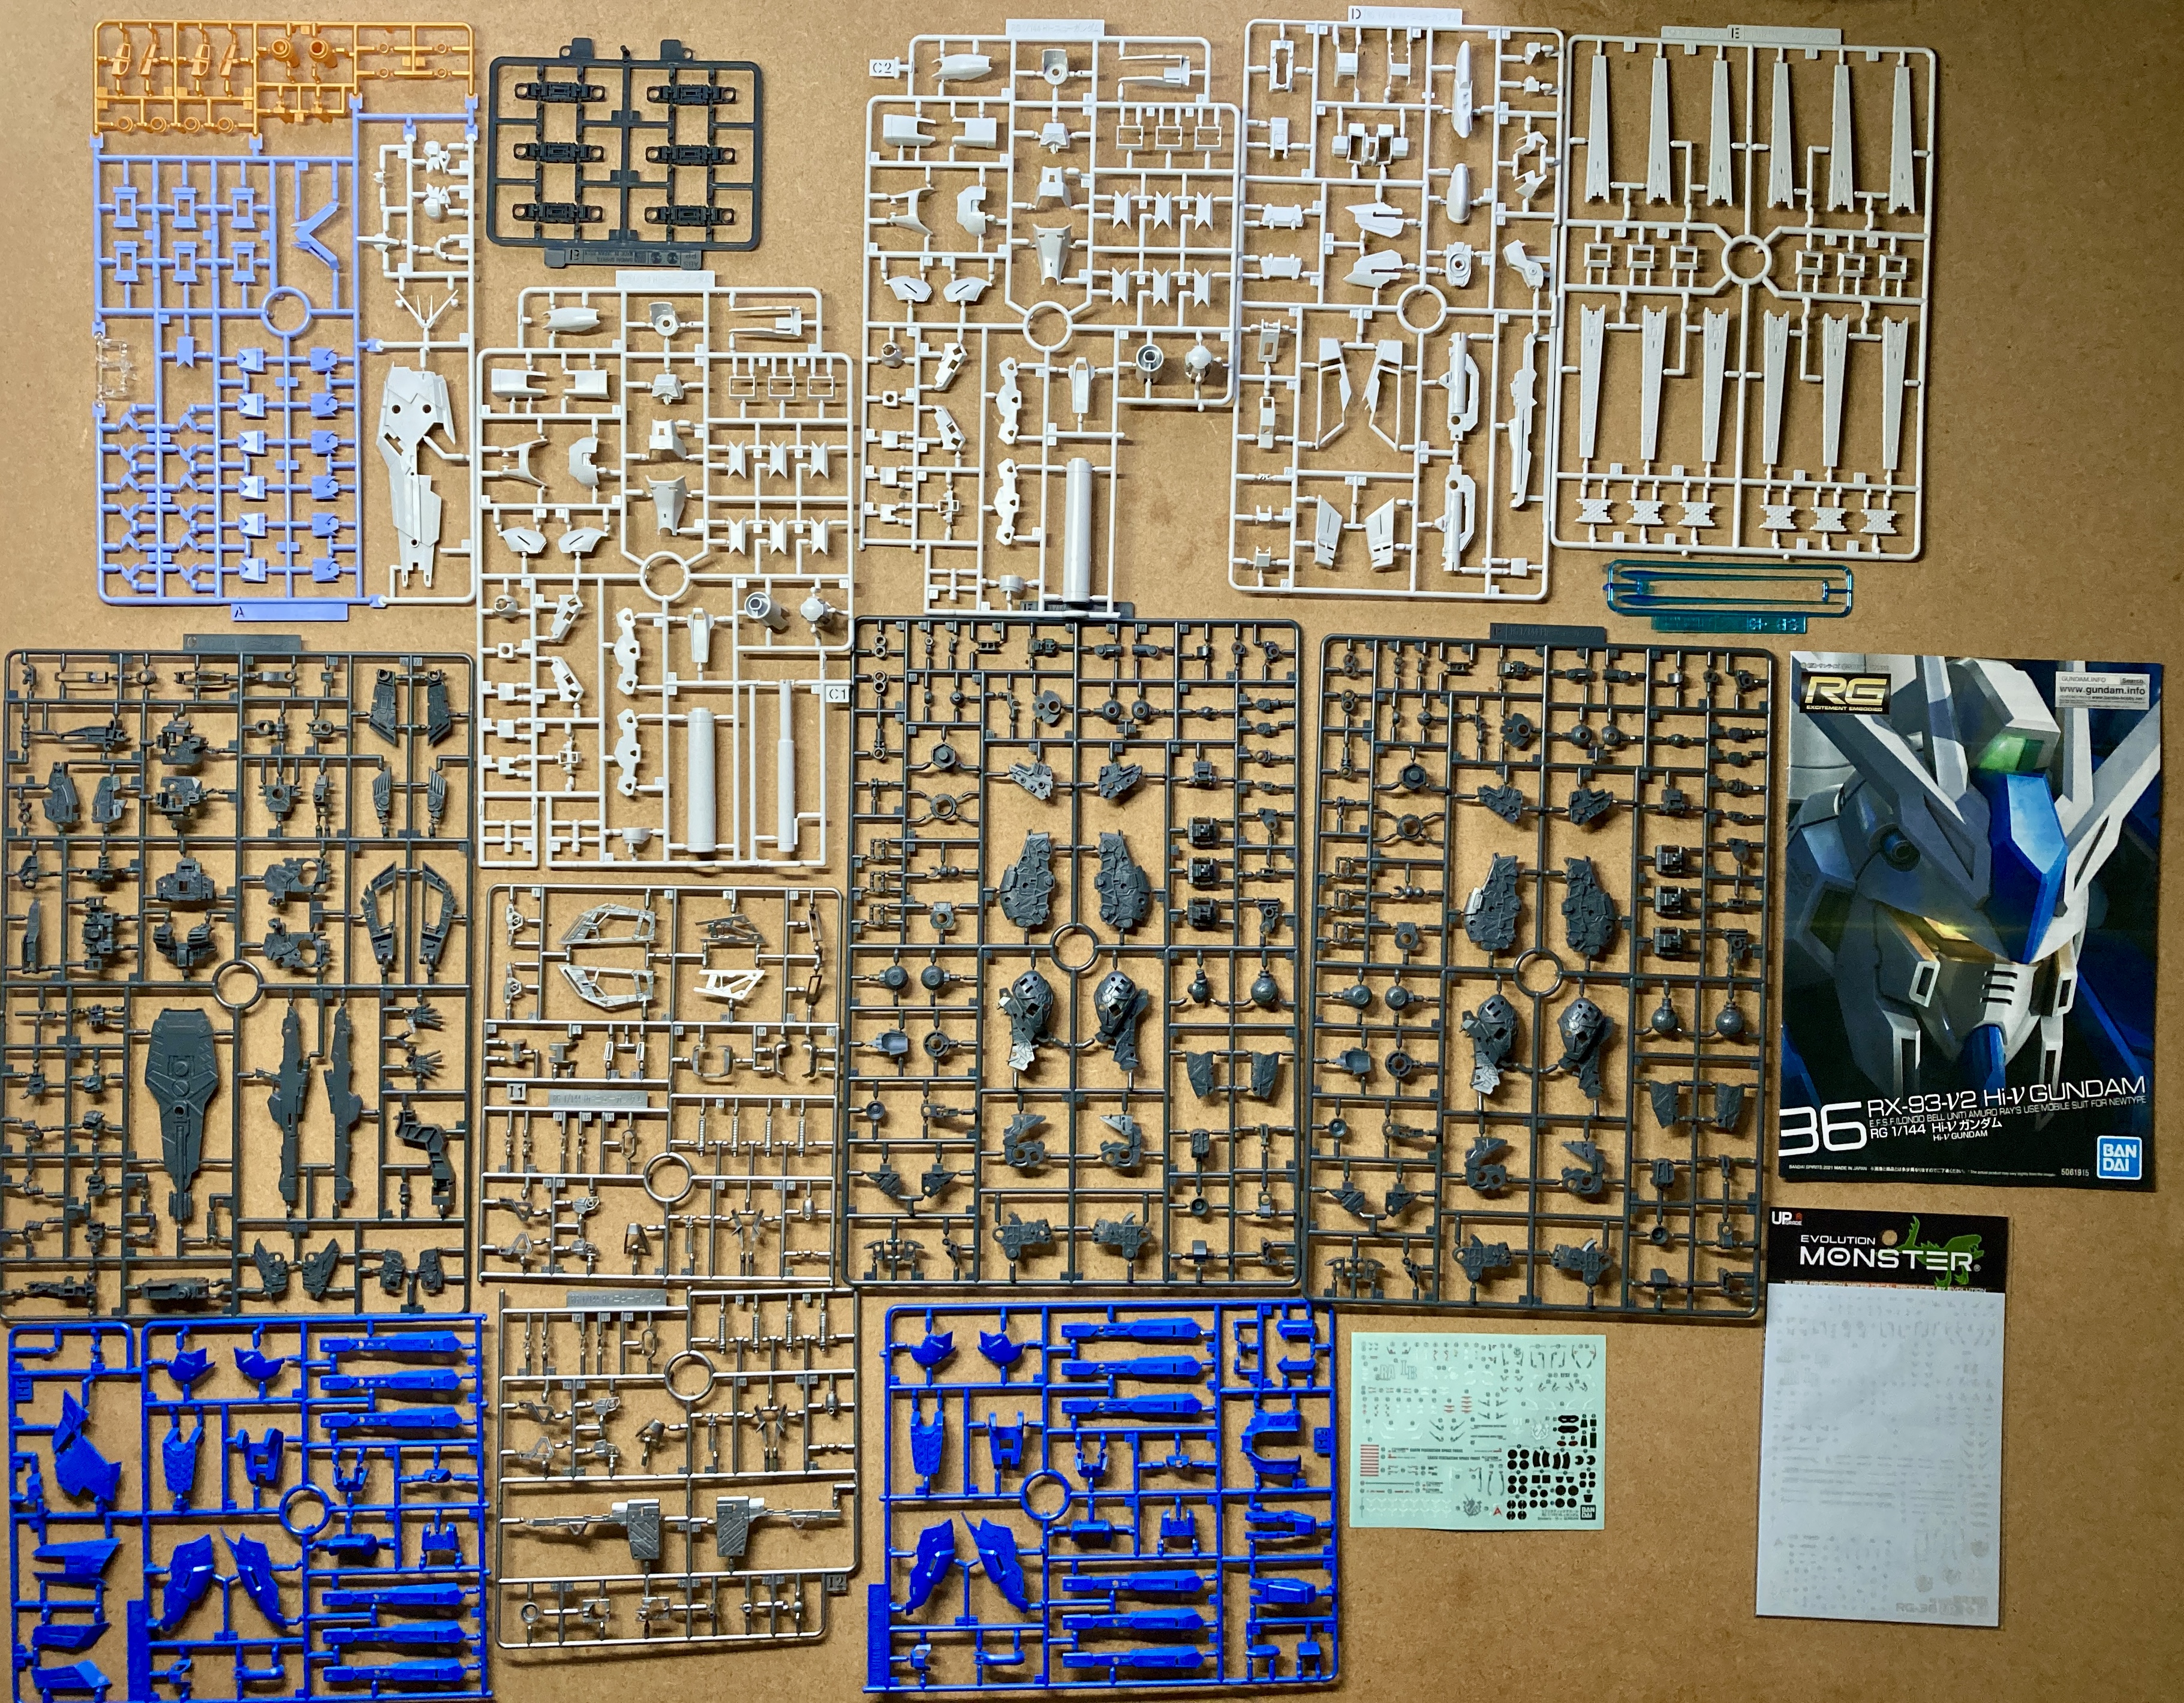
The box is pretty big with lots of plastic sprues. While the kit also comes with a sticker sheet I also ordered some water slide transfers as they may look better on the model but I may end up using both, choosing between the ones I like.
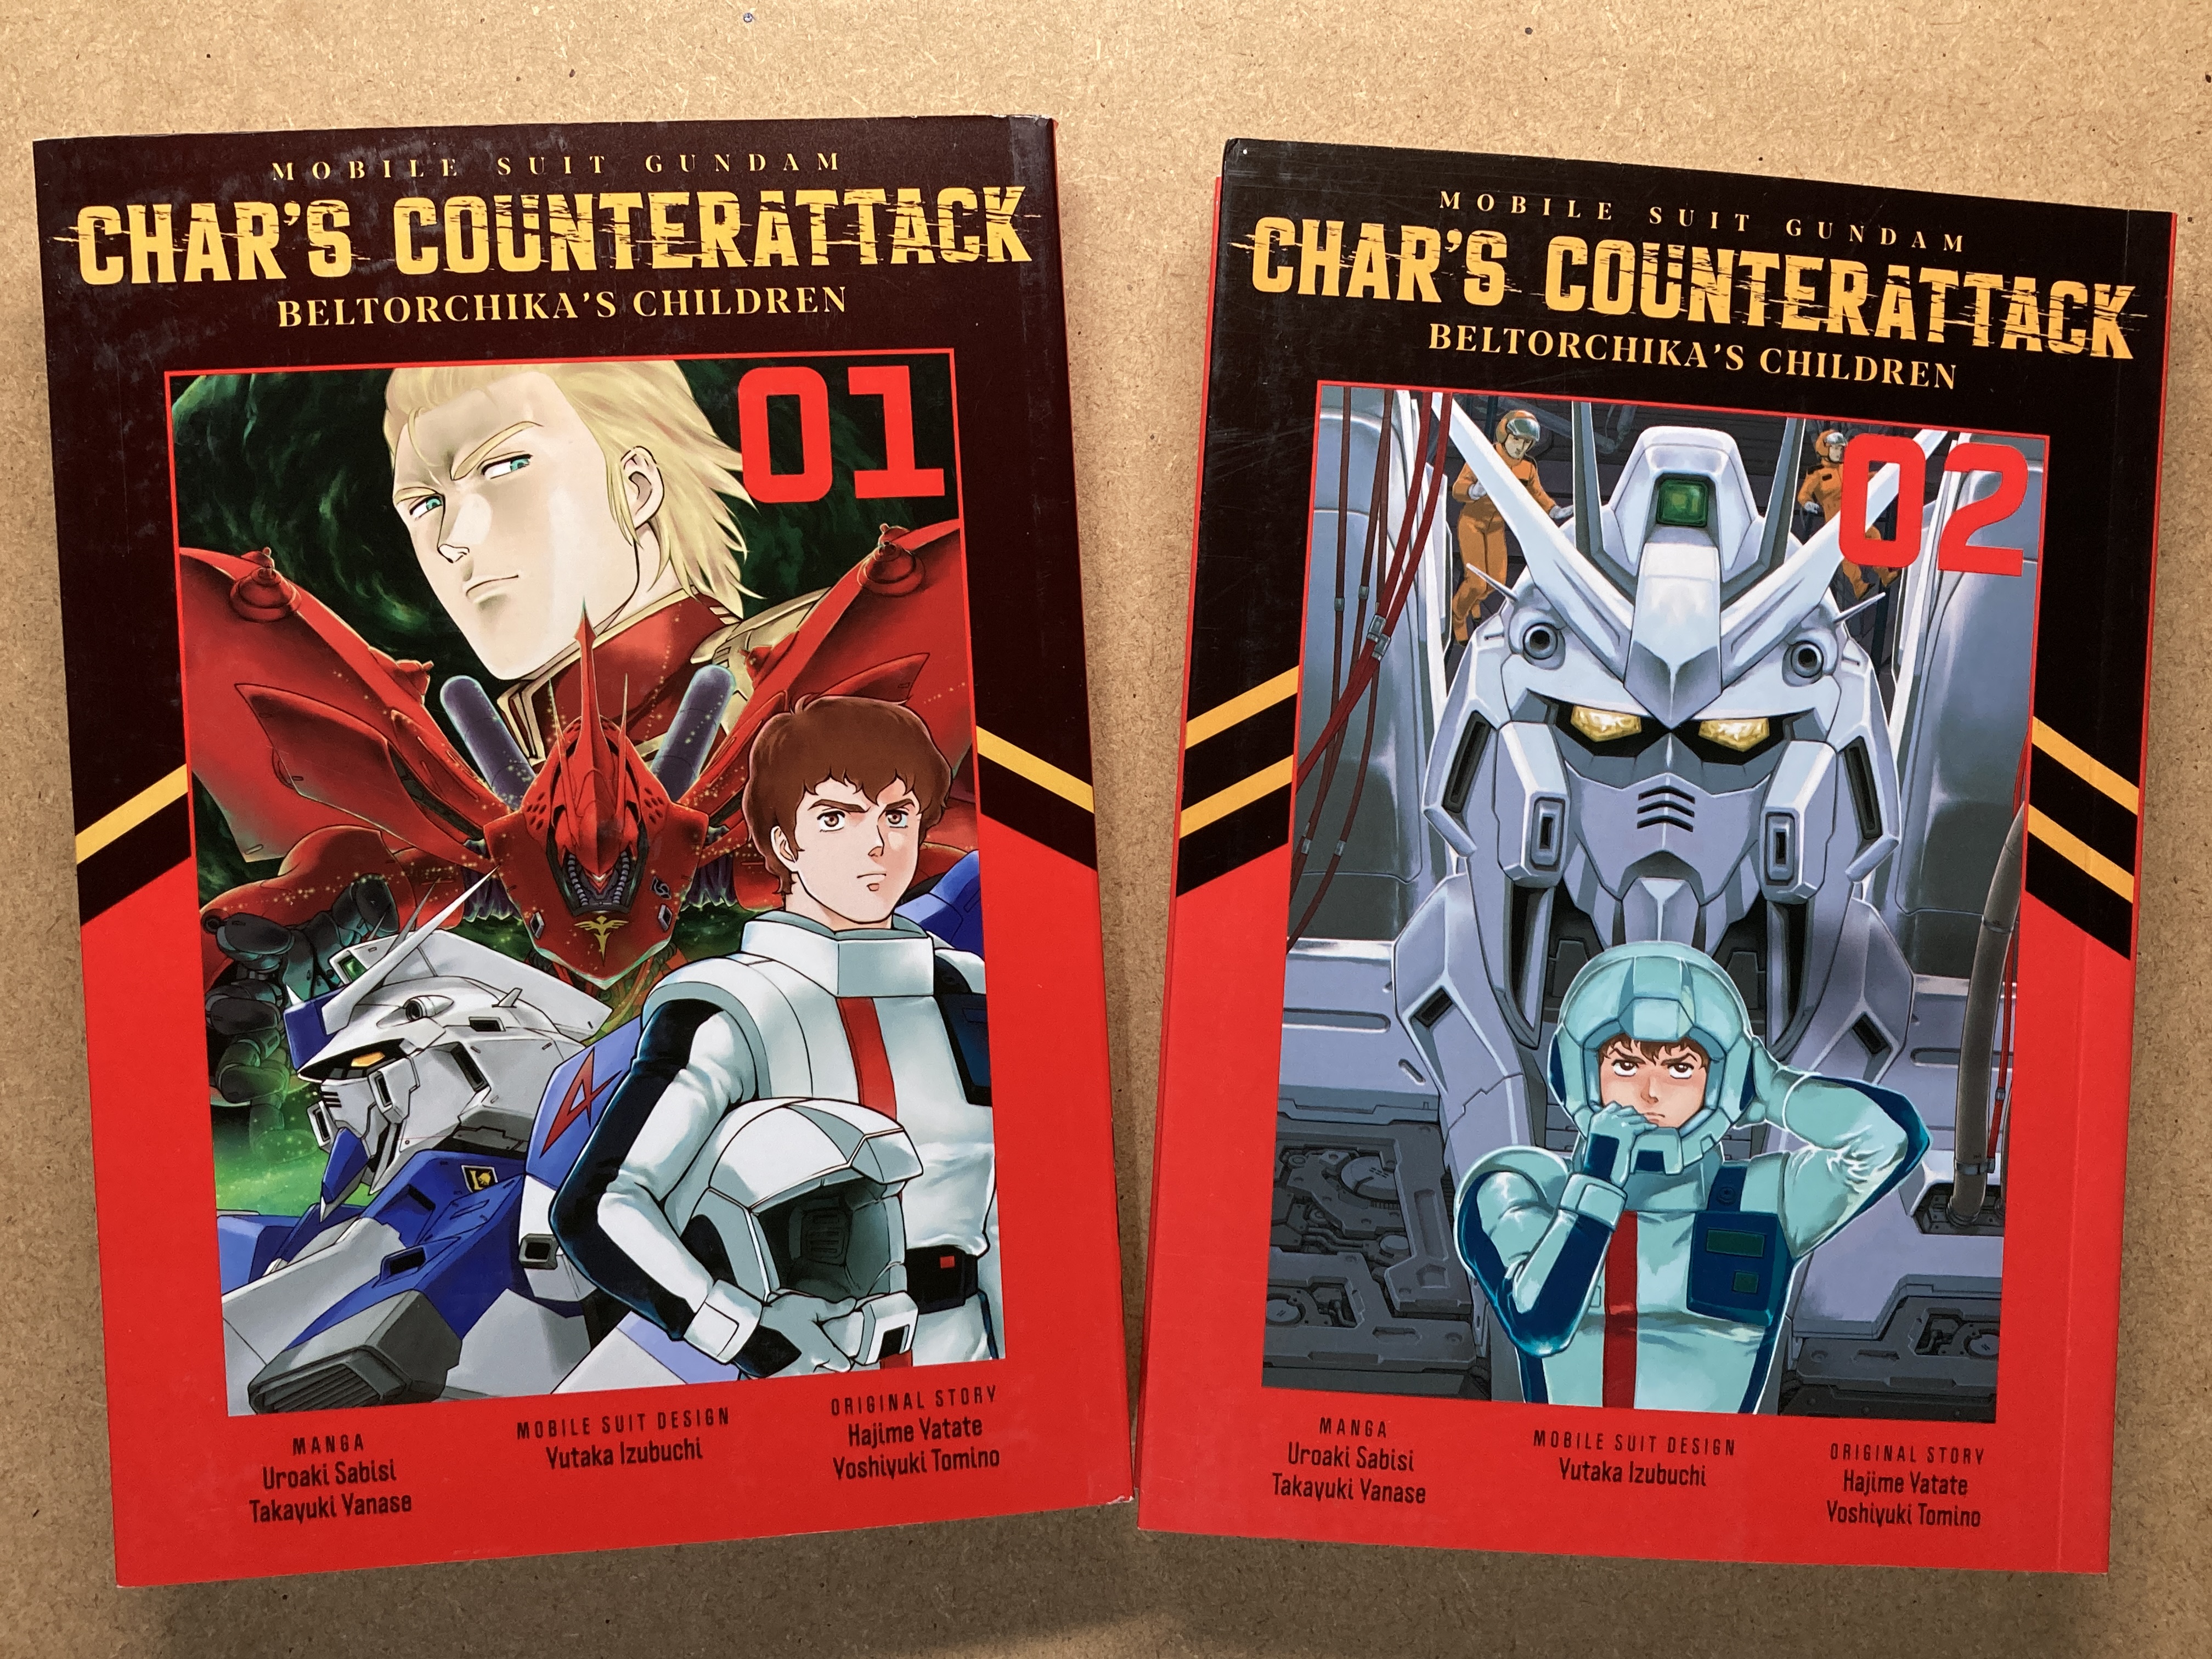
I like to read about the background and the story of where this Gundam came from. That led me to this wiki site with all the details. It turns out this Gundam is from first a novel and now a manga comic of Char’s Counterattack, Beltorchika’s Children. It’s an alternate take on the 80s anime movie Char’s Counterattack, which concluded the Gundam story arc featuring the original protagonist Amuro Ray, who is the pilot of this Gundam.
I couldn’t resist getting the first two manga books and I’ll probably pick up the other two at some point. I know the last book won’t come out in English until later this year.
Next I’ll talk about the tools I’ll be using for the build.
The Tools
I’ve slowly started to move away from my wargaming tools for more specialist tools for gunpla. This is mainly to make it easier to smoothly remove the sprue gates and to minimise any remaining lighter coloured stress marks on the plastic as I won’t be painting the models.
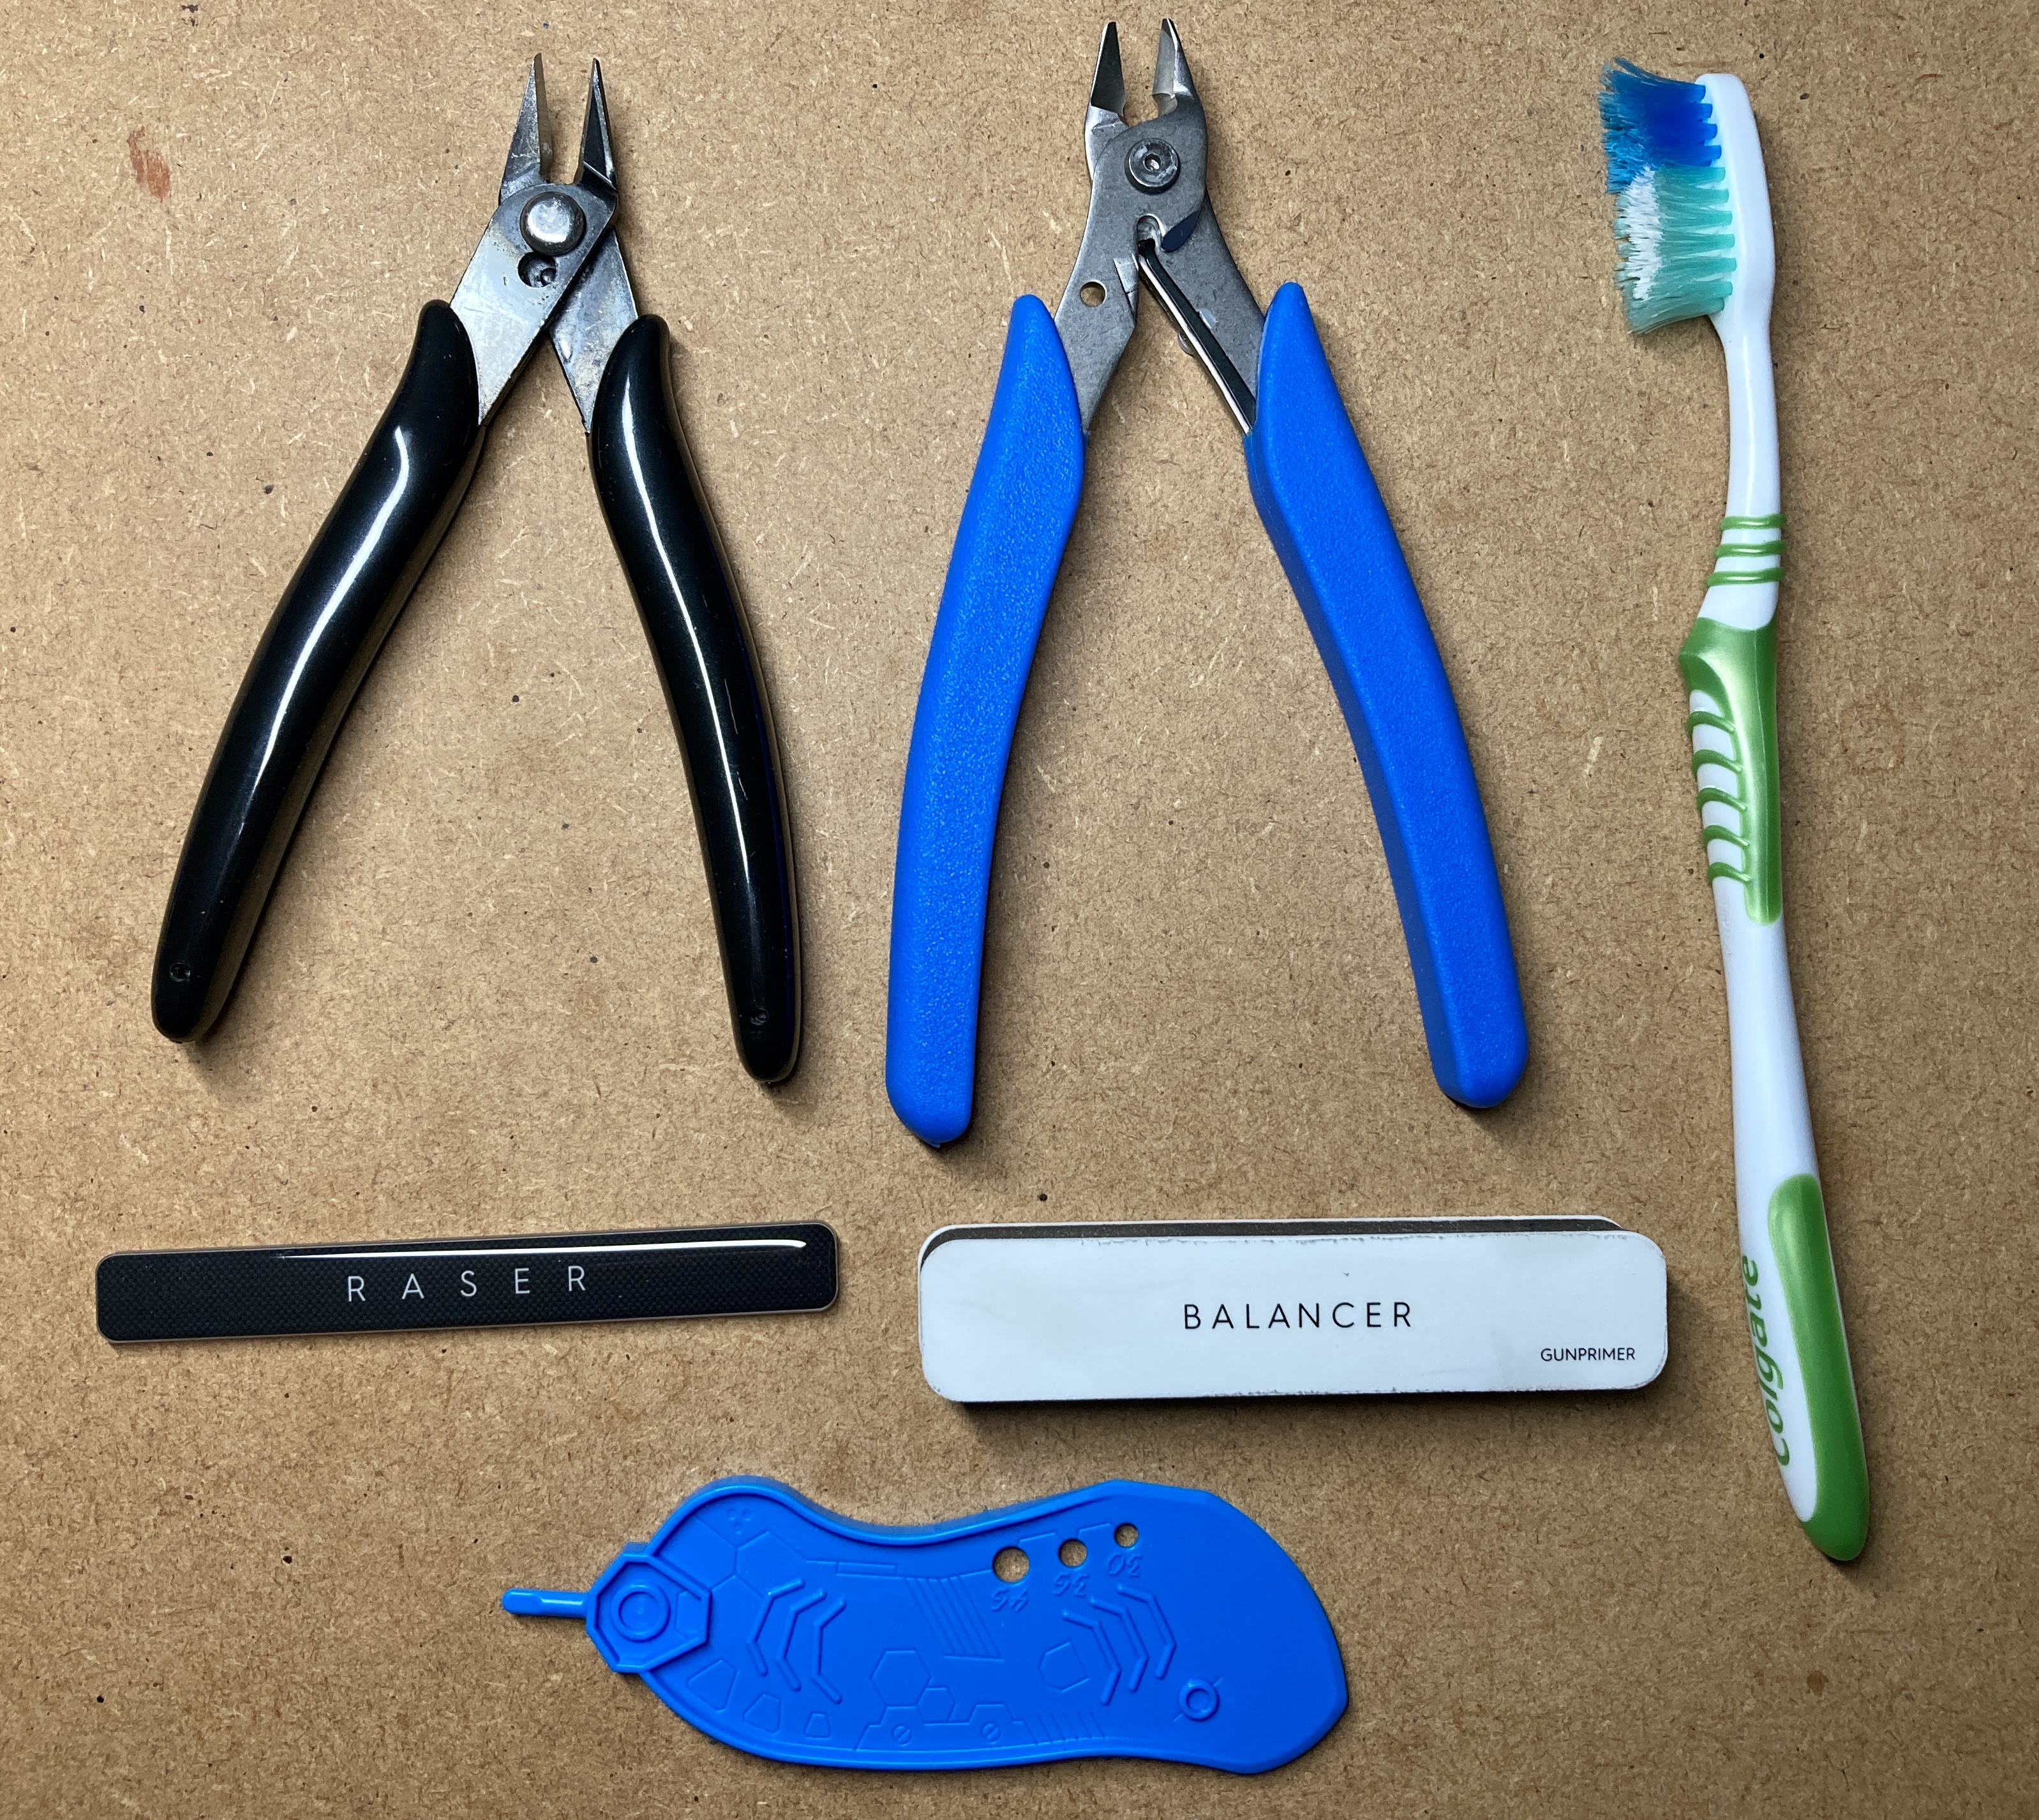
I’ll be using two sets of clippers. The black ones are your everyday wargamers £8 side clippers, which I’ll be using to cut the parts from the sprue but in order not to cause marks on the plastic I’ll be cutting a little further in and leaving some sprue with the components. The blue clippers have a sharp cutting blade and a blunt thicker blade which supports the piece being cut. These I’ll be using to cut the remaining sprue away from the components leaving as little as I can.
The black thing on the left is a glass file, equivalent to around 220 grit and can remove what’s left of the sprue gate very easily but without causing marks to the plastic. The white balancer is an even finer grit sanding board designed to remove any shininess from the plastic after filing.
Oh, and the toothbrush is used to remove any dust leftover from all the filing.
The blue weird-shaped plastic thing is a parts separator just in case I make a mistake and attach parts in the wrong way.
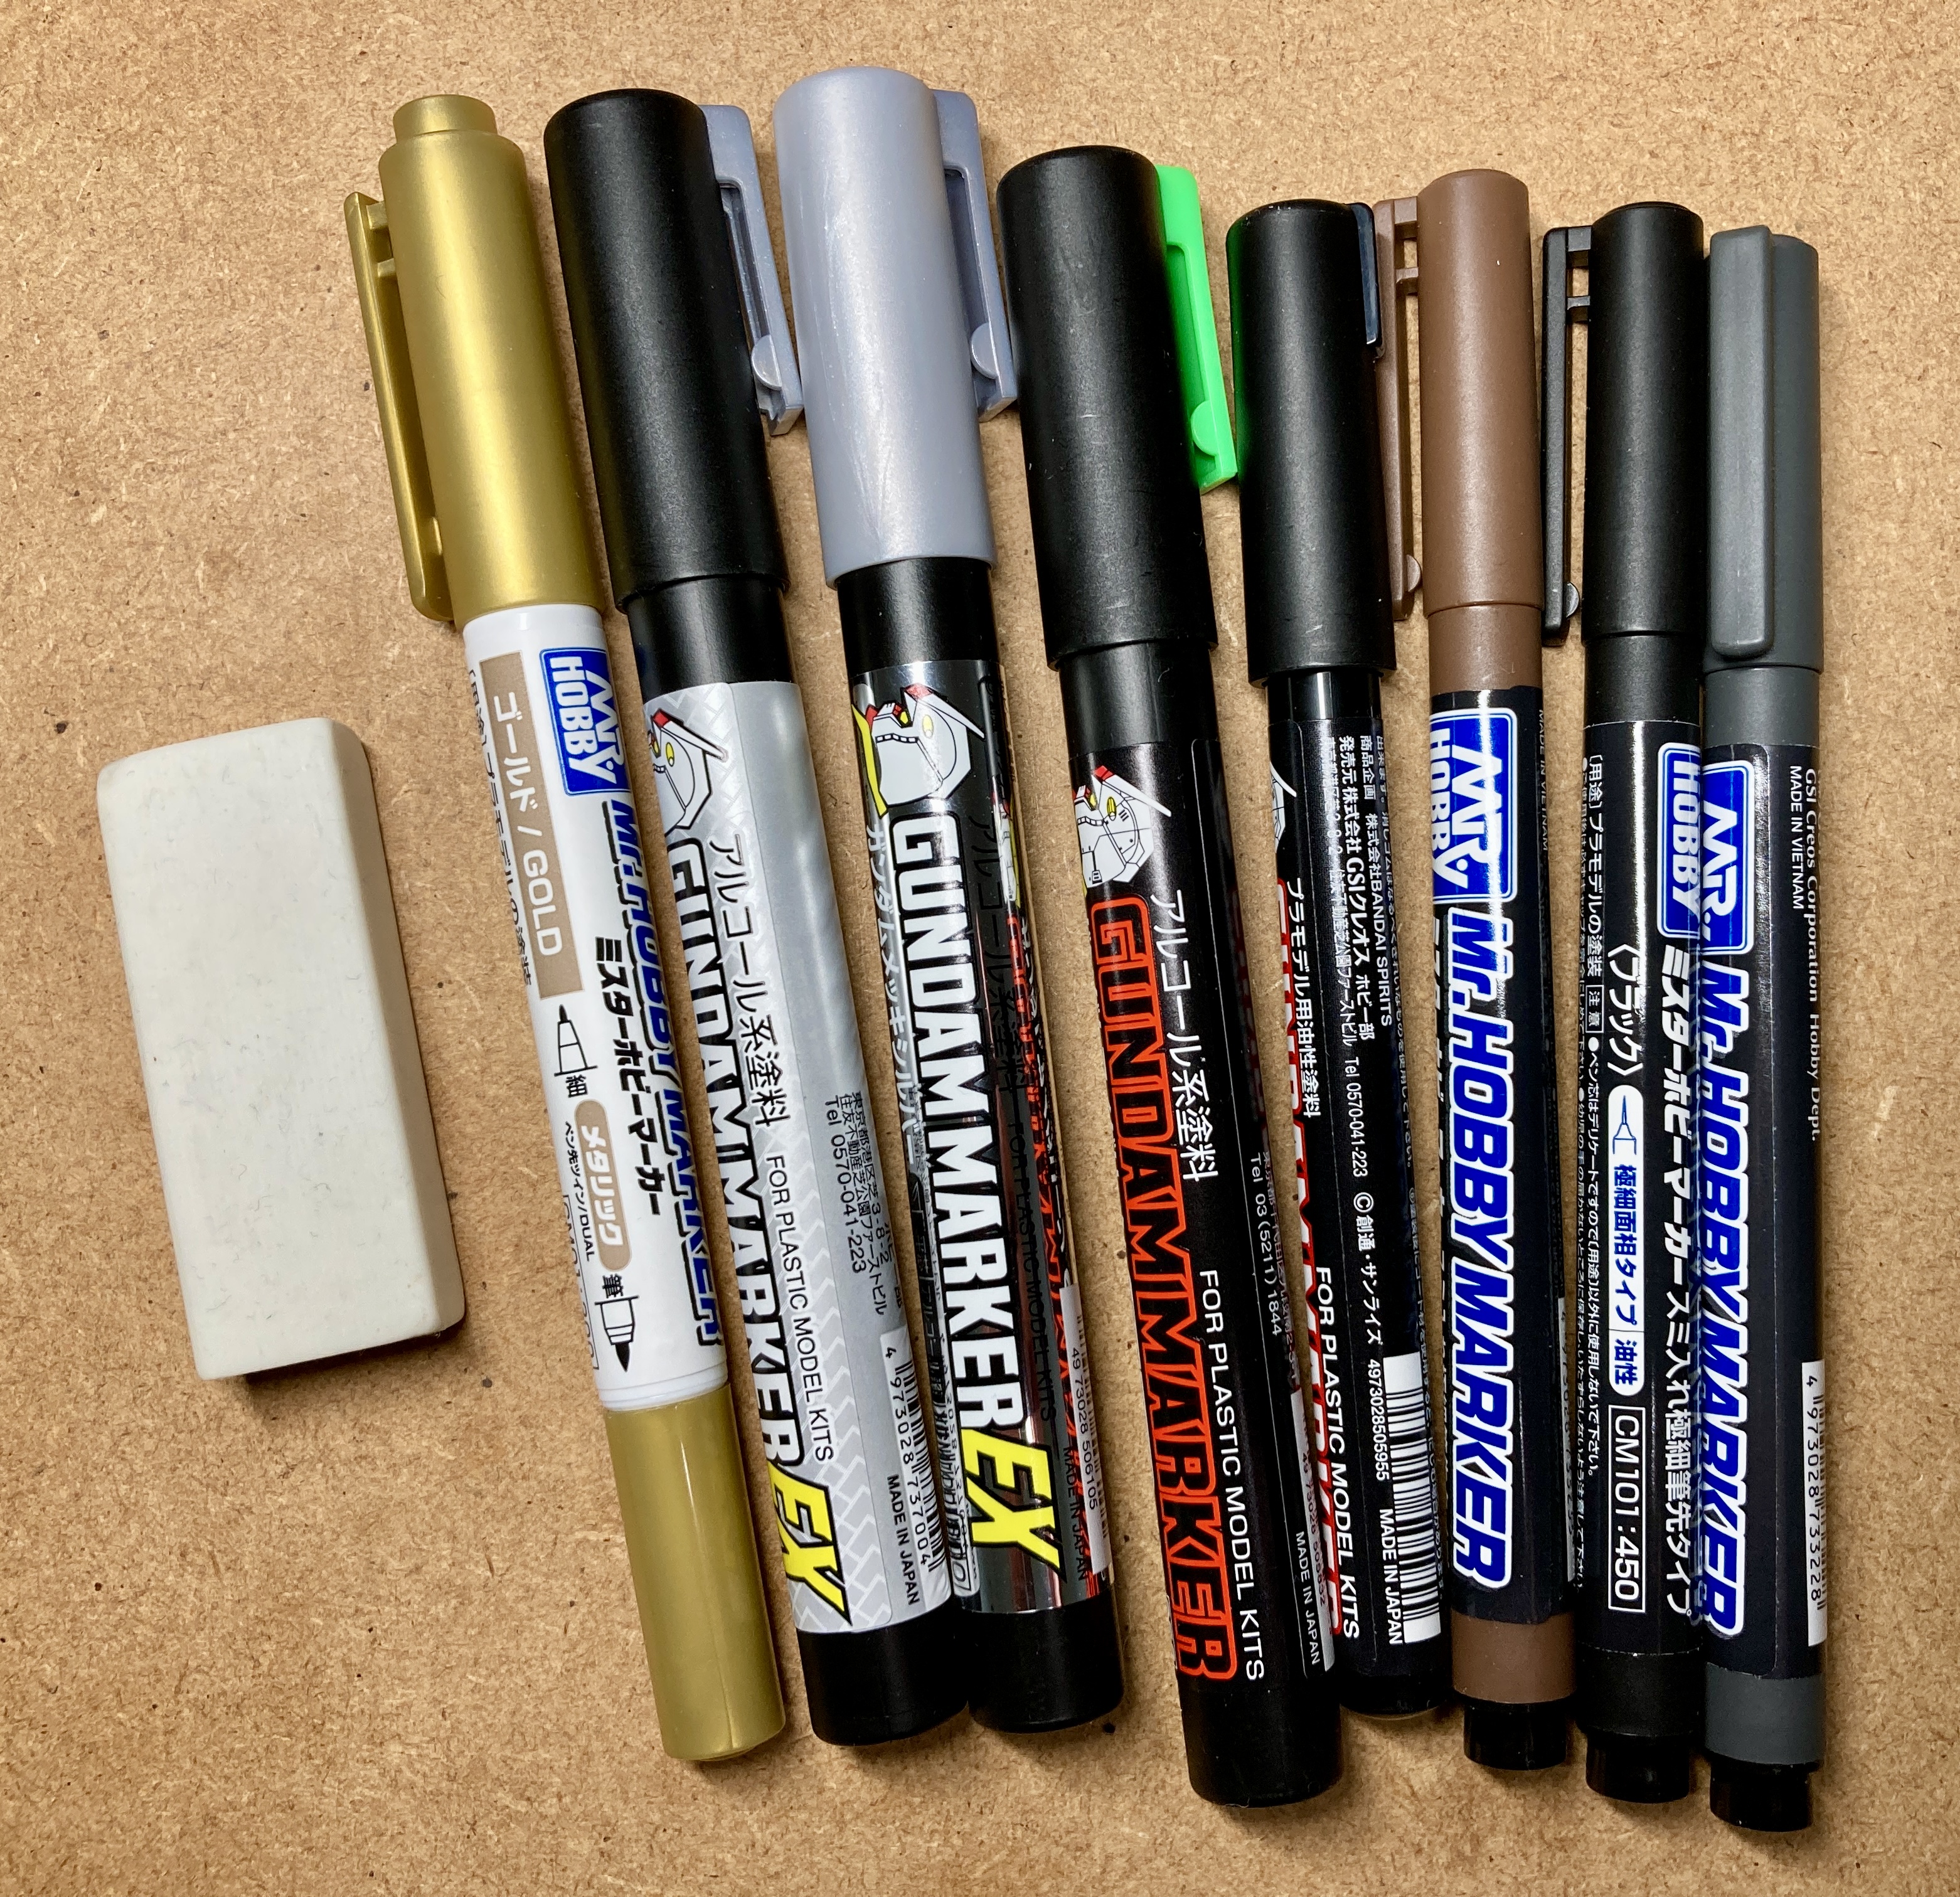
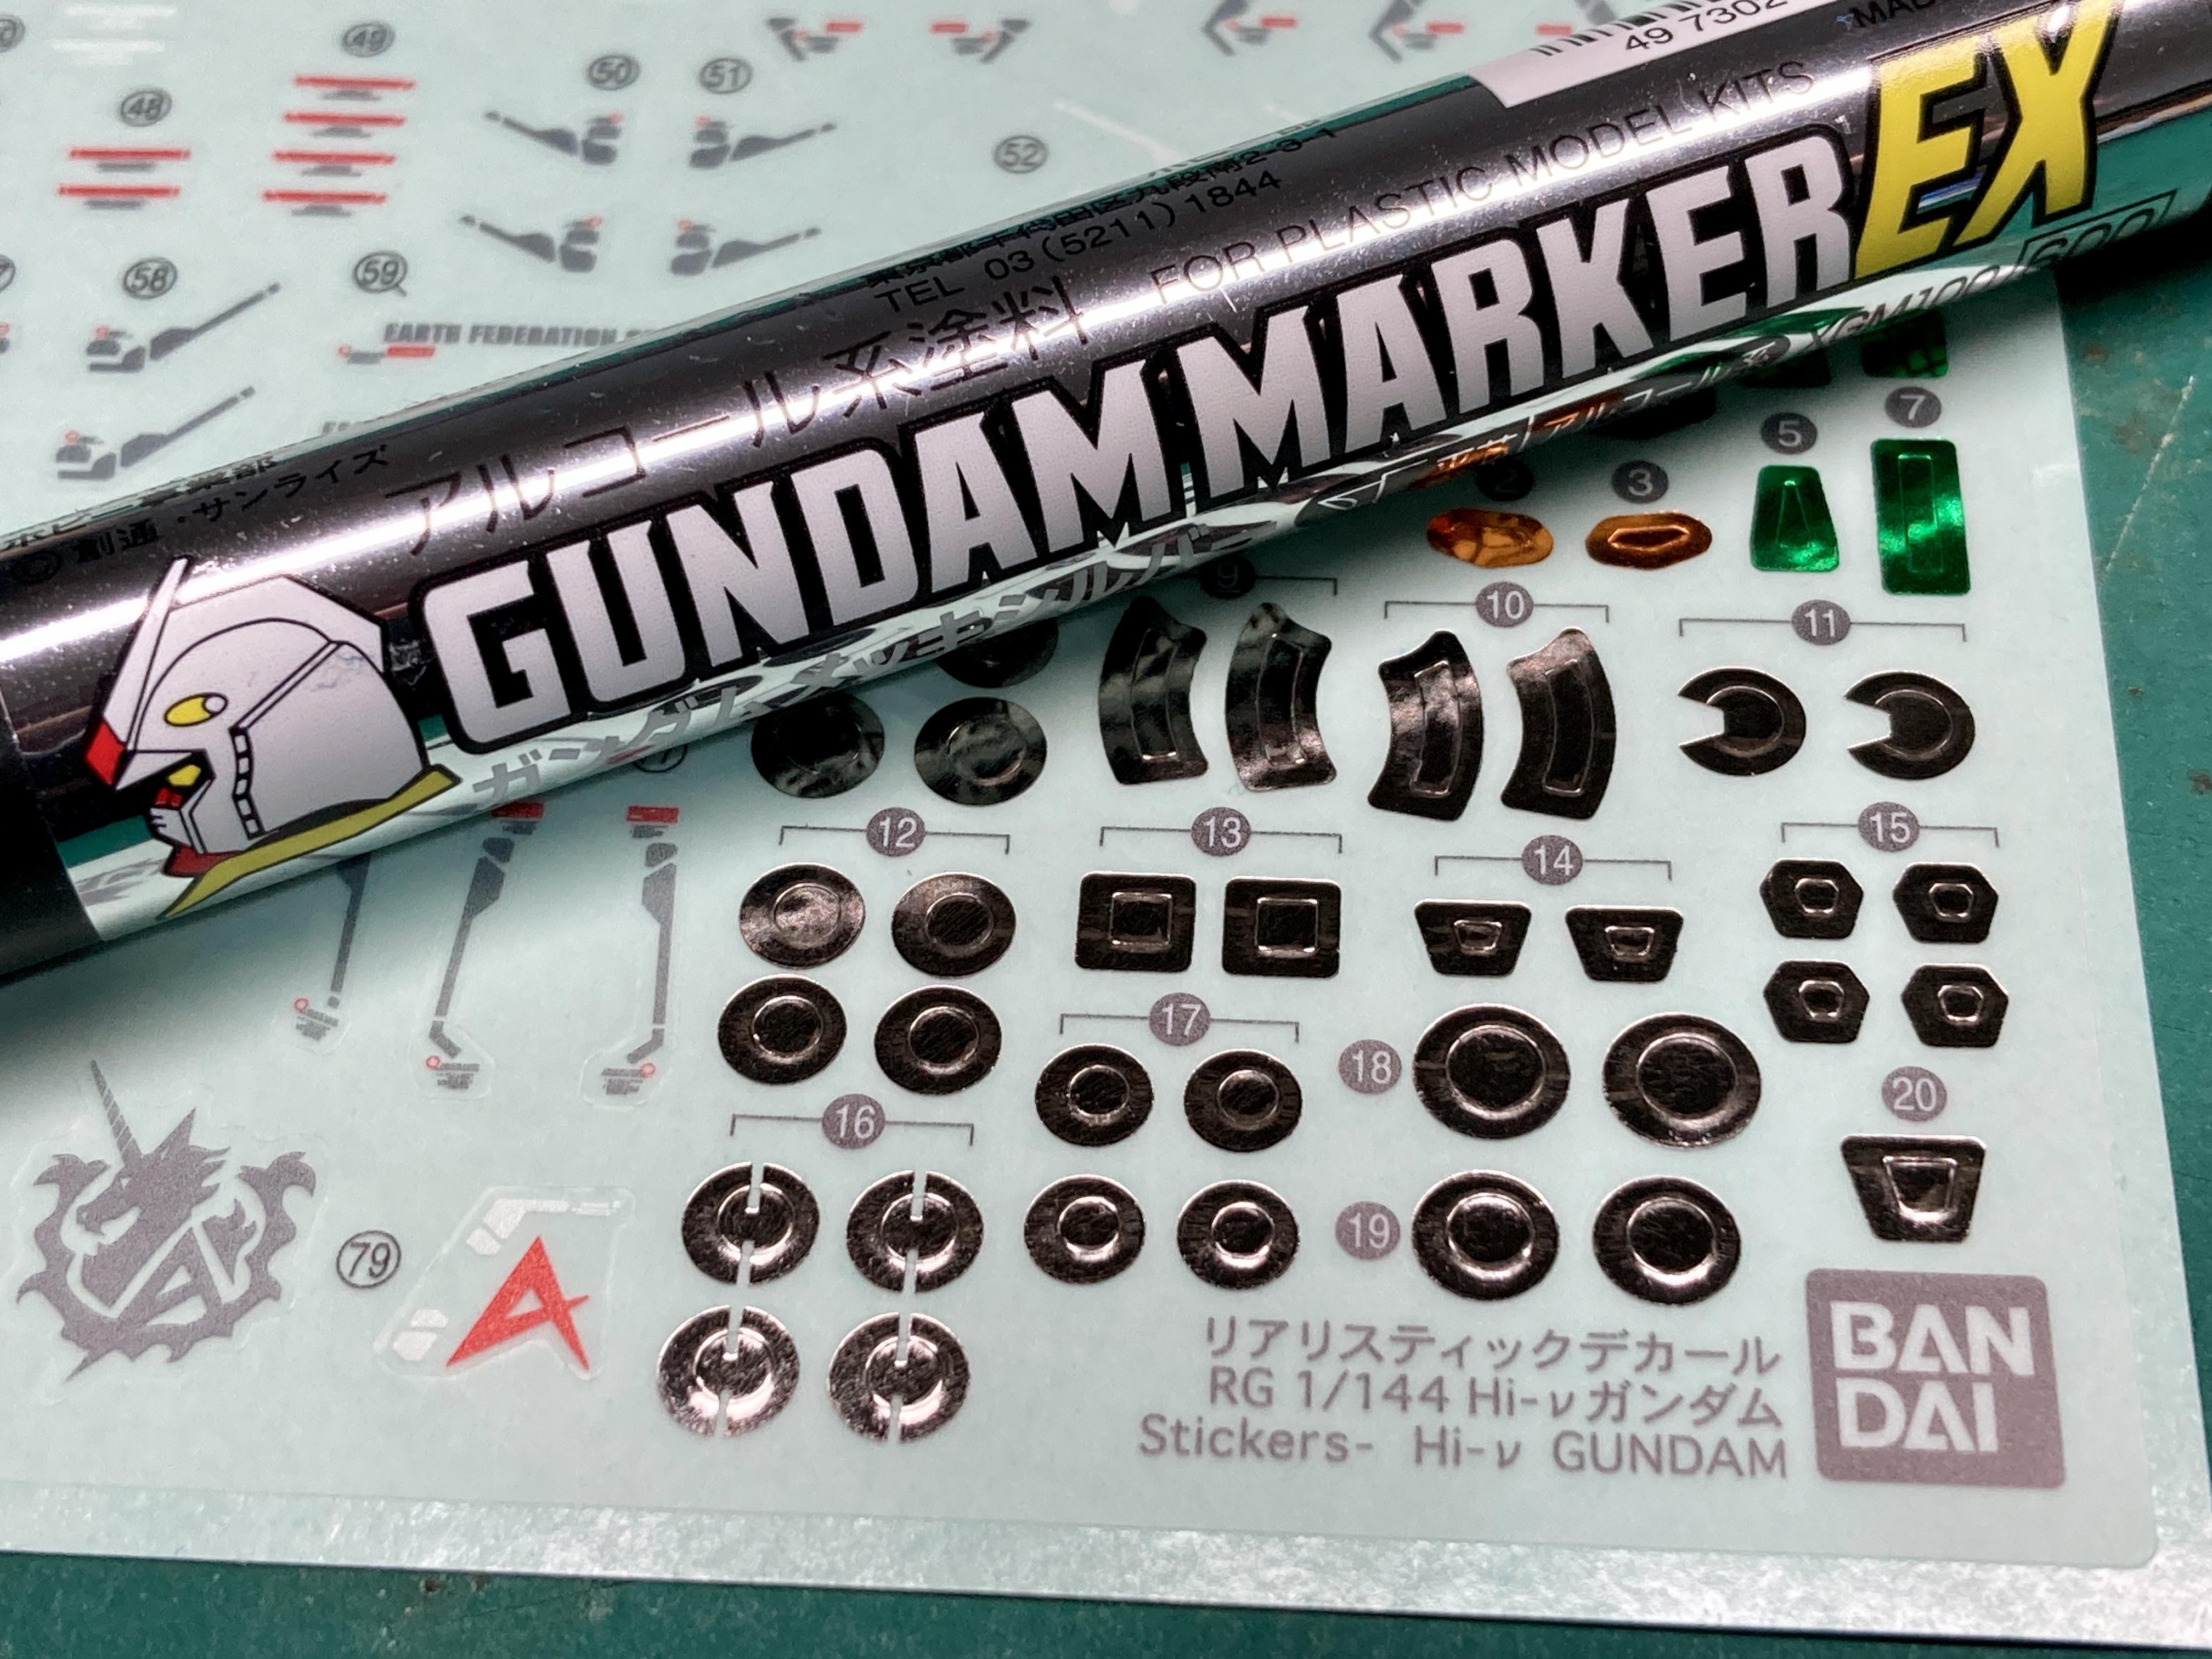
Here’s my Gundam pens. The metallic ones from the left are a mix of alcohol metallics and normal metallics with marker type nibs. The green pen is sometimes used to paint the green cameras in if I don’t want to use stickers. This is often for HG kits. The thin black pen 4th from the right contains ink that can wick along the panel lines. The three pens rightmost have a very fine brush so paint the ink into the panel lines and are my current favourite.
The rubber can be used to remove ink from the plastic outside of the panel lines should I make a mistake. While a little messy it works pretty well.
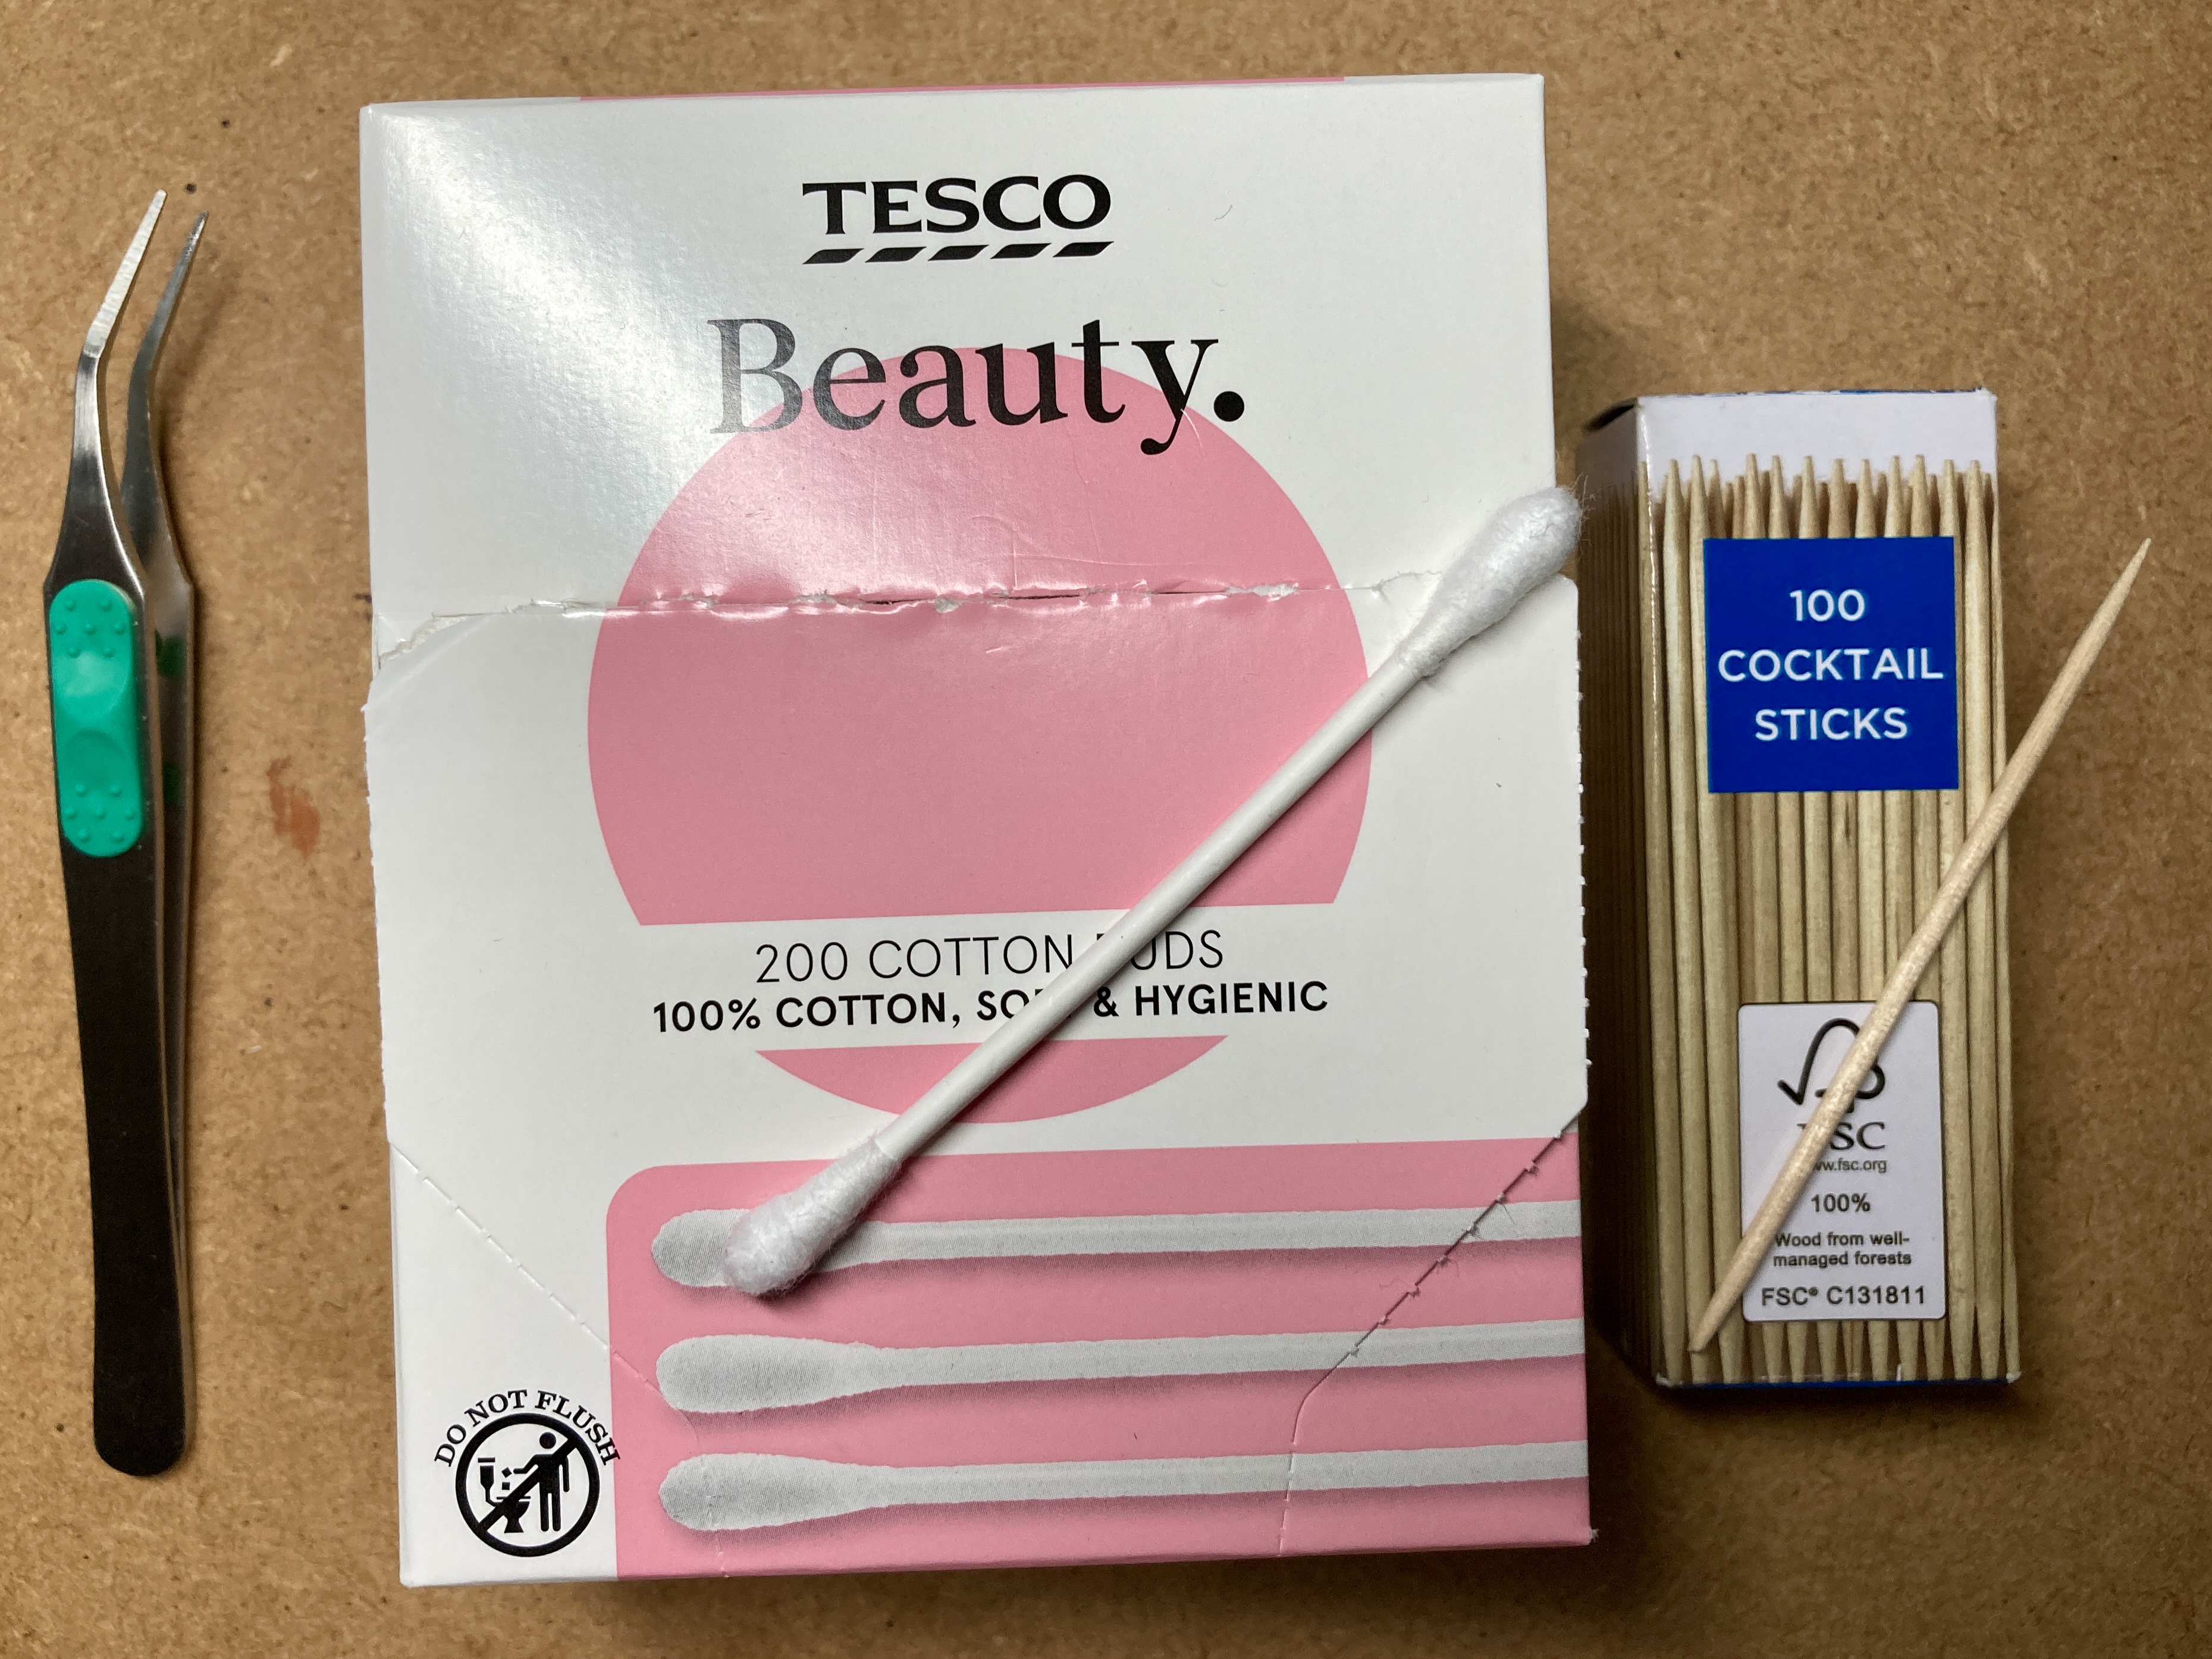
Here’s my “applying Gundam stickers” kit. Cotton buds are great for smoothing the stickers down on the model without leaving any marks. Precision tweezers are a must for holding the sticker and I’ve found cocktail sticks are good at guiding the loose end of the sticker in place.
With all of that sorted it’s time to start working on the kit.
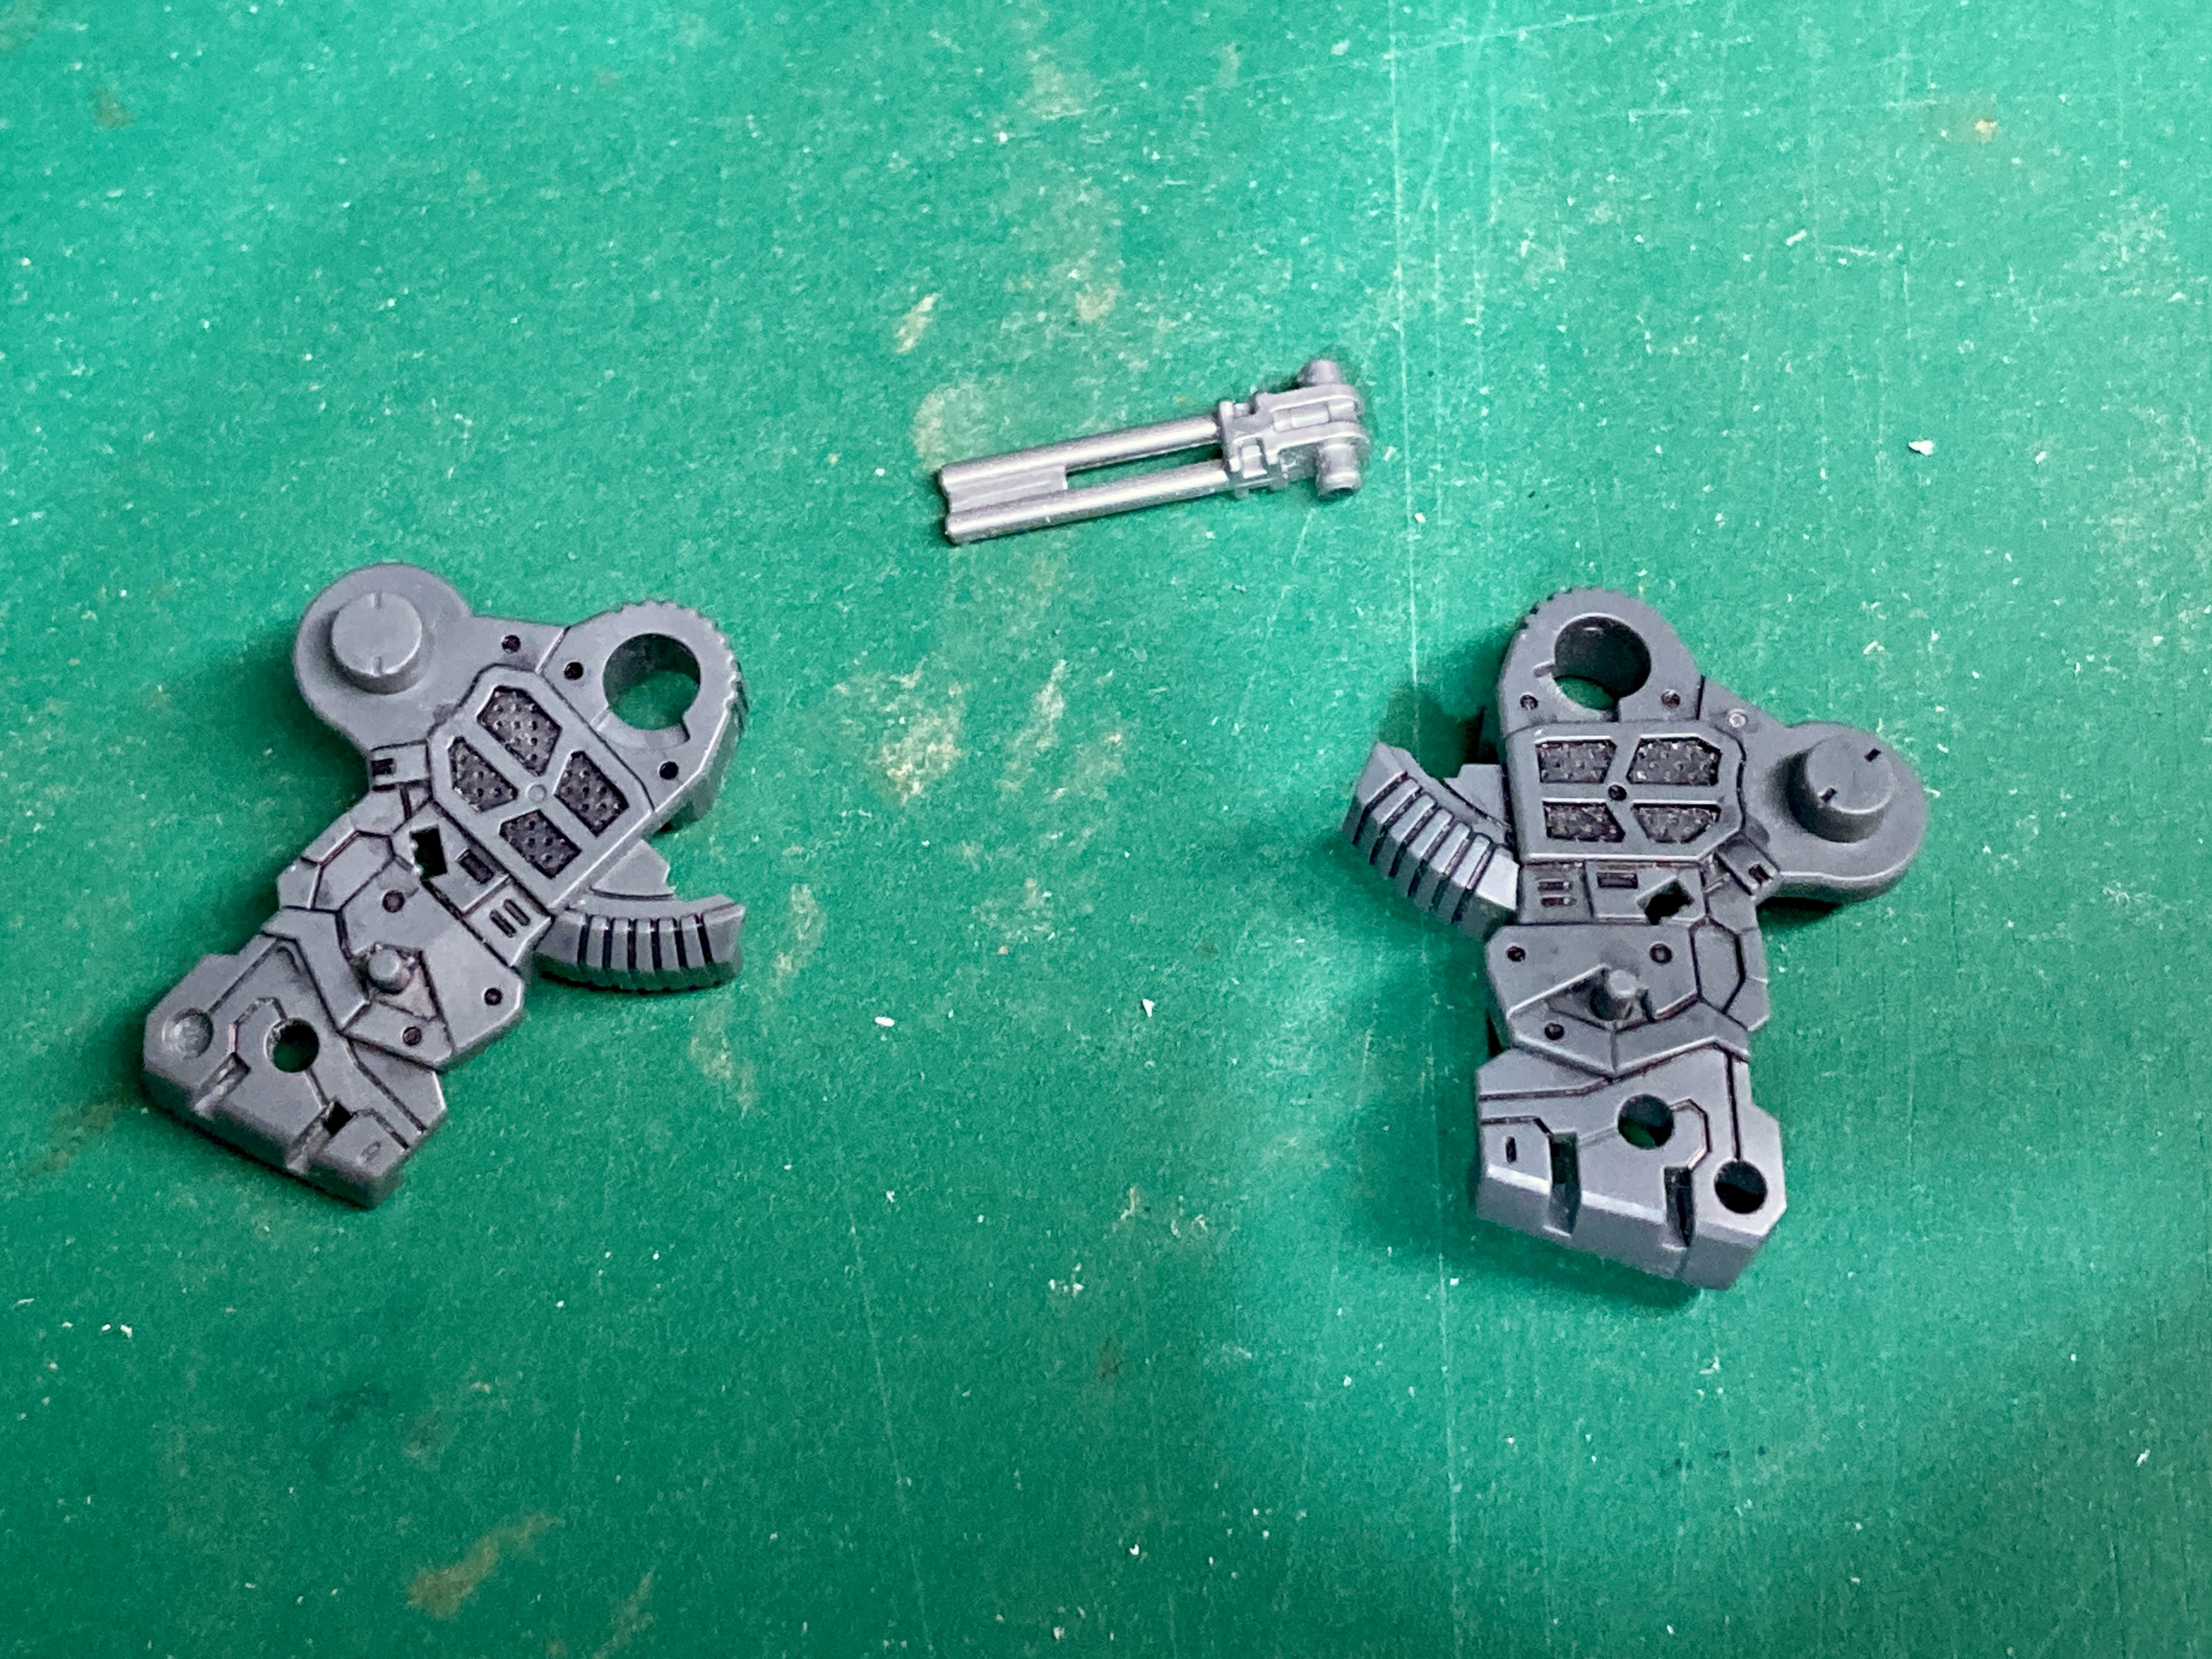
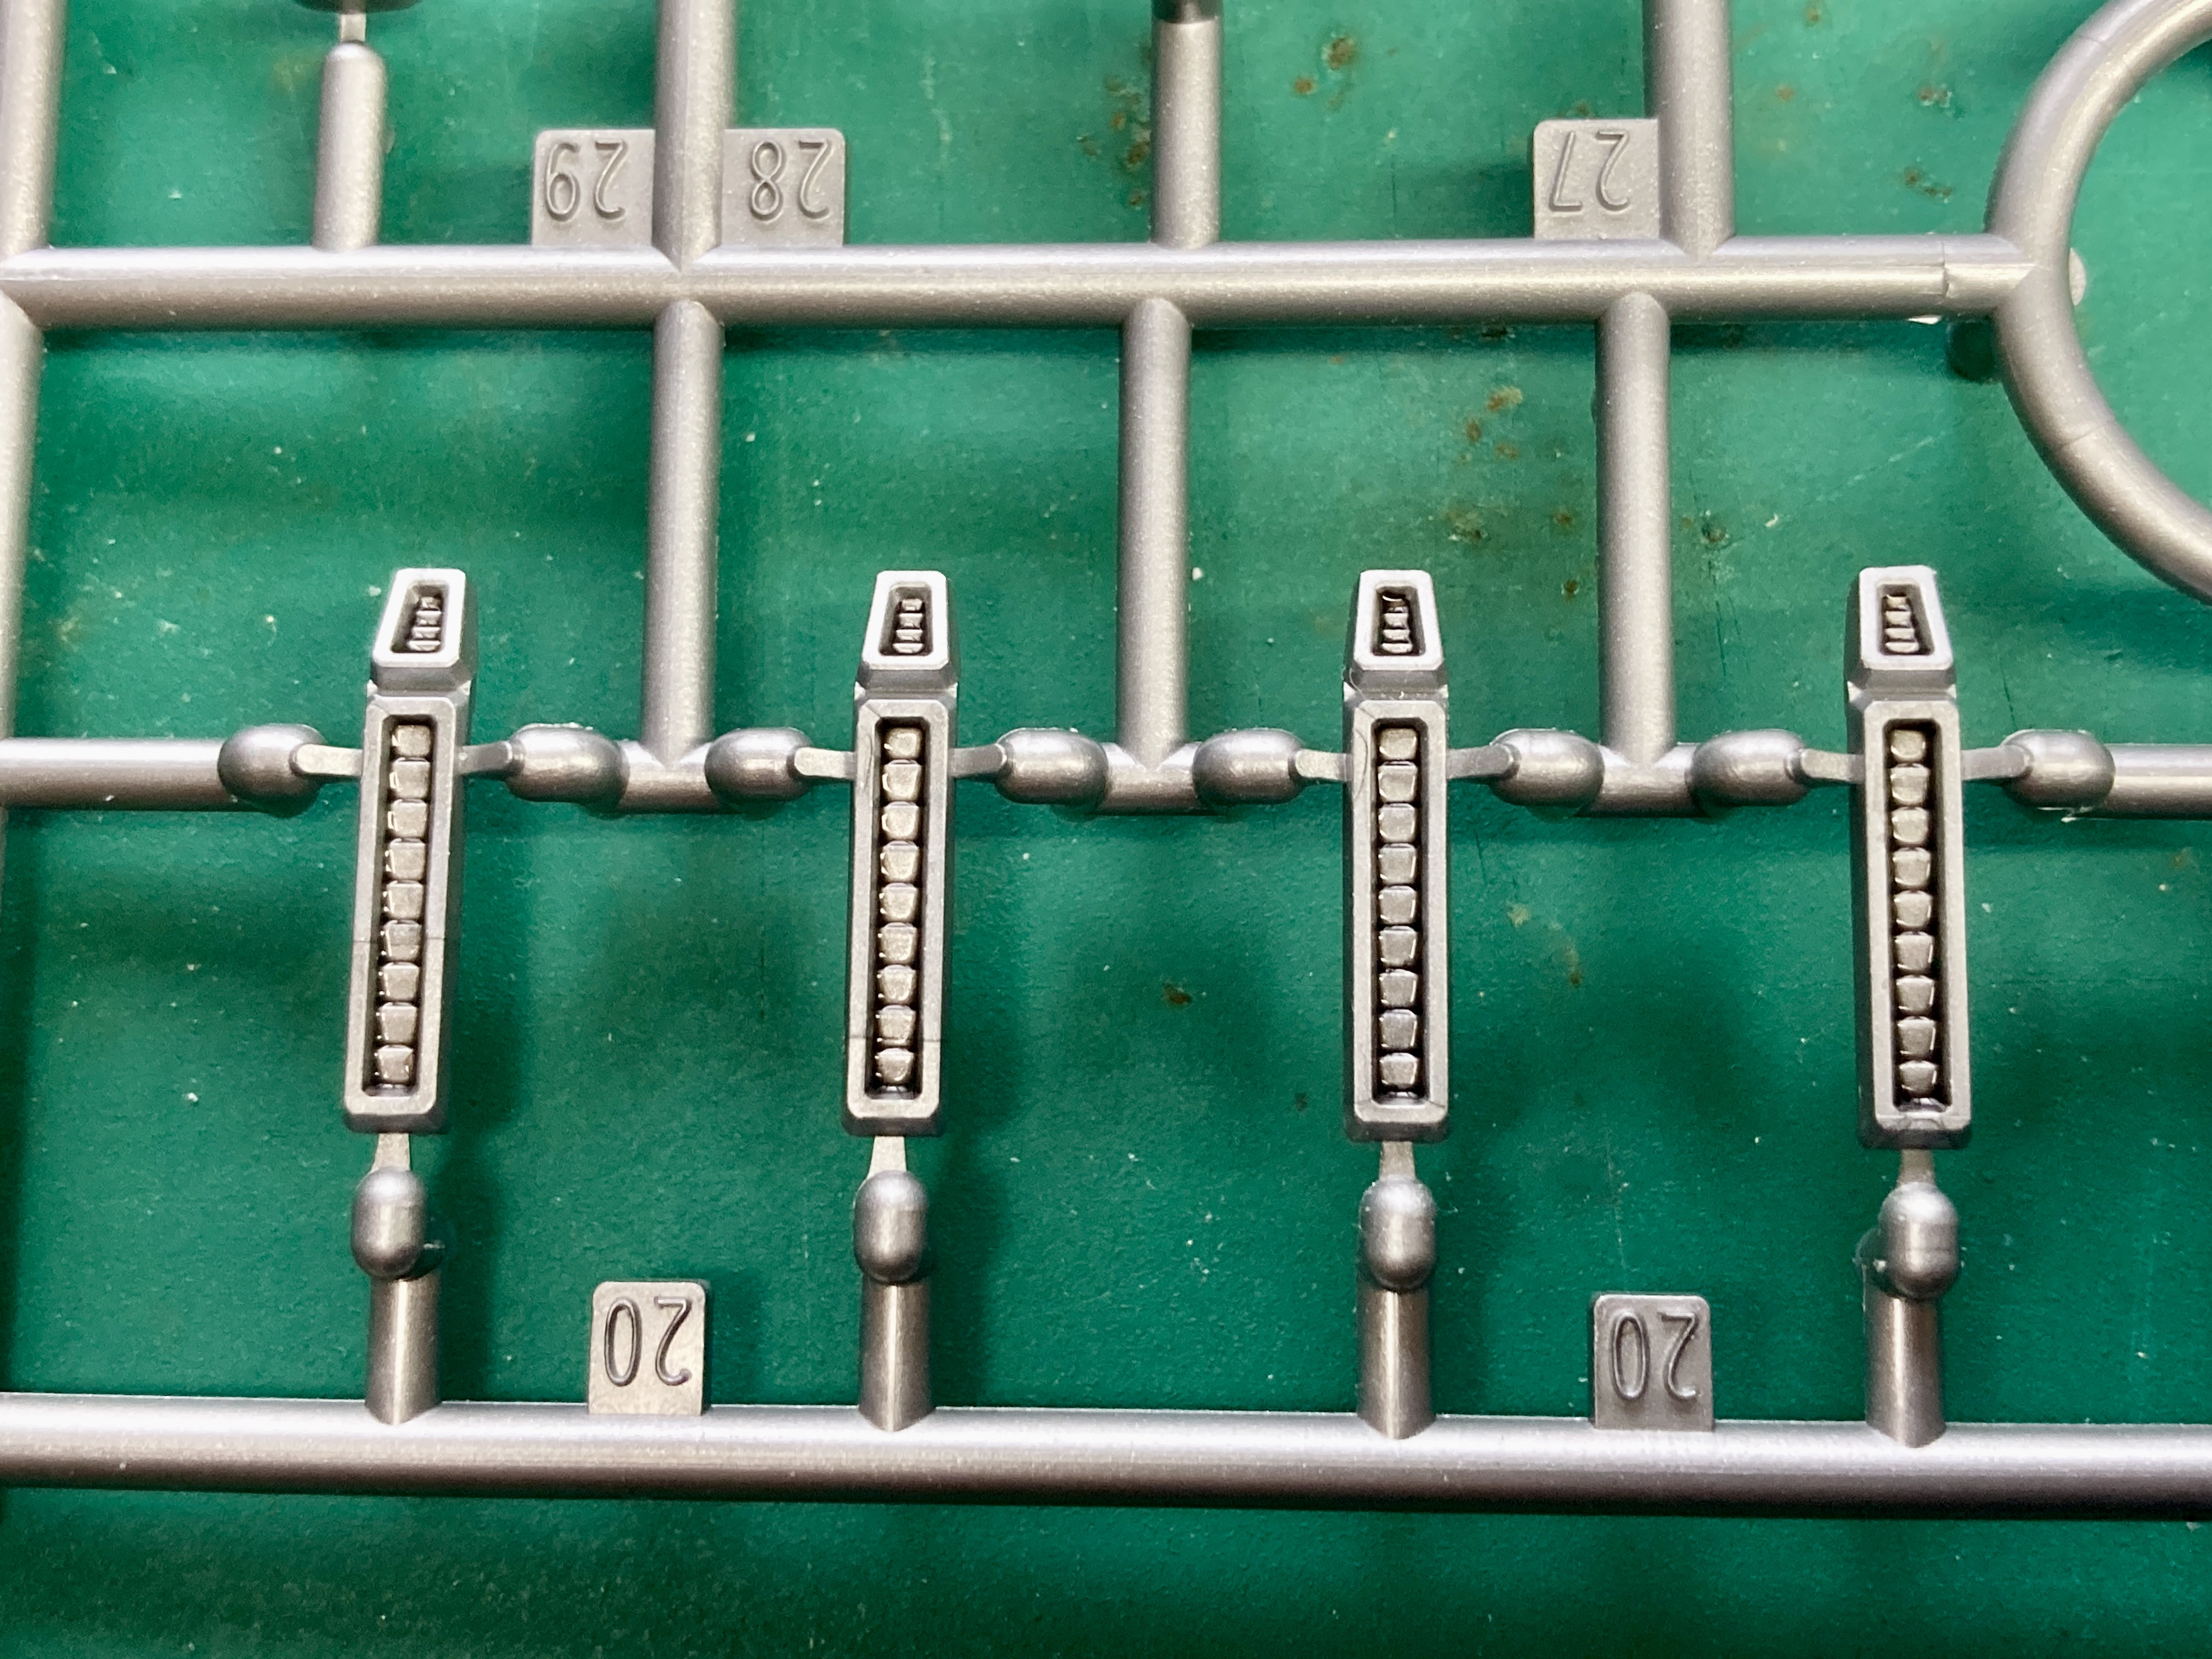
Panel Lining & Starting On The inner Frame
It’s often much easier to panel line the model while the components are still on the sprue. Everything is flat and laid out for you on the sprue while when it’s a completed model it can be a bit awkward panel lining as parts move or get in the way. Also with some of these Gundam marker solvents, if not left to evaporate properly they can get trapped between components and eat away at the plastic over time making it brittle. This is especially true with kits that use ABS plastic. So by panel lining on the sprue, drying is much easier.
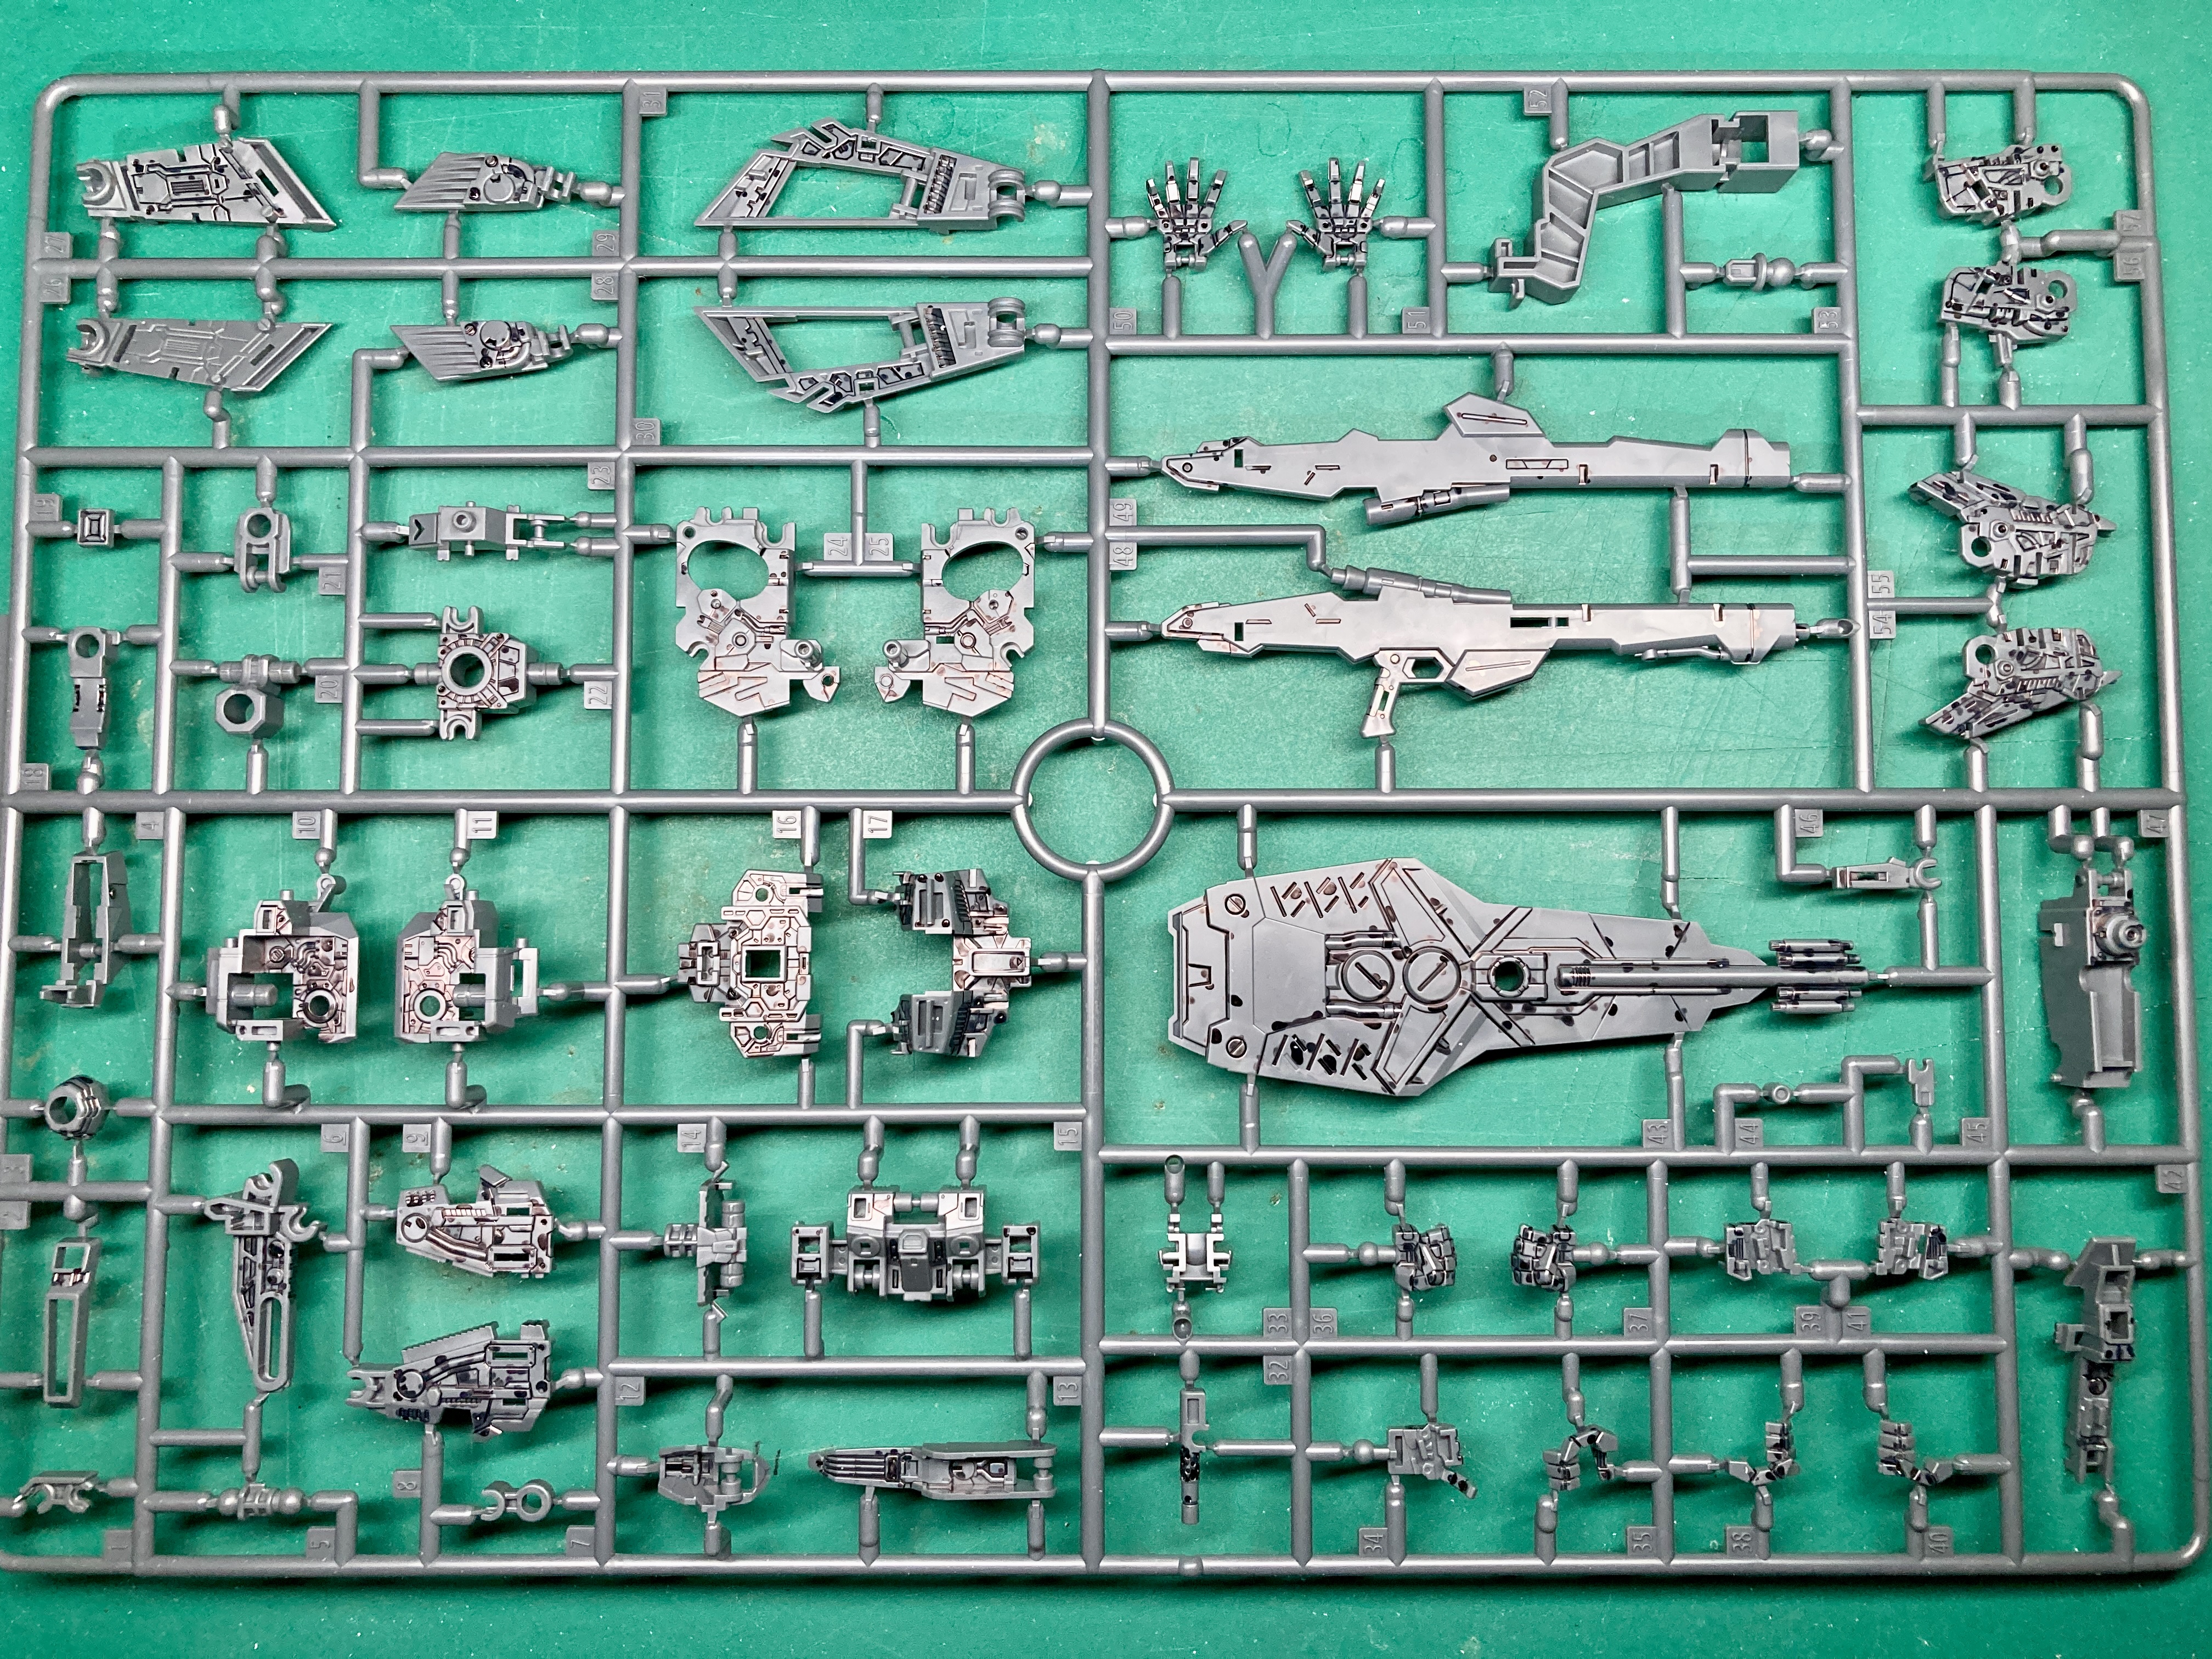
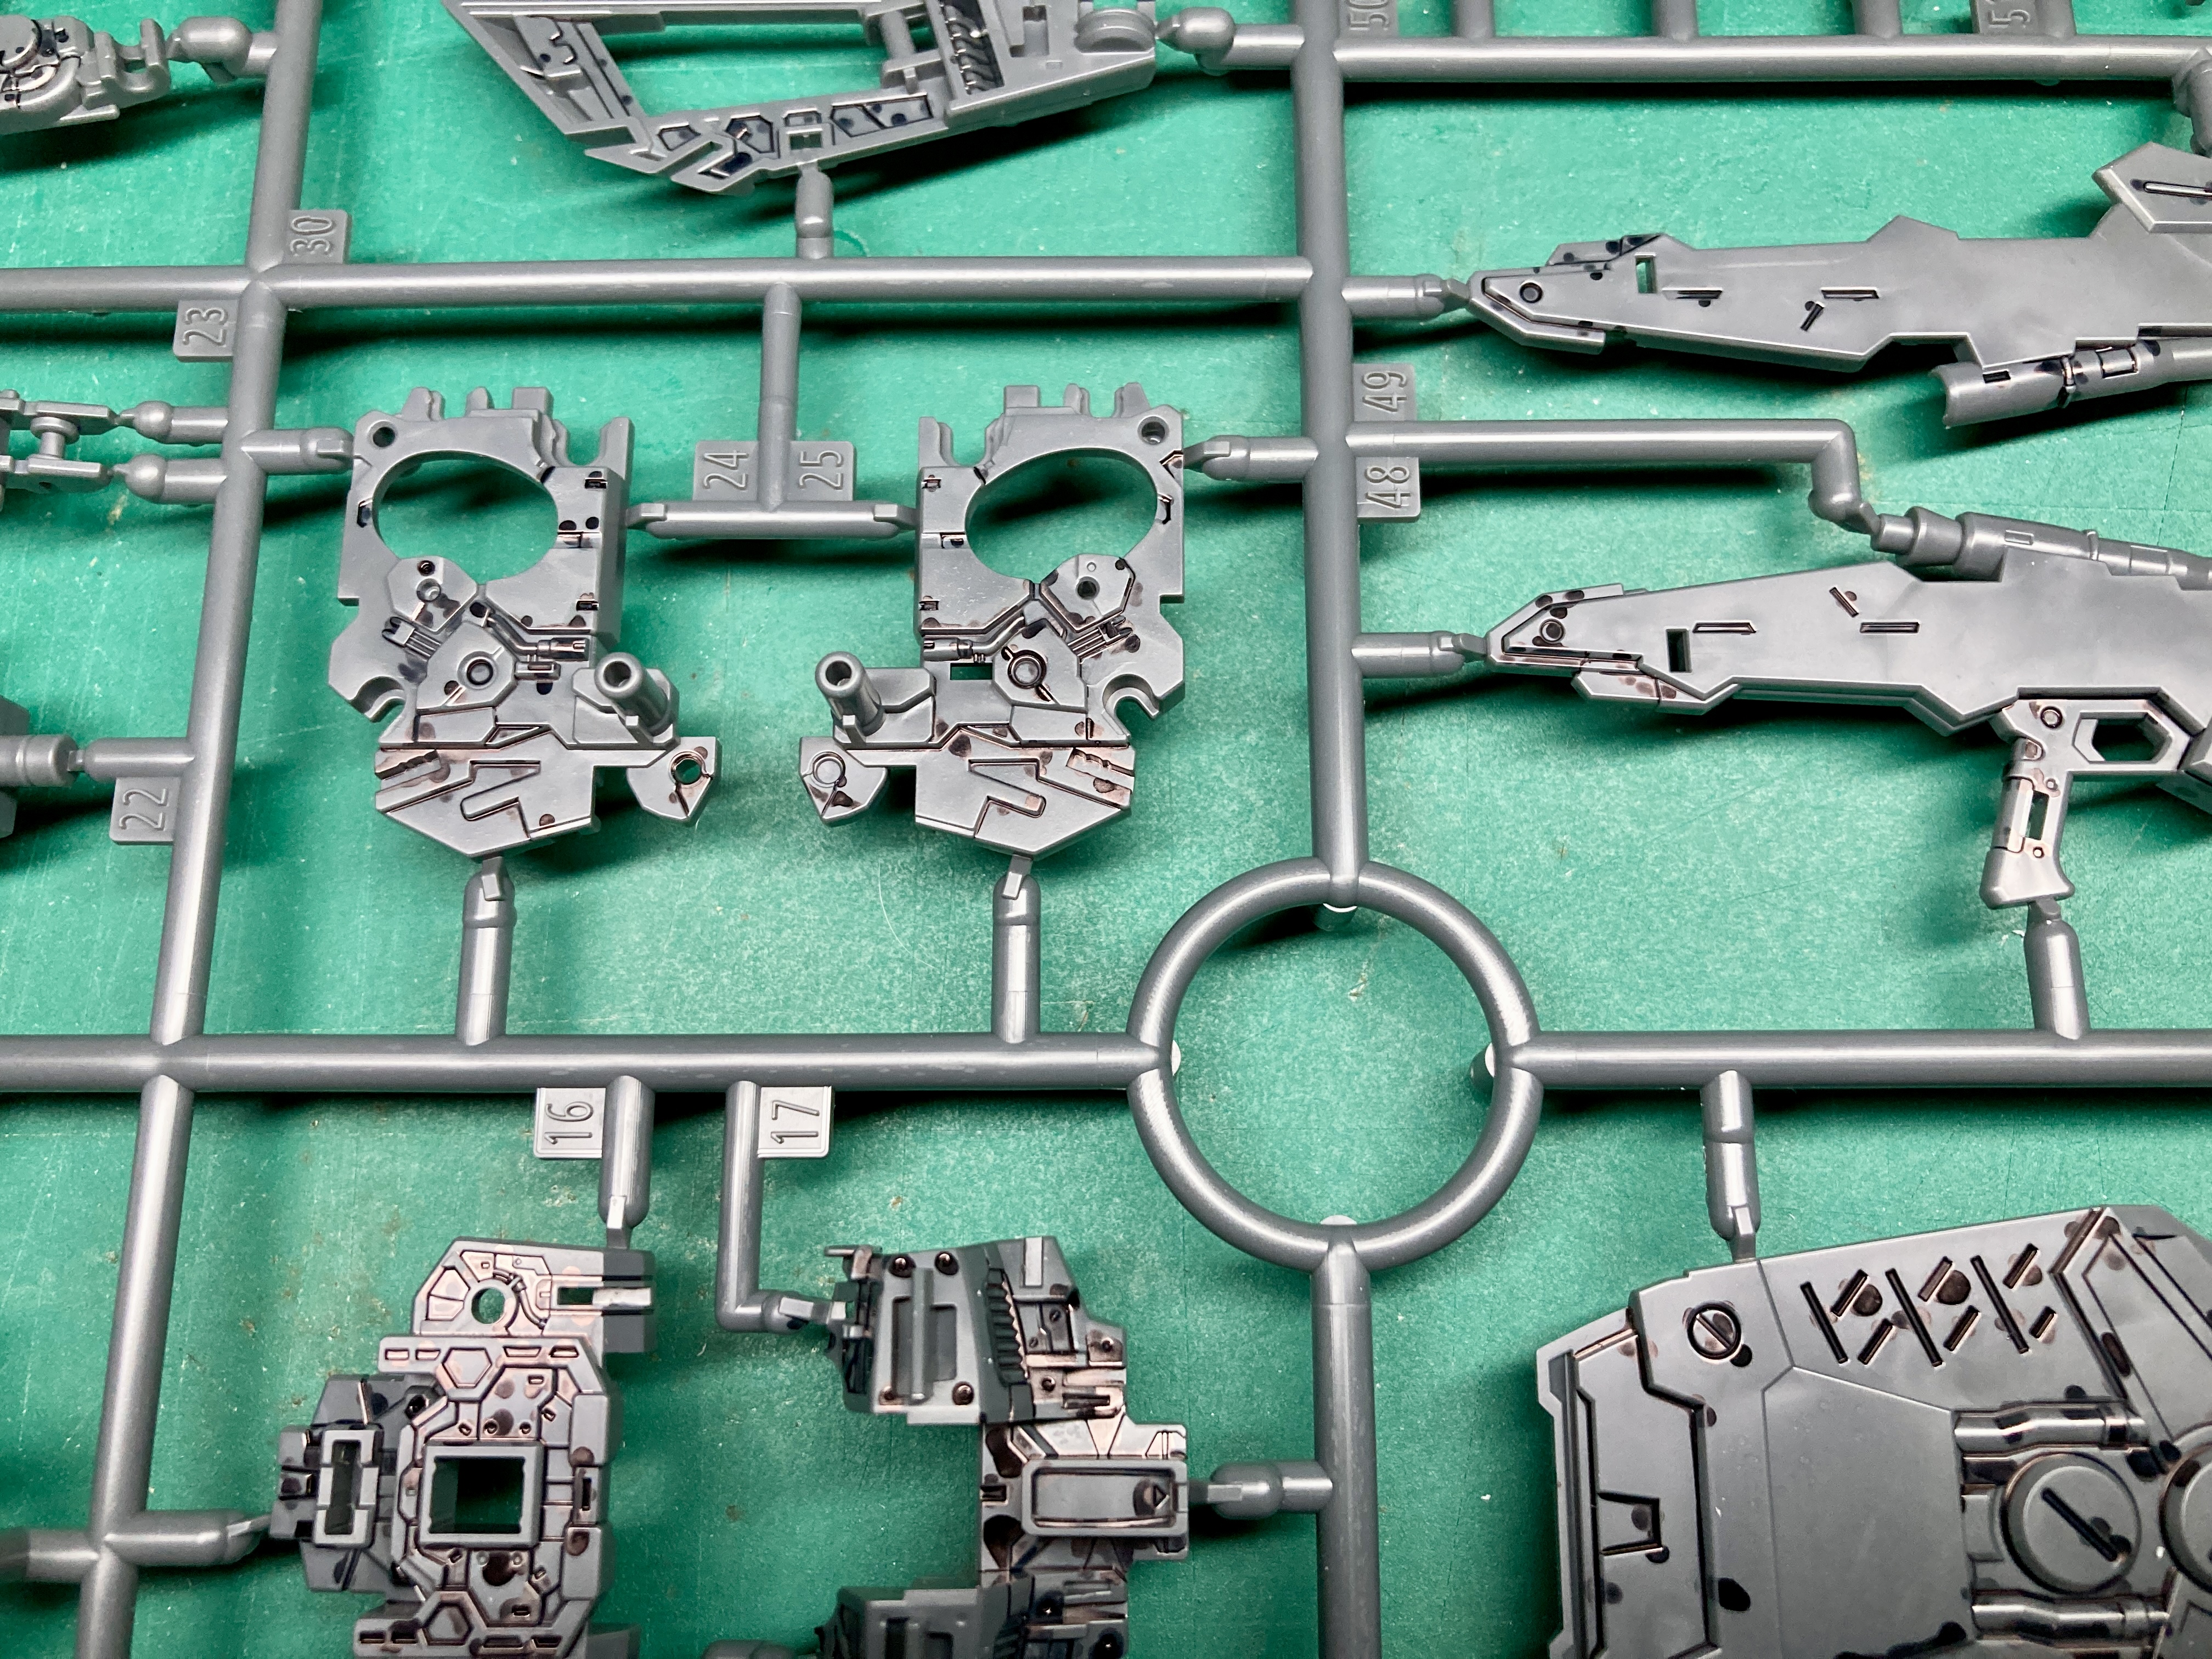
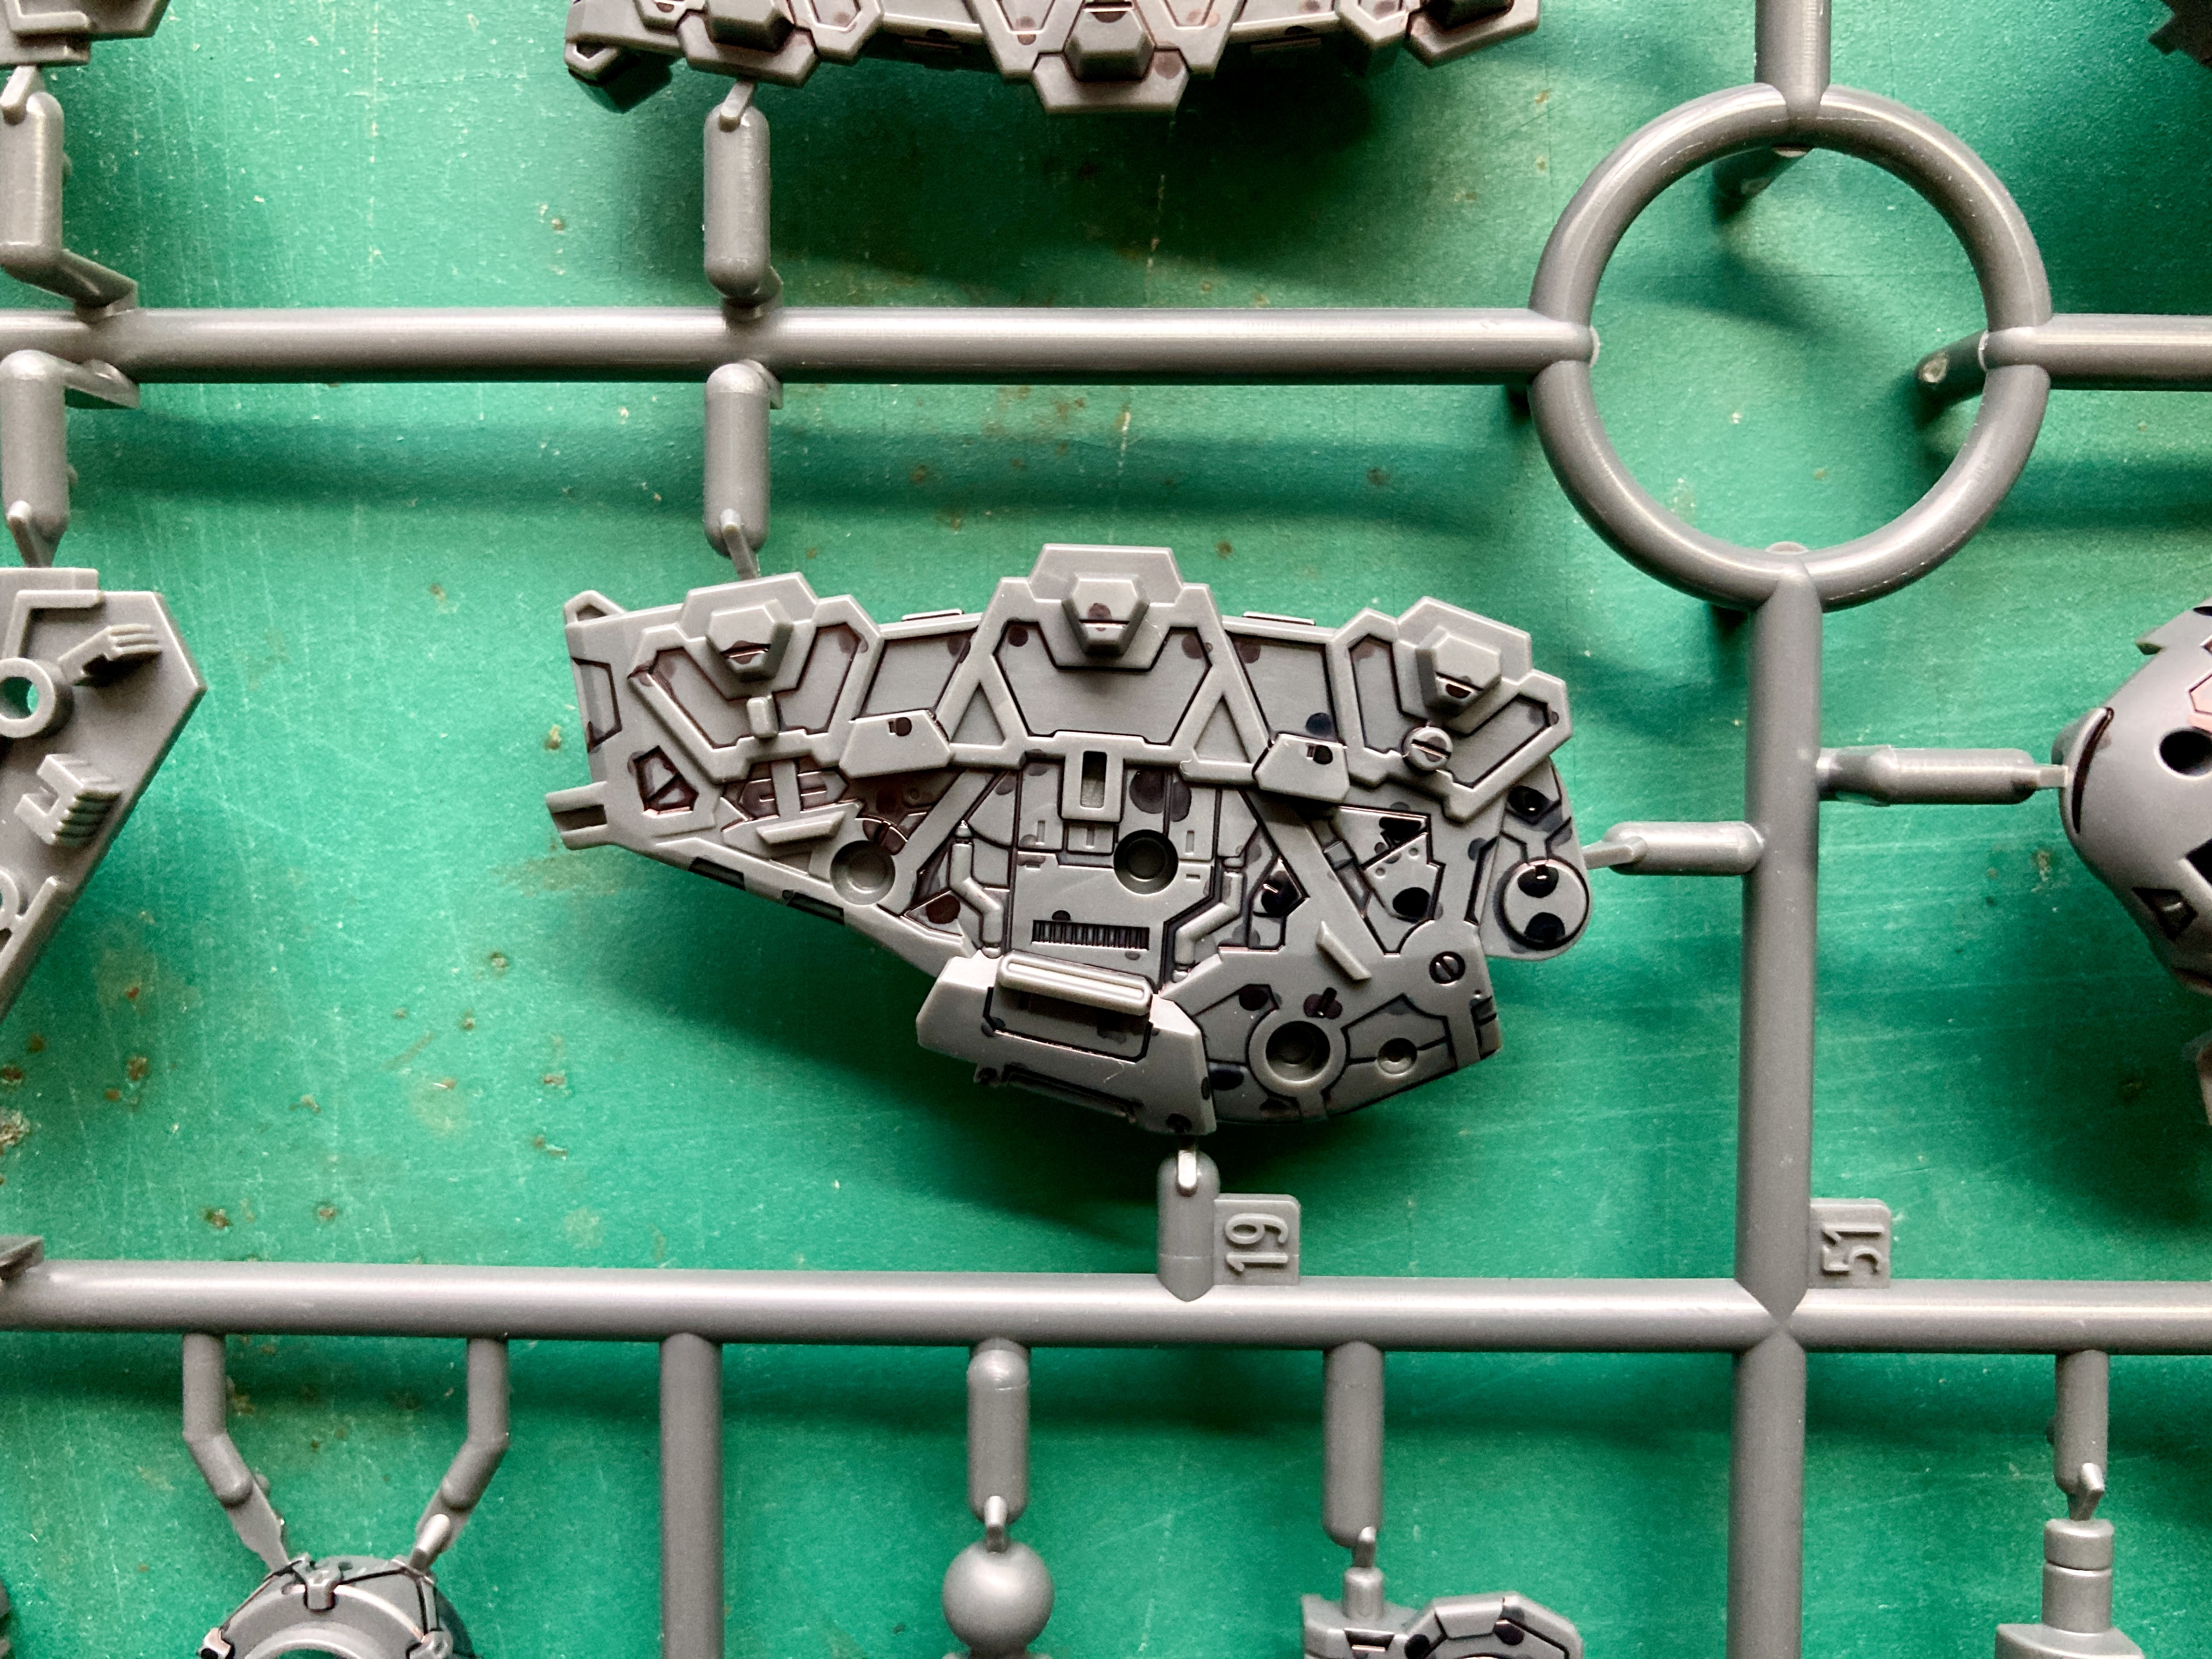
I chose to use my wicking panel lining marker on the grey inner frame components. With this marker you place the tip of the marker next to a panel and the ink will wick along the panel line through capillary action. The only drawback is that you are left with marks that can either be erased with alcohol or you can simply rub them out with an eraser.

I found that an eraser is more effective with smoother components. The inner frame is very heavily textured and it can be very abrasive on the eraser, so I’ve switched to using very fine grit sandpaper to remove the marks once the components are cut from the sprue. Only a microscopic amount of plastic is taken away during this action.
To remove the parts I used the two cut method, firstly cutting with heavier clippers leaving some sprue gate left so as to not stress the plastic near the components, then using sharper single blades clippers (or nippers all they are often referred to from Gunpla people) to cut the rest of gate flush with the component.
I then use my glass file to remove any remaining gate and clean up with the high grit sandpaper as mentioned above.
Actually…just a note about using the glass file. When I first got it I found out it produced a lot of plastic dust. Other people have suggested using it wet and I’ve since adopted this method. I just dip the file every once and a while in a pot of water and file as normal. This makes the plastic dust into more of a wet glob which is rinsed away in the water, keeping the file free of dust and making filing easier.
Here’s what I’ve built so far after several hours of work.


More About The Pens or You (Don’t) Have To Use All The Stickers
I’m really pleased with this alcohol based metallic marker. While the nib is a little too thick for drawing on the smaller parts accurately, the effect it produces is a very shiny metal (which doesn’t look as good in photos).

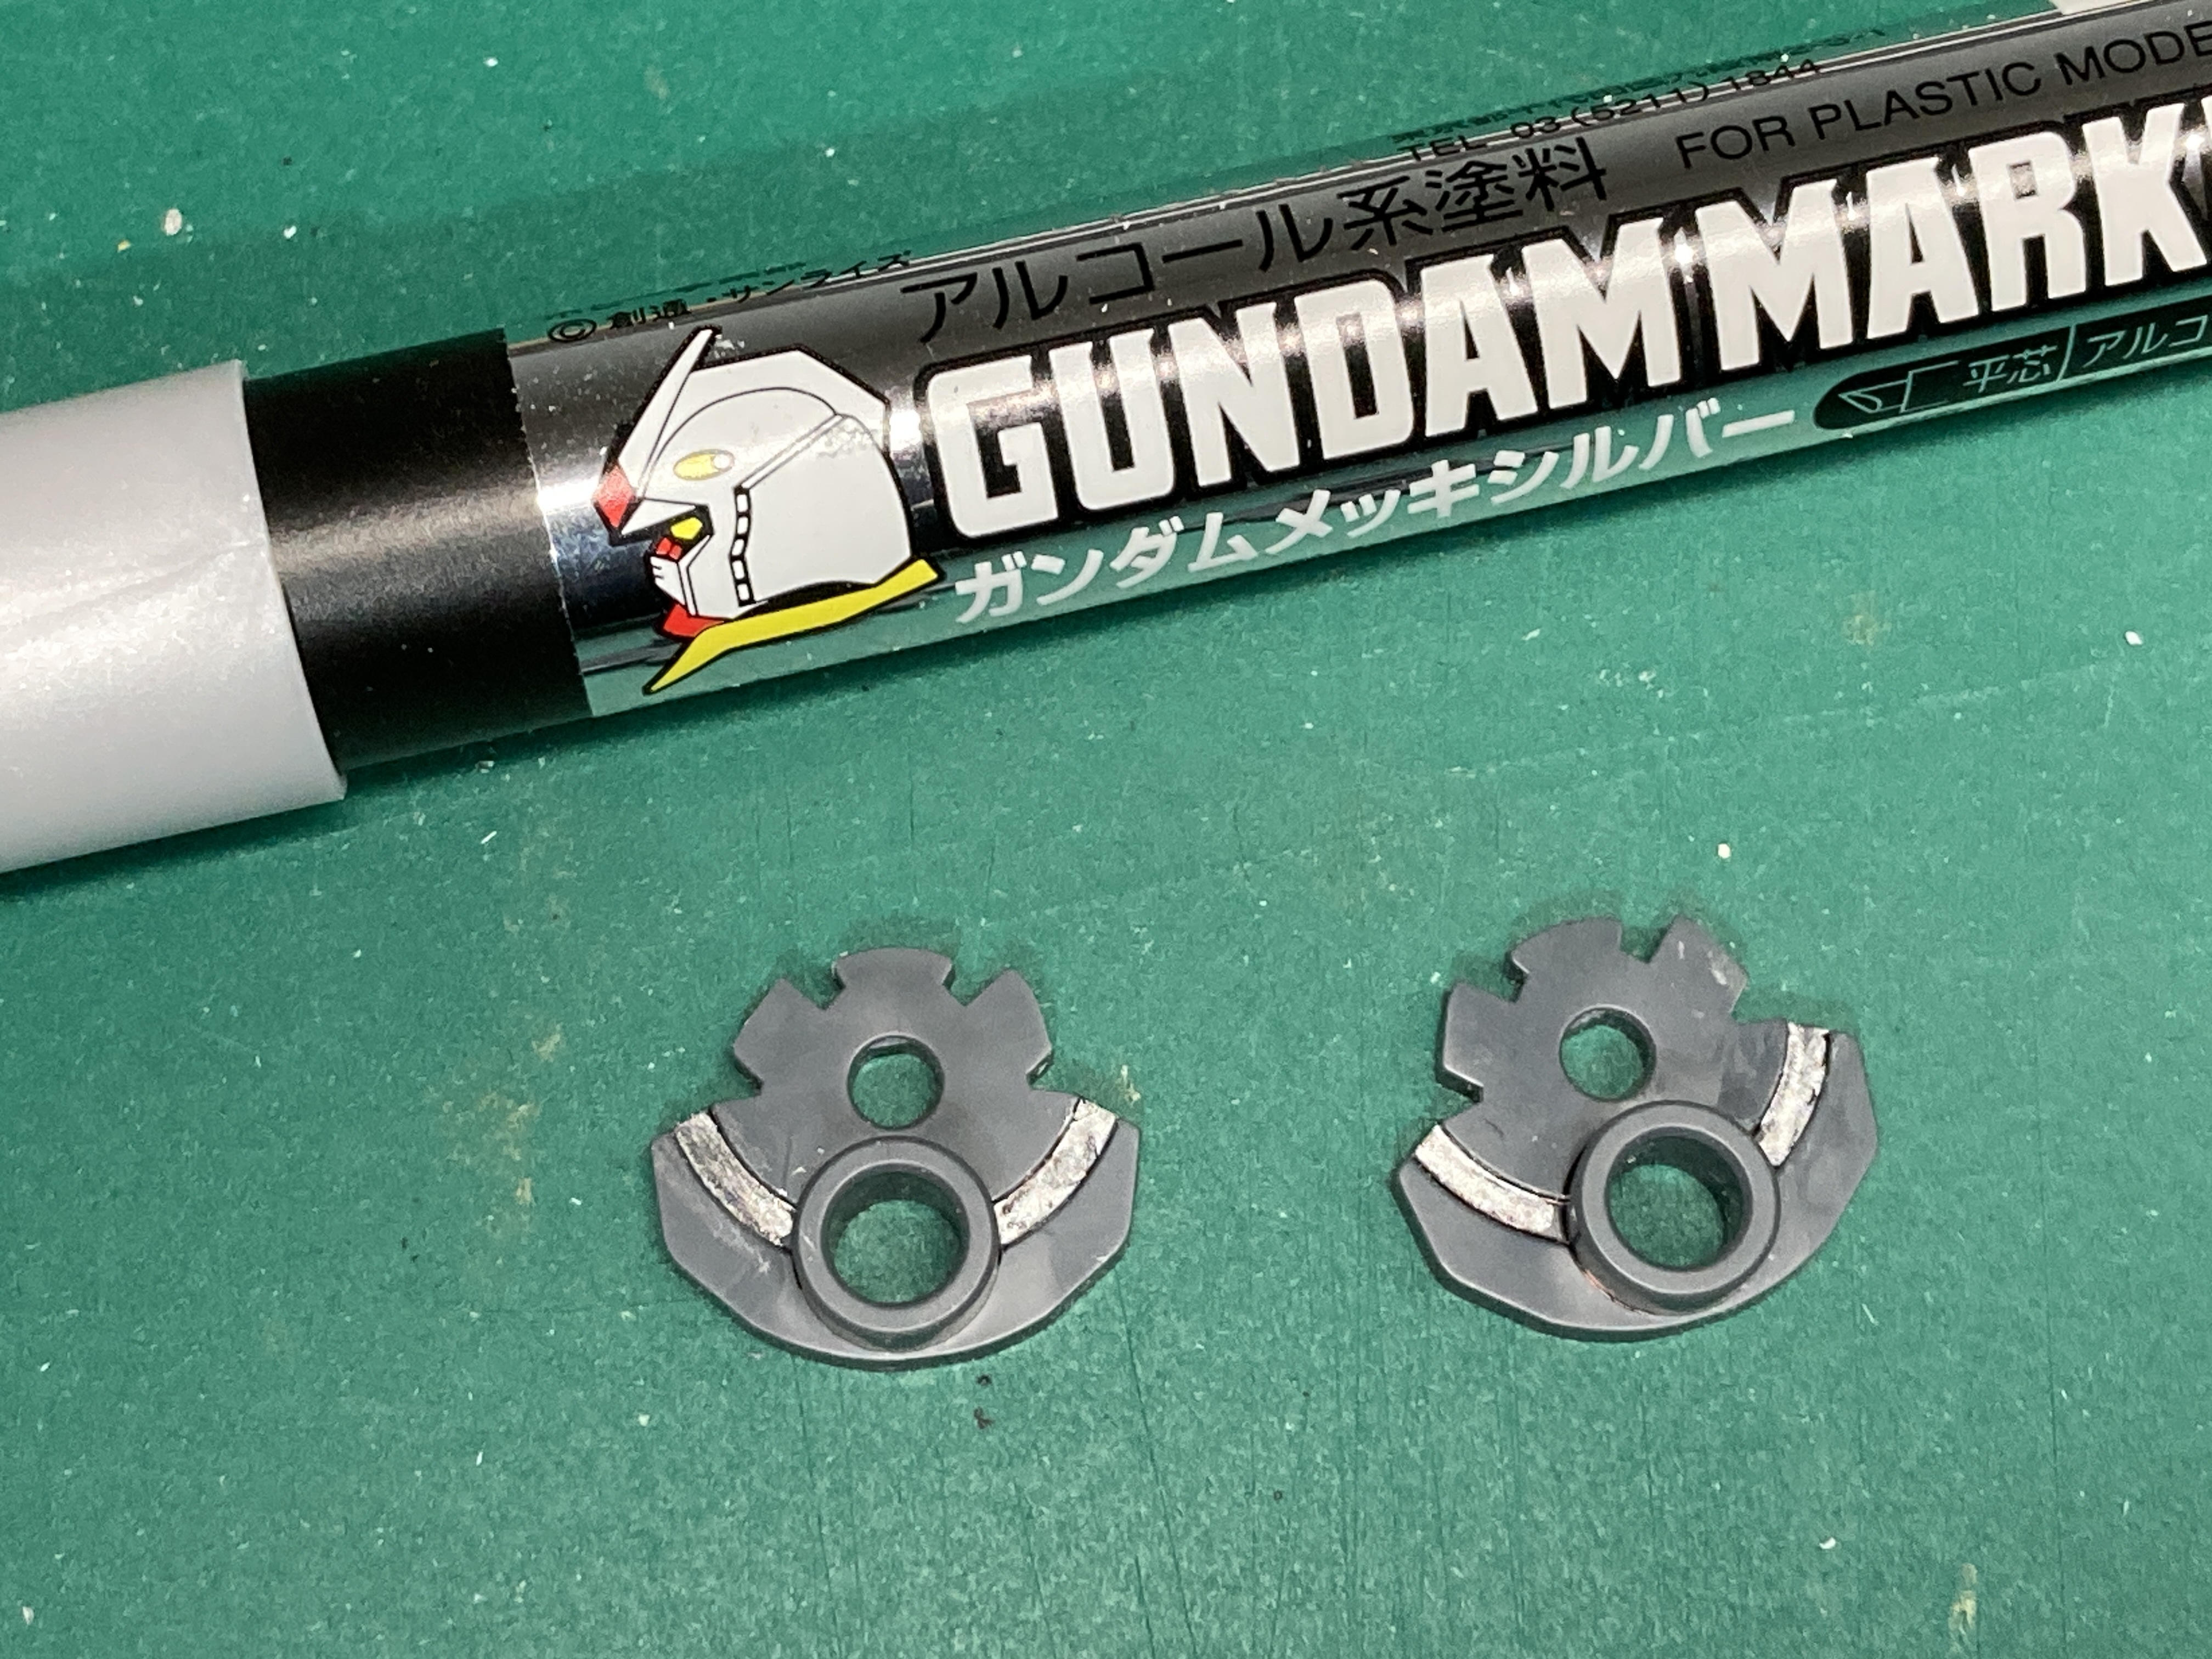
Some of the stickers that come with the kit are meant to be placed on the inner frame as your build to show shiny metal parts. In my opinion the pen is much more preferable and looks very good.
Speaking of pens, I just wanted to show a few photos of my favourite pens. These brush pens are very accurate. The nib is indeed a brush, and a very pointy one at that. They are much less messy than the pour type wicking based pen I mentioned in my last post and they are probably what I’ll be using for the coloured non-grey parts of the model. One of the drawbacks of these pens is that they are slower to use than the wicking pen as you have to draw the lines yourself rather than let capillary action do the work. This isn’t so bad since there’s less detail on the coloured parts.
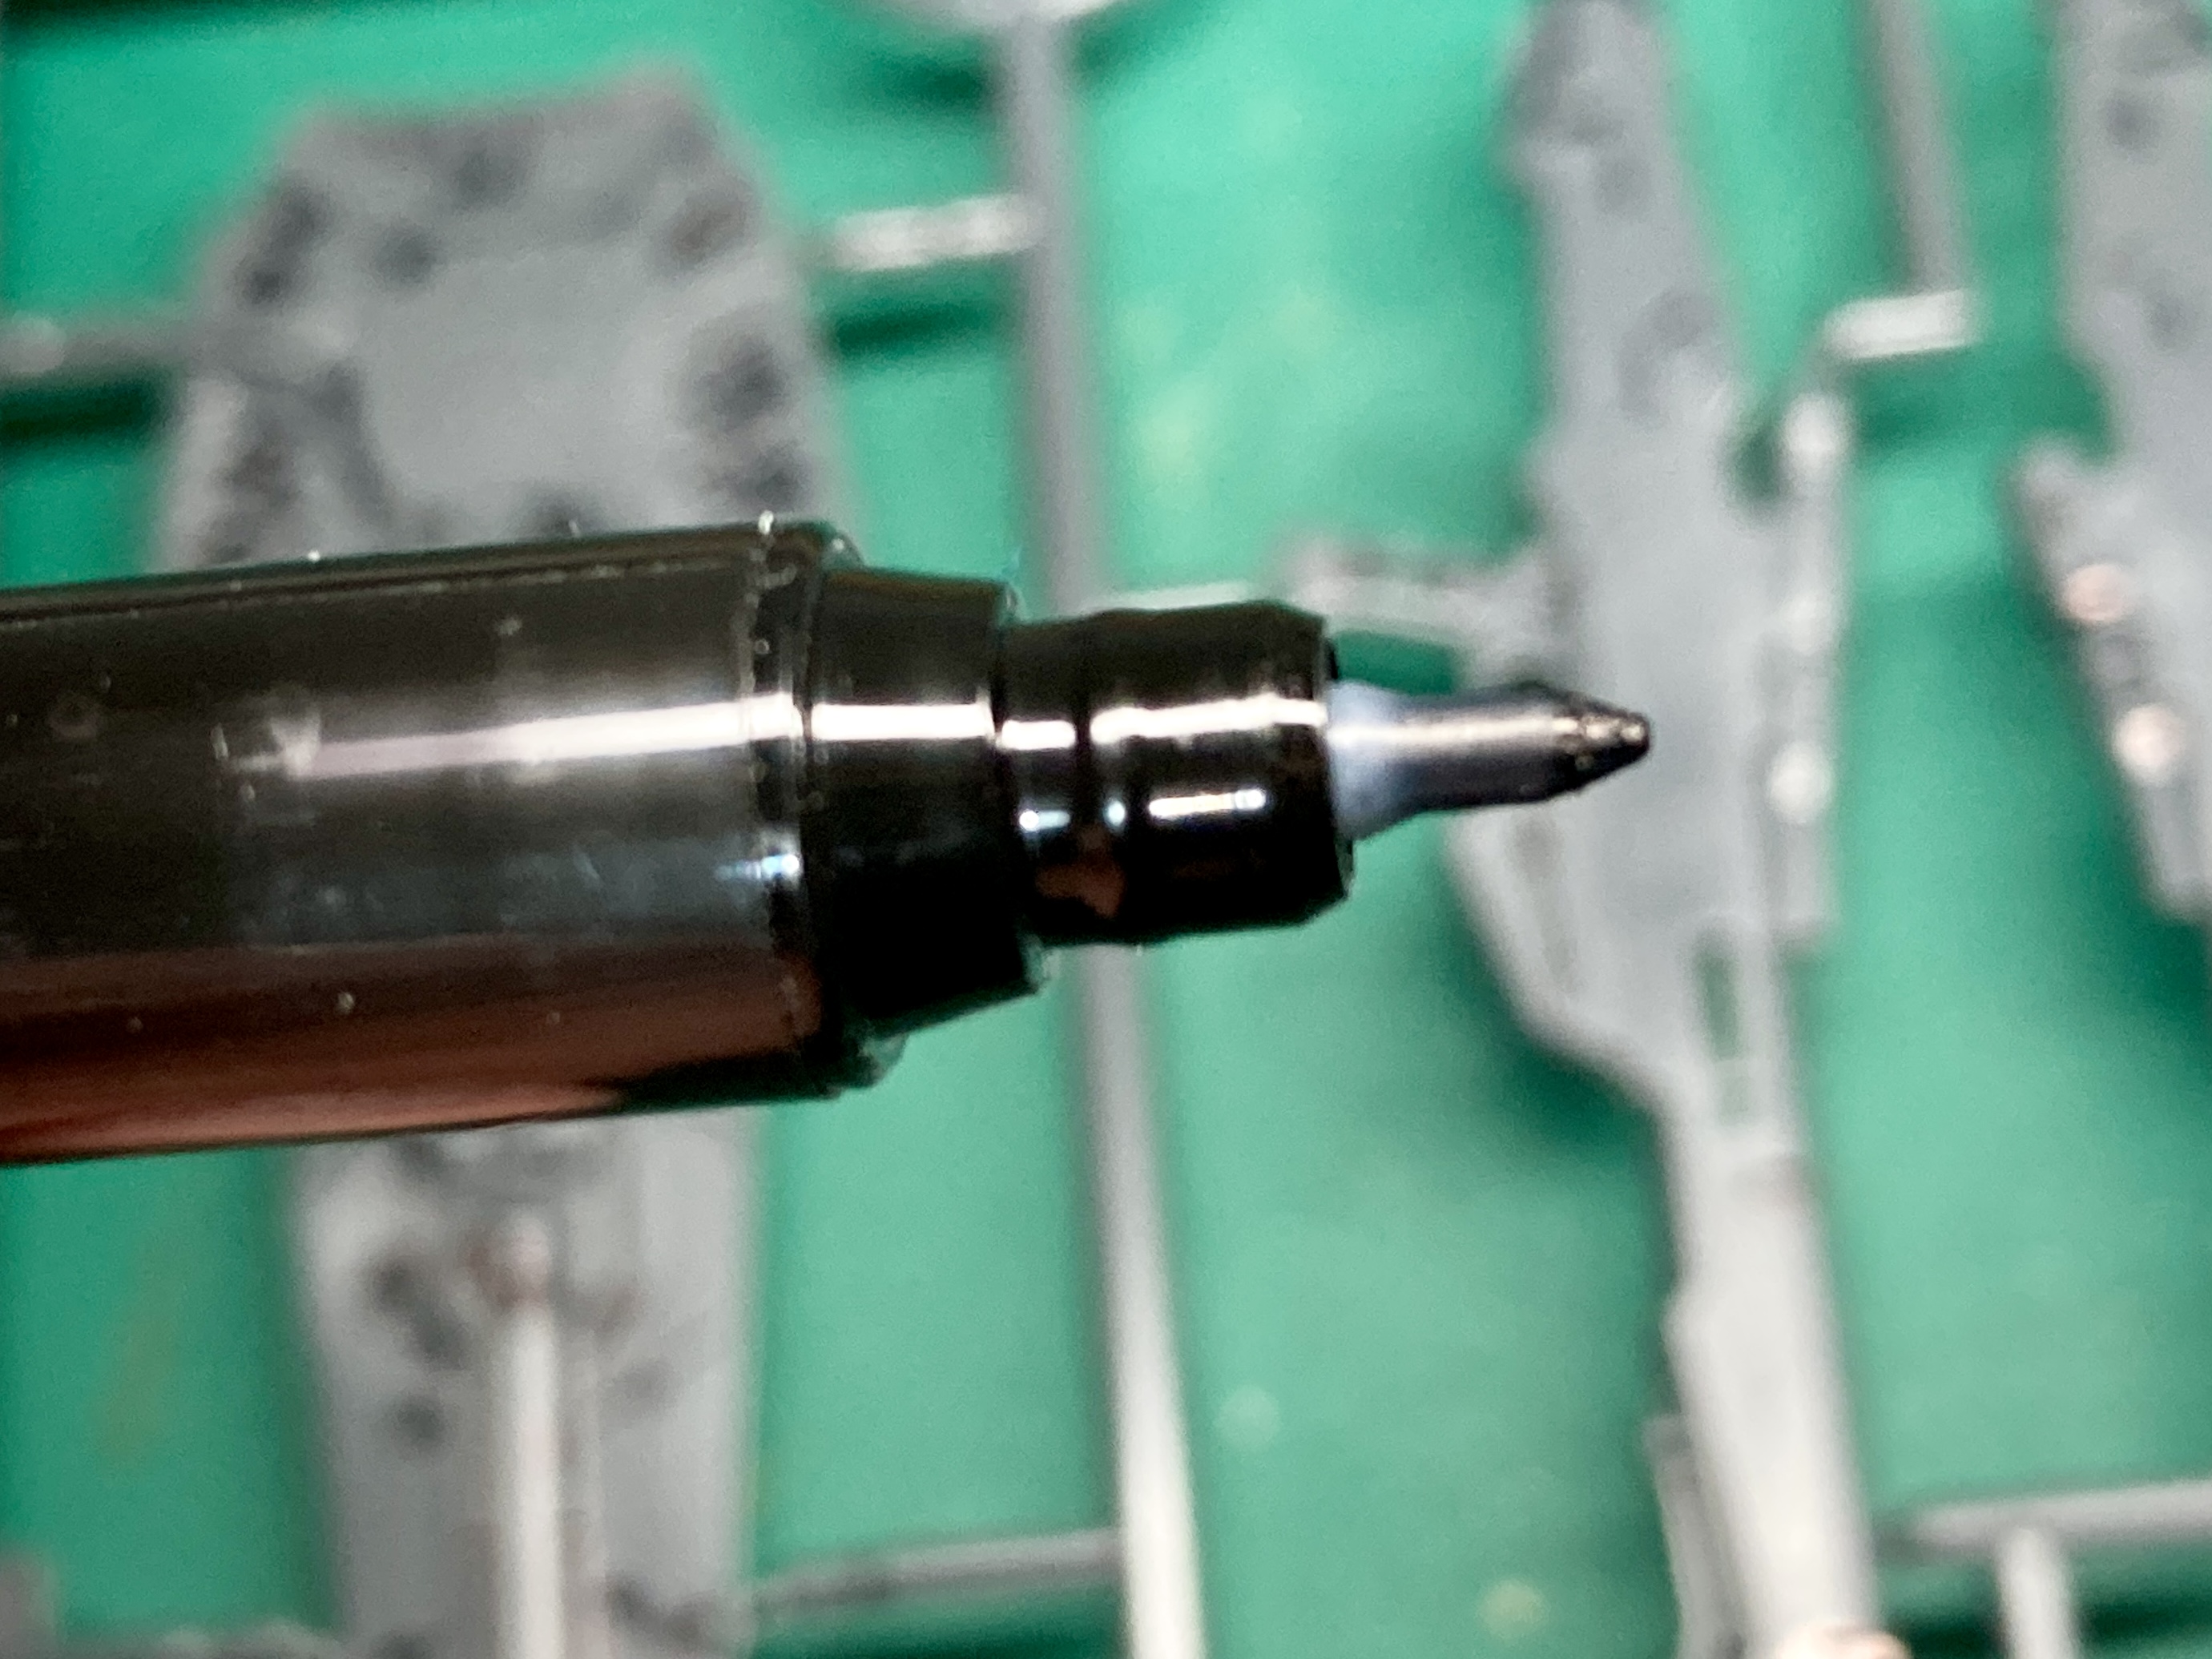 Pour type nib
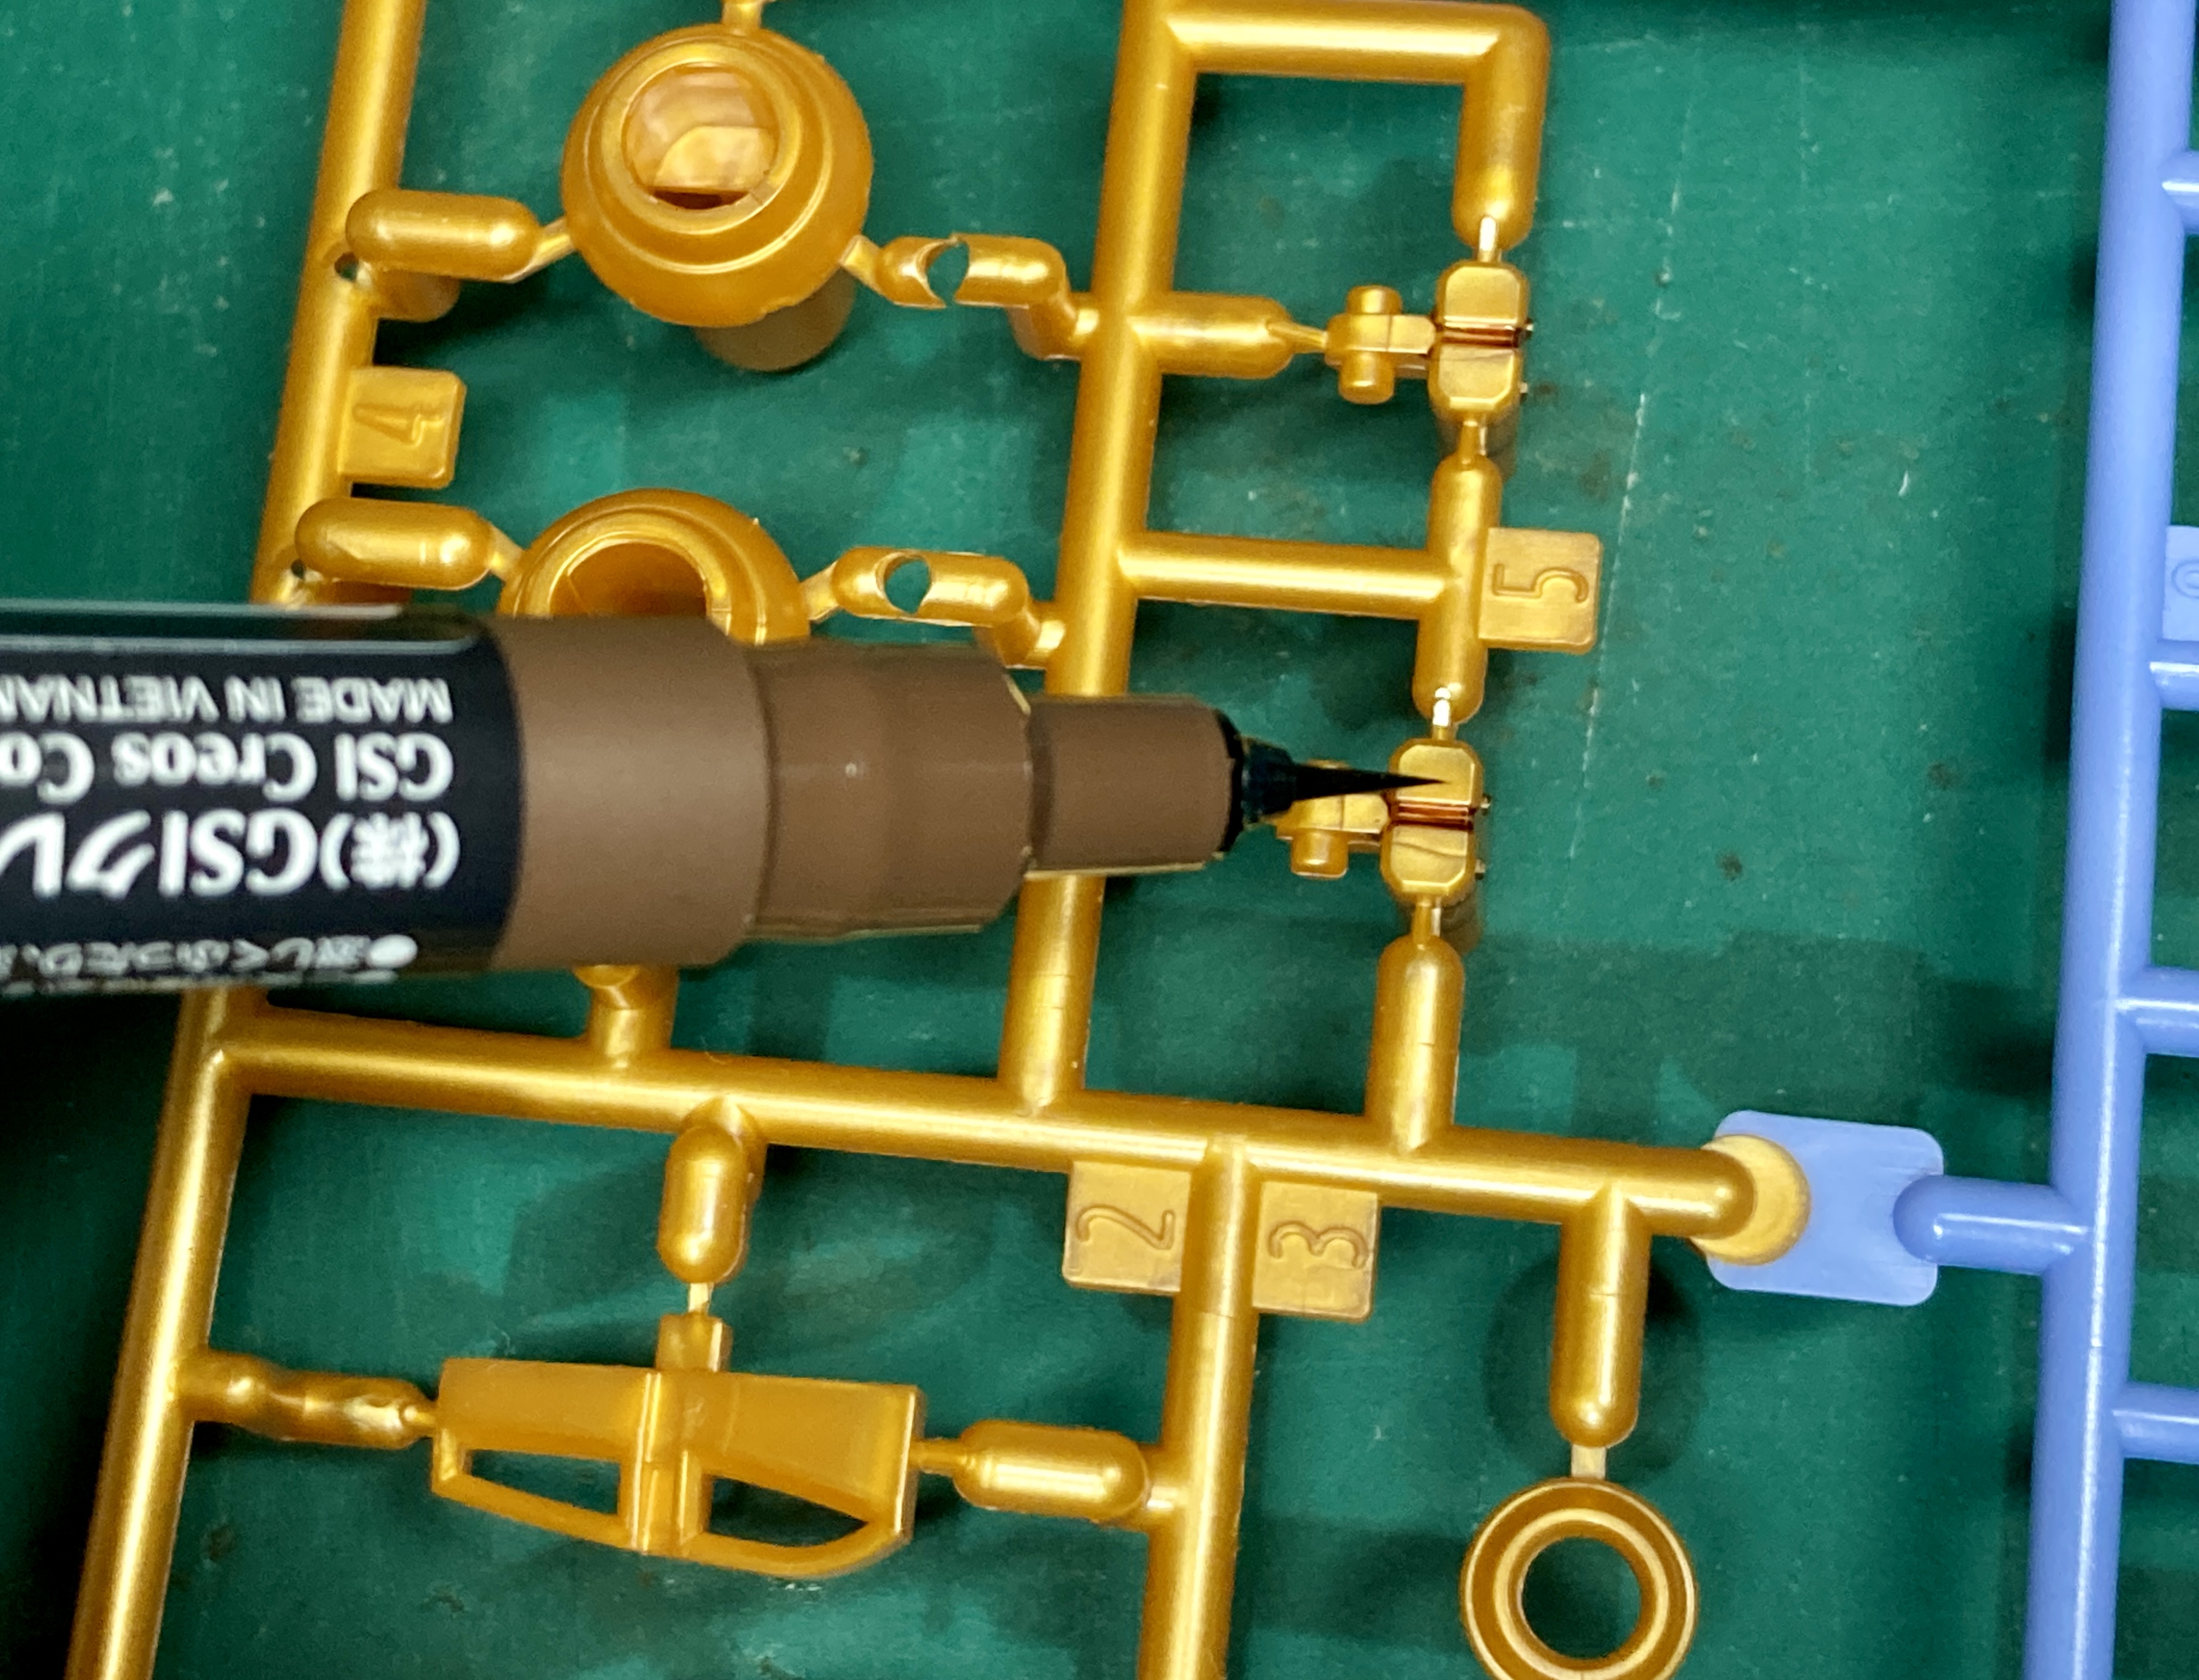
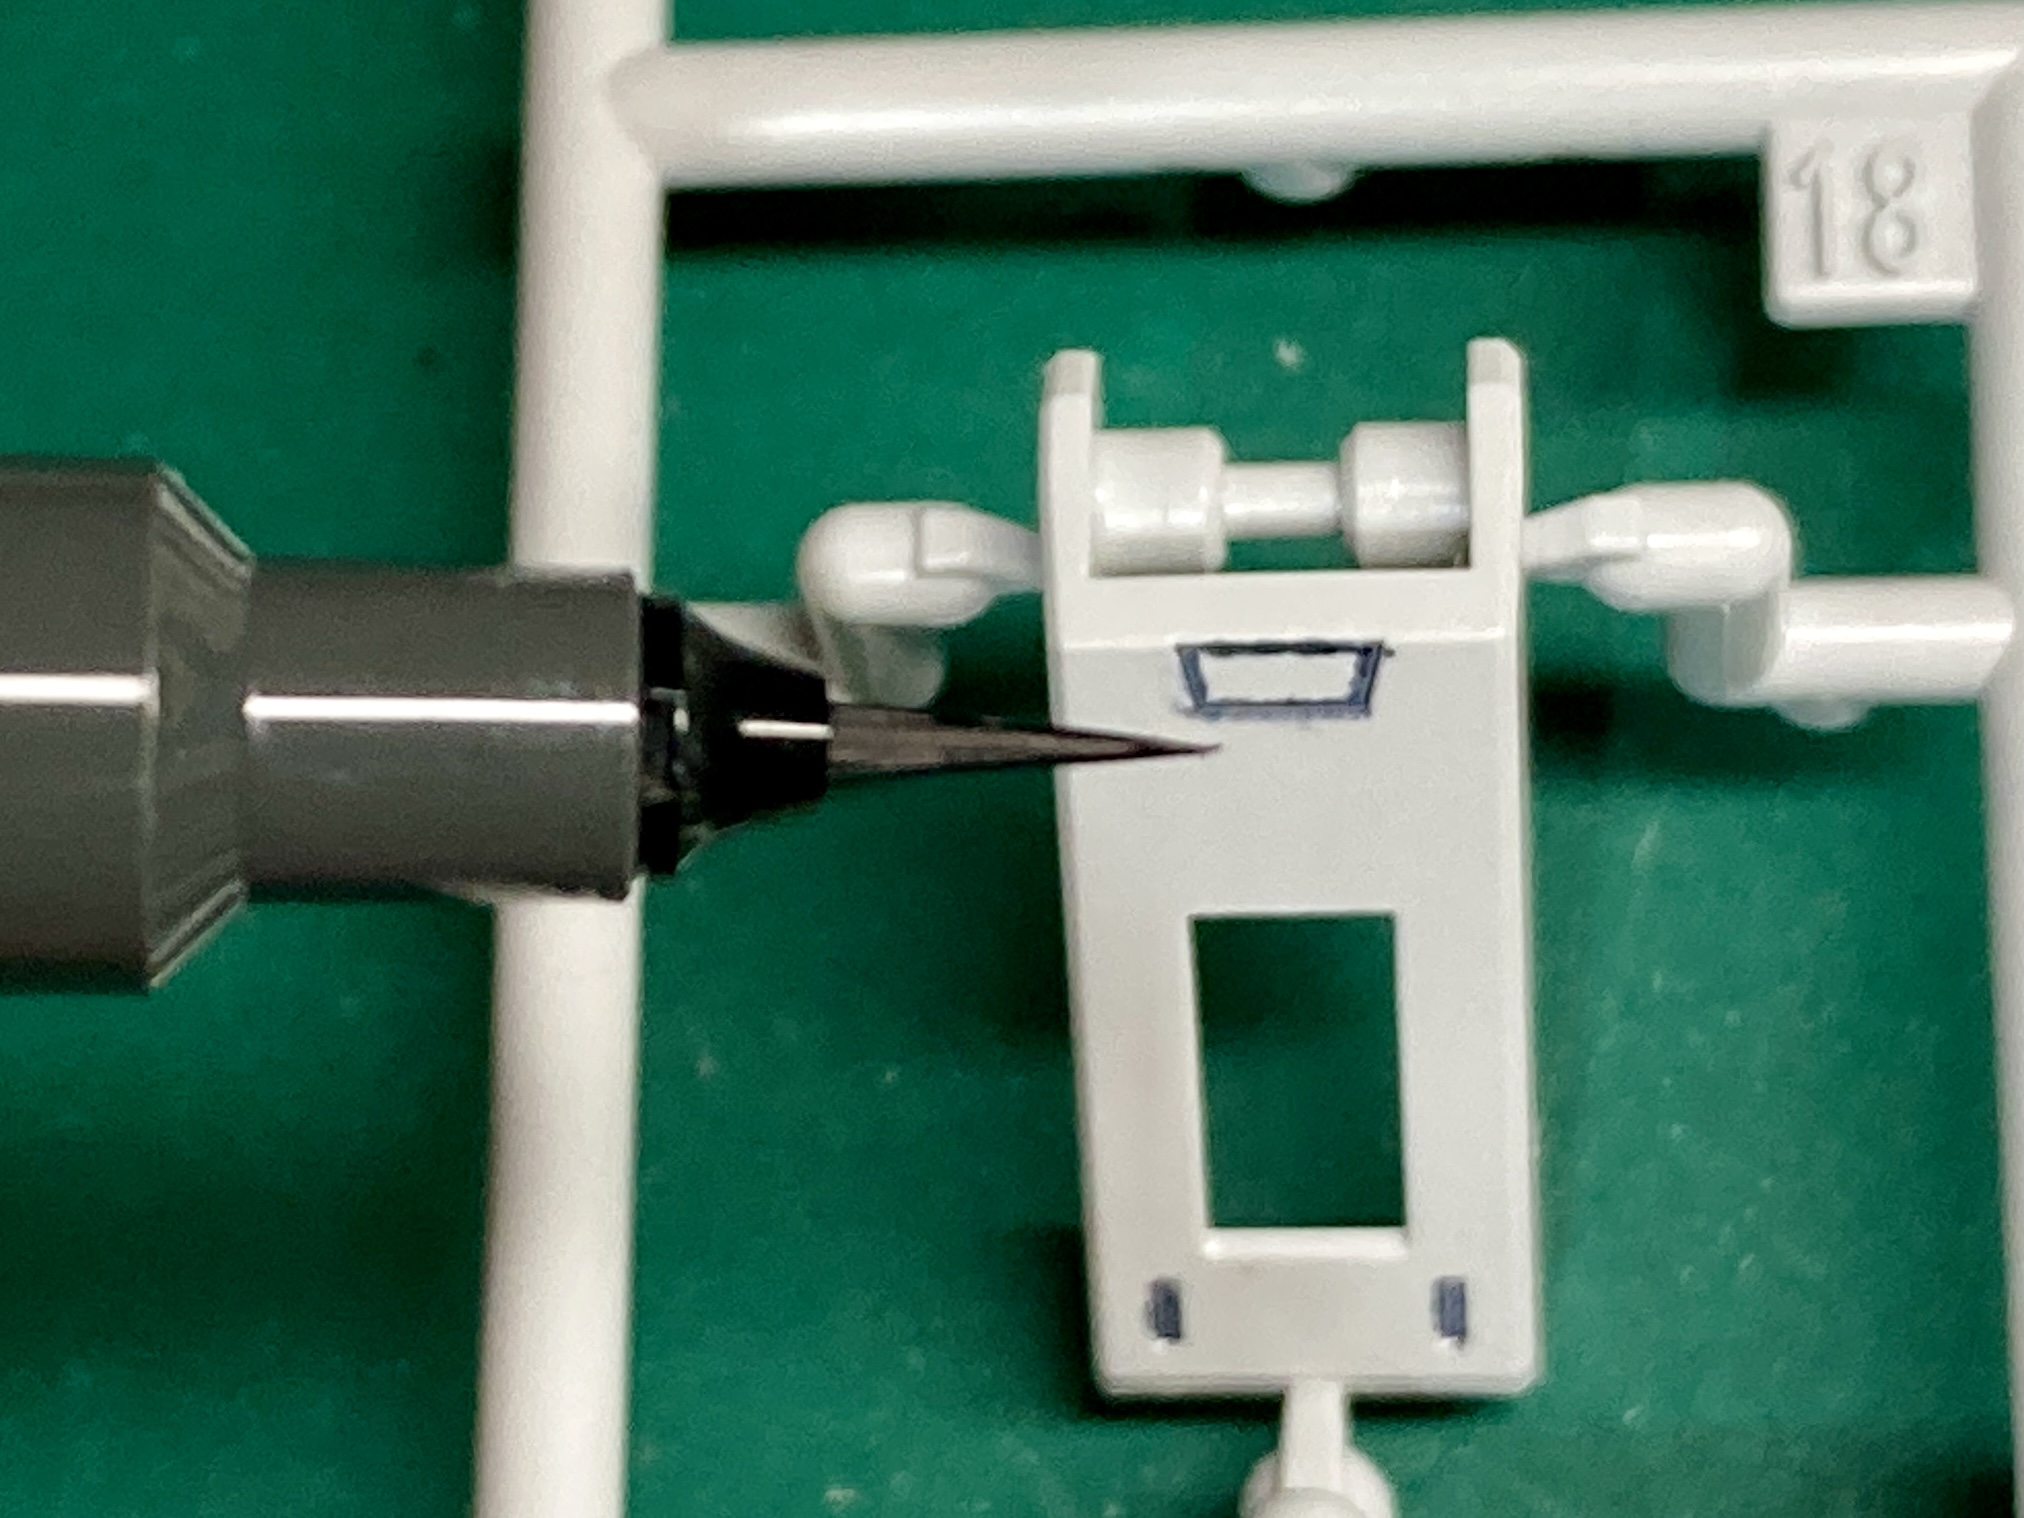
Brush pens
Here’s how far I’m currently into the build. As you can see I’ve decided to build the internal frame first rather than fully completing each part before moving onto the next.

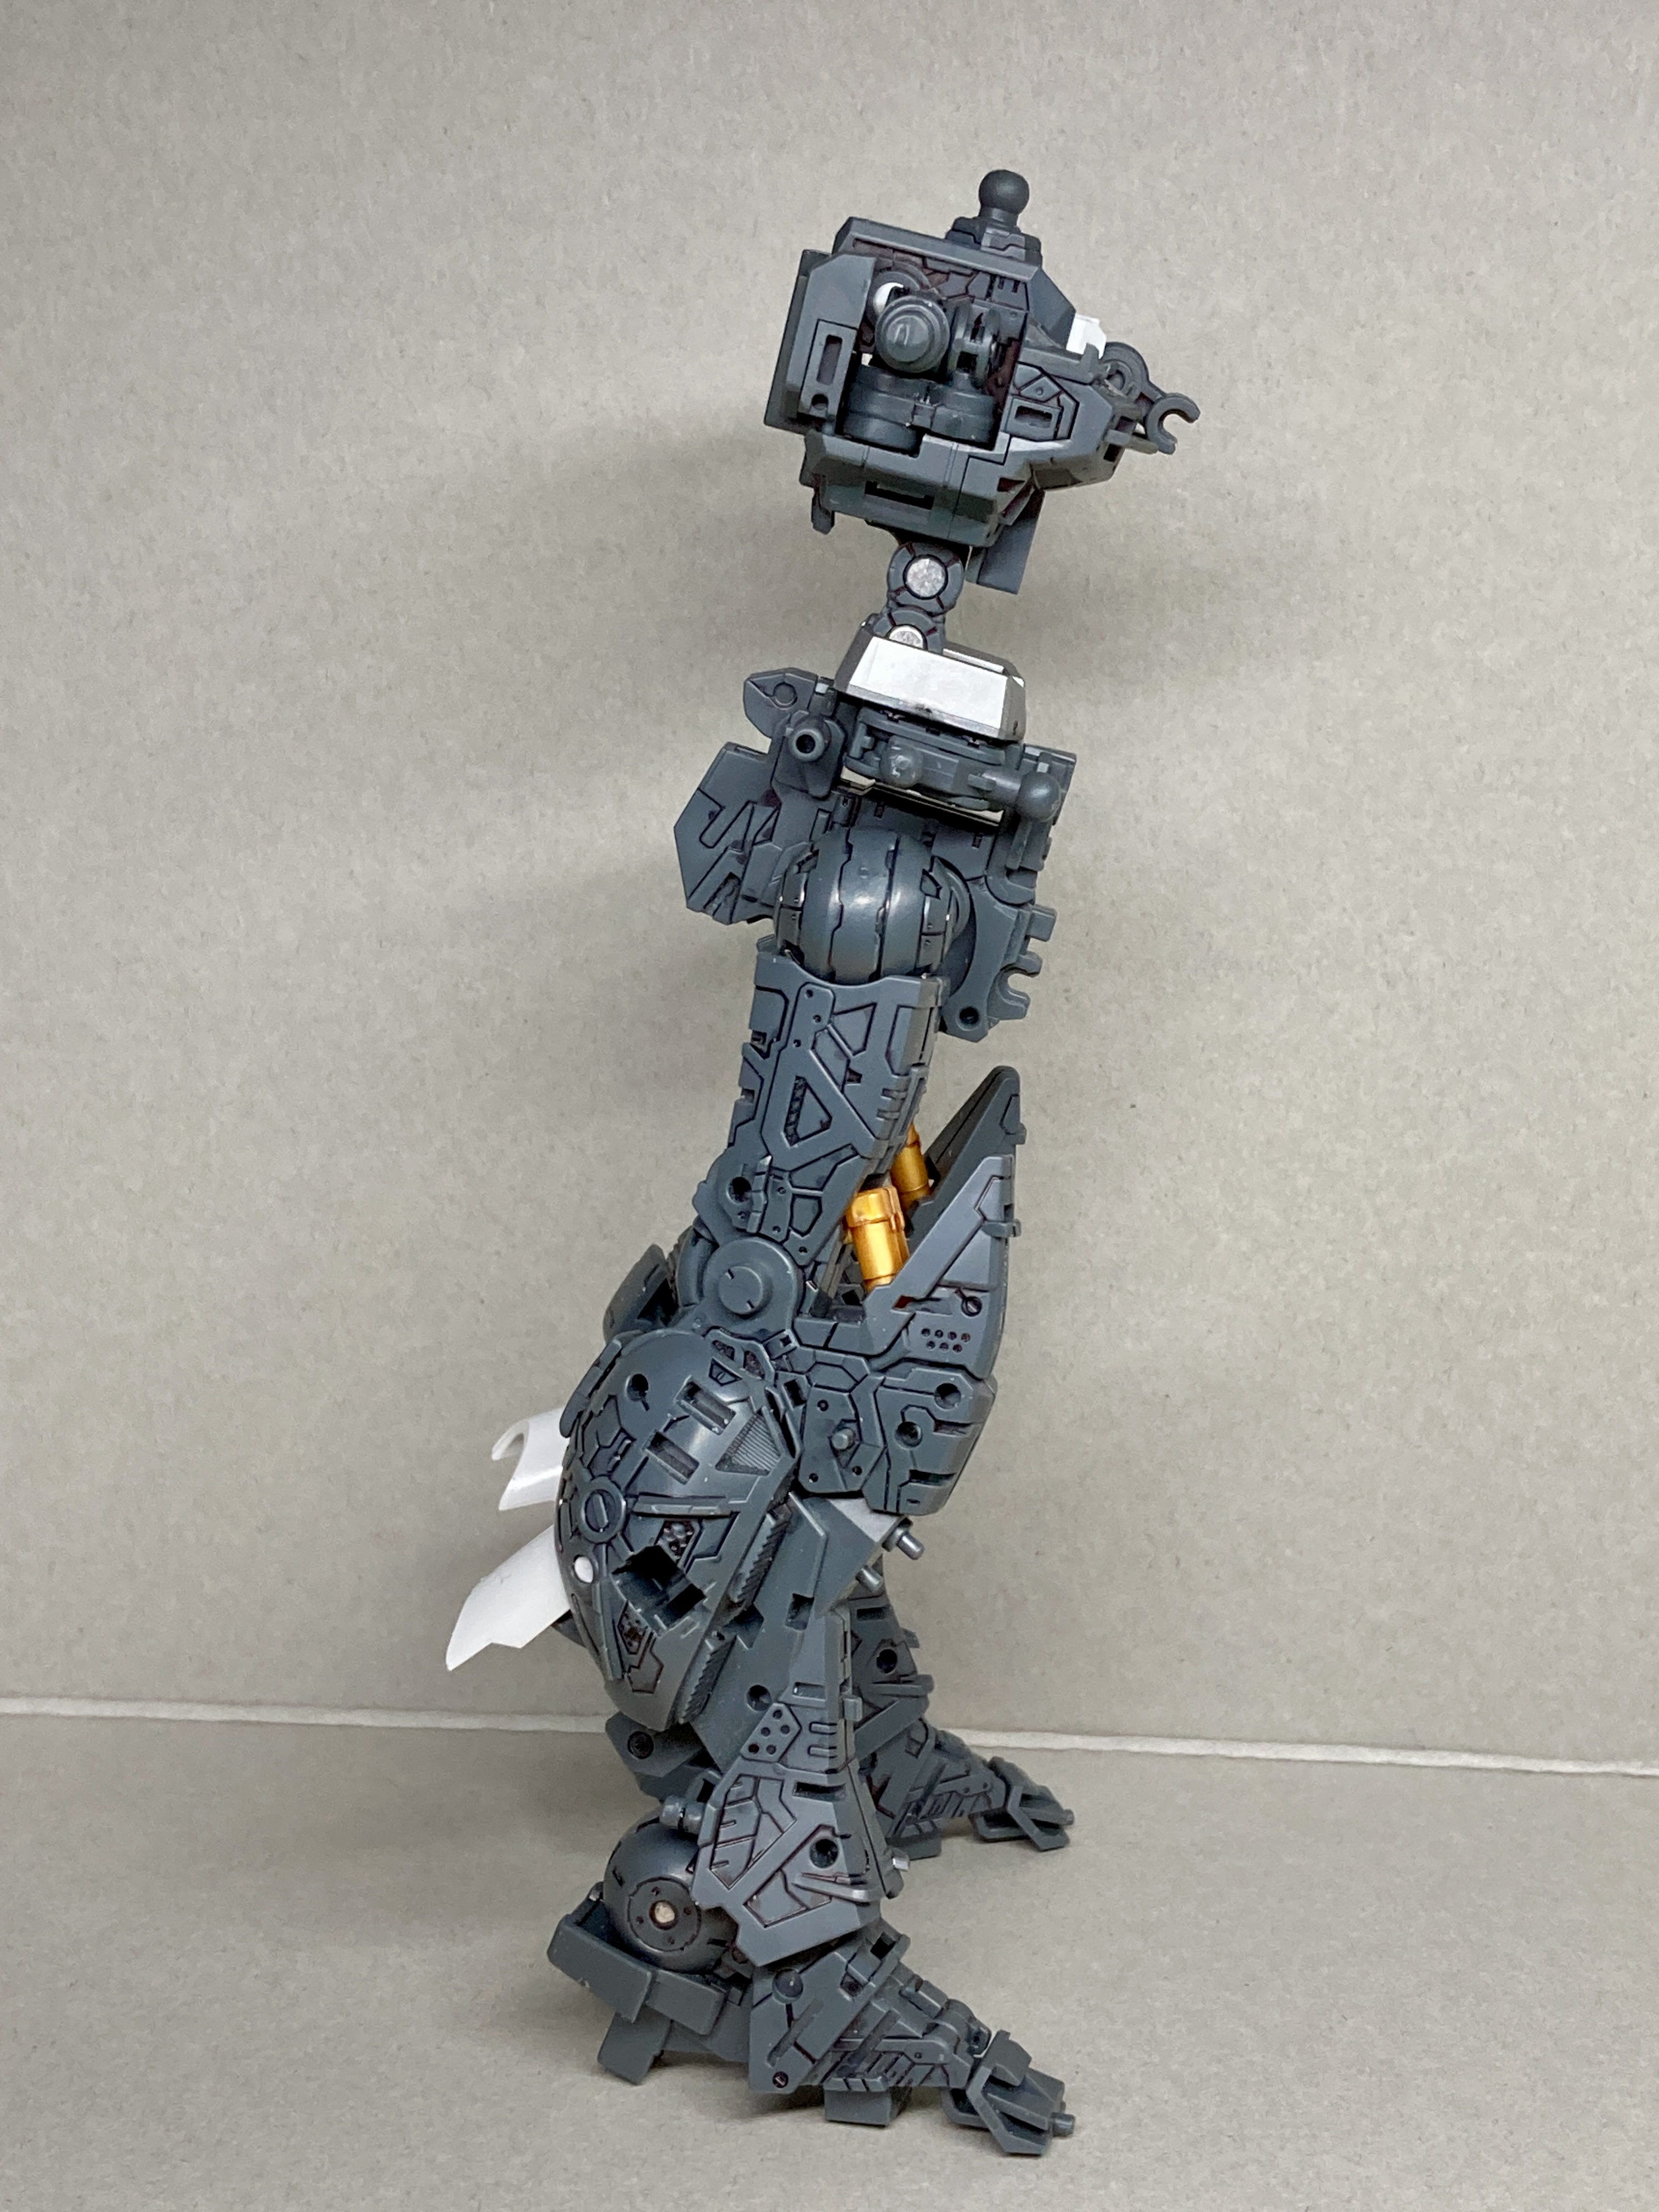
Inner Frame Complete - Now The Real Work Begins
As the title says, I’ve finished the inner frame. There were some parts of the external armour I had to include as they can only go on while the internal frame is being built.
The head looks a little weird as there’s a large transparent colourless part, which I can only presume, is to make it easier for anyone you wish to use LEDs to light the eyes.

When I came across a particularly corrugated selection of parts on two of the silver frames I decided to use a Nuln Oil wash rather than panel line it all. Sometimes quickness is a better compromise.
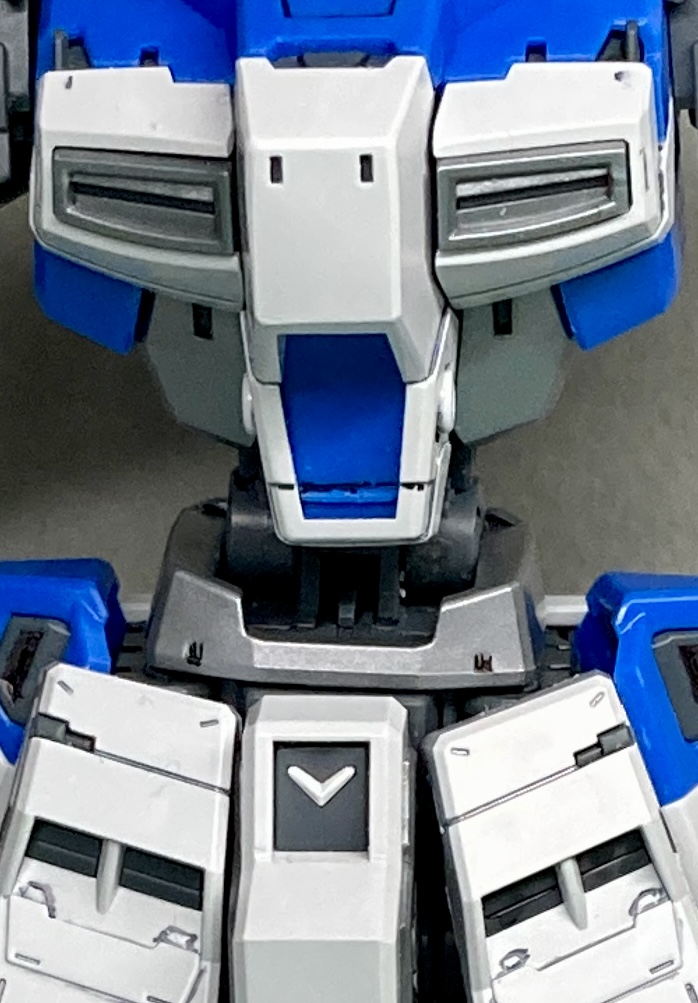
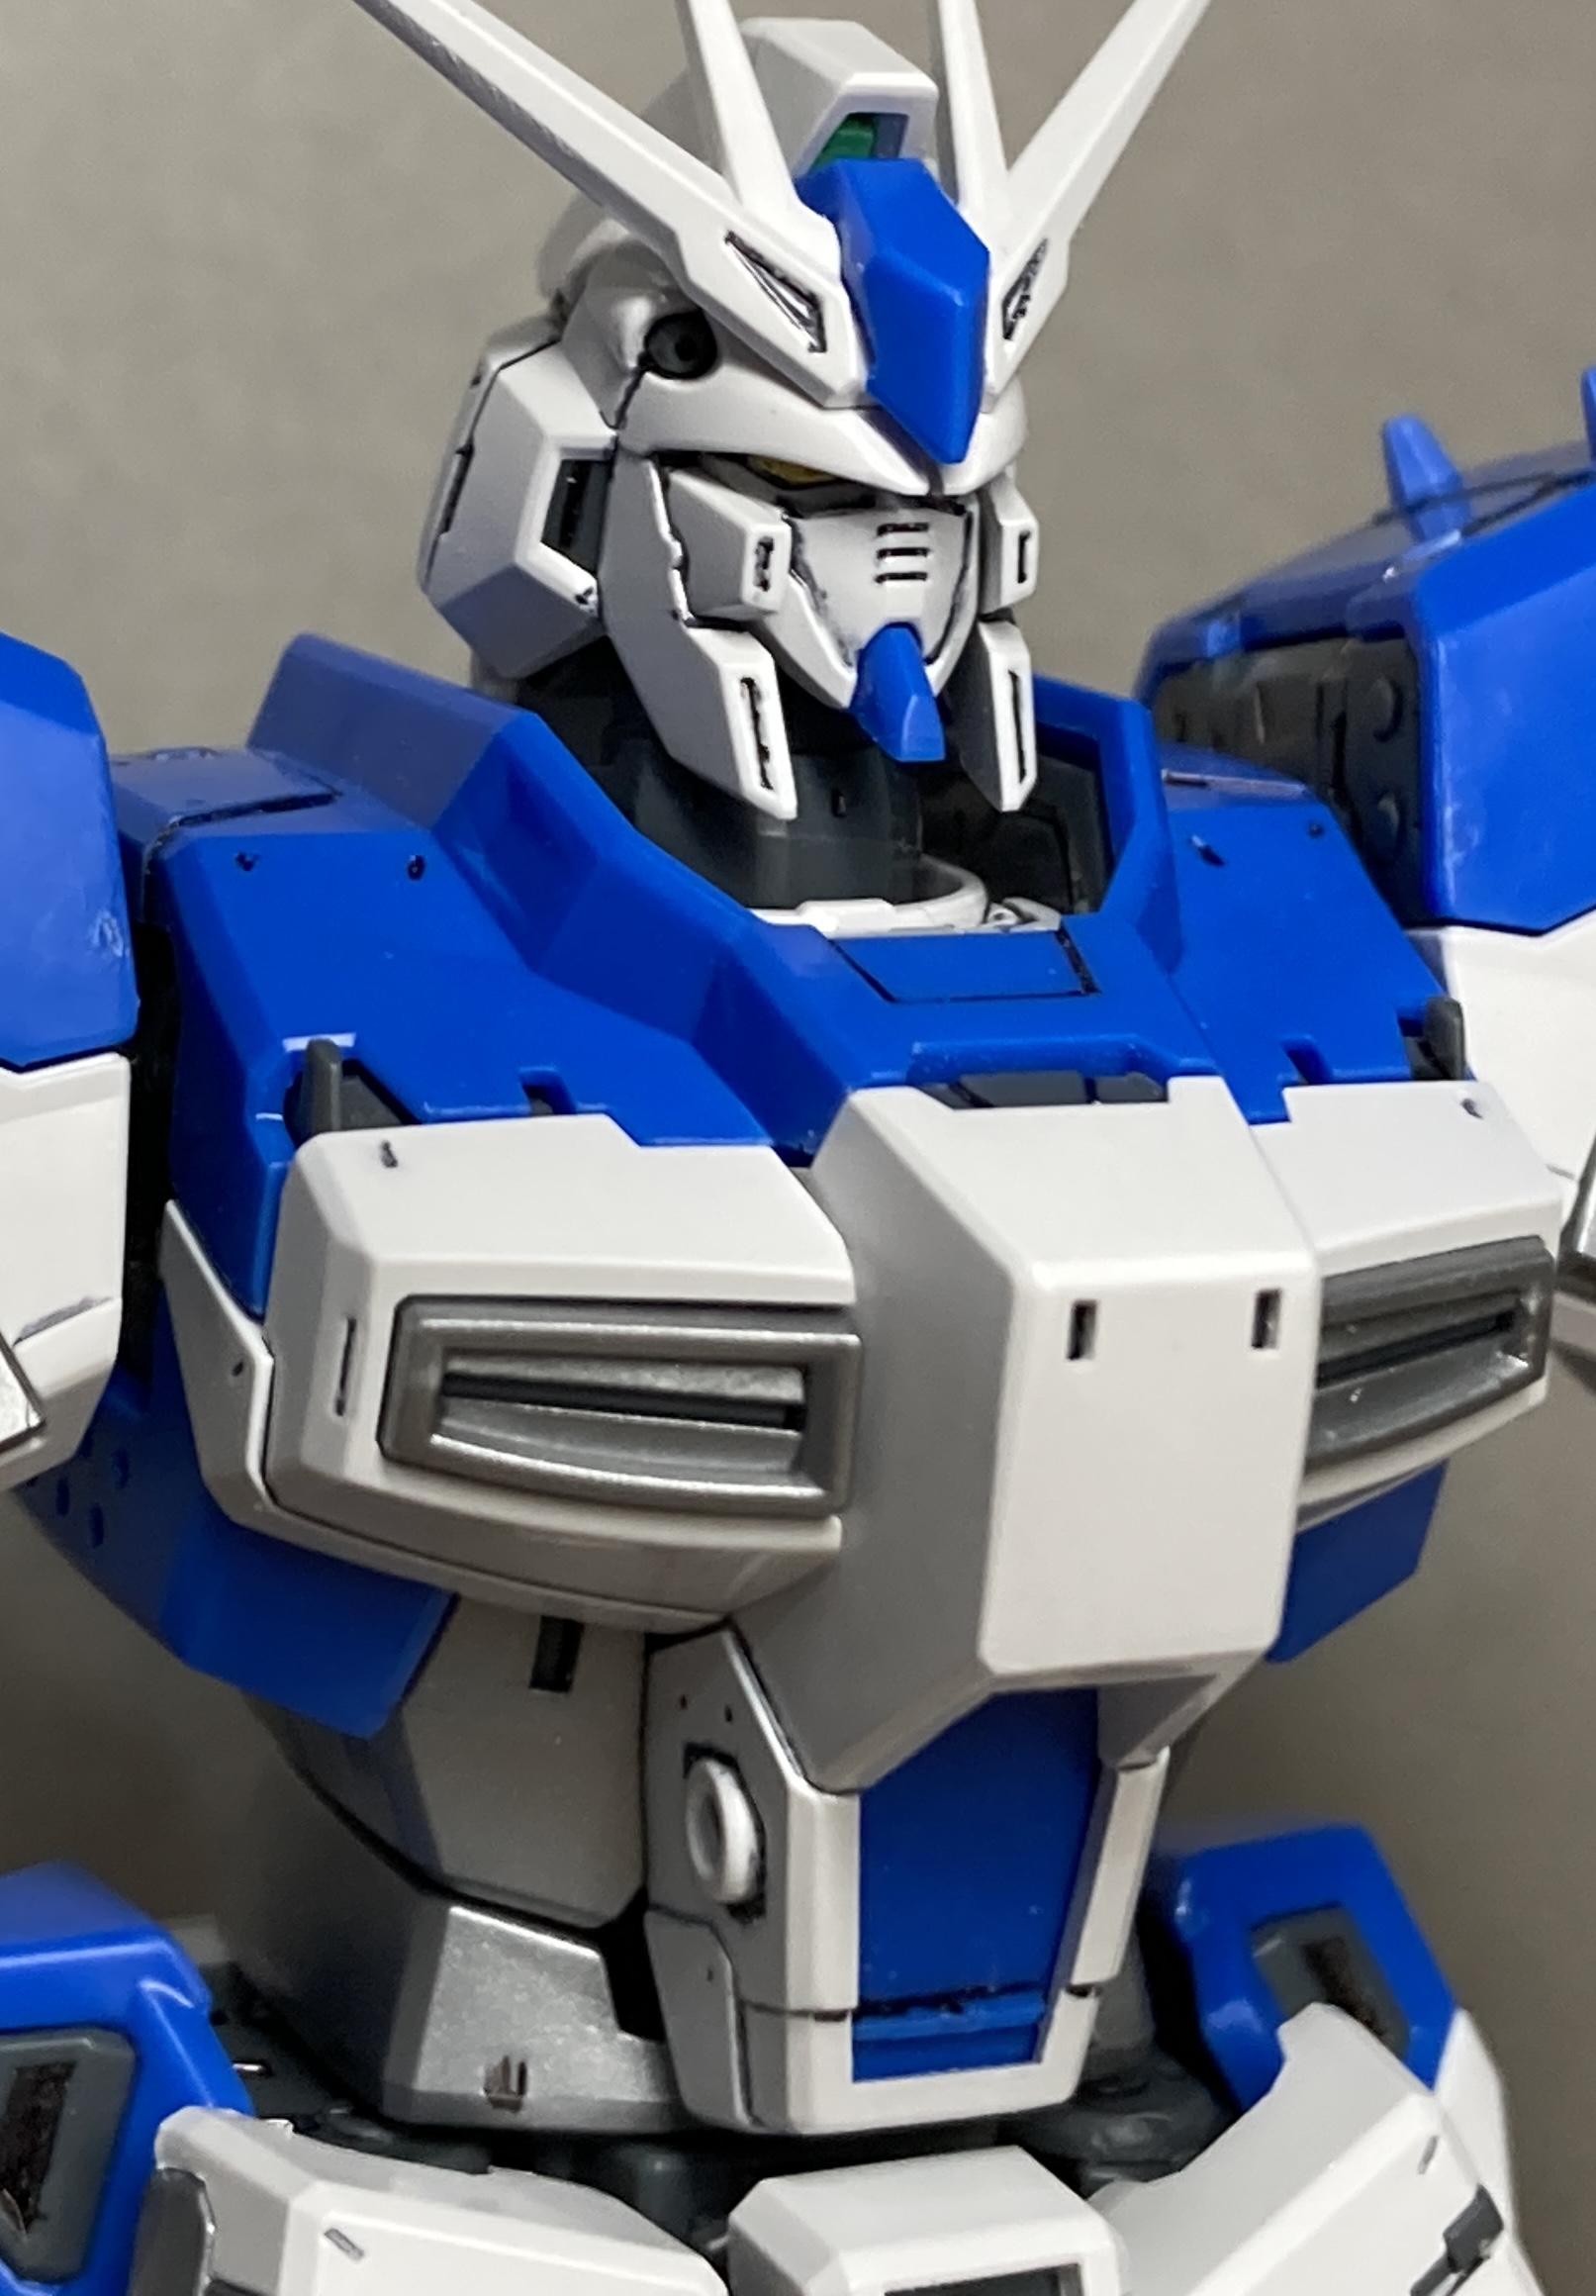
Since the half built head looked so weird I decided that was going to be the first part I would complete.
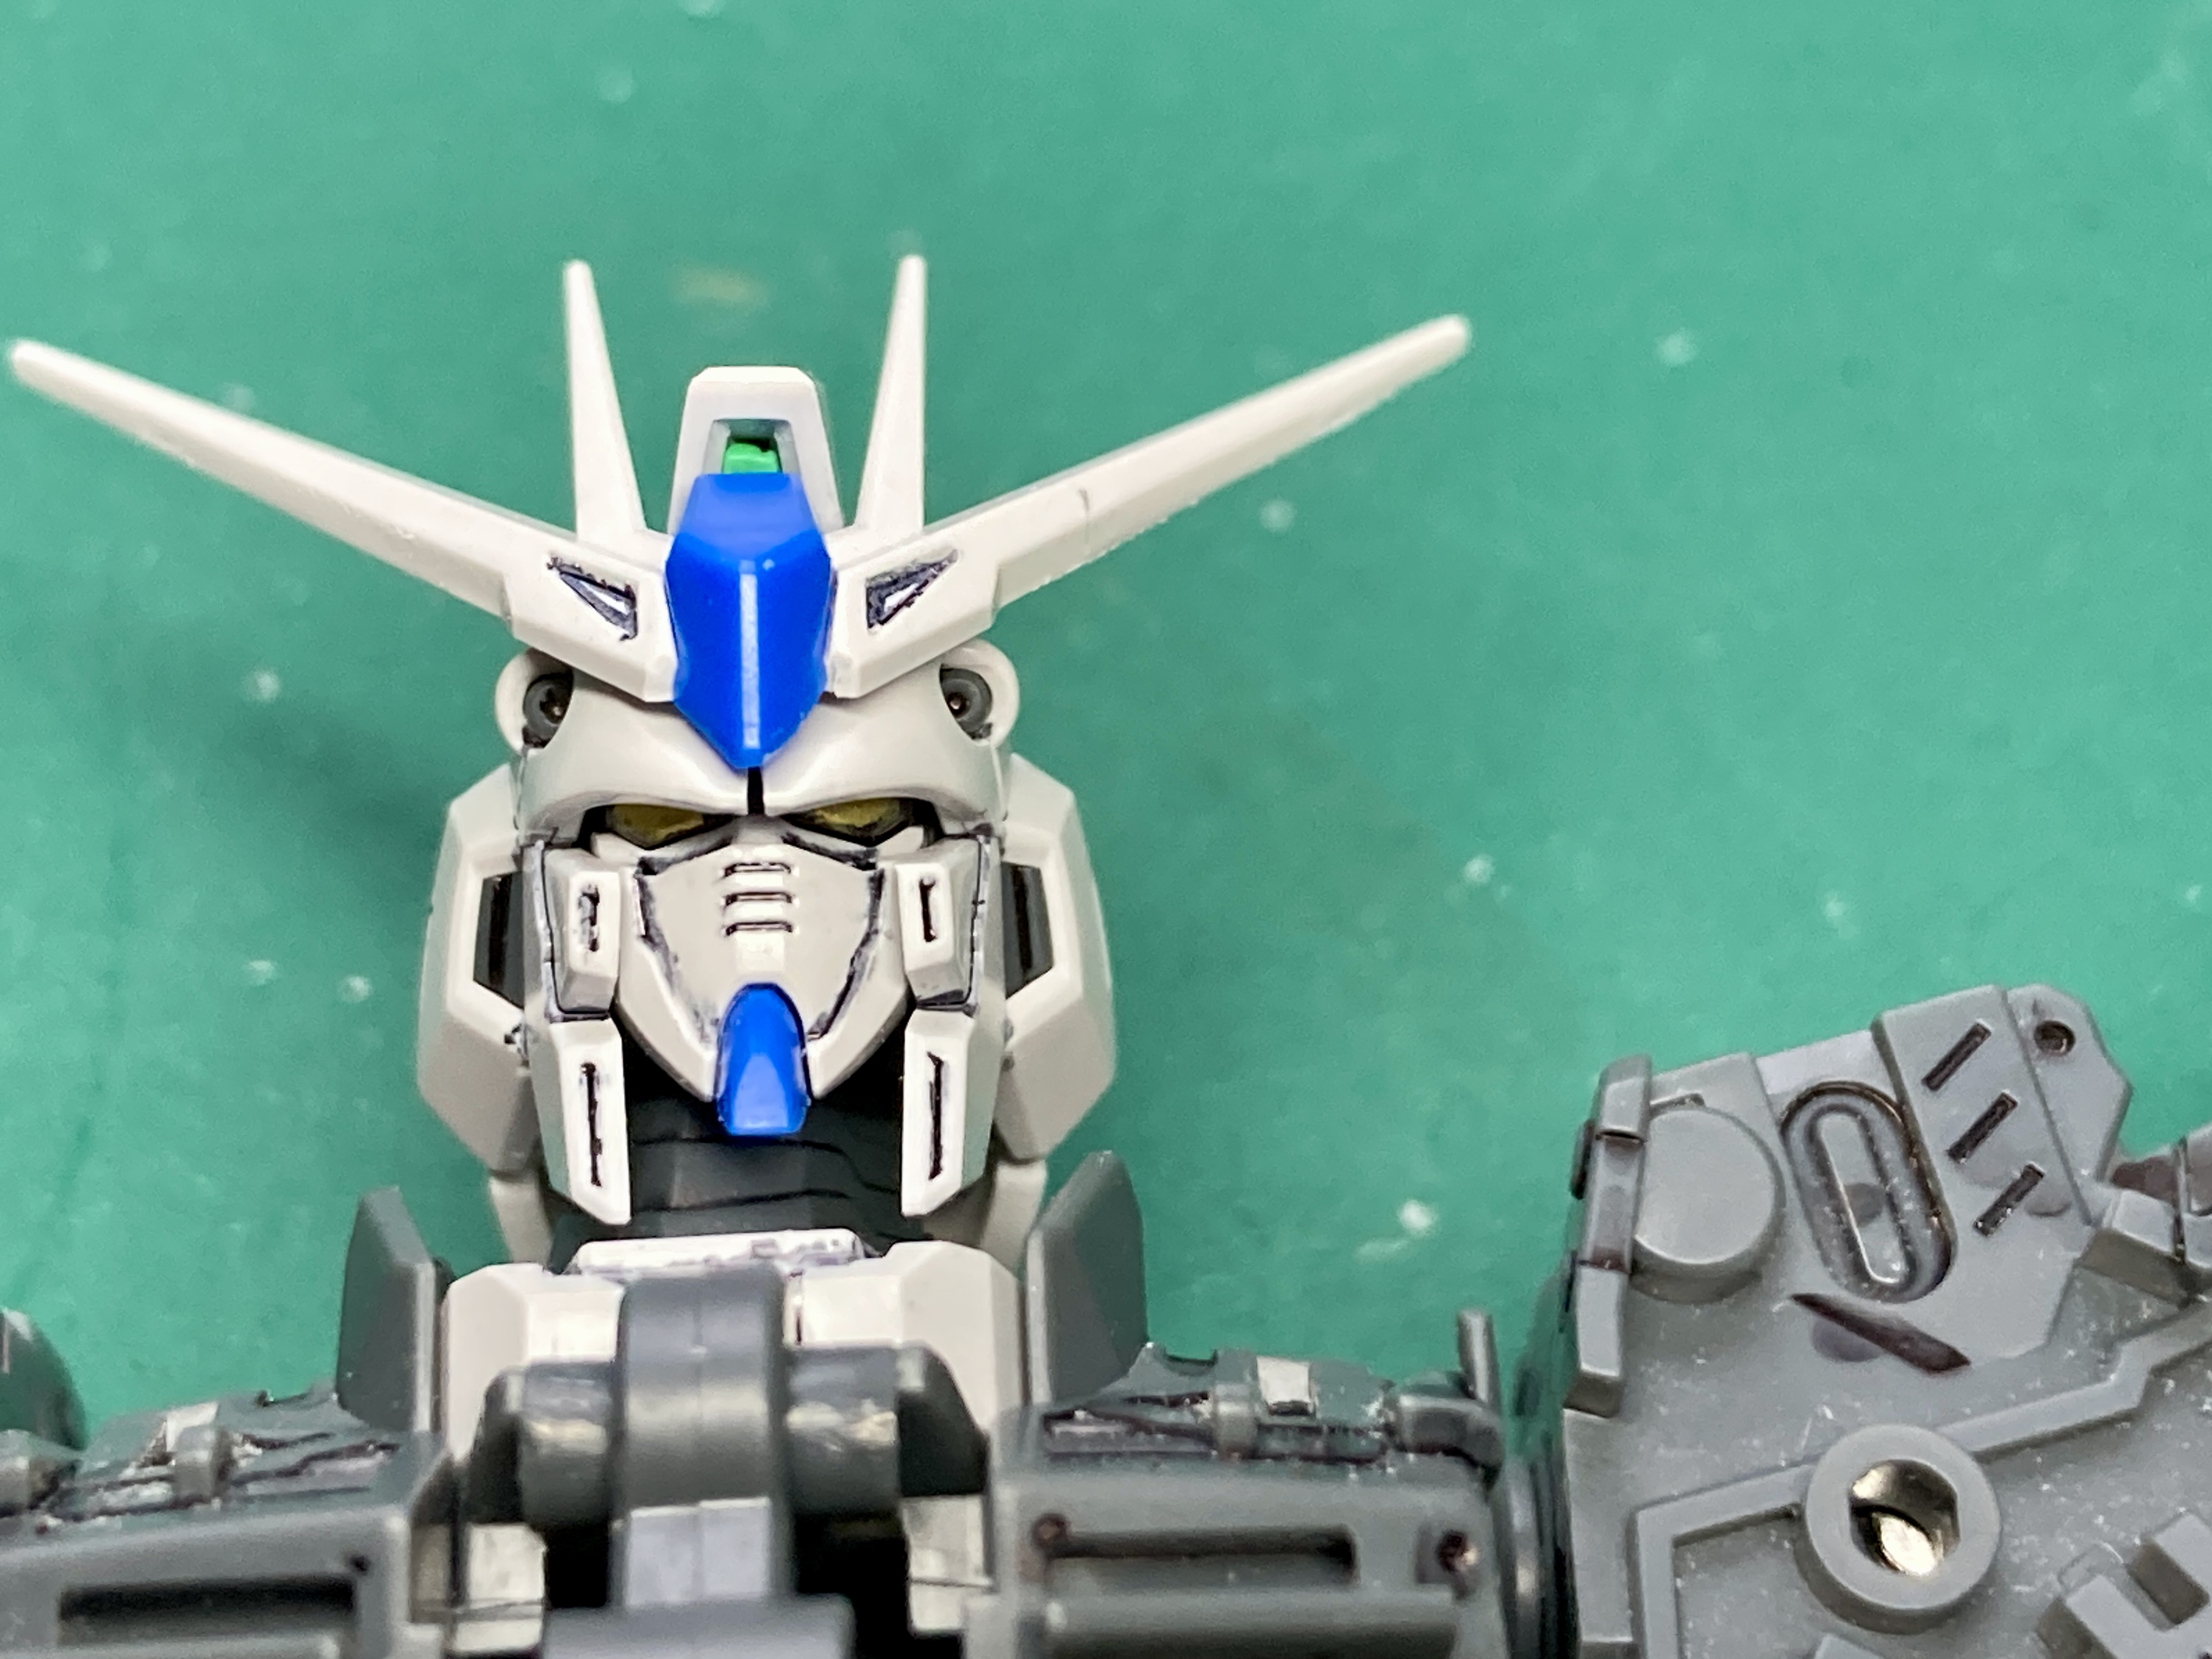
Rather than using stickers for the first eyes I used my golden metallic pen and my black brush pen. The eyes are pretty well hidden with this Gundam as the top part of the armour comes out quite a bit.
I also used a green pen for the head cameras ( just behind the blue bit at the top of the head). Again, to avoid using the stickers.
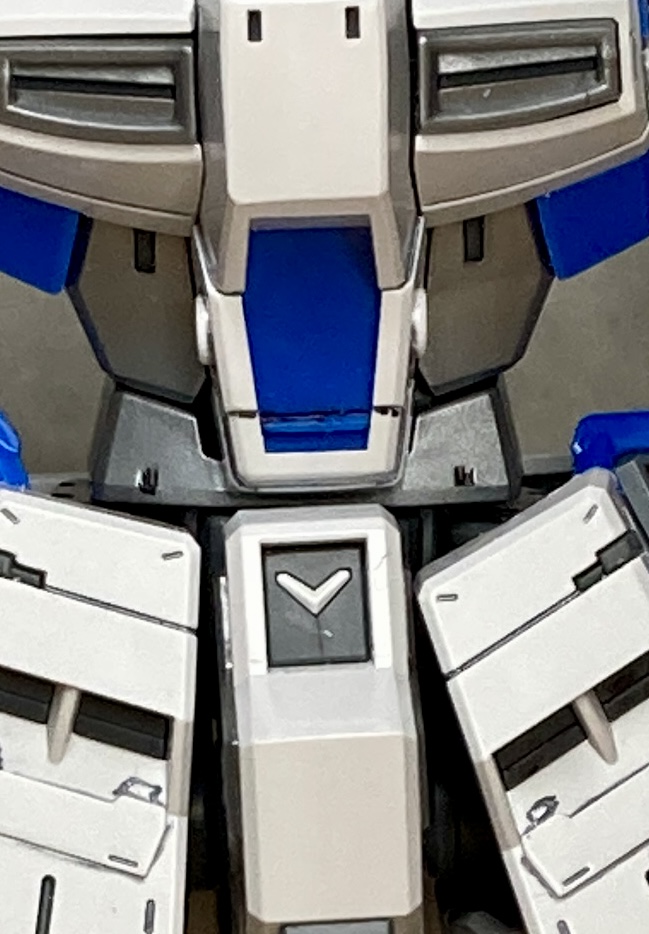
Next up was the chest. This has a sliding hatch for the cockpit.

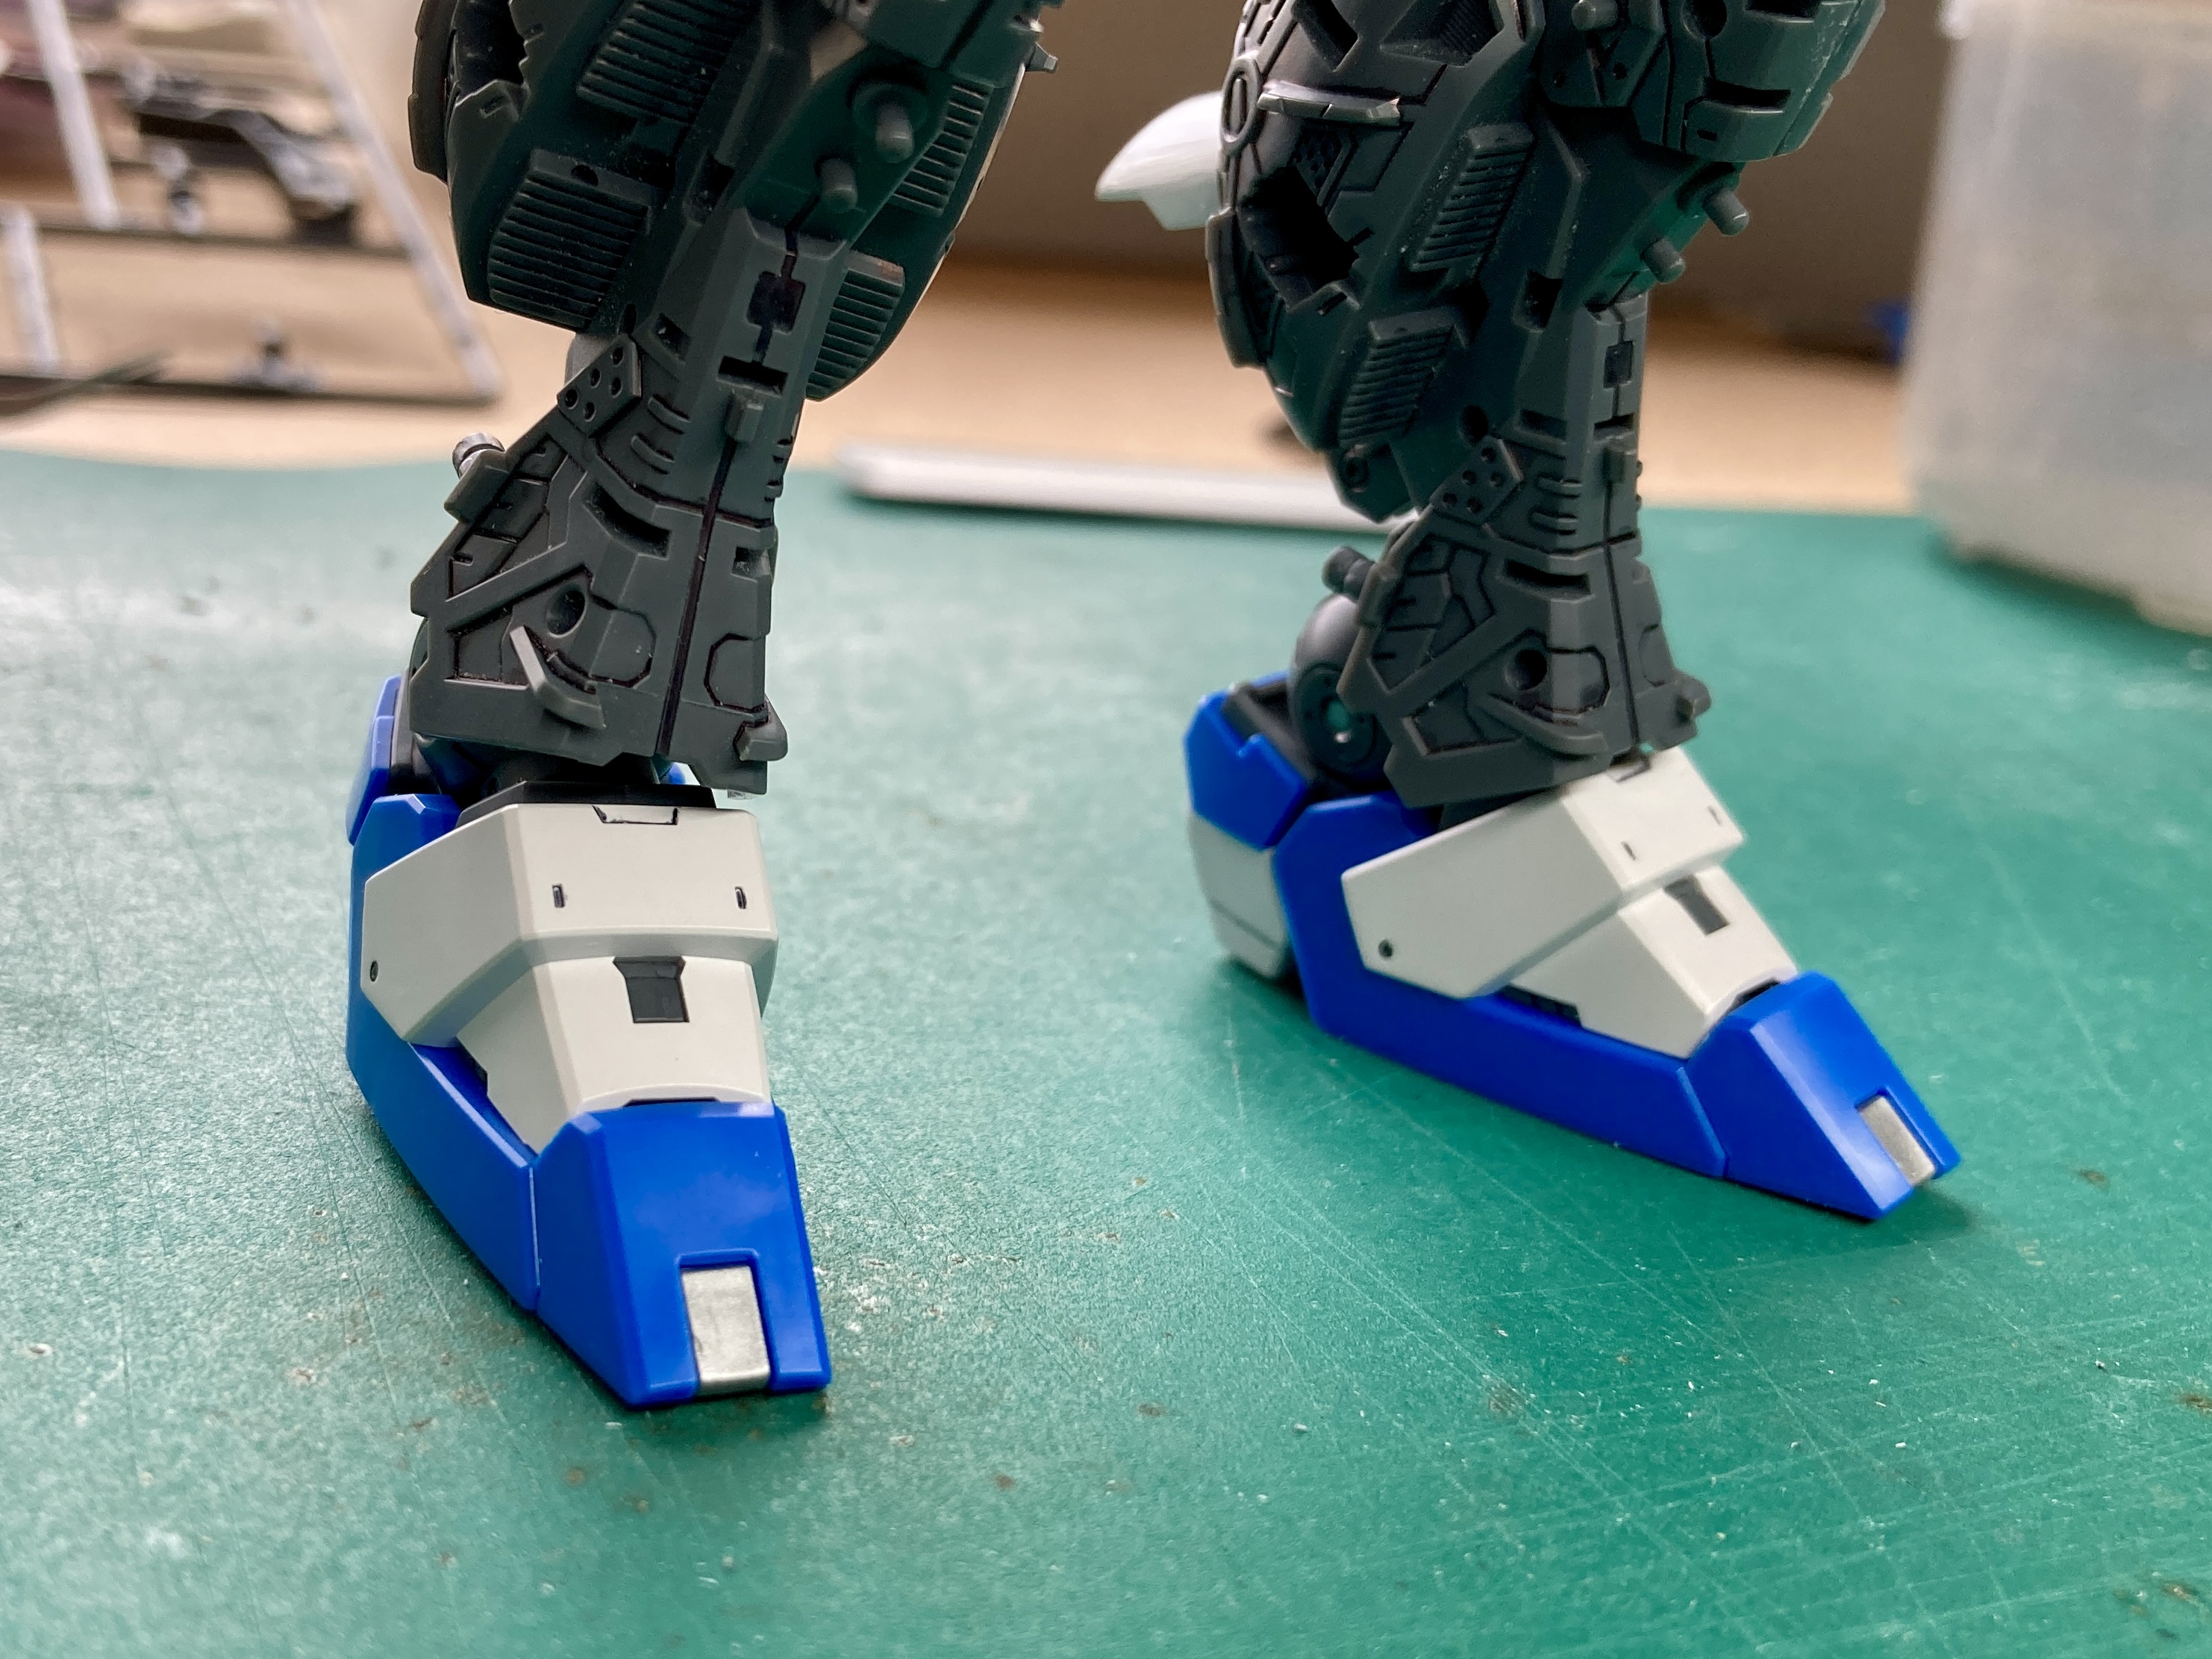
Lastly I’ve just finished the feet, including the small thruster nozzles and the panel lining on souls.

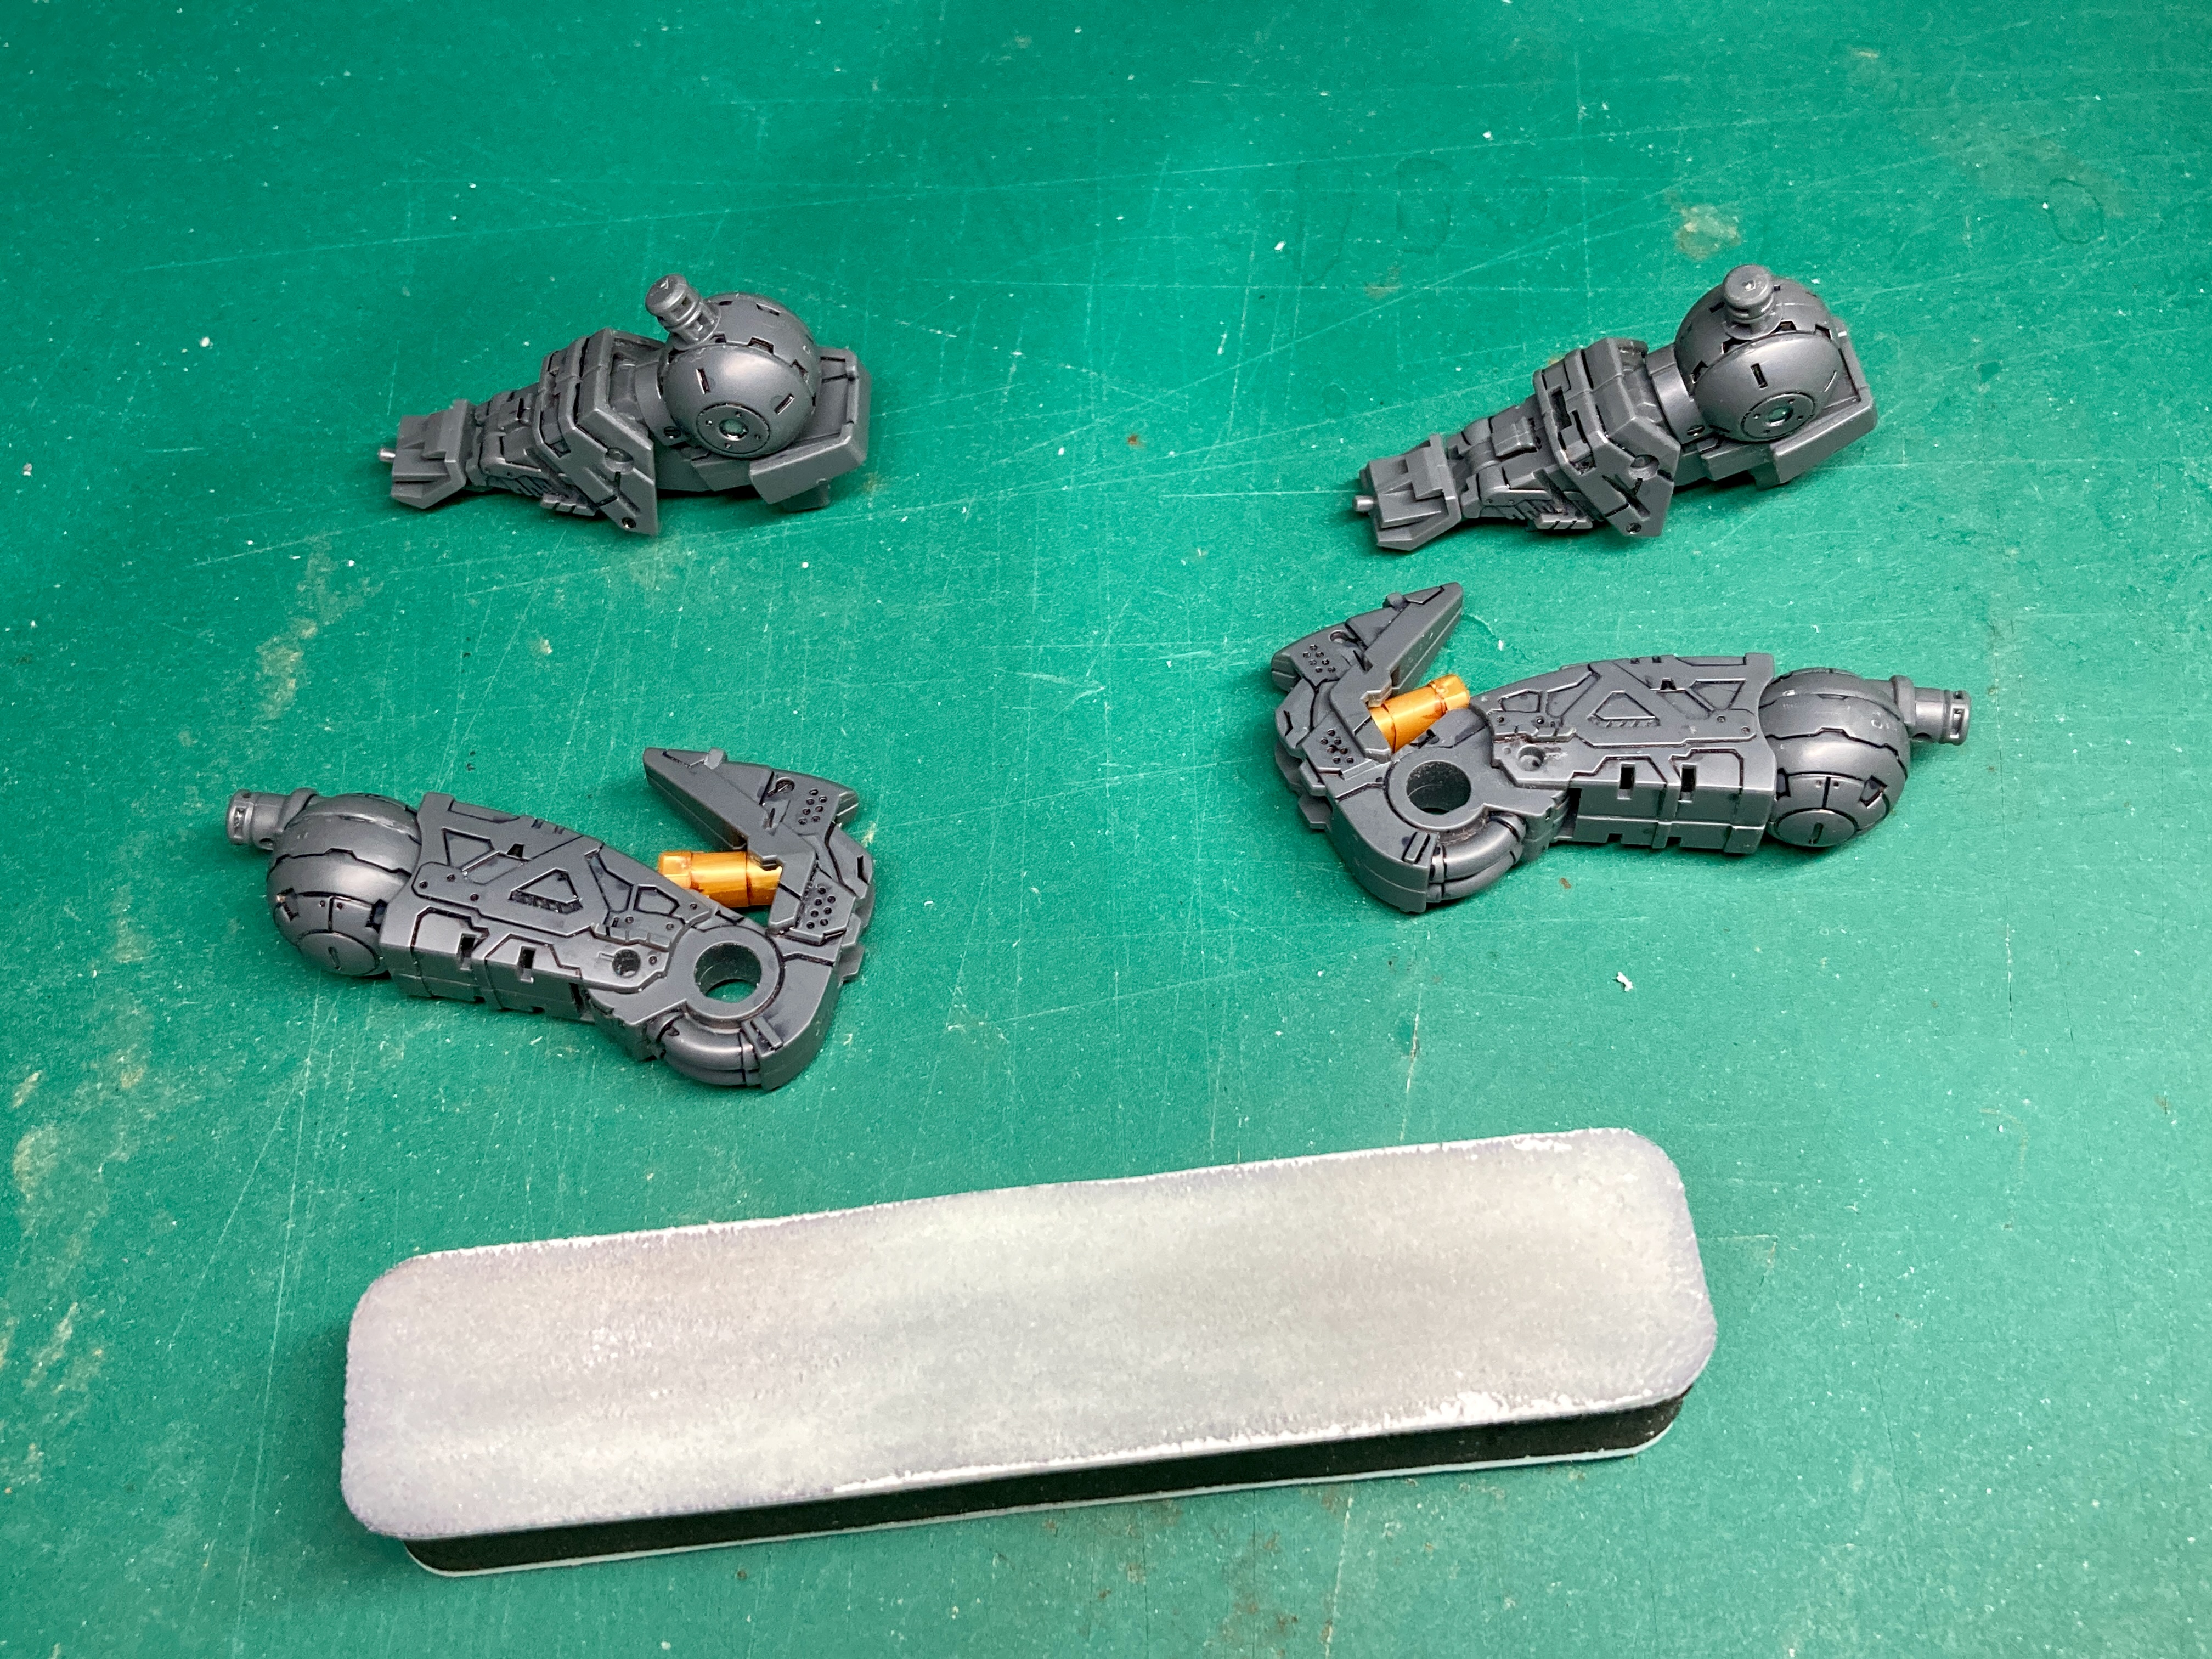
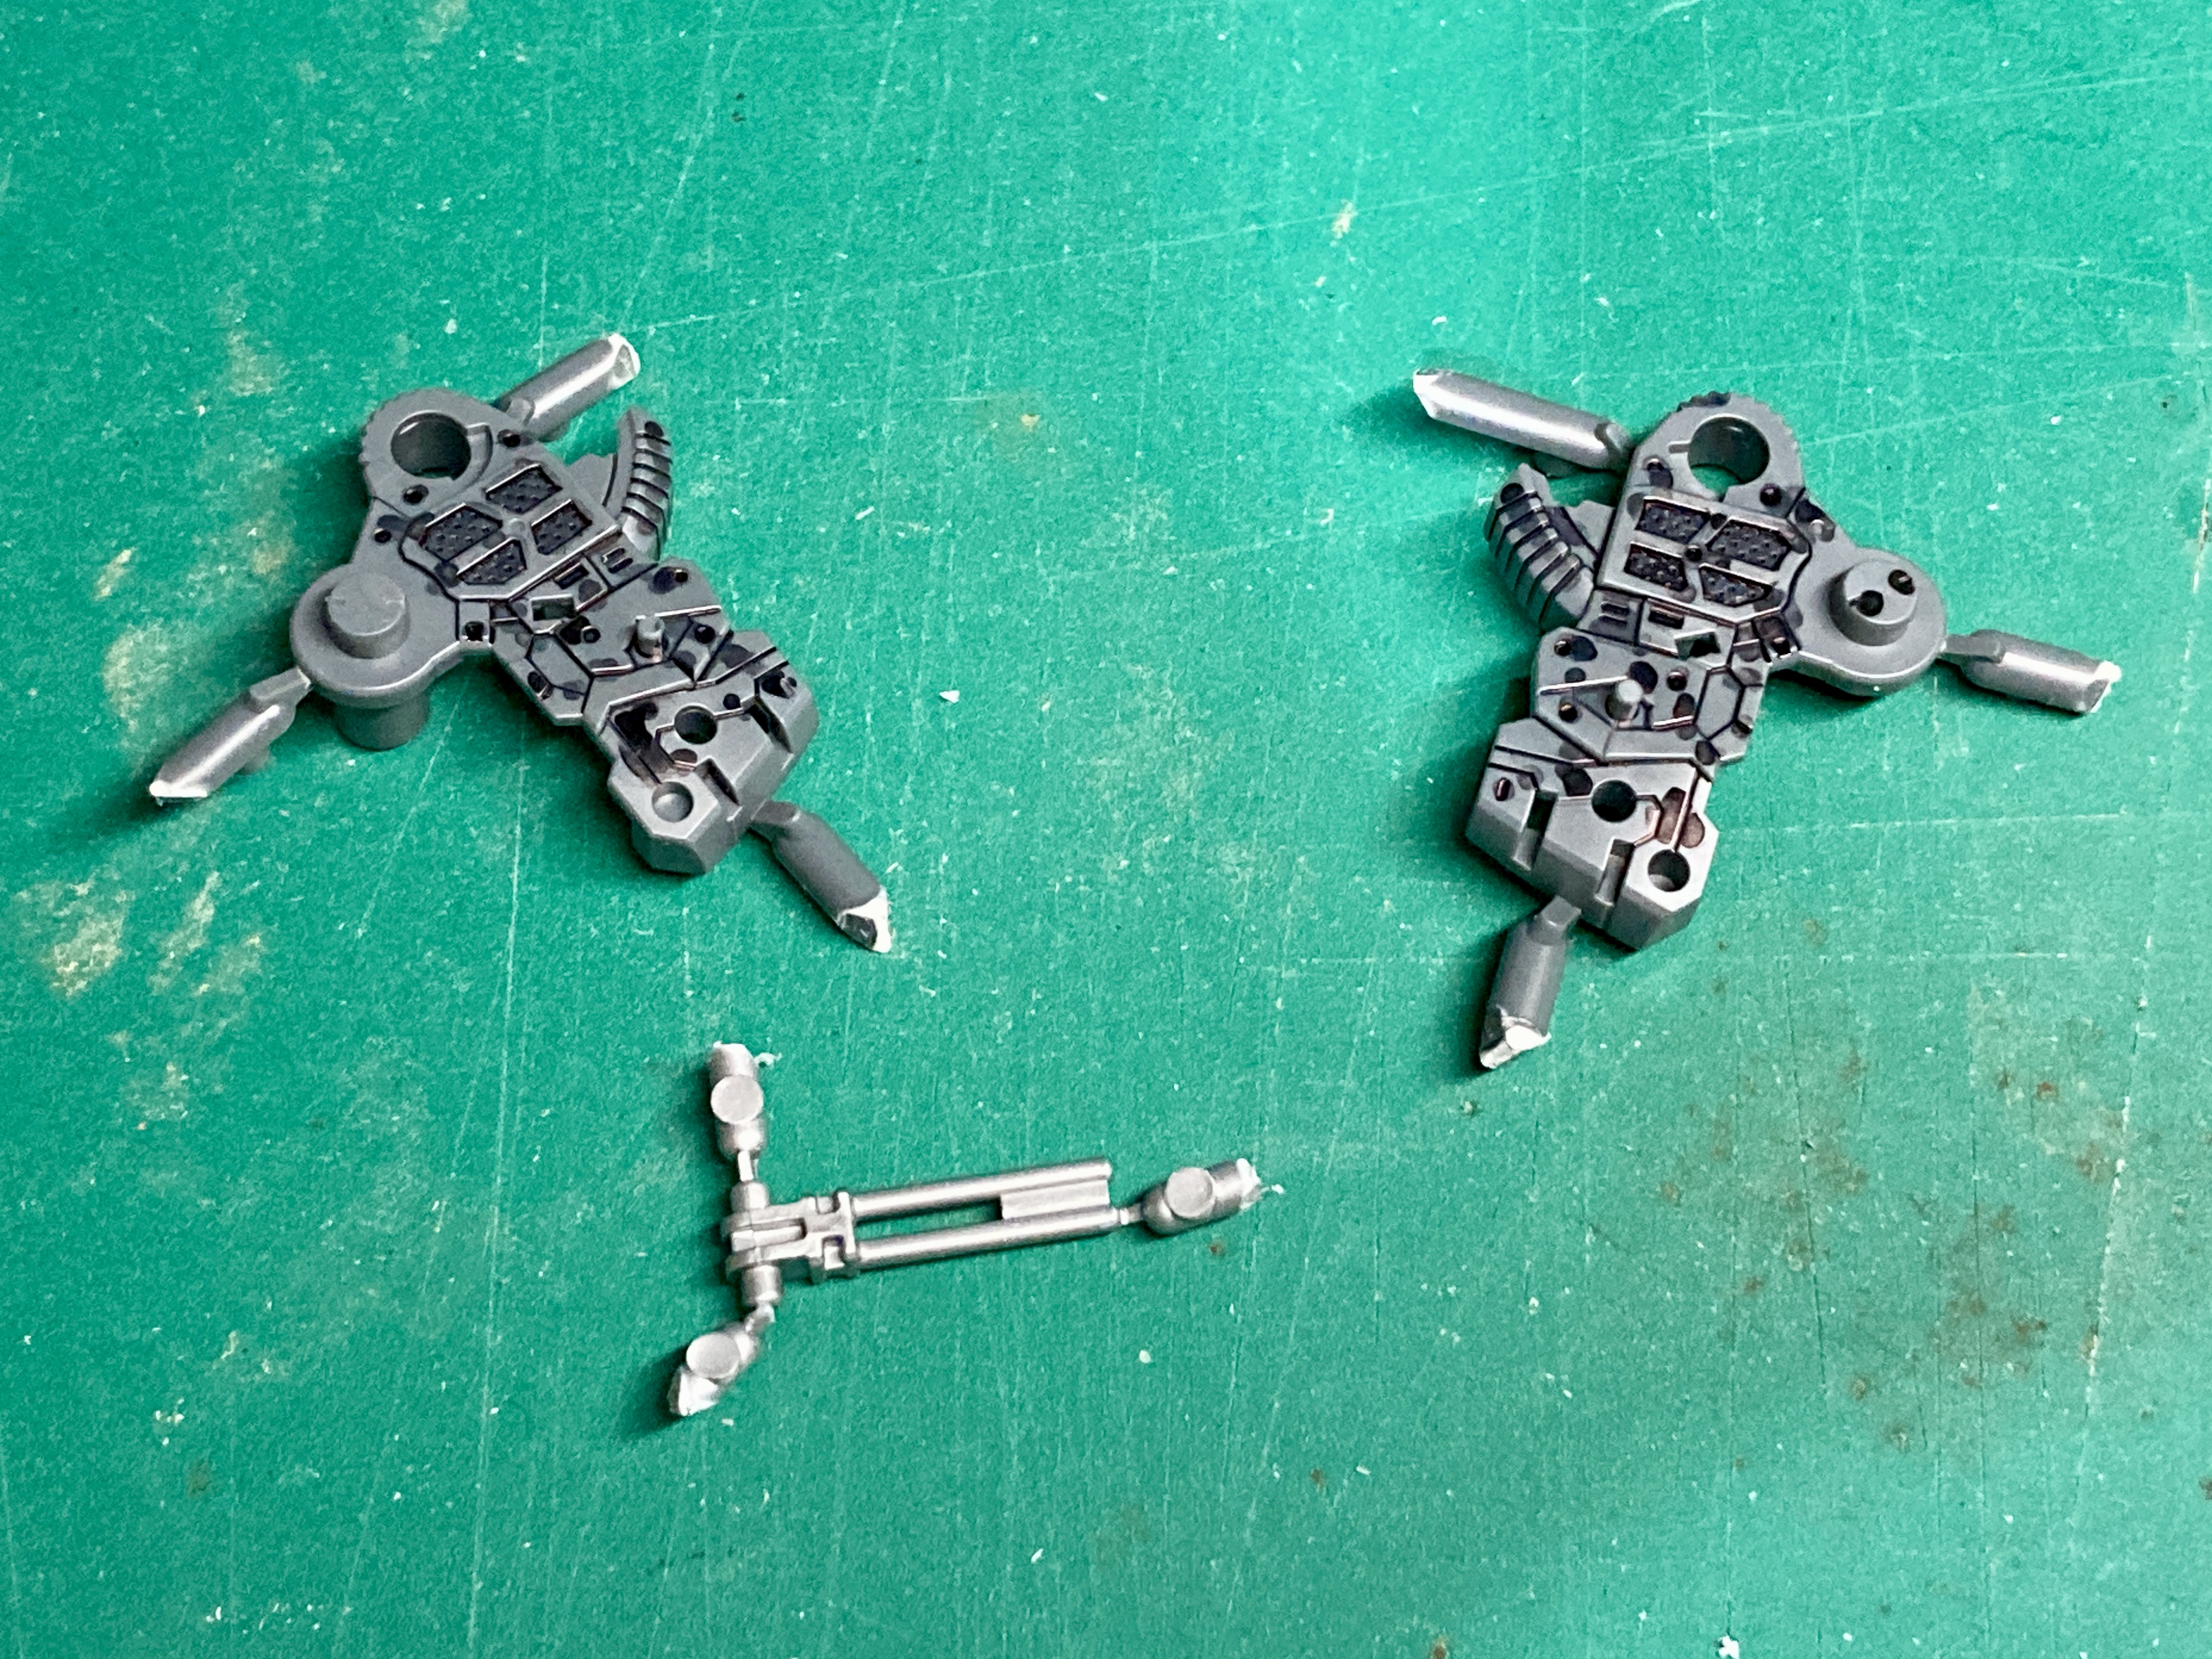
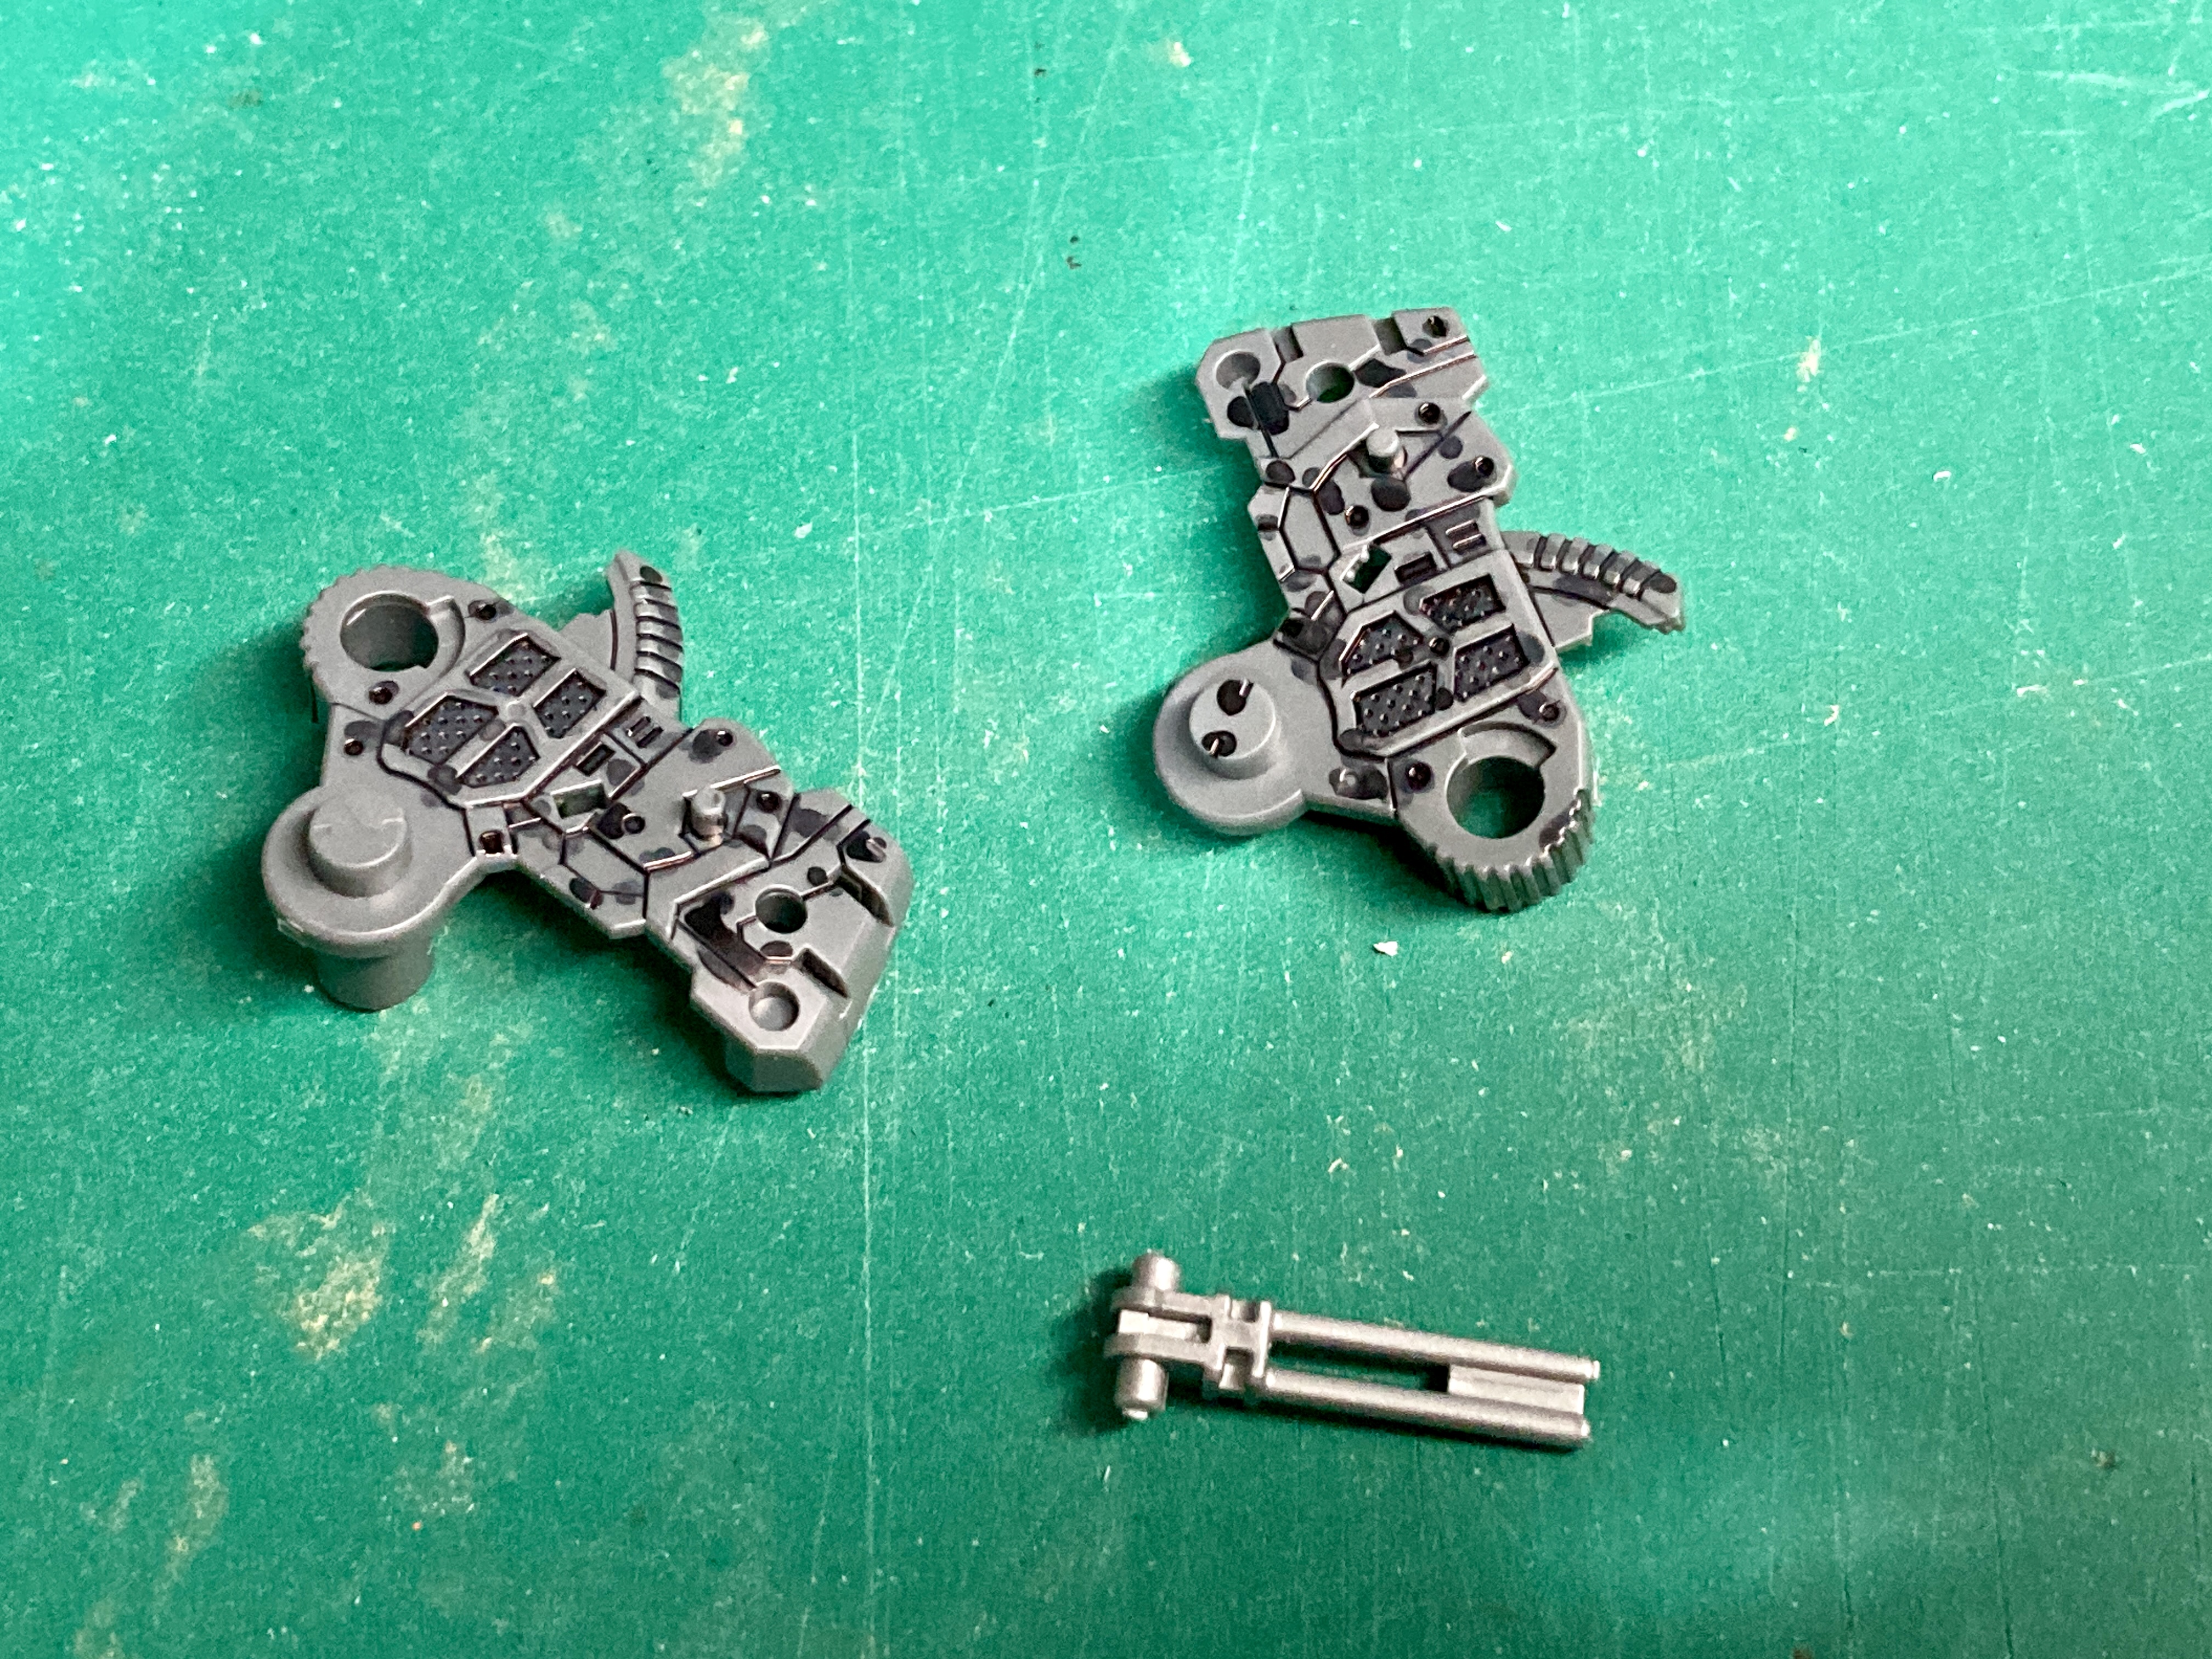
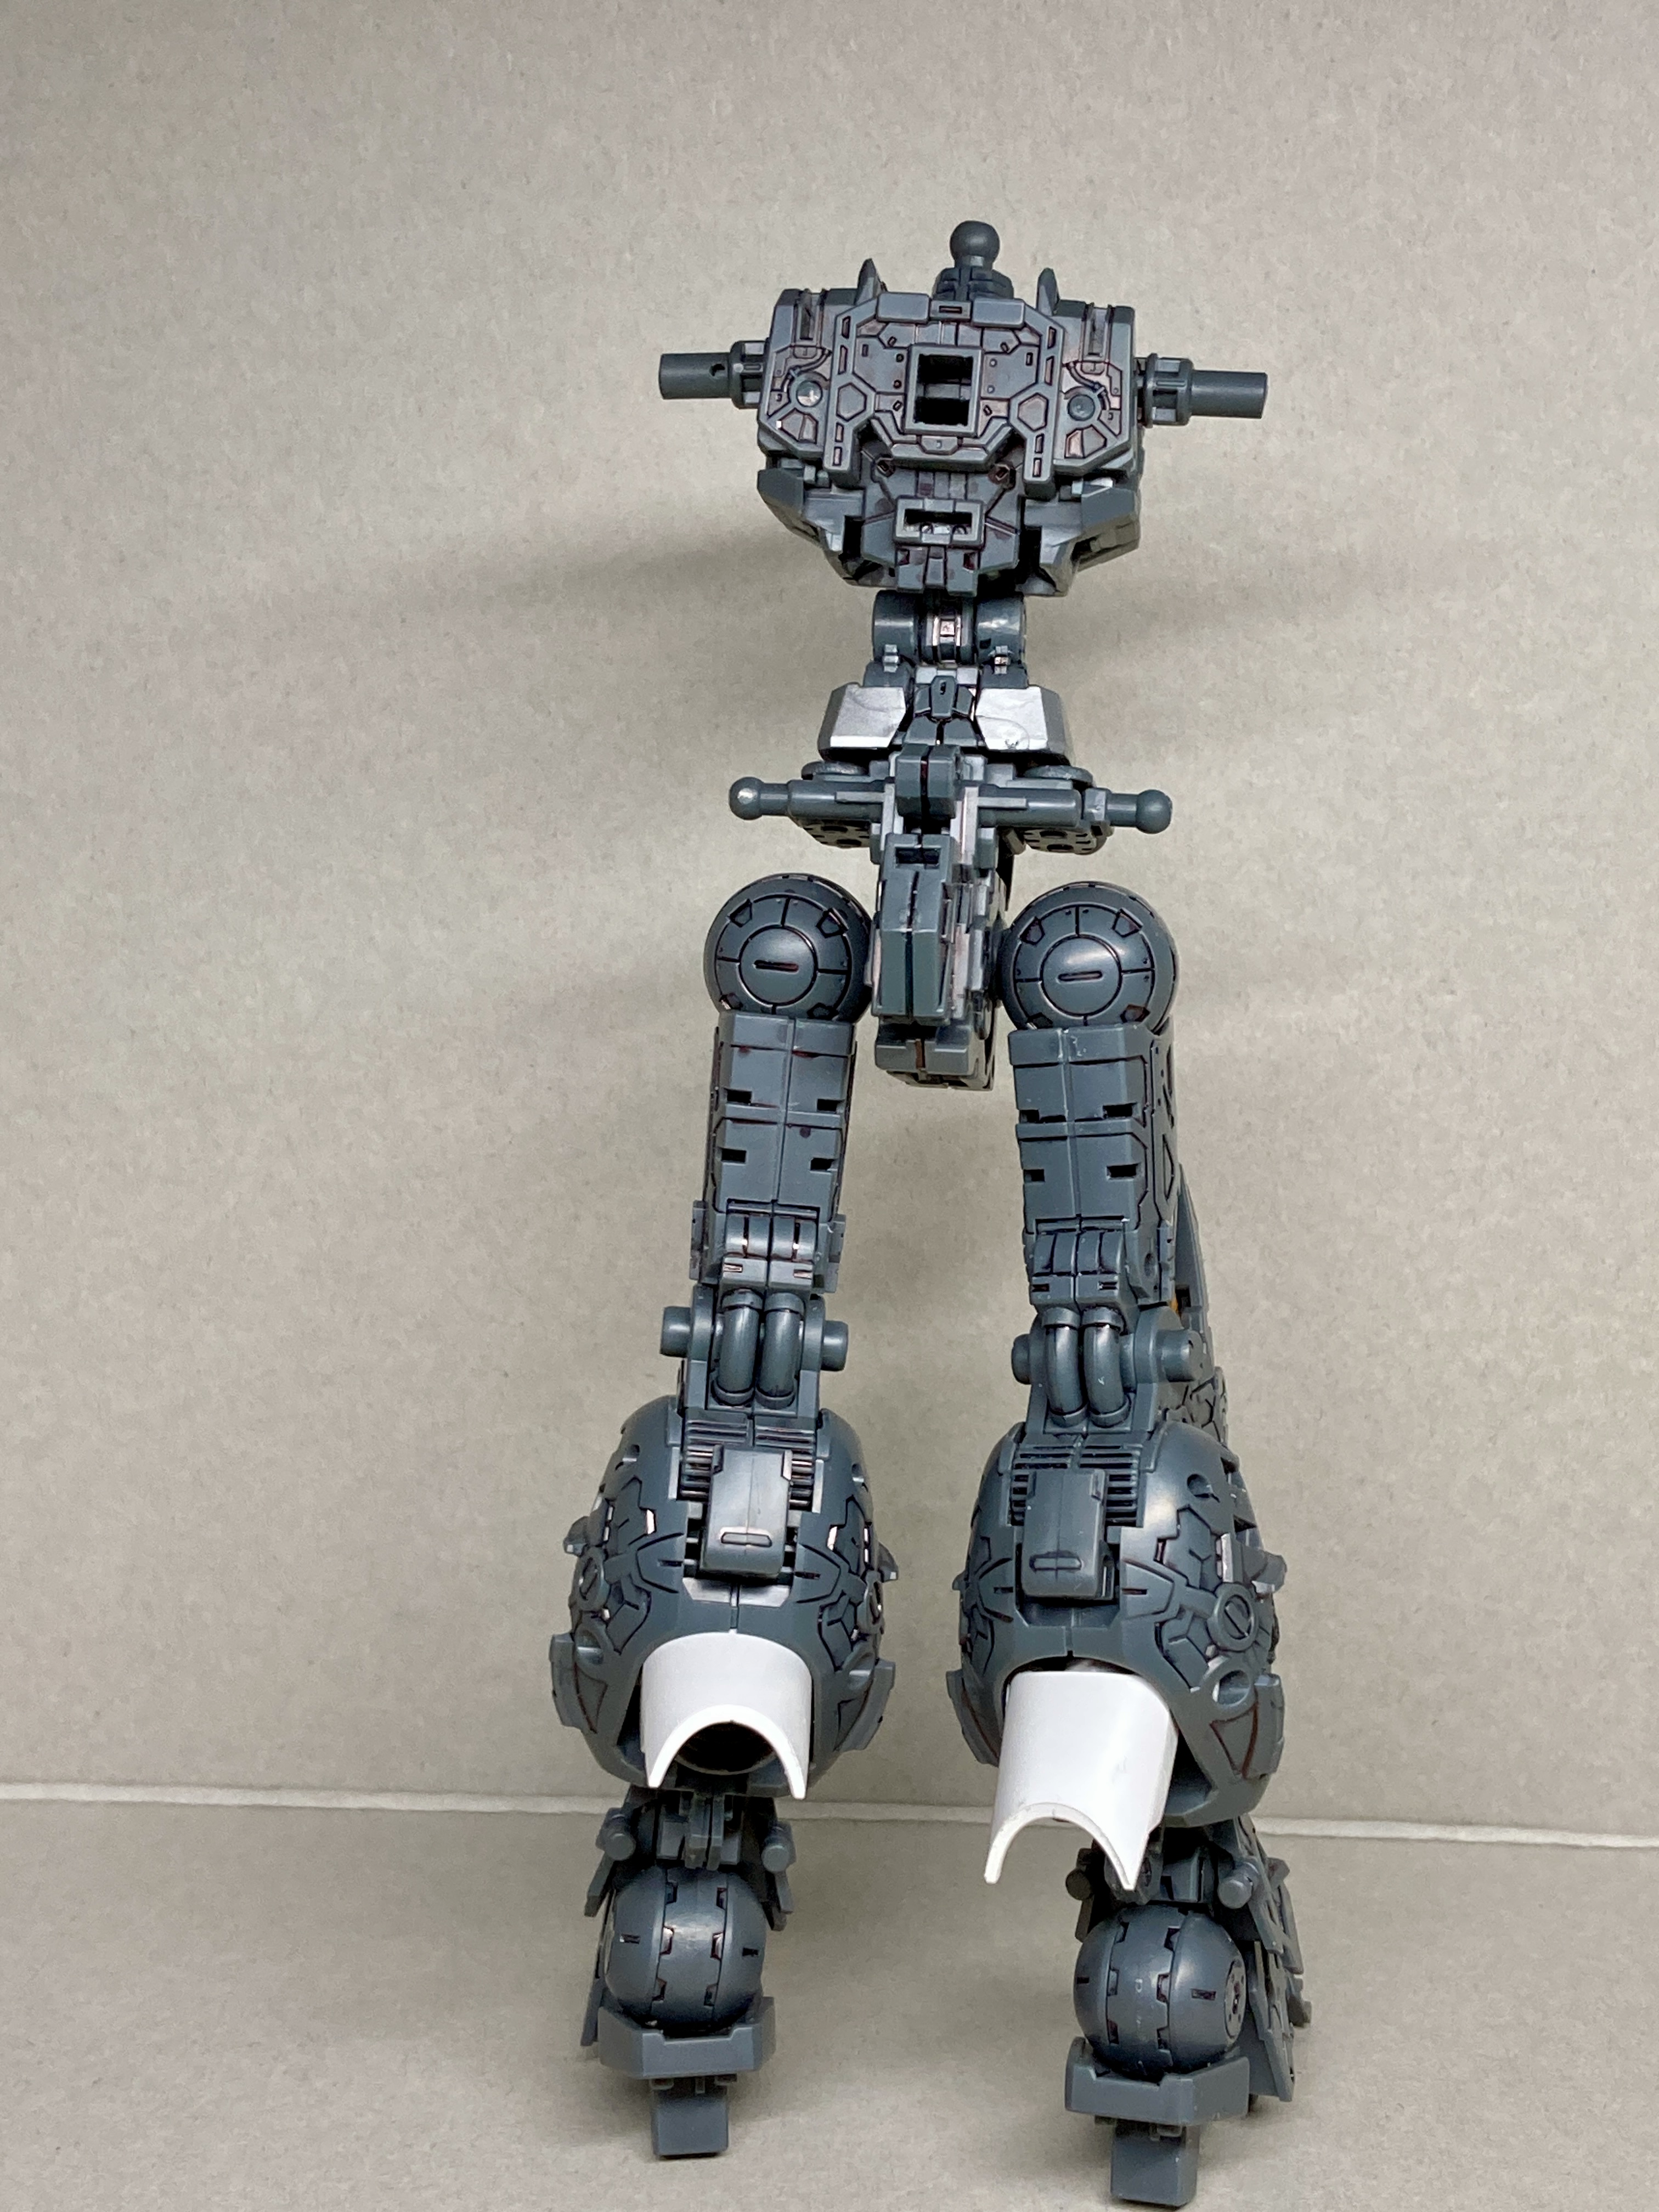
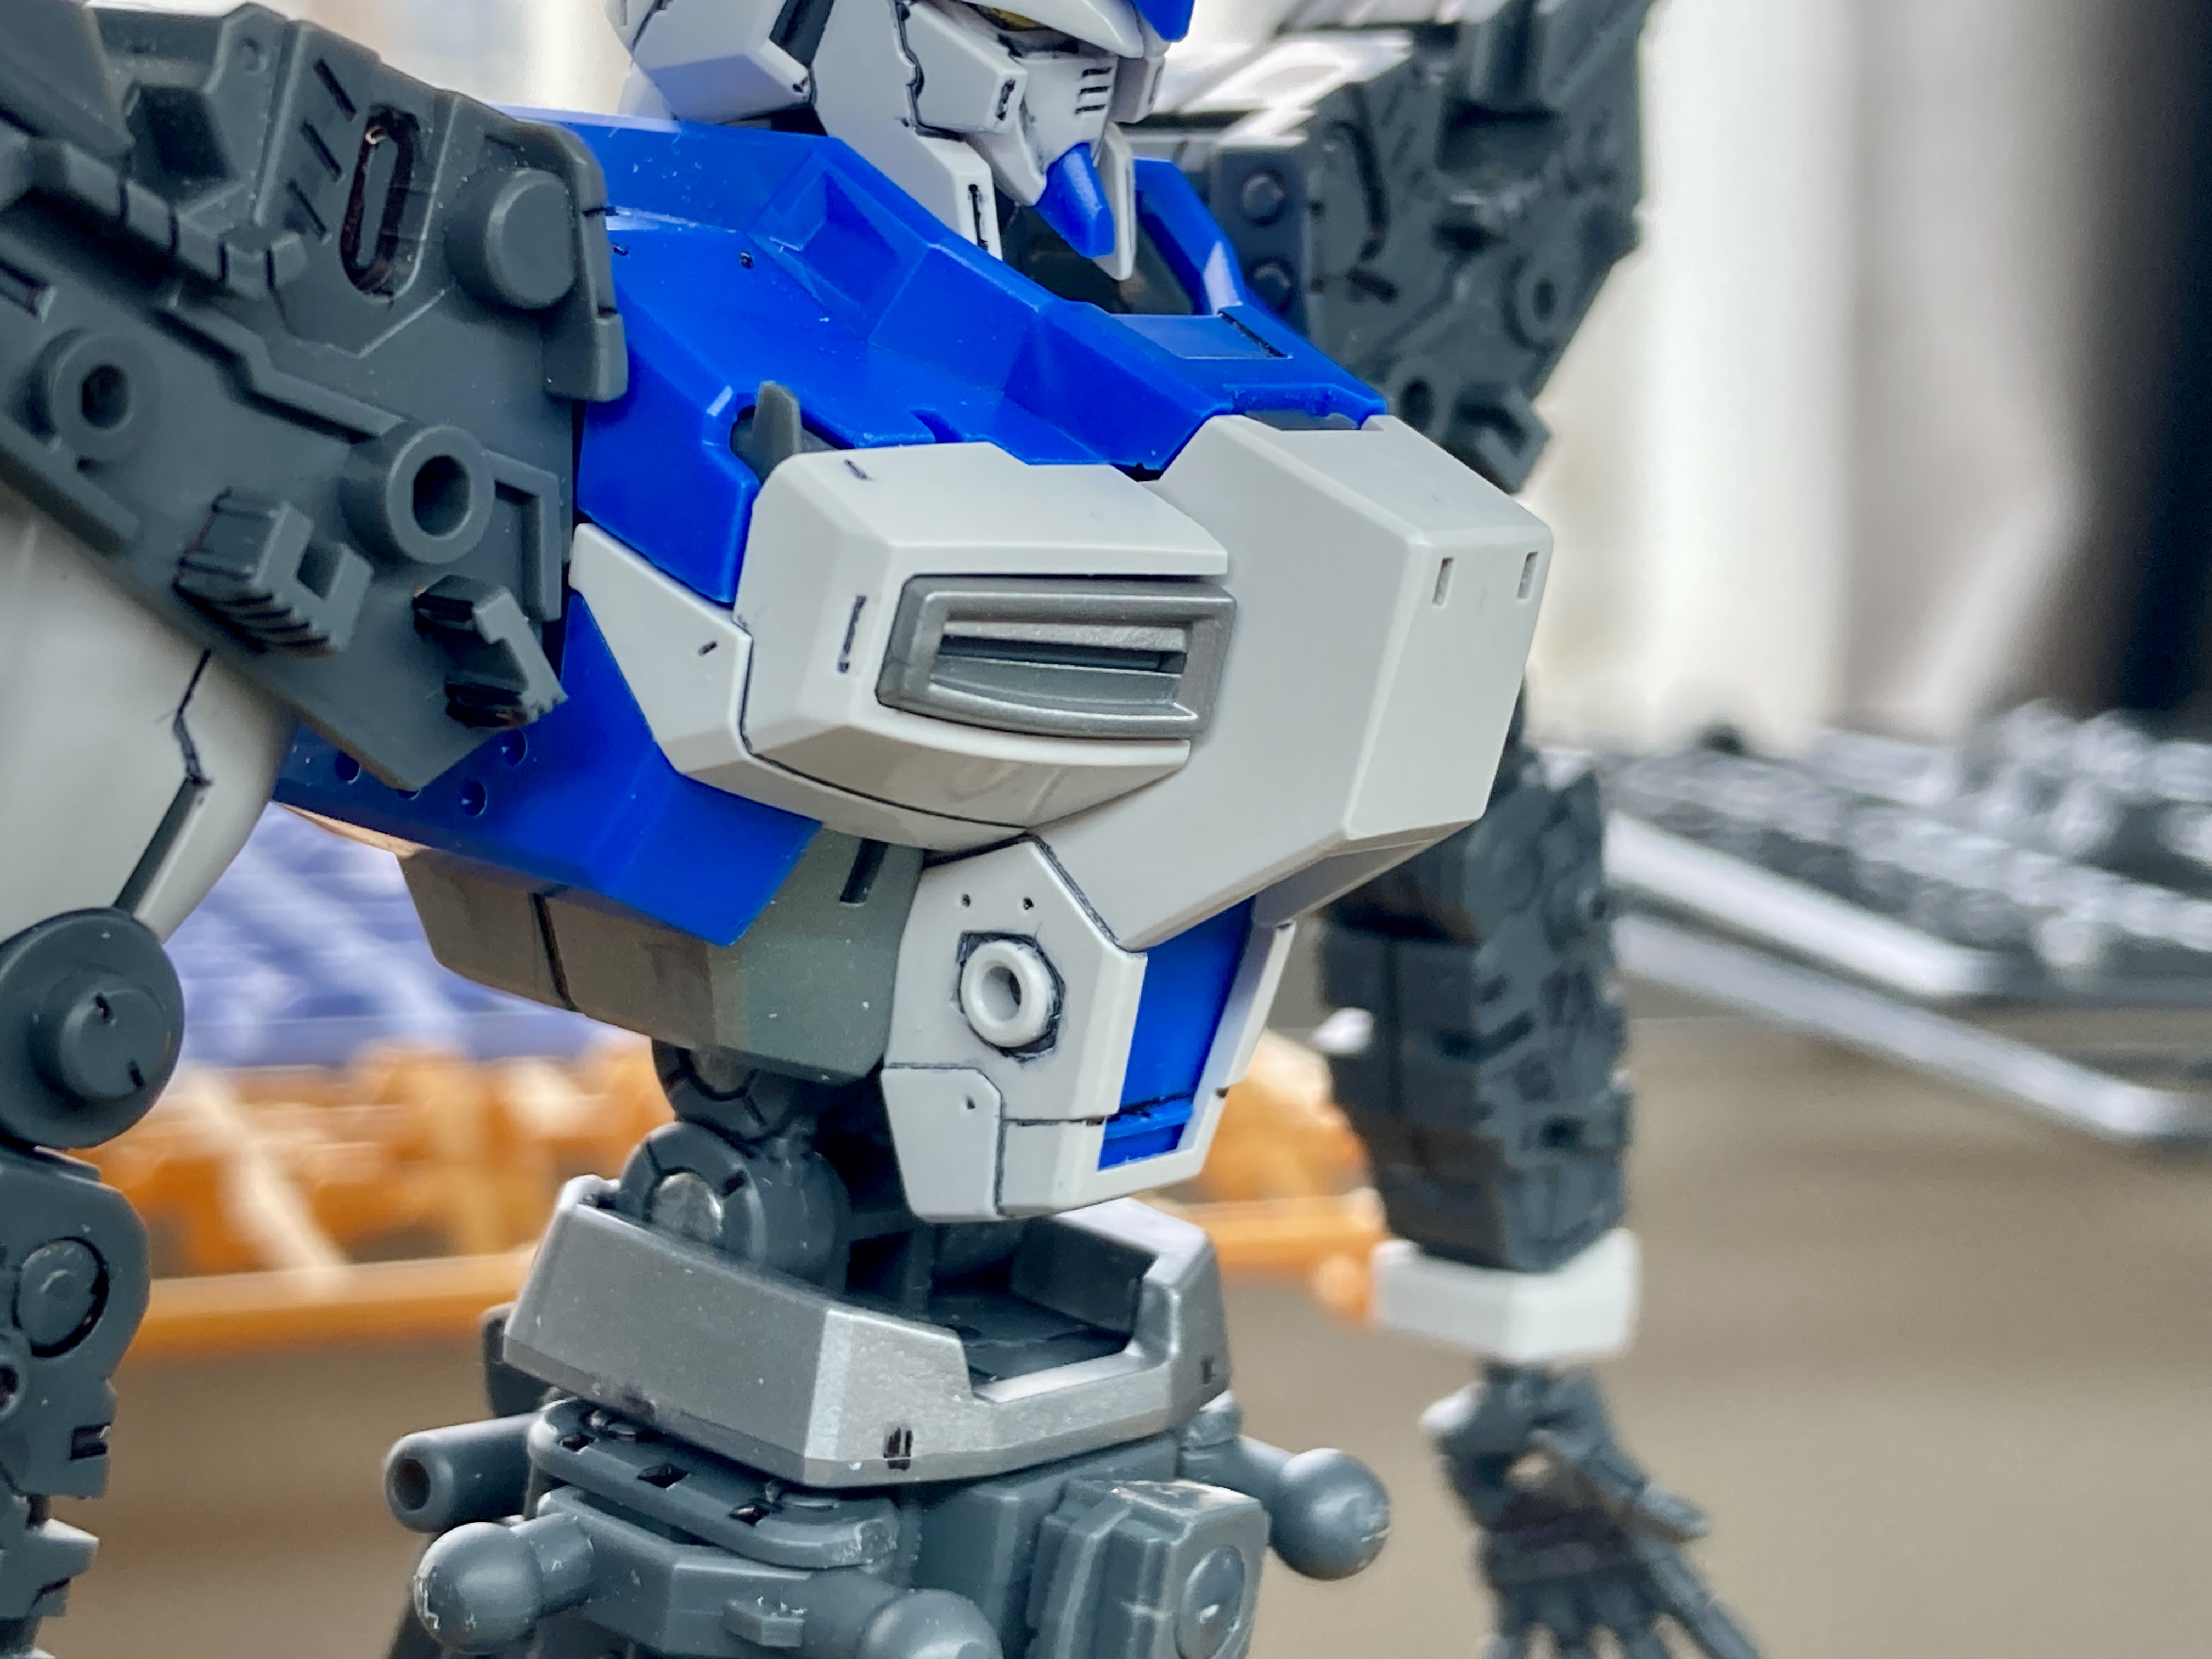
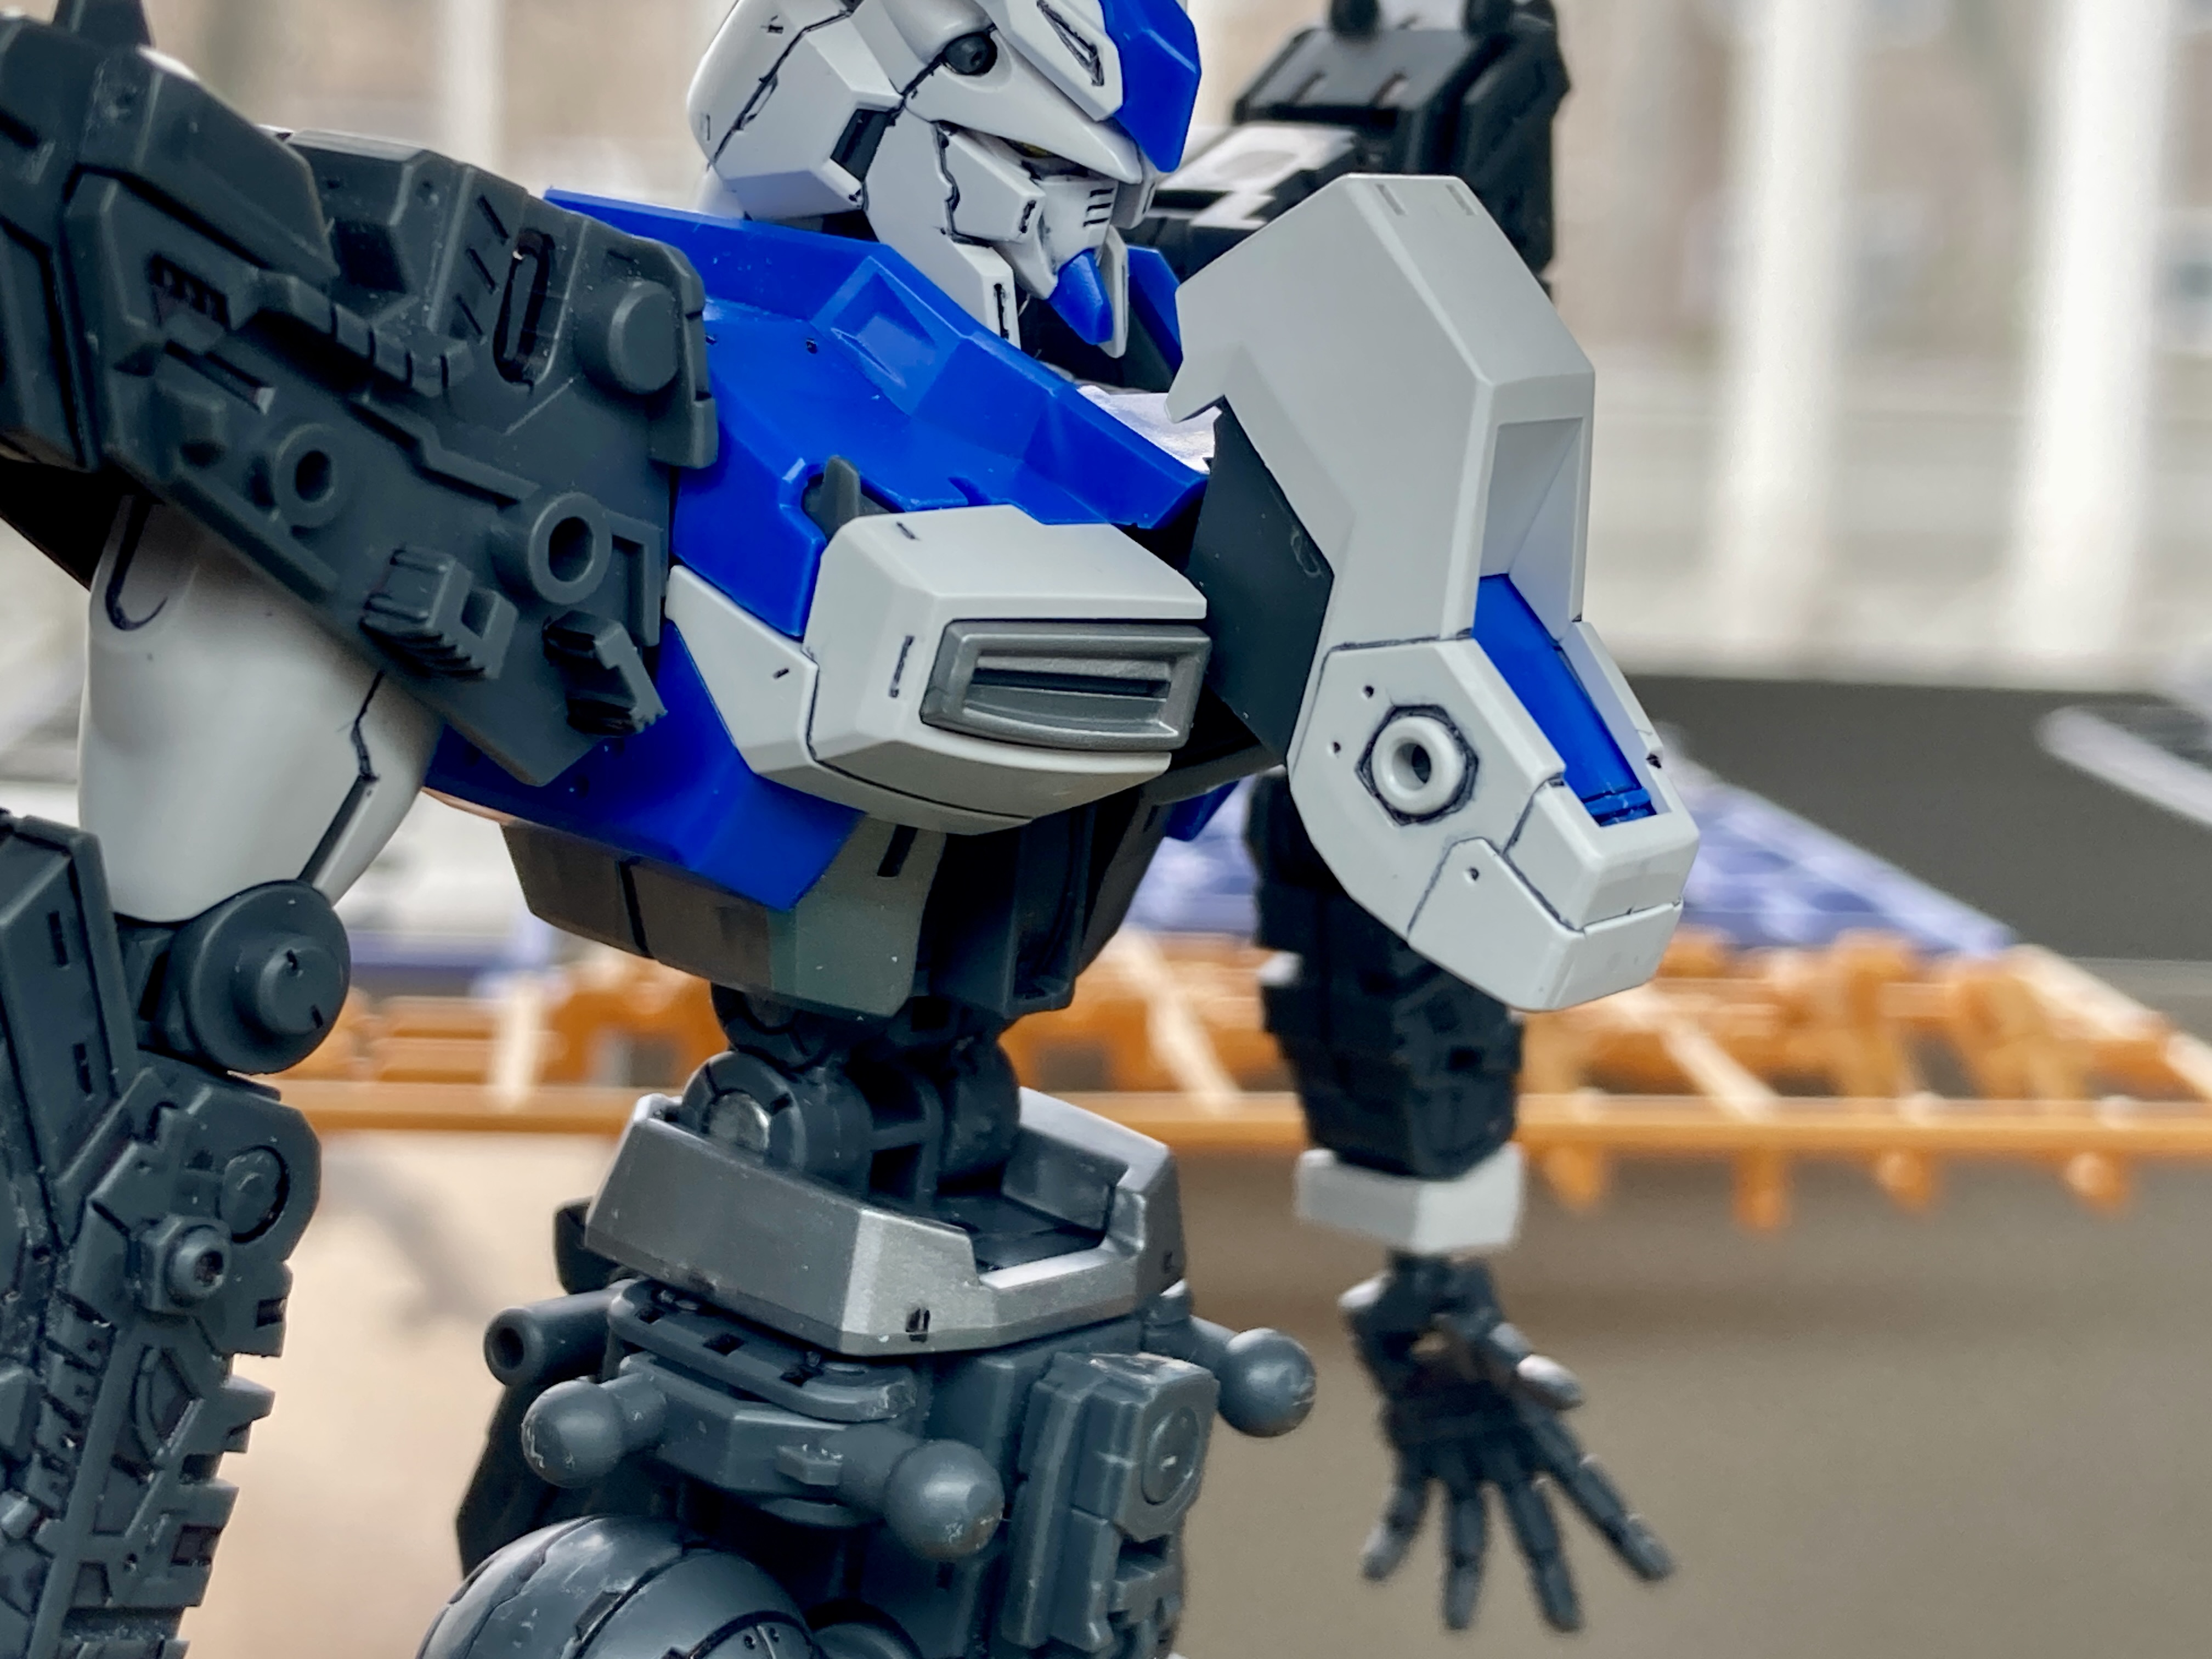
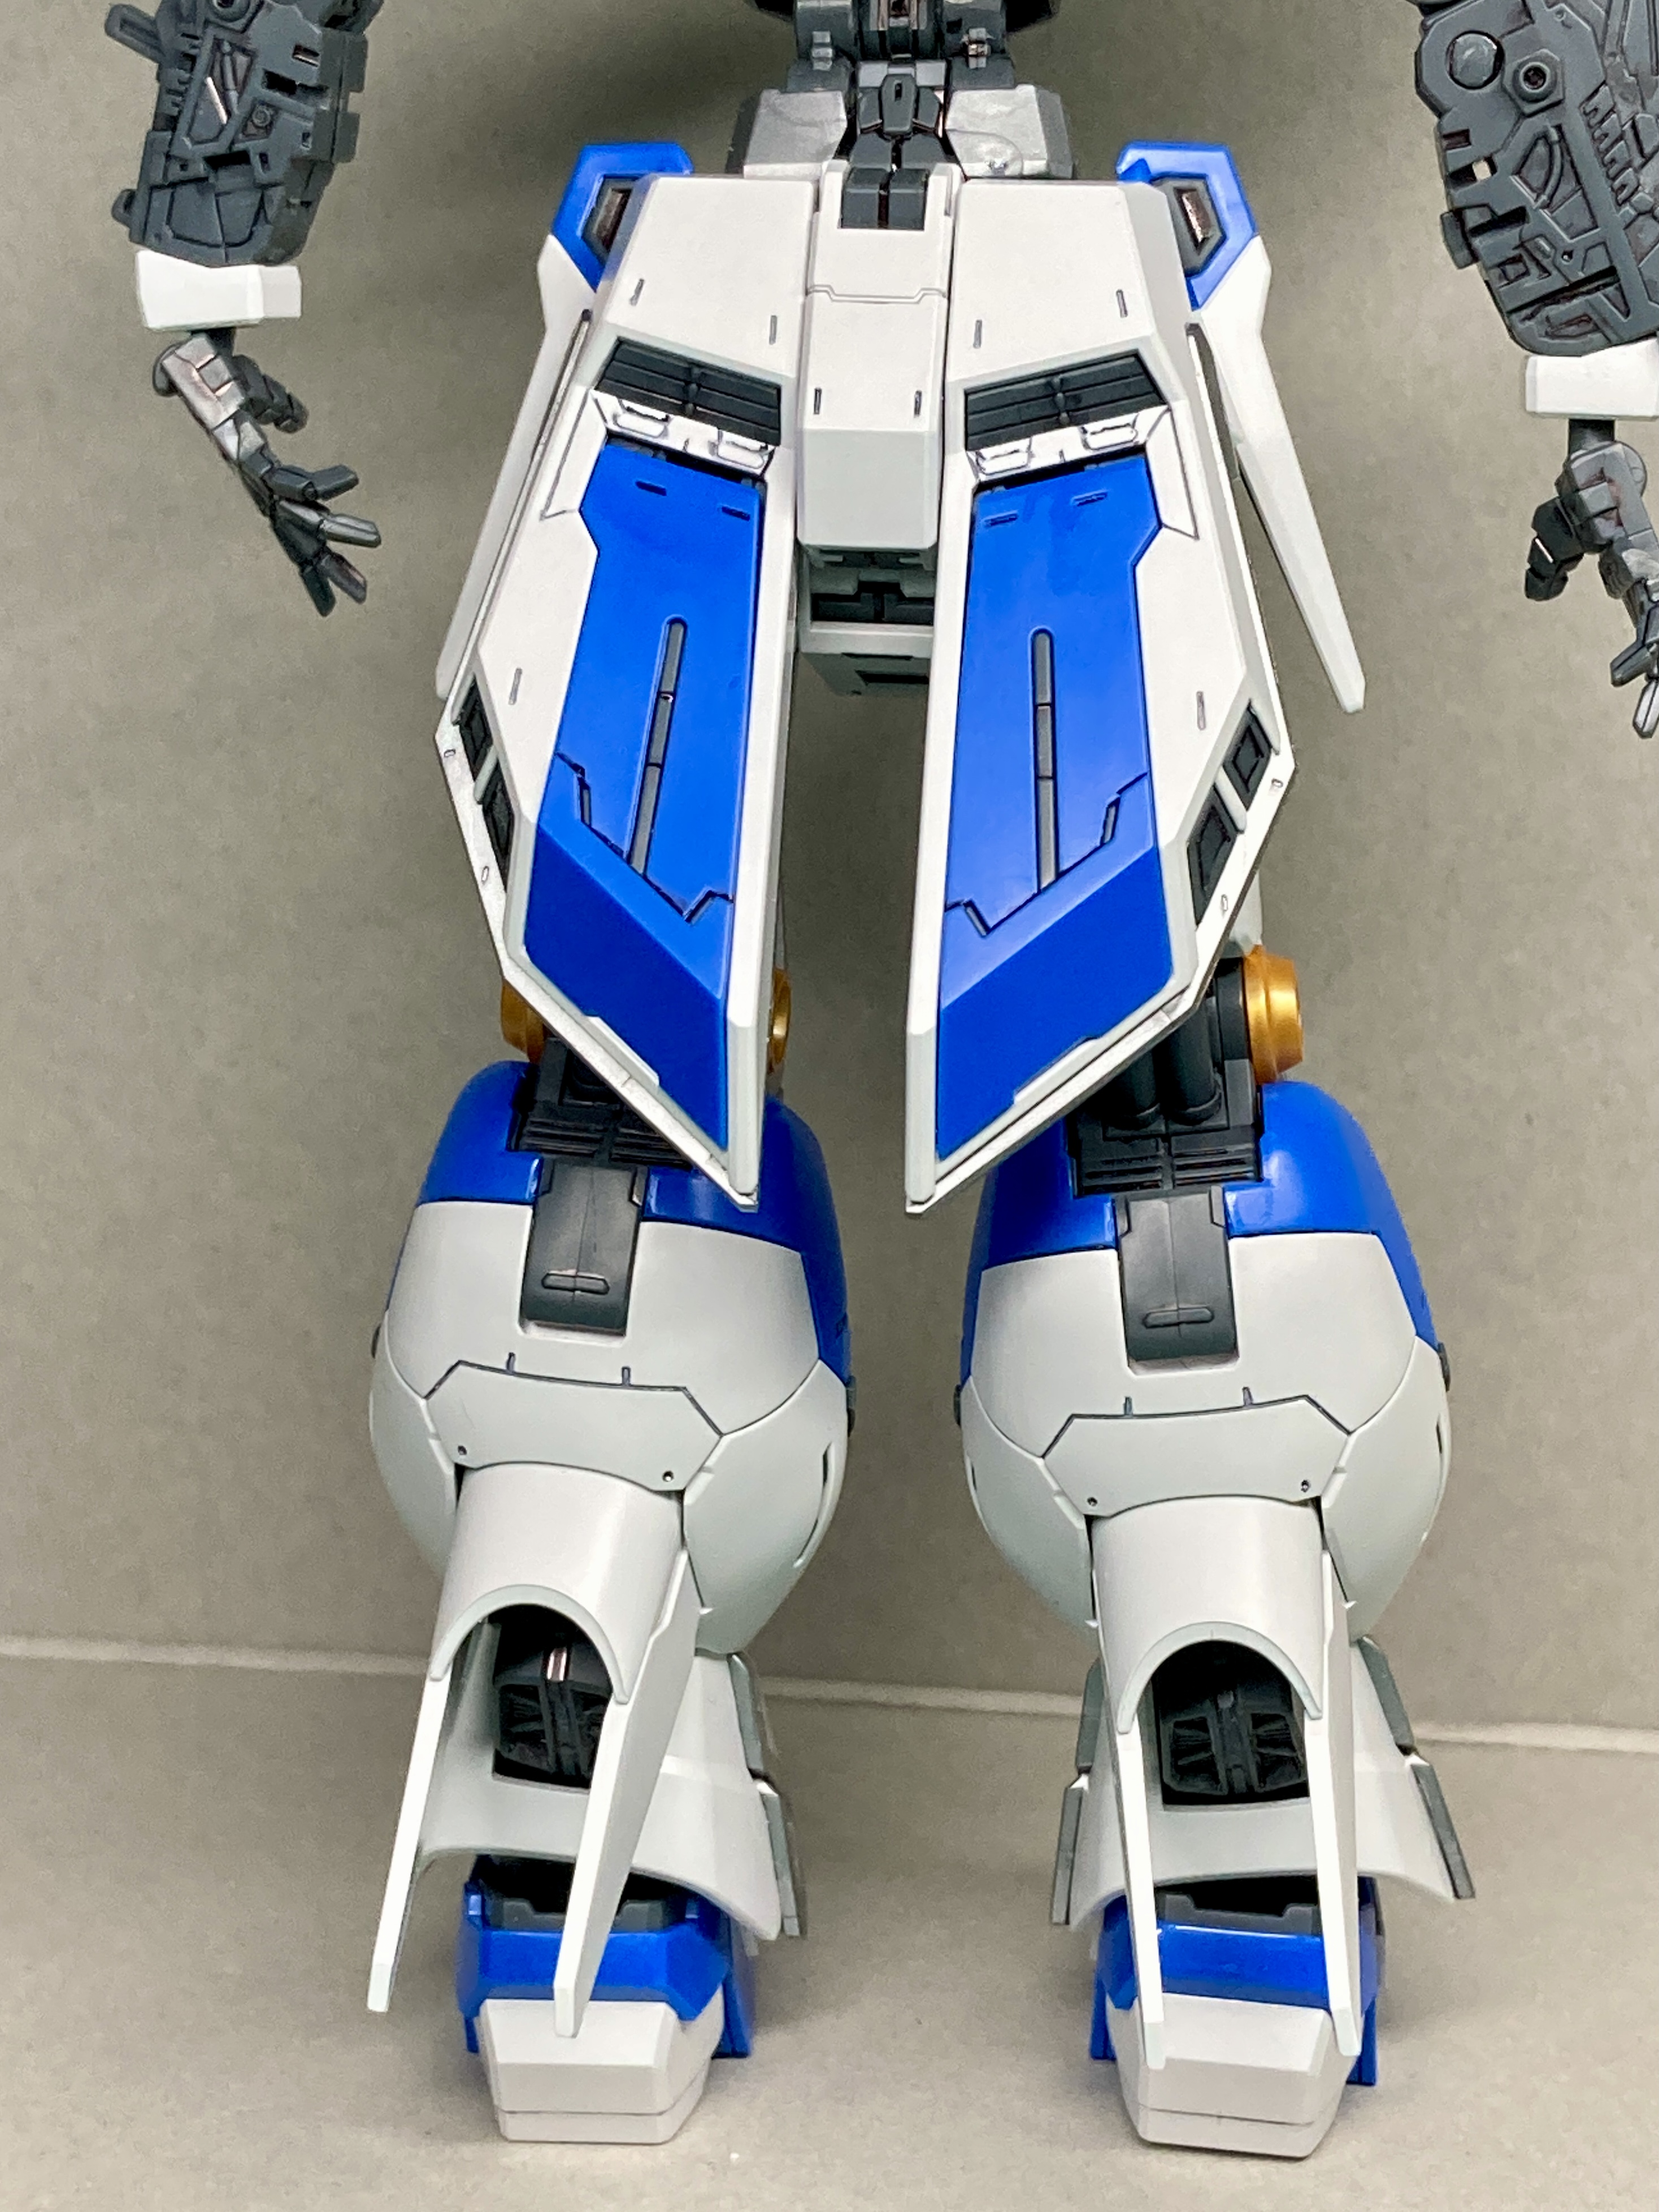
Don’t skip Leg Day (and Work On That Waist)
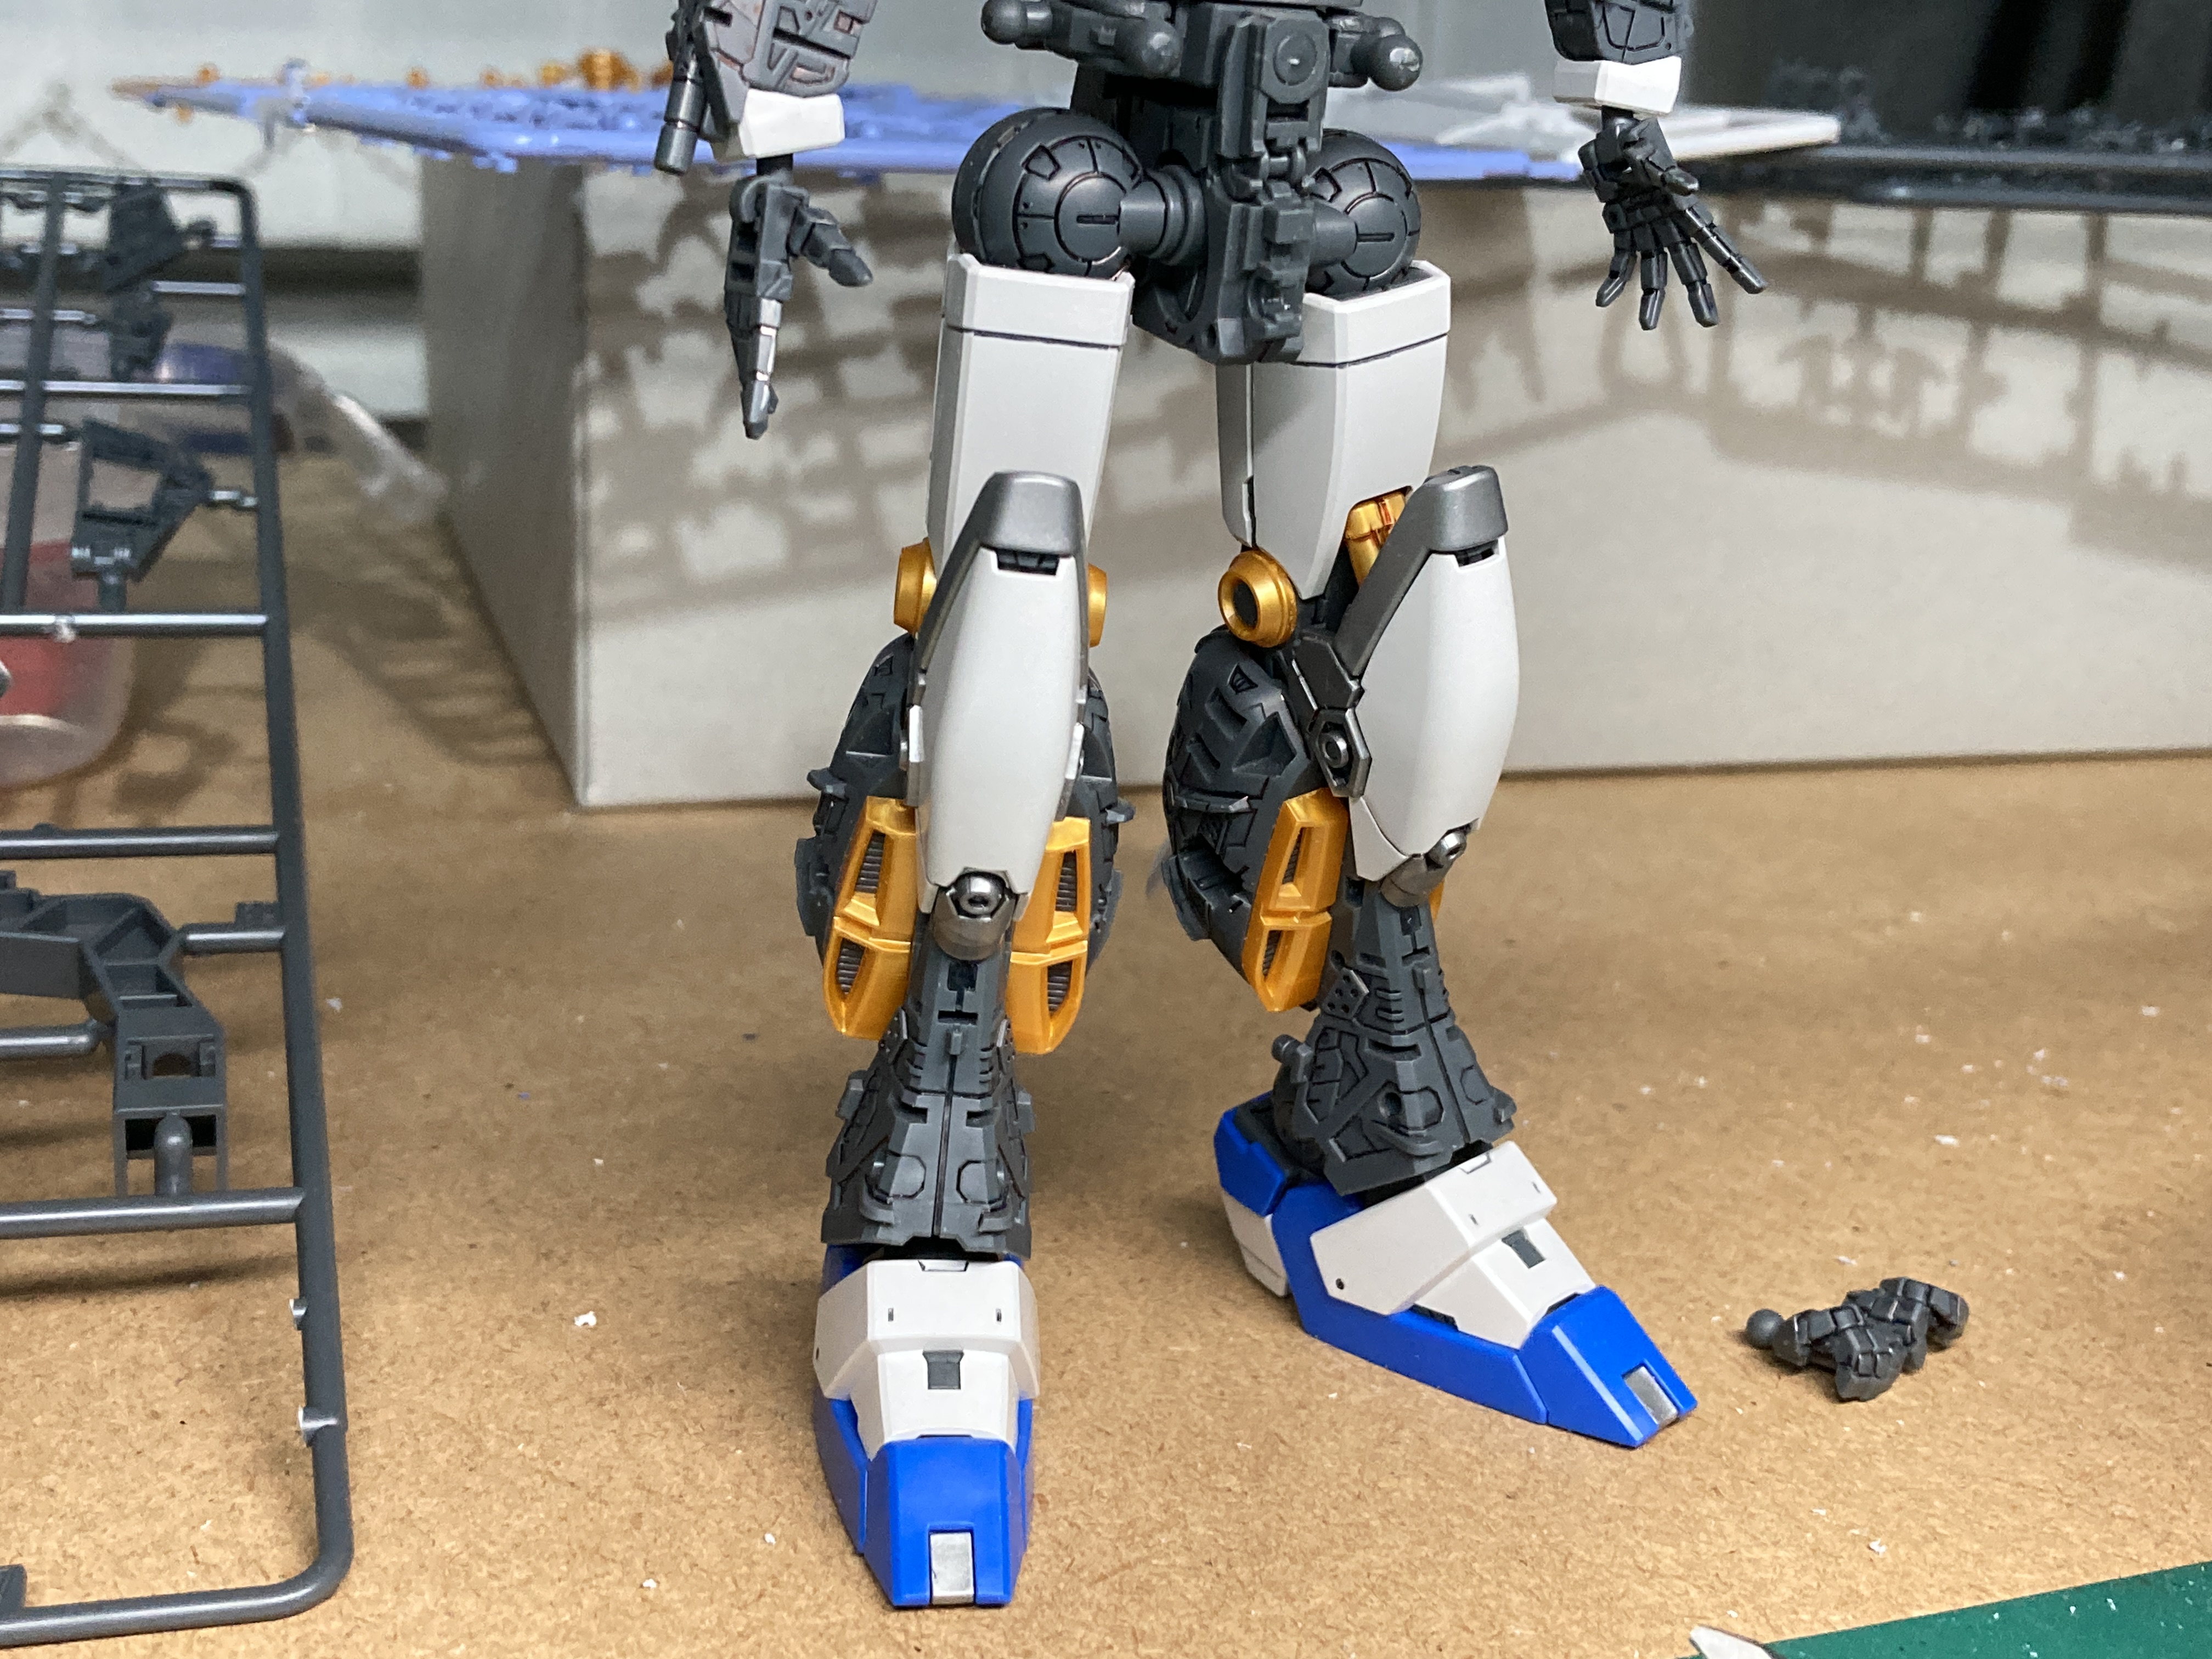


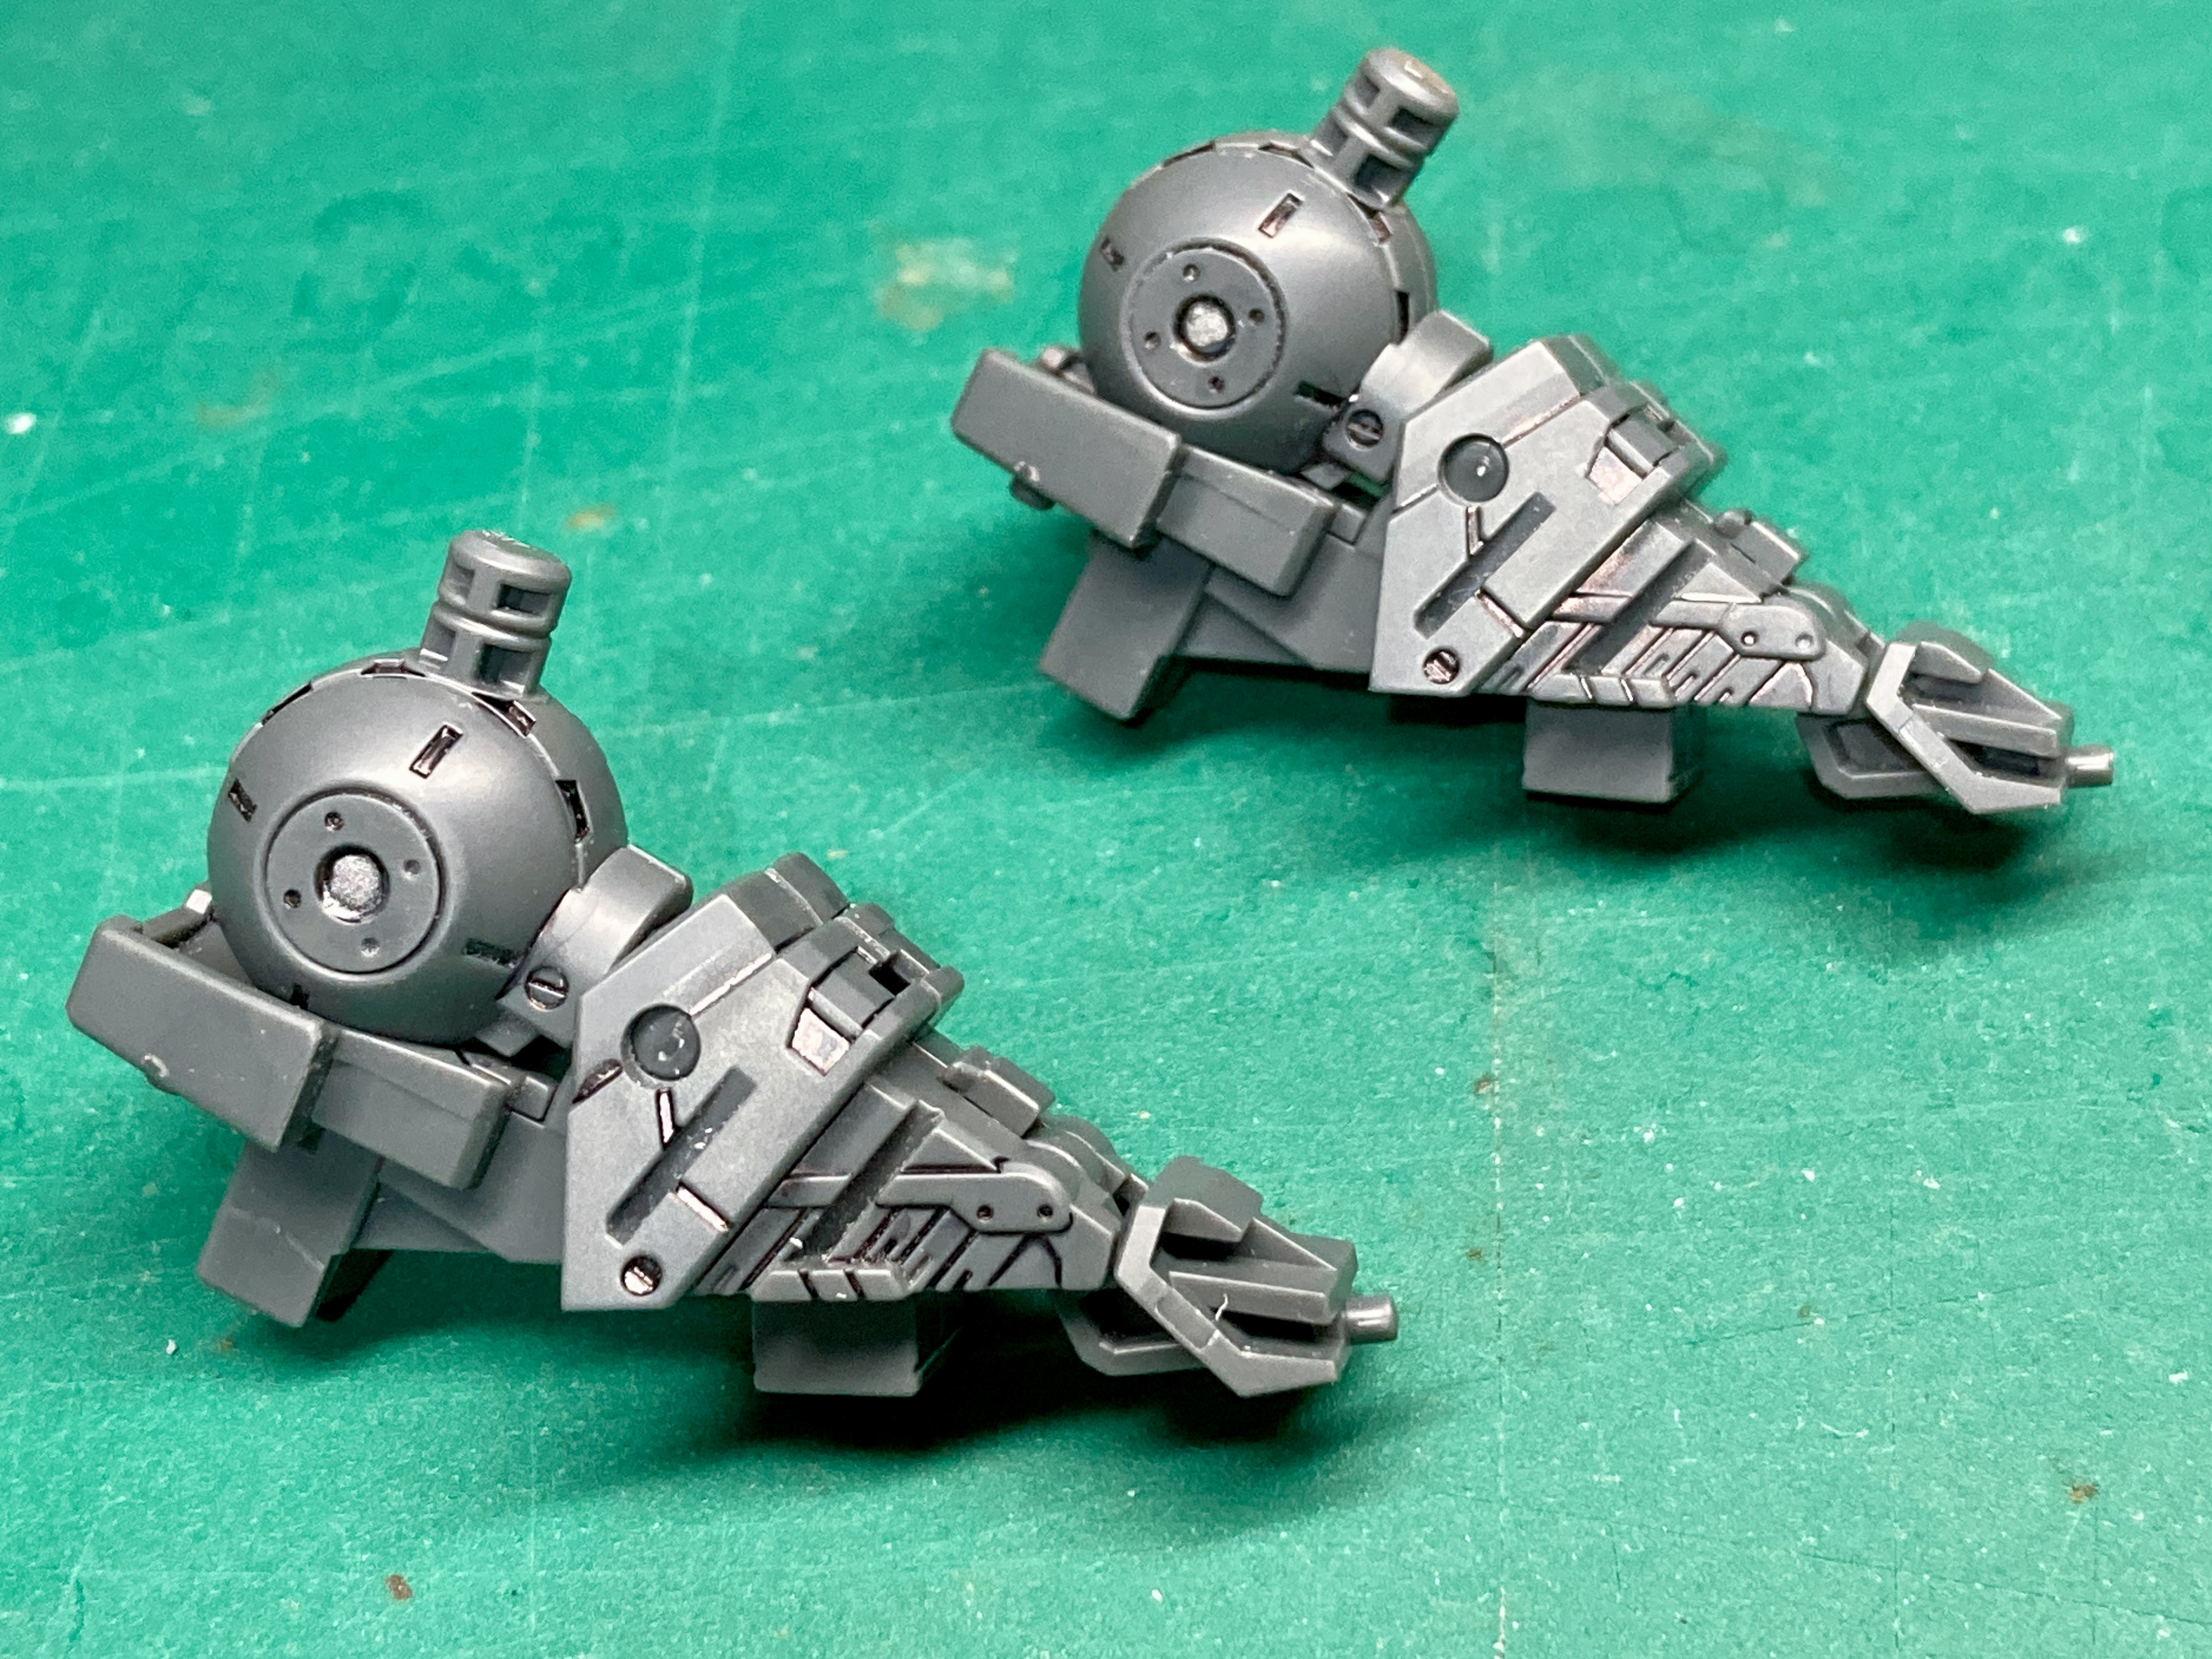
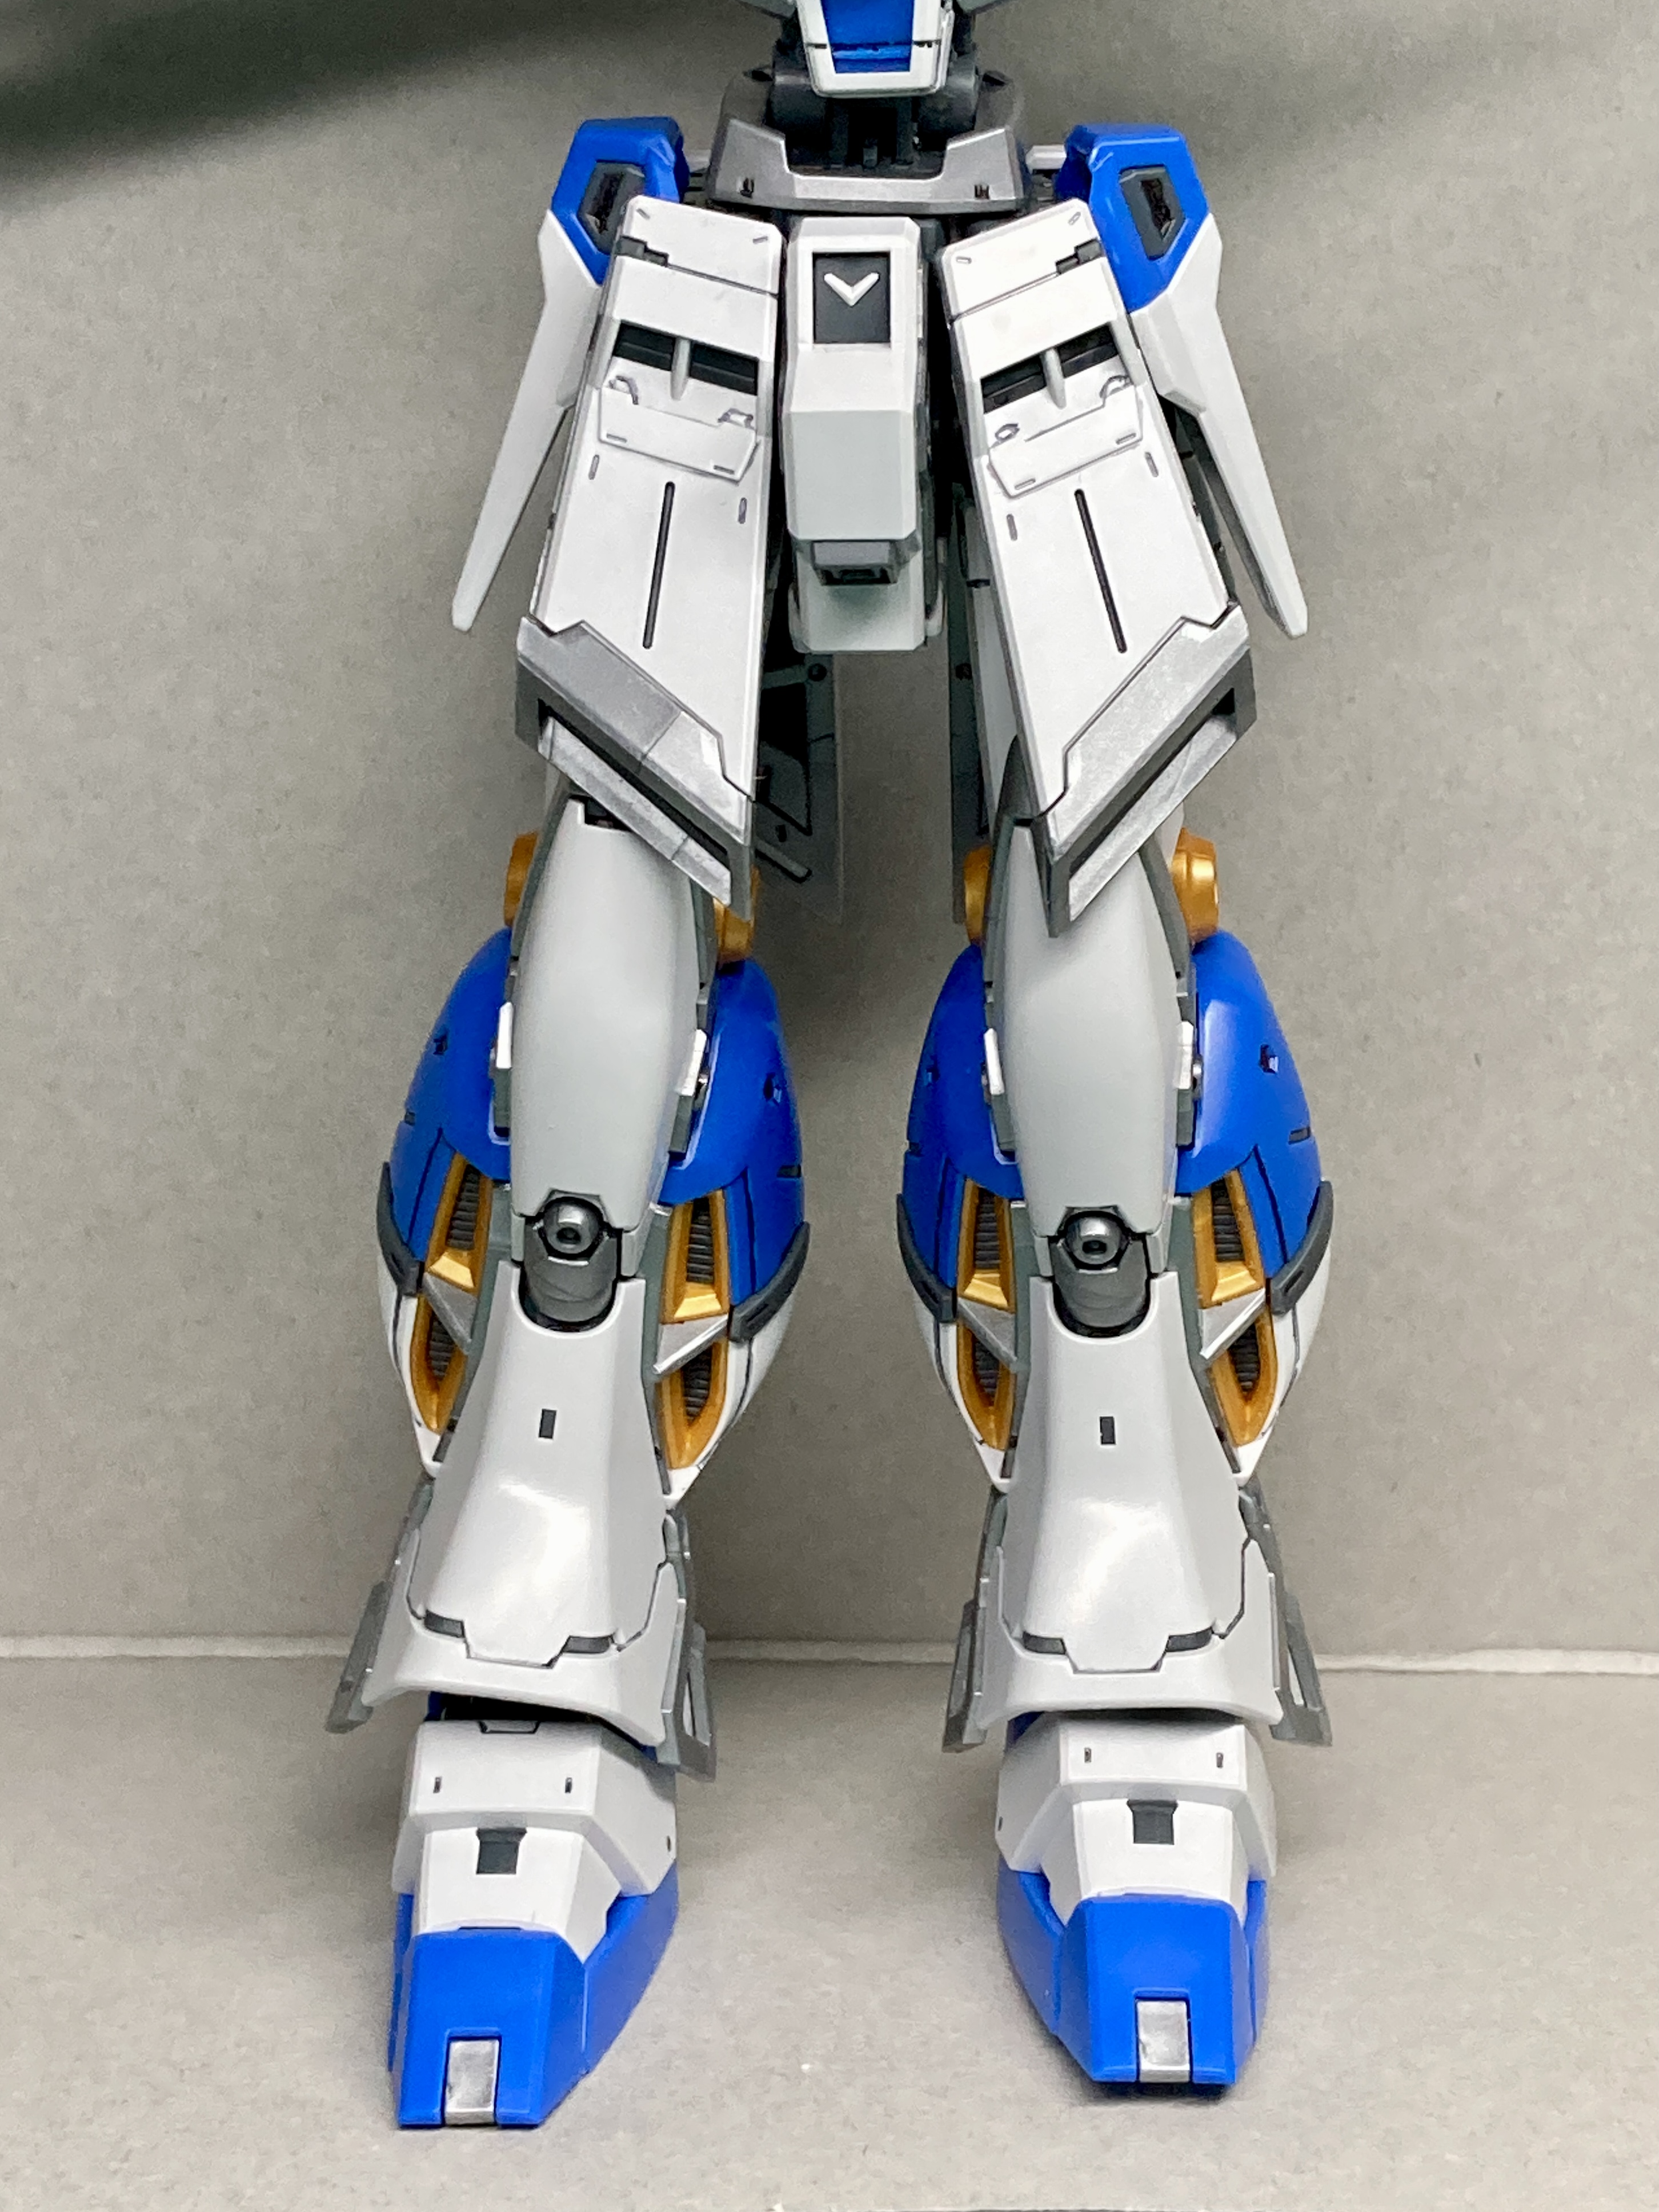
Working on the legs was a lot of fun and very satisfying. The amount of detail here with the ankle thrusters and forward side jets, and the internal details showing when the leg is bent, including pistons is amazing. Many of the white panels are hinged and swing or slide into place.


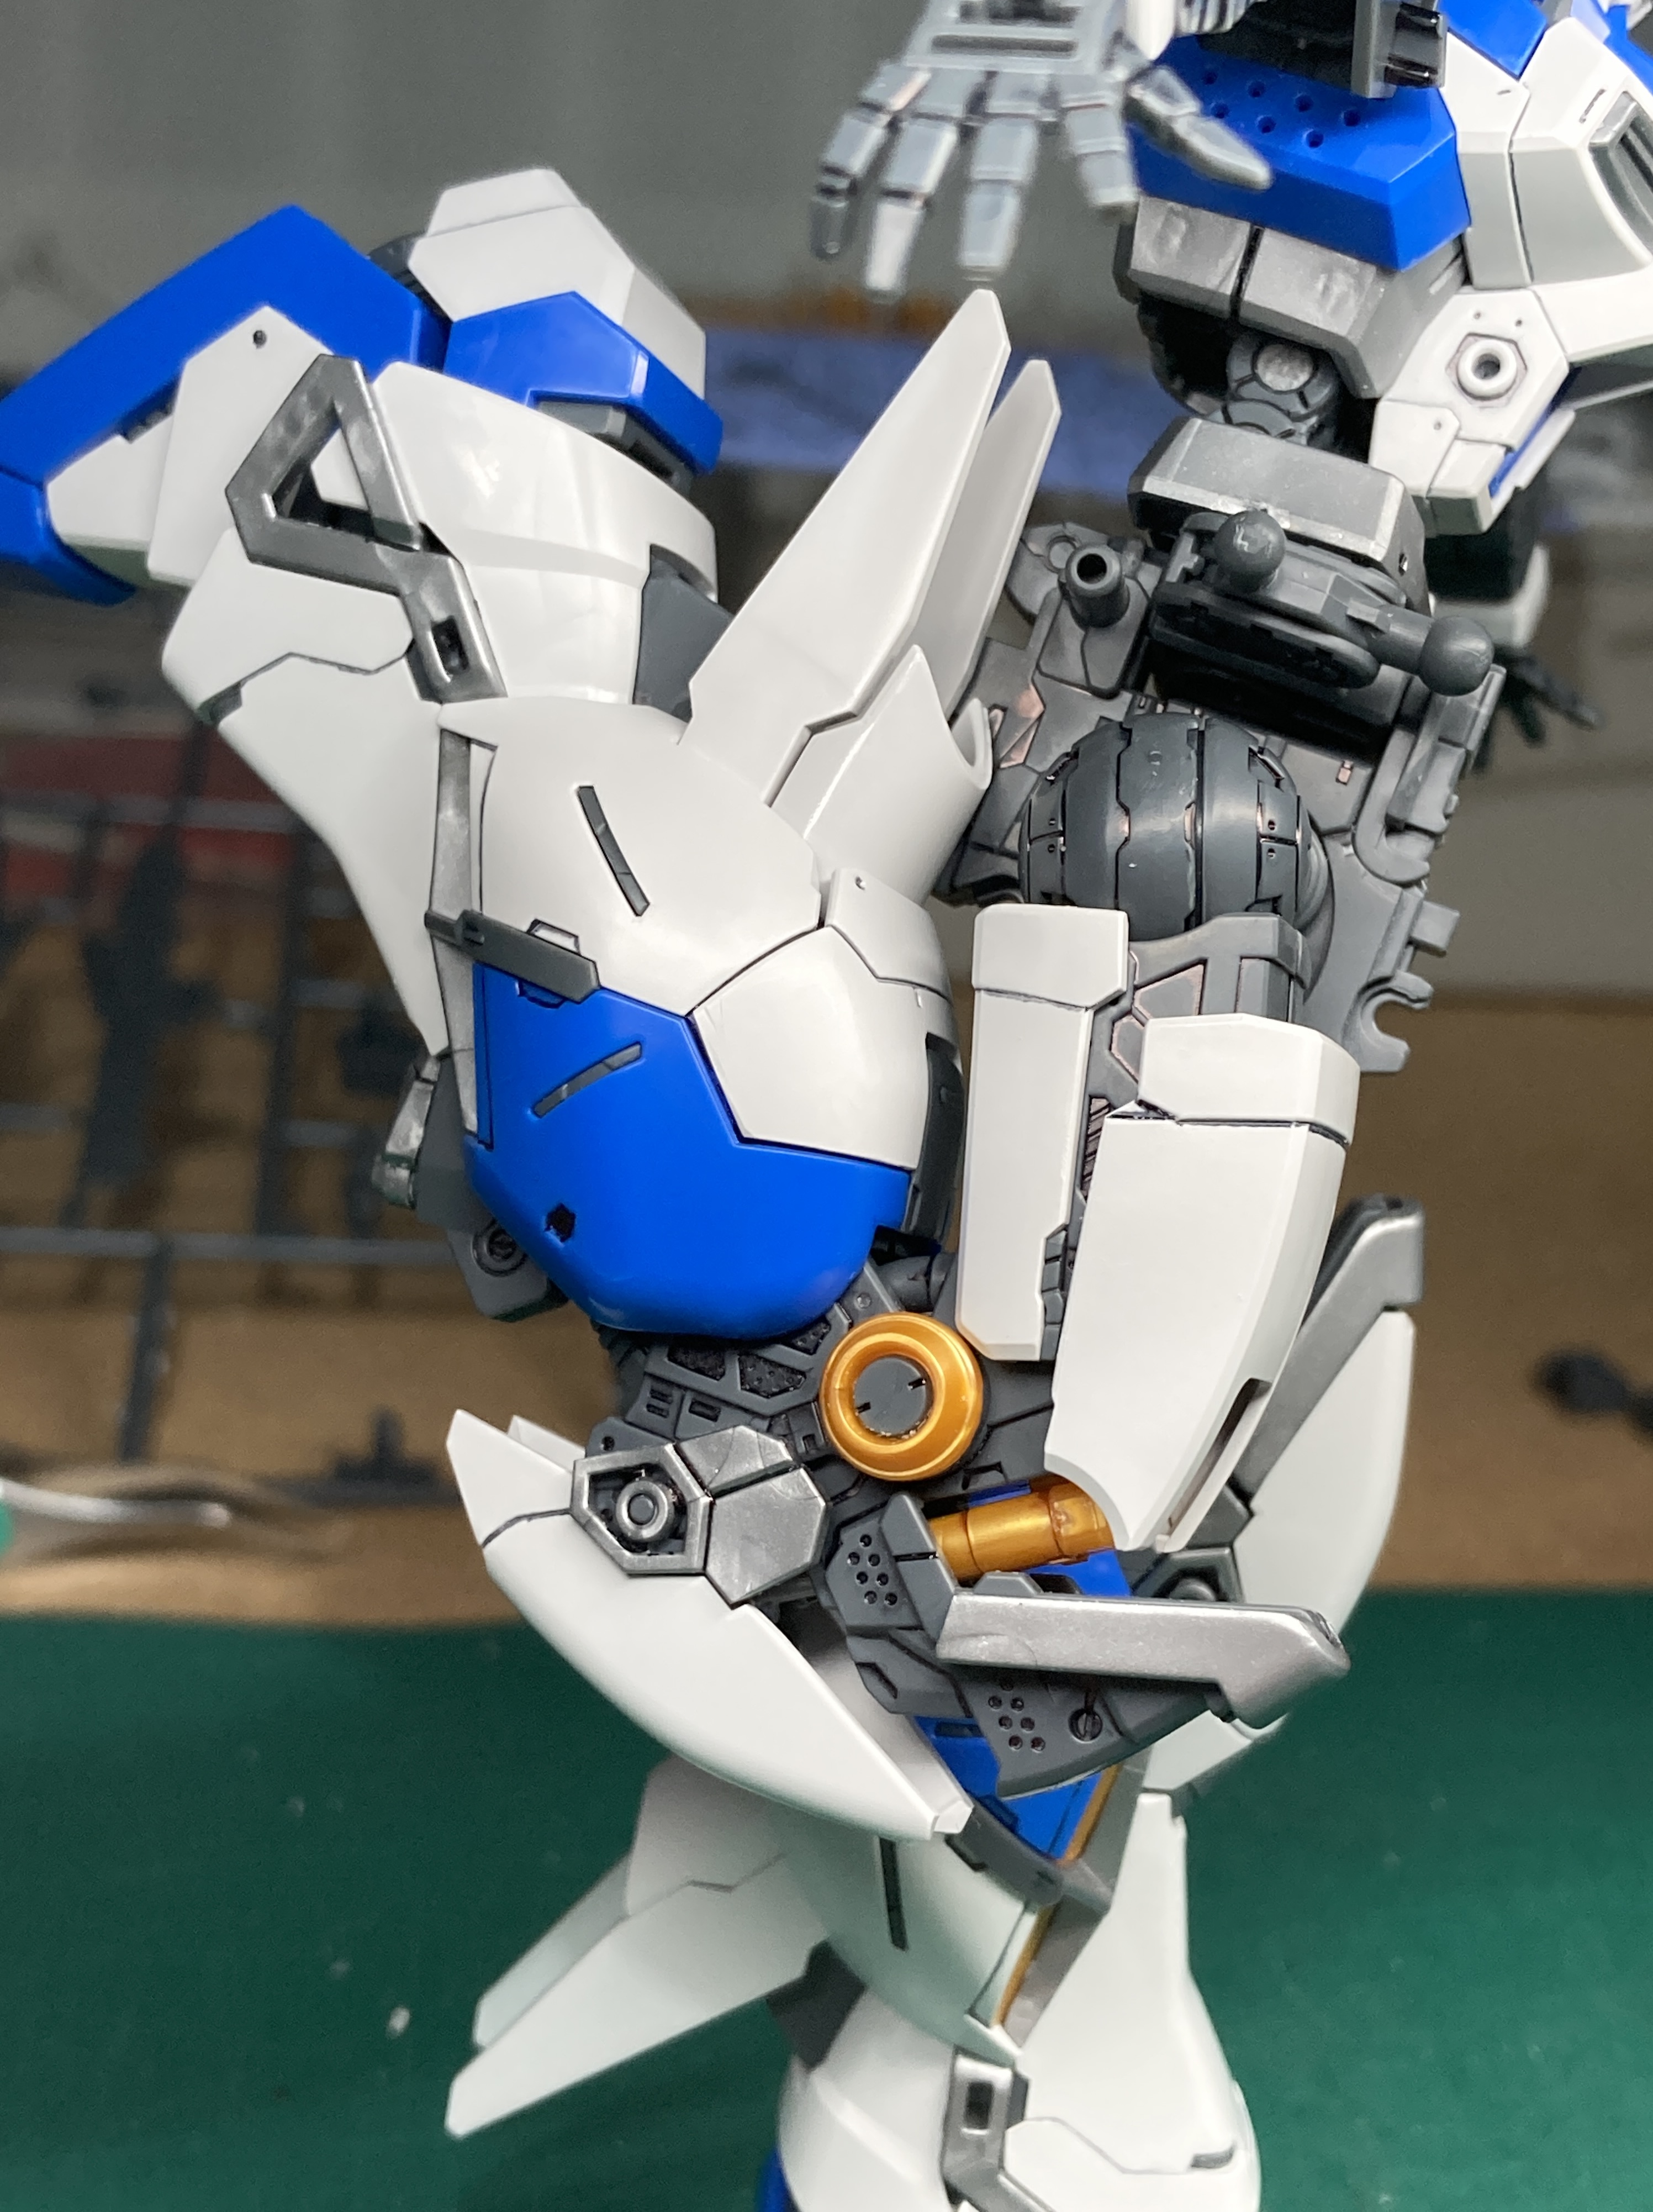
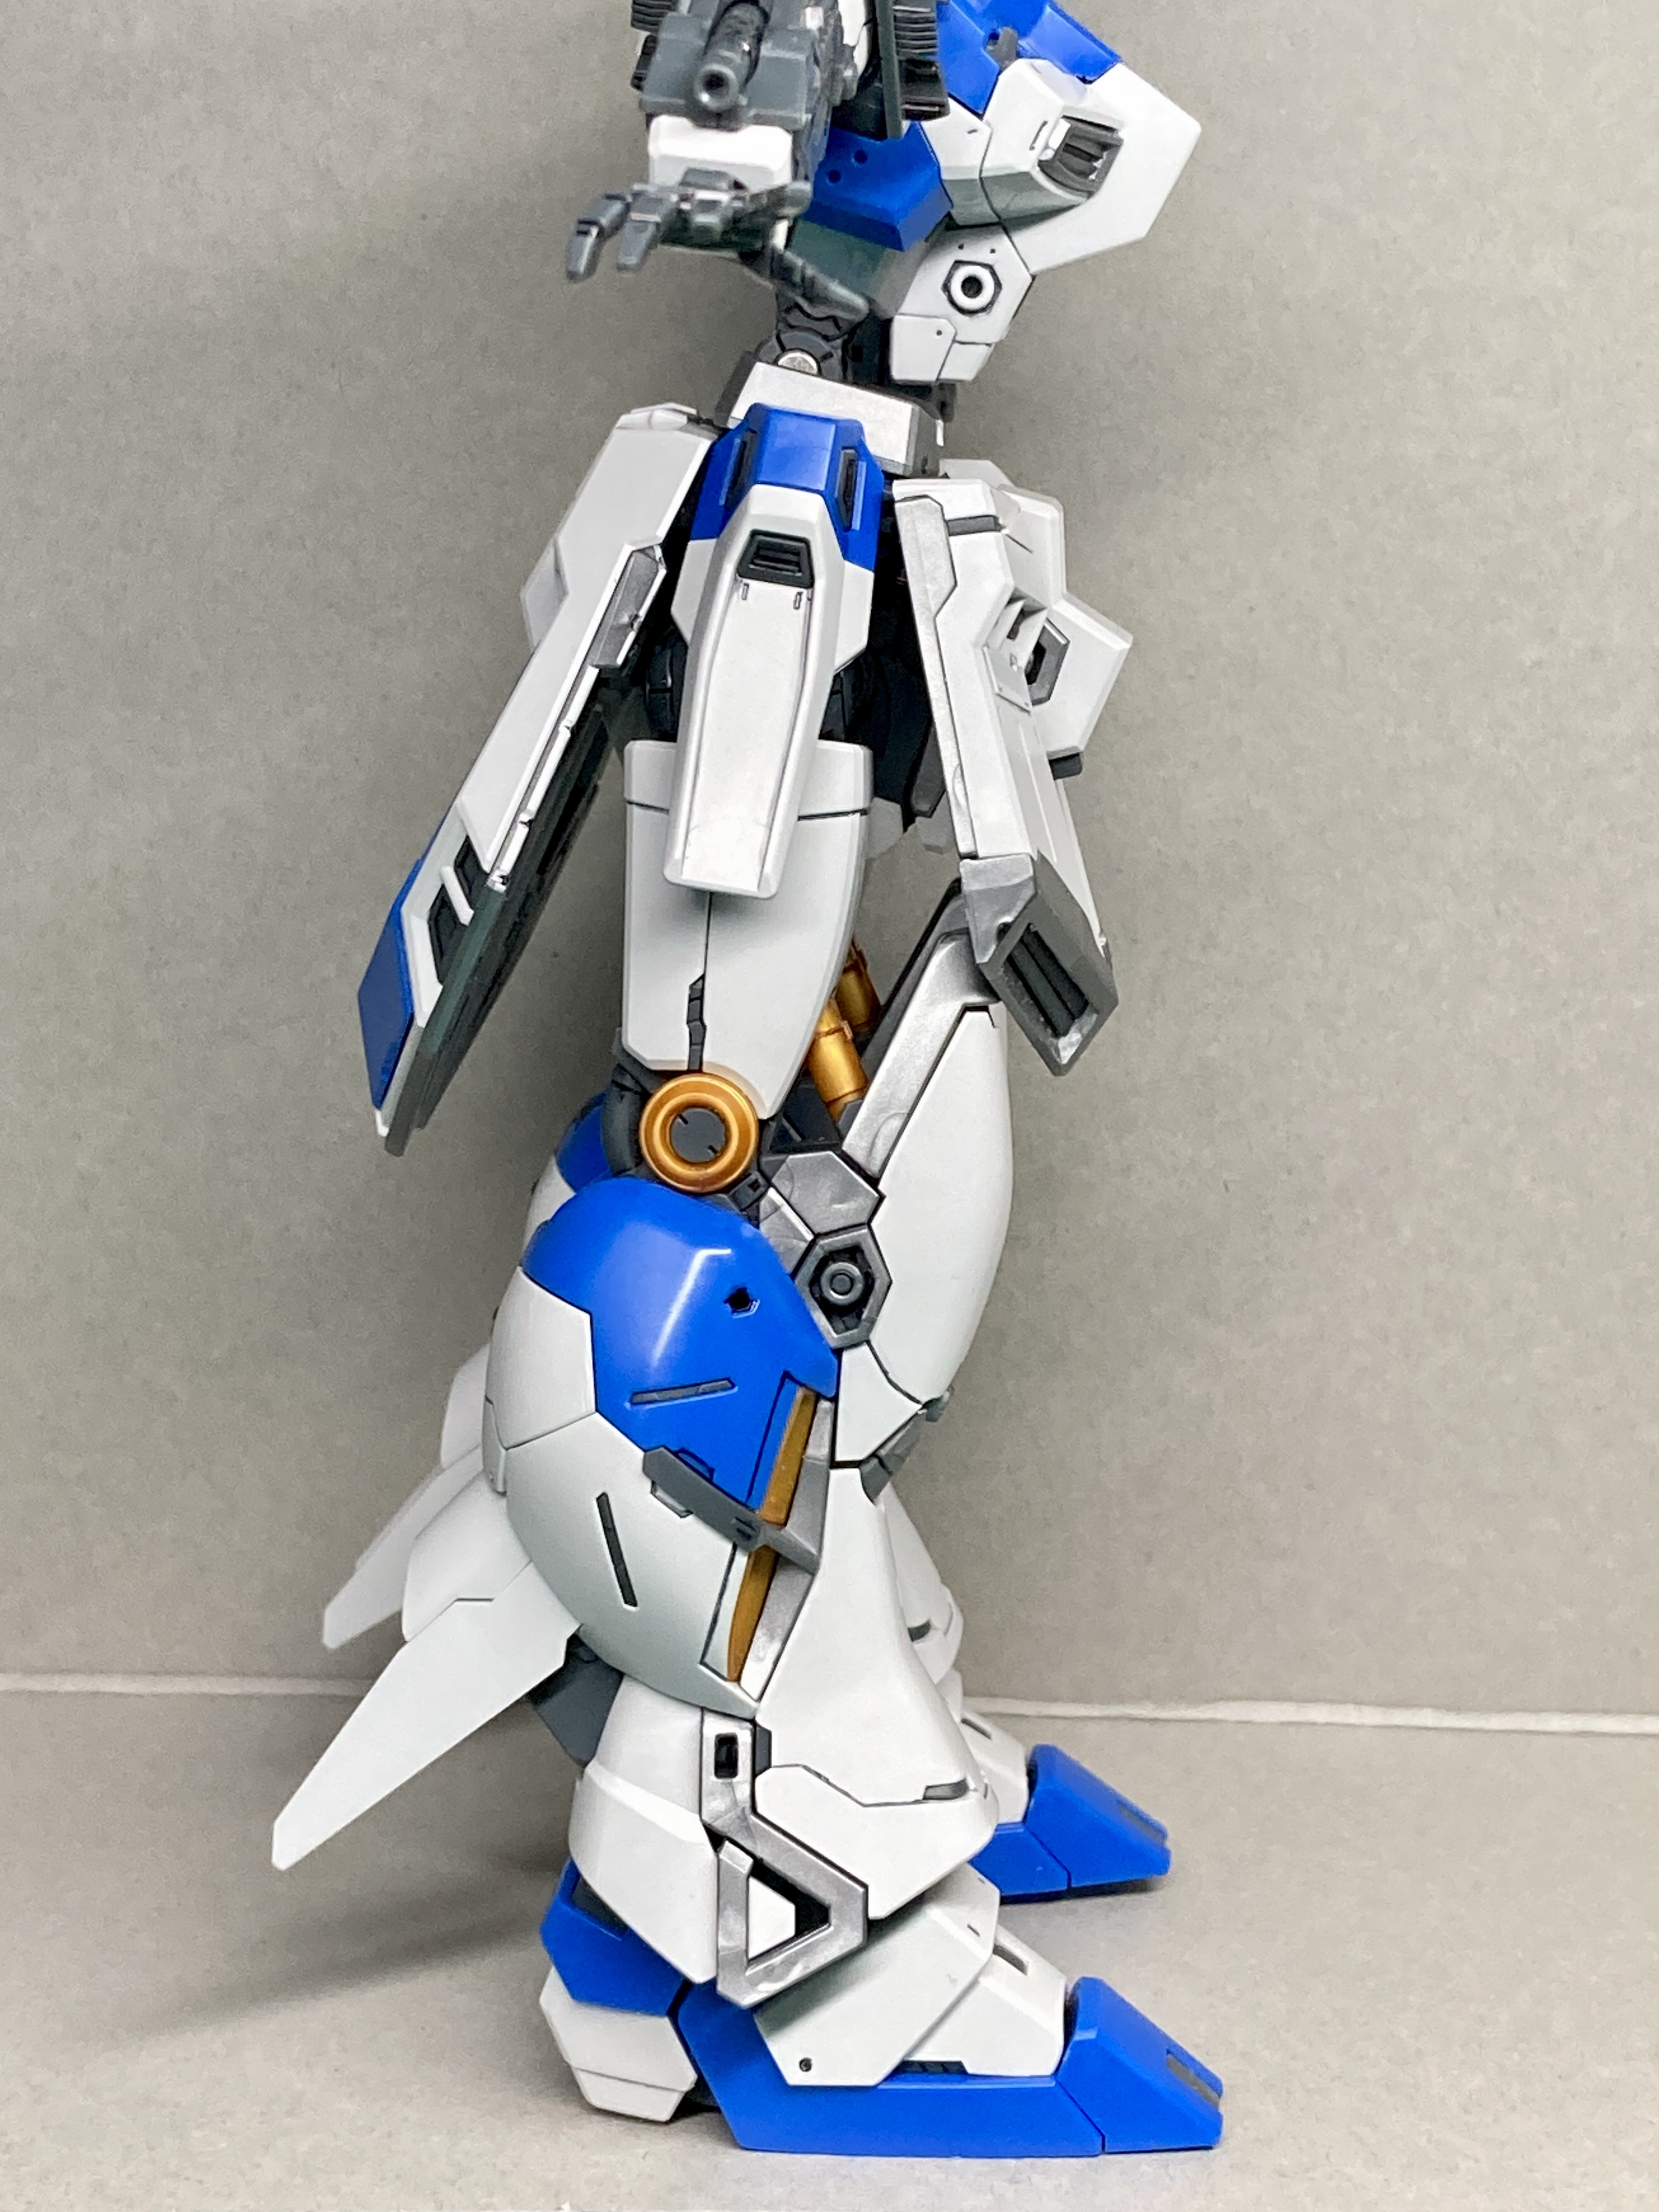
Next I did the waist, and the side skirts, which also seem to have thrusters built in.

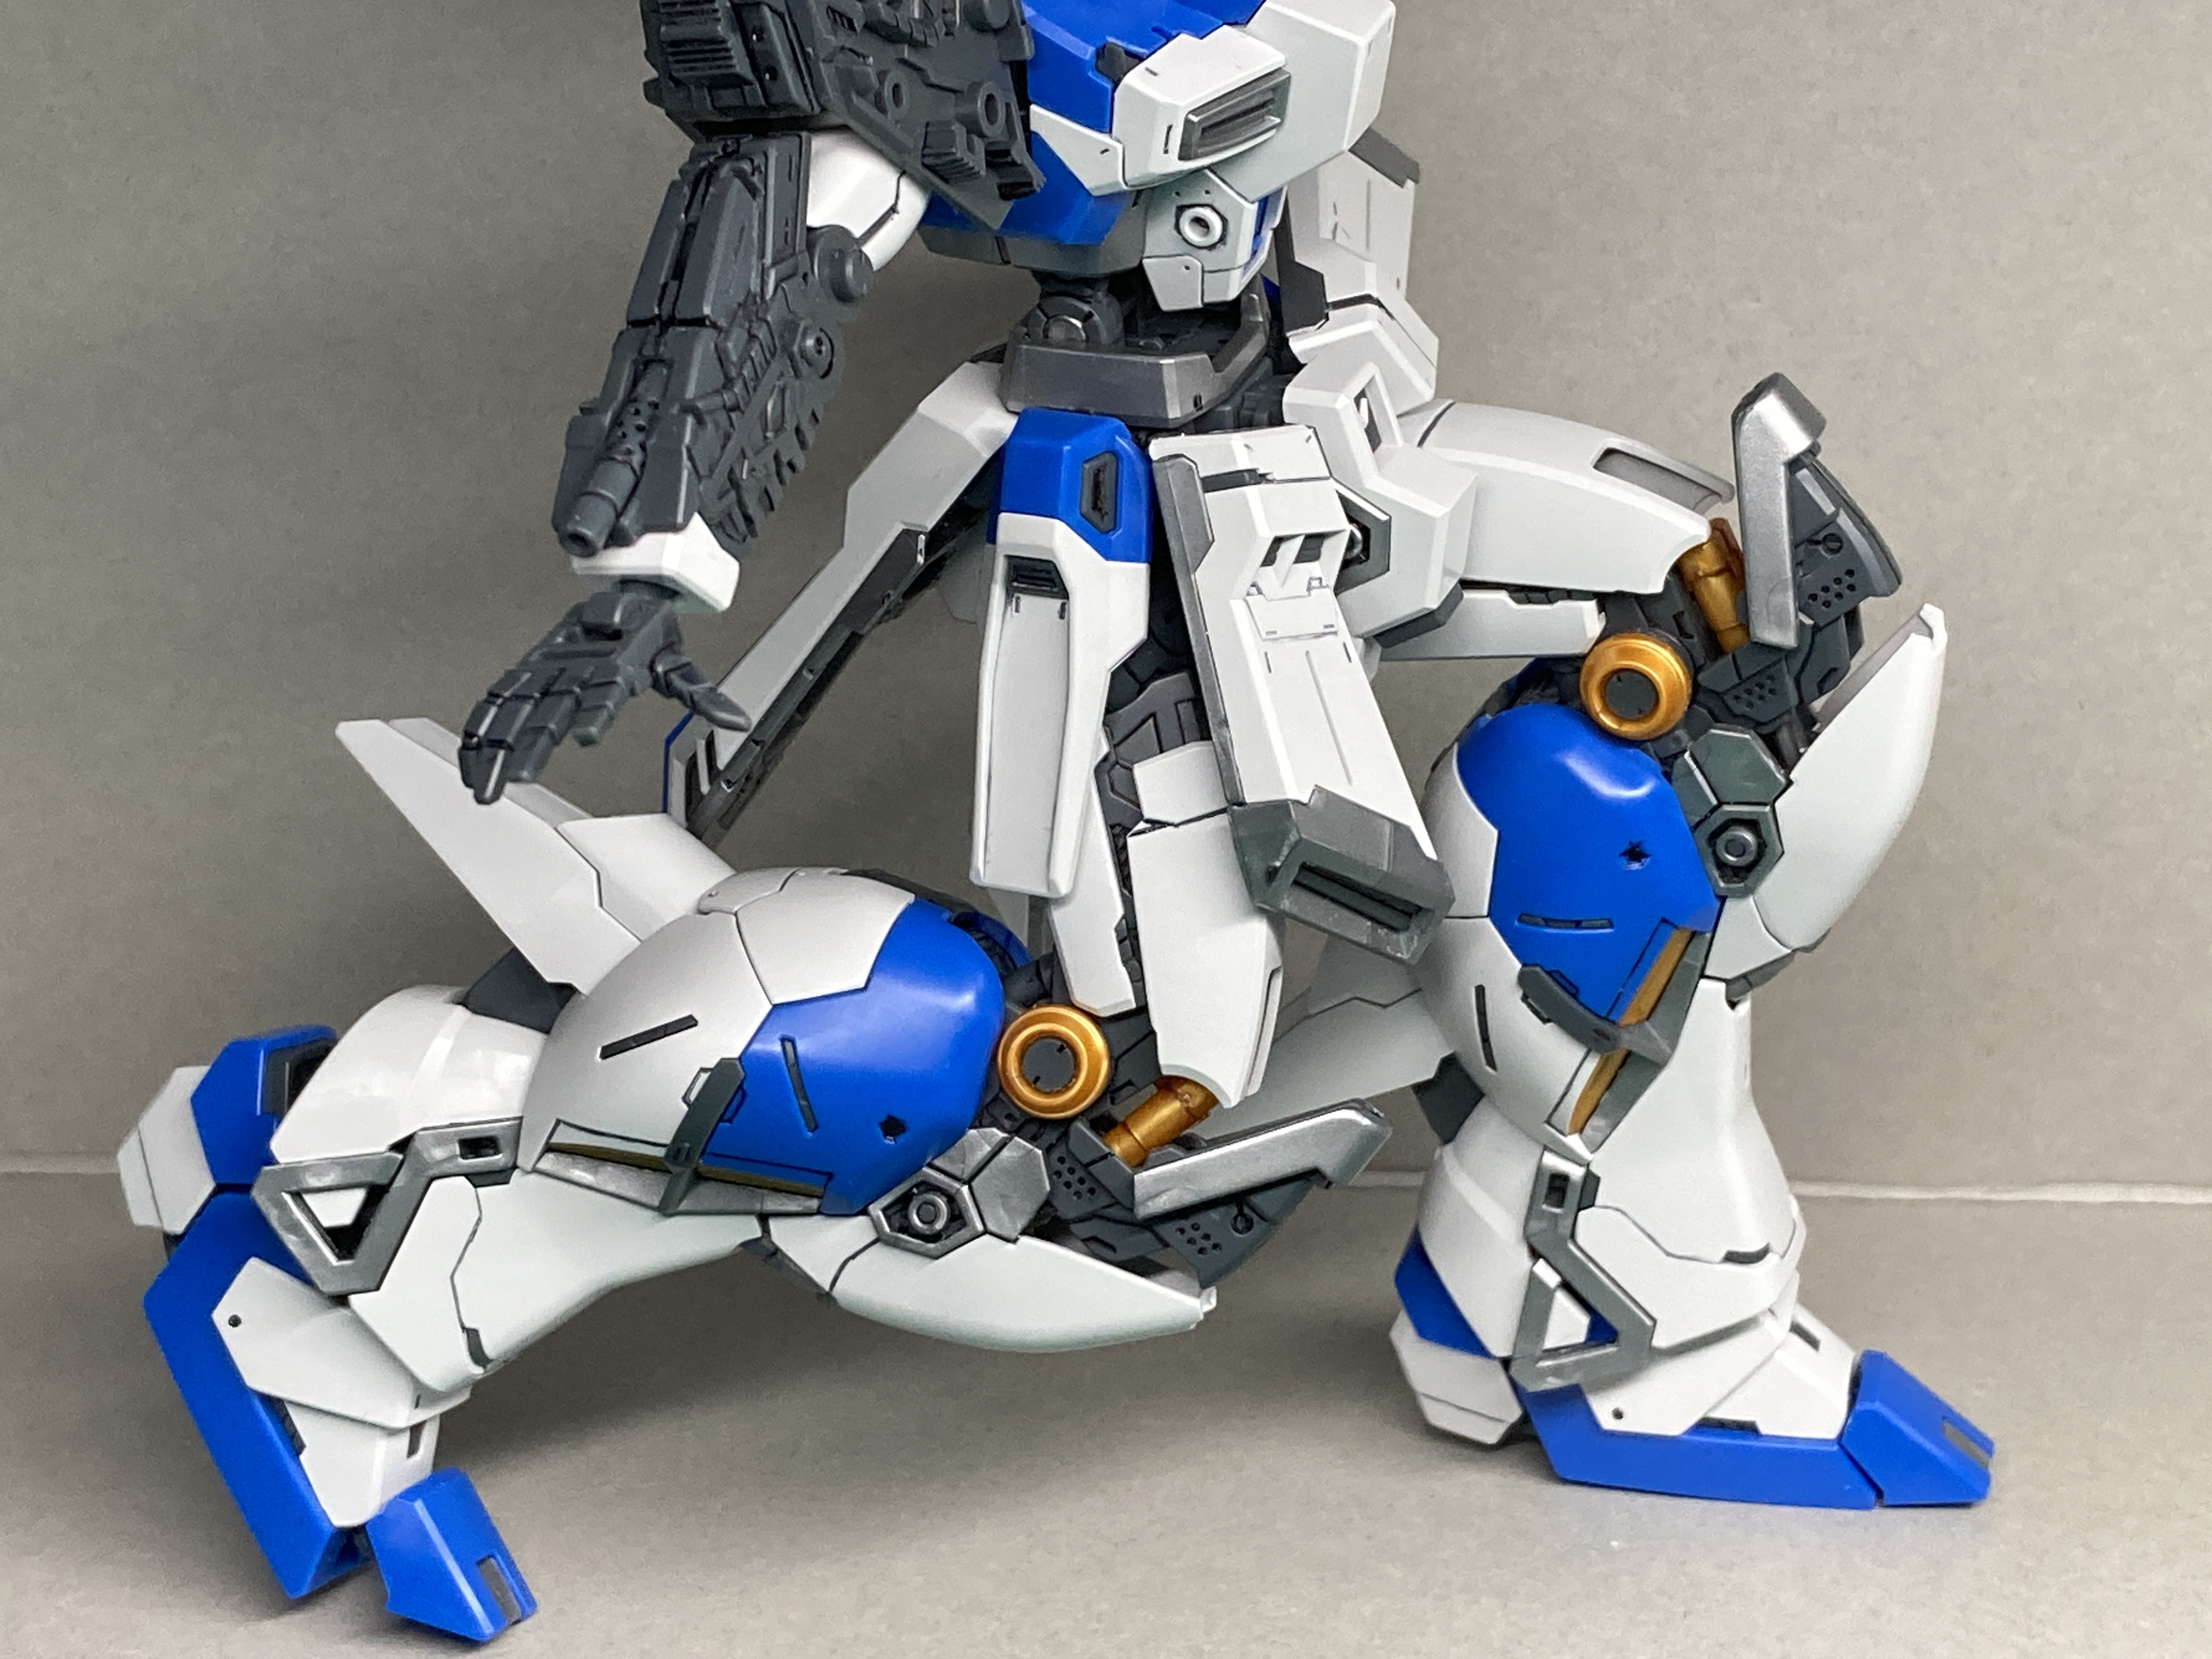
Lastly I thought I’d see how well the model can kneel with the side skirts in place. I’m sure I can get the model lower than this and on its knee but as a quick test here we are.
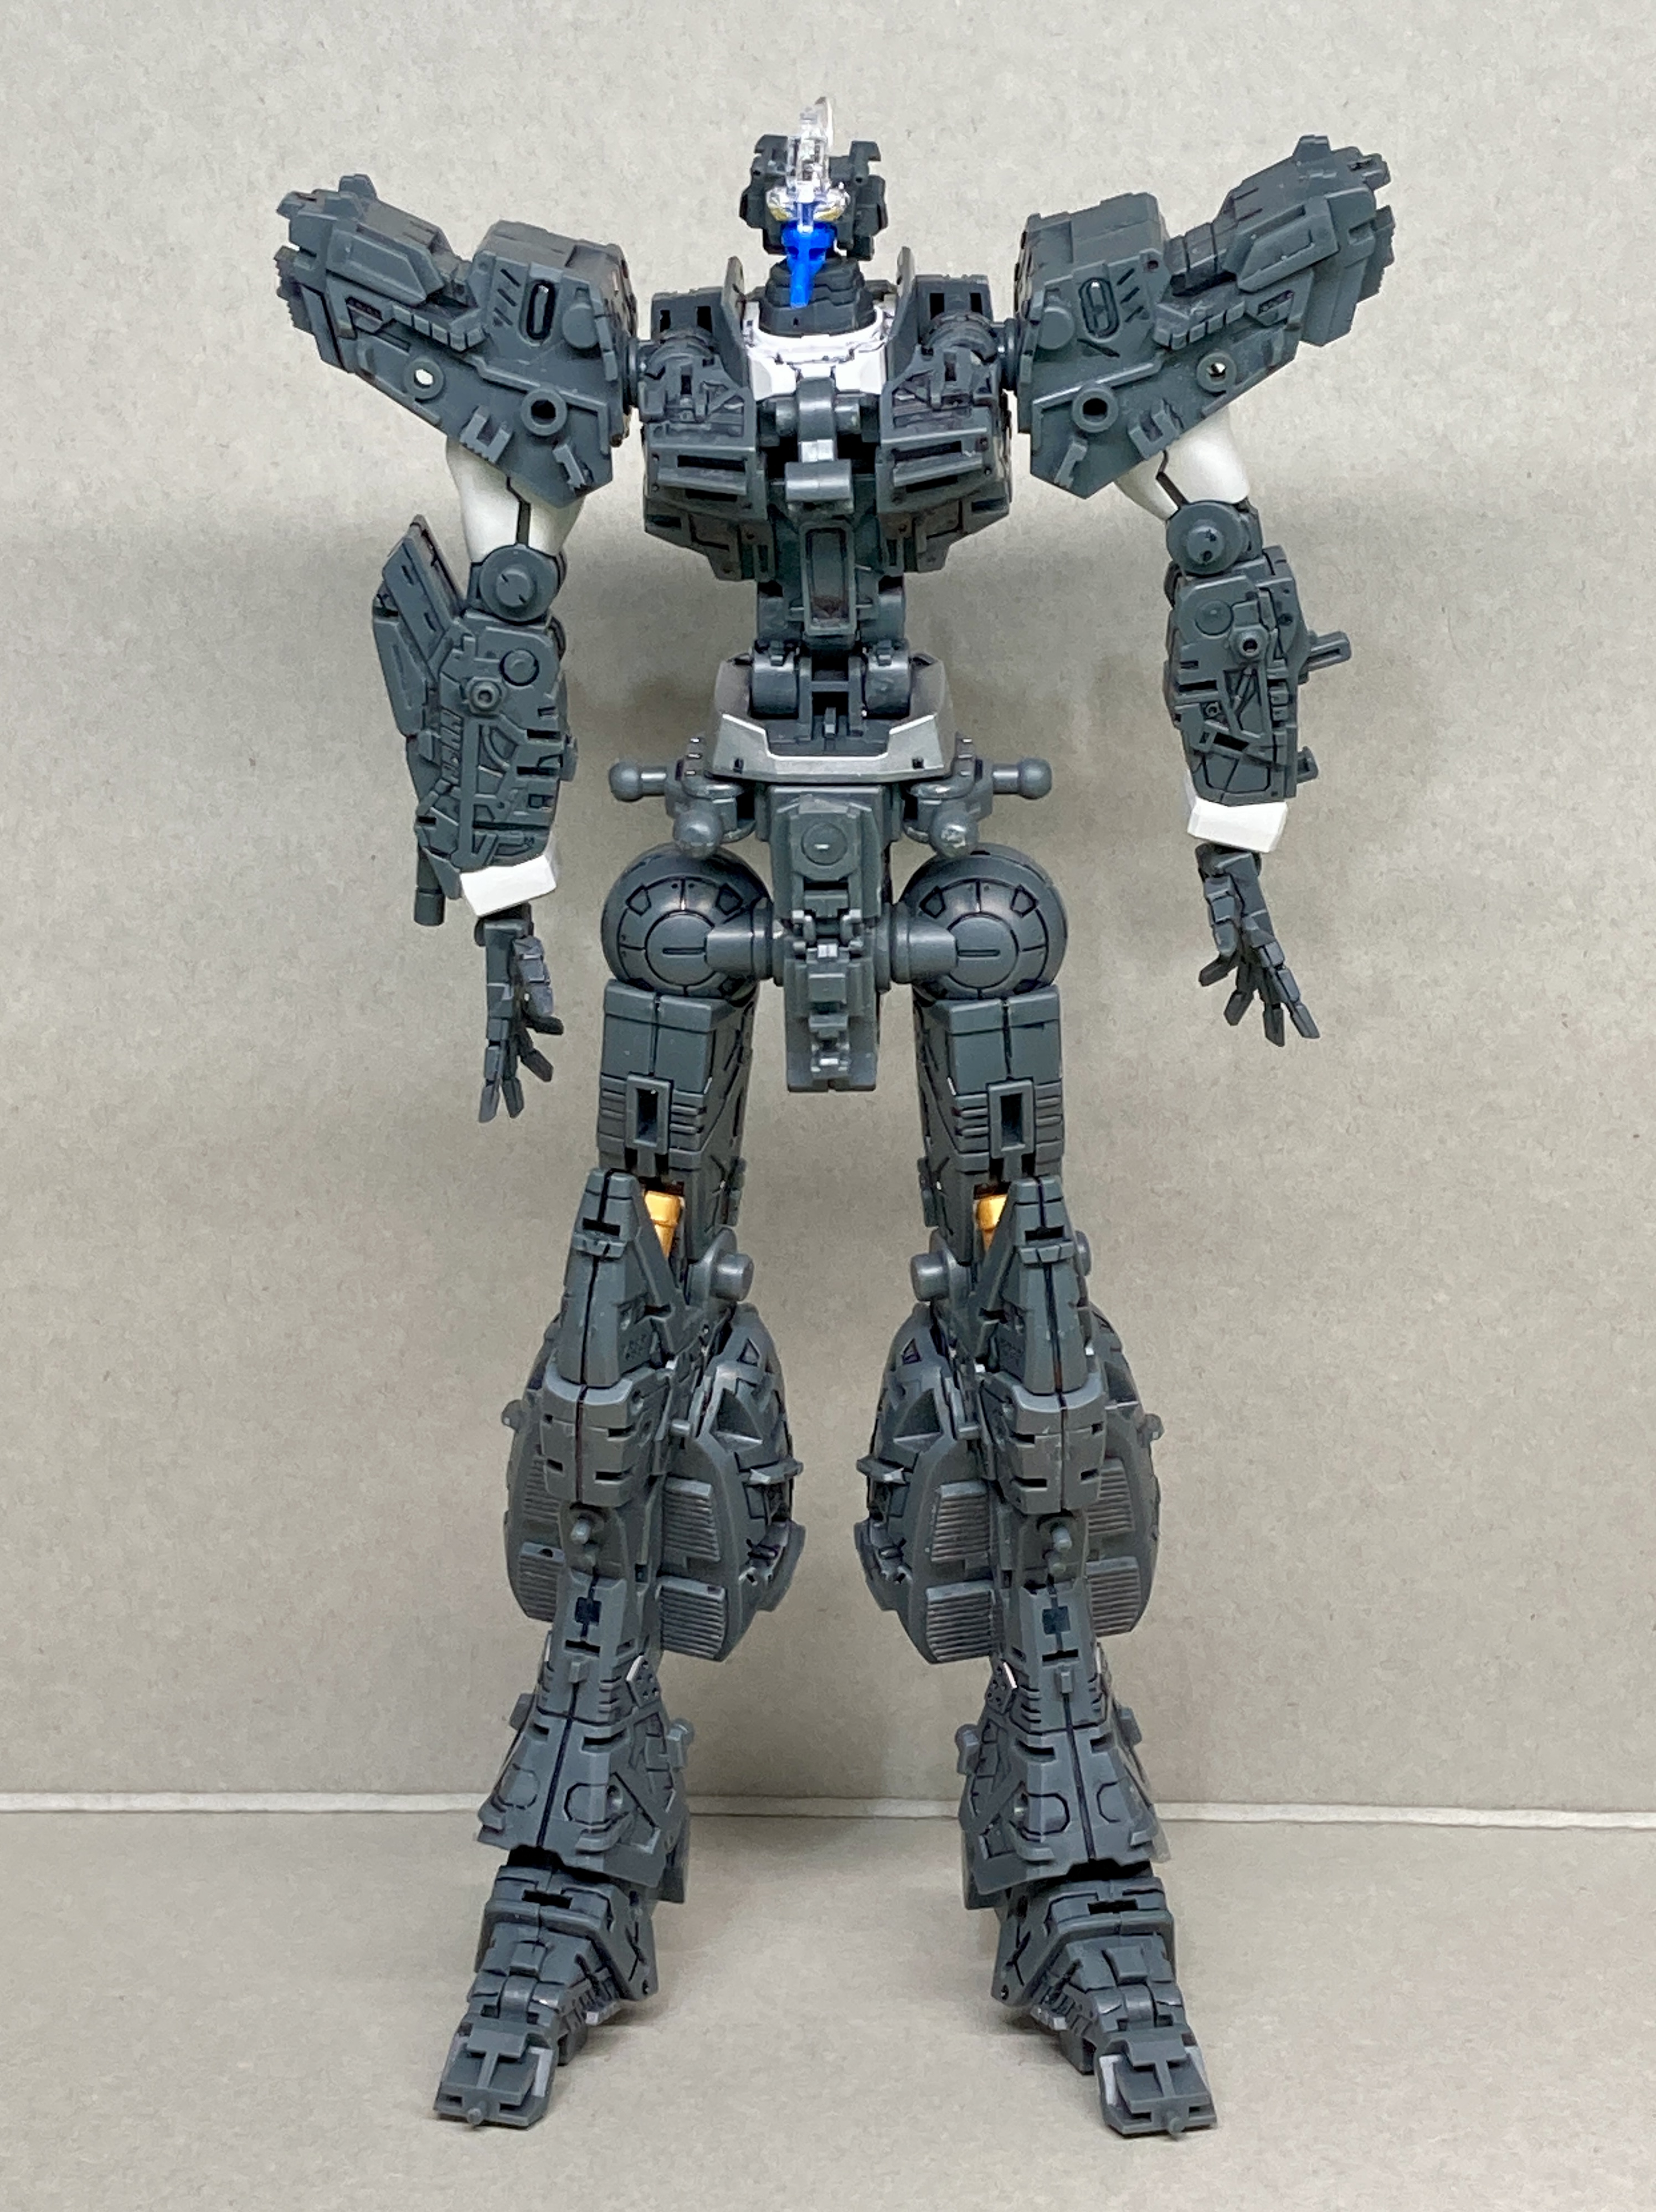
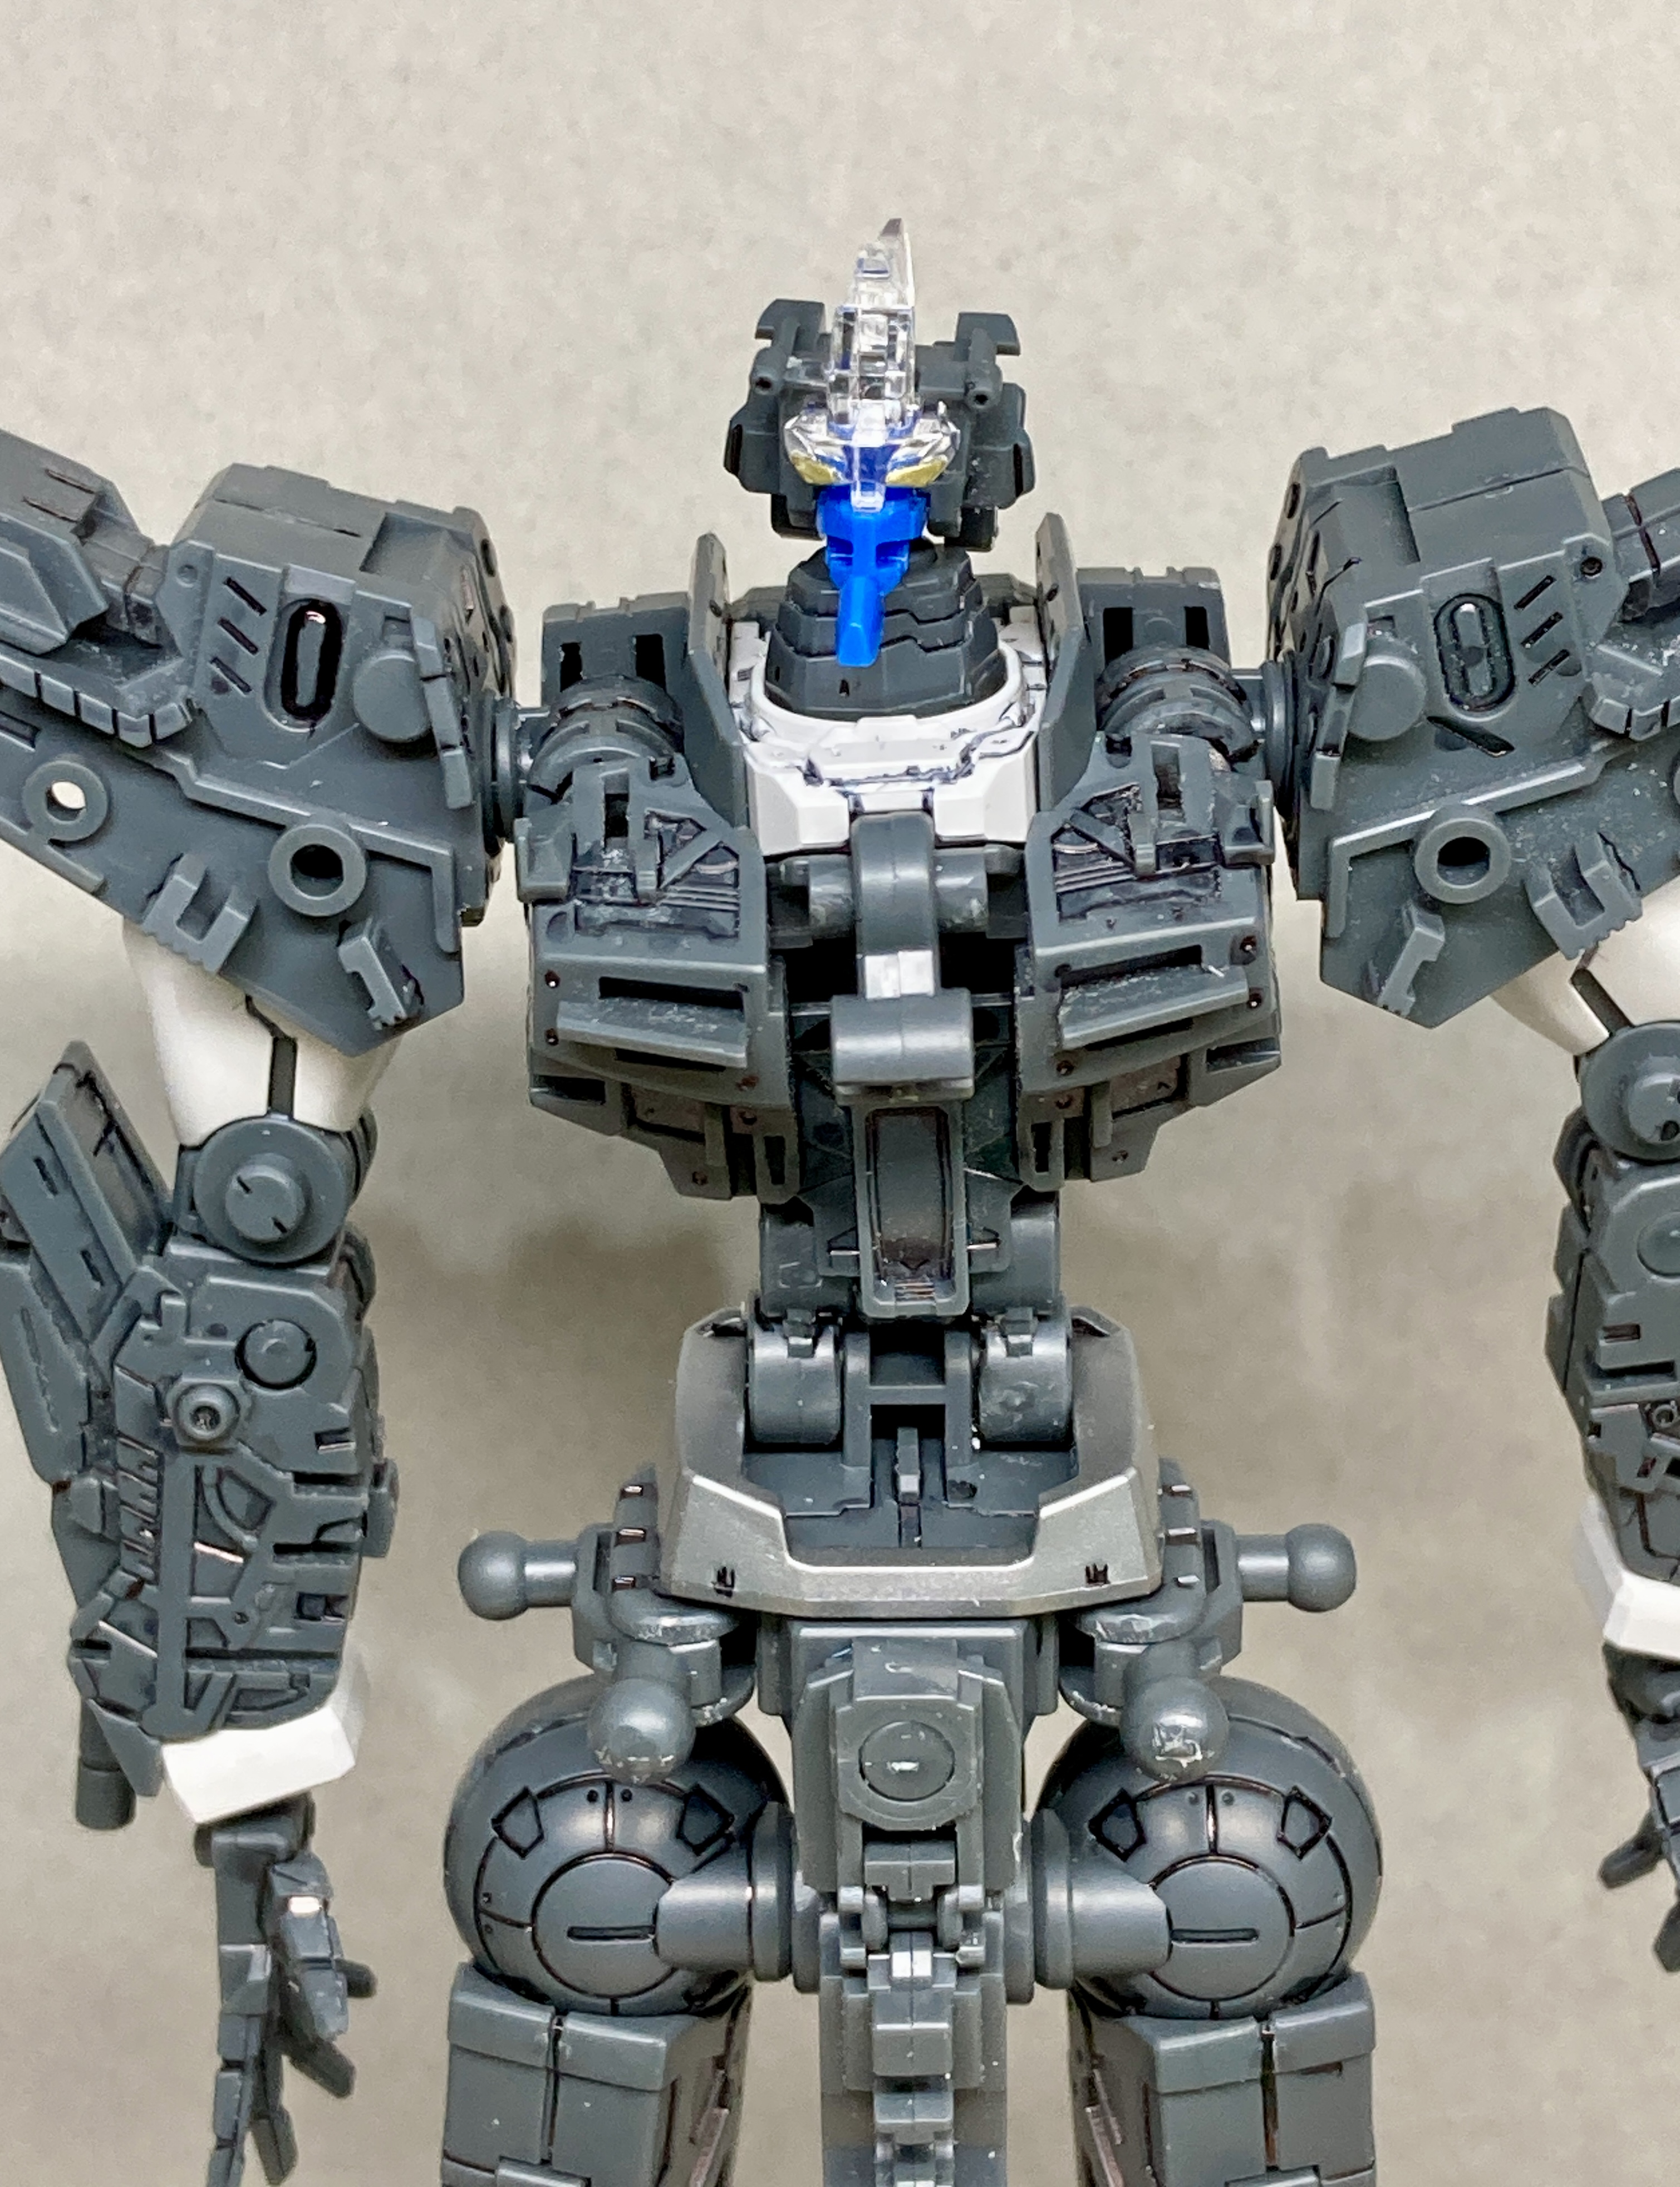
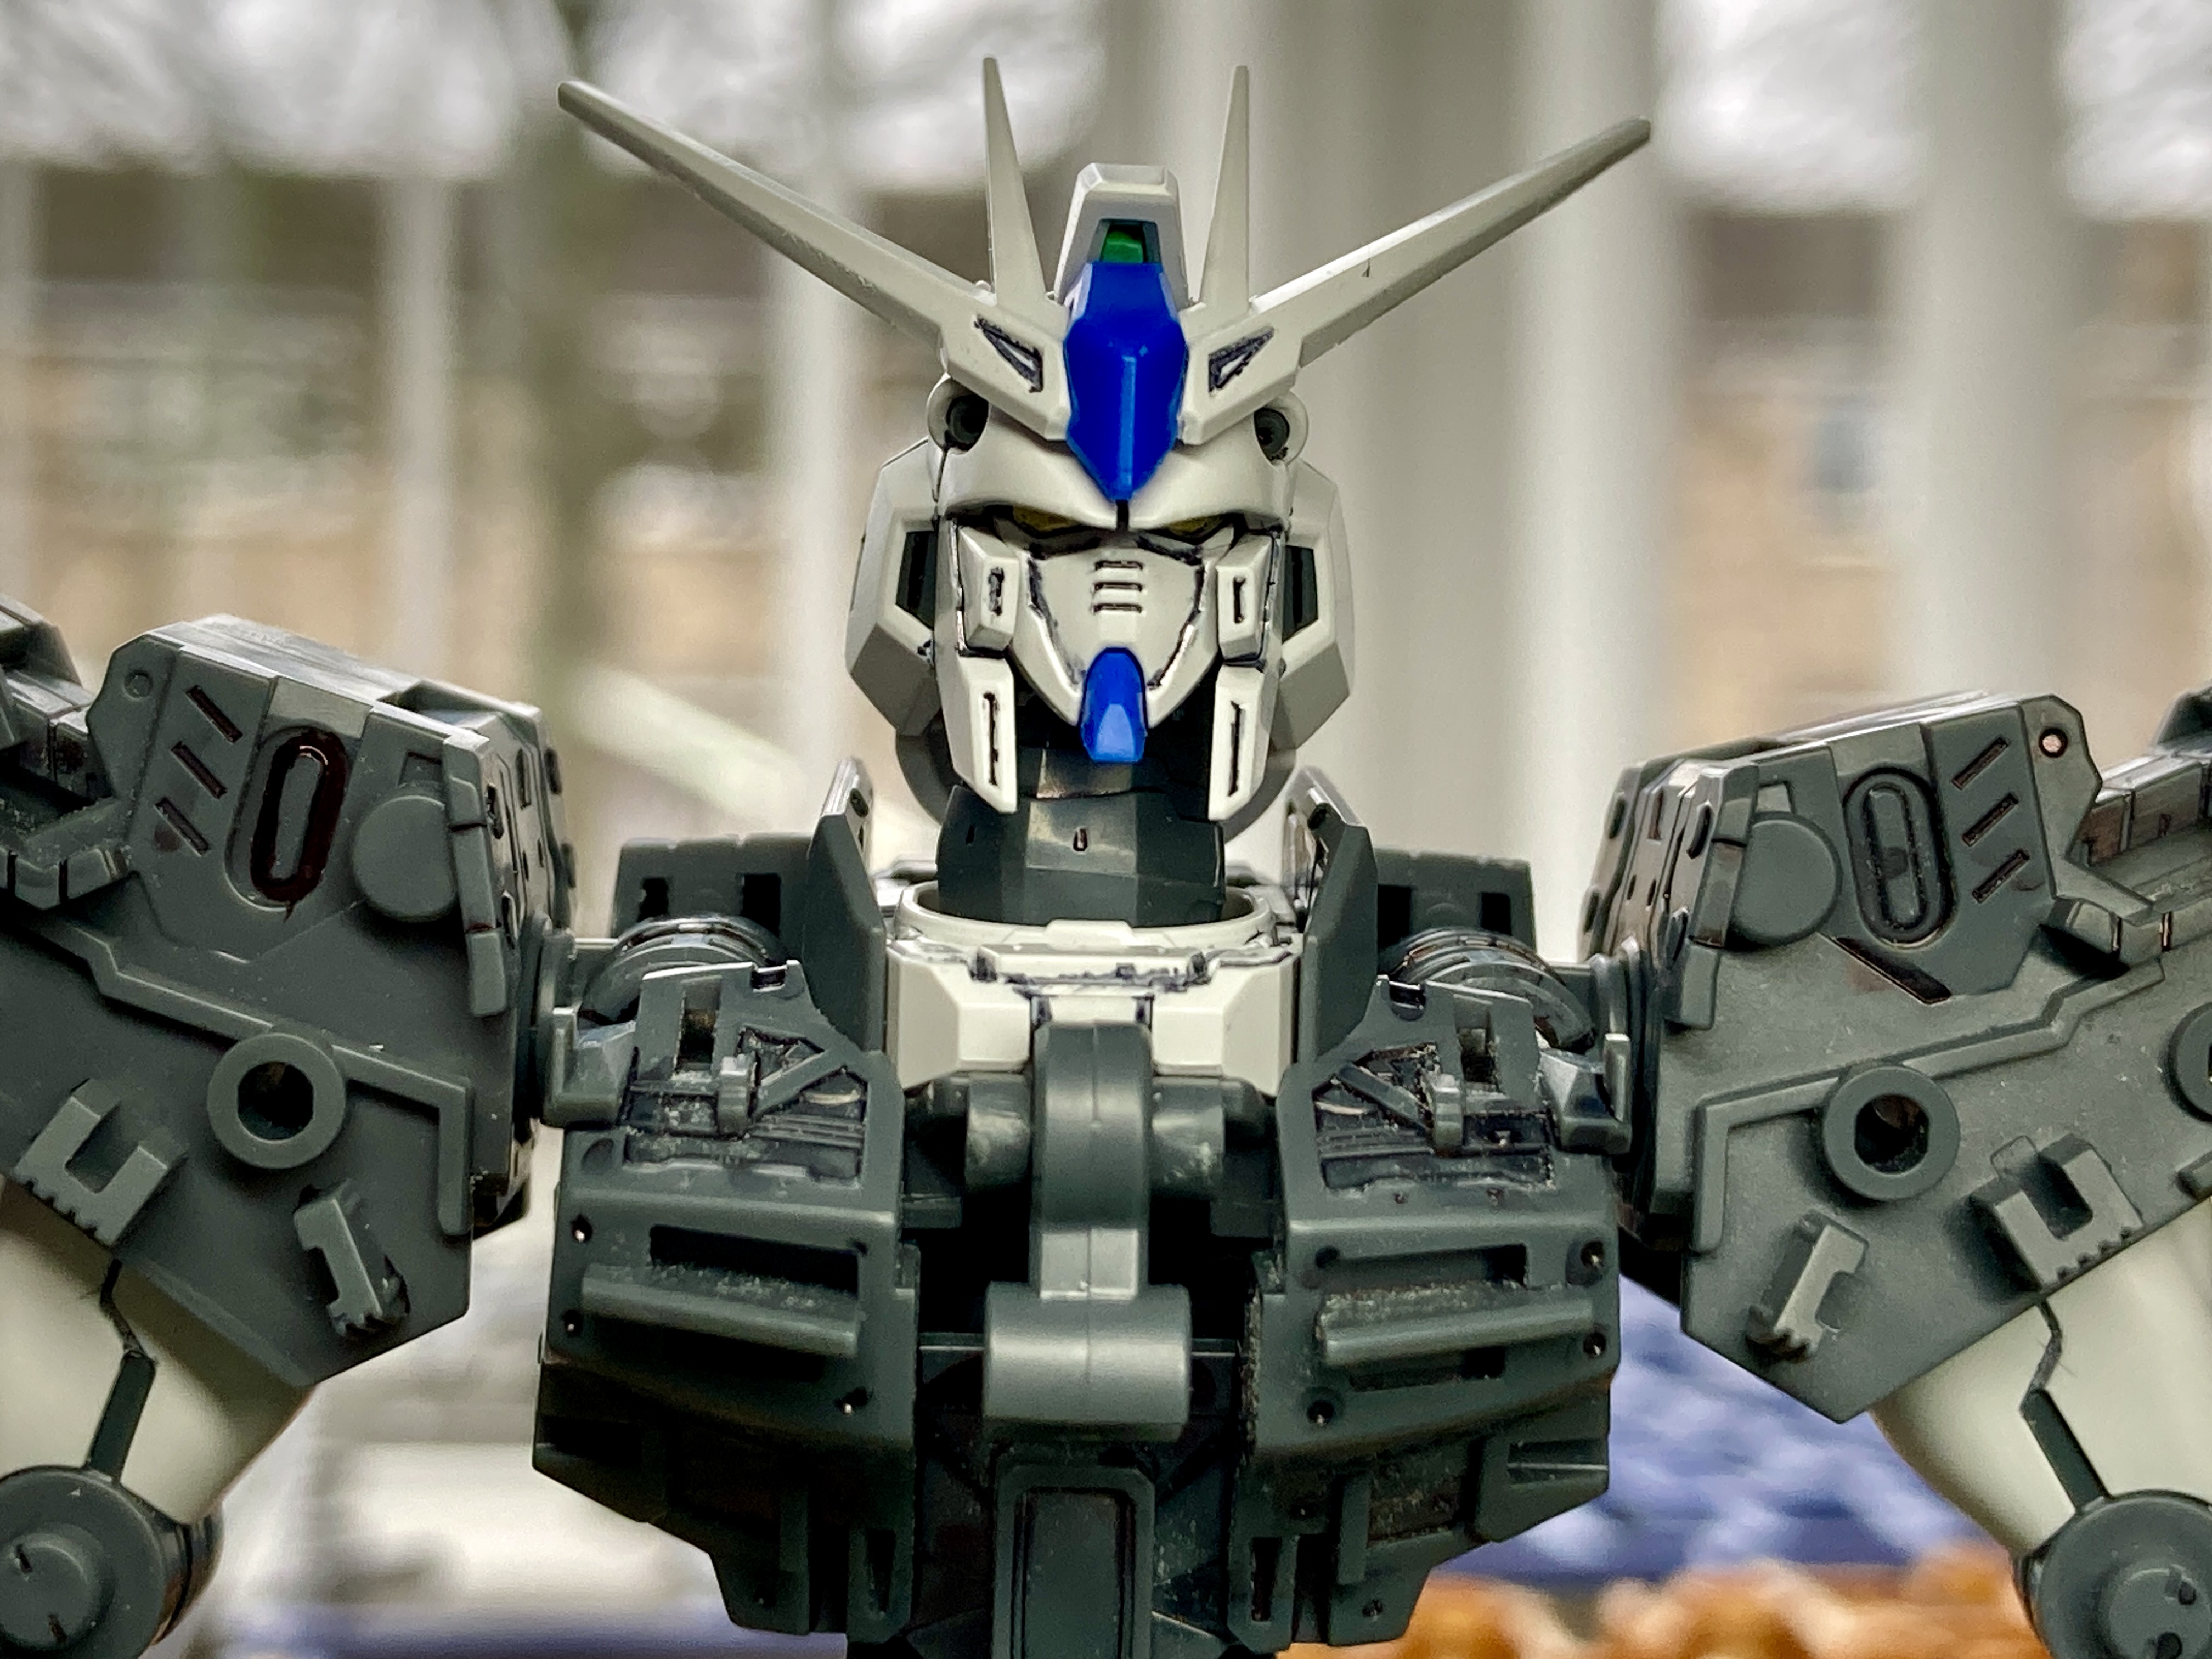
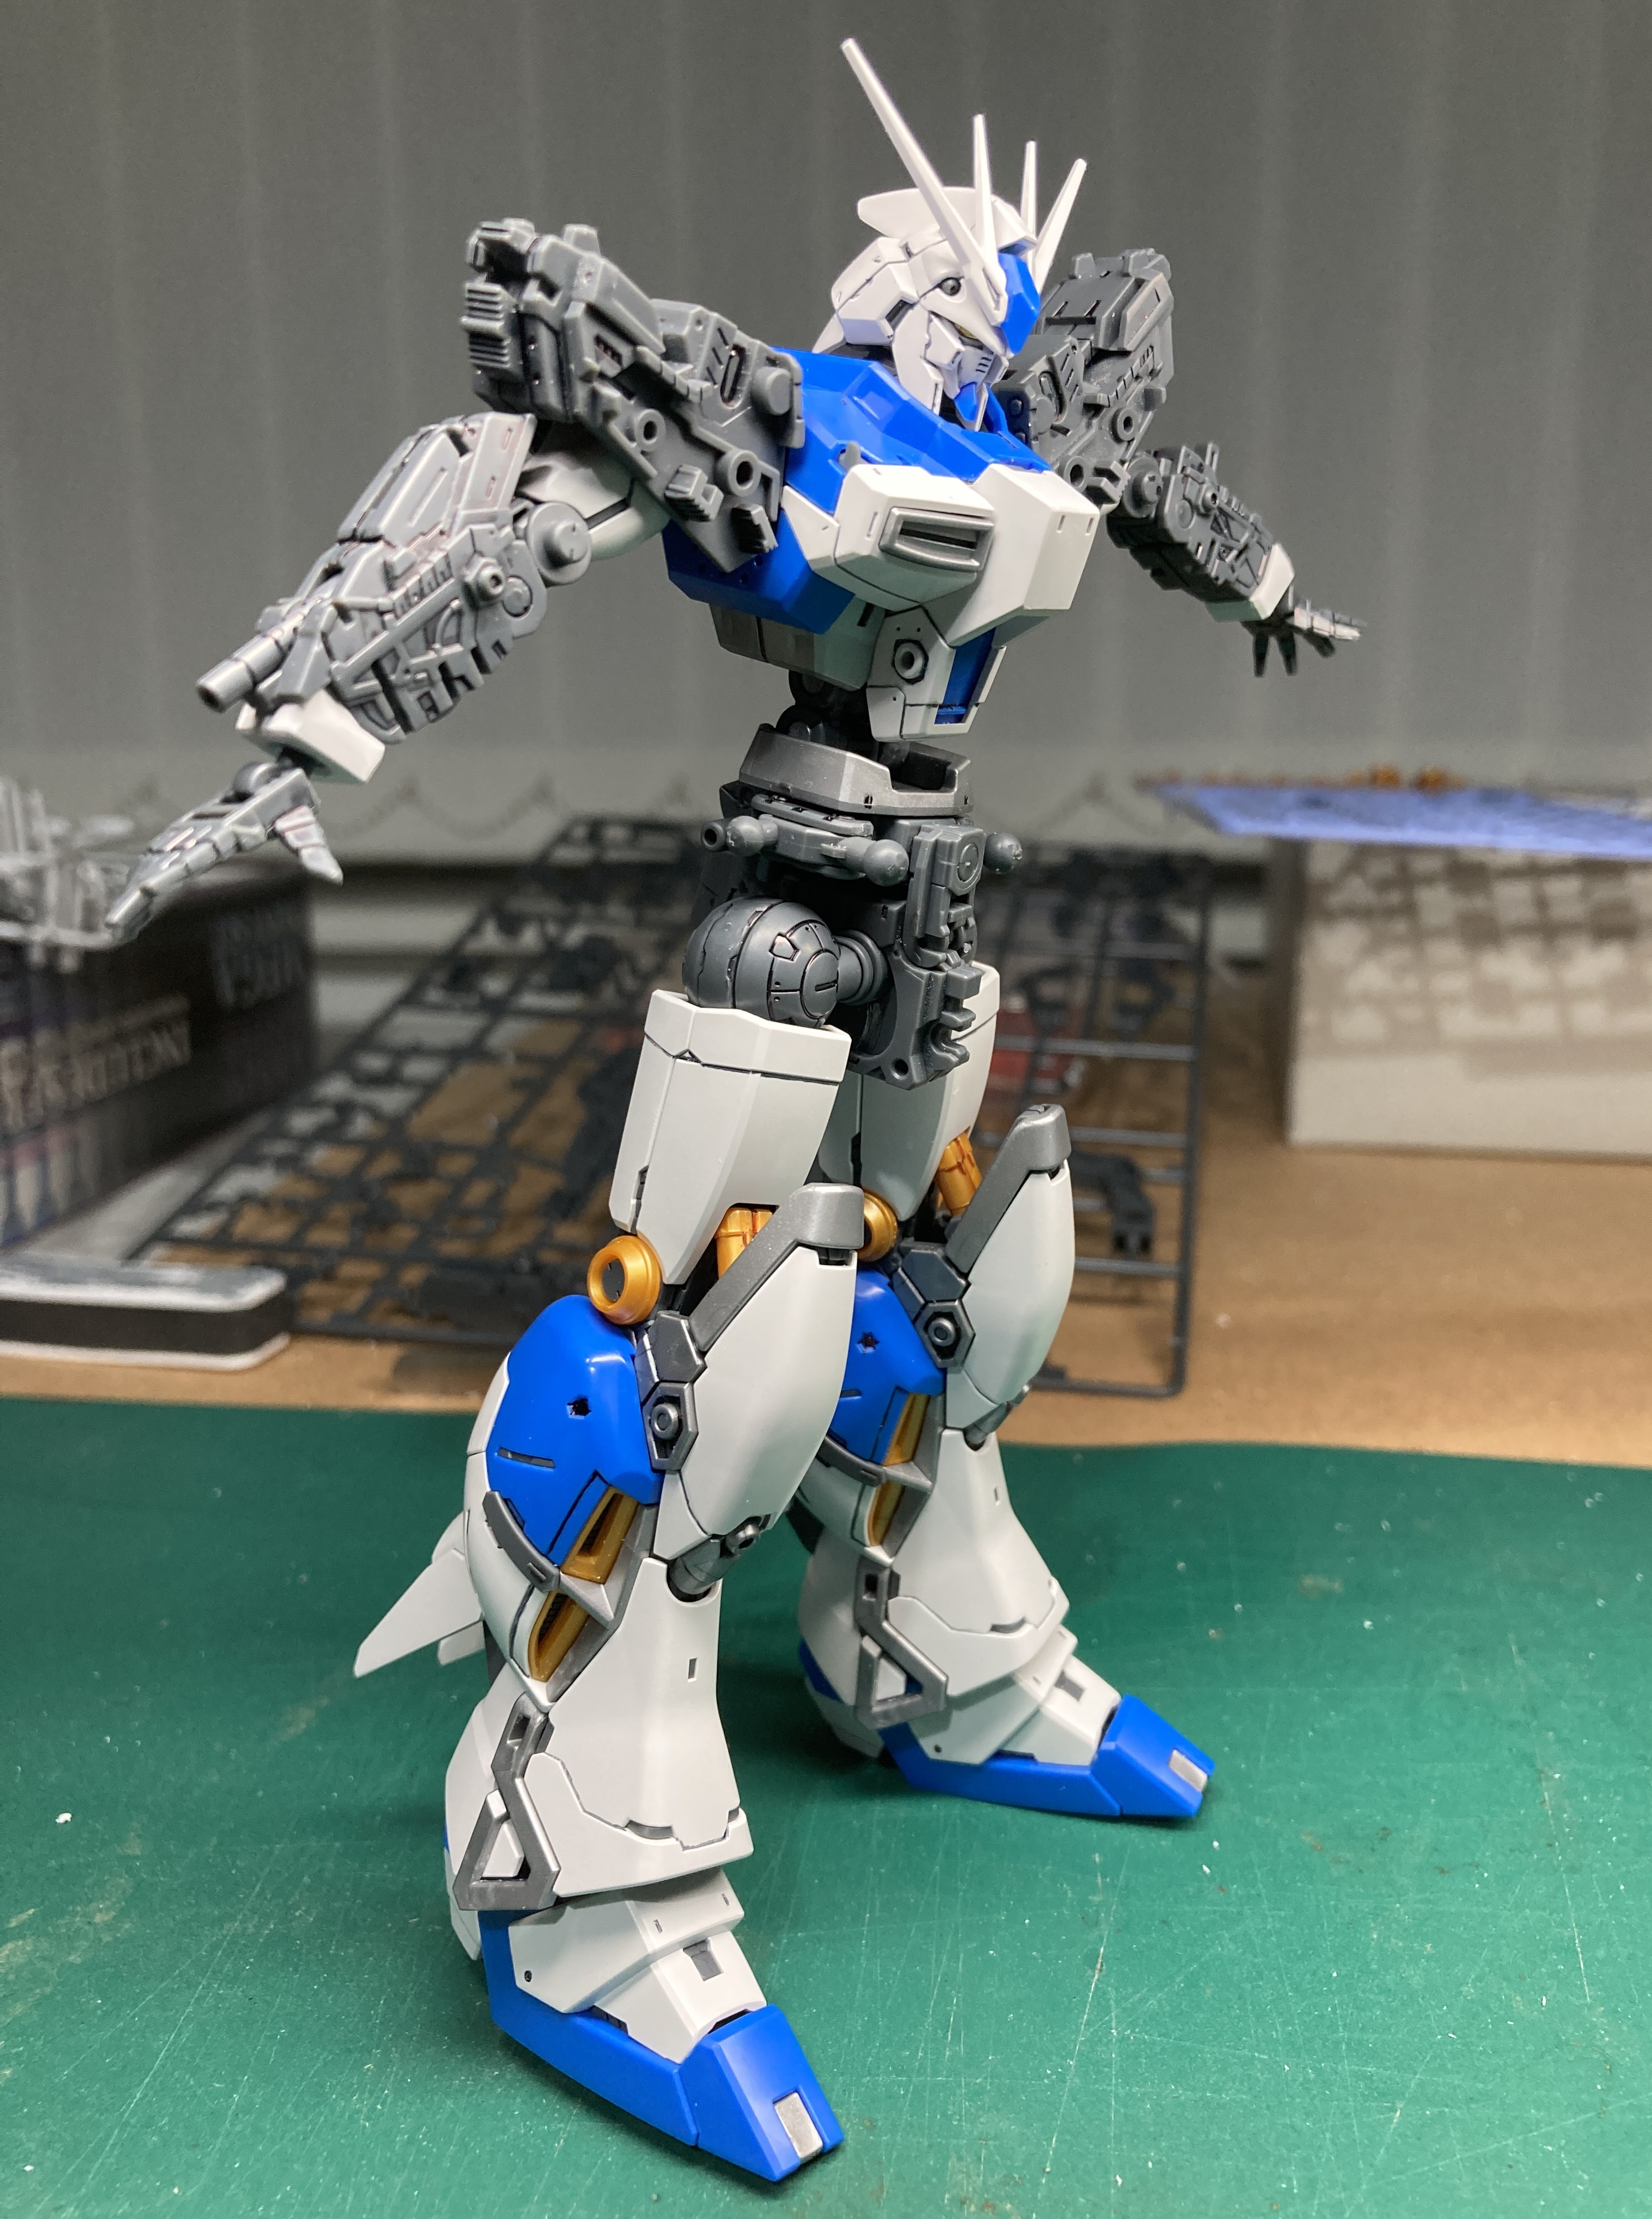
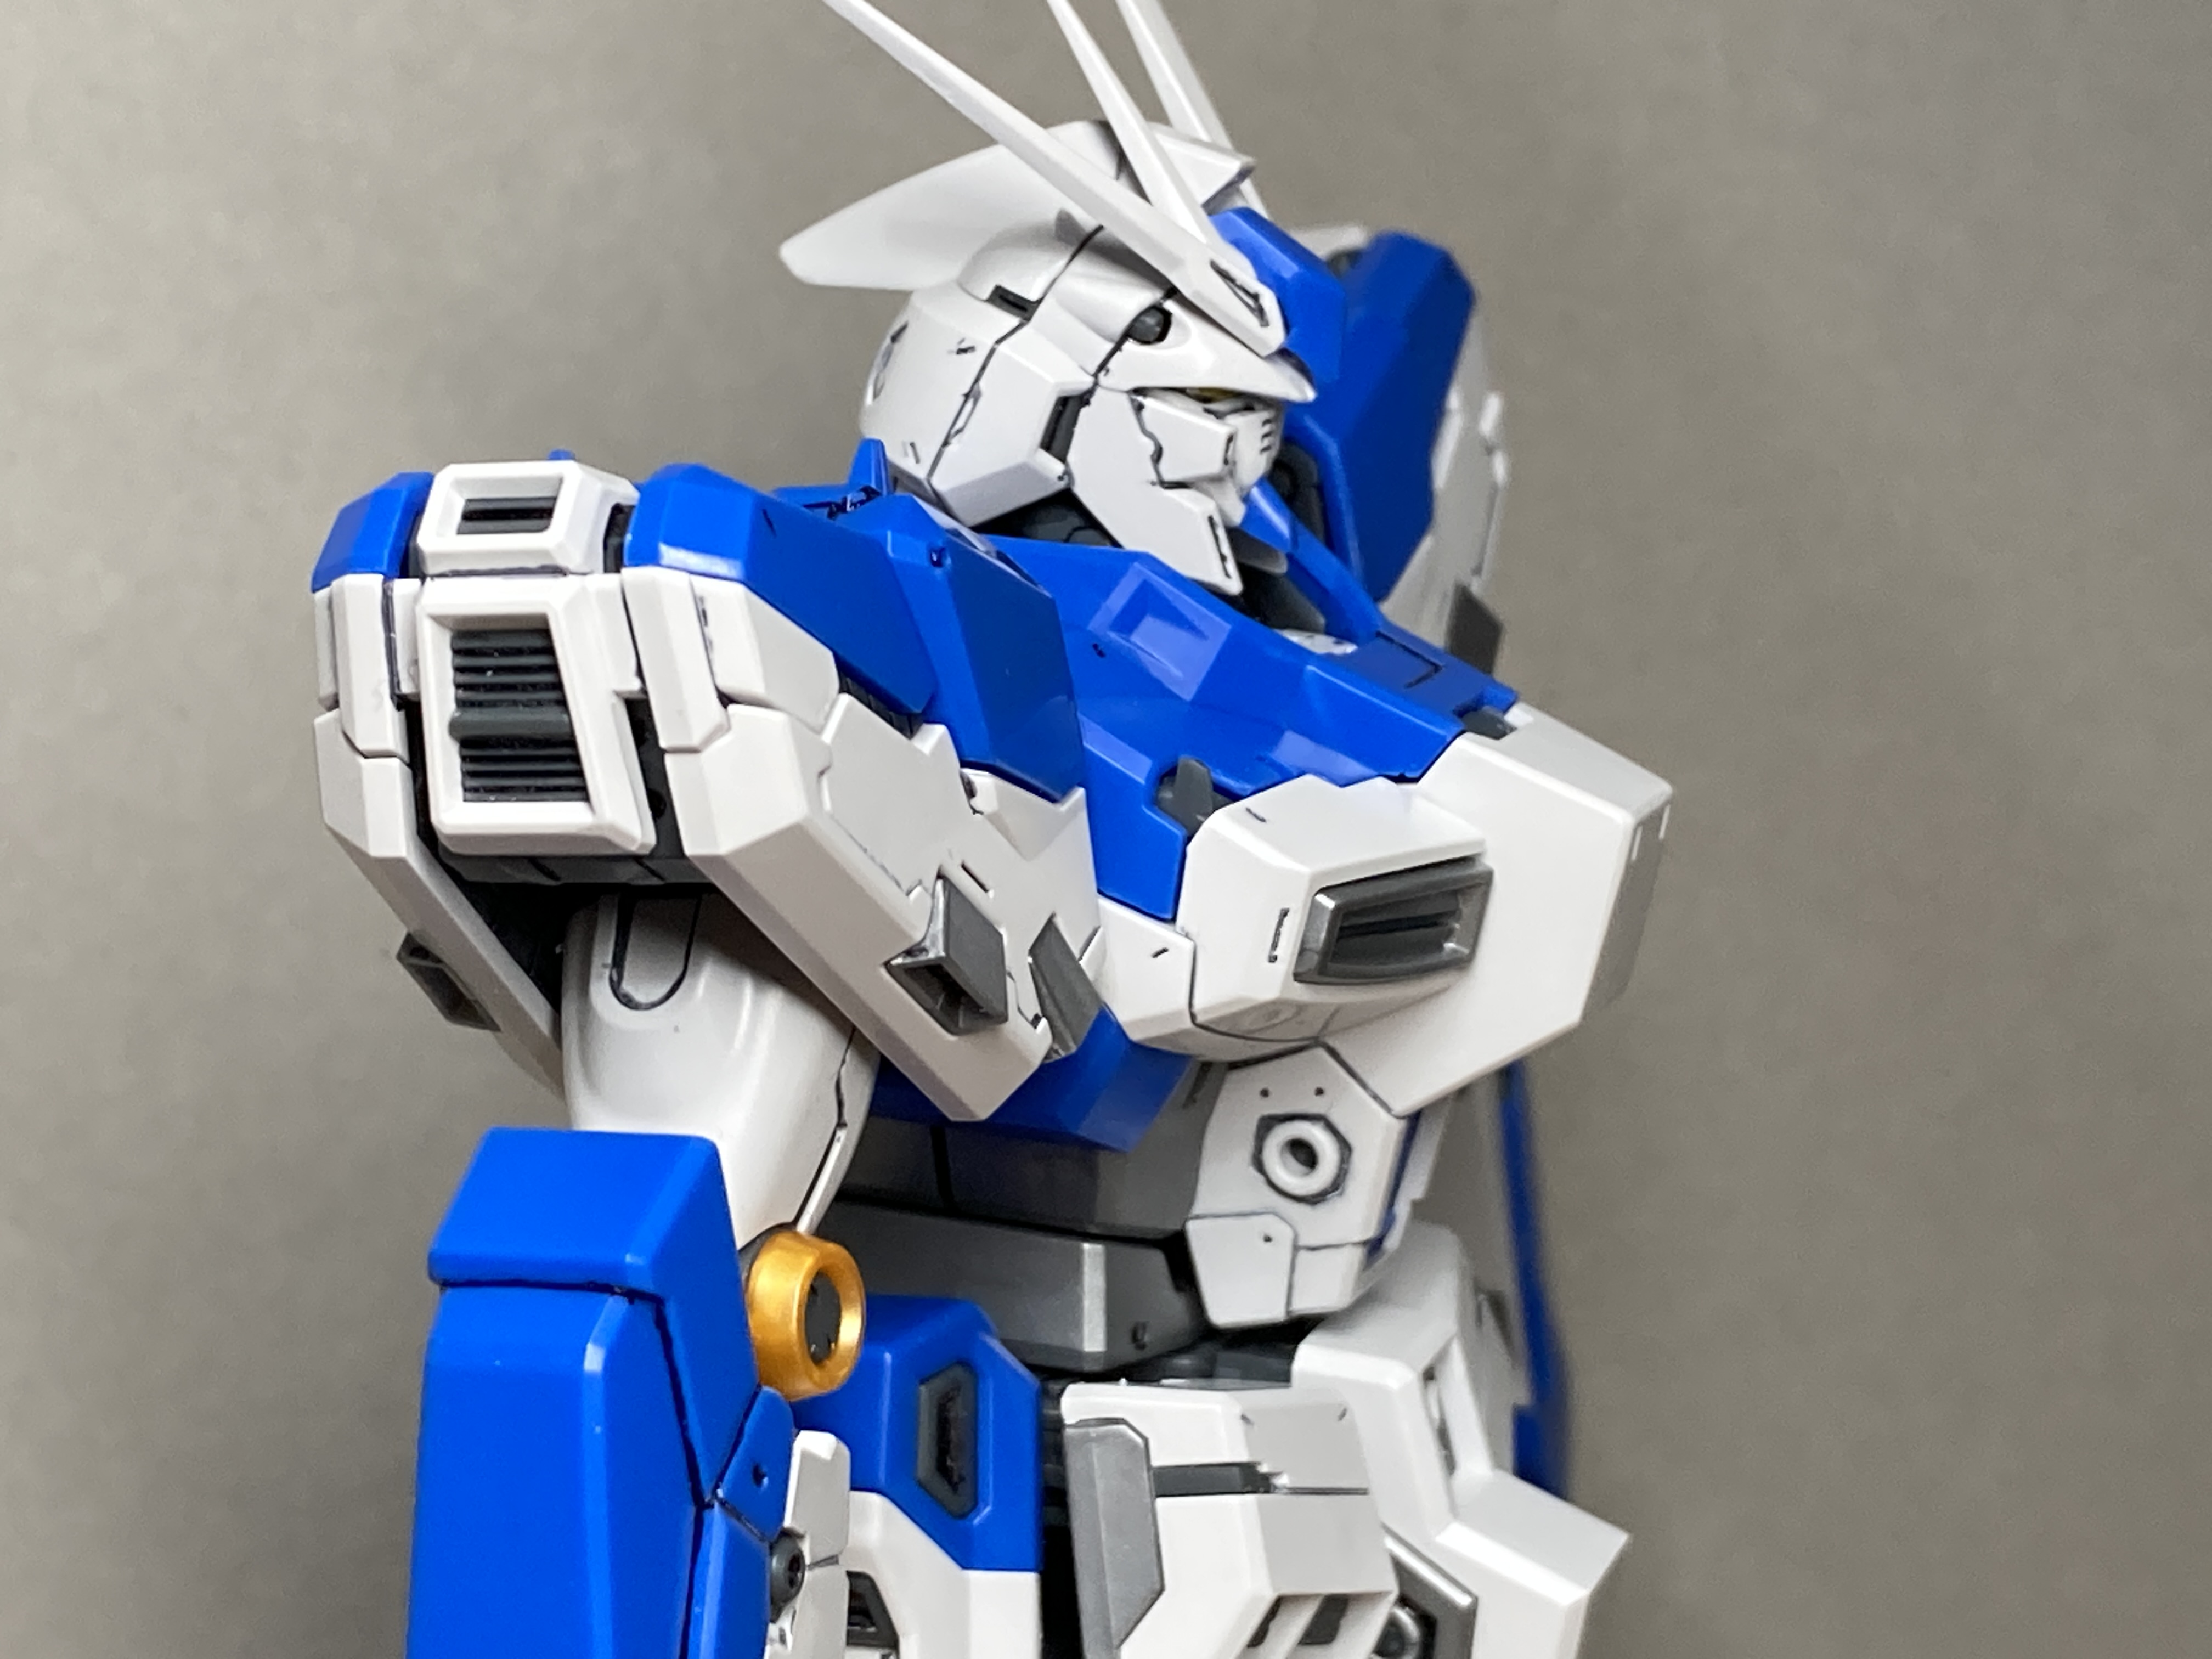
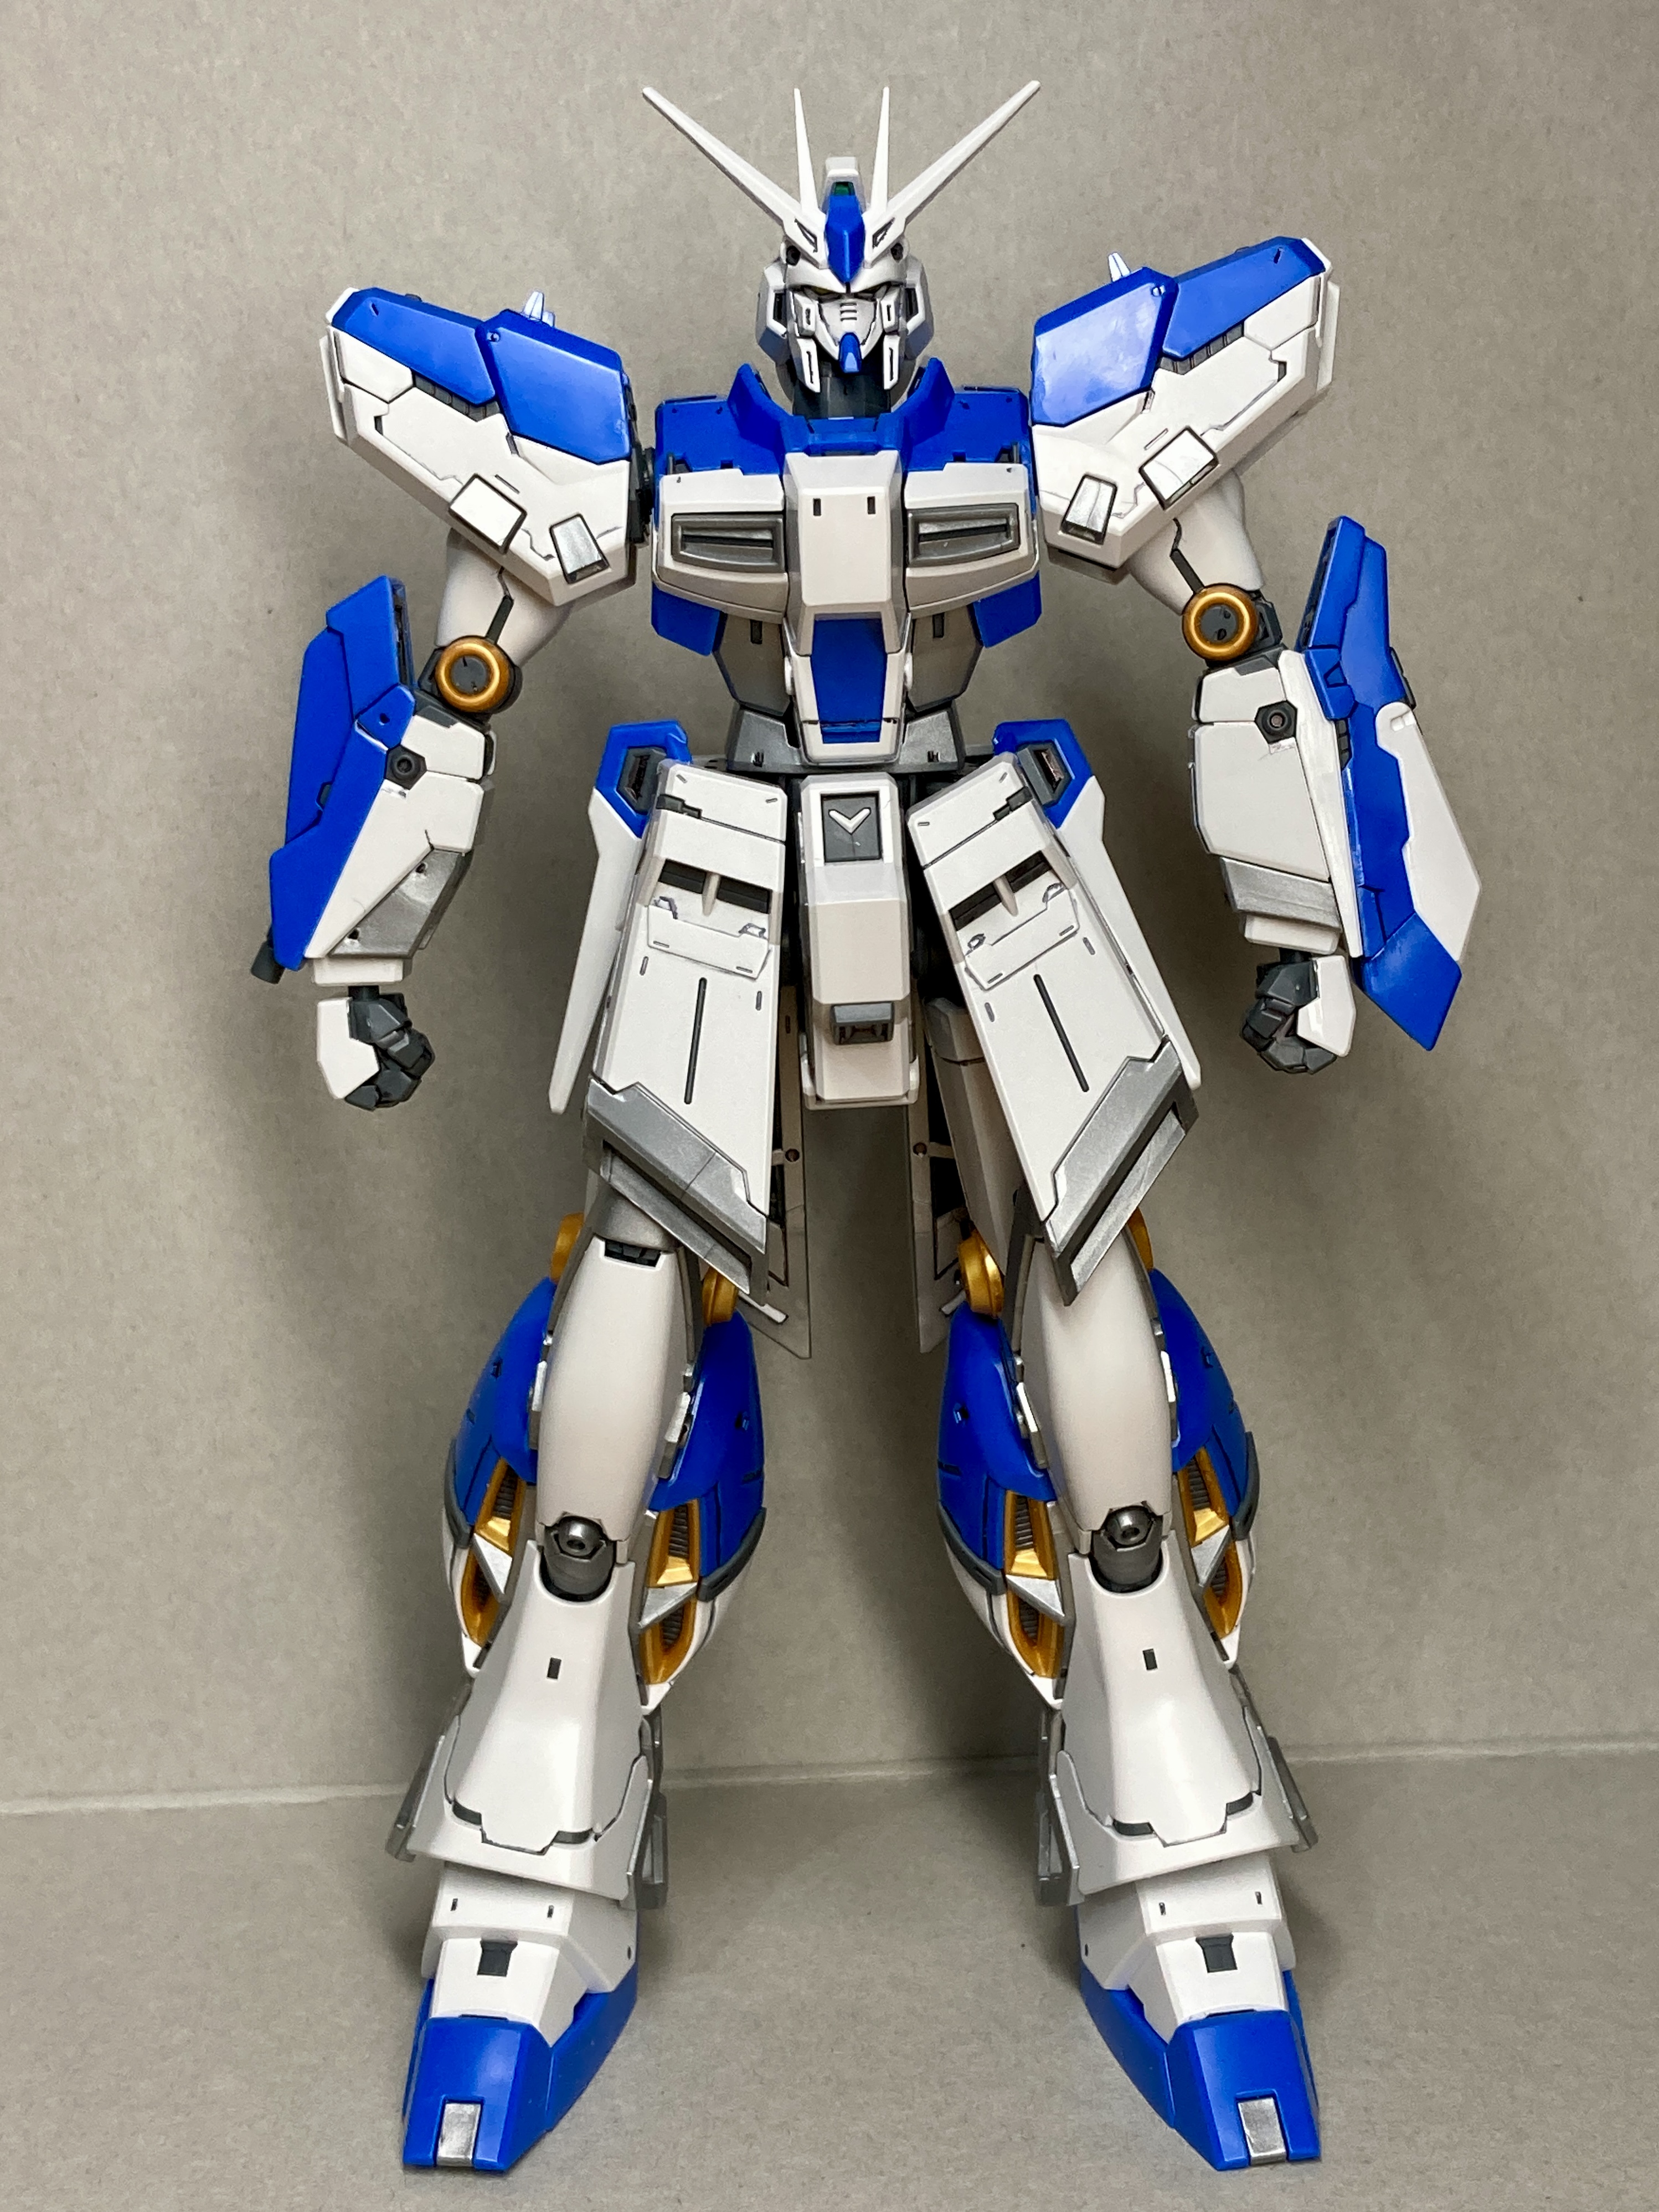
The Main Body Is Complete, But There’s Plenty Left

Looking at the pictures of the complete model on the box and in the instruction booklet I was a little puzzled by the gap I had between the chest and the waist. I then realised there was a double joint I had forgotten to fold. Moving these into place and all was well. Oops.
So with that corrected the arms and shoulders were completed. The large pod of the left arm contains a beam sabre, while the right arm contains a gun.

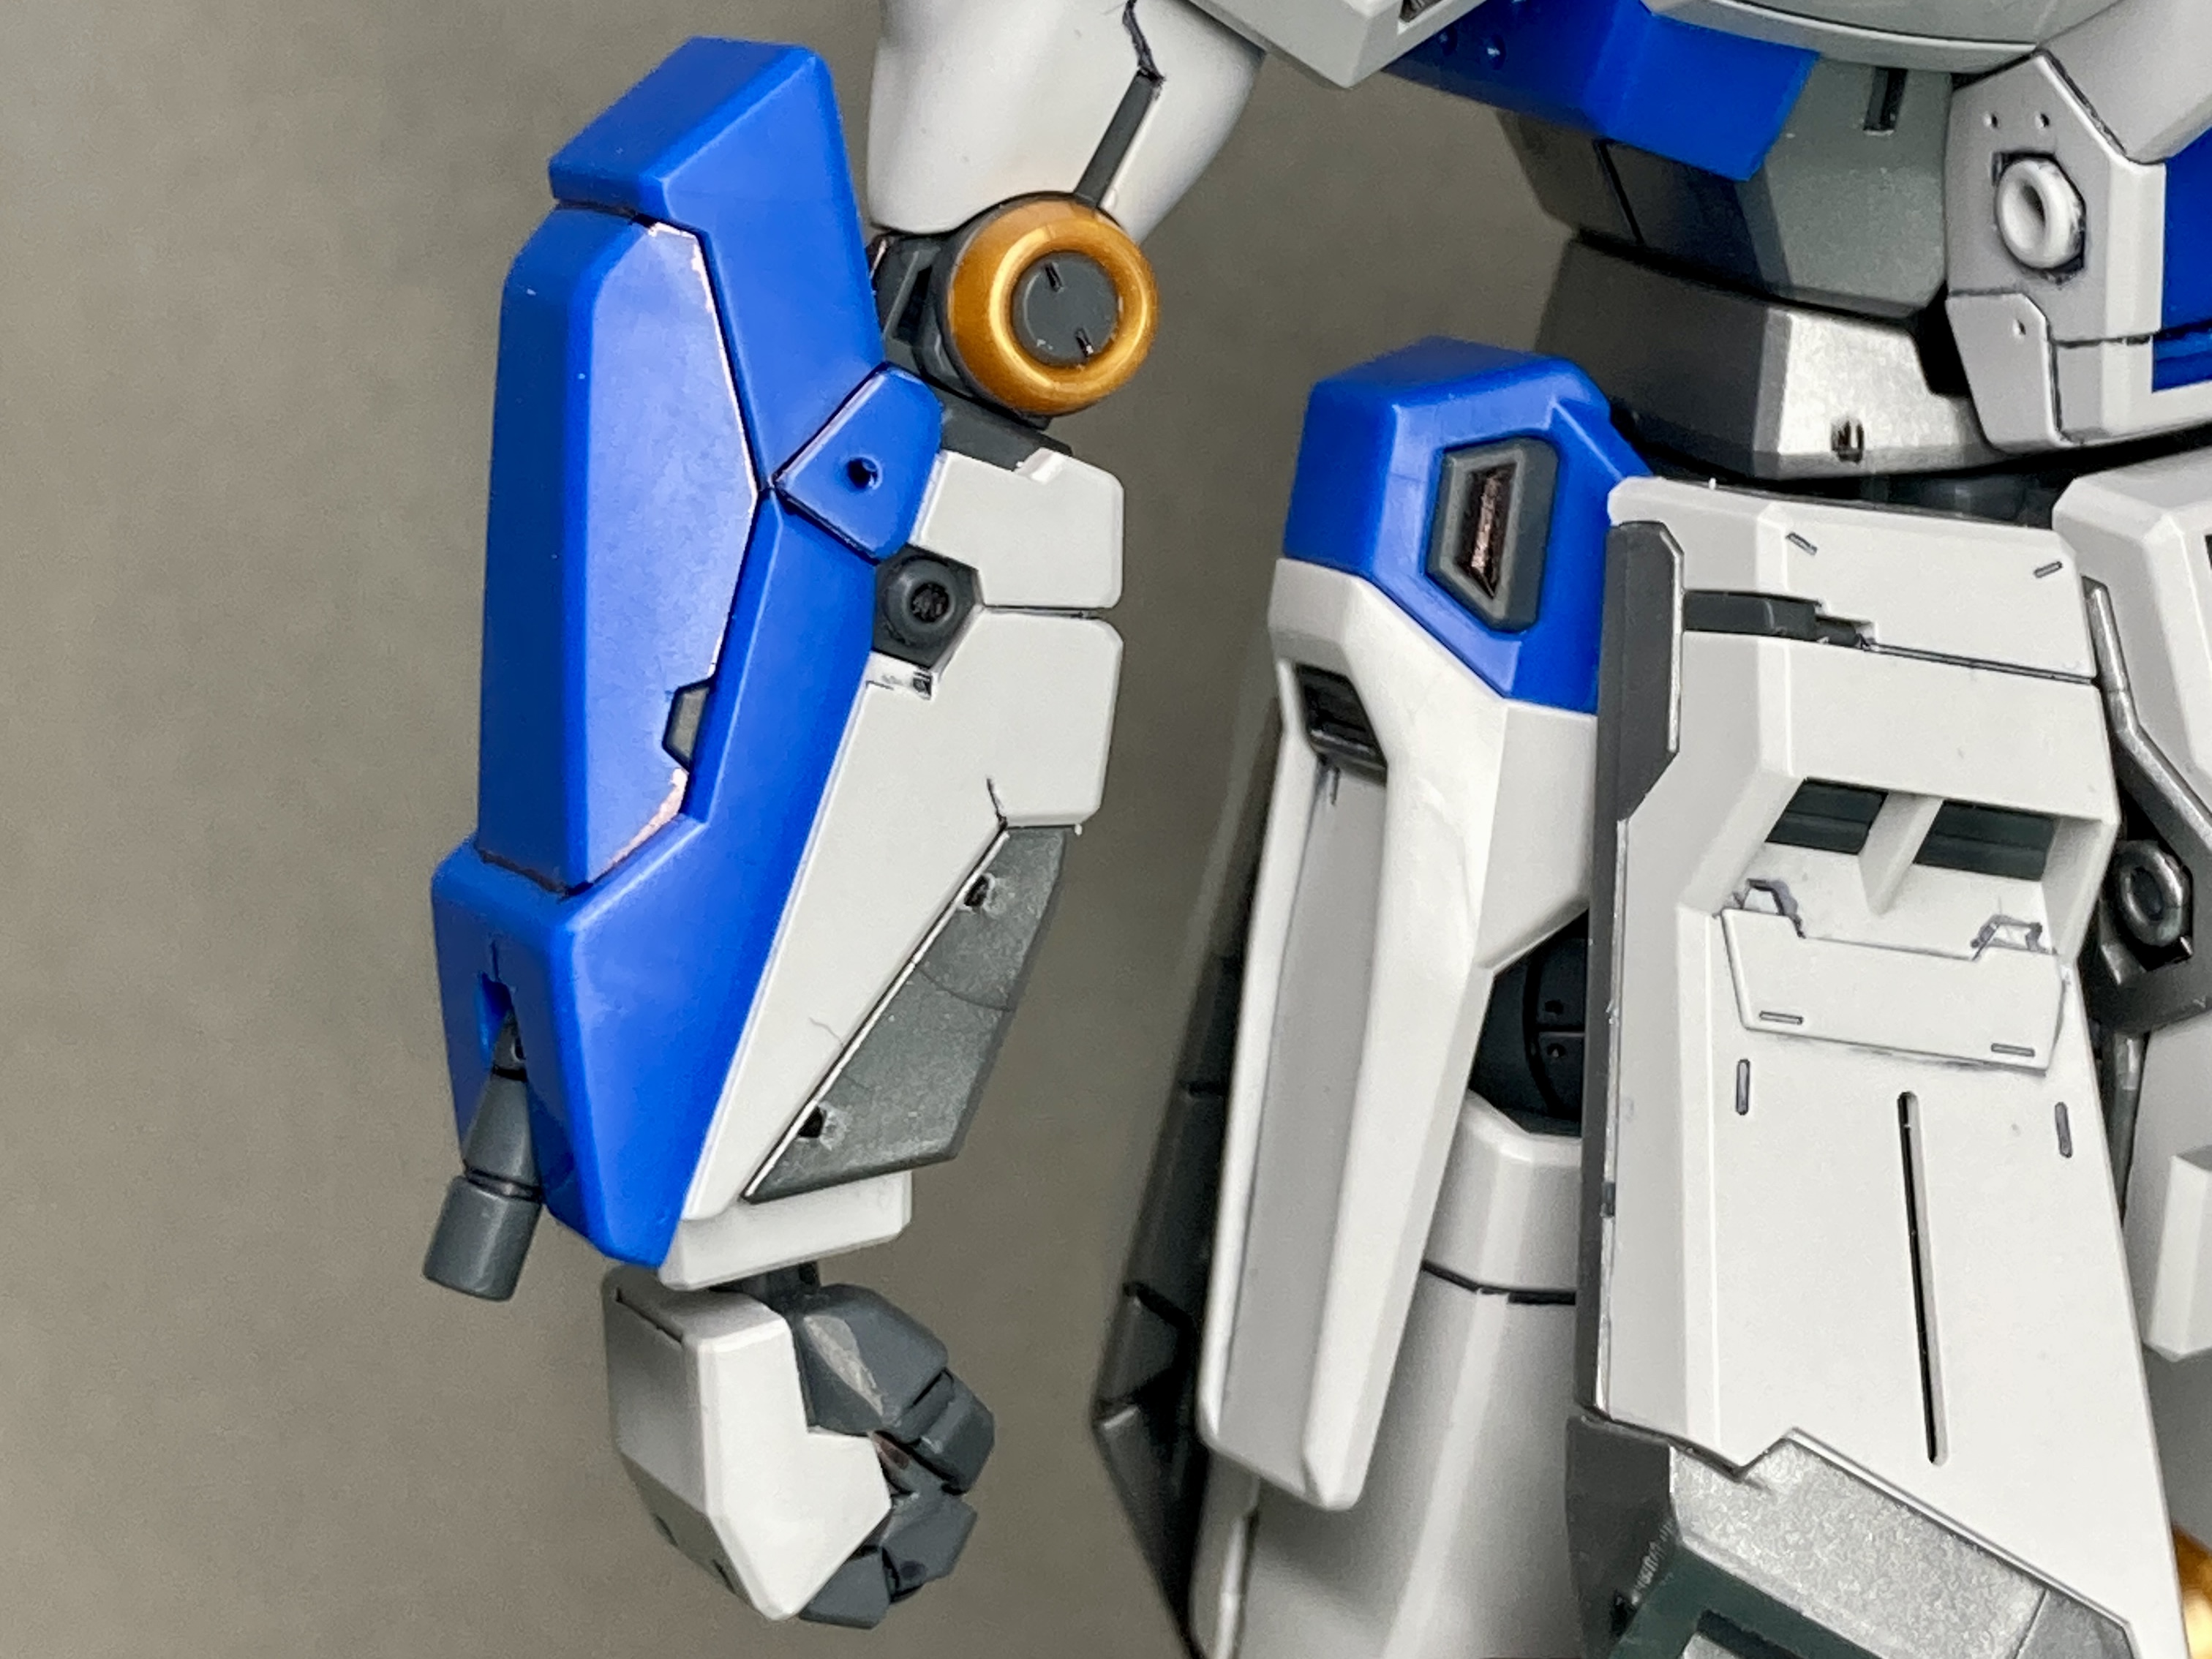
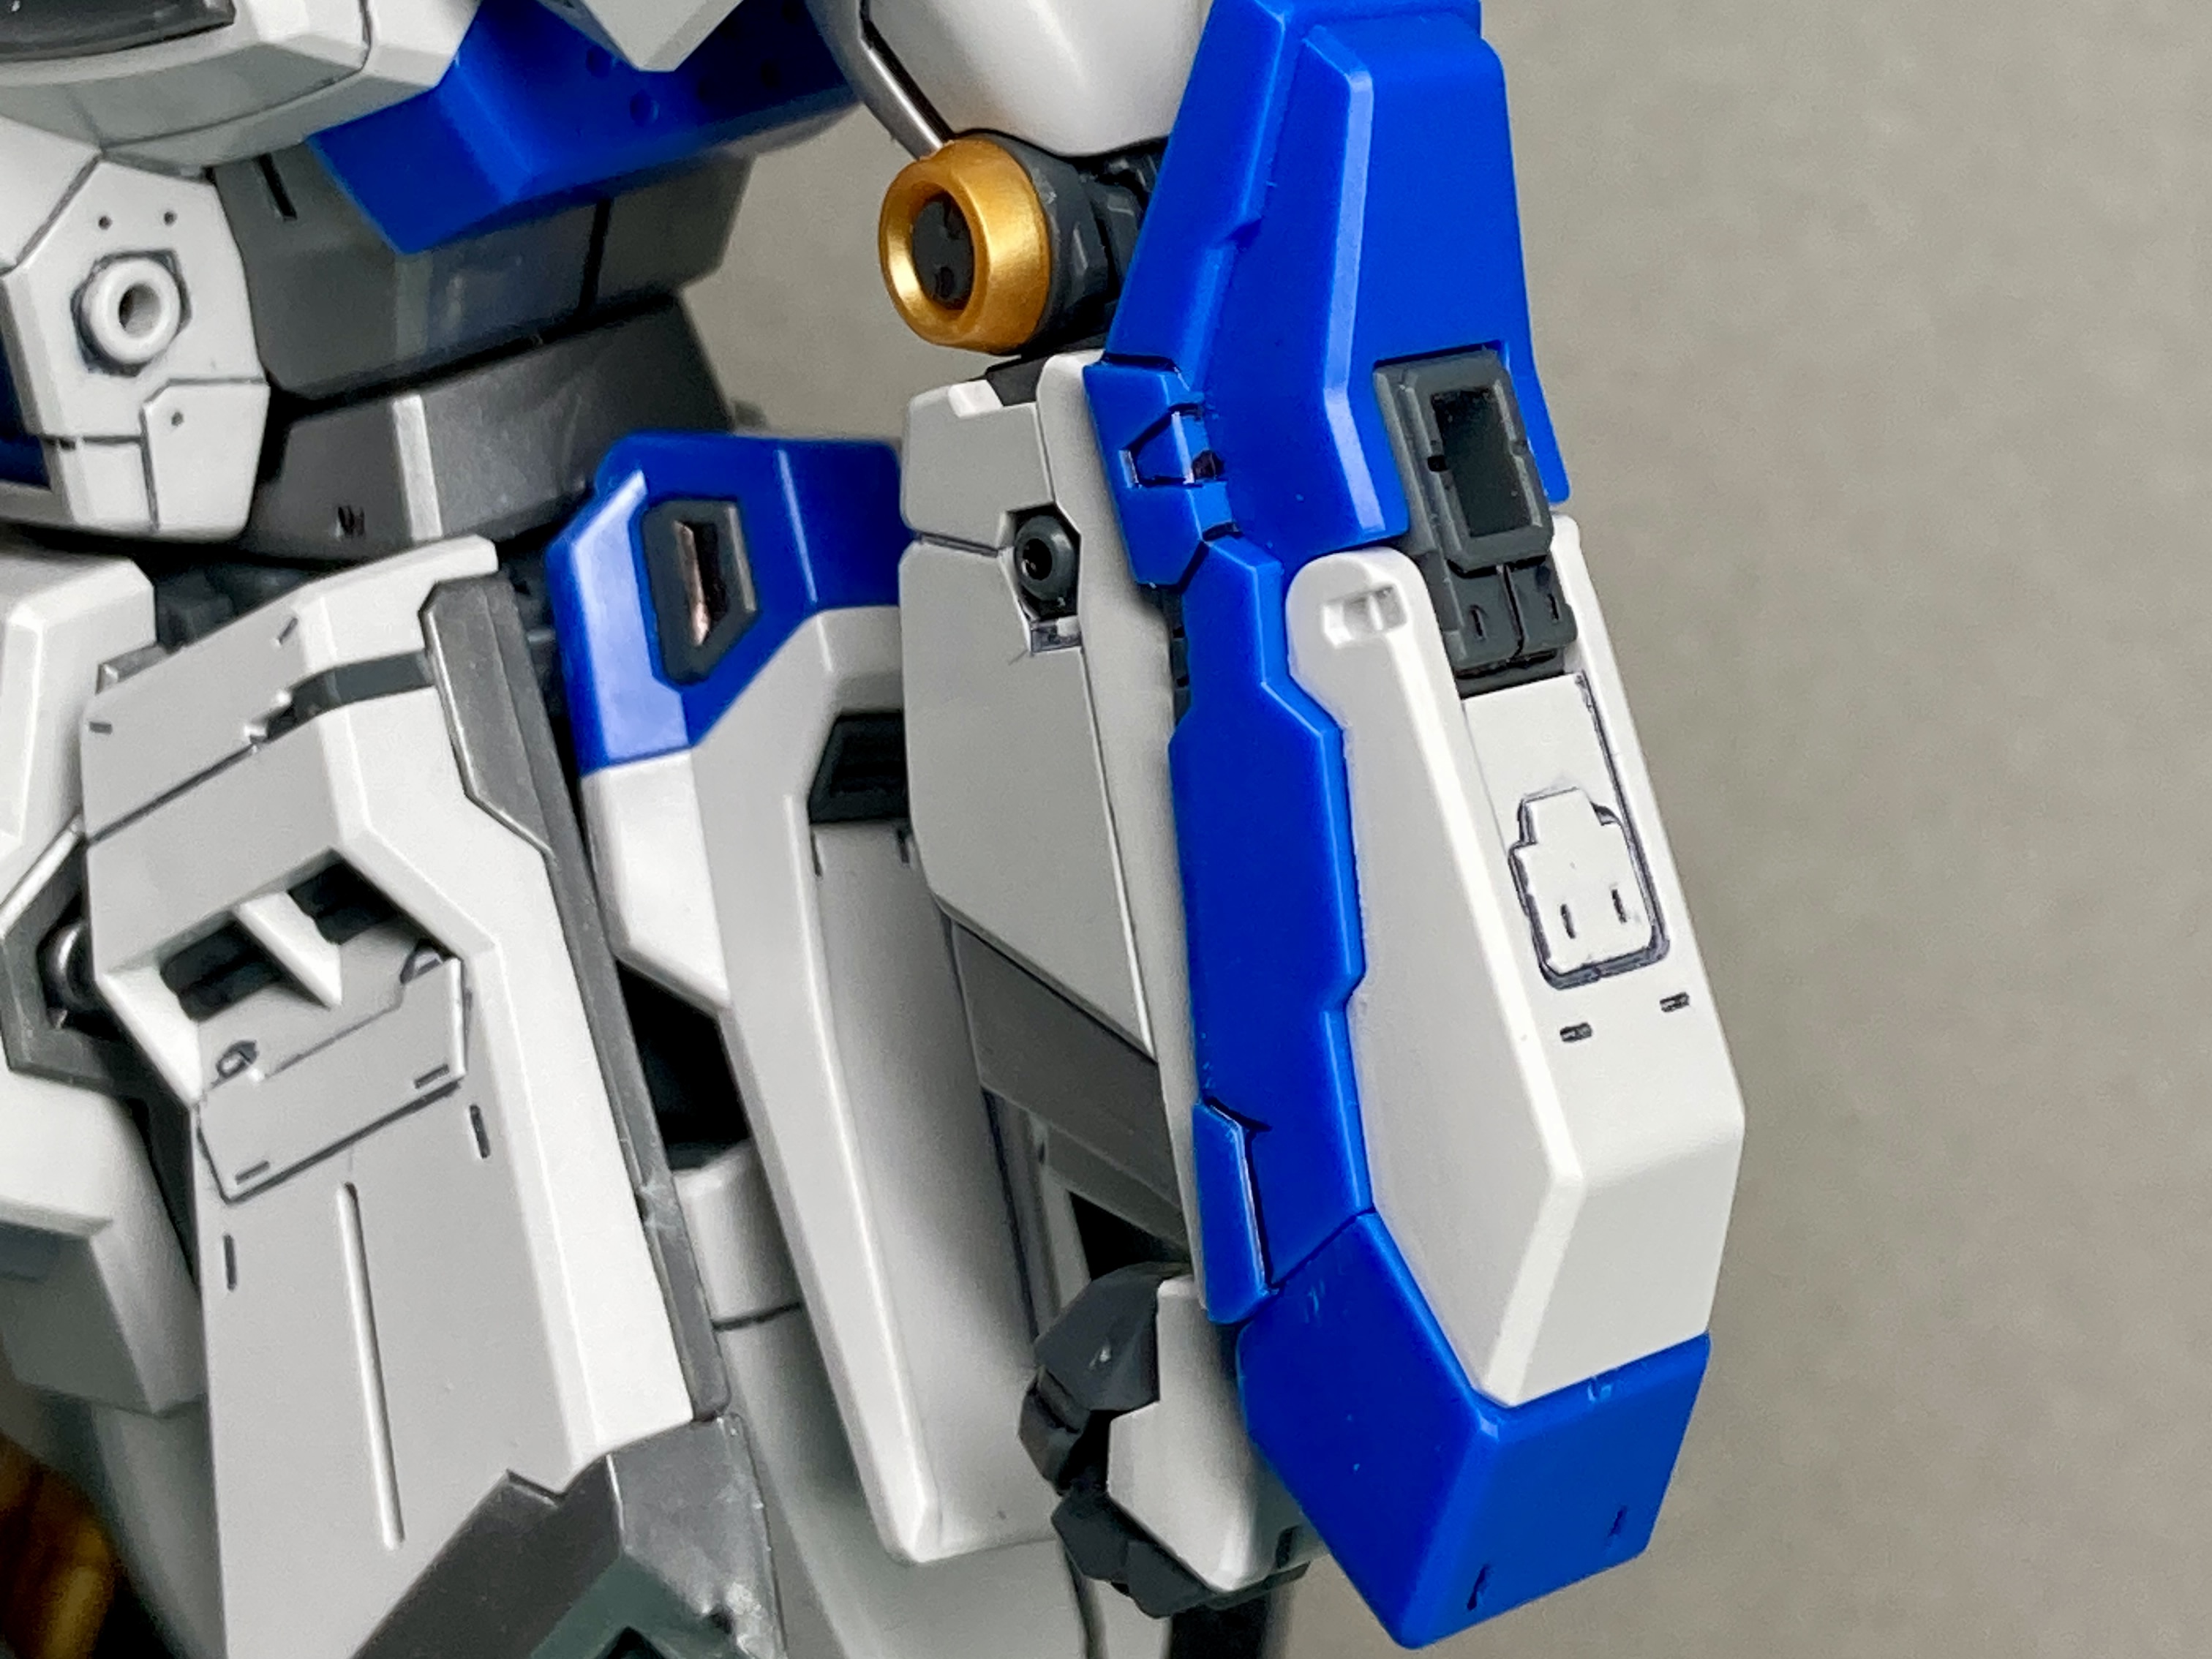
That completed the main unit. But it’s by no means finished. I still have the rather large backpack and funnels to complete, as well as the various hand weapons.
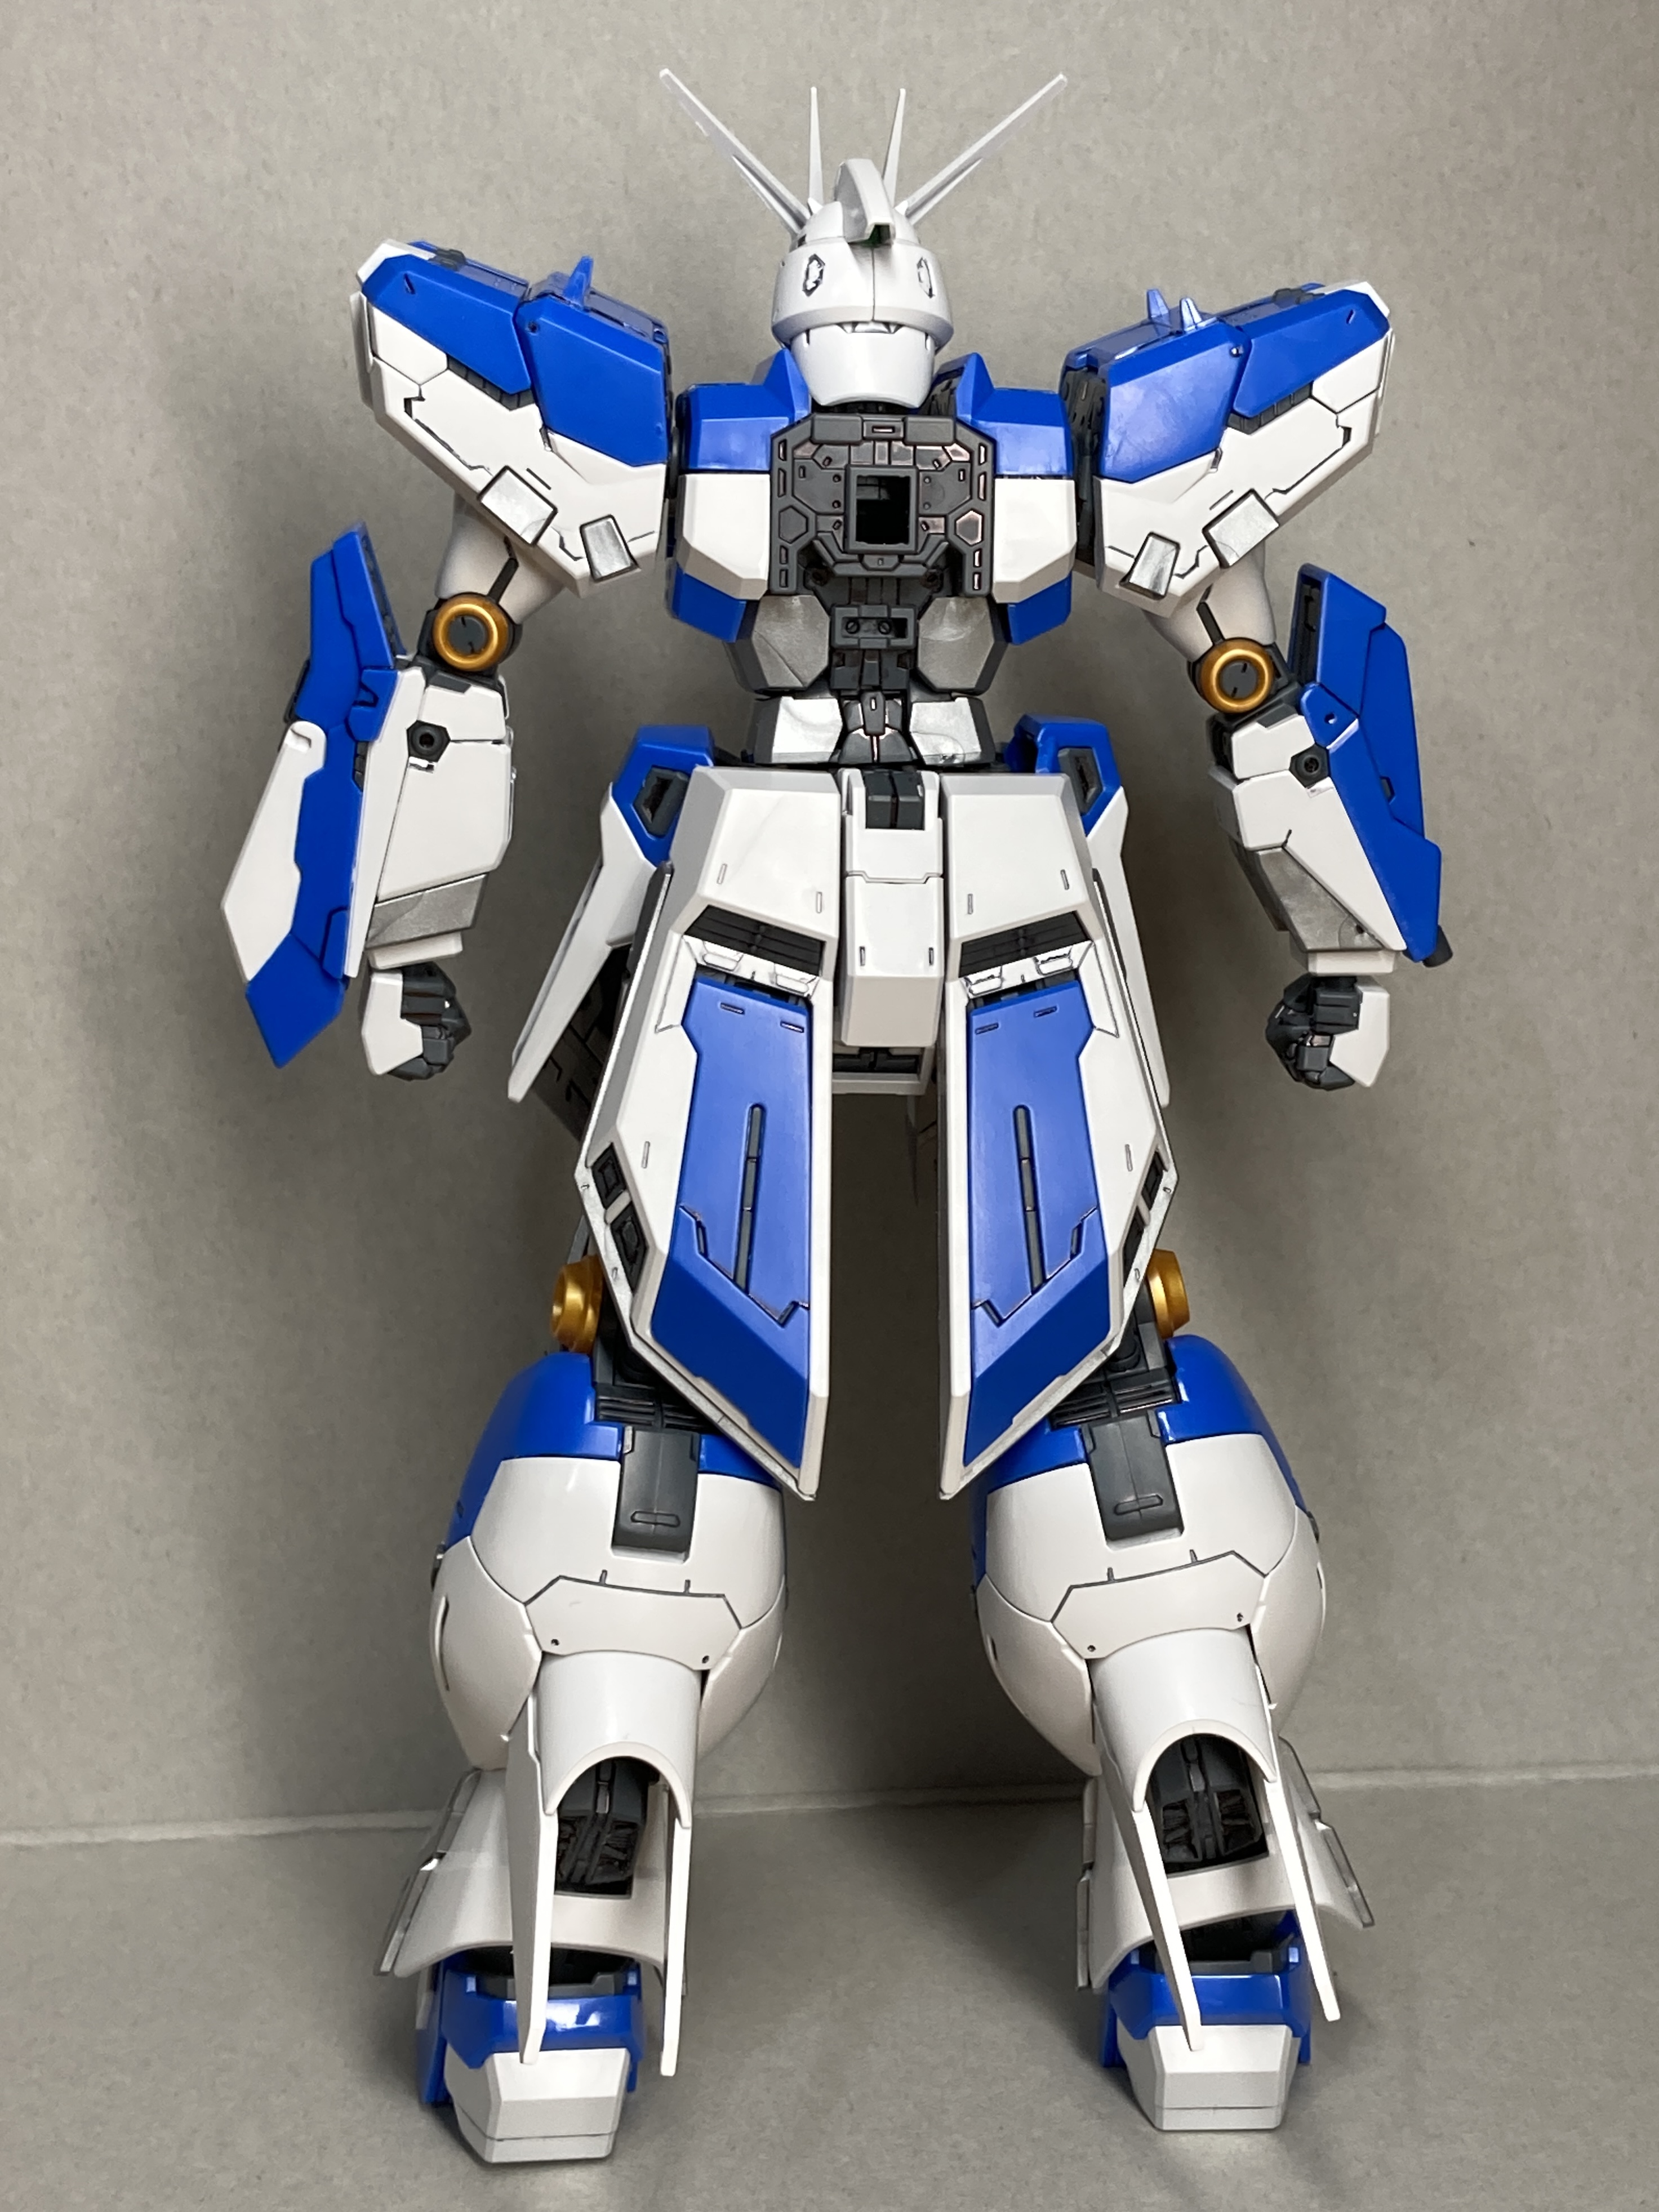
The backpack & Weapons
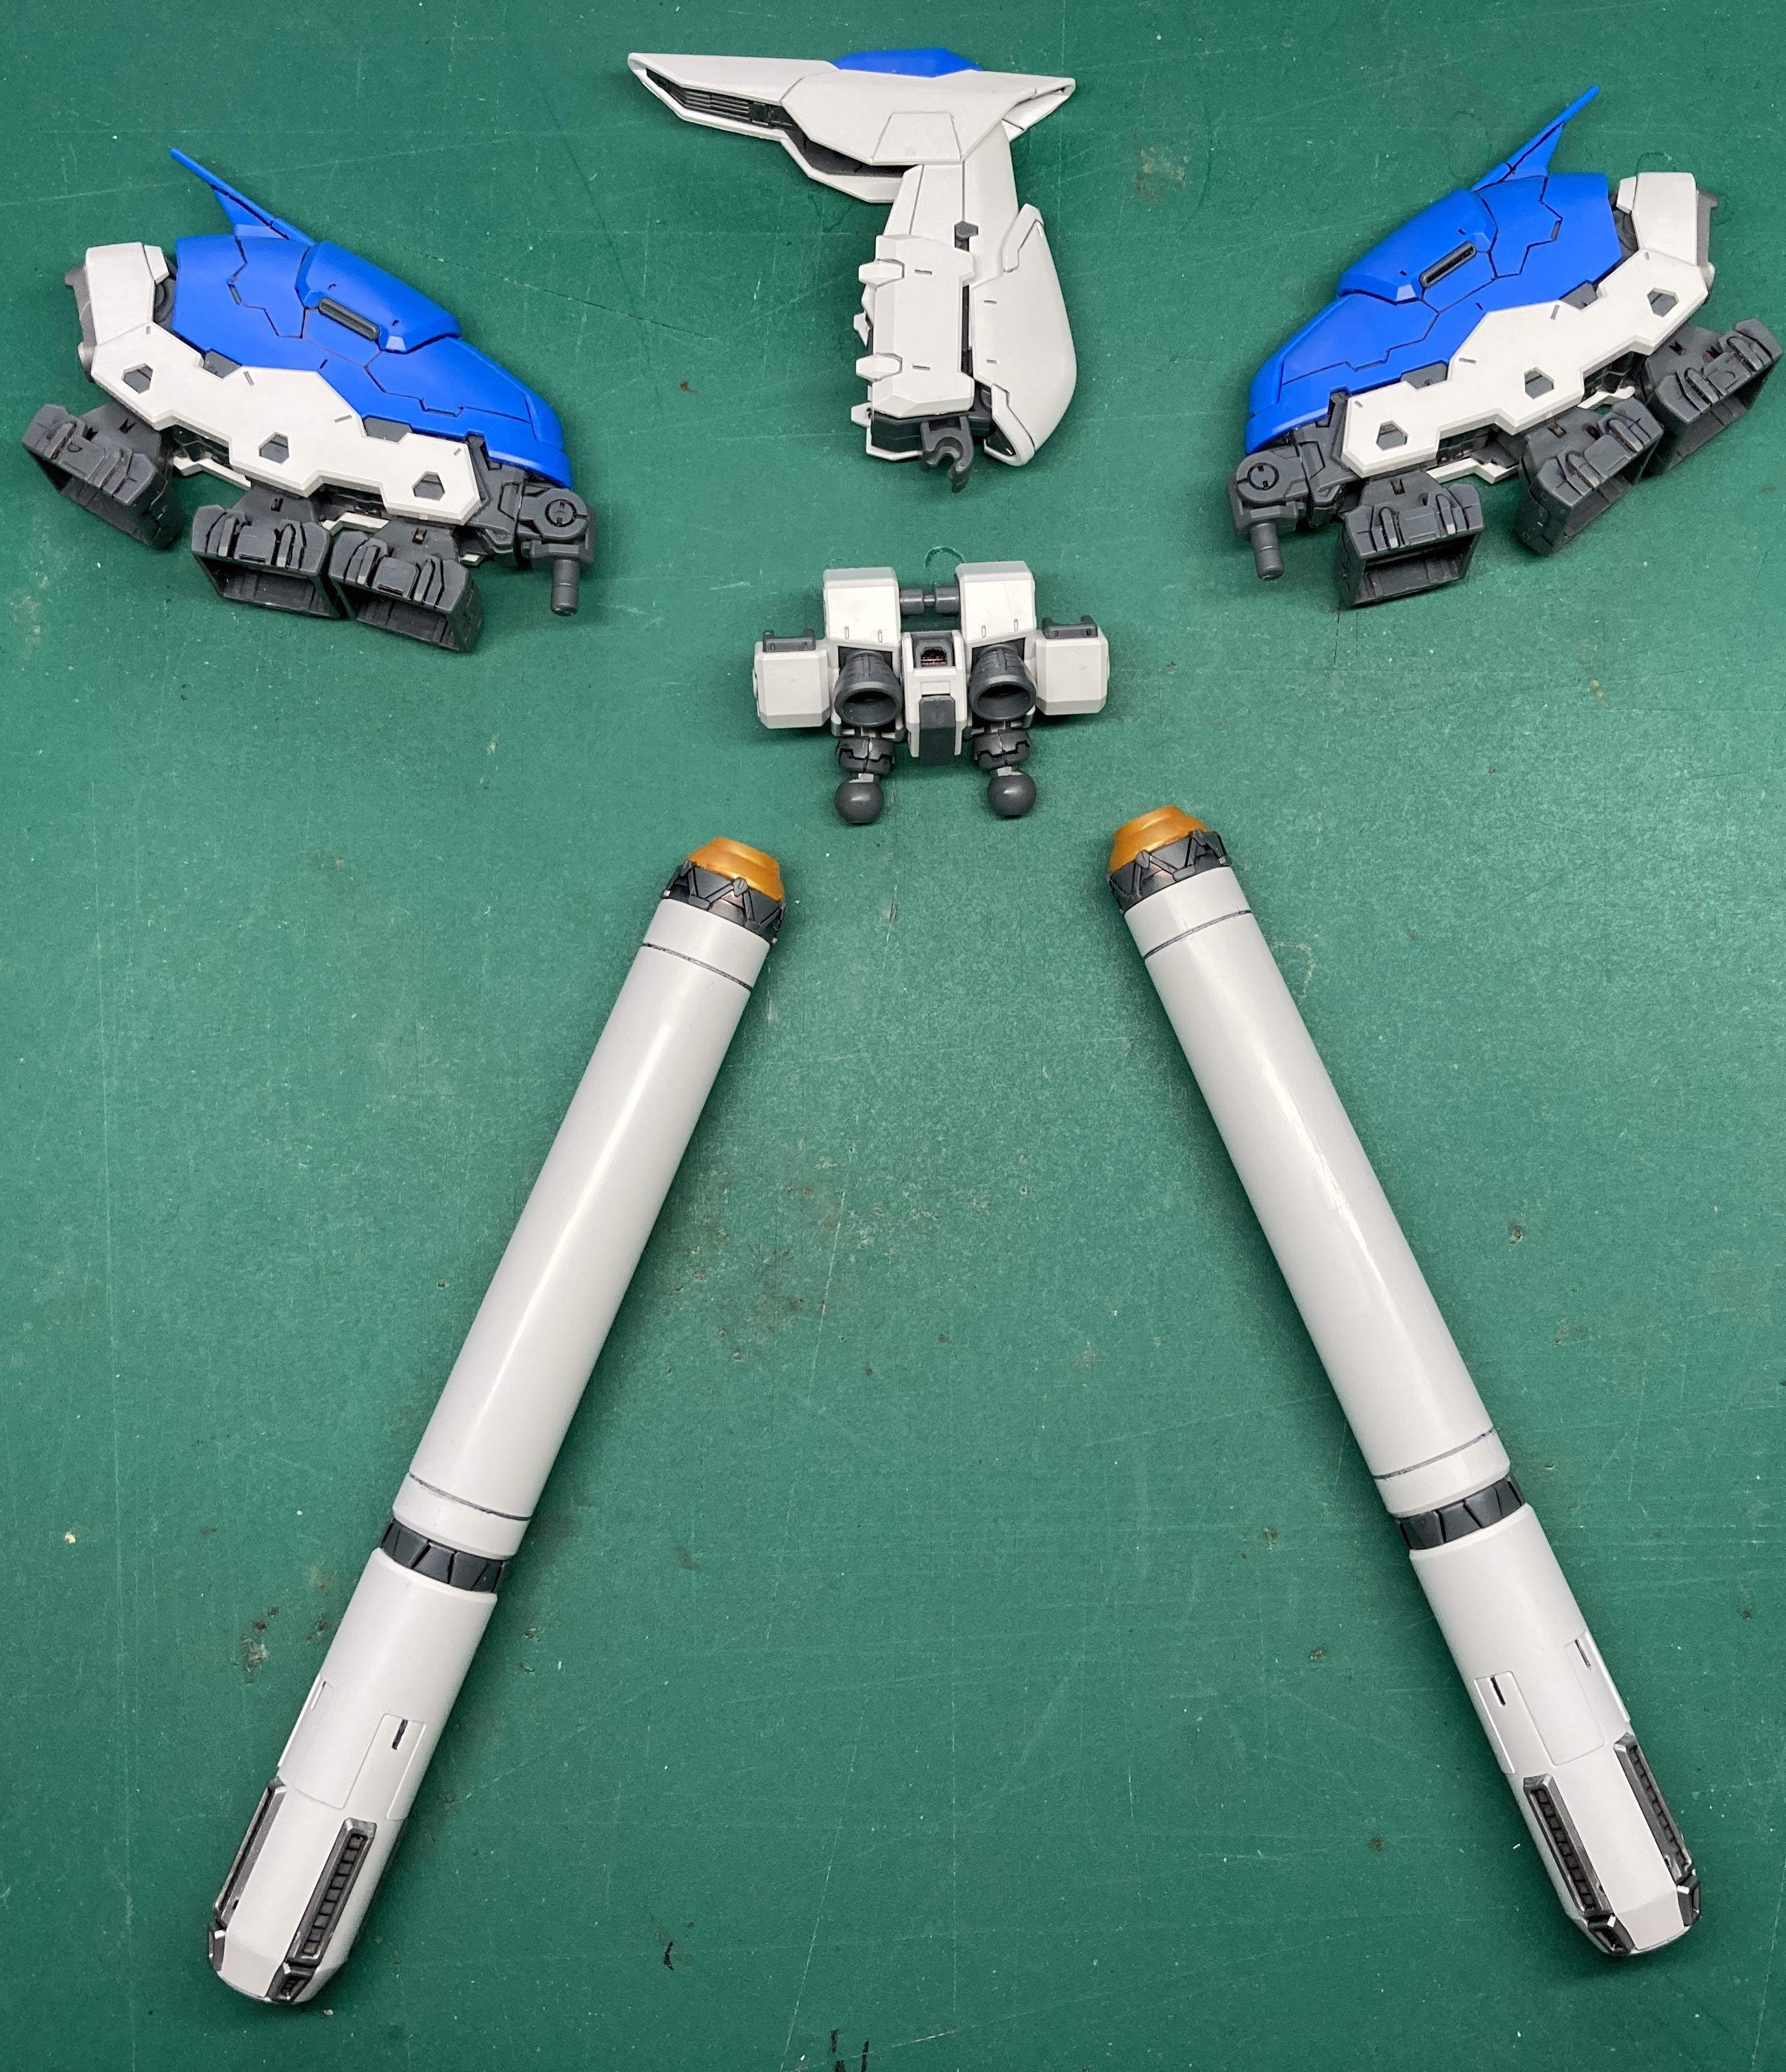
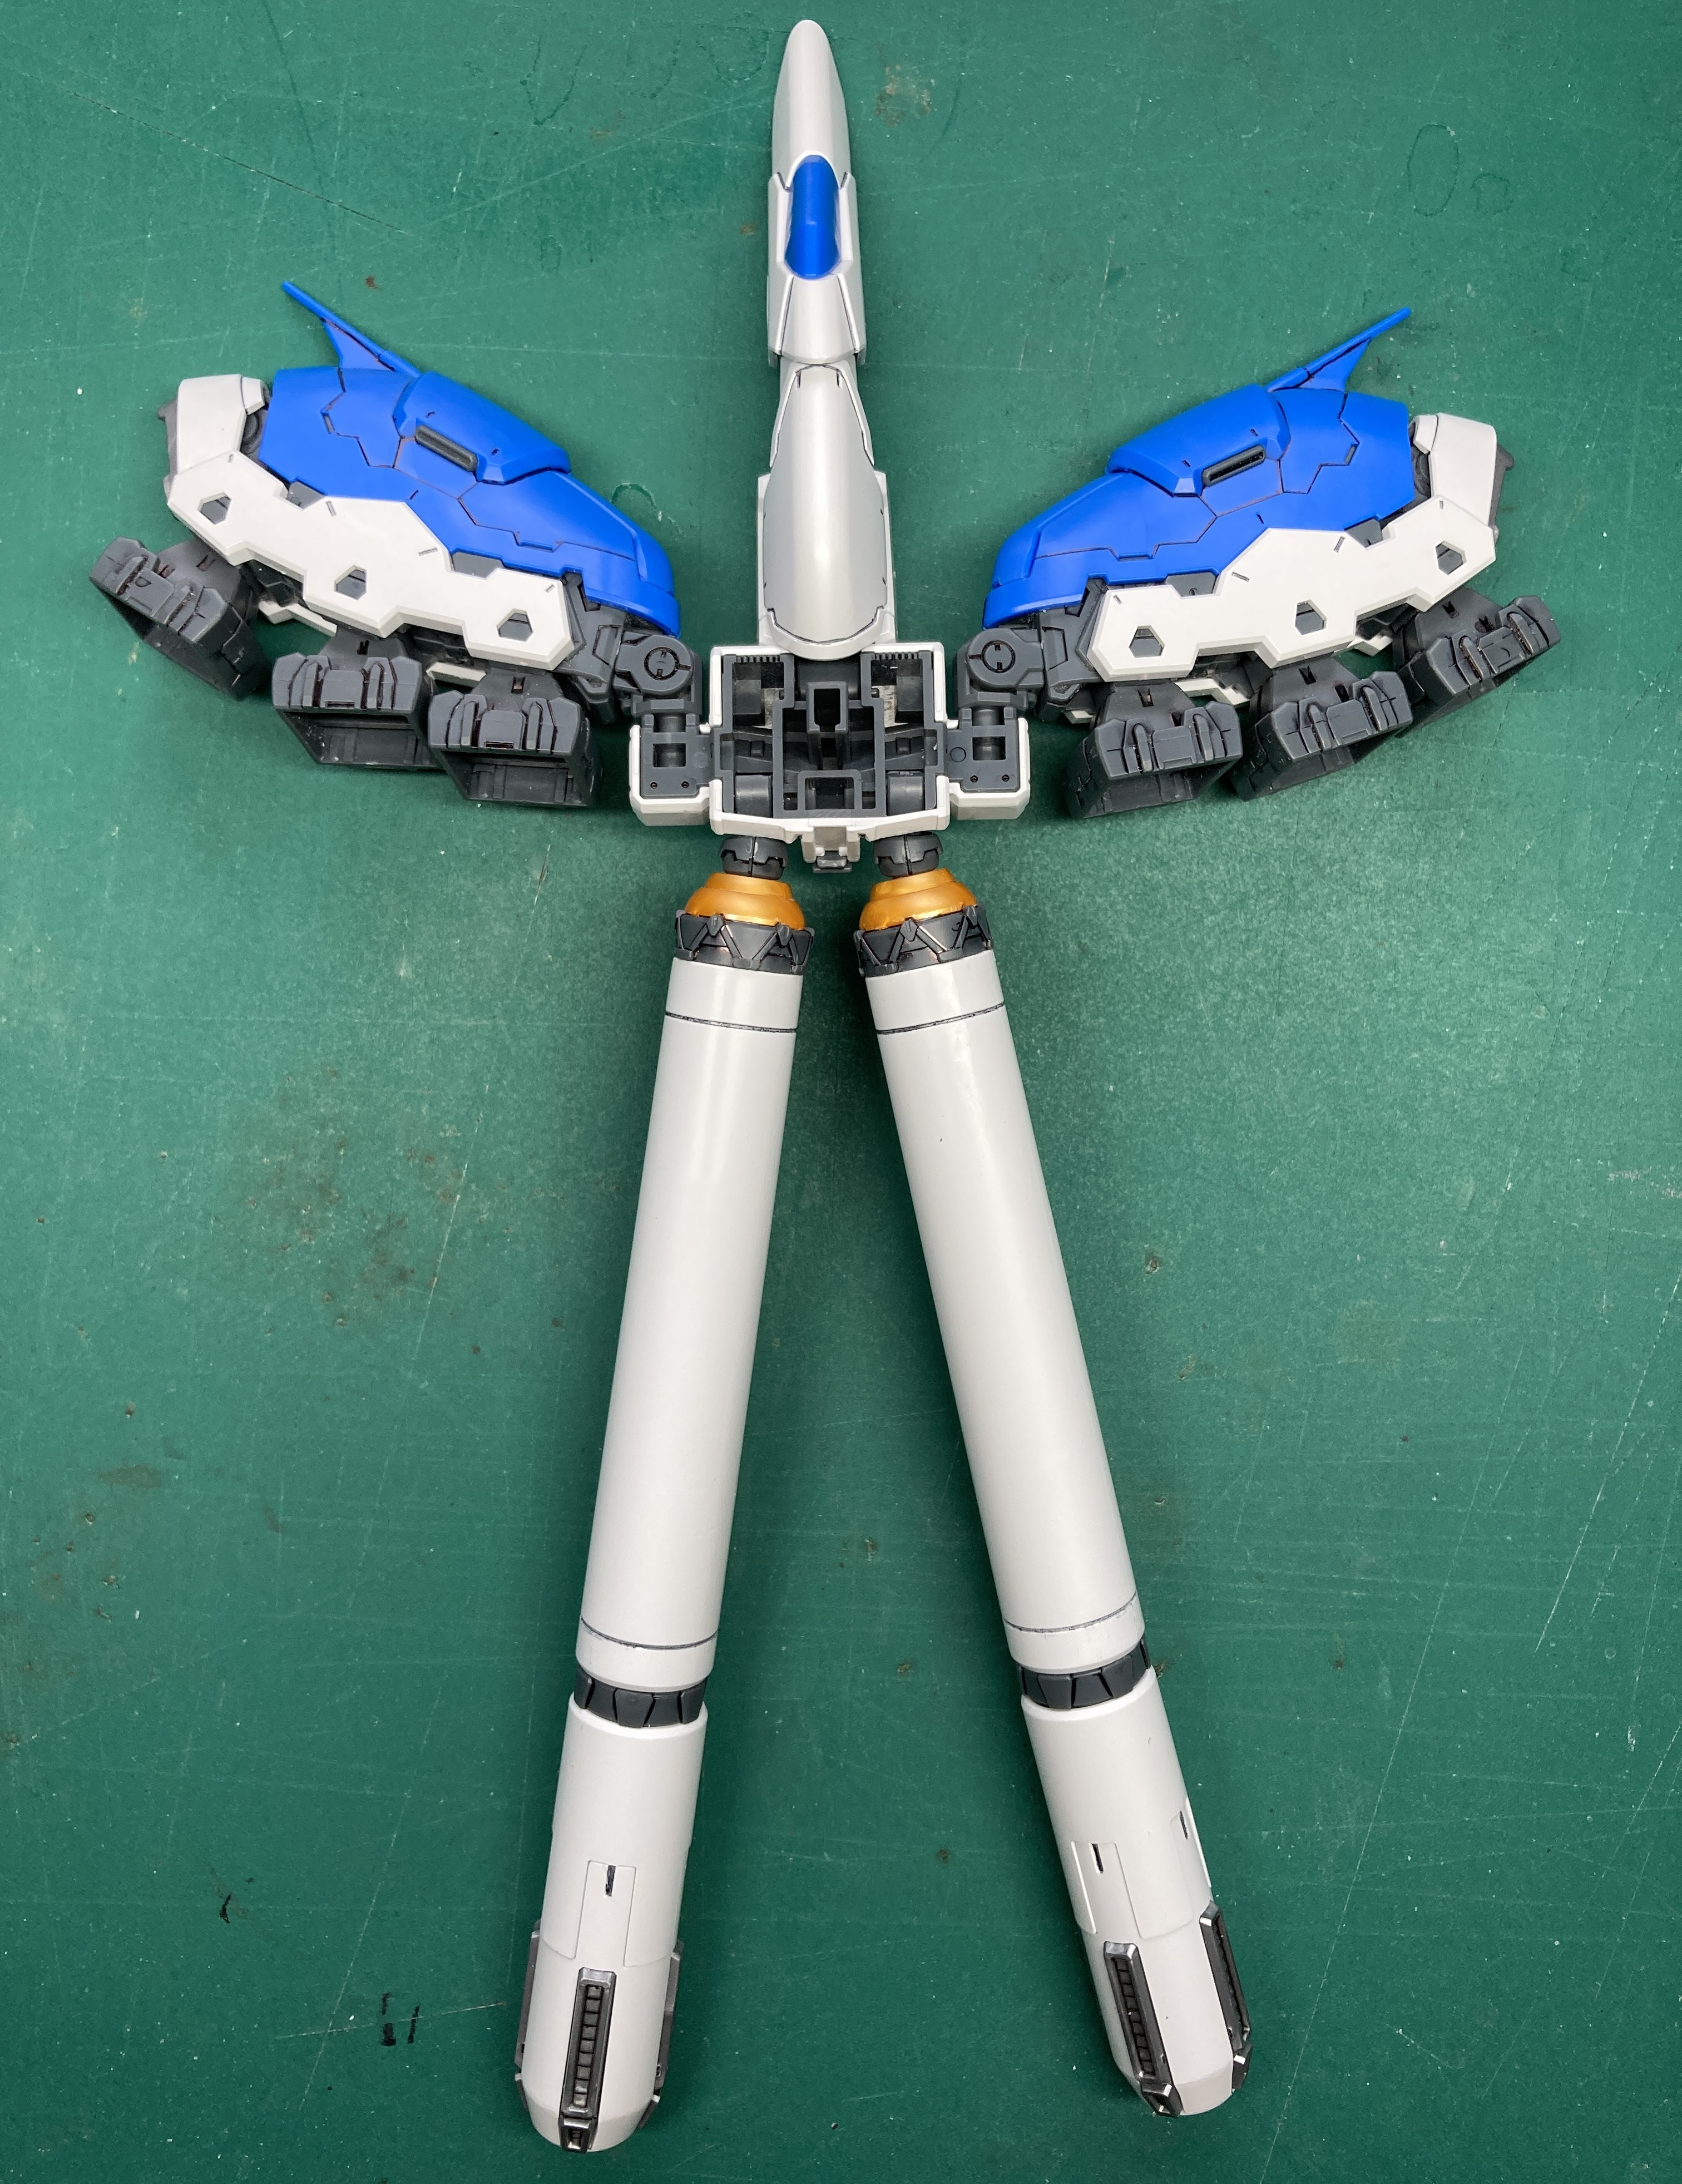
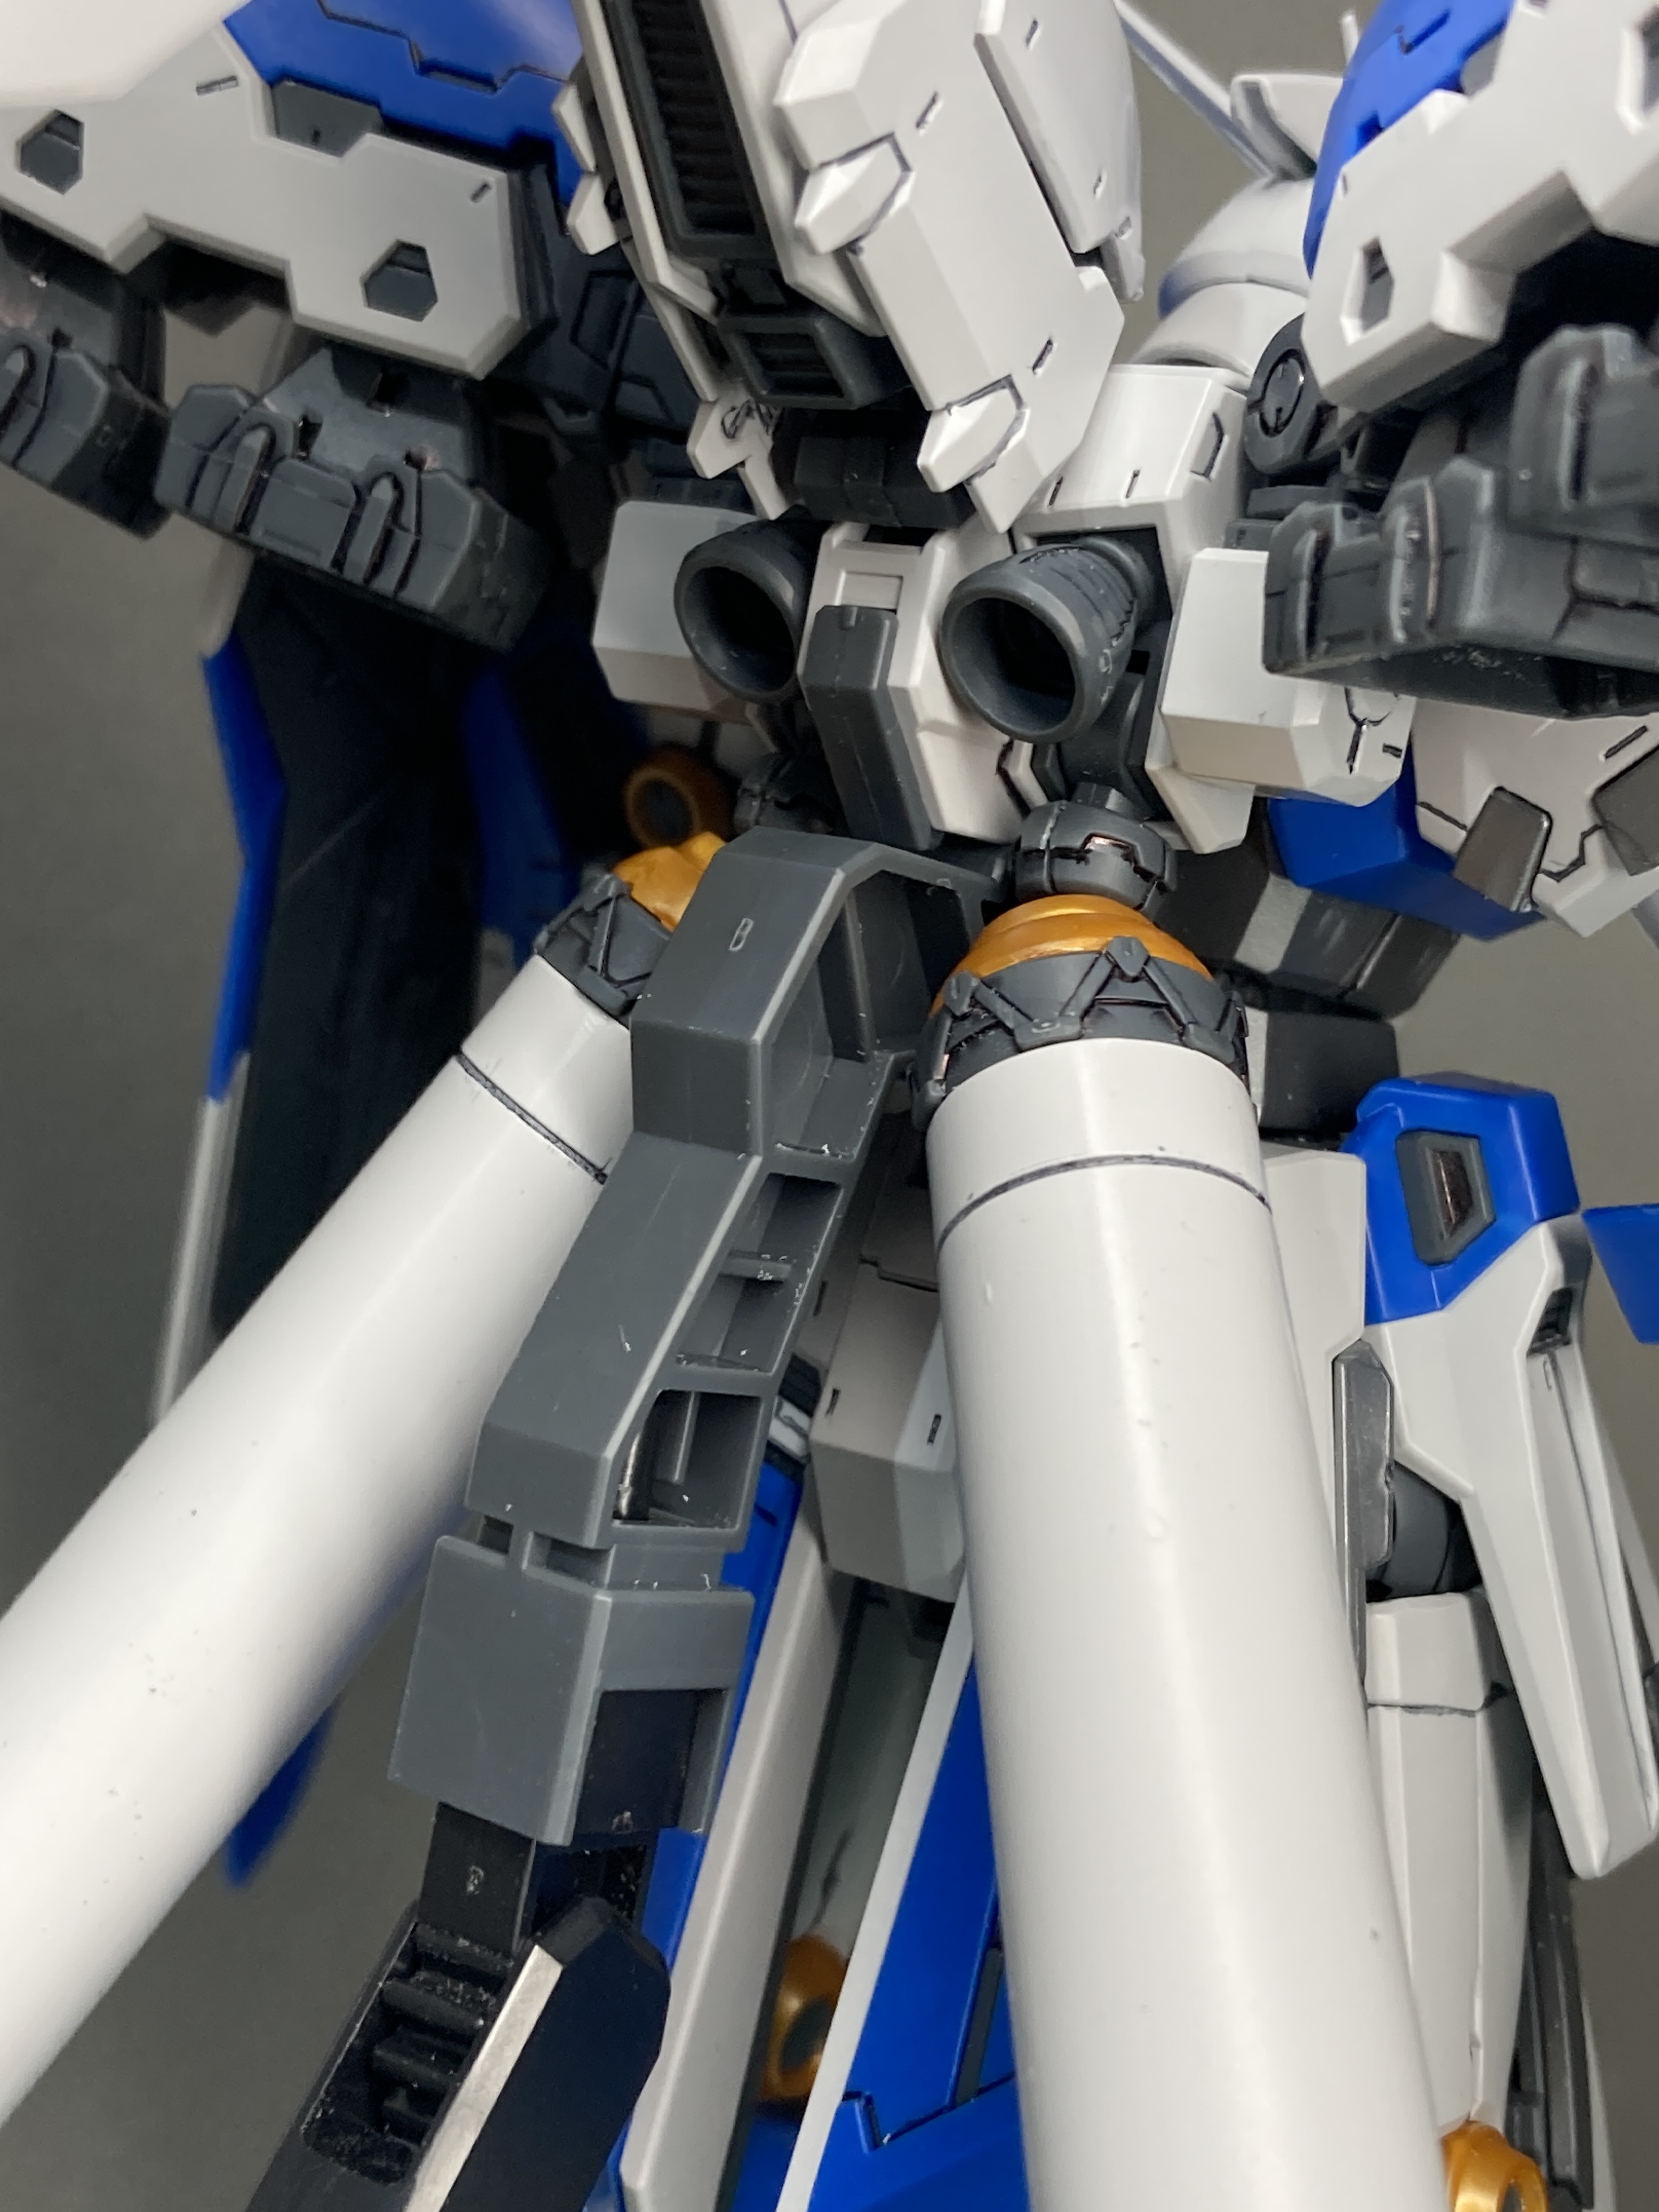
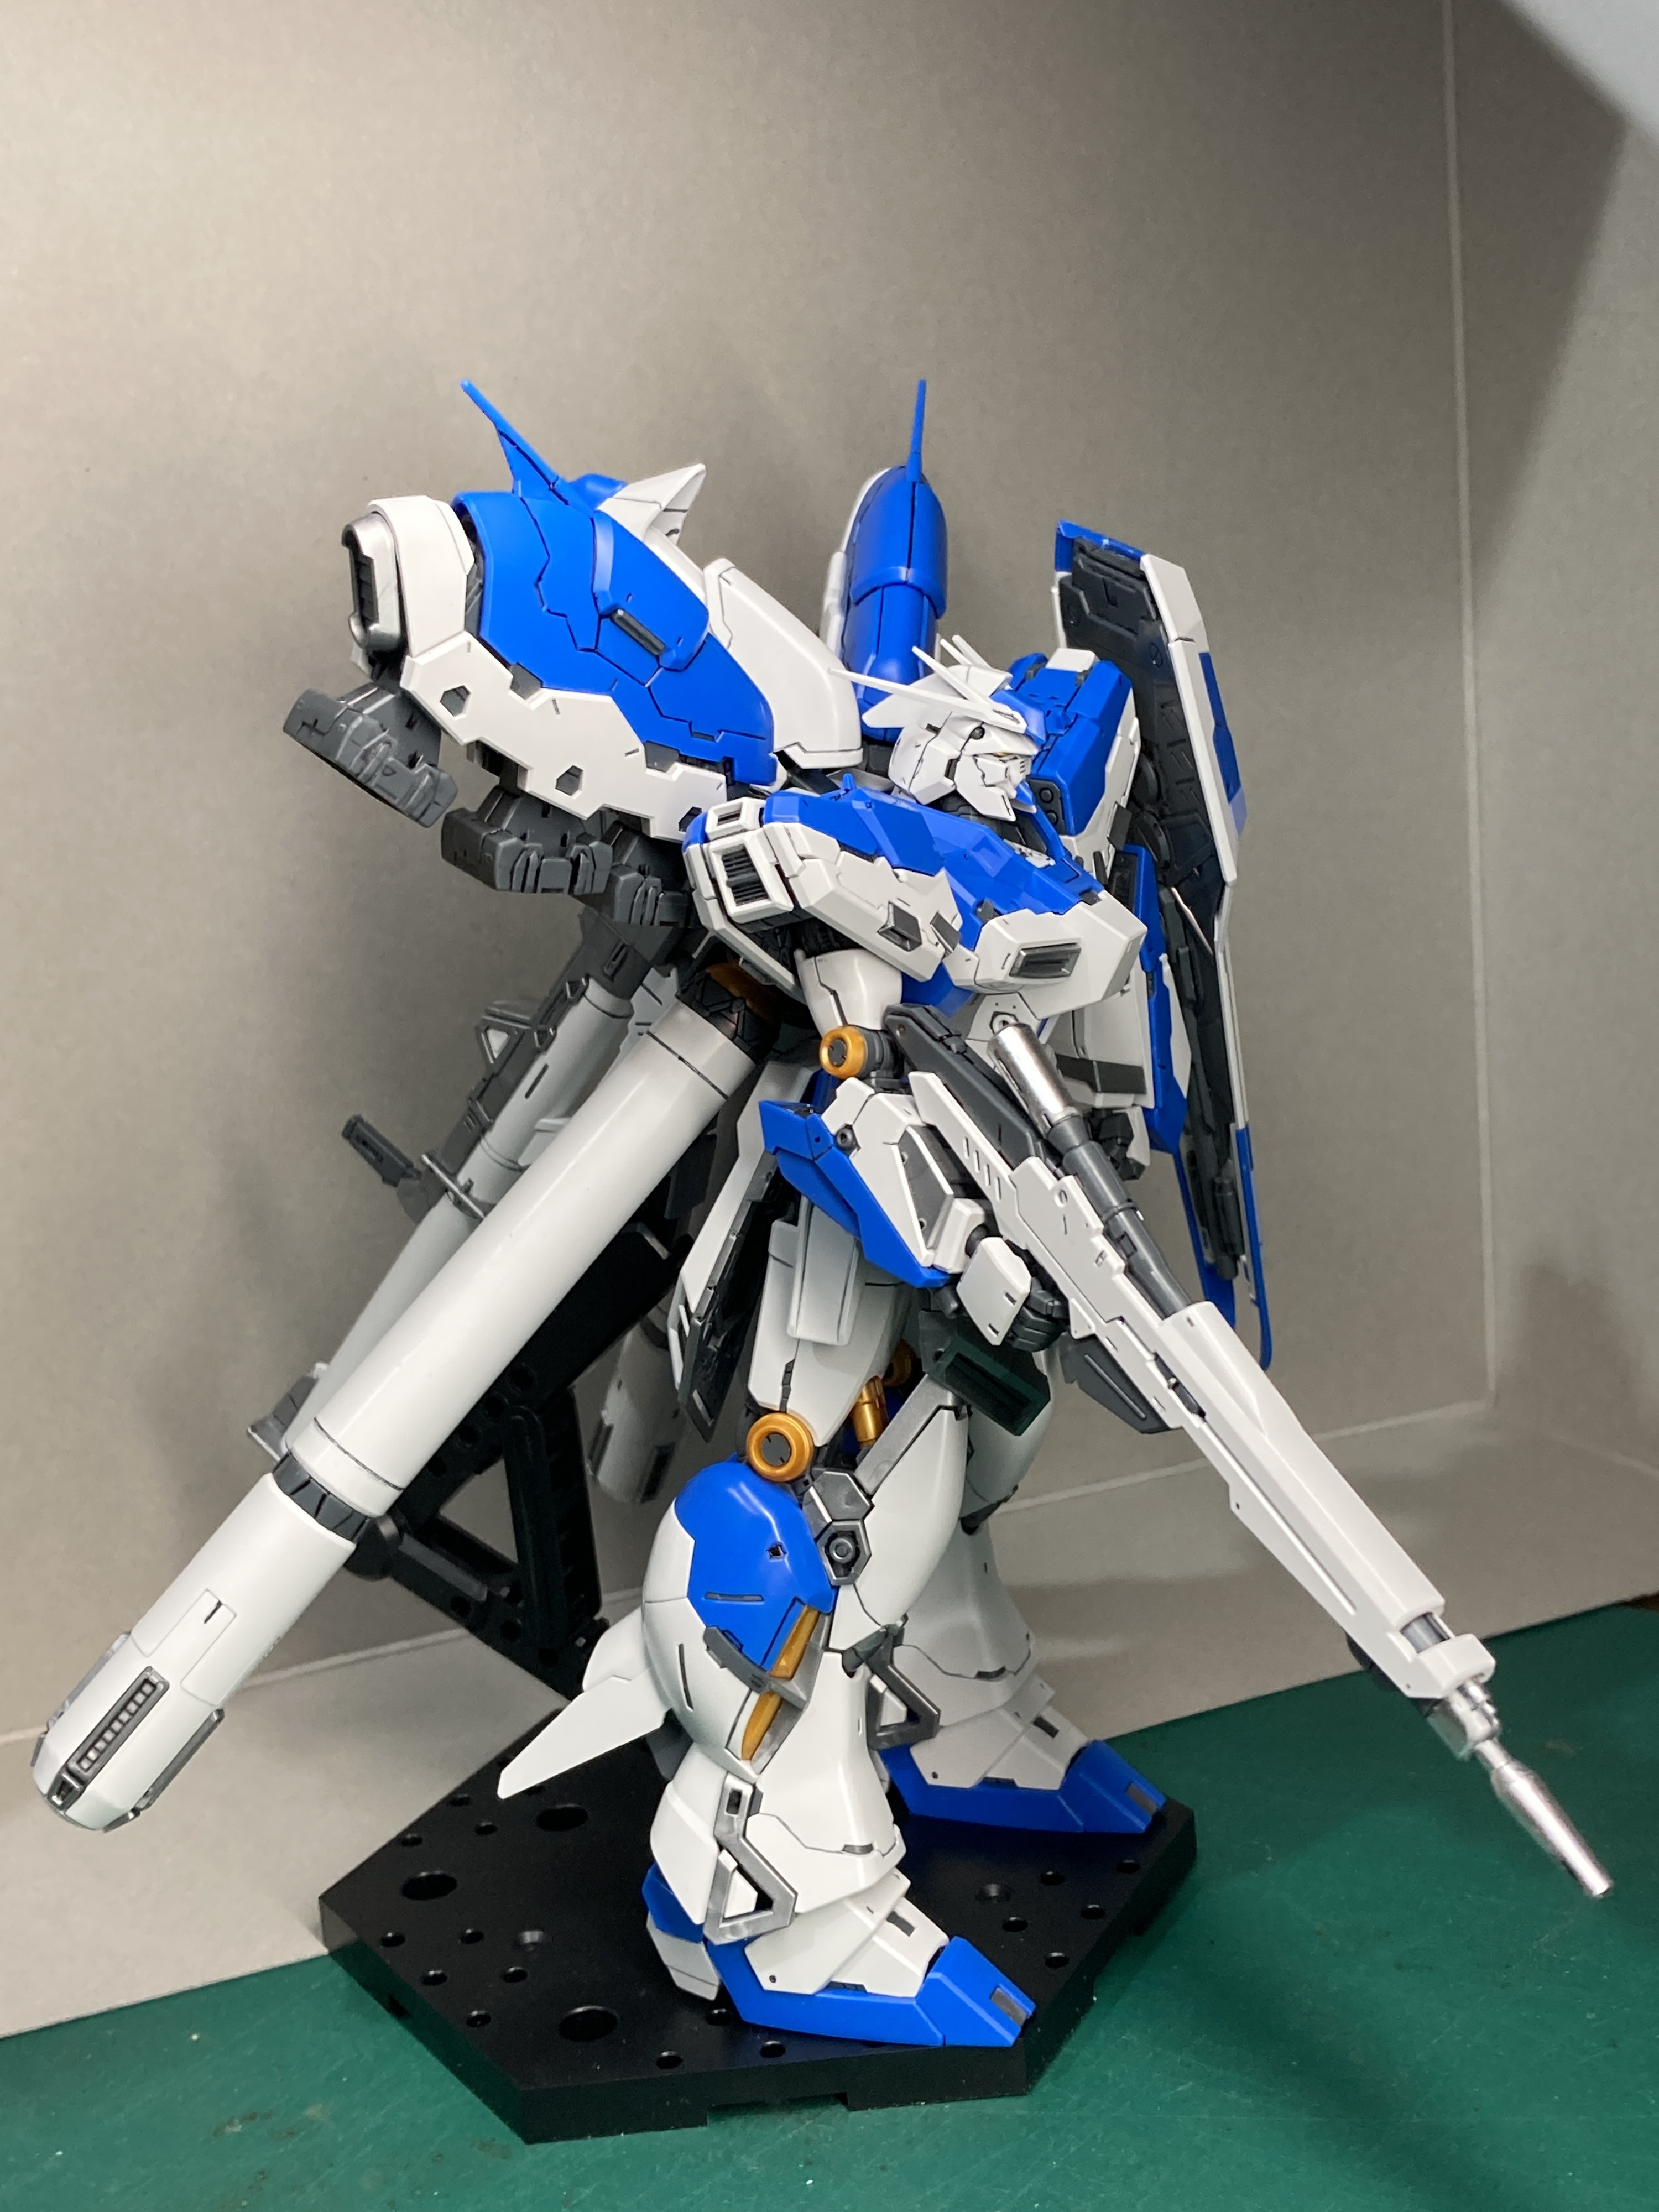
The backpack is very big with a lot going on. As well as having a thrust unit, and the two huge propellant tanks, the backpack also has the two racks which will hole the fin funnels (still to be built). This all went together smoothly, although the tanks did require a lot of sanding to remove the mould lines.
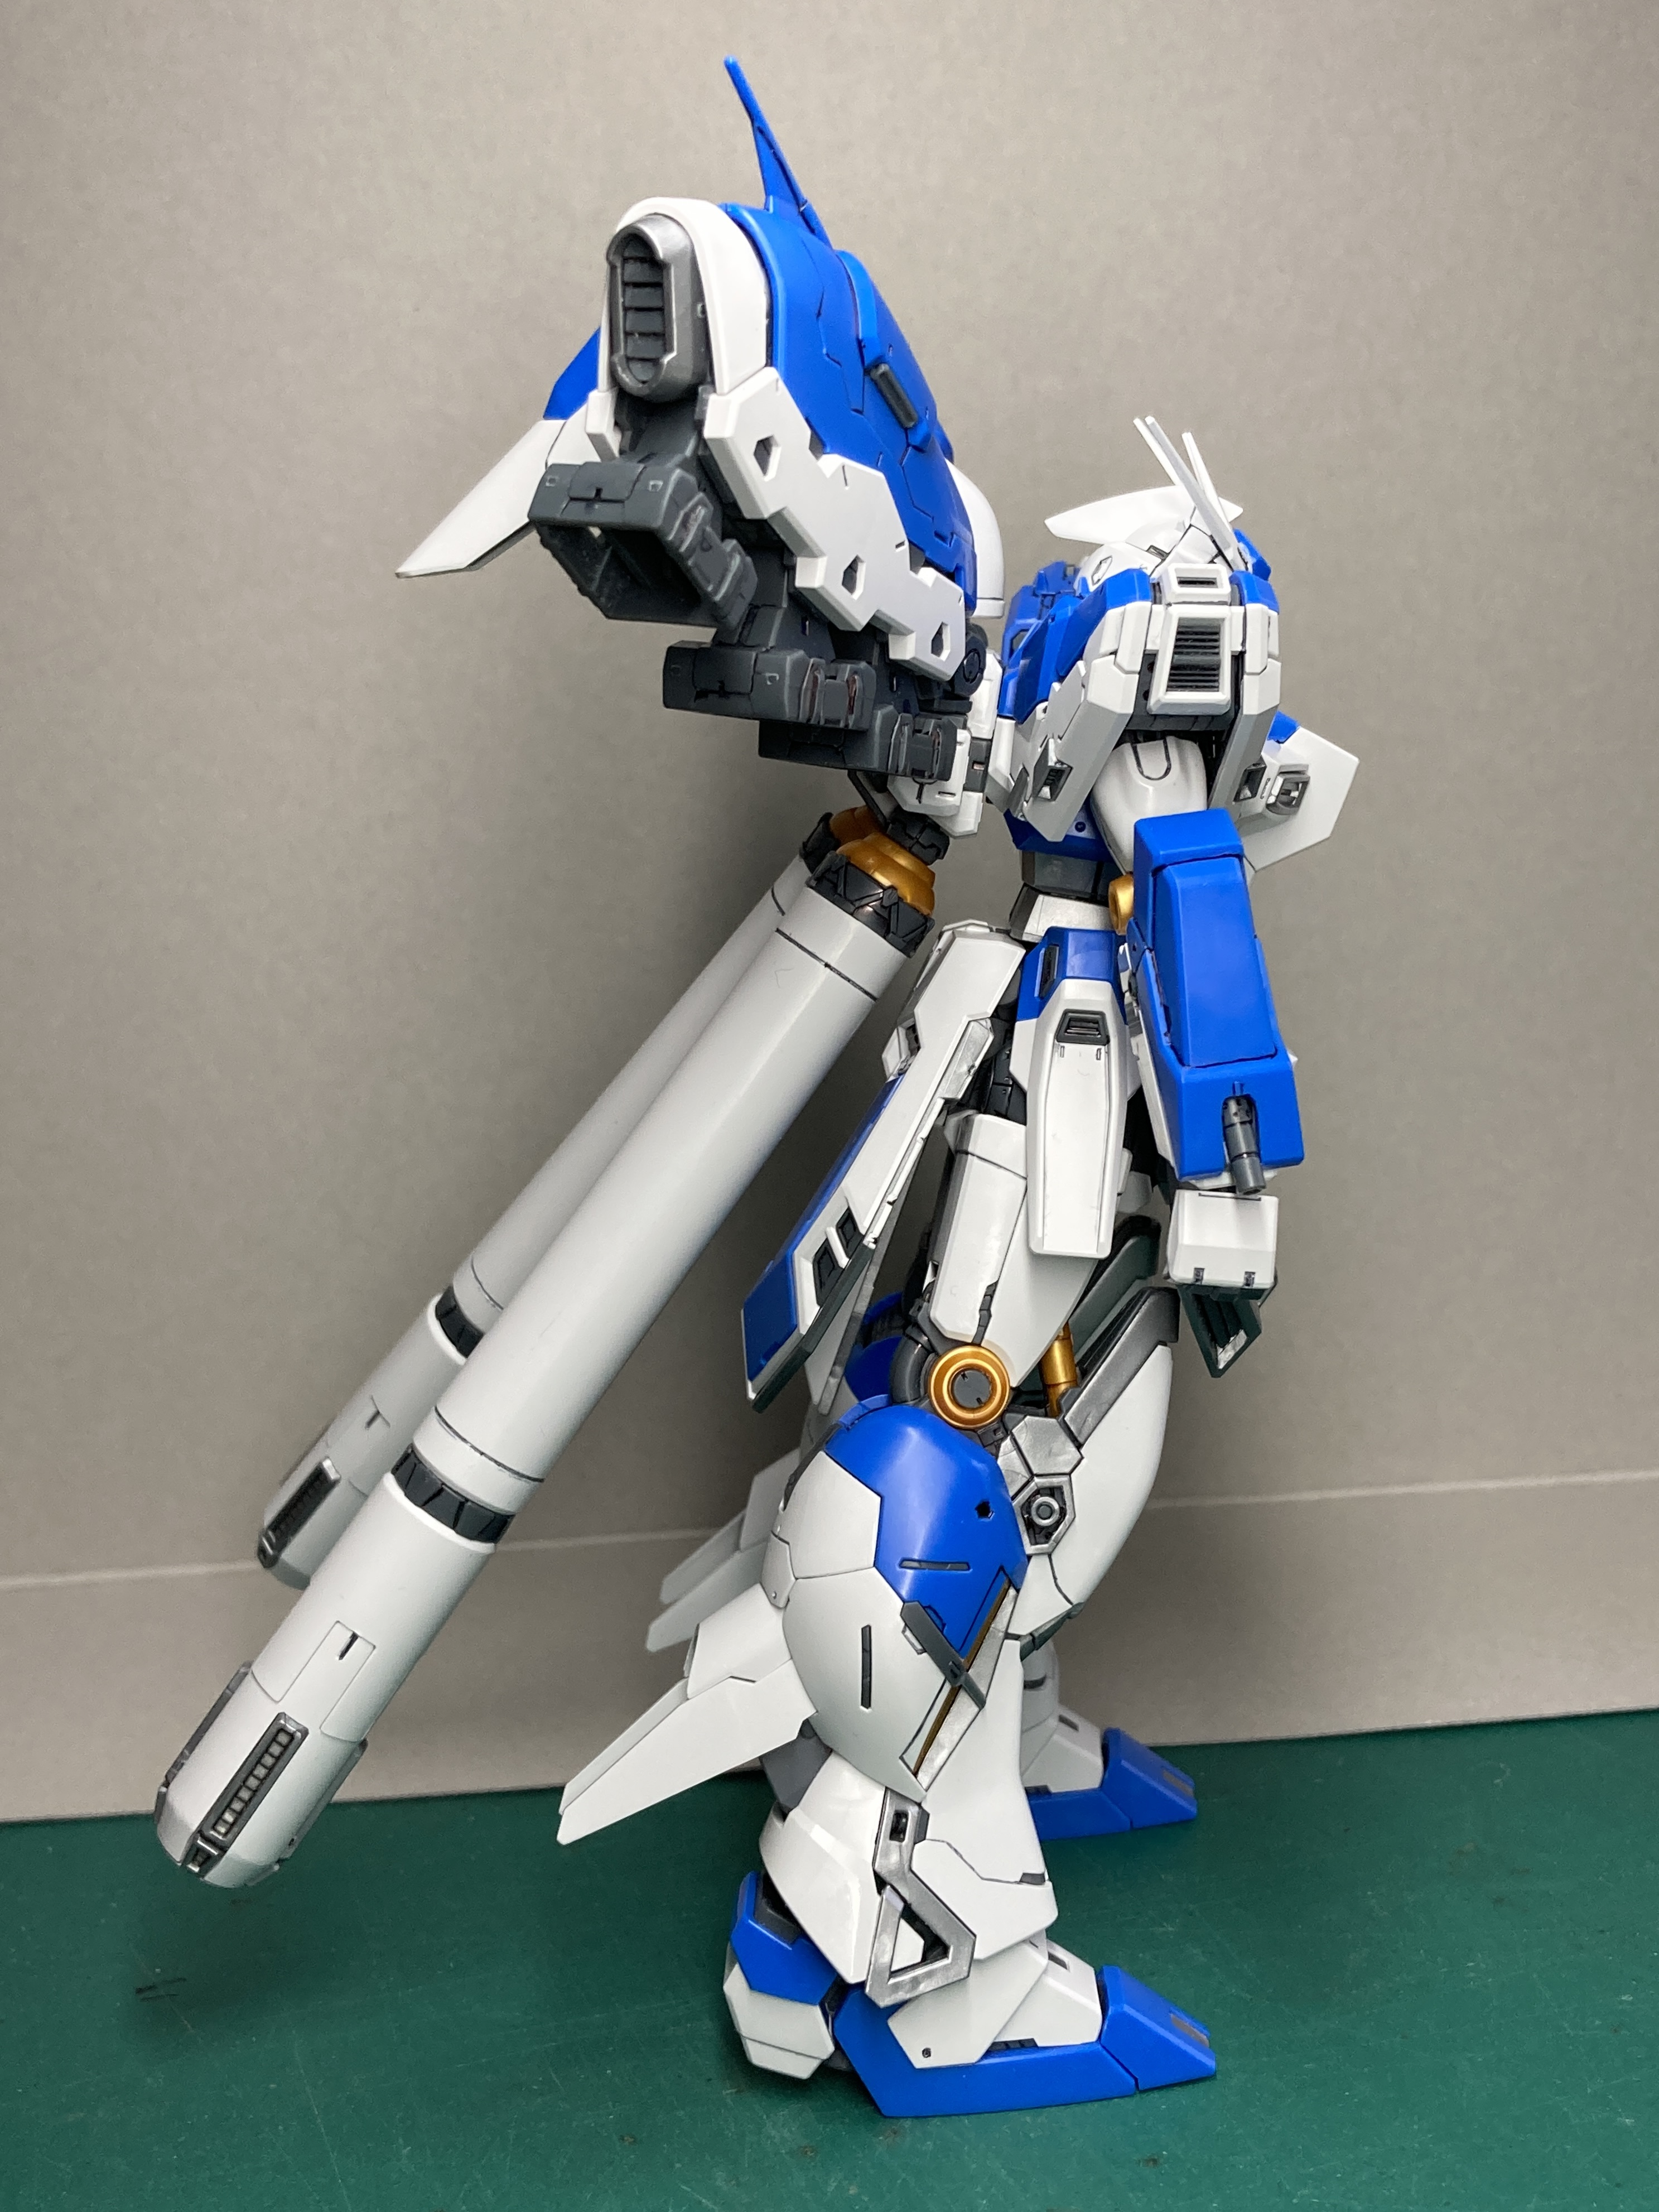
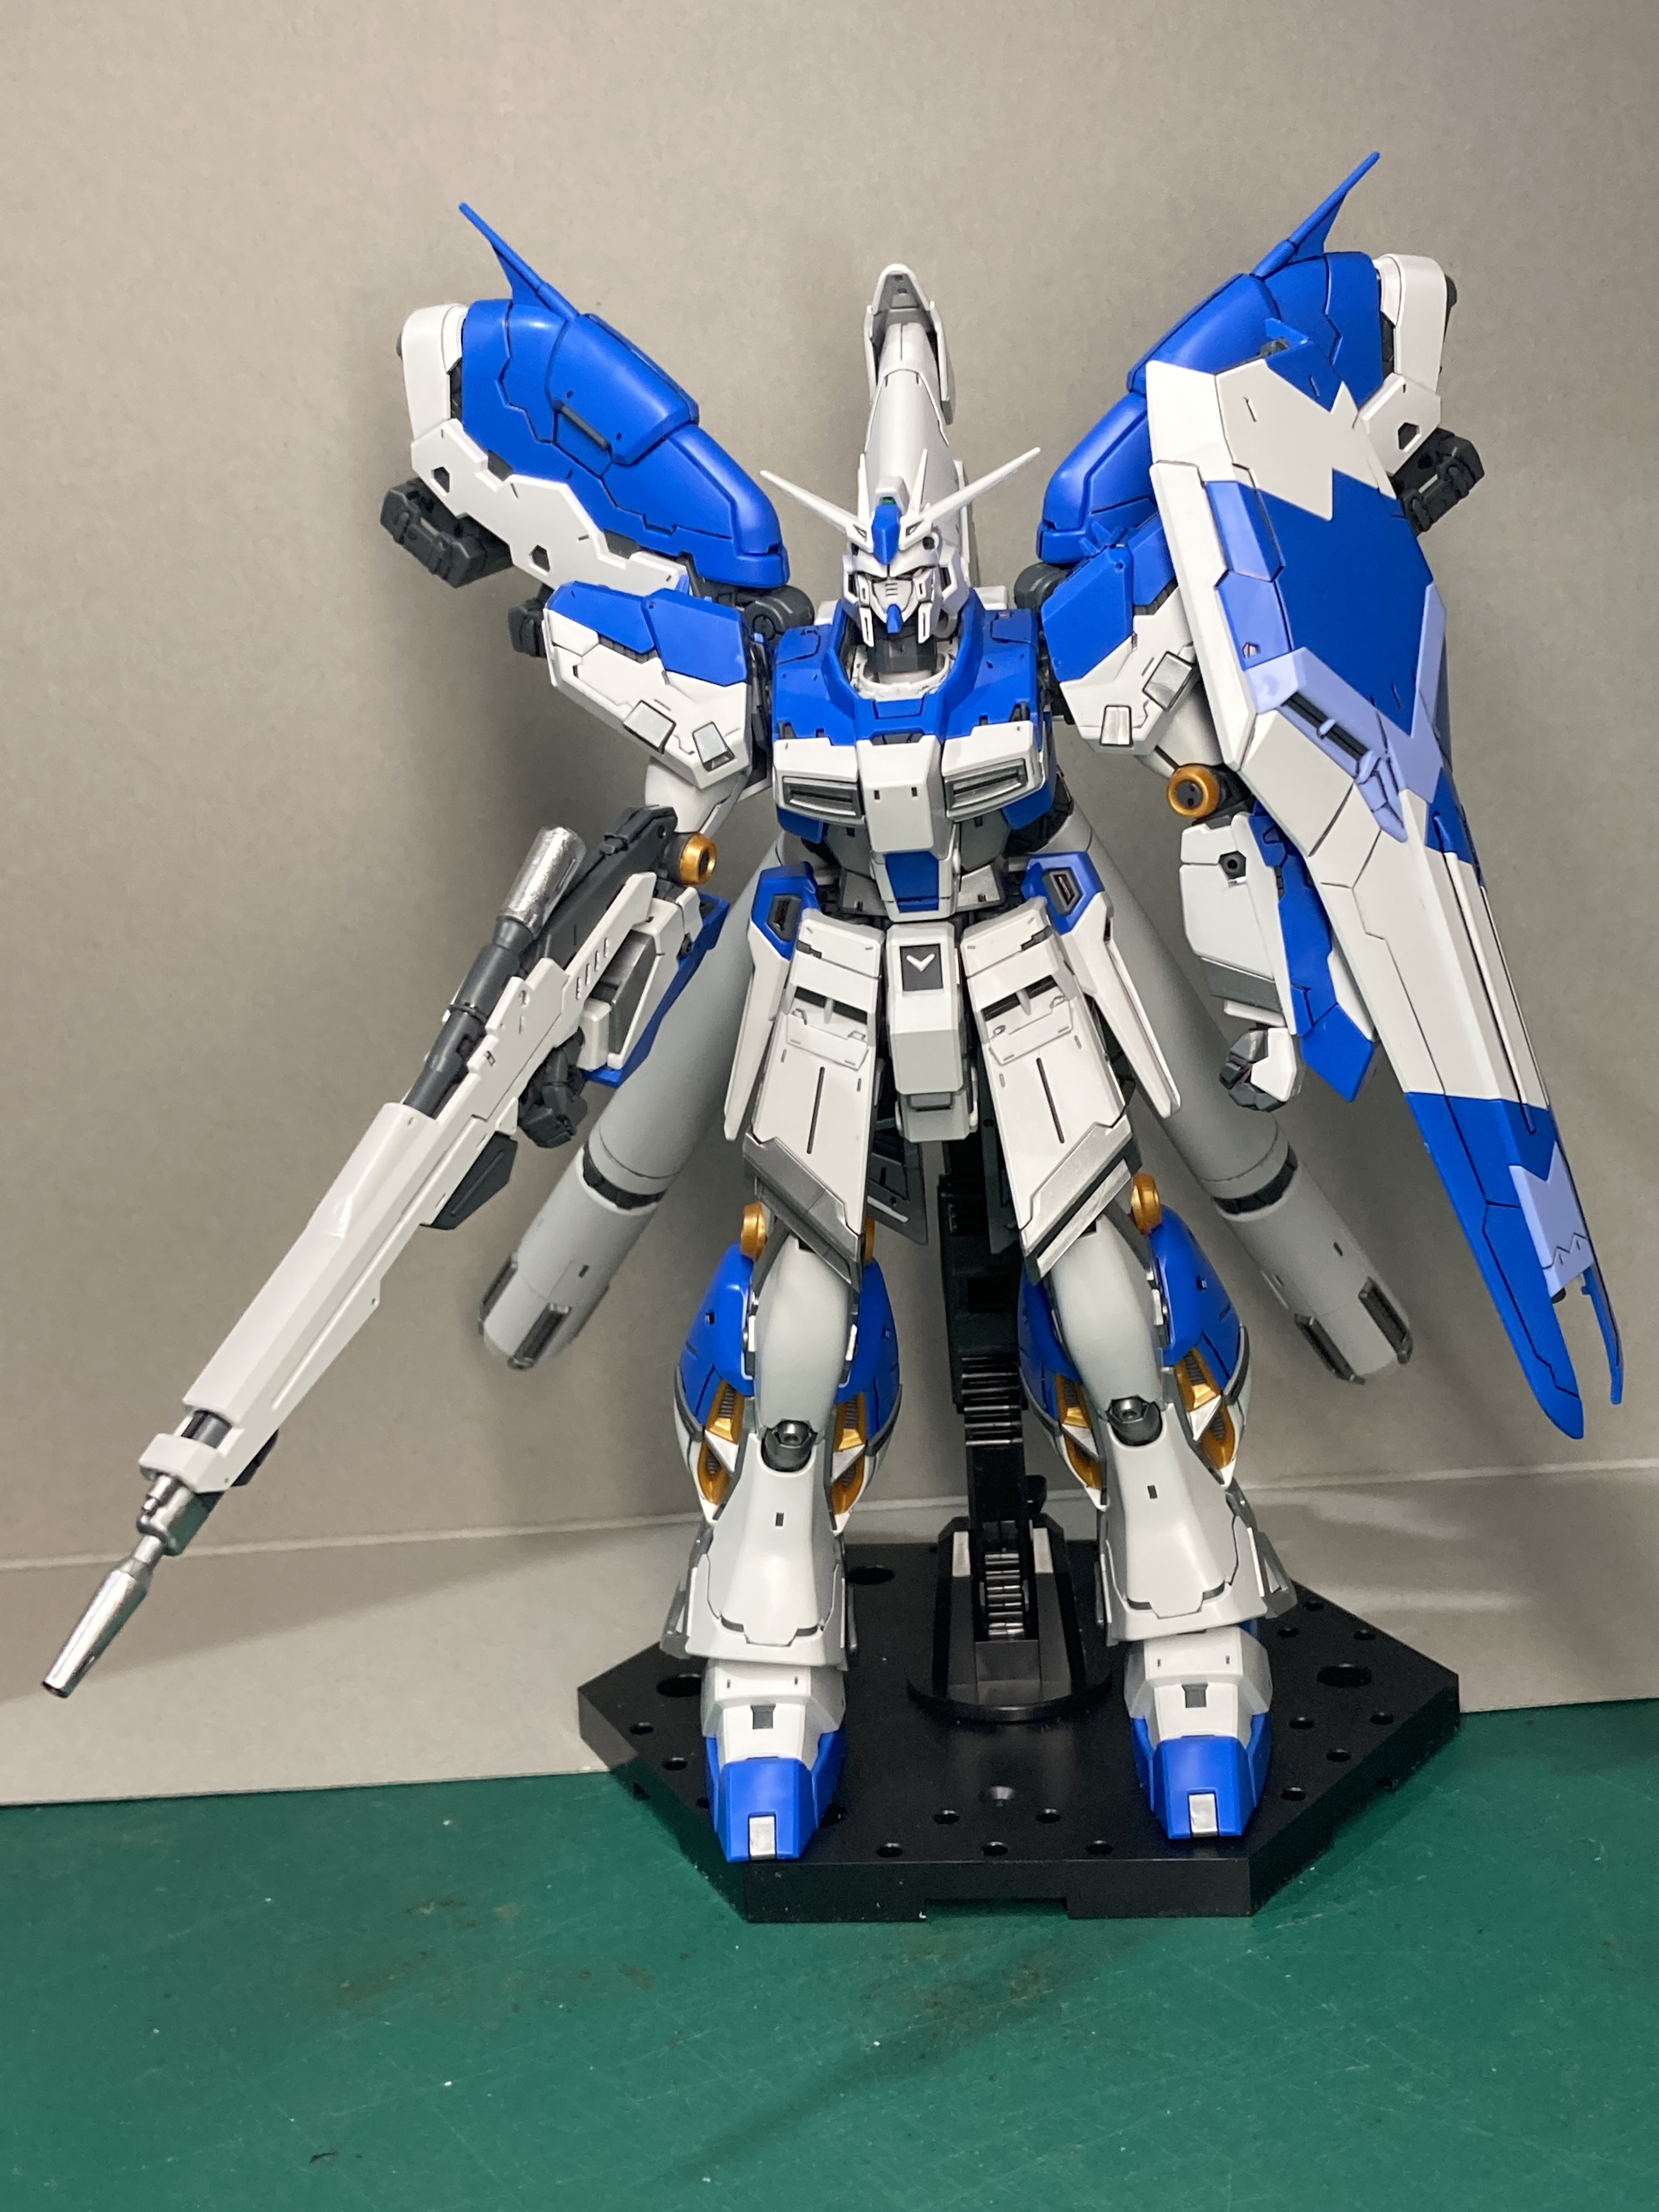
The Gundam will stand on its own with this backpack on but it has to lean forward to offset the weight.
The kit comes with its own action base attachment which connects to the Gundam and the backpack together which is very cool.
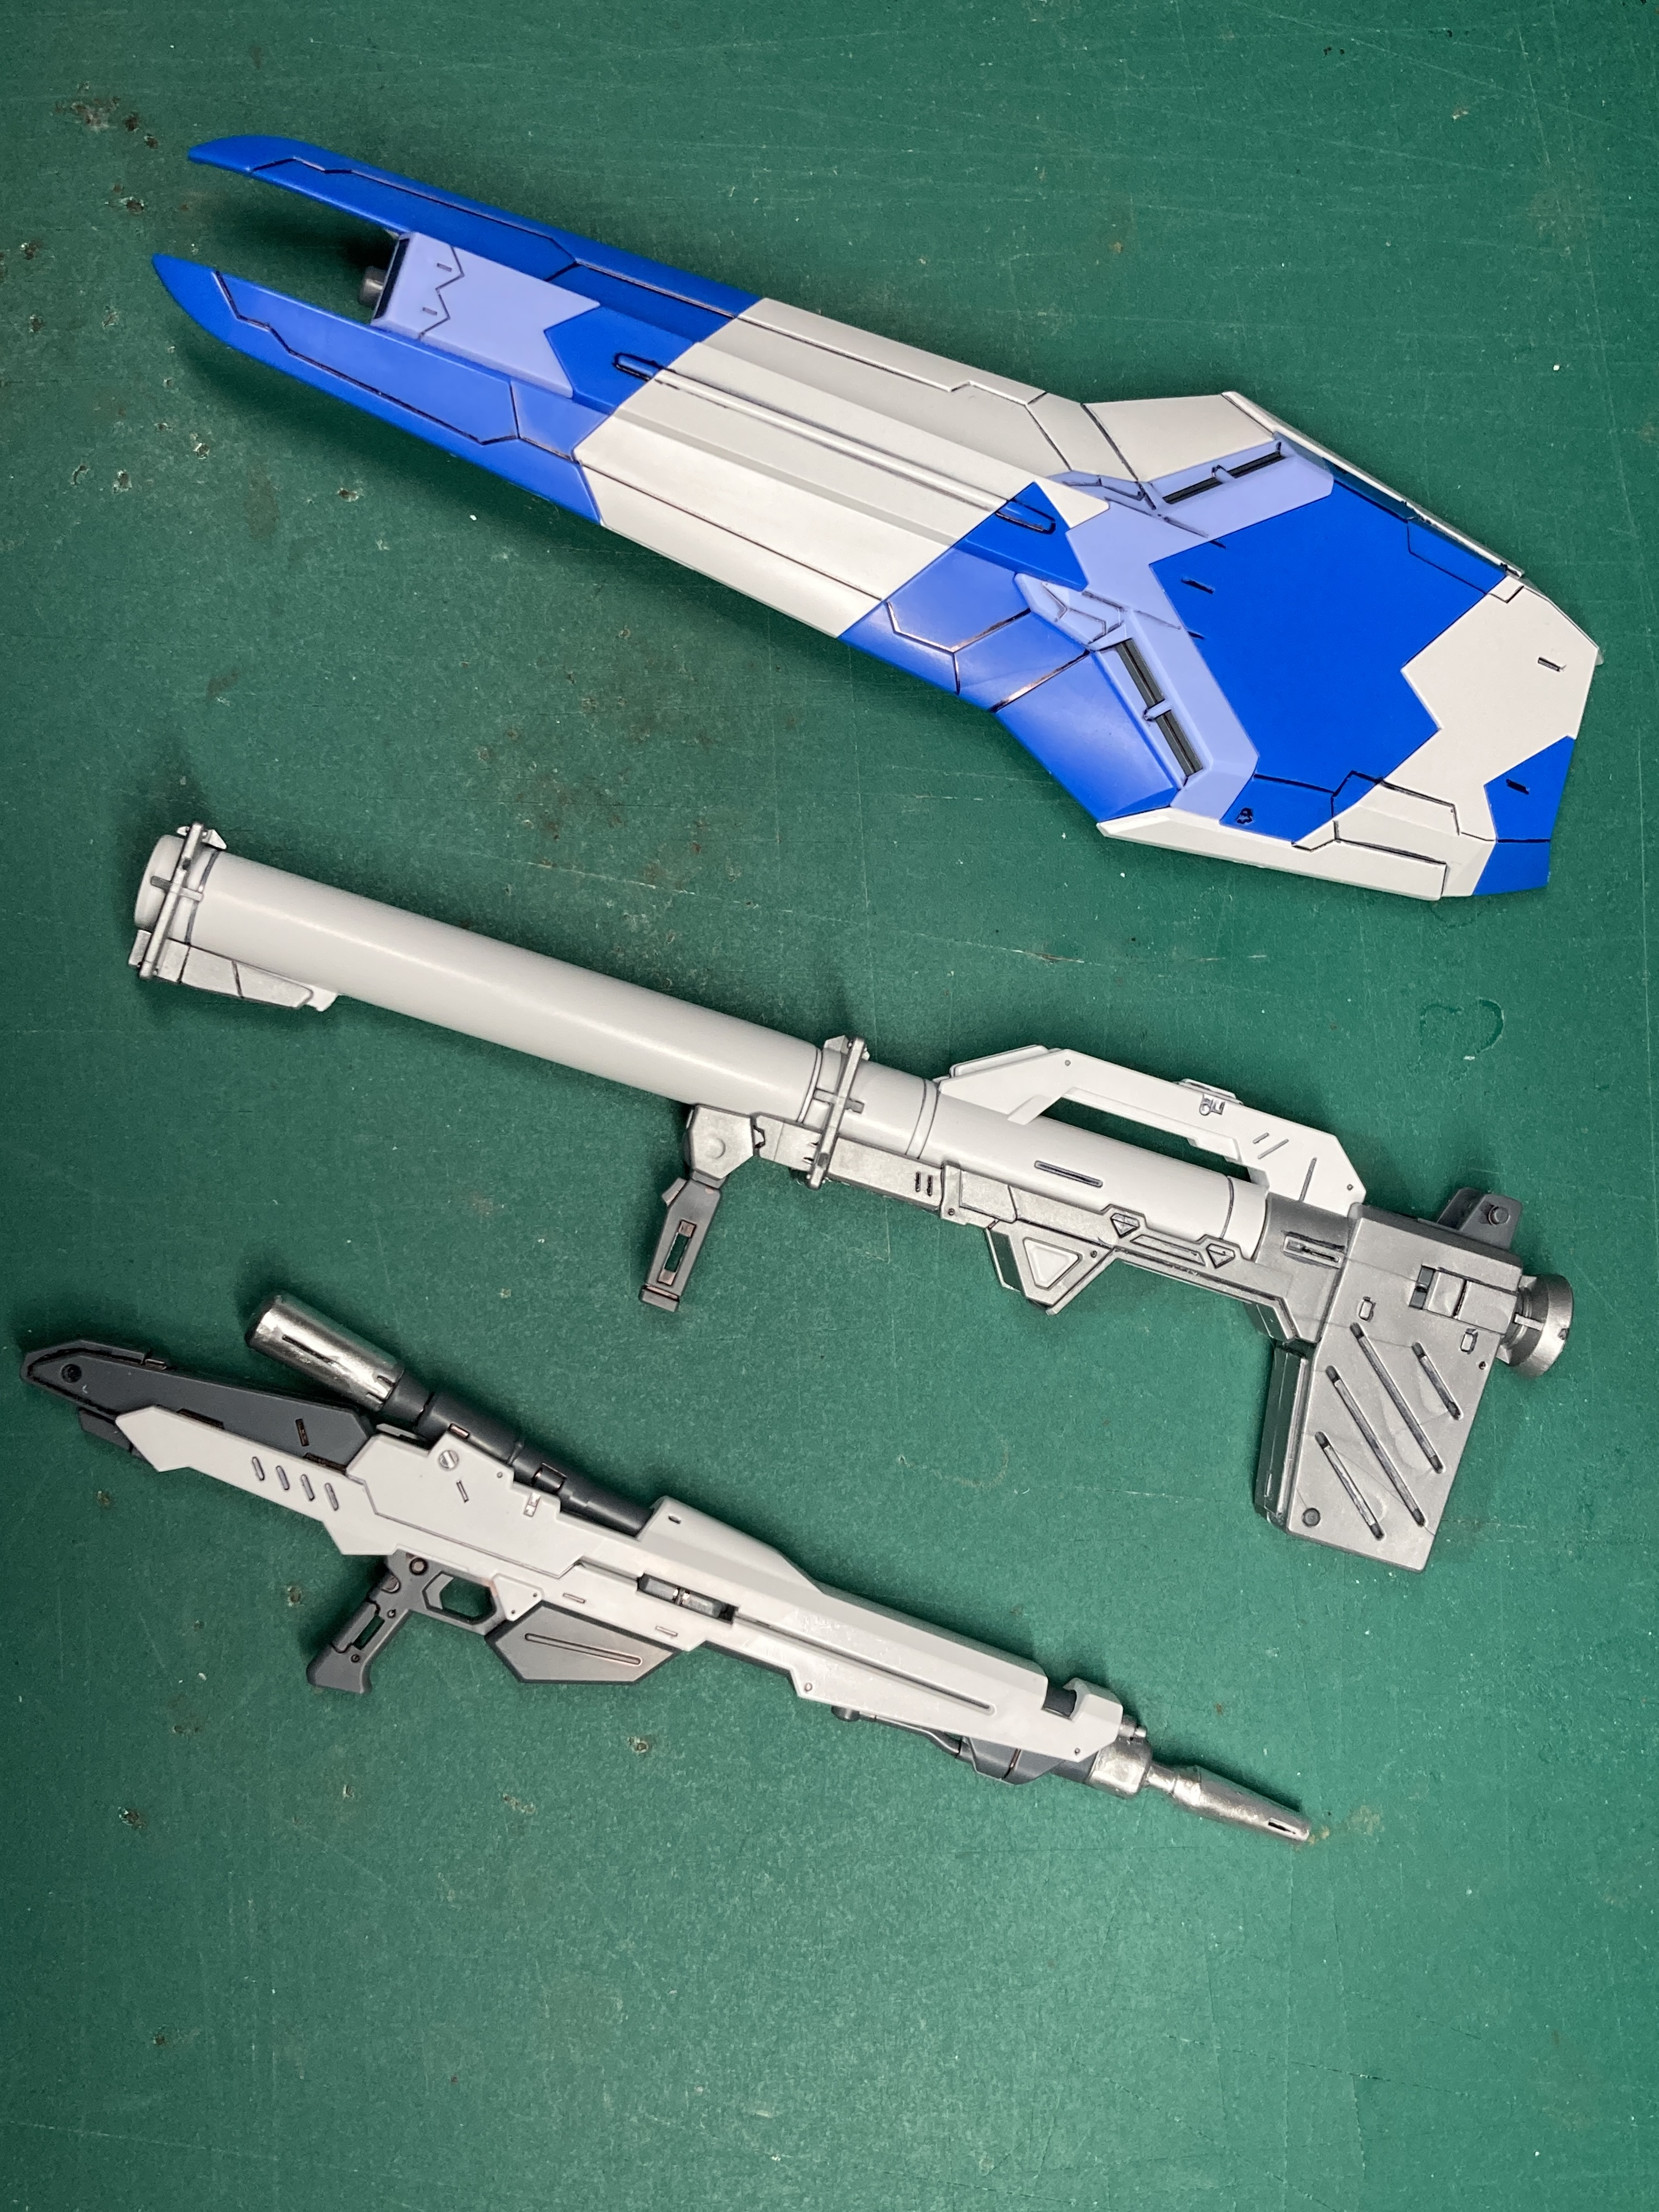
The weapons look very clean and putting together the different colours on the shield was quite satisfying in how close and exact they fitted together. I tried my silver marker on the gun and I’m surprised how shiny it looks.


Here’s the Gundam (almost) fully loaded out. The bazooka can clip to the back for storage.
Next I’ll be assembling the fin funnels then it’ll just be the water slide transfer decals and I think the project will be complete. Still, that’s a bit of work to do.


![StarCraft Tabletop Miniatures Game Pre-Orders Live Now [Updated]](https://images.beastsofwar.com/2026/03/starcraft-tmg-news-cover-600-338.jpg)


![Mounted US Cavalry On Kickstarter For Dead Man’s Hand! [Updated]](https://images.beastsofwar.com/2026/03/us-cavalry-main-600-338.jpg)


