


![NO Weekender Or Cult Of Games XLBS This Weekend [Updated]](https://images.beastsofwar.com/2026/03/No_Weekender_and_XLBS_this_Weekend-225-127.jpg)


Draconis: Spring Clean 2025 (Oldhammer) and Onward


Recommendations: 230
About the Project
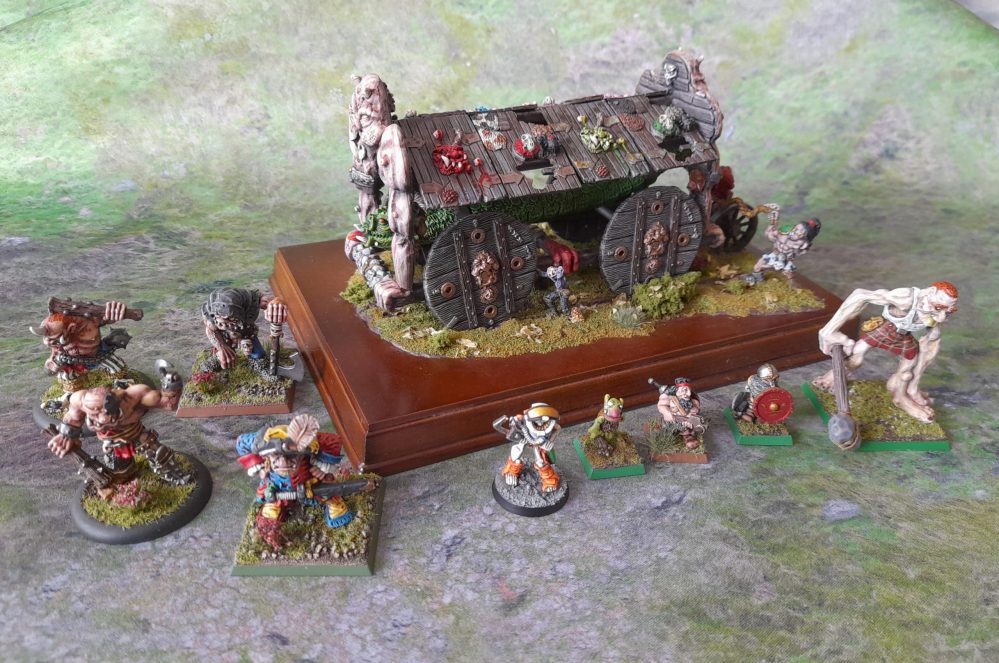
Much like previous years, for this year’s Spring Clean challenge, rather than a single project, I will be working on various pieces that have either been languishing on my painting desk, waiting for a much needed refresh, or just grabbing some old minis from my ‘pile of possibility’ and getting some paint down on them. I may also do some work on my Silver Bayonet project during this time, so not sure how much may be in here by the end… I do have one particular ancient piece in mind, but won’t mention it here yet in case I cannot find it amongst my myriad old random ‘stuff’. Edit - I did find the model, the Giant Chaos Battering Ram
Related Genre: General
Related Contest: Spring Clean Hobby Challenge 2025
This Project is Completed
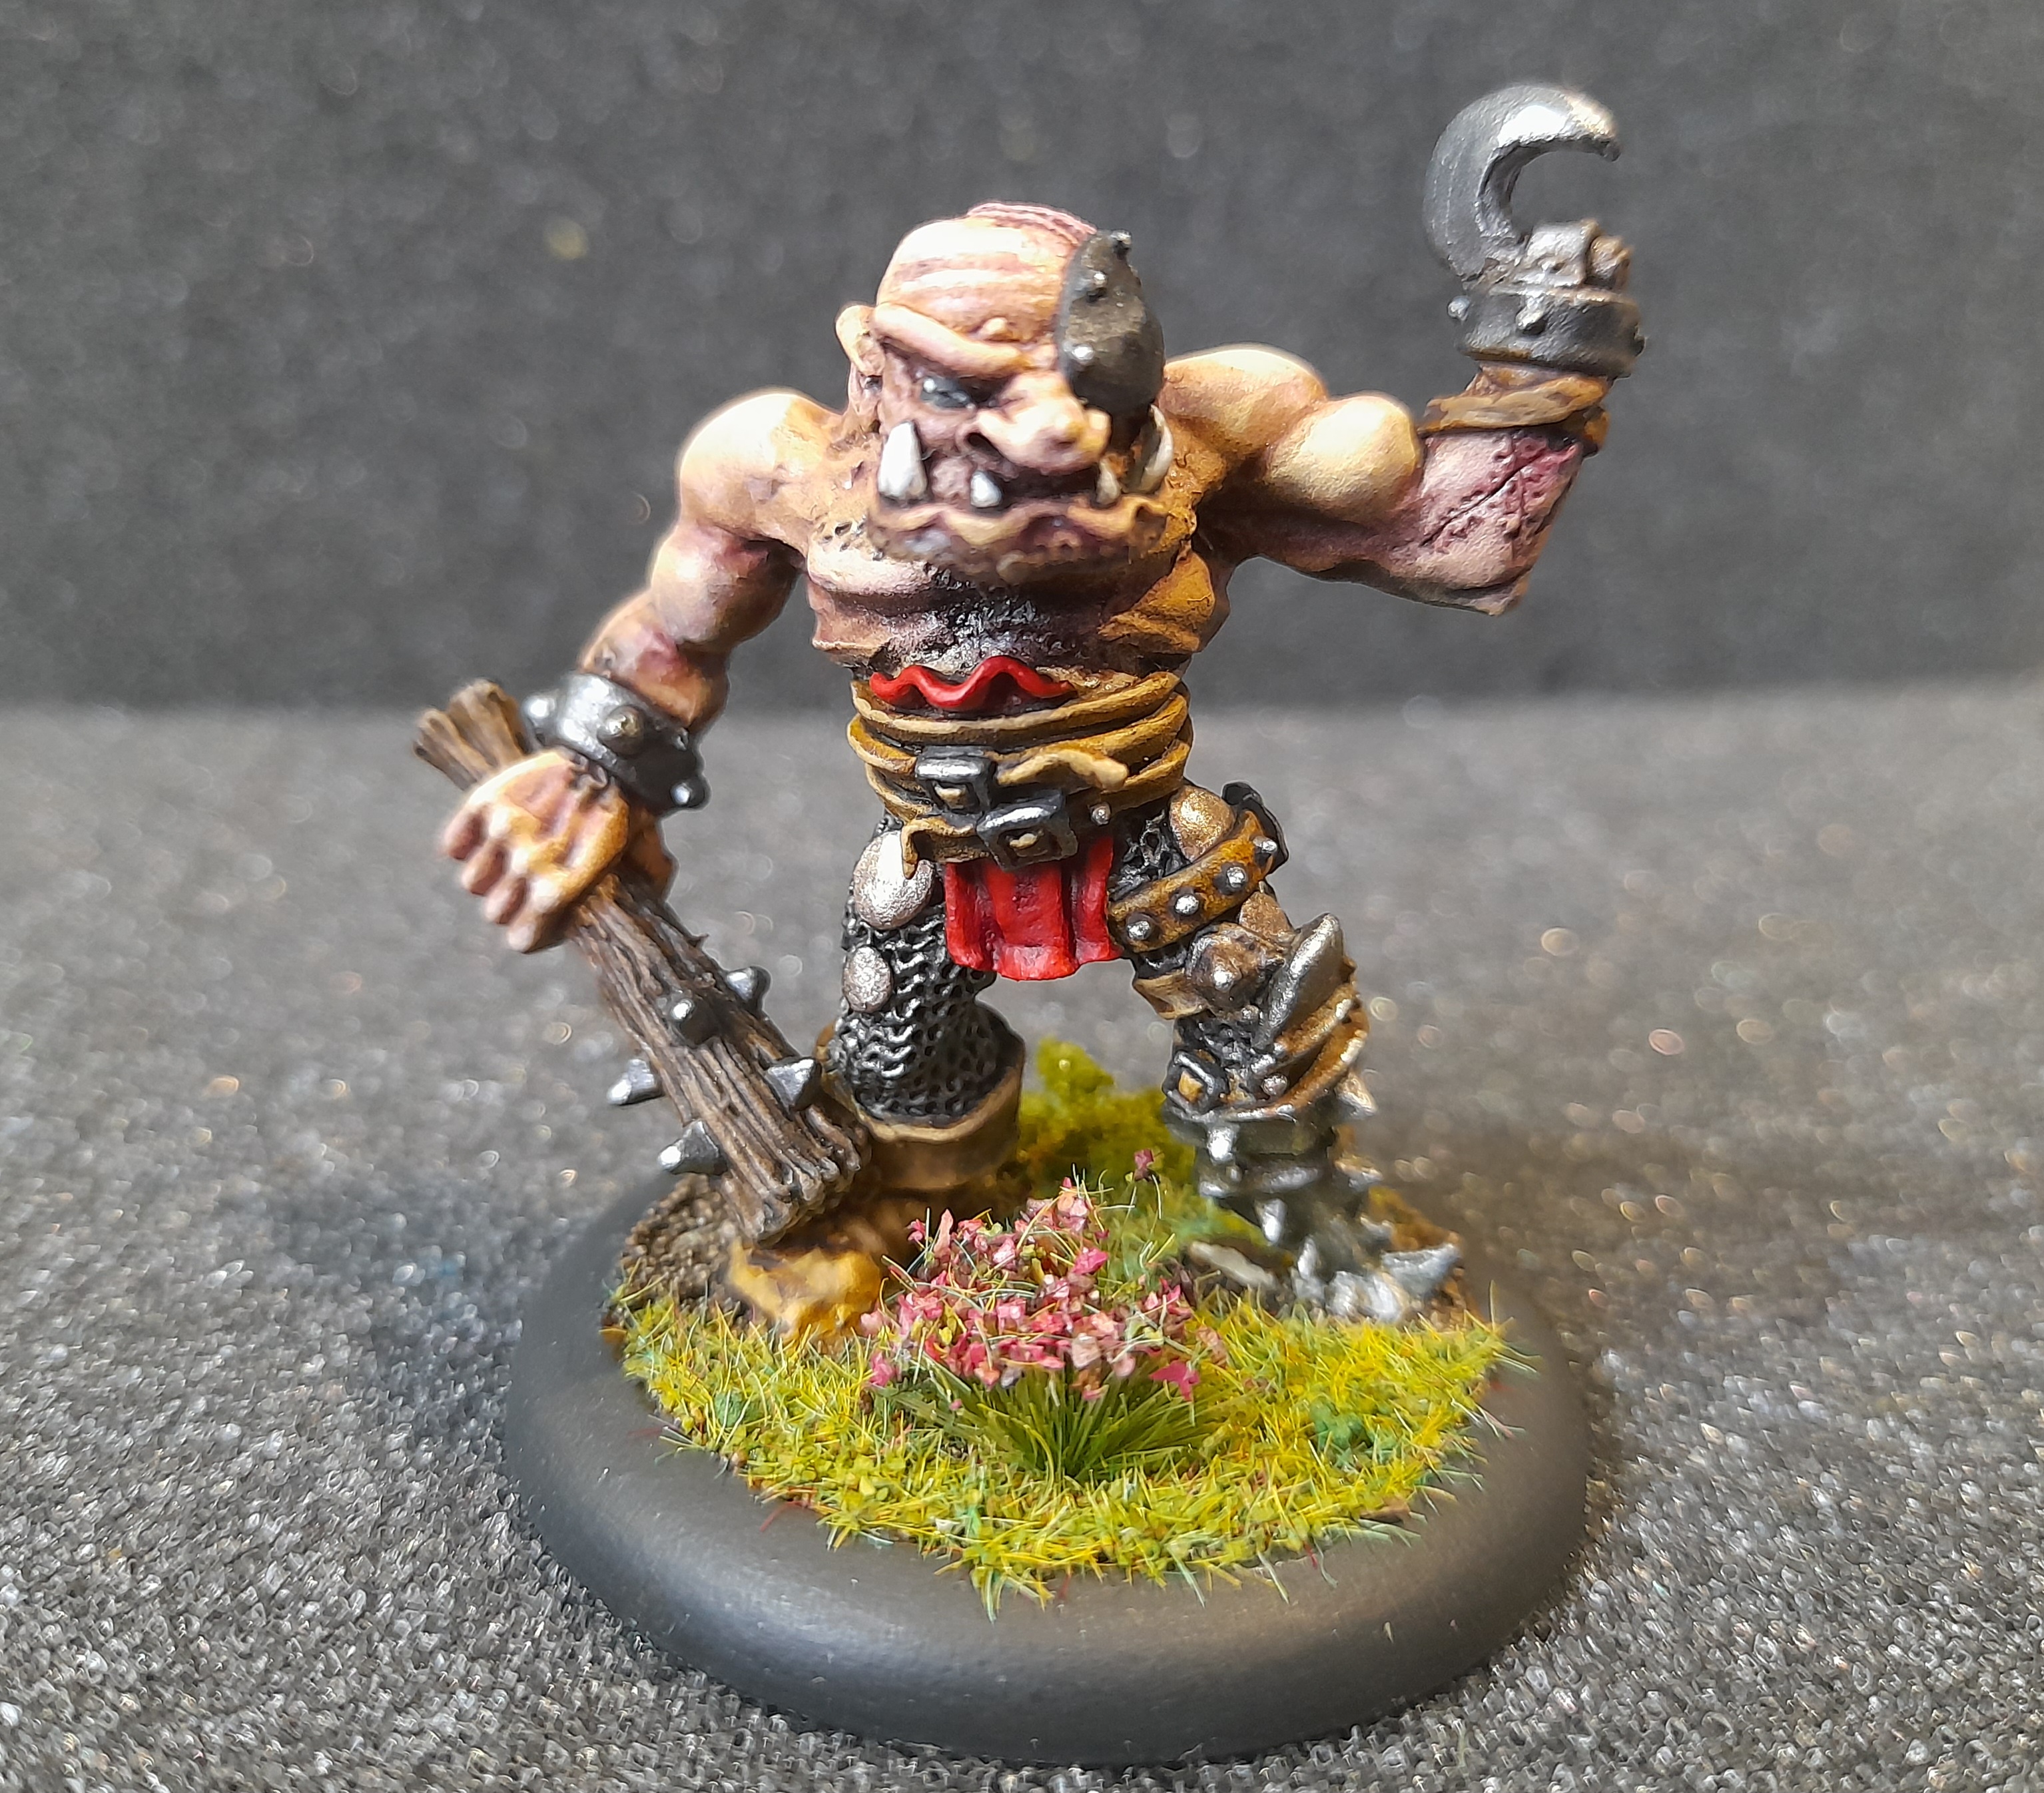
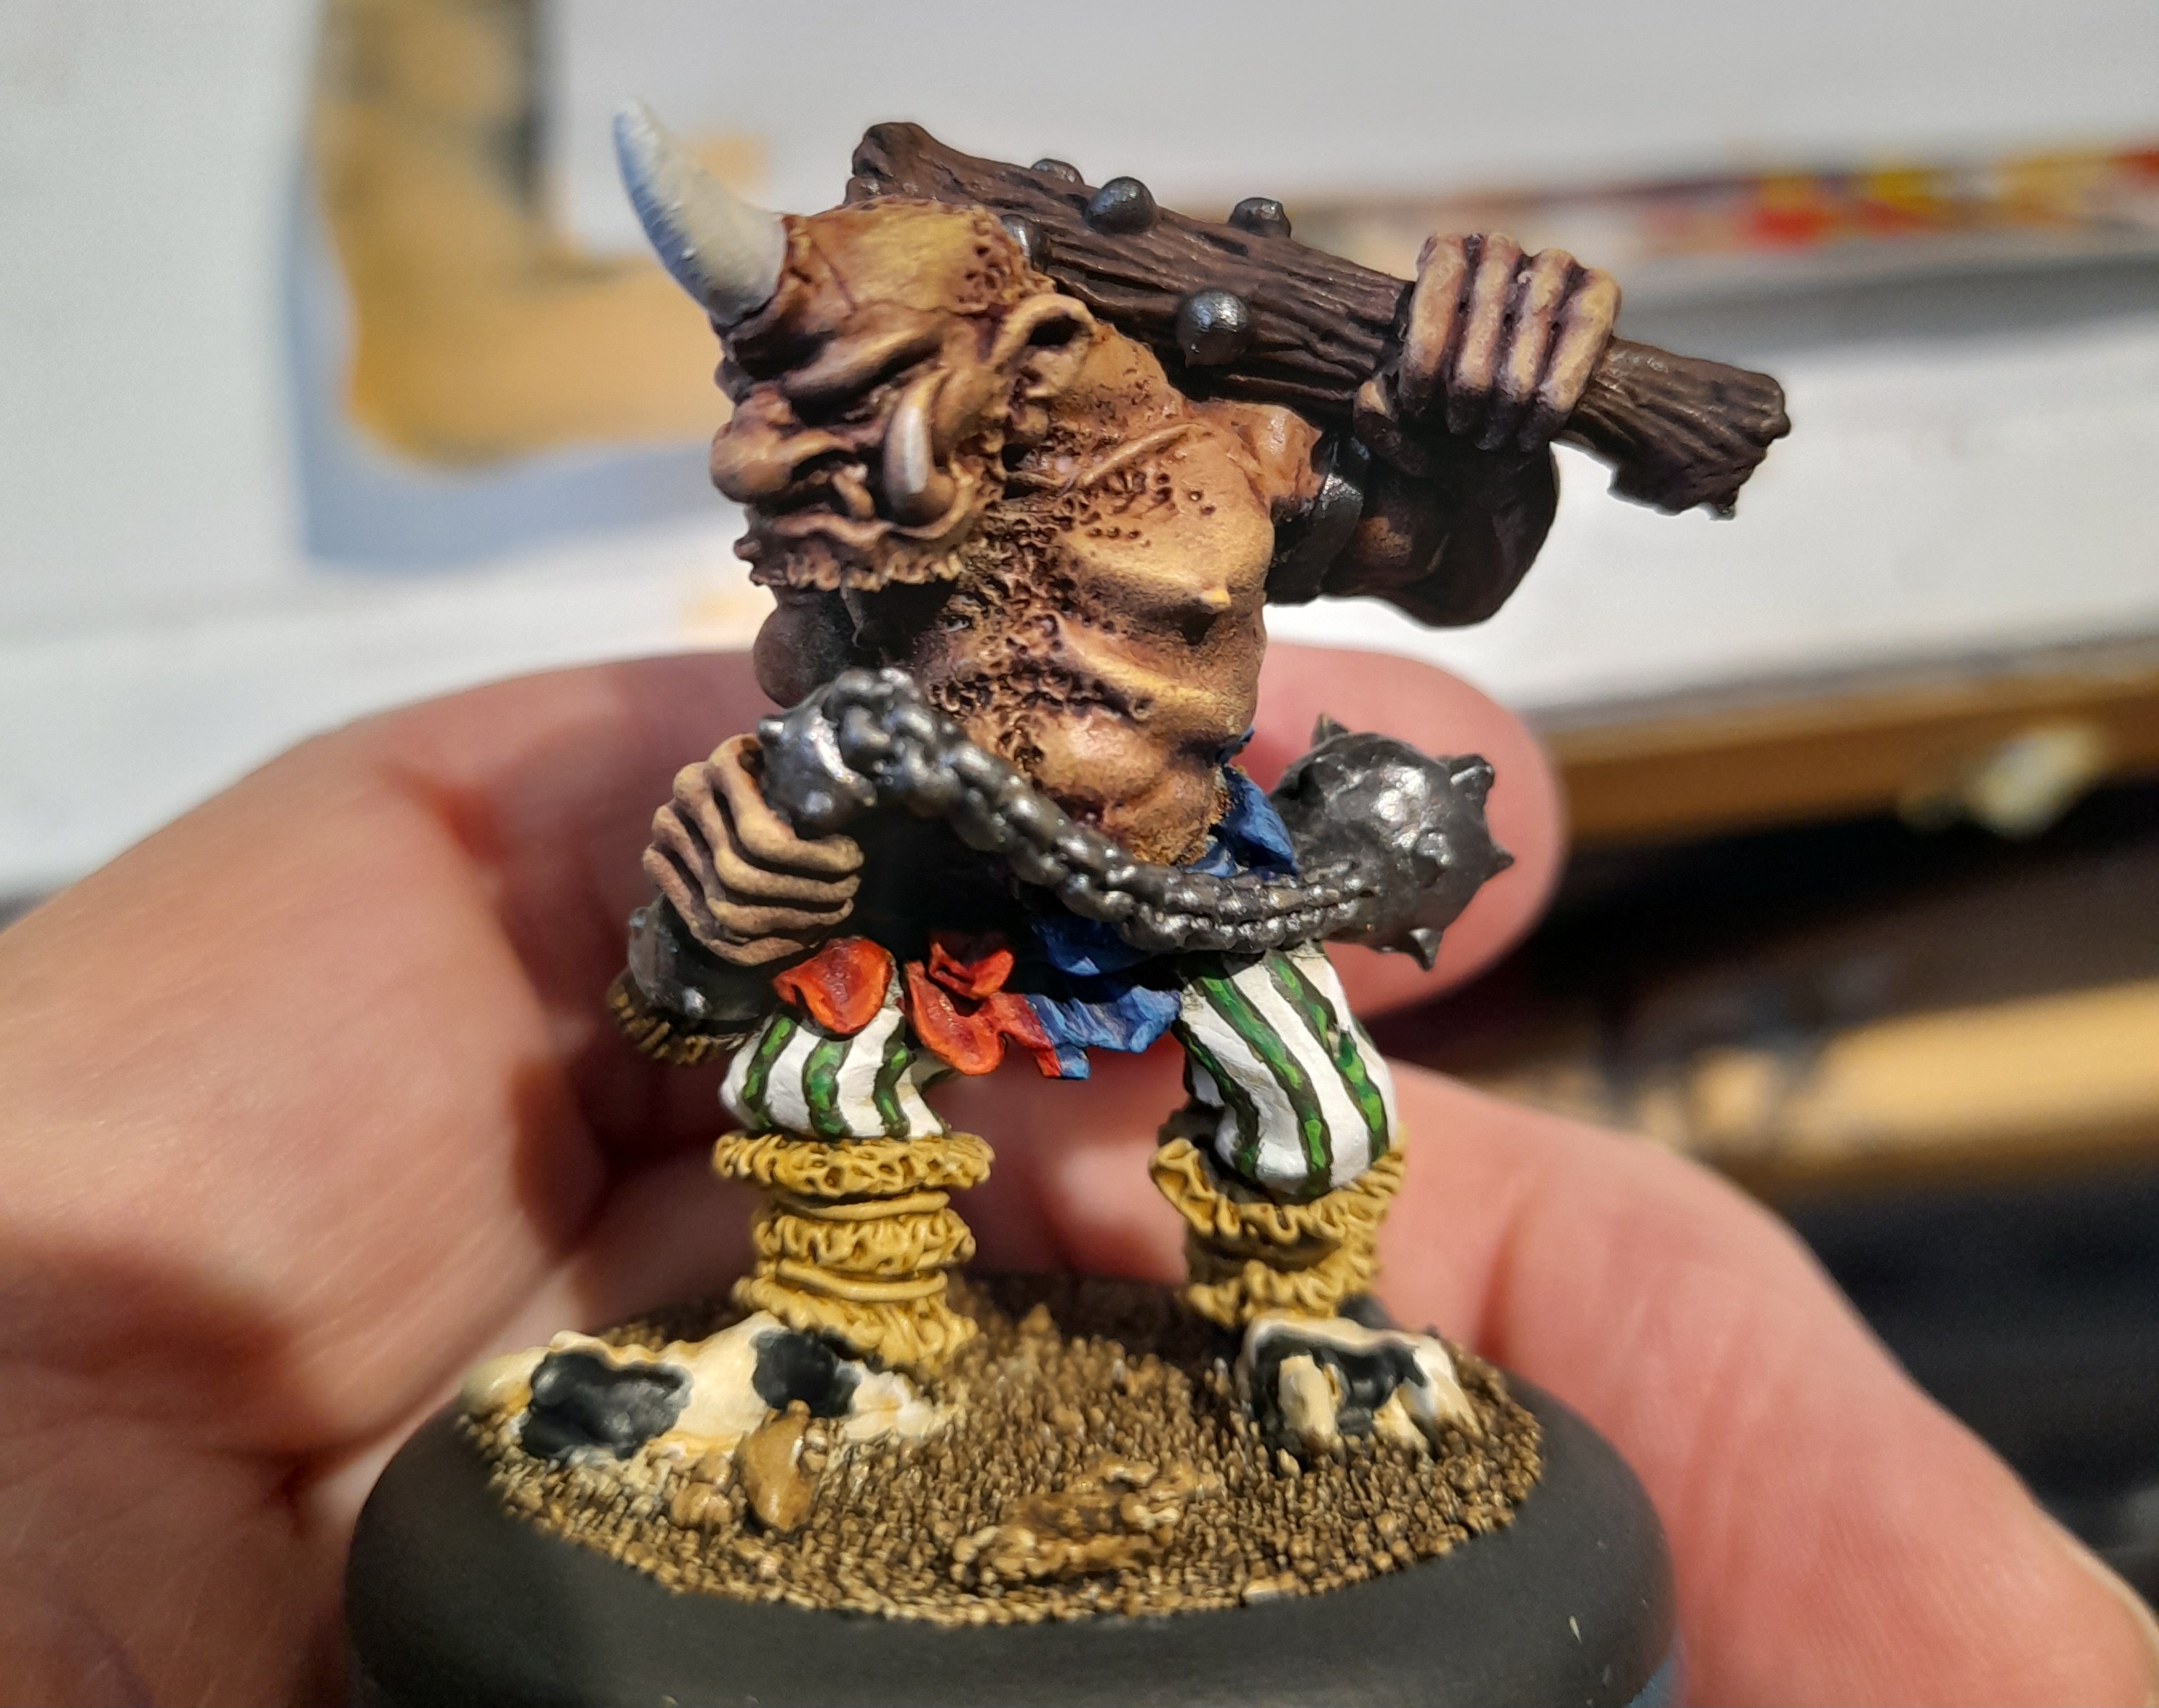
Old School Ogres – C23 ‘Pit Fighter’ Ogre
6th April 2025
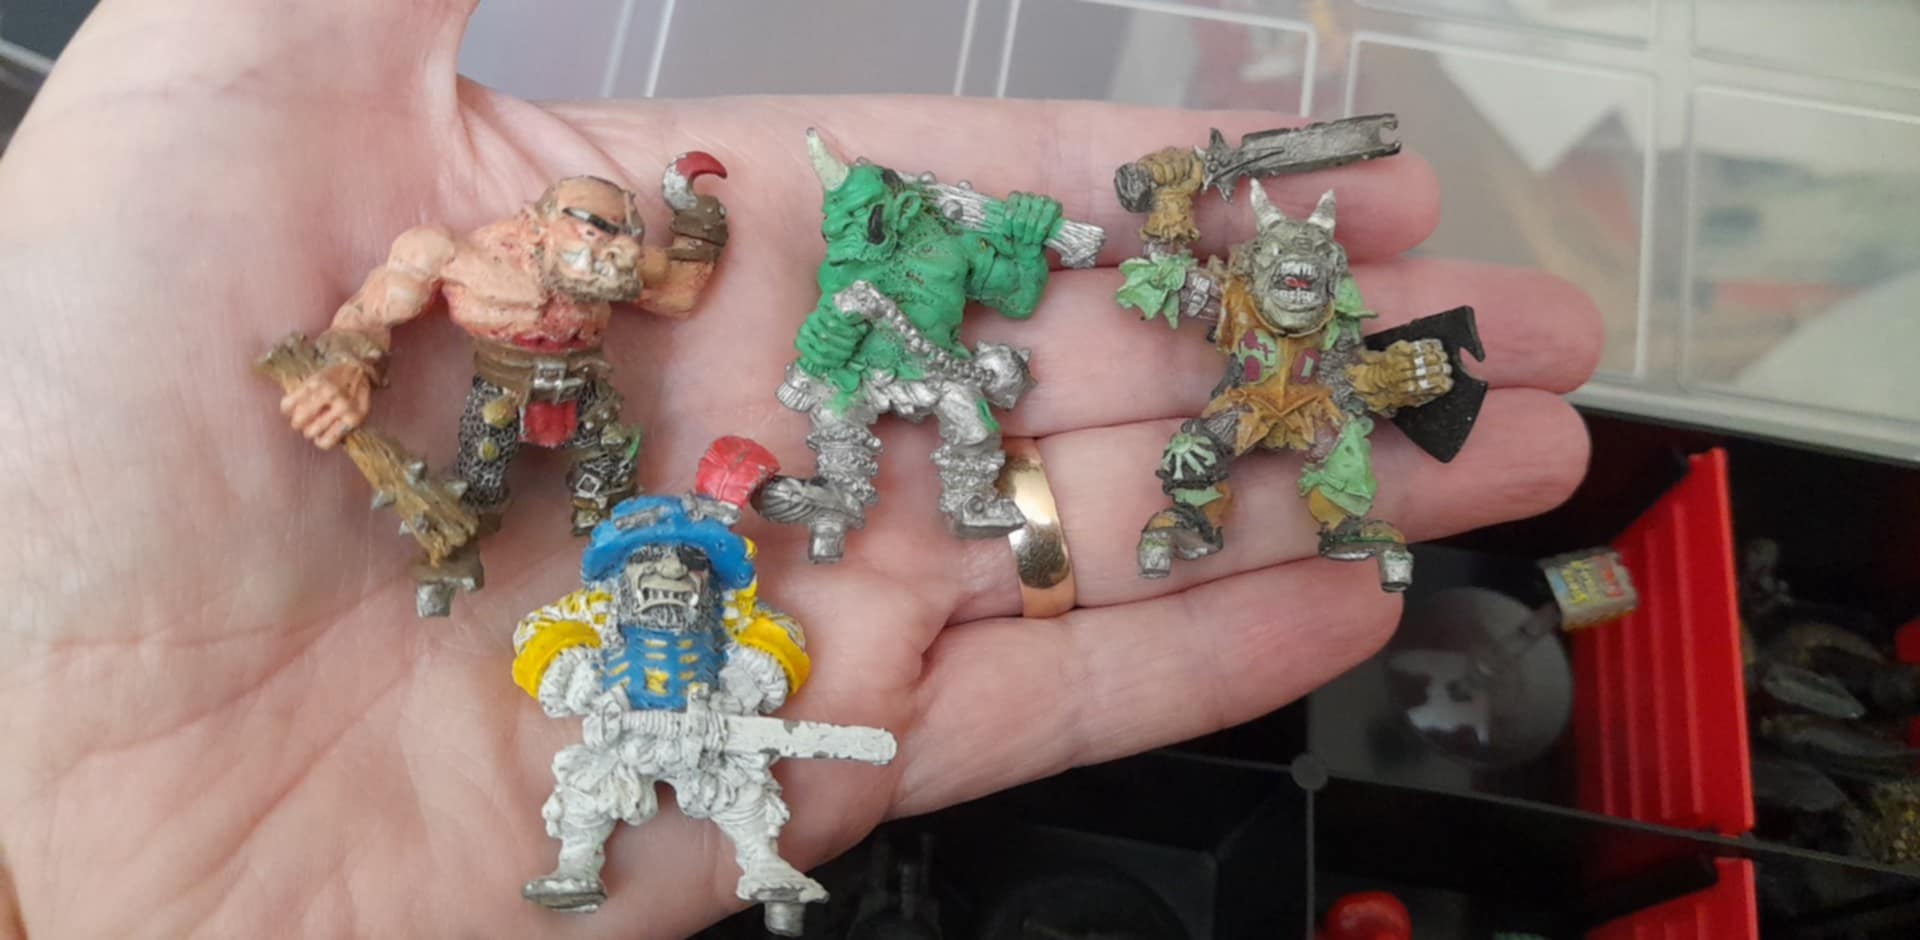
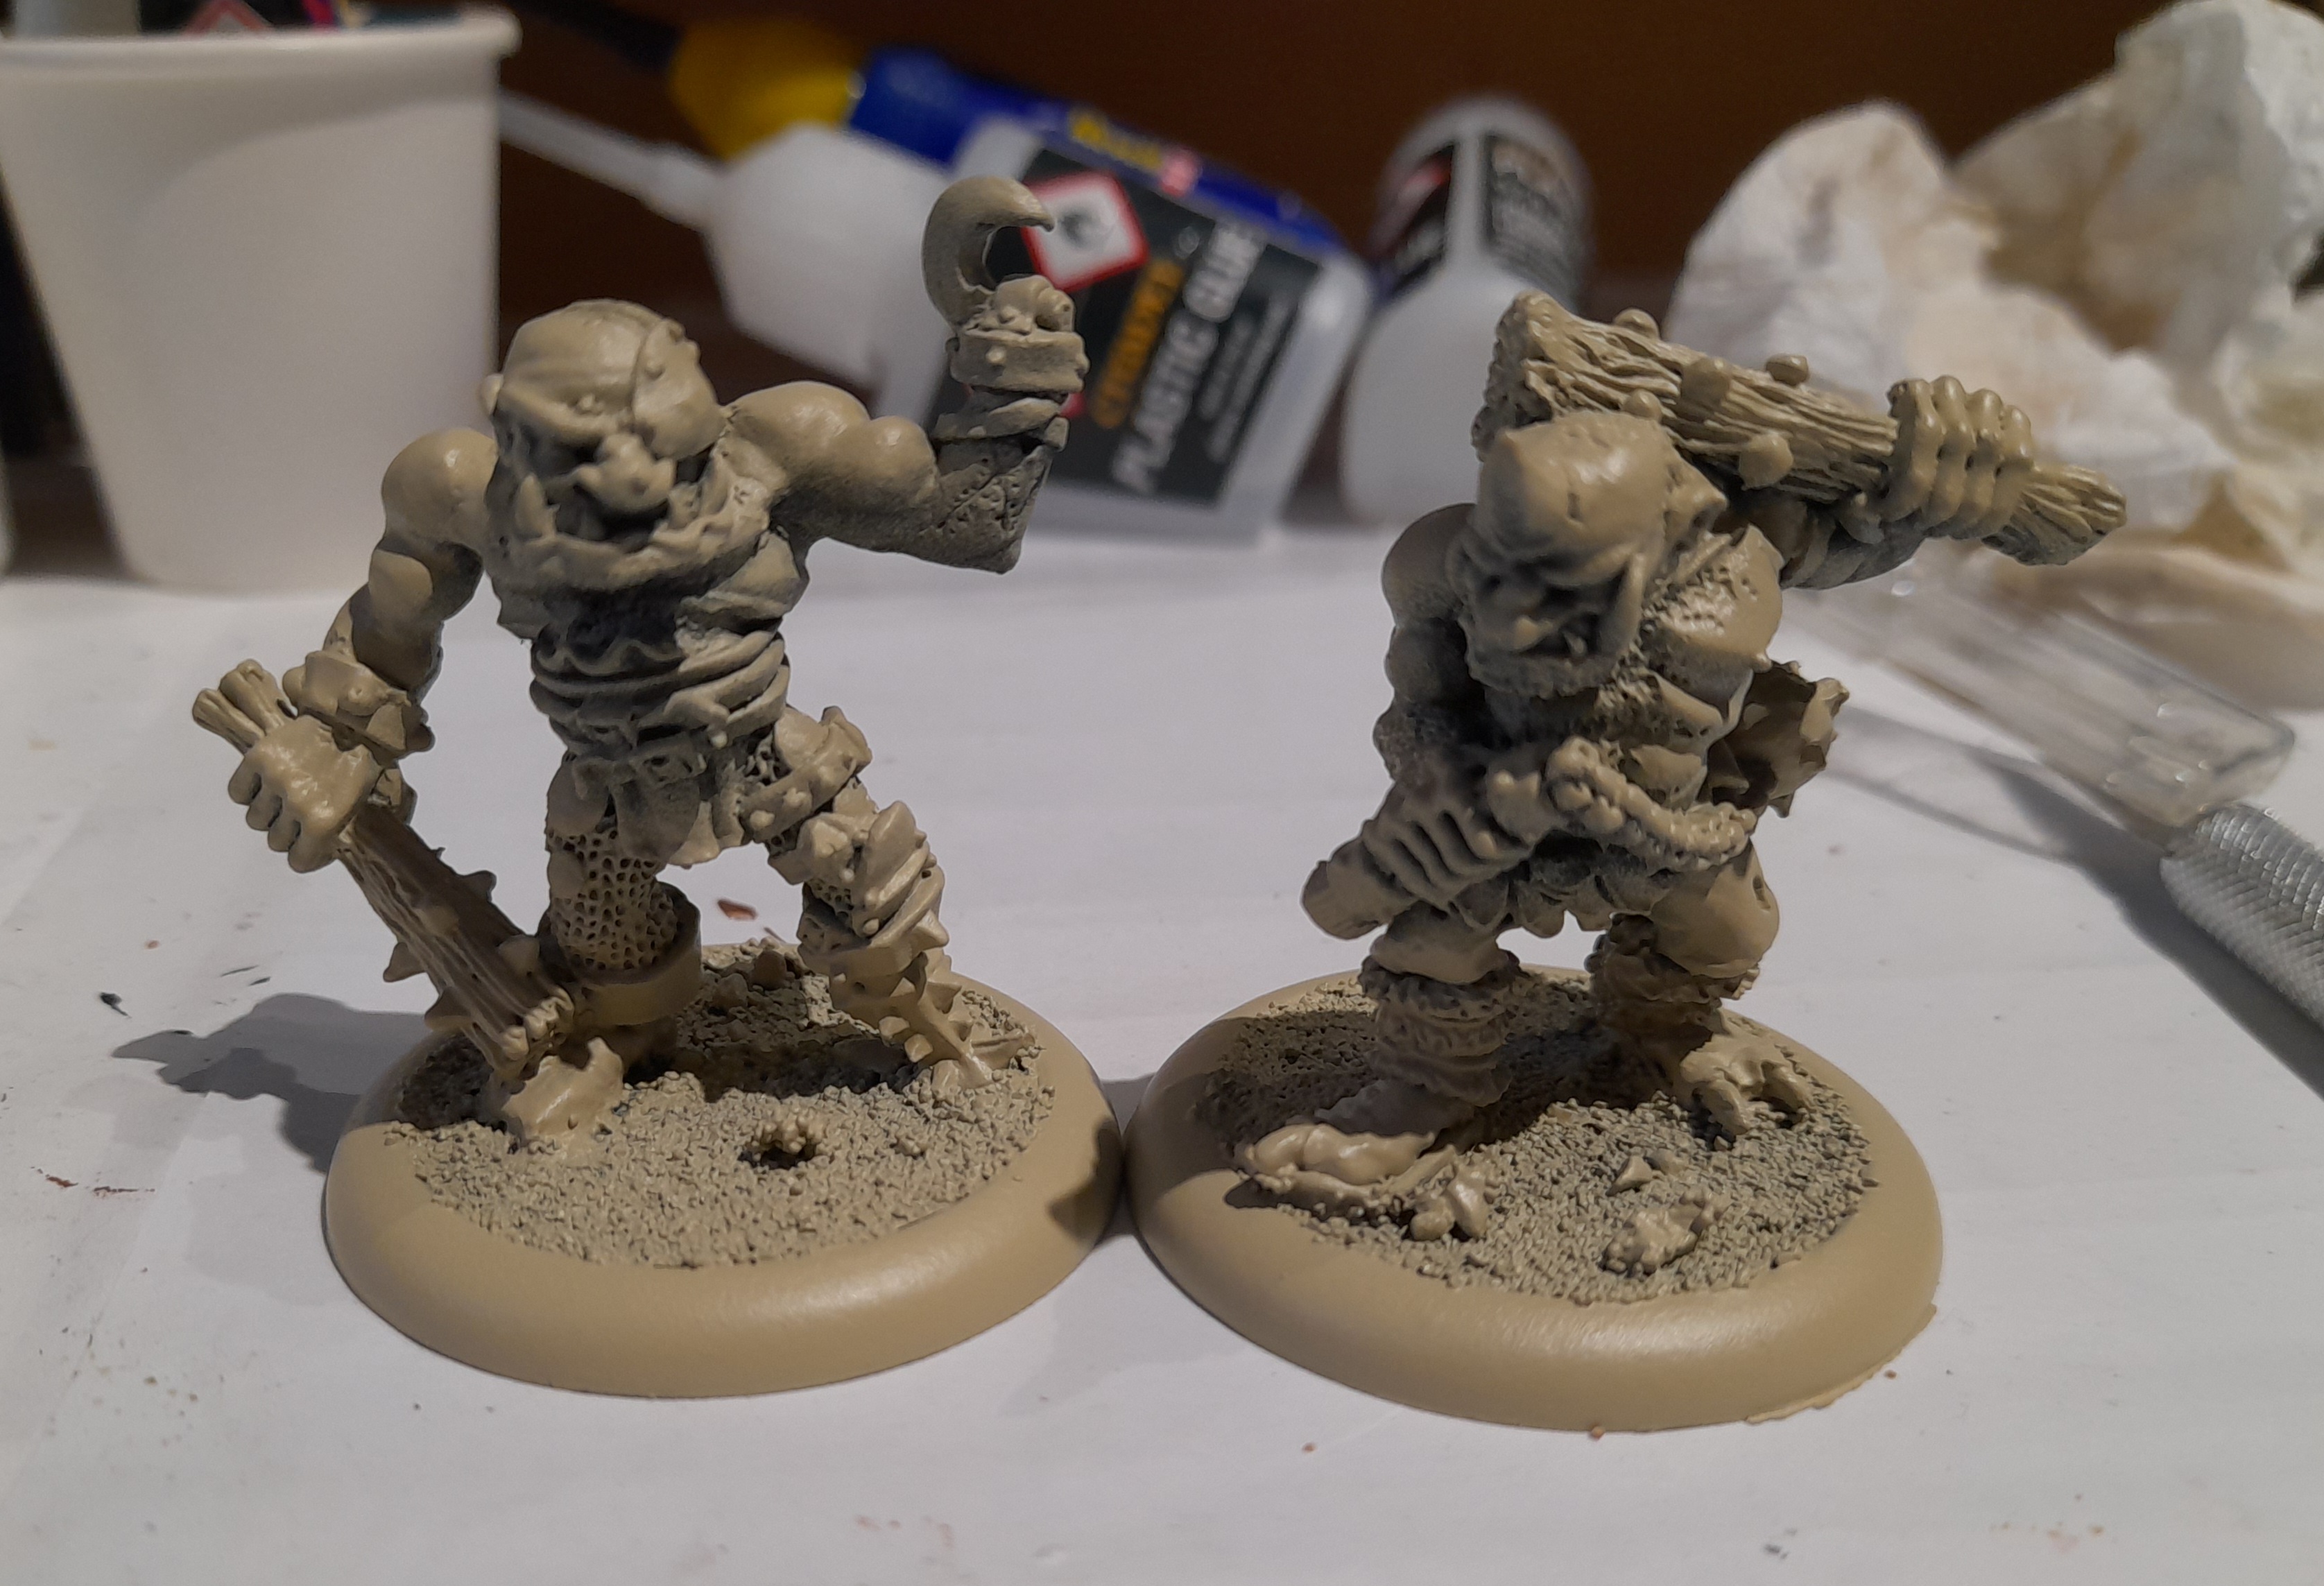
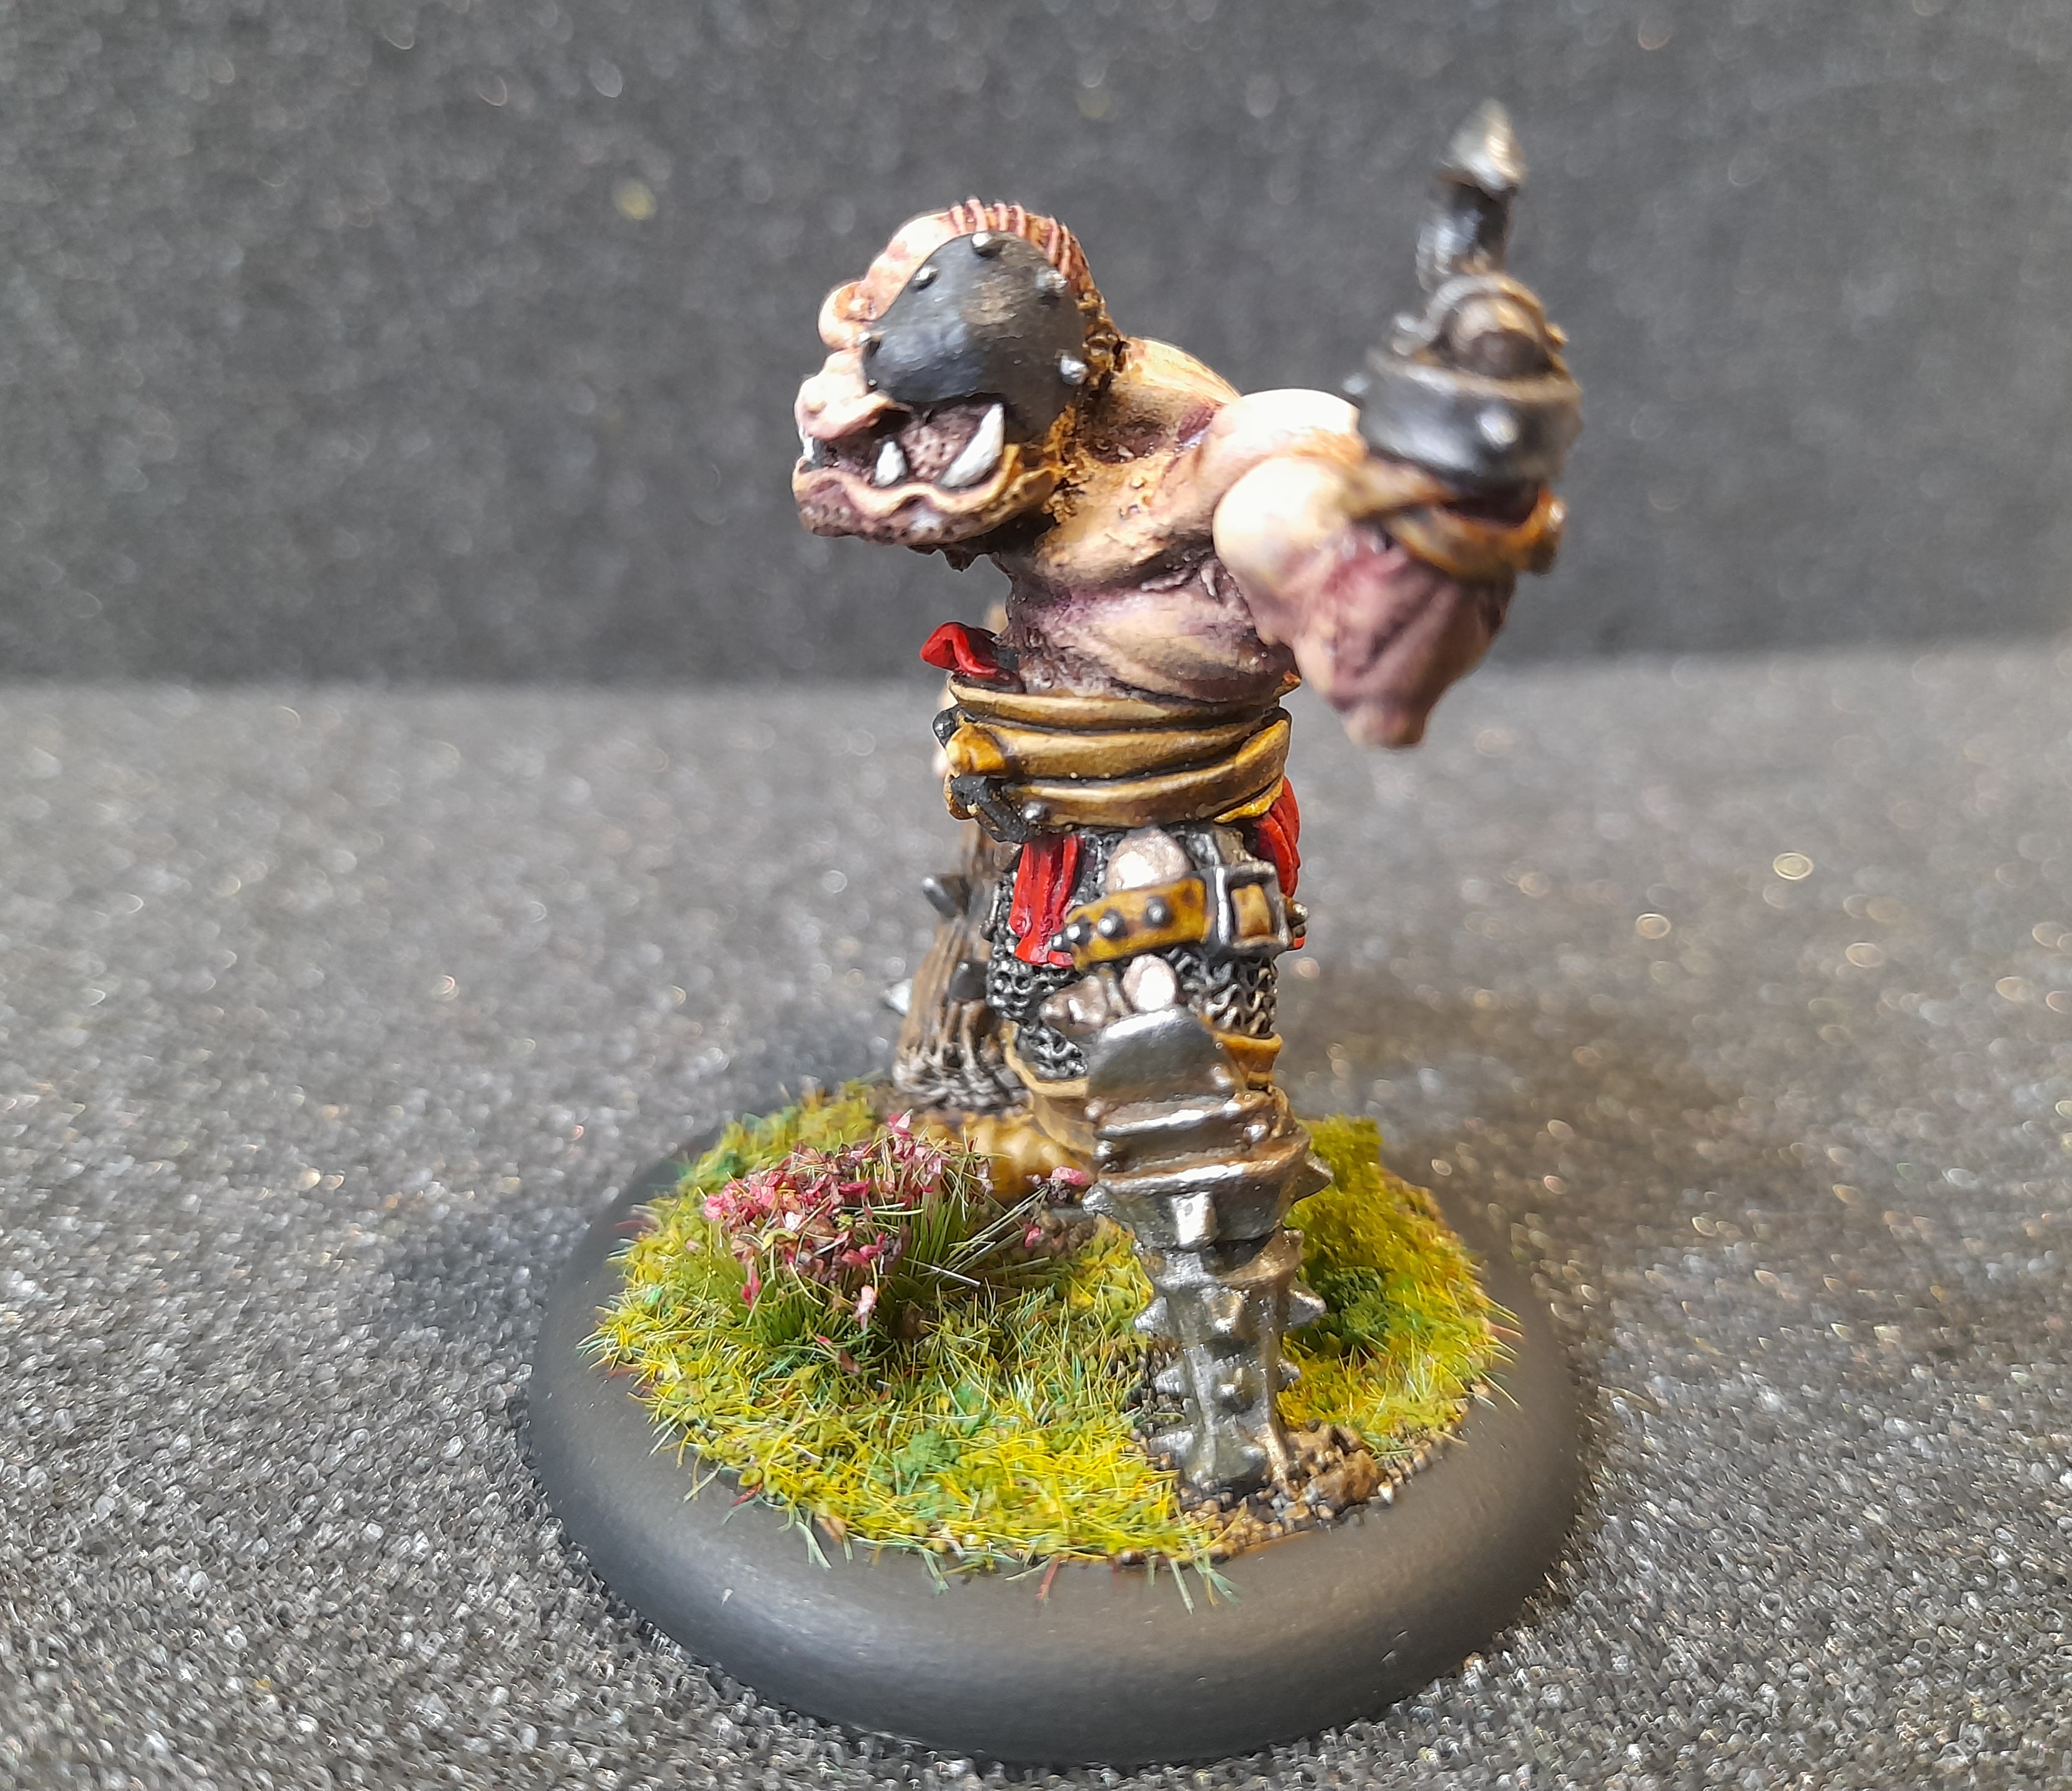
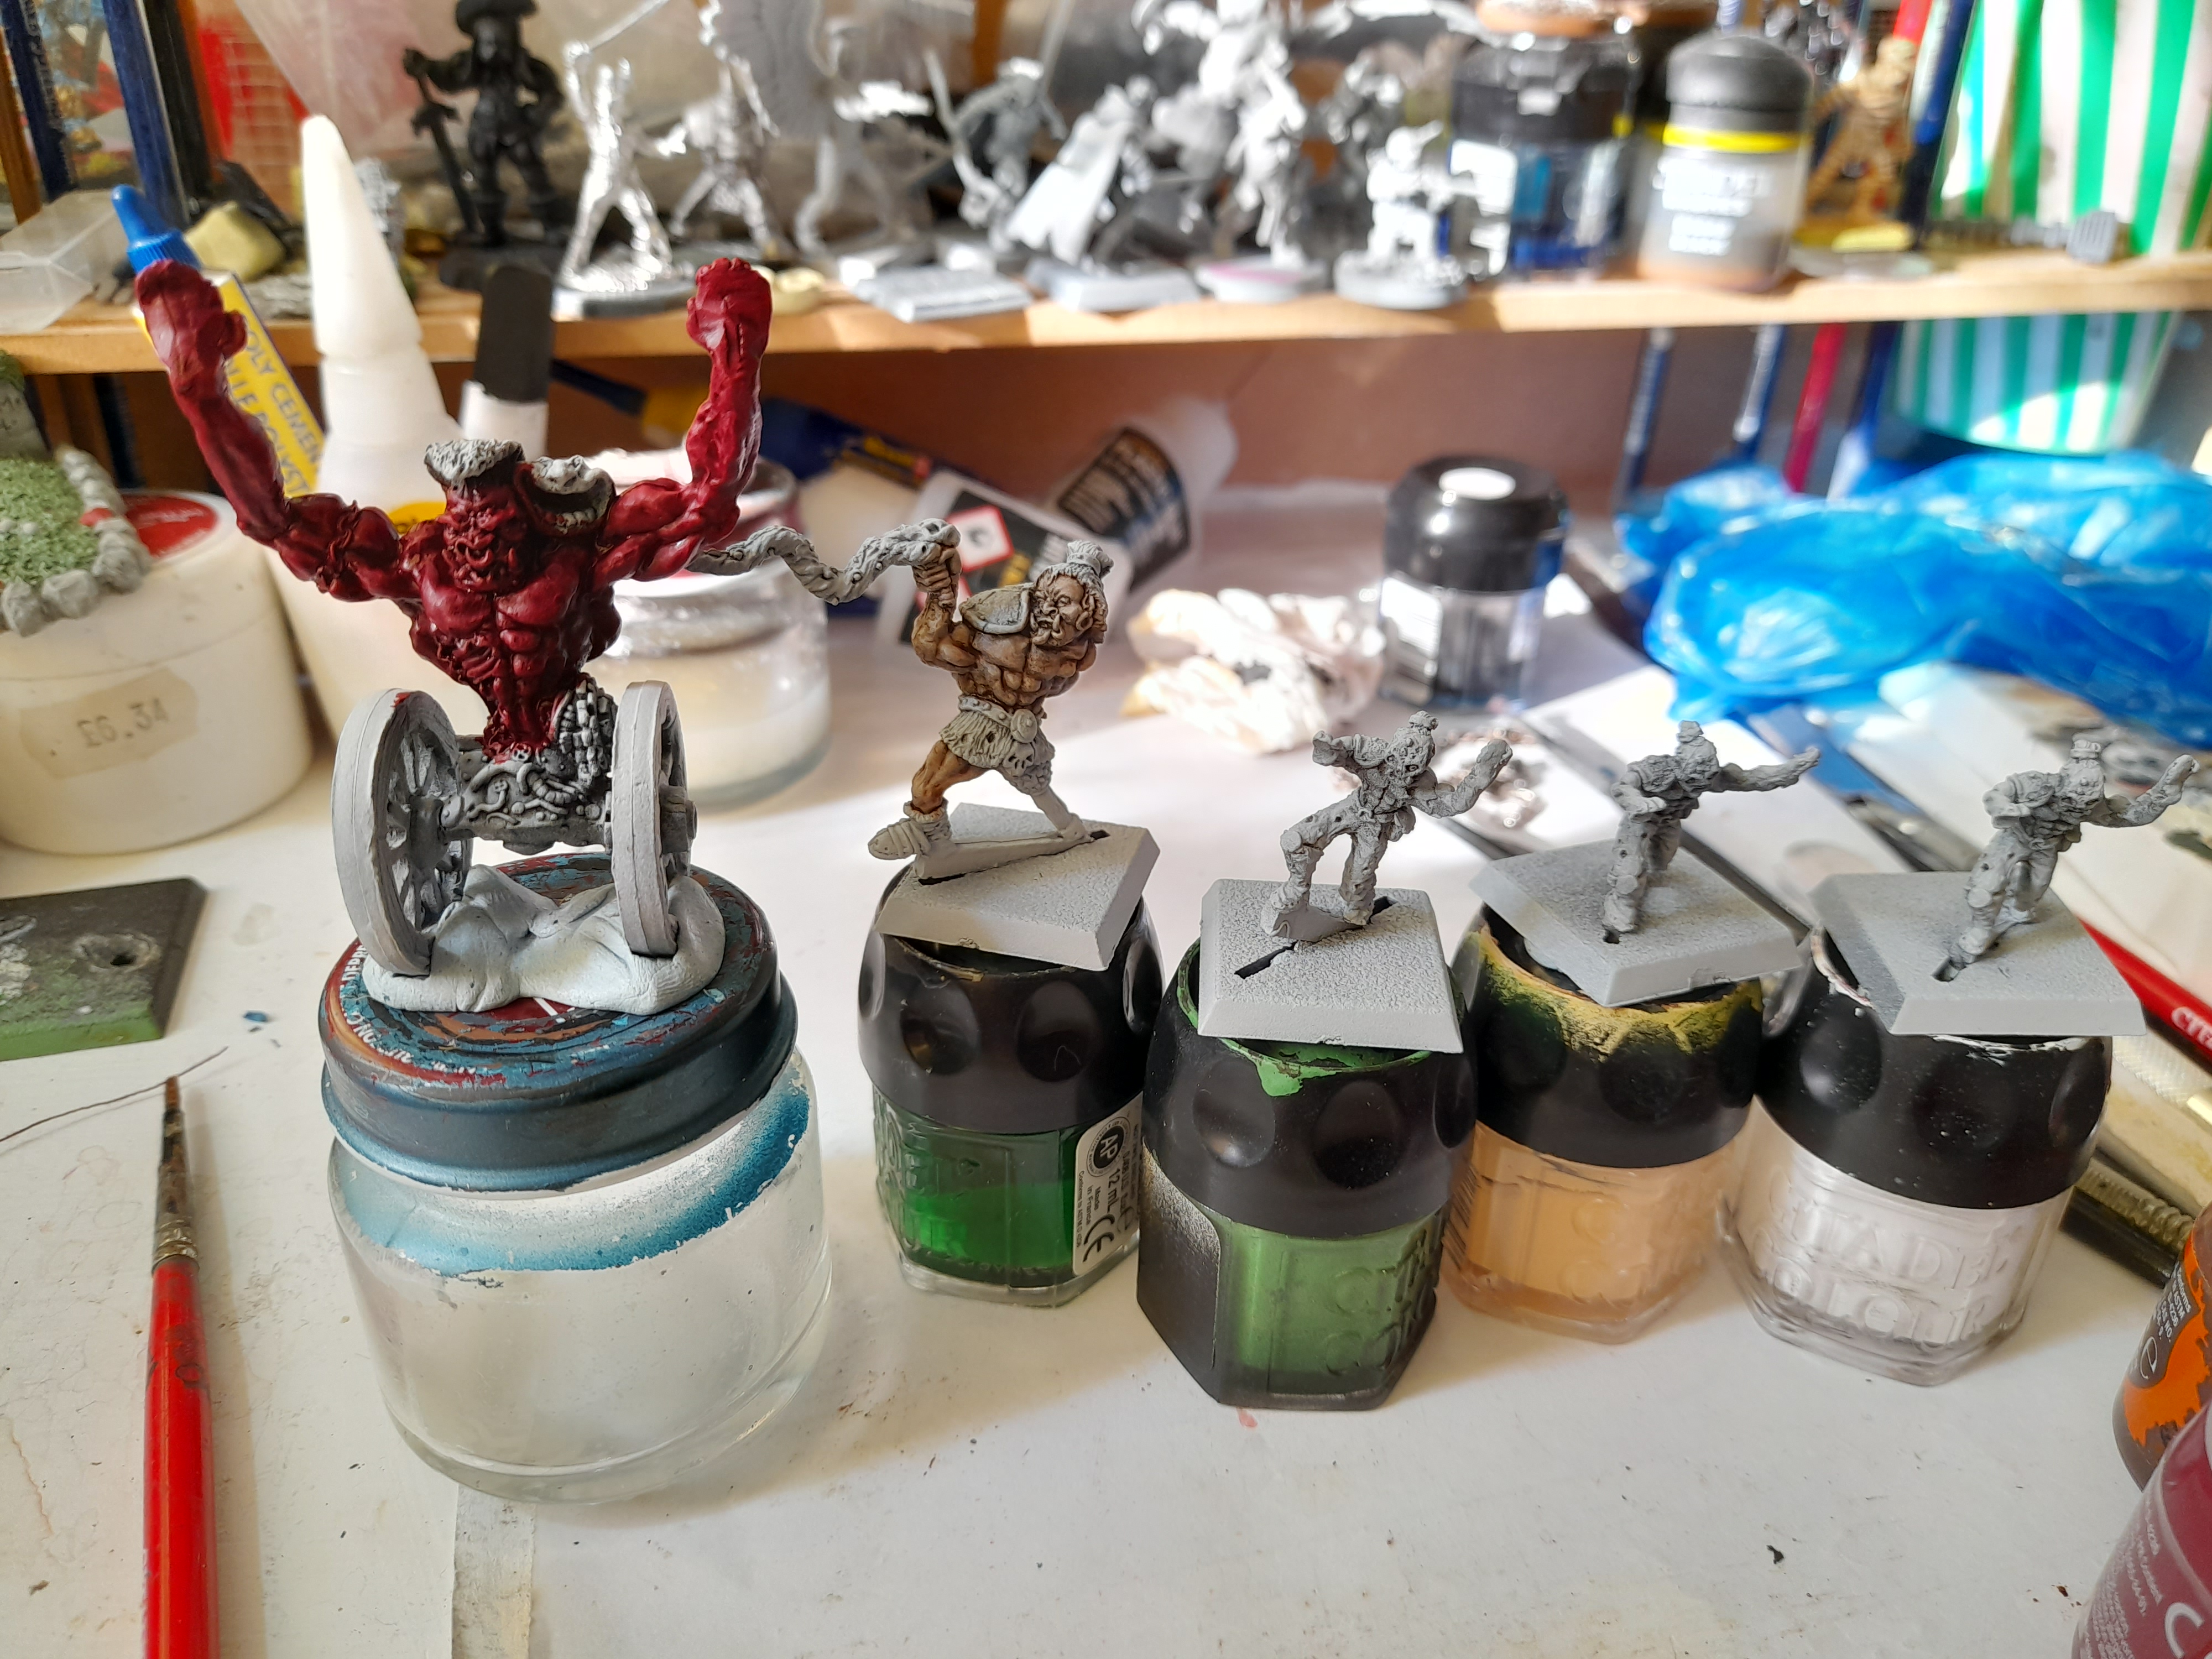
First up is some old school (or Oldhammer as the cool kids say nowadays) C23 Ogres.
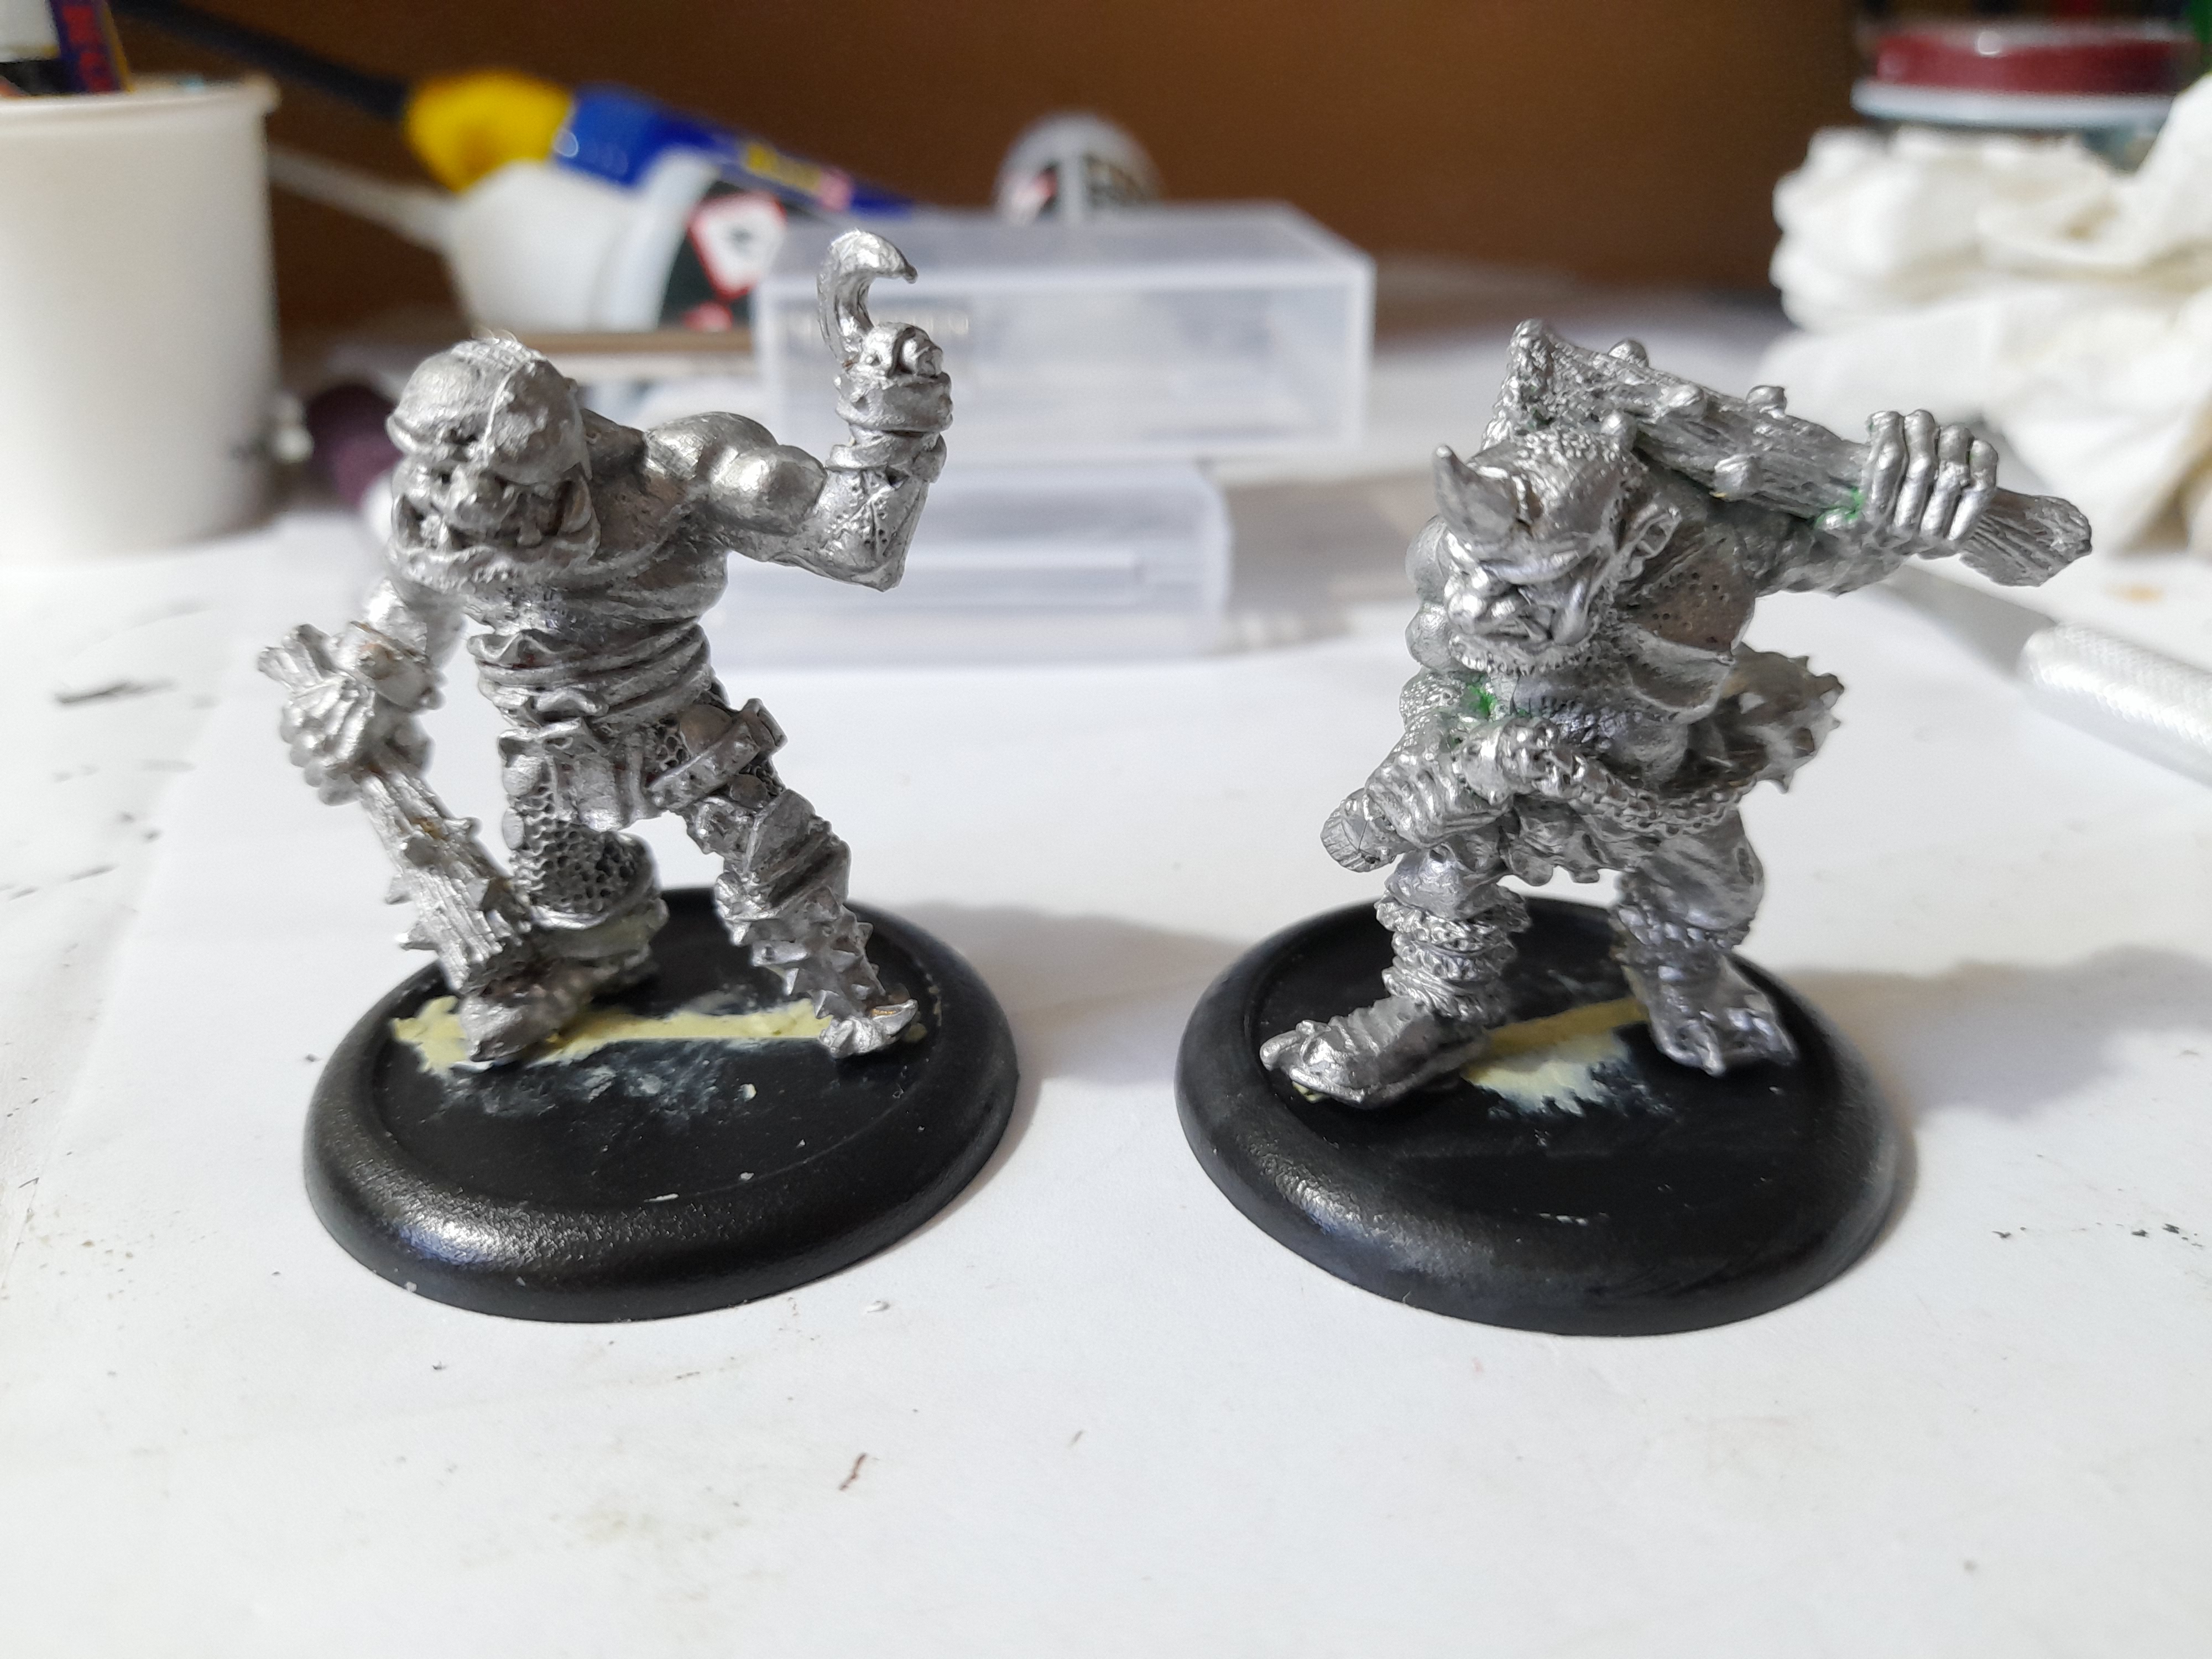
I have quite a few of these scattered around, but for now I will just be selecting two to work on. The two I chose are (based on my old Citadel catalogue) ‘Pit Fighter’ and ‘Berserker’ (first and second on the top row).
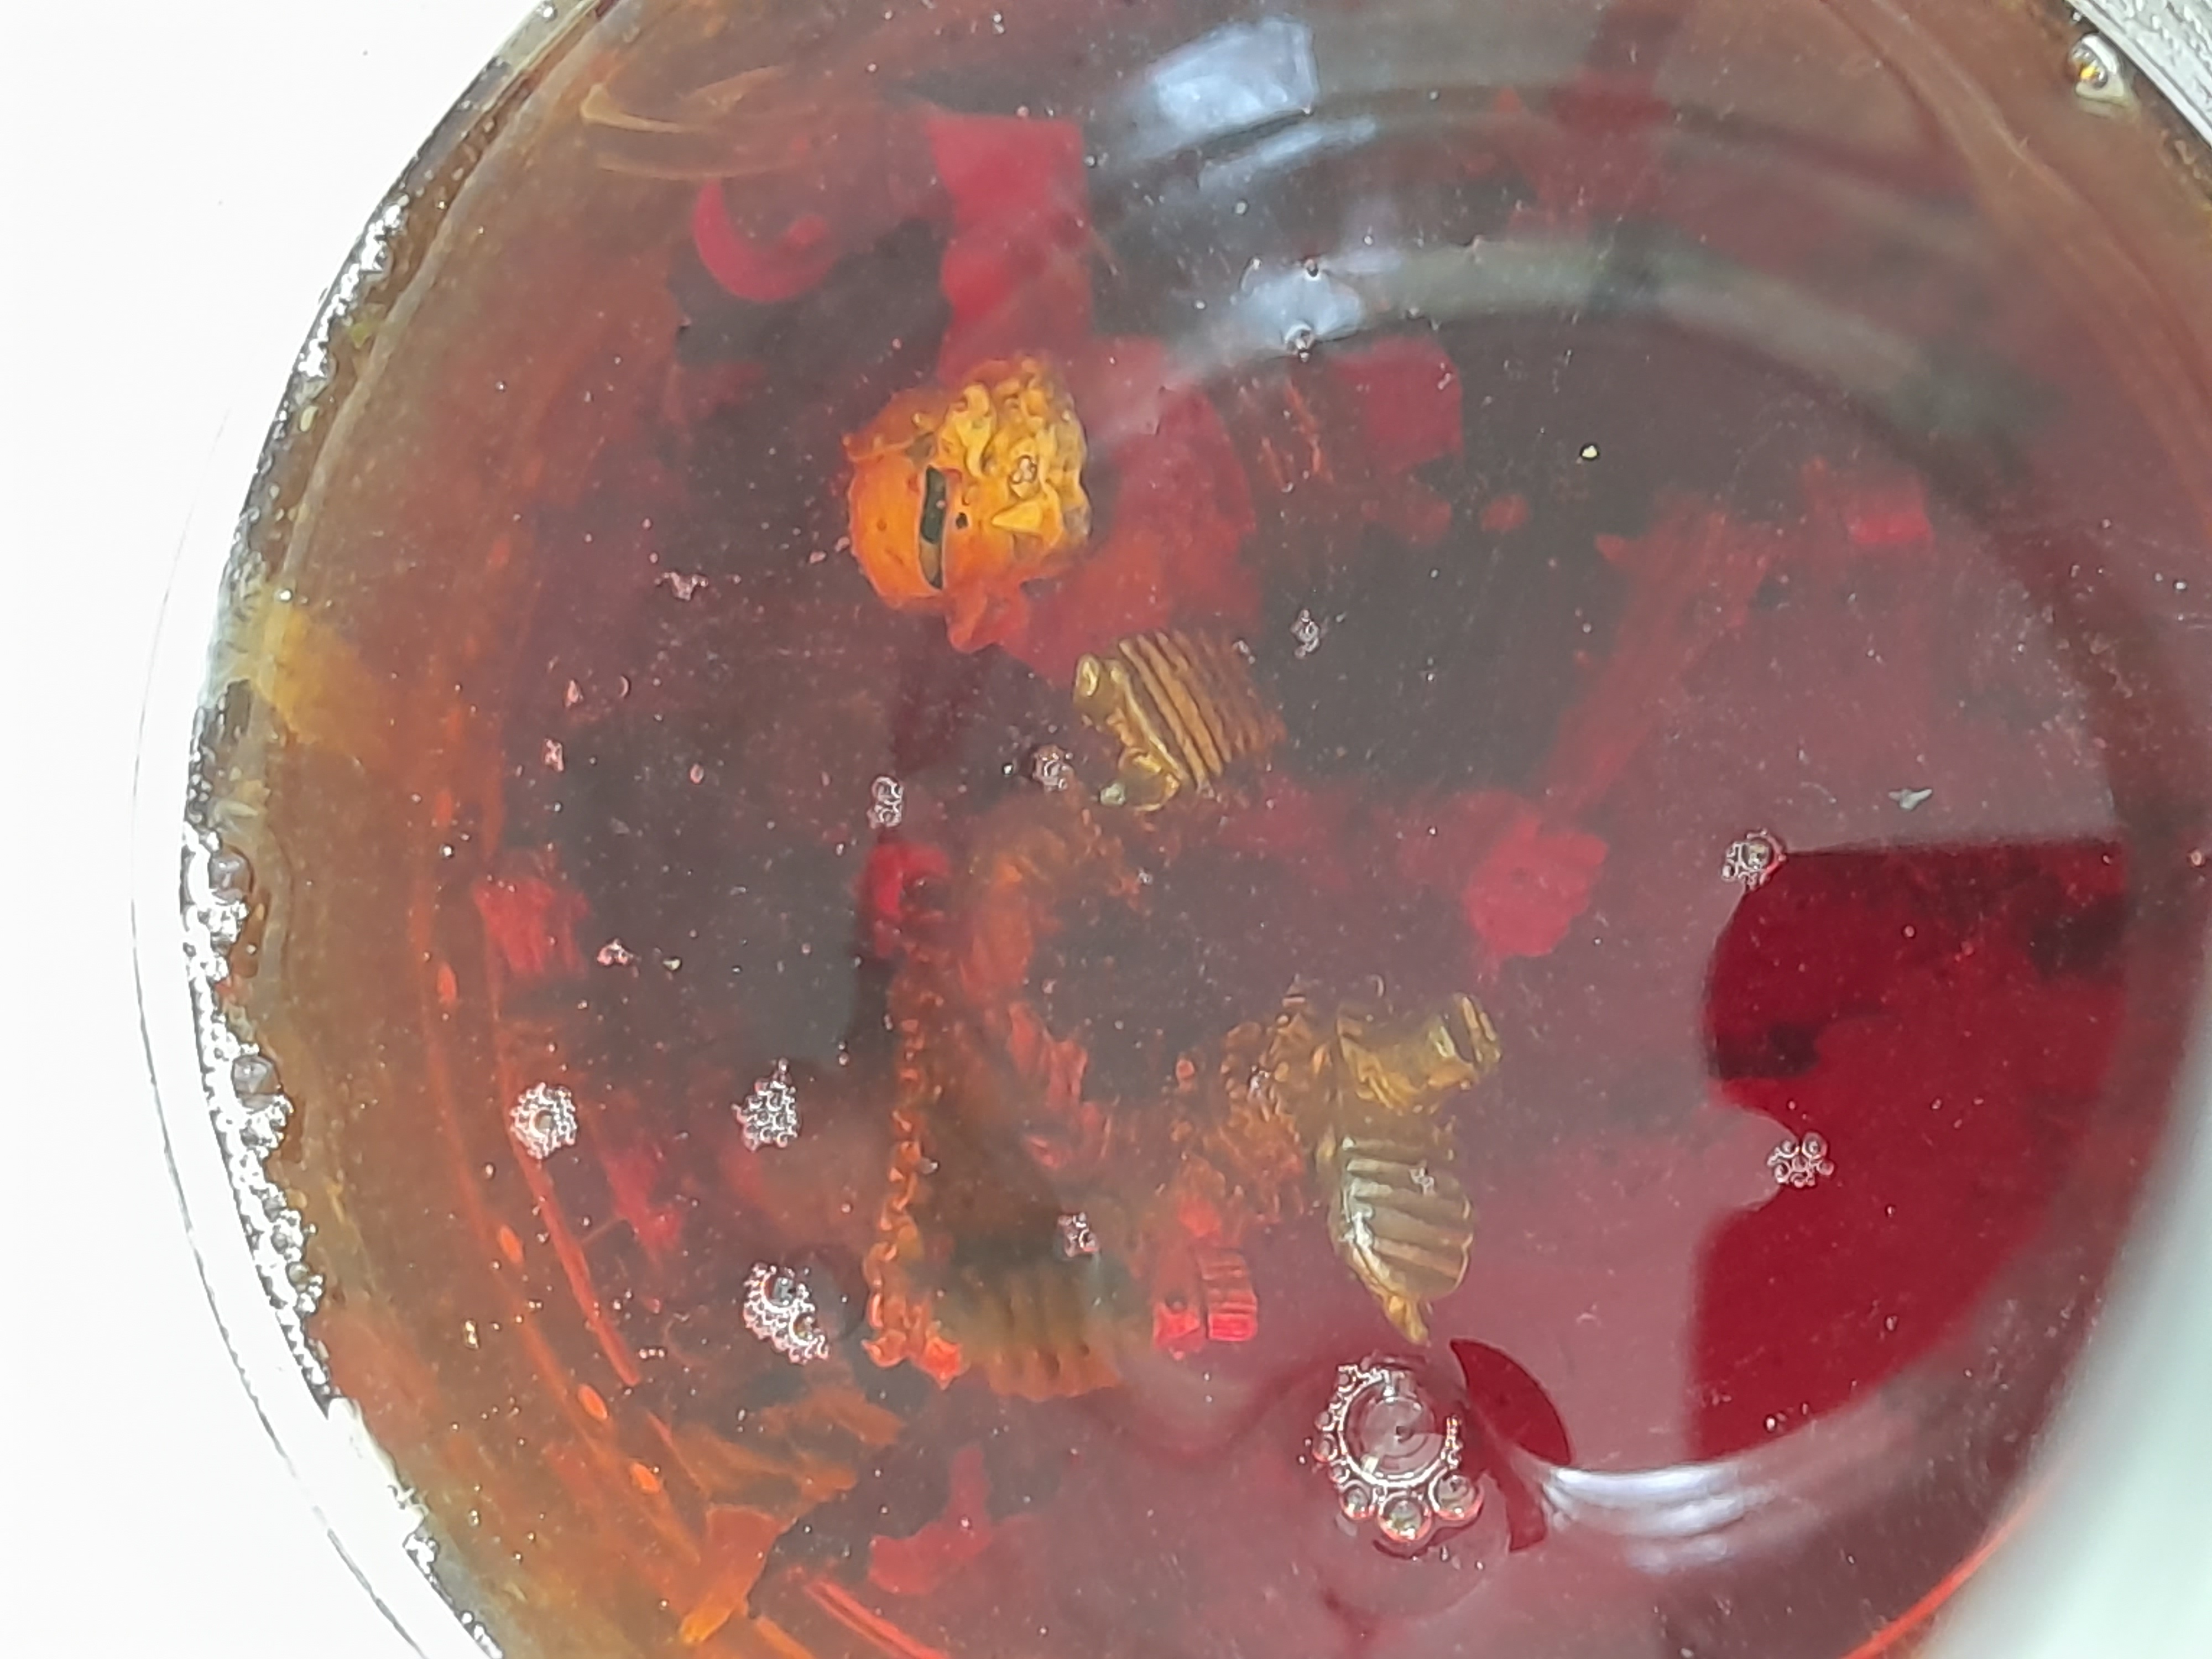
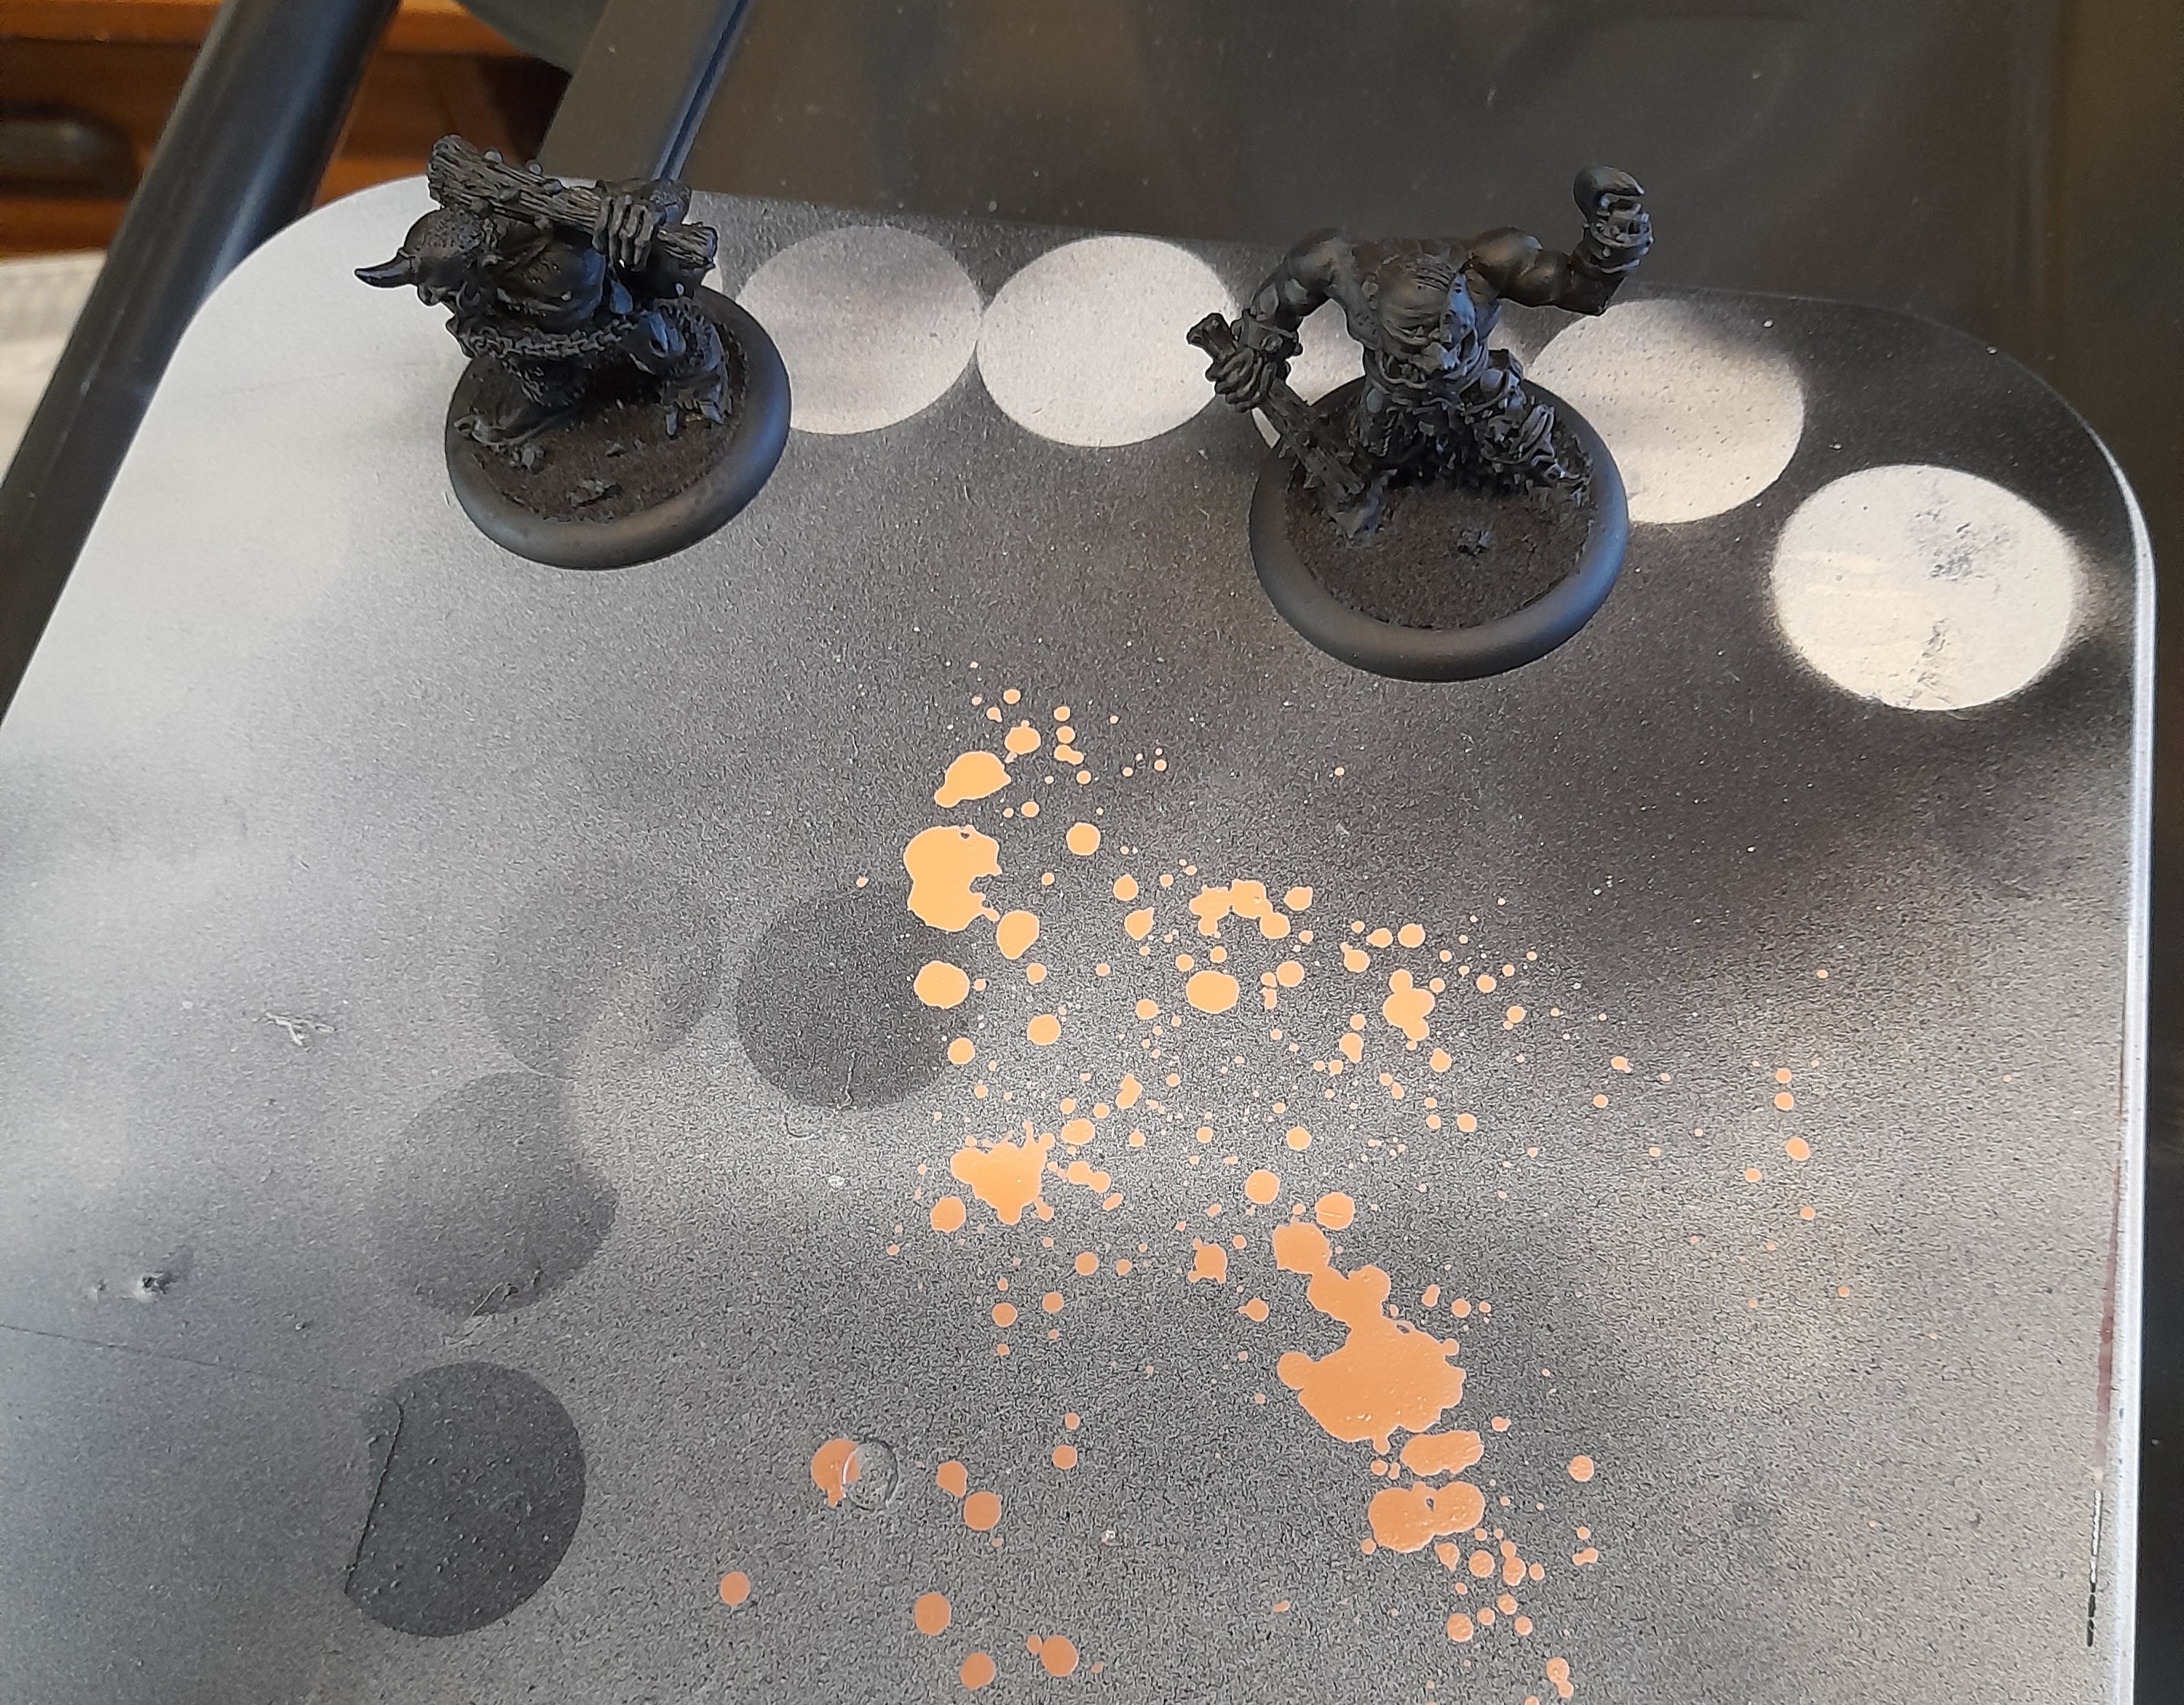
First up they had a bath in brown Dettol, followed by a good scrubbing and a repeat bath, until they came up pretty clean. Then they were based on 40mm round (as I plan to use them for some skirmish games) and given a prme. Ended up priming Army Painter bone over black, as I had no Wraithbone left. I was going to try Barbarian Flesh over black, but as I went to spray it was just spitting out… ☹ (luckily I always start off the minis)
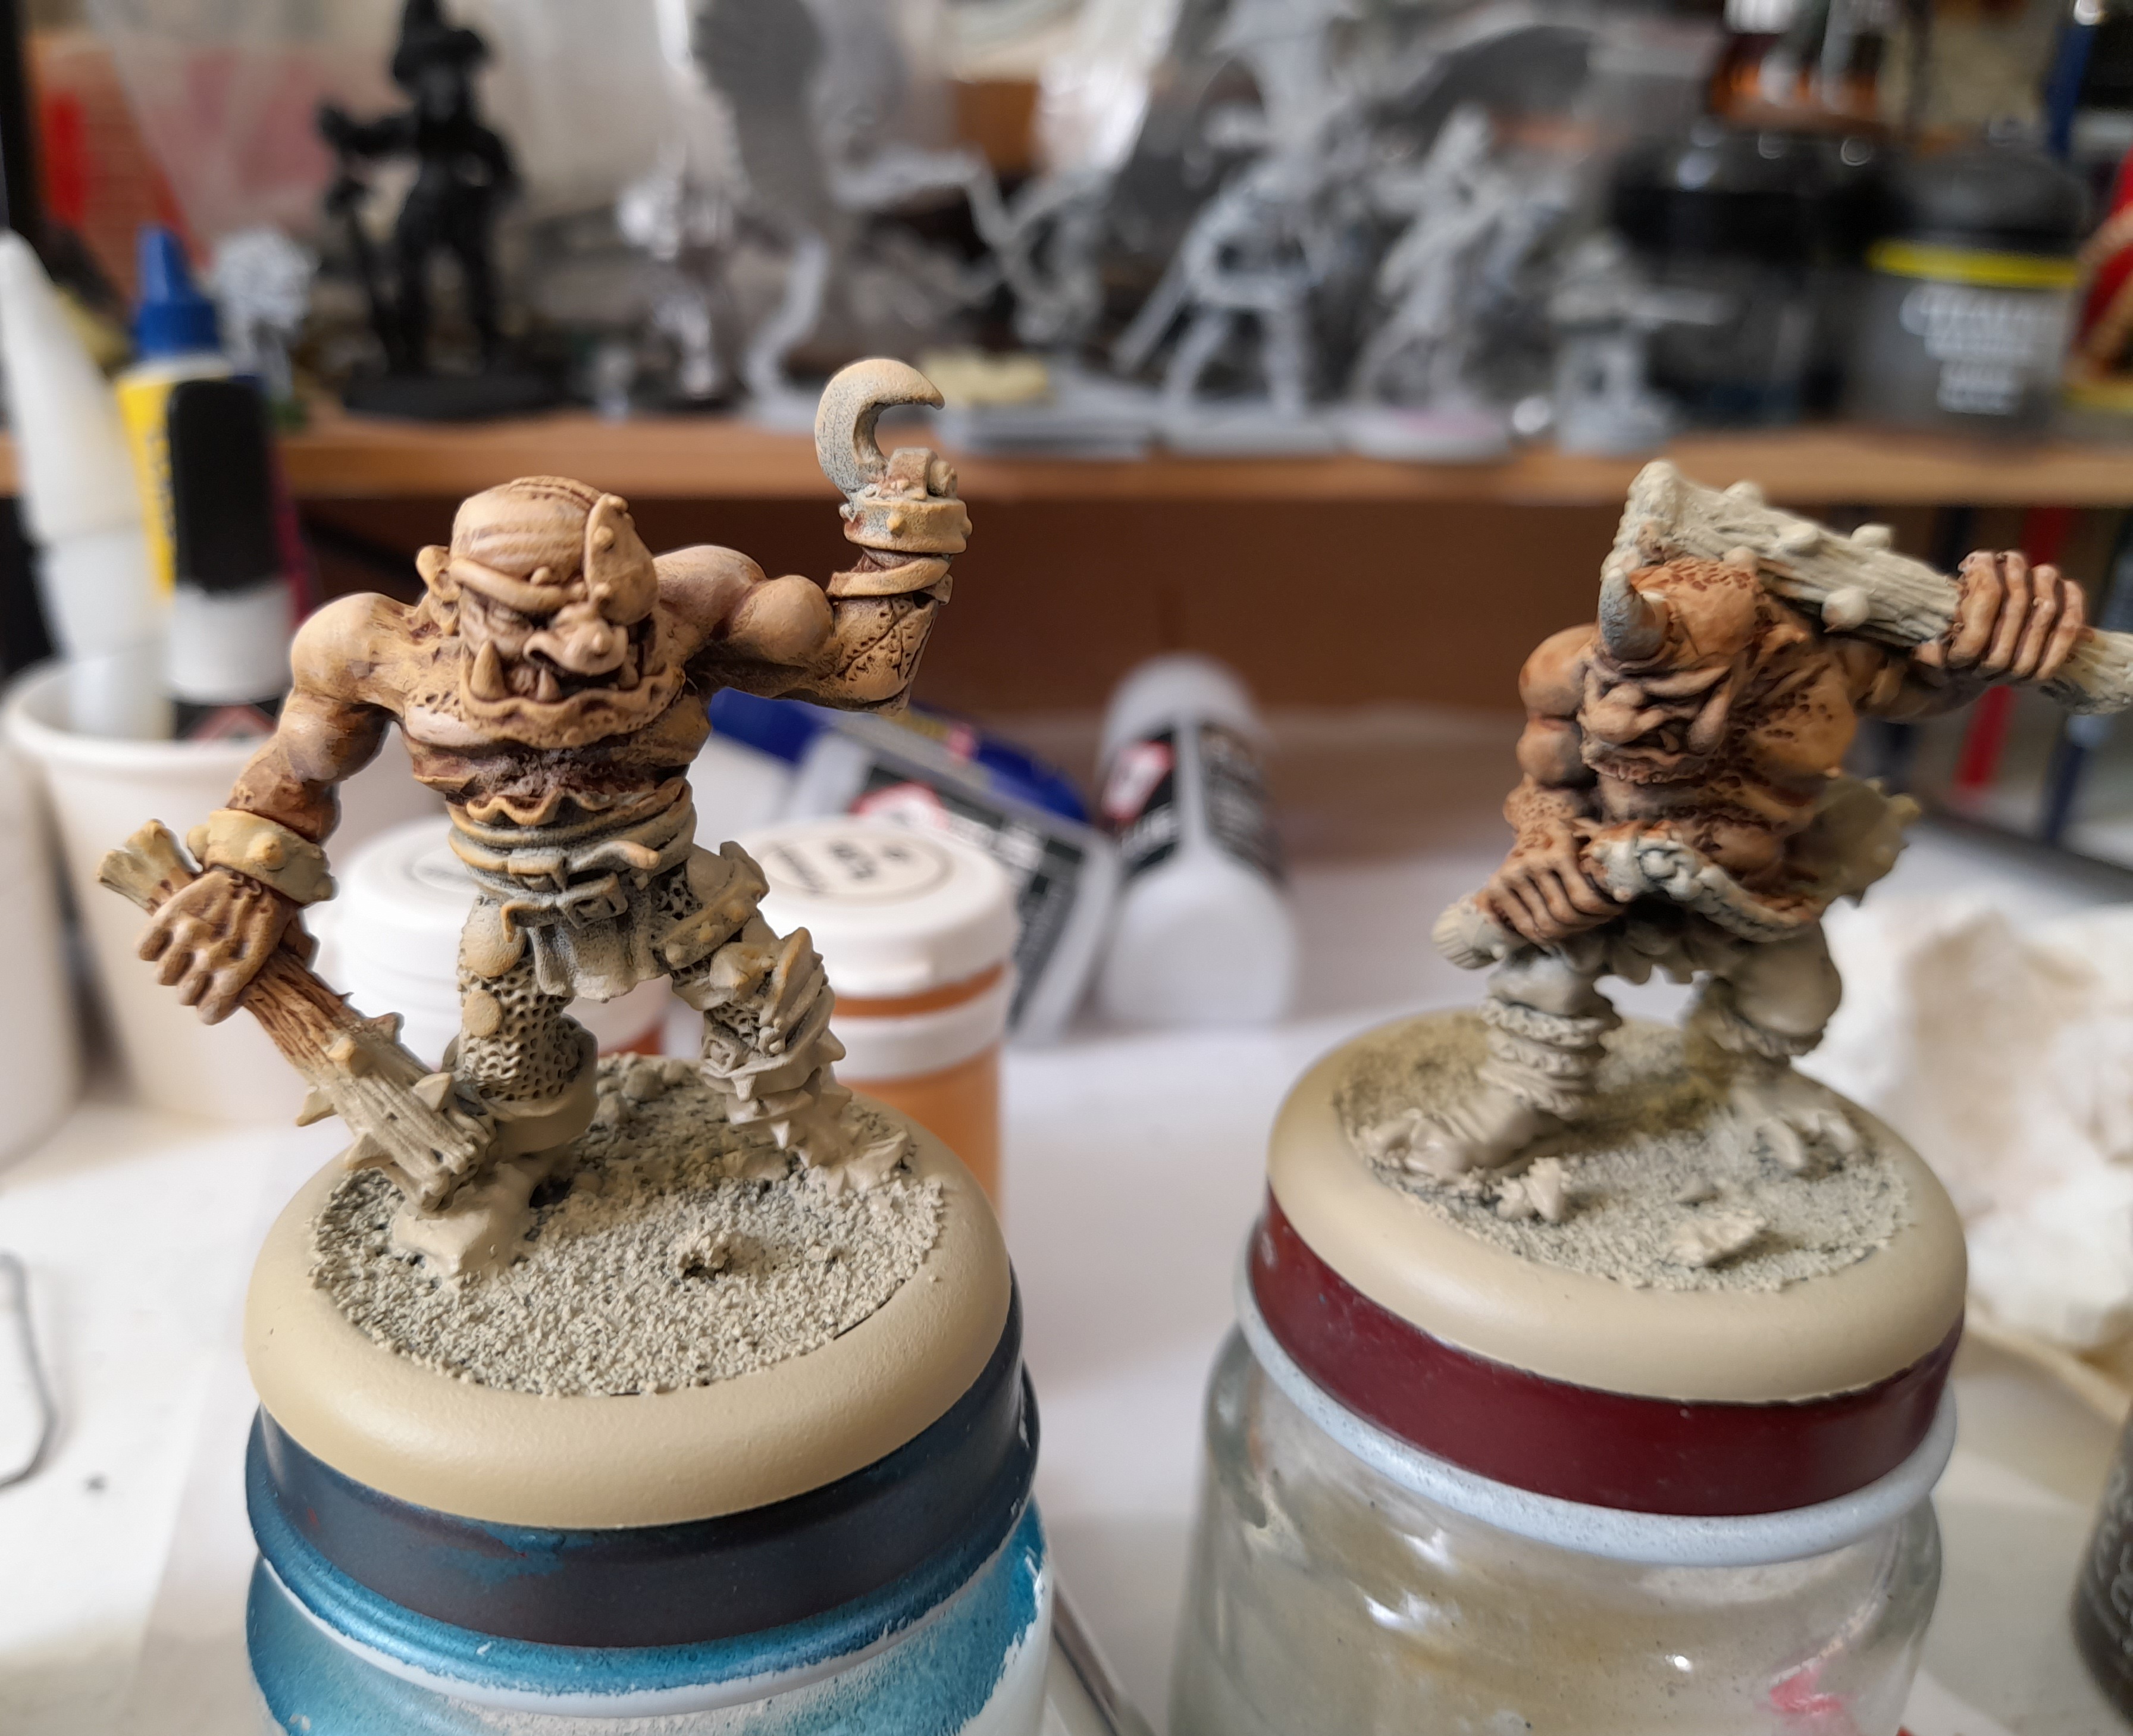
For the flesh I started with a wash over of Darkoath flesh. This was followed by two shades of my Foundry Flesh paints, first lightly drybrushed on, then highlighted. This was then followed by selective washing with Carroburg Crimson and Magos Purple into various recesses. Then additional highlighting with light flesh and a few more placements of the red/purple washes.
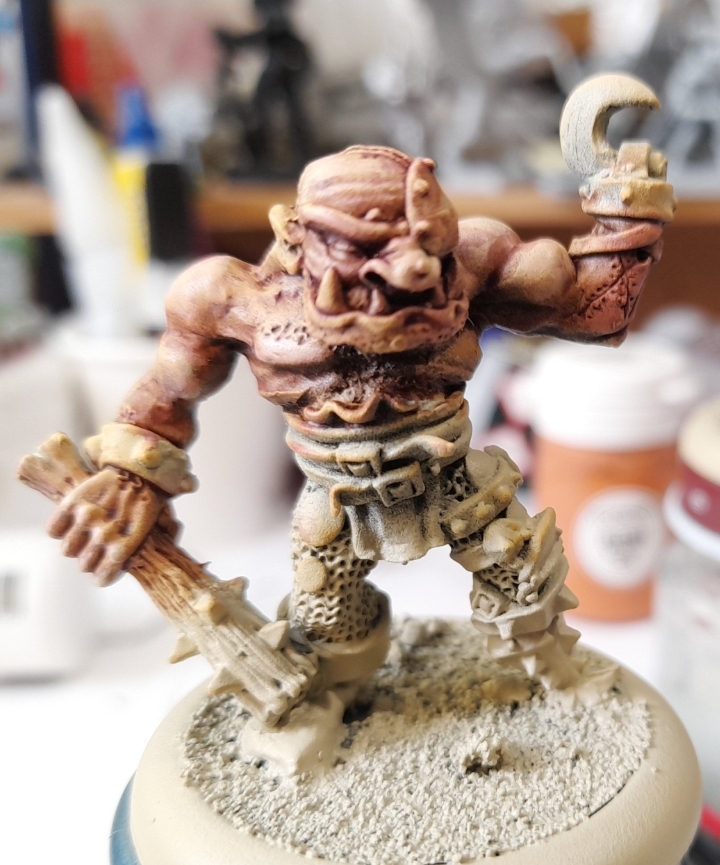
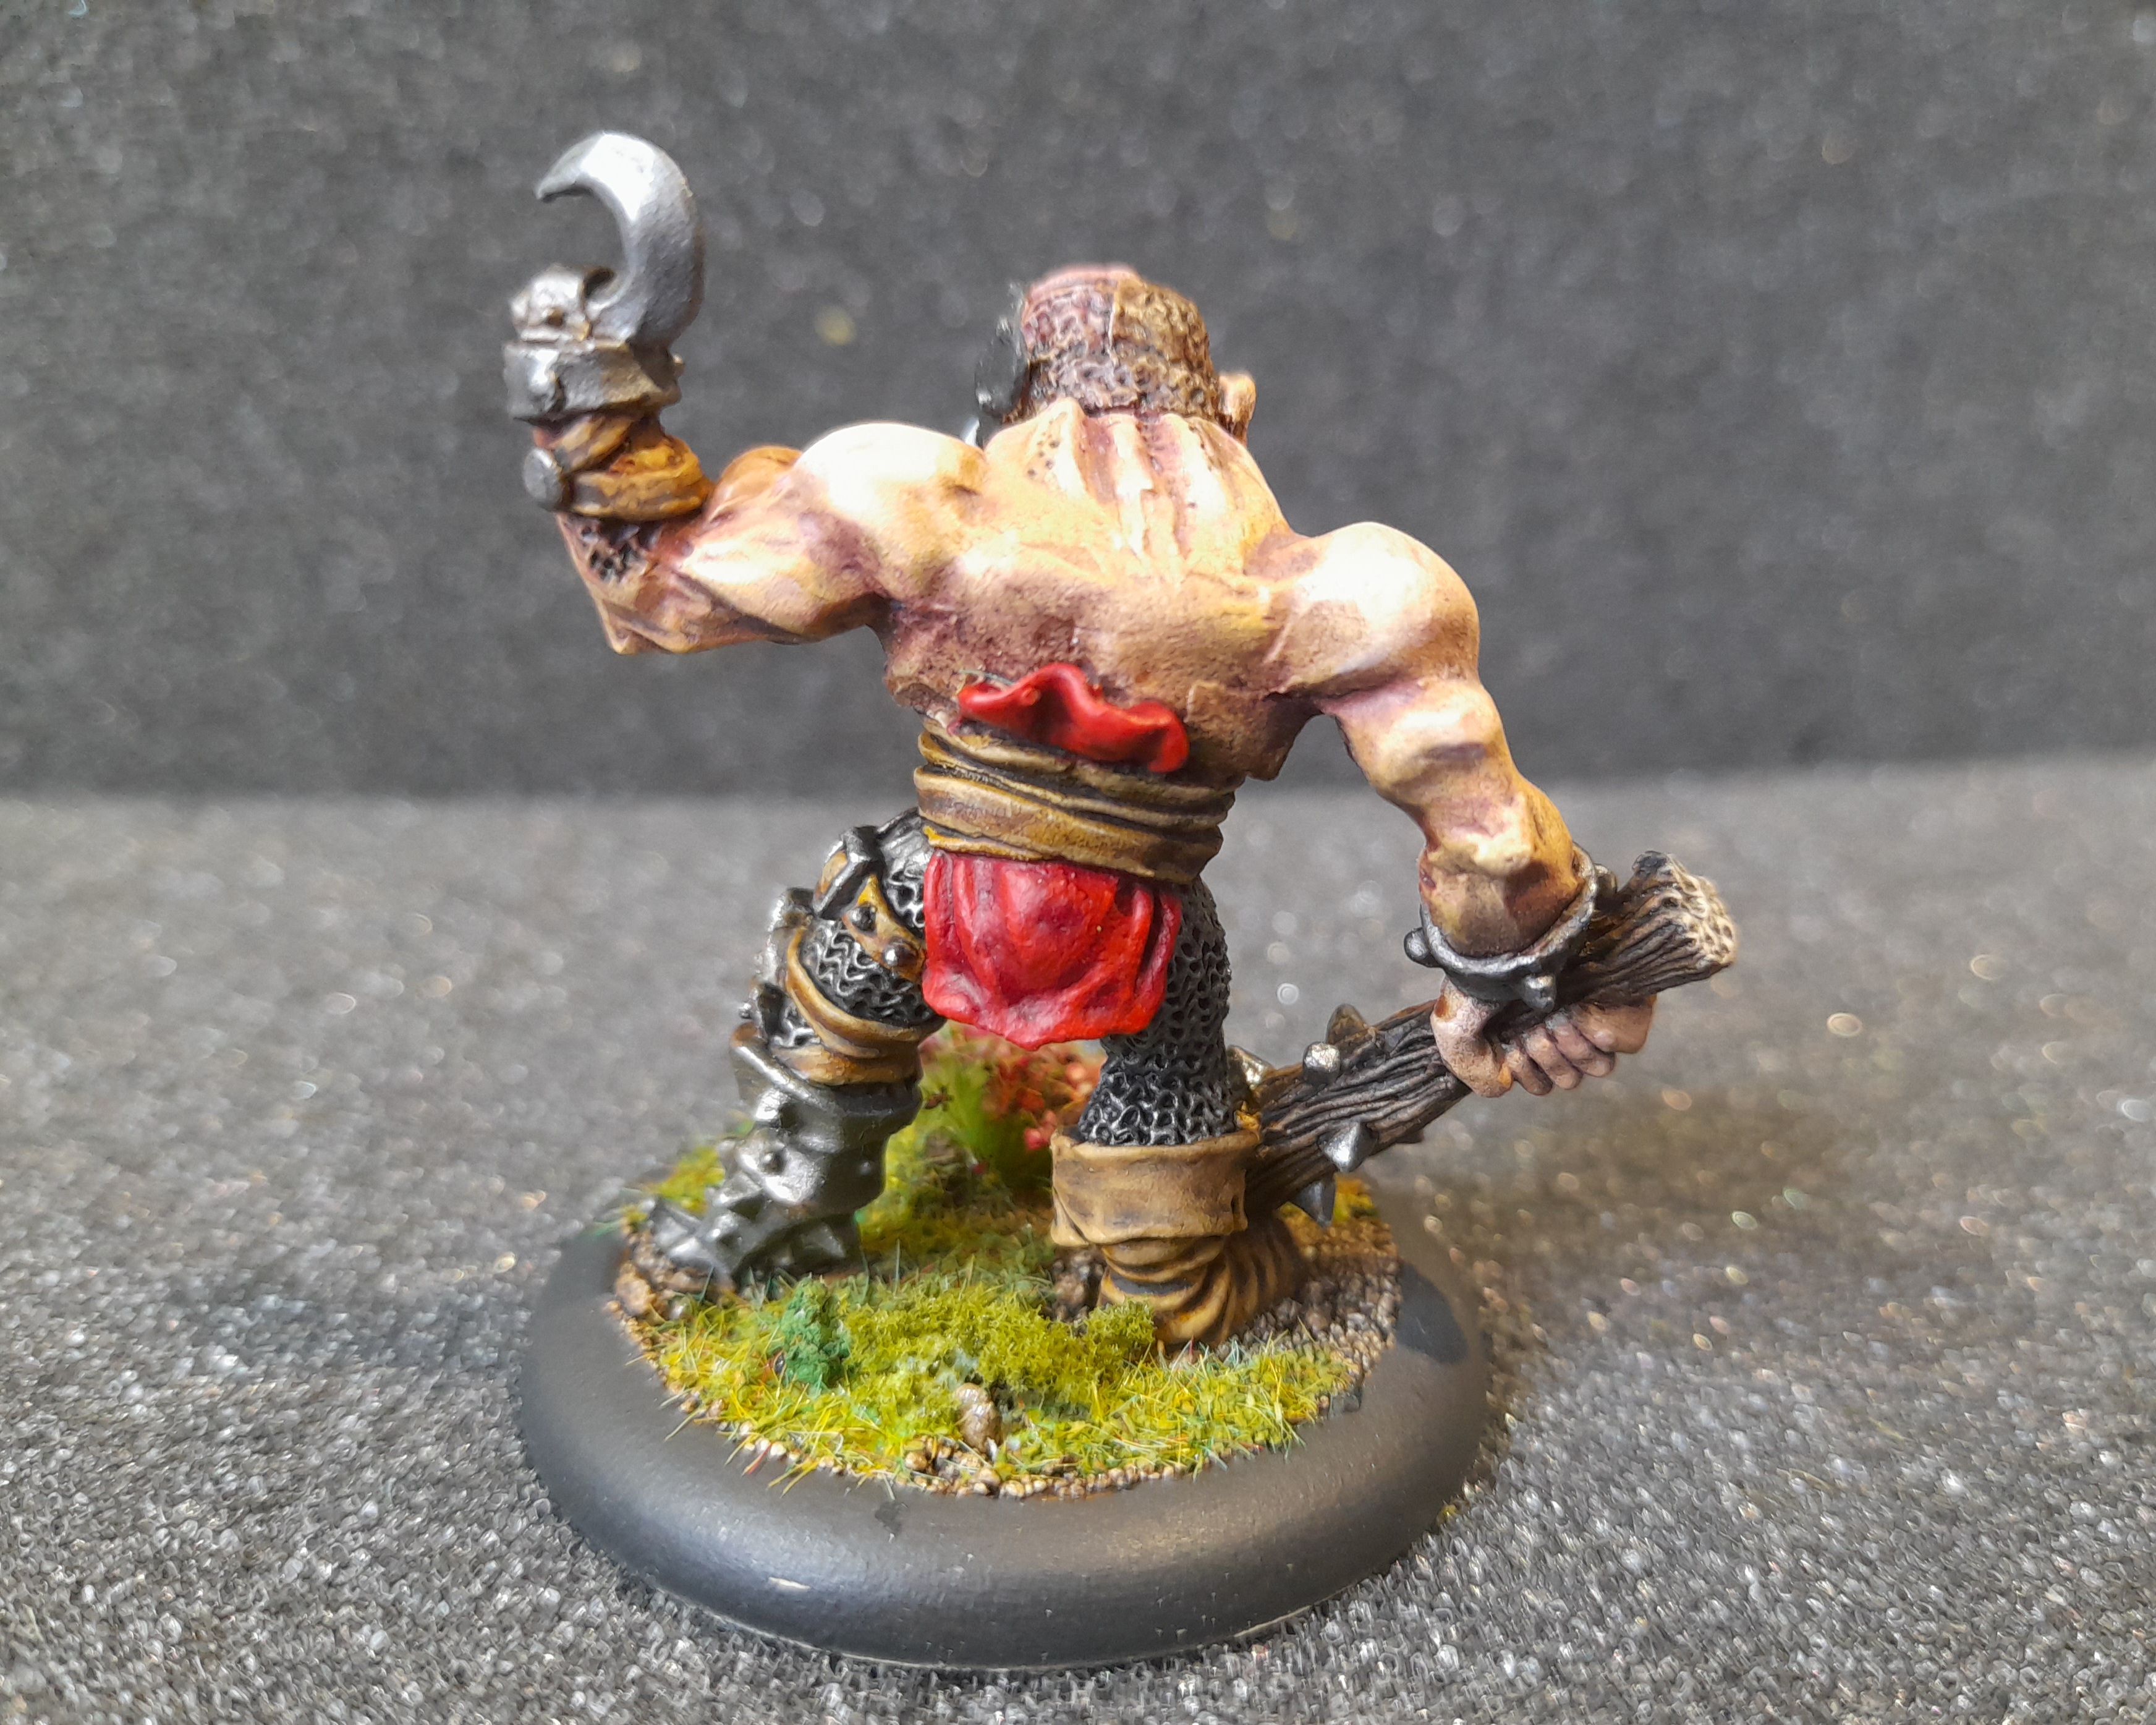
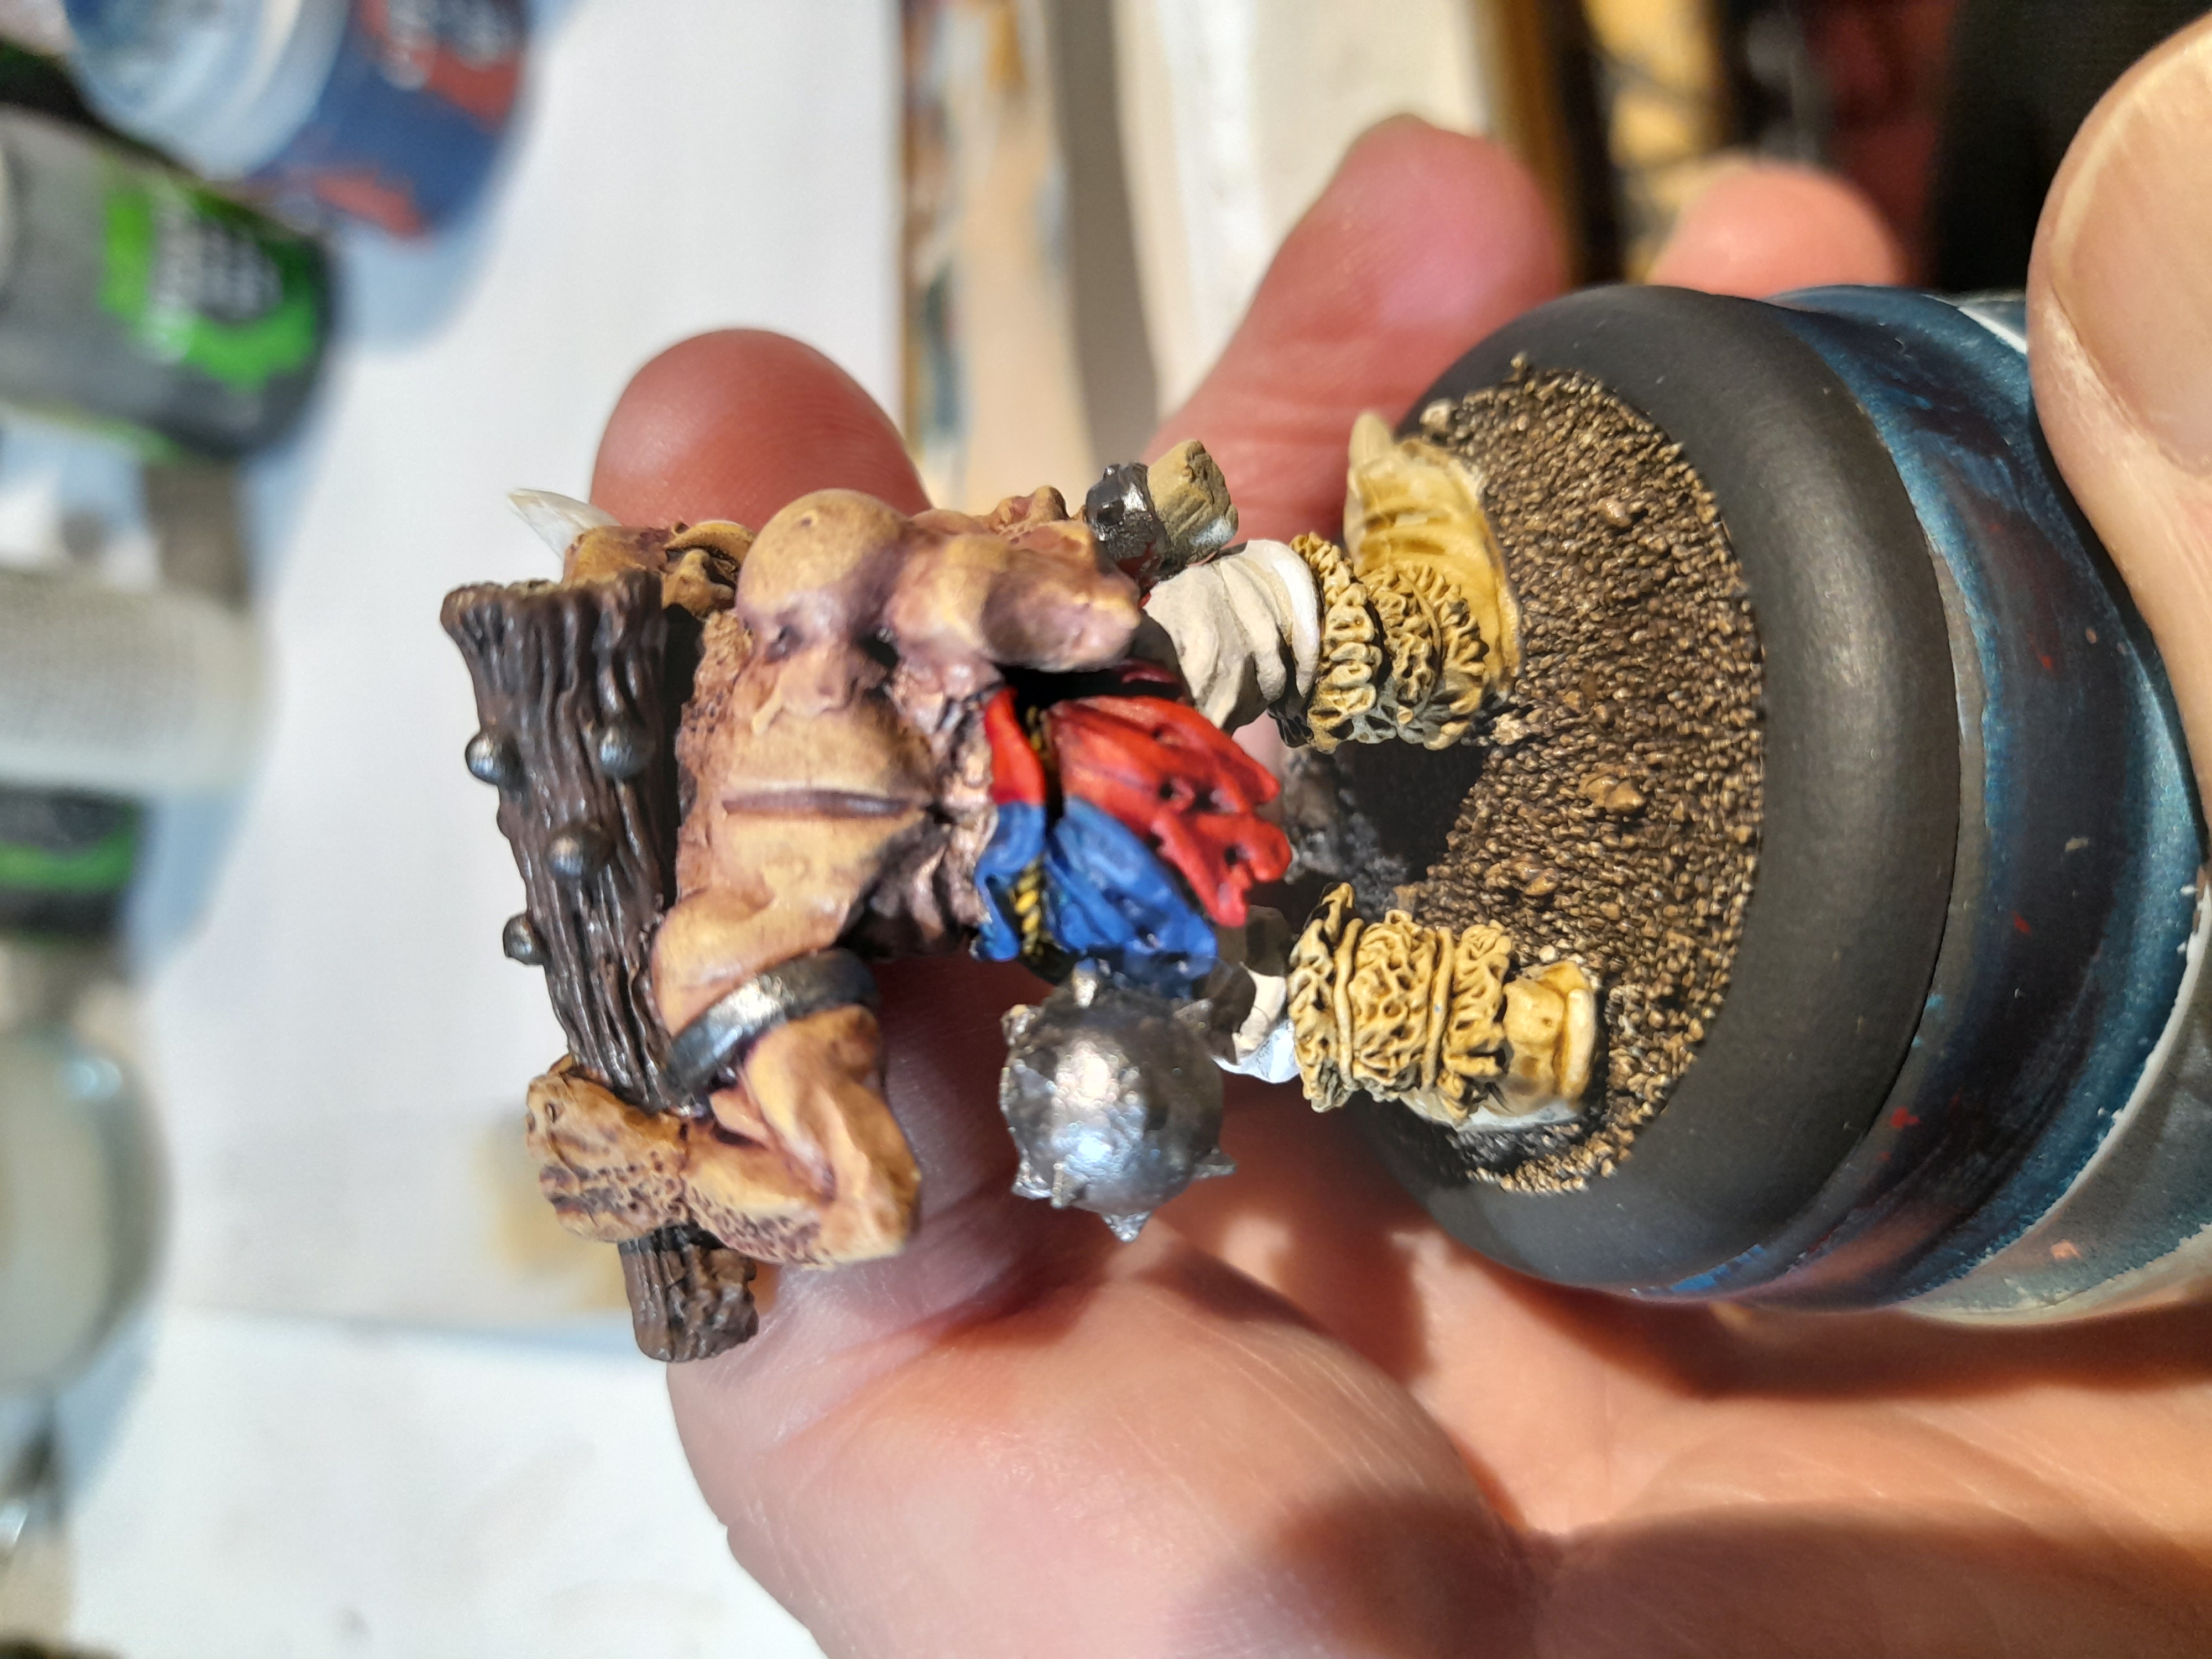
At this point I focussed on just the Pit Fighter Ogre. For the armour areas I used Vallejo gunmetal, washed with nuln oil, then highlighted up. On the metal leg (Yeah, you could say he is a bit more like a Pirate really) I applied some brown and orange washes, and a touch of green, just to change the tone up, followed by bright edge highlights.
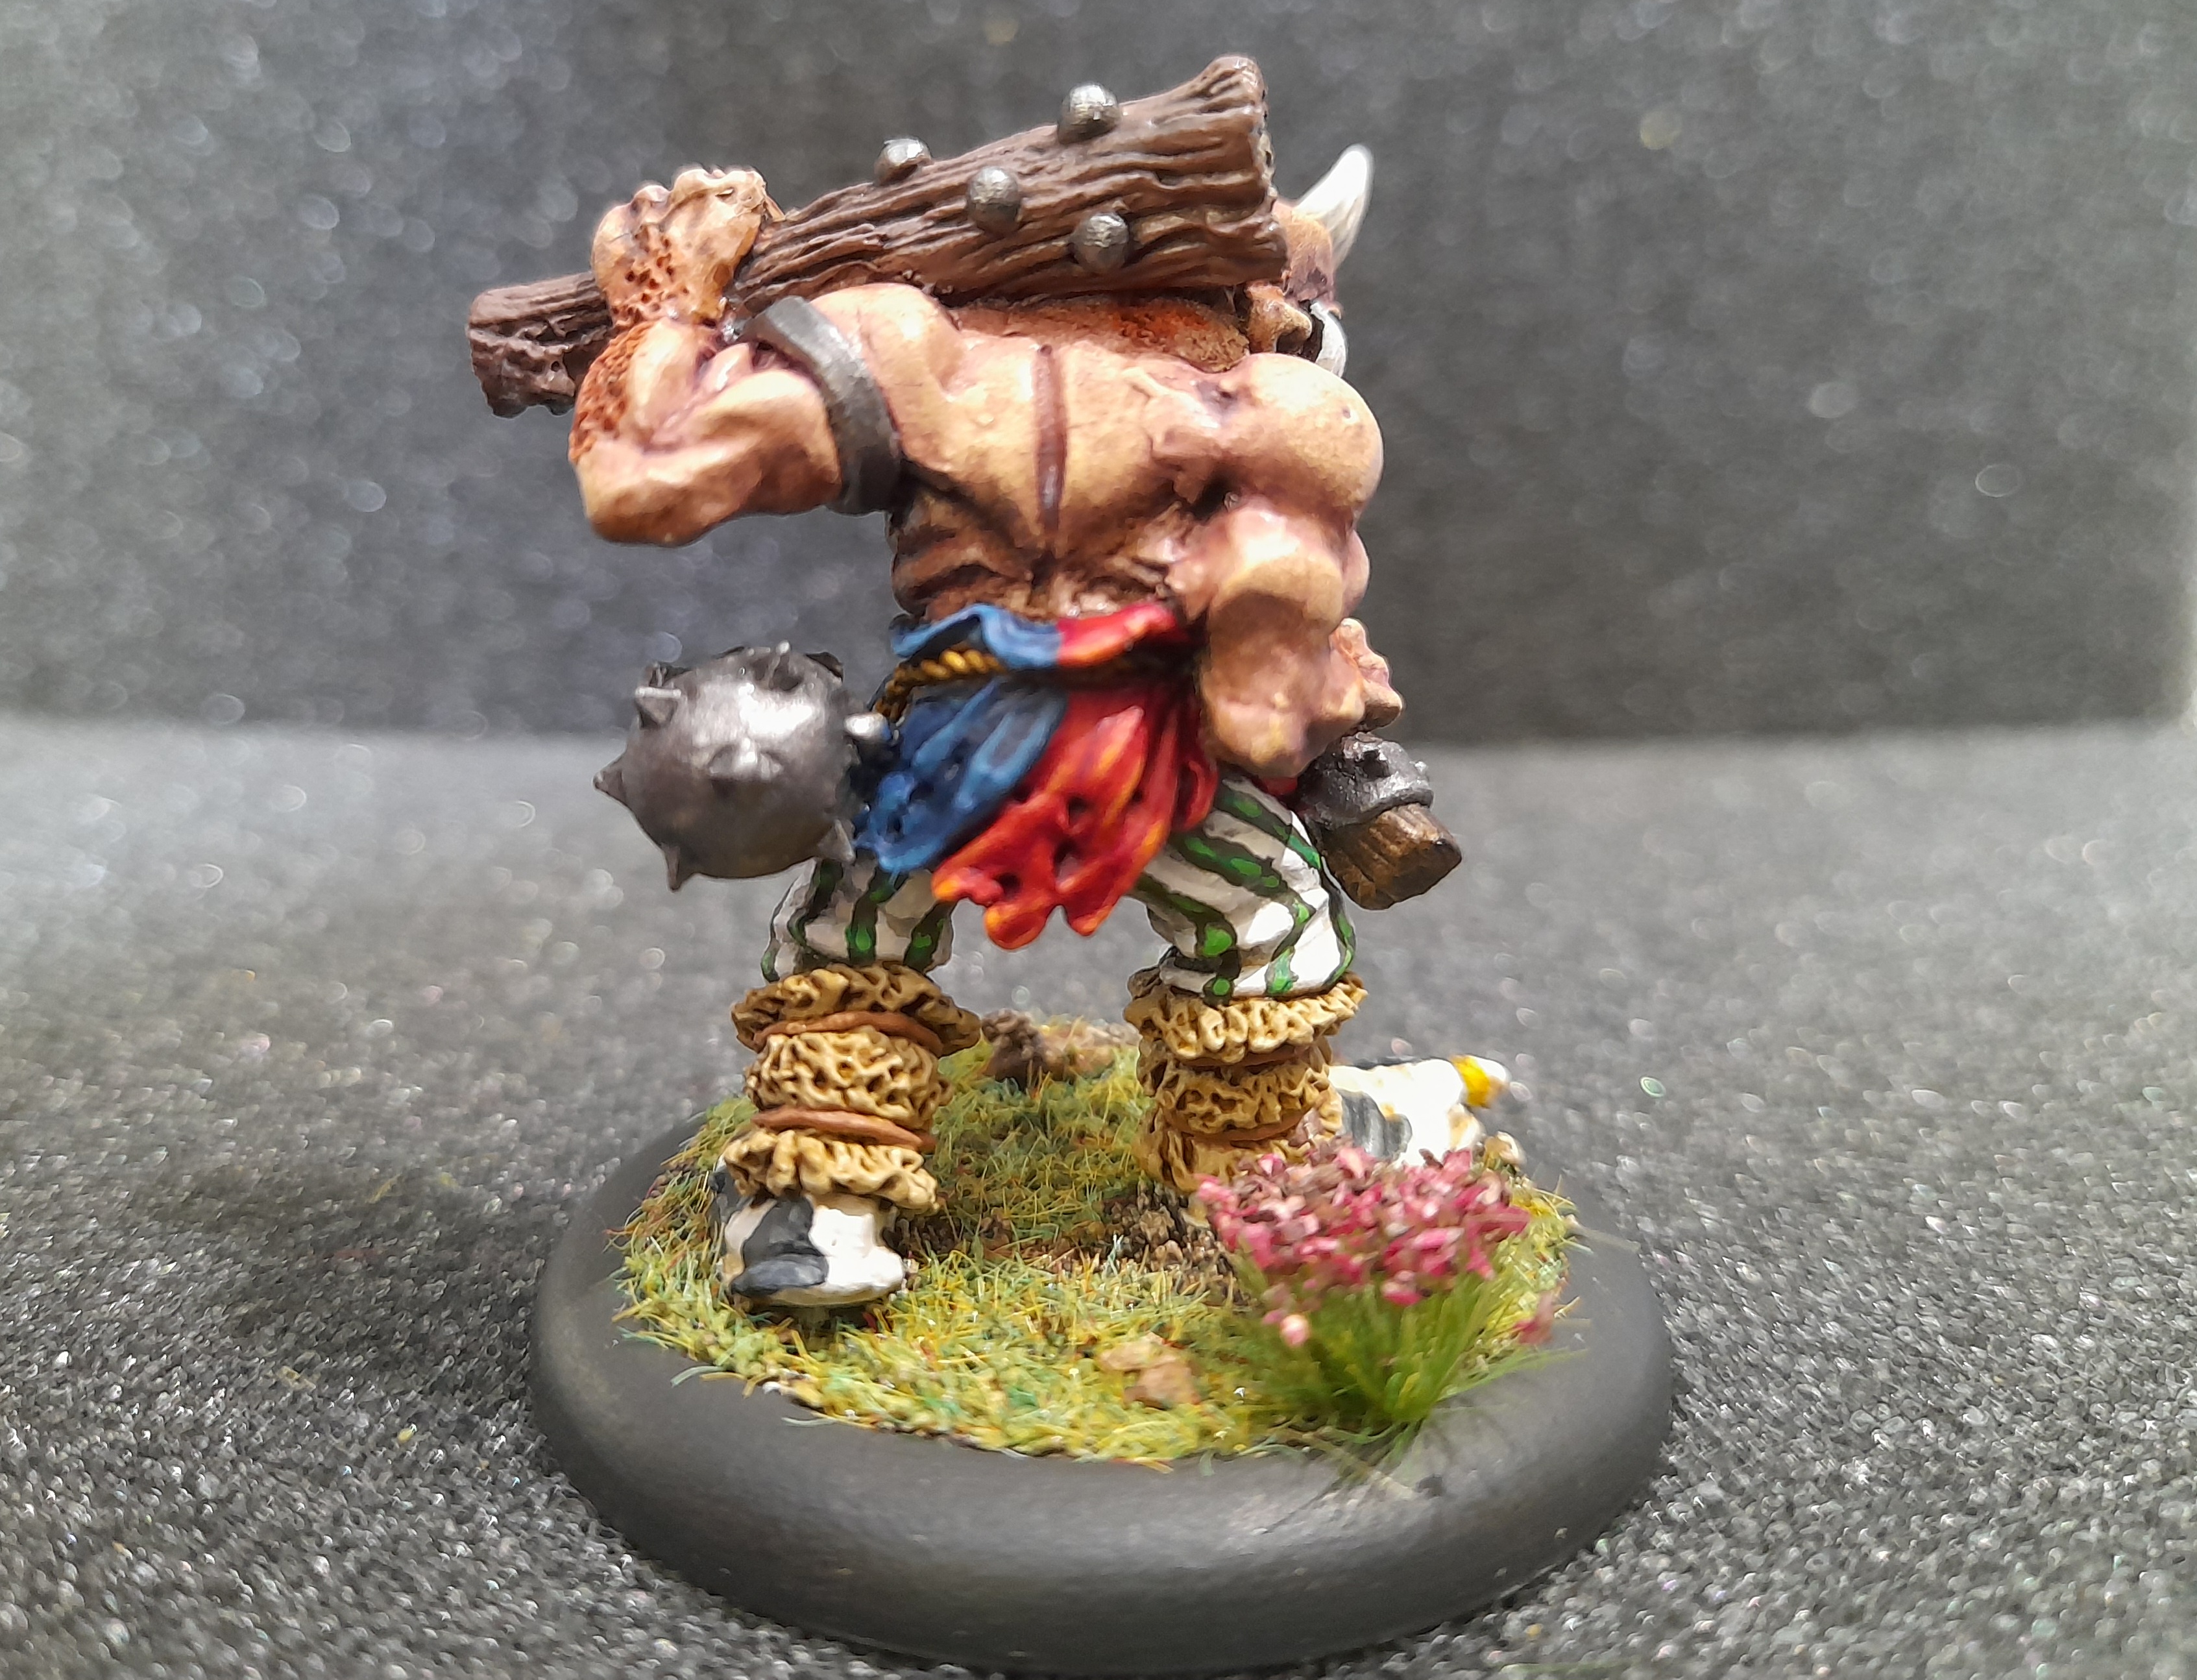
For the cloth I decided to paint it in red, like I had it before. This was Flesh tearers Red, followed by Mephiston then Evil Sunz as the final highlight.
Quite happy with how this came out on the rear.
The leather parts were painted using my old Foundry leather triad, with Agrax washes to blend it in.
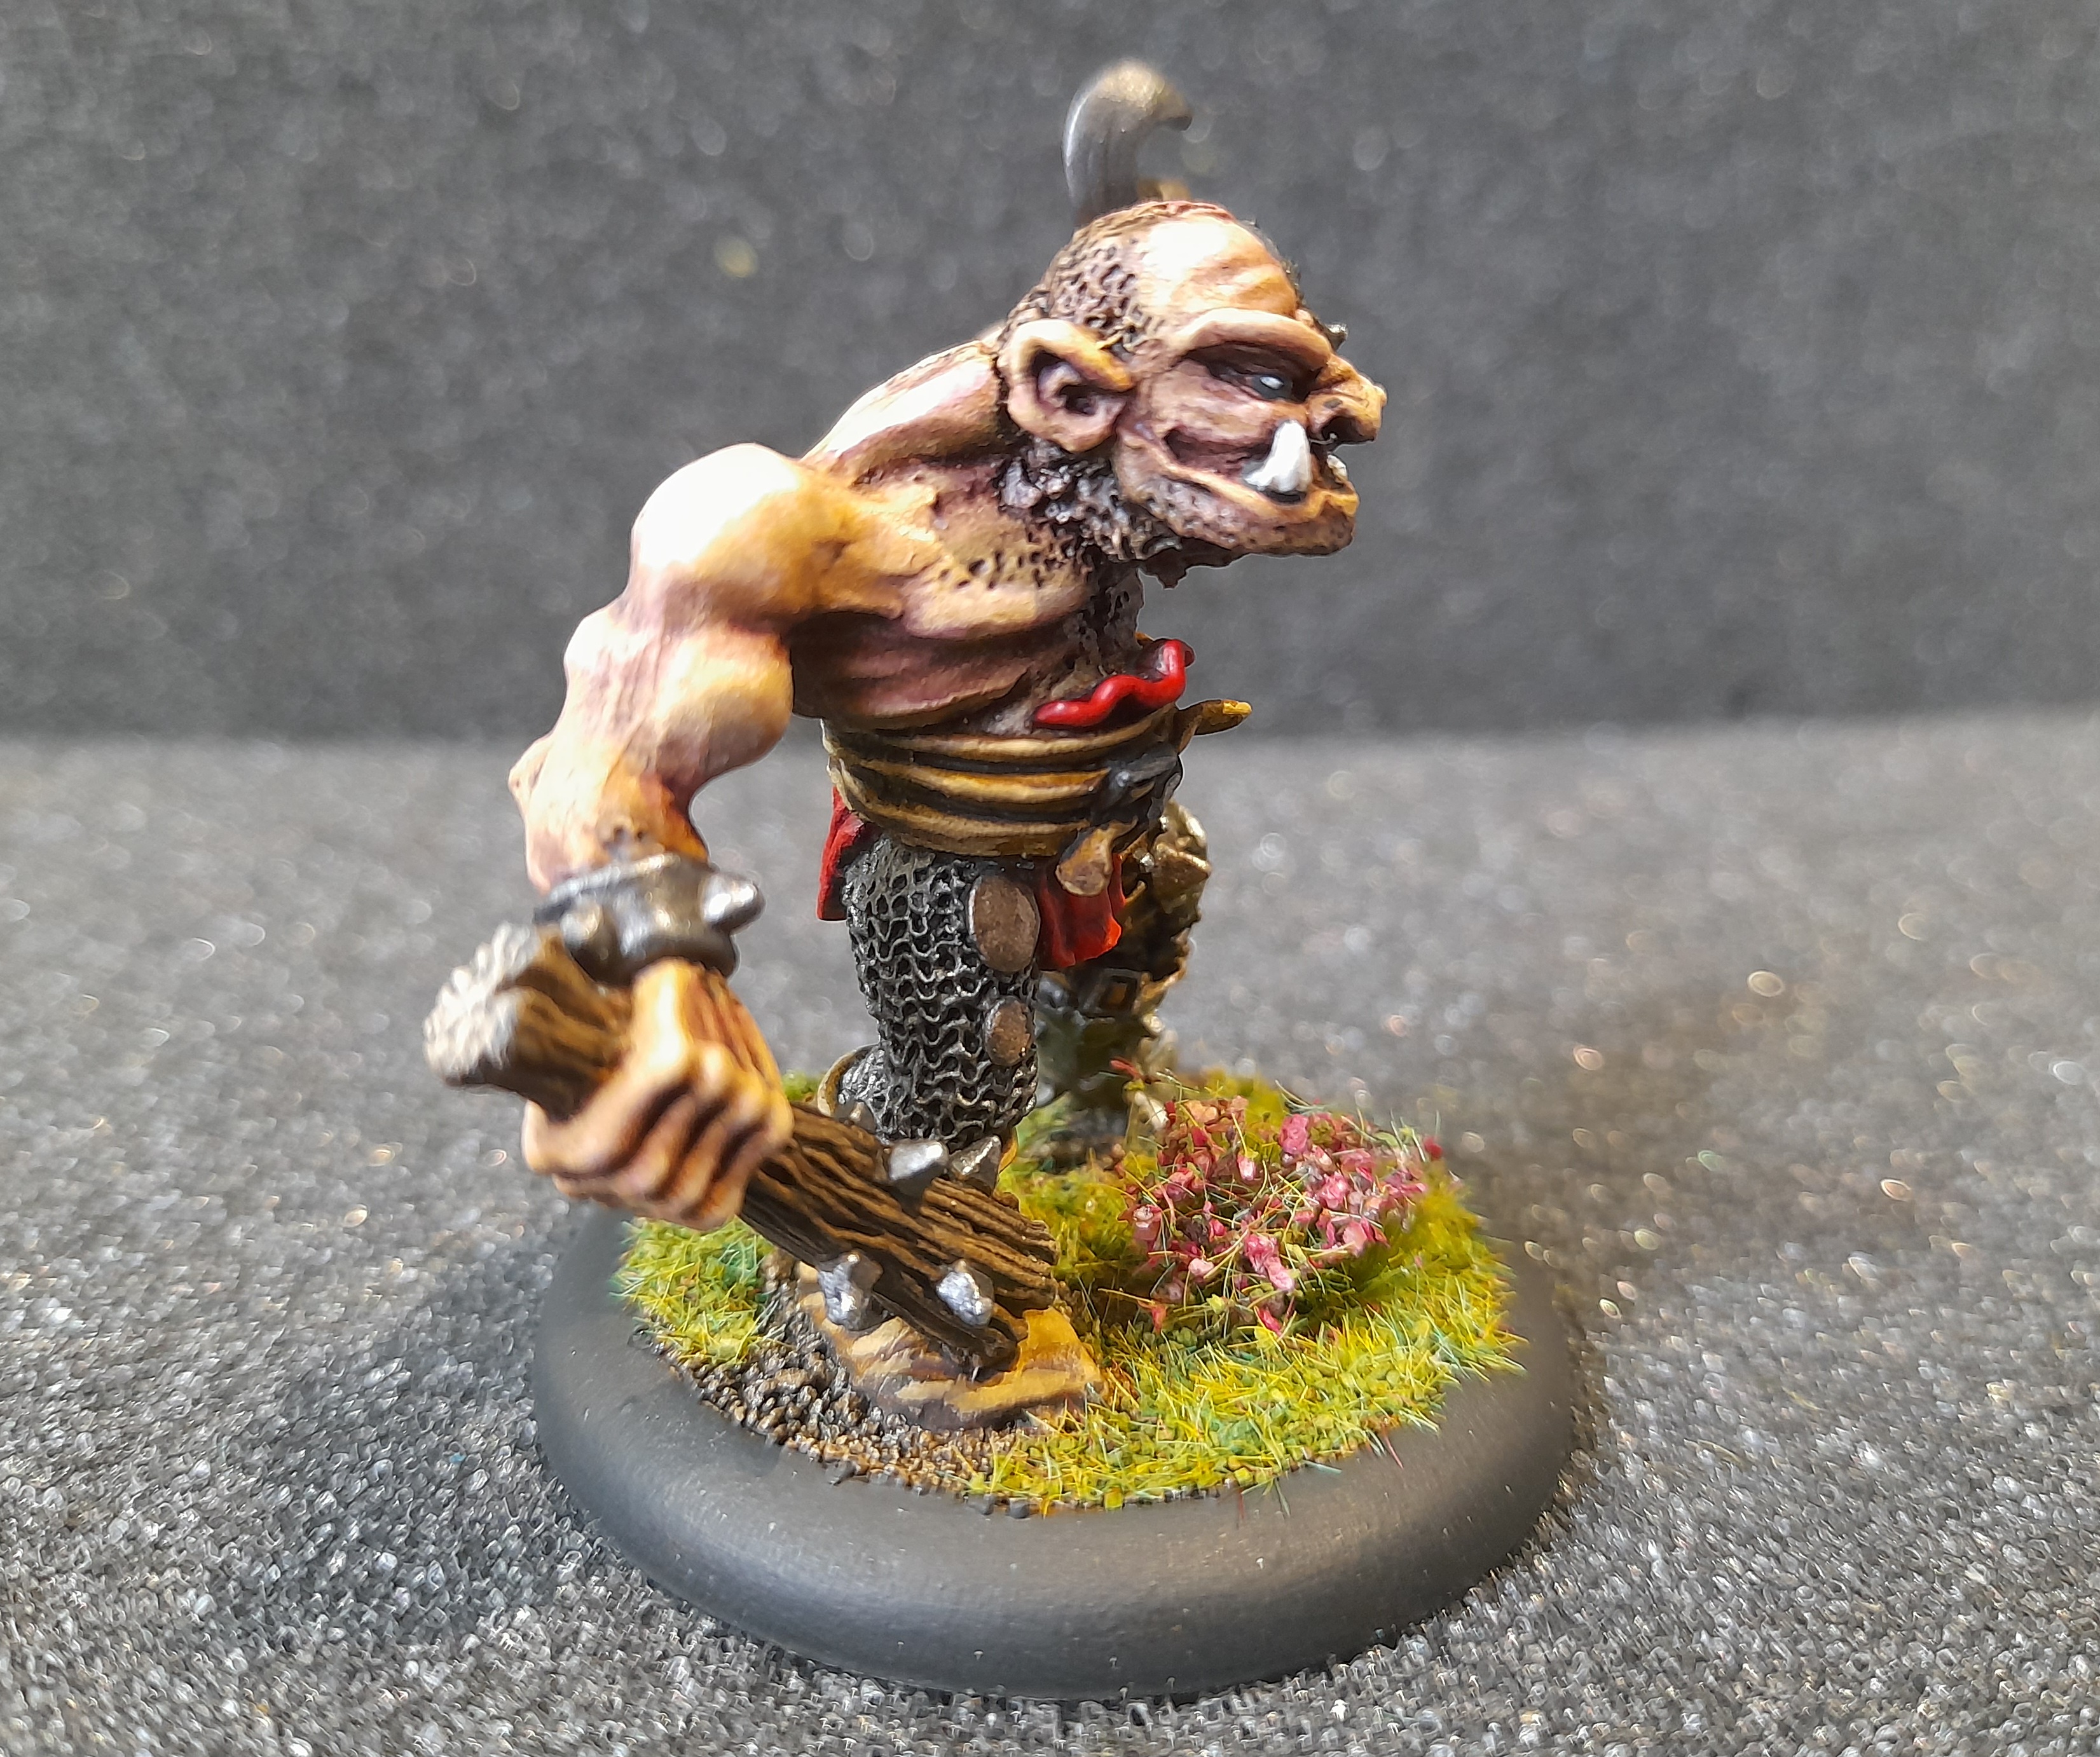
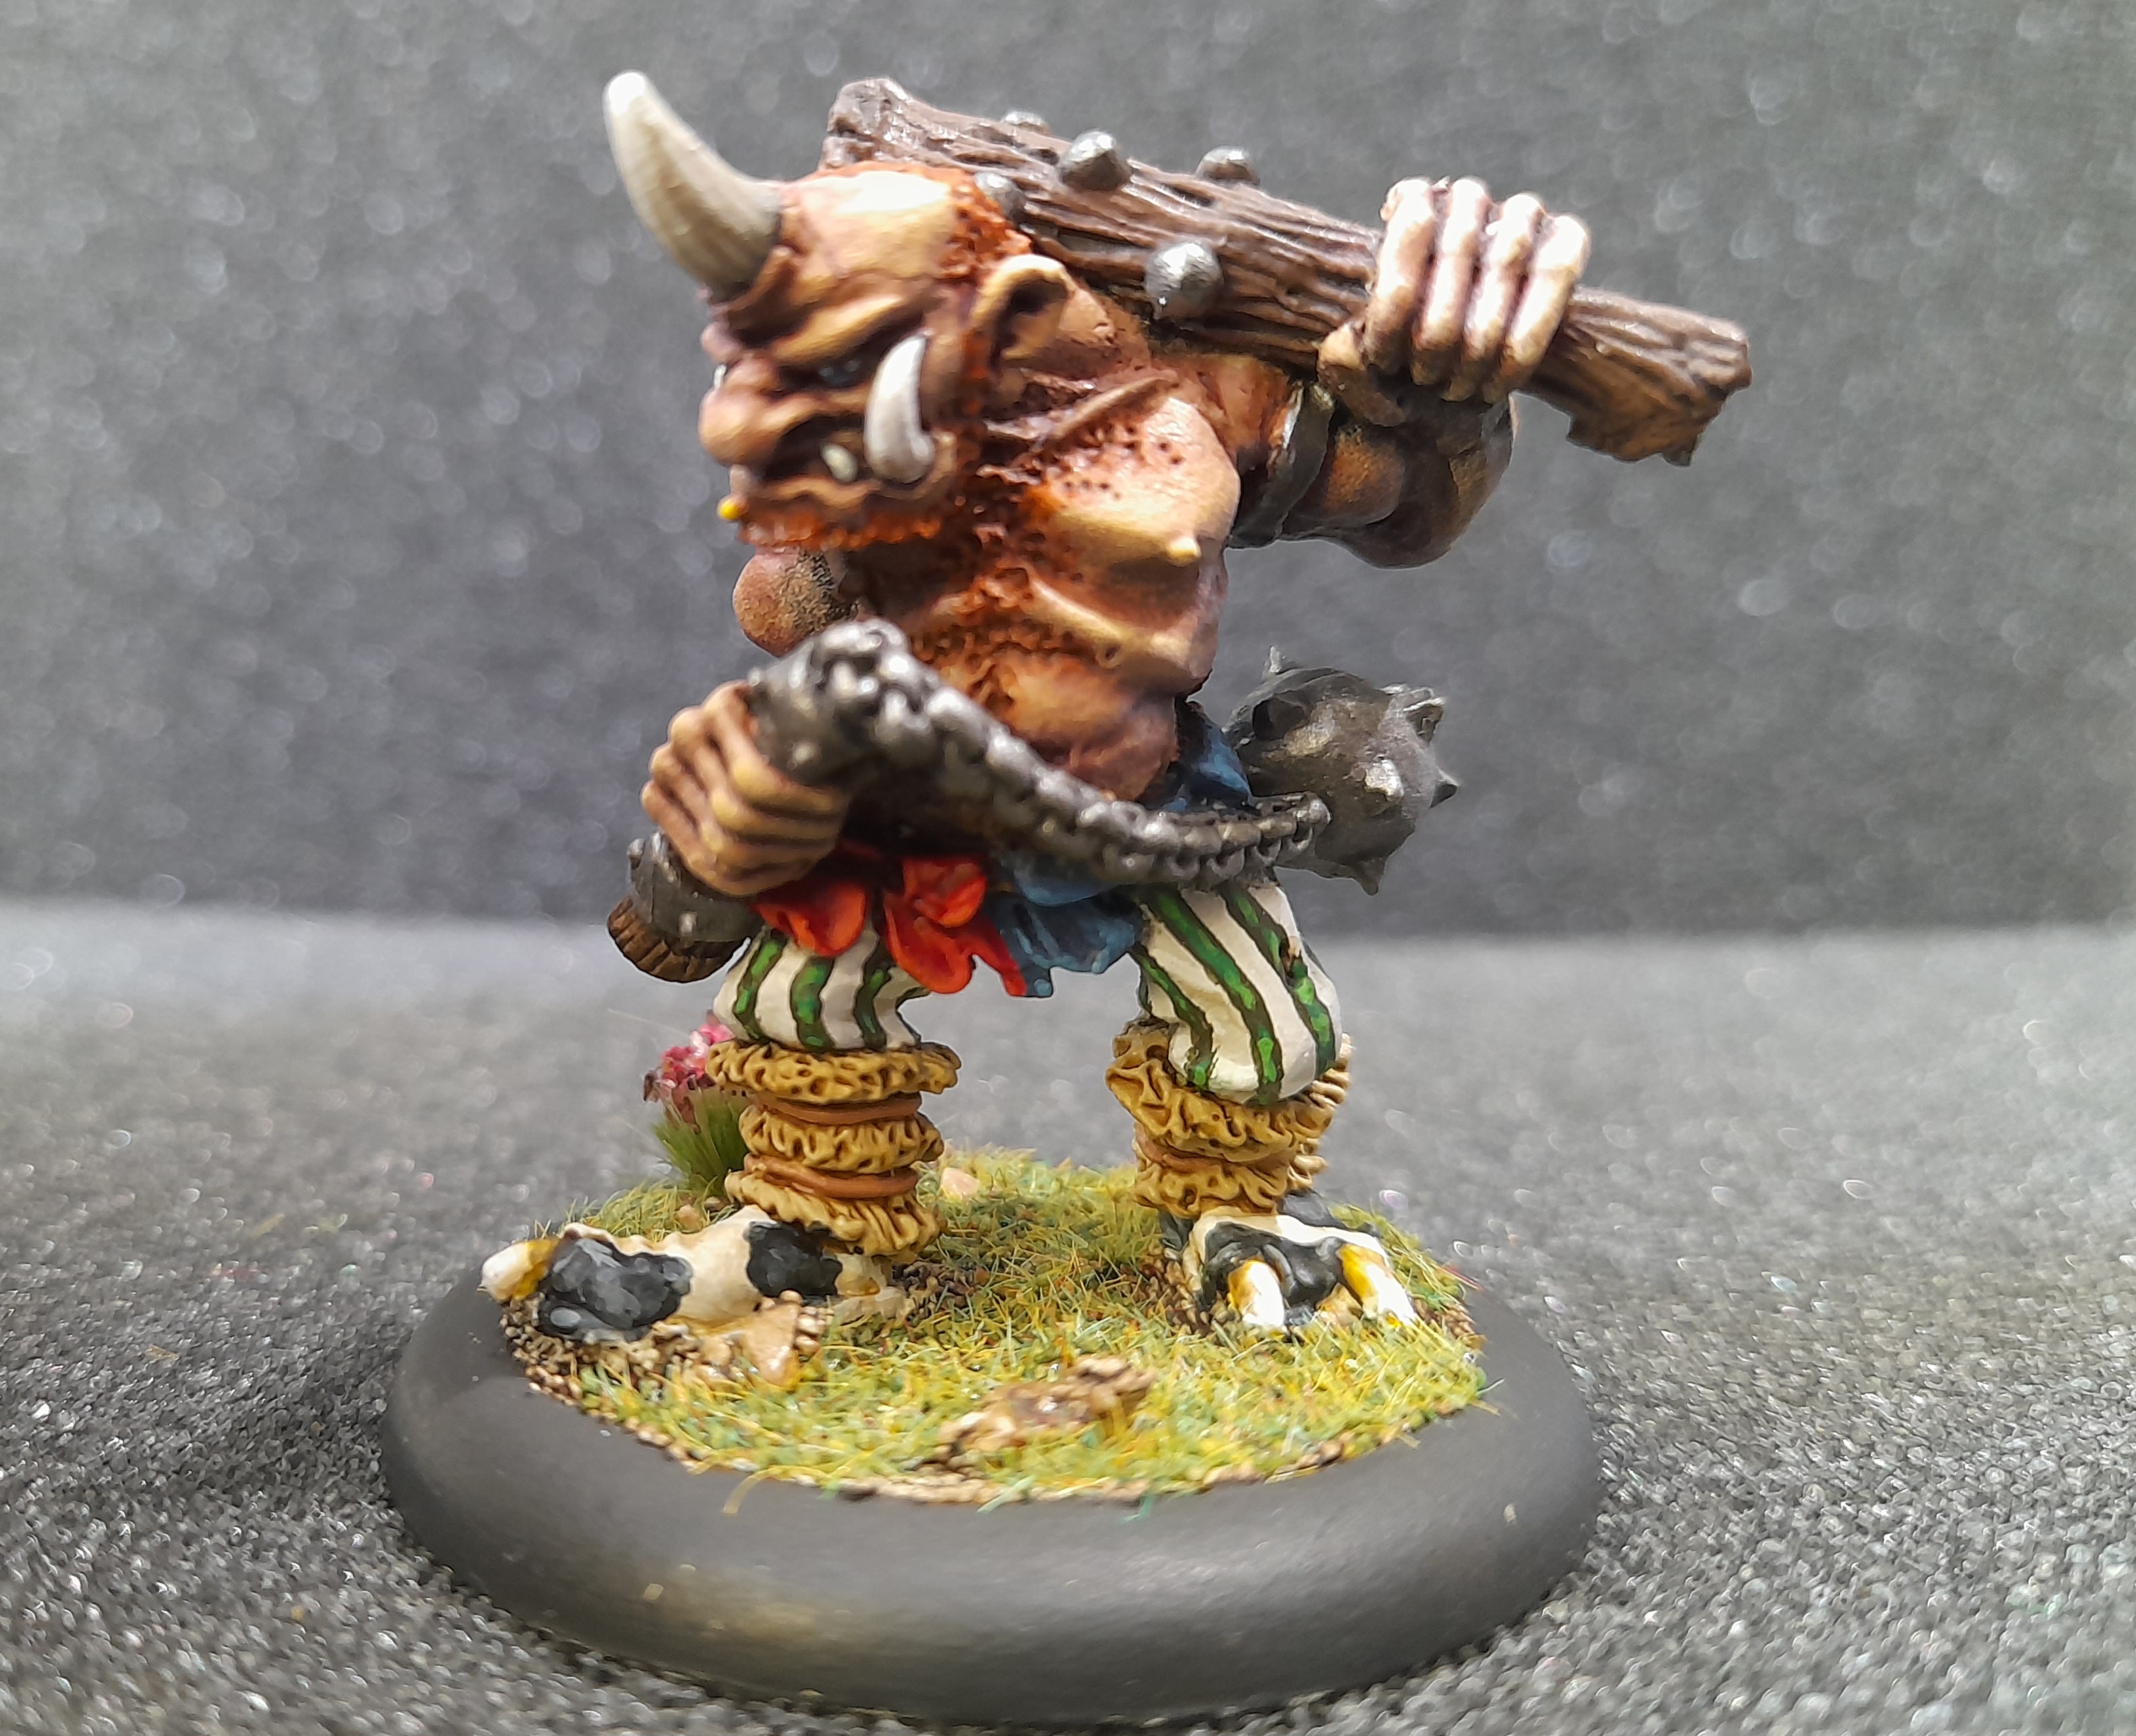
C23 Ogre Berserker
10th April 2025
This fine chap had the same start out as the Pit Fighter Ogre, in terms of prime and skin work.
I decided to paint his loin cloth in a halved red/blue, reminiscent of the colours for Altdorf. Part way through I also decided that I would paint green stripes on the trousers.
The colour wasn’t popping enough, so I thought I would highlight up an extra stage.
I am trying to highlight things more than I usually do, to make them stand out more – I tend to be a touch conservative on the highlighting, but some of my recent Silver Bayonet work has given me the push to take them higher.
So the red and blue both had four colour stages, and the green stripes had three colour stages.
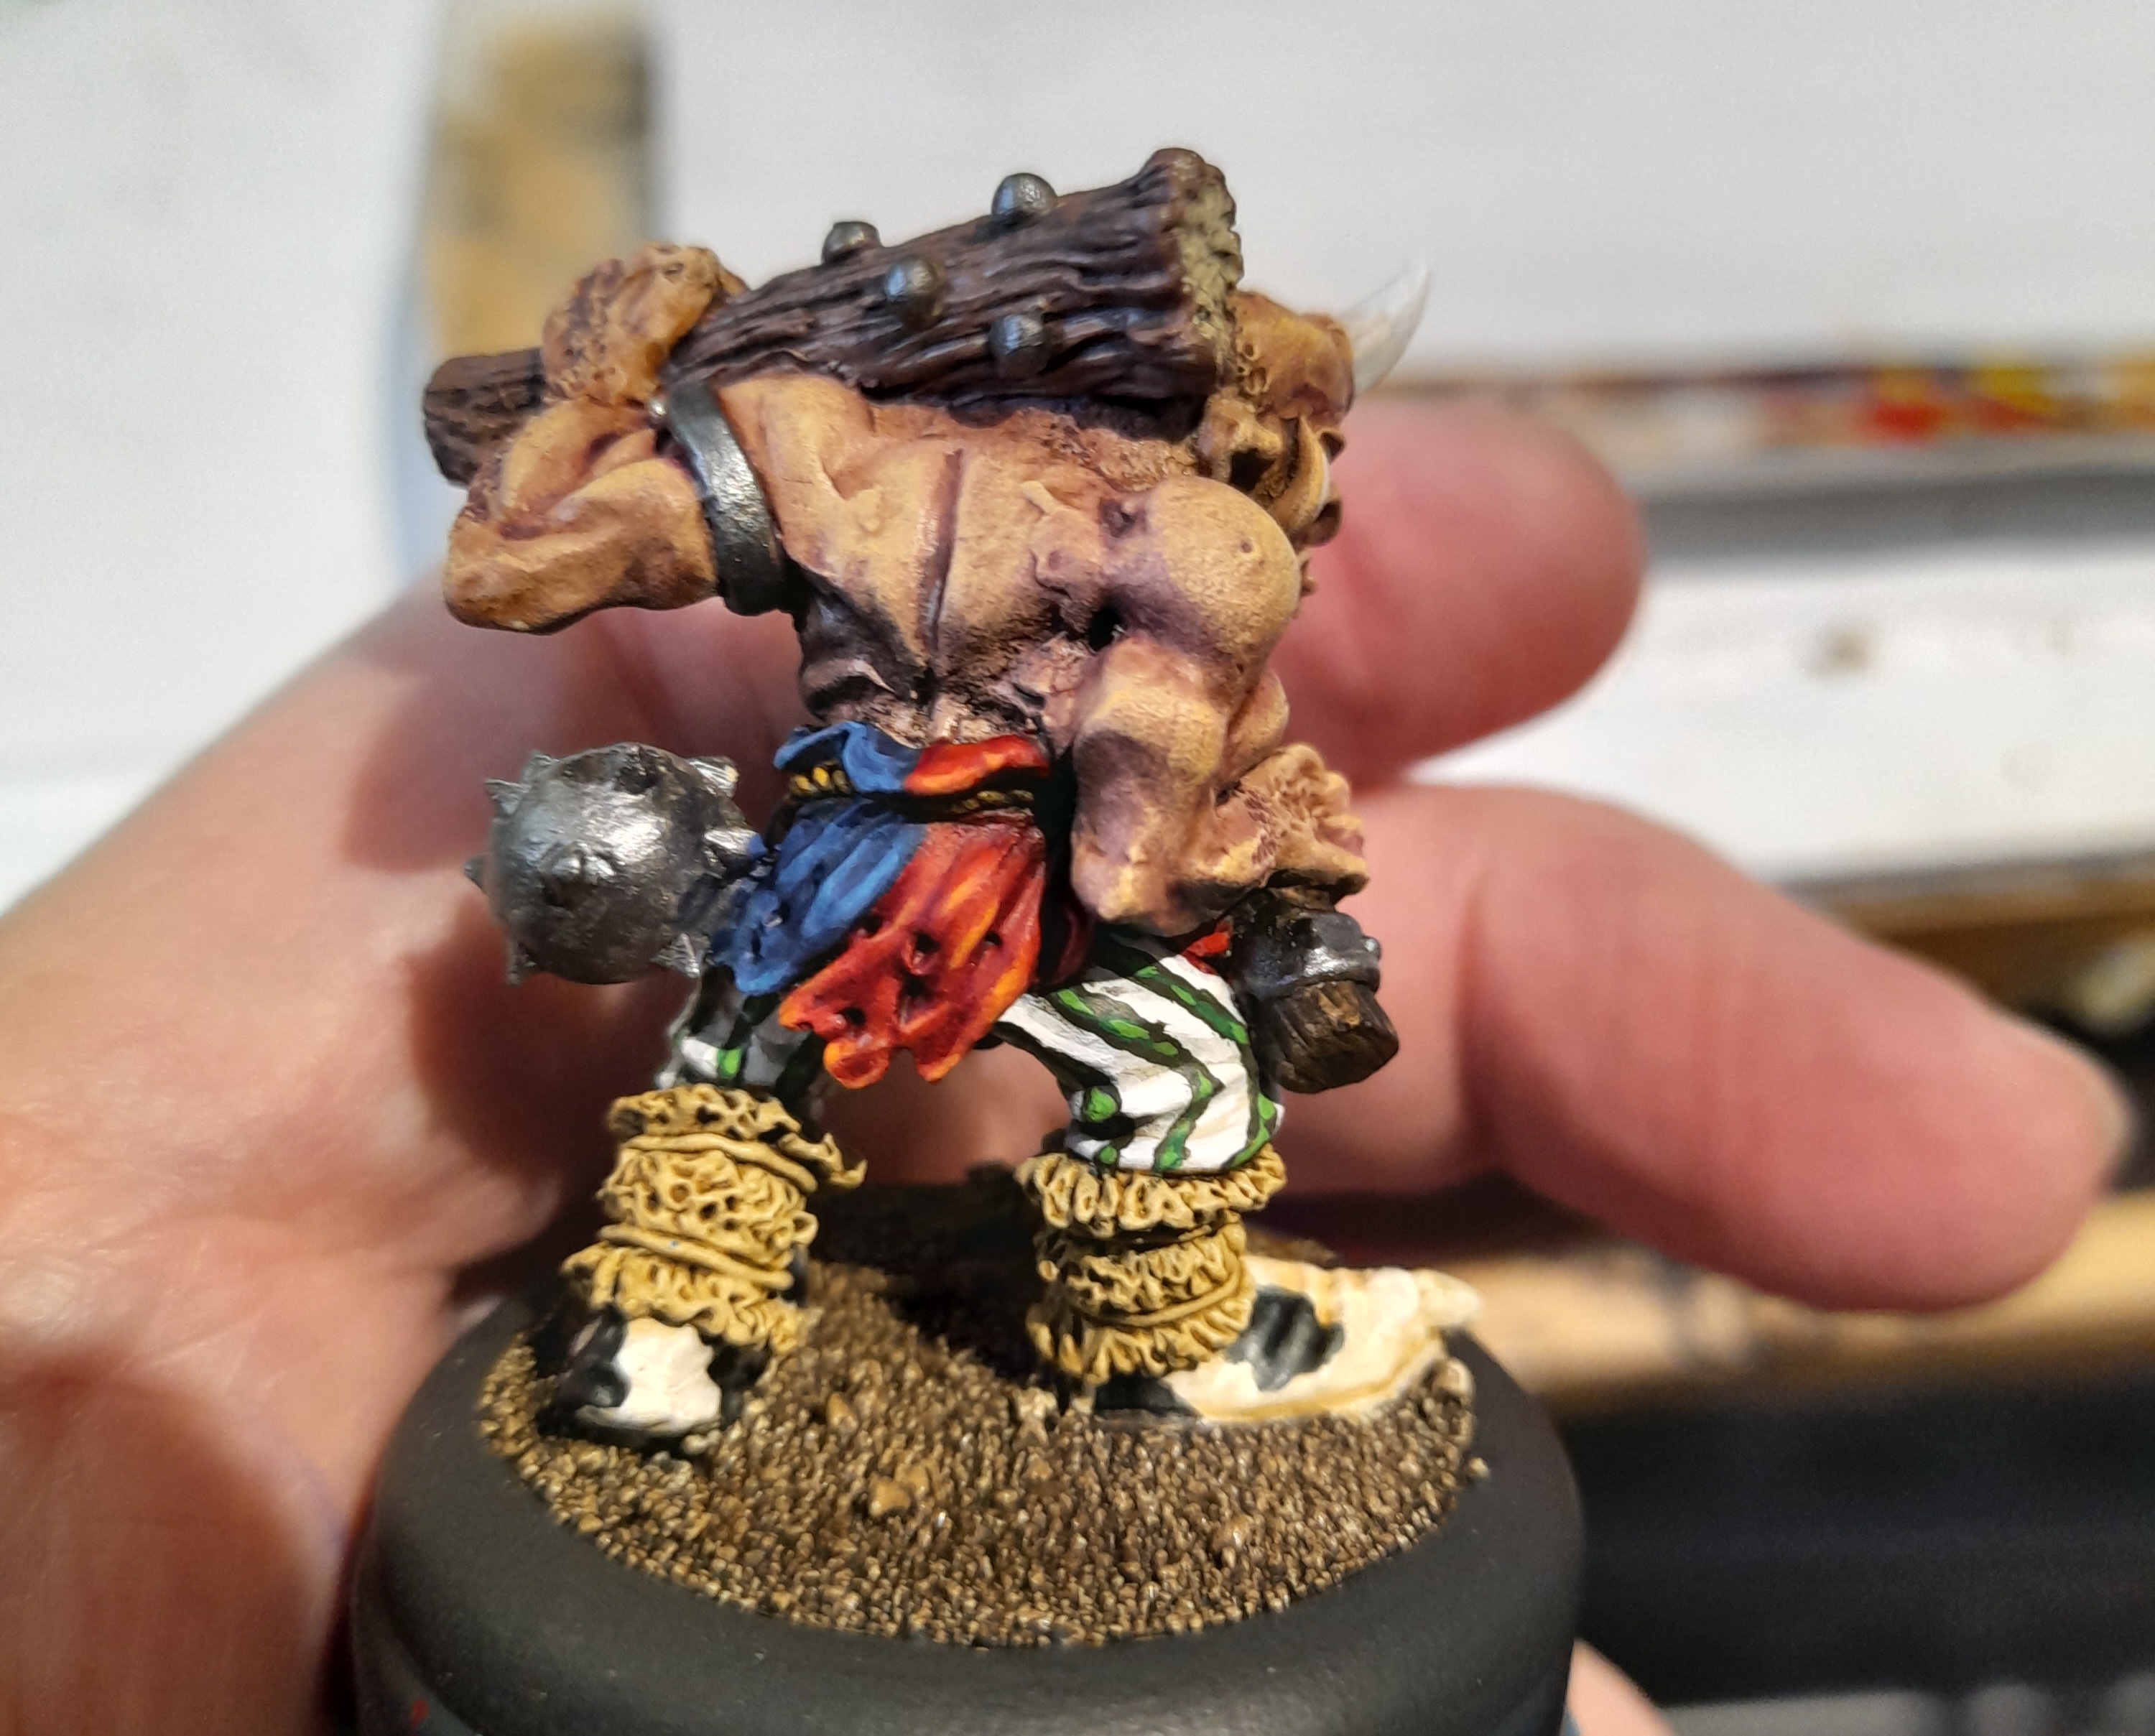
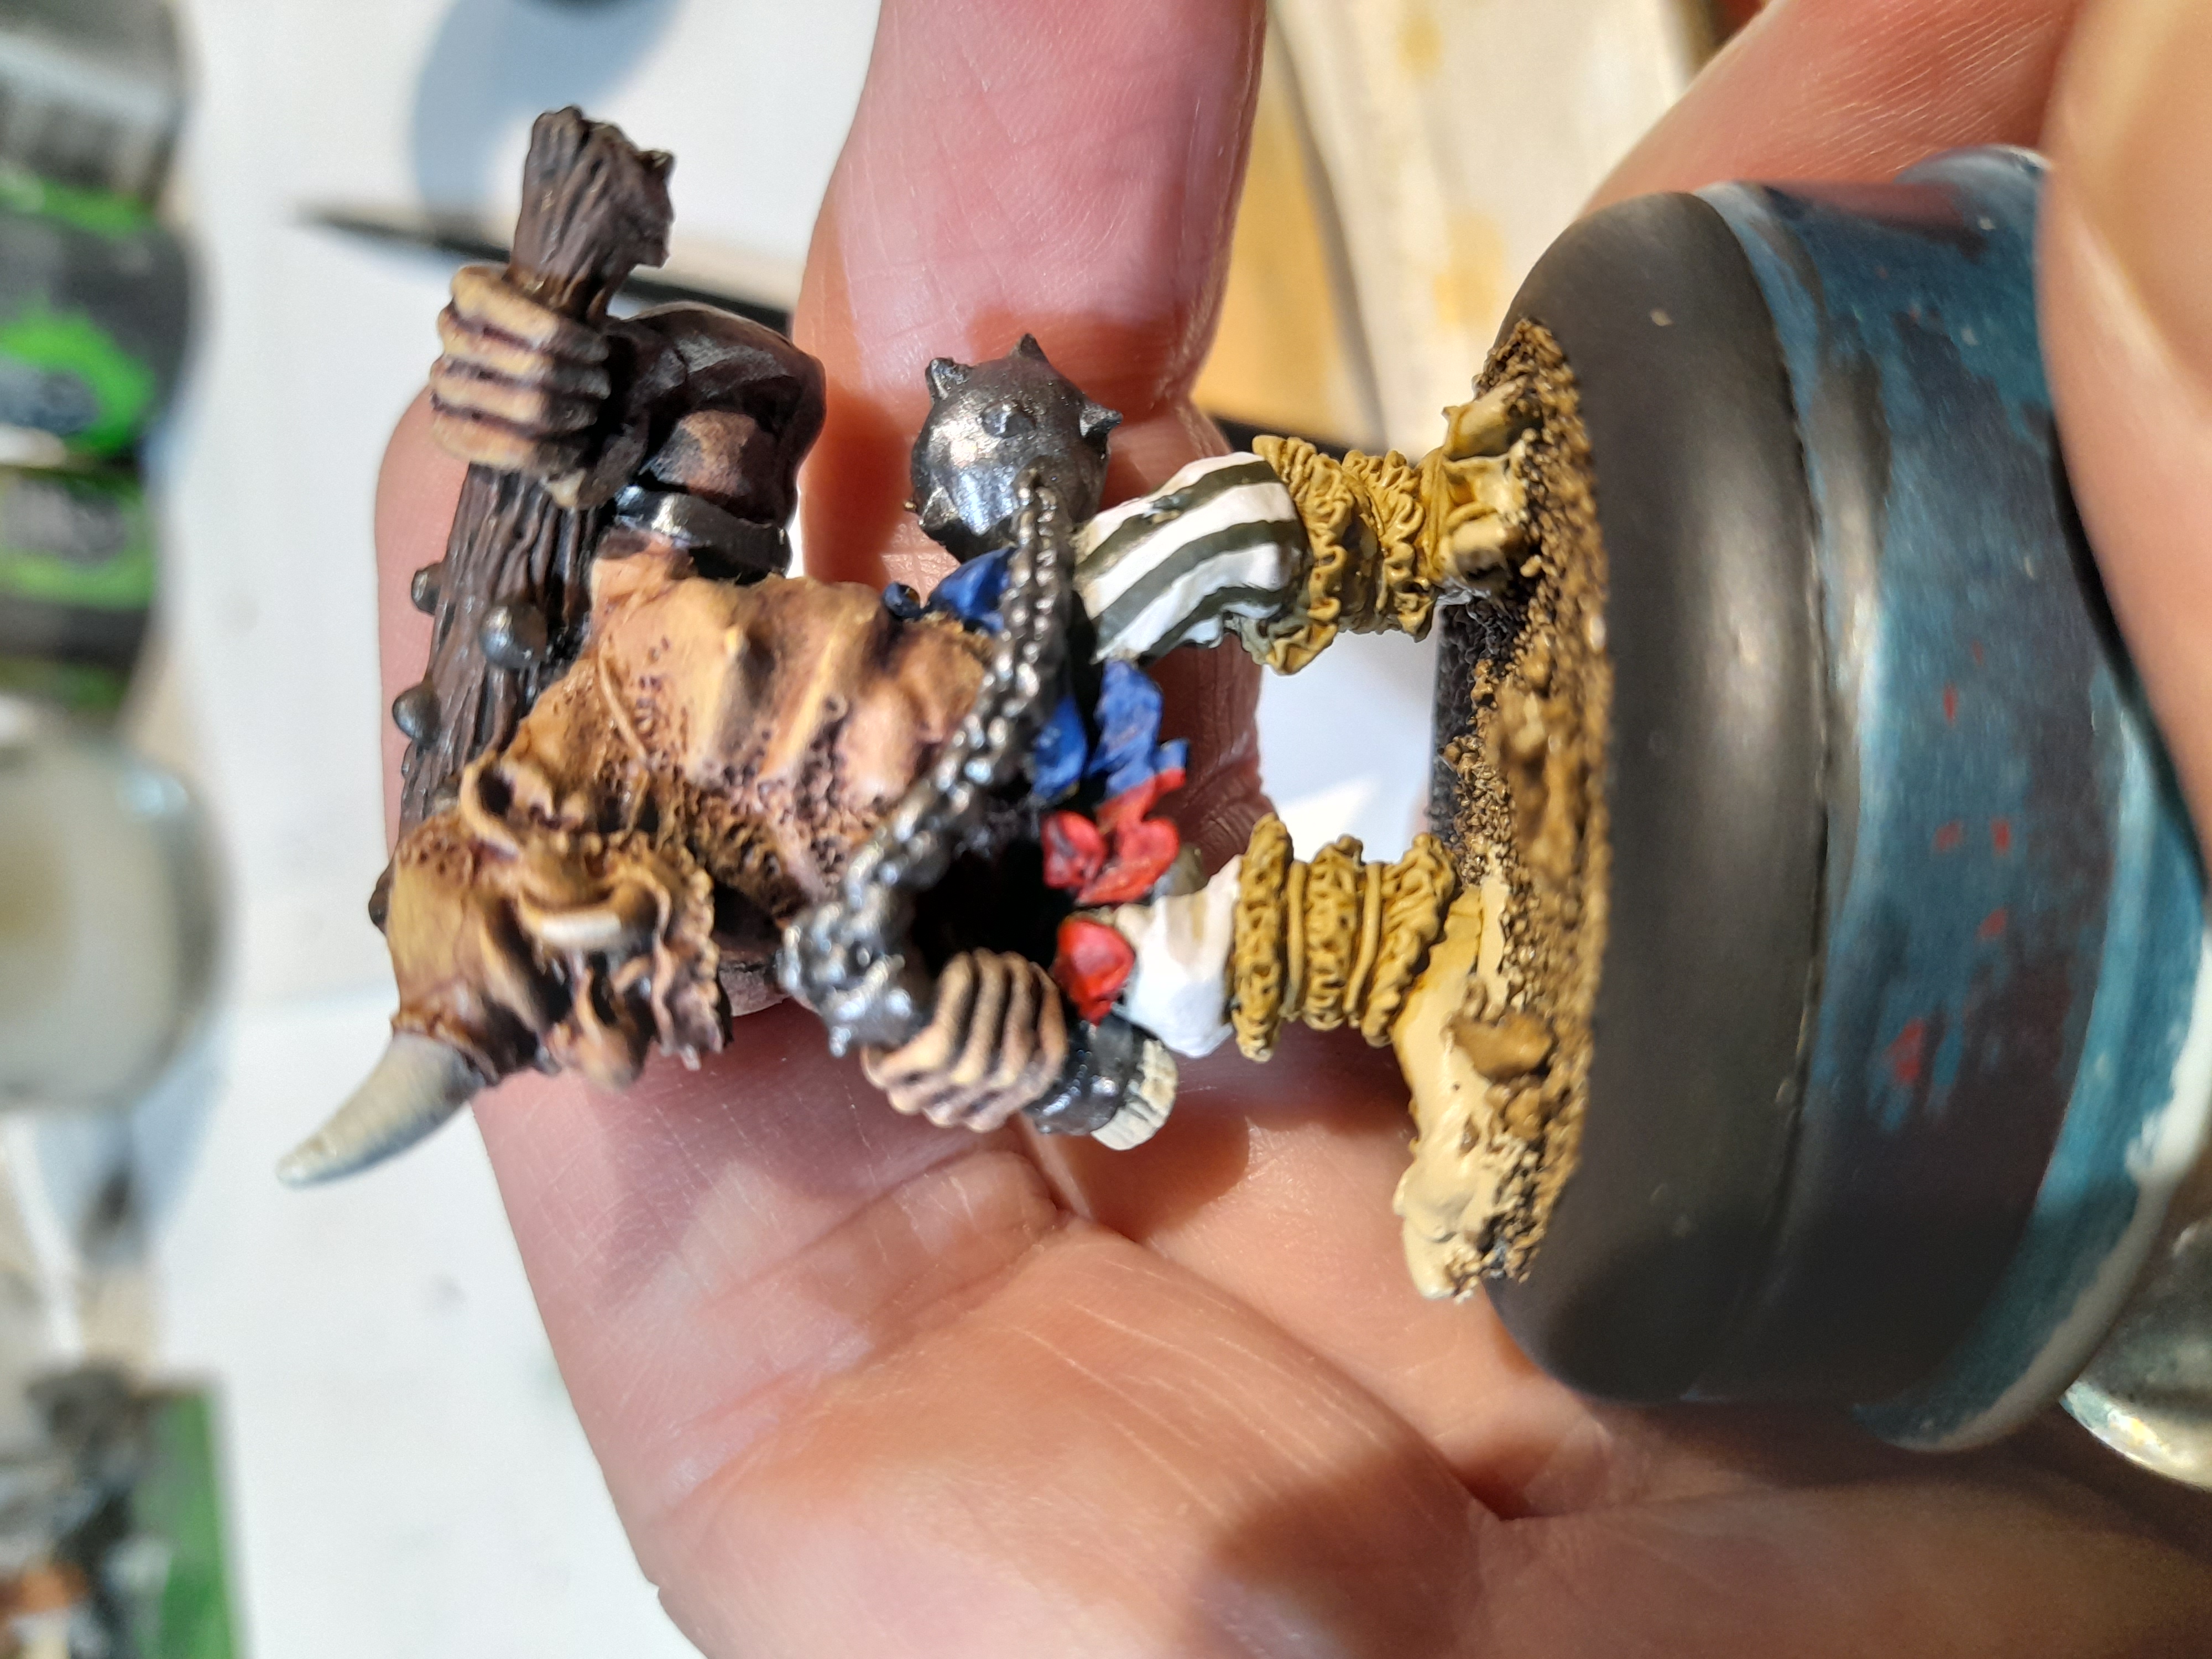
For the boots I went for a black and white pattern to represent Frisian cow hide. I think this came out pretty well. However, it did give me a little issue with the toe claws that are poking out of the fabric. I tried both black and white, but neither worked due to the boot colours. In the end I went with a yellow brown at the base, highlighting up to ivory. That colour separation at the boot helped, but I’m still not sure on it.
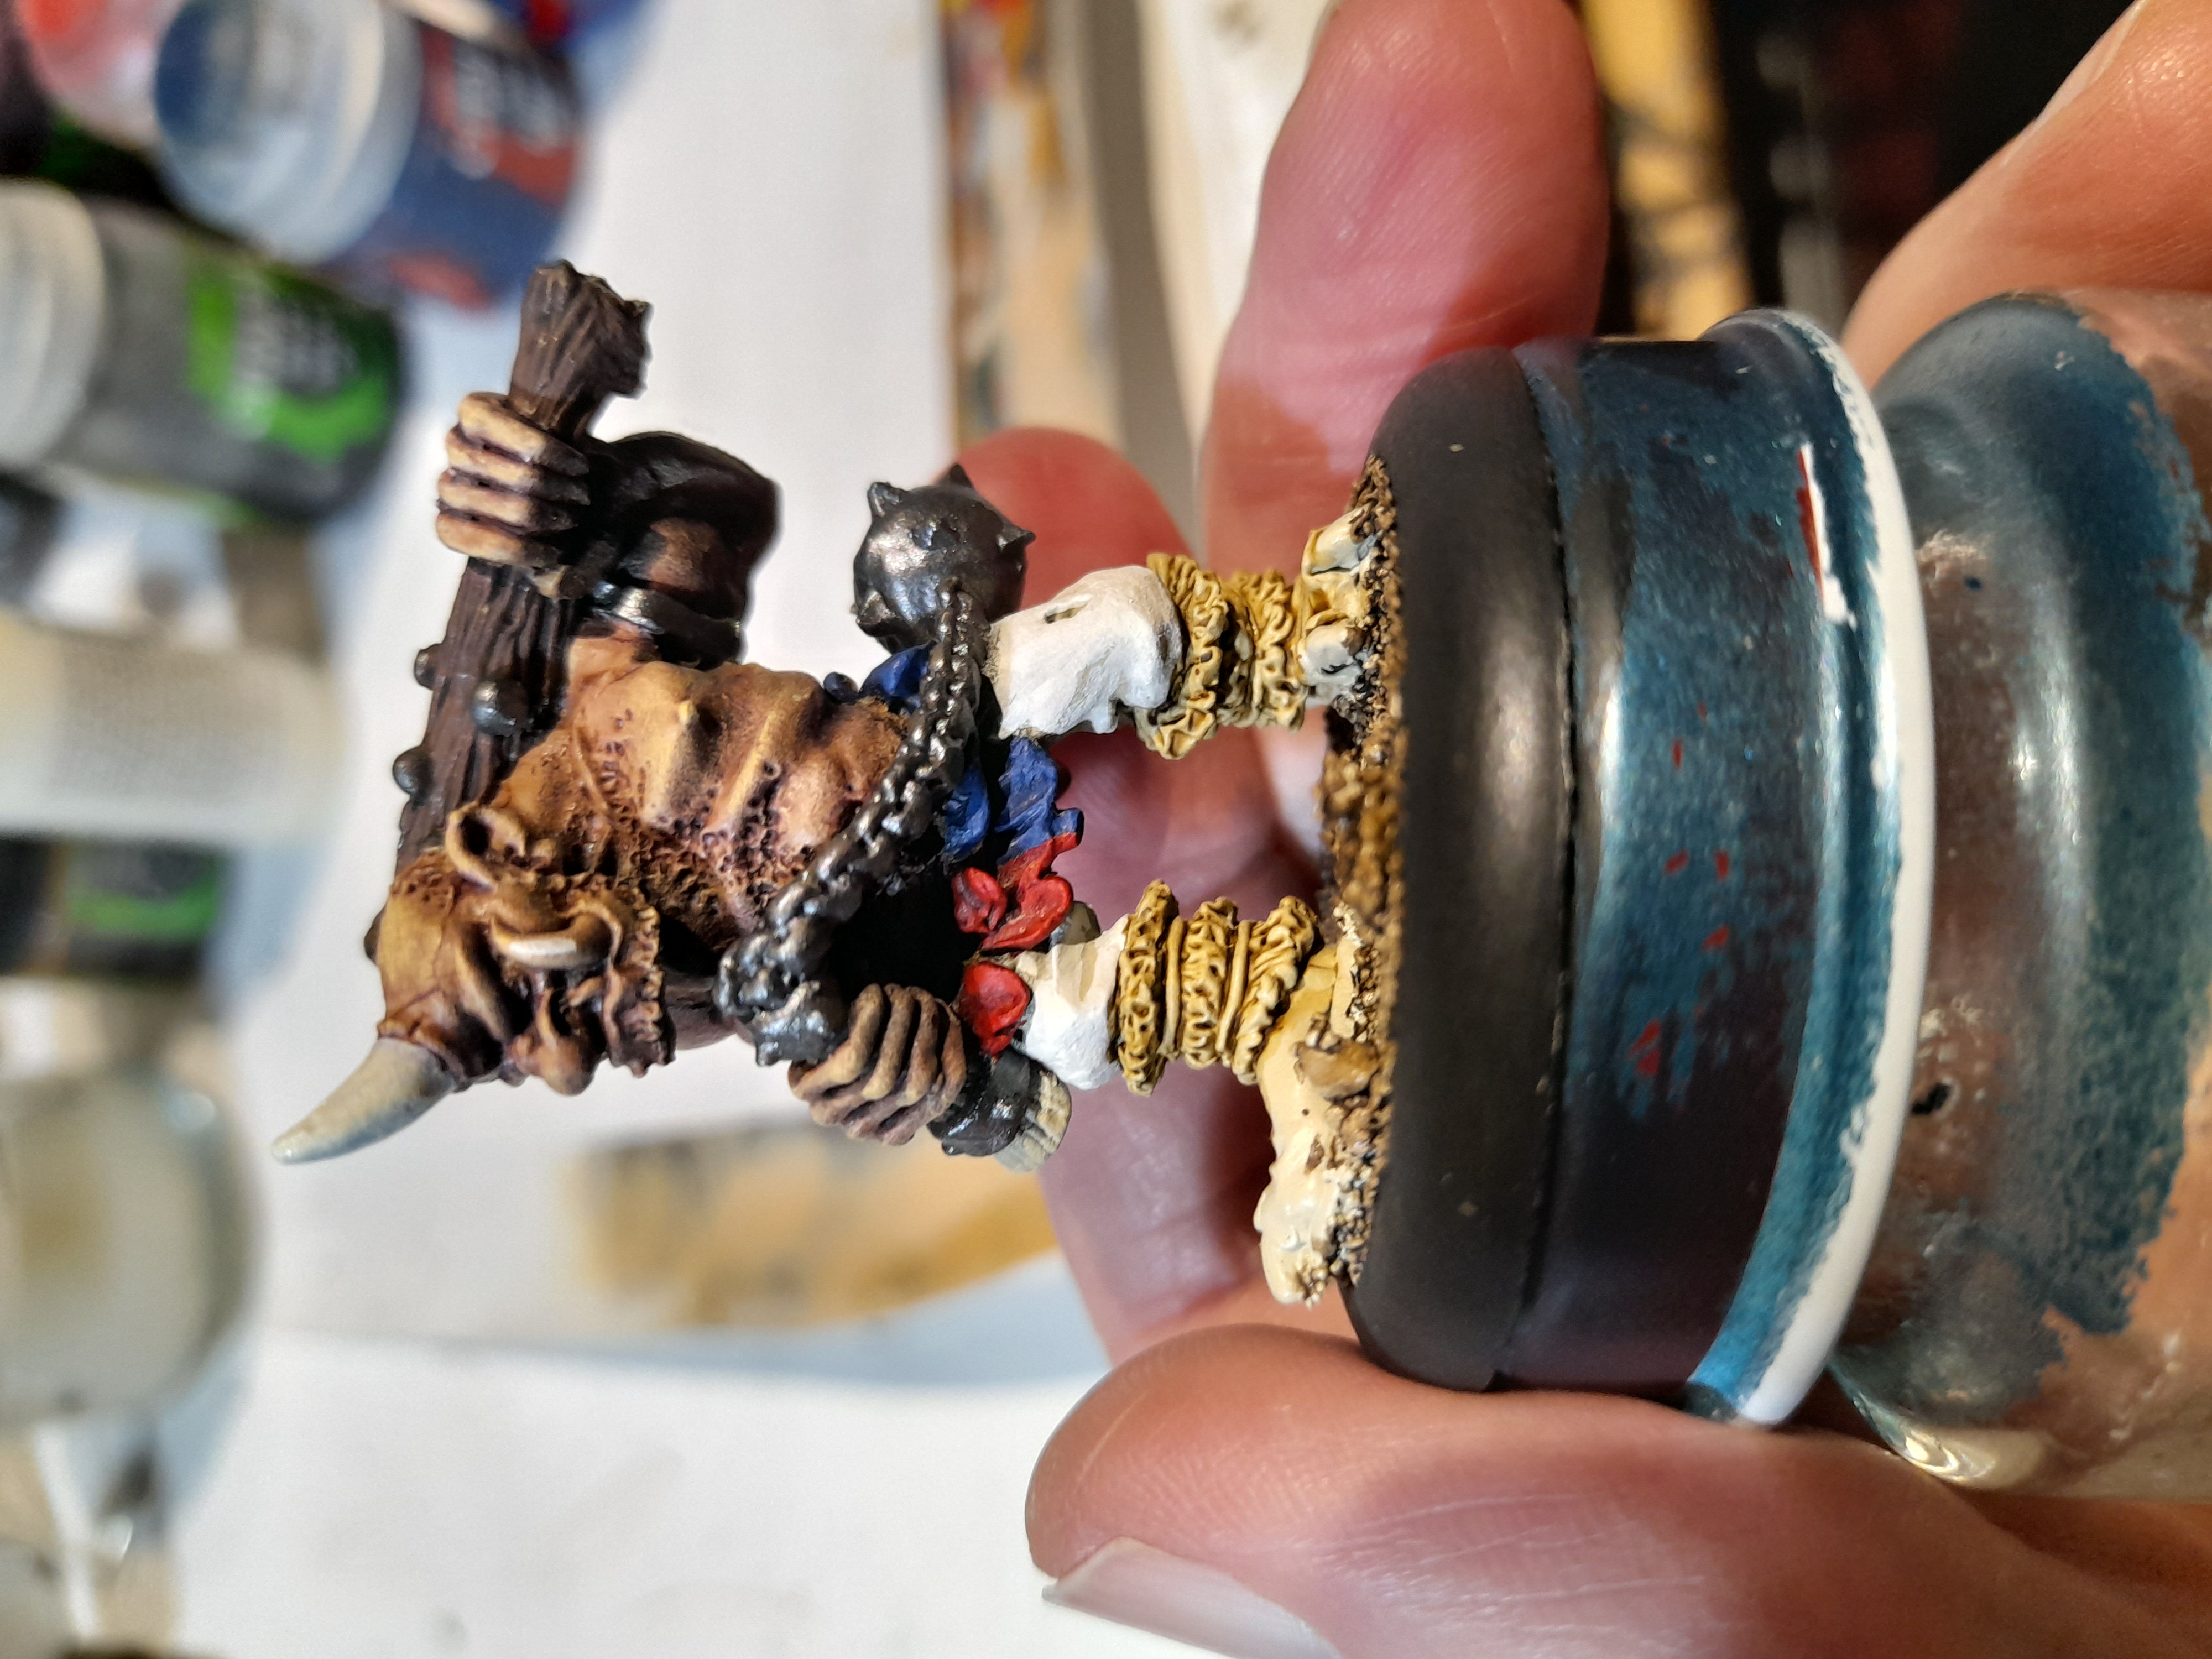
The hair was painted with a wash of gryph hound orange, followed by a thinned agrax. Picked out various other details, (spent a good amount of time on the horn) and he was finished.
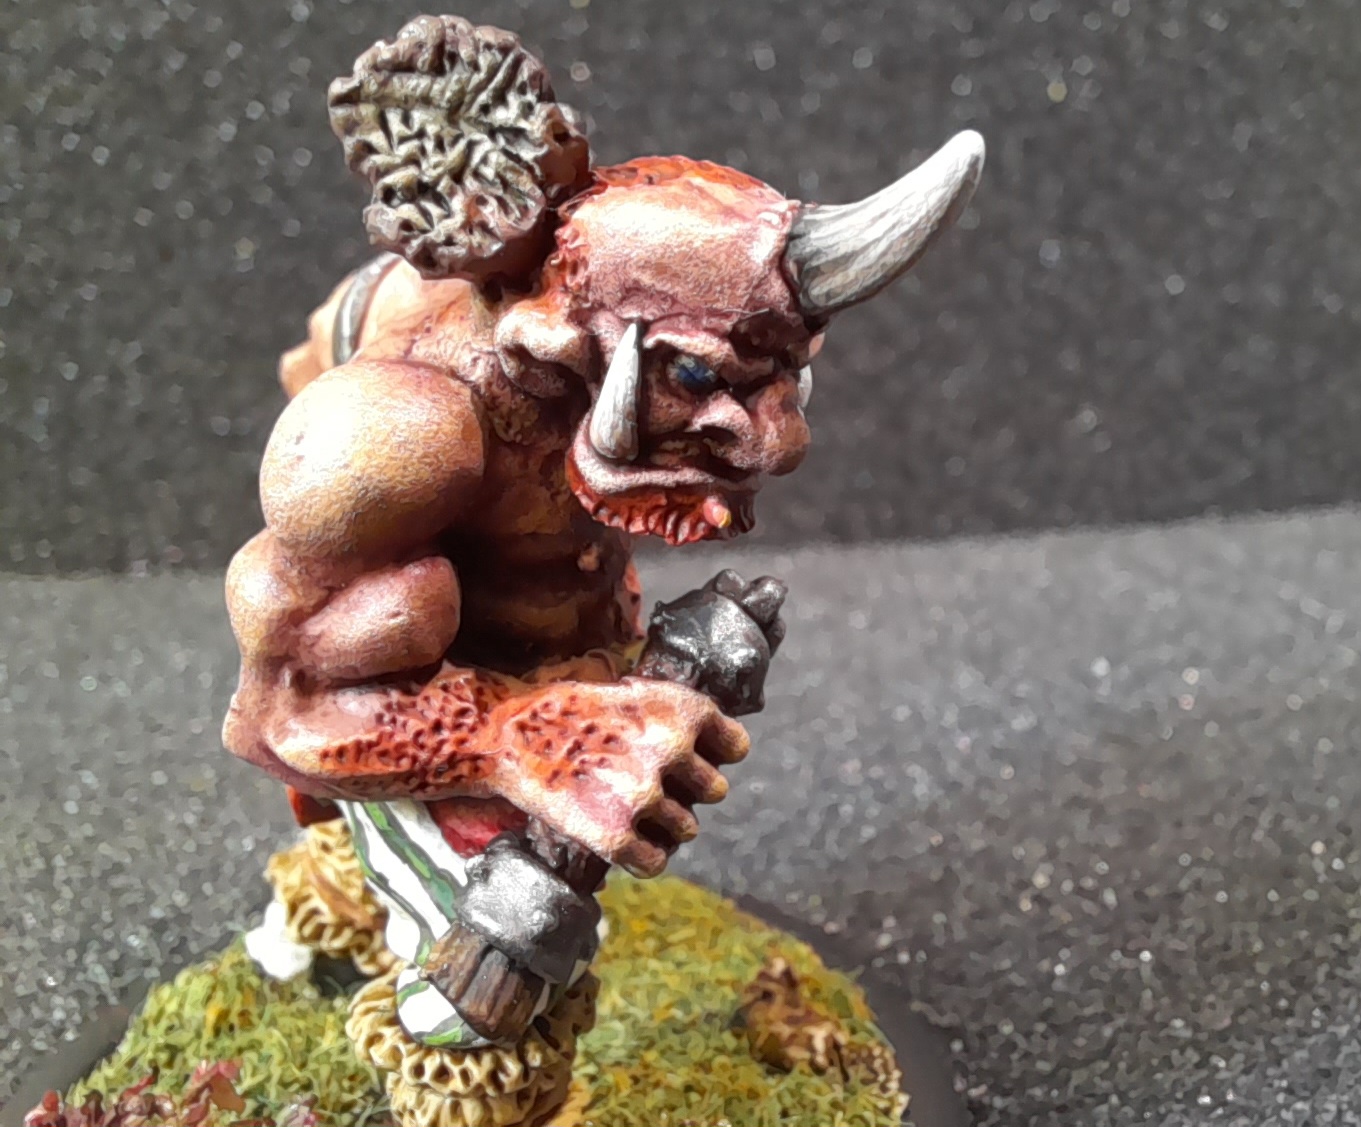 Pleased with how the horn came out
Giant Chaos Battering Ram
14th April 2025
This is the item that I didn’t want to mention in my project summary.
However, as can be seen from below, and my project image update, I have found it.
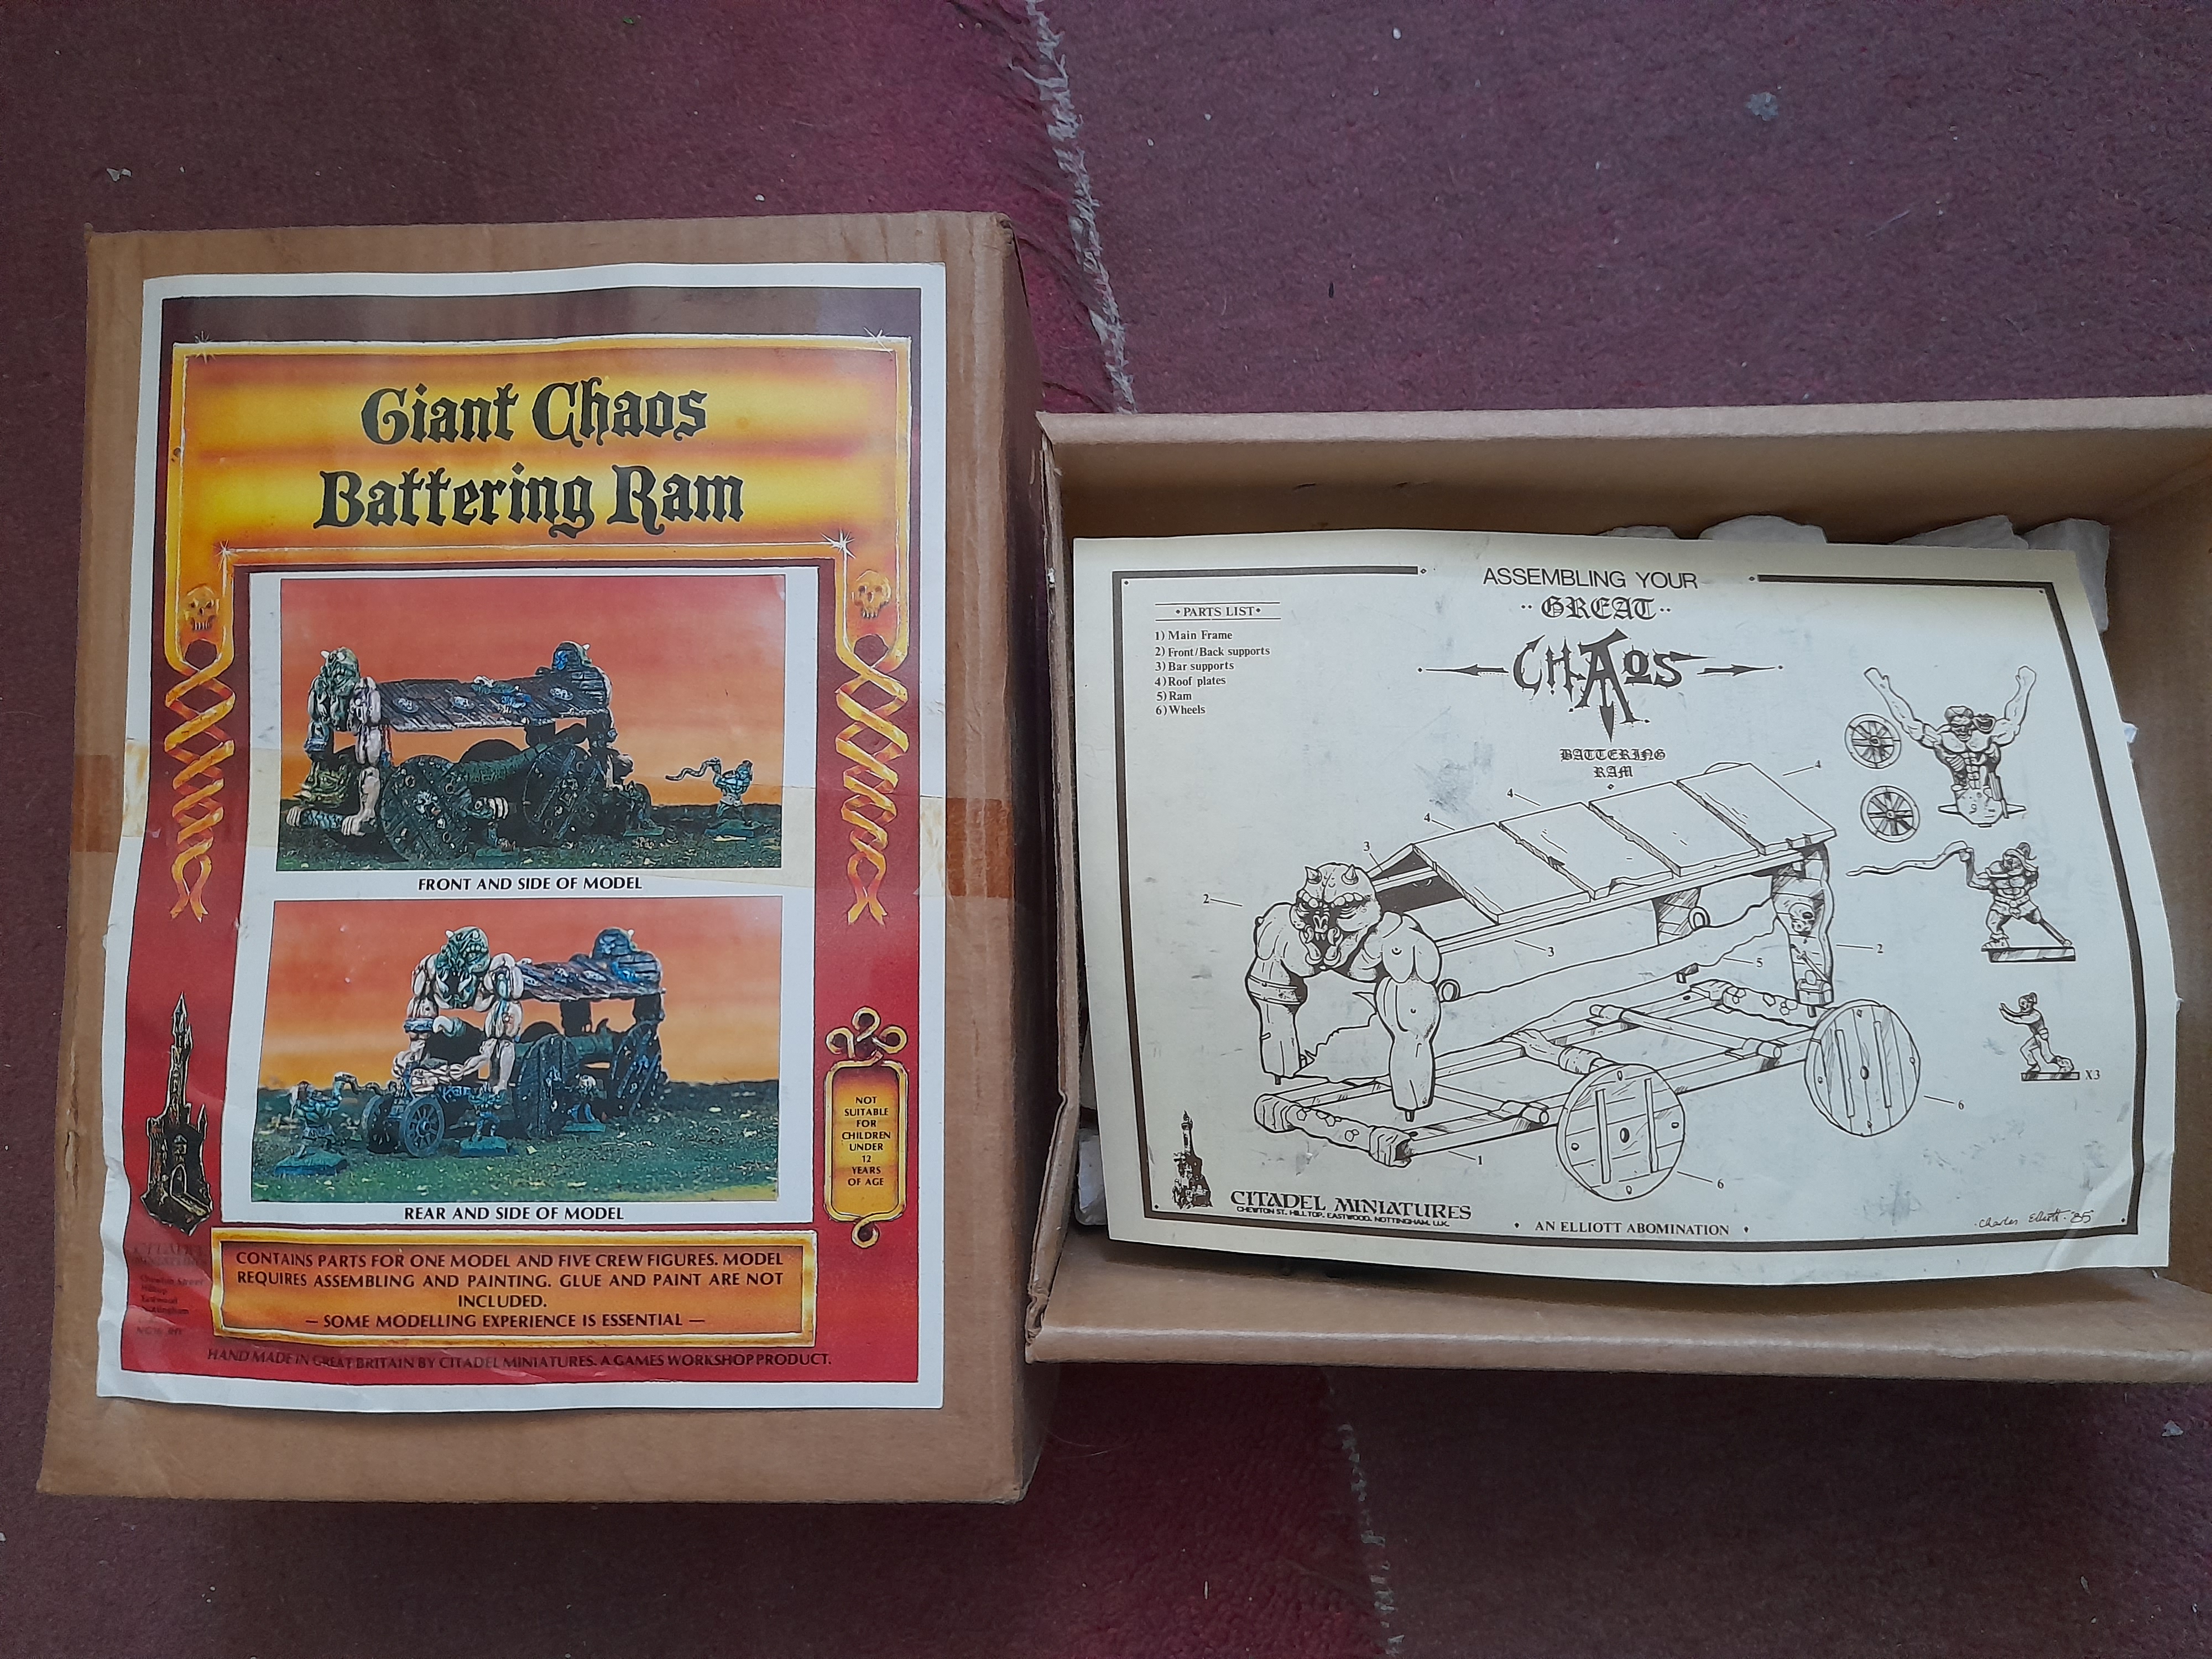
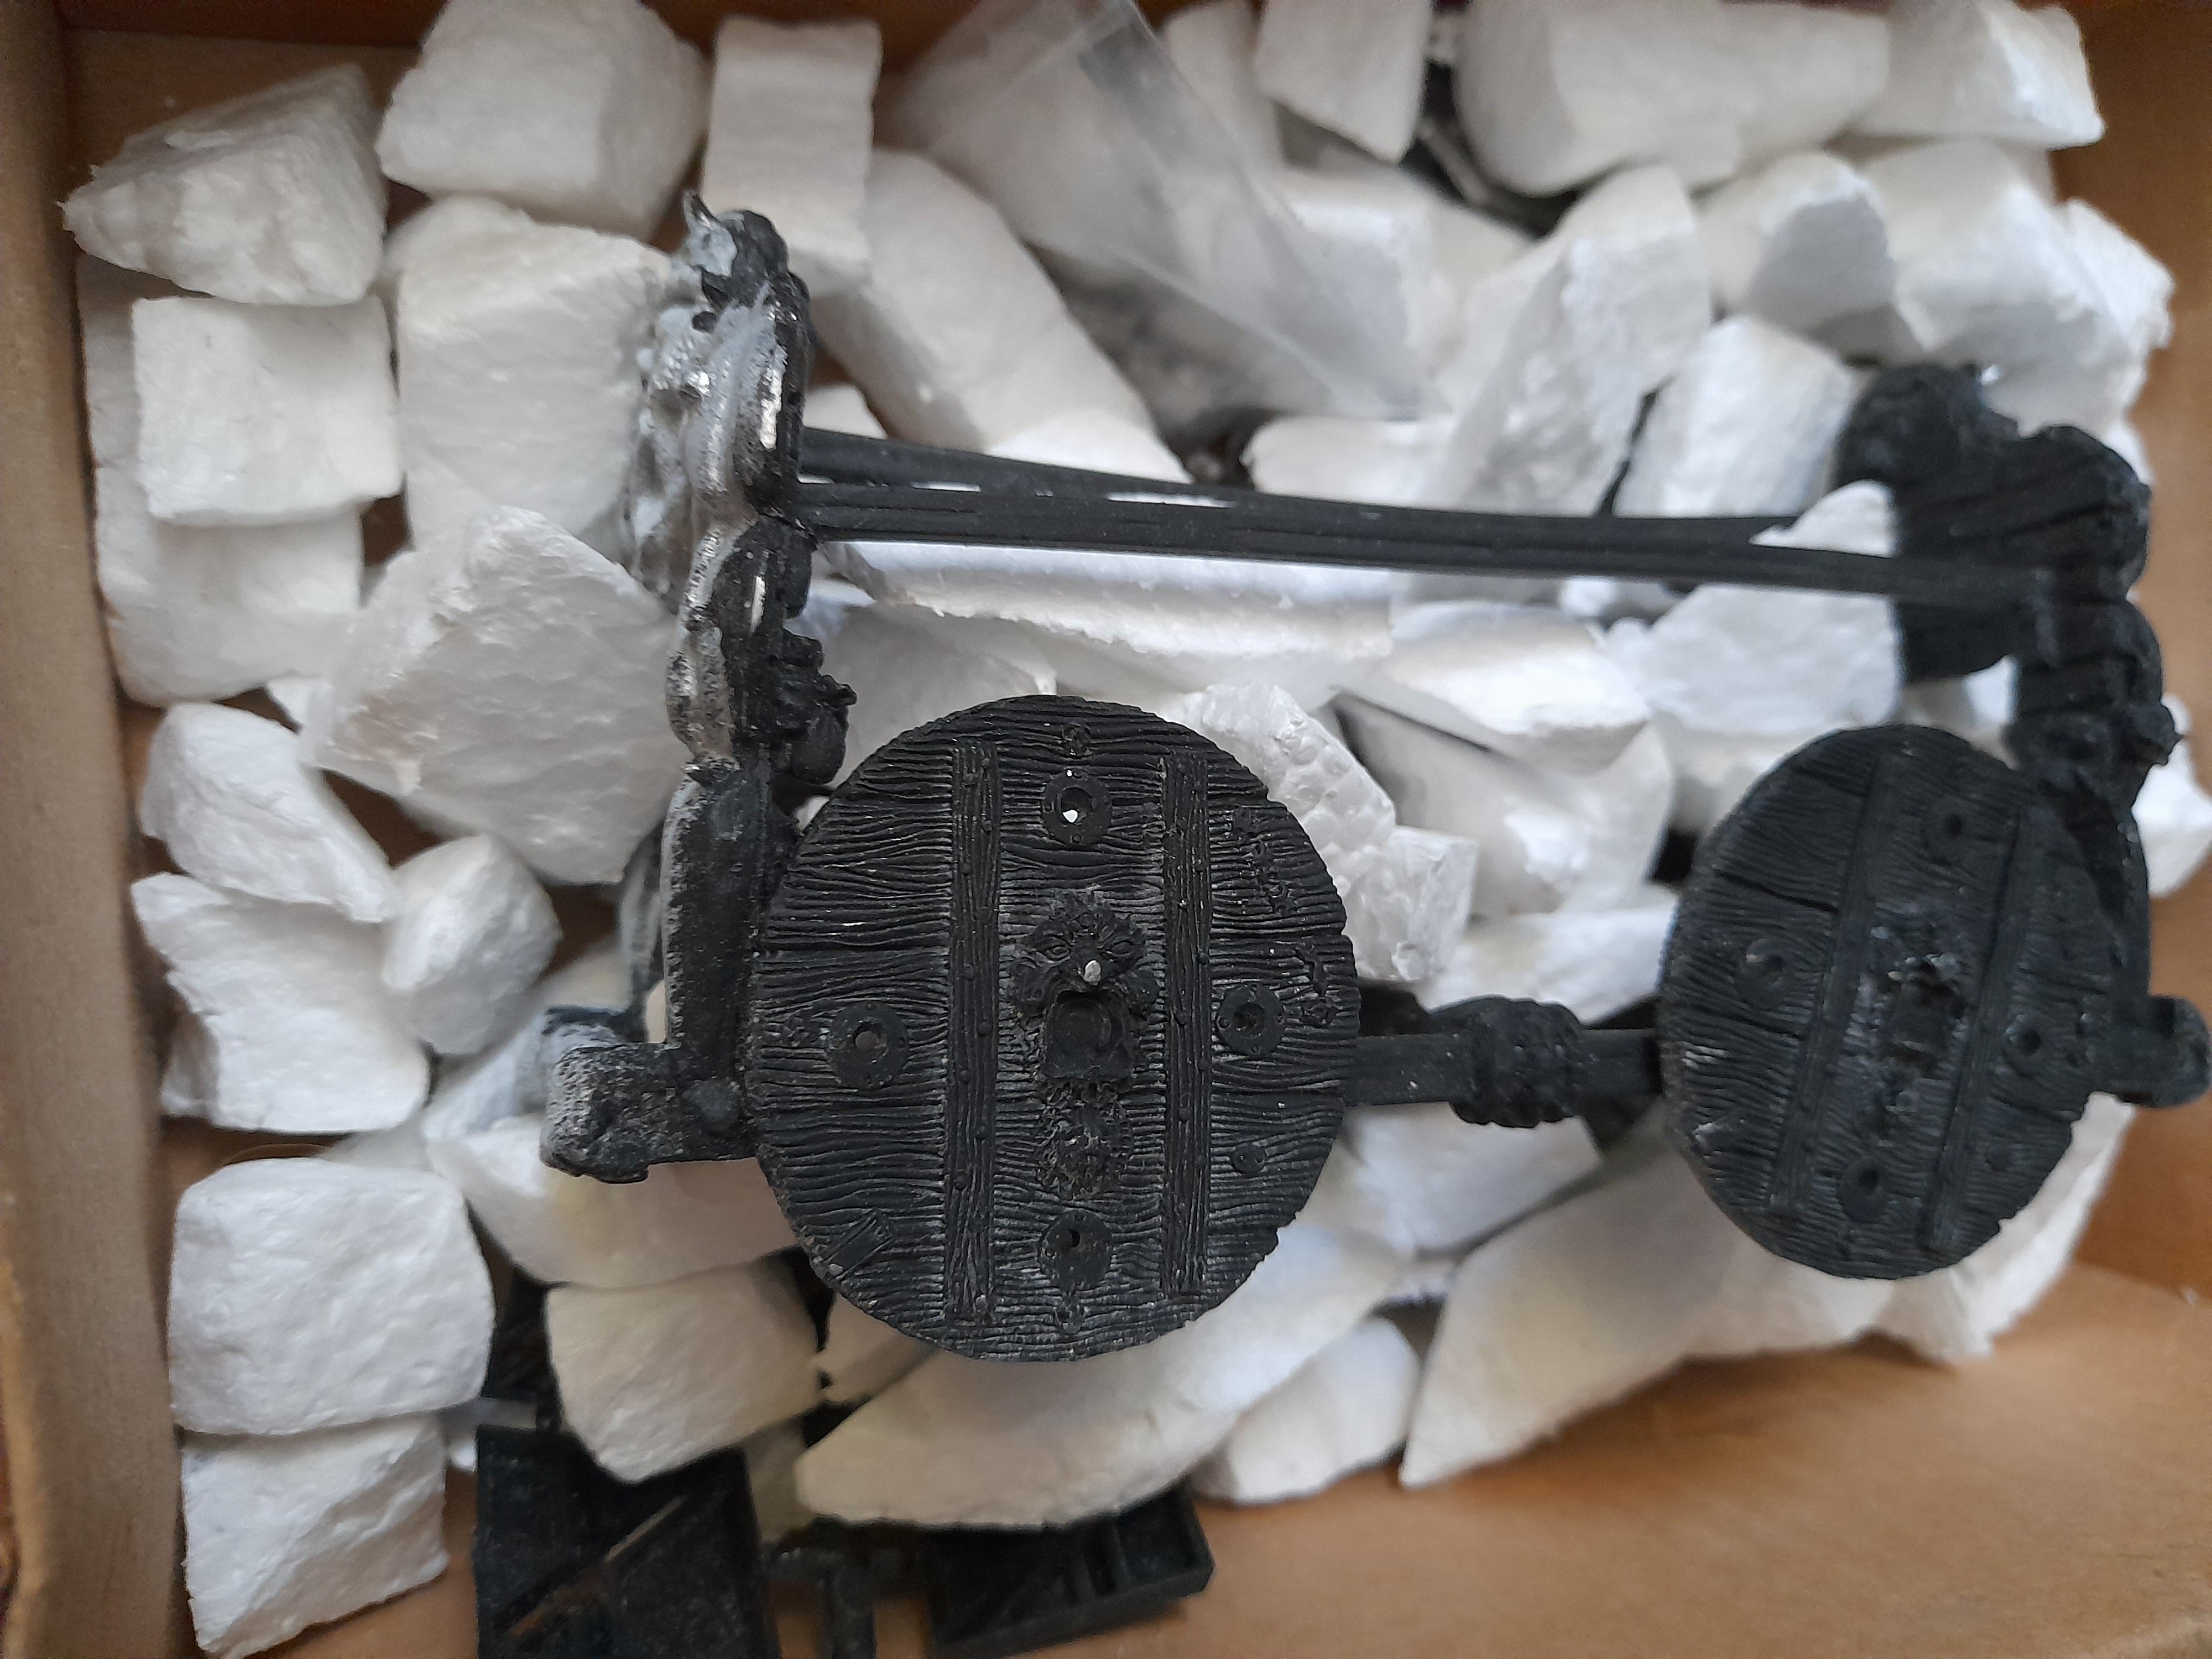
I have had this ‘mini’ for over 30 years now, having purchased it in ‘Truro Micro’ (which was where the GW Truro store is now. I assembled the main frame and sprayed it black, but I think I ran out of spray then put it away again.
This is an expensive model now, but I feel that this year’s spring clean needs me to get through some old school minis from my youth – and this is one of the oldest I have.
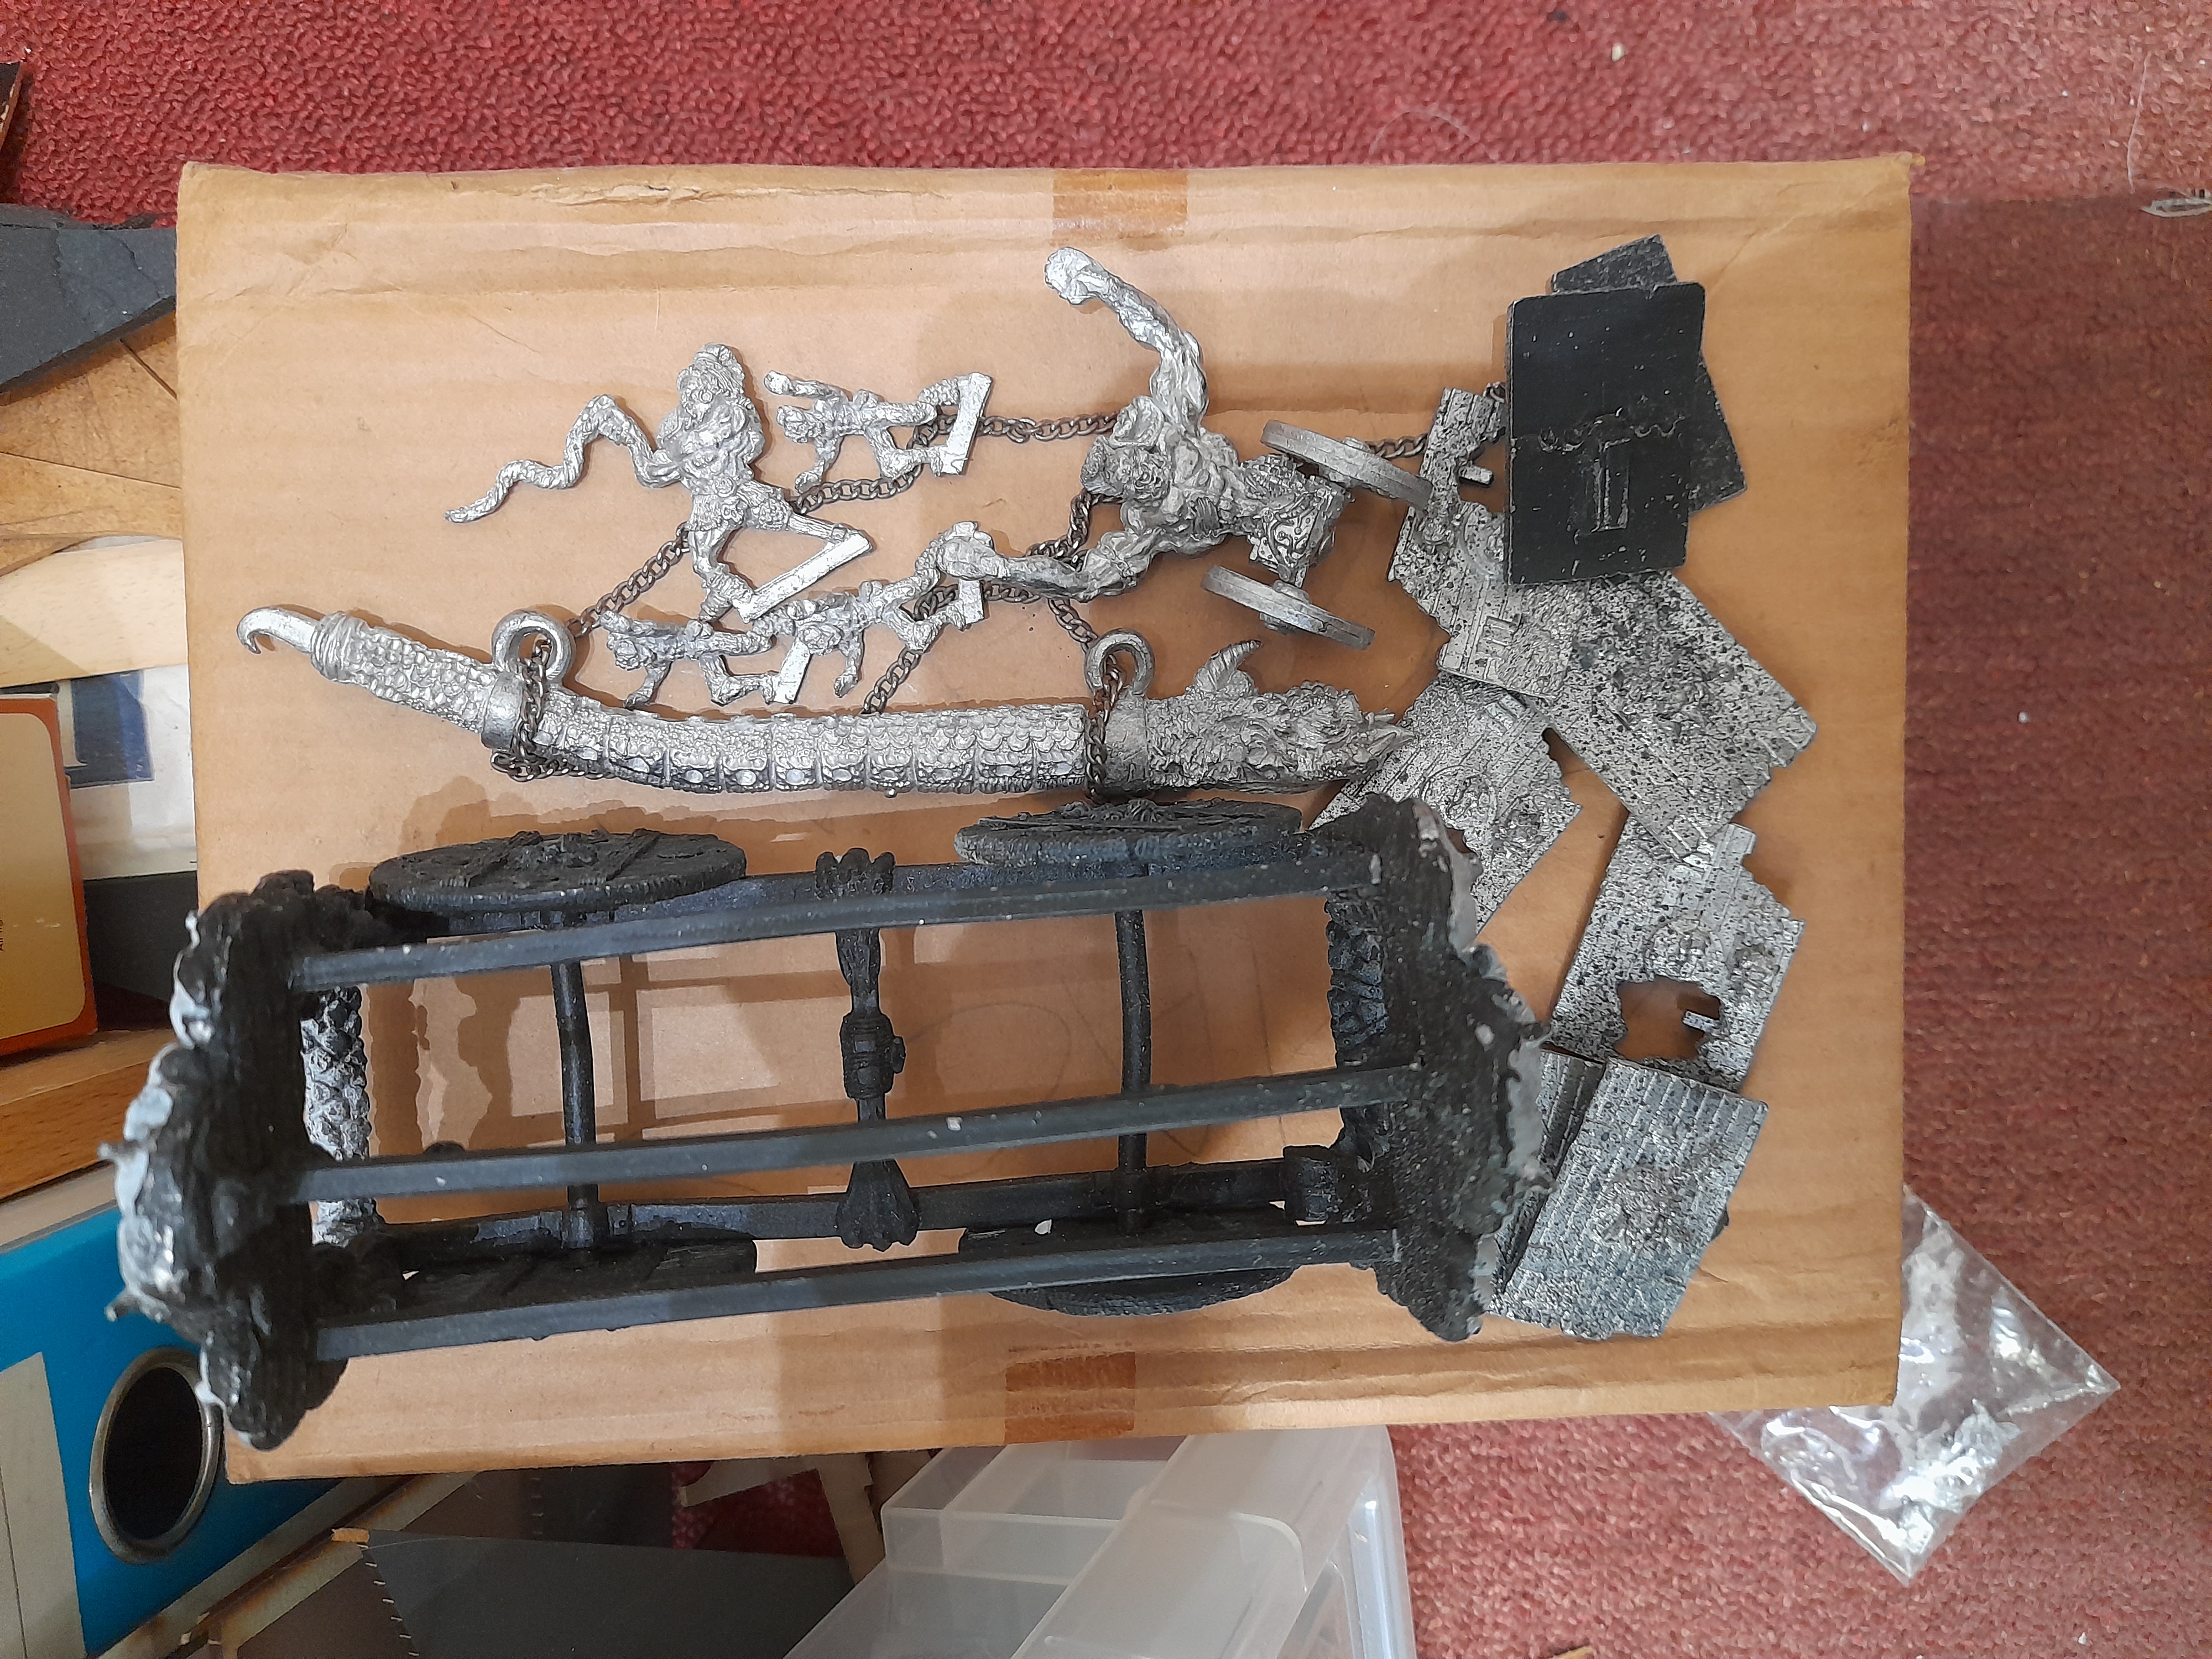
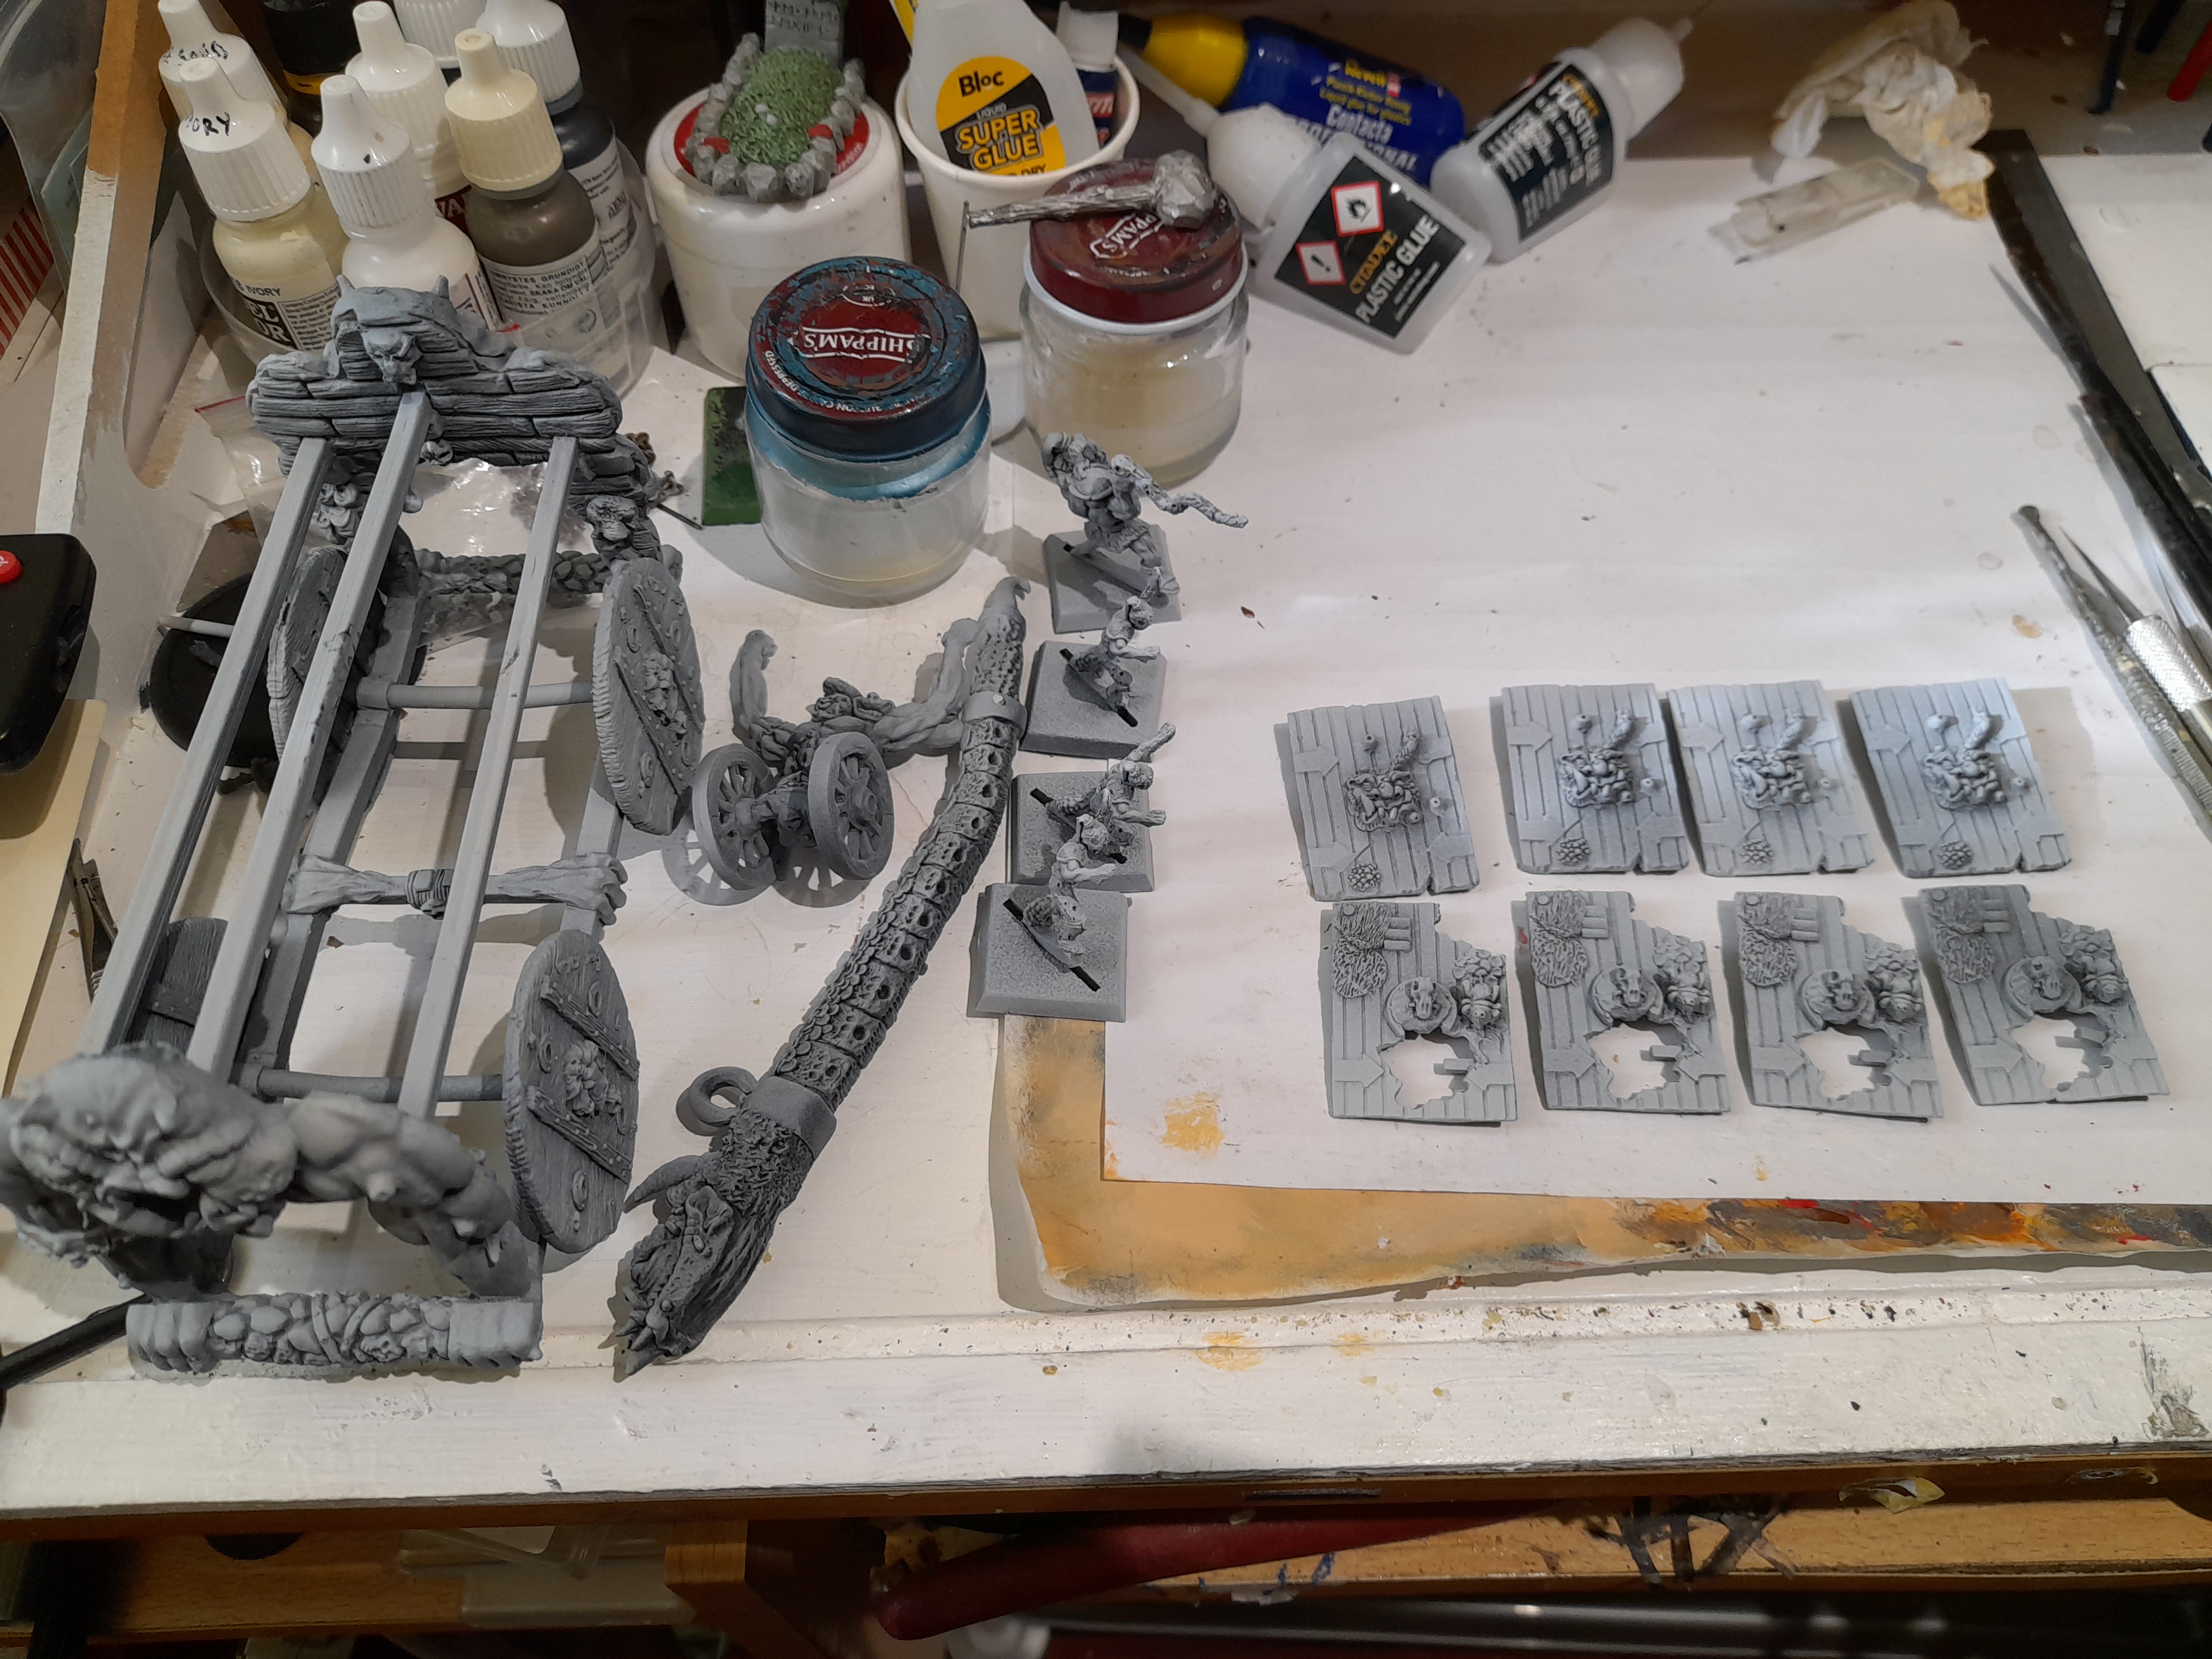
So, out came the black and white sprays for a zentihal prime.
The paint is down, I’m committed to it now……
Battering Ram update
21st April 2025
Again I have not had much time for hobby this week, but just wanted to share an update of the progress.
I mixed up a batch of paint for the wood, using contrast grey and contrast brown, as I wanted the wood to look weathered.
This was applied to all of the wood on the ram frame, and on to the roof panels.
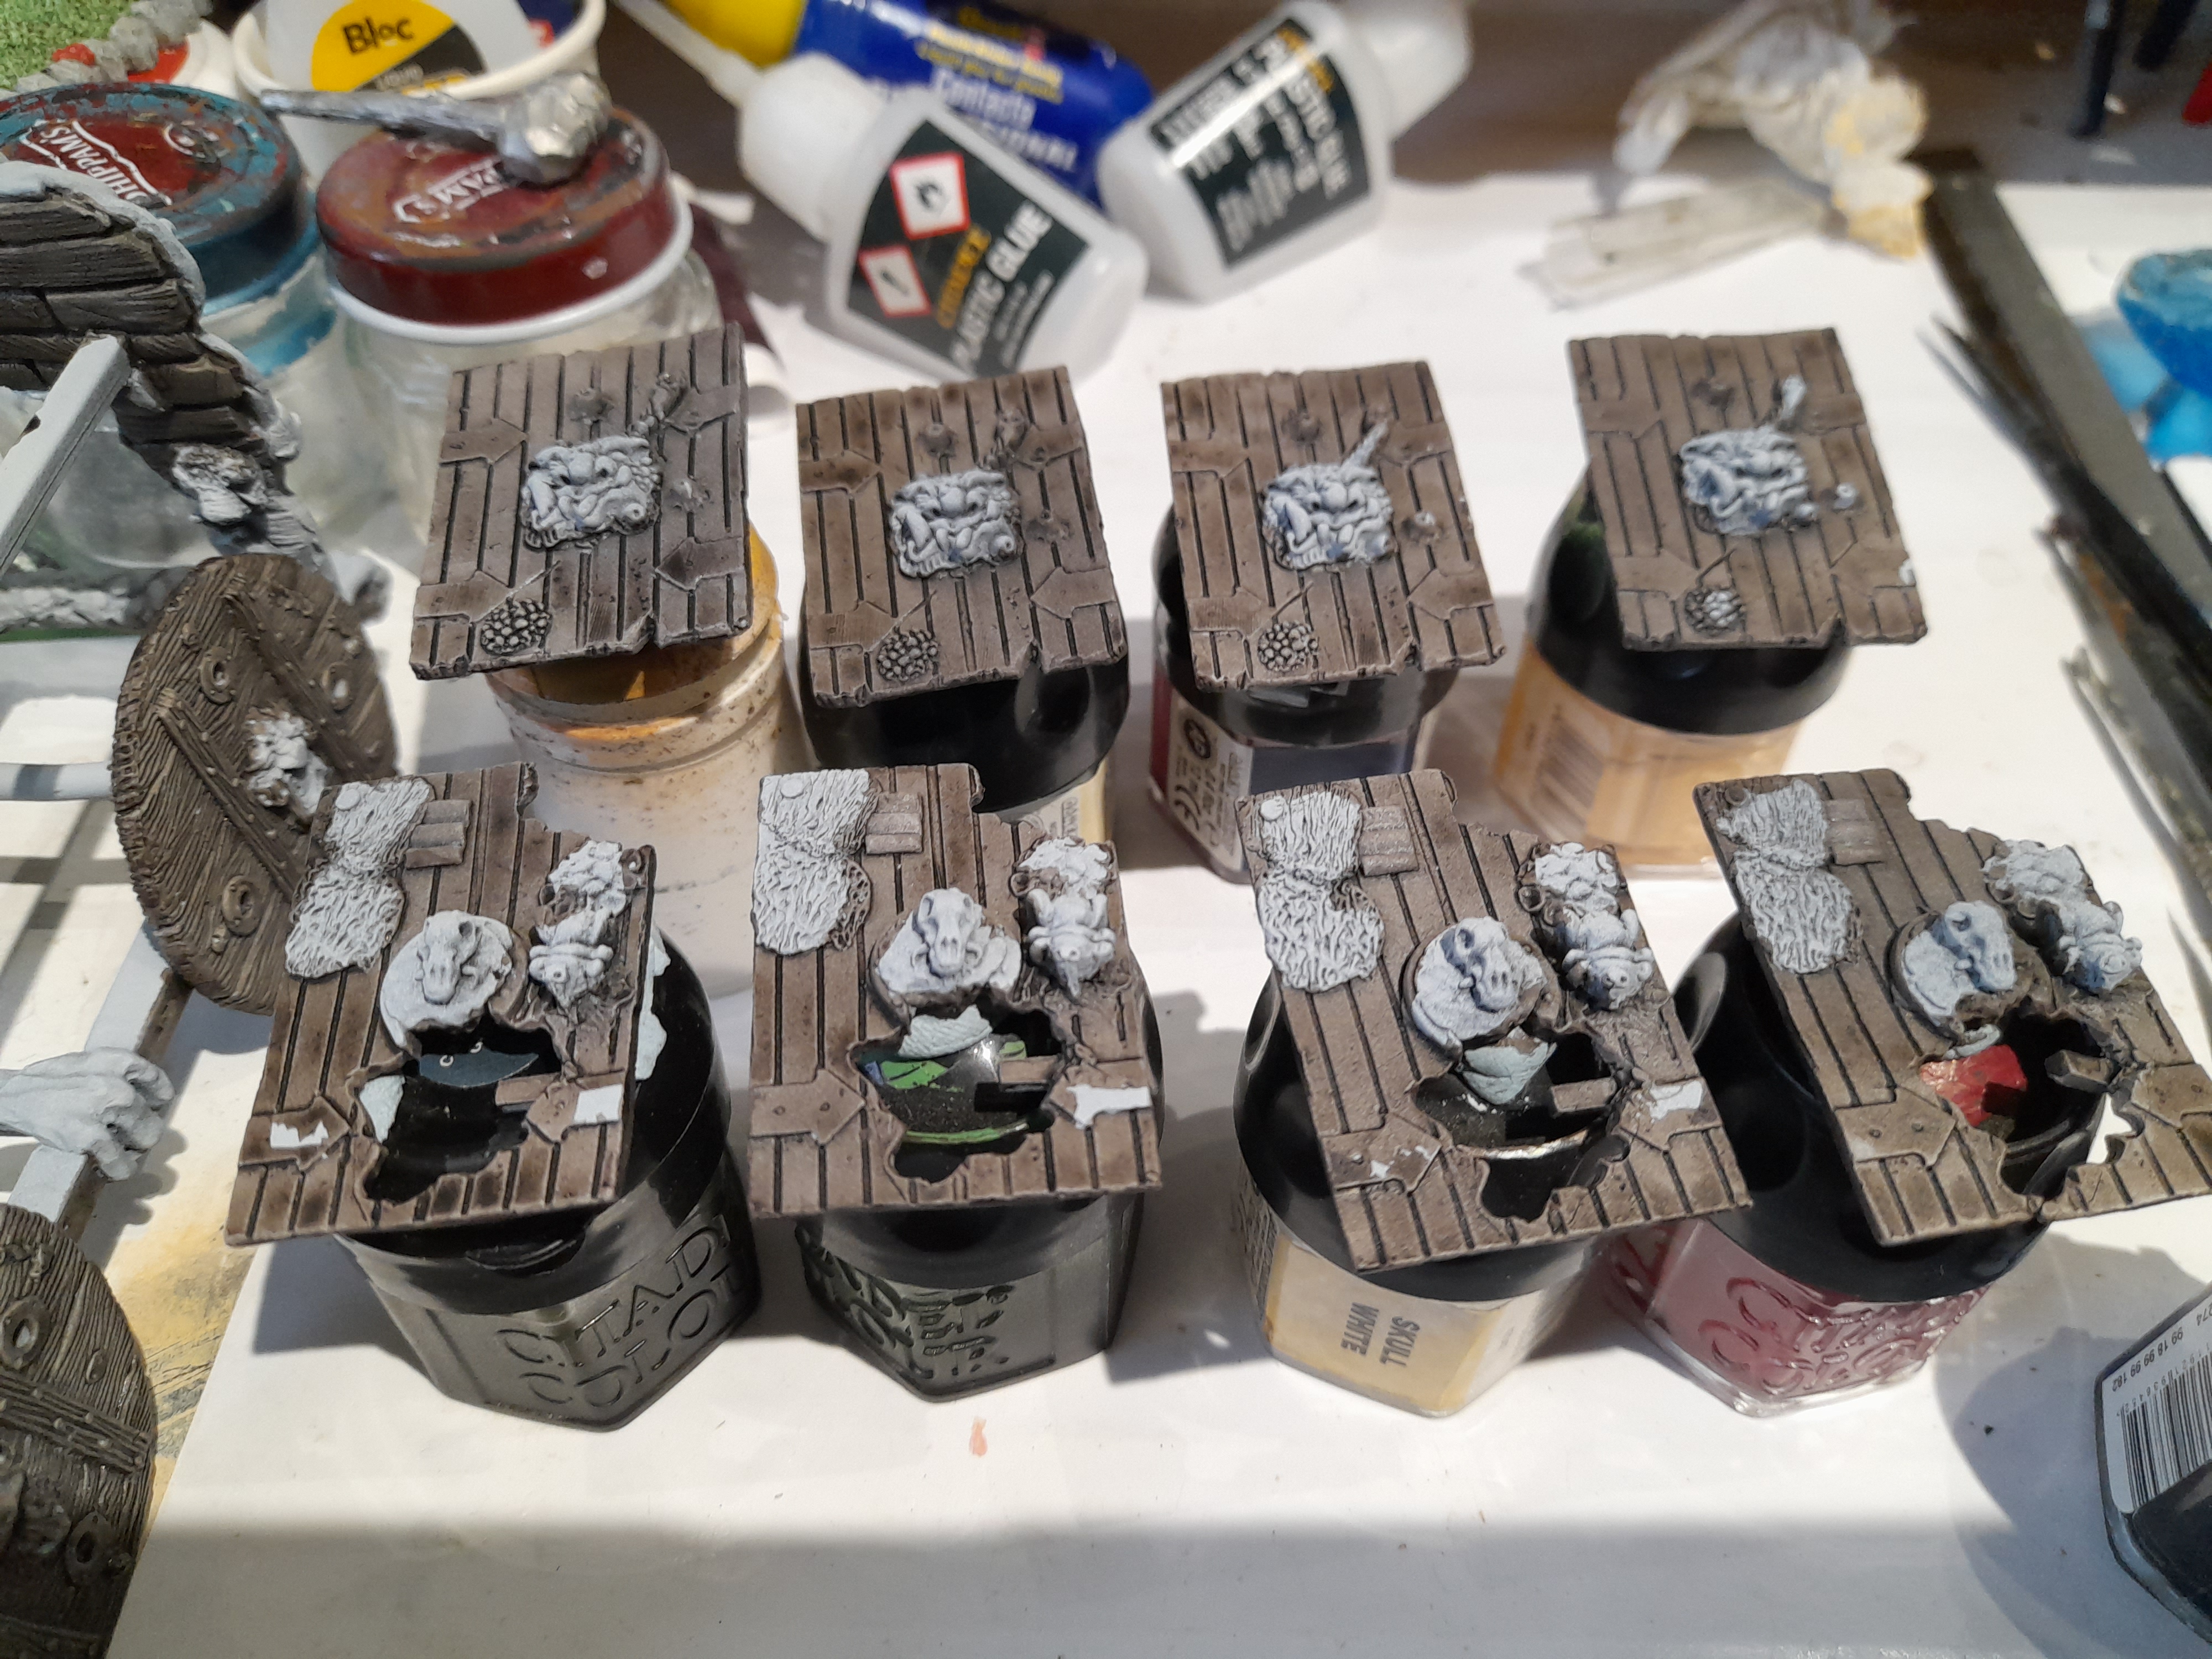
The roof panels lacked wood texture, and to try to enhance the look I coloured several of the planks in different shades. I used grey, light beige and a warm brown on various planks. This was then followed with thin brown lines on some of them to imply wood grain
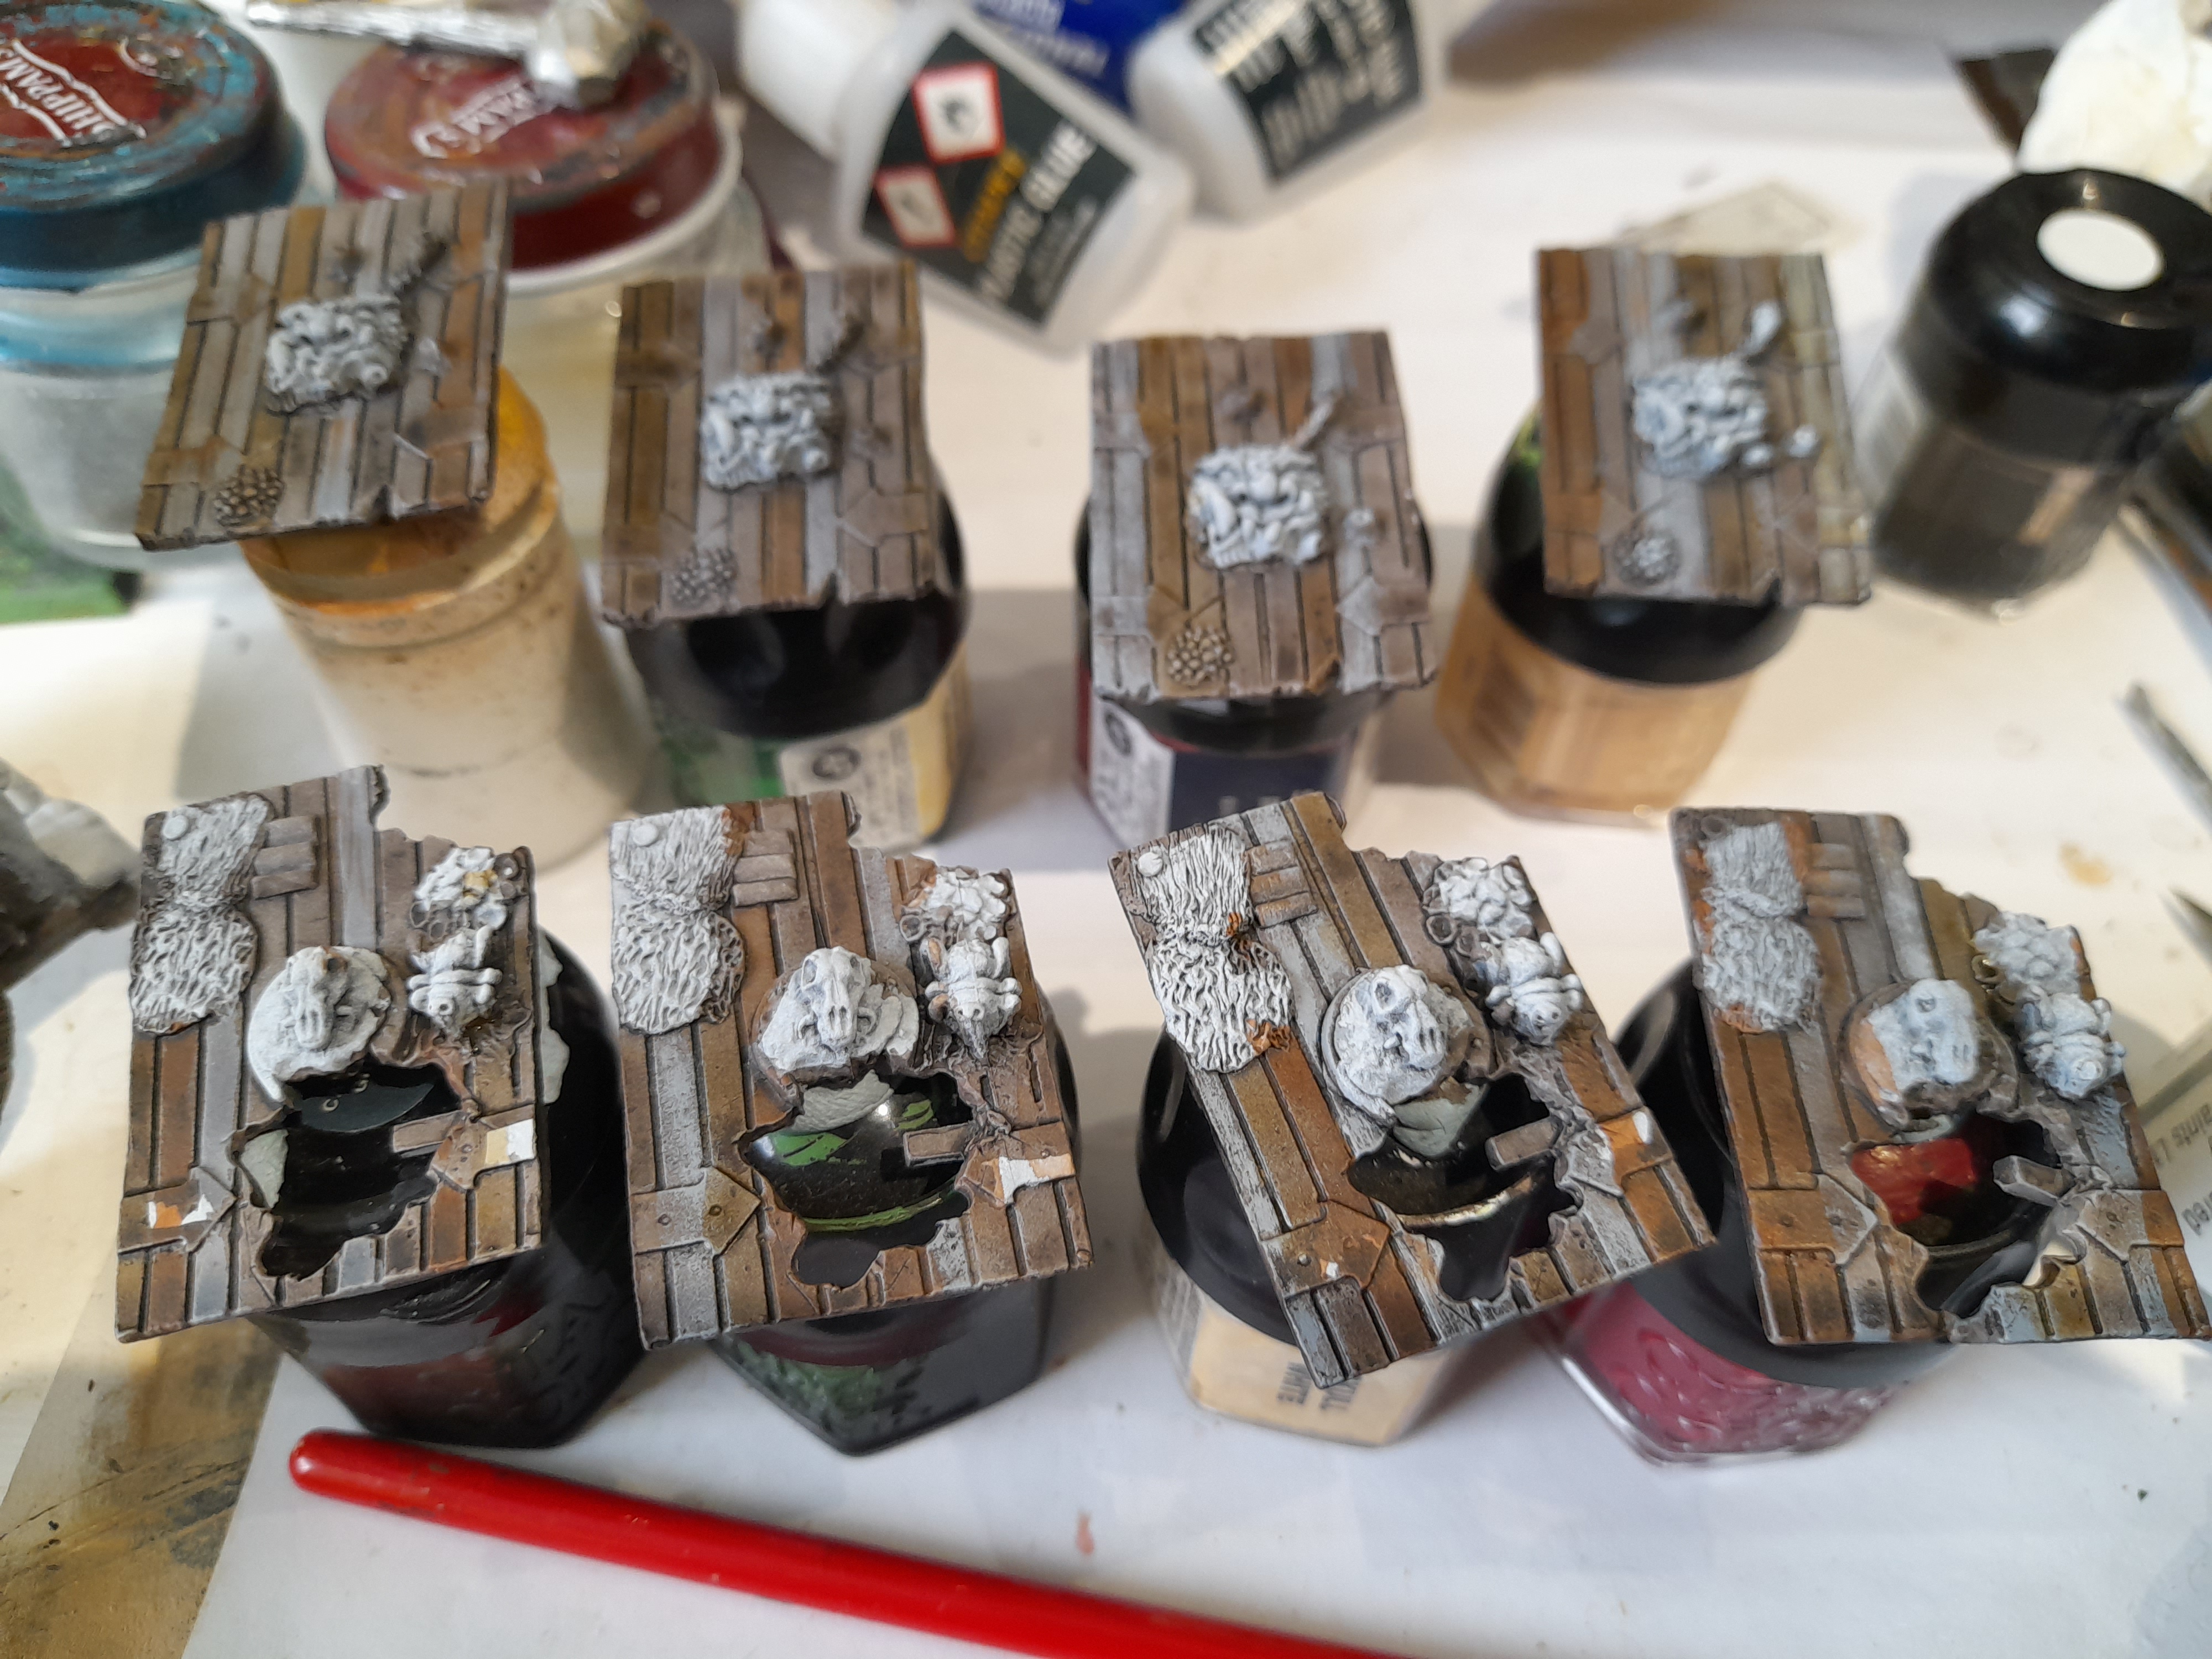
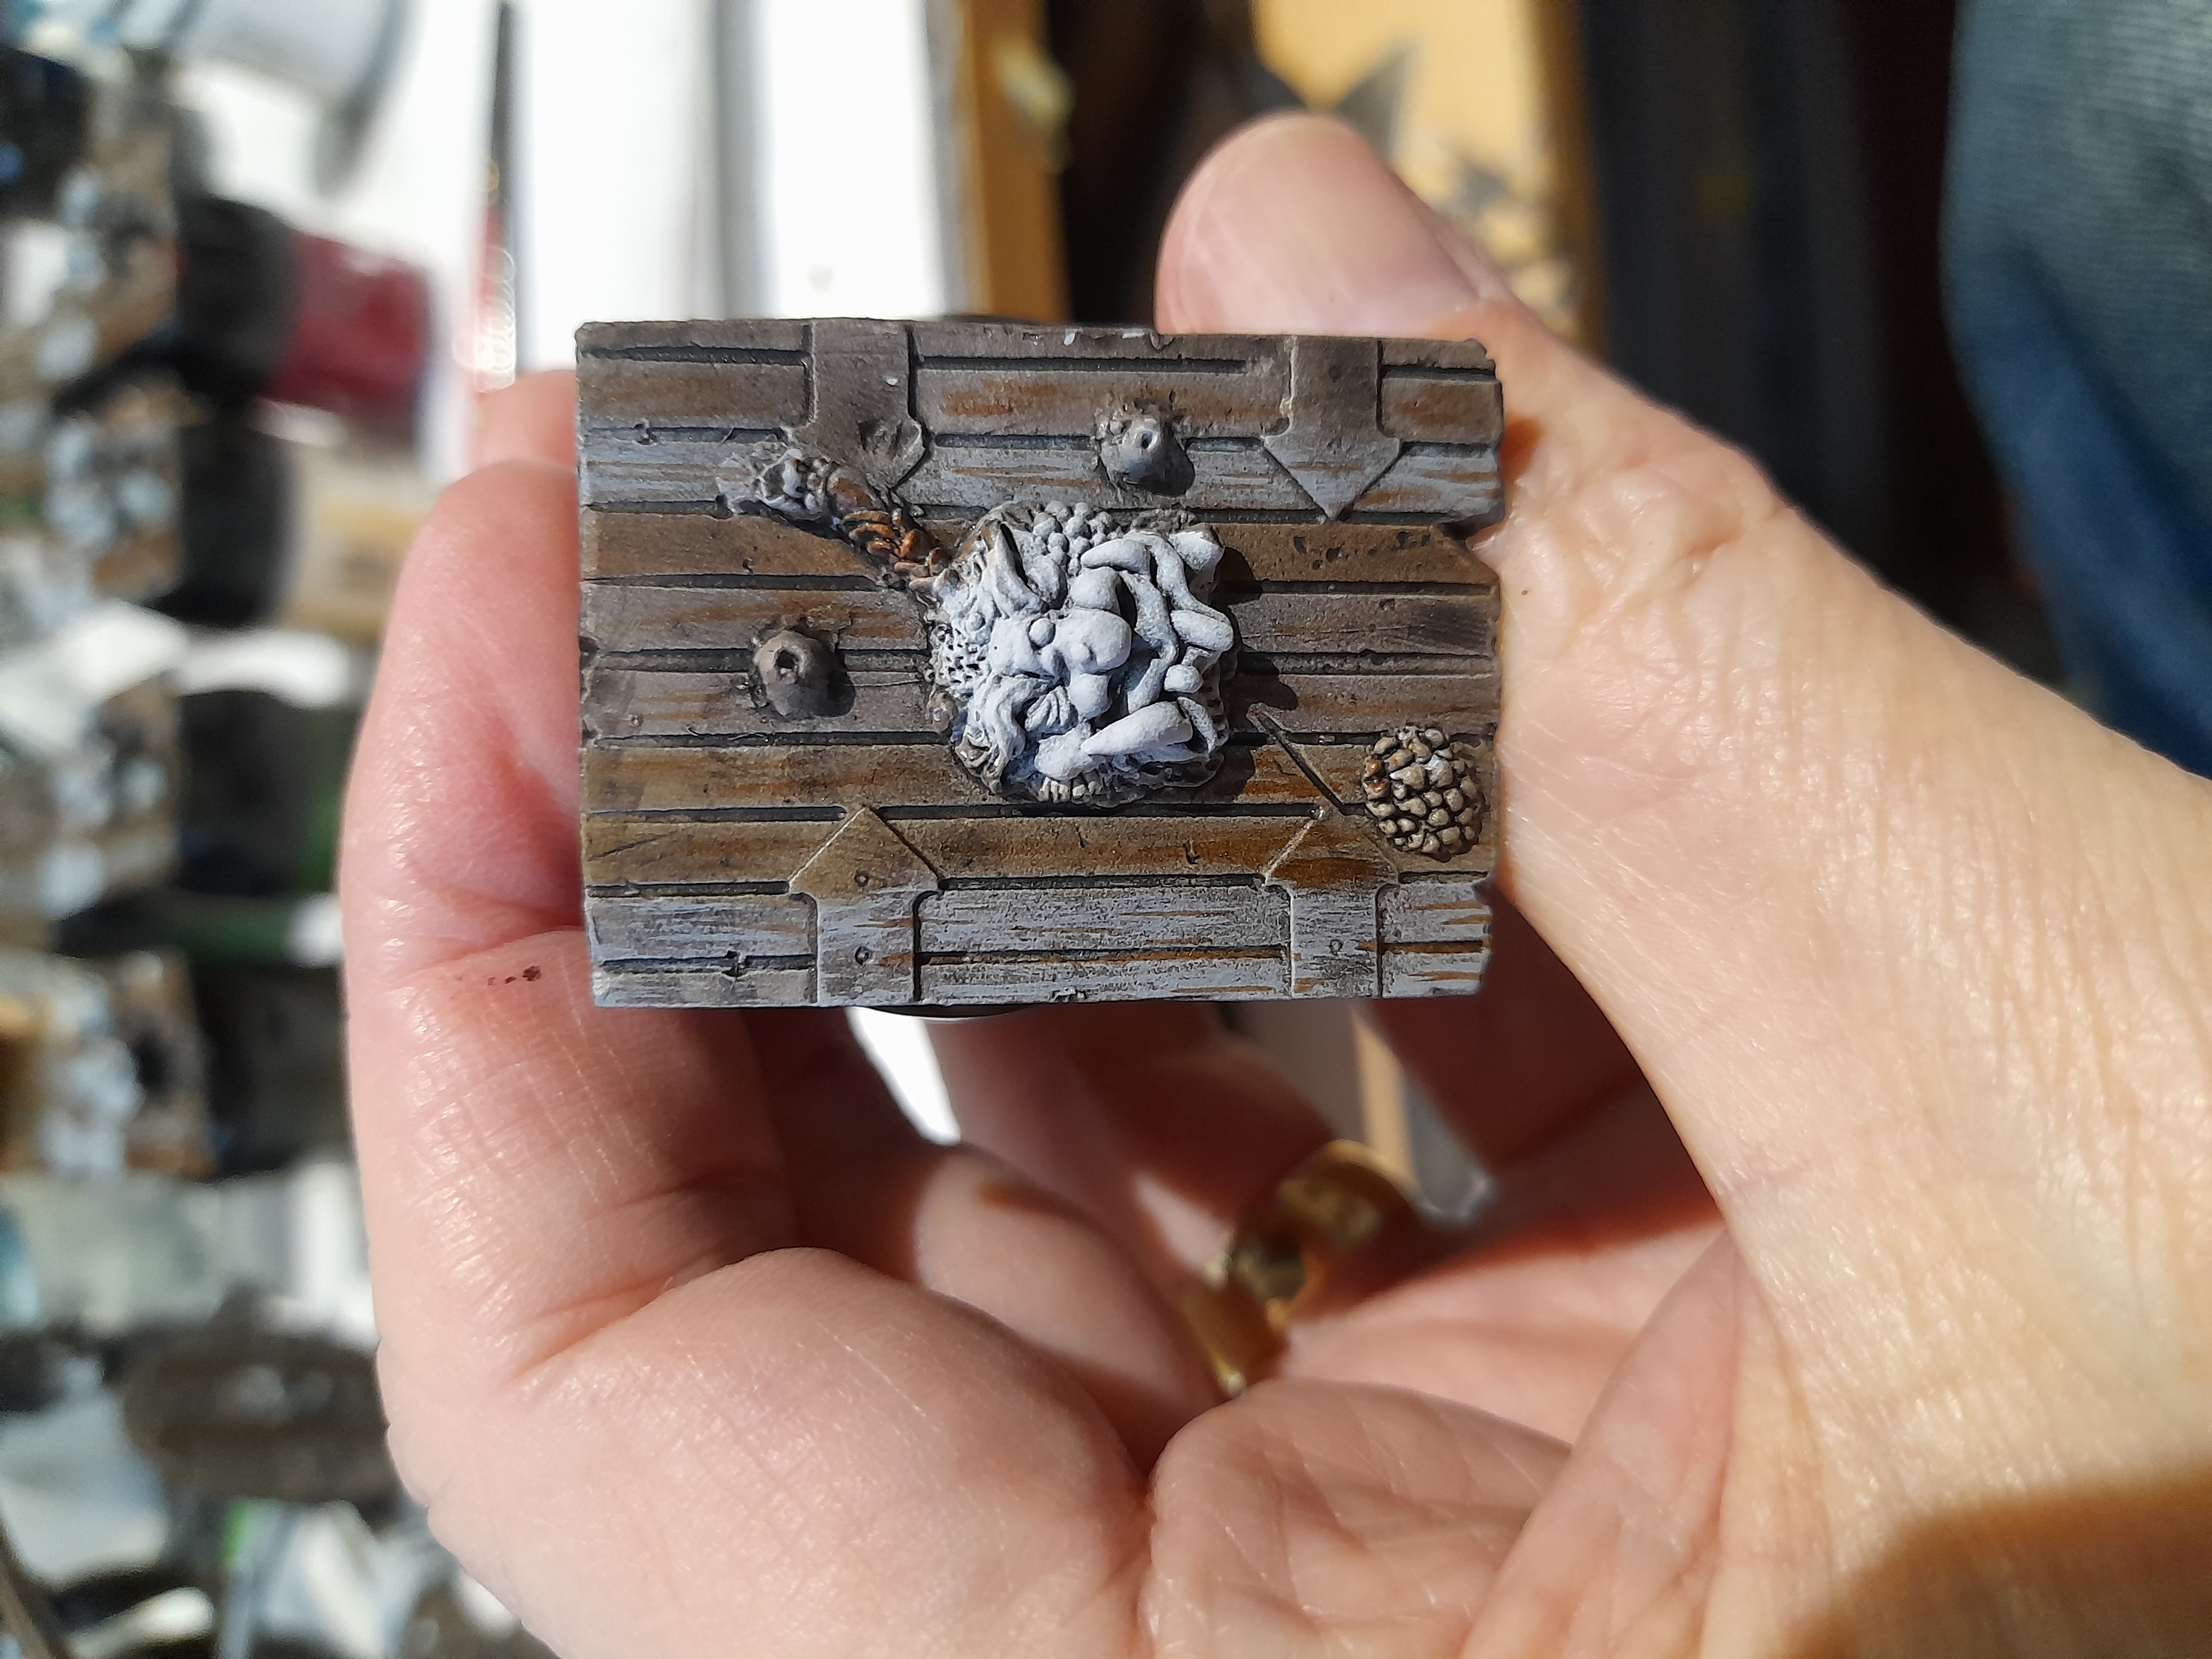
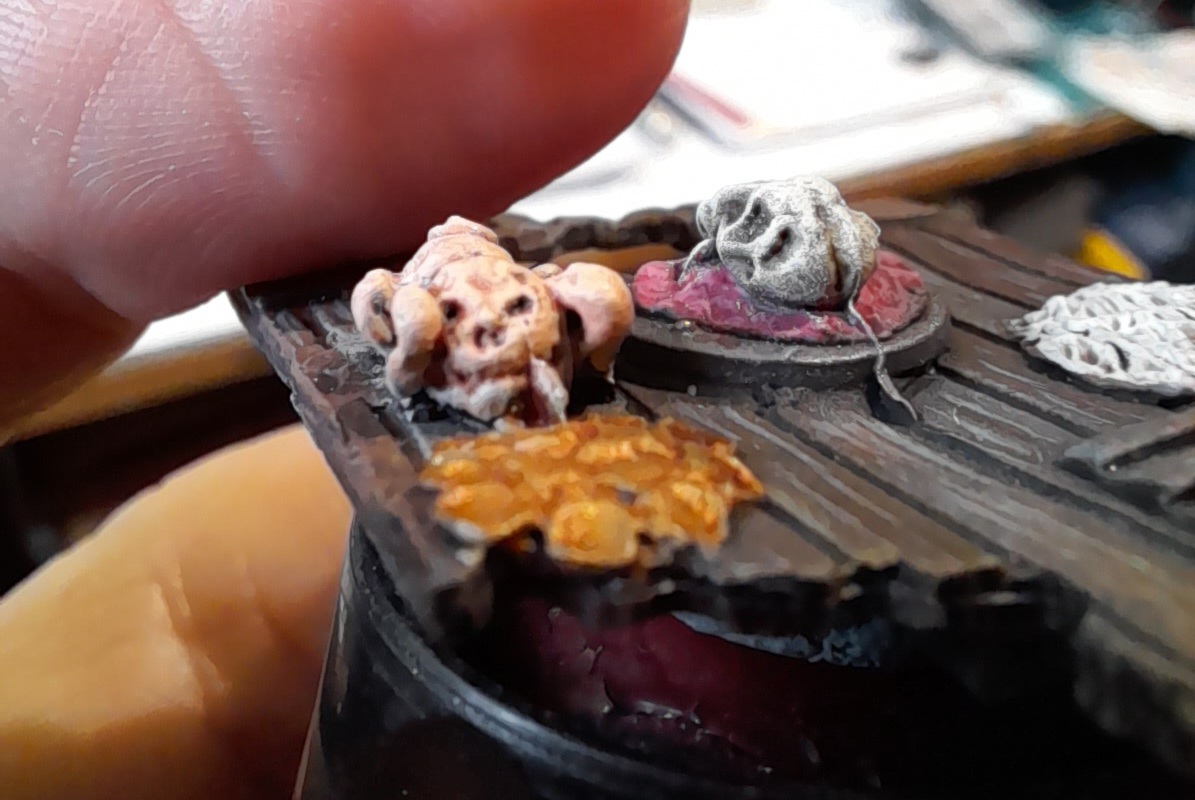
I have eight roof panels, in two designs. One set of four has monstrous faces on them, so I decided that I would theme each panel to one of the four main chaos gods.
After an agrax wash over the wood to tie it together I started to paint the faces. These had several highlight stages to make them pop a touch more. Then I added grime to the Nurgle one, and fluids (themed to the pantheon) coming out of the fleshy barnacle things. The Tzeentch one had some ‘magic’ fluids added using colour shift paint, with a scattering sponged on to the wood itself as well. Not sure if that works yet tbh though.

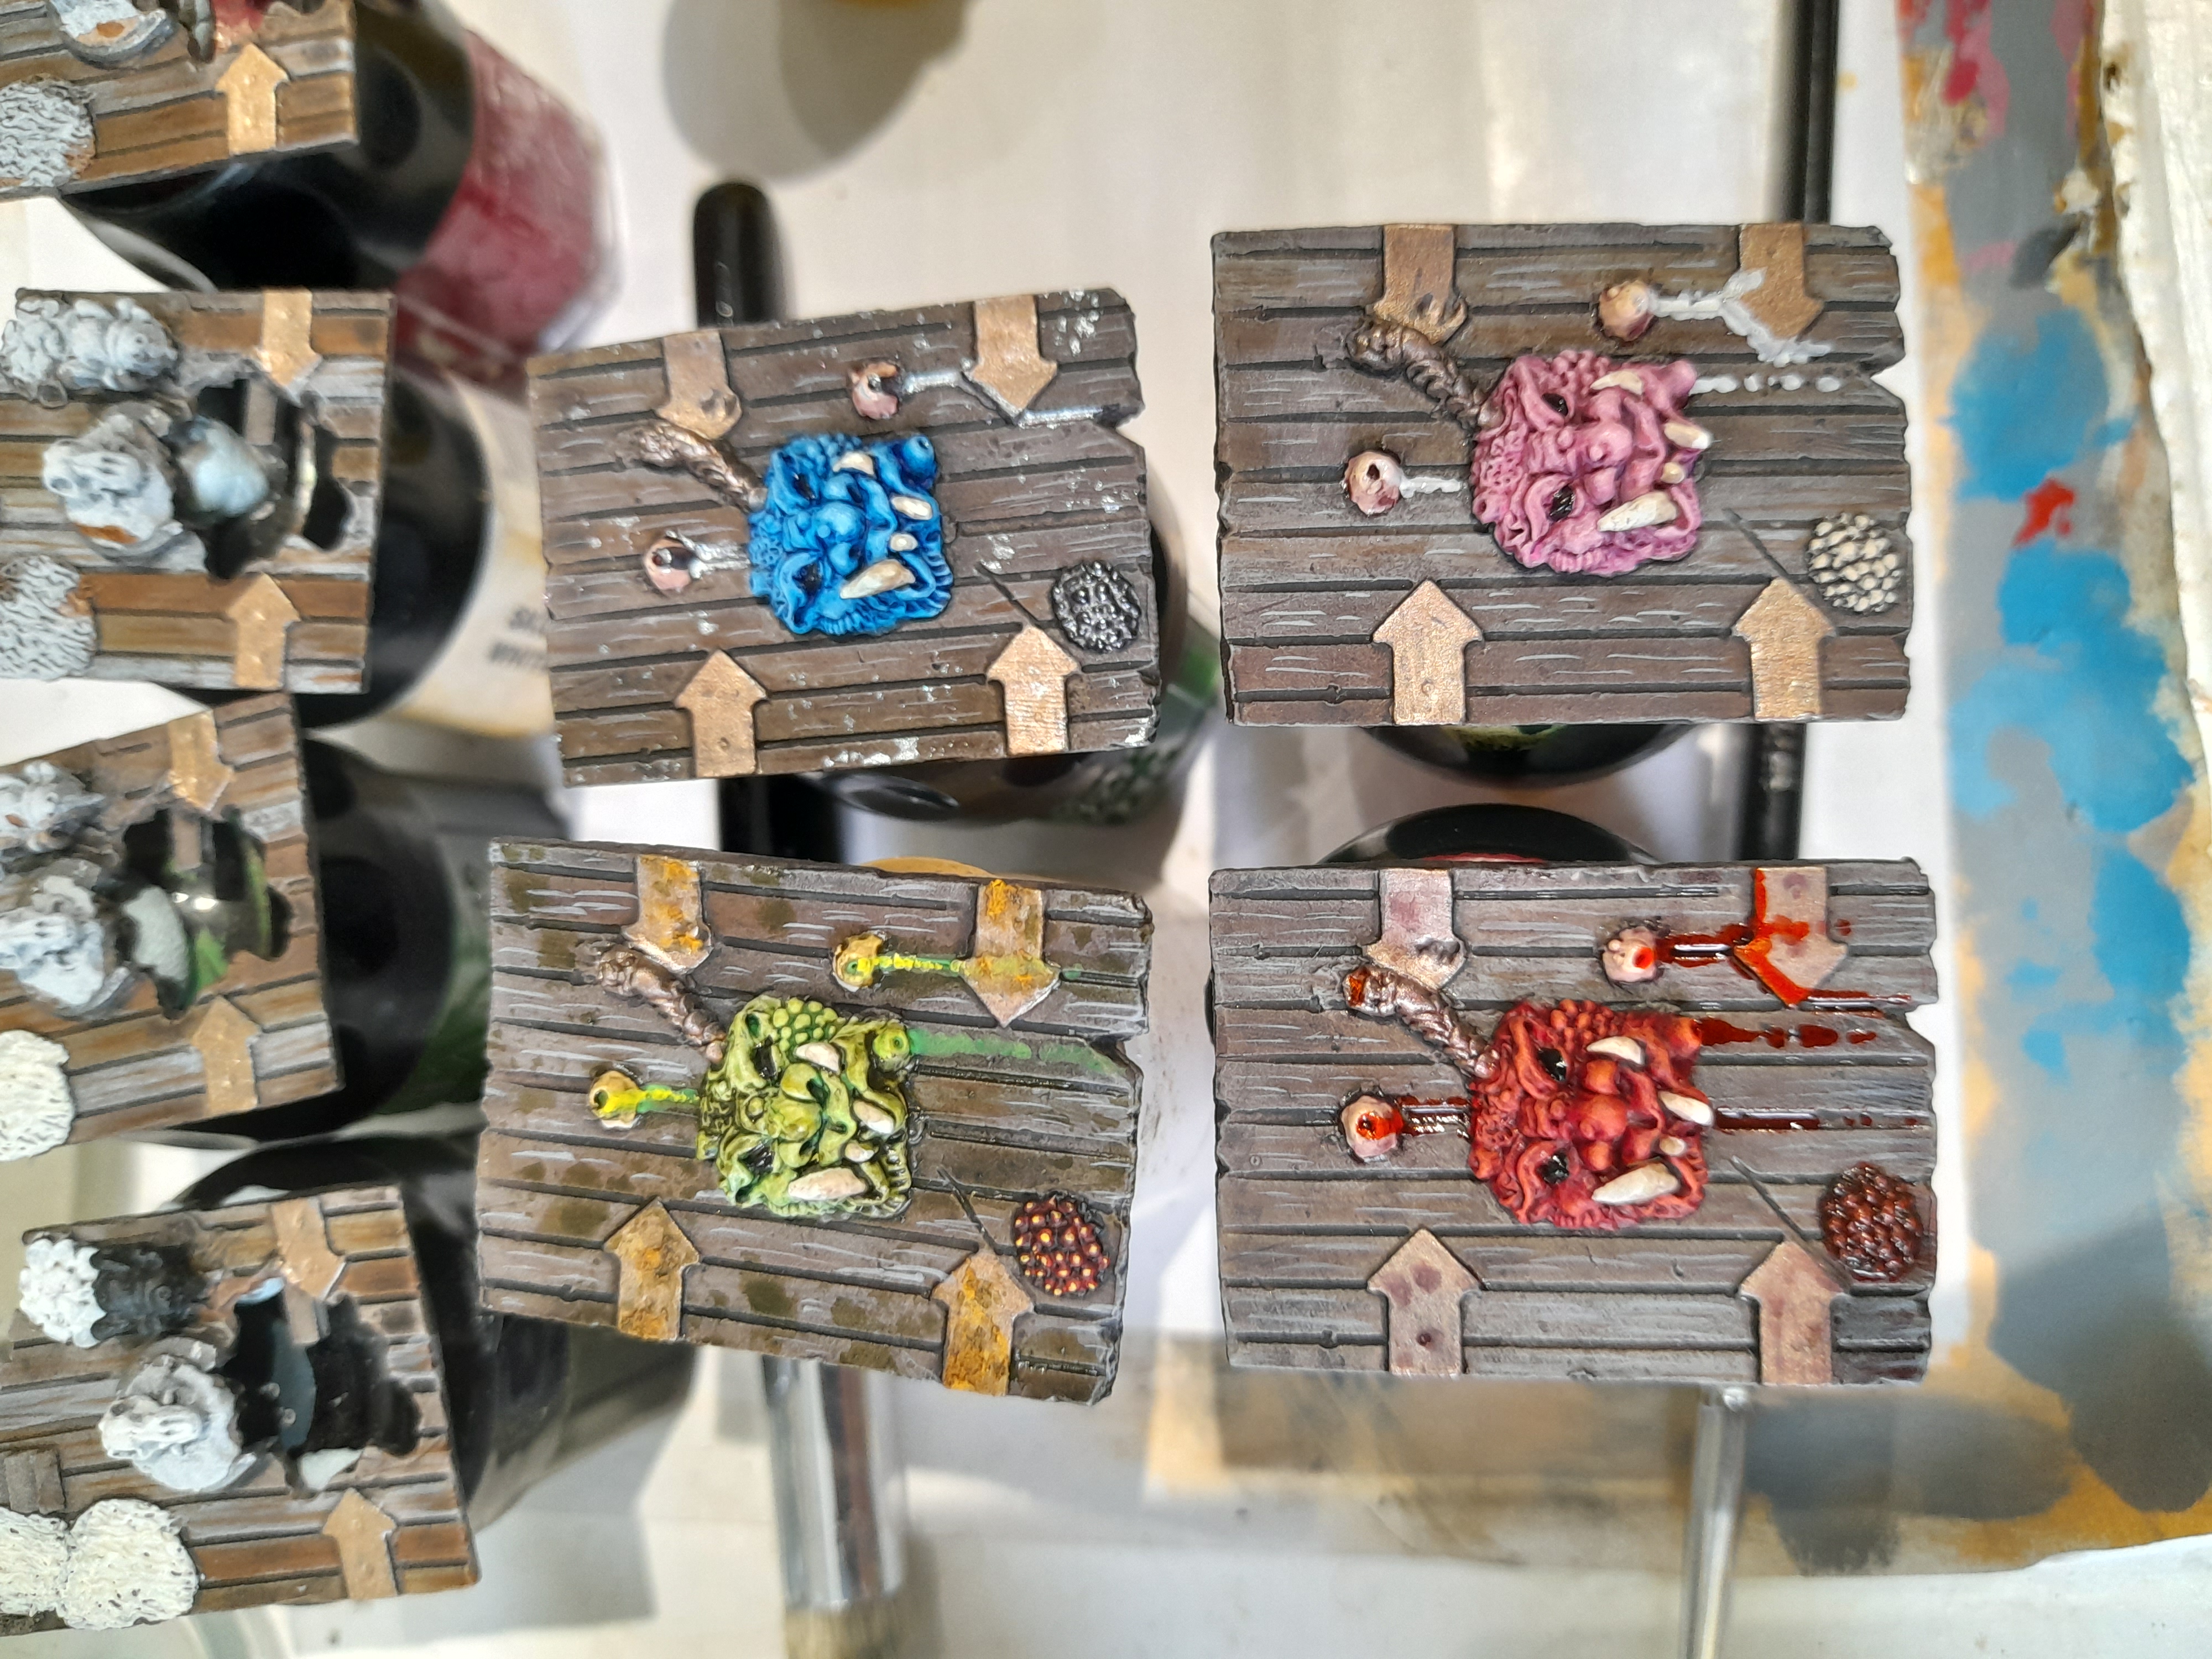
Colour change paints on the Tzeentch panel…
Secondary Roof Plates
22nd April 2025
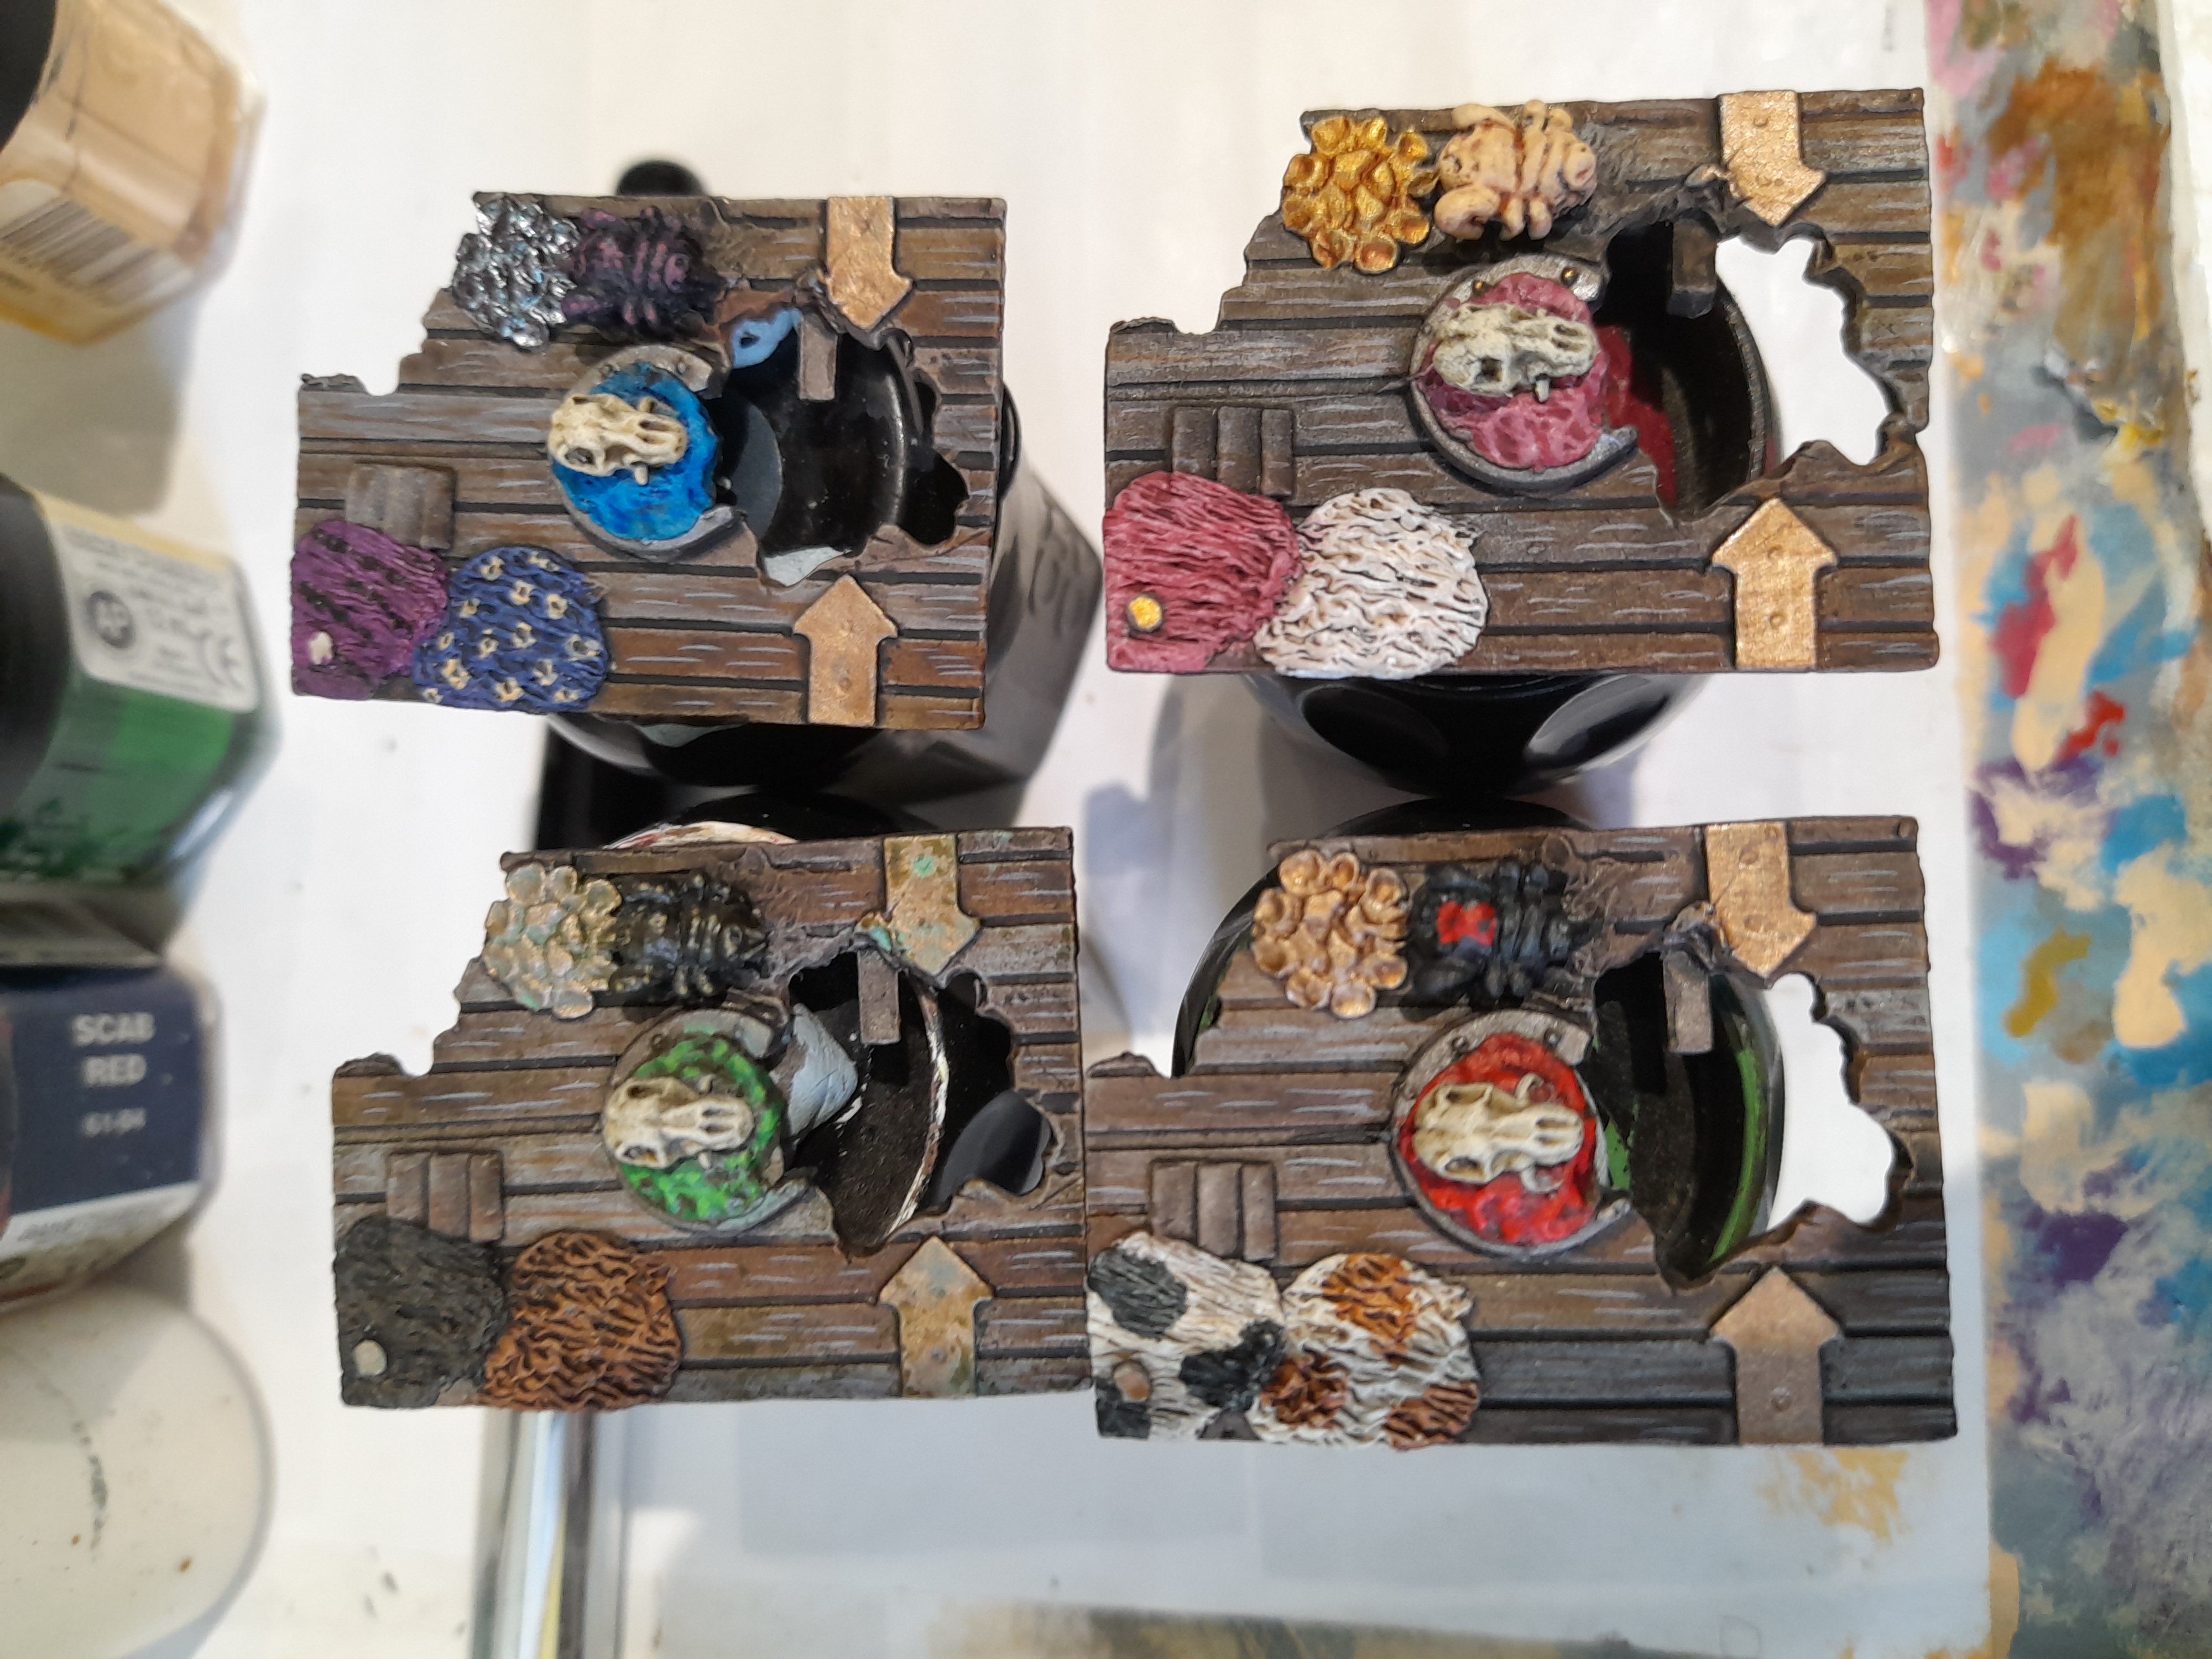
The wood element of these was laid down in the same way as for the first four roof plates. (And was started at the same time).
Since this was another matching set of four, I chose to again theme them to the four Chaos Honchos.
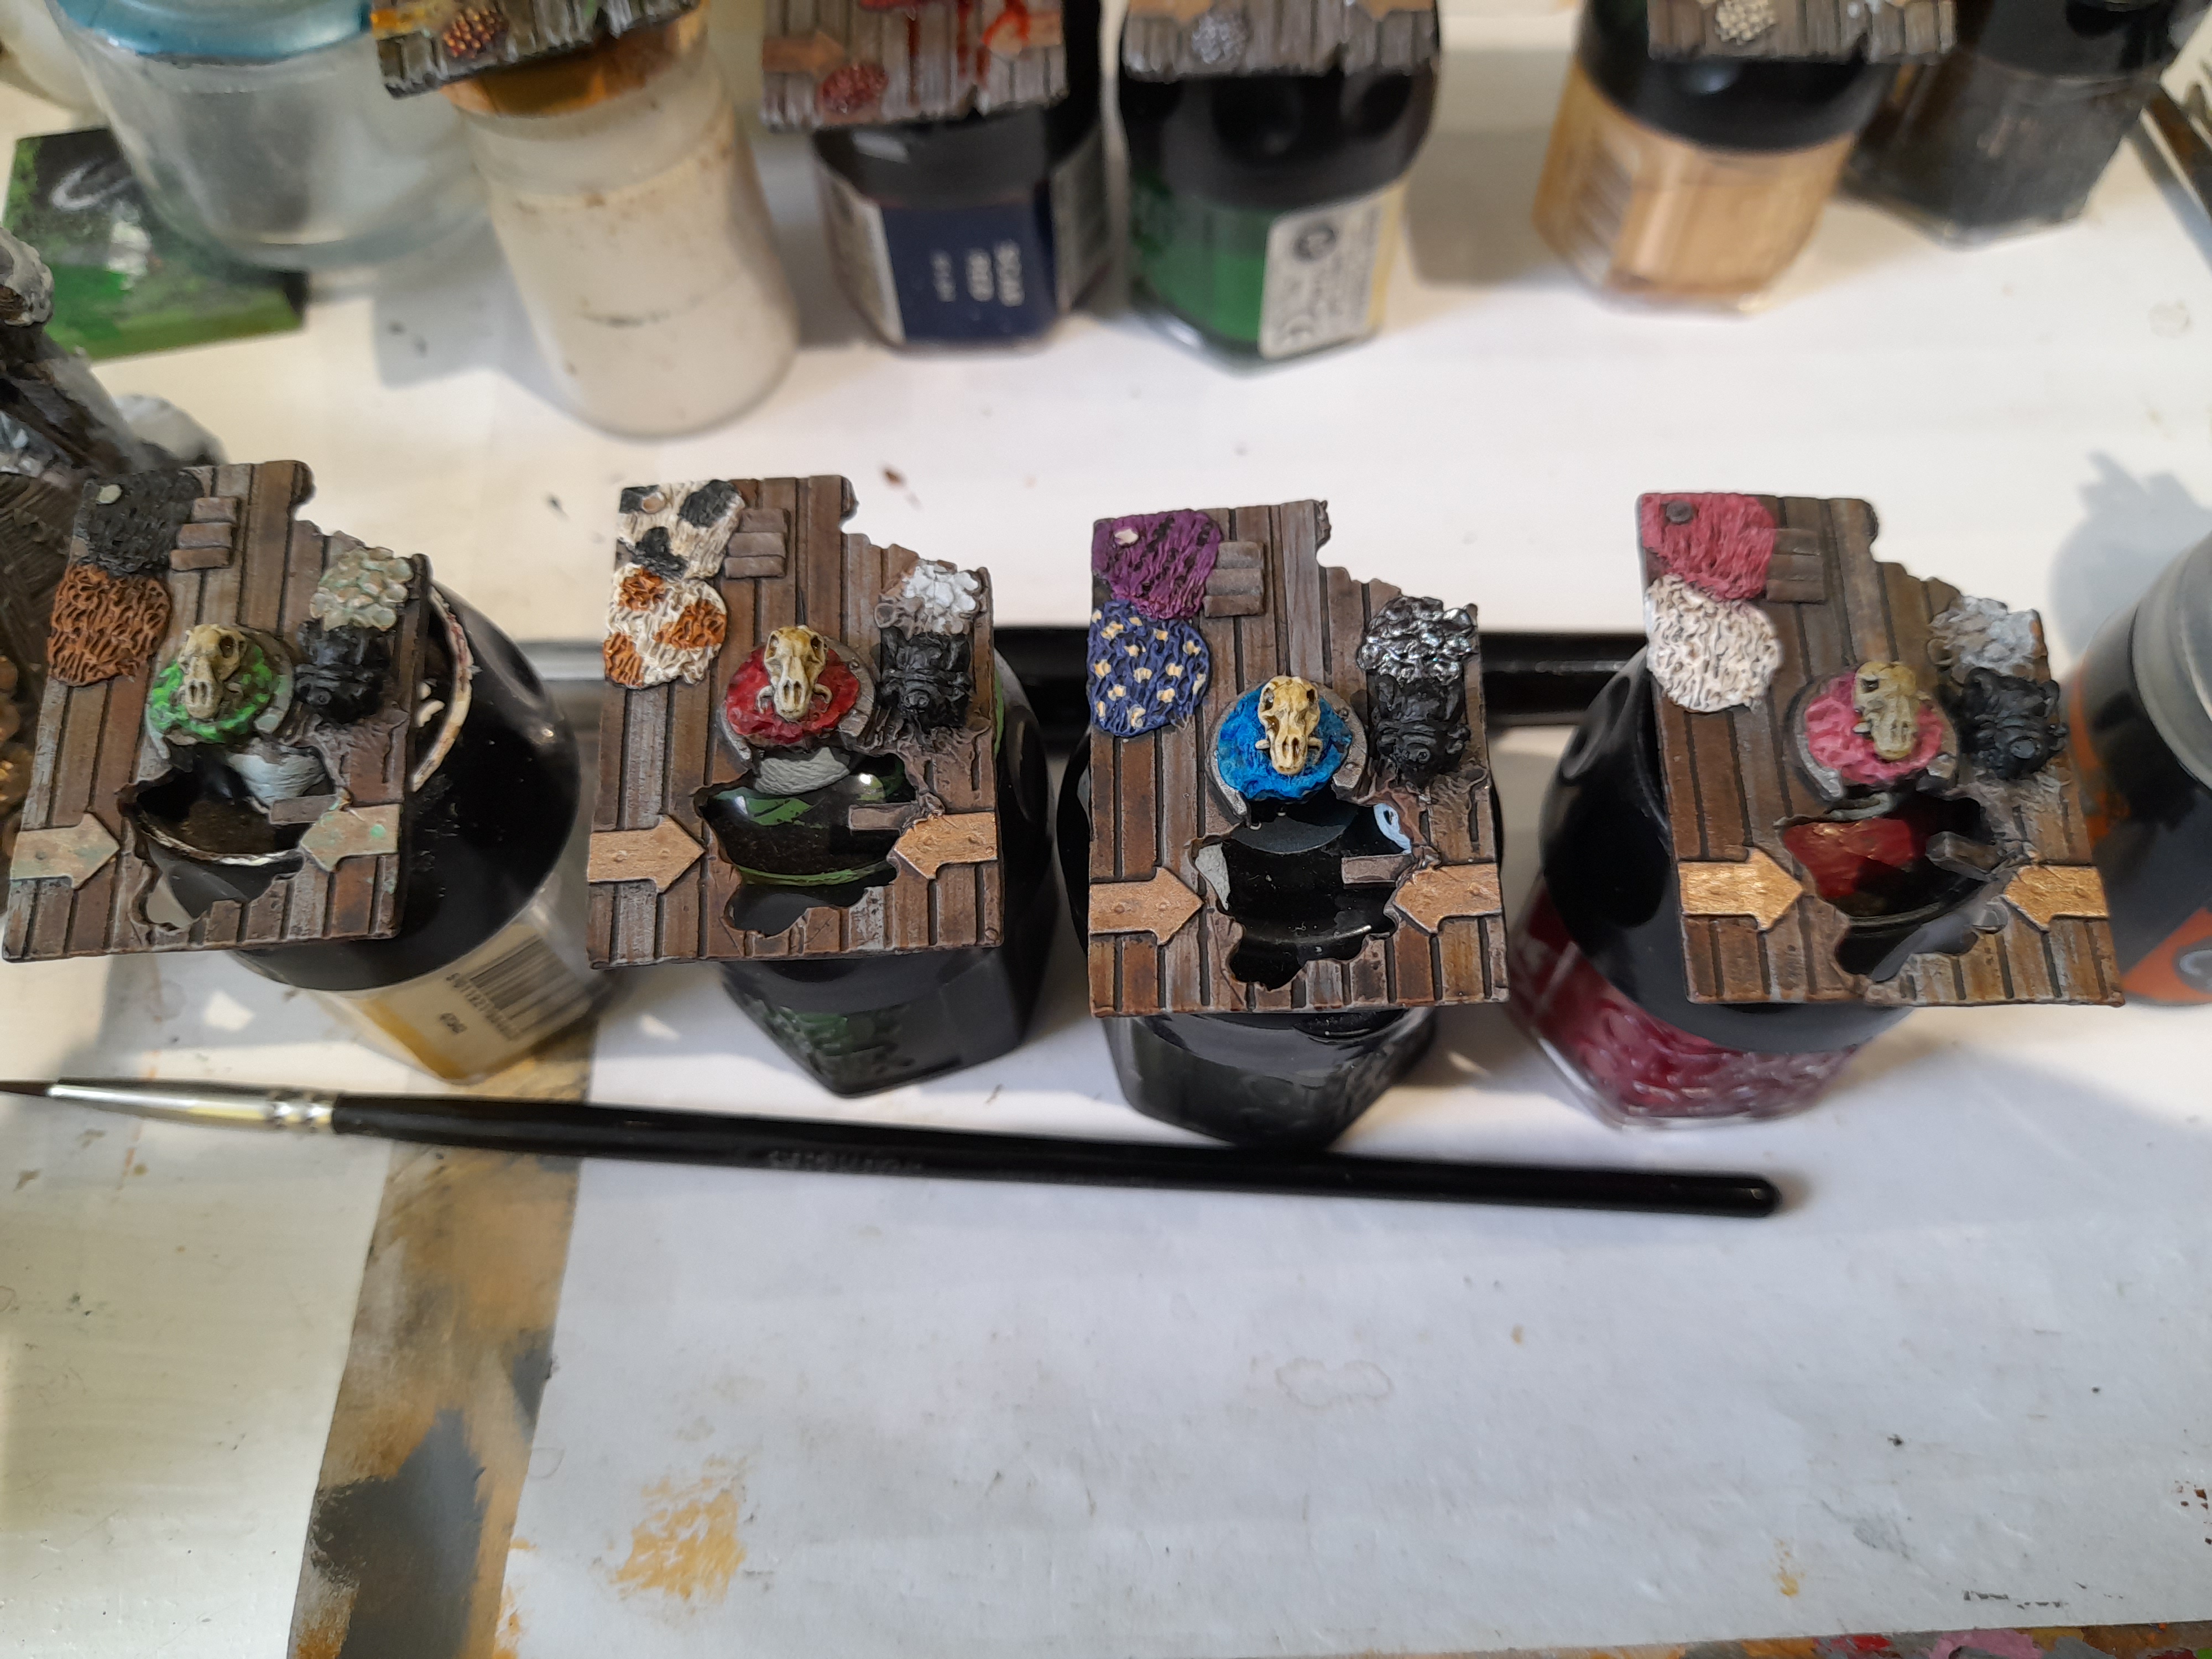
I picked out the colour on the section surrounding the animal skull in the middle. Also I tried to theme the furs to each of the pantheon in some way. For the spider creature things I started with them black, then added small dots to the Nurgle and Tzeentch ones. Added an hourglass shape to the Khorne one. For the Slaanesh panel I repainted the spider creature in a flesh colour. And noticed (alongside some flash I cleaned up afterwards) that it looked to have a face on the spider bum area.
Next up will be the end panels on the main frame….
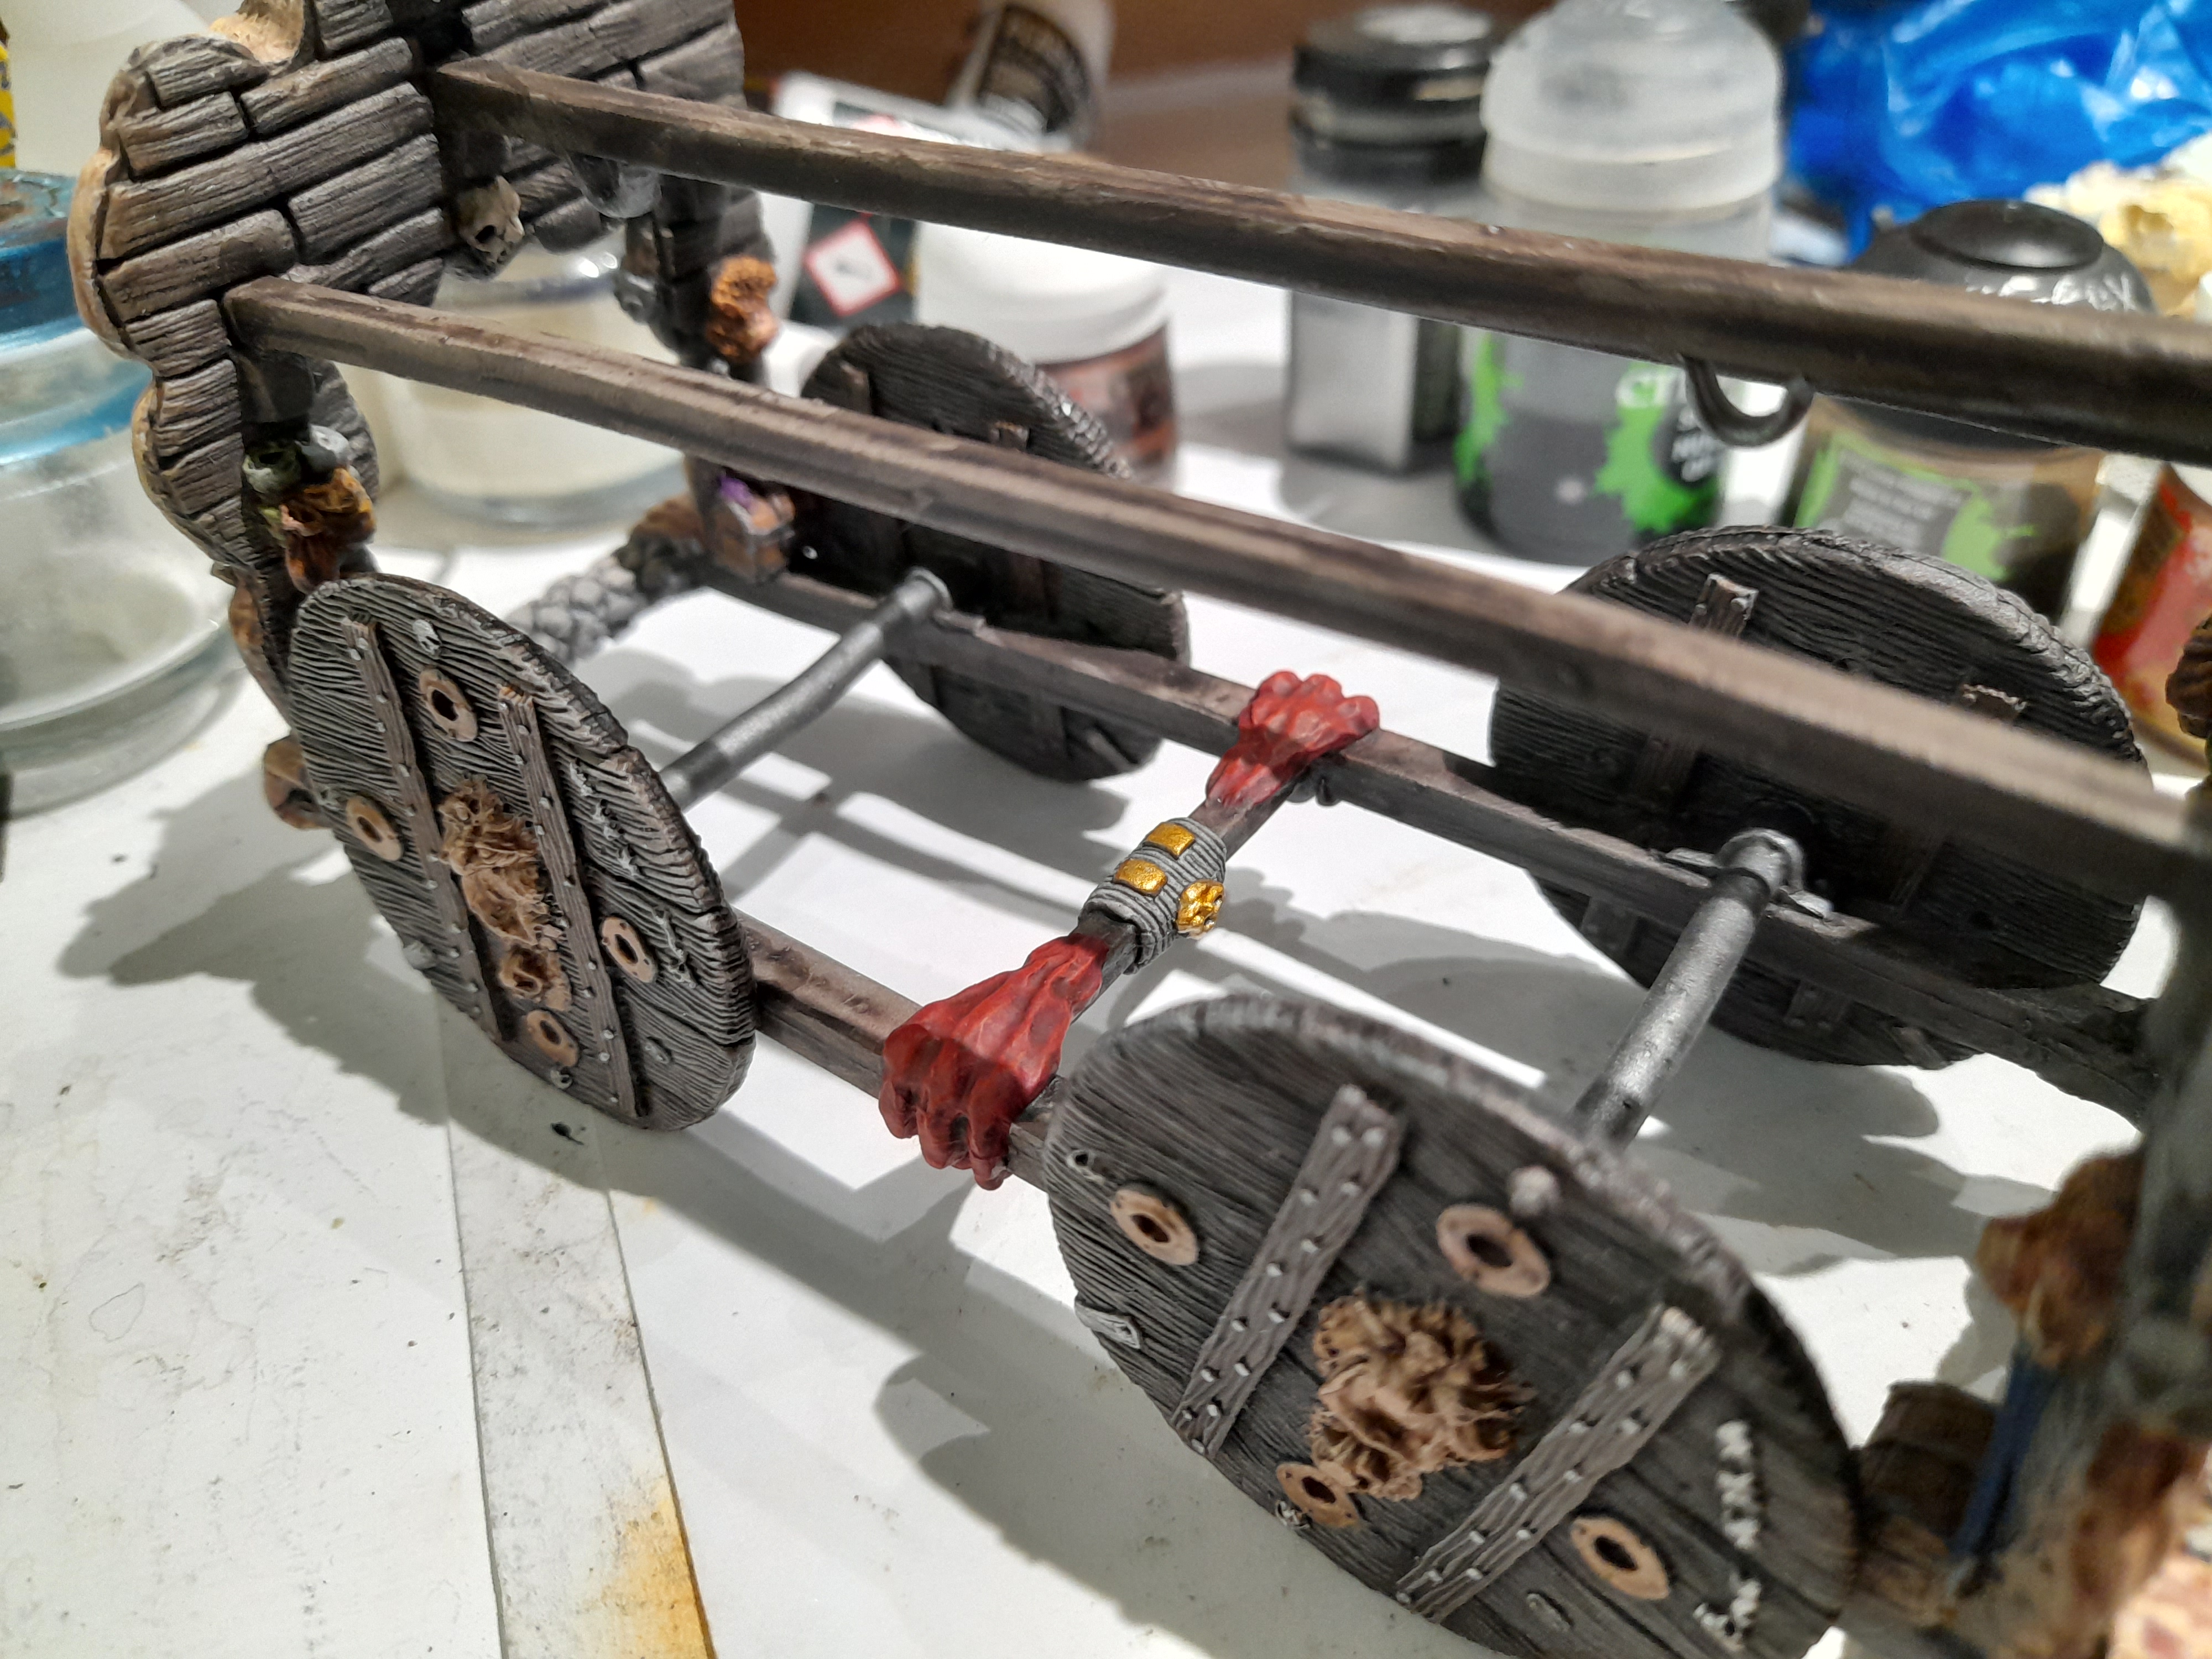
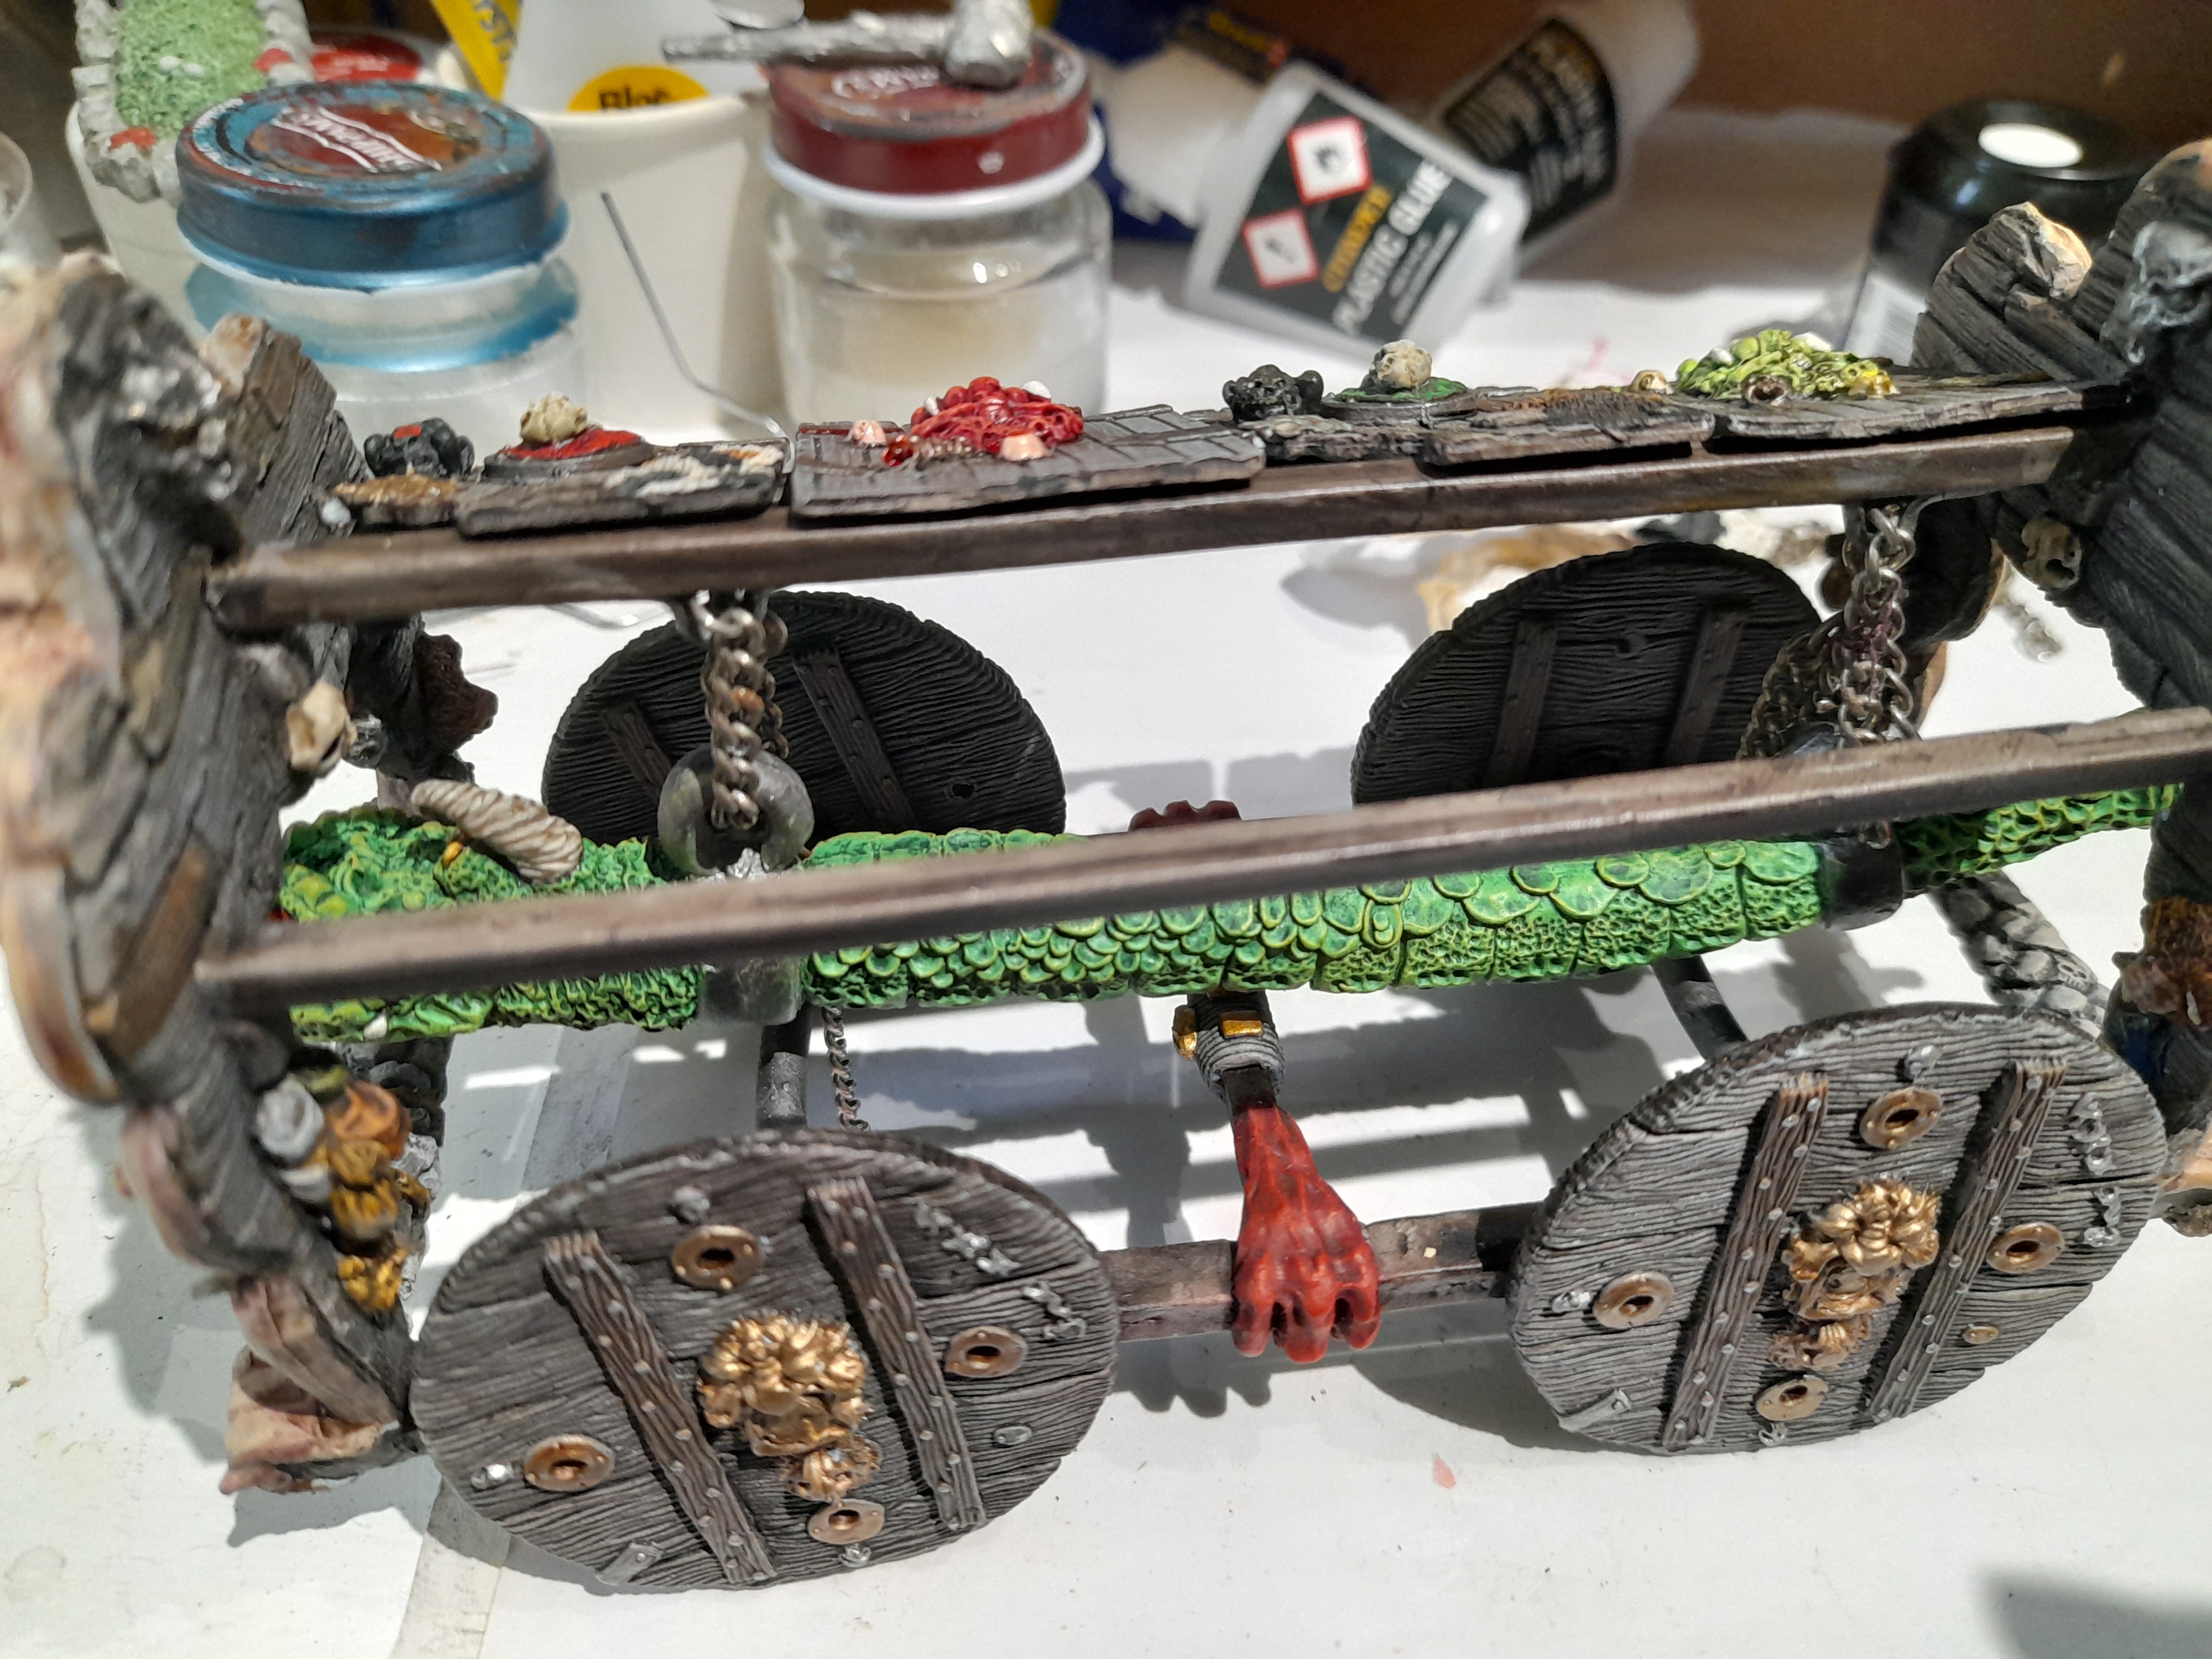
GCBR Chassis
25th April 2025
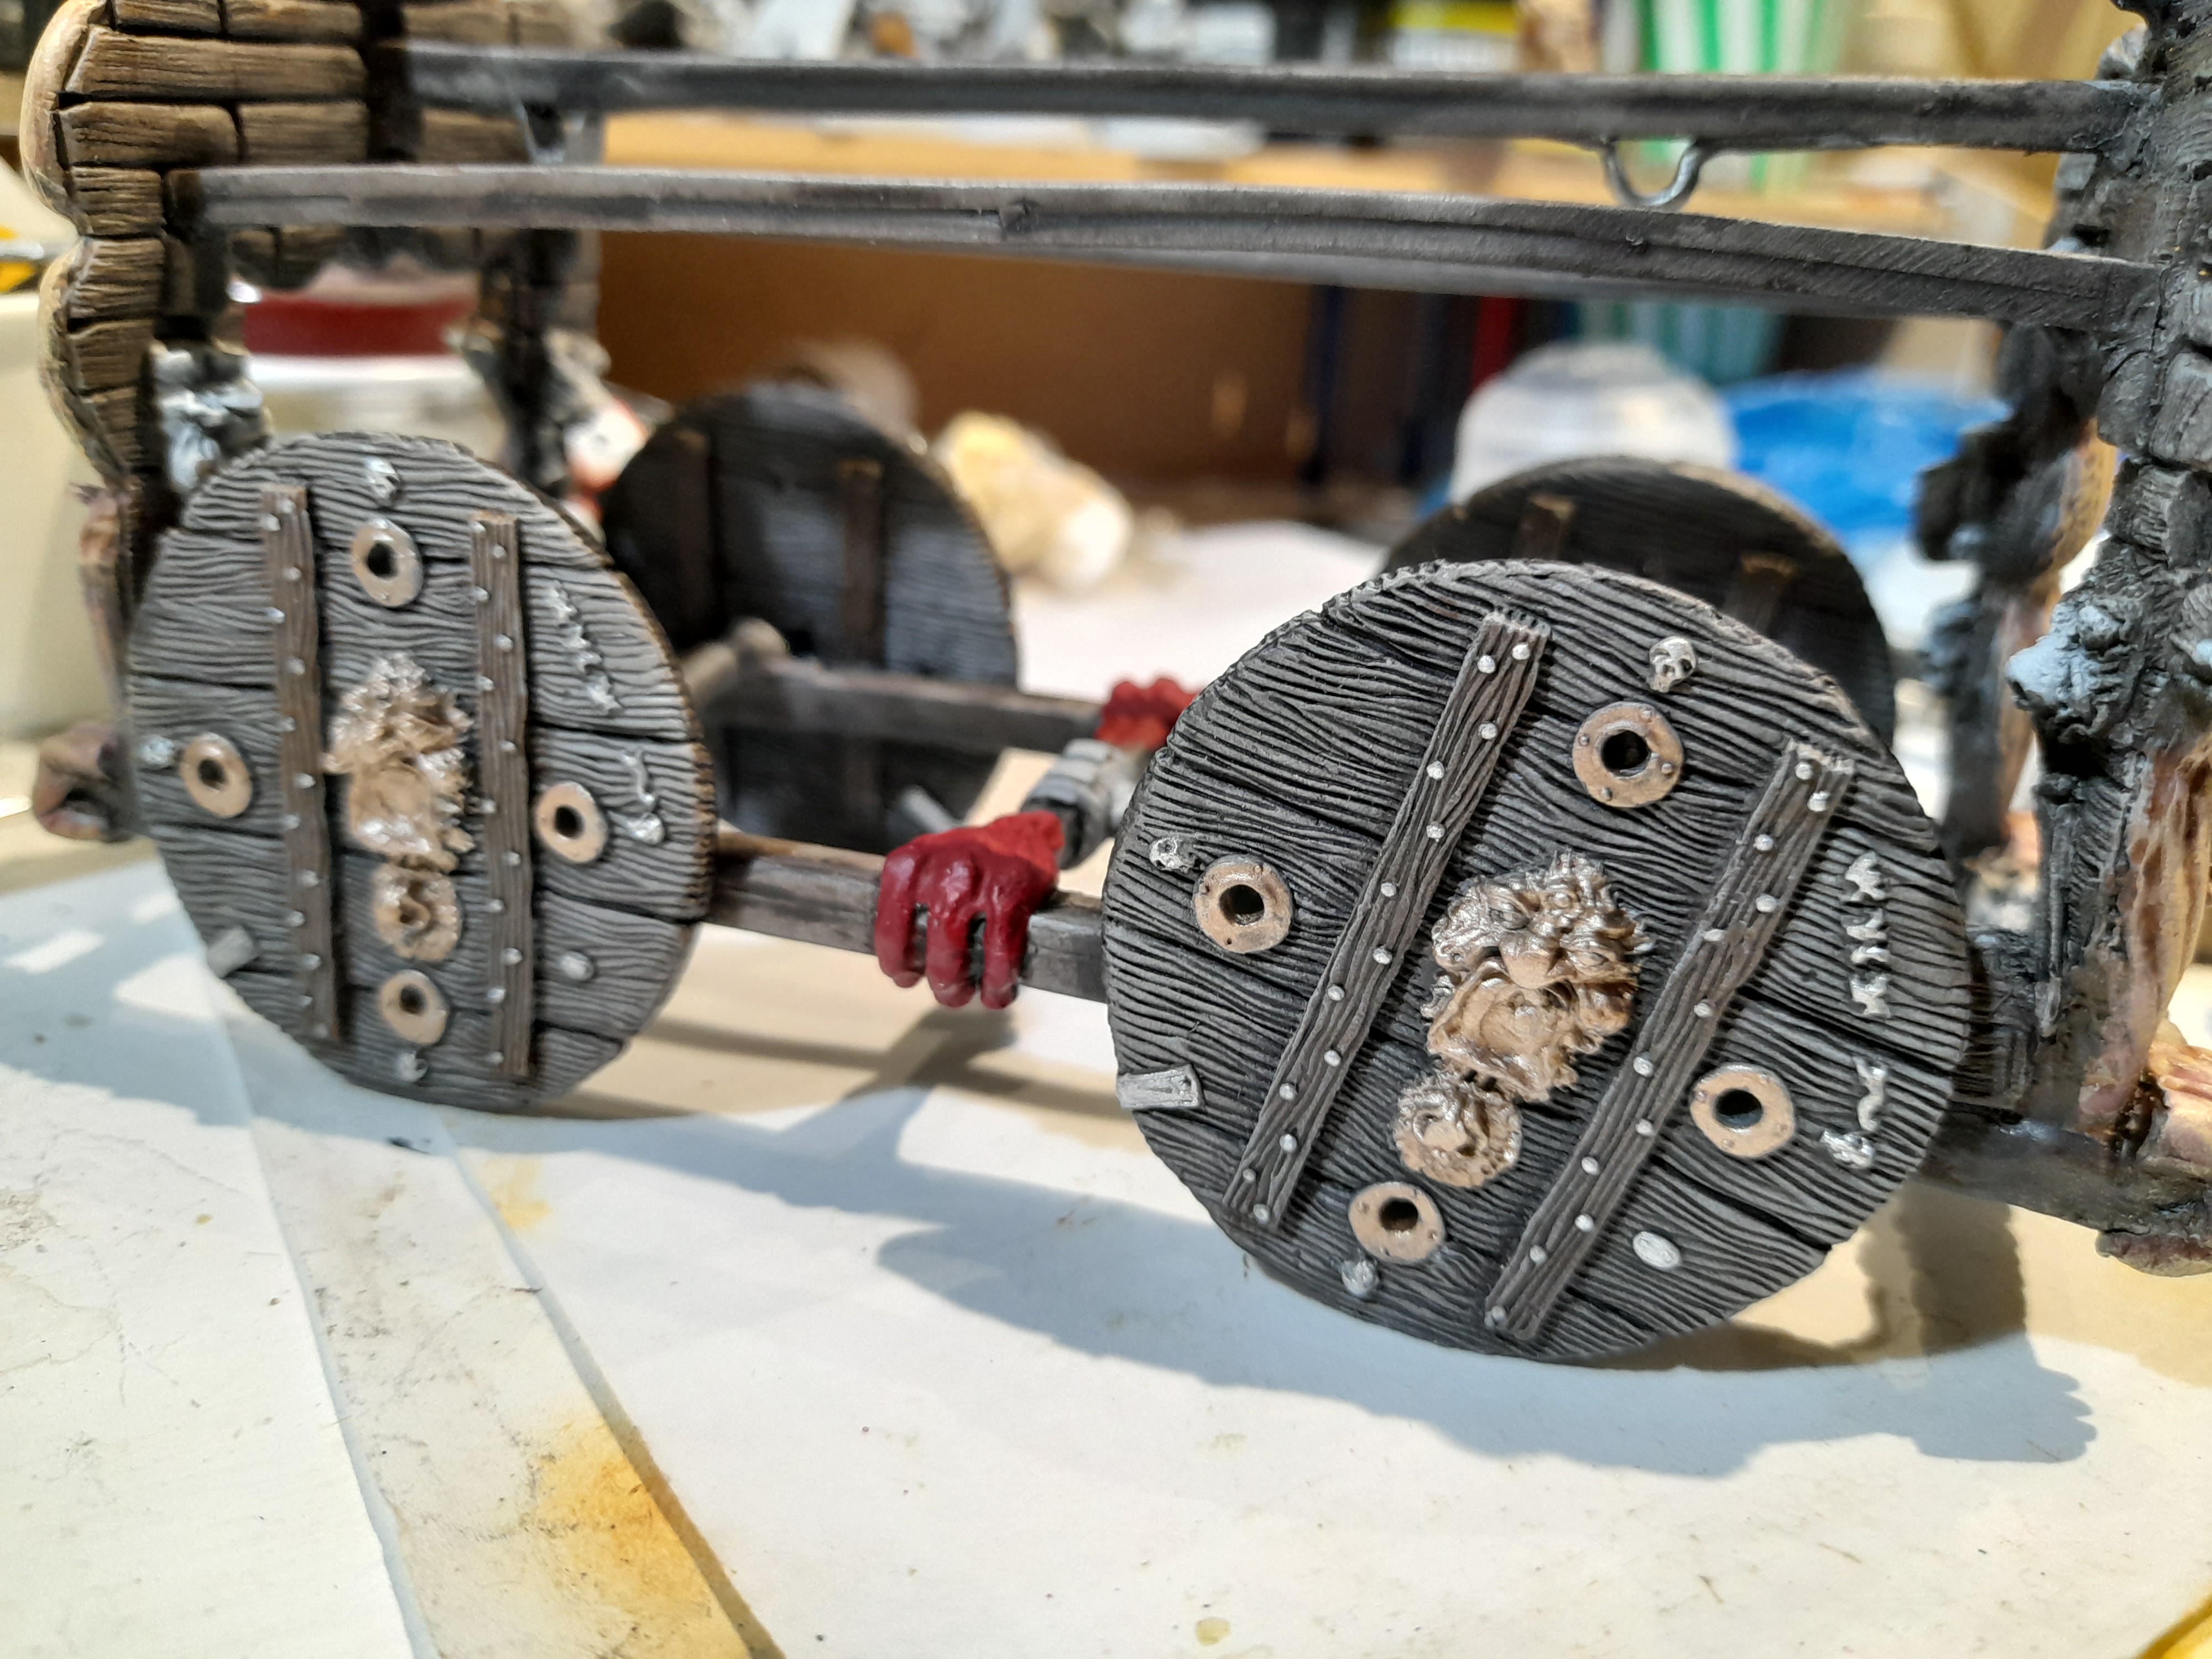
Next up was the chassis. The base of the wood had been laid down using the same mix that I had made for the roof panels already.
Where there was woodgrain available I drybrushed over with various greys to add the weathered look that I wanted. Metallic details were picked out and washed, including lots of nails 😊
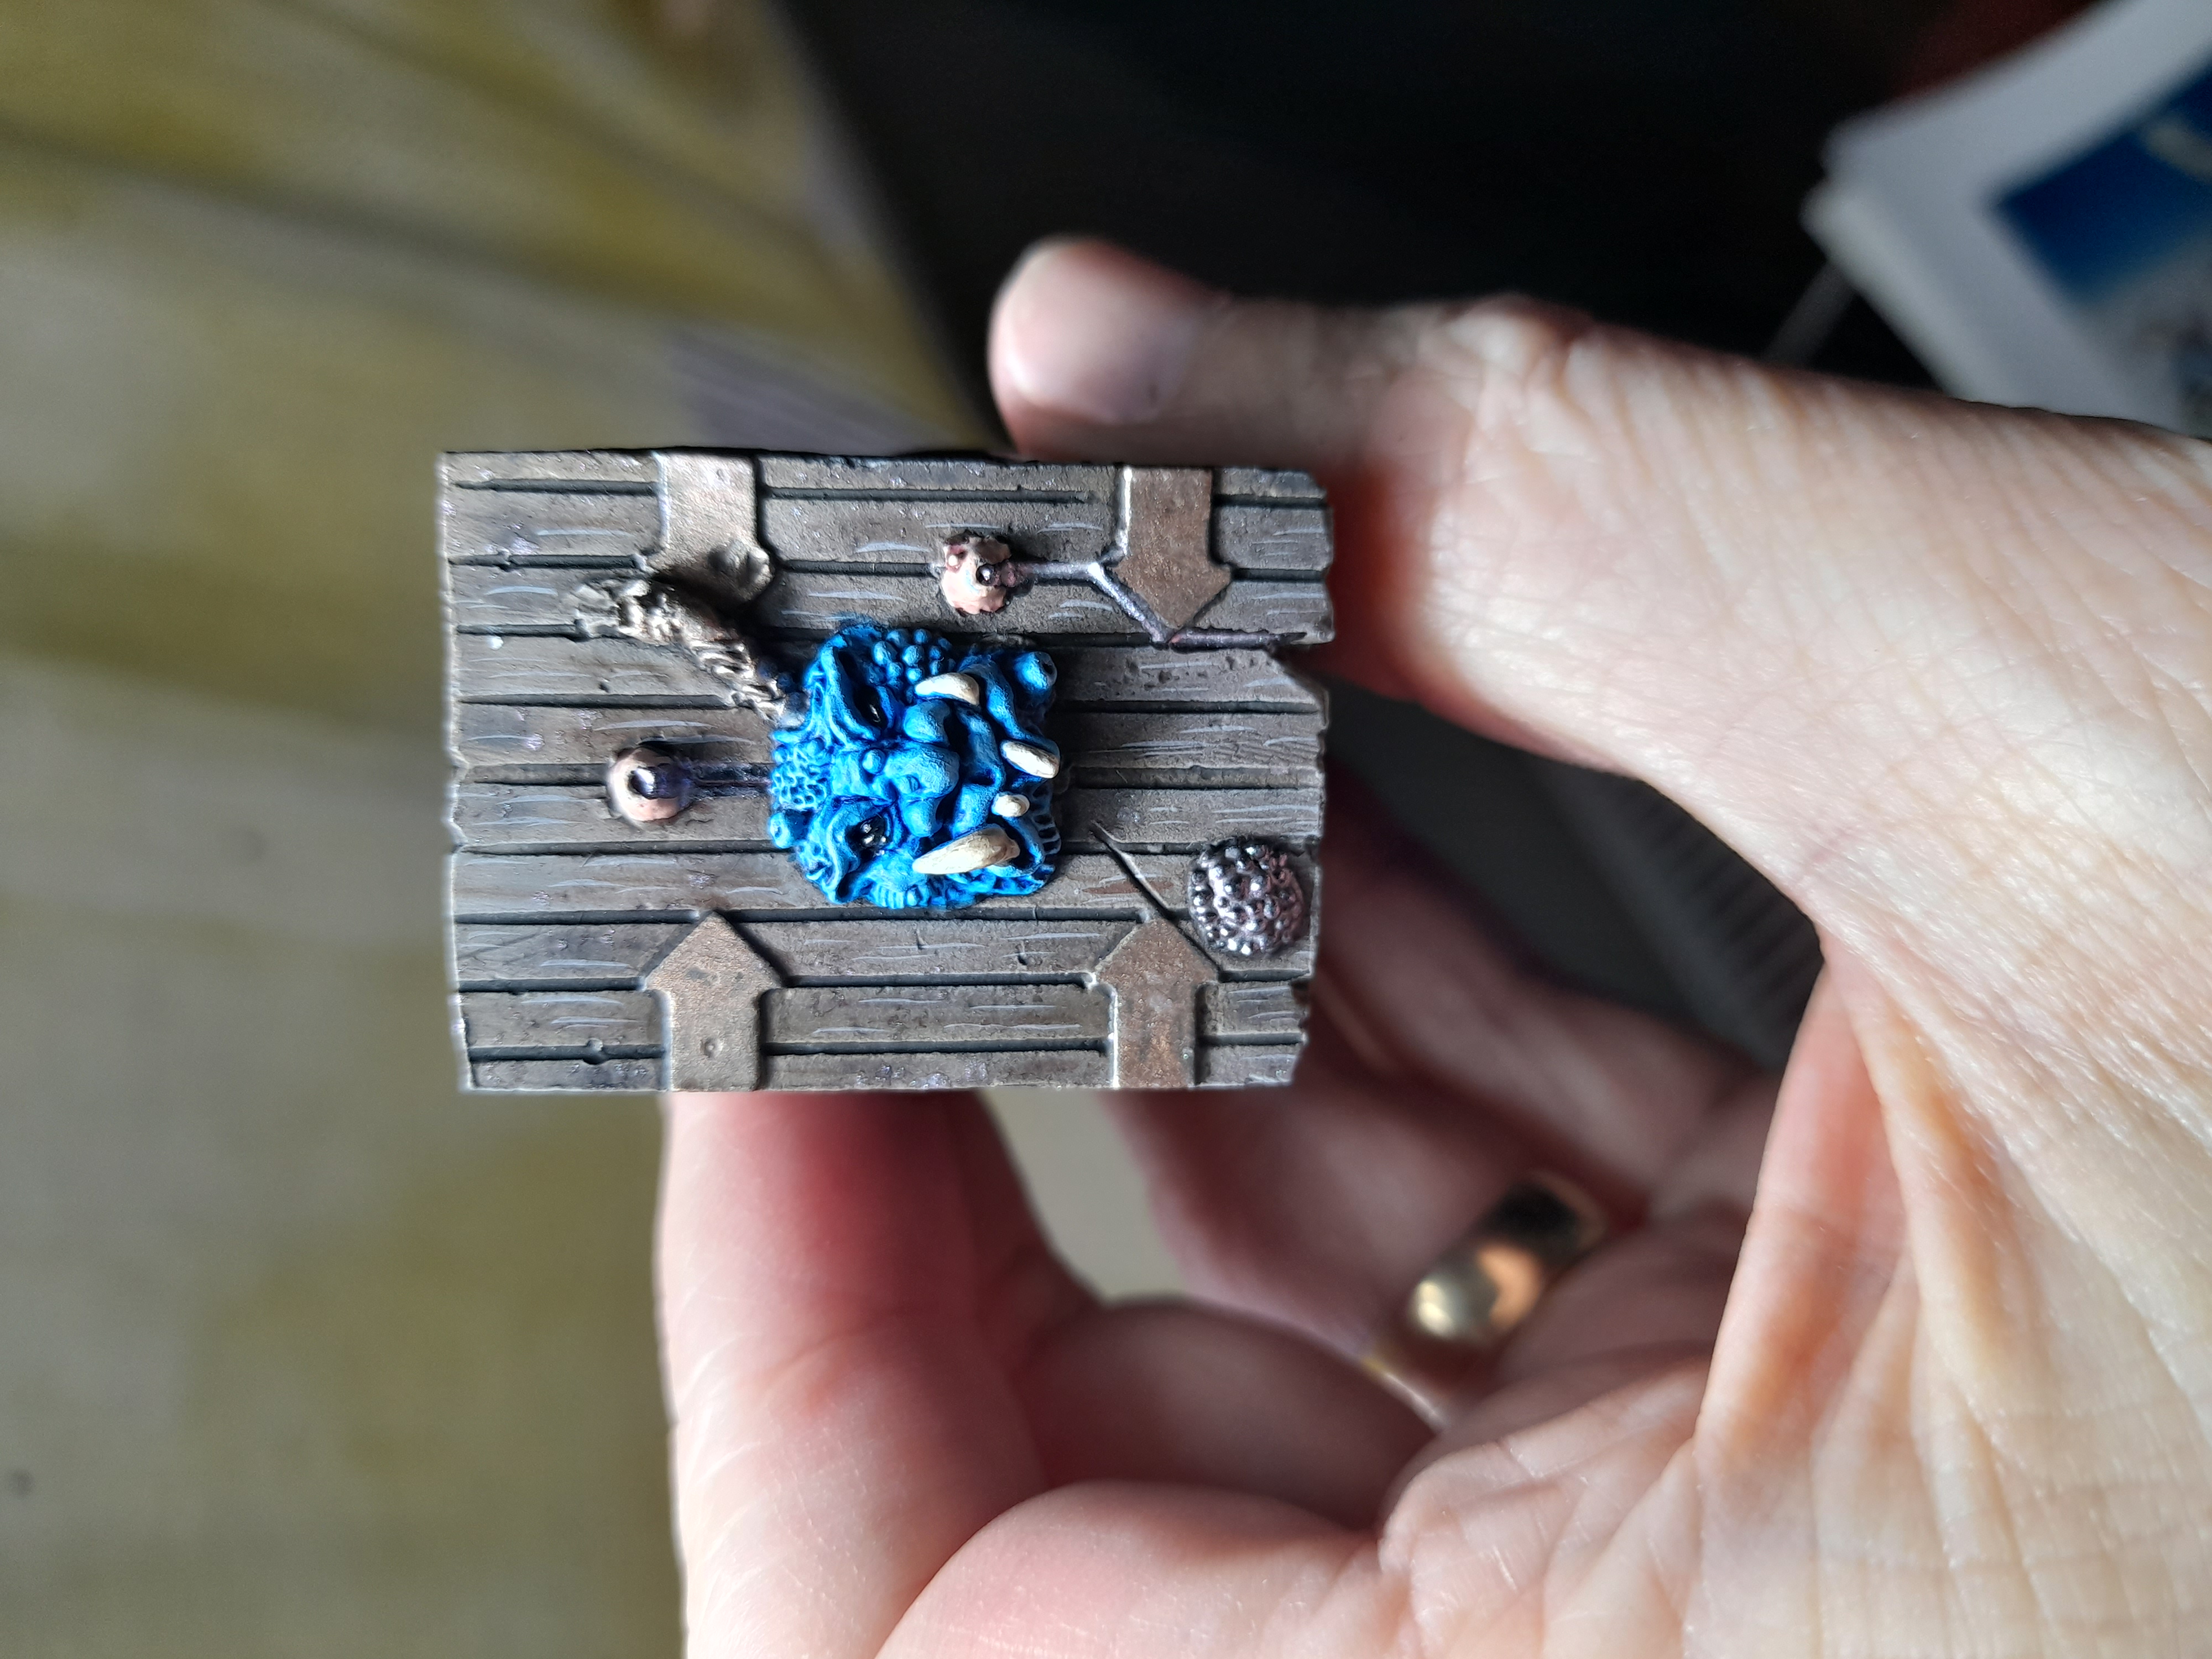
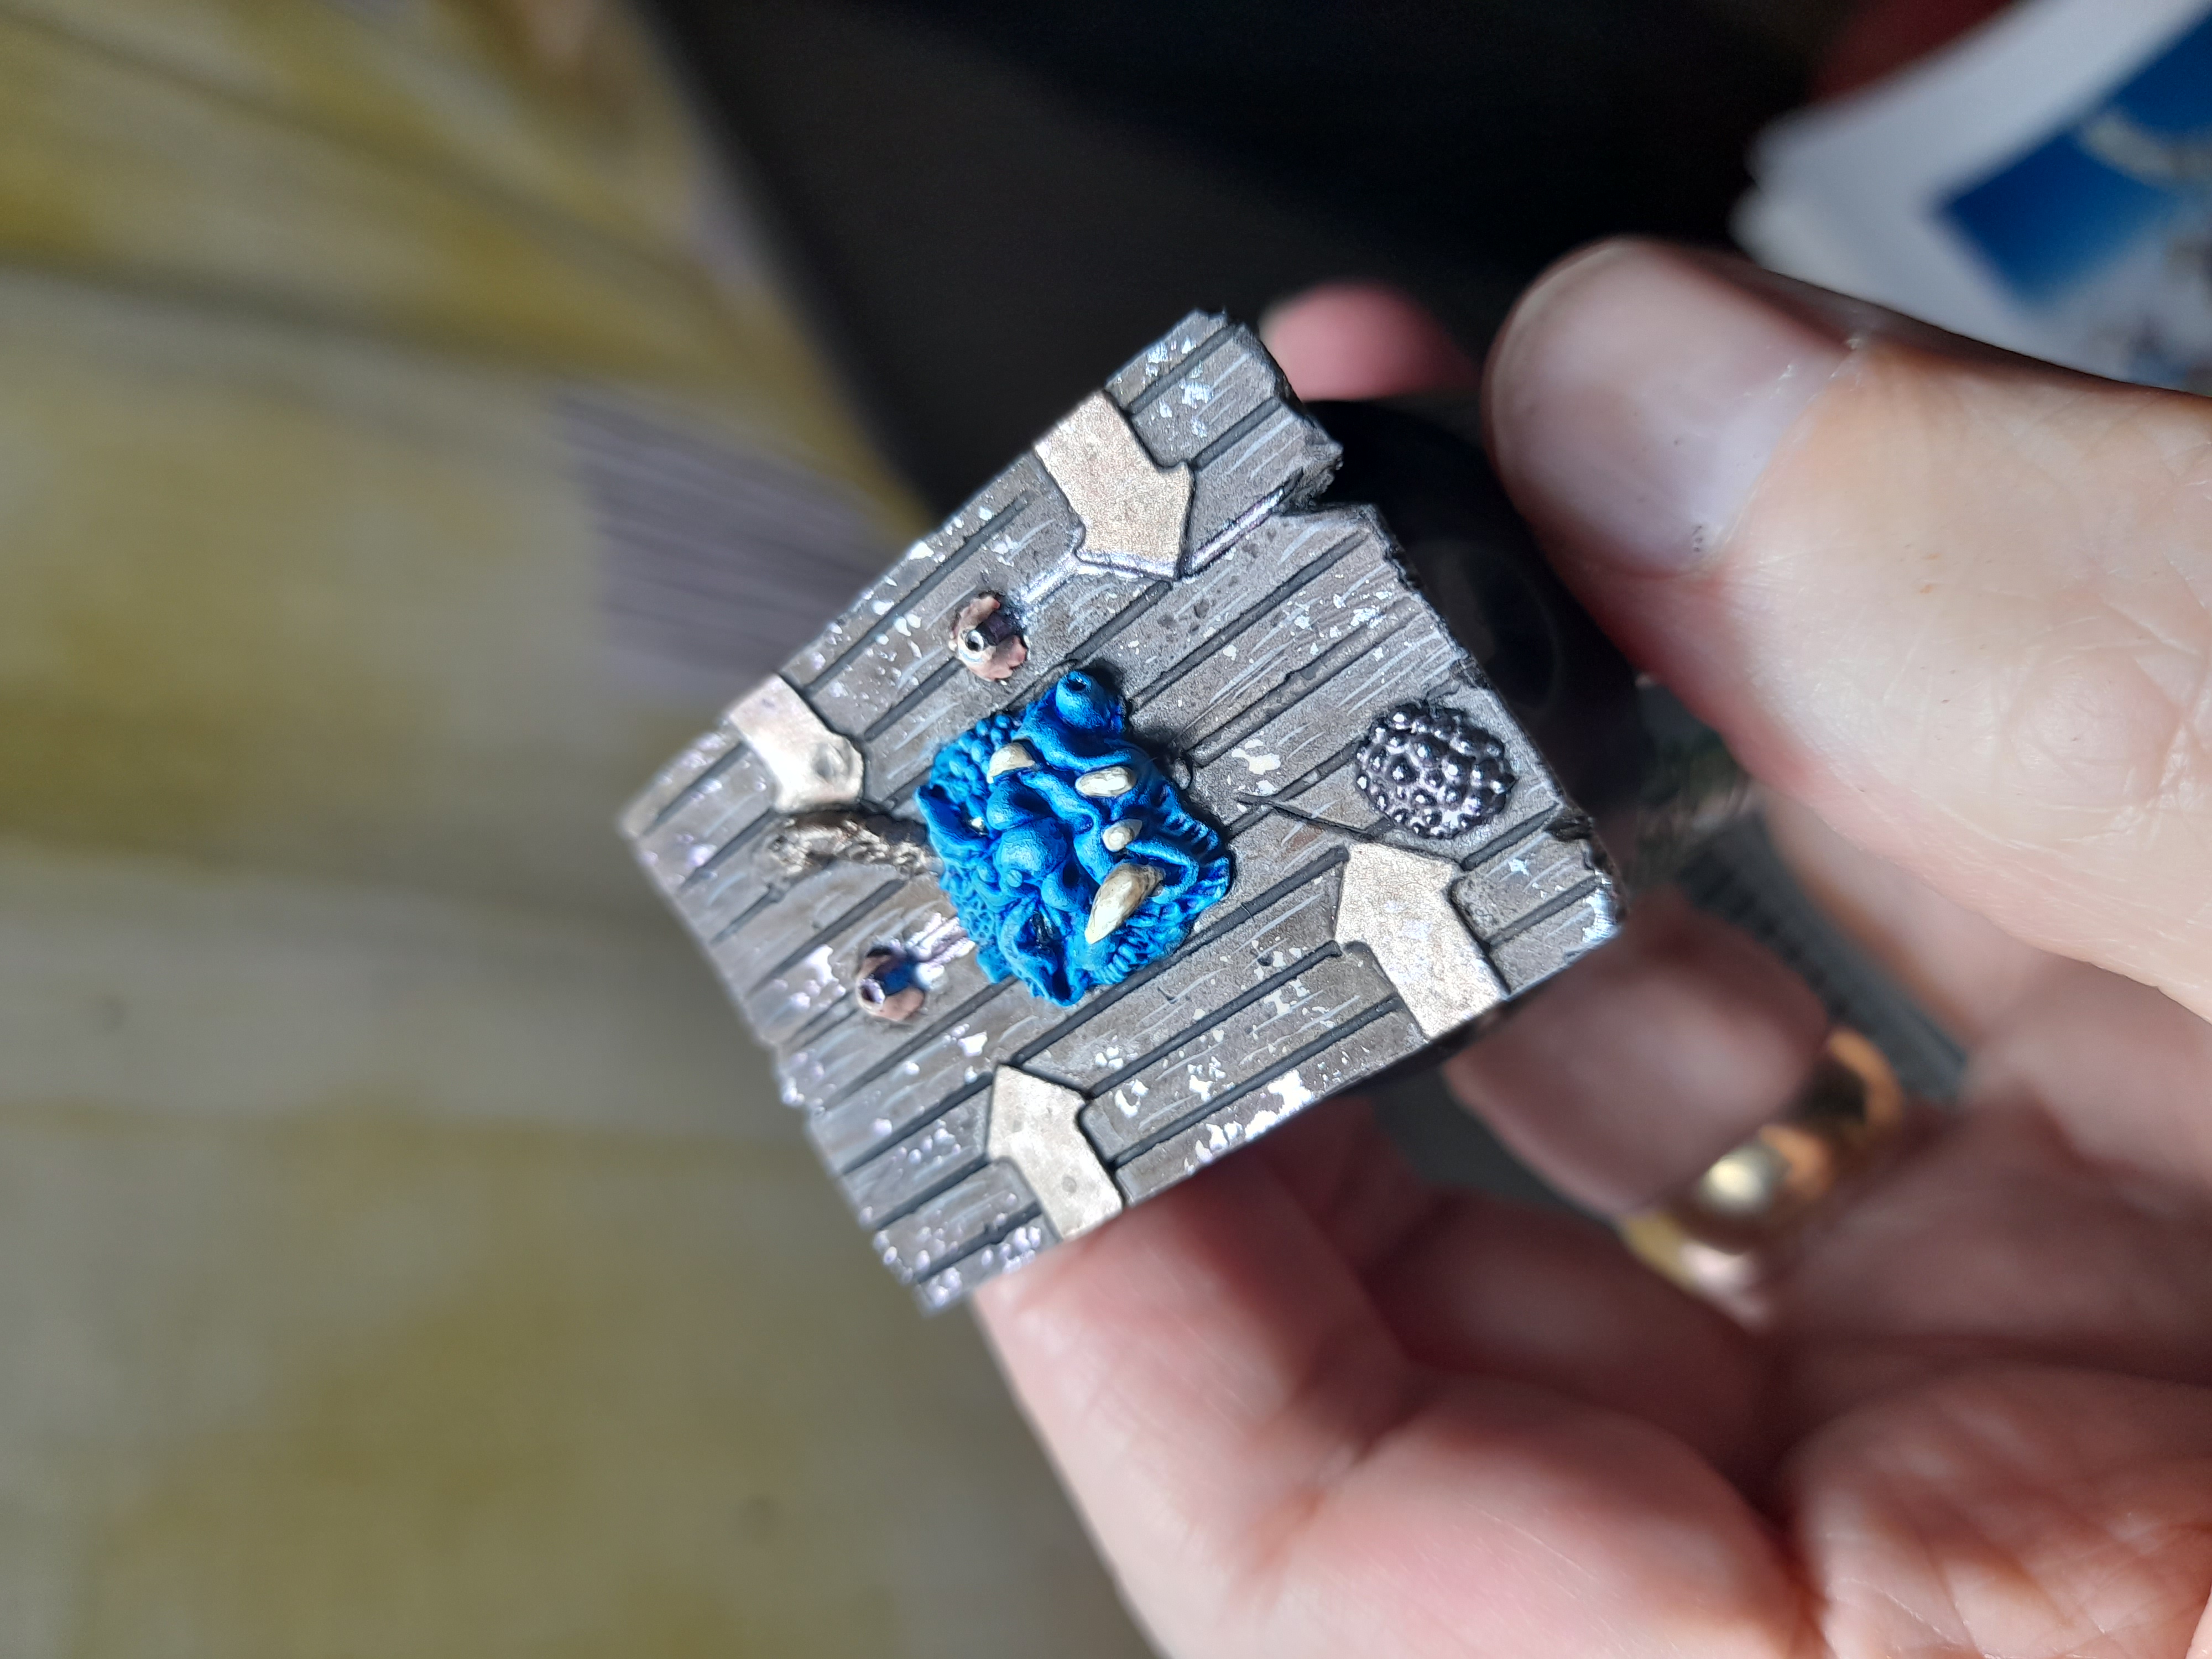
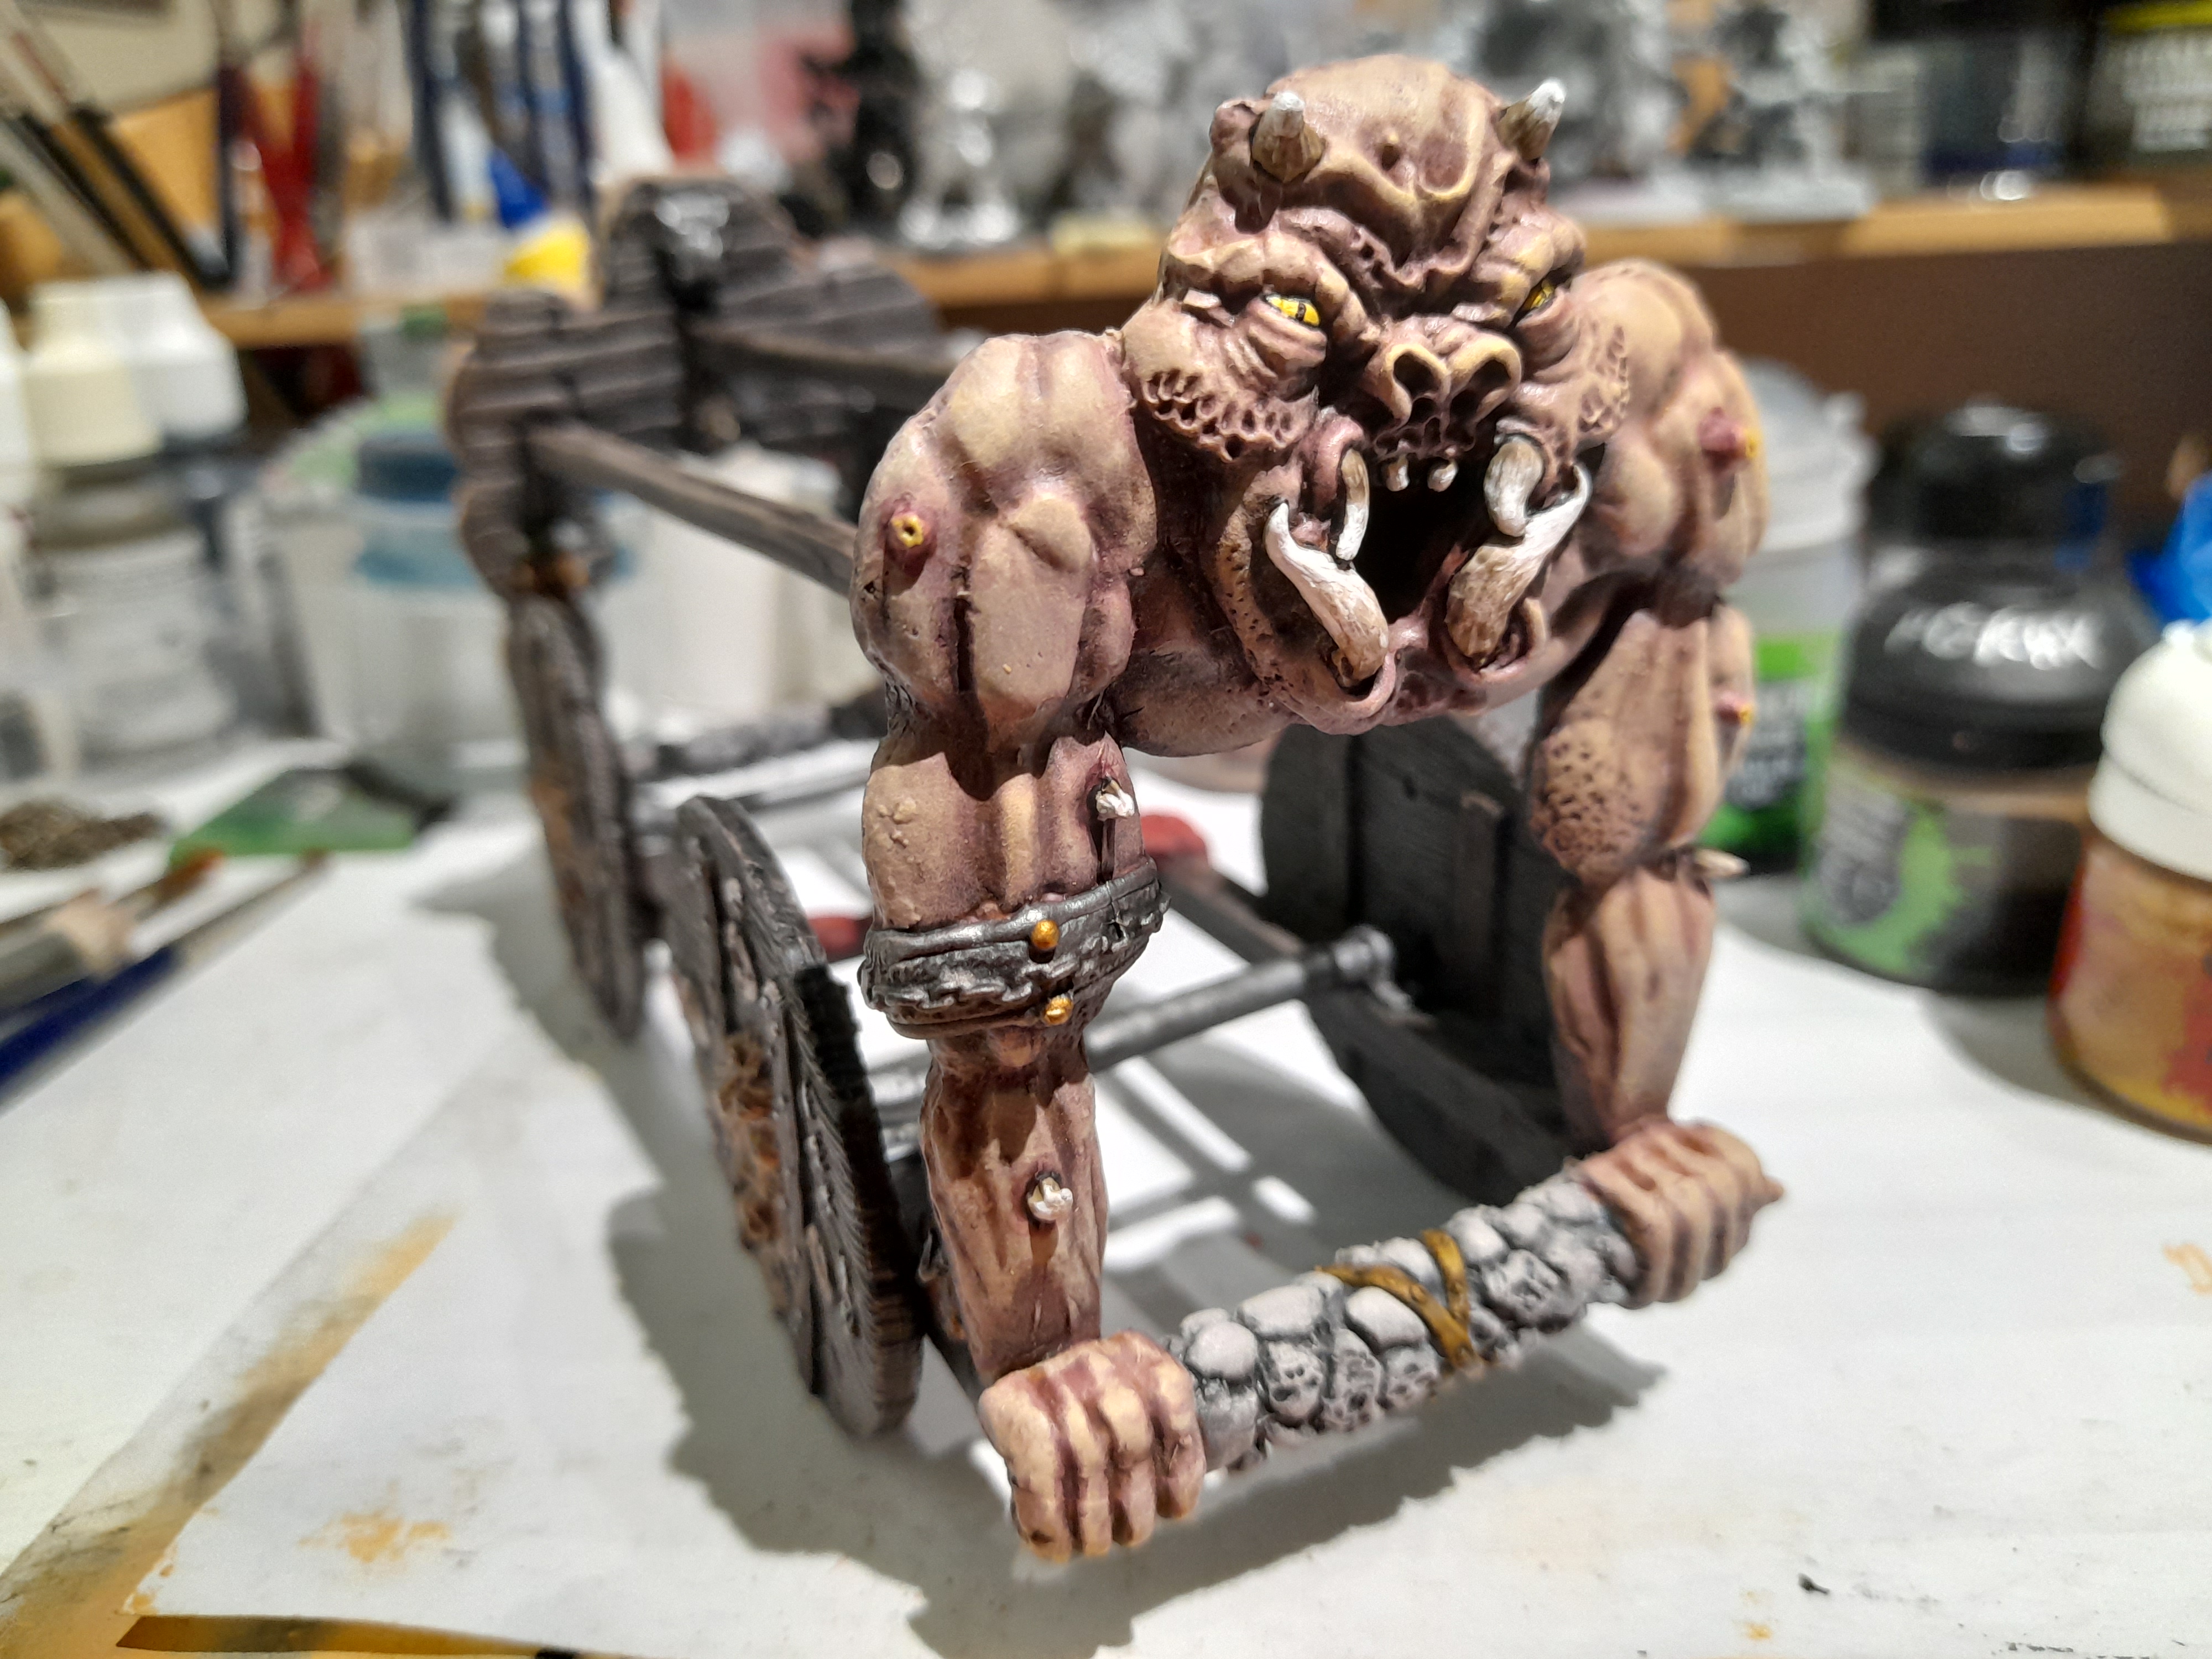
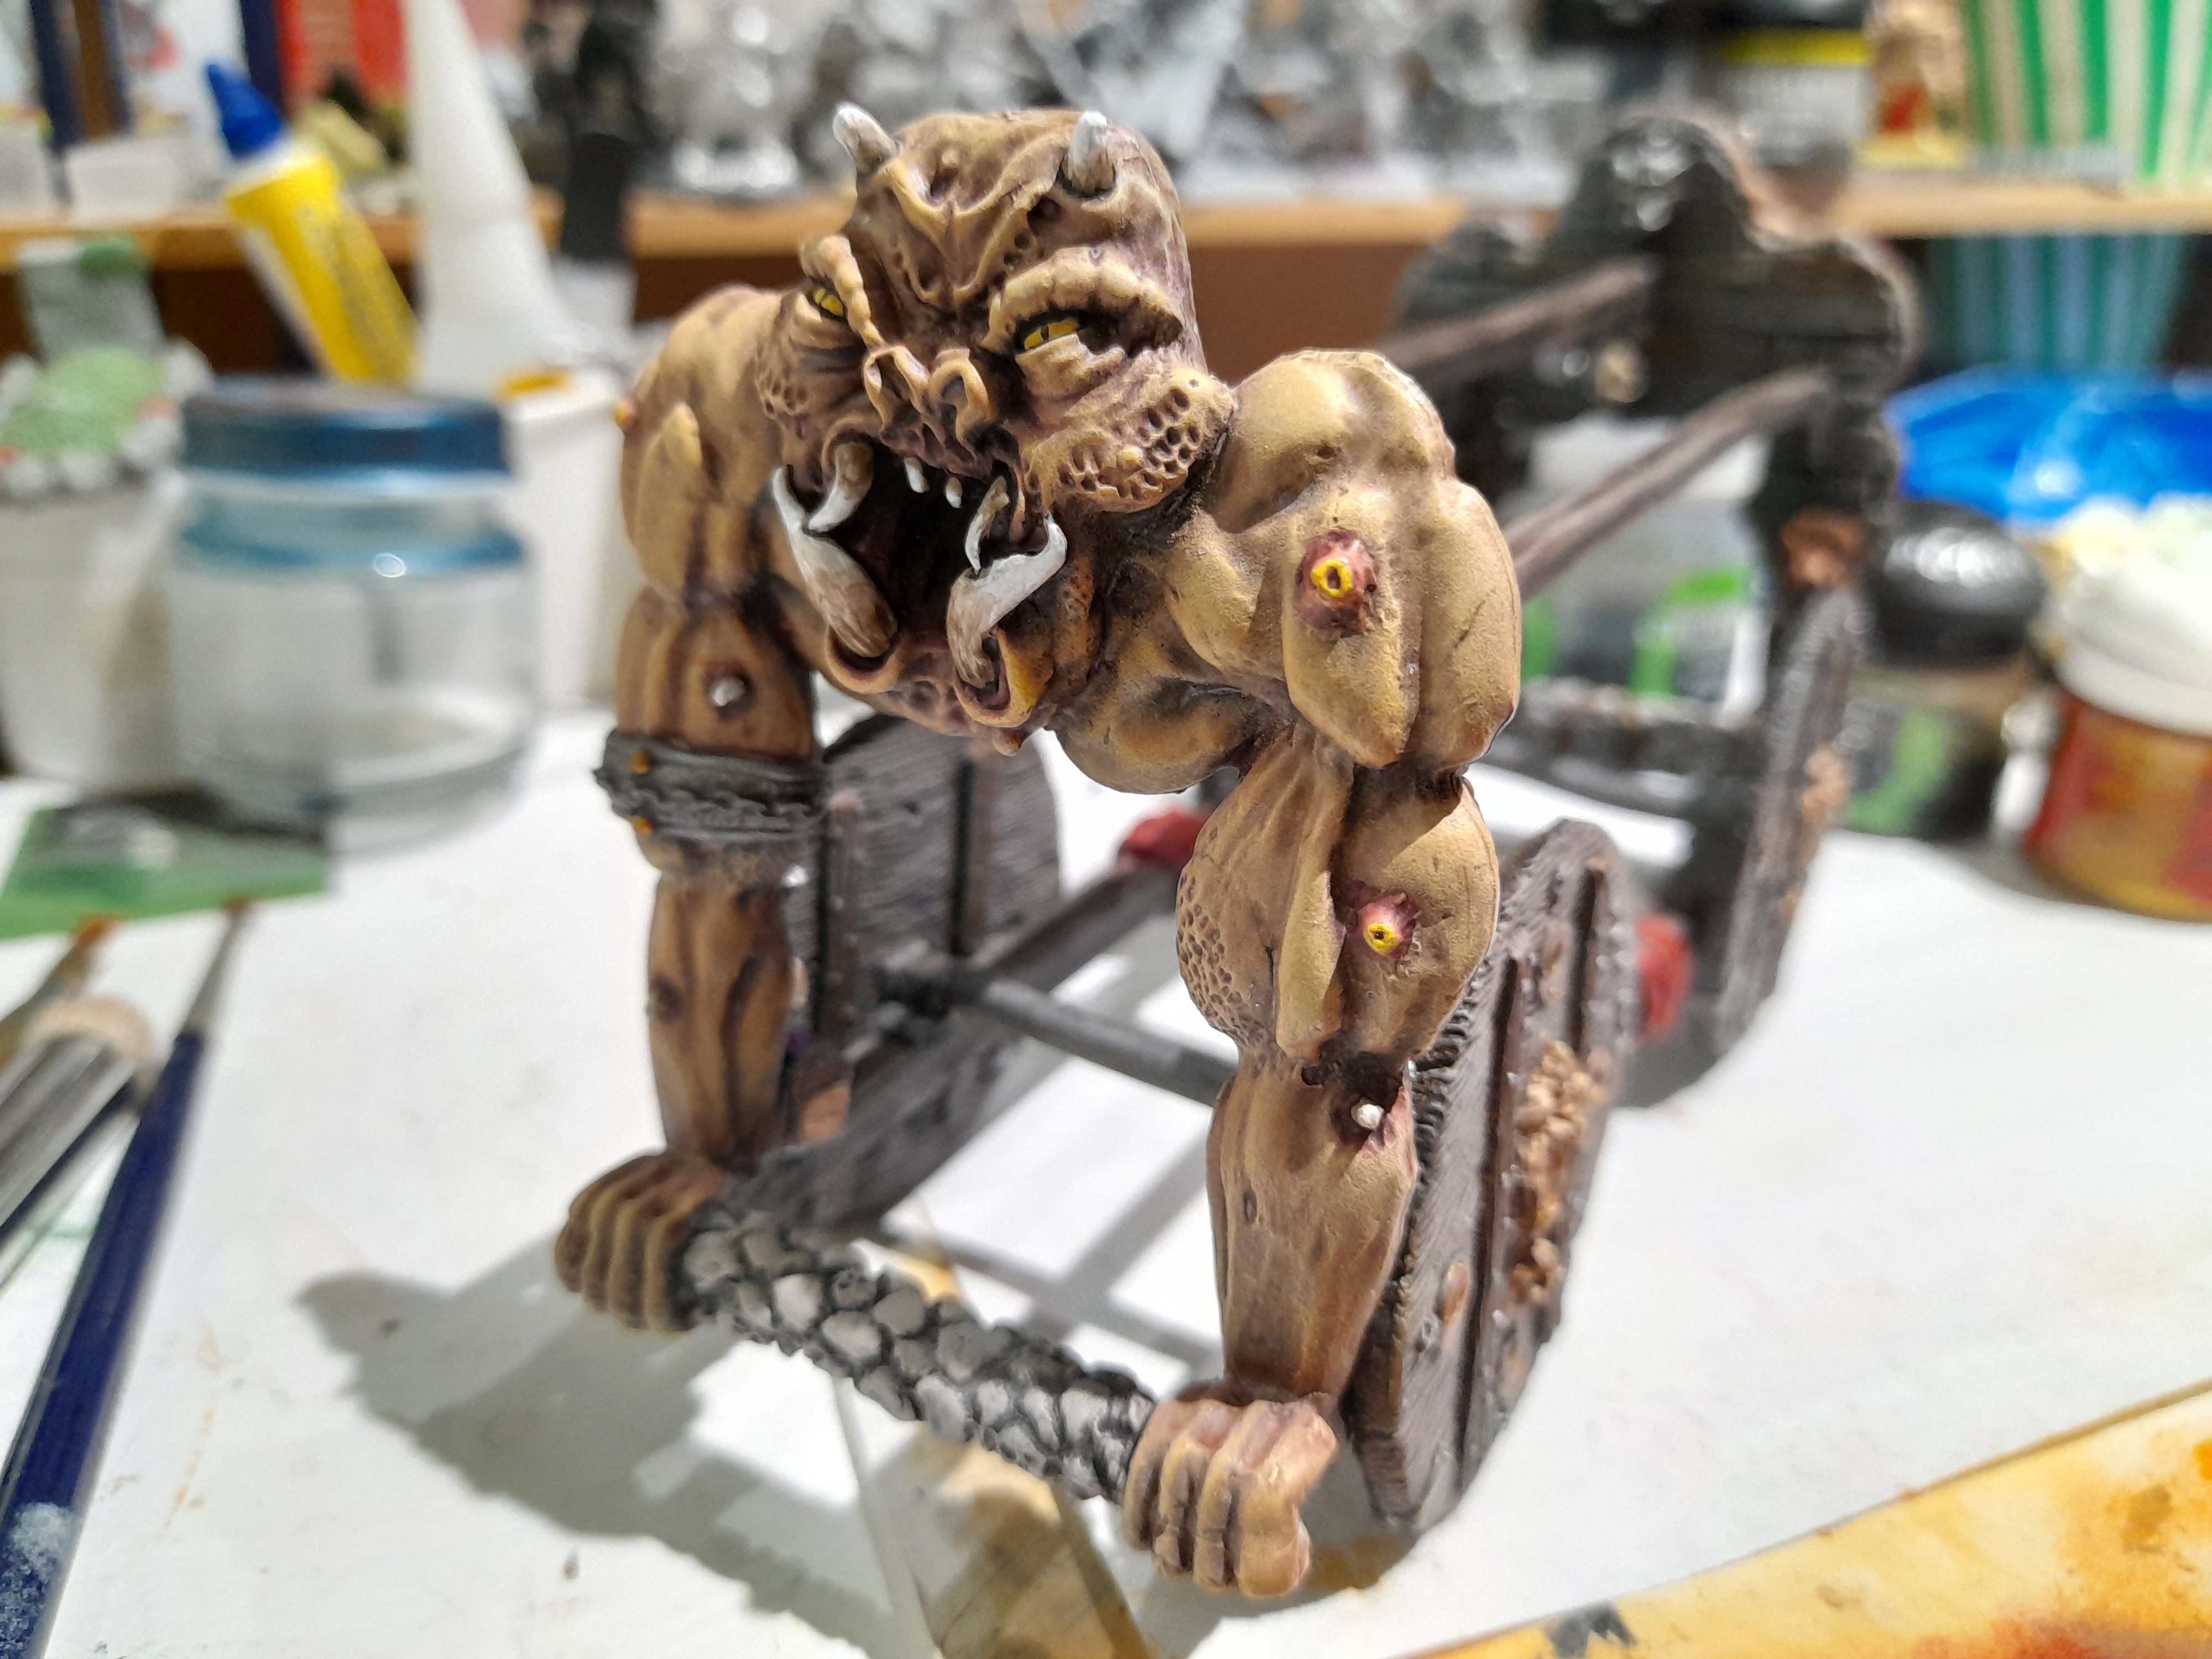
The end pieces, depicting some sort of monster or totem gave me my usual indecision for a while, with me finally plumping for flesh colours for them.
This was using flesh contrast to start with, followed by drybrushing lighter flesh shades, with red and purple washes in between.
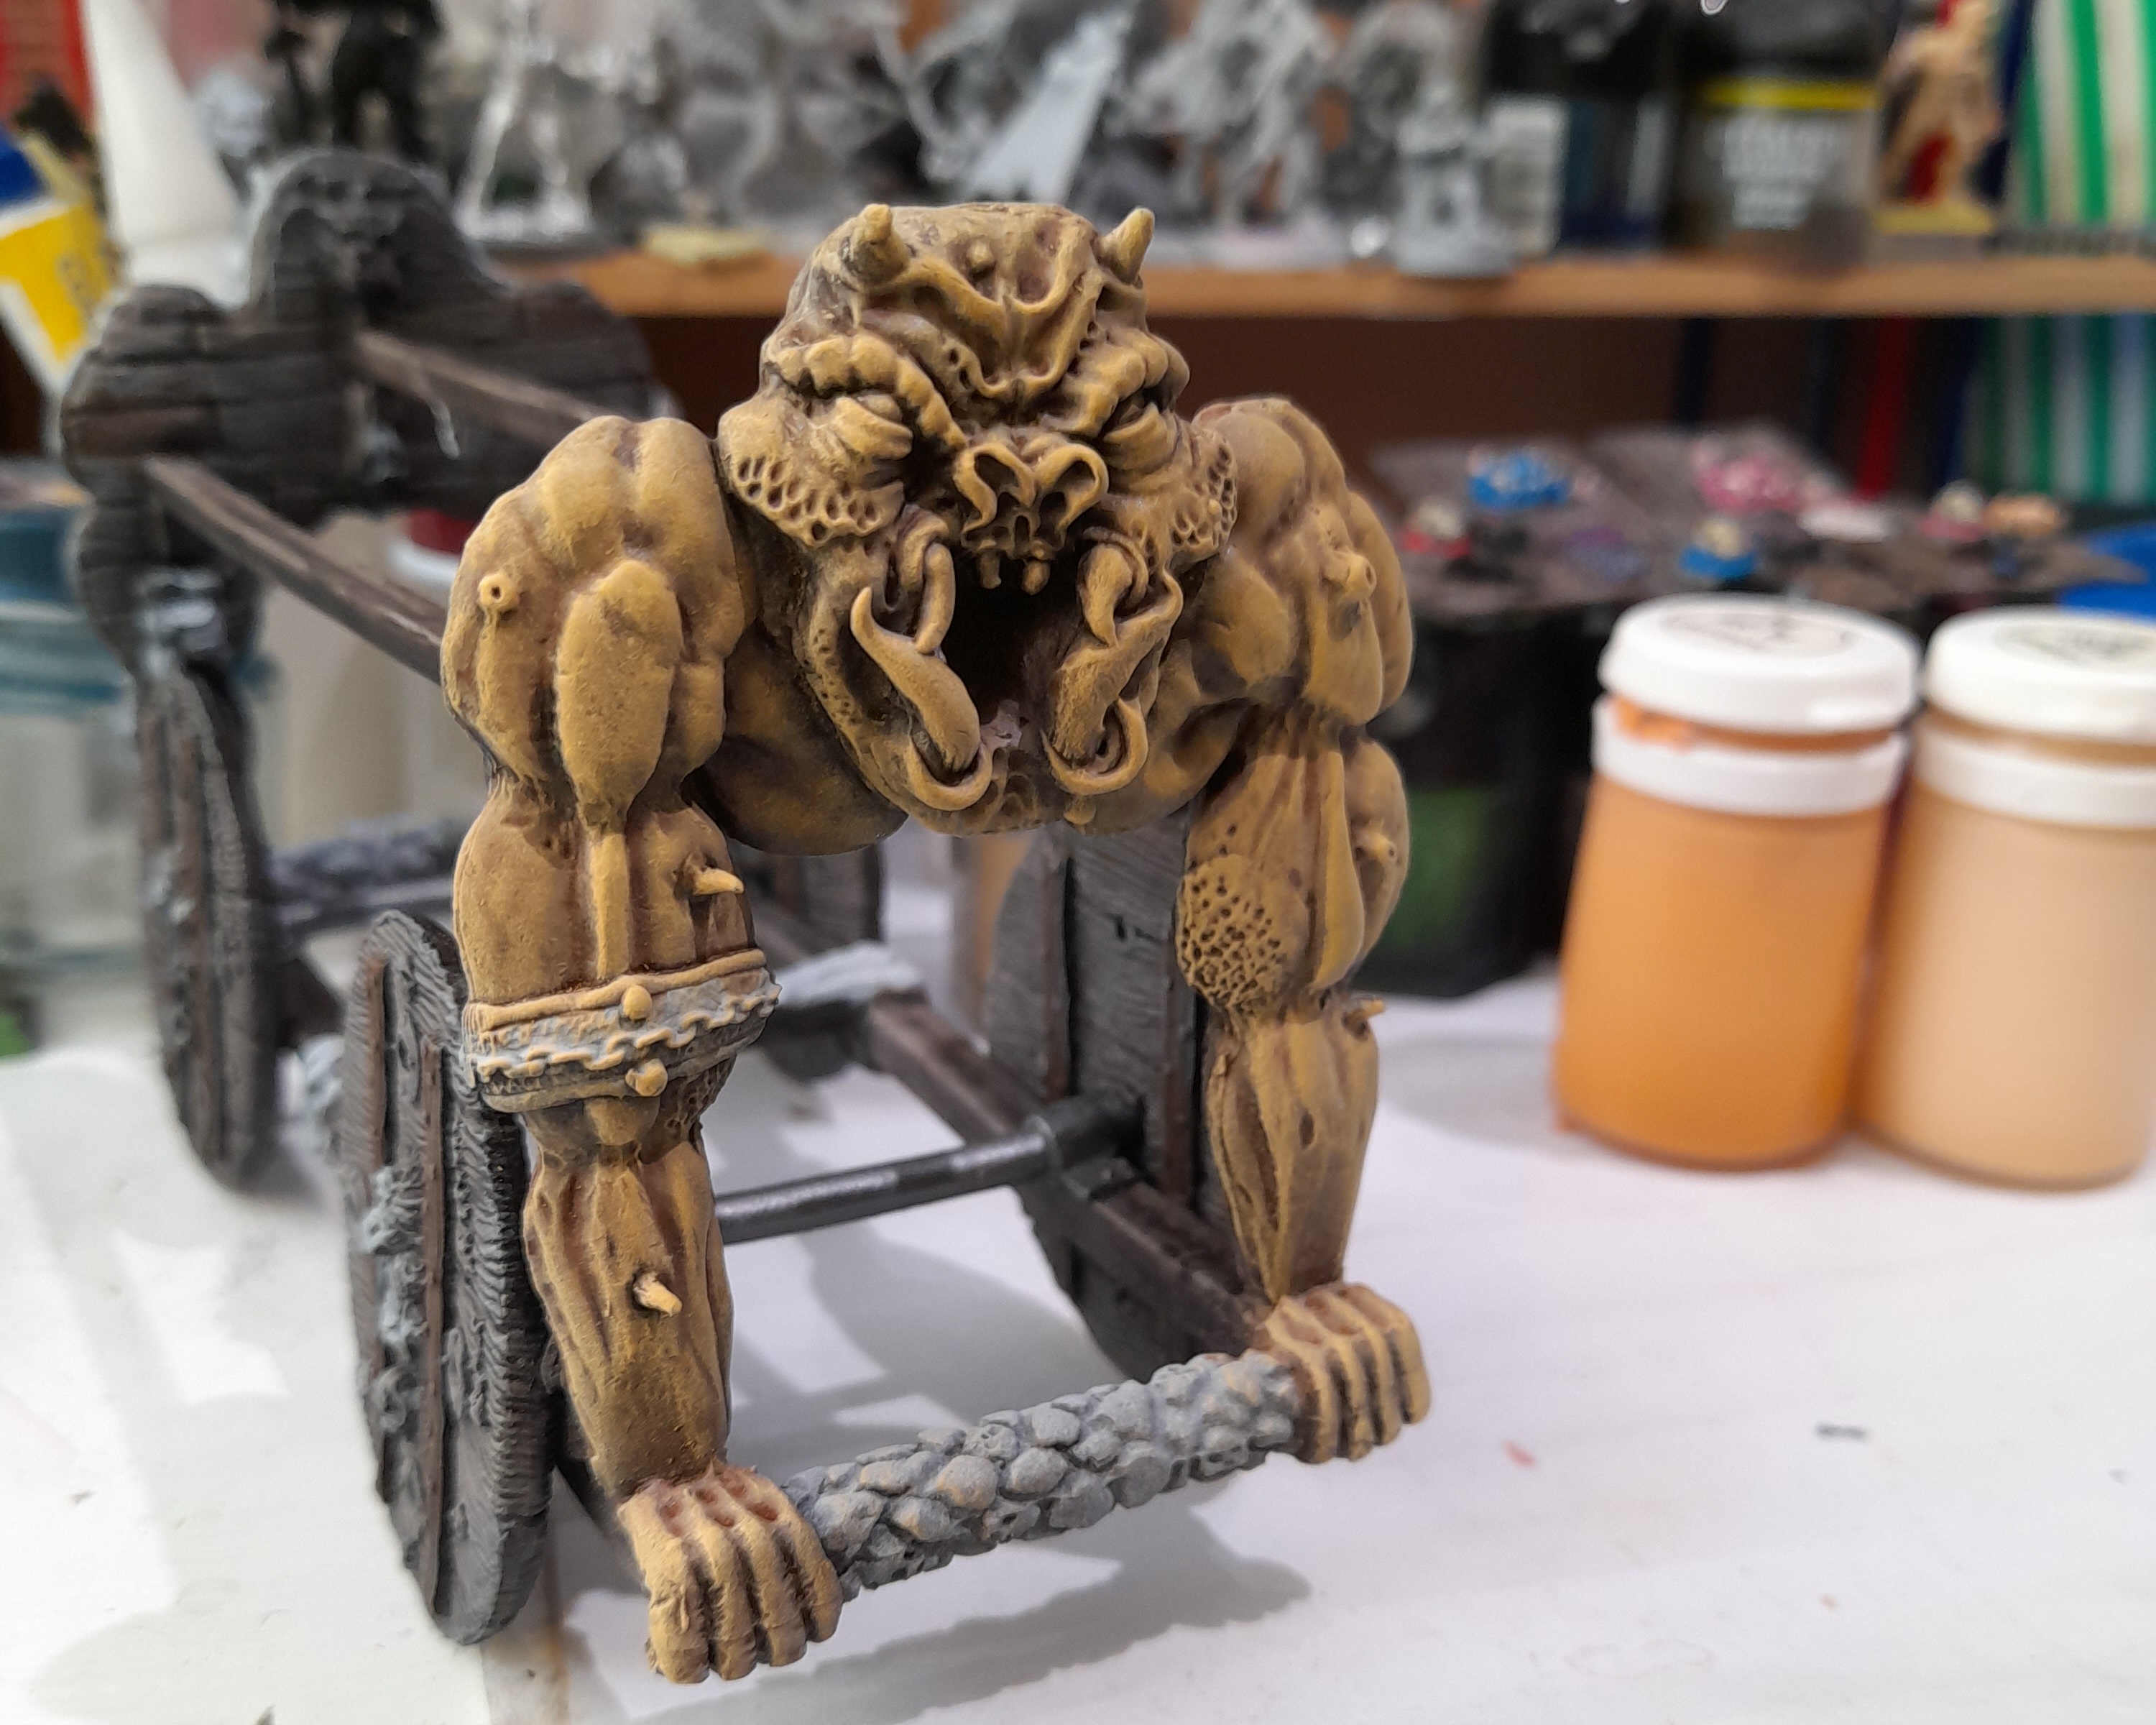
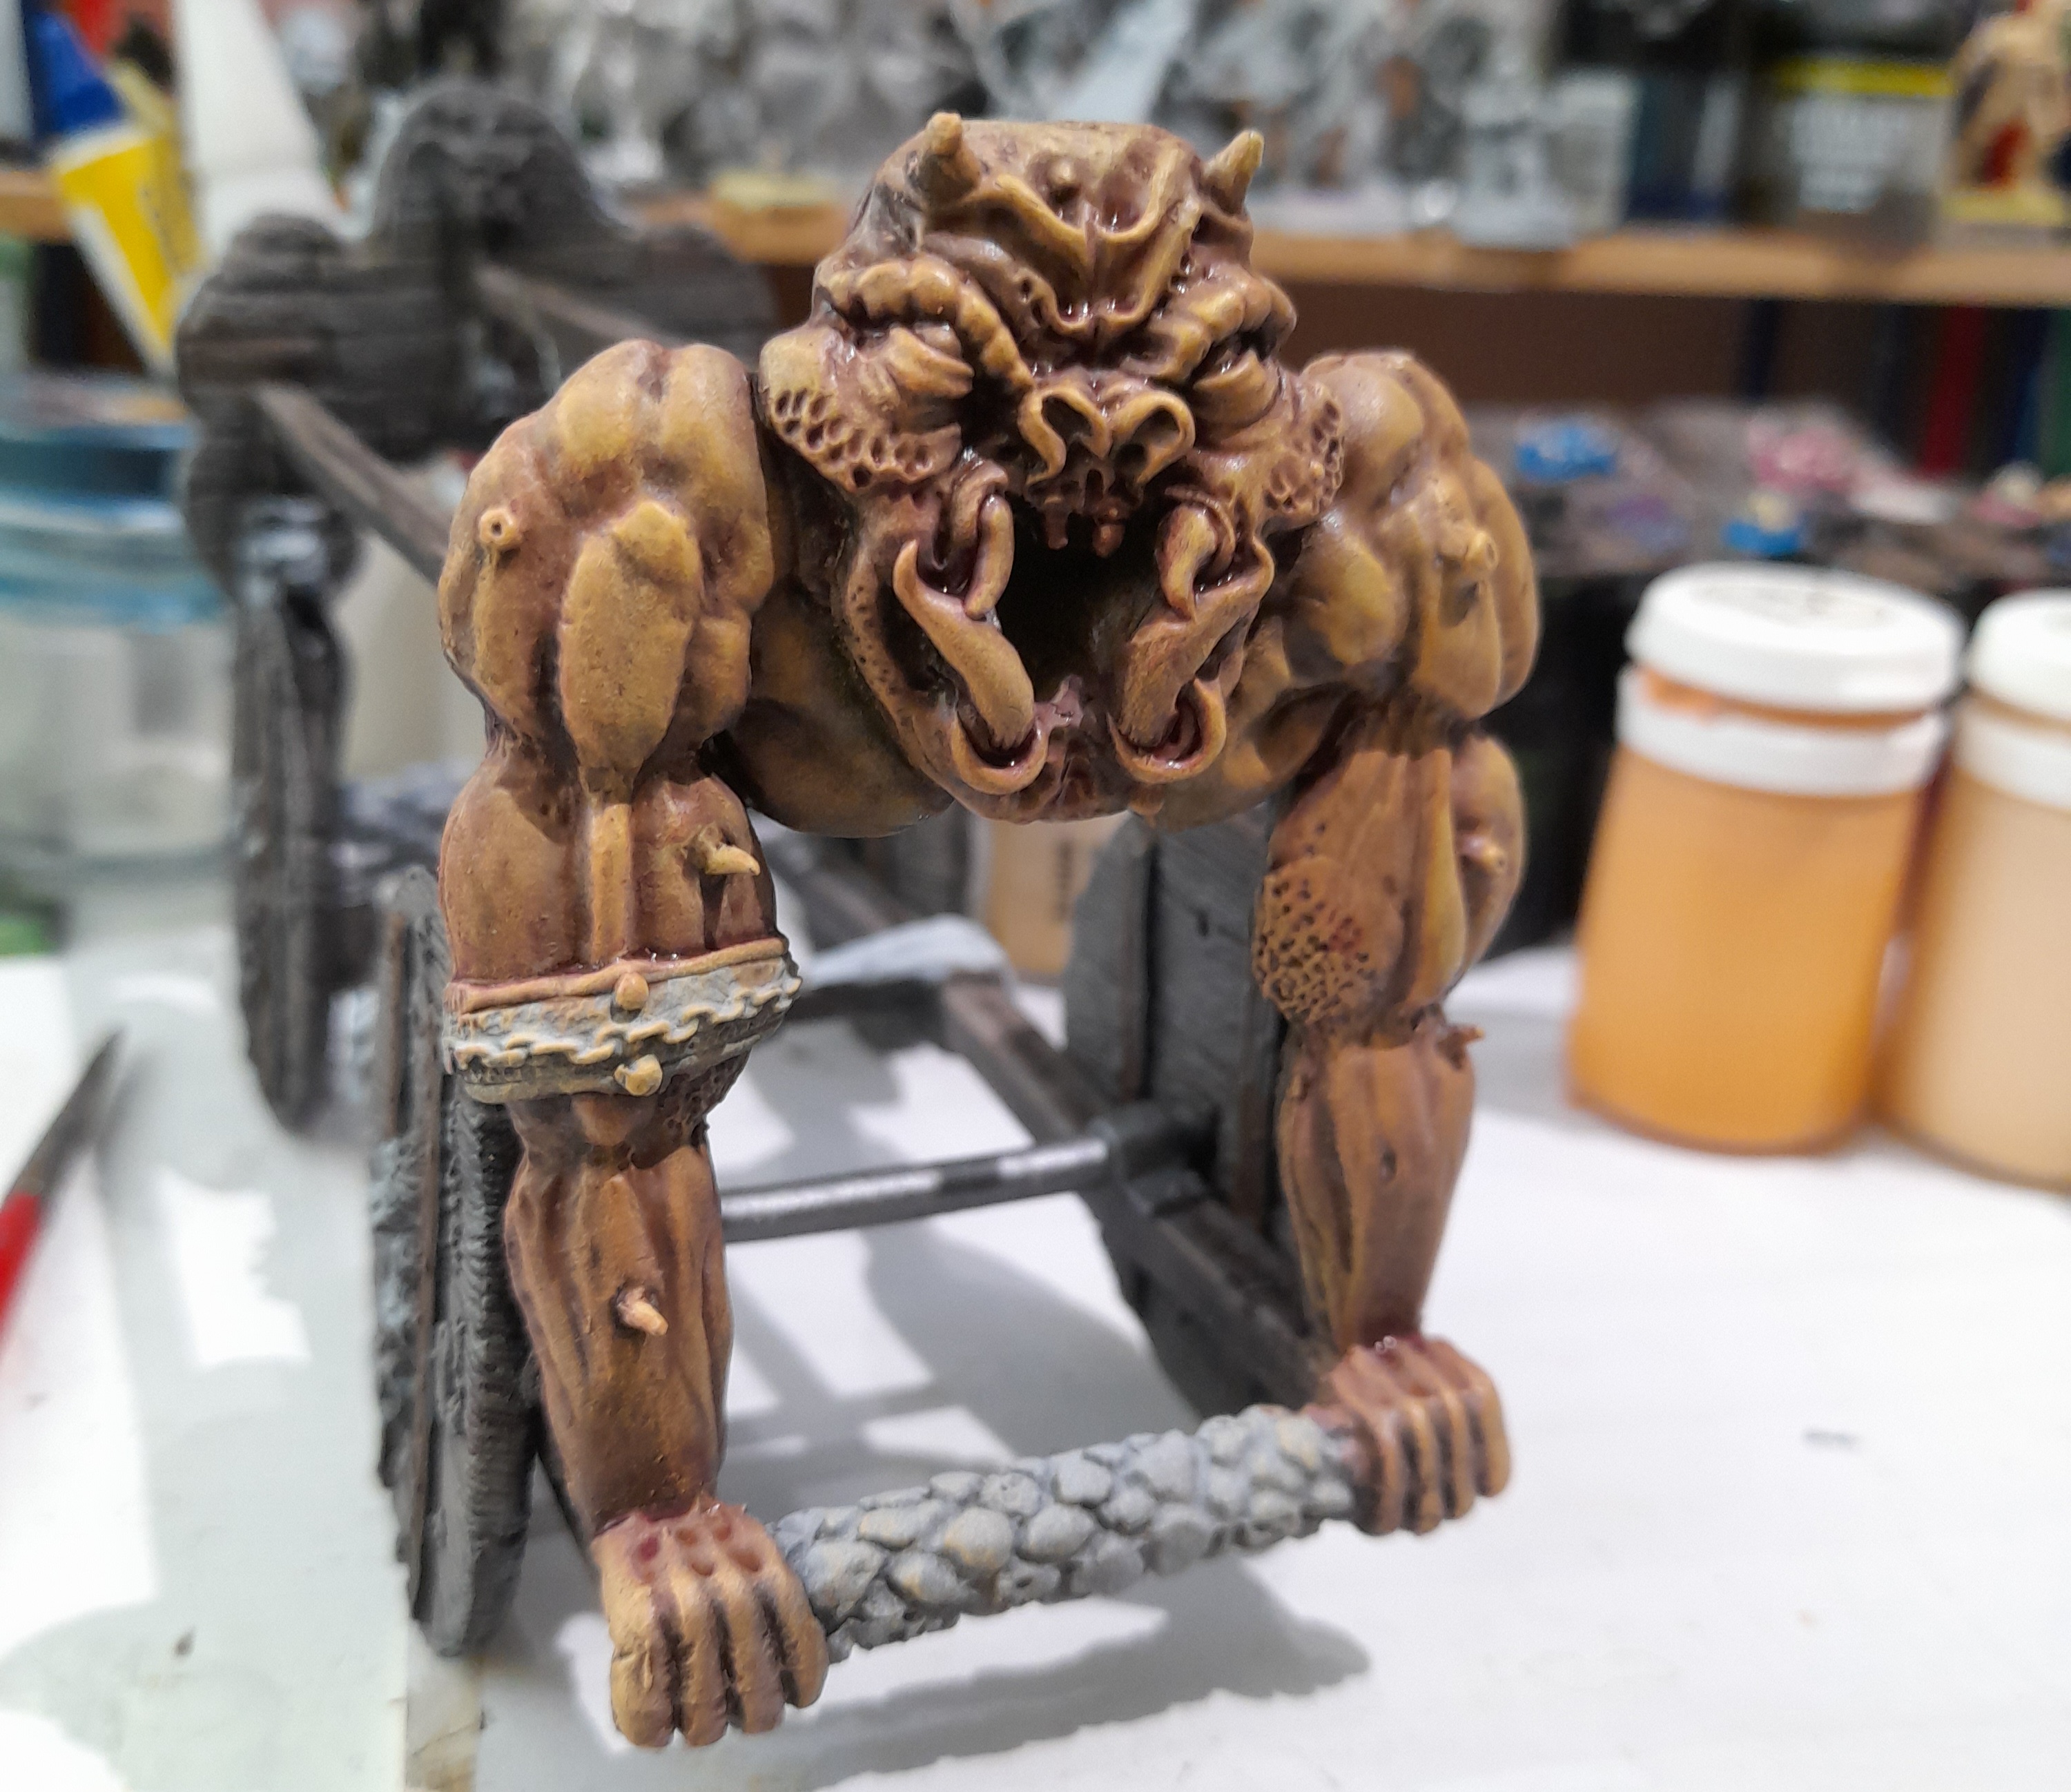
There are various small trophies and such over the rear of the end panels. I painted these up as best I could, sometimes finding paintbrush access a little awkward though. Then I went back in and worked on the end panels. I tried to give the flesh a slightly different tone for each end, so one end had a touch of yellow added into the flesh highlights.
Added a few more flesh highlights, then picking out the eyes, bone spurs, tusks and spots/sores.
For these last ones I added more red wash to make the areas look inflamed, then added some yellow to the tops to imply pus or such.
Putting it all together (I’m sure I forgot to mention something…) and the chassis was finished. Its not top tier, but its pretty good for me, and the end panels capture the feel that I wanted.
Next up, the ram.
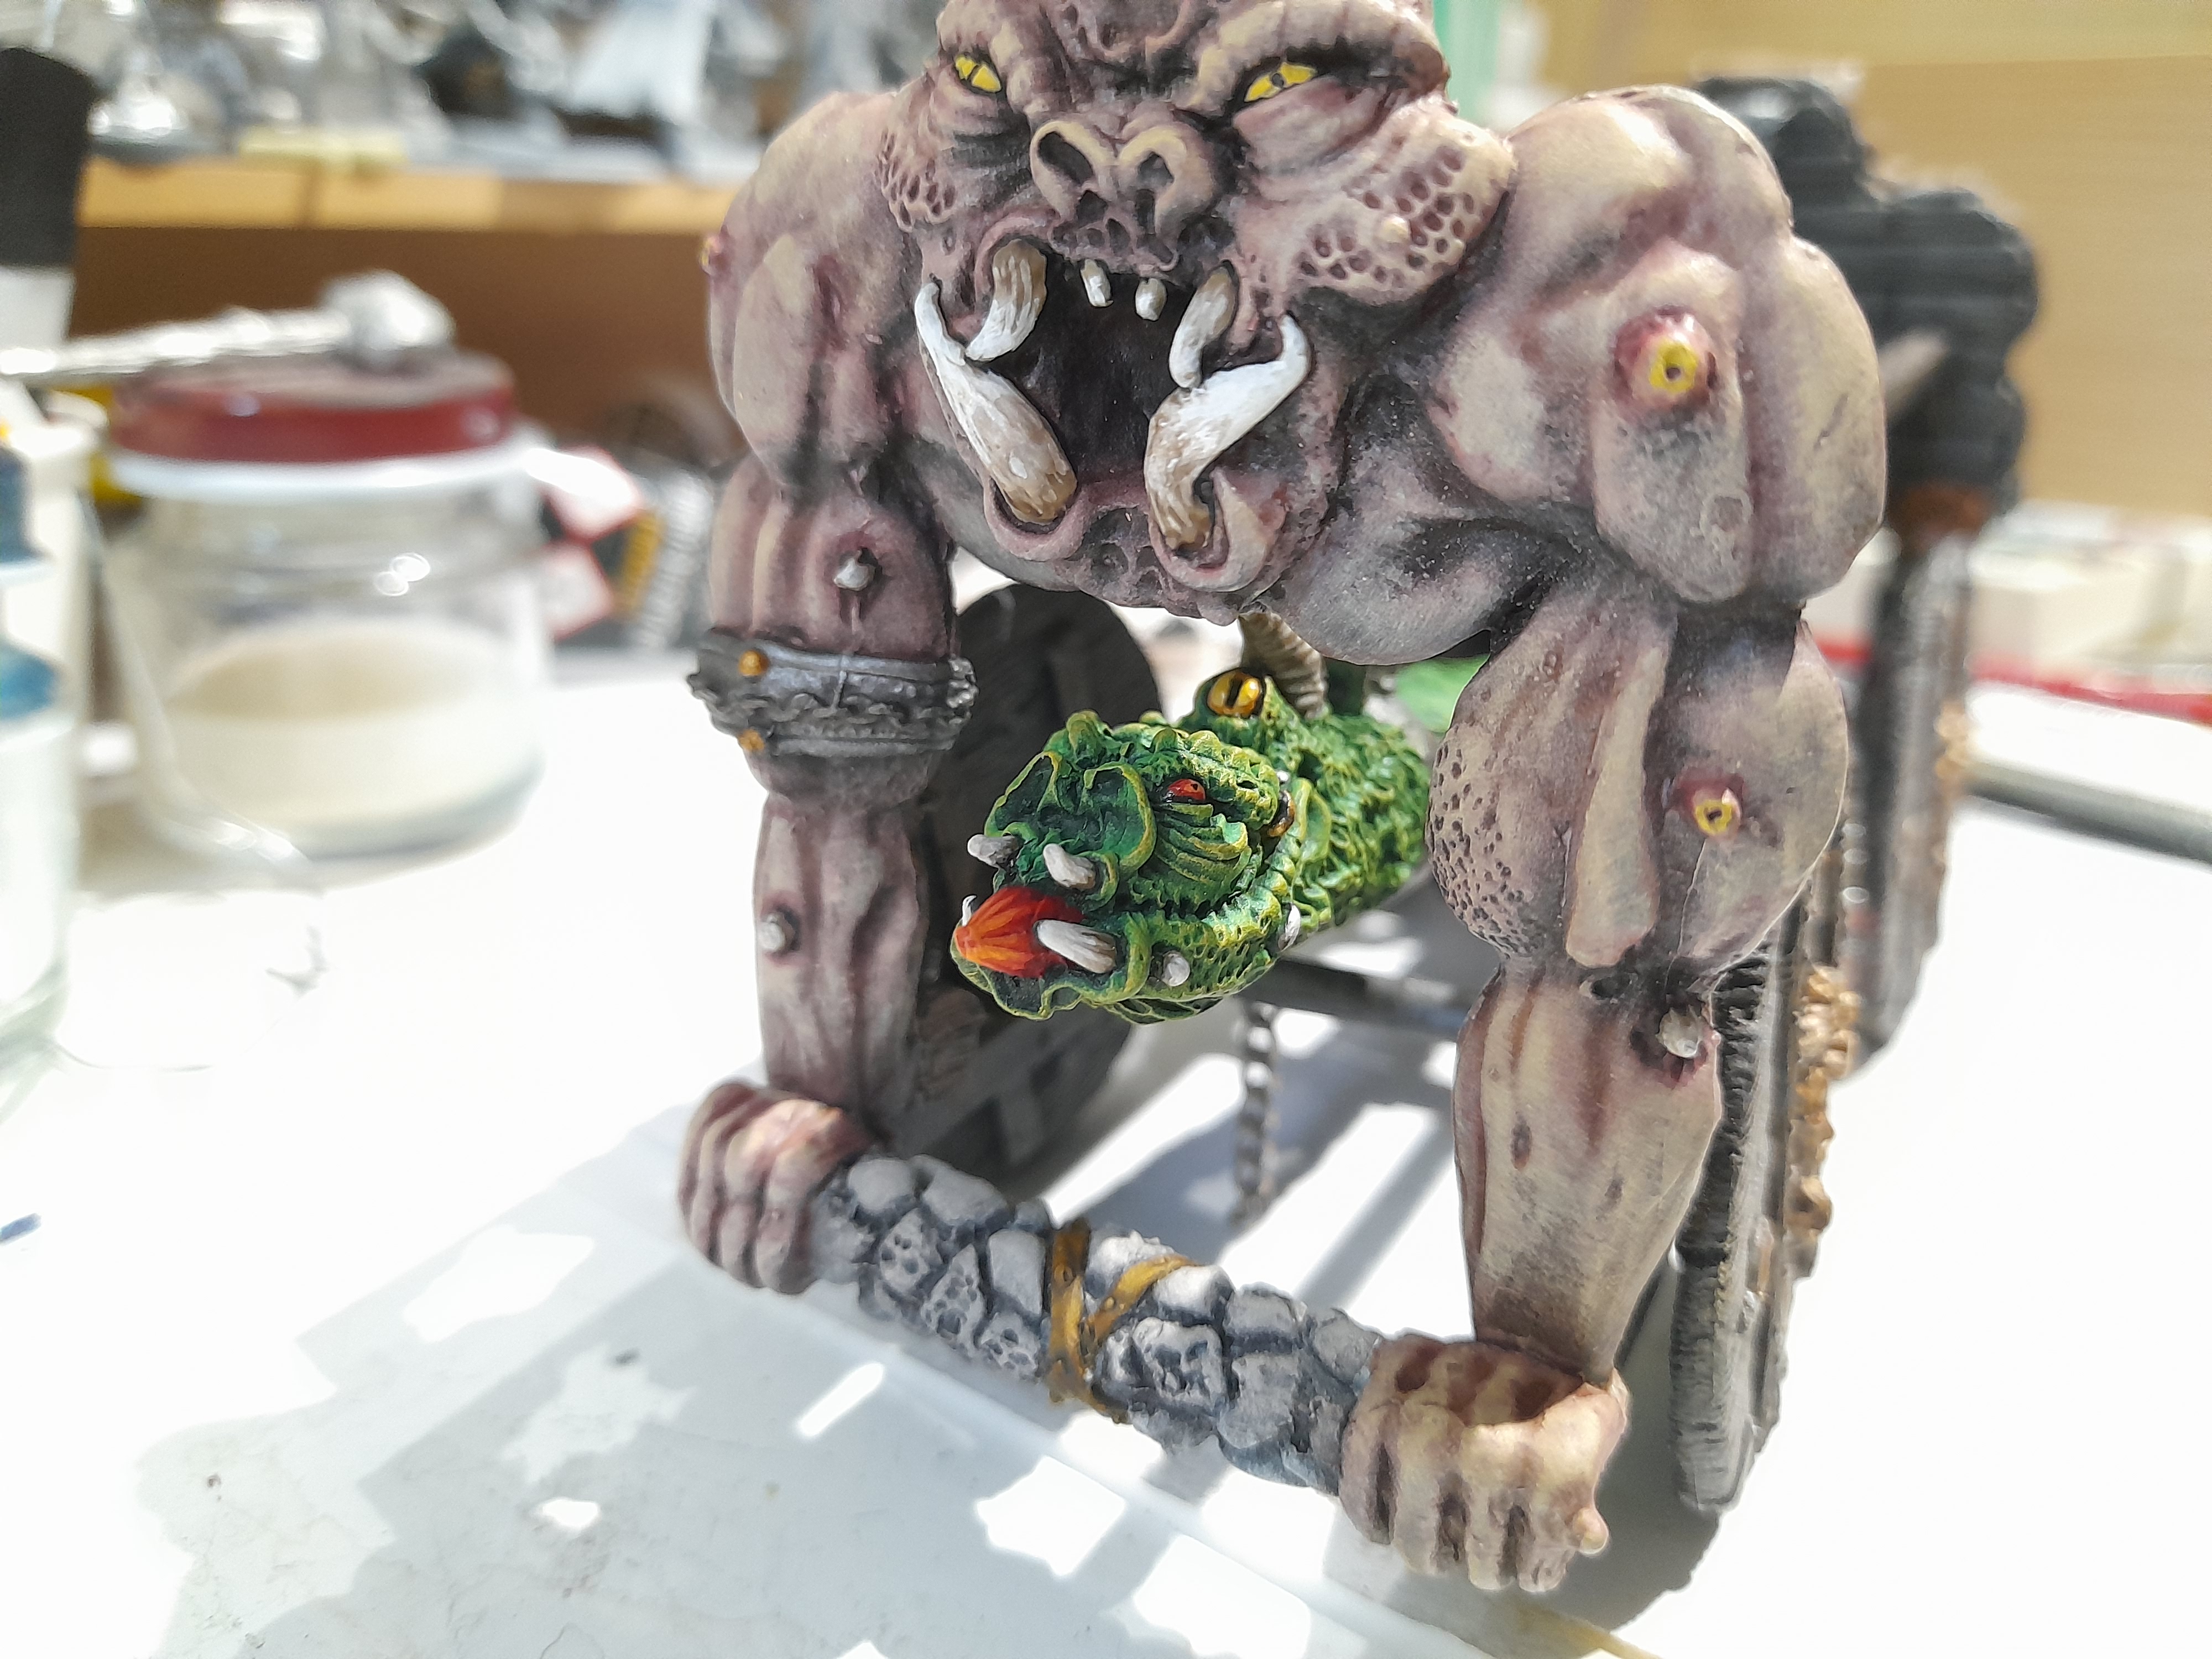
GCBR – The Ram lives!
26th April 2025
So, onto the ram itself. This is a heavy piece of metal from the old days 😊 It was zenith primed with the rest, then given an all over green contrast.
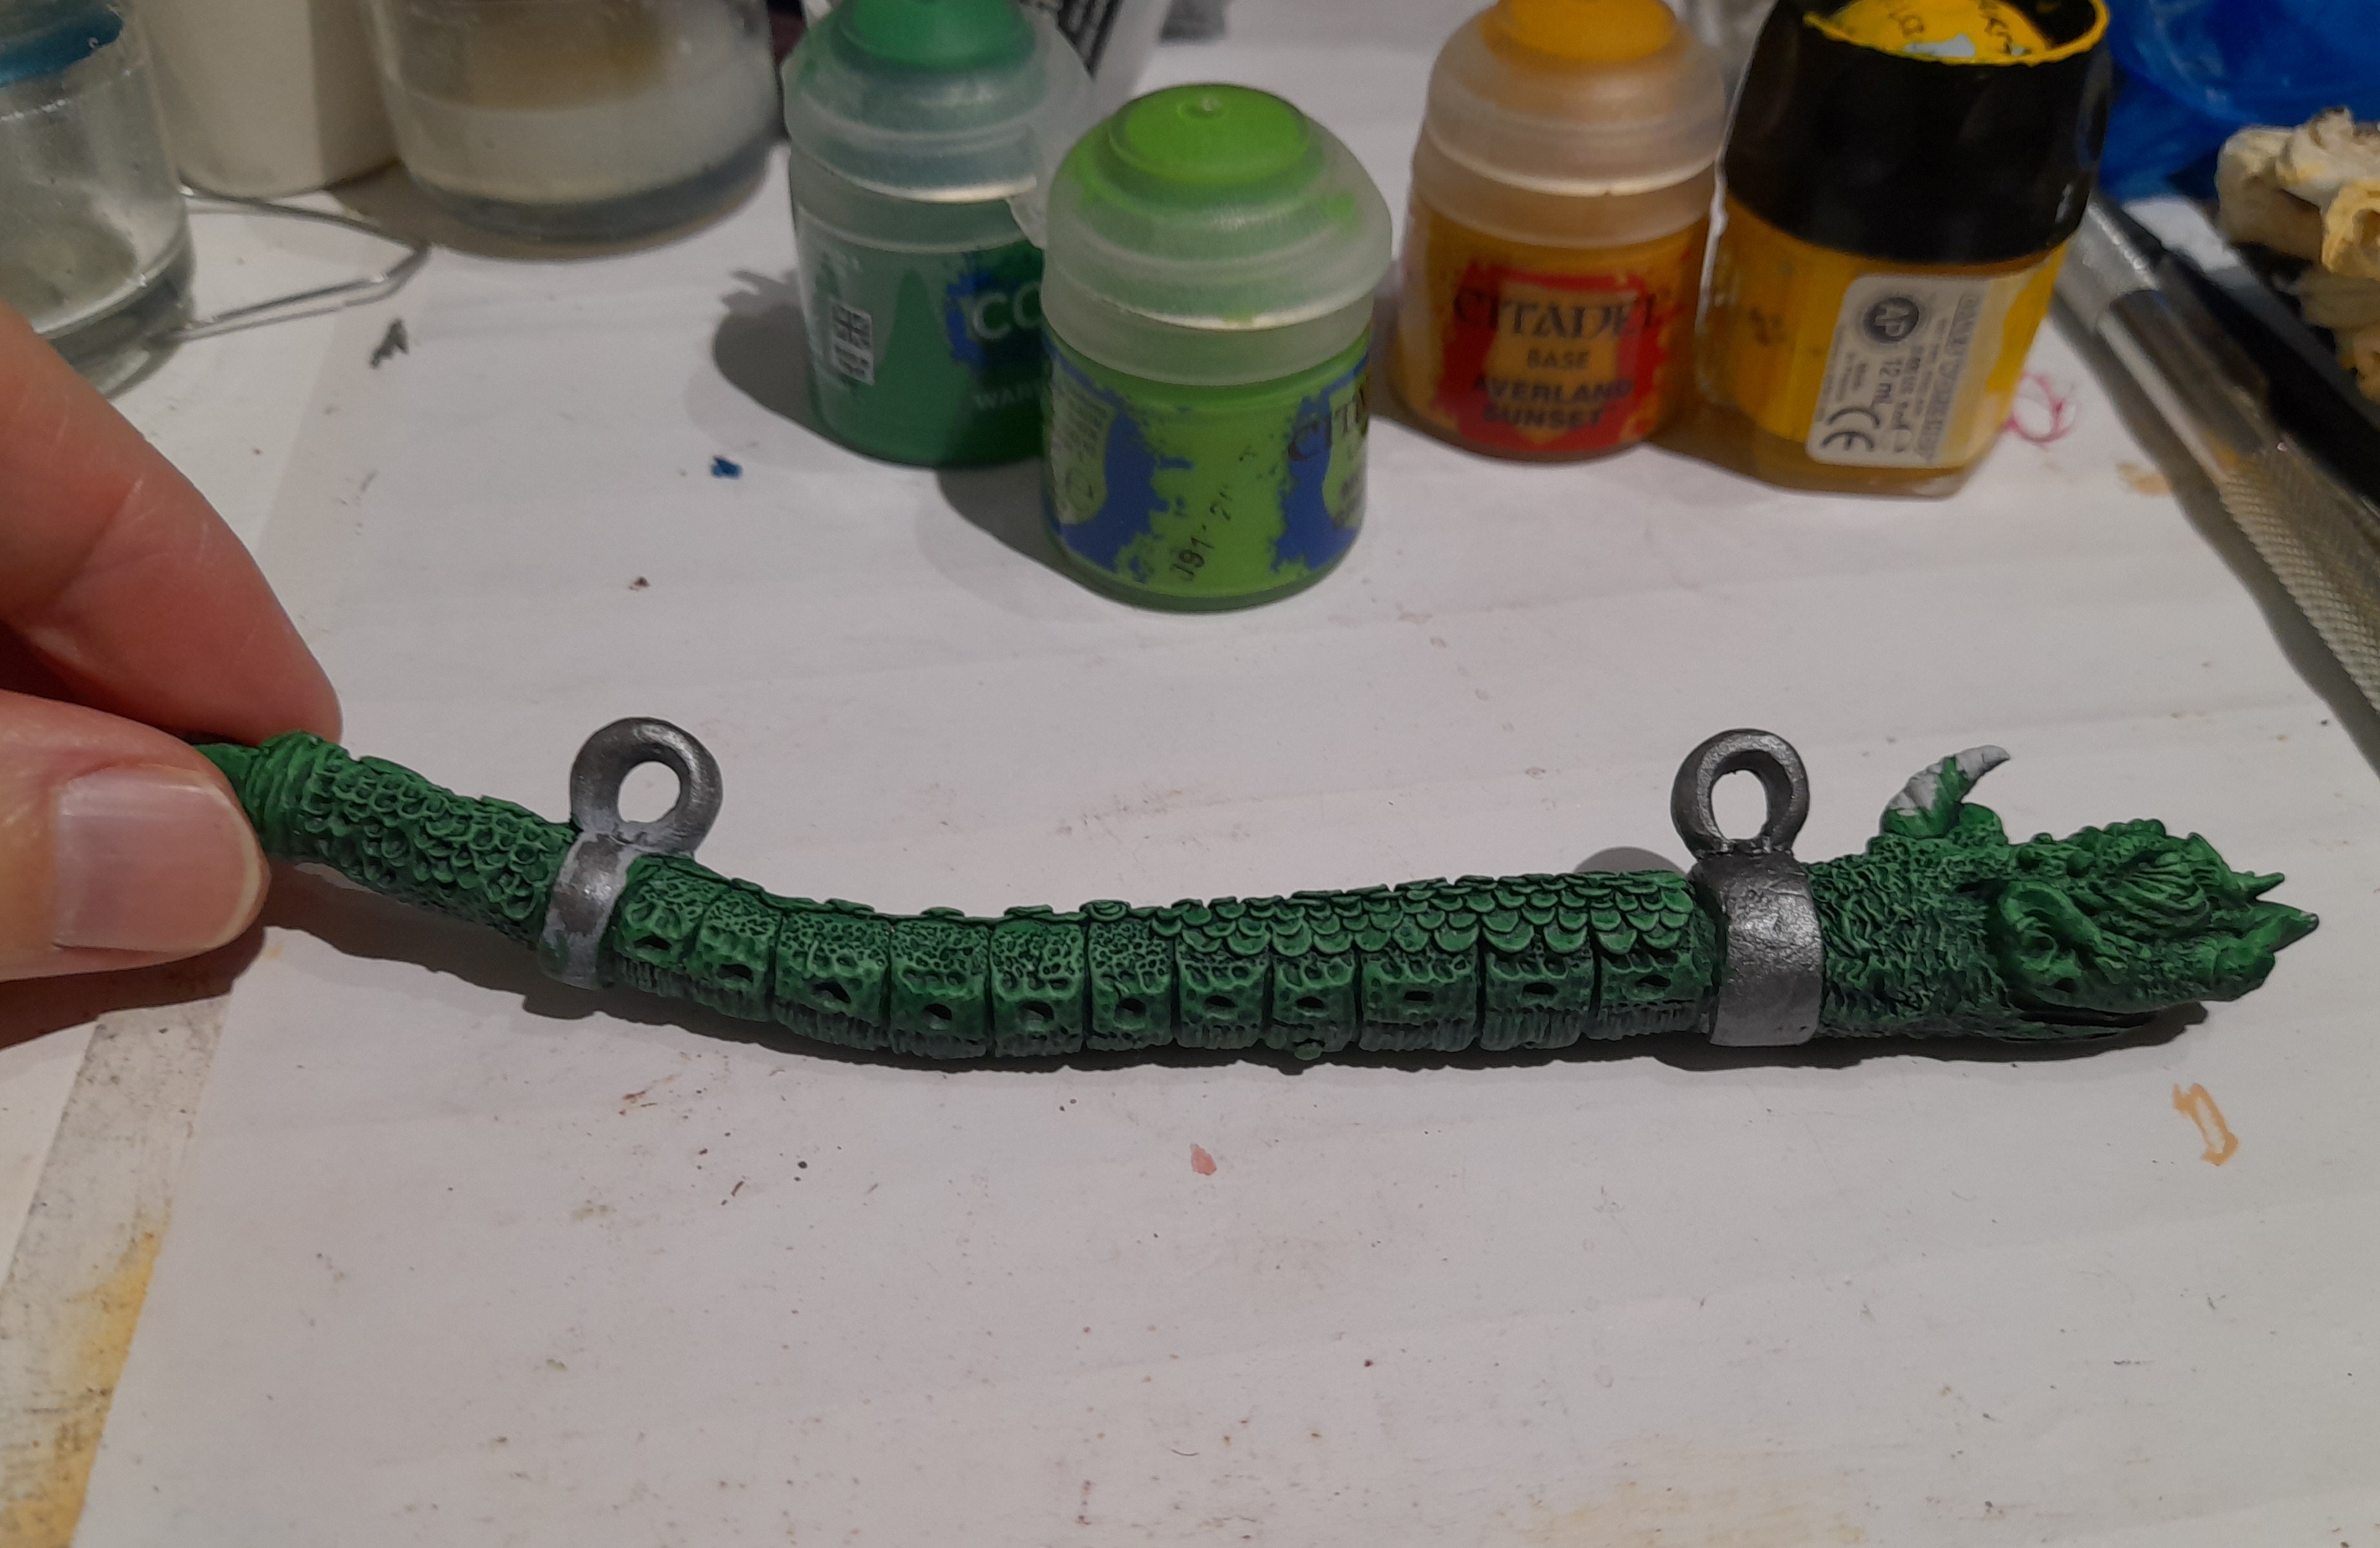
Then I used two further shades of green and two of yellow to drybrush up, then placed some highlights. This gave it a bit of a pop to the colour (the contrast only was looking a touch cold)
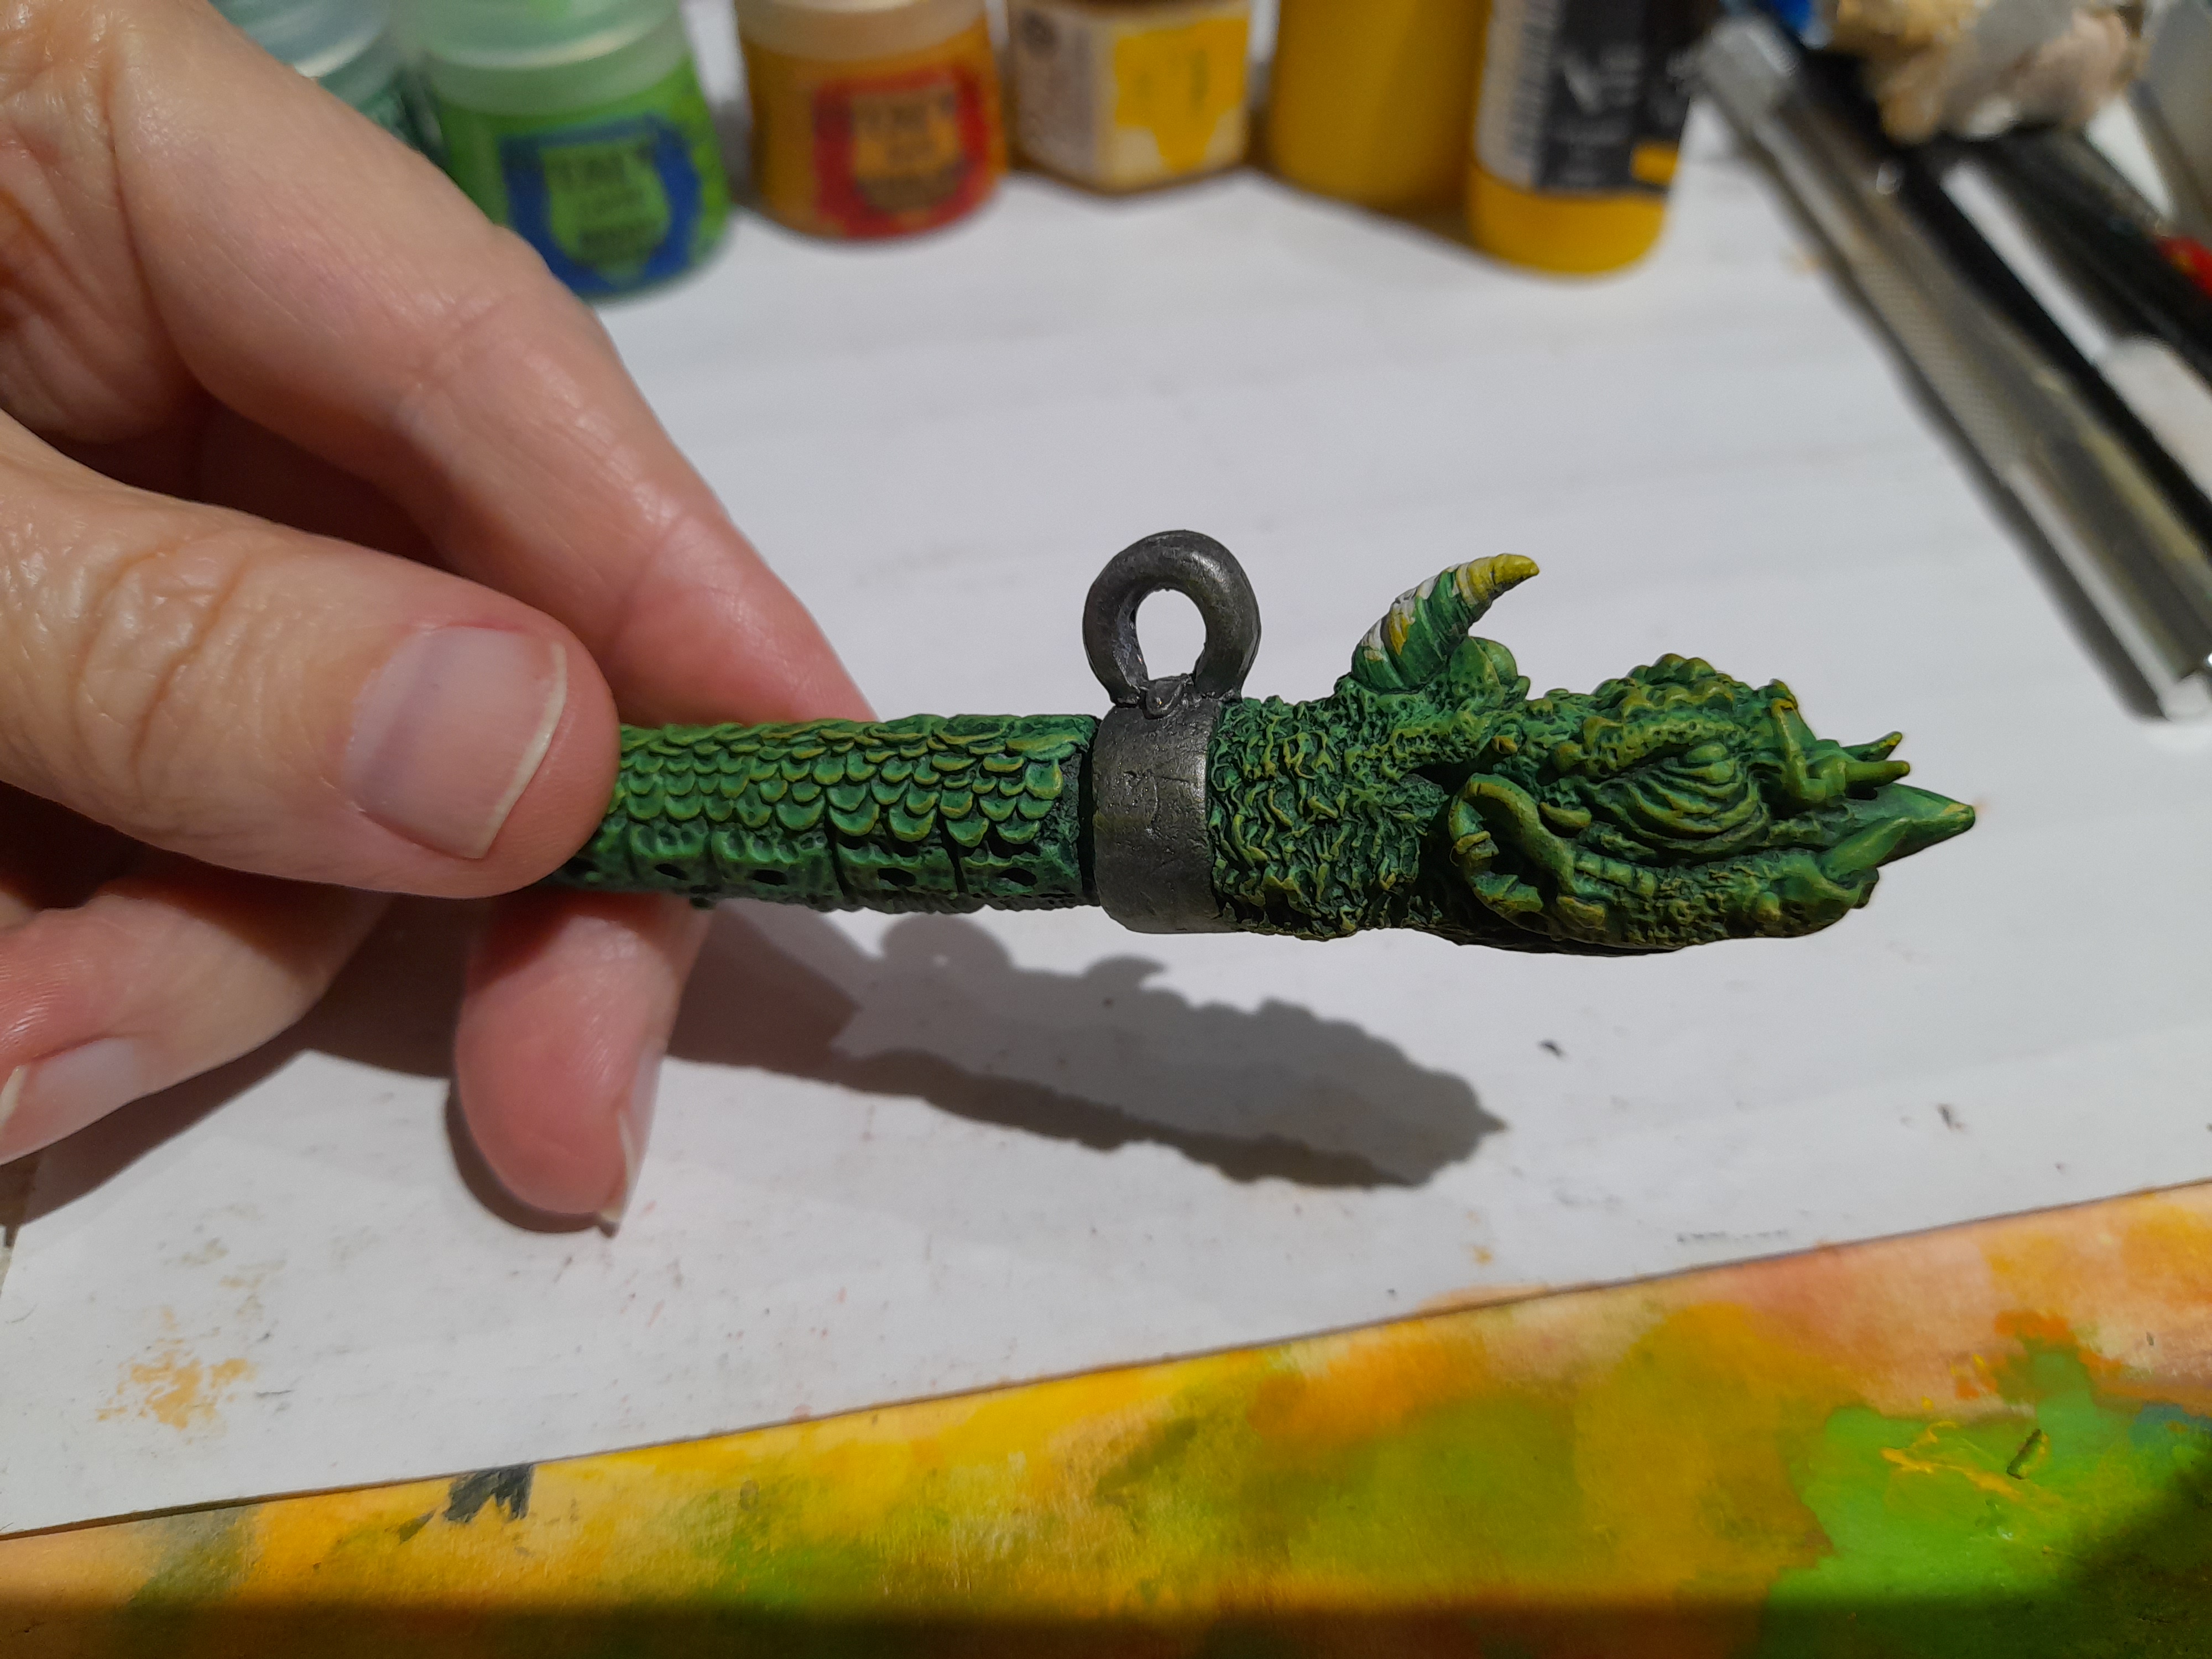
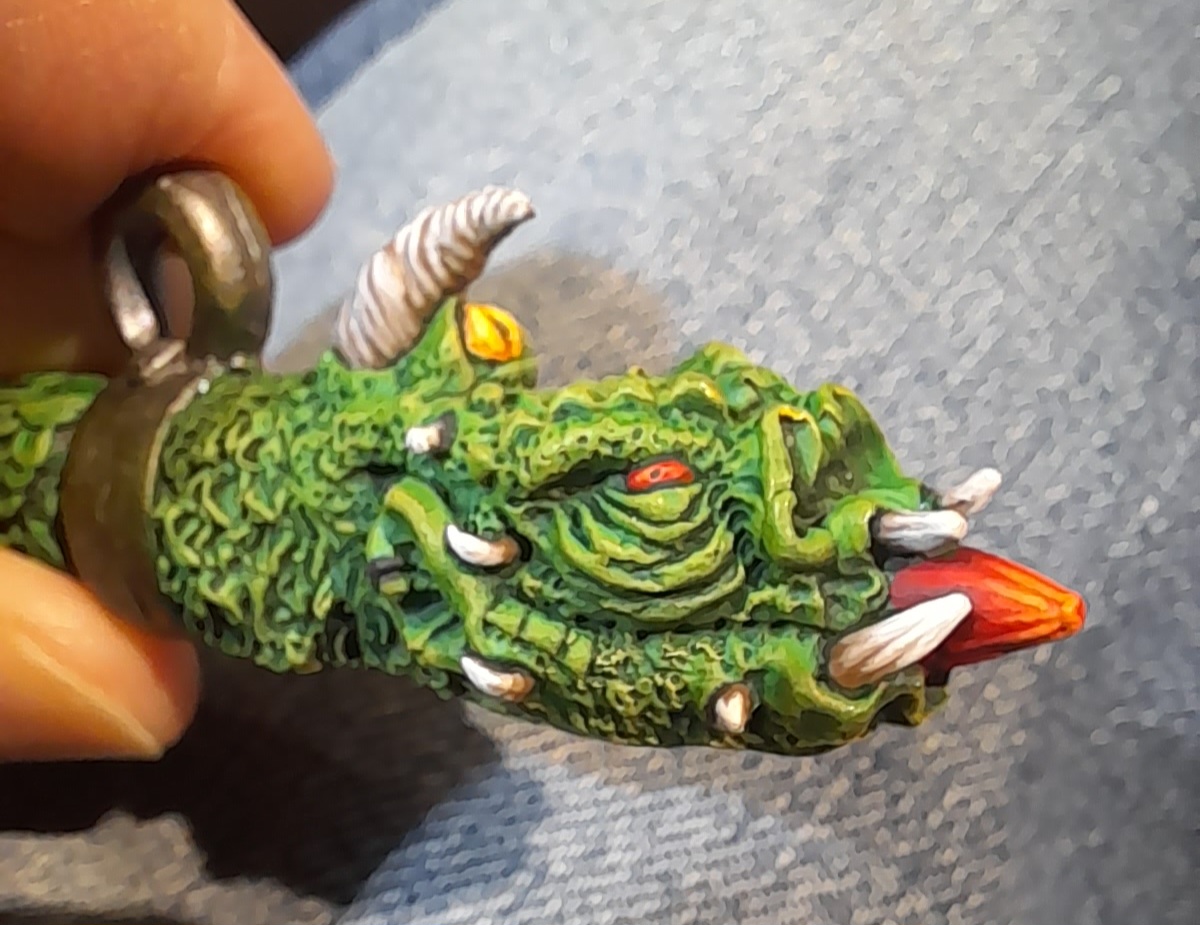
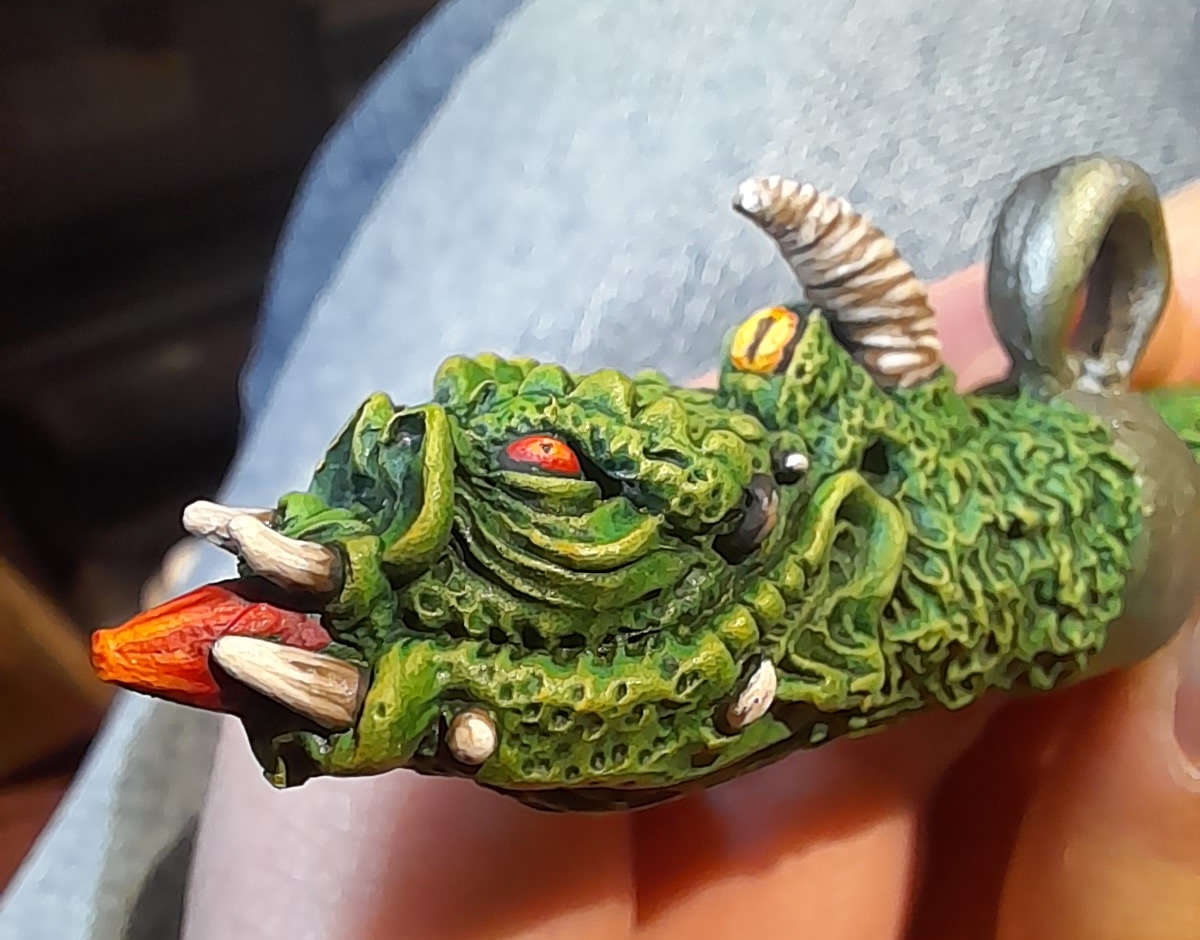
Next up it was the detailing of bones, teeth, horns, eyes etc.
I spent extra time focussing on these, carefully laying down multiple thin highlight stages to create an apparent growth pattern texture to the teeth and horns.
Pretty happy with how they came out, and it reminds me that I need to take my highlights up more than I used to.
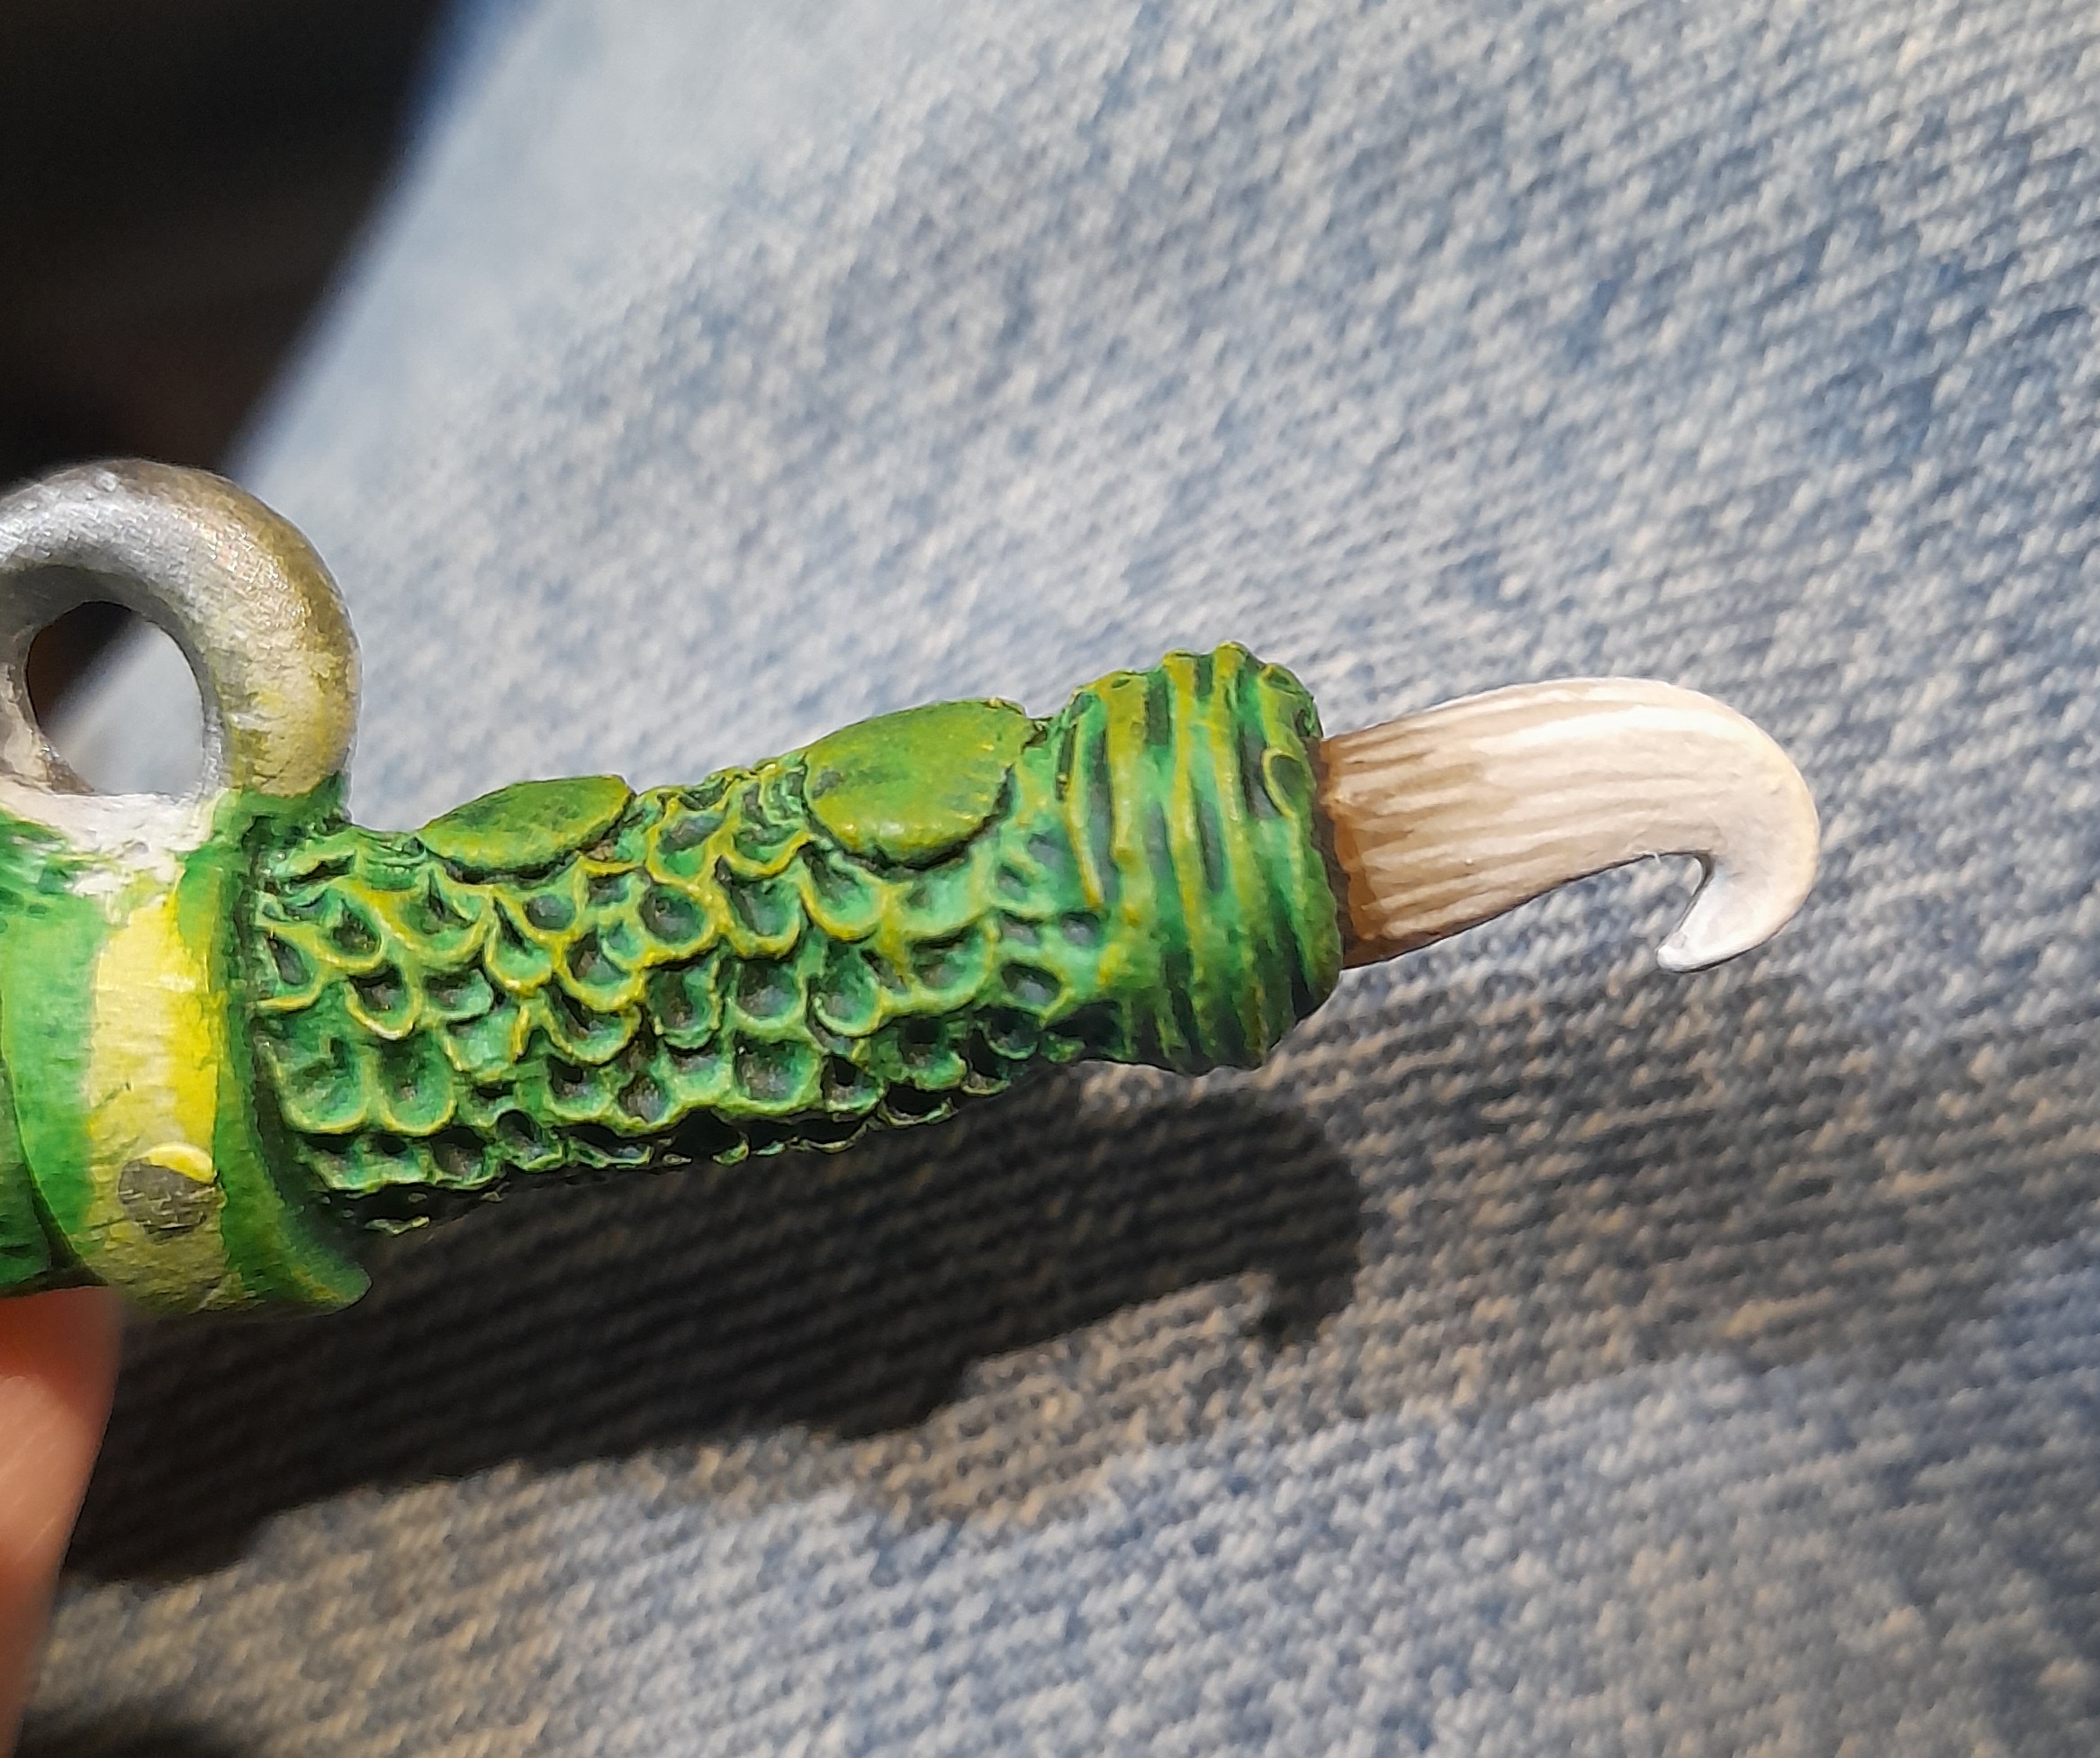
Once I finished the ram, the metal attachments etc (and gloss varnish added to the eyes) I then used some old chain and cotton to hang it from the chassis……. Things are getting closer, but I still need to sort a nice base yet….
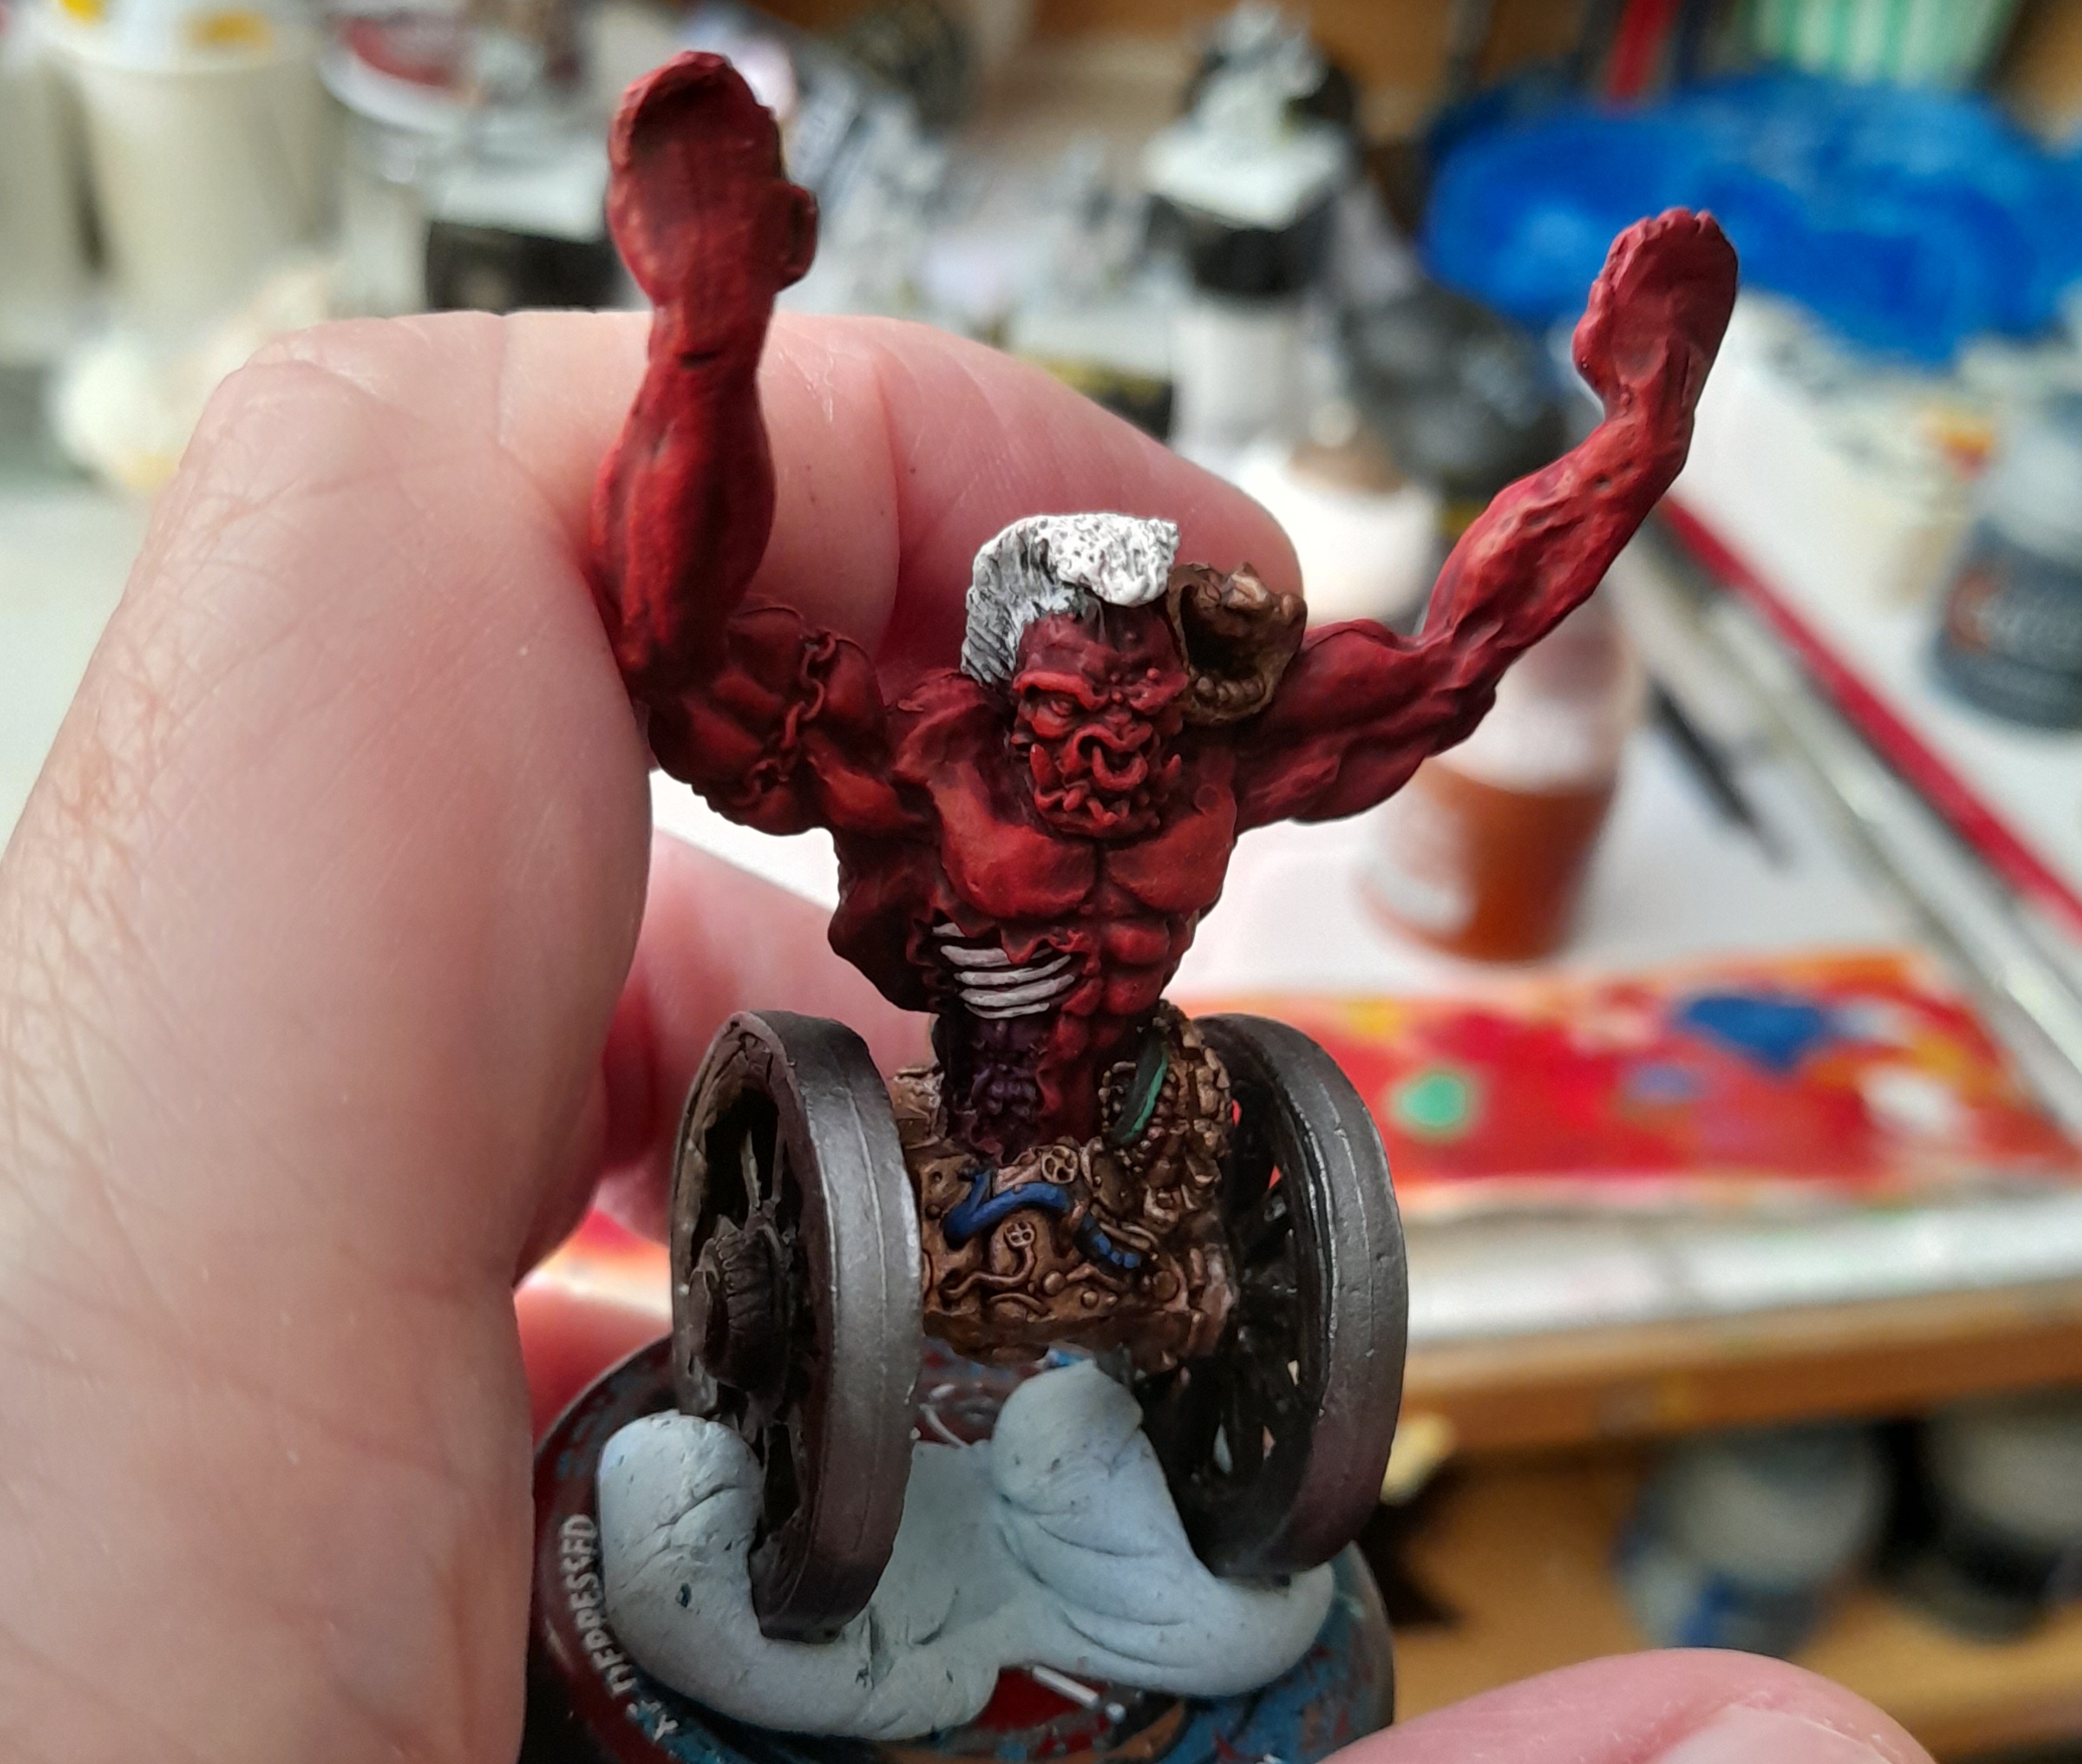
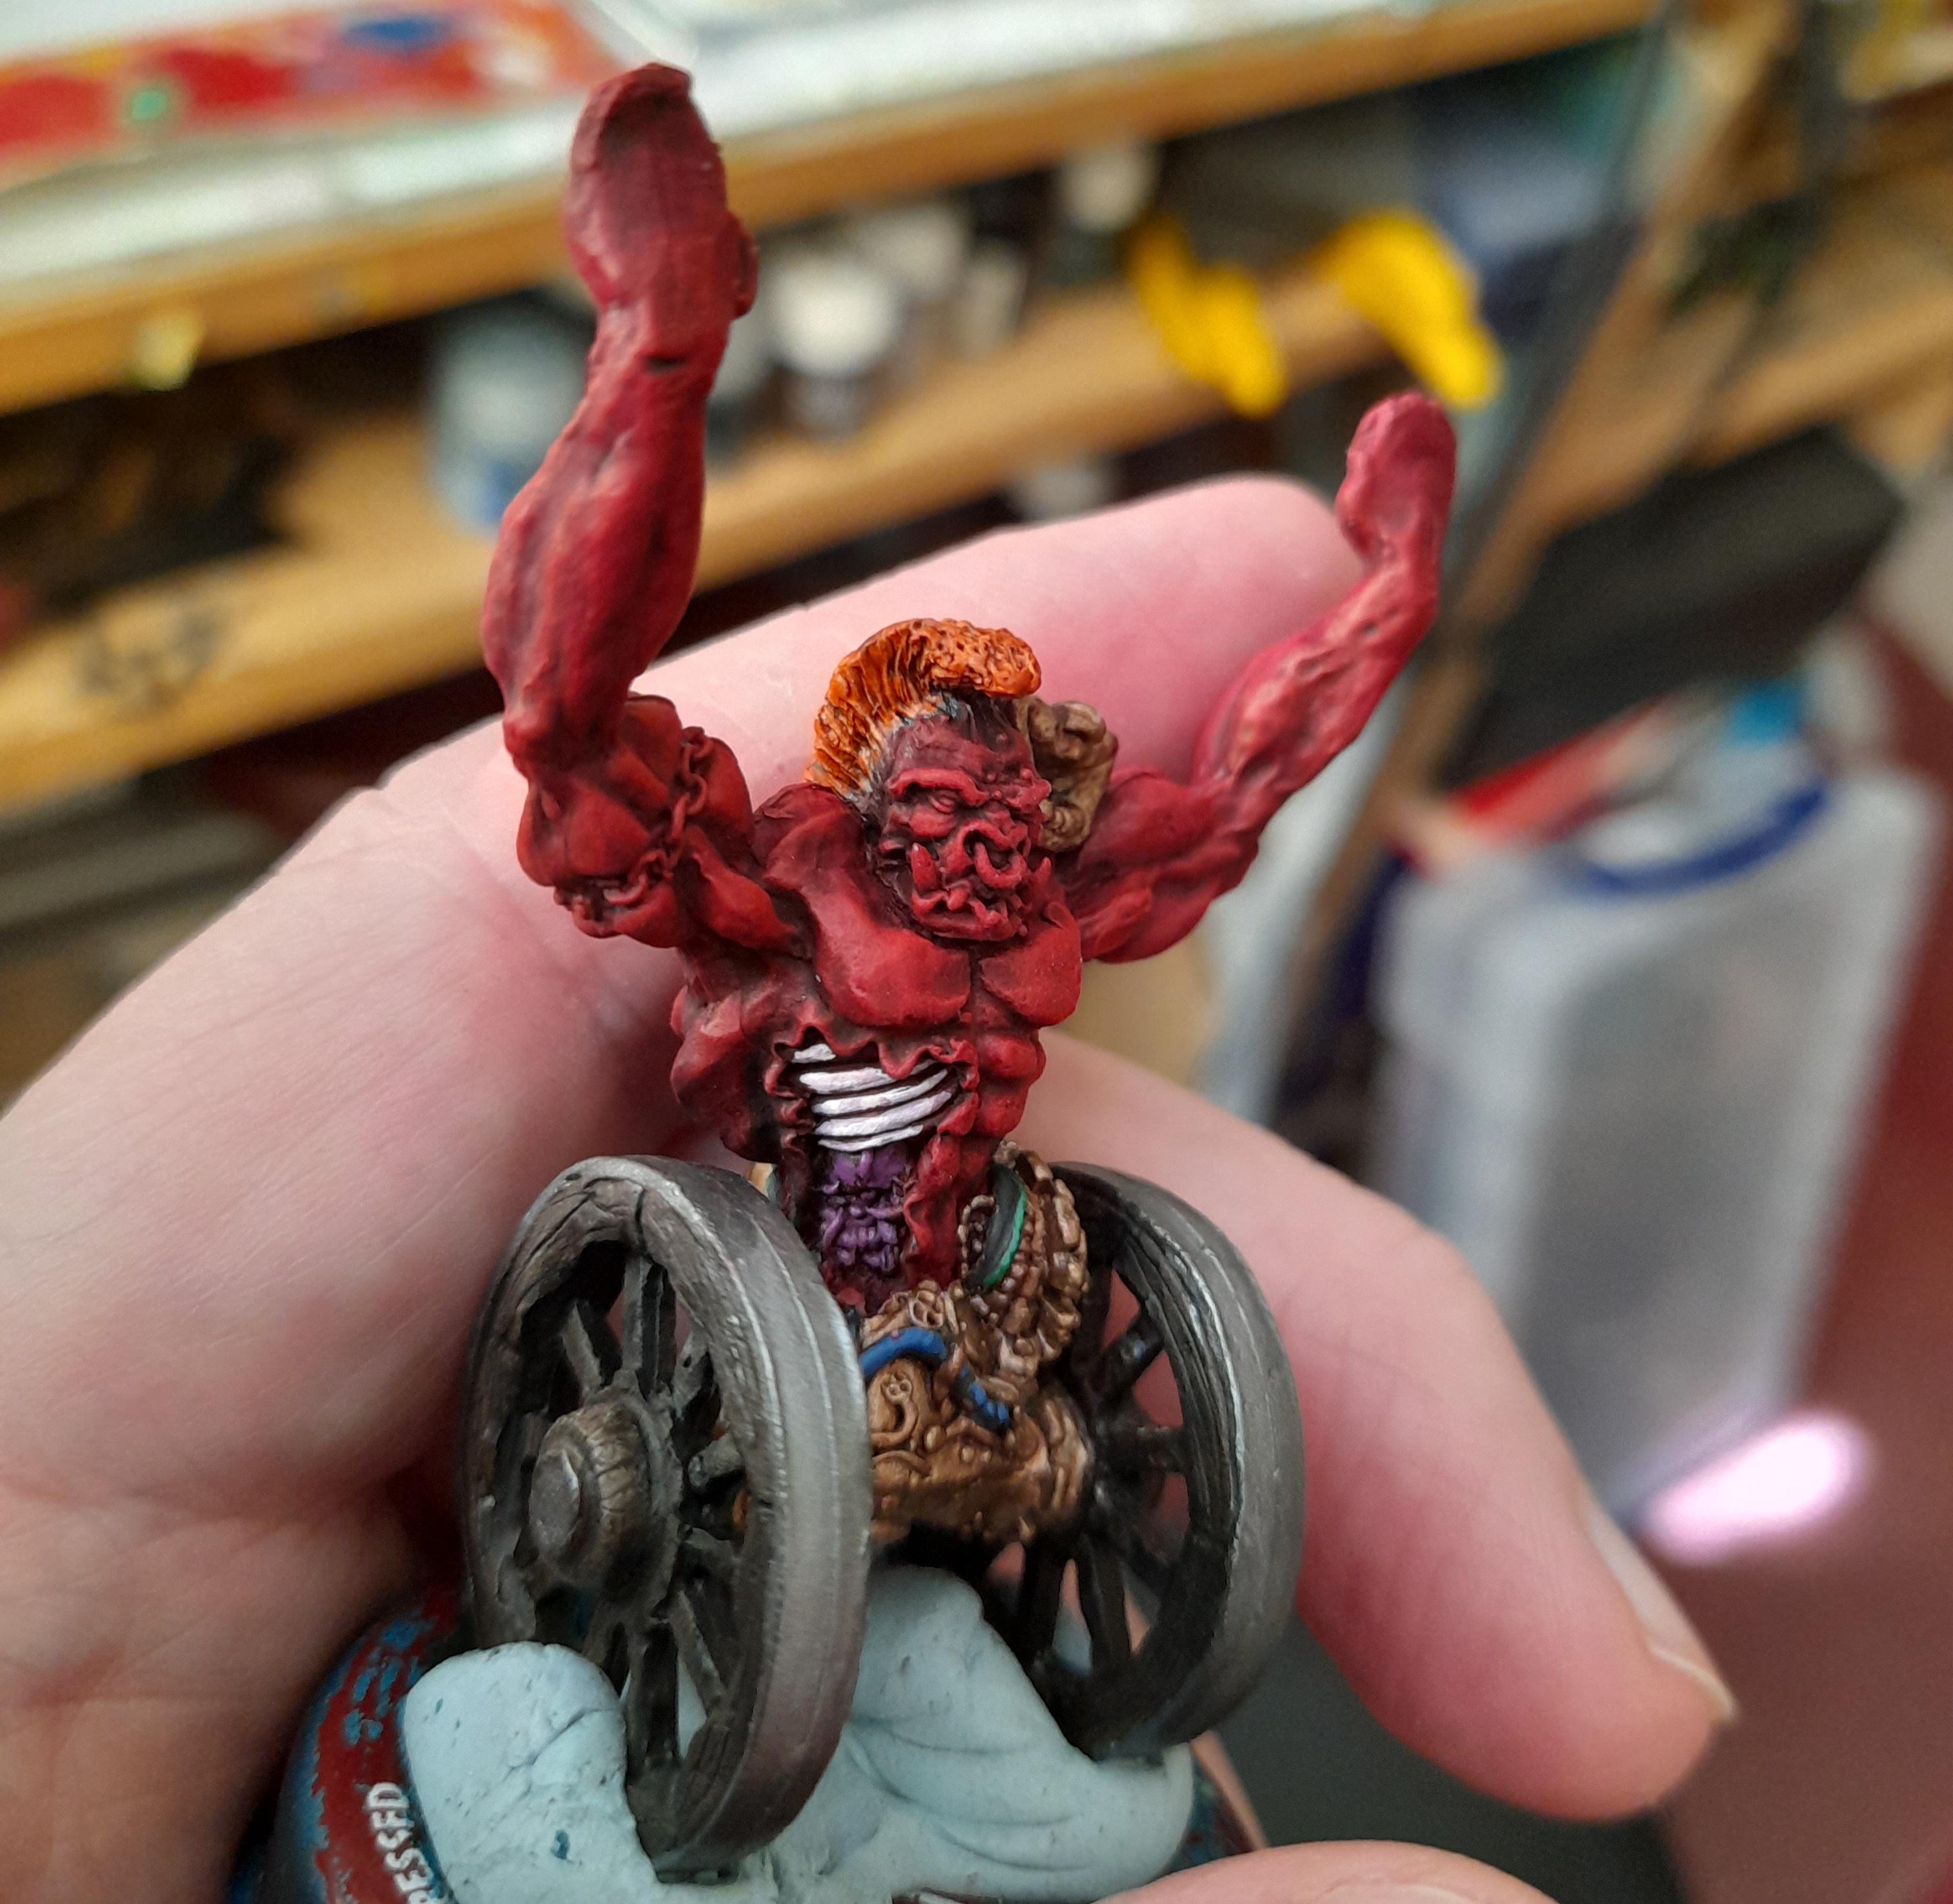
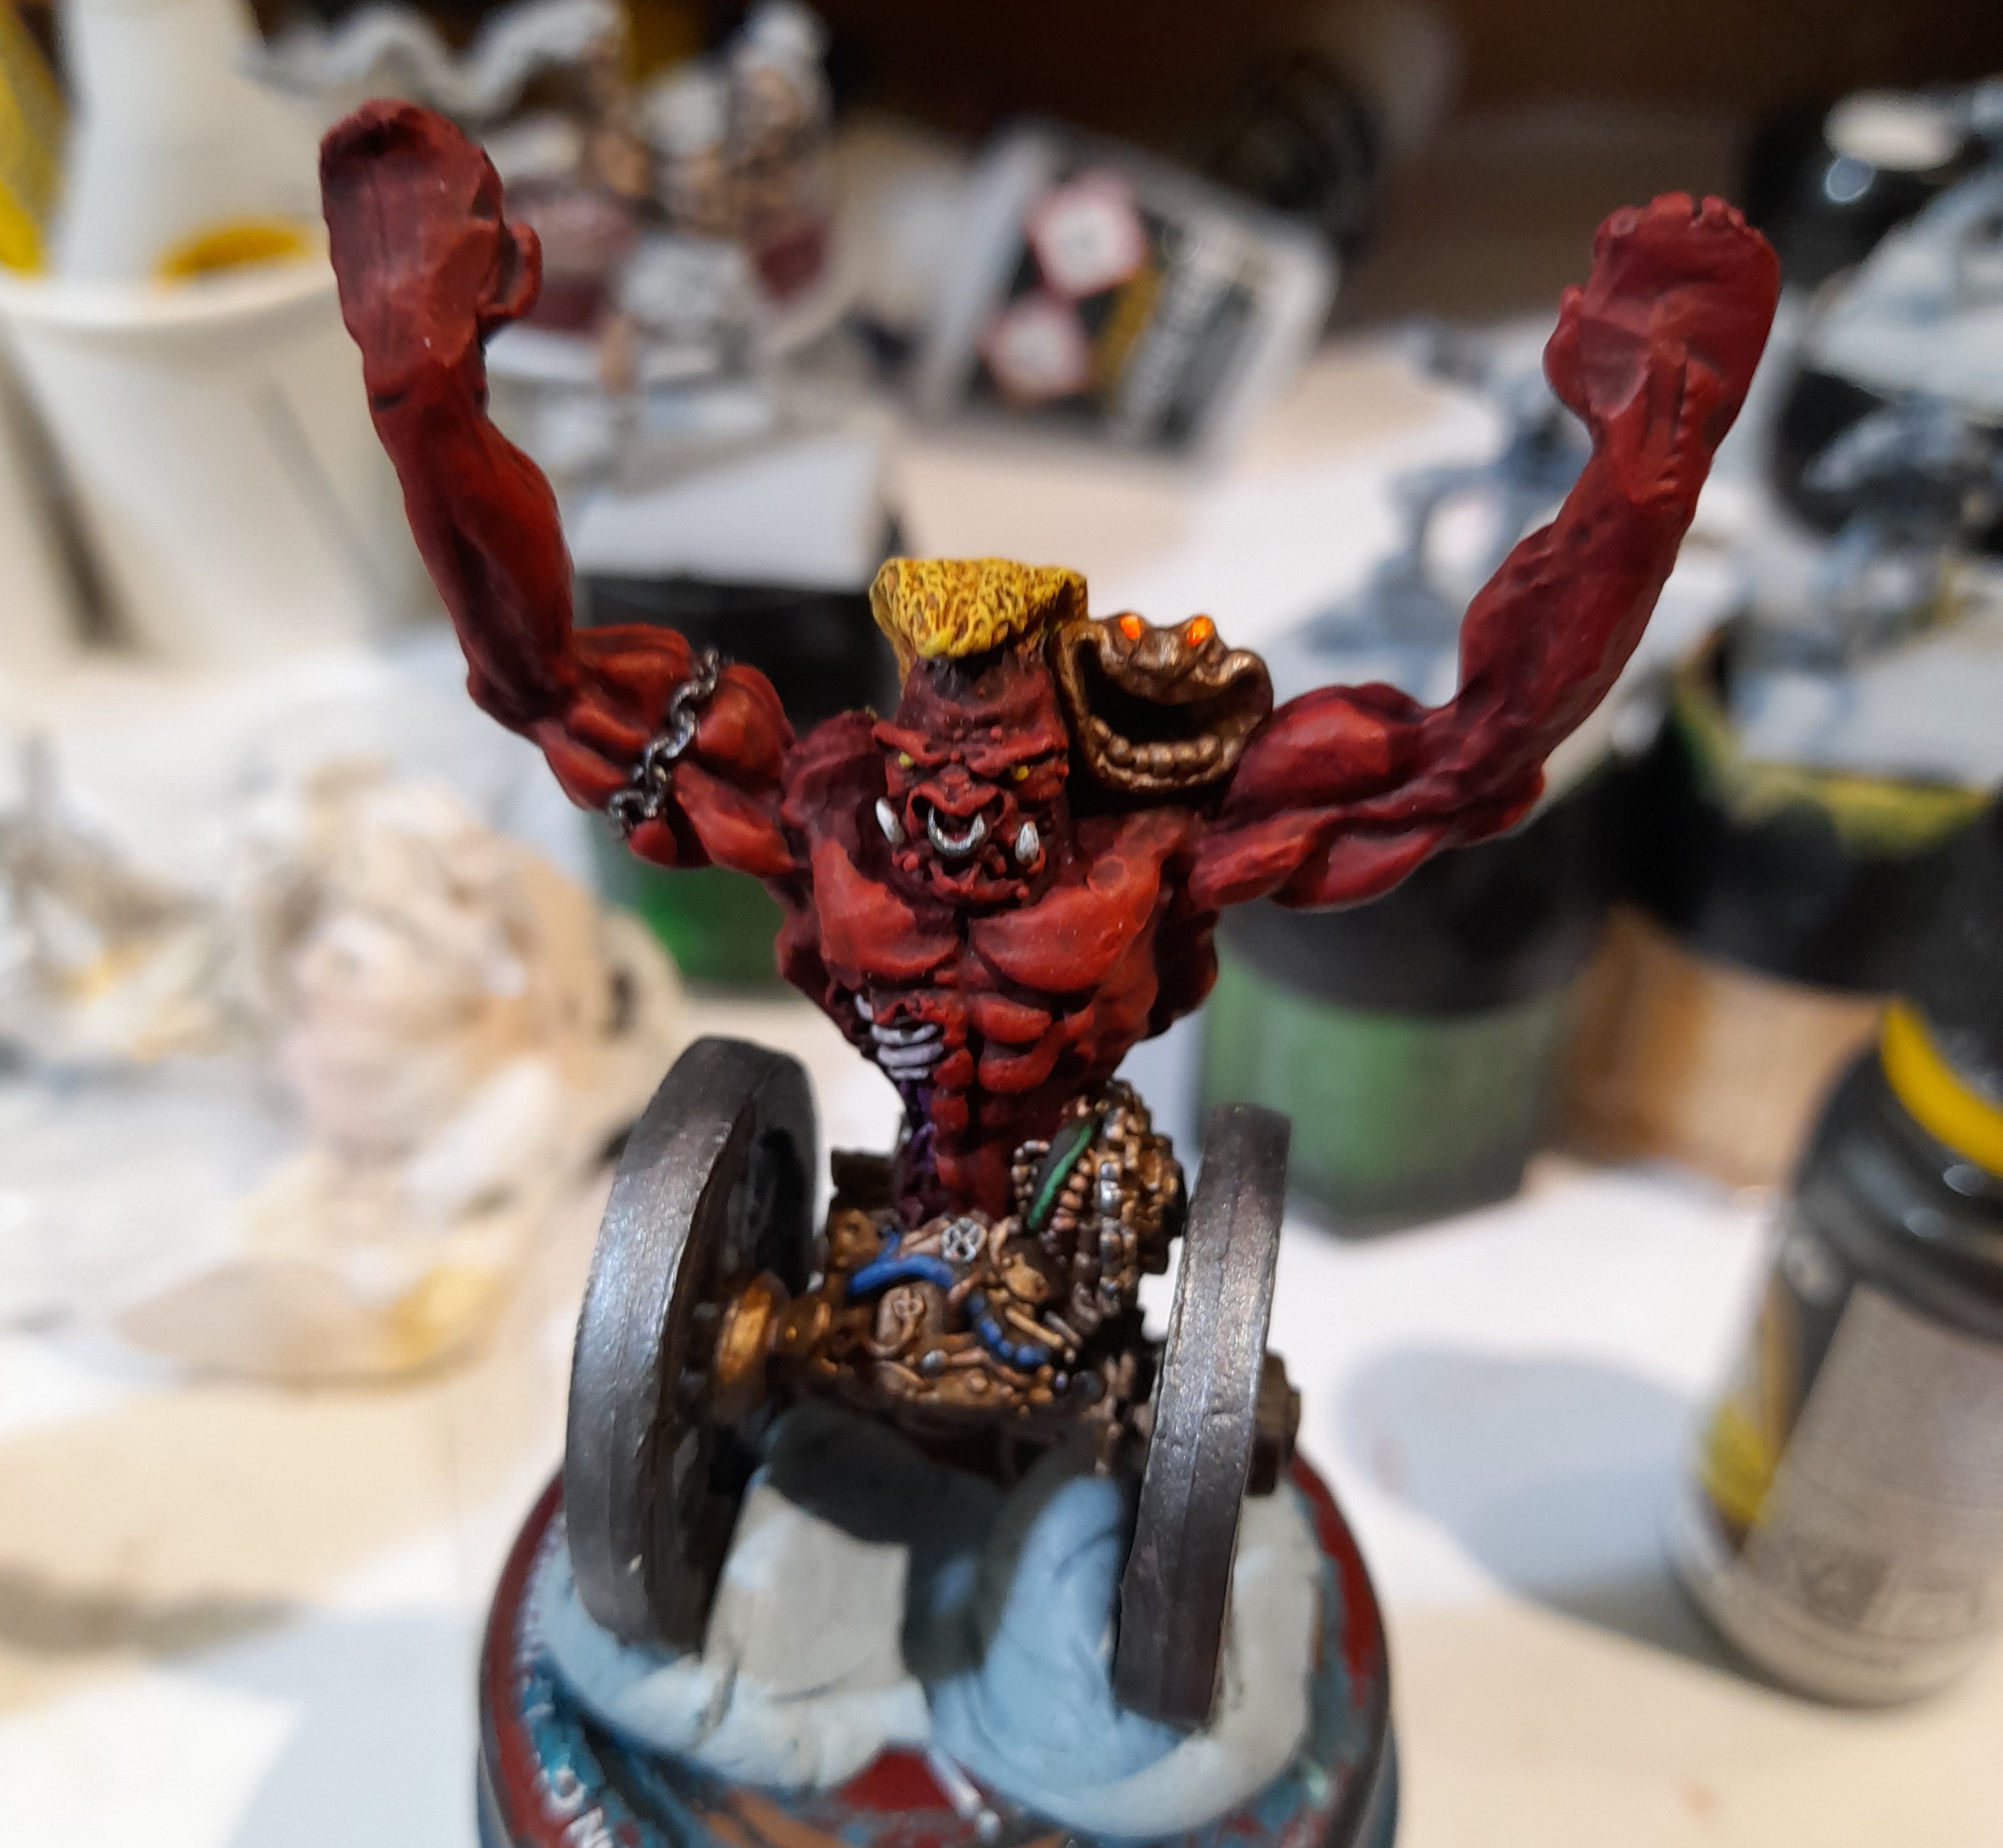
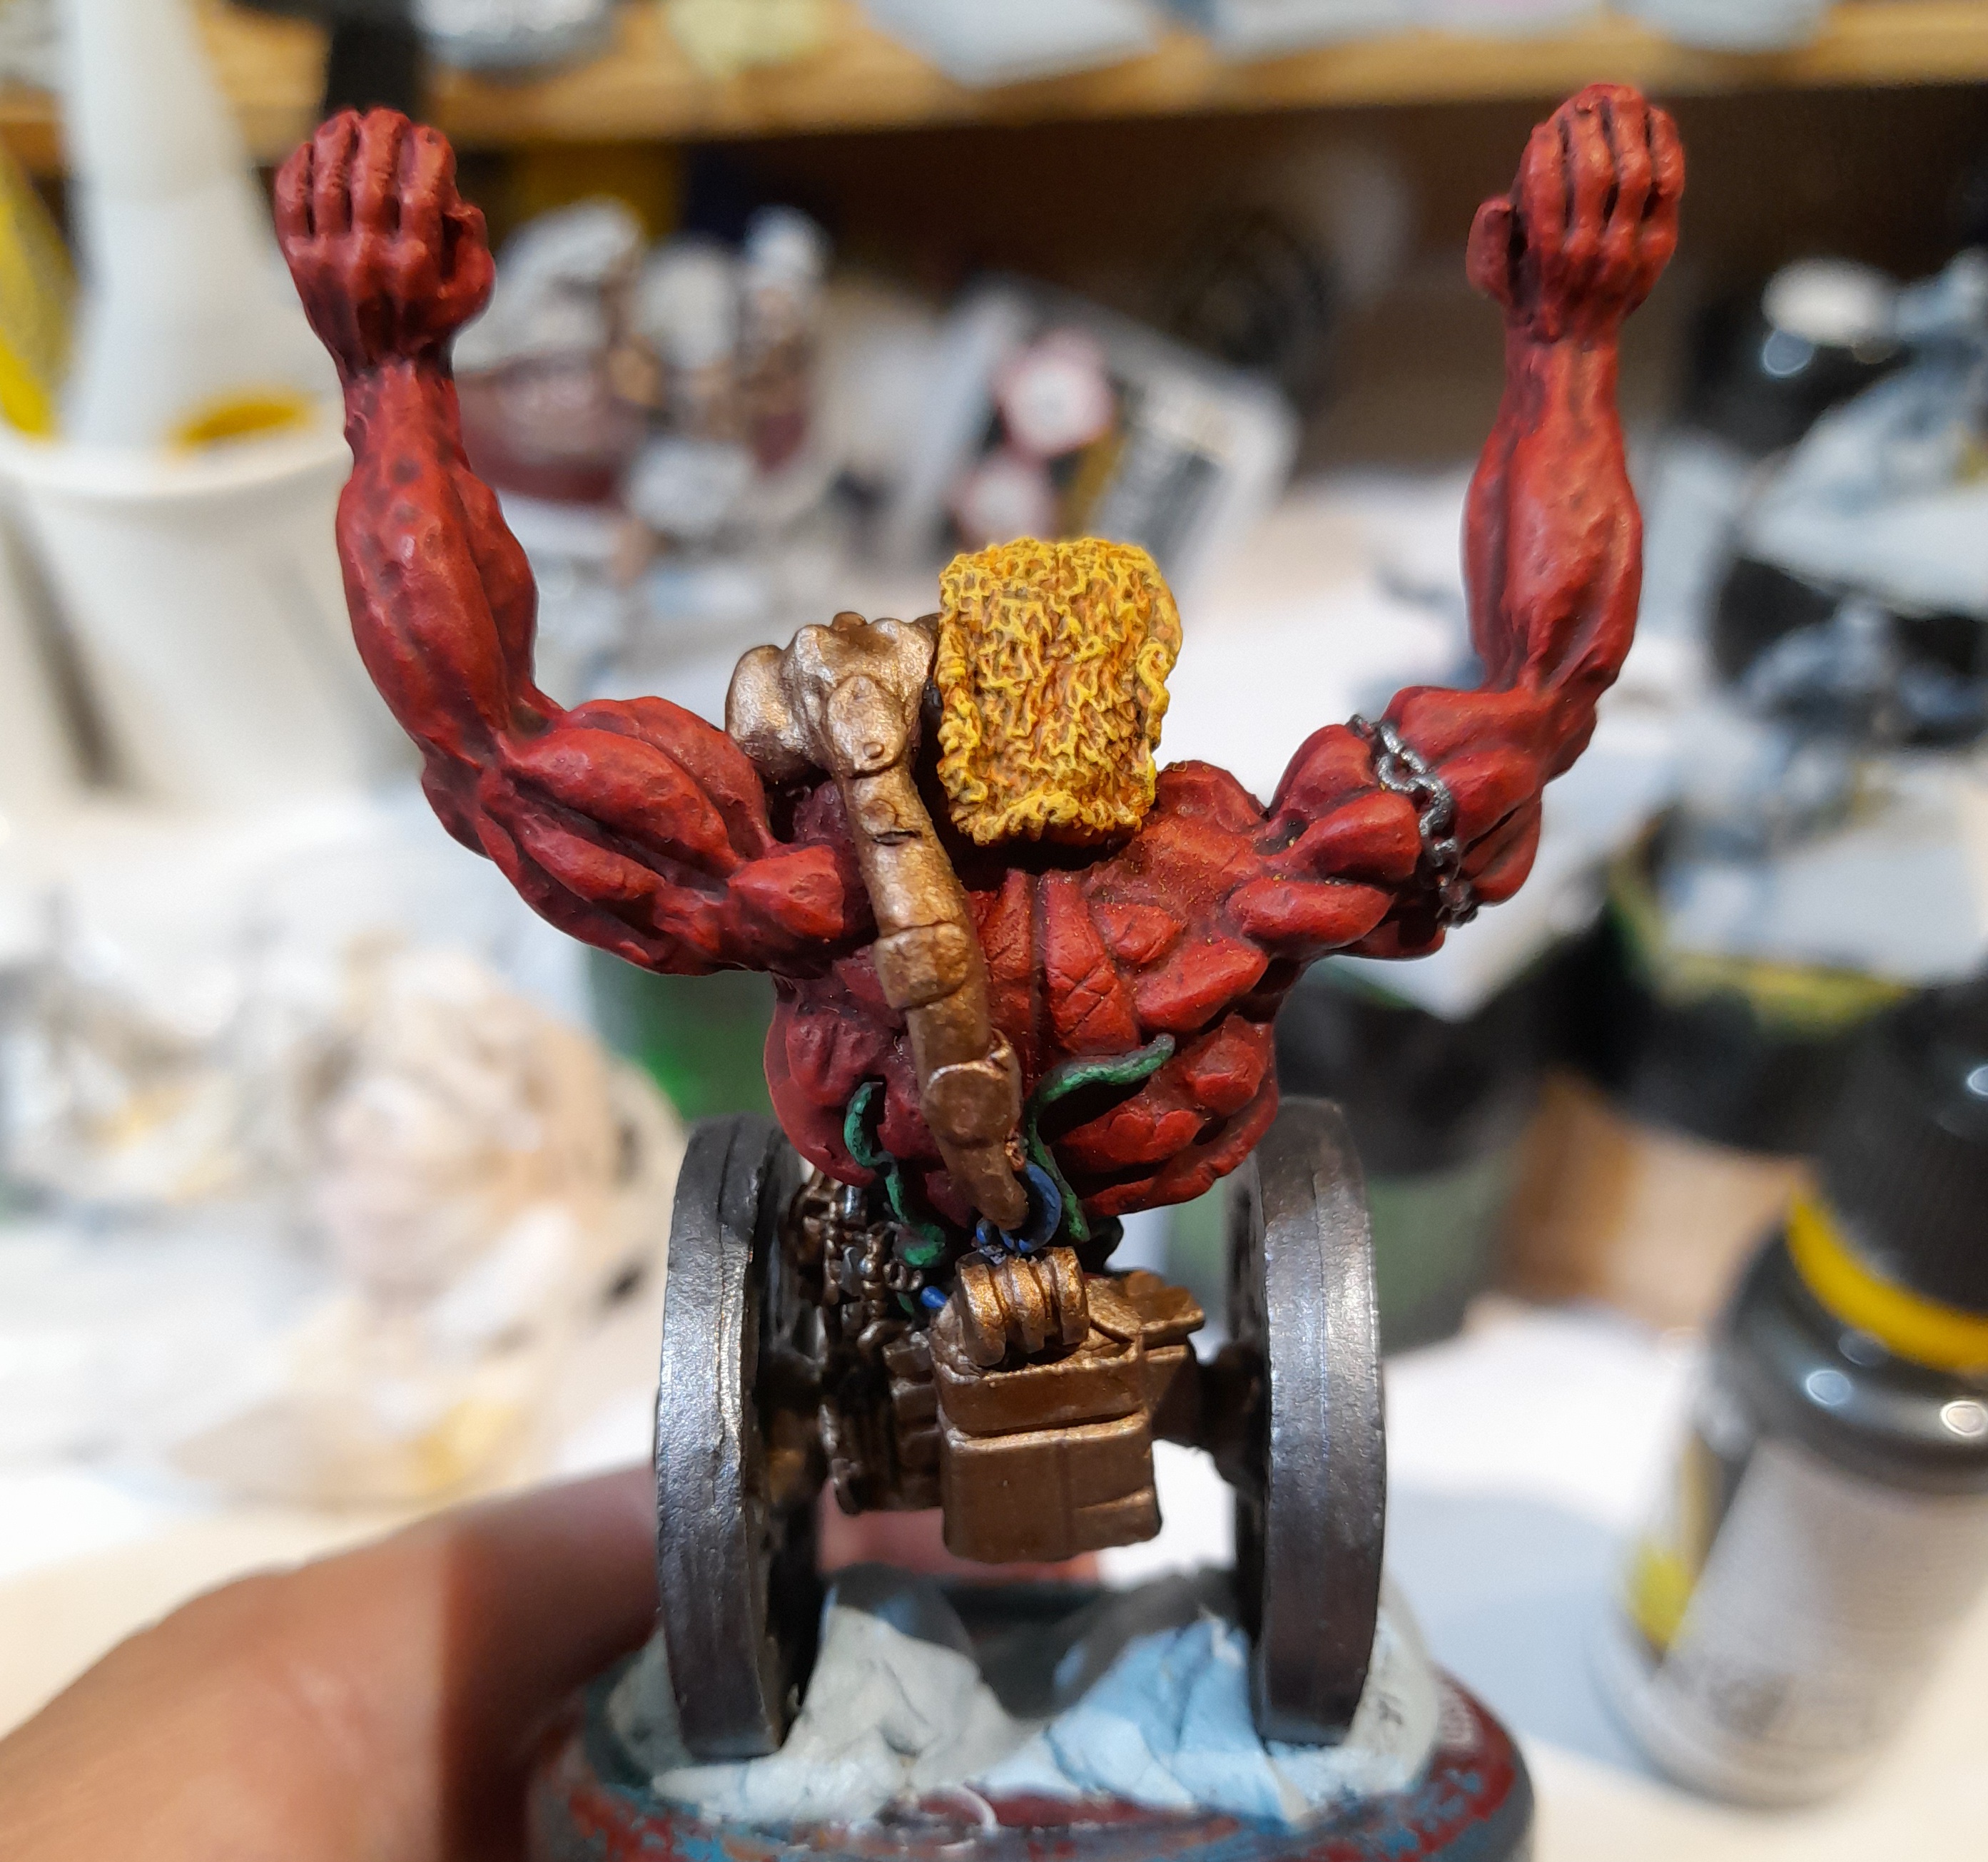
GCBR – Wheel Demon
1st May 2025
Onto the crew now. Again, these had all had the same prime as the frame, ram etc. I started out on the wheel demon. Initially I was going to paint this in a flesh colour, but I thought that it may not work so well since the frame section it would be pushing against would also be flesh coloured. So, in true demon style I went for red.
Started out with dark red contrast, followed up with an Agrax wash. Next up I drybrushed and then highlighted using four shades of red to orange (from Khorne red through to Fire Dragon).
Then I picked out the metal areas (except wheel rims) with a brass colour, then gave it a sepia wash to warm it up. Picked out some cable/pipe detailing in shades of blue and green which were then also highlighted.
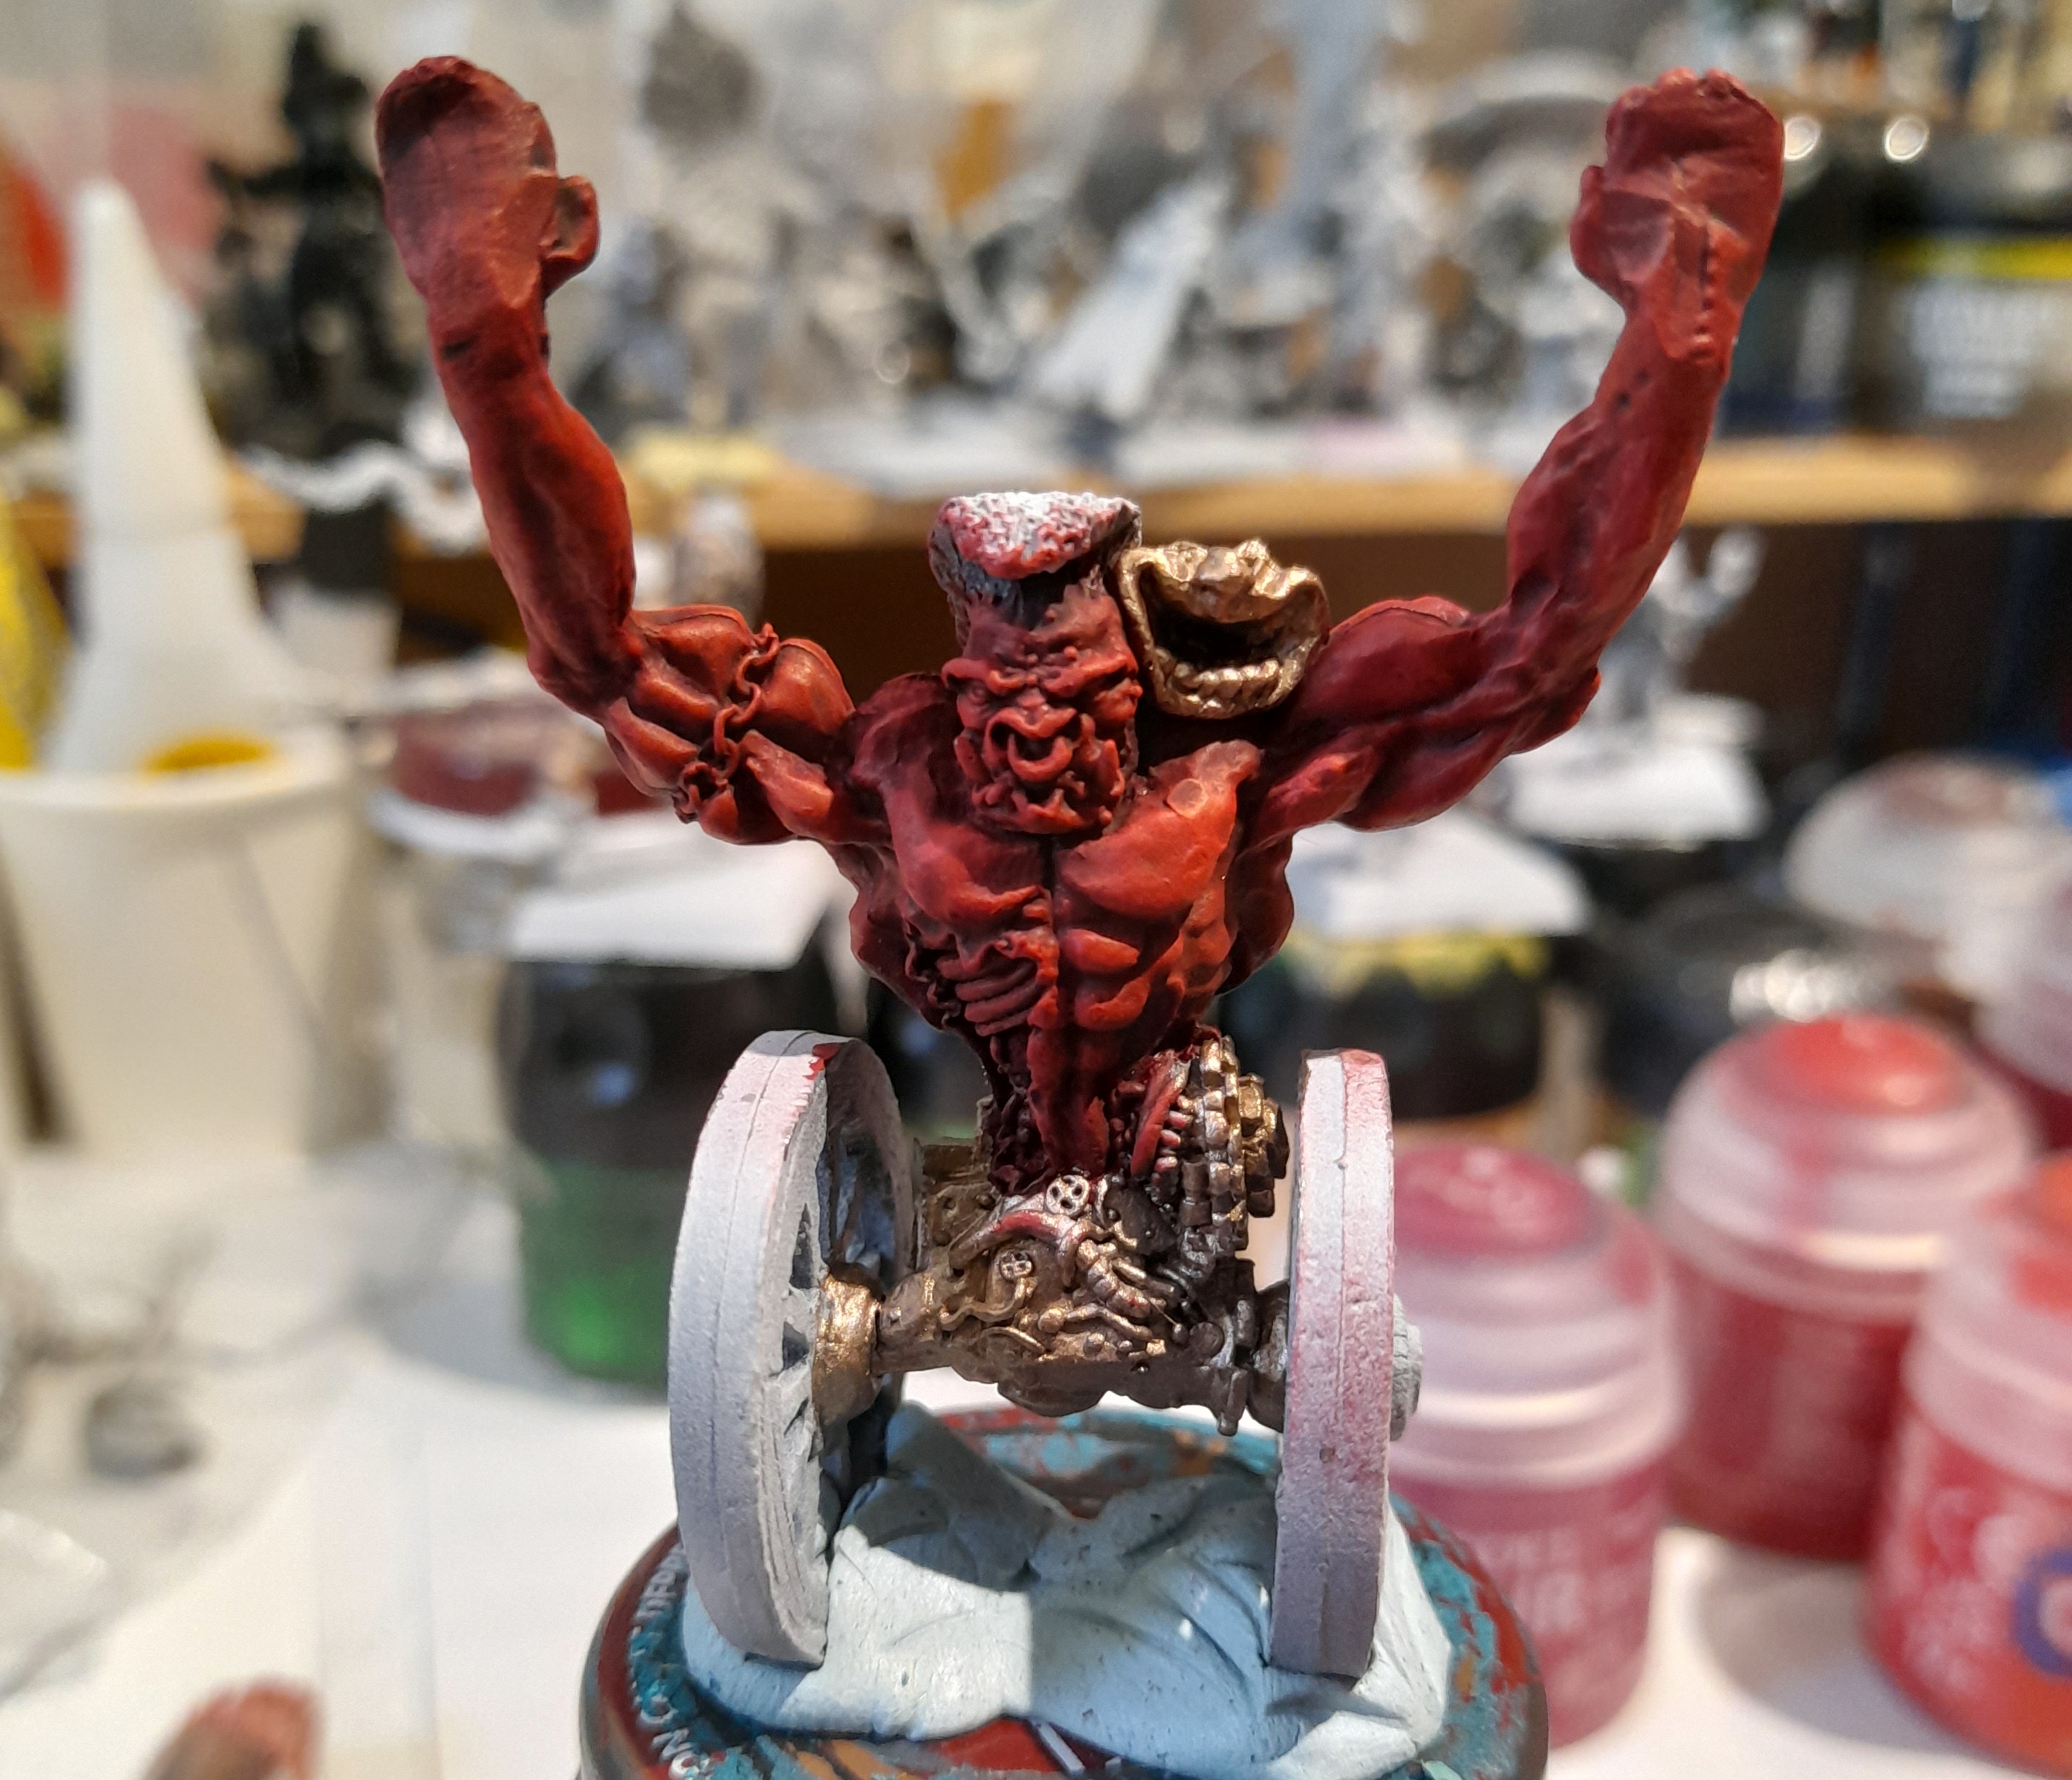
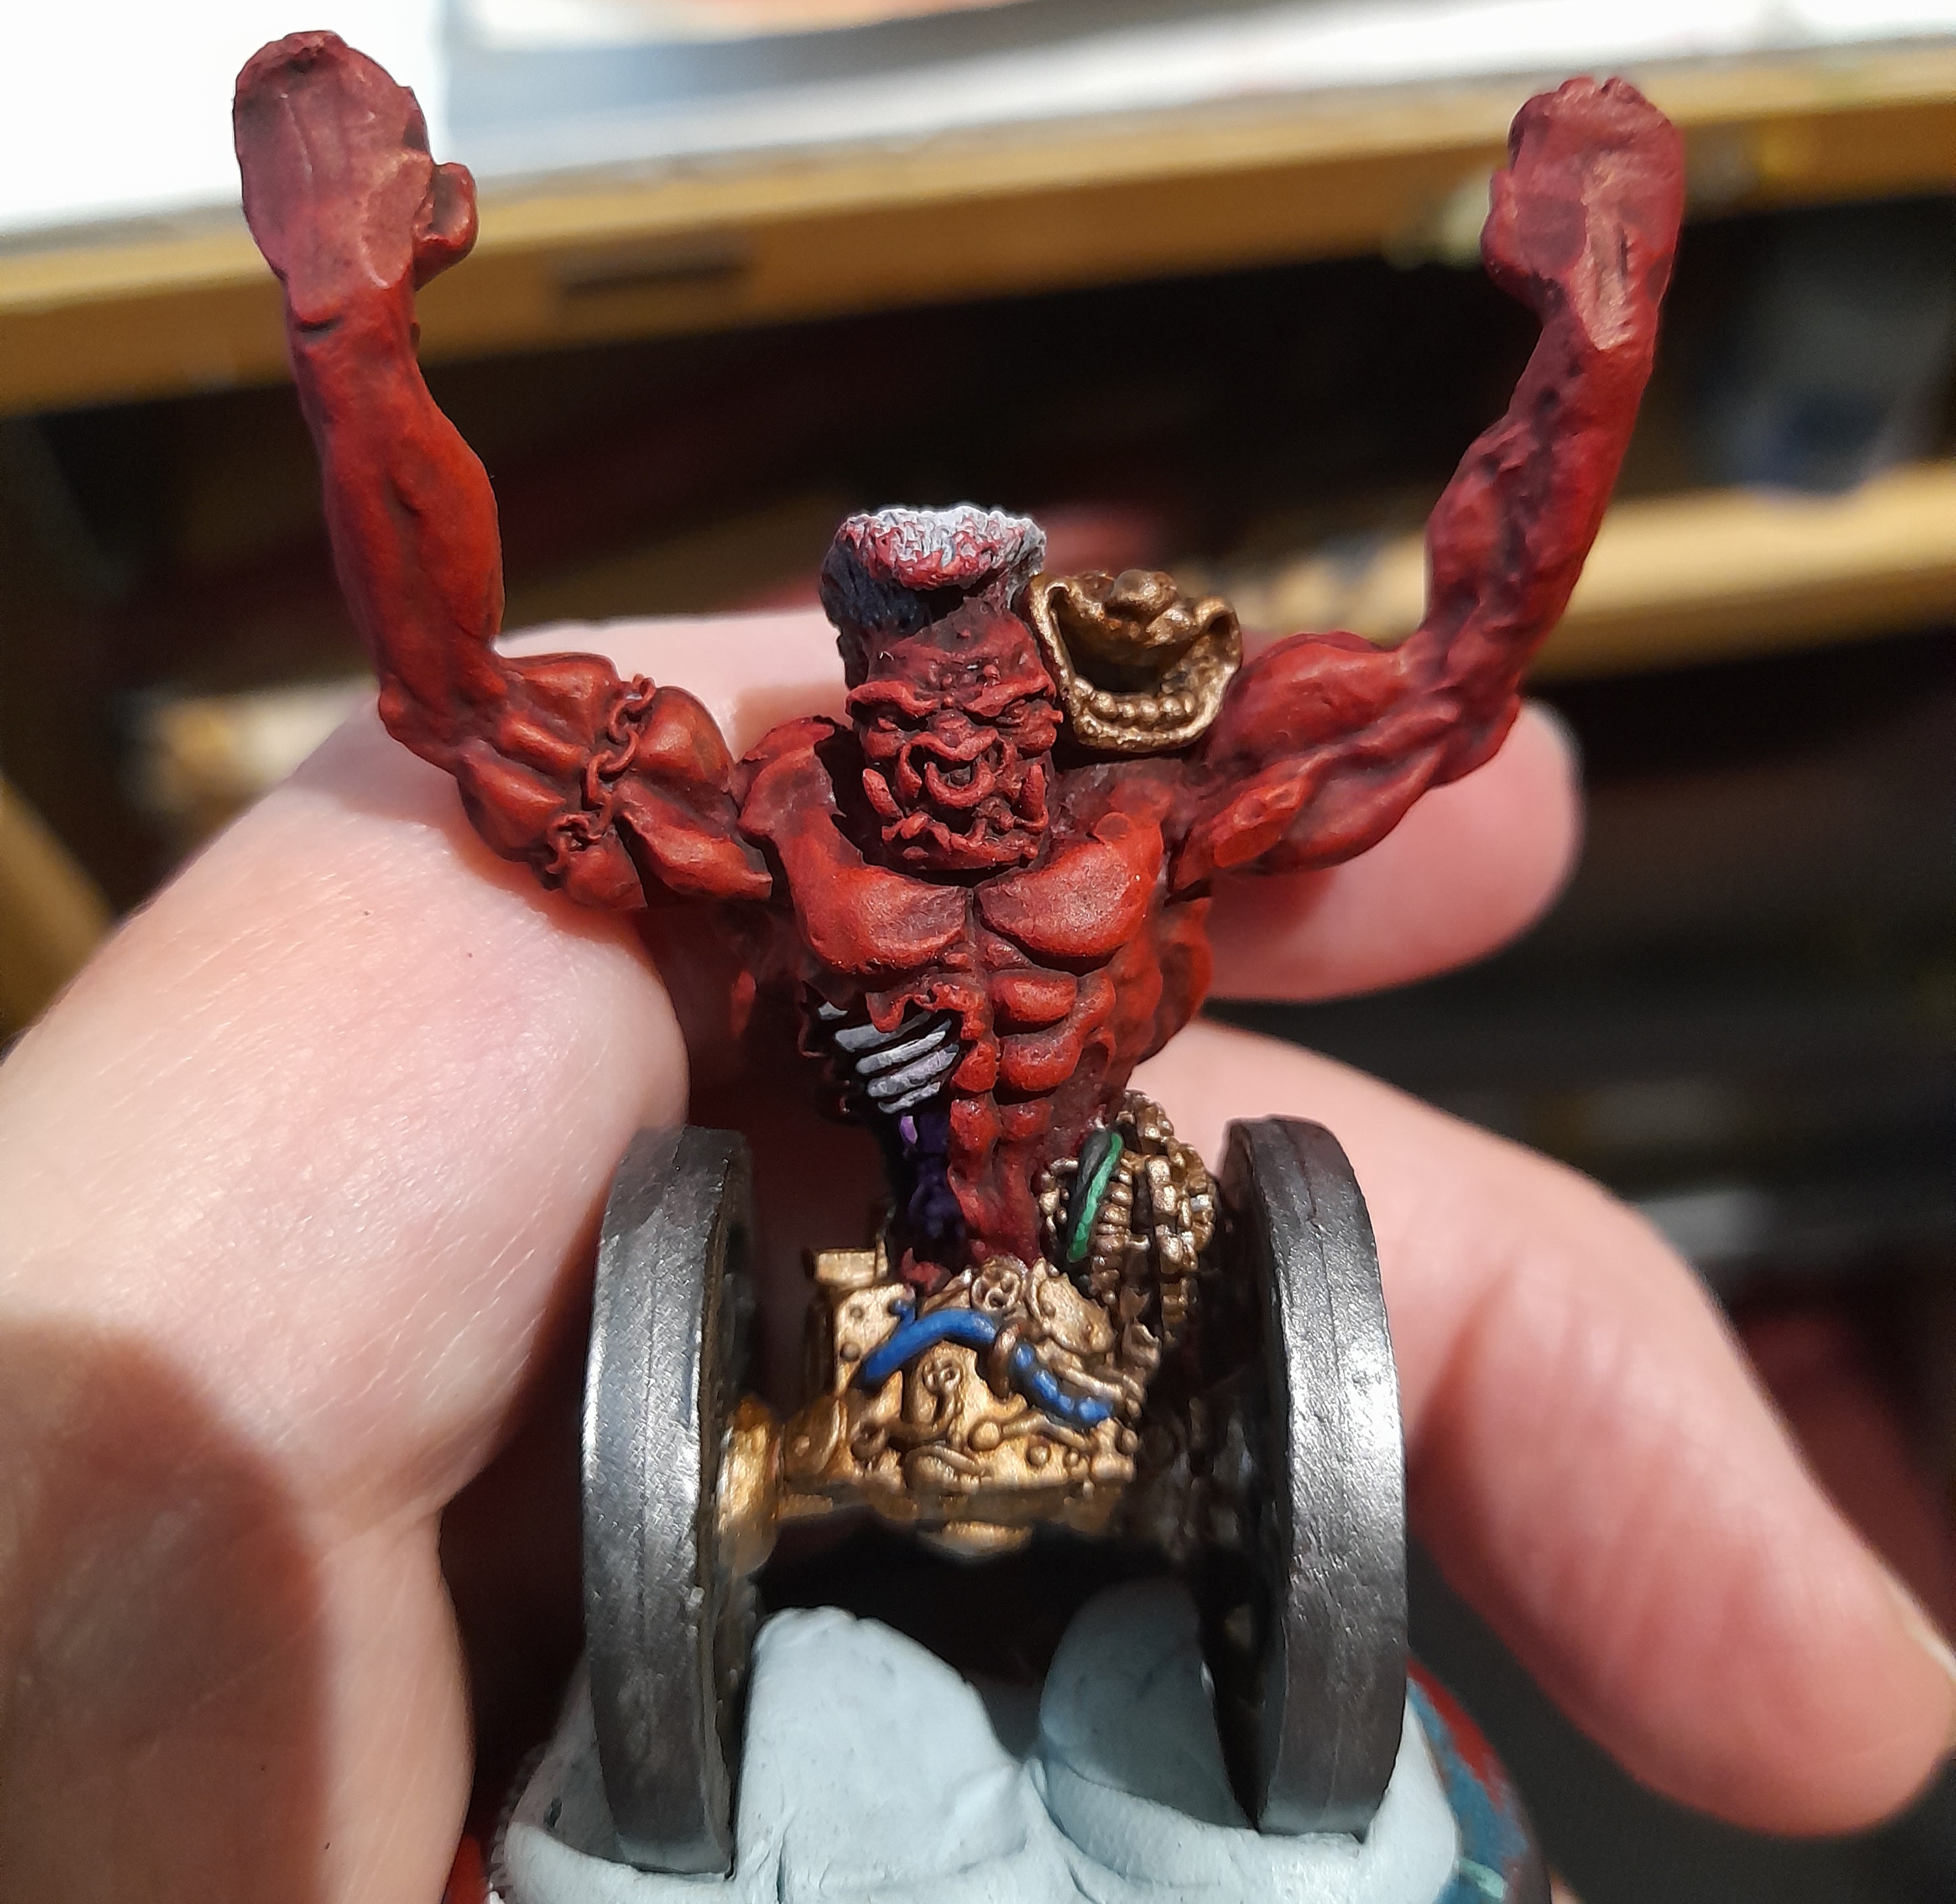
For the hair I was (as usual) debating colours. I tried white, then an orange, but neither worked. The orange was close, so I overbrushed in several shades of ochre and came up with a sort of blond colour that I was happy with.
Finally I picked out eyes, teeth, chains etc and the Wheel Demon was done.


![StarCraft Tabletop Miniatures Game Pre-Orders Live Now [Updated]](https://images.beastsofwar.com/2026/03/starcraft-tmg-news-cover-600-338.jpg)


