


Kings of War – Northern Tribesmen Painting


Recommendations: 96
About the Project
I bought an ambush set quickly followed by the old army set for Kings of War Northern Alliance. I made a quick start painting some of the models but ground to a halt. I am opening up the box again to try and complete a decent sized army starting with these 10 tribesmen. I am aiming for a tabletop finish for this set, but with the option of pushing it further as time allows. I will show what I have done from start to finish.
Related Game: Kings of War
Related Company: Mantic Games
Related Genre: Fantasy
Related Contest: Spring Clean Hobby Challenge 2025
This Project is Active
A little more progress and slowly getting there
So I decided to undertake my first project using the spring clean as an incentive. I may have not made the deadline but have made some progress. These are on the way to being finished just a bit slower than expected, but will speed up my next unit within the army as this process has made me think a bit more and record what I am doing.
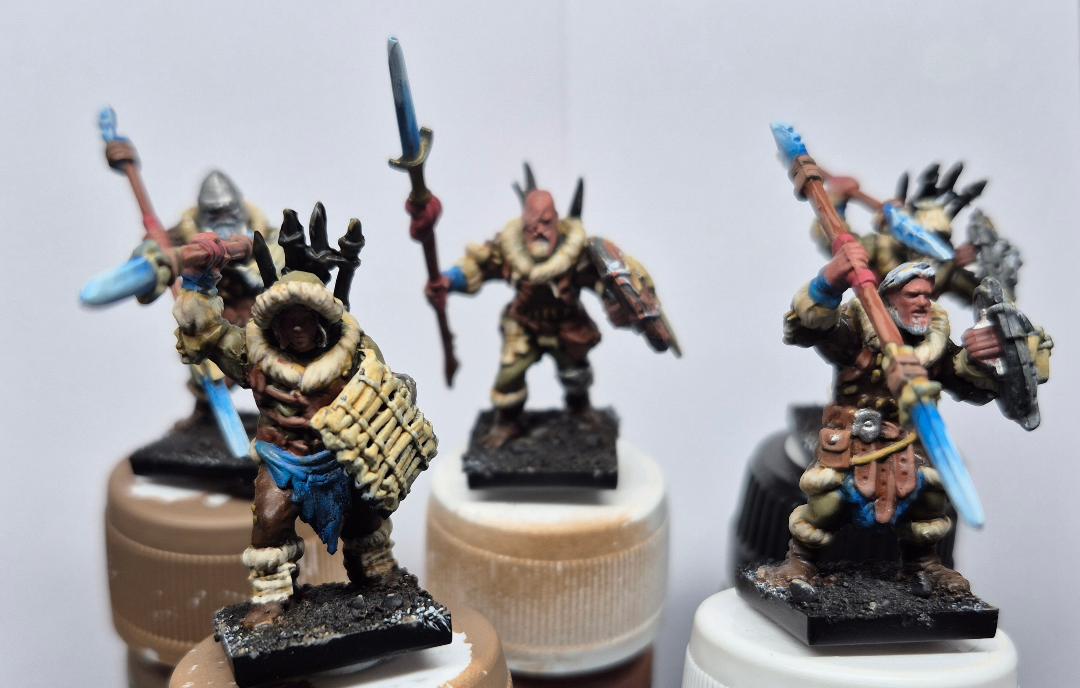
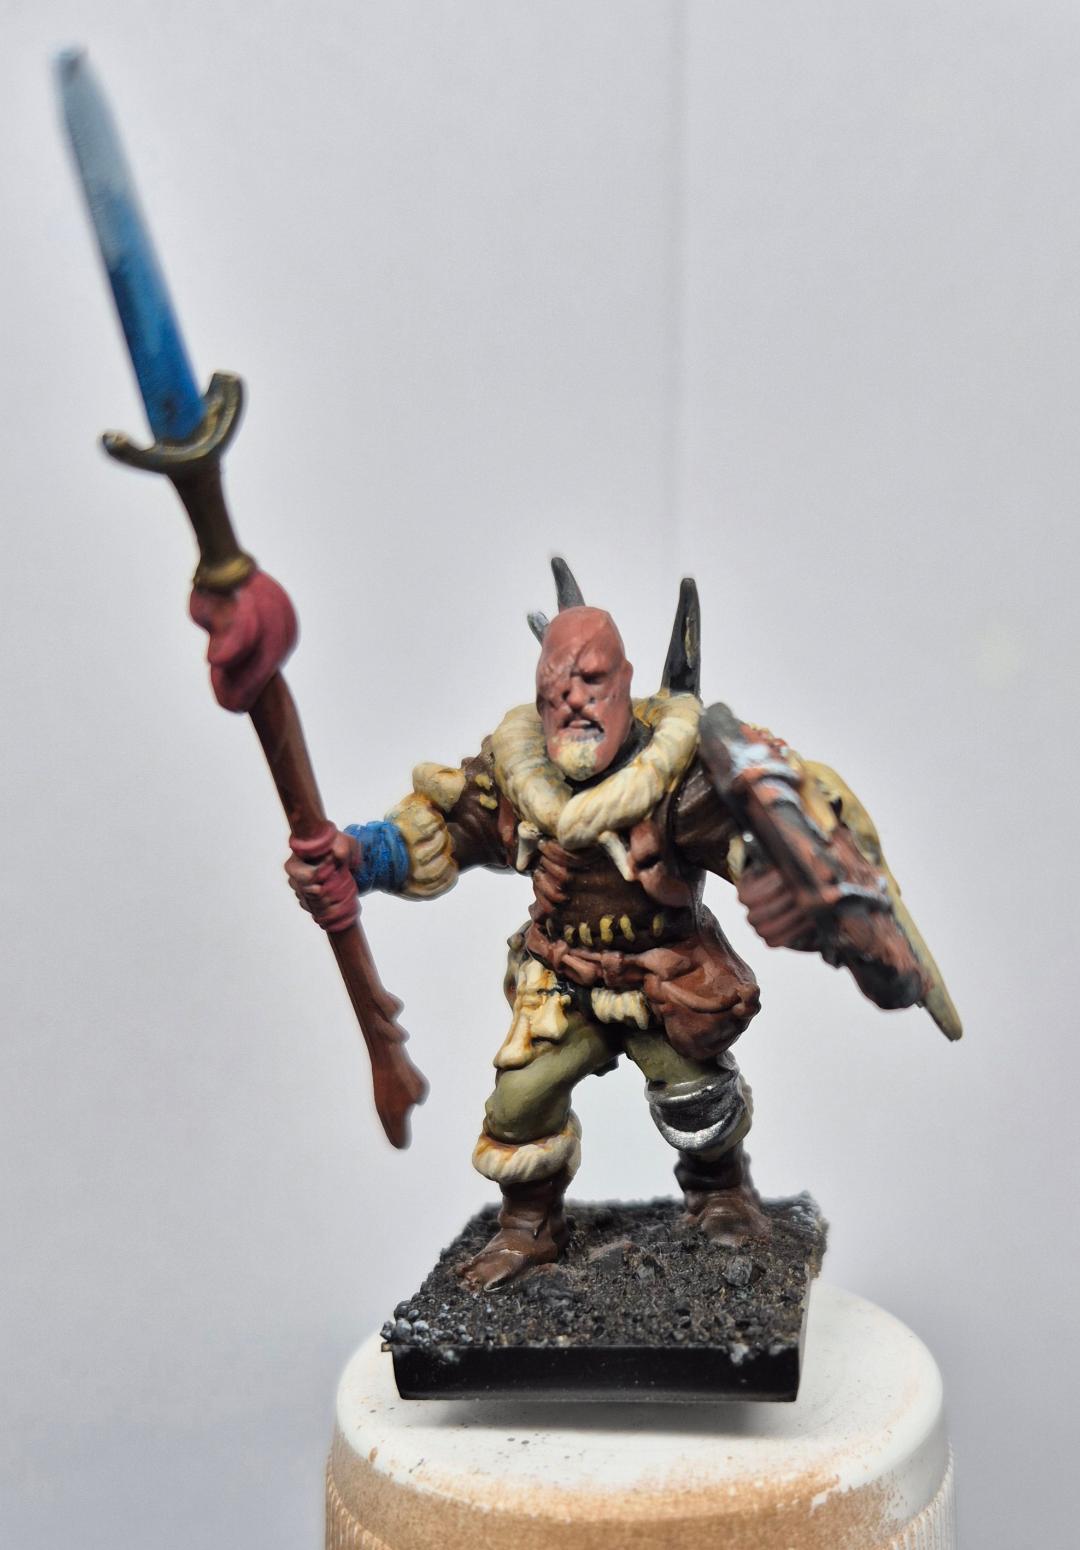
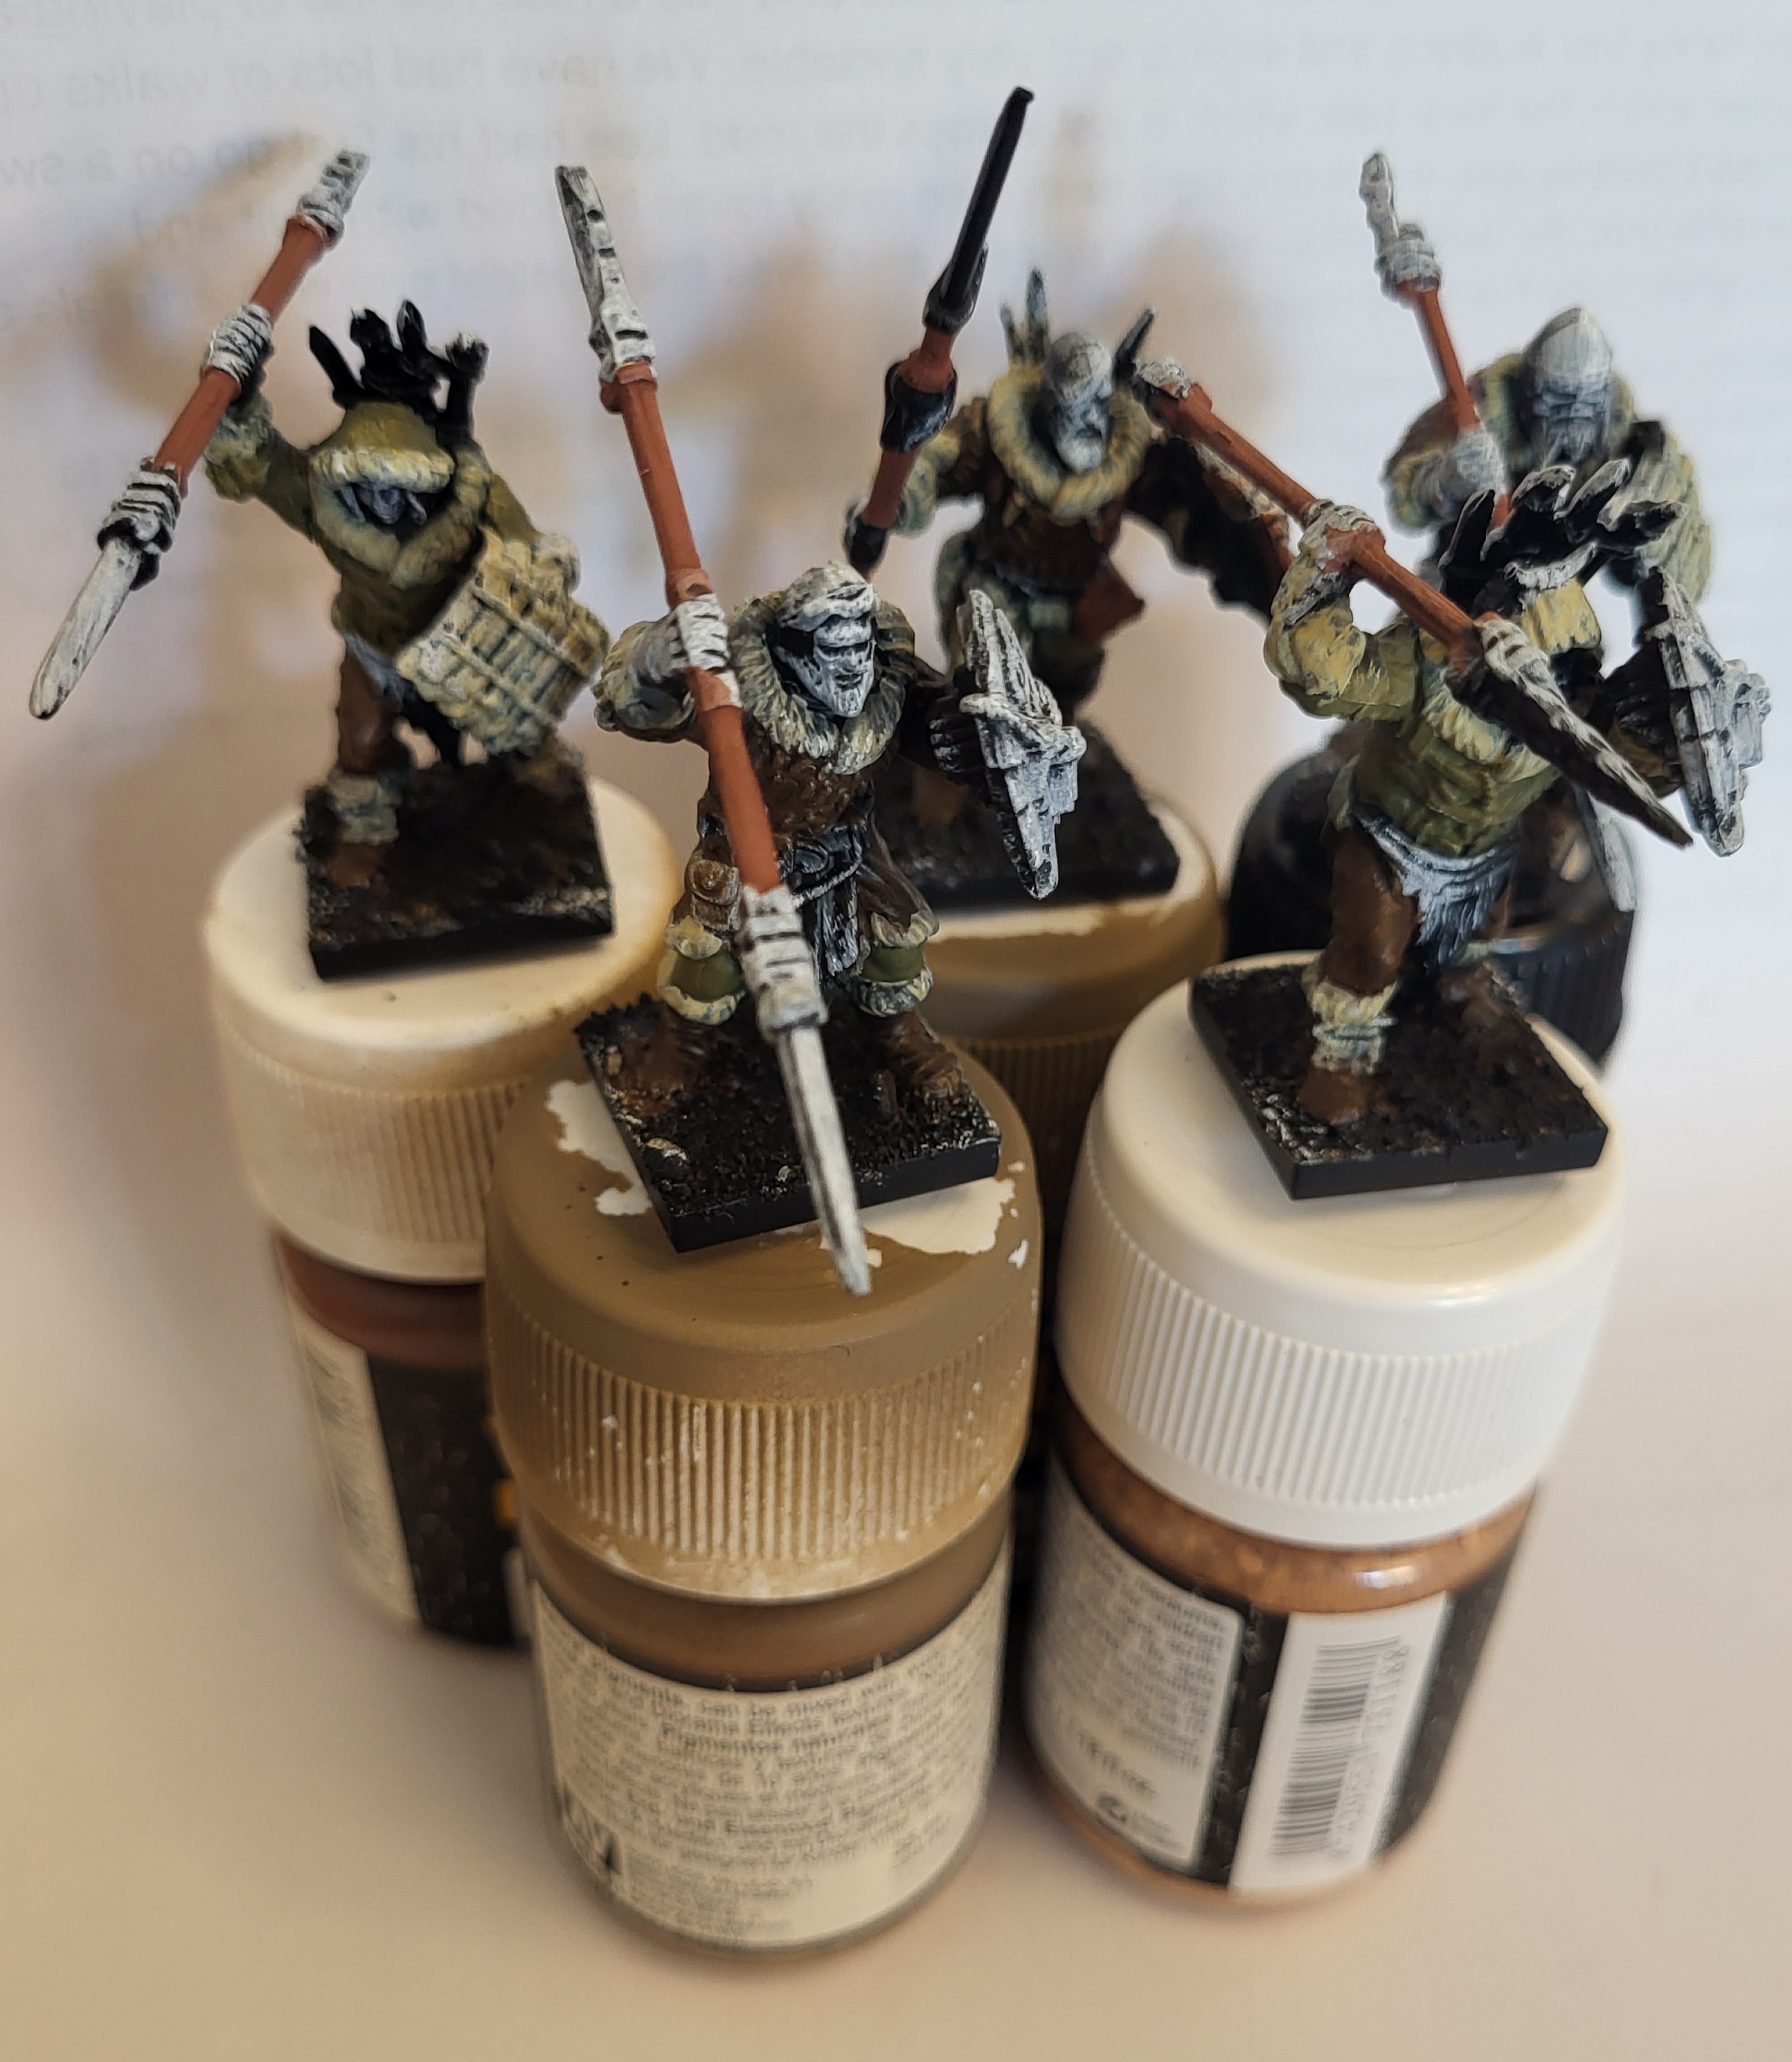
I have worked a little on some of the details of the models with general highlighting complete for my tastes, finishing the blades in an ice kind of finish. I used two blues and a white for this and diluting further and further to get the effect I want. I do want to give a few more glaze washes to tie it together more or give a bit of a verdigris tinge to them, but good for now. I have used AK Bordeaux red and rusty gold to finish elements of the shields and spears and then used mournfang brown on the leather lightening it with white to highlight edges.
What is left to do? Well I need to finish the skin, final shield details and then the basing, which I hope to do in the next few weeks. A couple of photos below of how far I have gotten so far….
A little bit of progress

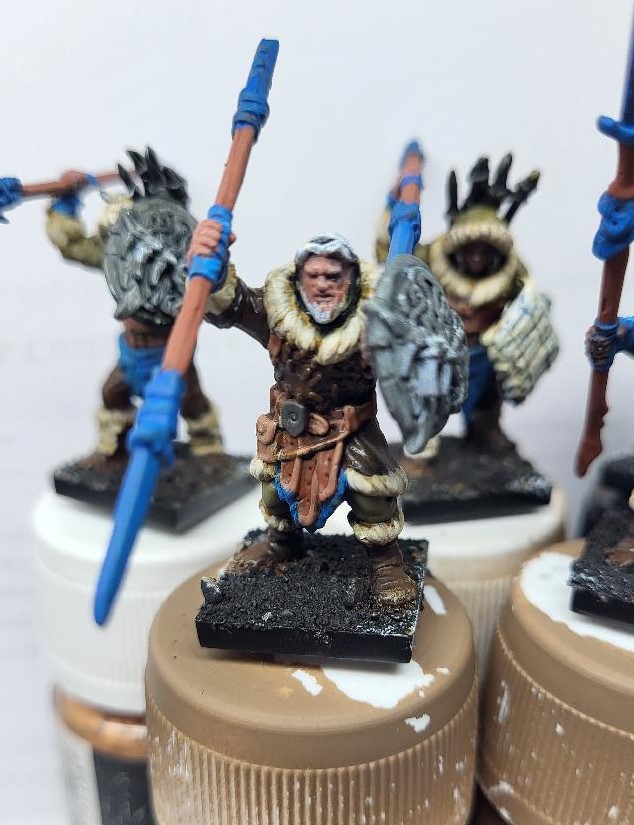
I haven’t had too much time this week to make progress, but I have finished the base coats on the bodies of the models and started to highlight section. To keep it easy I just washed the models with Seraphim Sepia and then build back up from plain base colour and then diluting or lightening with Matt White. I do use layer colours, but usually just use the base colour and mix the layers.
I have decided to go for an ice blade look on the spears so have based them with Blue from Pro Acryl and used it to based hand wraps, wrist wraps and cloth on the models. I will probably go a greeny/turquoise for the cloth and wraps but good for basing. I am struggling to make multiple brownish models look interesting so looking to add some bright splashes of colour for interest. I have then put some Citadel Skaven Light Dinge on parts that will be metal. I have used Bugmans Glow for skin colour (first light layer only).
I made a previous note in that I would change the leather colour and I have used Mournfang Brown. My goal is to finish these this week or at least to a point where I have all highlighting done with a bit of shield work and basing to finish. Splitting out these five models first is a helpful way for me to work and will make the remaining five much quicker with some changes and decisions made on these.
Starting to base coat

I am just starting to do my base layers now. I am using army painter Oak Brown and Citadel Death World Forest to coat the clothing and boots. I am using AK mahogany brown for the spears and maybe elements of leather items but am thinking I might change the latter. Then I am using Citadel Ushabti Bone for fur and bone bases. I will add layers as required to build up to a nice colour but the photos are mostly two coats.
I have used mainly a warlord games size 1 brush and a dealer rooney size 2 brush for base layers. I will try and get the main parts based layered this evening and then move onto leather and shields etc tomorrow.
Dry Brushing
I am going to do these in two batches of five as that suits my pace and attention span when painting. For me I need to either get one model fully done or a group of three to five to keep momentum.
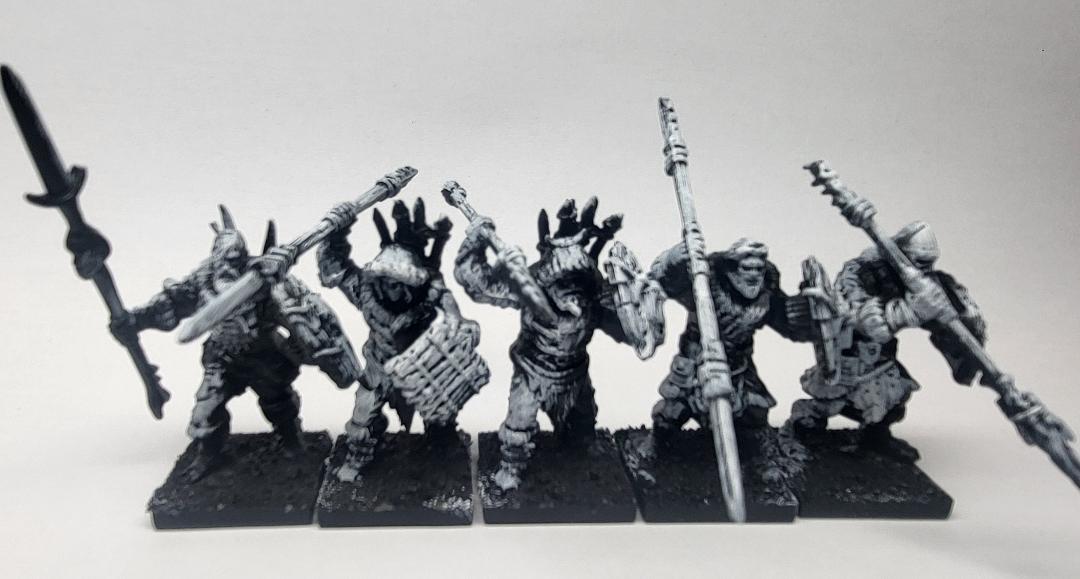
I have done a very basic/rough dry brush trying to catch a mostly top down light, but lighting up the faces for future base layers. I have done this step as a just in case step as I am not sure whether I will use contrast paint yet.
I have used Warpaints Fanatic Matt White with a dry brush from hobby store UK. It is the first time using this dry brush and I have never bought one specifically for this task before. In short I’m not sure you need it really and any large brush would do. I have made the brush slightly damp before applying the paint and then cleaned off the excess on cardboard.
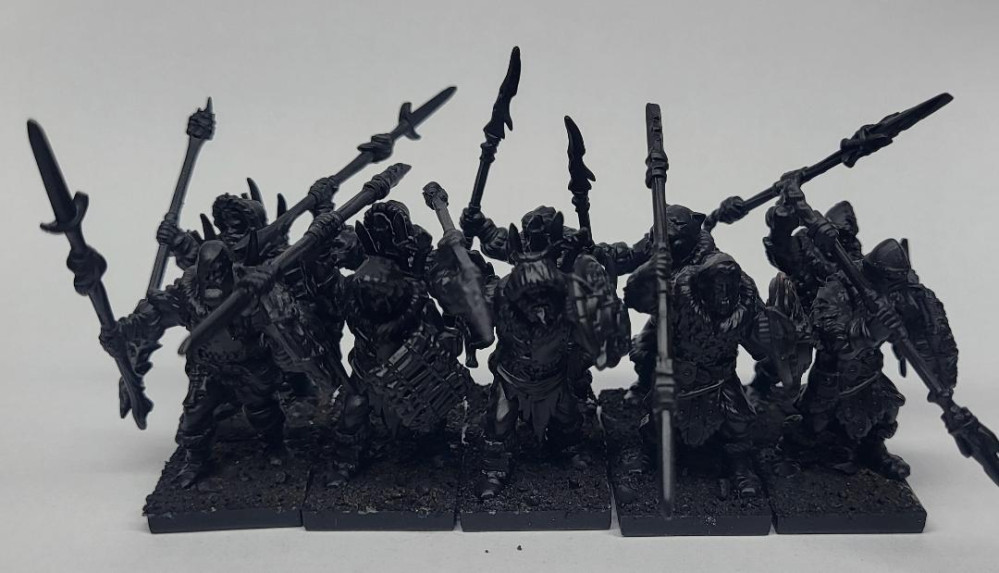
Assembly & Priming
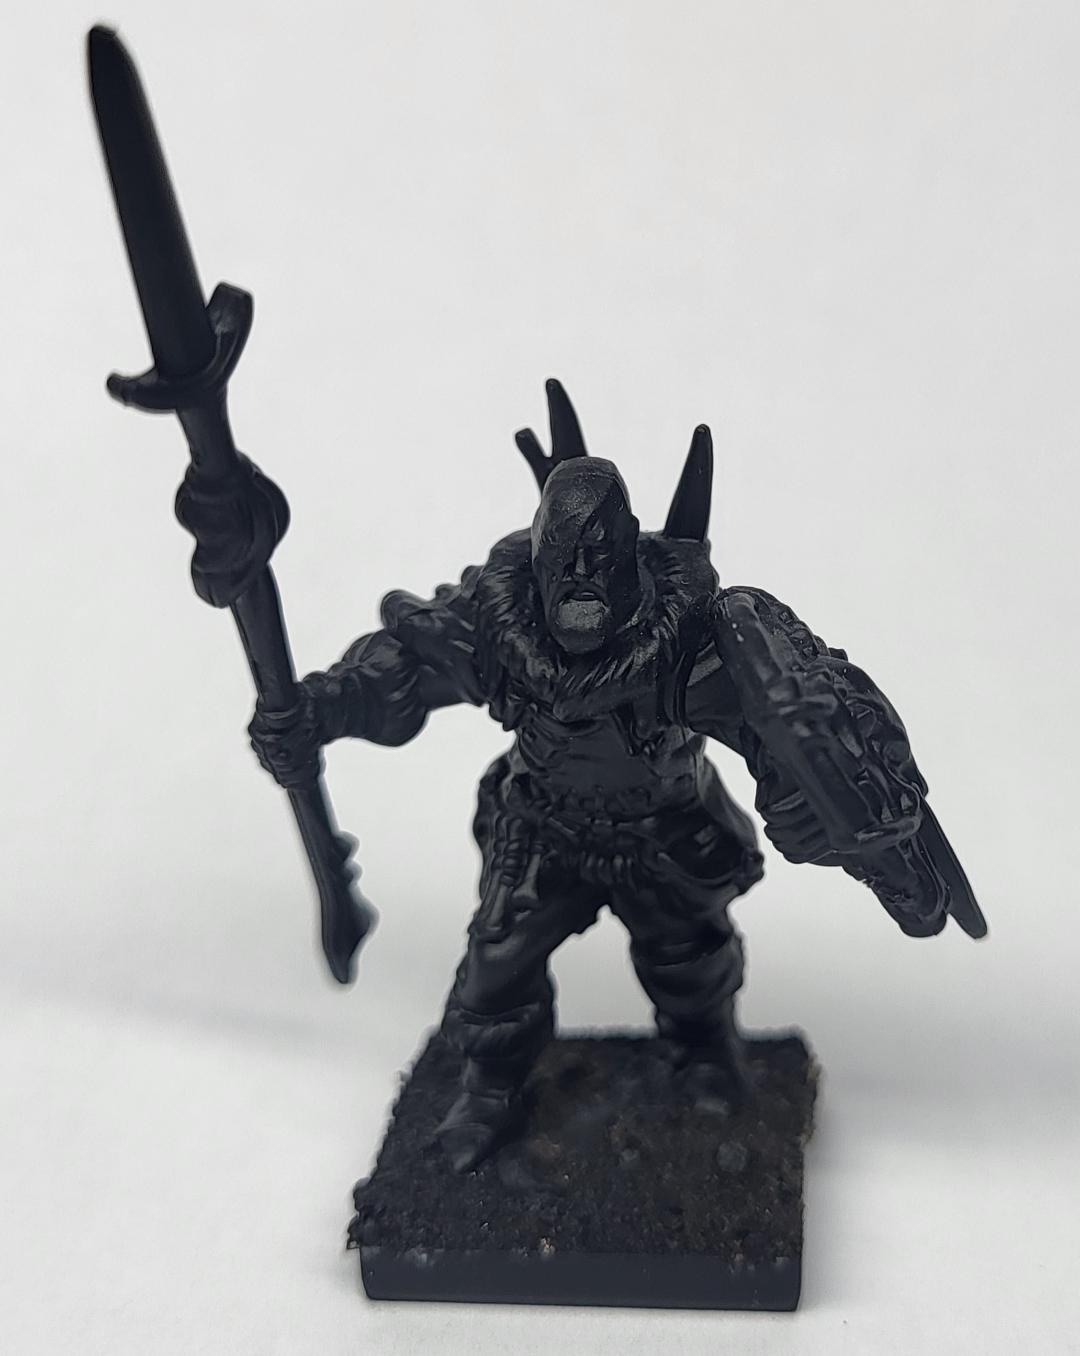 Example model undercoated and simple sand base
![StarCraft Tabletop Miniatures Game Pre-Orders Live Now [Updated]](https://images.beastsofwar.com/2026/03/starcraft-tmg-news-cover-600-338.jpg)


![Mounted US Cavalry On Kickstarter For Dead Man’s Hand! [Updated]](https://images.beastsofwar.com/2026/03/us-cavalry-main-600-338.jpg)


![Play WW2 Commando Operations With Butcher & Bolt [Updated]](https://images.beastsofwar.com/2026/03/relaunch-600-338.jpg)


