Building a Wargaming Table


Recommendations: 29
About the Project
Putting together a permanent Wargaming Table in a Hobby Room
Related Genre: Game Aid
This Project is Completed
Getting Started and Prep
So like many a wargamer I have a dream, a dream of a hobby room all my own and with a Wargaming Table that can be left set up to game on a permanent basis.
 Wargame Table Inspiration
So I looked around for a sturdy affordable 4×4 foot option (always measure the table size you can comfortably fit beforehand) and in the end I found this. Which is the Acorn Workbench with various options as to sizes addons etc, got this from Arbor Green in the end.
Then onto the self Assembley.
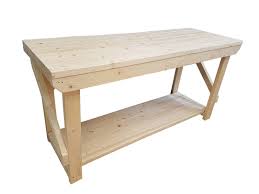 Acorn Workbench
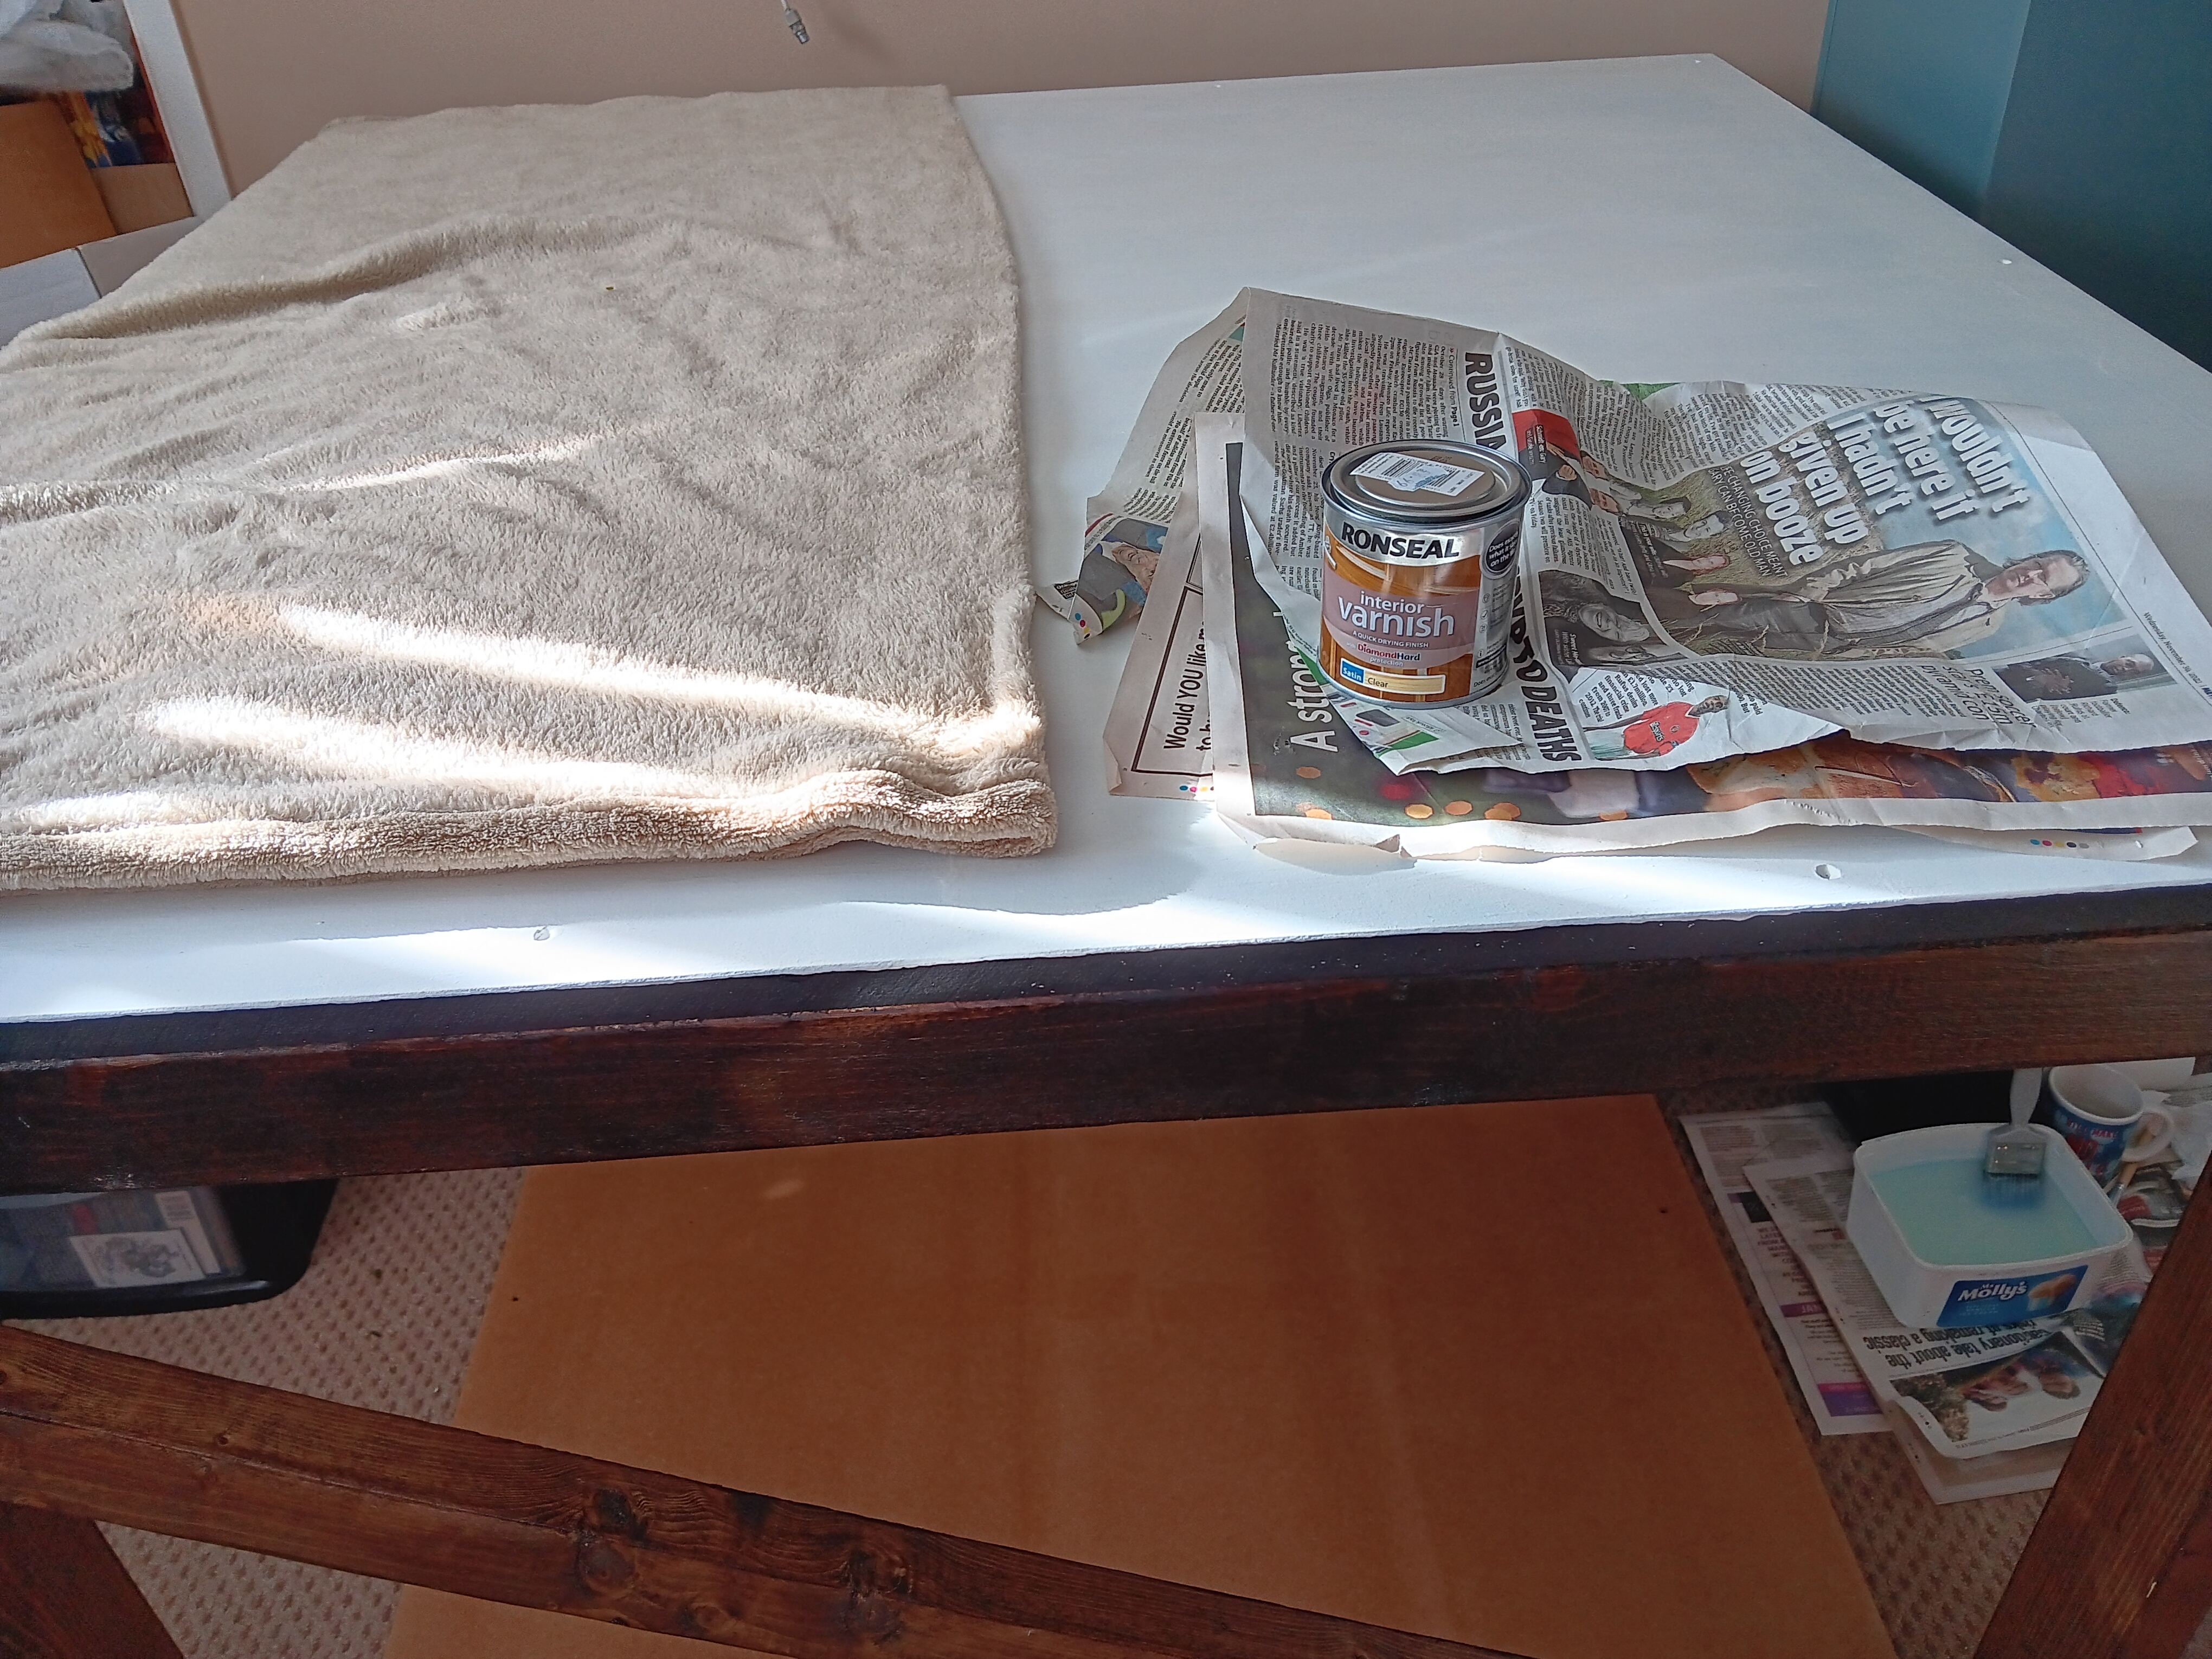
As looking for something to last I also decided to add a Varnish and as you can have a range of options with Varnish I got one with a Wood Colour. I needed to get two Varnishs one for the MDF and one for the Interior Wood element of the table.
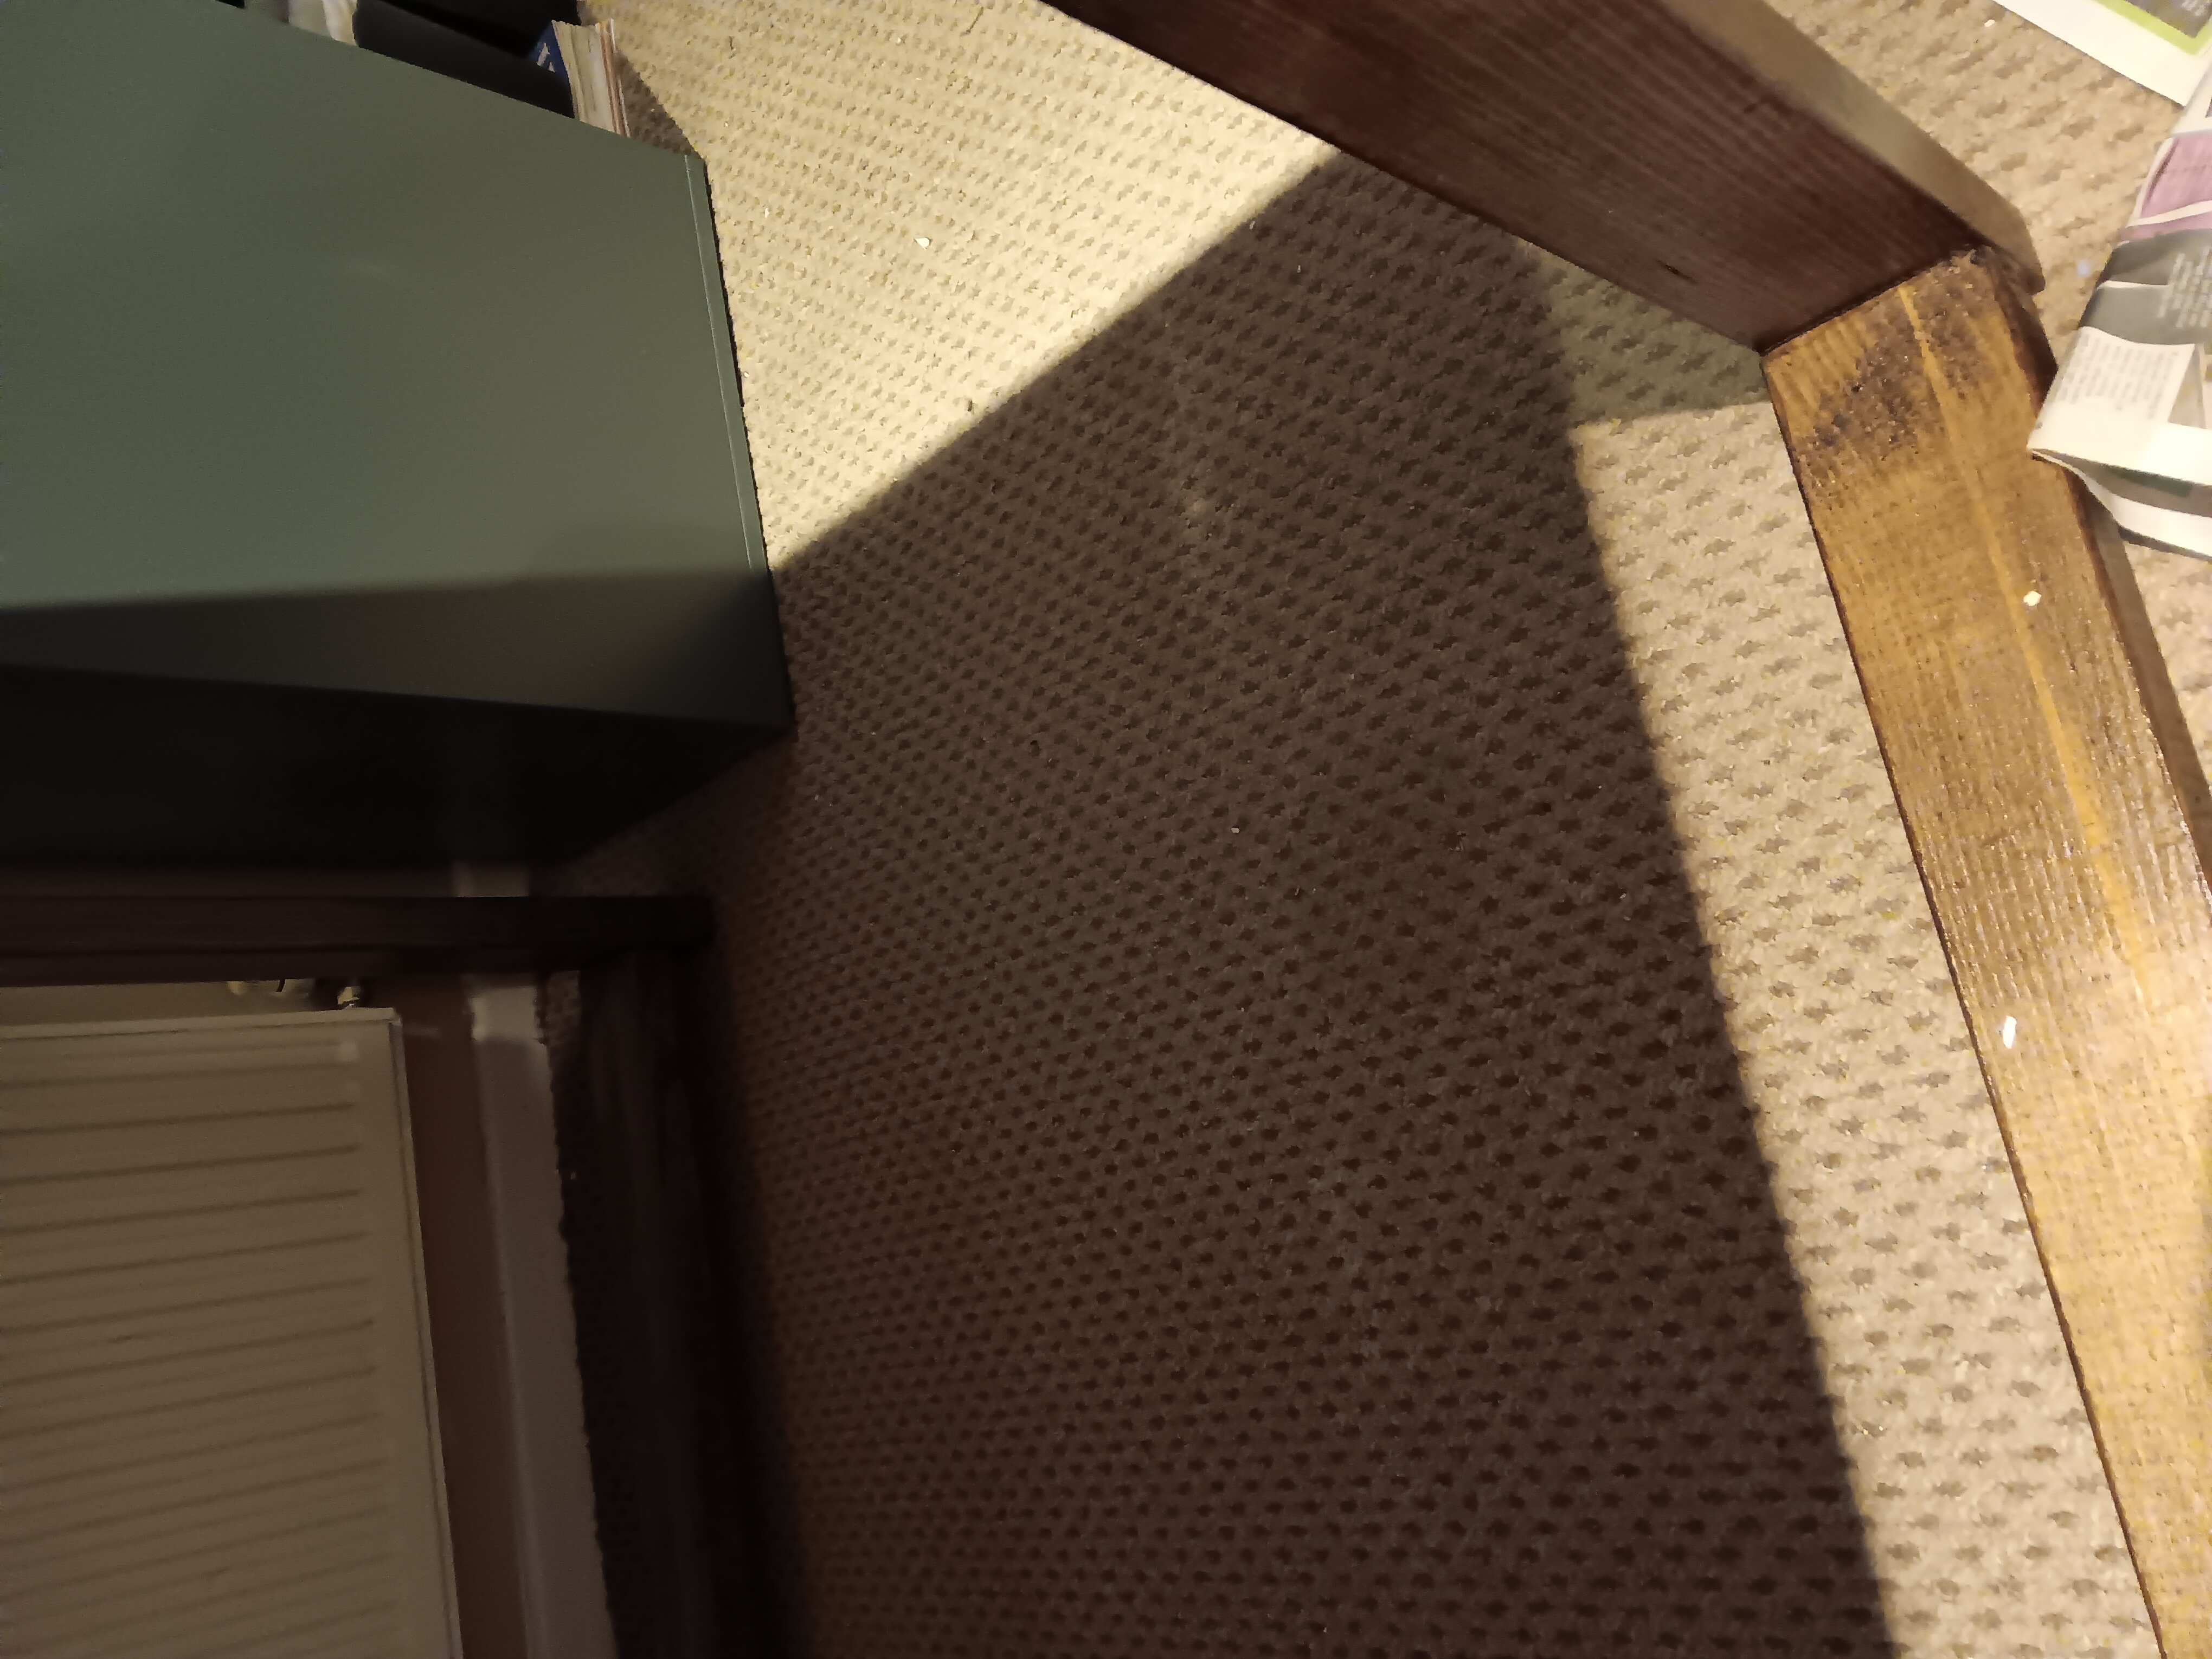
In the background is the MDF with the sealant coating and the Varnished wood, lying in front is how it looks when untreated.
Worth a google and there are youtube guides a plenty, part of my selection choice was driven by the options in my nearby Hardware Store and at least was a name I recgonised.
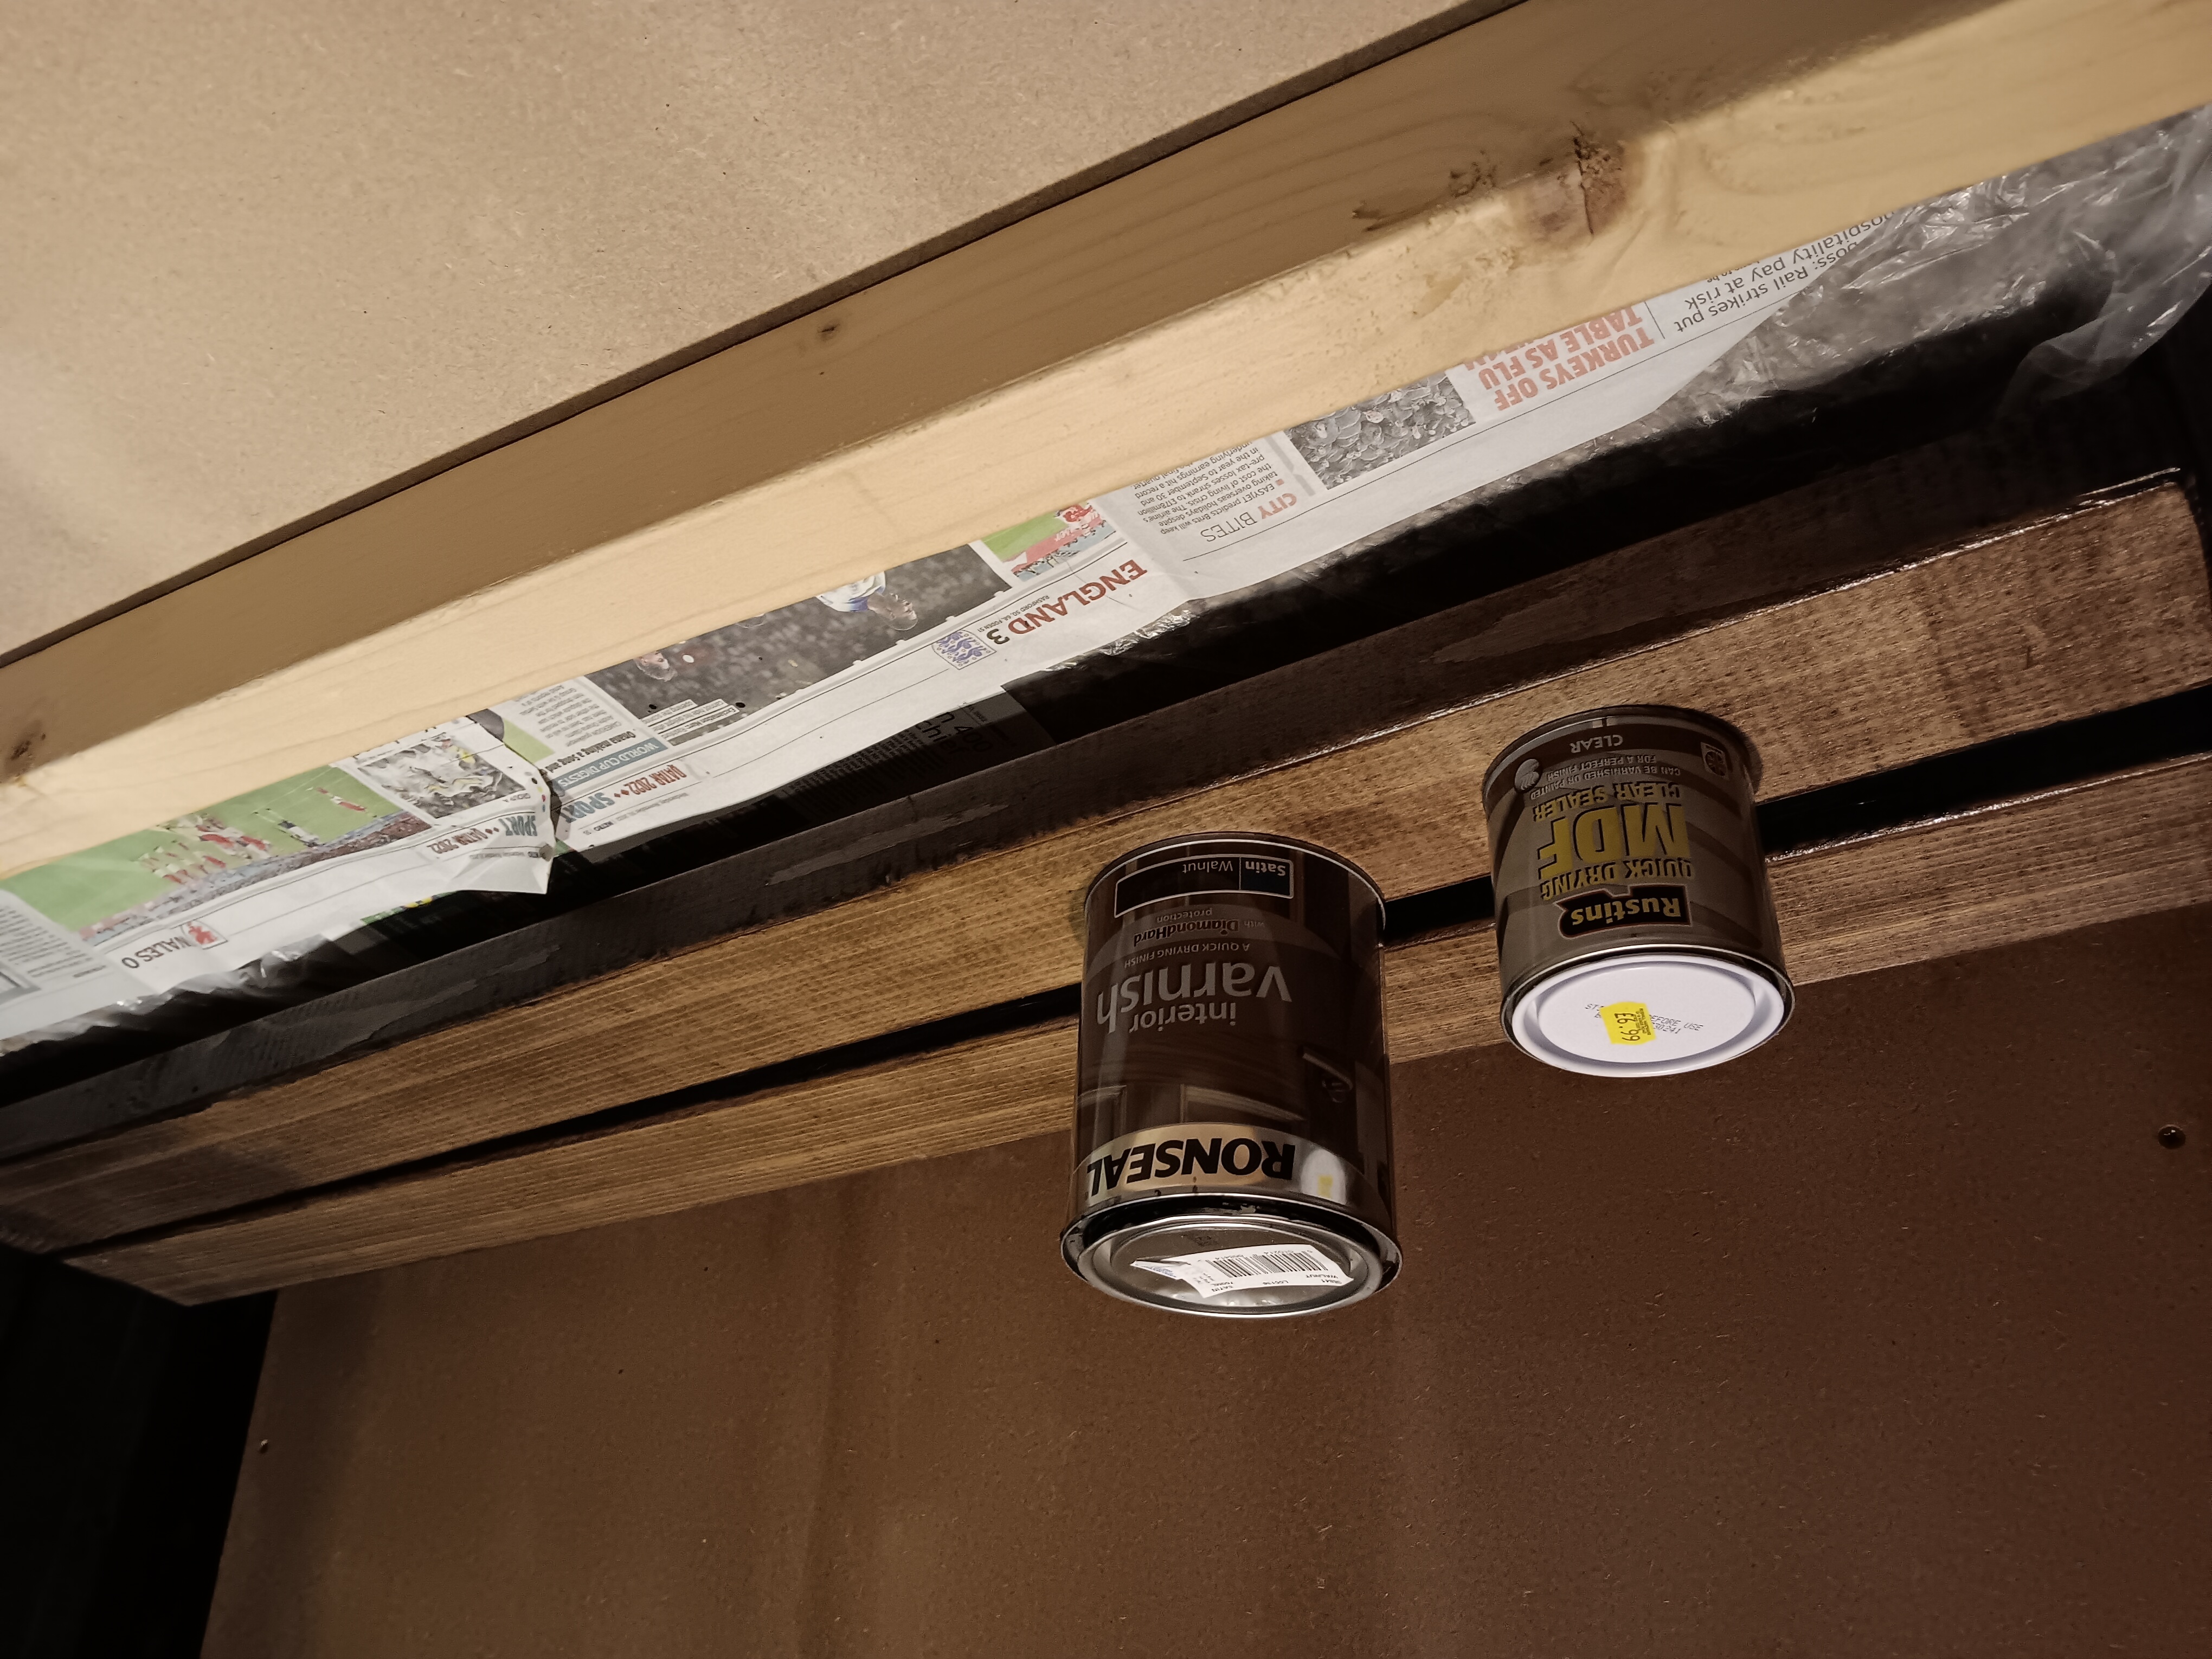 The Varnish I used - No idea why its upside down, was right way up on the saved image.
Tools I used & pre build checks
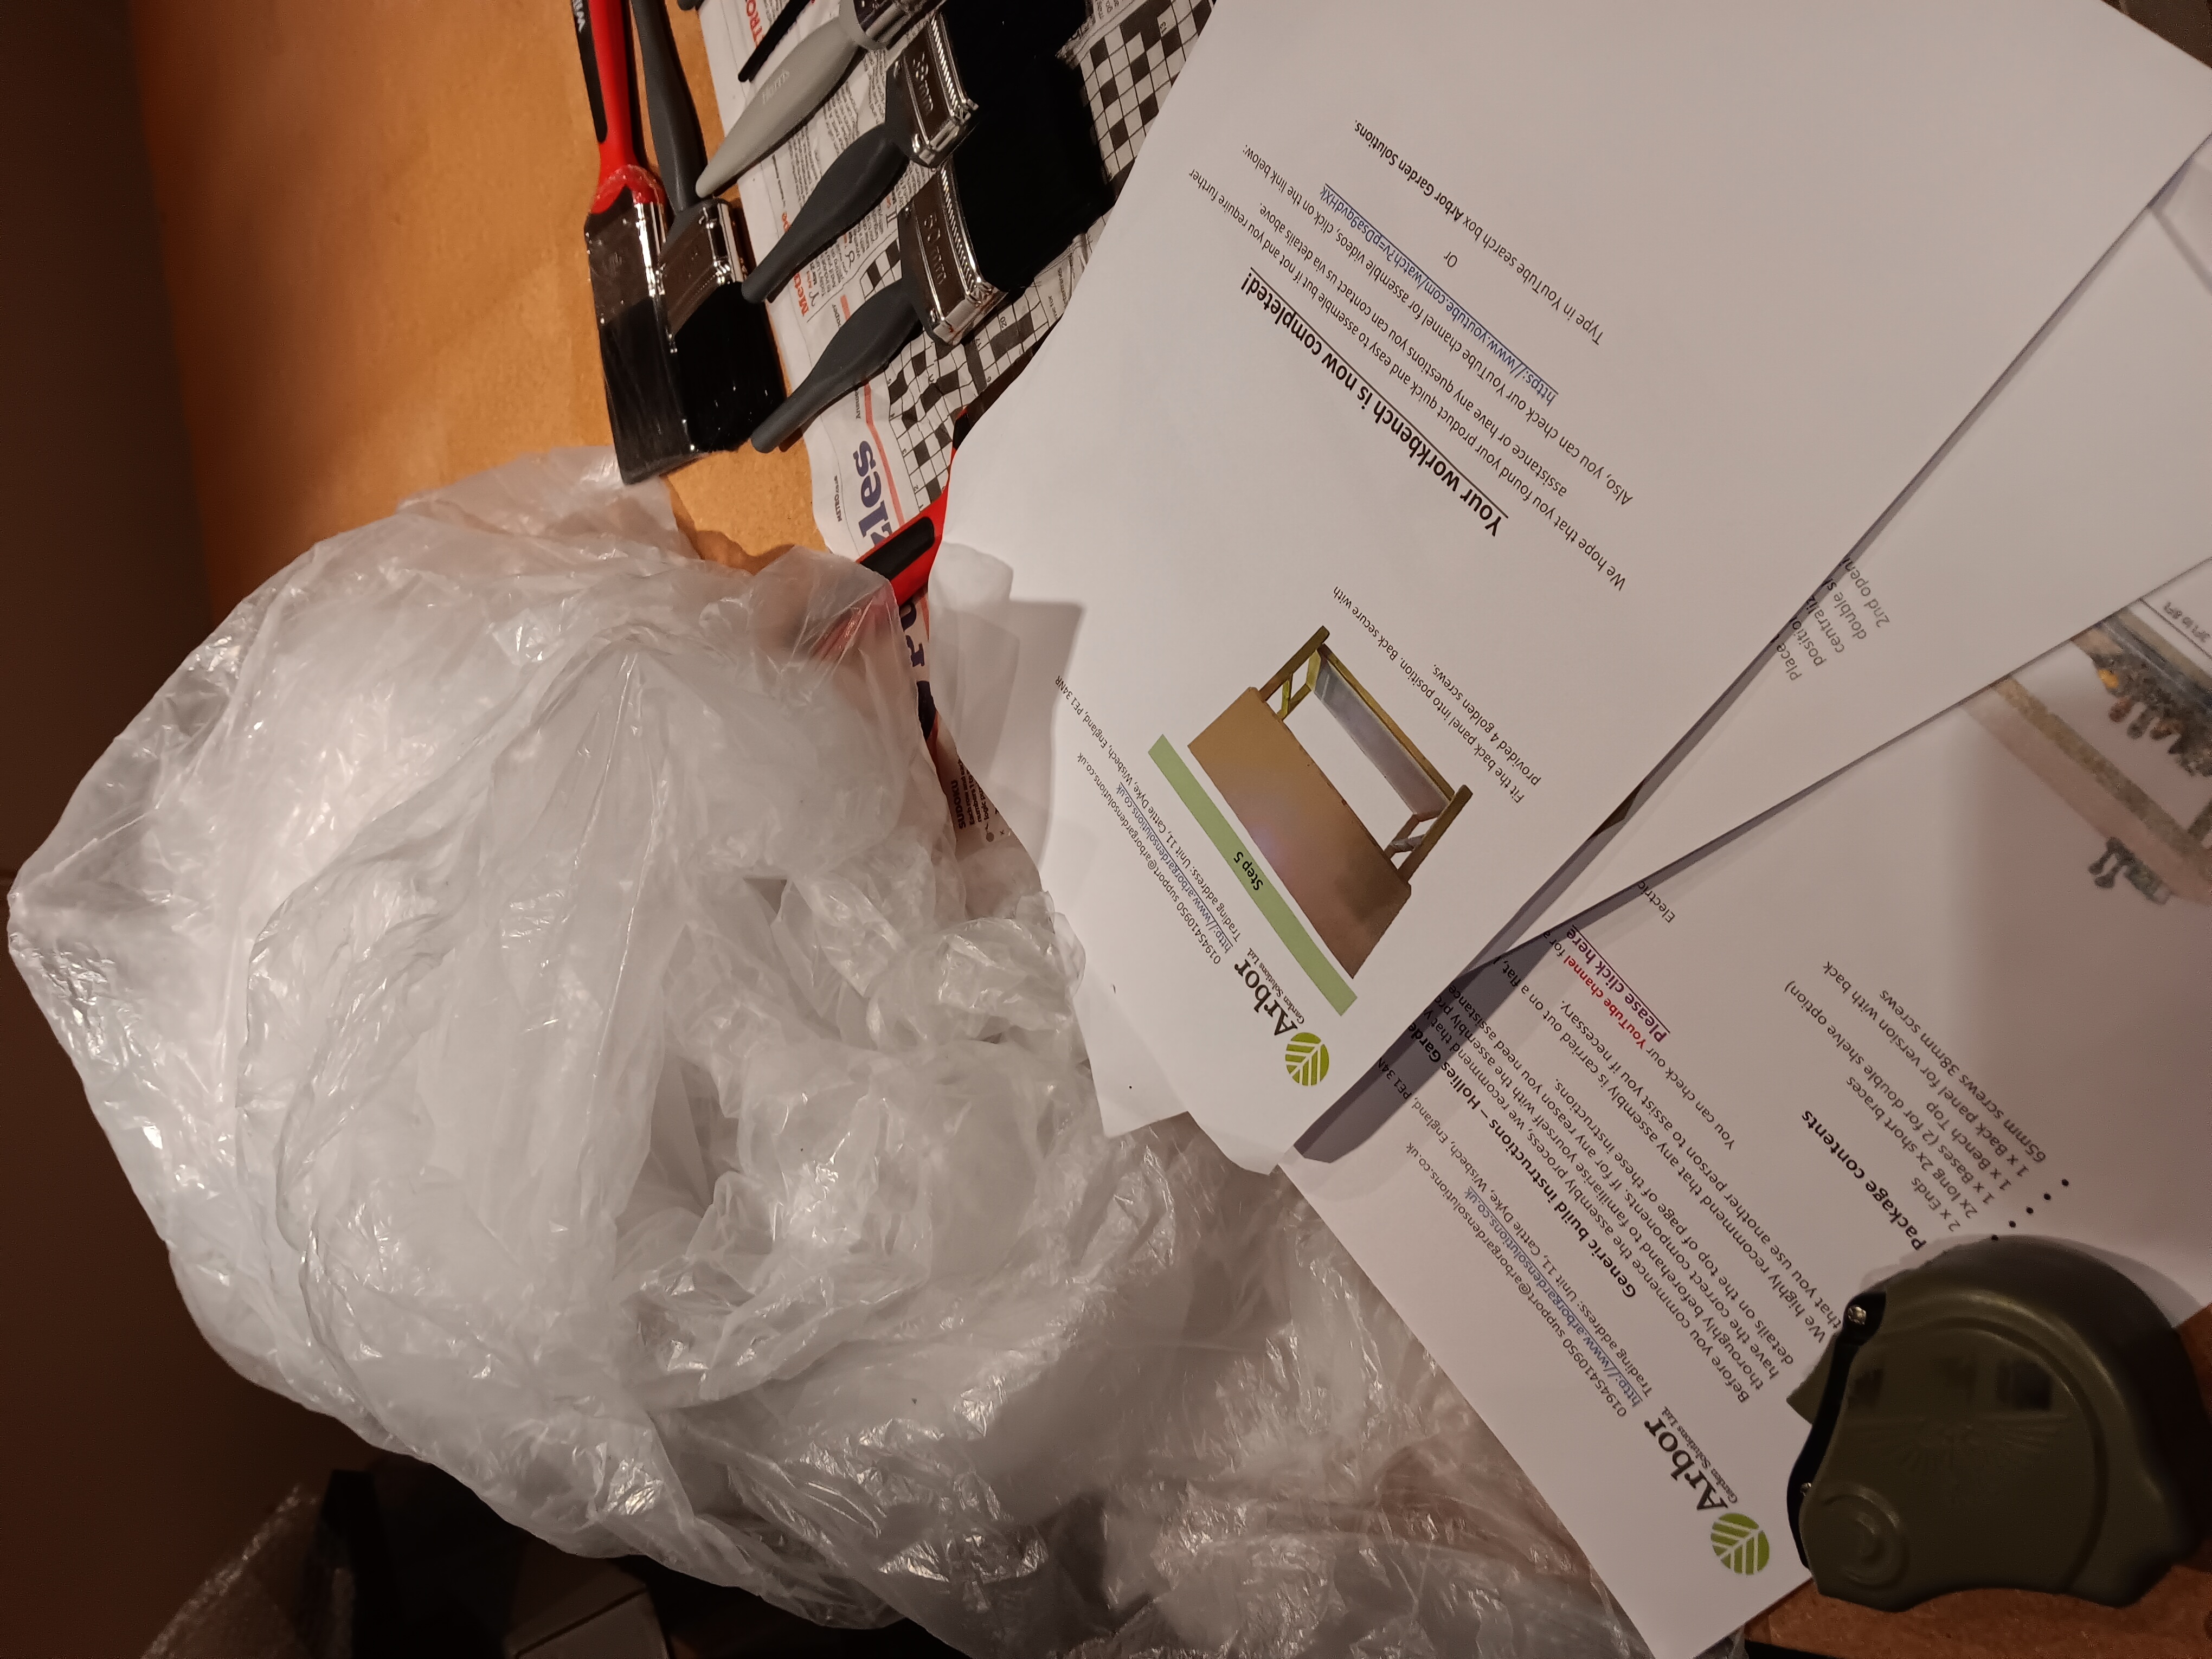 Tools Part 1
So Left to right, Tape Measure, Instructions Always, always, print those out/read before hand, Arbor also has youtube assembley guides only a few minutes long so always worth a watch.
Whilst Varnishing have a plastic sheet down also with paper for extra coverage in case plastic is punctured and gets a gap with a hole.
A selection of Brushes, fairly cheap and cheerful, as some of the pots are a bit small and wasn’t sure of how much to tip out for coverage and nonspare to waste I took a more manual aproach rather than roller.
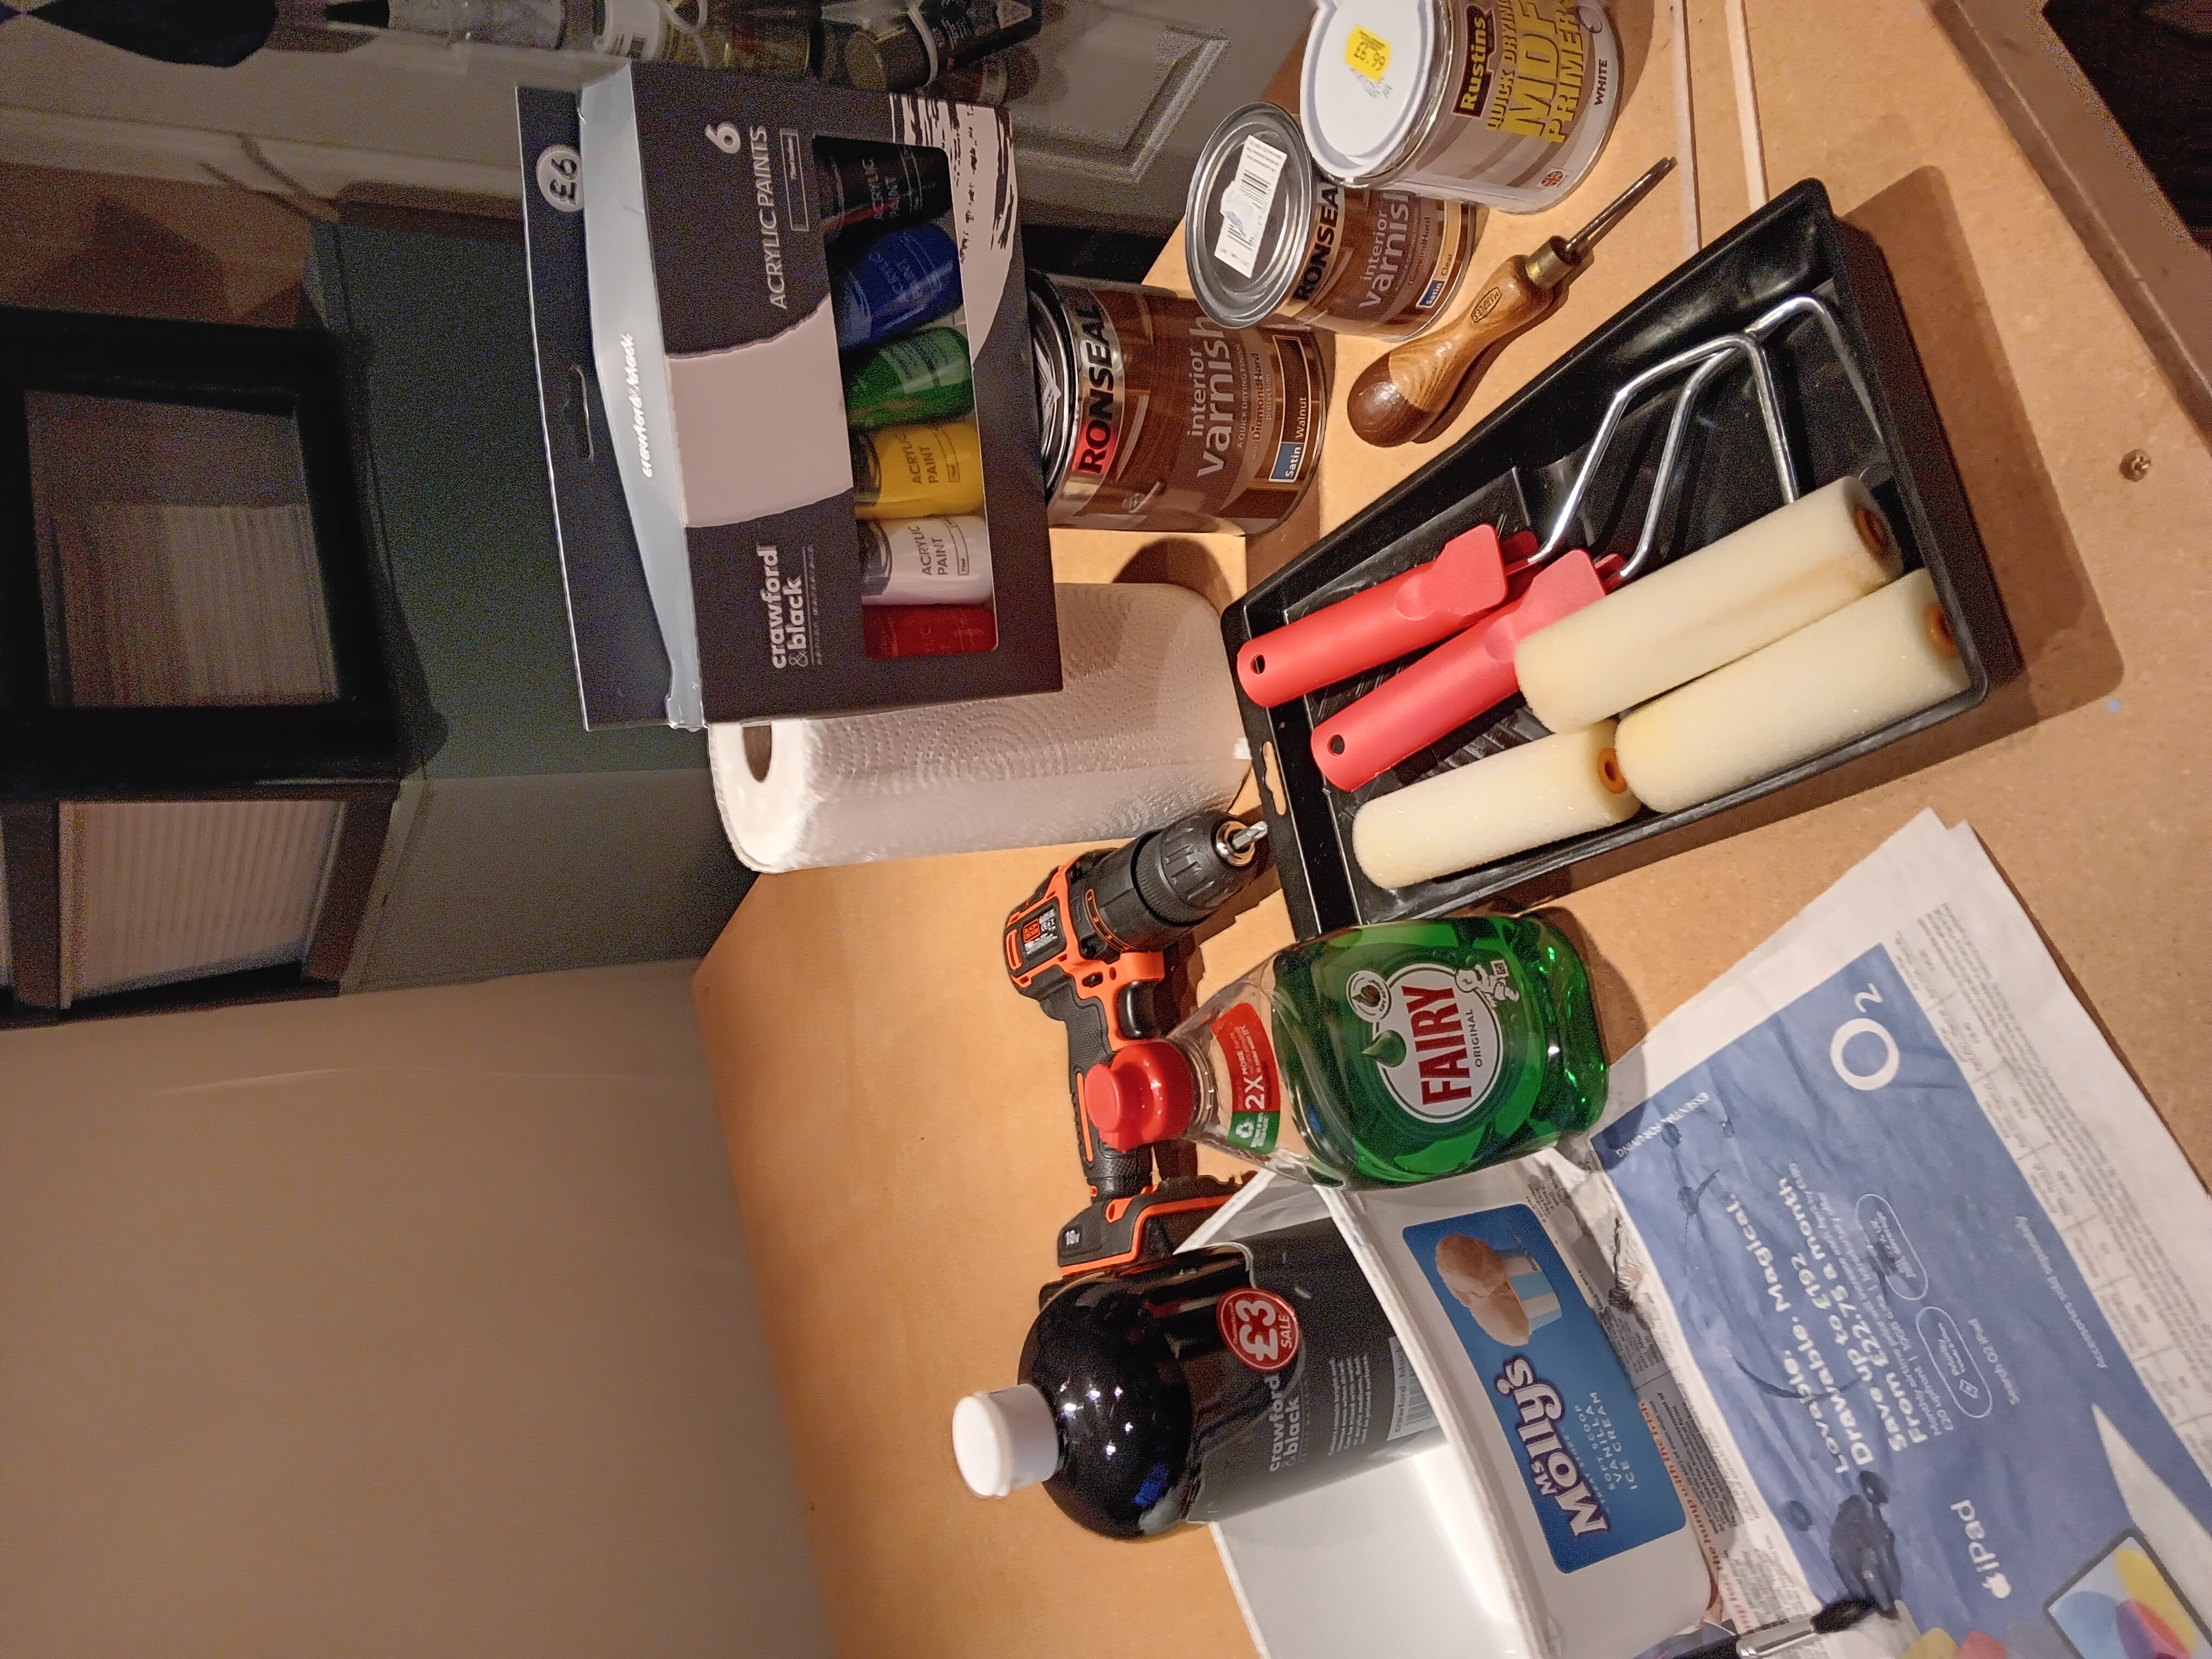 Tools Part 2
So when painting I find it useful to have a tub on hand of warm soapy water, usually making use of washing up liquid, to put brushes getting manky into to soak whilst carrying on to finish whichever particular part and for spills to quickly wipe away. Not to close to hand as don’t want to knock the tub and get waterlogged a few feet off to one side generaly sufficient.
Kitchen towel, always have this to hand for spills, wiping brush off.
A Drill with a x screwbit you can complete assembly with a screwdriver but the blisters are your own.
Coffee stirrers for when opening the paint with a little priser tool mini screwdriver I have to pop the lids. The stirrers can also be quickly washed in the warm soapy water, quickly dried and then reused when getting back to it later on.
The Works paint is to paint the table top, with the varnishes, more on all that lalter.
One last thing wen putting this sort of table together it has crossbeams on two of the sides so position those to be up against the wall to leave the sides open and accessible when in final situ for tubs of scenary etc.
 Stay on Target planning the final position of the table relating to its features.
Lessons learnt and Happy Accidents
How much the pots covered.
So whilst doing the Varnishing, I found the smaller pot of Clear seal did 3 and a half sides of the table tops and bottom. When I went back to the Hardware store they were all out, but they had MDF Primer so I got that to finish the underpart. As for my planning I’d been covering the bit that folks would see, so a mish mash underside, nobody will see and I can still sleep soundly at night with that.
The Ronseal tub coverage has been fine and with 2 coats on the underside nobody sees and 3 on the more visible parts, but if you had a similar table that was a 6X4 with the wood supports I’d say you definately need a larger tub, than I used or get two of them if no larger avaliable.
There maybe cheaper options but reading about Polychemical this and that I went with the Ronseal approach its on the side of the tin as was the Rustlins.
All in all for just the Varnishes and Primer it was about £35, the drill, brushes and roller I already have.
How long was the piece of string.
As I had limited space, I was varnishing parts, let it dry for an hour or so, then go back. I was getting 2 or 3 coats a day done, so took me better part of a week and a half, for the Wood Varnish I was applying 2-3 coats for each part of the wood. Fortunately this was a hobby project for 2 weeks of leave. With the Top to paint allin it lasted over two weeks, with more space to lay things out and a more dedicated focus to how many layers a day could be done in half the time. I found the drying time exceeded the painting time by alot.
I also found the task made easier with a podcast playing in the background, for my choice I was listening to Yarkshire Gamer, there long podcasts so last the distance and with different guests covers a wide range of historicals whilst learning about Italian Wars from the Renaissance to mid 1800s and Garbaldi.
Helped make the task less of a chore.
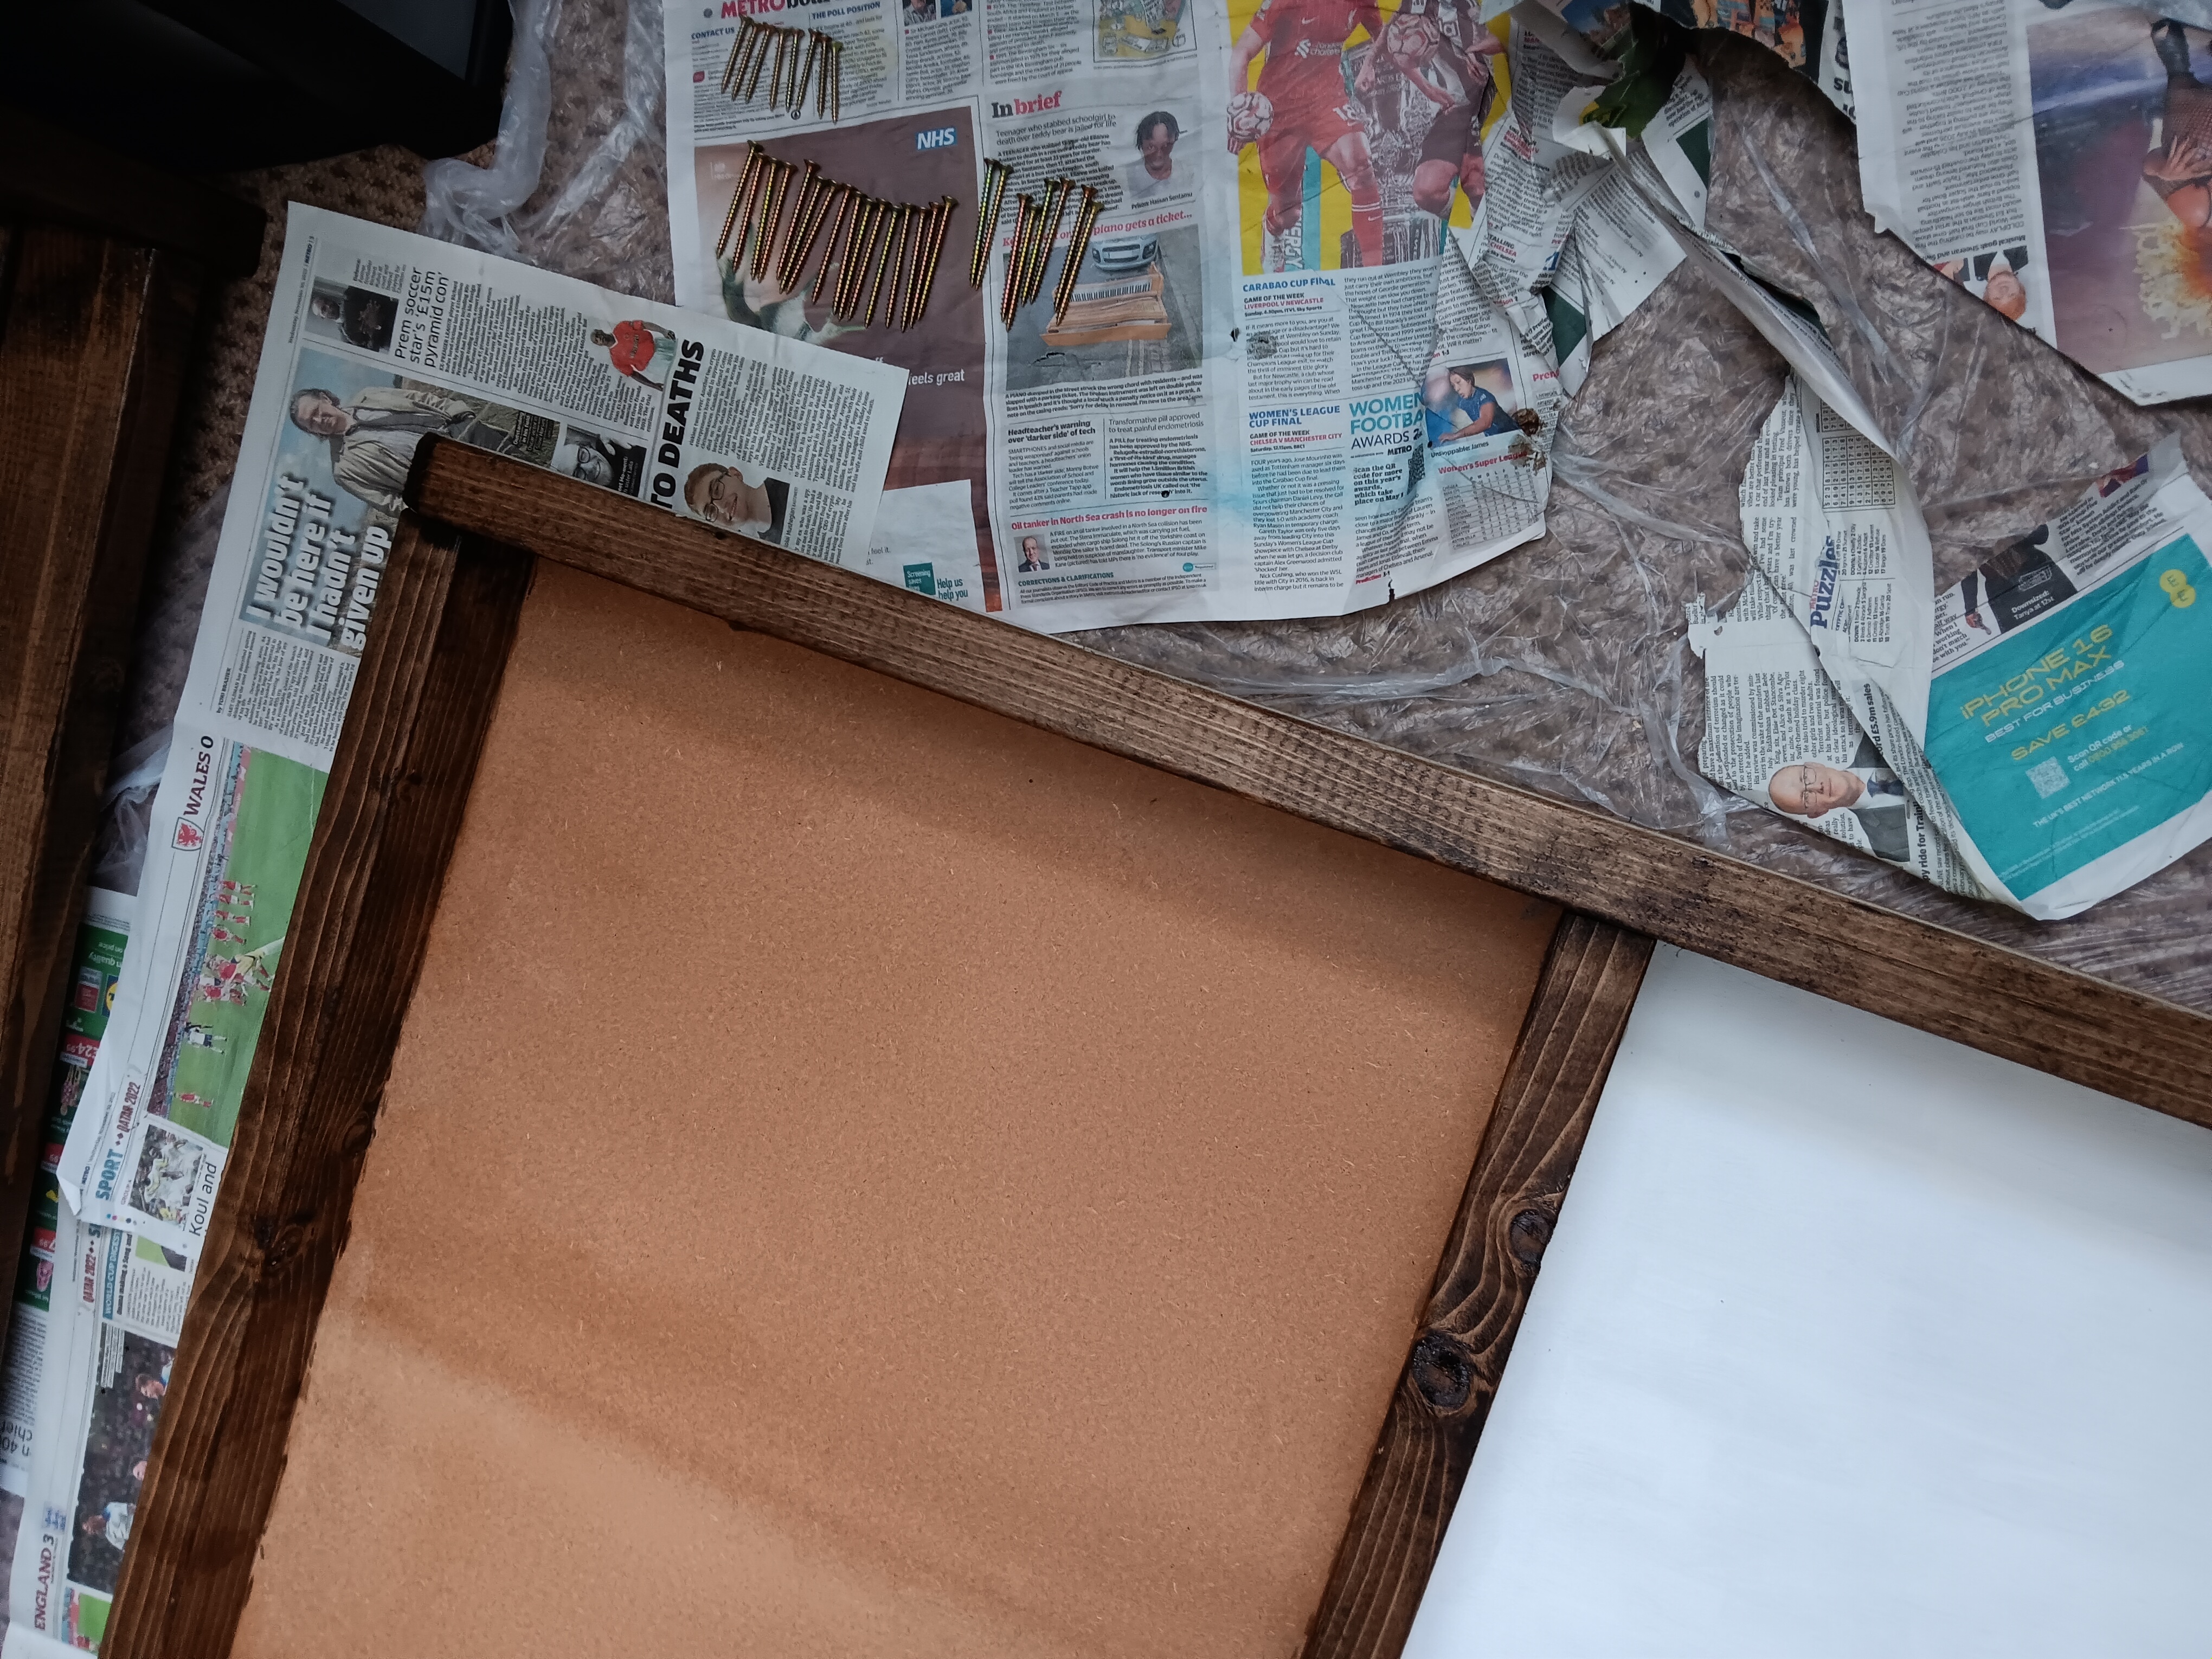 The two parts cover underneath, photo probably still wrong way up :(
Whilst checking on Varnish on MDF painted surface I discovered that if planning to paint on MDF, the sealant doesn’t give the best result with the paint, so if looking to paint on covered MDF get the Primer, which luckily I had already got a tub of.
With the undersides all done I put the table together, as a last word of advice on that always check you have the correct number and type of screws before assembley and have your drill charged and ready.
Table Top Primed and Undercoated.
I found the Primer quite thick so not as long lasting as the Clear Seal, I applied it neat onto the edges as wanted as thick a cover for the edges were MDF can go fluffy over time so wanted that locked in. I applied two coats on the edges.
When covering the main tabletop I watered it down by about fifth and covered as best as I could, as it was going on top of sealant I think it was ok if cover a bit thin in parts. I used a roller for the main top but used a brush on the edge work.
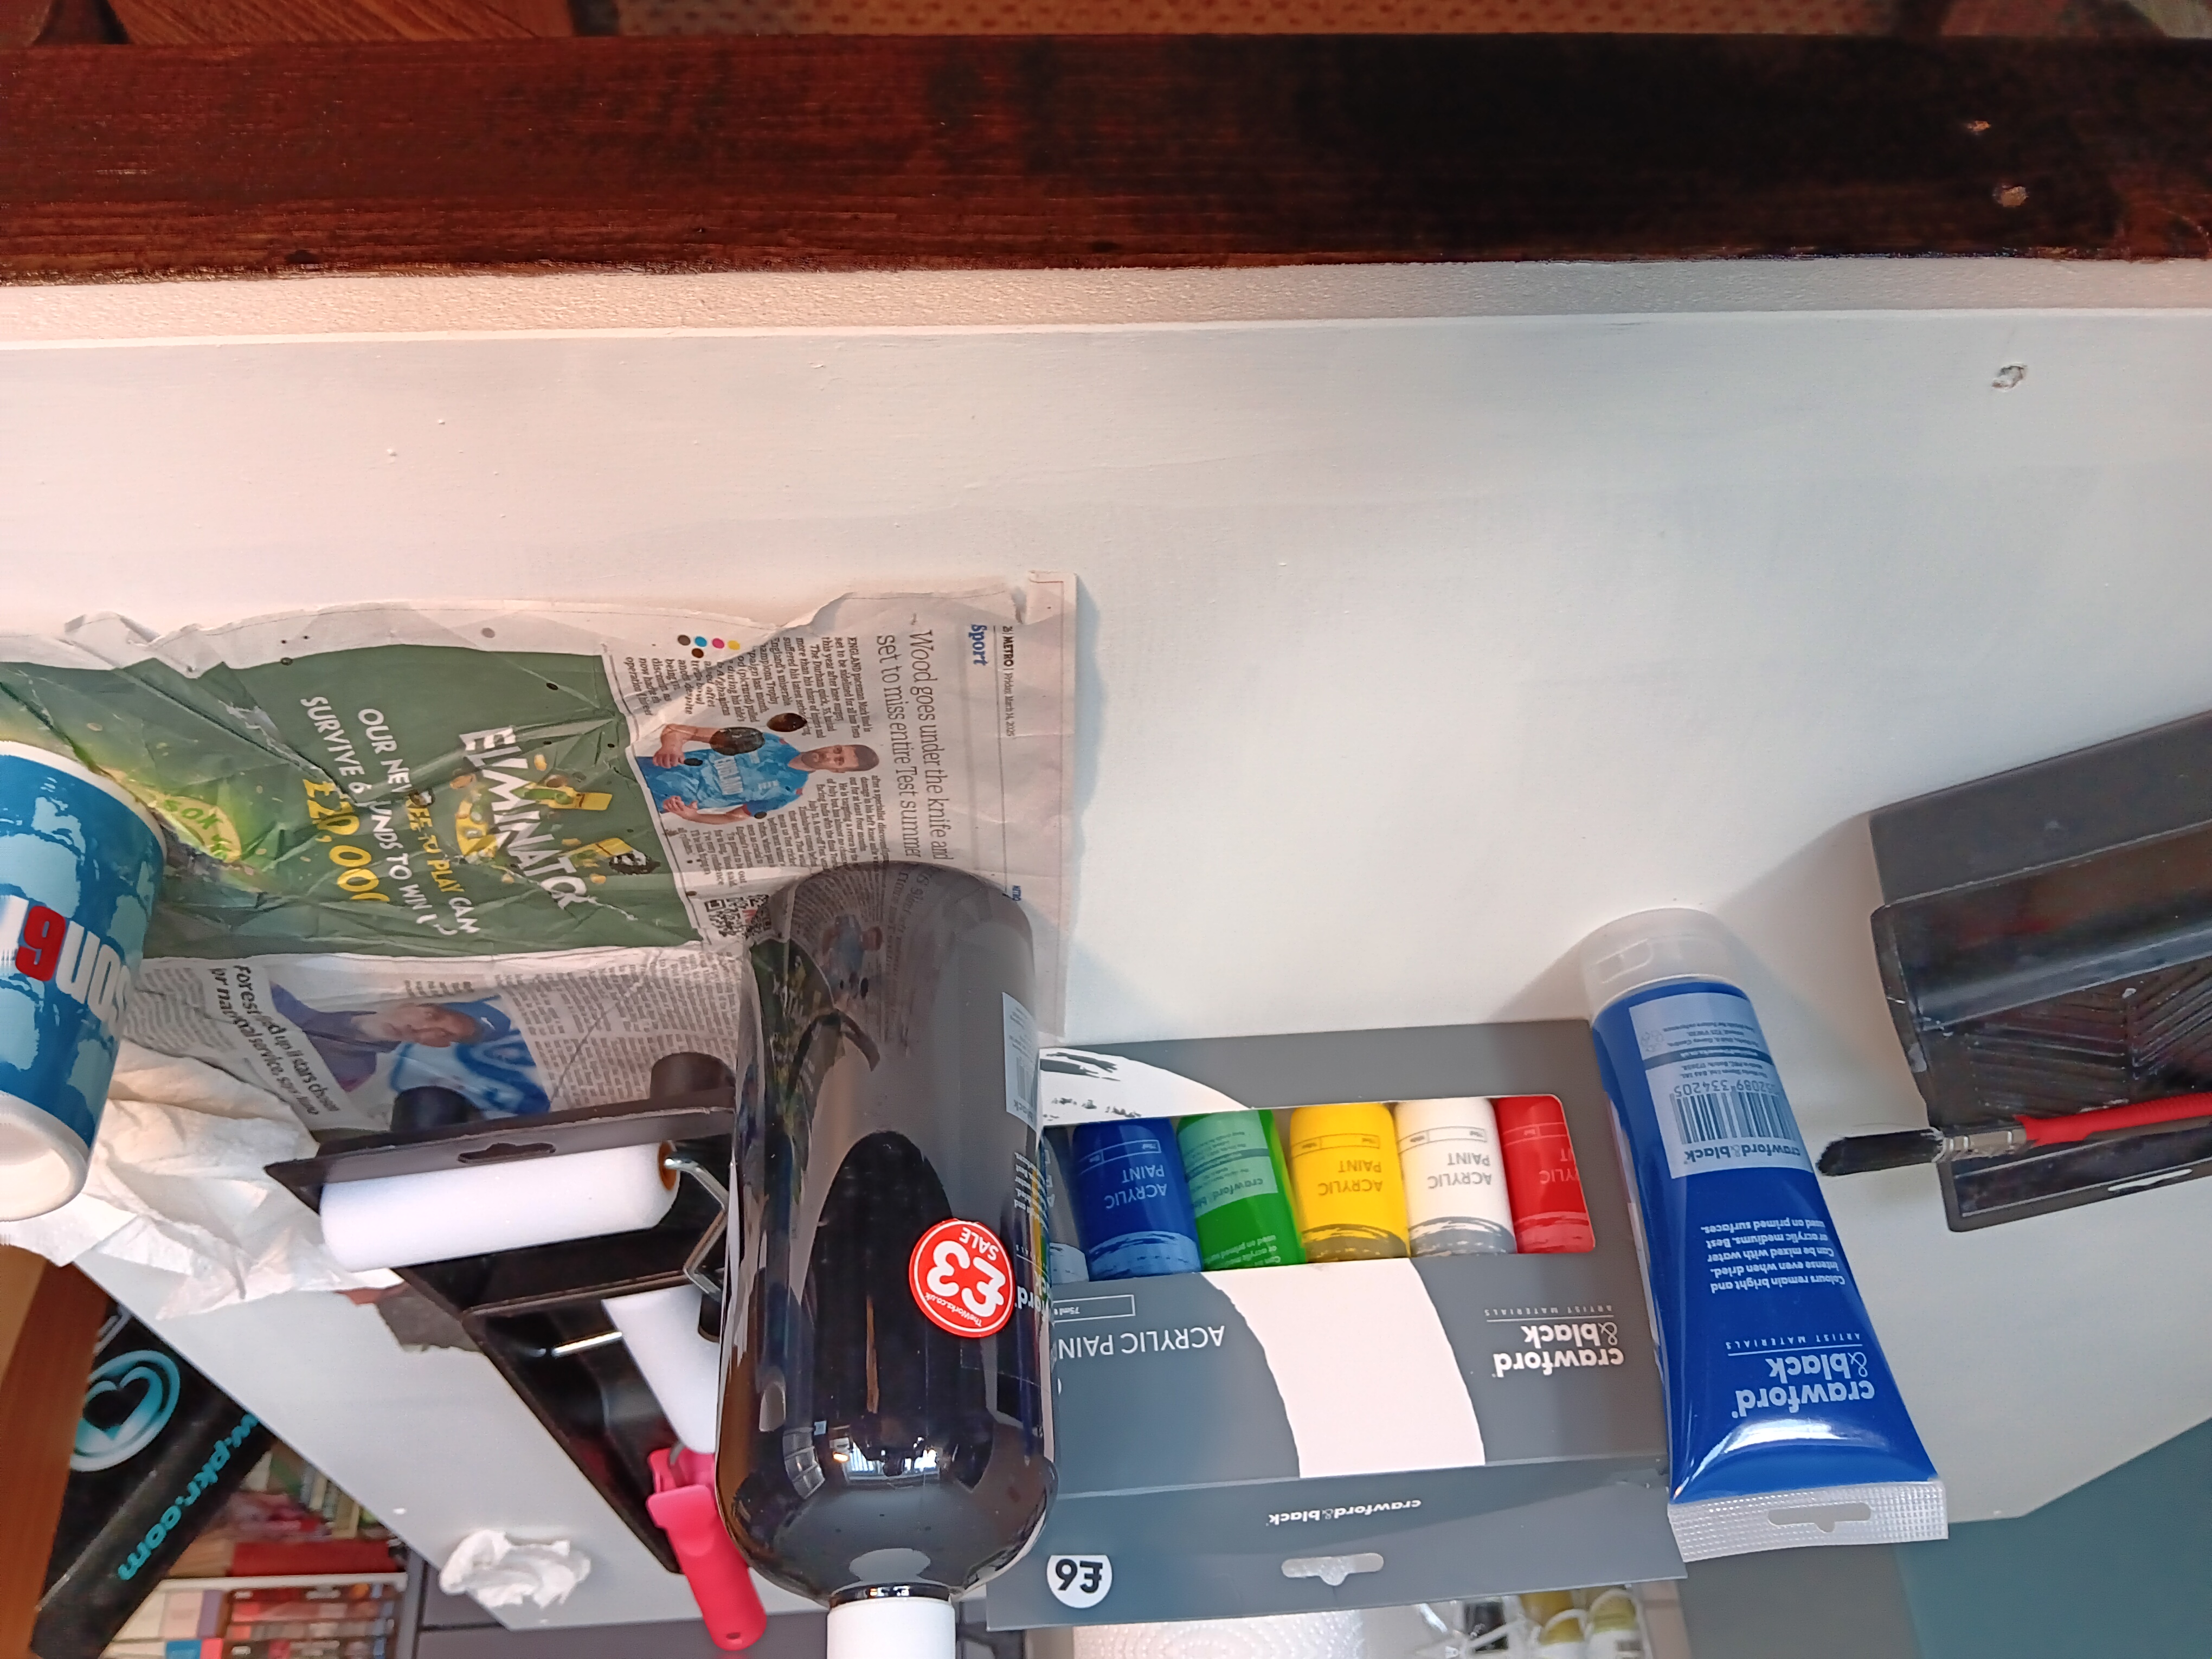 Table top primed ready for Undercoat. Apologies upside down!
I next applied Black undercoat on the Primed Surface, I found the acrylic Works paint didn’t go down very smoothly unless watered down a bit and would recommend that.
I did the edges first with a brush and let that dry before tackling the main top with a roller, coverage was a bit variable as I was painting under artificial light so thinly covered parts weren’t as apparant.
As I’m going to paint on for an ocean gaming top the fact some parts will be lighter than others will hopefully provide a more natural mix in density that I’m hoping for and fits in with the plan.
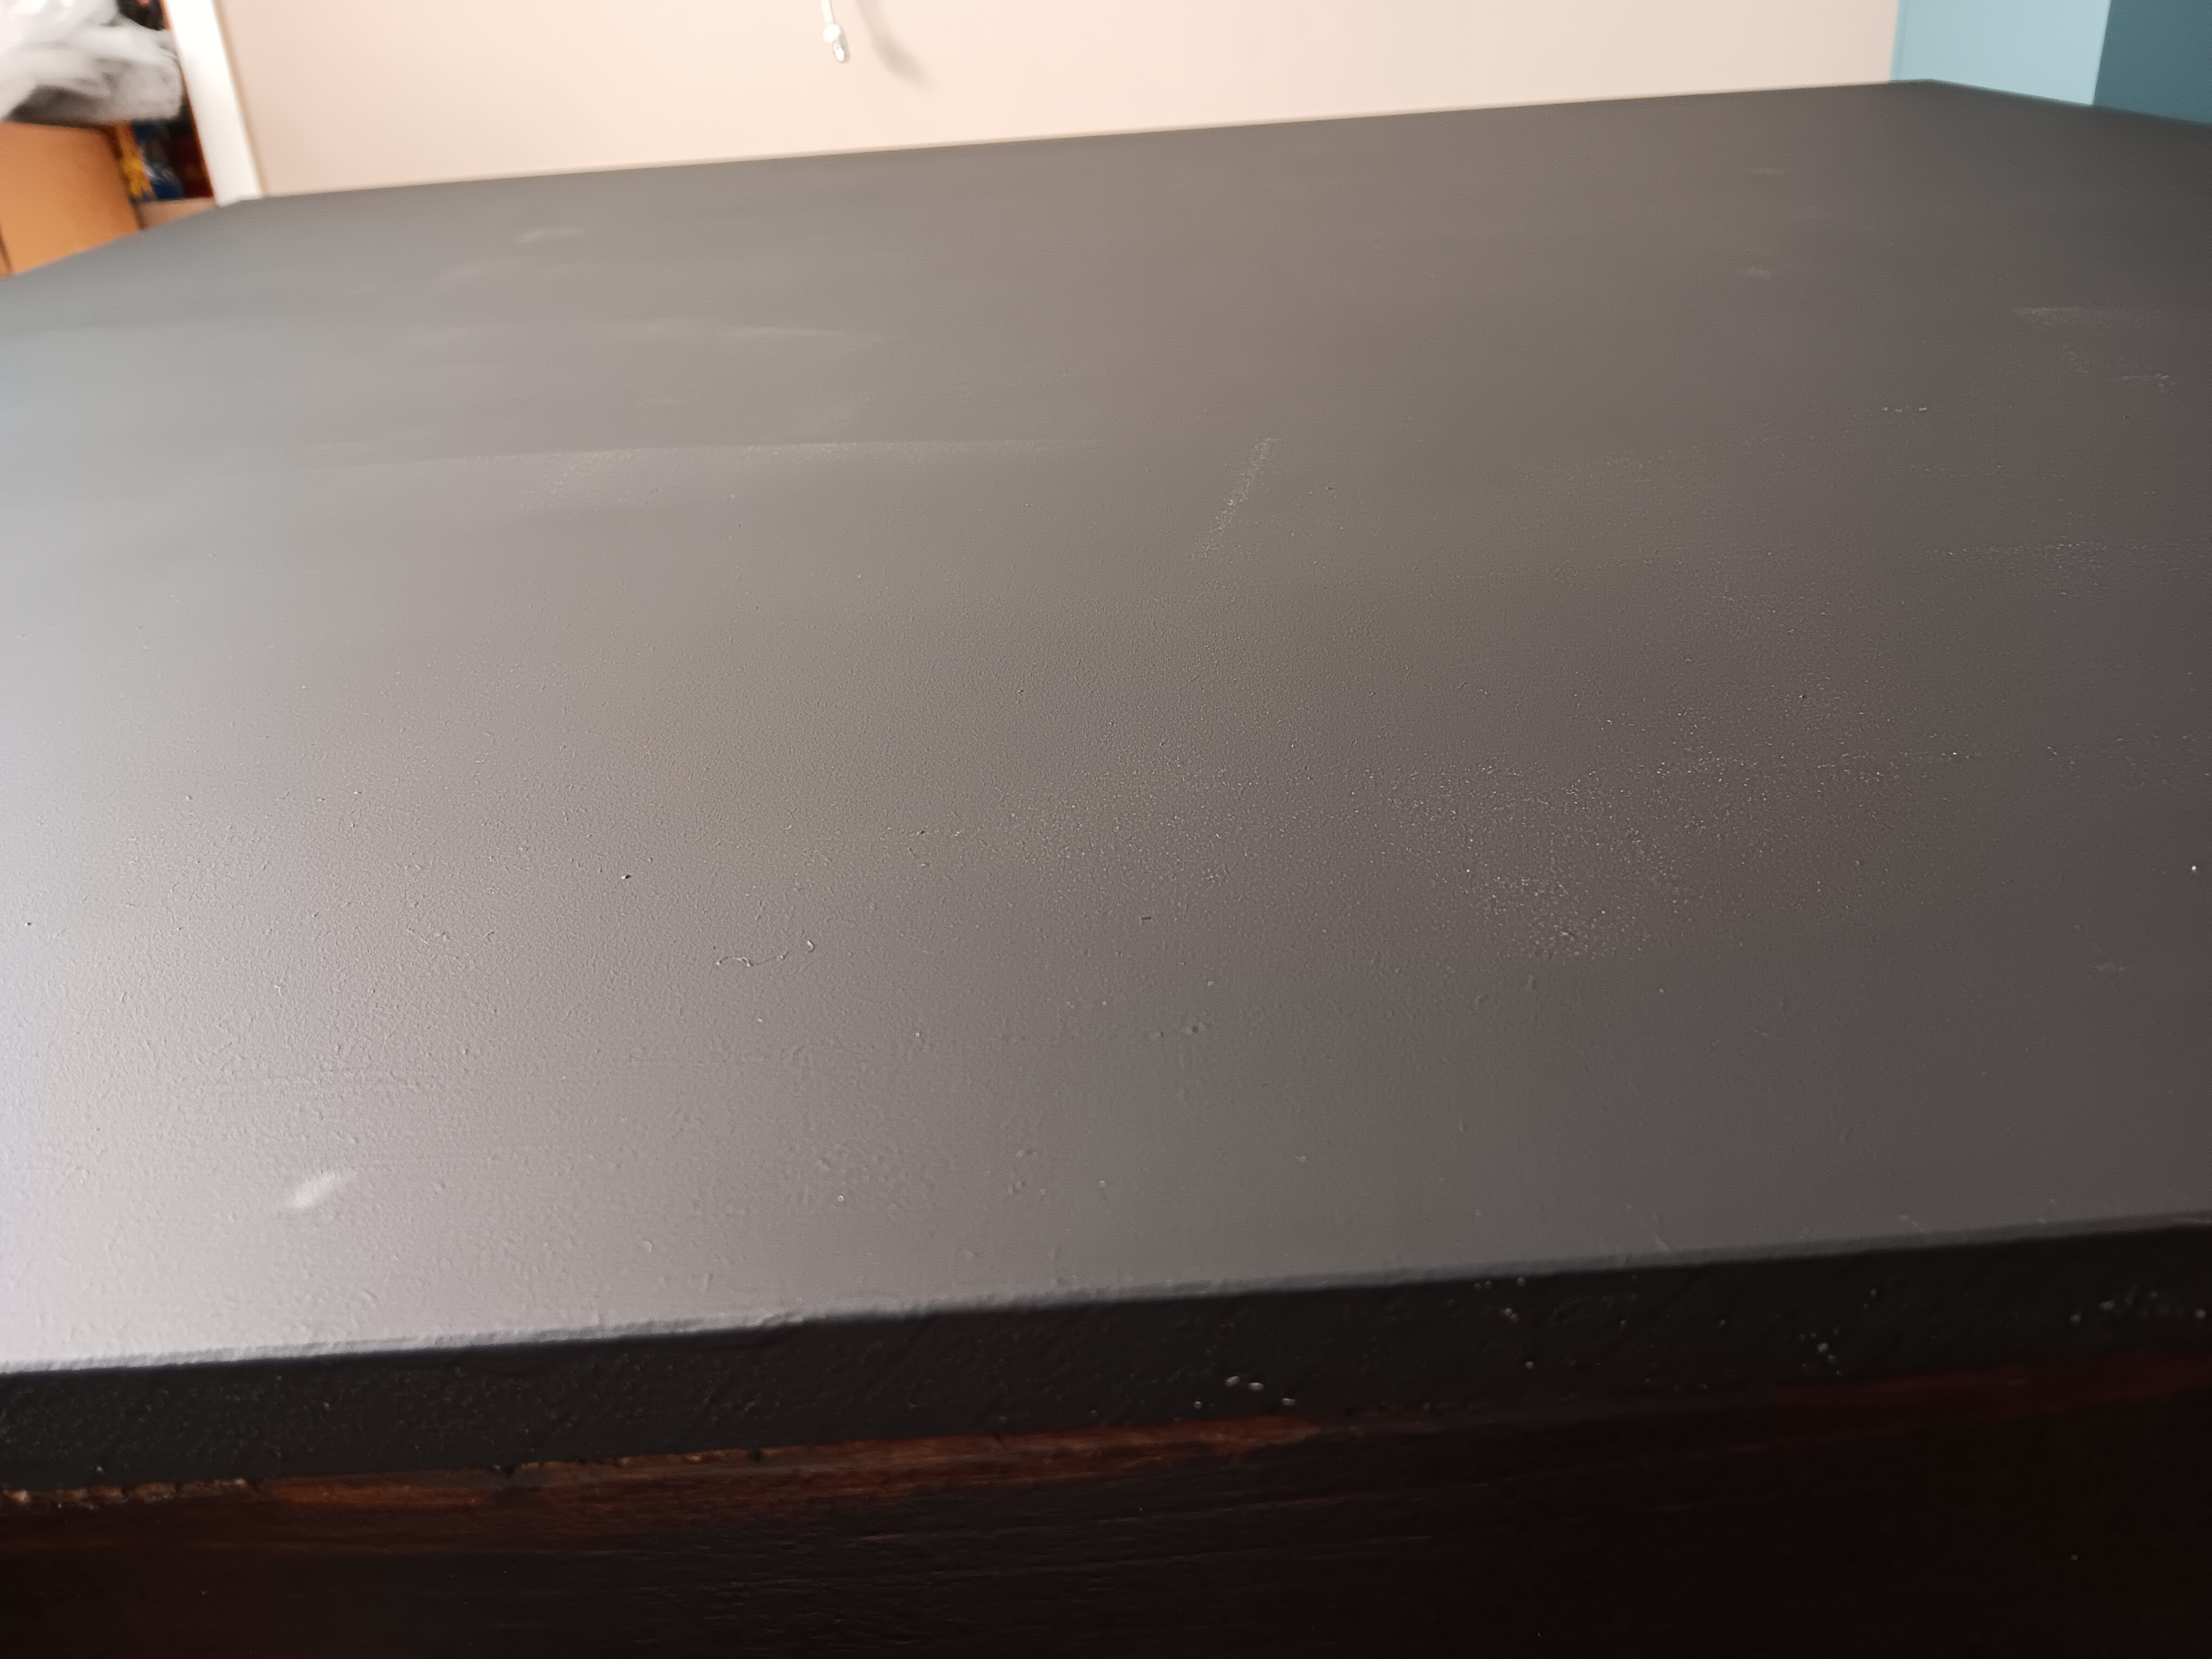 Table Top Undercoated ready for Blue and picture right way up.
Change of Plans & Final Assembley.
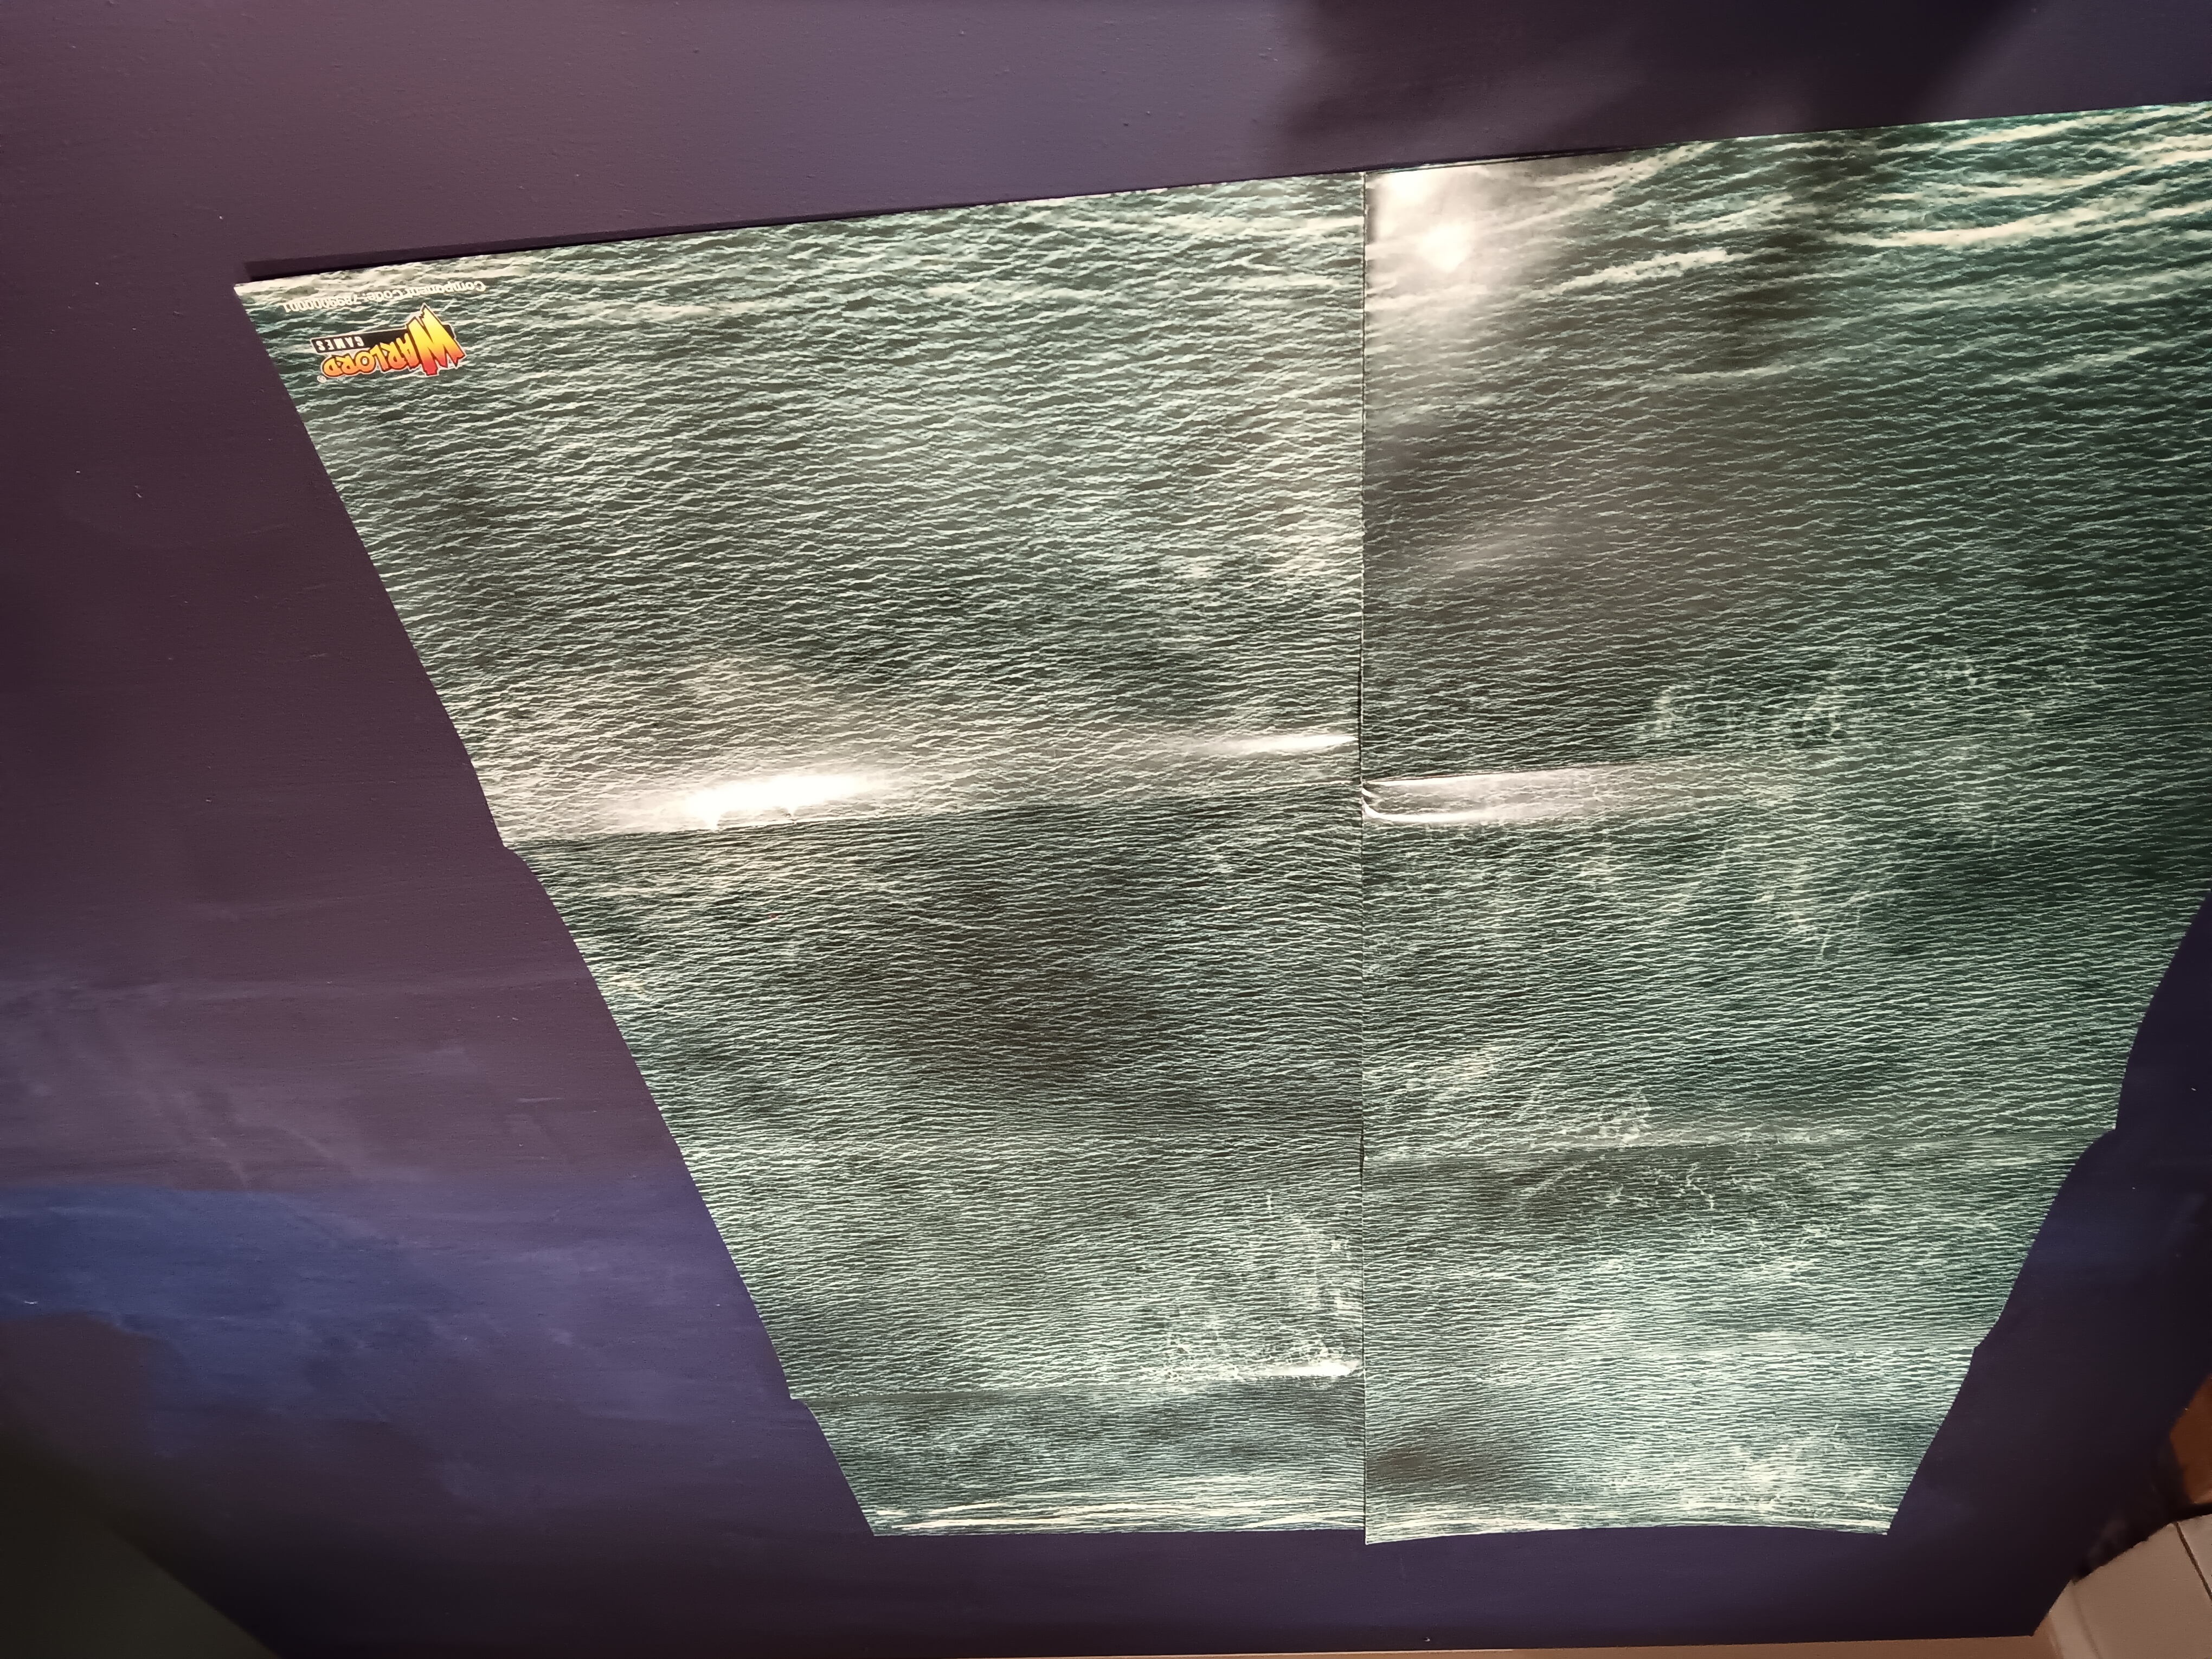
So originally the plan was paint it blue and mark waves on it, so got to the blue layer down, and as I looked at the mat I want the top to look like, and I wasn’t entirely happy with the cover on the top, and I realised that I didn’t think I could do a decent job on the look of the waves.
So I decided to go for a winter top, so haphzard cover would look a bit more like the whims of nature and the cover could mix with part showing or not.
Once done I covered final Varnish, i did find when applying it to the stain varnish it seemed to reactivate it, so be careful of that.
Once final varnishing done I finished assembley and walked it into place.
I also rolled out a cover to place over so can keep the top covered whilst using the table as a table and no knocks or scuff marks.